


Cars
Performance enthusiasts are a funny bunch. They all seem to agree that “as much as possible” is the correct answer when asked, “How much power do you want?” But they certainly
disagree about the best way to get there.
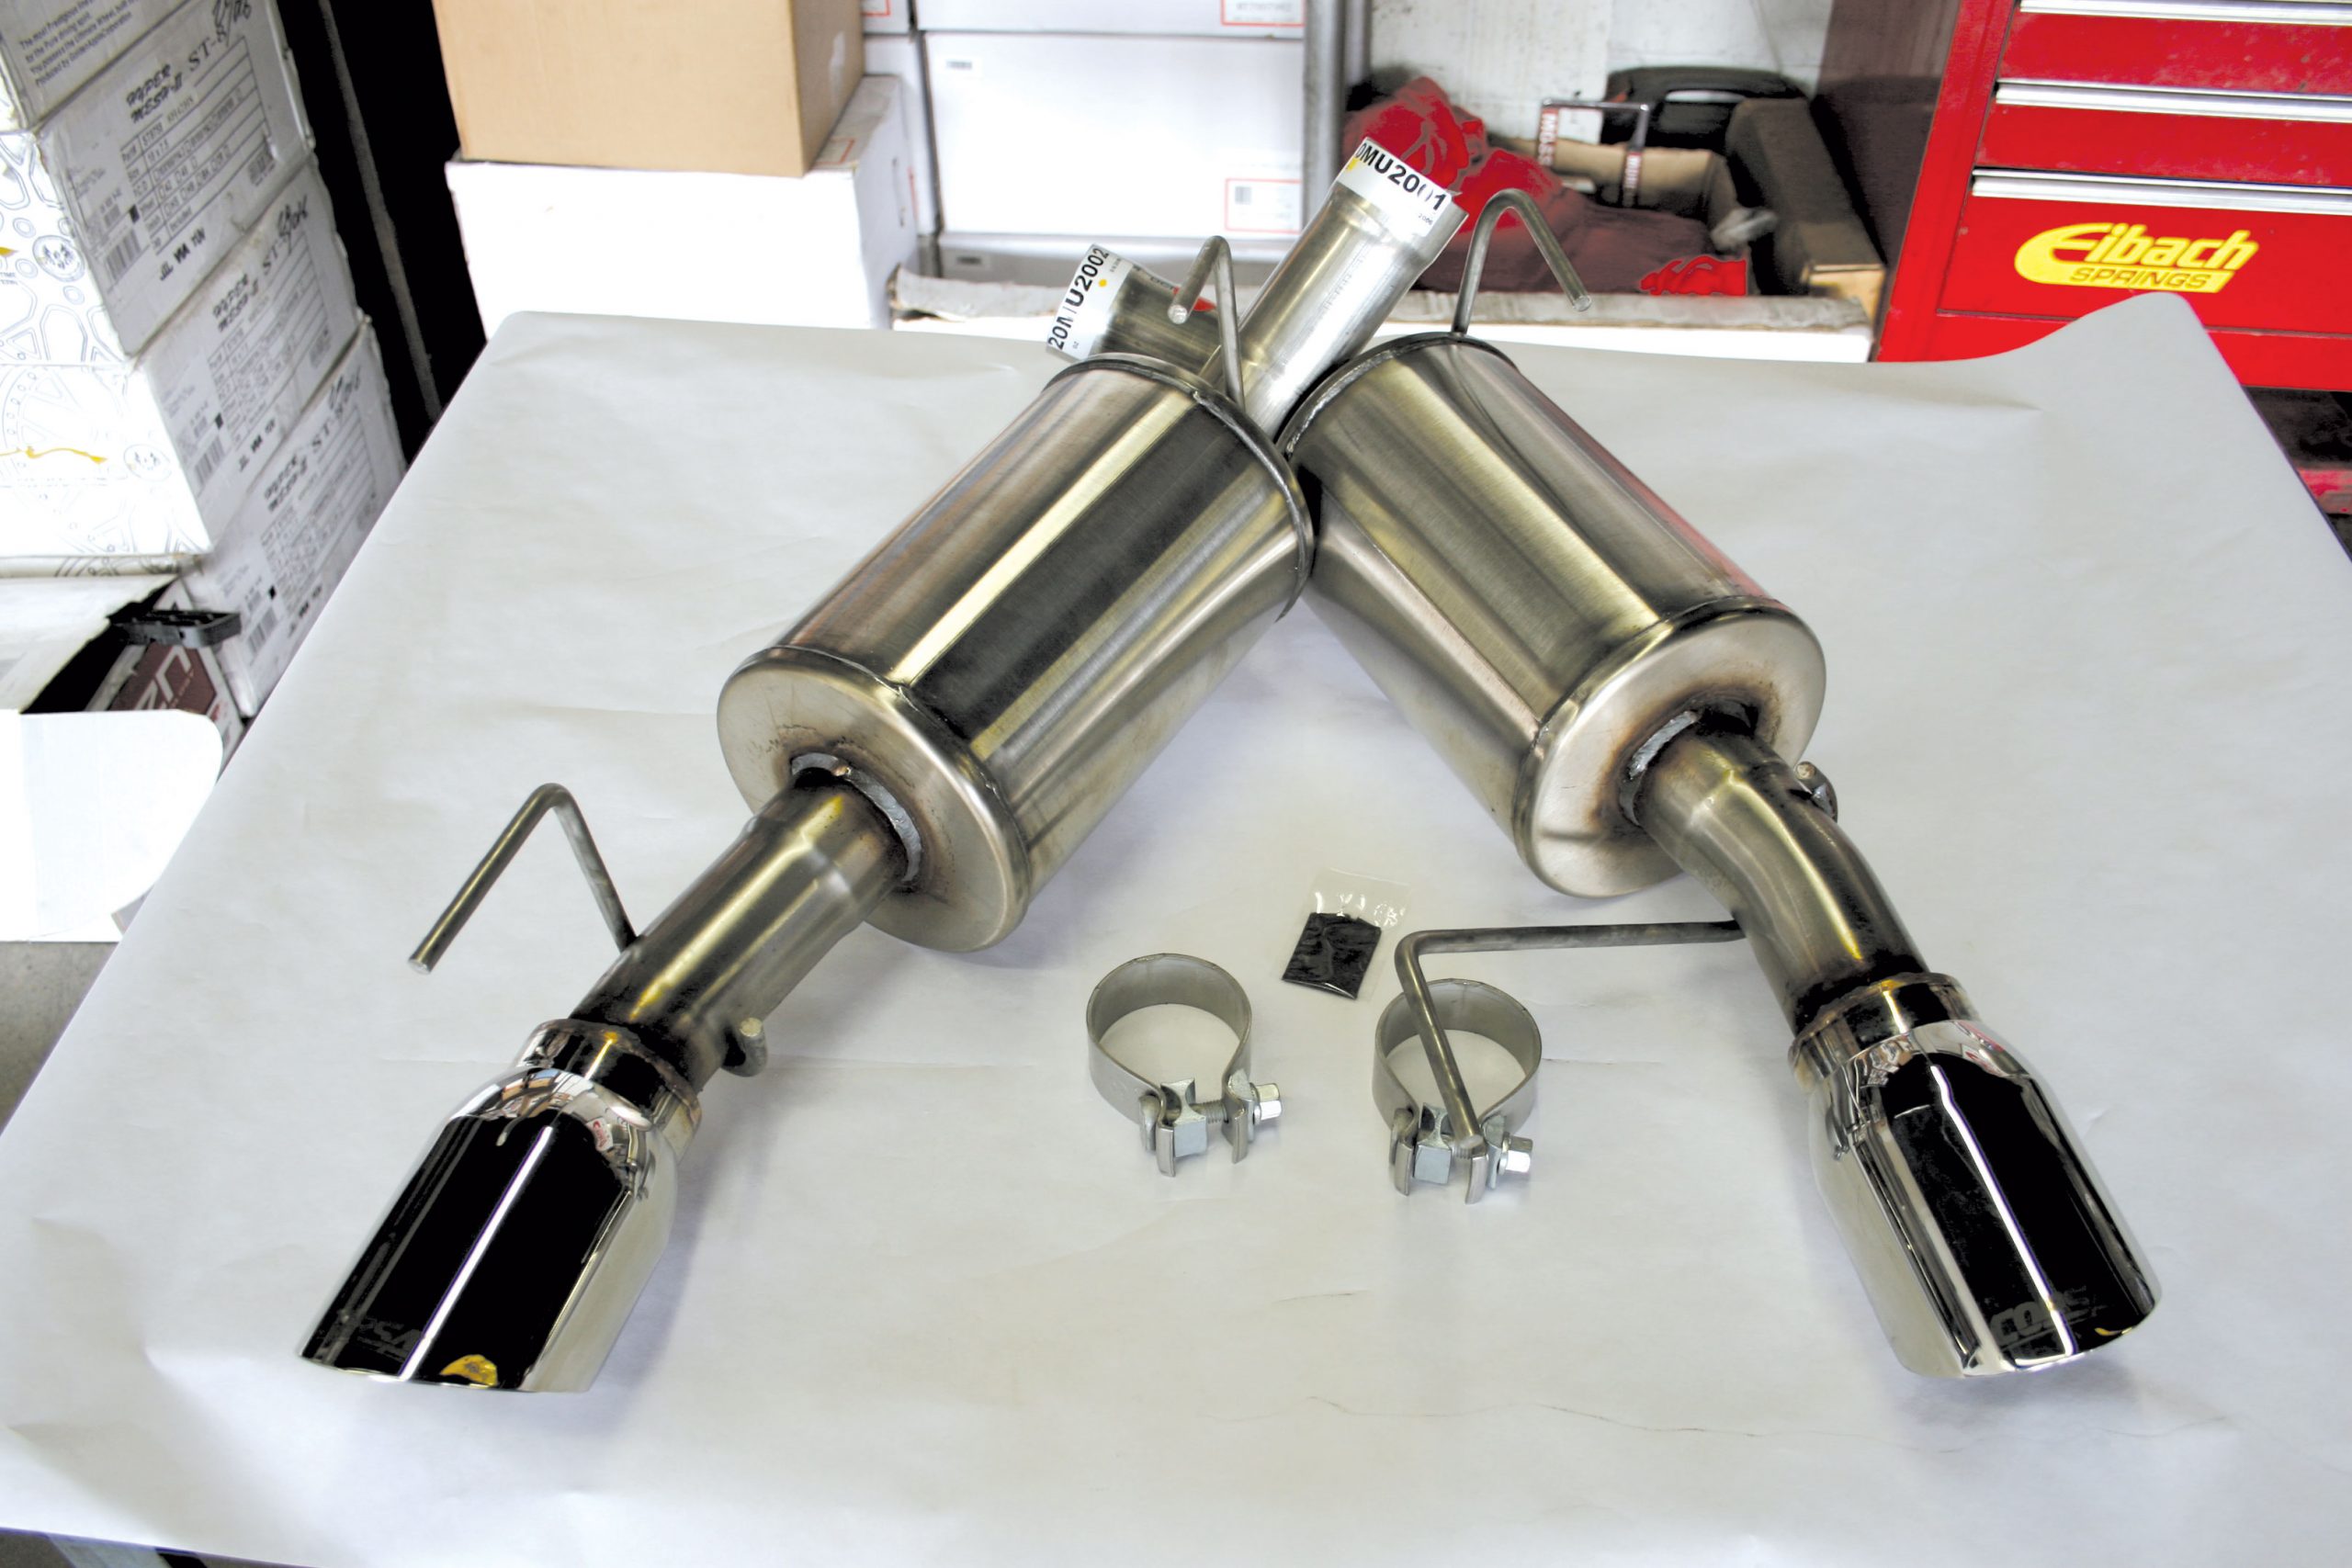
Sound is something that every car guy considers at the top of his or her list of what is important to their ride. Take, for example, the stereotypical sport compact driver. He or she typically has a huge muffler or mufflers and corresponding exhaust tip(s) that make those cars sound as if they are going 100 mph, even when cruising at slow speeds. We Ford guys know that good sound on a real performance car is also important, but we also know that sound must be backed up with corresponding performance.
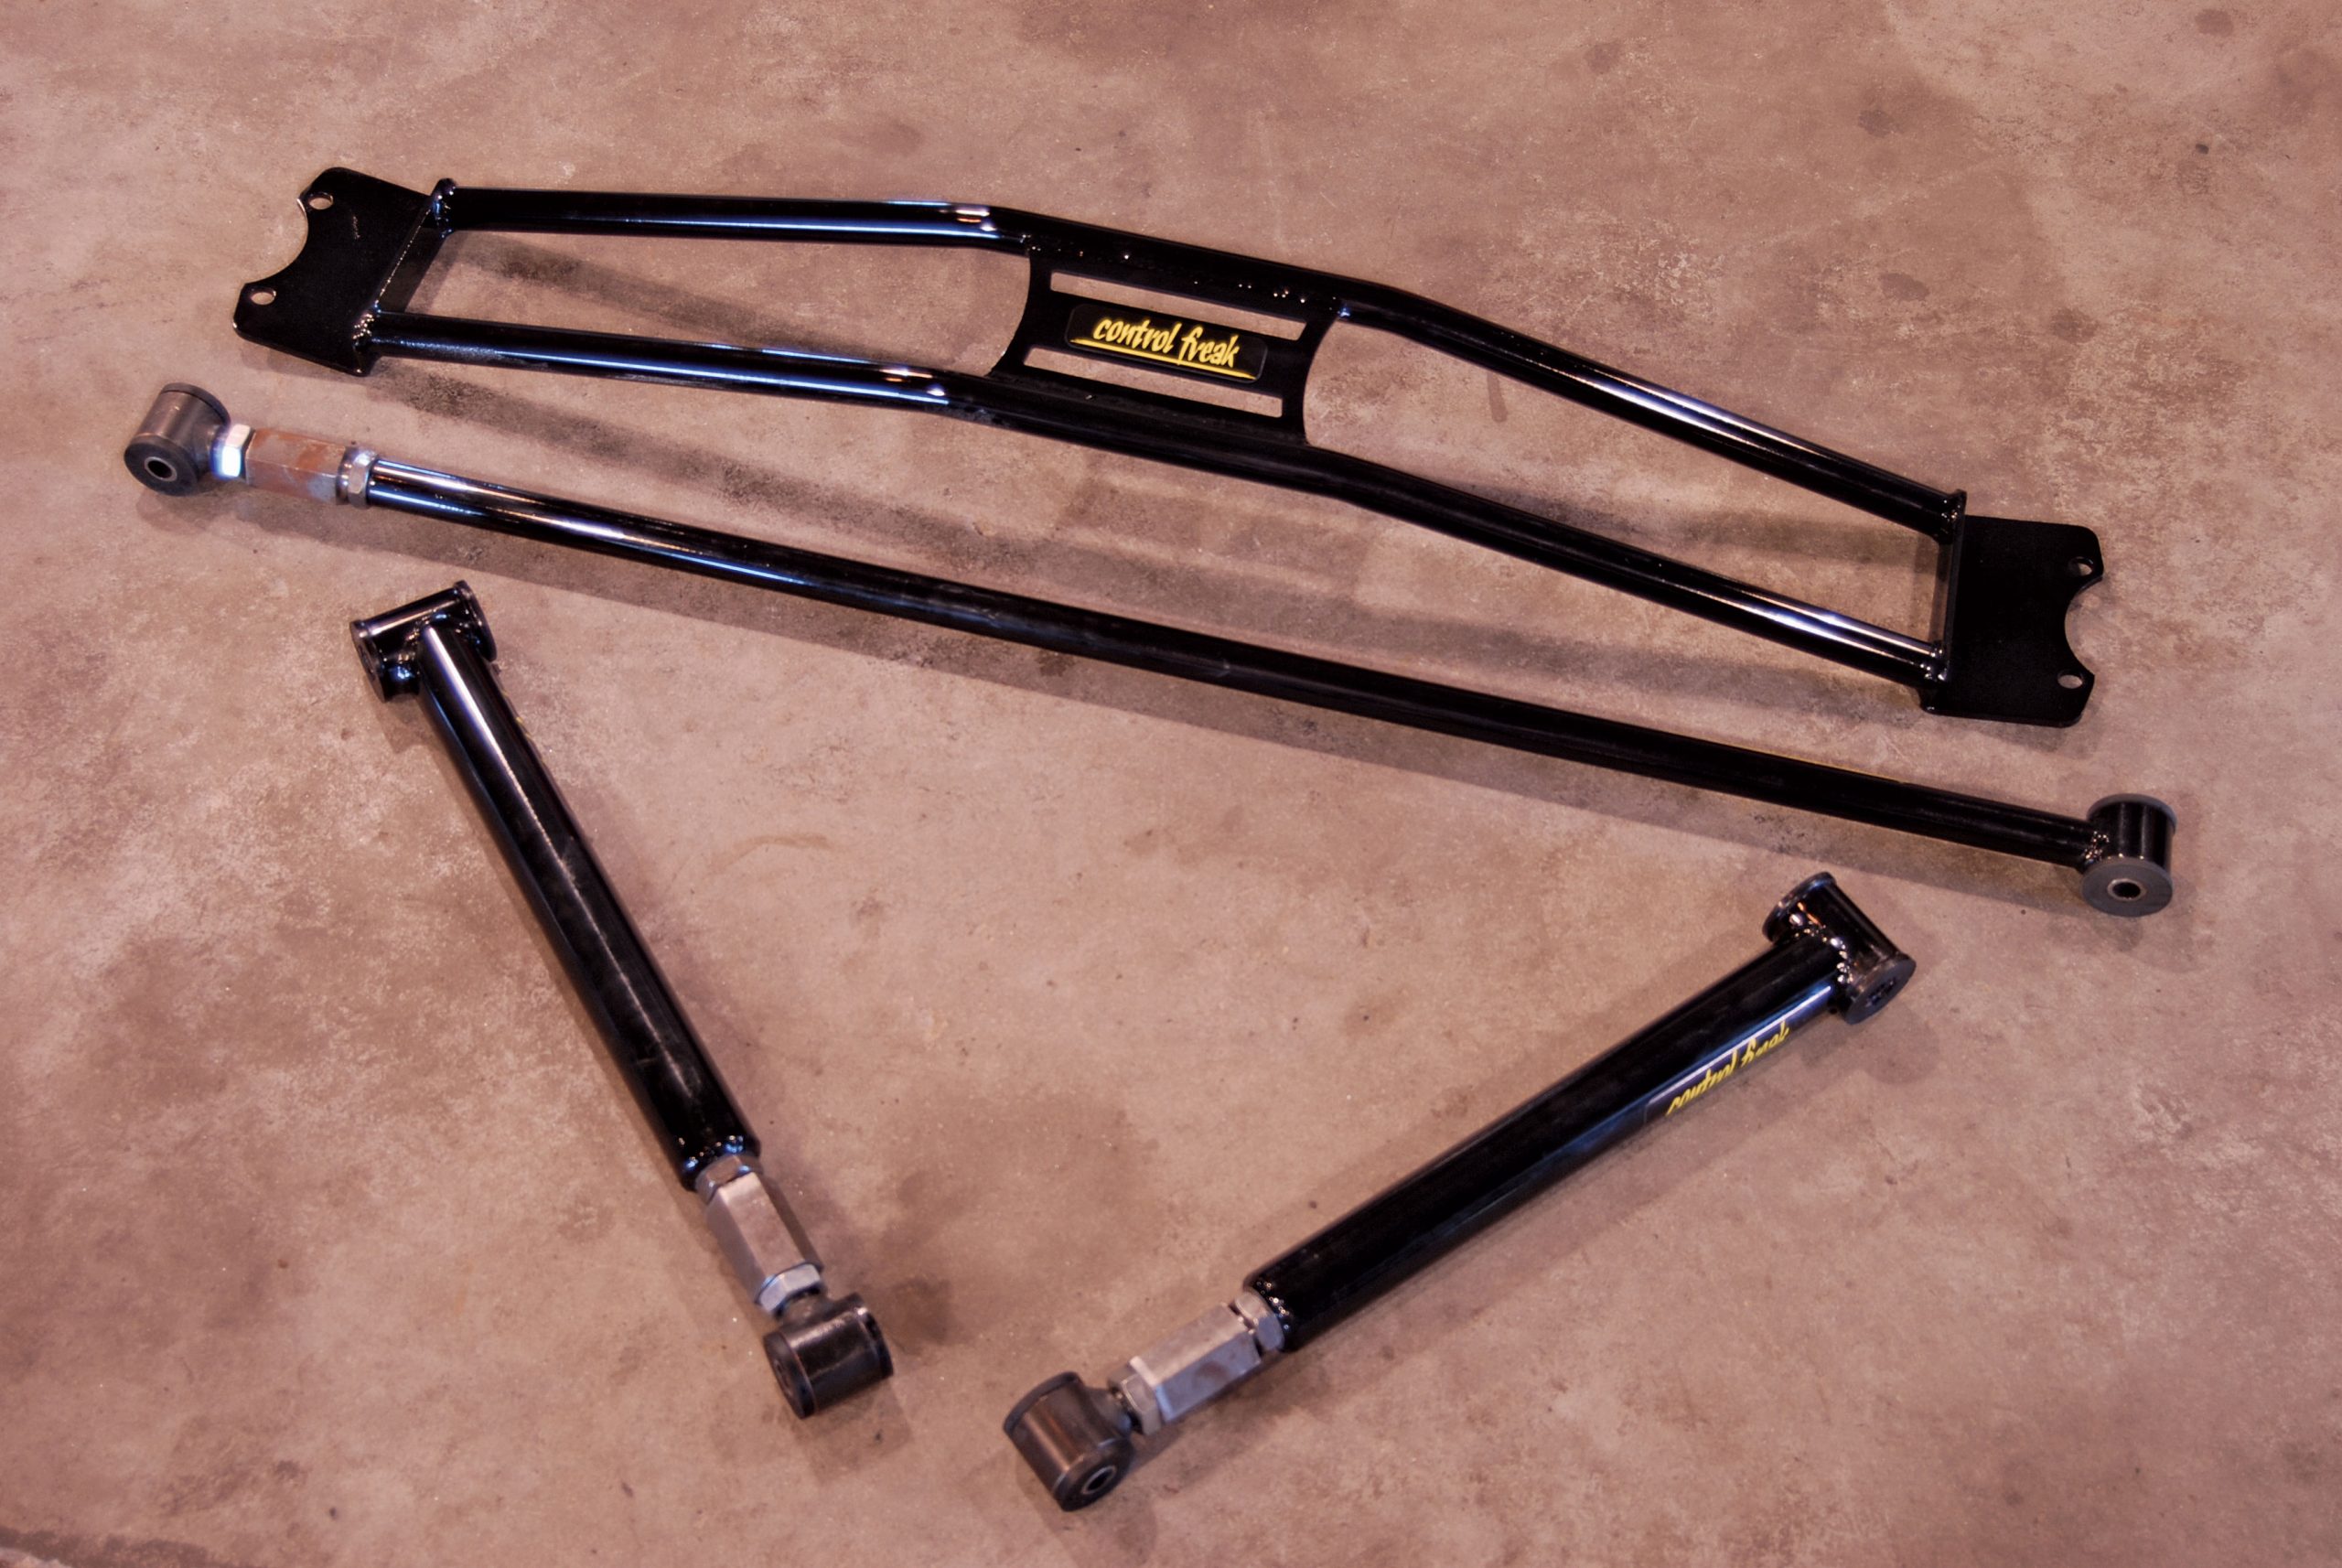
Improving your new Mustang doesn’t have to be an arduous affair. You’re supposed to enjoy working on your car, RATHER than dreading getting off work because you “have” to wrench on the Ford. With that attitude in mind, we recently spoke with Al Kamhi, of Control Freak suspensions, to get his advice on what enthusiasts could do to further the concept of upgrading a Mustang in just an hour or two. But there’s a catch: the upgrade had to make a real difference in the car’s performance.
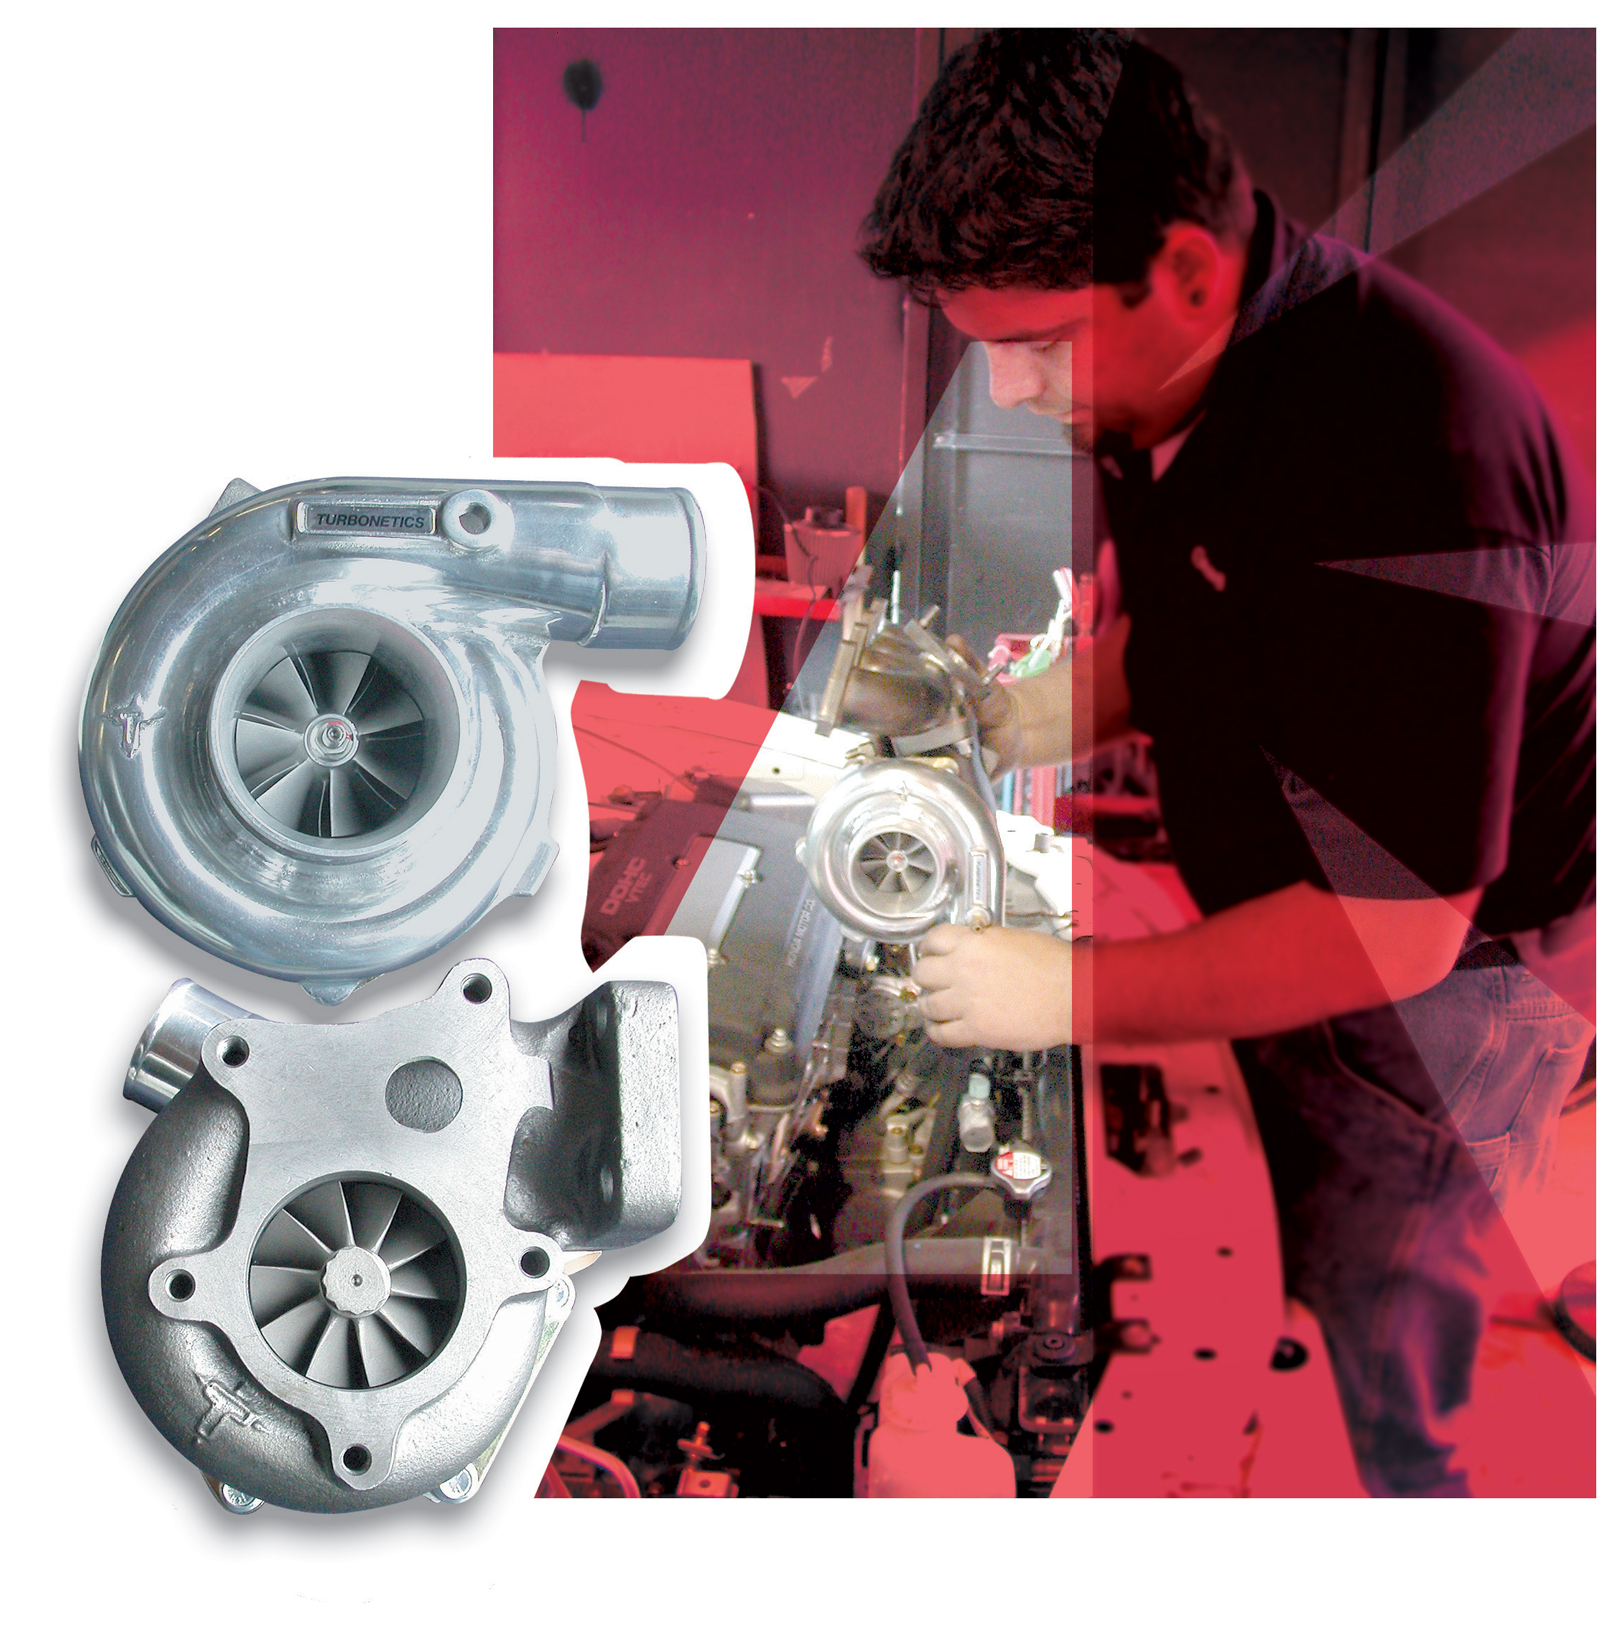
While it is true that a turbo system does not have the instant response of a supercharger, the new Turbonetics T3/T4 Hybrid turbochargers are closing that time gap. Turbonetics has formed a complete lineup of products that take a T3 turbine section (in standard, Stage 2 or Stage 3 trim), that is then coupled with a T4 compressor section (T04B trim or T04E trim). The result is the T3/T4 Hybrid, which combines the low inertia and fast boost response of the lightweight T3 turbine wheel with the high airflow characteristics of the T4 compressor. These characteristics combine to make the T3/T4 Hybrid the turbo of choice for high-performance import applications.
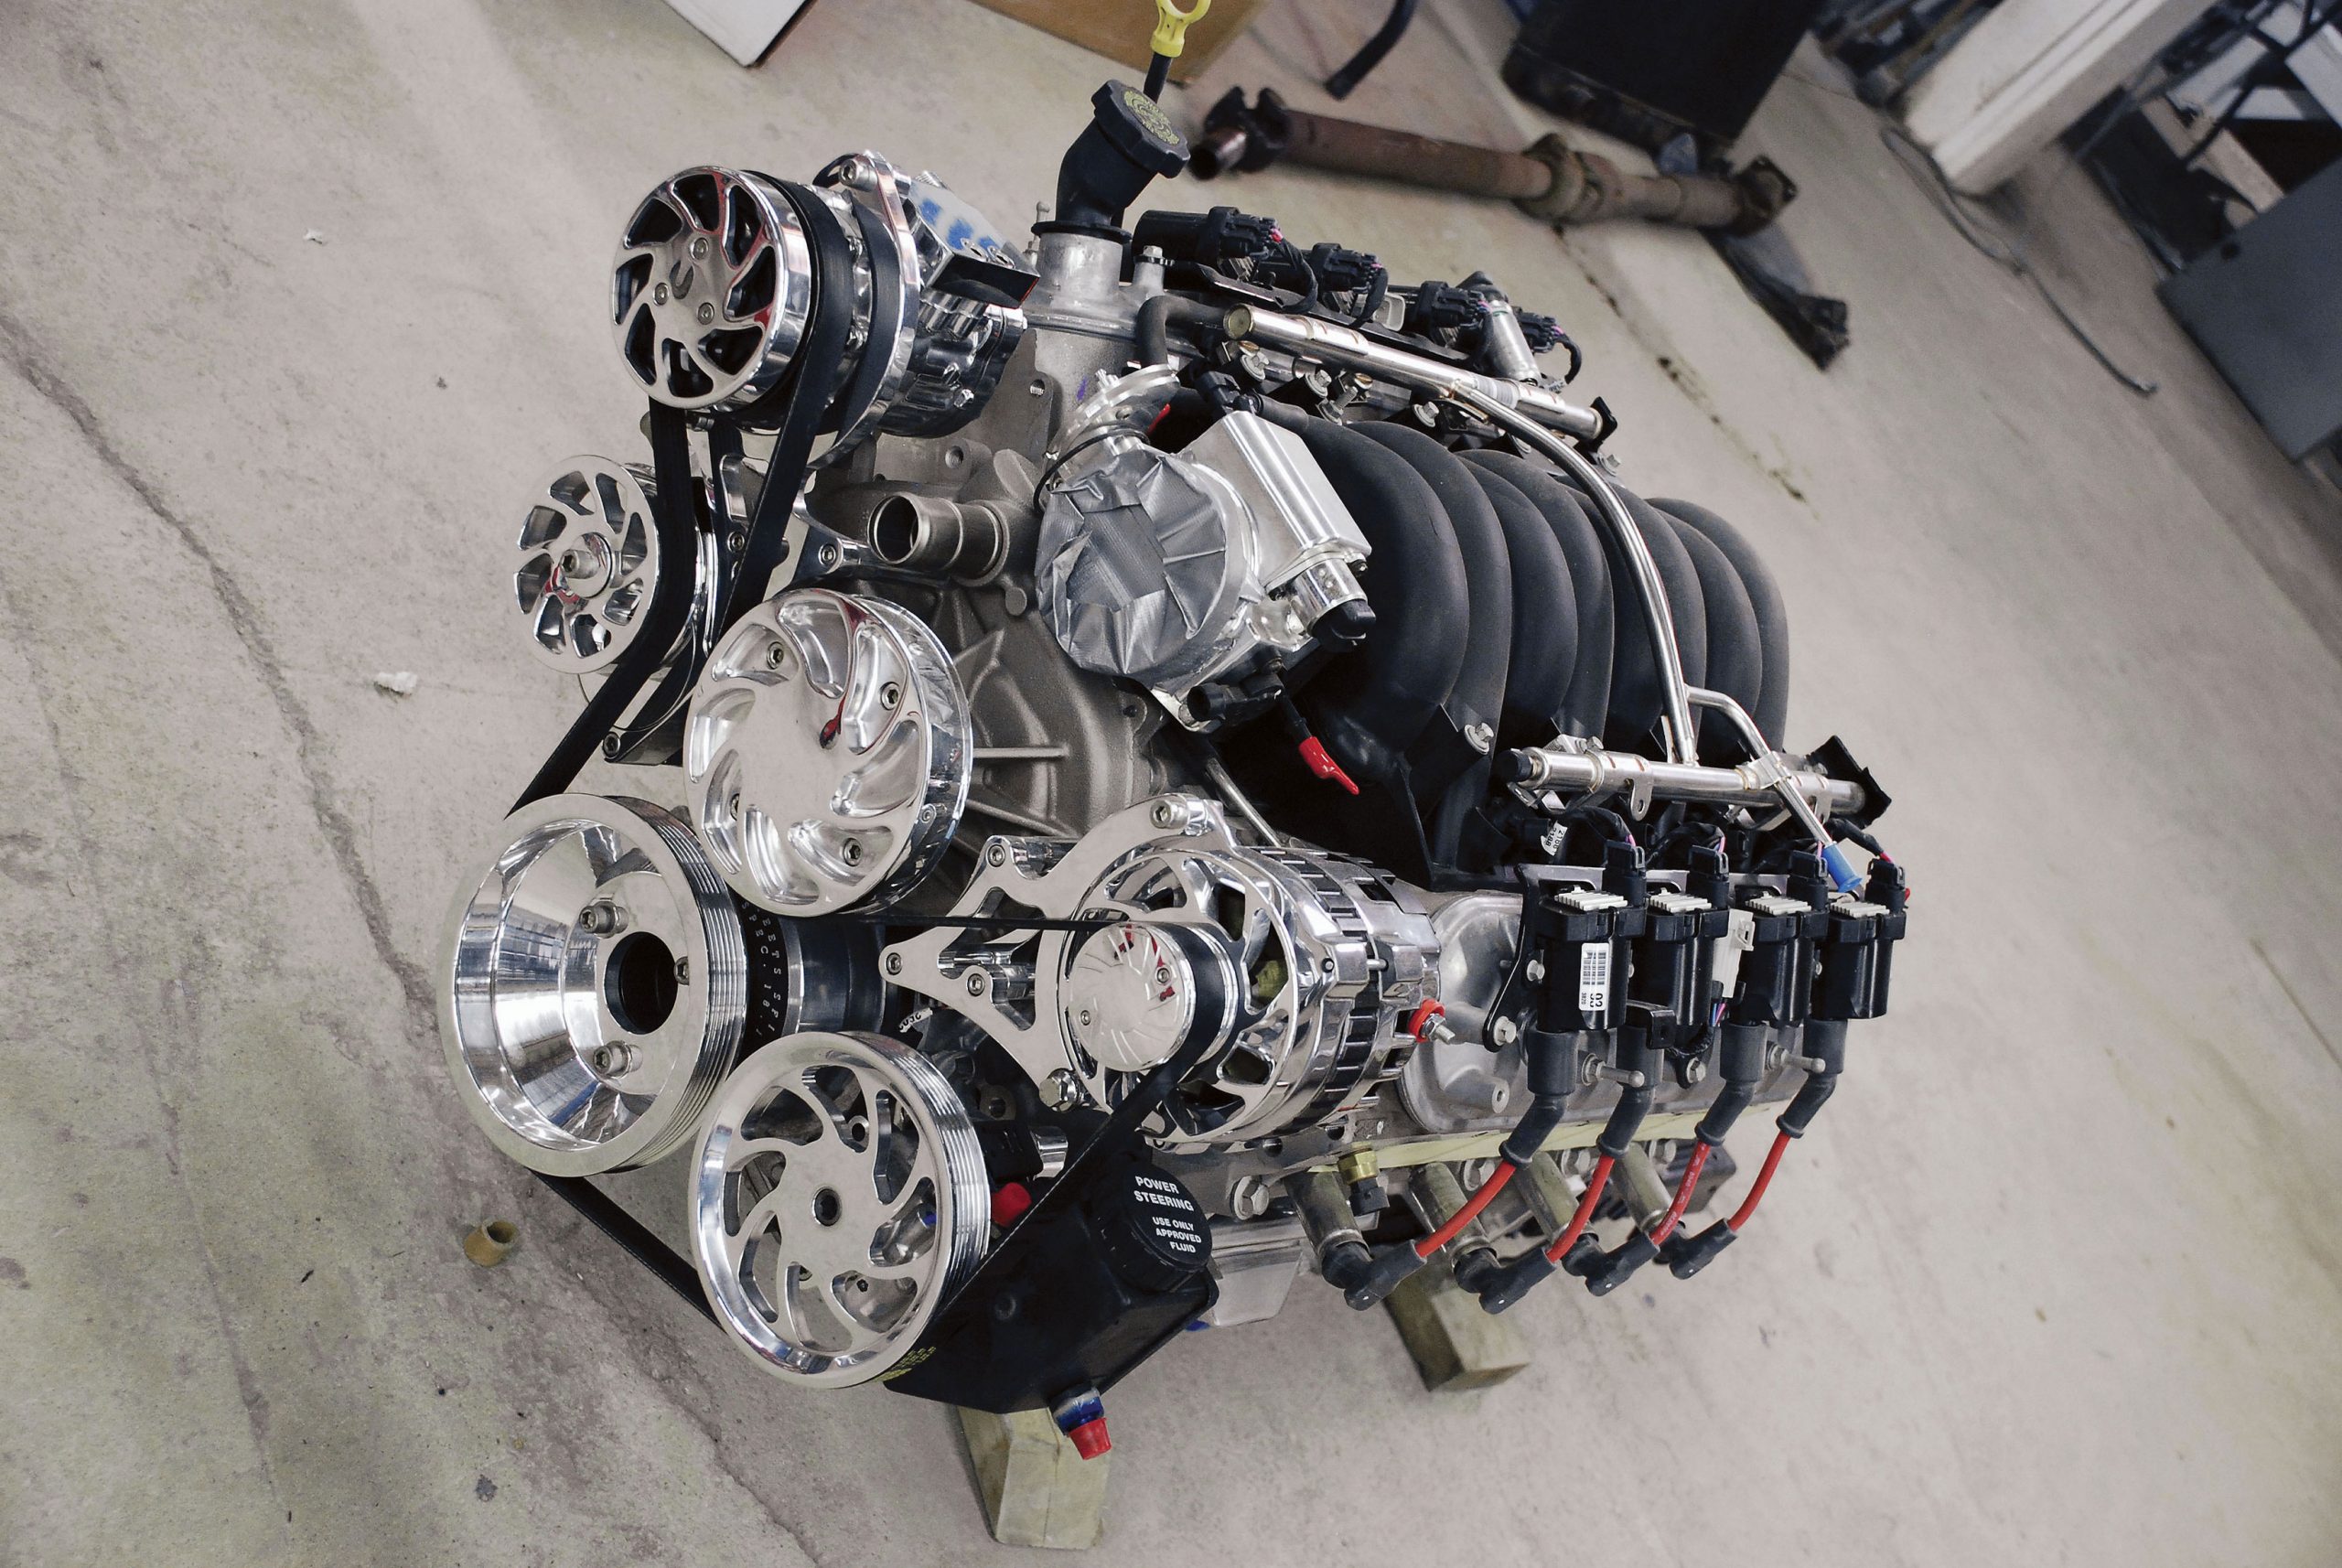
When Chevrolet introduced the LS engine, many clever and effective innovations were incorporated to simplify operations and reduce engine weight and overall dimensions. An integral part of these new technologies was a compact serpentine belt system designed from the start to lower frictional losses, which in turn improved belt strength and longevity.
The relentless progress of technology is a difficult topic for those of us captivated by the cars and lifestyles of a bygone era. As technology advances at an exponential rate, we now find ourselves clamoring to keep up with the latest and greatest products that simultaneously render many of our old favorites obsolete. Just about the time you figure out how to use your new digital camera and multifunction cell phone, you find out that someone decided it was necessary to combine the two. The struggle to balance the conveniences of modern technology with our nostalgia is especially difficult for many street rodders.

Until now, rodders have been severely limited by the battery-charging alternators they’ve had to select from. Rodders either utilized an OE or an OE-style alternator for their custom engine applications, or they selected one of the aftermarket units that were polished or chromed. Now, with the introduction of MSD’s Advanced Power System (APS) alternator, that’s all changed for the better.
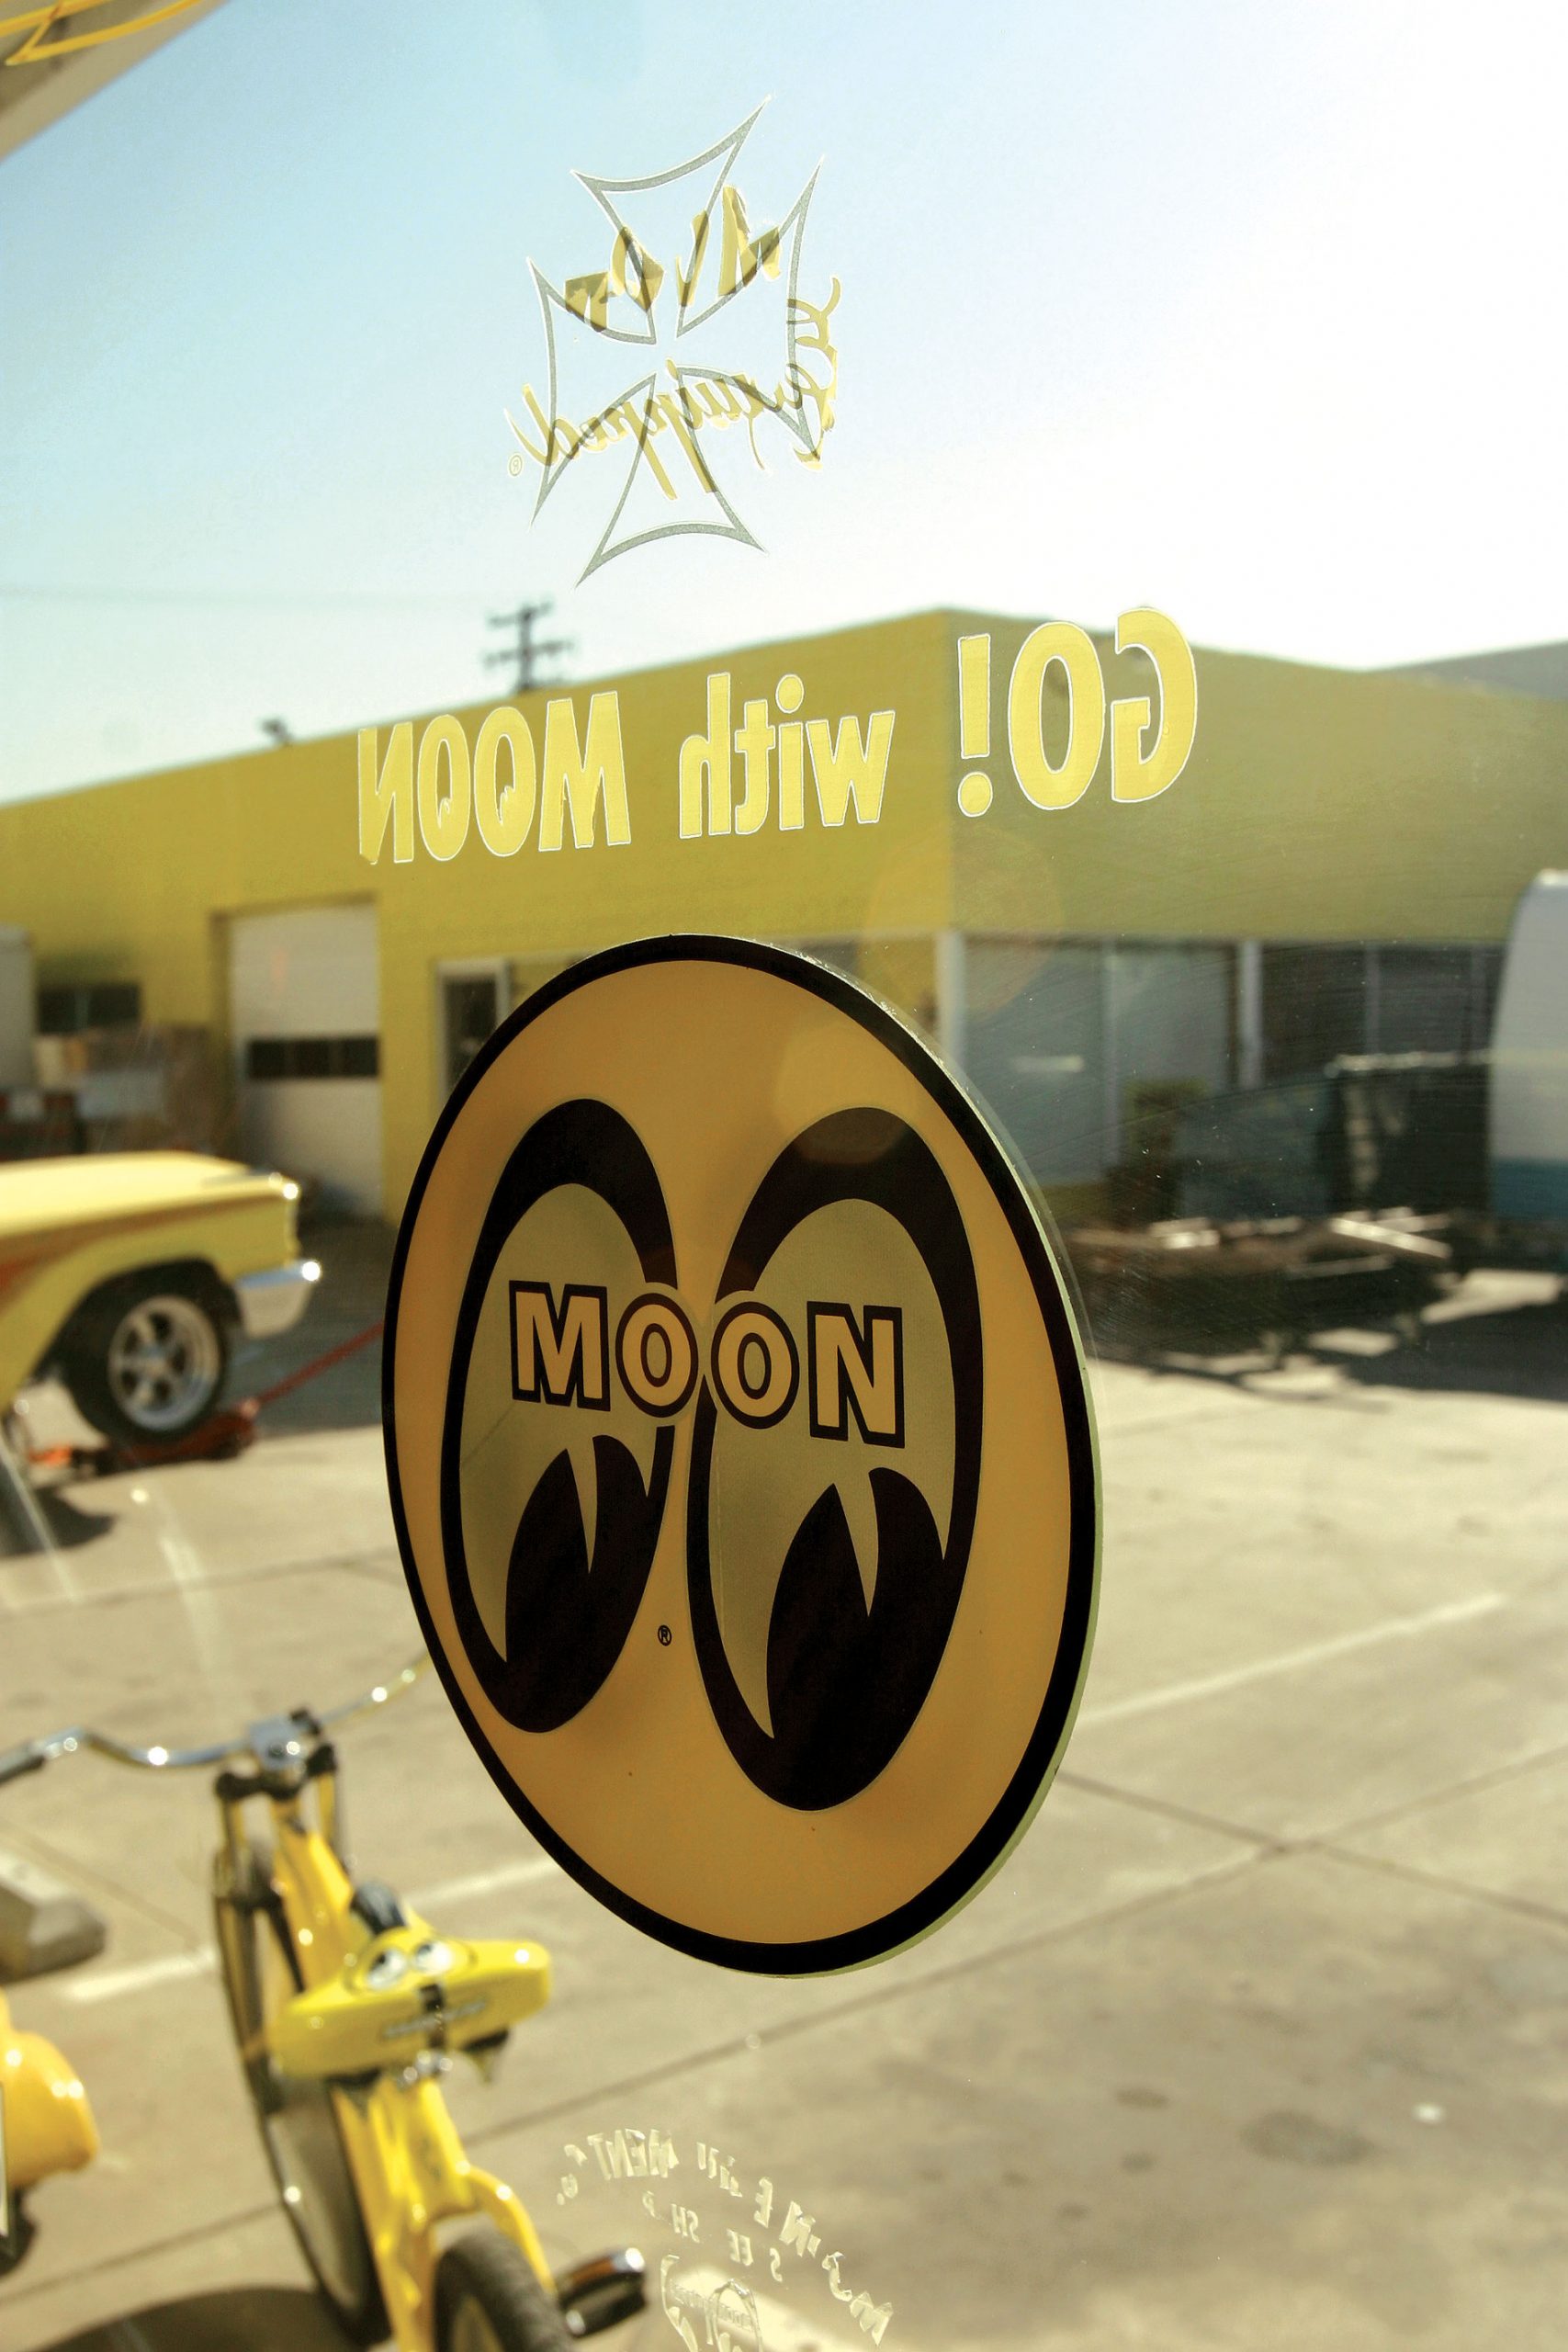
The showroom is what every auto parts store dreams of being: diced in checkerboard black and yellow tile with a heap of pegboard. Up front, the sales counter is the hub of business, fueled by eager customers that keep the phone ringing off the hook. Bob, Sam and Robin deal one-on-one with customers, keeping all 50 states Moon-equipped.
The growing popularity of nostalgia and rat rods, along with the aging of street rodders, has meant the rebirth of vintage engines. Rocket Oldsmobiles, Buick nailheads, Y-block Fords and Chrysler Hemis are being chosen over the “bellybutton” Chevrolet small-block. Even some small-block Chevrolet engines are getting old-time flavor by using generators–some of which have been internally modified as alternators–early blocks and heads, three-deuce setups and even adapting Oldsmobile valve covers to look like something they are not.
There was a time not all that long ago, between station wagons and SUVs, when big conversion vans were the family transportation of choice. In the beginning, the Big Three considered vans to be commercial vehicles, fitted with rubber floor mats, vinyl seats and short (if any) side windows, not the decked-out, posh family transport they would become.
