


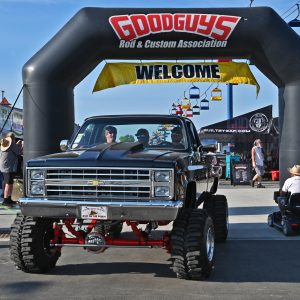
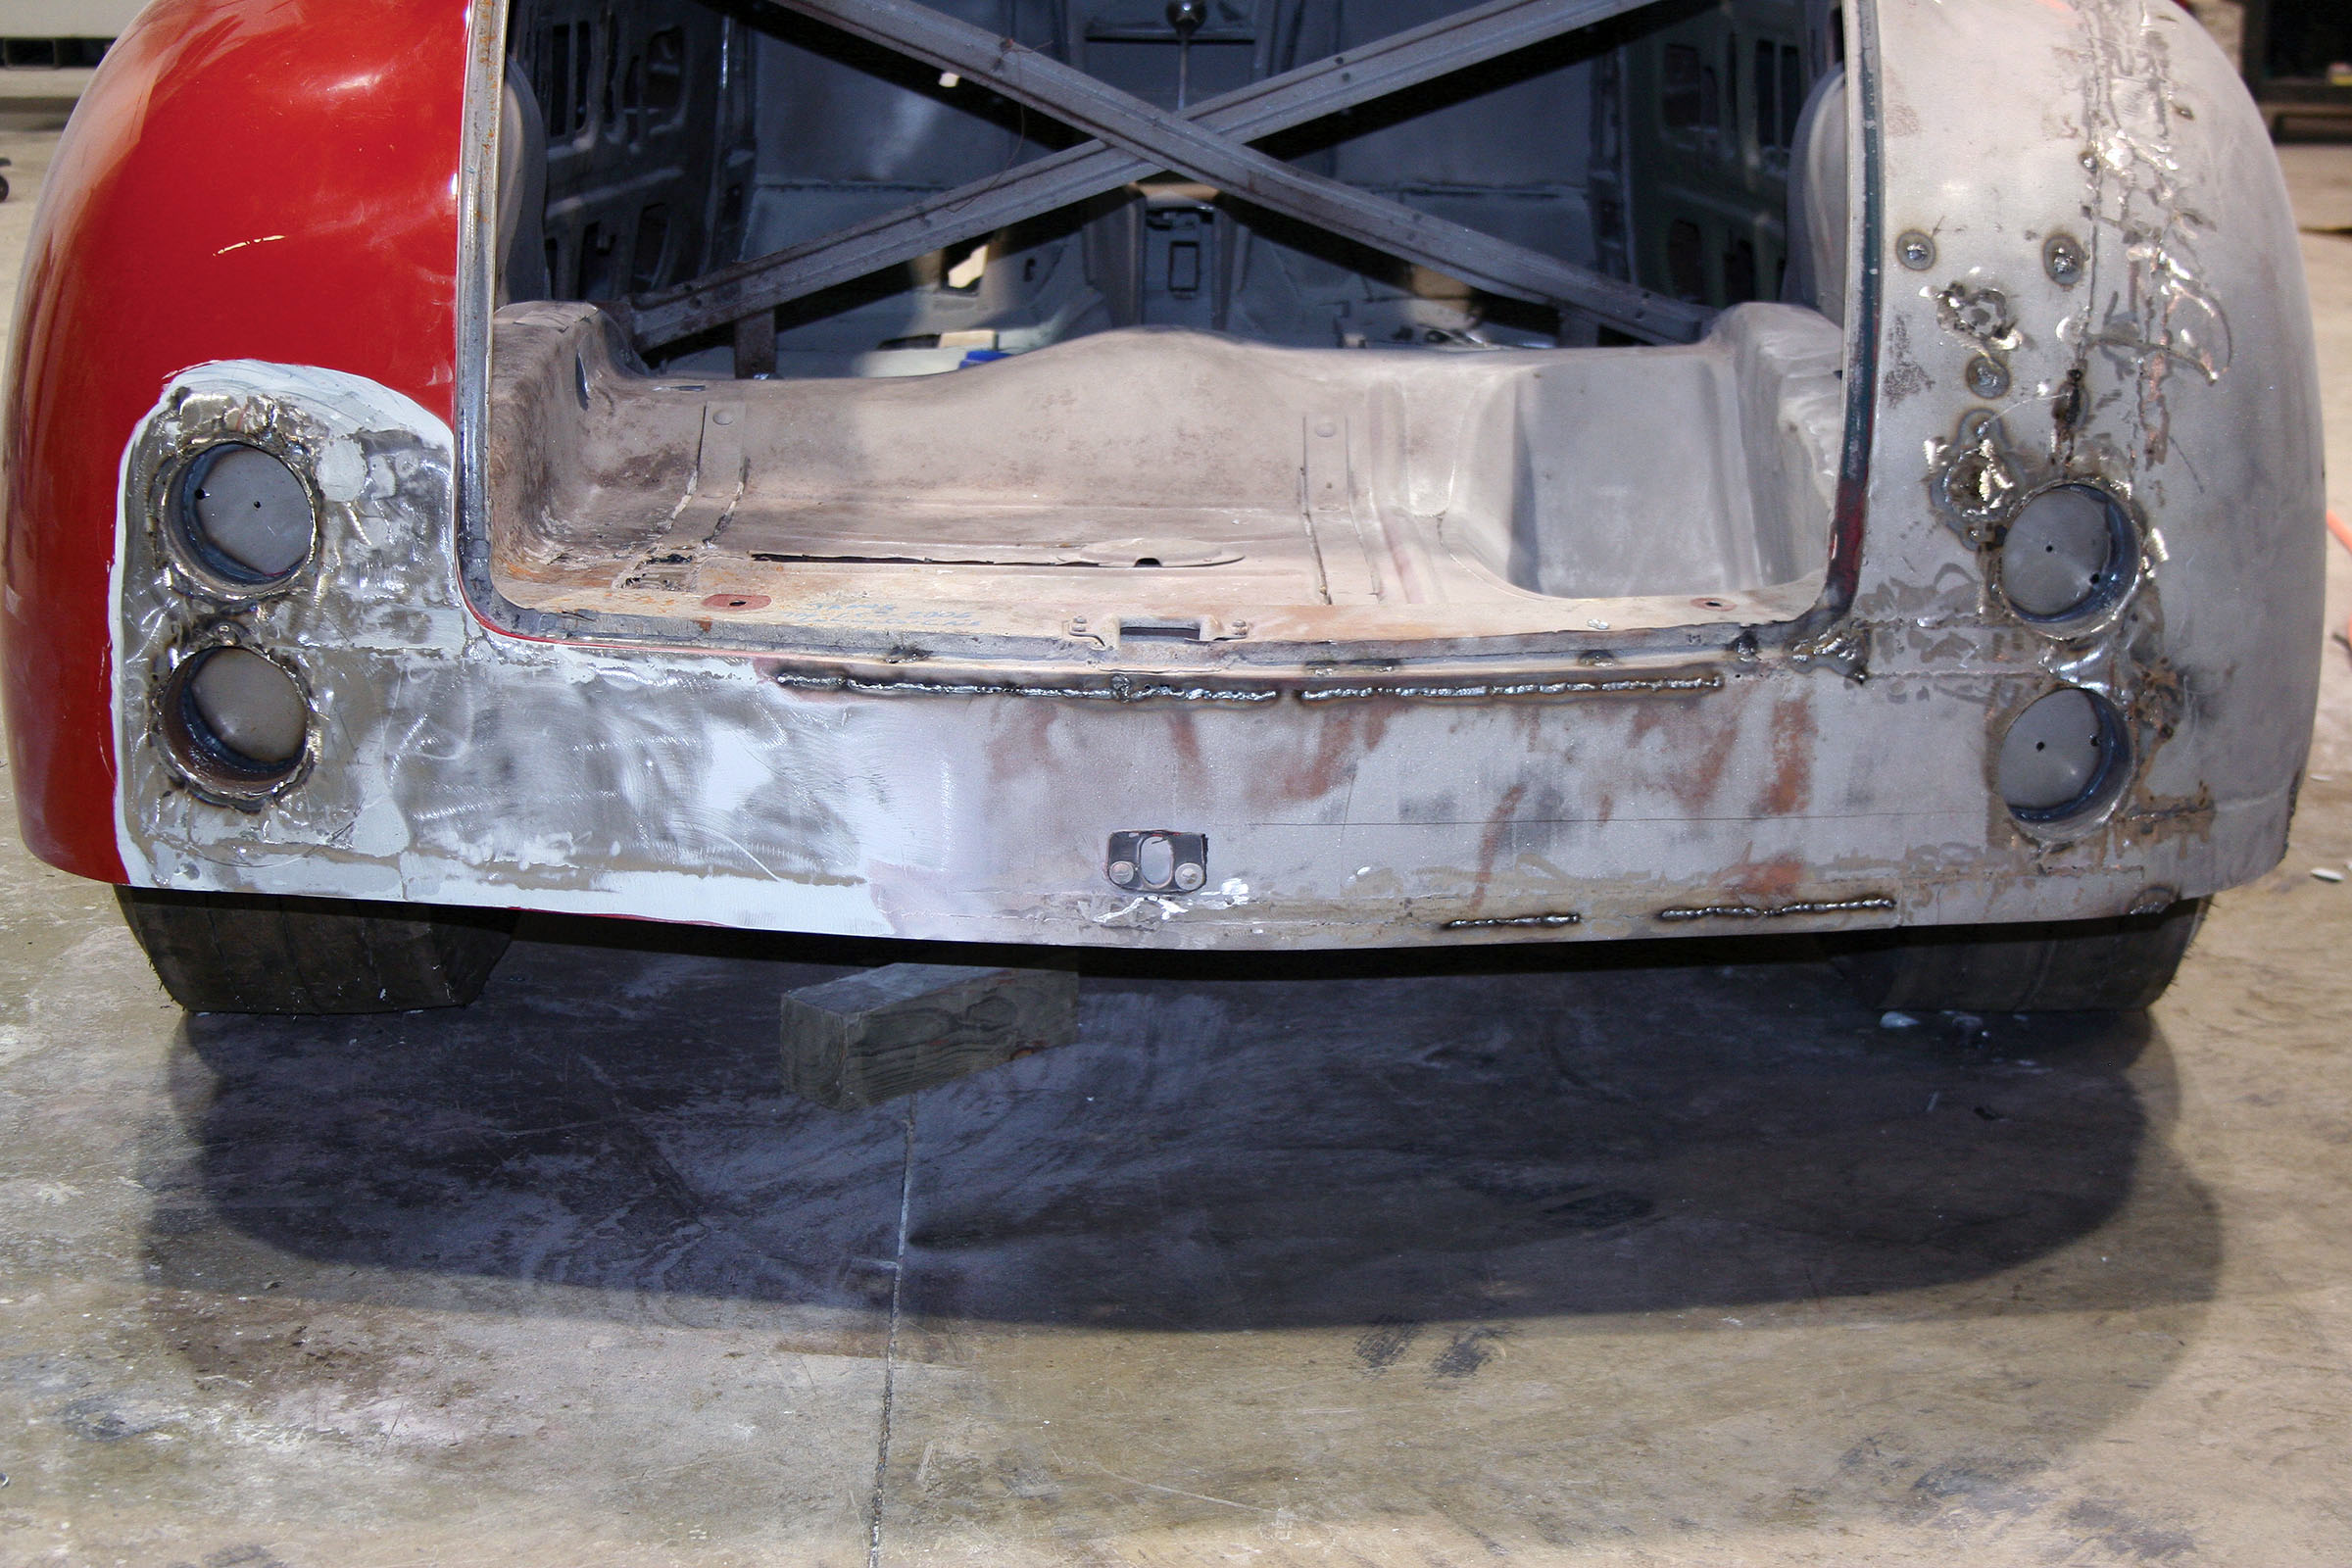
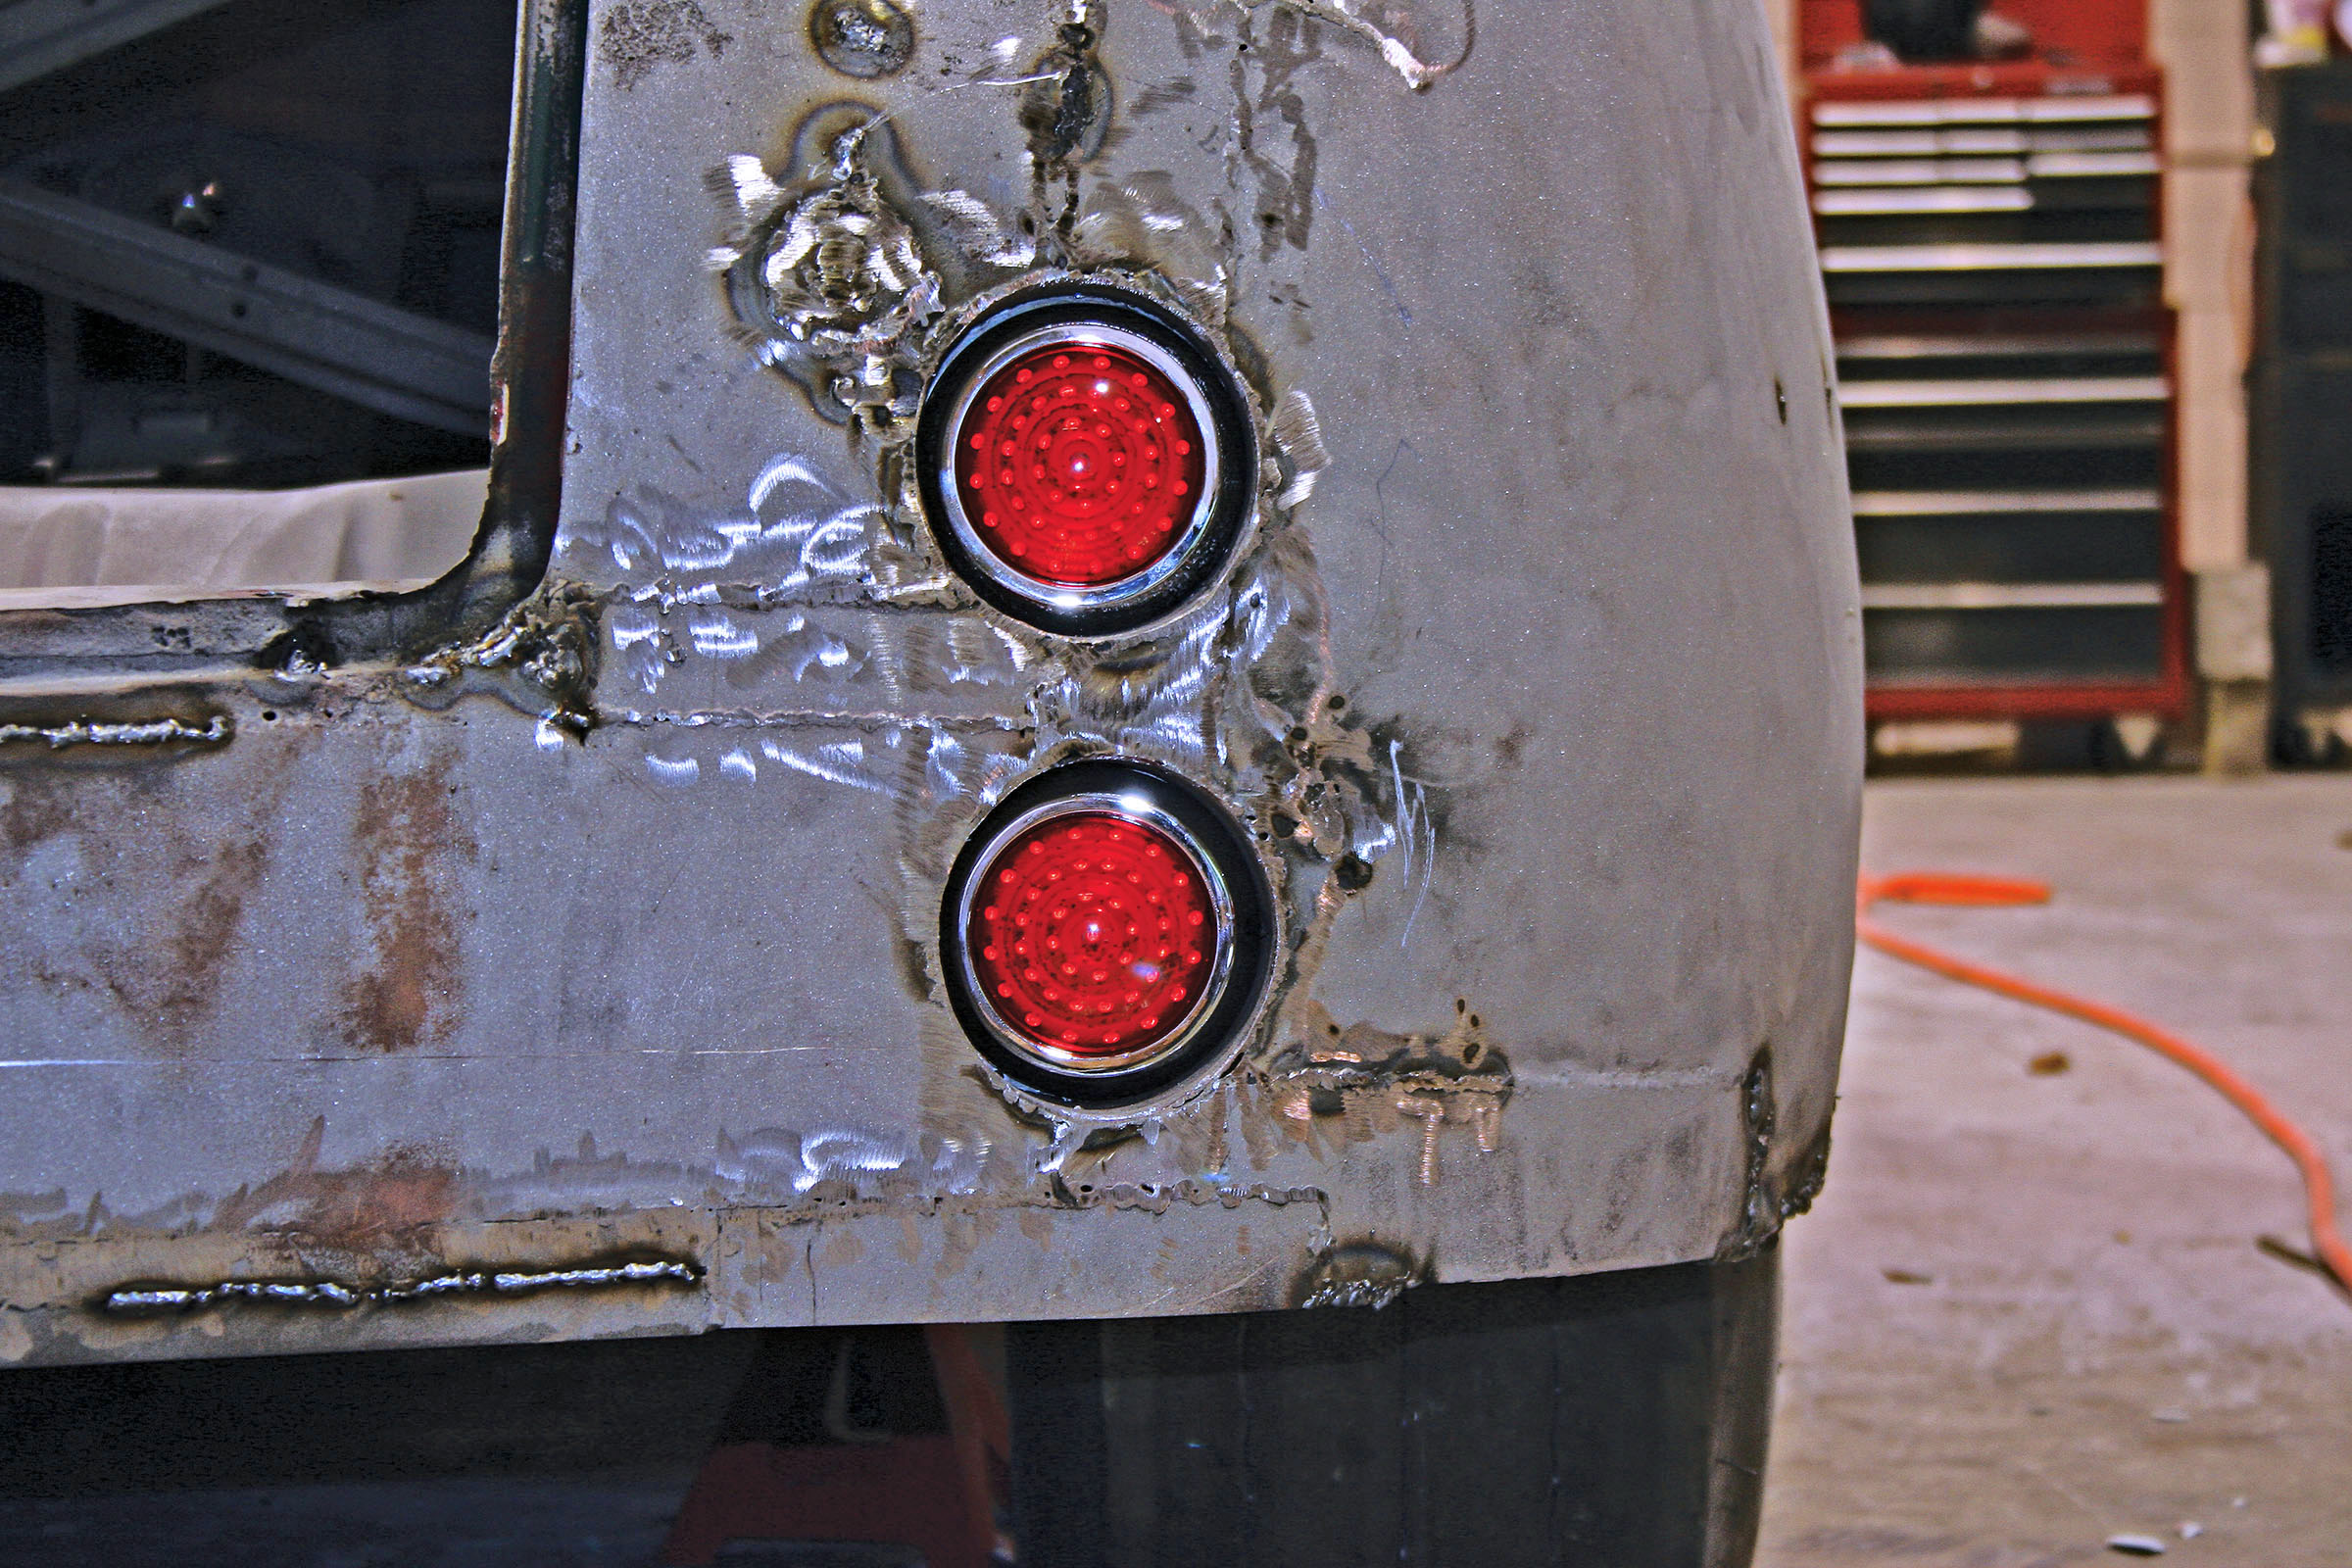
Working-Class Heroes: The Best Pickups at Goodguys 2025
Let’s be honest—there was a time when trucks were the stuff you parked behind the show field, used to haul parts, or maybe pulled your “real” hot rod to the event. What once might have been considered second-tier to muscle cars and traditional hot rods is now front and center, with classic pickups, slammed cruisers, high-horsepower haulers, and fully reimagined showstoppers filling the Ohio Expo Center grounds.
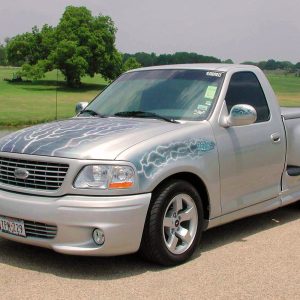
Literally Lightning
From showstopper murals to Nitrous Express-fueled speed, Darren Pellechia’s 2002 Ford SVT Lightning lives up to its name in every way. Don’t be fooled by the lowered stance and sleek custom bodywork – this truck packs a punch under the hood with a 75hp nitrous system and tuned Eaton-supercharged engine. Inside, Von Otto murals and premium sound complete the package, making this Lightning a true masterpiece on wheels.
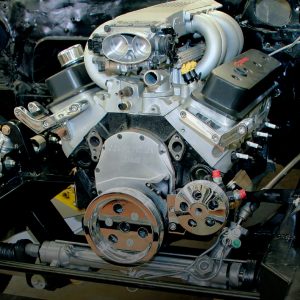
C5 CAMARO
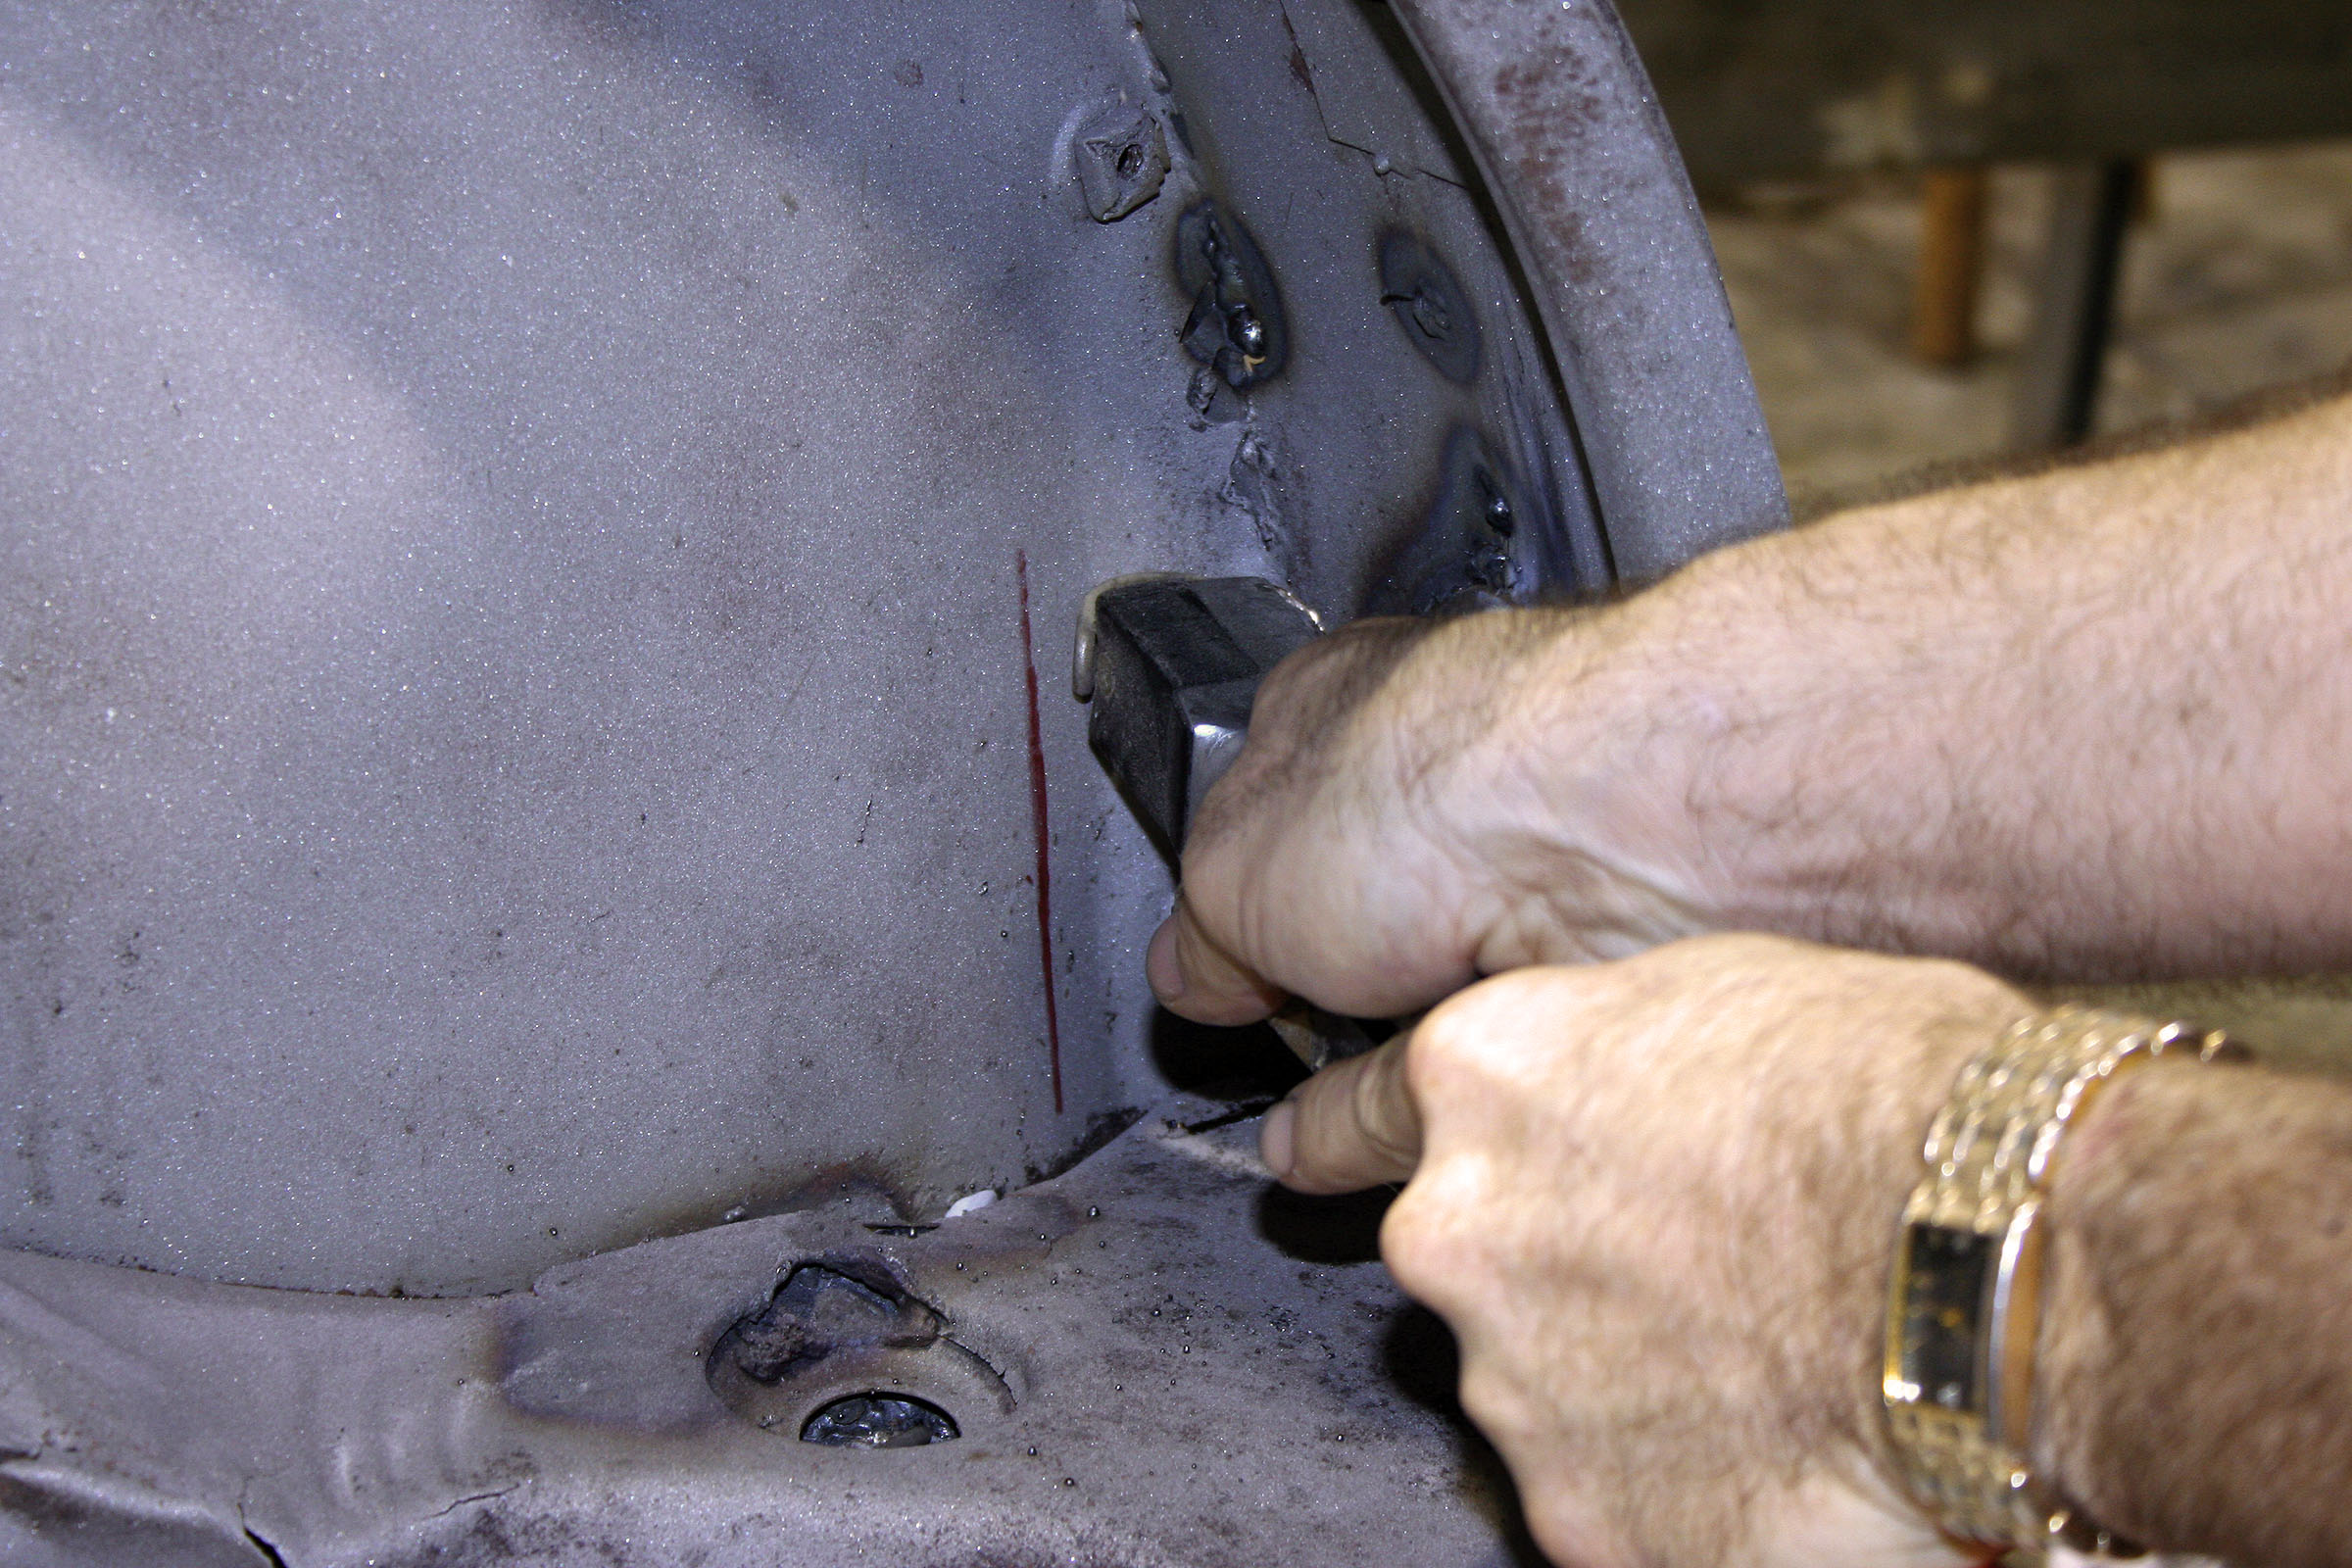
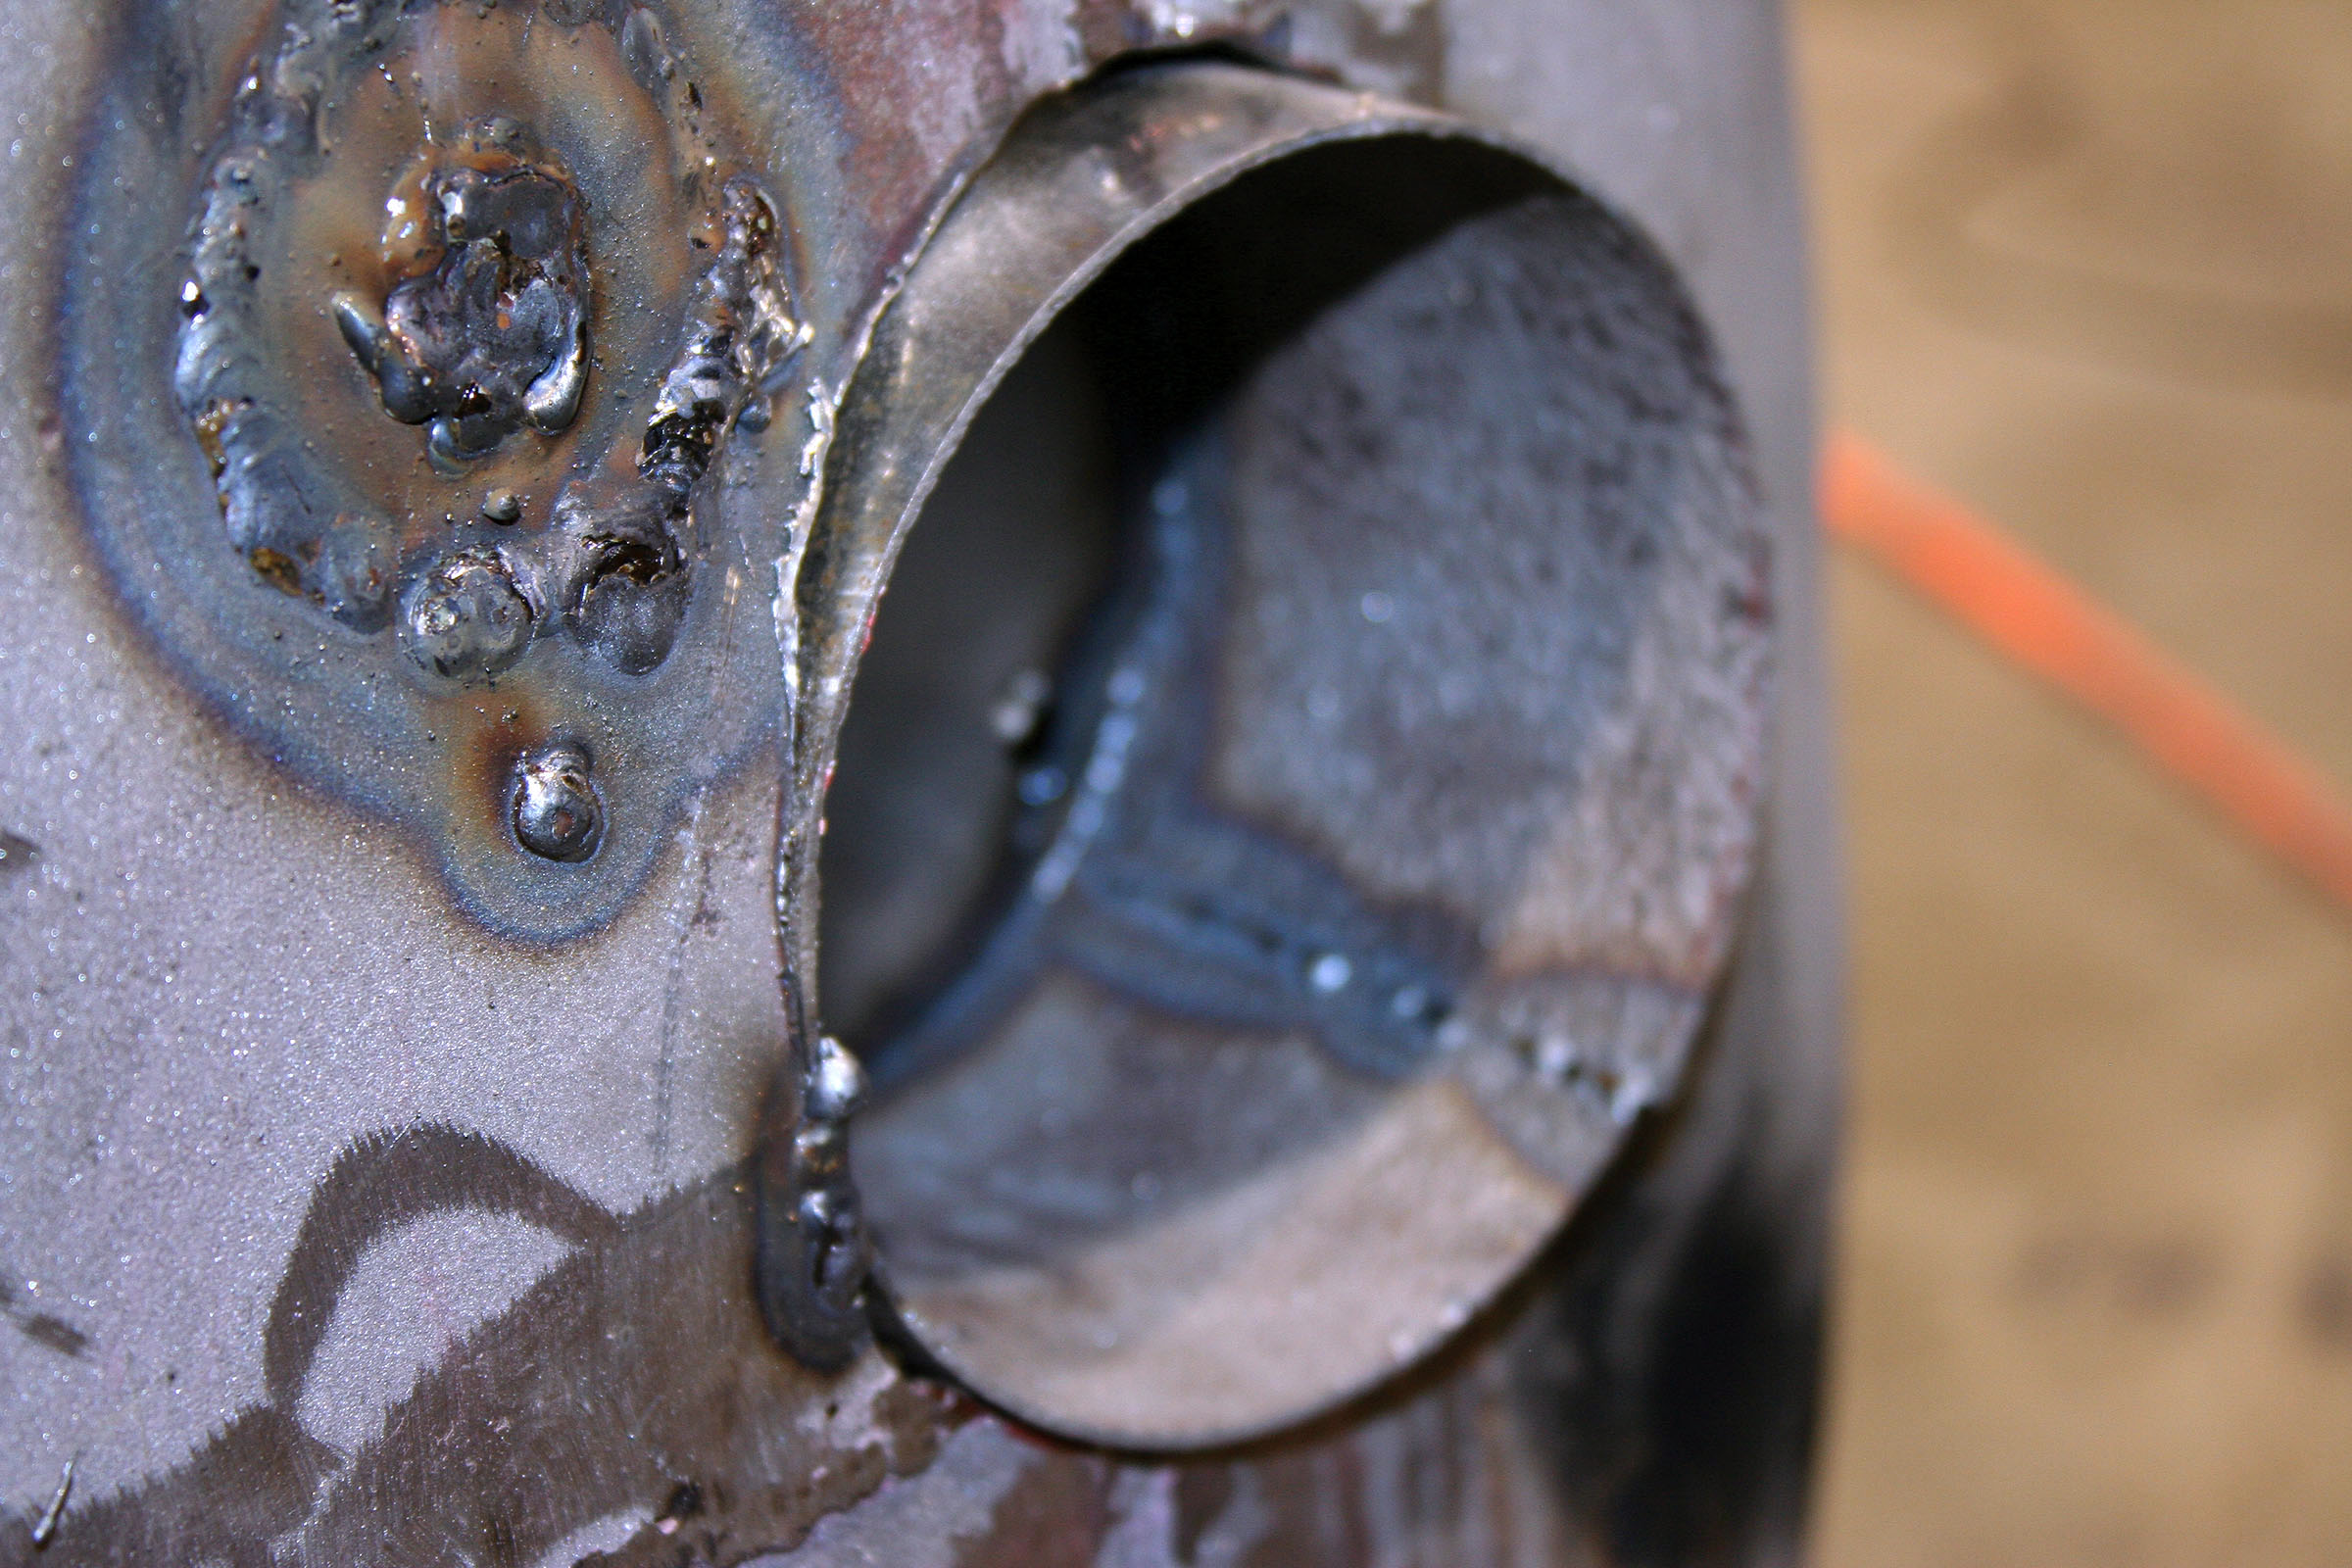
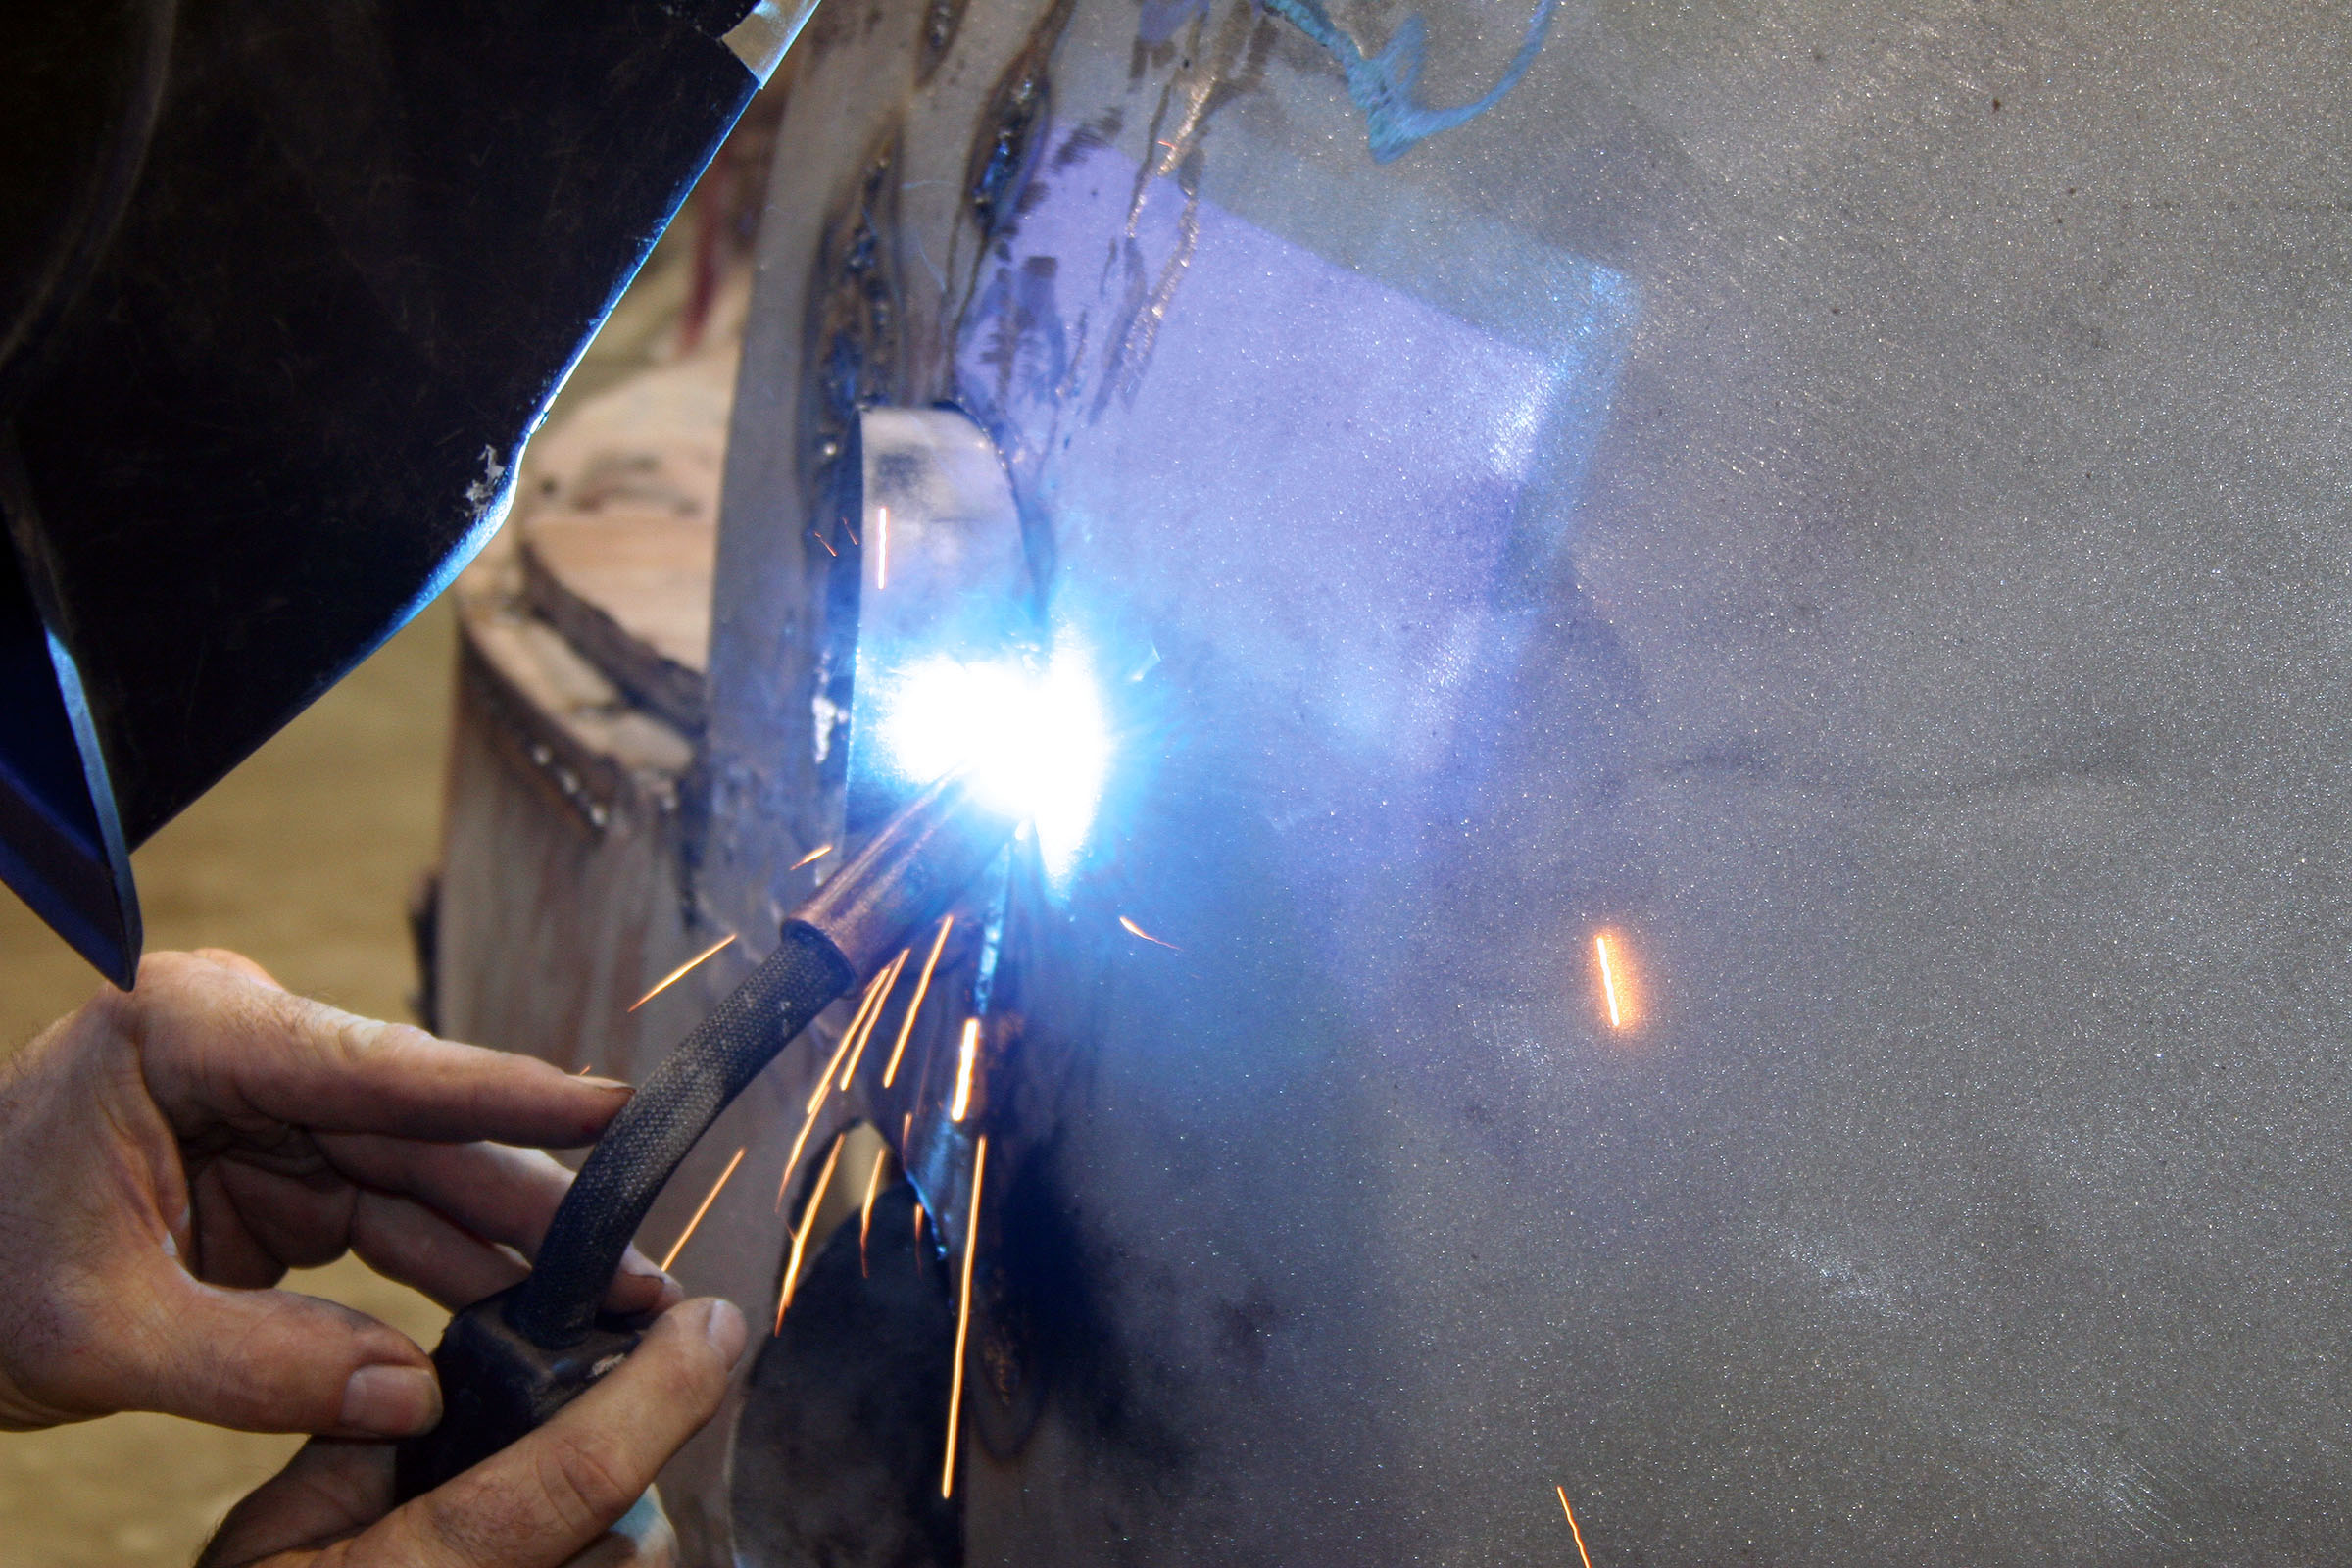
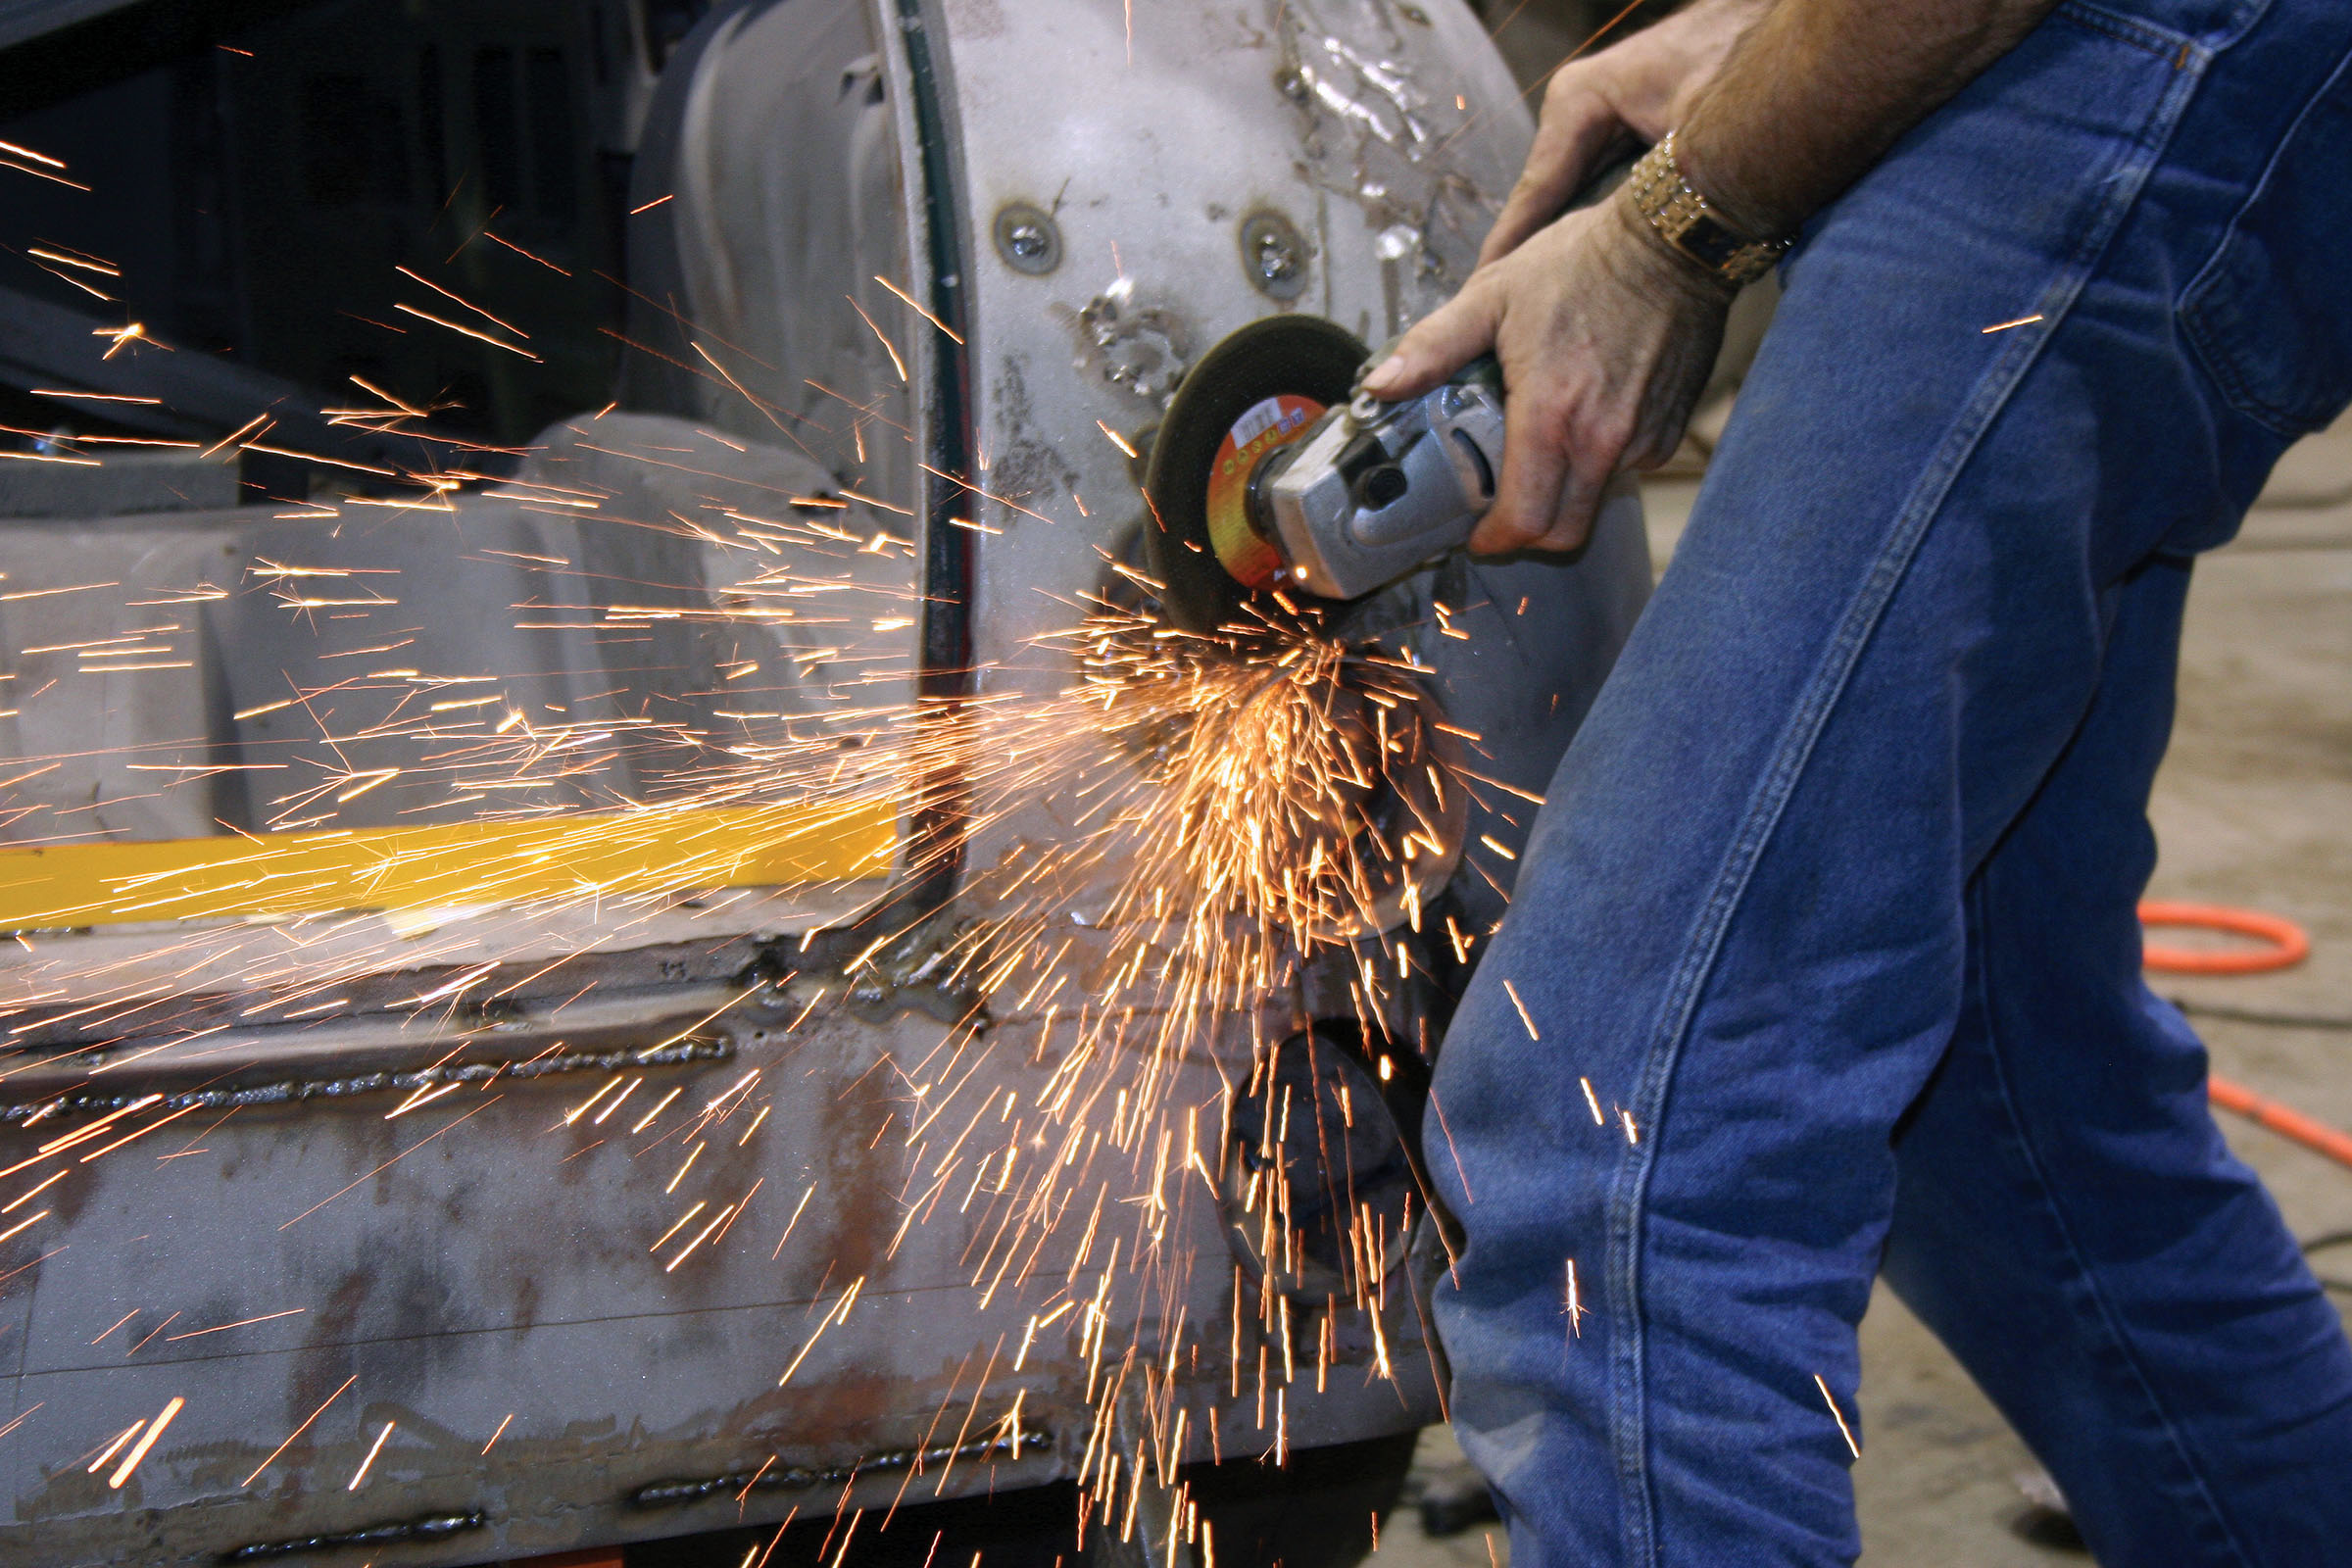
These are great days to be a muscle-car enthusiast. Performance parts are plentiful, new stampings to replace rusted sheetmetal are regularly popping up, and GM’s crate motor program makes it easier than ever to drop in a new power plant that combines incredible power with everyday drivability. Old Camaros or Novas have been passed over because they were saddled with a wimpy six. Now, however, they are the perfect candidates for a heart transplant, namely, in the form of Chevrolet’s marvel of horsepower engineering: the LS1 engine.


