


July 2023

Discover the remarkable journey of Ben Bodor’s Civic transformation as it defies expectations, emerging as a formidable contender in the U.S. car scene. From its origins in Canada to its stunning evolution, follow the Bodor brothers’ quest for automotive excellence in this gripping tale of innovation, carbon fiber craftsmanship, and the pursuit of perfection.
0Comments

When Hot Import Nights strolls into Seattle, typically two cars end up battling it out for Best of Show honors. Earlier in the year, Kelly Williams, one of the two competitors, took home the Best of Show honors when HIN first rolled into town. His Civic has been cleaning house for several years up in the Northwest and there hasn’t been a Honda to touch what he has built. Until Dara Sordano showed up and surprised them all— including Williams.
0Comments
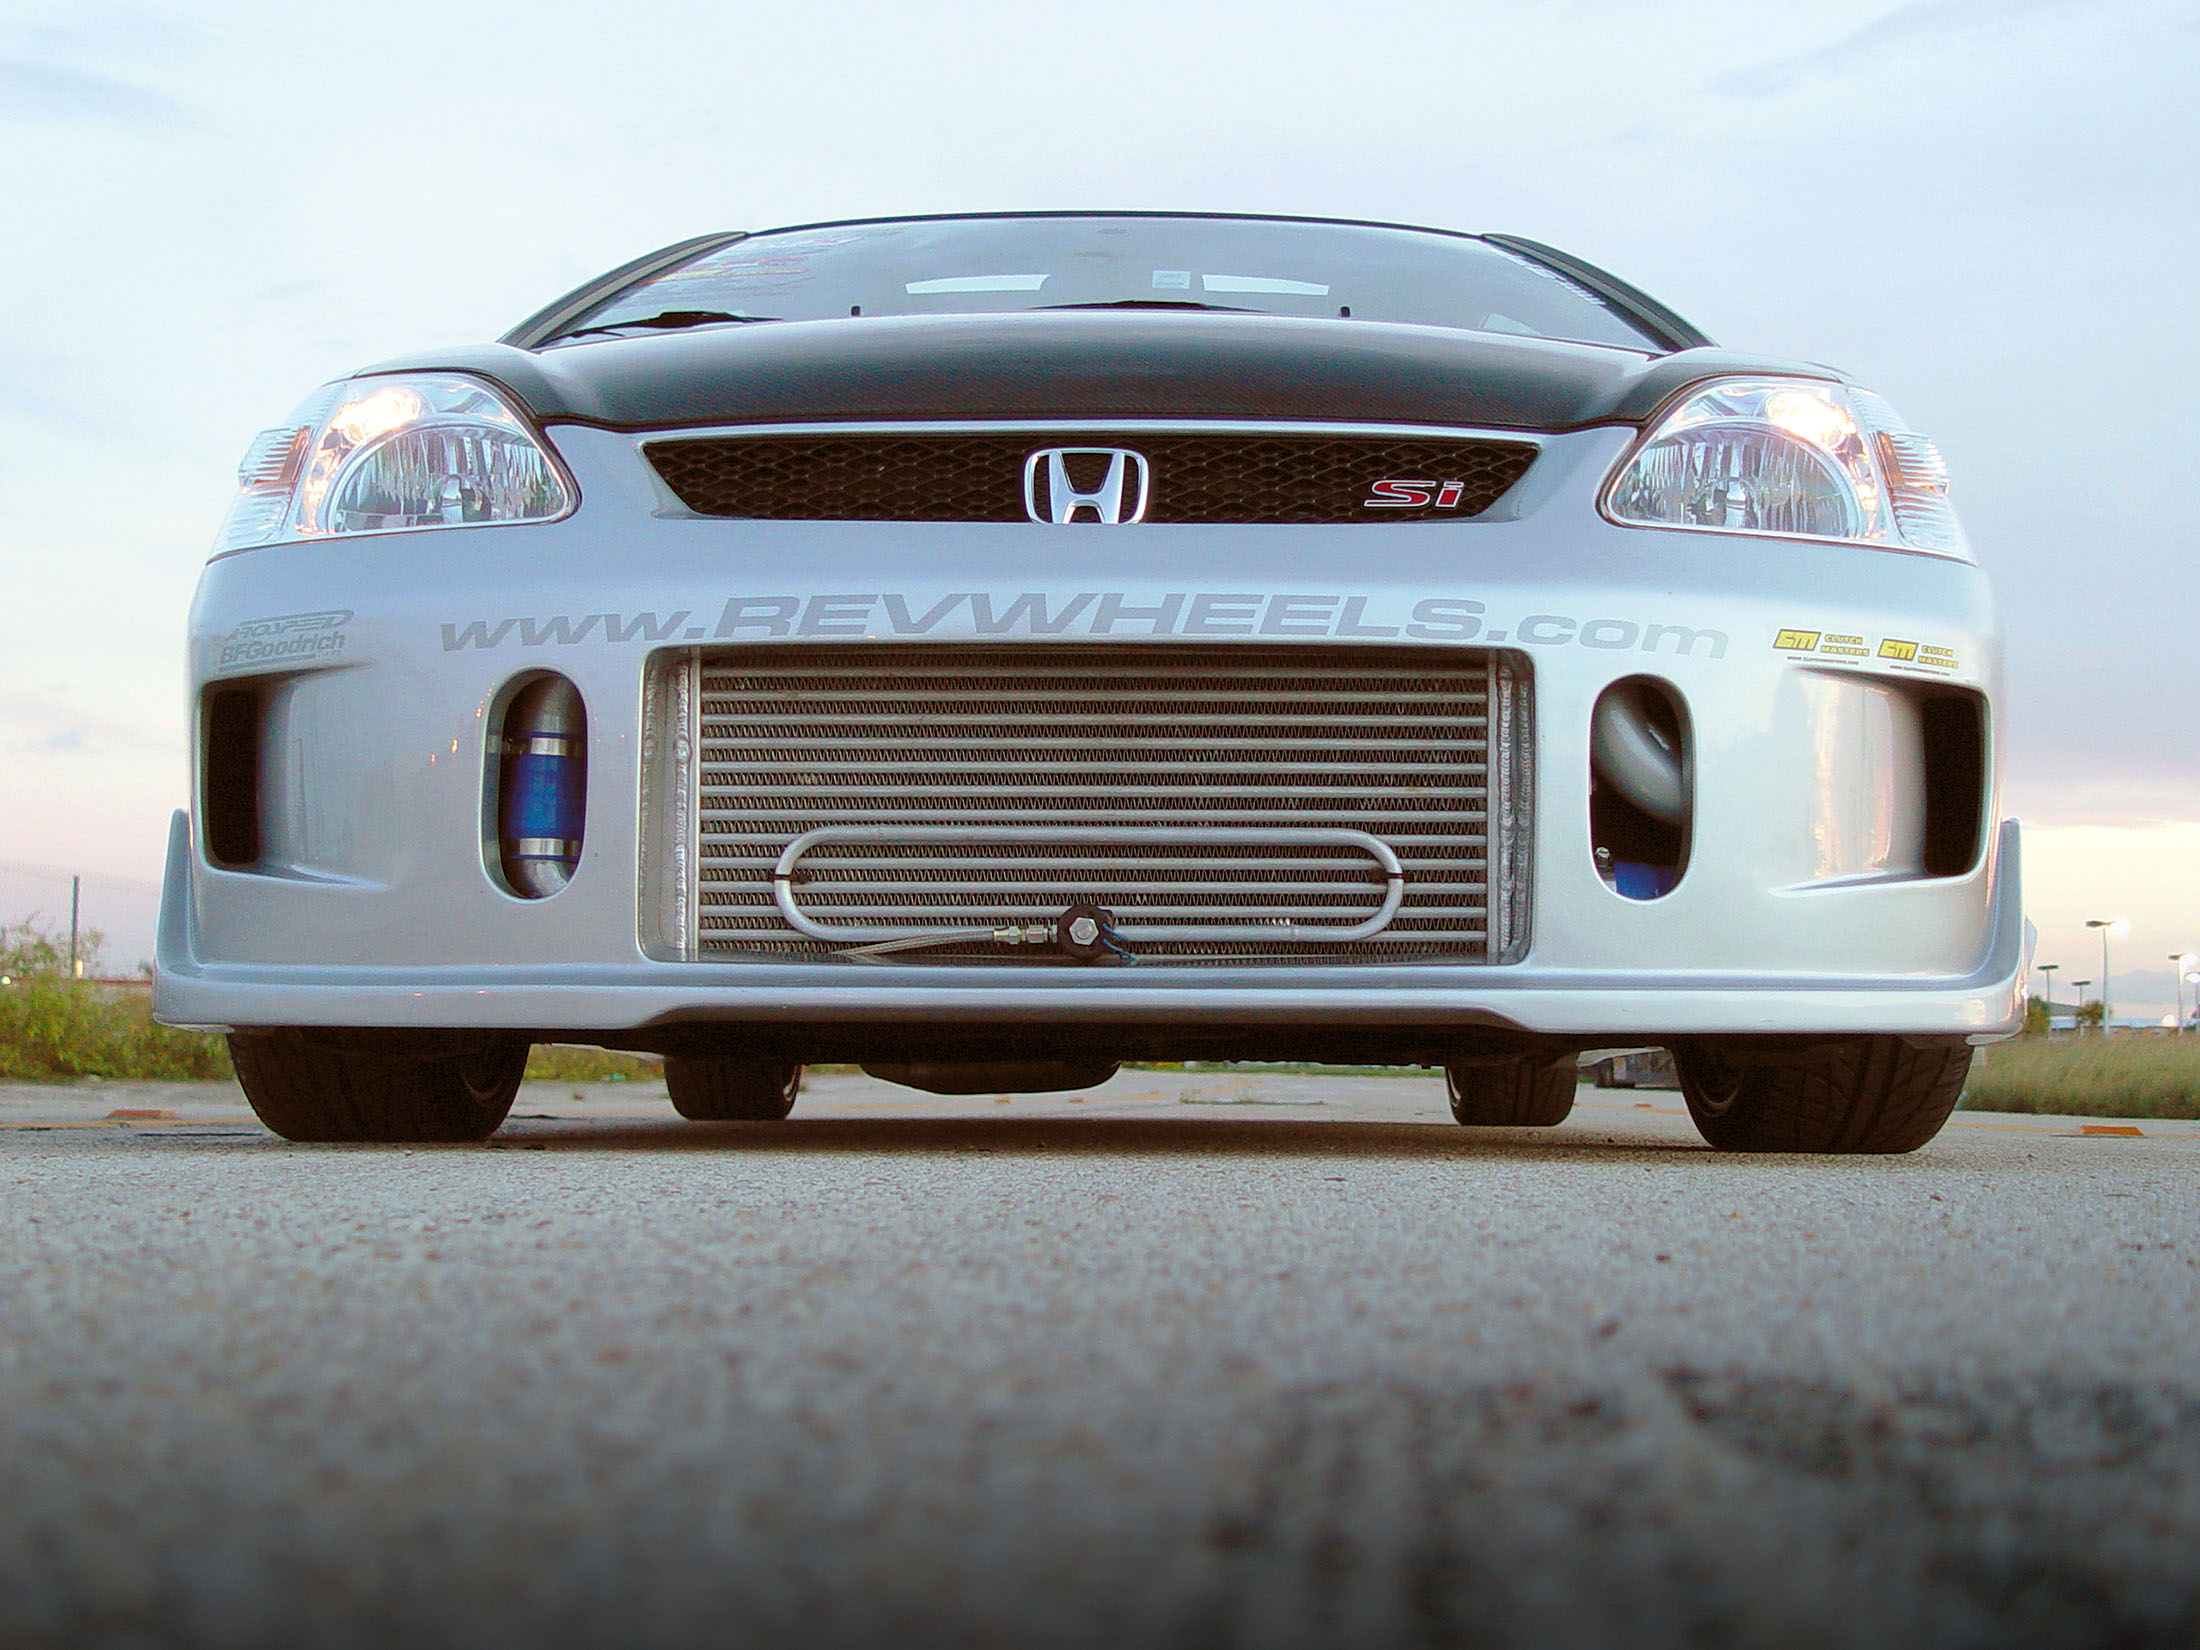
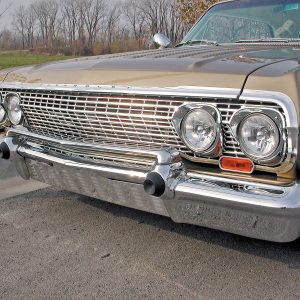
You may be familiar with the fable of the Phoenix, the beautiful bird that burned and died after a spark from a cherub’s flaming sword fell into its nest. Once the flames went out, a single red egg remained and from the ashes, a new Phoenix bird hatched and so the cycle continued. This legend is similar to the lifecycle of the Honda Civic Si hatchback.
0Comments
So, you are the proud owner of a brand new Dodge SRT-4 and you love the sound of boost. Better yet, you love how quick your little four-door is. The only problem is … you want it to be faster. The need for speed is killing you and you will do anything and everything to get your adrenaline flowing. You have seen Mike Crawford and Shaun Carlson go down the track in their very fast SRTs and now you want the same thing.
0Comments
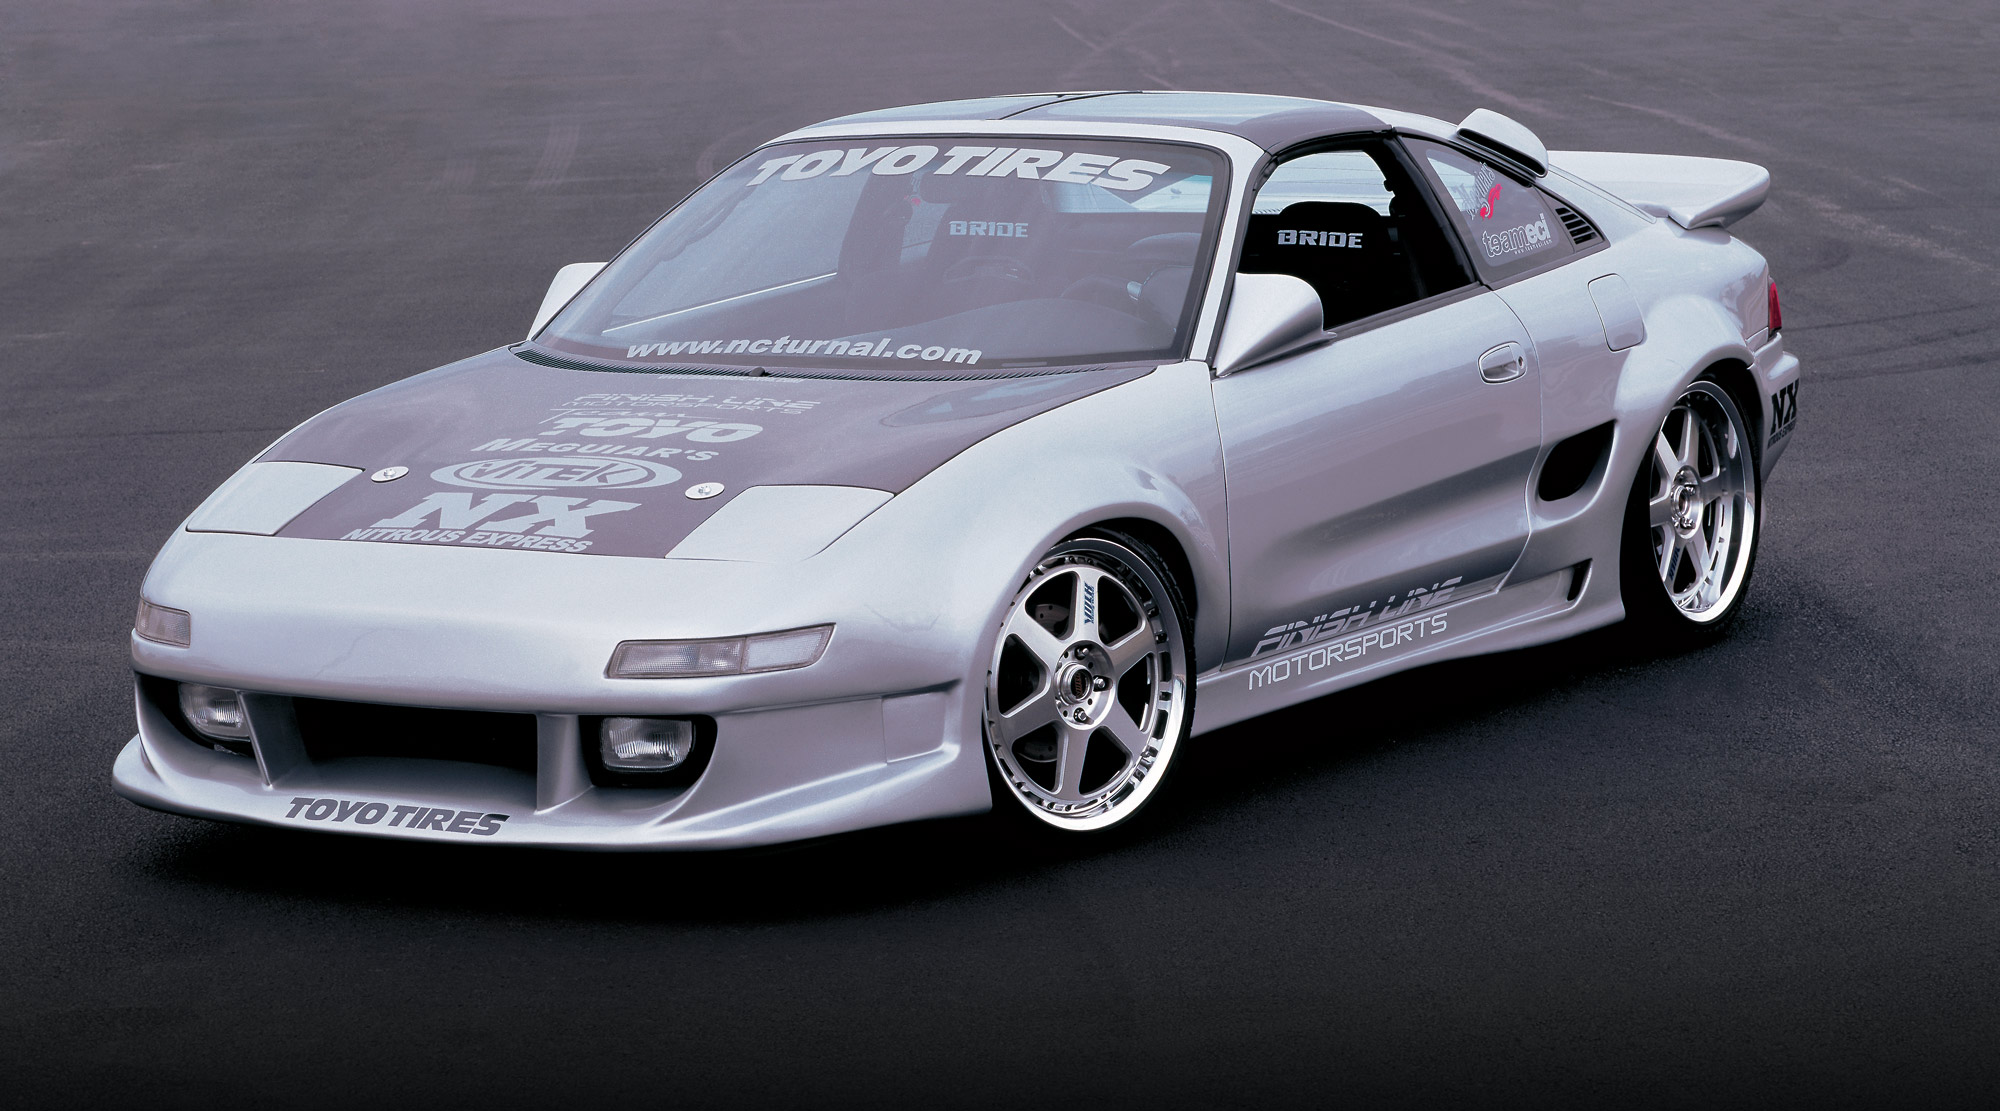
As I was walking around the NOPI Nationals looking for cars to feature, this one stood out from the masses. What surprised me even more is that it stood out in a very impressive Toyo Tires booth. That is not an easy location to score. Toyo always has one of the hottest booths at NOPI and Hills MR2 literally stole the show.
0Comments
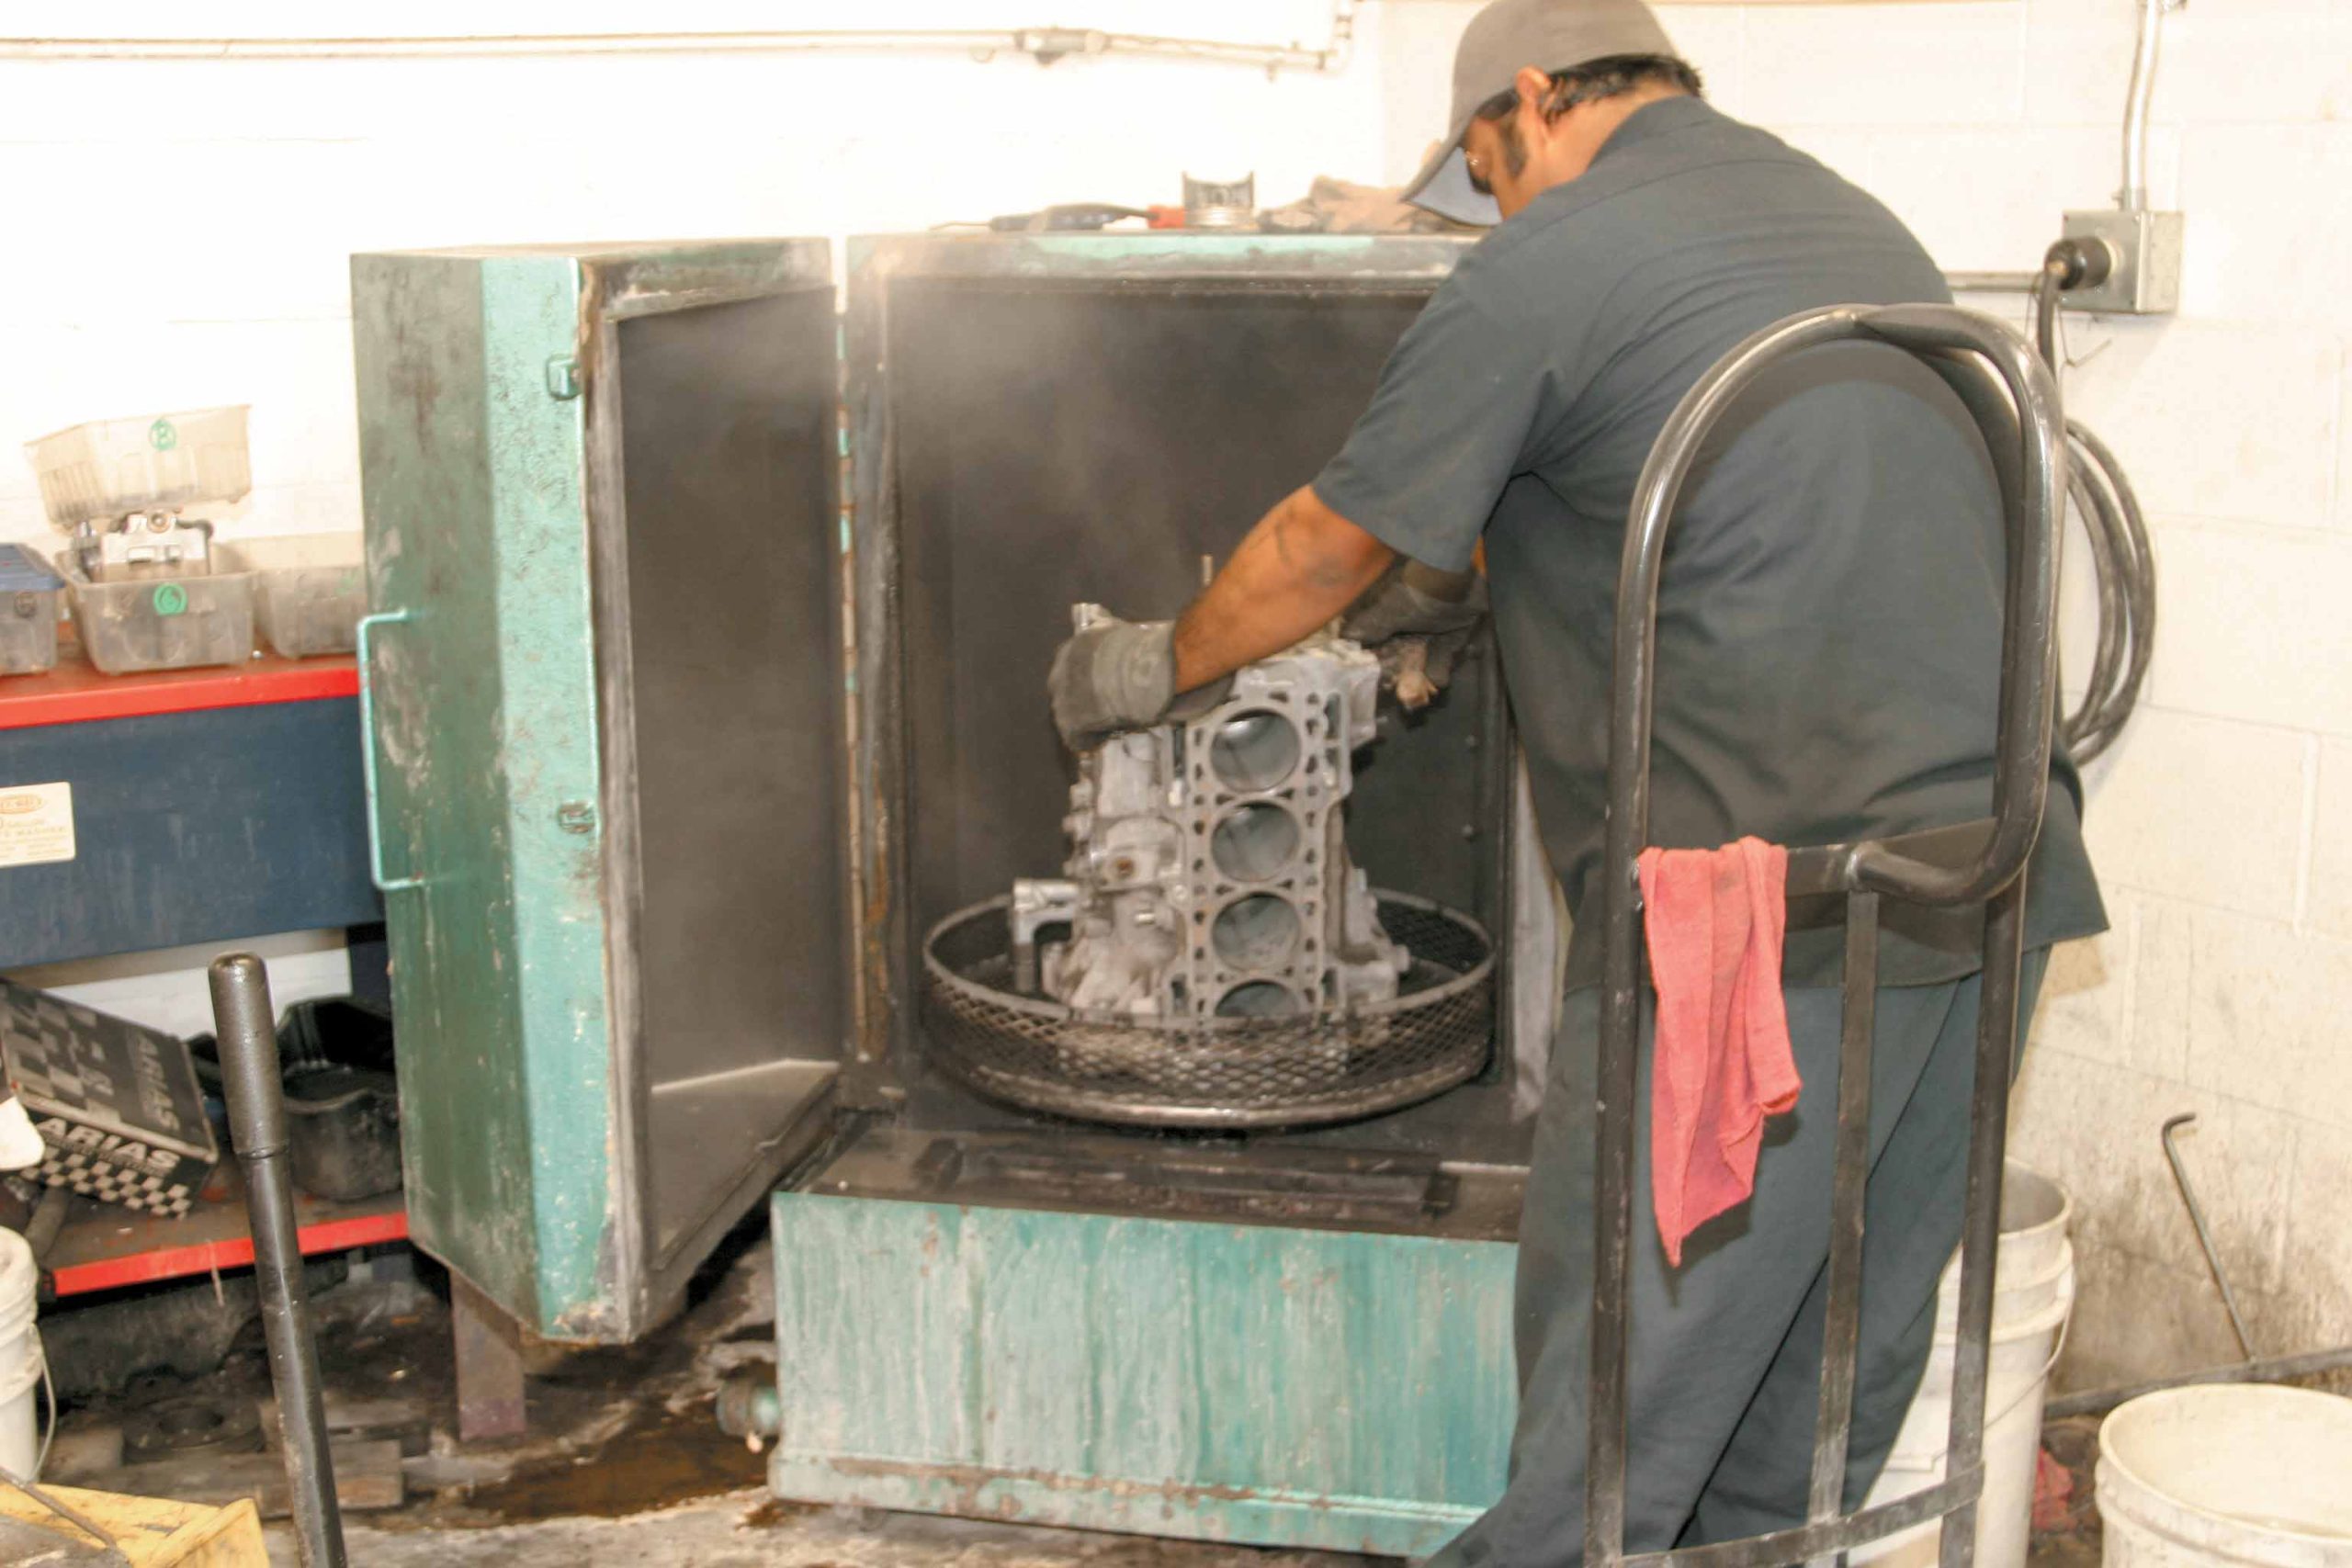
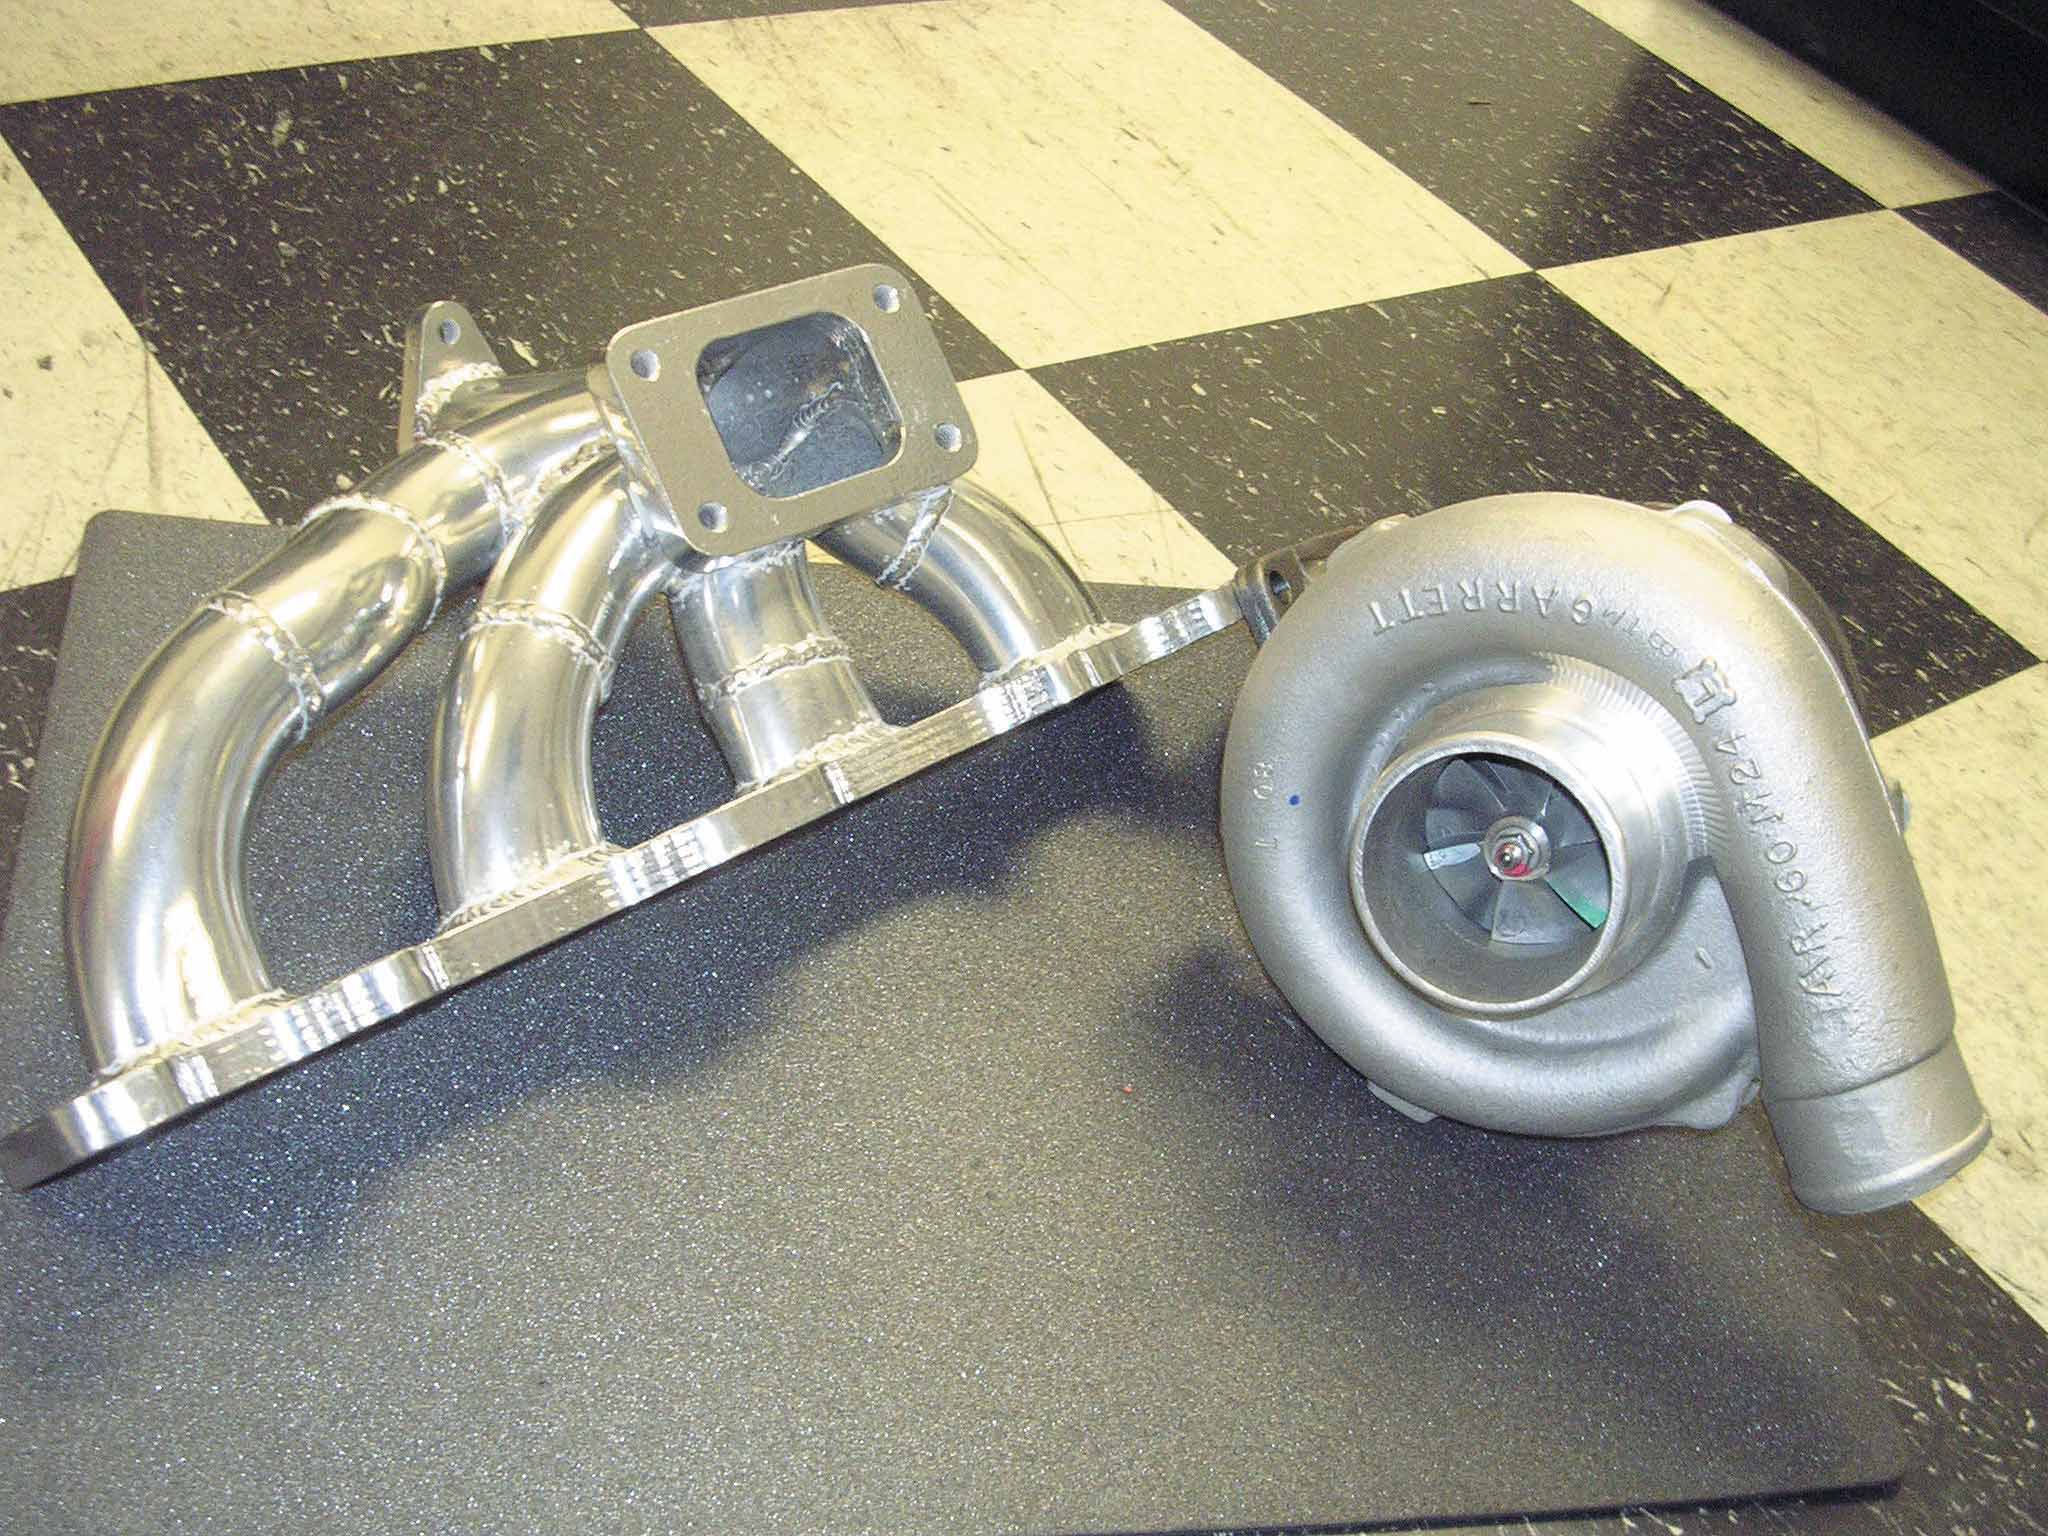
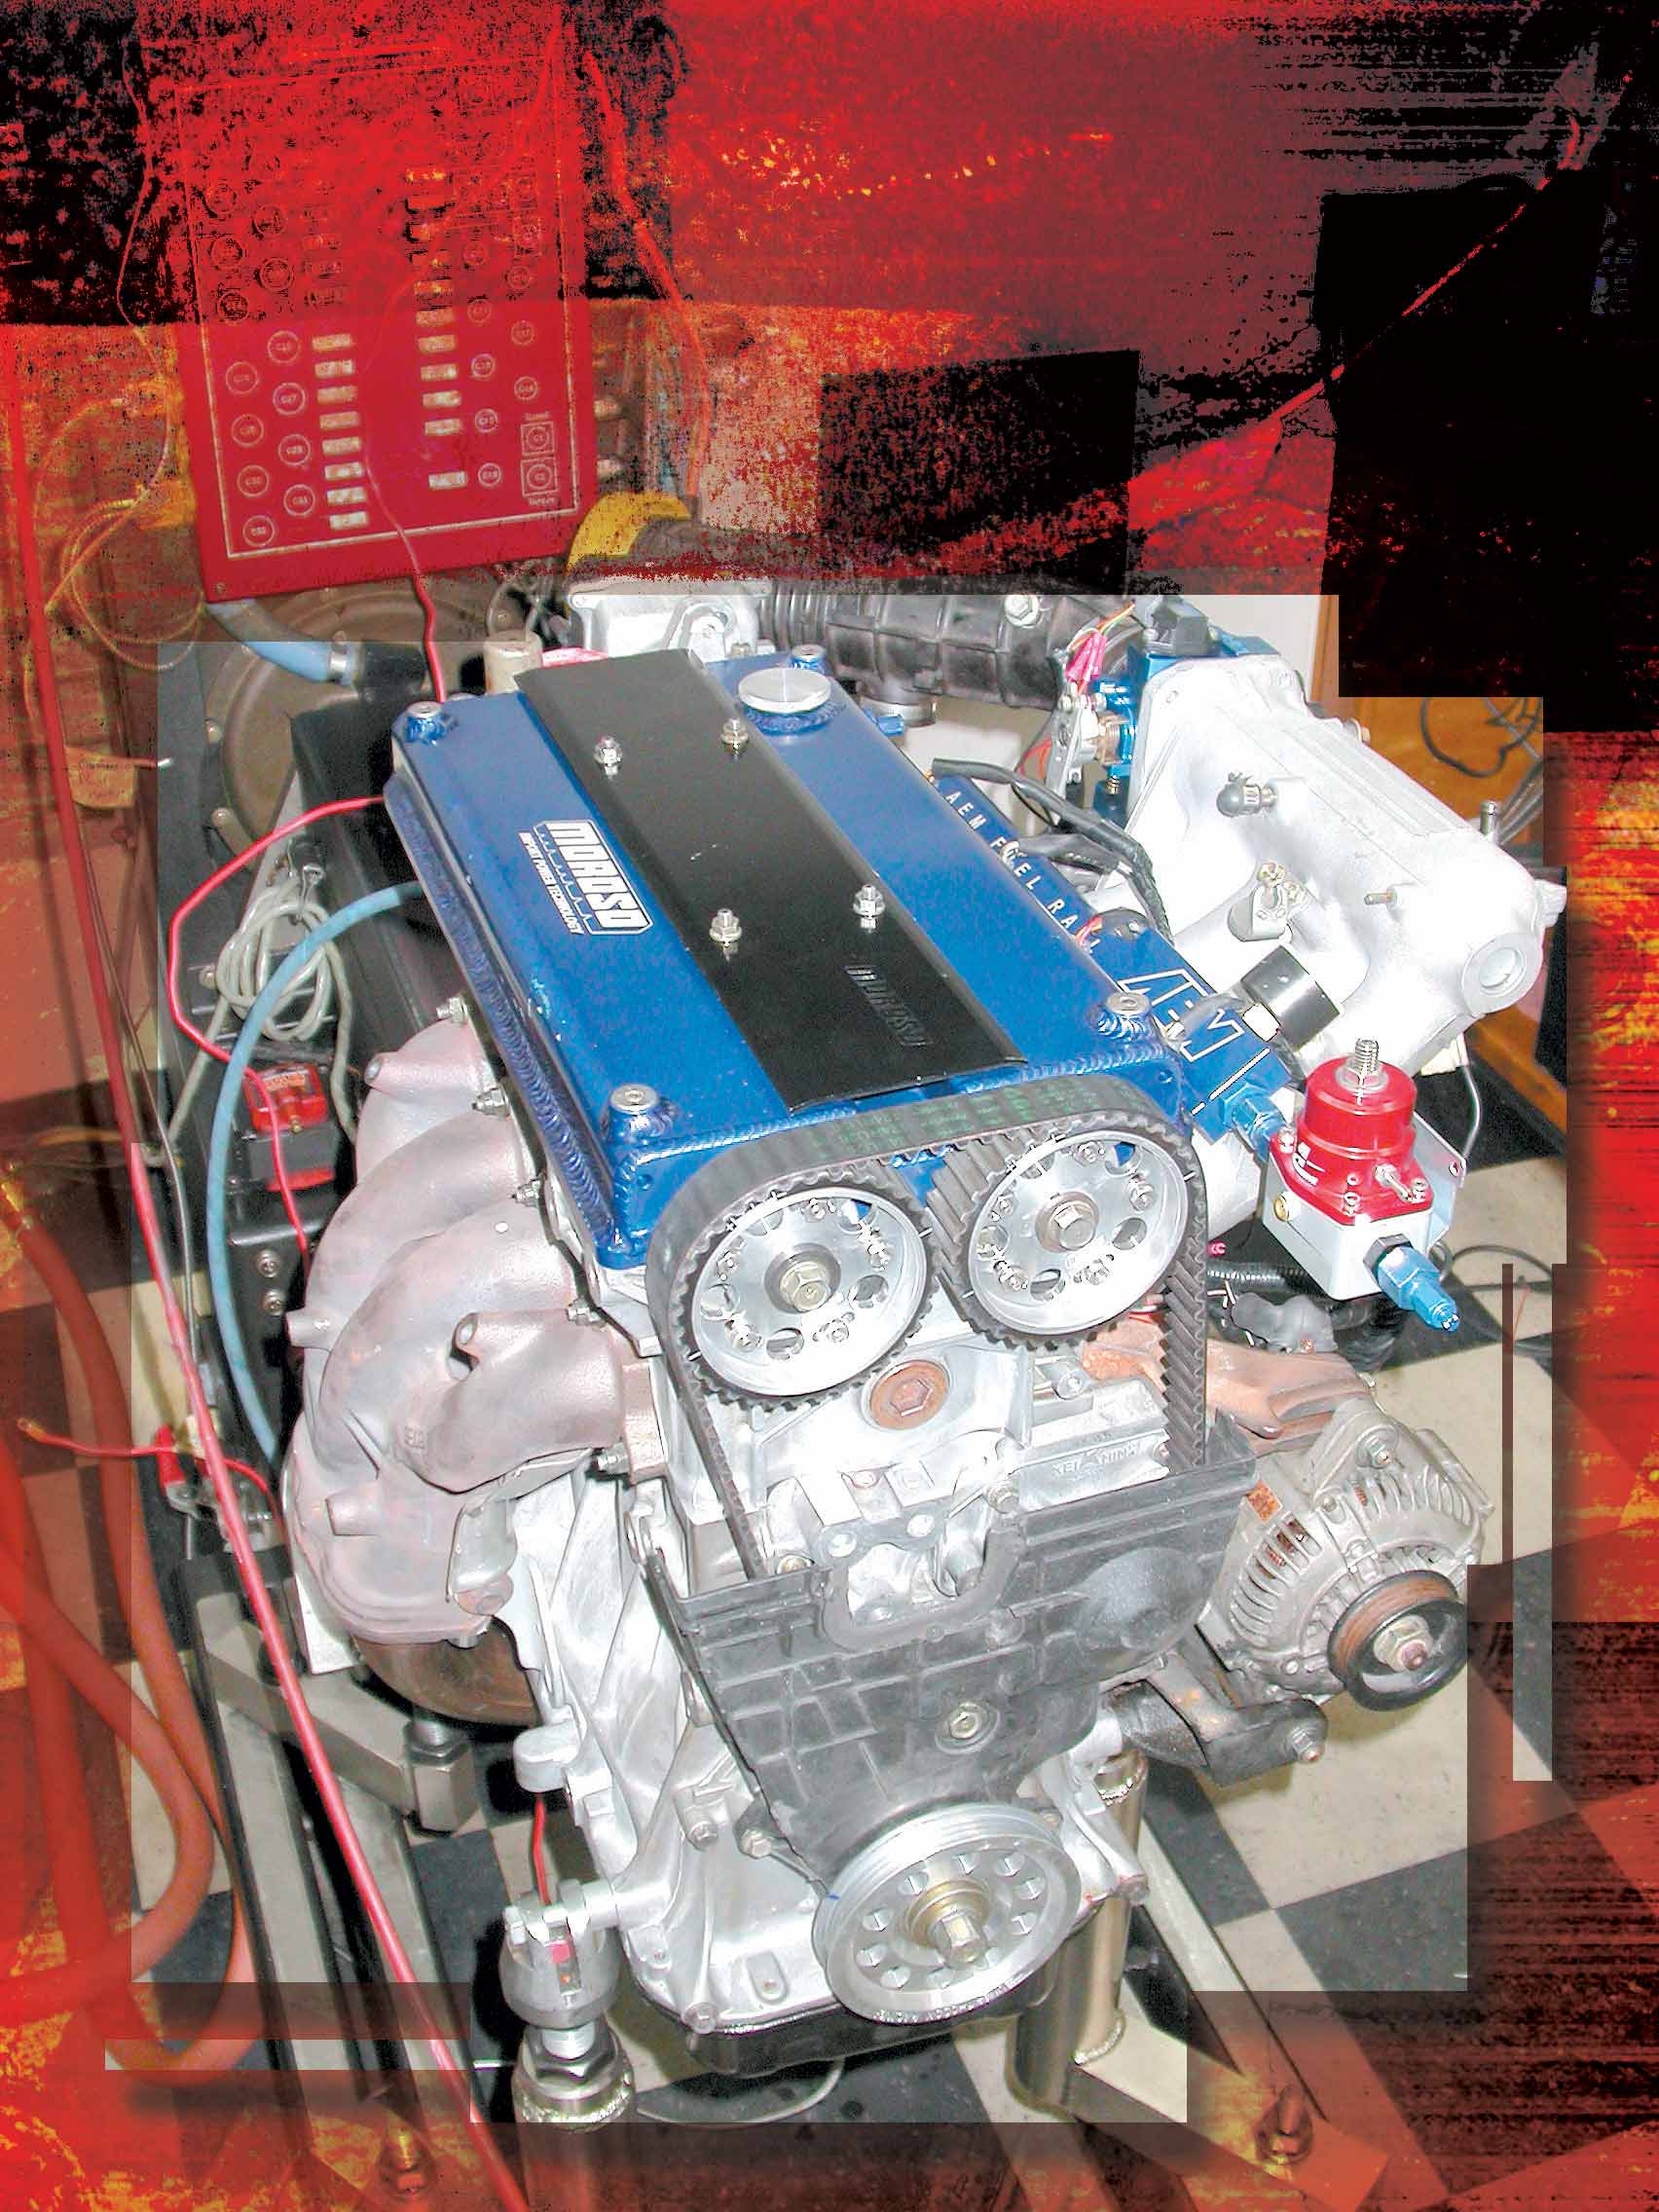
Sleeving A B-series Block Is Not New, But How It Is Done Can Make All The Difference Author These days, if you want to go fast on the track in a Honda, forced induction is almost a must, as most vehicles come with relatively small-displacement engines when compared to their domestic brethren. Basically, the more cylinder pressure and fuel that you can ignite, the faster you go. Admittedly, this all sounds pretty general, but for now, let’s roll with that thought.
0Comments
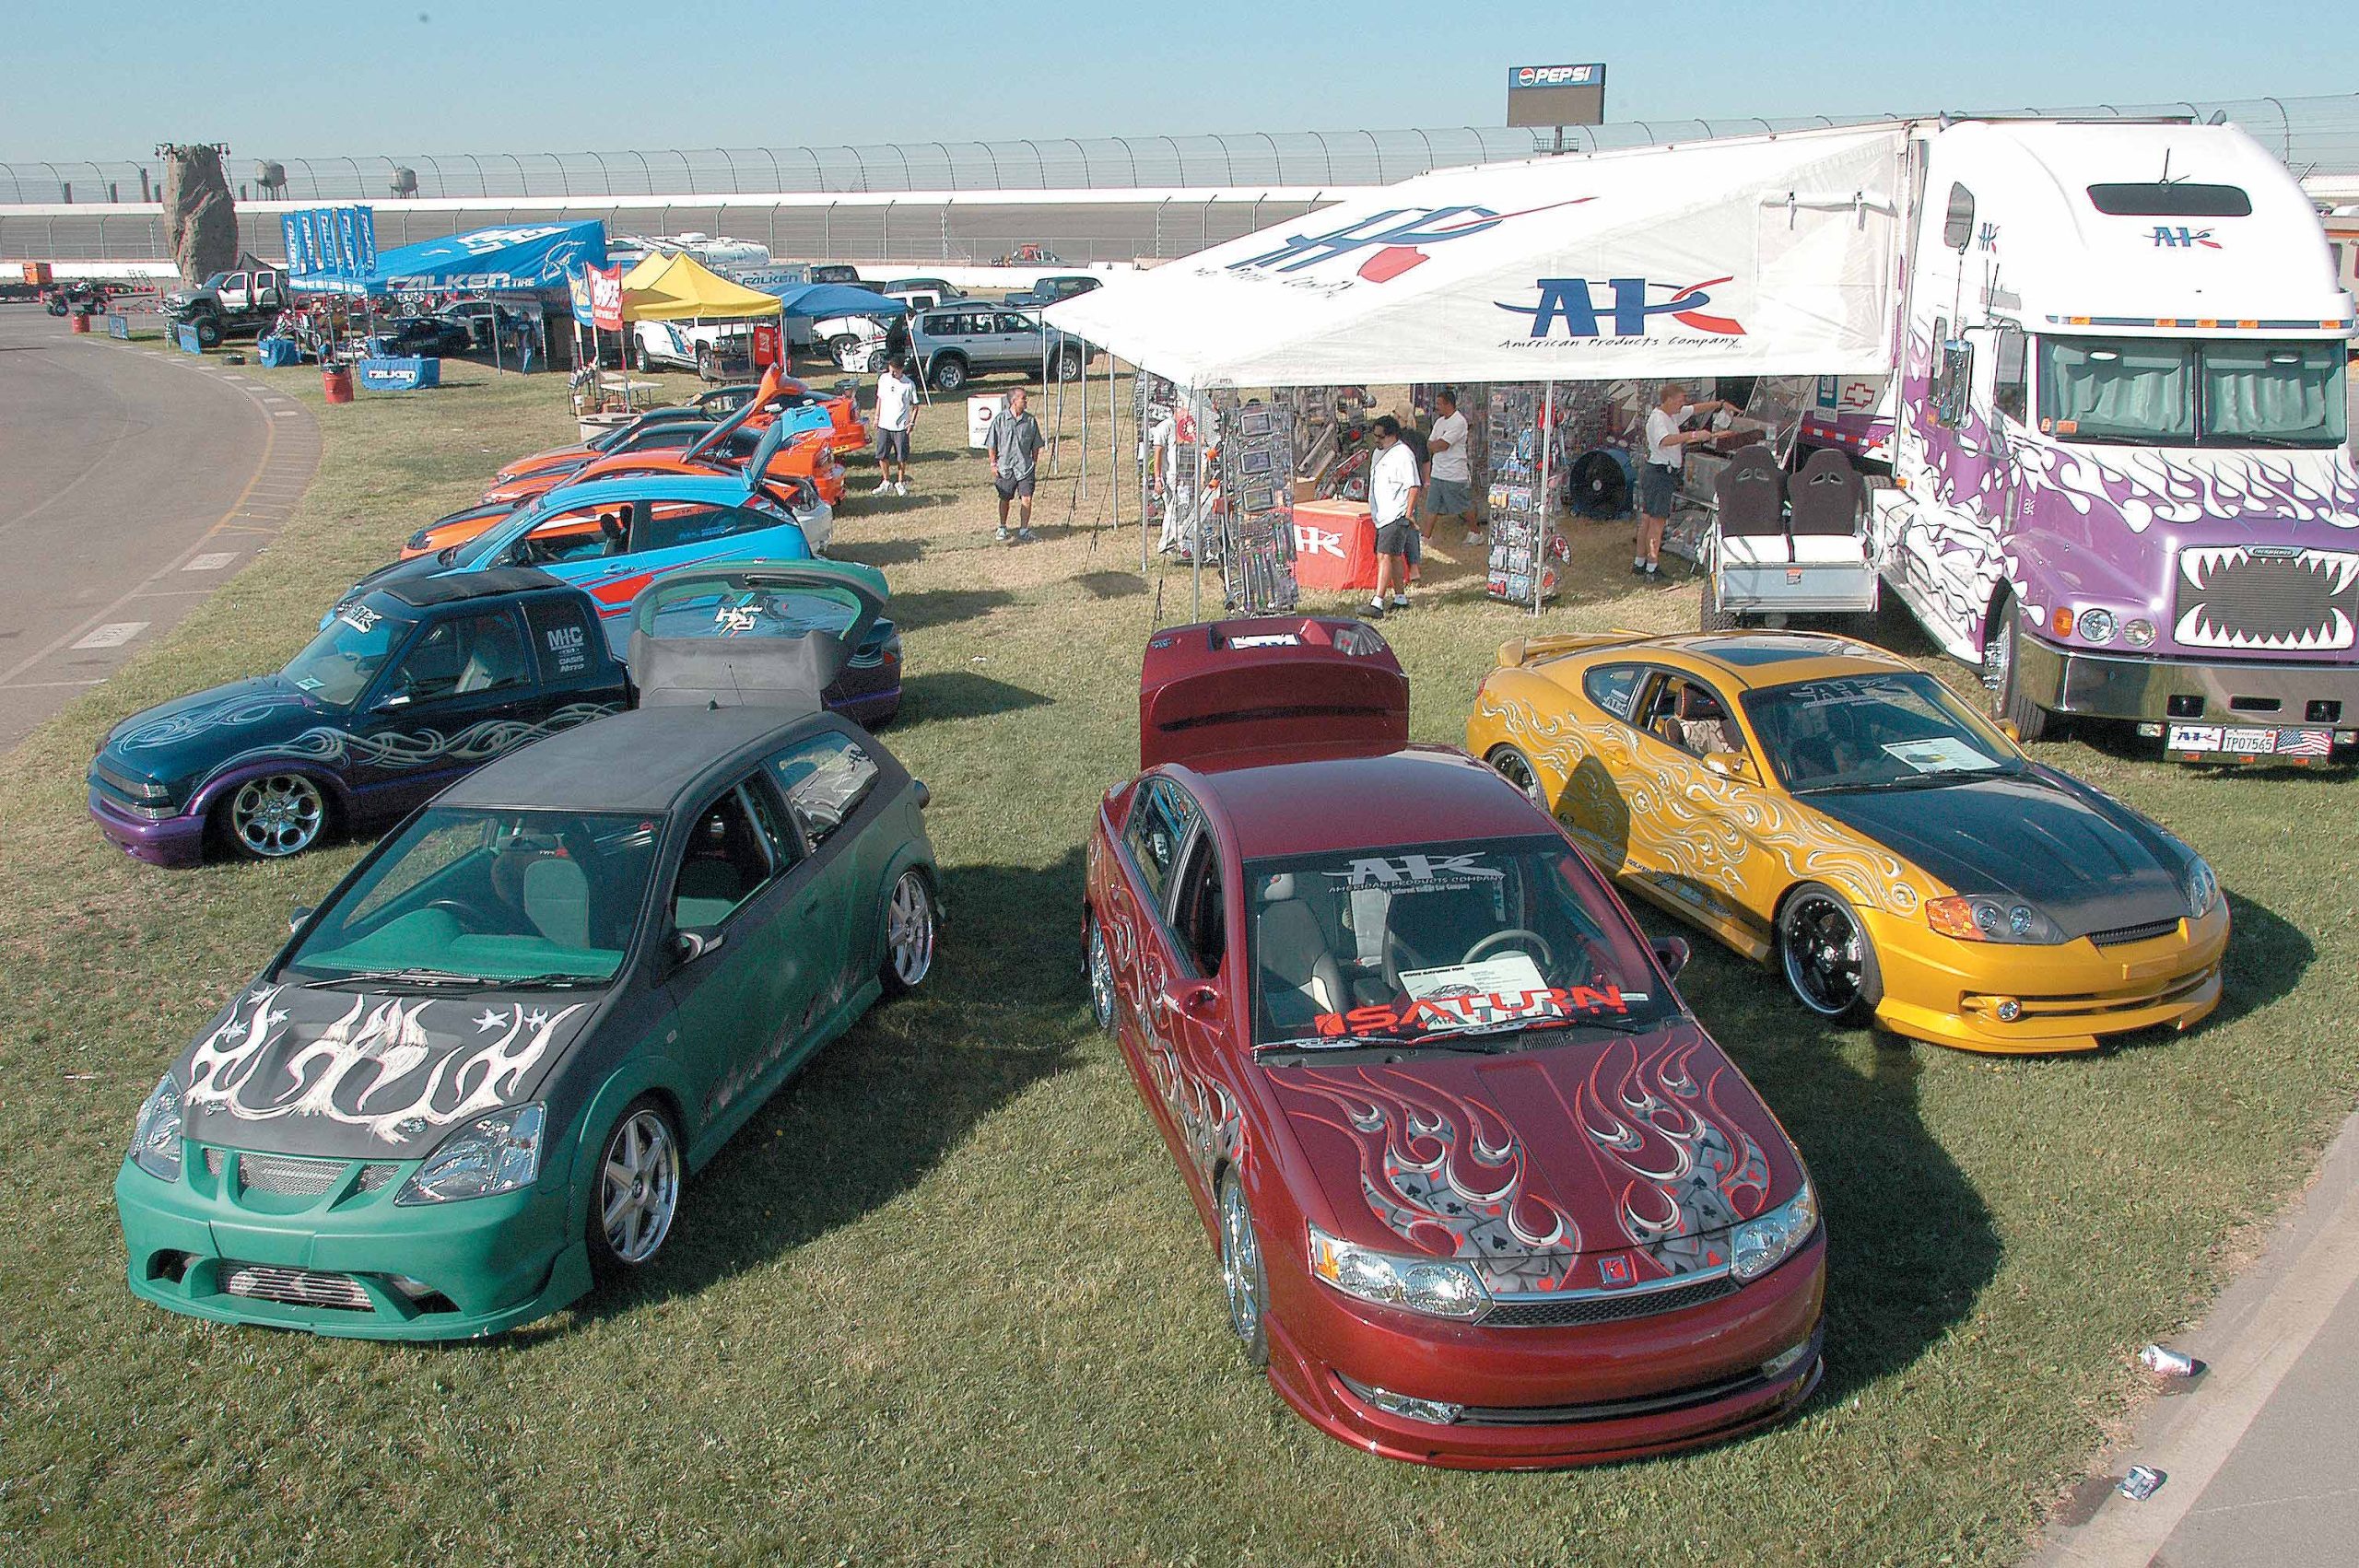
As an automotive enthusiast, you know that a huge part of our scene is showing the world your pride and joy, and car shows have traditionally been the best places to do so. They give you the opportunity to talk shop with people who share the same passion. Individuals with different makes of vehicles are drawn together by the same love affair, whether they are into Hondas, VWs or Nissans, so these are great networking places to learn and make things happen.
0Comments
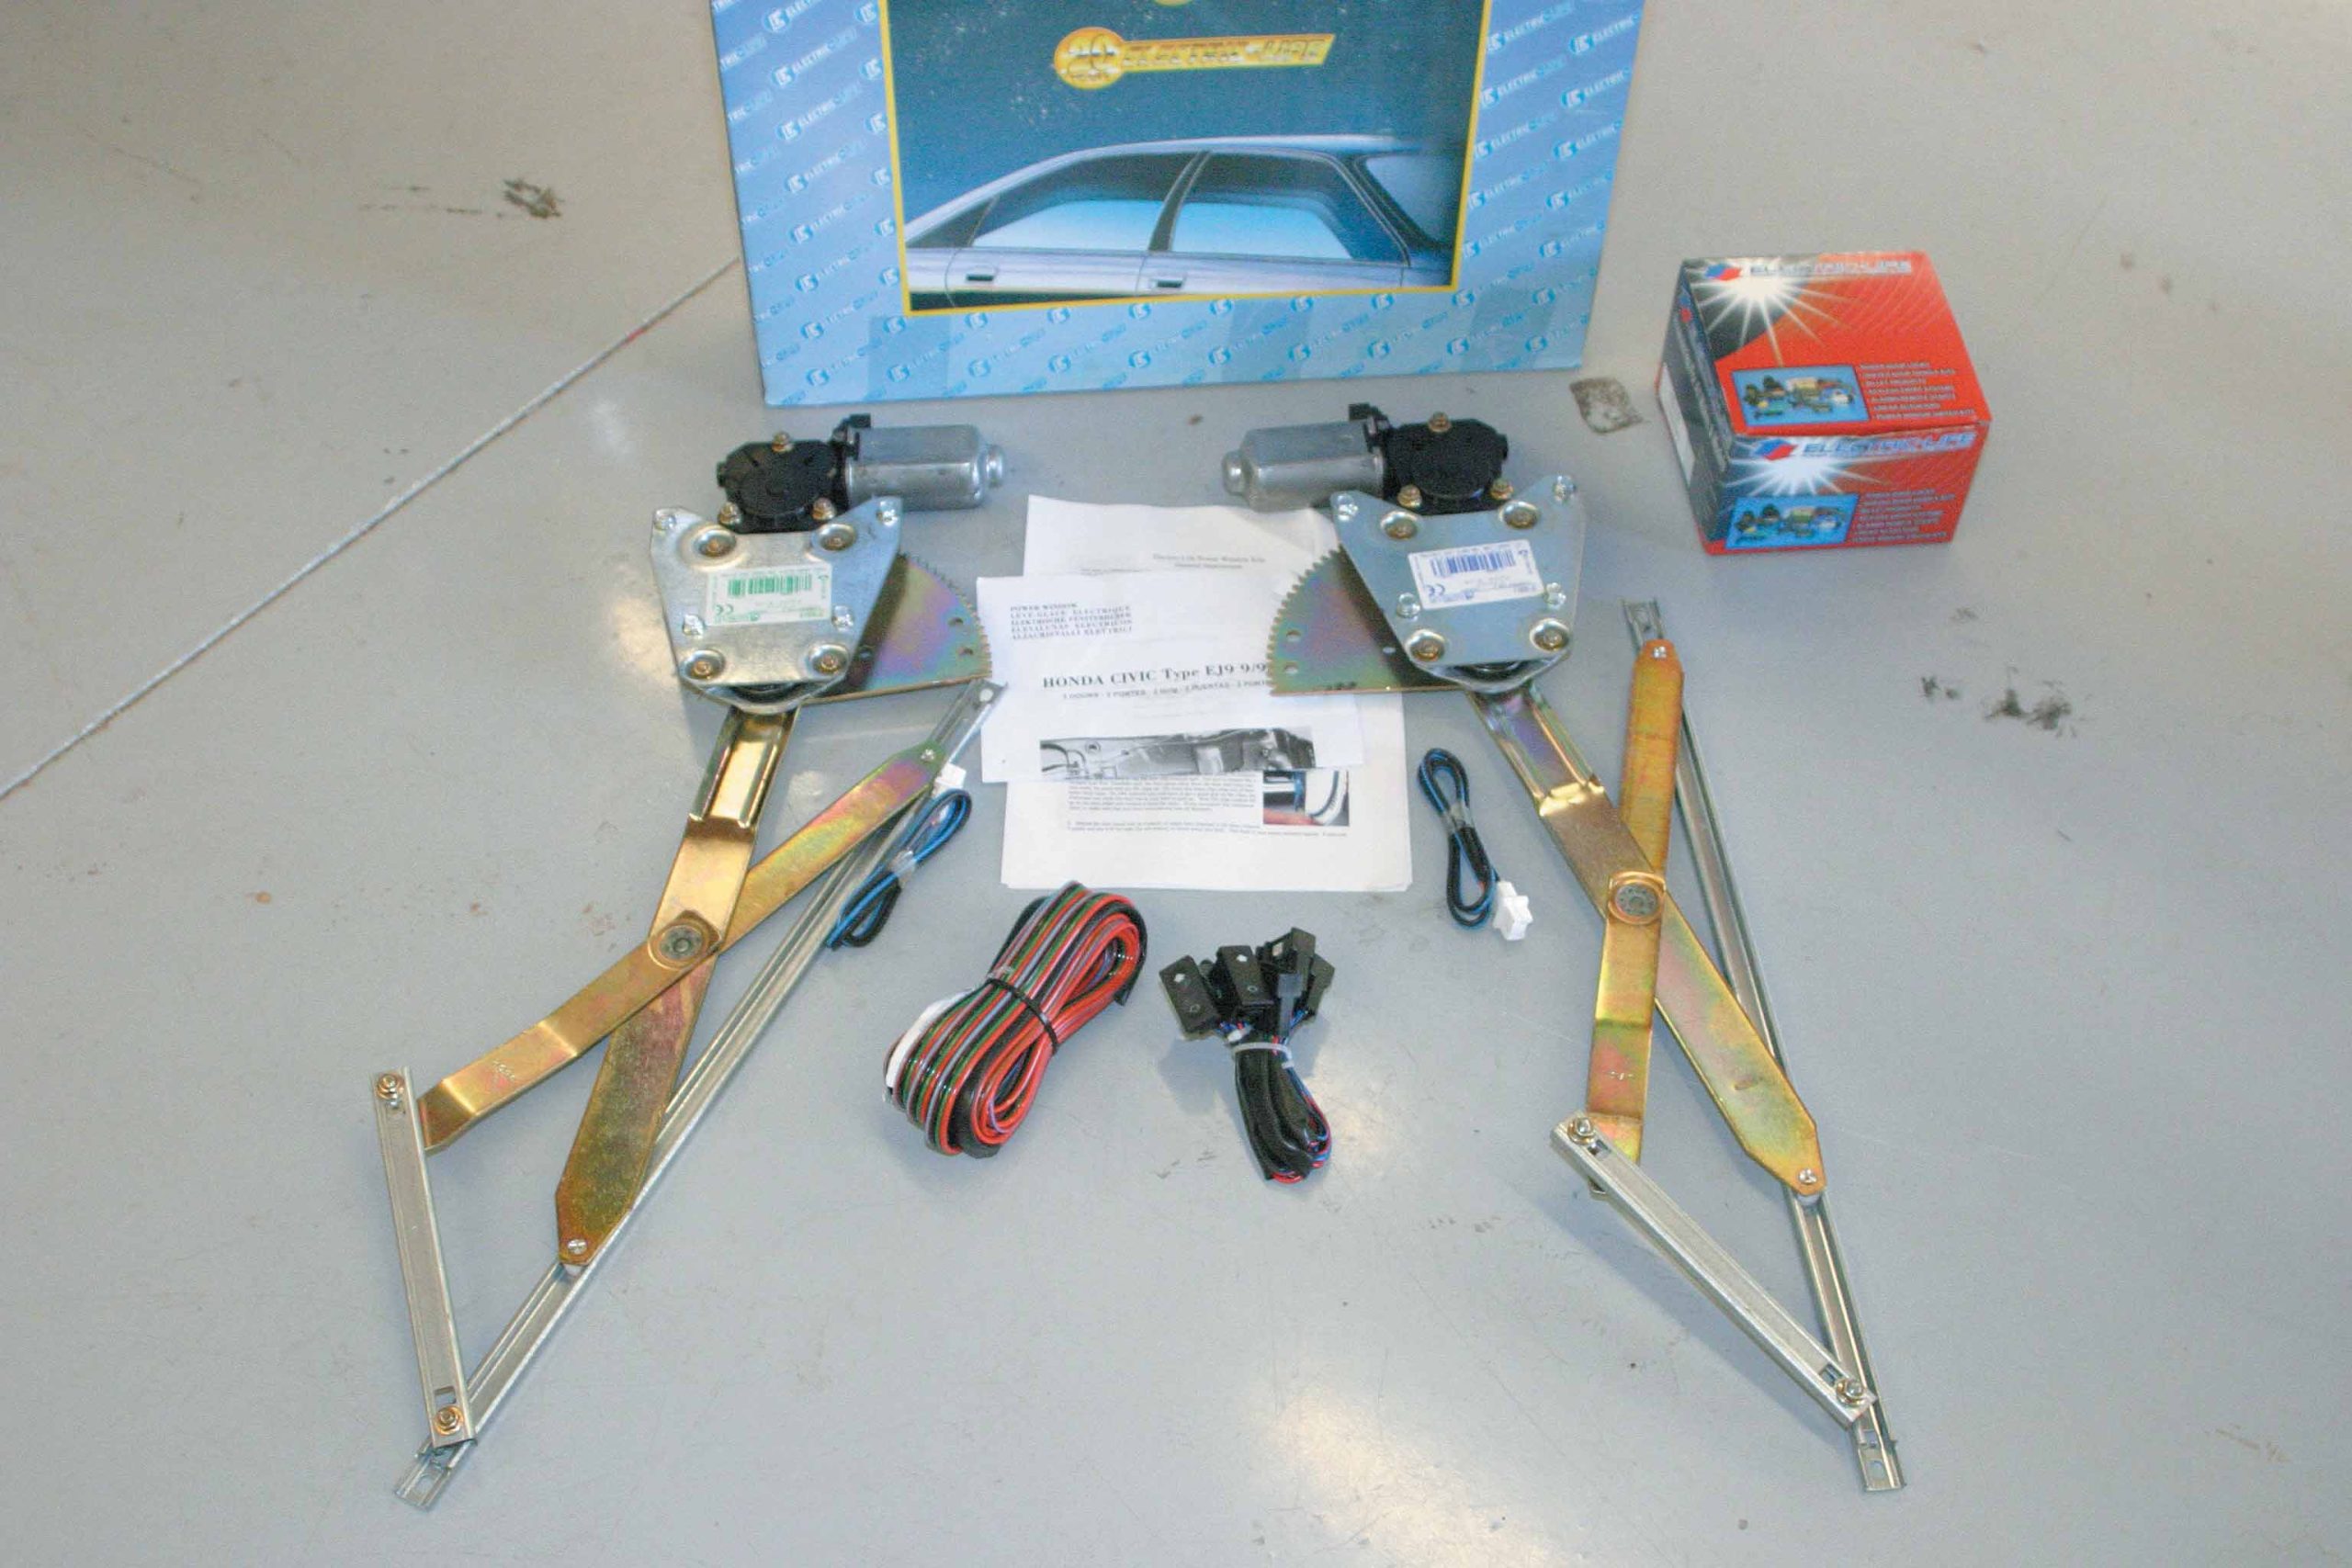
Installing Electric-Life’s Power Window Kit Author If you are like many of us who have at one time or another opted for a less expensive vehicle to build, then this how-to will be of interest to you. At the cost of certain features or creature comfort conveniences mundane items like power windows and locks we often begin with what may be considered a strippo model or a basic transportation car that is … well, available. These cars can, after all, make for a great foundation that can easily be personalized, just like we are doing here. If you are unfortunate enough to own such a vehicle like the Civic DX, which never offered power windows then the thought of adding them has no doubt crossed your mind. The notion that power windows would make your vehicle just a little bit nicer is a sound one and that is where an Electric-Life power window kit comes into play. Electric-Life offers several different types of electric window kits, along with a full range of accessories for just these types of cars. And how about this little-known fact: Electric-Life power window systems are standard equipment on all Ferraris. So, with a set, you could say that you have the same! In addition to the typical universal-style power window kits, Electric-Life manufactures a large number of vehicle-specific kits that completely replace the manual window regulator and can also be used to replace a faulty OEM power window regulator. In our case, for the Õ00 Honda Civic, Electric-Life builds a complete, custom-fit, bolt-in window kit. Along with the window kit, a complete switch kit and wiring harness were also obtained from Electric-Life. To do the job right and to get the lowdown for this how-to, we took the car and the kit down to Unique Car Audio in Gilbert, Arizona, to document the installation. Check out the following photos and see if you feel this is something you can do in your backyard to add a bit of convenience to your ride. Another thing: when customizing the interior of your car, it is often easier to replace the existing window mechanisms and include a power set for that custom touch. Either way, this is an inexpensive way to add a bit of class to that tuner car of yours. 1. Here is the door before we started with the power conversion. Soon the manual crank will be gone and the pure convenience of power will take its place. 2. Before the door panel could be removed, the door pull was unscrewed and removed from the door. 3. The panel behind the door handle needed to be removed as well. 4. The clip that secures the window crank was removed and discarded. 5. Finally, the speaker grille was removed, as well as the screws that secure the door panel behind it. 6. The door panel was removed by pulling it away at the bottom and lifting up to clear the inner door panel structure. 7. Here you can see the factory manual window regulator and the four bolts that secure it to the door. 8. The four bolts around the crank were removed, along with two bolts that secured the bottom of the regulator to the door. 9. A pair of bolts secures the window glass to the regulator. Both of these were removed and the glass lifted up. 10. A few strips of masking tape hold the window in its up position so it will not interfere with the removal and installation of the window regulators. 11. With everything disconnected, the manual window regulator was removed through the large hole in the door and set aside. 12. Here you can see the Electric-Life electric regulator (bottom) and manual regulator (top). 13. Before installing the new electric window regulator, the wiring was plugged into the motor, as it is difficult to access once the regulator is in the door. (Trust us!) 14. The new regulator is simply fit into the door through the same hole that the manual regulator was removed from. 15. The new unit was test-fit before bolting on the screws. 16A,B. Using factory holes and the included hardware, the power regulator was secured to the door. 17. Next, the window was dropped back into position and secured to the regulator using the factory hardware. 18. Since our switches were going to be mounted in the center console, only two wires were run into each door. These wires were connected to the leads coming from the window motors. 19. To supply power to the system, the wiring harness was tapped into the ignition wiring beneath the dashboard. 20. The ground wire was secured to the metal chassis of the Honda, also beneath the dash. 21. With the wiring connections completed, the lower dash panel was reinstalled and all wiring was run through the center console. 22. The loose ends of the wiring were run up through the factory opening in the center console and through the Electric-Life switch plate. 23. Quick disconnects were added to the switch wiring to allow them to be removed in the future, if needed. 24. The switches were plugged into the wiring, making sure to test the polarity of the motors to see if it was correct. 25. With the wiring connected, the switches were snapped into place. 26. The finished switches fit perfectly into the blank spots in the Honda center console. 27. With the window crank removed, the opening in the door panel was filled with fiberglass and the panel was re-covered with matching suede. ARTICLE SOURCES
0Comments
When it comes to performance, there is one steadfast rule: All the good air that goes into making horsepower must eventually find its way out. This means that adding all the cool camshafts, intake manifolds and even superchargers to help improve airflow into the motor will be useless (okay, maybe not useless, but certainly much less effective) if the motor is not able to rid itself of the exhaust. Cork up a serious performance motor and watch it struggle and gag on its own exhaust fumes.
0Comments
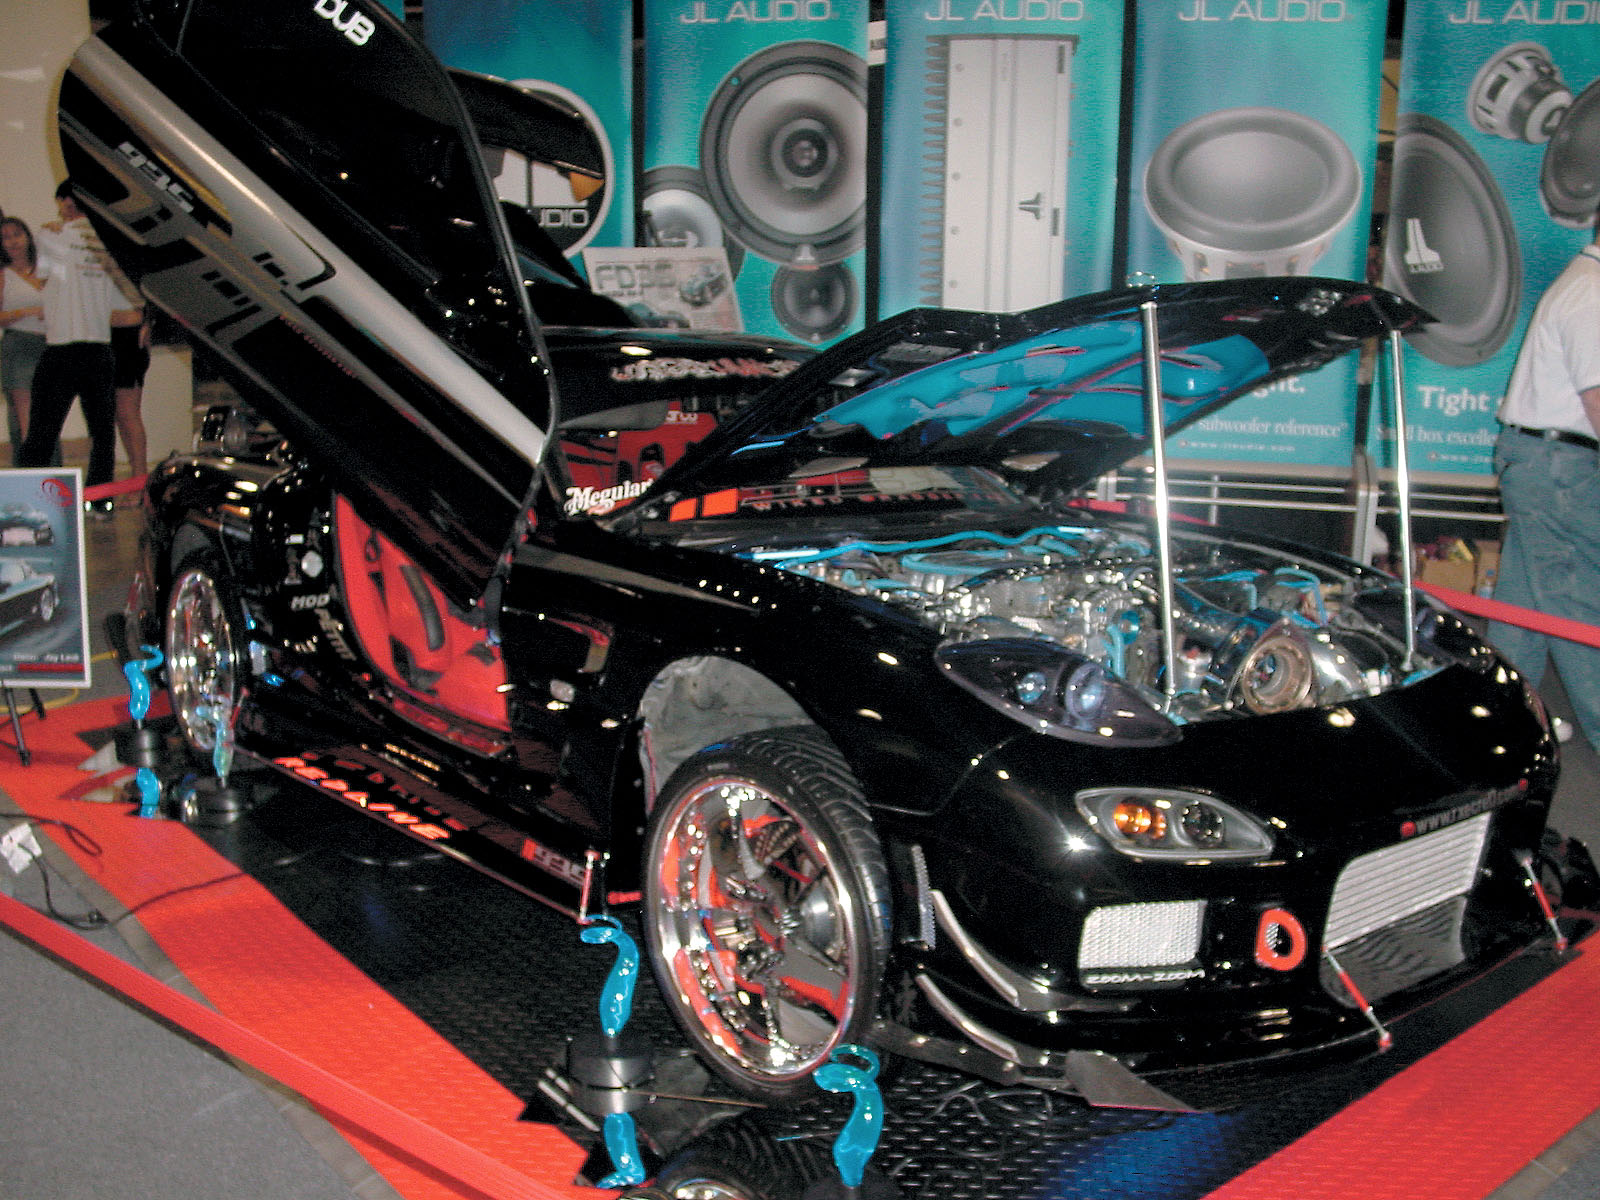
Hot Import Nights: Chicago Author Everyone in the Midwest was getting ready for this show and seemed to have marked this event as his or her battleground. All of the competitors I spoke with said that this was the show where they were going to show the world what their rides had to offer. I was pumped and really looking forward to going back to the Windy City to see what new toys and modifications would be popping up after the last Import Revolution event held in Chi-town, just a couple months earlier. The last time we made the journey to the Midwest, we saw some of the best built cars in the country. When we headed back, I knew that the cars, people and show would be even better. Boy oh boy, was I right! As soon as we walked through the main doors of McCormick Place, we could feel the tension in the room. Competition is a great thing, but this night the rivalry would be taken to a whole new level. You see, at the first Import Revolution event, some of the newcomers weren’t around just yet. They may have been there in spirit or walking around, but their new toys were still at home or in bodyshops. This time would be different. Everybody was ready to battle it out with Jay Laub for Best of Show bragging rights. Laub had his hands full this time around with not just one or two competitors, but a small army of them. He also had a battle and a half in the 2-Door Wild class. Laub faced off against the biggest names in the Midwest … but yet again, he took them all down (see “Best of Show,” p. 150). He didn’t care what it took. All he knew was that he was going home with the Best of Show trophy. It made the long drive up from Florida worth his while. Besides Laub’s RX-7, Larry Chachko from Body Werks had it going on. Not only does he have one of the baddest S2Ks in the country, but he also has one of the most respected bodyshops in the Midwest. When these guys come to a show, they come in full force. Body Werks didn’t just bring out five or six cars—these guys came to party and brought over 40 cars with them! And if you’re thinking that 25 of them must have been stock, think again. Chachko and the boys don’t play that game. All 40 were built with the Body Werks touch and they all had it going on. At the end of the night, the Body Werks crew cleaned house and walked away with several individual trophies and the Hottest Import Club award. So, if you have Chachko and Laub battling it out for Best of Show honors, does that leave room for anyone else? Surprisingly, it does. The two other cars that caught our attention are more than worthy of their fair share of drooling. Bob Mull from Team GMCI and his one-of-a-kind Cavalier gave Laub and Chachko all they could handle. This car was probably the most complete show car there, but after all was said and done, Mull fell just short. Don’t feel too bad for him, though. The other car that really drew us in was that of Jon Antes and his candy-green wide-body Supra. Not only does this car win the Meguiar’s Best Paint award on a regular basis, but it also puts out over 900 hp. Holy crap! There goes the notion of “all show and no go.” This car caught our eyes a couple of months back and still makes us drool every time we see it. Incredible cars, gorgeous models, an atmosphere like no other and great judging … what more can anyone ask for at a show? Another great job by the entire Vision Entertainment and NCCA crews. You guys keep doing what you are doing and I guarantee that people will keep coming back for more. In the meantime, keep building your cars because Laub can’t stay undefeated forever!
0Comments
