


Exterior
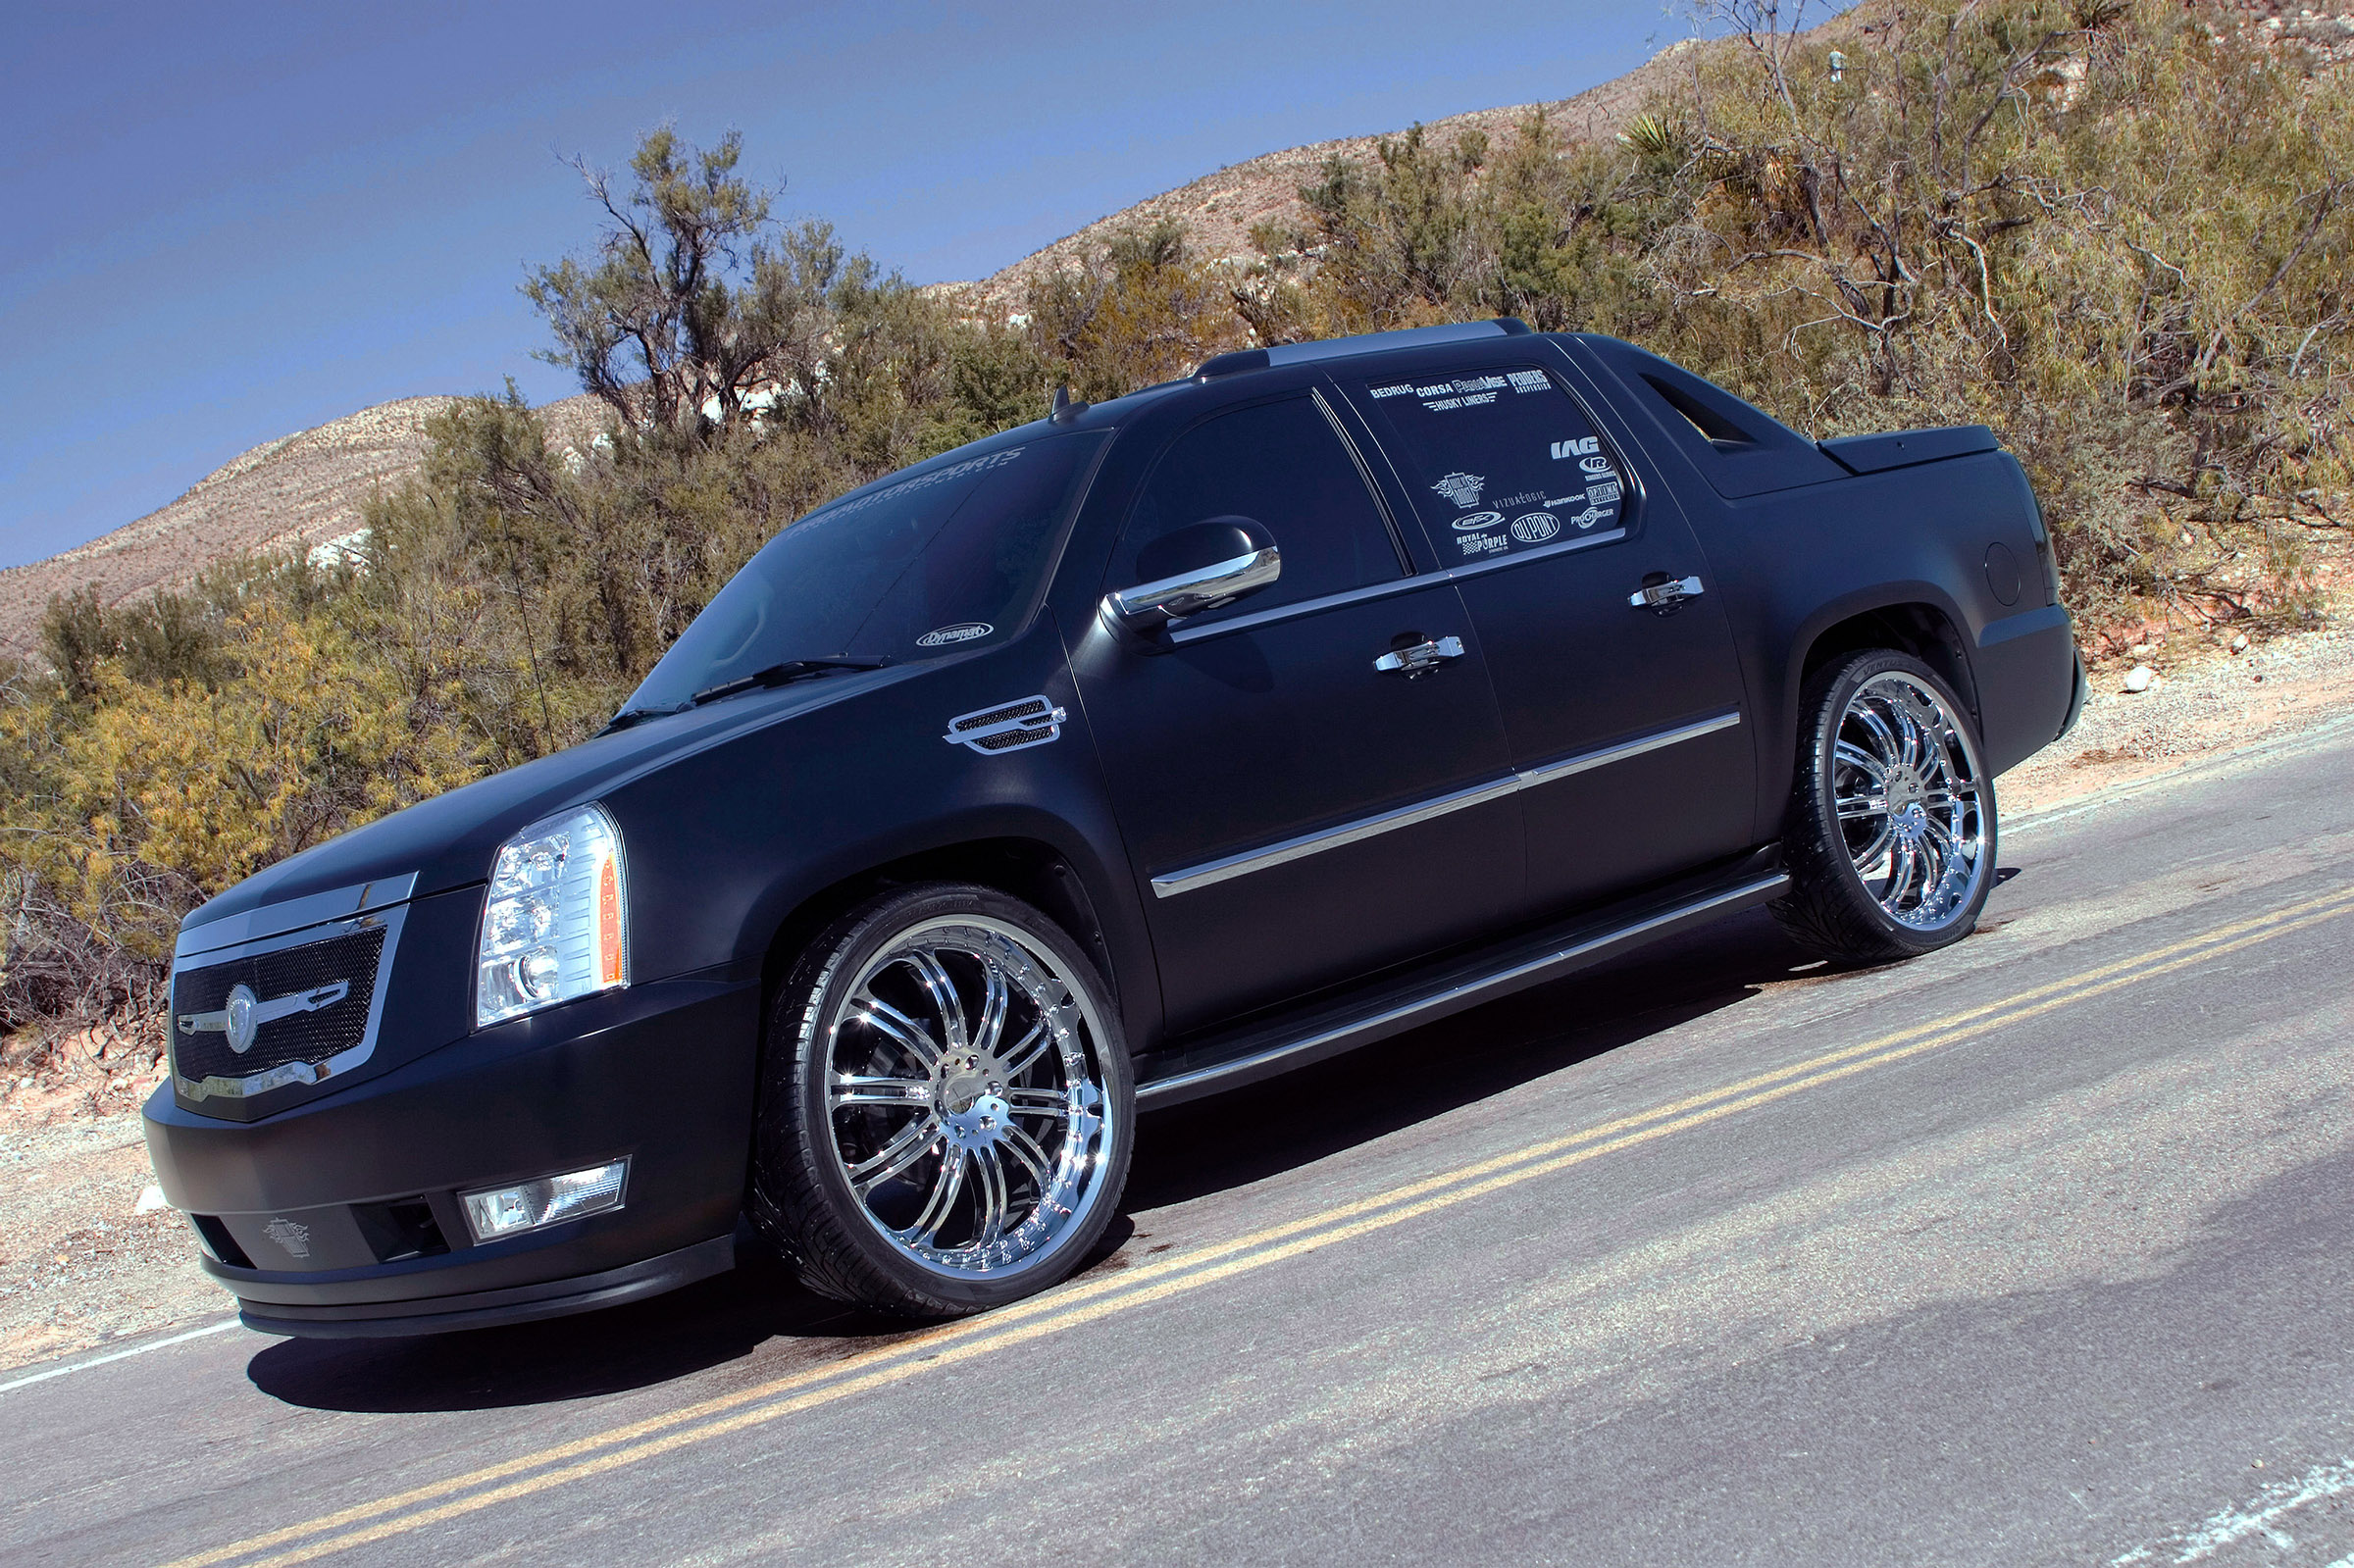
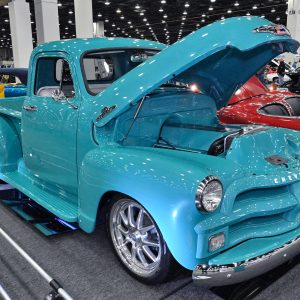
Building a cool new truck to show off at SEMA is nothing new for Jim Lewis and his team at ProMotorsports in Edmond, Oklahoma, as that’s what they do. This stunning new ’07 Cadillac Escalade EXT is their most recent creation. Like so many other enthusiasts, Lewis used the latest generation Escalade because it was an immediate hit, especially among the urban lifestyle crowd, so team ProMotorsports thought one would make a great representative demo vehicle for their shop. Billy Lewis came up with the flat black concept, with tons of chrome and polished metal to contrast the flatness of the finish. While the paint may be the first item that attracts you to this truck, the crew at ProMotorsports actually started the build underneath it all by increasing the performance of the Escalade.
0Comments

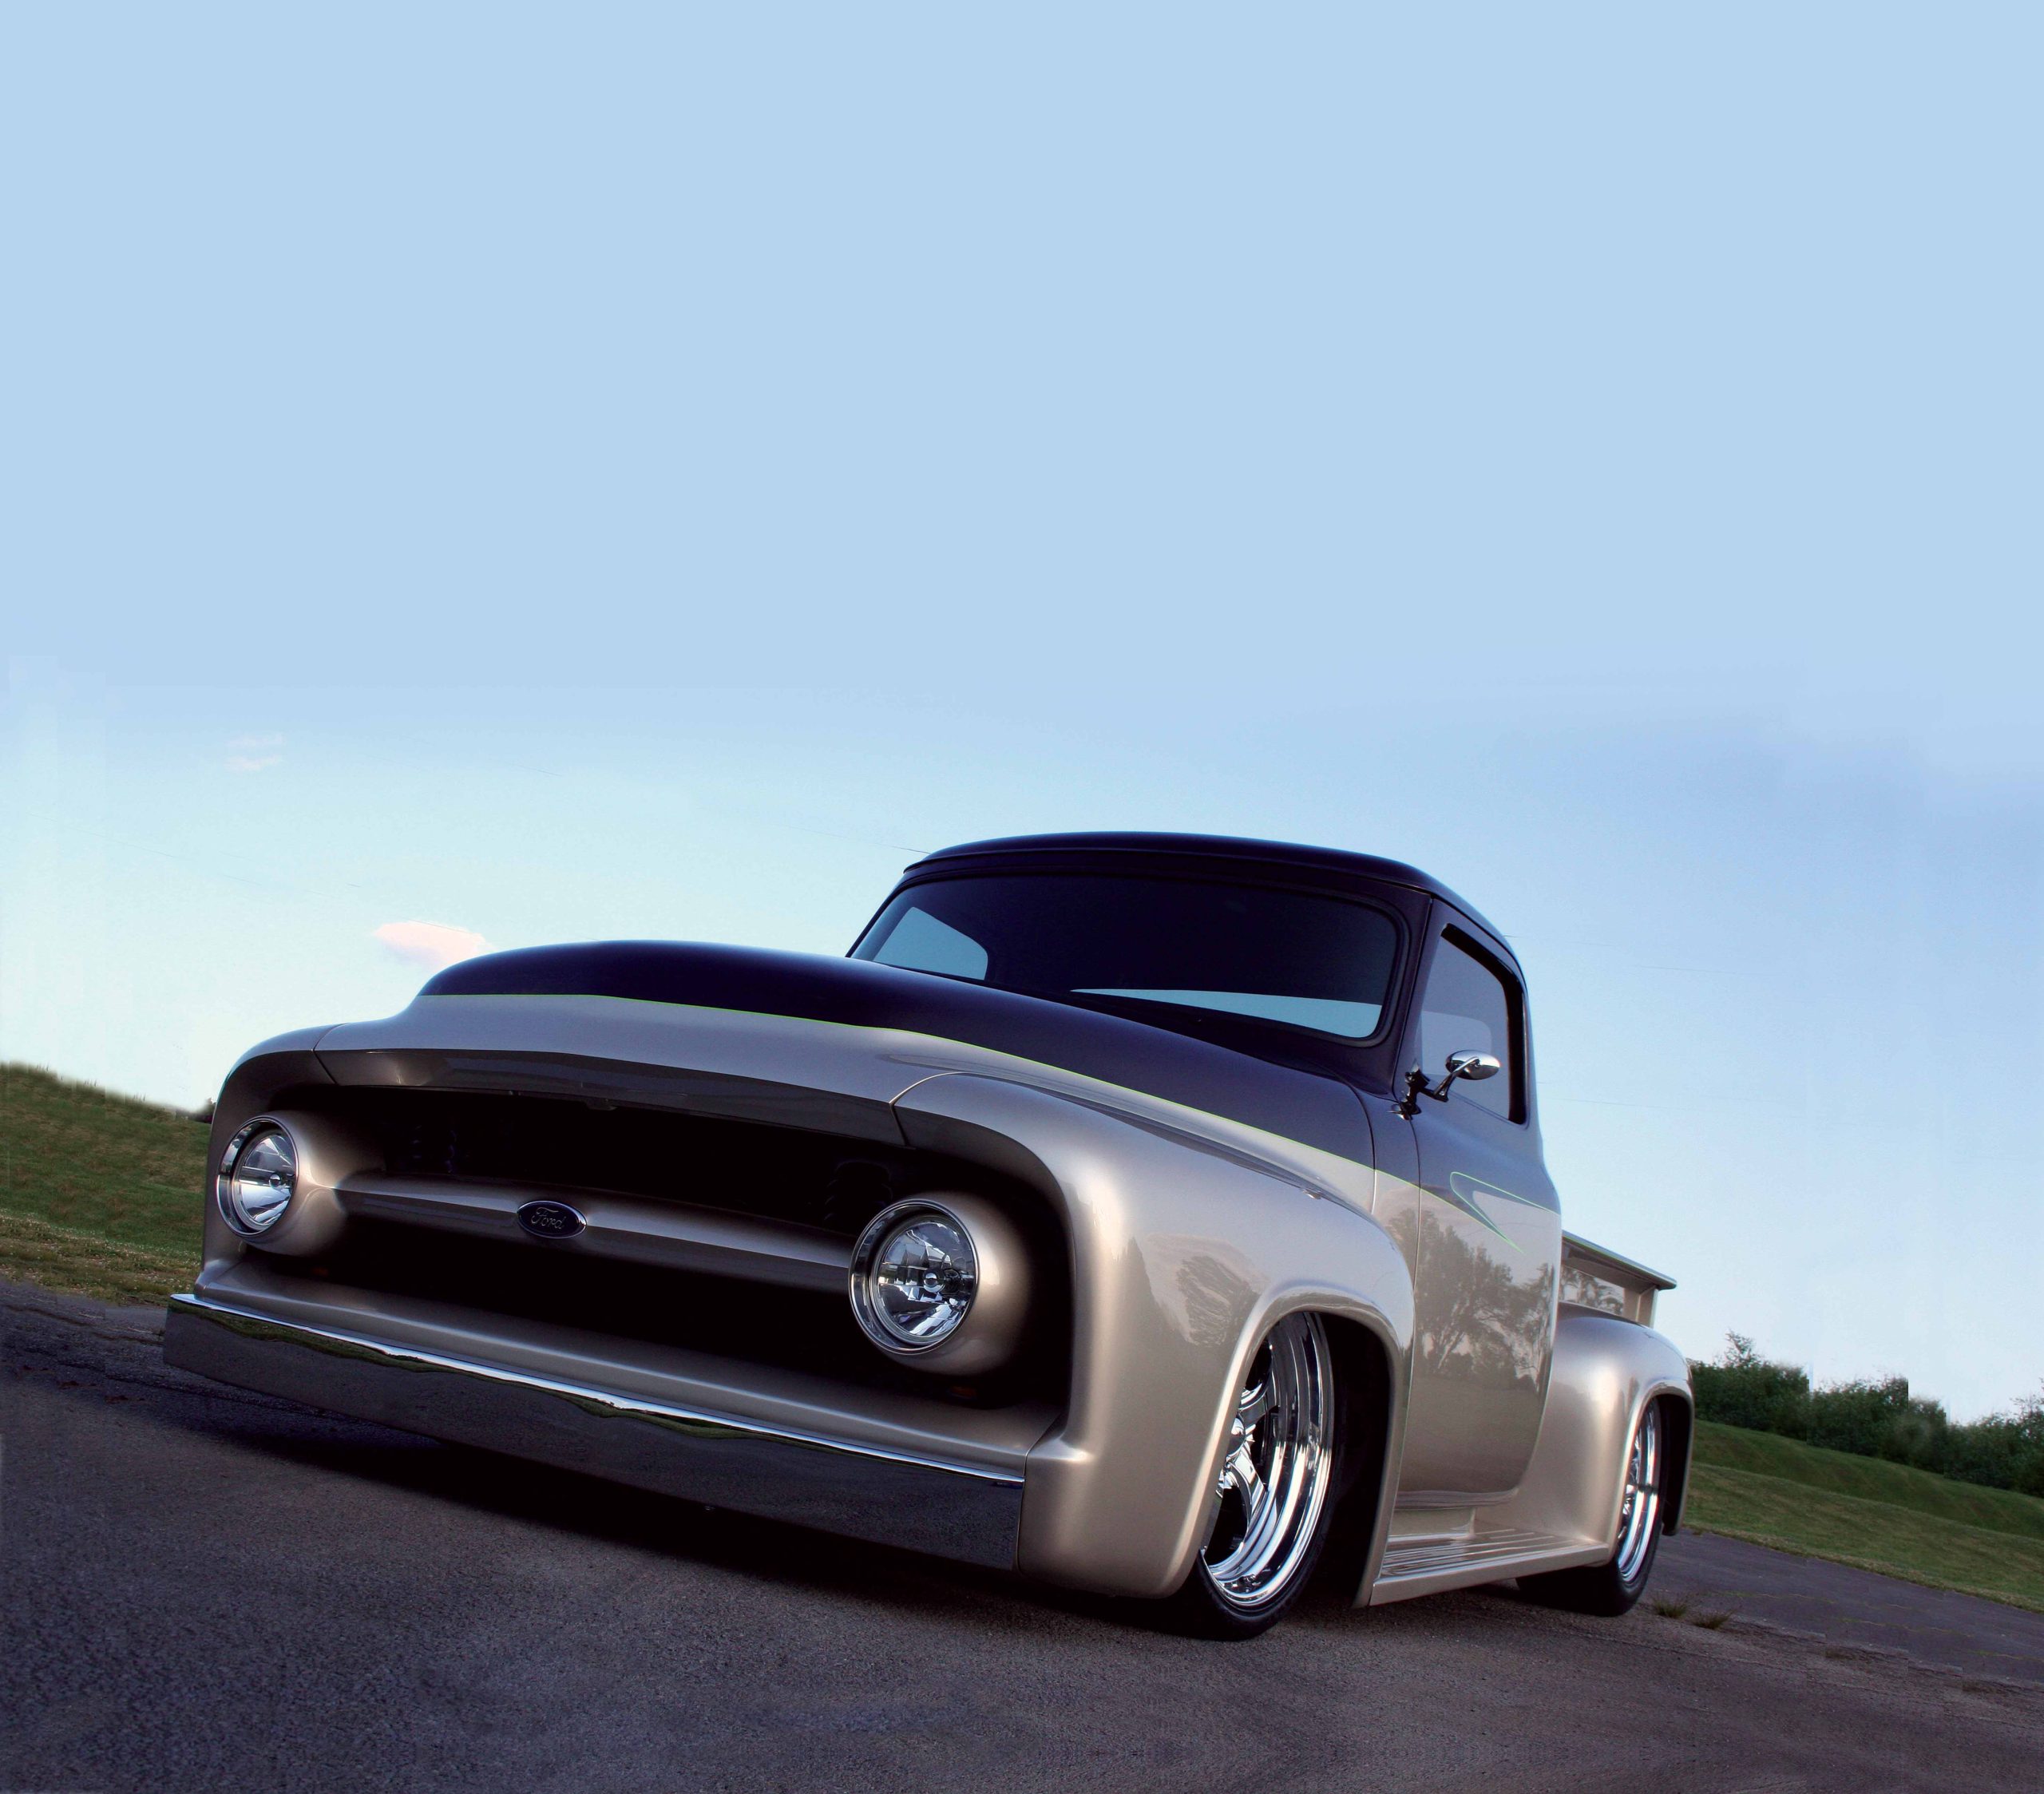
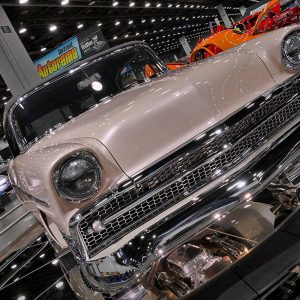
Join Jeff Schwierman in his quest for the prestigious F-100 Truck of the Year award as he breathes new life into a ’53 Ford F-100. From the ground-up build on a Fat Man Fabrications chassis to the powerful Ford Racing 351W engine, every detail of this custom pickup is crafted to perfection. Follow along as Schwierman and his team reshape the classic truck into a true showstopper, setting new standards for classic Ford truck enthusiasts.
0Comments
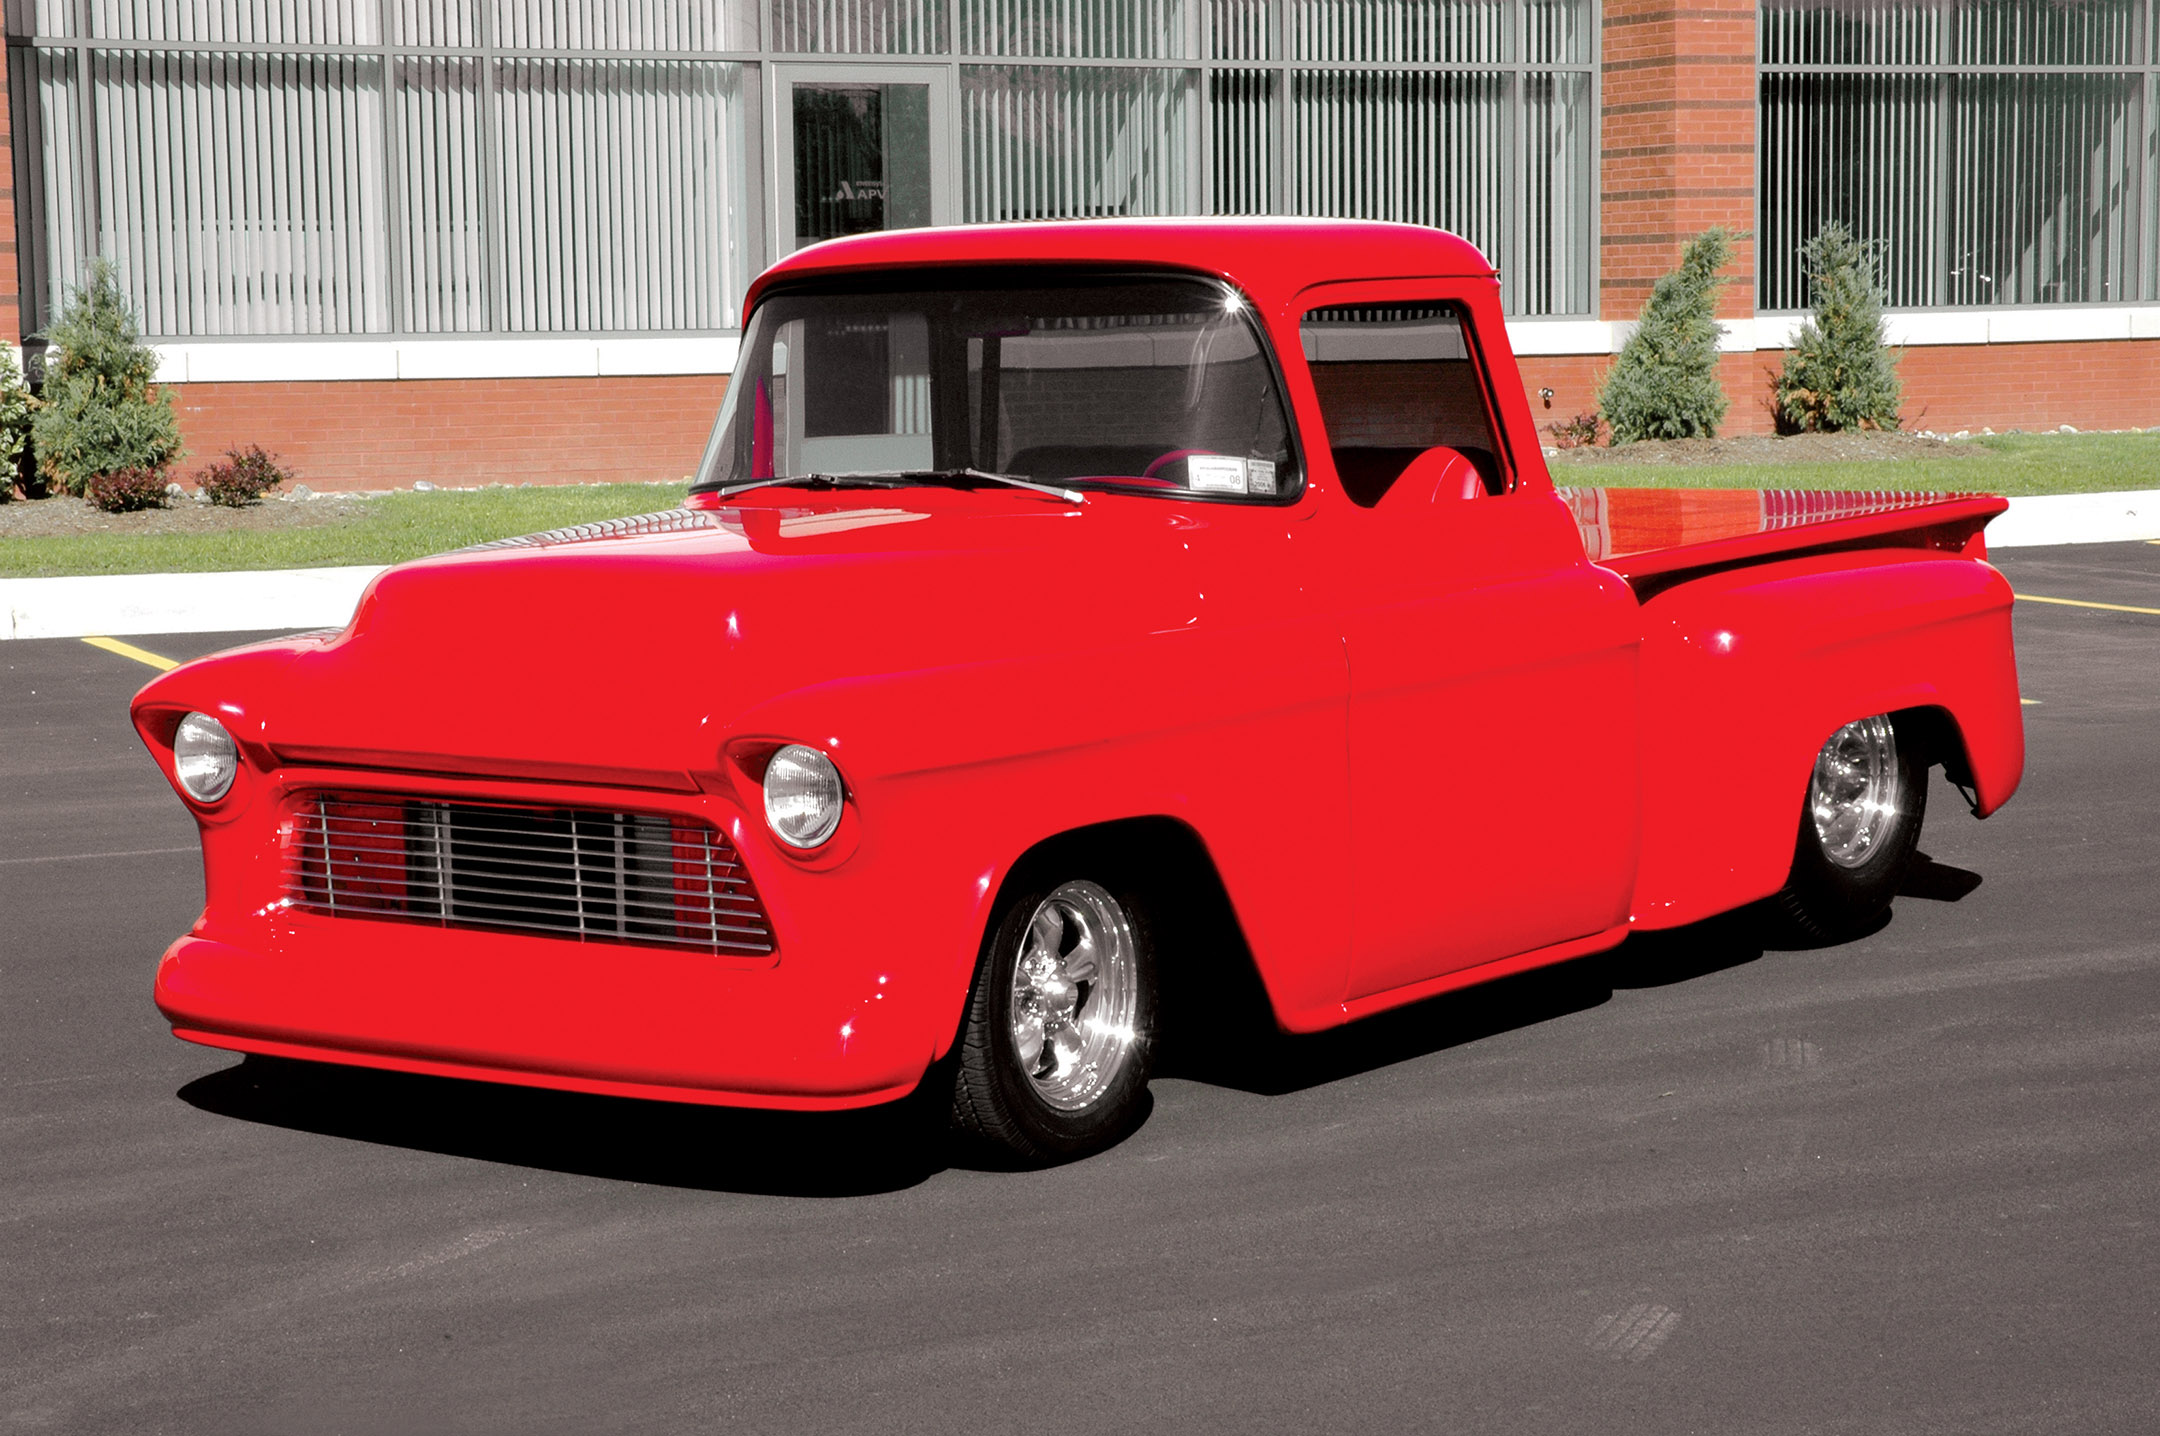
It often takes a serious challenge to test a person’s capabilities. After years of driving a string of performance cars, Terry Short wanted something different sitting in his North Tonawanda, New York, garage. So, he set out and found this ’55 Chevy big-window pickup in an apple orchard. He just knew he had met his challenge.
Terry Short’s ’55 Chevy pickup has a just-right rake, a monochromatic finish on a super-smooth body and a potent big-block Chevy. All these elements combine to make this Hot Rod Red truck a perfect cruising machine. Short’s goal was to build a truck that if you couldn’t see it, then you could certainly hear it coming. Though the roof went unchopped, the remainder of the body was extensively reworked and is devoid of chrome accessories.
0Comments
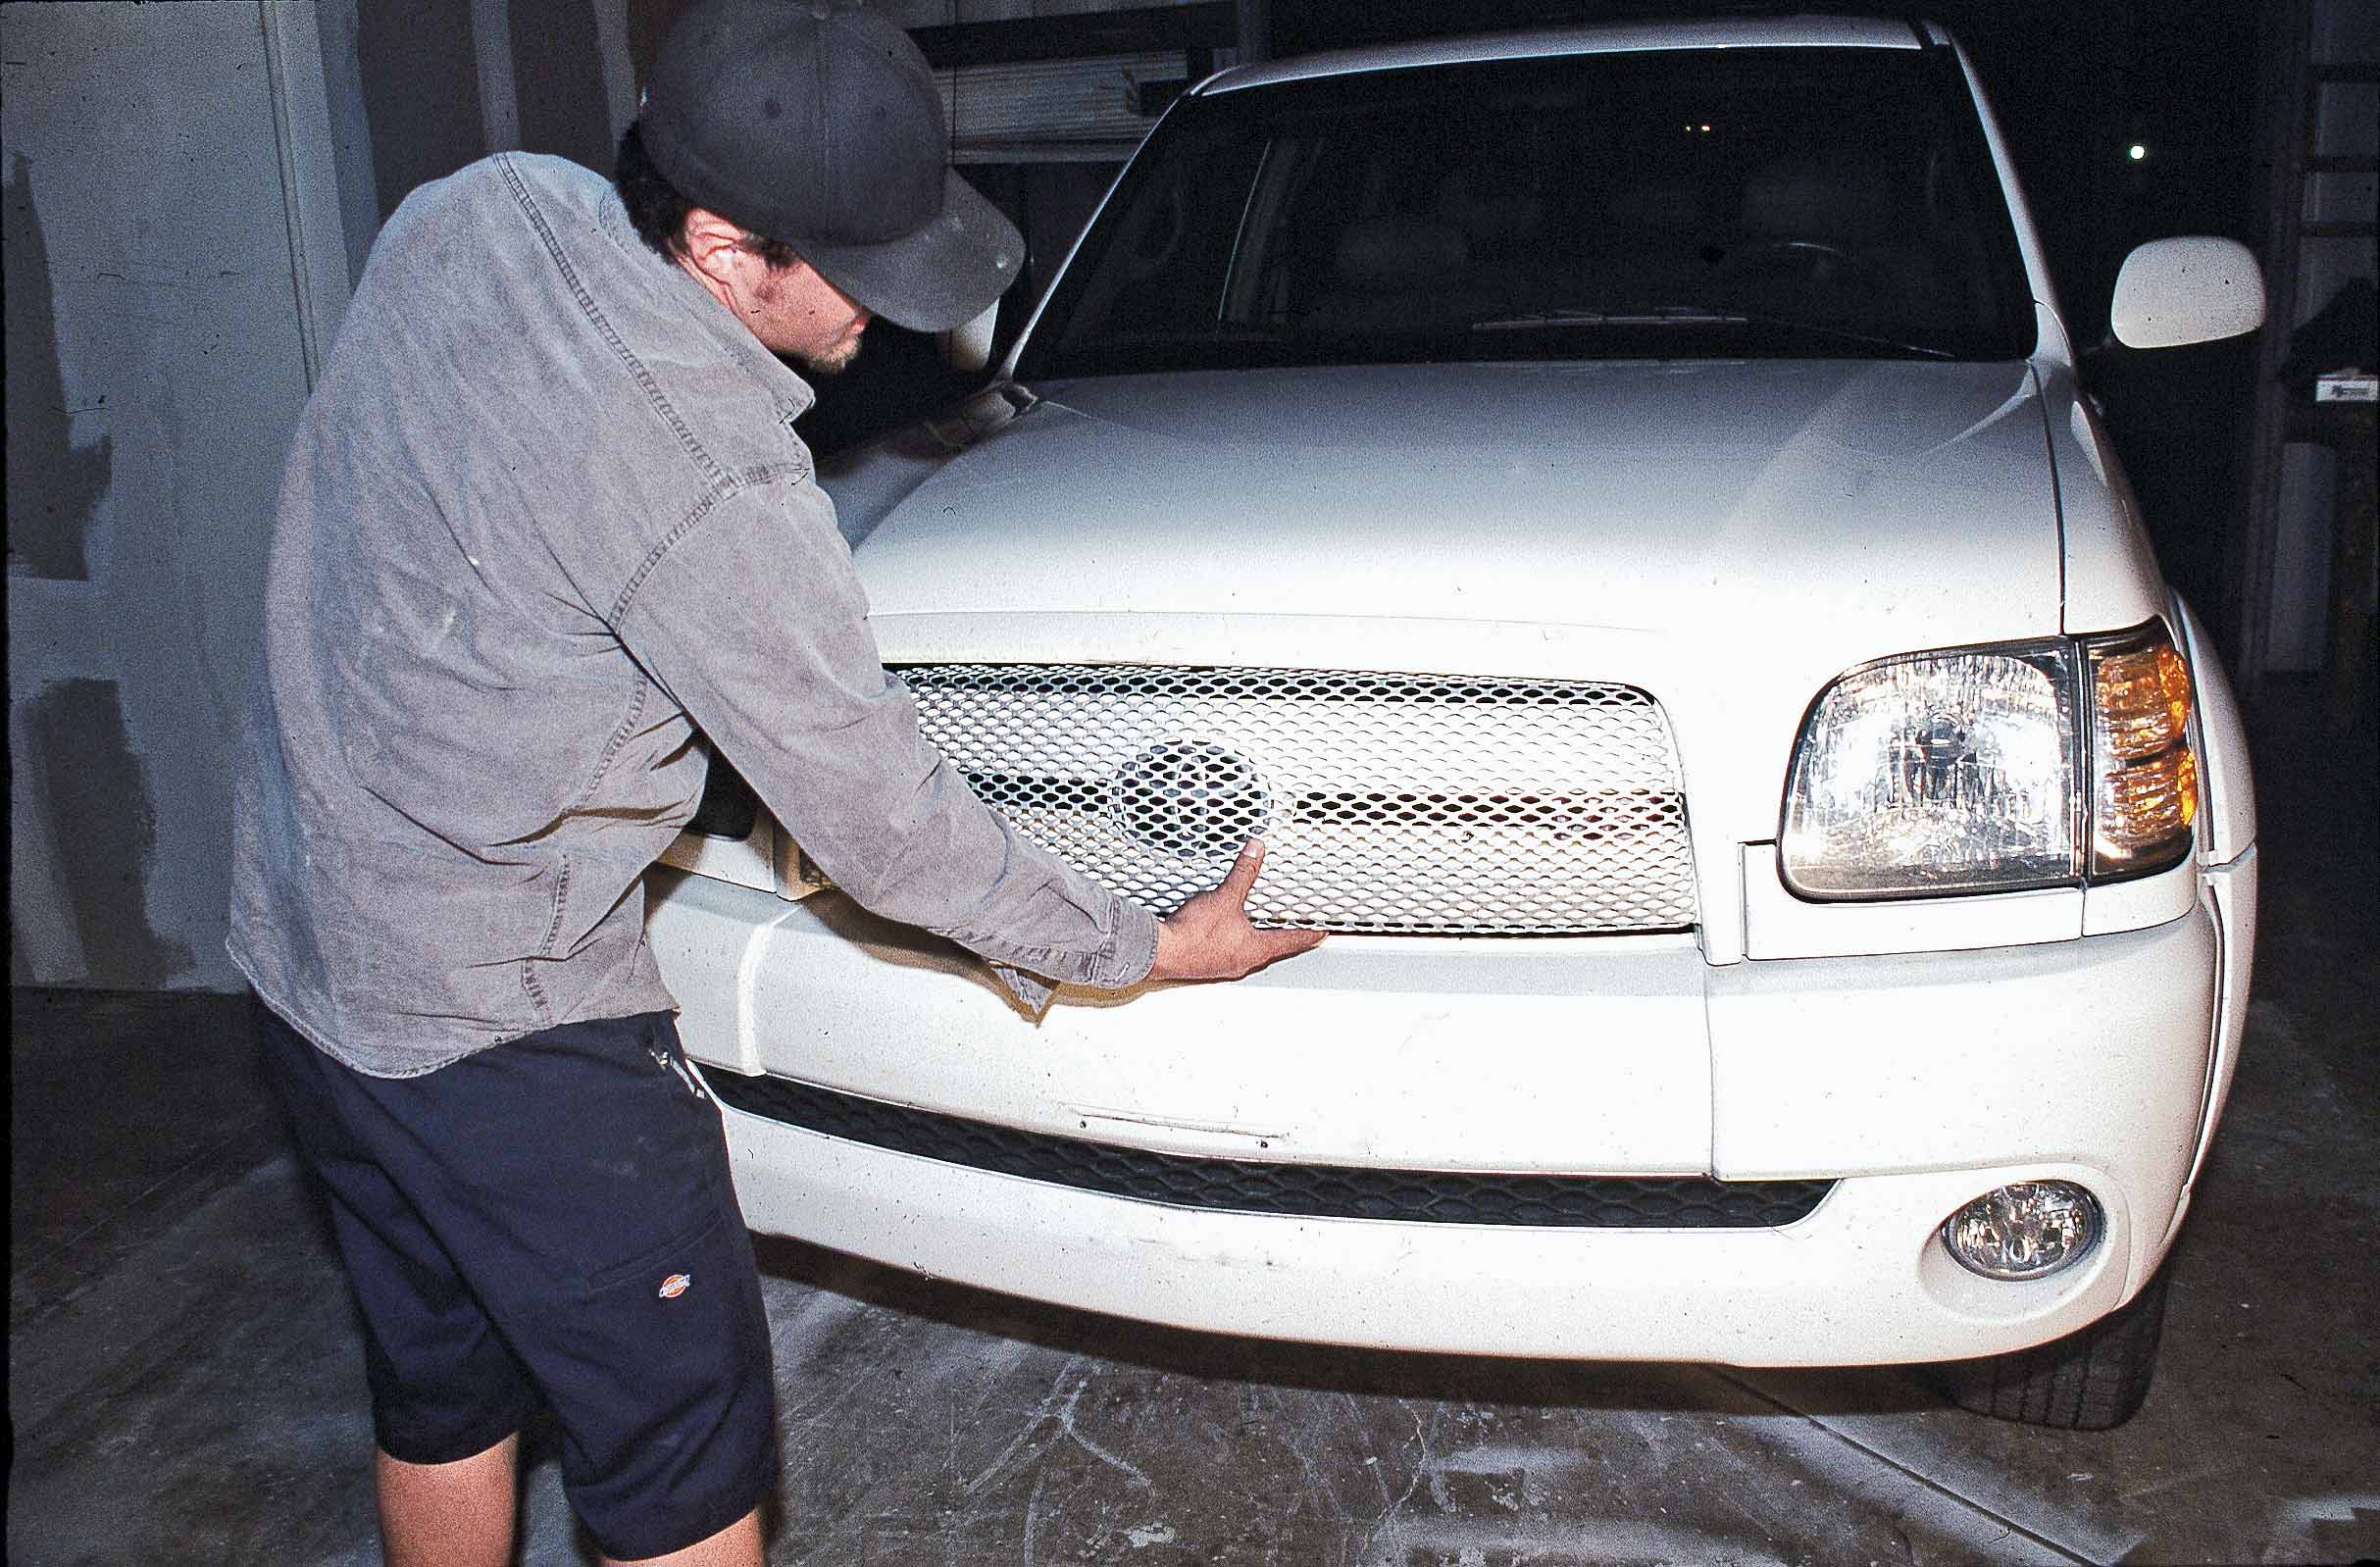
Join installer Eric Leopold as he meticulously upgrades a white ’04 Tundra with a Street Scene (SS) Speed Grille. Follow along as he navigates the challenges, highlighting the careful process of installation, and witness the transformation of this well-converted street truck in Atascadero, California. Discover the ‘rightest’ way to upgrade with precision and attention to detail in this step-by-step showcase. Photos included for a closer look at the seamless transformation.
0Comments

Now, it may seem crazy that anyone would take sandpaper to a new paint job, but if you want to have a glass-like finish that is exactly what happens. Of course, it is special sandpaper, and the person doing the work needs to know exactly what he is doing or that paint job can be toast. One of the things that makes color sanding possible is that the paper used is meant to be wet while the job is taking place. The water not only works as a lubricant, but it also removes the fine paint sludge from the area. The problem is getting that water in the proper place and having enough of it to do the job. After all, who really likes sticking his arm into a cold bucket of water time after time?
0Comments
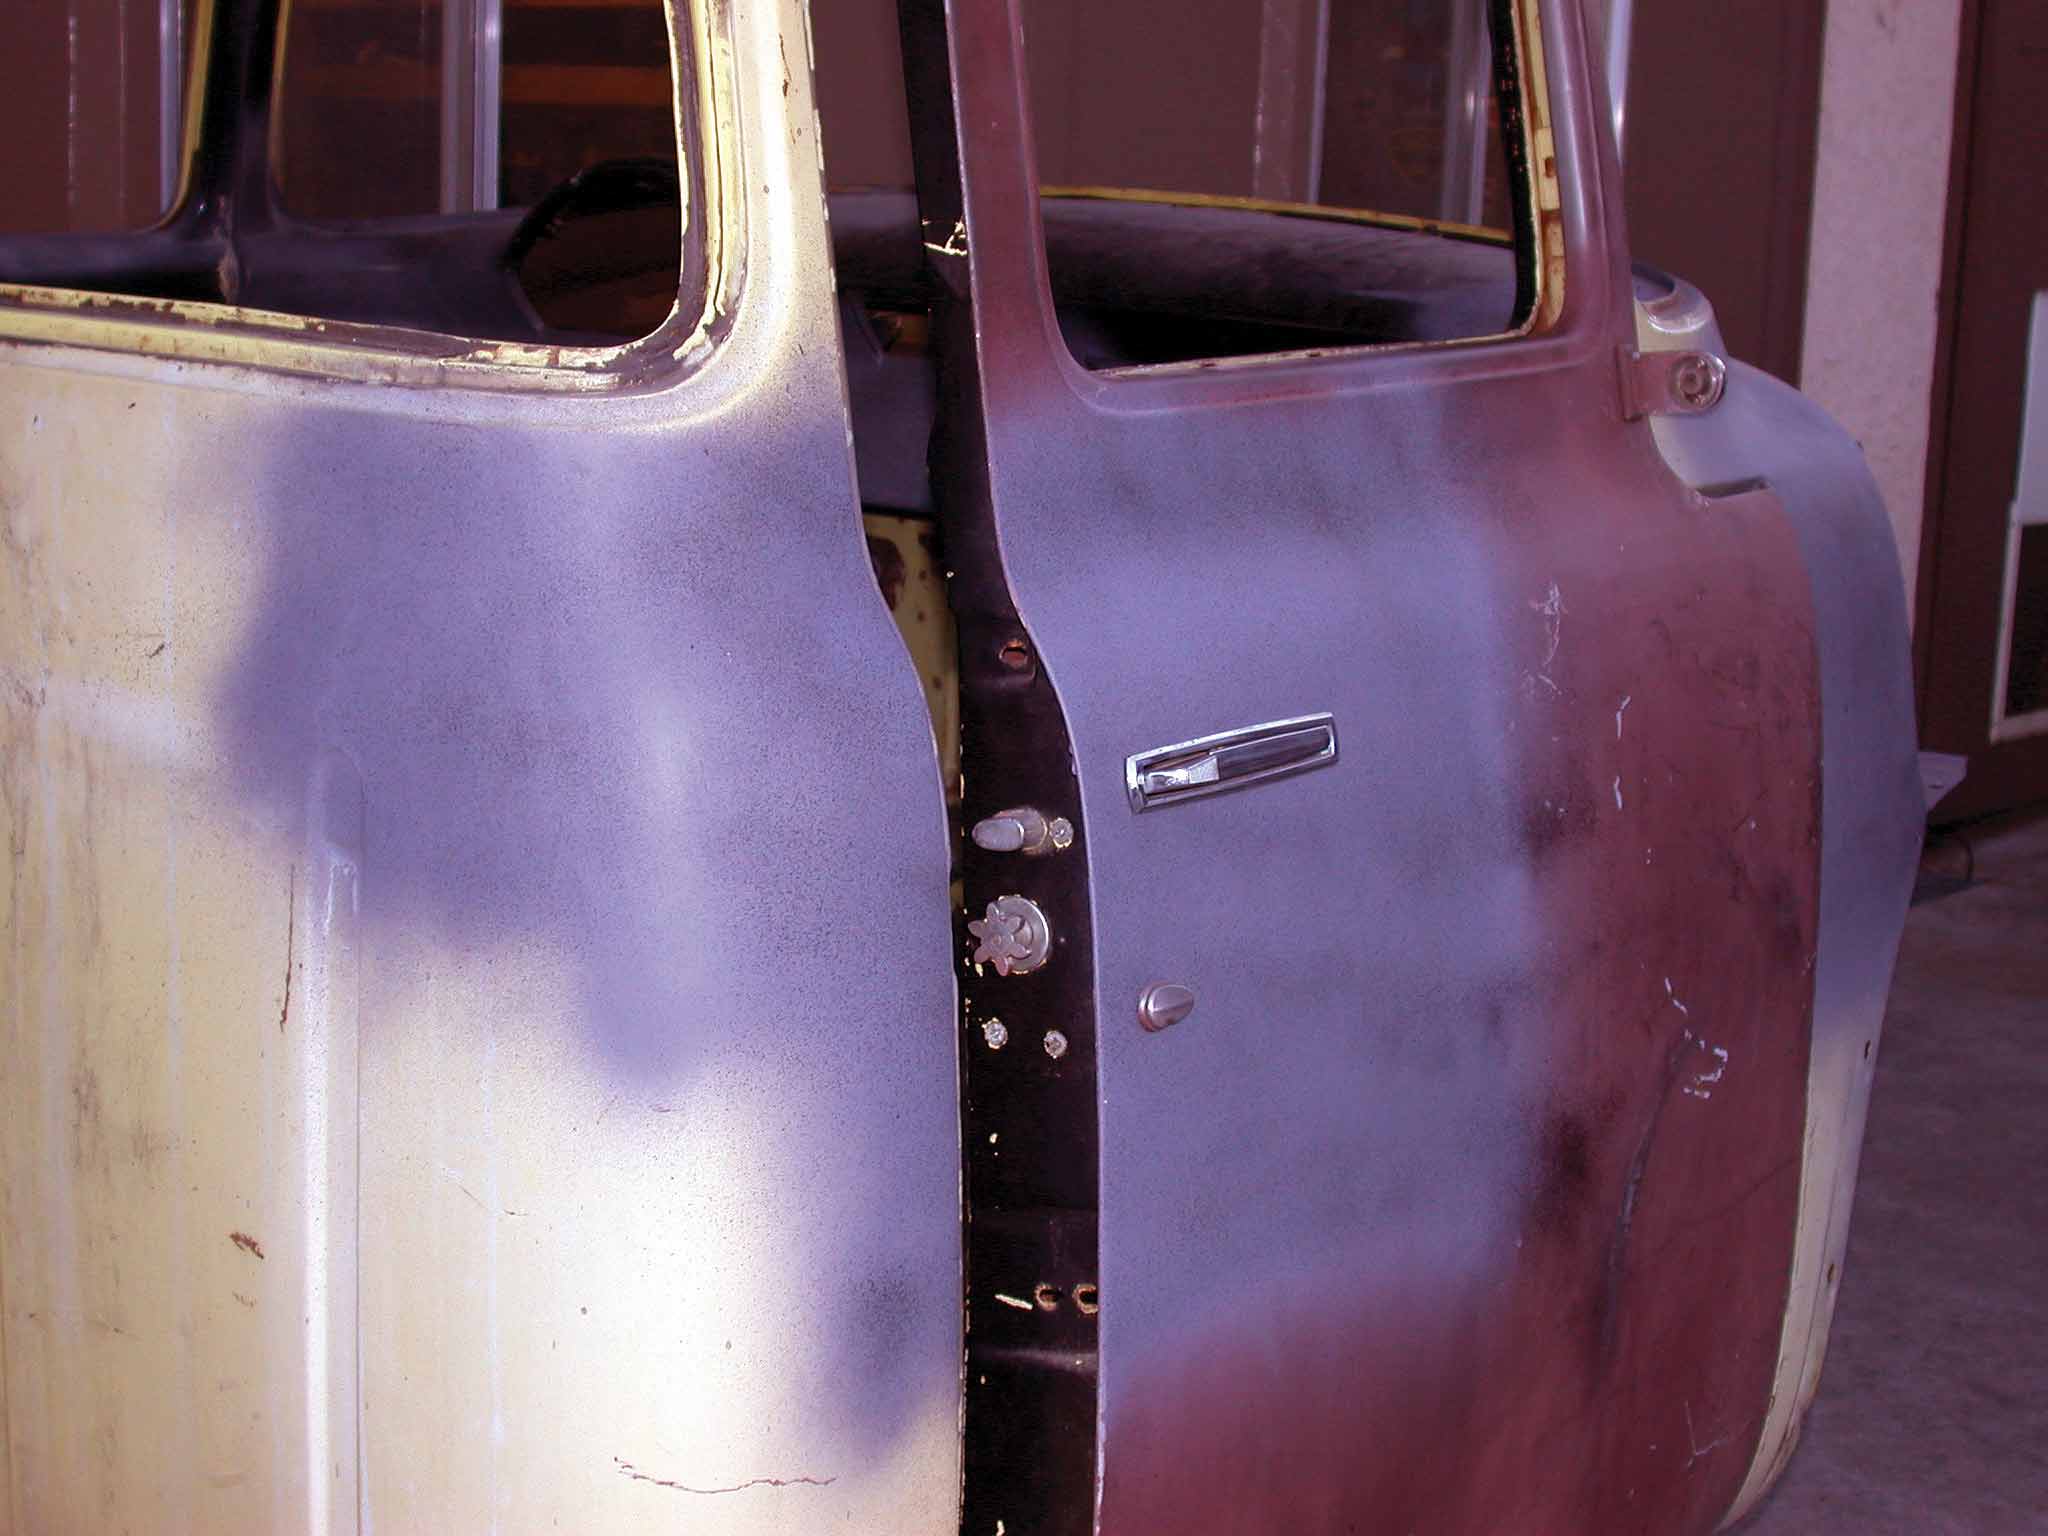
Before the advent of the “smoothie look,” people were slicking down the lines of their cars and trucks in numerous ways, and shaving door handles was one of the more popular mods. Today the trend is to fit later-model door handles rather than no door handles at all. This still provides a simple way to clean up your vehicle with very little effort, yet retains the convenience of manually opening the door. If you have the patience, talent and imagination, you can borrow the parts from a donor car or truck and fit them to your own project, thereby achieving a cool, smooth look that will be unique to your vehicle.
0Comments
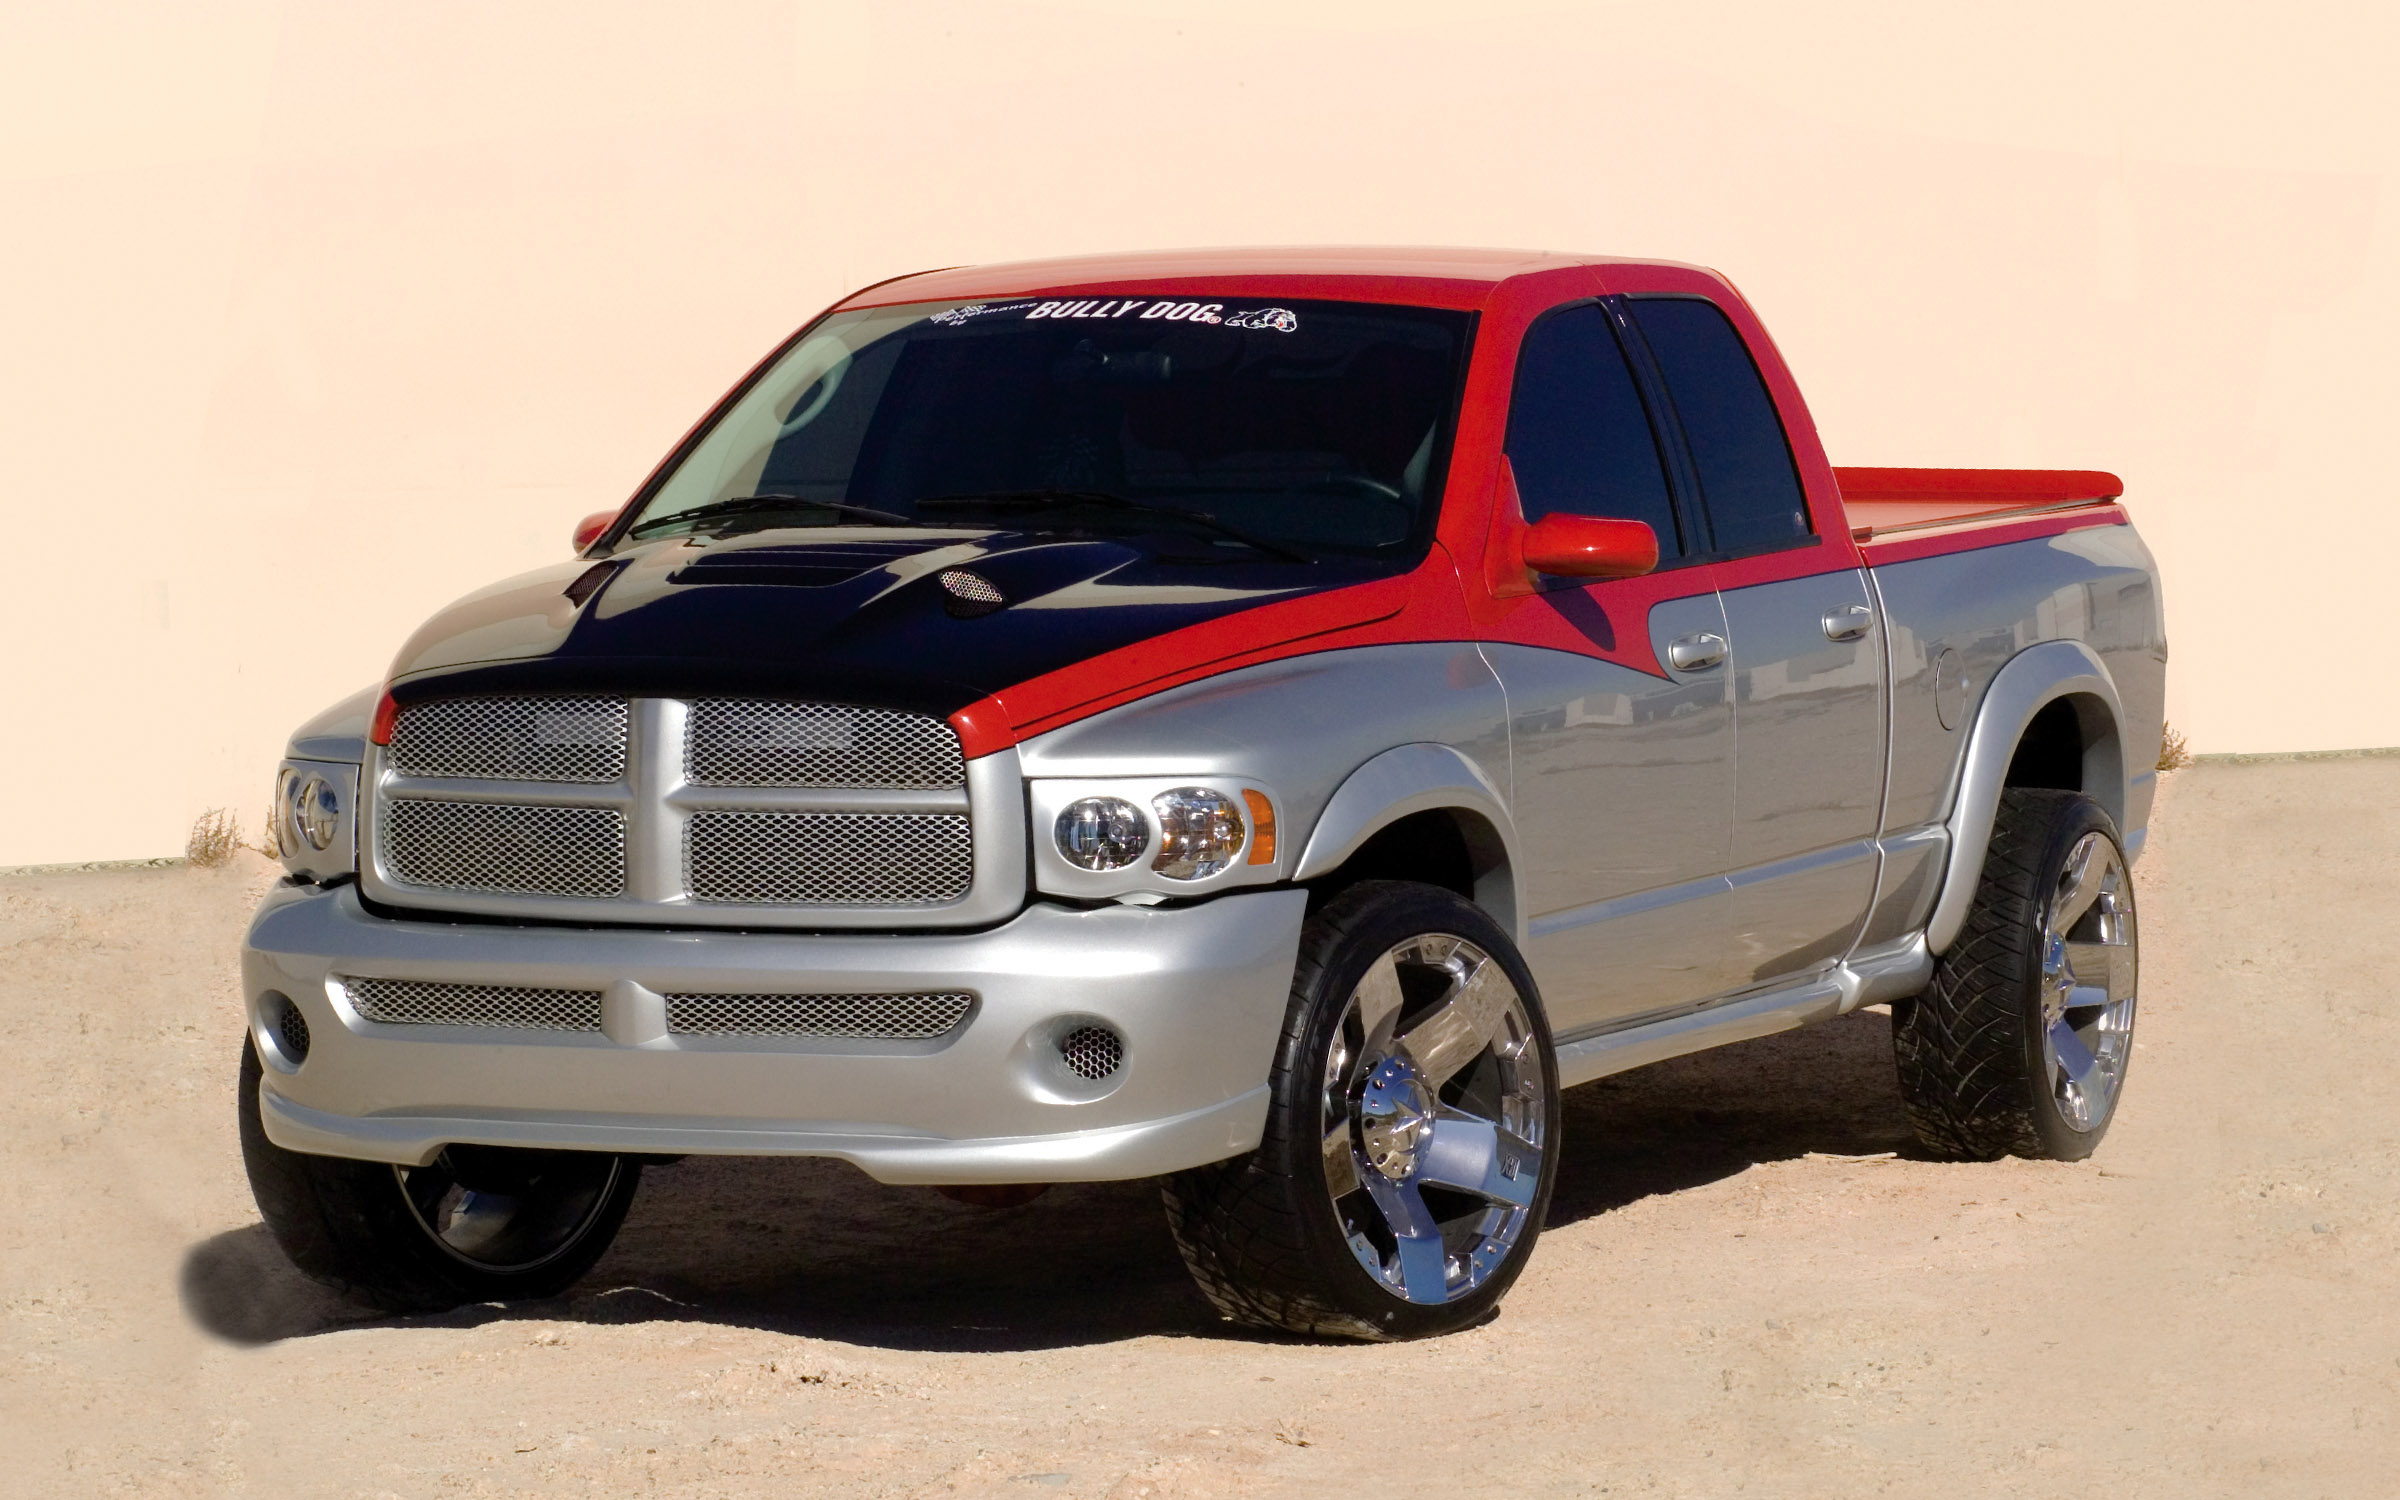
Bully Dog Technologies, located in Aberdeen, Idaho, designs and develops some great bolt-on power products for the diesel aftermarket. Creating these pieces involves literally hundreds of hours in R&D and design work with some of the brightest engineers and technicians around. But, as you can imagine, it’s fun work.
0Comments
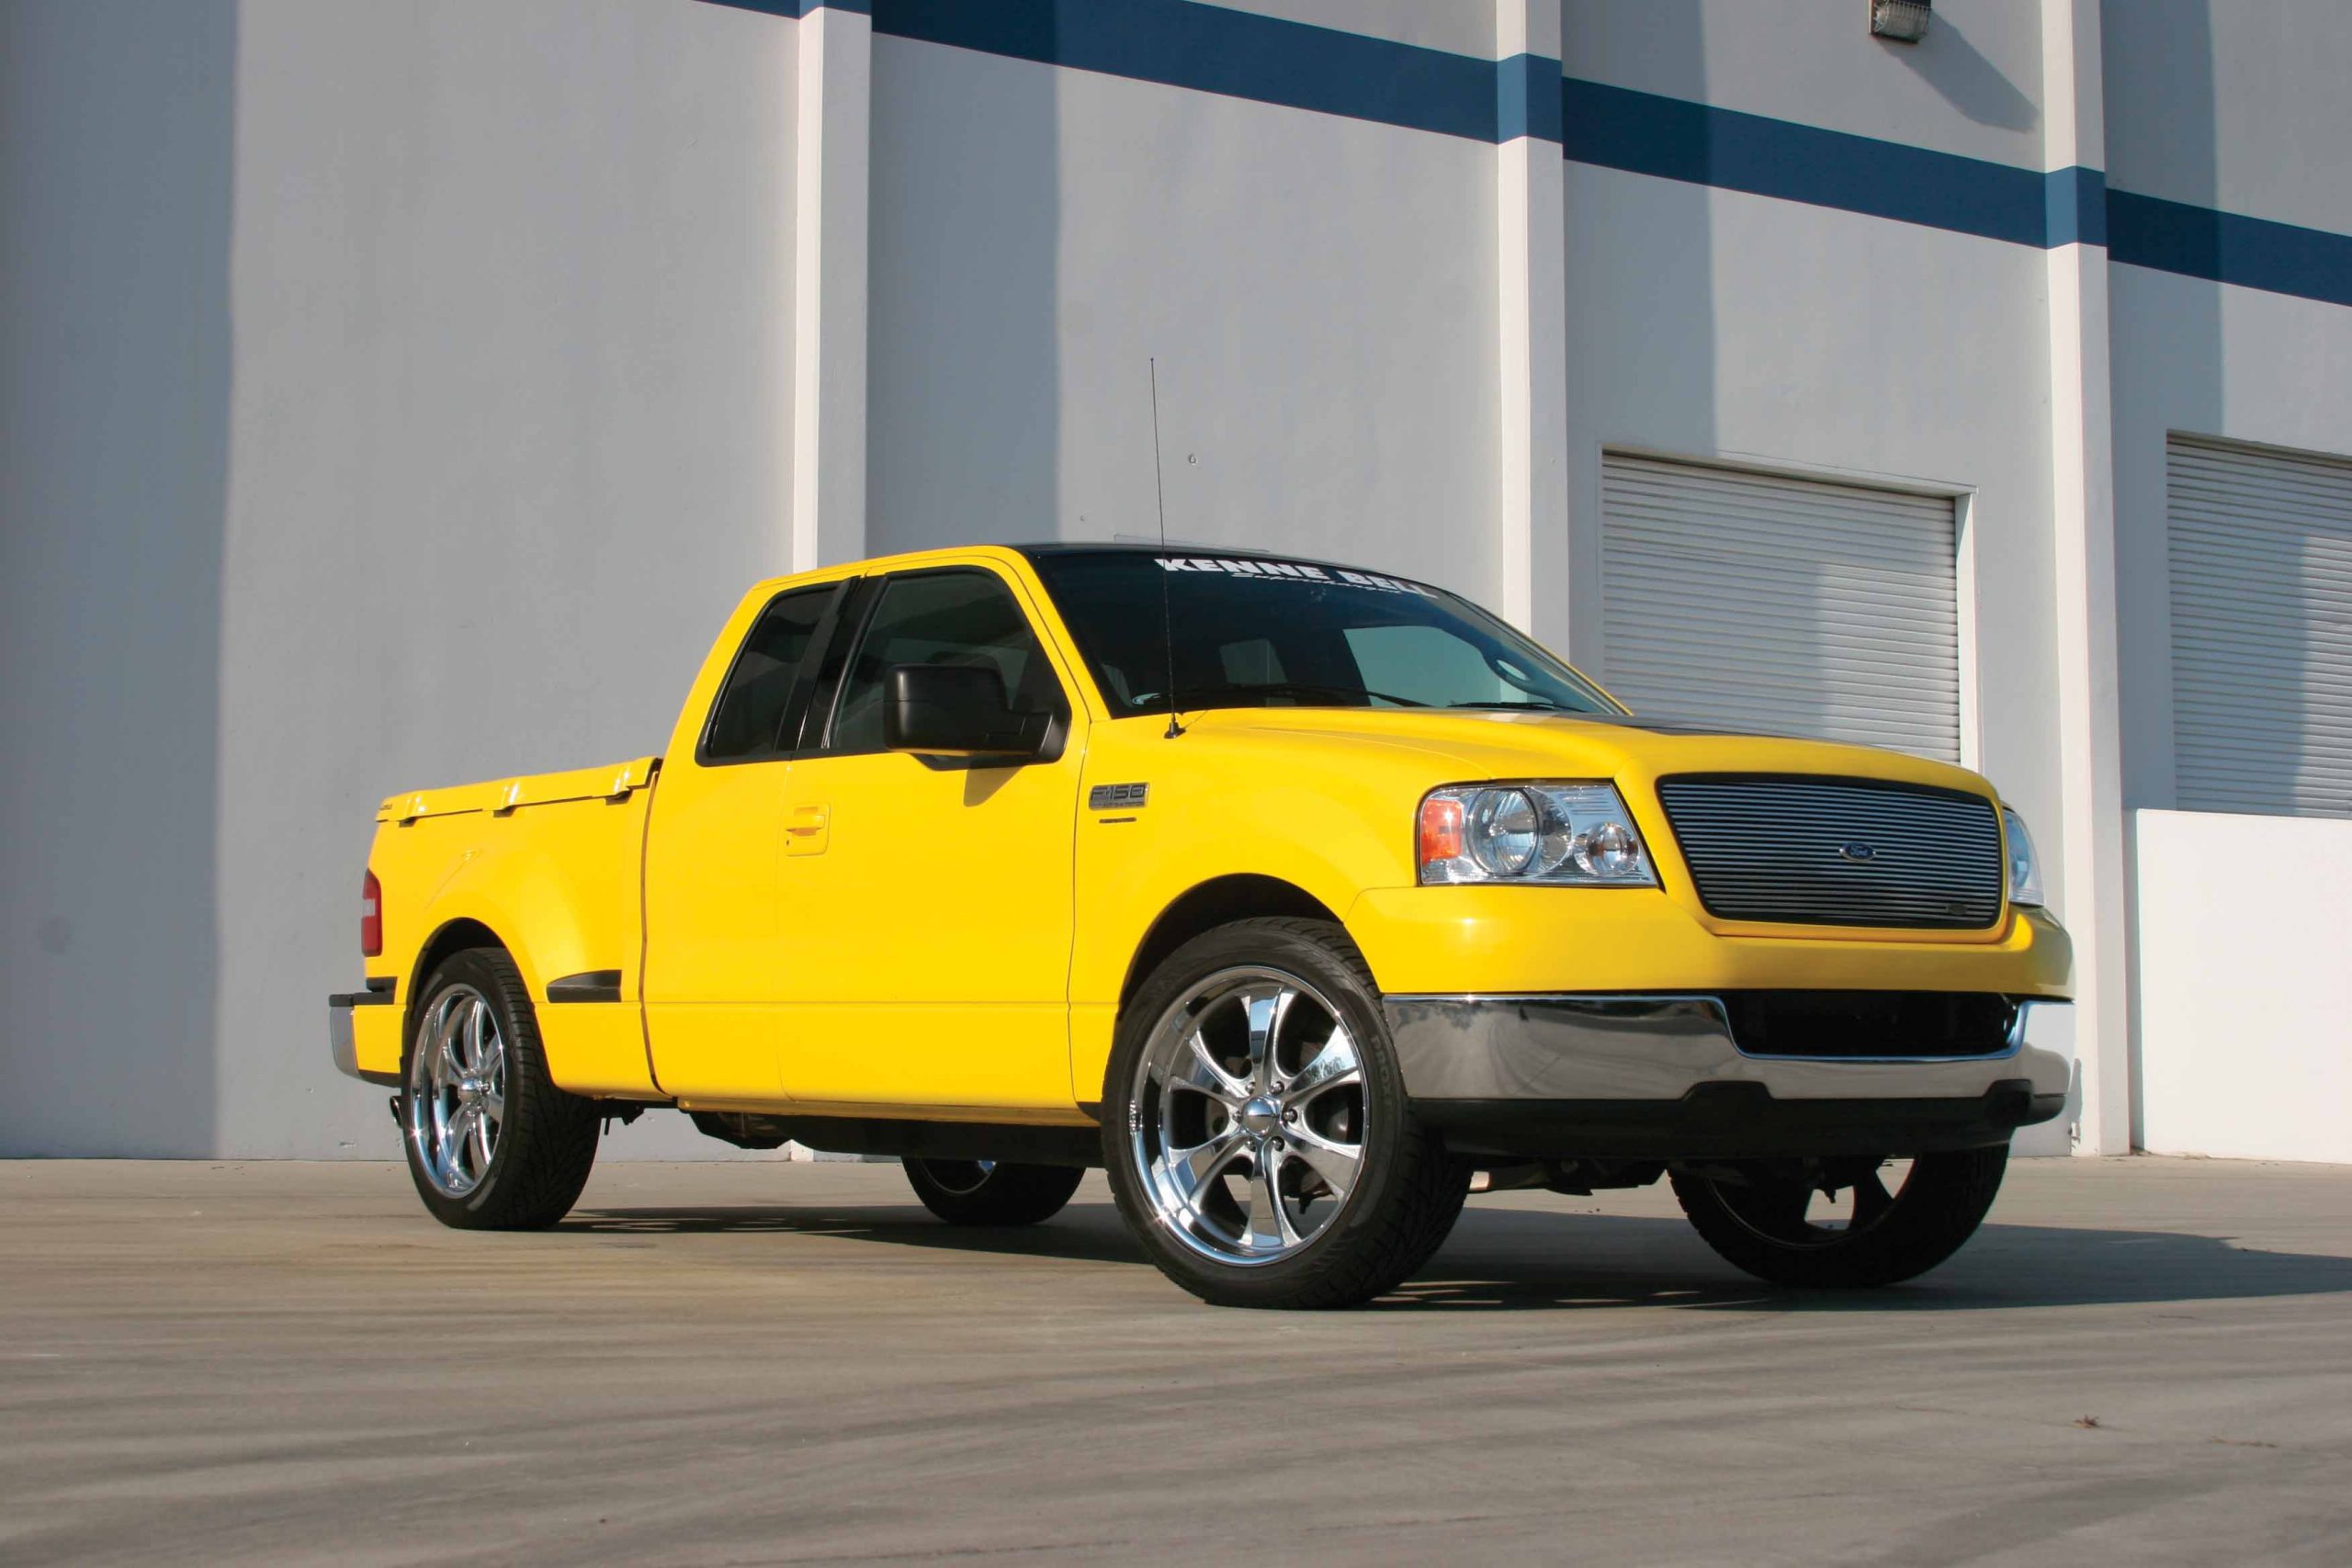
Is it us, or does it seem that Jim Bell and his crew at Kenne Bell turn out hot trucks at truly astounding rates? In the past, they have built such a wide variety of trucks and SUVs that it’s hard to count them all. But when you consider all their other projects, such as their ’05 Mustang, the ’04 Focus and the ’04 Escape, it seems they have been busier than a one-armed paper hanger (whatever that means). One of their latest projects is this ’04 Ford F-150. As with most all of the other Kenne Bell projects, it started out as a new vehicle and was destined to be displayed in its SEMA booth.
0Comments
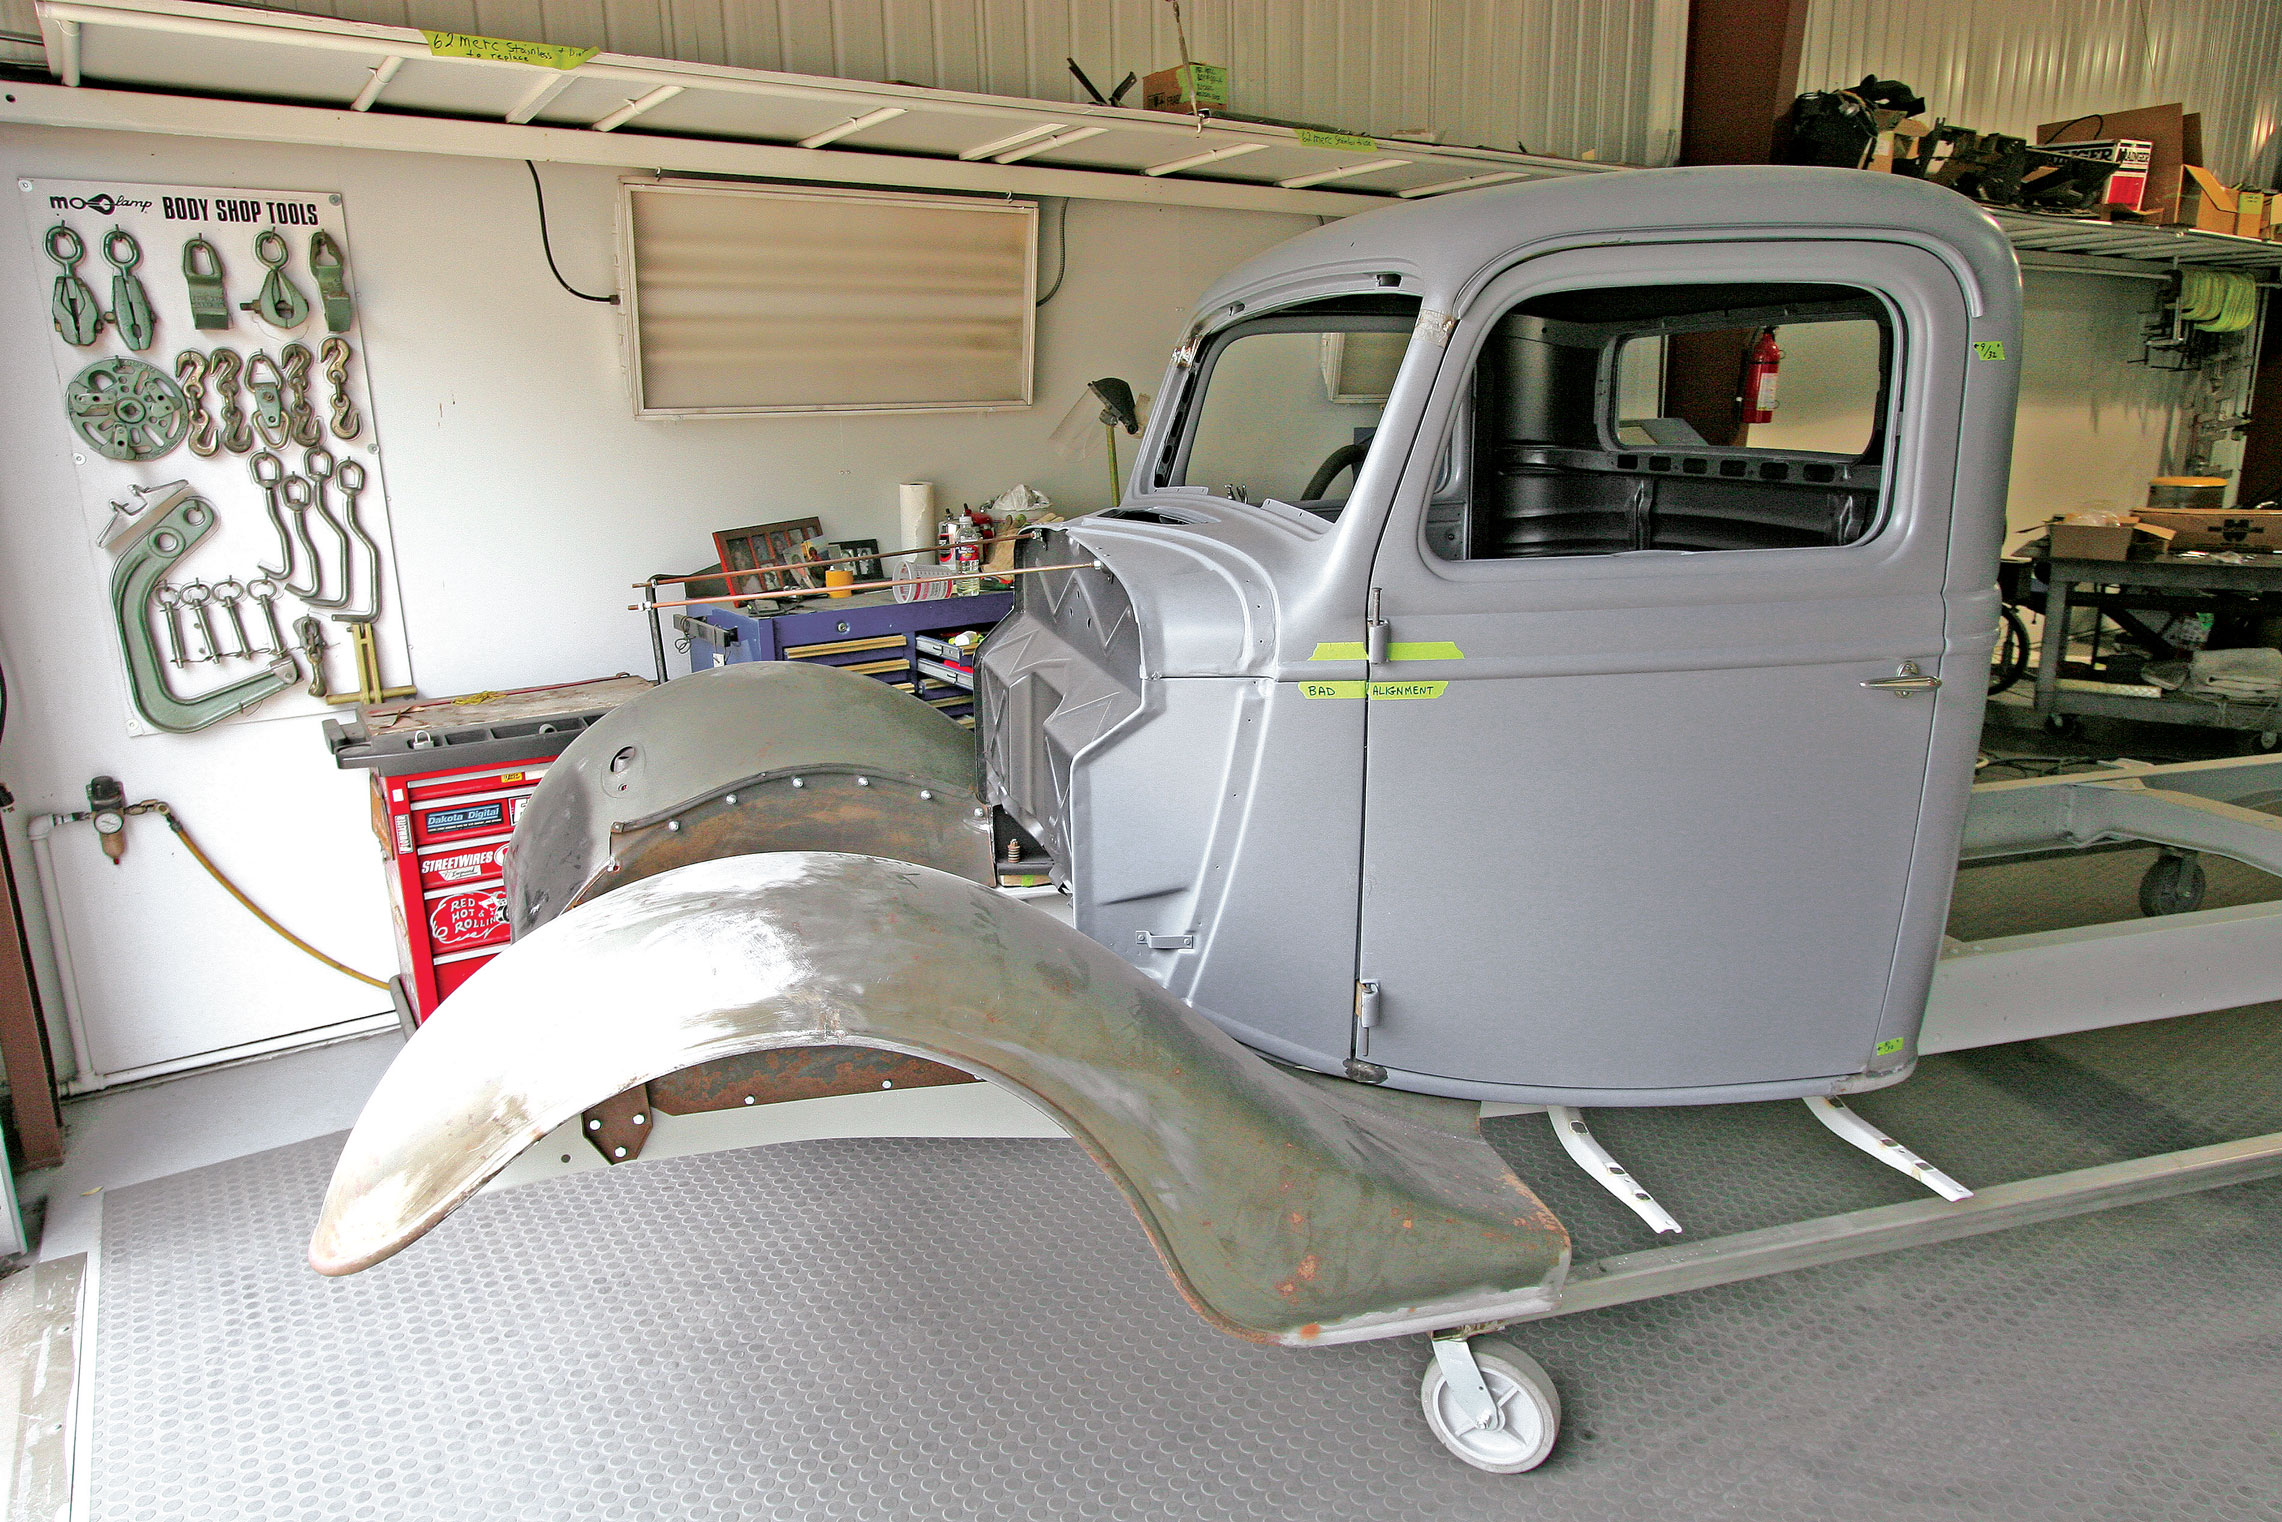
Pickup trucks from the ’30s were never meant to be high-quality hot rods, but several builders, including Jeff Lilly Restorations, are ready to change that theory. Lots of beater trucks are being built and driven frequently, and it’s great to see some of the cool ideas that come from these old farm or service trucks. Pickups are hot right now, and while some rodders are using low-gloss paint for their final coatings, many opt for a super-slick appearance with precision gaps and laser-straight panels.
