


Trucks

In the summer of 1977, a young couple expecting a son decided to purchase a new family vehicle, one that would provide ample room, safety and the ability to handle their love of camping and the outdoors. After deciding on a Chevrolet, the couple headed out and purchased a new ’78 two-wheel-drive Blazer from a dealer in Knoxville, Tennessee. Optioned out nicely for the time, the Blazer was equipped with A/C, a 400-inch small block, an automatic transmission, power disc brakes and a factory tach-equipped instrument cluster.
After driving the Blazer for several years, the couple decided to present it to their son, Travis Griffin, as a 16th birthday present. He drove the Blazer to and from high school, and then was given the opportunity to have the Blazer painted for graduation.
0Comments
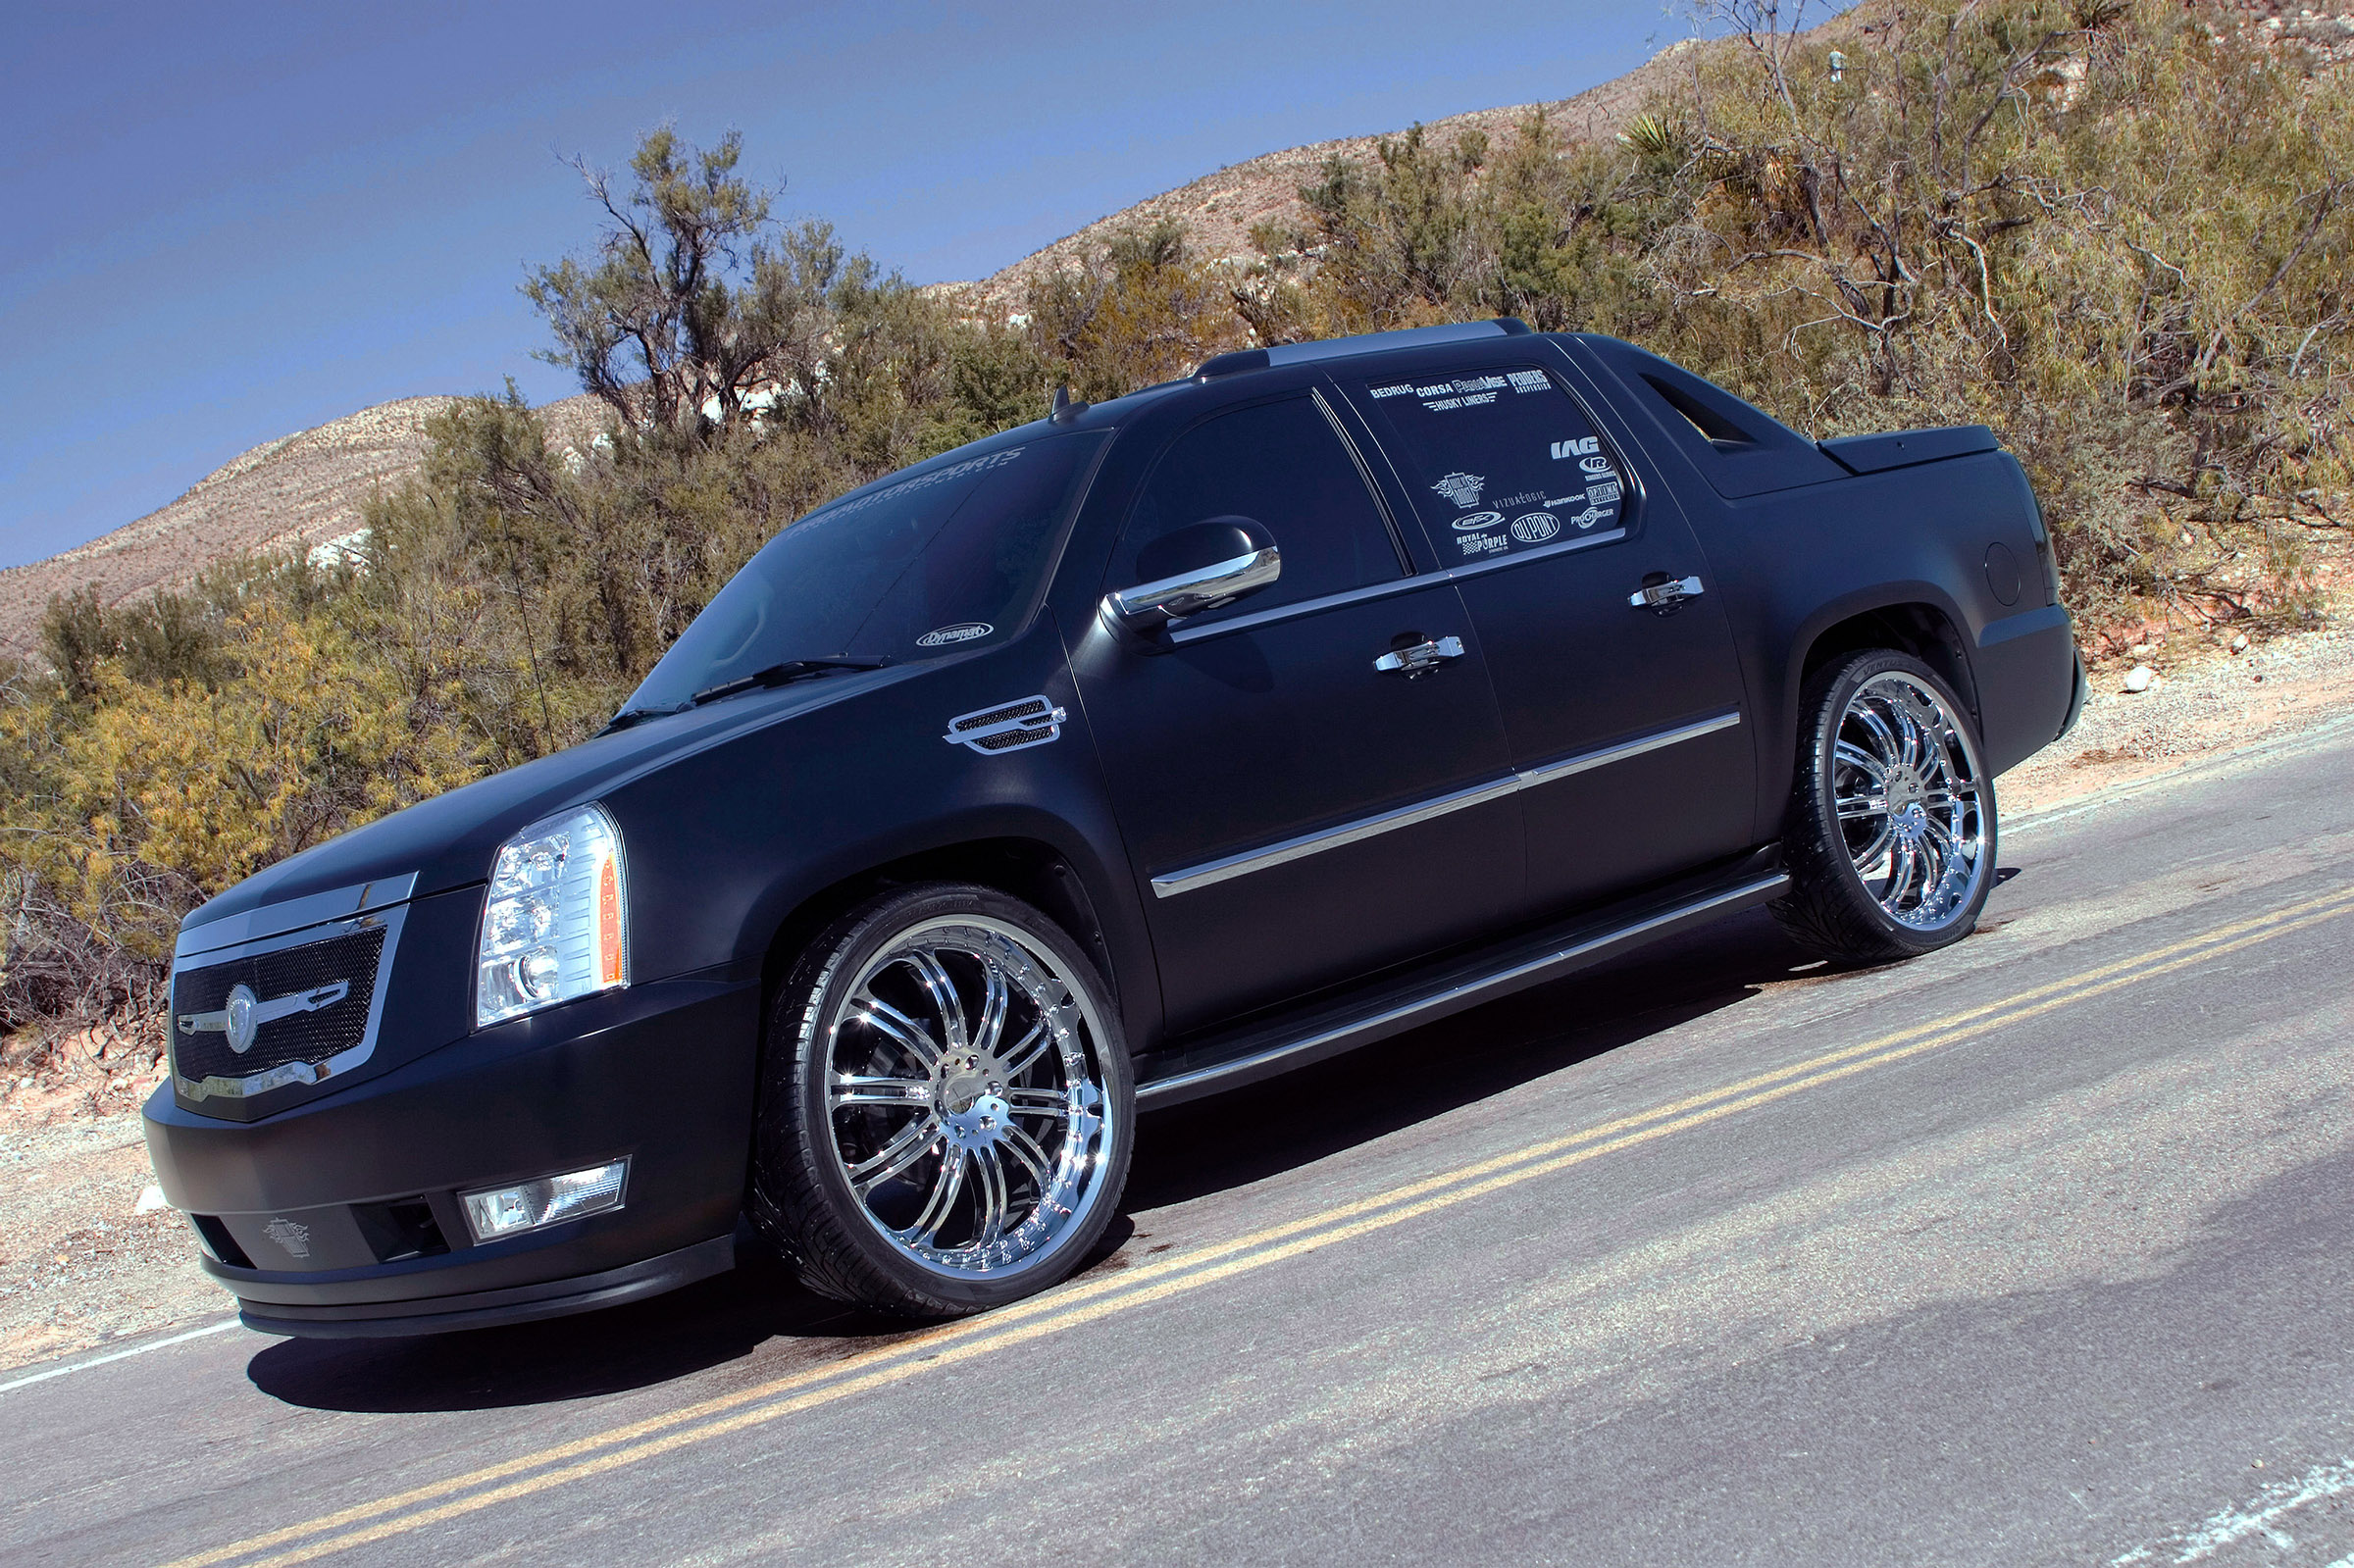
Building a cool new truck to show off at SEMA is nothing new for Jim Lewis and his team at ProMotorsports in Edmond, Oklahoma, as that’s what they do. This stunning new ’07 Cadillac Escalade EXT is their most recent creation. Like so many other enthusiasts, Lewis used the latest generation Escalade because it was an immediate hit, especially among the urban lifestyle crowd, so team ProMotorsports thought one would make a great representative demo vehicle for their shop. Billy Lewis came up with the flat black concept, with tons of chrome and polished metal to contrast the flatness of the finish. While the paint may be the first item that attracts you to this truck, the crew at ProMotorsports actually started the build underneath it all by increasing the performance of the Escalade.
0Comments
America’s love for the automobile has been evident and strong from day one, ever since the first horseless carriage rolled off the assembly line some 100-plus years ago. The fascination was slow at first for these virtually handmade motorized contraptions, but once they reached production, and Henry Ford made it feasible for anyone to own one, the automobile has helped shape our economy and has influenced the way we live our daily lives. Today, it’s hard to think of life without it.
0Comments
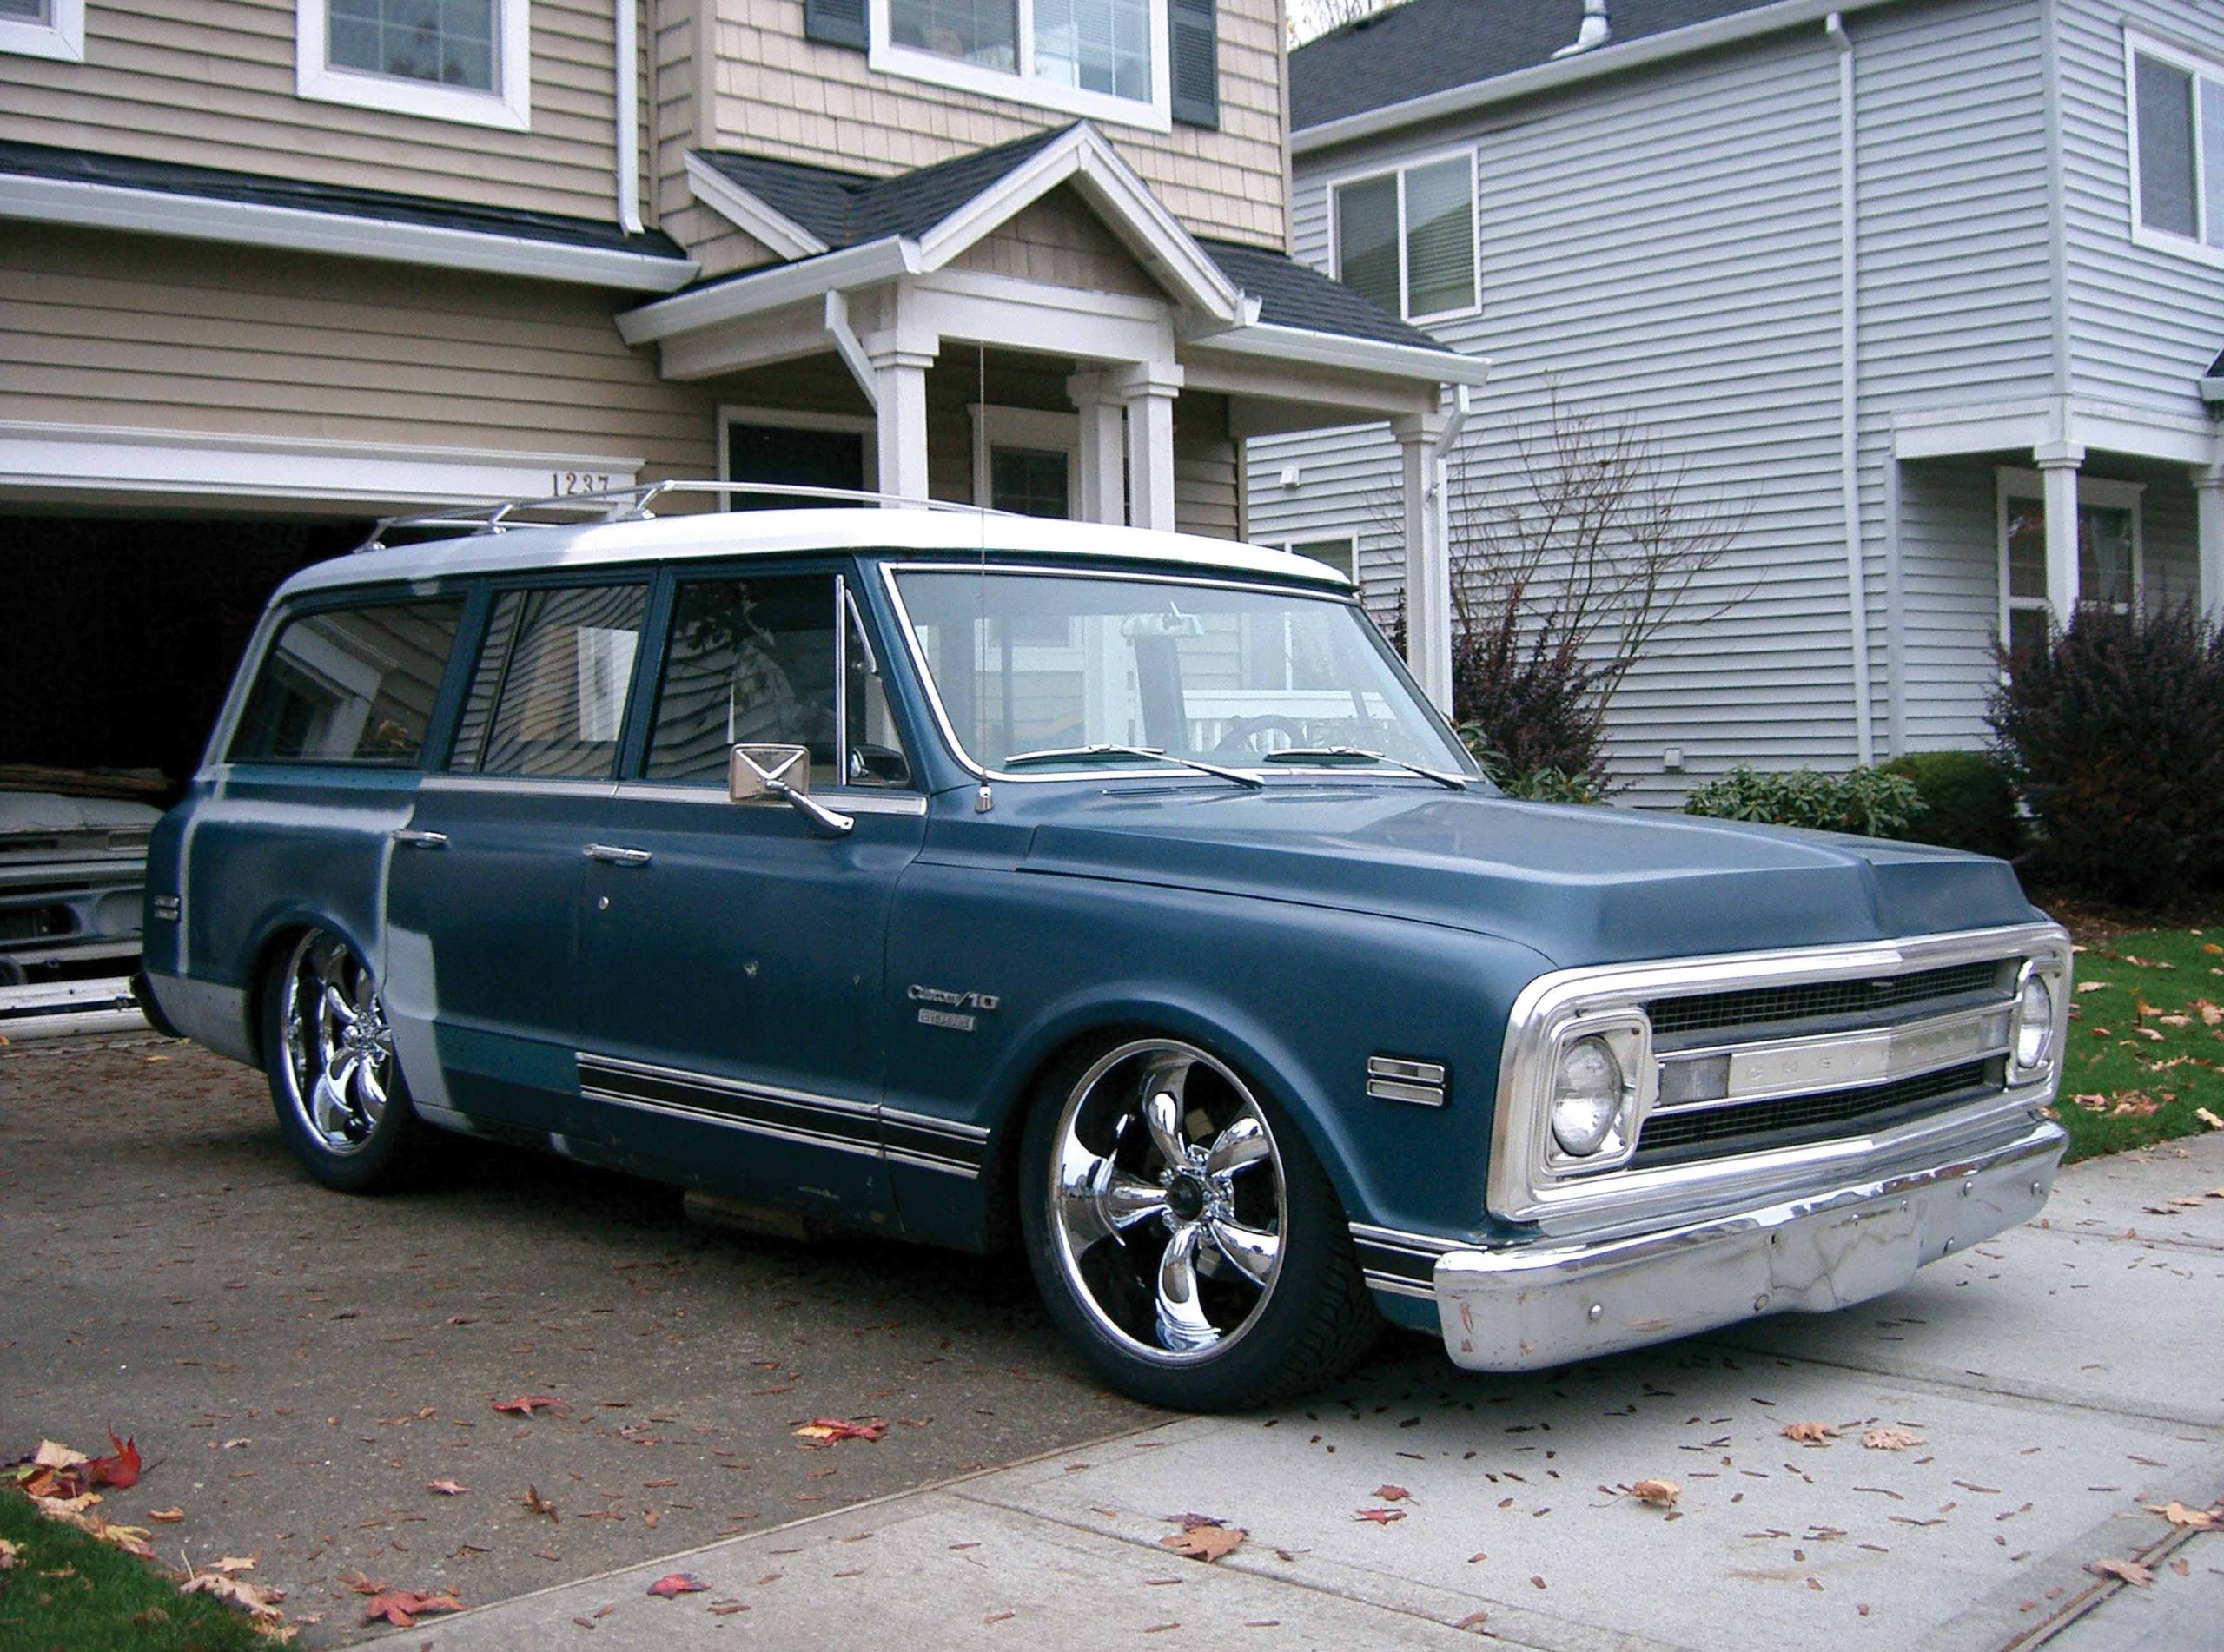
This article dives into the unique modification of a 1967 Chevy Suburban by Mike Dempsey, who reimagined it into a shorter, Tahoe-styled version. It also features Ken Farrell’s Retro Tek company, which has revolutionized the EFI system to combine the aesthetics of classic cars with the efficiency of modern technology. The article covers various aspects of vehicle modification, including chassis adjustment, engine upgrades, and the integration of advanced fuel systems.
0Comments

Since the start of the modern automotive era, shortly following WWII, the SUV has been used for mass transportation, taking people to and from their desired destinations. This began with the early depot hacks, and that has turned into a massive SUV marketplace, complete with blinged-out Tahoes, Suburbans, Explorers and all manner of crossover vehicles made to look more truck-like, and offering two and three-row seating. These larger-than-life automobiles and trucks have made as much of an impact on the truck-buying public as the pickup.
0Comments
Discover the critical role of a properly matched transmission in your truck’s performance and longevity. This article delves into the signs of transmission failure, emphasizing the impact of driving habits on transmission health. Explore an alternative to the common flatbed trip to the dealership by learning about TCI Automotive’s StreetFighter transmission. With its robust build, enhanced performance features, and no-core-charge policy, TCI offers a convenient and reliable solution for truck owners. Follow a detailed account of a 4L60E StreetFighter transmission installation, providing valuable insights for DIY enthusiasts and a glimpse into the meticulous craftsmanship at TCI Automotive’s Mississippi facility.
0Comments
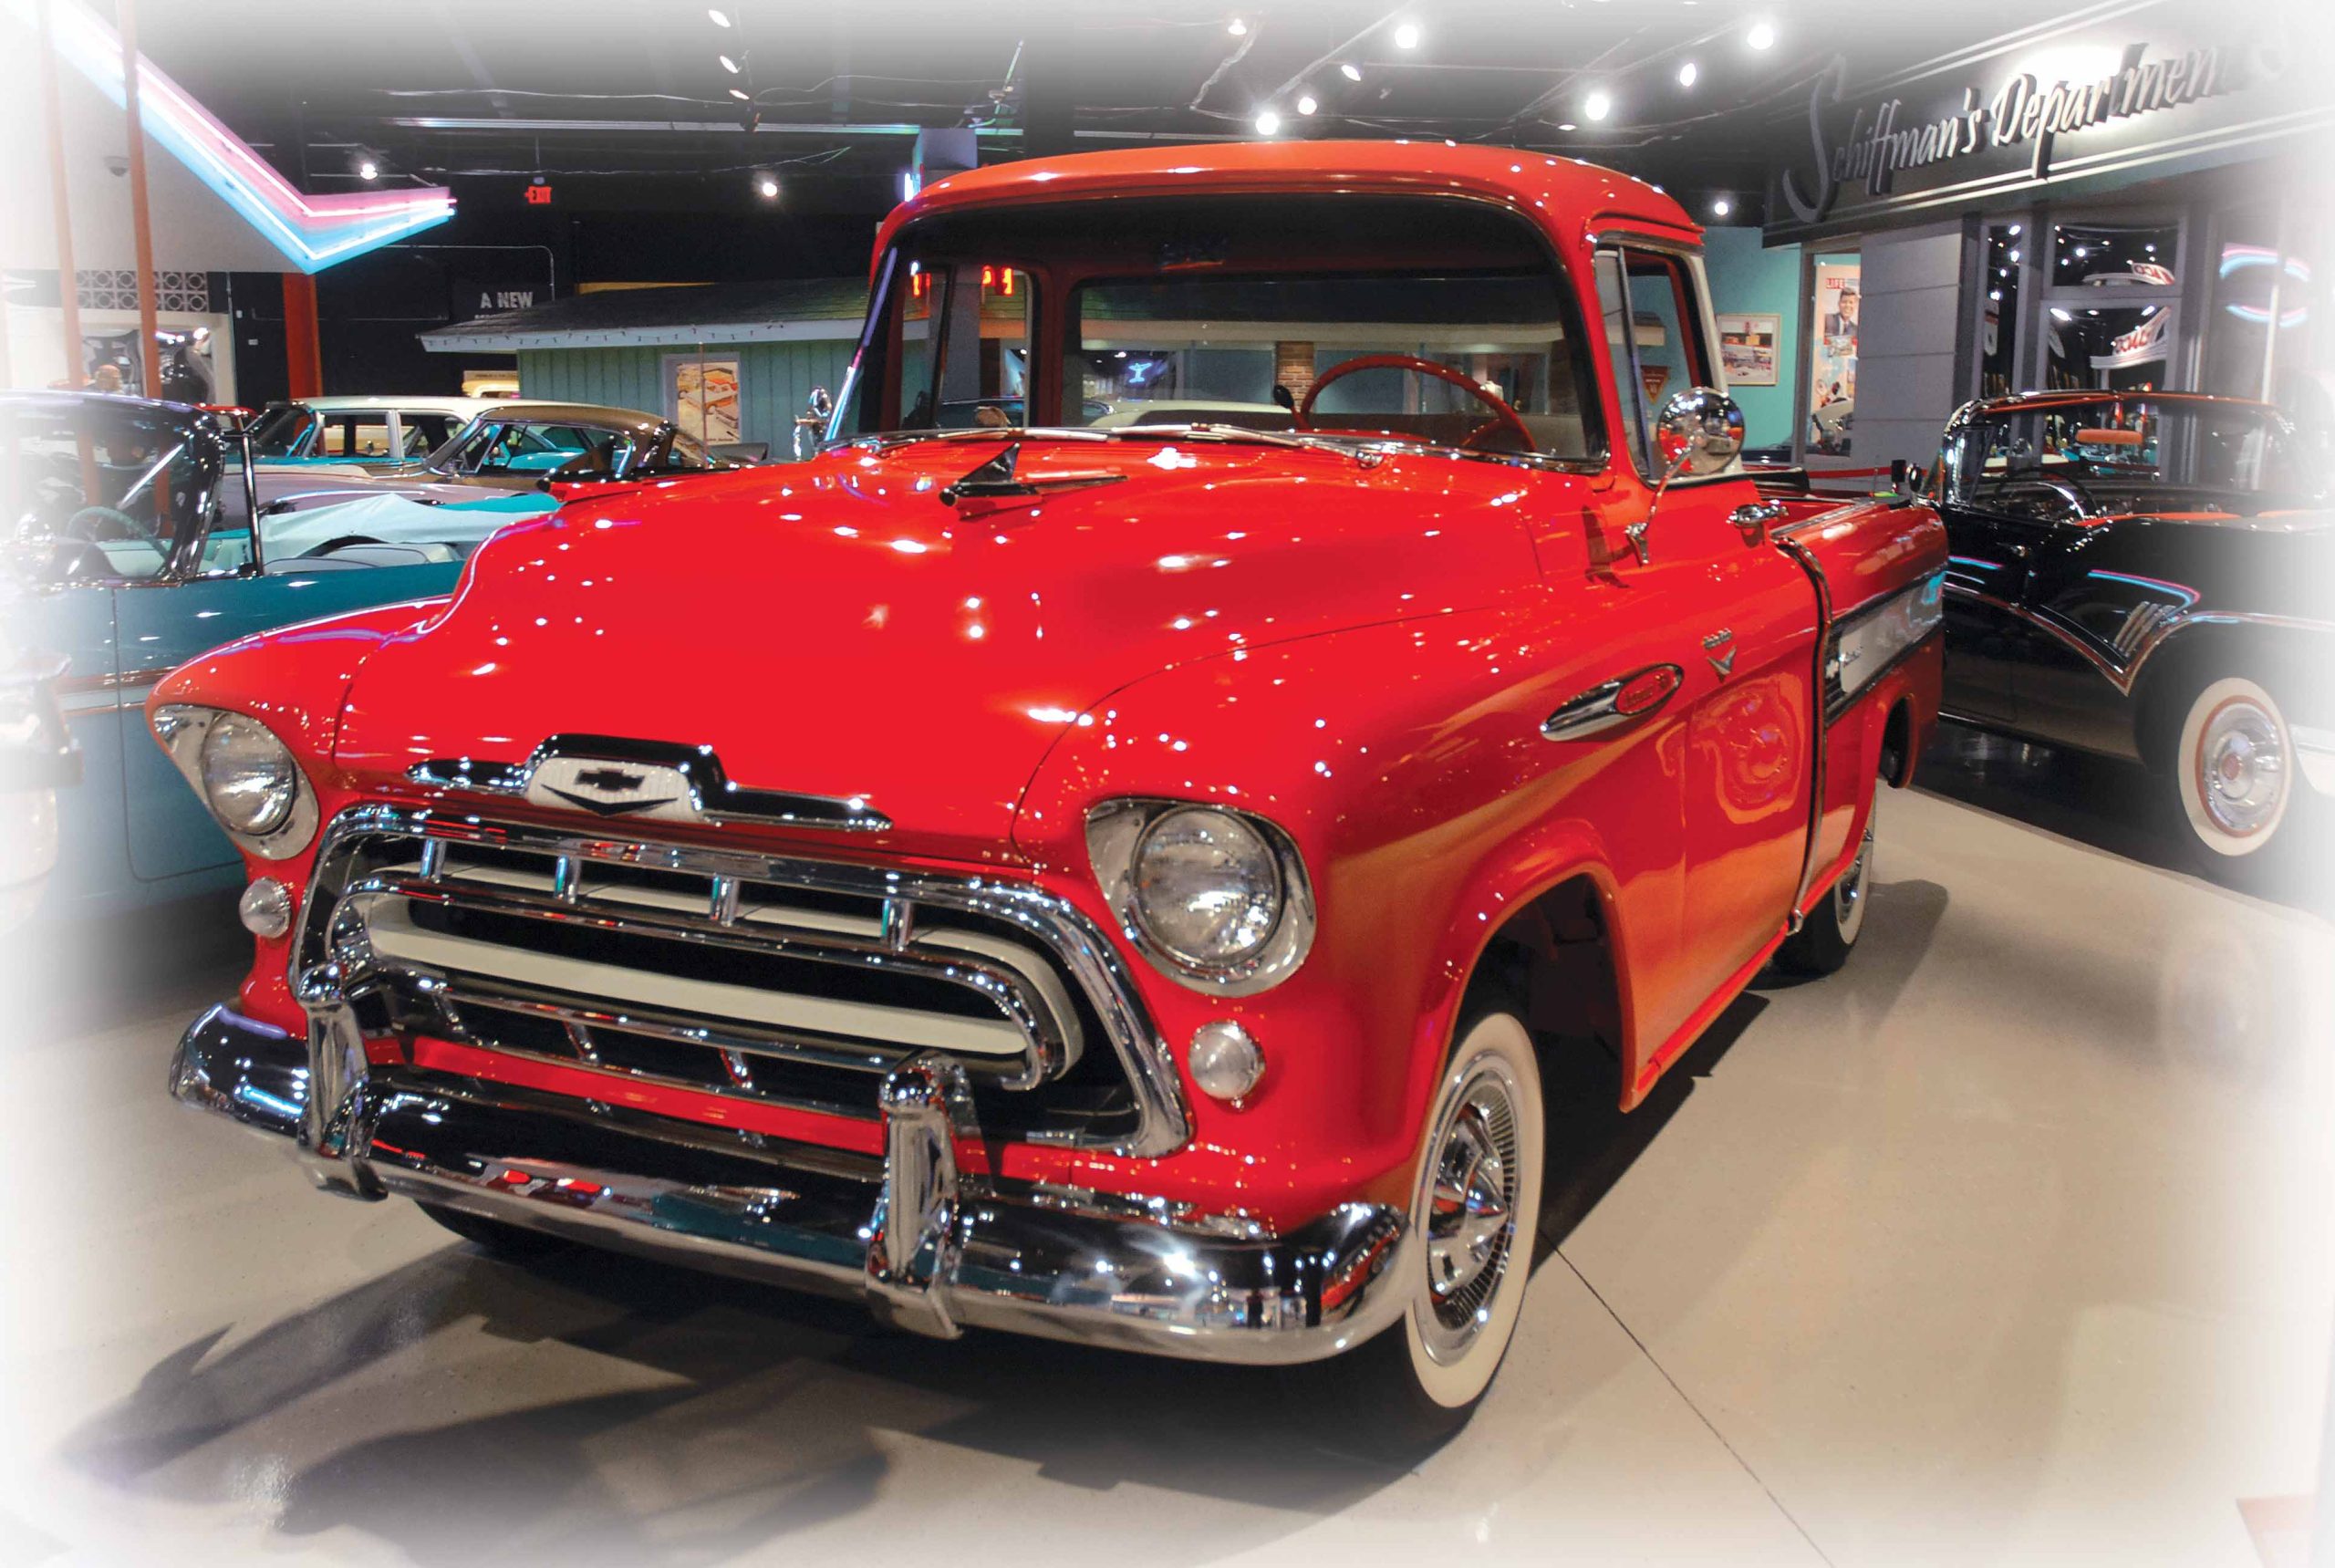
We heard of the Glenn Patch Collection a couple of years ago from a friend who had visited Patch’s warehouse in Scottsdale, Arizona. We were told of the quality of the restorations, as well as the variety of different cars, but the thing that intrigued us most was the fact that the entire collection consisted of cars and trucks manufactured in 1957.
0Comments
How many times have you heard the following: I sold my first truck for $1,000 and wish I had never gotten rid of it. If you have, then you understand the mental grief generally associated with selling your first truck. What can make matters worse is to find out the new owner wrecked it, sold it or that it was eventually parted out or scraped. Perhaps you have succumbed to one of these unfortunate circumstances, leaving you to long for that first ride. Longtime classic truck enthusiast Eddie Rudd of Knoxville, Tennessee, knows that empty feeling, as Rudd drove a not-so-flashy 66 Chevy 1/2-ton to and from work during his teens, and even into his 20s, it served as his daily driver. Times changed, Rudd became a father and soon learned the uncomfortable truth that the truck no longer allowed the entire family to ride comfortably. Rudd knew the truck had to go, so in March of 1982, he sold it to a friend.
0Comments
Lowering a truck usually involved cutting coils and shaving bump stops. Out back, the rear end was treated to lowering blocks, a few pulled leaf springs or heated coil springs. Over the years, manufacturers began to address these demands, as lowering coils, spring leaf blocks, dropped spindles and flip kits were offered. Times changed with the introduction of airbags, as owners were able to slam their pickups with full ride height adjustability. Air Ride Technologies (ART) is one of those companies offering quality suspension solutions for truck owners, with kits that fit specific applications.
0Comments
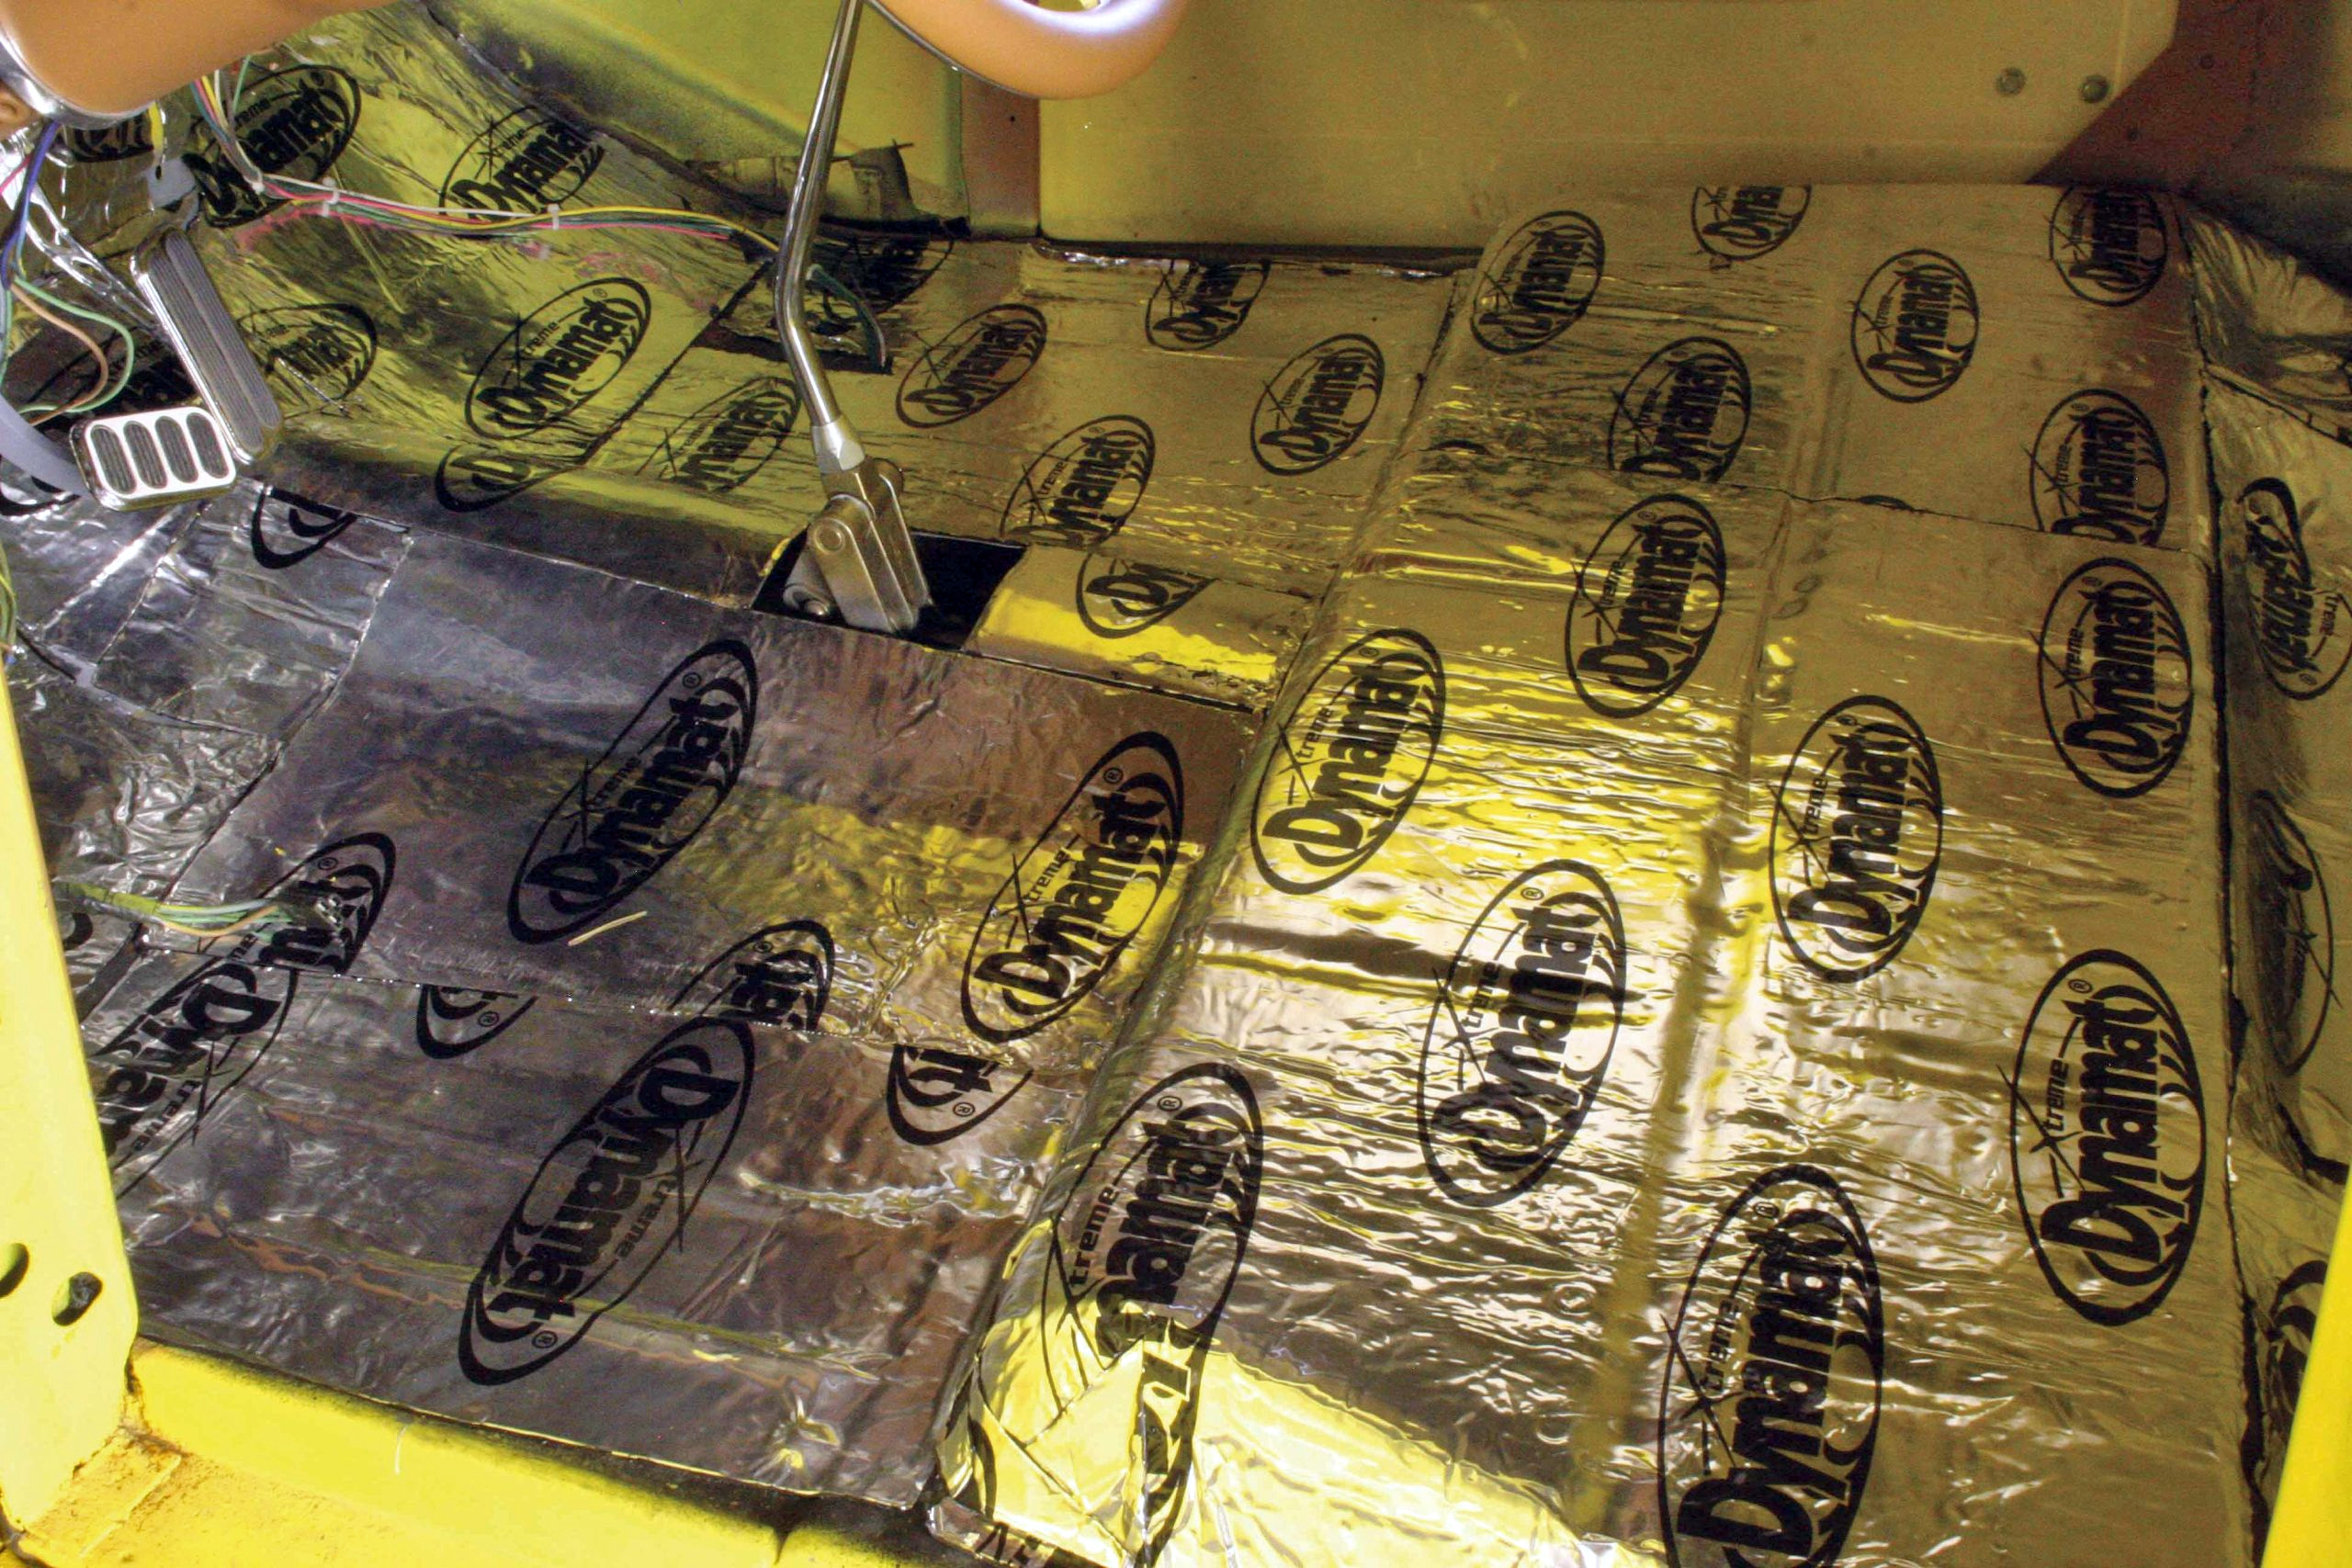
If you’ve ever hopped out of a classic pickup into a modern daily driver pickup, you have probably noticed the startling difference in noise and heat levels within and throughout the interior. This is because some time in the mid-’80s, pickups began receiving the same noise and heat control attention as auto manufacturers spent on cars, as they filled every nook and cranny with noise cancellation foam, sealant and padding. These insulations greatly helped cancel out noises and improved temperature control, as well as help dampen vibrations.
Older classic trucks are among the worst in all these areas. They squeak, they are noisy, and do little to control heat buildup inside the cab, especially around the floorboard. Since all these trucks were originally workhorses, not much attention was paid to these areas, but this problem is easily solved. Whether you are just beginning your interior and building from scratch or retrofitting your existing truck, Dynamat offers a wide selection of noise and sound cancellation products. Dynamat engineers have designed a complete line of products, ranging from speaker kits to complete sound and noise cancellation solutions from the floor to the roof.
0Comments
