Choosing the Right Carburetor Size
Holley offers many carburetors in all sizes to fit a number of different applications, including those designed specifically for the street. However, making the right selection can be a little tricky because it is common to over-carb your engine (too much cfm for the engine size).
Carburetor Options for Stock Engines
For you Ford folks, don’t laugh, but if your engine is relatively stock, you may find increased street performance simply by using a two-barrel carb, such as a Holley 2300. Stock Ford engines have relatively small valves, which makes over-carburetion almost a given. A five-liter engine that revs to, say, 6,000 rpm may comfortably use a 500cfm two-barrel, and for smaller stock engines there is also a 350cfm two-barrel Holley.
Expanding Horizons with Four-Barrel Carburetors
Beyond this, the horizons expand rather dramatically when you get into four-barrel carburetors, and those selections are best served matching carburetor cfm with the engine modifications—size, cam timing, cylinder head flow, and intended rpm use.
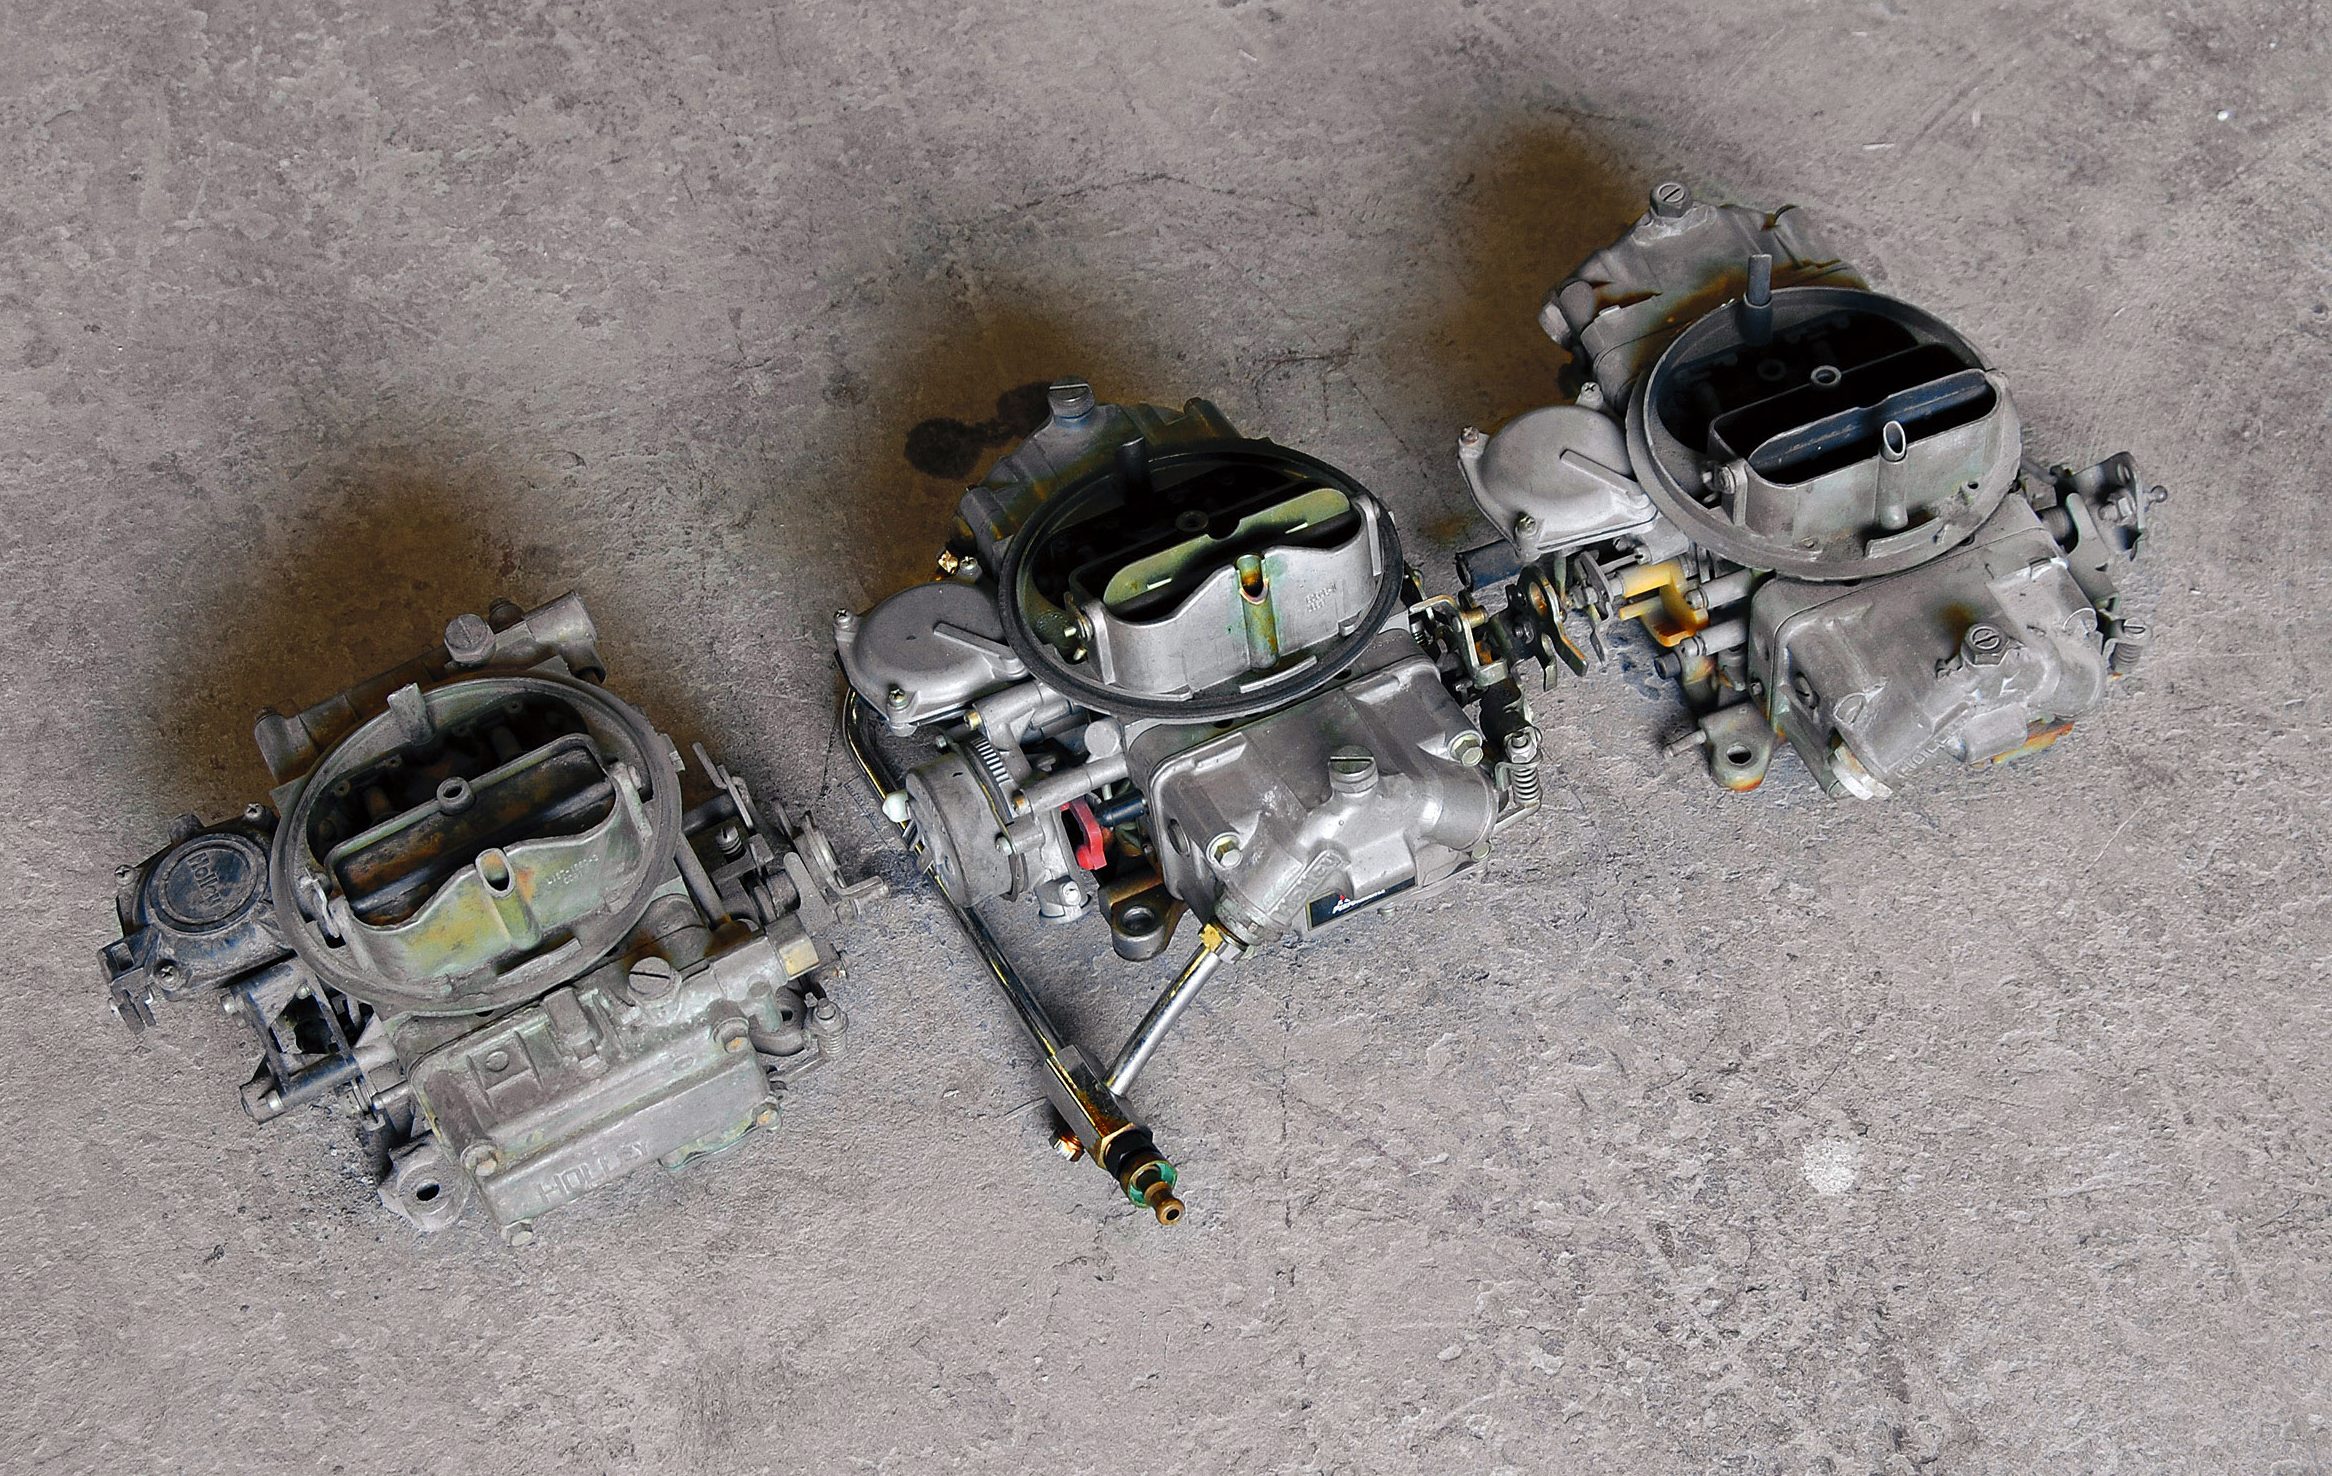
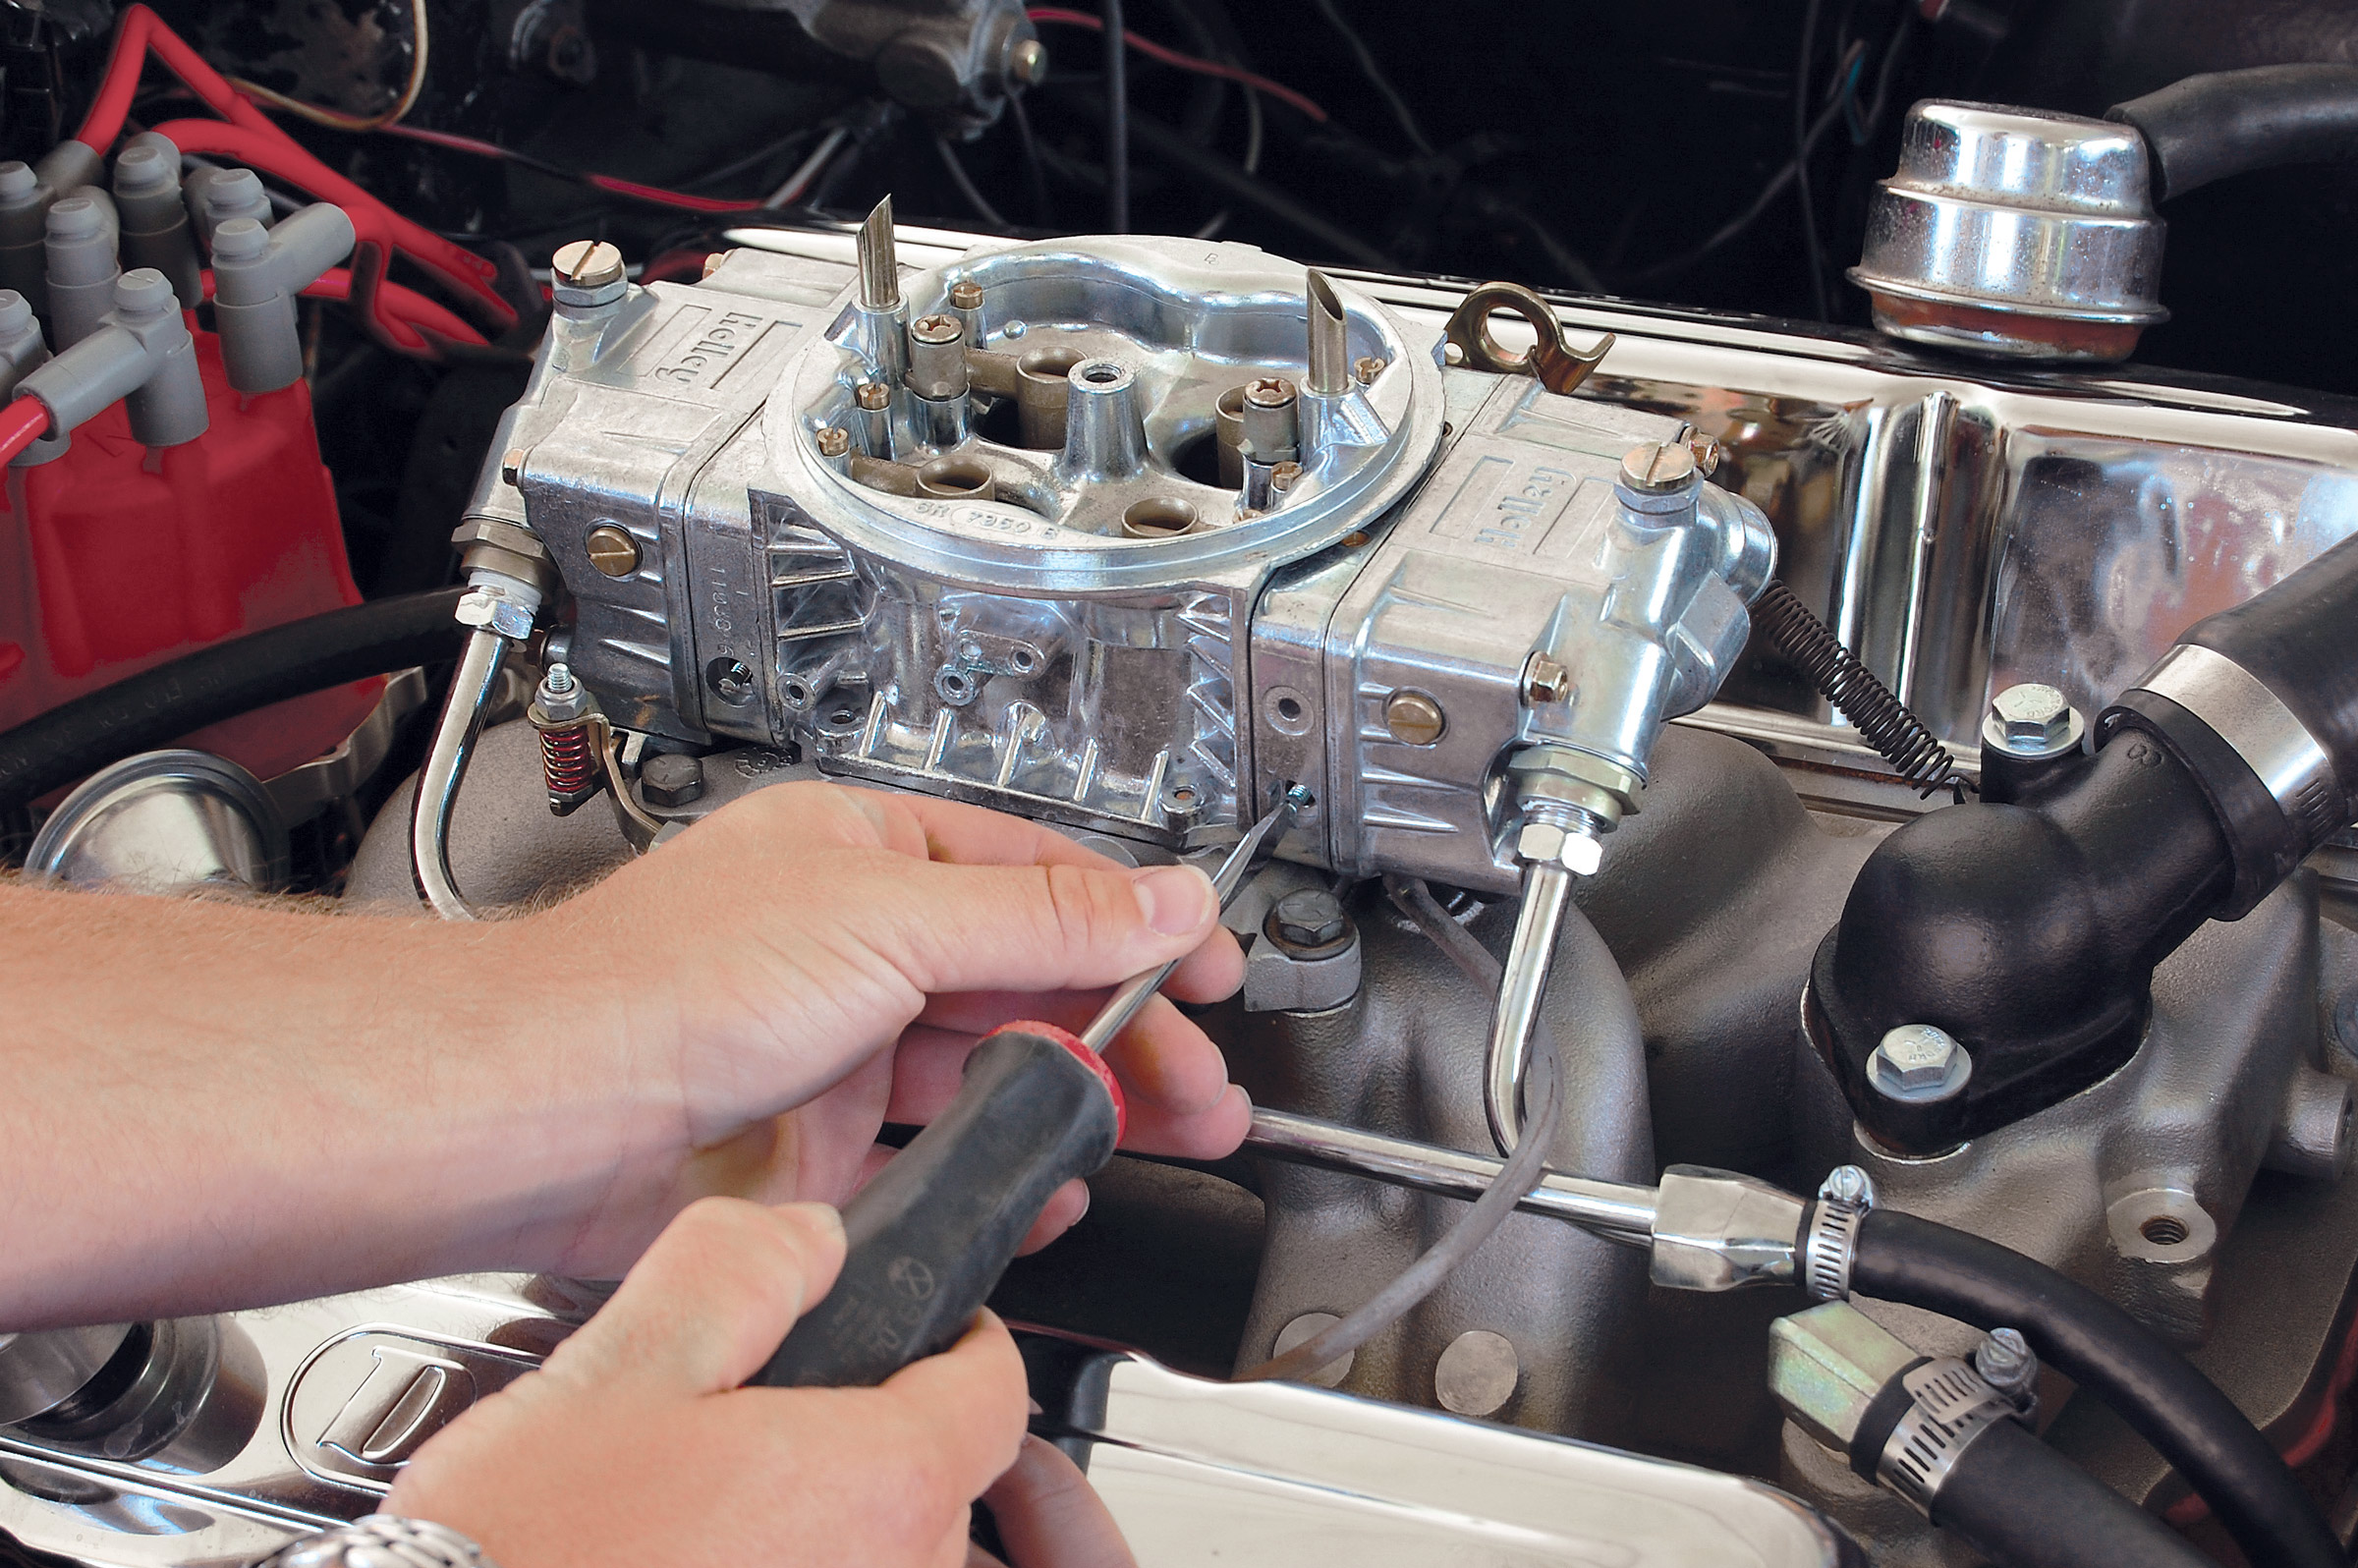
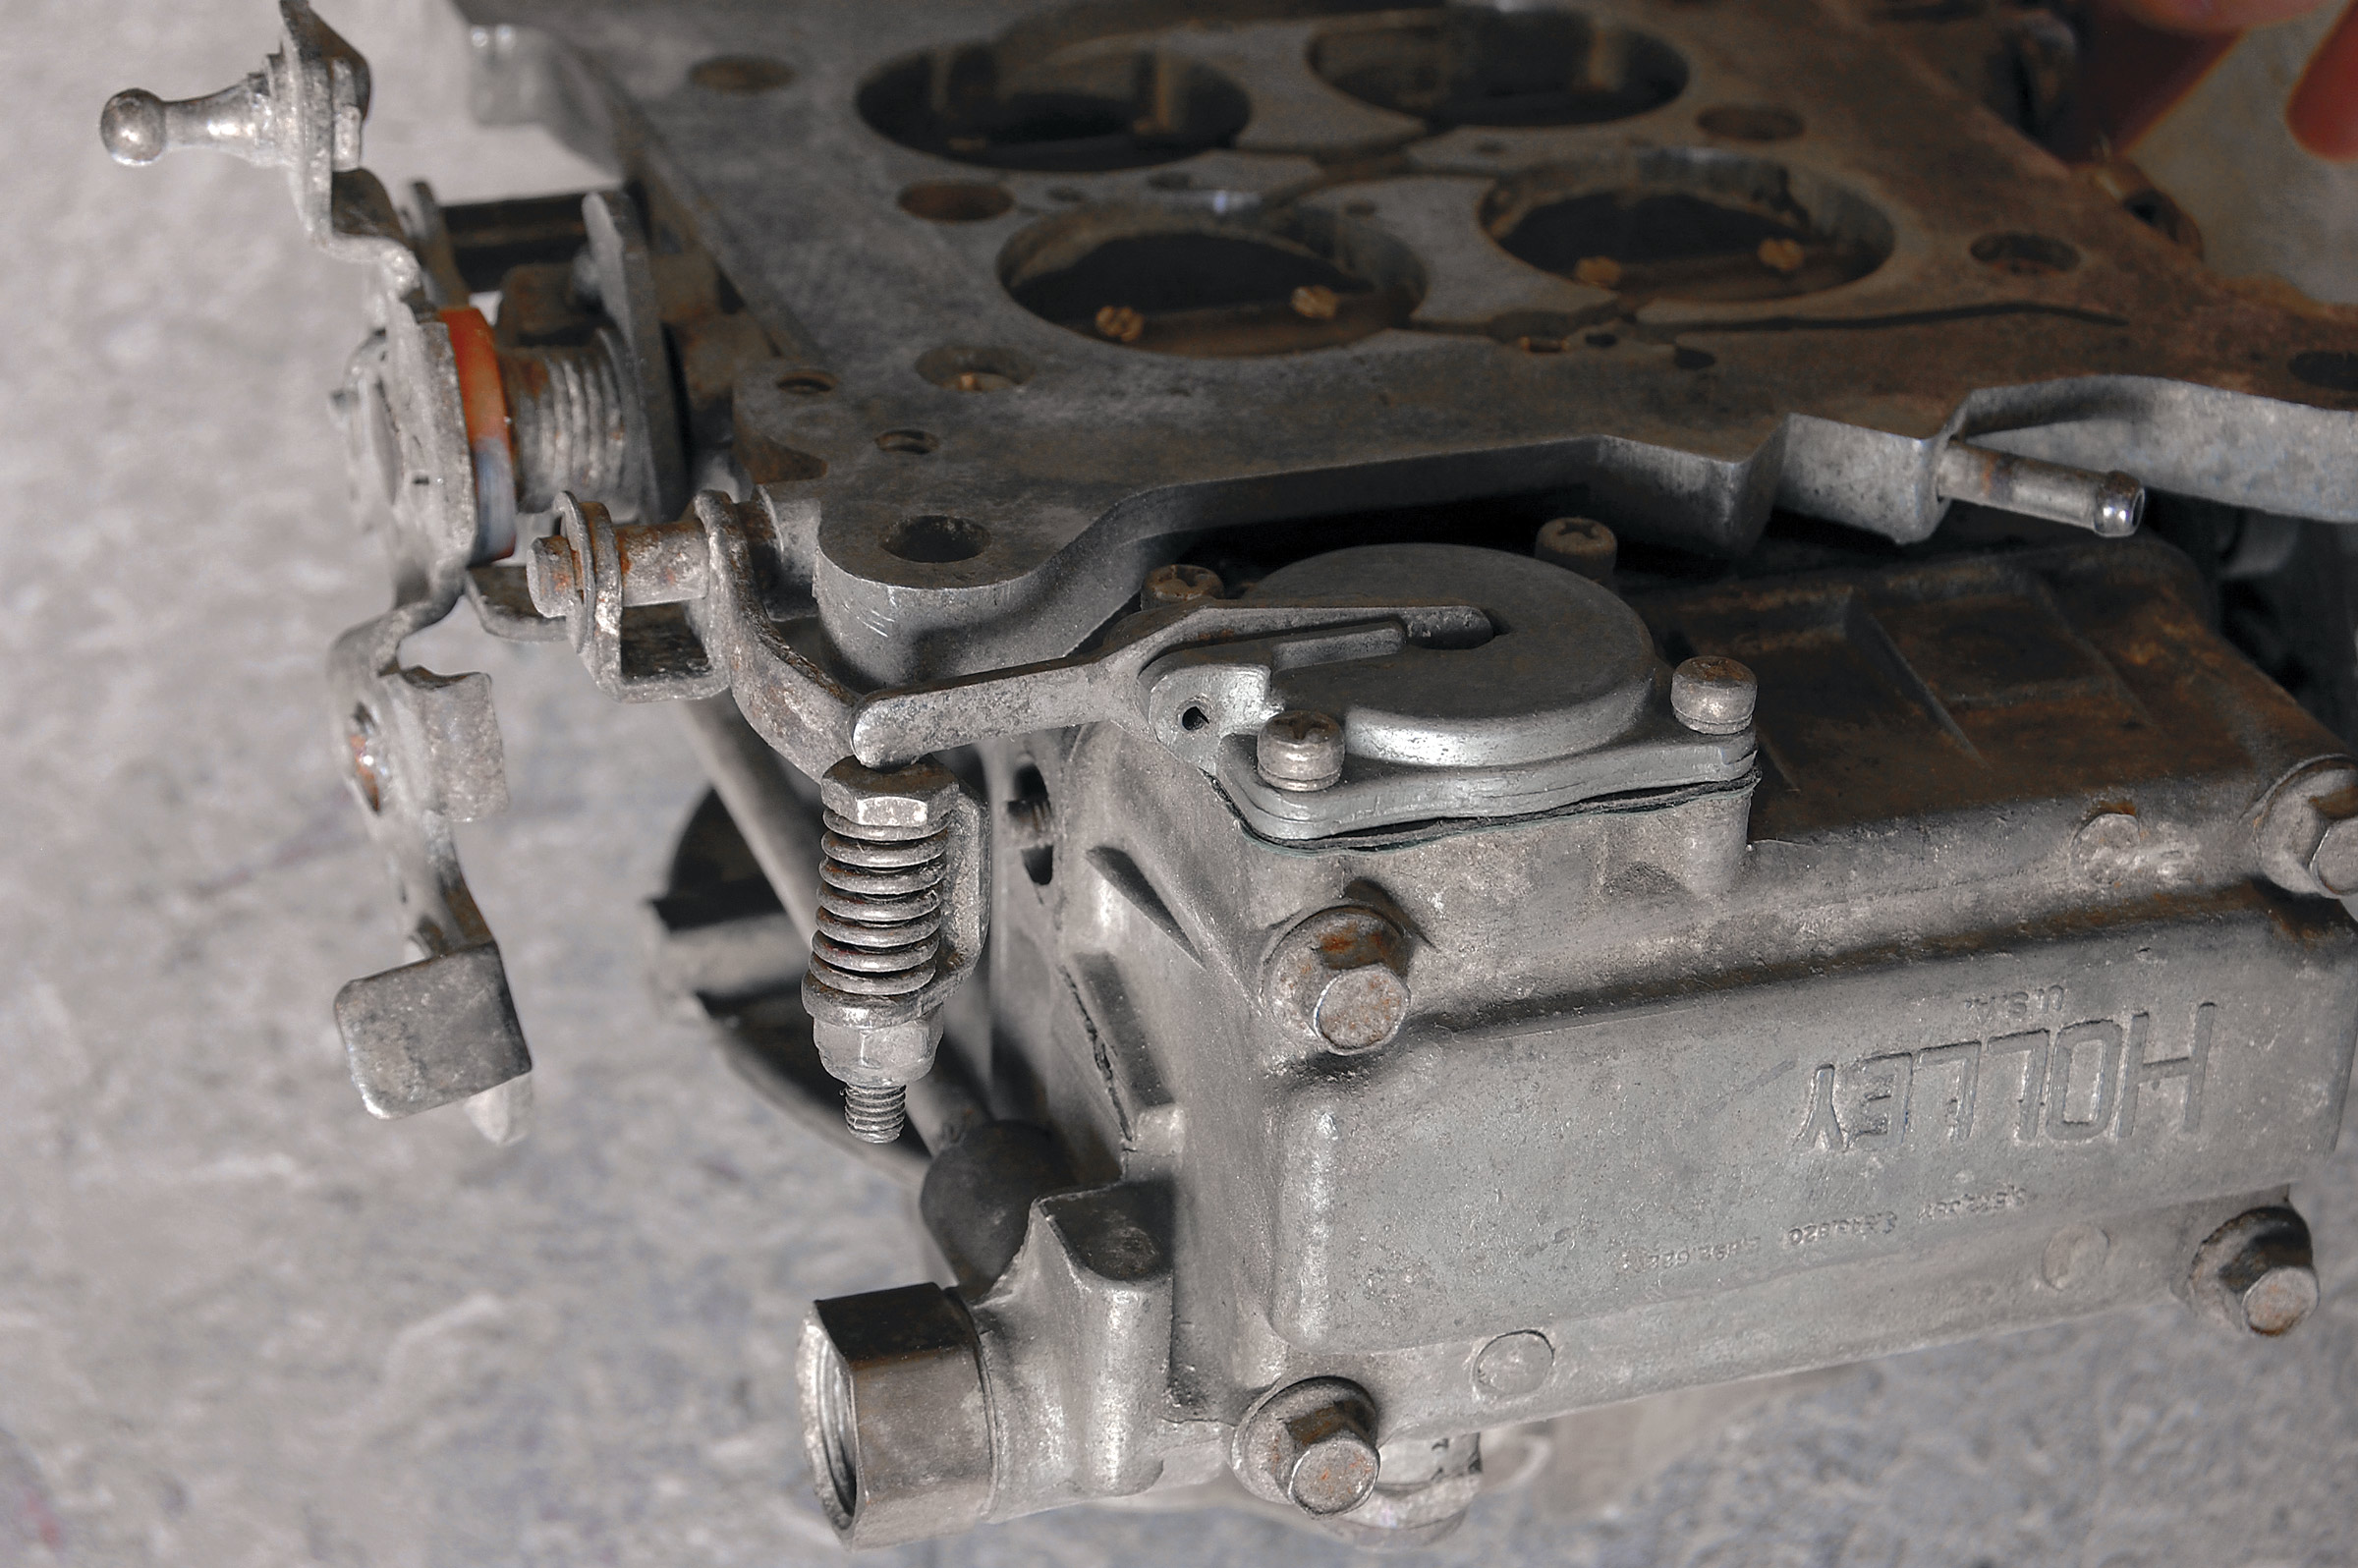
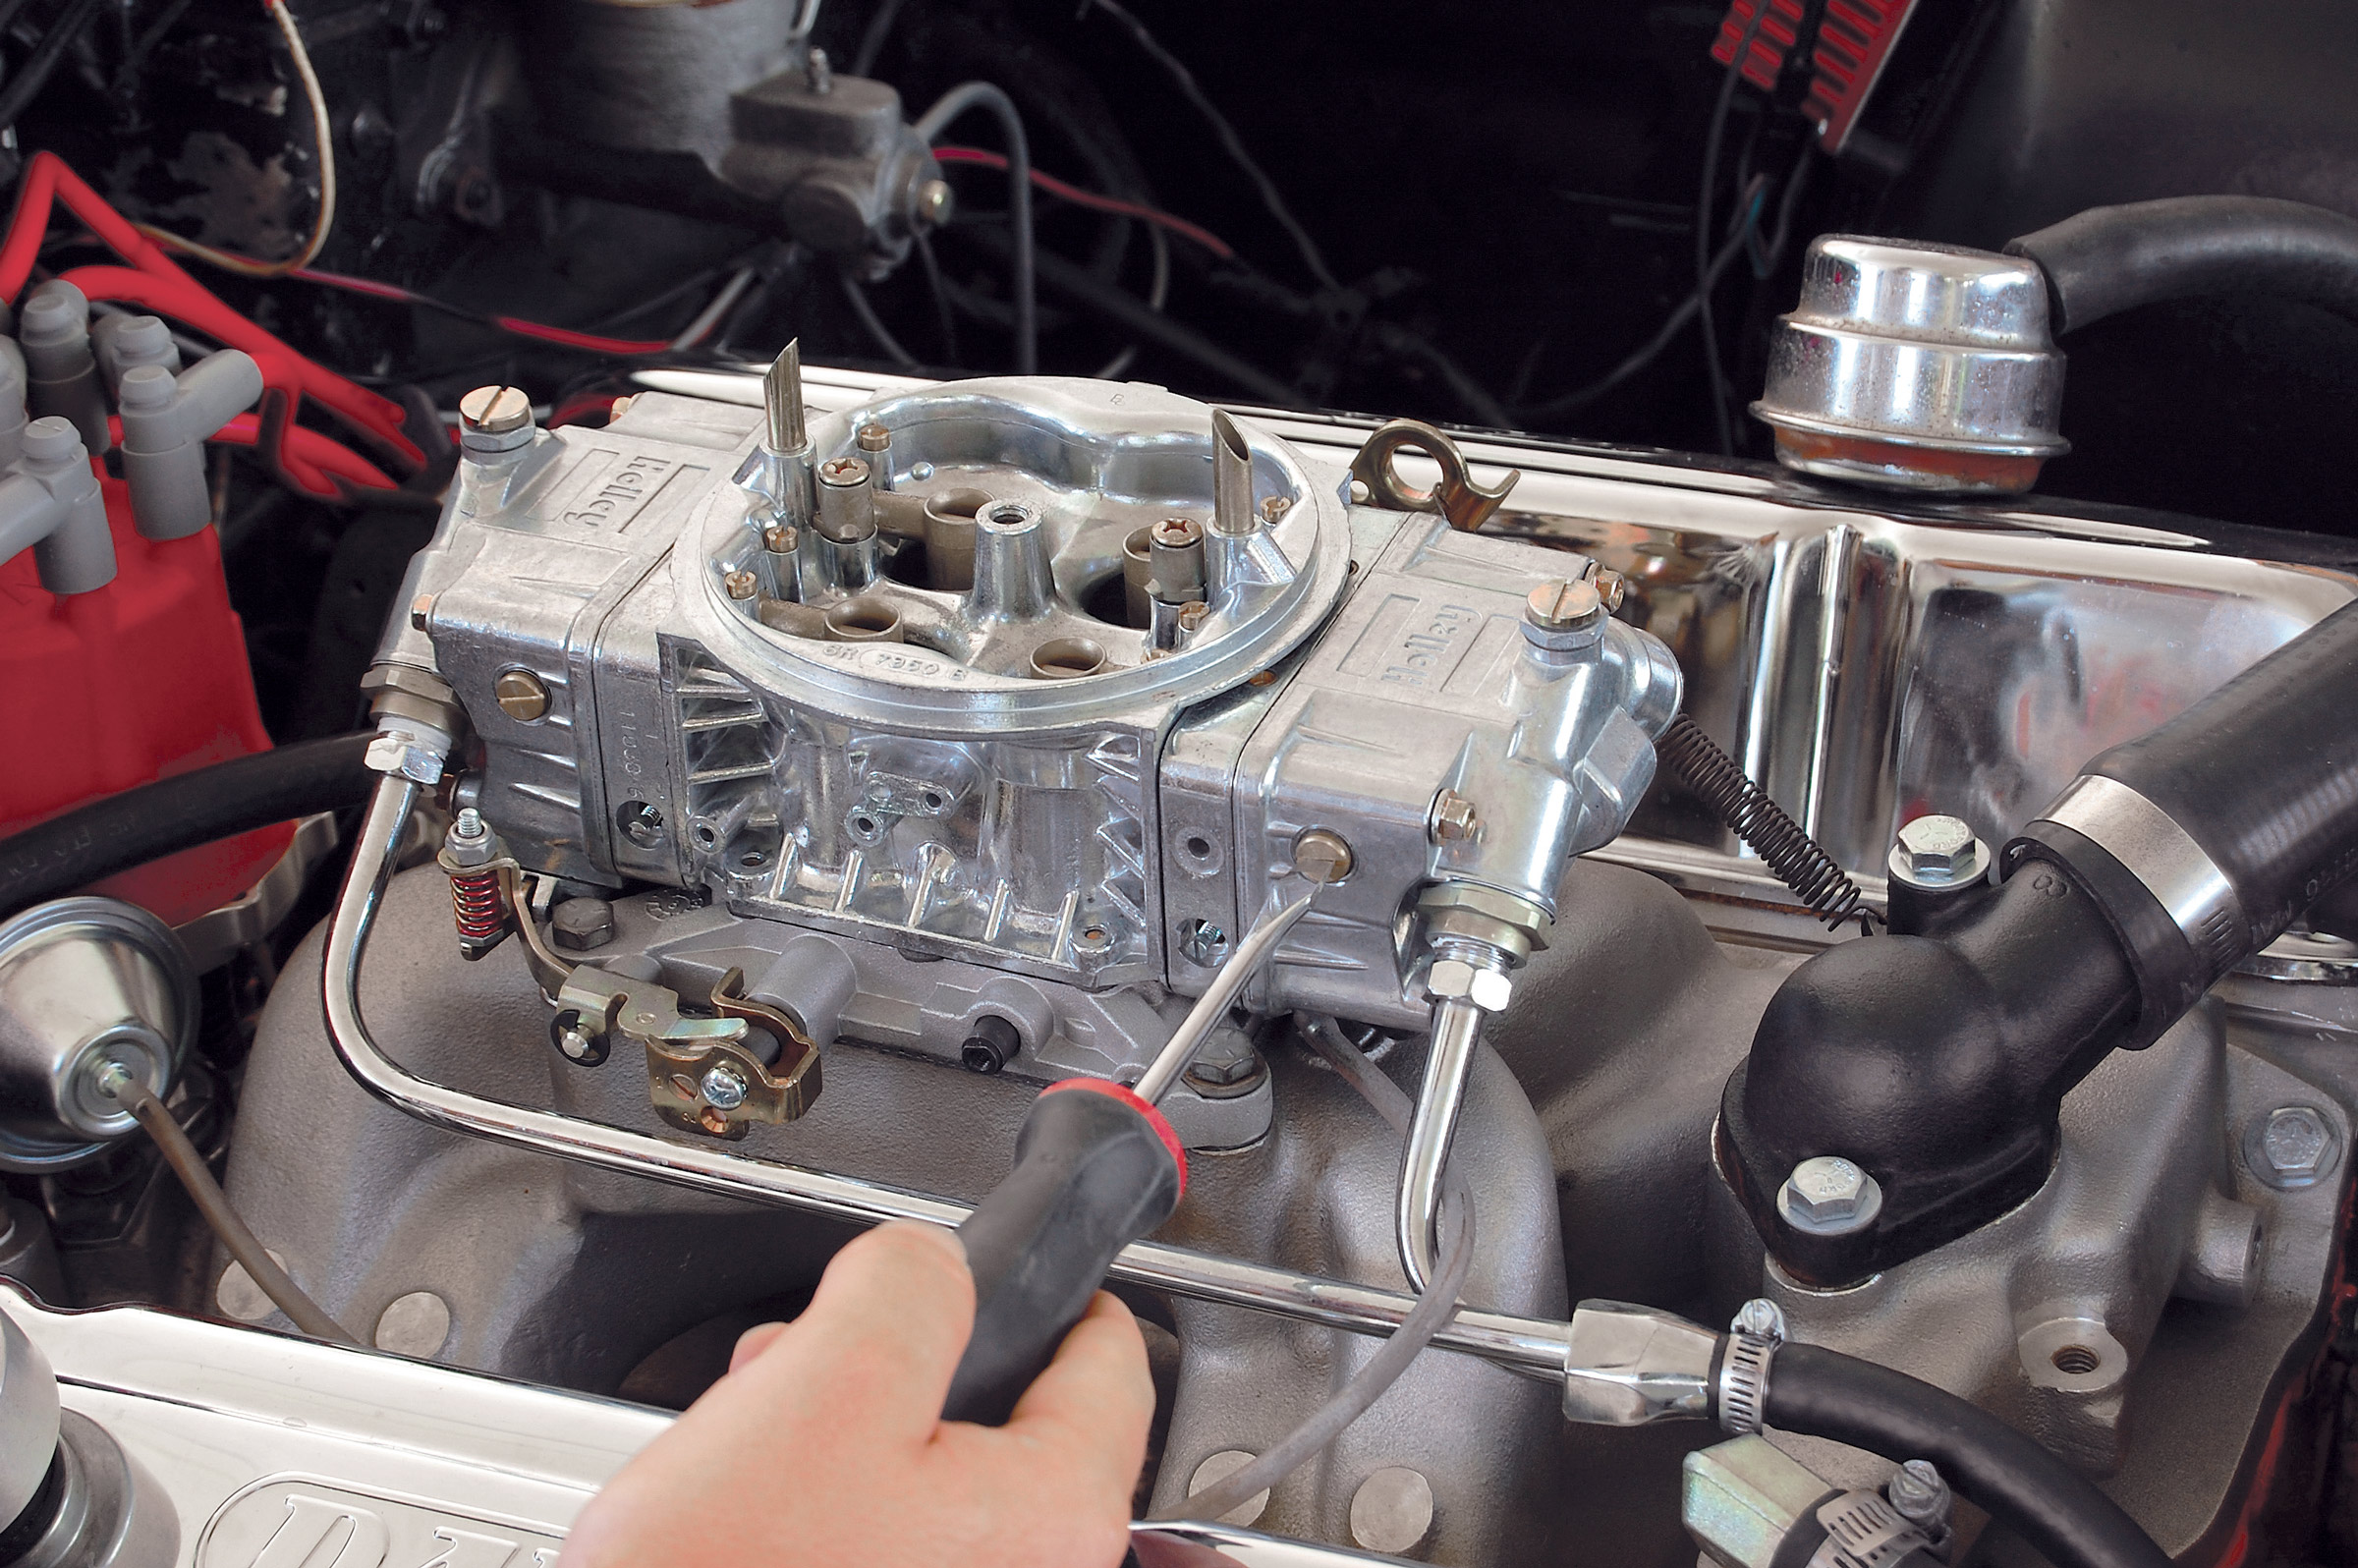
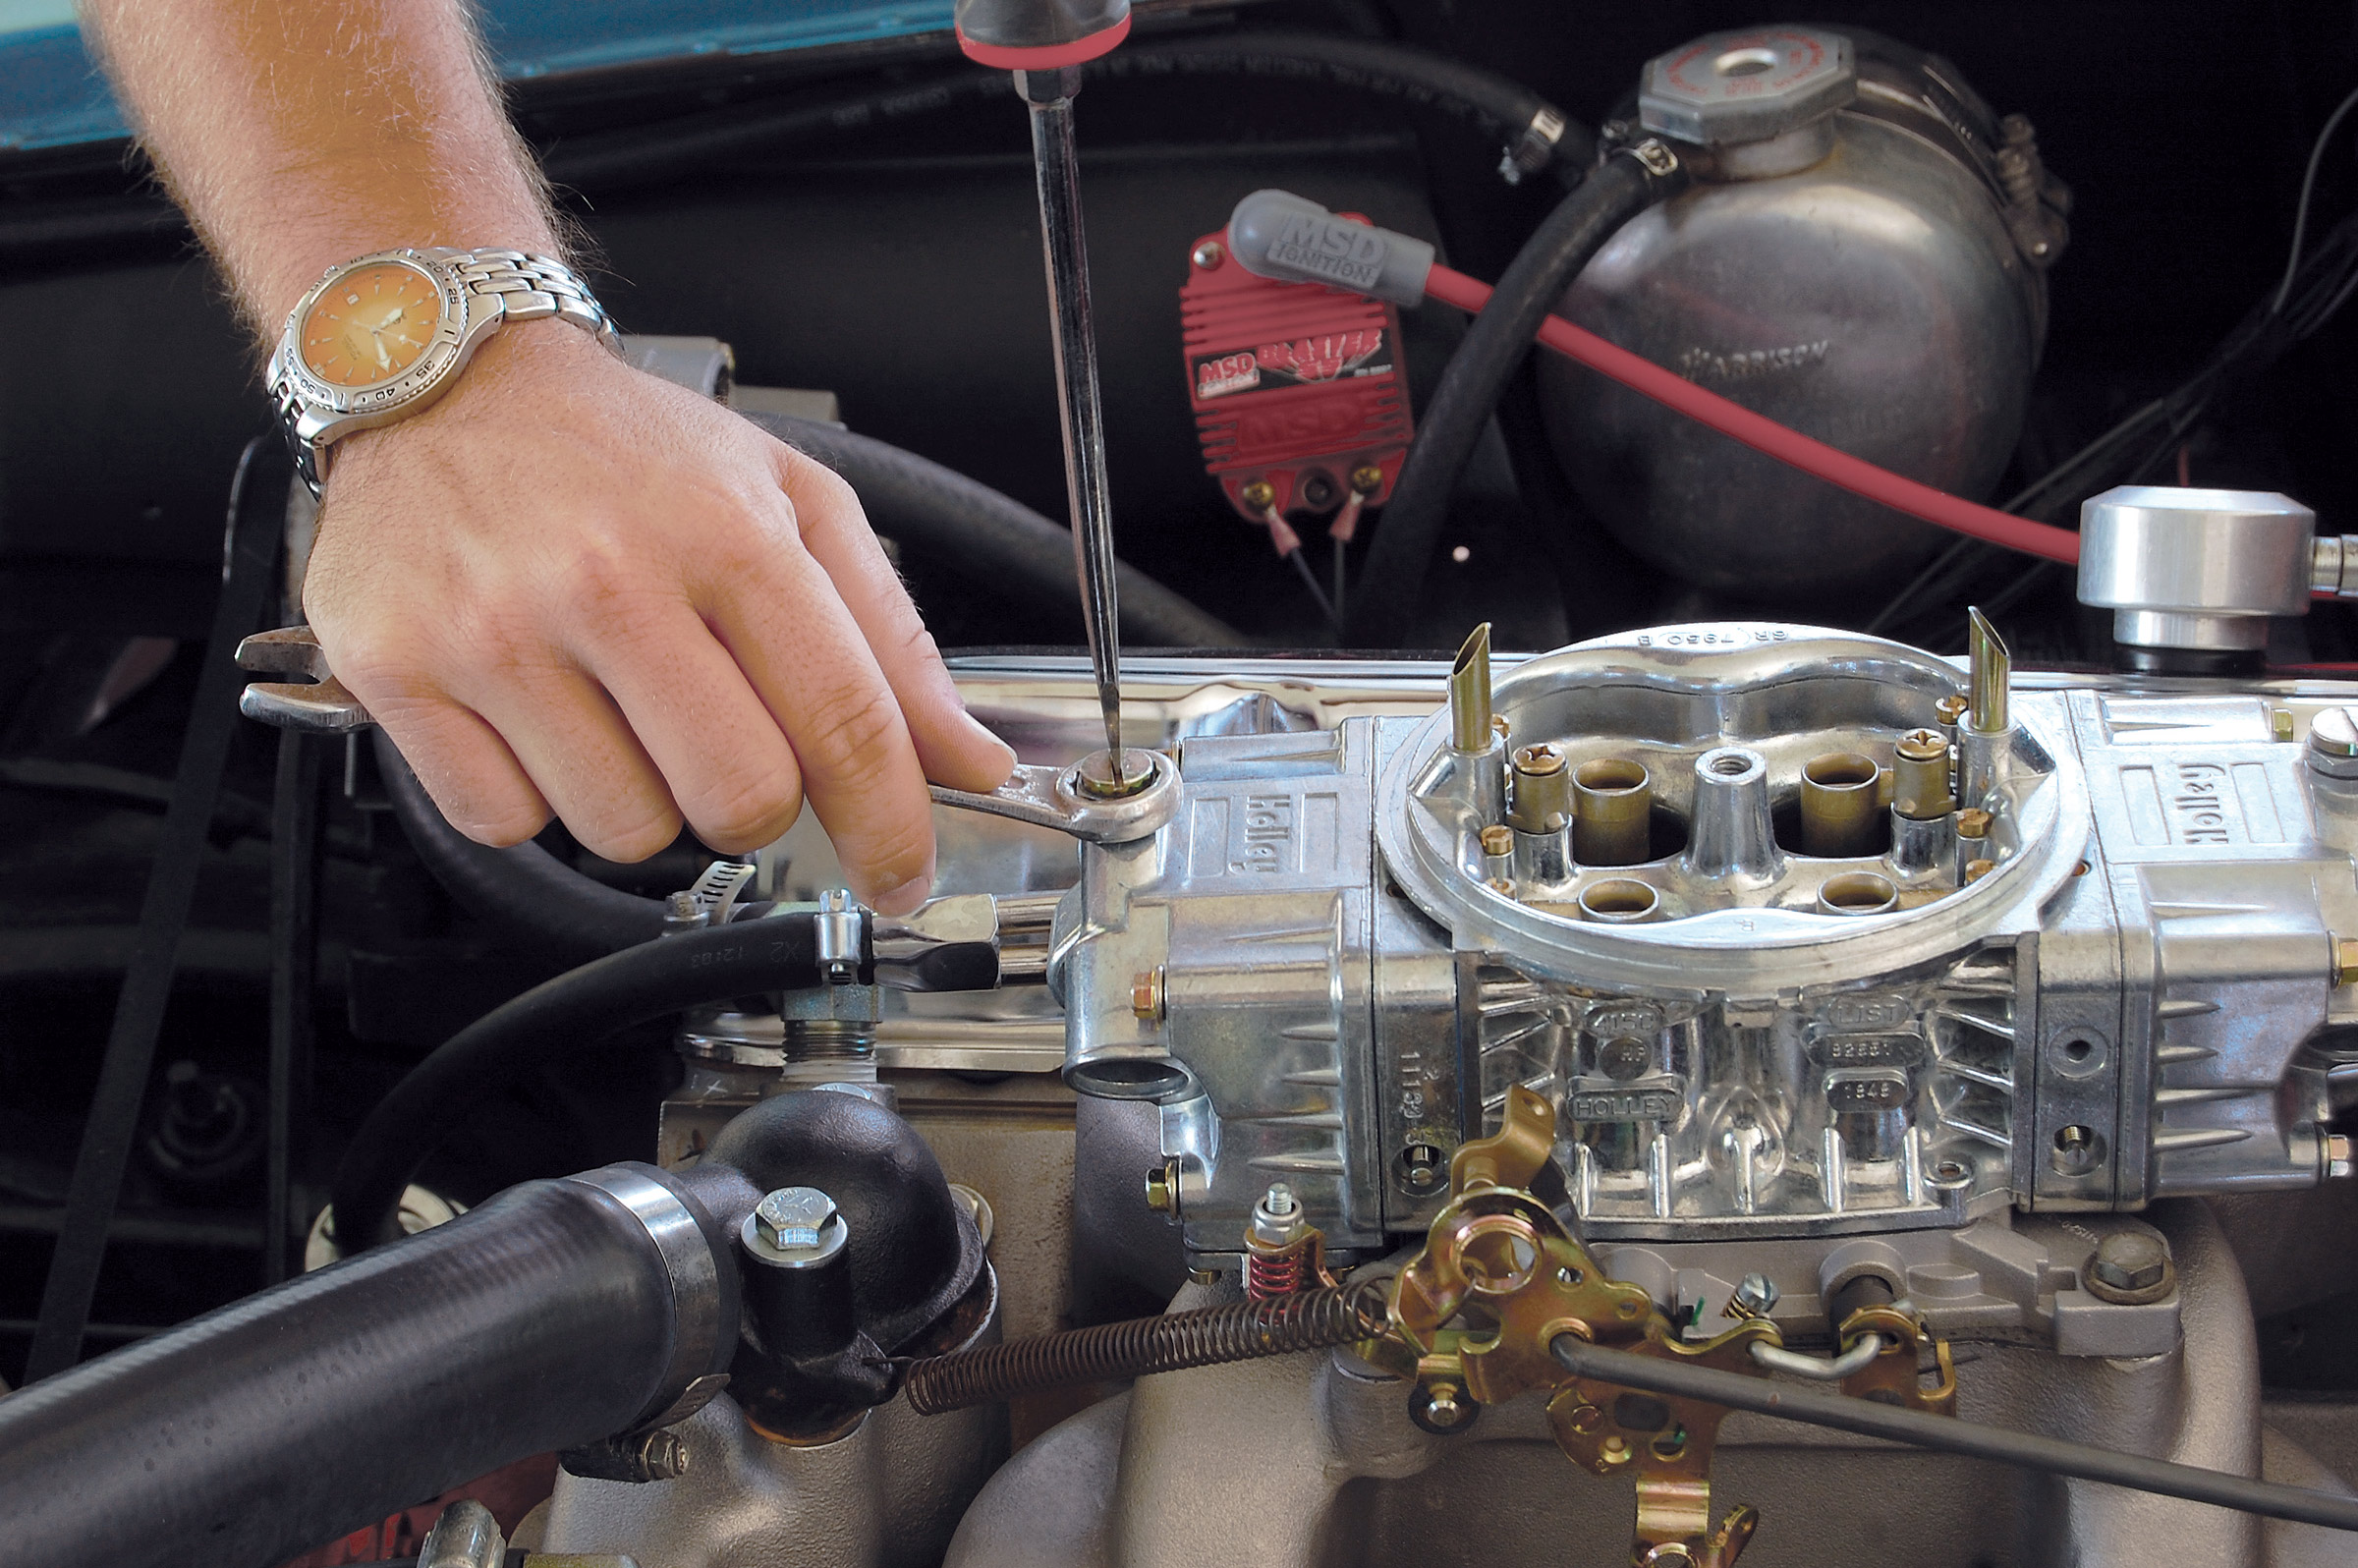
Holley 4150 Street/Strip HP Series
But for the street and strip, it’s hard to beat the new Holley 4150 Street/Strip HP series of carburetors, available in 650- and 750cfm. The 4150 650cfm is a mechanical-secondary double-pumper-style carburetor with no choke. The 4150 750cfm carburetor is available in either vacuum-secondary or mechanical-secondary design (PN 82750 or 82751, respectively). And while engine size and rpm range will dictate which carb is best, as a rule of thumb, with a 350ci small block, a 6,000rpm engine might be best suited with a PN 2651 650cfm 4150 carb, and a higher-output engine of the same displacement capable of revving to 6,500-7,500 rpm would be better suited with a 750cfm version, with either vacuum or mechanical secondaries.
Race-Style Carburetors for High-Output Engines
And if you have a high-output engine with high compression and lots of high-revving cam timing, you may wish to consider one of the many race-style Holley carbs, which are available as large as 1,000 cfm. In fact, the 4150 HP-series four-barrel is available in 390-, 600-, 650-, 750-, 830-, 950- and 1,000cfm versions, all with mechanical secondaries. For lots of engine displacement, there’s the square-bore Holley Dominator series, available in 750-, 1,050- and 1,150cfm, in single- or dual-carb configurations and with two- or three-circuit metering. With these carburetors it’s about all-out performance, so matching the carb to the engine is much more a matter of engine displacement, engine airflow and optimum rpm, which means 9,500 rpm is not beyond the scope of where these carburetors are expected to work.


