


Builds

The Fox-body Mustang is undoubtedly becoming one of the most popular Fords of all time, and the abundance of aftermarket components is its main attraction. Every aspect of the ’79-’93 Mustang is upgradeable, and whether you want a killer street car or an all-out drag car, the Fox-body Mustang proves to be a great platform for all kinds of performance goals. B.C. Happach of Pekin, Illinois, recognized this great potential and bought a ’91 Mustang hatchback back in March 1996. Small upgrades here and there, including a NitrousWorks plate kit, gave Happach a street-friendly Mustang that consistently ran in the high 12s with the stock suspension.
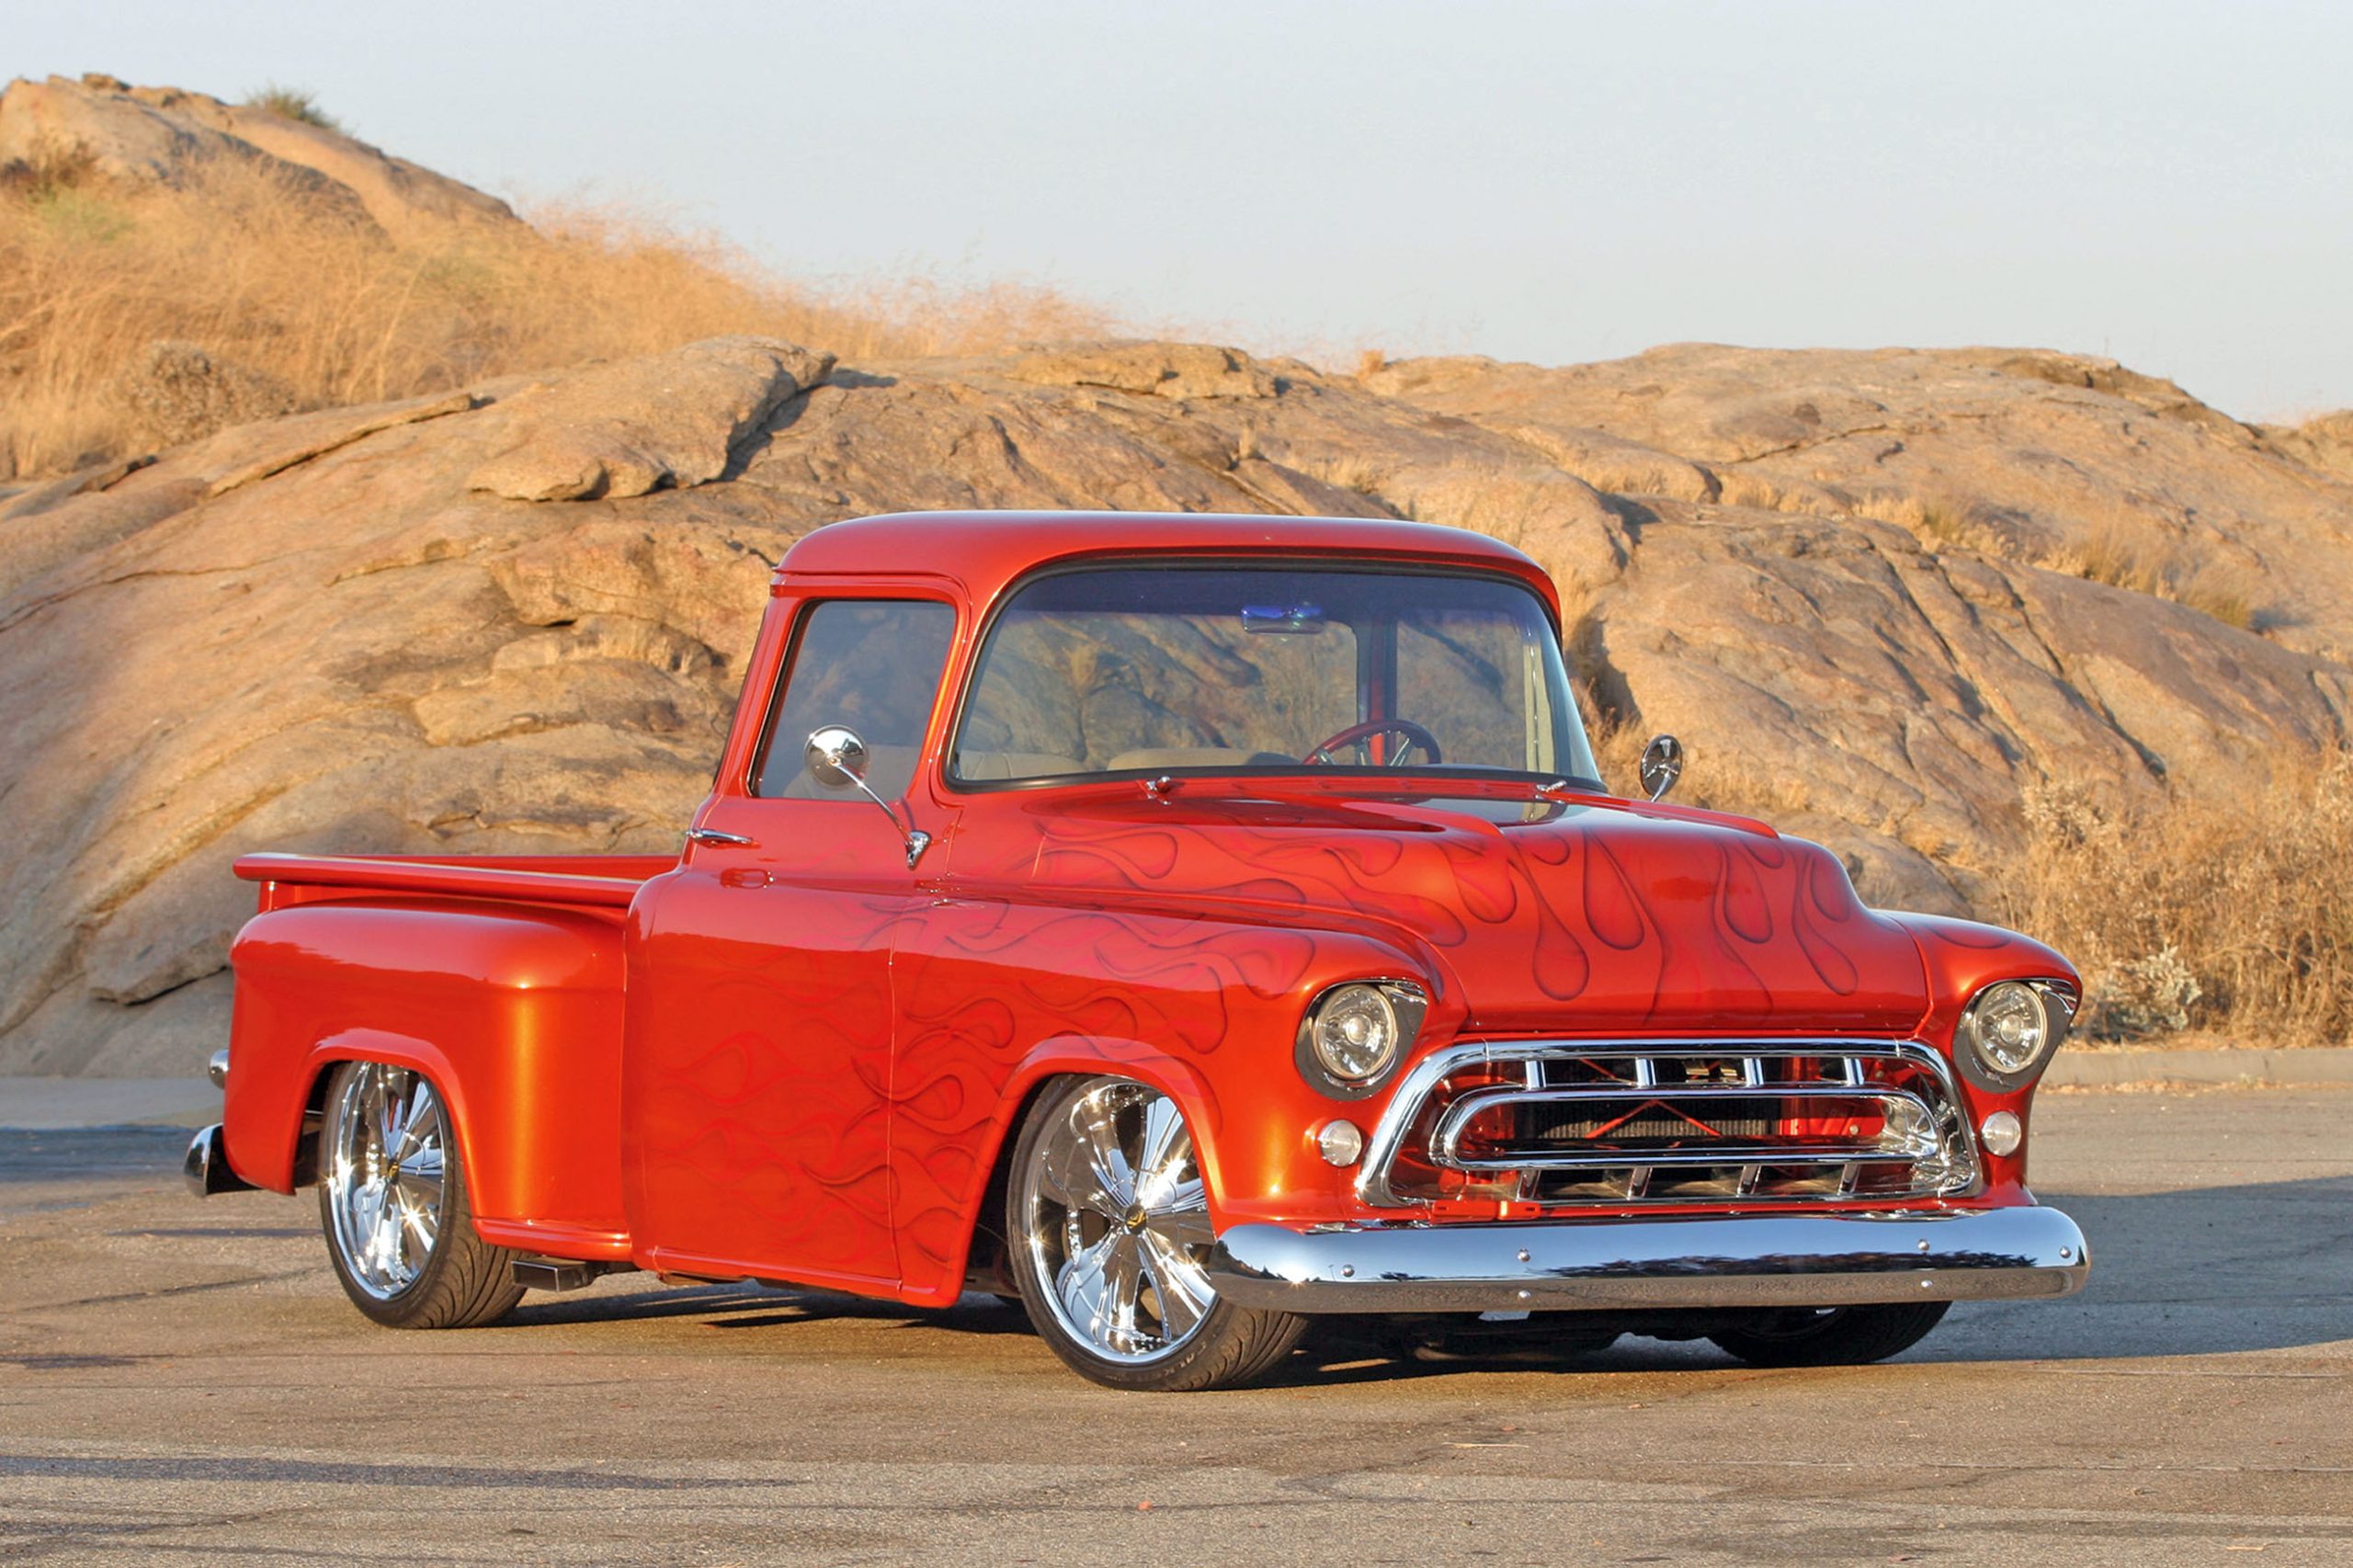
When we shoot a feature, we give the owner a tech sheet to fill out to tell us about all the parts that were used on the truck. The tech booklet tells us what shocks or body modifications have been performed, and we always ask why that person has decided to build that particular truck. Many times the answer is that their father had one when the owner was a kid. This is the case with Hector Leon and his ’57 Chevy.

“From the very beginning, I’ve always raced this car,” Iida says. “In the past 11 years, I’ve put 10,000 miles on the odometer a quarter mile at a time.” Like most weekend warriors, Iida’s 5.0-liter Mustang started out life 100 percent bone stock. But with help from friends such as Honolulu Ford’s performance advisor Henry Tabios (a well-known island 5.0-liter racer in his own right), members of the Hawaii Ford Performance Club, Dillingham Automotive’s Glenn Aarake and Alan “Naka” Nakamura, Iida’s ghost-flamed Mustang GT has been transformed into a 9-second, street-legal twin-turbo terror, recording a best of 9.94 seconds at nearby Hawaii Raceway Park.

George and Leslye Jones’ ’67 Camaro convertible is one of the finest examples ever to turn a wheel. Built by the crew from Greening Auto Company (and others), this is an effort worthy of pride and praise.
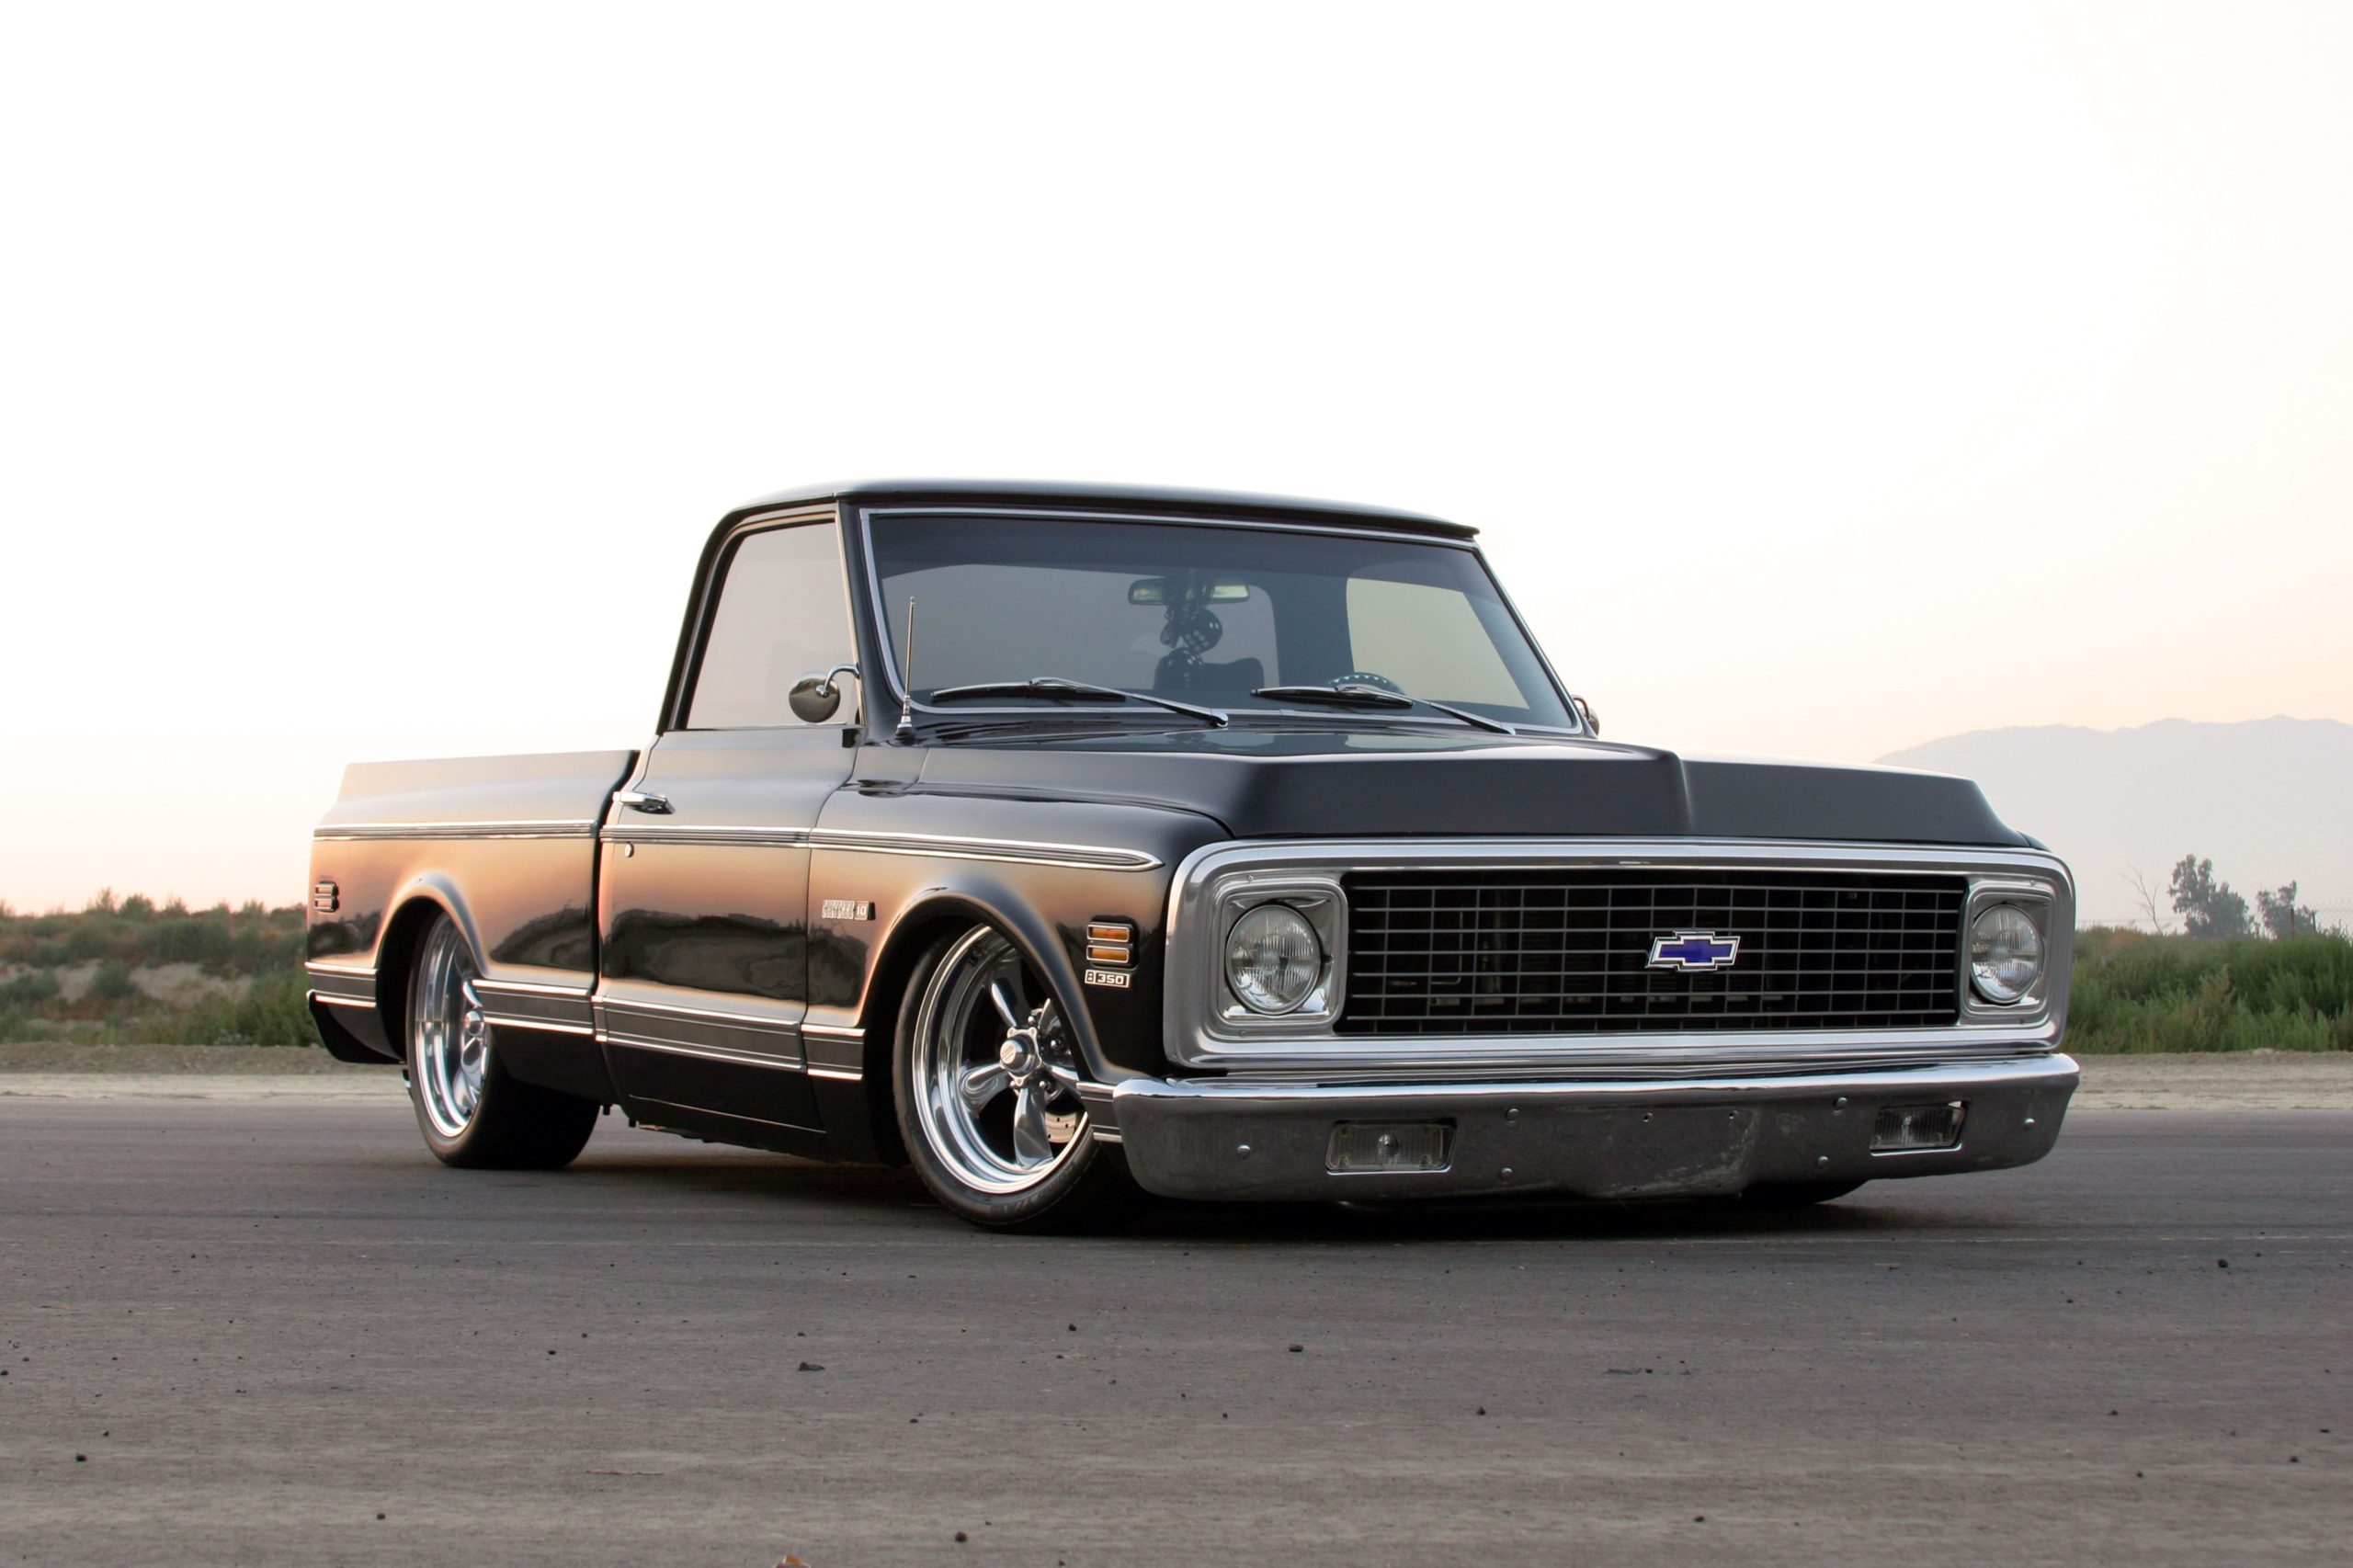
Jerry McMullan is a long-time Chevy fan, and when he wanted to find a cool daily driver, he knew two things. The first was that the vehicle would be a Chevy, and the second was that he knew it had to be black. Having been the proud owner of a couple of previous ’67-’72 Chevys (a ’70 Chevelle SS and a ’70 El Camino SS), he knew that that the style suited him, so he thought that a pickup from those years would be just right for what he had in mind. After a little searching, he came across this ’71 Chevy Cheyenne. McMullan says that the truck was in fair condition when he purchased it (for the now-reasonable, though still hard to believe, price of $11,000), and thus began his three-year odyssey of building his perfect pickup.
0Comments
When Jim Anderson builds a car, he really builds it. Other than paint and a few of the more intense aspects of the interior, he takes on the task of reconstructing the entire car into what he thinks it should be. And when asked what he thinks a vintage car should be, he responds that it should be fast and handle well.
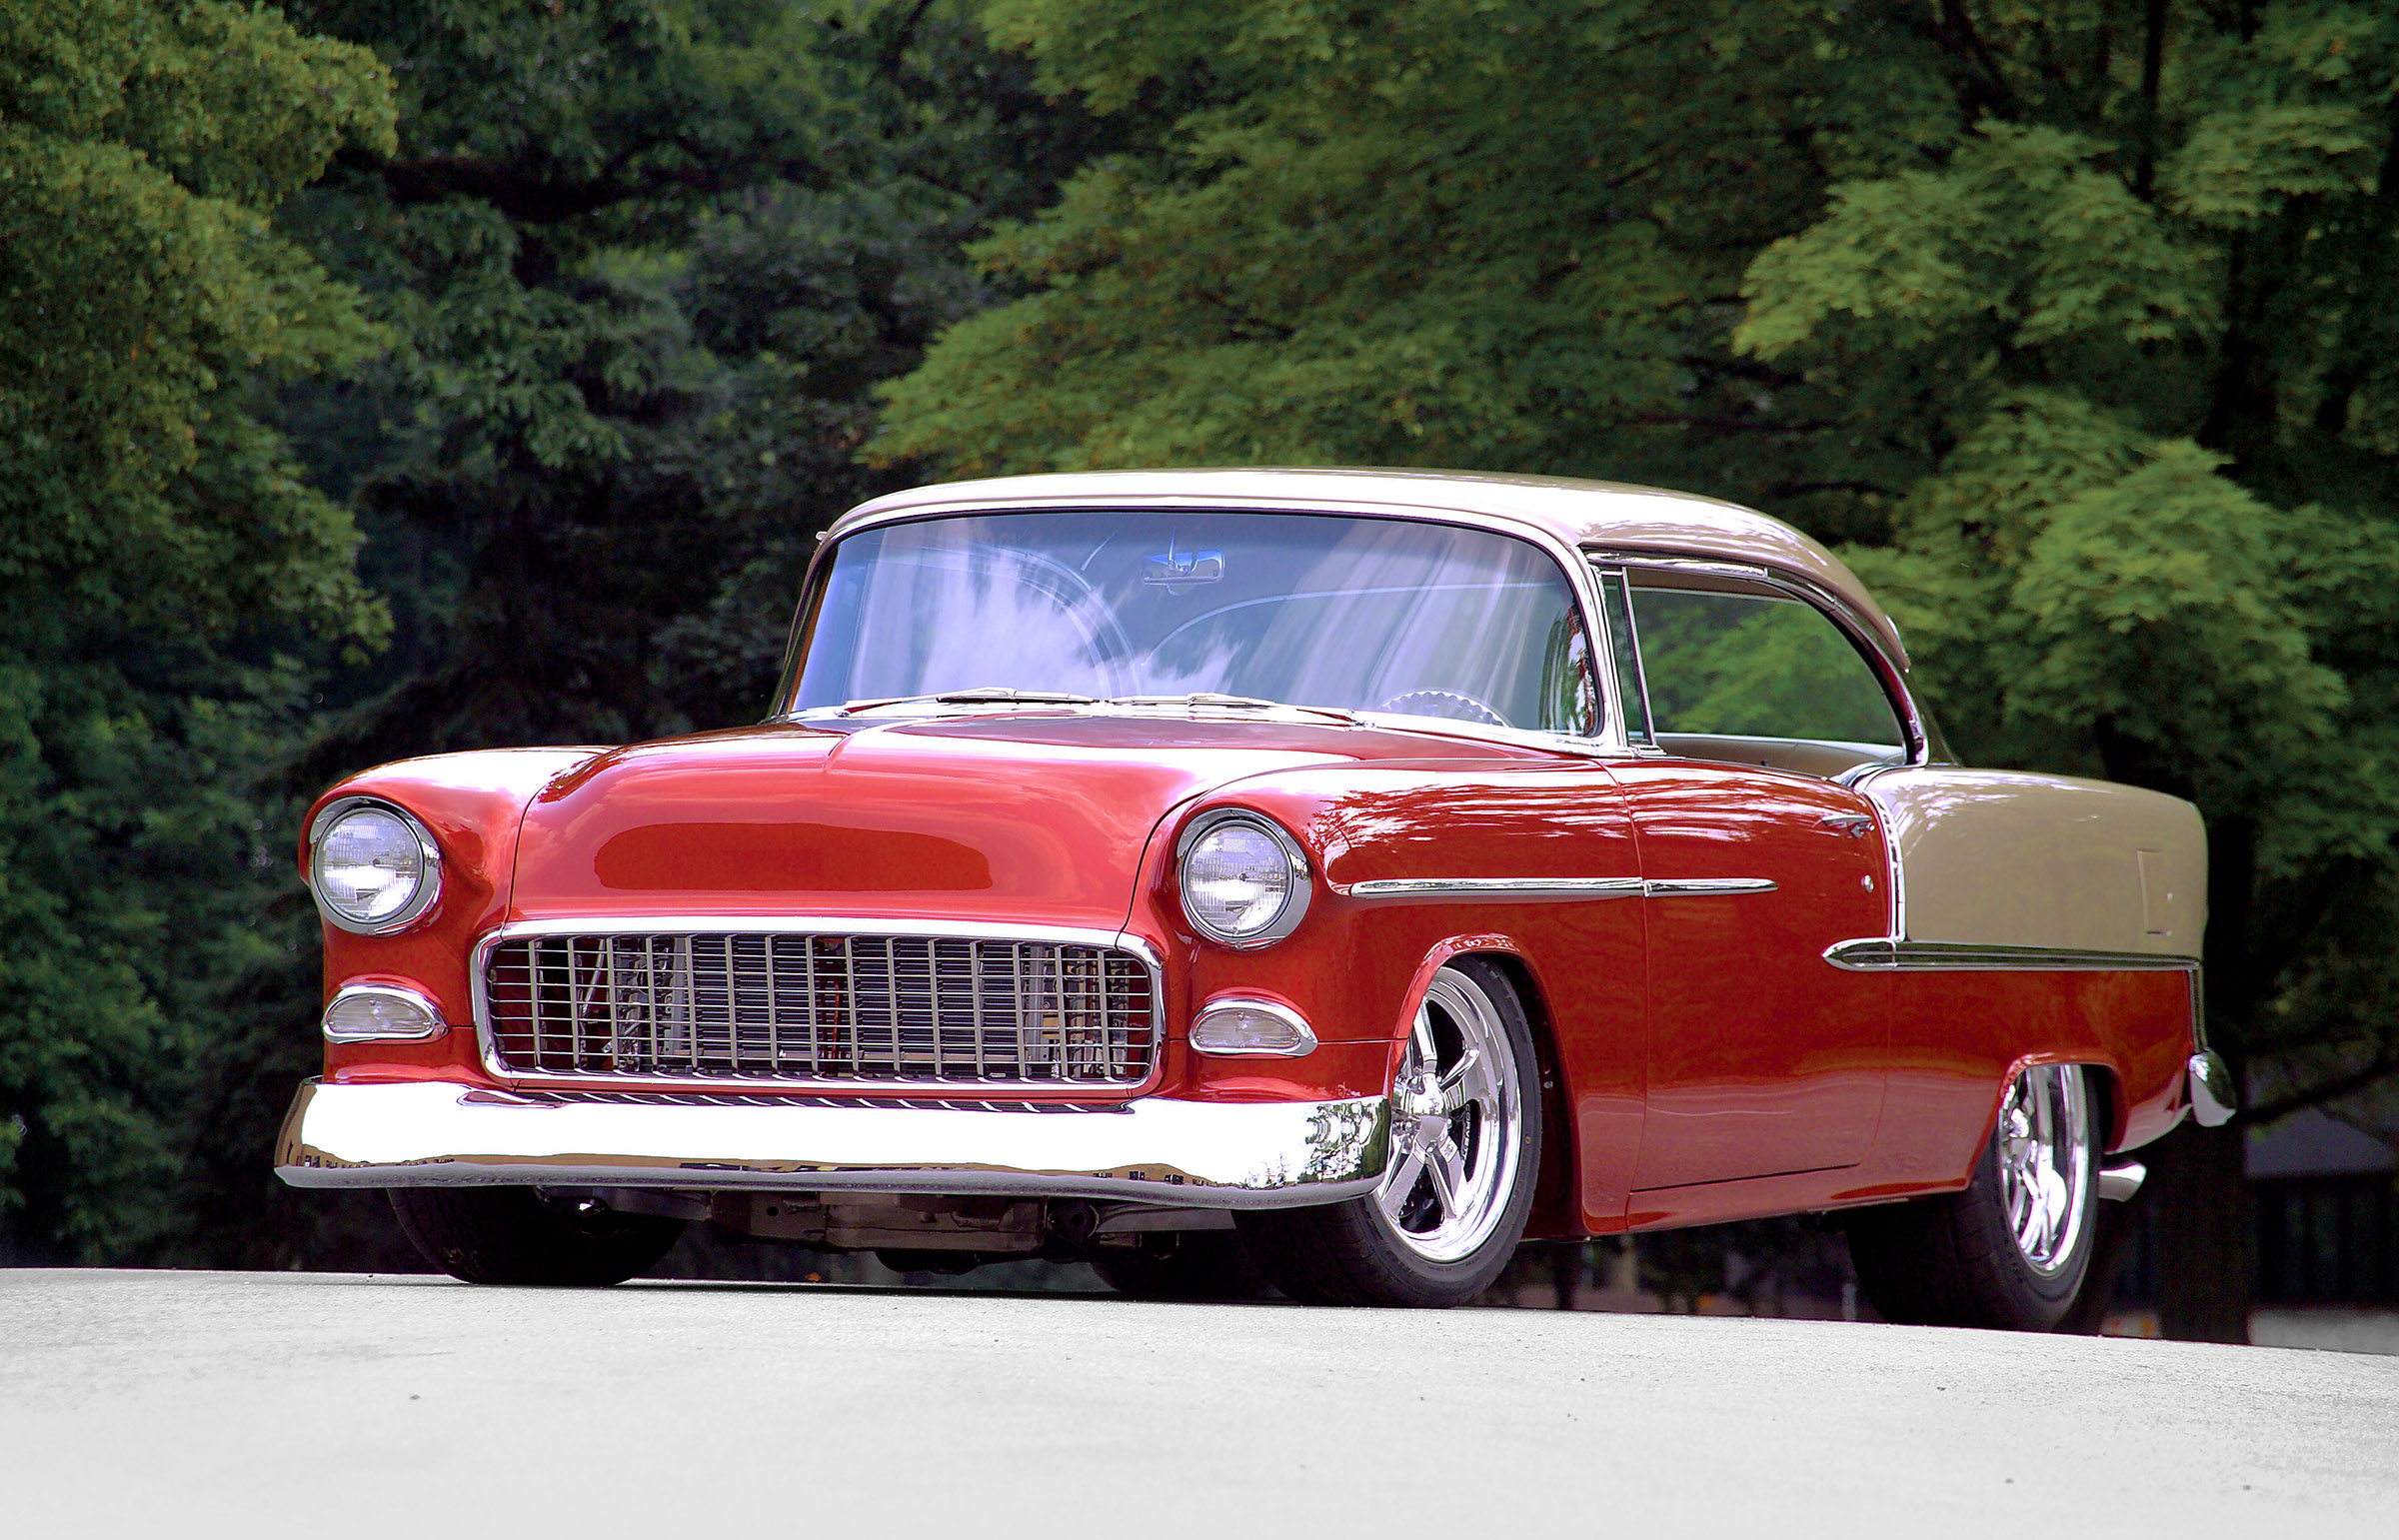
Upon its introduction, the ’55 Chevy became an instant success, and over the years, it has remained a favorite of Chevy enthusiasts, with the ’55 Bel Air hardtop being one of the most popular.
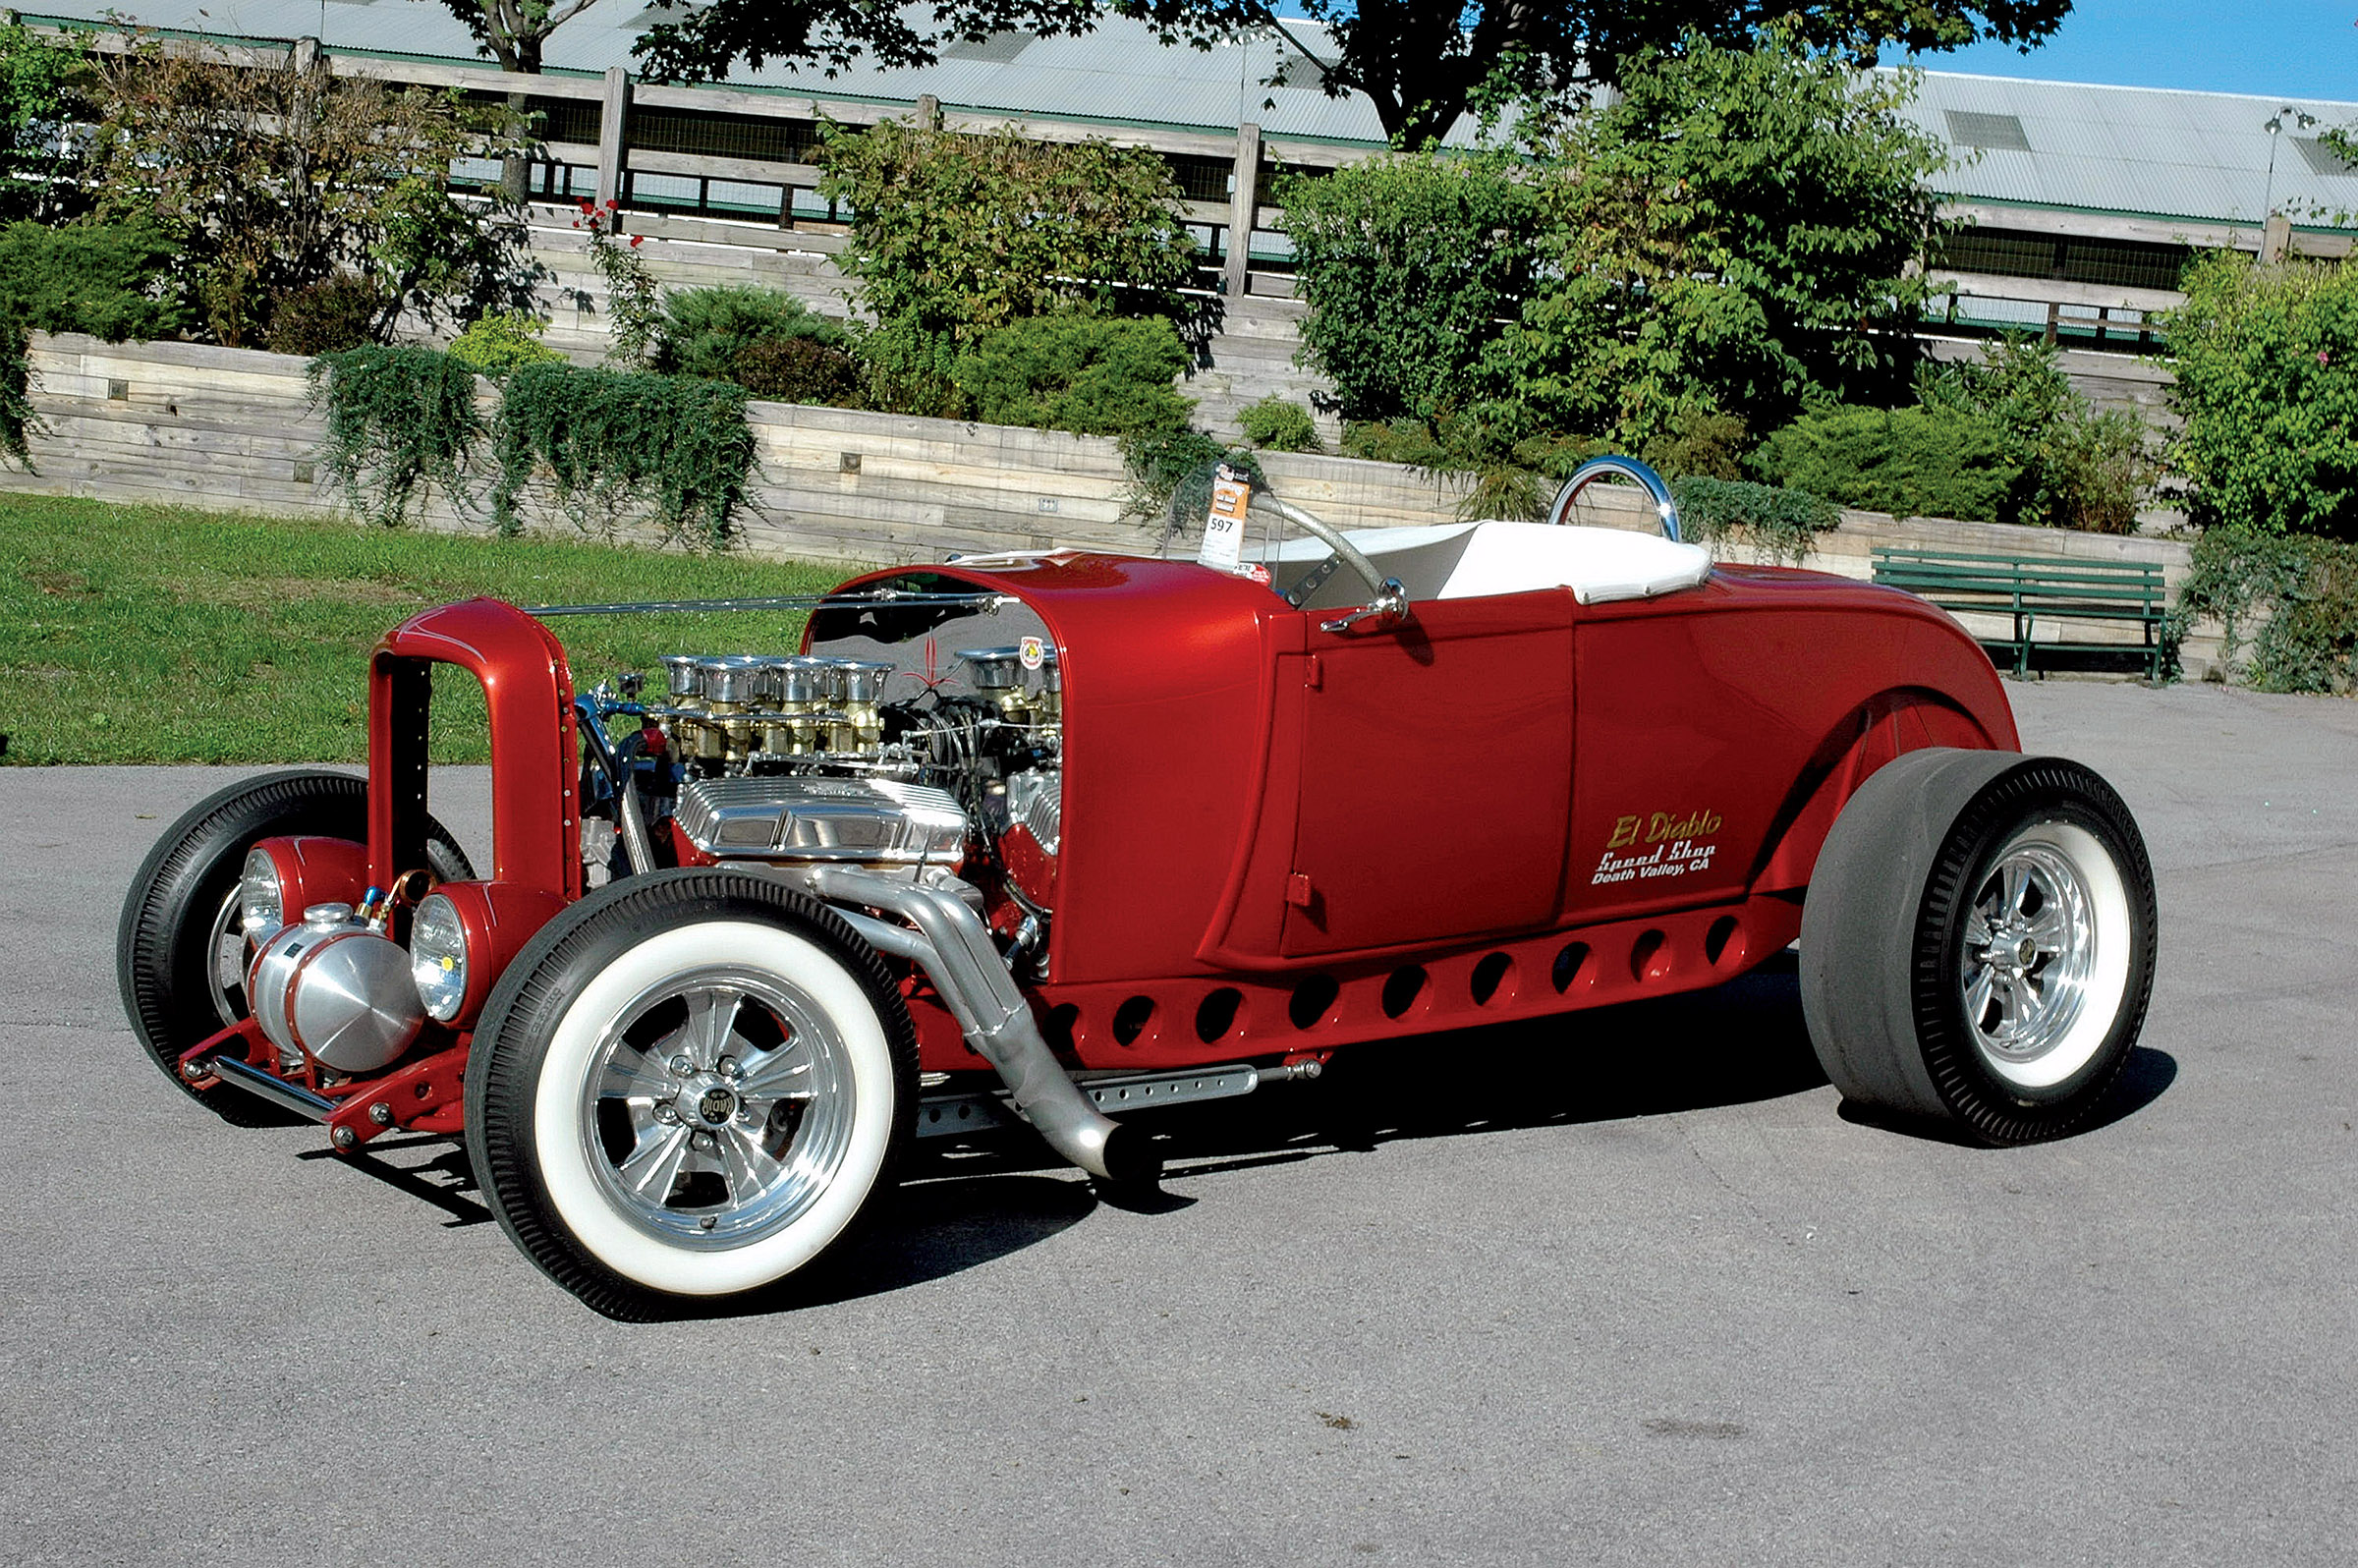
Rich Oakley is not your average hot rod builder. There is no room for cookie cutter cars in the Retro Rides by Rich shop in Archdale, North Carolina. In fact, he prefers to be one step ahead of the norm when it comes to building his personal rides. Loosely inspired by the Tony Nancy 22 Jr., his Model A highboy comes equipped with an attitude. “The car has a loud, rude nature. That’s what I like about it, the way it shakes, smells, and of course, the noise,” Oakley says. It has an aggressive stance, and those six Holley 94 carburetors are an indication that the roadster might have a chip on its shoulder.

Two of a kind? Not quite. Chip Rhodes’ ’68 Nova SS clone and Donnie Childers’ ’66 Chevelle are as different as they are similar. Different body styles, small block vs. big block, SS vs. non-SS—but, my, there is a family resemblance: pale yellow in color, each with a black vinyl top, black interior and gray five-spoke wheels. Fraternal twins, then?

Neal Hensl is a true muscle car enthusiast. Over the years he’s owned plenty of them, including Novas, Chevelles, Corvettes and a Fairlane. Not long ago, he picked up a ’68 Mustang fastback, and it wasn’t just any fastback—it was a rare R-code.
