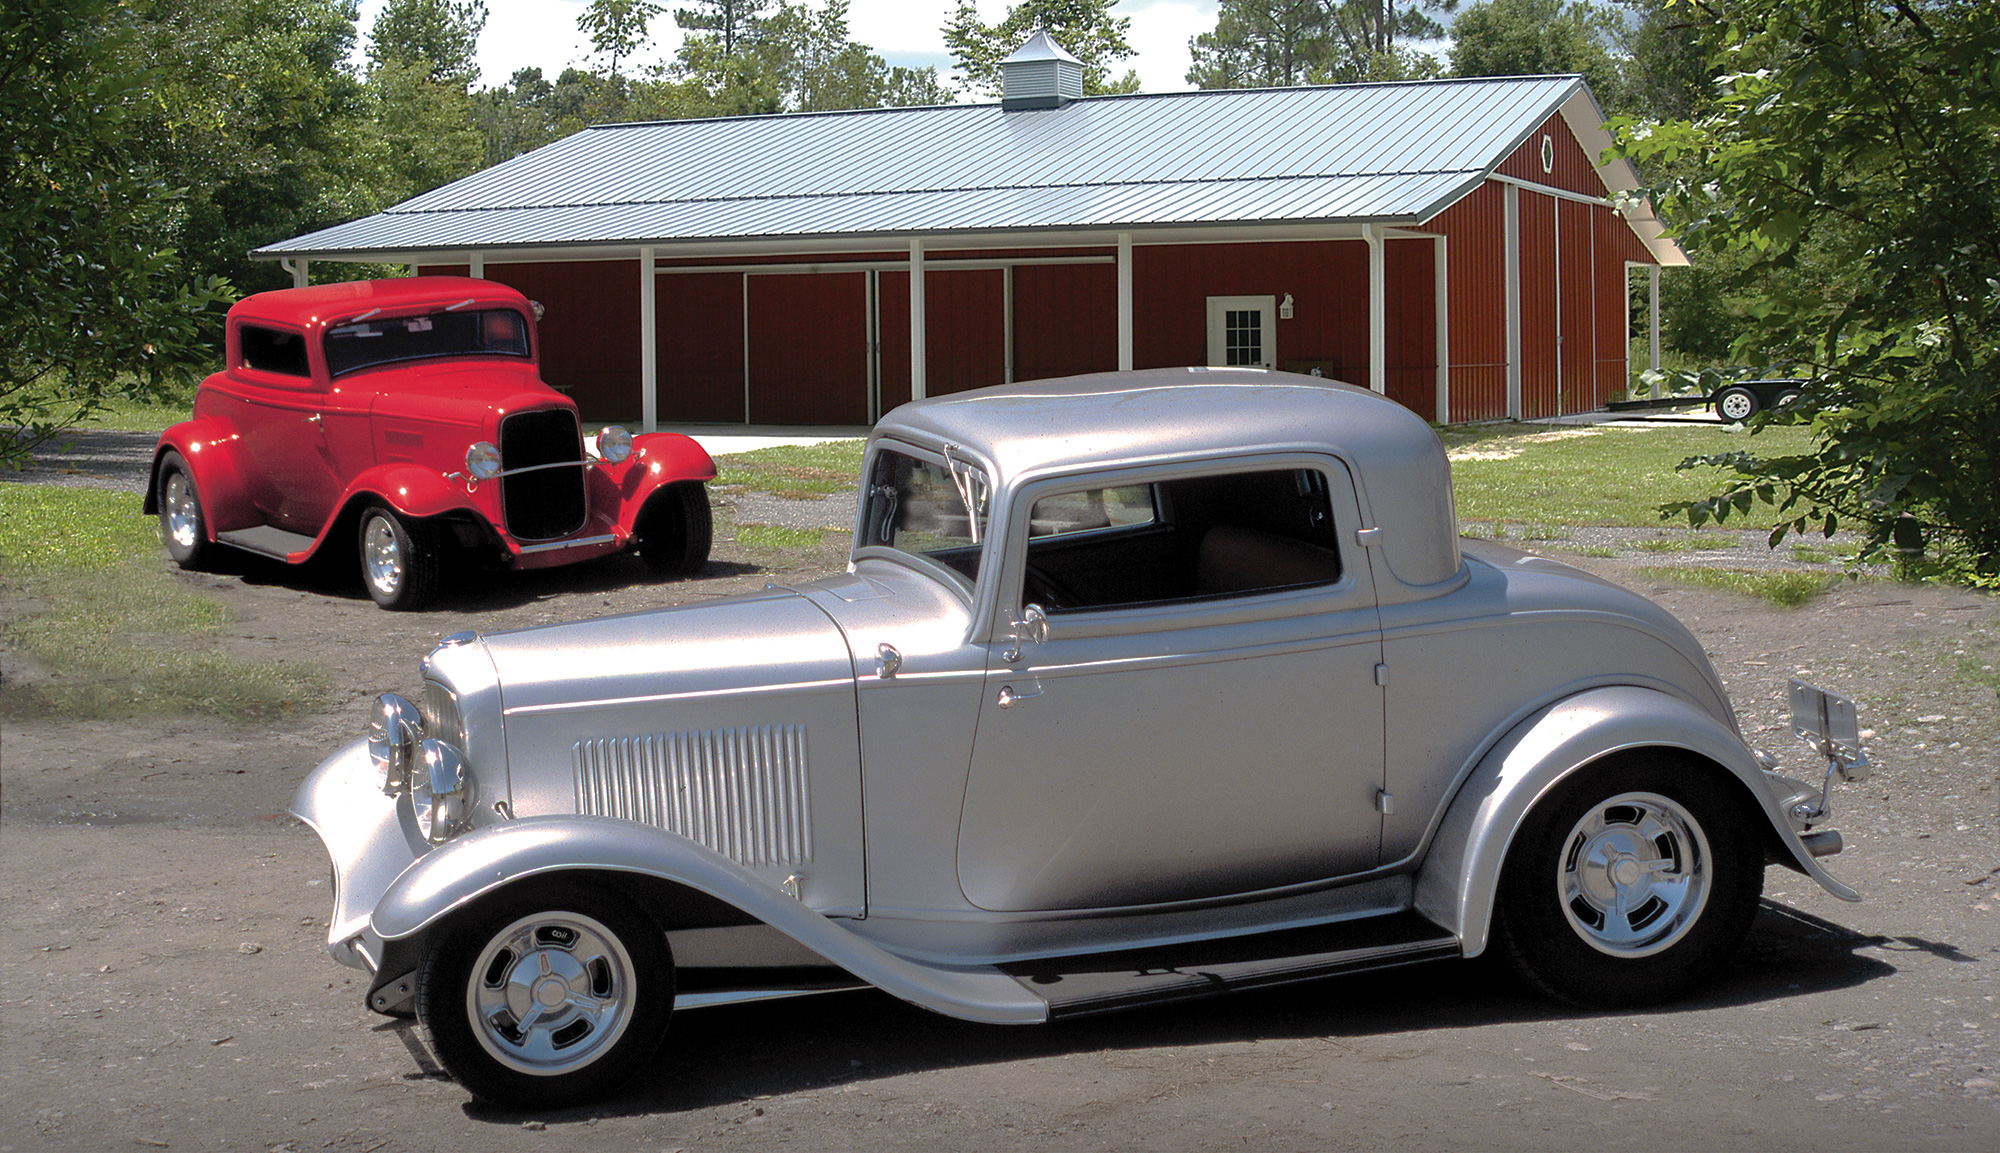
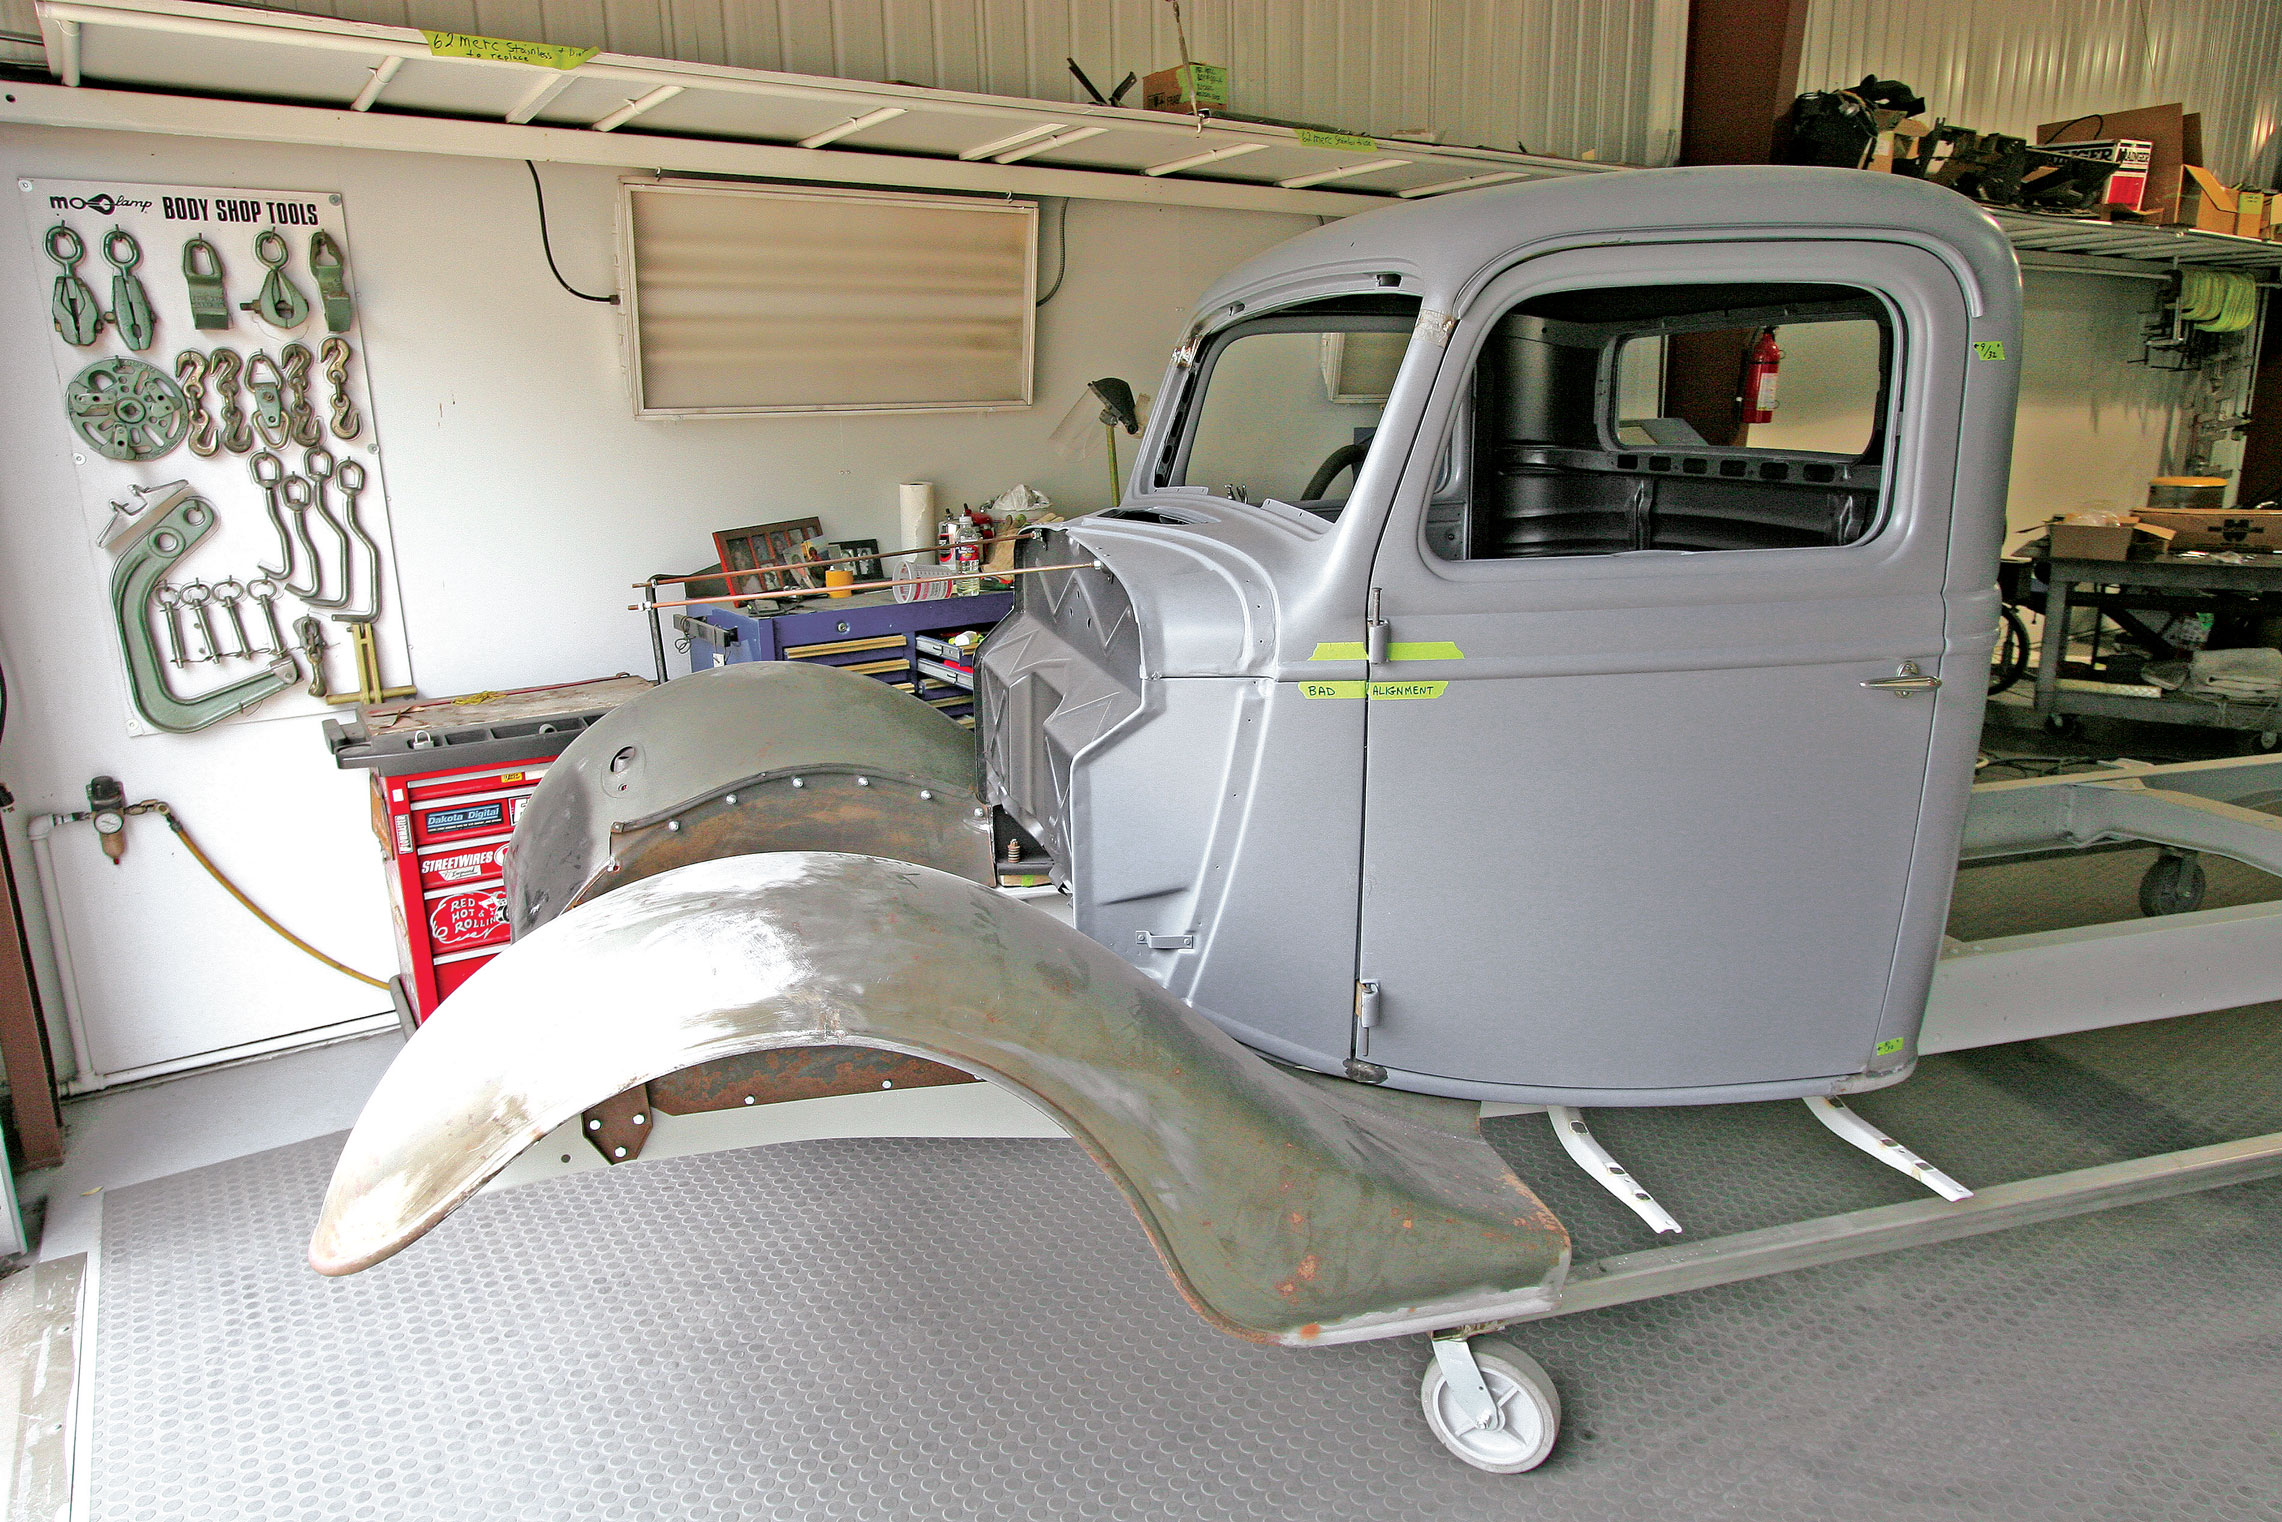
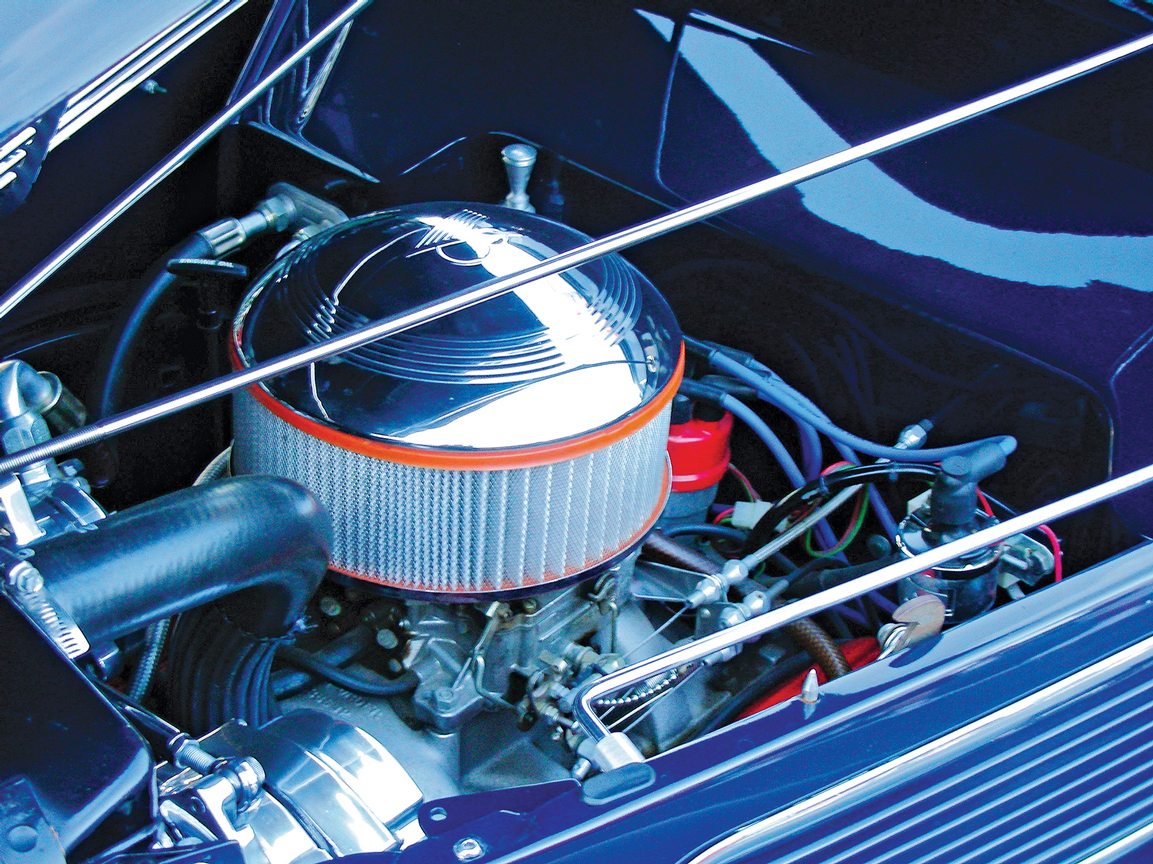
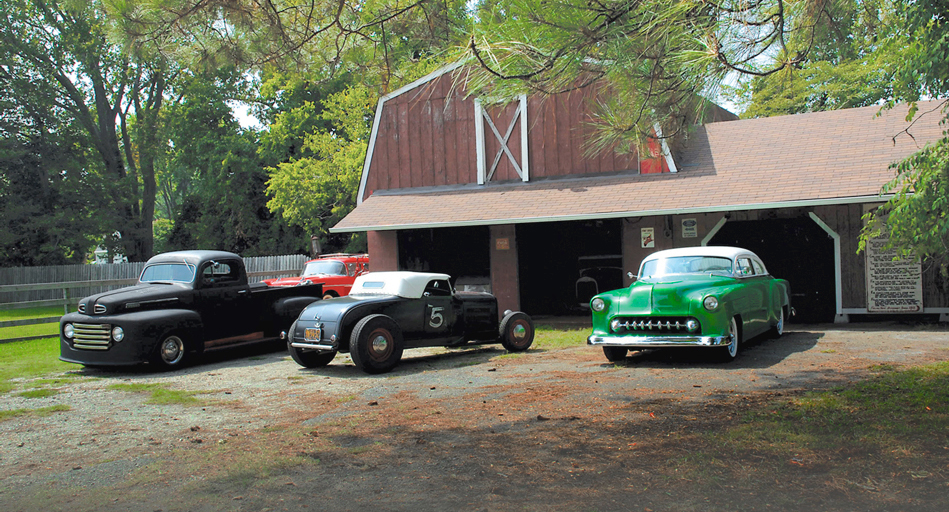
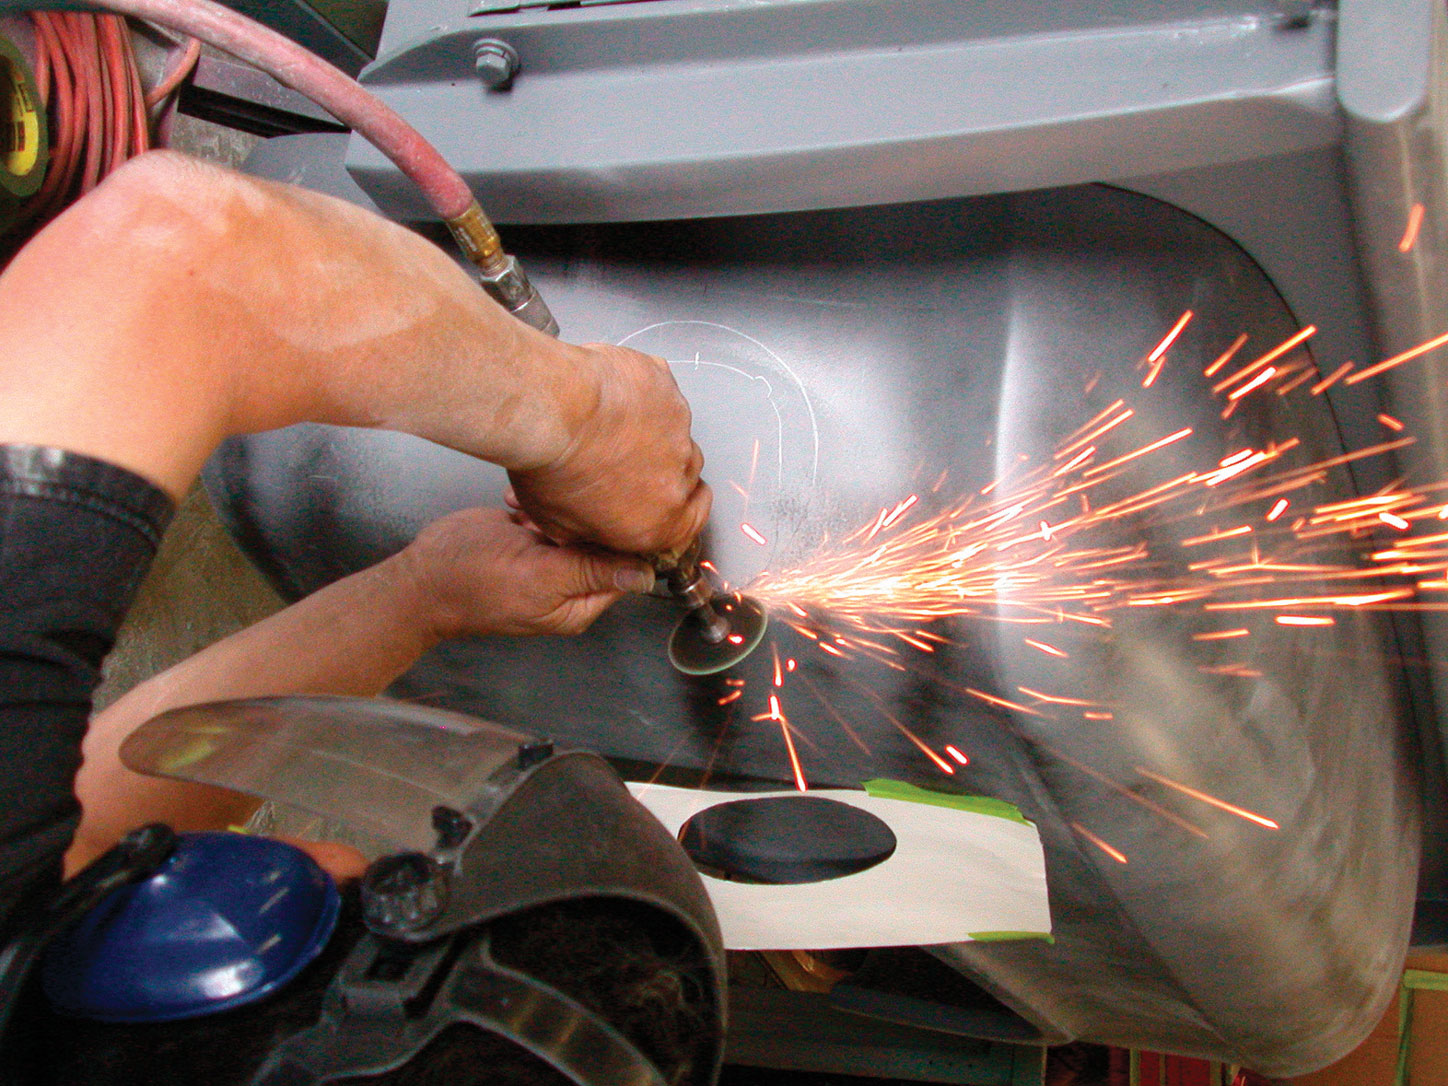
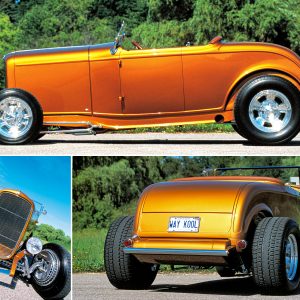
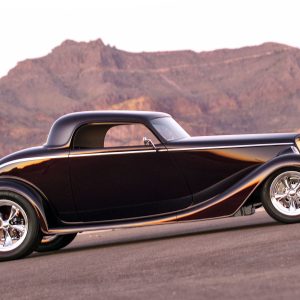
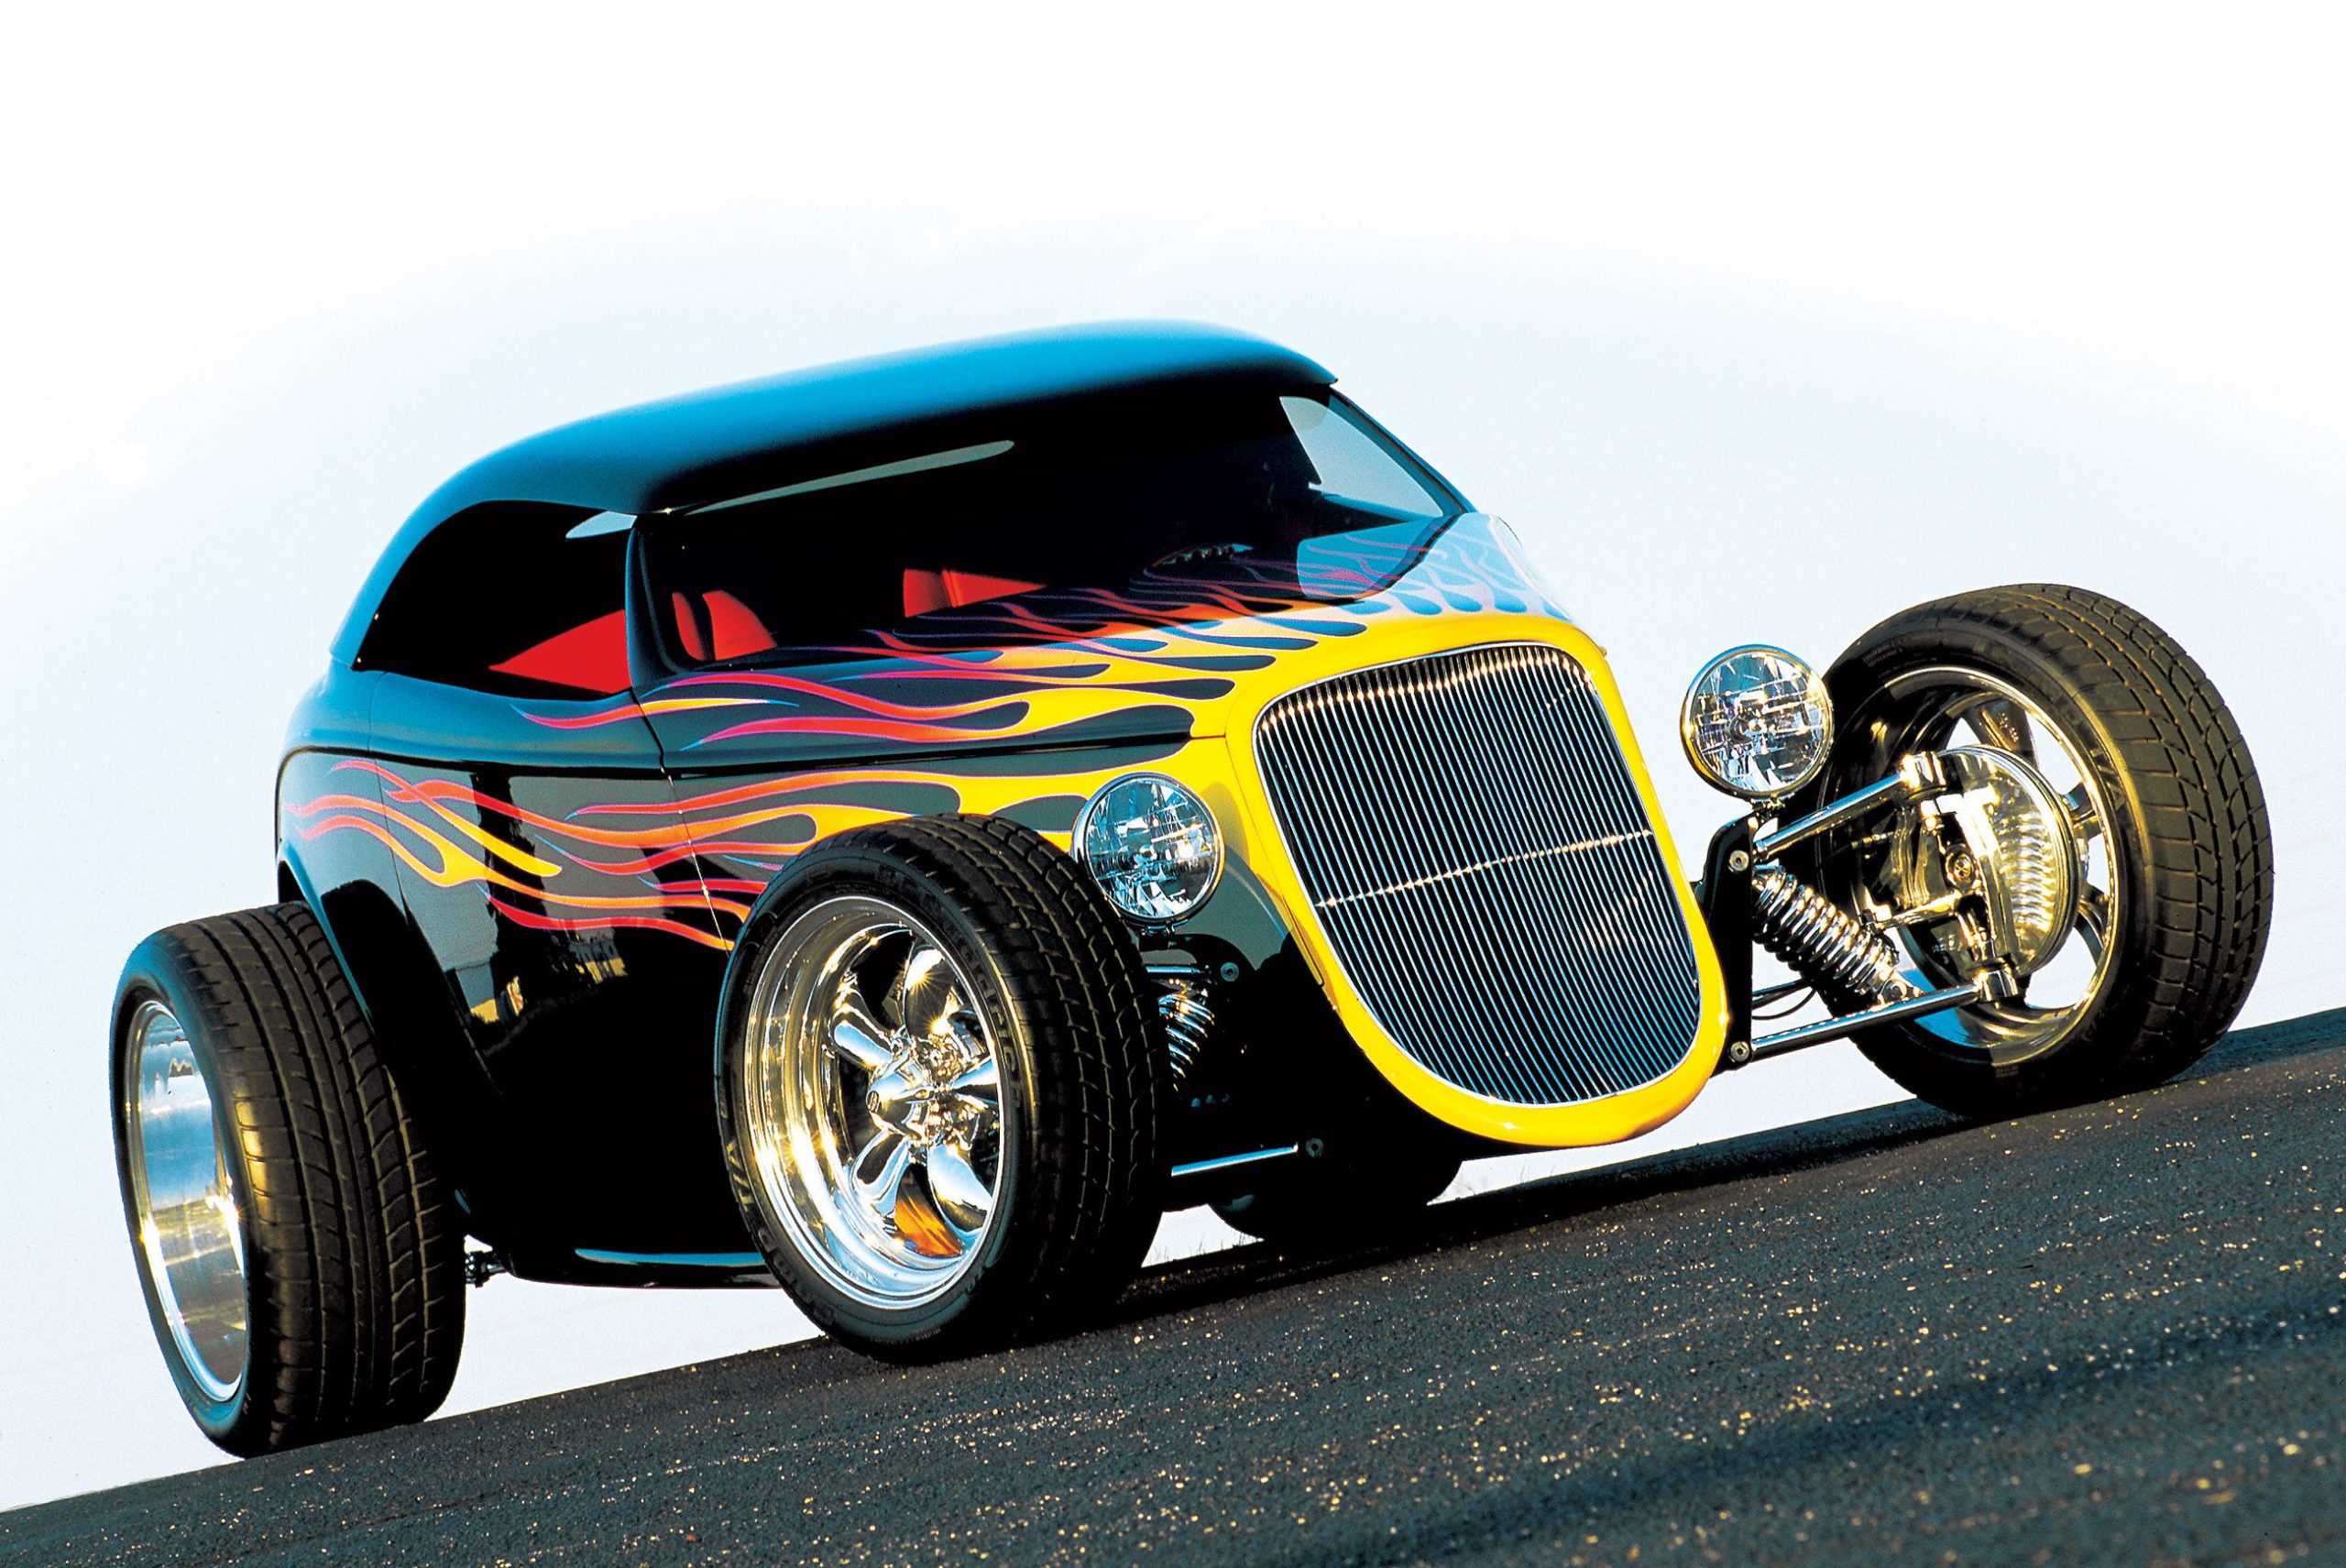
TheAutoBuilder.com

Exterior

Hold It Right There!

Unlike a regular car door, the back door of a sedan delivery is often left open for loading, unloading and so on. With nothing to hold it open, the slightest breeze will slam it because when a delivery is dumped in the front as ours is, gravity lends a heavy hand to the slam. We’ve never been knocked unconscious, but we’ve suffered some nasty lumps on the noggin. Worse yet, with no mechanism but the hinges, you never hear or see it coming.

Lost & Found

There are many reasons why the icon cars have achieved the lofty status they now enjoy, but one of the more obvious reasons is the simple fact that they were finished. Their existence and subsequent high-level exposure have inspired many a young lad to undertake similar projects, and for every famous car built in the early years, probably two others were started in an attempt to either copy or outdo it, but they never saw the light of day.

Tasty Taillights

If you are building a street rod, sooner or later you will have to select the taillights you want to use. As with so many other parts, the taillights should match the style of the car you are building. A smooth, high-tech rod should have taillights of the same style, perhaps flush-fit diode lights that match the shape of the body. If you are building a resto rod, the stock taillights are generally used, stalk and all. Internally they can be updated with bright bulbs or a diode kit. If you are building a nostalgic or a traditional rod, there are several different lights that were used by builders in the ’50s and the ’60s. The rod seen in this story is being built in a traditional style, so there were many lights to choose from.

Installation Tips For Those Tough Spots

Installing Fender Welting on pre-1948 Autos Author Most every pre-’48 car came with fender/body welting, consisting of a simple combination of a narrow strip of vinyl (or similar material) folded over a small-diameter woven cord and glued shut. Its purpose was, and still is, to insulate one piece of body metal from another when bolted together—not an electrical or temperature insulation, but essentially to eliminate squeaks and rattles, and to prevent paint from chipping (or cracking) as the two pieces flexed and vibrated together under normal road use. Generally referred to as fender welting, this product can also be found throughout certain car models; used to mount grilles, running boards and bumper gravel shields. That was how it was done years ago, and unless the car has special body panel fitting or these pieces are molded in, you will find it still in use today. We use the stuff mainly because our cars still need it, but also because it does the job. As far as we know, nobody ever came up with a better way to do it.  People still ask about the pre-’48 cutoff for street rods, but the answer is simple: 1949 was the year of “The Big Change” in automotive design, and it wasn’t just in looks. The new cars had no running boards and used welded-on rear fenders and isolation-mounted front fenders. The new-envelope body design extended the front fenders past the cowl and back to the front door edge. No more body part bolted joints meant no more welting. Thousands of welting folders, gluers and rollers were out of work. You’ve seen street rods without fender welting. Sometime back in the last century, street rod building pioneers such as John Buttera and Boyd Coddington declared war on such trivial detractions. We don’t have any direct input on the results of those metal-to-metal joints, but it’s a fair bet that few of those cars saw many road miles, and they most certainly required many metal finishing hours to get those parts fitting just so. But today you’ll find all sorts of varied solutions, and even welting hasn’t changed all that much. You will find it in different types of fabrics, even rubber, and it is available in many colors, including chrome. If they don’t make your color, your upholstery shop can make it for you in any material and color imaginable. Thinking now about why it hasn’t really changed over the years, we’ve concluded that in certain applications one might benefit if manufacturers were to add a thin strip of peel-and-stick adhesive to one side of it. Look at the accompanying photos and you’ll understand why we mention this. 1. On our example here, we had the rear fenders and running boards welded to the body, leaving only this joint between the front fenders and the cowl in need of fender welting. The paintwork is finished and the front clip is in place. We unbolted the fenders from the cowl one at a time in order to install the welting. 2. Looking inside the passenger door under the dash, you can see the mounting holes for the right front fender. Removing the bolts will allow you to pull the fender away from the cowl. 3. This is the view straight up under the passenger’s-side front fender showing the interface between the two. The flange on the fender (left) comes wavy from the factory. This is where the flap on the welting will come through. The white streaks are from color sanding and are still there. 4. We just happened to have a spare set of fenders (this is a driver’s side), and will use them to show how to cut and form the welting. Cut an extra-long strip and start at the top. If you can remember to make up your welting before you mount the fenders, you will be better off. 5. You can really see the wobble in the mounting flange here, especially in the shadow. We were tempted to hammer and dolly it out, but if Ford didn’t mind, why should we? Besides, there’s a good chance that you’ll distort the fender’s shape. Note the opening cut for a bolt and the slits made for the bend. Try not to cut right up to the cord, as that would allow water to get to it more easily. 6. Using masking tape, we started placing the welting with the bead right against the fender’s top surface. The trick here is to use a heat gun (yes, you can use the hair dryer if she’s not home) to form the bends. Hold the curve and remove the heat. When it cools the vinyl will hold the shape fairly closely. 7. This is about the tightest you can bend the welting with the help of the heat gun. Still, there are going to be small wrinkles. 8. Note the slit cuts for this outside bend. Look closely and you’ll see there are three thicknesses of material stacked up there. This will cause big problems with the installation of the welting, and it won’t allow a tight fit between the fender and the cowl. 9. Here you can see where we cut wedges out of the slit cuts to prevent stacking. This is pretty much our final shape. 10. With the shaped welting taped firmly in place, apply a medium heat uniformly over the whole length. Let it cool completely (about 30 minutes) and then untape it. You’ve got yourself a permanently formed fender welting, custom made just for your car, and you did it yourself. If you were smart enough to do this before mounting your fenders, this would be the perfect time to glue the welting to the fender. 11. You can see how pre-forming the welting is going to make the installation much easier, as well as ensure a perfect fit. If you’ve ever tried putting it in right off the roll, you know what we mean. 12. We very carefully applied

Vintage Fabrication

For every hot rod shop that has a show on TV, there are countless smaller shops that will never get mainstream TV exposure or clothing lines sold at Wal-Mart. But all across the country, it’s these smaller shops that turn out the majority of the street and super rods that you and I enjoy, and that we see at shows. And even though these little guys may not have big reputations yet, they churn out consistent and excellent work—and, that is precisely how some of these smaller shops will eventually become bigger shops with even more prestige.

Final Assembly Tips From The Pros

When building a street rod there are a great many facets of the construction process that go into making the car an award-winning creation. First, there’s planning. The planning of the car can and should include attention to each and every area of the car, from concept to reality. Even the most basic of projects should have the proper planning involved, no matter what the final product might be. Once work has begun on the project, countless hours are generally involved in attending to every detail. From making the many modifications to the chassis to attain the desired drive train, to the matching and mating of the different components together, this becomes an involved process requiring a great deal of skill in fabrication and engineering.

Square Peg In A Round Hole

When the engineers at Chevrolet designed the fuel inlet and fuel cap for the early Nova, they must not have looked at the rest of the car. Novas aren’t called shoeboxes for no reason; with the exception of the wheels–and that gas cap–they are basically square. Wheels have to be round, but the gas cap, well….

55 Info, Tidbits & Tips

With tech and how-tos that might benefit you for both street and/or strip application. Sometimes those elements are major, other times they are far less significant, but nonetheless helpful. We also pay particular attention to things that are of interest, up to and including the reasons why an owner did not win at a car show. There are 55 photos here, each with a bit of info. Many may pay dividends for you sometime in the future, so sit back, learn, laugh and enjoy.

Scroll to Top