Low in its architecture and functionally beautiful, the LS2 engine is an ideal replacement for a previous generation of Chevy powerplants. It offers good
performance, greatly improved economy and plenty of support from an industry leaders.


Low in its architecture and functionally beautiful, the LS2 engine is an ideal replacement for a previous generation of Chevy powerplants. It offers good
performance, greatly improved economy and plenty of support from an industry leaders.
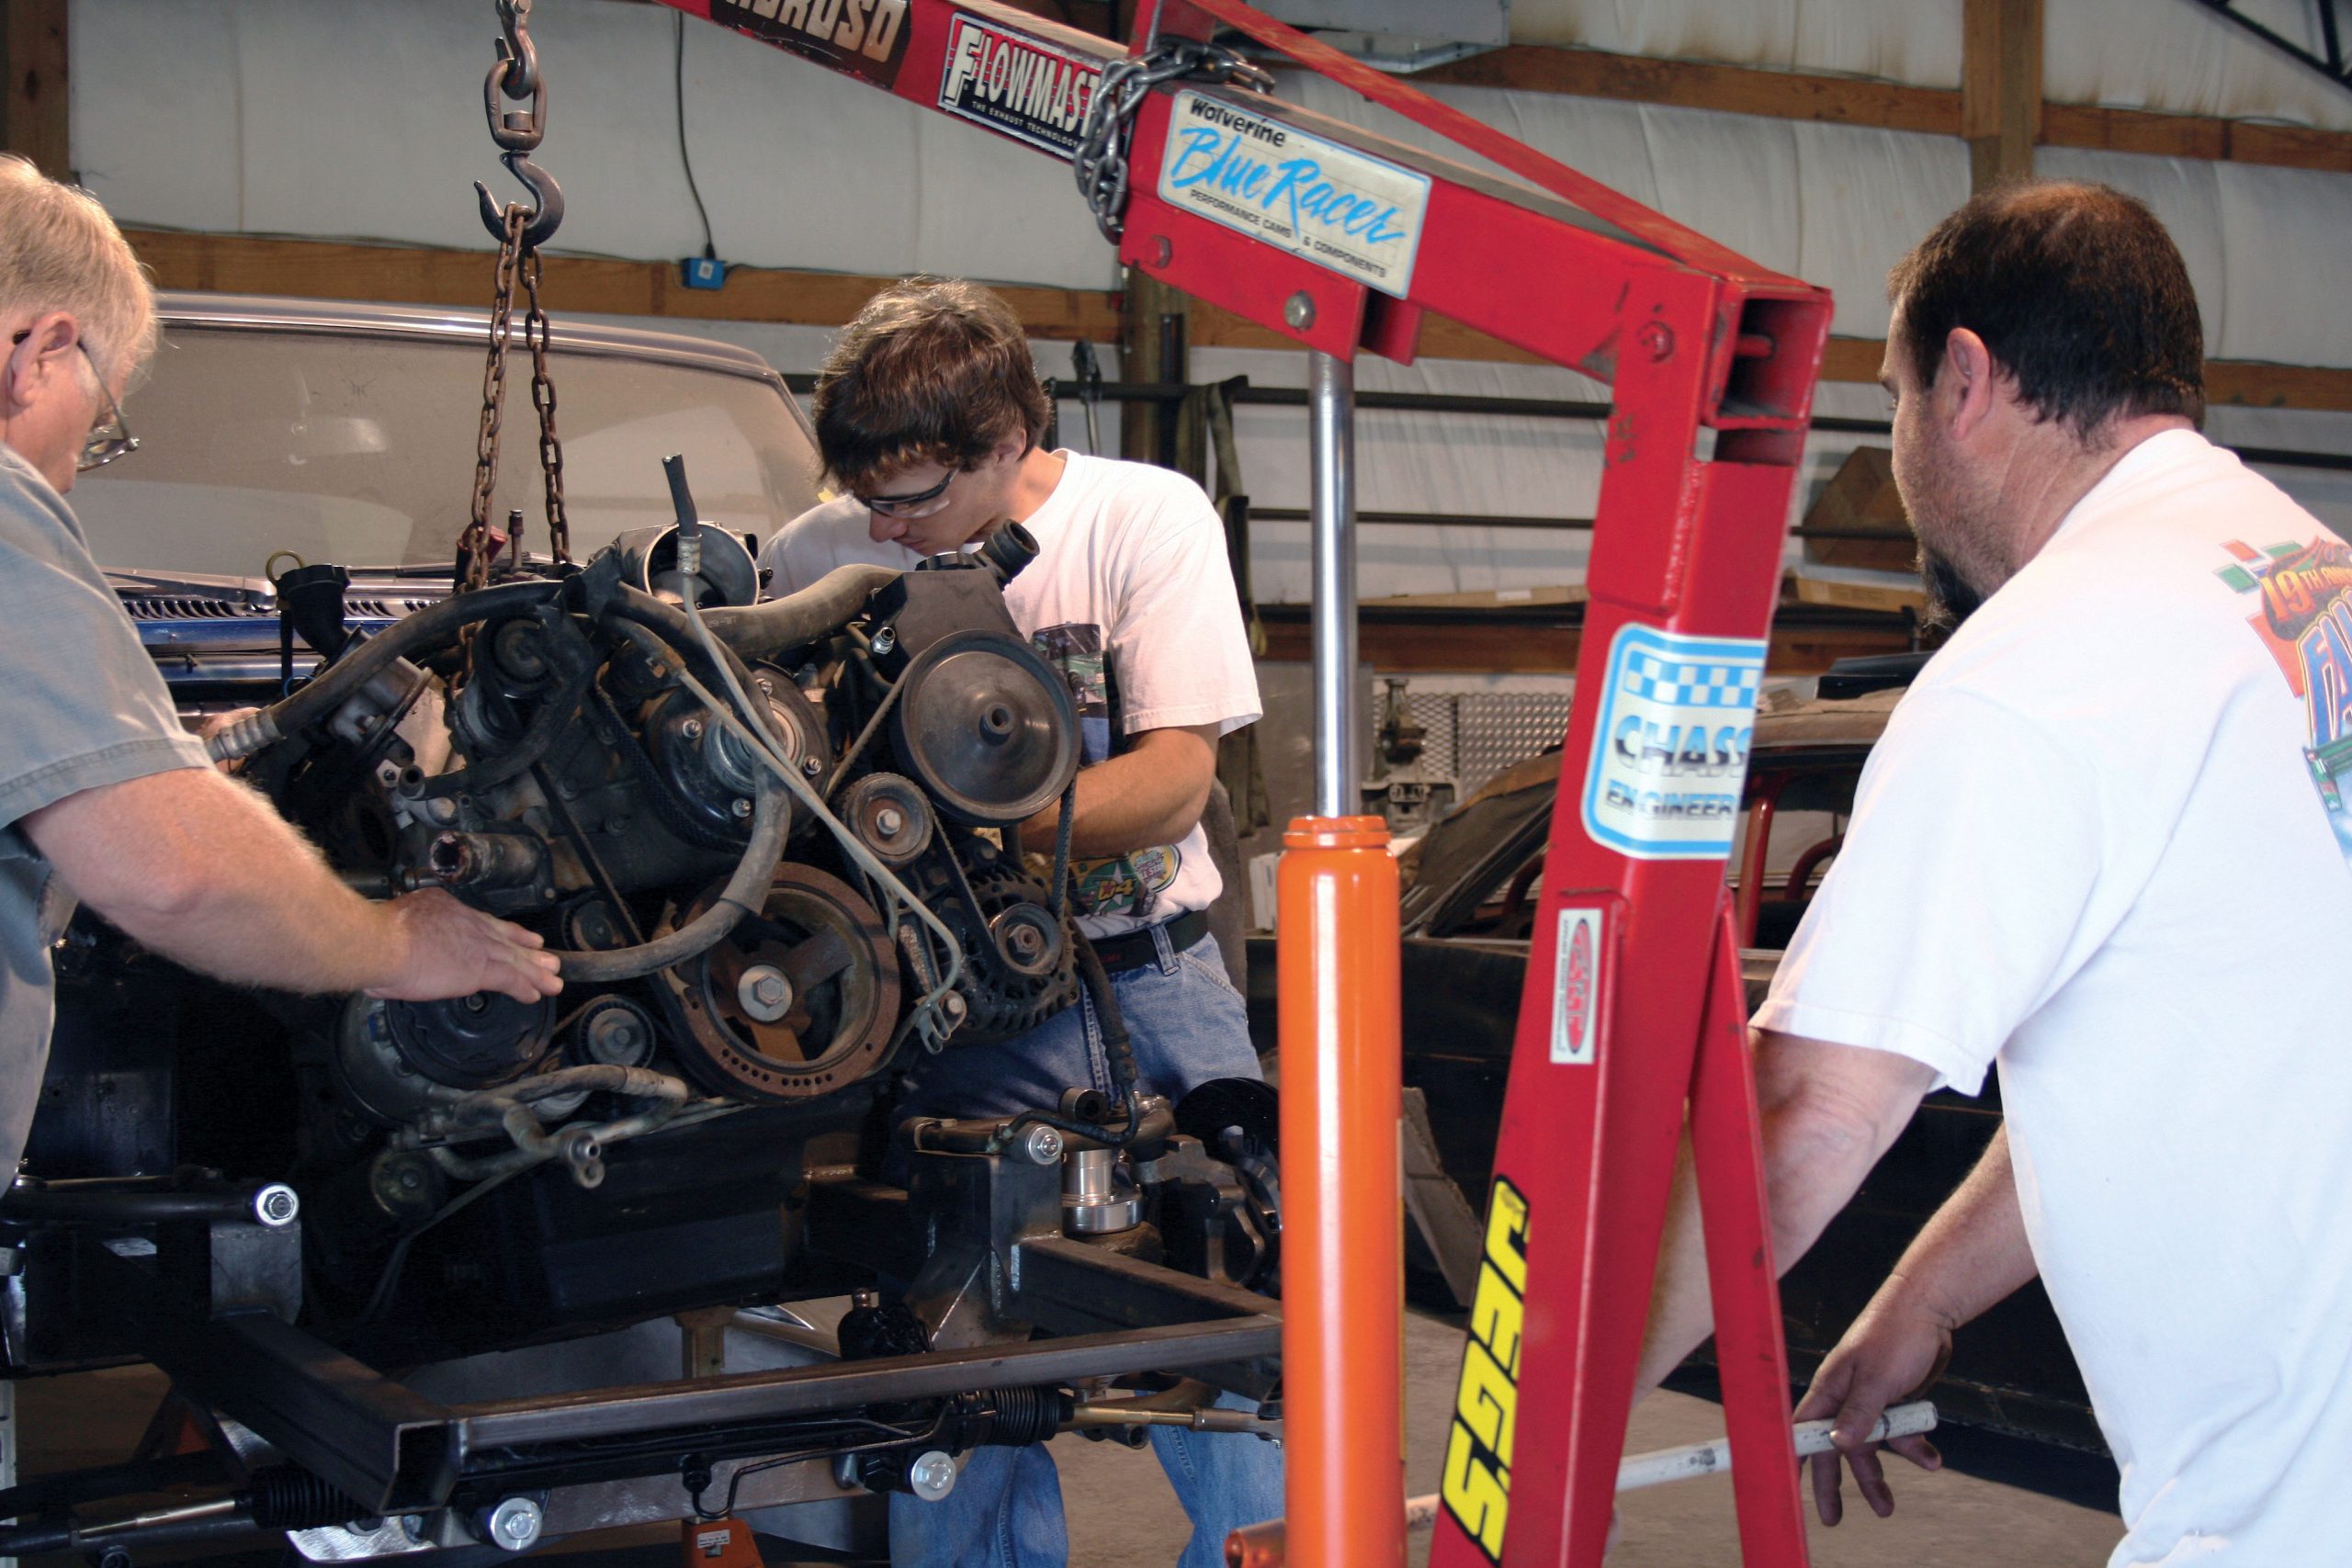
When GM introduced the Gen III small block in the F-body, it rekindled a dying performance flame with its new-generation small block. While the Gen I small block actually kick-started the hobby and got it into gear, it’s the latest family of small-block engines that has grabbed the attention of enthusiasts everywhere—and for good reason.

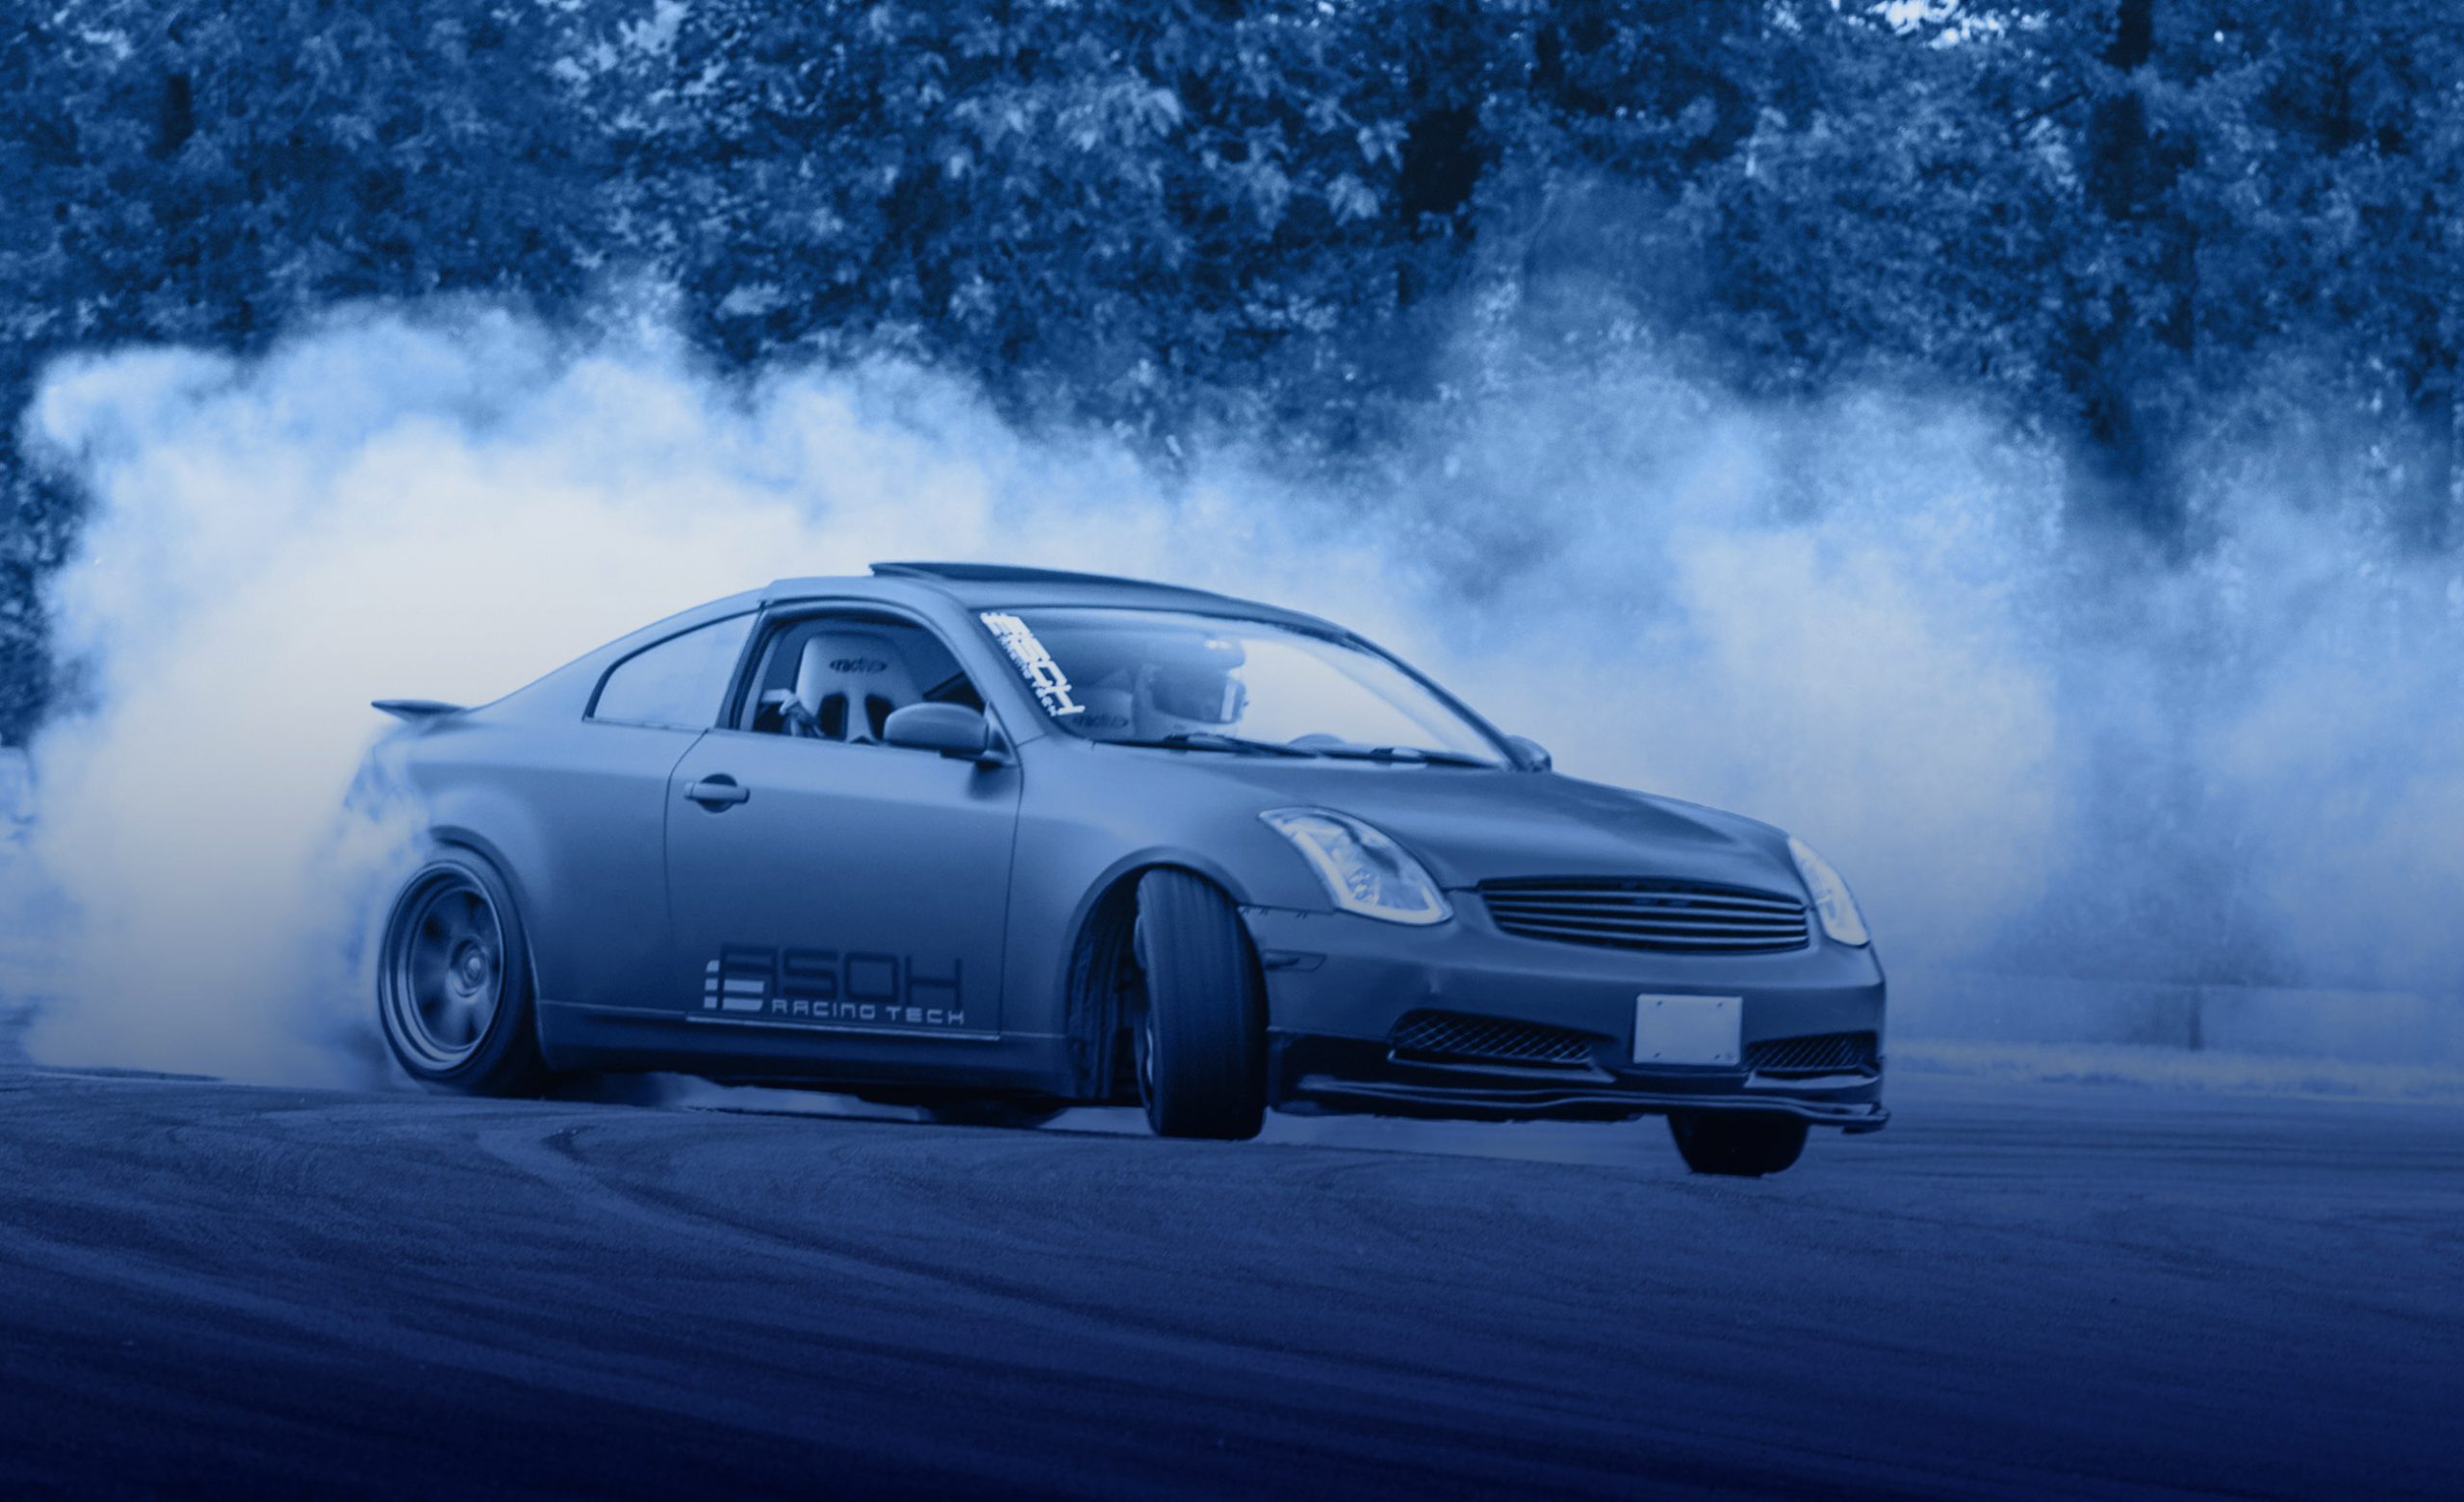
The name Cusco is synonymous with high-end, well-made performance parts. Even though we don’t often see Cusco parts on U.S. soil, when someone has them, people seem to recognize the parts immediately. Cusco specializes in many specific aftermarket automotive parts, but this month we’re going to get a firsthand look at the ins and outs of installing a six-point Cusco cage into a Nissan 240SX.

It’s all about girl power. Over the past few years, we have featured more than a handful of female-built and owned rides. It doesn’t matter how many times we feature a girl’s ride, some guys still assume that women can’t build cool rides. You guys all know the saying, “Don’t assume cause it makes an a** out of you and me.” So with that said, please don’t assume that this is just another ordinary four-door Integra owned by some girl.

Jon Therriault is no stranger when it comes to building high-profile cars. We received a message from Therriault a while back, informing us that he was working on a new top-secret project—a new ‘07 Satin-White-Pearl Subaru WRX. He went on to inform us that this car was to be considerably different than his last project.
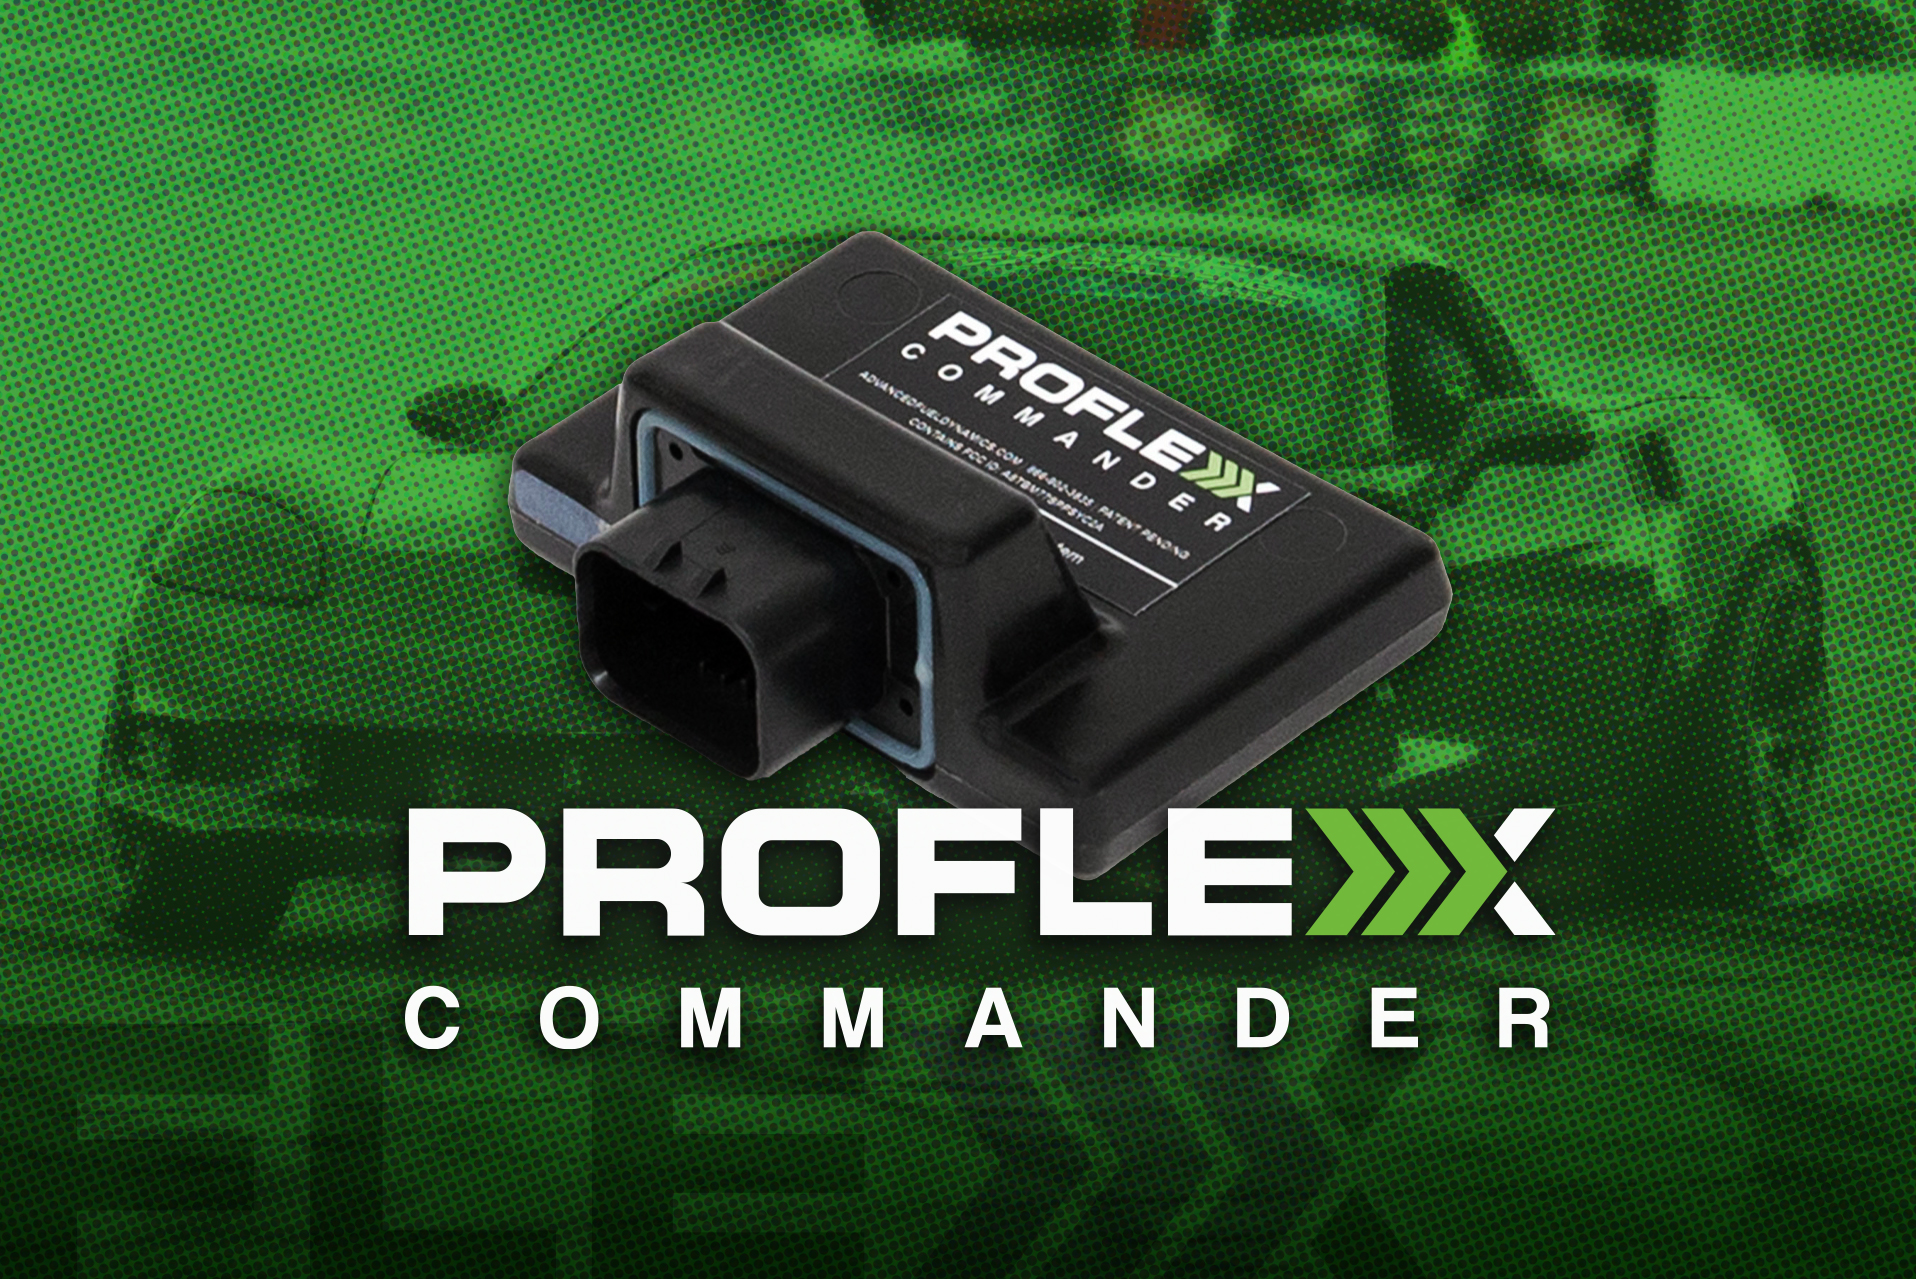
While at LS Fest, we noticed several drivers spending a lot of time tuning their rides before hitting the track, dialing them in to try and gain an edge over the competition. This left us puzzled. If you’re looking for an edge, there’s no better way to optimize your performance with E85 than with a flex fuel system from Advanced Fuel Dynamics.
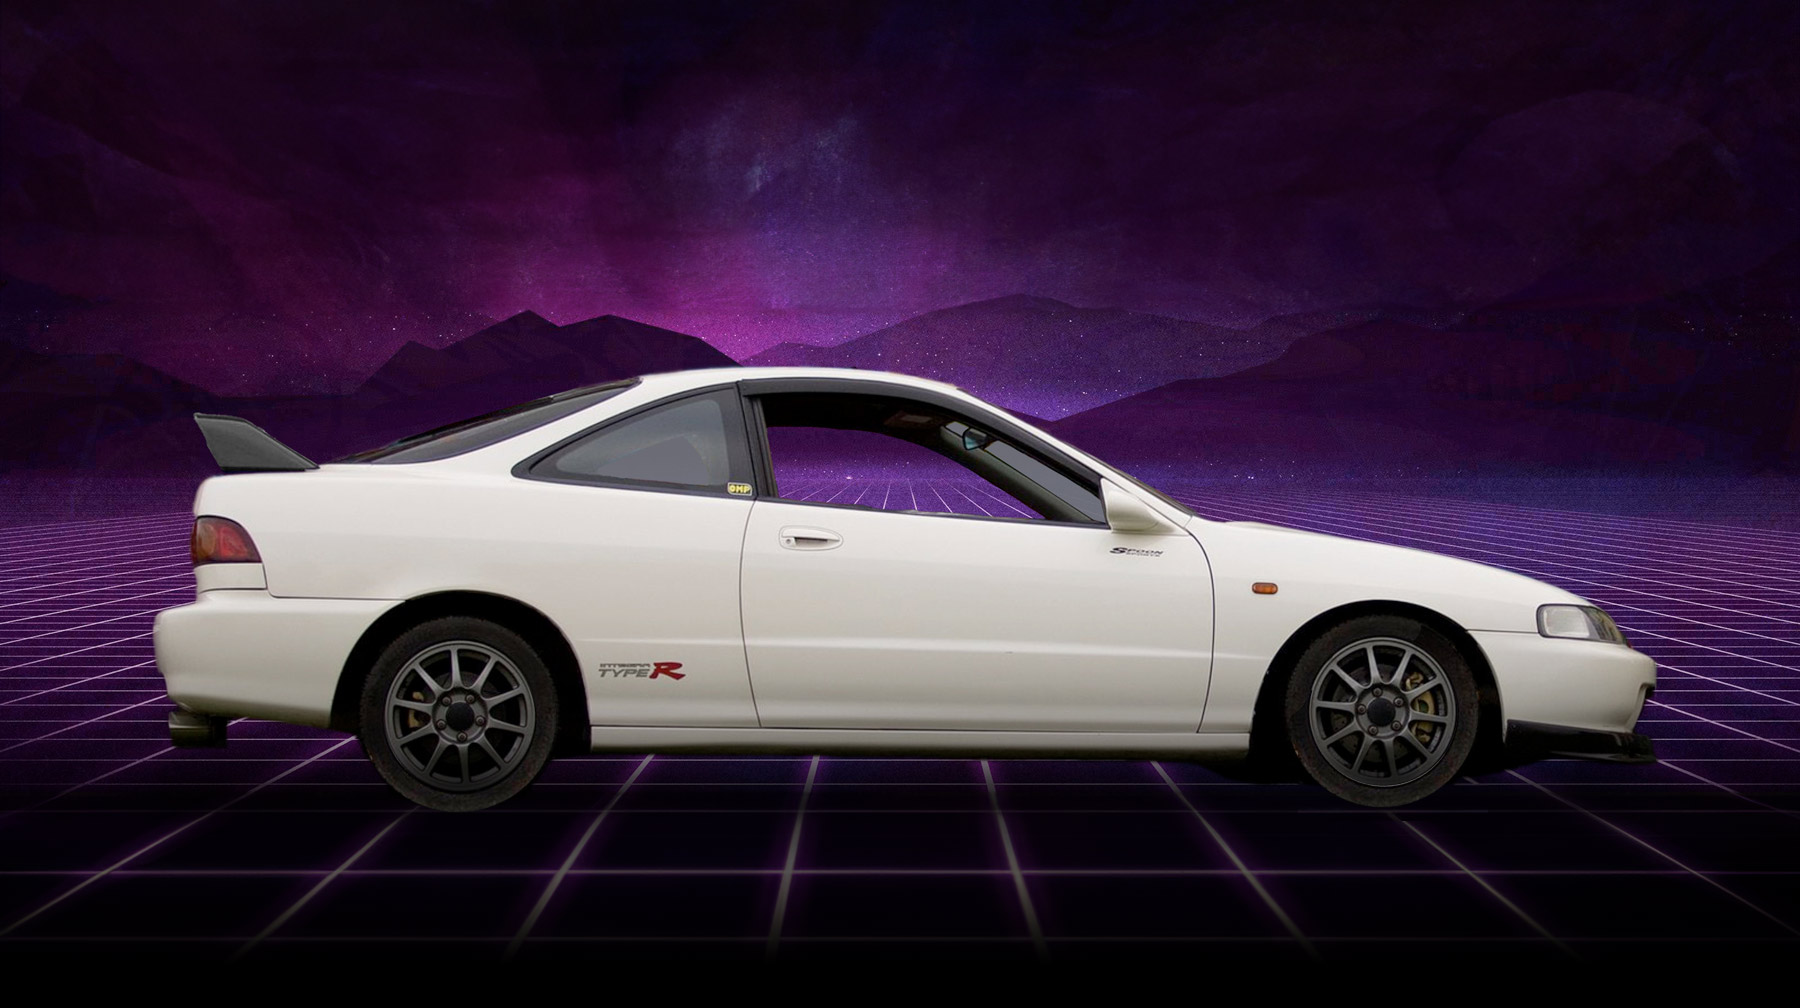
Honda did the right thing in refreshing the looks of the aging DC2 Integra platform, but somewhere along the retooling process, the terrific driving experience for which the Integra was known was lost somewhere. The Integra Type-R was a no-frills, high-performance sport compact that bordered on being a street-legal racecar, but without the loud exhaust or kidney-bruising ride; the RSX Type-S just doesn’t have the feel that the older Integra had—instead of being razor sharp and agile, the RSX feels numbed and subdued by comparison.
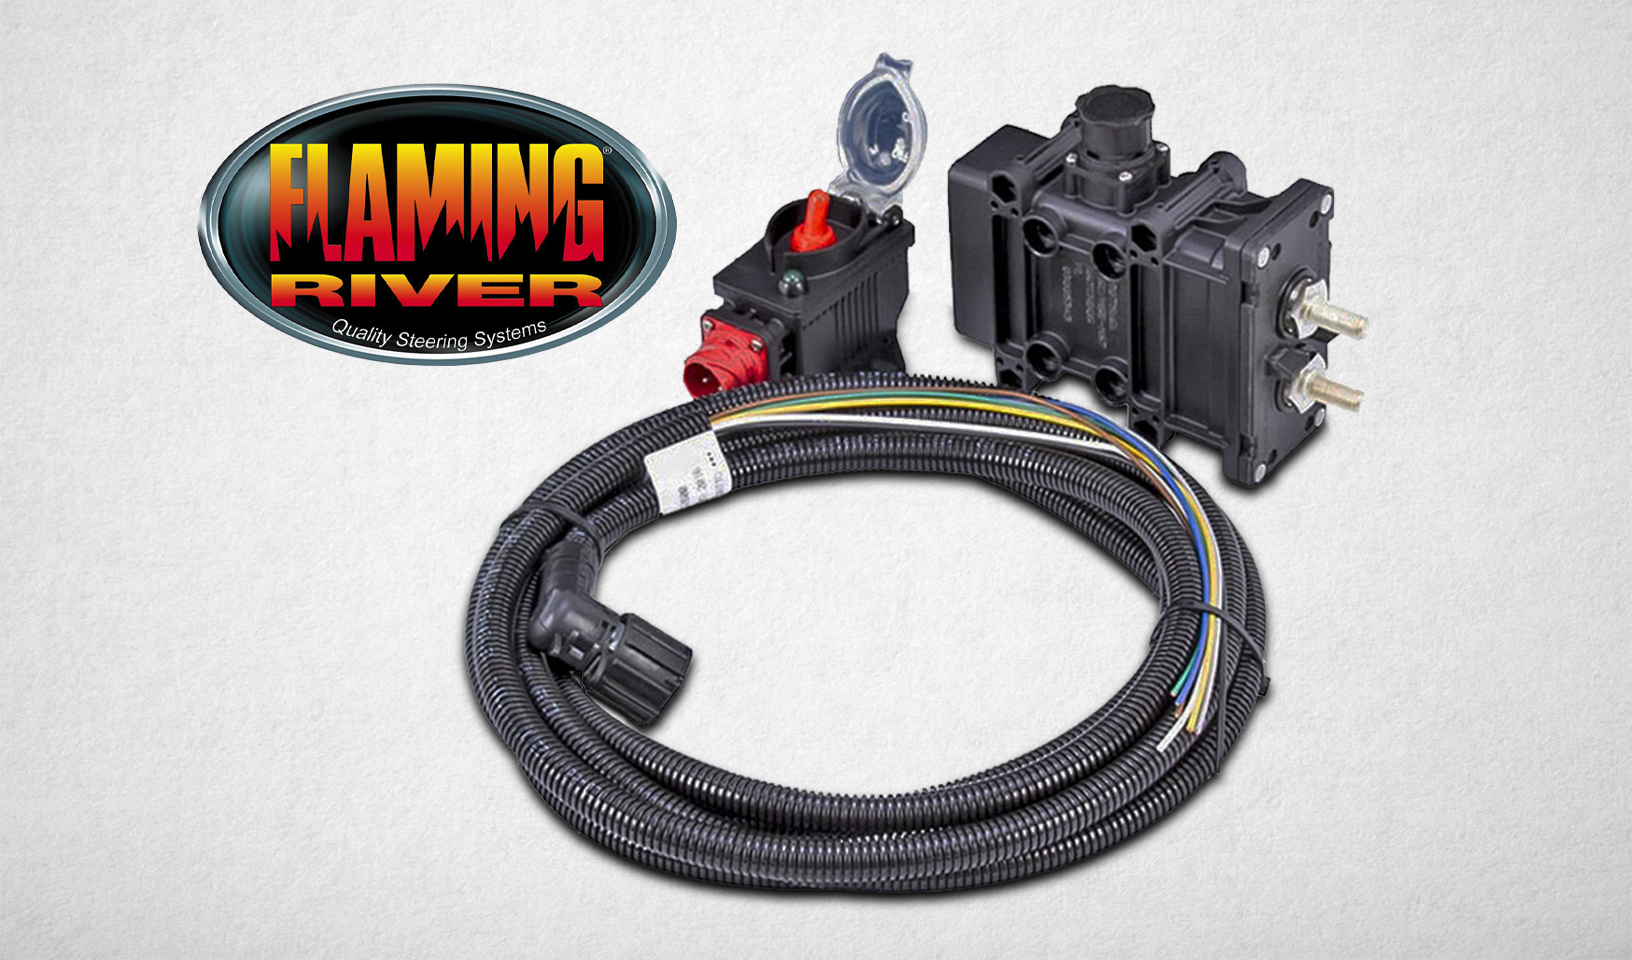
In the realm of automotive care, ensuring the safety and longevity of your vehicle’s electrical system is paramount. The Watch Dog Automatic Battery Disconnect Safety Switch by Flaming River stands out as a premier solution for managing battery power with unmatched reliability and innovation. Whether you’re fine-tuning a classic car, gearing up for a race, or navigating rugged off-road terrain, this switch is engineered to protect your battery and electrical components under all conditions.
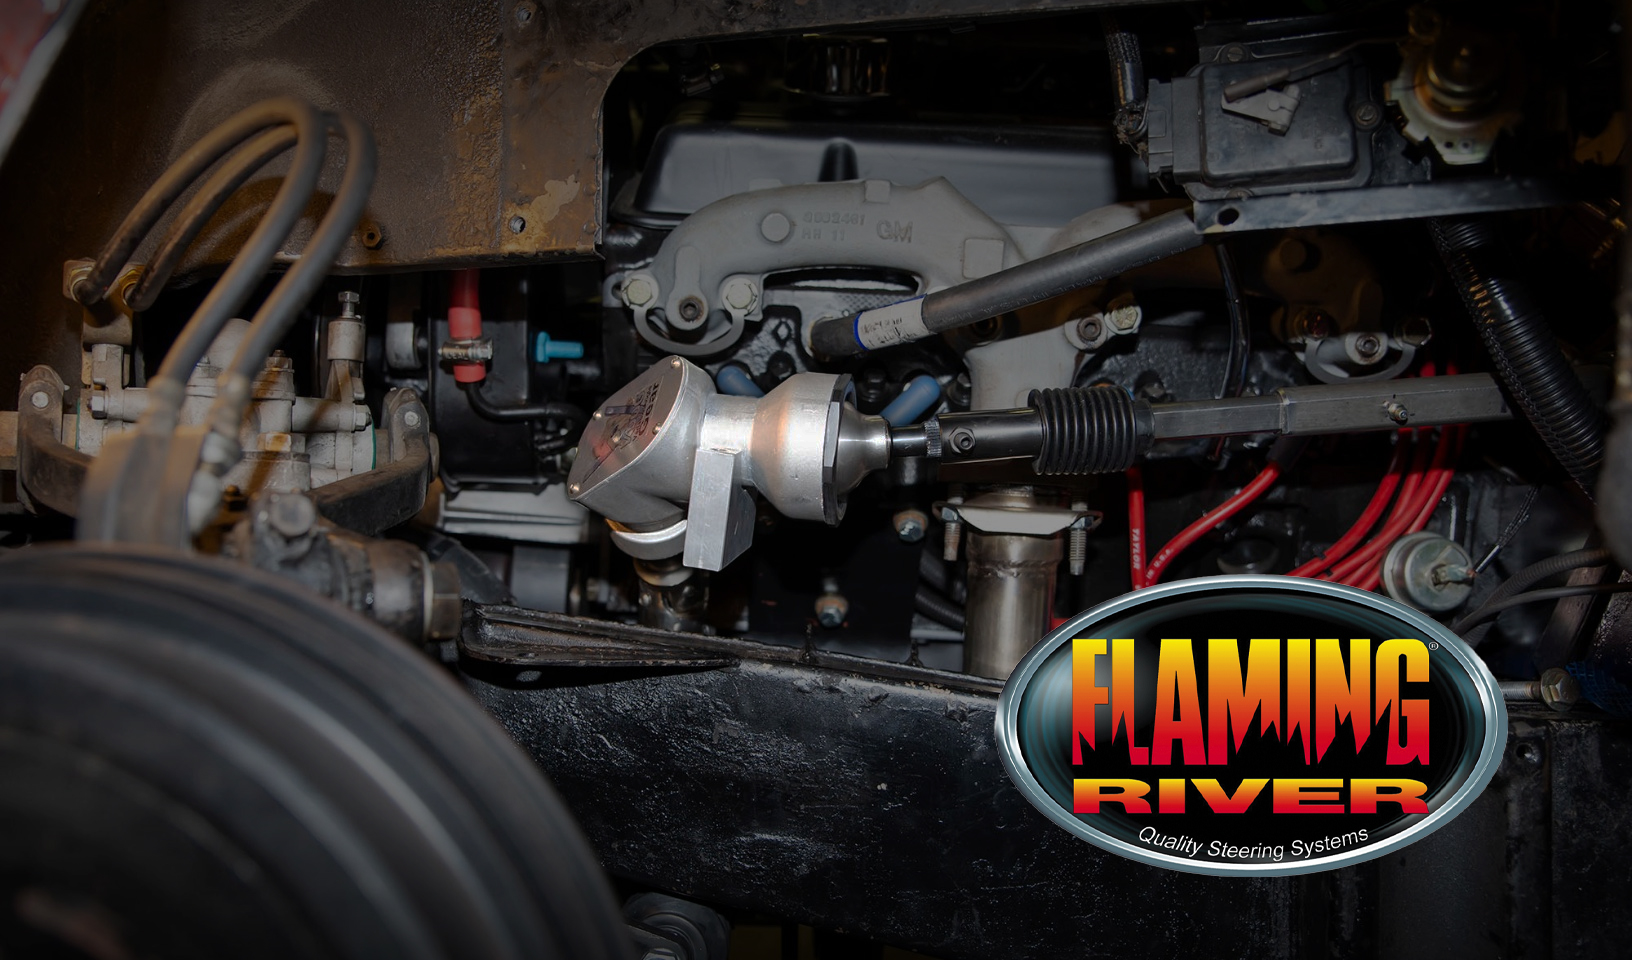
We’ve all been there—slamming a monster LS, Coyote, or Hemi into an old muscle car or hot rod and hitting that inevitable roadblock: how the heck do you get the steering shaft through that tight engine bay? The answer, my friends, is the VDOG® from Flaming River. You’ve probably heard the name tossed around, but let’s dig into why you need this in your arsenal.
In the realm of high-performance automotive engineering, fuel flow reigns supreme as the lifeblood of optimal power delivery. DeatschWerks emerges as a game-changer with their Performance In-Tank Regulators, engineered to unleash the true potential of EFI engines.