With muscle car involvement on the rise, it seems that the muscle car aftermarket has done such a great job that there isn’t a single part nowadays that isn’t being reproduced. You can find almost anything needed to rebuild (or restore) a vintage muscle car, and much of it is available by a phone call or the click of a mouse. Heck, you can even pick up a whole new body from Dynacorn if that car happens to be a ’69 Camaro! But wait as there will be more to come.
Since we don’t really have to search for vintage parts anymore, gone are the days of scouring the local “Pick-a-Part” in search for that illusive part that will interchange or convert your muscle car to bucket seats, tilt steering, A/C or some suspension upgrade. But there was a day when you and a rodding buddy could venture to your favorite junkyard and come home with a whole truckload of cool vintage goodies that would aid you in your rebuild, all in the span of a day.
Well, those days aren’t completely gone. While at the local wrecking yard looking for any useful hot rod parts, we stumbled across another enthusiast, Sean Rievley, who is in the progress of upgrading his ’71 Chevelle chassis. As he told it, his Chevelle had seen better days and was now receiving a complete transformation. That’s what perked our interest.
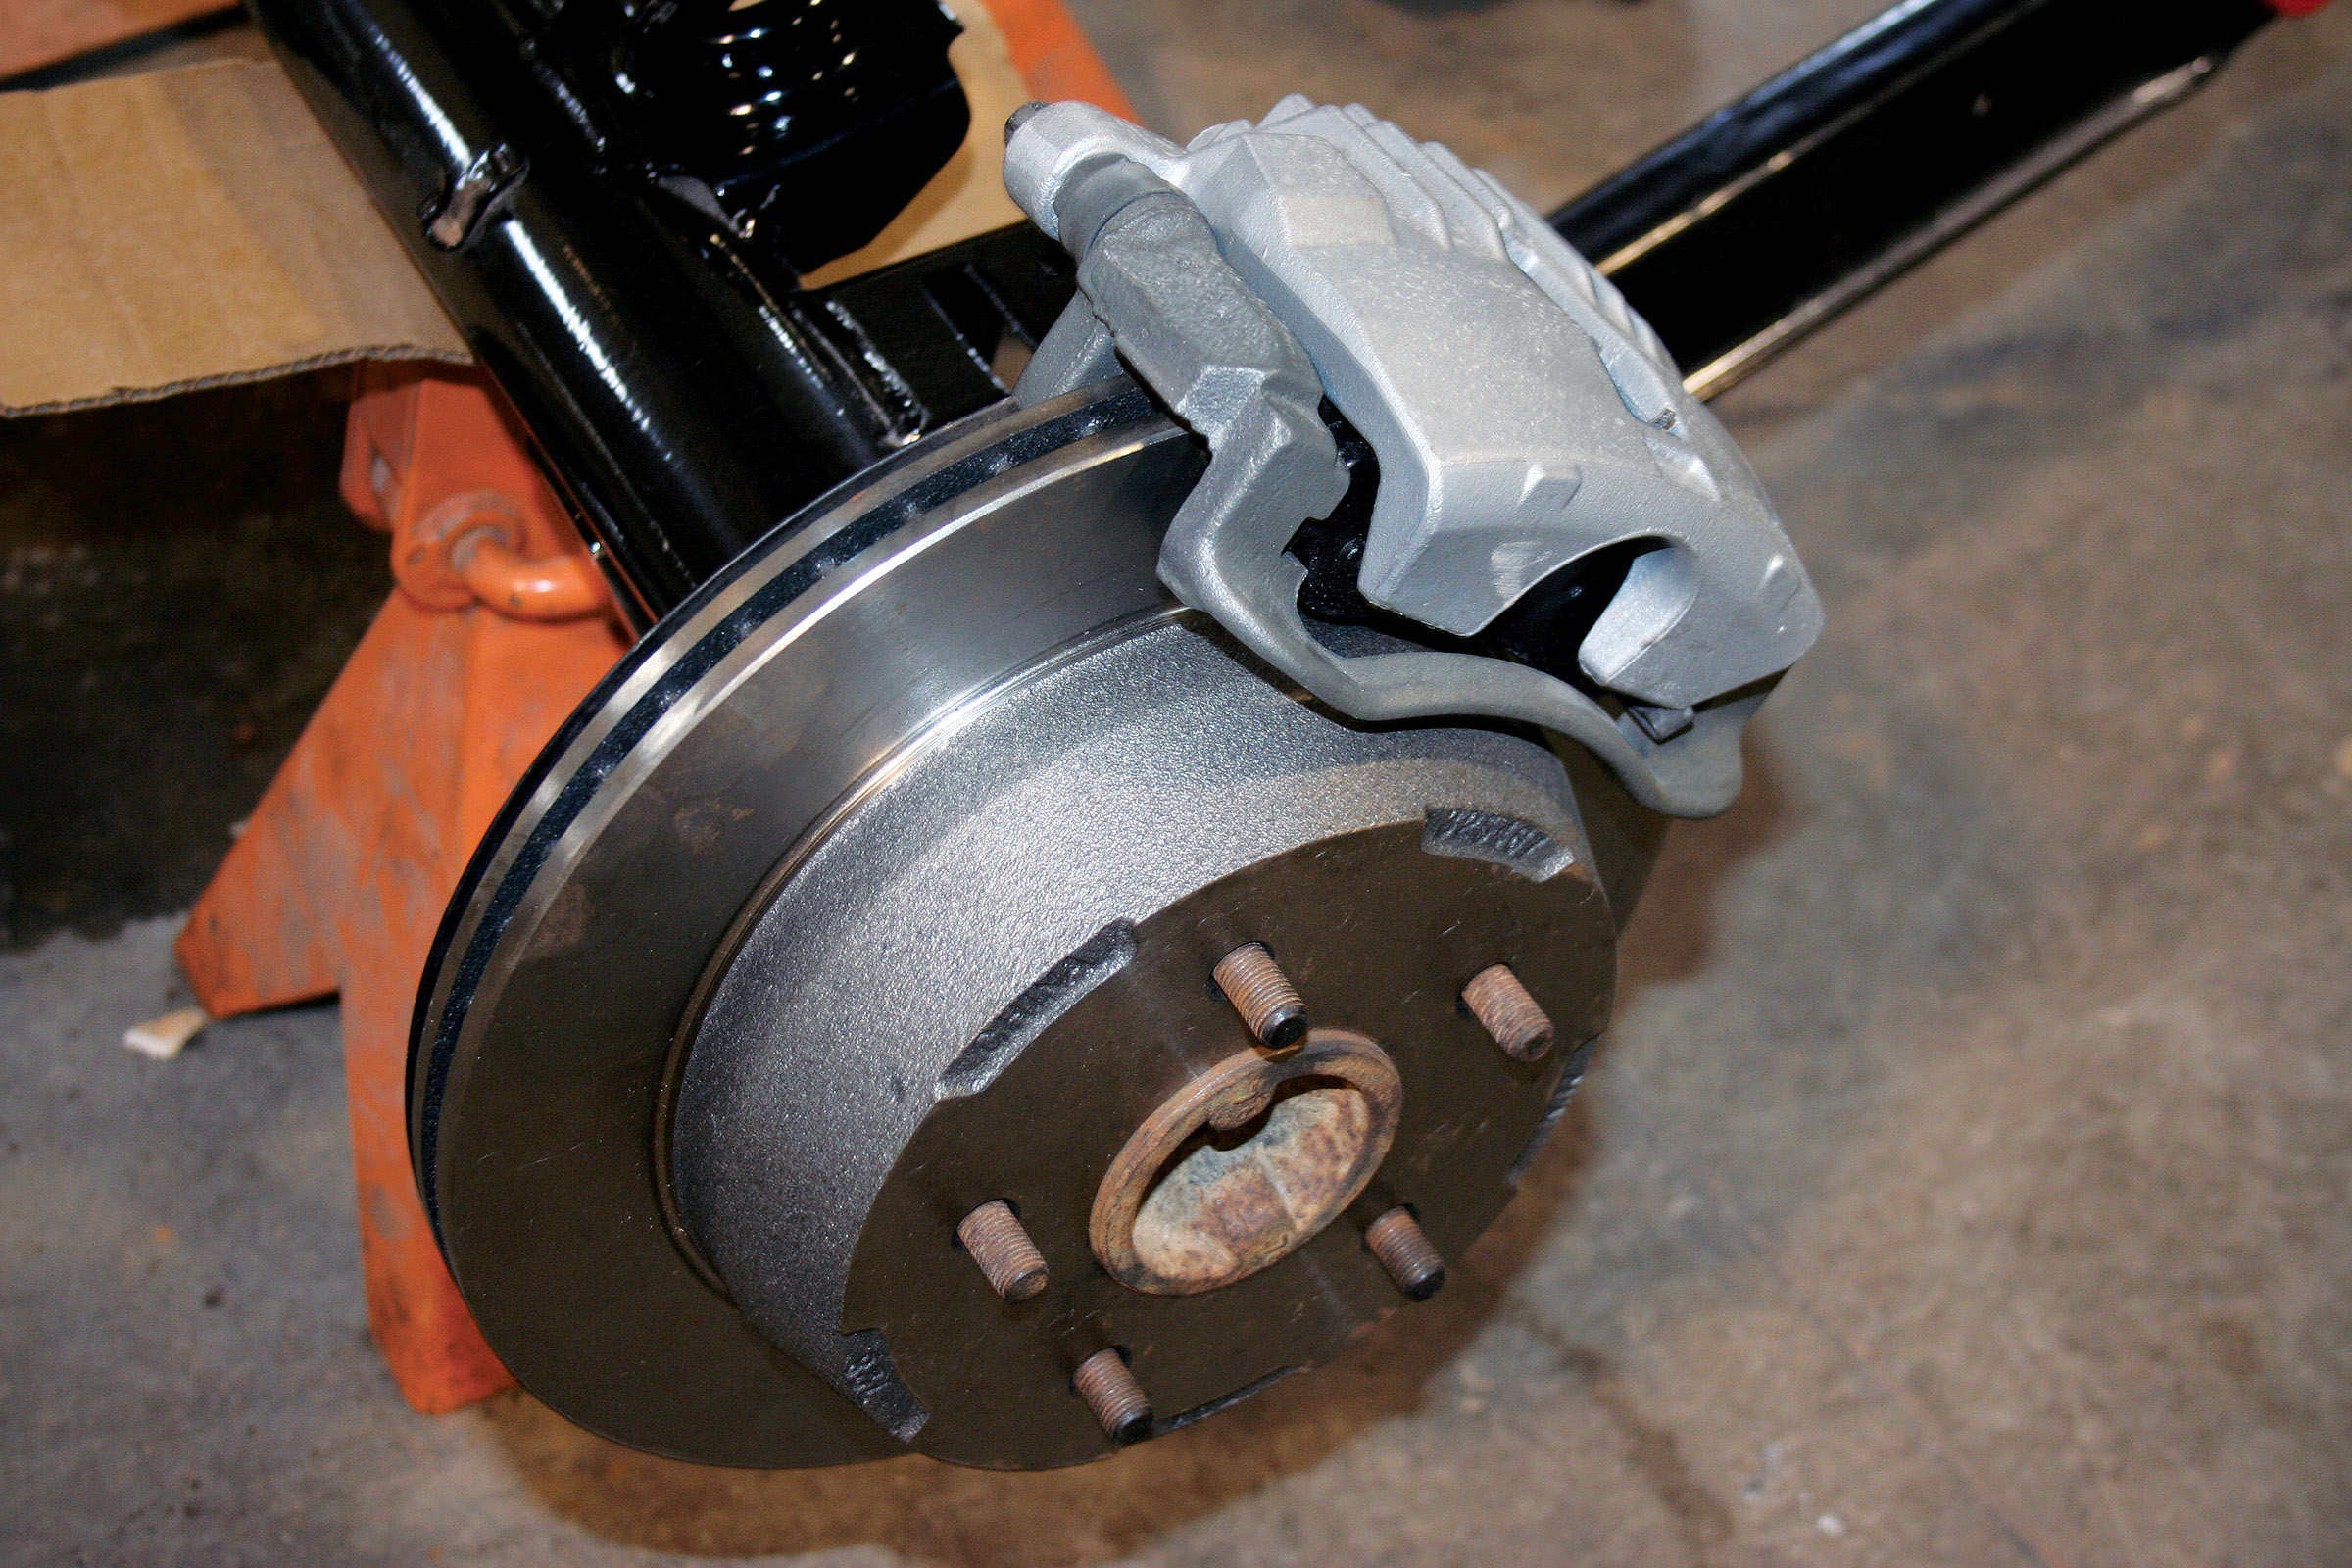
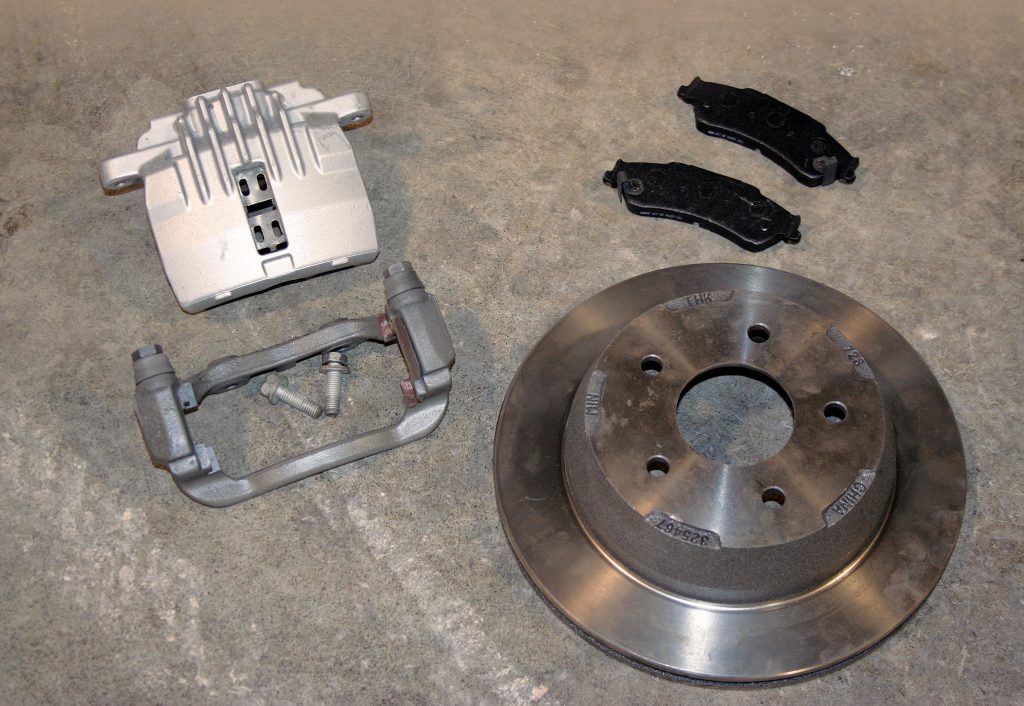
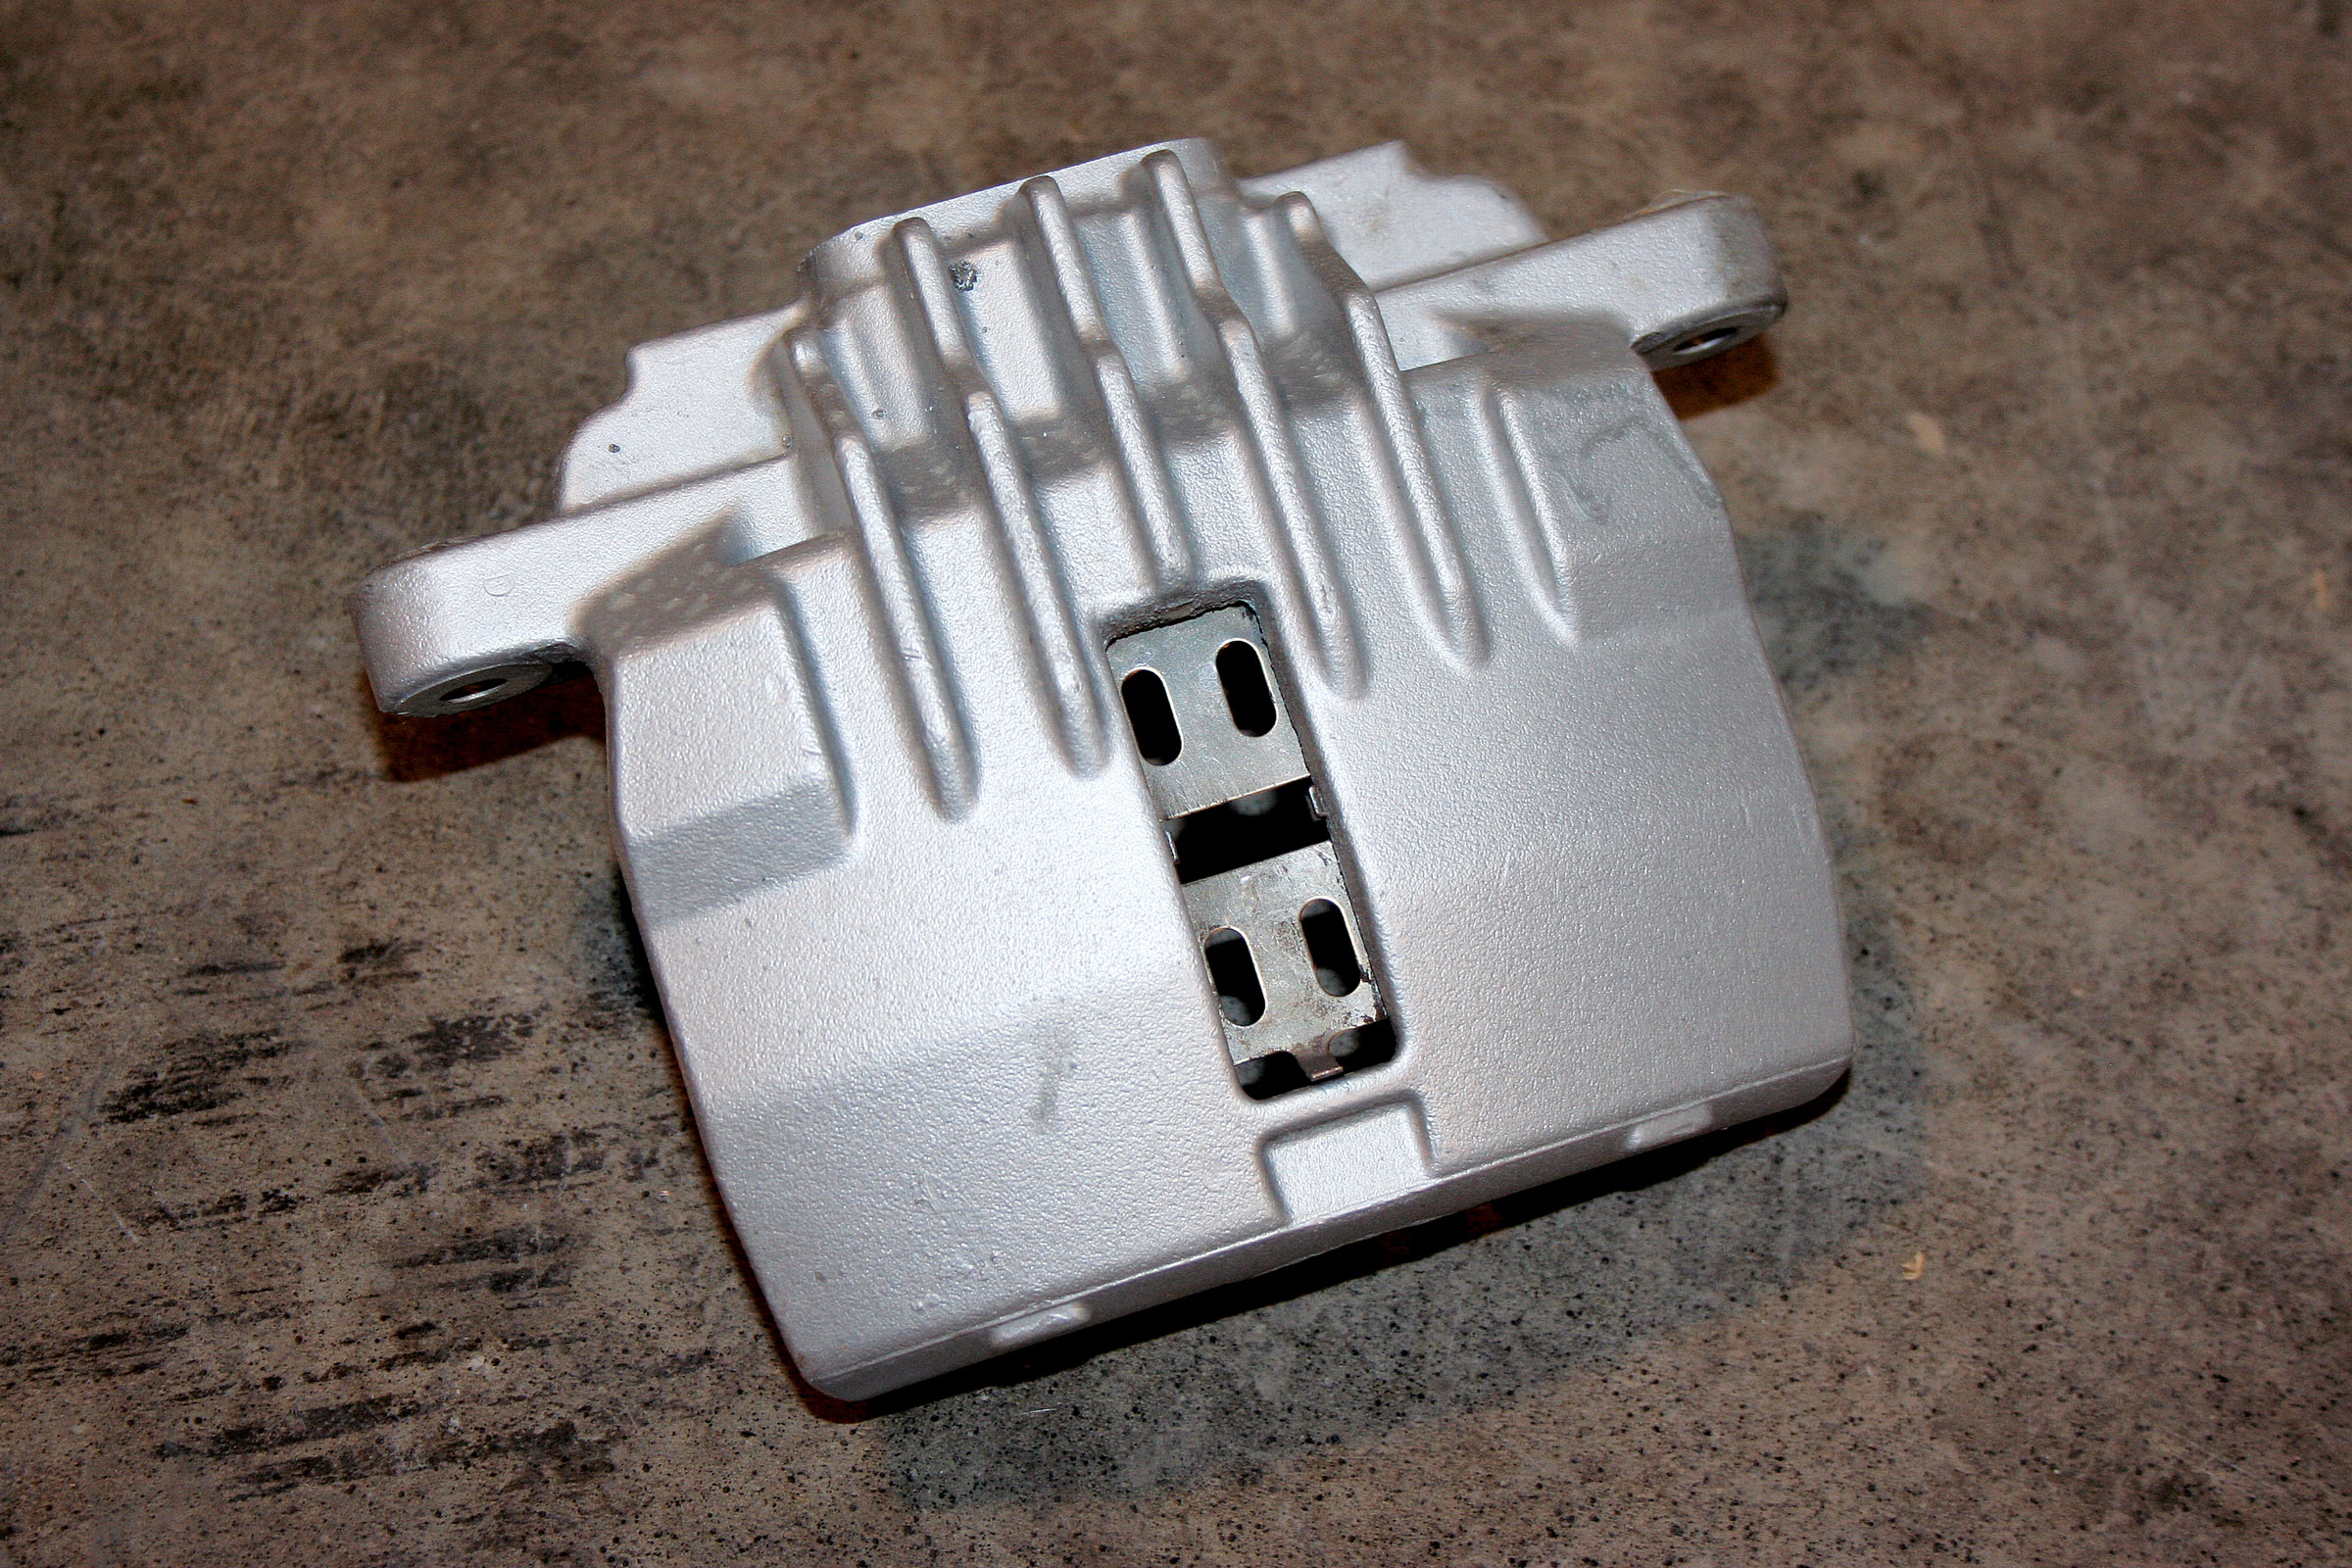
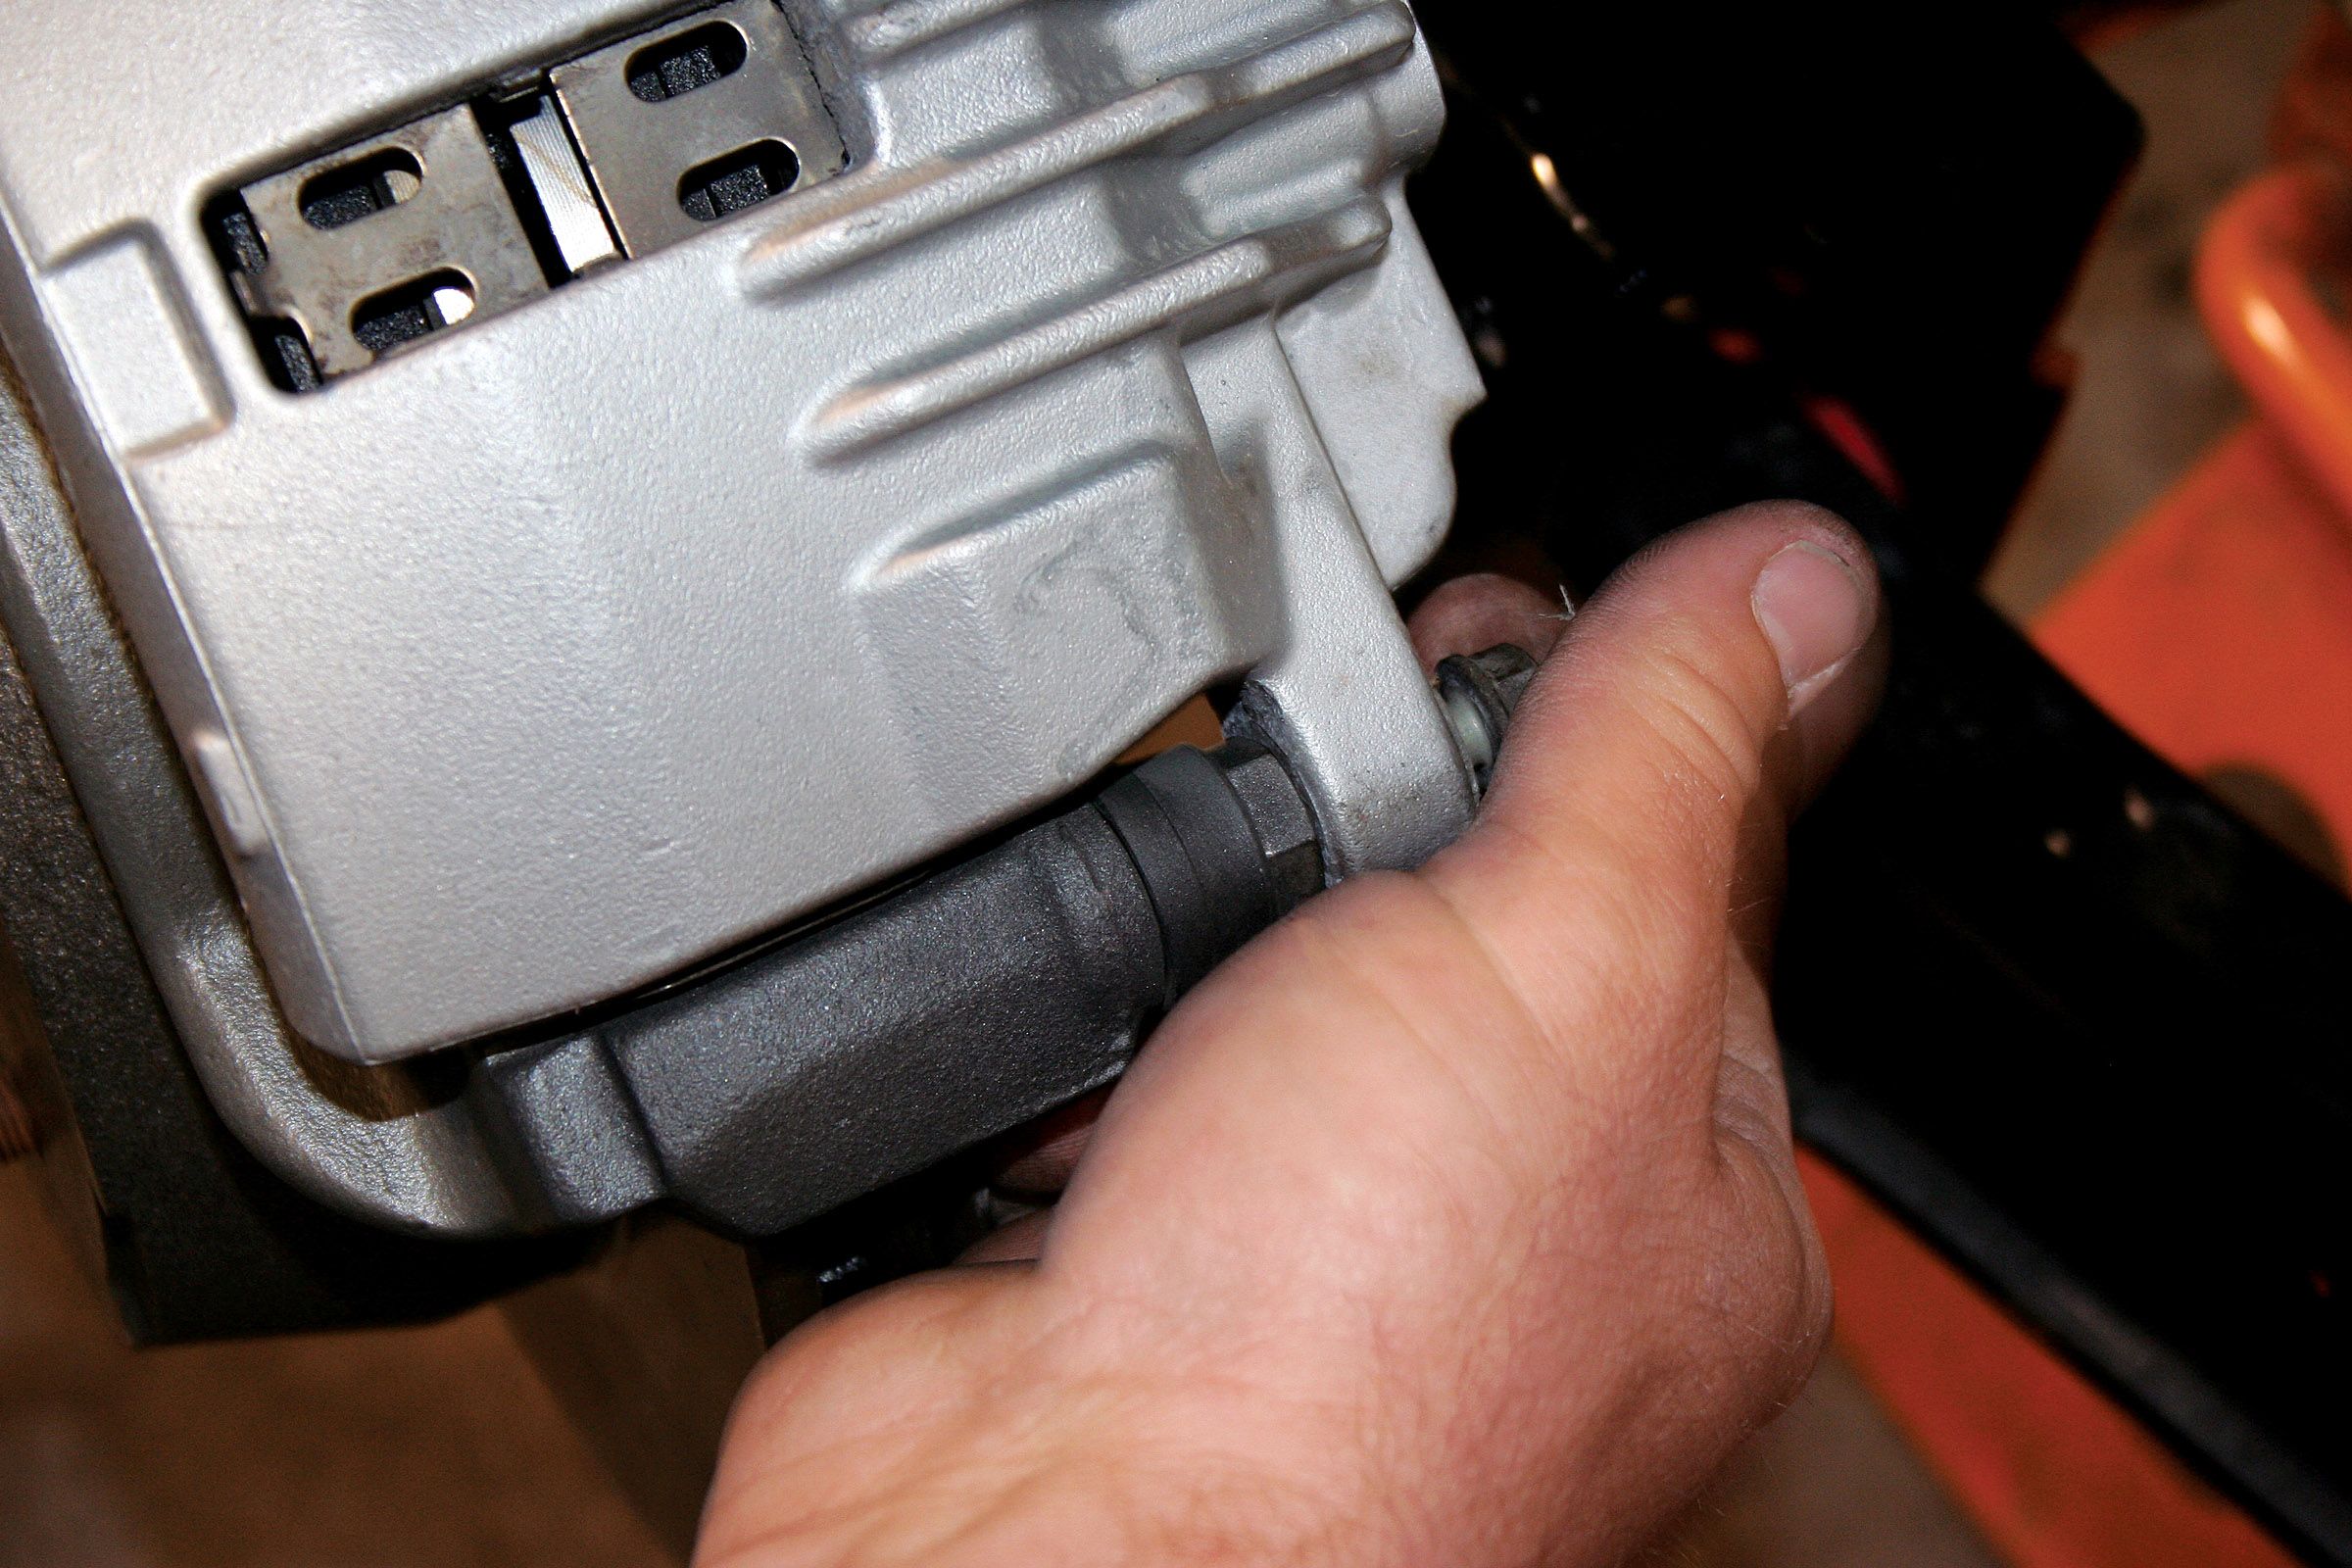
Rievley has built a variety of high-horsepower streetcars, and he decided that this vintage Chevelle needed his attention. As the owner of Bo’s Wrecker Service in Dayton, Tennessee, he has the opportunity to gather parts on a daily basis for his projects. We thought that spending more time with him might allow us to pass on a little information to you. So while looking online one day (all wrecking yards share their parts inventory with one another), Rievley happened upon a set of rear disc brakes that would work as a swap on both 10- and 12-bolt GM rearends. The swap consisted of a set of ’99-’03 S-10 Blazer rear backing plates, brackets, rotors and calipers. The fact that the calipers happen to be aluminum is a big plus.
While factory rear drums work okay, his Chevelle will be packing a more powerful 383 stroker motor, so he felt that disc brakes all around would be a much safer way to go. It sure doesn’t hurt to have some additional stopping power with rear discs, especially in inclement weather.
After looking in the wrecker lot, Rievley stumbled upon the wrecked Blazer and removed the complete assembly. Any local junkyard should be able to provide you with all the necessary components for around $100. We checked, and all of these components are also available at any auto parts store, including the brackets. Depending on how long the vehicle has been sitting, the rotors may need to be turned or, if in bad shape, purchased new. After looking online, we found that they cost around $25 each for factory replacements and about $150 per pair for new drilled and slotted units.
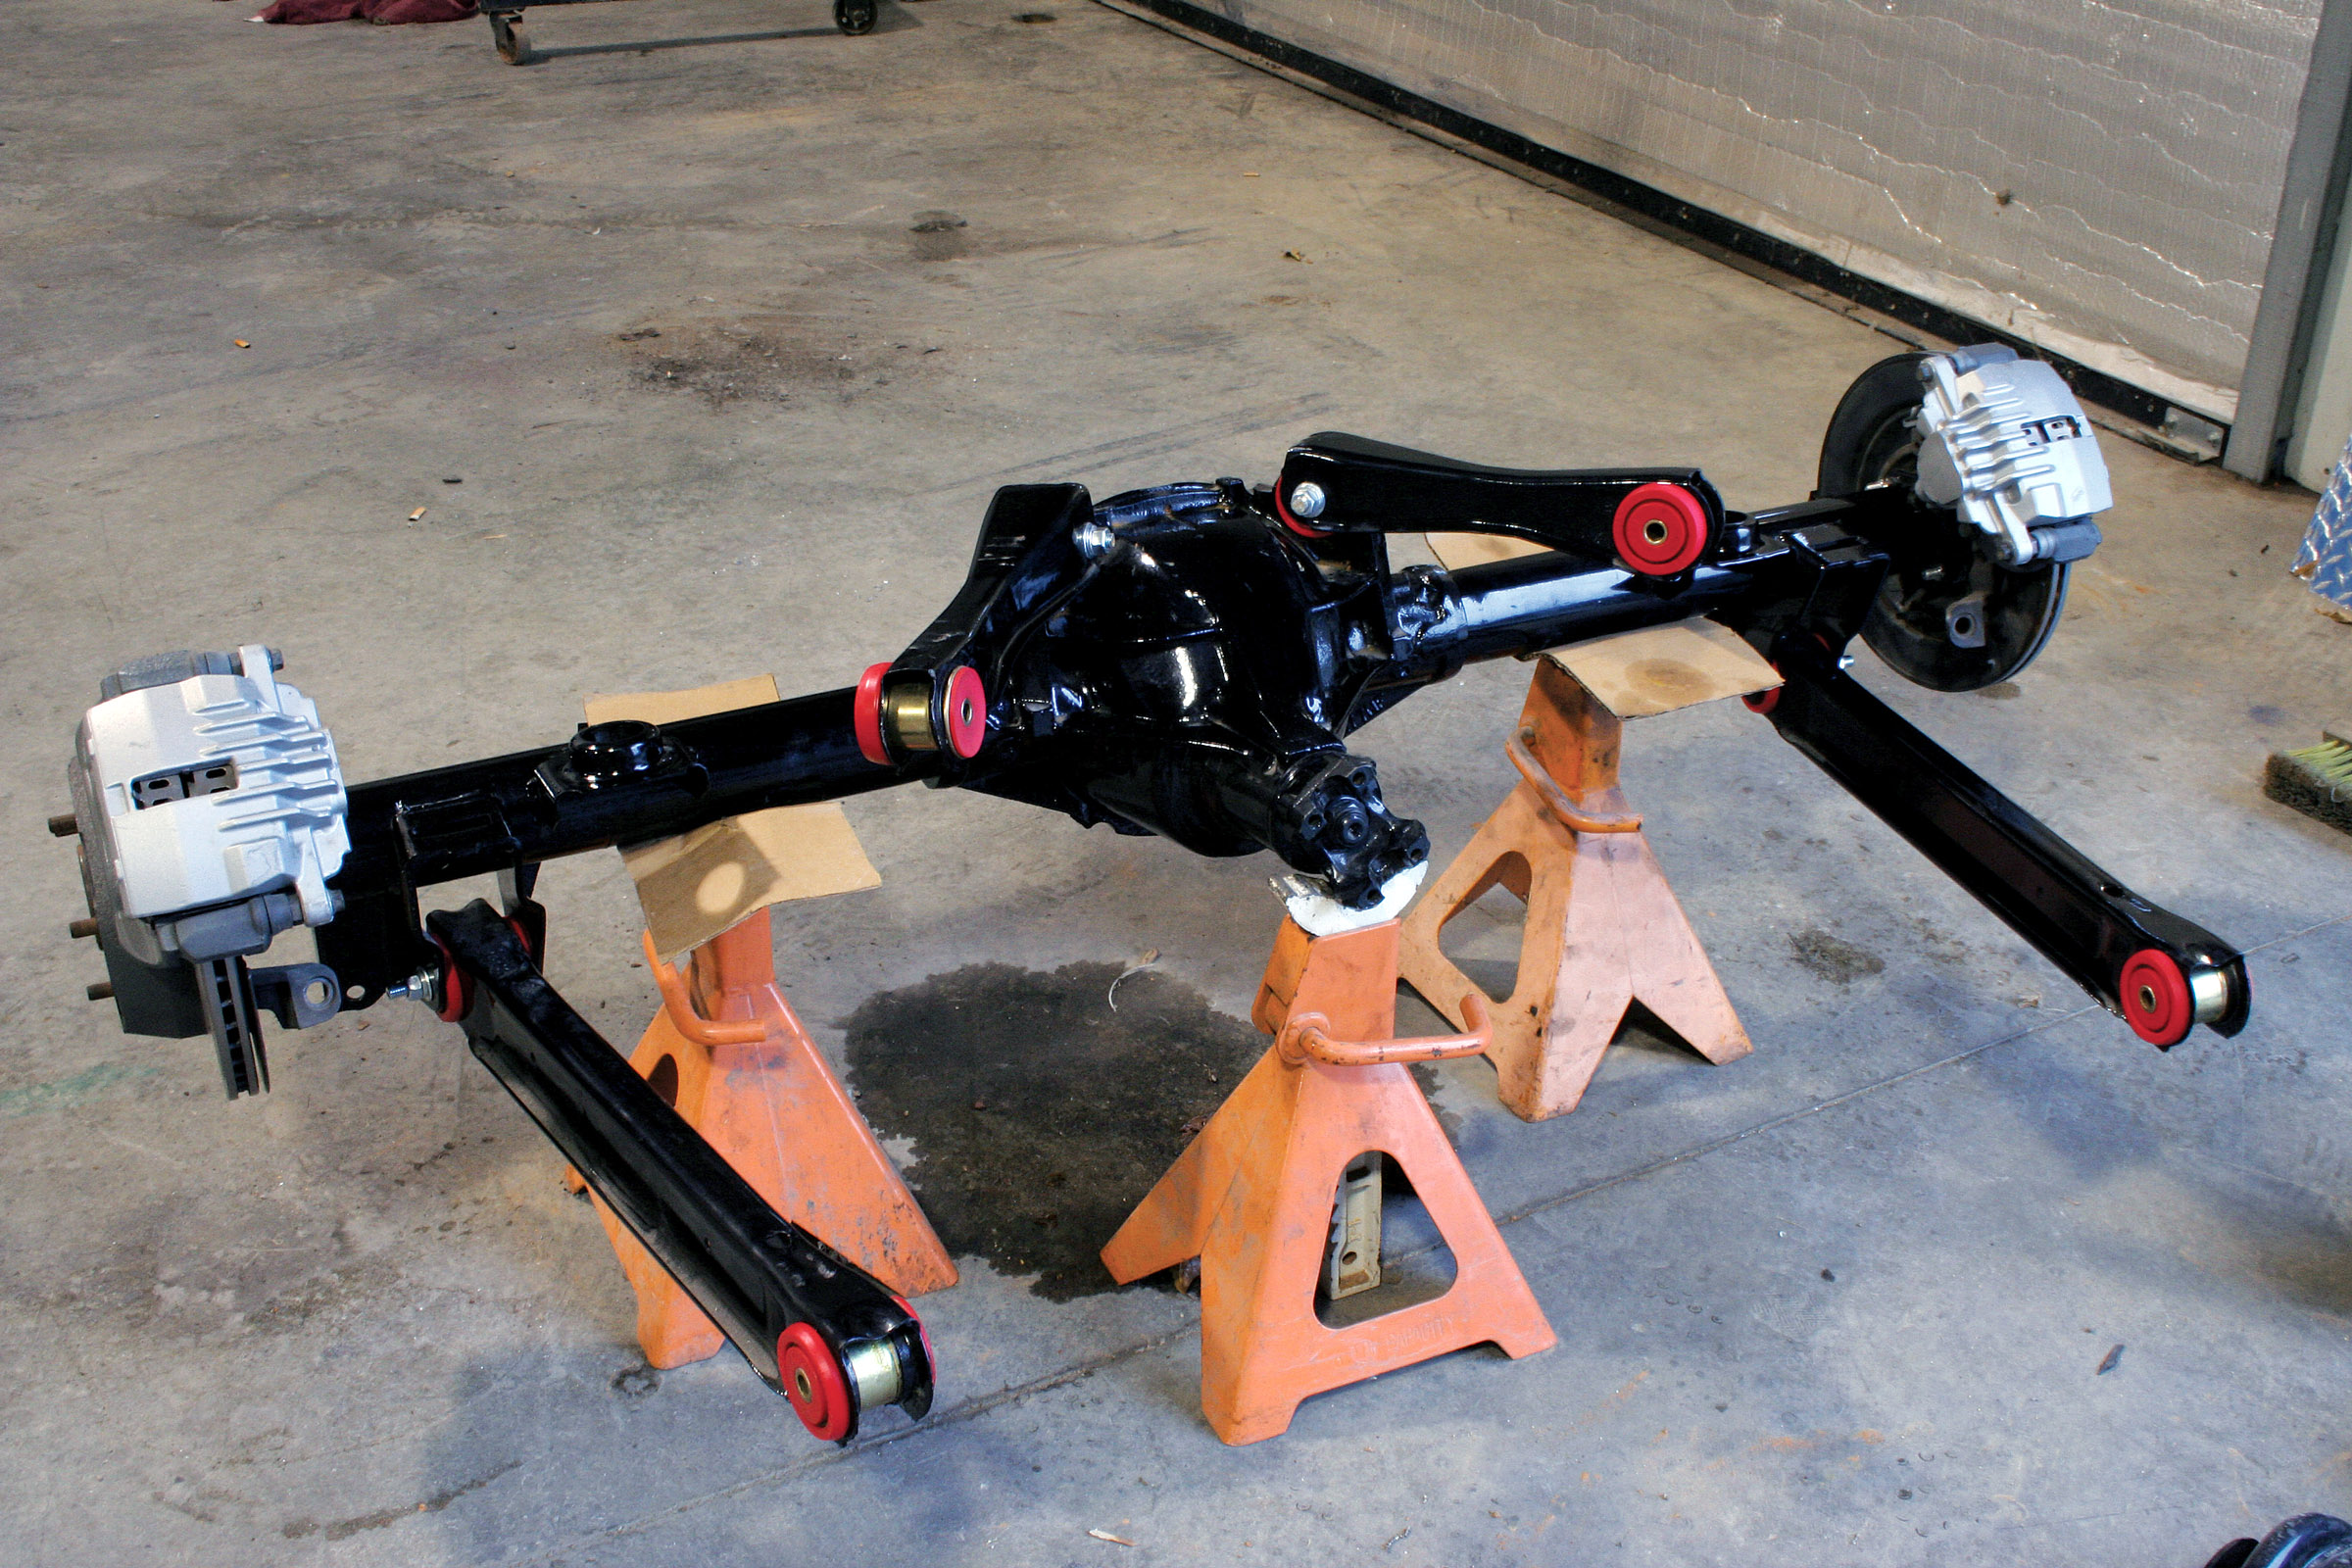
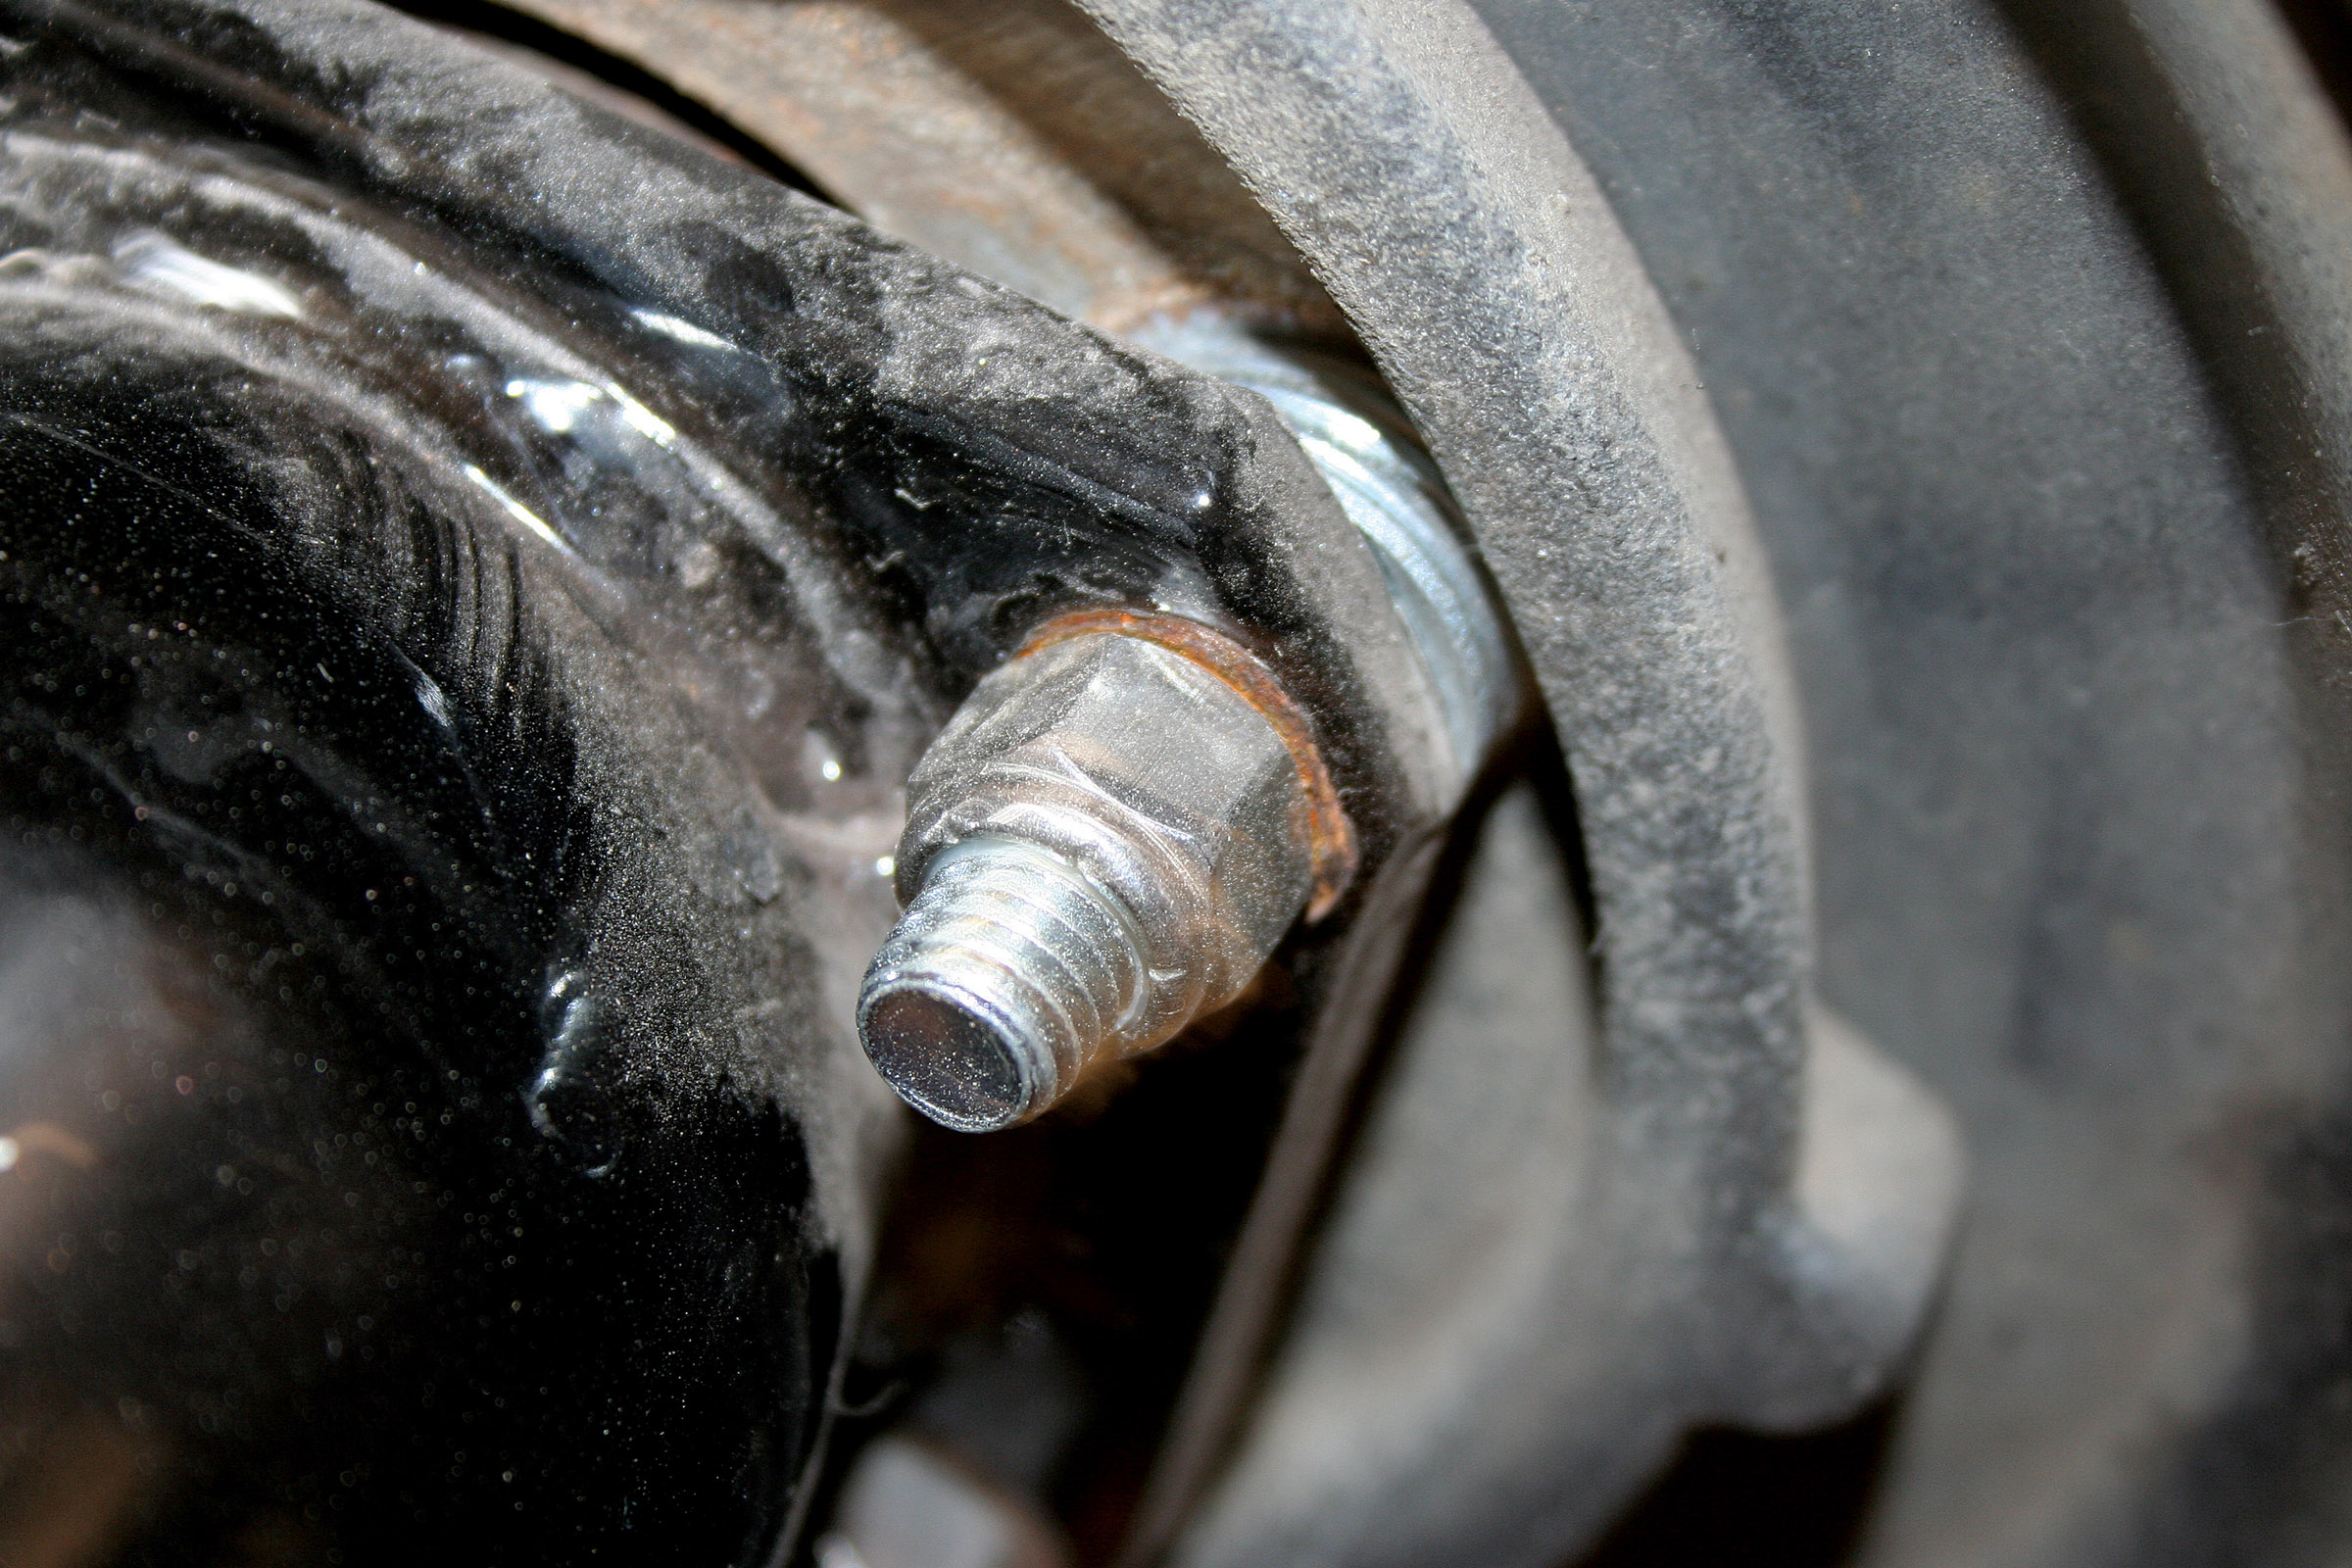
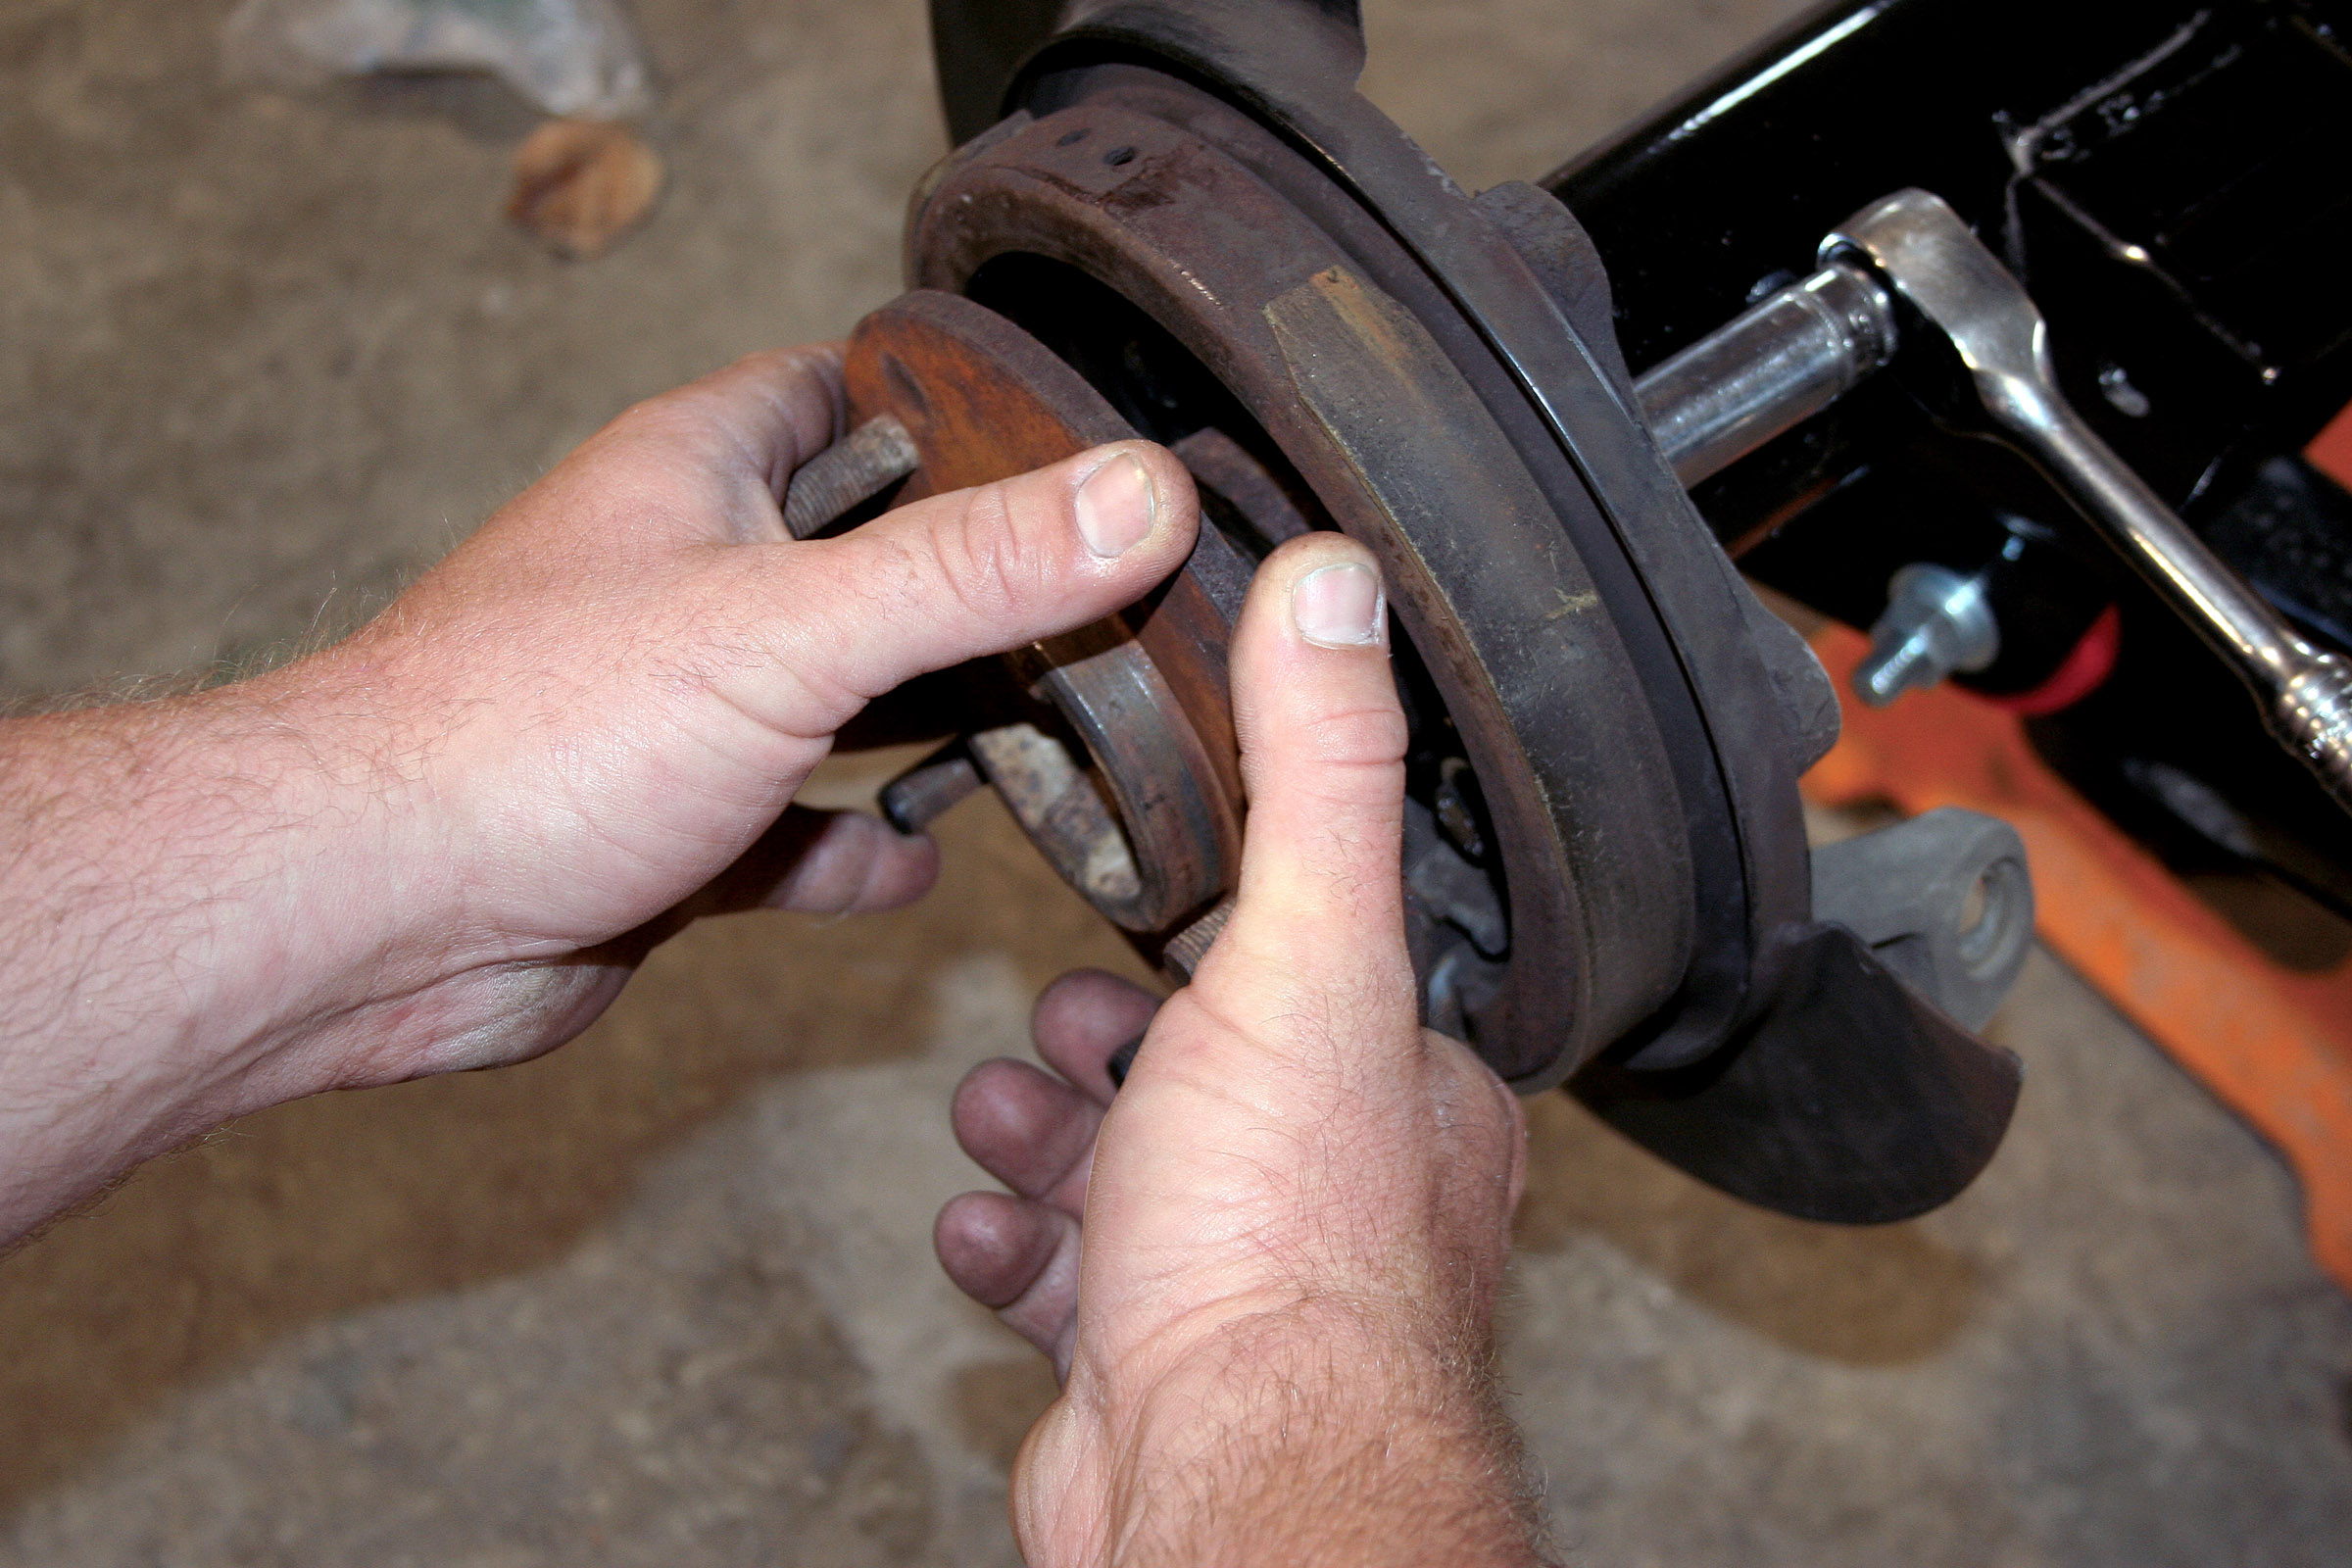
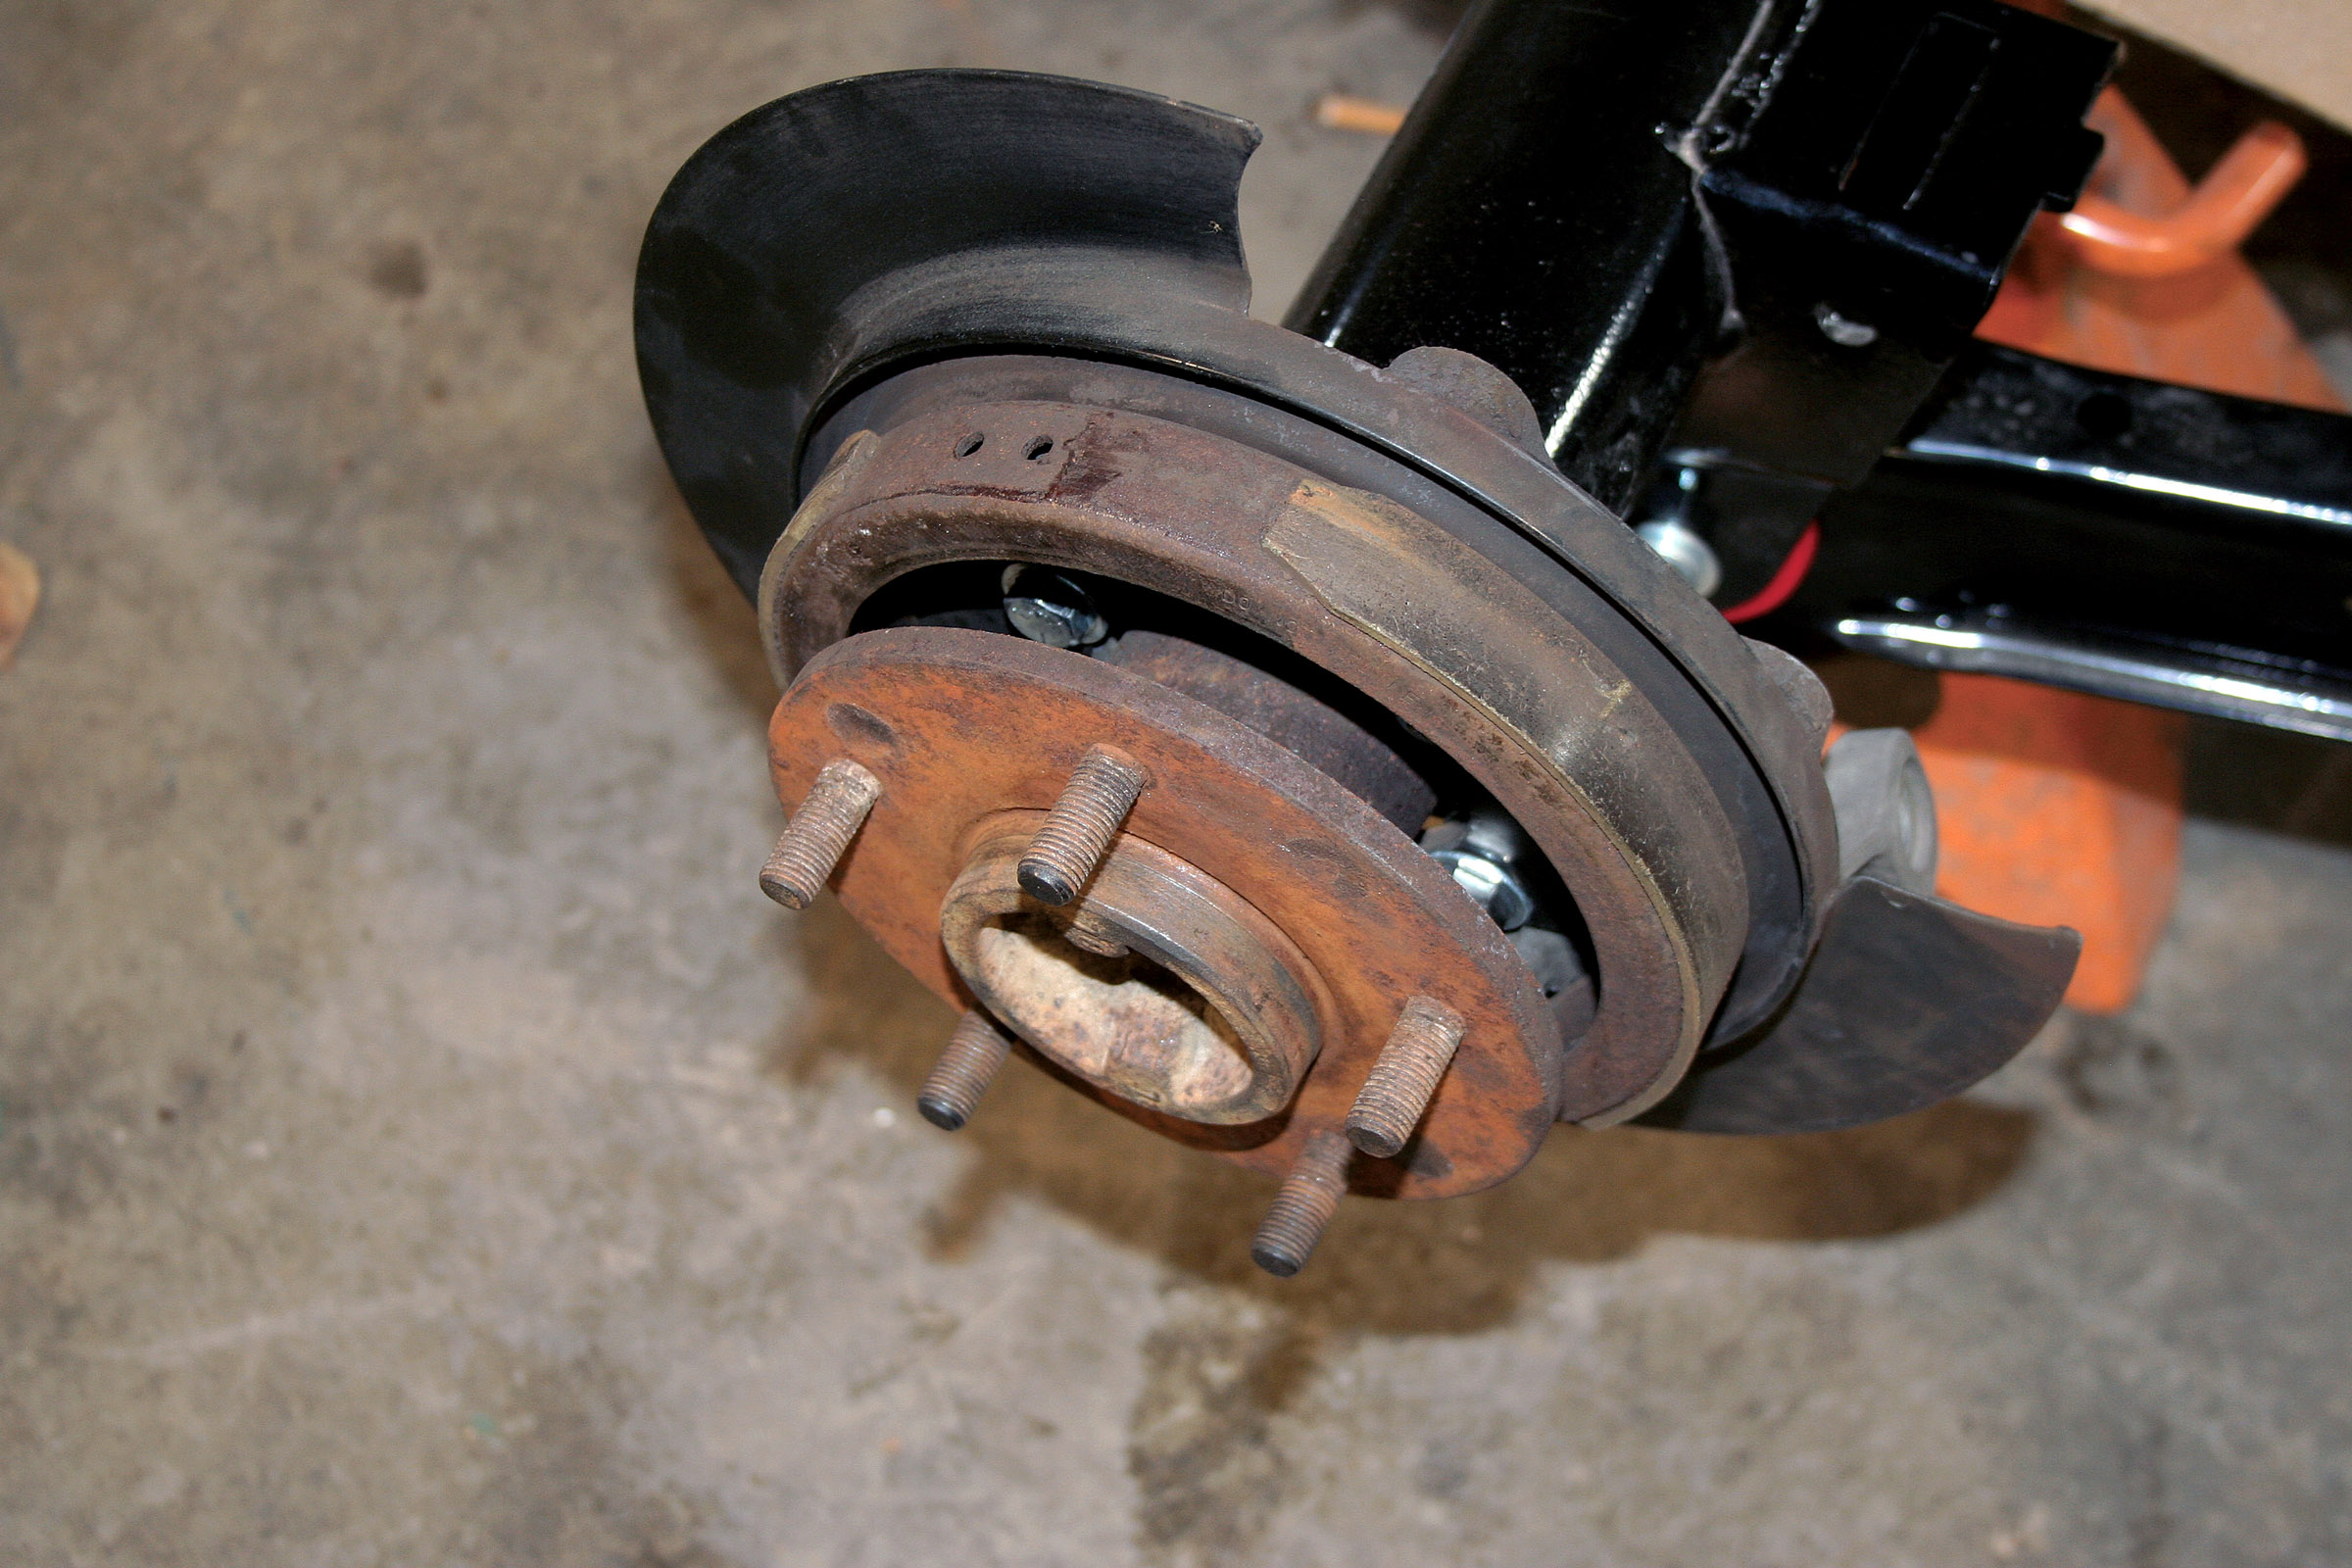
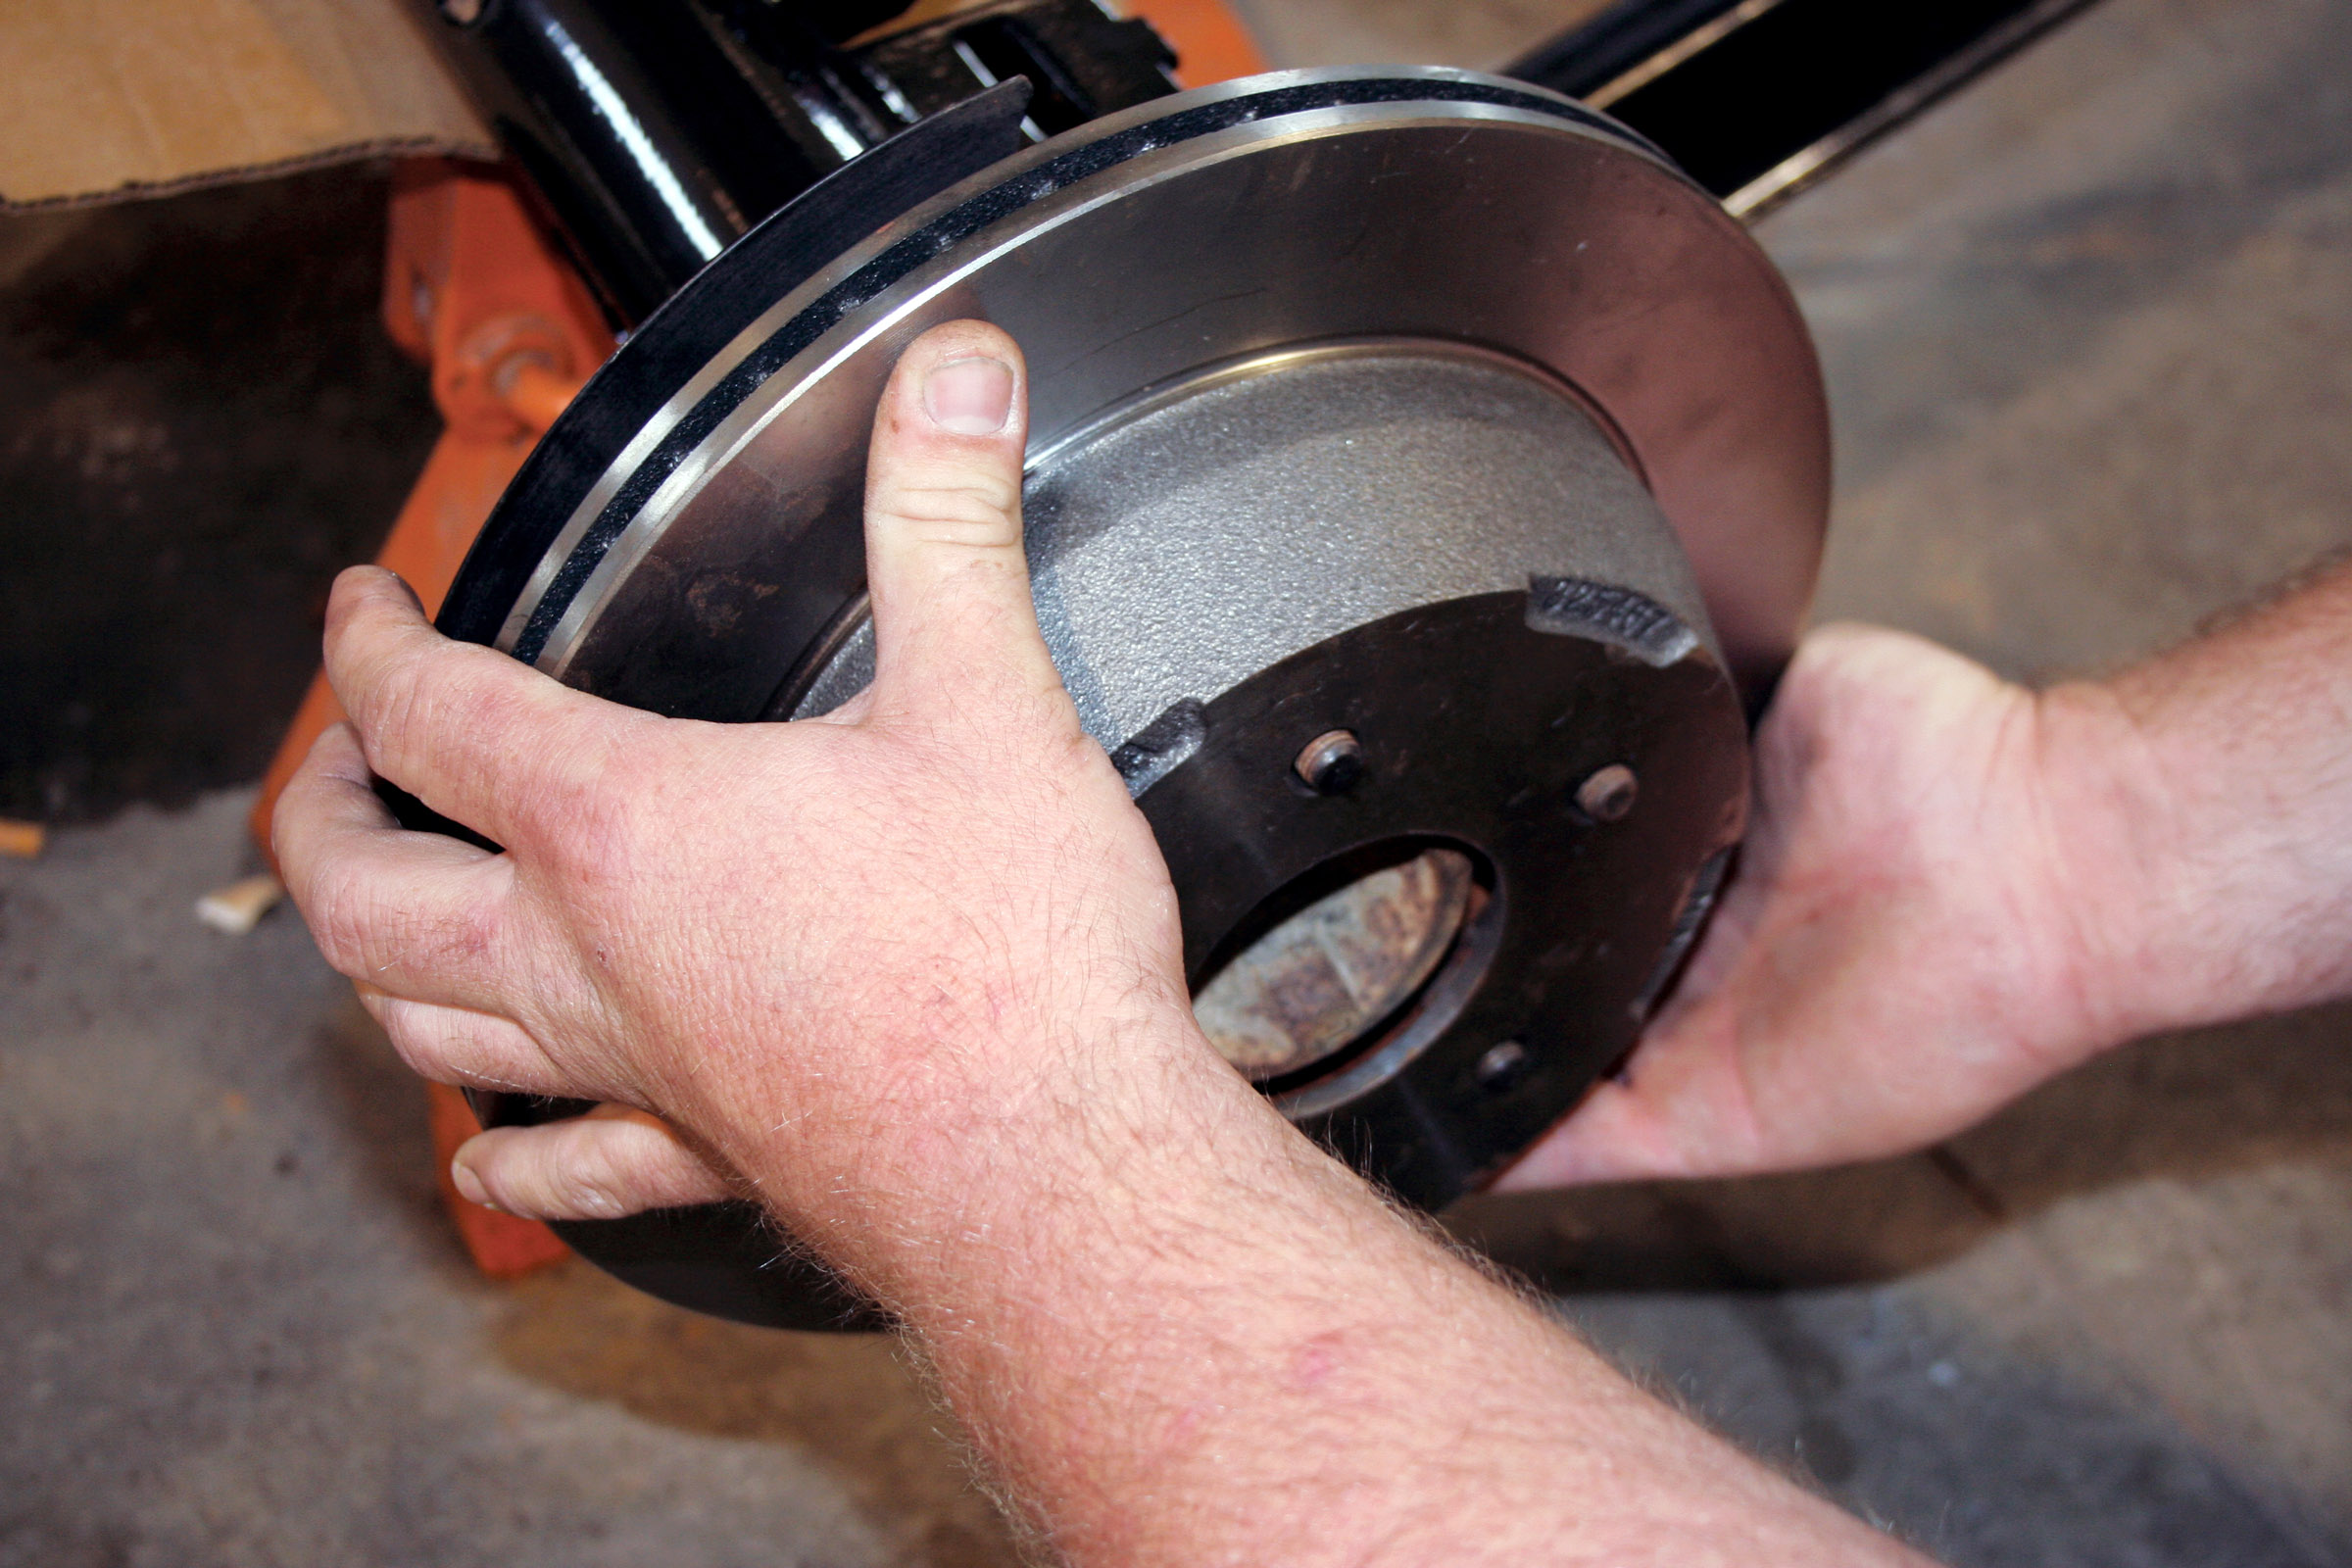
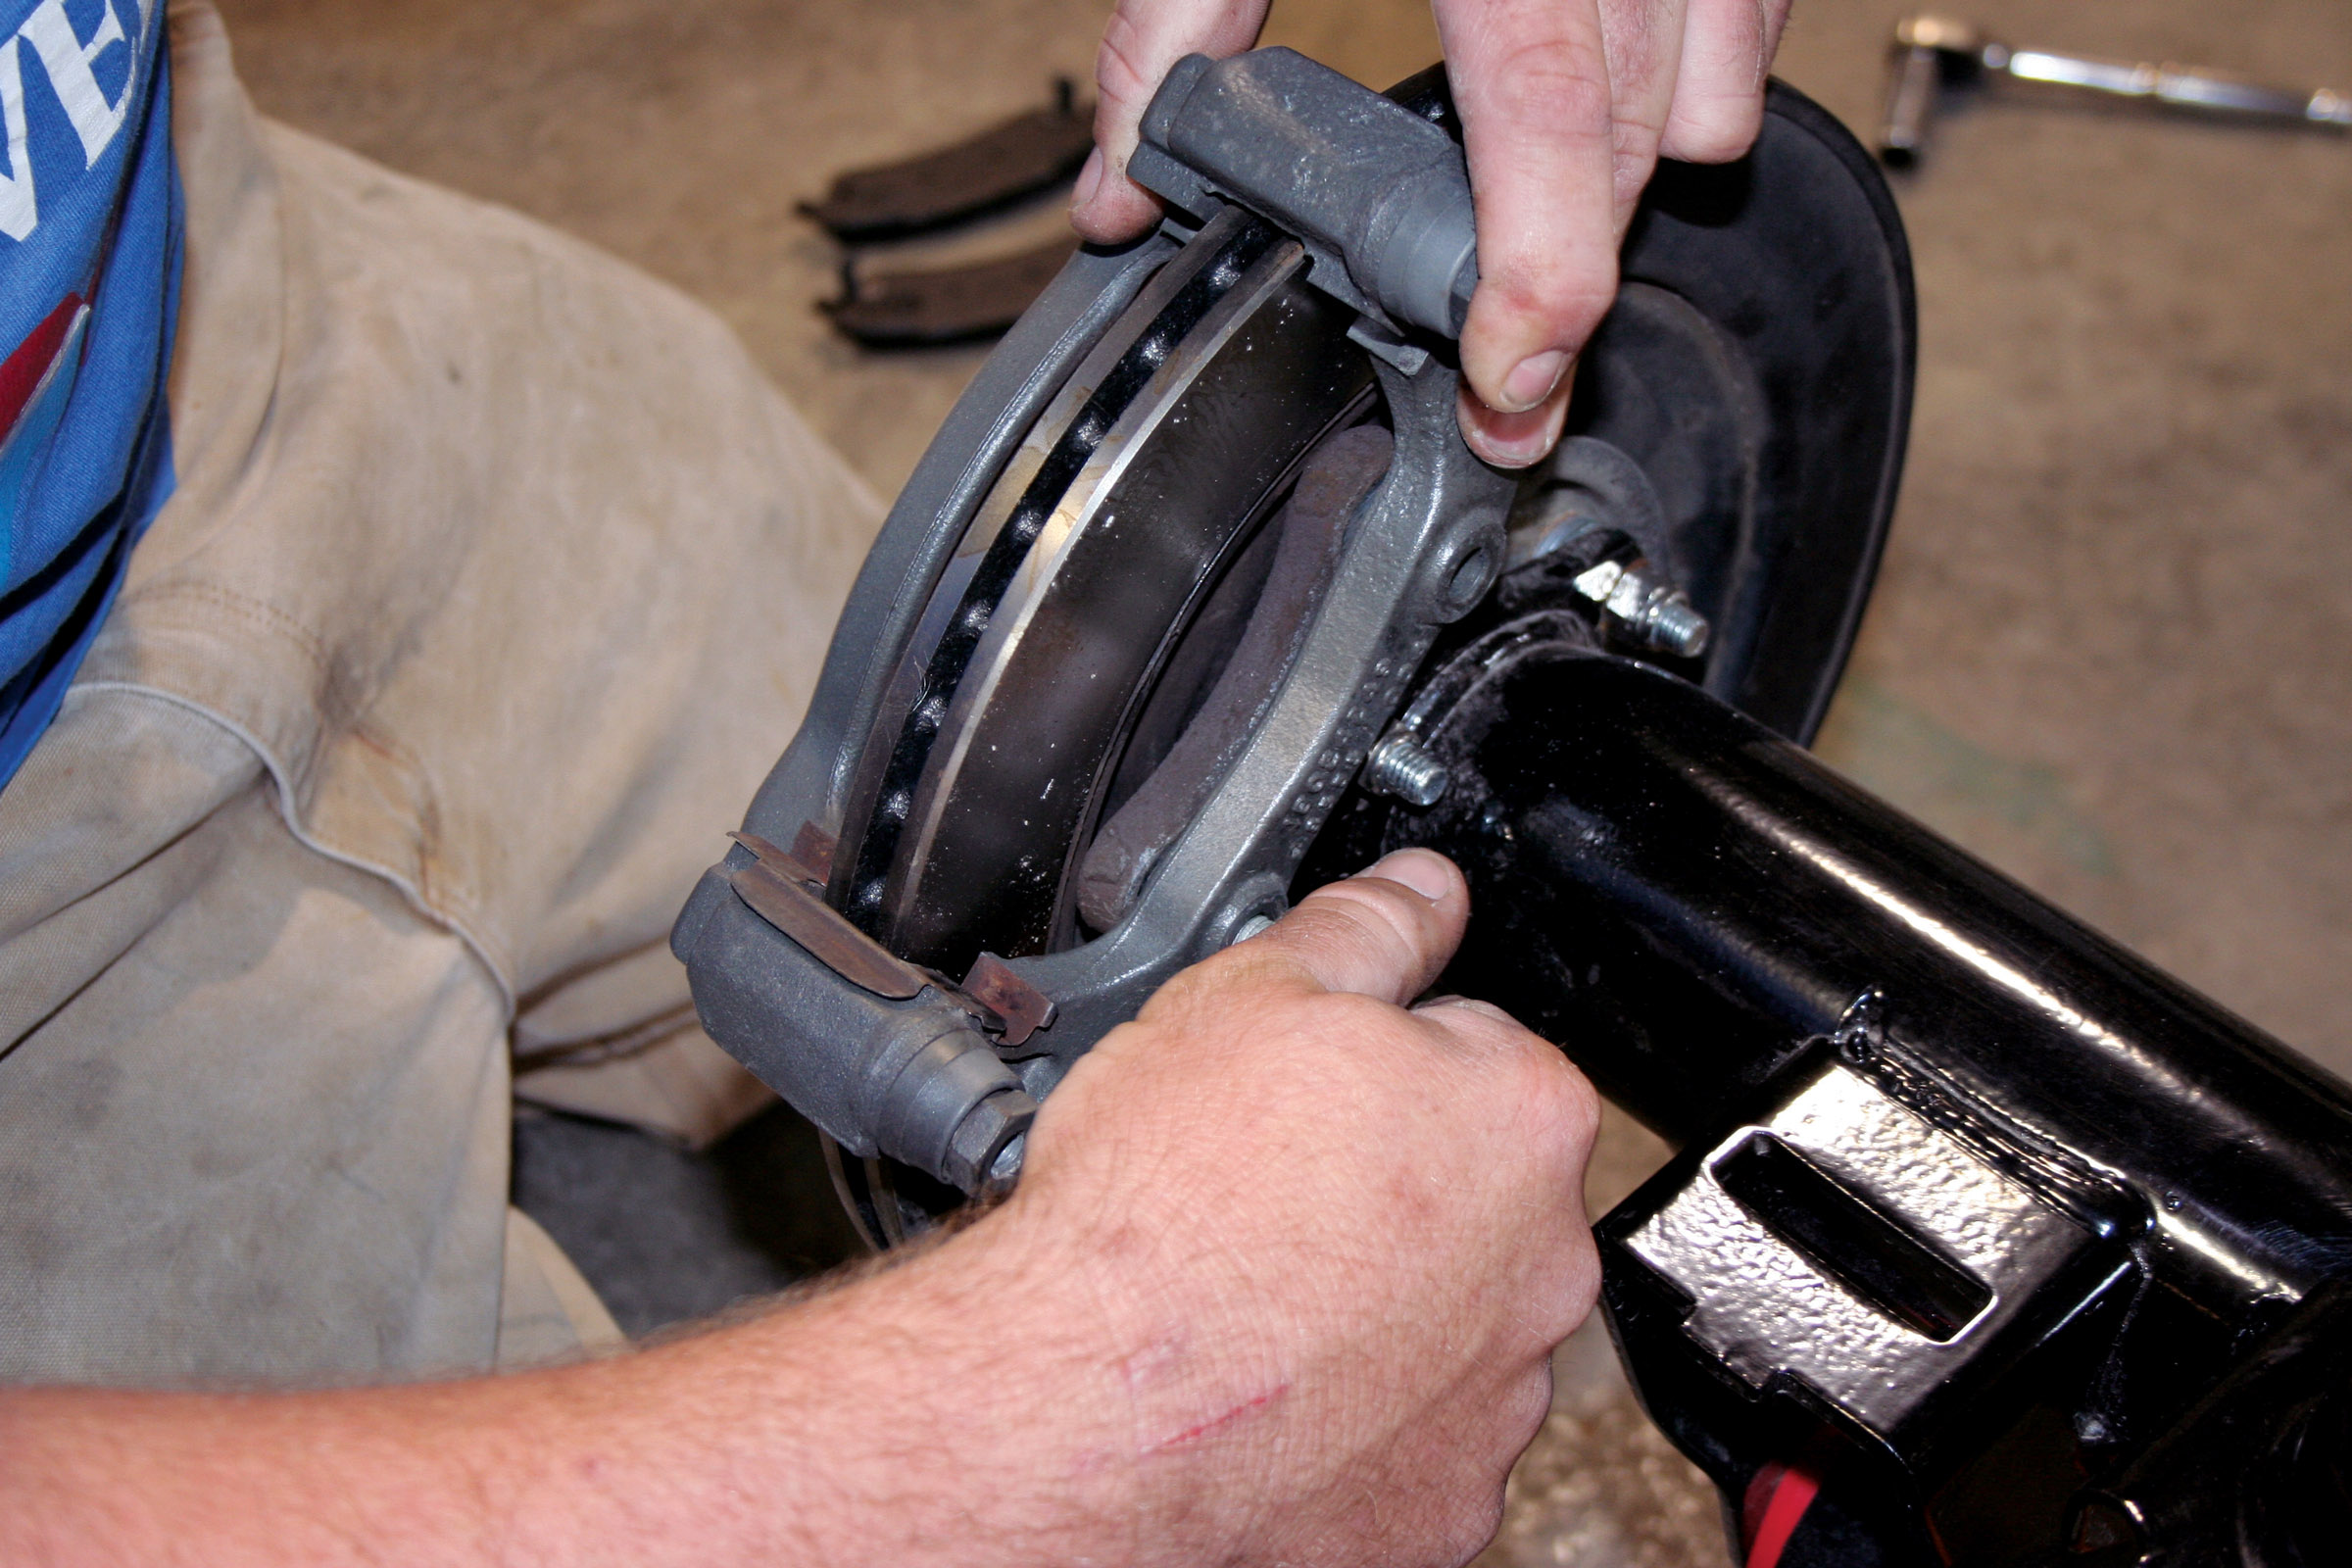
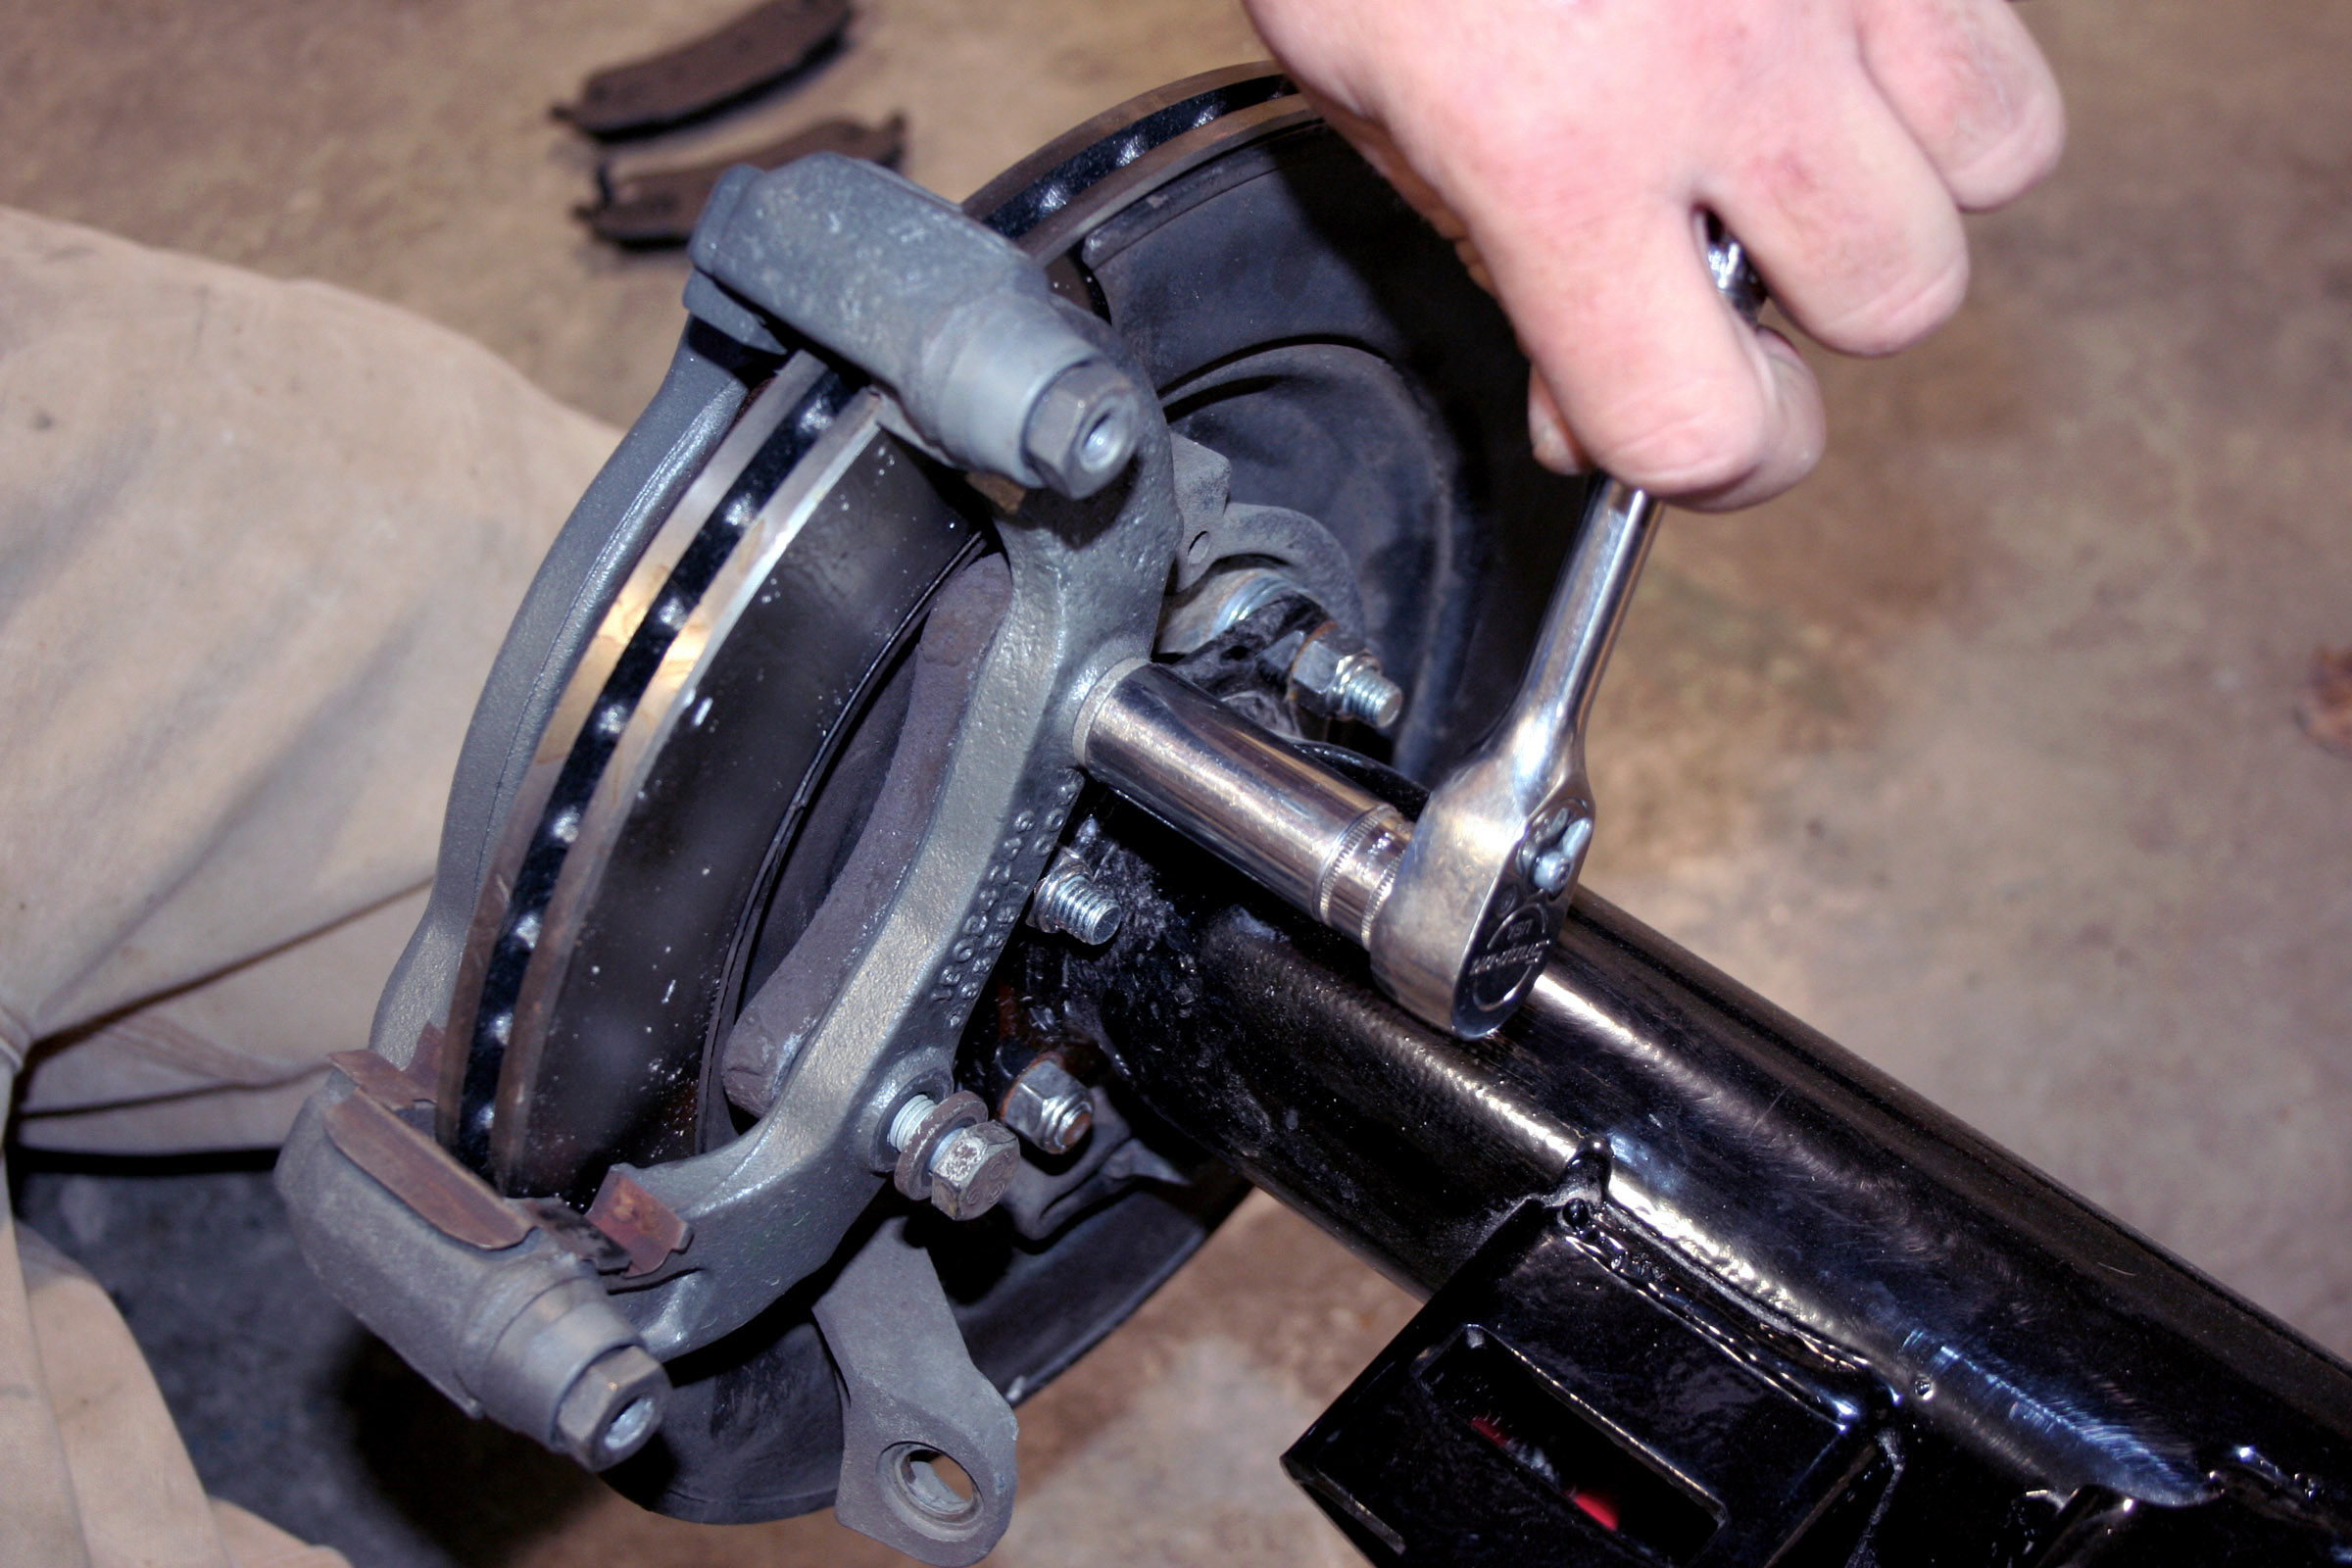
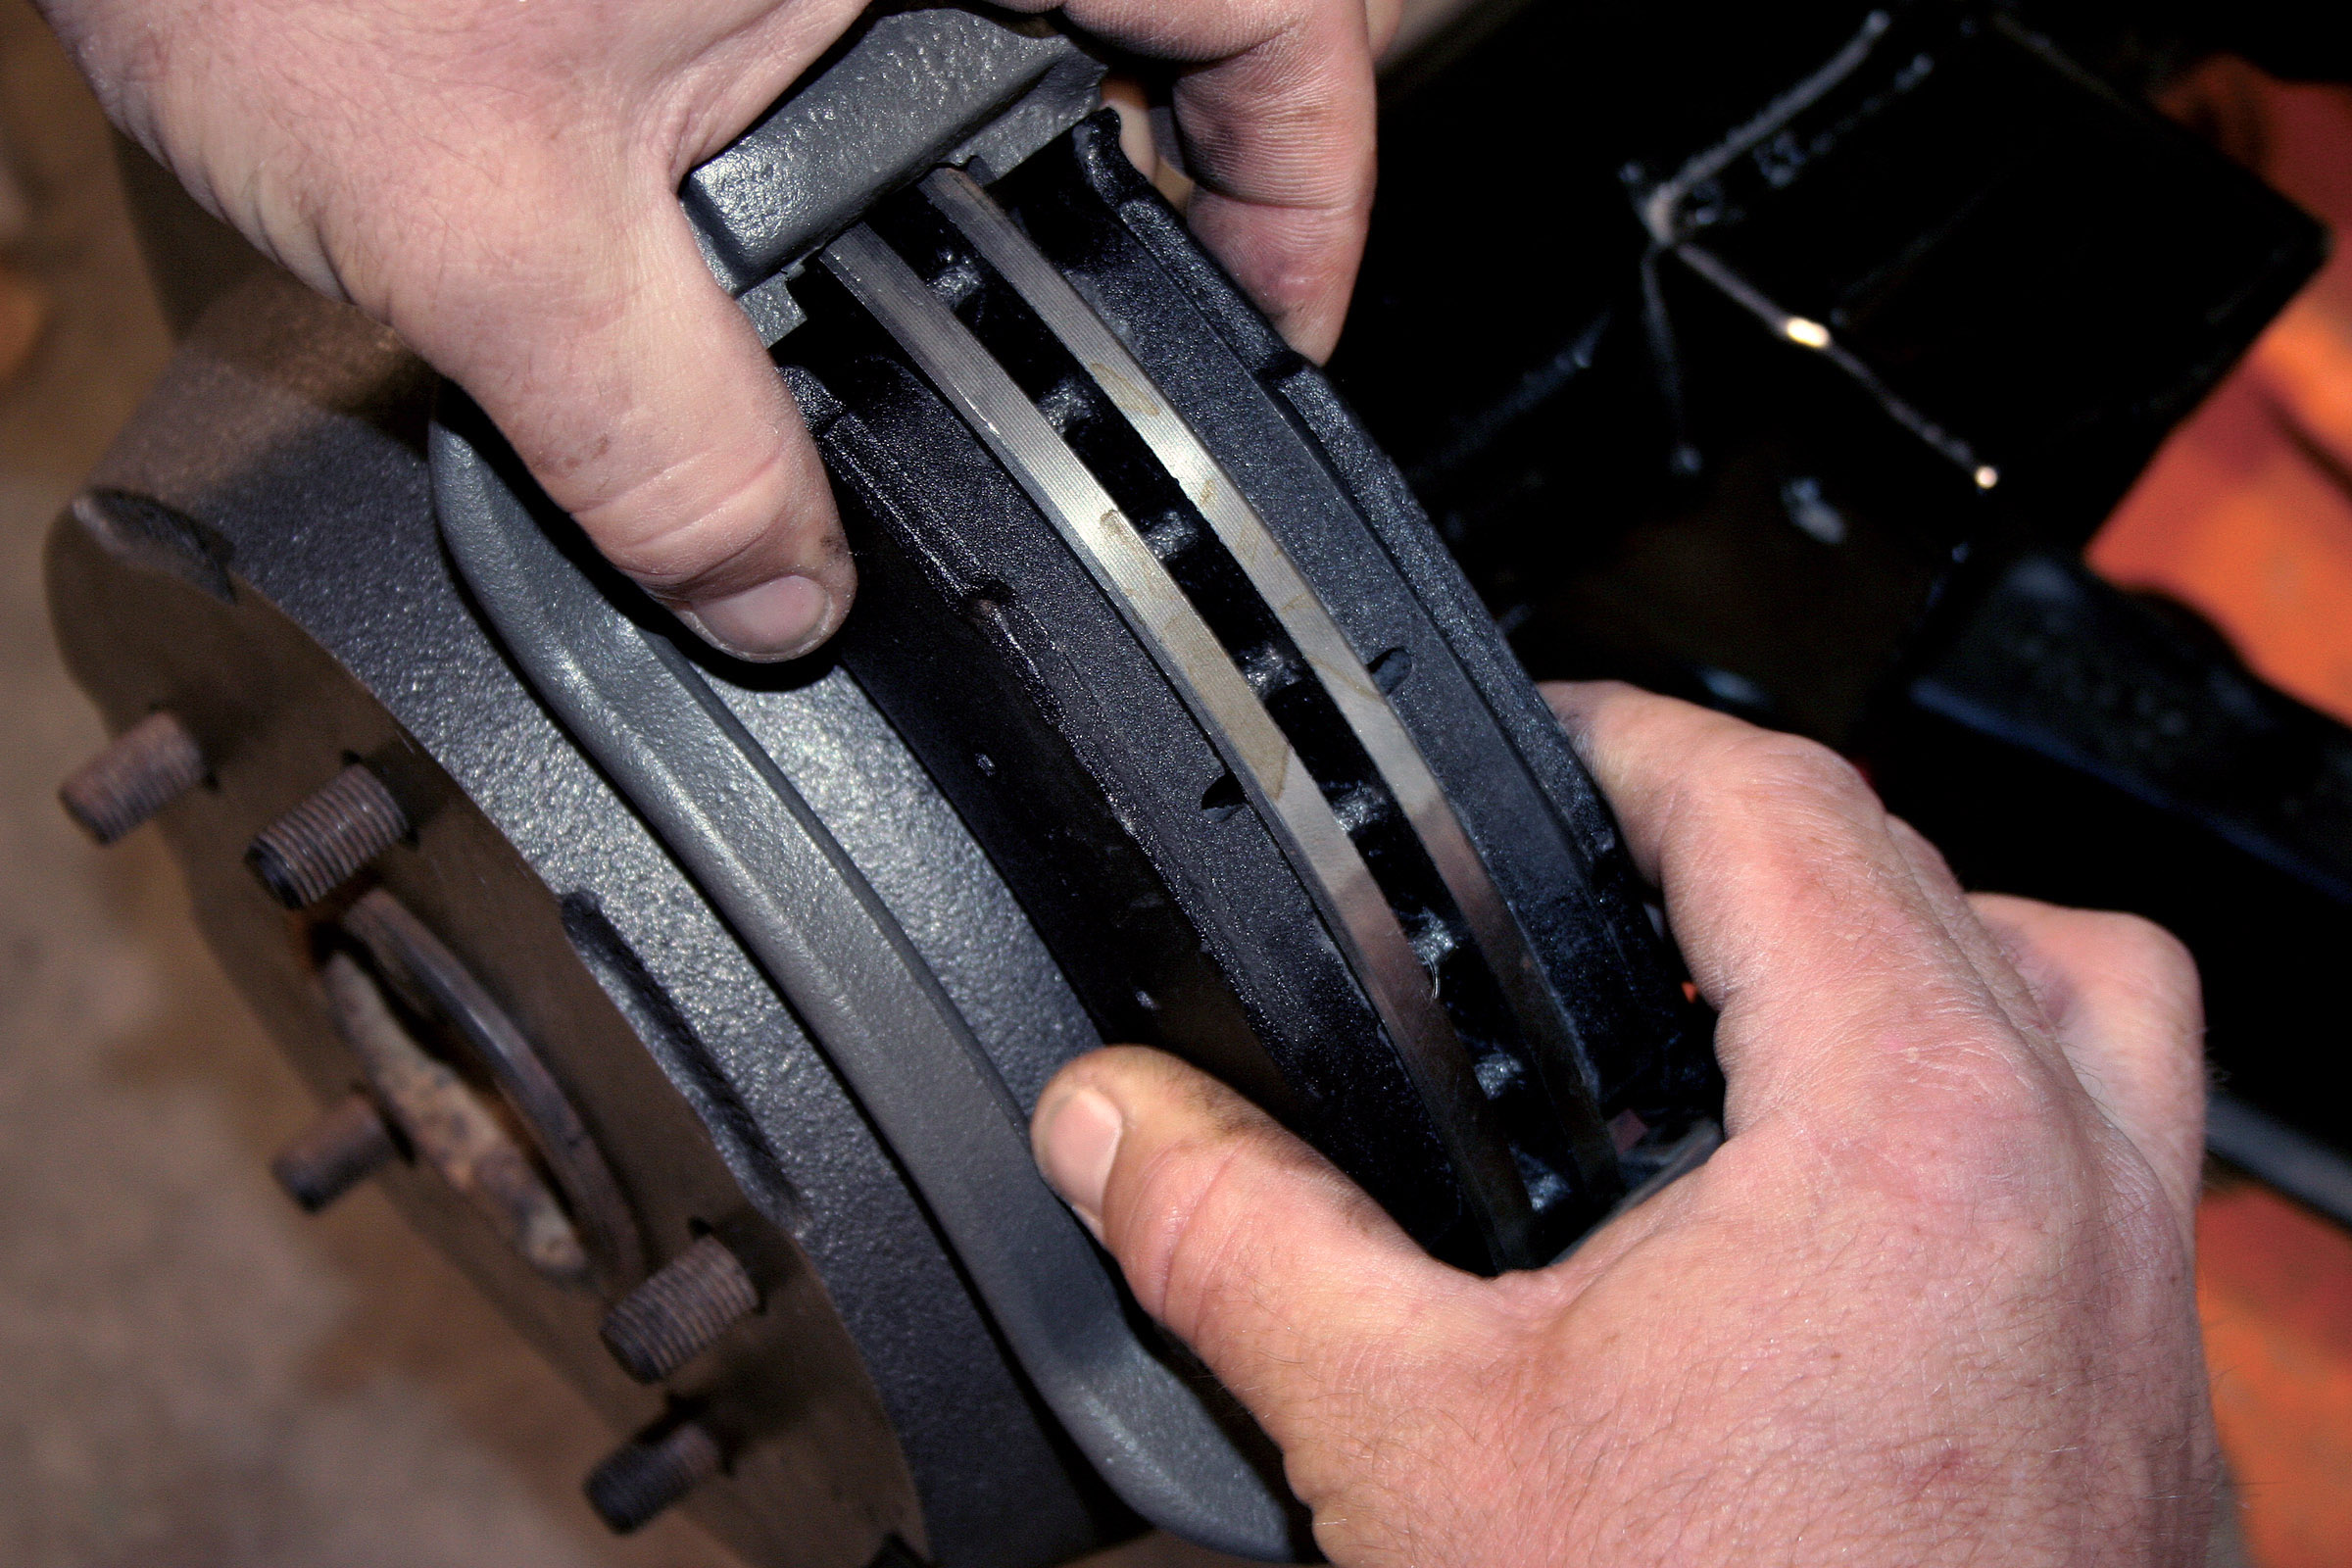
Since the 10-bolt rear had just been picked up from the powdercoaters with the gears installed, it was just a matter of sliding in the axles and installing the new brakes and bushings onto the rearend housing. When choosing your kit, one thing to keep in mind is the lug pattern; while the S-10 blazer is a 5-on-4-1/2 pattern, you can obtain the 5-on-5 pattern by using ’94-’96 Impala SS rotors and the Blazer hardware.
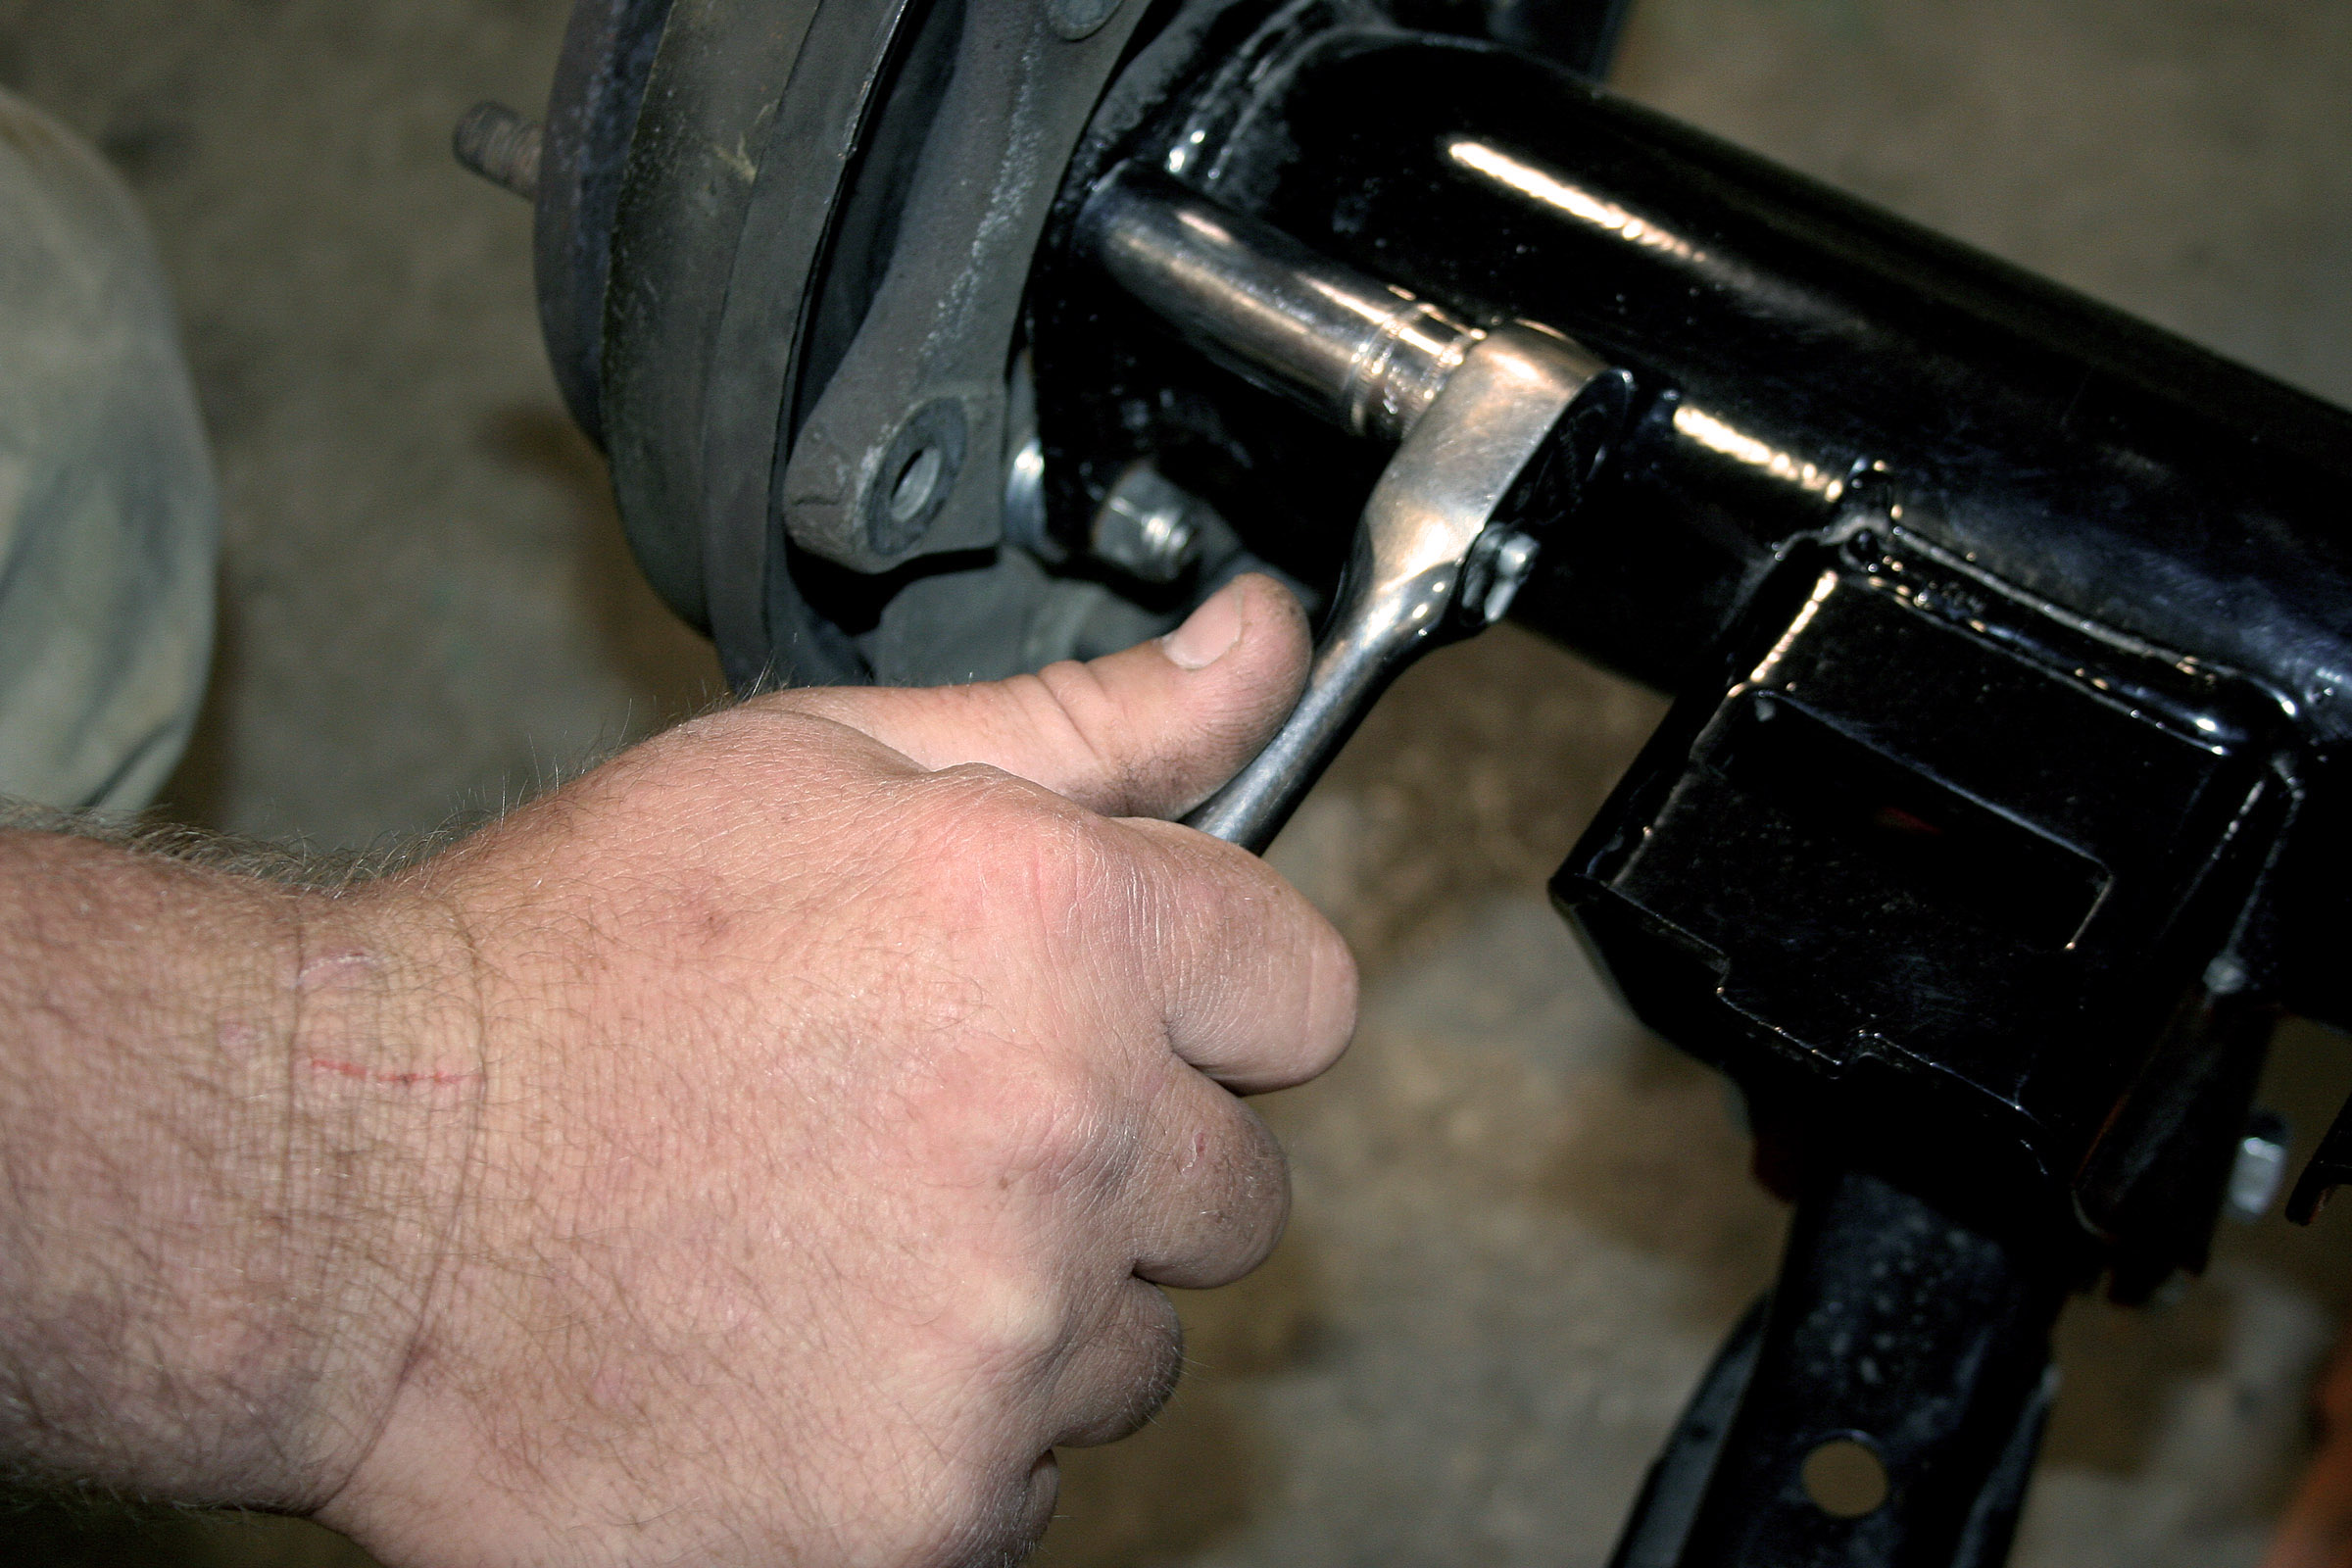
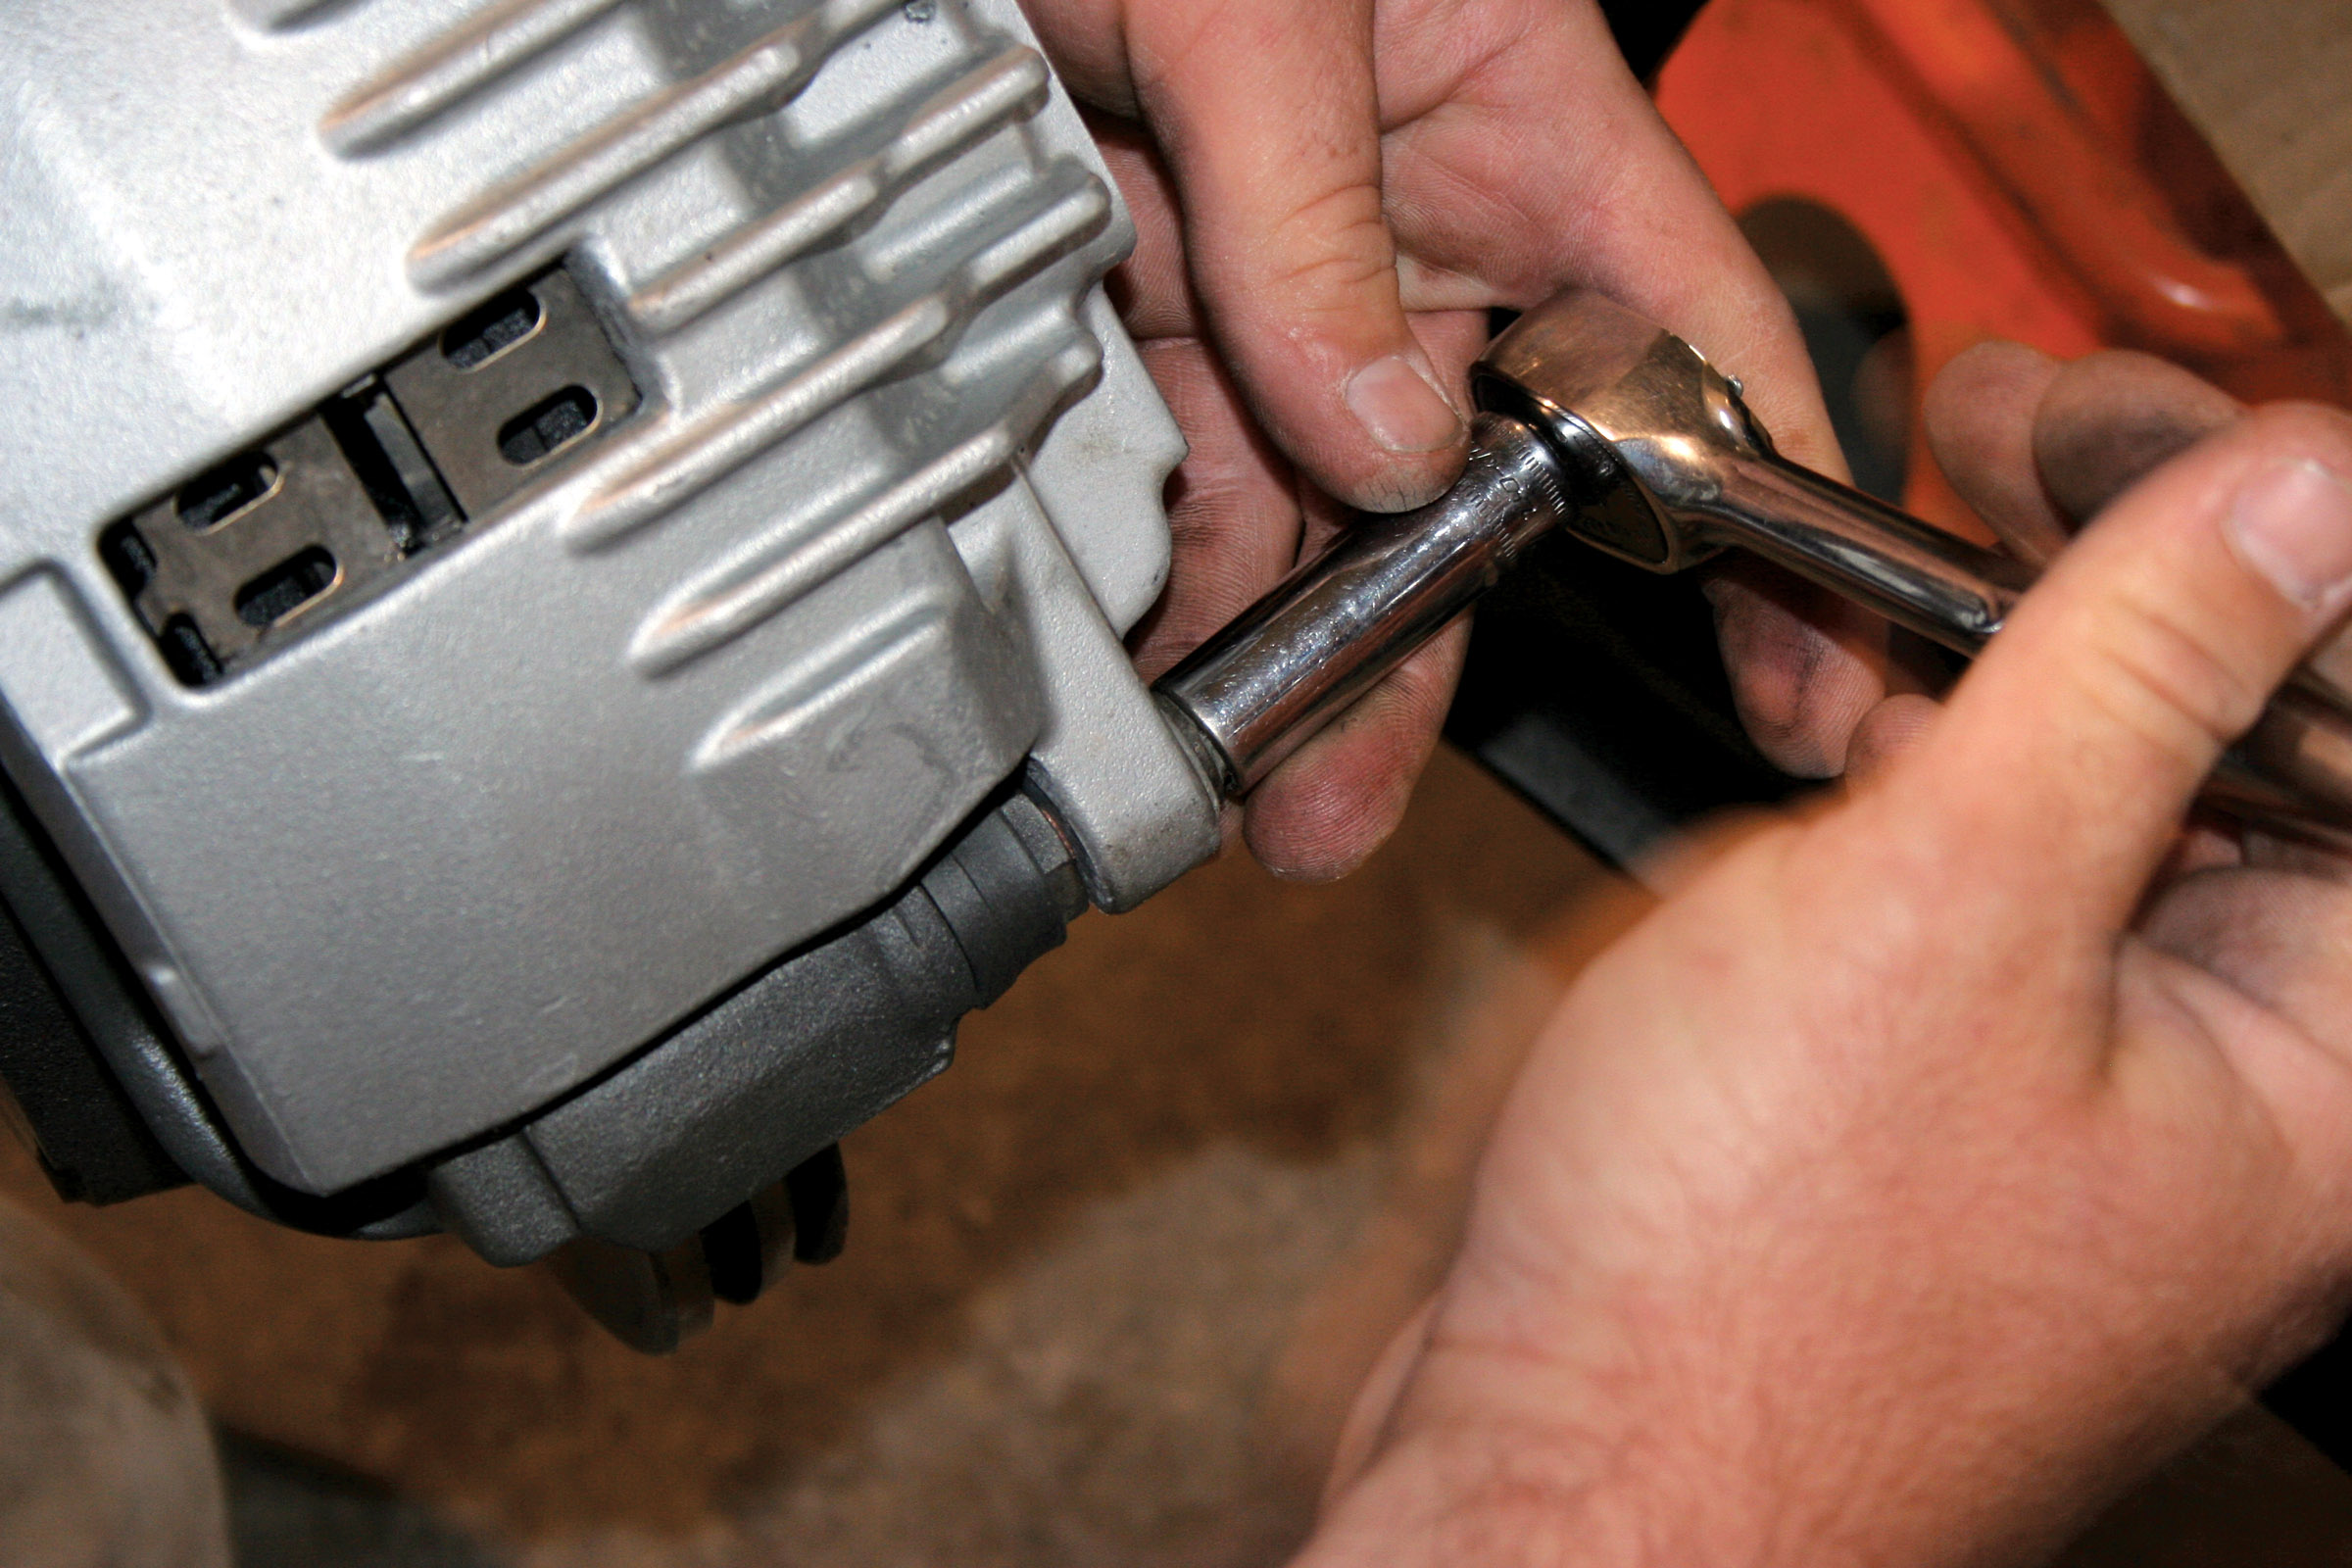
After cleaning up the complete brake assembly and obtaining a set of new pads from the local auto parts store, Rievley began the conversion, which he completed in about an hour. When complete, the Chevelle rear had a new set of discs with sweet-looking aluminum calipers and an e-brake. The installation required a simple set of sockets, a ratchet and some patient work. With that work done, these brakes will now provide this Chevelle with increased stopping power and a much cooler appearance.