

TAKING IT TO HEART
Sometimes building a street rod can be downright exasperating. The amount of money involved and the stress of chasing down parts and coordinating the efforts of multiple shops can lead to a fair bit of tension in any owner. How many times have you heard someone say something along the lines of: “That damn car’s going to give me a heart attack!”? Odds are you’ve heard it or even said it at least once or twice if you’ve been involved in rodding for any length of time.

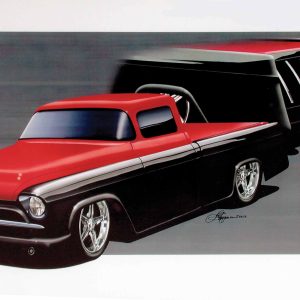
Literally Lightning
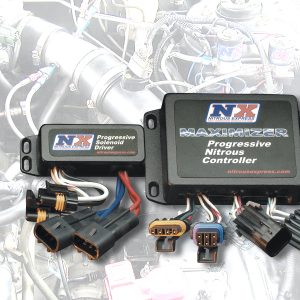
From showstopper murals to Nitrous Express-fueled speed, Darren Pellechia’s 2002 Ford SVT Lightning lives up to its name in every way. Don’t be fooled by the lowered stance and sleek custom bodywork – this truck packs a punch under the hood with a 75hp nitrous system and tuned Eaton-supercharged engine. Inside, Von Otto murals and premium sound complete the package, making this Lightning a true masterpiece on wheels.
WATER, WATER EVERYWHERE
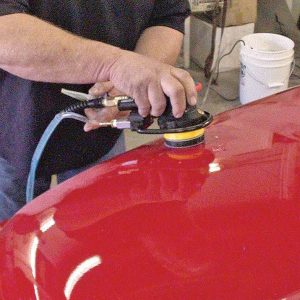
Now, it may seem crazy that anyone would take sandpaper to a new paint job, but if you want to have a glass-like finish that is exactly what happens. Of course, it is special sandpaper, and the person doing the work needs to know exactly what he is doing or that paint job can be toast. One of the things that makes color sanding possible is that the paper used is meant to be wet while the job is taking place. The water not only works as a lubricant, but it also removes the fine paint sludge from the area. The problem is getting that water in the proper place and having enough of it to do the job. After all, who really likes sticking his arm into a cold bucket of water time after time?


PART-TIME POWER
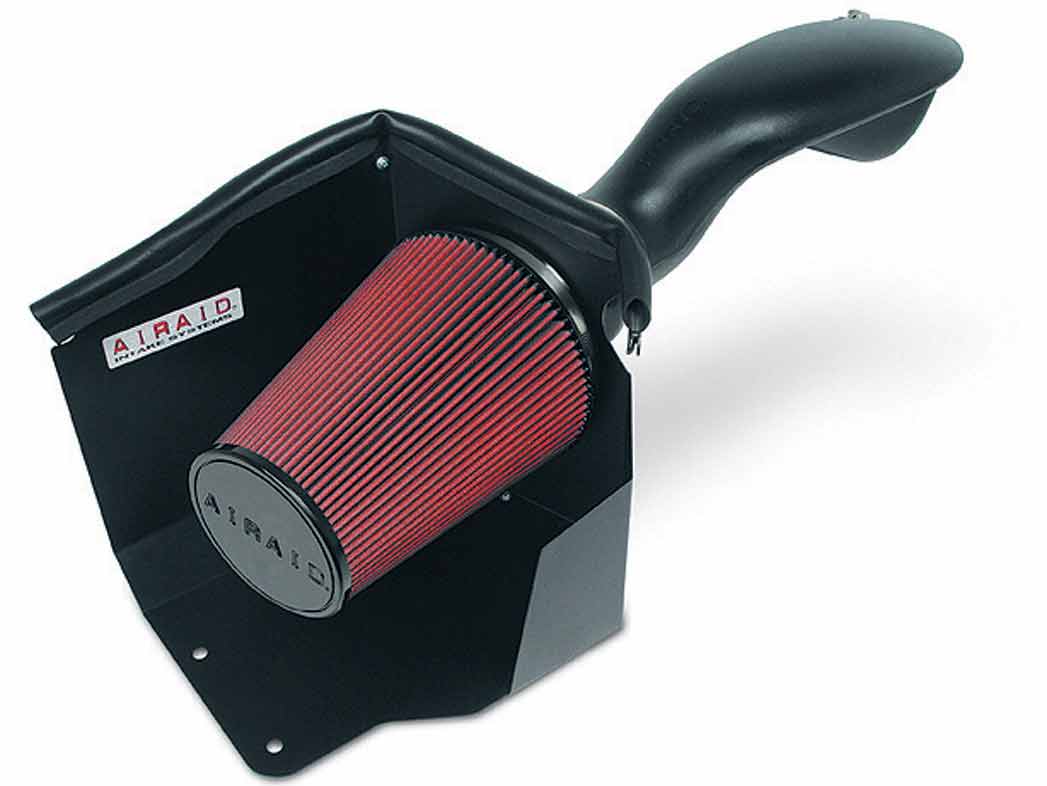
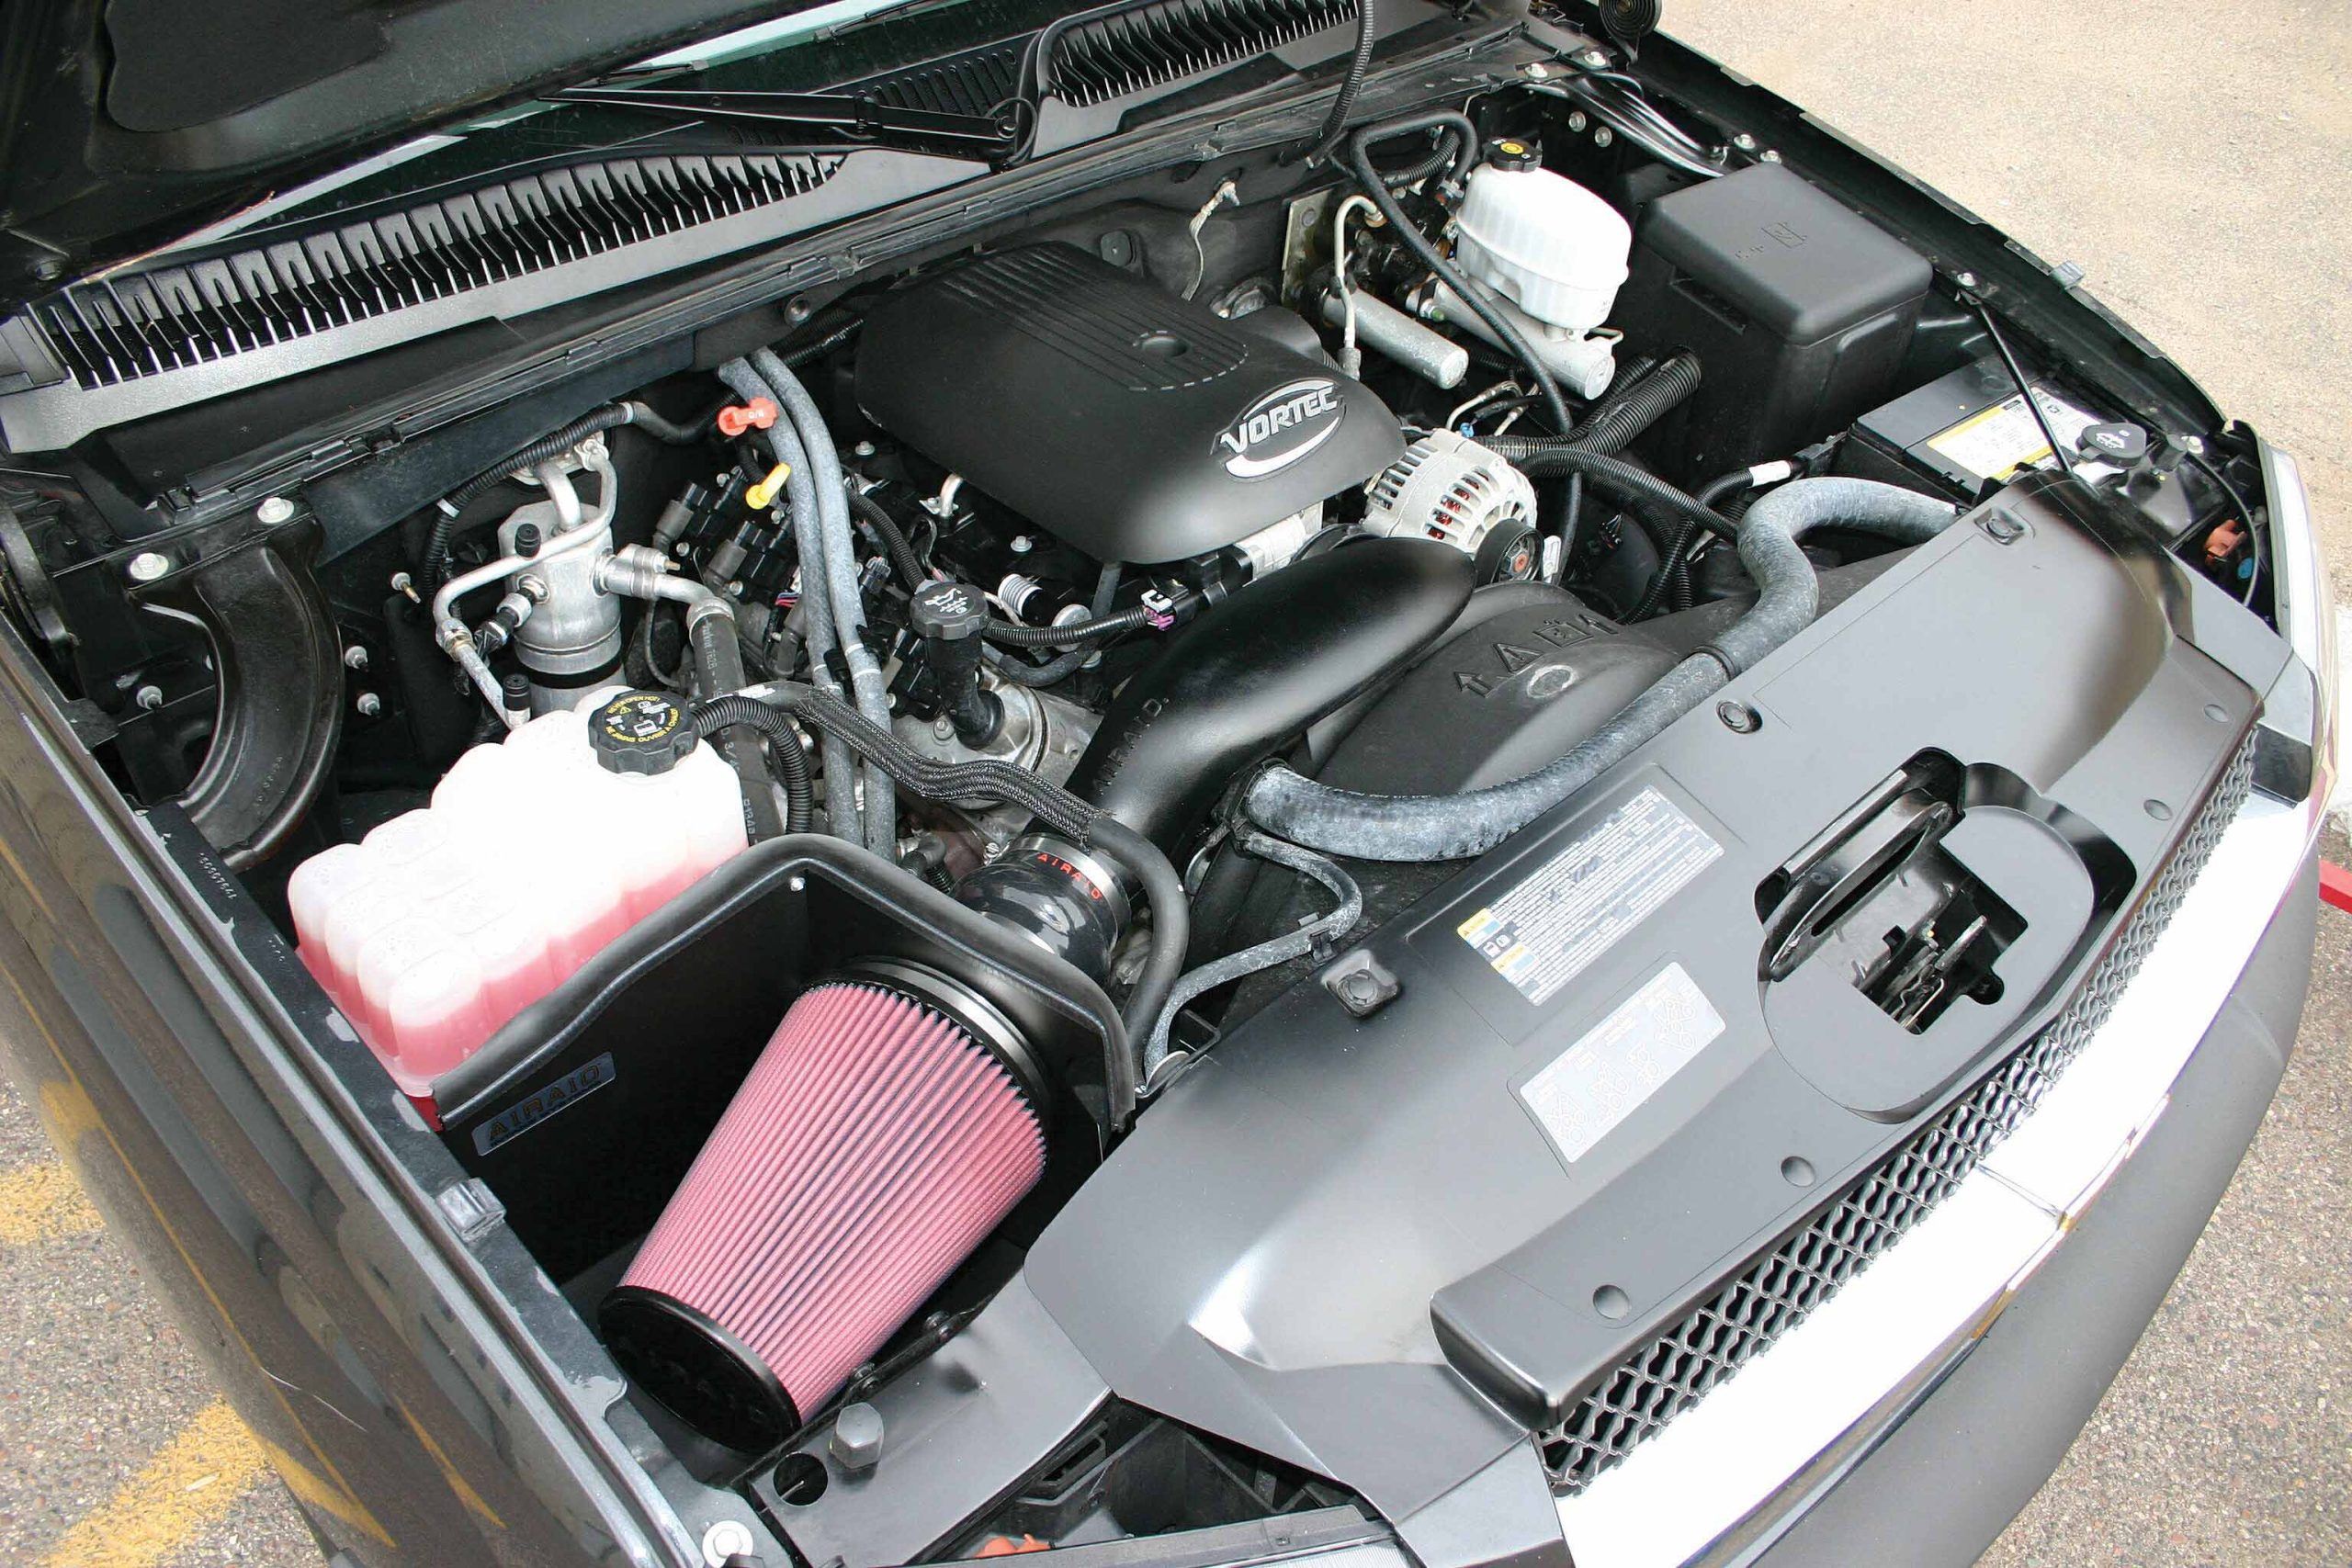
 Any truck enthusiast who has ever bolted on larger-than-stock tires or pulled a trailer knows that there can never be enough torque, especially in the low- to mid-rpm ranges. The never-ending hunt for grunt just got easier, thanks to the folks at Airaid. Its helix-bore PowerAid throttle-body spacers are famous for enhancing an engine’s low-end torque and midrange powerband, while also helping in the fuel economy department.
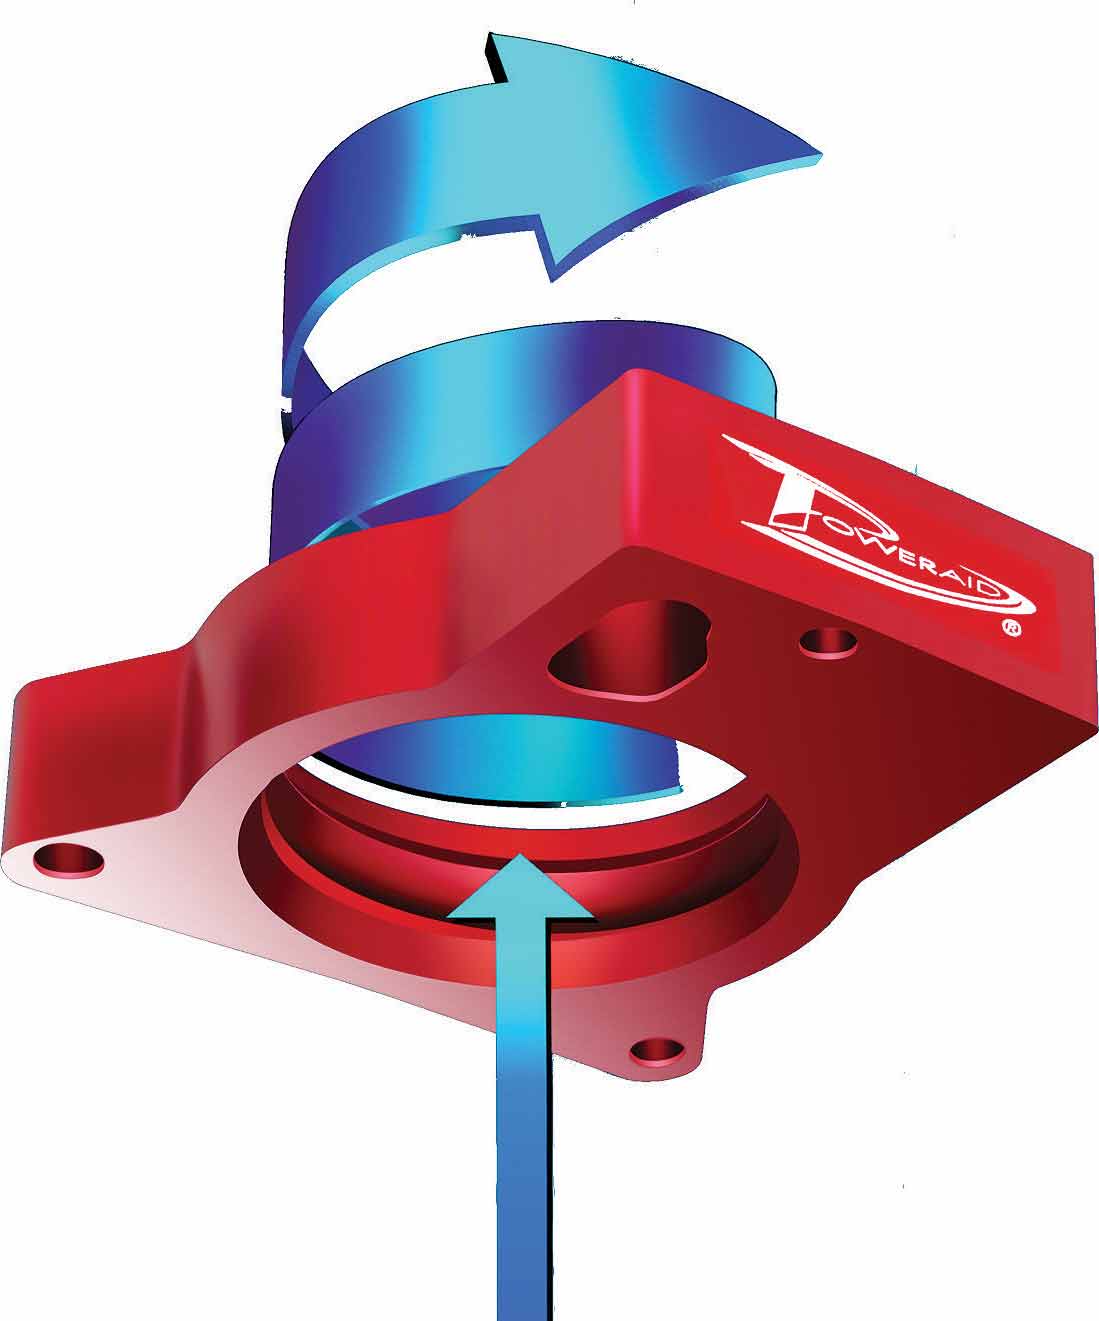
Okay, but how do they actually work? The patented helix-bore design puts a spin on the incoming air charge. This boosts velocity and improves atomization of the air/fuel mixture into the intake and combustion chamber. The result is a boost in torque from approximately 800 to 3,000 rpm. Also, with improved efficiency in filling the combustion chamber, it’s not uncommon to see a boost in fuel economy as well.
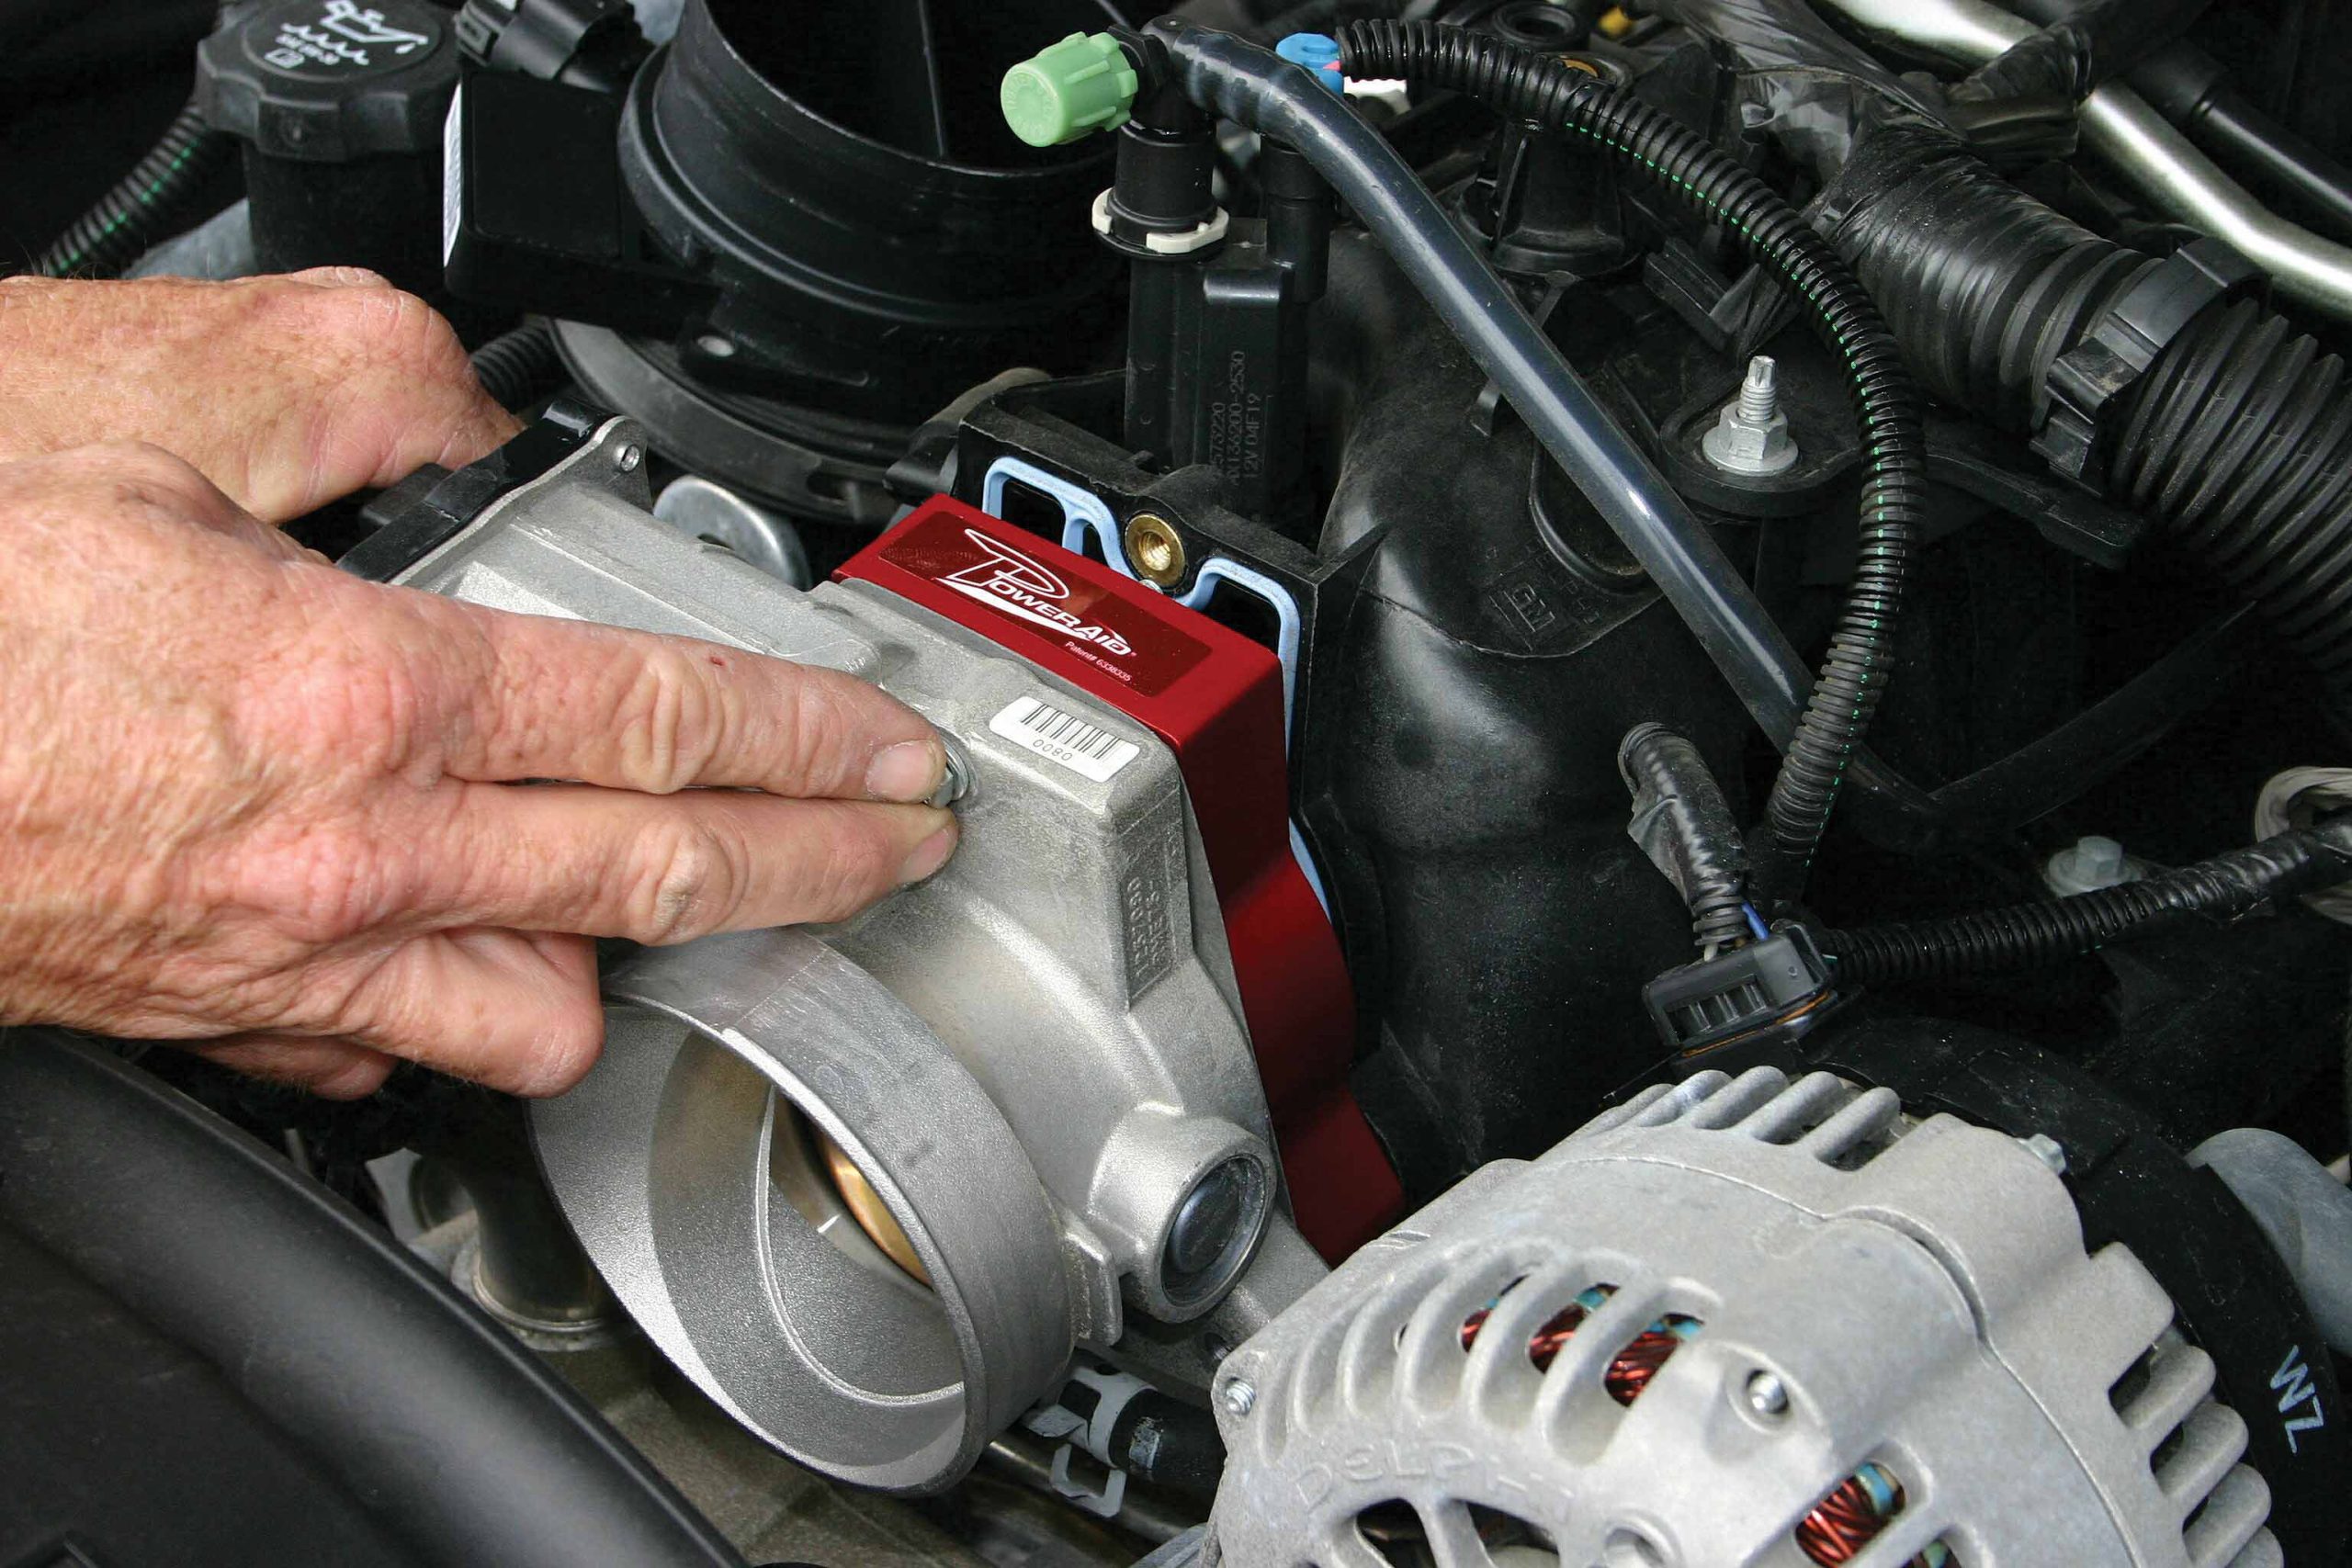
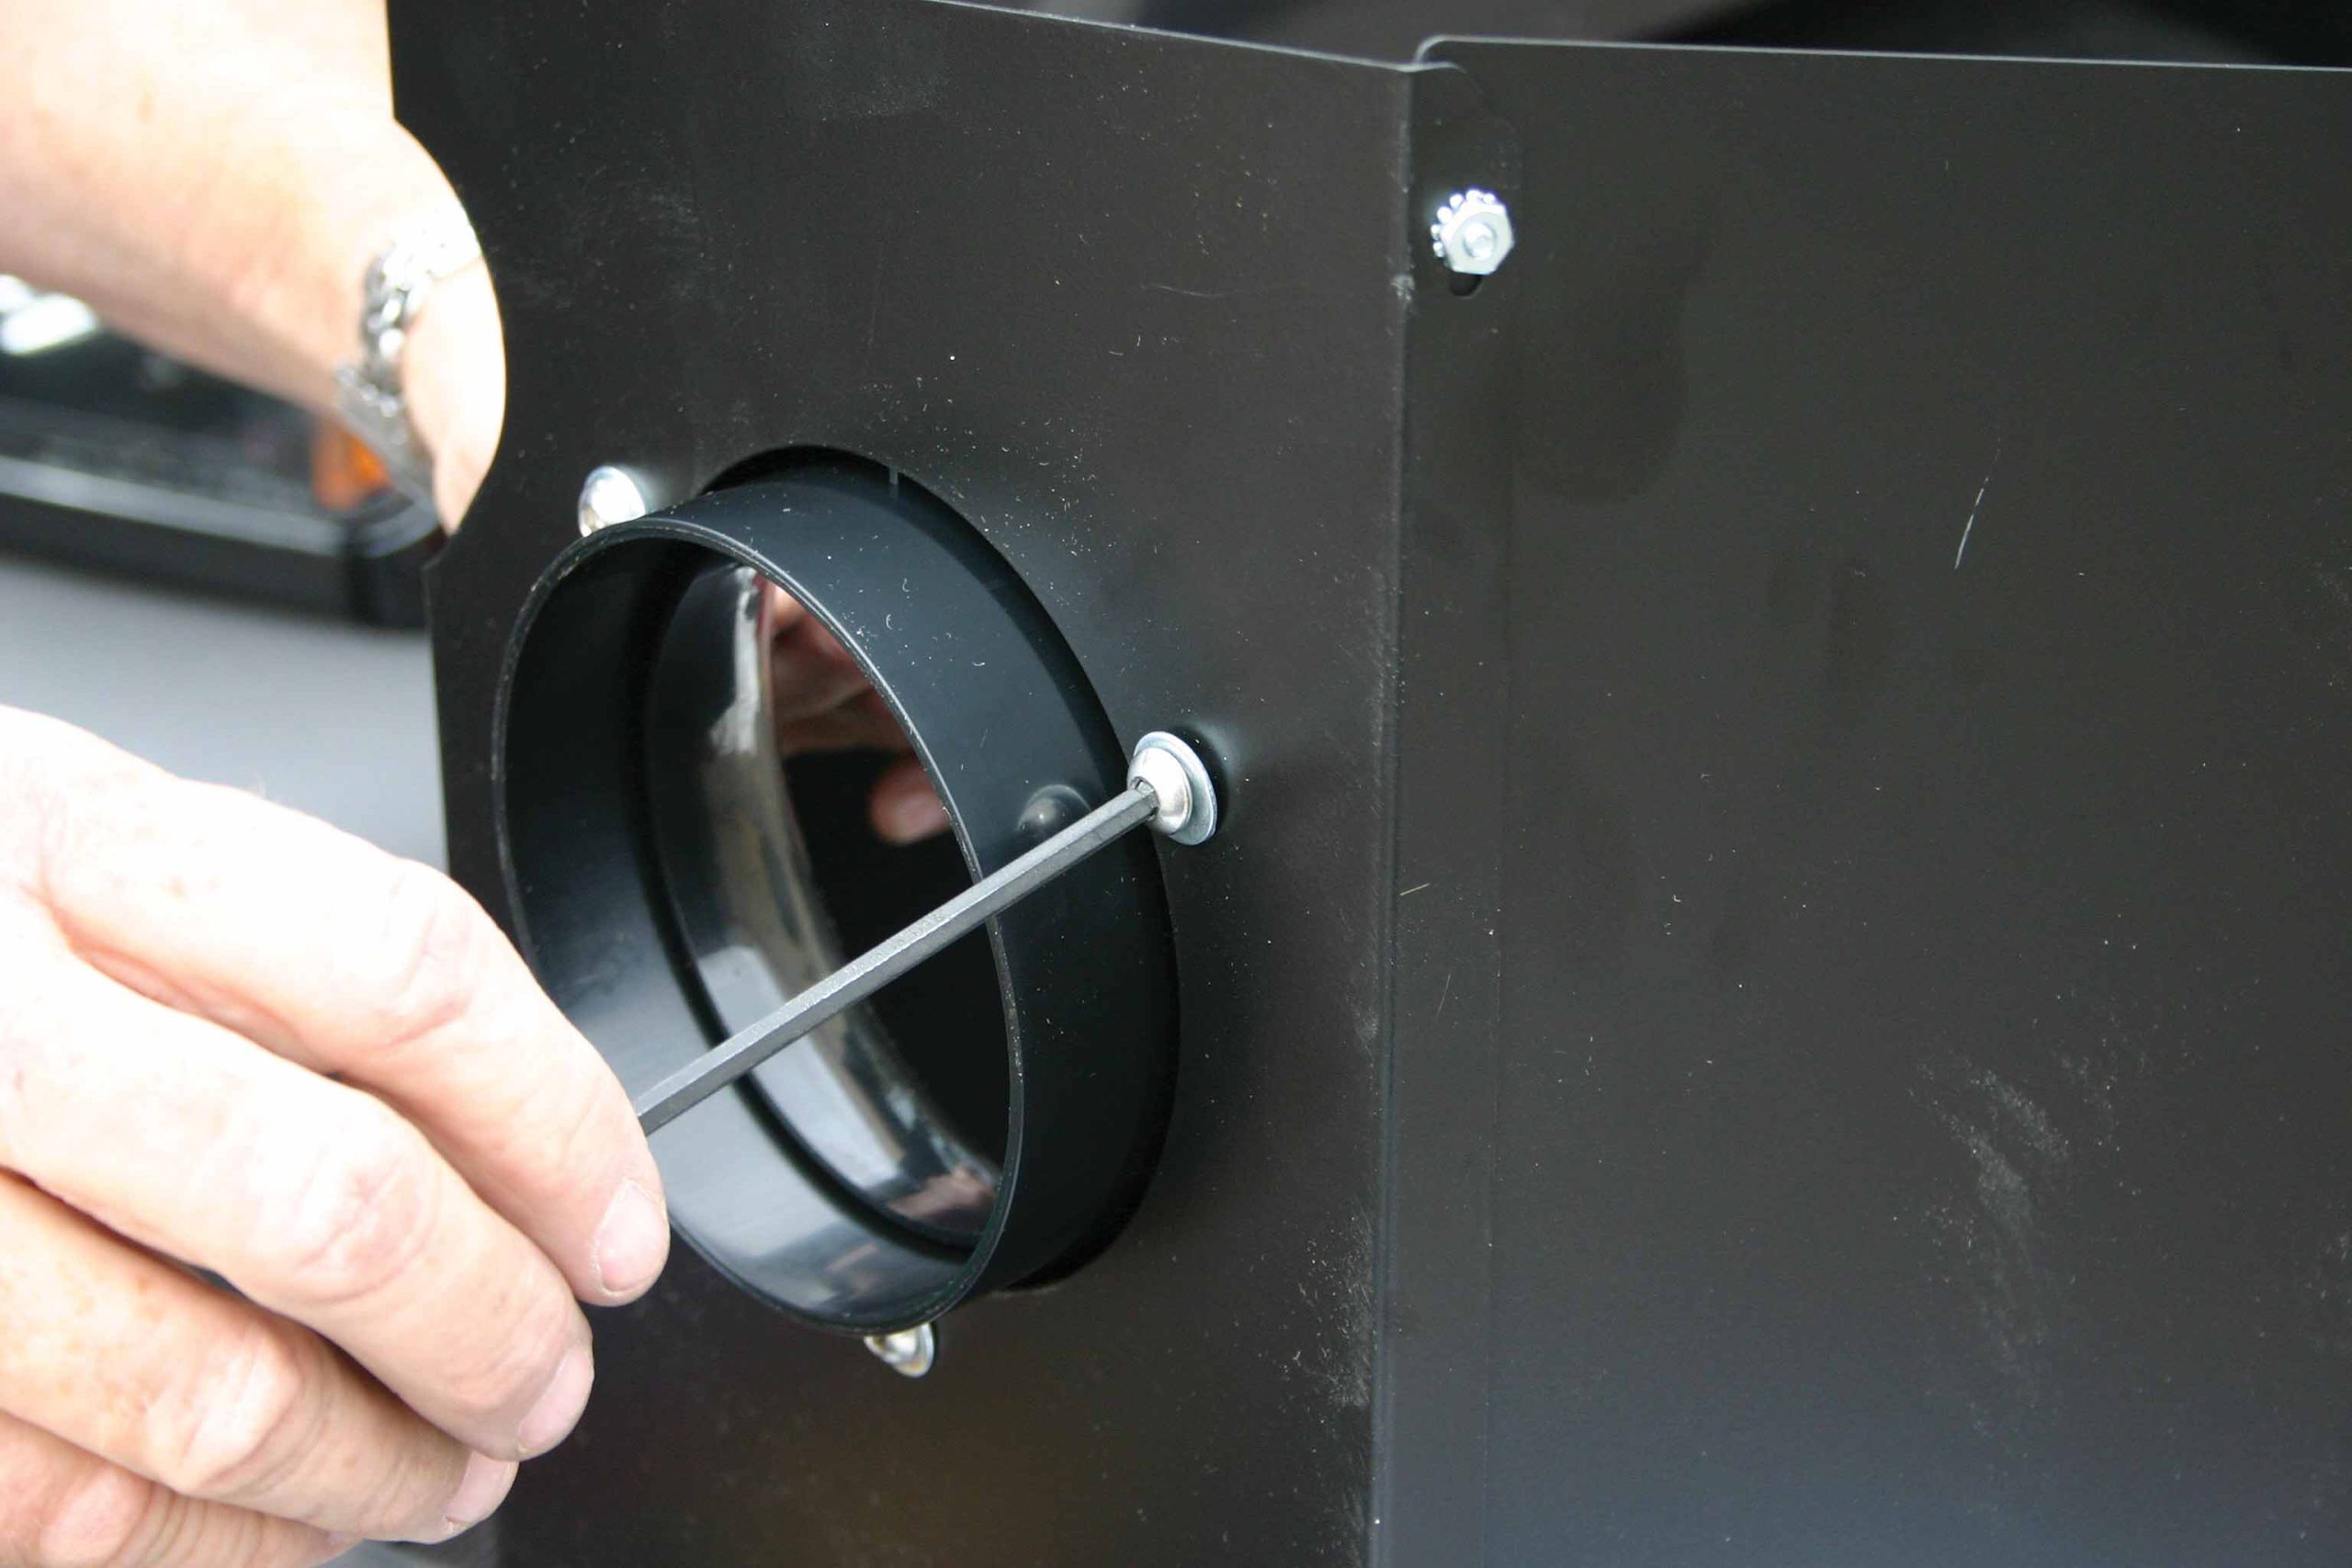
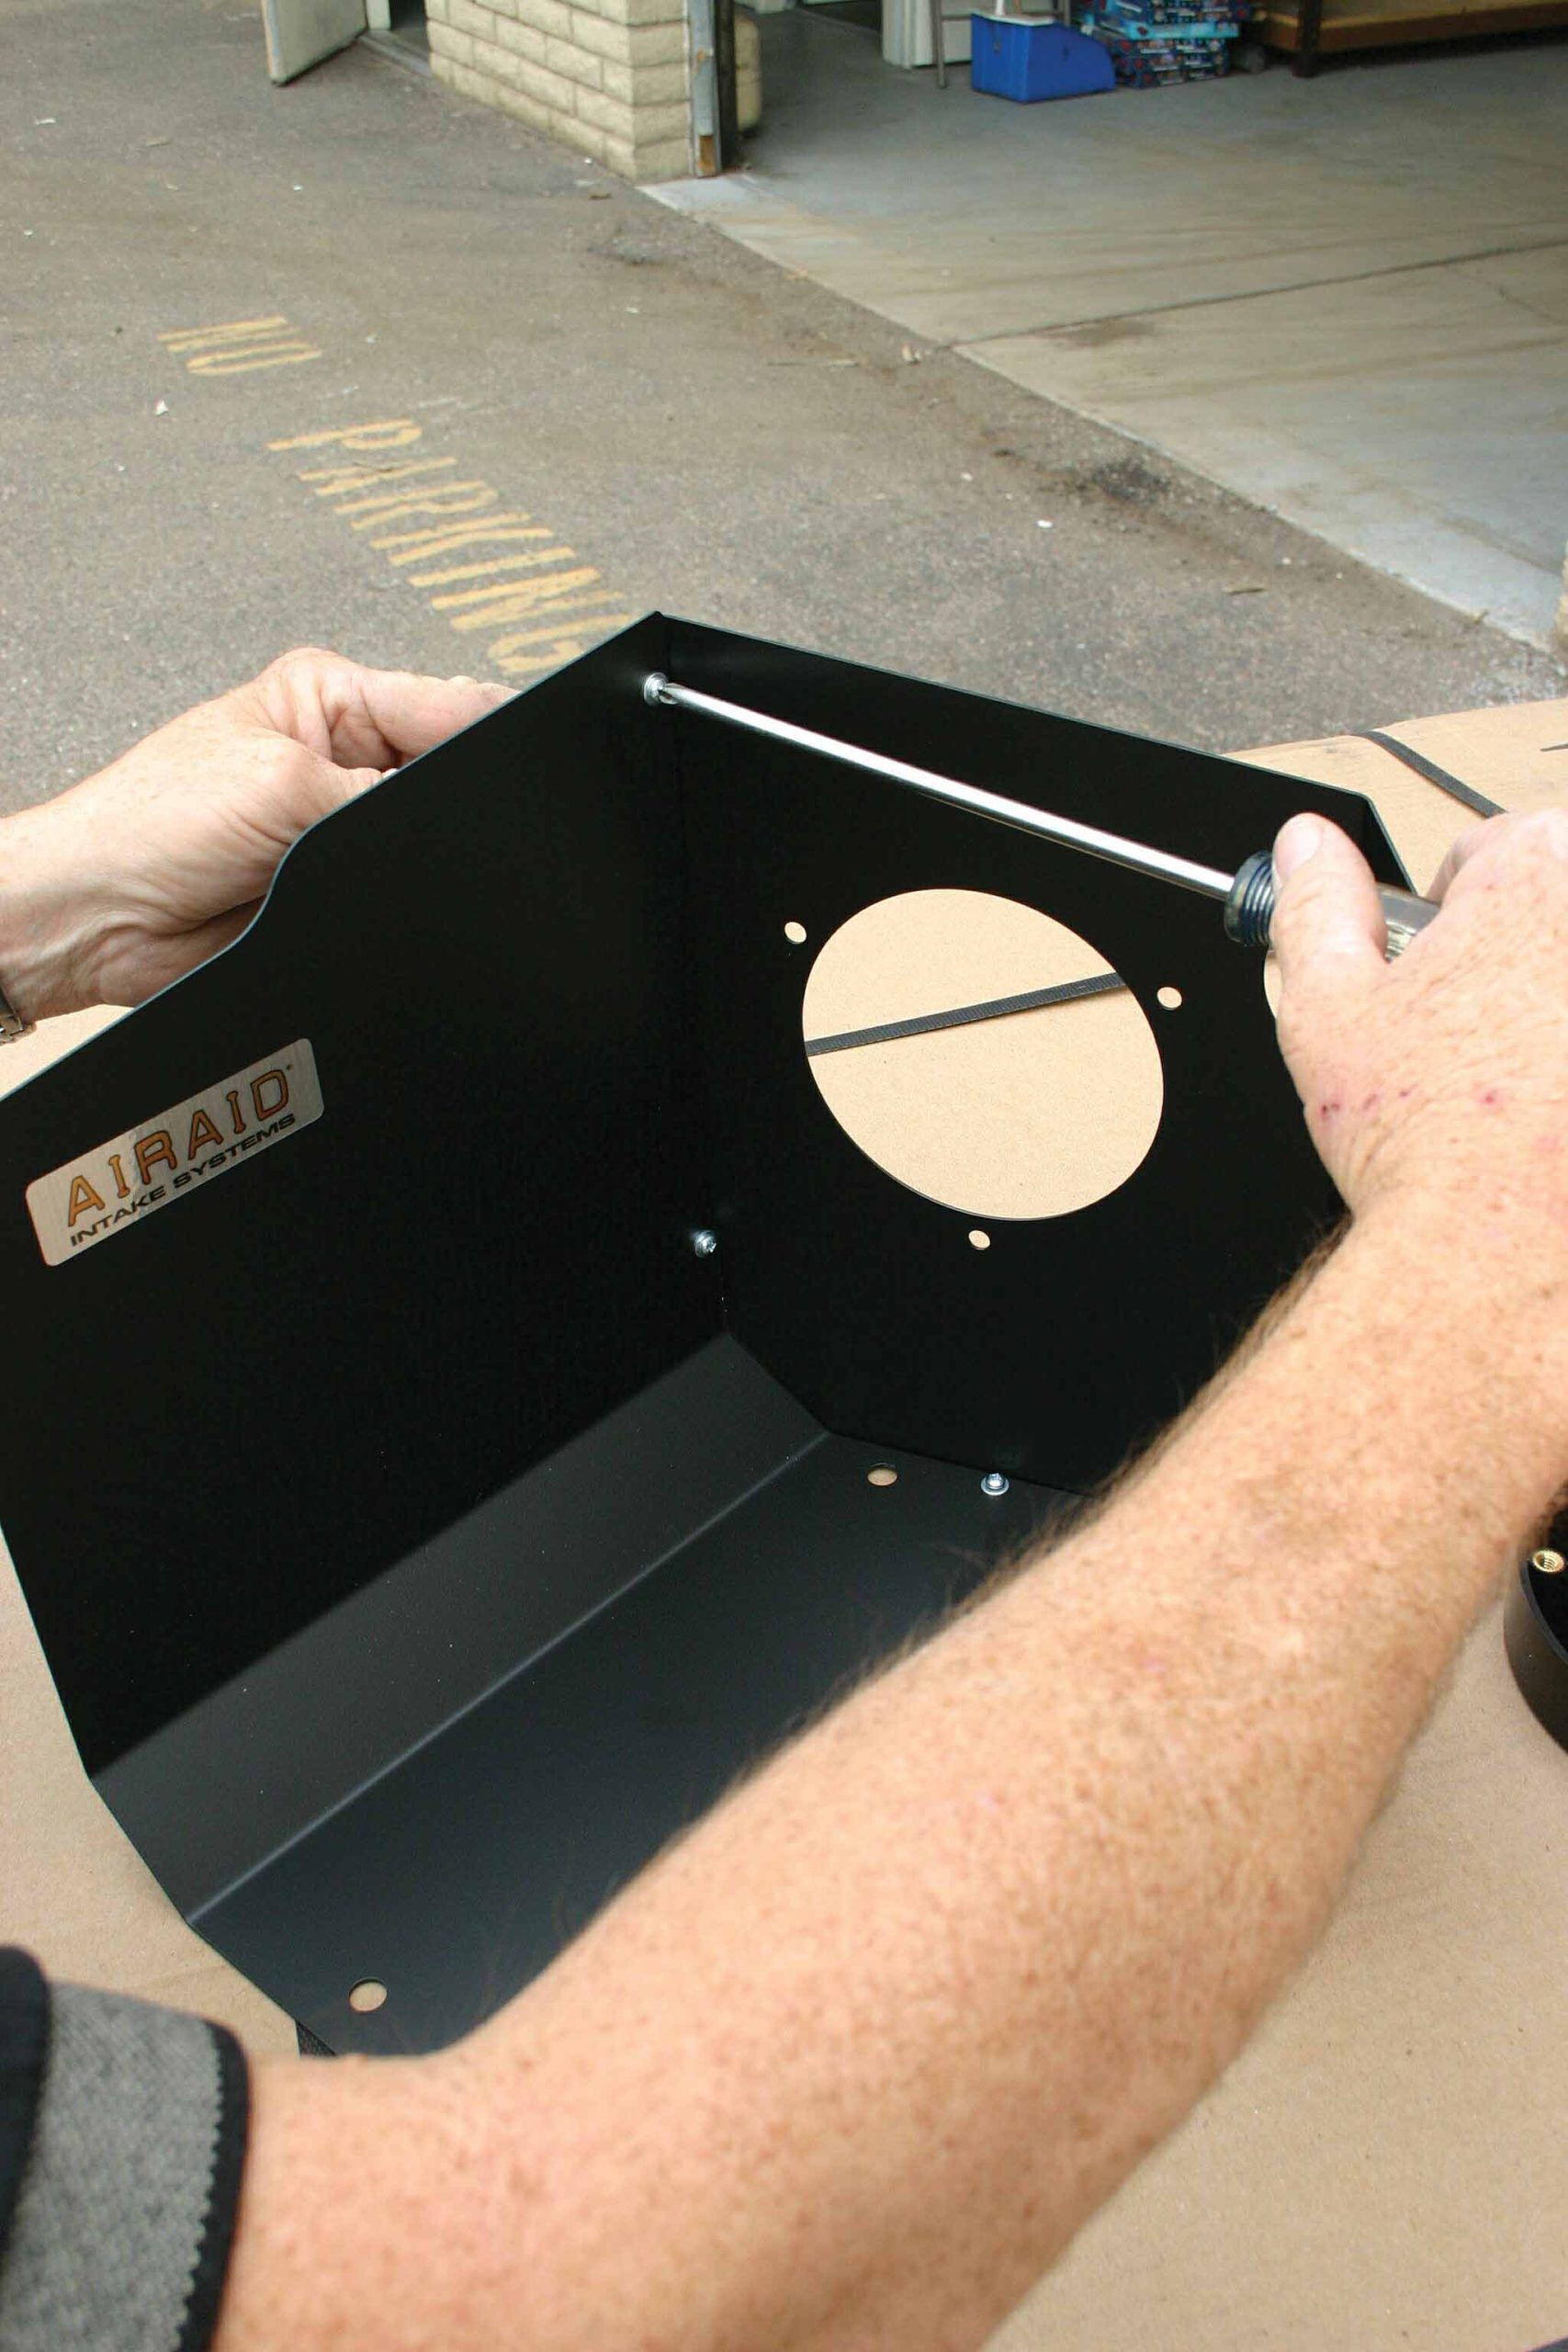
The PowerAid throttle-body spacers simply install between the throttle body and the intake manifold. Each PowerAid comes complete with all the necessary mounting hardware and detailed installation instructions. PowerAids are available for a variety of both gas and diesel applications.
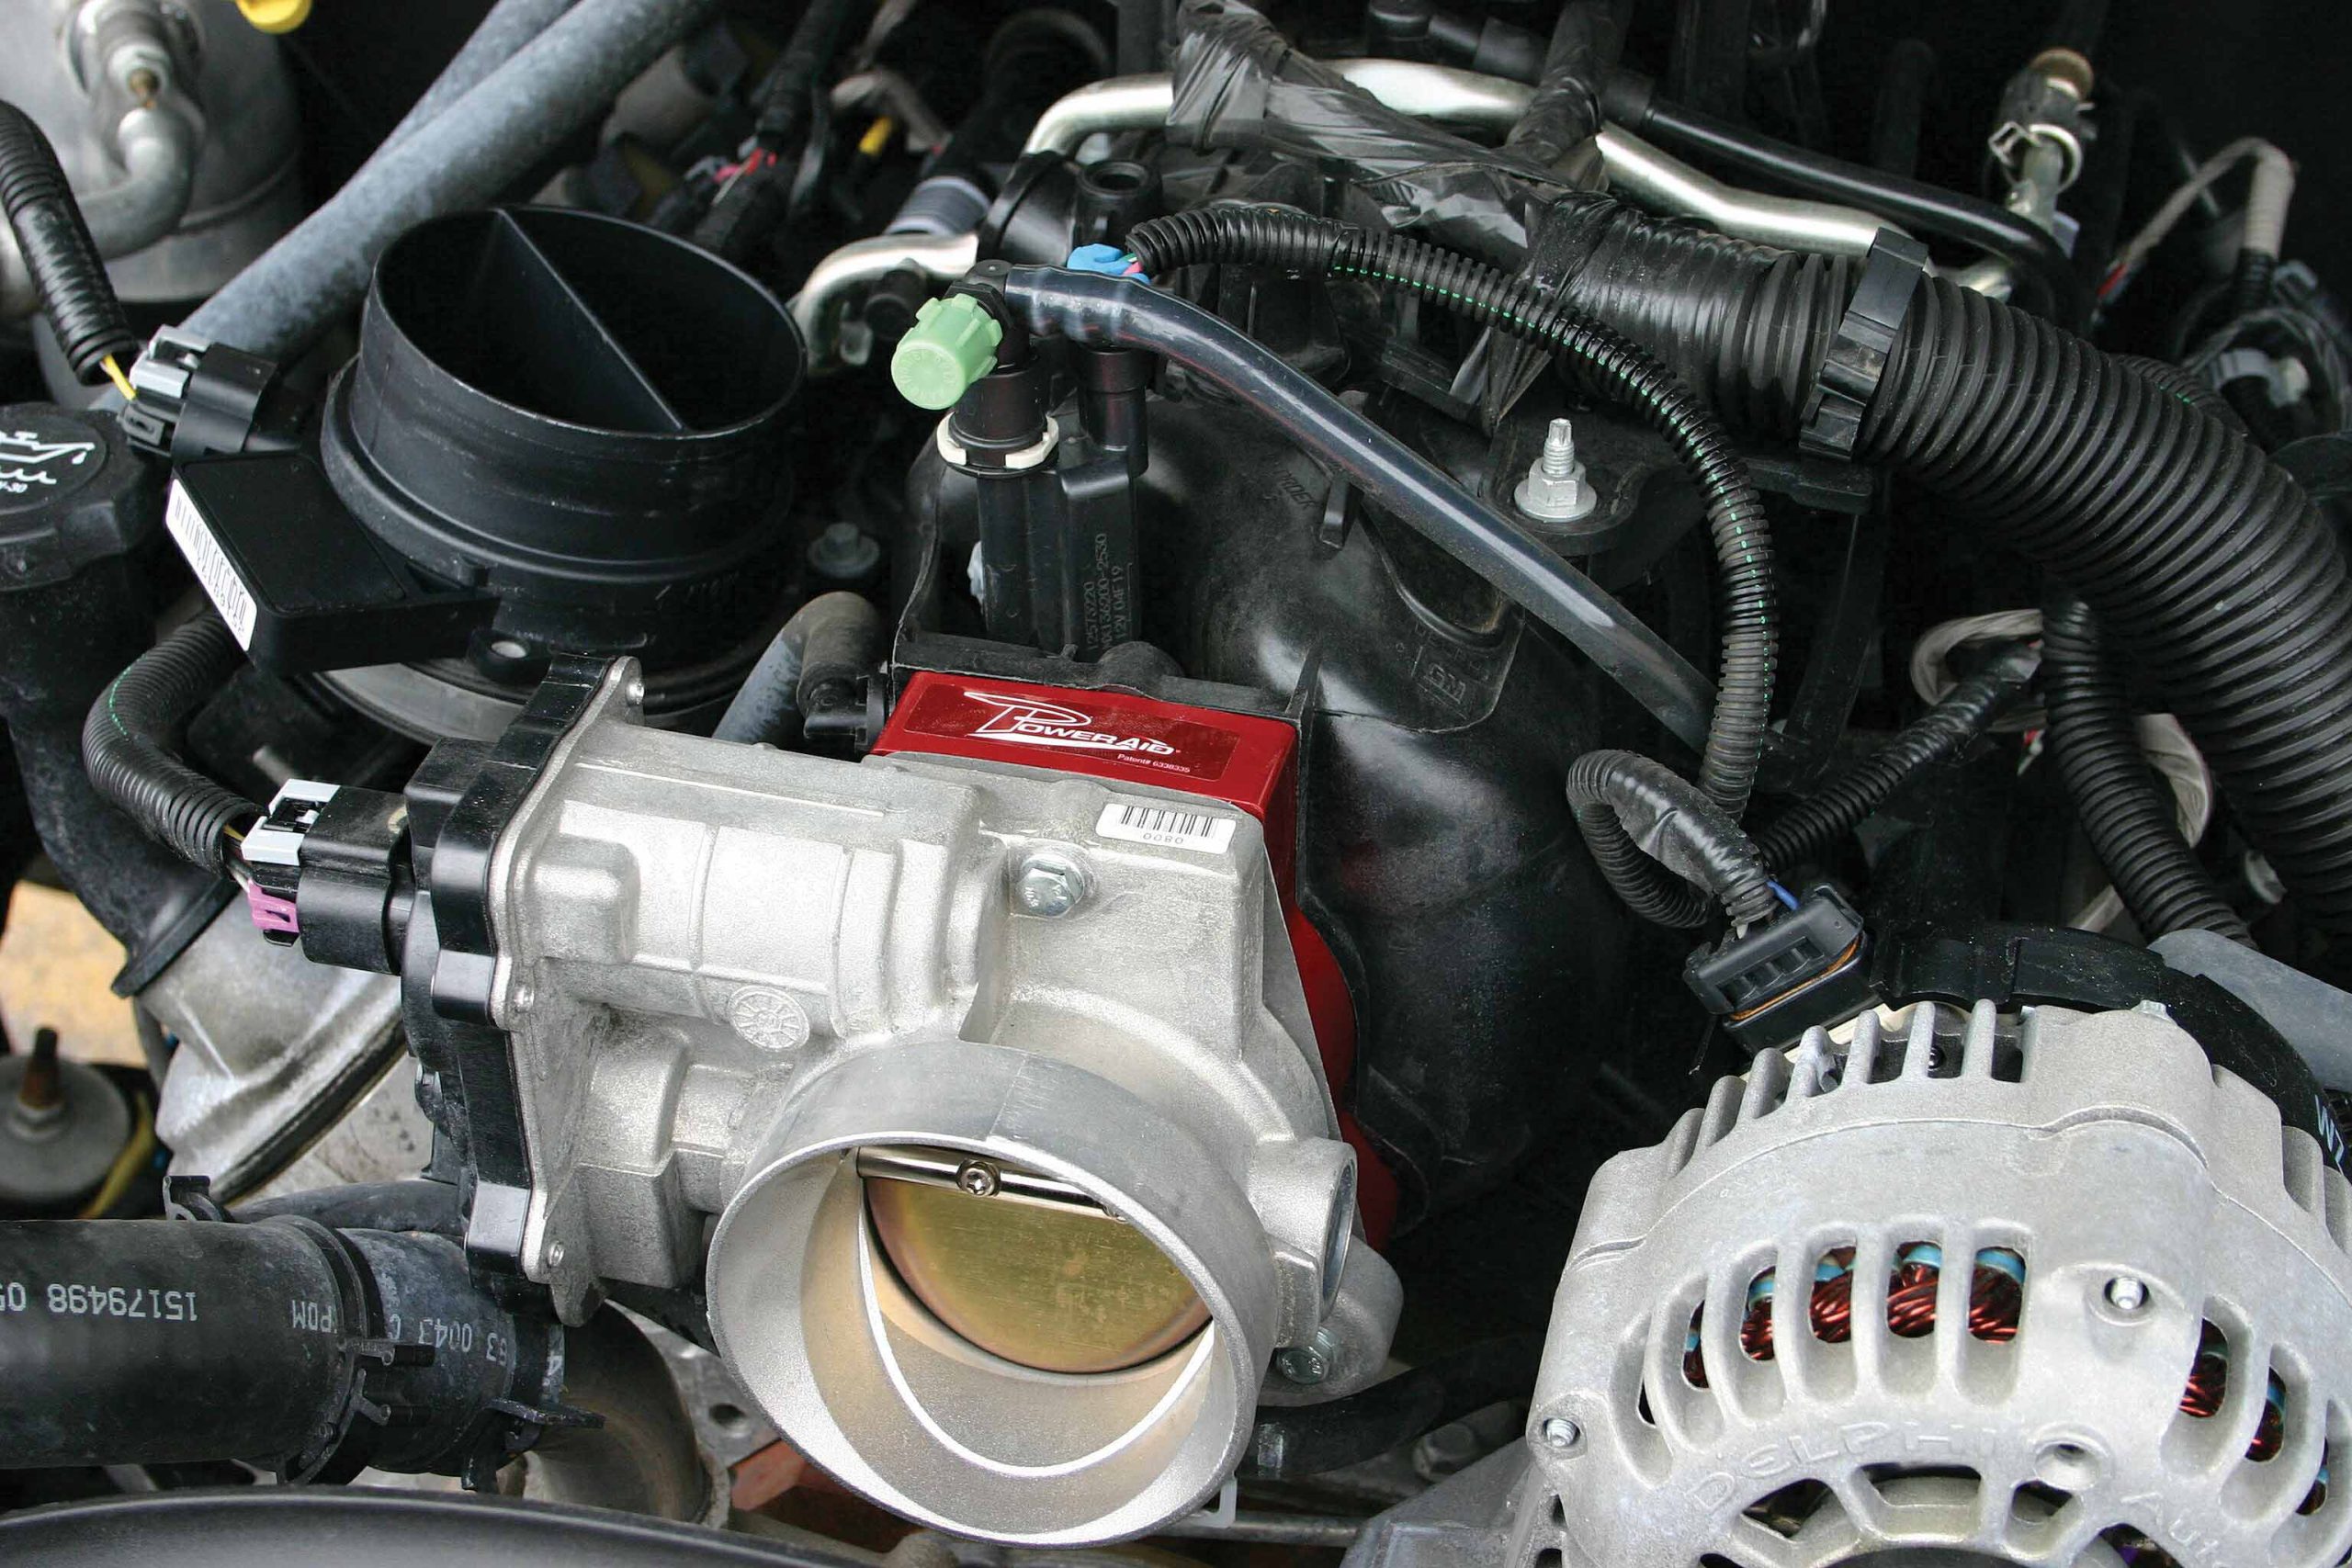
PowerAid’s patented helix-bore design spins the incoming air for increased velocity and a denser air charge at the combustion chamber, resulting in improved throttle response and more low-end torque.
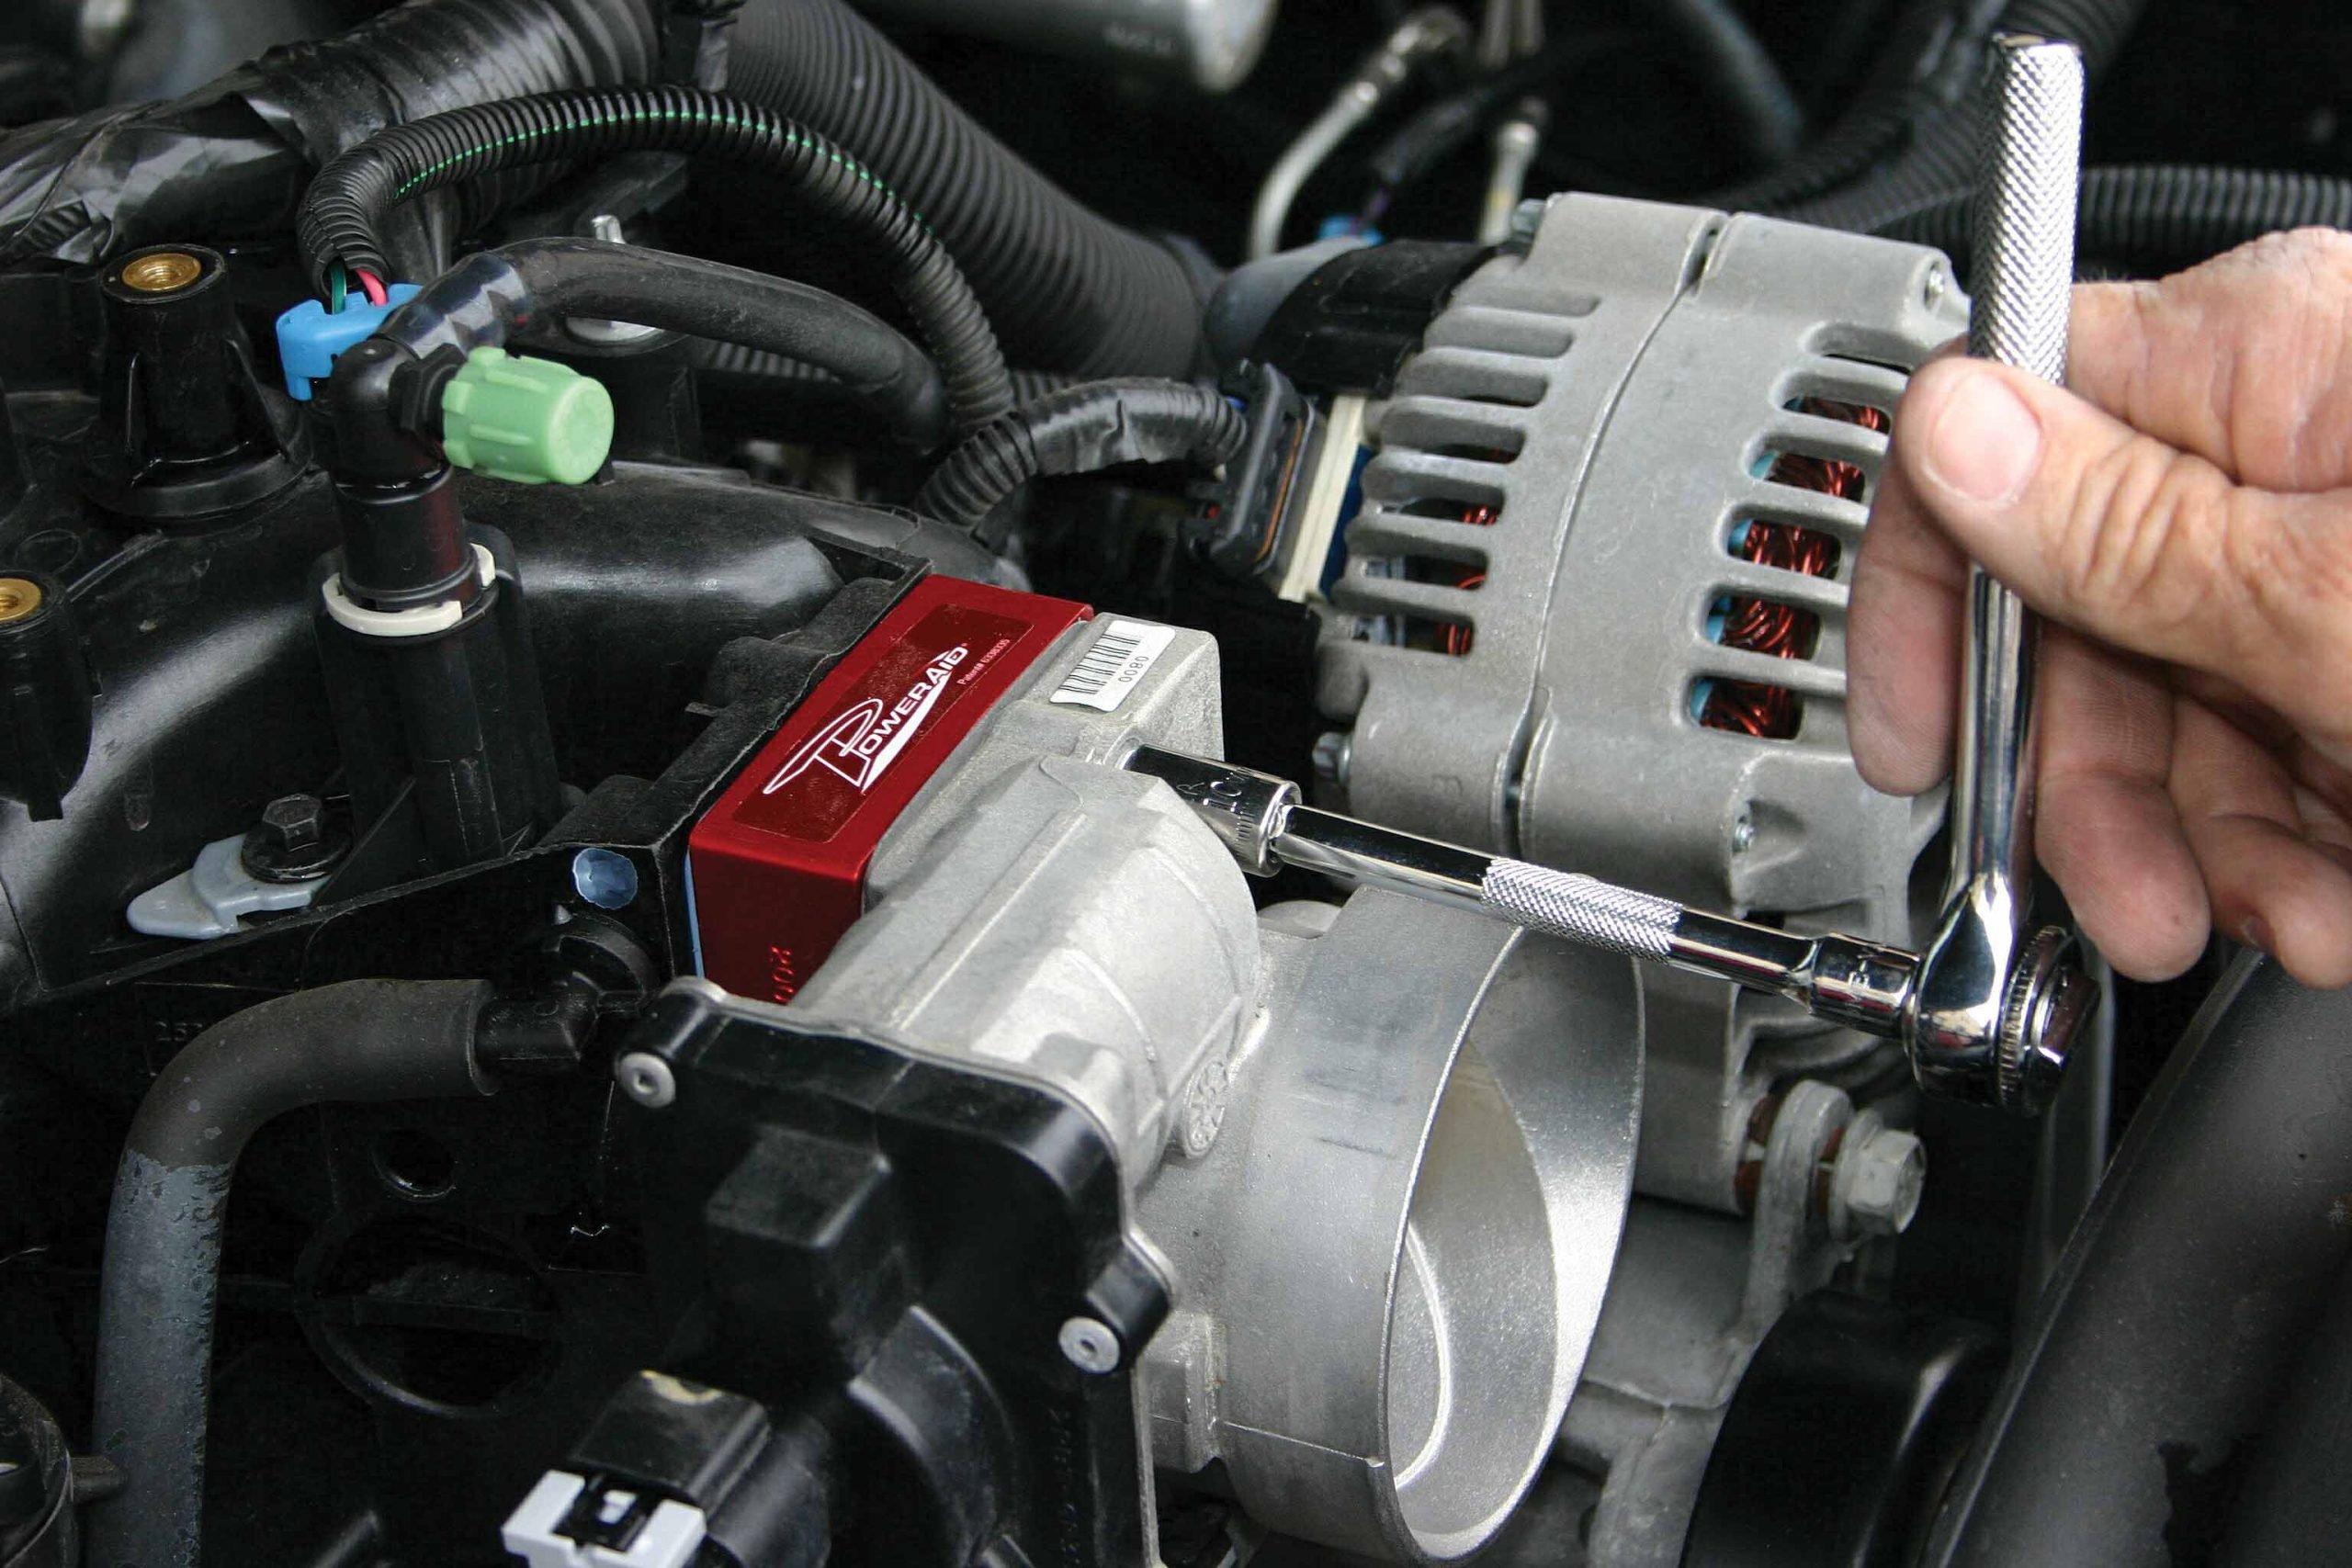
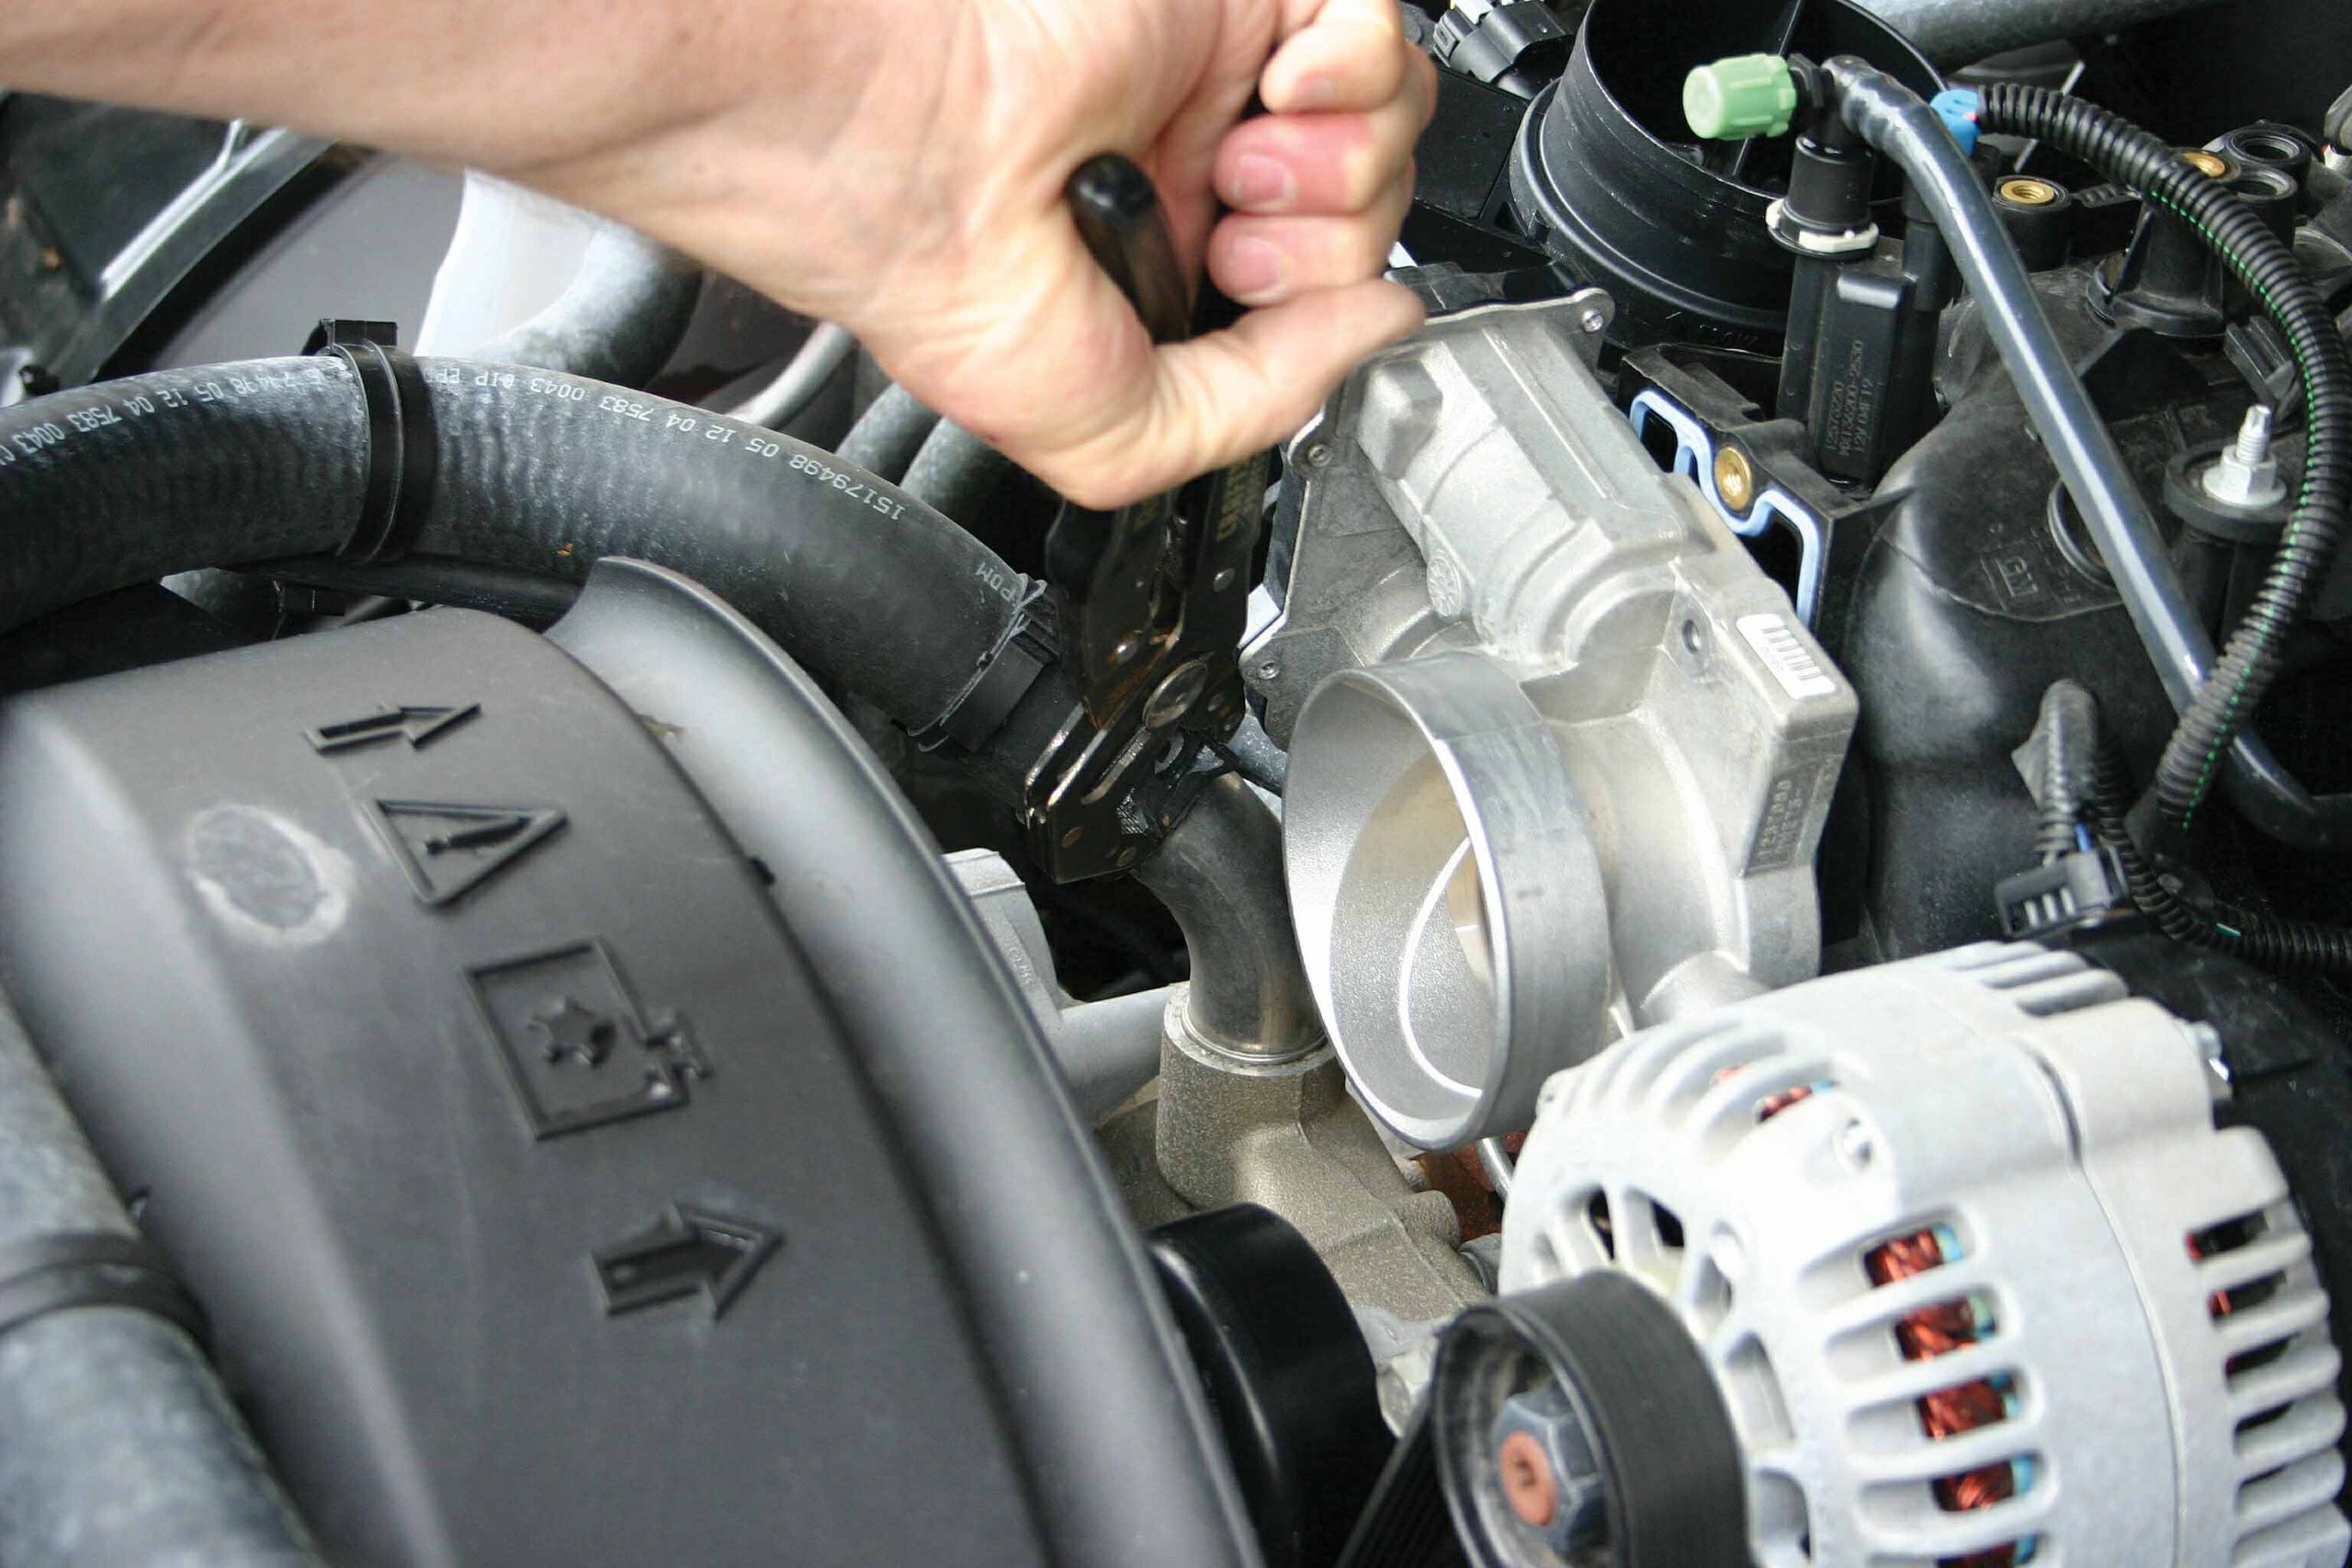
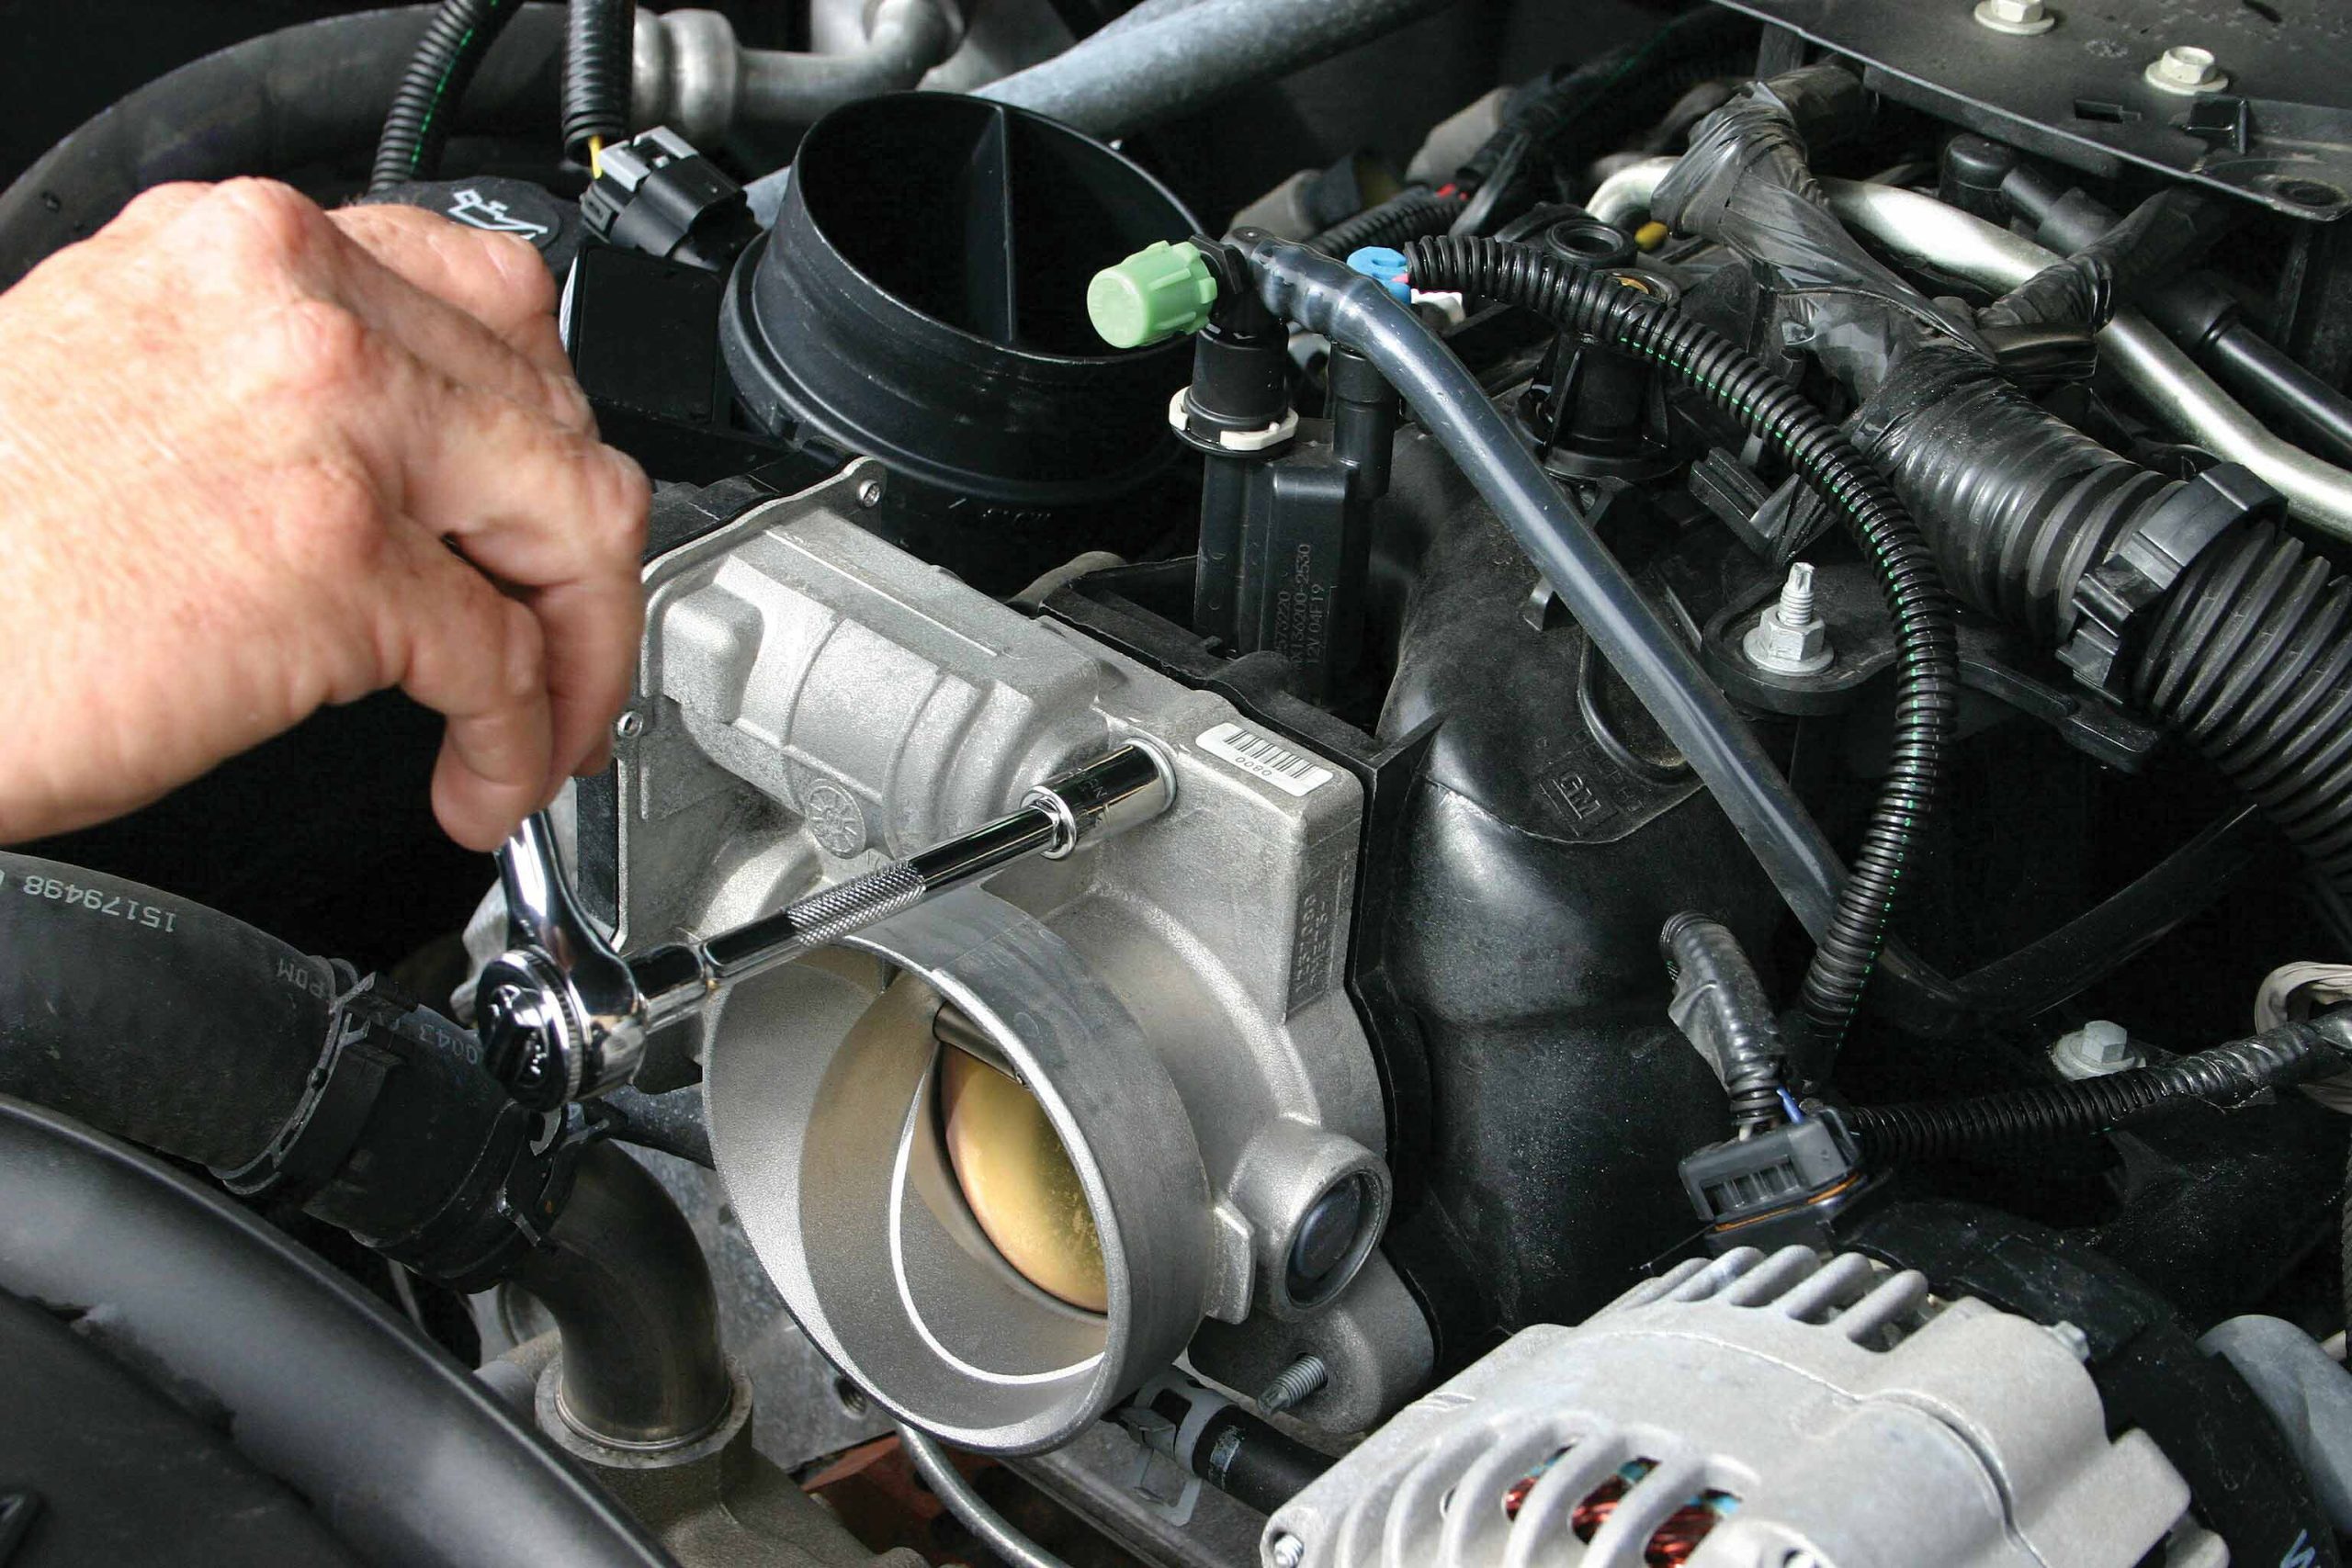
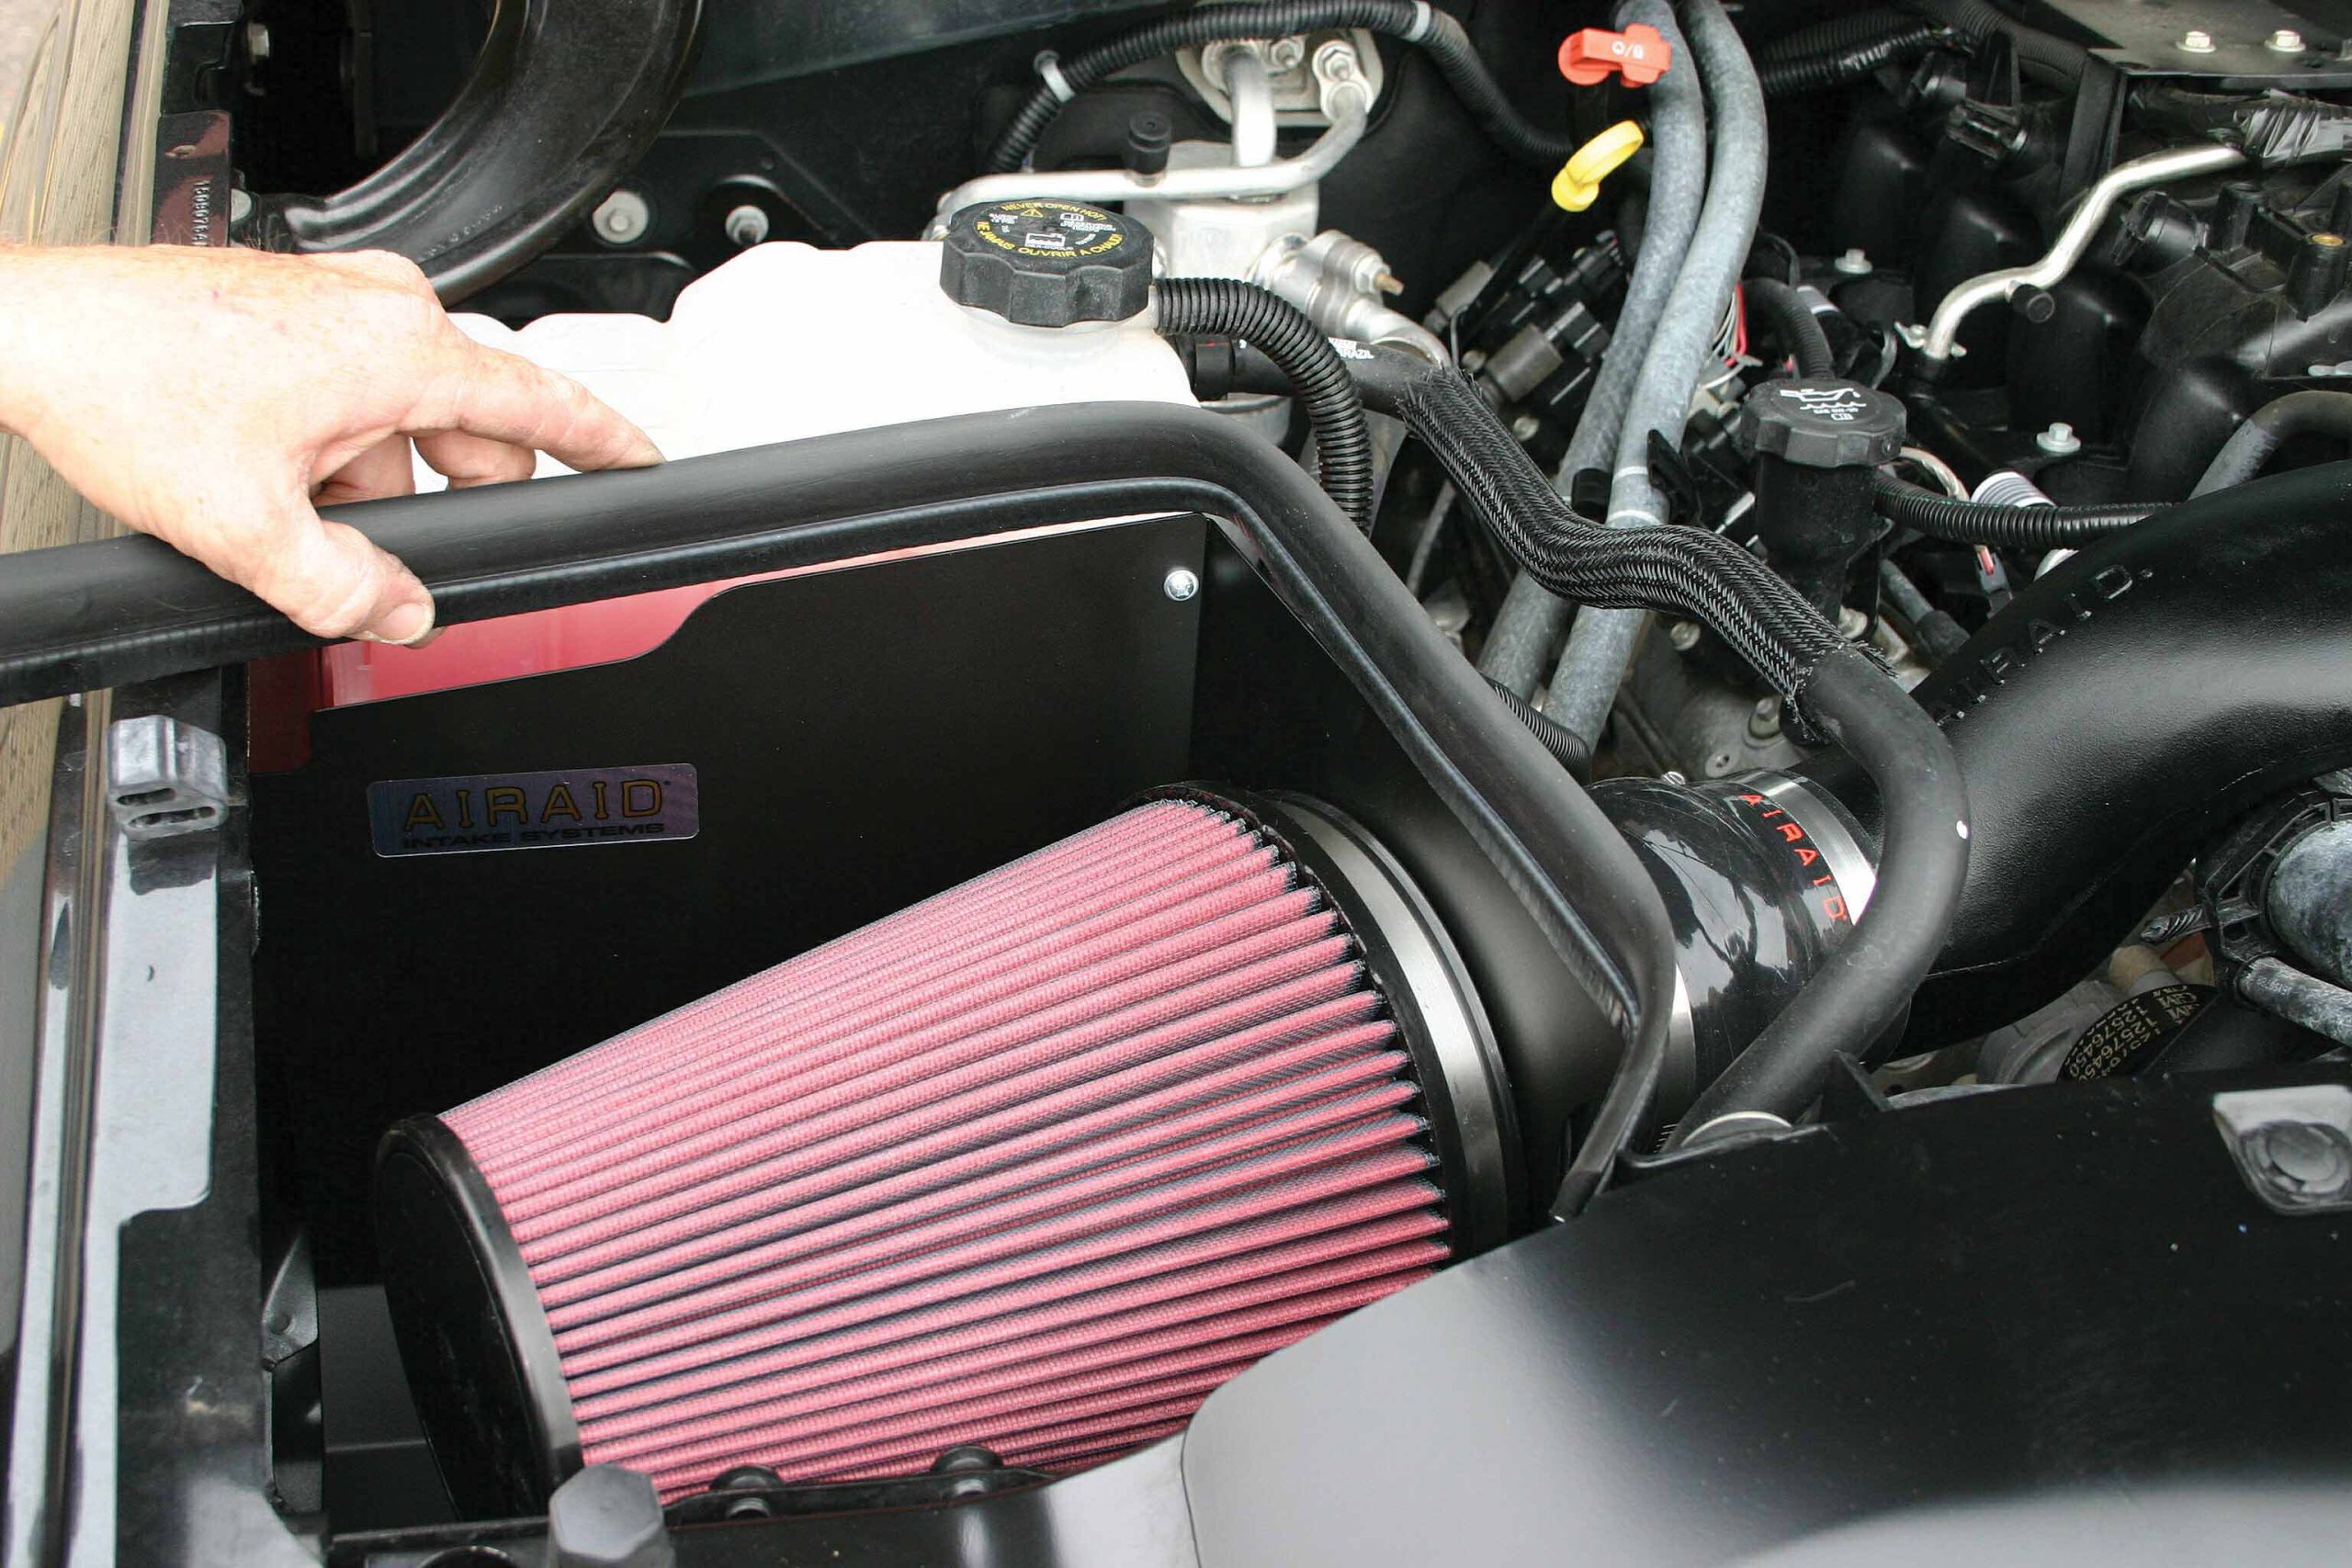
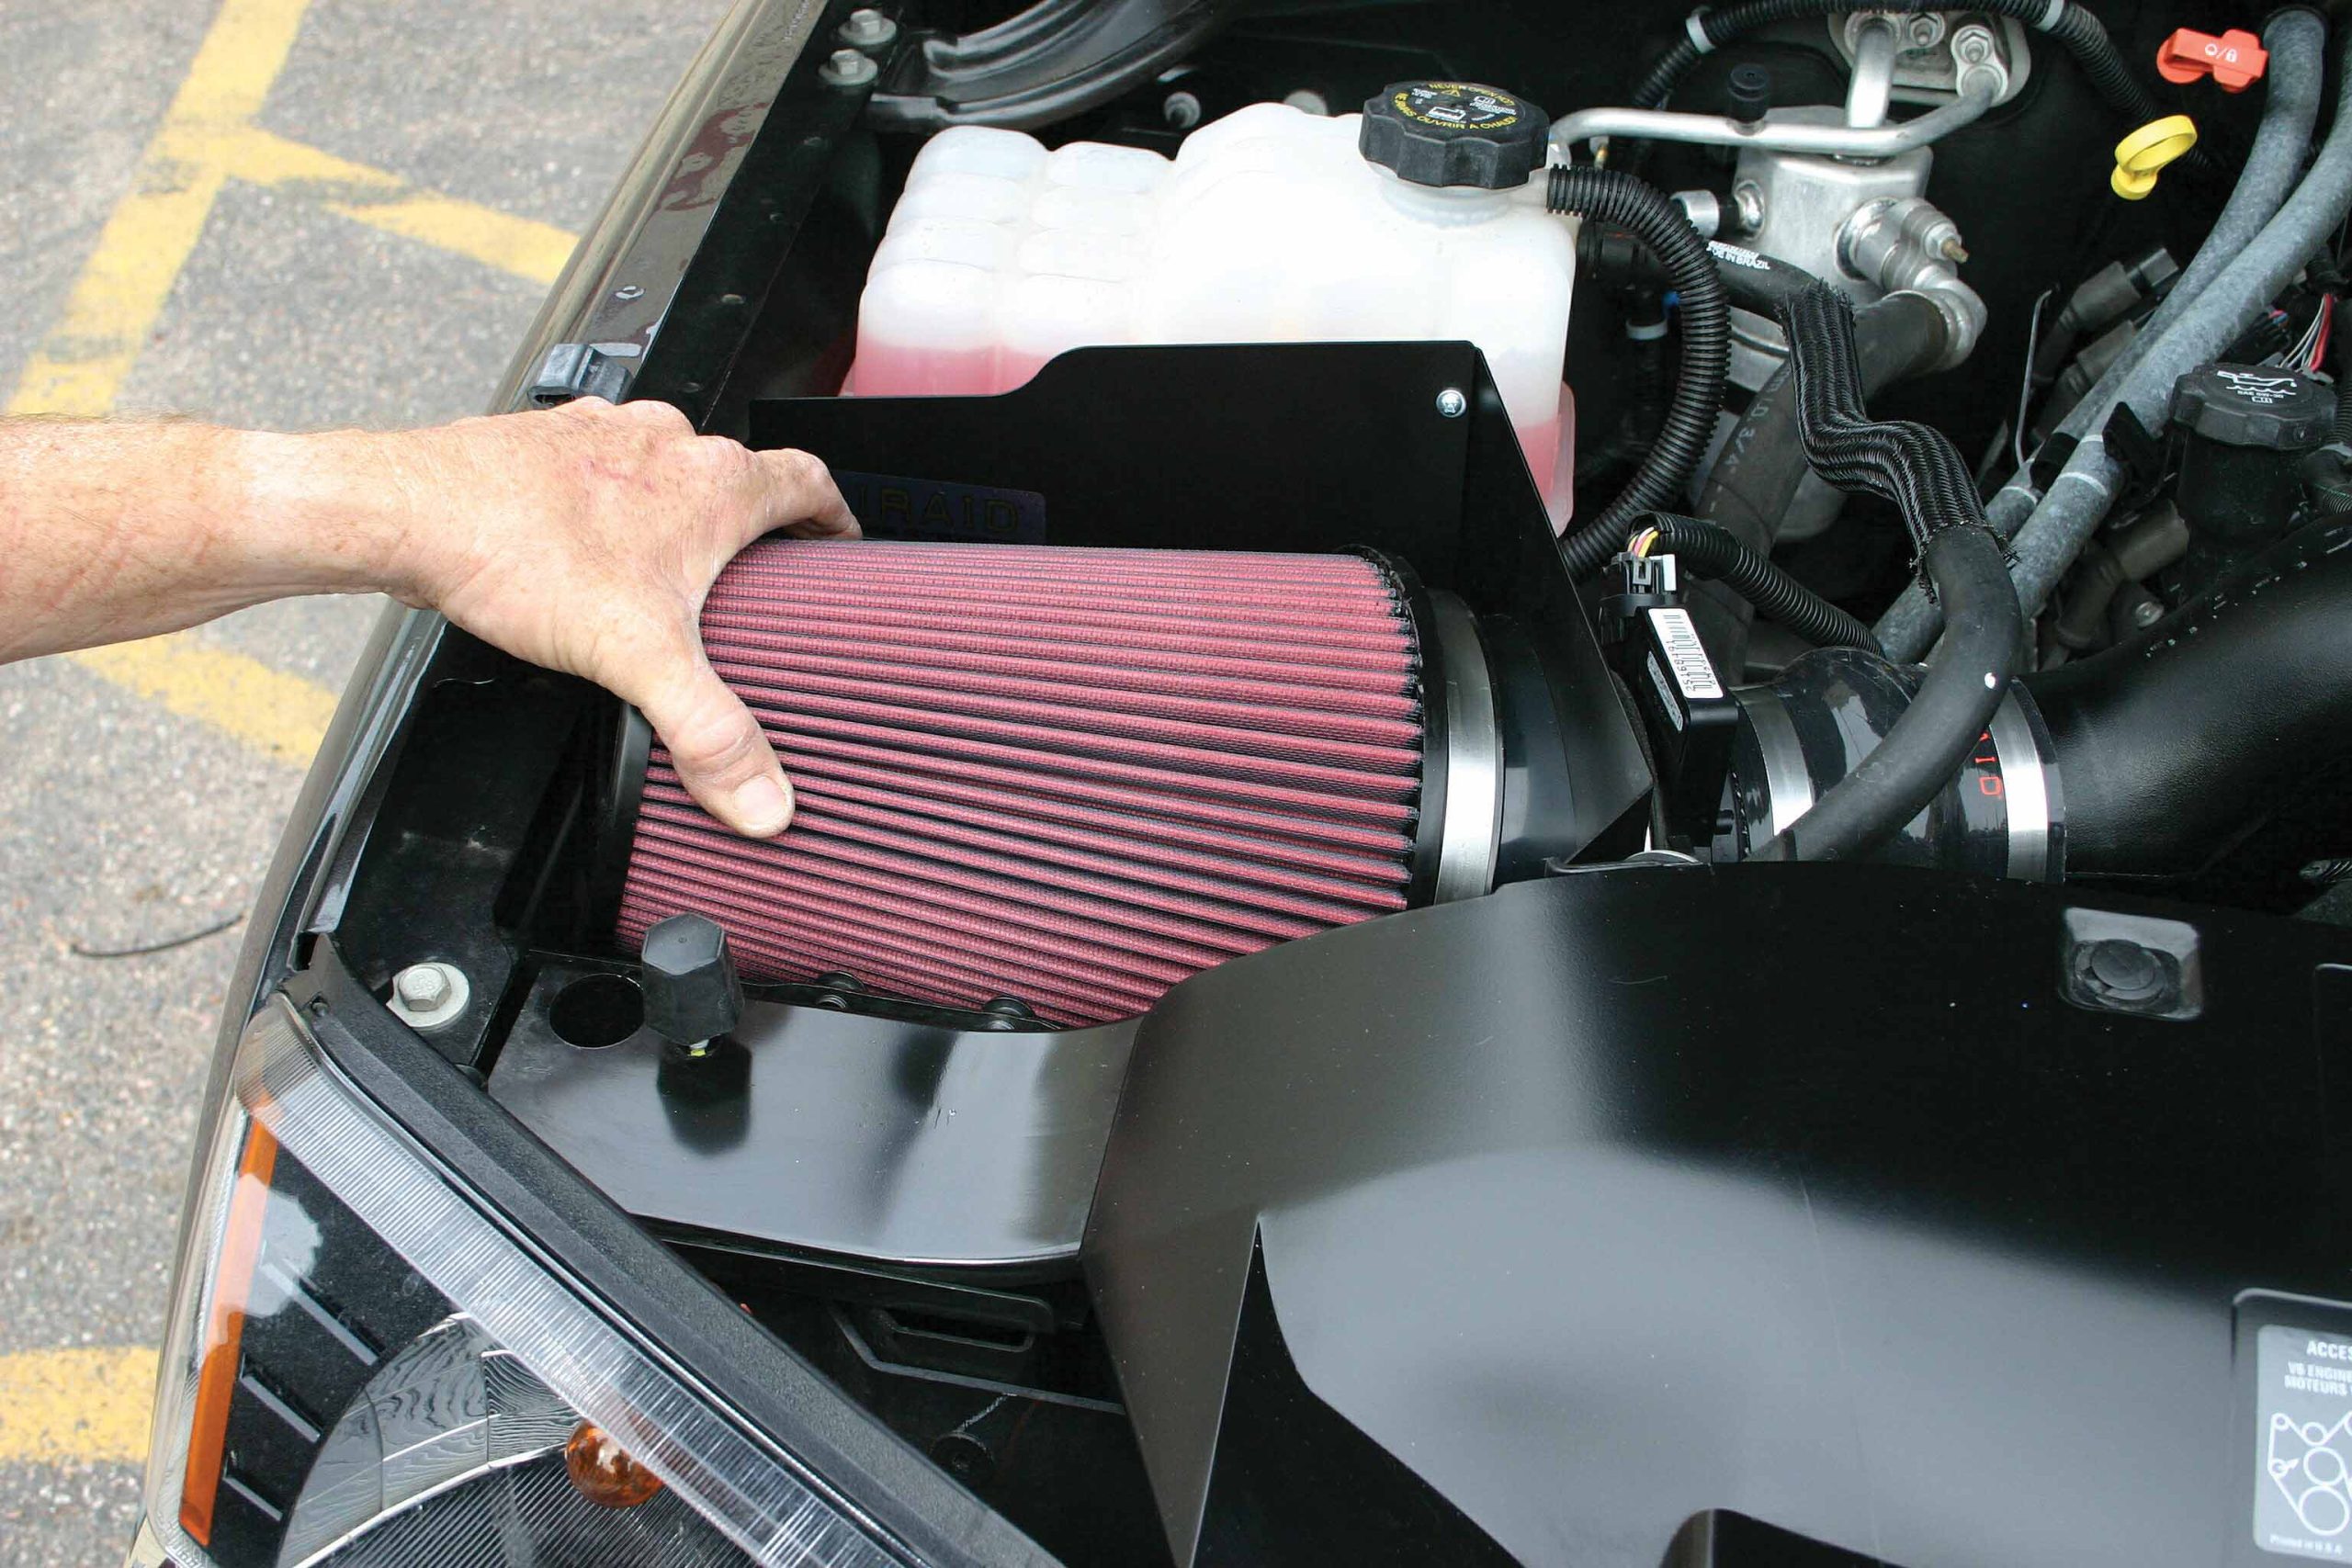
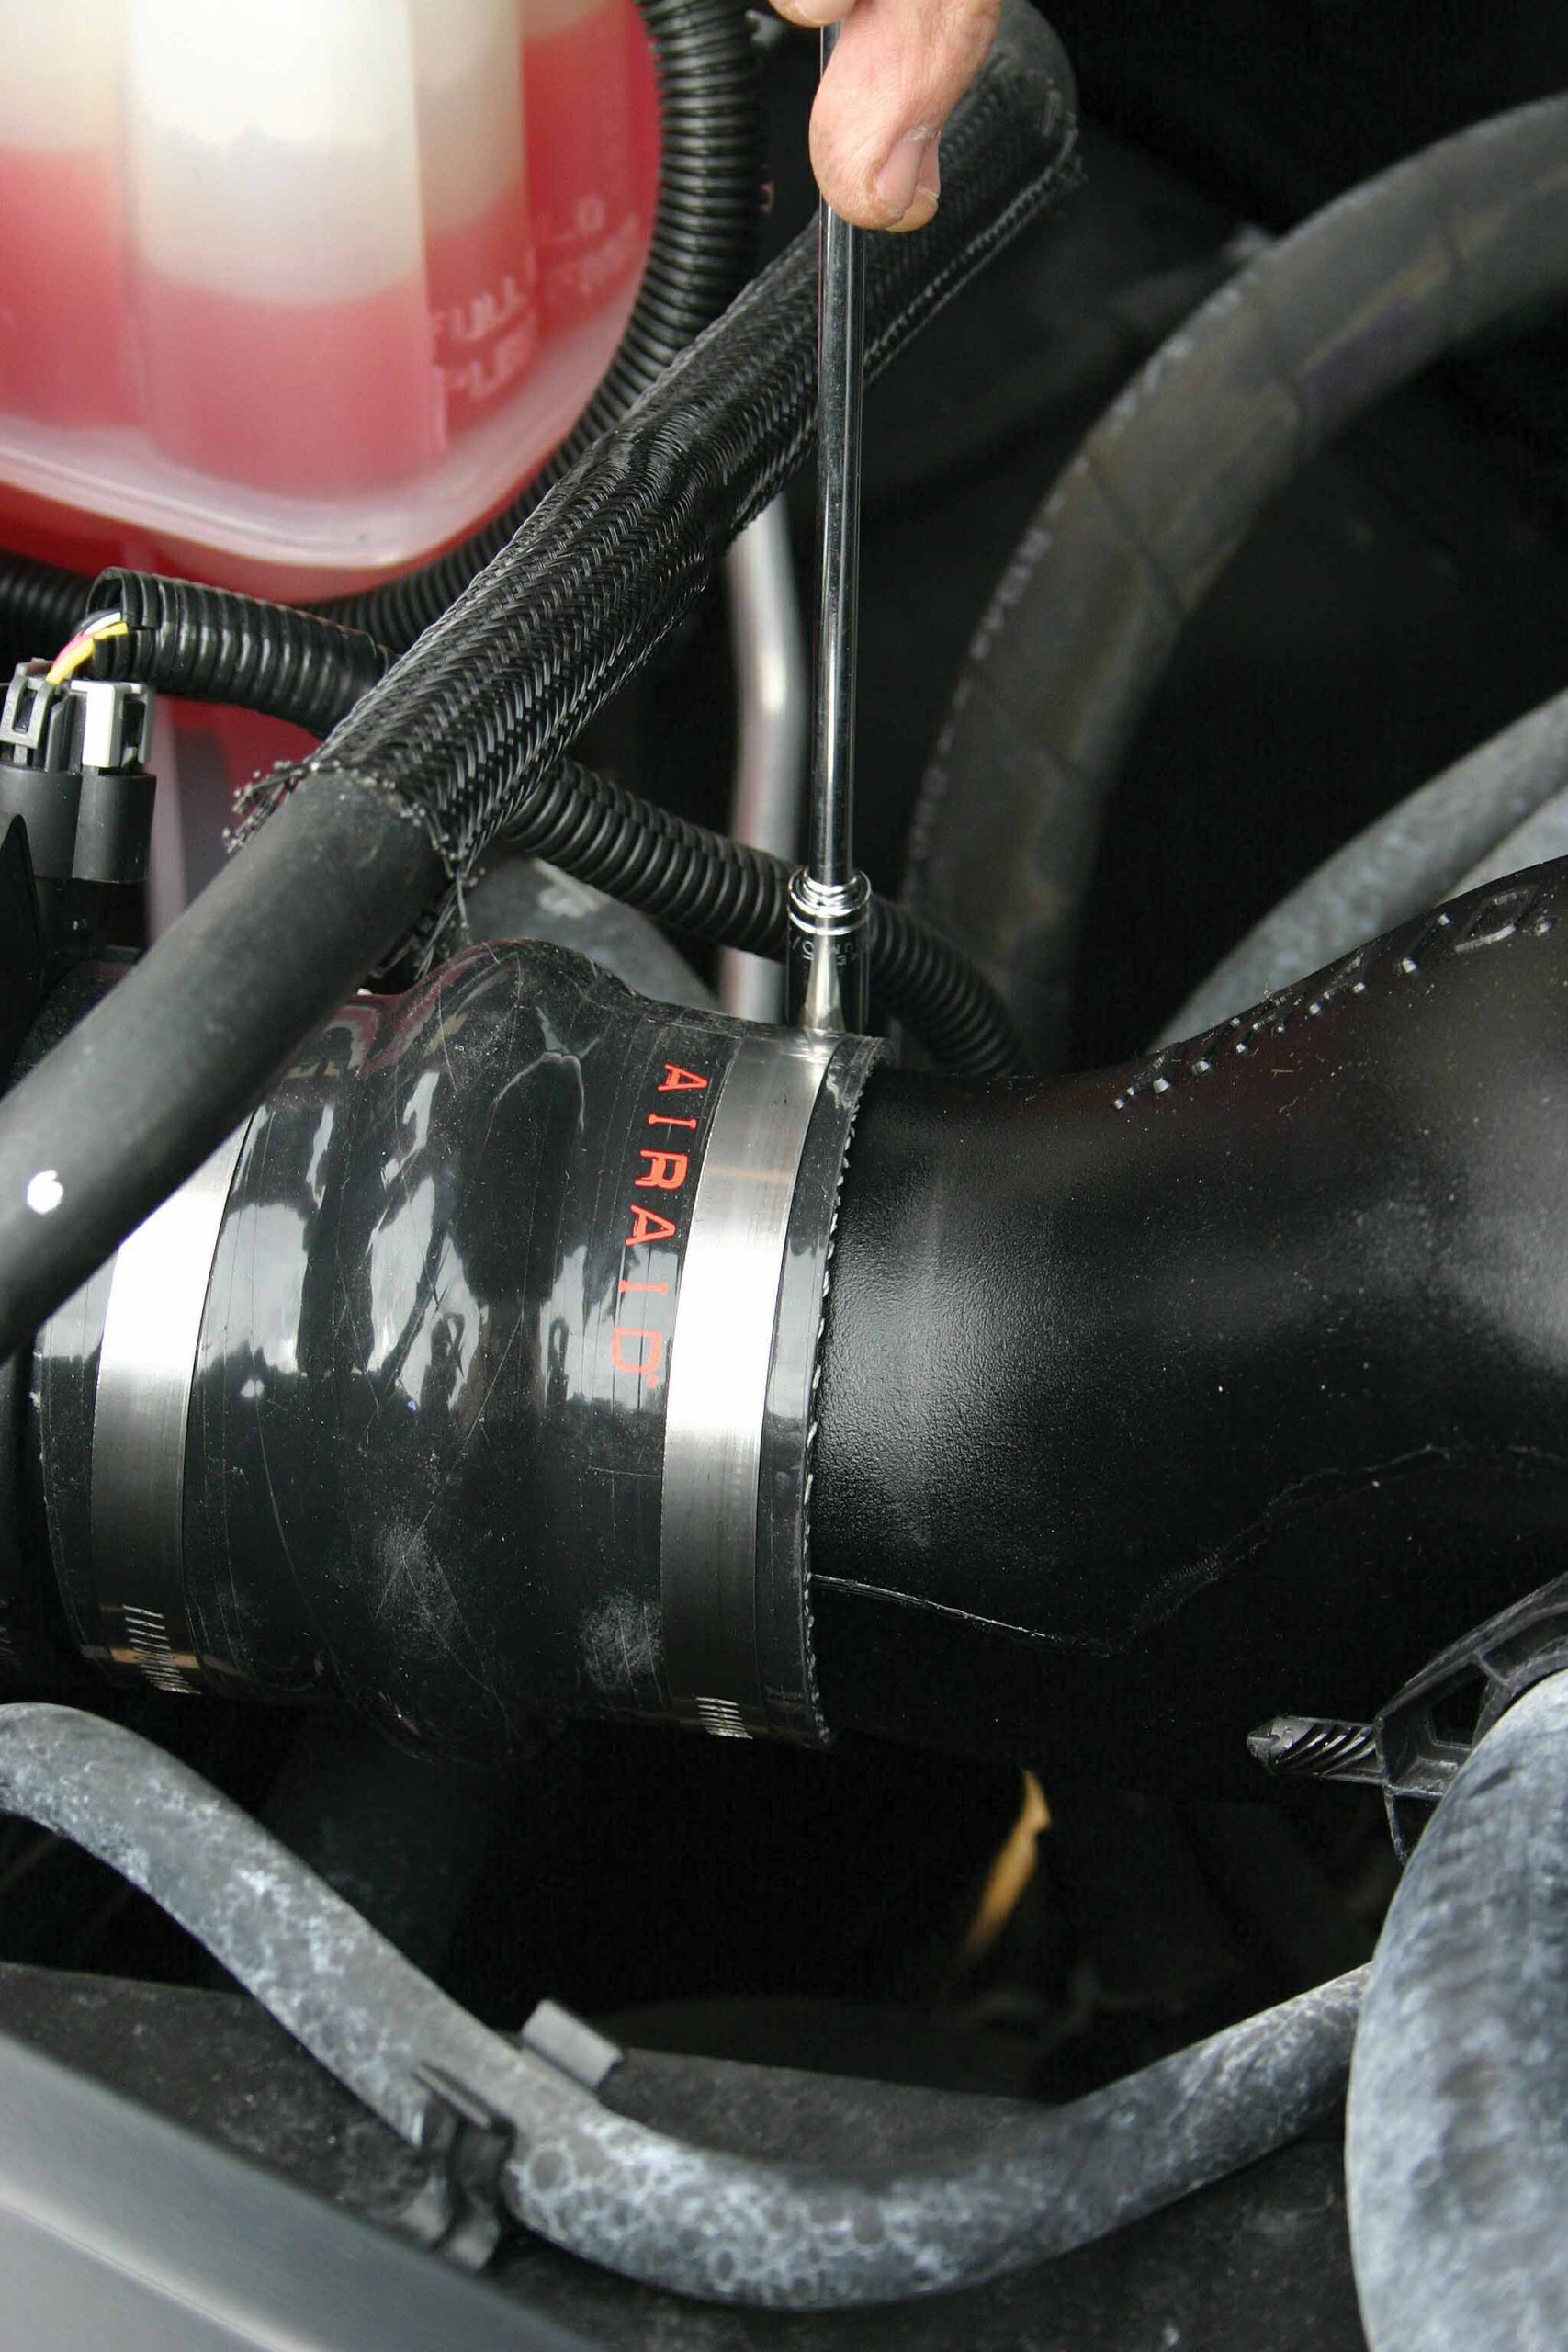
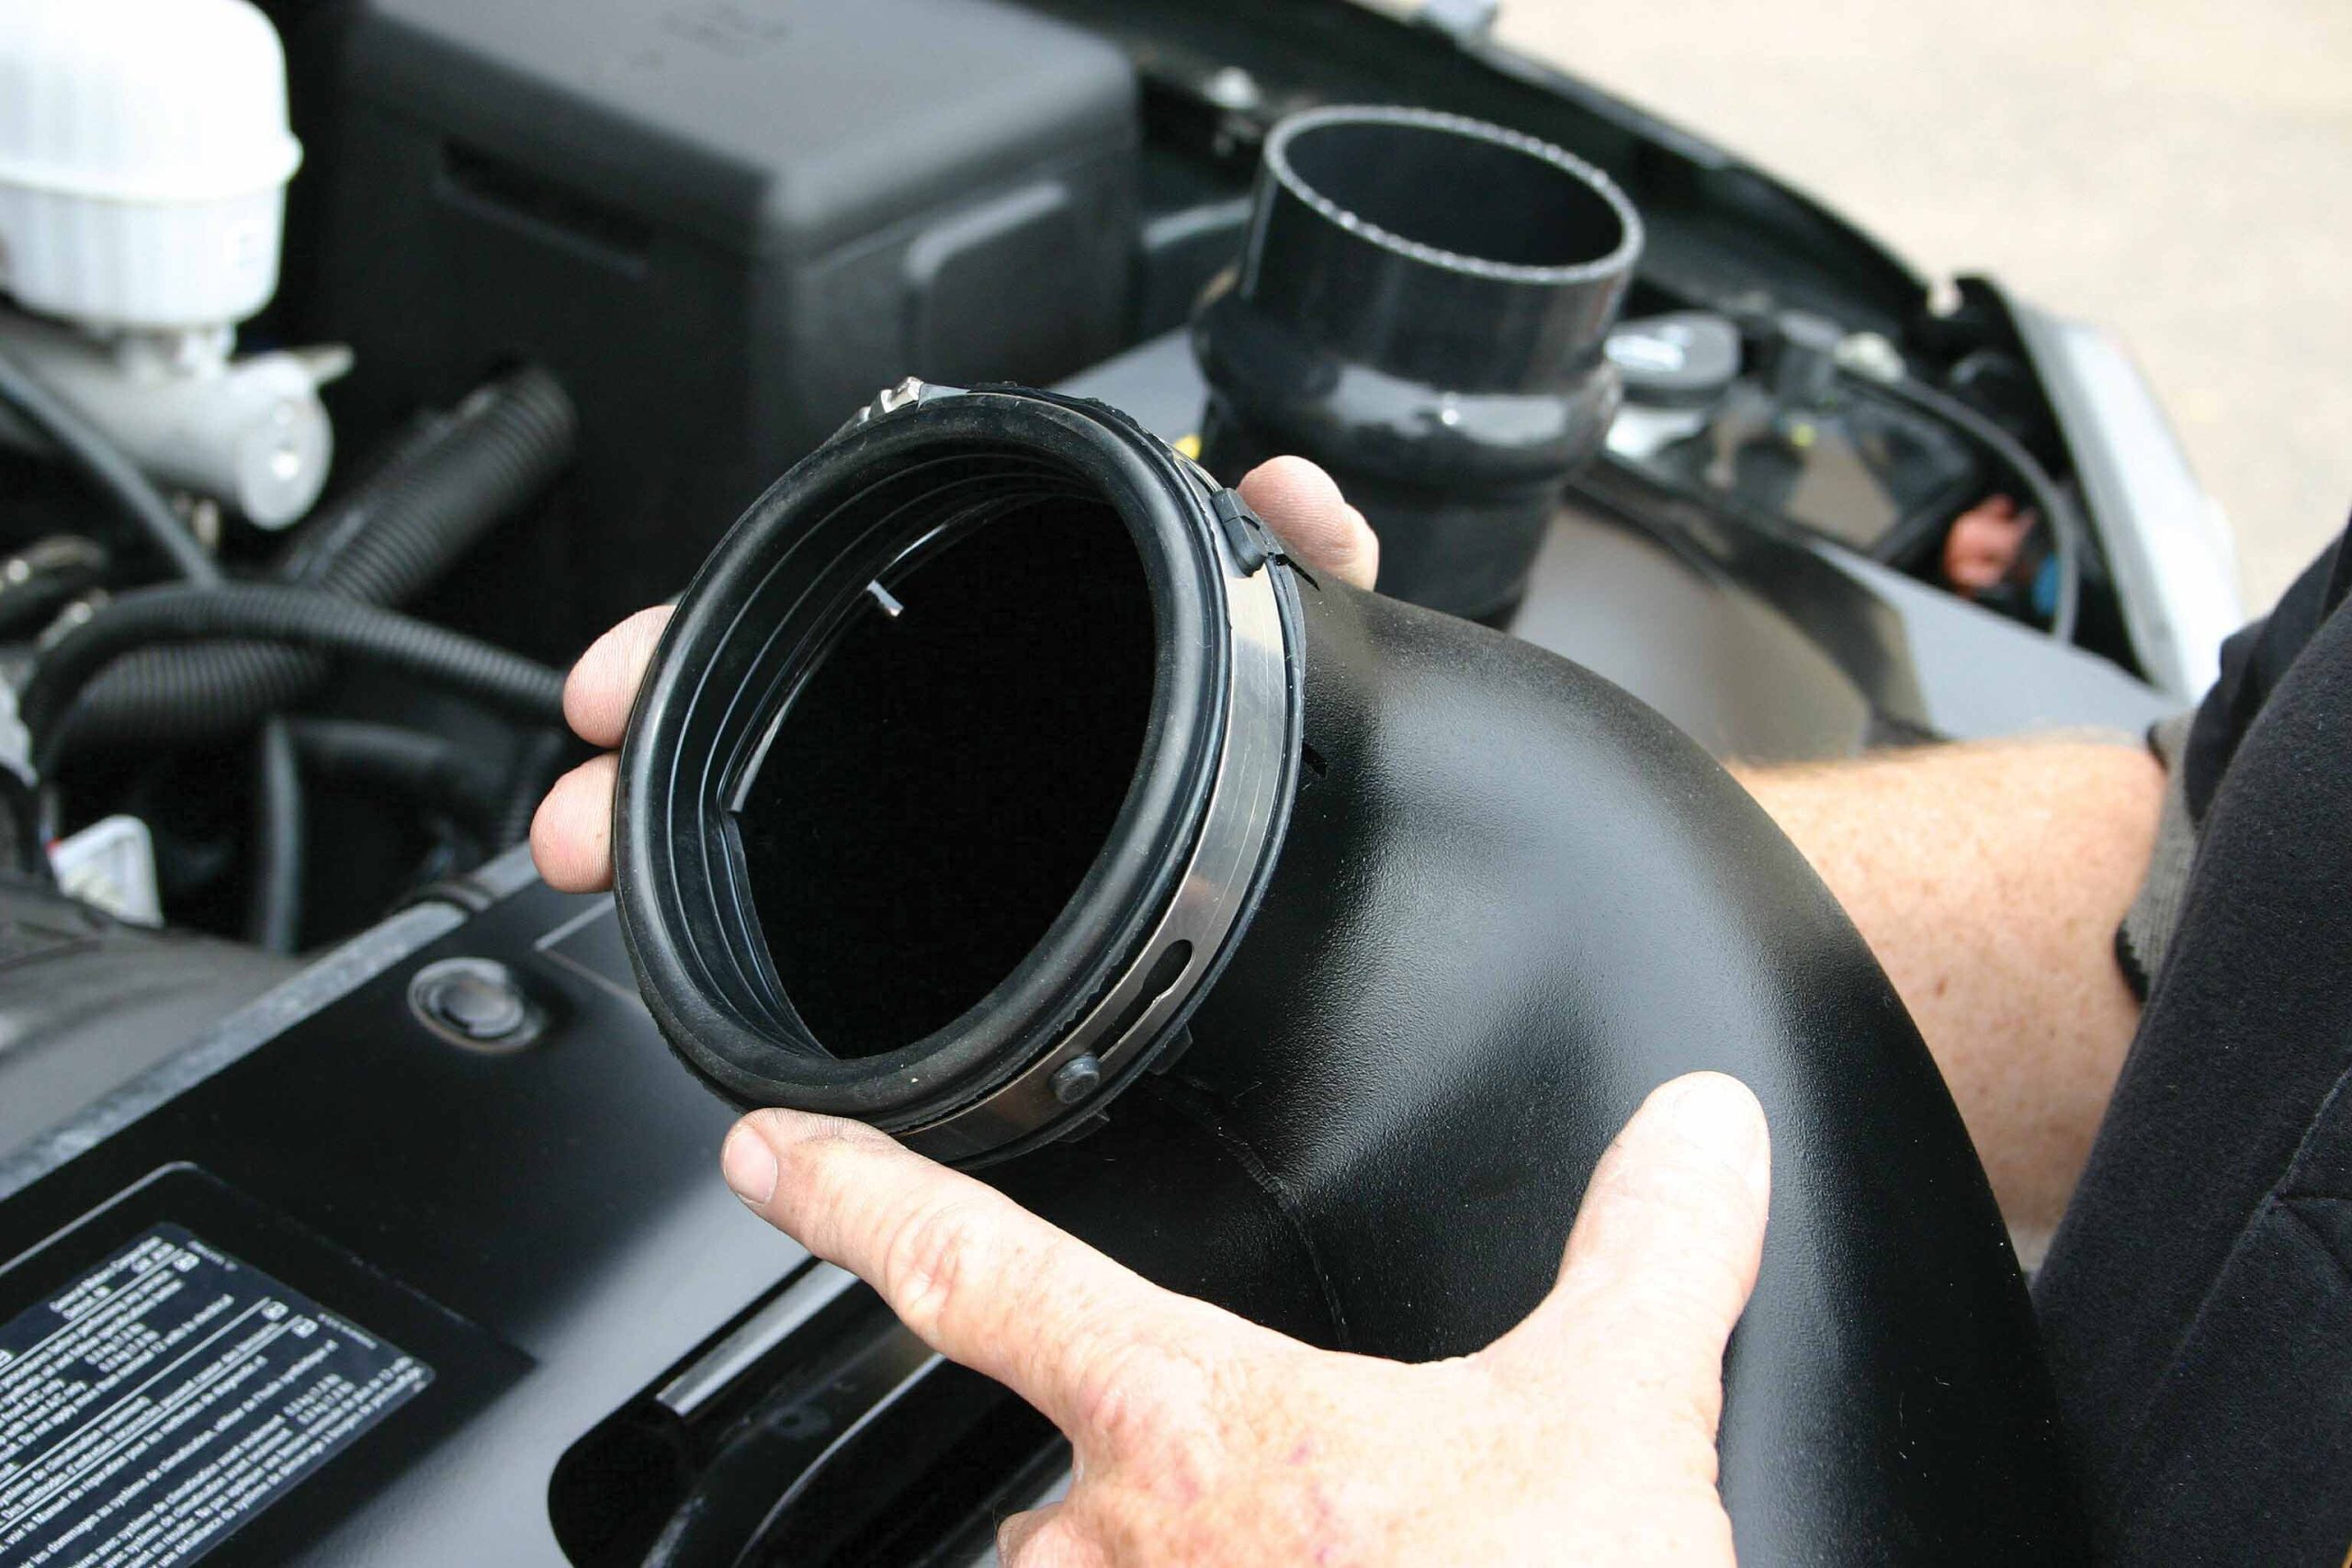
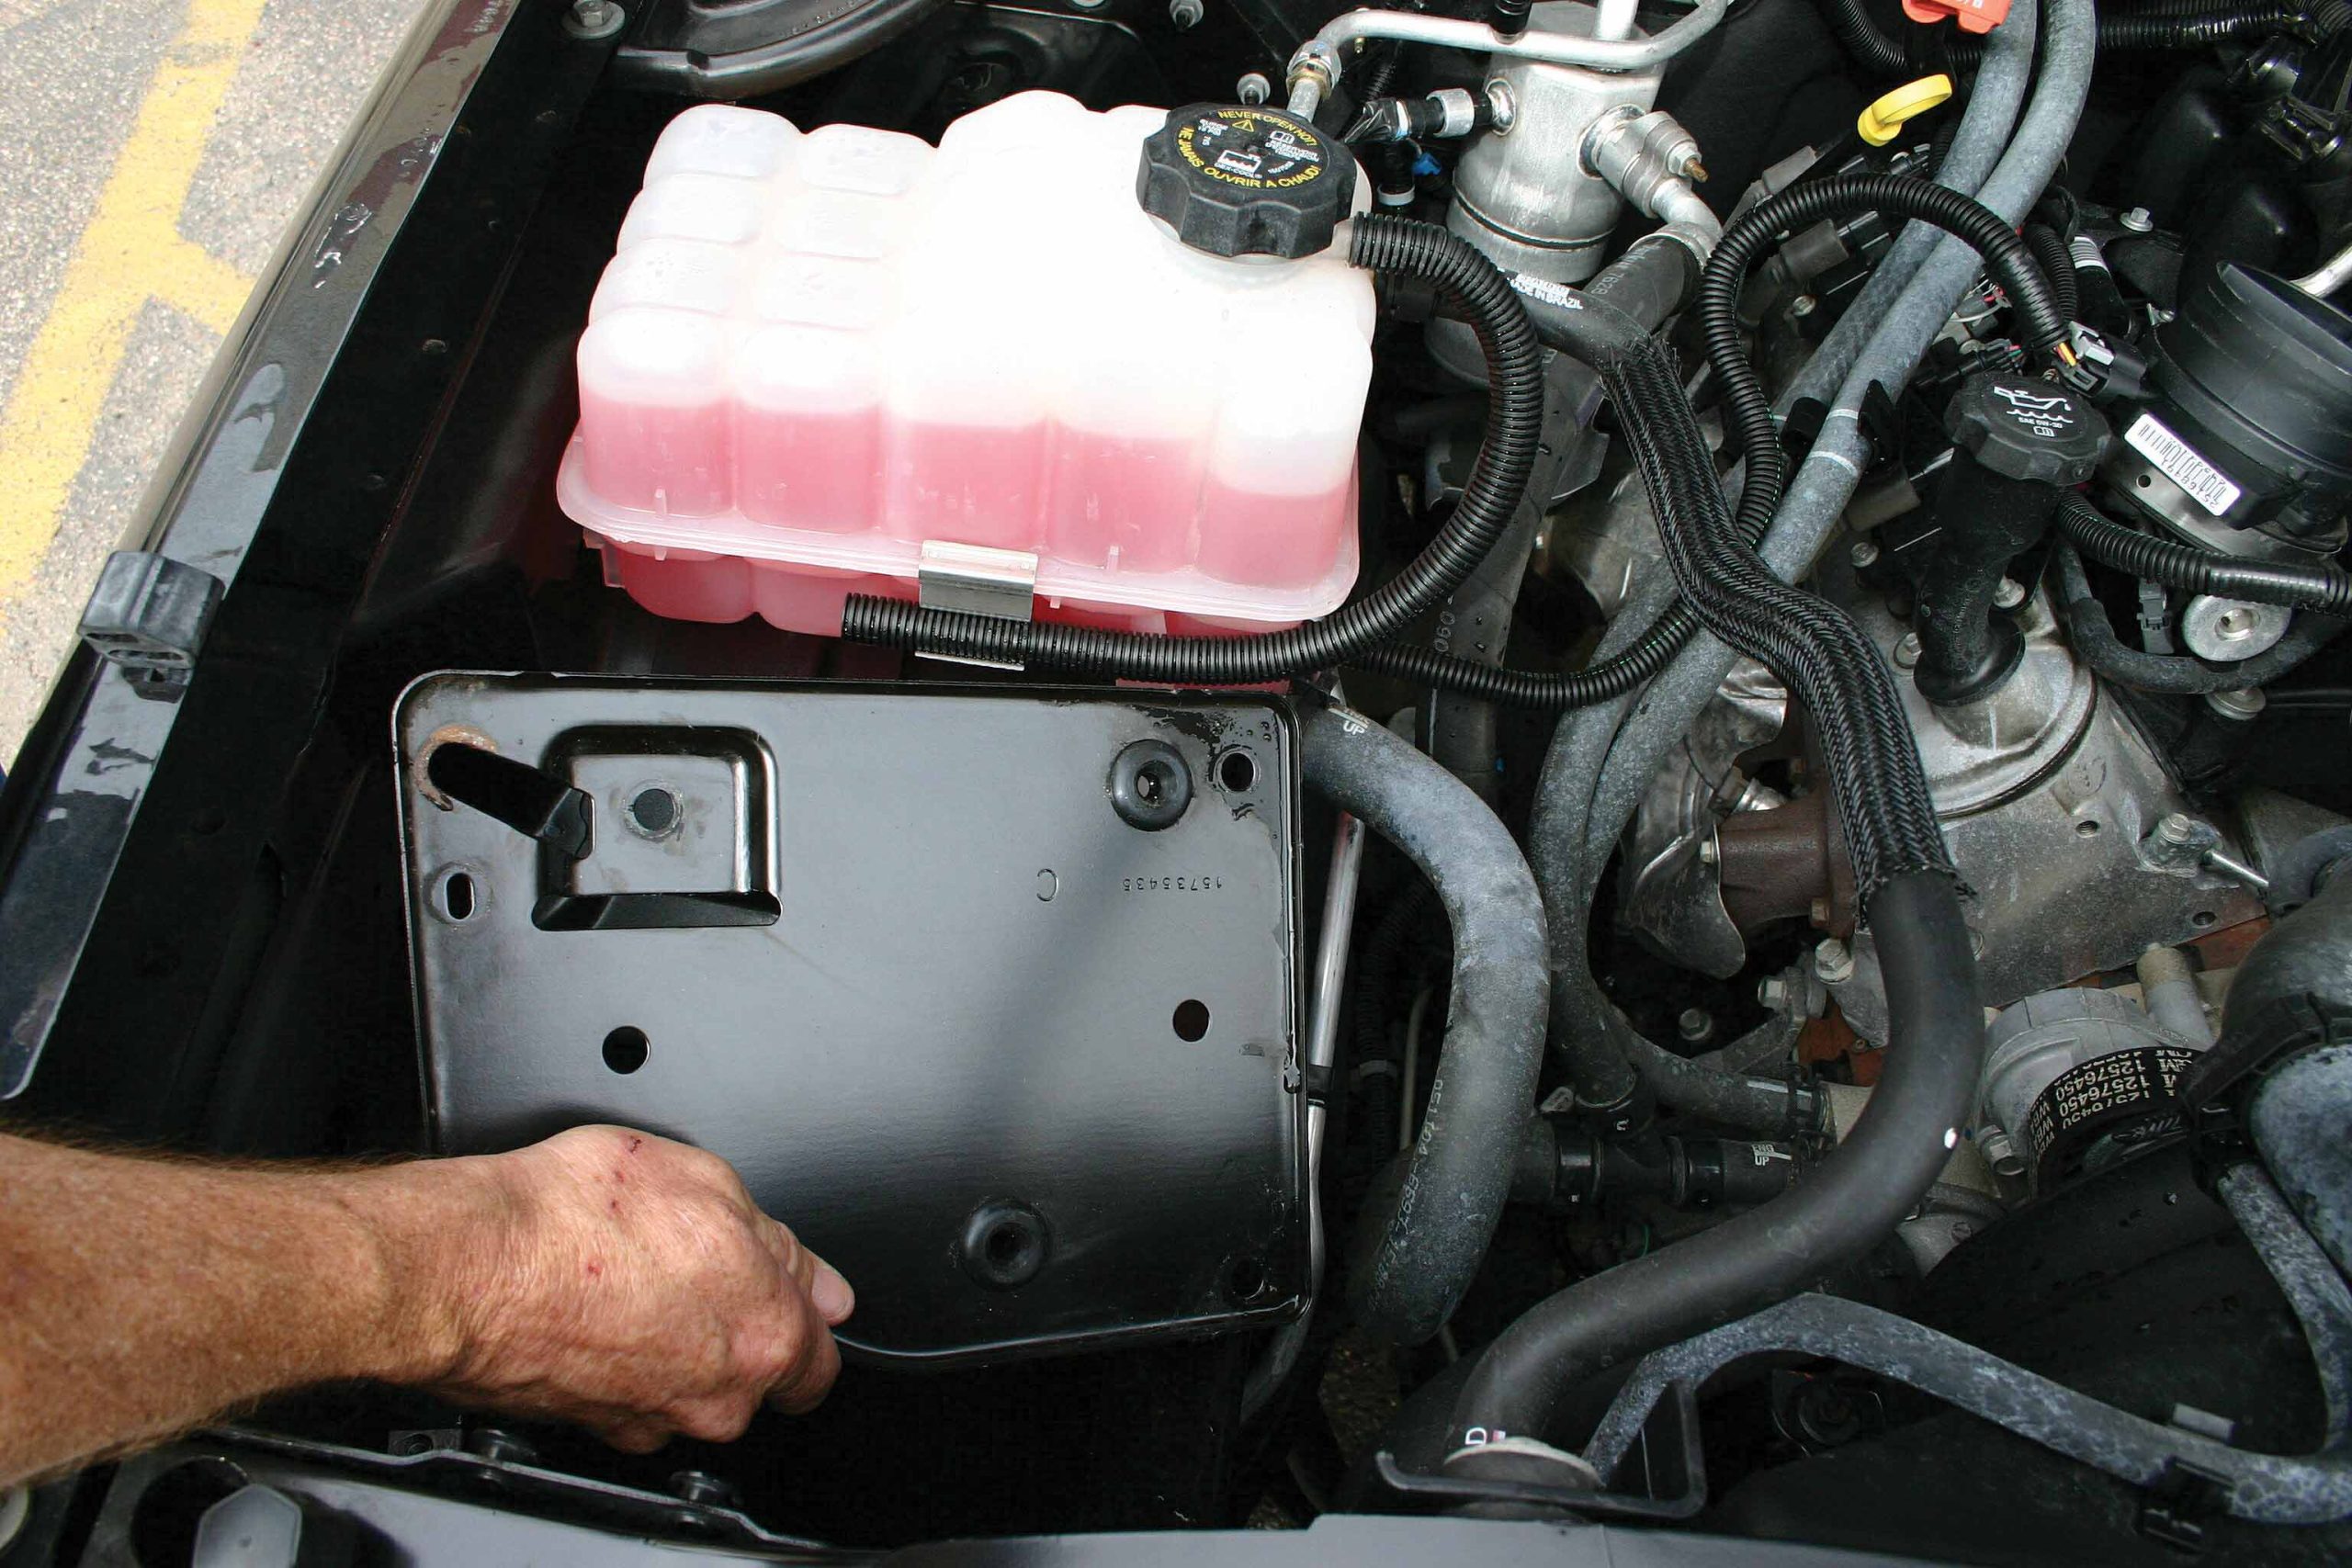
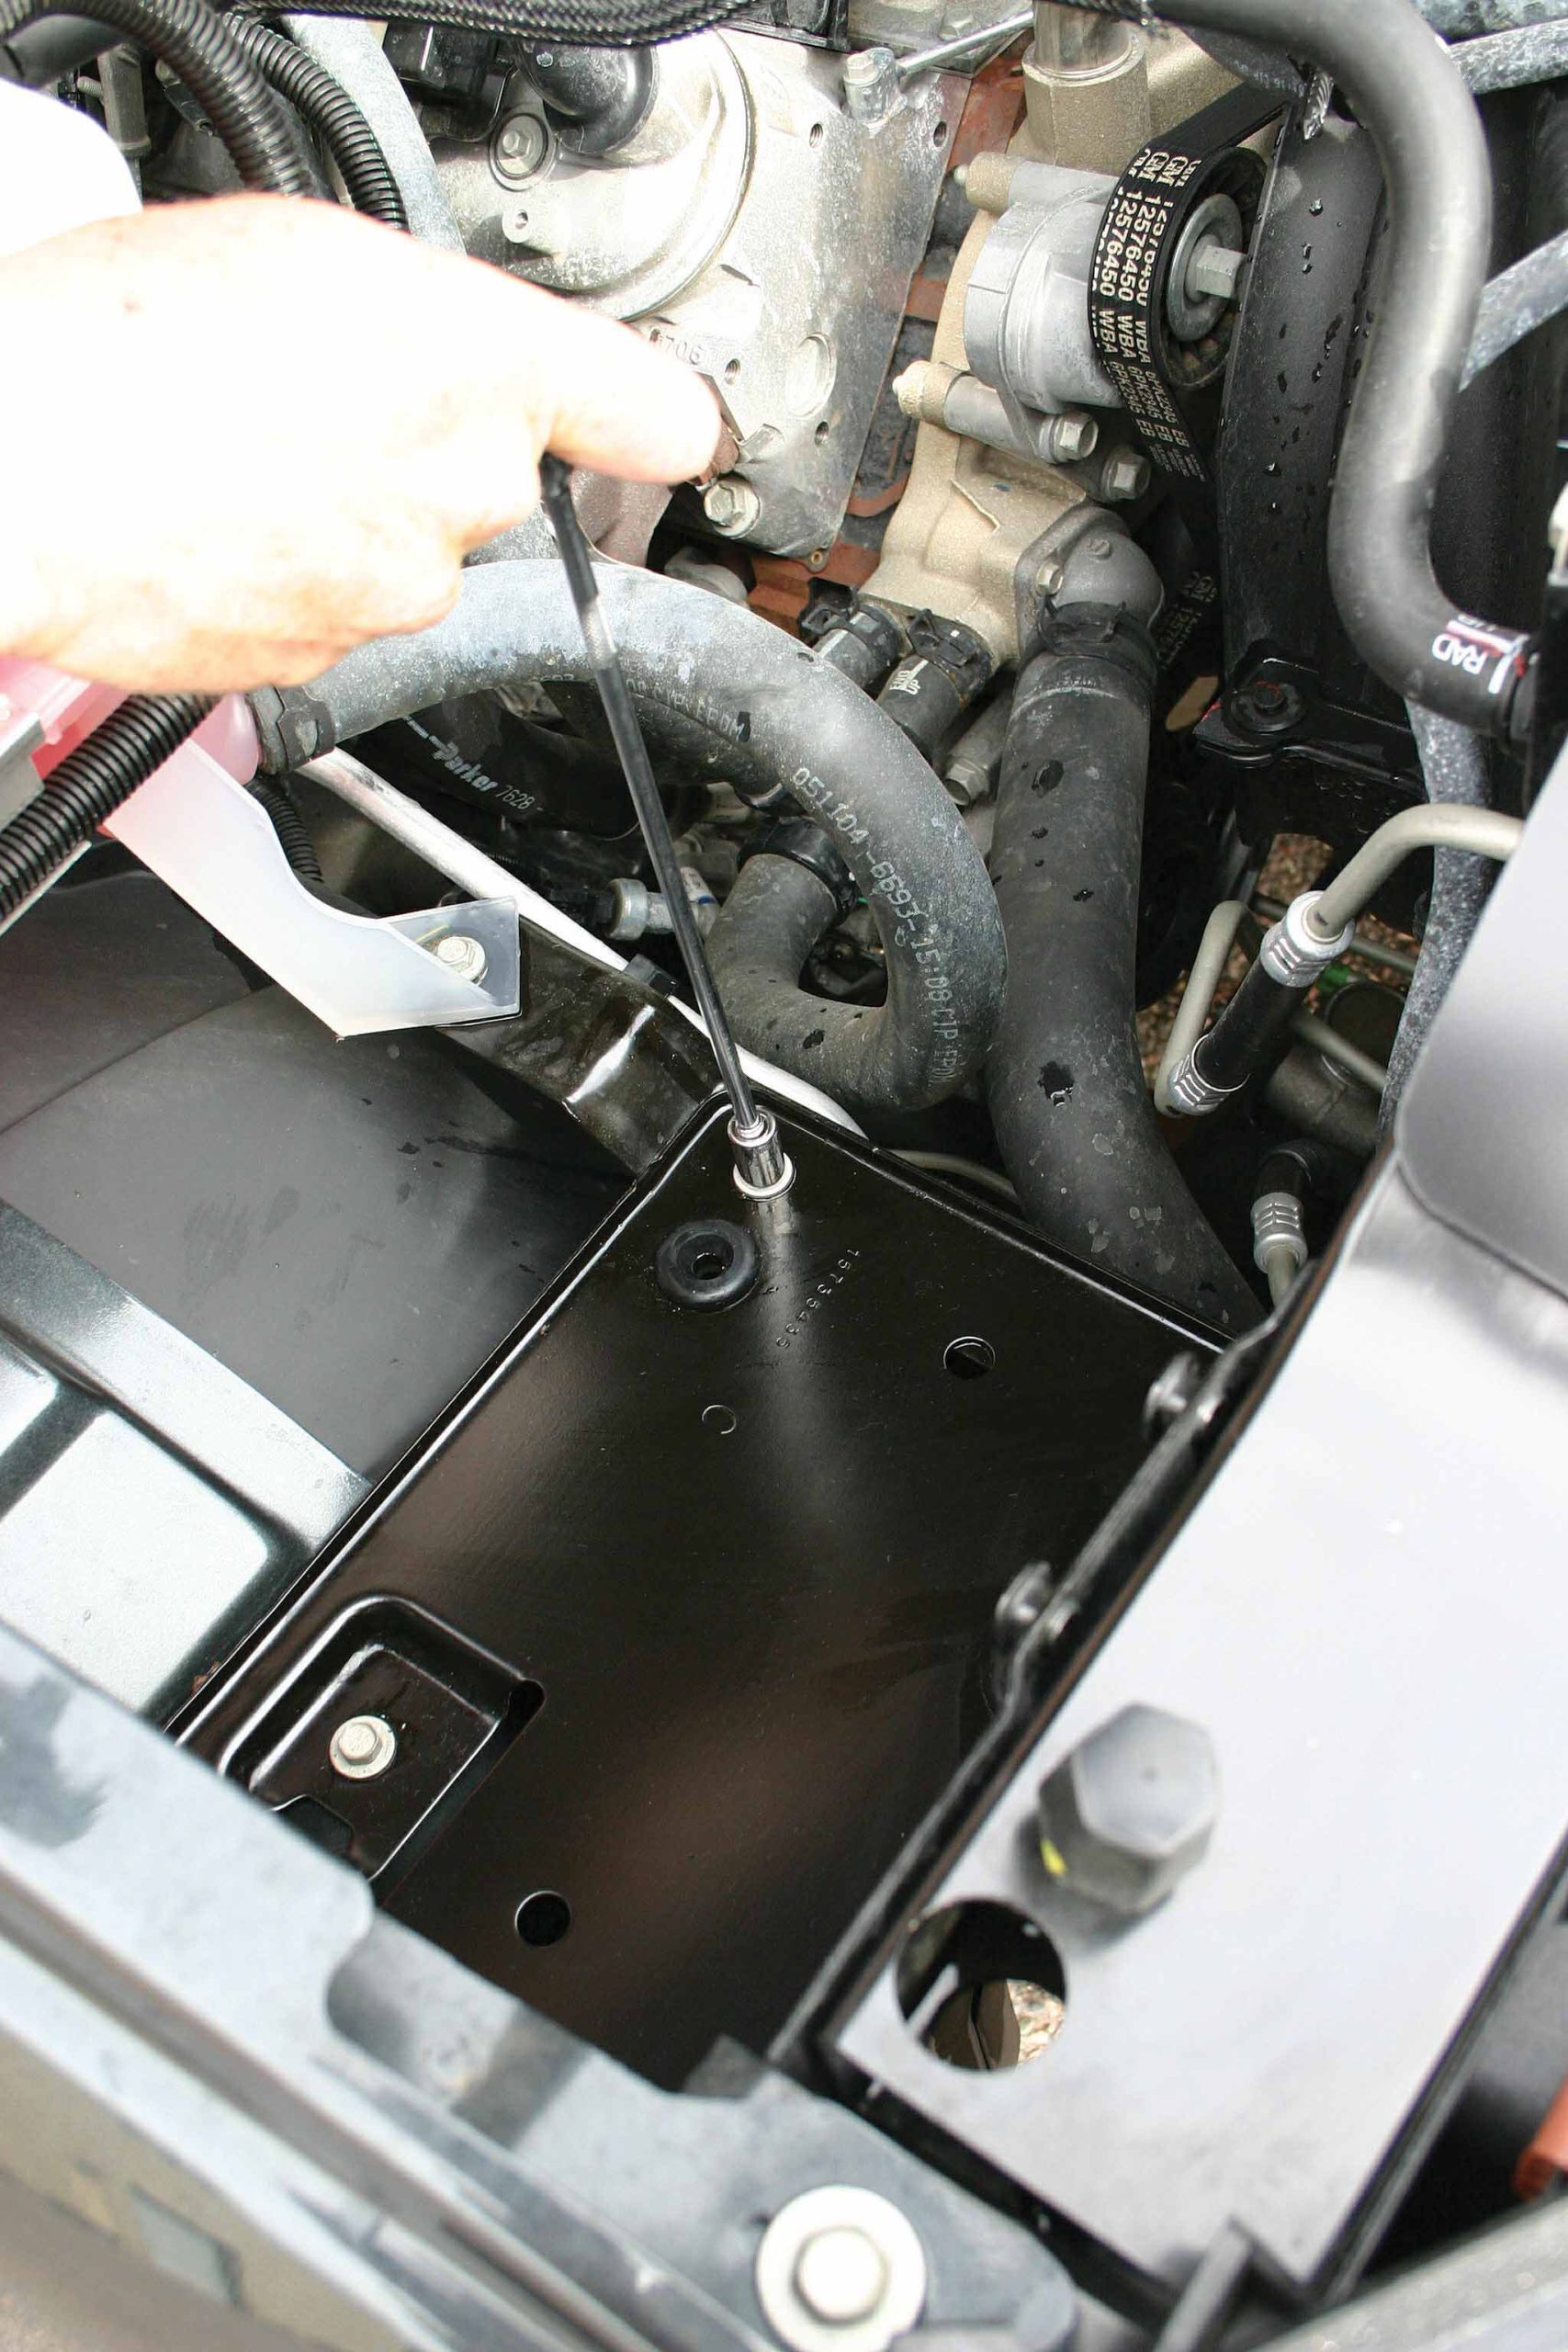
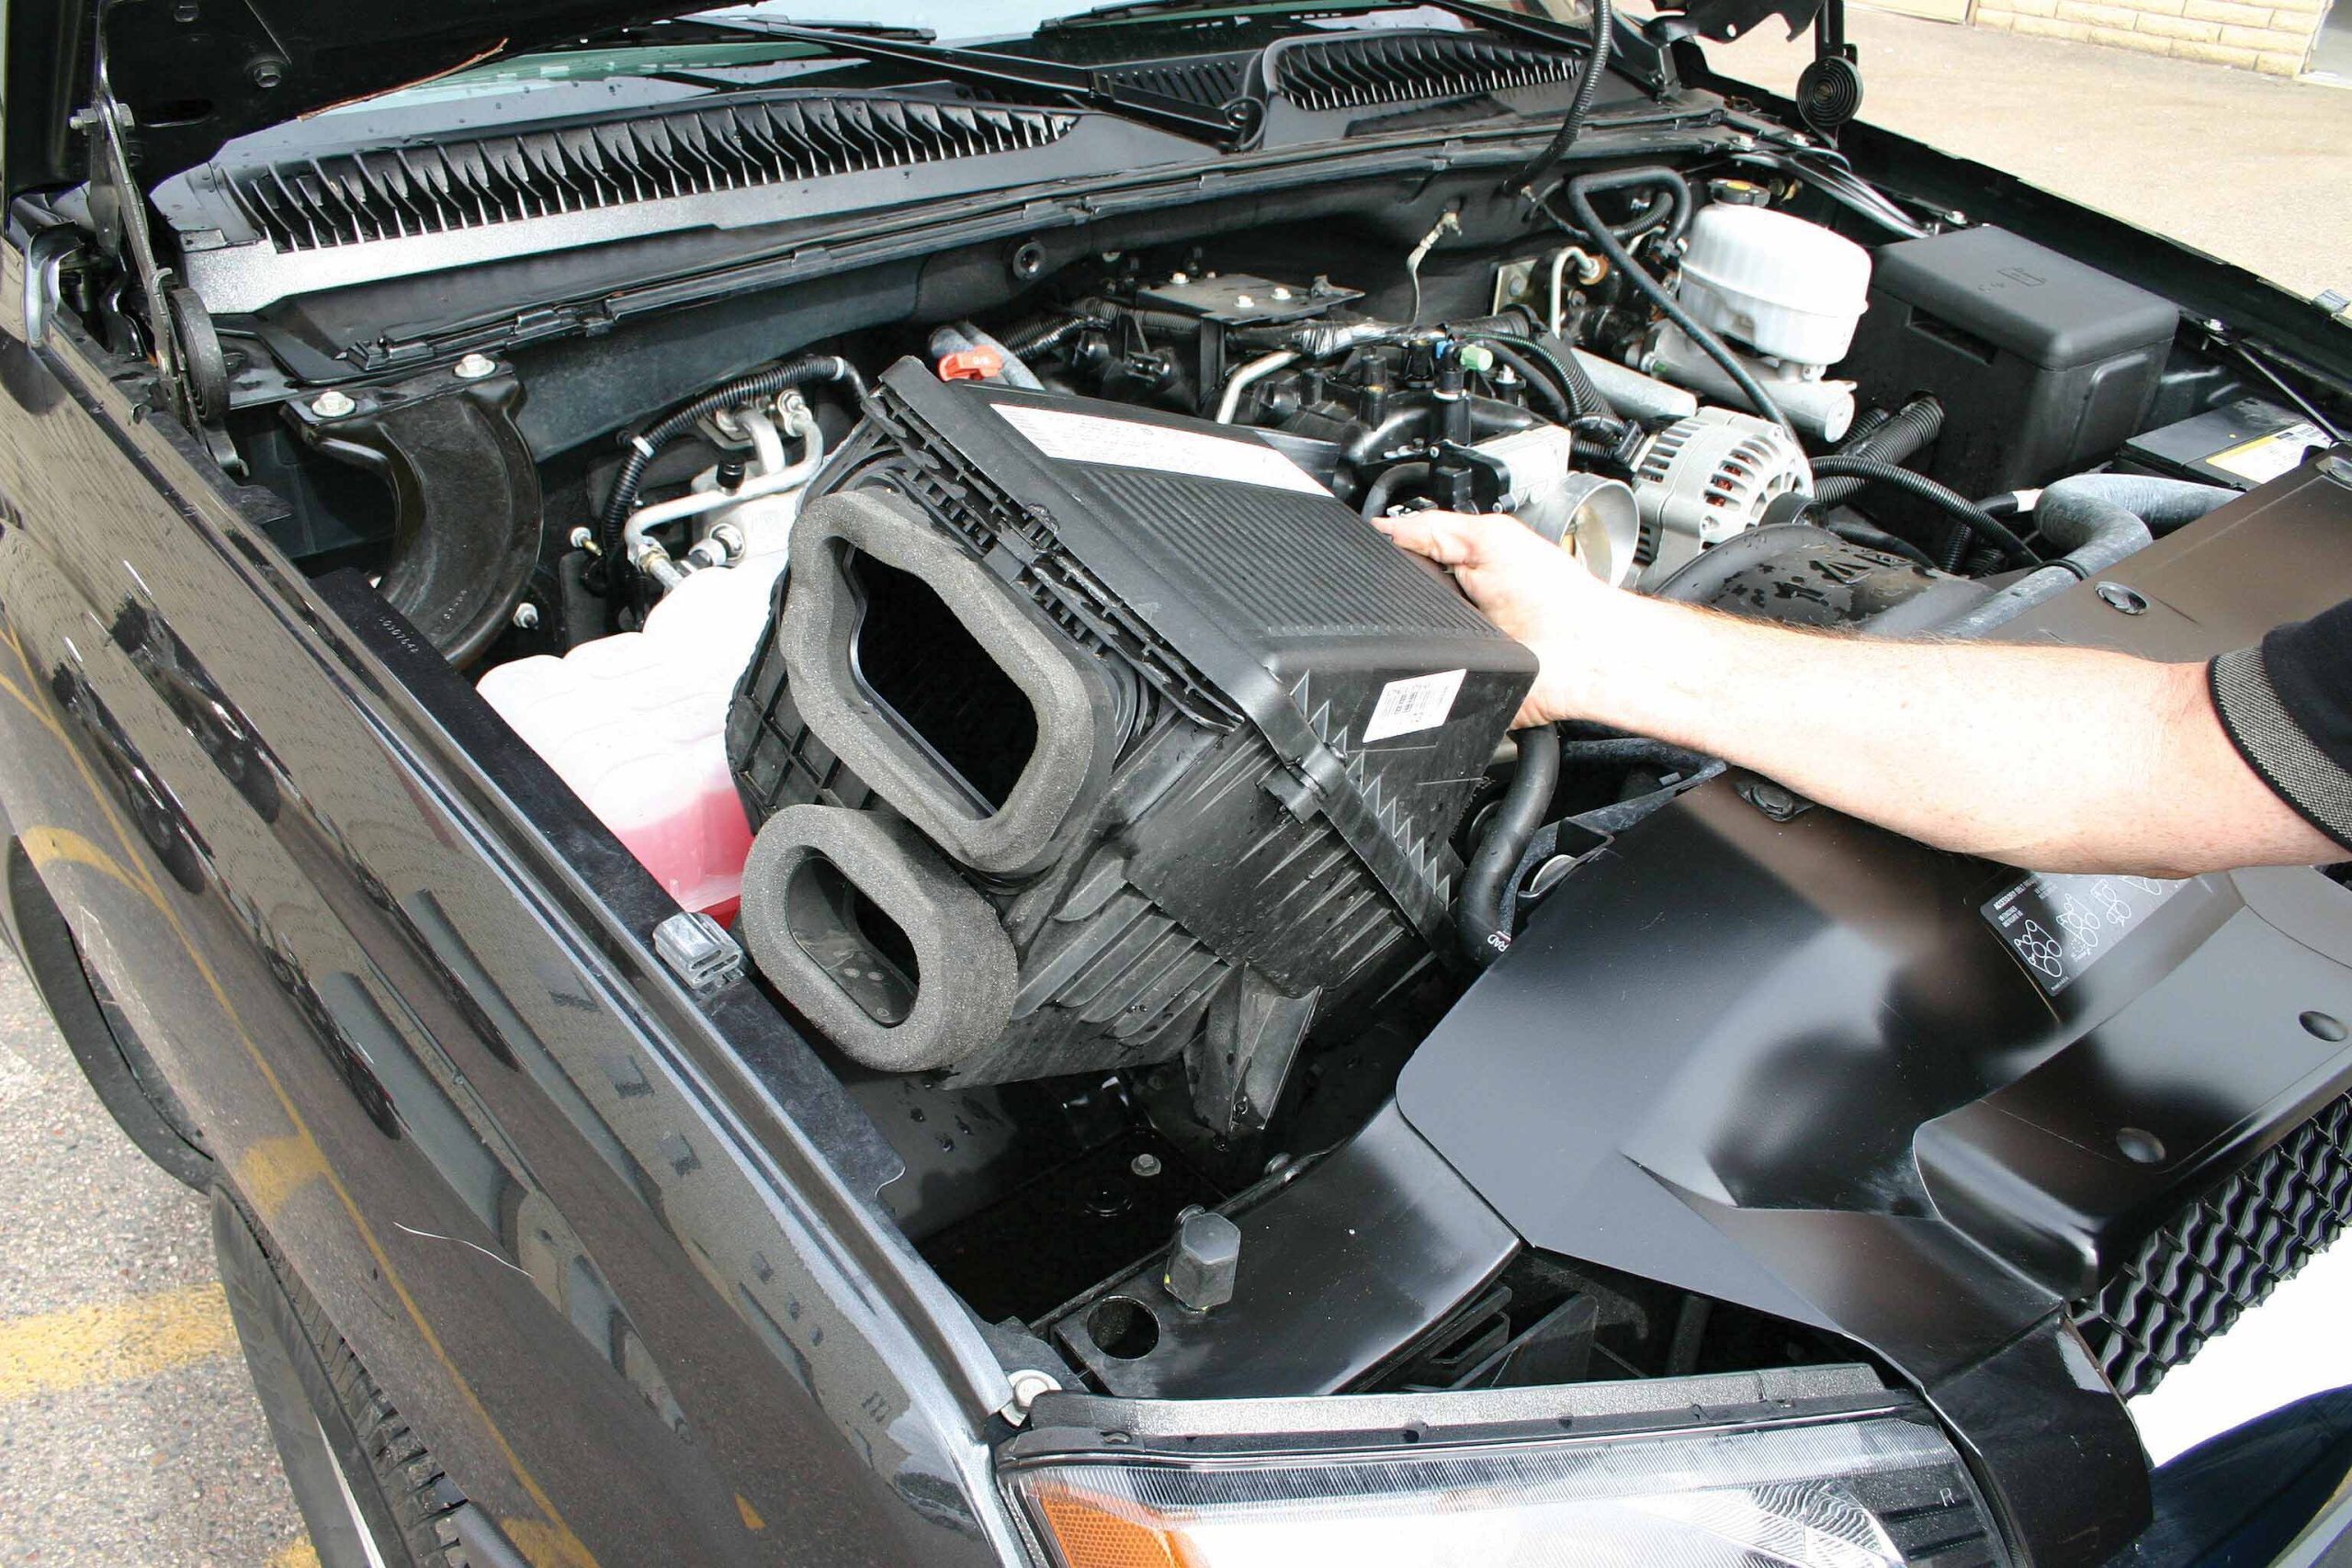
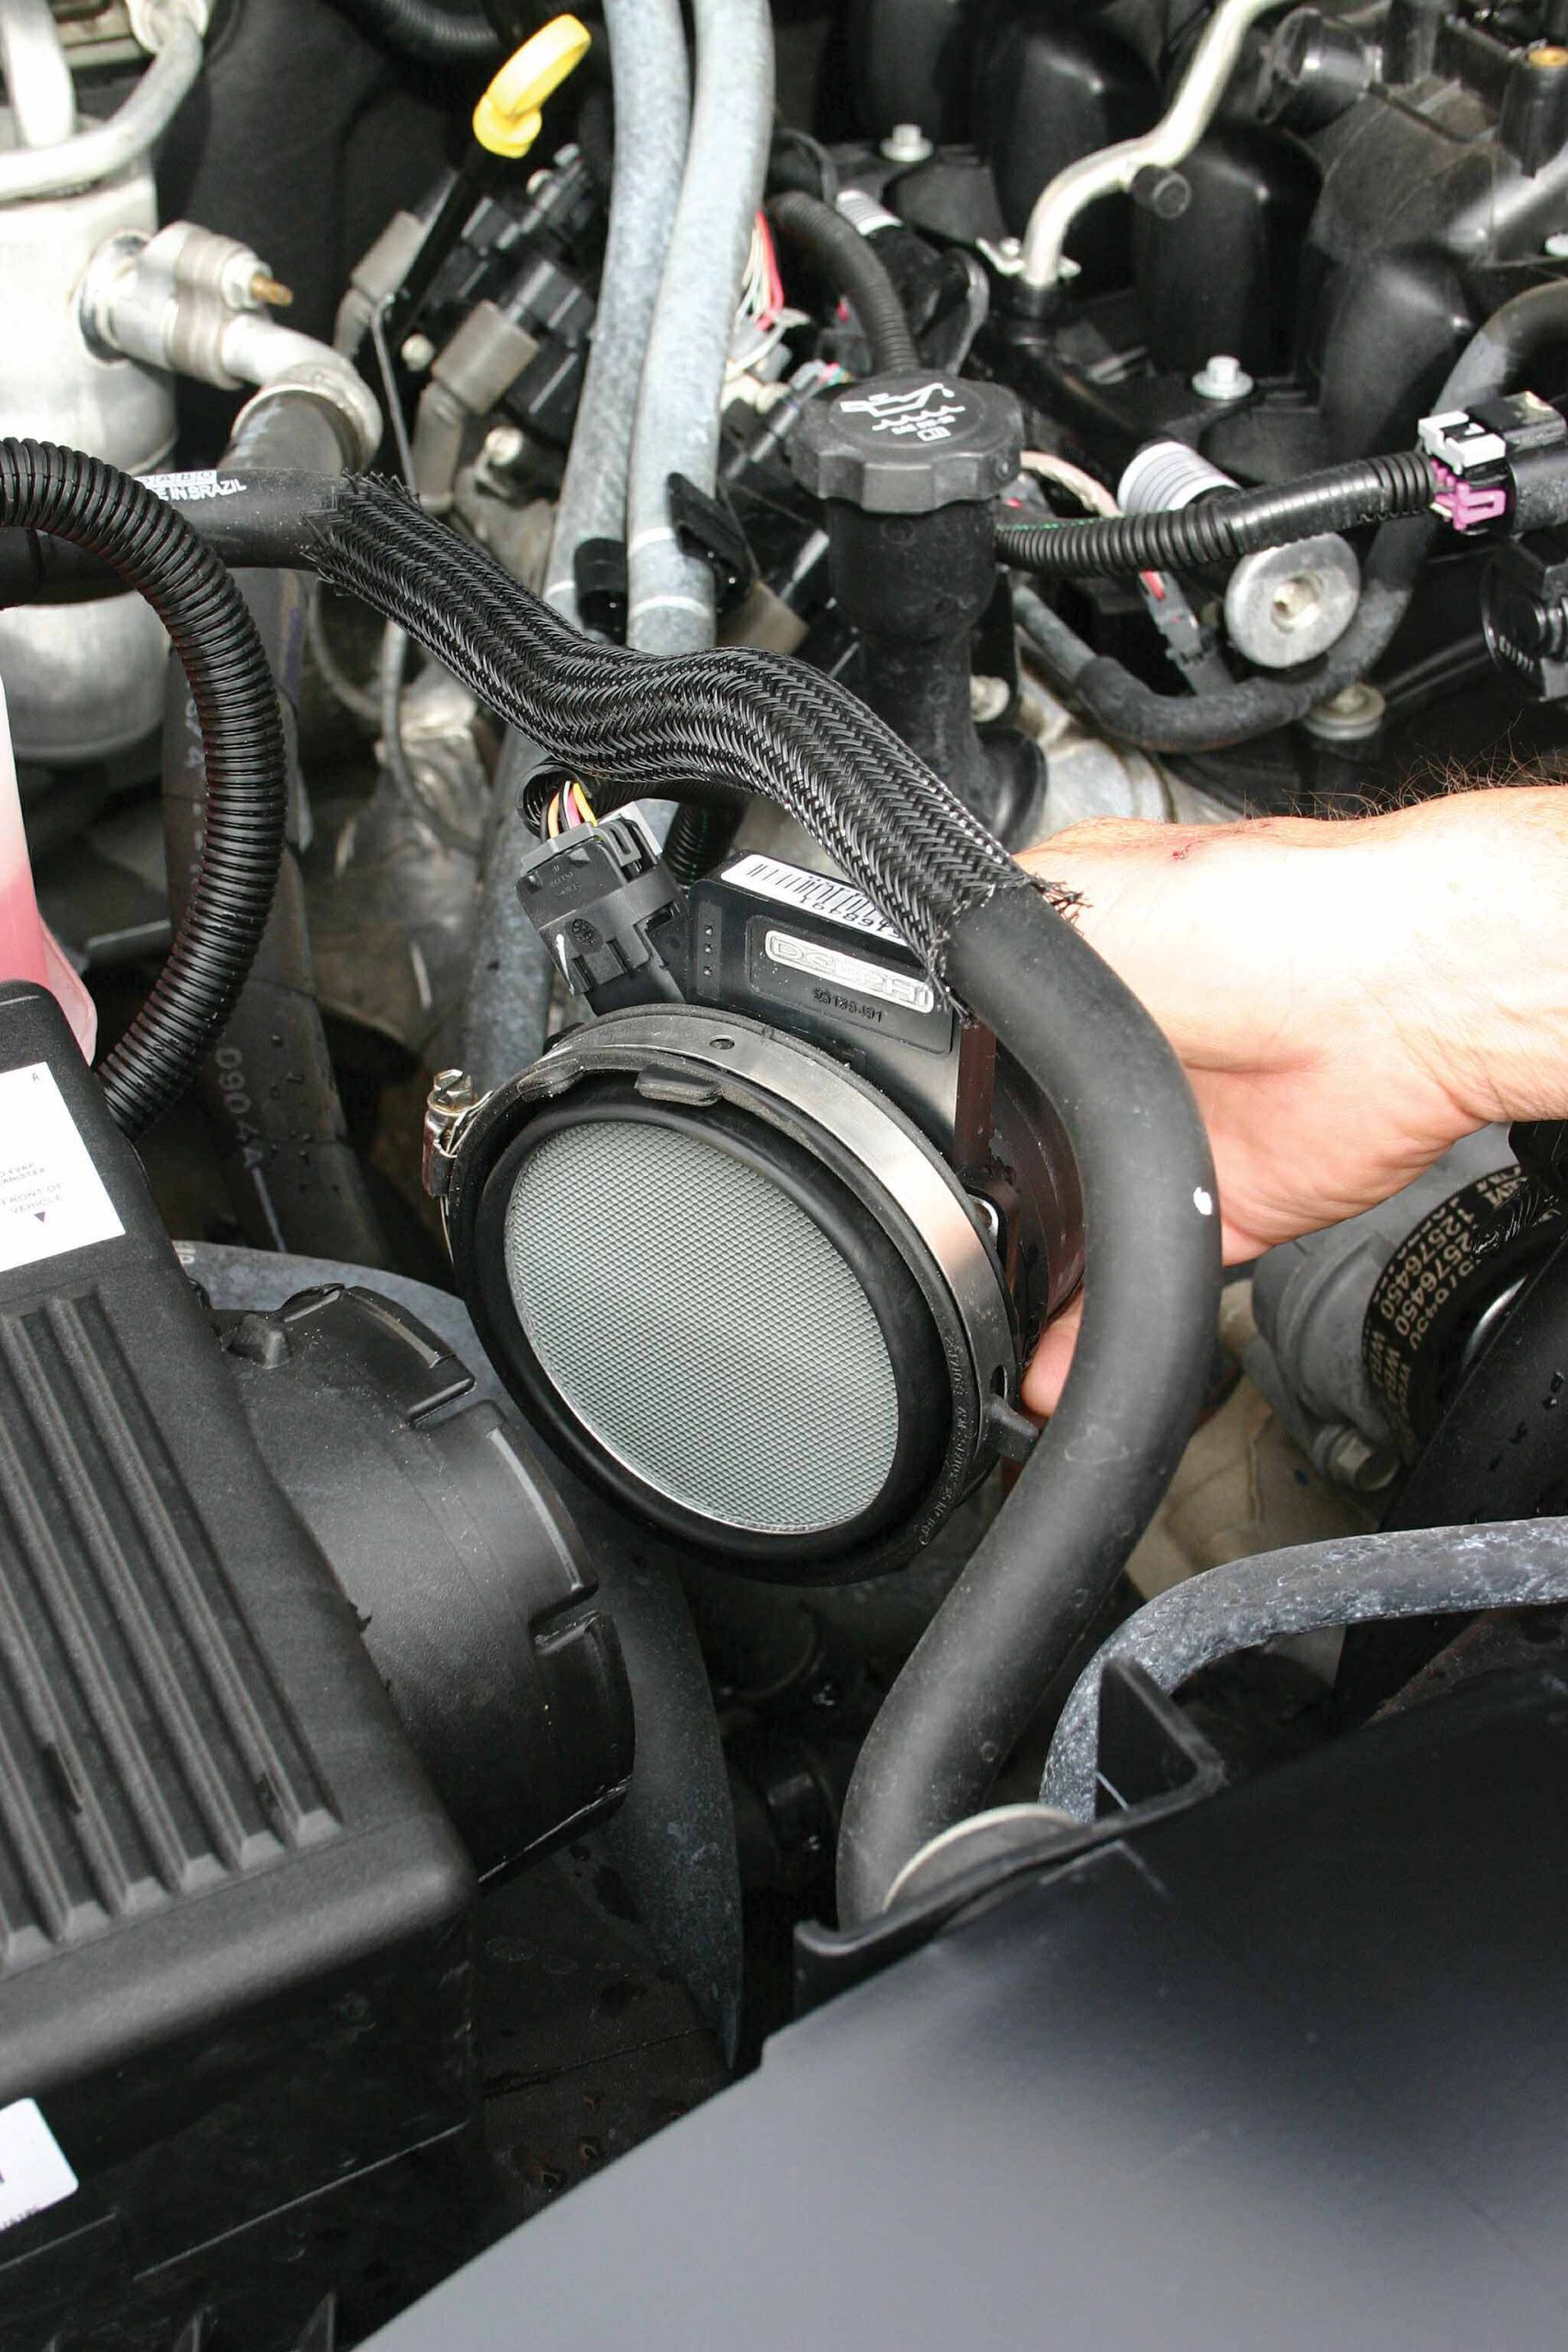
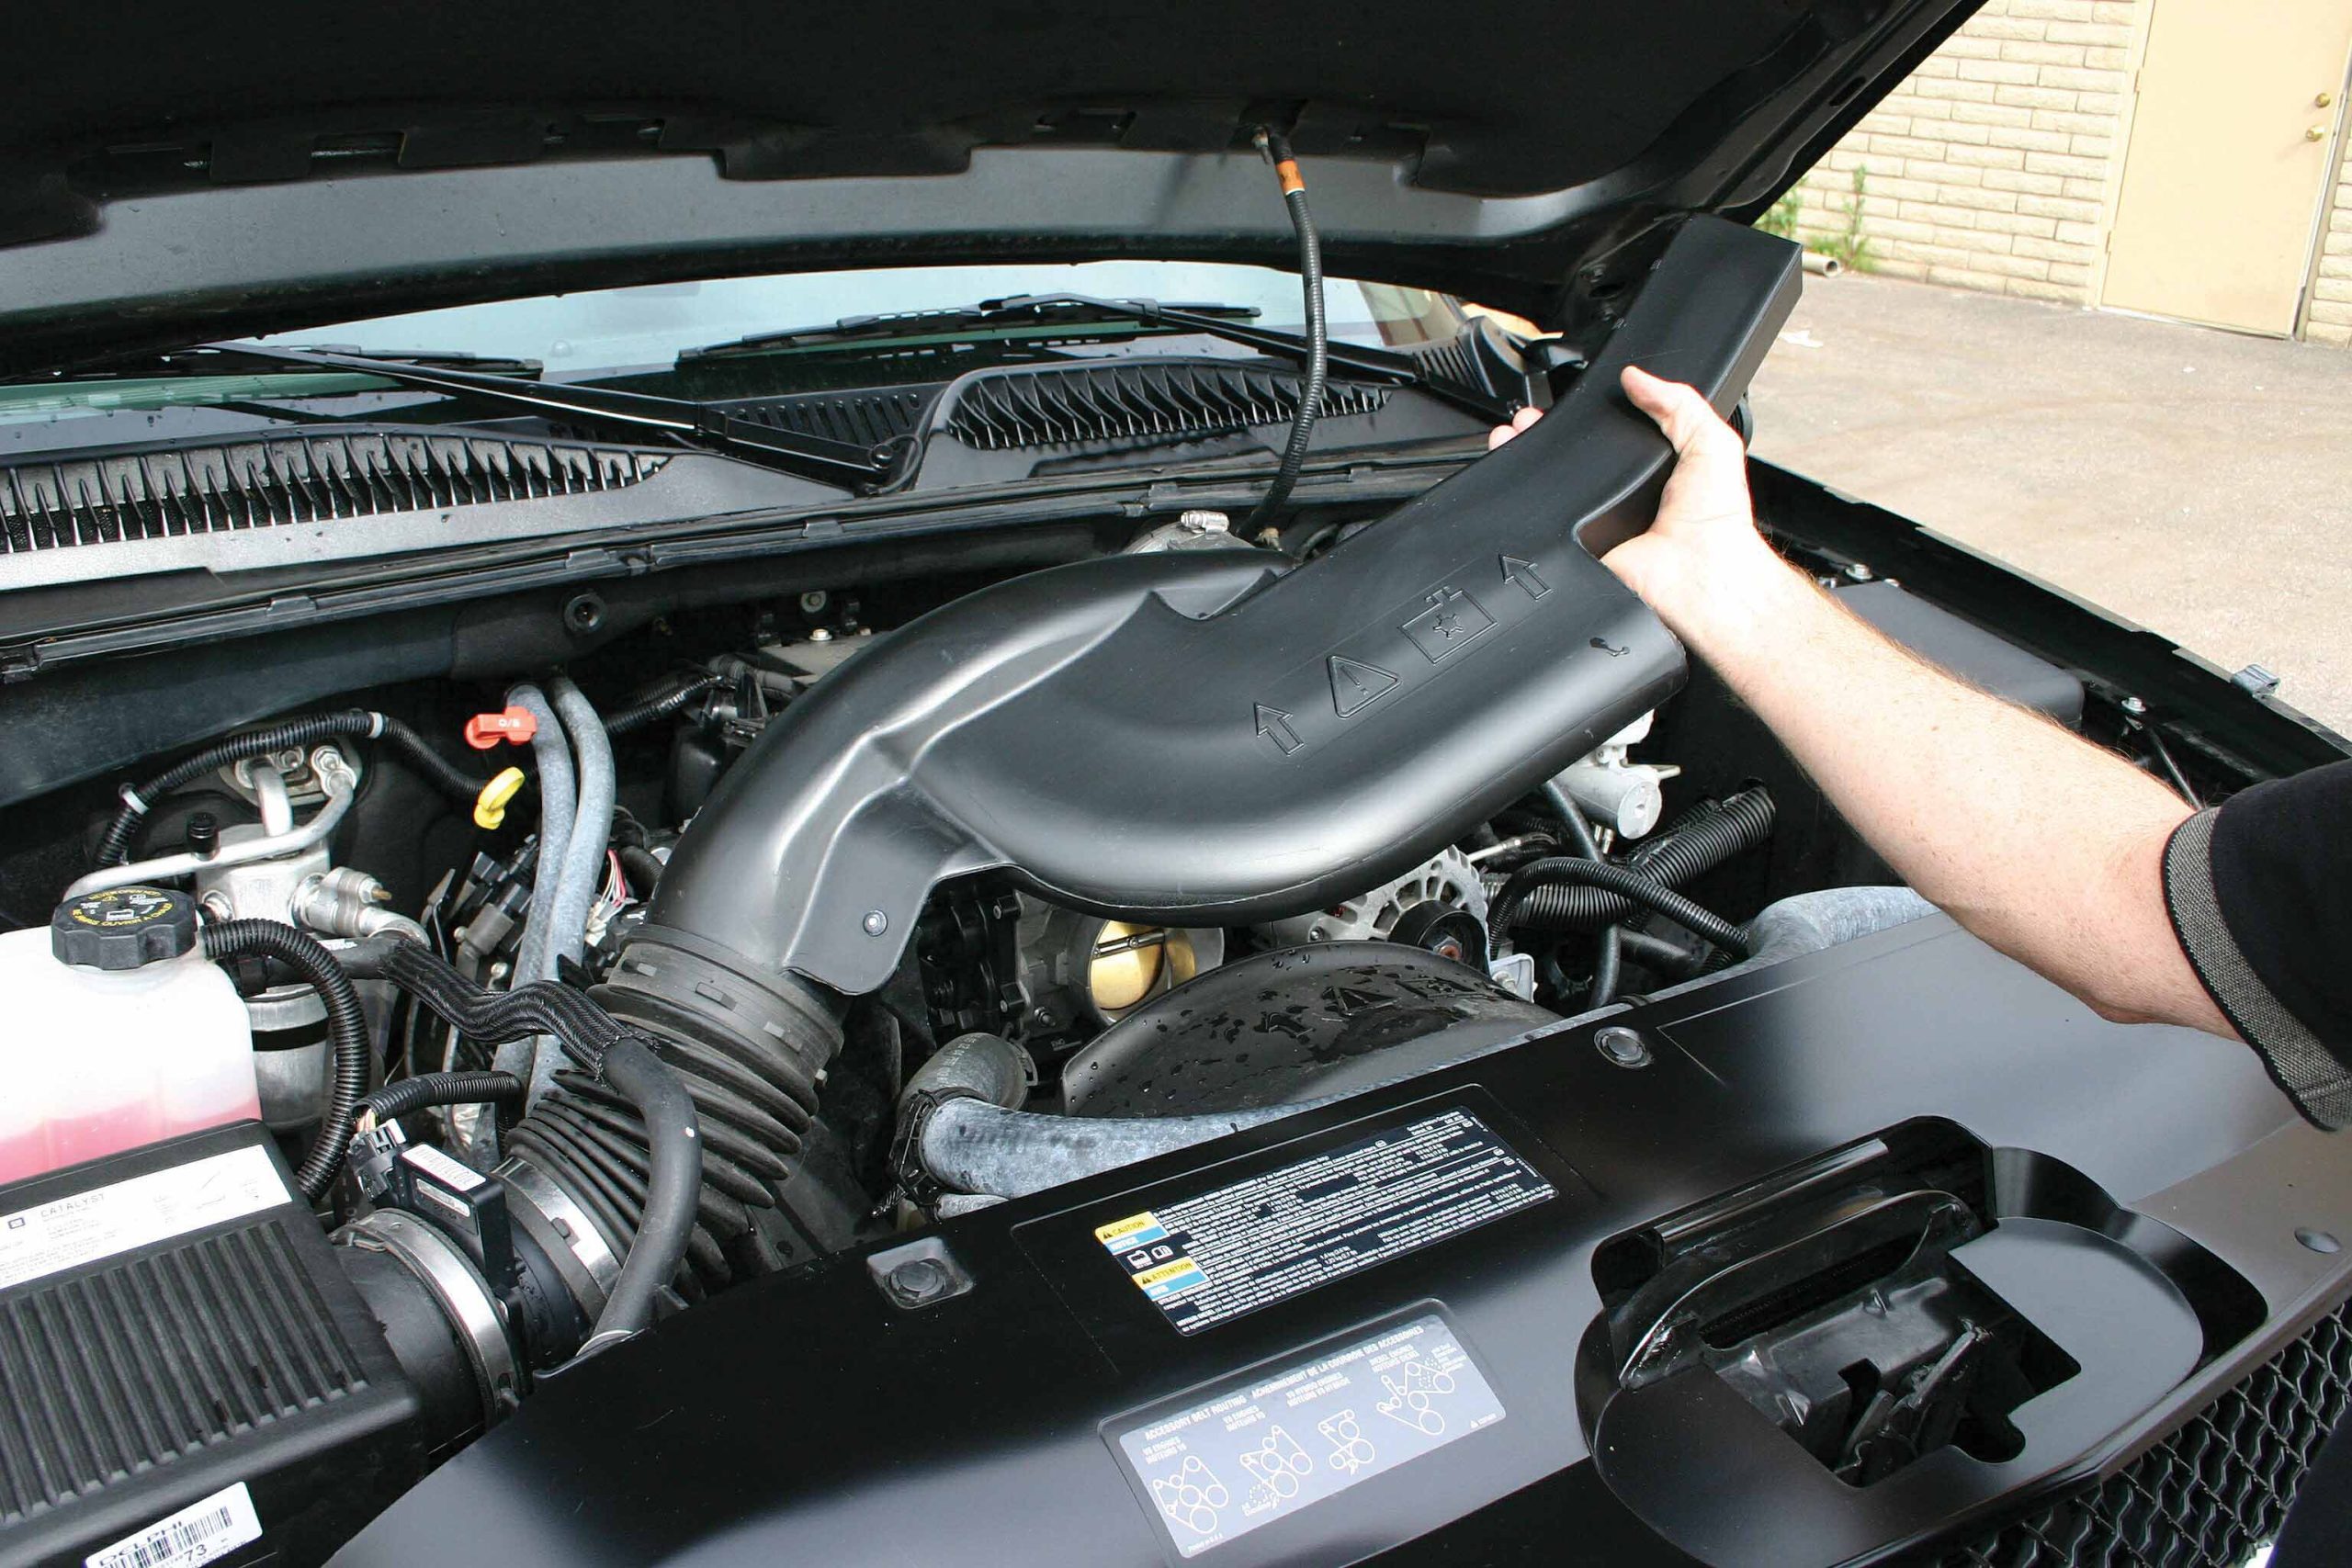
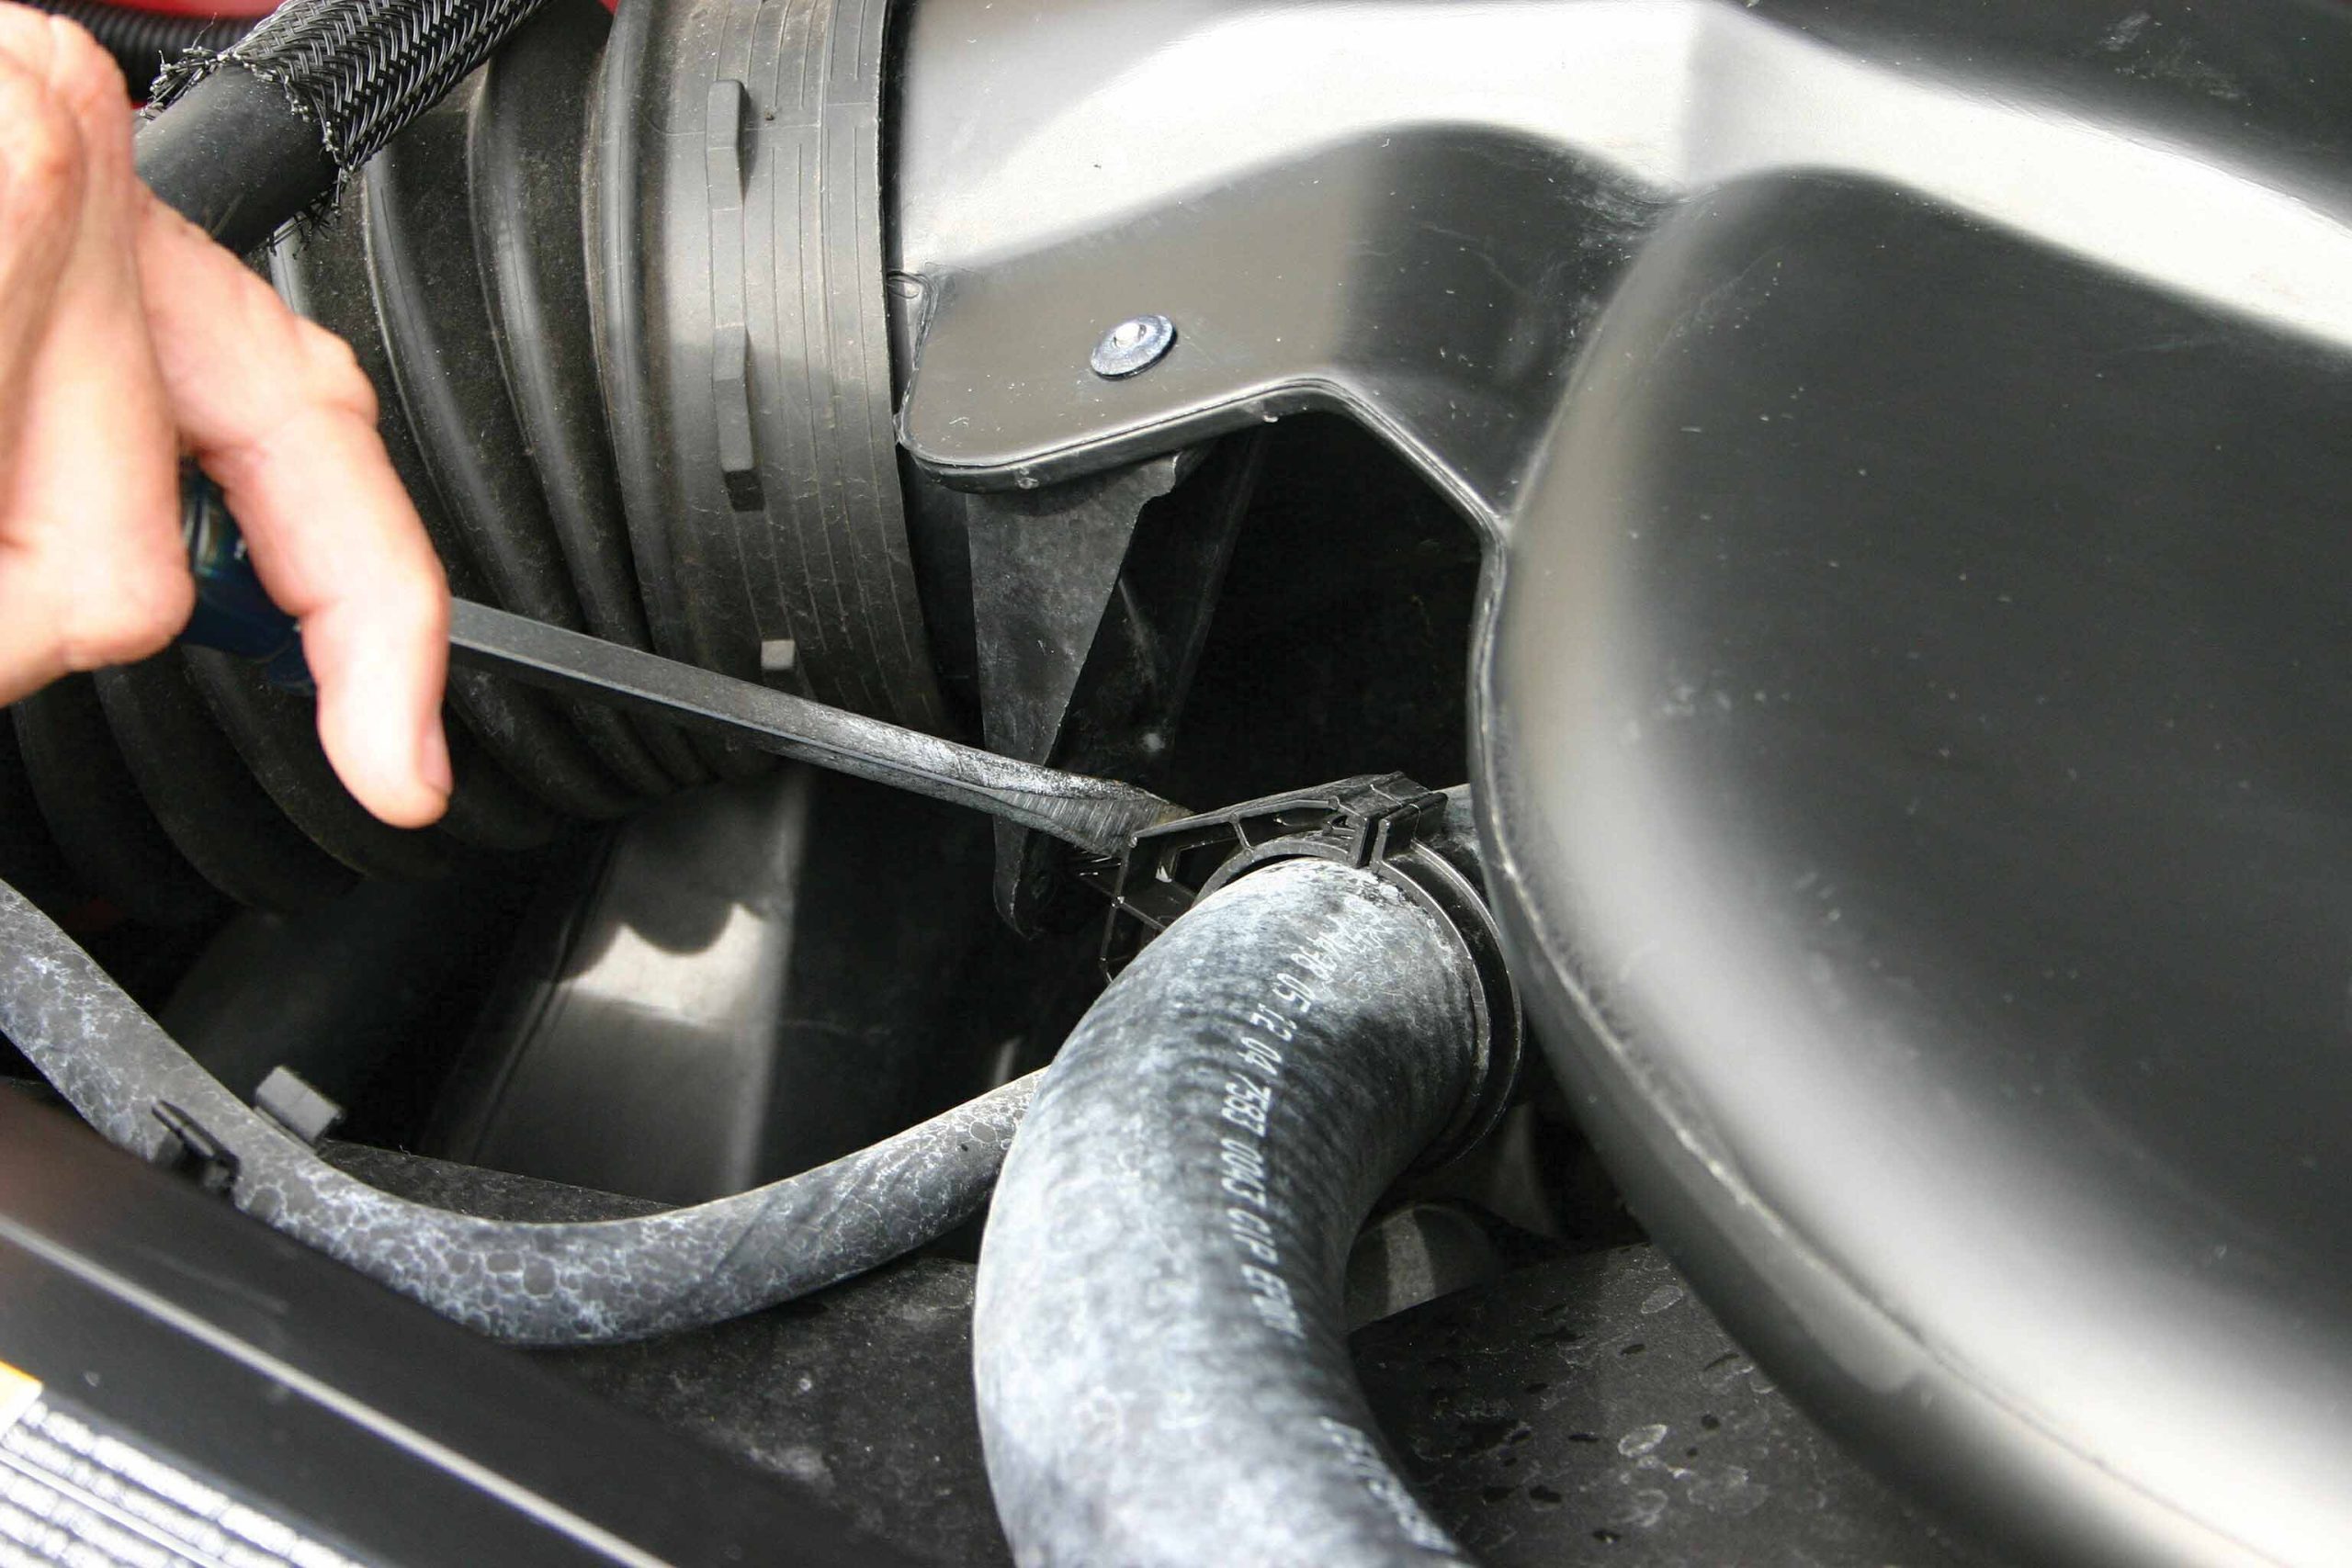
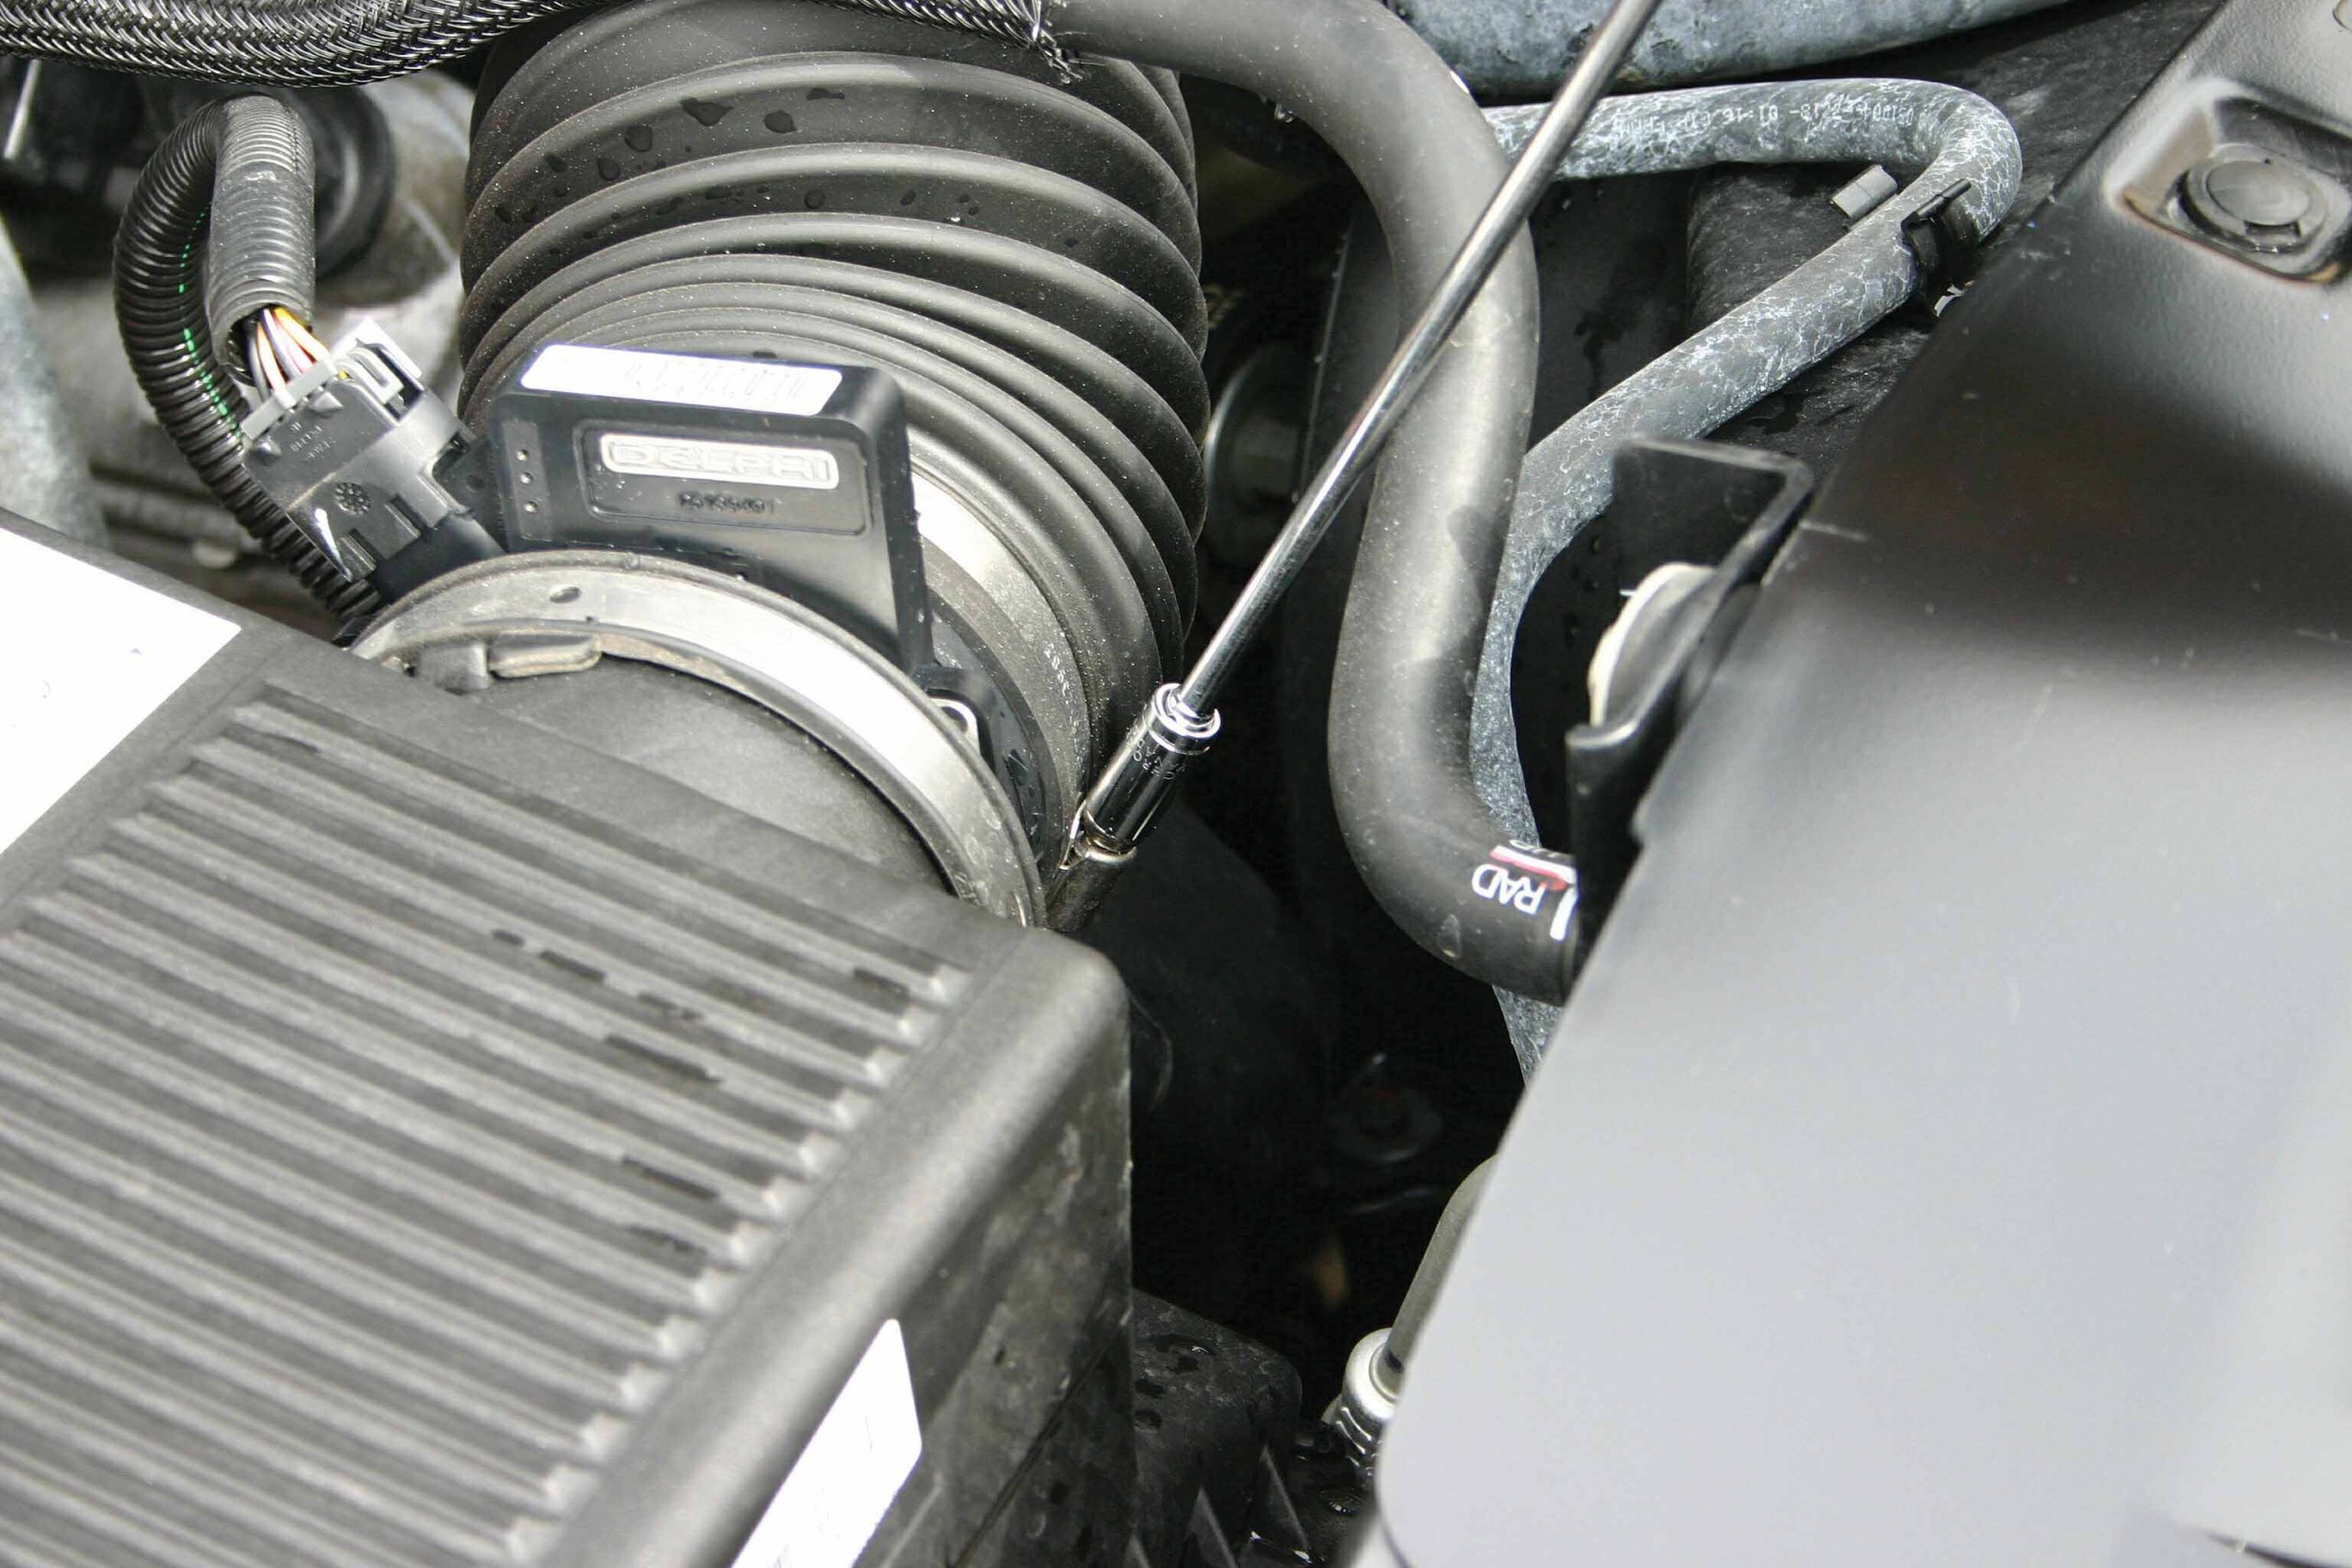
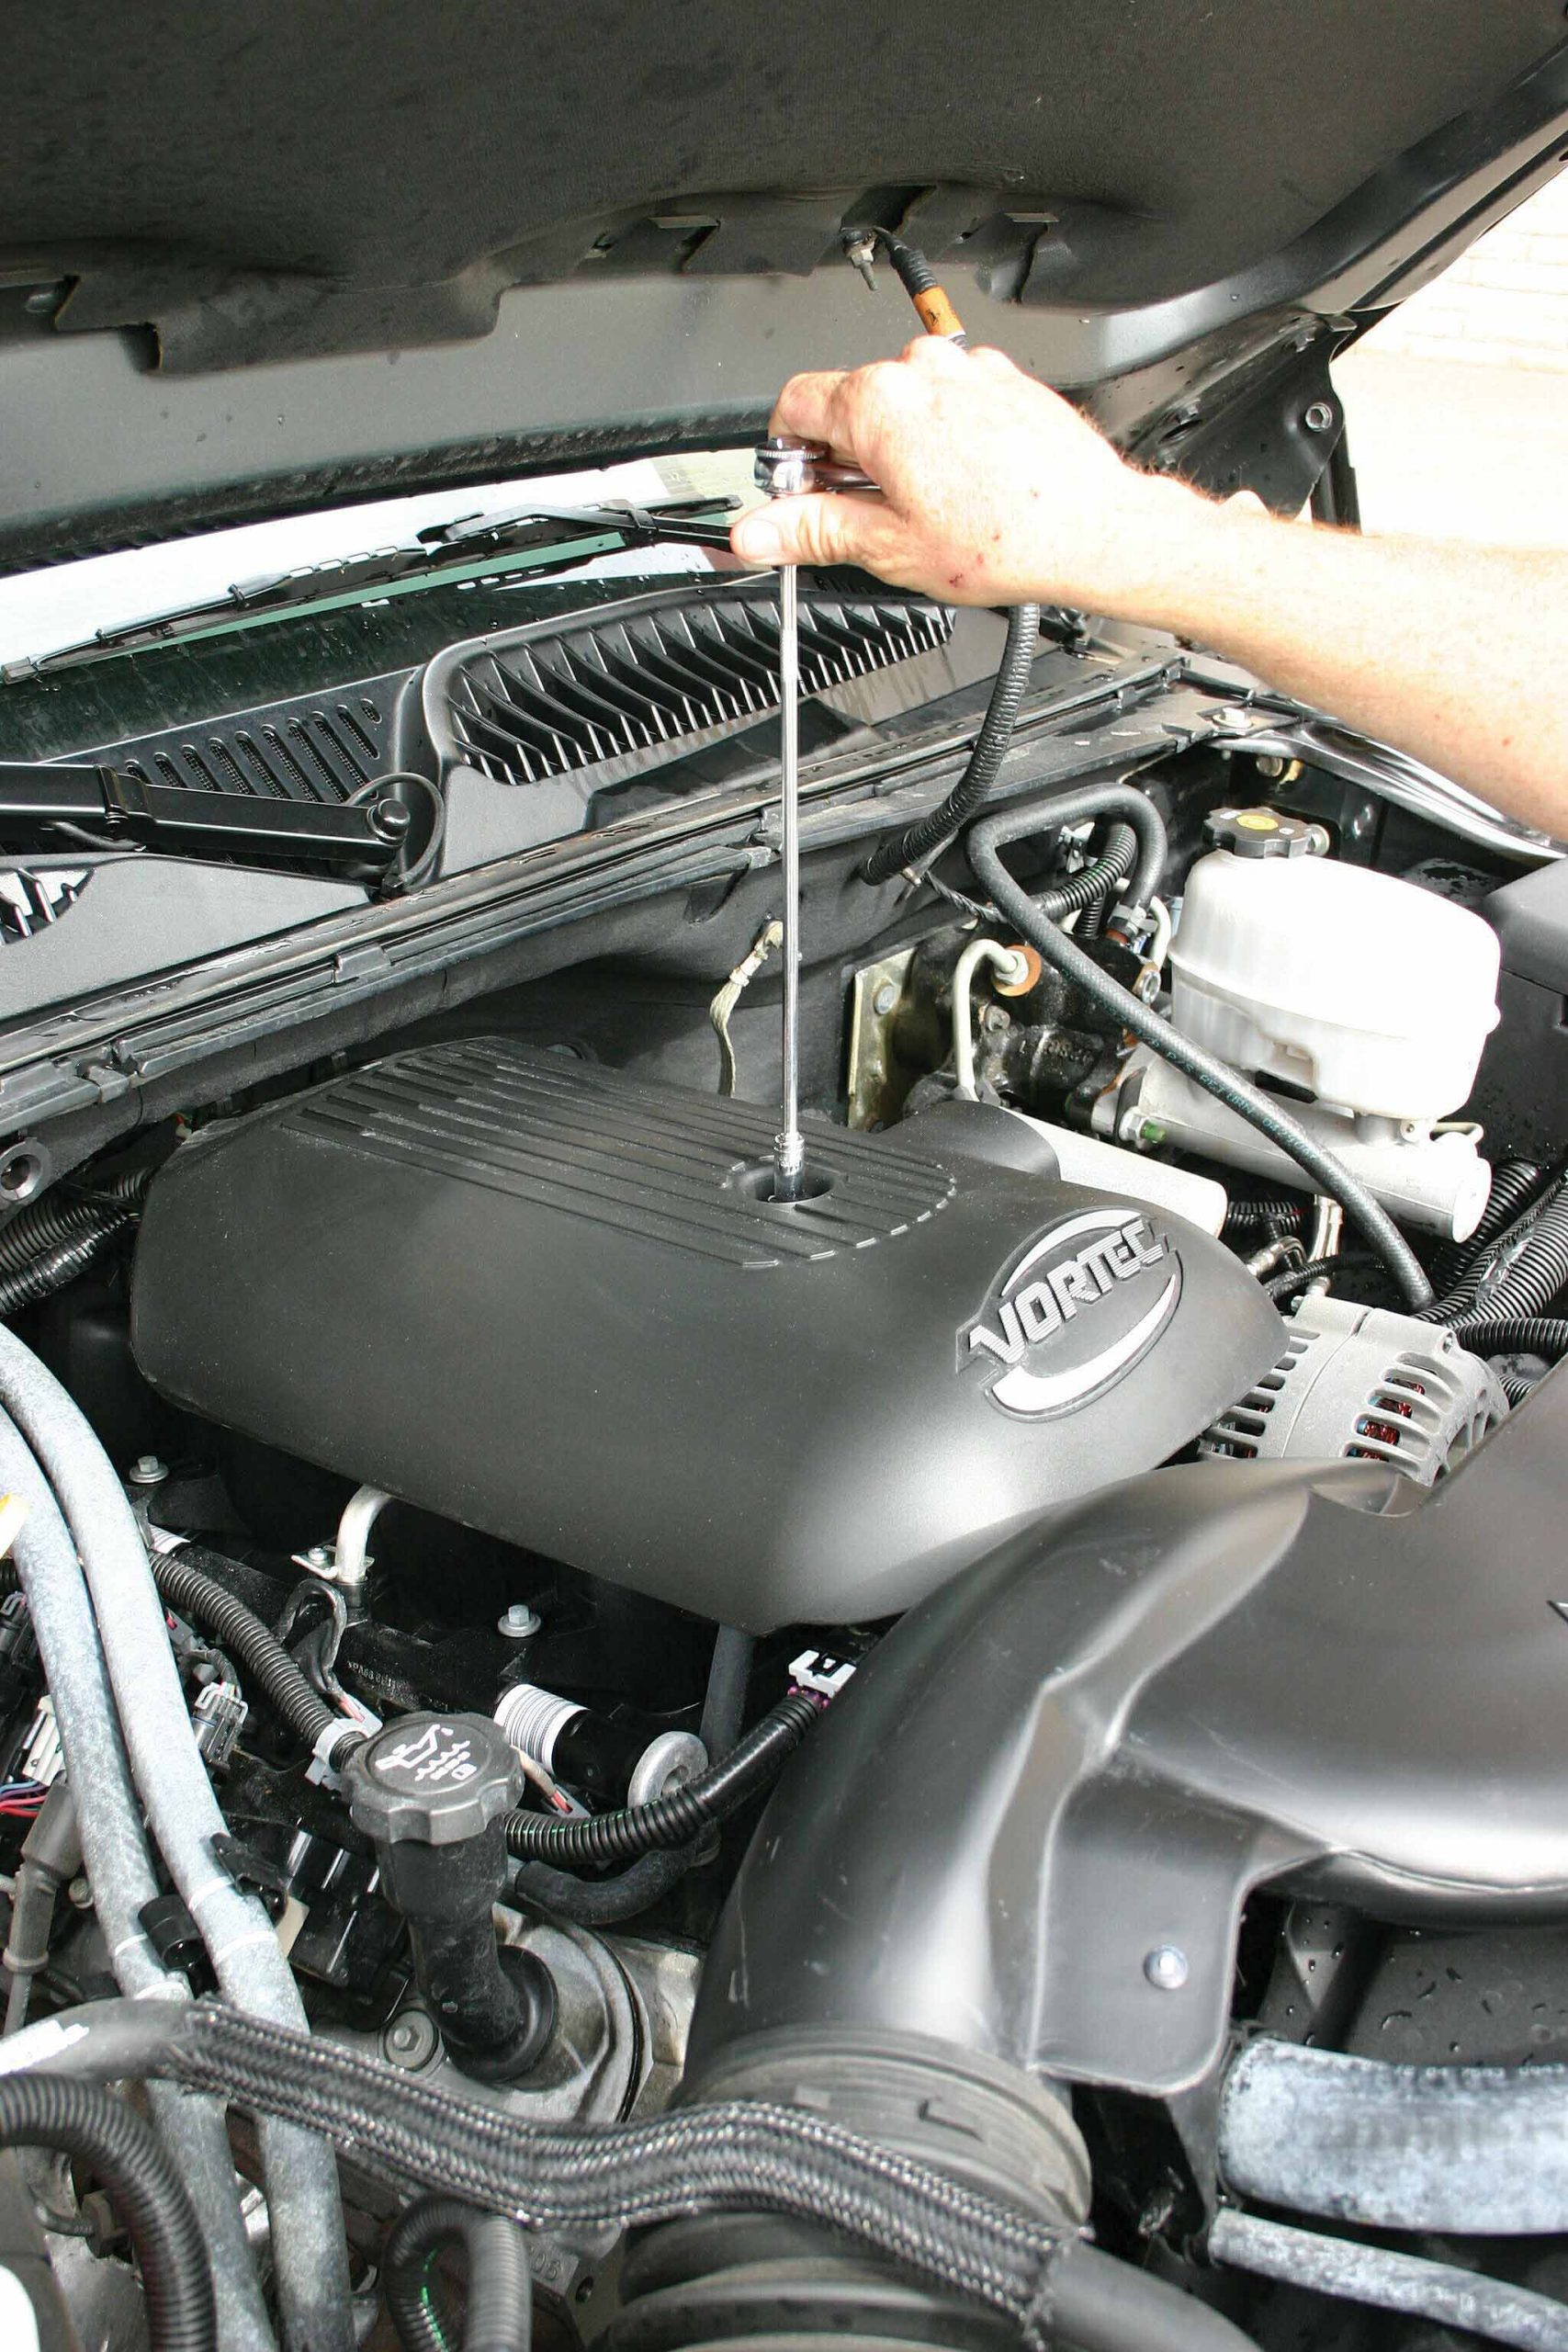
After removing the engine cover for easy access to the throttle body, the first step of the install is to loosen and remove the intake tube that attaches to the throttle body. The throttle body is held in place by three nut-and-stud combos. Remove the nuts first. A Torx socket is used to remove the studs from the intake manifold. These will be replaced with the new bolts that come with the PowerAid. On some ’04 and ’05 GM trucks, it is necessary to rotate the upper radiator hose clamp for added clearance. Using the supplied gaskets and bolts, the PowerAid simply installs between the intake manifold and the throttle body. With the bolts finger tight, a ratchet is used to tighten each one.
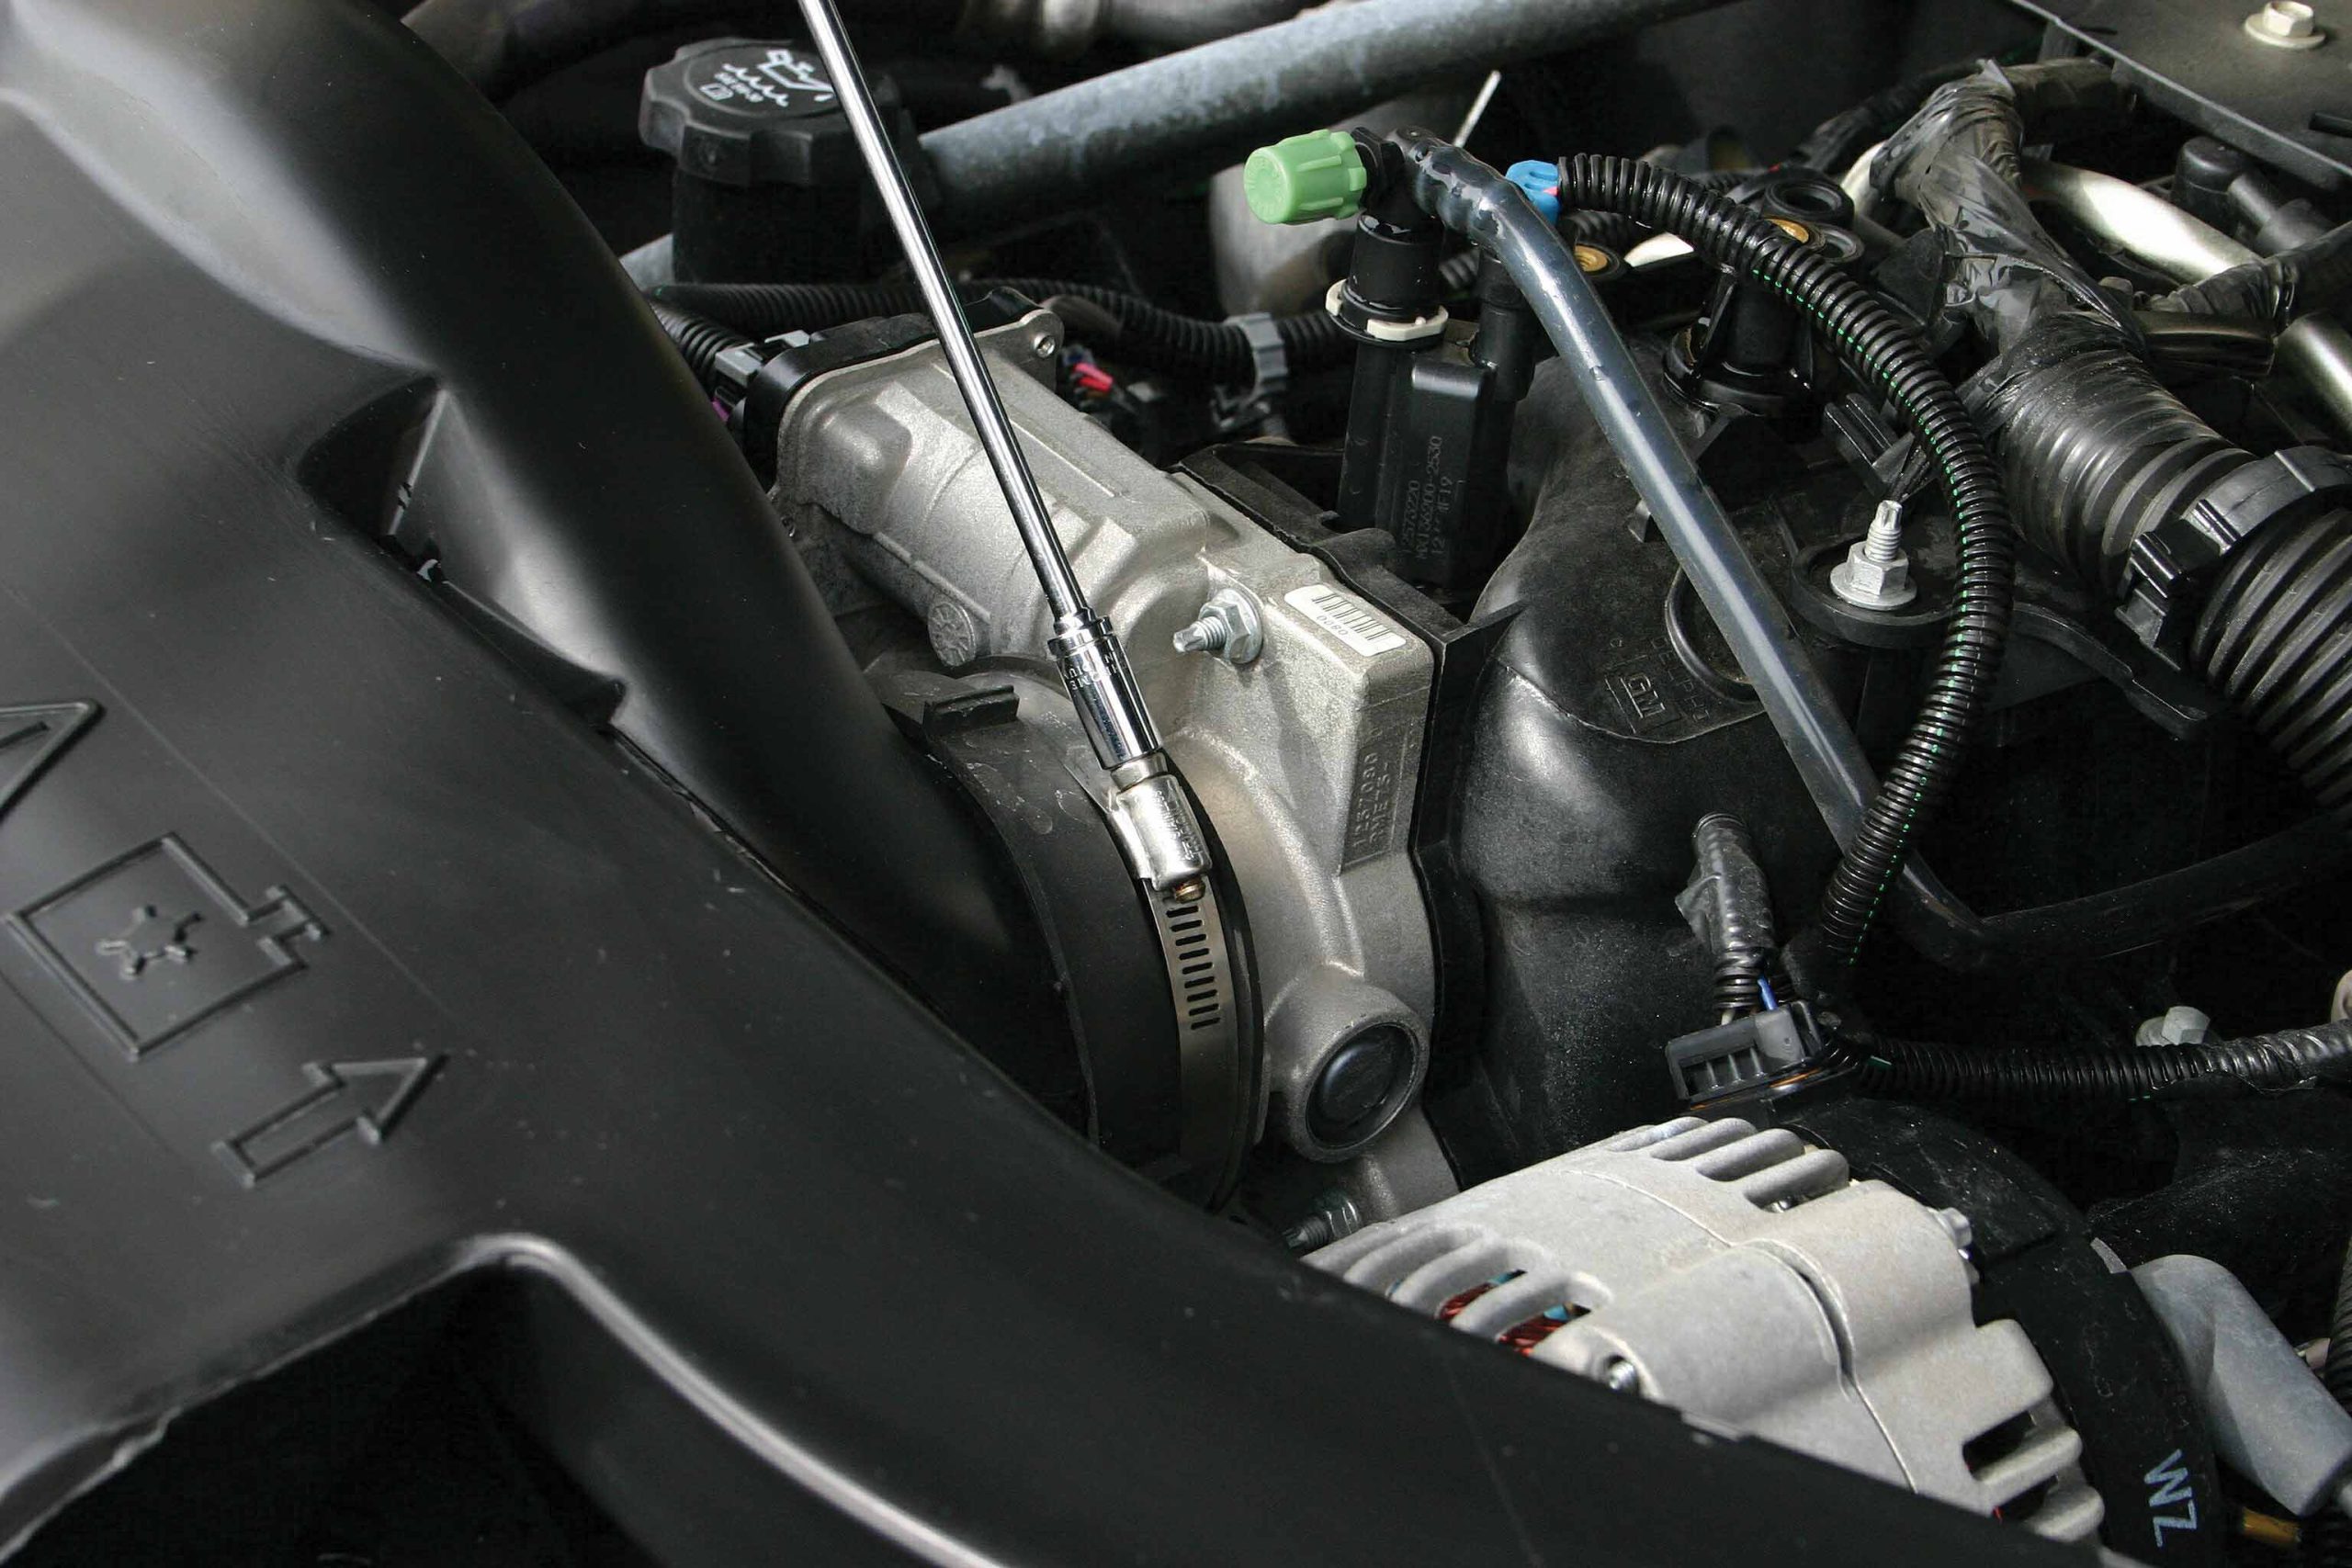
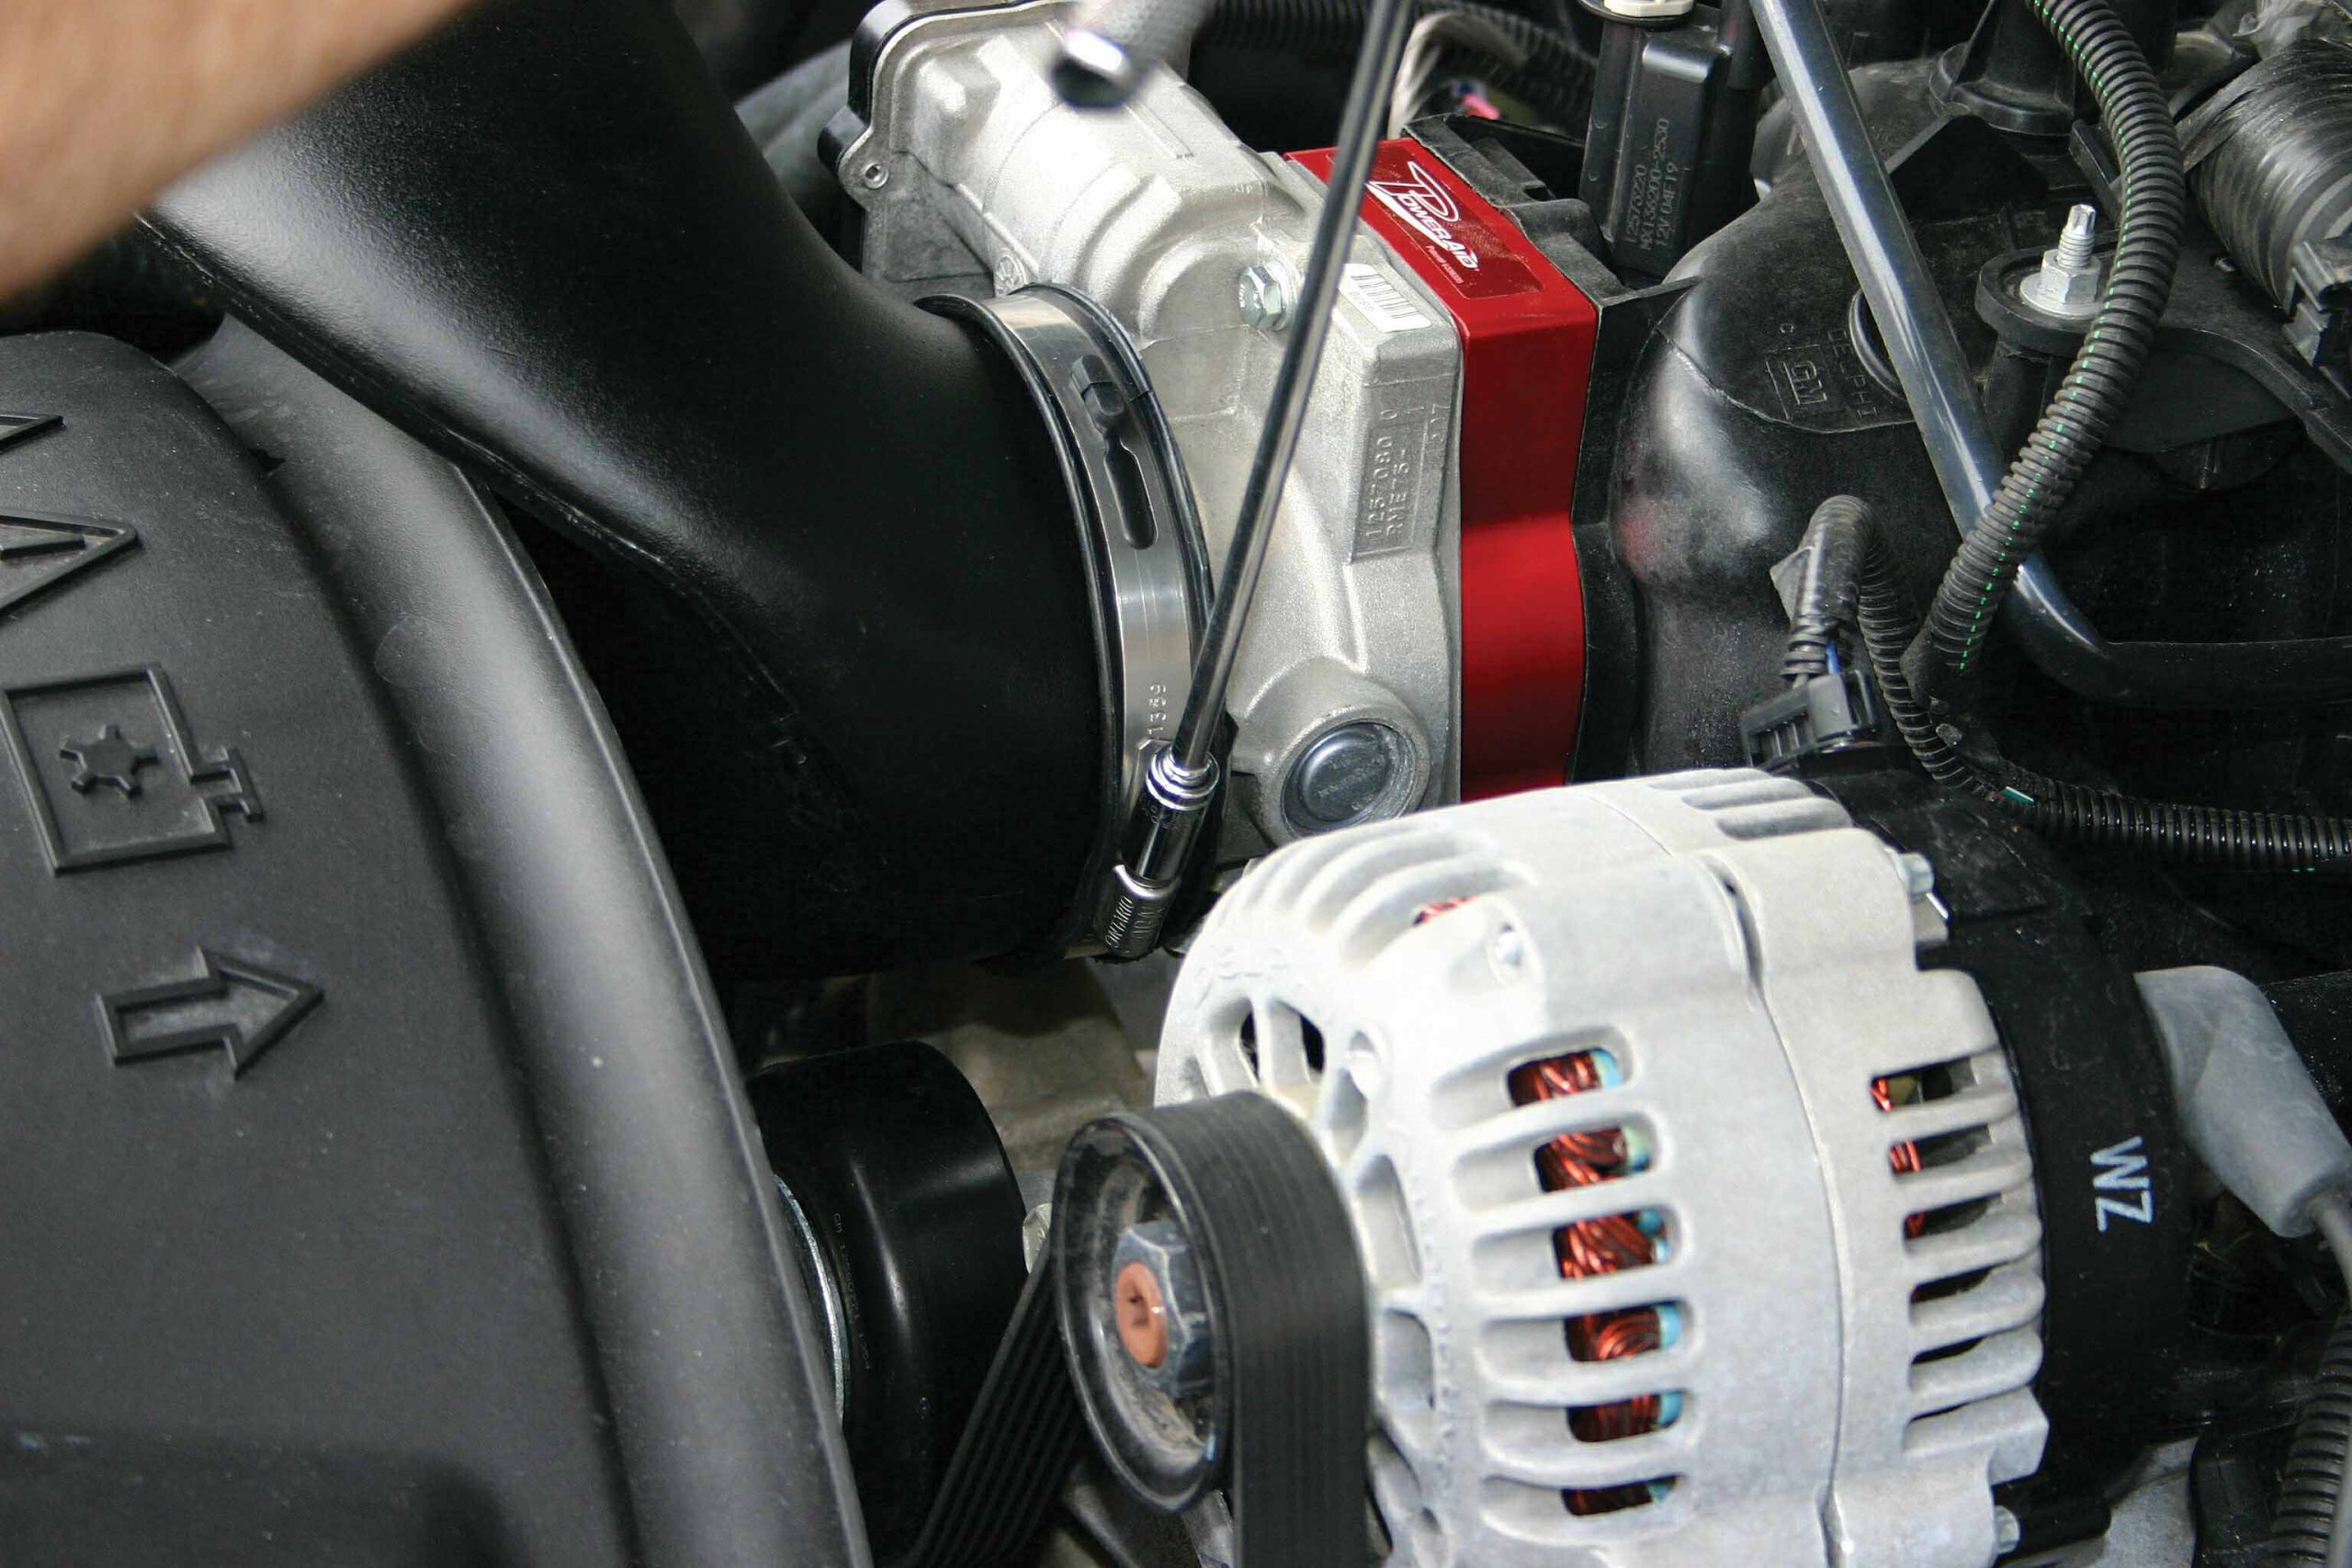
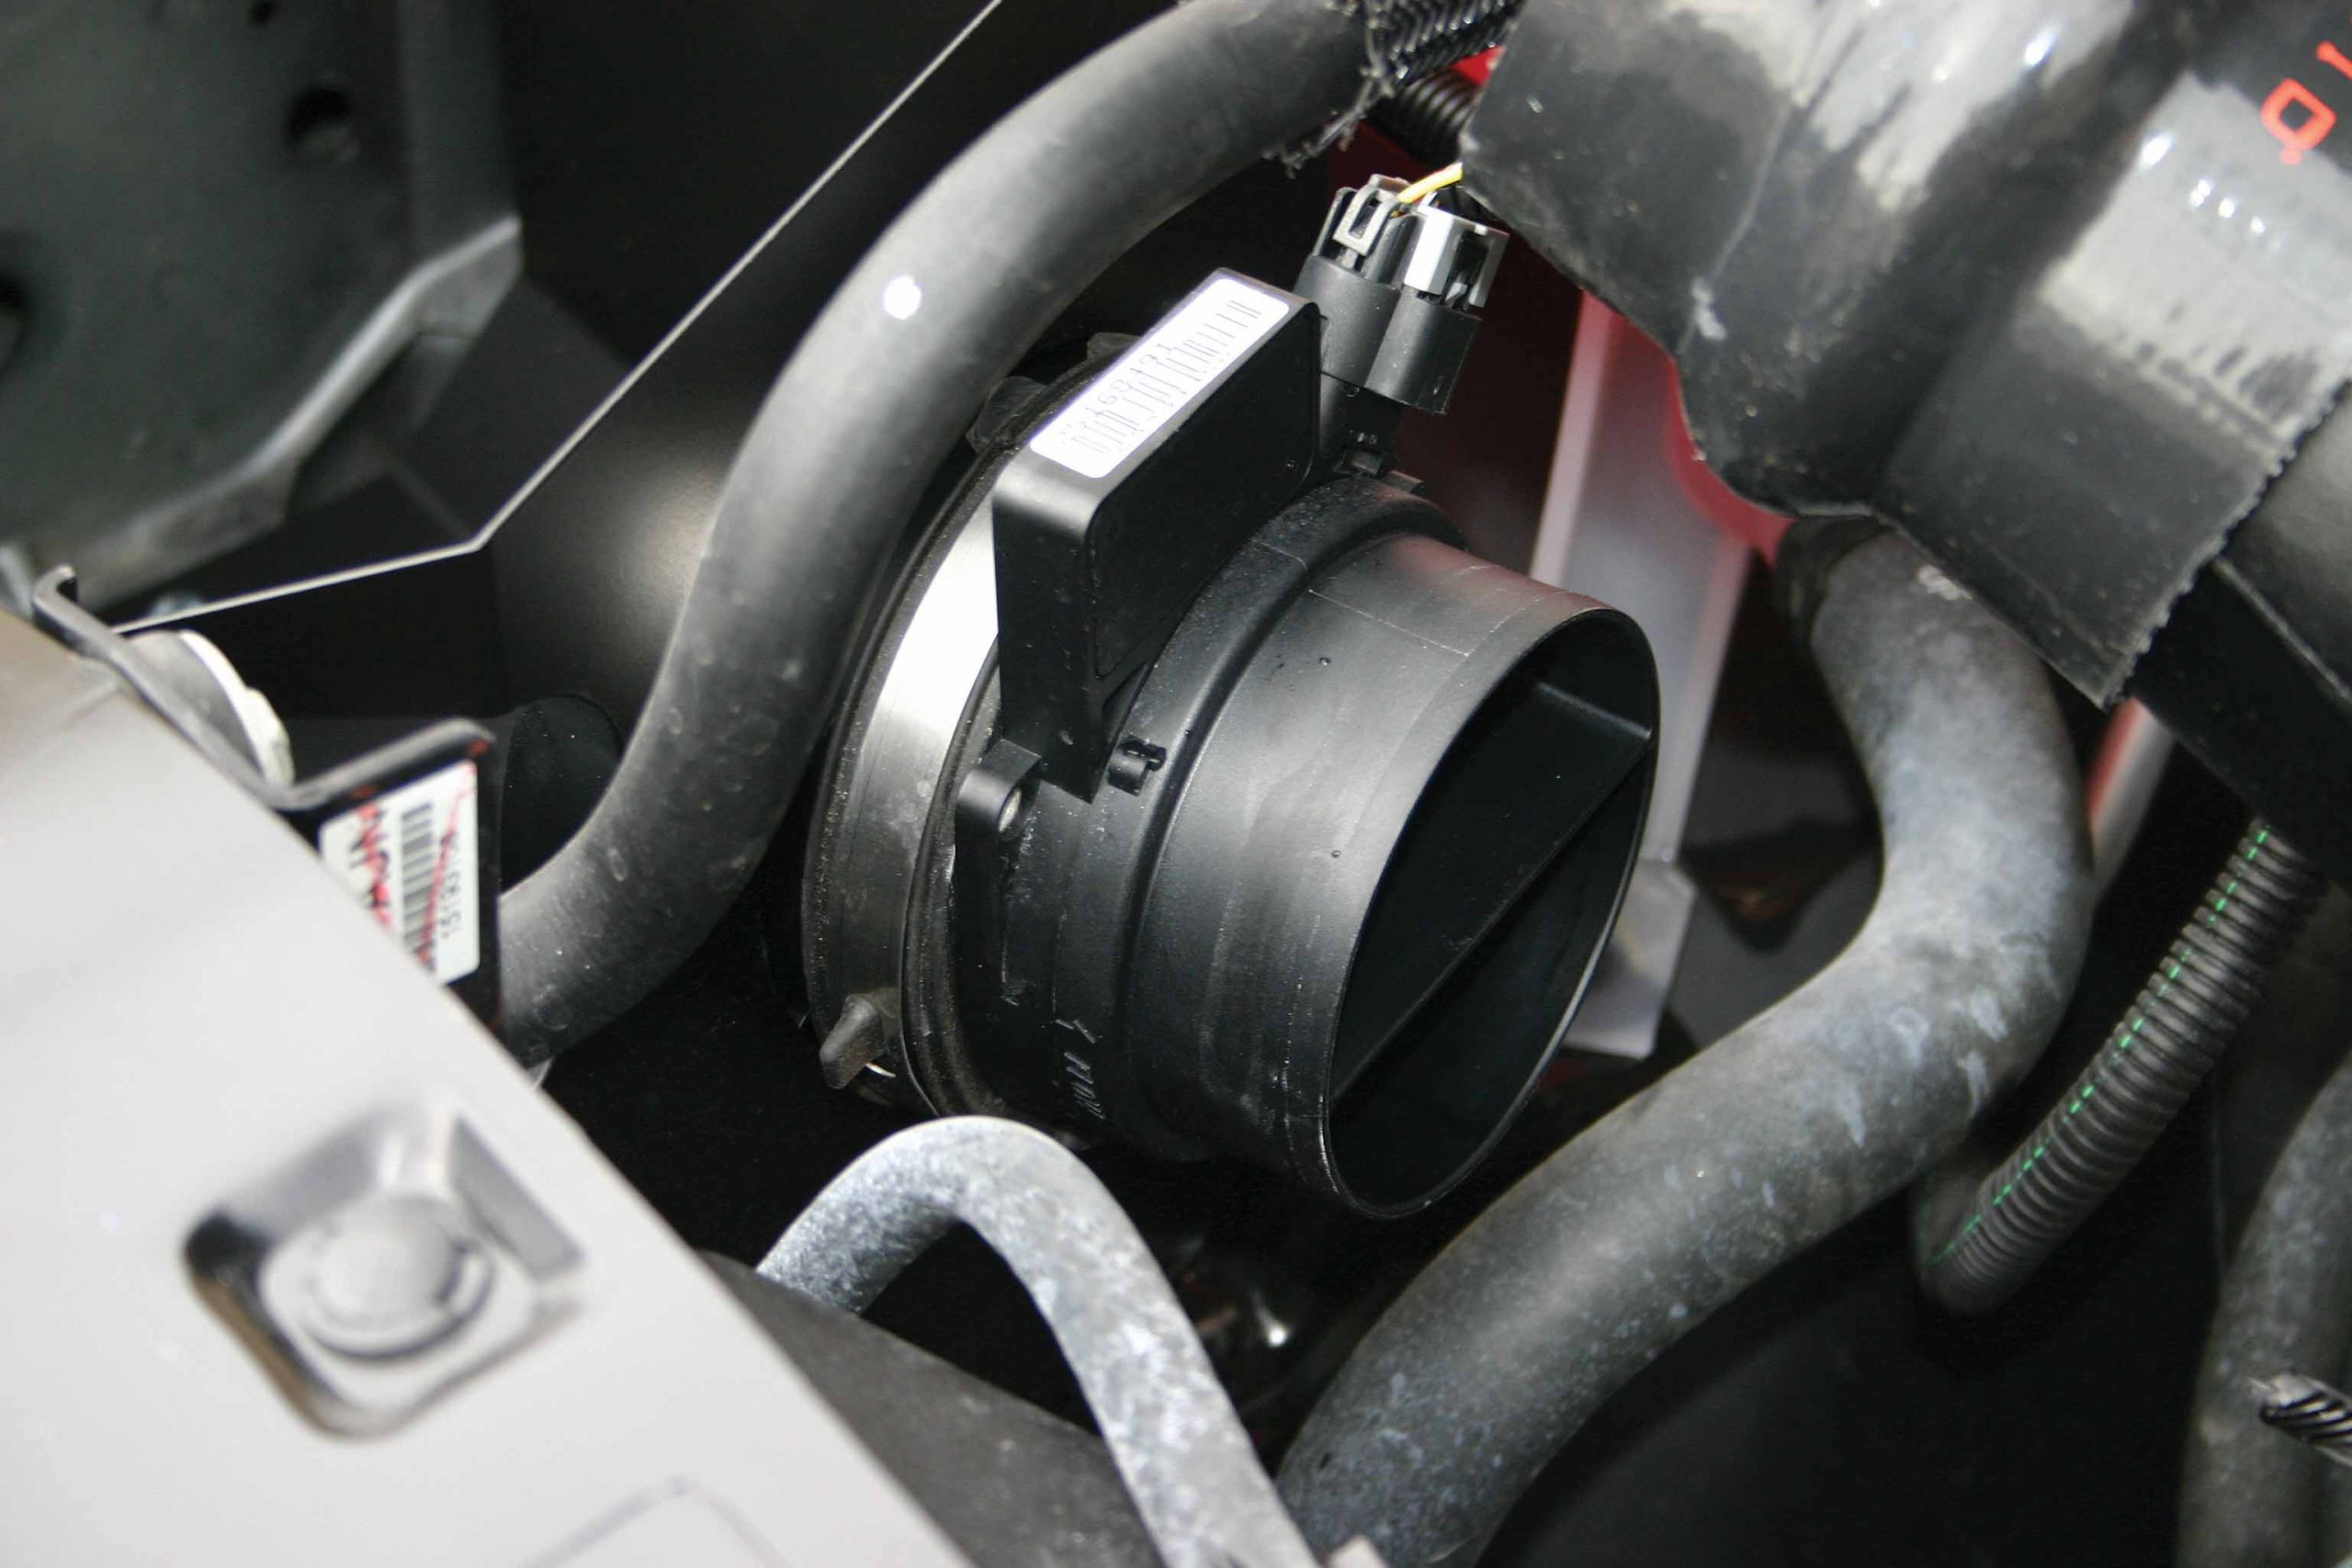
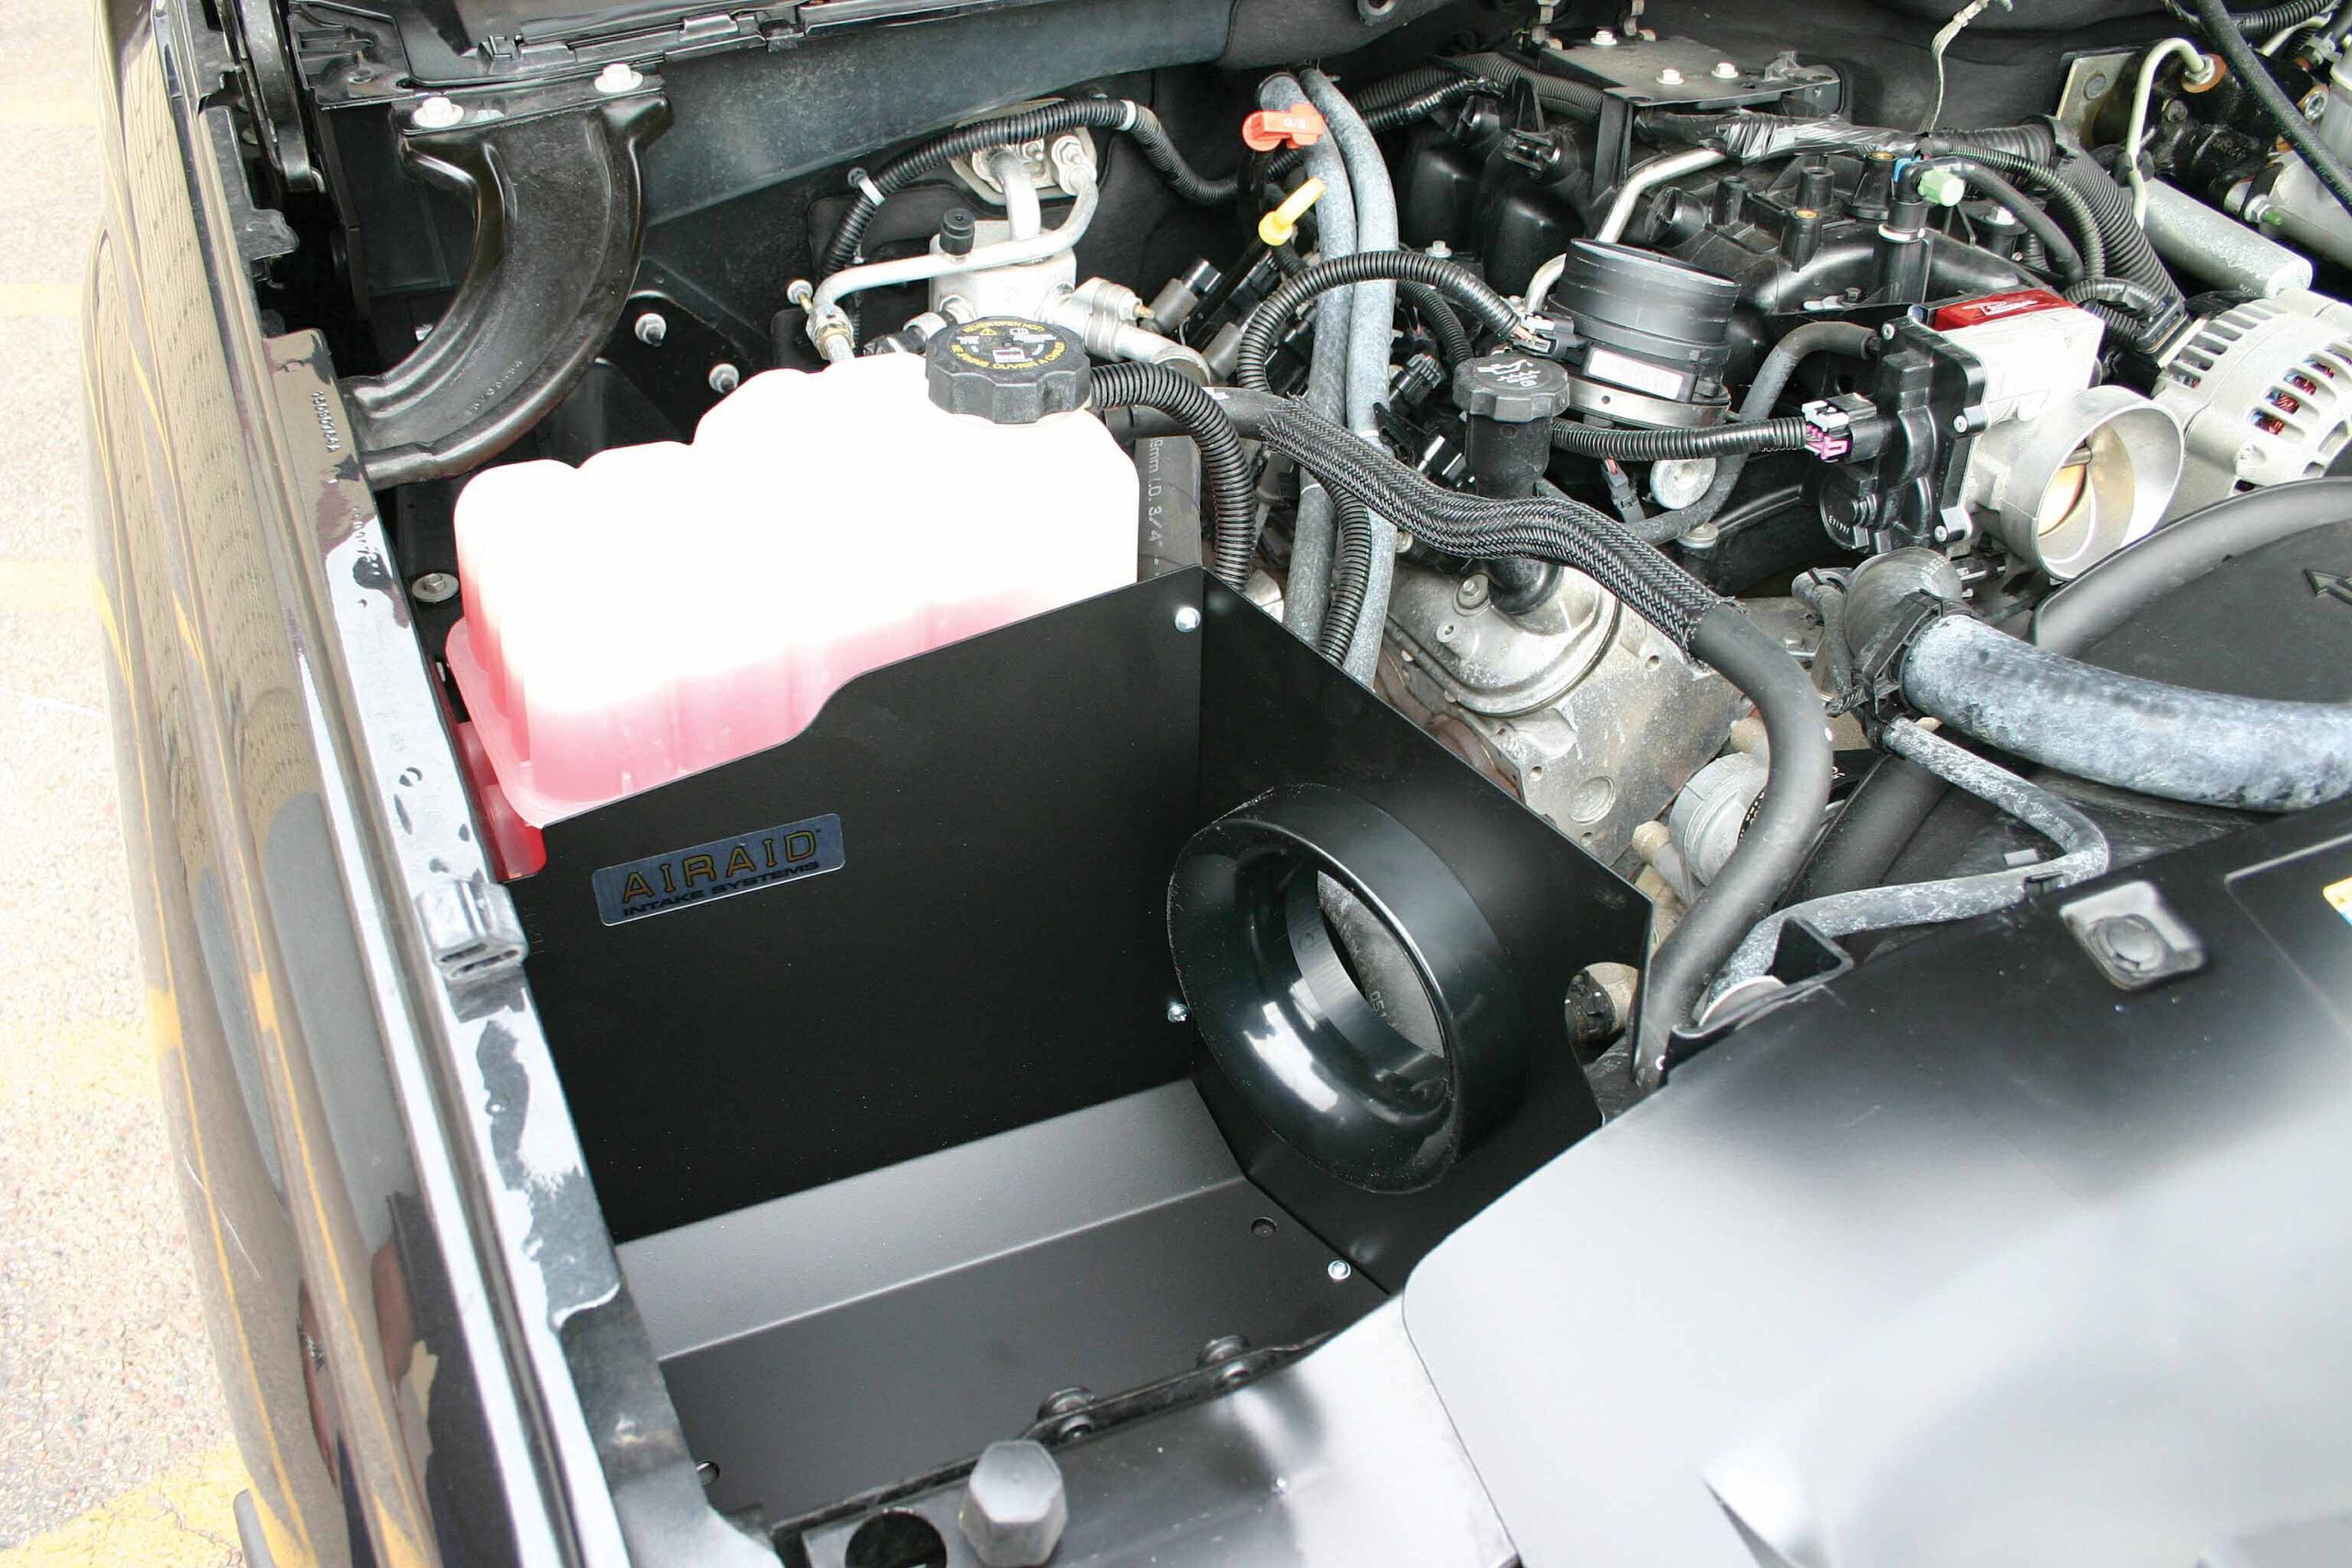
The finished install should look like this. Note the clearance between the hose clamp and the drive-by-wire solenoid on the throttle body. That’s why the clamp must be rotated. The final step is to reinstall the intake tube.
