05 Pub HCI Hot Compact Imports

Explore the world of chassis codes and the influence of the JDM movement as tuners decode vehicle identities. Dive into the unique story of Johnny Bauer’s Camouflage Green Effect DC2, a right-hand drive powerhouse with a meticulously designed interior, A’PEXi coilovers, Ray’s Gramlight wheels, and a potent 210hp JDM B18C ITR engine. Discover how form follows function in this exceptional build, where every detail, from the custom paint job to the performance-enhancing modifications, contributes to a standout presence in the competitive JDM scene.
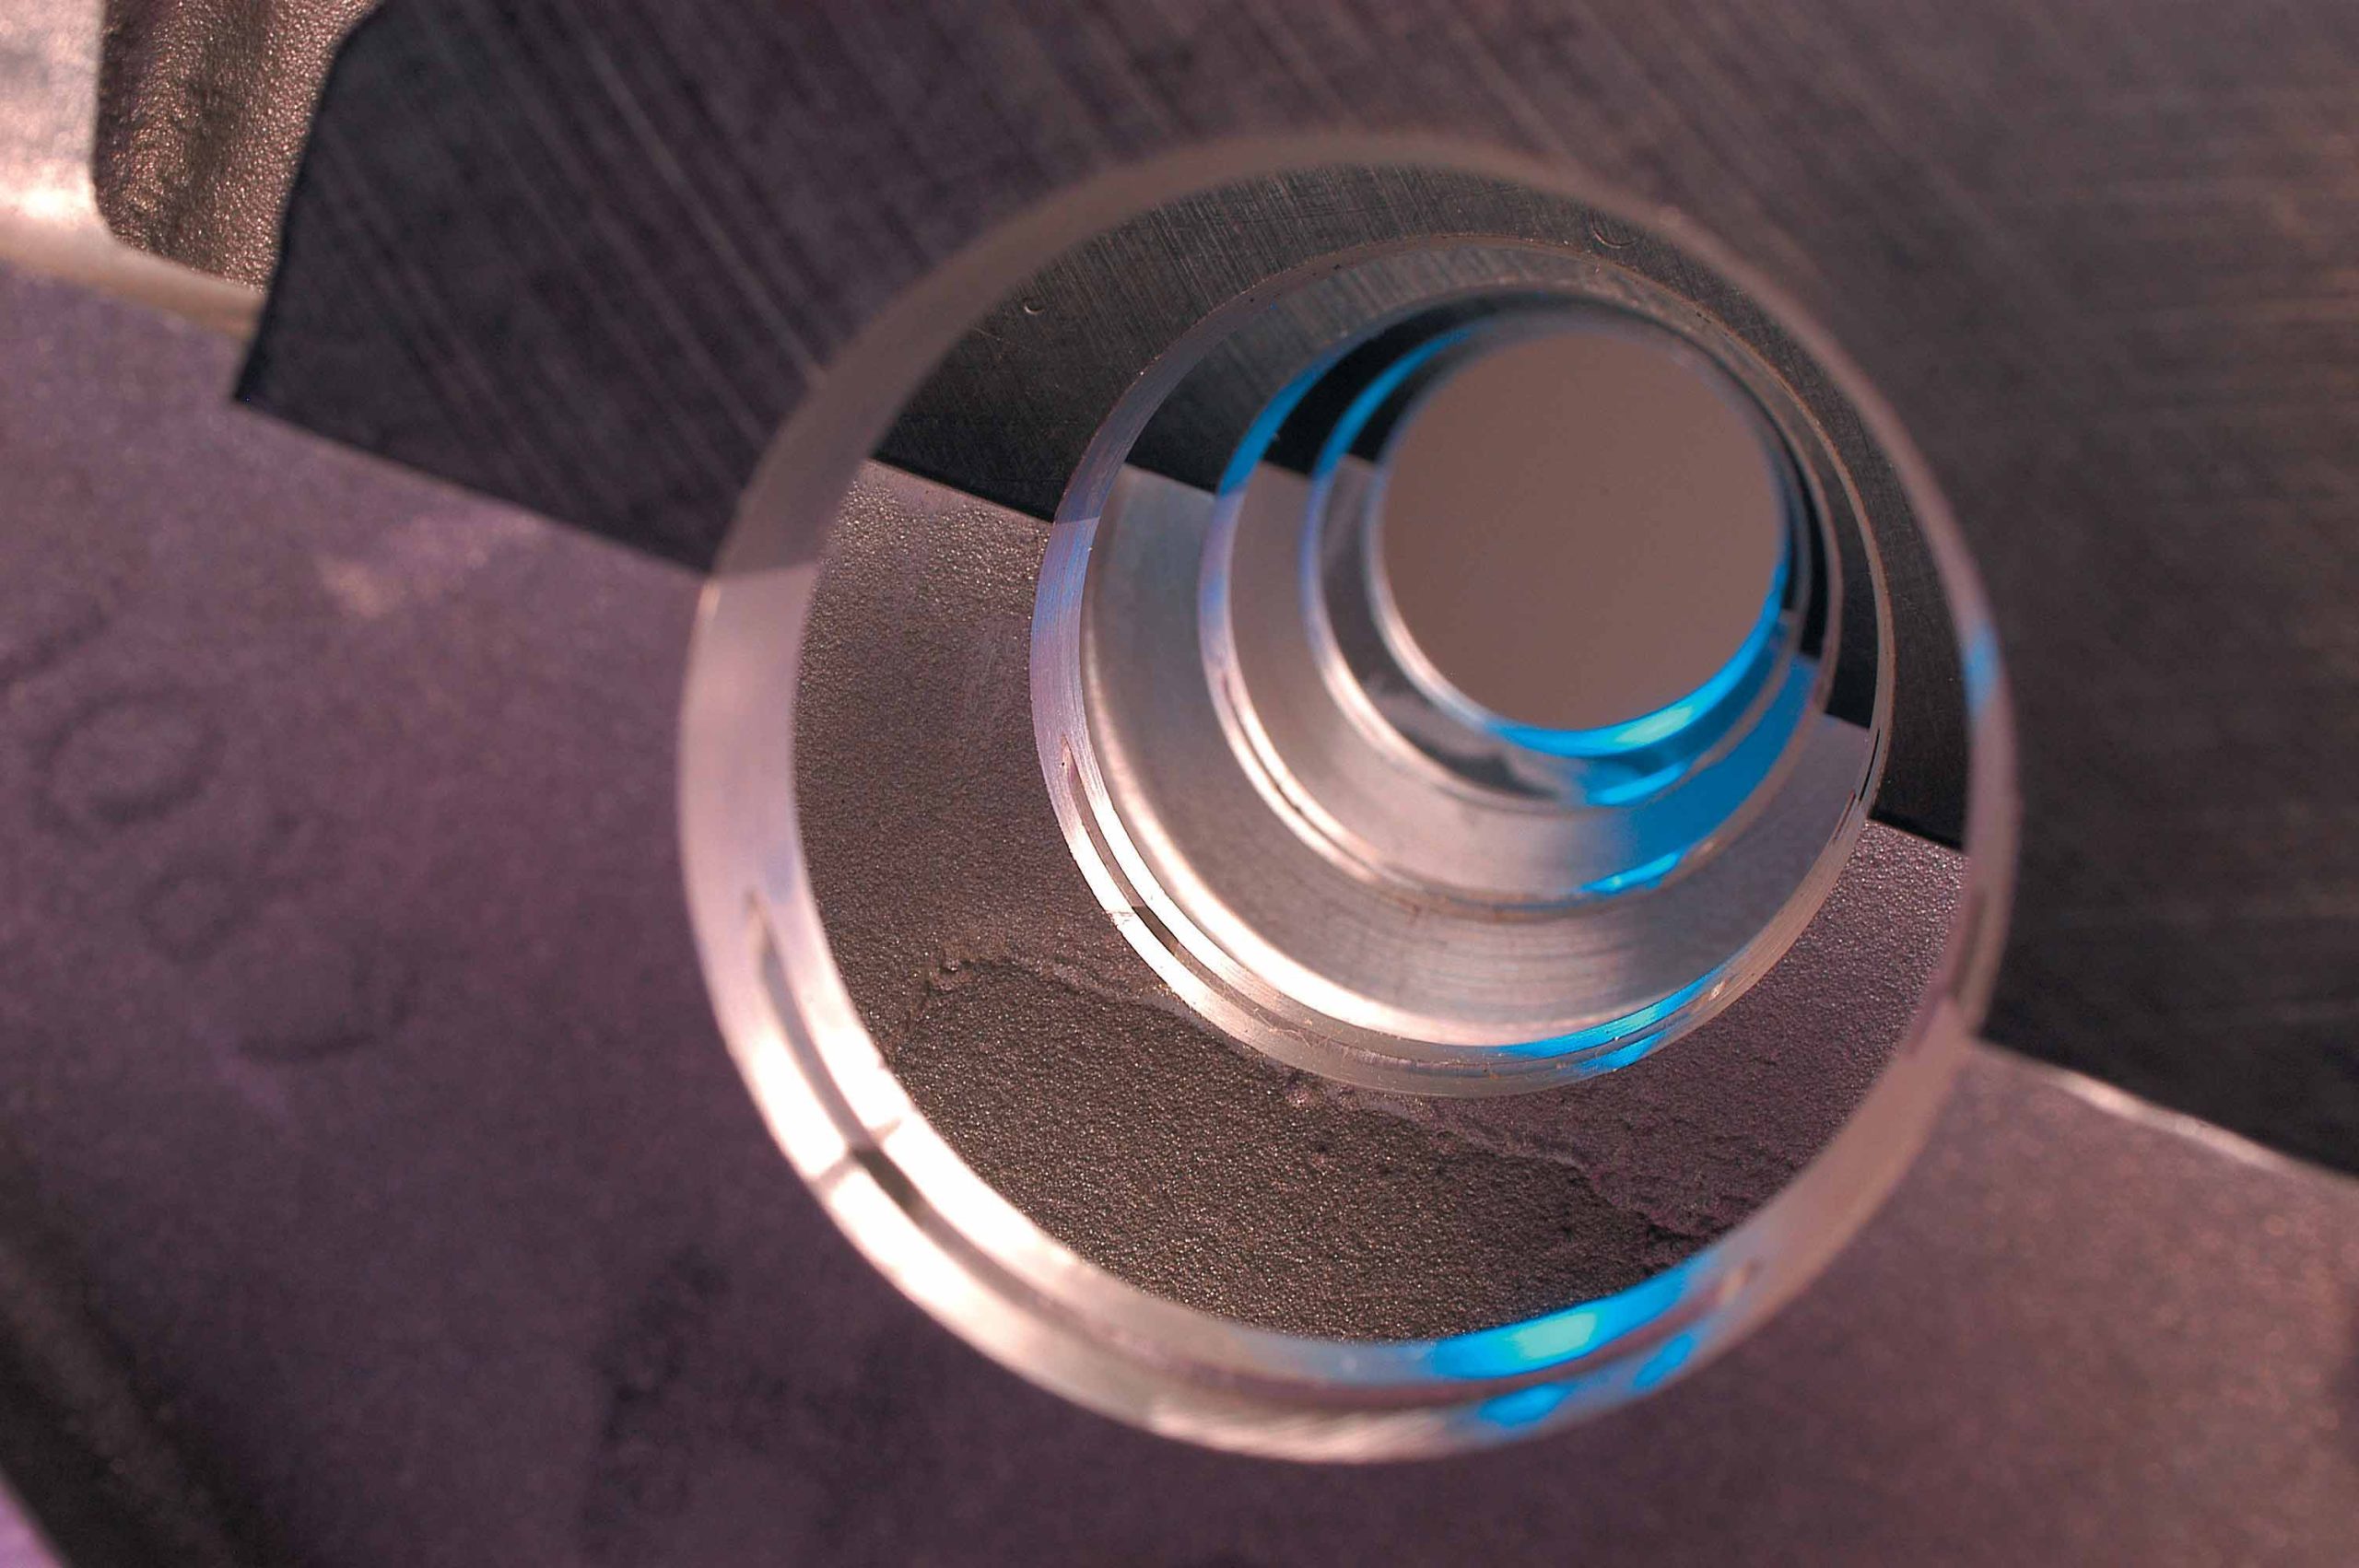
We all know and love the Honda/Acura B-series motors and for good reason. They have been and continue to be the mainstay of the sport compact performance market. Sure, the new K-series motors are making headway with more and more performance pieces and they look to succeed the B-series once the supply of used motors becomes available in the quantities (and pricing) currently enjoyed by the B-series. But for now, Civic, CRX and Integra engine swappers, not to mention the horde of those originally so equipped, have made the B16A, B18A/B, B18C and B18C5 the performance Honda motors of choice.

Have you heard of a company called Street Concepts? If you haven’t, get ready, as this month’s cover car belongs to its founder, Shawn Williams. But before we get into the story of this Mitsubishi EVO VIII, we have a couple questions for you.
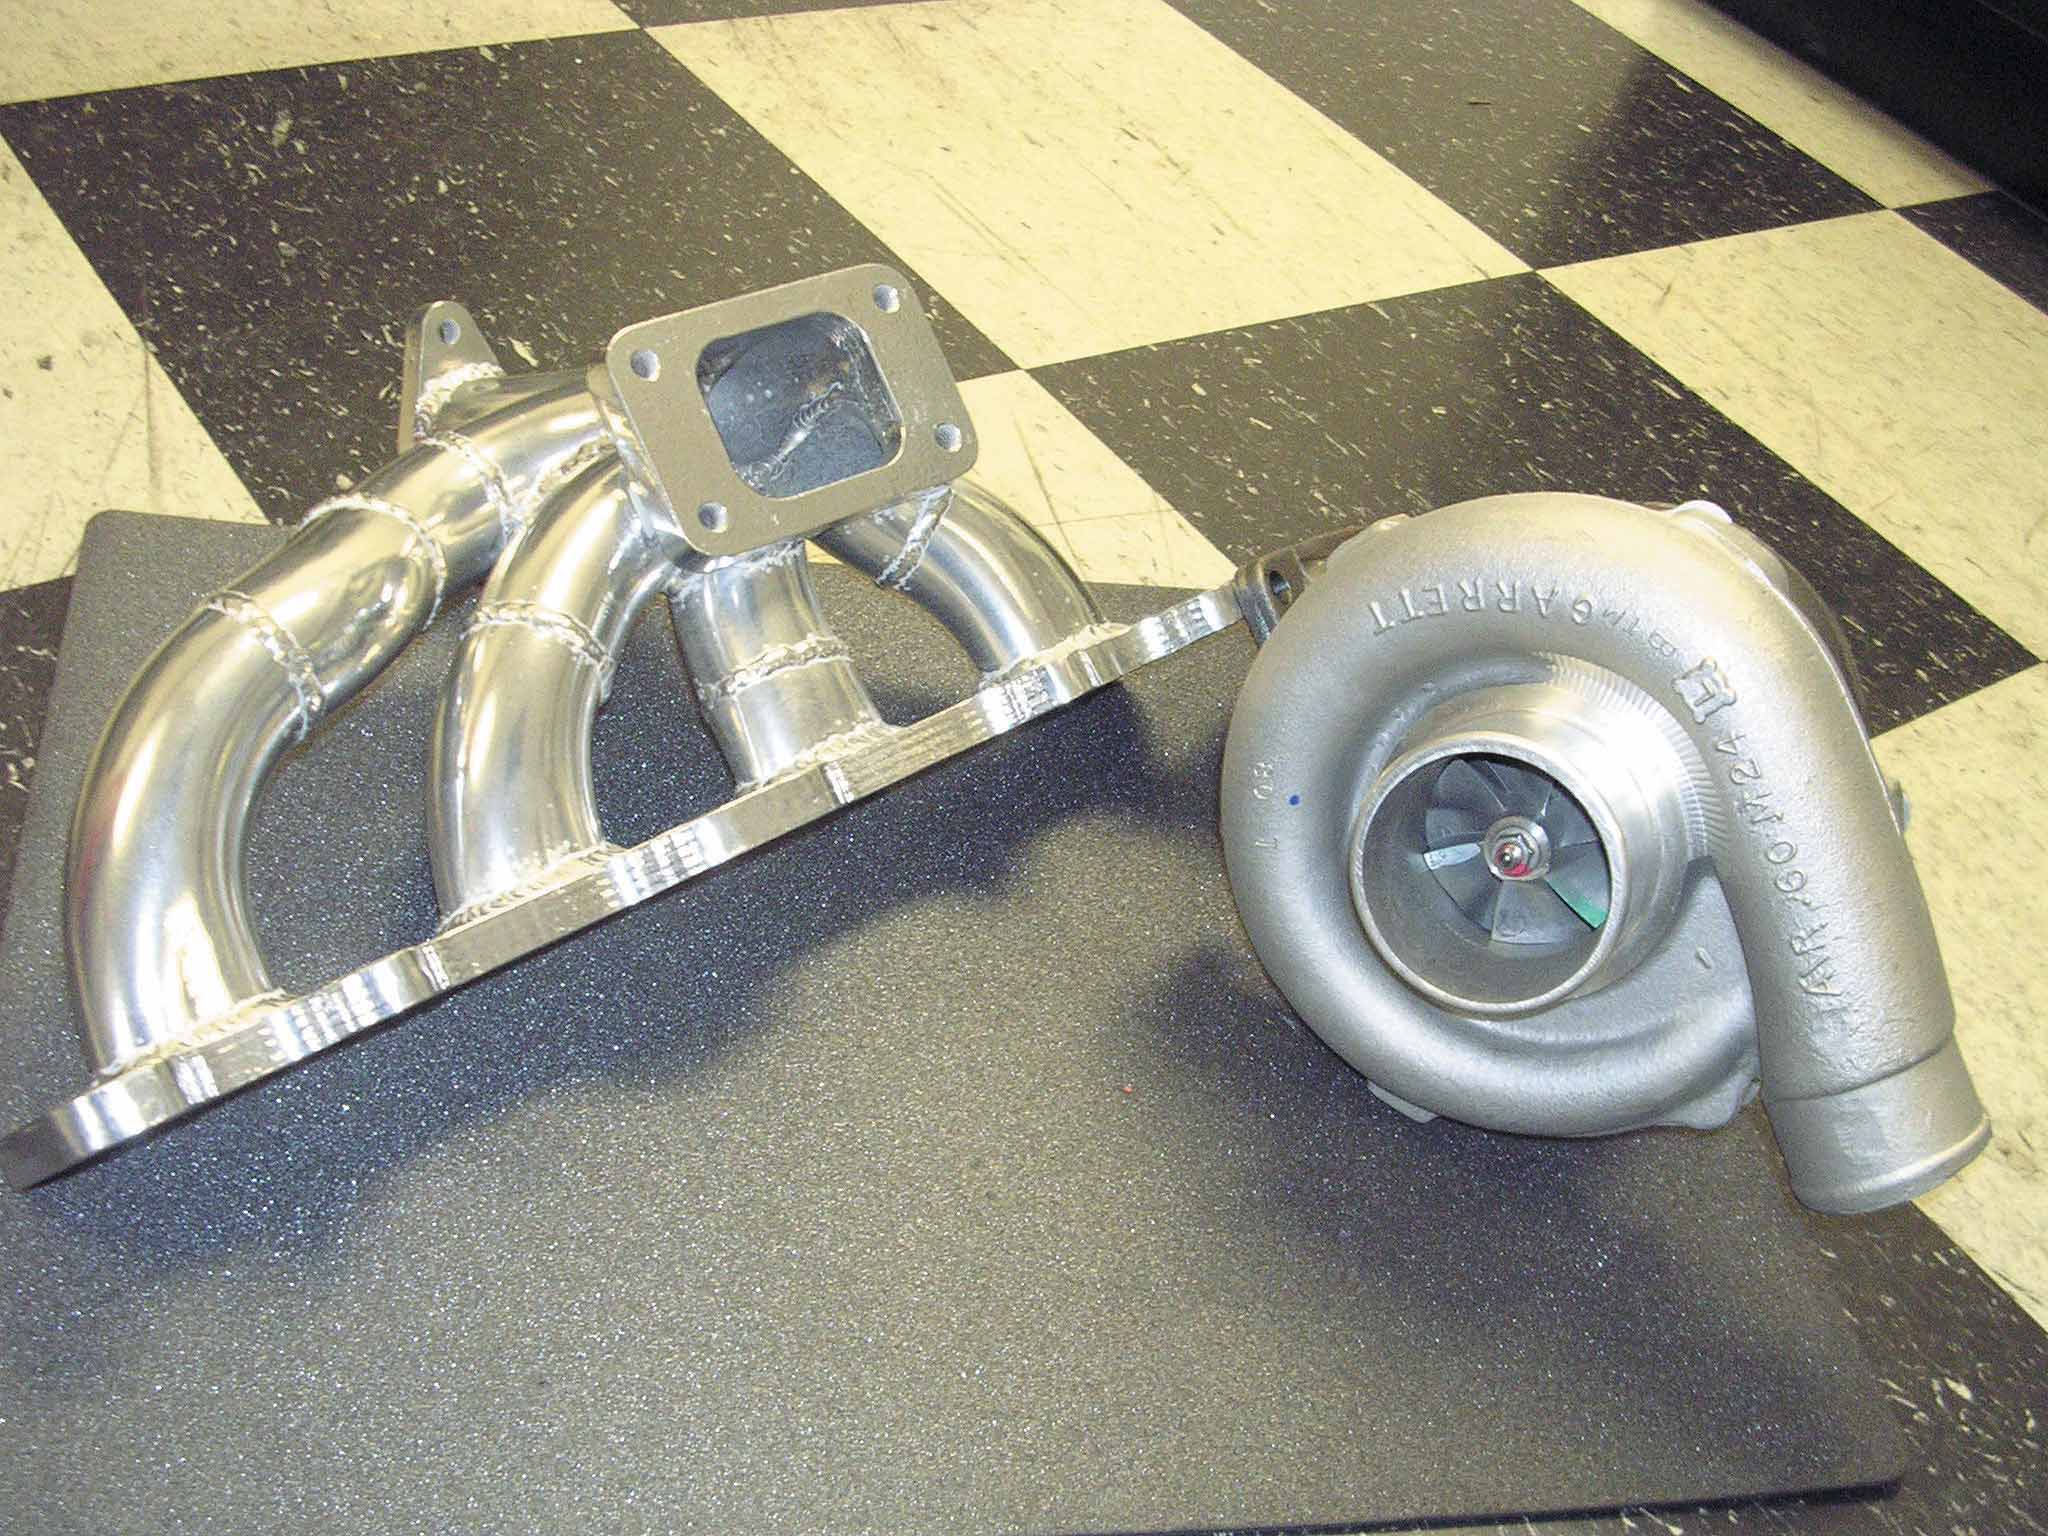
So, you are the proud owner of a brand new Dodge SRT-4 and you love the sound of boost. Better yet, you love how quick your little four-door is. The only problem is … you want it to be faster. The need for speed is killing you and you will do anything and everything to get your adrenaline flowing. You have seen Mike Crawford and Shaun Carlson go down the track in their very fast SRTs and now you want the same thing.
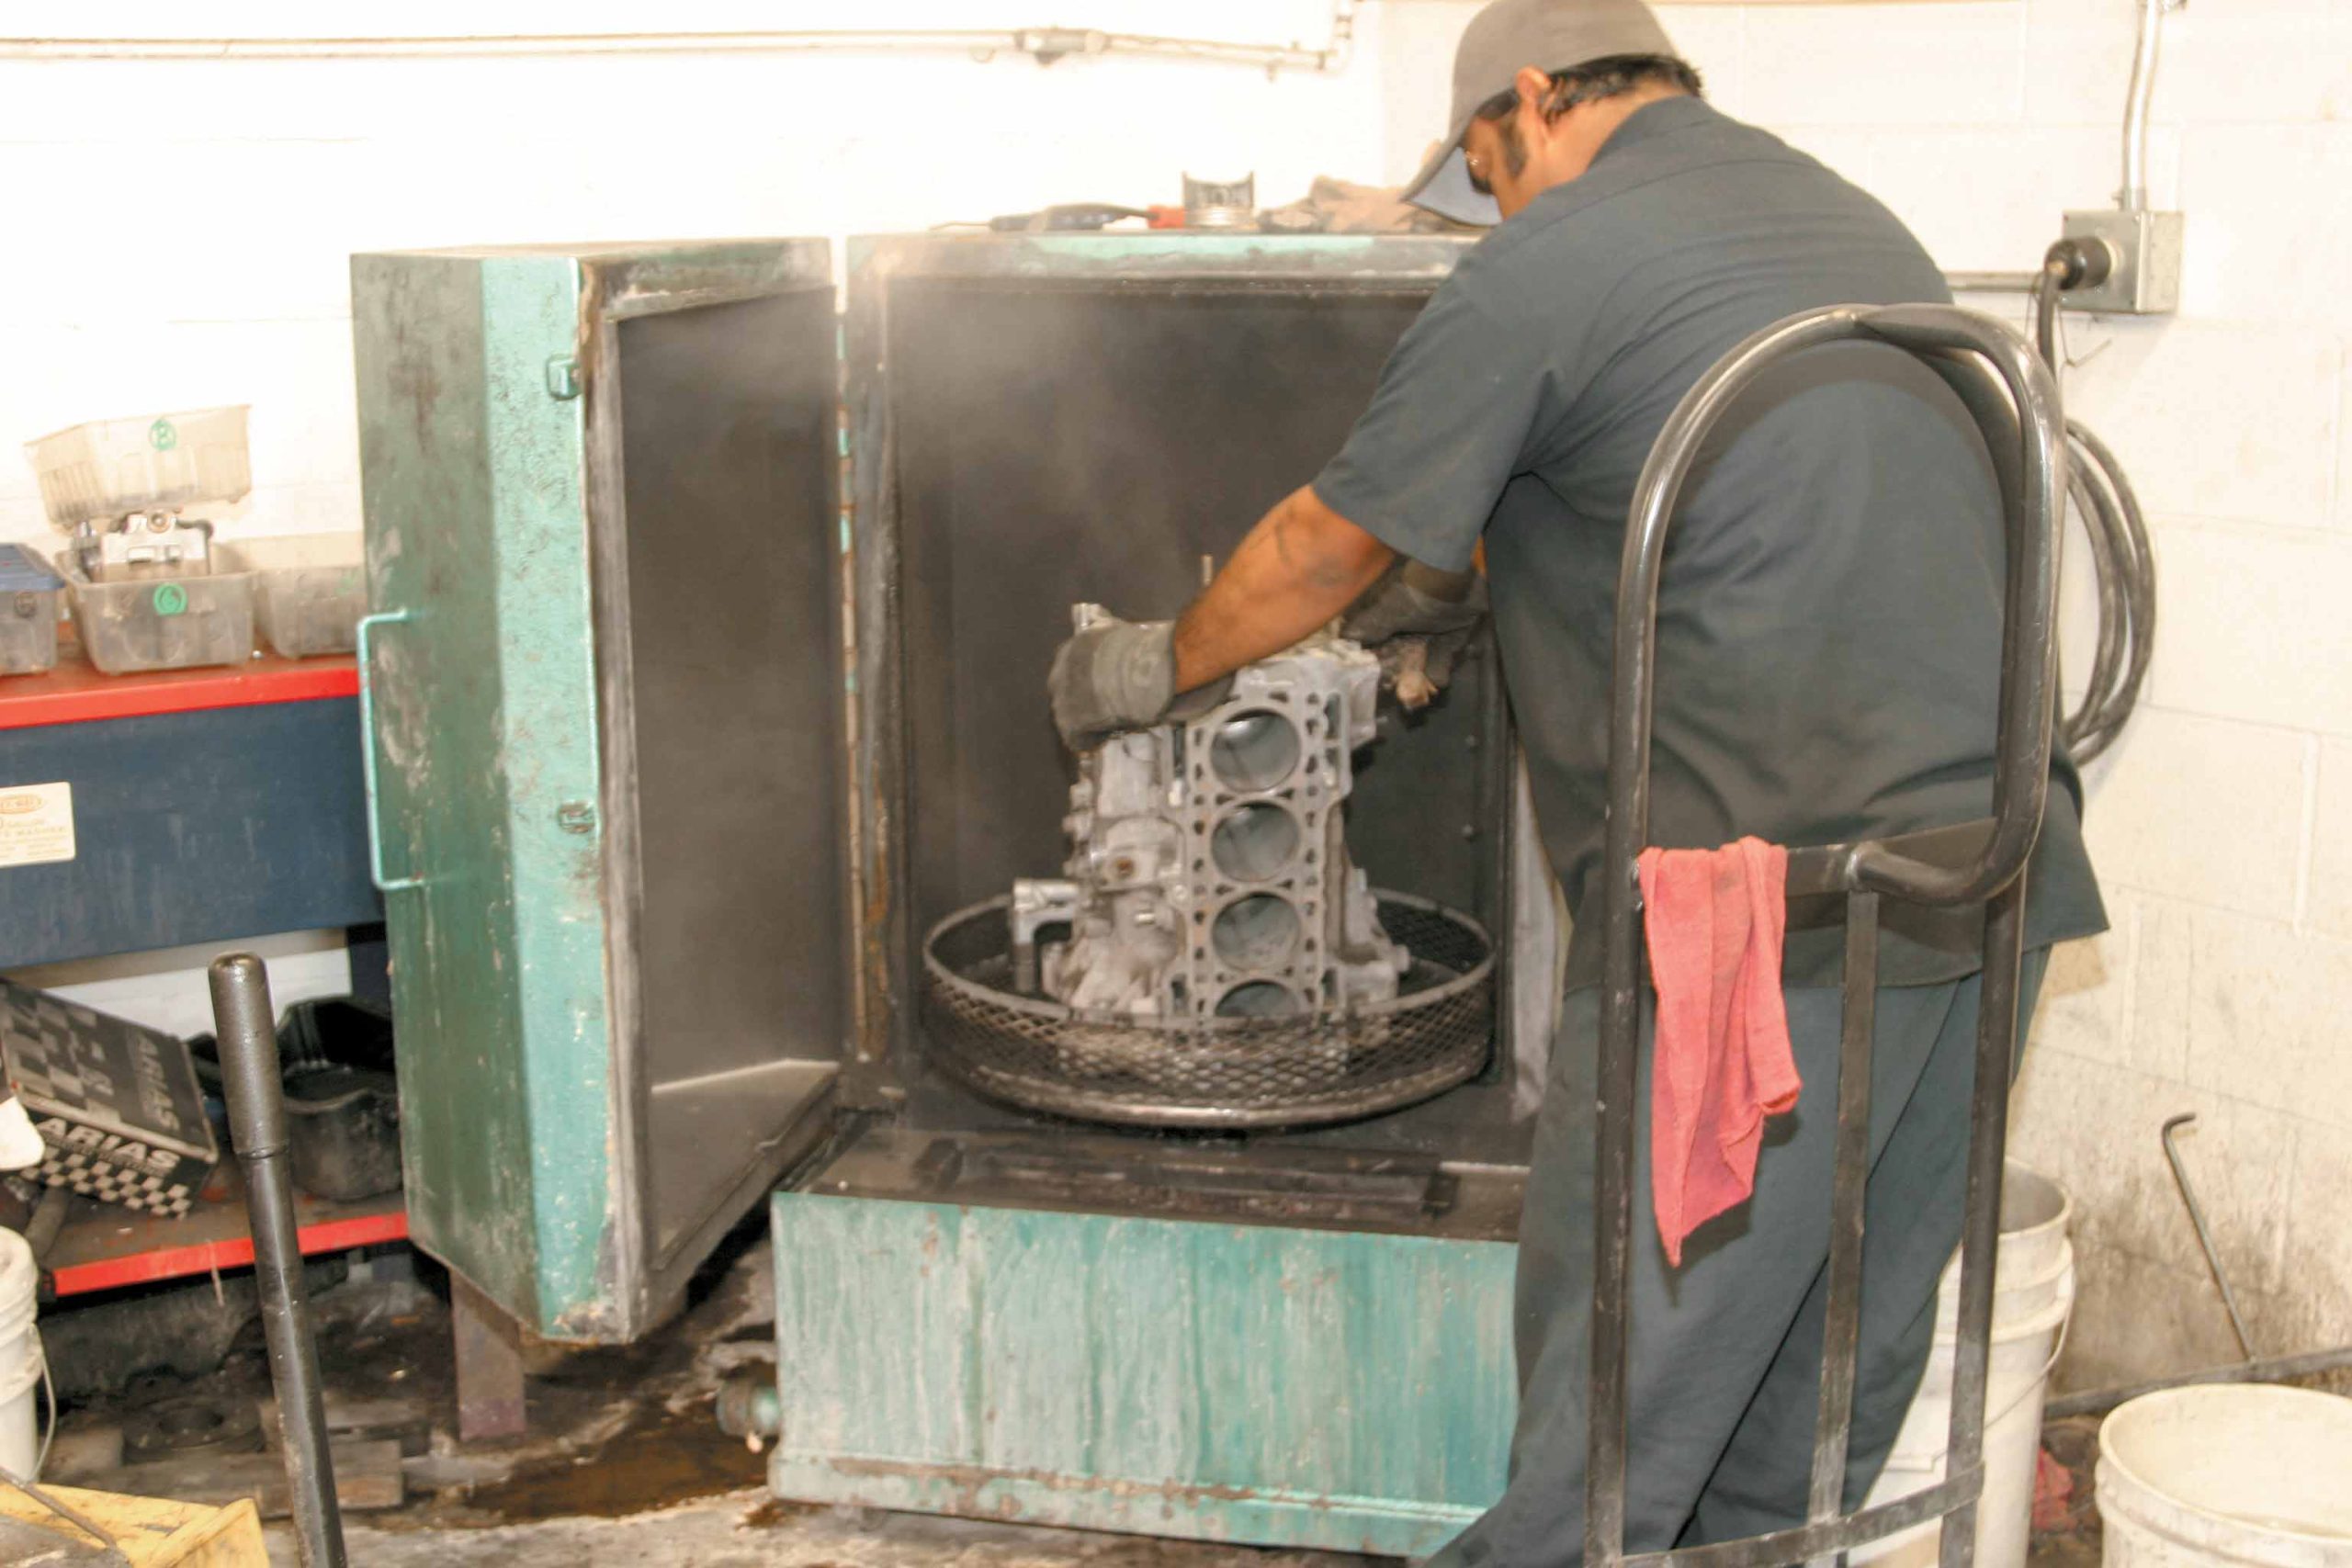
Sleeving A B-series Block Is Not New, But How It Is Done Can Make All The Difference Author These days, if you want to go fast on the track in a Honda, forced induction is almost a must, as most vehicles come with relatively small-displacement engines when compared to their domestic brethren. Basically, the more cylinder pressure and fuel that you can ignite, the faster you go. Admittedly, this all sounds pretty general, but for now, let’s roll with that thought.

As an automotive enthusiast, you know that a huge part of our scene is showing the world your pride and joy, and car shows have traditionally been the best places to do so. They give you the opportunity to talk shop with people who share the same passion. Individuals with different makes of vehicles are drawn together by the same love affair, whether they are into Hondas, VWs or Nissans, so these are great networking places to learn and make things happen.
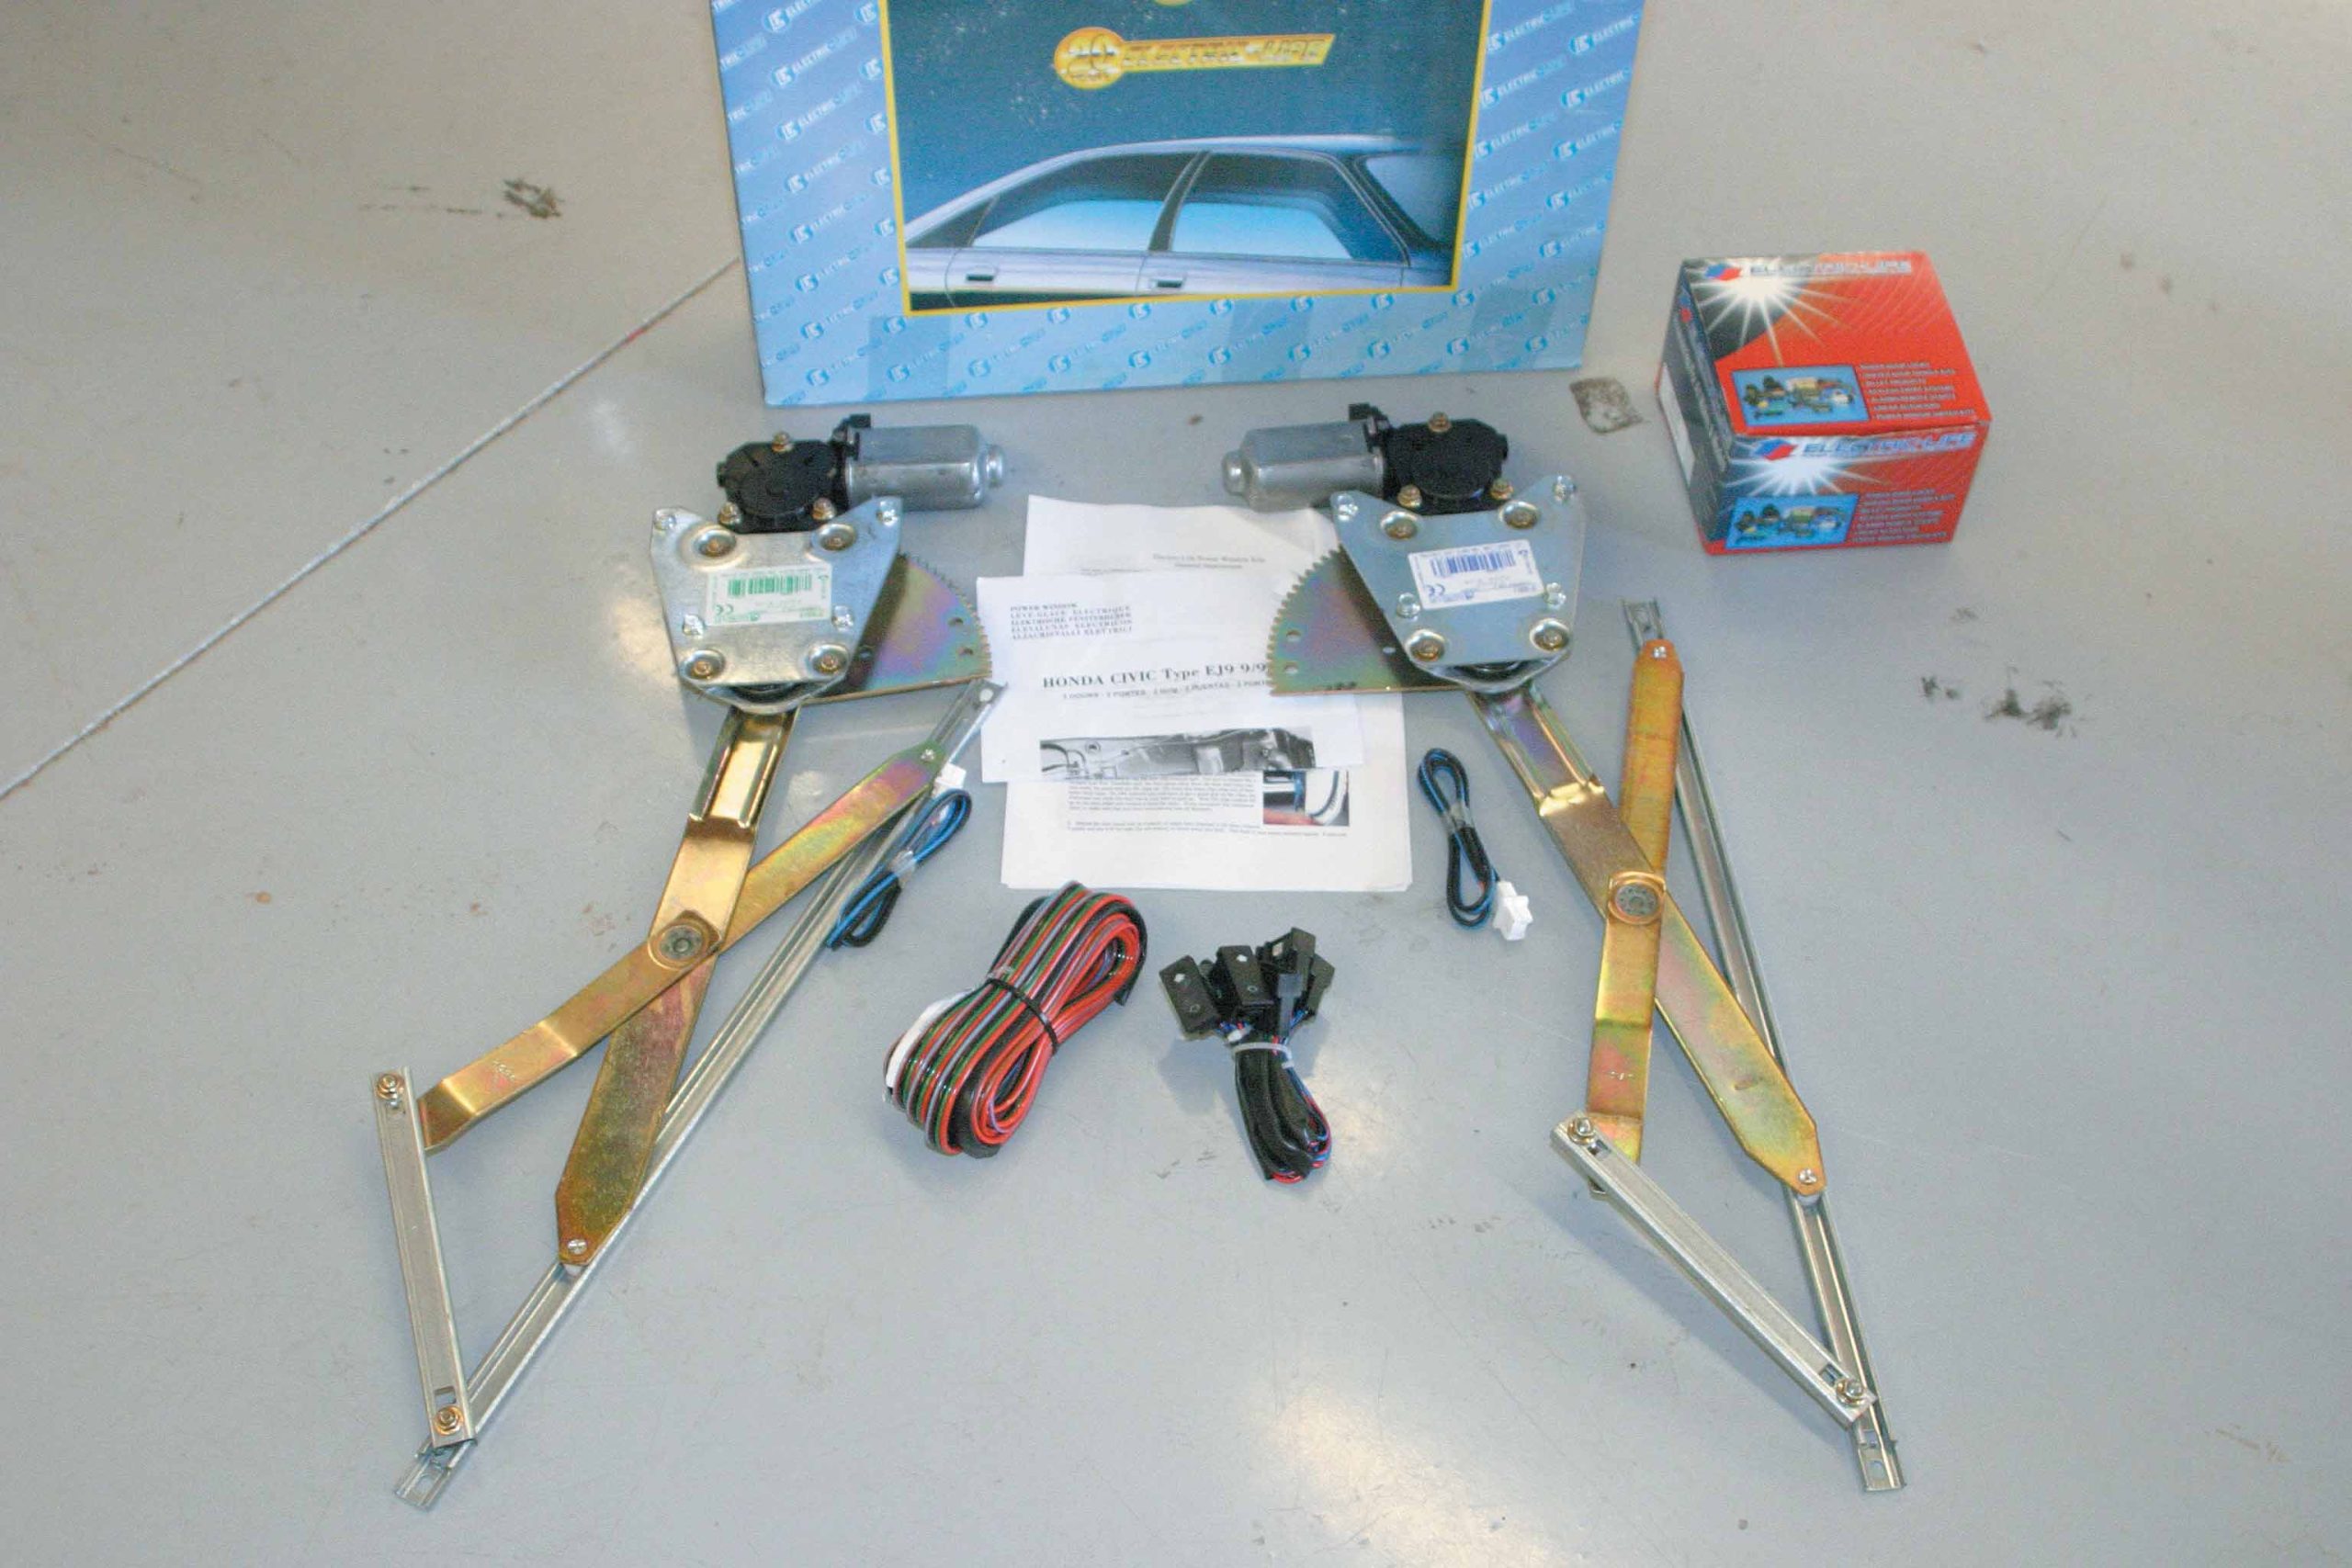
Installing Electric-Life’s Power Window Kit Author If you are like many of us who have at one time or another opted for a less expensive vehicle to build, then this how-to will be of interest to you. At the cost of certain features or creature comfort conveniences mundane items like power windows and locks we often begin with what may be considered a strippo model or a basic transportation car that is … well, available. These cars can, after all, make for a great foundation that can easily be personalized, just like we are doing here. If you are unfortunate enough to own such a vehicle like the Civic DX, which never offered power windows then the thought of adding them has no doubt crossed your mind. The notion that power windows would make your vehicle just a little bit nicer is a sound one and that is where an Electric-Life power window kit comes into play. Electric-Life offers several different types of electric window kits, along with a full range of accessories for just these types of cars. And how about this little-known fact: Electric-Life power window systems are standard equipment on all Ferraris. So, with a set, you could say that you have the same! In addition to the typical universal-style power window kits, Electric-Life manufactures a large number of vehicle-specific kits that completely replace the manual window regulator and can also be used to replace a faulty OEM power window regulator. In our case, for the Õ00 Honda Civic, Electric-Life builds a complete, custom-fit, bolt-in window kit. Along with the window kit, a complete switch kit and wiring harness were also obtained from Electric-Life. To do the job right and to get the lowdown for this how-to, we took the car and the kit down to Unique Car Audio in Gilbert, Arizona, to document the installation. Check out the following photos and see if you feel this is something you can do in your backyard to add a bit of convenience to your ride. Another thing: when customizing the interior of your car, it is often easier to replace the existing window mechanisms and include a power set for that custom touch. Either way, this is an inexpensive way to add a bit of class to that tuner car of yours. 1. Here is the door before we started with the power conversion. Soon the manual crank will be gone and the pure convenience of power will take its place. 2. Before the door panel could be removed, the door pull was unscrewed and removed from the door. 3. The panel behind the door handle needed to be removed as well. 4. The clip that secures the window crank was removed and discarded. 5. Finally, the speaker grille was removed, as well as the screws that secure the door panel behind it. 6. The door panel was removed by pulling it away at the bottom and lifting up to clear the inner door panel structure. 7. Here you can see the factory manual window regulator and the four bolts that secure it to the door. 8. The four bolts around the crank were removed, along with two bolts that secured the bottom of the regulator to the door. 9. A pair of bolts secures the window glass to the regulator. Both of these were removed and the glass lifted up. 10. A few strips of masking tape hold the window in its up position so it will not interfere with the removal and installation of the window regulators. 11. With everything disconnected, the manual window regulator was removed through the large hole in the door and set aside. 12. Here you can see the Electric-Life electric regulator (bottom) and manual regulator (top). 13. Before installing the new electric window regulator, the wiring was plugged into the motor, as it is difficult to access once the regulator is in the door. (Trust us!) 14. The new regulator is simply fit into the door through the same hole that the manual regulator was removed from. 15. The new unit was test-fit before bolting on the screws. 16A,B. Using factory holes and the included hardware, the power regulator was secured to the door. 17. Next, the window was dropped back into position and secured to the regulator using the factory hardware. 18. Since our switches were going to be mounted in the center console, only two wires were run into each door. These wires were connected to the leads coming from the window motors. 19. To supply power to the system, the wiring harness was tapped into the ignition wiring beneath the dashboard. 20. The ground wire was secured to the metal chassis of the Honda, also beneath the dash. 21. With the wiring connections completed, the lower dash panel was reinstalled and all wiring was run through the center console. 22. The loose ends of the wiring were run up through the factory opening in the center console and through the Electric-Life switch plate. 23. Quick disconnects were added to the switch wiring to allow them to be removed in the future, if needed. 24. The switches were plugged into the wiring, making sure to test the polarity of the motors to see if it was correct. 25. With the wiring connected, the switches were snapped into place. 26. The finished switches fit perfectly into the blank spots in the Honda center console. 27. With the window crank removed, the opening in the door panel was filled with fiberglass and the panel was re-covered with matching suede. ARTICLE SOURCES
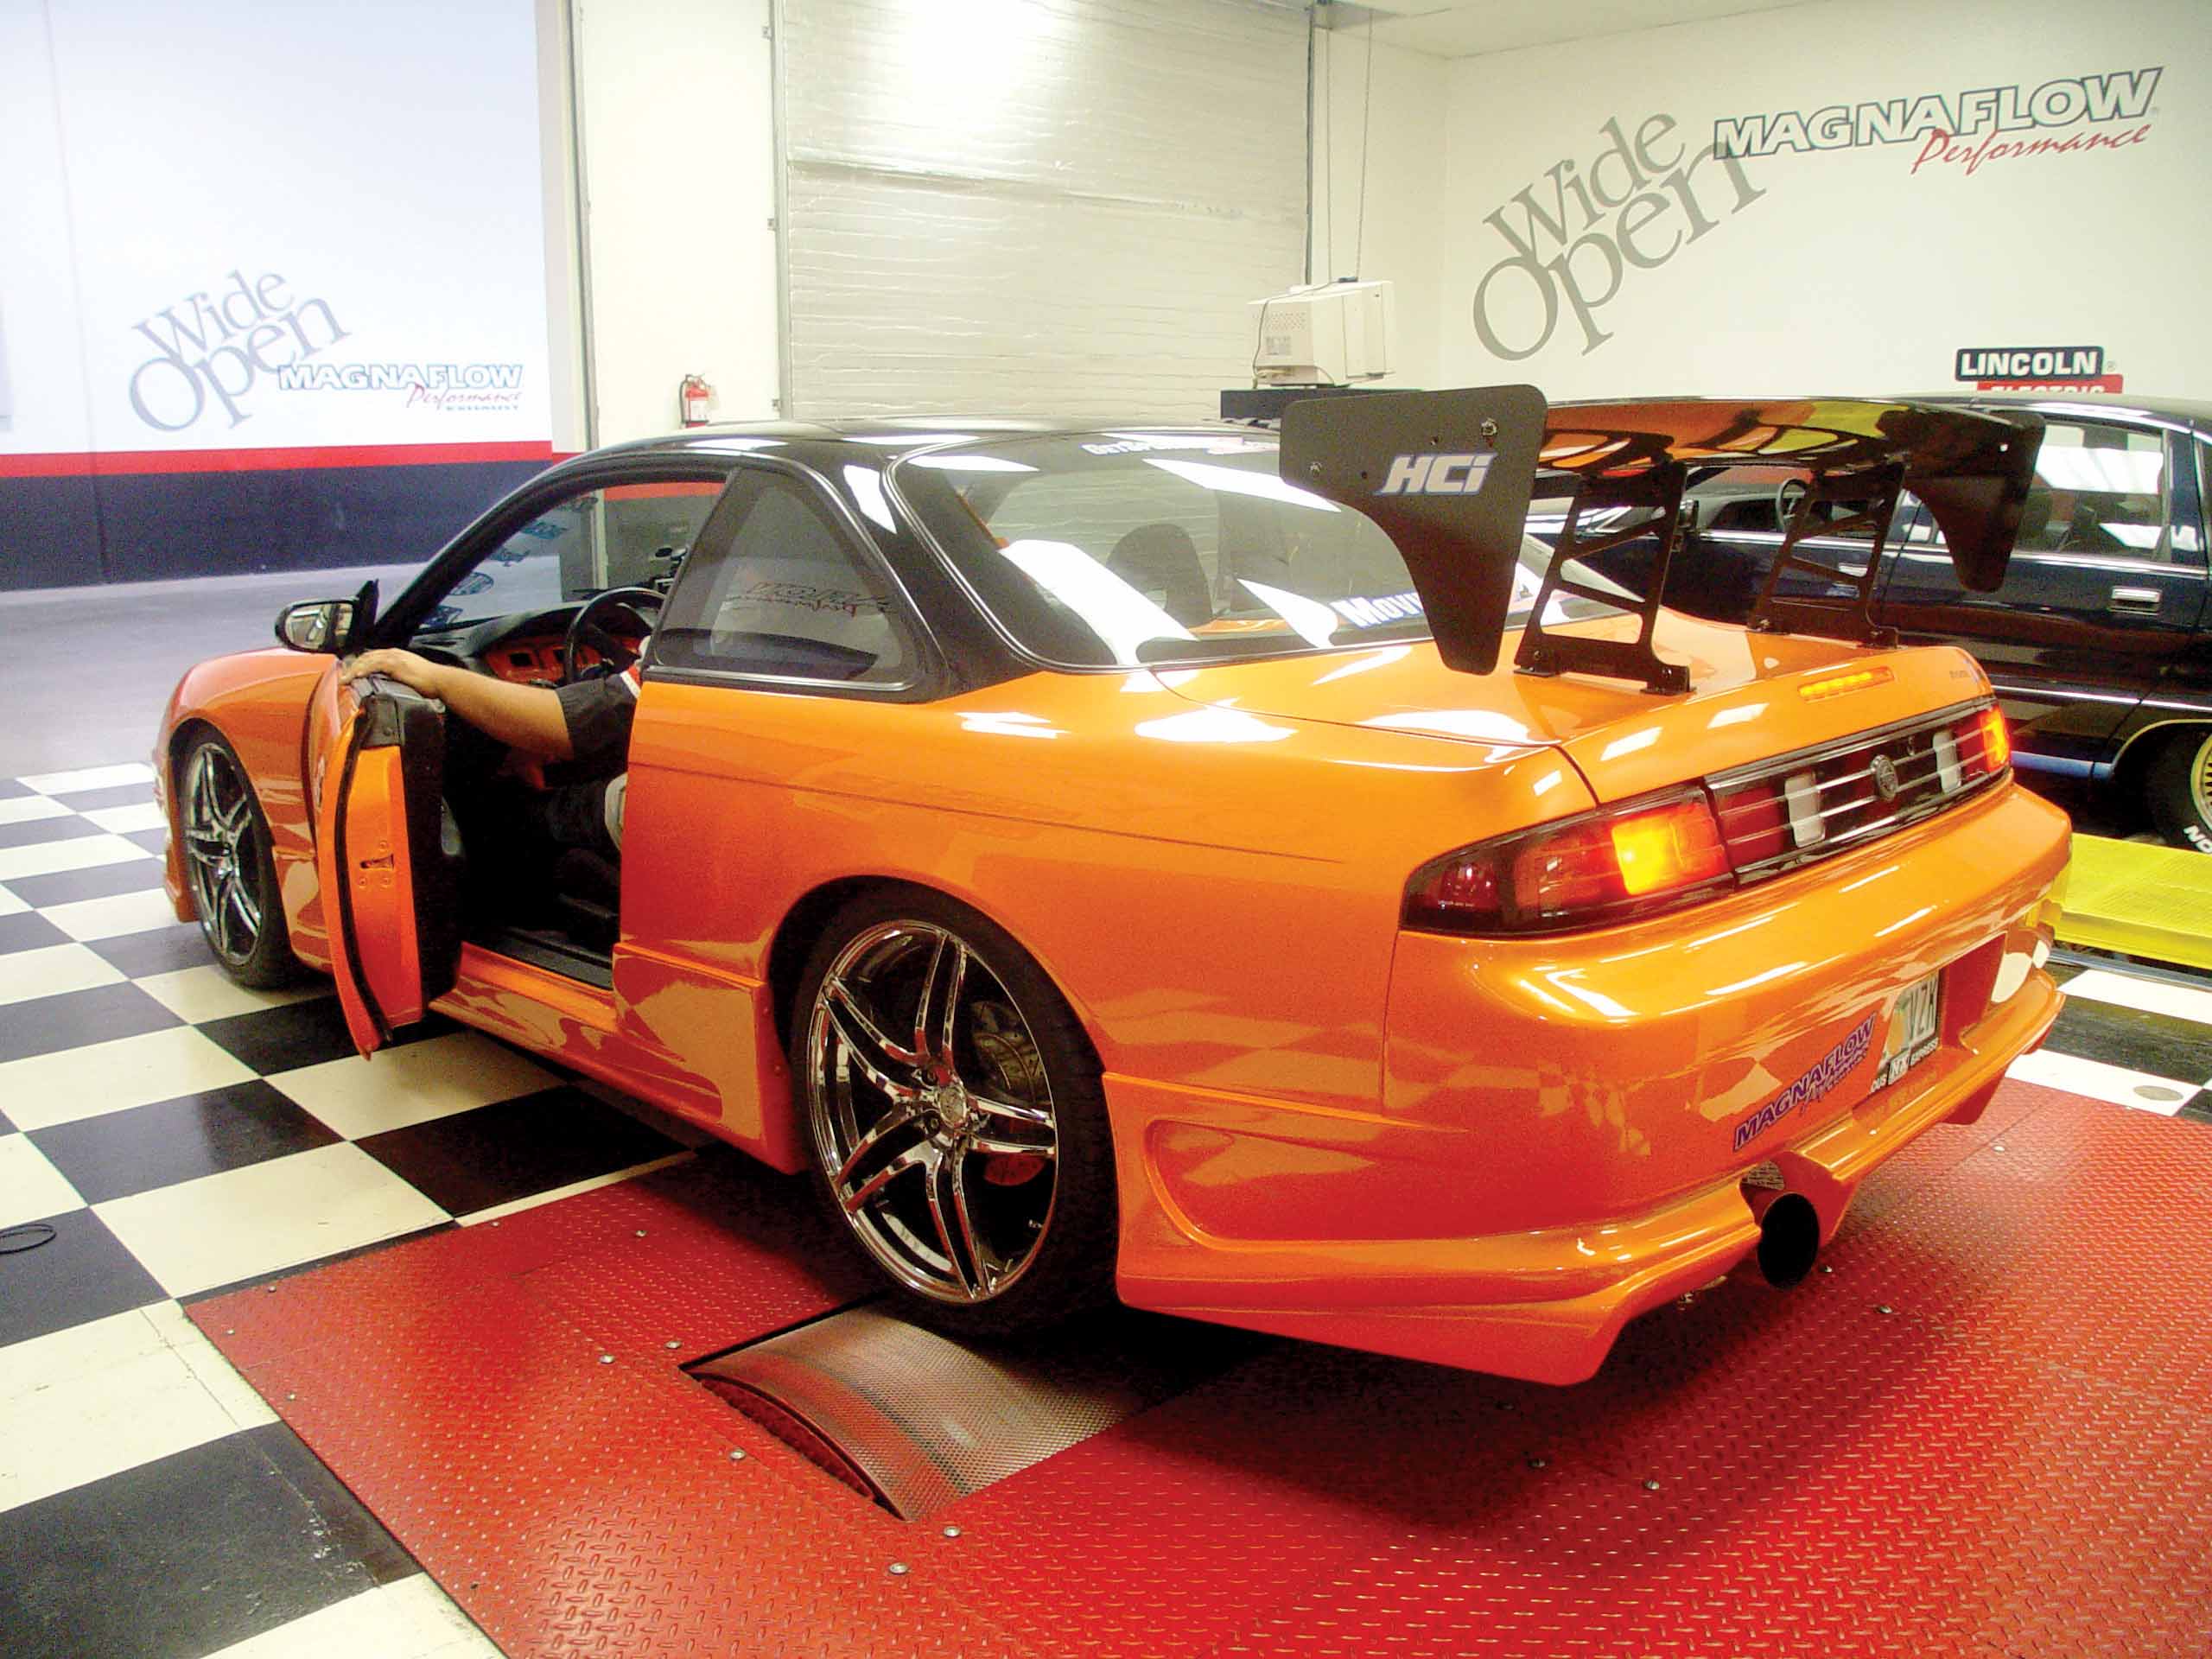
Installing The MagnaFlow Ti On A Nissan 240SX Author Everywhere we go, we hear people talking about how cool the new titanium stuff is. But do people even know what titanium is? Does it really make a difference? When I got a call from Craig Lieberman, marketing director of MagnaFlow Performance Exhaust, to tell me about the company’s new Ti line, I was totally stoked. Not because it had anything to do with titanium, but because I was going to get a firsthand look at what the new stuff looked like and how it performs on the dyno. Although we didn’t expect anything in particular in terms of power, the weight savings alone was worth the install. I was given a tour of the huge MagnaFlow Tech Center from Richard Waitas, the gentleman in charge of doing the tech install and dyno runs on our new exhaust. The crew offered me a dyno run with my old exhaust and promised it would perform other dyno runs after the new Ti exhaust was installed. After strapping the 240SX in and double-checking all the straps, we were ready to rock and roll with the first couple of dyno passes. After four passes, Waitas was satisfied with the numbers and it was time to move the car from the dyno onto the lift. As you can tell from the photos, these guys don’t play around. Waitas took a peak underneath the car and made sure that the new exhaust would have no problems bolting on. Upon inspection of the old exhaust we noticed right away that it was a little beat up. The old unit was considerably larger than the new MagnaFlow unit and the piping and canister had been dinged up from the daily grind. With its smaller piping and smaller canister, the new exhaust will make road clearance 100-times better. The crew removed the old exhaust and it was time to bolt on the new Ti unit, which requires one or two people. Most other applications that we have come across are built as one piece, requiring at least two people to do the installation. For this particular install, Waitas enlisted an assistant. The Ti unit is broken down into two sections: the front section connects to the resonator and the second section contains the canister. The first thing that Waitas did was bolt the first section to the resonator. Then he connected the first section to the stock hangers. Nothing was fully tightened always make sure that everything is correctly installed and aligned before fully tightening the hardware. Another important rule: Always start the install from the front and work your way toward the back, making sure that everything is aligned. Waitas then took the second section and bolted it up to the front section, which was now hanging securely on the hangers. Then he made sure that the canister was secure by connecting the second section to the hangers located at the rear of the vehicle. Next, he made sure that everything lined up and that the canister looked just right from behind the car. After it was all secure, he went back and tightened everything. The only tools needed for this install were 12mm and 14mm wrenches and a set of hanger pliers. Magna-Flow supplies the rest of the hardware, including washers and an Allen wrench. Before we did the final dyno run, Waitas and Lieberman wanted to sound-test the new exhaust. Now, this exhaust unit was made for a 240SX with a KA24 motor; they had never dyno’d the product on a 240SX with an SR20DET motor. As Waitas drove the car outside, I could already tell that the new piece was a work of art. It not only looked great, but it sounded even better. As we watched Waitas do the sound test, we noticed how quiet the new Ti piece is. With the silencer in place, the level never got over 93 dB at full throttle. After testing the exhaust with the silencer, Waitas took it out and redid the test, just to see if there would be a difference. To our surprise, the decibels only went up to 96 dB without the silencer. Not bad at all. I loved it because it was nice and quiet, yet sounded just right. Now was the moment of truth. Would the Ti exhaust be able to put out better numbers than the old unit? Waitas pulled the car back on the dyno and strapped it down one more time. Most importantly, before we started our next series of dyno runs, Waitas disconnected the battery for about 10 minutes. This resets the computer and gives it a fresh start with the new unit. After a 10-minute break, it was time to see what this baby could do. A total of four dyno runs were done and the new Ti exhaust put out an extra 6 hp and 3 lb-ft of torque. Not too bad if you ask me! Note that the 240SX didnÕt have a stock exhaust; it had an upgraded unit with 3.25-inch piping. The new Ti exhaust is only using 2.25-inch piping and the numbers still improved. If you would like one of these beauties, you can pick one up for anywhere between $895 and $1,400, depending on whether you get the resonator (which is not to be confused with the silencer; that is included at no extra charge). 1. Notice that the 240SX had to be put on the dyno in reverse. Remember that the car is rear-wheel drive. 2. After reversing the car onto the dyno, Richard Waitas placed a stopper underneath the front and rear tires to make sure that the car stayed securely in place. Next it was time to strap down the entire car. Waitas made sure that the front and rear were totally secure before the dyno runs began. 4. After the car was secure, Waitas ran the wire from the computer to the coil. This has to be


