

THE AUTO BUILDER
Menu
Featured


LS1 CAM SWAP AND DYNO TEST
When it comes to adding power to your small-block Chevy, the camshaft is an integral part of the performance equation. Luckily for owners of Chevy’s latest iteration (Gen III) of the famous small block, the modern fuel-injected LS1 responds just as well to camshaft upgrades as the LT1s, L79s and L48s of old. Naturally, cam technology has come a long way since the days of the Duntov 30-30 profile. The improvements in cam technology are important, as the new LS1 is head and shoulders above any of the old ’60s and ’70s muscle-car small blocks, regardless of the advertised power ratings.
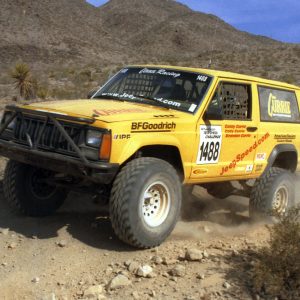
Jeepspeed
Between 1984 and 2001, Daimler Chrysler built about two million eight hundred thousand Jeep Cherokees. They were built in several combinations—two and four door, two and four wheel drive and stick or automatic and with three different engines. The vehicle was not well received. In print they were tagged as being too long, too heavy, under powered, poor brakes , and worst of all—uni-body construction. Before every Tom, Dick and Mary had an SUV in the driveway, young families were getting to work, going to school and having weekend fun. Give credit to Jeep for introducing a lot of young people to off-roading thru the Cherokee line.

WHO NEEDS THE LOTTO?
As the saying goes, “some guys have all the luck.” Out in the great state of New York, there is more going on than the Manhattan madness that most folks envision. There’s a distinct geographical separation between the urban density of Manhattan and the more rural confines of the area known as upstate New York. Most of us think of New York the city, where all the cars seem to be yellow, but in other parts of the state, driving is not a form of gladiatorial combat and there are more than a few hot rods around.


Spotlighter
POPULAR READS
-
Product Spotlight: Bill Mitchell Products Aluminum LS Engine Block
-
PRODUCT SPOTLIGHT: 60-66 Chevy C10 Fresh Air Vent Block Off Plate
-
Product Spotlight: Pyramid Optimized Design Sequential Aurora Taillight for 1964½–1966 Mustang
-
PRODUCT SPOTLIGHT: Cam Covers for GEN/3 Coyote from Pyramid Optimized Design


StreetFighter Trans
Author
Chris Tobin
Photography By Chris Tobin And Courtesy Of TCI
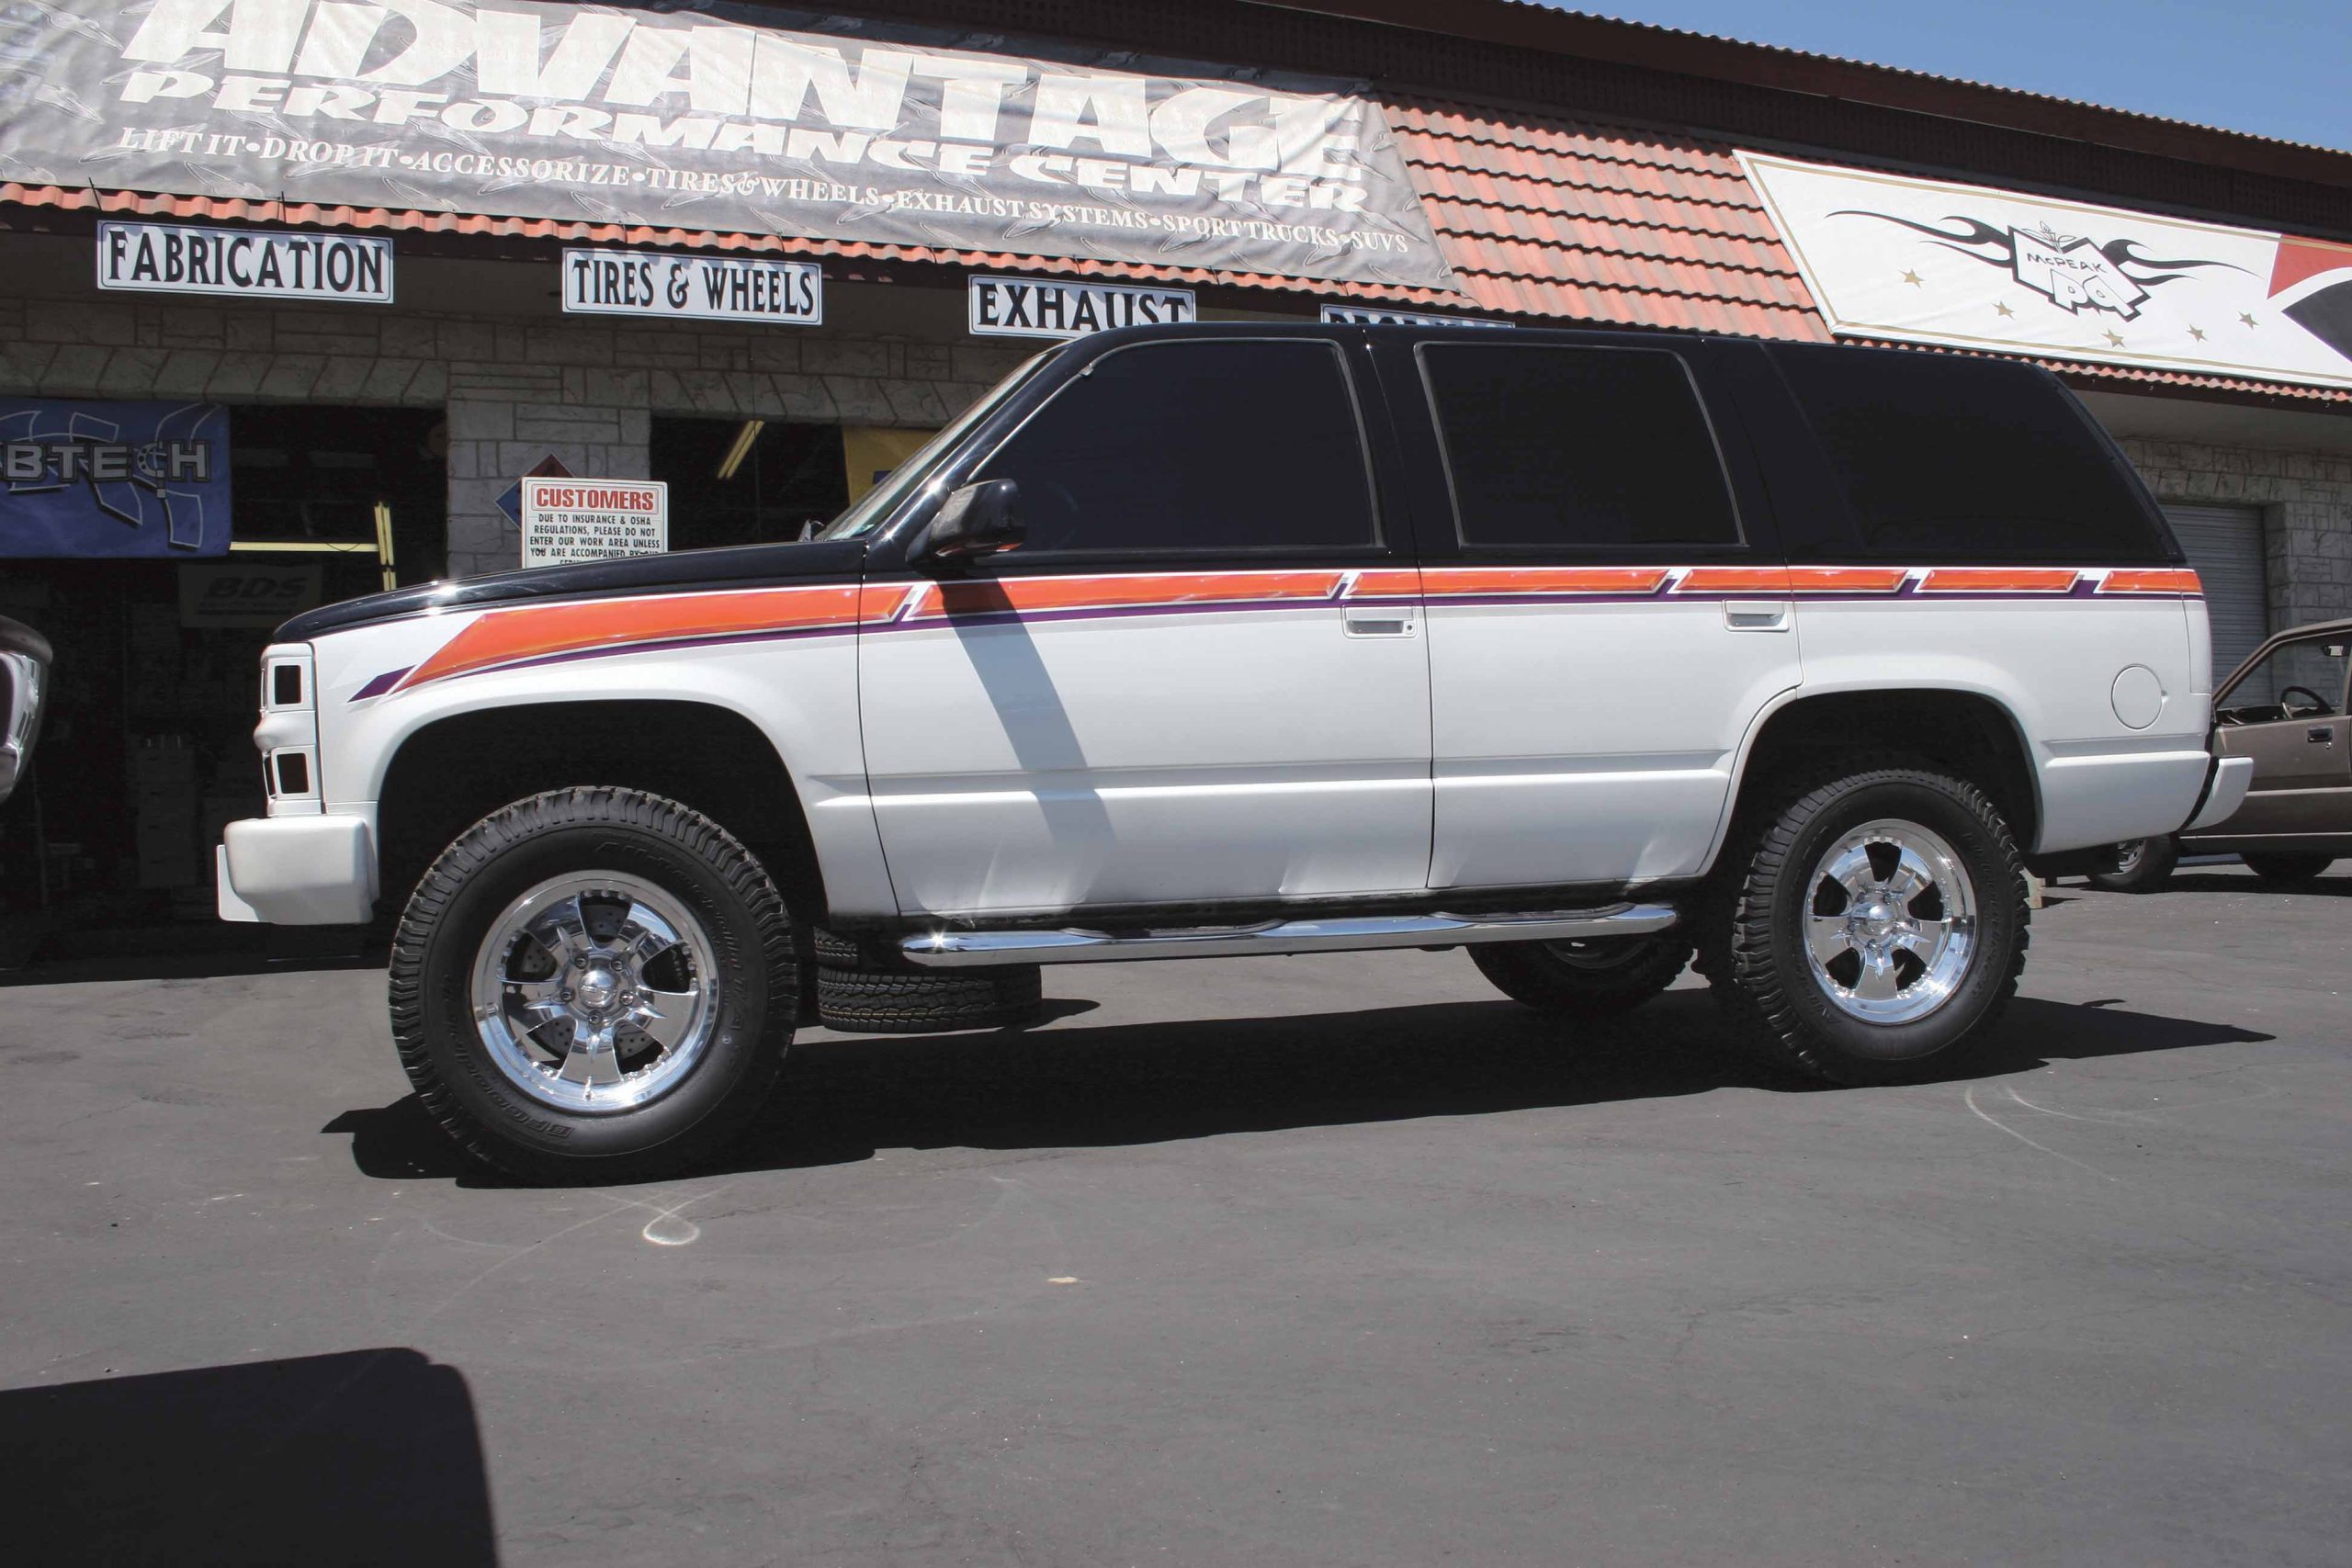
Follow Along as We Install a TCI StreetFighter Transmission in a Chevy Tahoe
The transmission is a vital part of any truck or SUV, and without a properly matched transmission, you can bet on one thing that you will eventually find yourself stranded on the side the road. How soon that happens depends, of course, on how severely you use your truck. Drive it hard, and you will put a lot of stress on the transmission, which will accelerate the general deterioration that occurs with all automatic transmissions over time. And as will happen in a great many cases, trans failure will occur without the slightest warning. Some trans failures are different; they give out gradually. Slipping can occur, and this is greatly enhanced by overheating the trans with prolonged shifts, or not holding a gear, until the trans simply stops propelling the truck, then you know you’ve gone too far. If you ignored these signs along the way, and didn’t look at all the metal on the magnetic drain plug during transmission fluid refills, then you will probably need more than a transmission upgrade you will need a transmission rebuild, or in a some cases, a whole new transmission.
A bad transmission presents truck owners with many possibilities to get back on the road. The most common solution usually involves a flatbed and a trip to the dealership or local transmission shop for that rebuild, but there’s a better way, and that is to match the trans to your use and be certain that it is equipped to handle the type of abuse you intend using it for. DIY types typically take care of such matters, and ensure that the automatic trans is well maintained and adequately cooled, but even then bad things happen. When they do, these guys simply remove the transmission themselves and either take it to an appropriate shop for a performance rebuild, or order a proper high-performance trans and use their old transmission as a core, then install the new trans.
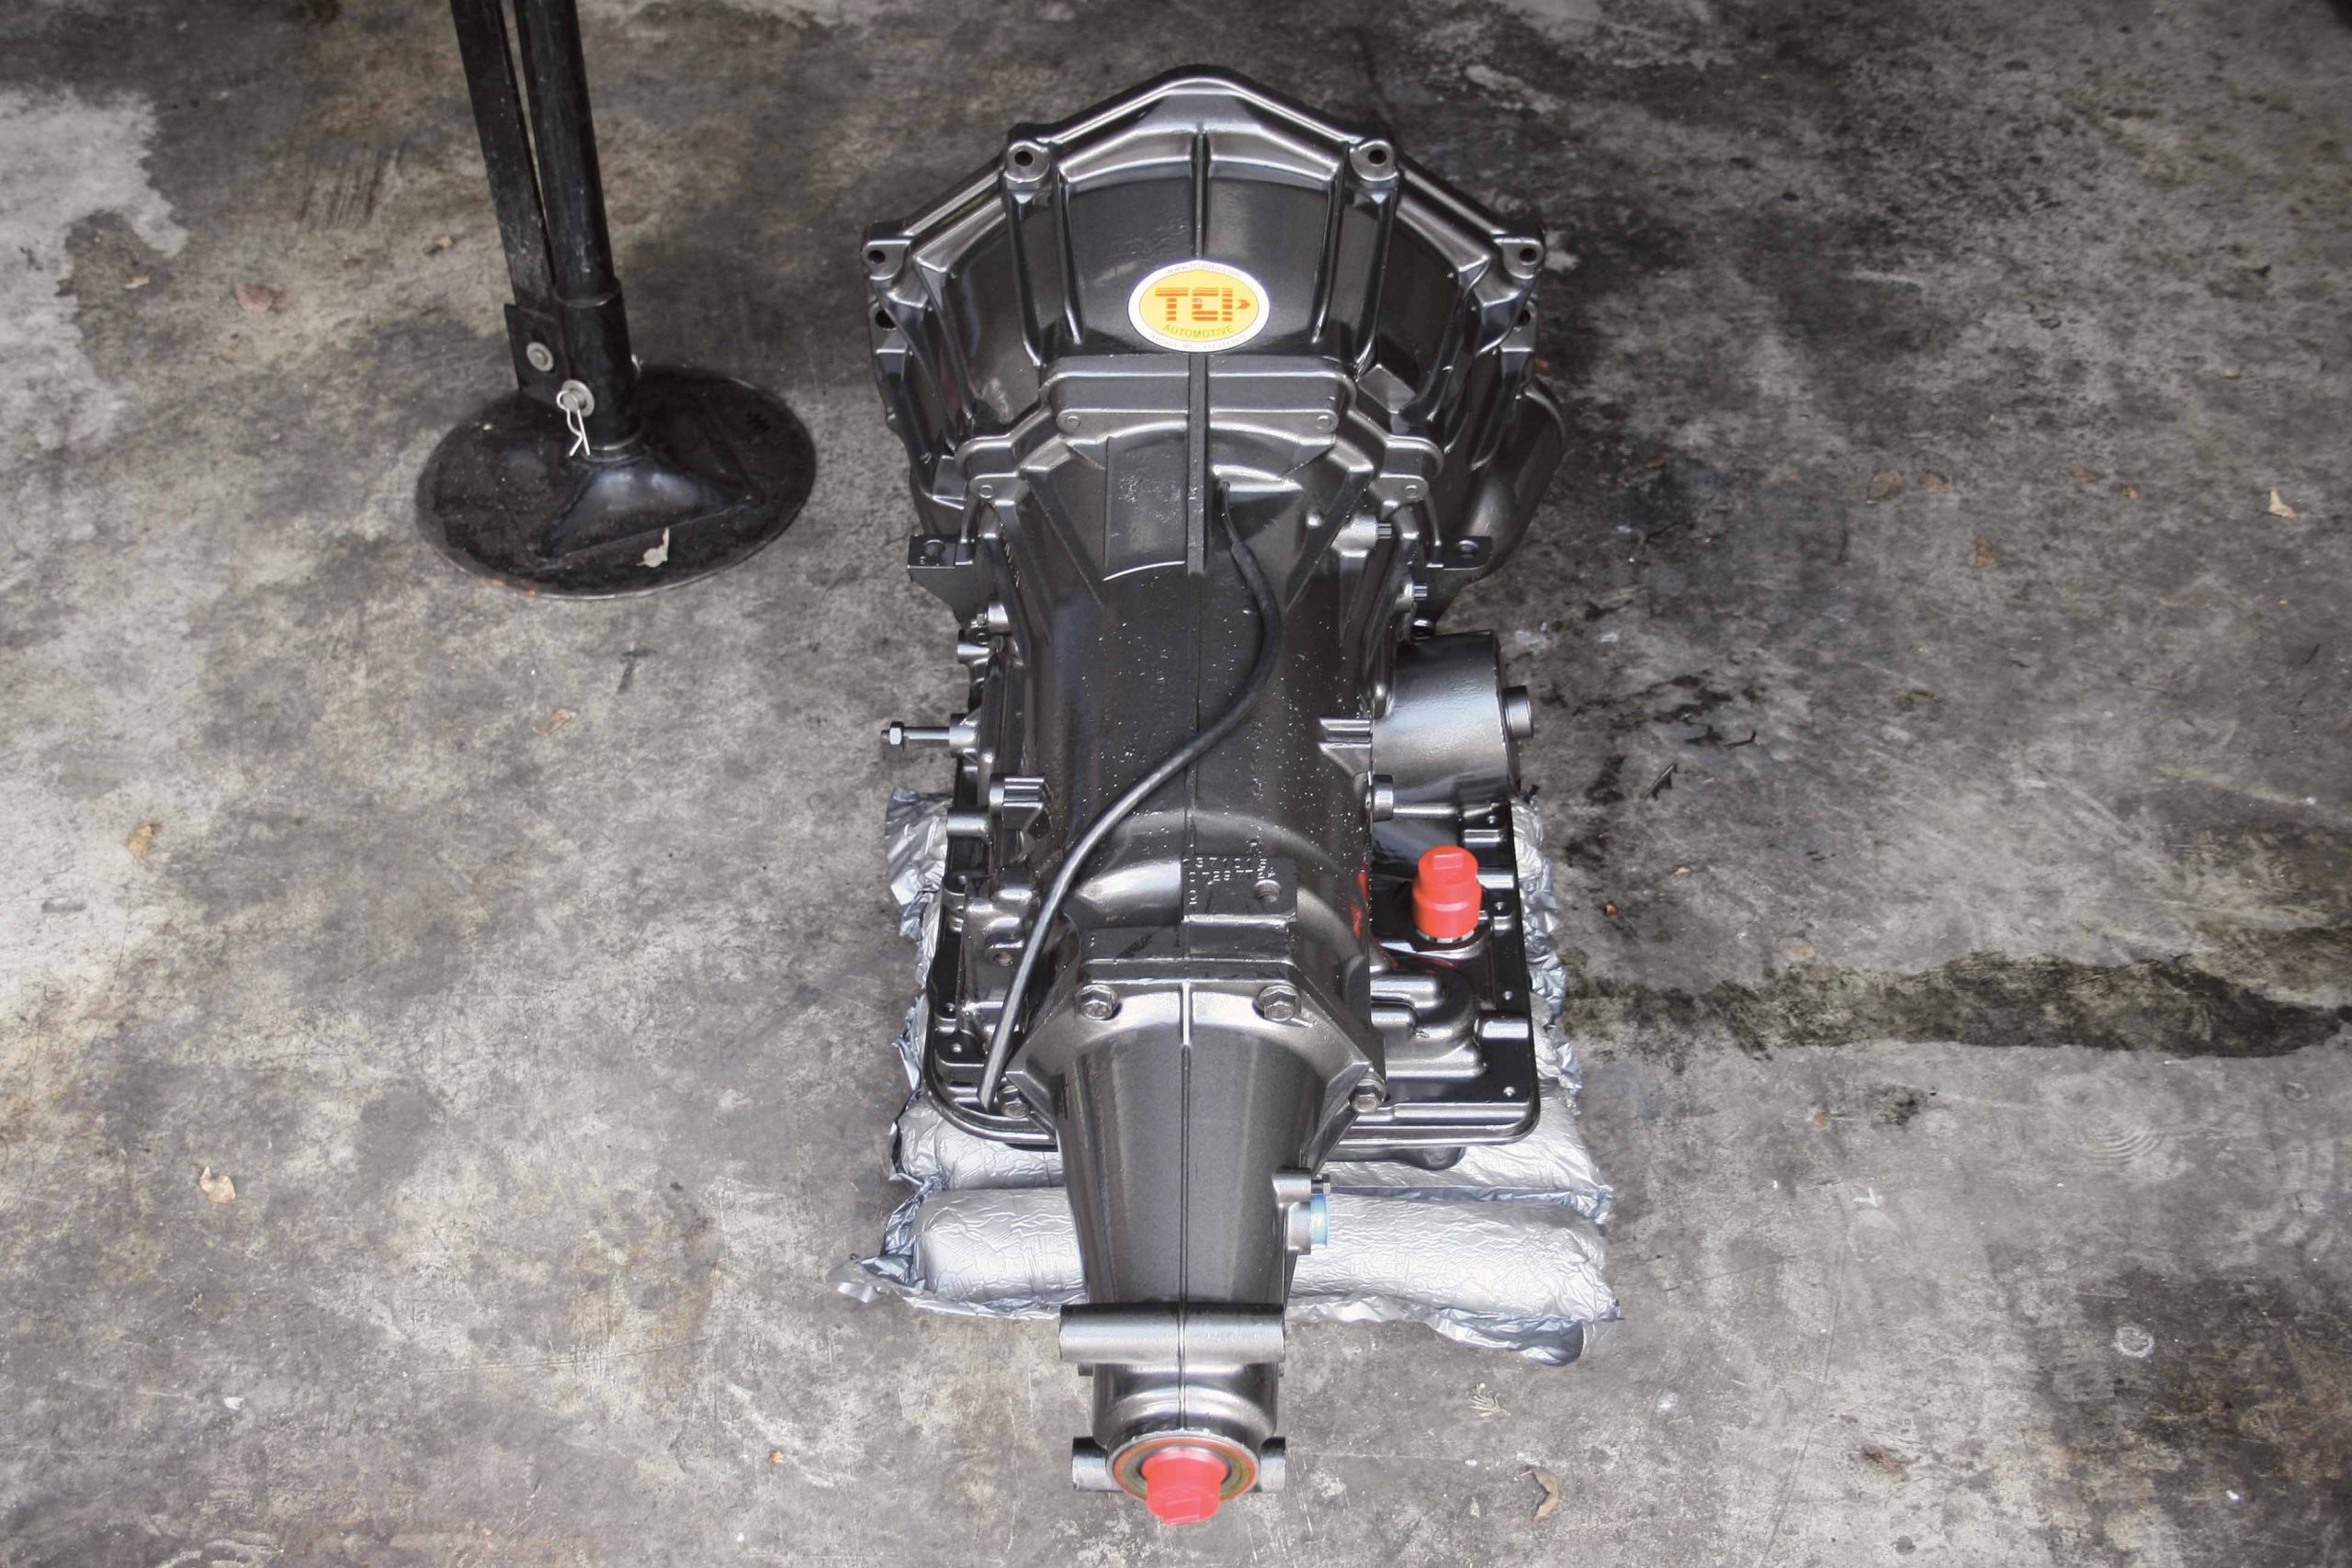
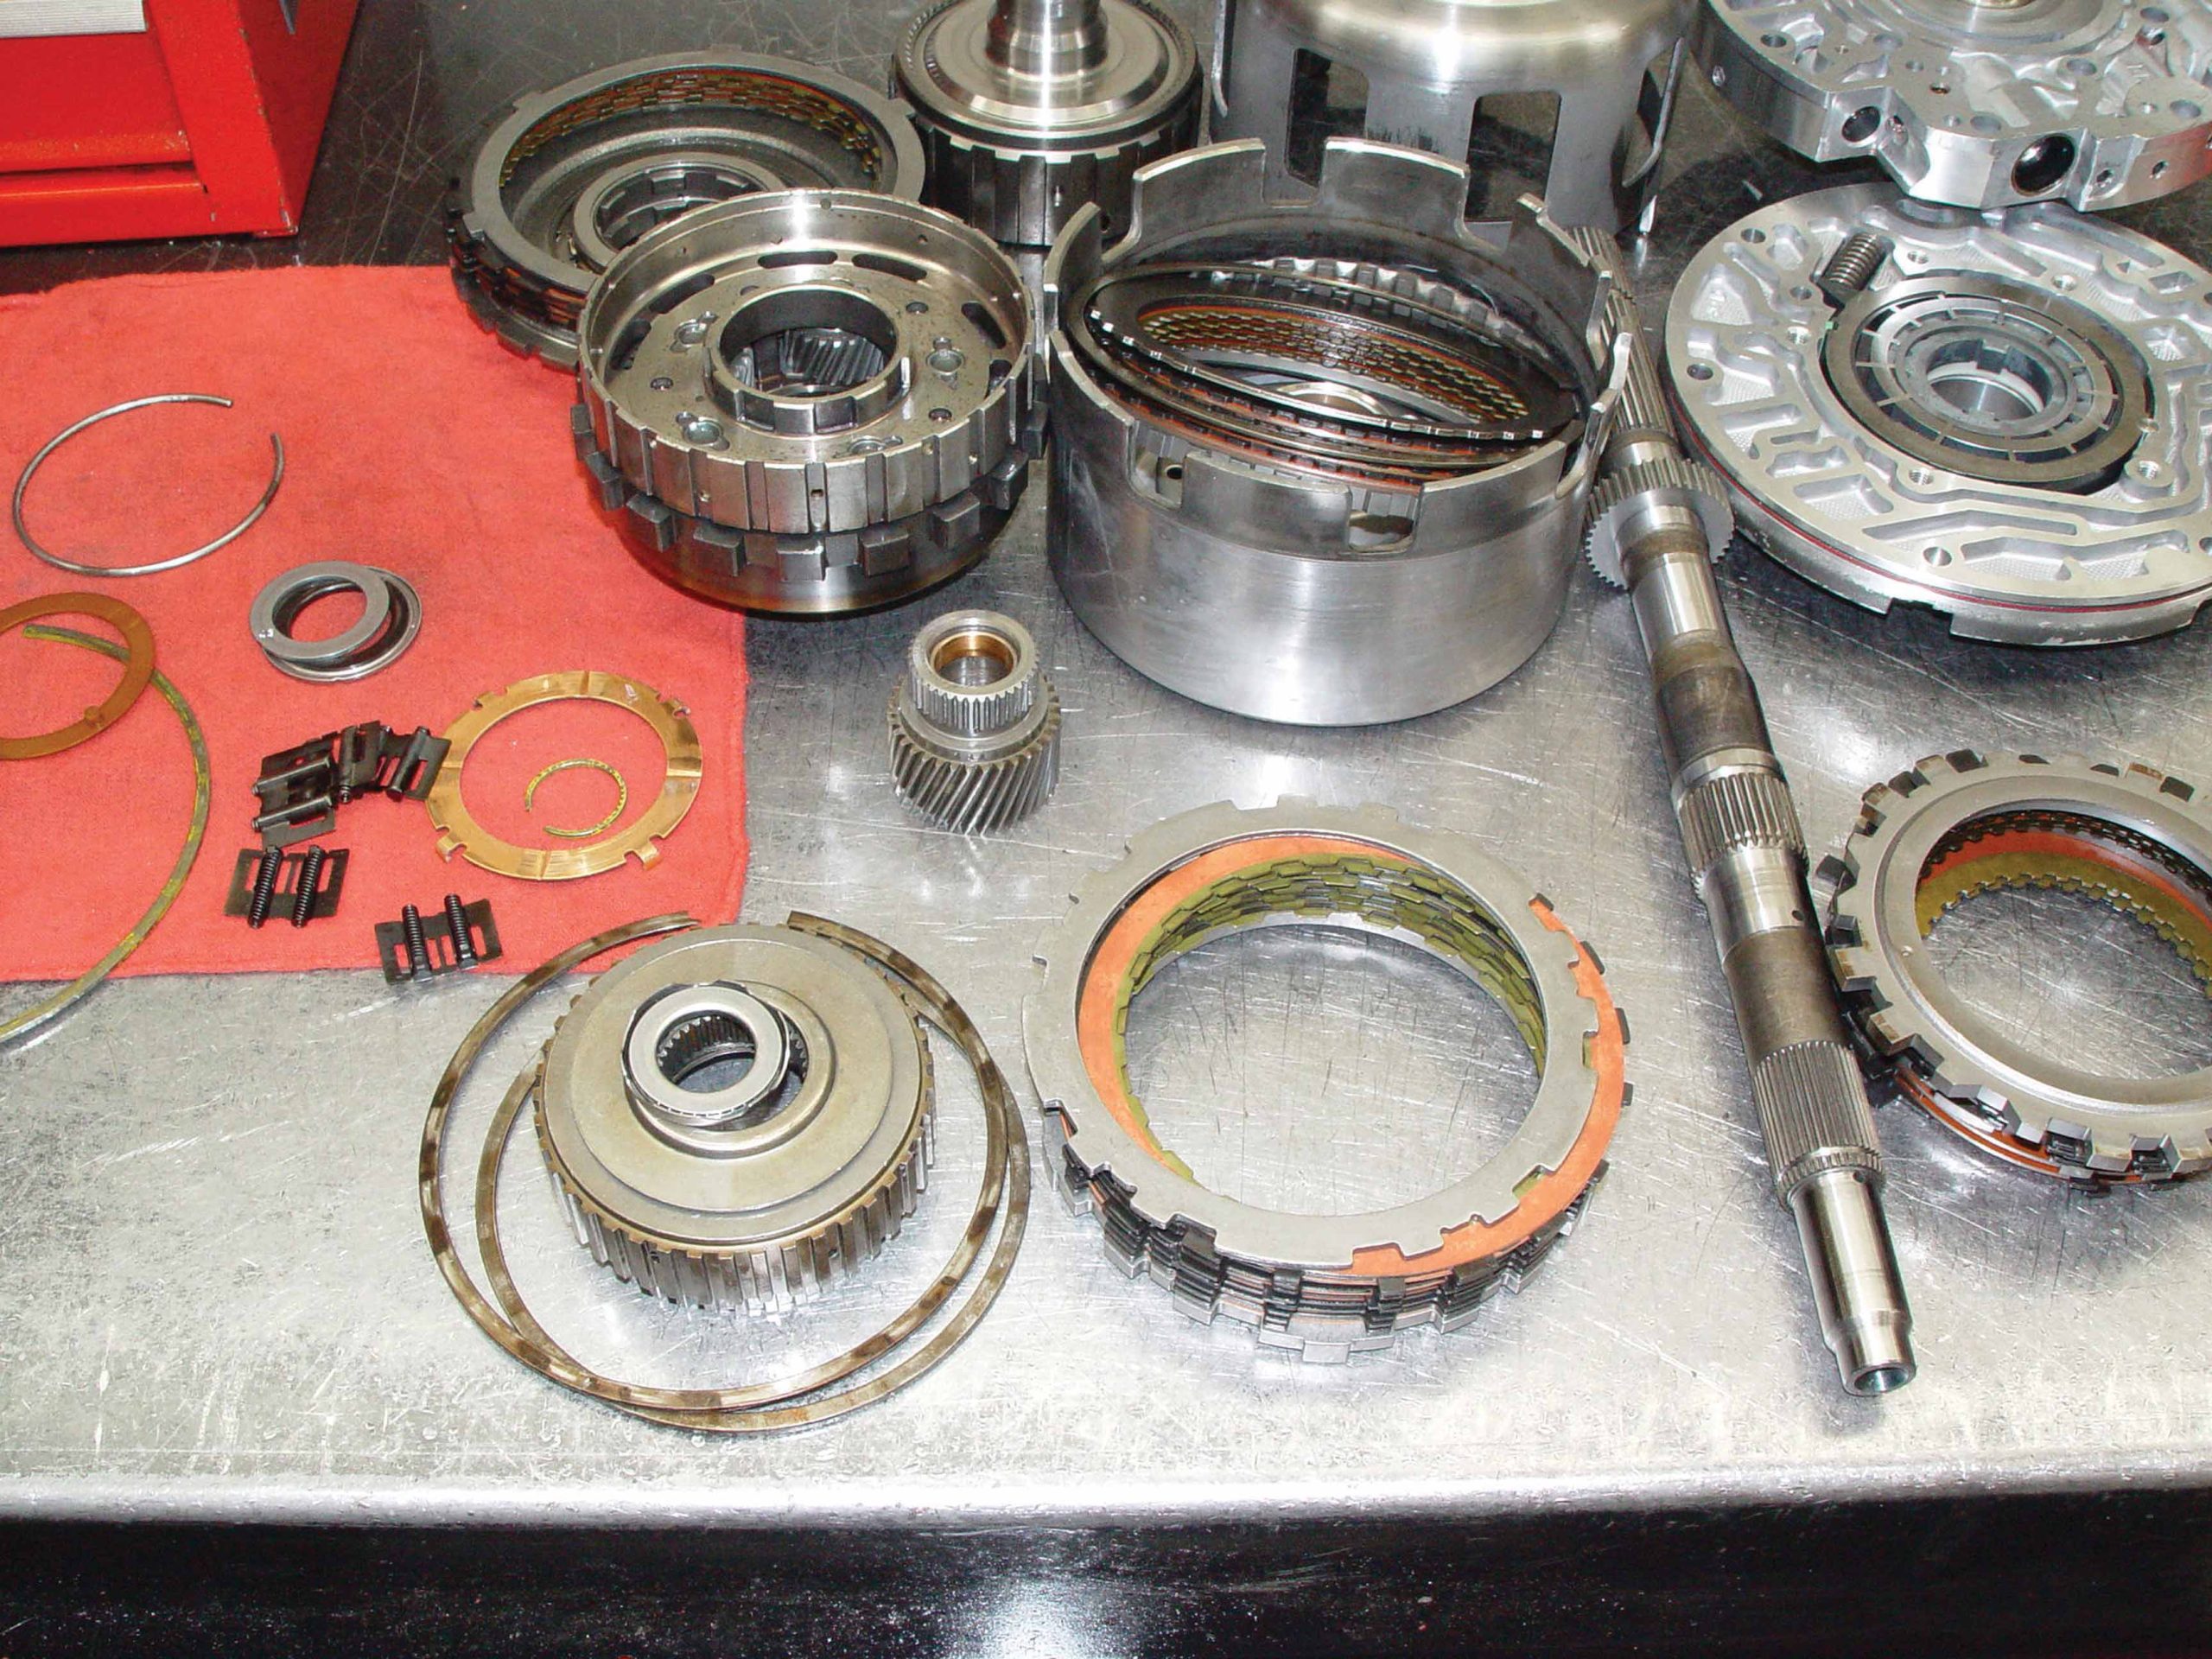
That’s what we’re doing here, showing you what must be done once you purchase a new or rebuilt transmission. The experts at TCI Automotive in Ashland, Mississippi, built the transmission here and they will ship just such a unit directly to your door. These transmissions are completely rebuilt with new gaskets, new seals, and all the right heavy-duty steels and friction elements. Additionally, they use a new BorgWarner 29-element clutch sprag and low roller clutch, as well as the largest OEM-sized intermediate service assembly available and five-pinion front and rear planetary gear sets. On the performance side, TCI uses a special TCI pressure regulator spring and large-diameter boost valve to increase mainline pressure and torque capacity, thus rectifying a common cause for an automatic transmission in a high-performance application. They also use a TCI Trans-Scat kit for firmer shifts. Finally, each transmission is dyno tested to verify all the proper functions, pressures and cooler flow, before they can be approved for shipment to the customer. TCI doesn’t require a core charge or return on its transmission purchases, which greatly simplifies the buying experience and saves on having to pay for shipping your old trans.
However, if you have the time and the ability, you can pull your trans, ship it to TCI and have them rebuild your trans, and they will ship it back to you. They do not rebuild to stock, however, and only rebuild a stock or aftermarket transmission to TCI Maximizer, Street Rodder, StreetFighter or Full Competition TCI spec transmission.
For this install, a 4L60E StreetFighter transmission was chosen, and once the TCI StreetFighter transmission, torque converter and three gallons of Max Shift RTF (racing transmission fluid) arrived, this Tahoe was put on a hoist at a local shop. Swapping a transmission can be done on the ground but using a lift and a transmission jack makes the job much easier. The transmission removal and installation of the new transmission took about eight hours, including the time required for the photography shown here. Consider that a trans pro could do it much quicker, but we’re not trans R&R pros, so if you plan to swap out your trans, we suggest that you set aside a full day especially if you are doing it without the aid of a lift and transmission jack.
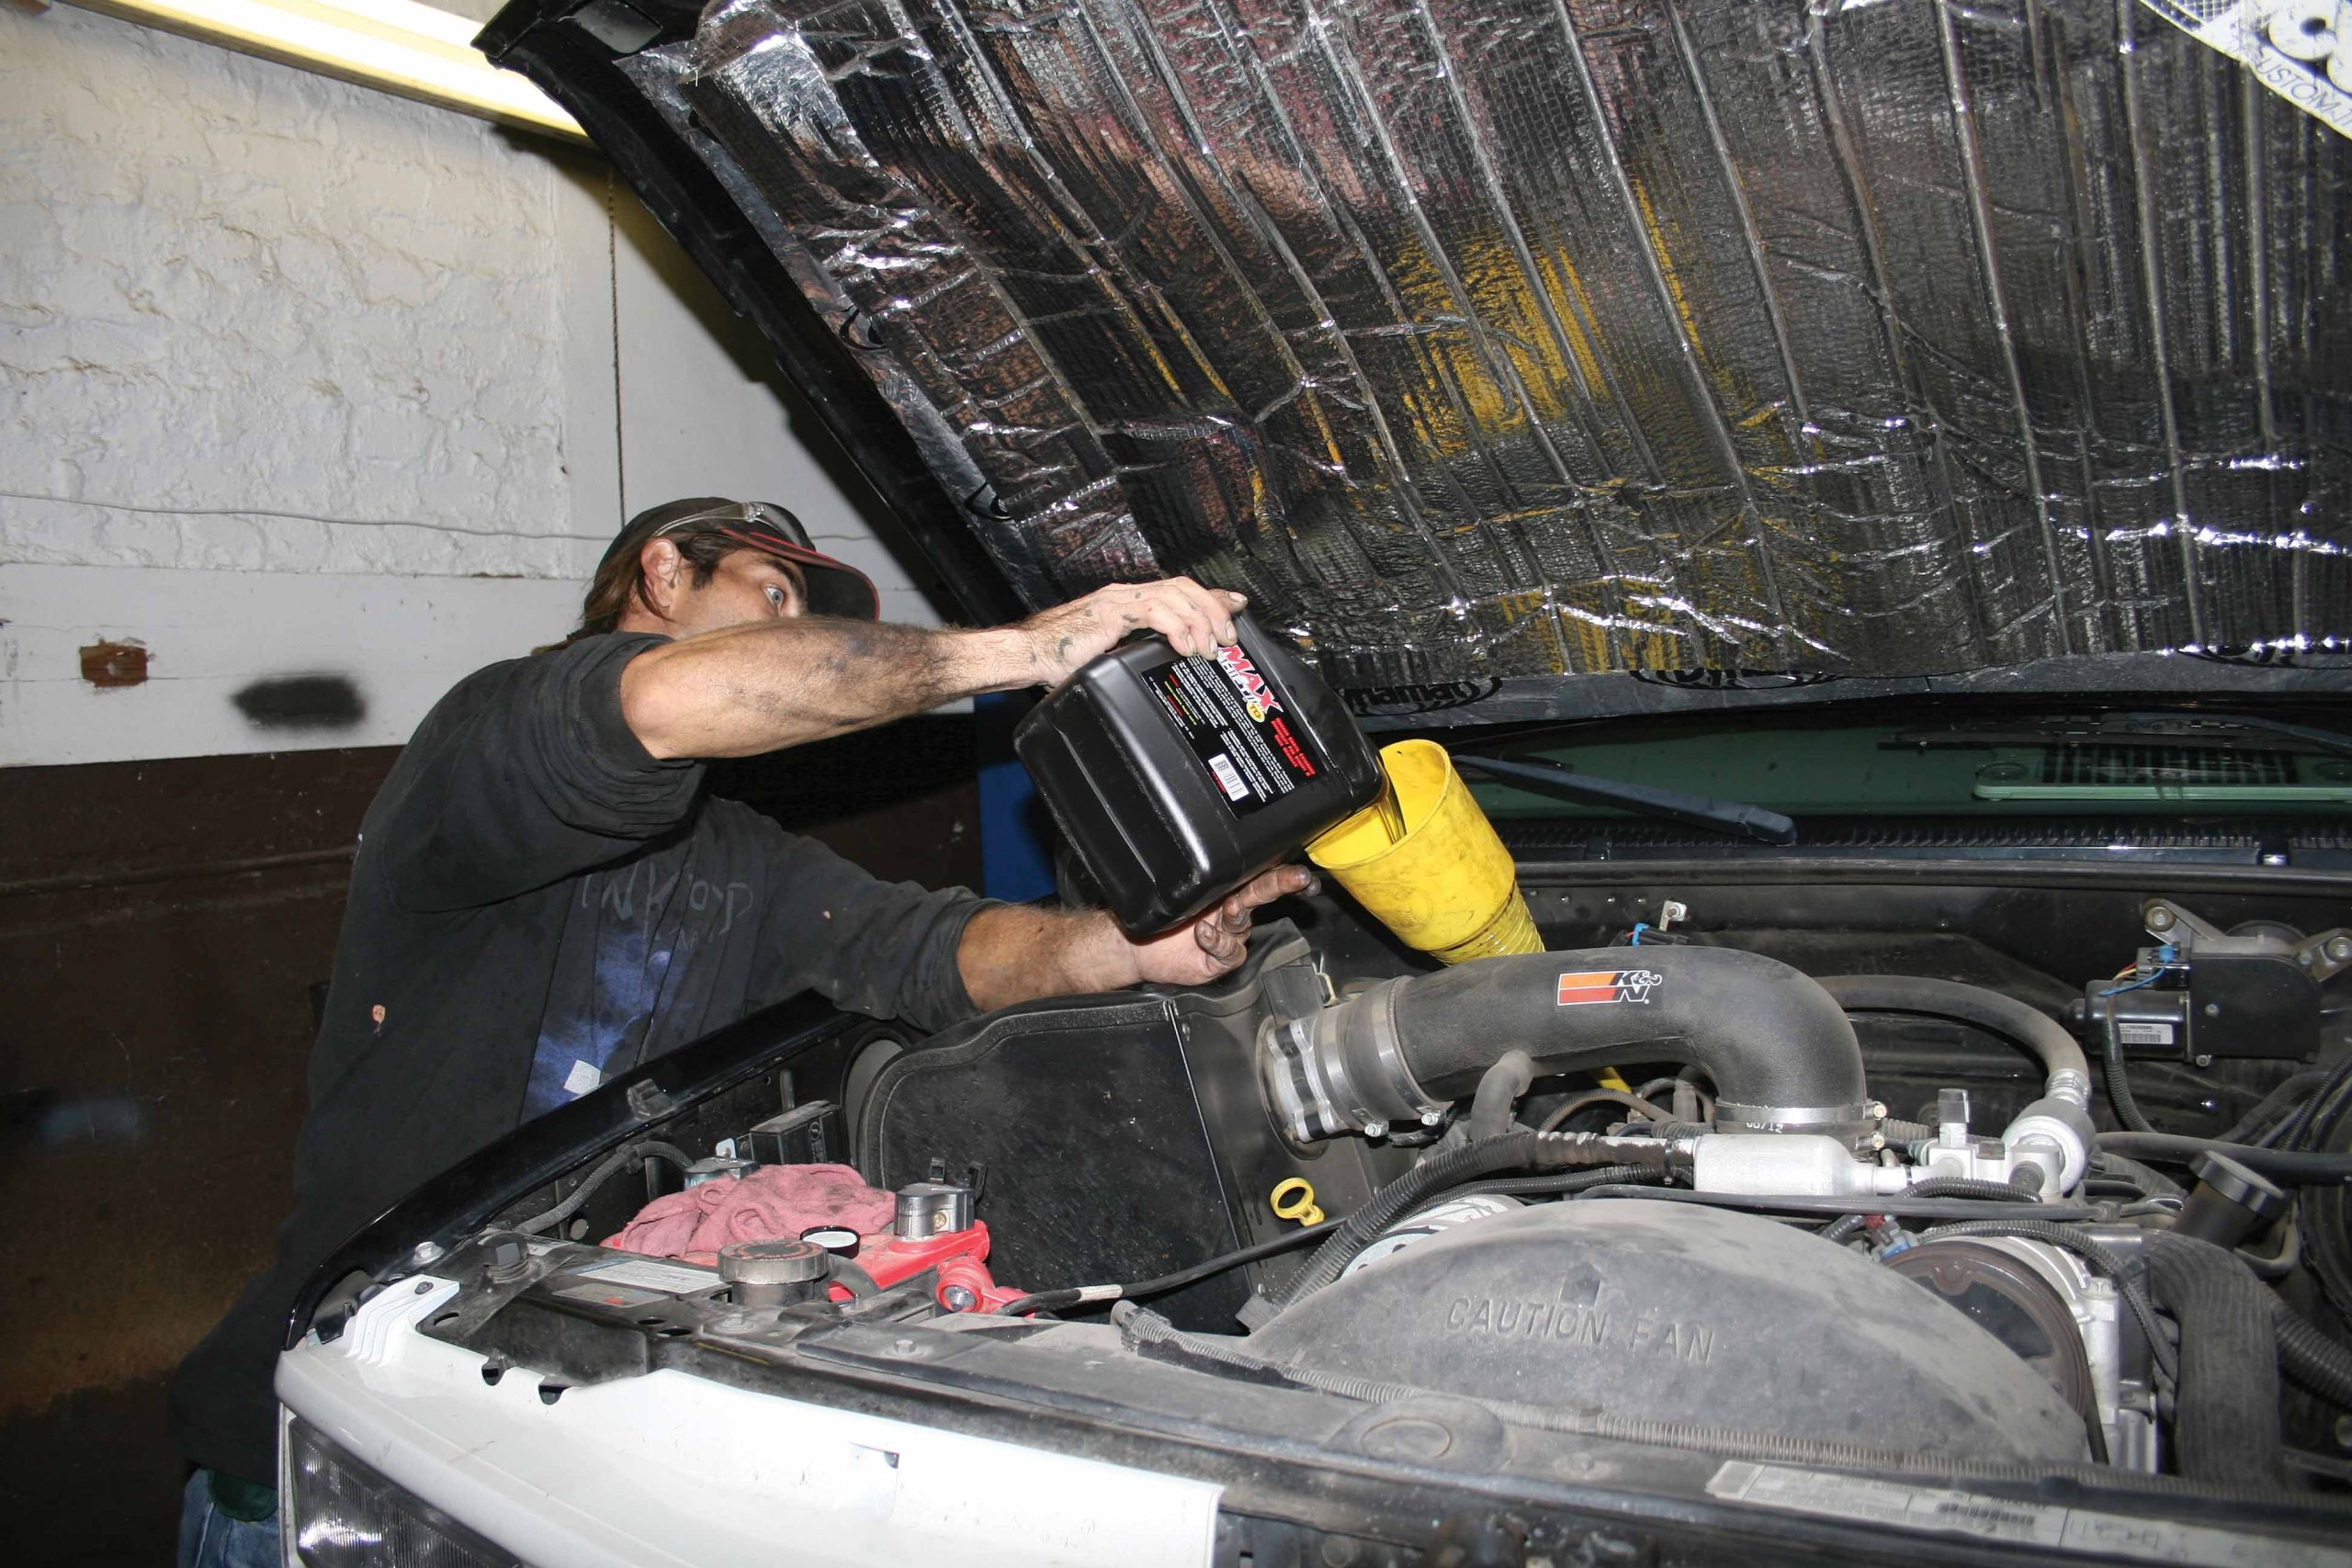
Before removing the transmission, we drained the fluid to make the job a little less messy. You can remove it with the trans full, but you will likely end up with fluid all over the garage floor. To remove the transmission, we had to remove the driveshaft and linkage, then disconnect the harnesses and unbolt the torque converter, bell housing and transmission crossmember. Be sure to support the transmission with a transmission jack or some other secure method before removing the bell housing bolts, and as usual, practice safe garage techniques to prevent personal injury or damage to the vehicle or transmission. With the mounting hardware, linkage and harnesses removed, you can slide the trans rearward separating it from the engine, then lower it to remove it from the chassis.
Installing the new transmission is the opposite of removal. But before installing the TCI StreetFighter, we removed and cleaned the high-volume Mag-Hytec pan from the old transmission to replace the chrome TCI pan on the new transmission. The deeper pan also required a trip to the local parts store to pick up the proper transmission filter before installing the pan. The Mag-Hytec pan uses an O-ring seal rather than a standard pan gasket so we did not have to replace the gasket. We also filled the new TCI torque converter with Max Shift before installing it in the transmission then we installed the transmission, mounting hardware, crossmember, linkage and torque converter bolts.
After installing the transmission, we filled it with Max Shift transmission fluid from TCI, and started the engine to check the fluid level. After the engine and transmission reached its operating temperature, we topped off the fluid, filling it to the proper level with more than three gallons of TCI fluid. Road testing the Tahoe not only restored its performance, but the TCI StreetFighter was crisp shifting and quick to respond. We could actually feel the difference, plus we know it is a sound unit that will provide many trouble-free miles of high-performance driving. Remember, too, this article provides a general overview for such an installation, so if any of what you see seems beyond your capabilities, you would be better off to have your local performance shop install the trans rather than to tackle it yourself. Read on to follow the transmission removal and the installation as well as what goes into building one of these heavy-duty transmissions at the TCI factory.
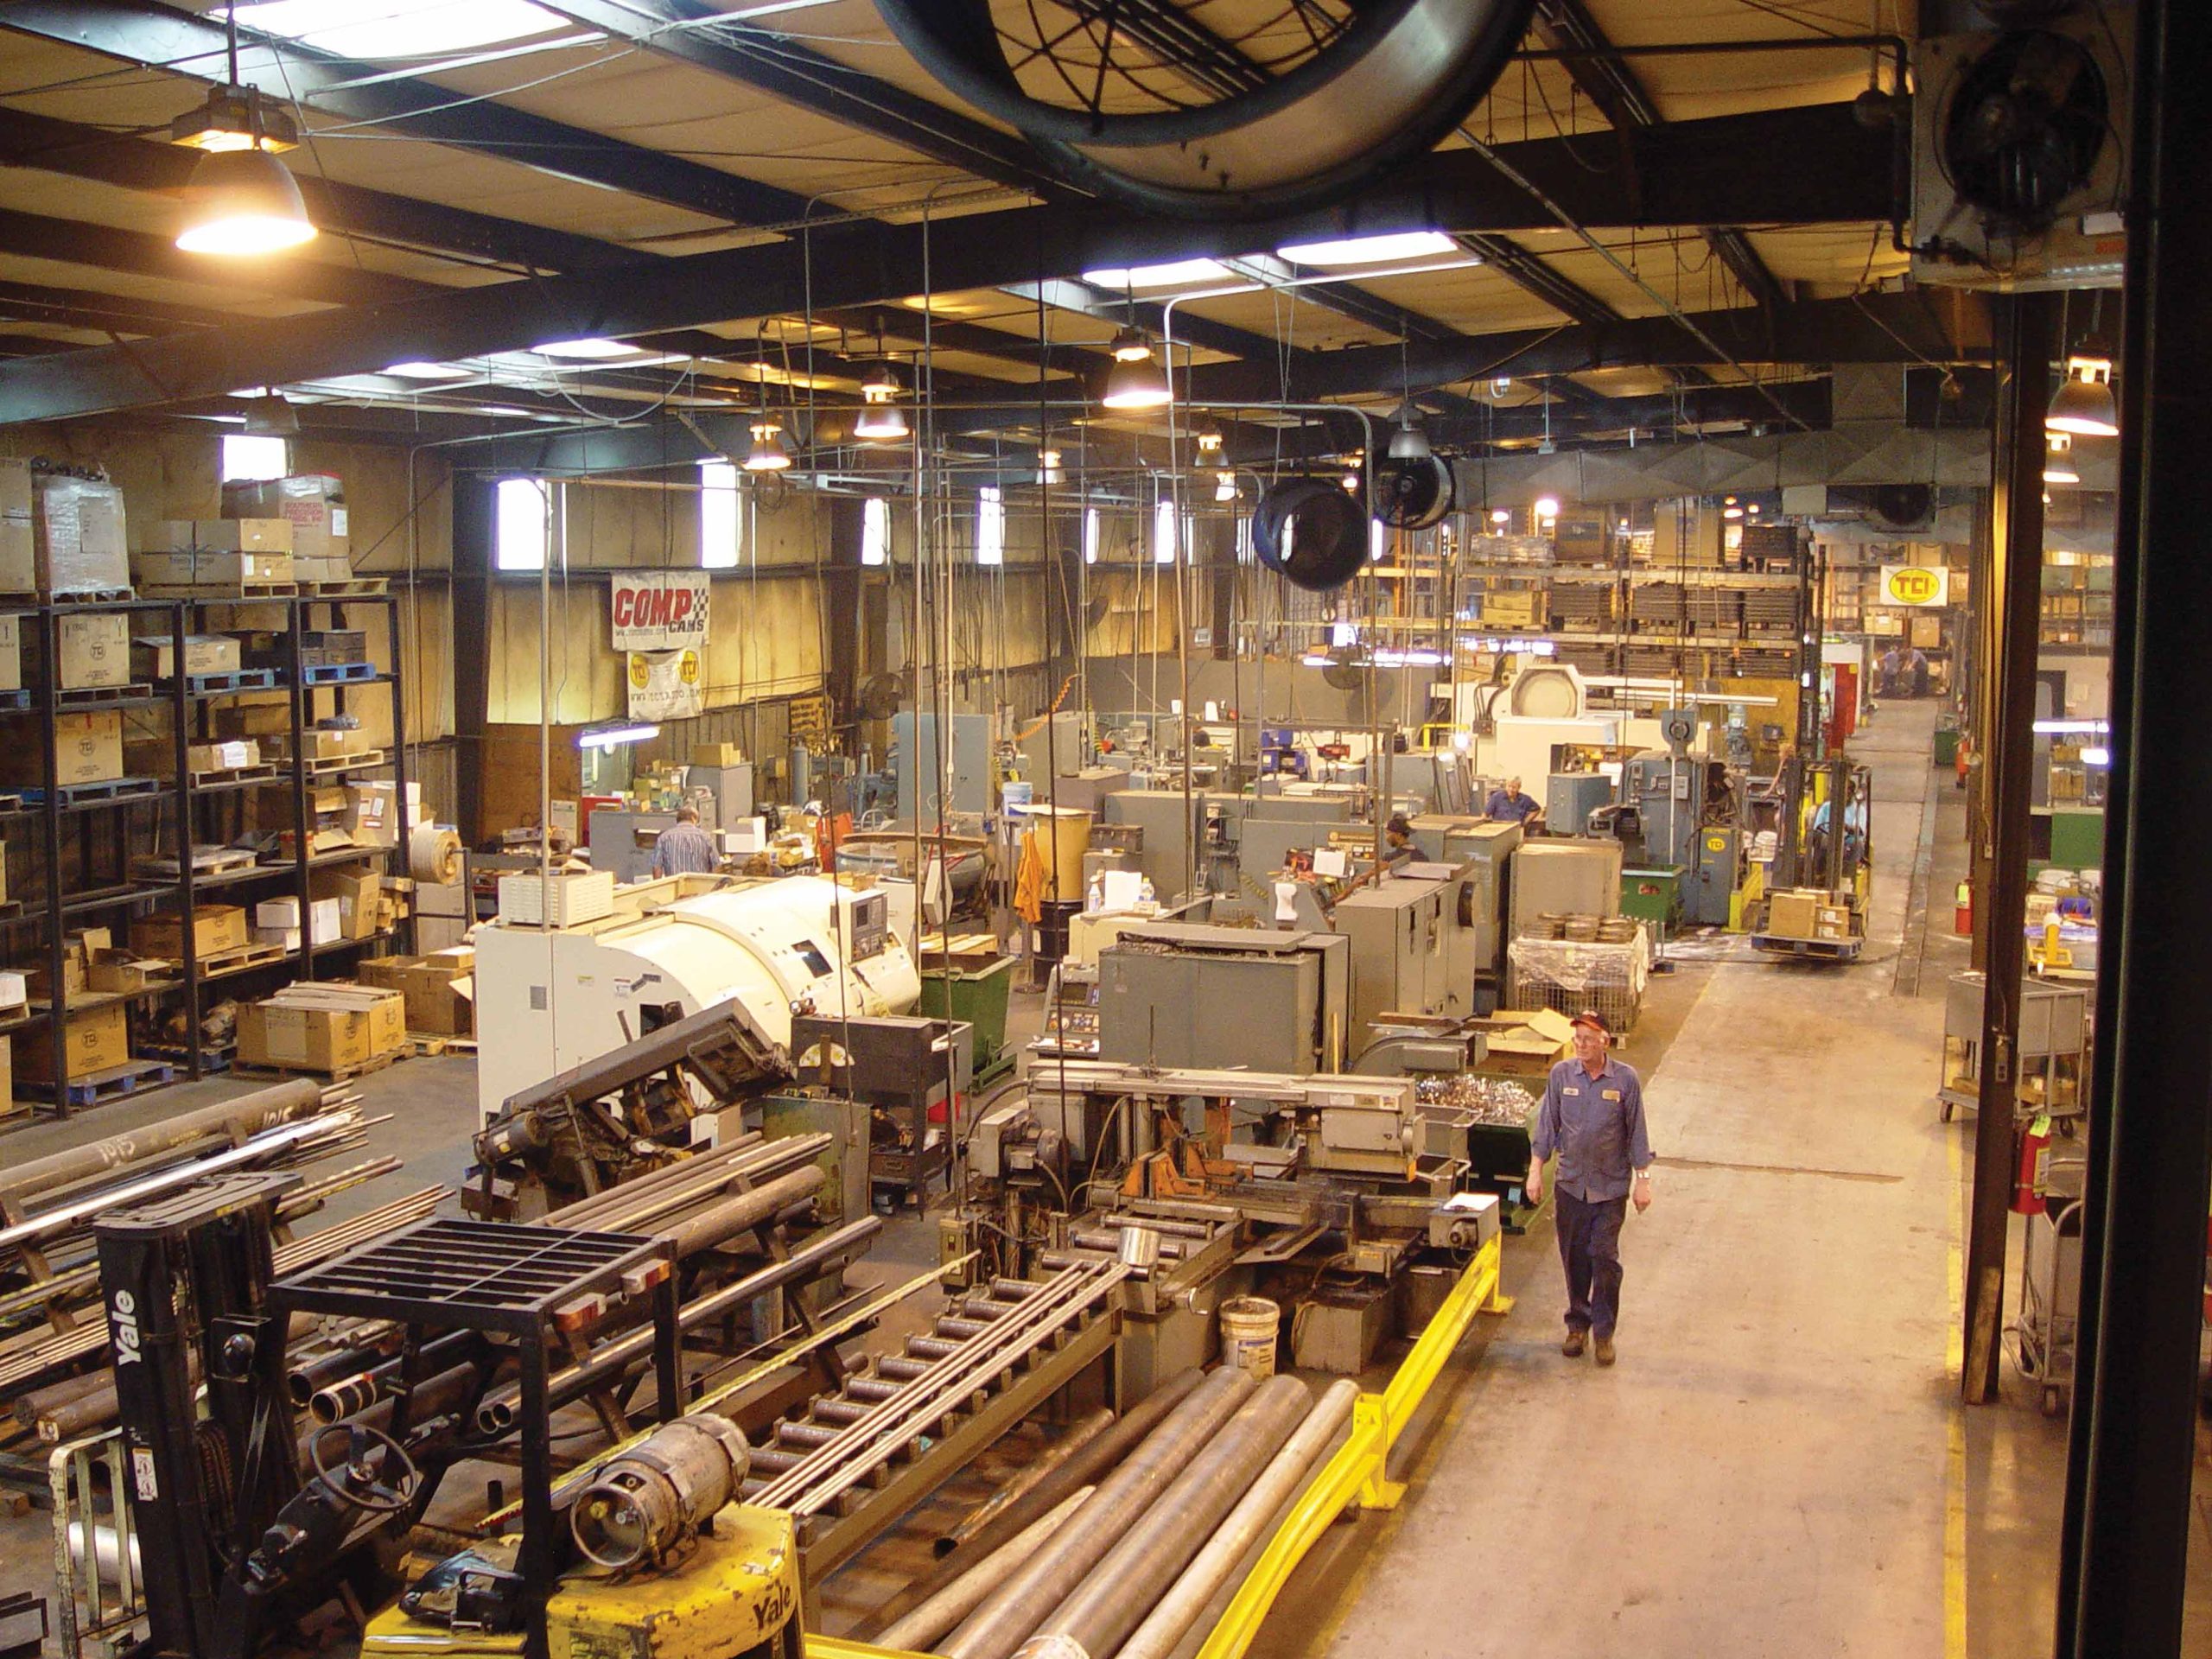
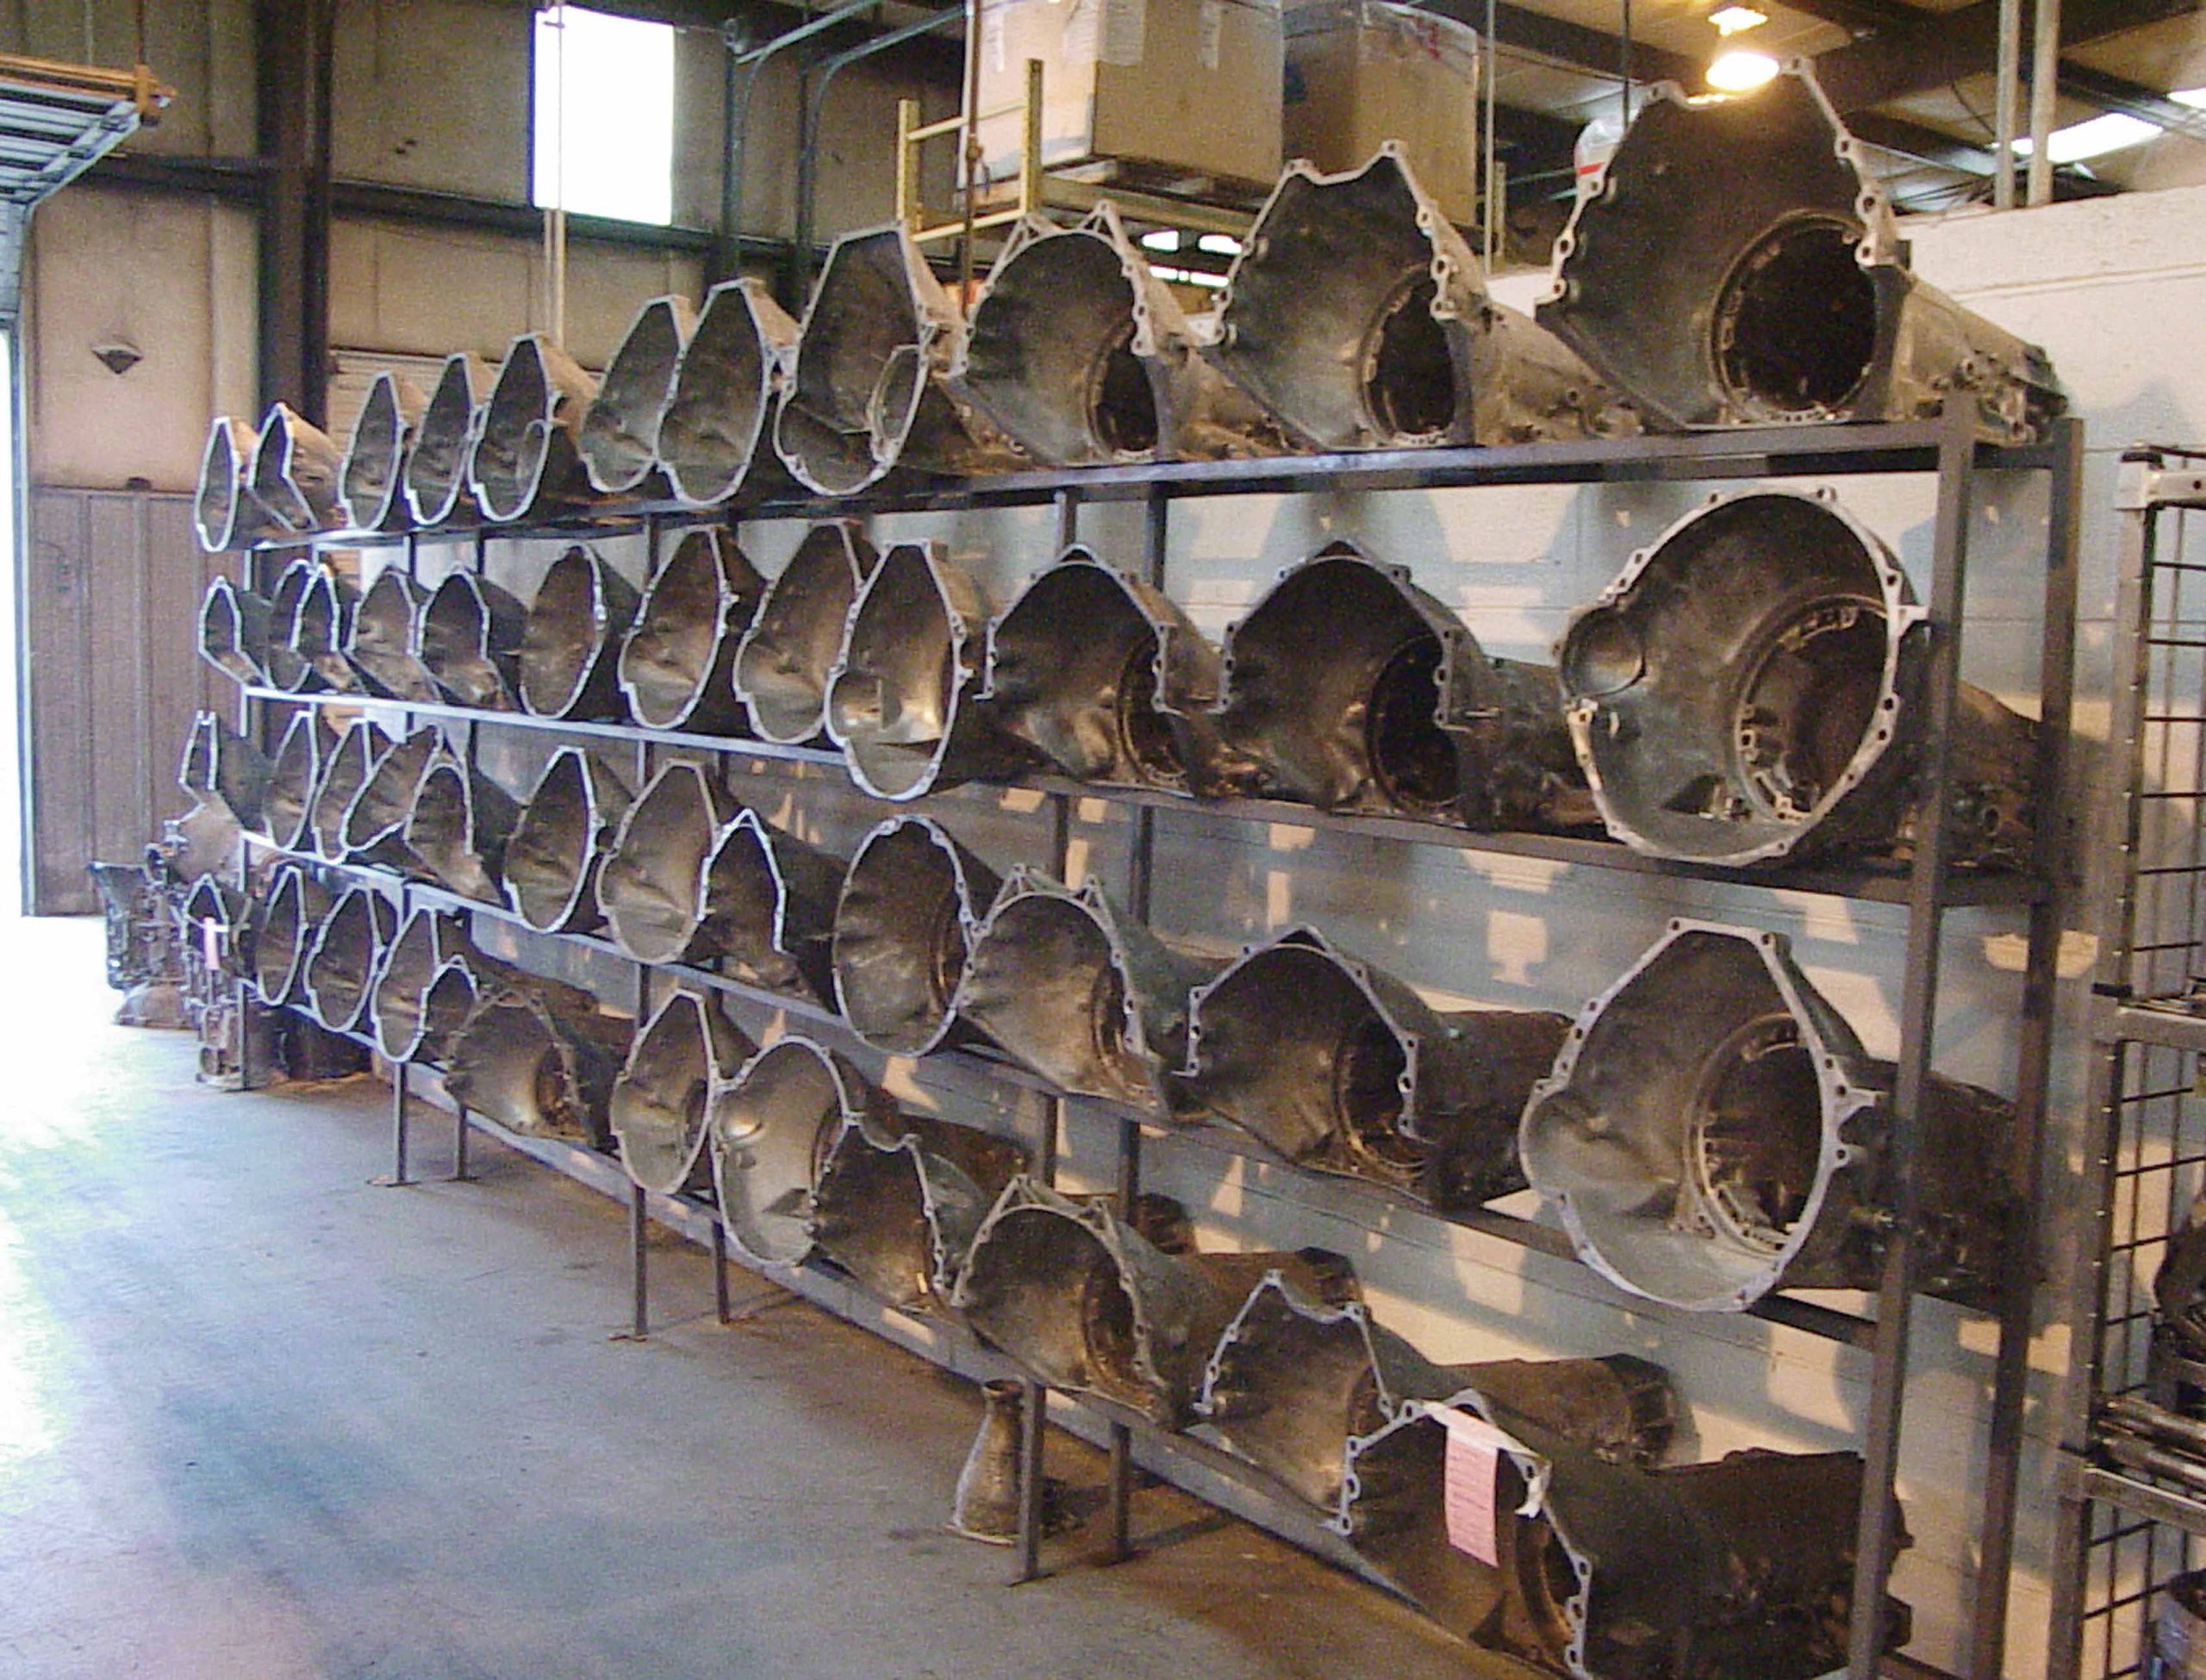
A-B Inside the vast TCI facility, there is a large contingency of transmission cases ready to be built to customer specs and a dedicated crew to make it happen.
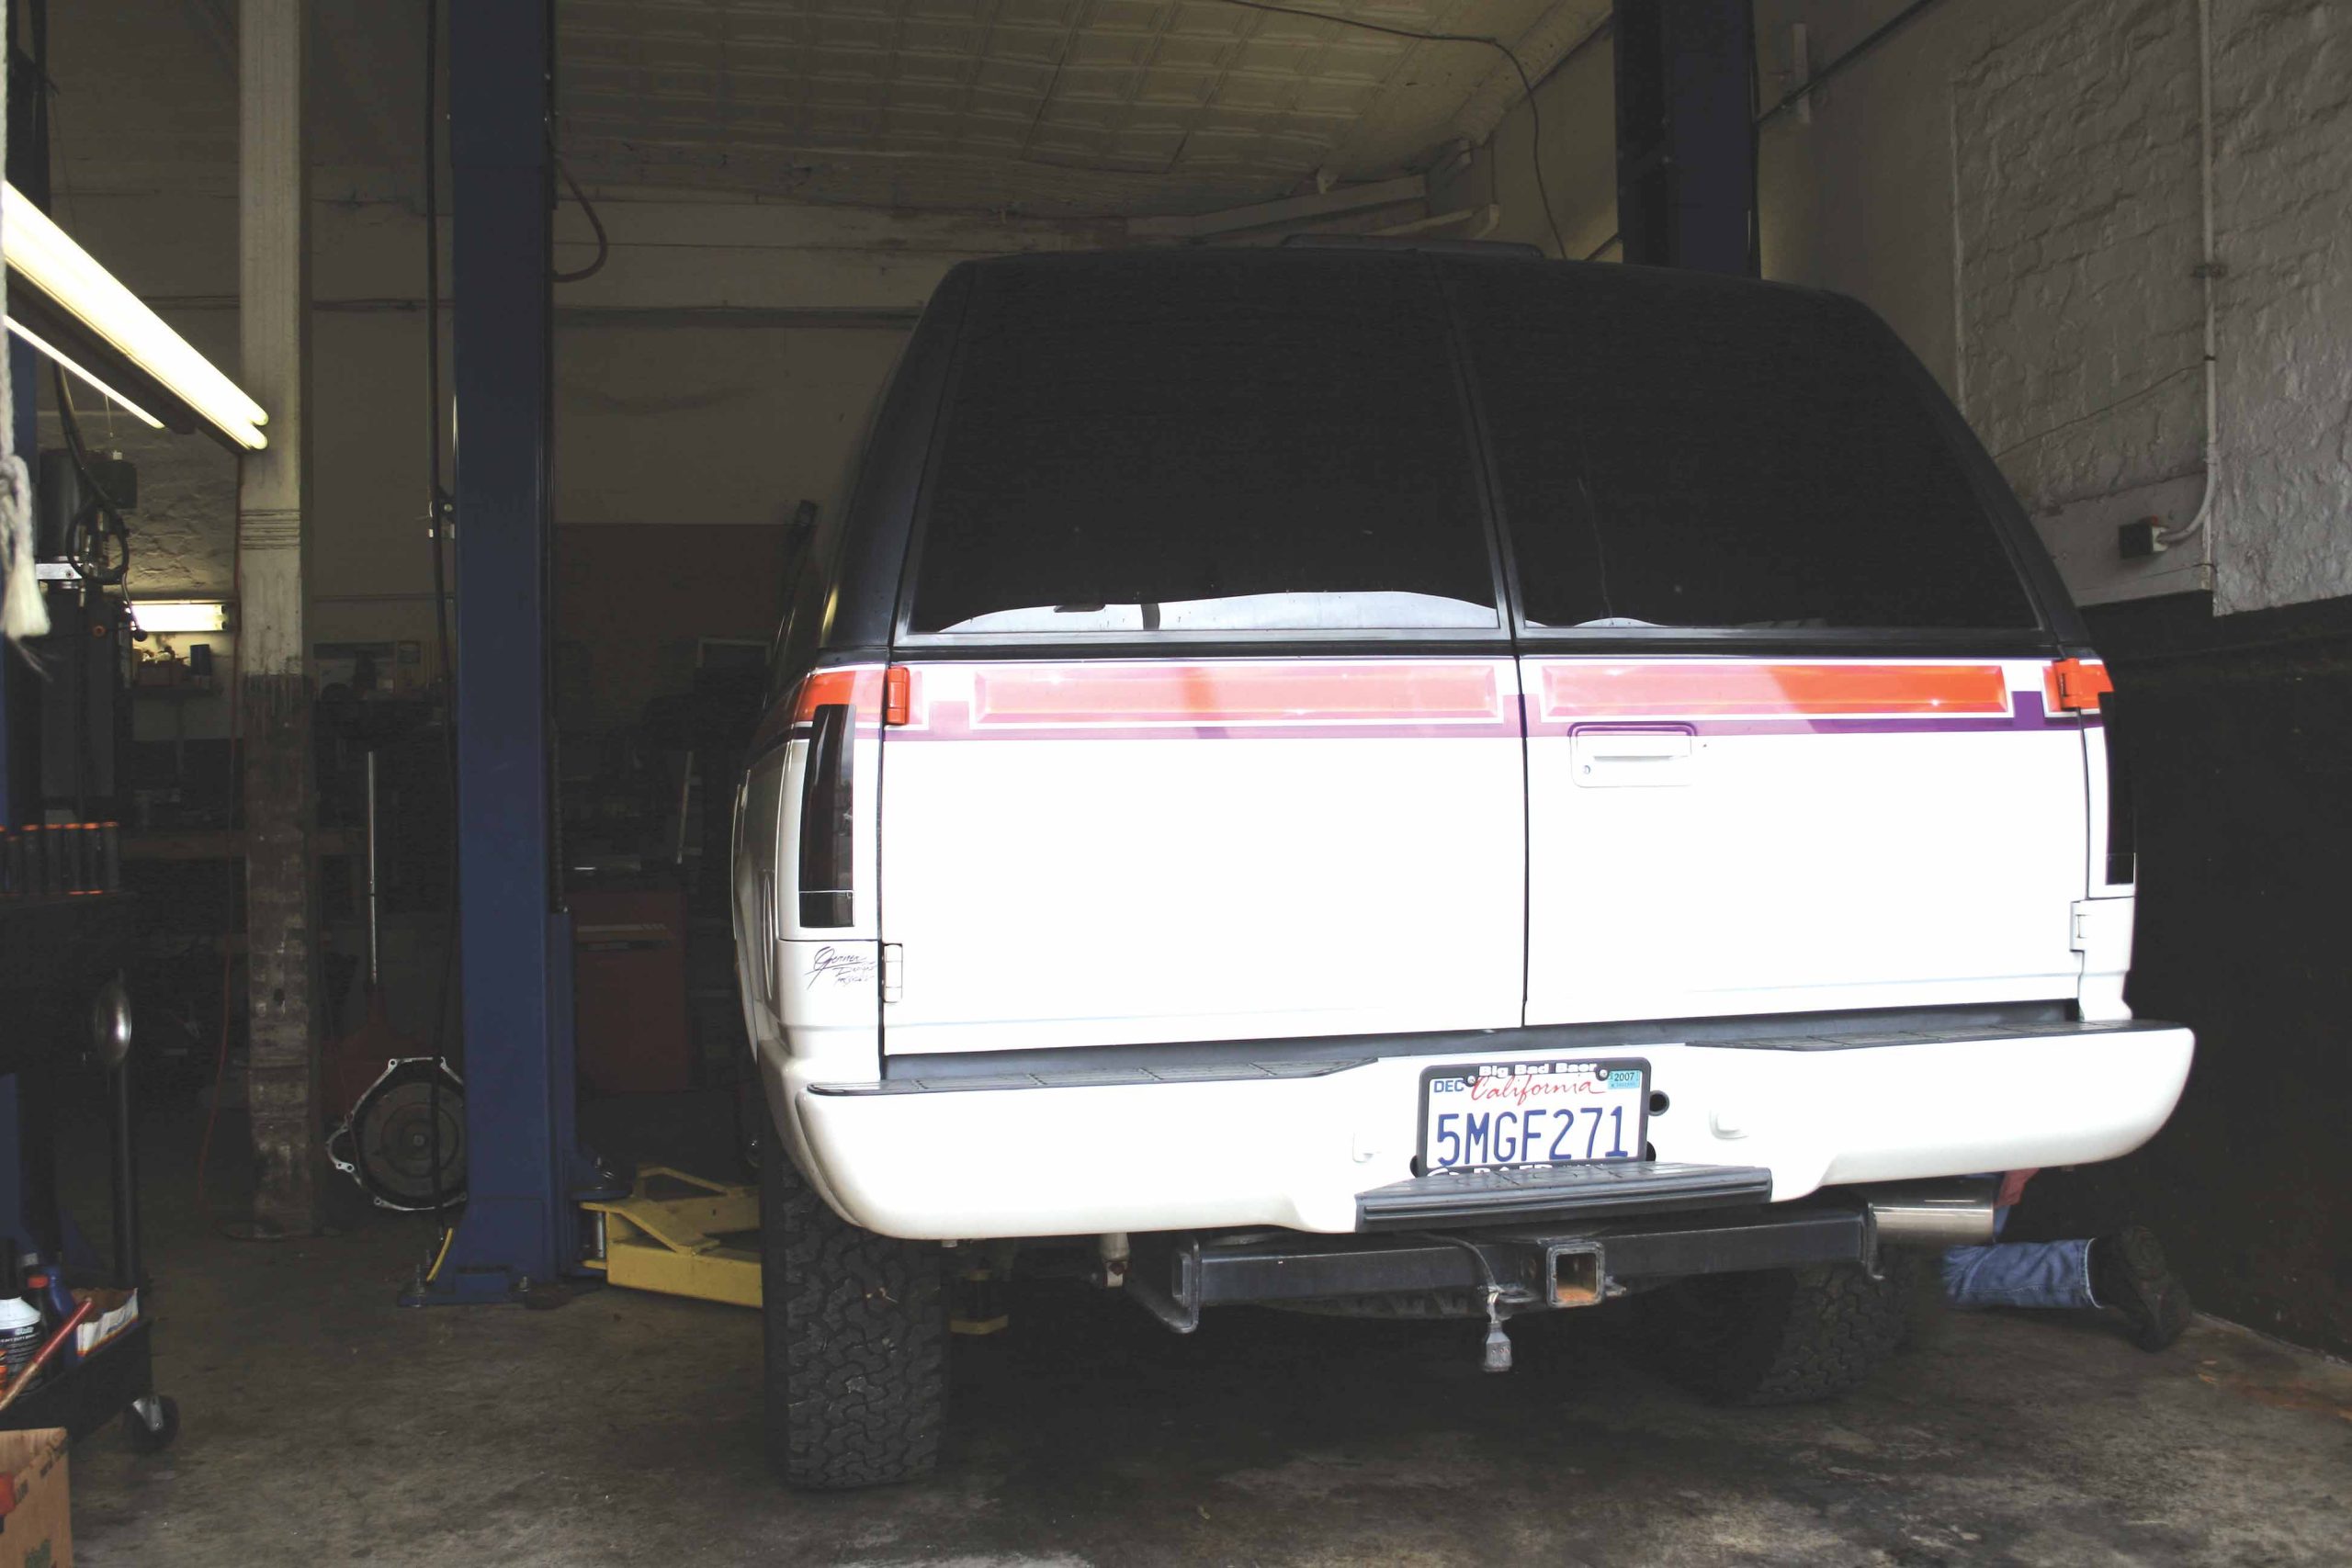
1 Performing a transmission swap is much easier when you can use a lift to get the vehicle up in the air.
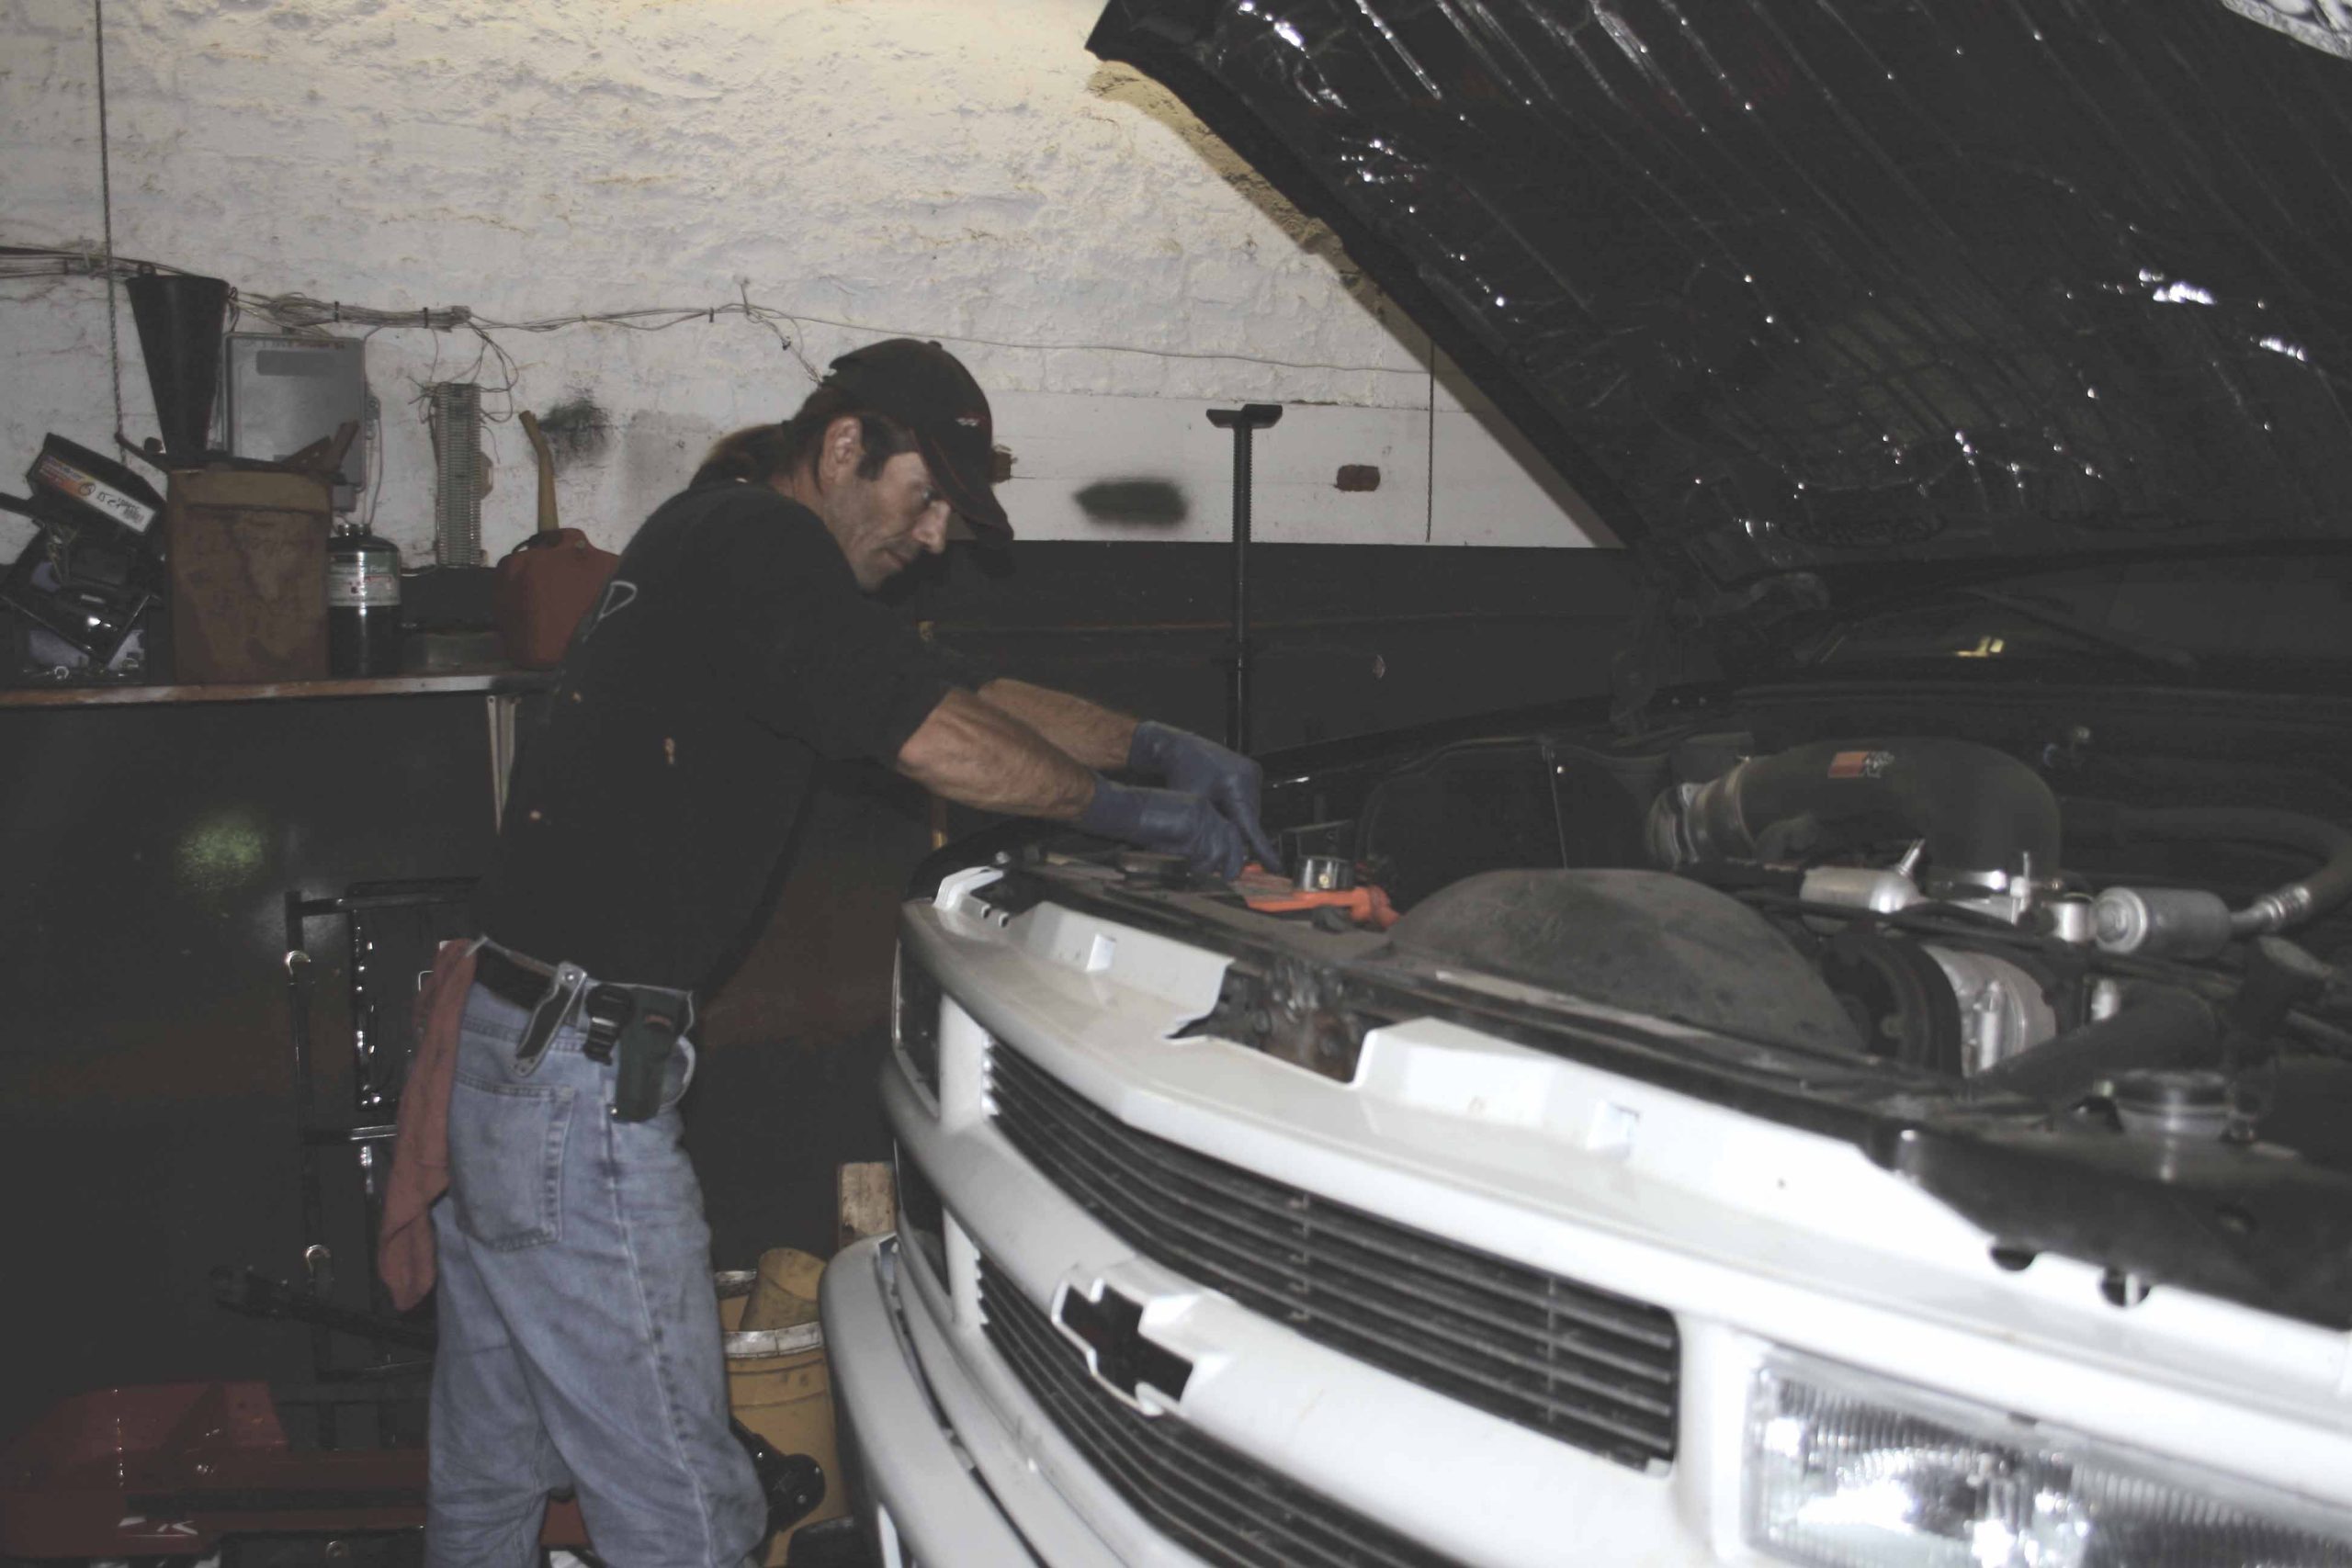
2 Before raising the Tahoe, the battery is disconnected at the negative terminal.
3 After lifting the big SUV, it is much easier to access the transmission to remove it and take photos of the action.
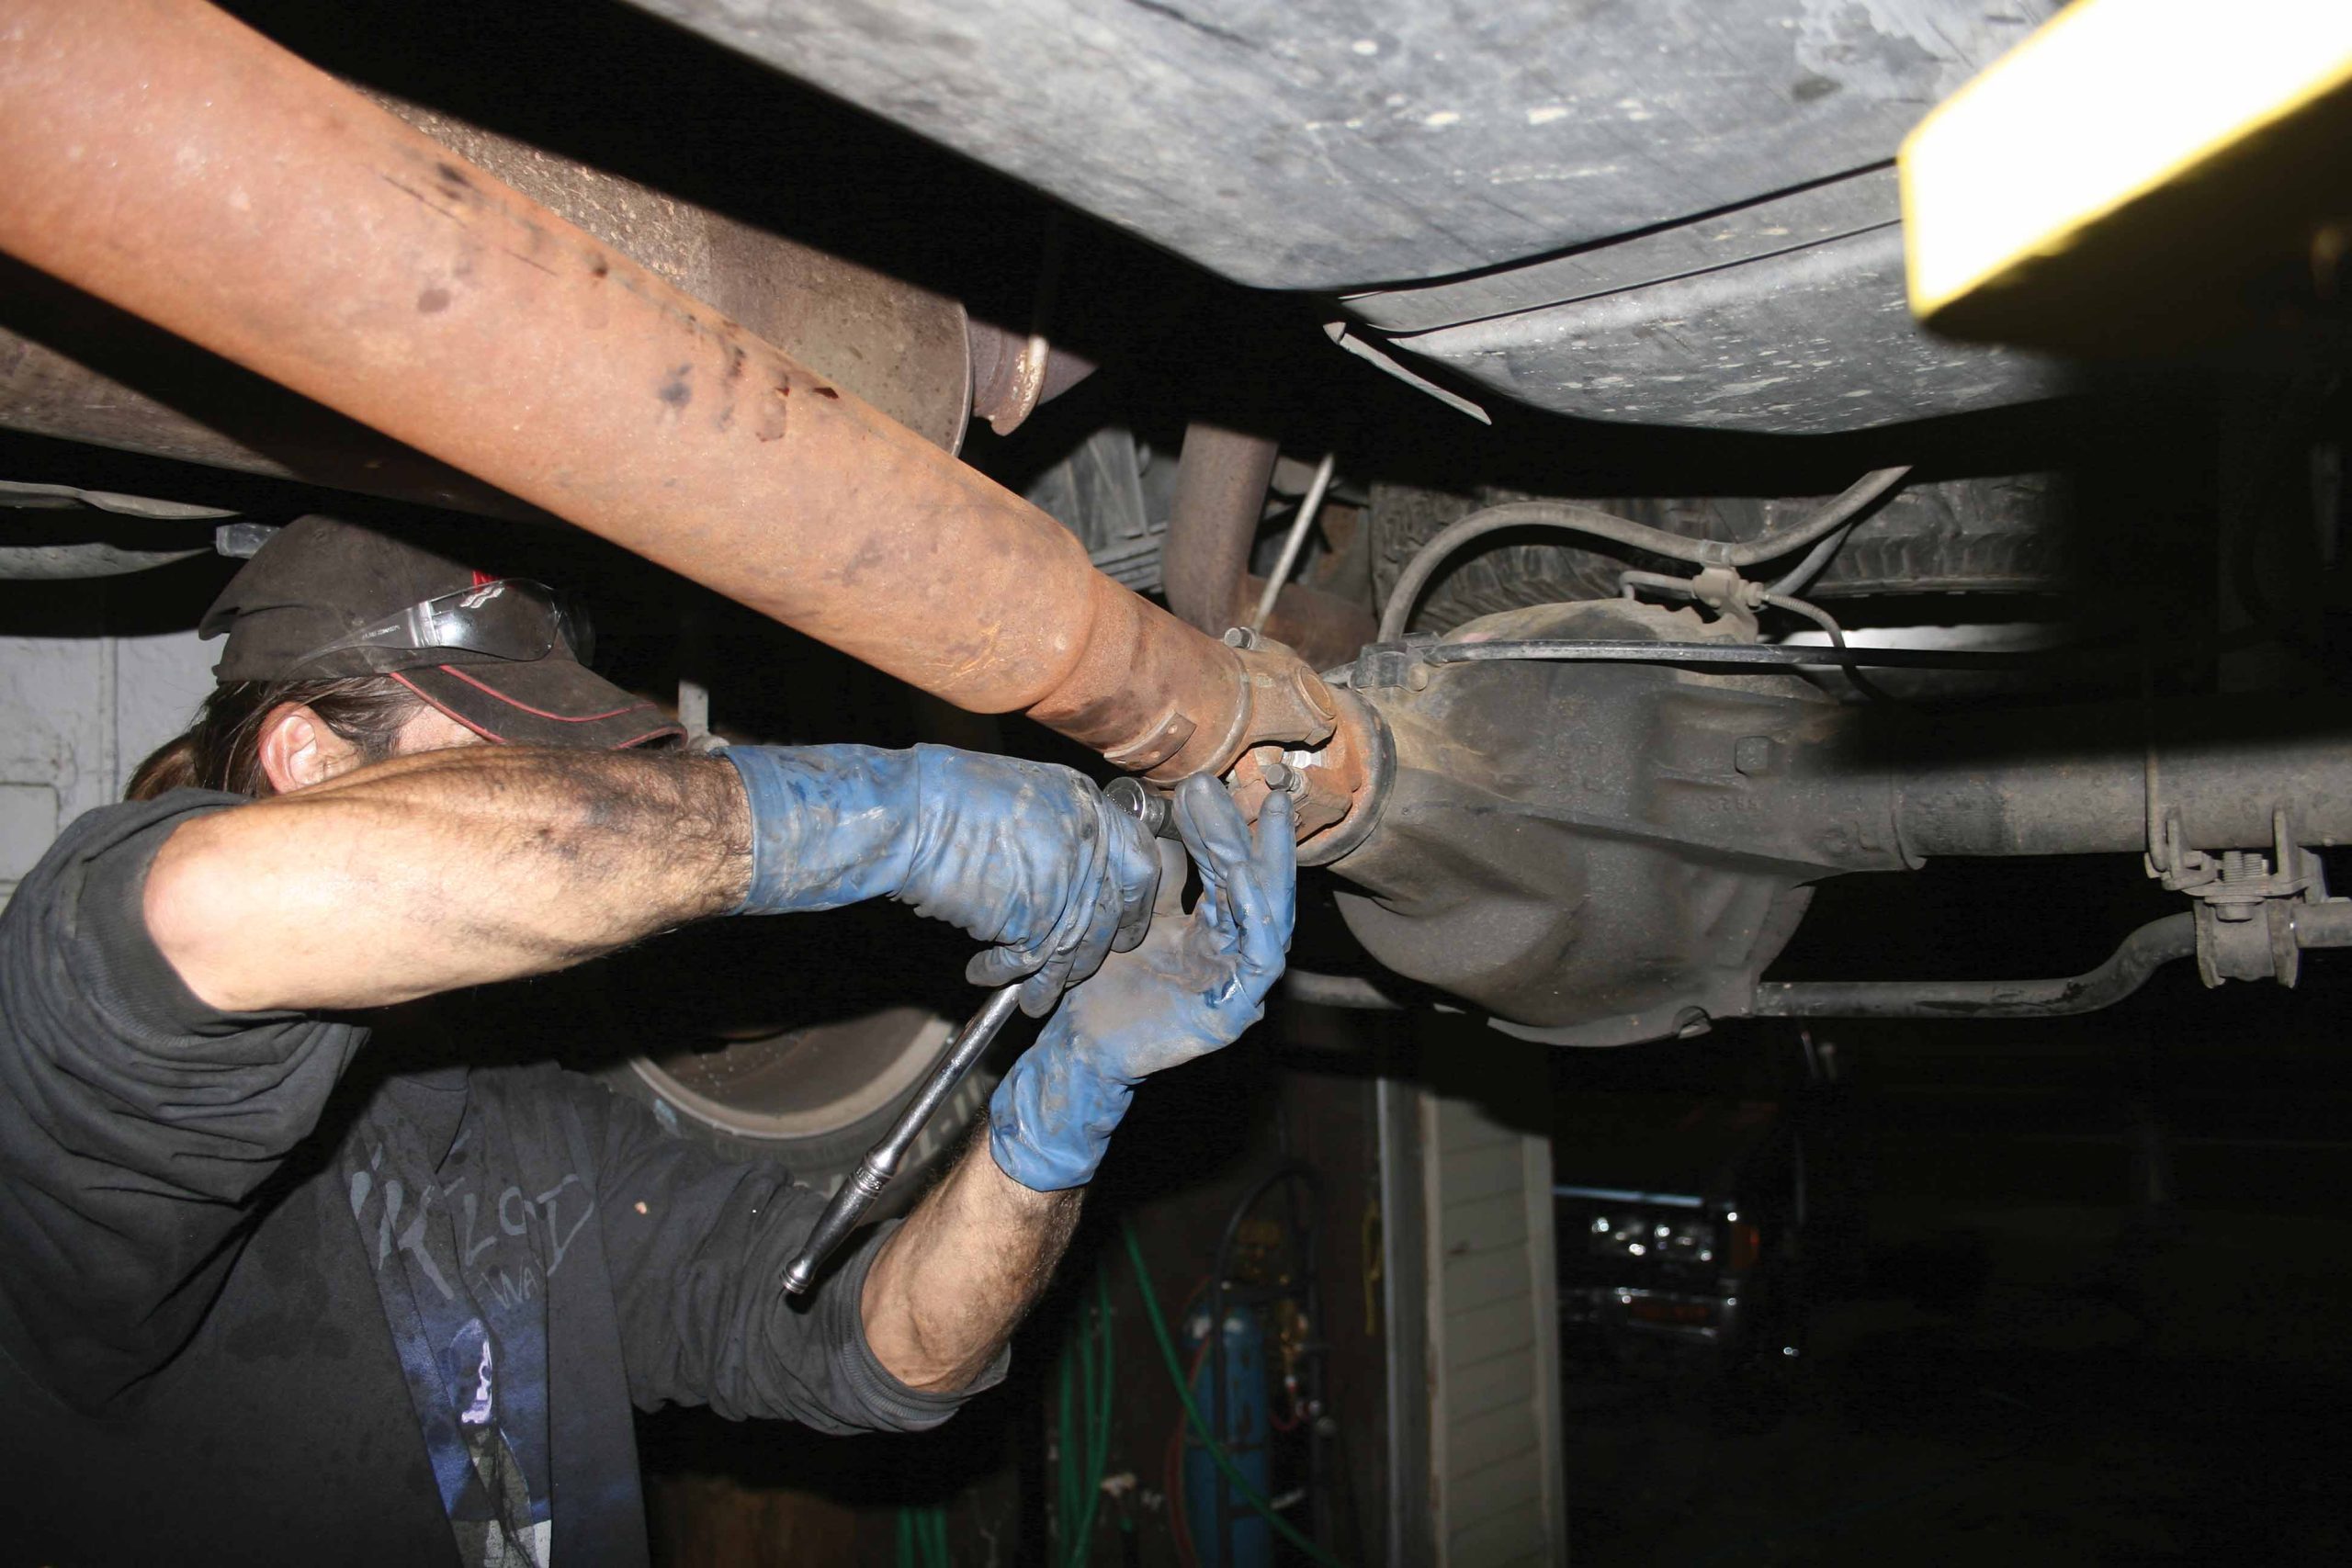
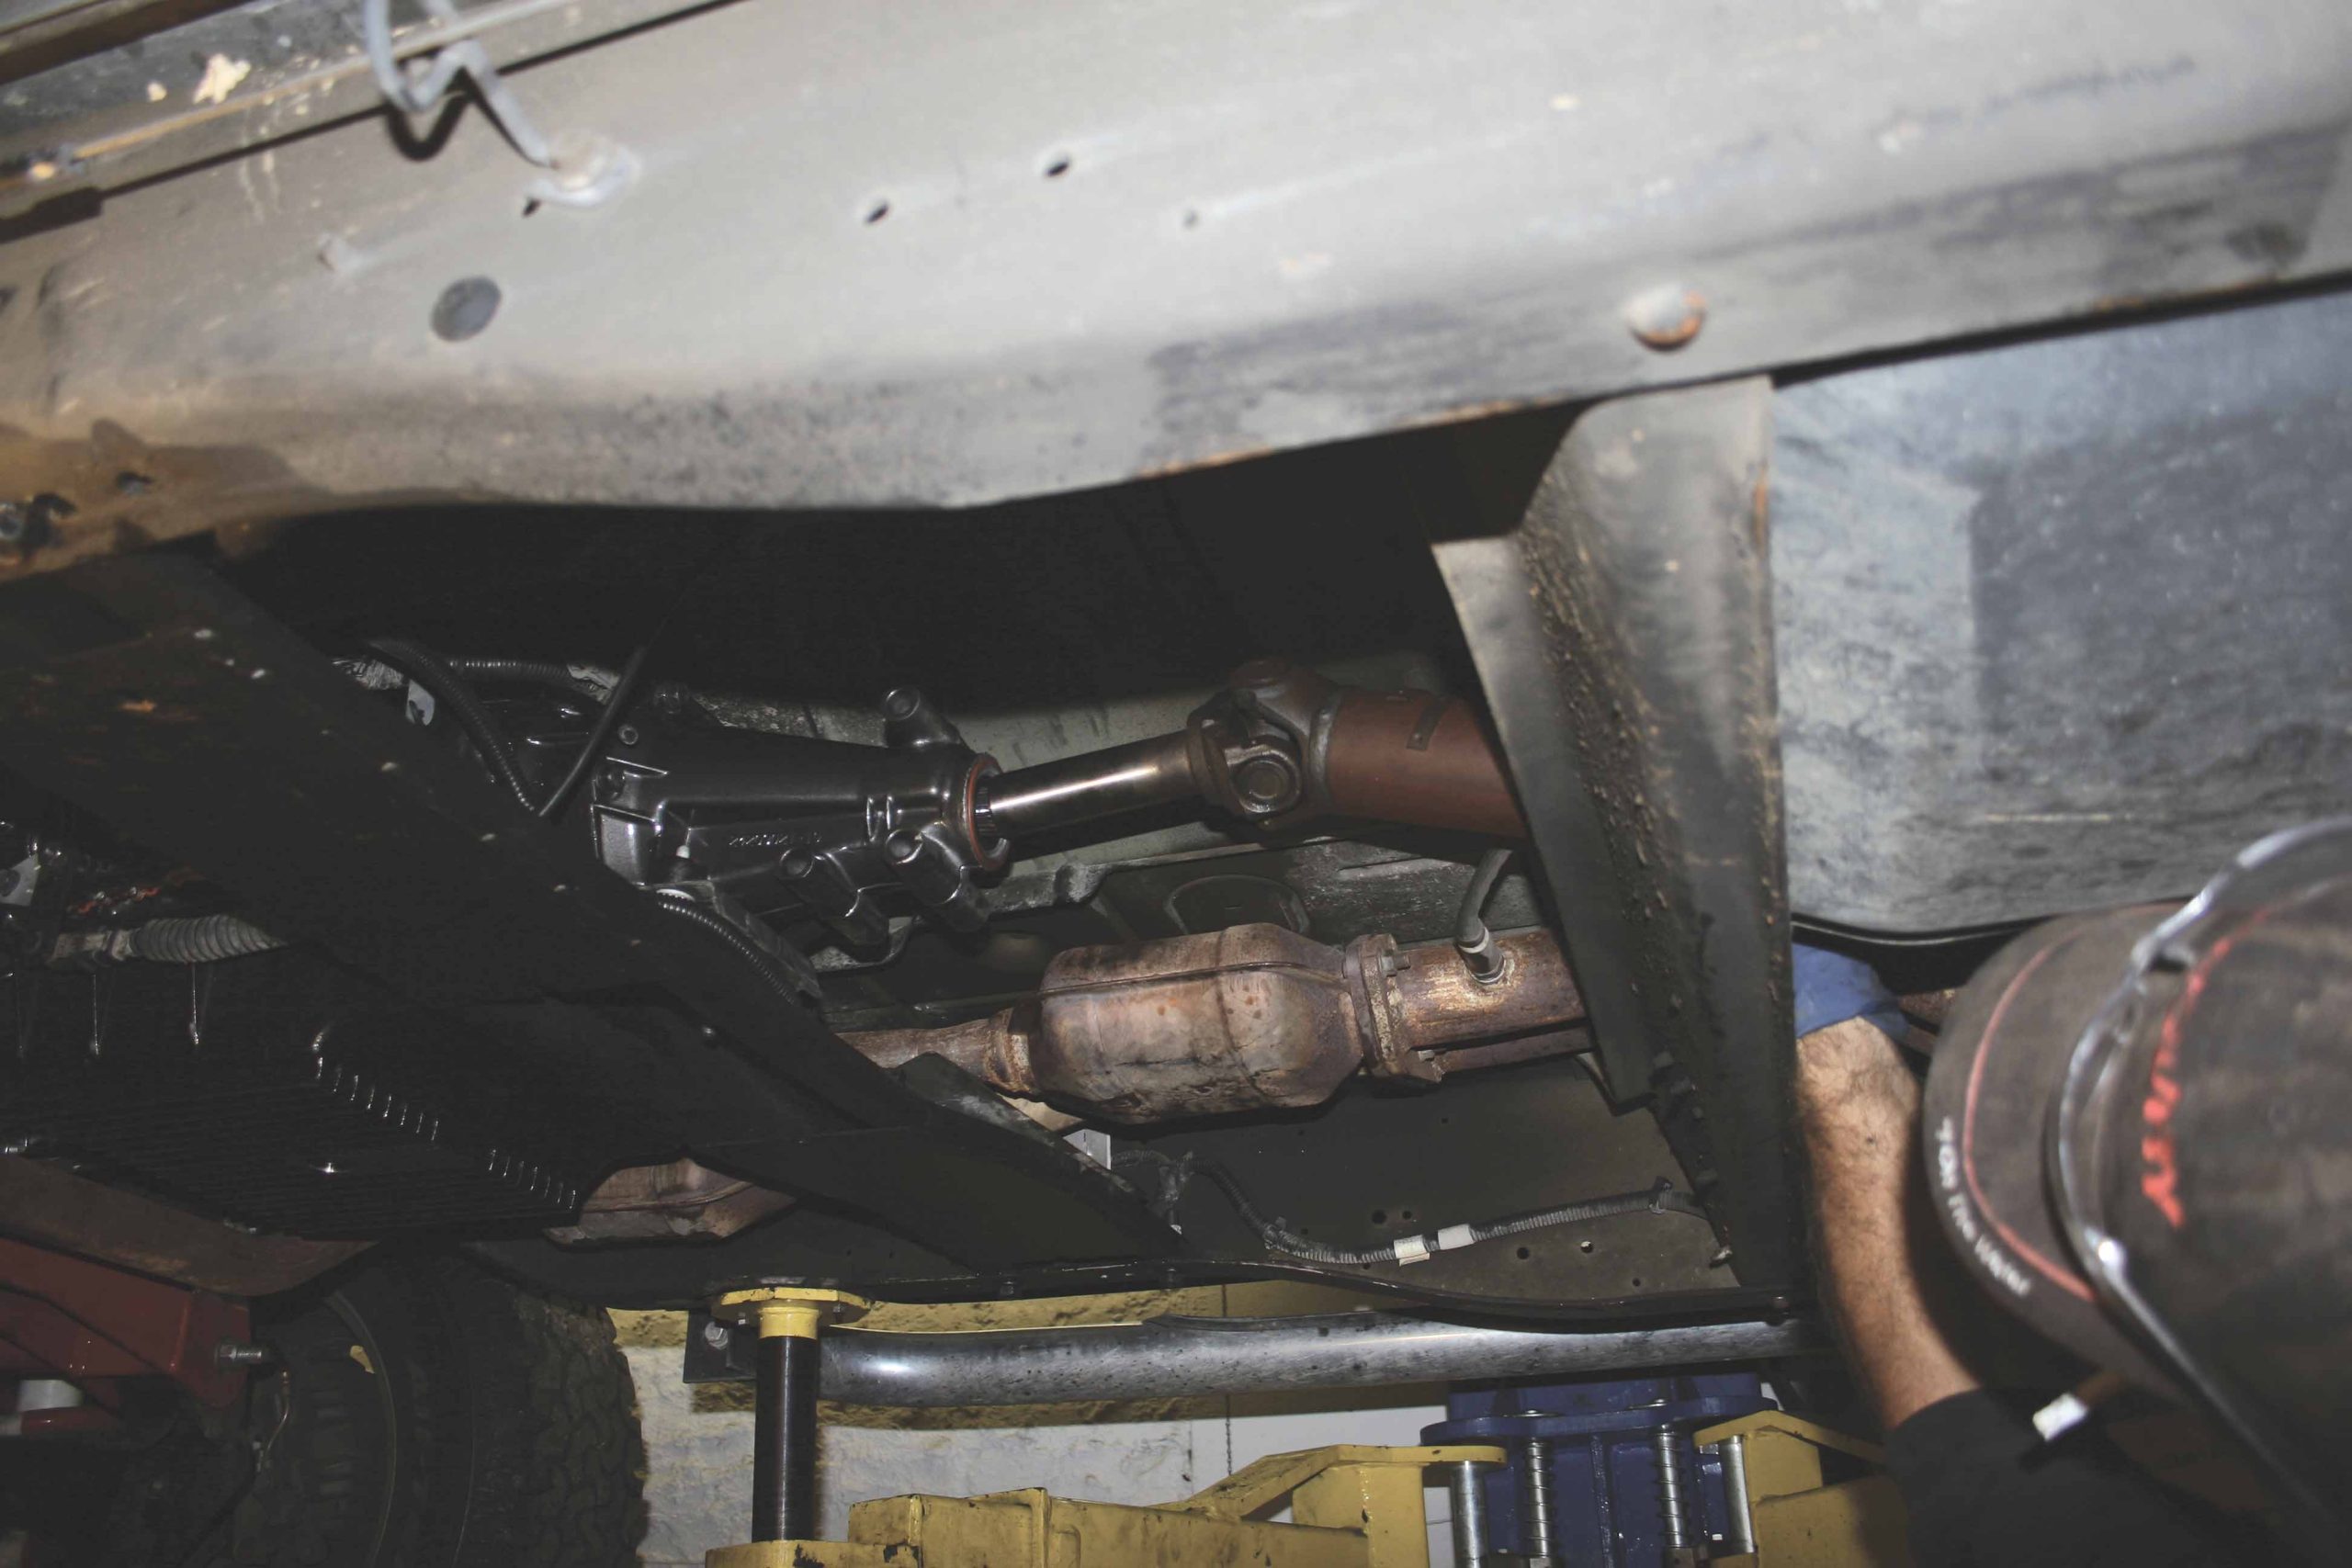
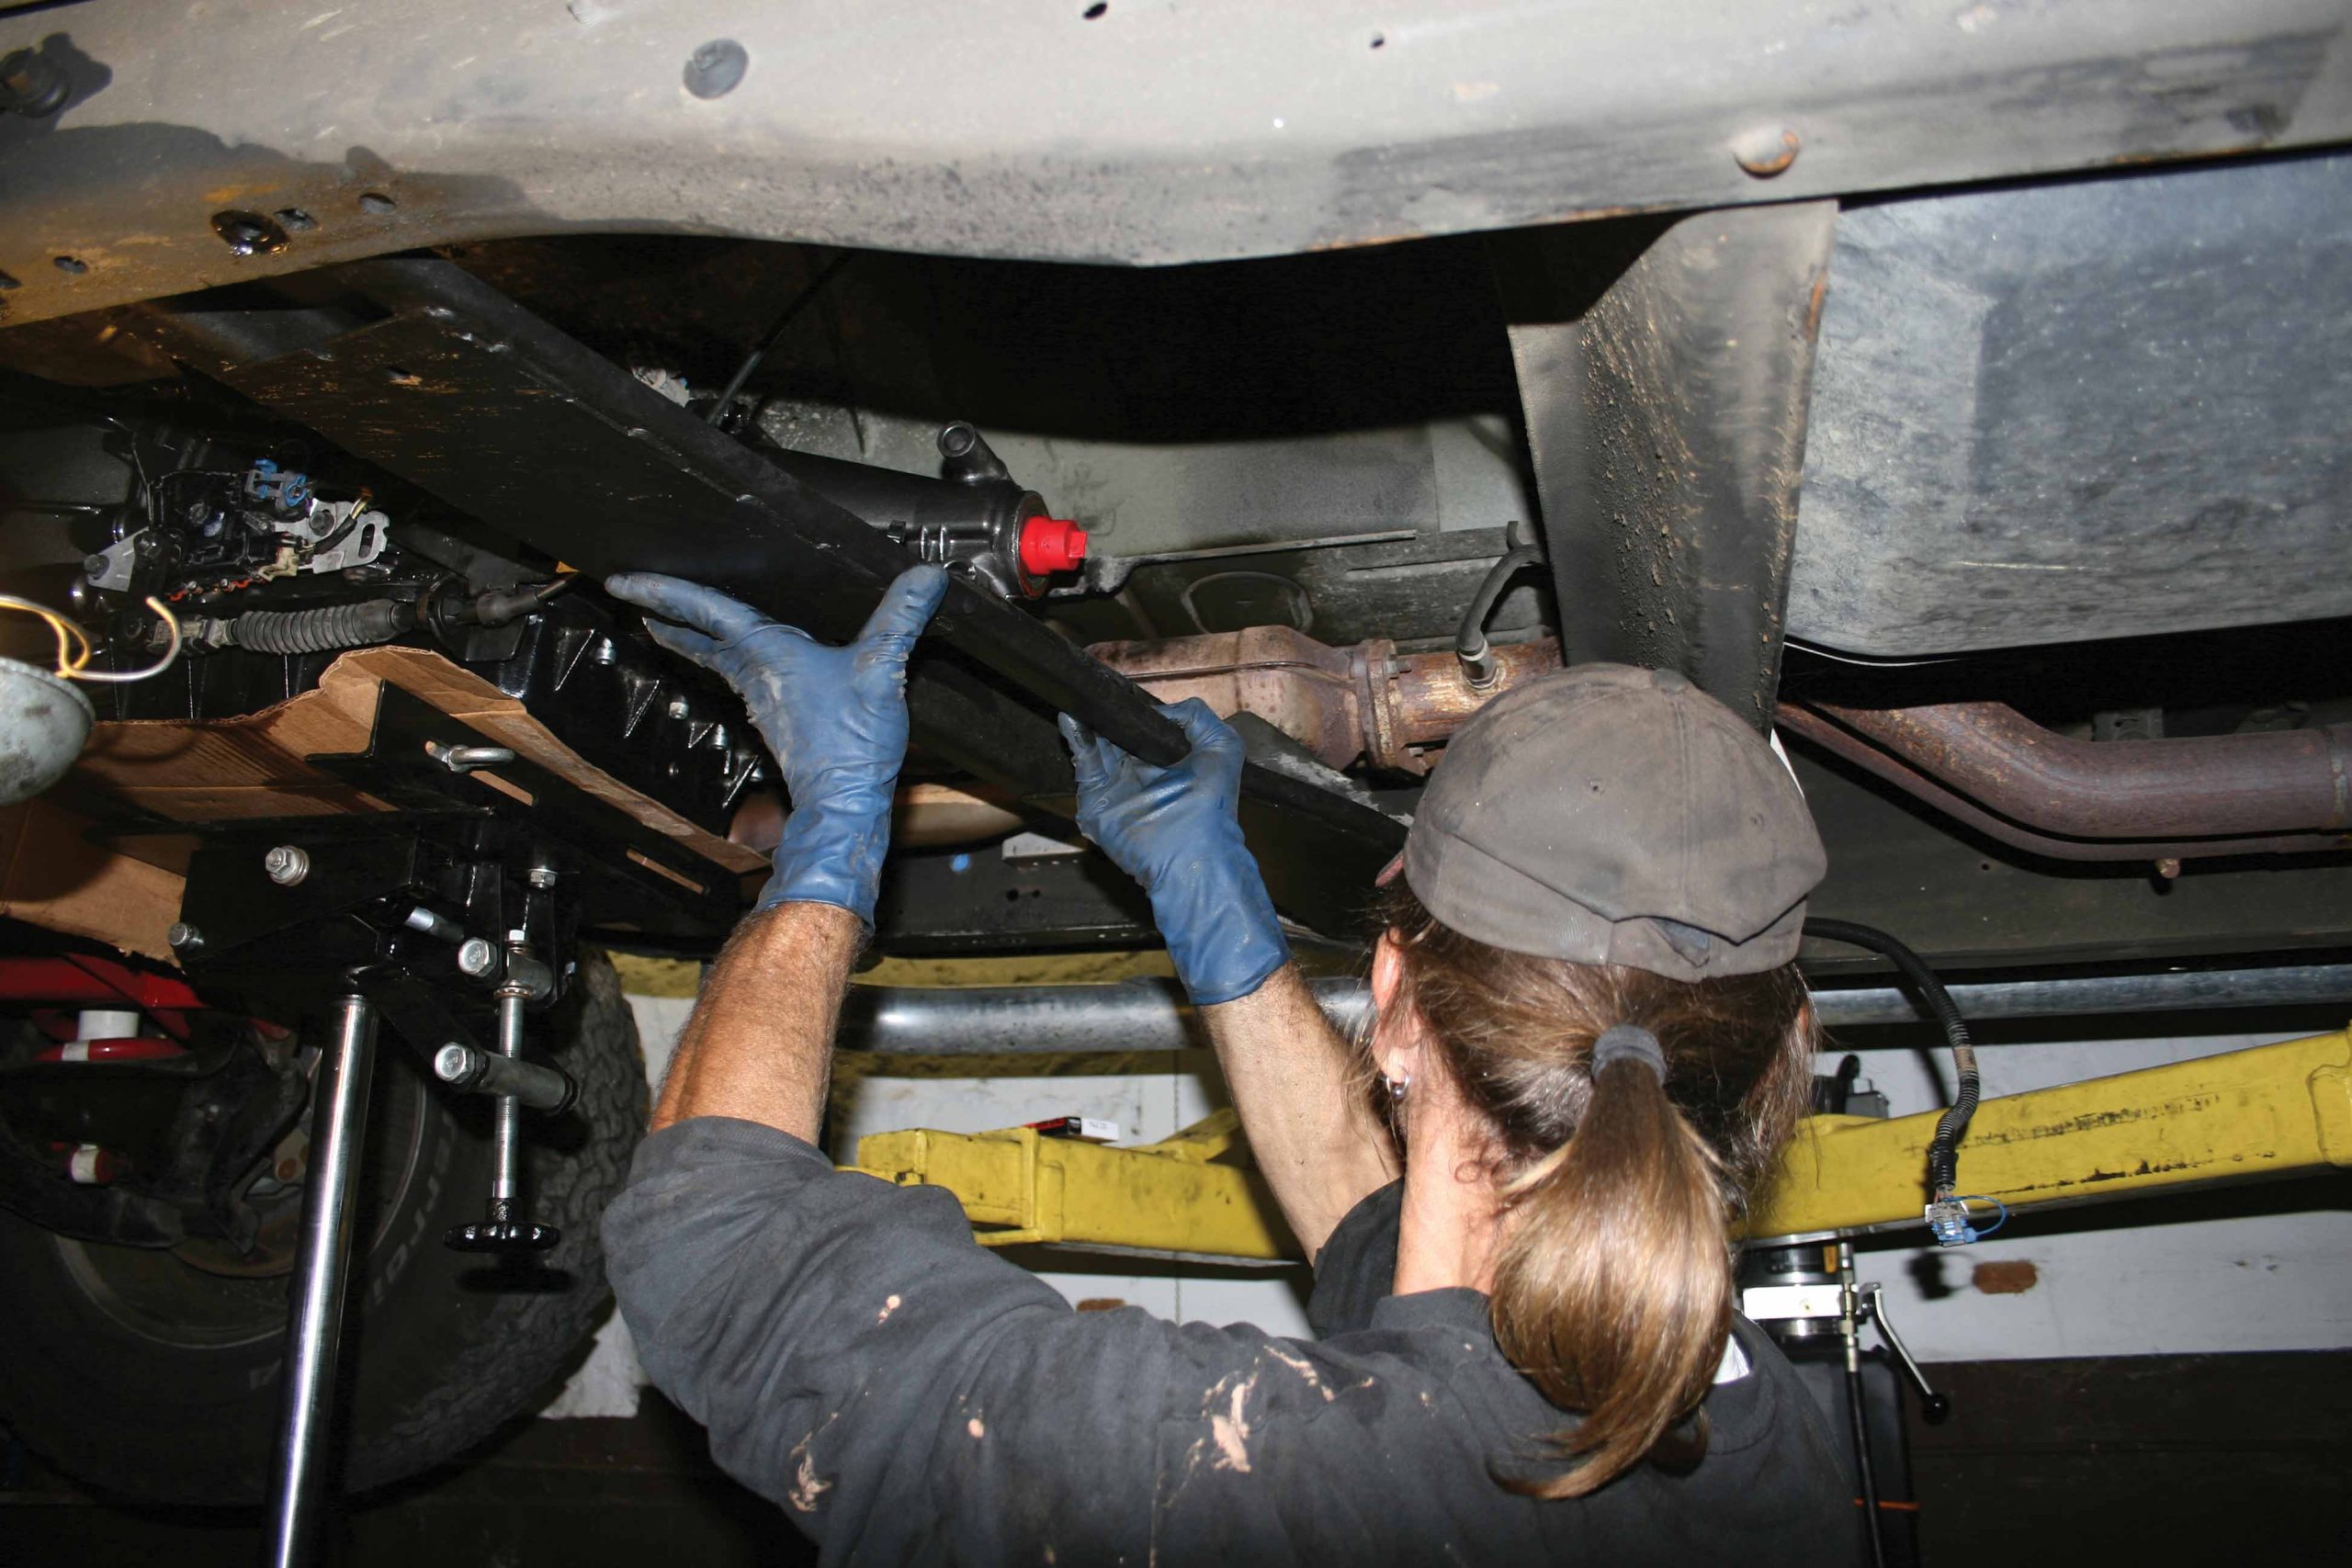
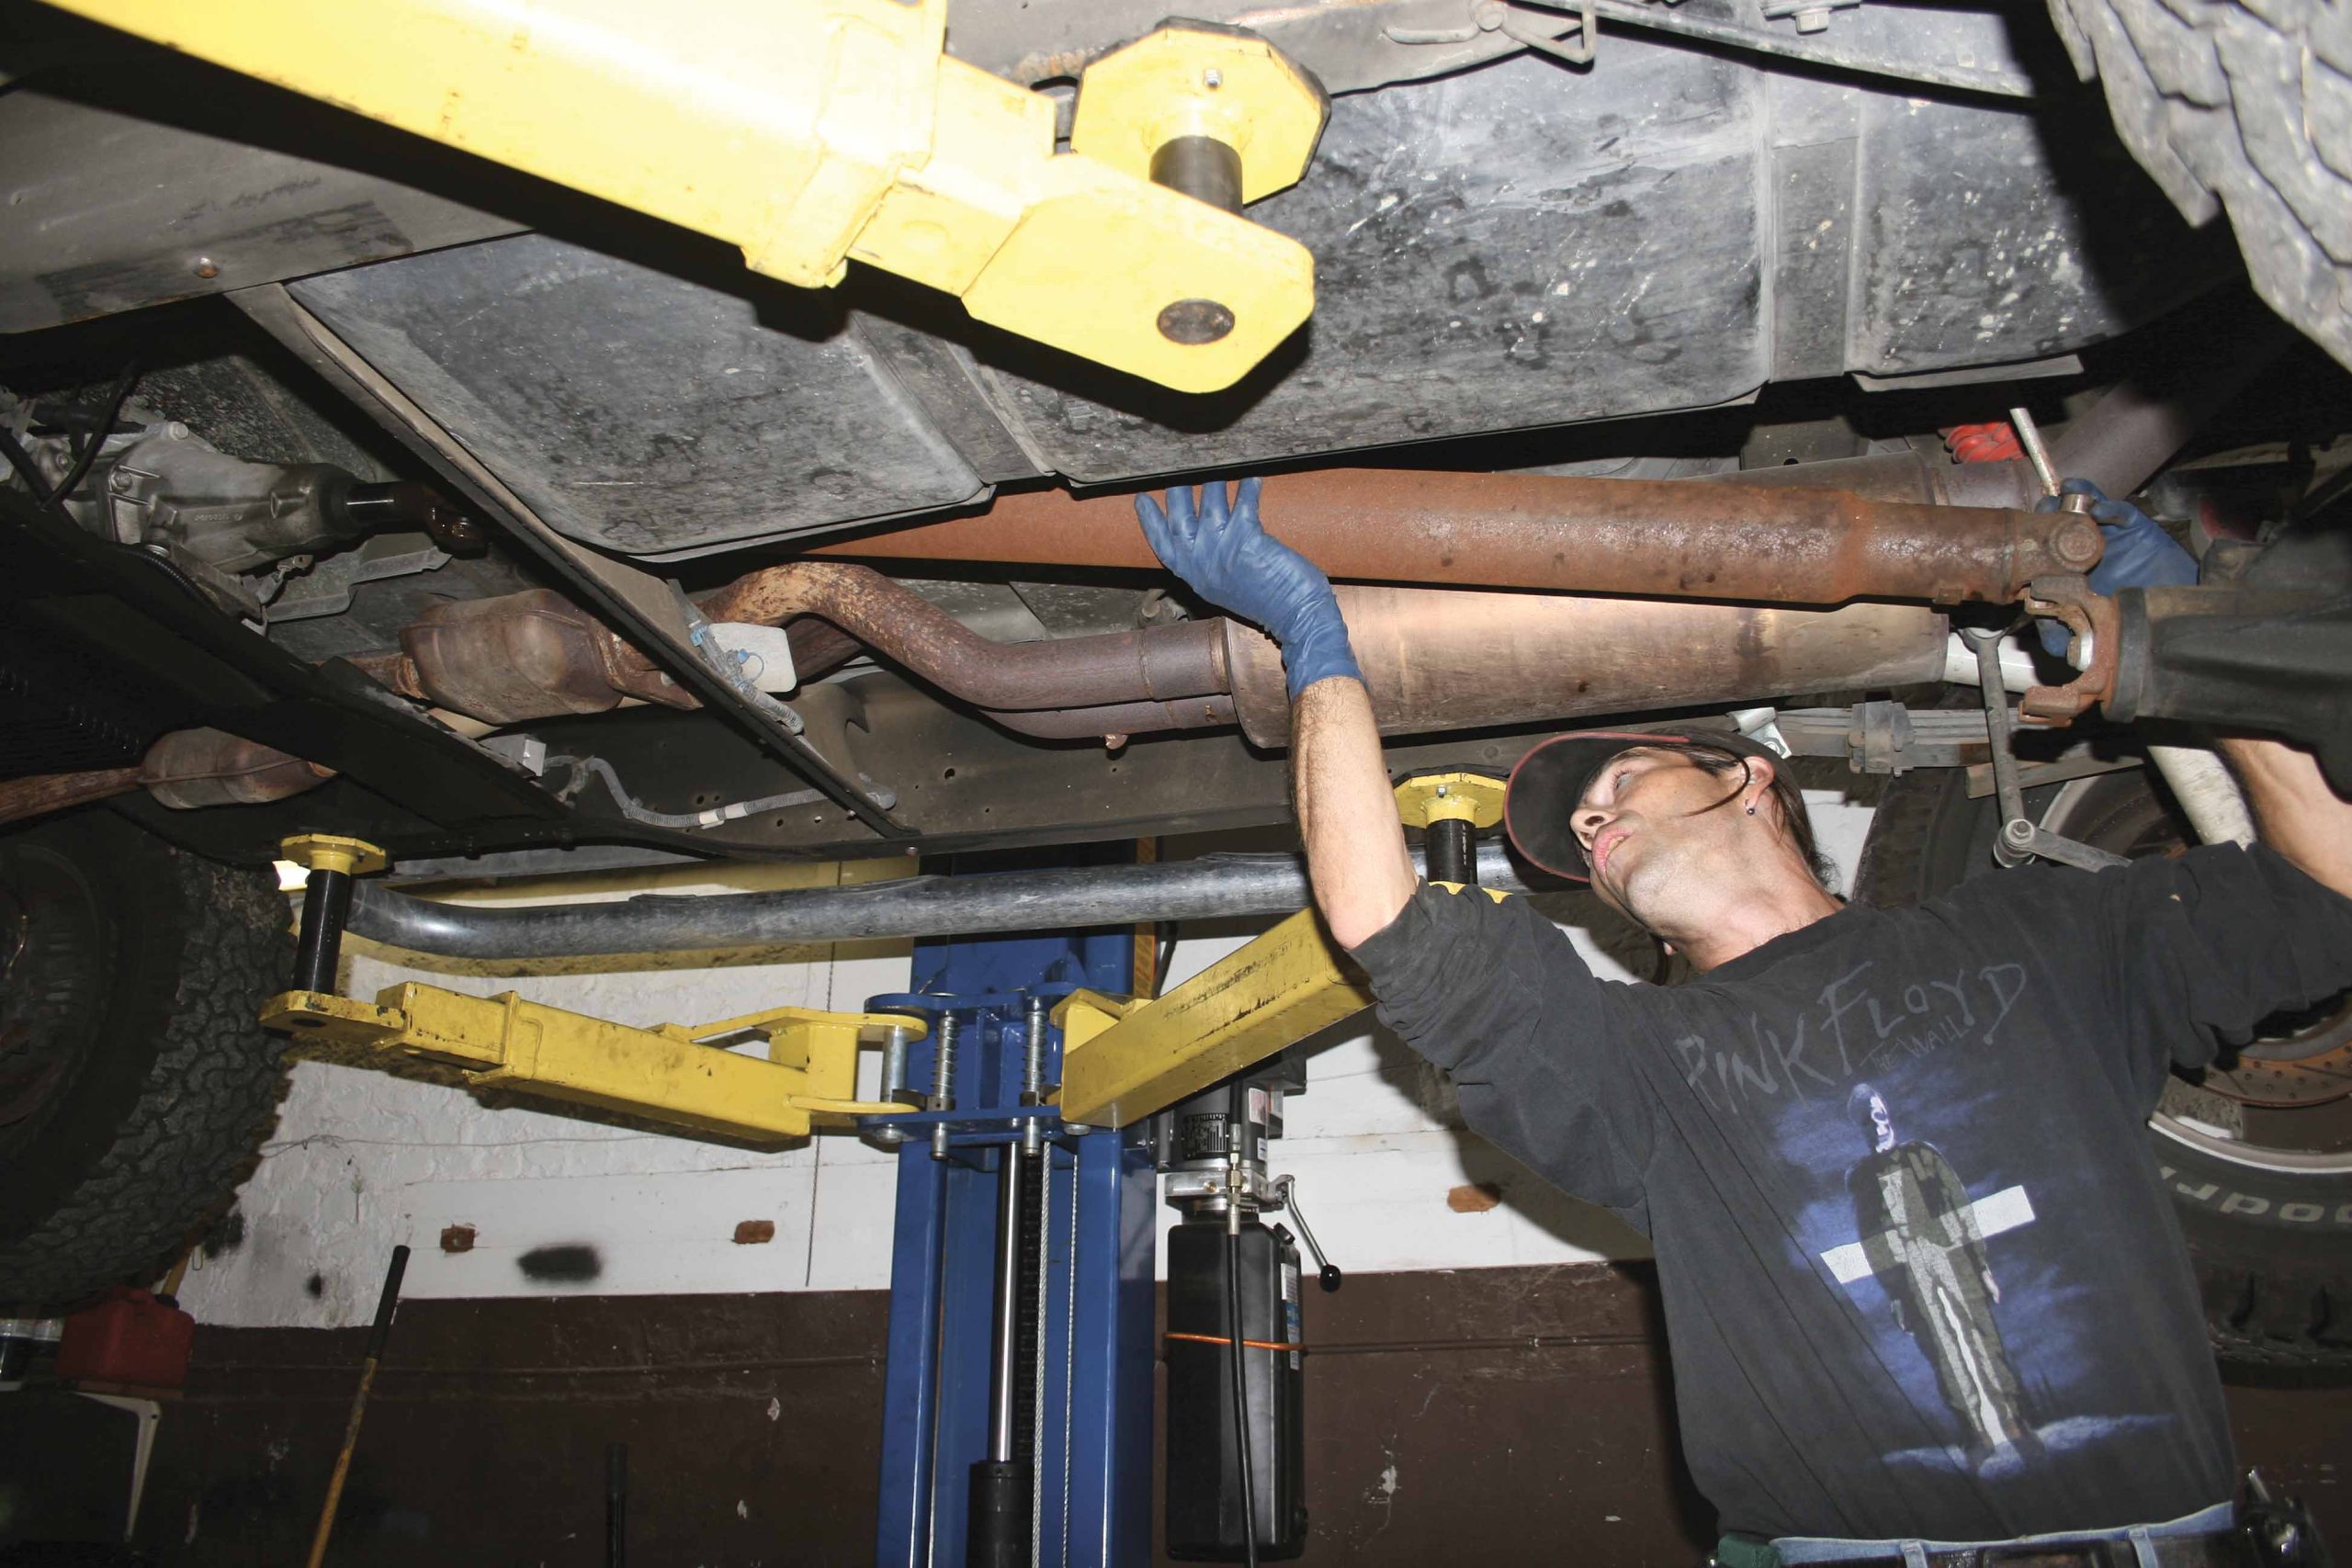
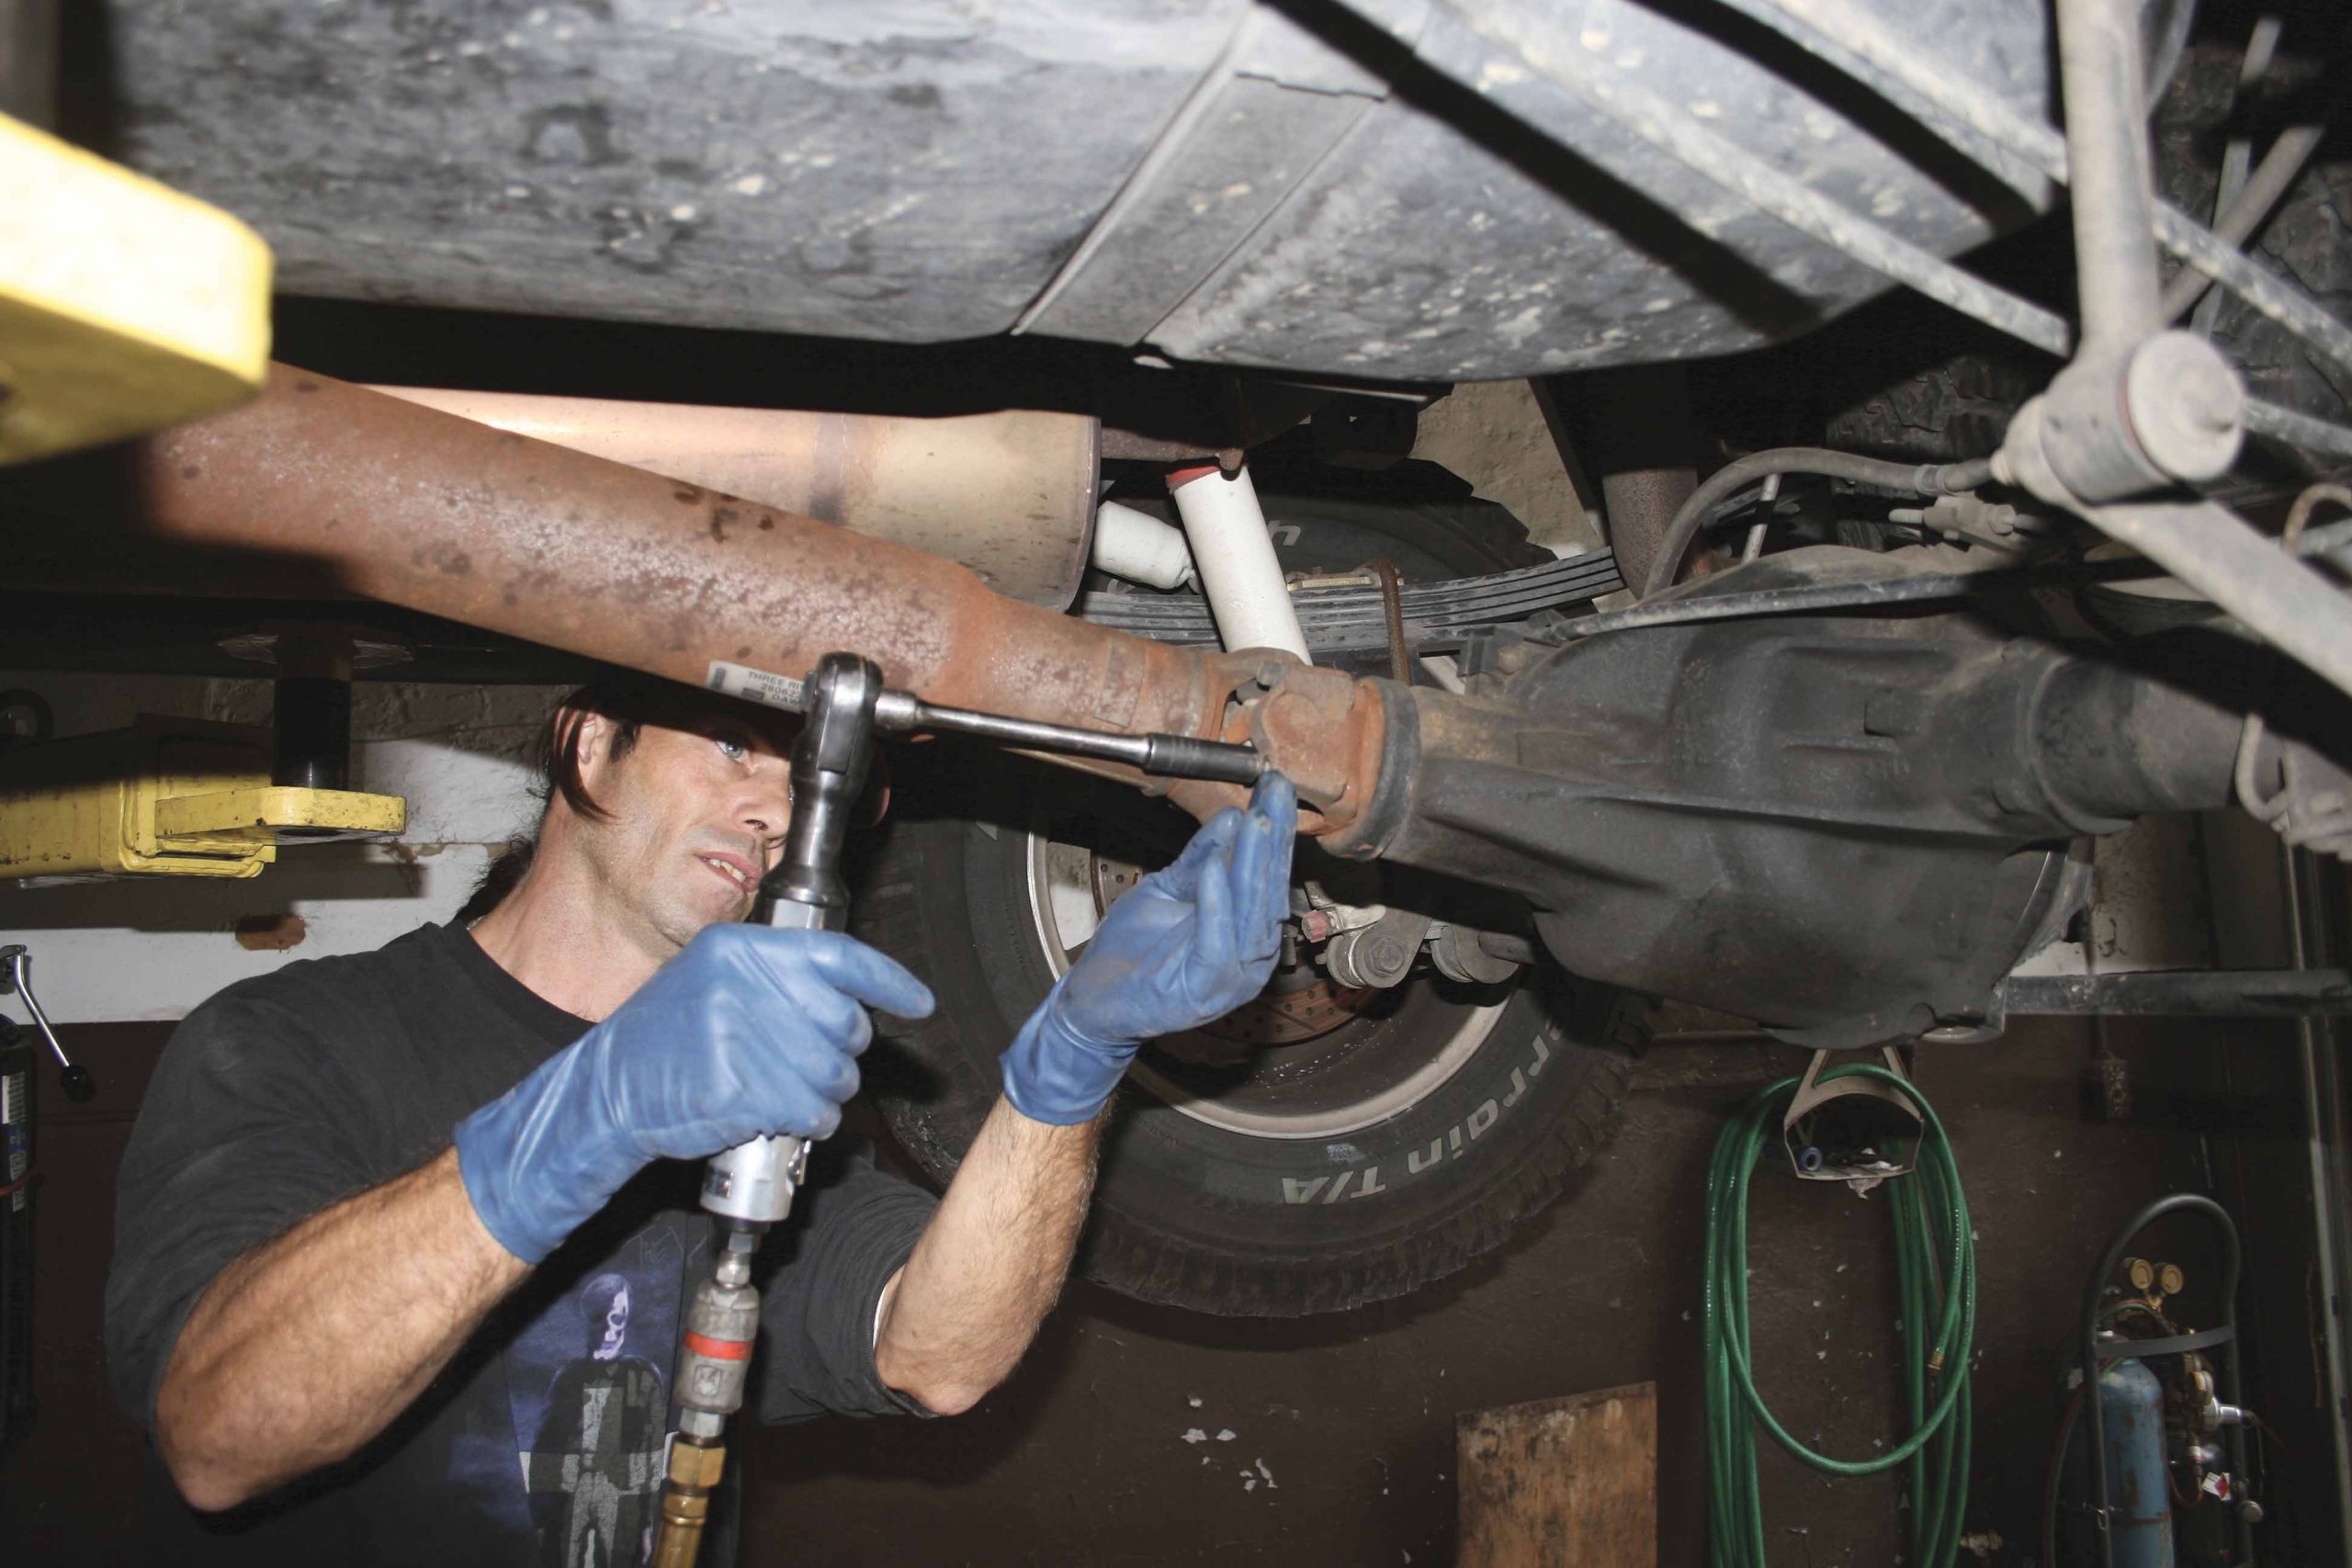
4 Removing the driveshaft is the first mechanical step to removing the transmission. Unbolt the U-joint straps and then gently pry the U-joint away from the differential.
5 With the U-joint free, you can remove the driveshaft from the truck by sliding the yoke out of the transmission as you lower the driveshaft out of the truck.
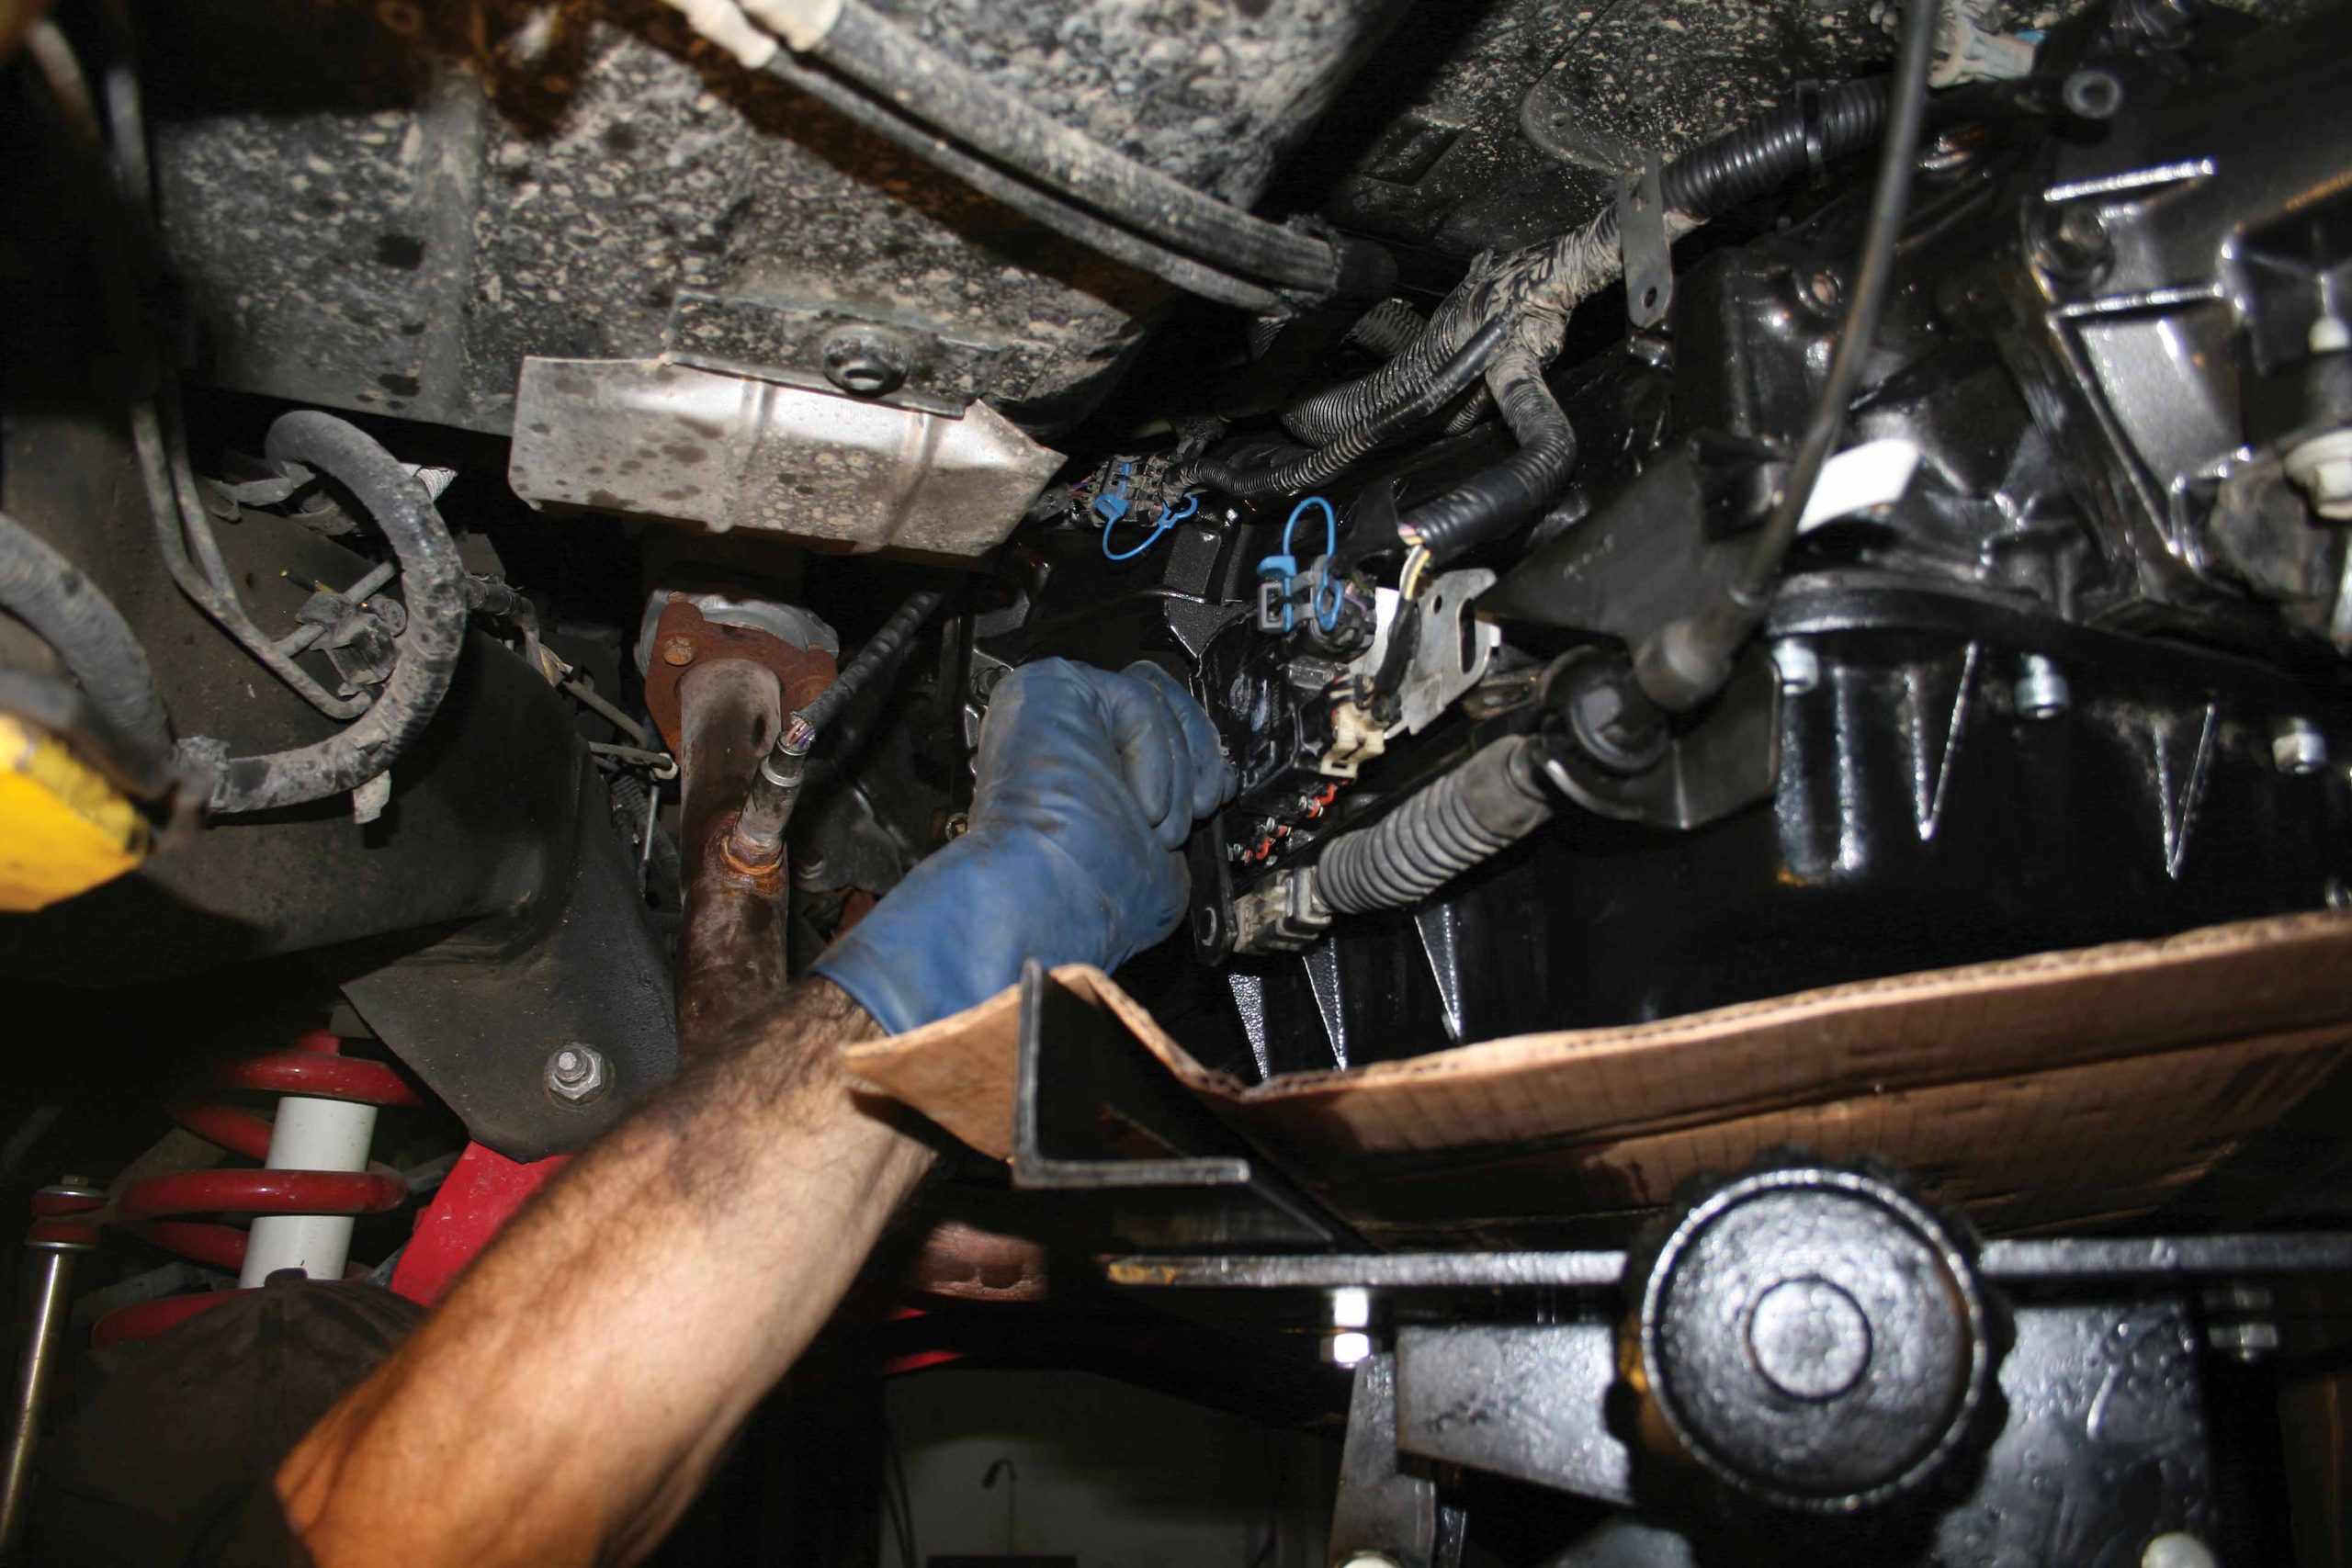
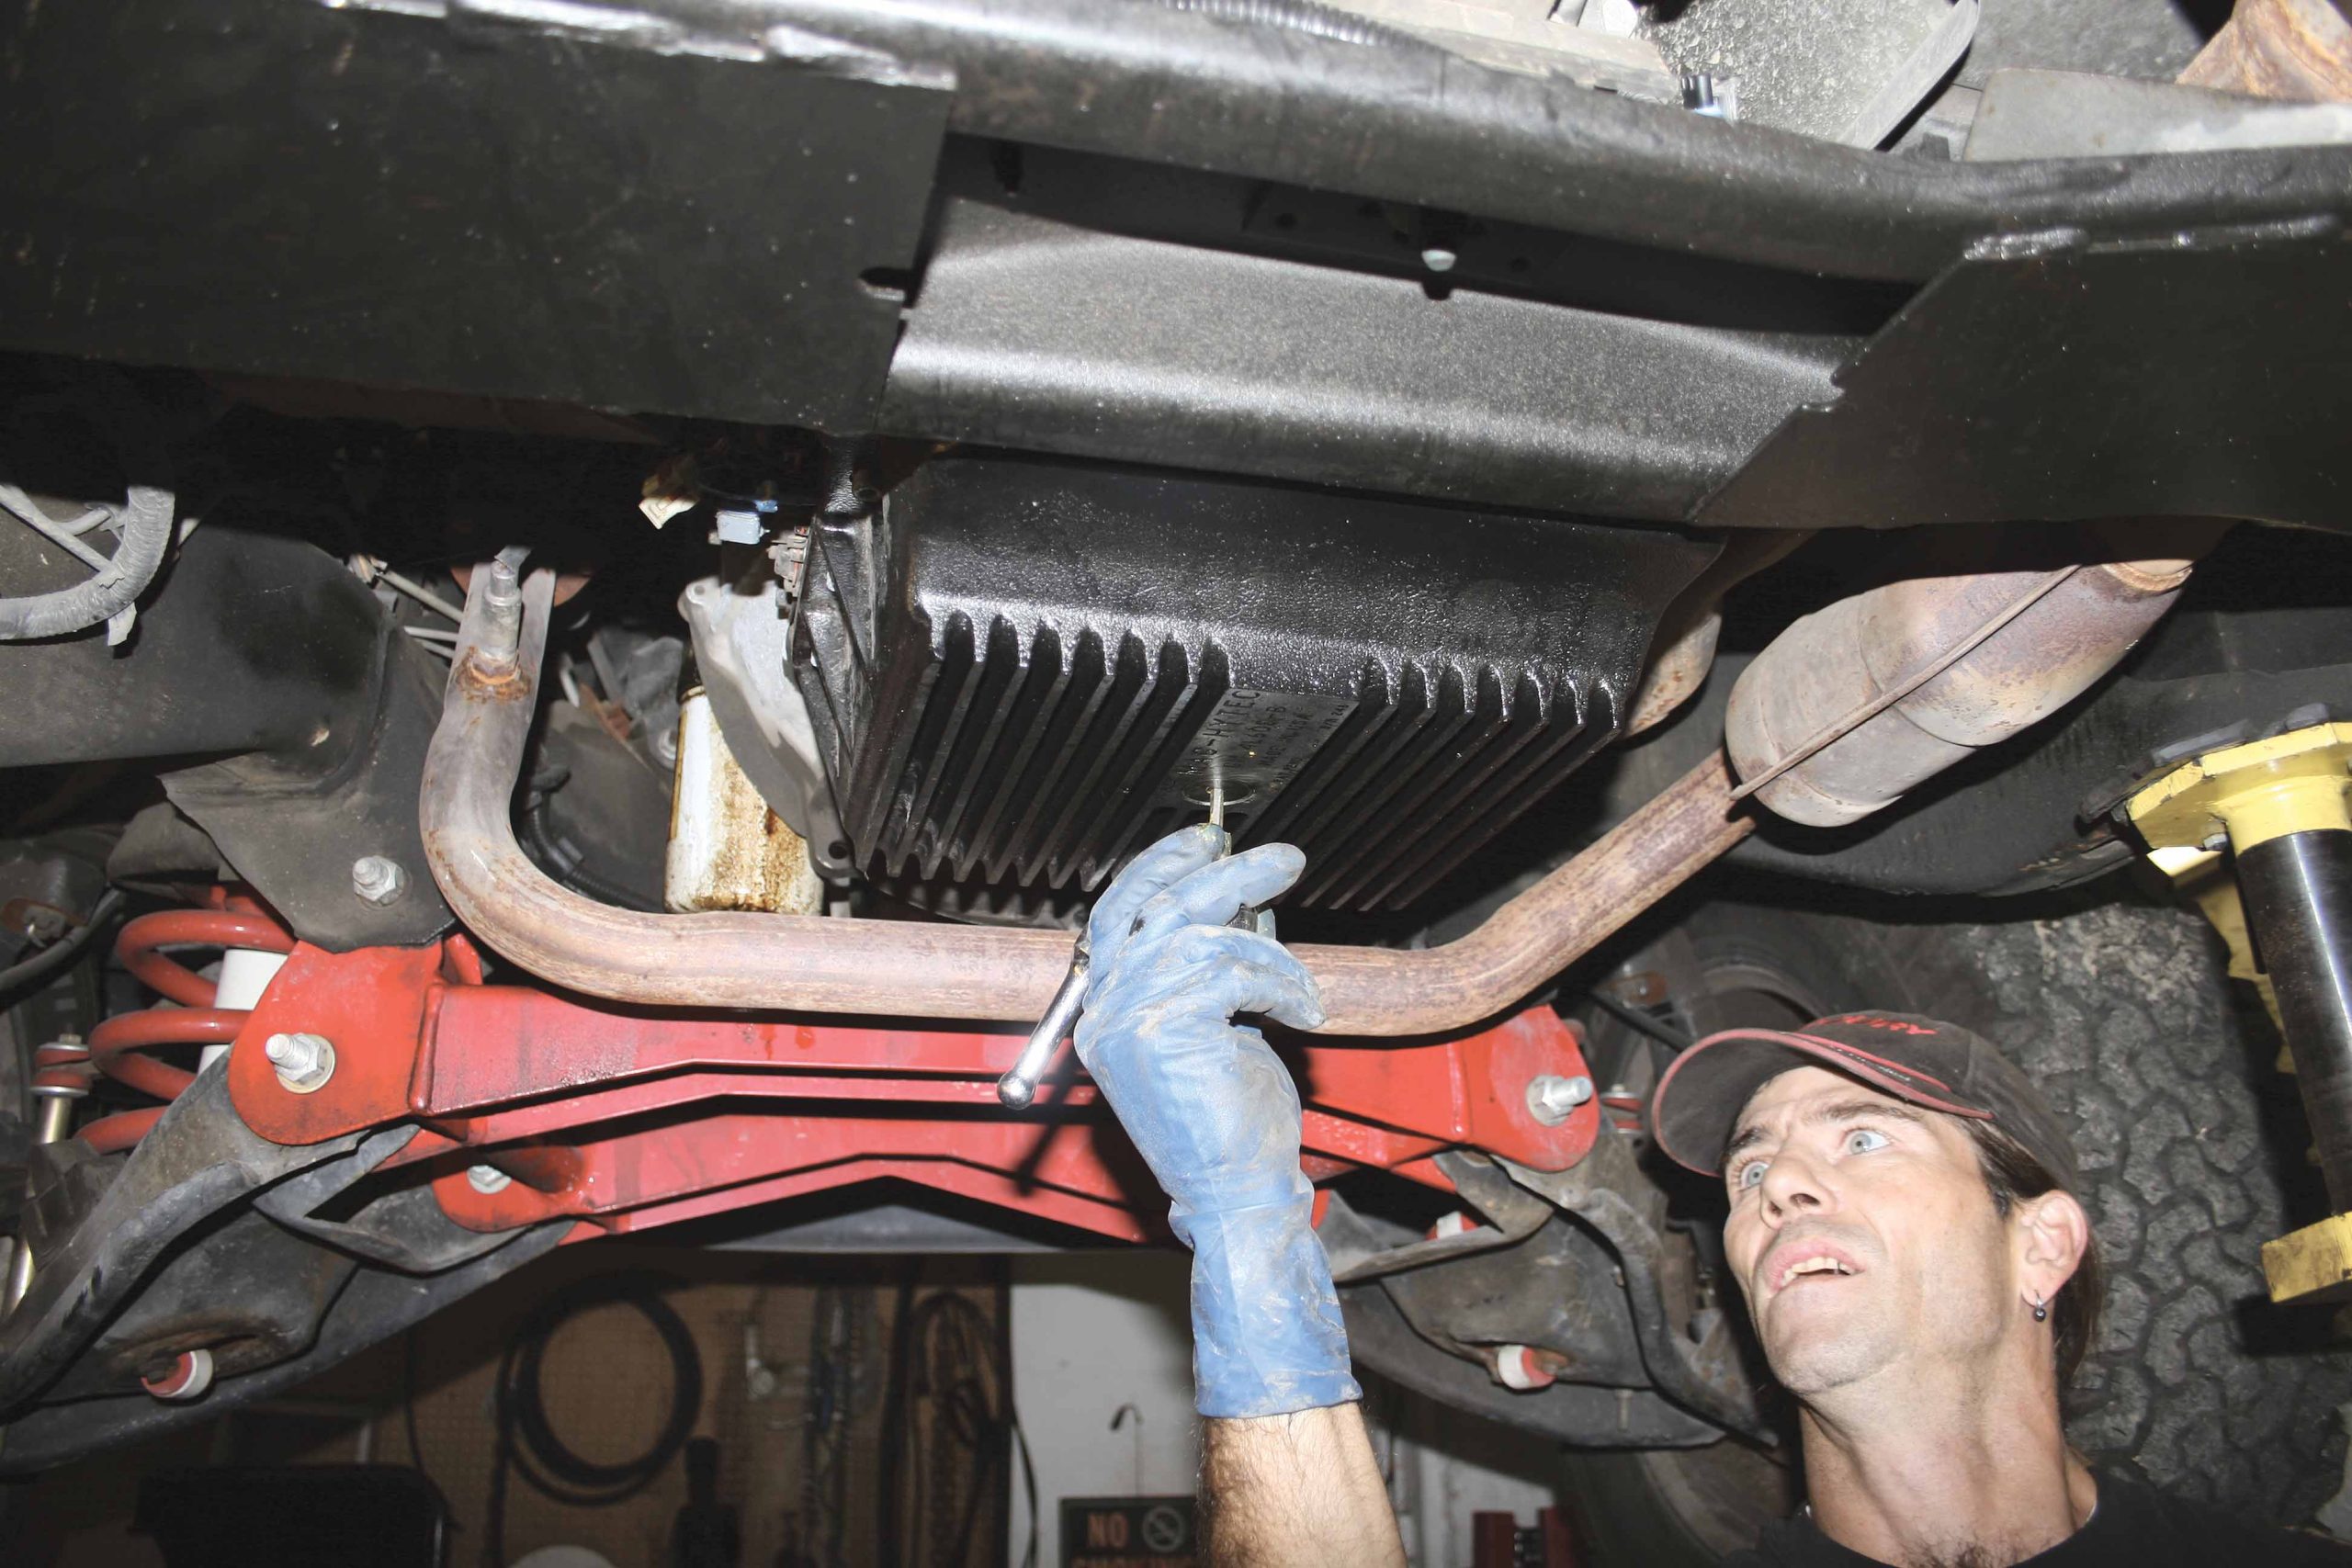
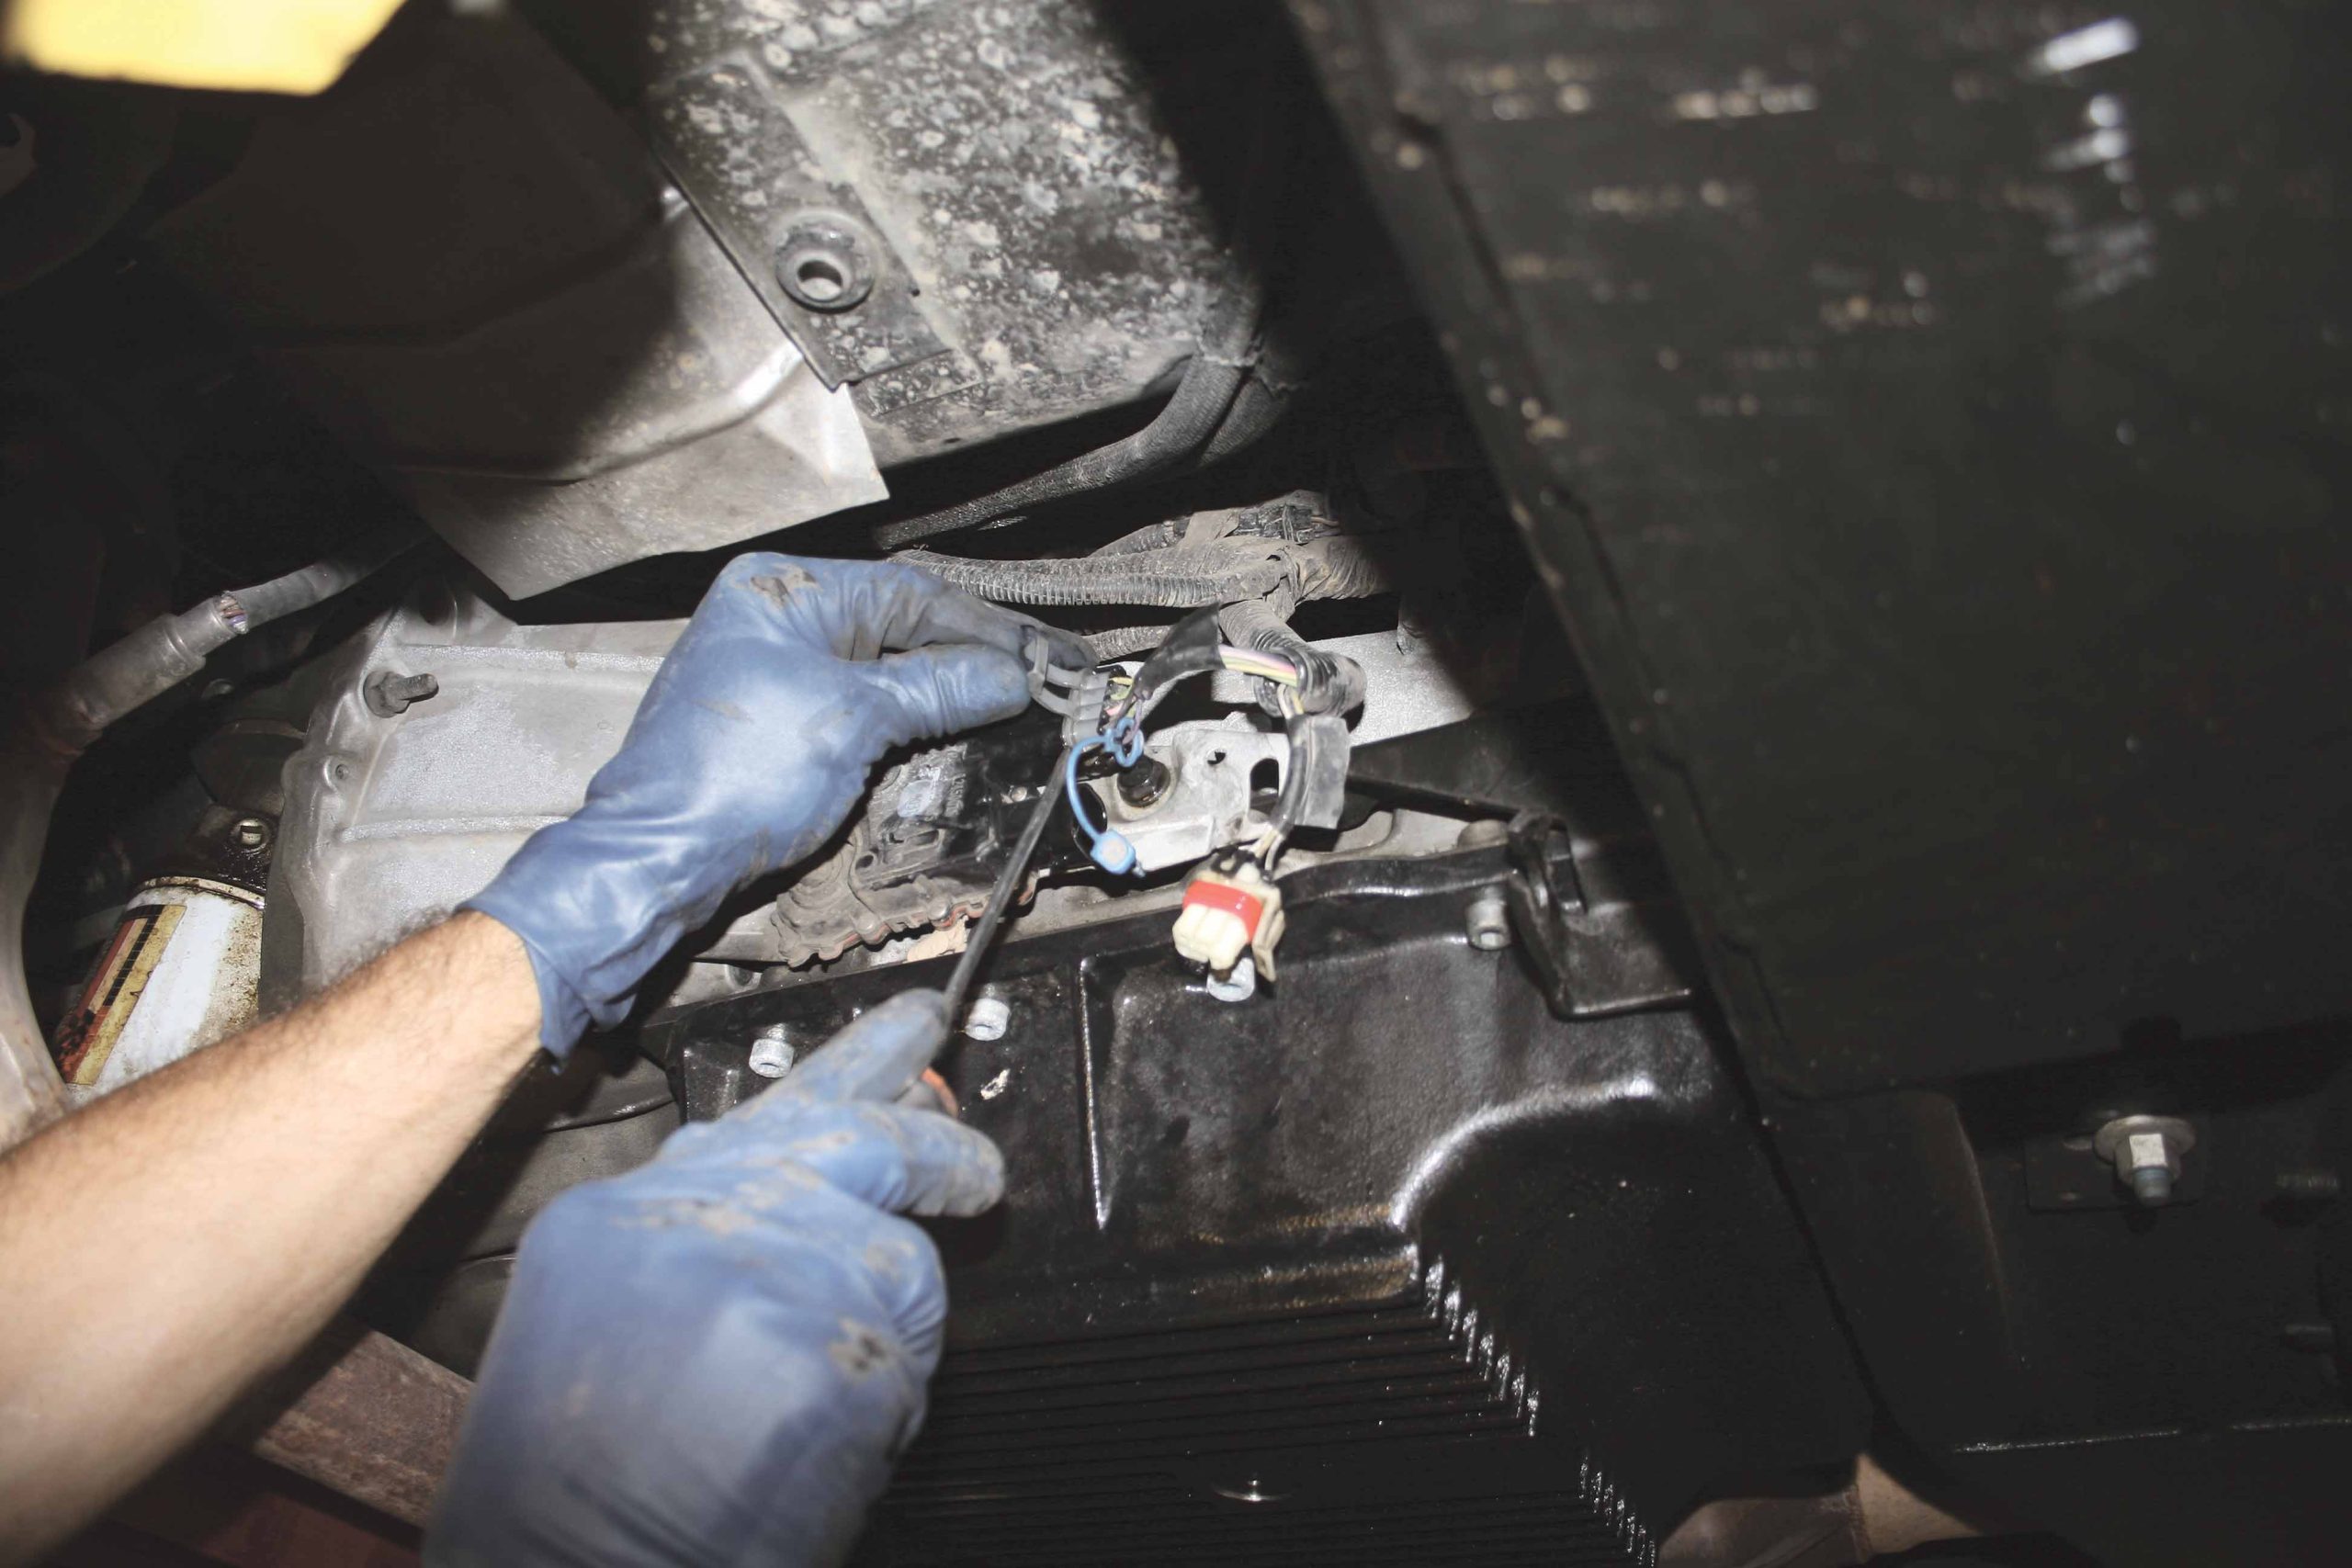
6-7 The shift linkage and wire harnesses must also be disconnected from the driverÕs-side of the trans. Unbolt the linkage and remove the cable from the mount.
8 Use care when unplugging the harnesses from the module, remember they may have been there for many years and miles so use care so as not to break the module or the harness plug.
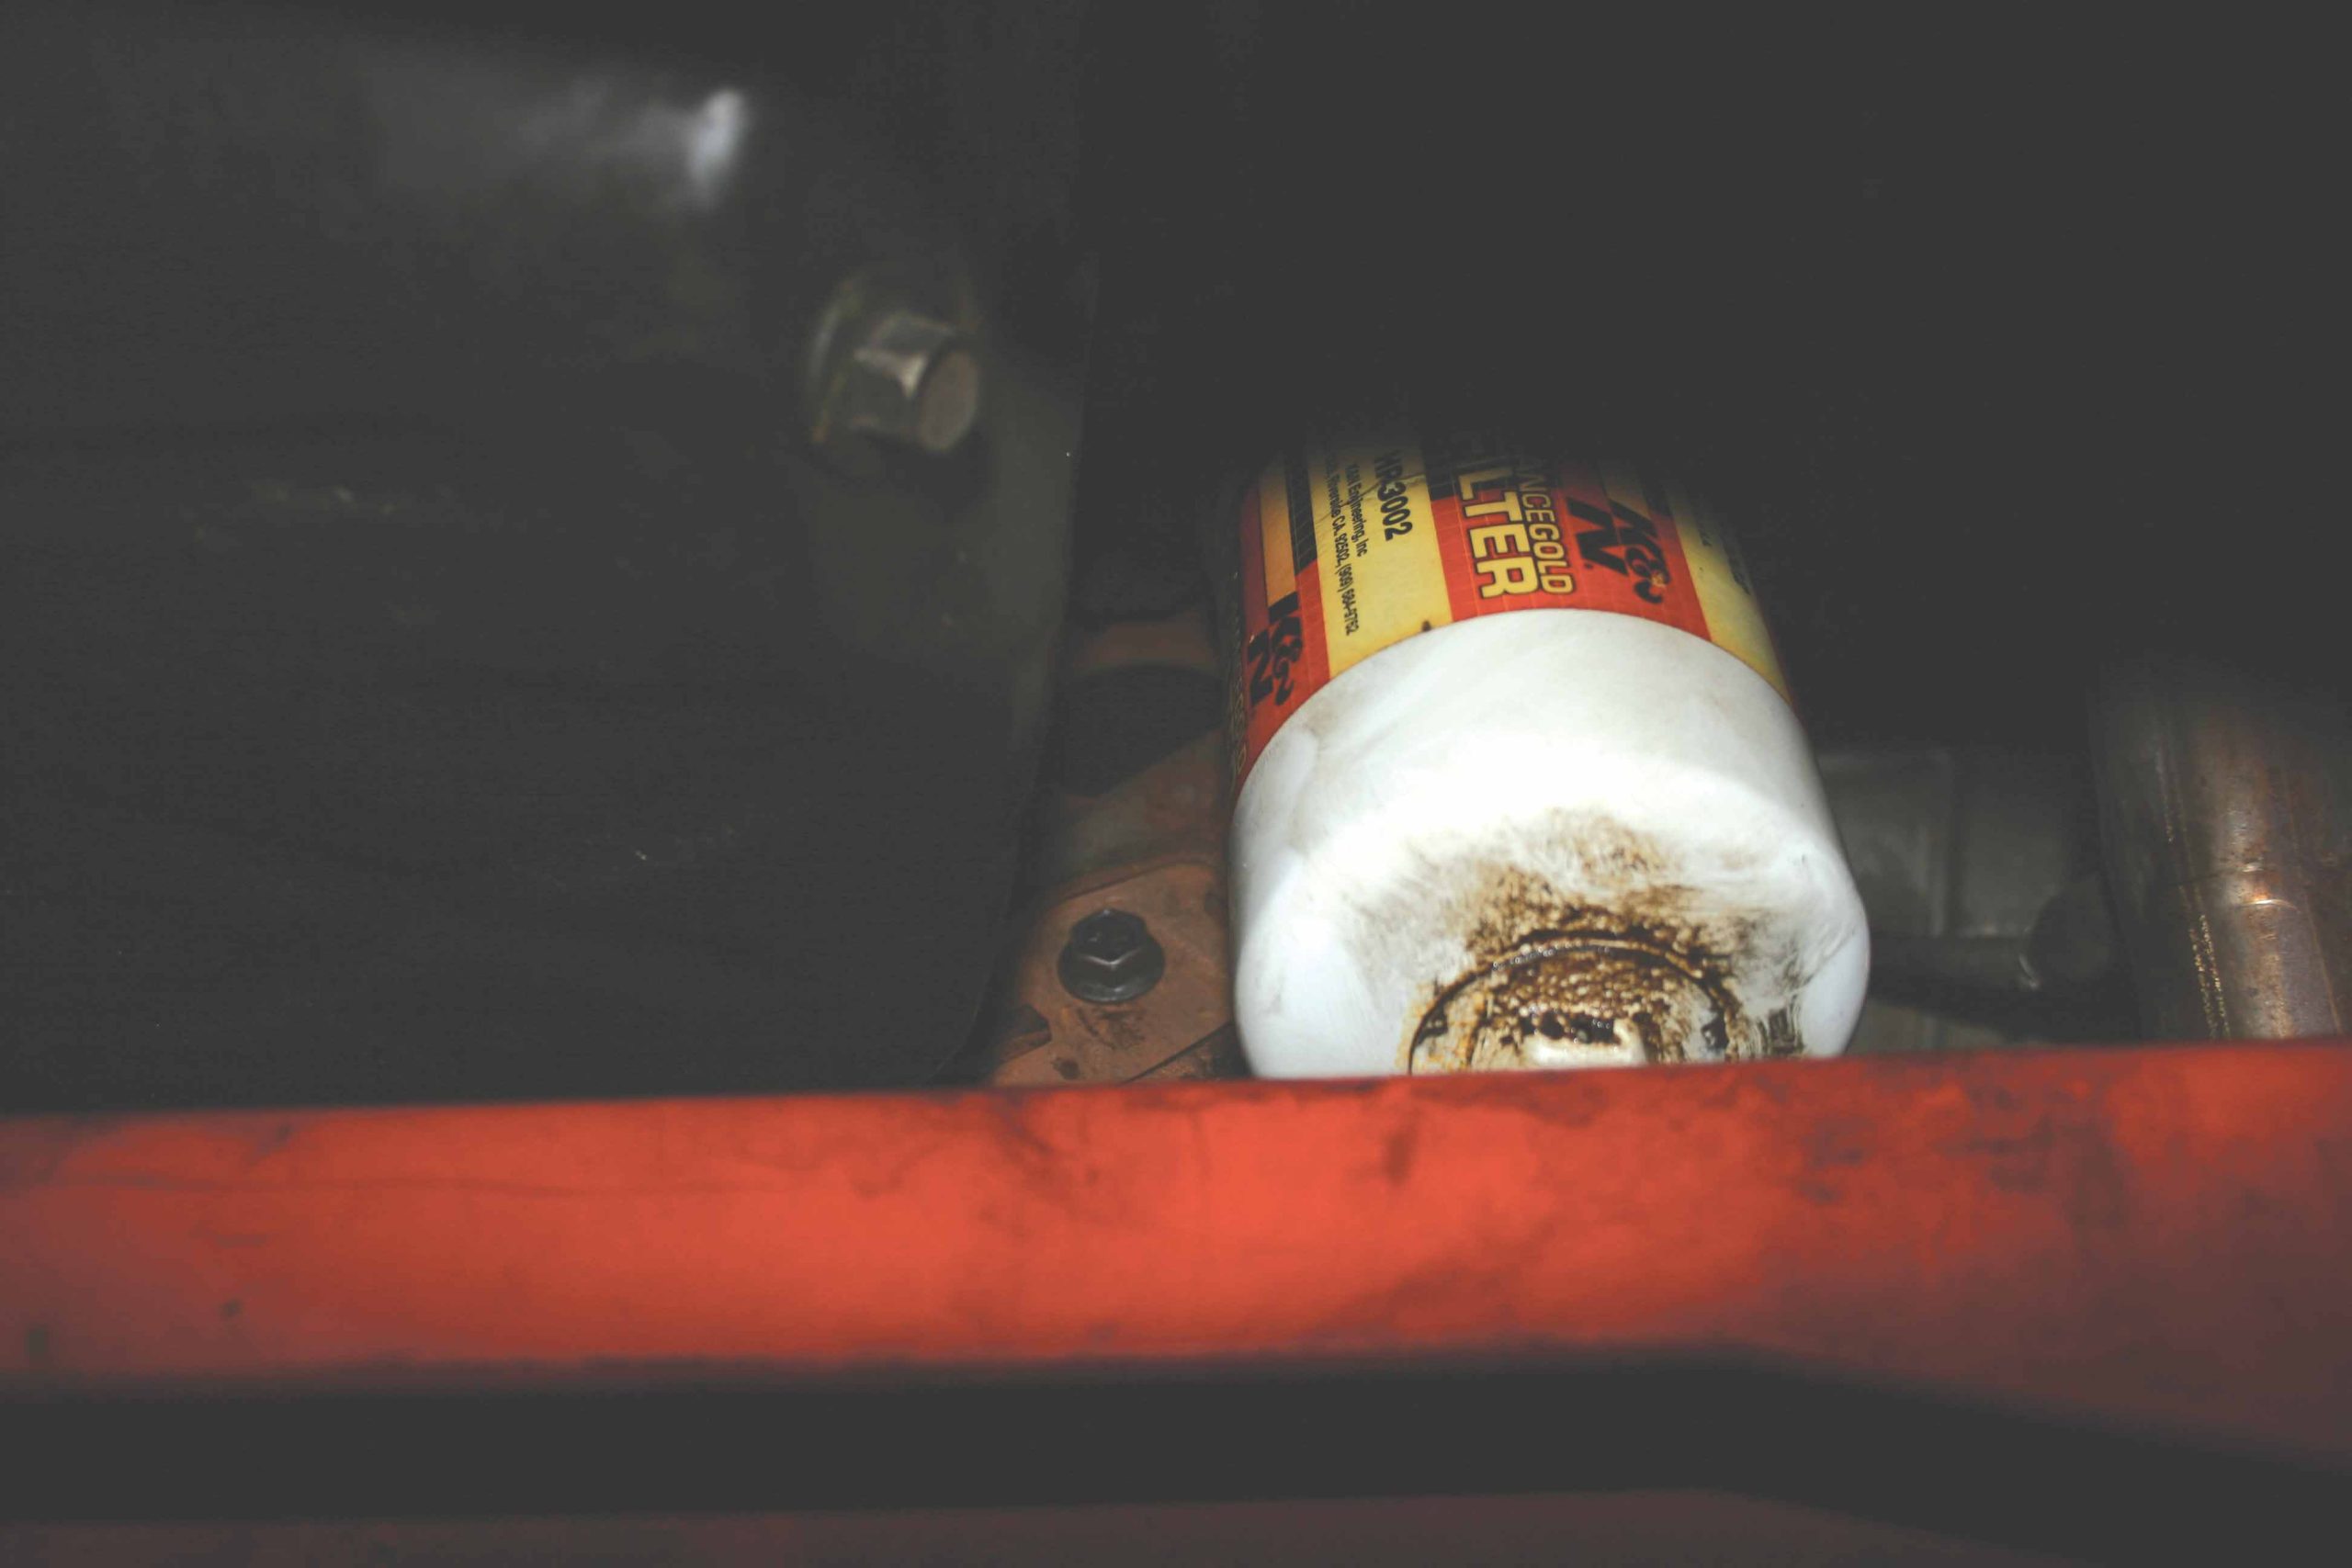
9 To reduce the chance of making a big mess on the floor, we drain the transmission before removing it from the truck.
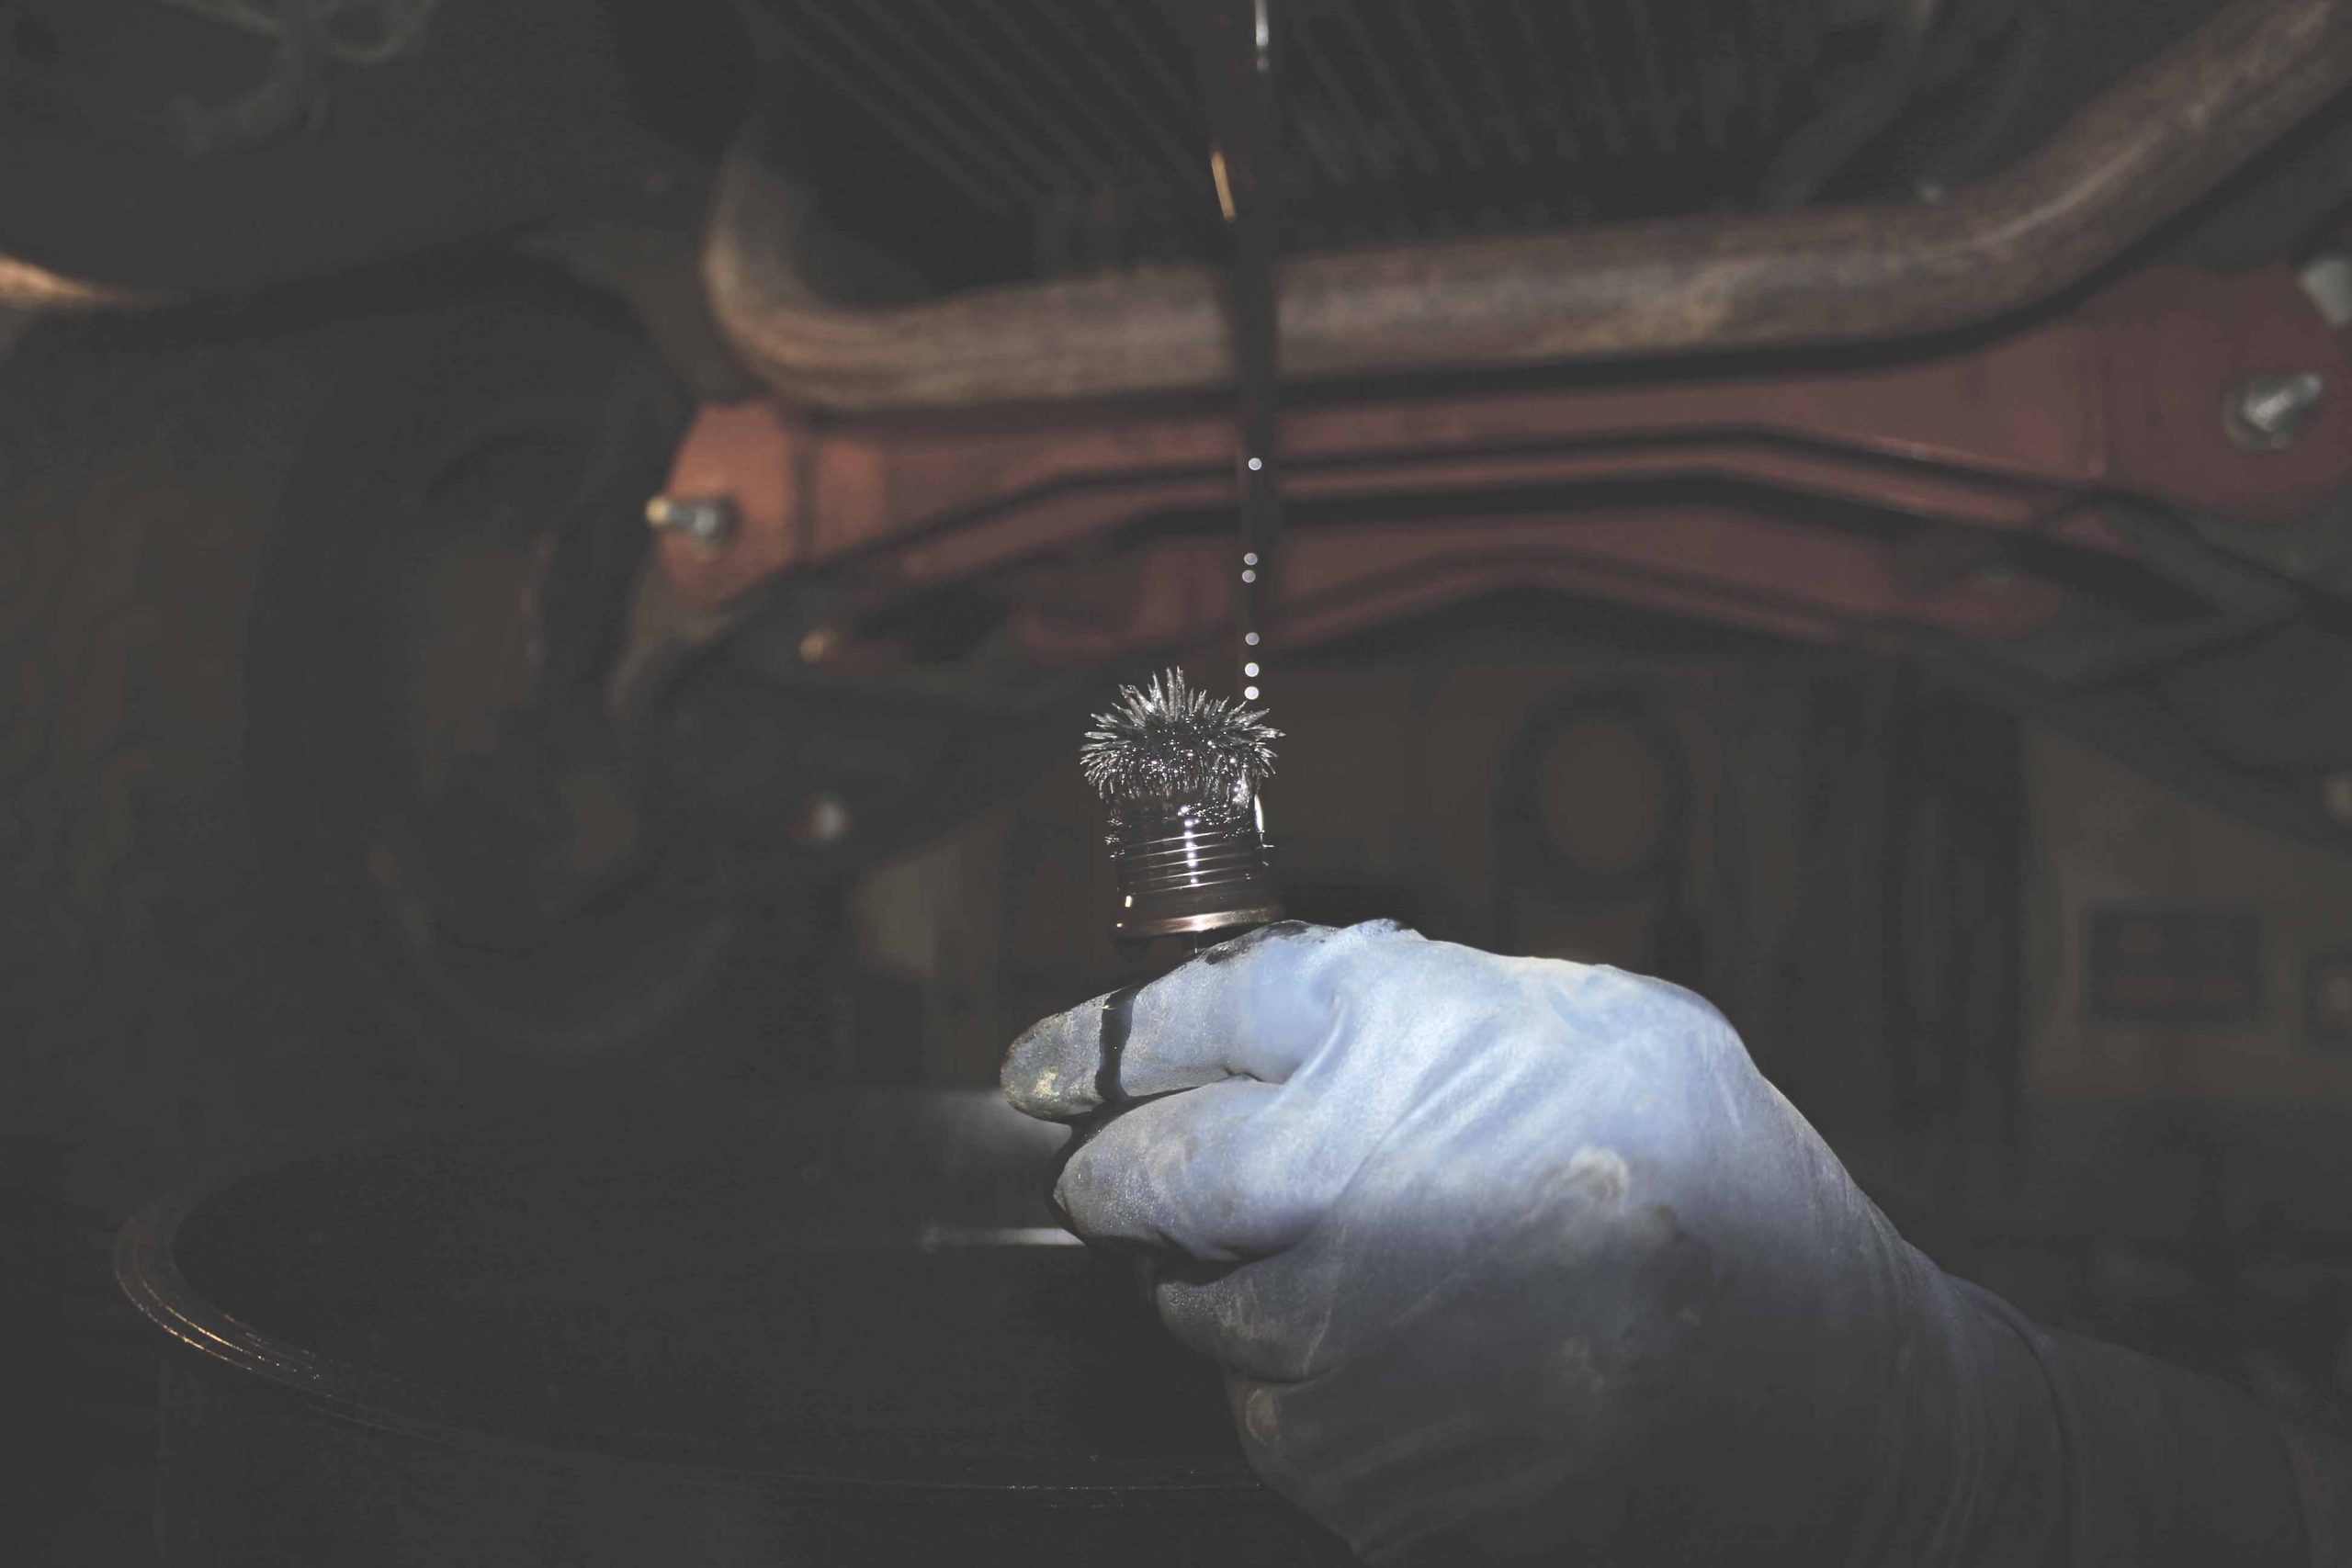
10 This is not the way you want your magnetic drain plug to look when you drain the transmission fluid. The drain plug metal fuzz shows that something catastrophic is going on or has failed within the factory trans. This is what generally necessitates upgrading to a heavy-duty unit like the TCI StreetFighter.
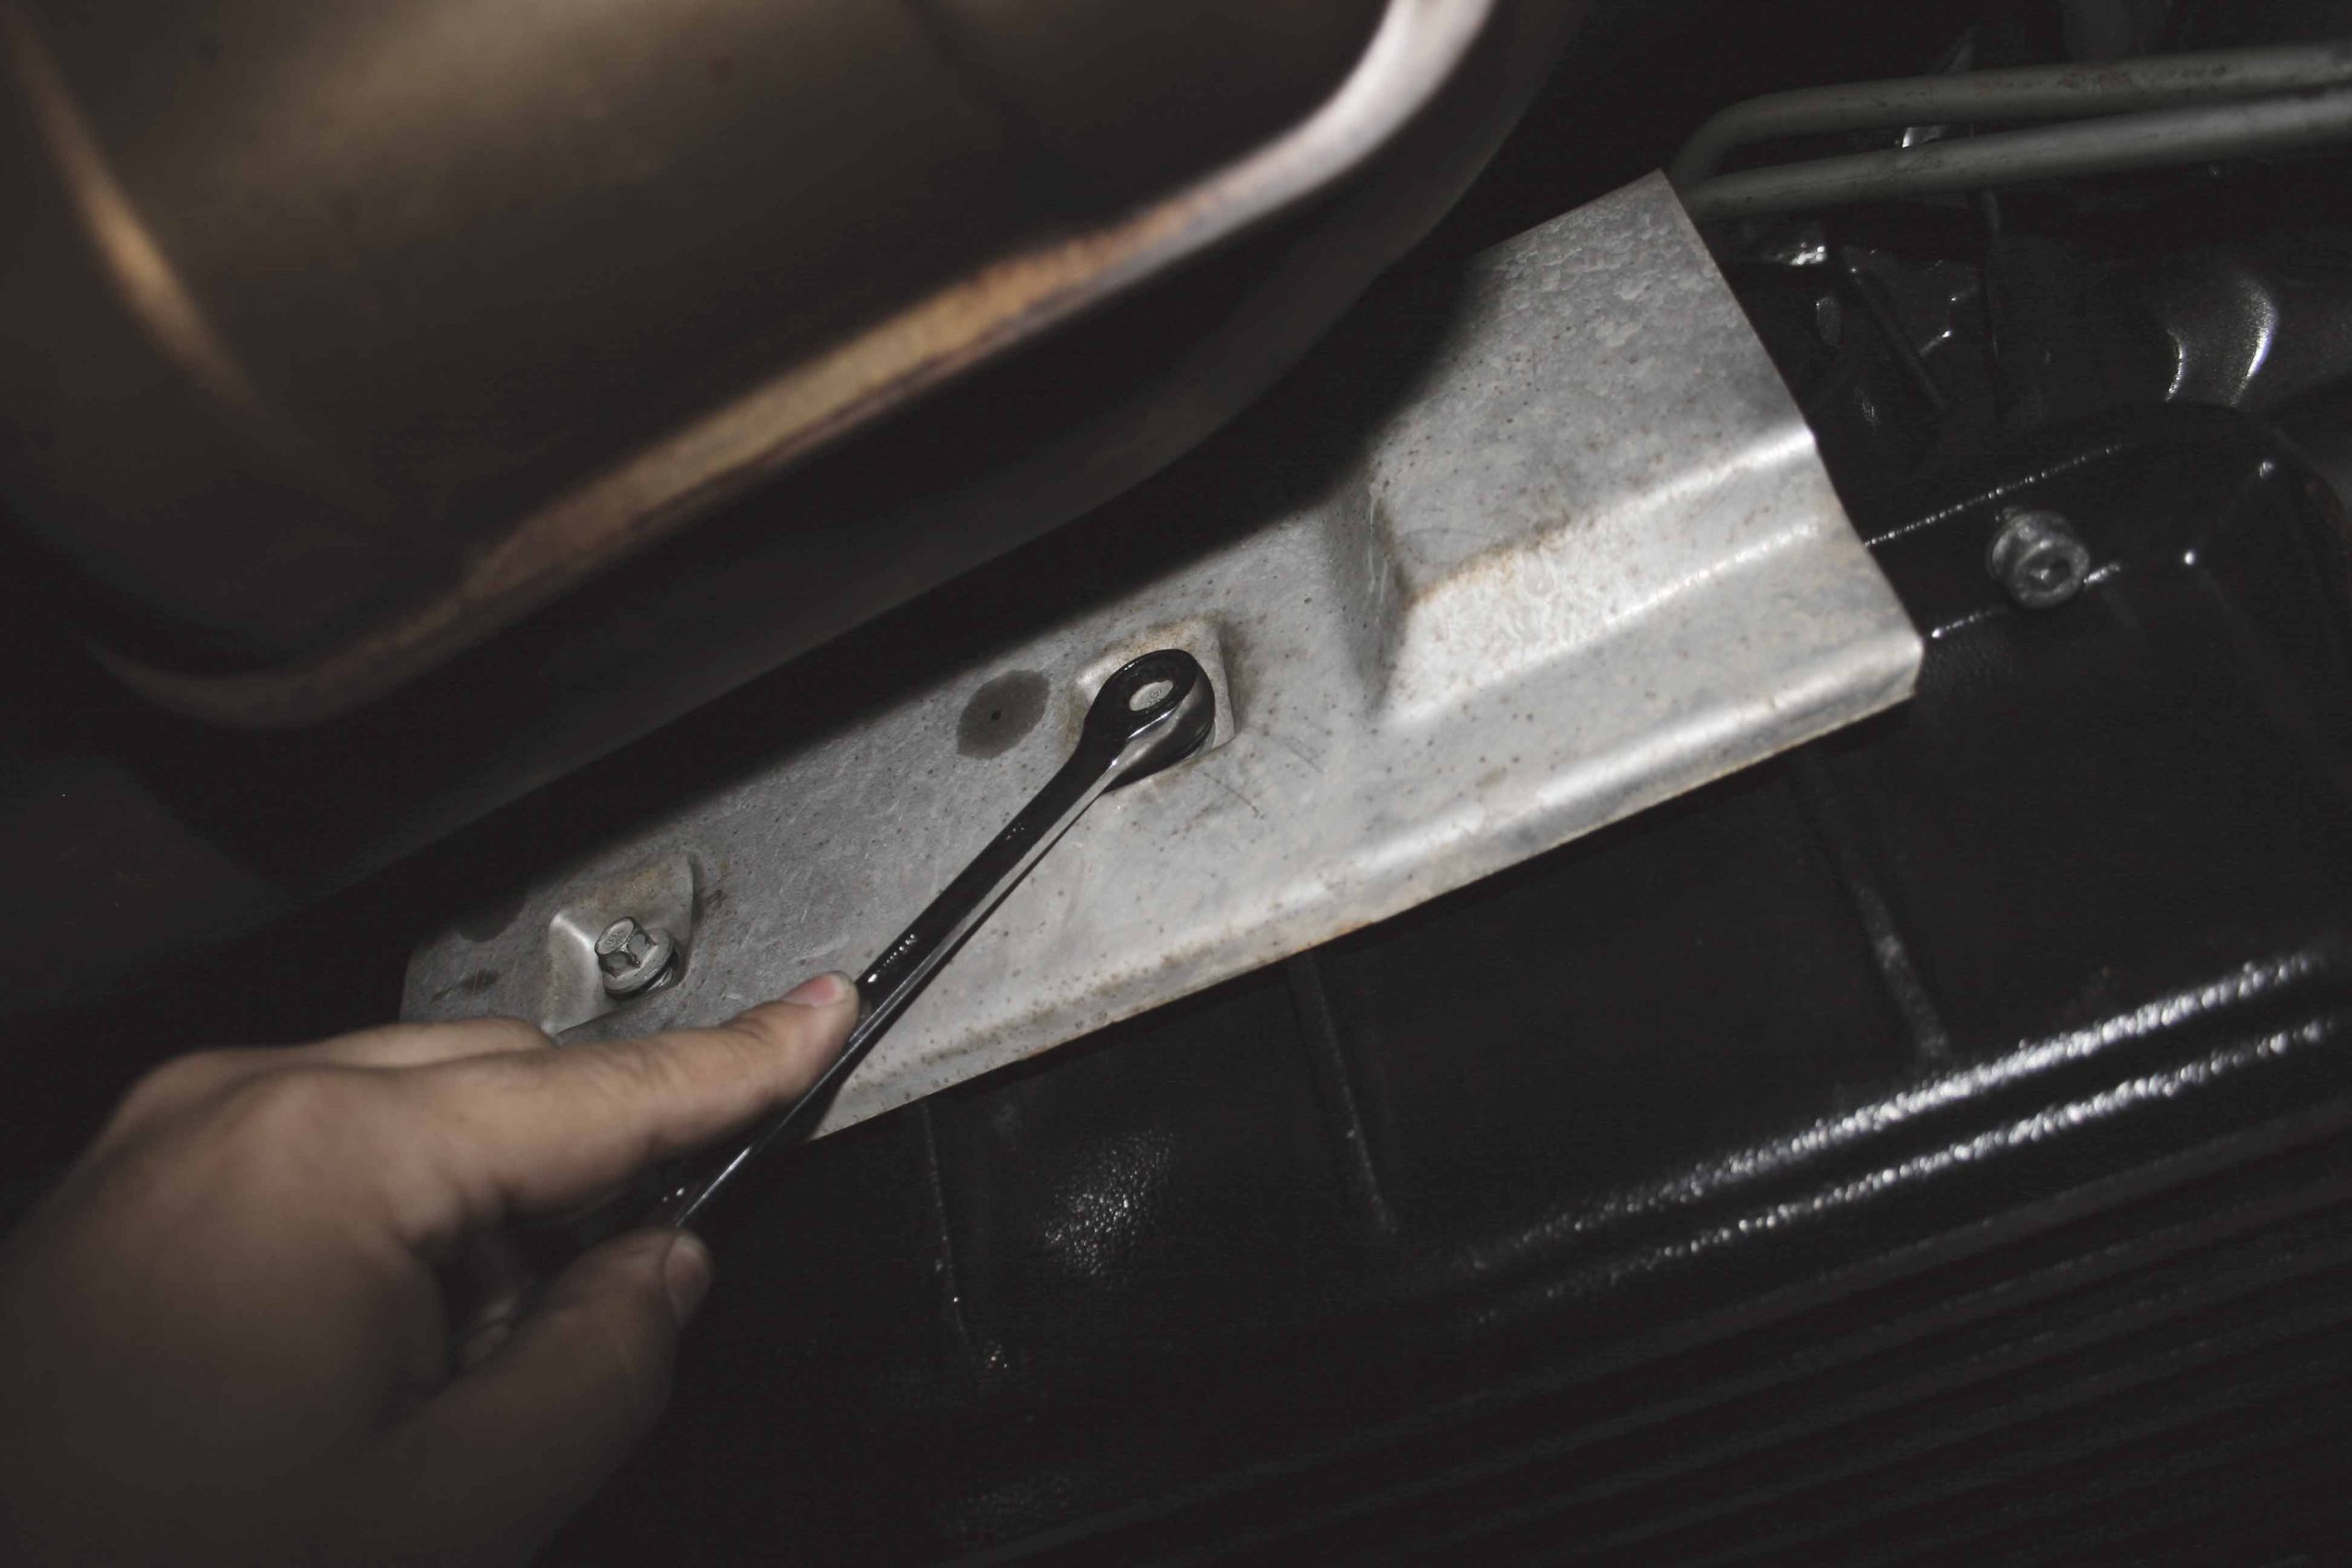
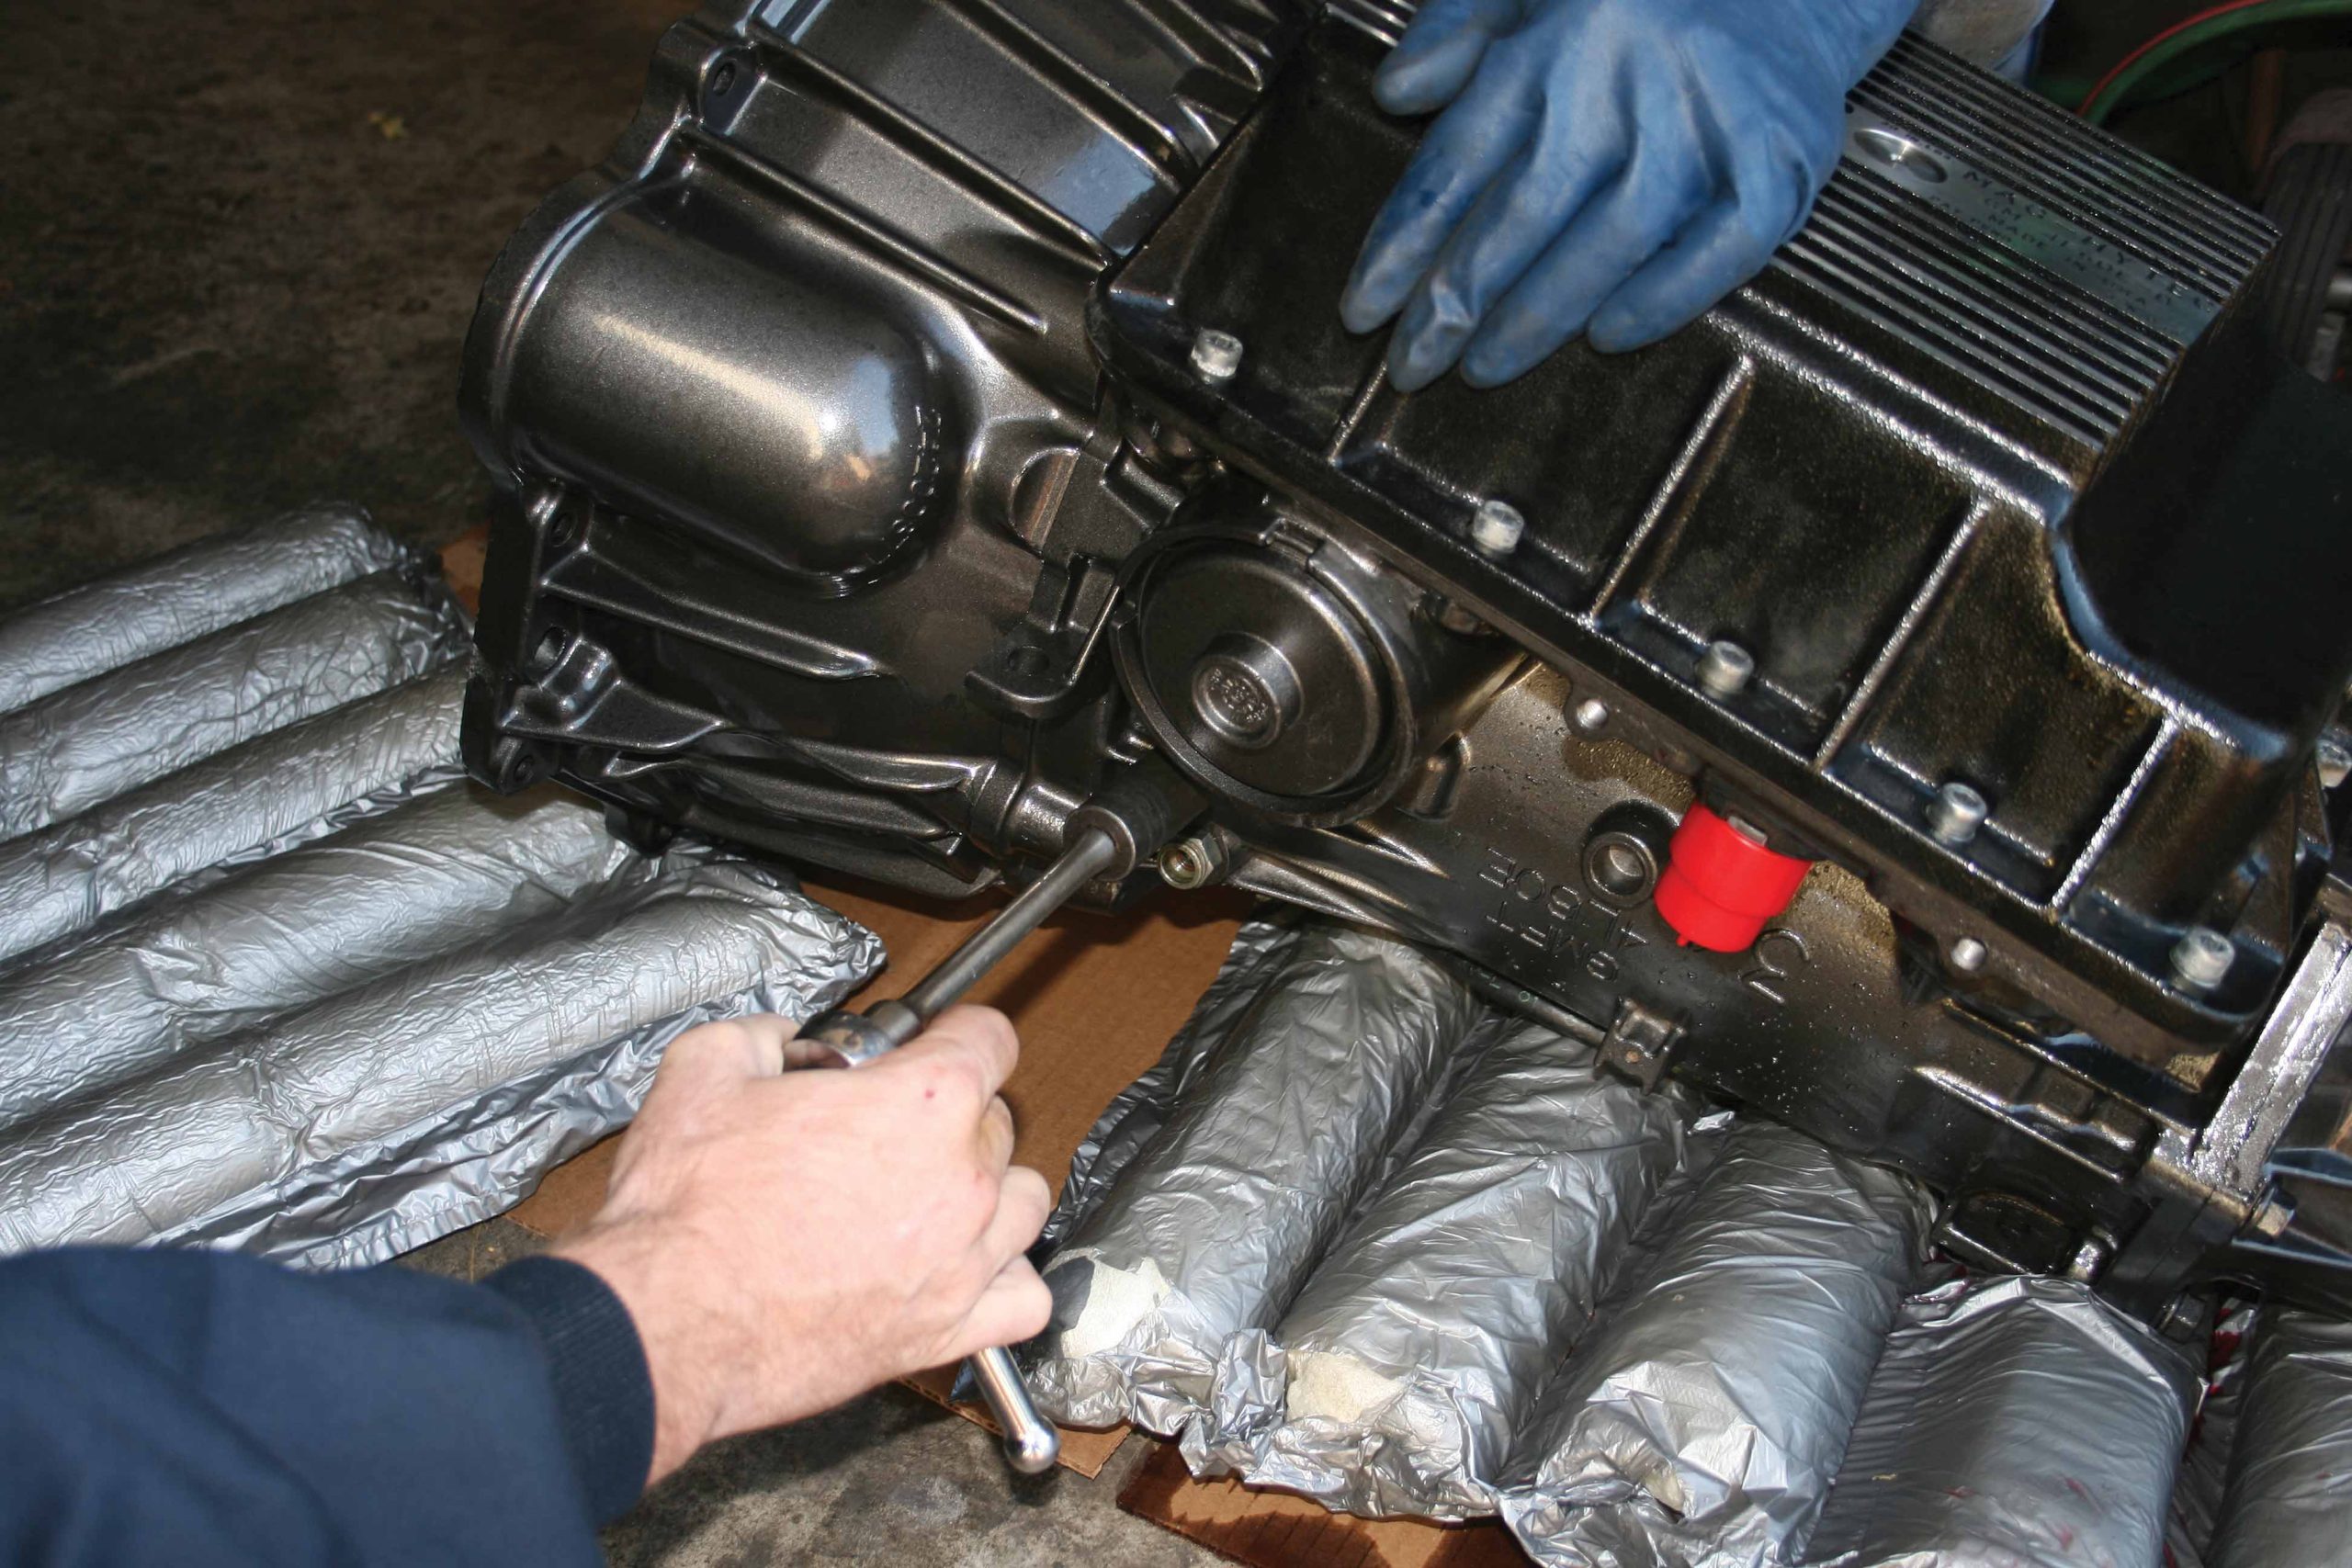
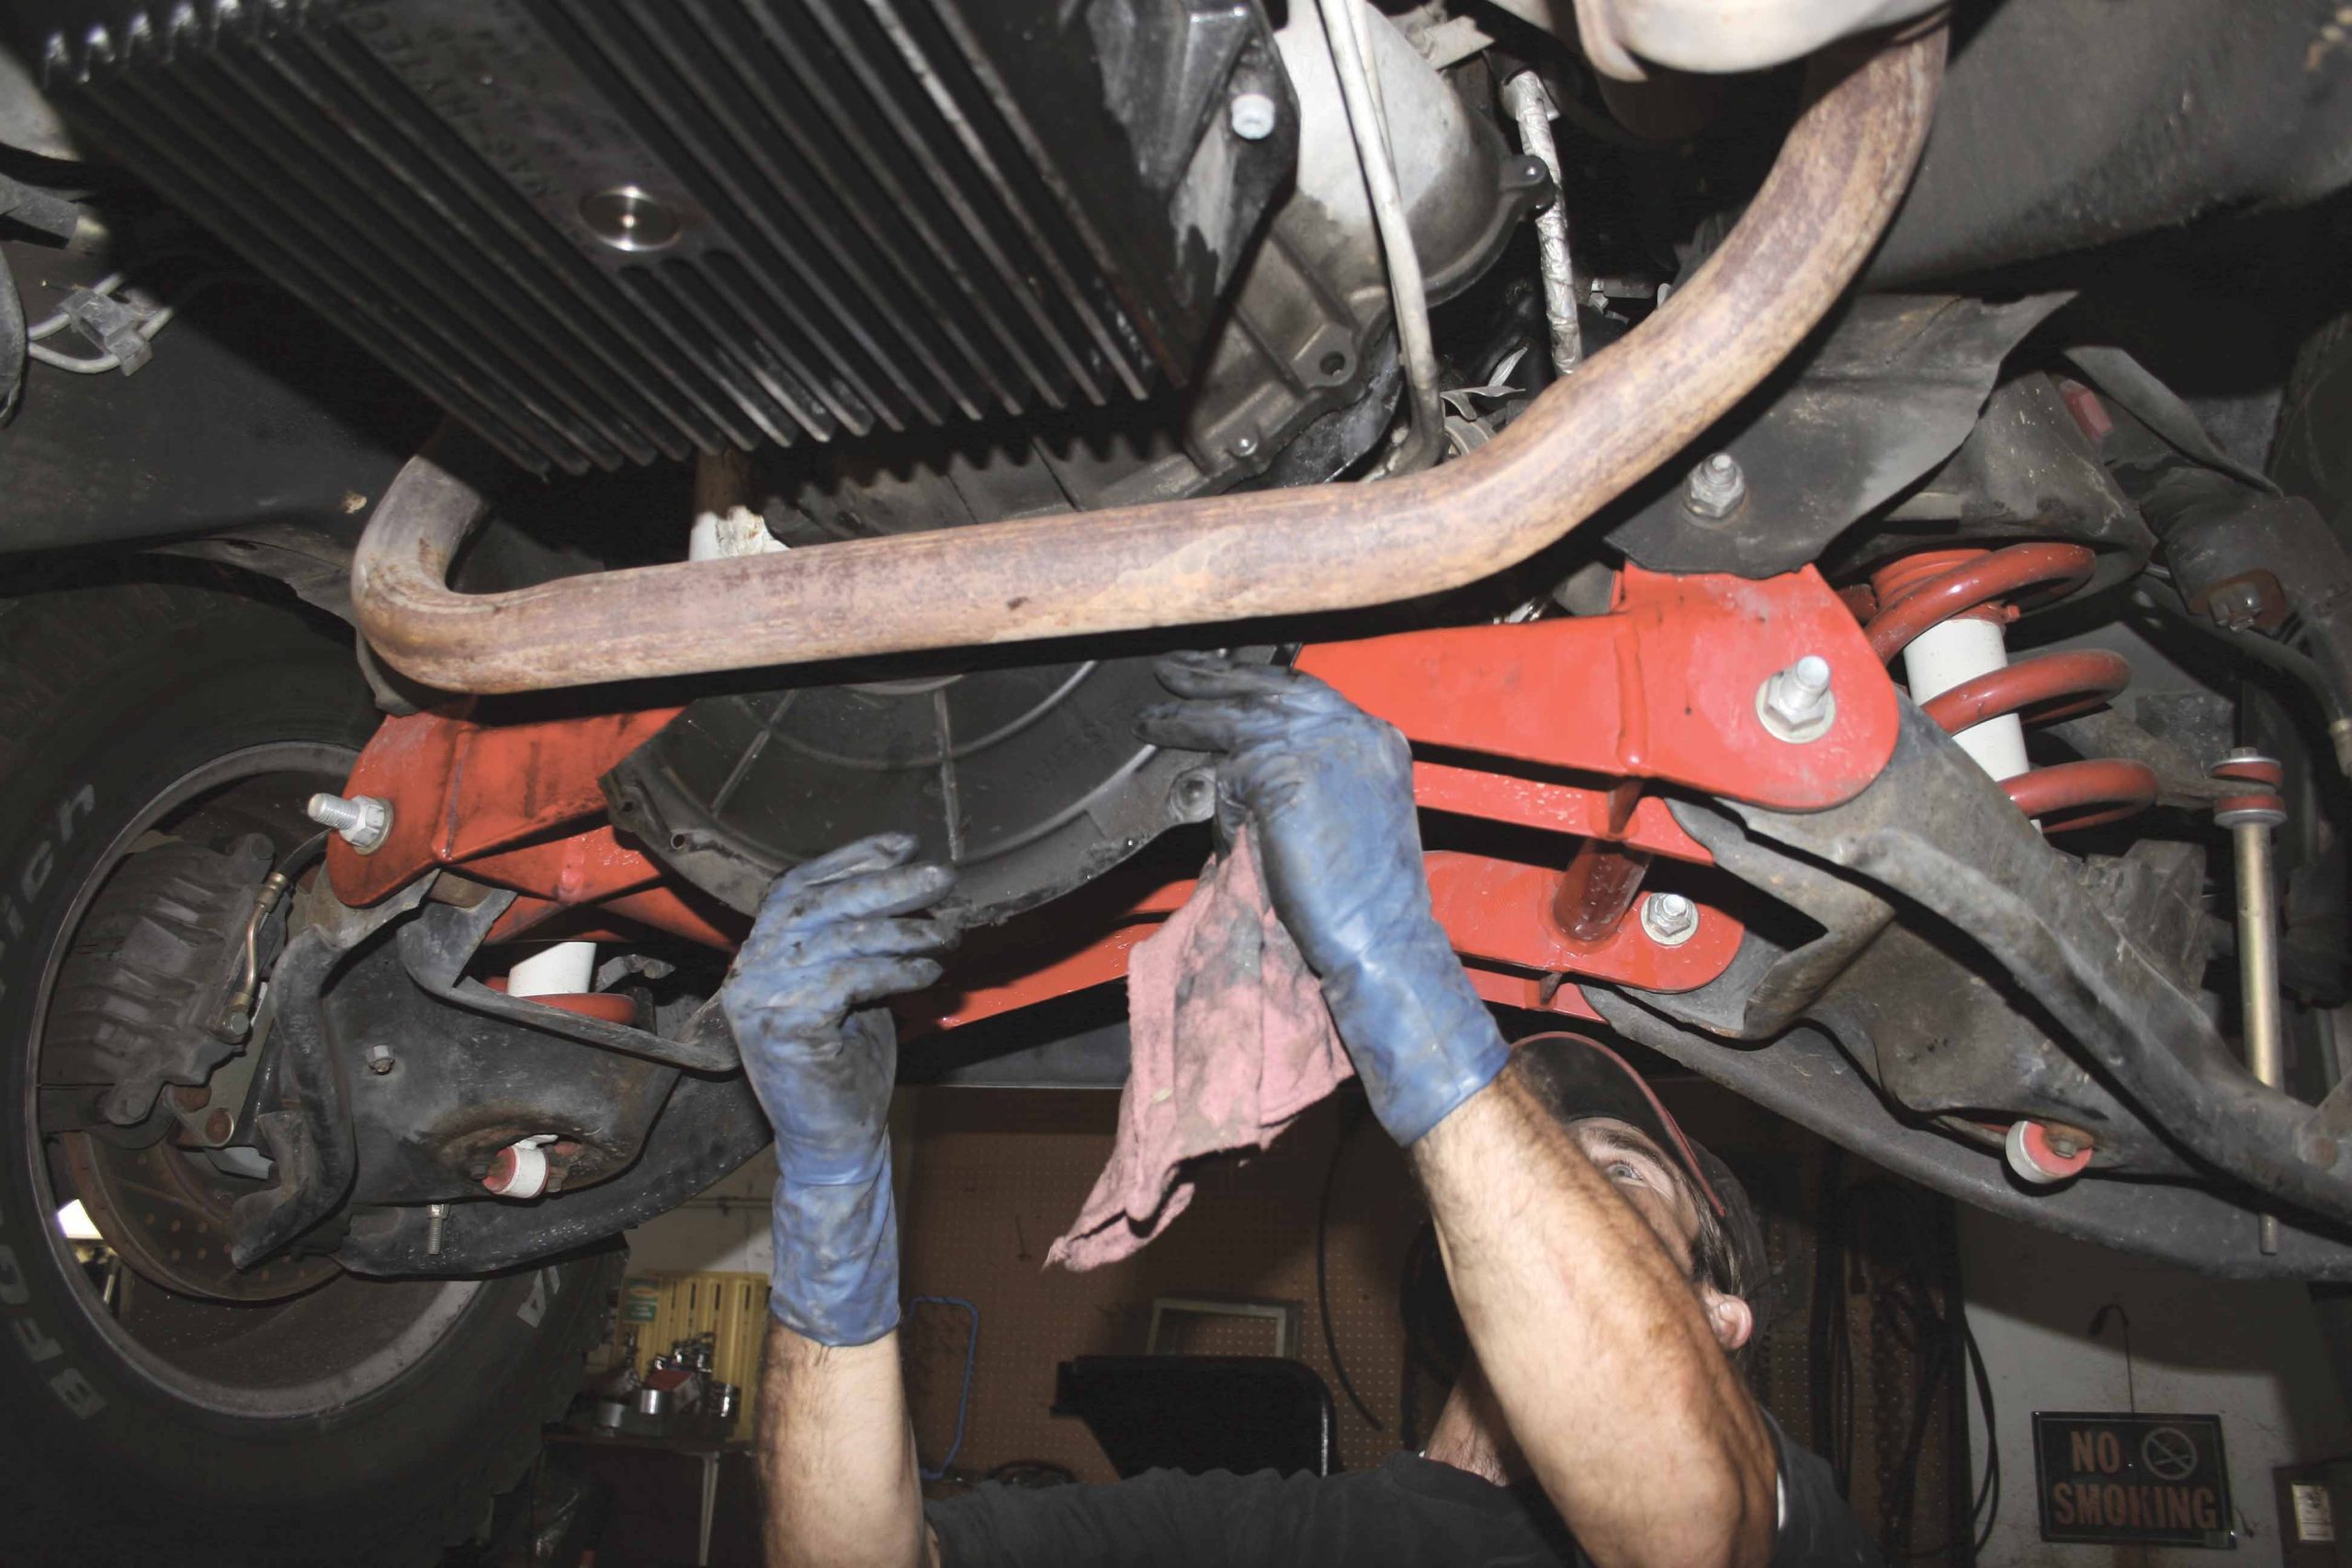
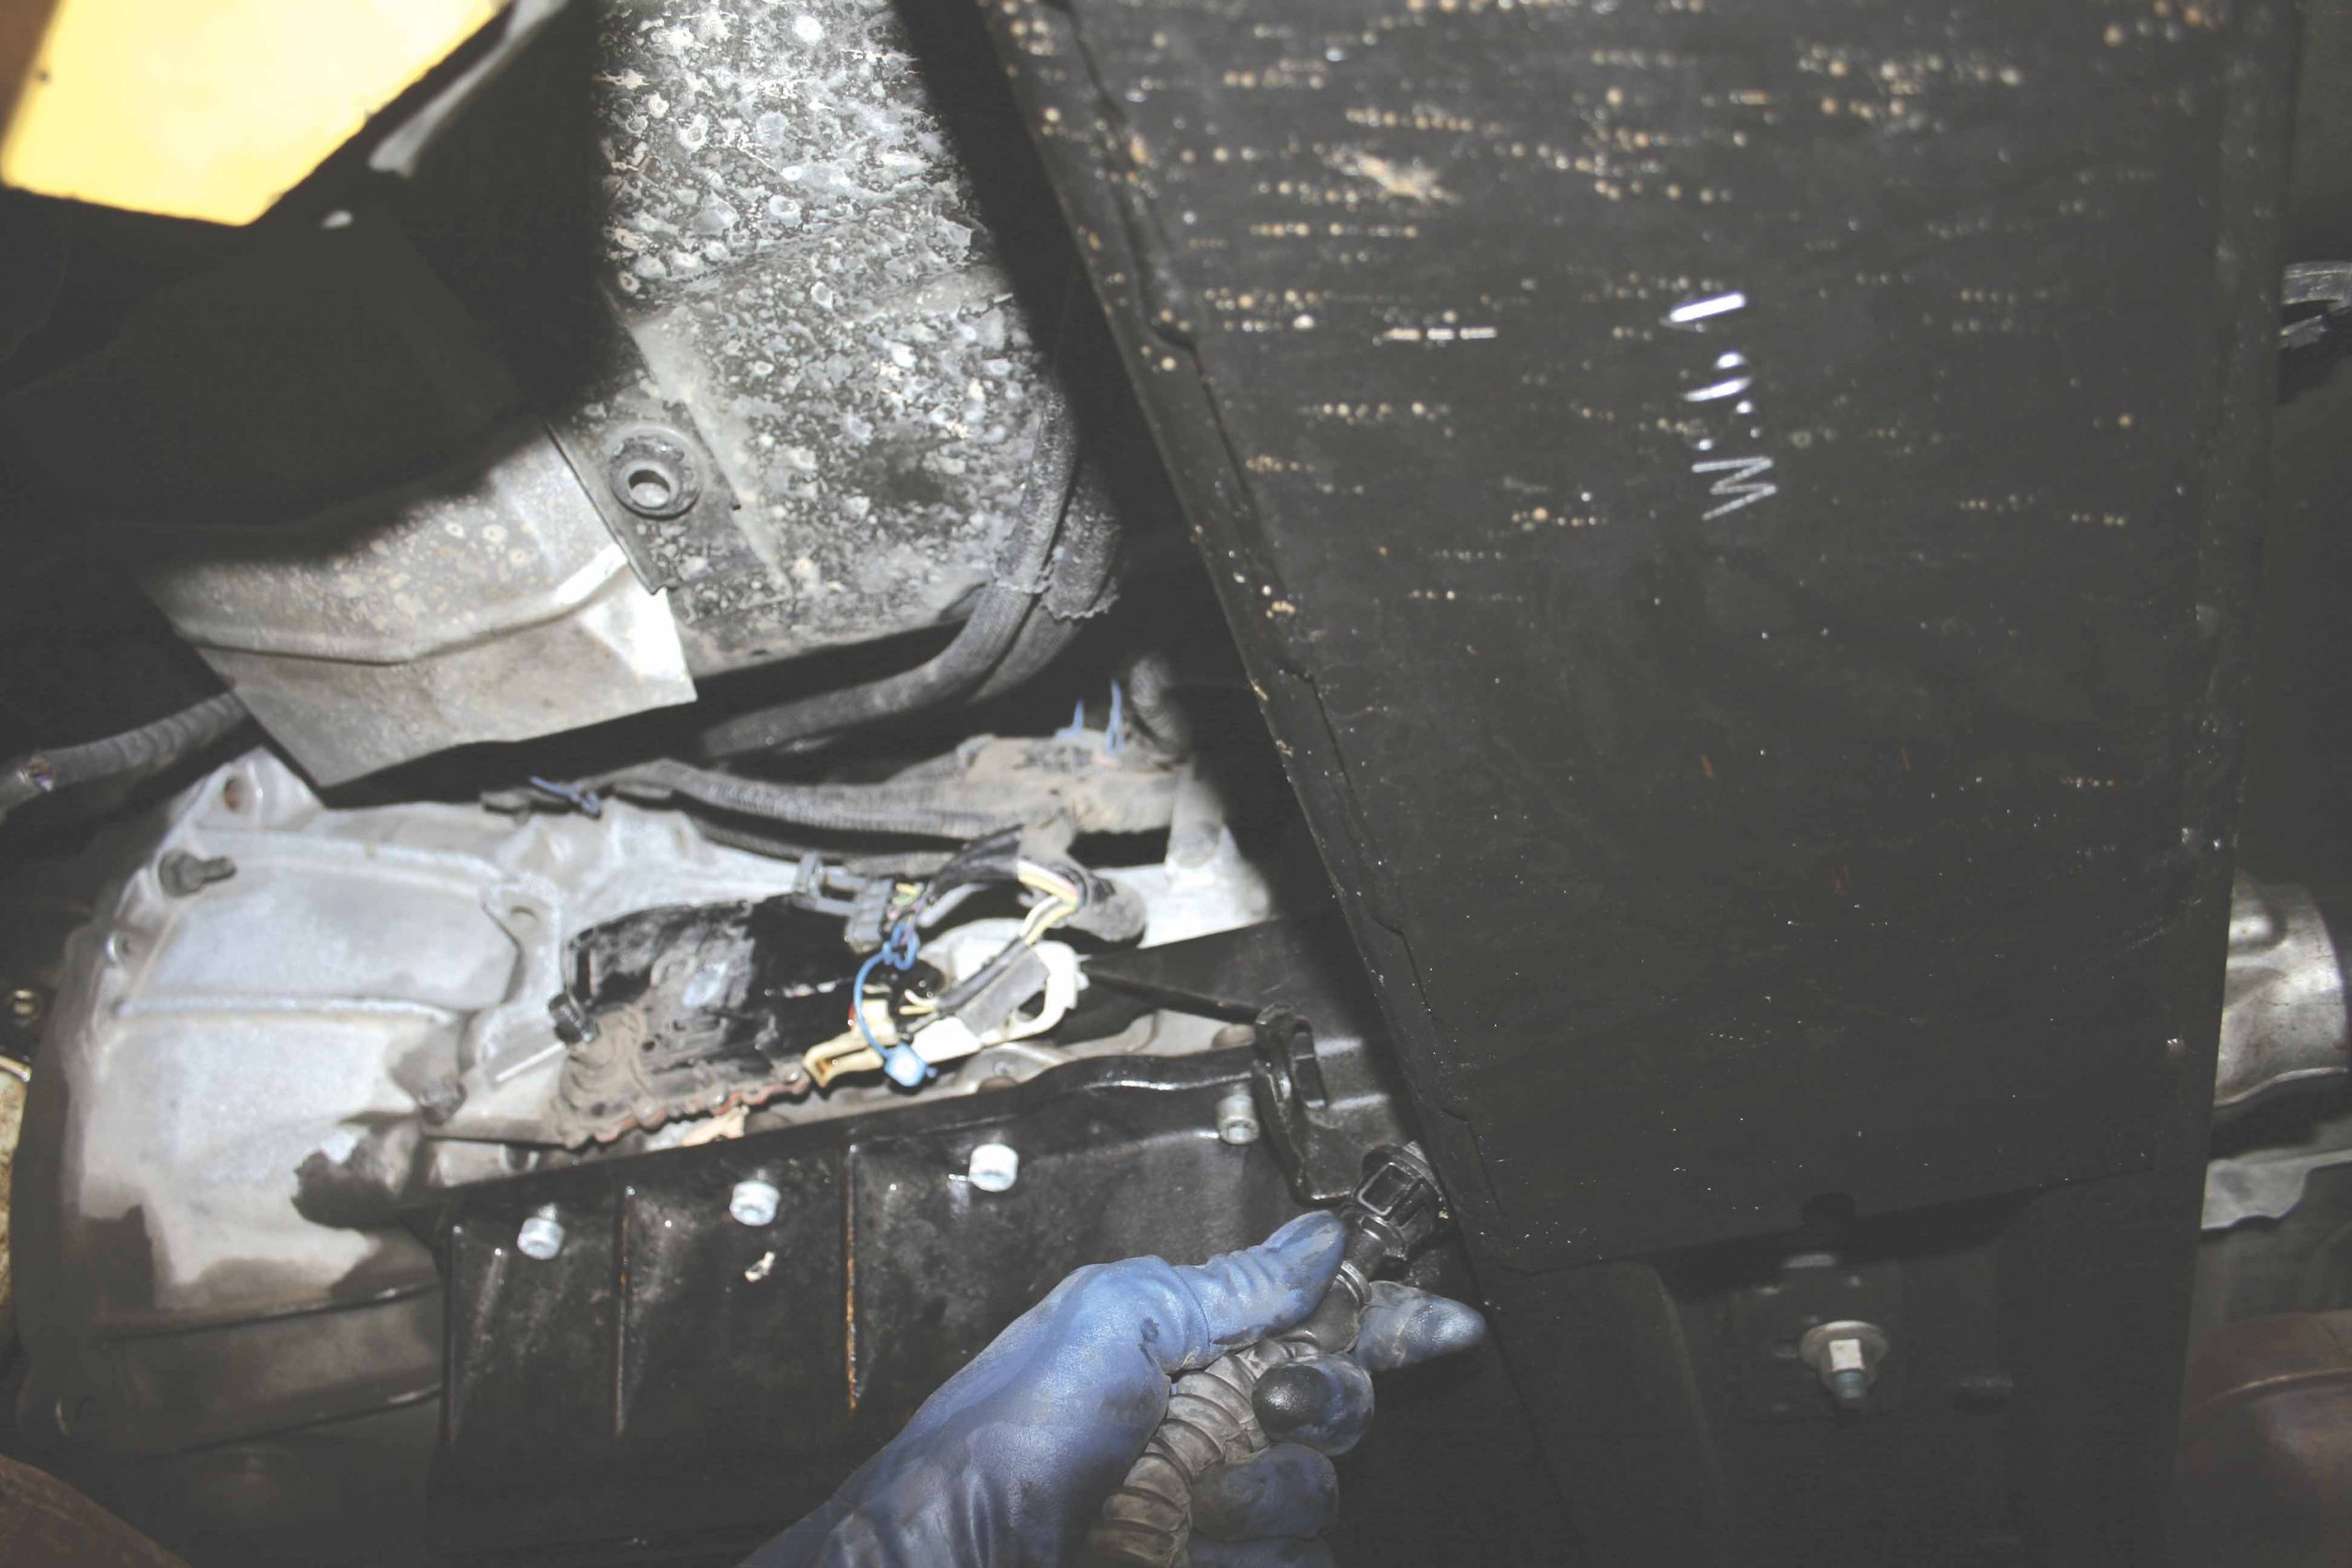
11 While the nasty used fluid was draining, we removed the heat shield from the passenger side of the transmission.
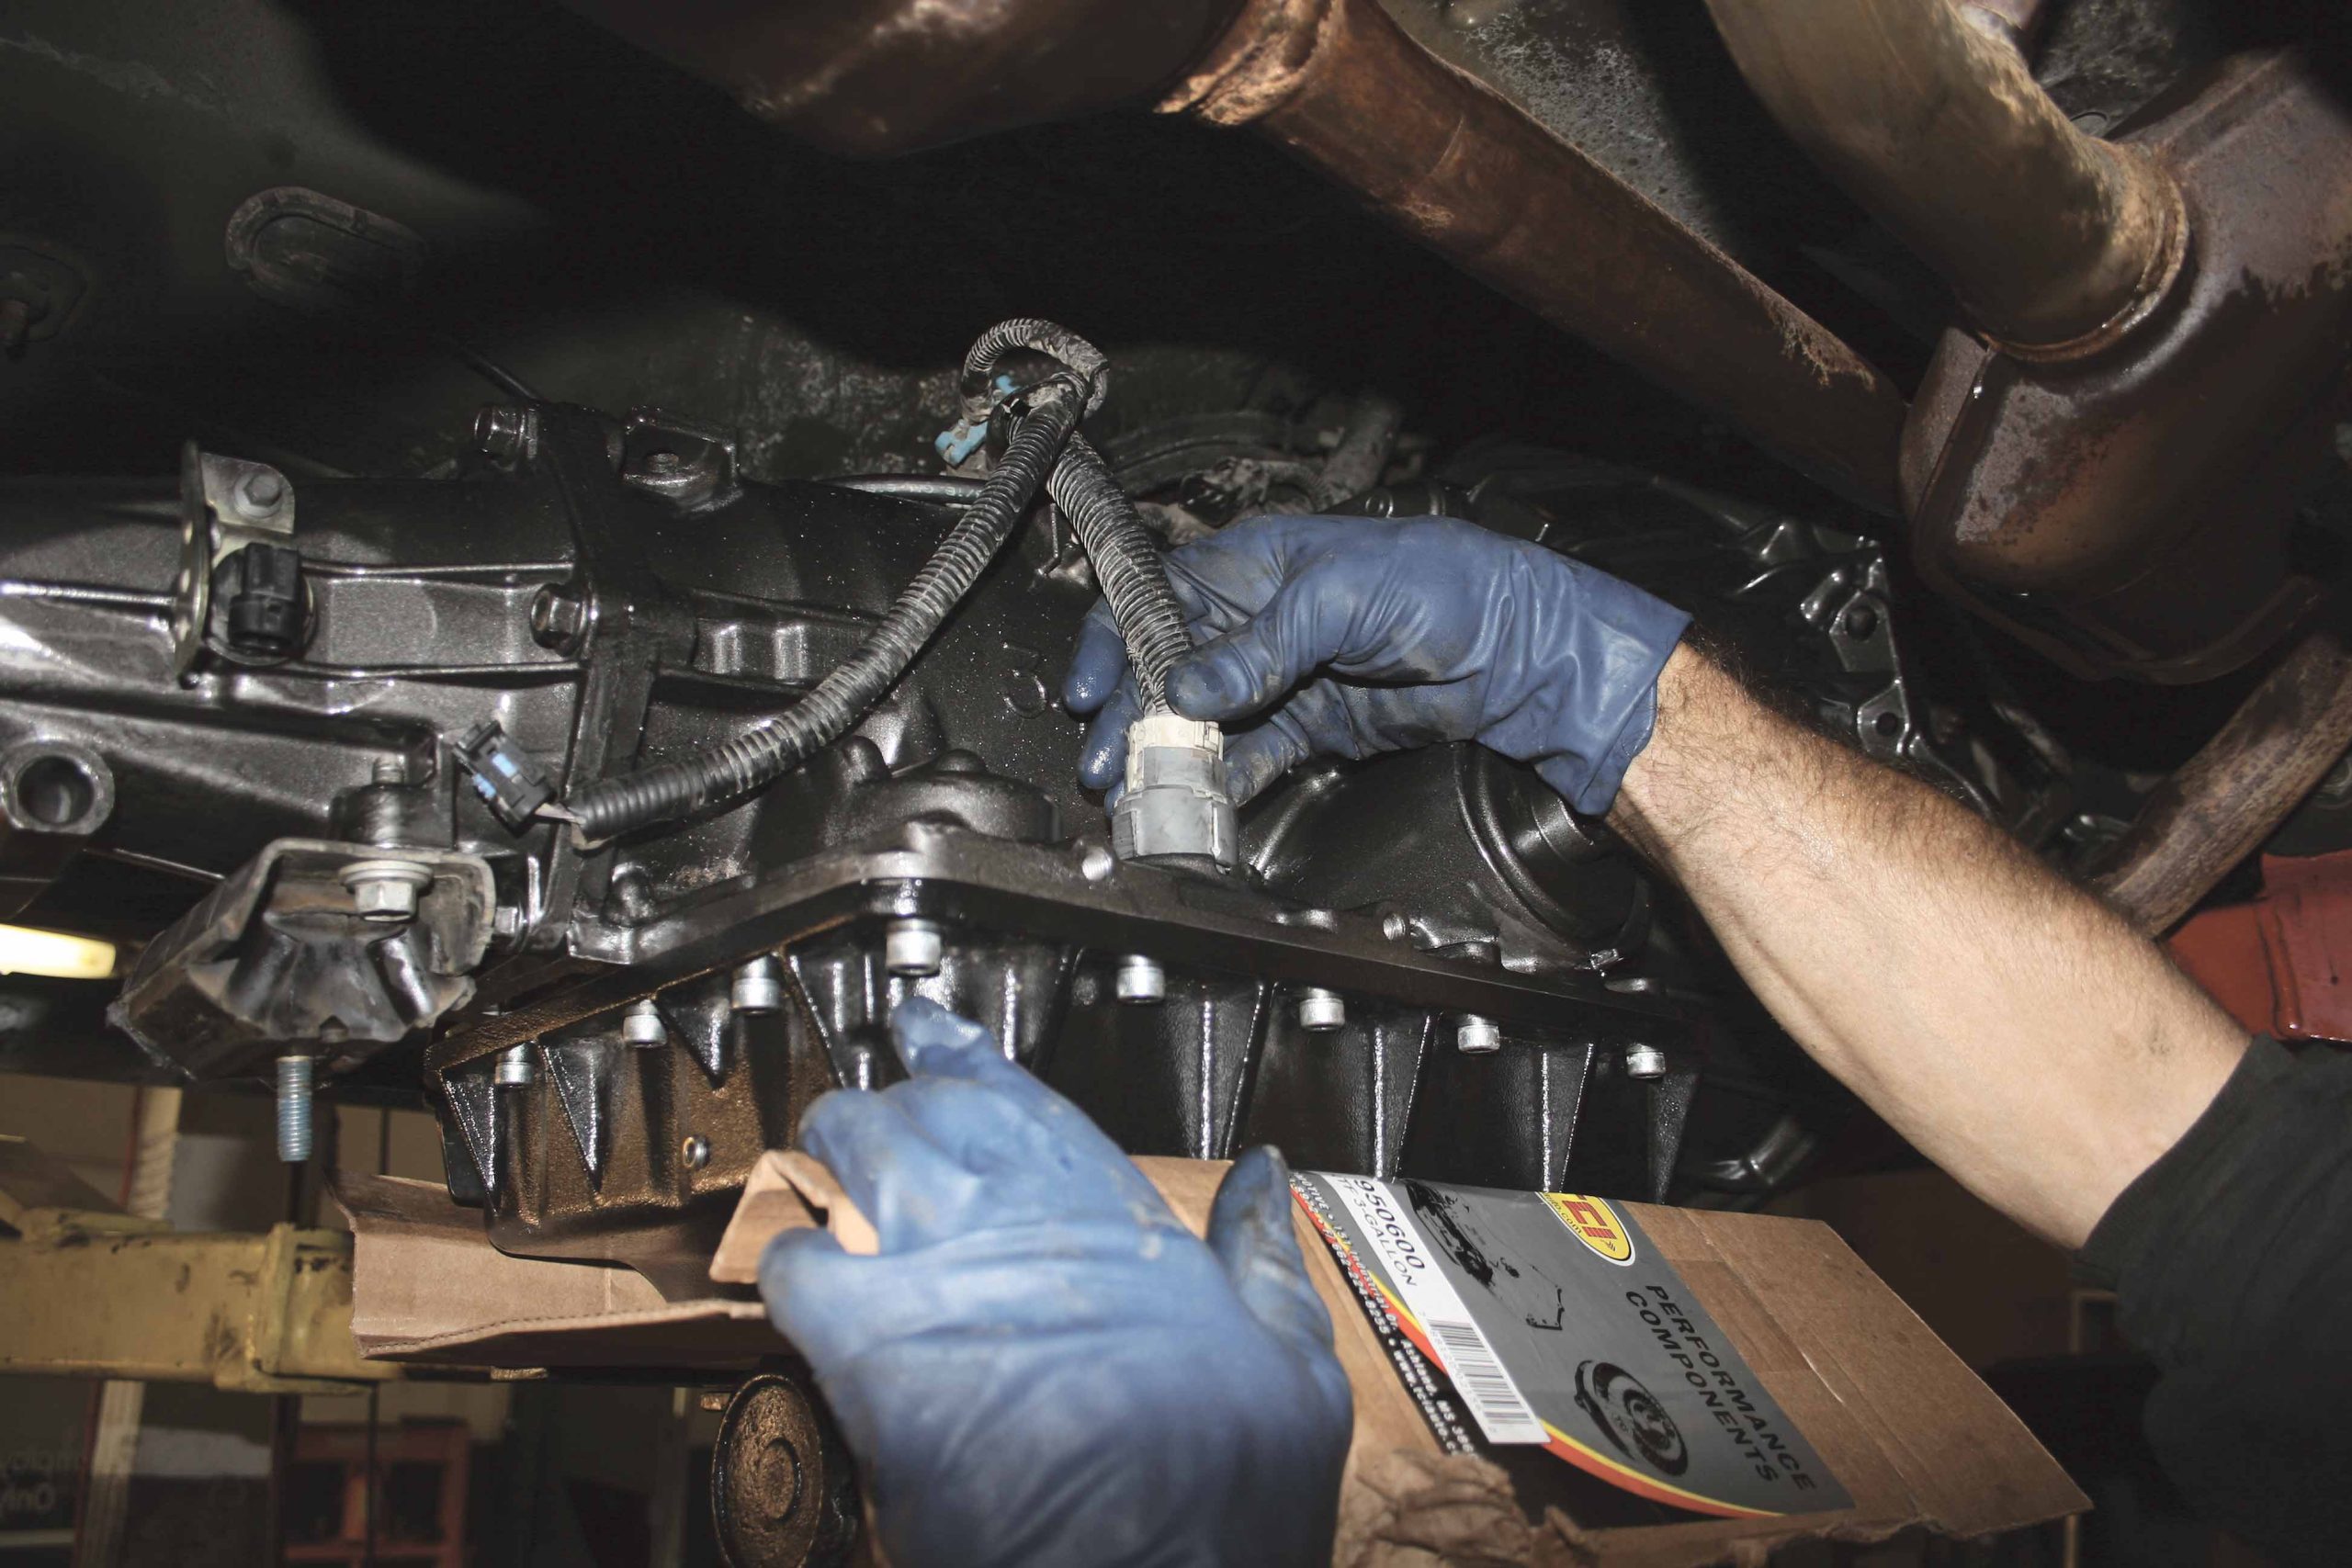
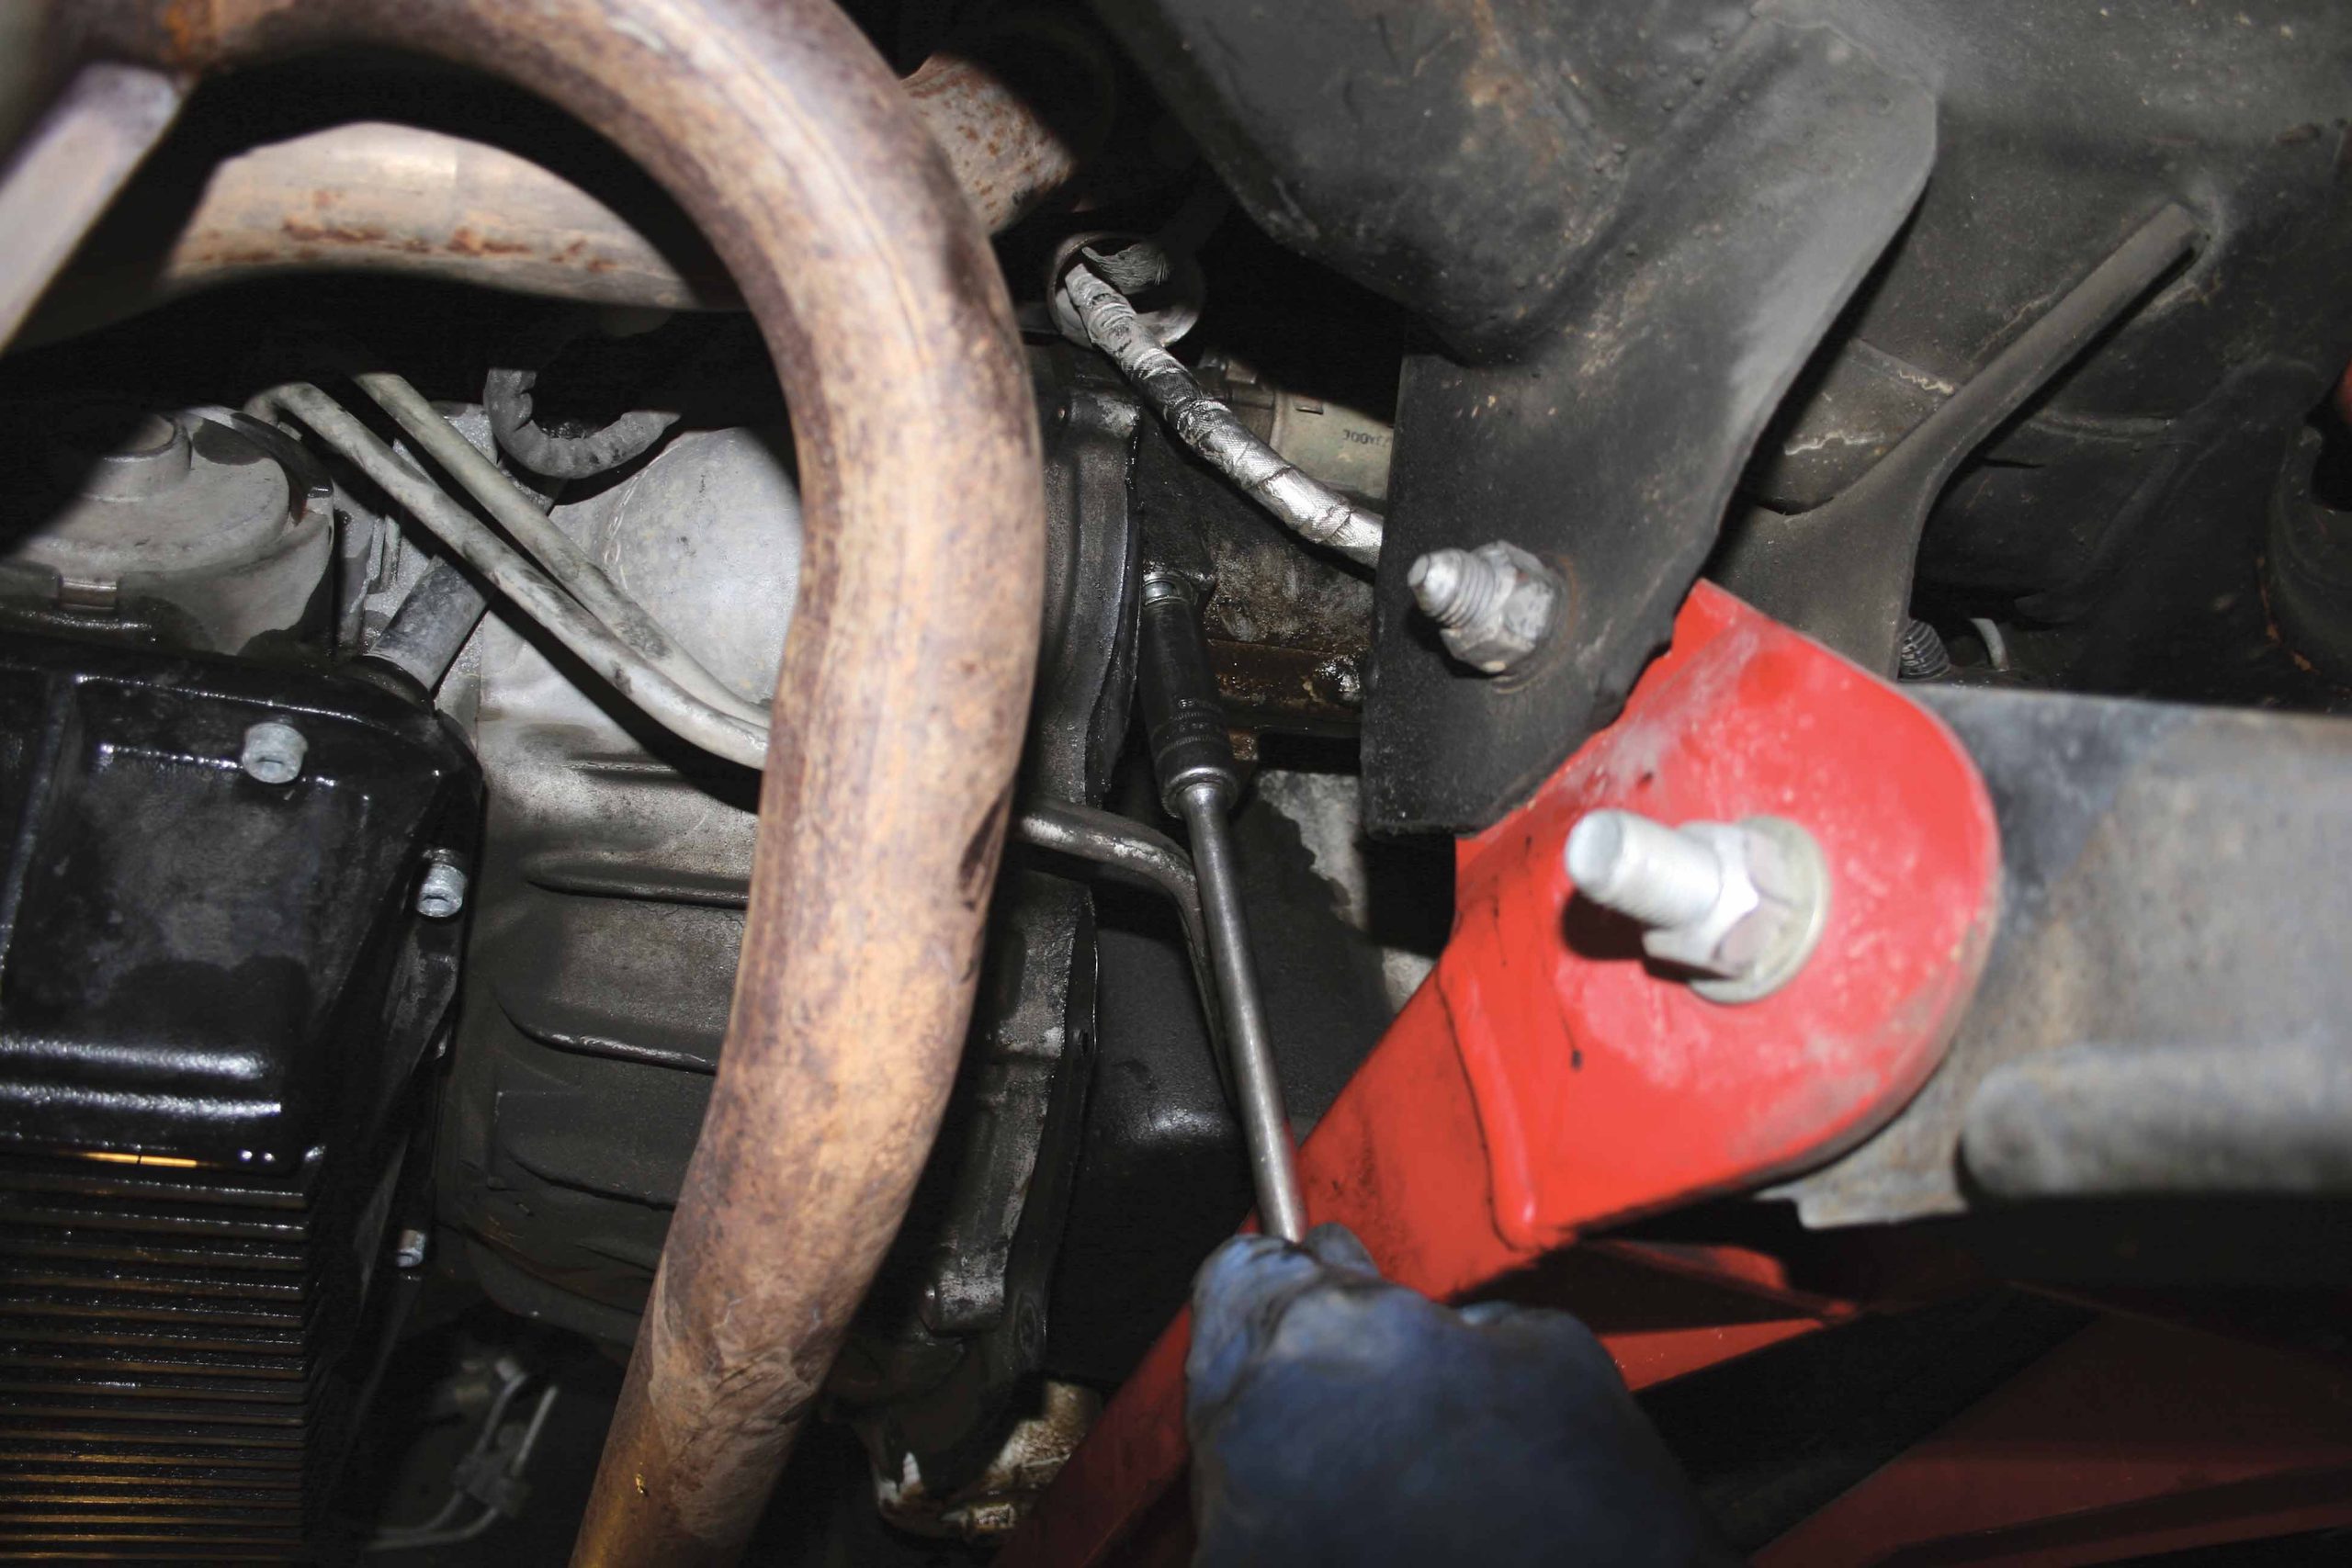
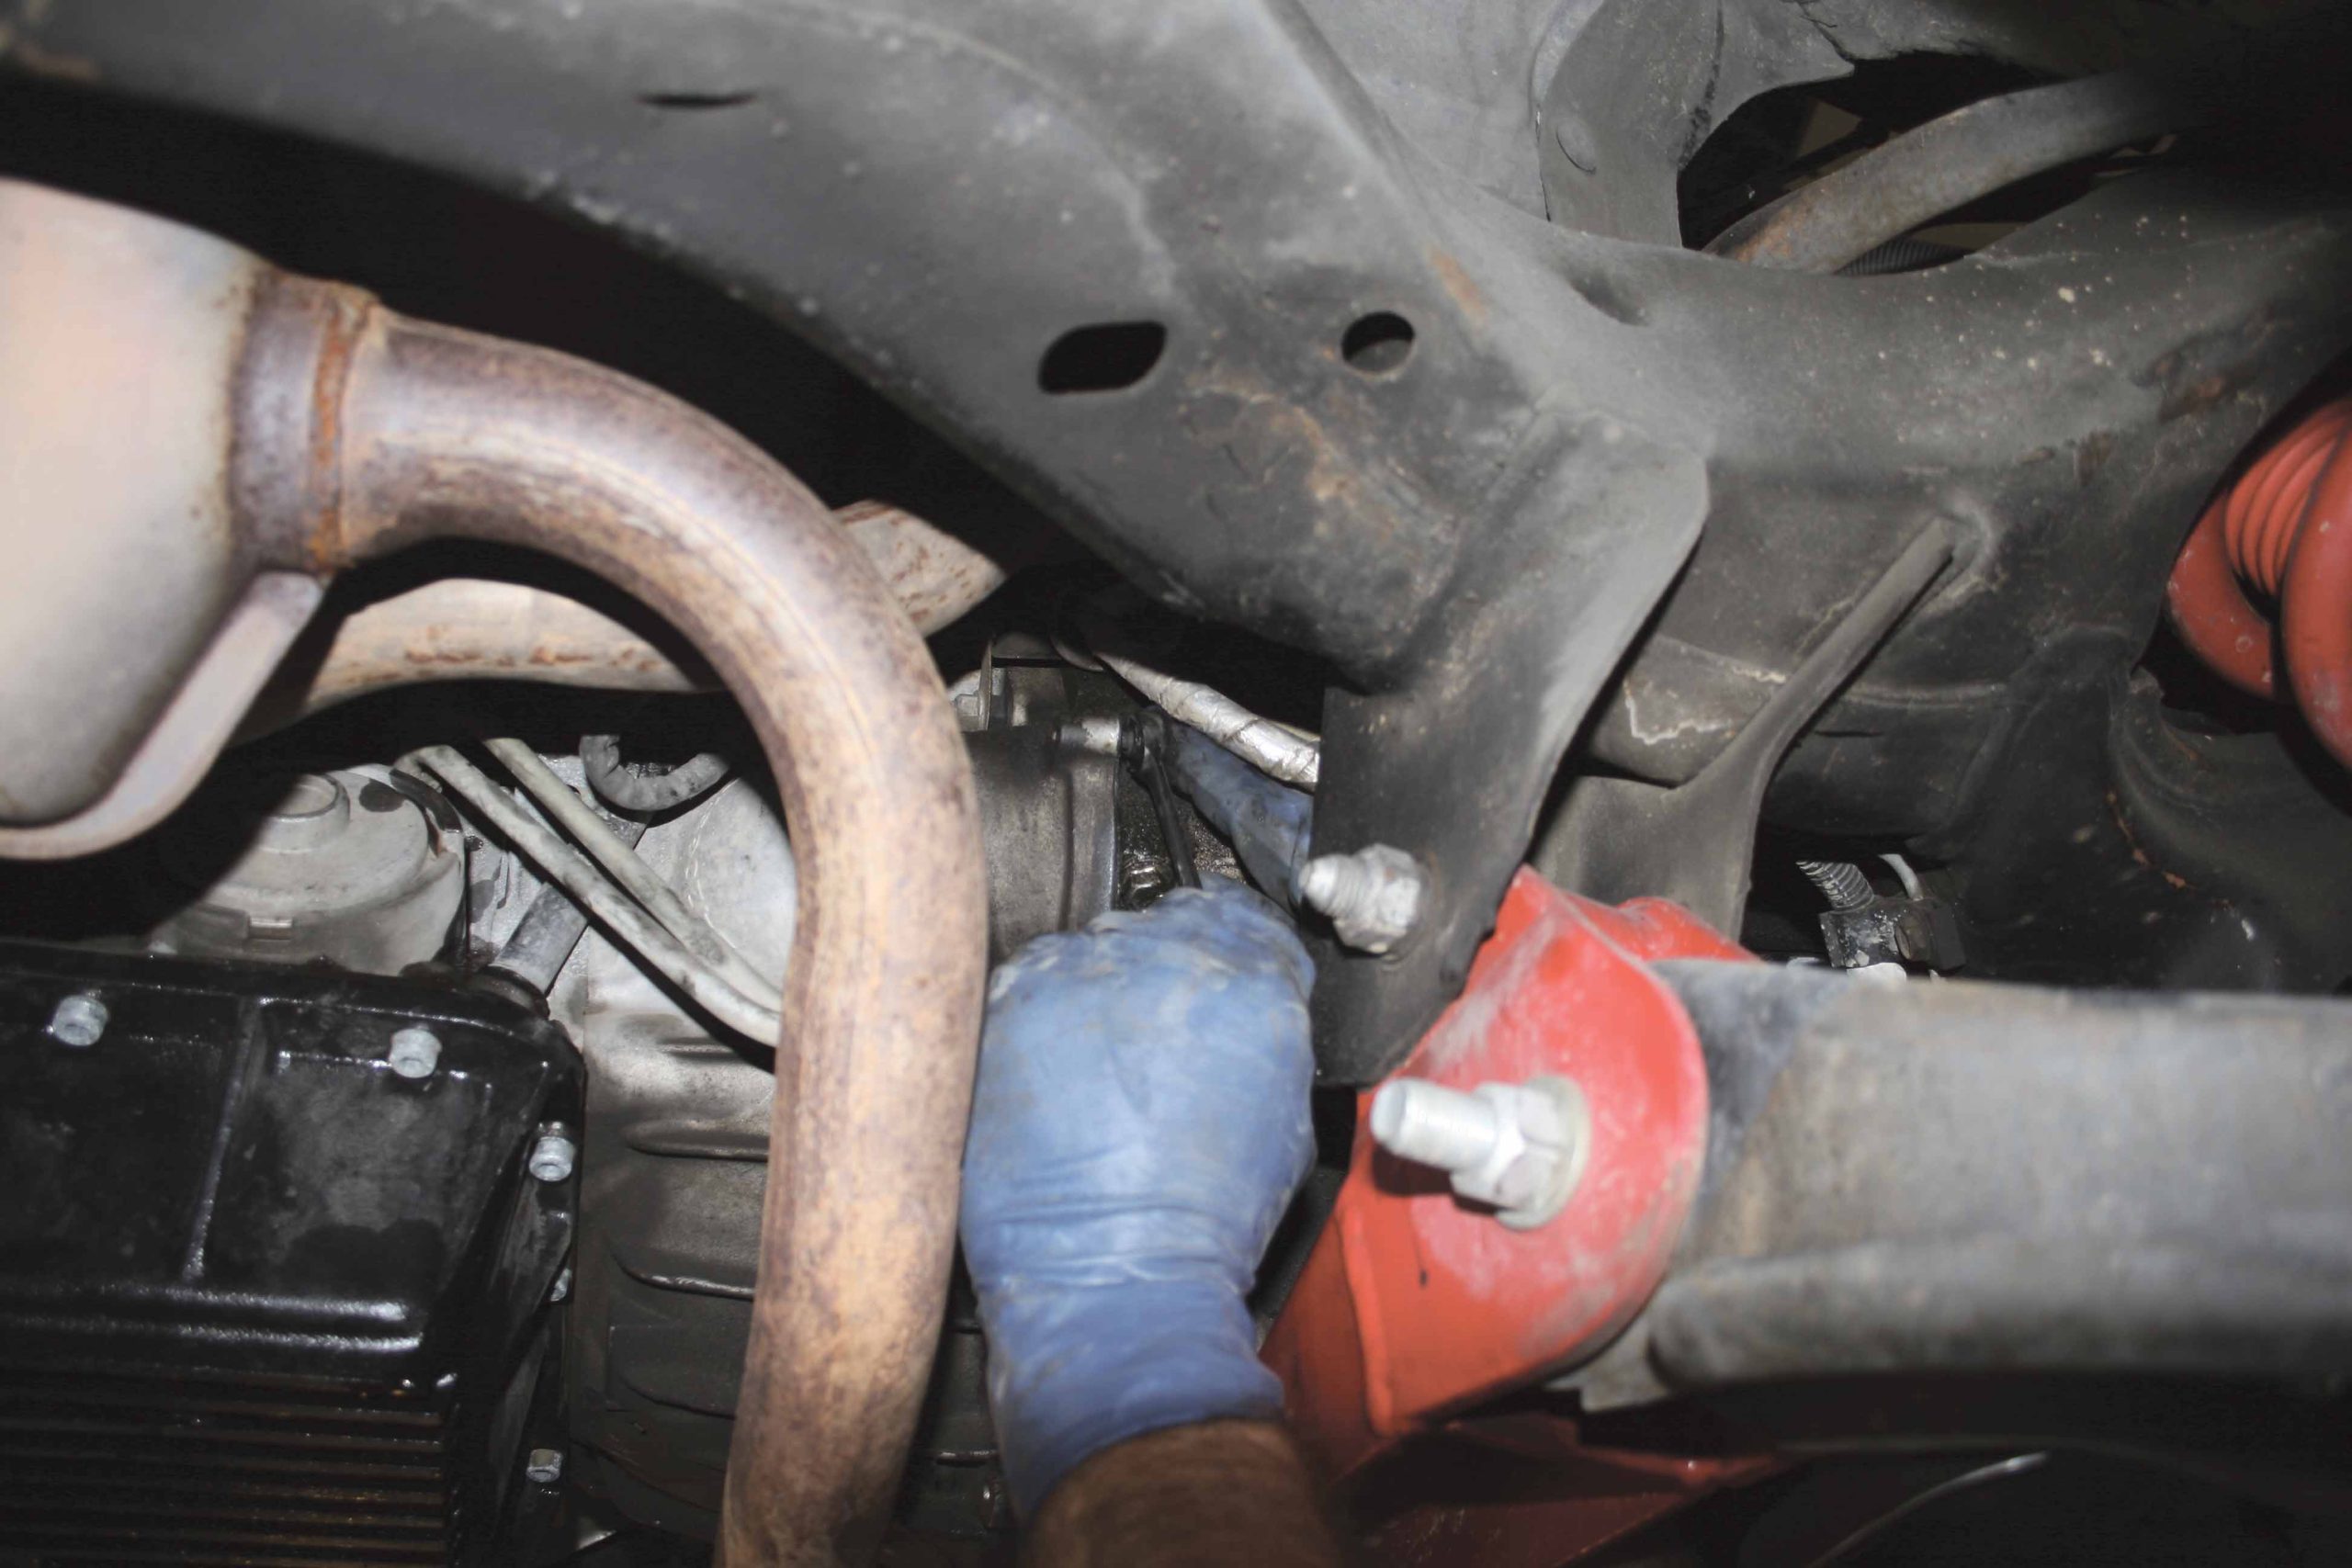
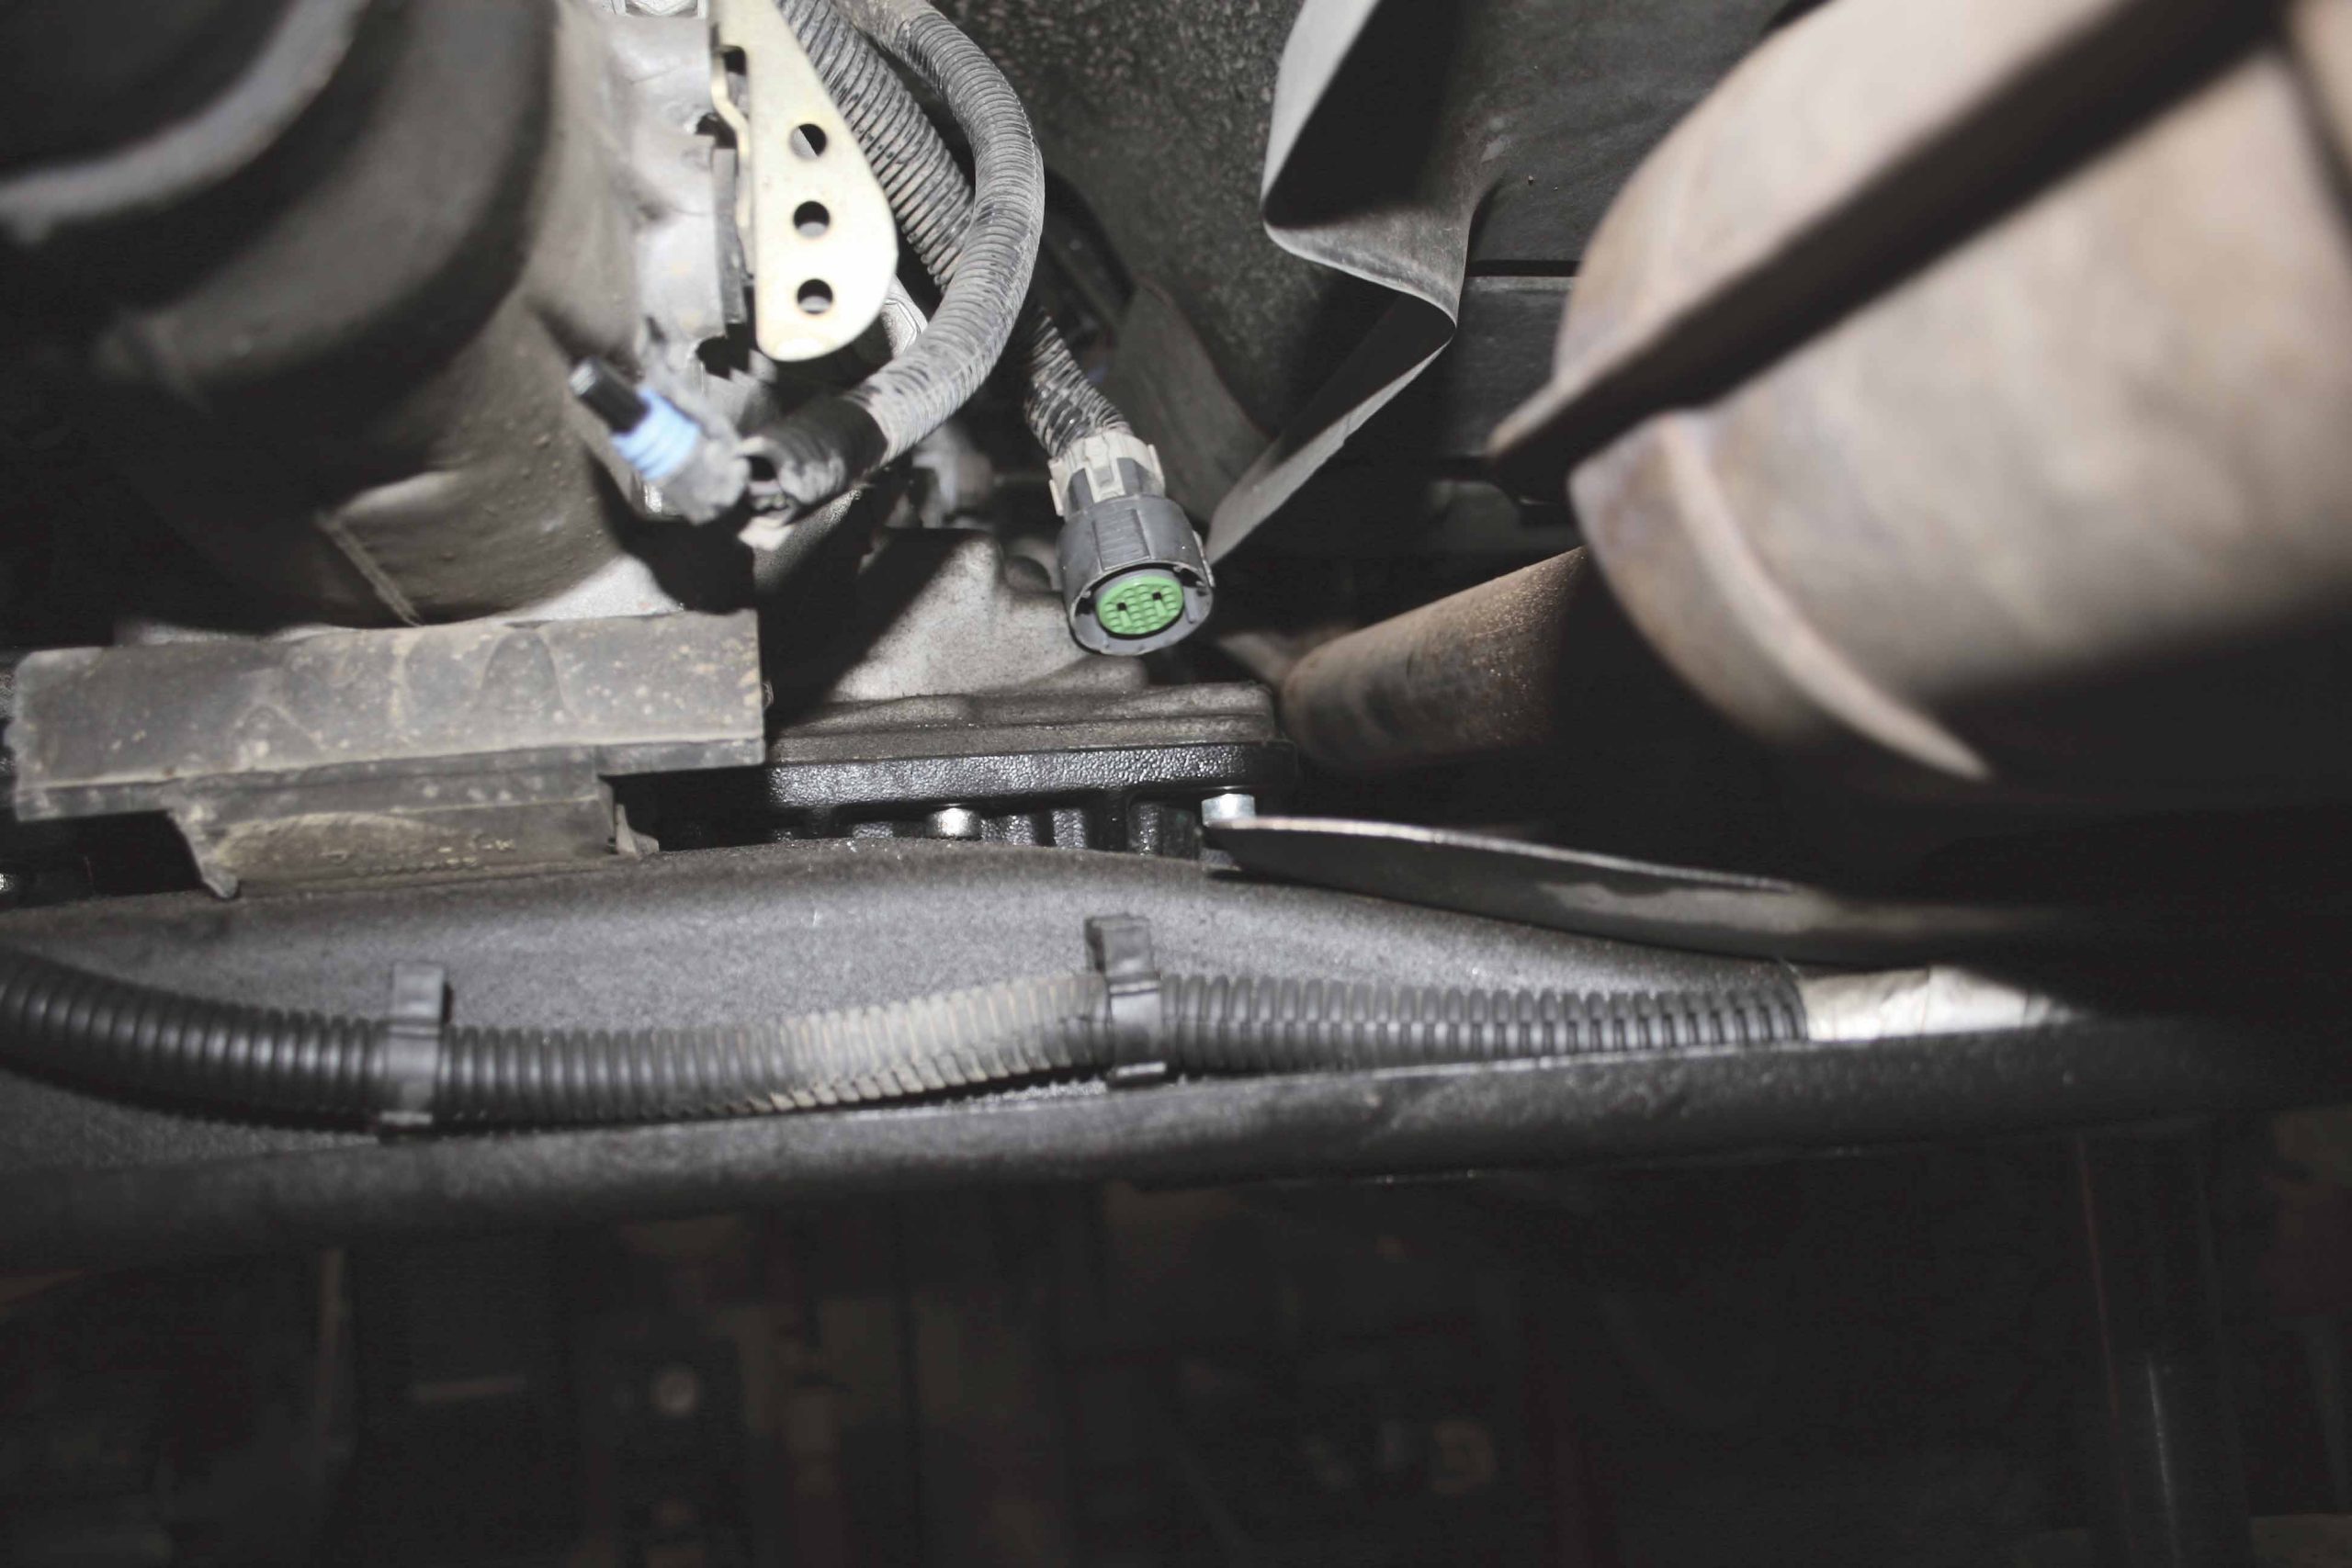
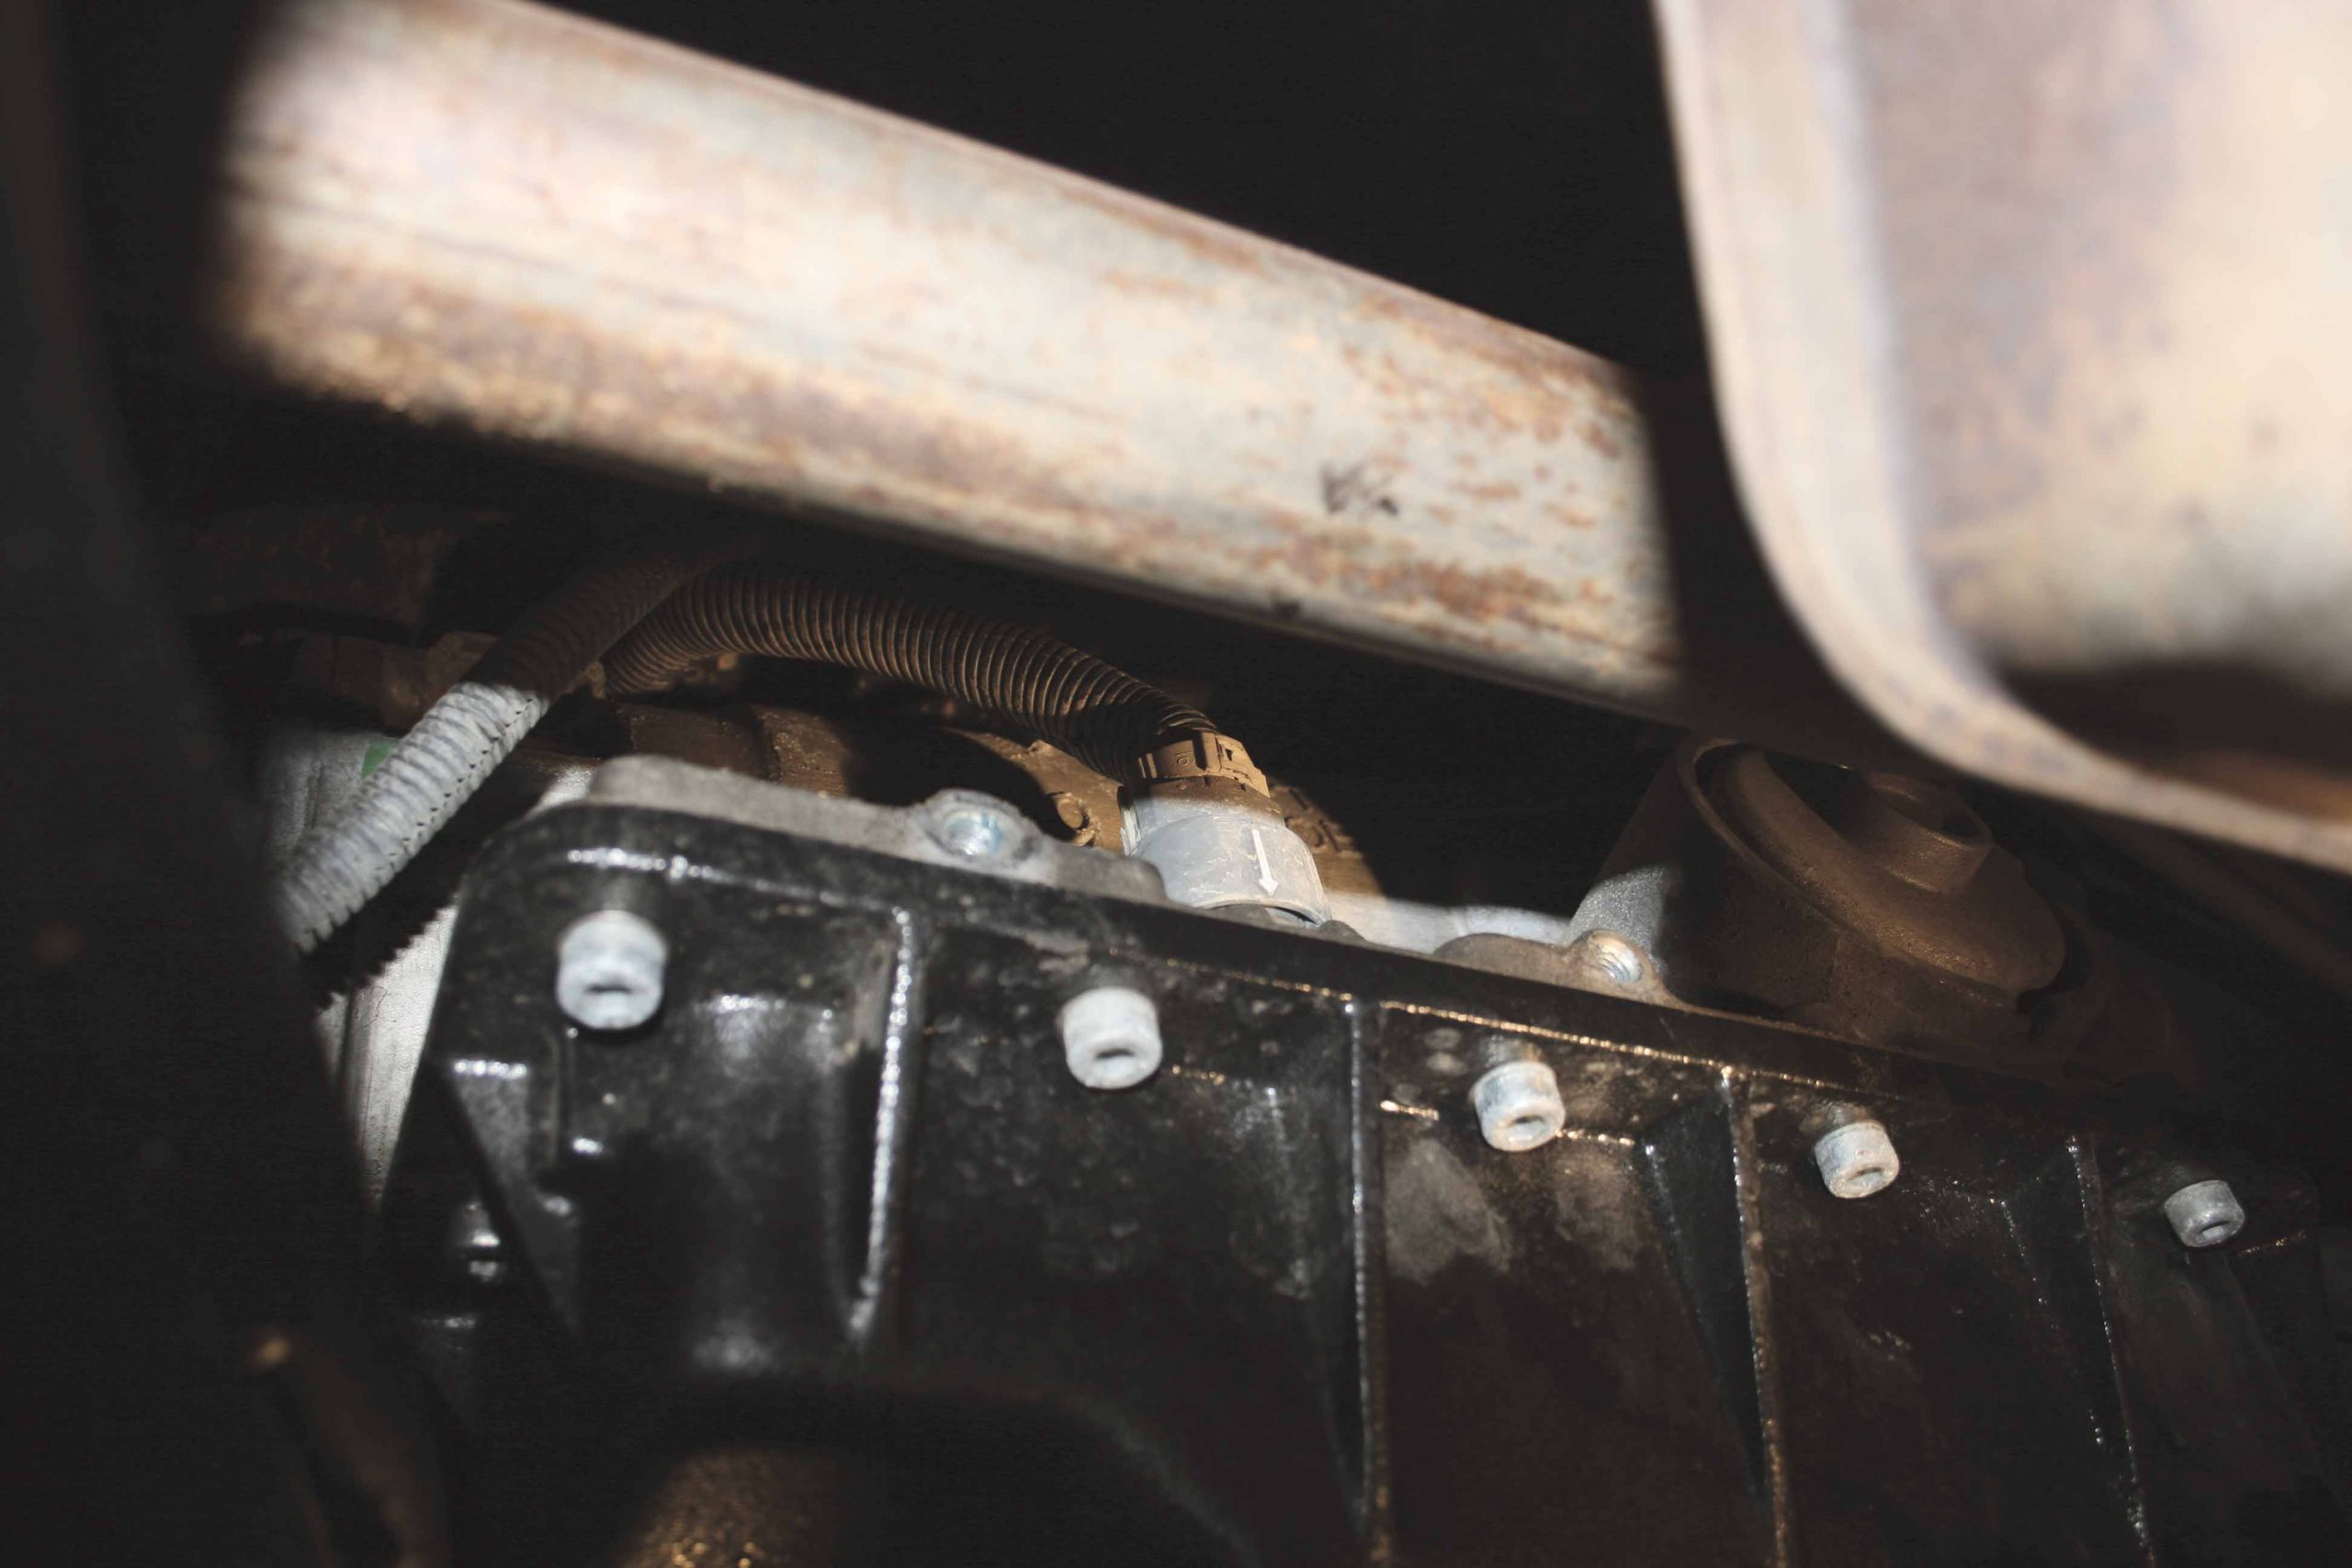
12-13 Unplug the main transmission harness and the vehicle speed sensor harness from the passenger side of the transmission.
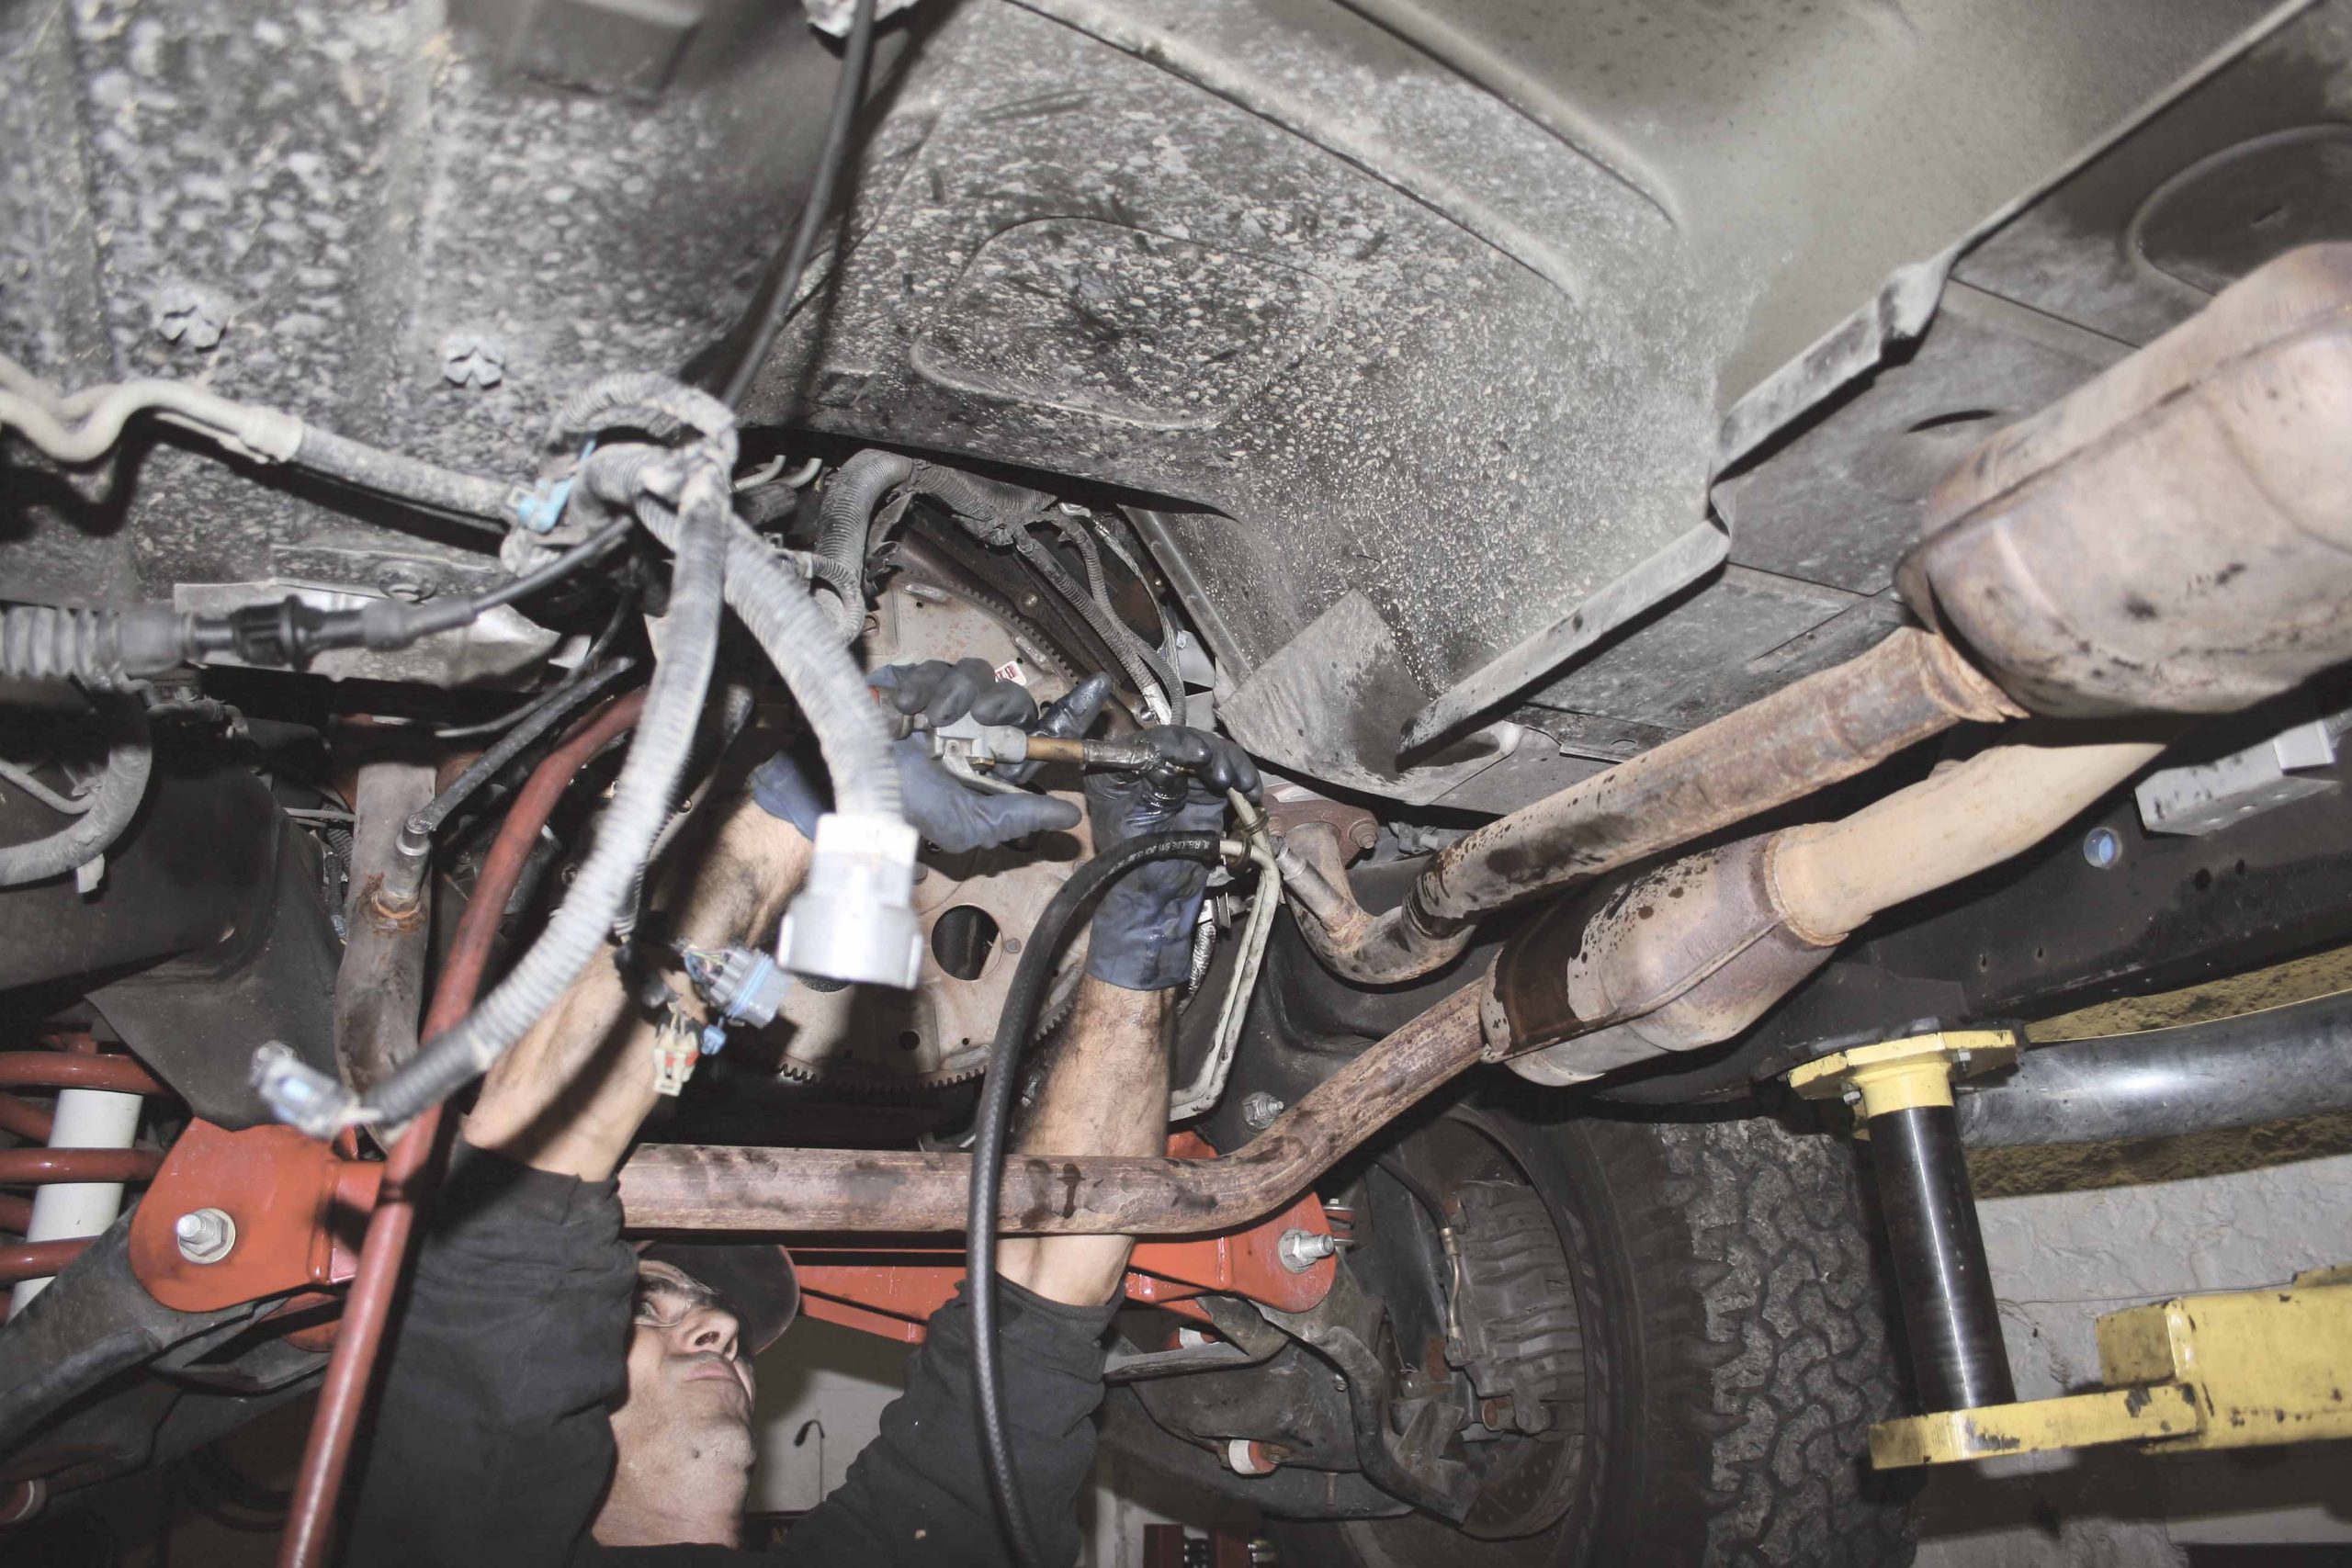
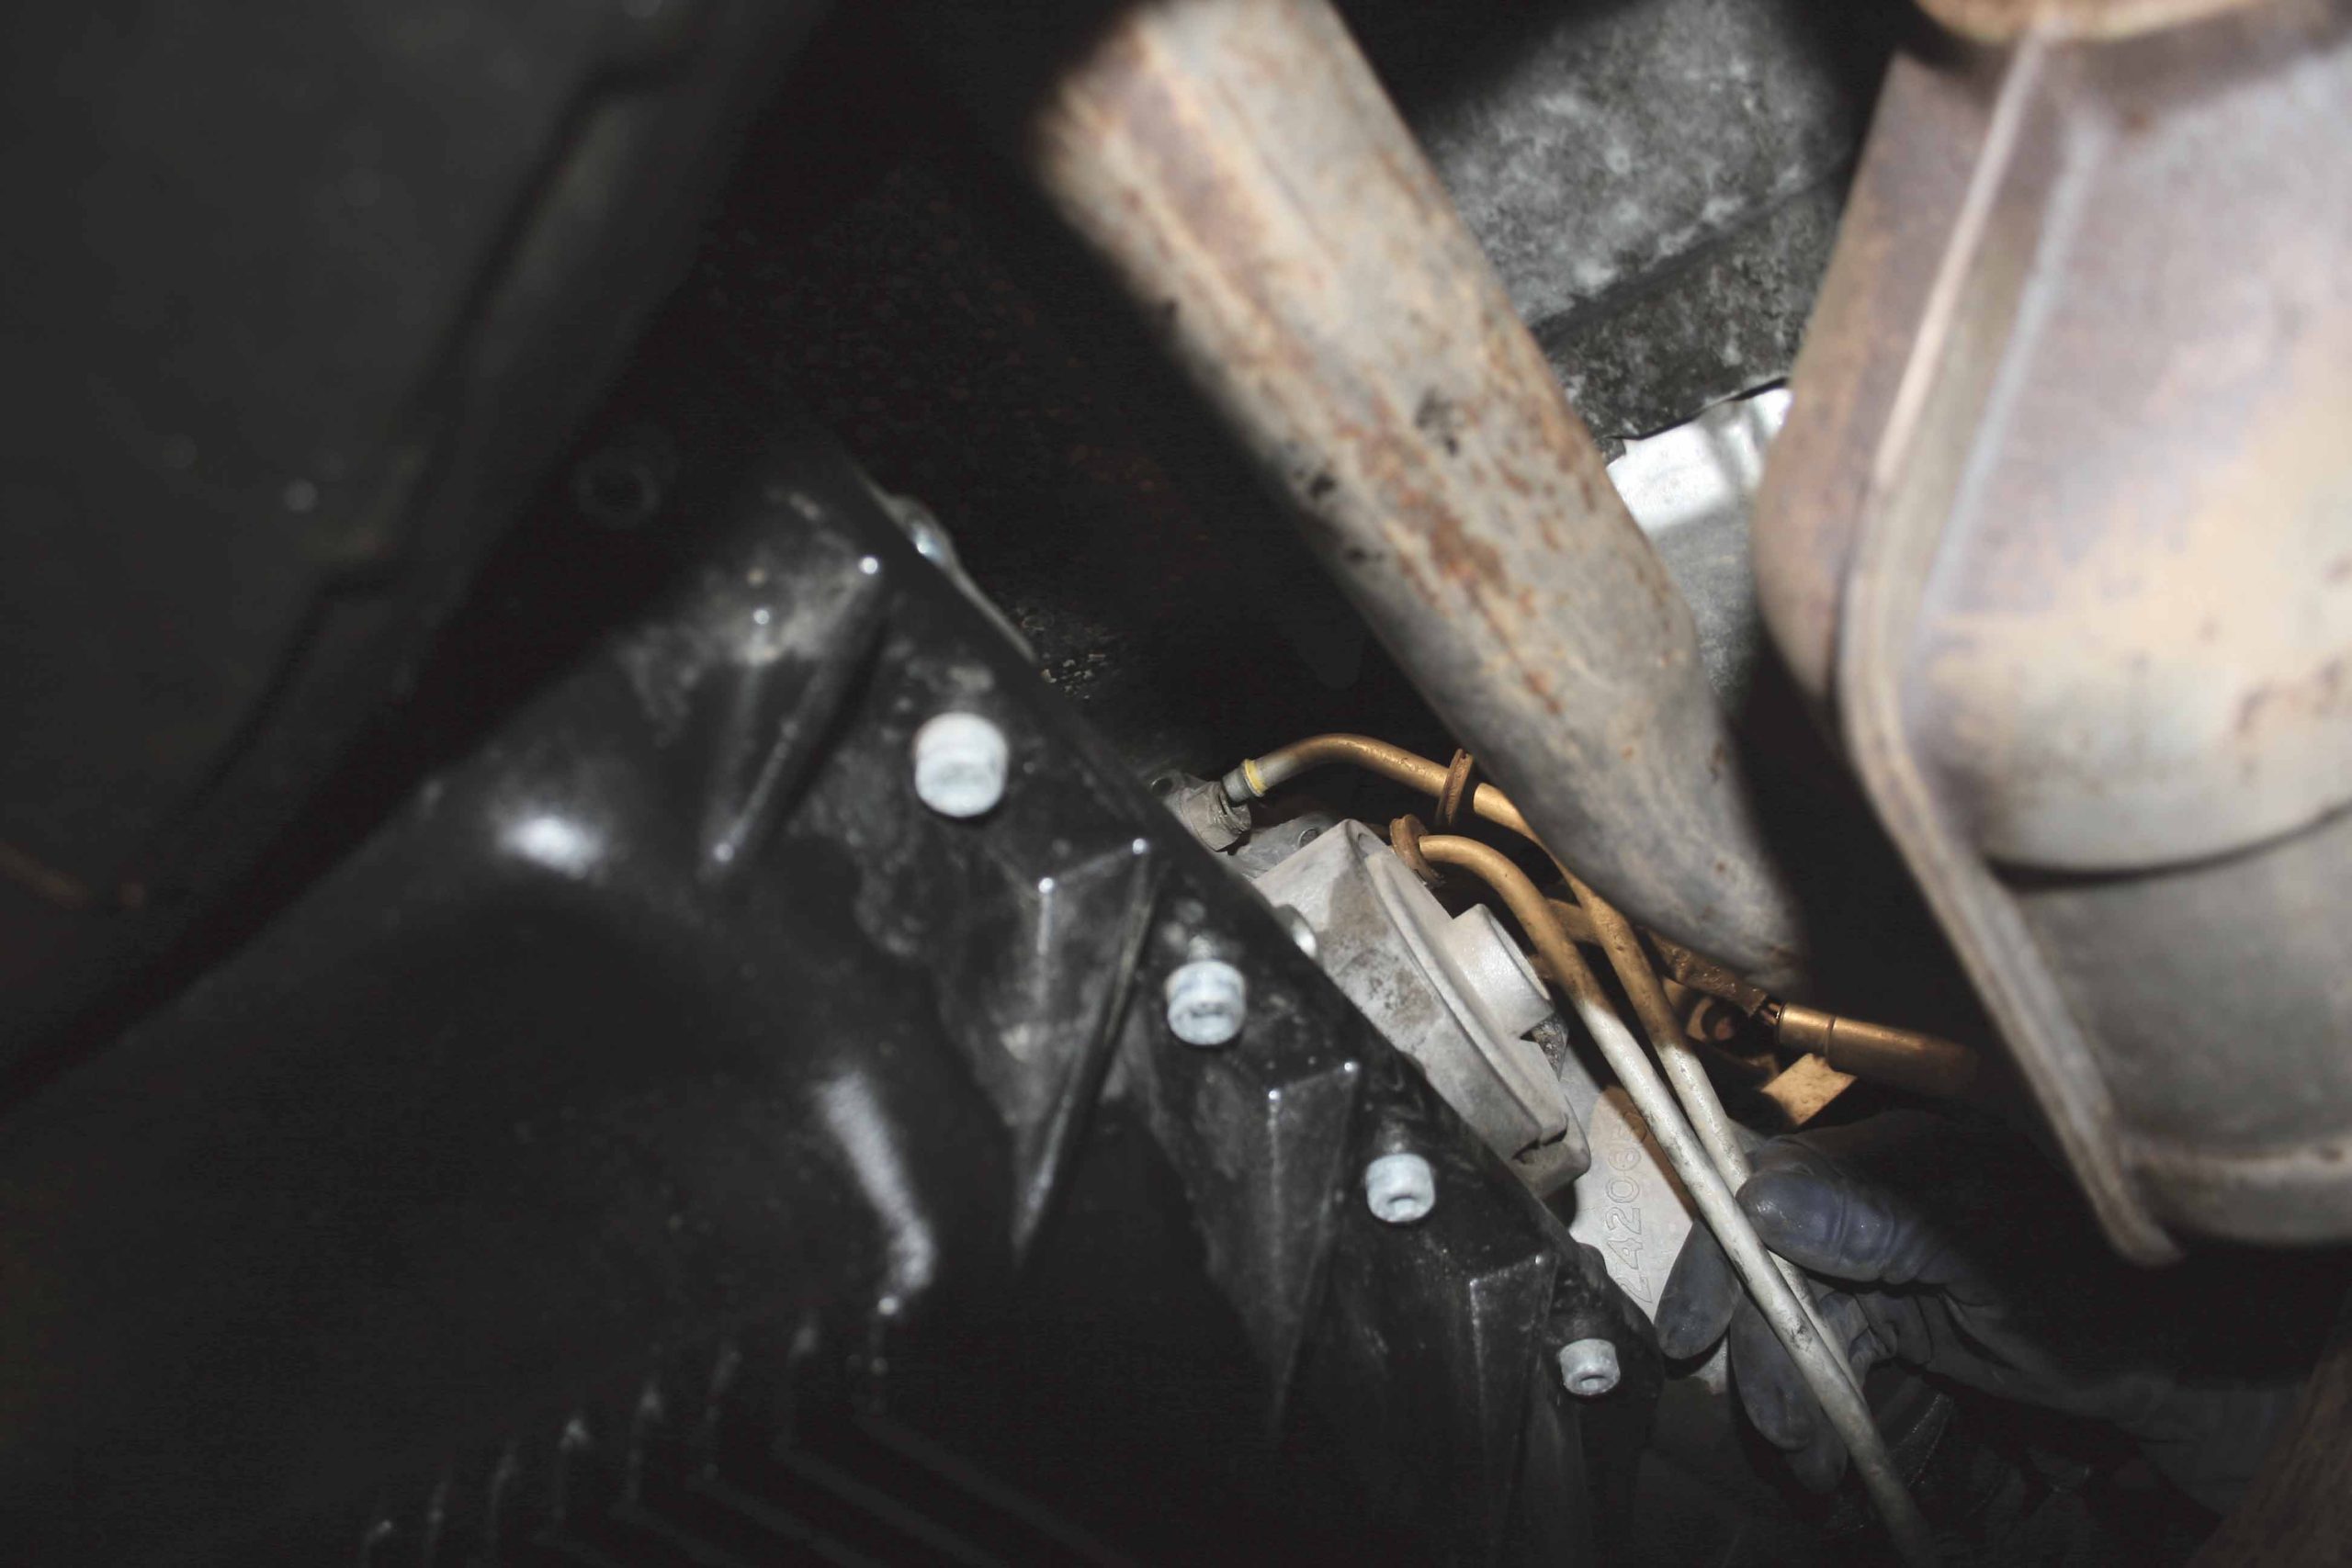
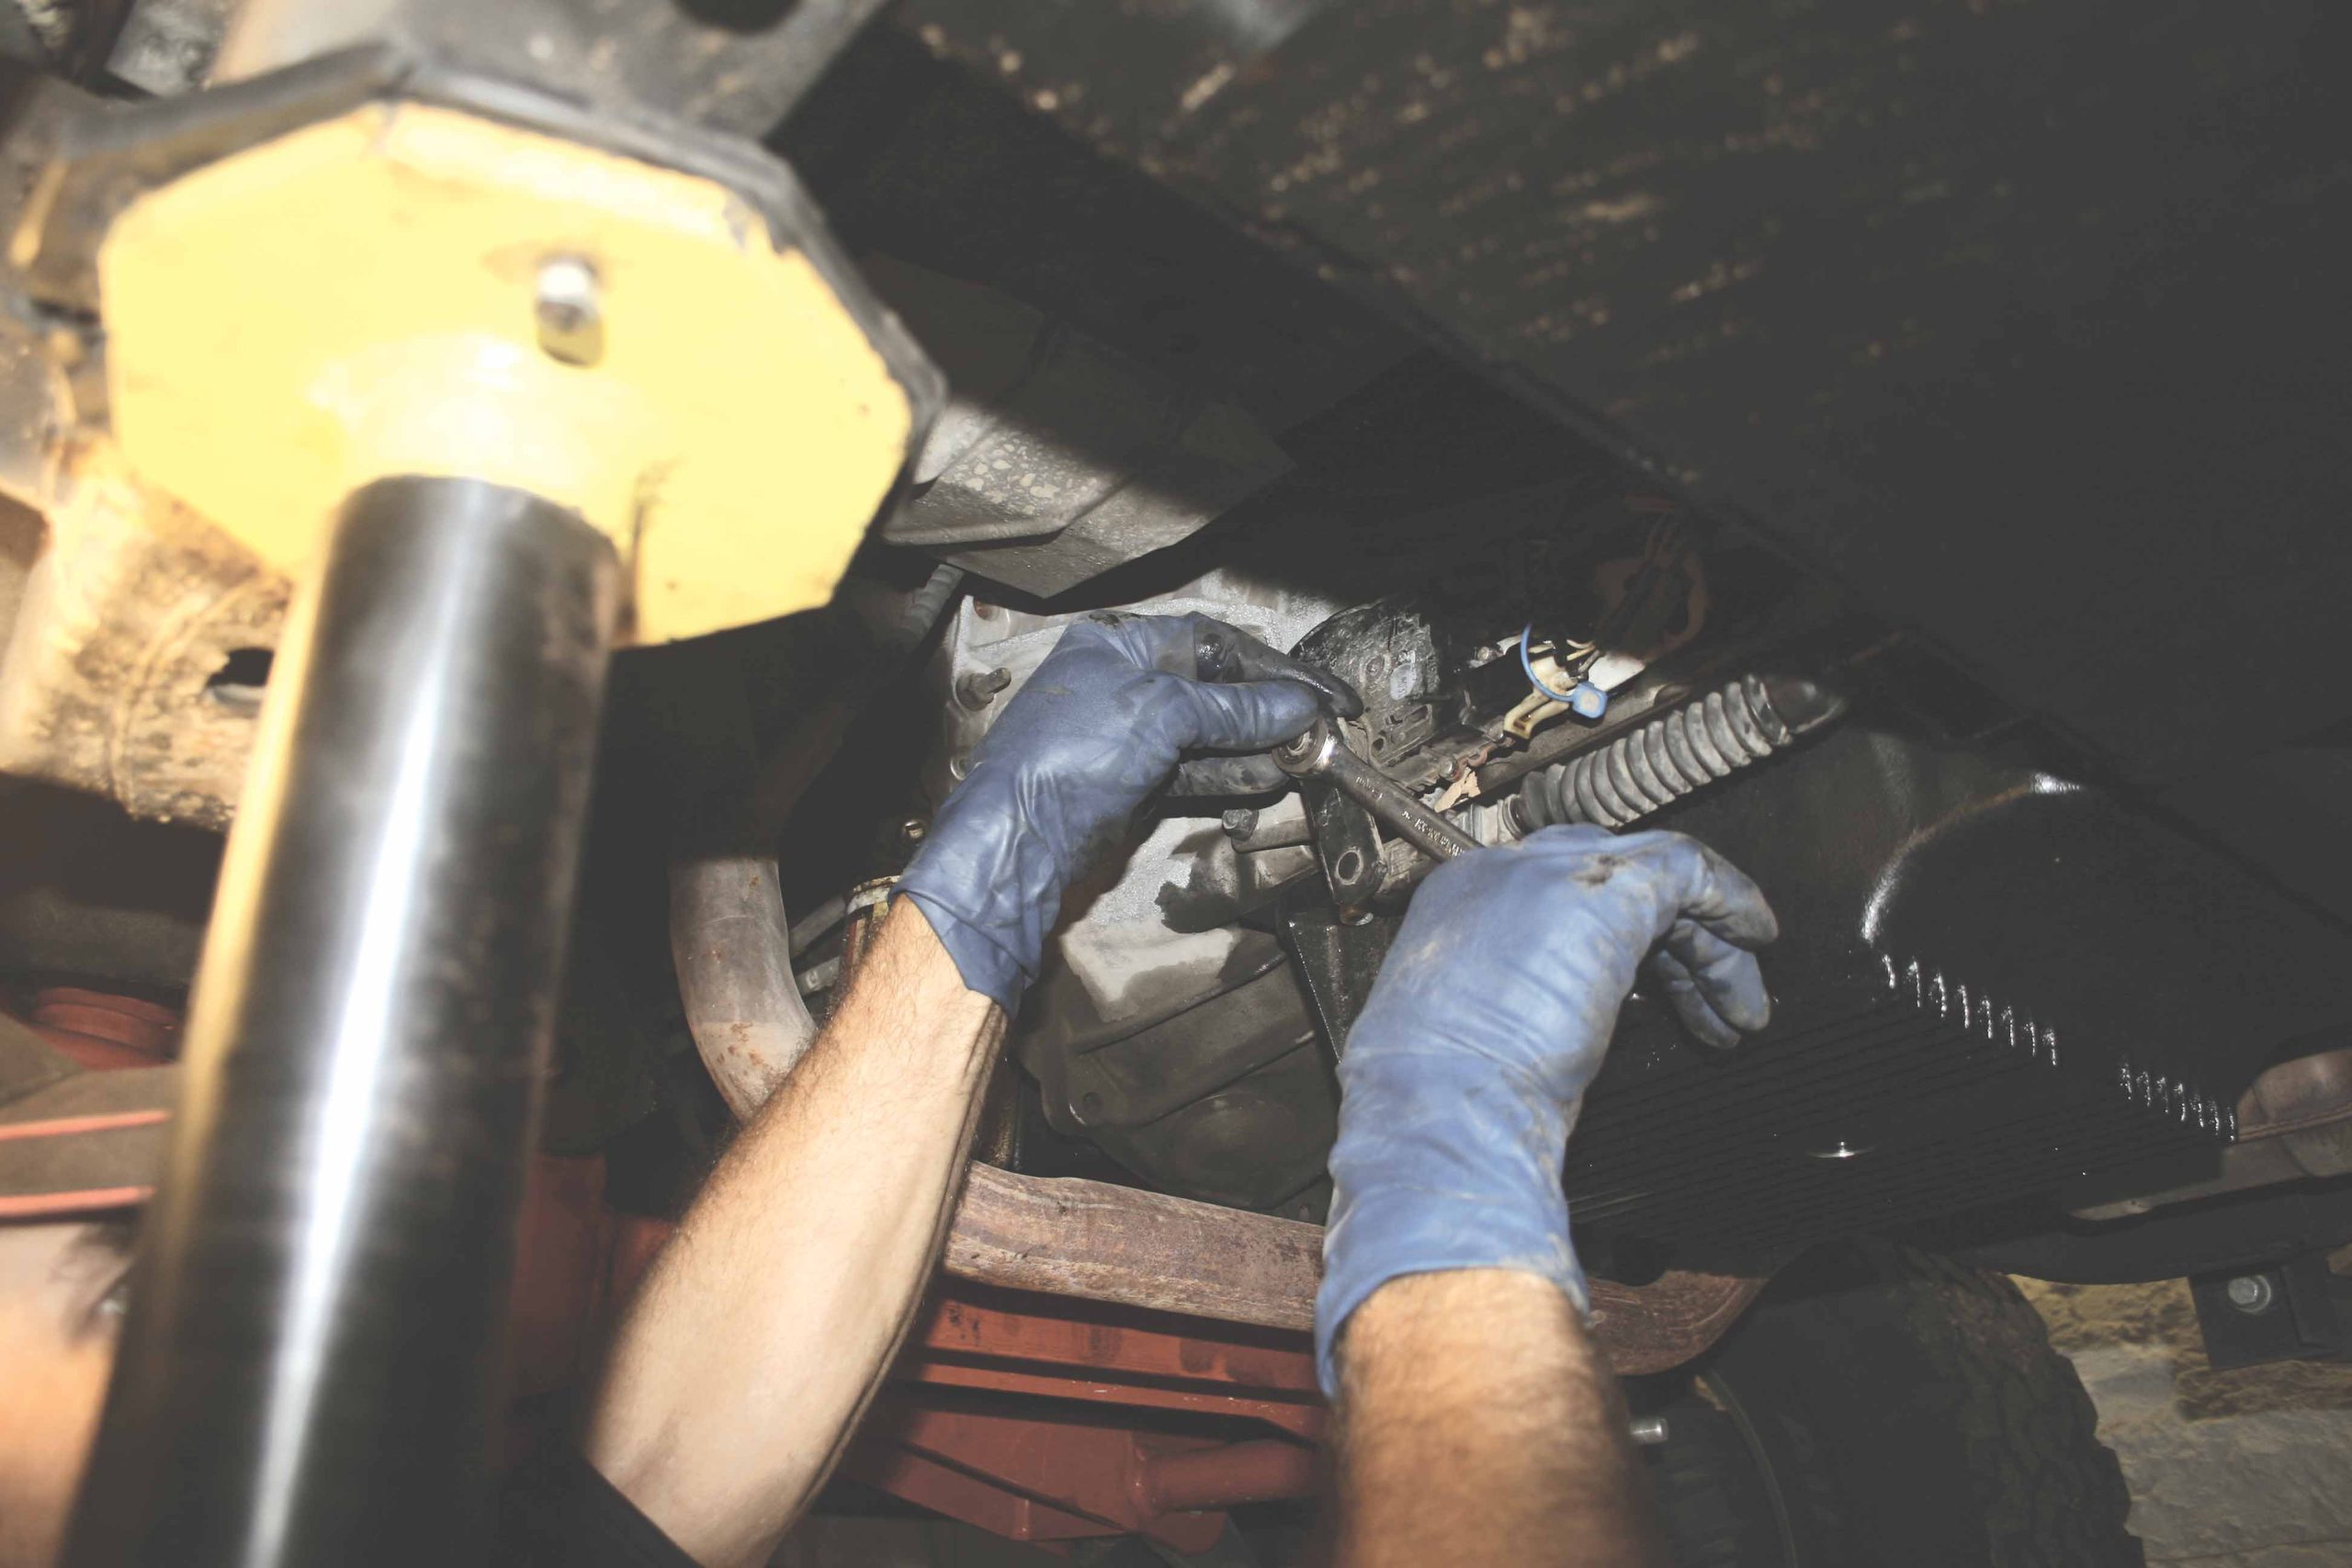
14 Carefully remove the retaining clips and pull the transmission cooler lines from the transmission.
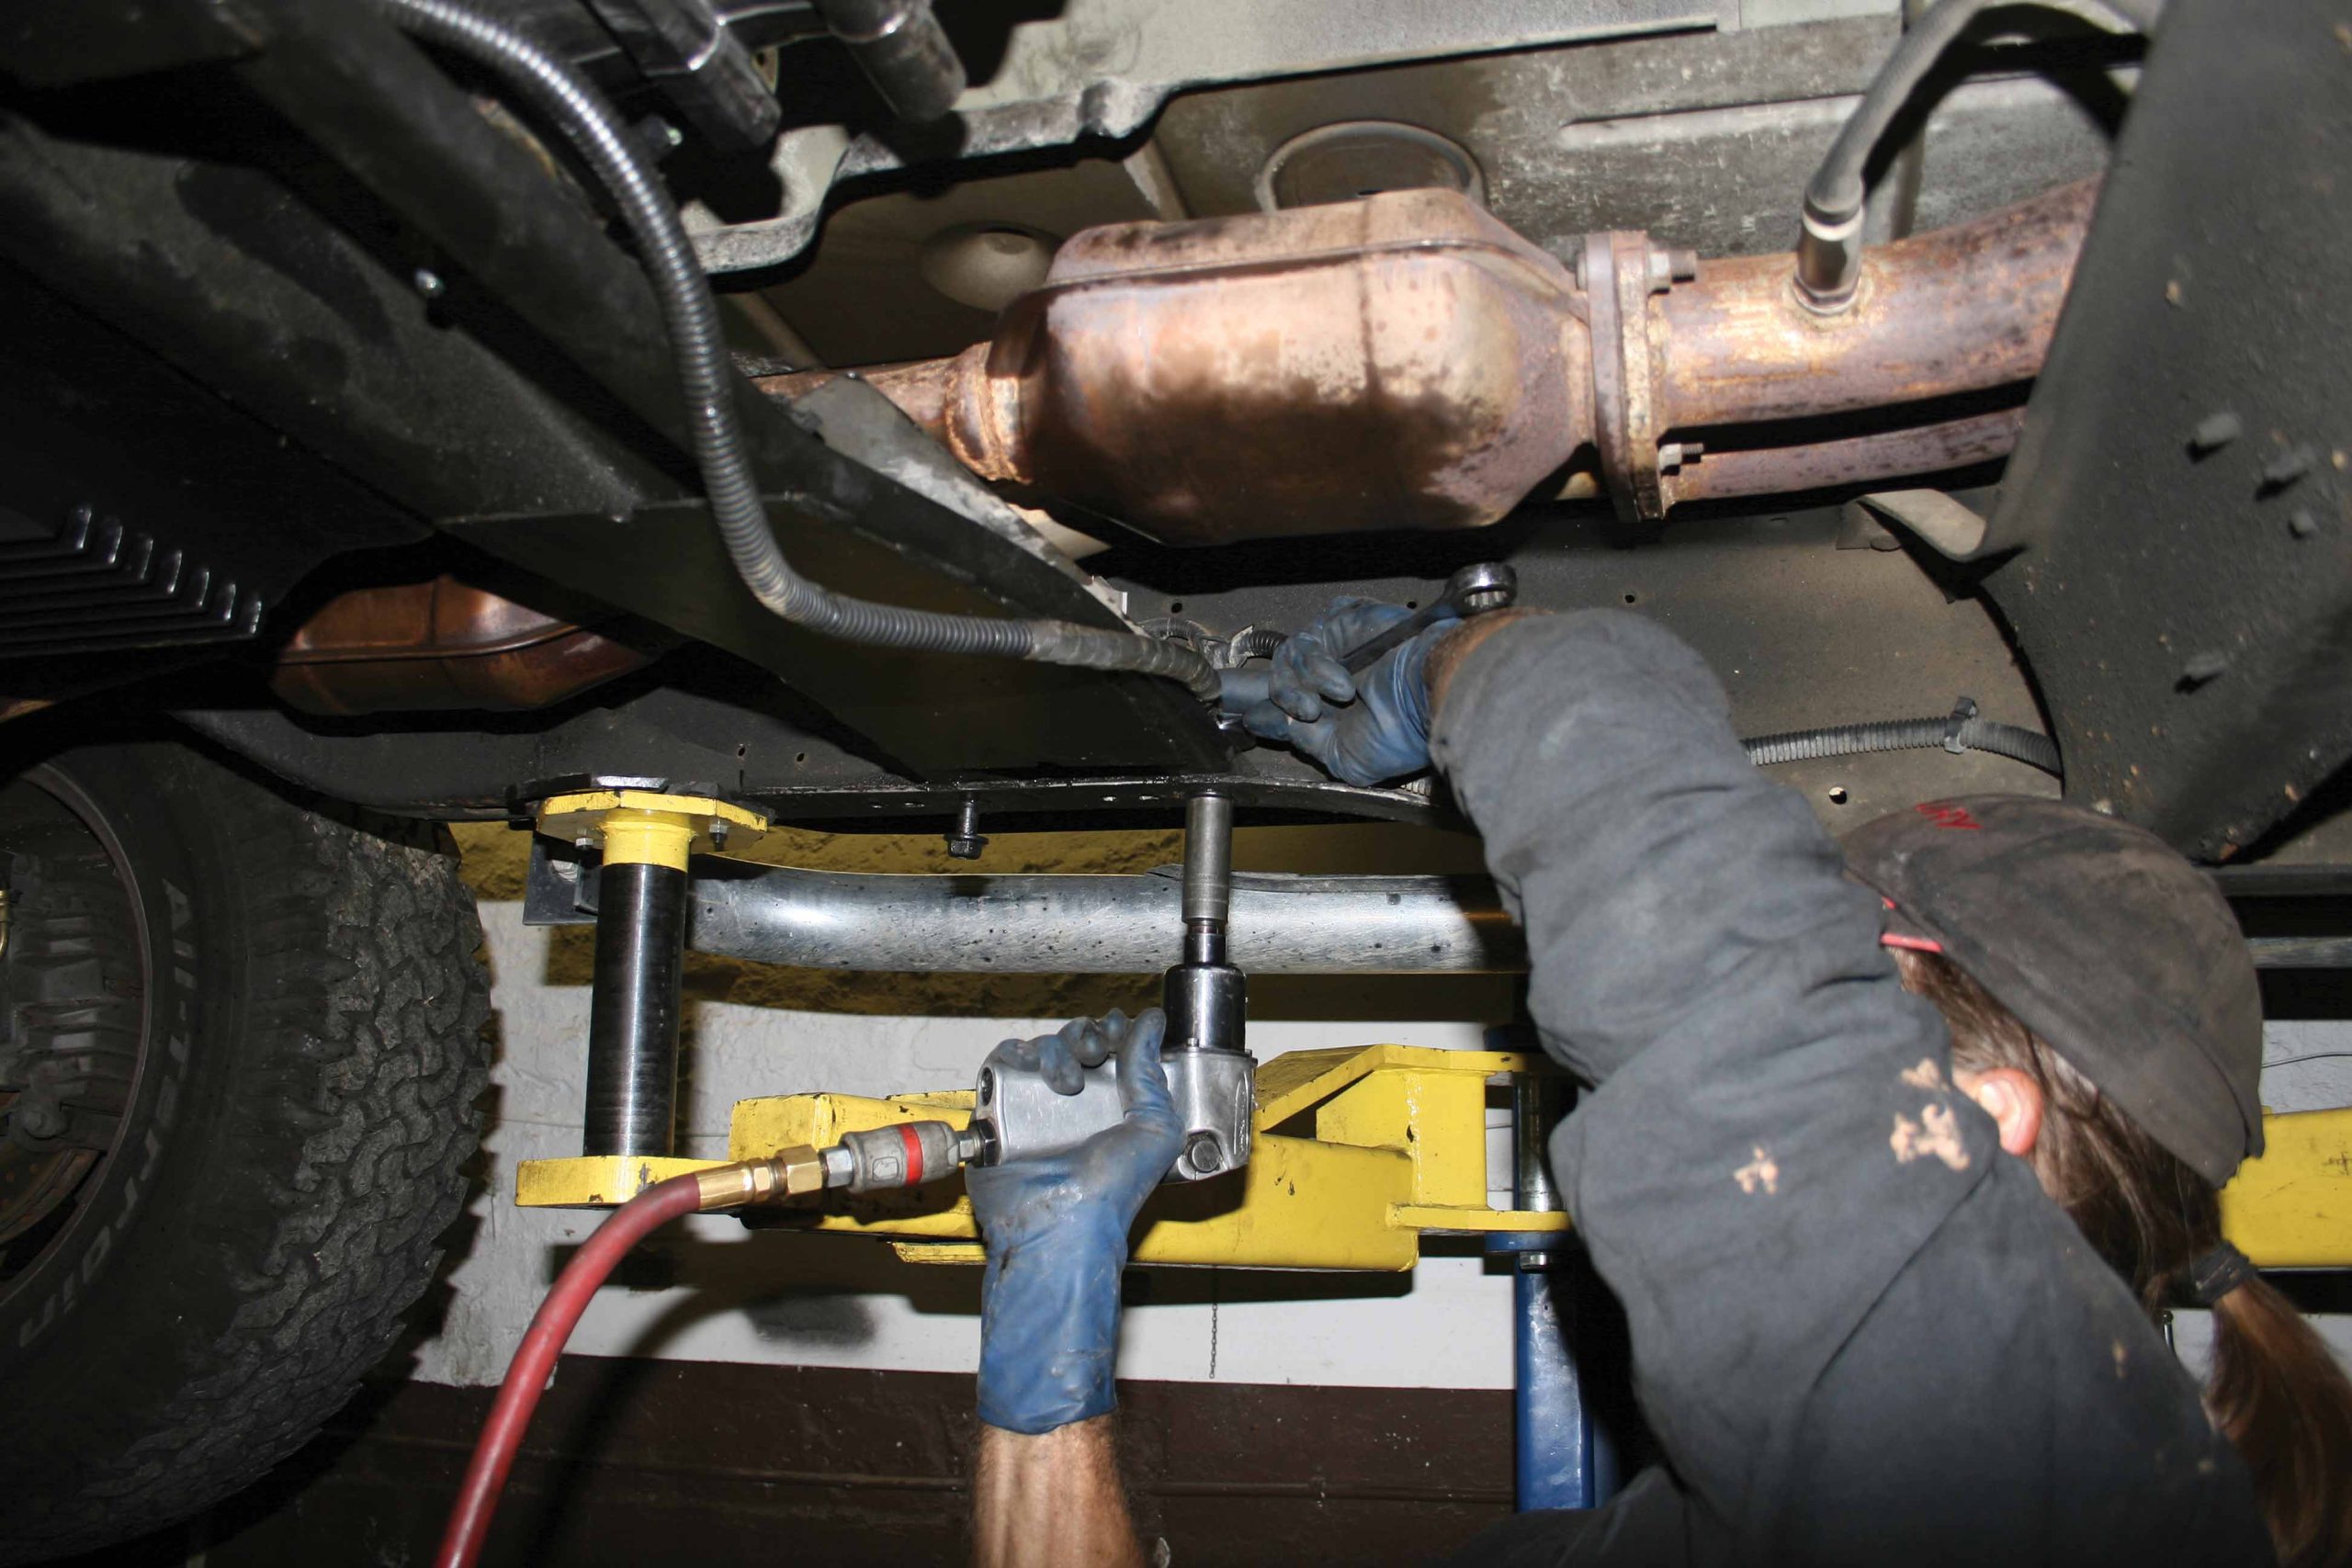
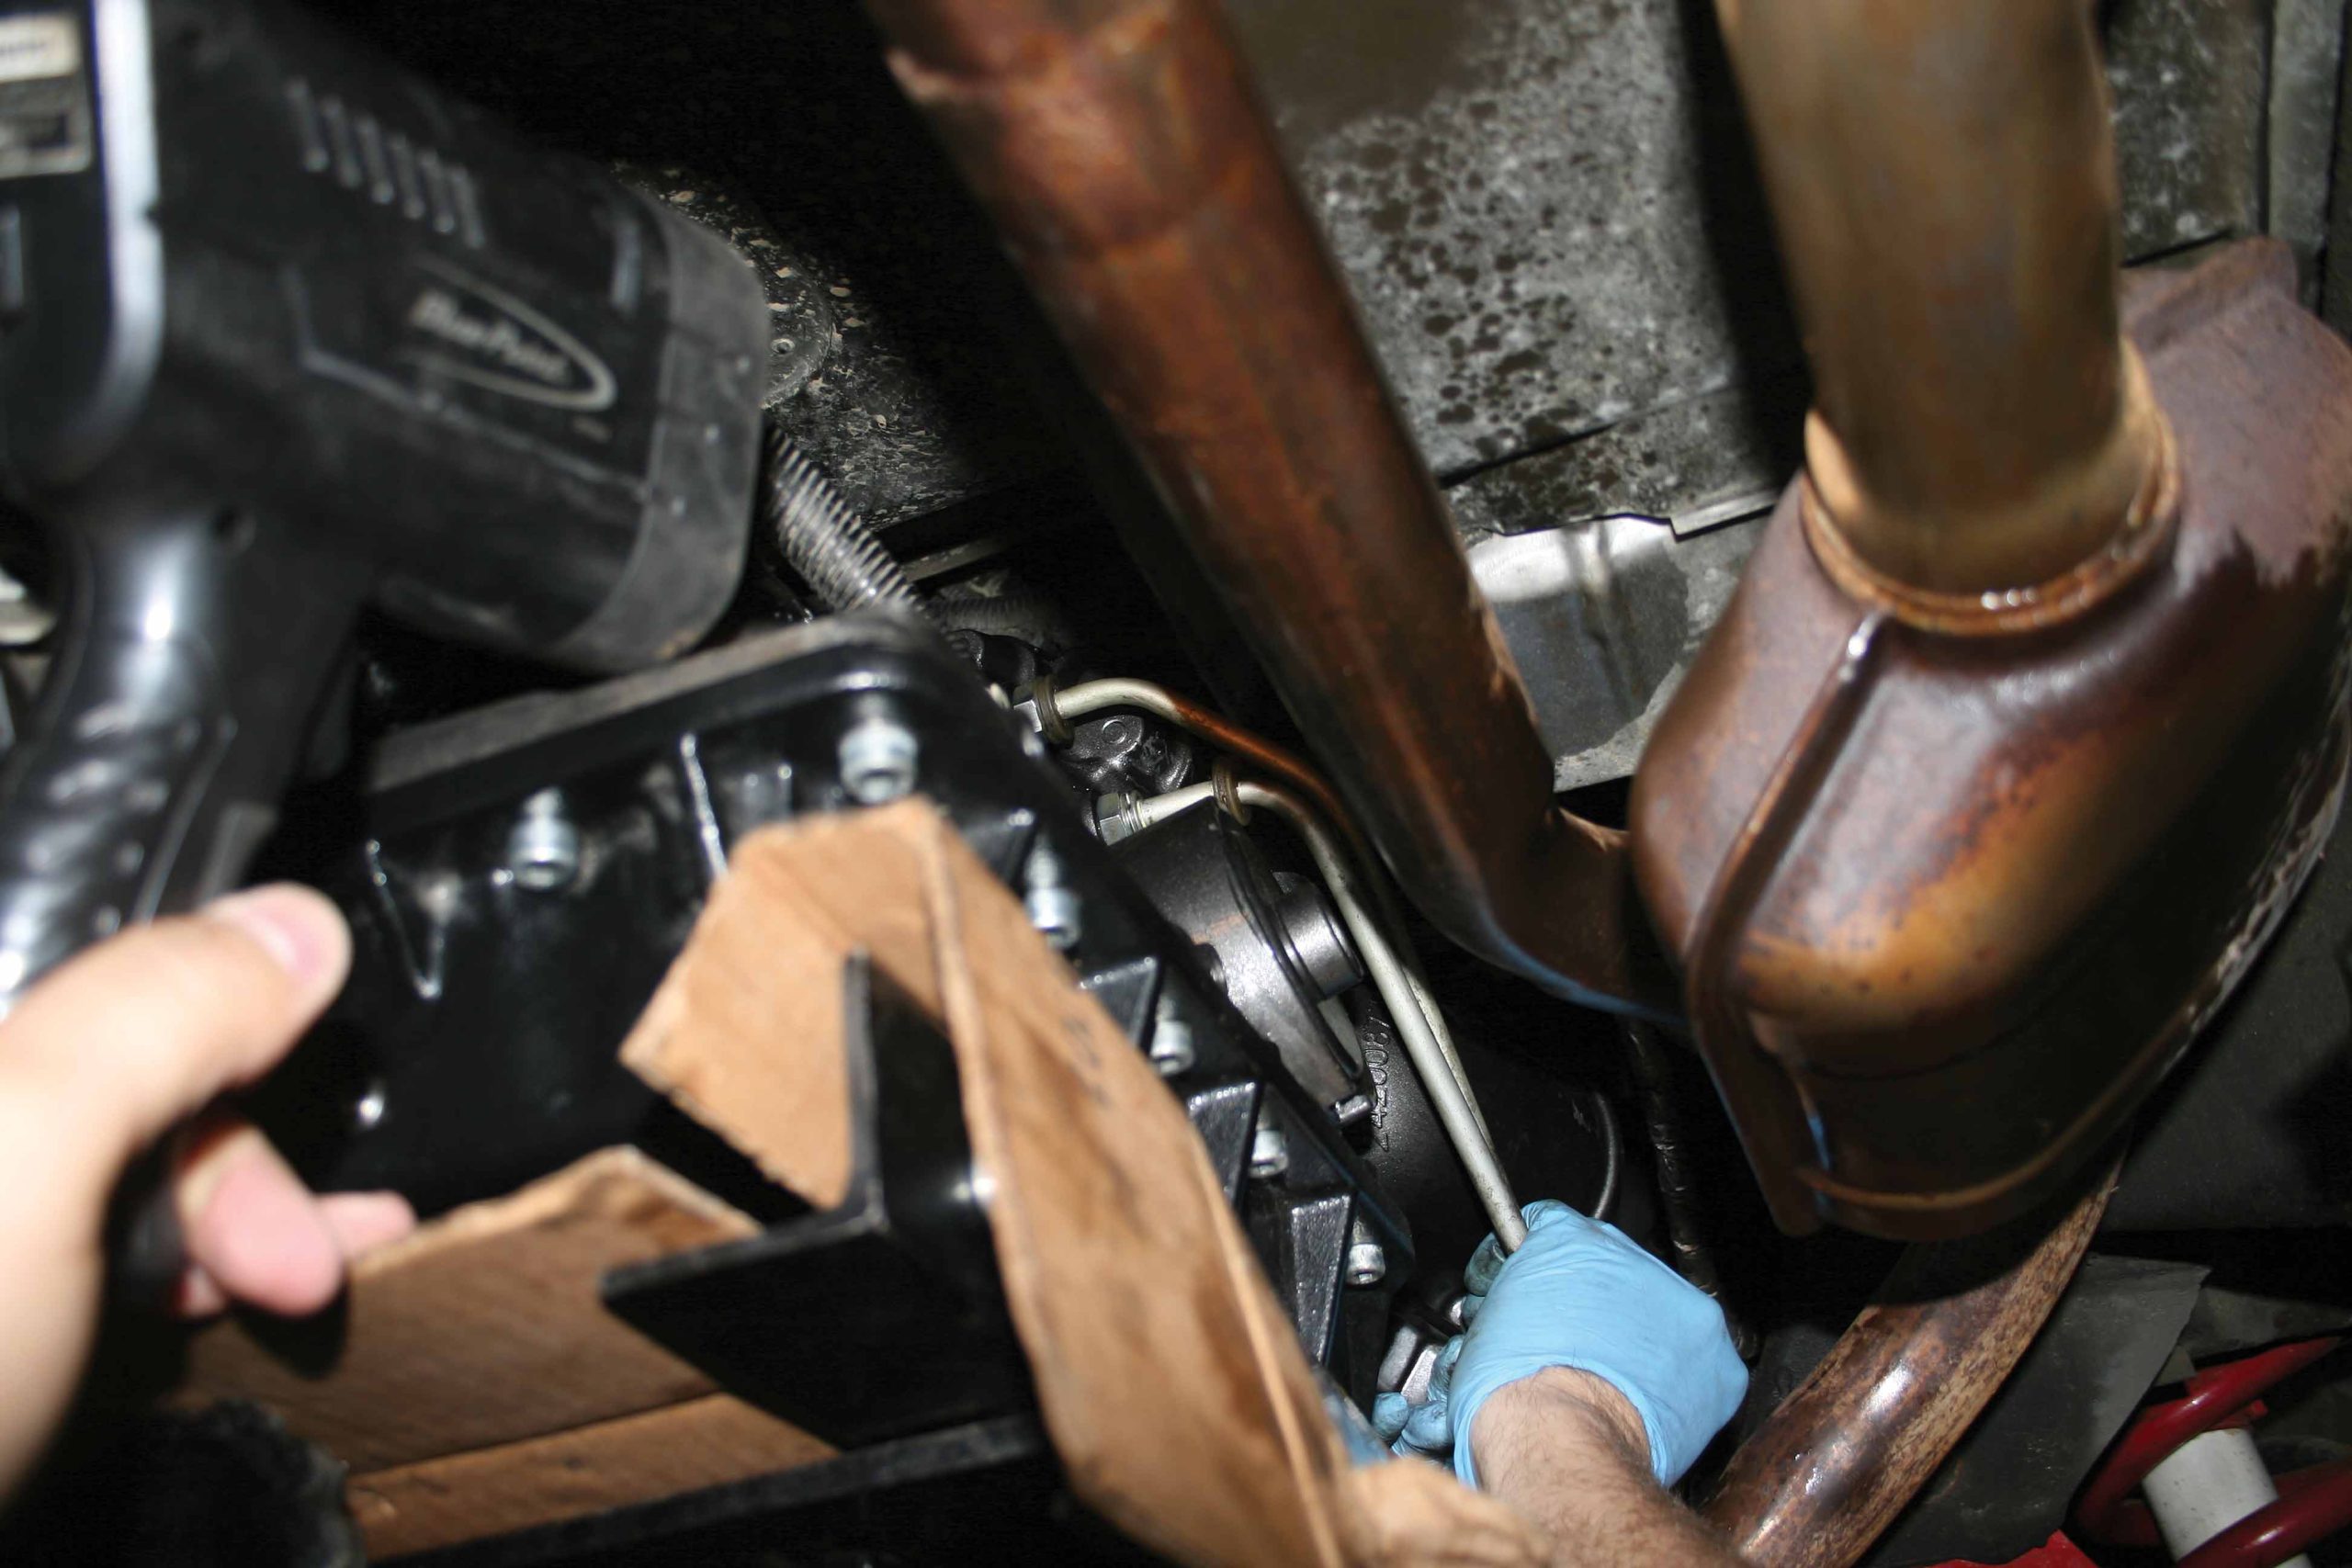
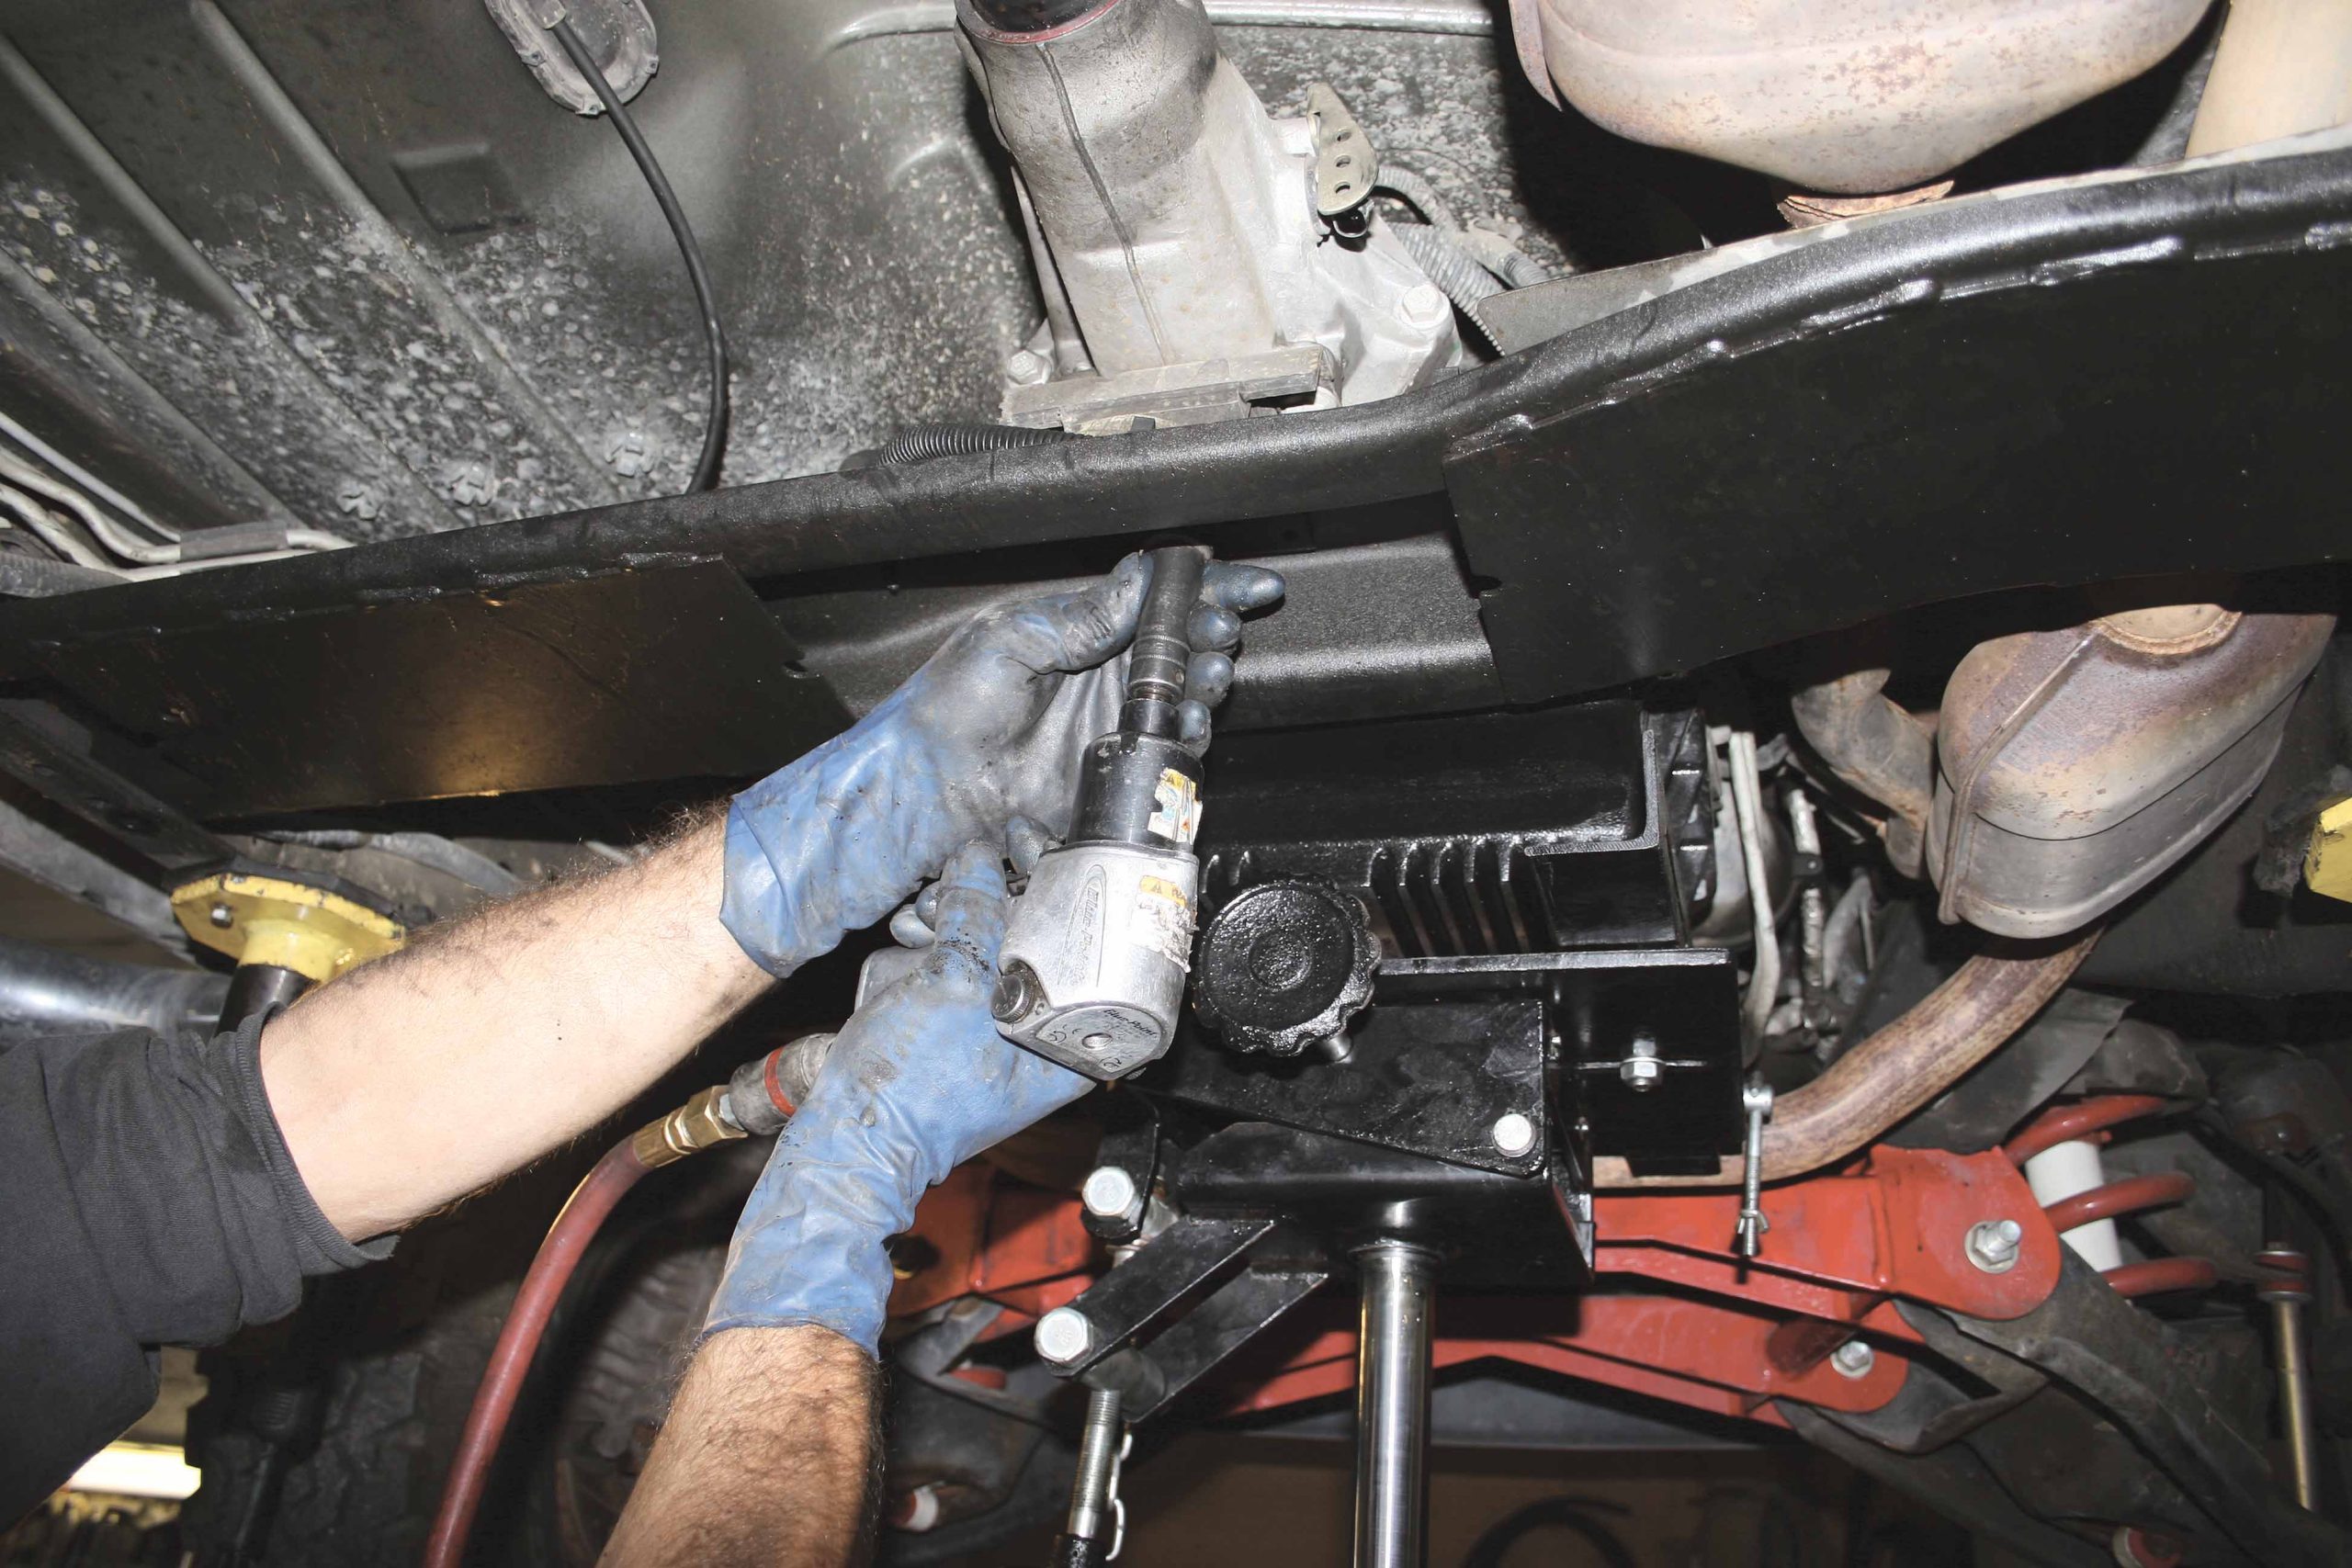
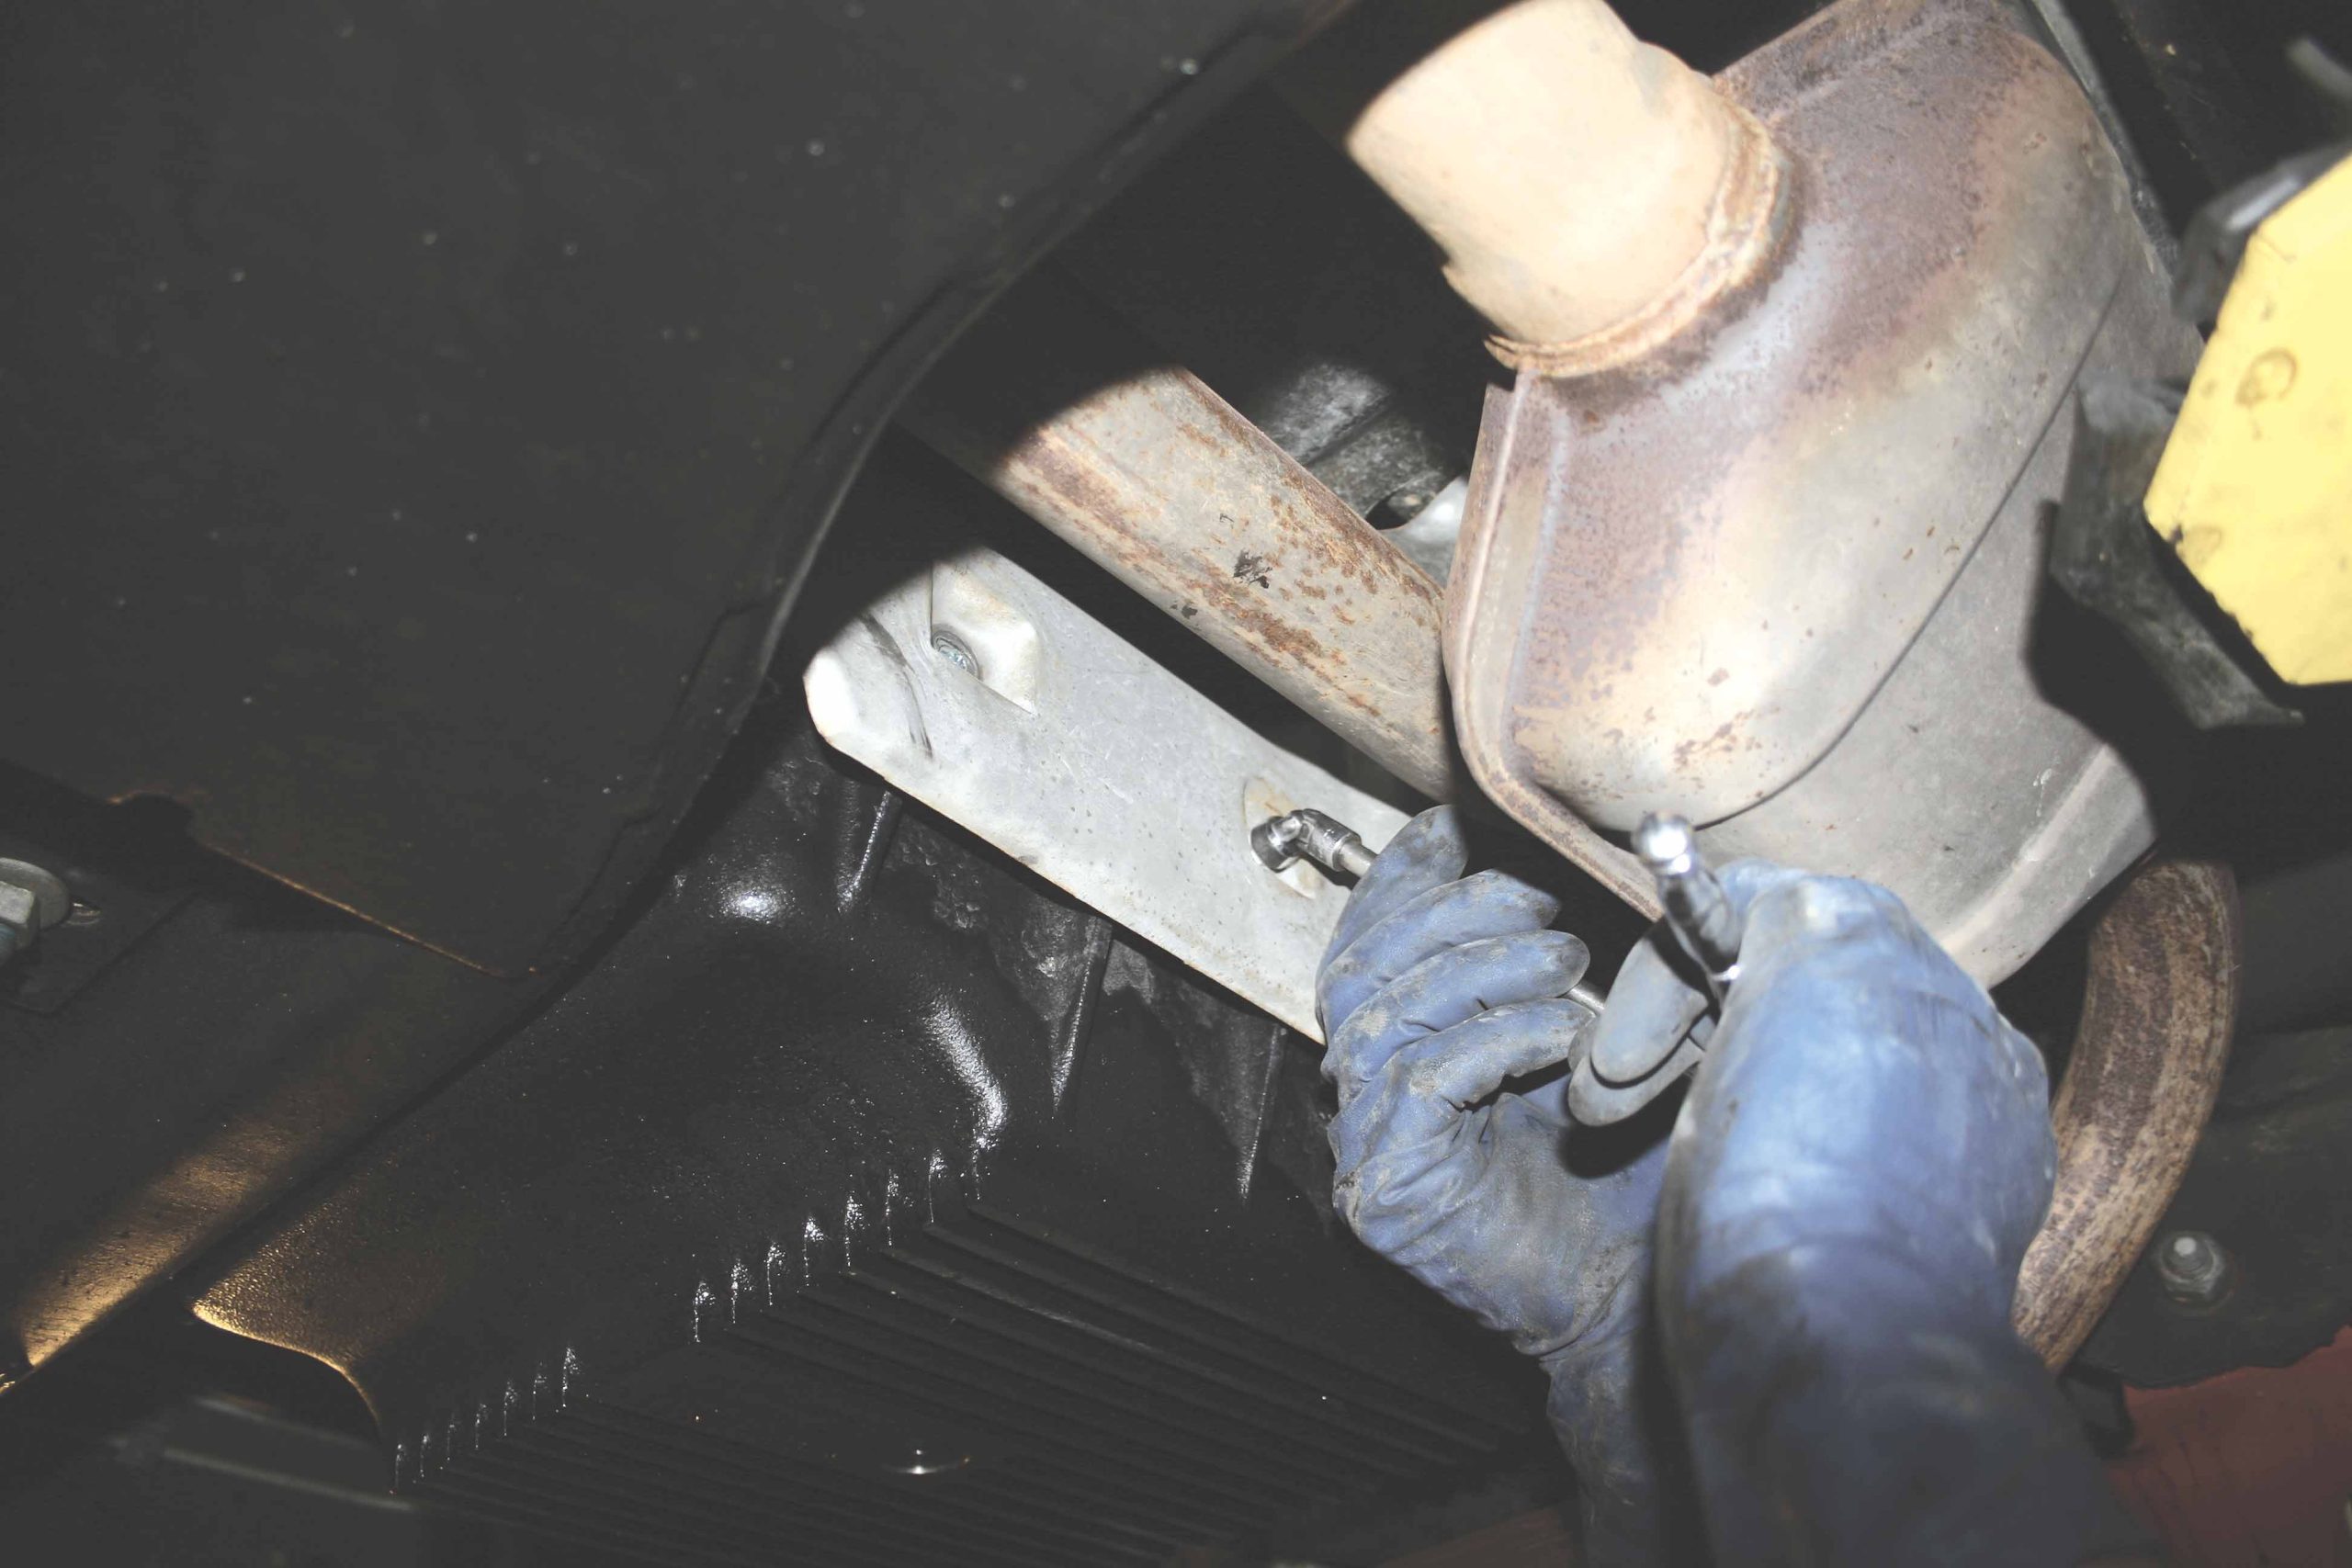
15-17 Loosen and remove the nuts and bolts securing the torque converter dust cover as well as starting to remove the cover from the tranny.
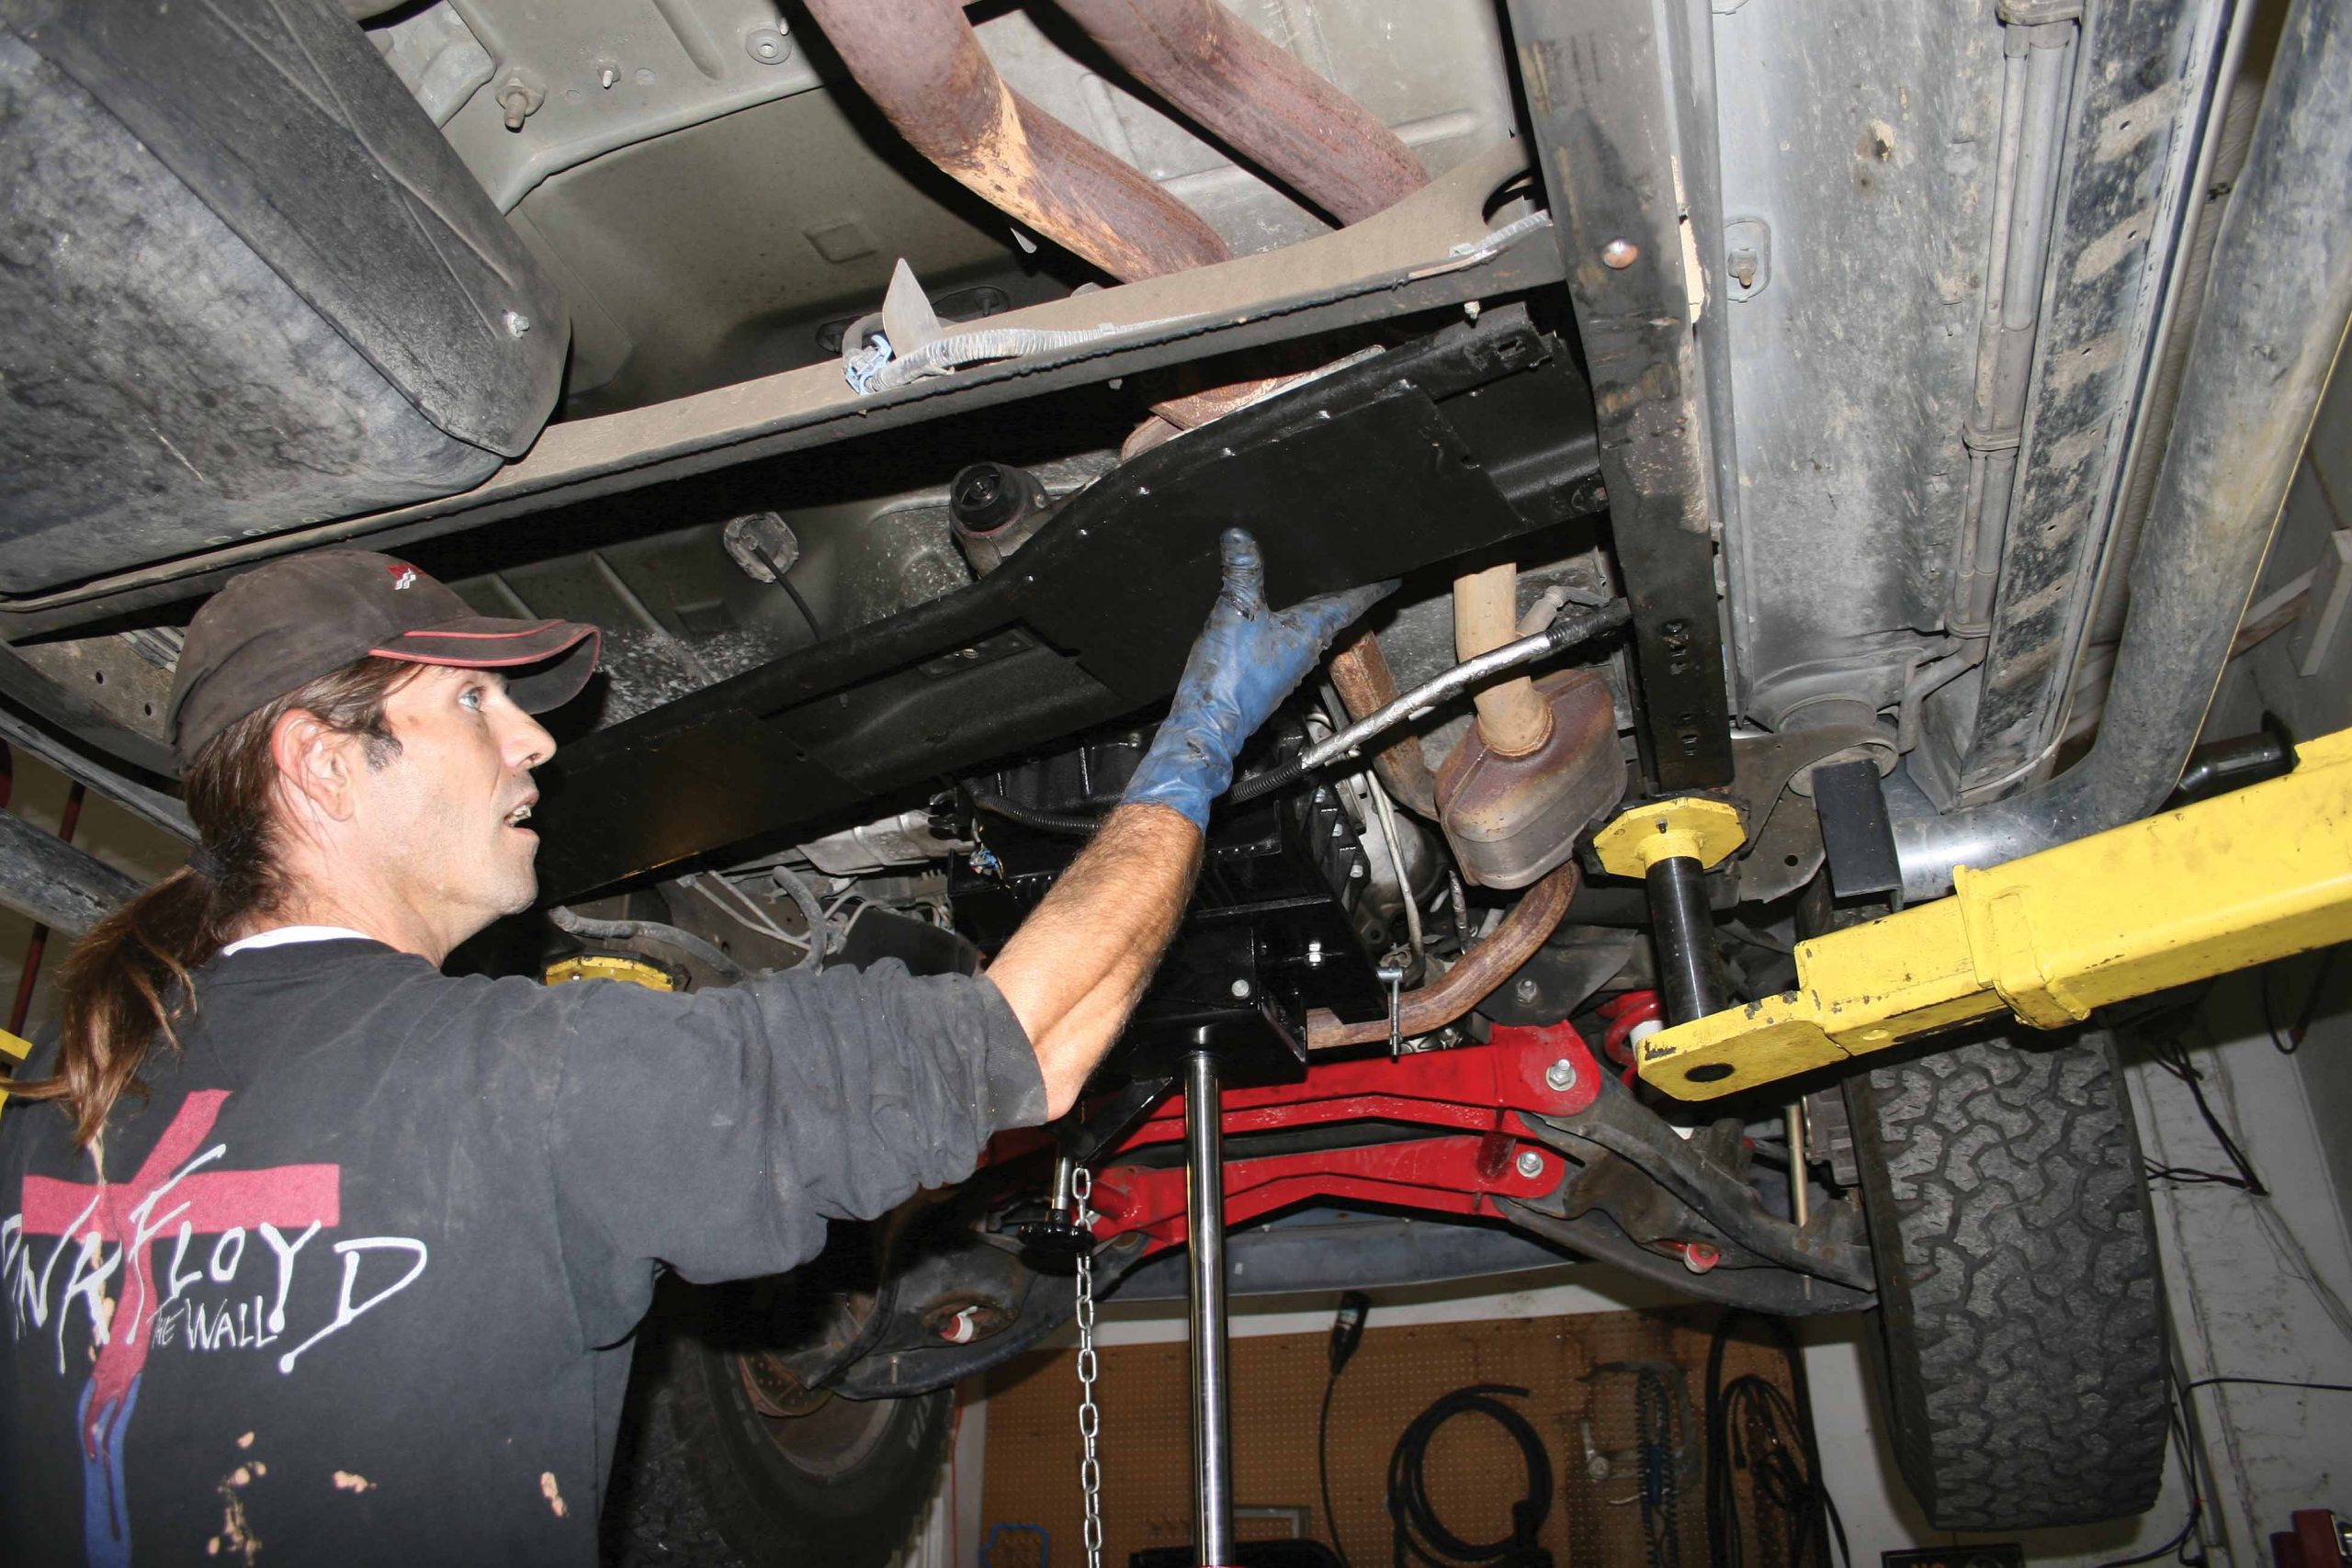
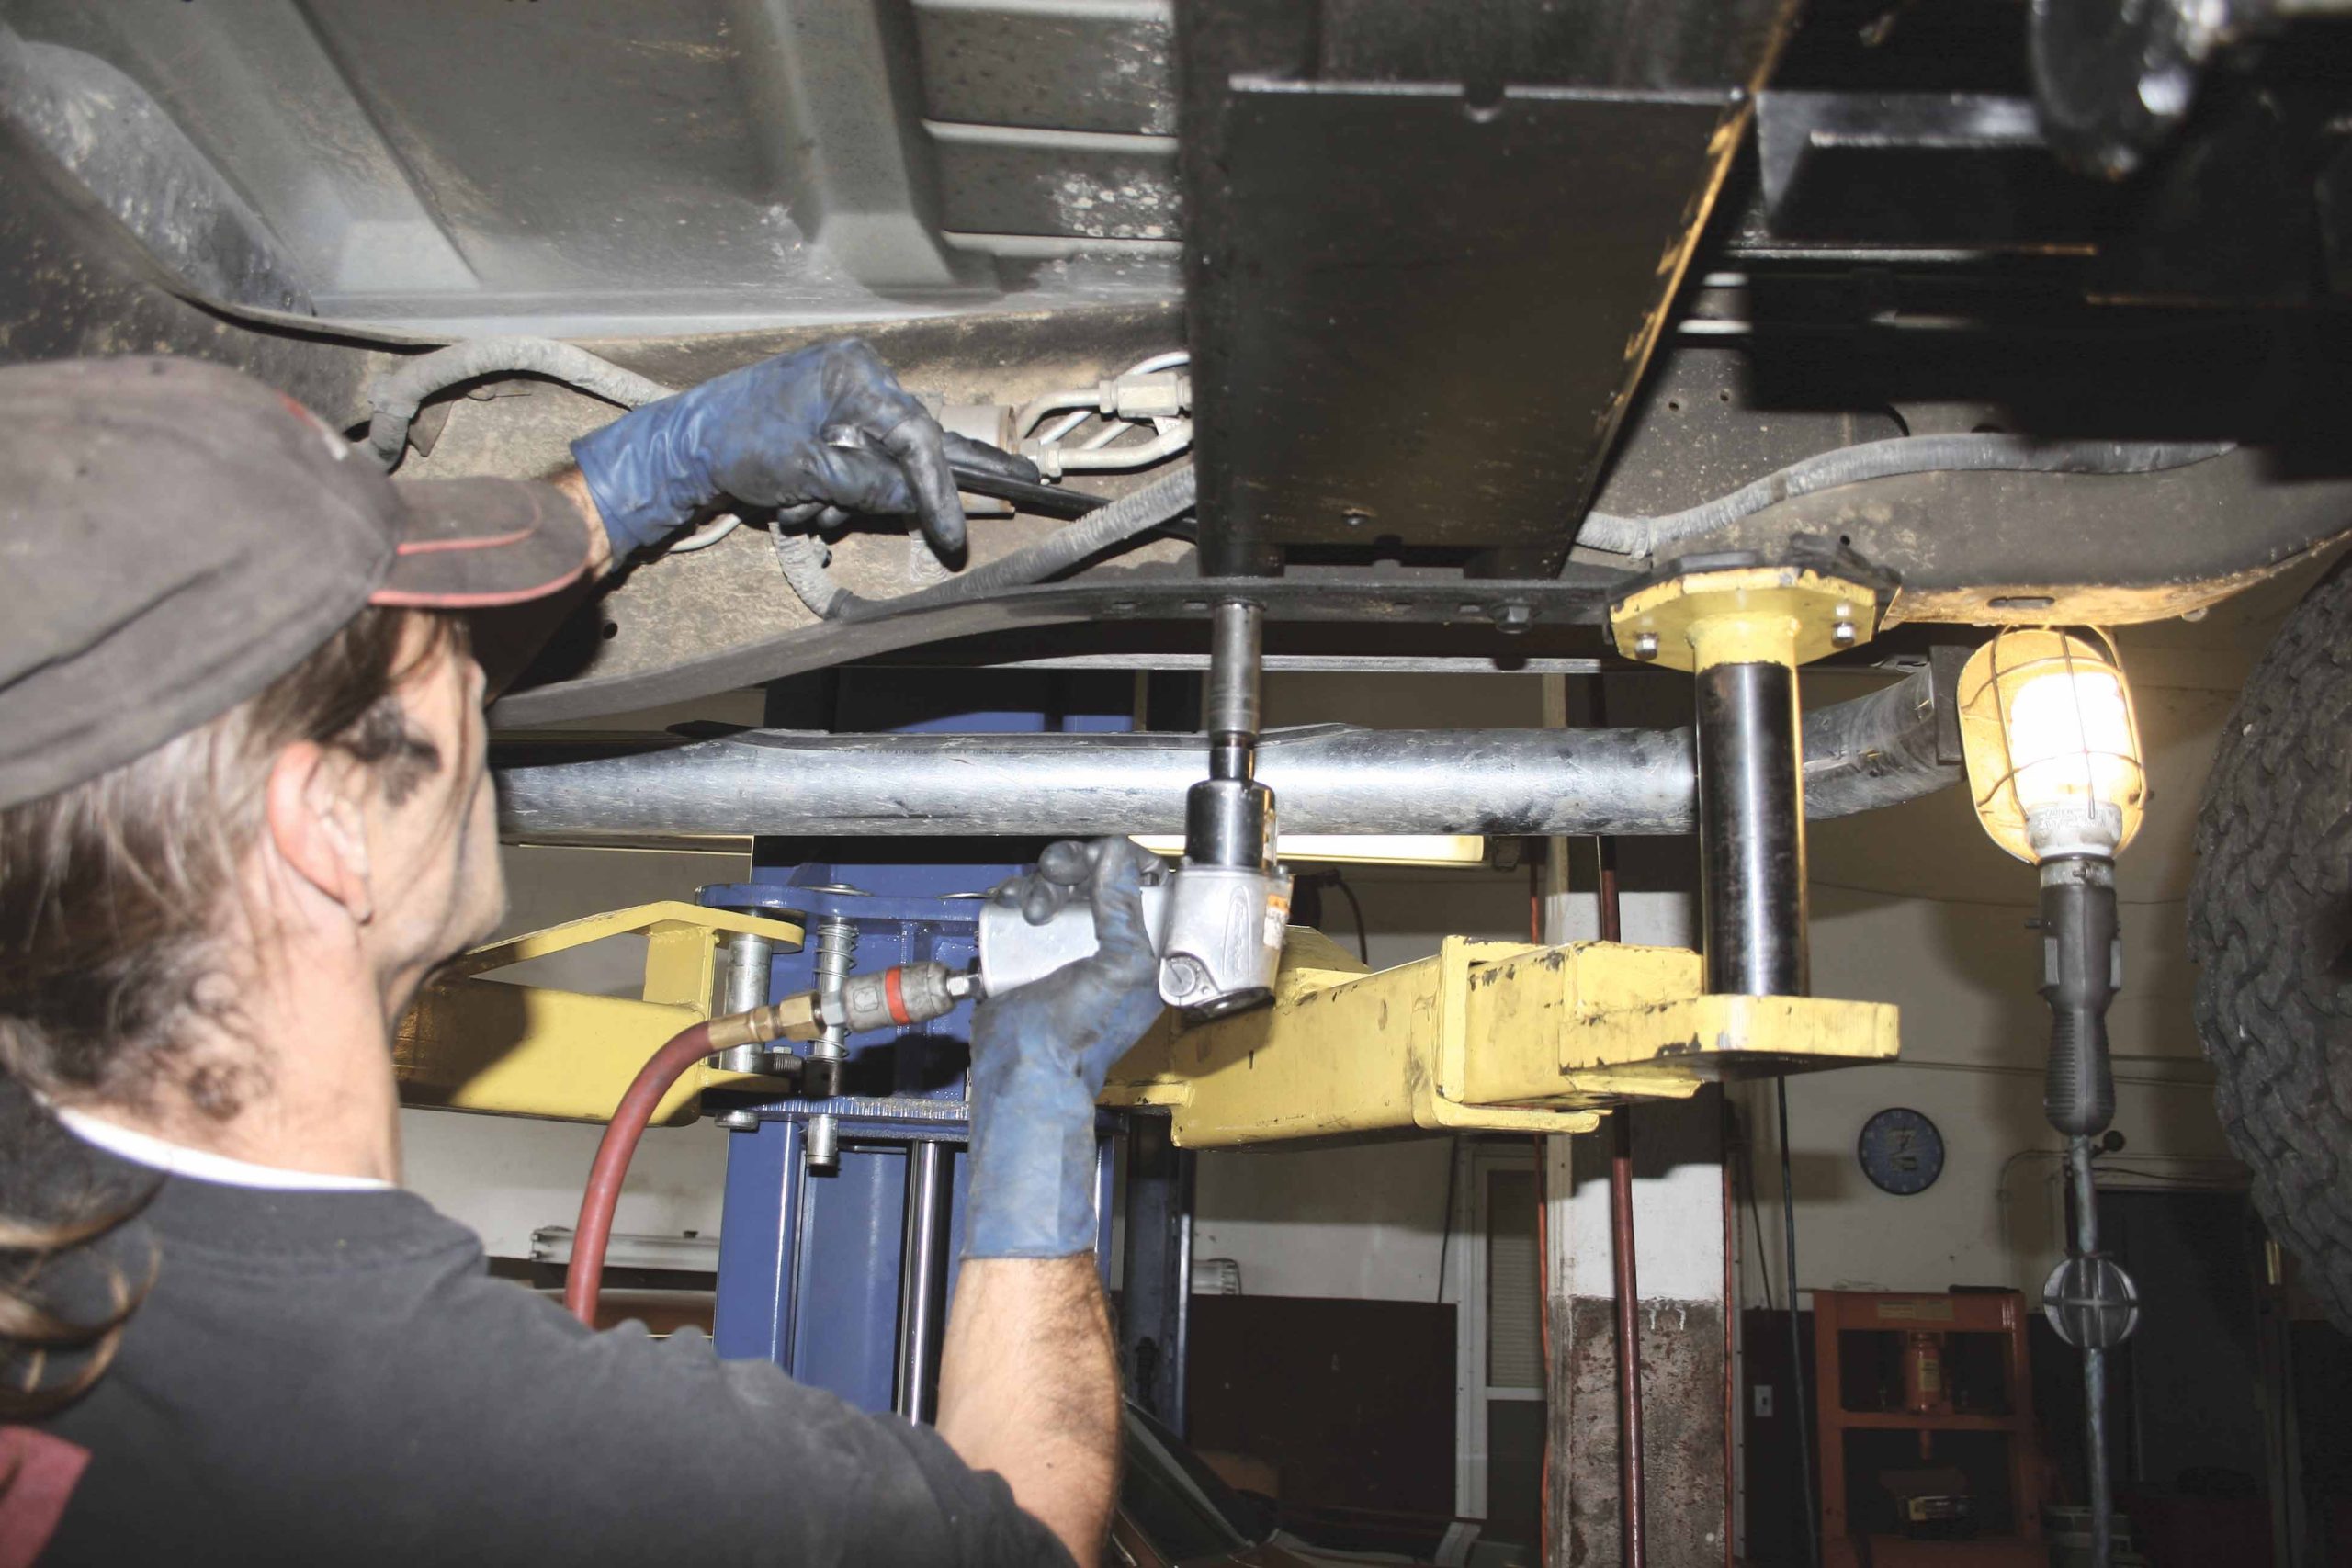
18 After the fluid has drained from the transmission, support it with the transmission jack before removing the mounting hardware and crossmember.
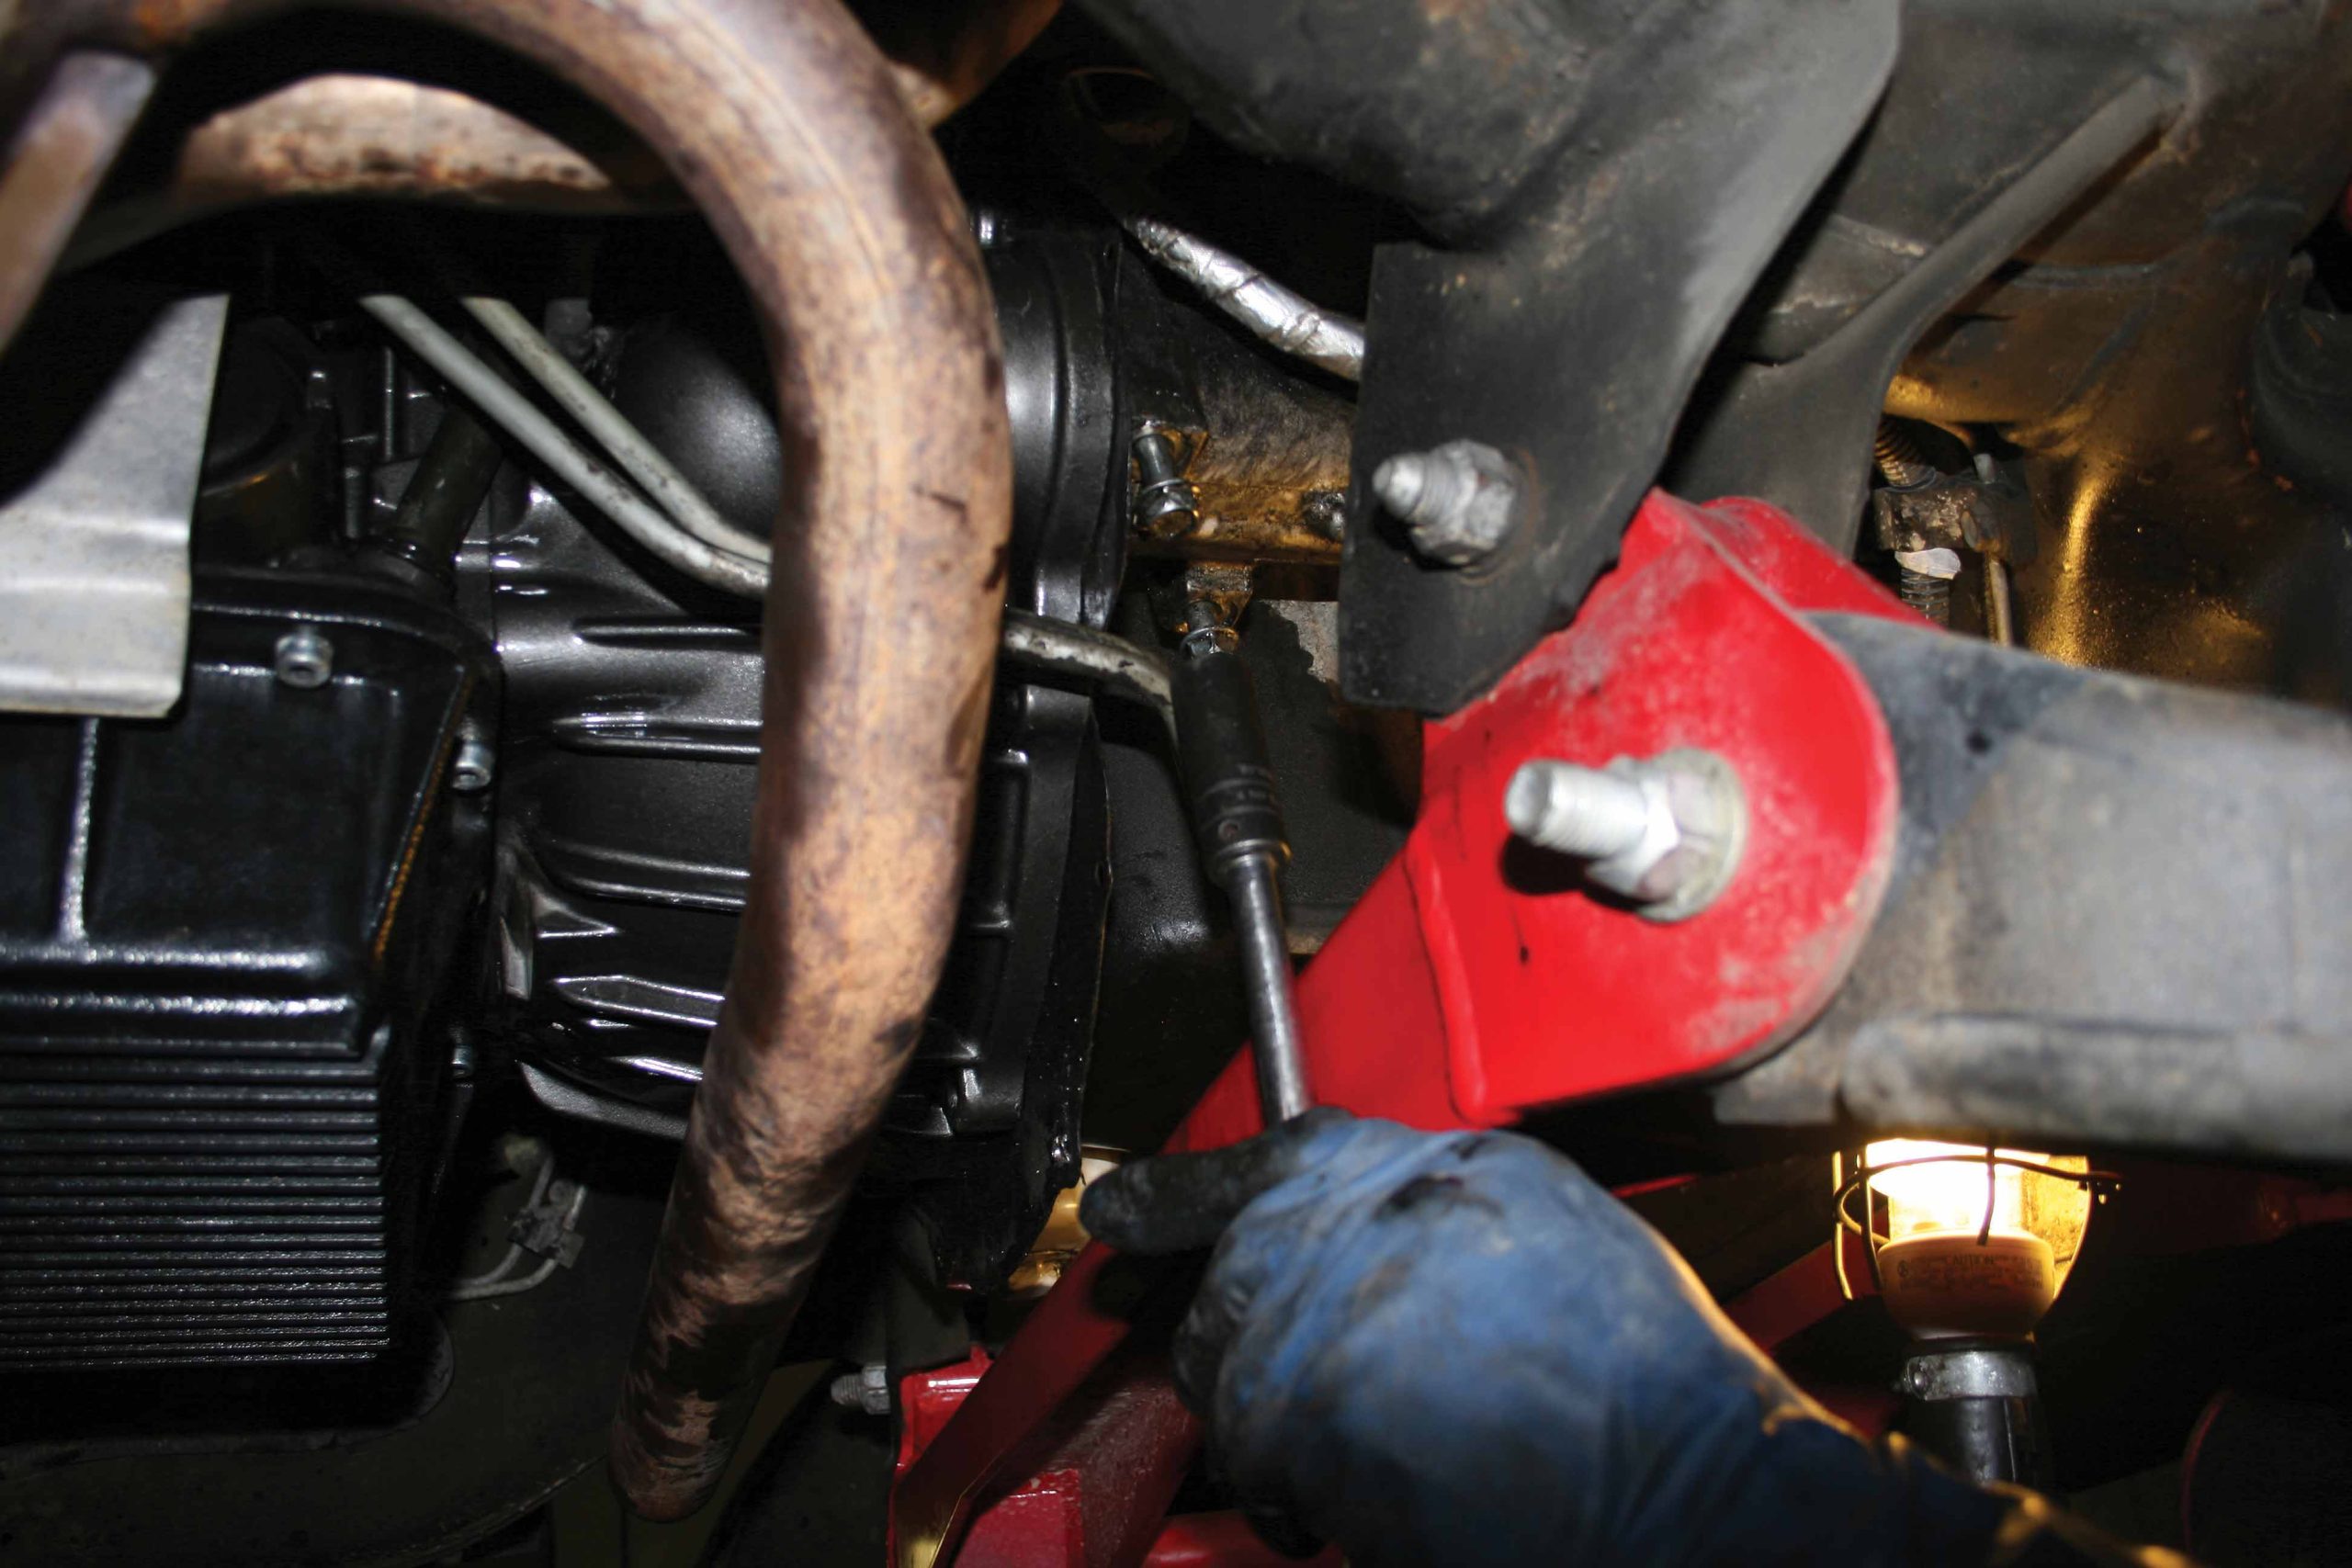
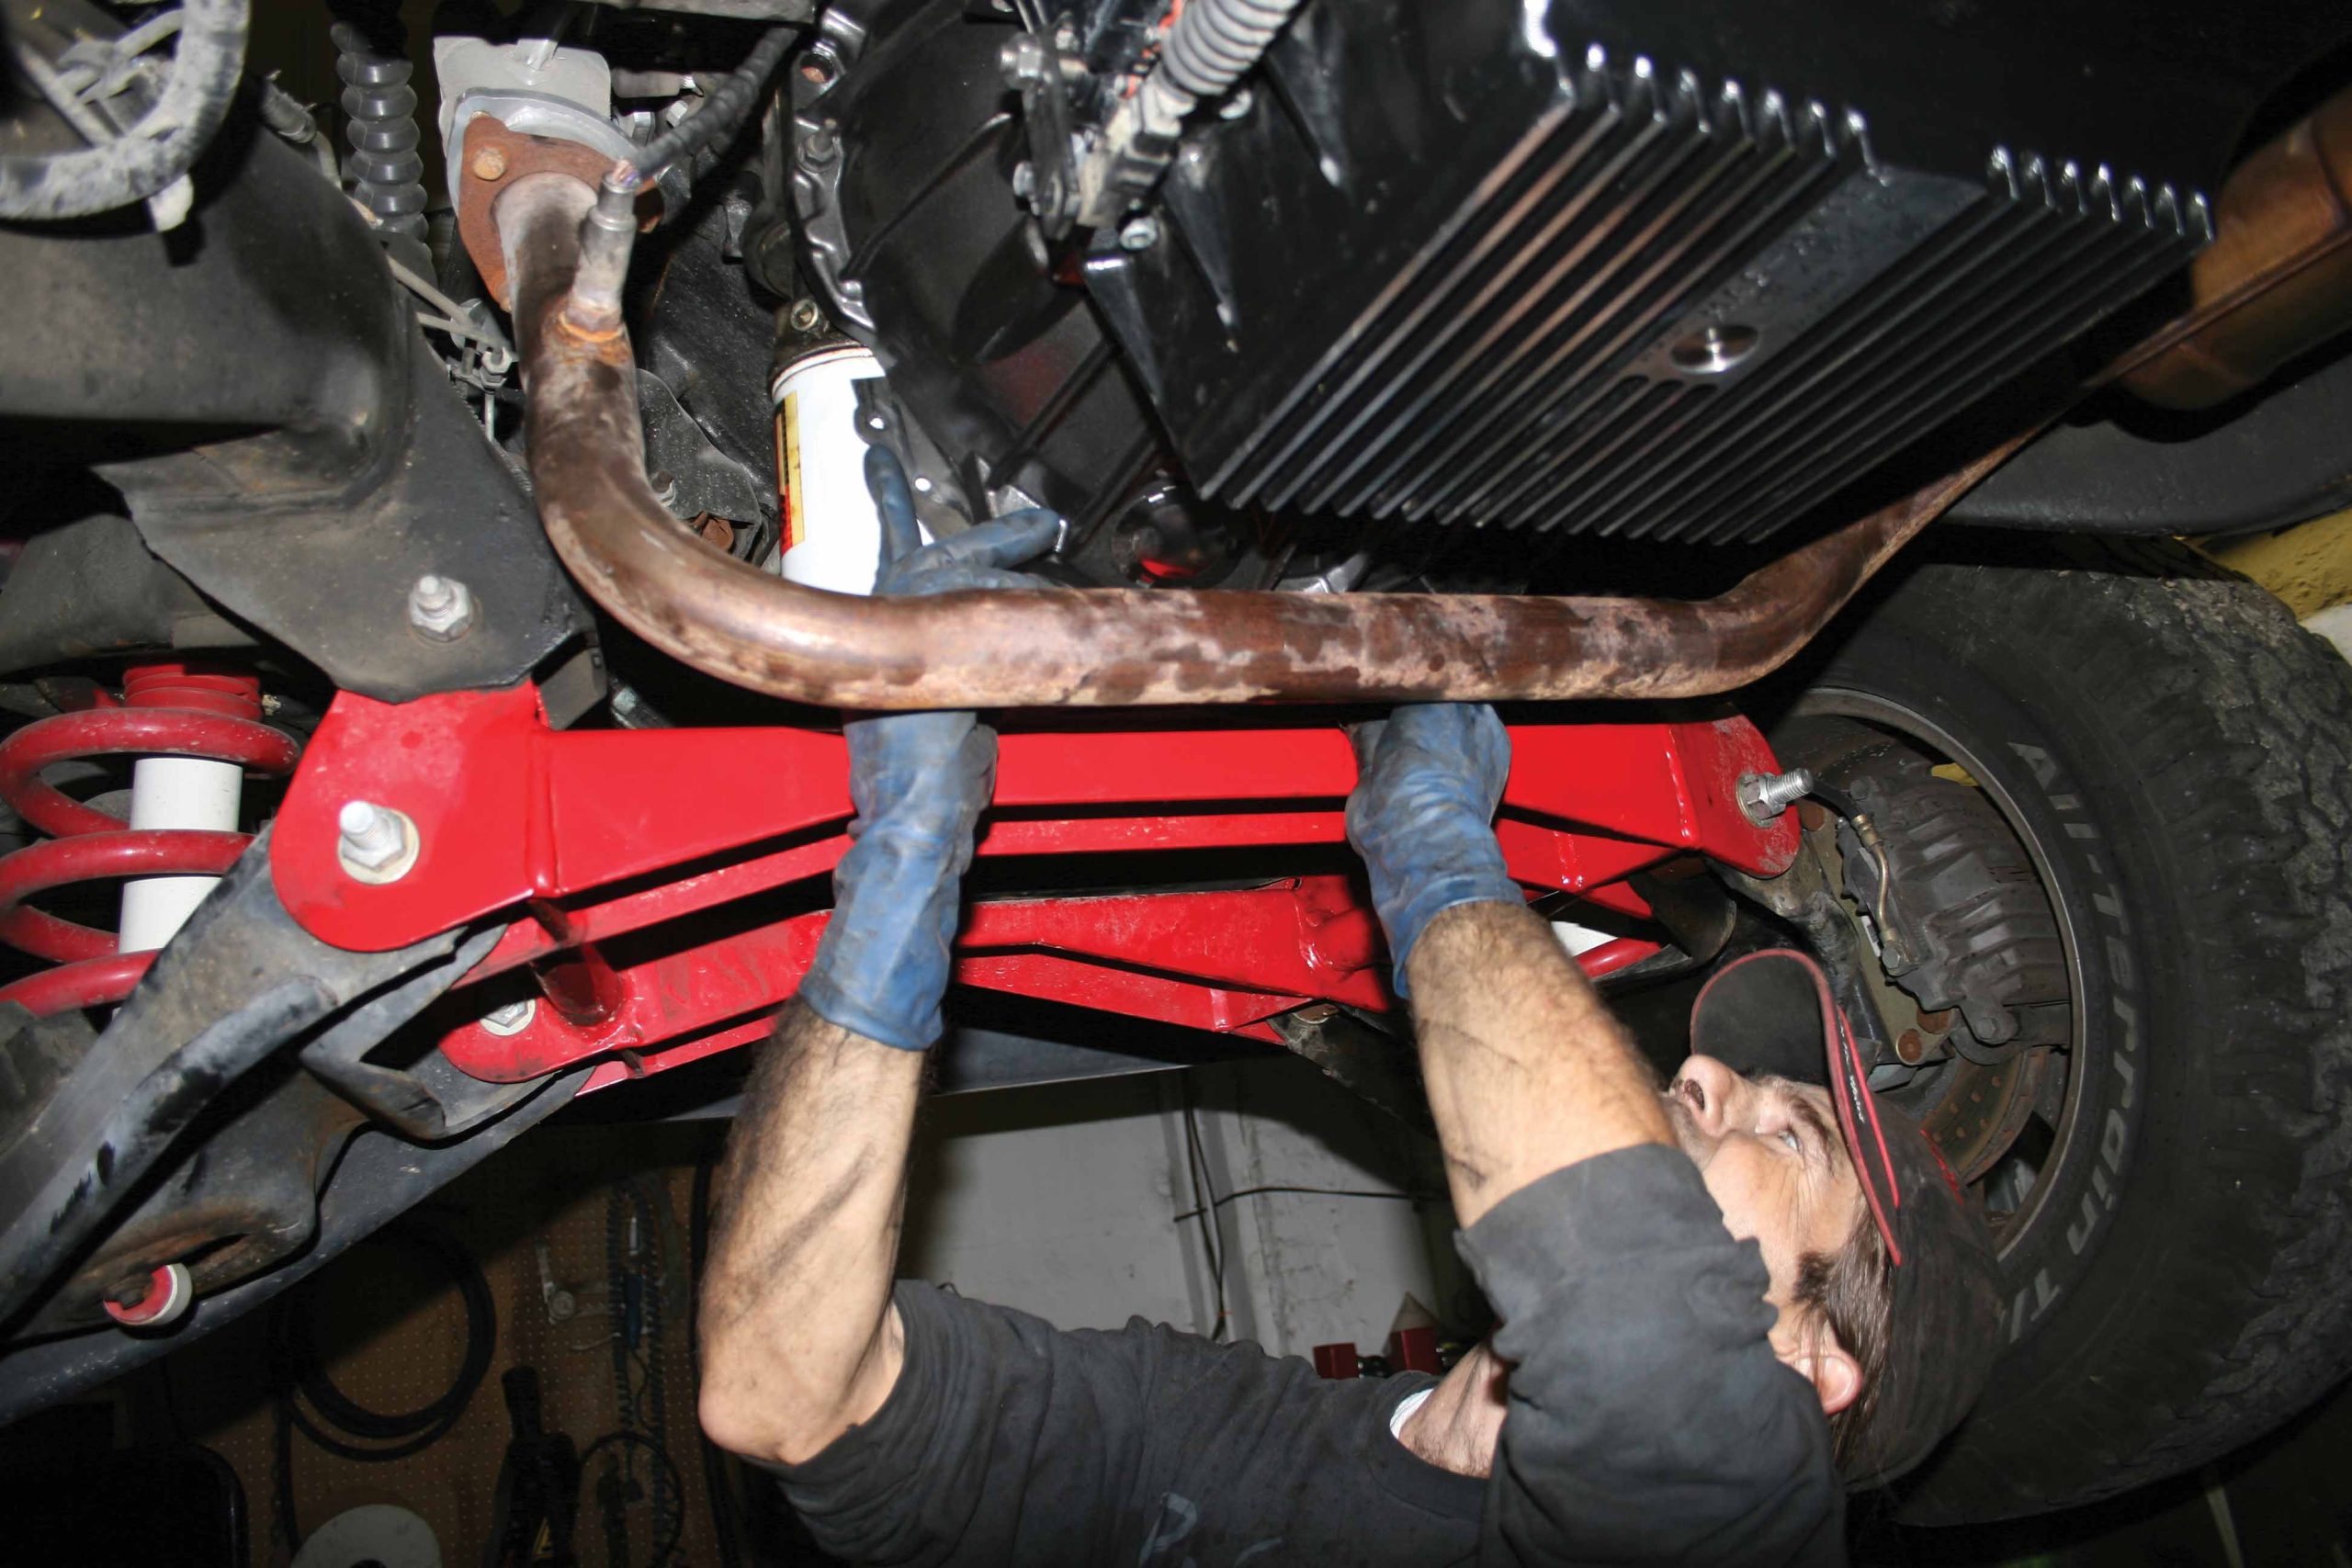
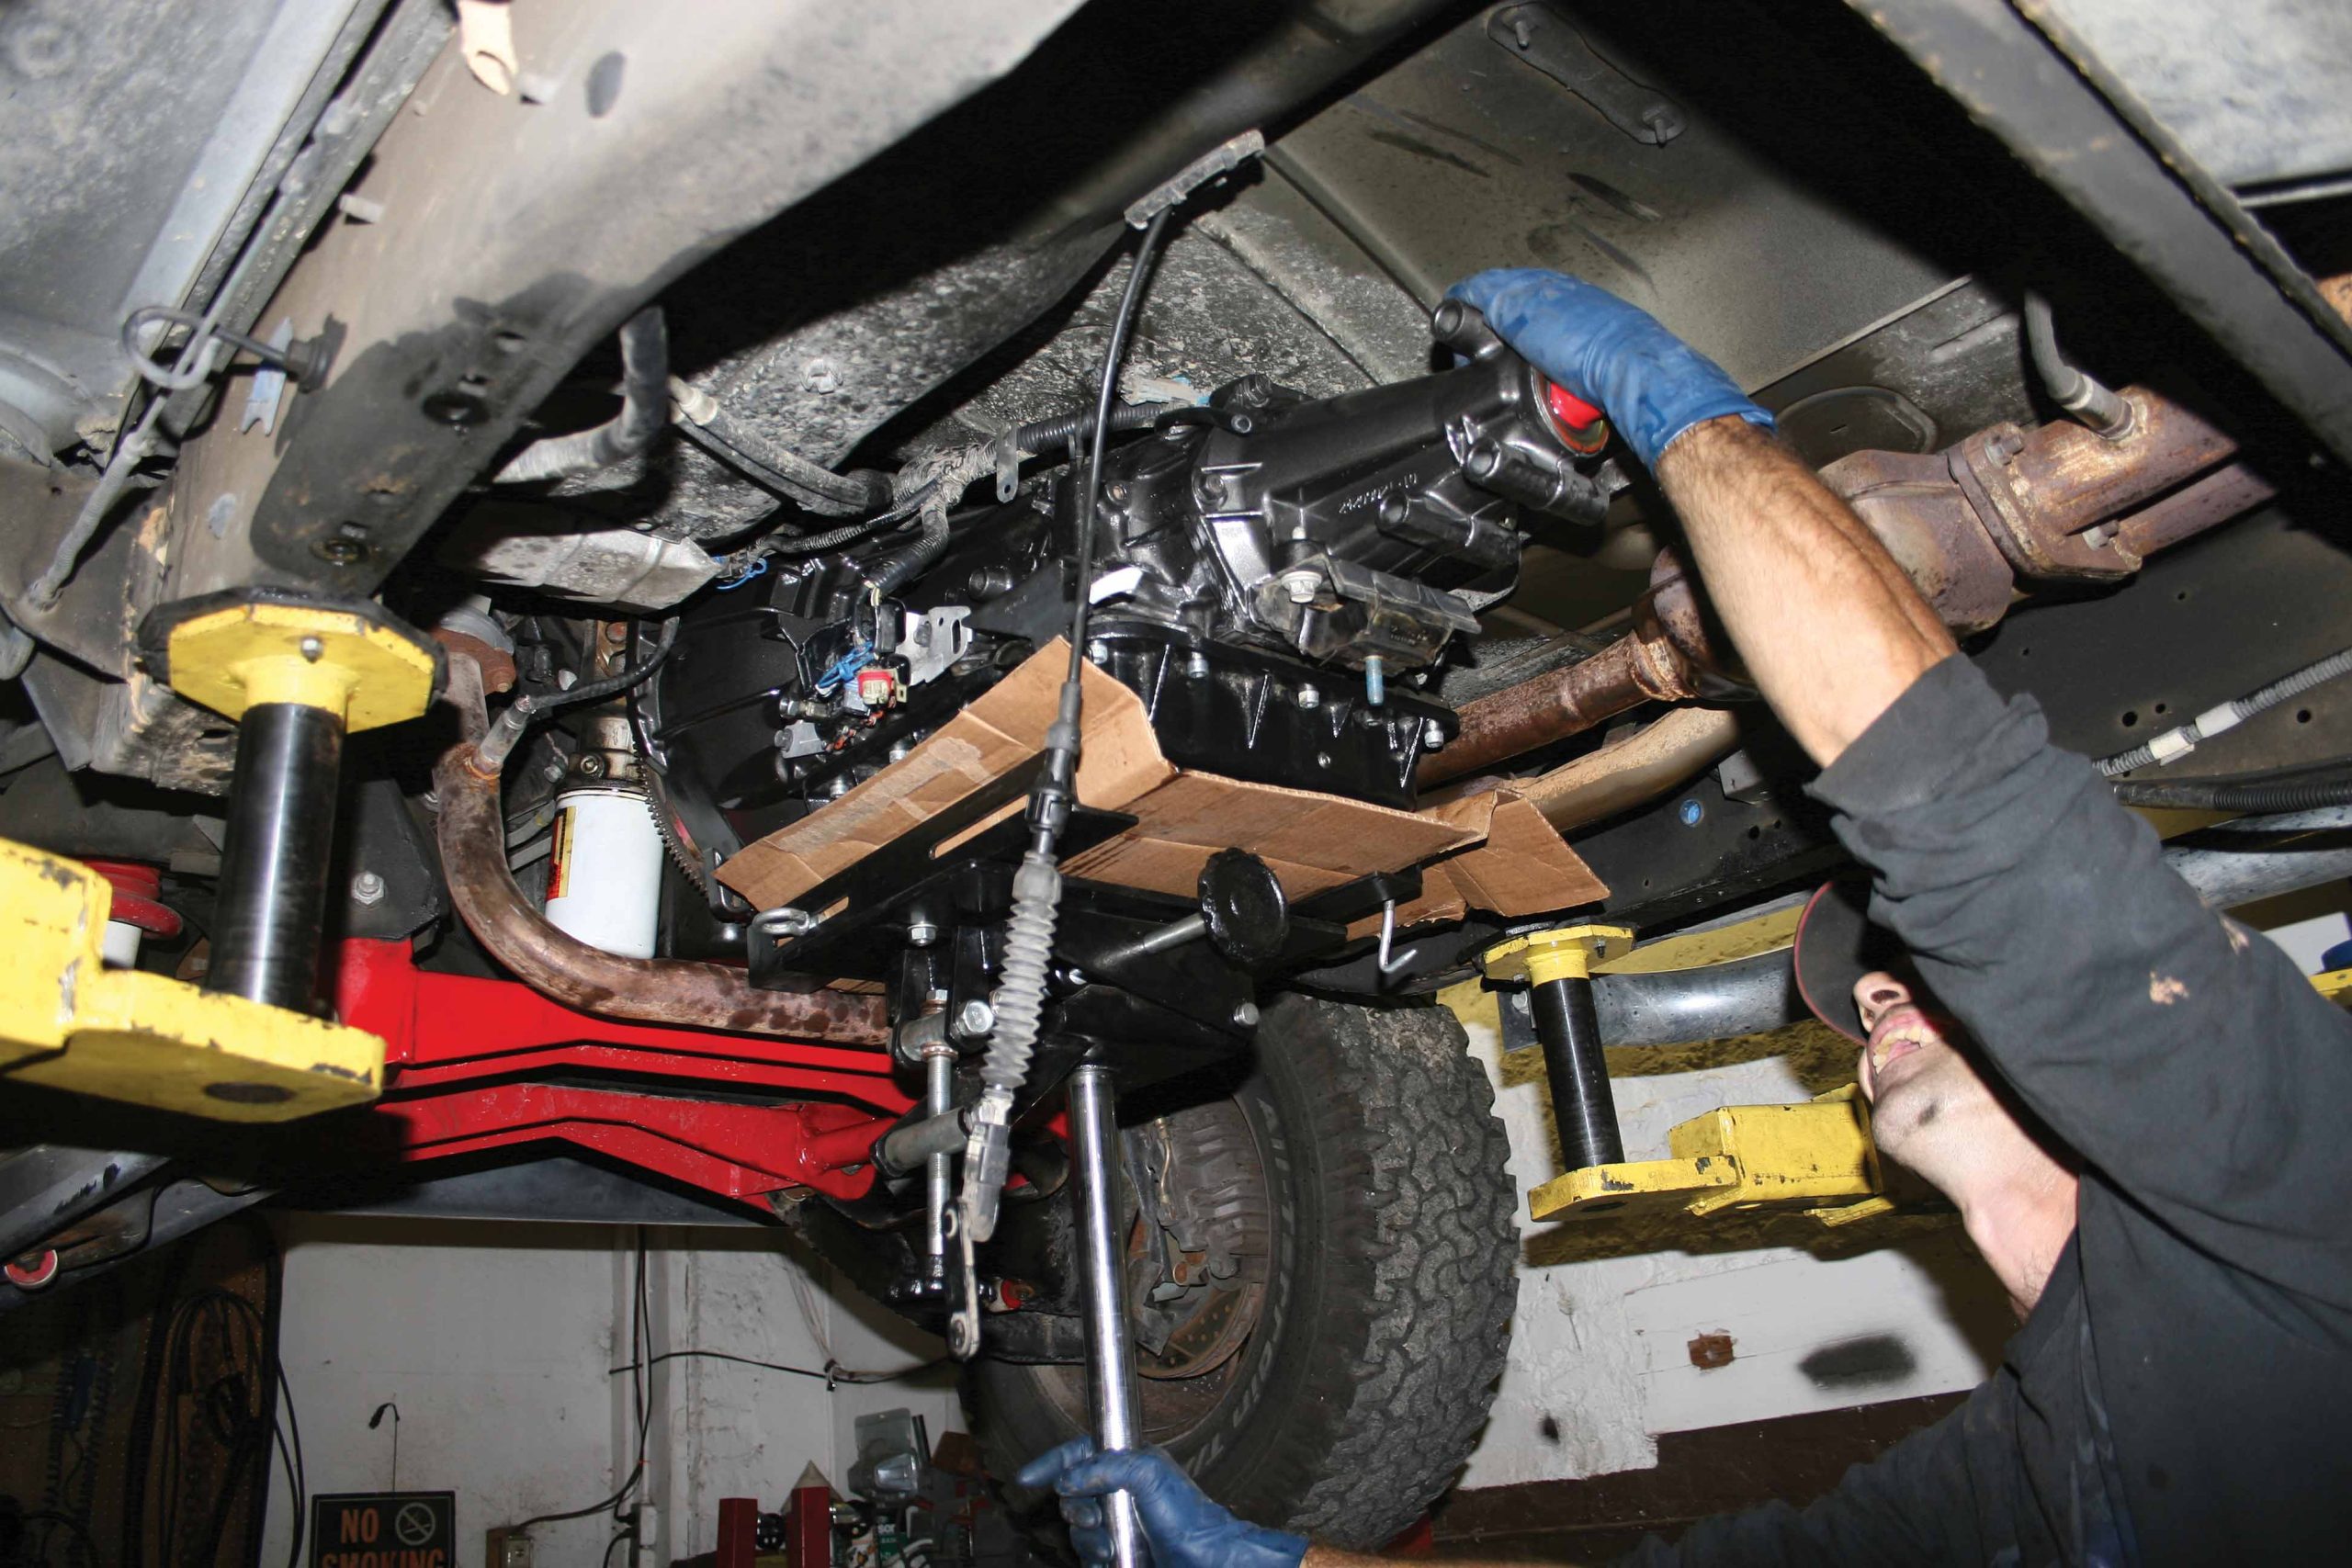
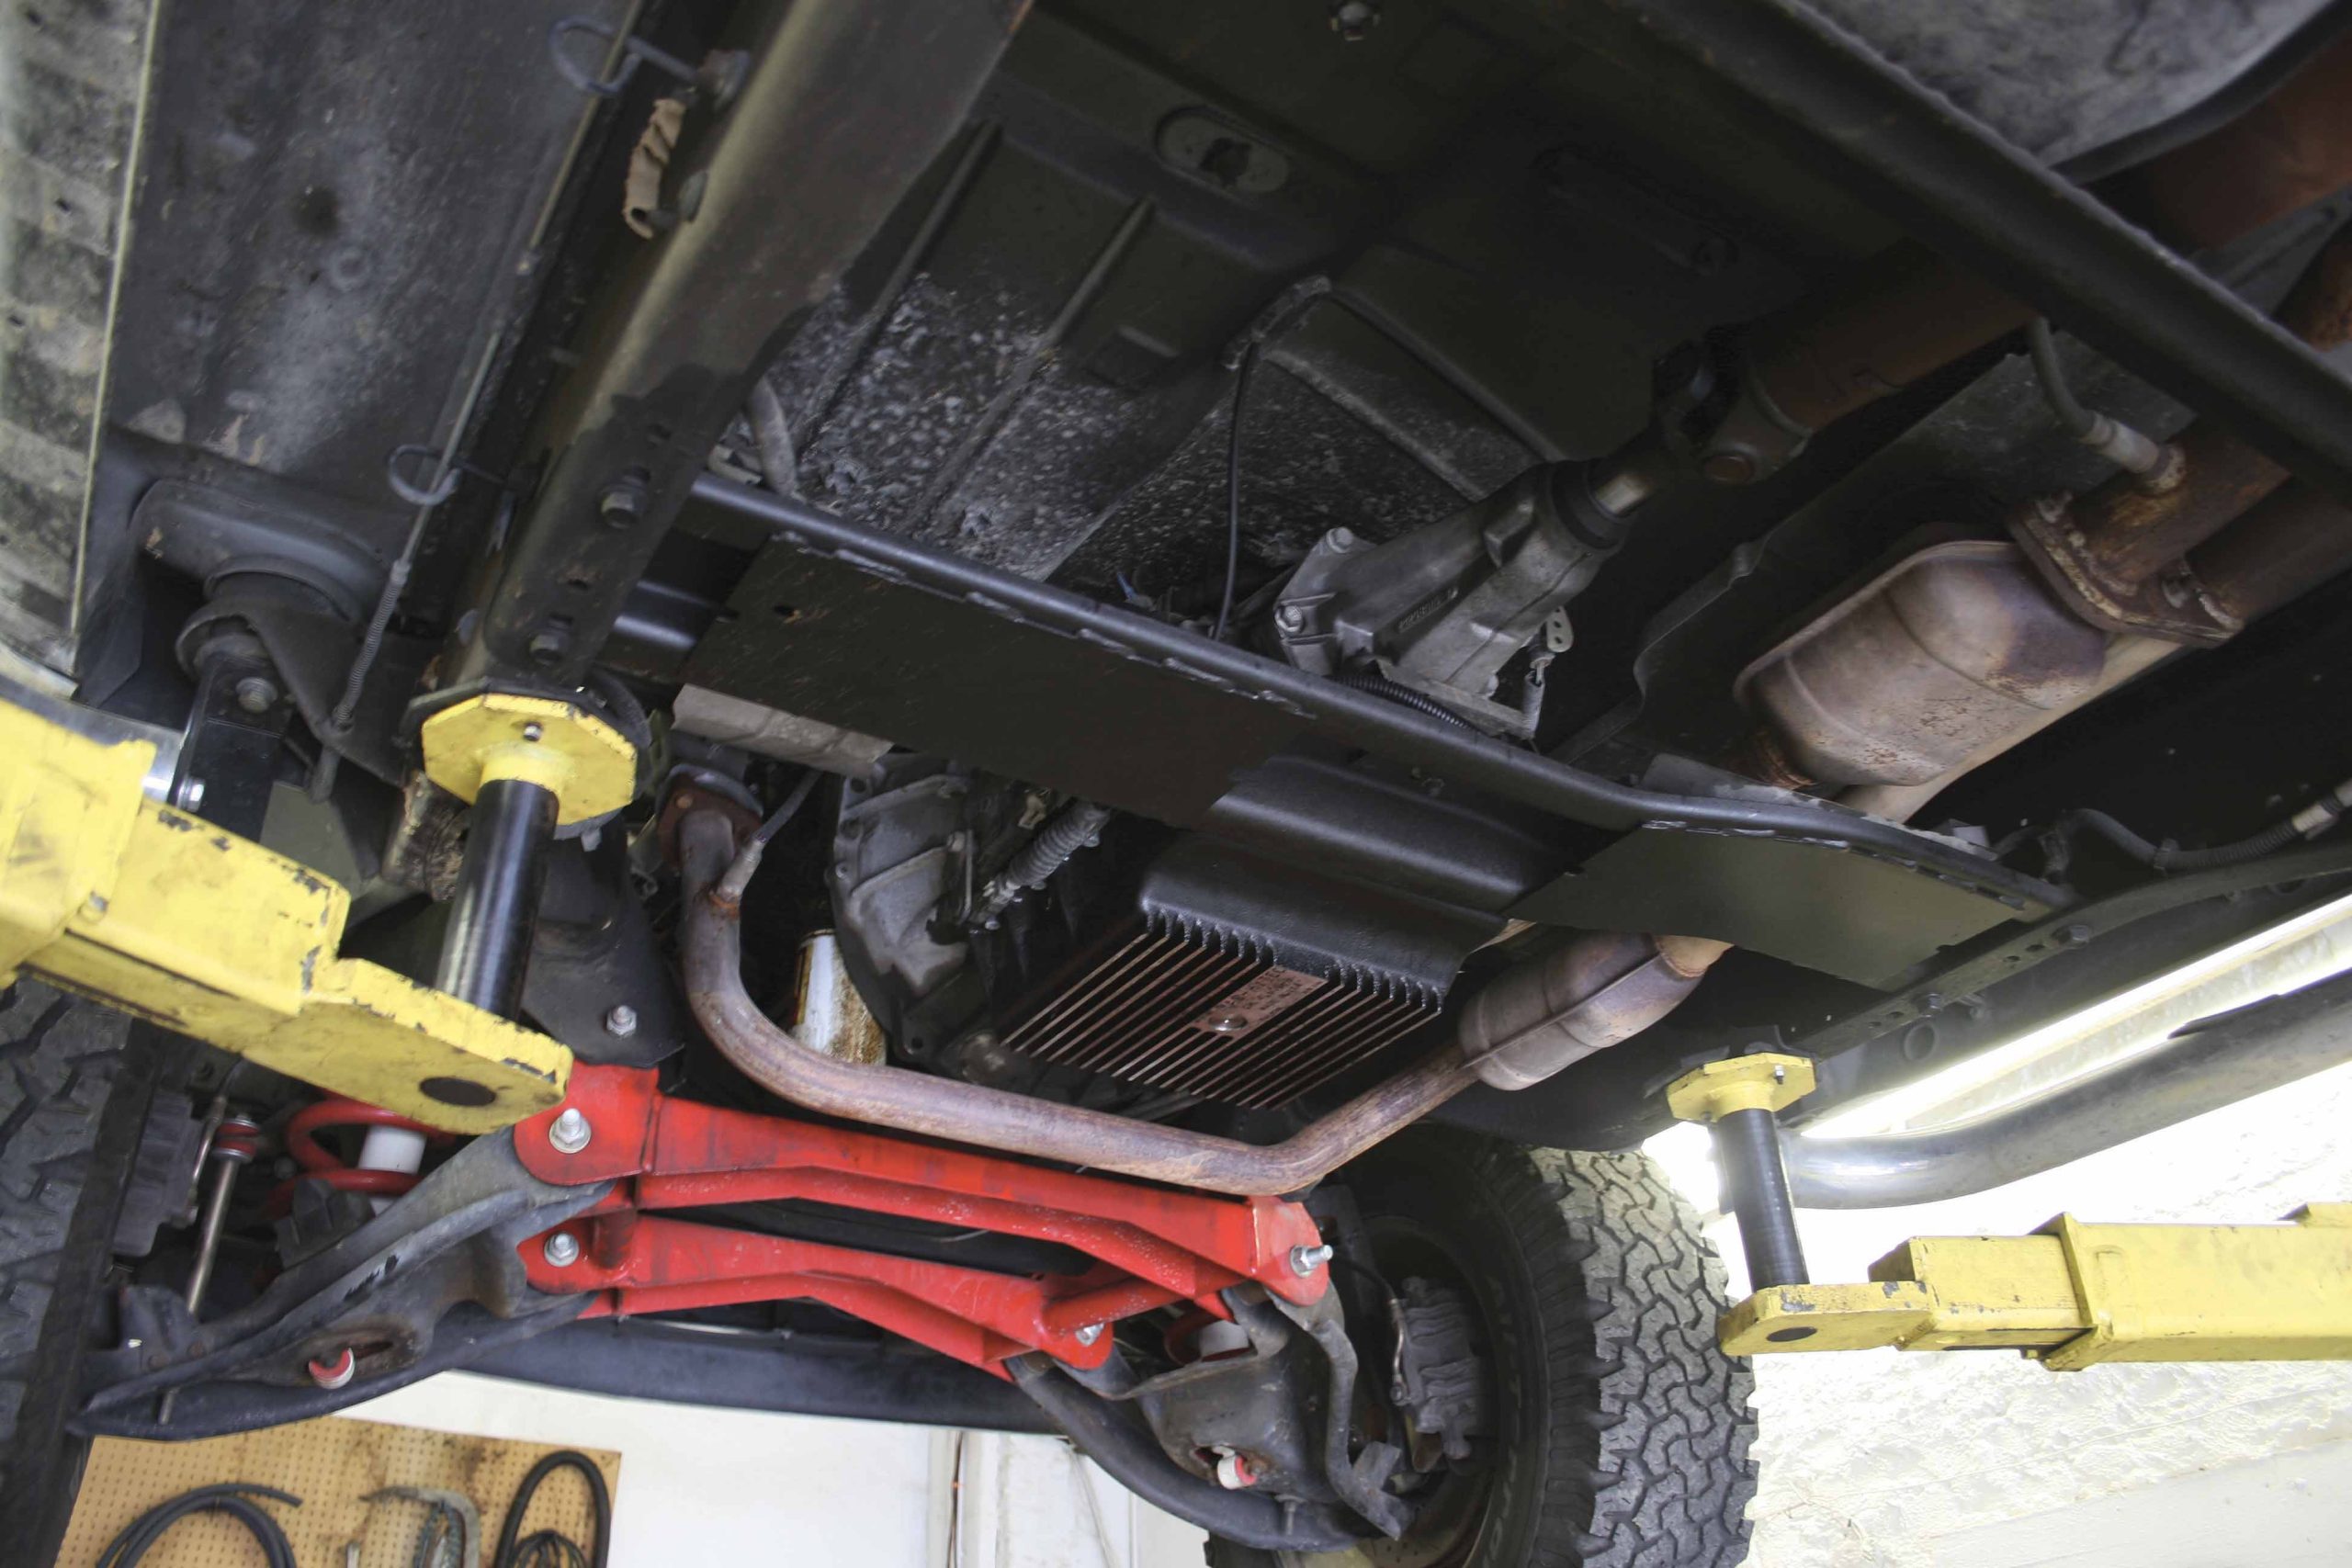
19-21 Next, remove the crossmember mounting bolts, the transmission mounting nut and the wire harness retention clips so that the crossmember can be removed from the truck.
22 Now, remove the crossmember and set it aside.
23 It’s almost ready to come out, but the torque converter and bell housing mounting hardware must be removed first.
24 Rotate the crank to position the torque converter bolts in an accessible position then remove all three of the torque converter bolts.
25 We used a ratchet with several long extensions to access the bolts securing the transmission to the engine block.
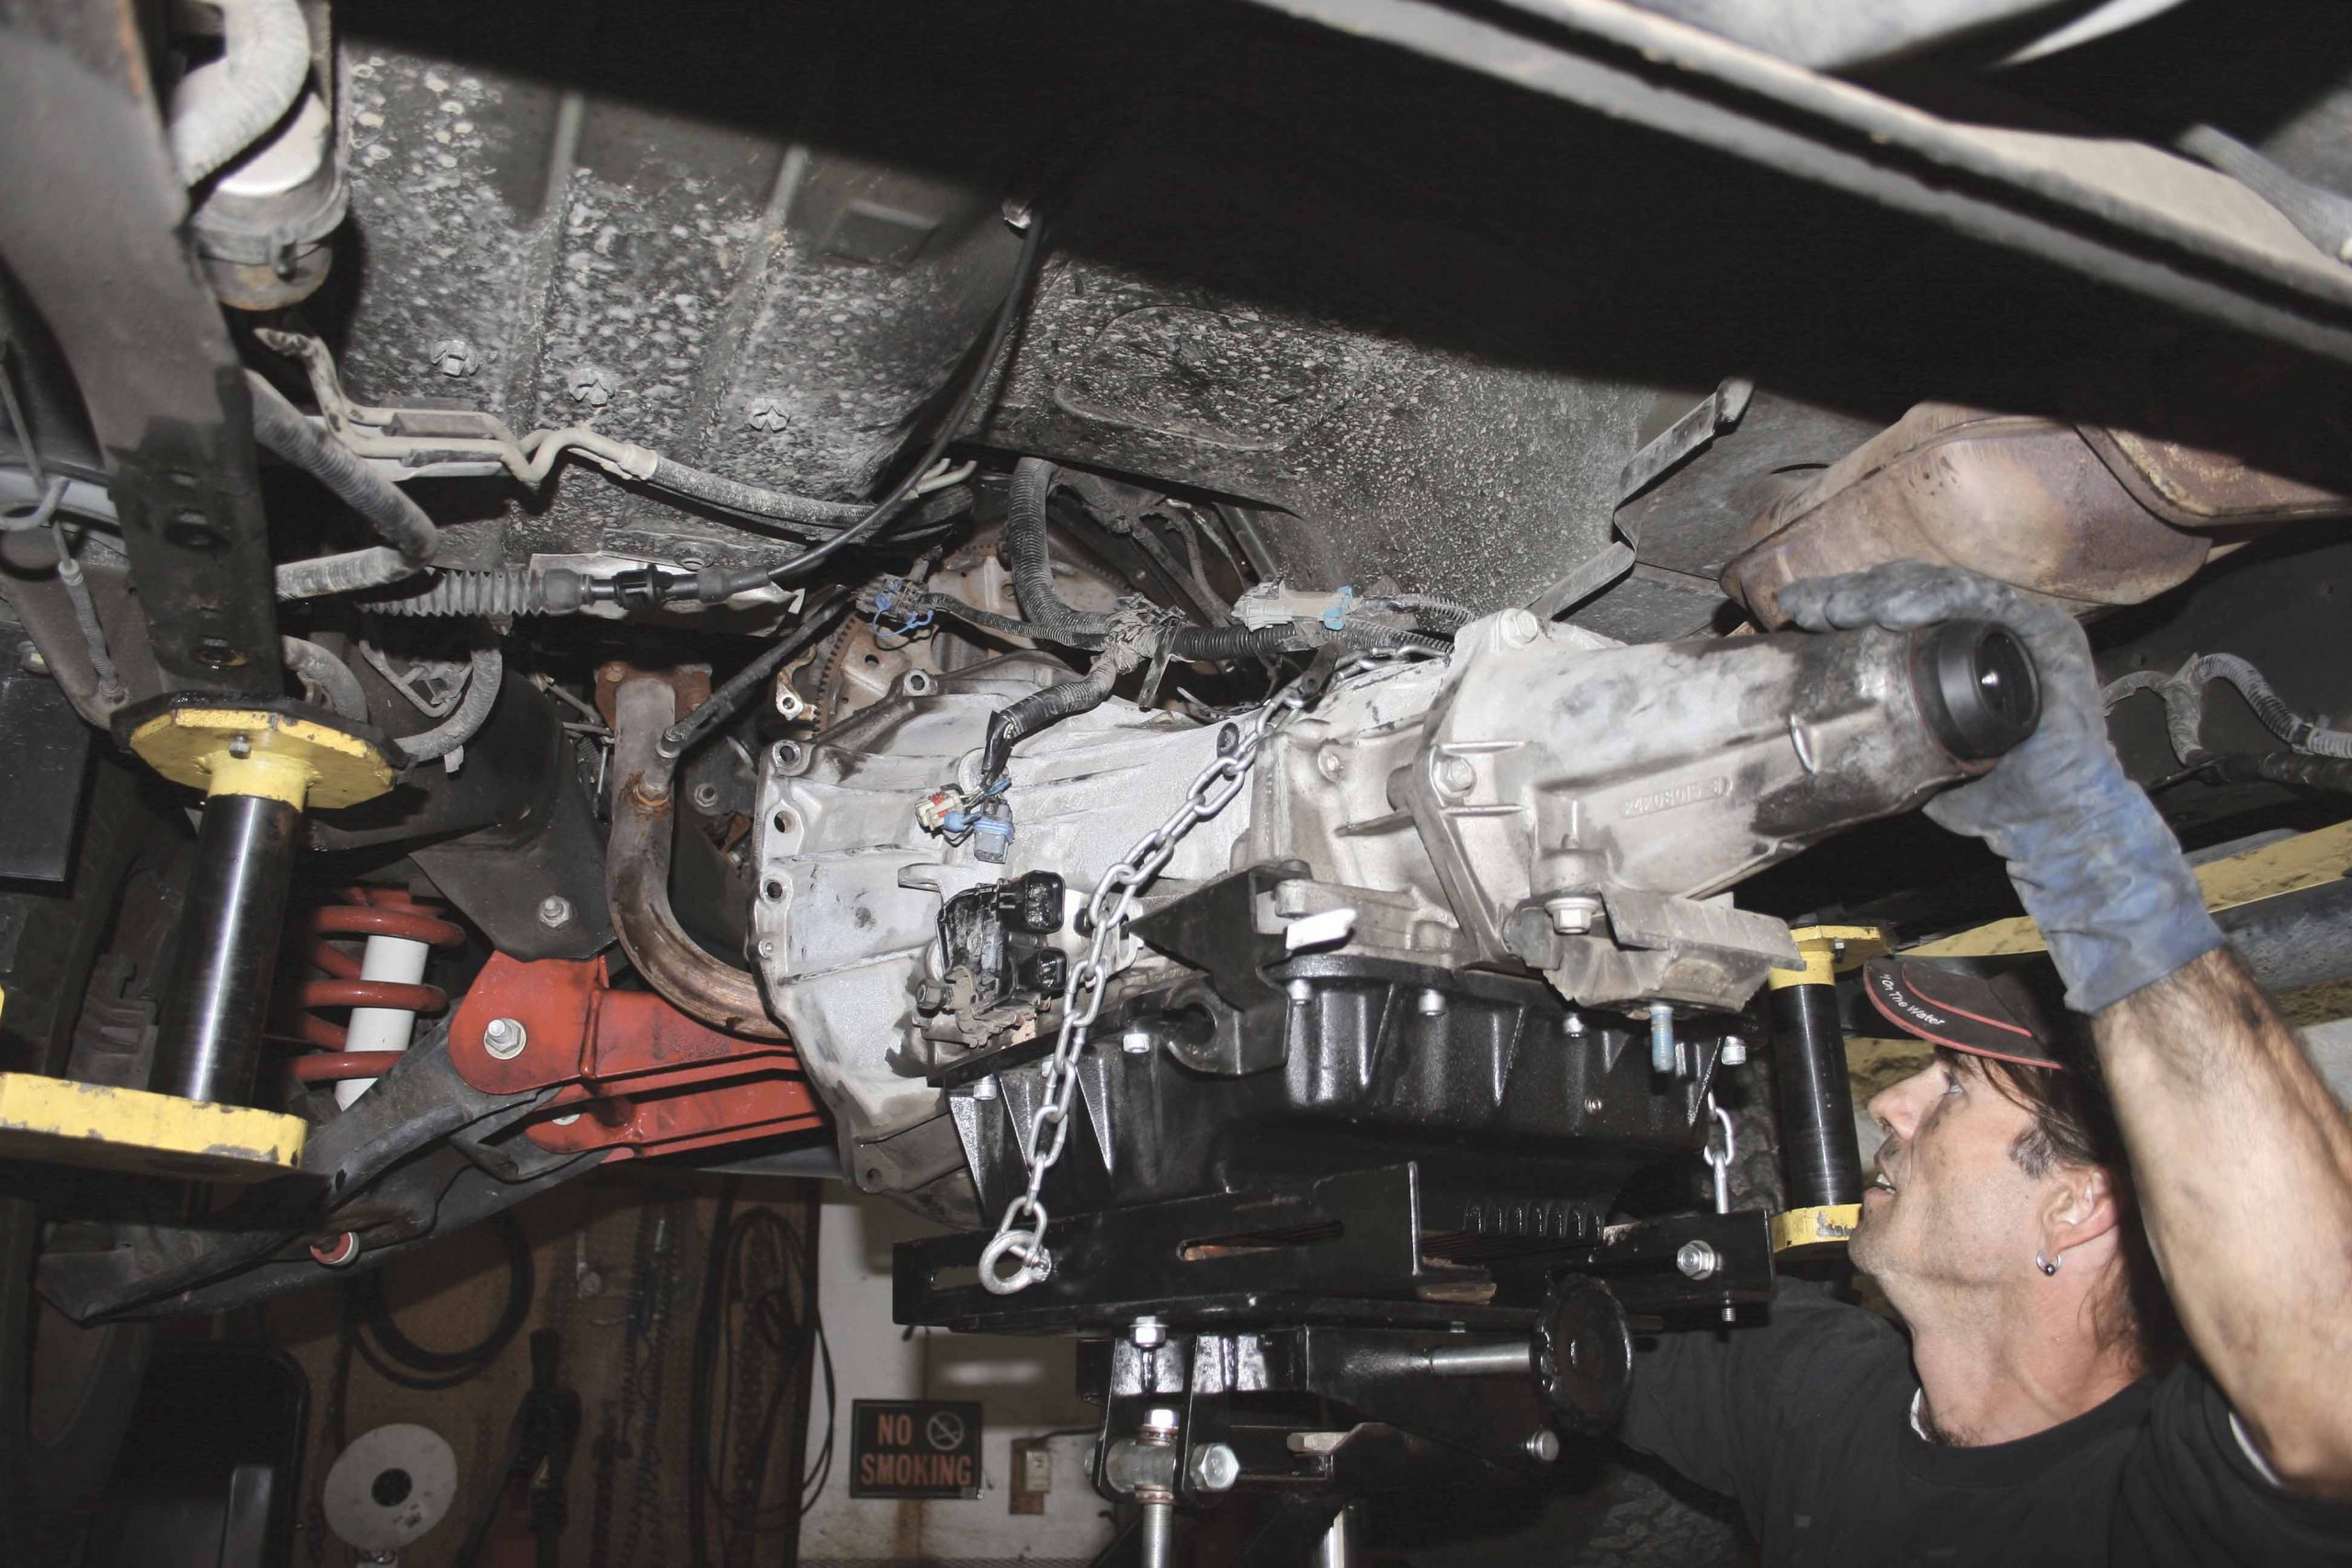
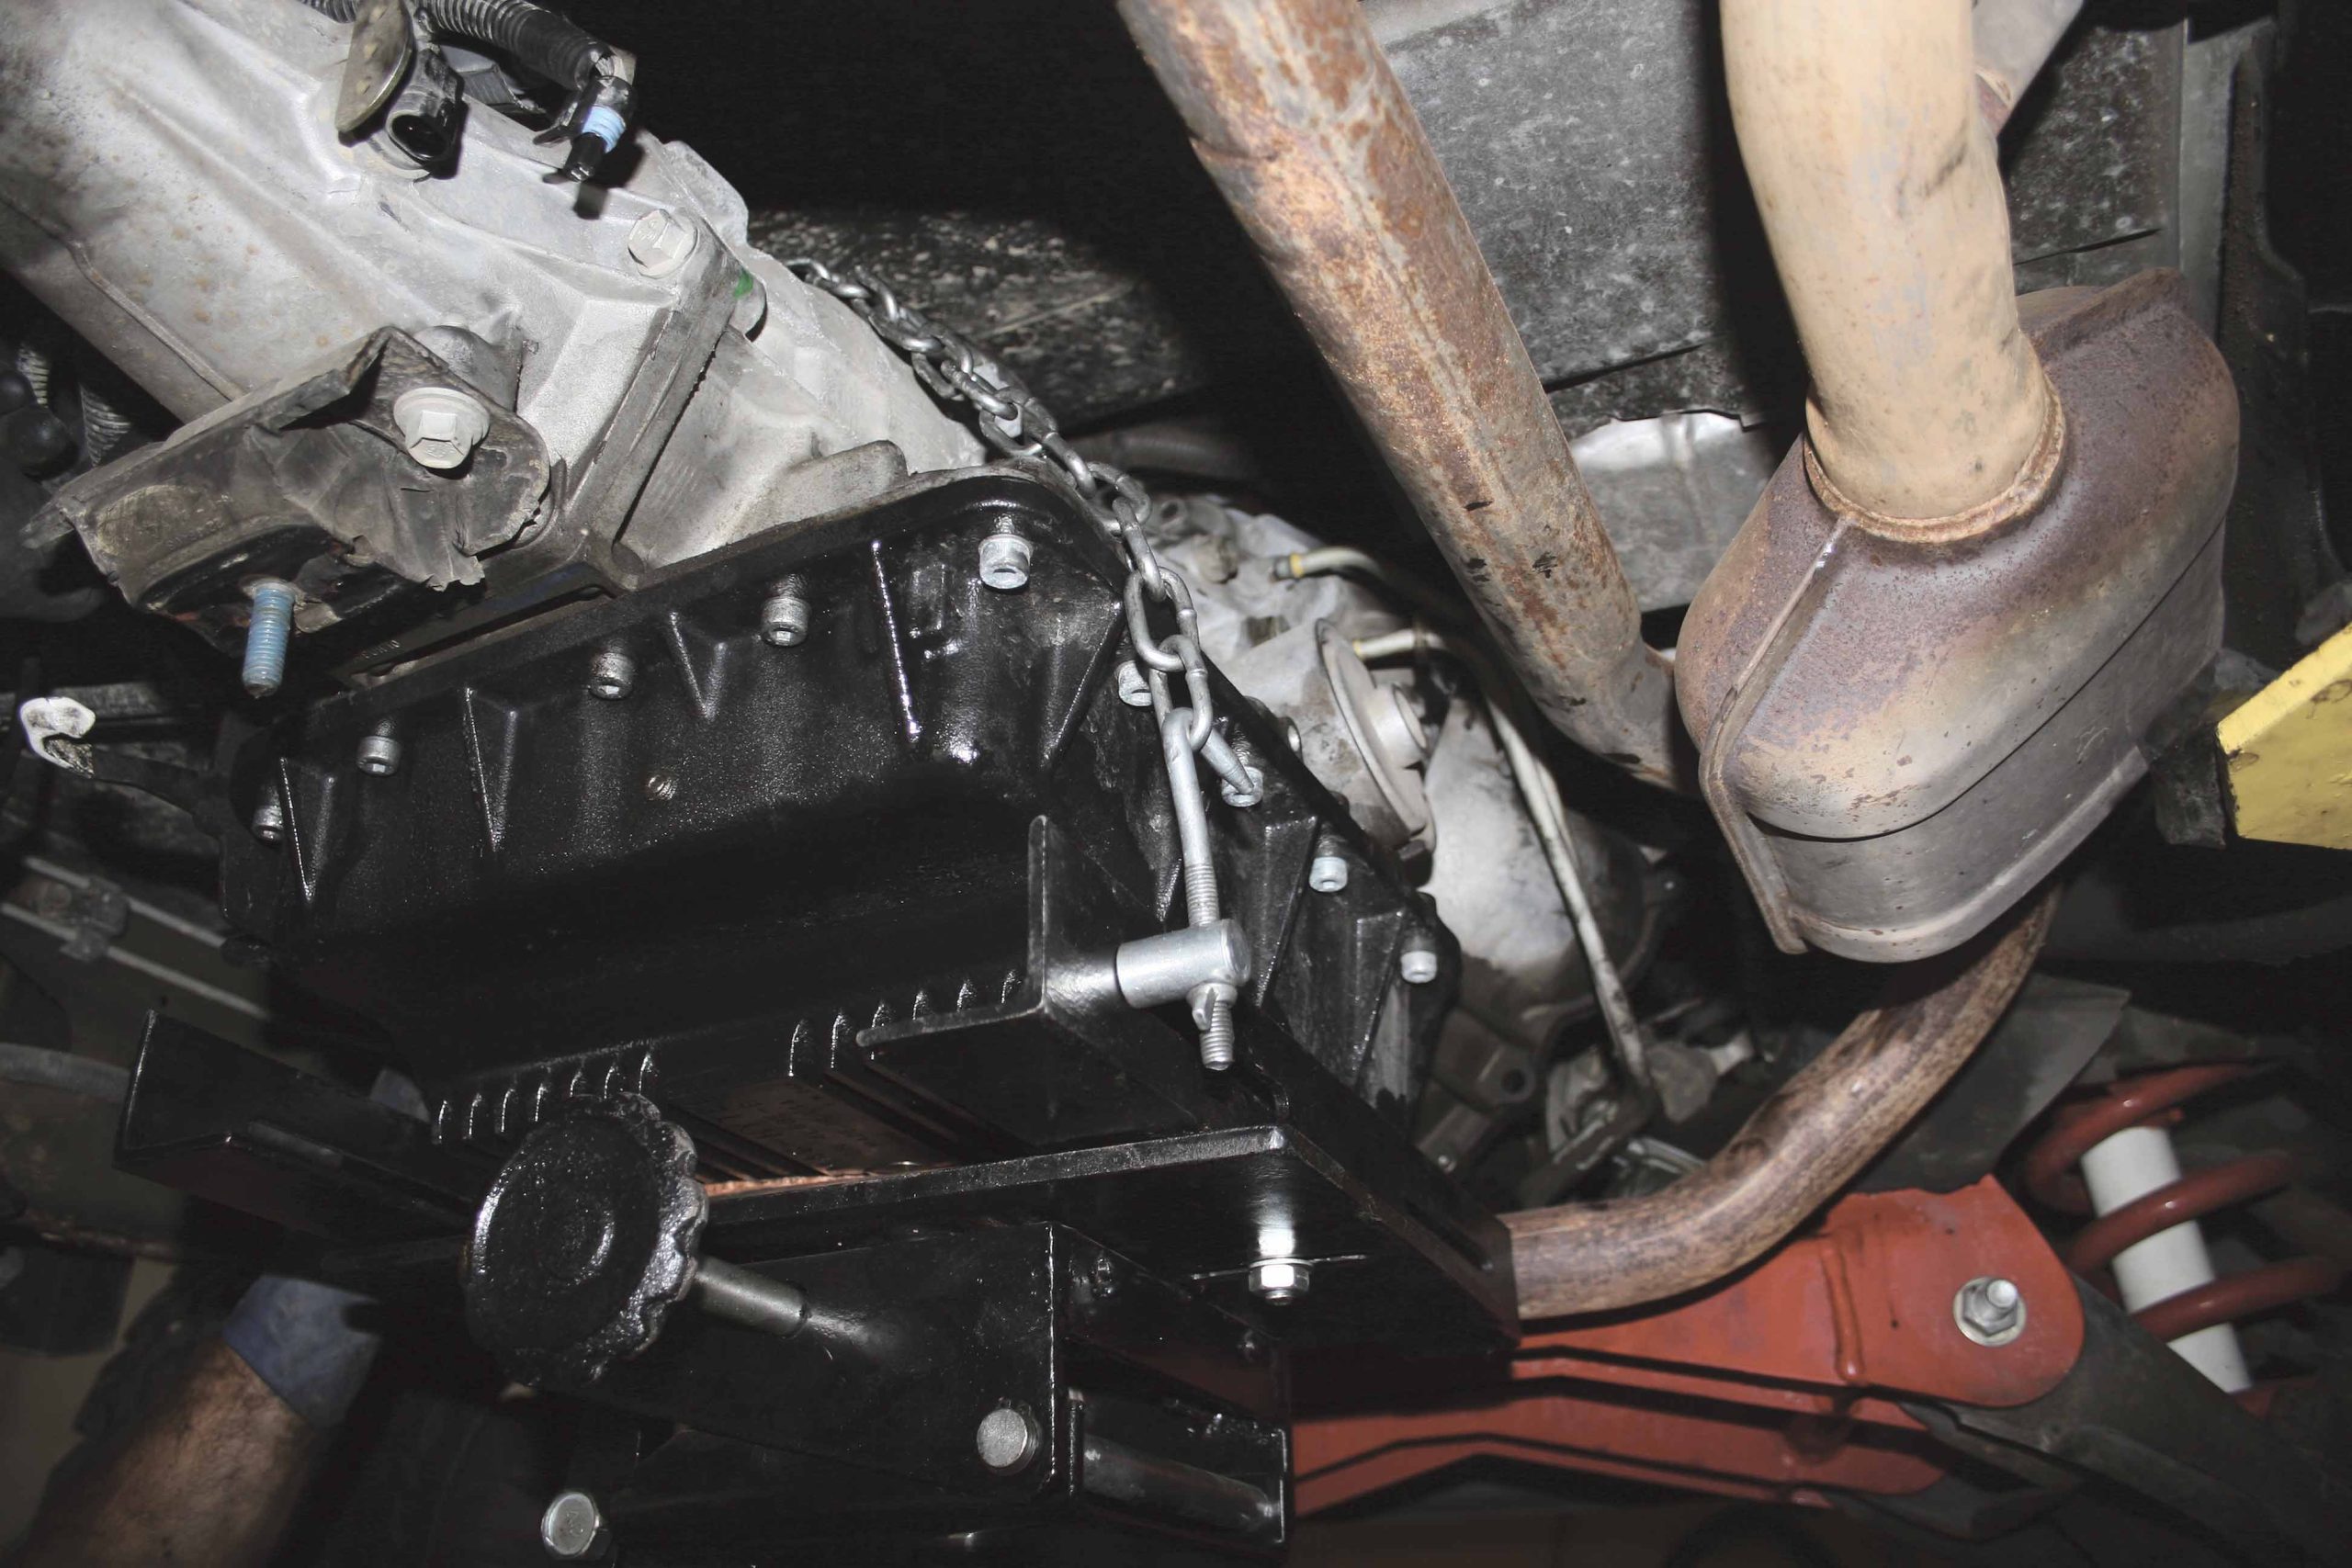
26 For safety’s sake be sure to use the chain to secure the transmission to the transmission jack before attempting to lower the transmission out of the truck.
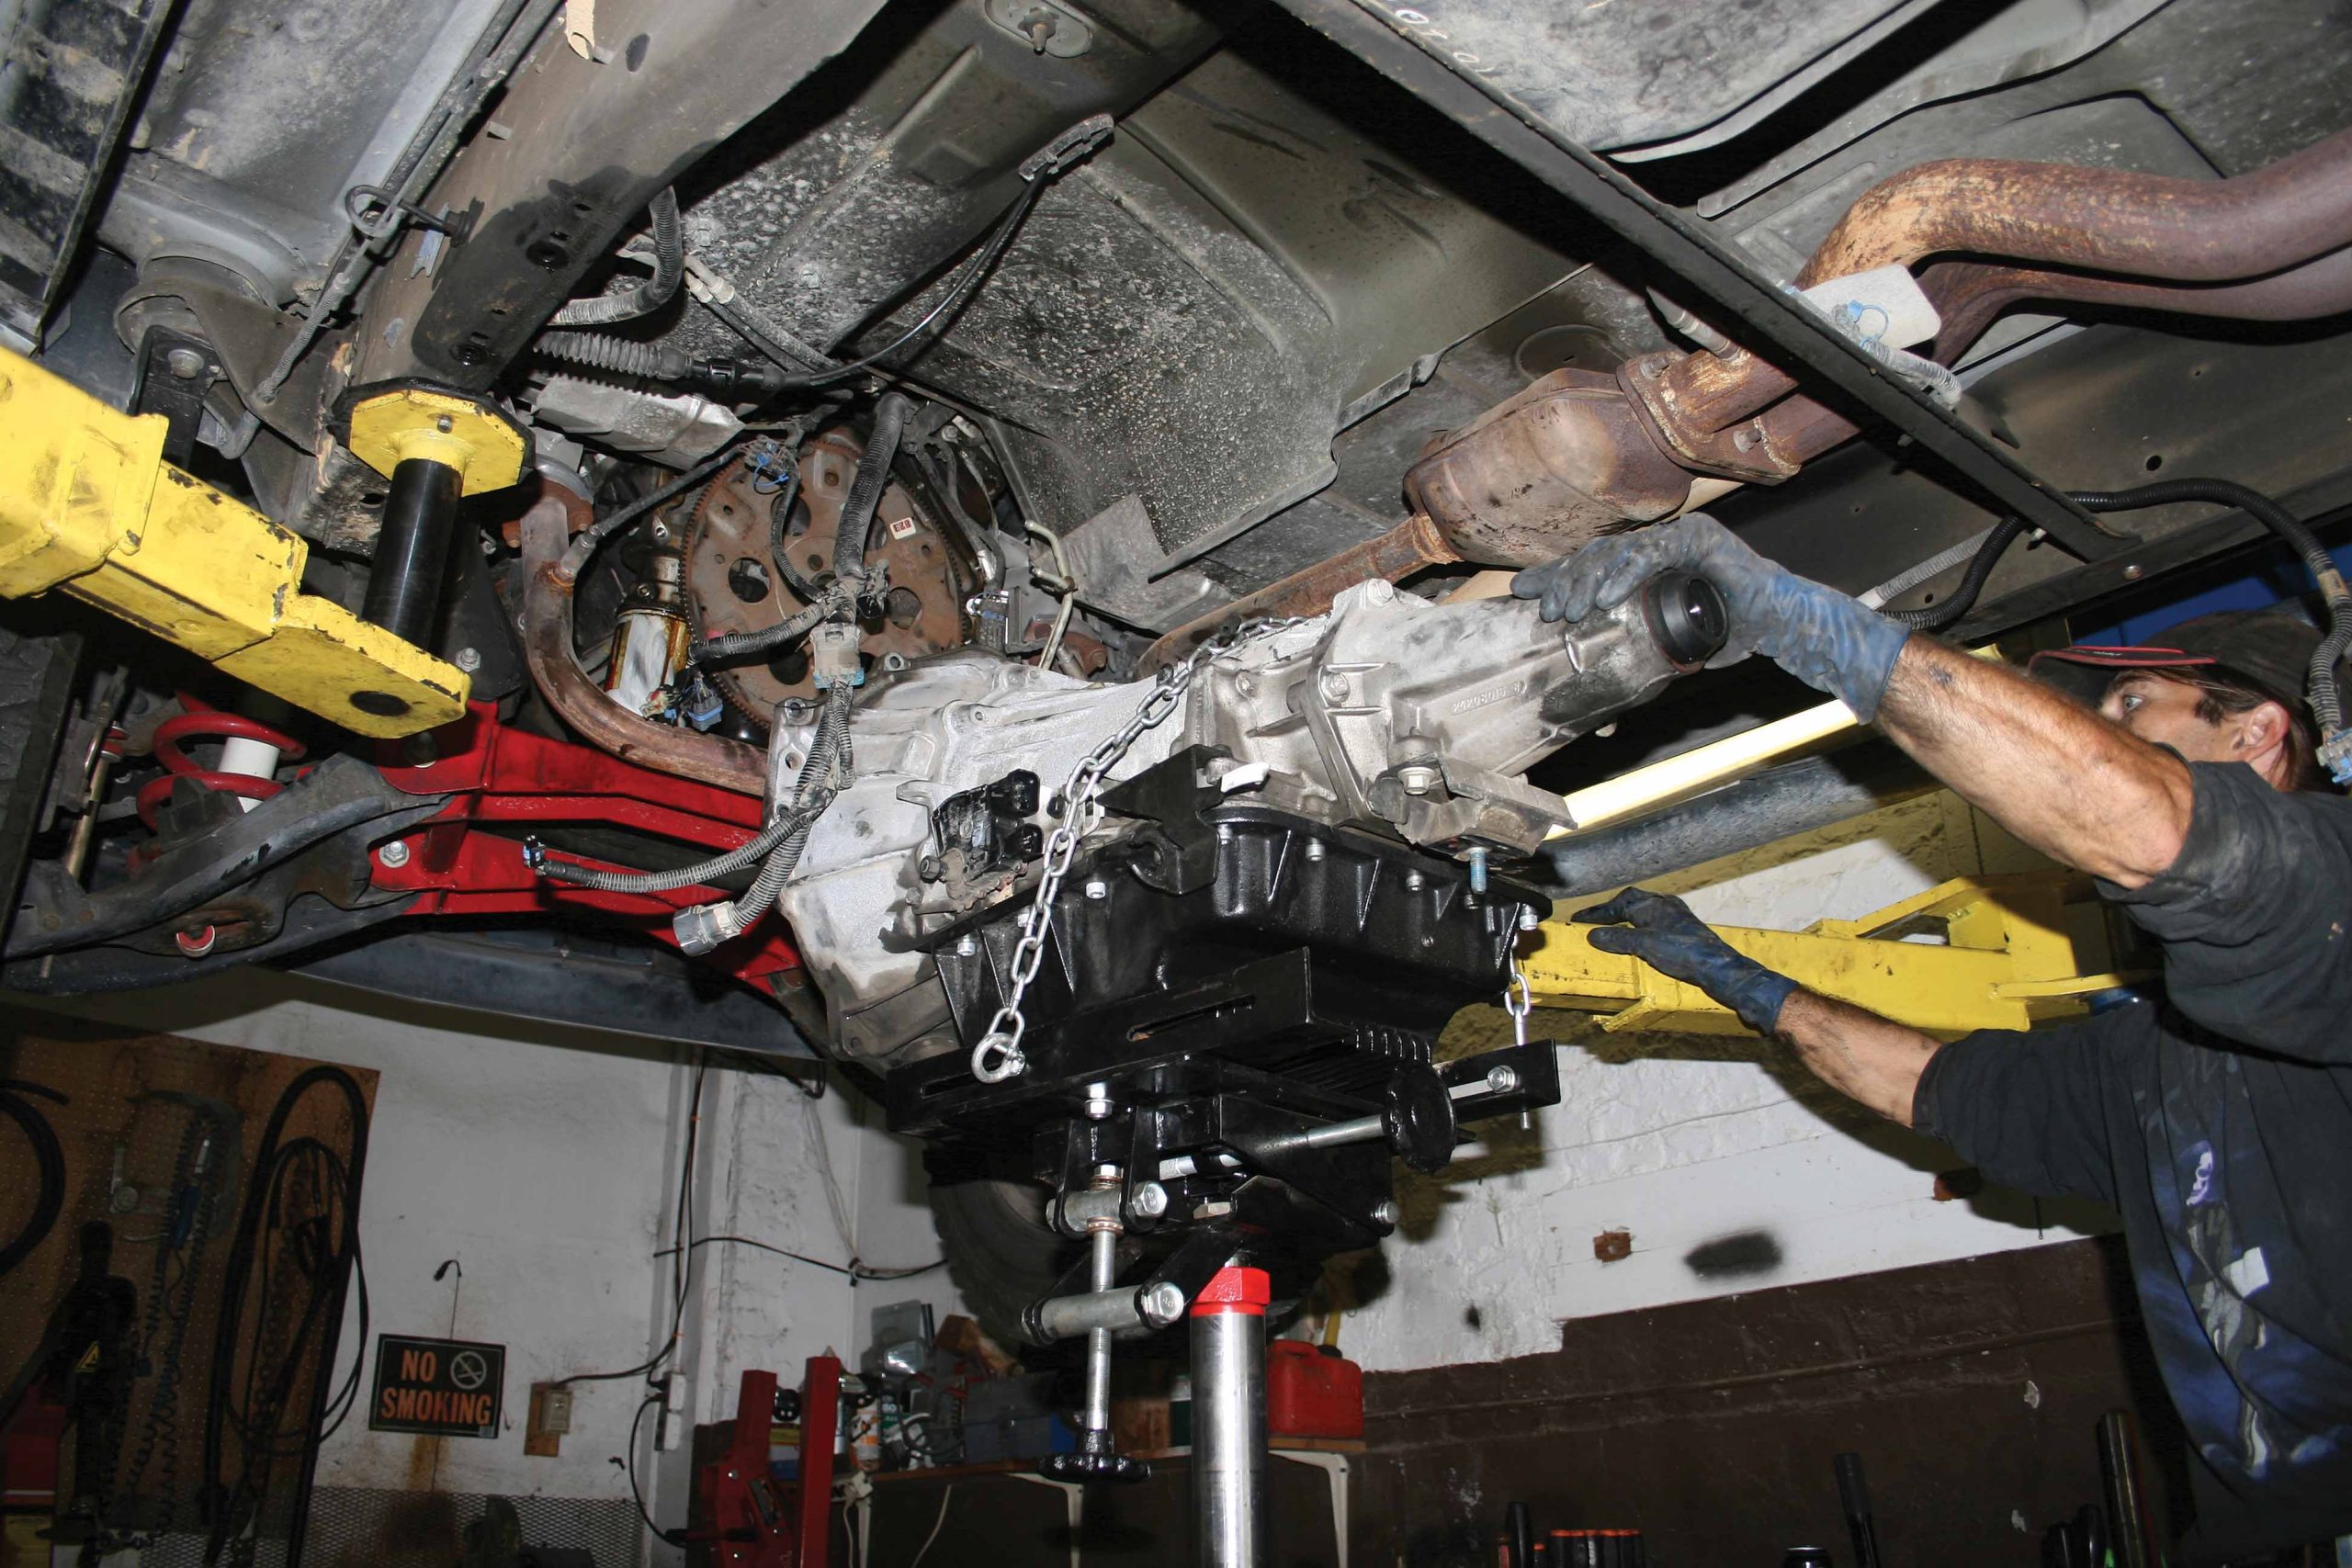
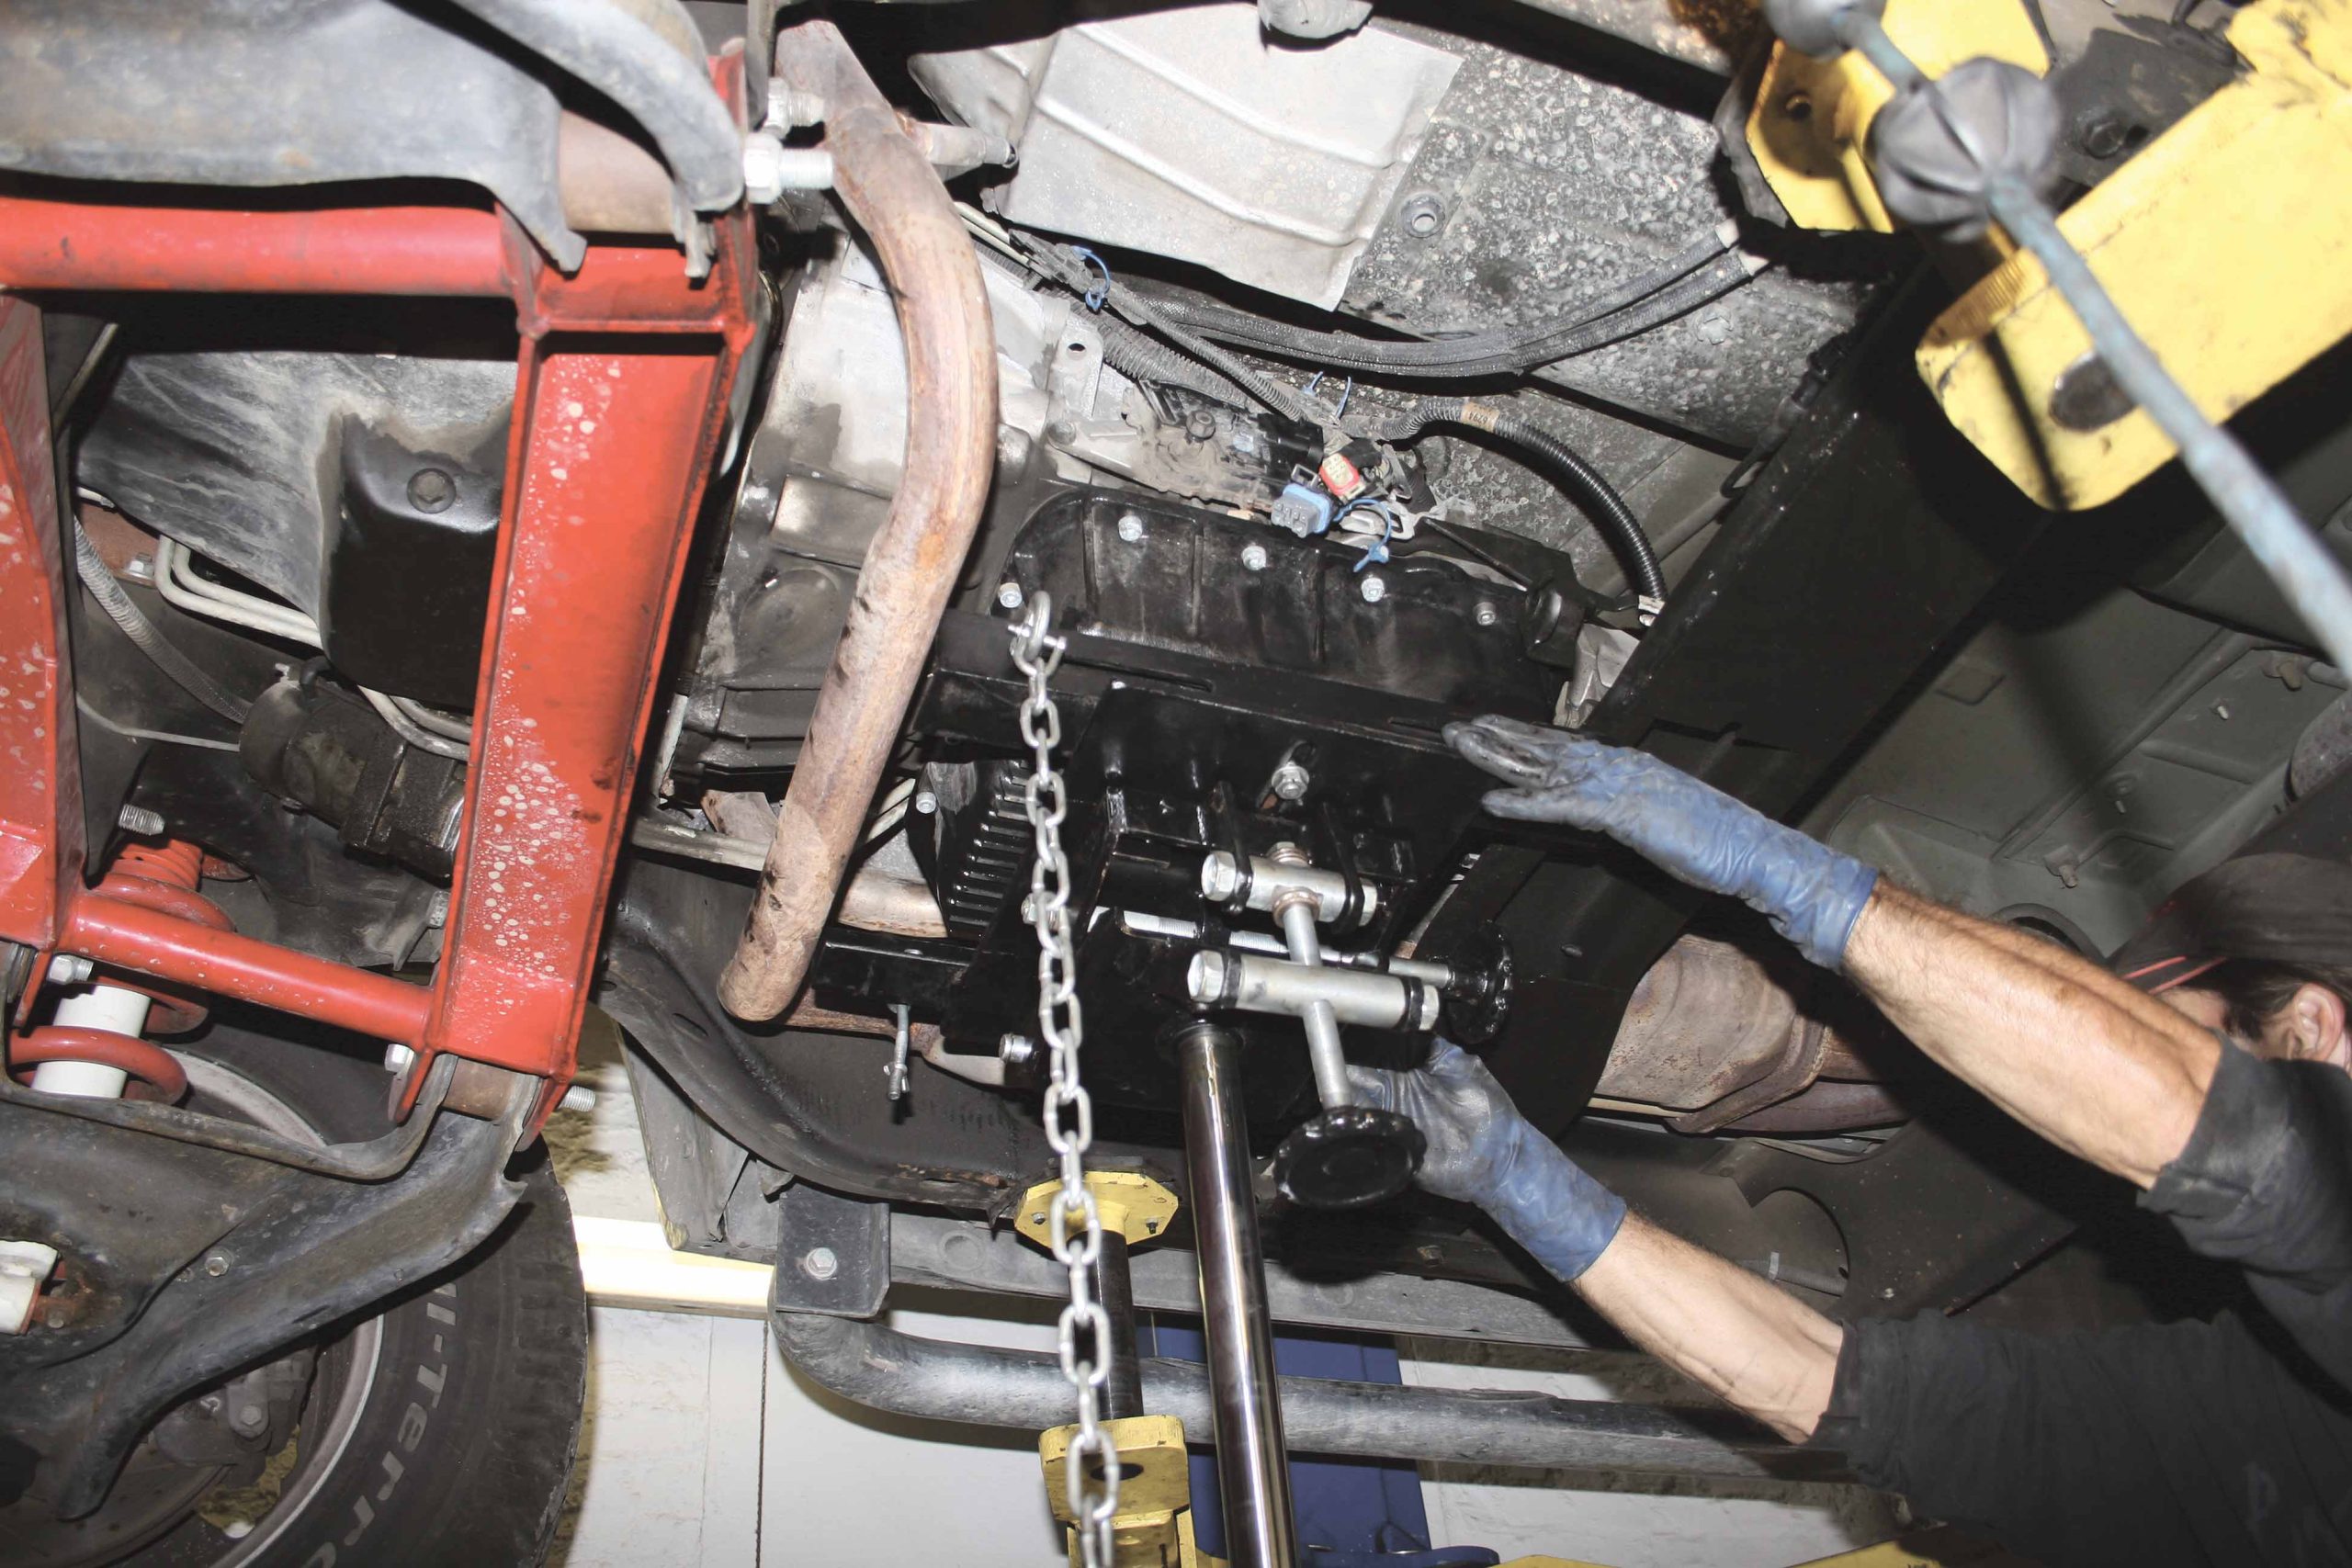
27-28 To remove the transmission from the truck, gently pull it rearward to clear the flexplate and dowel pins in the engine block then carefully lower it out of the chassis.
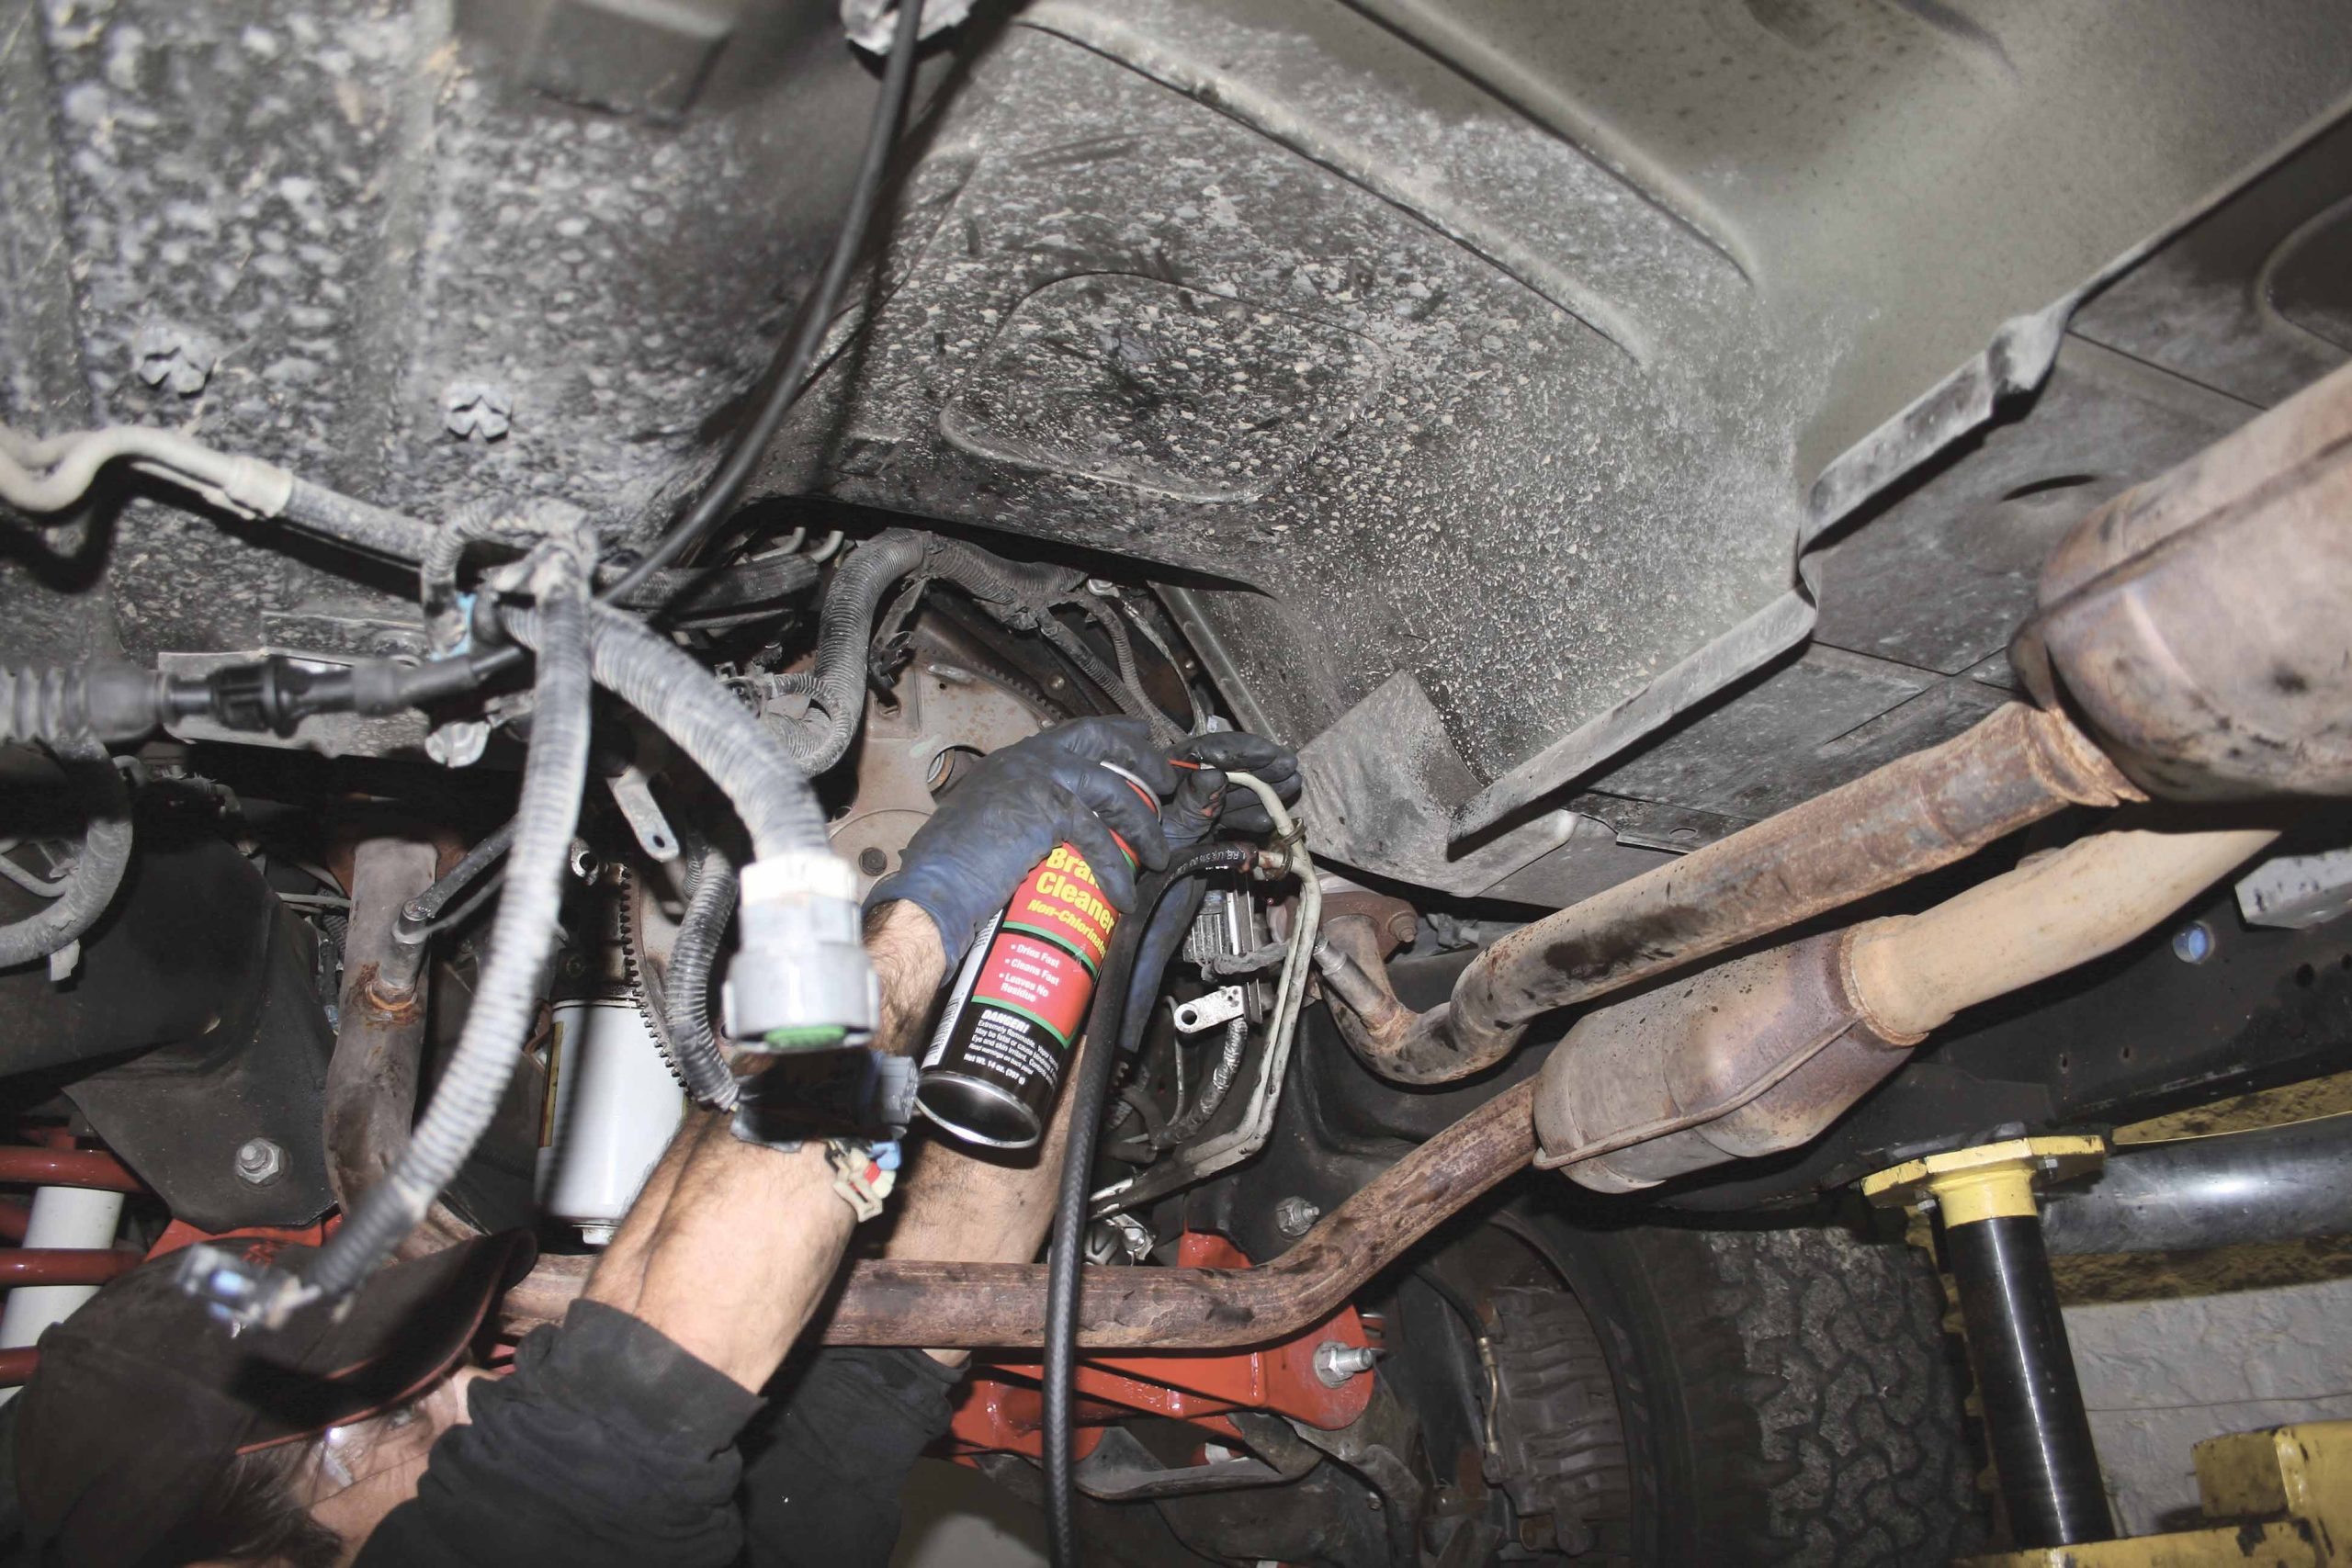
29-30 To clean the transmission lines and transmission cooler we flushed several cans of brake cleaner through the system in both directions with compressed air until it ran clear in both directions.
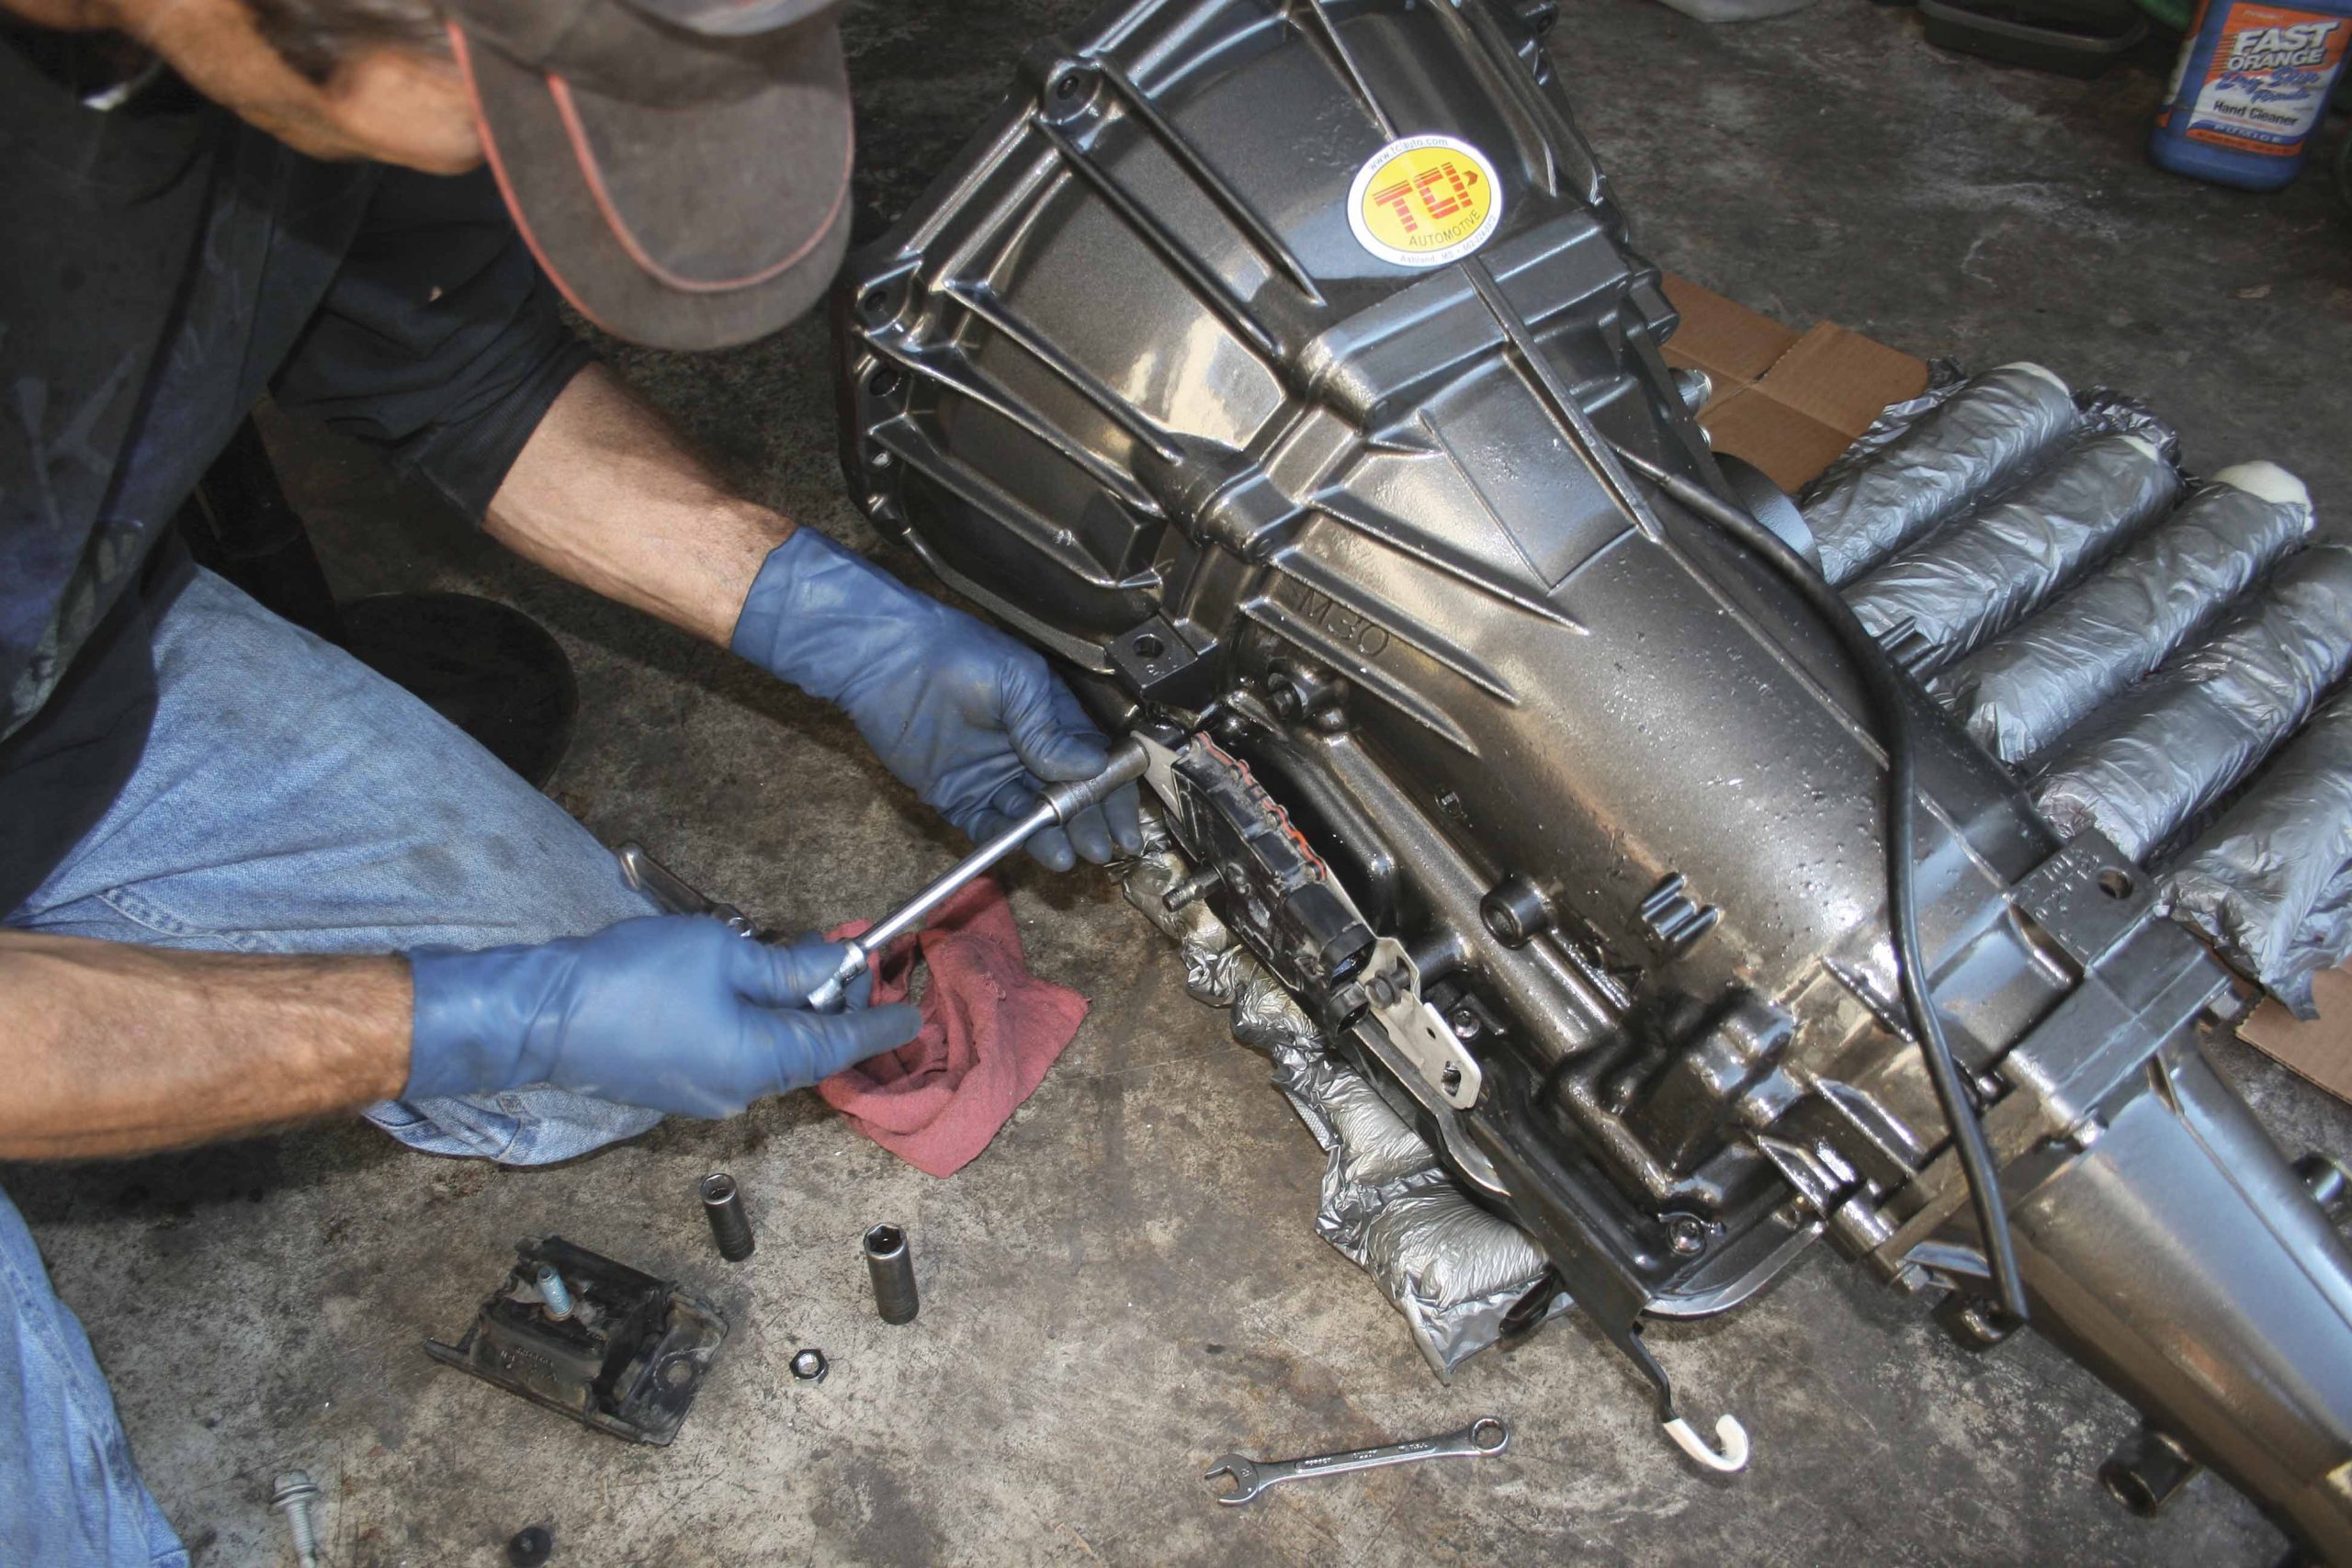
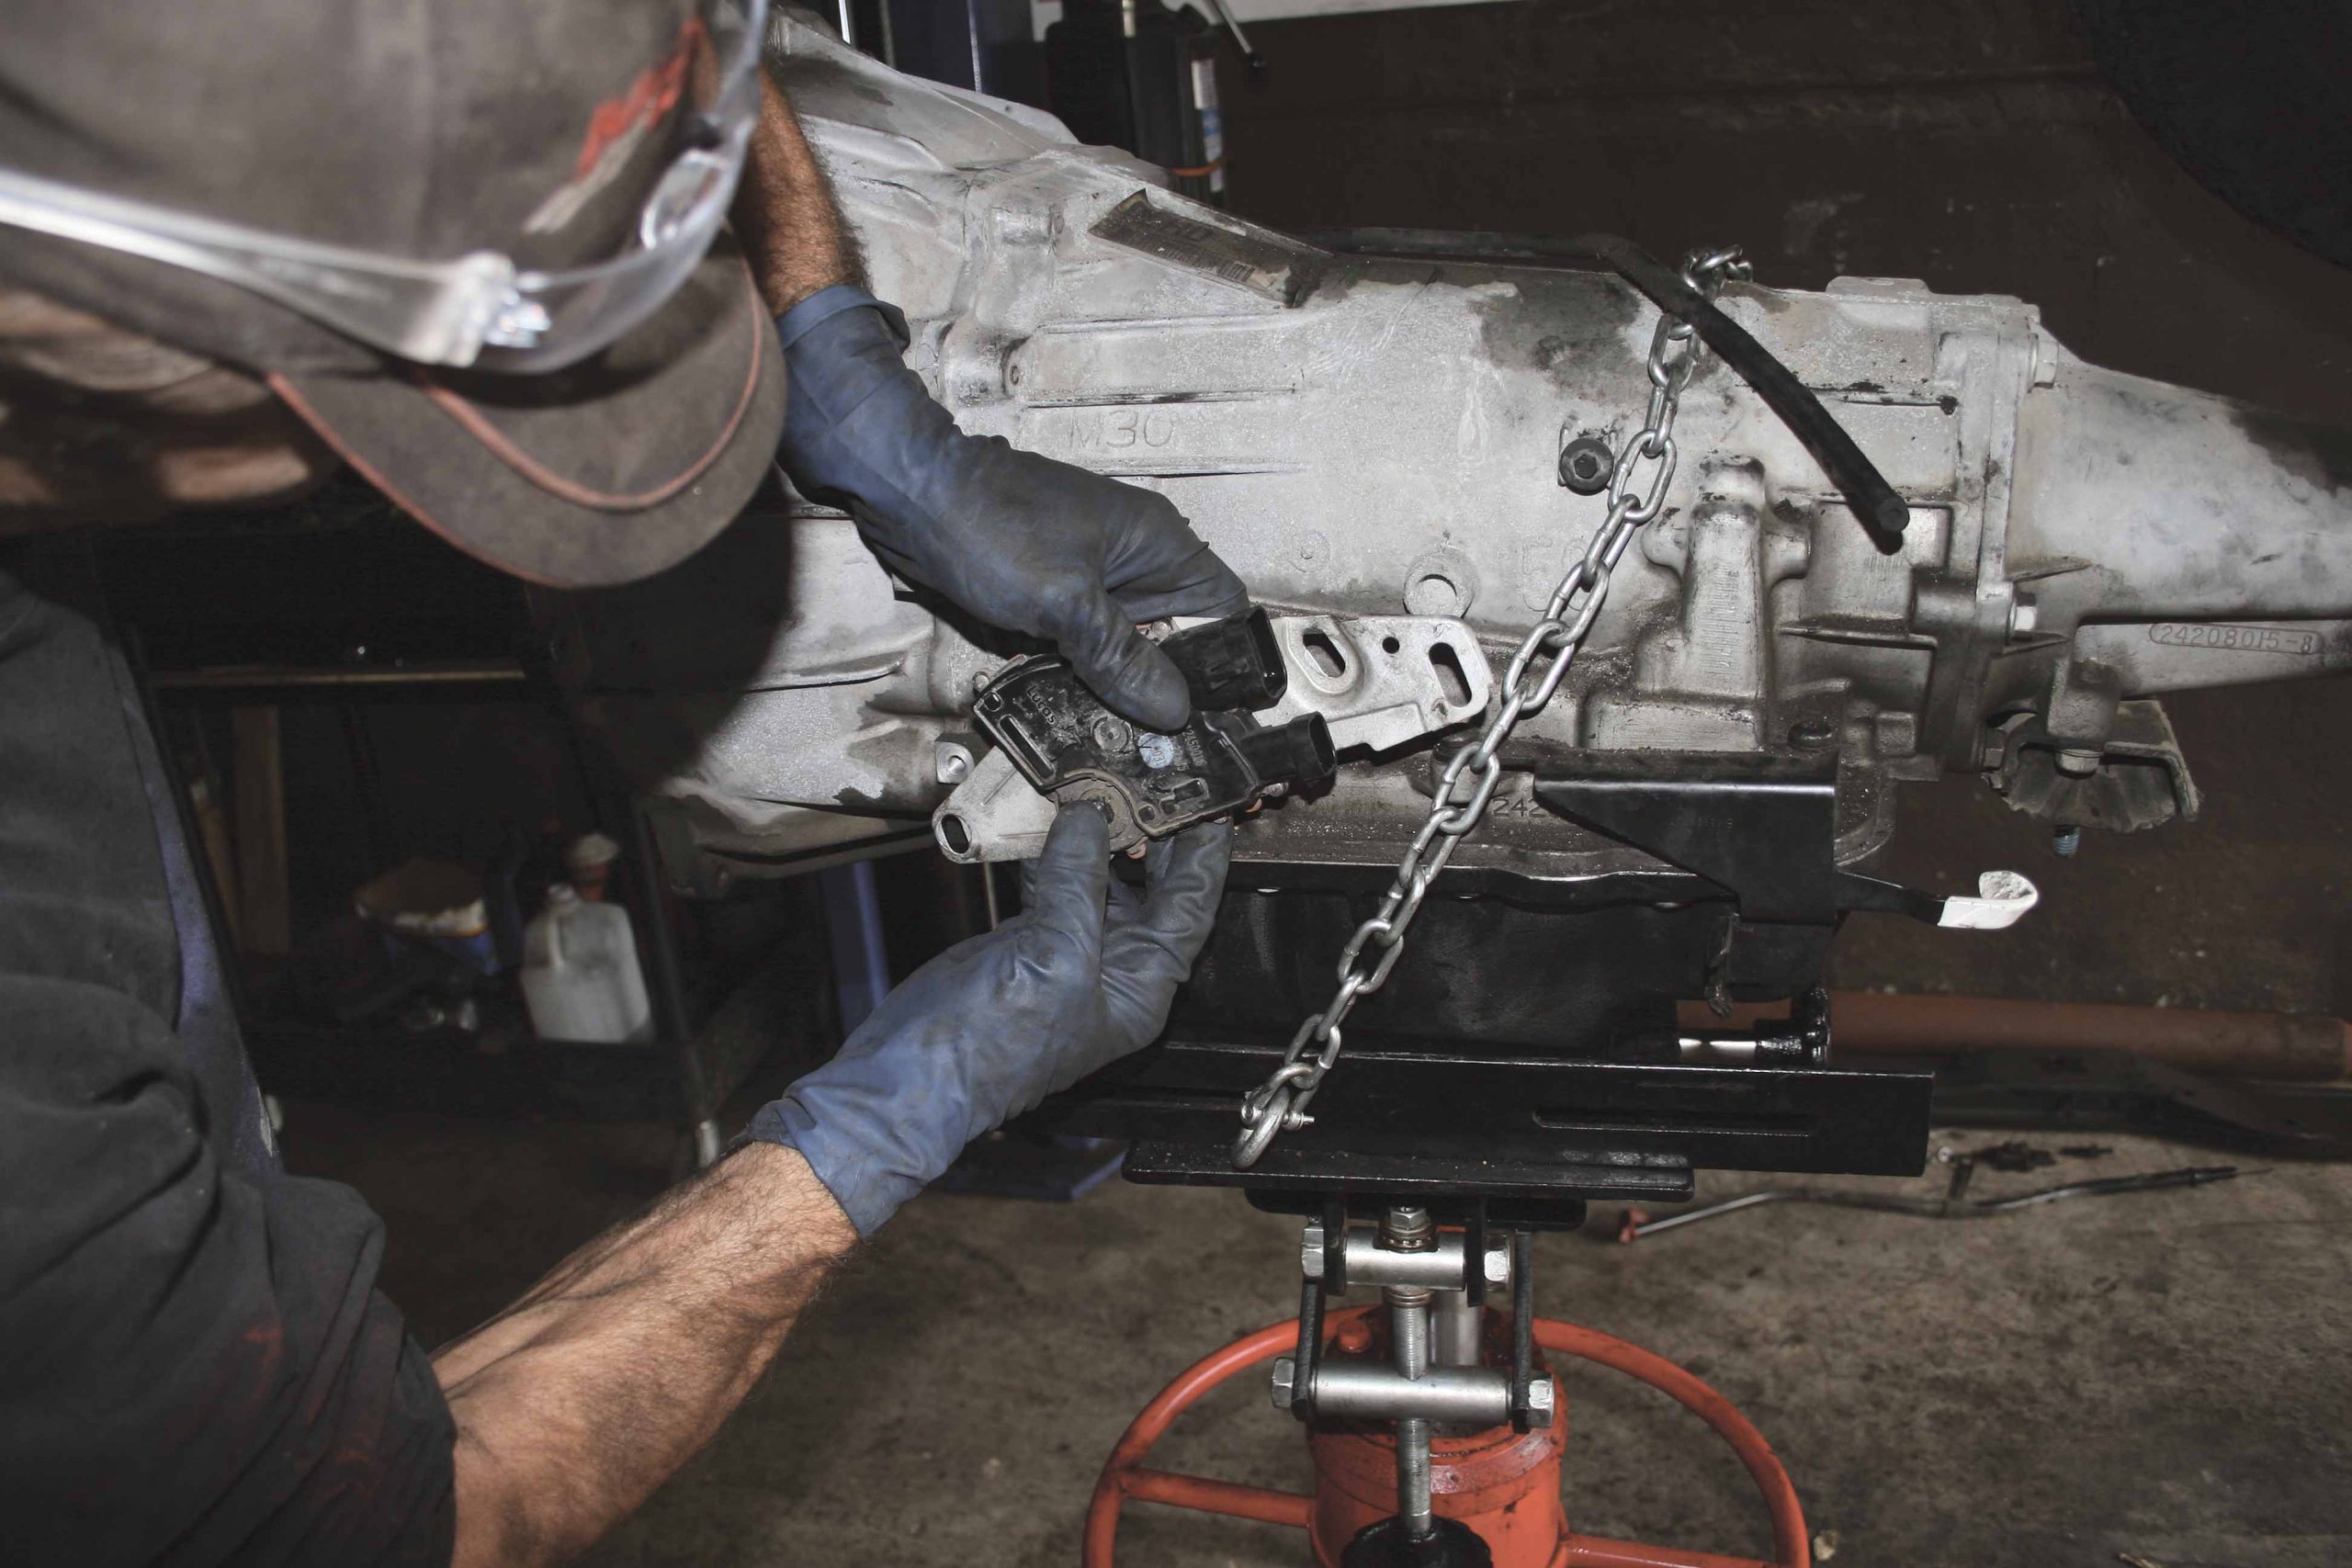
31 After unbolting the module, it can be removed by sliding it off the gear selector shaft. The old module will be reused on the new transmission along with the cable mount, transmission mount and torque converter sight plug.
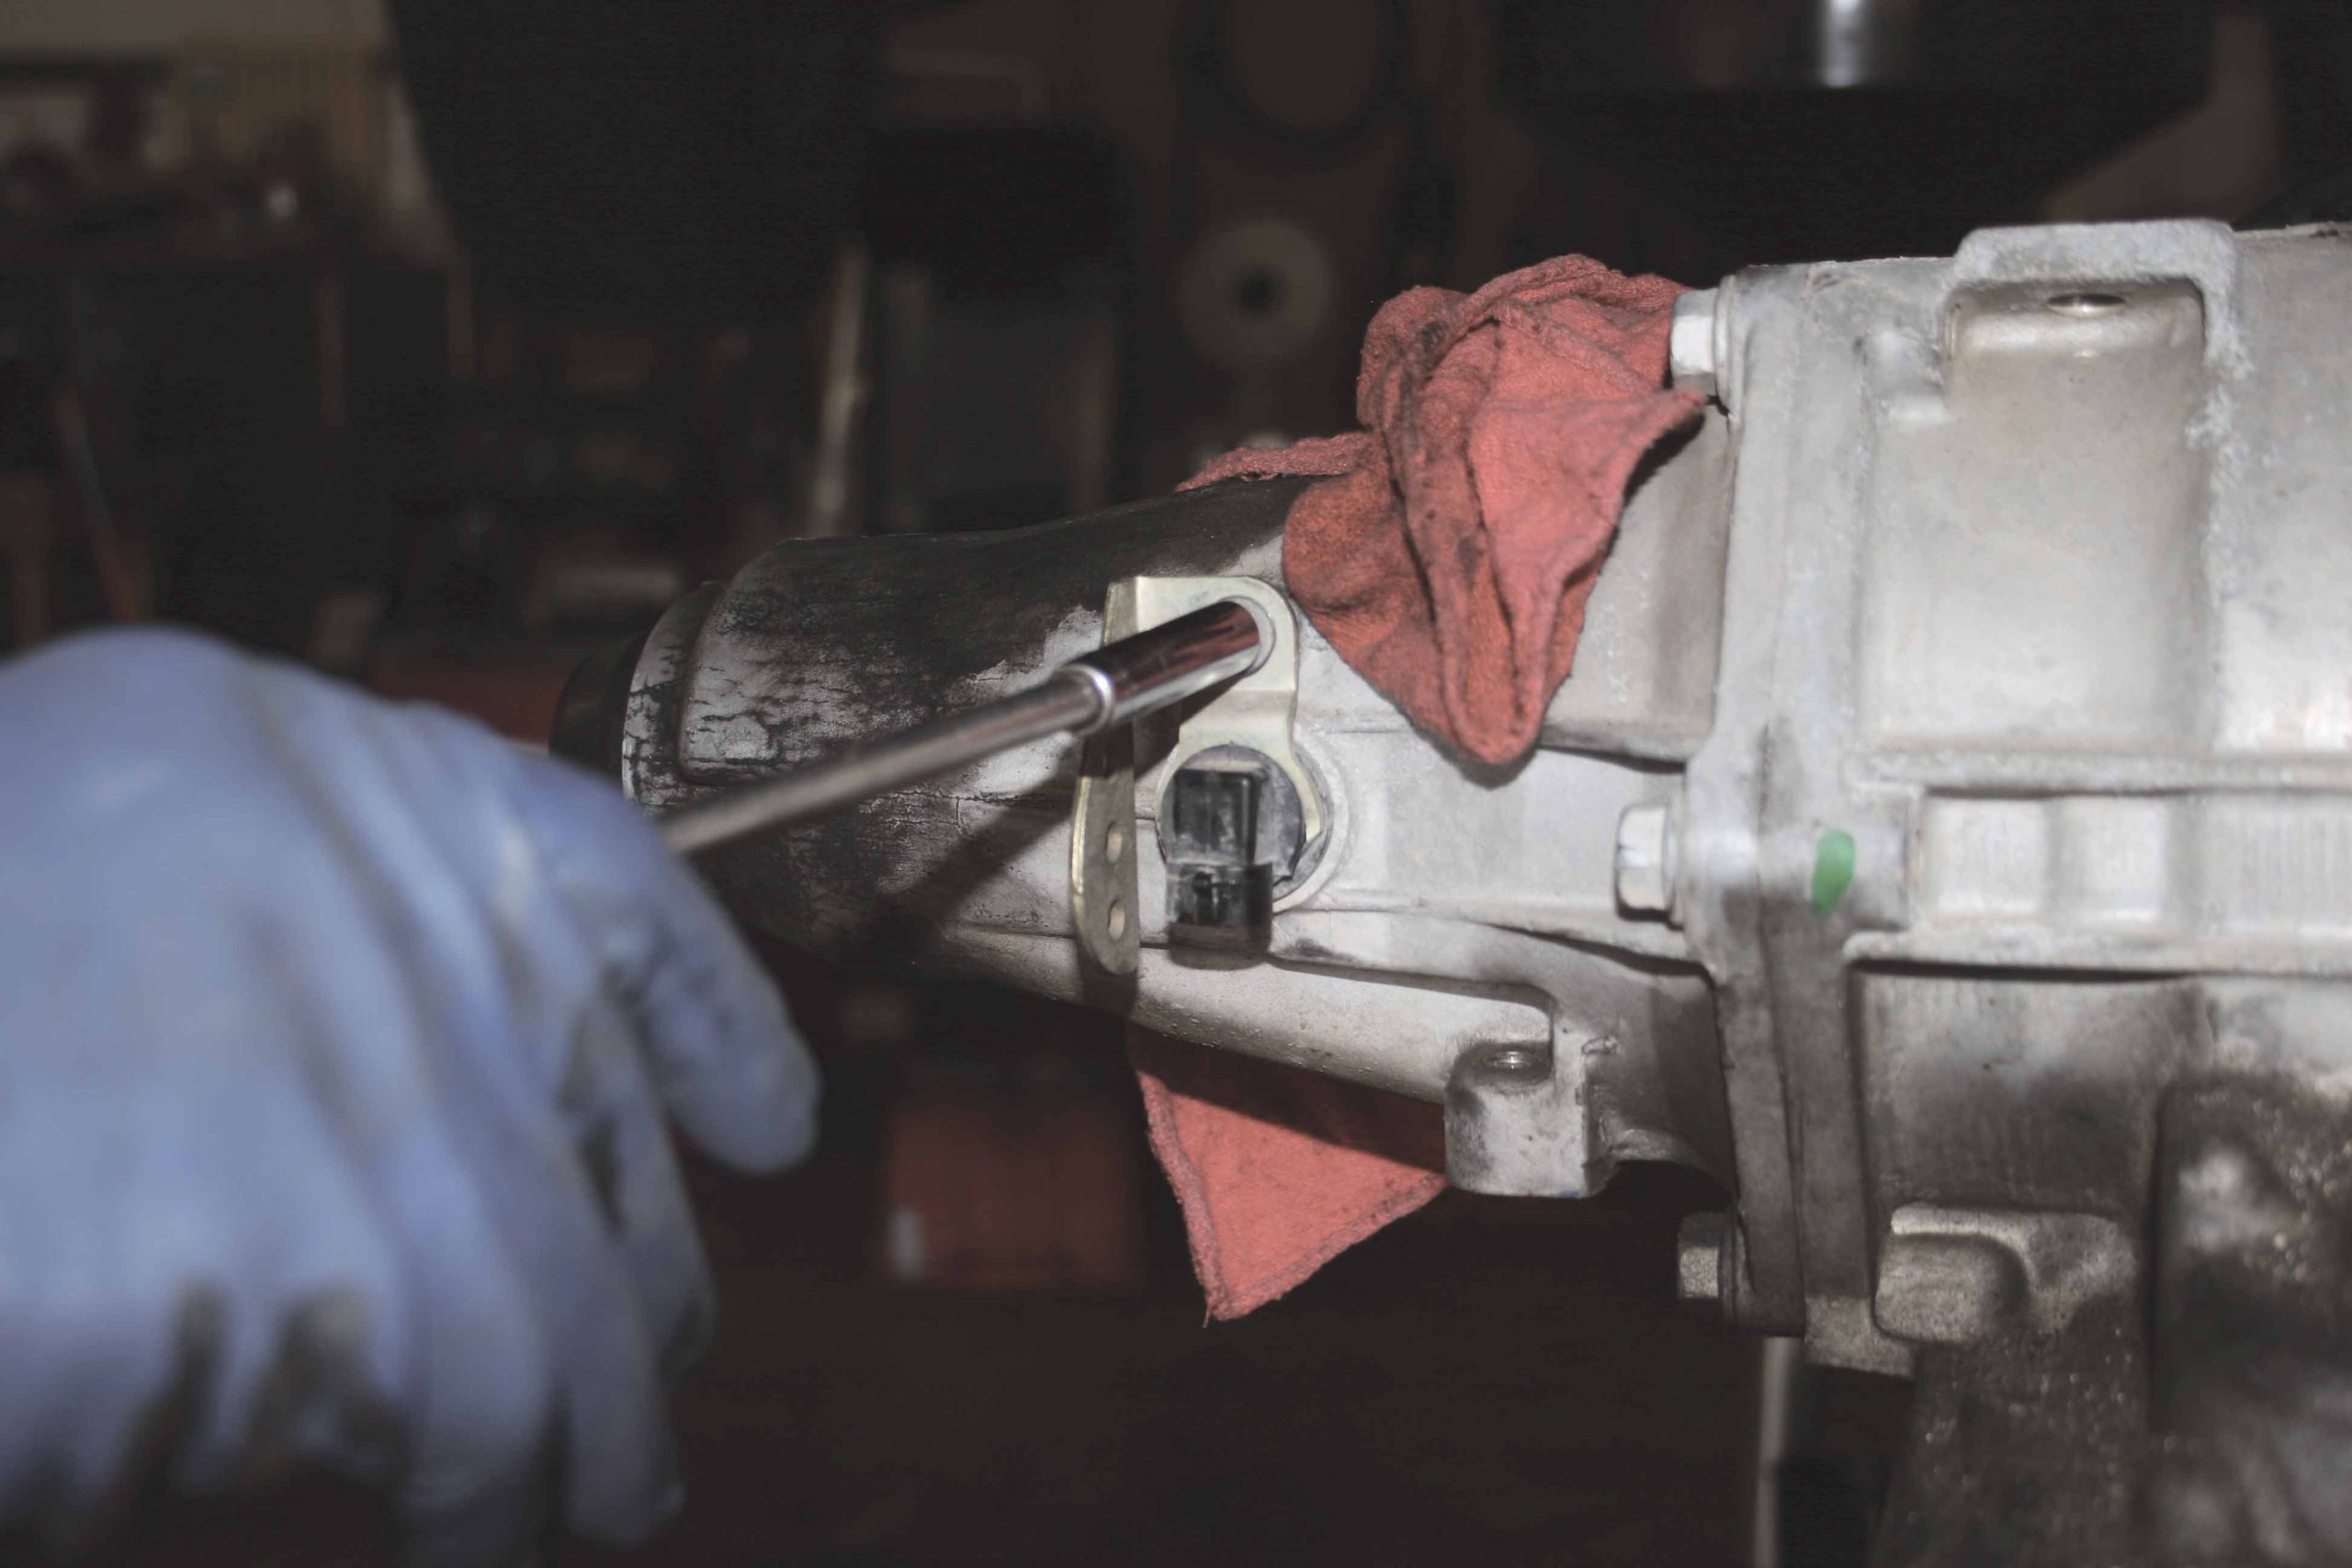
32-33 The vehicle speed sensor will also be reused on the new transmission so it must be removed by unbolting it then gently removing it from the transmission case.
34 Be sure to reinstall the old transmission vent line on the new transmission.
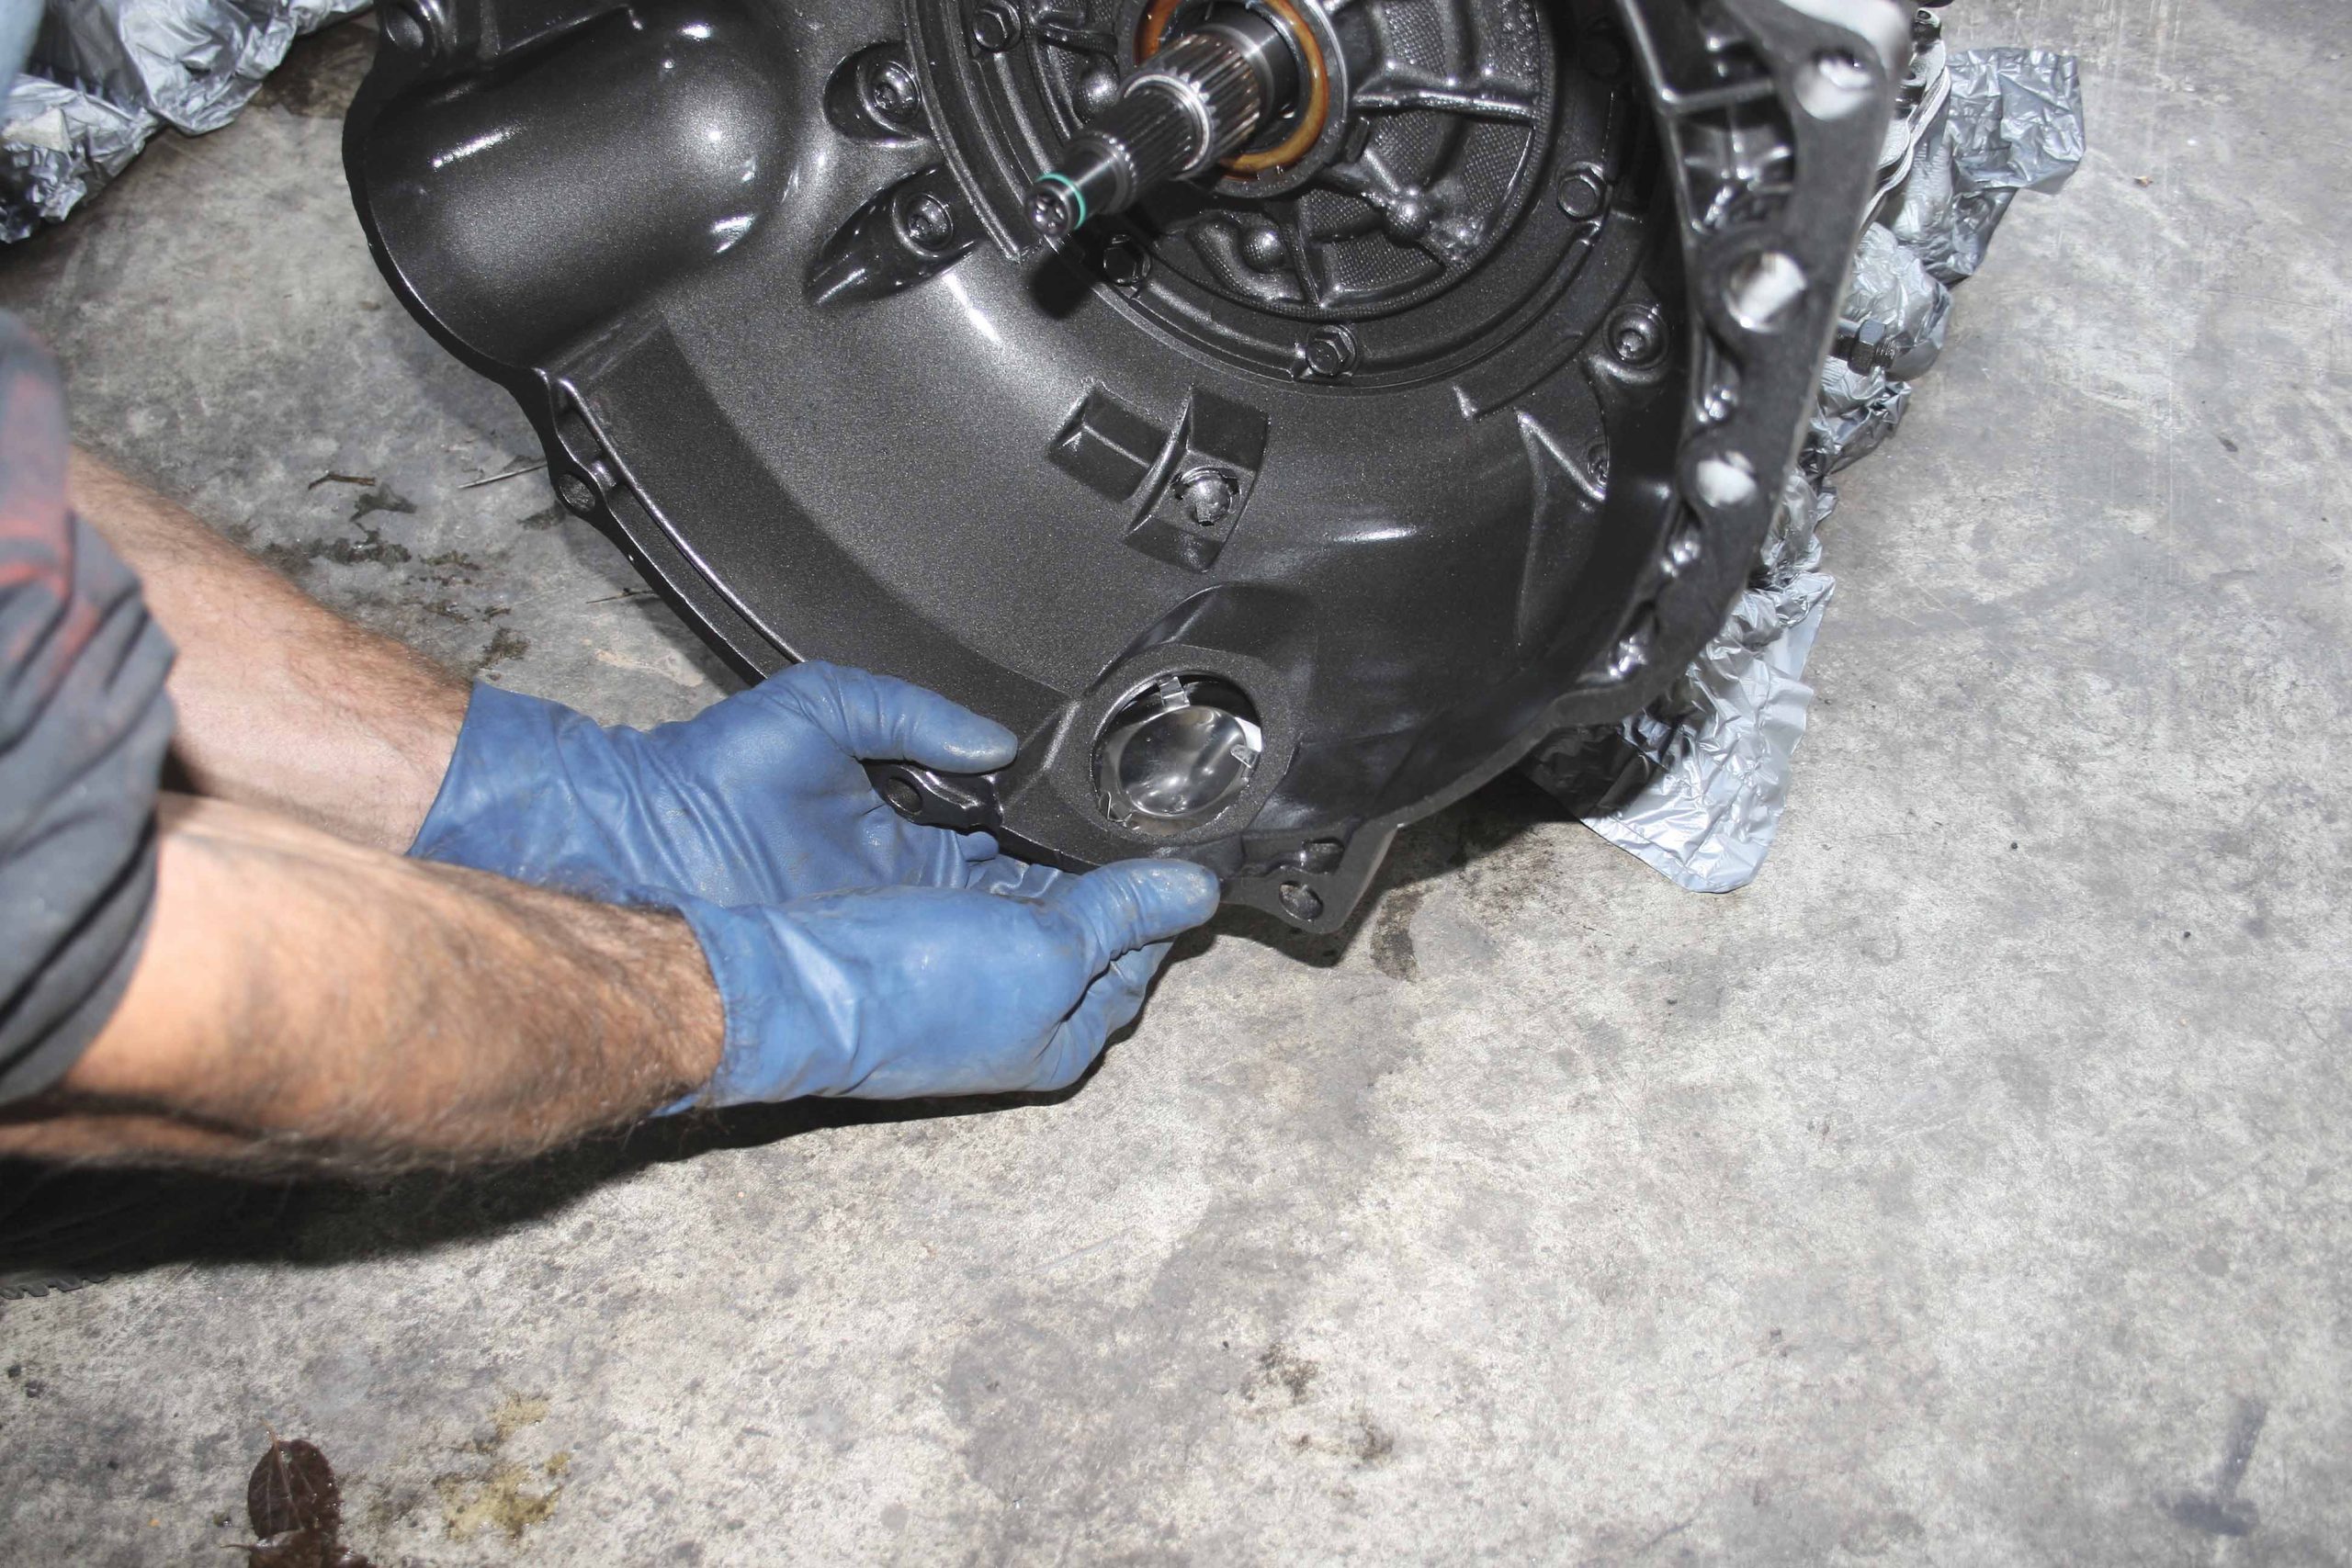
35 The sight plug is simply popped into the transmission case after it was cleaned.
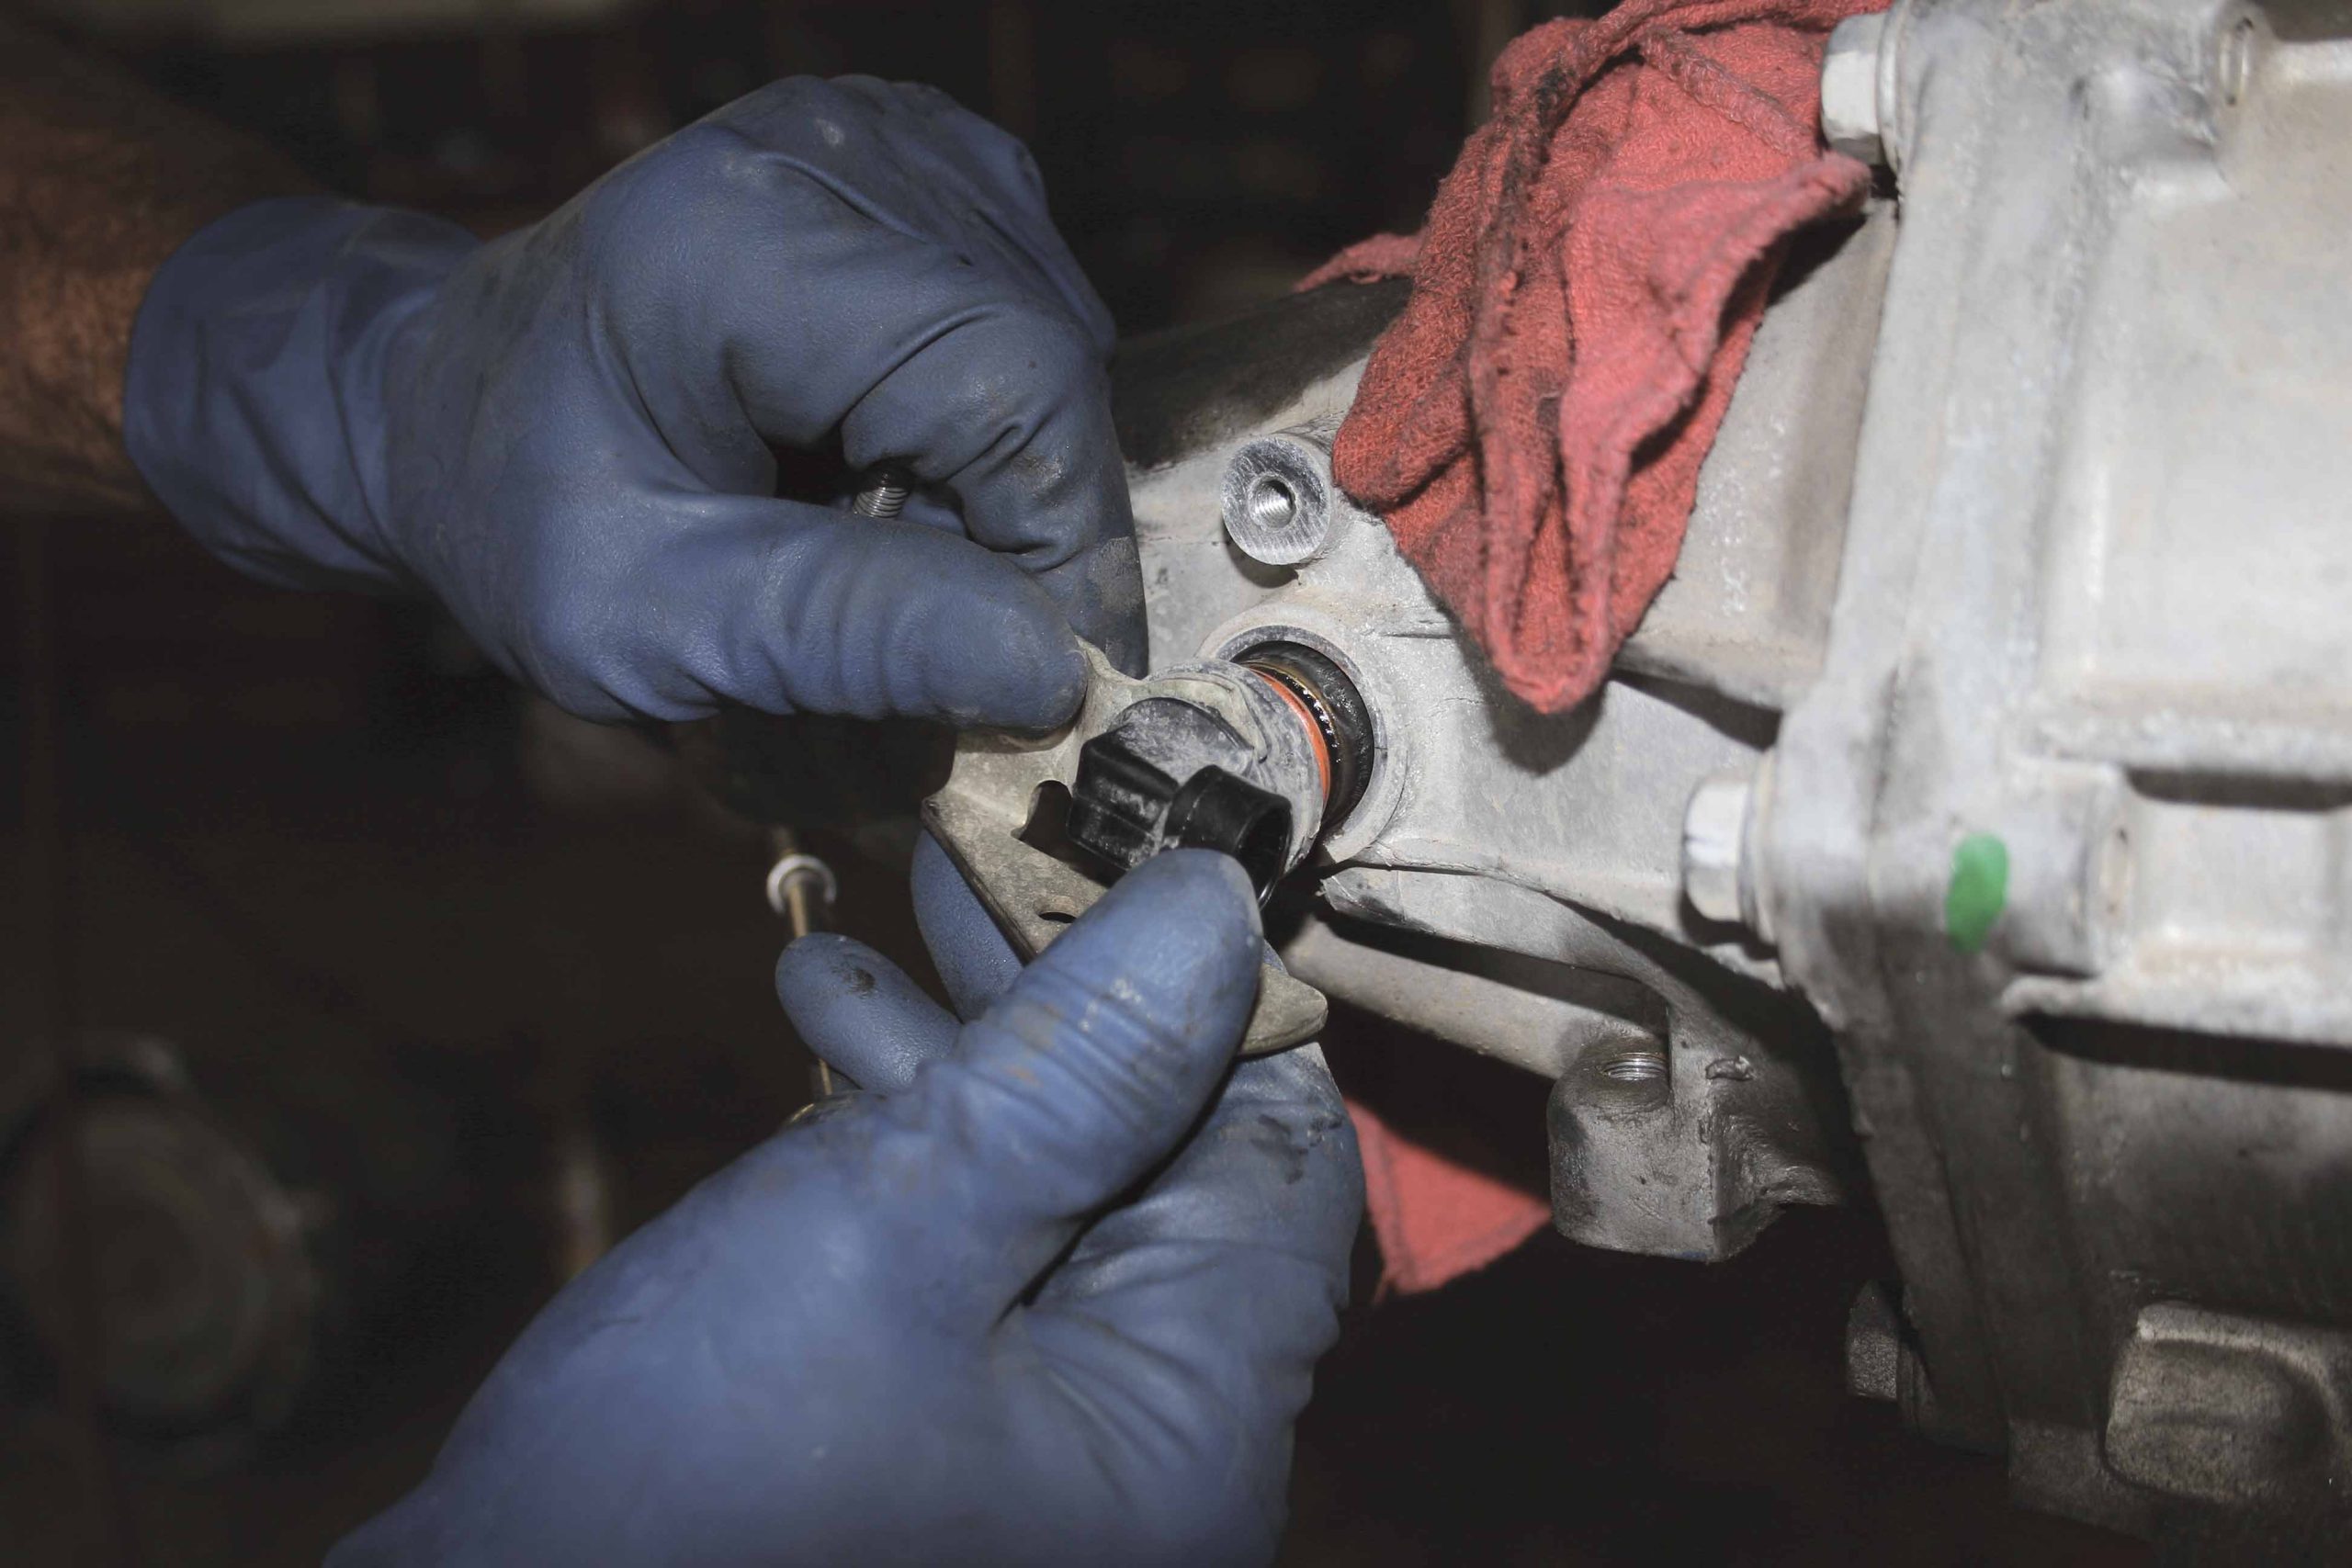
36-37 After cleaning the vehicle speed sensor and removing the old O-ring, install and lubricate the new O-ring supplied with the TCI StreetFighter transmission.
38 Then gently insert the vehicle speed sensor into the transmission case and secure it with the mounting bolt.
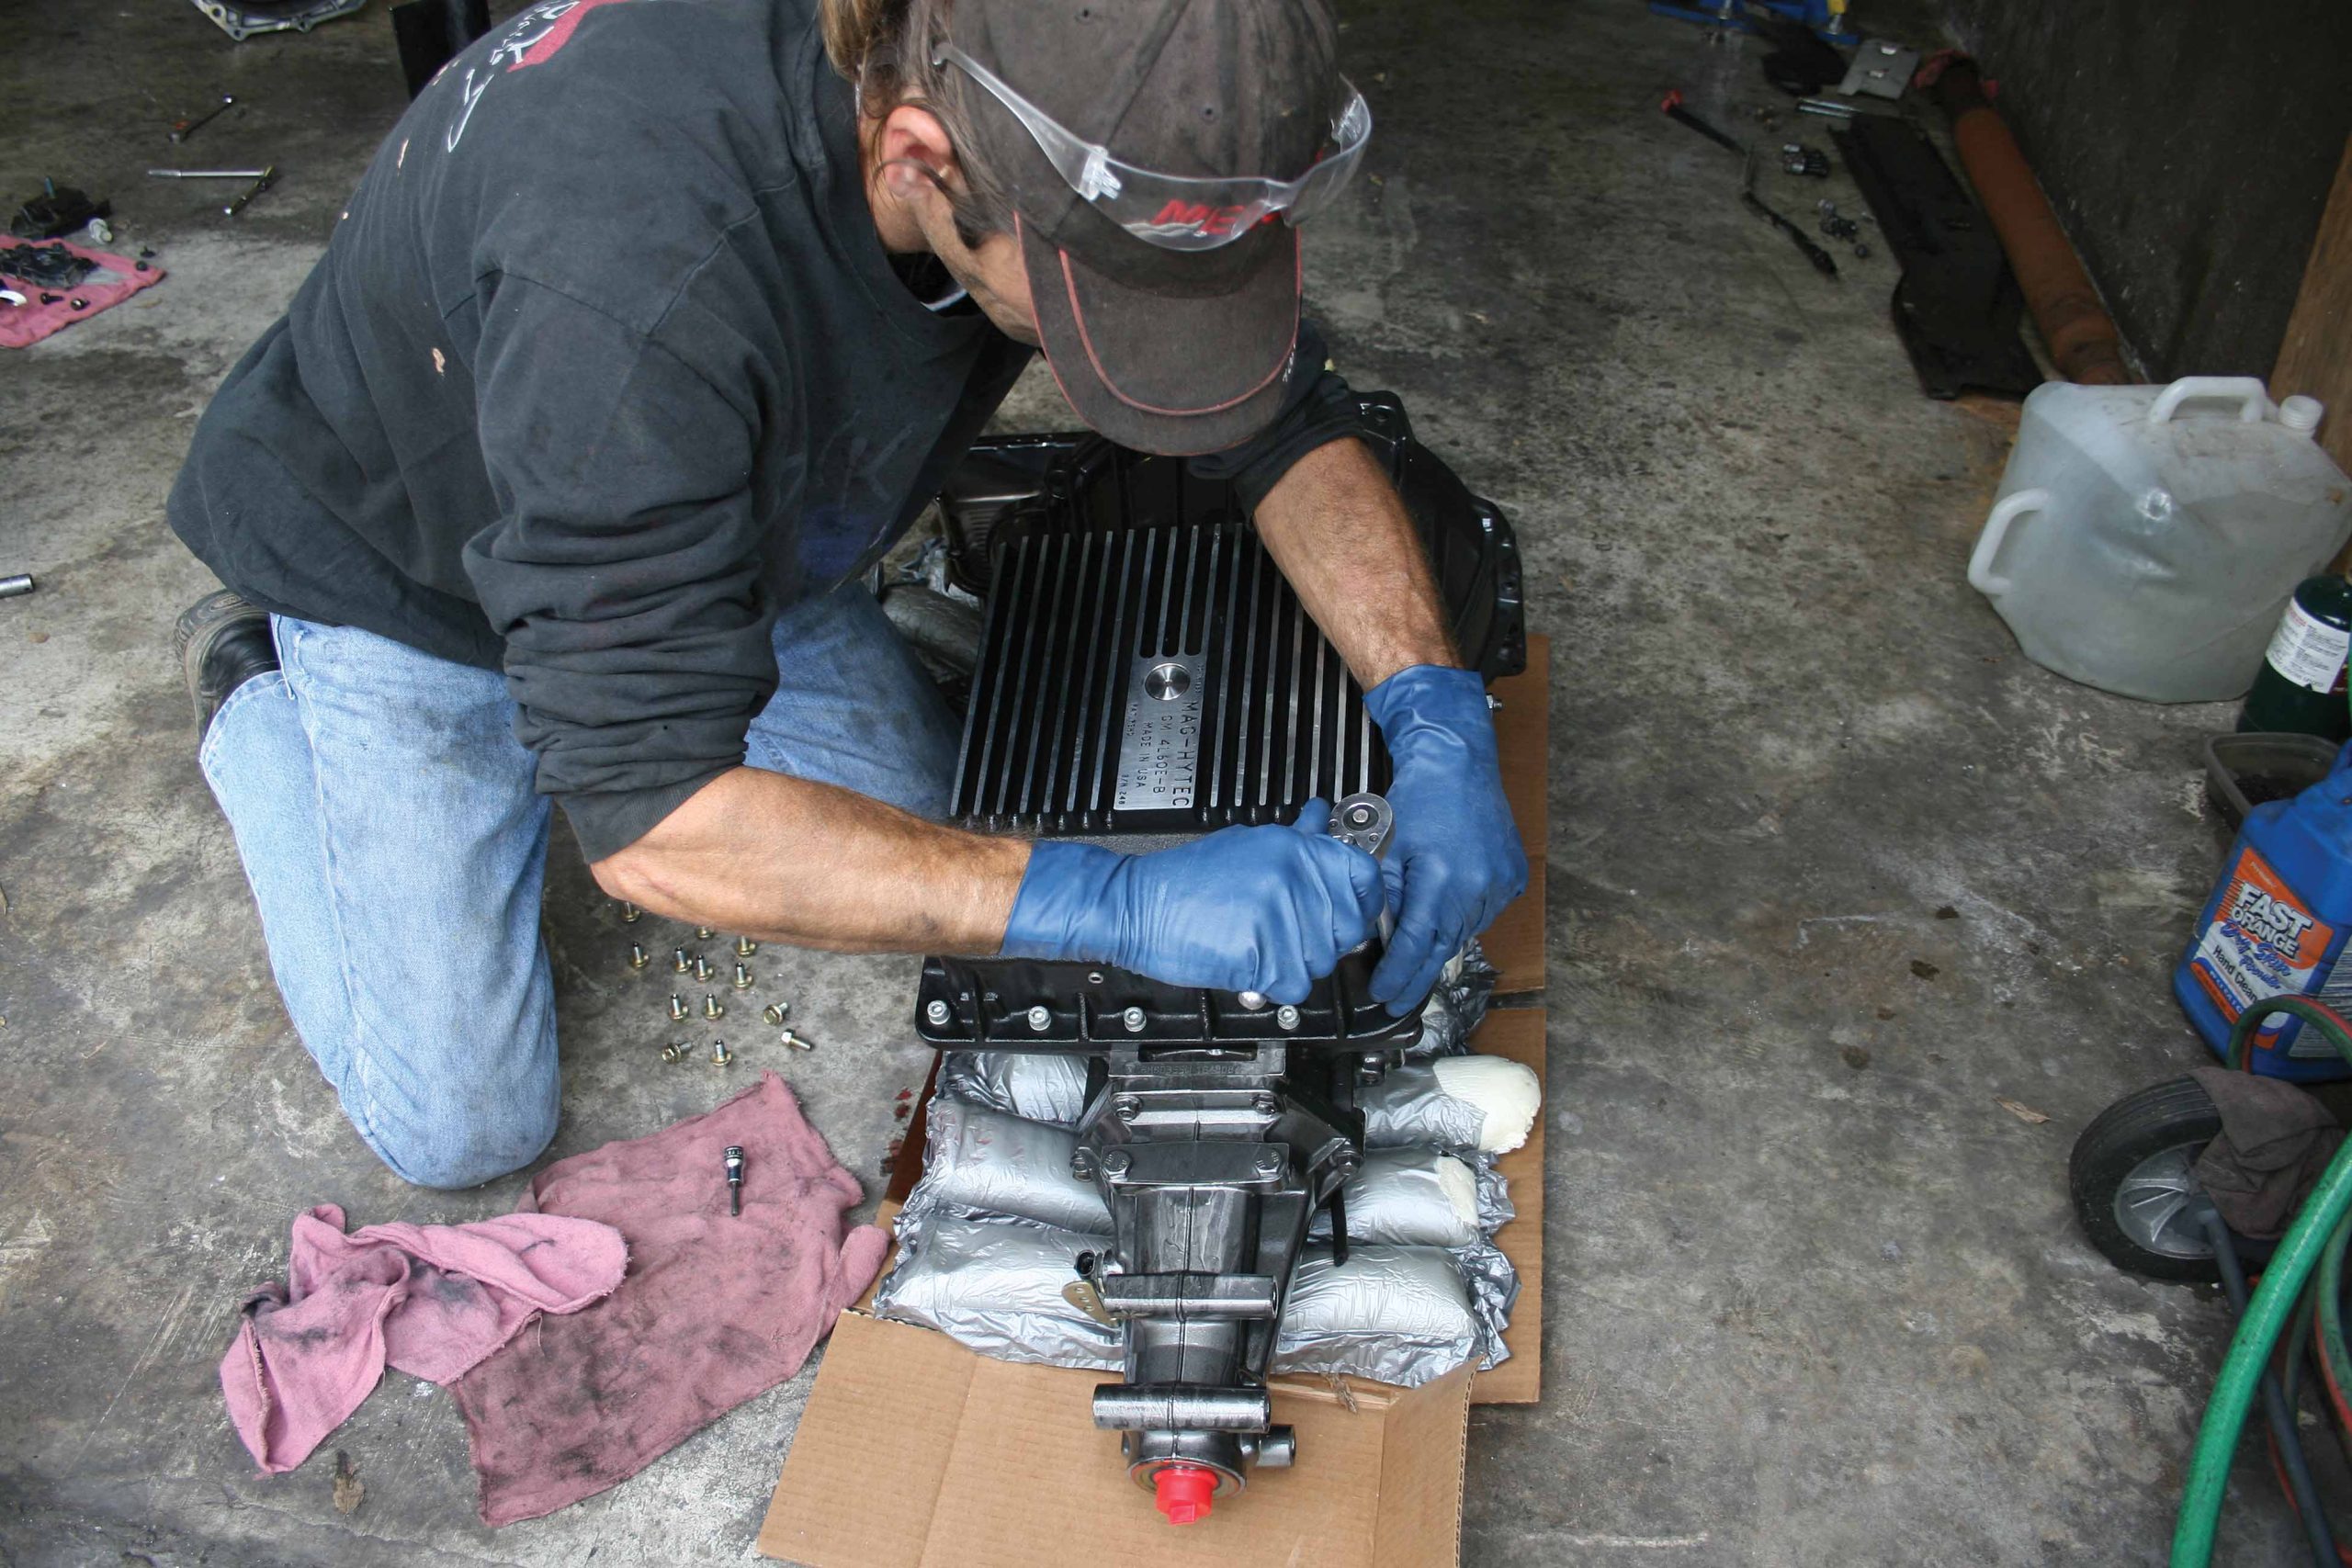
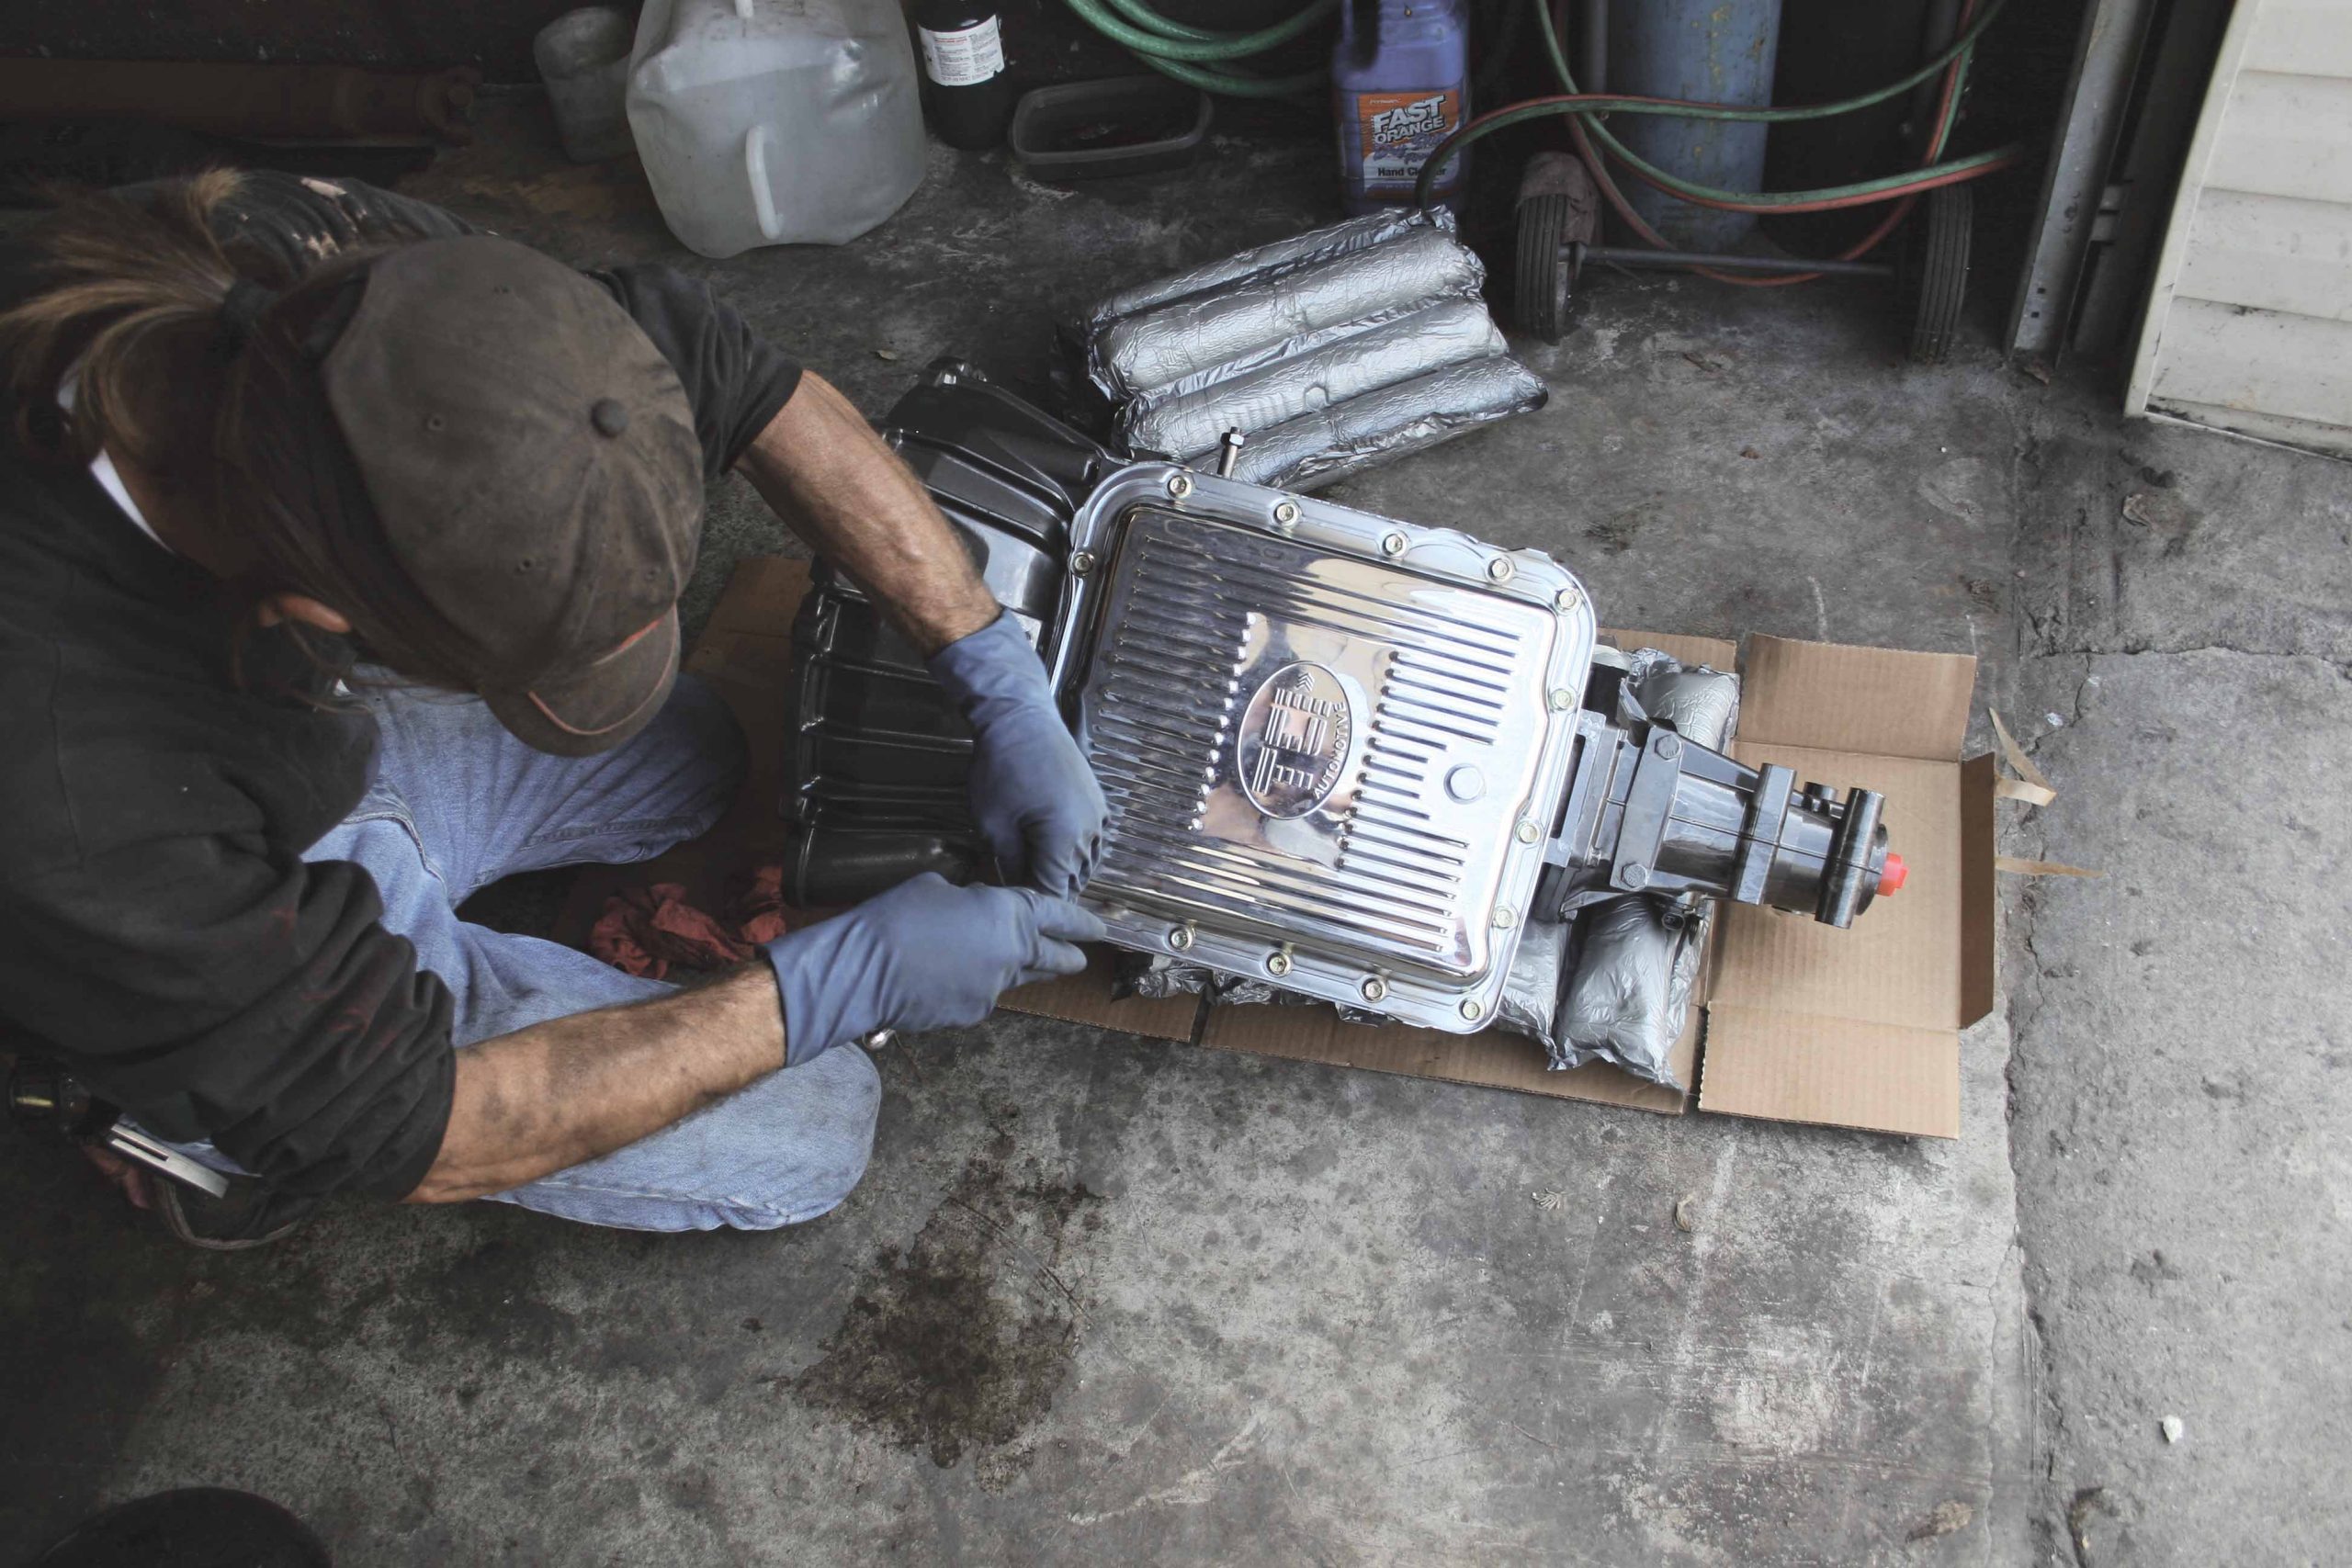
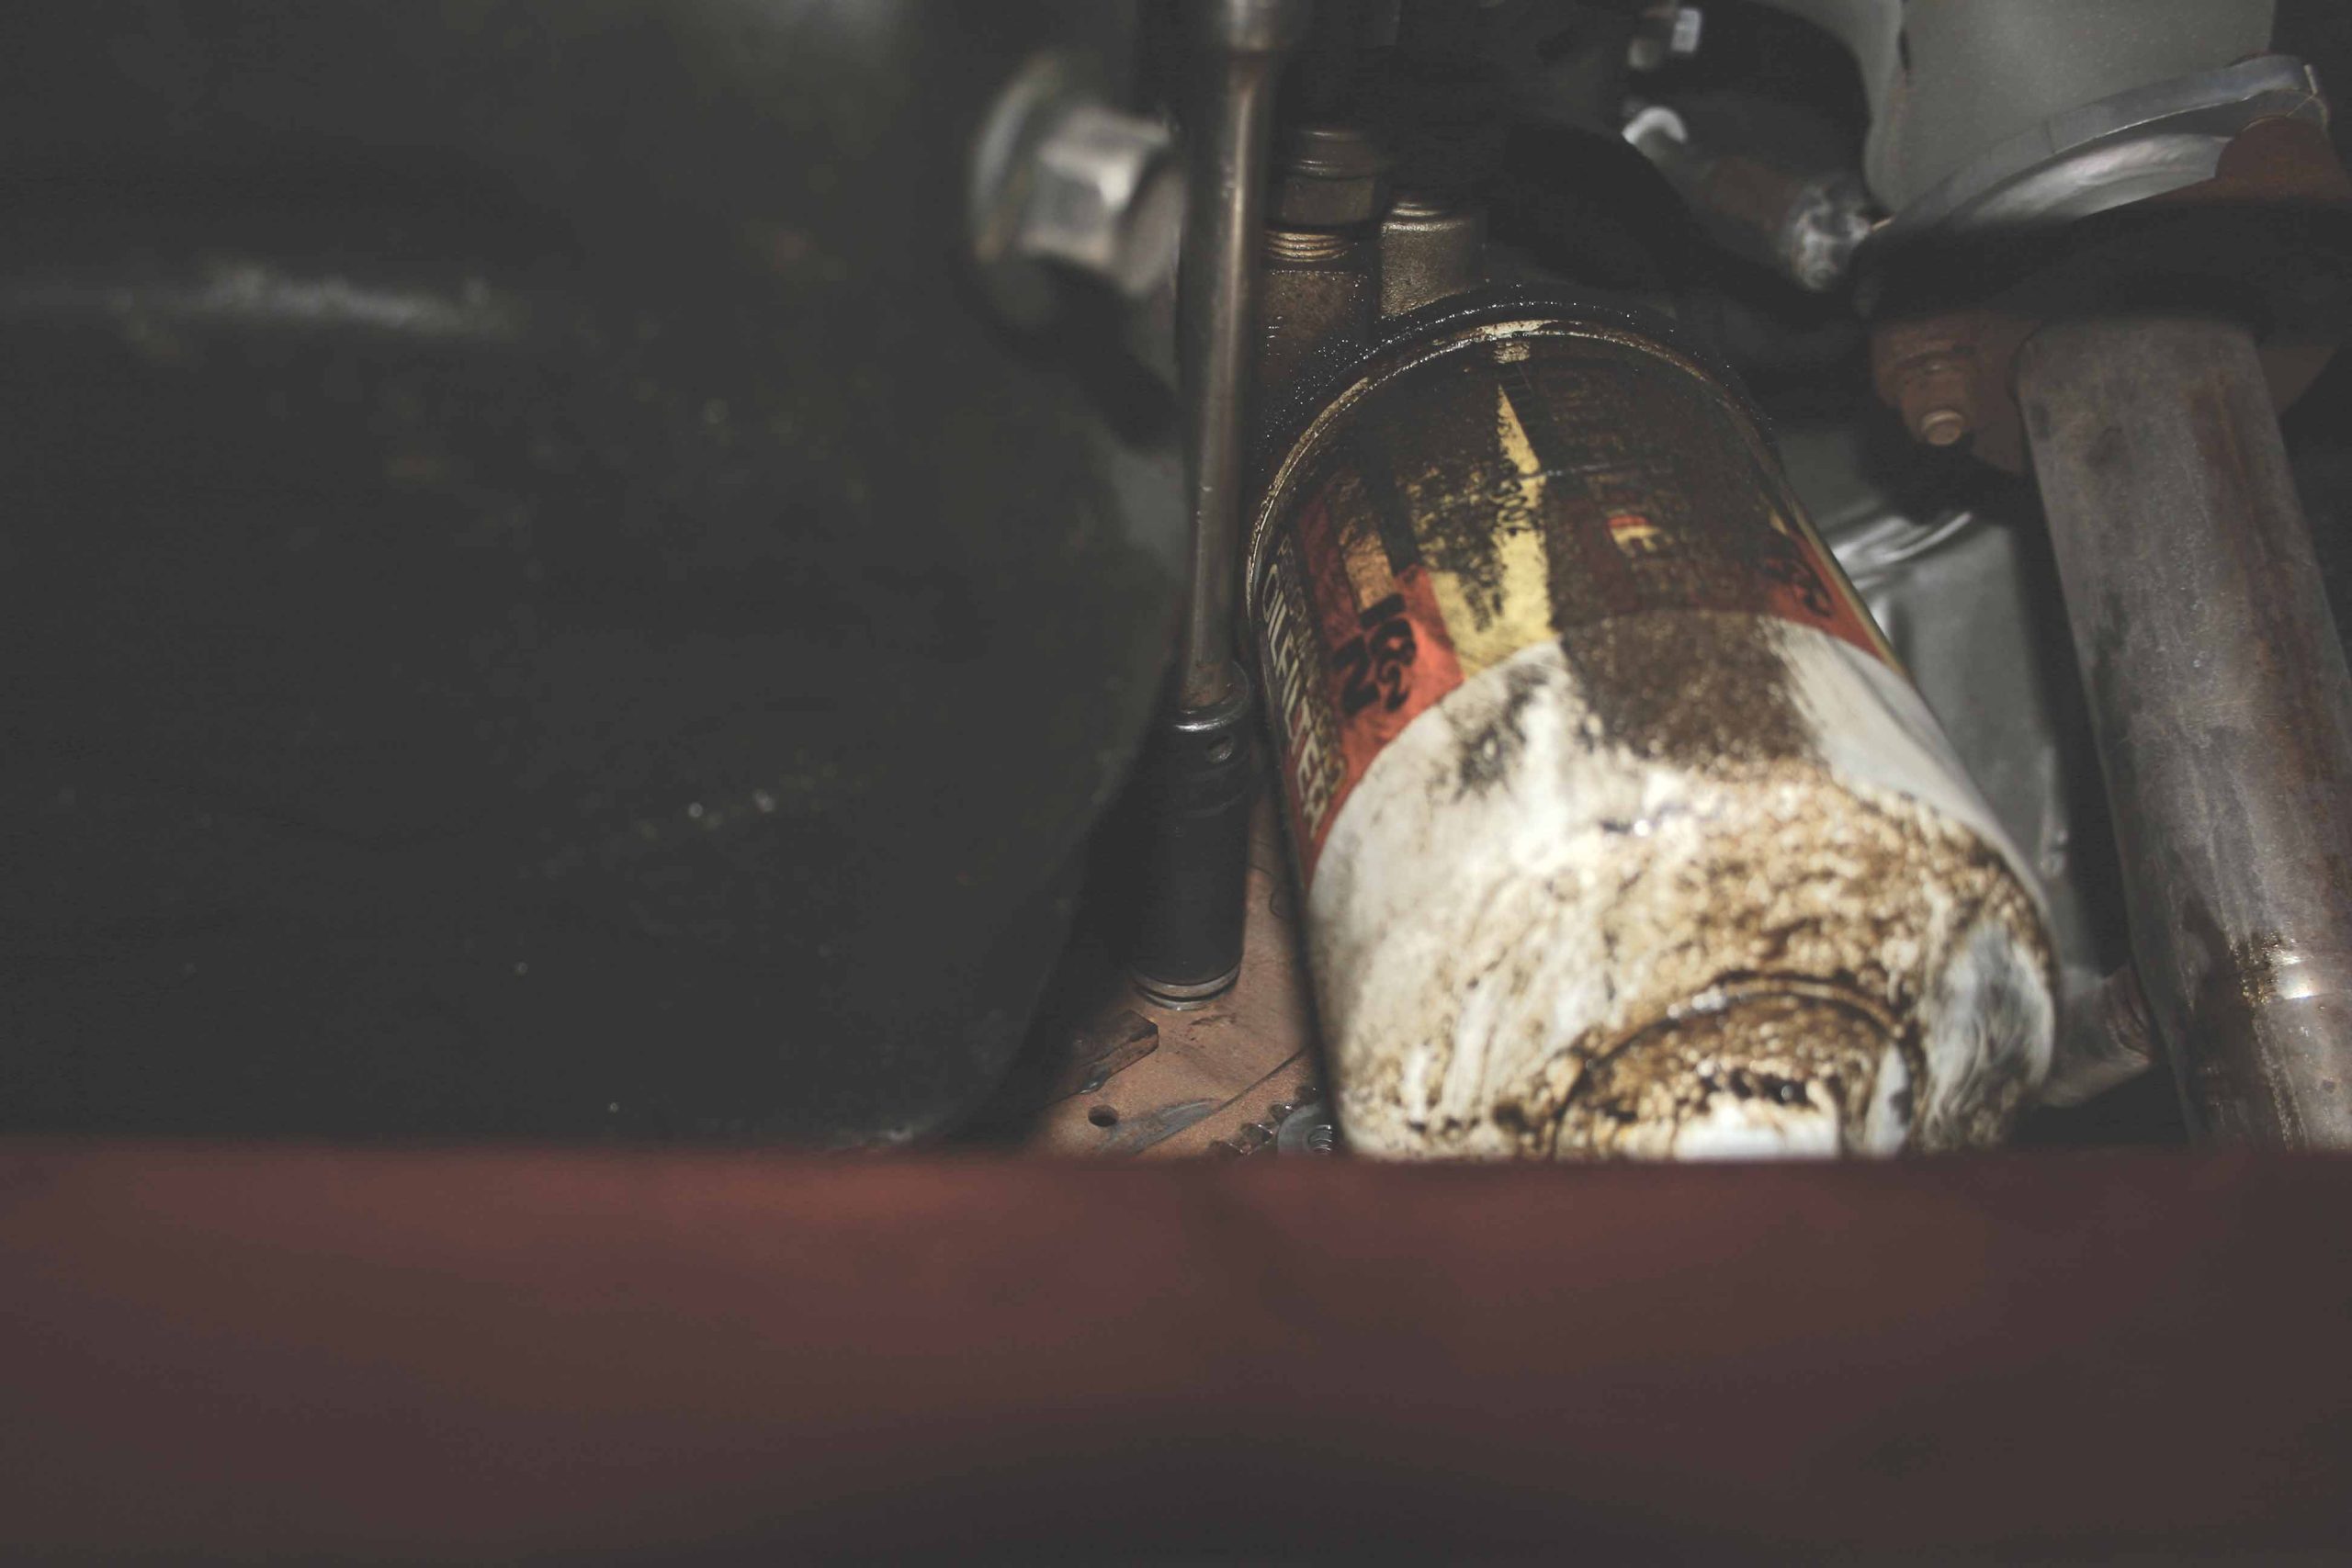
39-41 While the supplied TCI chrome transmission pan is nice looking, and includes a drain plug (unlike factory pans), we opted to remove it and replace it with the Mag-Hytec pan that was on our old transmission. The Mag-Hytec pan is deeper for extra fluid and cooling capacity but requires a deeper filter so we installed the new filter and pan and were ready to go.
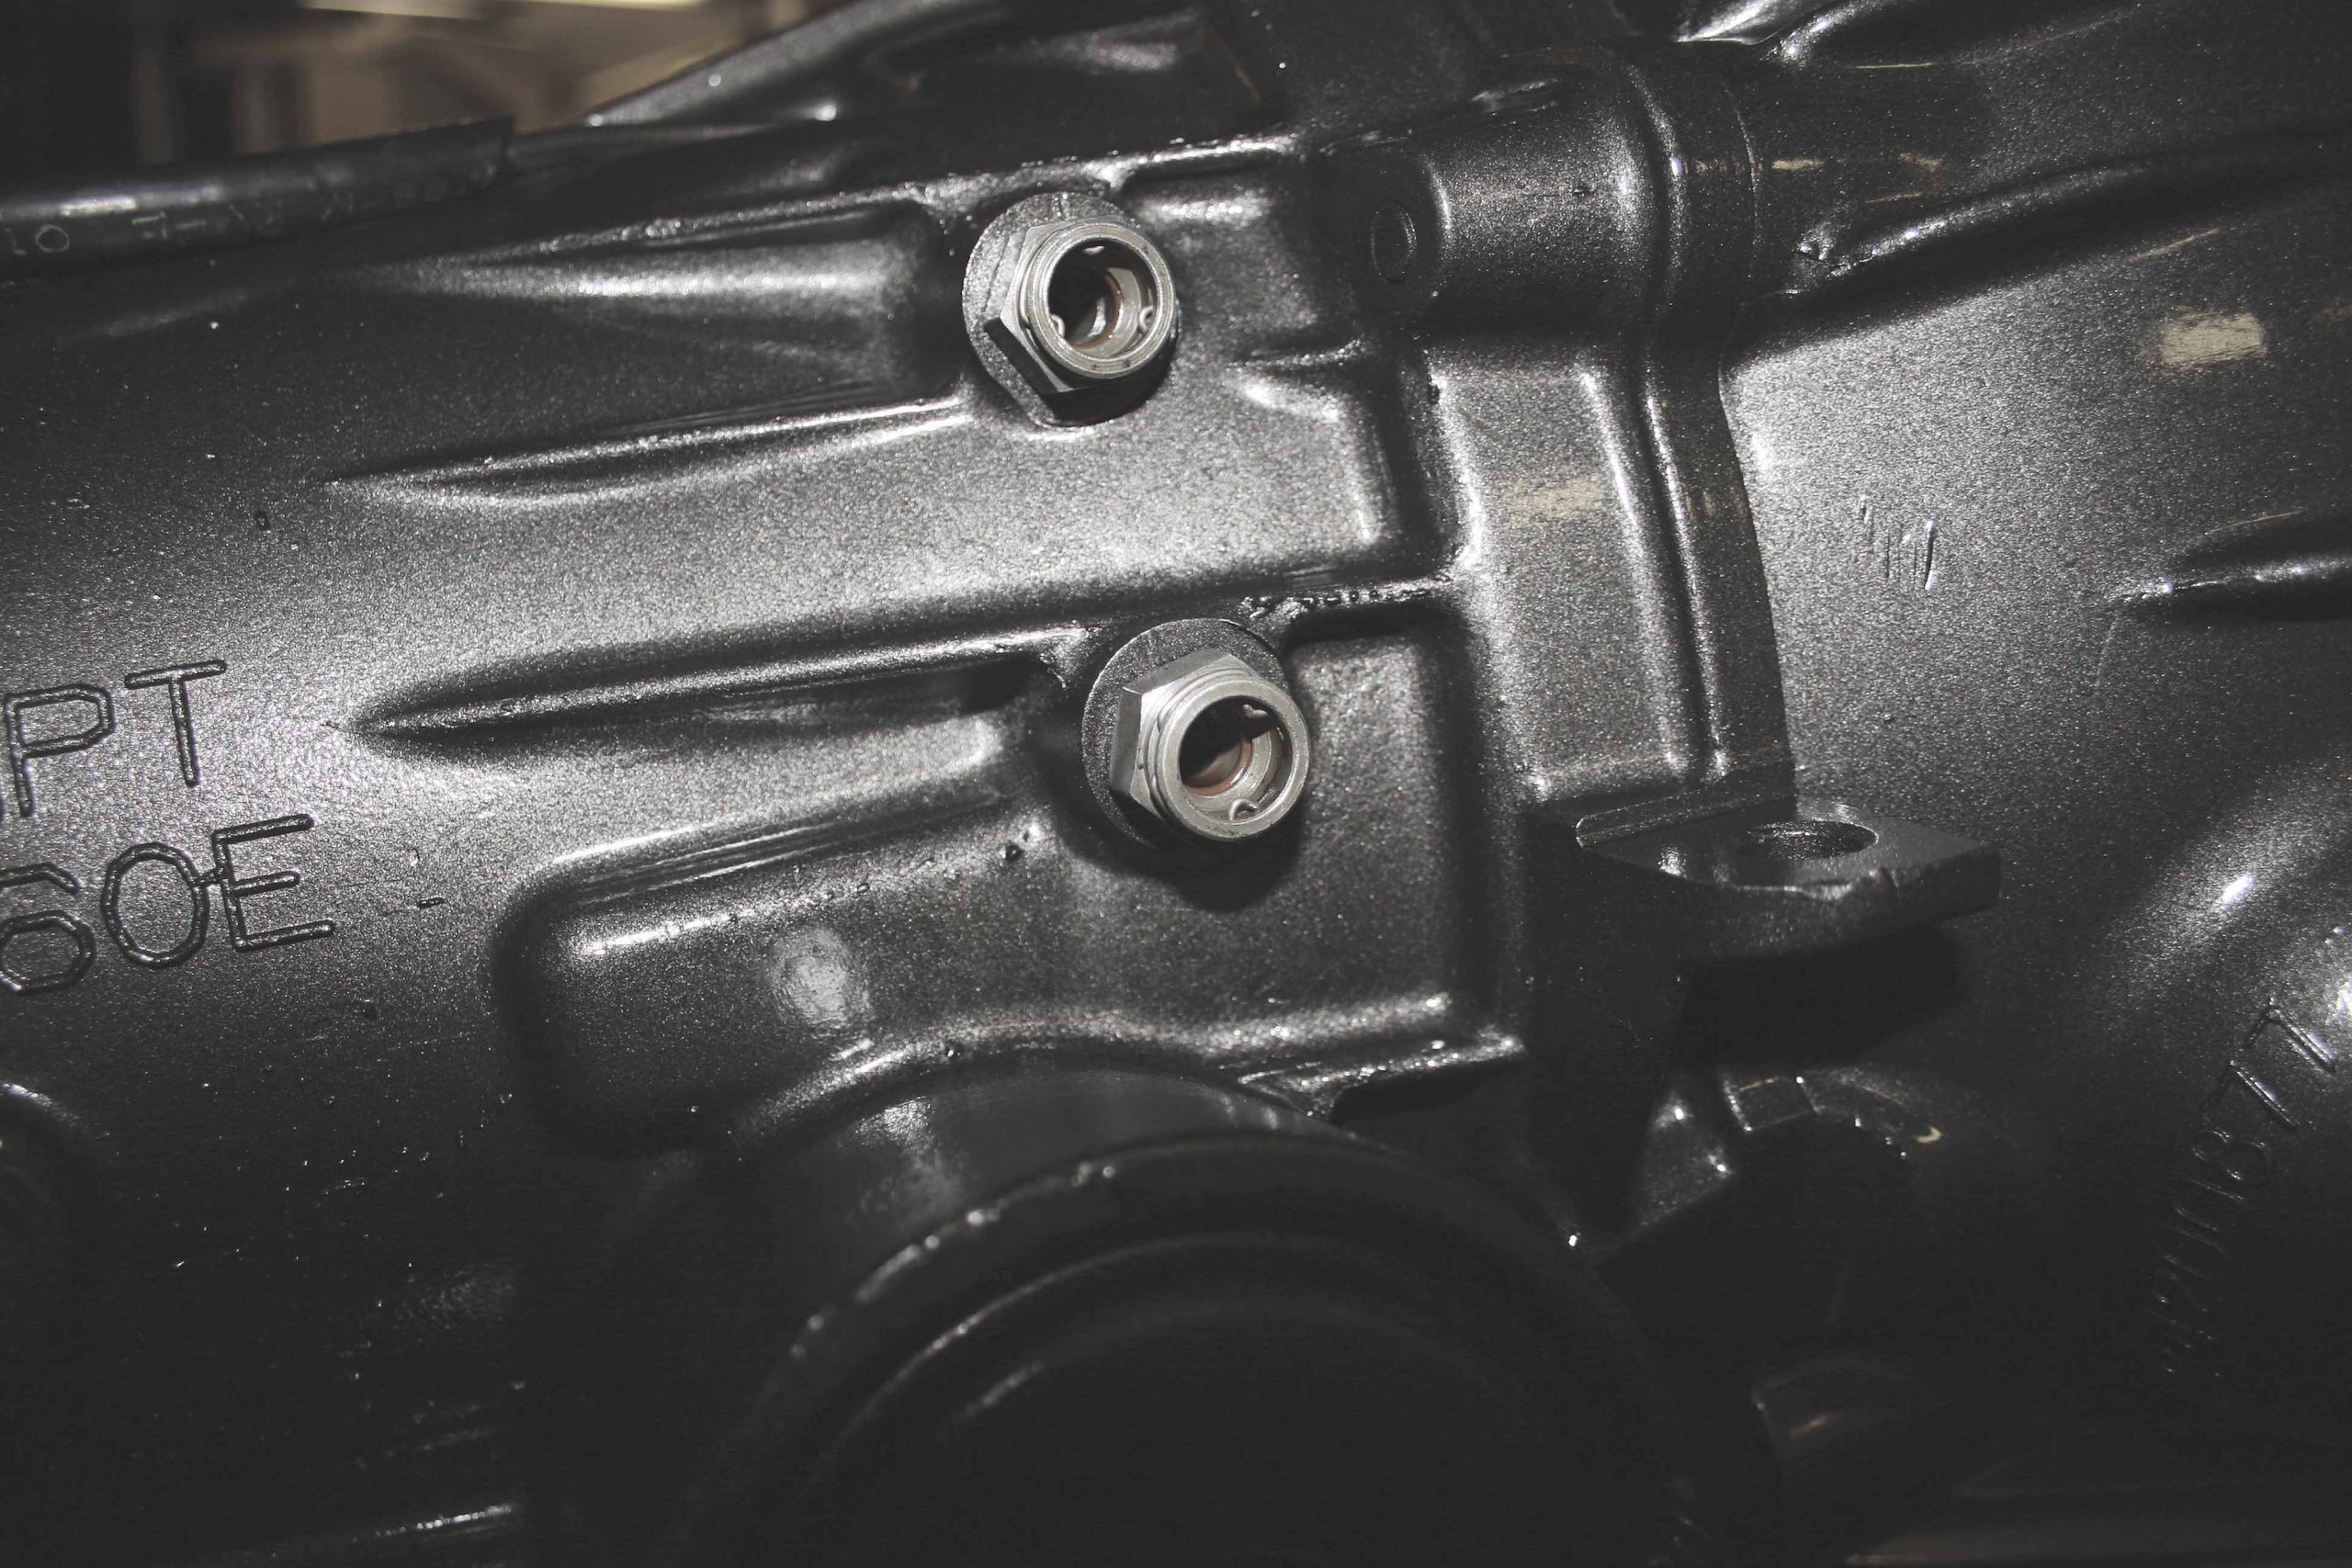
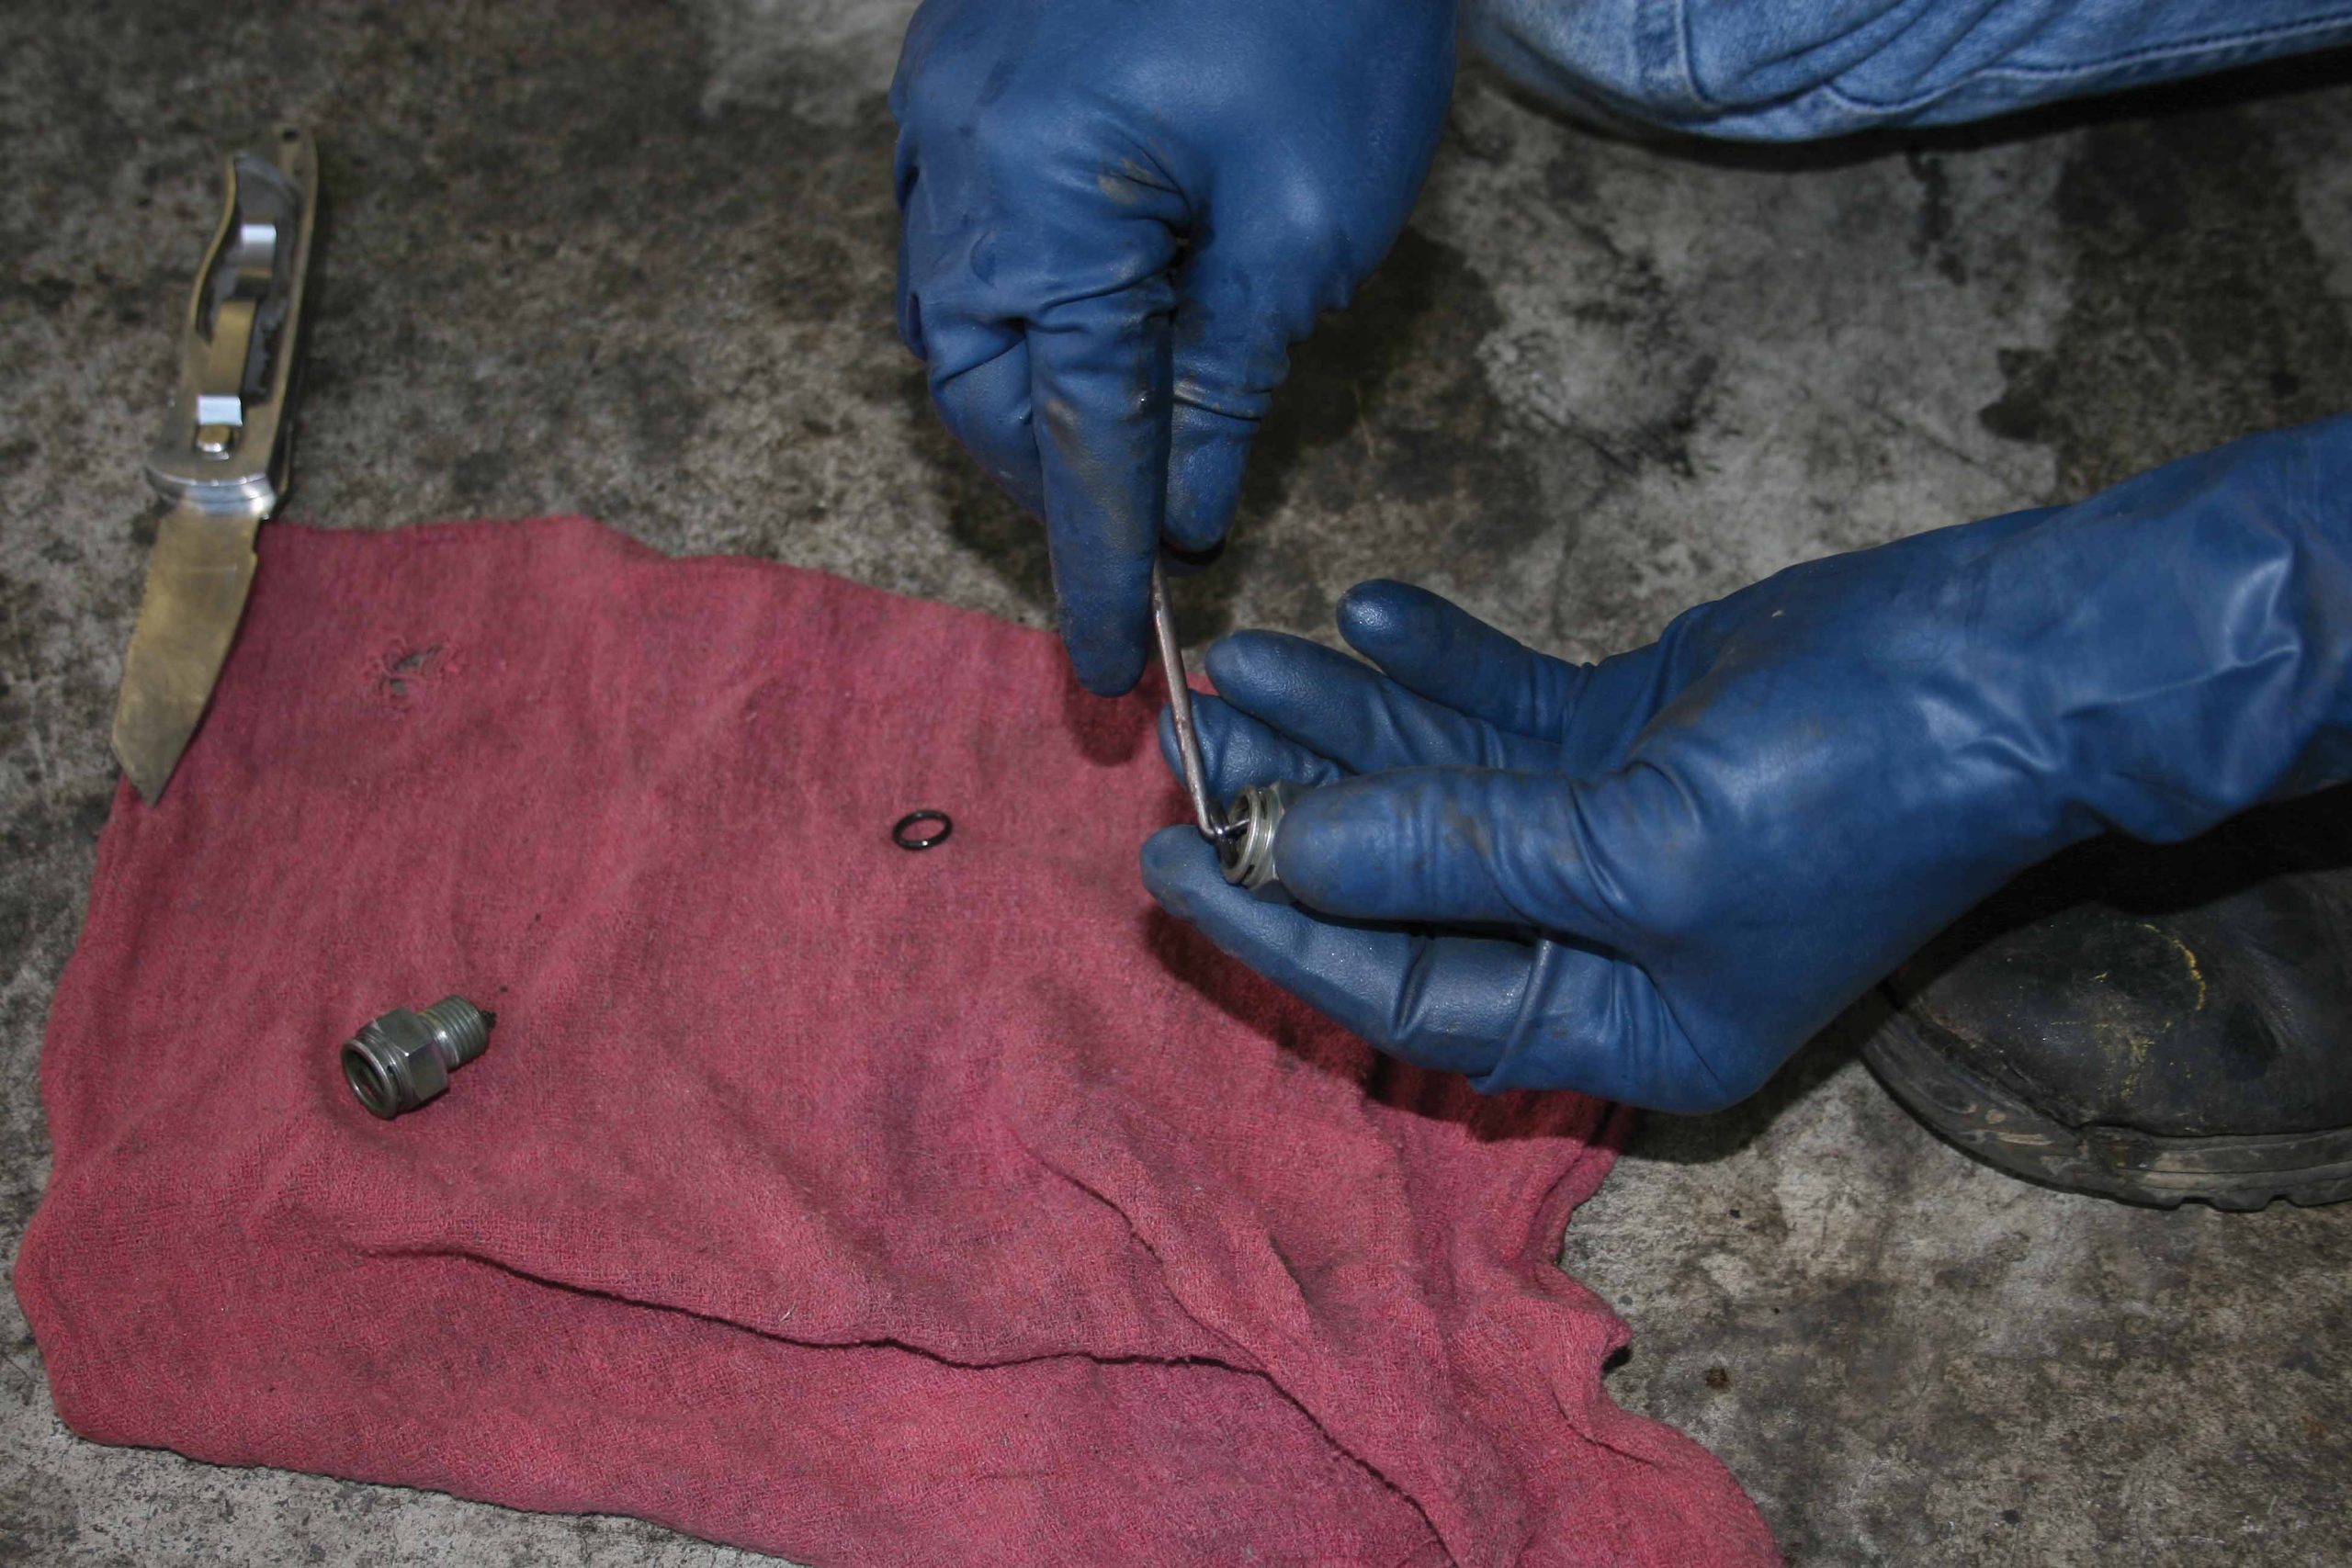
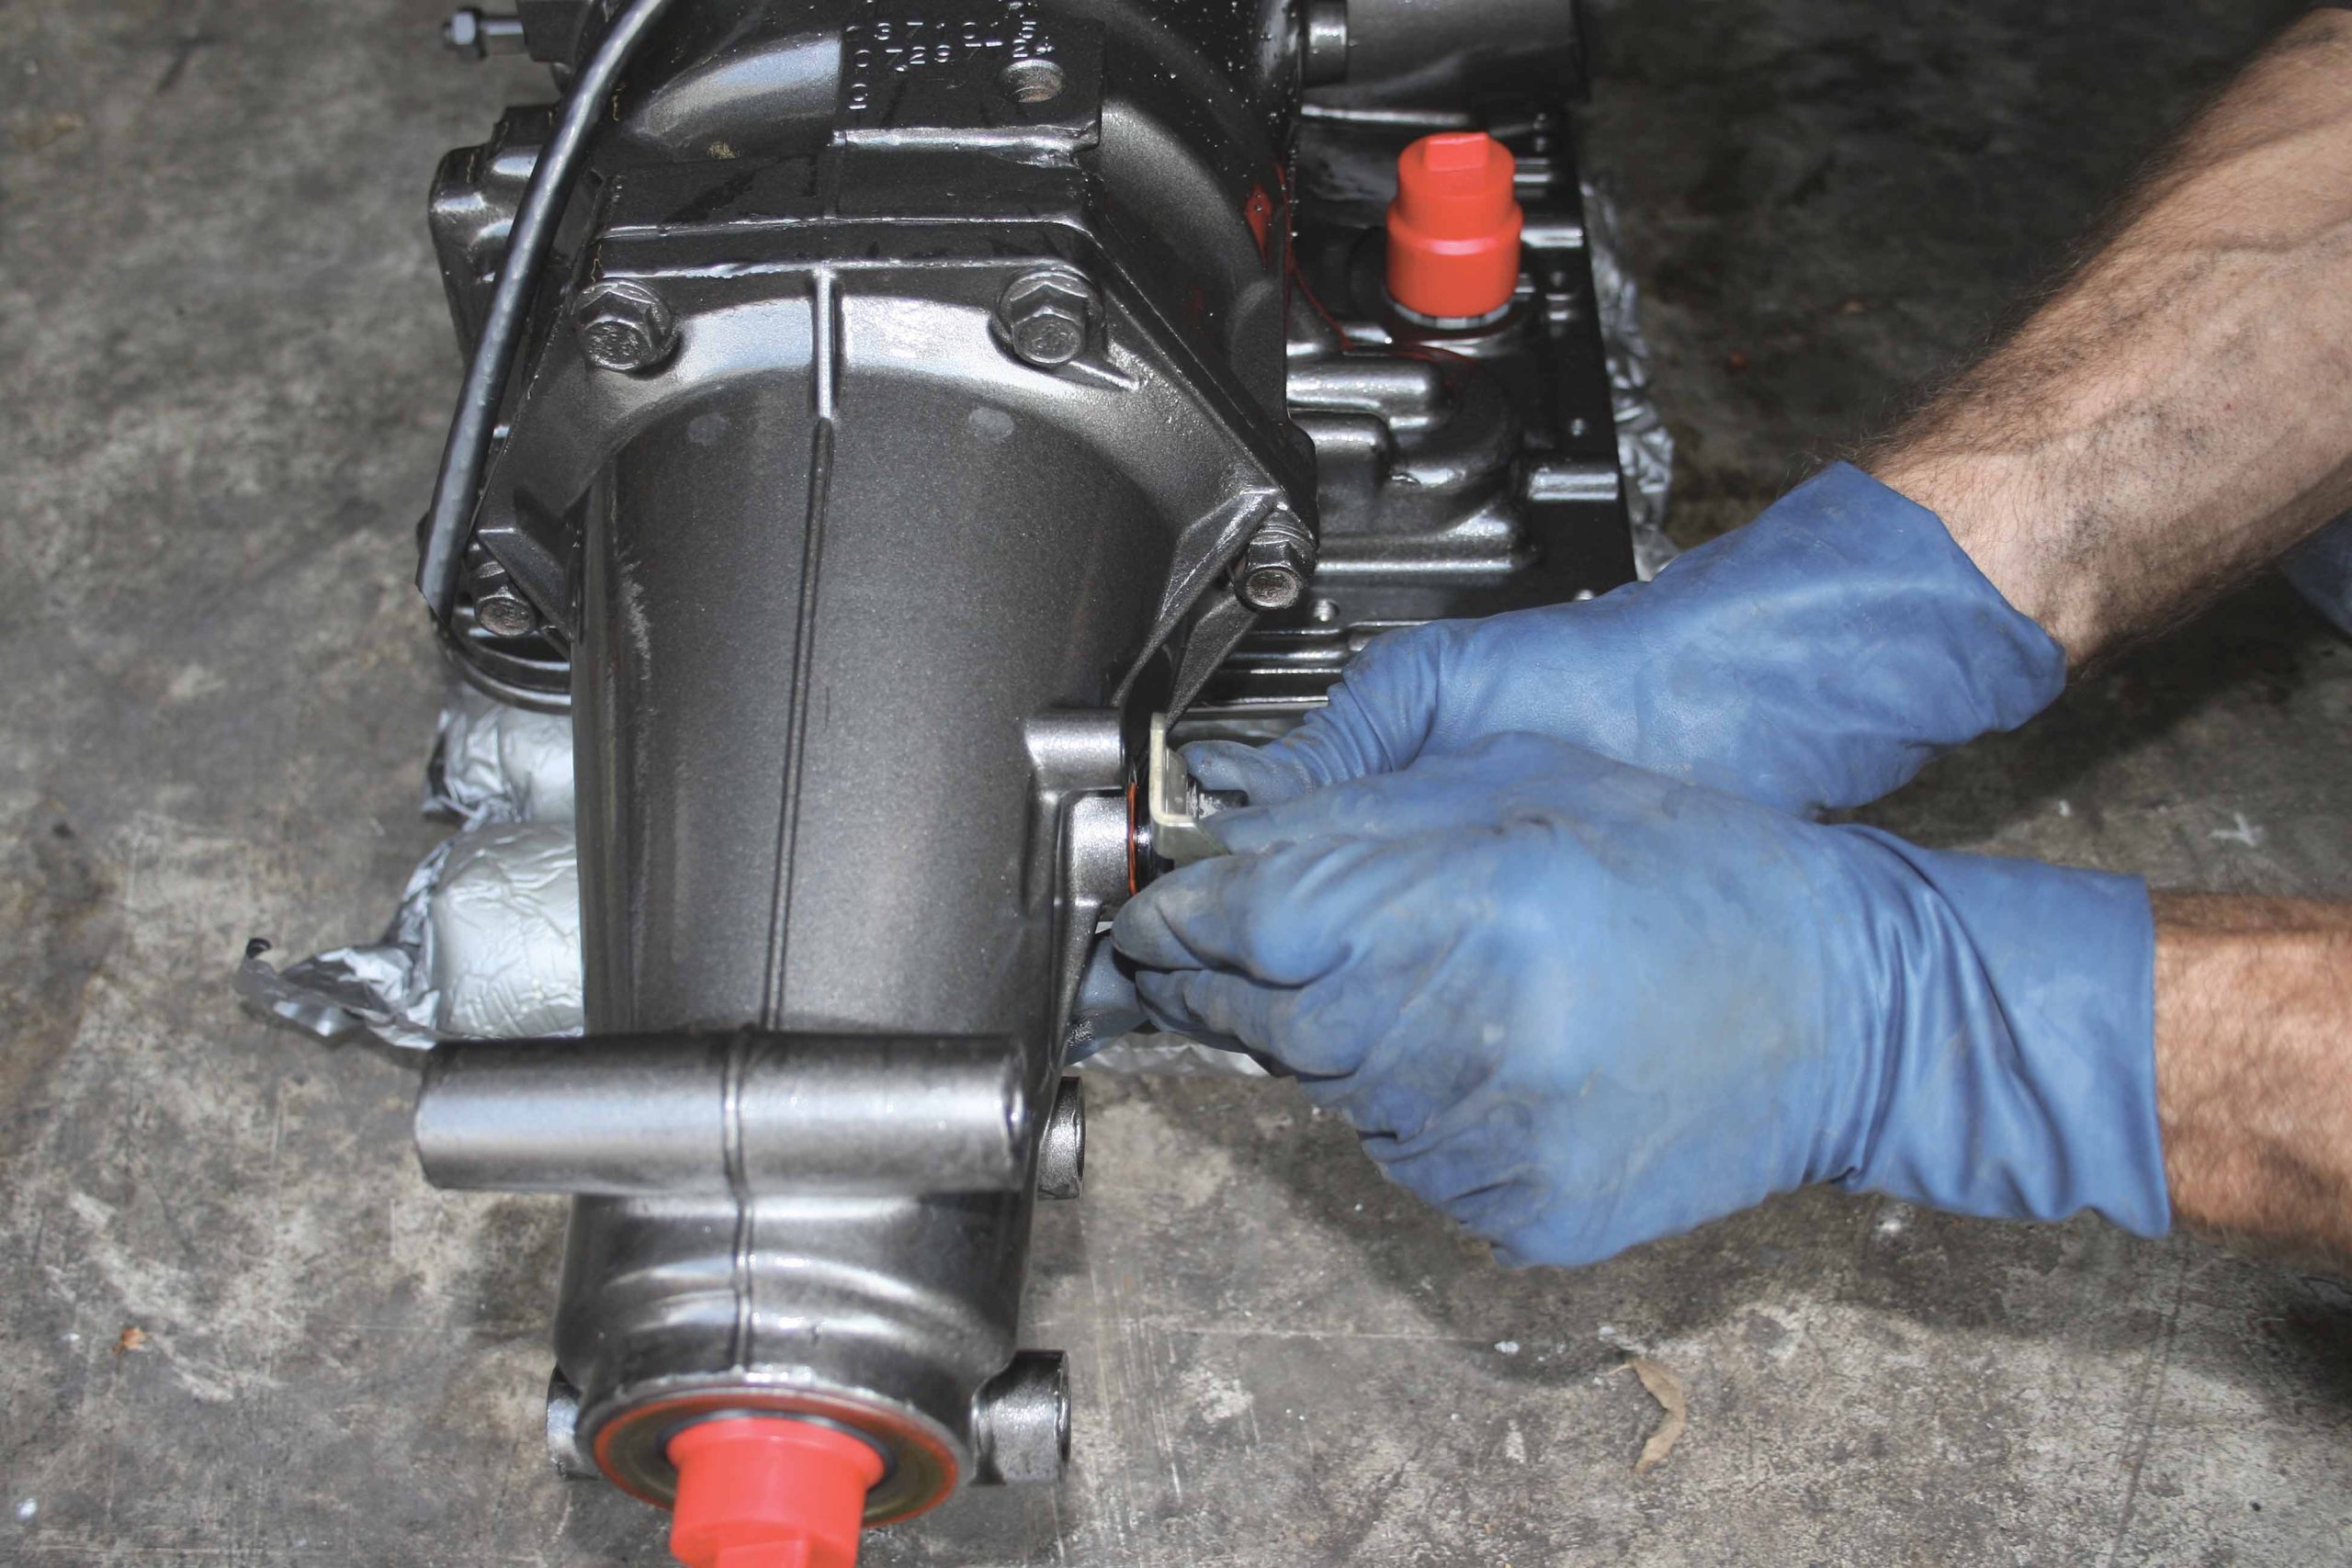
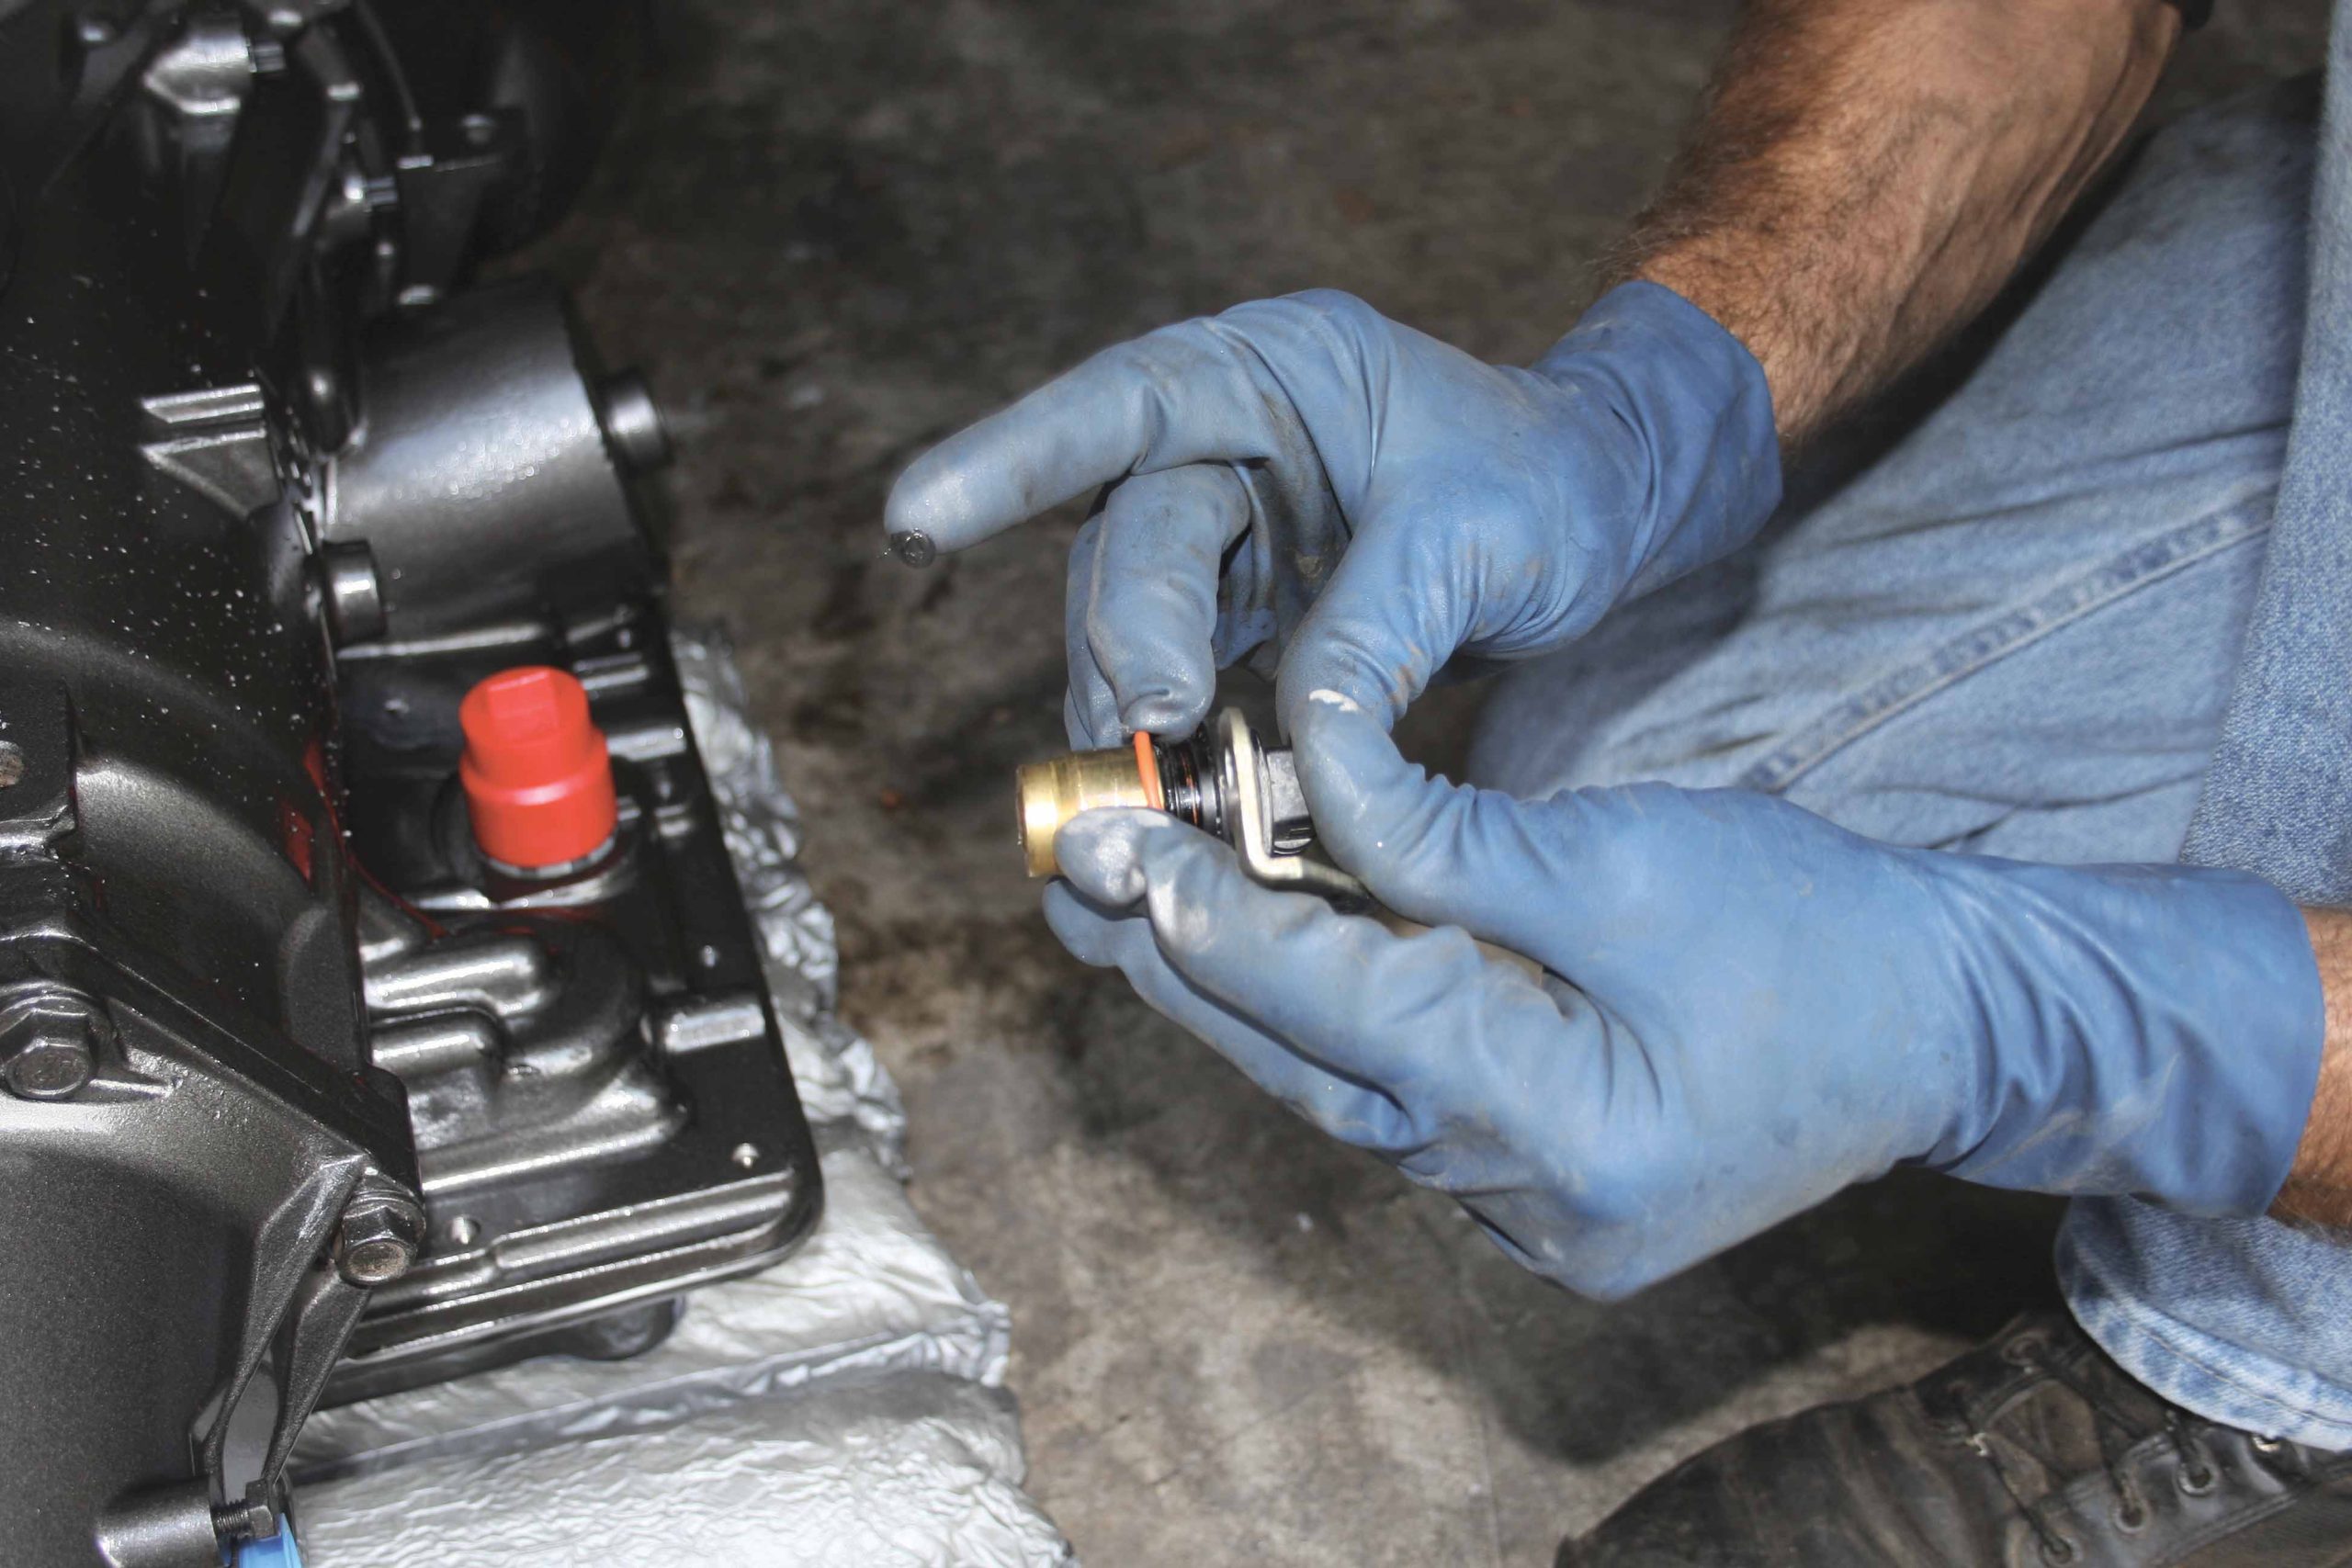
42-43 Remove the cooler line fittings from the old transmission as they will be reused on the TCI StreetFighter. Before reusing the fittings, replace the old O-rings with the new ones TCI supplies with the transmission.
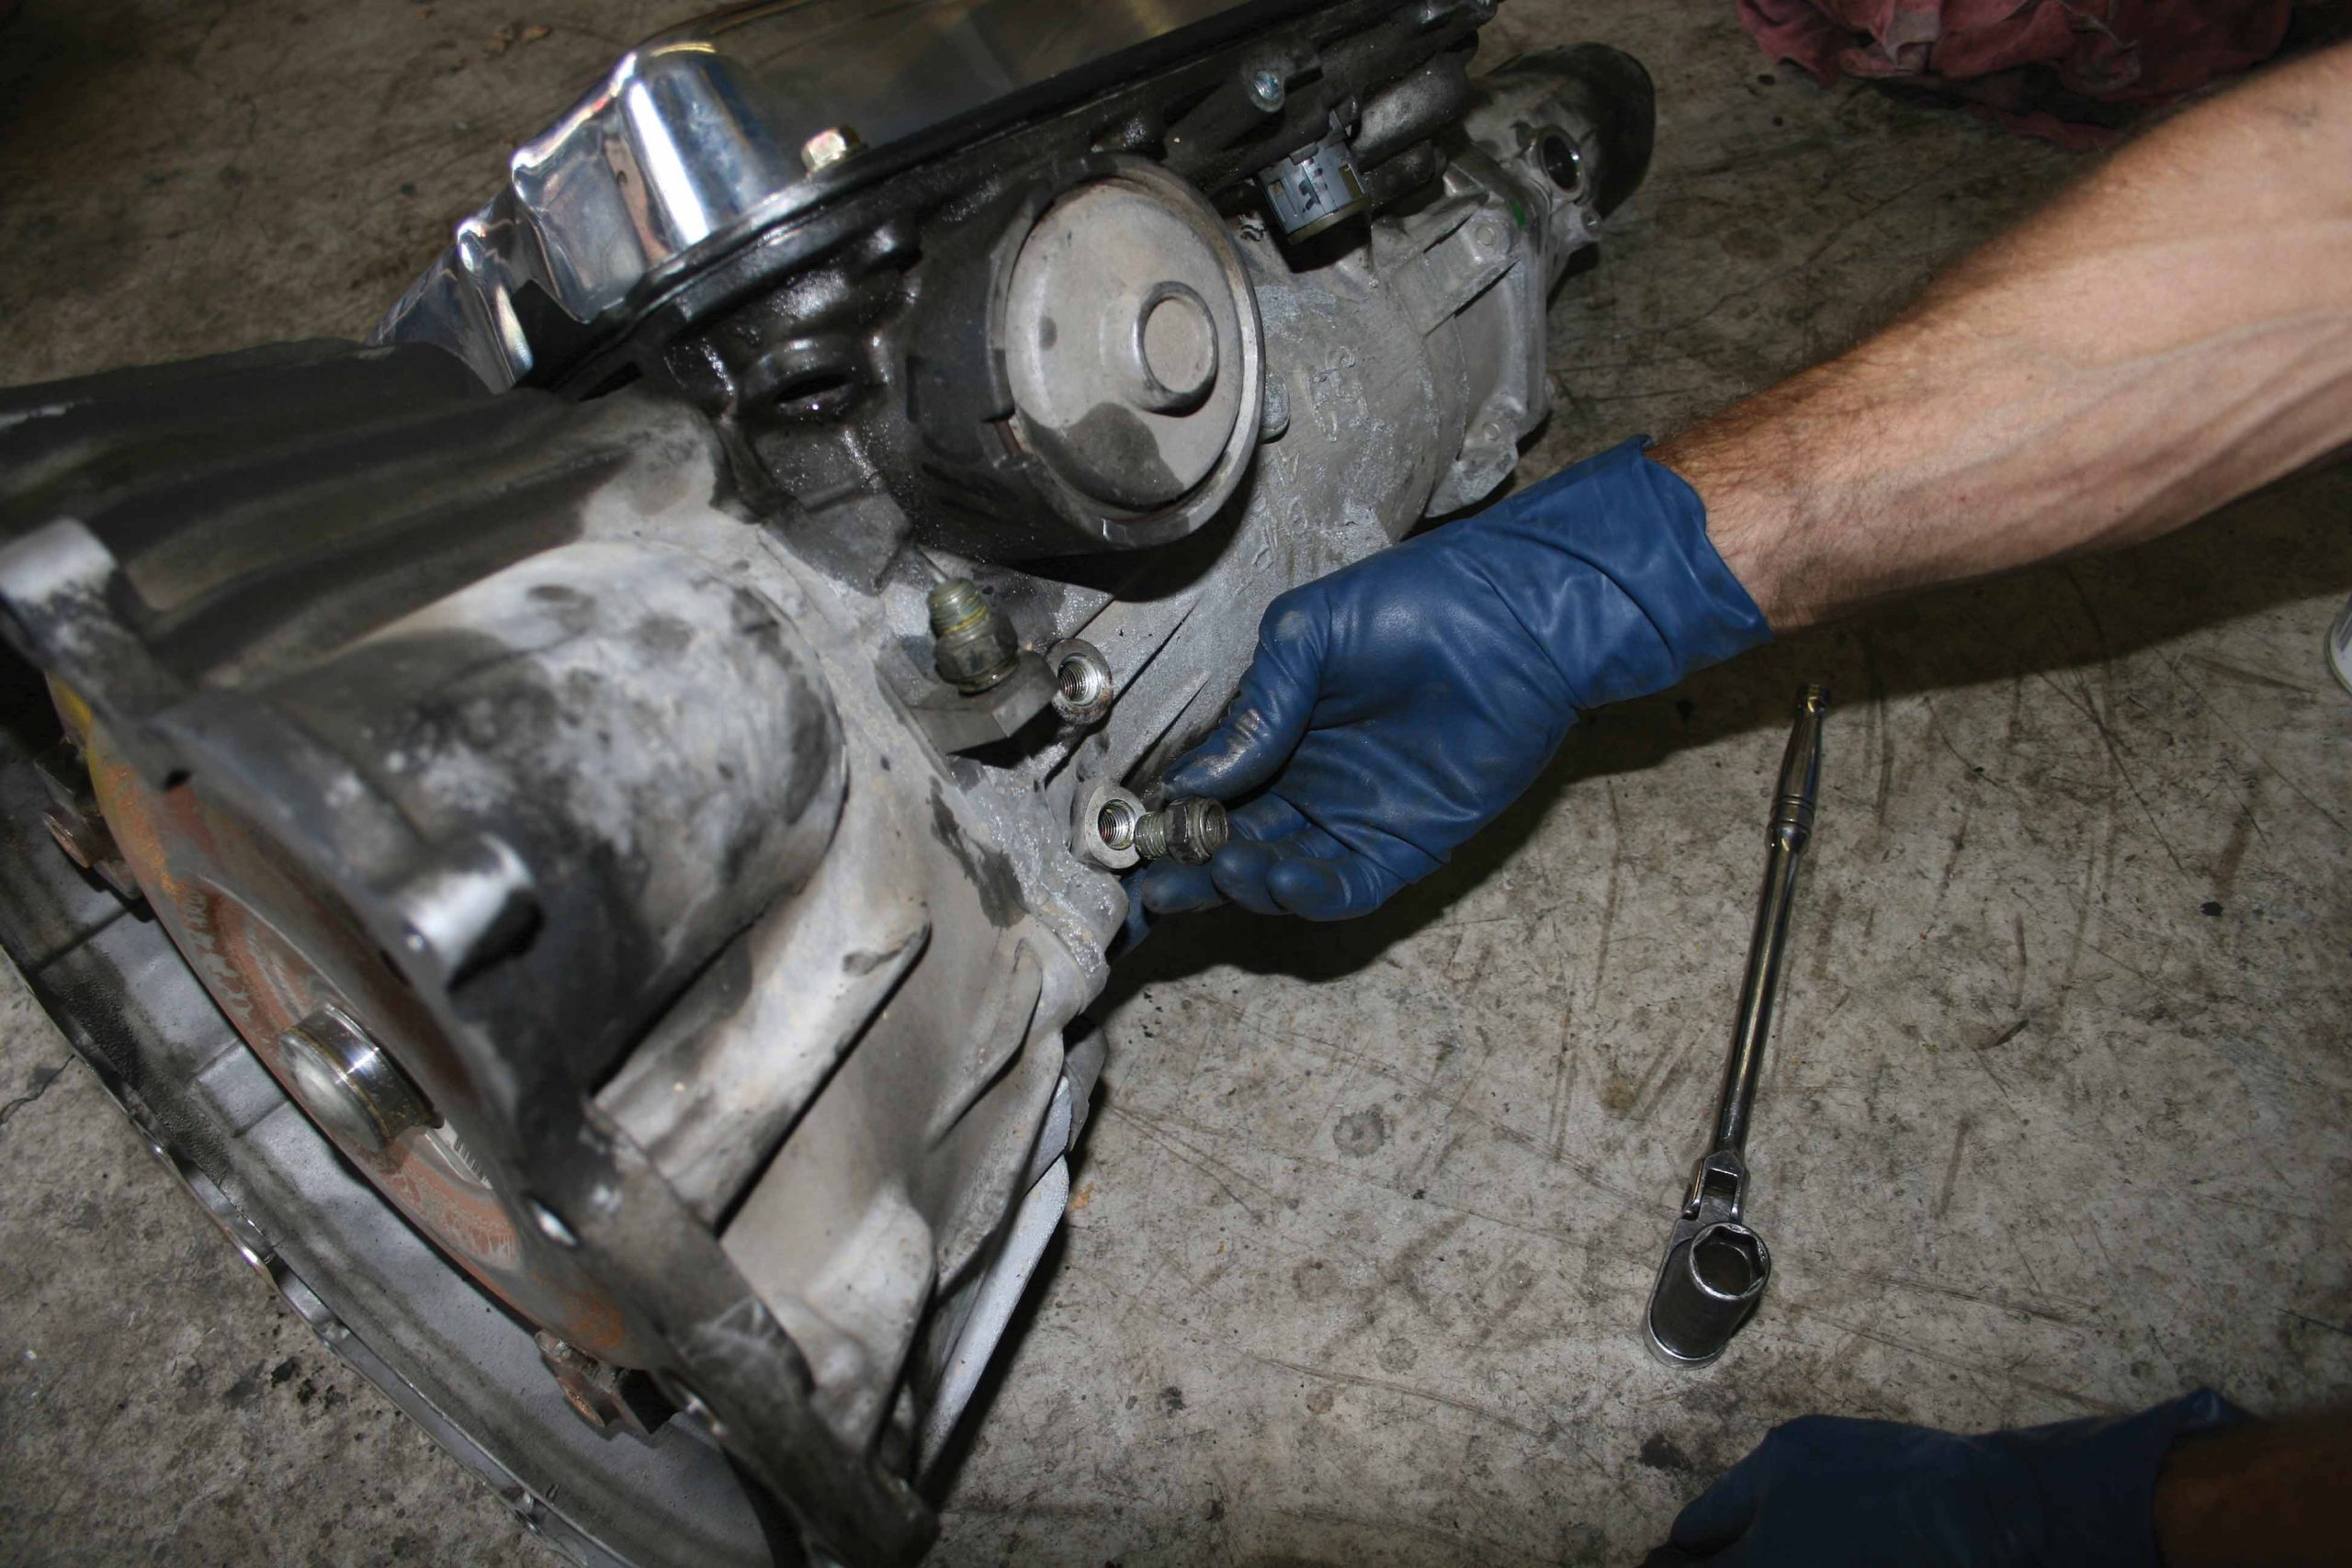
44-45 After installing the new O-rings, install the fittings into the TCI transmission. Don’t forget to install the retaining clips into the fittings before you get the transmission back into the truck, the cooling lines will not stay in the transmission without the retaining clips.
46-47 Before installing the transmission in the truck, we installed the mounting brackets and module as well as the rear transmission mount. Use care when installing the module on the gear selector shaft so as not to damage the module as it can be expensive to replace.
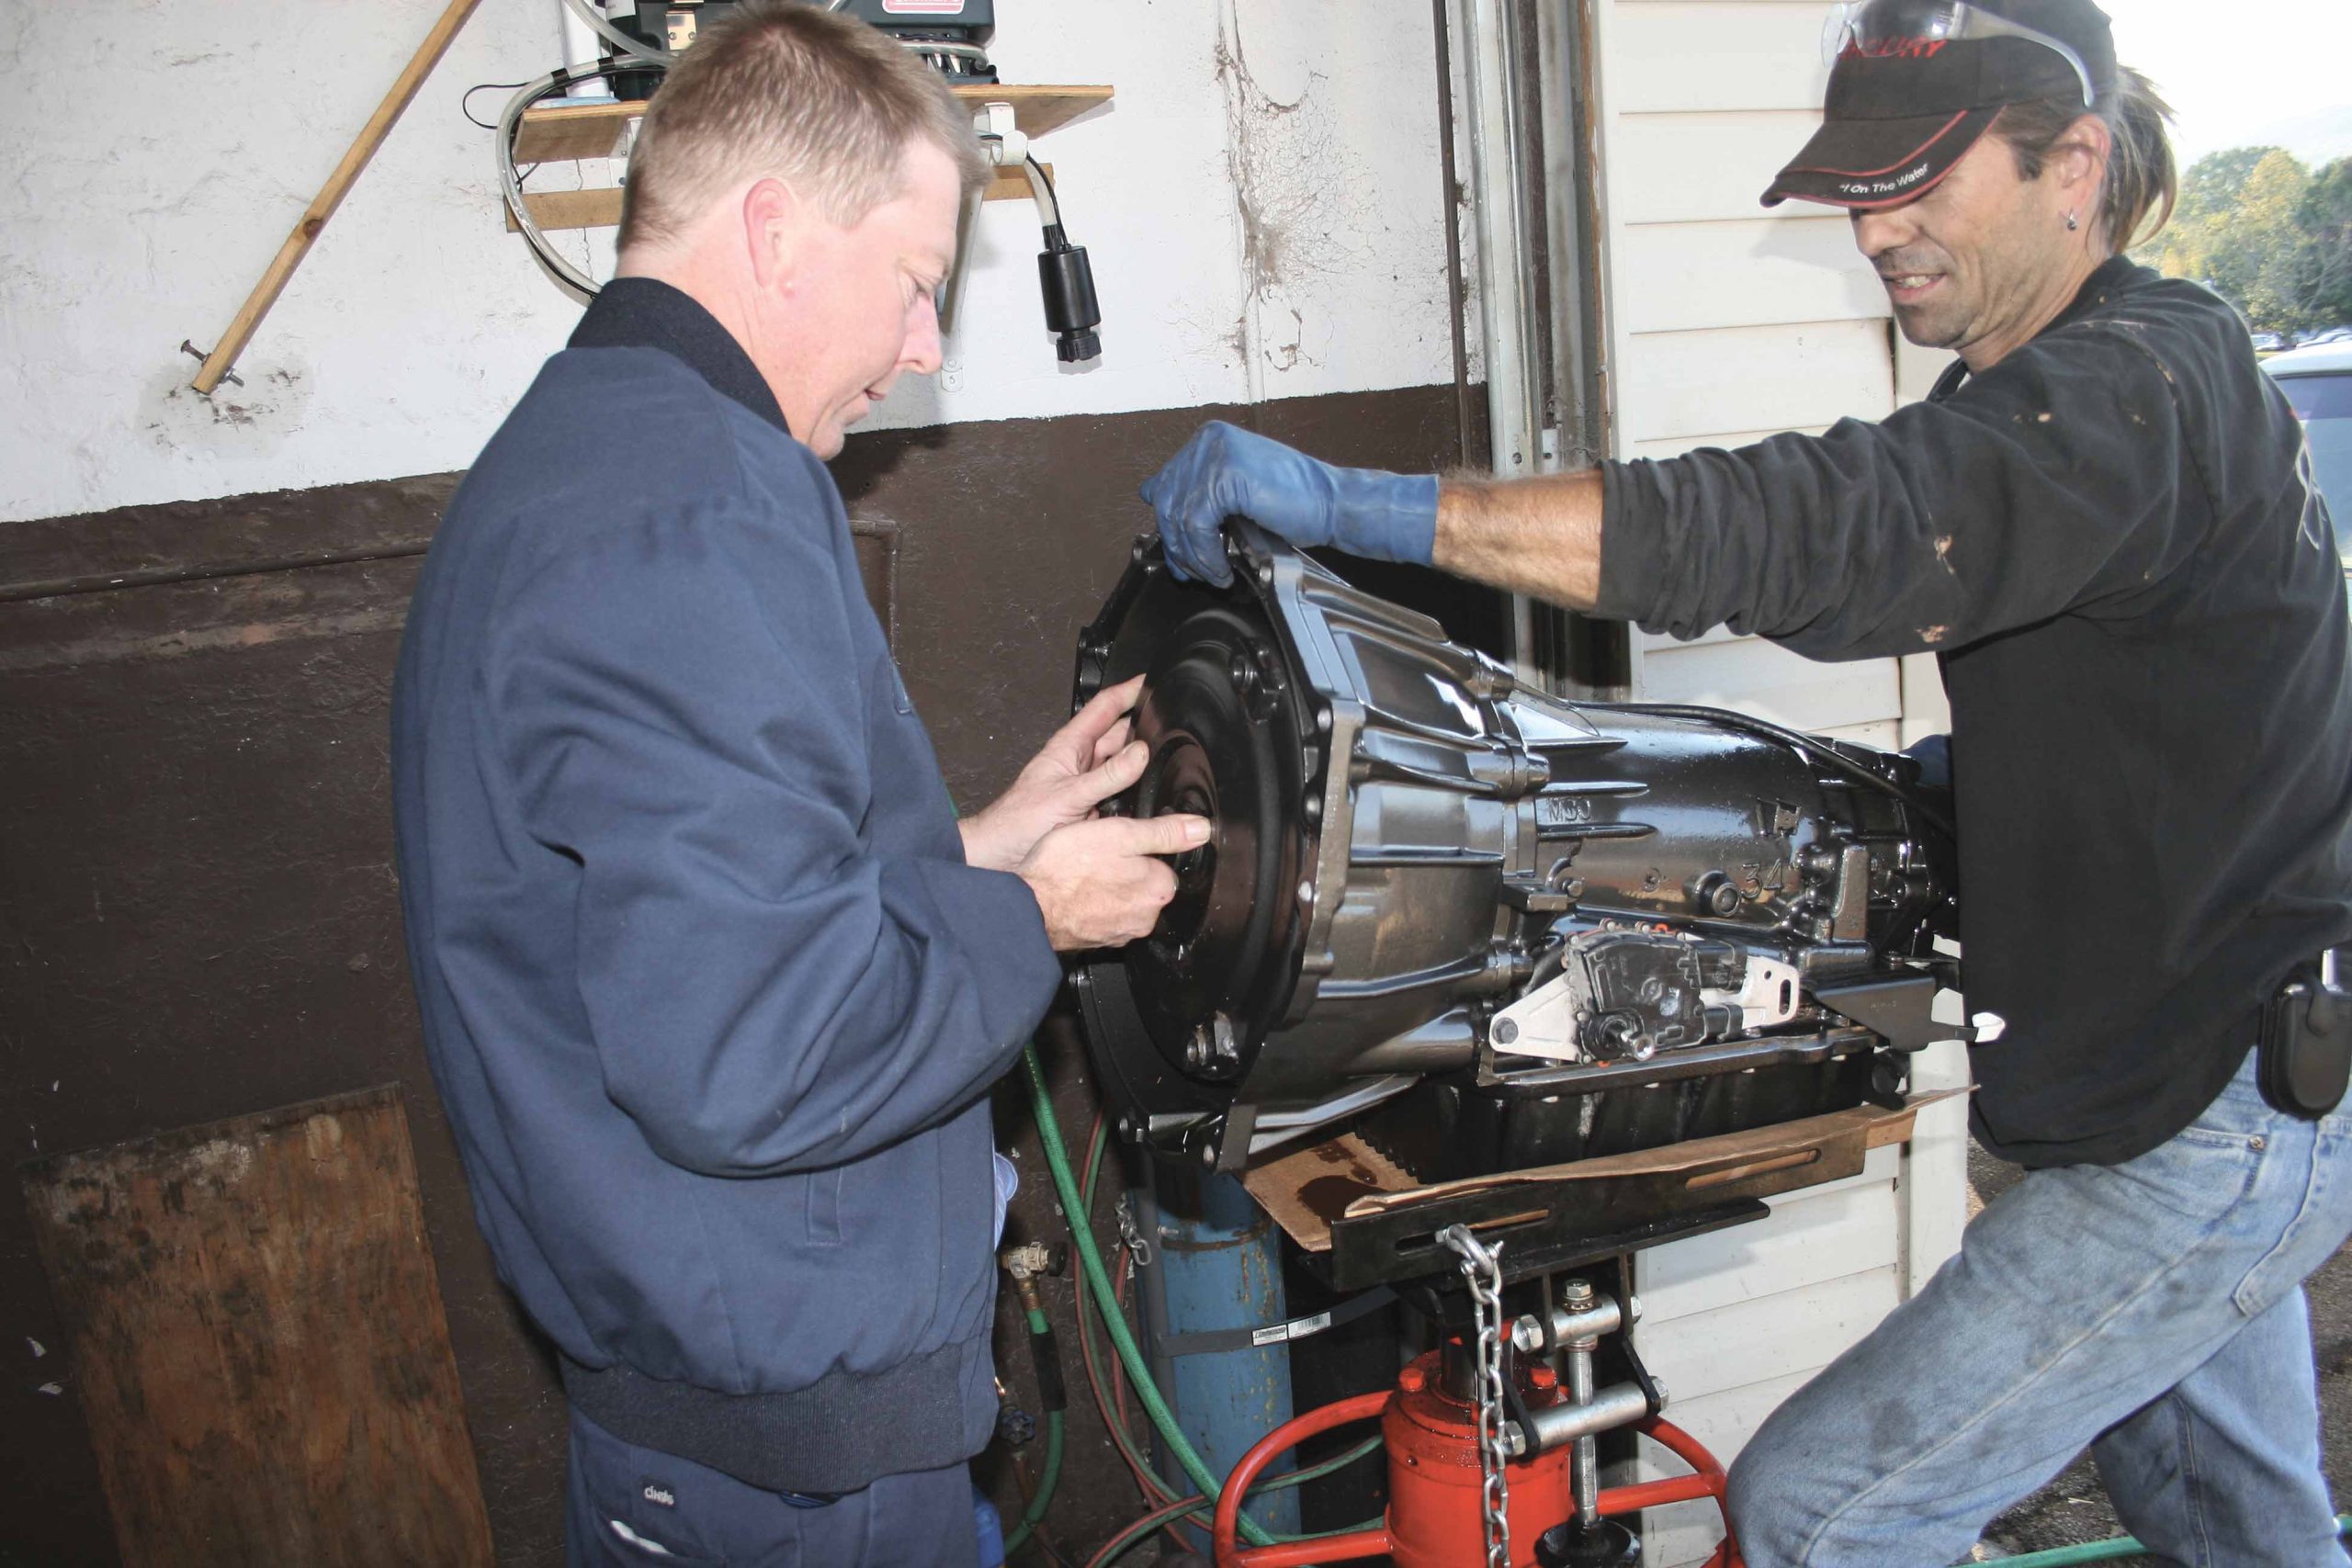
48 We filled the torque converter about half full with TCI Max Shift transmission fluid then installed it on the input shafts of the transmission, be sure the torque converter is fully seated and properly engaged, otherwise you could damage the transmission and/or converter when your start your truck.
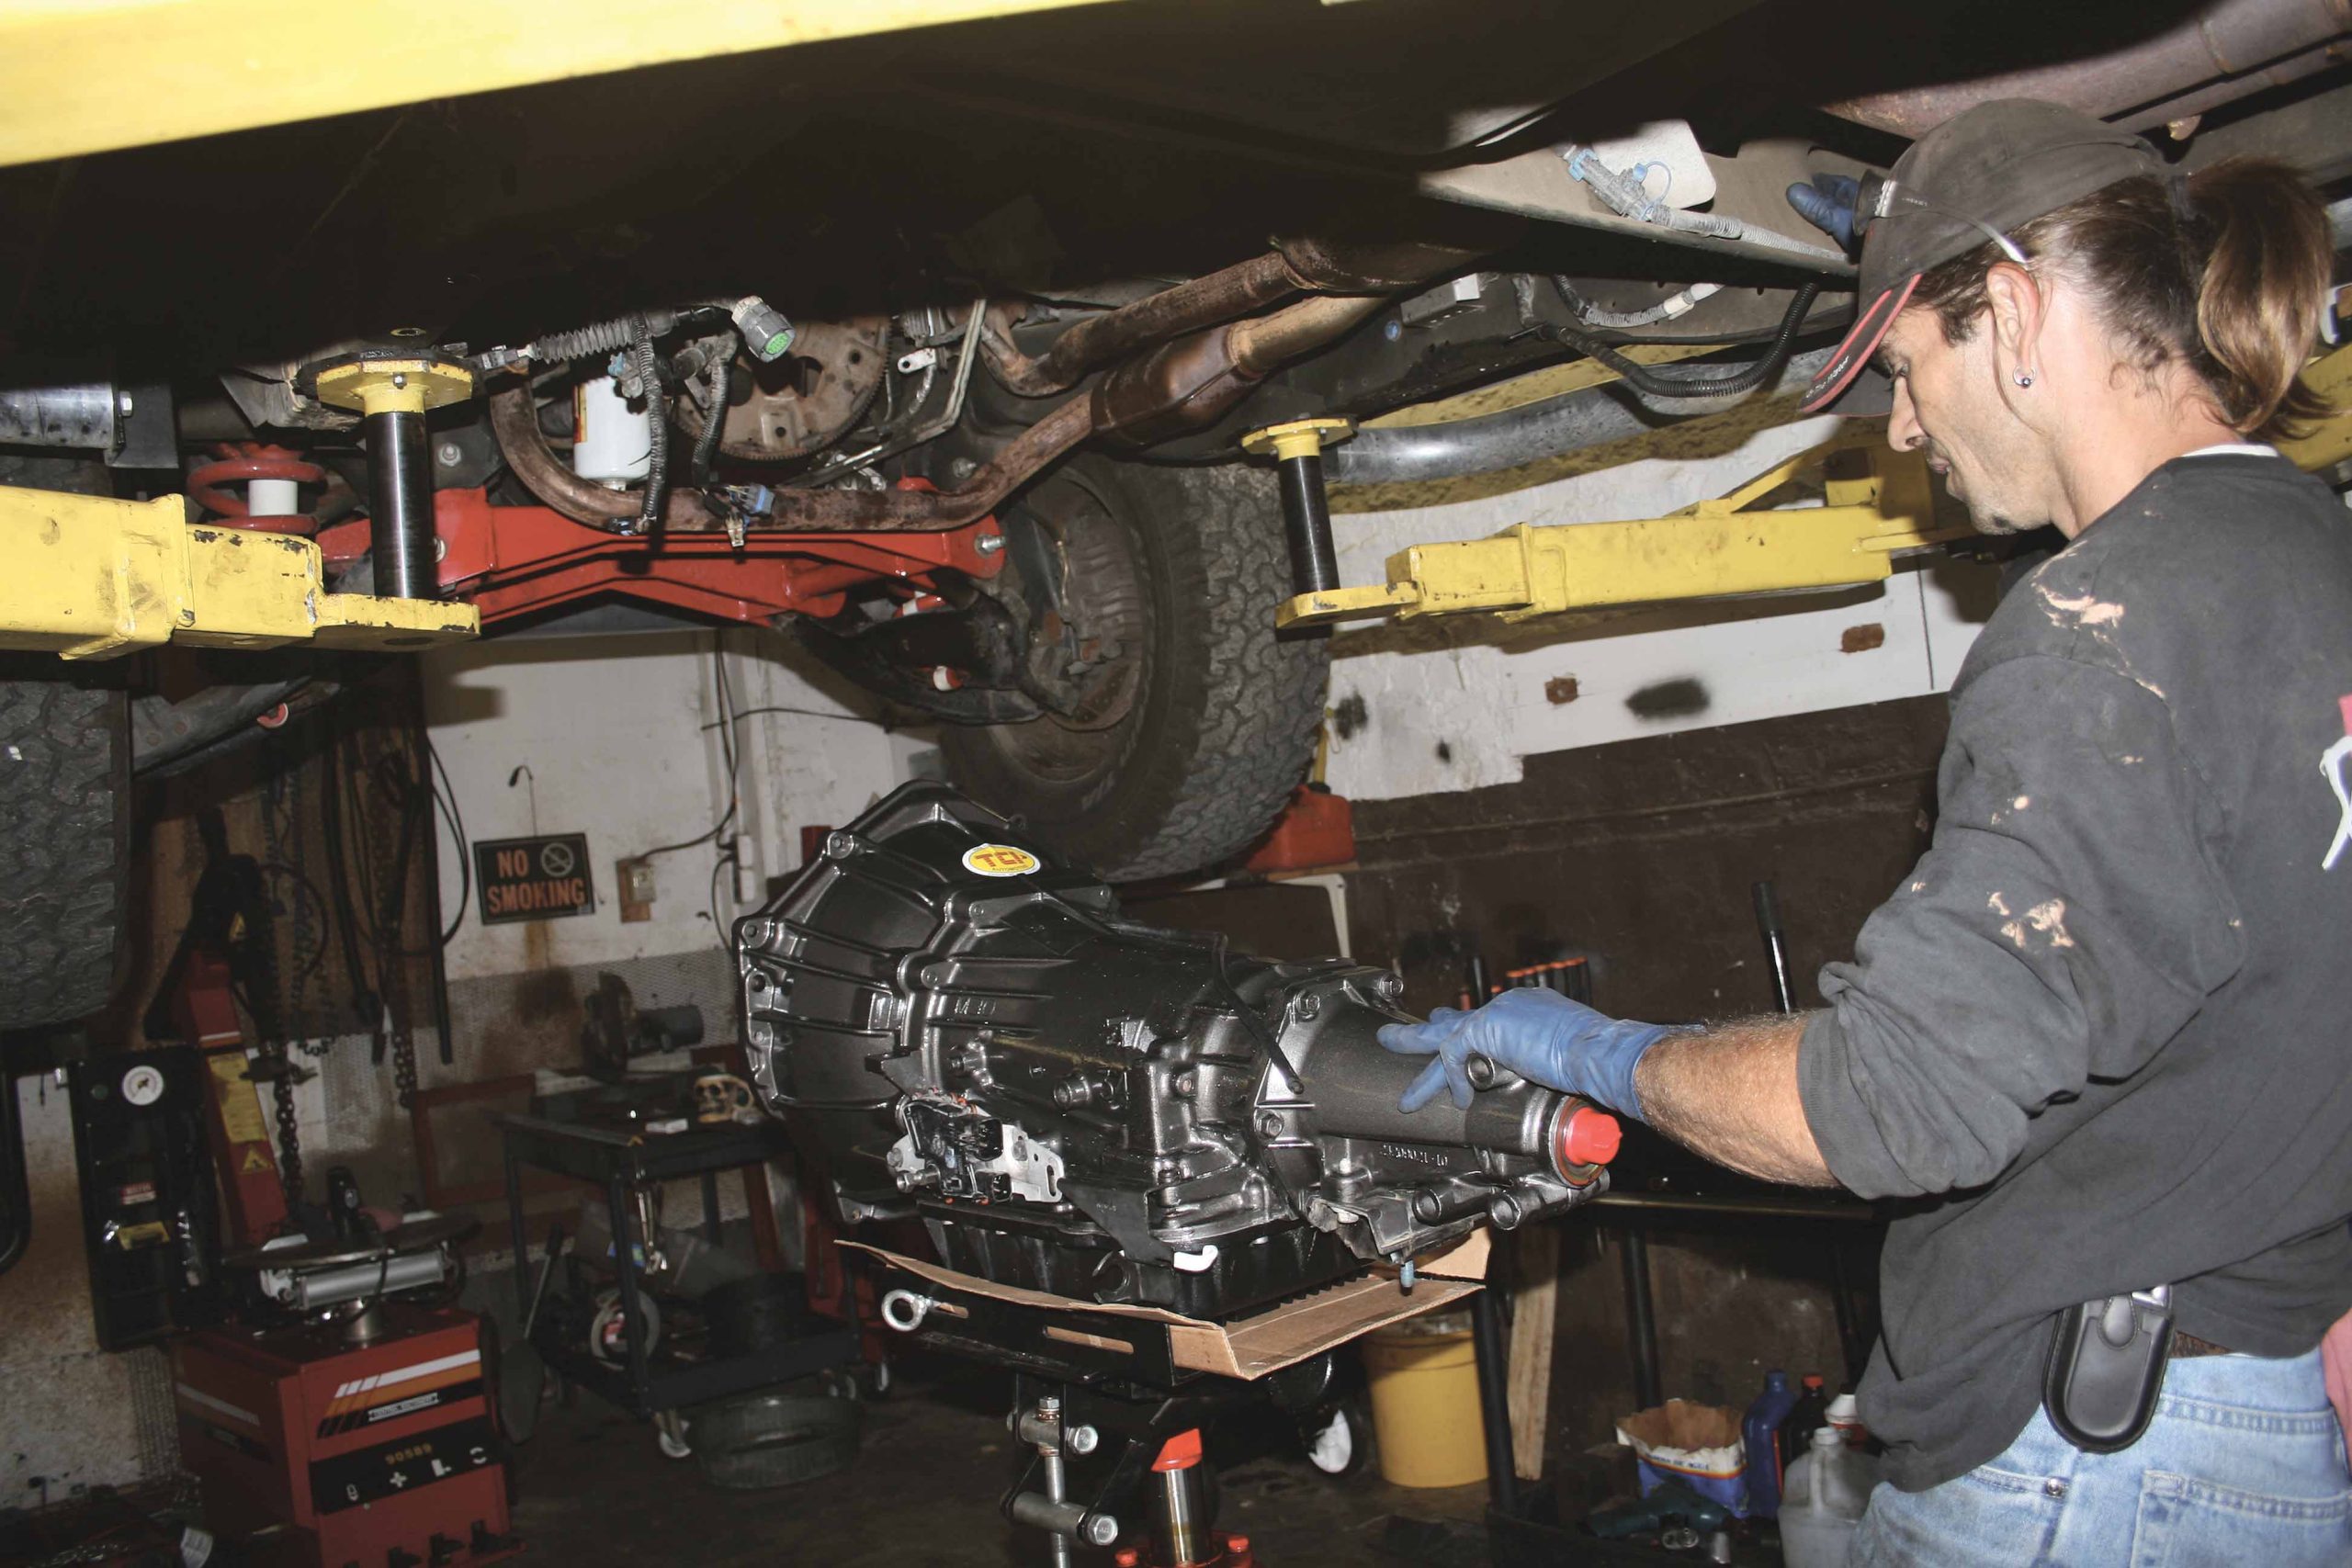
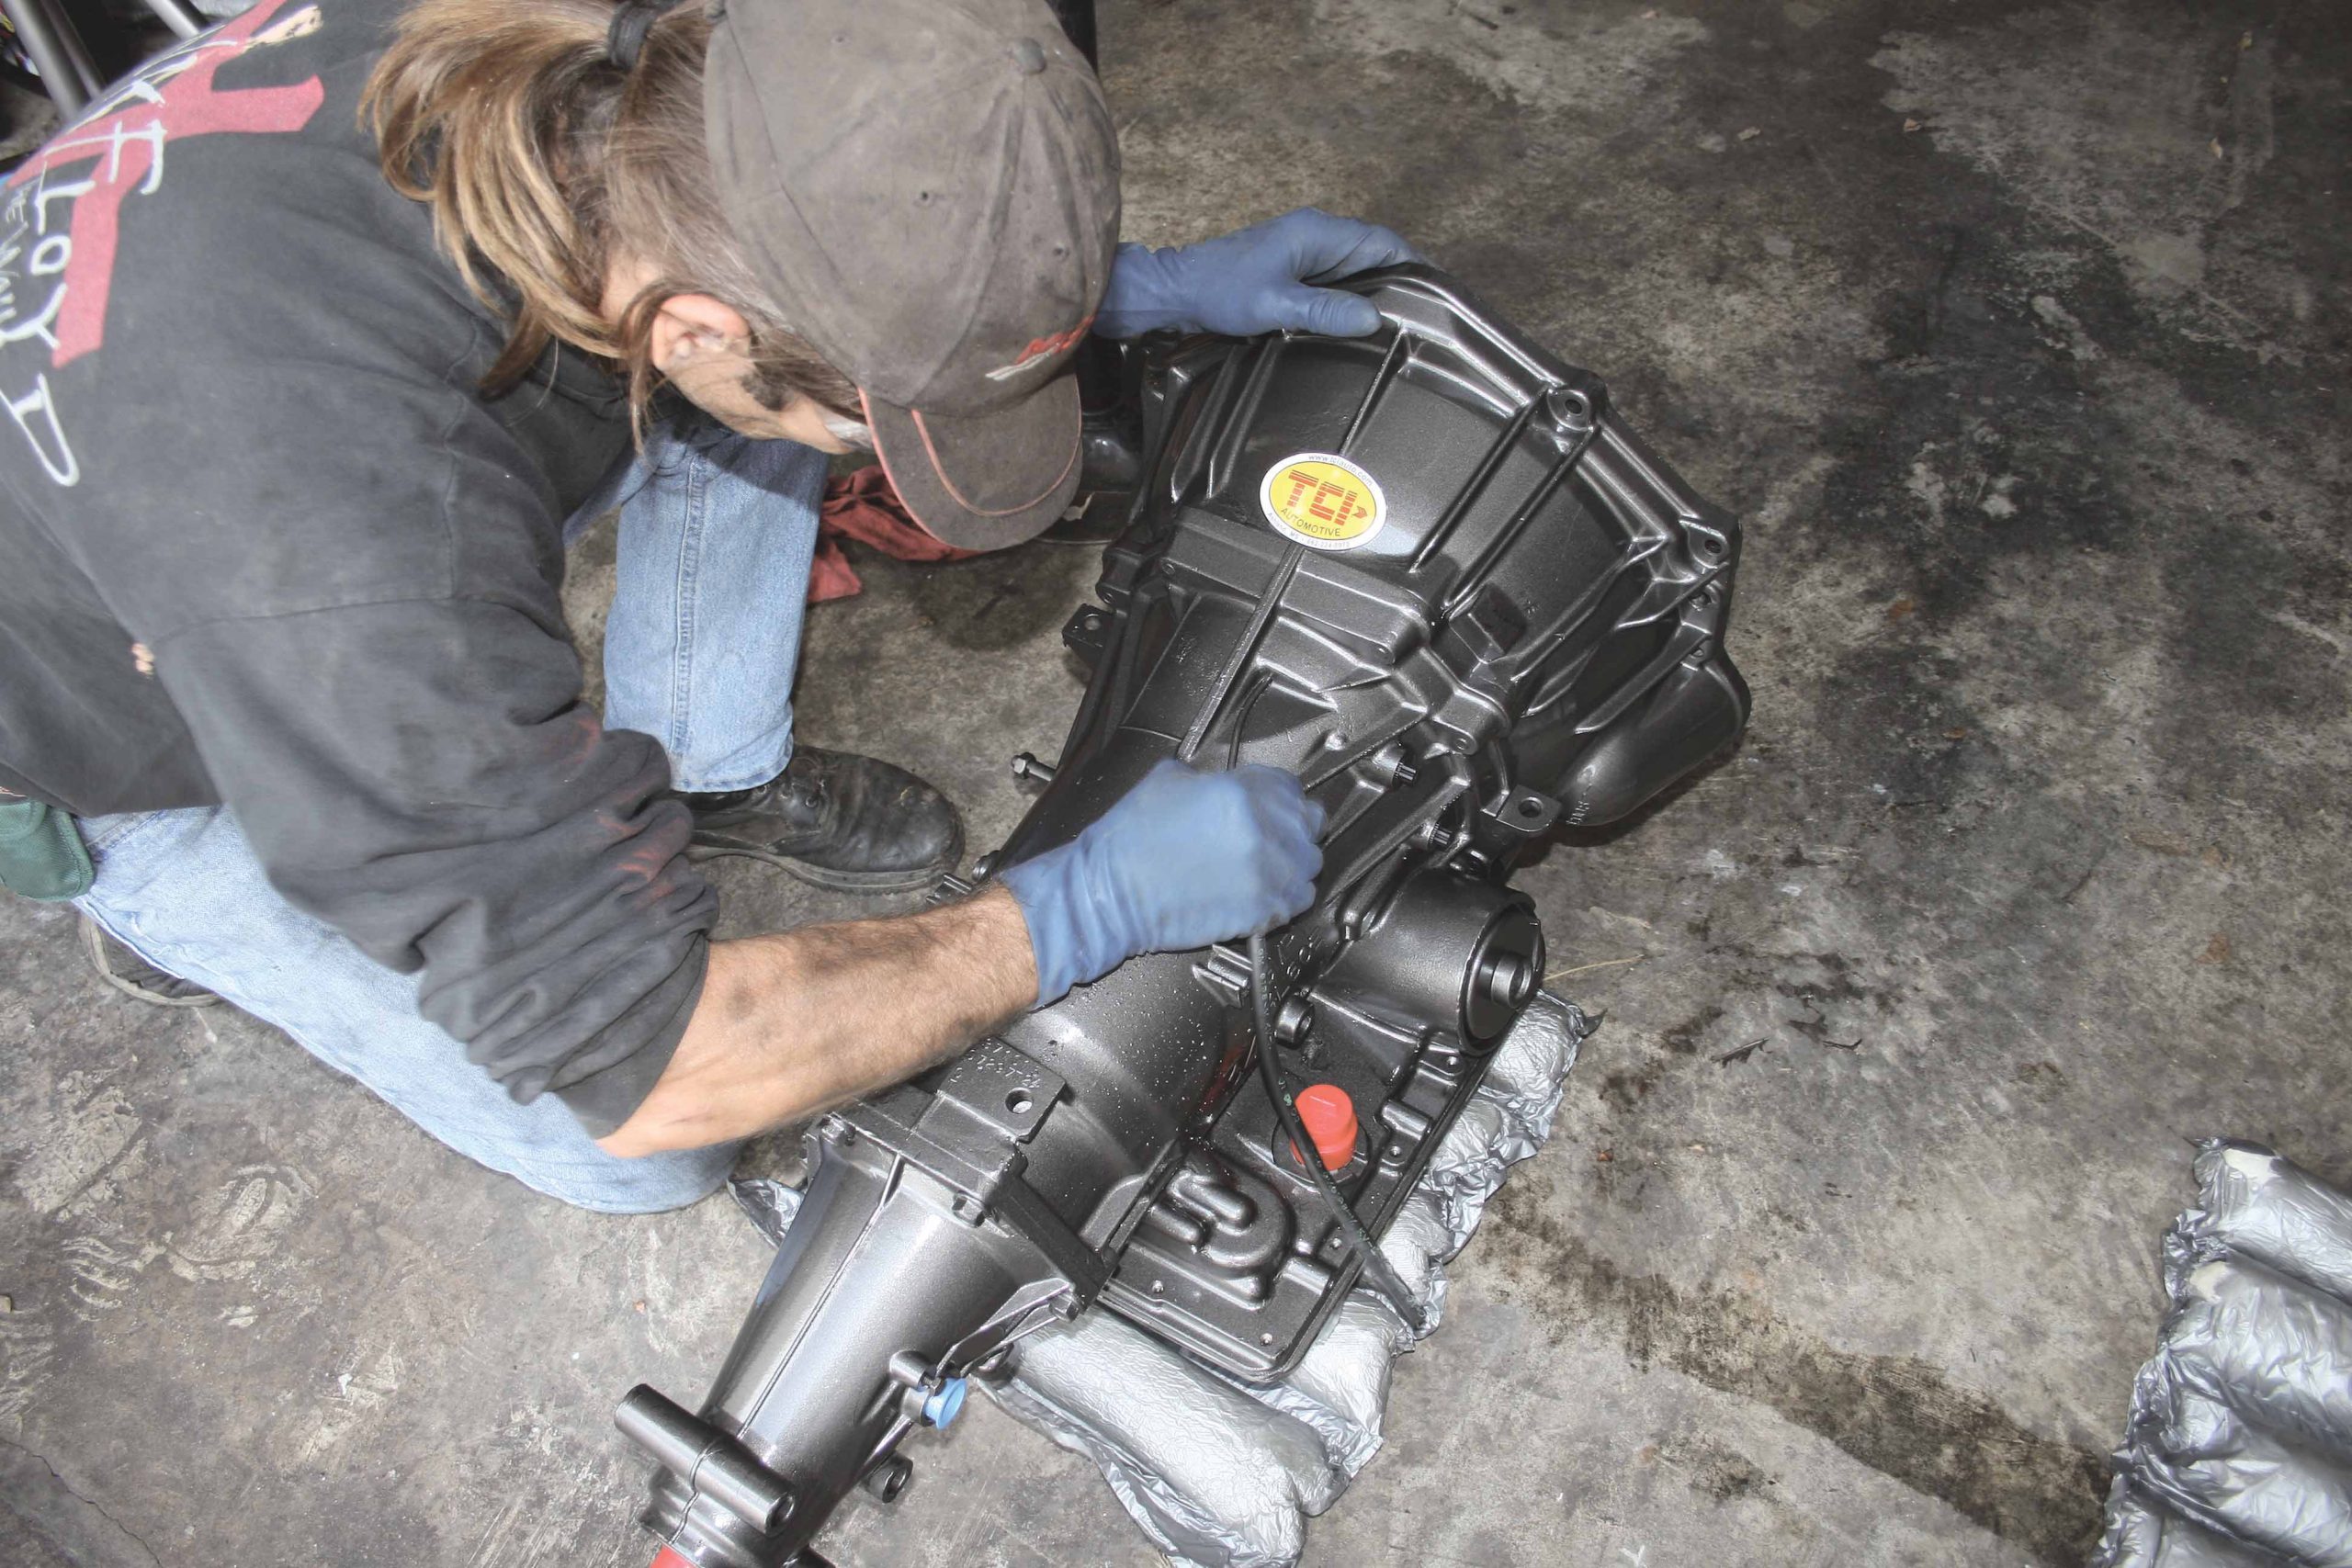
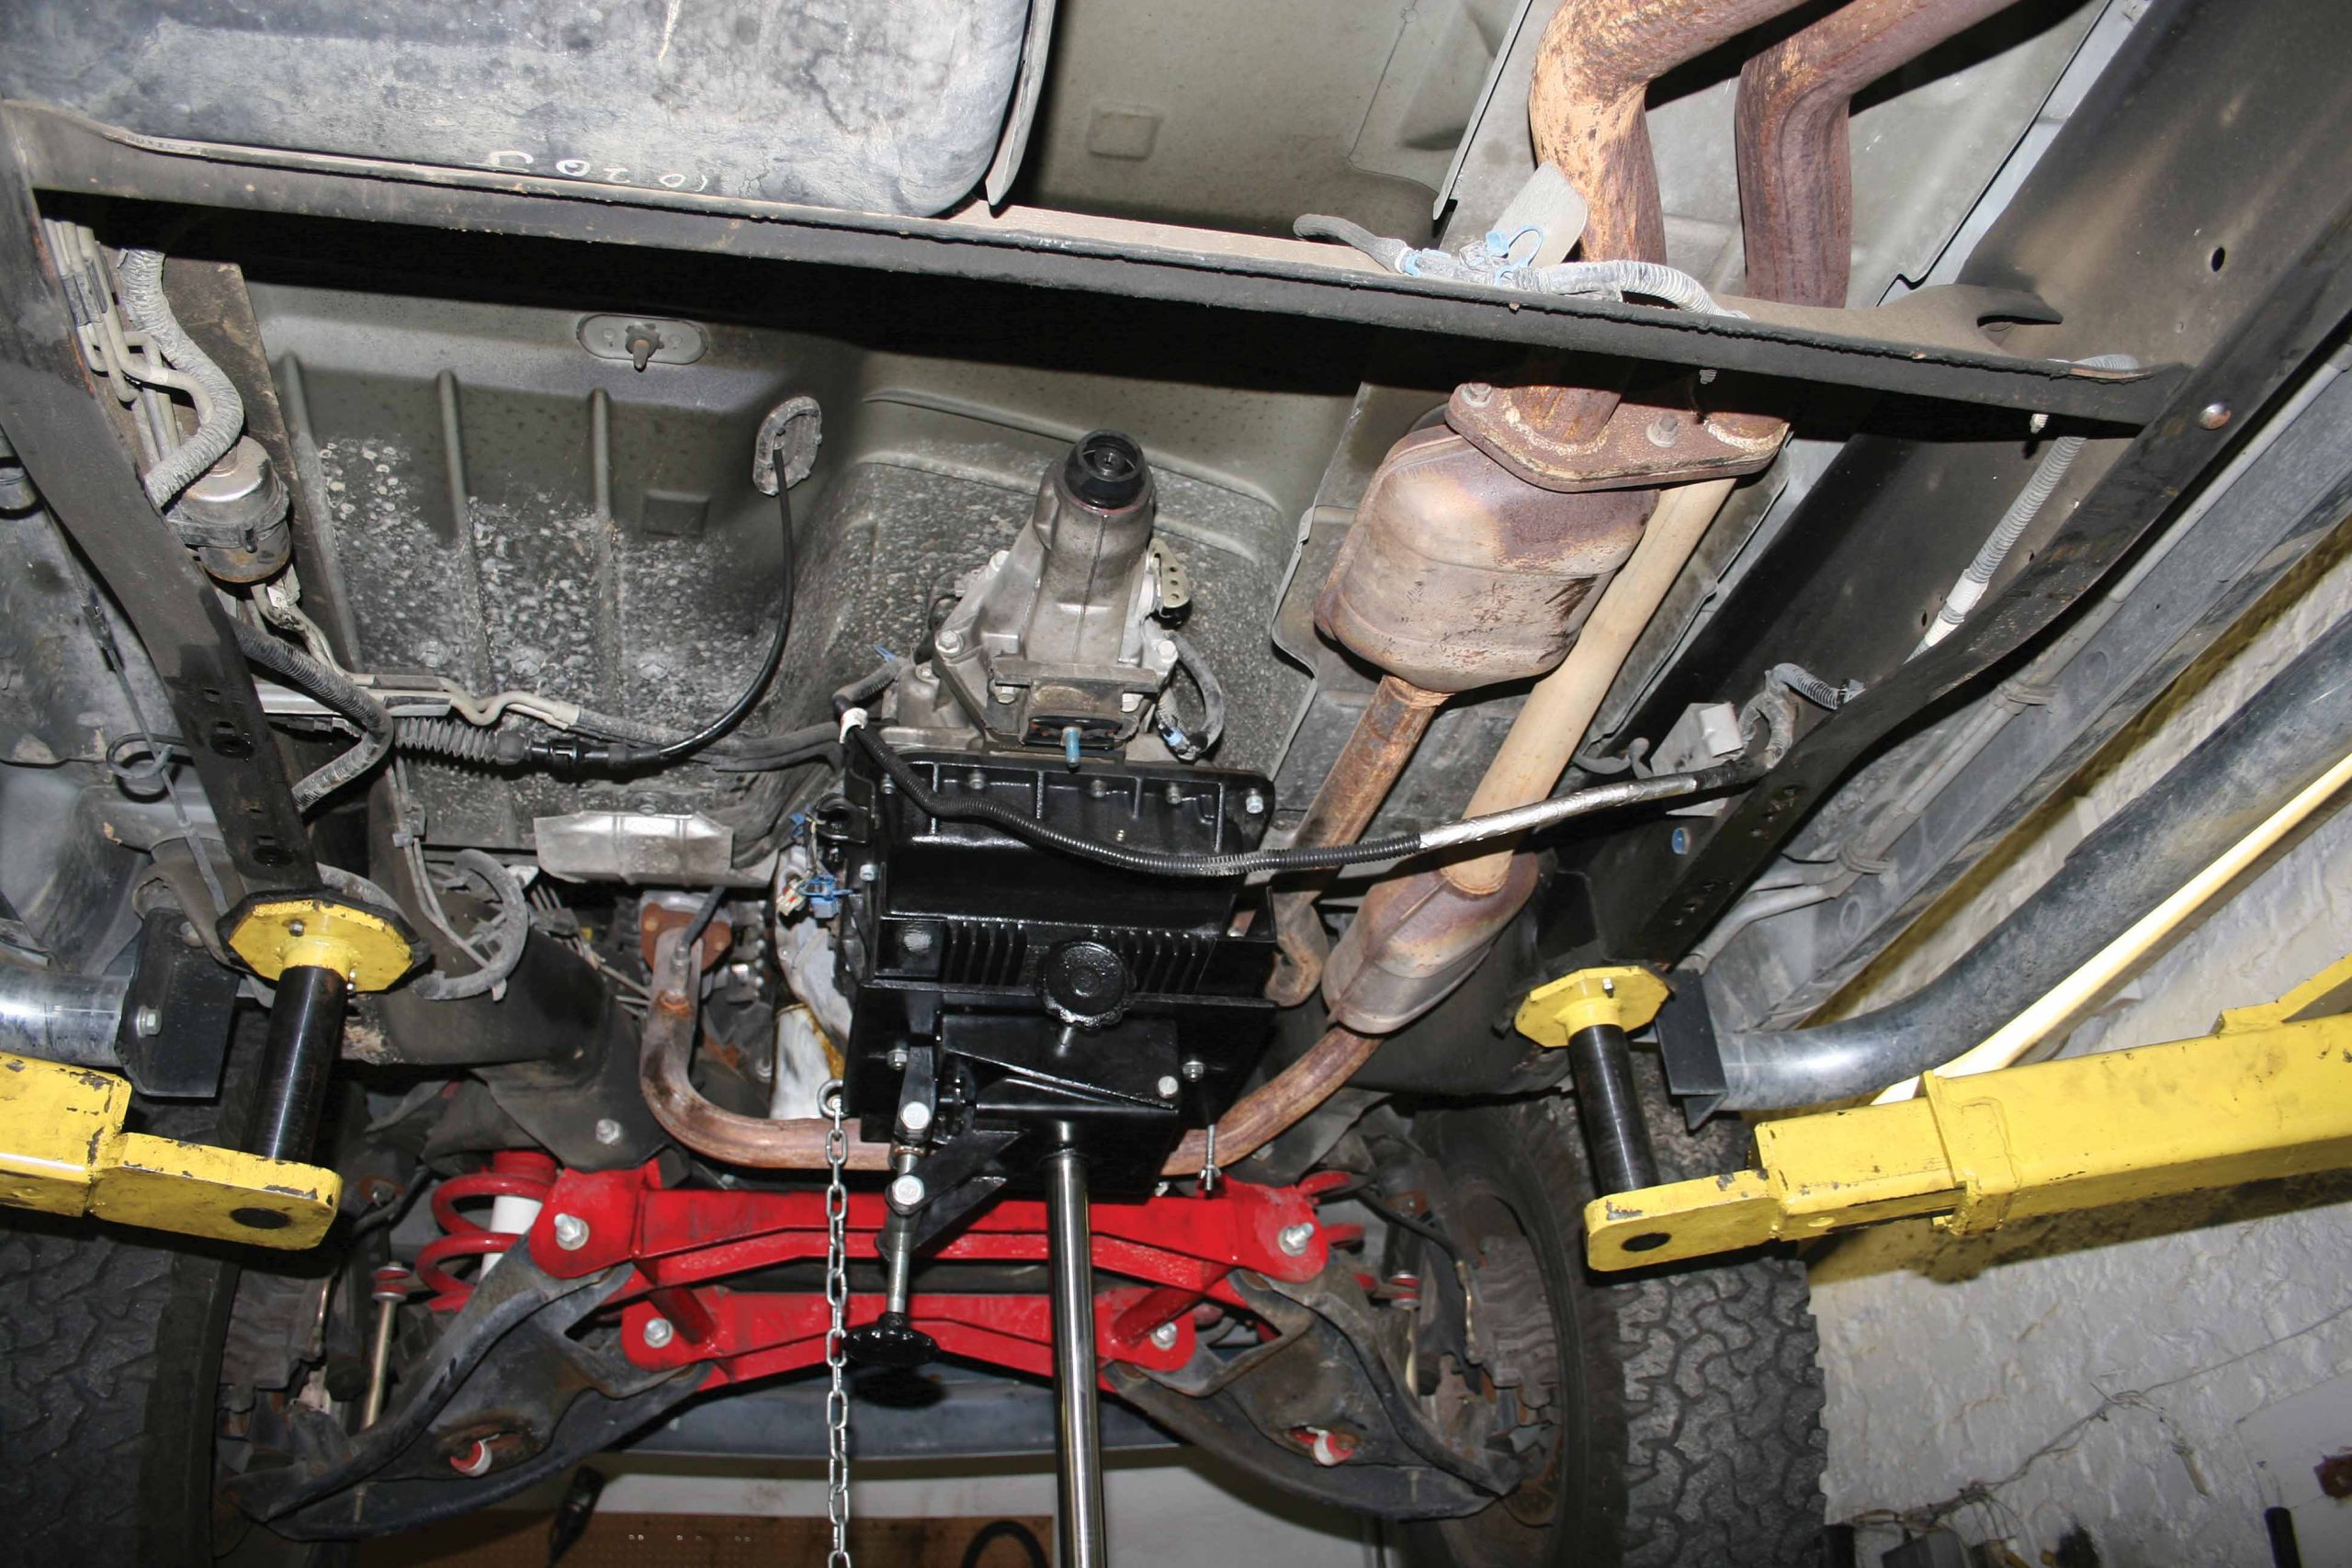
49 After installing the hardware back on the new TCI transmission, we put it on the transmission jack and rolled it into place.
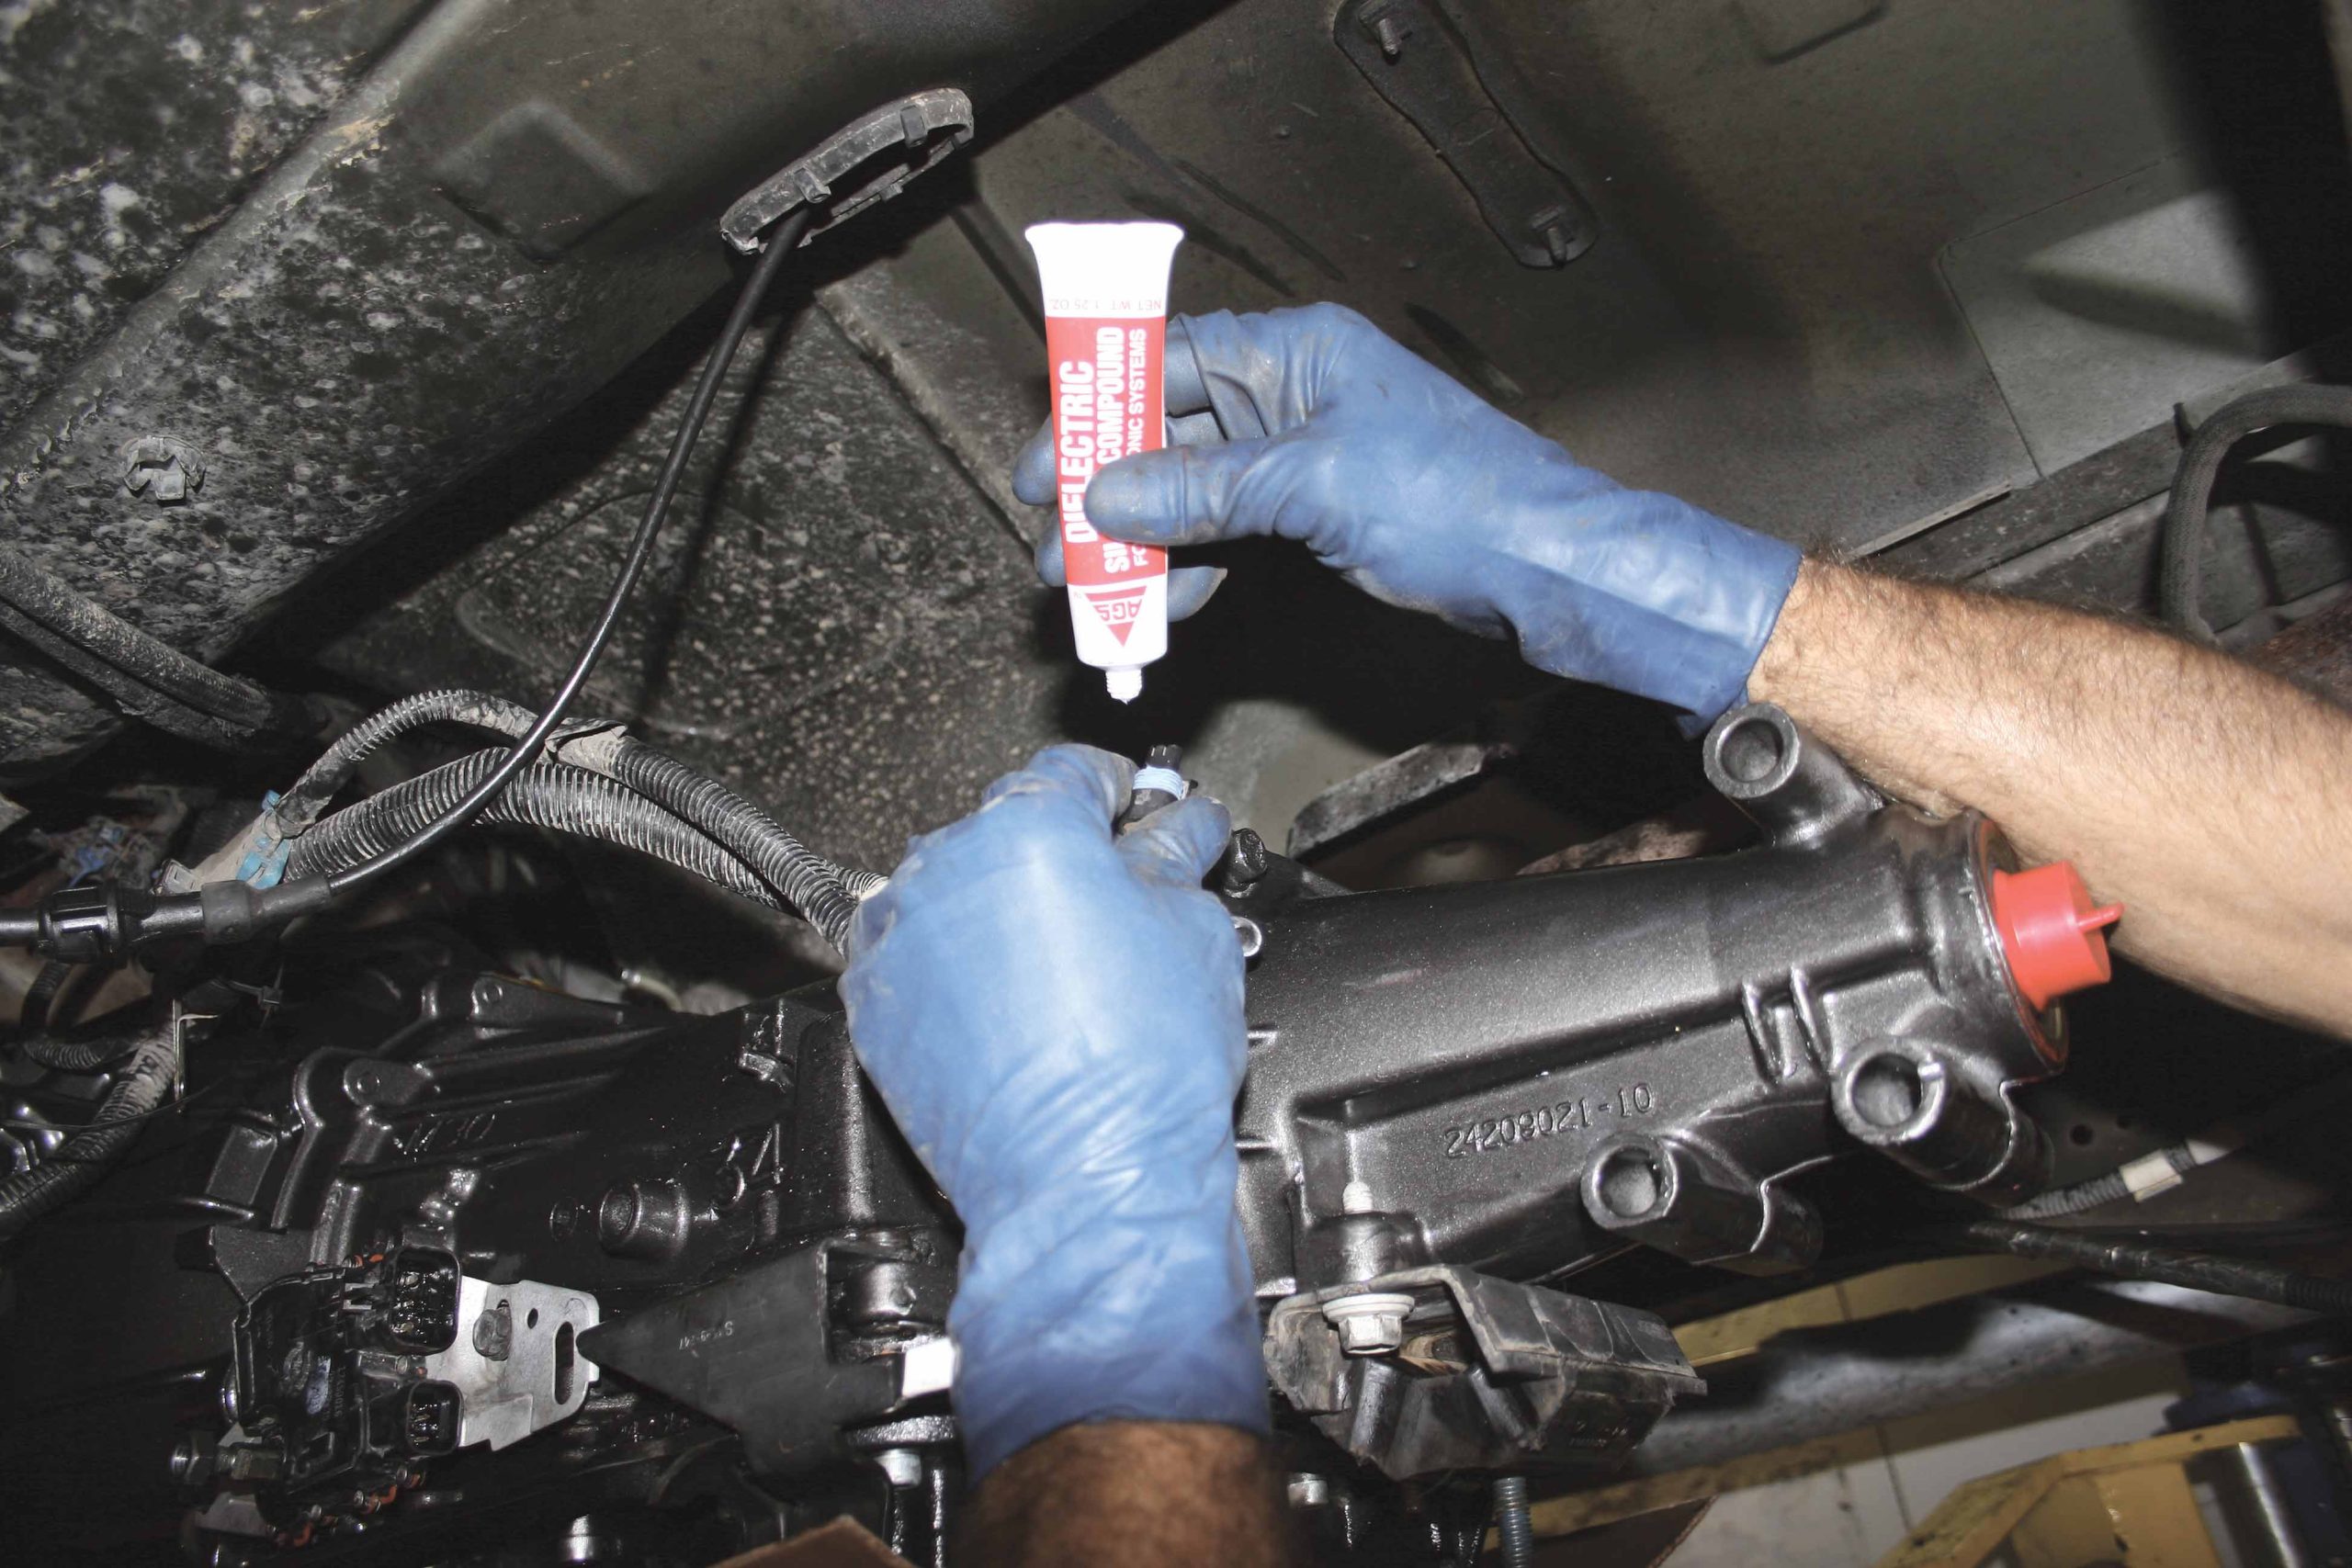
50-51 We used dielectric grease on all the electrical contacts before we plugged the harnesses back into the transmission and components. The dielectric grease prevents corrosion and will keep water from getting into the connection. This makes for better reliability, and will also lubricate the union, making it easier to unplug should it ever need to be removed again.
52 With the harnesses connected, we lifted the TCI transmission into position with the transmission jack.
53 We installed the bolts that secure the torque converter to the flexplate and provide the connection between the engine and transmission. Be sure to use the correct flexplate bolts and thread locker so that they have proper clearance and will not loosen.
54 Installing the transmission cooler lines is easy, as they simply pop into place; just make sure you hear the click and that they are fully seated.
55 Installing the shift cable is the opposite of removal; again use caution while working around the module.
56-57 Next, we installed the transmission crossmember and its mounting hardware including the transmission mount on the rear of the transmission.
58-59 The flexplate access cover can now be reinstalled and the starter can be replaced after the cover is secured.
60 Don’t forget to reinstall the heat shield since the catalytic converters are nearby and get very hot while driving and the harness and lines could be damaged by the heat.
61-62 Installing the driveshaft is pretty easy, too. Gently align the splines on the output shaft with the splines inside the yoke then insert the yoke into the transmission and align the U-joint at the other end with the pinion yoke on the differential. Be sure to properly tighten the U-joint strap bolts.
63 To complete the installation, we filled the StreetFighter transmission with TCI Max Shift transmission fluid, then road tested the Tahoe. We enjoyed the firm, crisp shifts that are built into the TCI transmission.
INSIDE TCI (This should run somewhere in or around the trans story and not after the install JD)
64-65 Inside the vast TCI facility, there is a large contingency of transmission cases ready to be built to customer specs and a dedicated crew to make it happen.
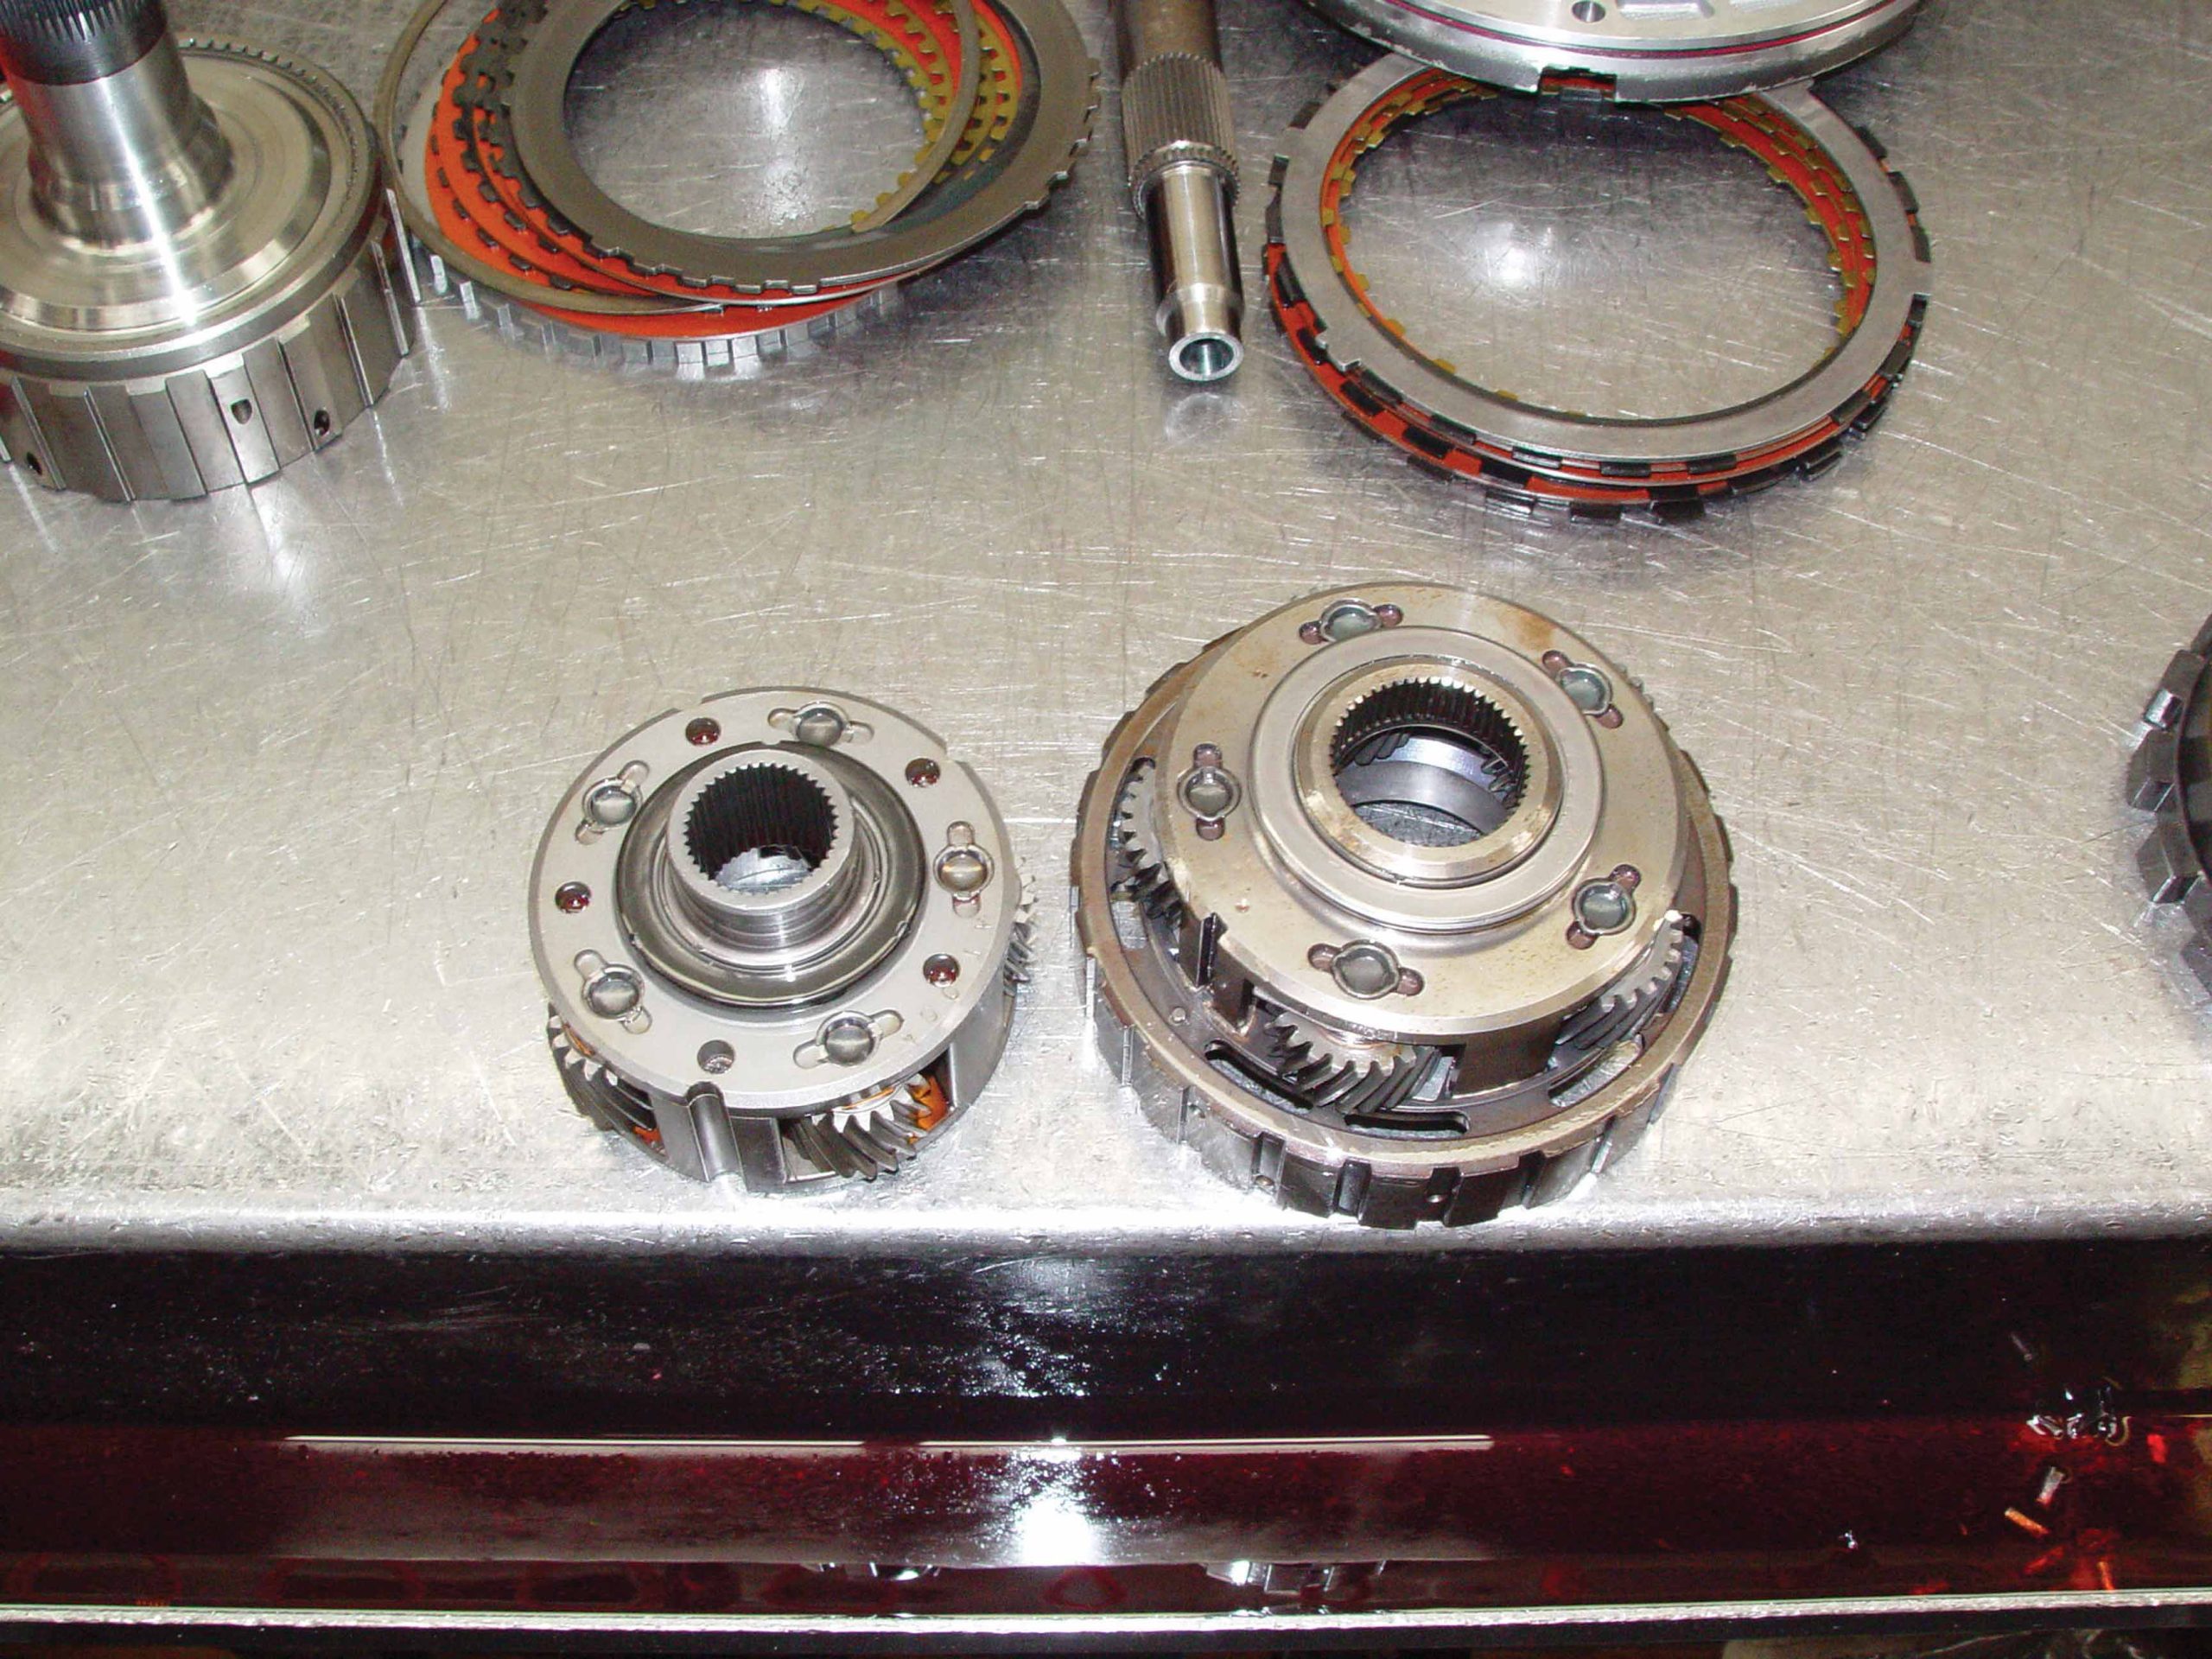
66-67 Nothing but the best components go into each and every TCI transmission that it builds, including five-pinion front and rear planetary gear sets that are much stronger than the factory four-pinion parts they replace.
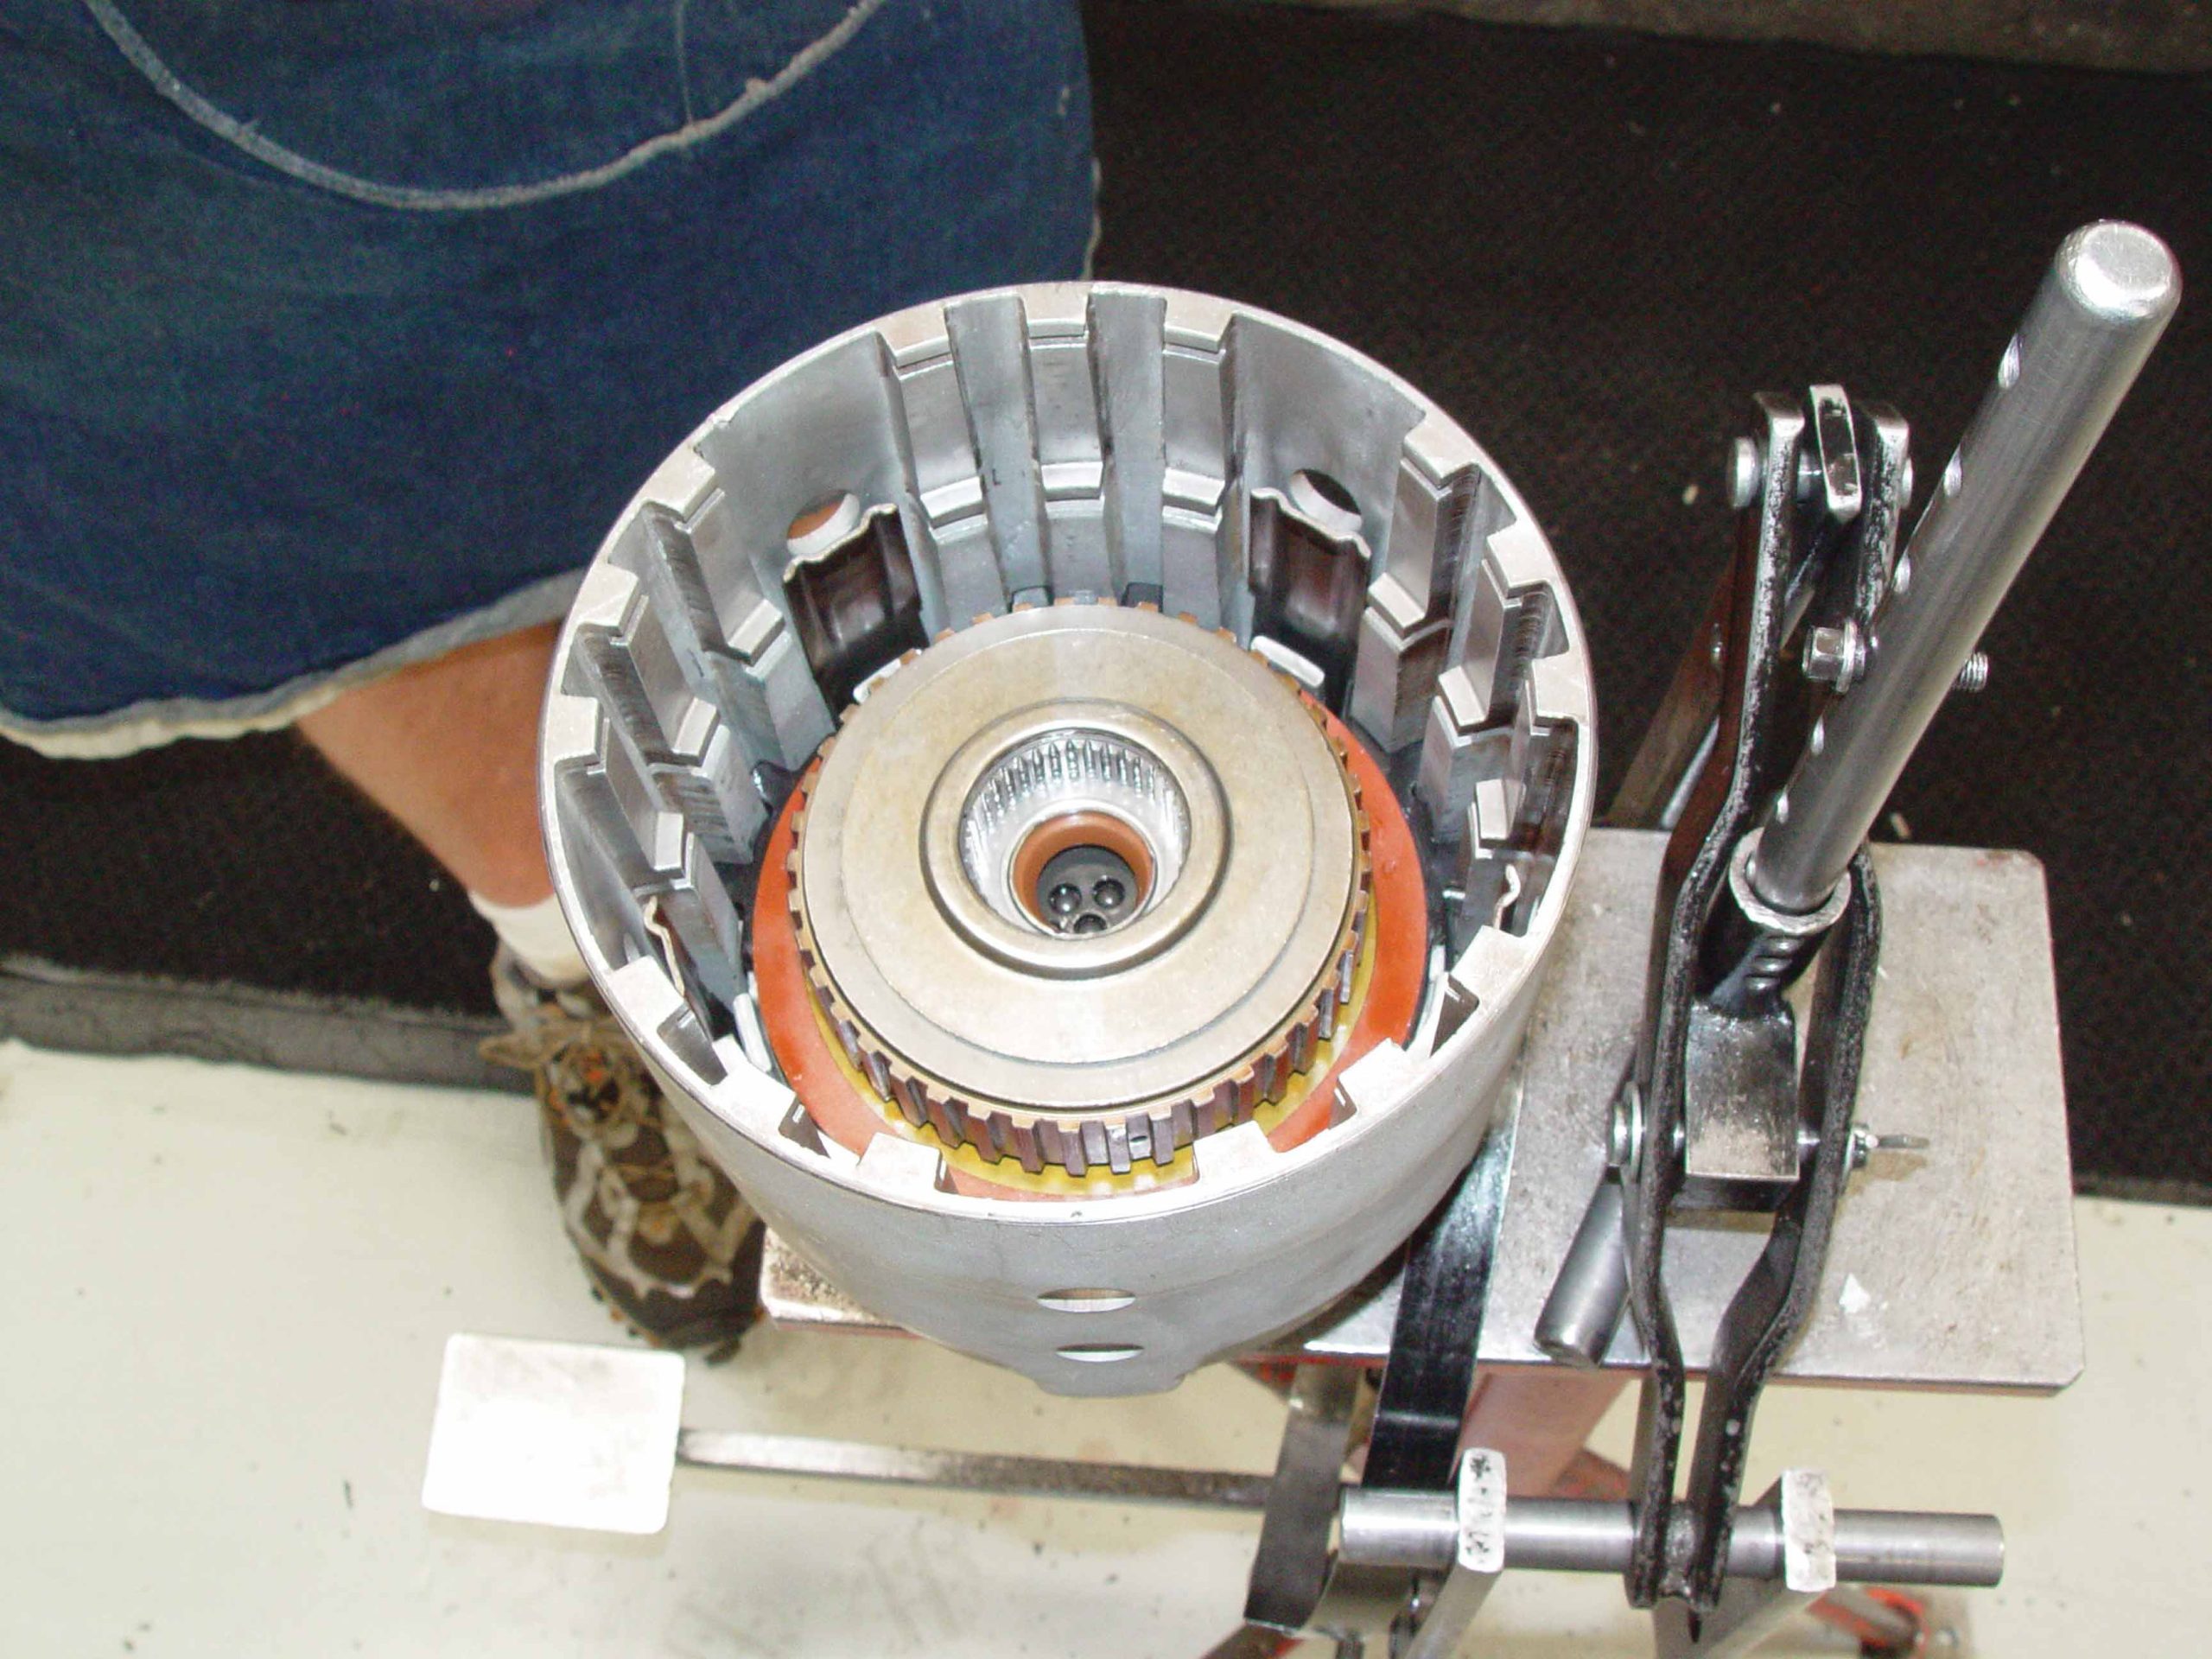
68 Assembly technicians carefully install the various gear sets, clutches and other components into the transmission modules.
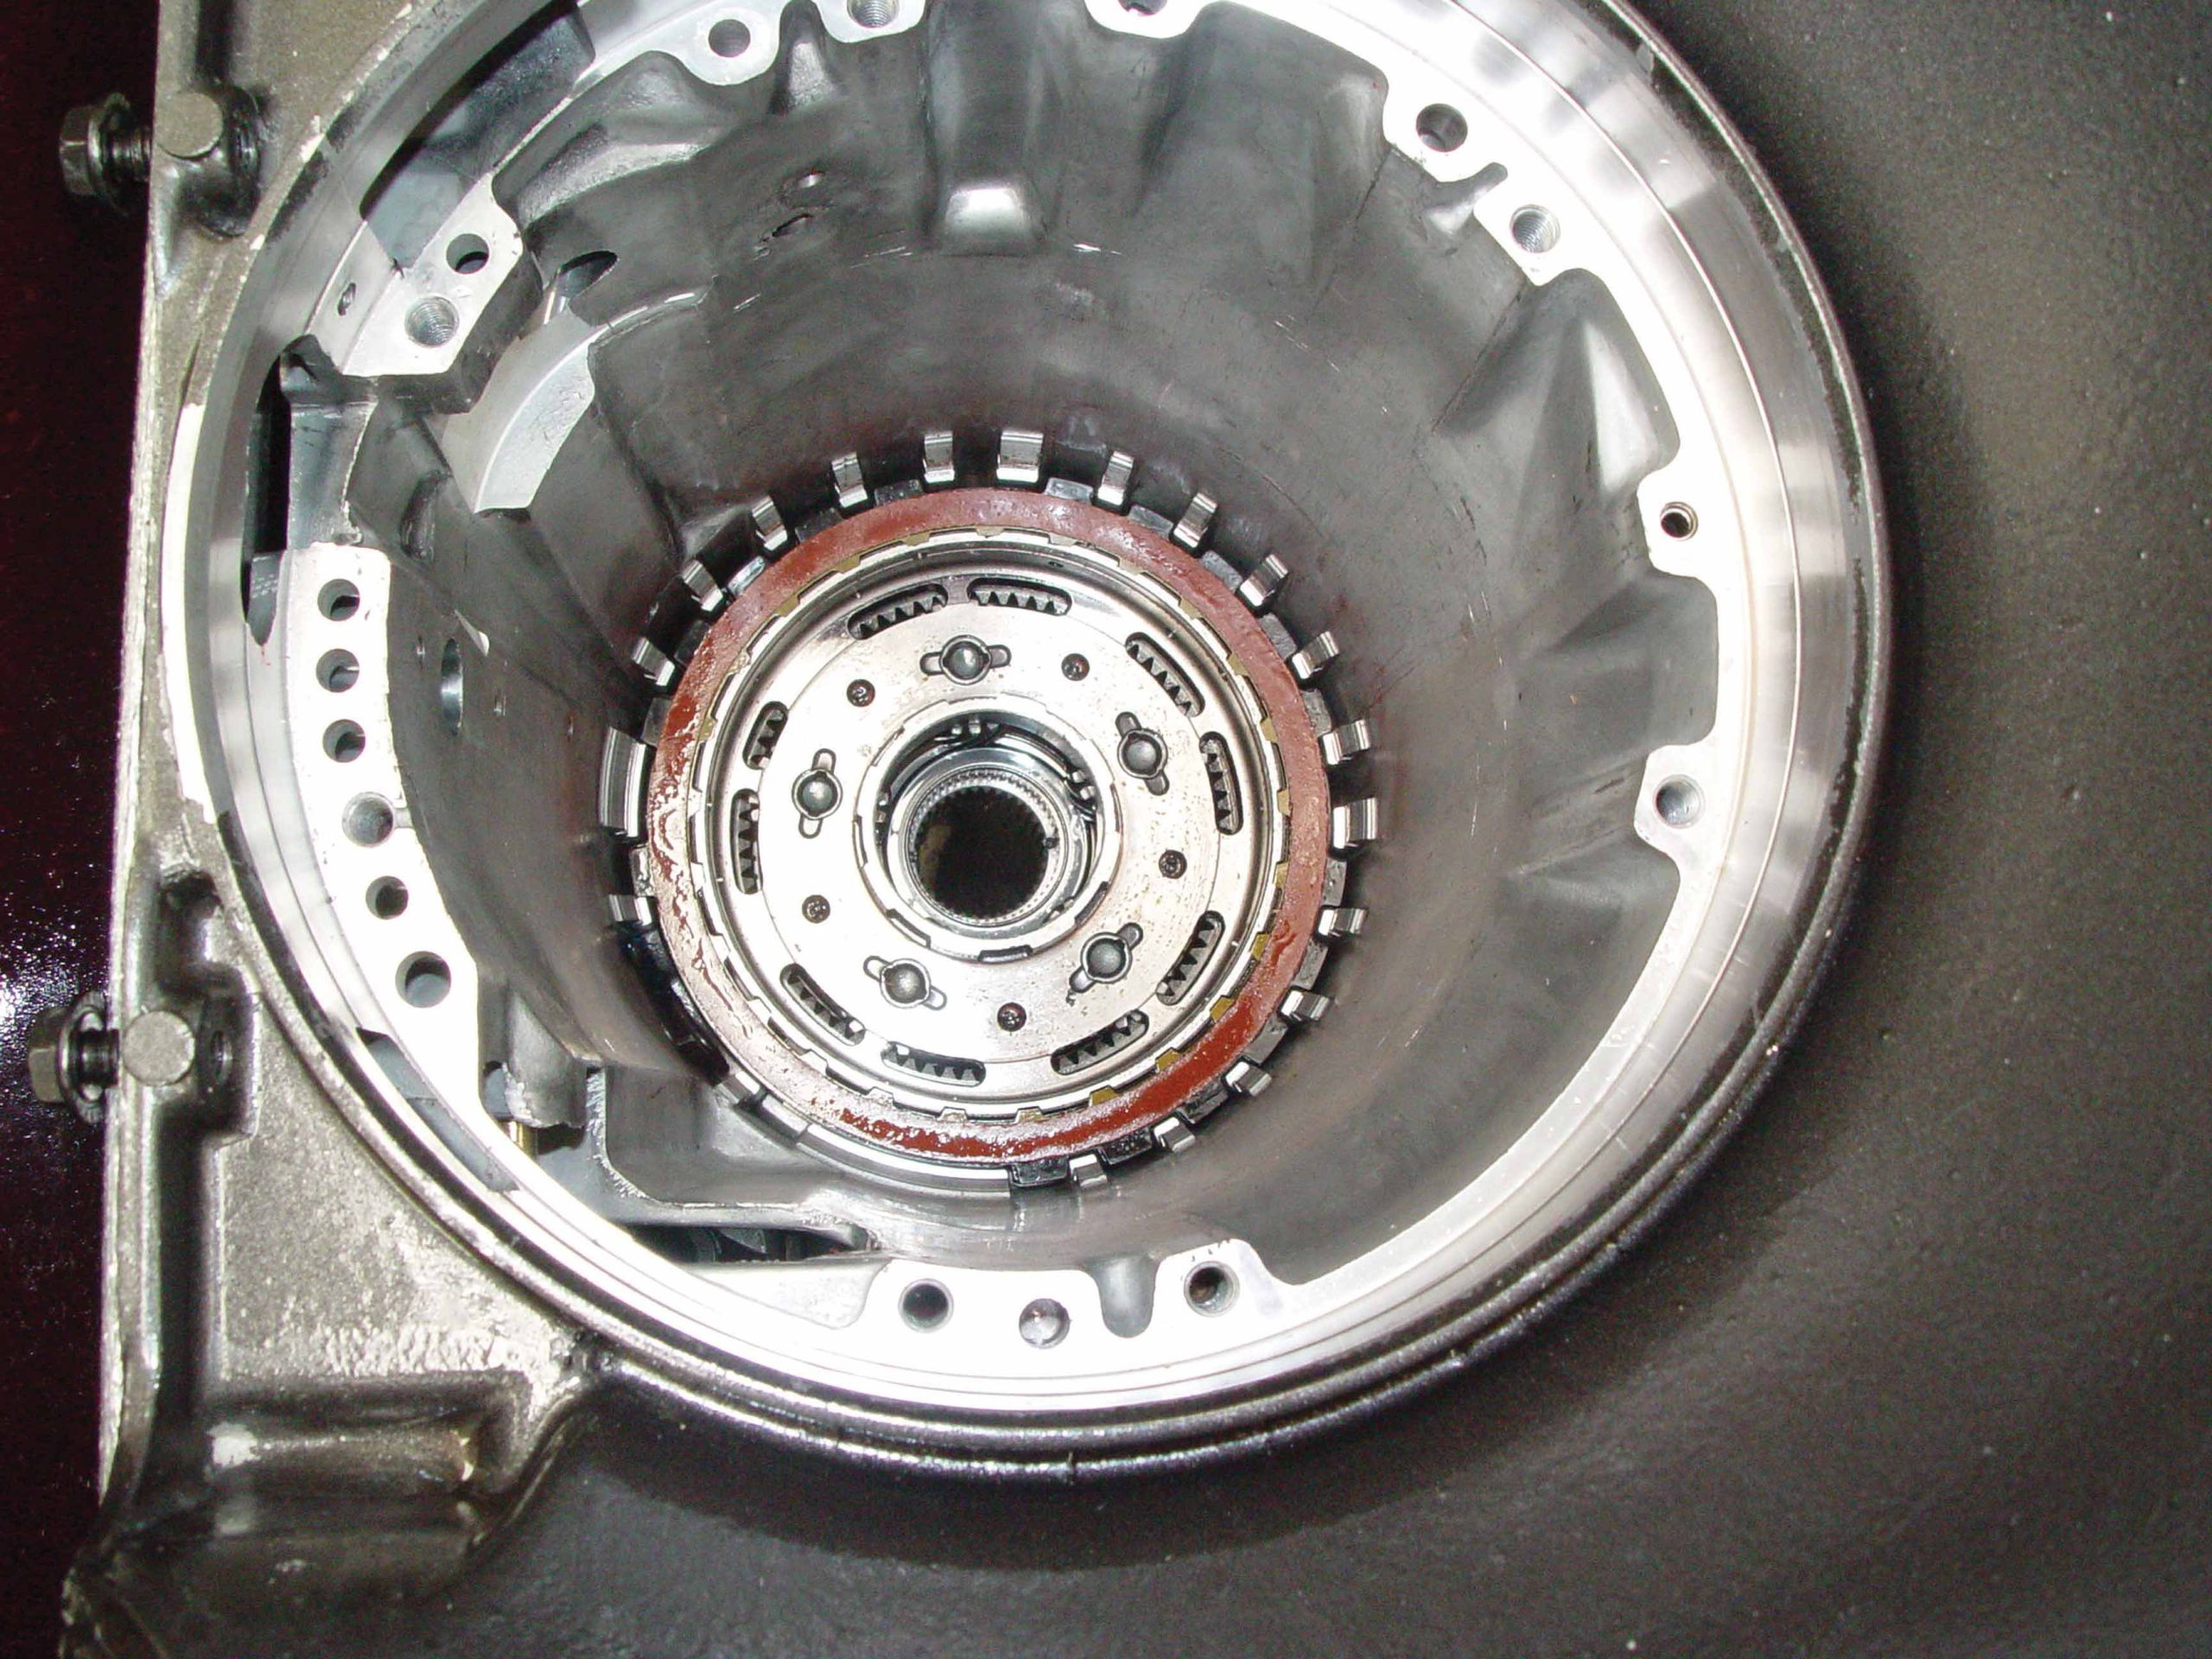
69 The planetary, clutches and components are installed into the transmission case.
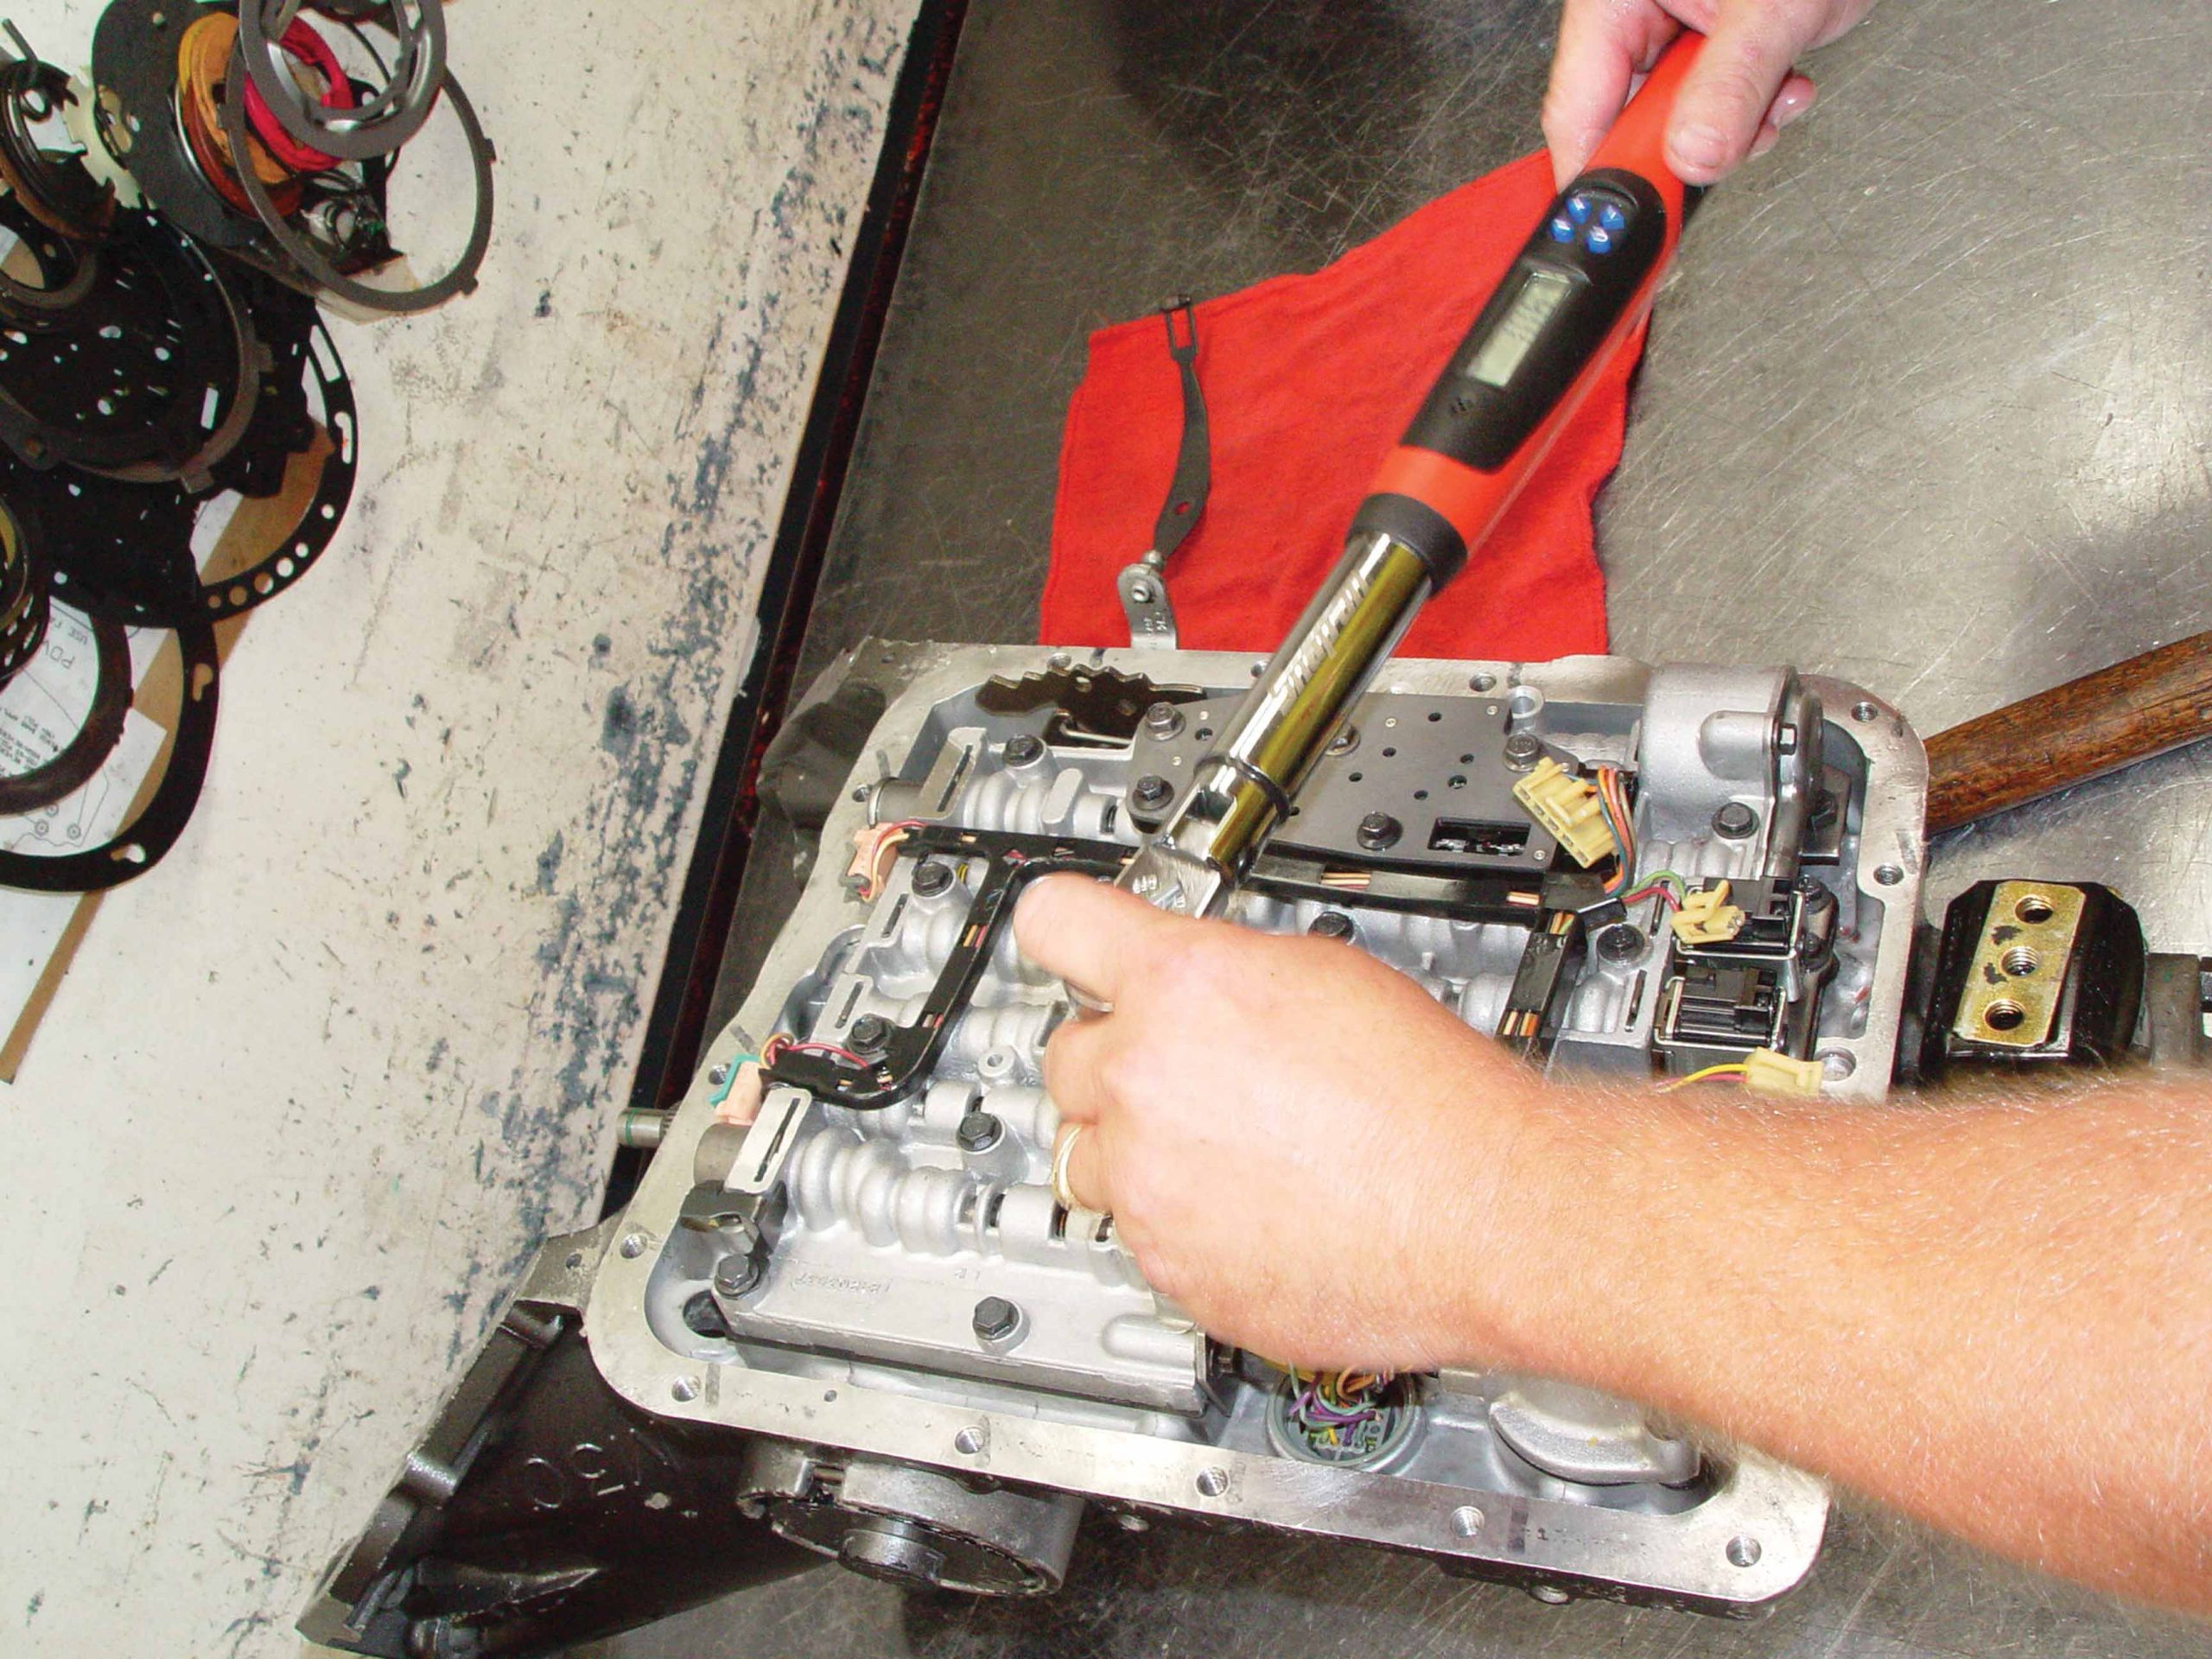
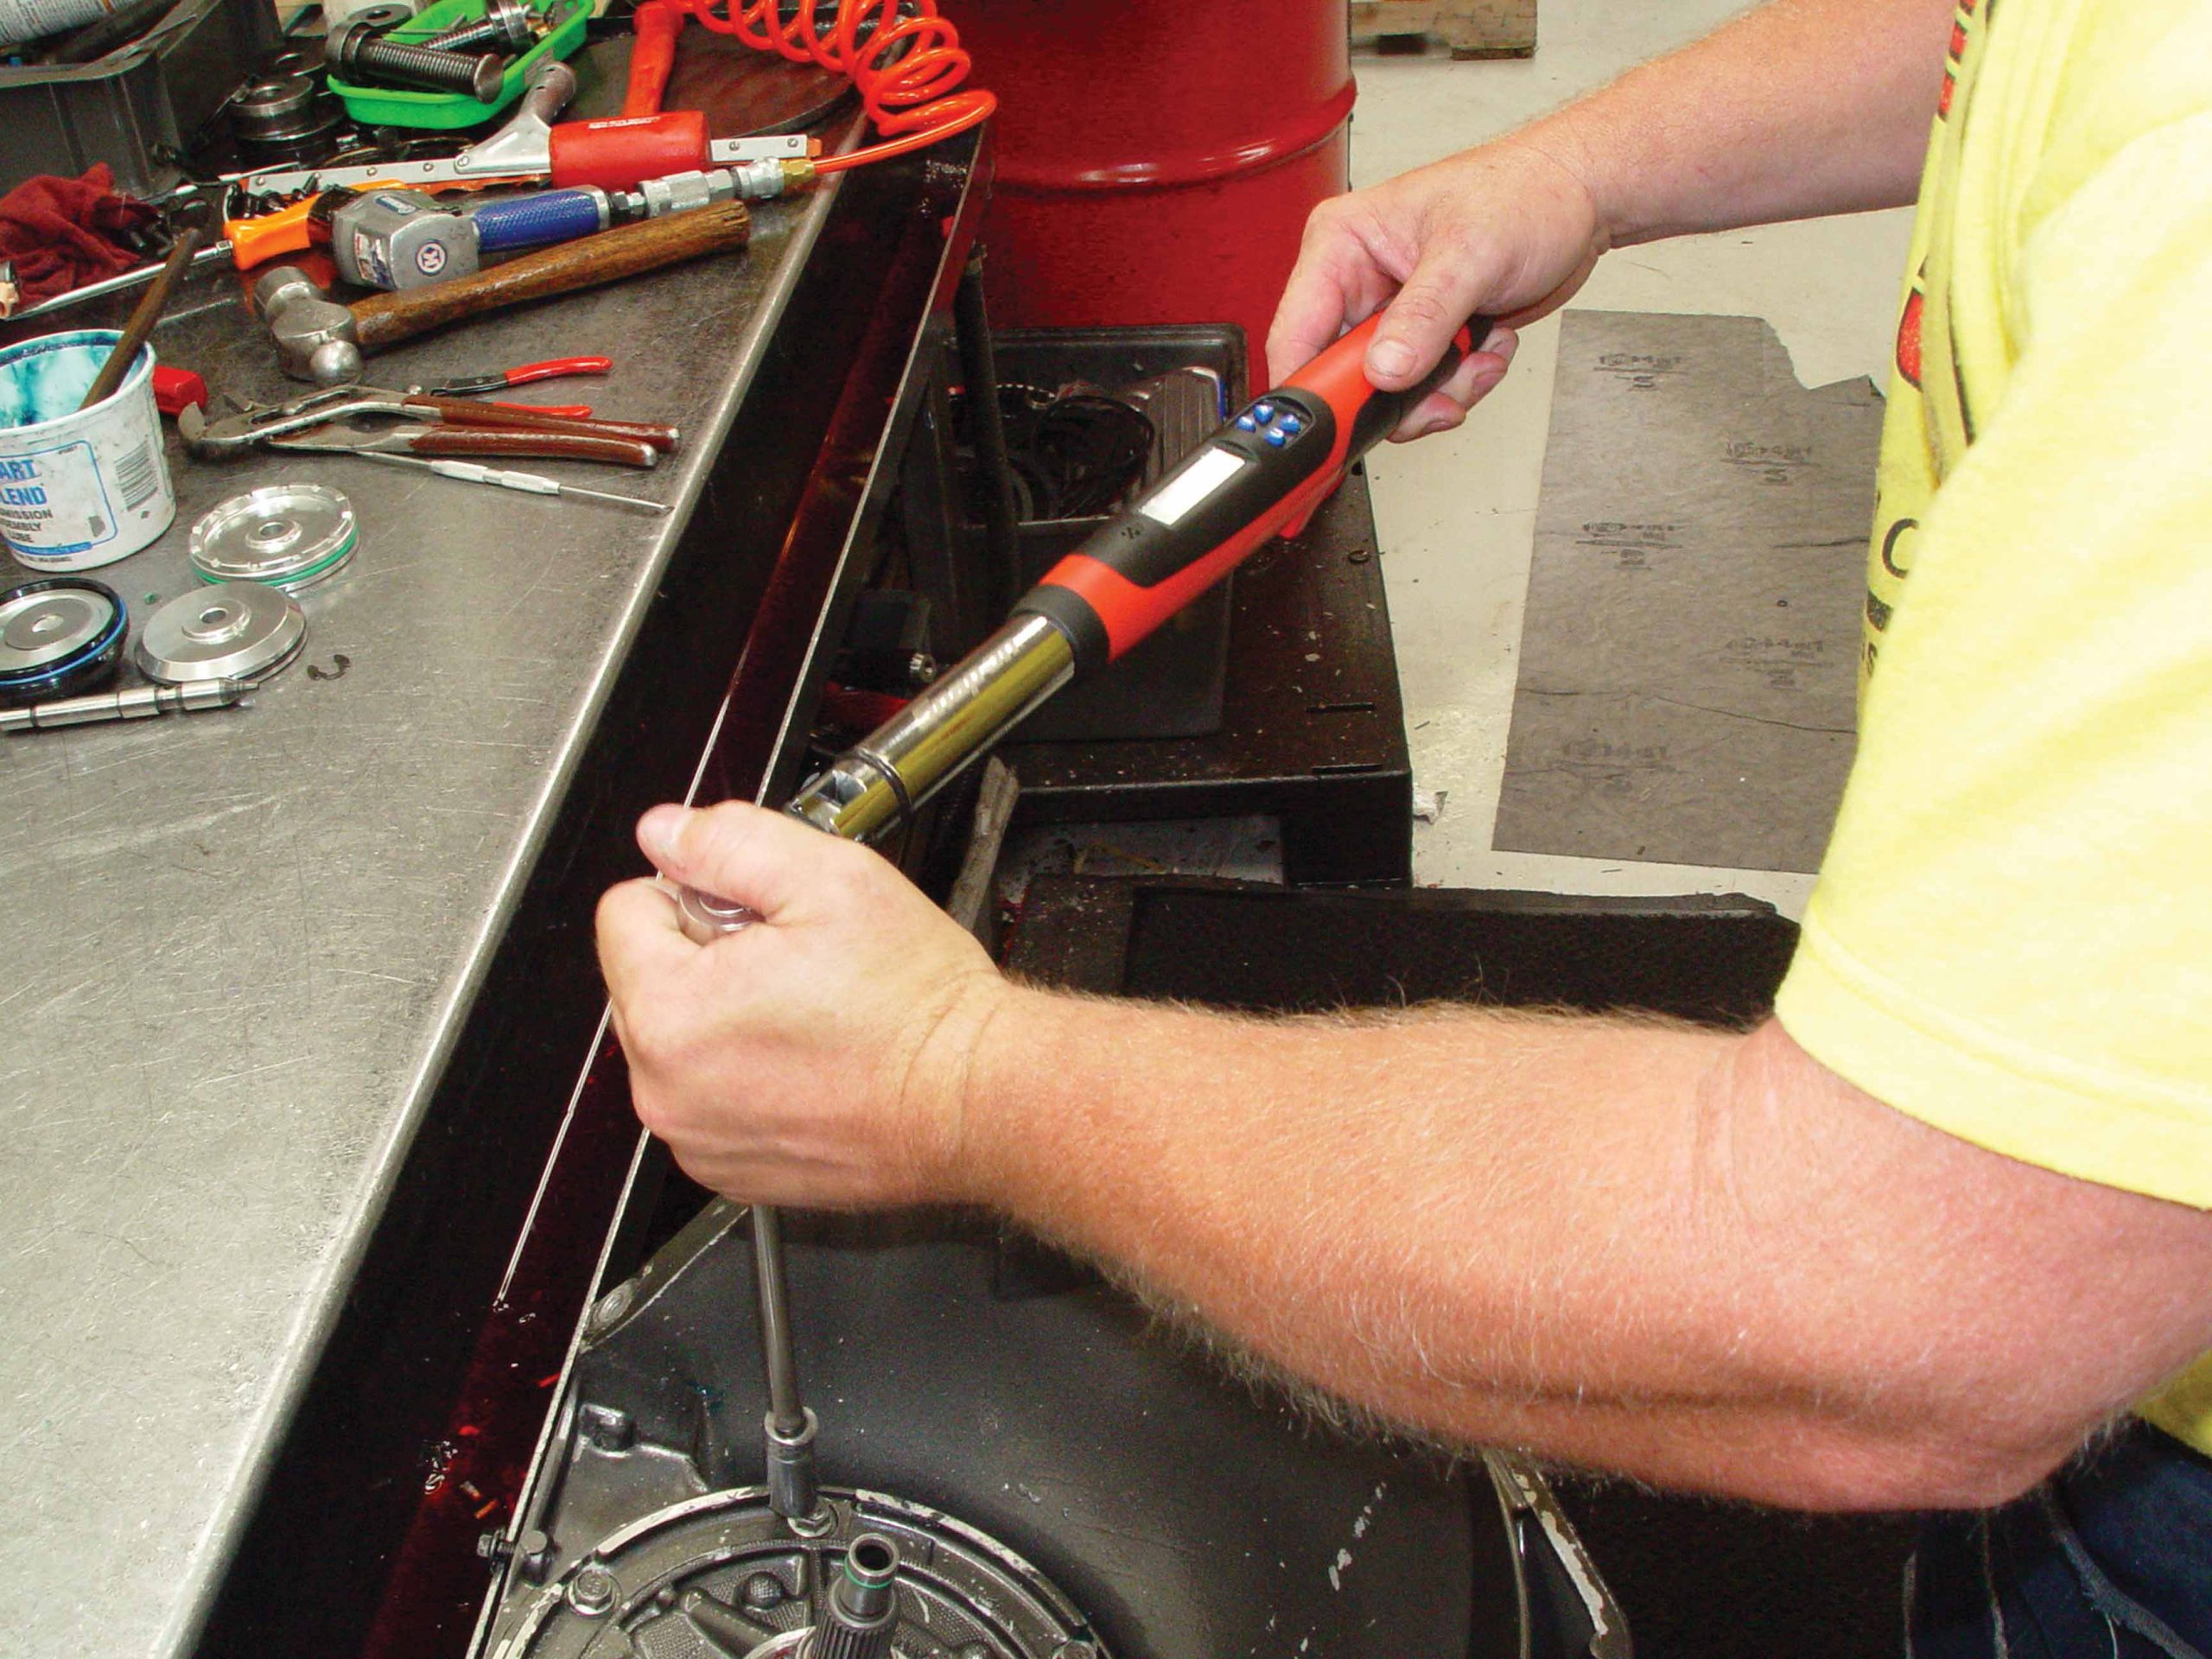
70-71 Precision digital torque wrenches are used during assembly to ensure that each transmission is built to exacting TCI standards.
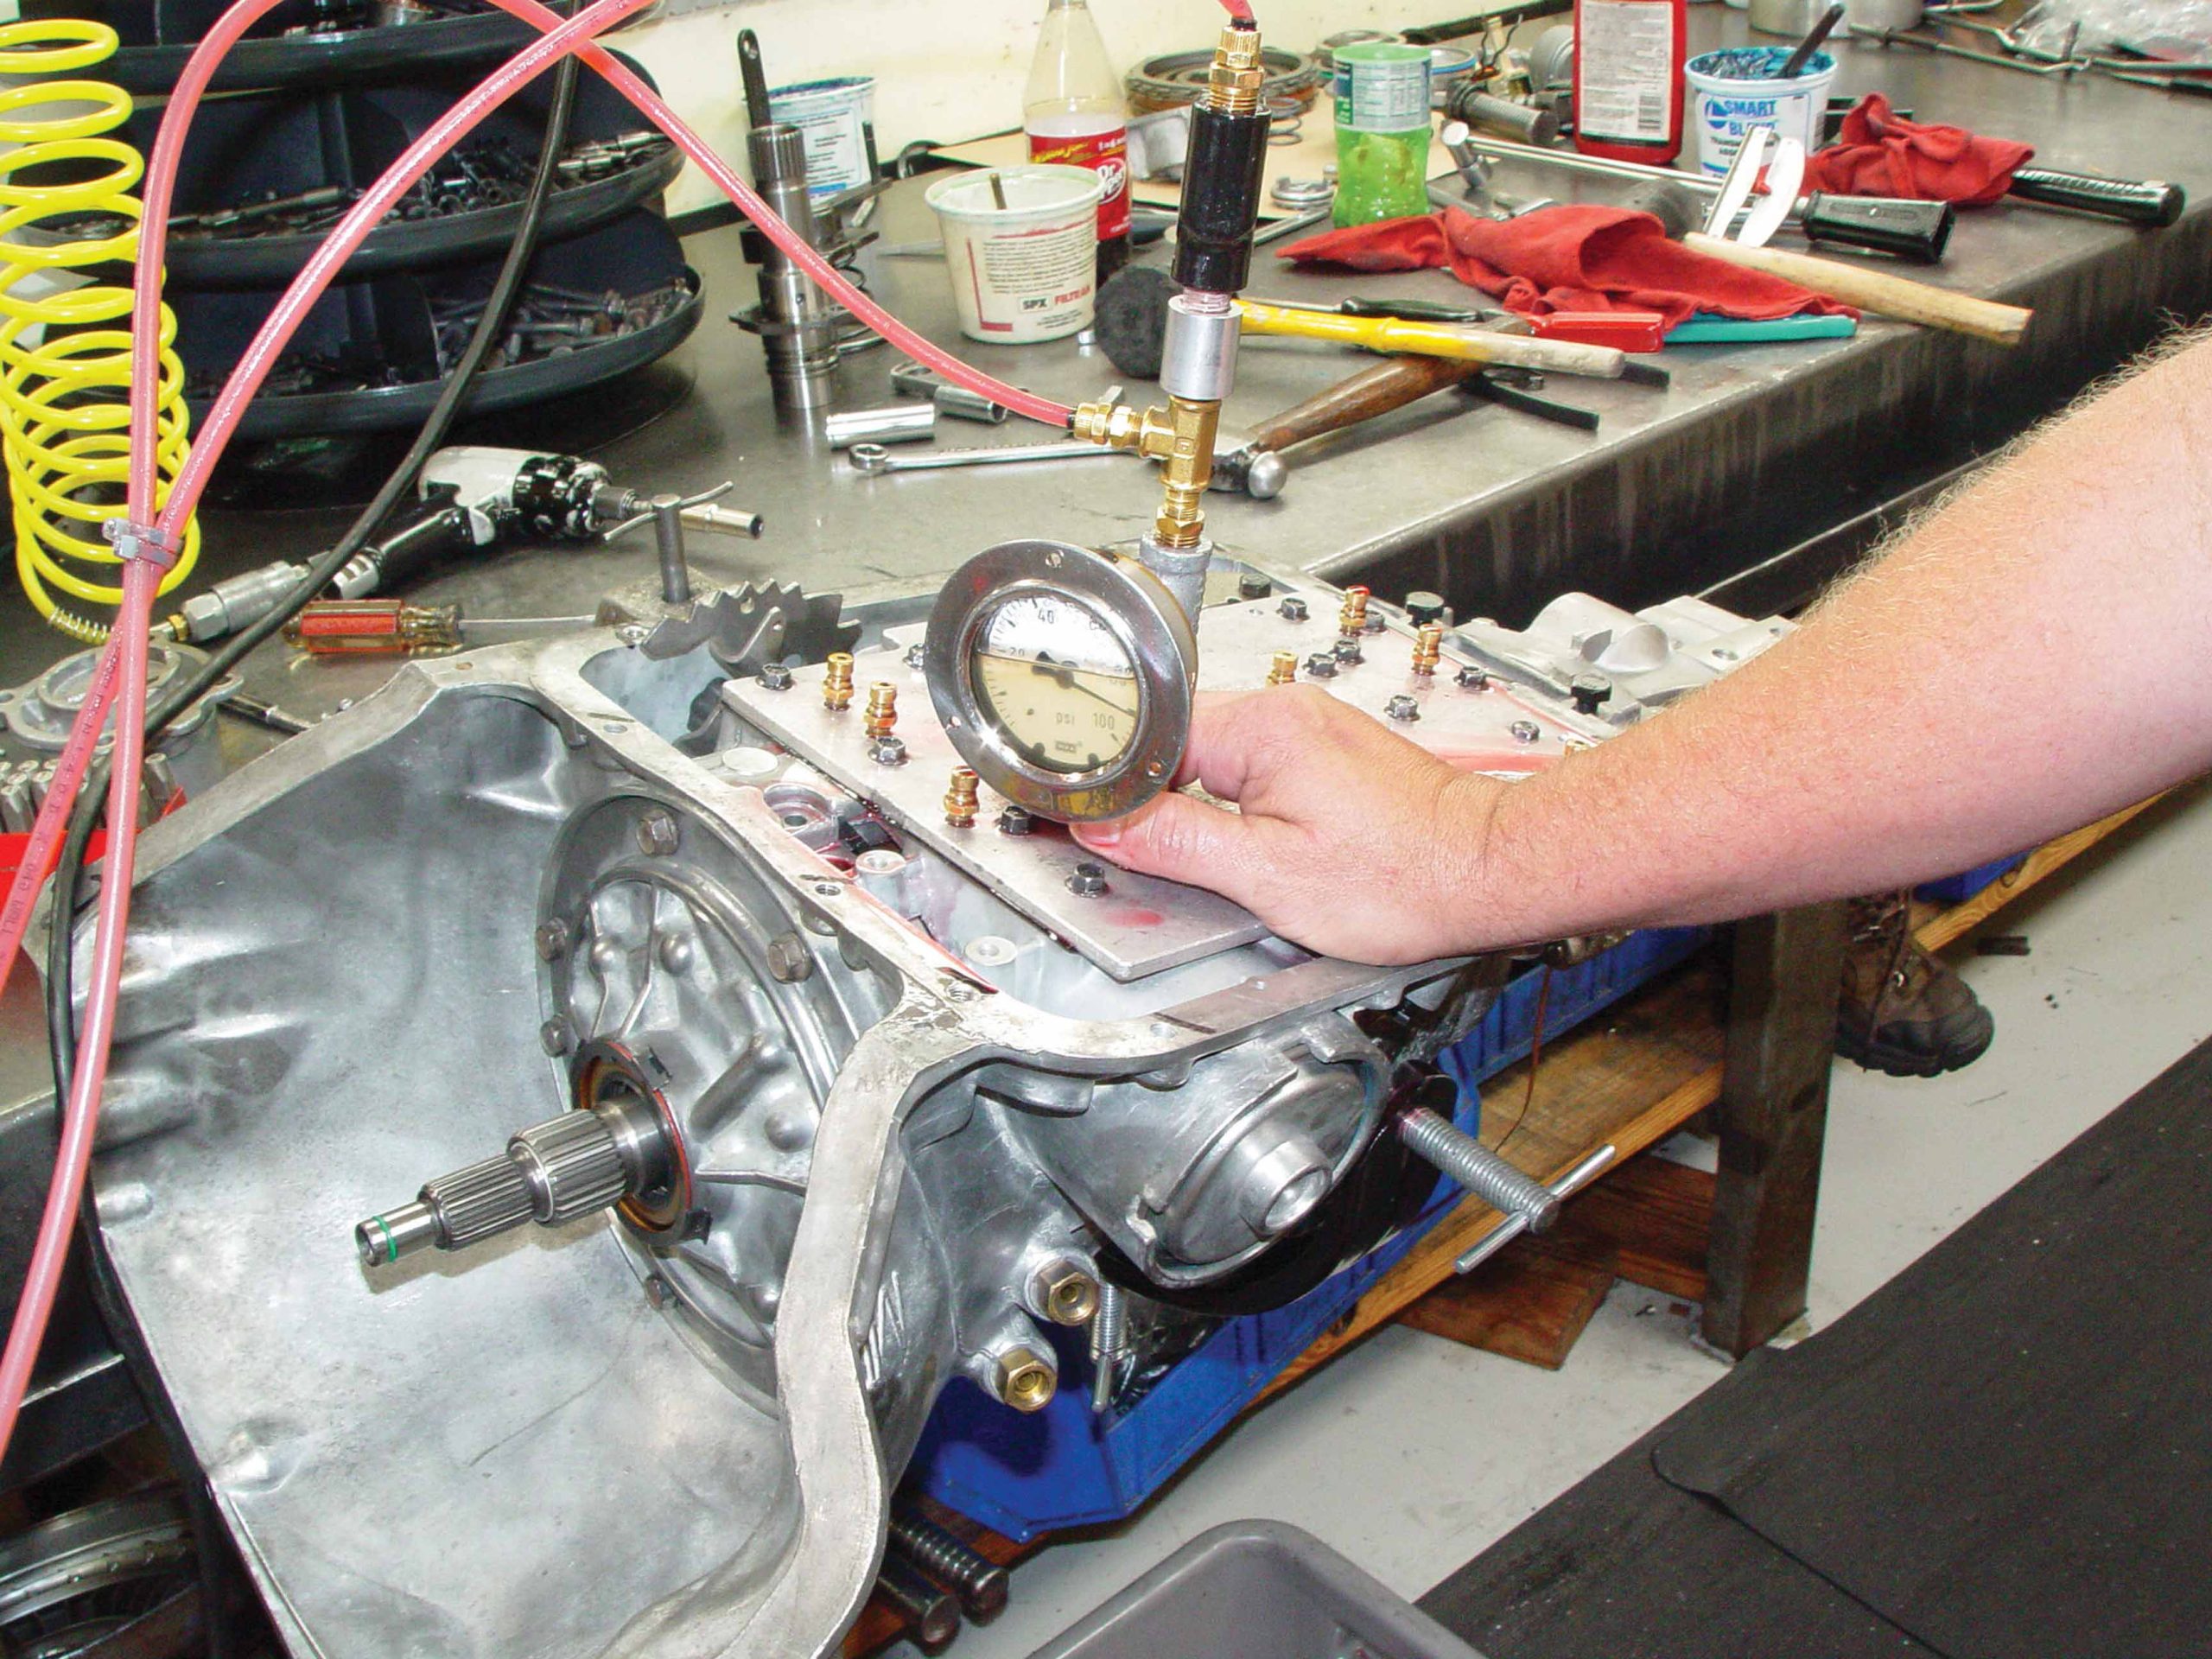
72 Internal line pressures are verified by the assembly technicians while the transmission goes through its paces. This takes place before the valve body is installed on each transmission.
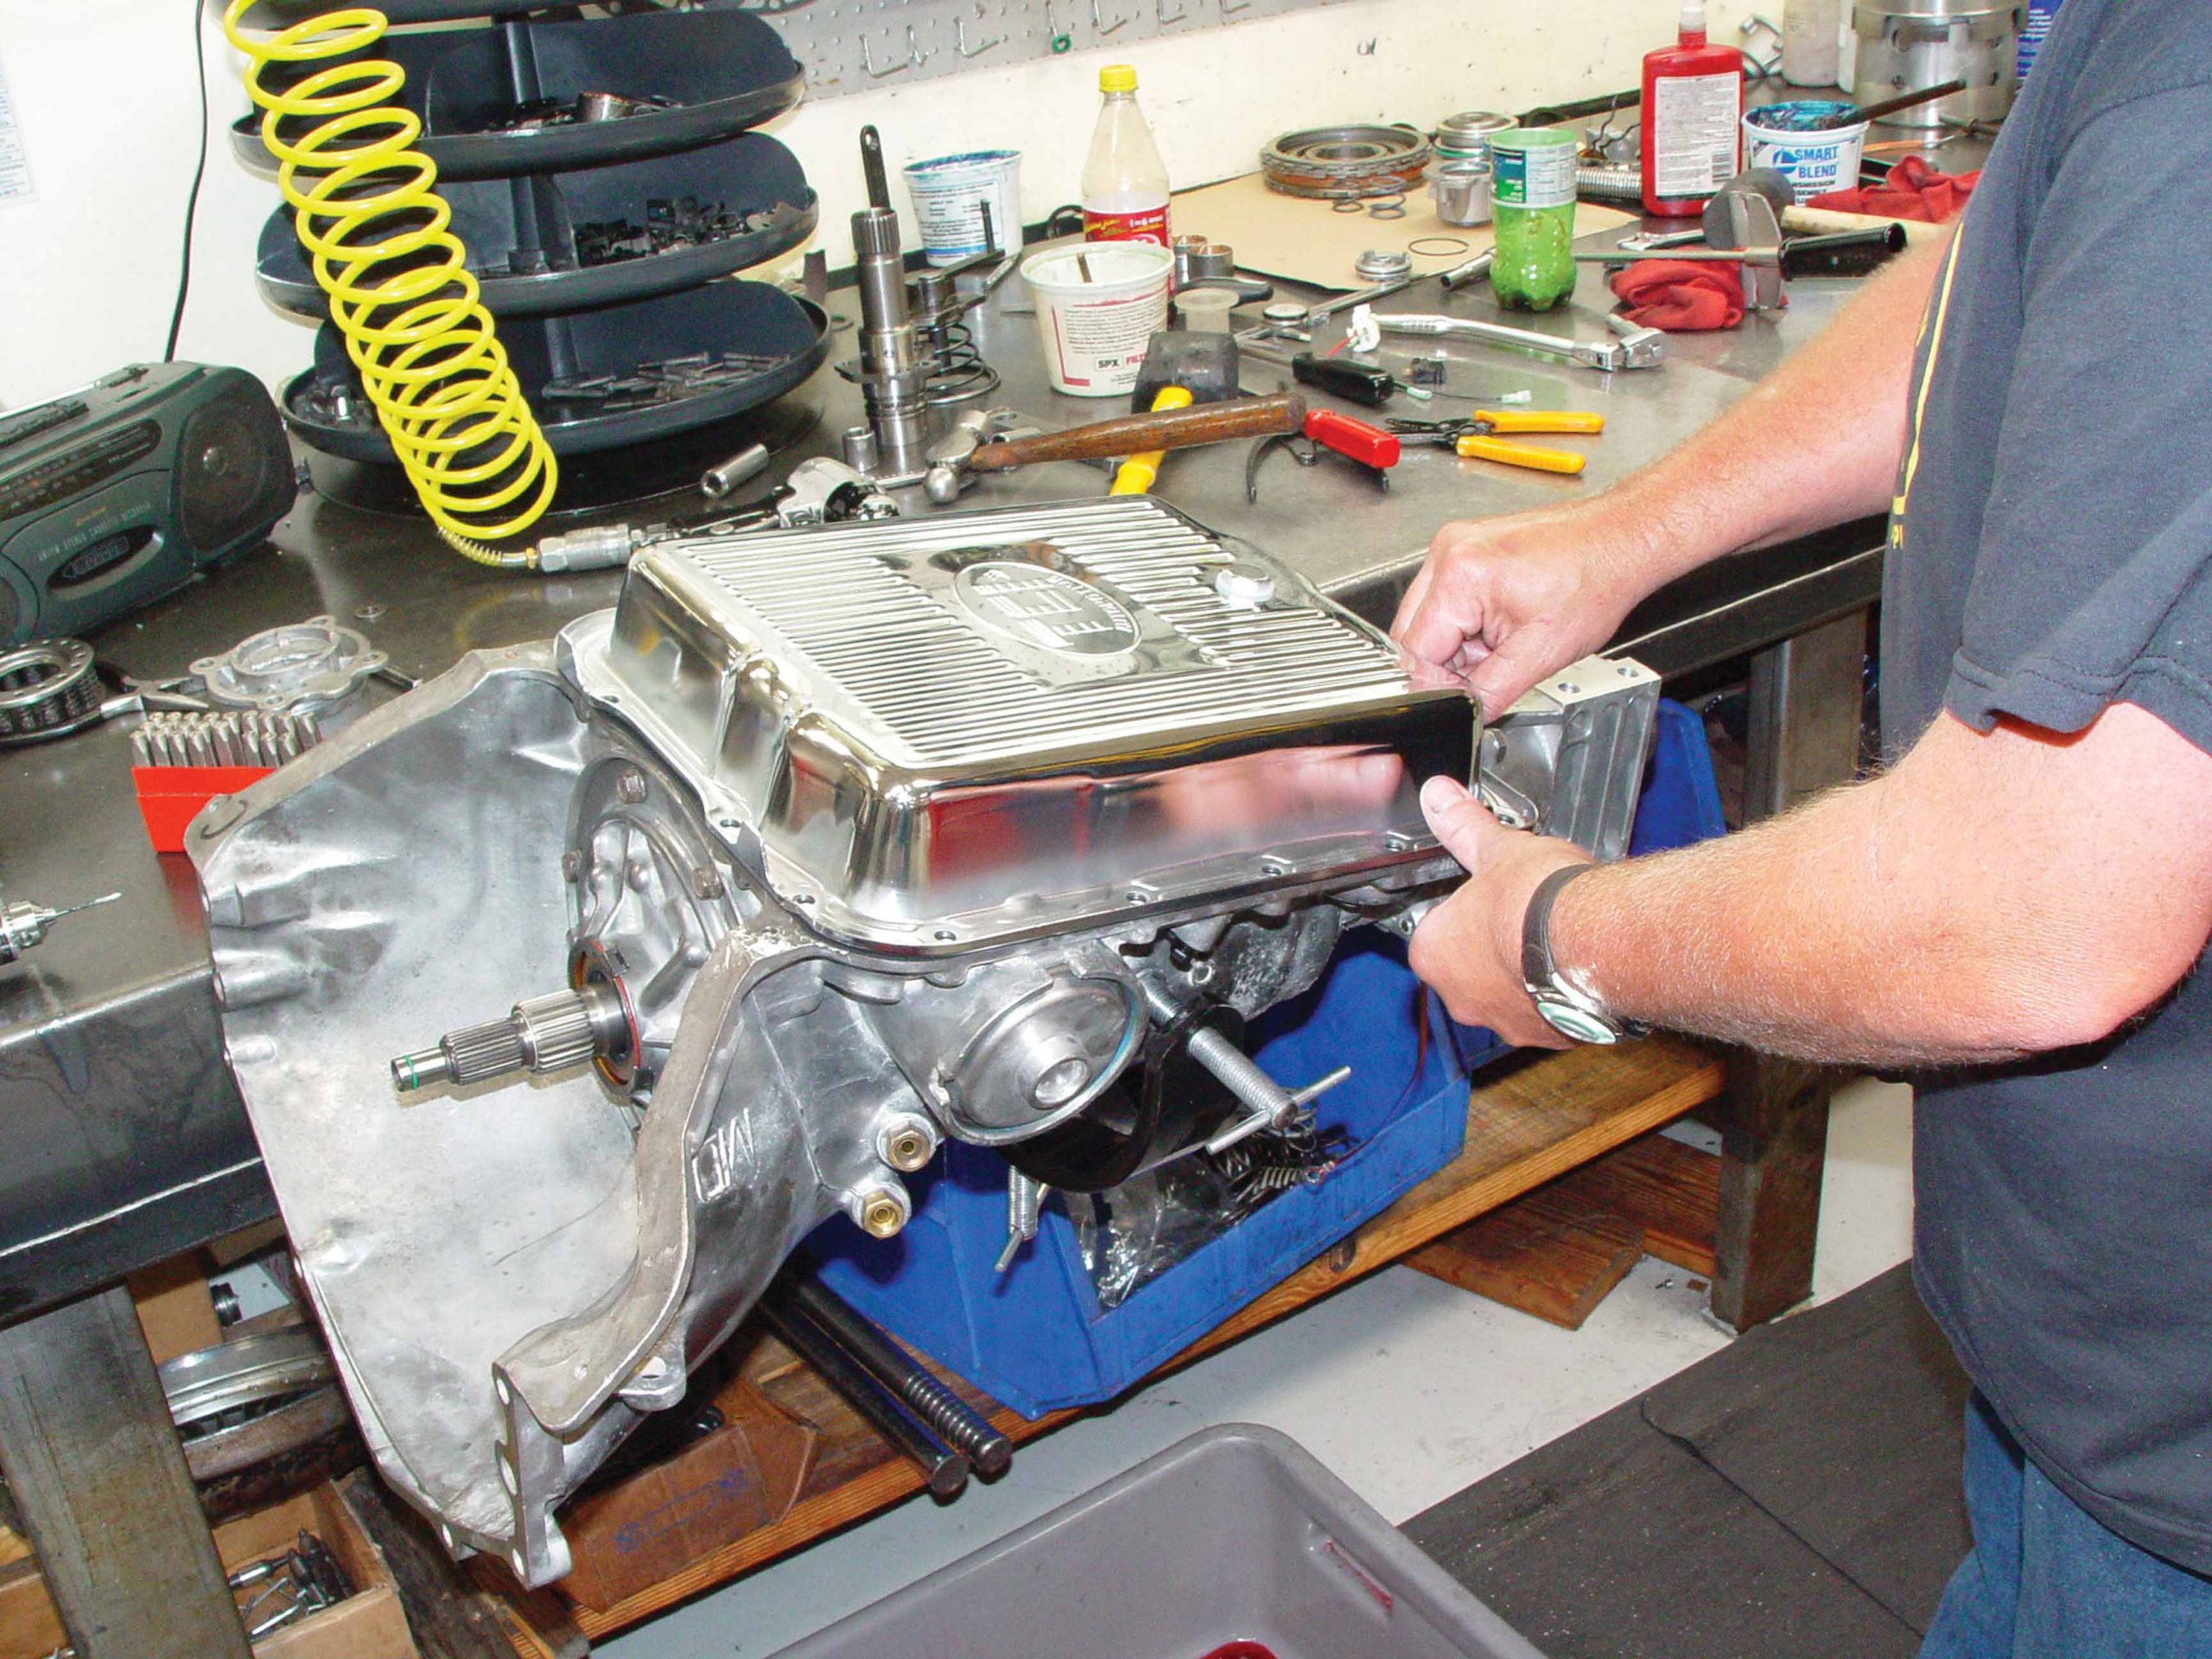
73 Only after the TCI assembly techs are certain the transmission is perfect do they install the chrome stamped steel pan that is a standard feature. Notice that the TCI pan has an integrated drain plug to make servicing and maintaining your new transmission easier.
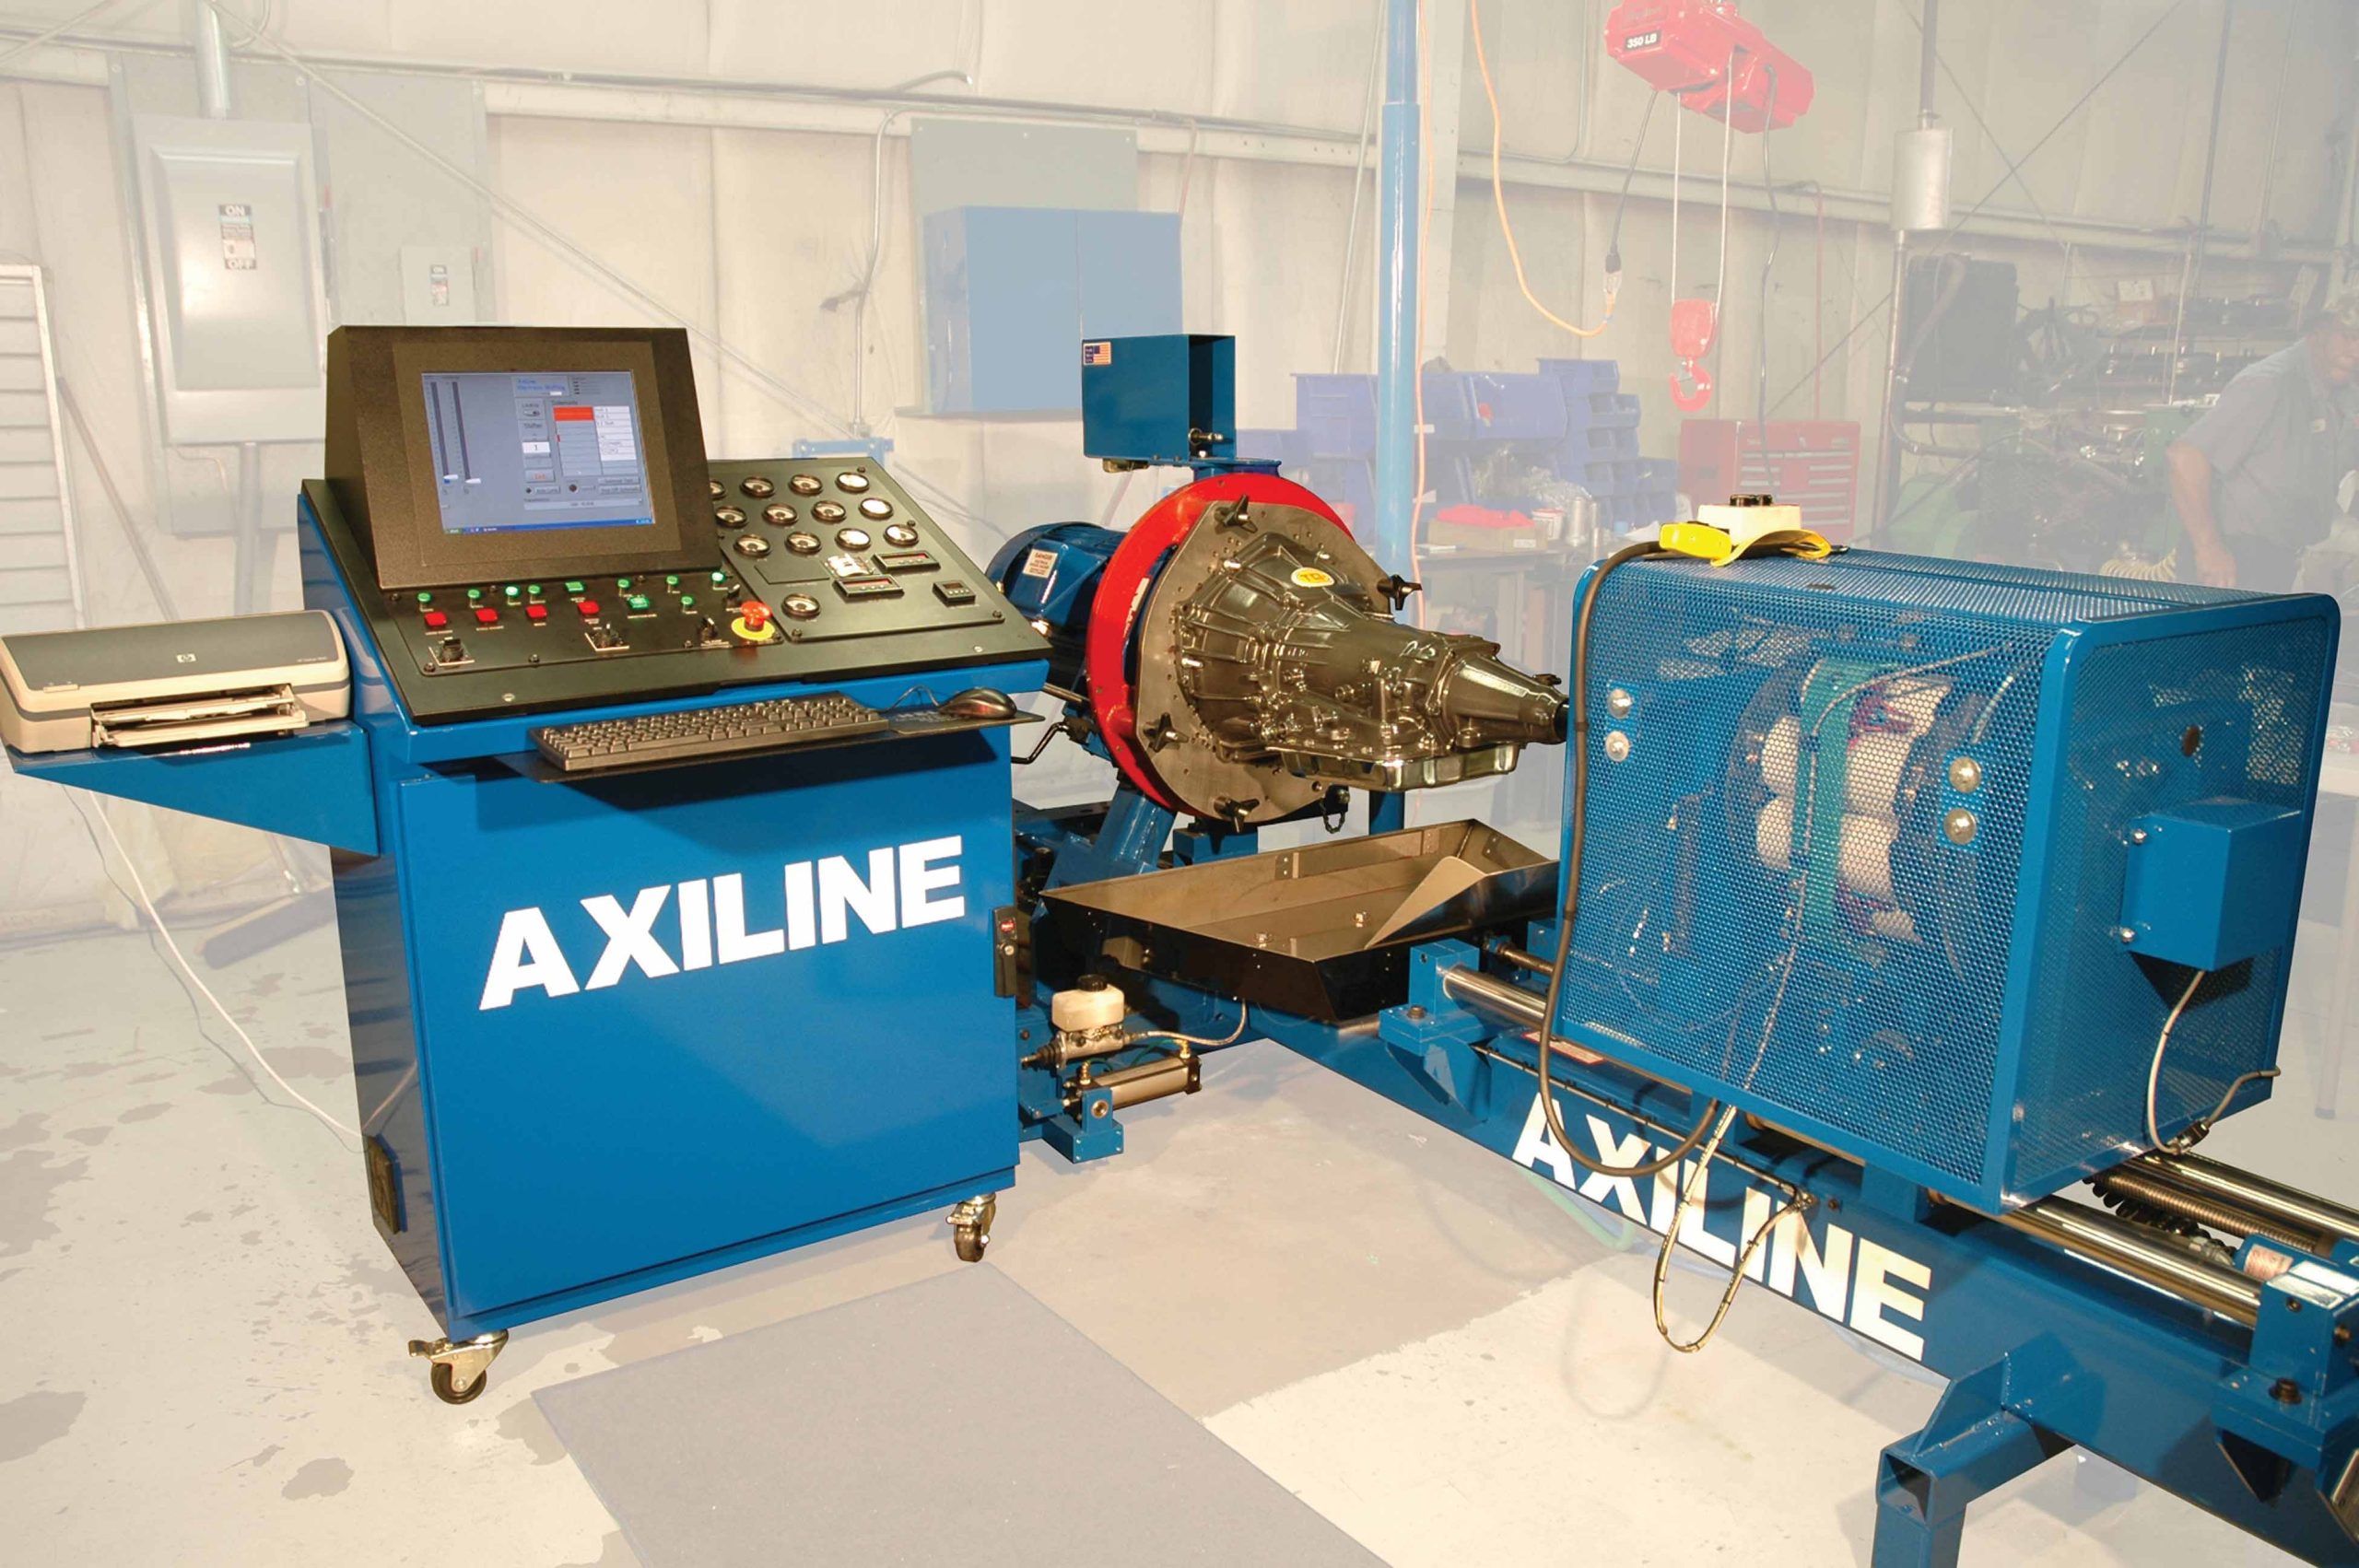
74 The final step for each TCI transmission is a run on the transmission dyno to verify proper functions, pressures and cooler flow. This ensures that you will never be shipped a transmission that is not working.
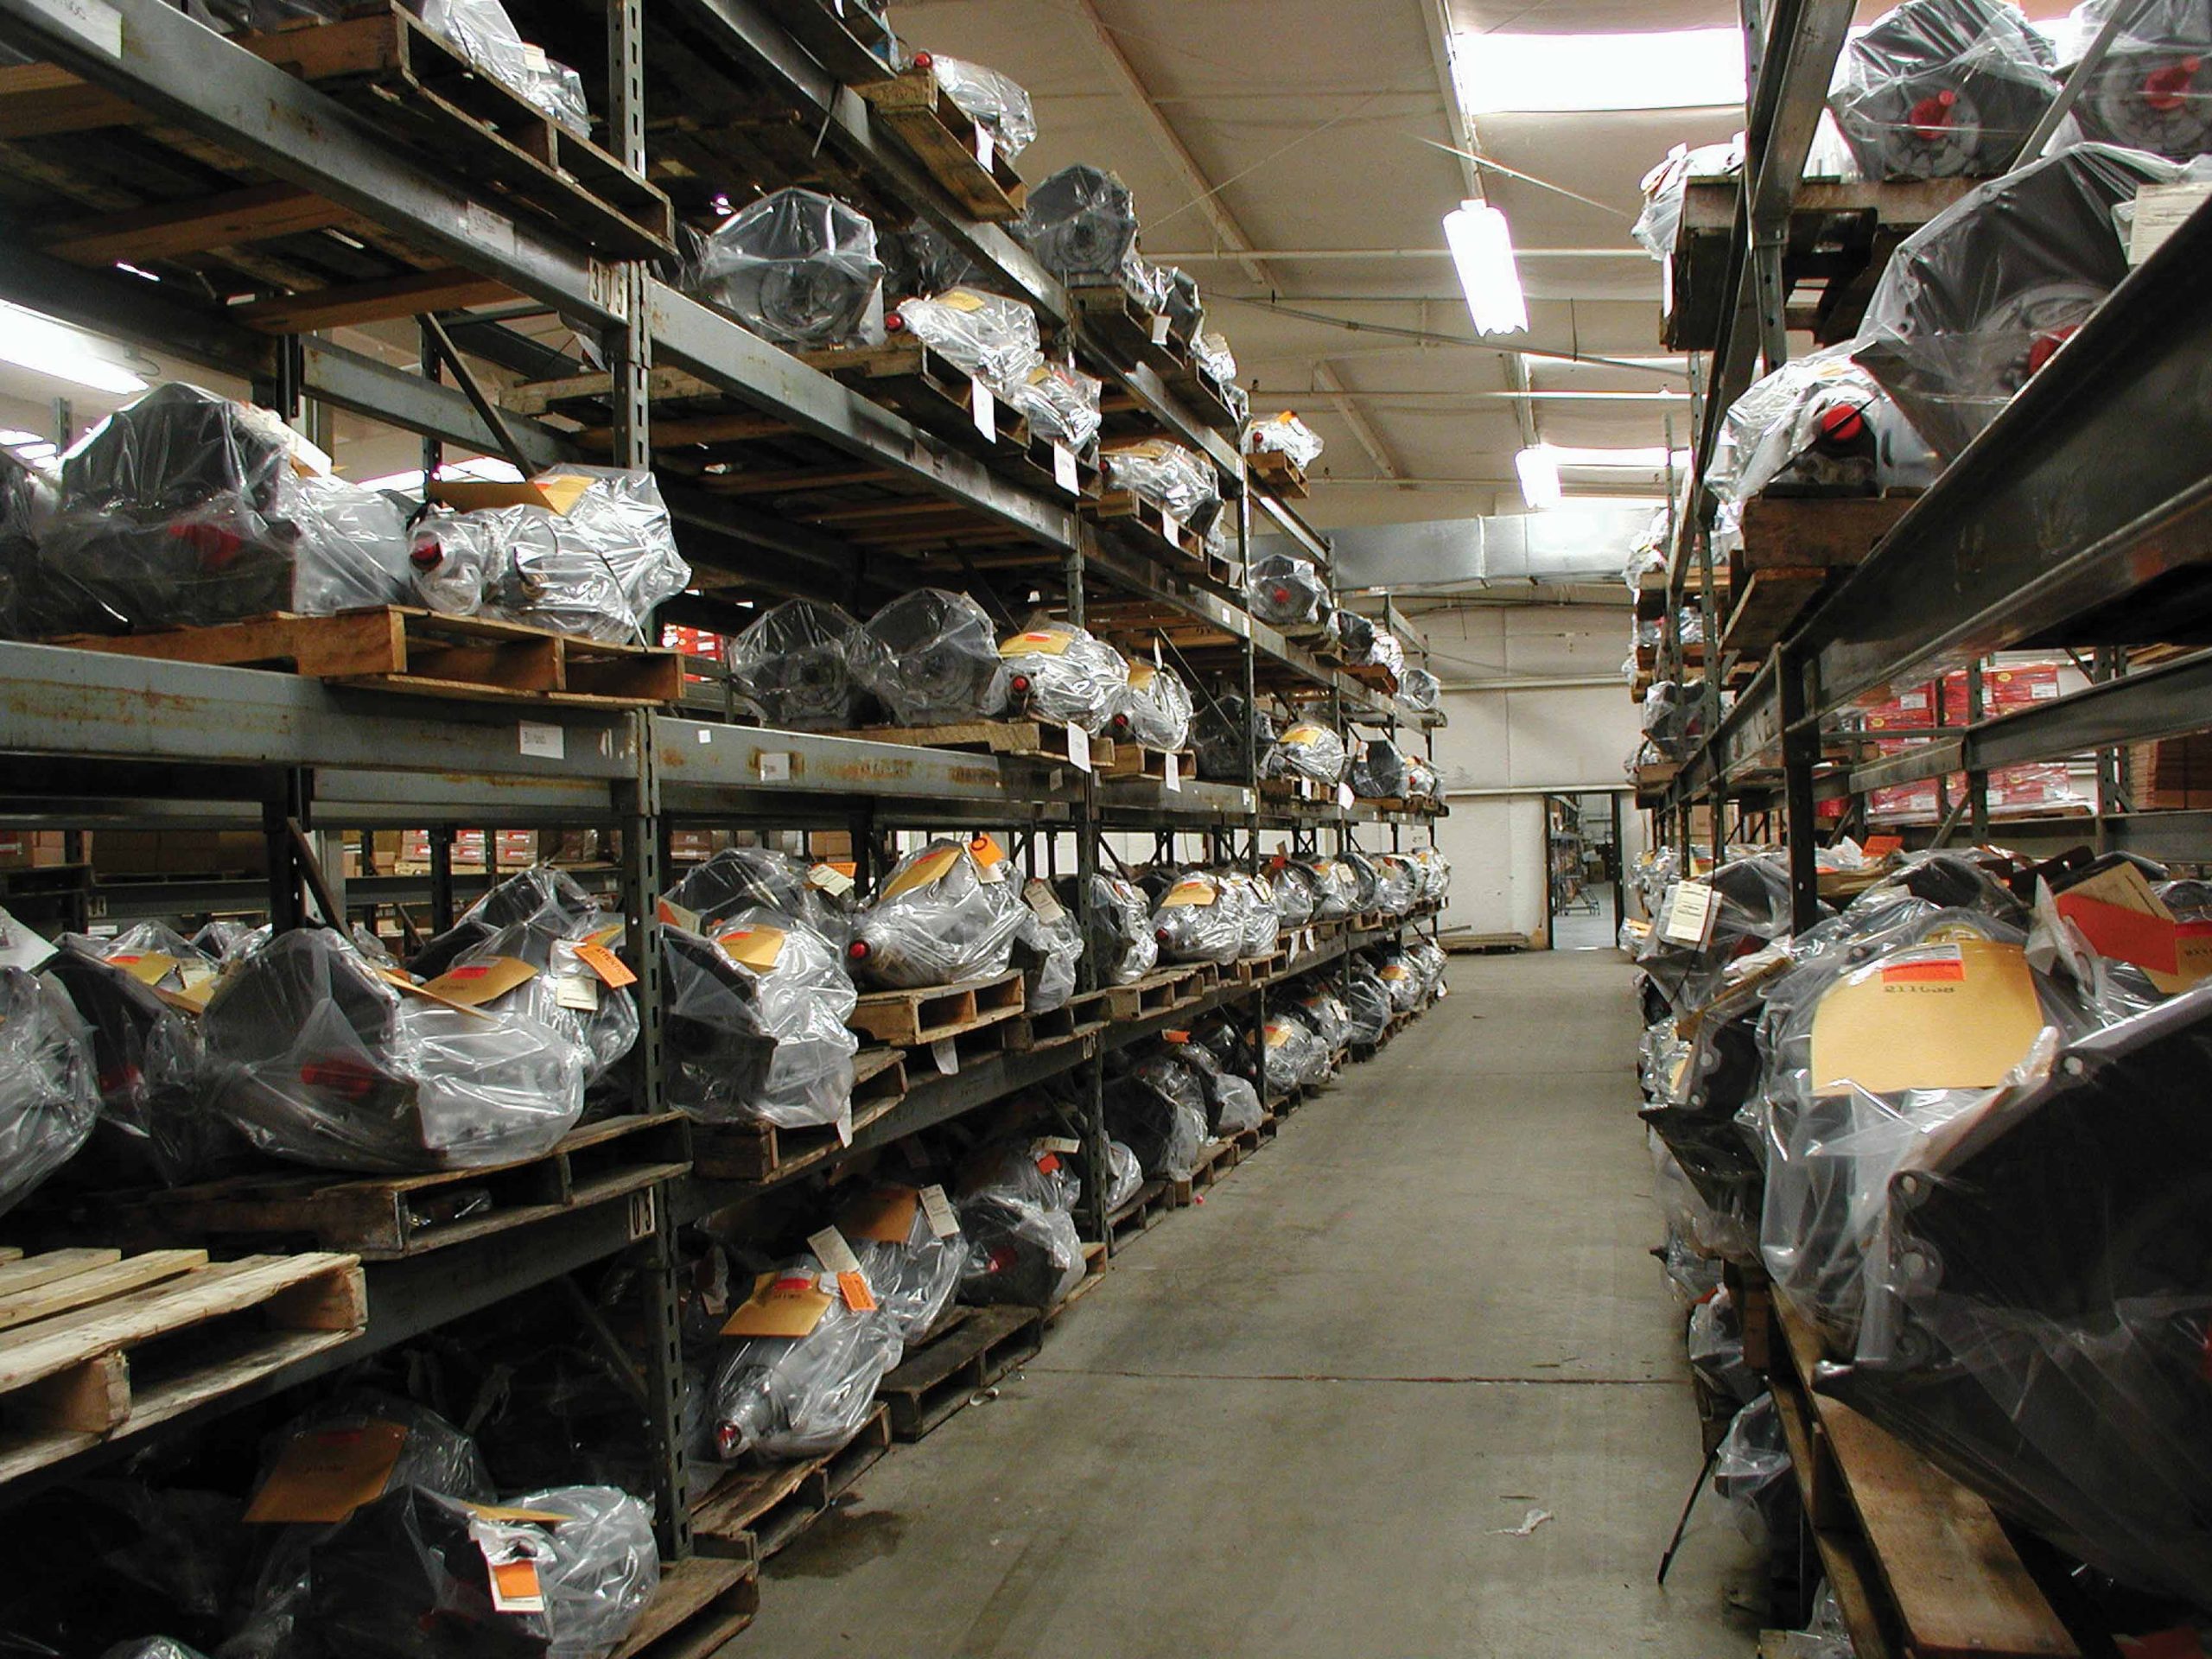
75 When the assembly and dyno testing is completed, each transmission is bagged and tagged then stored in the warehouse awaiting delivery to customers all around the country.
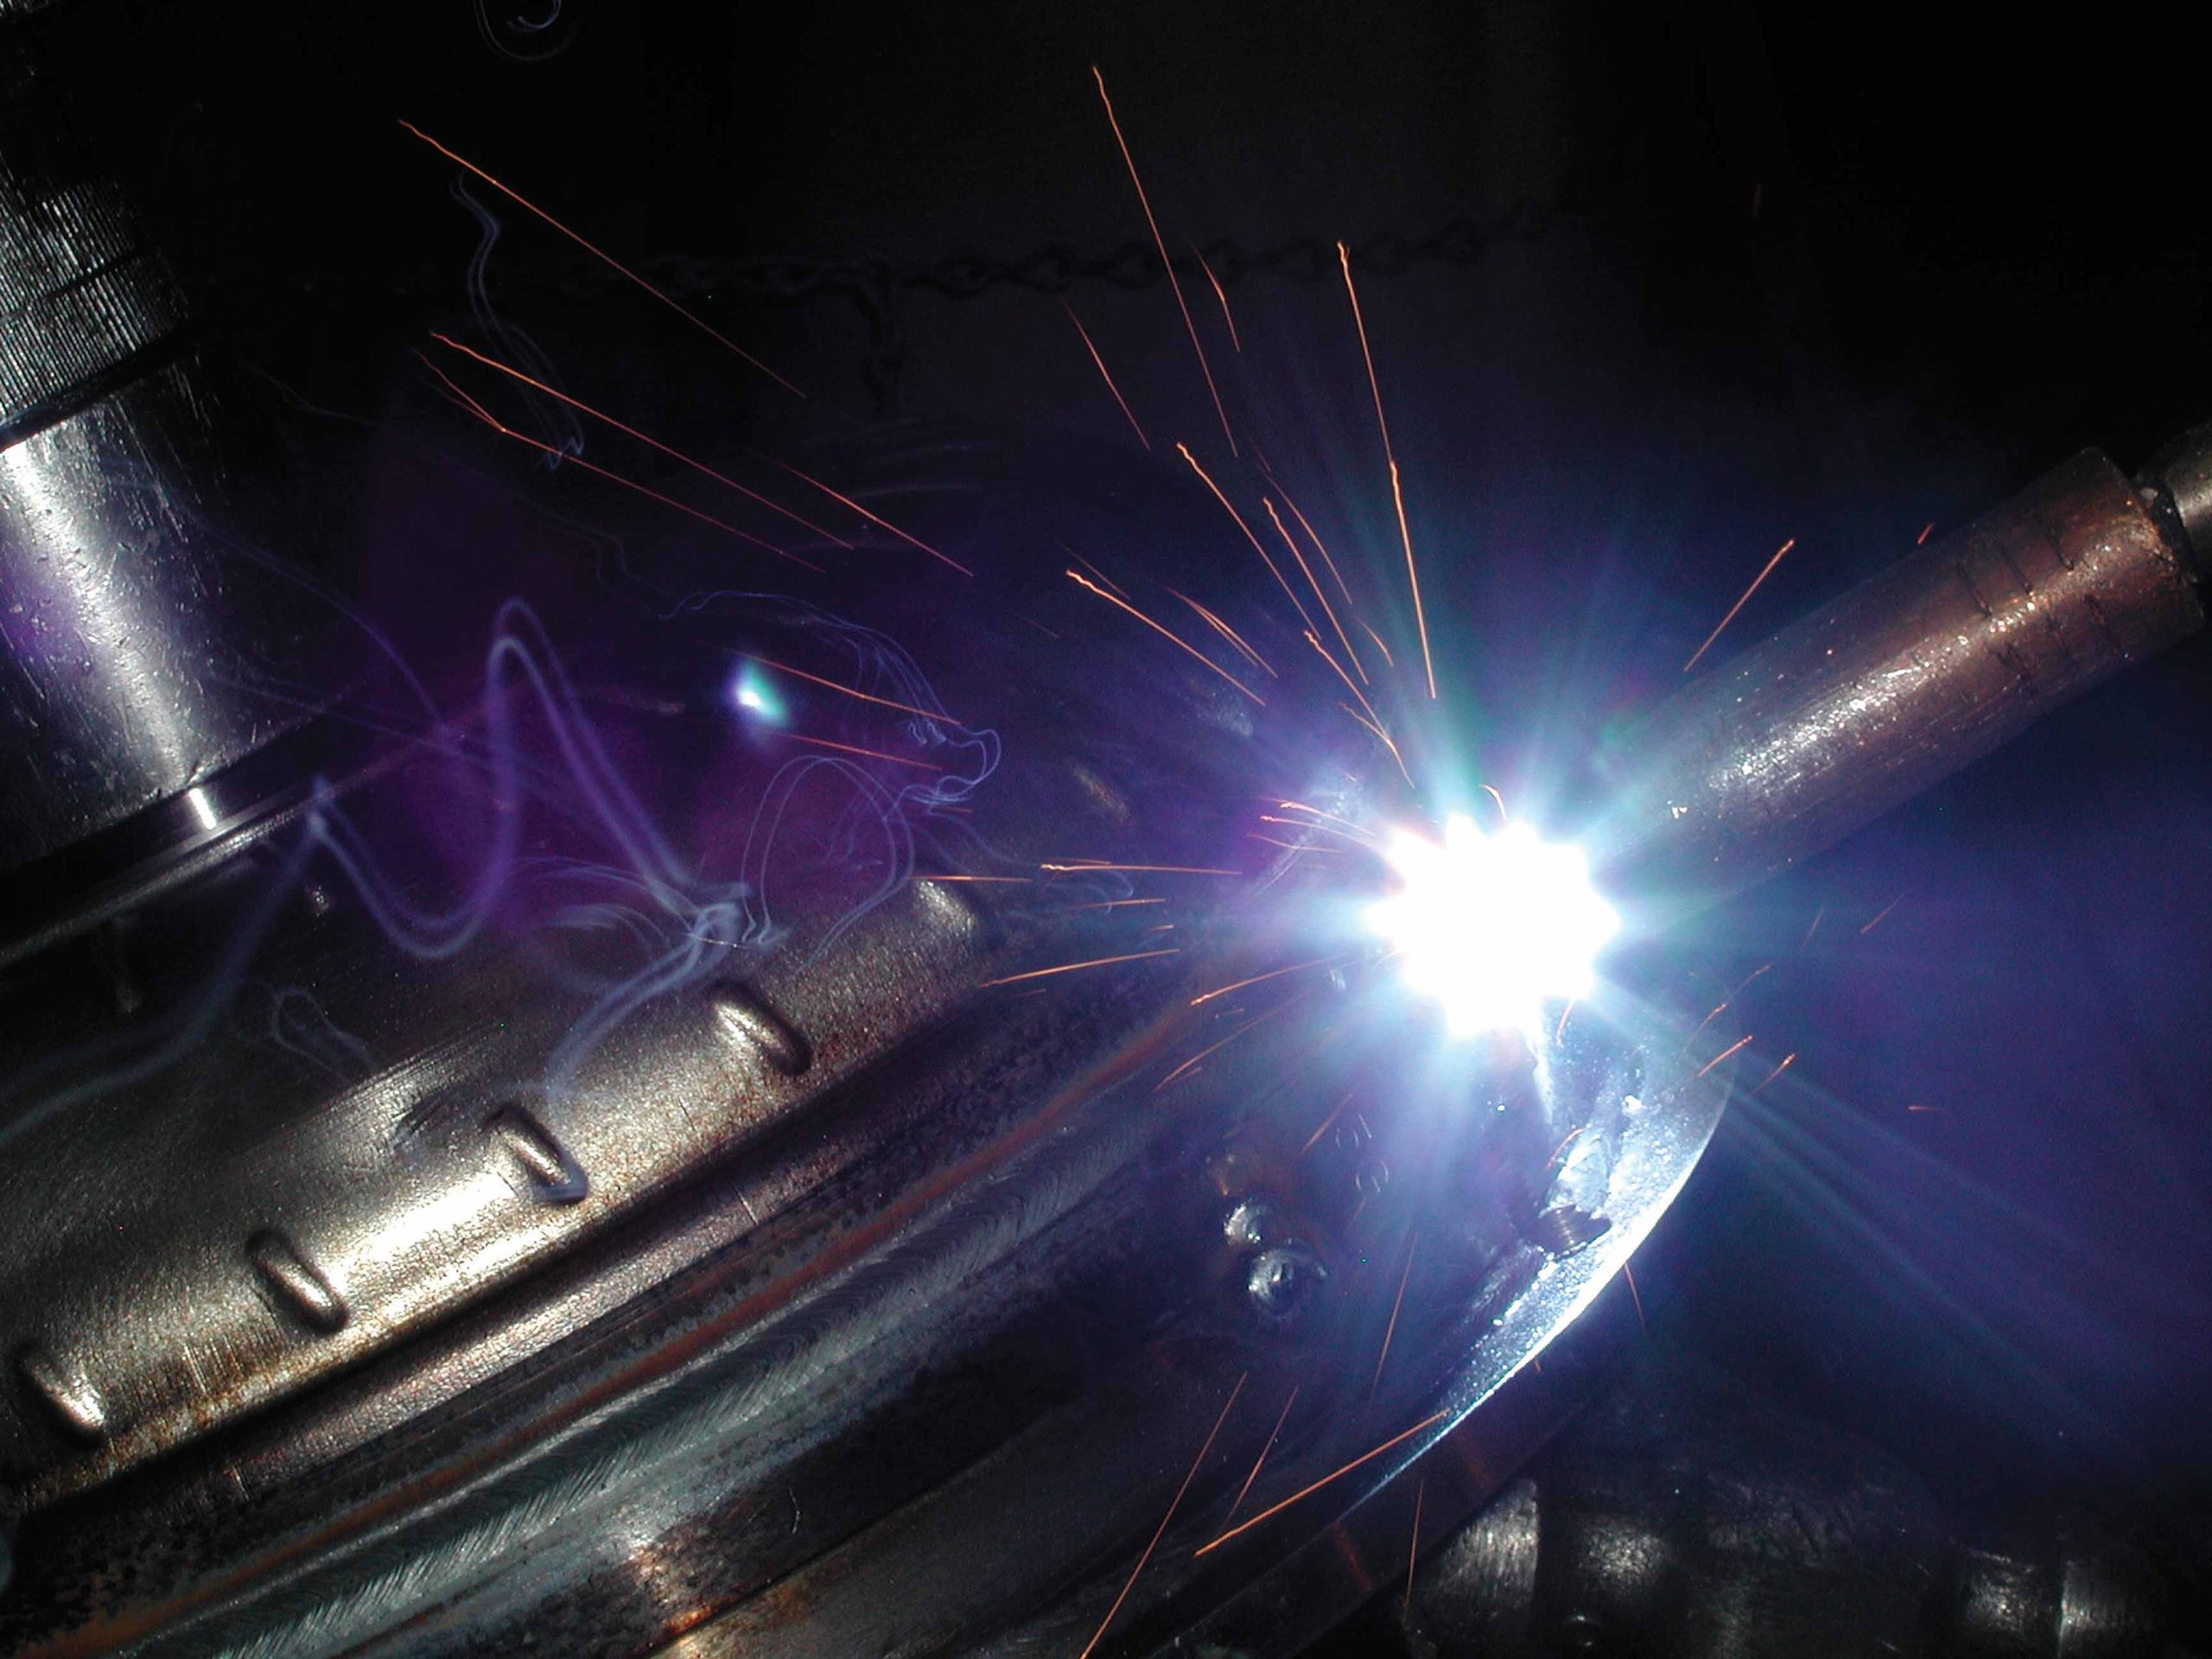
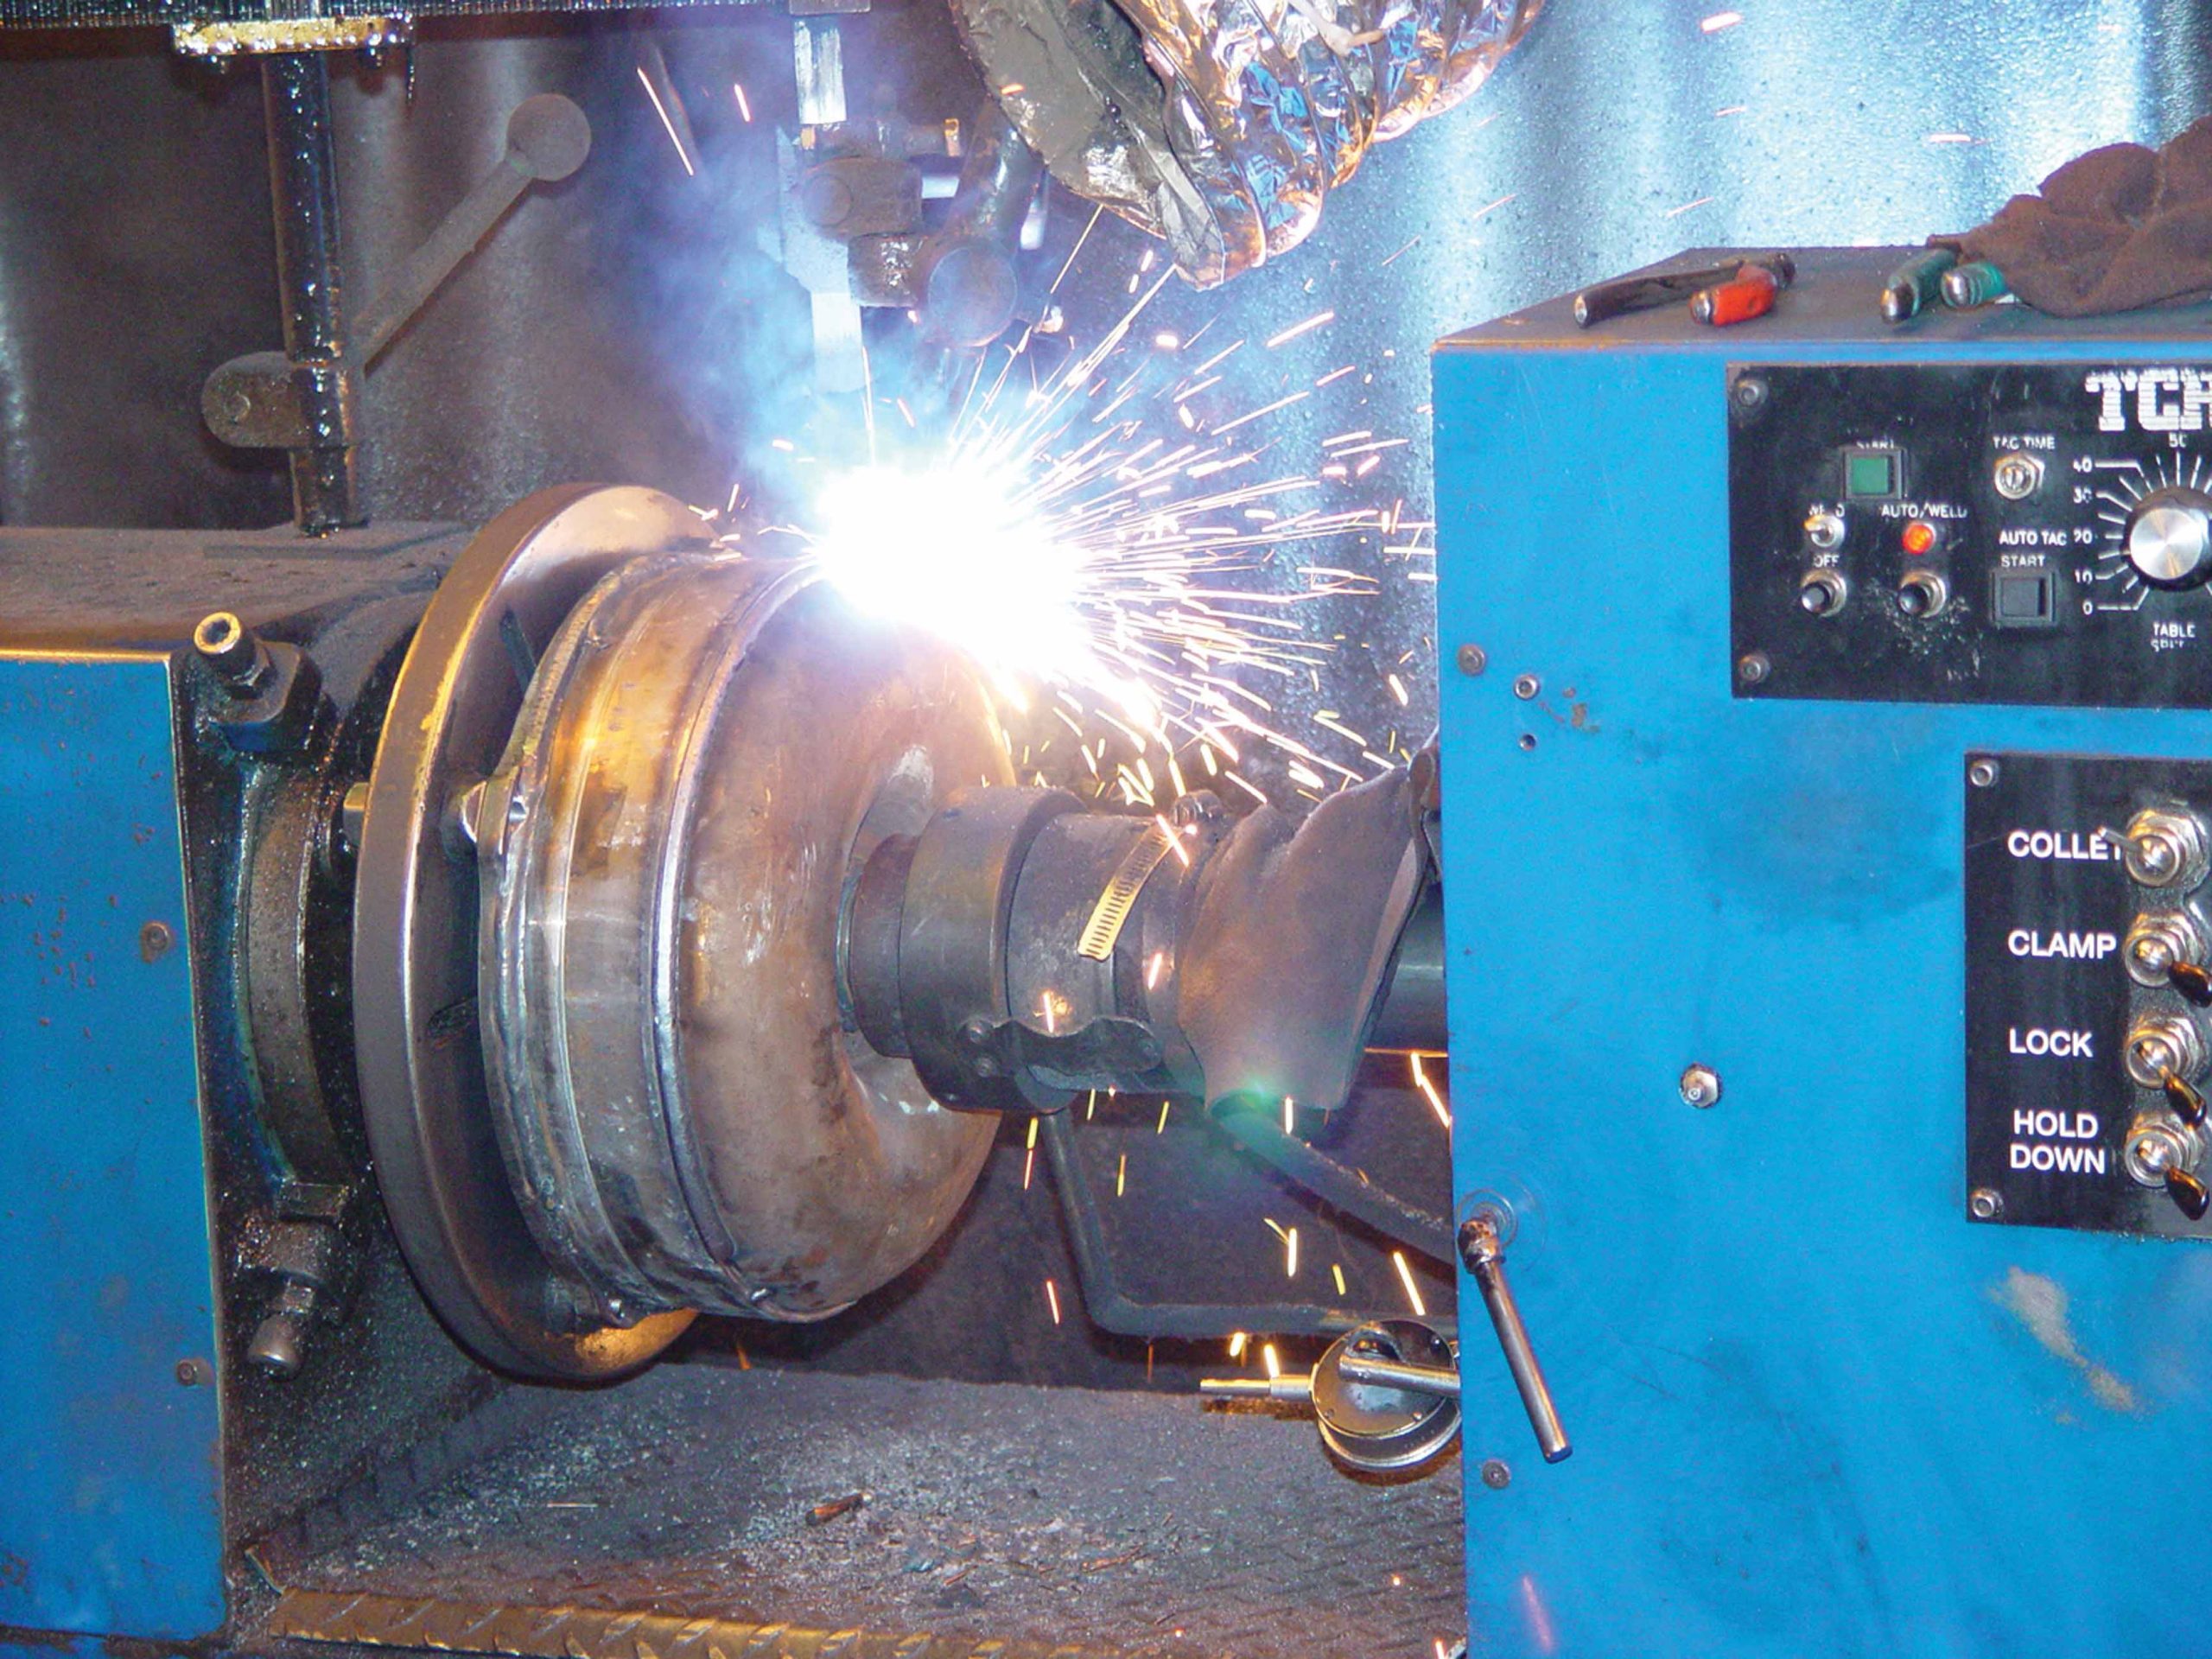
76-77 Not only does TCI fully assemble its transmissions in its Ashland, Mississippi, facility, it also builds its own torque converters, so you know every aspect of your new transmission from the rear output shaft seal to the torque converter meets TCIÕs strict standards and will perform well in your truck!
ARTICLE SOURCES
TCI Automotive
Dept. TB
151 Industrial Dr.
Ashland, MS 38603
888/776-9824
