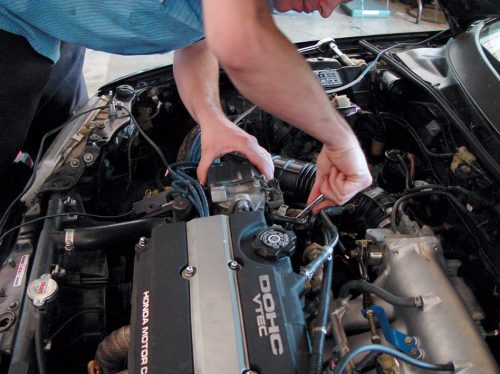
When a B16A-equipped CRX EF came into the Rage Performance shop for a Skunk2 intake manifold install, the crew dove into the job with a fury. With cameras at hand to document the swap (’88-’91 CRX) for your personal pleasure, the job took no time at all and the owner of this Honda is deliriously happy with the results.
The car arrived at Rage with a Mugen header and intake, exhaust, ECU and Field VTEC. Initial dyno testing revealed that the car was already pumping out a respectable 147.7 hp at 7,800 rpm with 102.7 lb-ft of torque. After the Skunk2 intake manifold swap, the car gained 9.8 hp (over the previous mods) for a total of 157.5 at 8,300 rpm. Torque increased to 104.2 lb-ft.
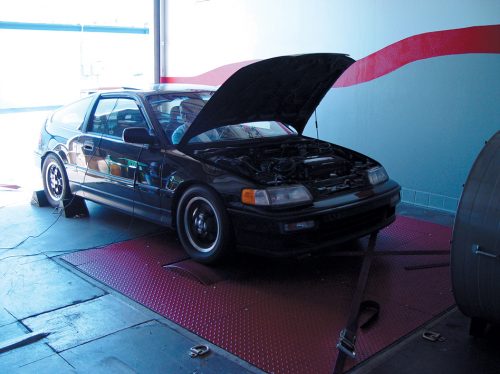
The first thing Rage Performance does before making any speed part swaps is to throw the car onto the in-house dyno to see what it can do (as a baseline).
While this was simply a swap concerning one part on an engine that had already been modified, it was quite interesting to see the increase under the controlled circumstances of a before-and-after dyno test. That’s one of the beauties of having work done at a shop like Rage Perfor-mance, as it has an in-house dyno and the qualified technicians to tune your particular combination.
After putting the car on jackstands or a lift, remove the two 12mm bolts off the intake manifold brace that’s under the manifold (just above the oil filter). This is the only work that will be done from underneath the car.
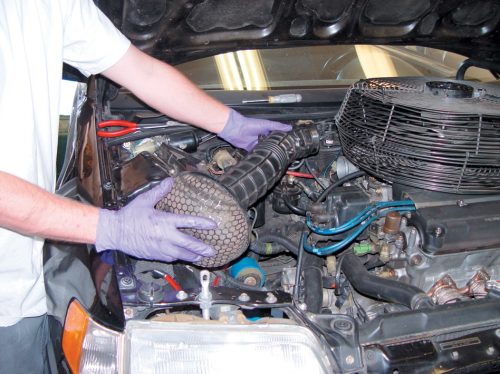
Remove the intake tube and filter.
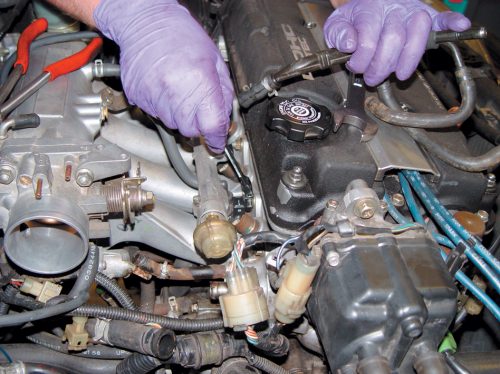
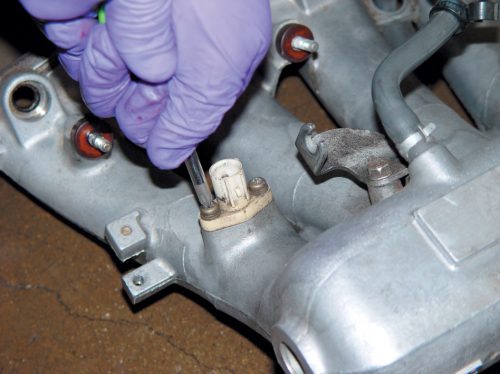
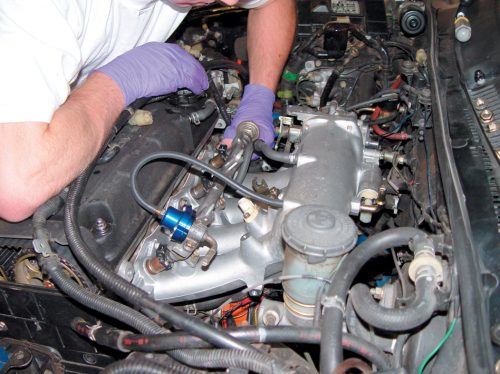
A Snap-on pick tool makes removing the injector clips and wires easy.
The Skunk2 manifold was a rousing success and it looks damn good, too. That’s a homerun in anyone’s book. Check out the photos for details on the installation.HCI
The fuel return line is removed.
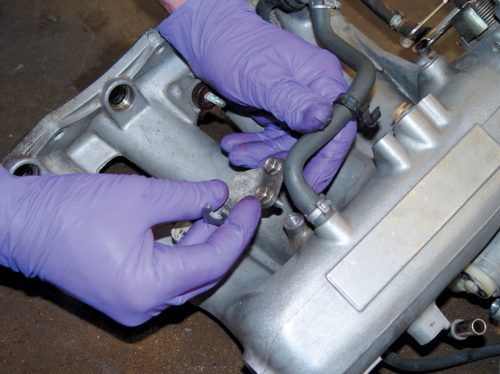
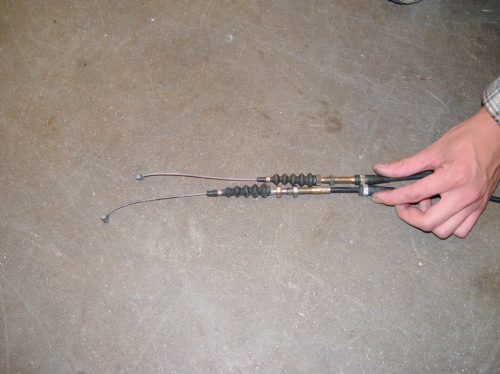
Remove the throttle cable. (You may need to loosen the 12mm nuts.)
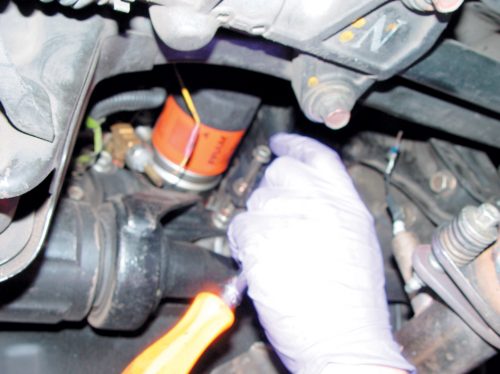
The 1/2-inch brake booster line must be removed.
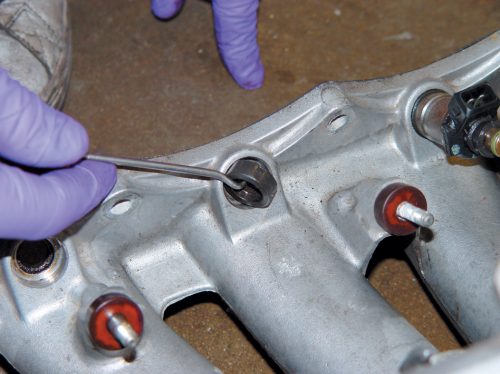
Here’s a side view of the OEM intake manifold.
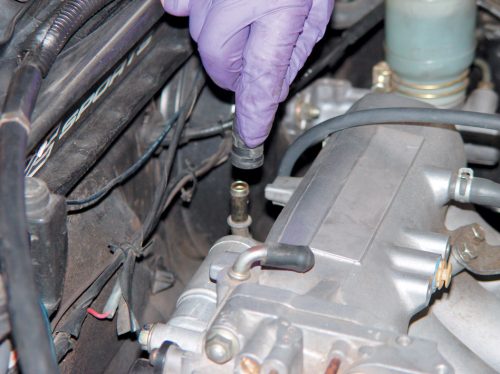
Use a 22mm open-end wrench to remove the fuel line. Be careful not to lose both brass washers, one before the line and one after.
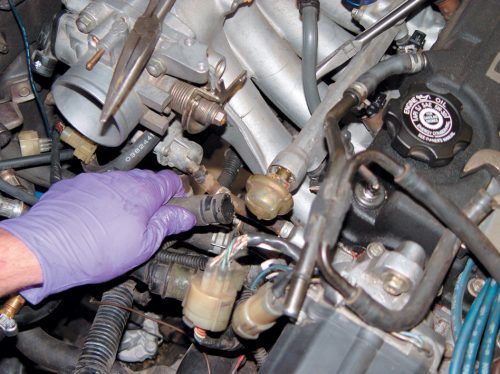
This 3/4-inch coolant line (it’s for the heater hose) can be left on the block, but it must be removed from the manifold.
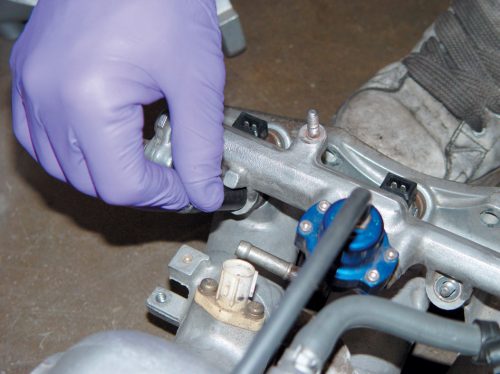
The 10 nuts are easiest removed with a 12mm open-end wrench.
It’s time to remove the OEM intake manifold.
Use a 10mm deep socket on the three nuts to remove the fuel rail.
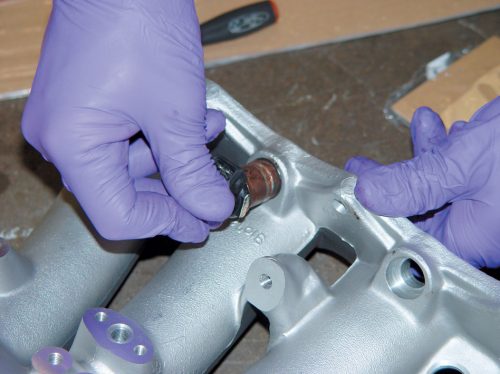
You will reuse the stock injector gaskets in the new manifold, so don’t damage or lose them.
Put the OEM injectors in the Skunk2 manifold.
The Phillips screws that are in the air temp sensor need to be reused in the Skunk manifold.
The old throttle cable bracket needs to be changed to ’99 Si for this swap.
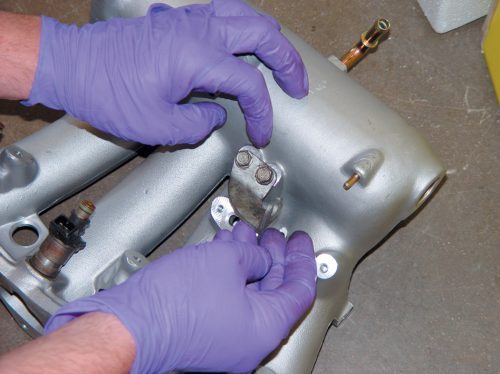
Reinstall the throttle cable bracket using two 10mm bolts.
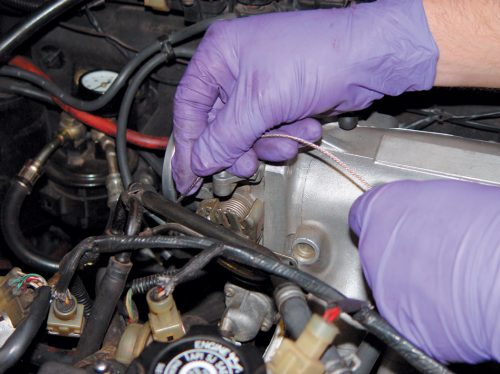
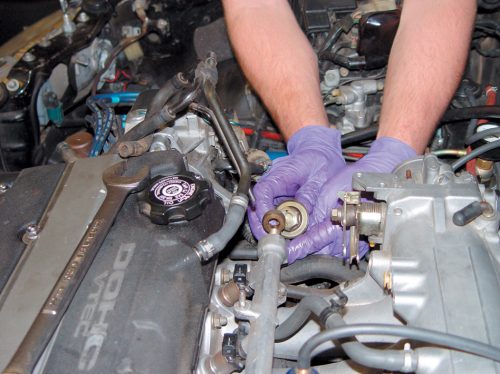
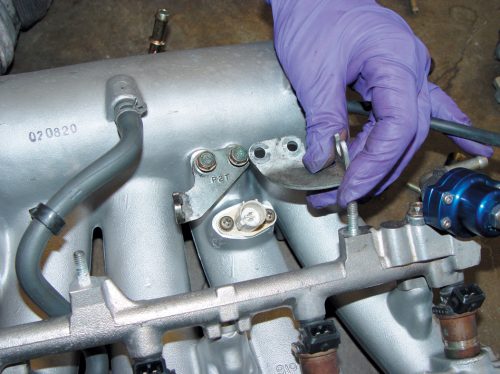
Remove the two 12mm bolts on the IAC valves; they will be used on the Skunk2 manifold
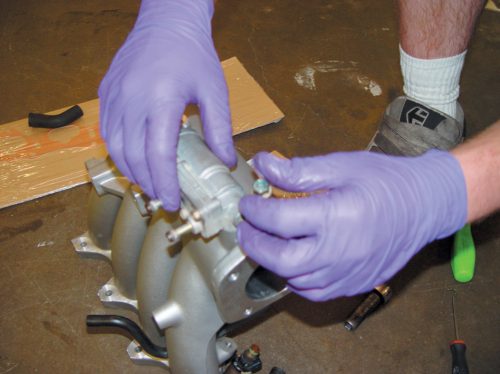
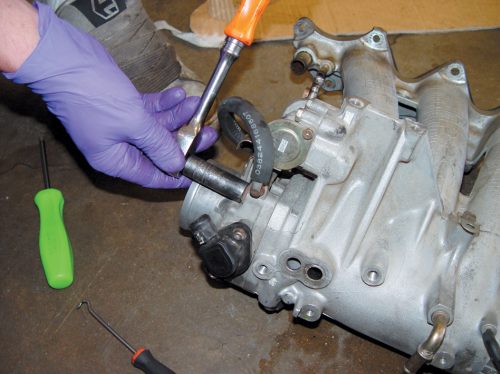
Four bolts need to be removed to swap the stock throttle body.
Remove the throttle body.
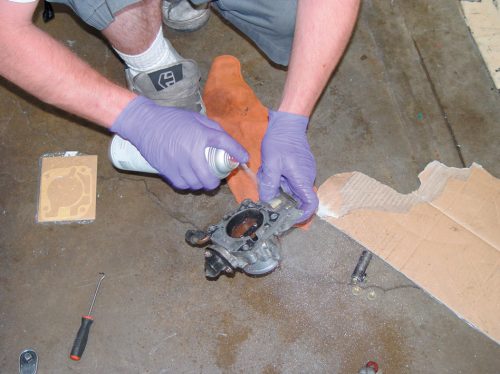
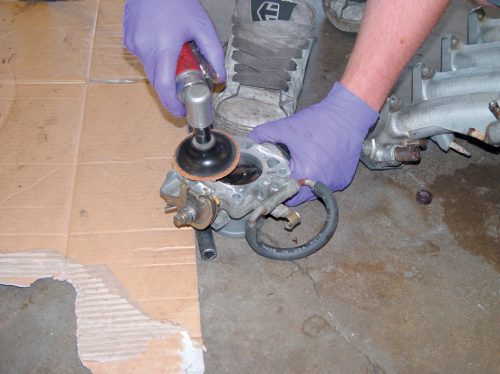
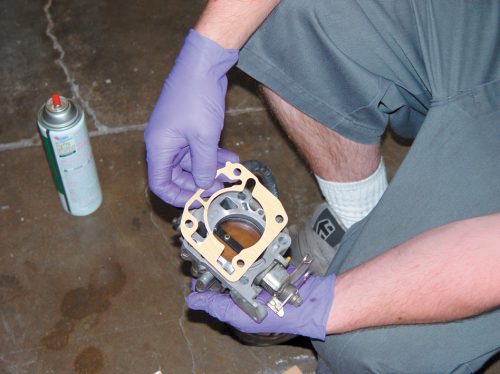
Rage uses brake cleaner to clean up the throttle body.
Be sure to clean off the throttle body’s mating surface so the new one can seal correctly.
Here’s a look at the IAC on the Skunk2 manifold.
Use a new OEM throttle body gasket before reinstalling the part.
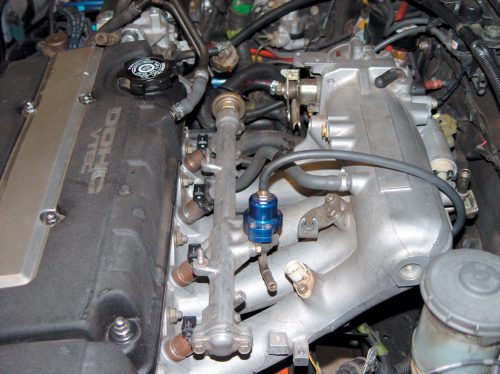
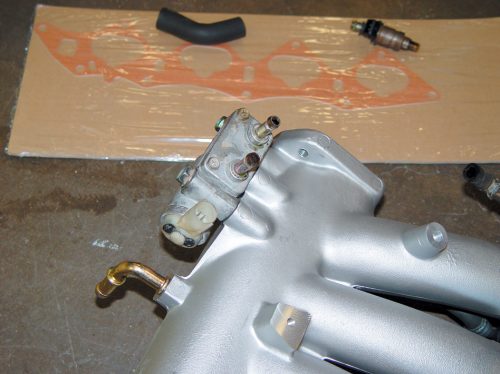
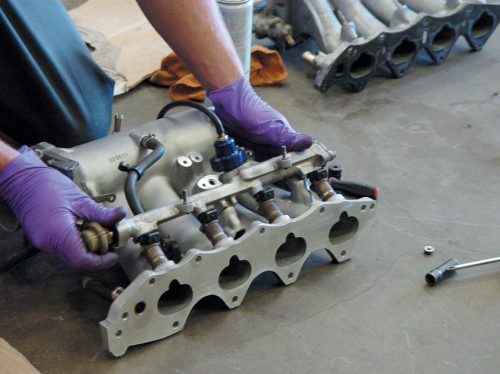
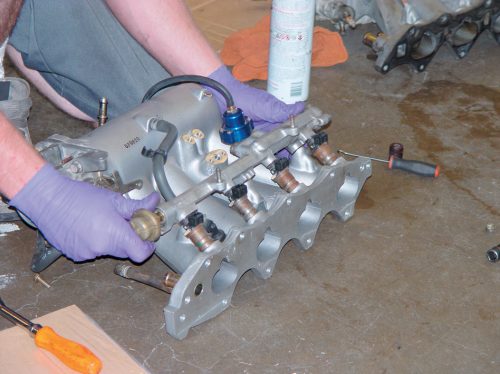
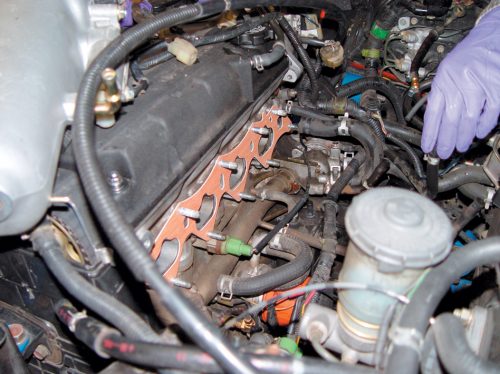
This is a decent look at the Skunk2 manifold with all the parts involved
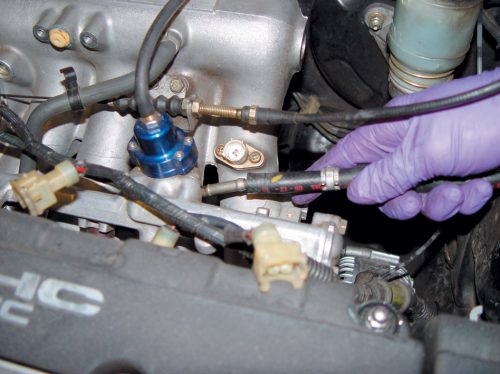
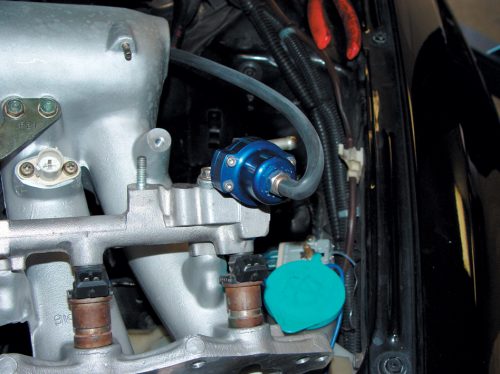
This view also shows how the regulator will hit on the new location of the air temperature sensor.
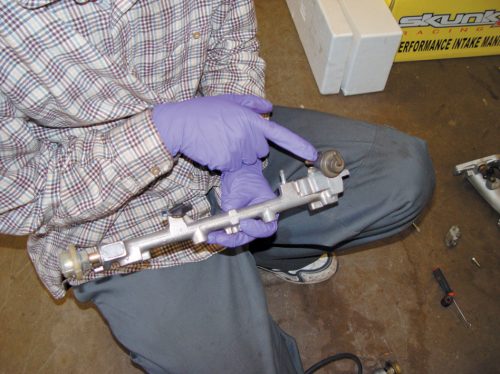
The B-series ’92-’95 fuel rail needs to be used so that the regulator will clear.
A ’99 Si throttle bracket is needed (the old bracket is shown as a comparison).
The ’99 Si new and ’88-’91 SOHC old throttle cable bracket.
This shows the new position of the regulator.
Use a new OEM (’99 Si) intake manifold gasket.
Time to install the Skunk2 manifold. Installation is the reverse of the removal steps.
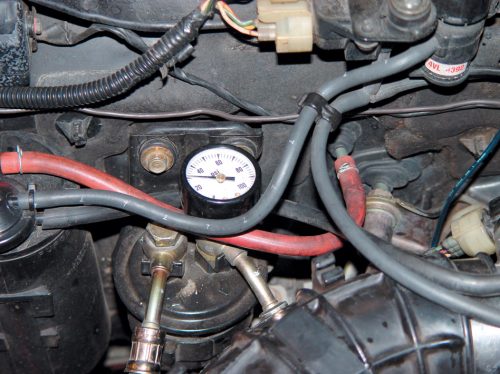
The car is put on the dyno.
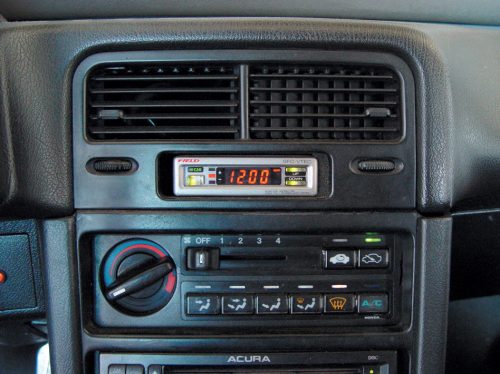
This is the Field VTEC controller.
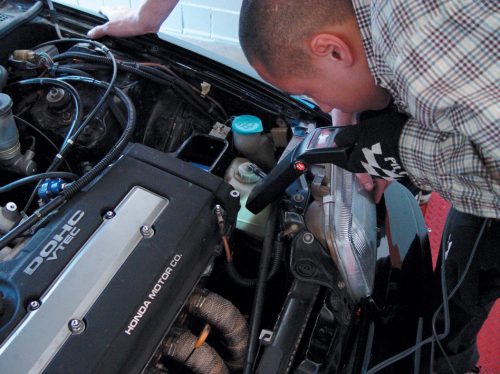
While on the dyno, the engine’s timing is checked.
The timing is set with the distributor.
The regulator is set to 40 psi and then the car was put through the paces. That’s when the Rage team found an extra 9.8 hp.