


- All Post
- 25 High Priority - FB Ford Builder
- Builds
- 30 High Priority - AR American Rodder
- Cars
- 35 High Priority - RD Rodders Digest
- 01 Post Status
- 40 High Priority - OTR On the Road
- 45 High Priority - SRB Street Rod Builder
- 50 High Priority - TB Truck Builder
- 55 High Priority - BSCENE Buckaroo Scene
- 60 High Priority - FPB Family Power Boat
- Trucks
- Swaps
- _000 Home Sliders
- Modern/Future Tech
- Performance Boats
- 00 Sidebars
- Product Spotlight
- Builders & Shows
- Manufacturers
- 05 High Priority - HCI Hot Compact Imports
- 05 Publications
- 10 High Priority - CR Chevy Rumble
- 20 High Priority - SR Super Rod
- Back
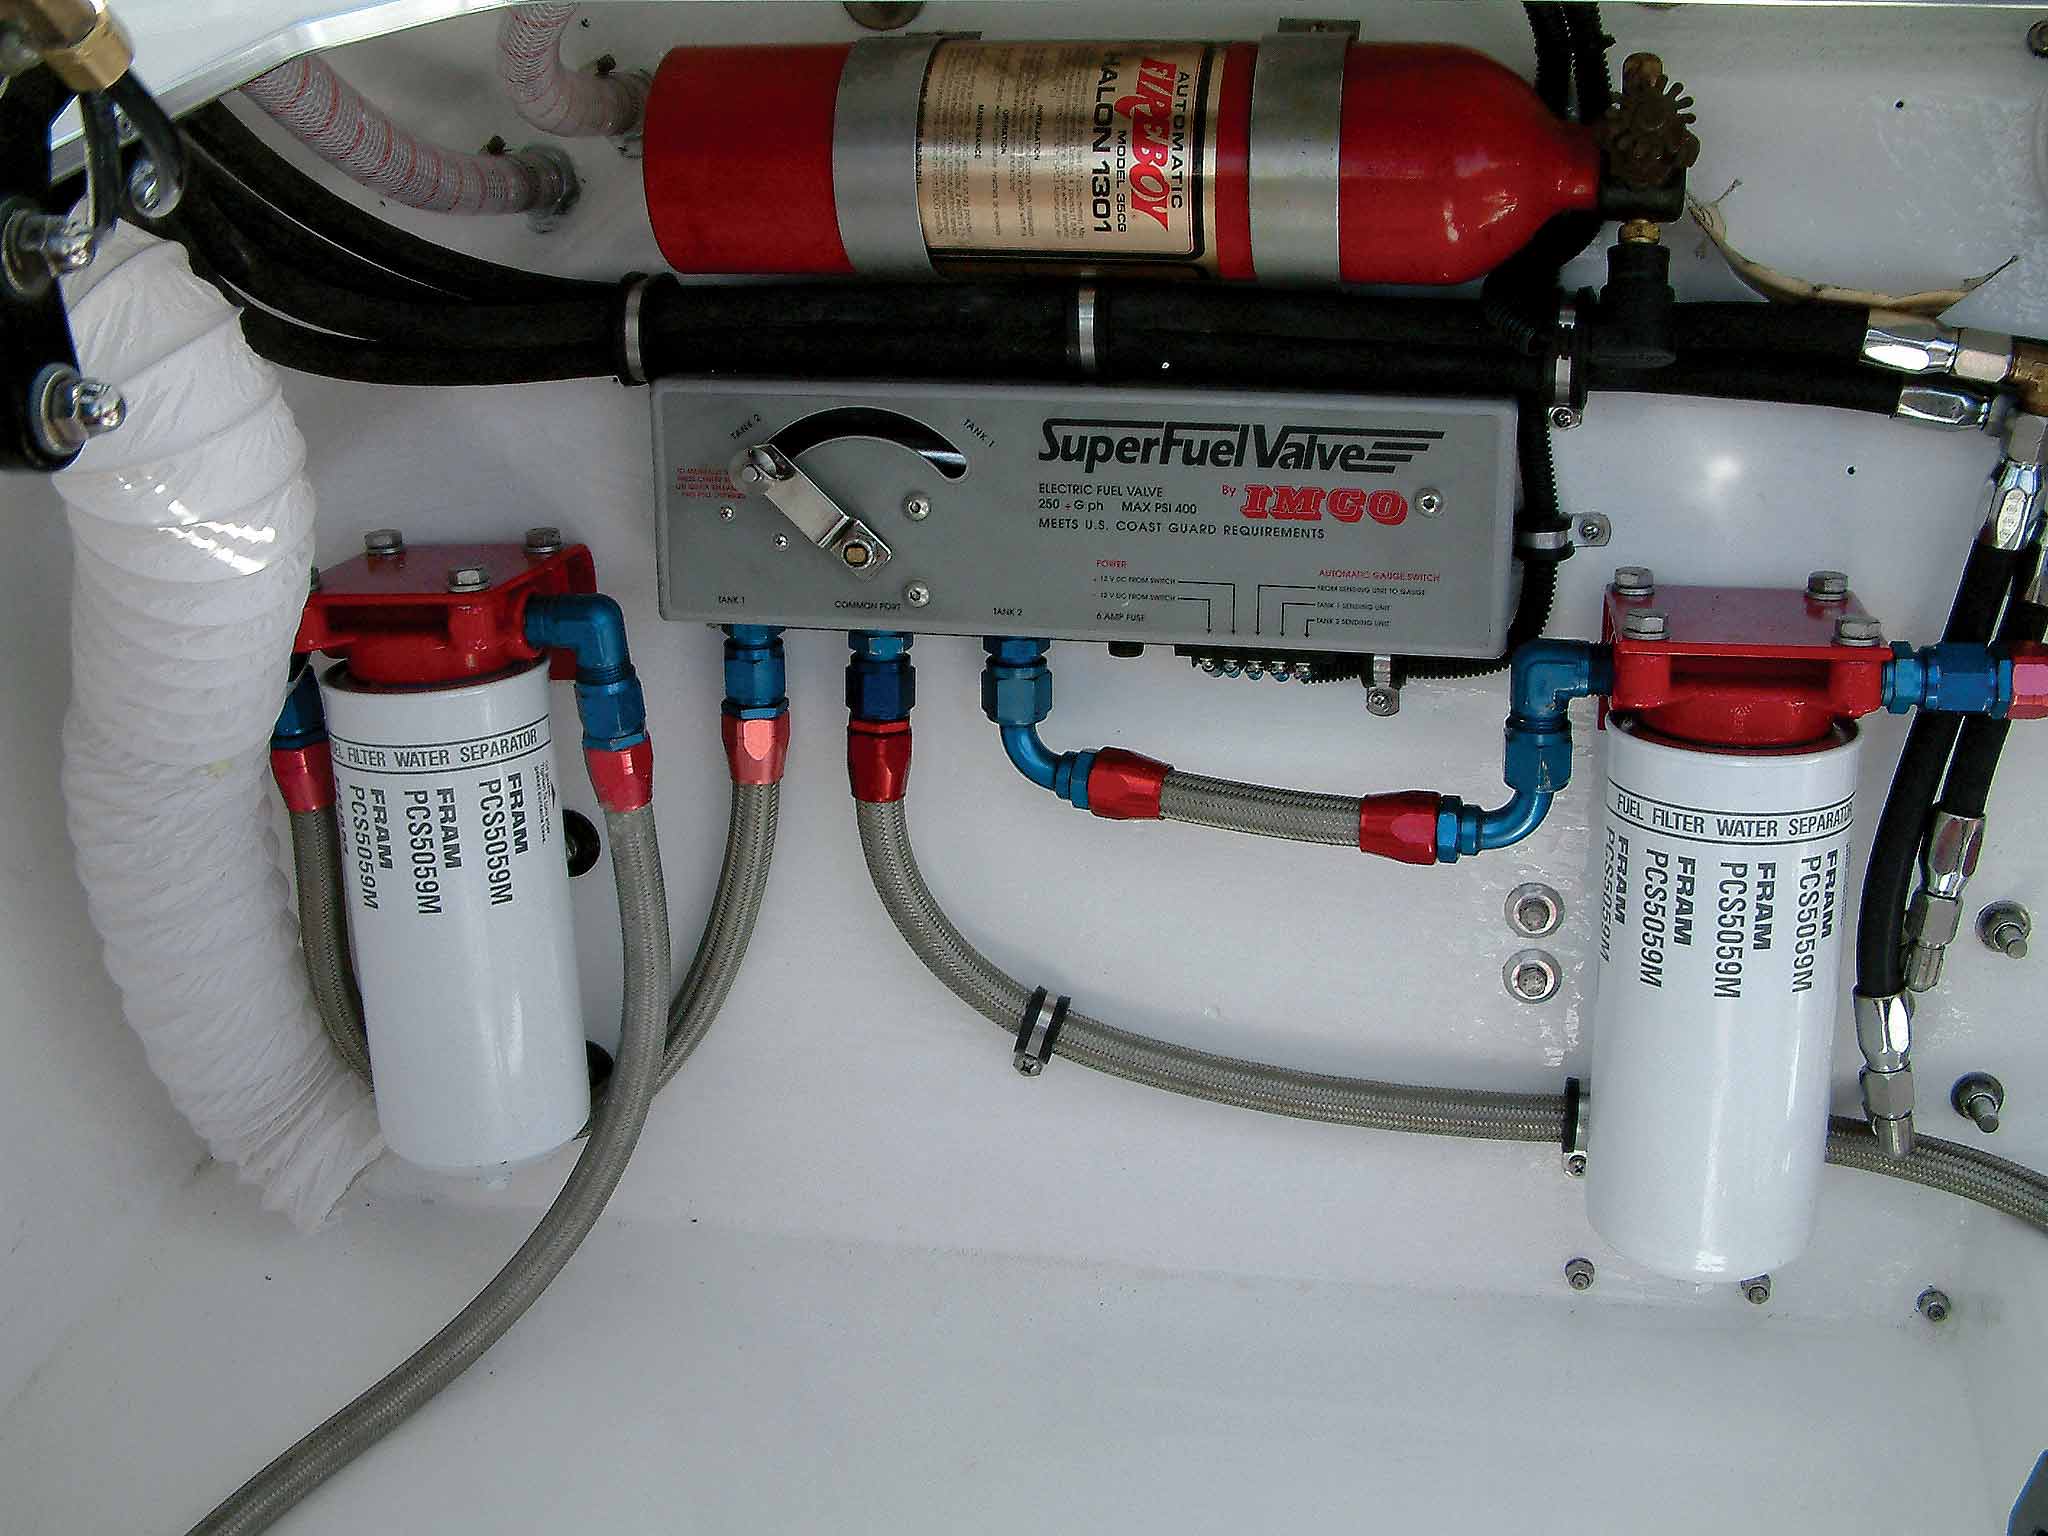
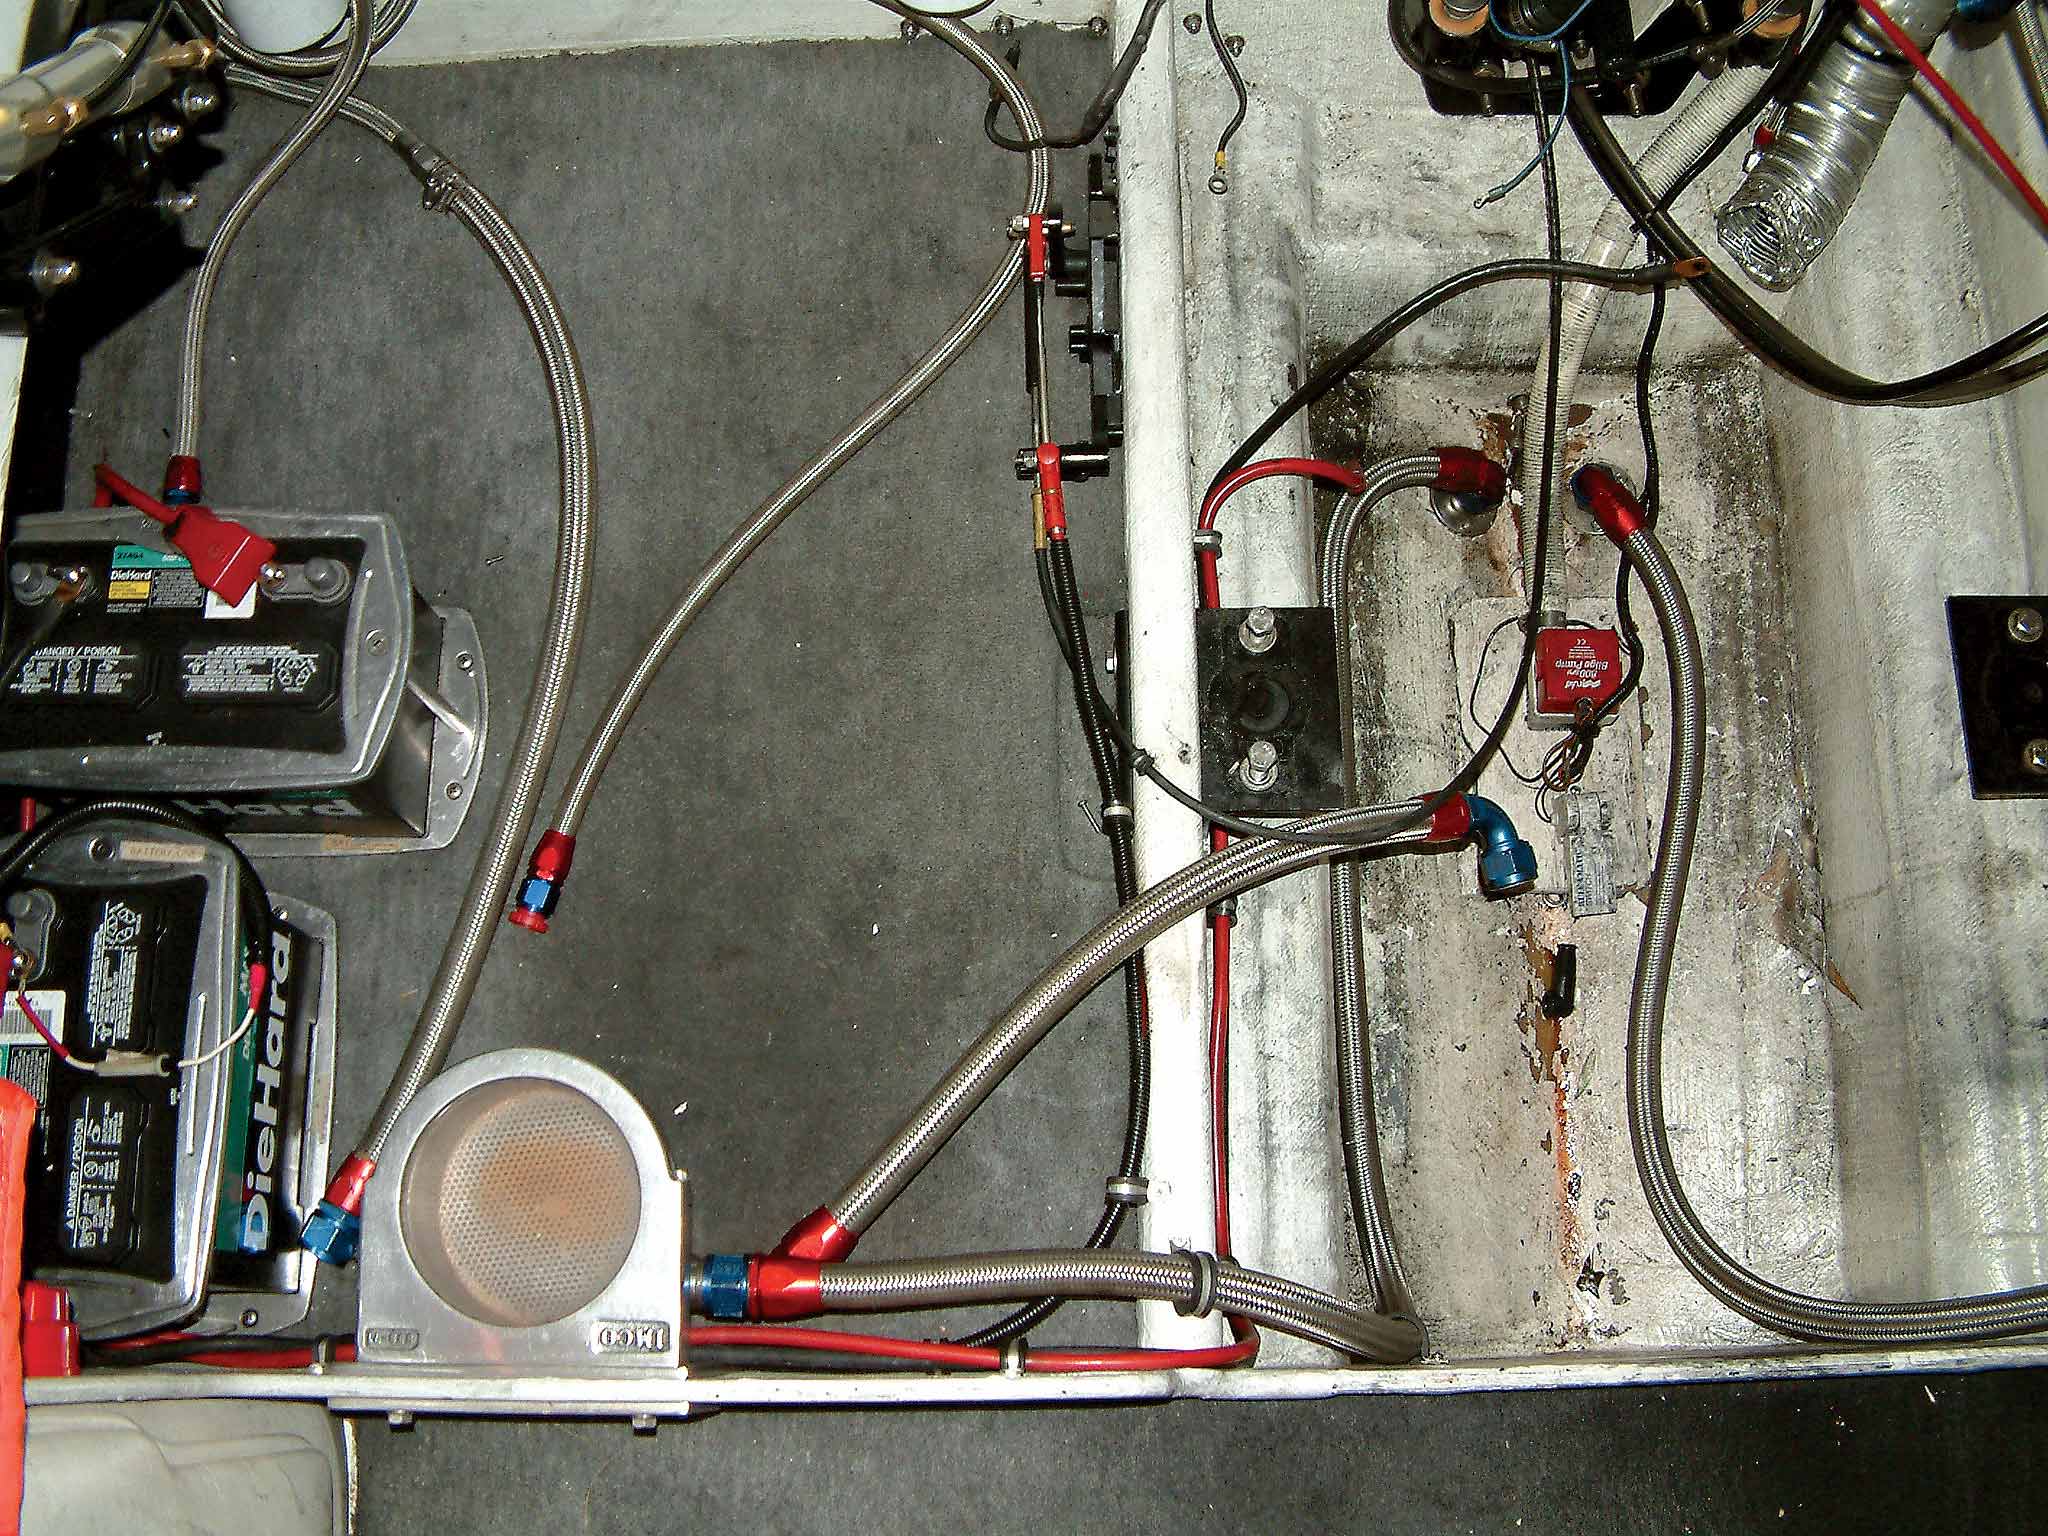
- Fuel System
- Electrical
- Exhaust
- Transmission / Drivetrain
- Suspension
- Steering
- Brakes
- Wheels and Tires
- Interior
- Exterior
- Accessories
- Chassis
- Engine
- Power Adders
- Back
- Transmission / Drivetrain
- Suspension
- Steering
- Brakes
- Wheels and Tires
- Interior
- Exterior
- Accessories
- Chassis
- Engine
- Fuel System
- Power Adders
- Electrical
- Exhaust
- Back
- Brakes
- Wheels and Tires
- Interior
- Exterior
- Accessories
- Chassis
- Engine
- Electrical
- Exhaust
- Fuel System
- Transmission / Drivetrain
- Suspension
- Power Adders
- Steering
- Back
- Exterior
- Accessories
- Power Adders
- Chassis
- Engine
- Electrical
- Exhaust
- Fuel System
- Transmission / Drivetrain
- Suspension
- Steering
- Brakes
- Wheels and Tires
- Interior
- Back
- Engine
- Fuel System
- Electrical
- Power Adders
- Exhaust
- Transmission / Drivetrain
- Suspension
- Steering
- Brakes
- Wheels and Tires
- Interior
- Exterior
- Accessories
- Chassis
- Back
- Fuel System
- Electrical
- Exhaust
- Transmission / Drivetrain
- Power Adders
- Suspension
- Steering
- Brakes
- Wheels and Tires
- Interior
- Exterior
- Accessories
- Chassis
- Engine
- Back
- Transmission / Drivetrain
- Suspension
- Steering
- Brakes
- Wheels and Tires
- Power Adders
- Interior
- Exterior
- Accessories
- Chassis
- Engine
- Fuel System
- Electrical
- Exhaust
- Back
- Steering
- Interior
- Accessories
- Power Adders
- Exterior and Hull
- Engine
- Fuel System
- Electrical
- Outdrives
- Back
- Power Adders
- Chassis
- Engine
- Electrical
- Exhaust
- Fuel System
- Transmission / Drivetrain
- Suspension
- Steering
- Brakes
- Wheels and Tires
- Interior
- Exterior
- Accessories
- Back
- Chrysler
- Subaru
- Volvo
- Volkswagen
- Chevrolet
- Cadillac
- Pontiac
- GMC
- Oldsmobile
- AMC
- BMW
- Buick
- Acura
- Jeep
- Lincoln
- Mitsubishi
- Ford
- Dodge
- Toyota
- Honda
- Nissan
- Plymouth
- Mercury
- Back
- 15 Pub 4x4 4x4 Builder
- 20 Pub SR Super Rod
- 25 Pub FB Ford Builder
- 30 Pub AR American Rodder
- 35 Pub RD Rodders Digest
- 40 Pub OTR On the Road
- 55 Pub BSCENE Buckaroo Scene
- 10 Pub CR Chevy Rumble
- 50 Pub TB Truck Builder
- 60 Pub FPB Family Power Boat
- 45 Pub SRB Street Rod Builder
- 05 Pub HCI Hot Compact Imports
- Back
- Steve Sellers
- Bobby Alloway
- Chip Foose
- Boyd Coddington
- Rad Rides by Troy
- Cal Auto Creations
- George Barris
- Ring Brothers
- Jesse James
- West Coast Customs
- Carl Casper
- Jack Fuller
- J.F. Launier
- Bob Cullipher
- Jerry Nichols
- Back
- Street Rods
- Hot Rod/Muscle Car
- Late Model, Future Tech, & Other News
- Drag Race
- Handling
- Compact Cars
- Fuel System
- Electrical
- Exhaust
- Transmission / Drivetrain
- Suspension
- Steering
- Brakes
- Wheels and Tires
- Interior
- Exterior
- Accessories
- Chassis
- Engine
- Power Adders
- Transmission / Drivetrain
- Suspension
- Steering
- Brakes
- Wheels and Tires
- Interior
- Exterior
- Accessories
- Chassis
- Engine
- Fuel System
- Power Adders
- Electrical
- Exhaust
- Brakes
- Wheels and Tires
- Interior
- Exterior
- Accessories
- Chassis
- Engine
- Electrical
- Exhaust
- Fuel System
- Transmission / Drivetrain
- Suspension
- Power Adders
- Steering
- Exterior
- Accessories
- Power Adders
- Chassis
- Engine
- Electrical
- Exhaust
- Fuel System
- Transmission / Drivetrain
- Suspension
- Steering
- Brakes
- Wheels and Tires
- Interior
- Power Adders
- Chassis
- Engine
- Electrical
- Exhaust
- Fuel System
- Transmission / Drivetrain
- Suspension
- Steering
- Brakes
- Wheels and Tires
- Interior
- Exterior
- Accessories
- Engine
- Fuel System
- Electrical
- Power Adders
- Exhaust
- Transmission / Drivetrain
- Suspension
- Steering
- Brakes
- Wheels and Tires
- Interior
- Exterior
- Accessories
- Chassis
- Back
- 05 Post Imported
- 20 Post Missing Images (All)
- 25 Post Missing Images (Partial)
- 15 Post In Progress
- 30 Post Internal Review
- 27 Post Missing Content
- 40 Post On Hold
- 50 Post Approved
- 17 Post Missing TXT Files
- 18 Post Missing PDF Files
- Back
- Chassis
- Engine Swaps
- Interior Swaps
- Driveline
- Back
- Street Trucks
- OffRoad Trucks
- Fuel System
- Electrical
- Exhaust
- Transmission / Drivetrain
- Power Adders
- Suspension
- Steering
- Brakes
- Wheels and Tires
- Interior
- Exterior
- Accessories
- Chassis
- Engine
- Transmission / Drivetrain
- Suspension
- Steering
- Brakes
- Wheels and Tires
- Power Adders
- Interior
- Exterior
- Accessories
- Chassis
- Engine
- Fuel System
- Electrical
- Exhaust
- Back
- 01 Sidebar Left
- 01 Sidebar Right


