


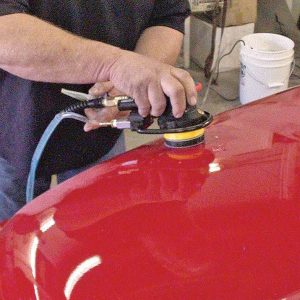
WATER, WATER EVERYWHERE
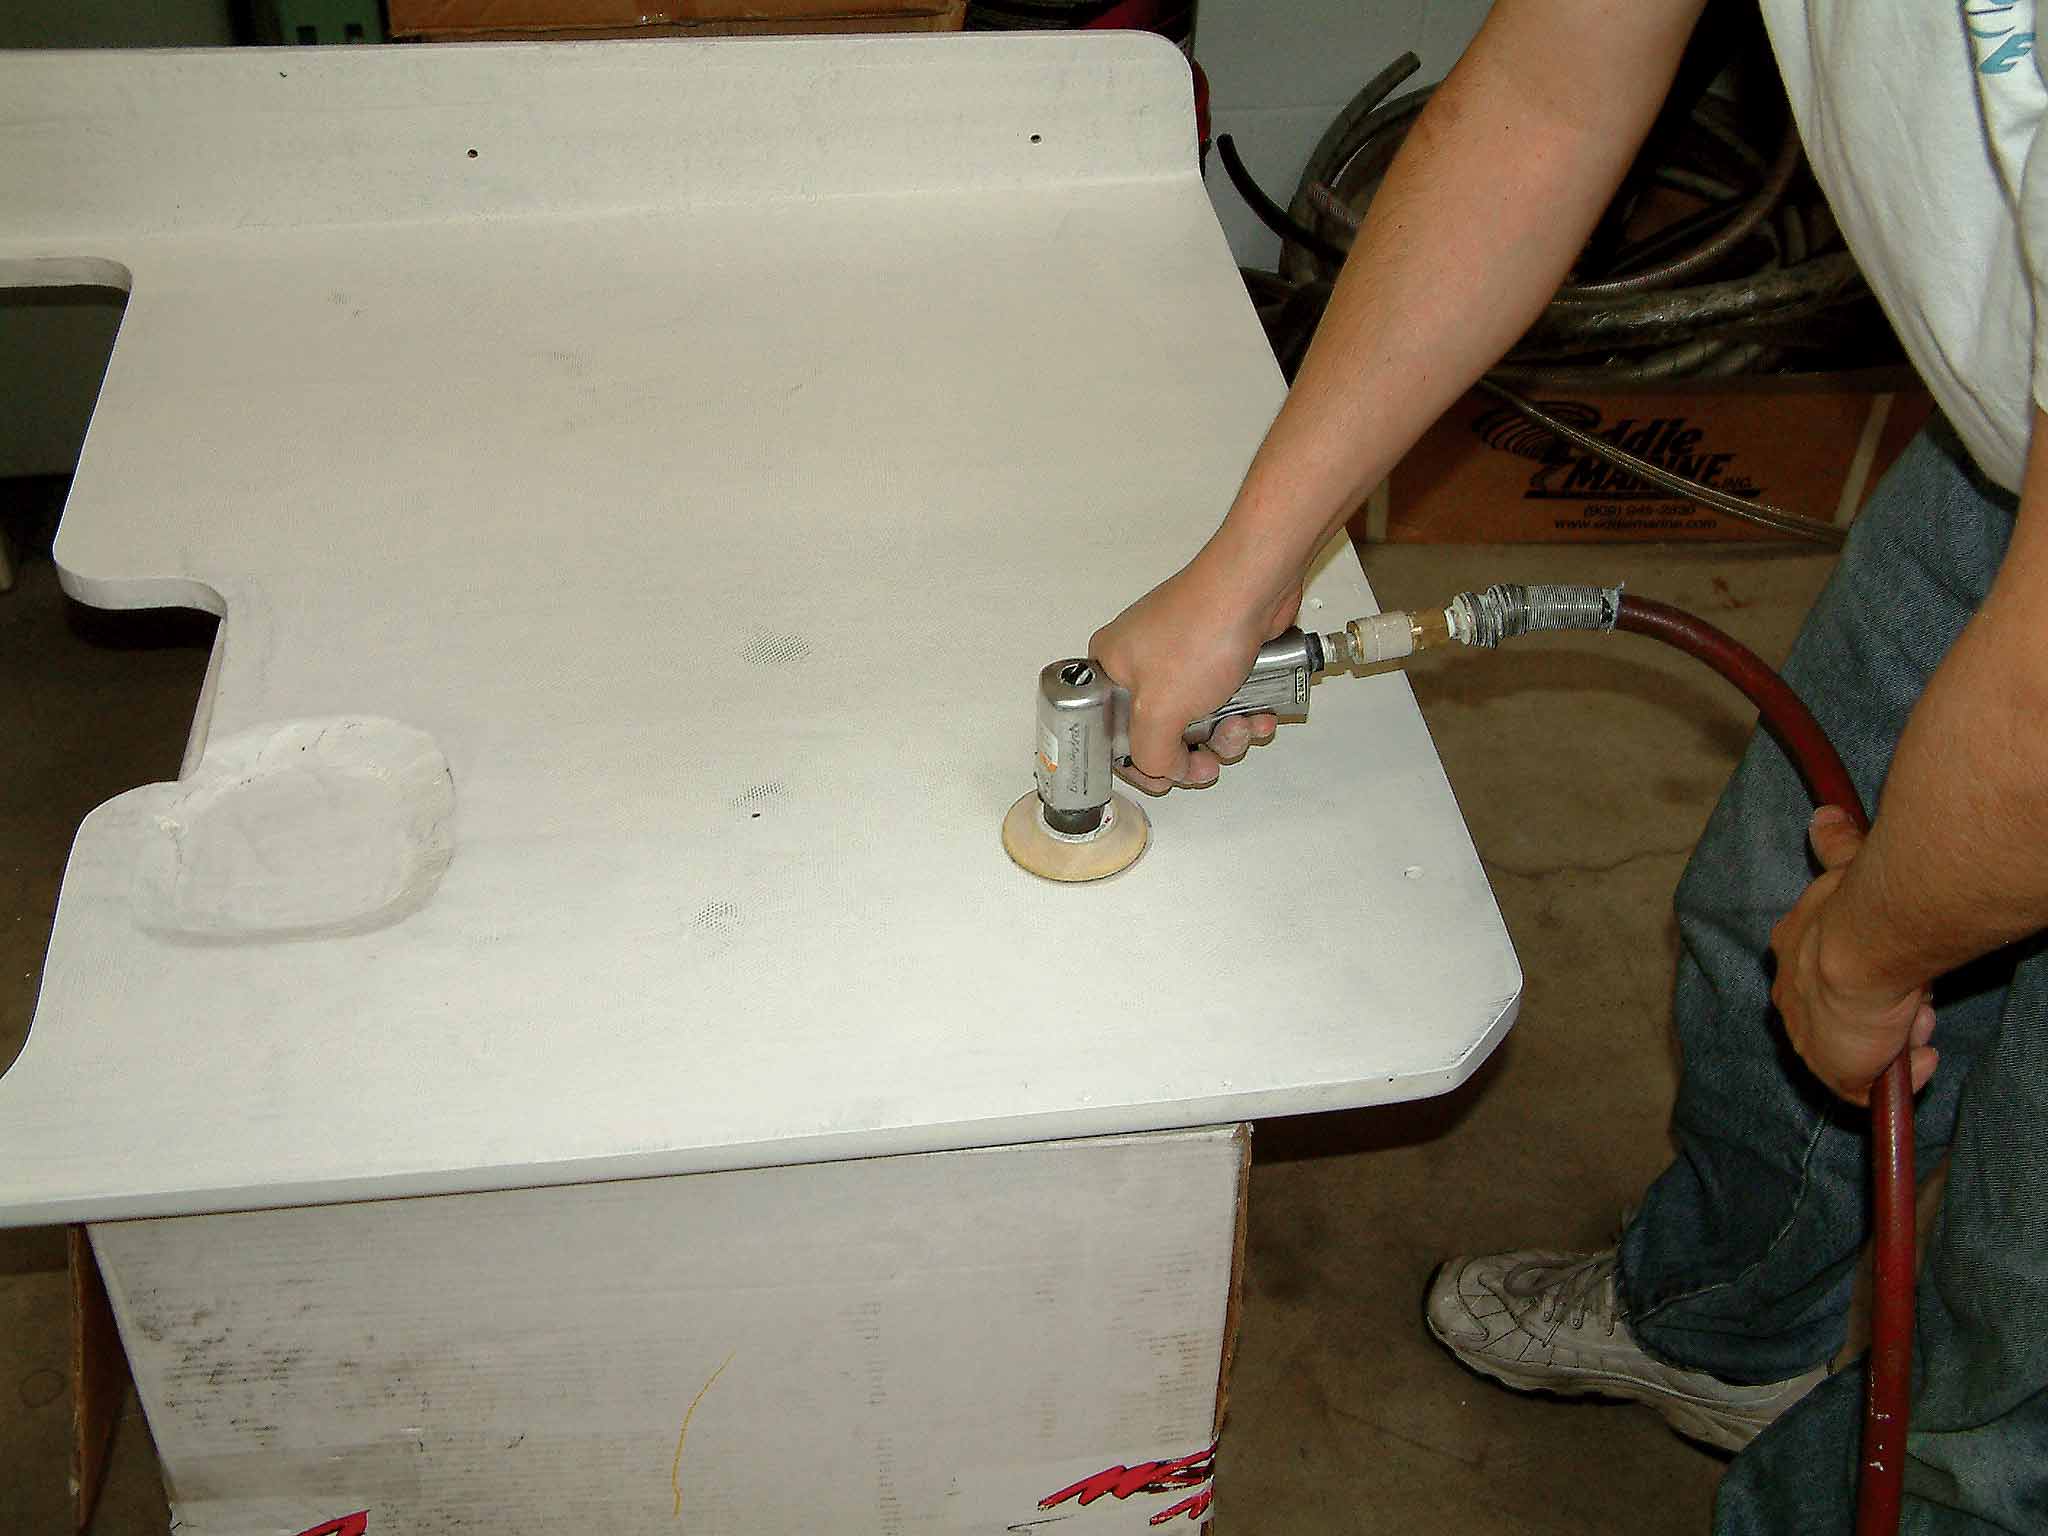
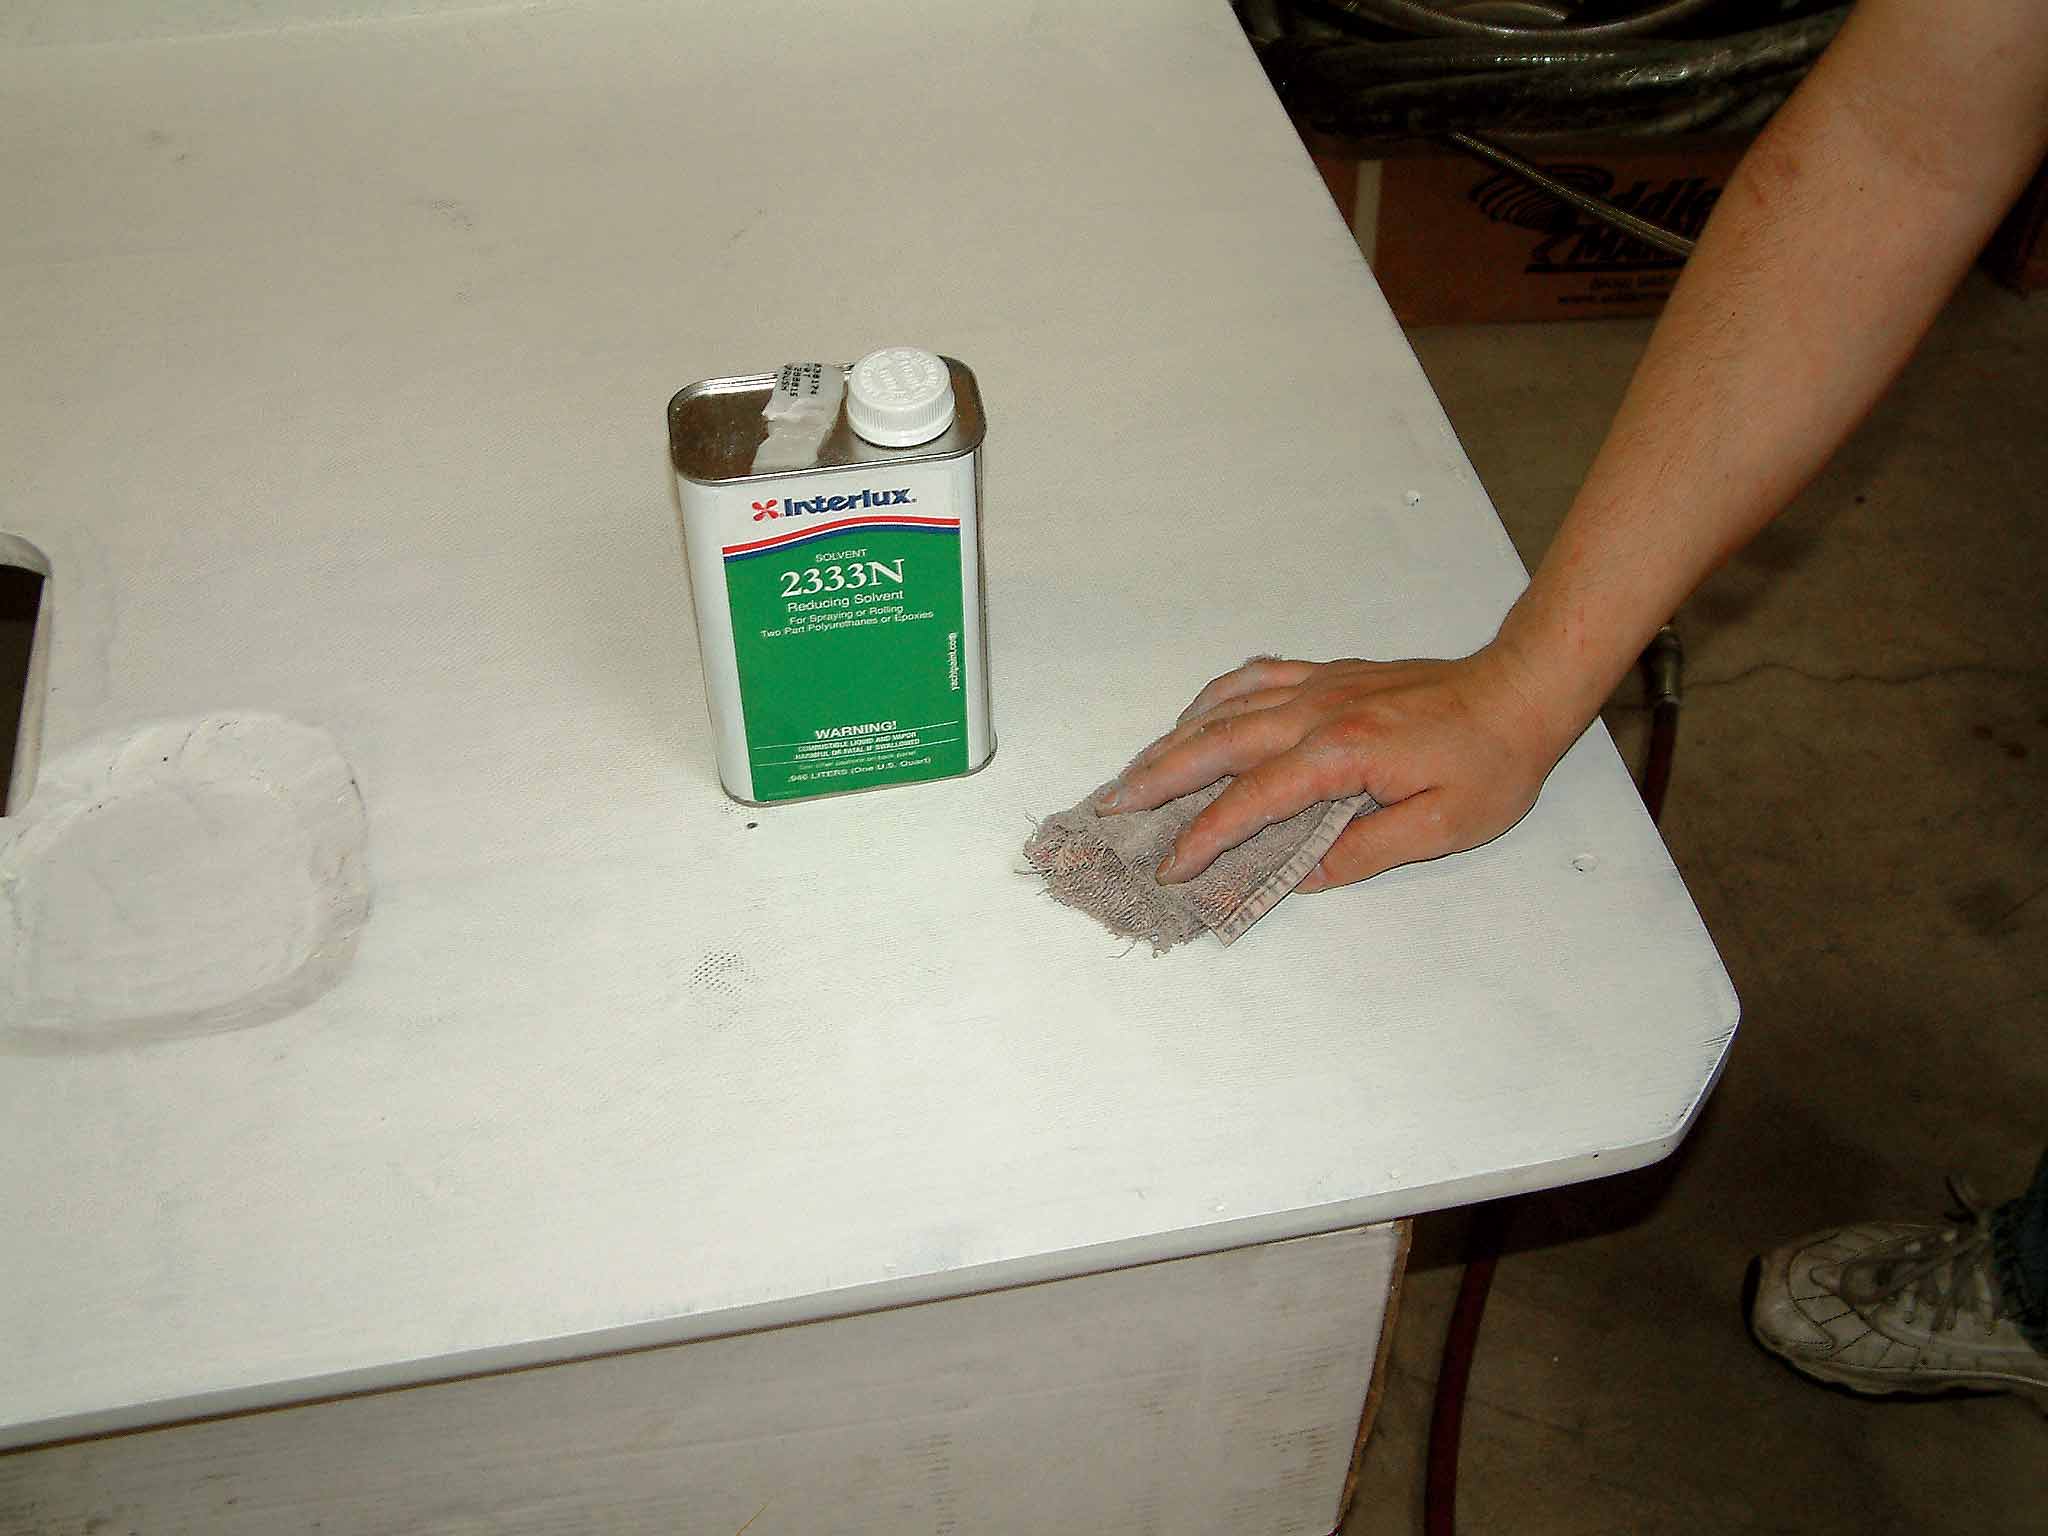
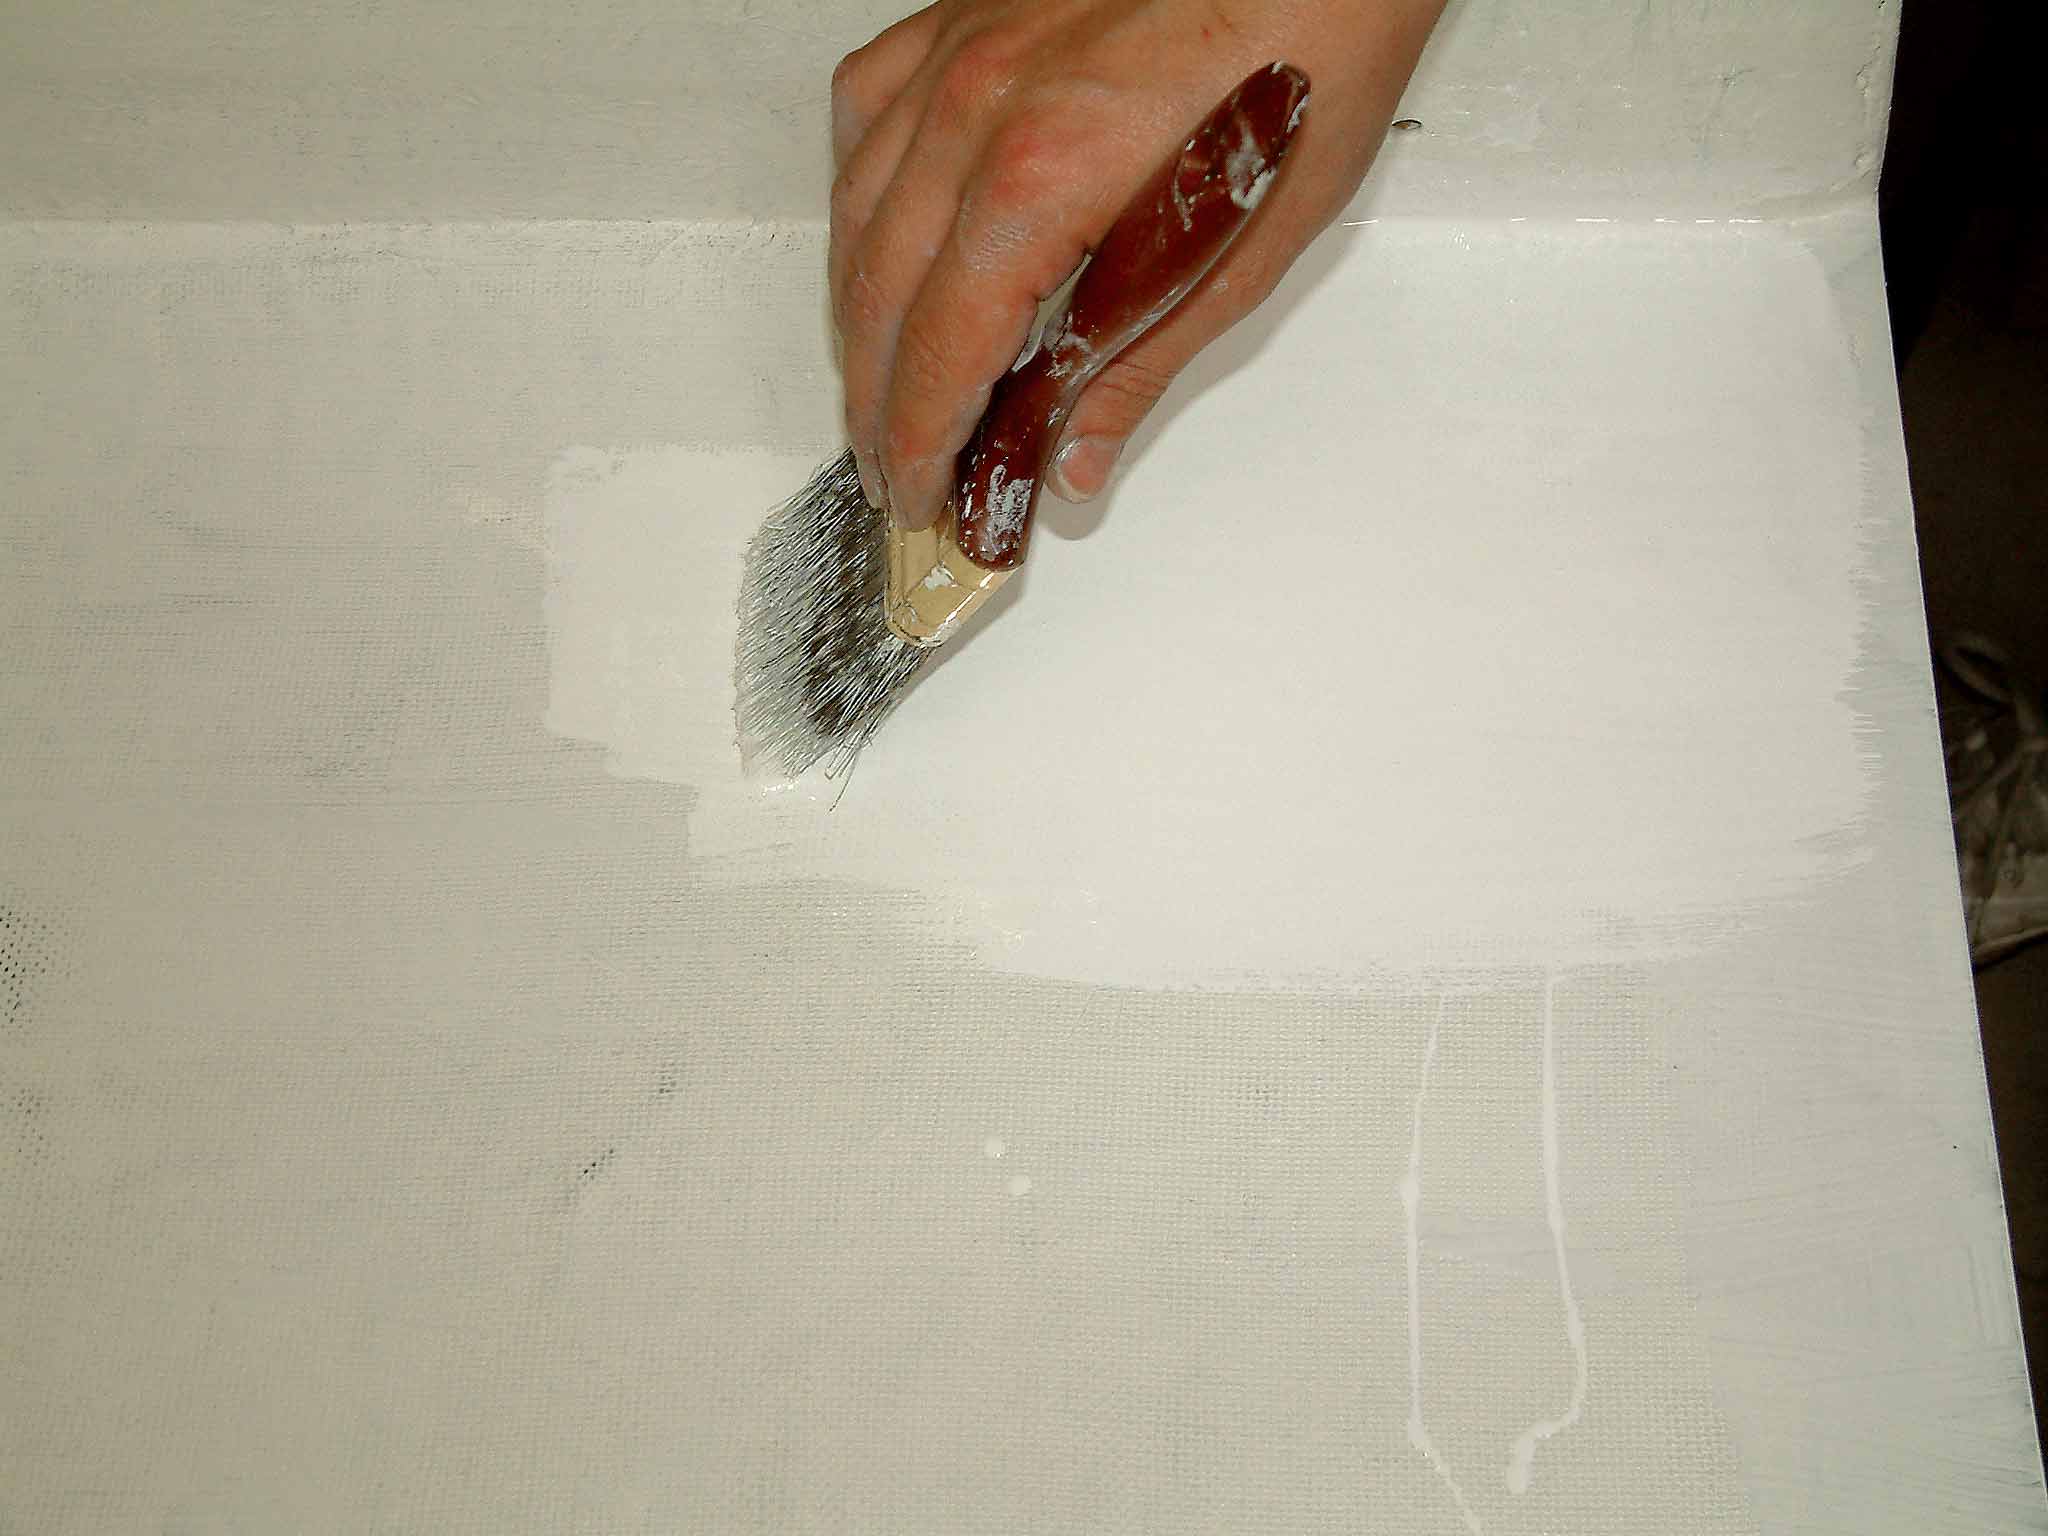
Now, it may seem crazy that anyone would take sandpaper to a new paint job, but if you want to have a glass-like finish that is exactly what happens. Of course, it is special sandpaper, and the person doing the work needs to know exactly what he is doing or that paint job can be toast. One of the things that makes color sanding possible is that the paper used is meant to be wet while the job is taking place. The water not only works as a lubricant, but it also removes the fine paint sludge from the area. The problem is getting that water in the proper place and having enough of it to do the job. After all, who really likes sticking his arm into a cold bucket of water time after time?

SHELBY G.T.350SR
The minute you get in, turn the key, and get into gear, you know you’re in a living, fire-breathing machine, and it’s beyond doubt one of the most exciting and easiest-driving cars that I ever handled,” said Carroll Shelby in his 1965 book “The Cobra Story.”

Remembering Walker Evans (1938–2025), Off-Road Racing Icon and Pioneer
The off-road world lost one of its true giants on Saturday, August 2, with the passing of Walker Evans at the age of 86. A pioneer, champion, and lifelong ambassador off-road racing, Evans leaves behind a towering legacy carved across the sands of Baja, the dirt of Riverside, and the rugged rocks of the American backcountry.


