Installing a Rock Krawlers 6-inch, long-arm suspension kit
Our stock 2003 Jeep Grand Cherokee held a respectable look with its conservative suspension and stance. We were about to change all of that with the installation of a Rock Krawler suspension system.
With the Jeep legend continuing to grow it is no wonder that more and more people are finding ways to customize their Jeep. Whether it is traditional Wrangler or a new more luxurious Grand Cherokee, people seem to want to feel that Jeep energy; the energy that has gotten Jeep where it is today.
If there is one thing that can be counted on it is that Jeep owners are loyal ones. You will not find a single Jeep owner that has not either previously owned several or plans to purchase several more. These rugged four-wheel drive vehicles are known for their reputation of being outdoor rock crawling machines and because of this they attract a loyal following.
While Jeep has always marketed their Wranglers and CJs as something worthy of even the hardest trail, there is another sibling making its way up the ranks. The Jeep Grand Cherokee. Once, known as simply the more preppy or elegant version of the Jeep name, this vehicle is quickly moving its way towards the top of its class for solid off-road abilities.
The newest trend for this elite vehicle is its transformation into a rock climbing machine. Fans soon realized that they too could have all the comforts of a luxury SUV while keeping up with the hardcore rock climbers.
We wanted to put this theory to the test. Can a Jeep Grand Cherokee really take the stance and look of a hardcore rock crawling machine? We turned to Rock Krawler Suspension for some guidance. Known for their 6.0″ Severe Duty Long Arm Suspension package for the Grand Cherokee, Rock Krawler has created the ultimate in Grand Cherokee suspension. Using and effective three link front end combined with their track bar geometry yields a kit that is unsurpassed in the marketplace.
We tagged along on an installation article with a Grand Cherokee to get an insight as to what makes Rock Krawler the elite in Jeep suspension. Read along thought the installation process before running out to raid your local Jeep dealership. You may learn a thing or two about suspension.
Rock Krawler supplied us with every part we would need to complete the installation. Items such as new 6.0″ springs, upper control arms, shocks and sway bars came in the eight-box kit.
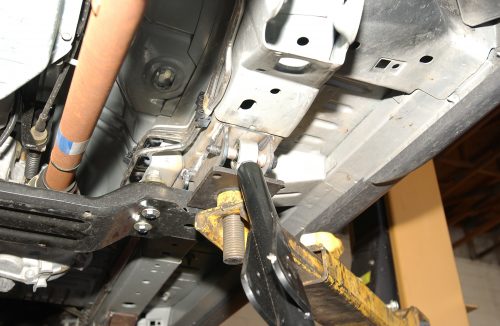
Next, we aligned the rear arm mounting bracket with the holes on the frame and welded into place. To avoid rust on our new bracket in the future, we also applied a coat of spray paint to our bracket.
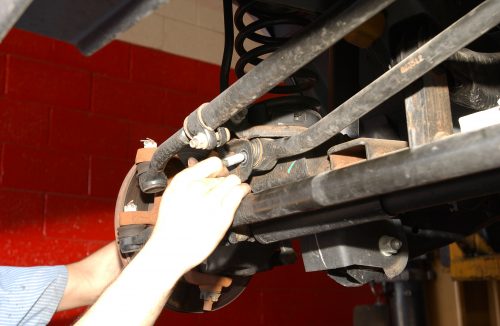
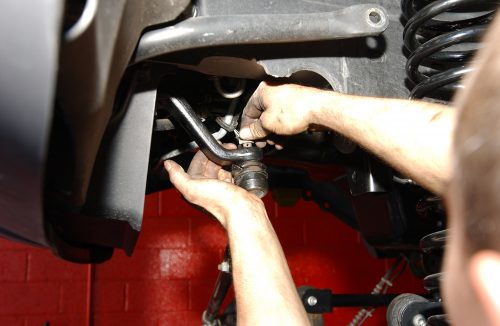
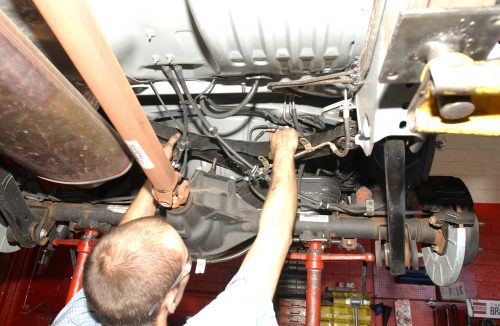
Before removing any stock suspension parts, it was necessary to unbolt the steering stabilizer and let it hang with the axe!
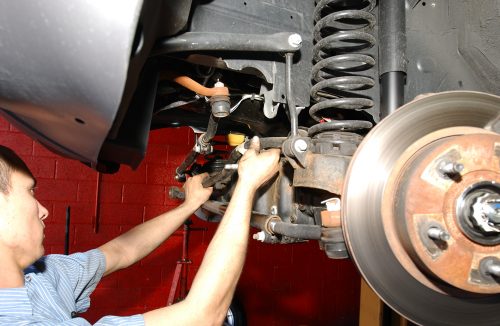
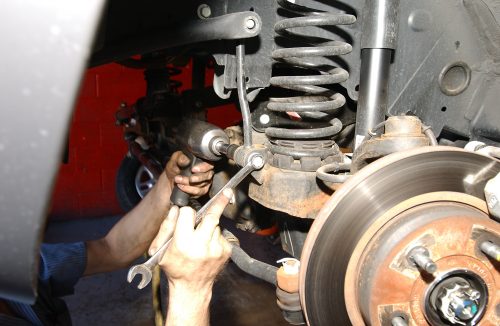
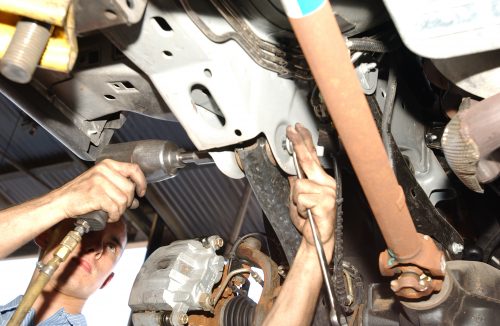
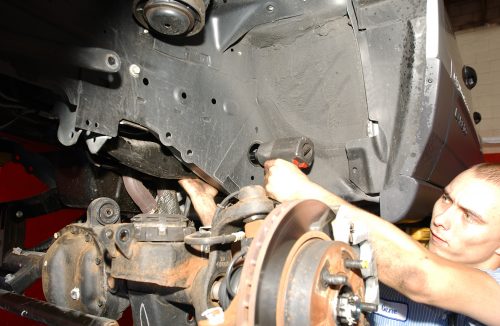
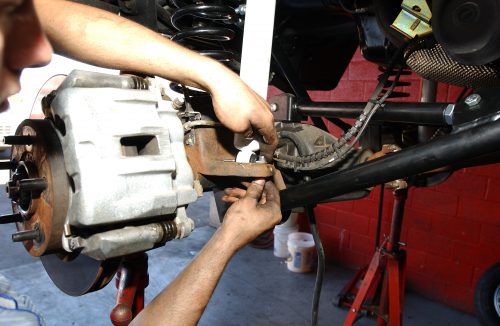
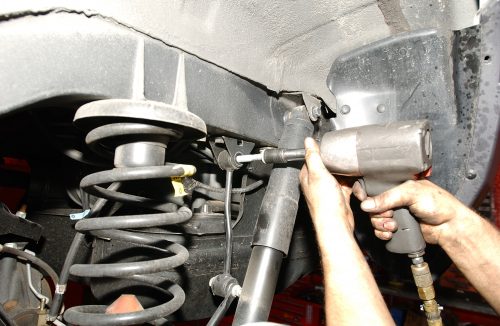
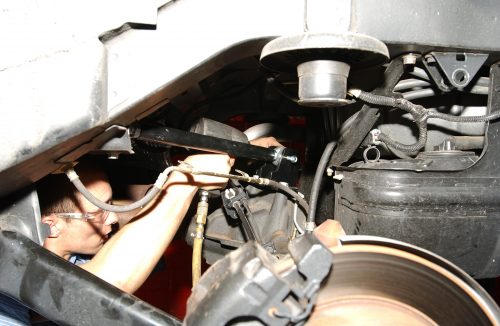
While using a support system to under the front axle housing we removed the front shocks using a 15mm box wrench for the top and 13mm socket on the lower bolts.
Moving ahead we then unbolted and removed the front sway bar connectors along with the front springs. We simply set aside for disposal later. These original parts were not required with the new Rock Krawler lift system.
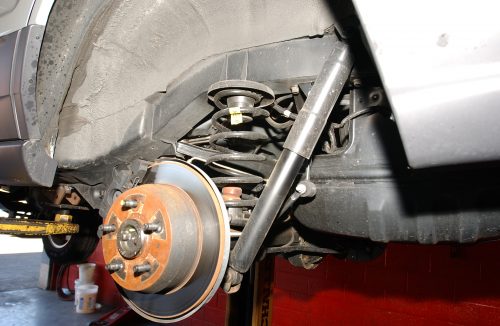
What we were left with was a clean and empty suspension canvas. Our next step would be to add our new Rock Krawler suspension components.
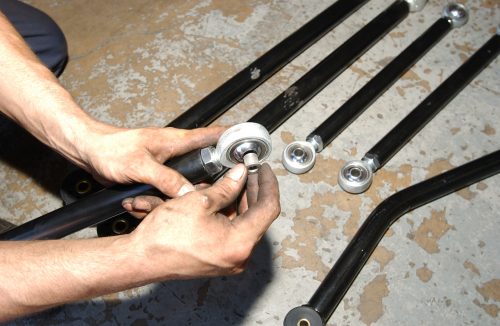
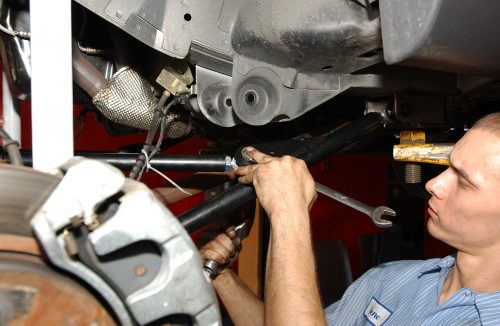
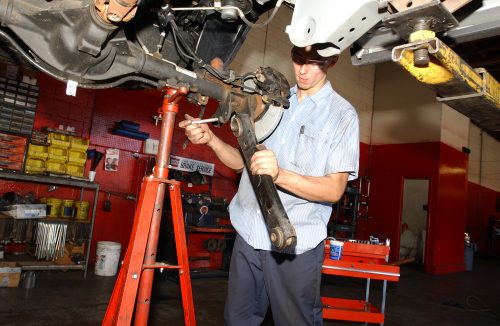
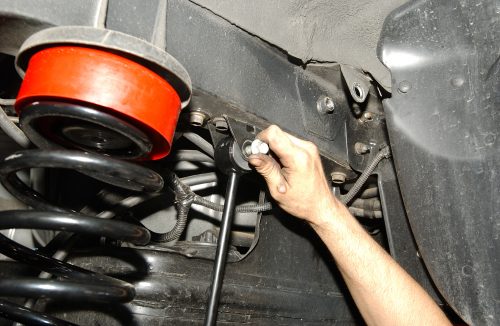
Before we could install the upper and lower control arms, we had to ensure that they were all the same length and would continue to keep the axle square to the frame. To do this, each control arm was measured from its new location on the bracket to the frame and then matched with its mate.
Next, we installed the supplied 10mm rod end sleeves using the original Jeep hardware. This piece was designed to protect the heim joints from damage due to wear and tear from the hardware.
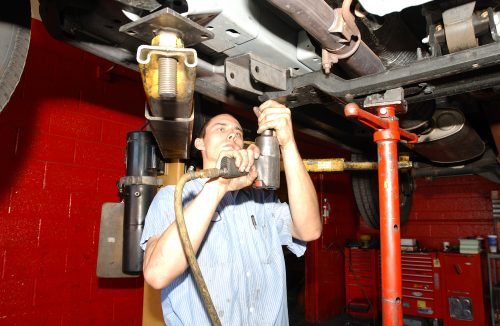
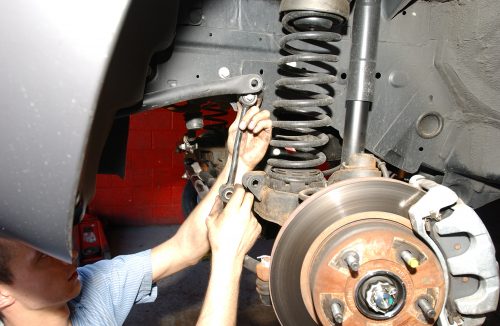
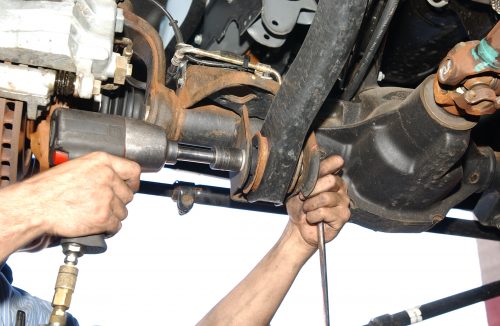
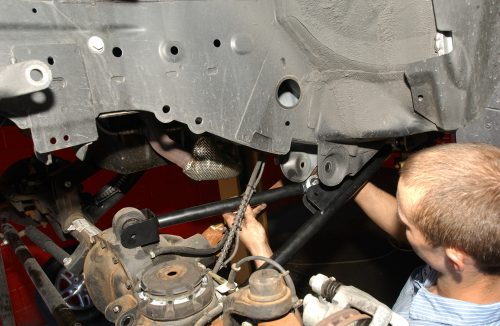
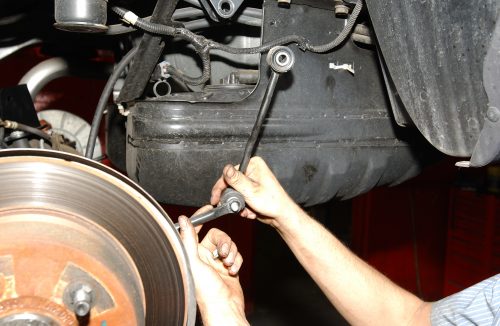
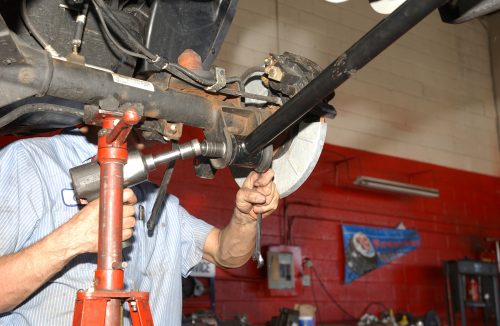
Our next step was to remove the front lower control arms using a 13/16 wrench and 13/16 socket. We discarded the arms but saved the hardware for reuse.
Finally, we installed the new Rock Krawler lower control arms with the poly bushings on the axle mounts and the heim joints on the new frame mounts. We made sure to install the long arms with the brackets towards the front while also making sure the brackets were turned towards the upper inside of the vehicle before attaching the new front upper control arms.
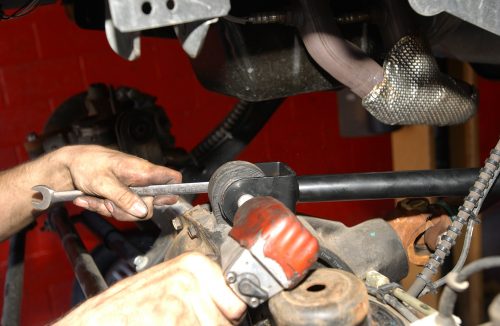
With the lower control arms in place, we then removed the original upper control arms and saved the hardware for reuse.
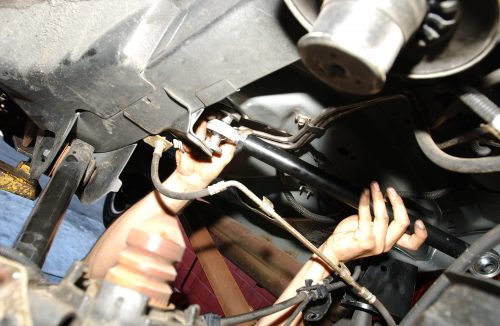
We utilized our original hardware to install the new Rock Krawler upper control arm to the axle. For the connection to the front lower arms, we used the supplied 10mm rod end sleeves and 10mmx1.5x70mm bolts and locking nuts.
Next, we installed the original steering arm we had loosened and hung out of the way earlier in the installation.
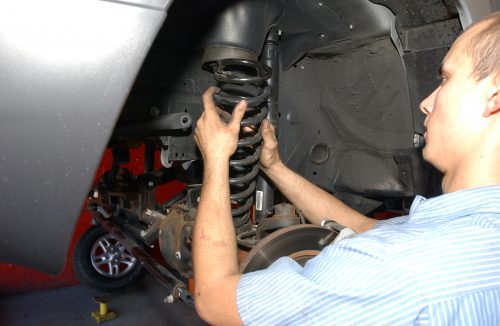
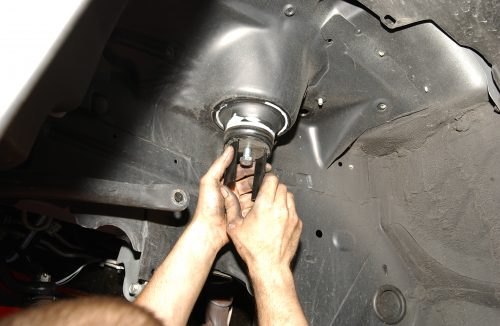
For the actual spring installation, we first installed the new spring cups by tapping the pre-existing hole with a ½-13 tap and bolt them in place using the new supplied
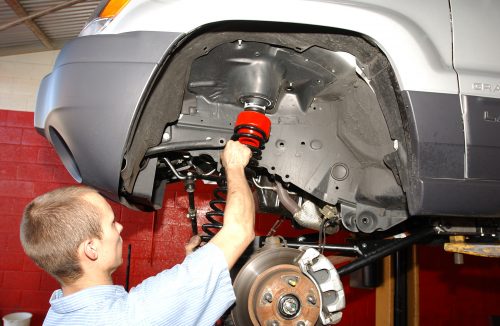
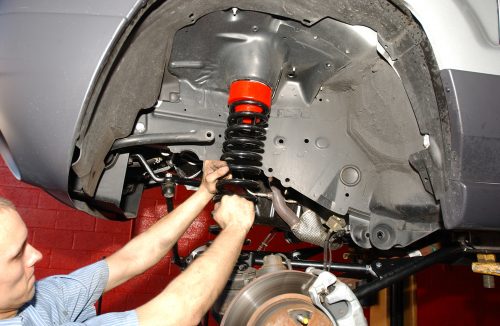
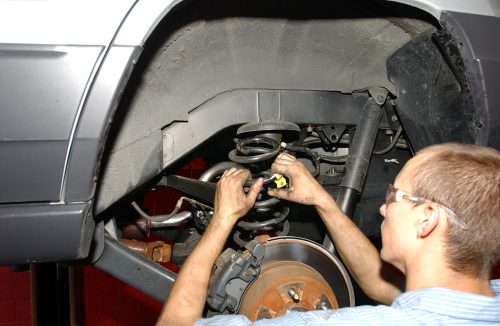
½”x1.00: bolt. Next, we inserted the Rock Krawler front springs into the OEM spring pads.
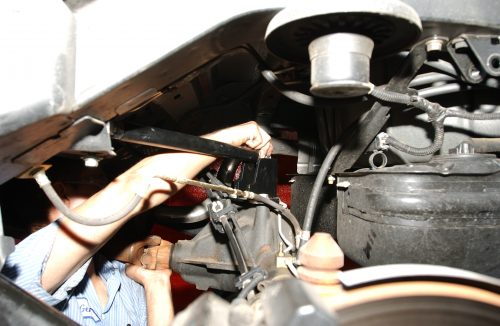
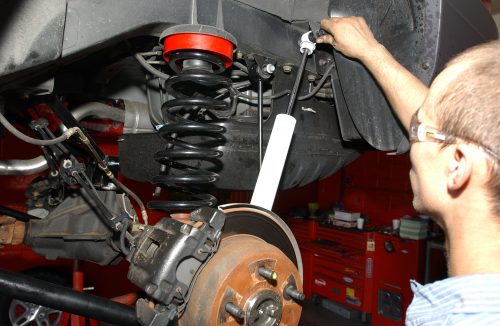
Nearing the end of our front end installation, we still had to install the supplied Rock Krawler front shocks using the supplied nuts and bolts.
With nearly everything in place up front, we took one last look around to make sure everything was properly assembled and tightened.
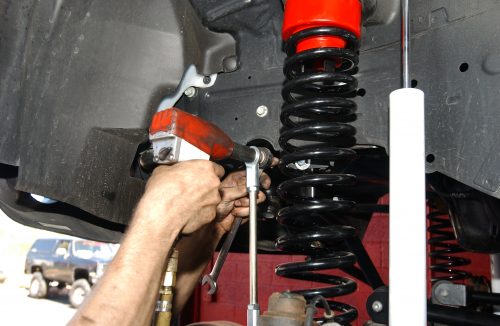
Our last step was to install the new Rock Krawler front sway bar disconnects using the supplied hardware.
Finishing up the front end installation, we lowered the front end of our vehicle to the ground and checked to make sure the front axle was centered under the vehicle. Once confirmed, we moved on to the rear assembly.
Our rear suspension was a little off from our new front end Rock Krawler suspension system. We were going to change all that with the remaining parts from Rock Krawler.
After taking all the necessary precautions and steps like securing the vehicle and removing the rear wheels we first removed the stock sway bar links and discarded them.
Next, we simply removed the rear springs. These could also be discarded. Rock Krawler supplied us with new, longer springs.
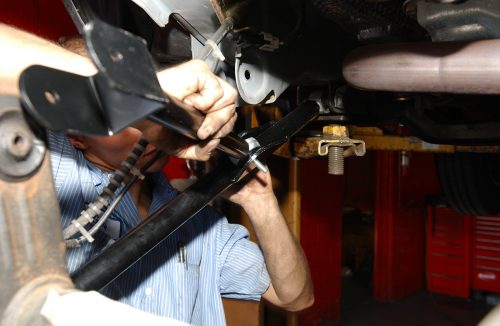
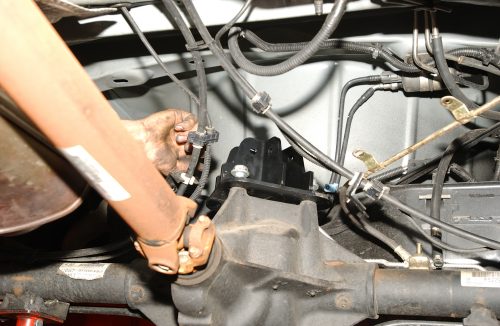
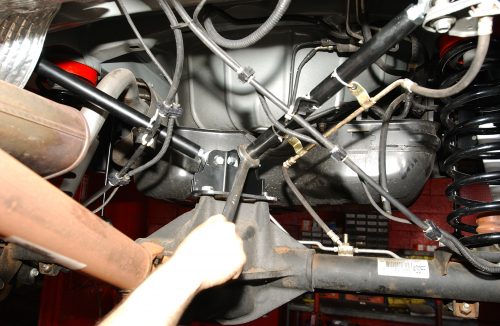
Before we could start installing anything we first had to remove the rear upper triangulated link from the frame mounts. We retained the hardware for use later. We also had to remove the factory ball joint bracket from the axle which proved to be difficult because it was apparent that Chrysler had by this time discovered Locktite on these fasteners.
Then, we installed the Rock Krawler rear upper links making sure to not allow more than
½” of threads to show past the jam nut. For the cradle connection, we used the included 10mm rod end sleeves to make the connection.
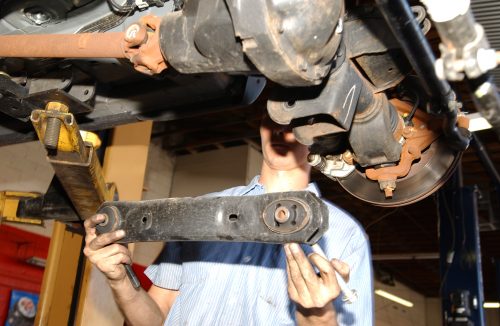
Finally looking at the factory control arms, we removed them using 13/16 socket with 13/16 box wrench. We made sure to save the hardware for the installation of Rock Krawler’s new arm later in the installation.
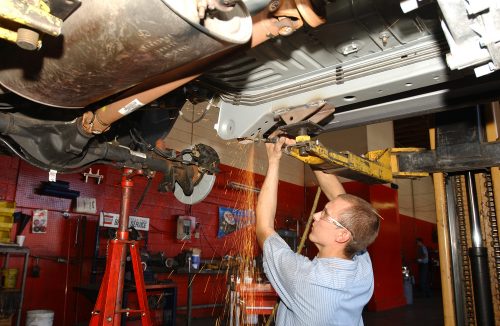
Before installing the new Rock Krawler long-arm, we found it necessary to trim a little of the stock bracket away for the new Rock Krawler long control arm to clear.
Using the same technique as we did in the front installation, we placed the new rear Rock Krawler springs in place.
Finally, we simply installed the new extended sway bar links using the OEM hardware at the OEM locations.
Just as we did with the front, we took a moment to double check all our connections and ensure that all bolts were tightened properly.
The last piece to be installed was the addition of the new Rock Krawler shocks.
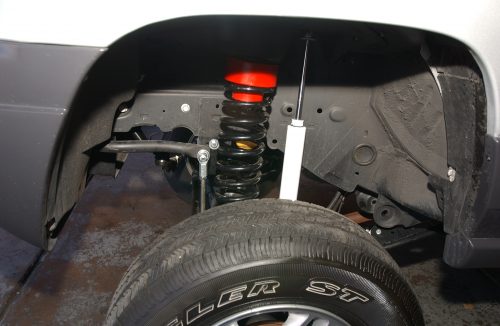
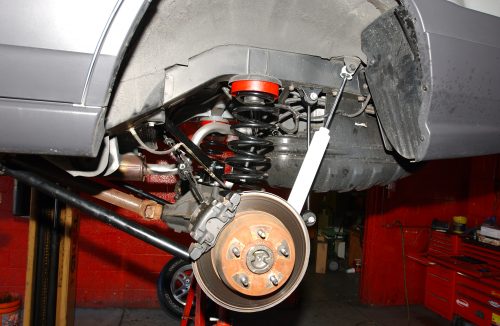
The new Rock Krawler system is somewhat of a change from what once came from the factory.
With our installation finished we could now proudly boast, “It’s a Jeep thing, you wouldn’t understand”, although I think others may have an idea now as to what we are talking about when you see the new stance of our powerful Jeep Grand Cherokee. With the addition of 17-inch KMC wheels wrapped in Goodyear rubber, we were ready for it all.