Our ’94 SC Lays Down 387 RWHP—Here’s How
In our last article on this ’94 Supercoupe, we ran into extreme boost levels in our quest for horsepower from the little supercharged V-6. With the Magnum Powers MPx supercharger clearly capable of more airflow than we could support (boost climbing north of 23 psi), it made sense to work on the heads-and-cam combination to better deal with some of that boost.
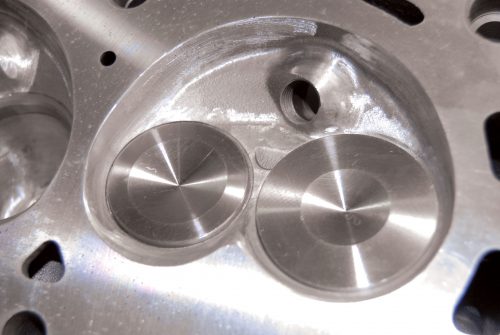
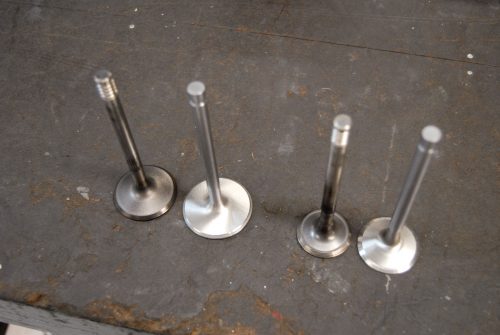
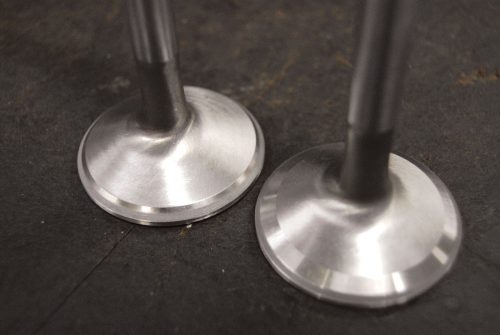
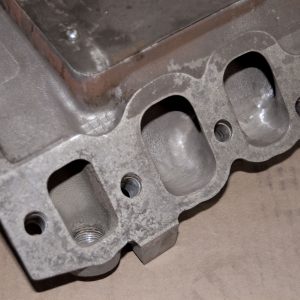
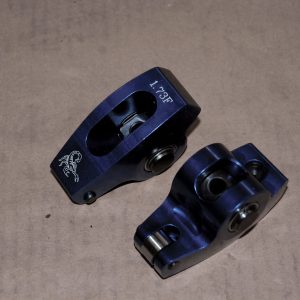
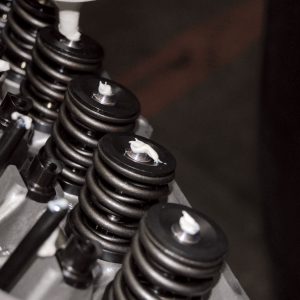
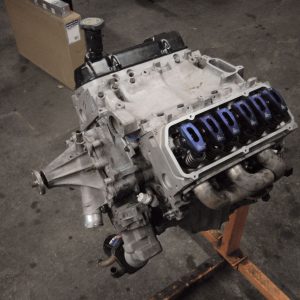
This new SuperCoupes Unlimited cylinder head package employs 1.90/1.60-inch valves, and returns an intake flow increase of about 40 percent and an exhaust flow increase of nearly 70 percent (over stock). Dual springs were specially chosen to provide ample seat pressure to handle high boost levels while providing plenty of headroom for the 0.580-inch lift from the custom-grind Comp Xtreme Energy cam. The intake manifold receives special attention to the radius diameter of each cylinder port entry and is port-matched to the heads. Other valvetrain hardware includes Scorpion 1.73-inch roller rockers and Trick Flow 0.080-inch-wall pushrods.

The job entails too many steps and details to list here, but here are a few pointers that will help get you on your way with minimal trouble:
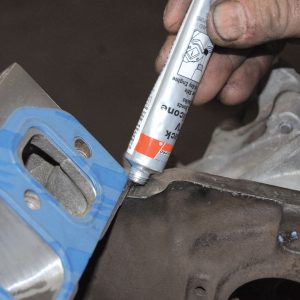
• Take time to clean all intercooler connections carefully, and re-seal with RTV or Teflon sealant specifically designed for the job. Vacuum leaks will spoil your day, so don’t take any chances. Also, take time to properly align the tubes when you are done. This is time well spent.
• Leave the SC top, throttle body and inlet plenum on the blower. You don’t want to get any trash in the blower, so the more covered up it stays, the better. It can all be removed as one unit, saving time and effort.
• Removing the power steering pulley to access the accessory brackets is a pain. Instead, use a 3/4-inch step drill to put a hole in the right spot so you can get a socket on the bolt behind it.
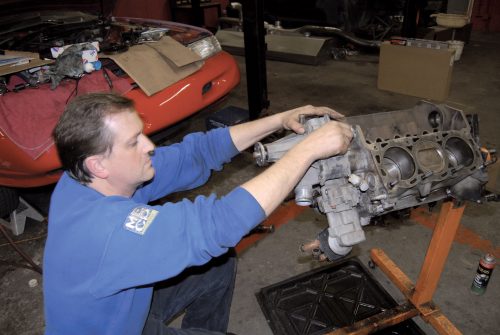
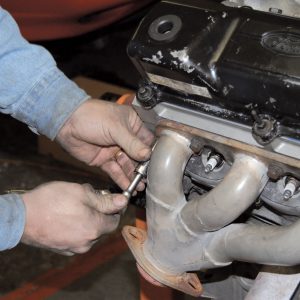
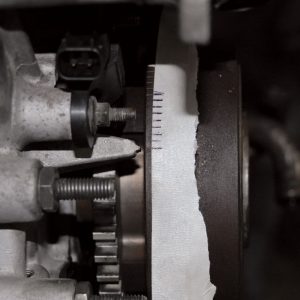
• Take time to clean all the parting lines around the timing cover and intake manifold prior to removal. We can’t emphasize enough the importance of keeping things as clean as possible. Any time a motor is opened, there is serious risk of trash getting into the oil pan, oil pump and subsequently the bearings. This was the case with this motor, which showed severe bearing wear and oil pump damage that required replacement. We were lucky to have caught it in time, as all the bearings were worn through to the copper linings.

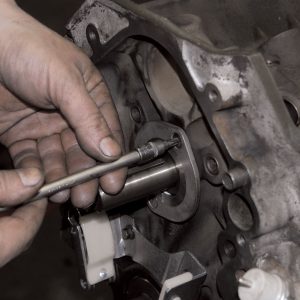
• To avoid breaking the timing cover, don’t miss the hidden 6mm Allen bolt behind the oil pump on the lower driver-side corner, and typically the long water pump studs that go through all the way to the engine block usually want to stay stuck in the block. Always remove them before attempting to break loose the timing cover.
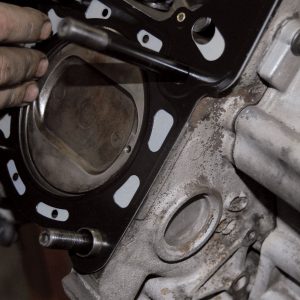
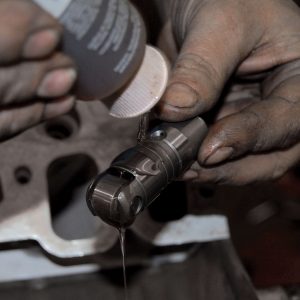
• Some water will end up in the oil pan after the timing cover is removed. Antifreeze is death to bearings and other wear points, so the less you get in the motor, the better. A good way to minimize the amount of water getting into the motor (and all over the floor) is to use a small siphon bulb to suck the coolant out through the water passages in the front of the block before removing the cylinder heads.
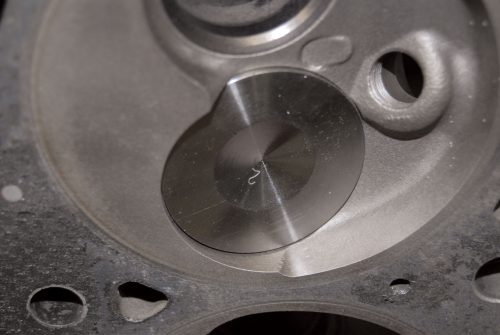
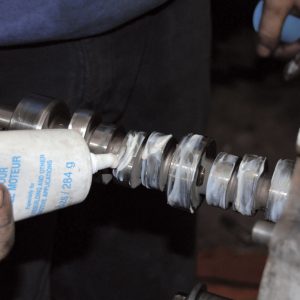
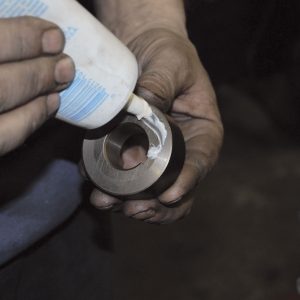
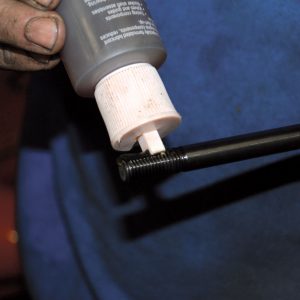
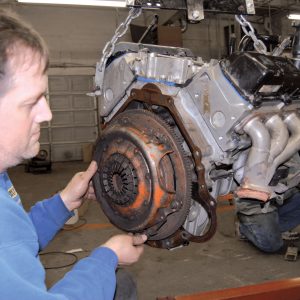
While the heads were off, and before removing the cam and lifters, we took the opportunity to remove all the carbon from the tops of the pistons and installed the ARP head studs. With the motor dry and free of oil, we pulled the cam and lifters, pre-oiling them as we assembled everything. The cam doesn’t require special lubrication, because it is a roller design, but we use general assembly lube just to make sure no dry spots exist during initial start-up.
Cam install is straightforward, but there are a few things that are extremely important. It is necessary to remove the woodruff key, and the small spacer ring that resides behind it, from your old cam. It will look as if it is part of the cam, but it is not. Swap the spacer ring and woodruff key onto the new cam before installing.
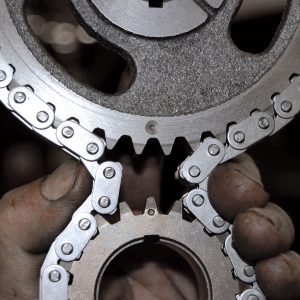
Checking the cam centerline with a degree wheel is the best practice because of variations that can occur not only in the cam but in the timing chain, too. While SC timing chain sets do not offer adjustability, it is good to know where you are when analyzing your results. In our case, we came in just one degree retarded from spec, so we left it as ground.

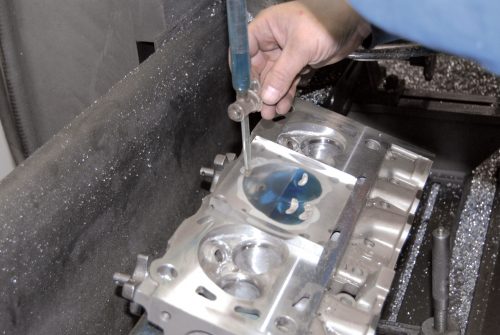
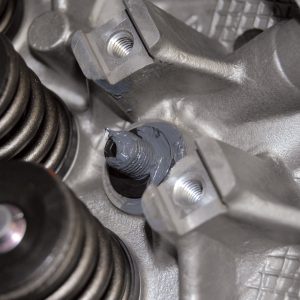
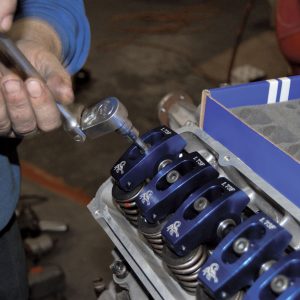
With any non-adjustable valvetrain installation, care must be taken to verify lifter preload and valve-stem-to-rocker-tip alignment. The 3.8-liter valvetrain geometry favors a higher-sitting rocker arm, so, when given the choice, it is preferable to run a slightly longer pushrod and shims versus a shorter pushrod and no shims. We used 7.300-inch-long pushrods and a 0.015-inch shim to get the desired preload, but individual results will vary, so always check. When possible, it’s best to check preload with the intake manifold off so you can see the plunger action as you tighten down the rocker.

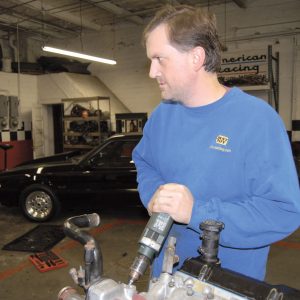
Because of the invasive nature of a cam install and the extreme loads that will be seen from a valve-spring upgrade such as this, priming the motor should be SOP. Always remember to drain and replace your oil first so as not to pump coolant or trash into the motor. Use a strong 1/2-inch drill to bring full pressure long enough to get oil from each rocker arm. You should see 80 psi on a mechanical gauge during this process.
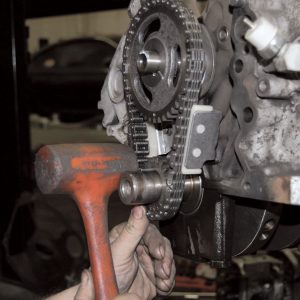
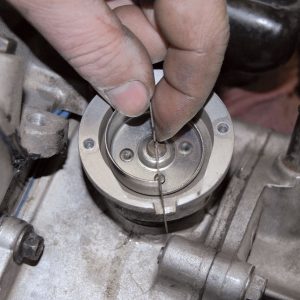
Since it is necessary to remove the harmonic balancer during this process, you must assess the condition of the balancer and consider possible replacement. In our case, we already had a solid-steel BHJ balancer. In any event, to avoid damage, always use the proper tool to install a balancer. A hammer and a block of wood are not the proper tools.

Startup was uneventful, as the car had been previously tuned for the 60-lb injectors. The only necessary change to the tune was to raise the idle level slightly, to 800 rpm. Vacuum was looking good at about 13 inches of Mercury and a mild lope, so we let the motor get up to operating temperature to heat-cycle the valve springs, and then shut it down. This is also a good time to remove all remaining air pockets from the cooling system and check for leaks of any kind.
Test day started off with a quick pull through the rpm range, which showed the motor being hungry for more ignition timing than what it liked previously. We added 6 degrees timing throughout most of the range, and even more in the lower areas of the spark map. The final settings resulted in several runs with around 425 lb-ft of torque and 385 RWHP (SAE corrected). While these were respectable numbers for a mild street V-6 on pump gas, they were not the numbers we were looking for—we wanted over 400 RWHP!
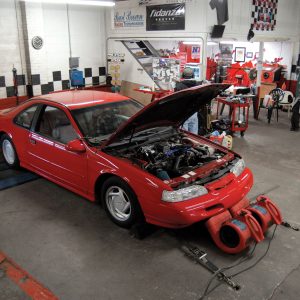
During testing we observed boost climbing and power falling off early, which is a sure sign of a remaining restriction—exhaust. It seems that the dual 2.25-inch pipes simply are not large enough to accommodate the airflow/exhaust we have generated with this engine combination. Now it is the right time to retire the older shorty headers and look at a more modern Kooks long-tube setup. But that is another story for another time, as we continue to build the output of our Supercoupe.


Article Sources
SuperCoupes Unlimited Inc.
supercoupesunlimitedinc@gmail.com
6277 Scotland St. Madison, OH 44057