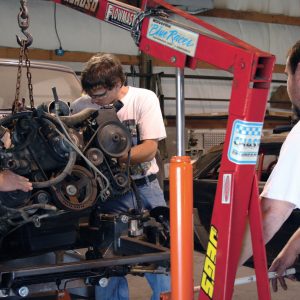
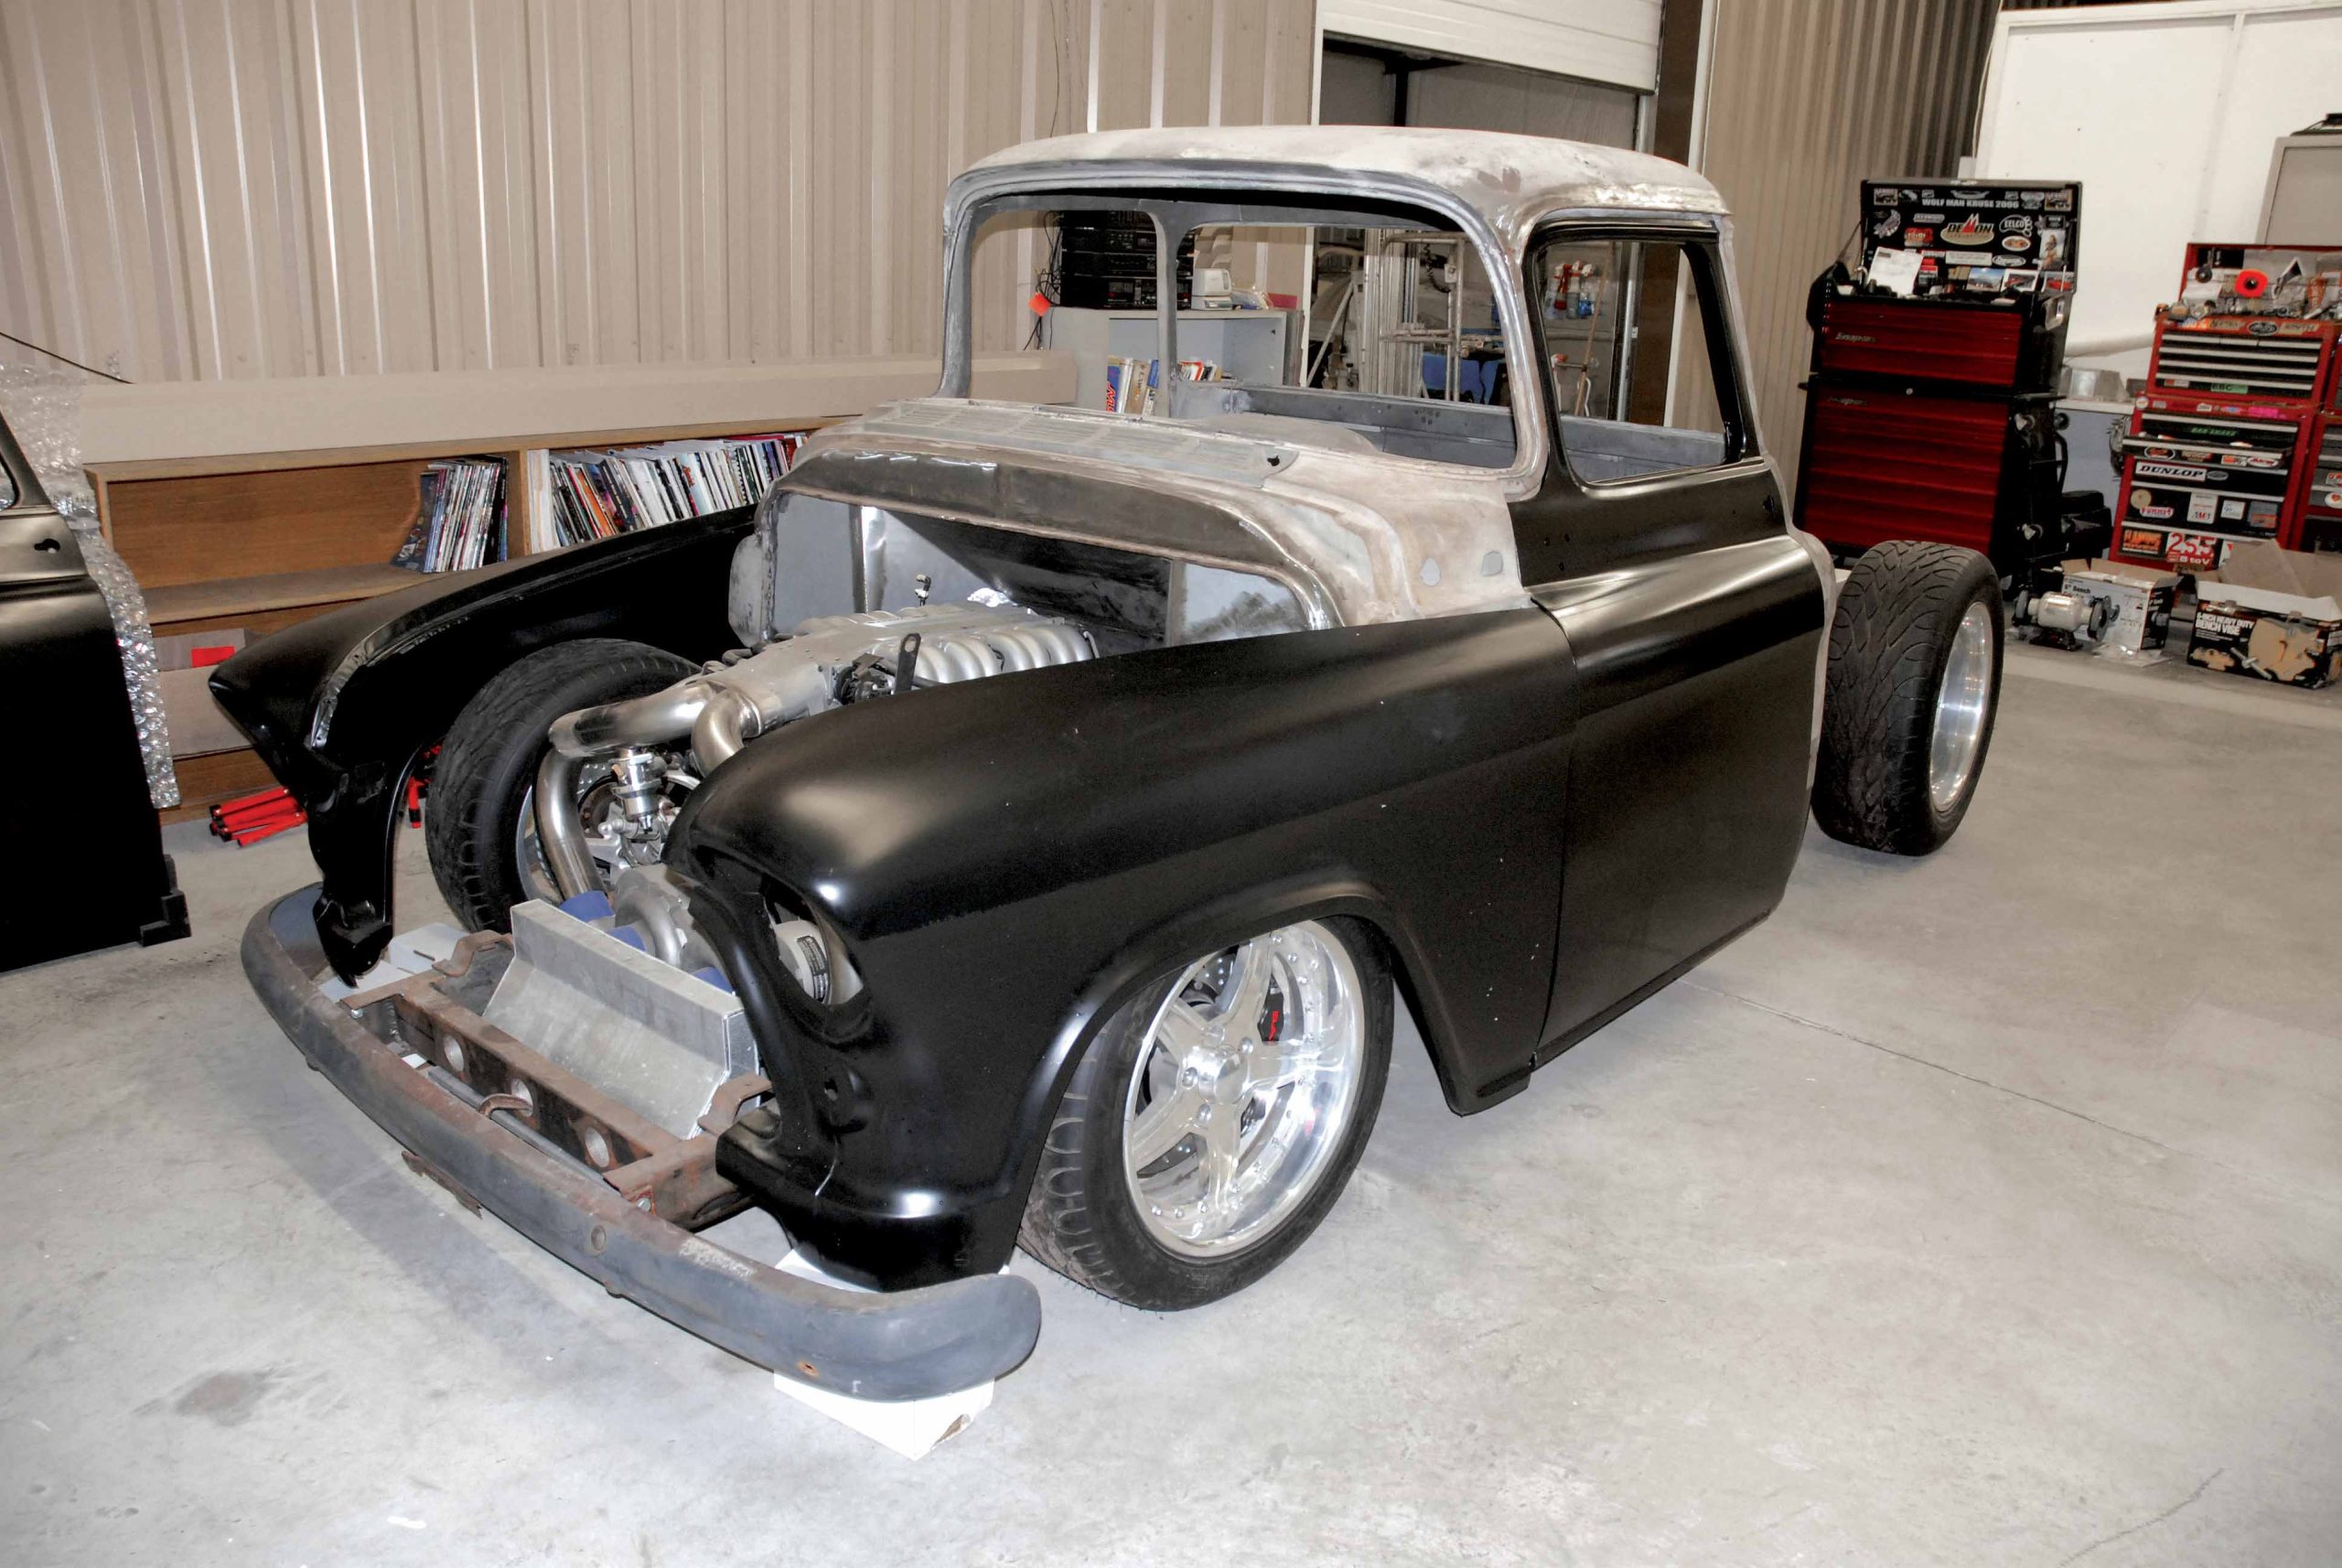
Virtually everything we’ ve accomplished in past installments on our Cimtex Rods Super Cameo project has been leading up to this moment. This past May, we took a flight down to Austin, Texas, and spent a week watching Tim and Darrell Cimbanin of Cimtex Rods chop the top on TRUCK BUILDER magazine’s radically modified 56 Chevrolet Super Cameo project pickup, and what an experience it was!
Before we go any further, we feel compelled to tell you that chopping the top and doing it correctly on one of these big-window ’55-1/2 to ’59 3100 Series Chevrolet/GMC truck cabs is an involved process. It is definitely not for the inexperienced or the faint of heart. The time and detail required to properly do the job dictates that we cover this involved process in two installments. In this installment you will see the cab door installation, arriving at all the proper top-chopping measurements and the cutting of the doors and top.
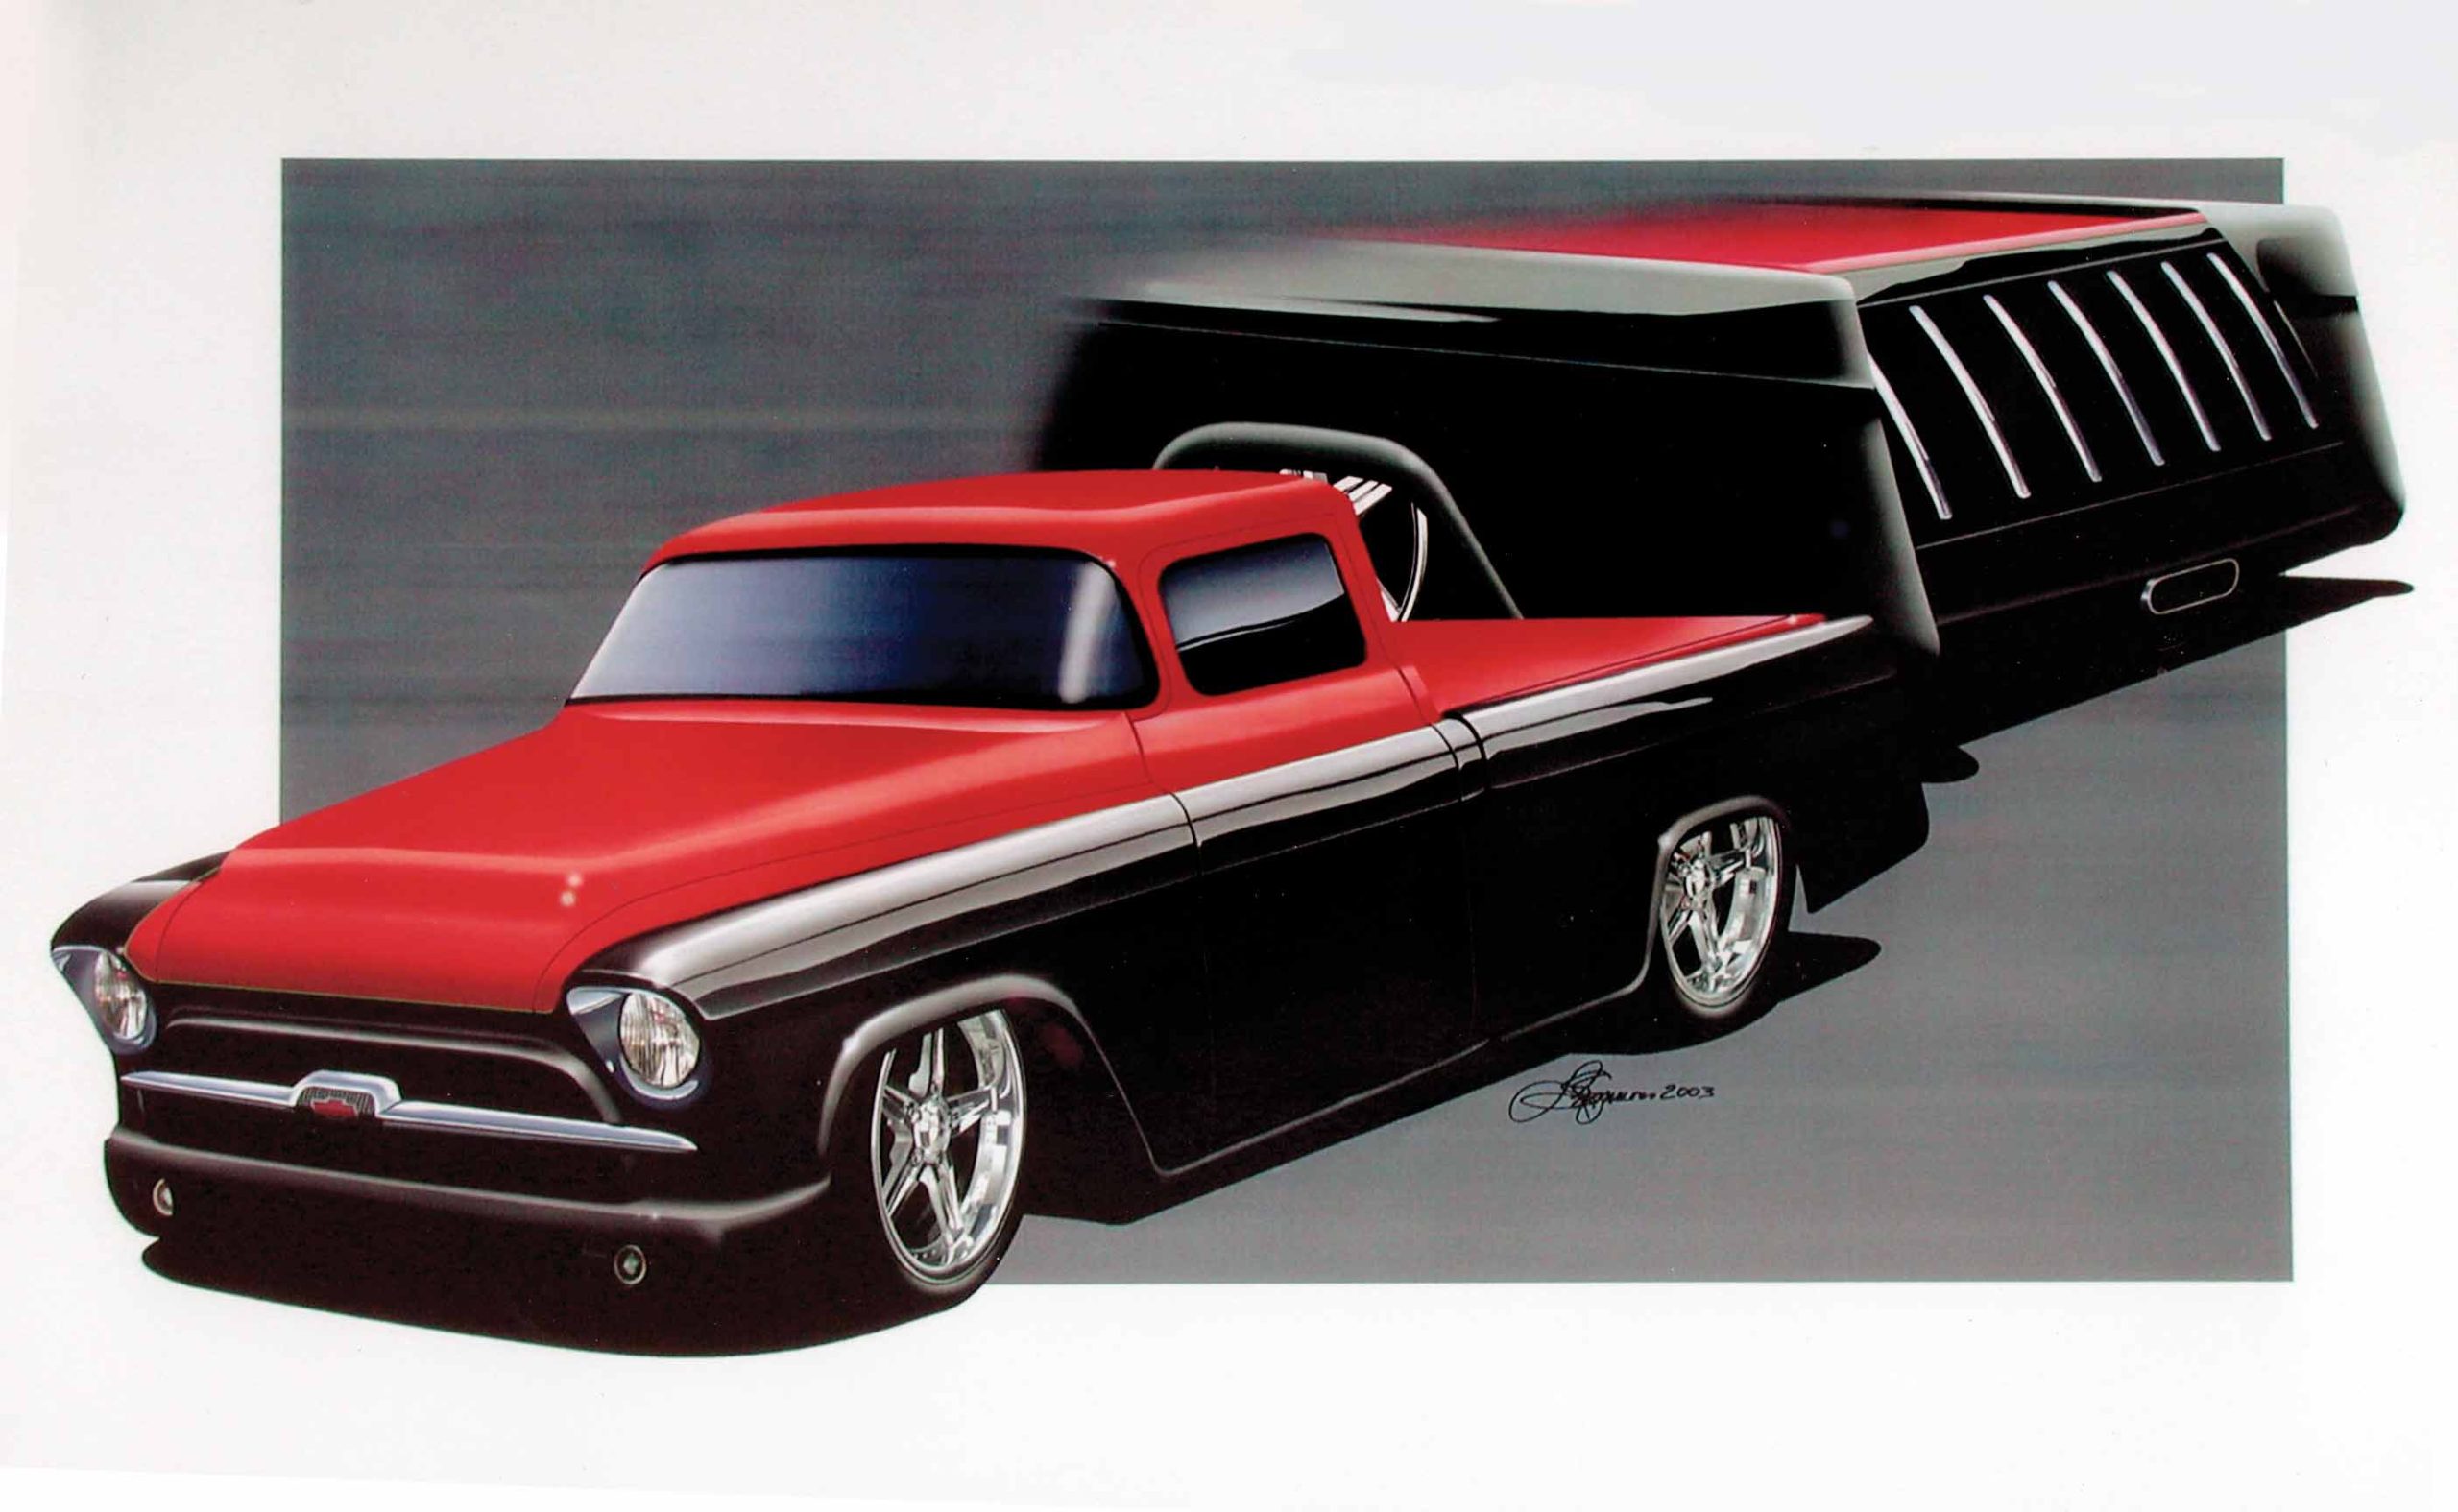
In our next installment, Part 12 will show you exactly how Cimtex Rods chopped our Cameo top a total of 4 inches, as well as chopping the accompanying door frames. It’s an involved procedure, requiring a lot of careful thought, time, welding and a ton of photos to explain and show it correctly. It would have been too many steps and photos to show in one issue.
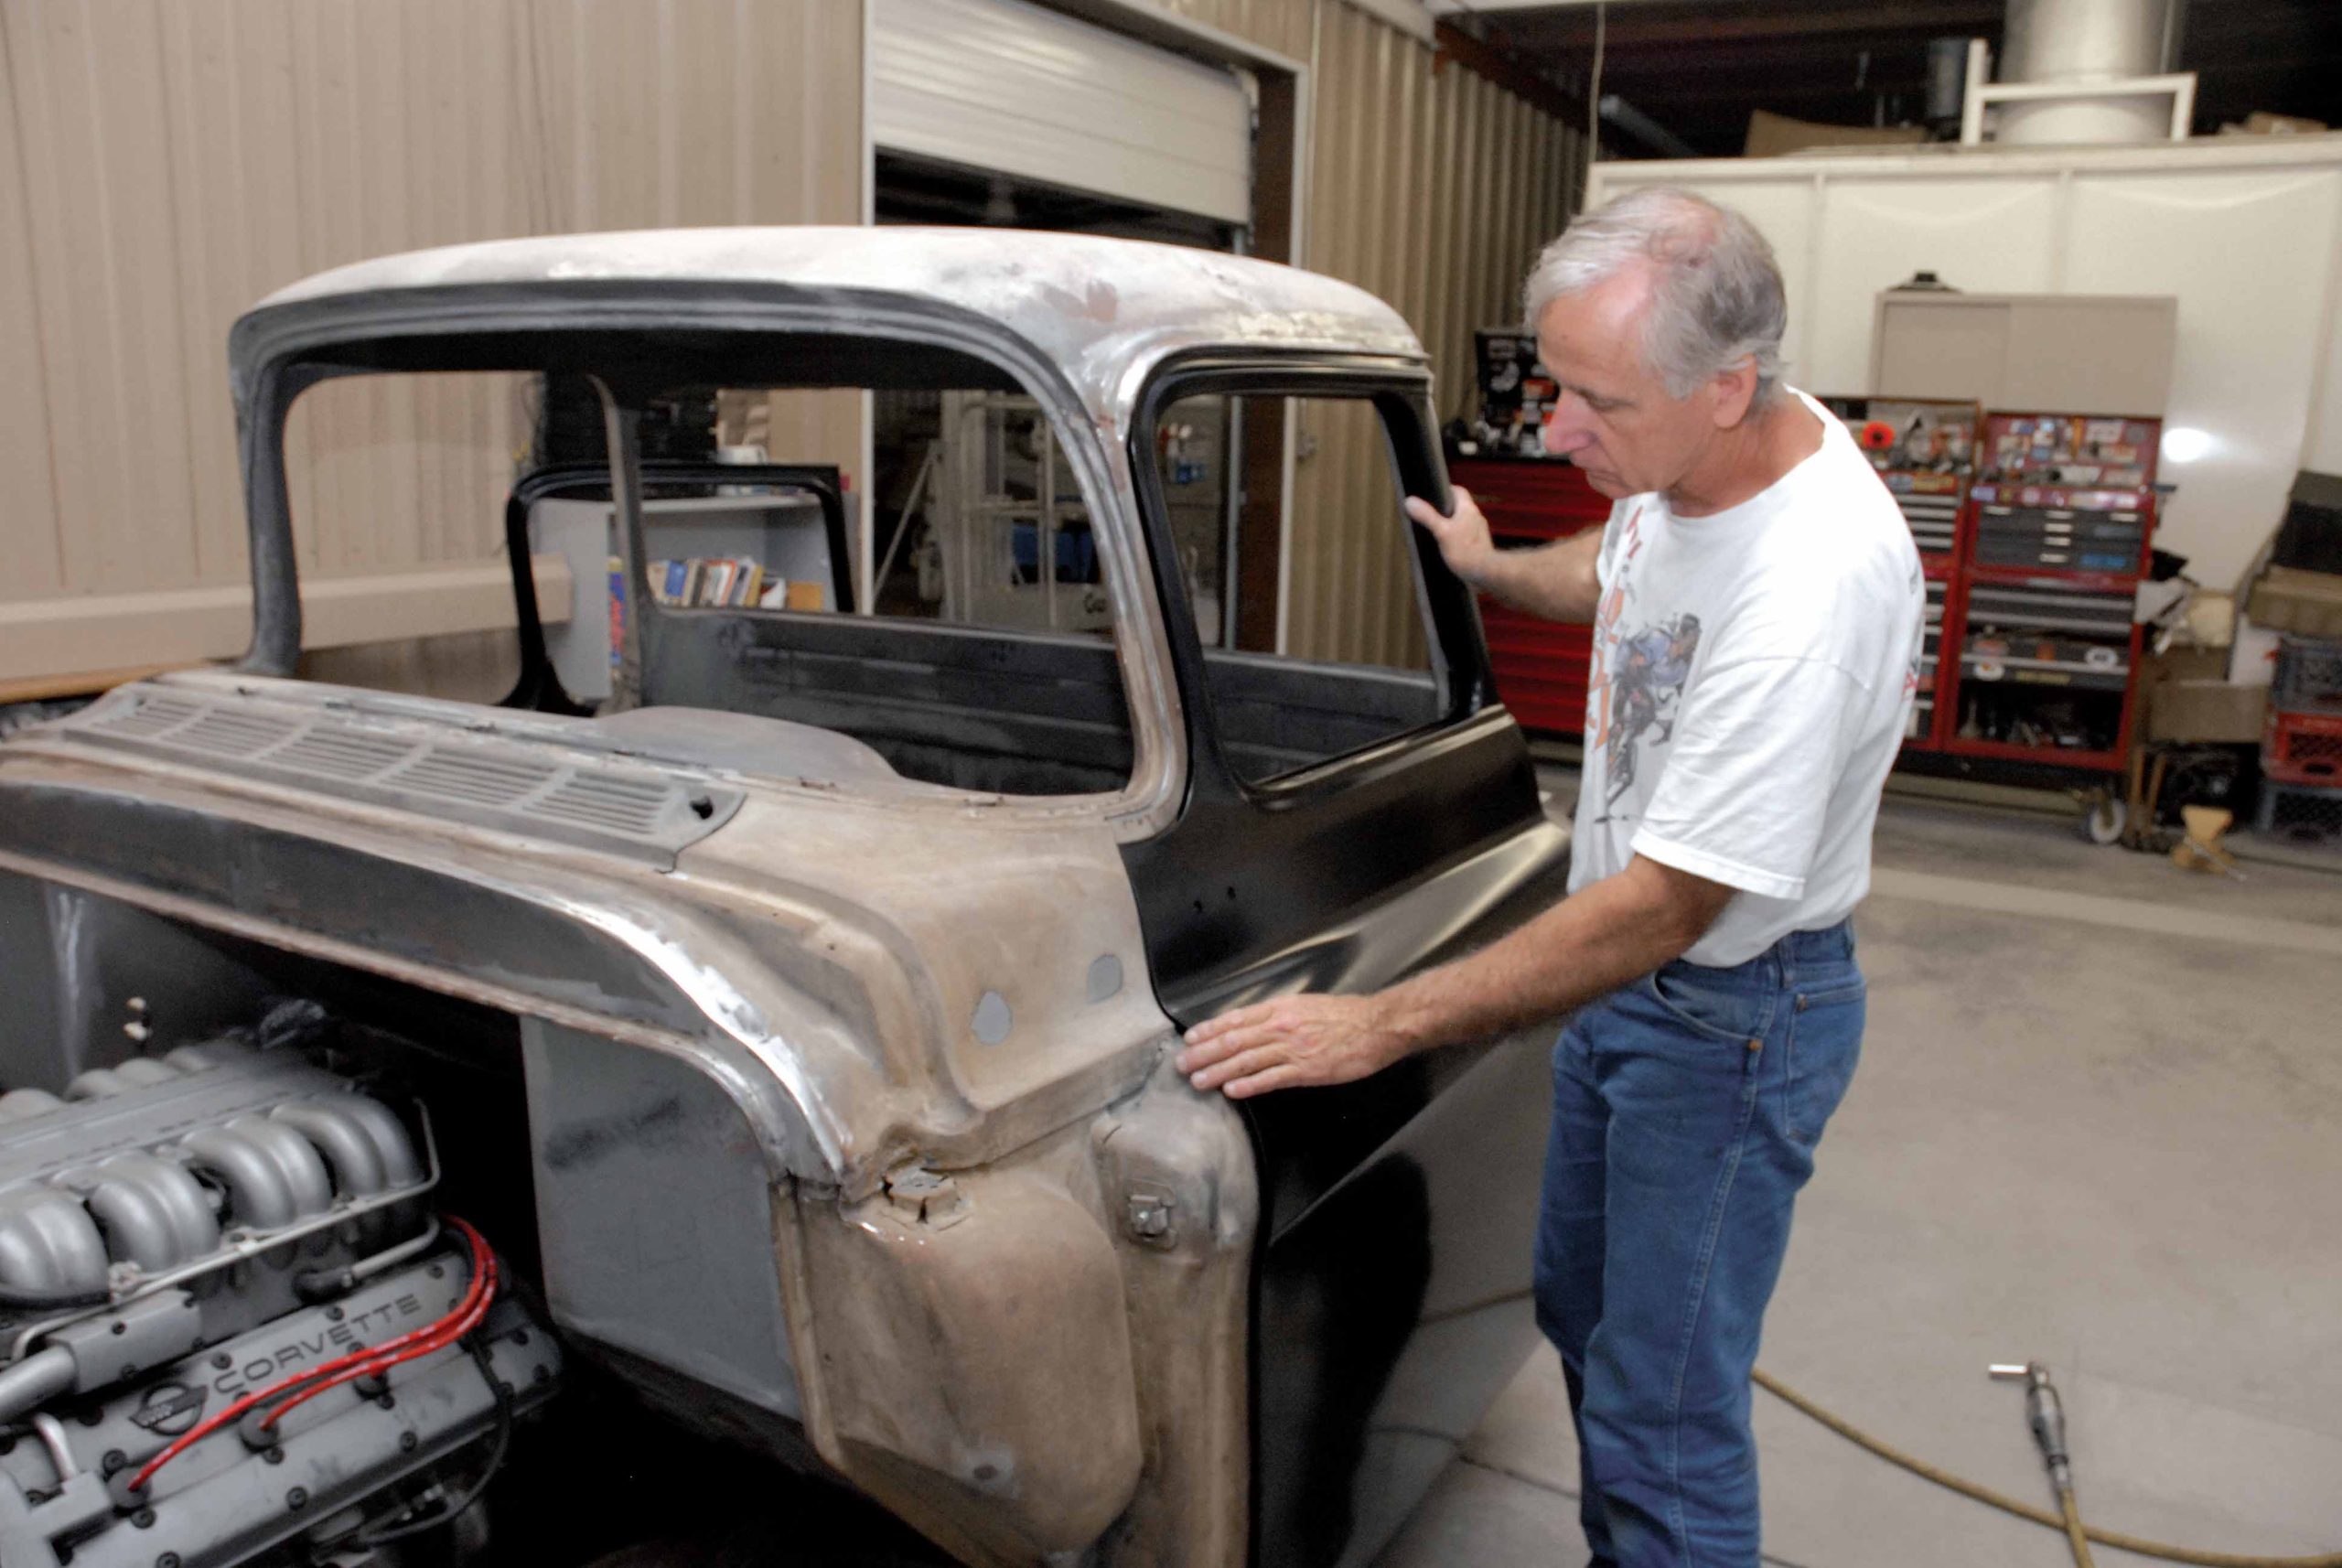
Prior to making that first cut, it was determined by Tim and Darrell that the existing doors to our project ’56 were in poor condition and in need of replacement, as there were a number of small rust patches coming through the bottom of the door, where mud and water have accumulated over the years. Of course, they could have spent a ton of time and money welding in new reproduction door bottoms and patch panels, but the time involved would have far surpassed the cost of starting out with a new set of doors.
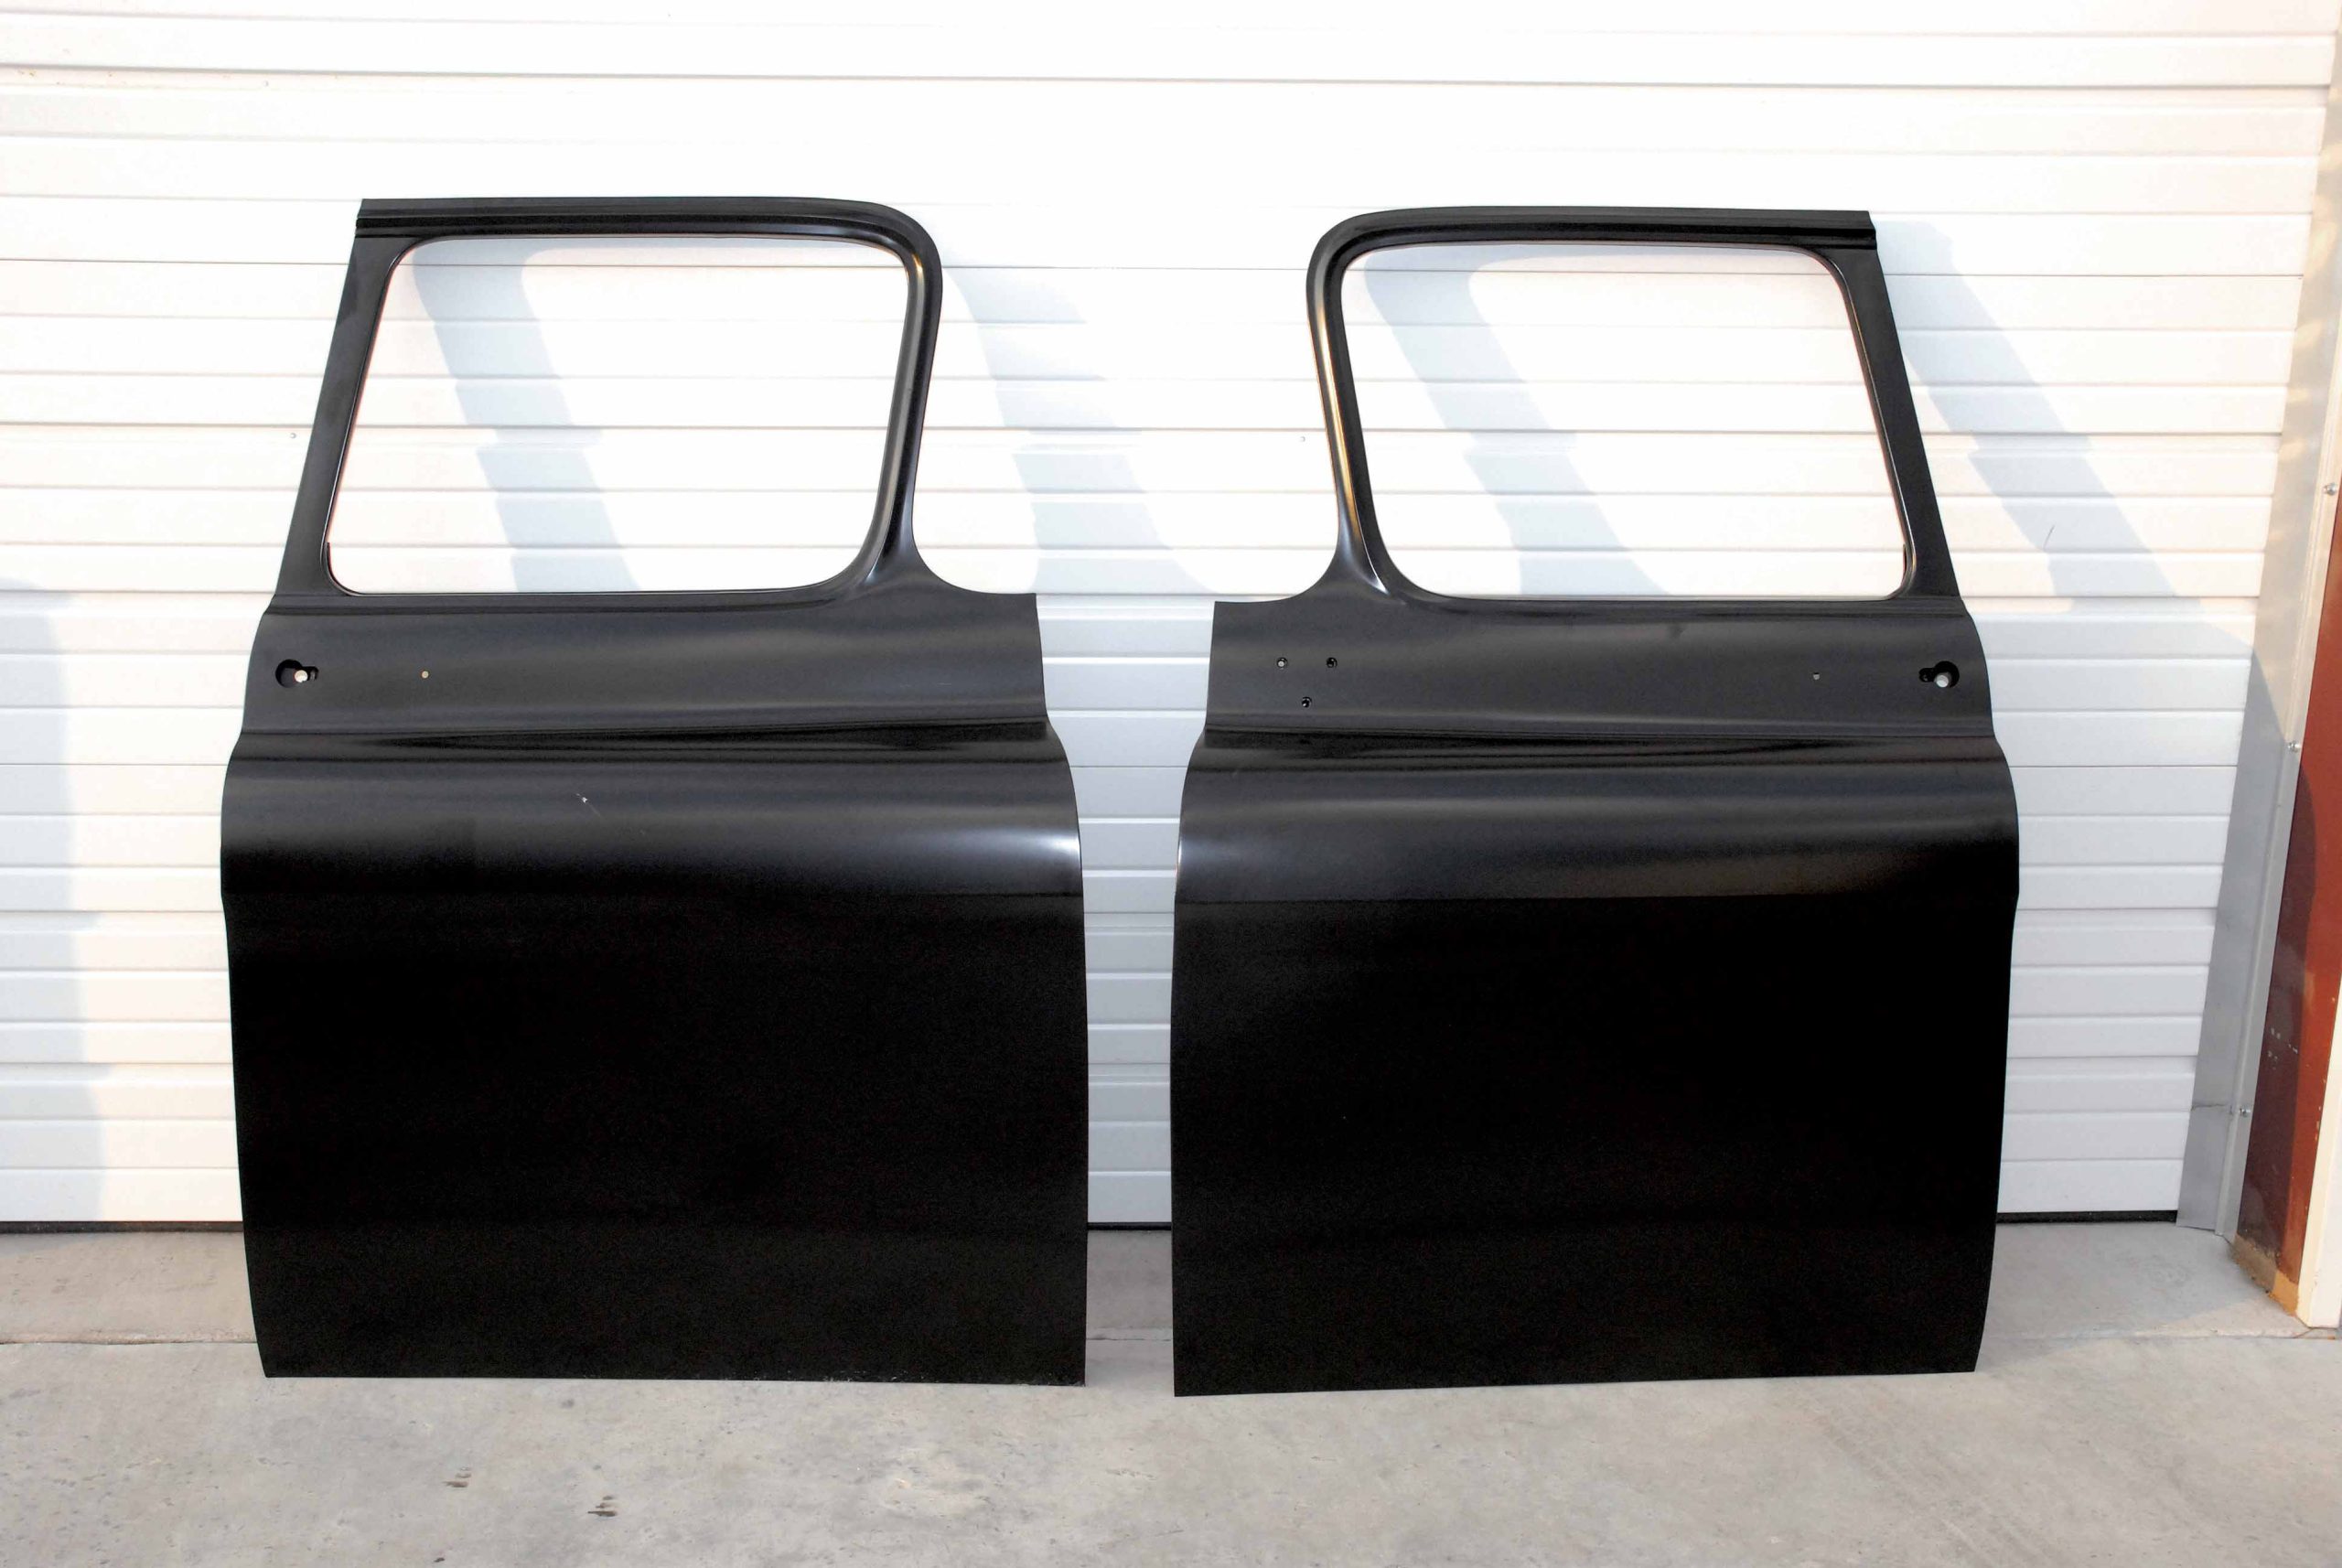
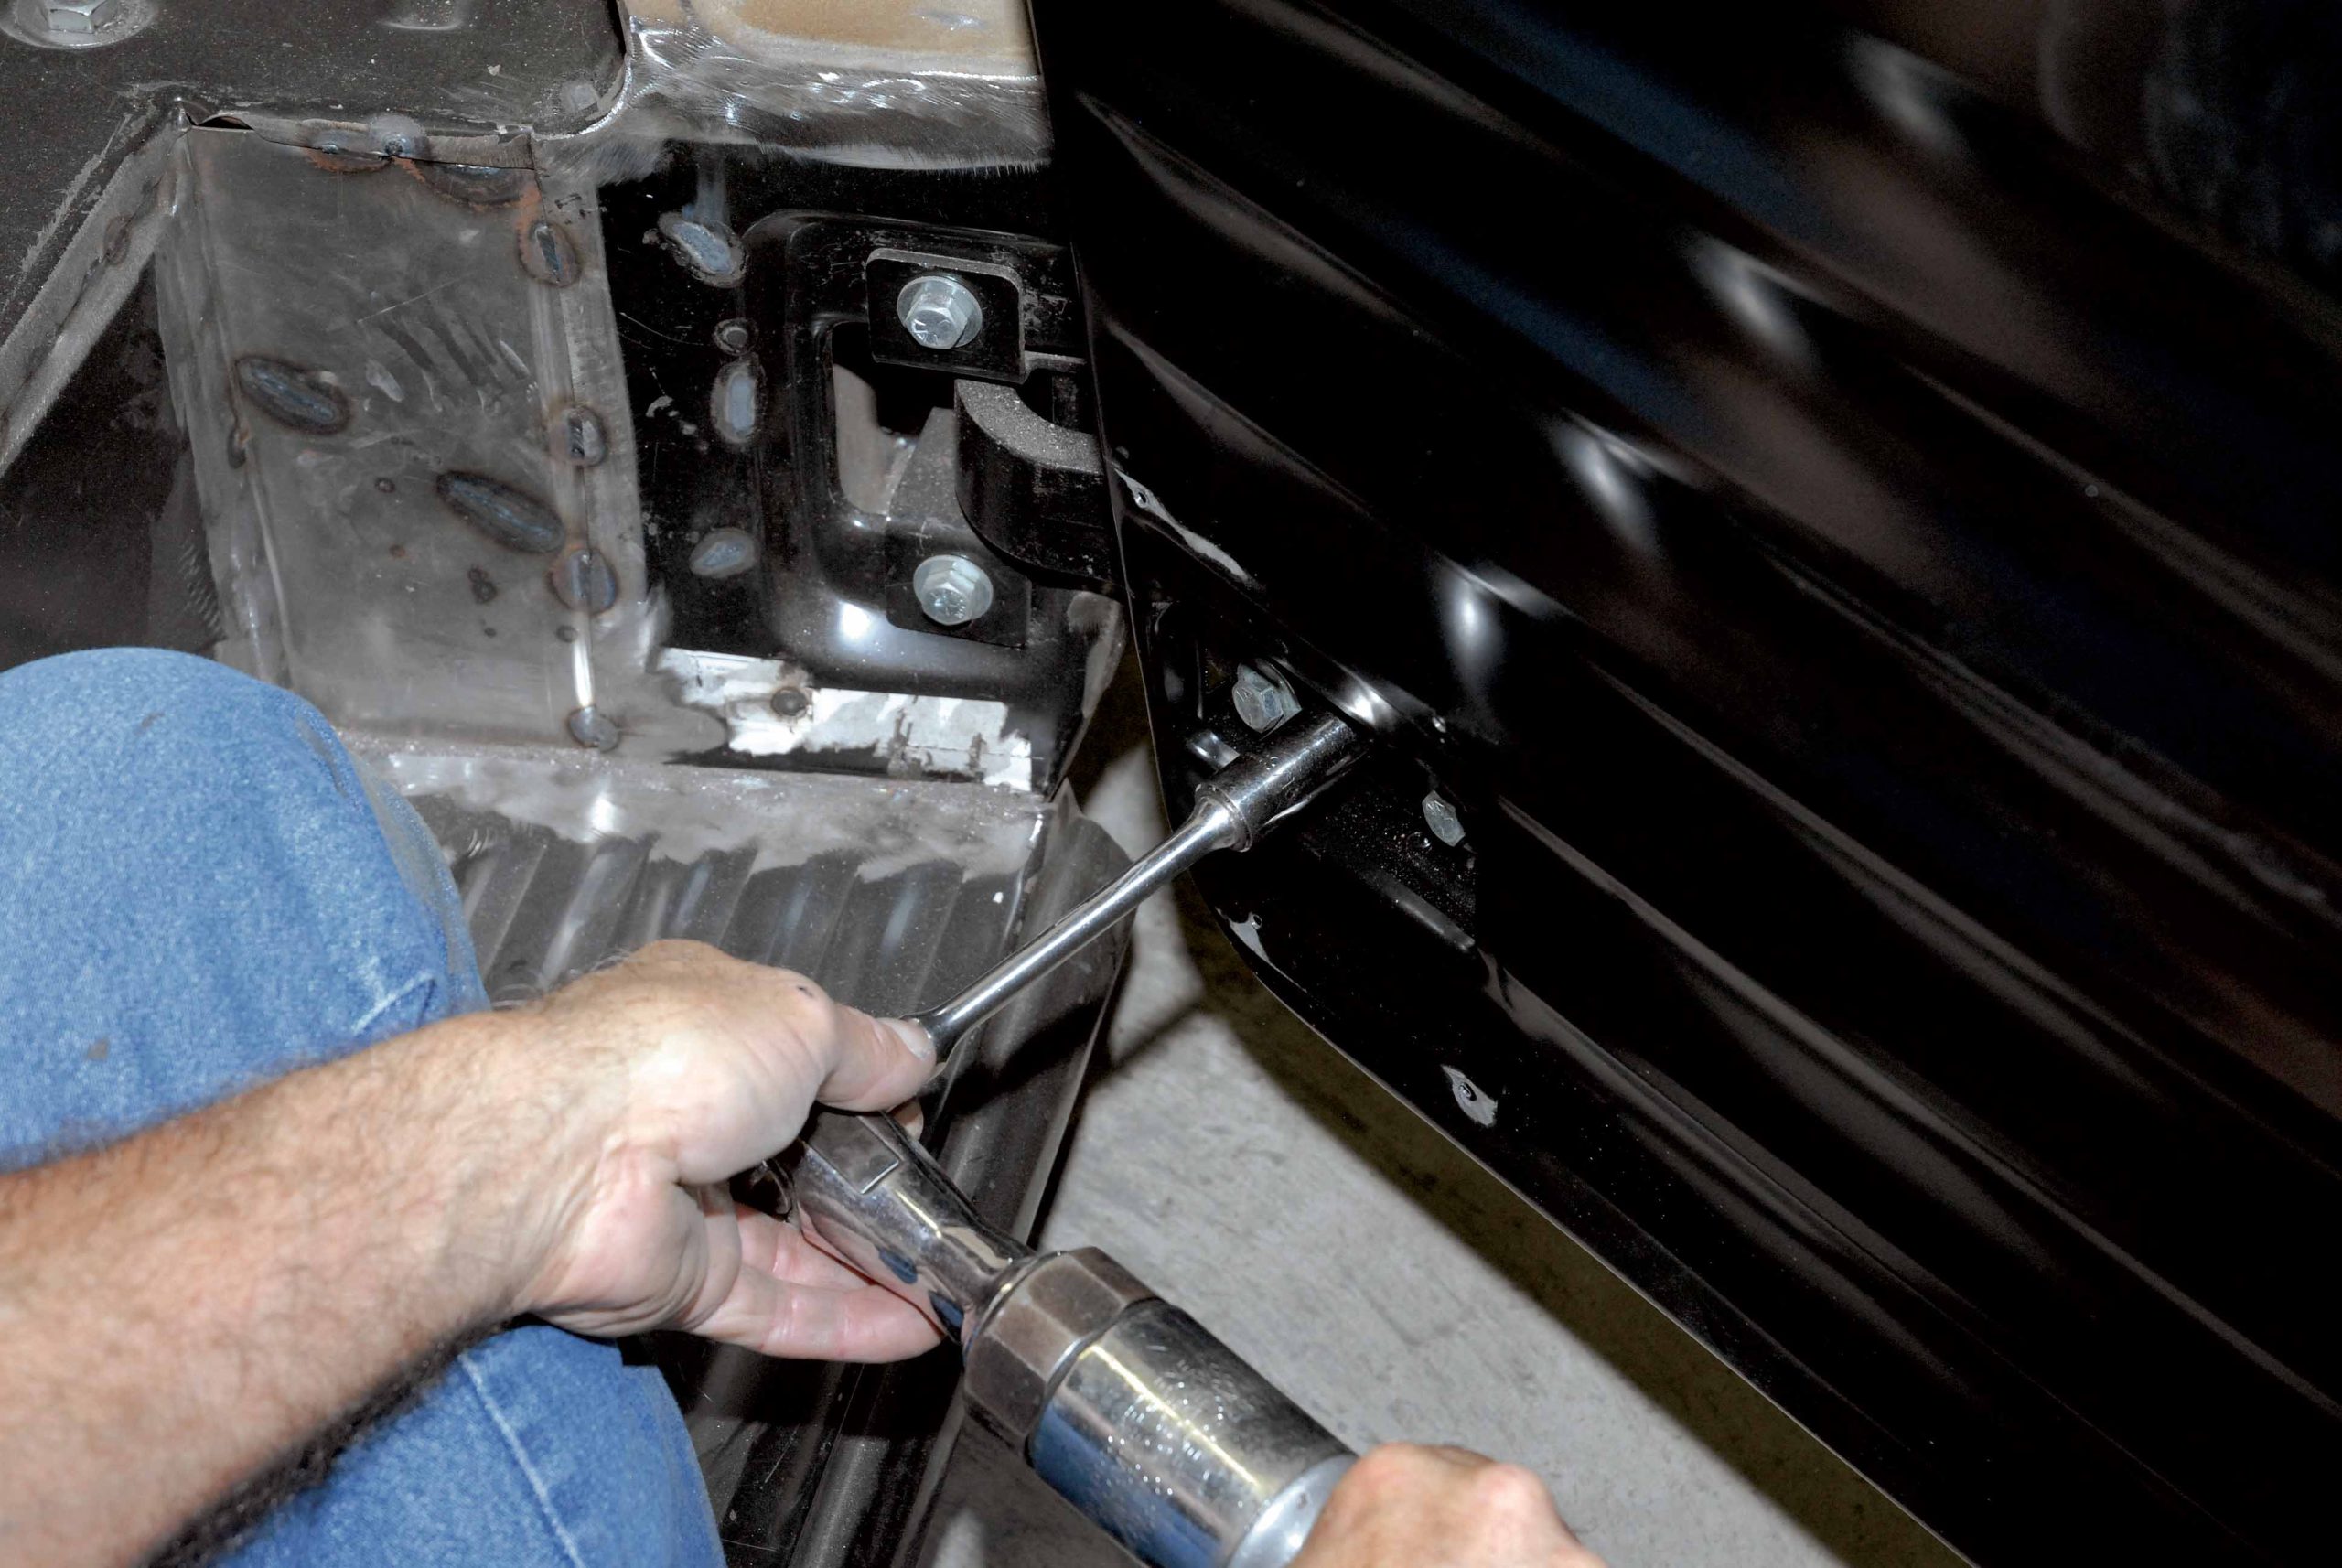
Given this fact, we contacted the folks at Dynacorn International and arranged to have a set of the company’s GT Series ’55-1/2 to ’59 Chevrolet/GMC truck doors shipped to the Jarrell, Texas, shop. Dynacorn’s GT Series reproduction doors for the ’55-1/2 to ’59 Chevrolet/GMC light-duty pickup and panel trucks (PN 1103C RH, 1103D LH) are manufactured using #1006 Automotive Grade Universal Steel, which is .002 inches thicker than OE. Like the originals, these doors feature multilayer construction, and are welded together following stringent GM/SAAB welding standards. Furthermore, the door-hinge mounting pads welded inside the door frame are tapped to accept 3/8×1-1/4-inch course thread mounting bolts, not the OE 3/8×1-1/4-inch fine thread bolts. Remember that when you have that bulky door in your hand.
Dynacorn’s driver’s-side door is also tapped for the driver’s-side mirror. These doors also come with all the OE inspection/service openings, window channel openings and screw and bolt holes, which are either stamped, drilled or tapped. The reproductions are finish-coated in DuPont EDPM Body Black and are officially licensed by GM Restoration Parts. Available through participating Dynacorn retailers, the doors sell for approximately $420 apiece, a far cry from what it would have cost to refurbish our original doors.
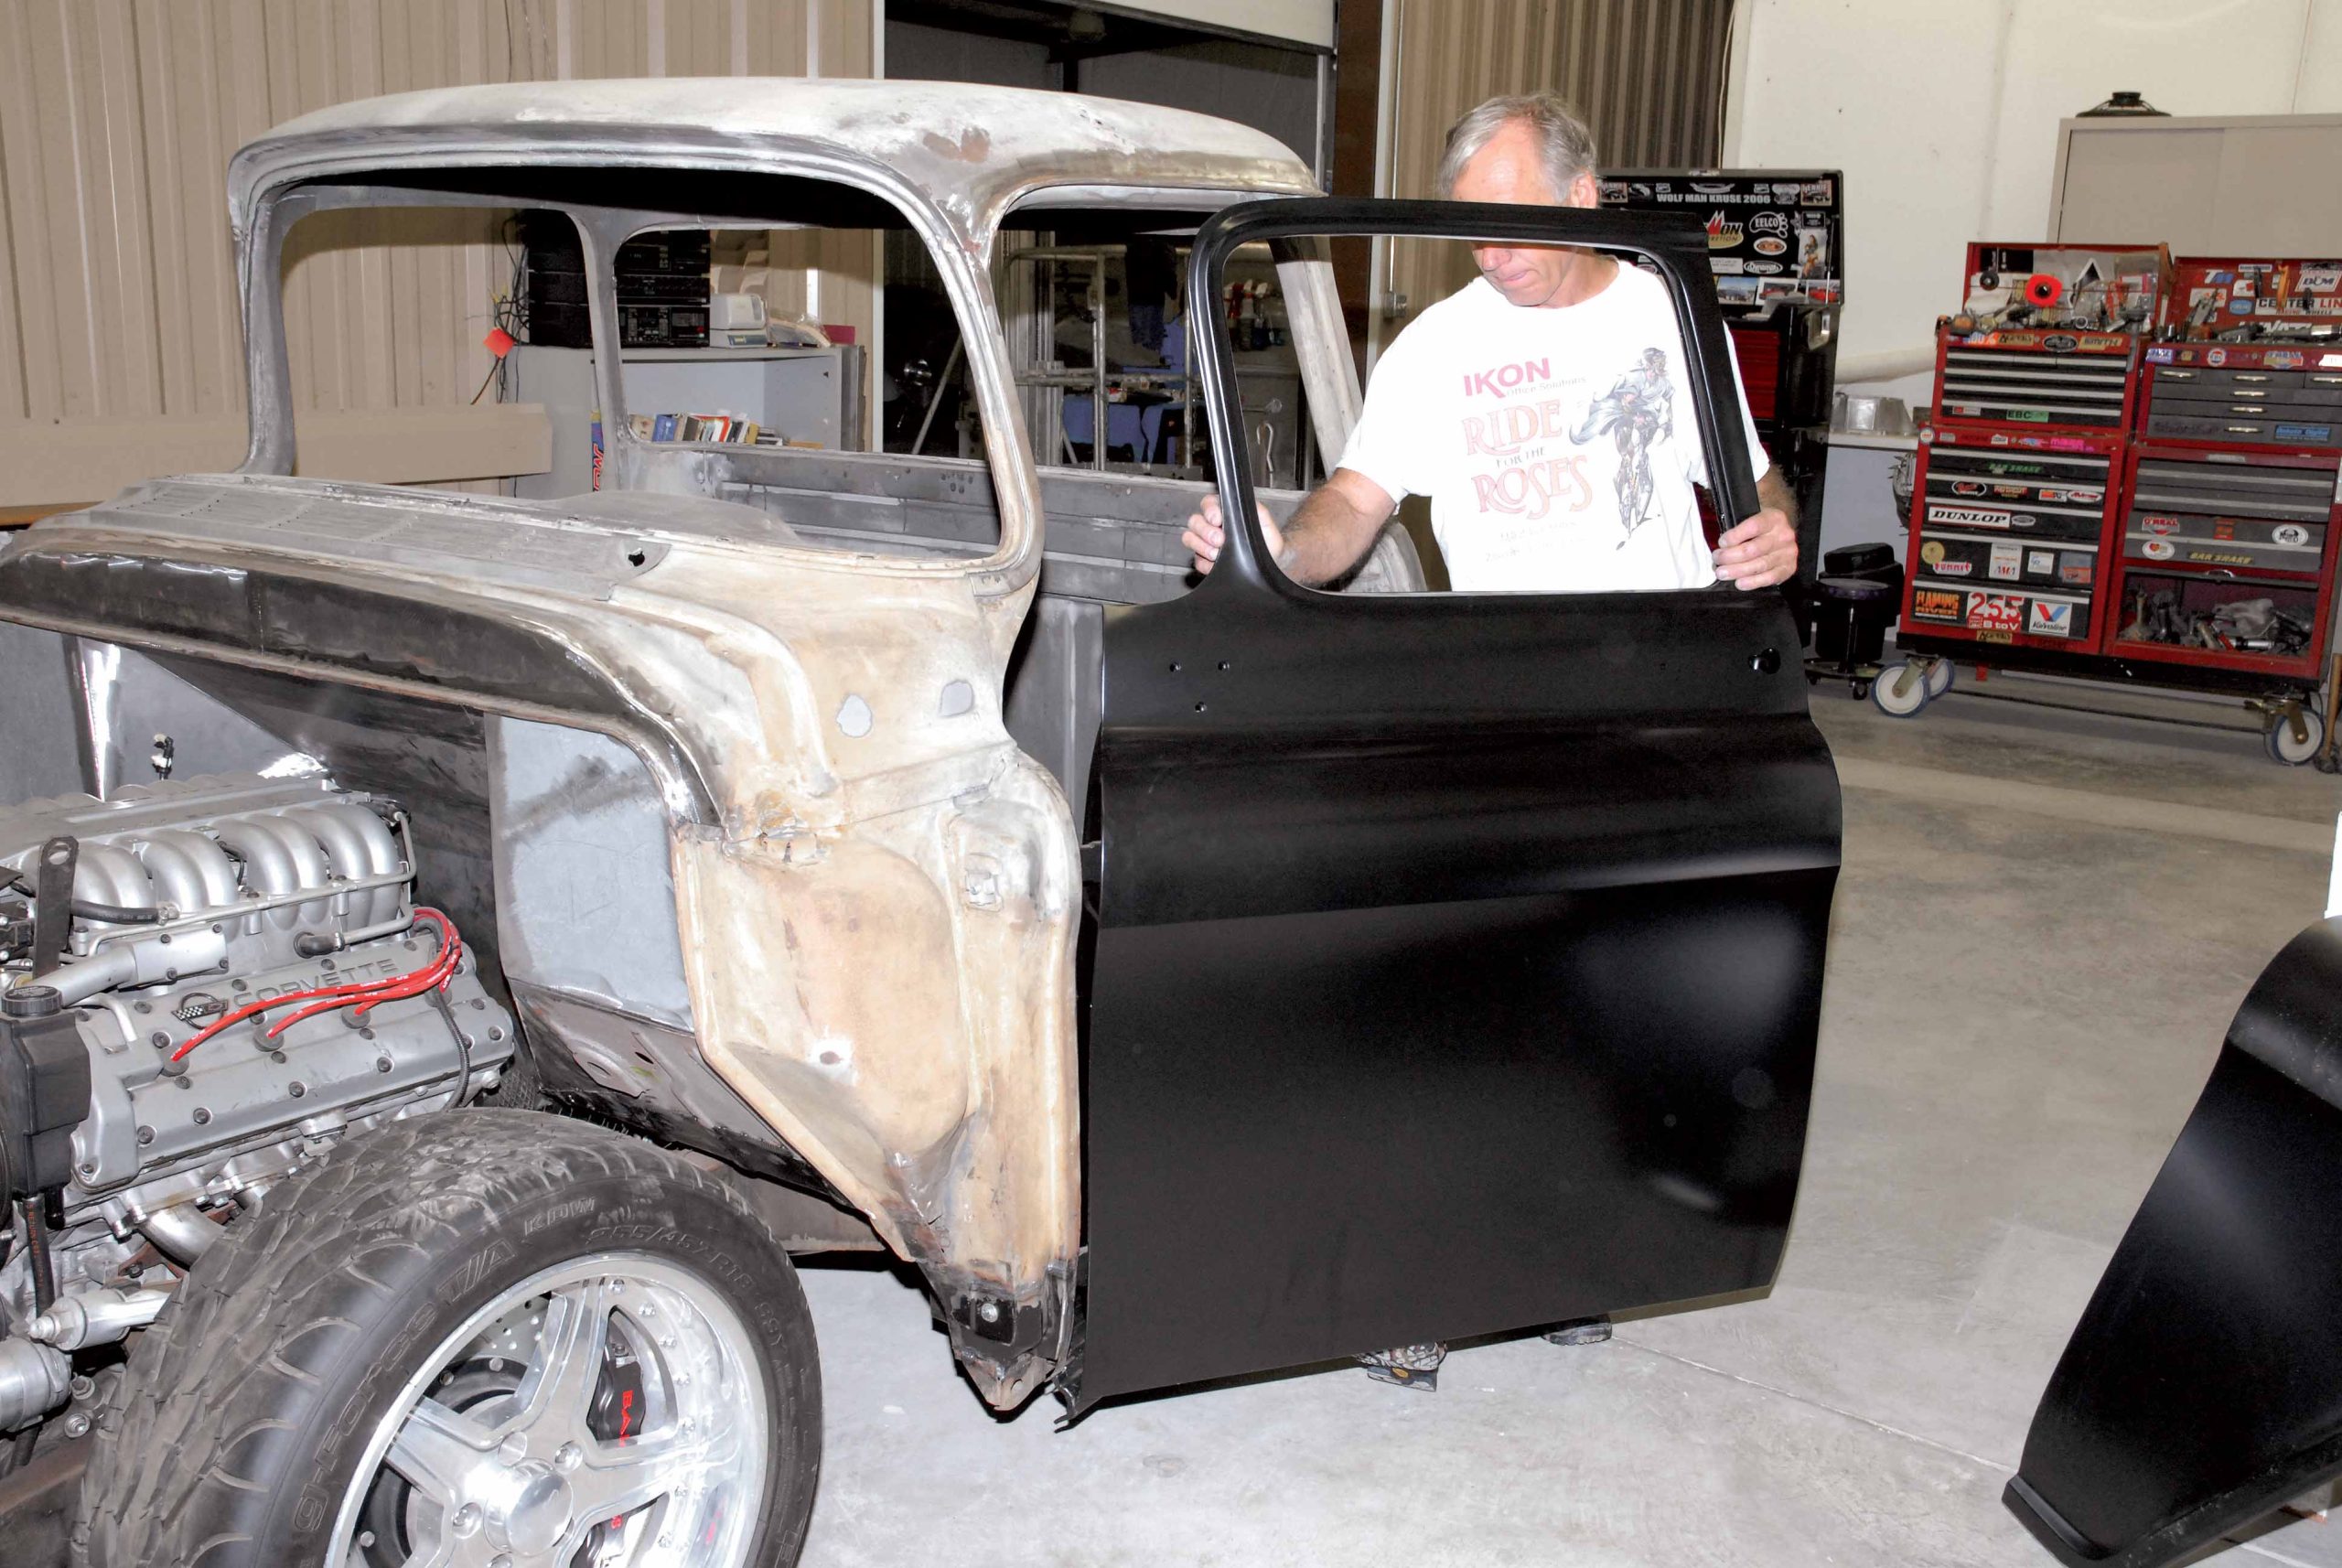
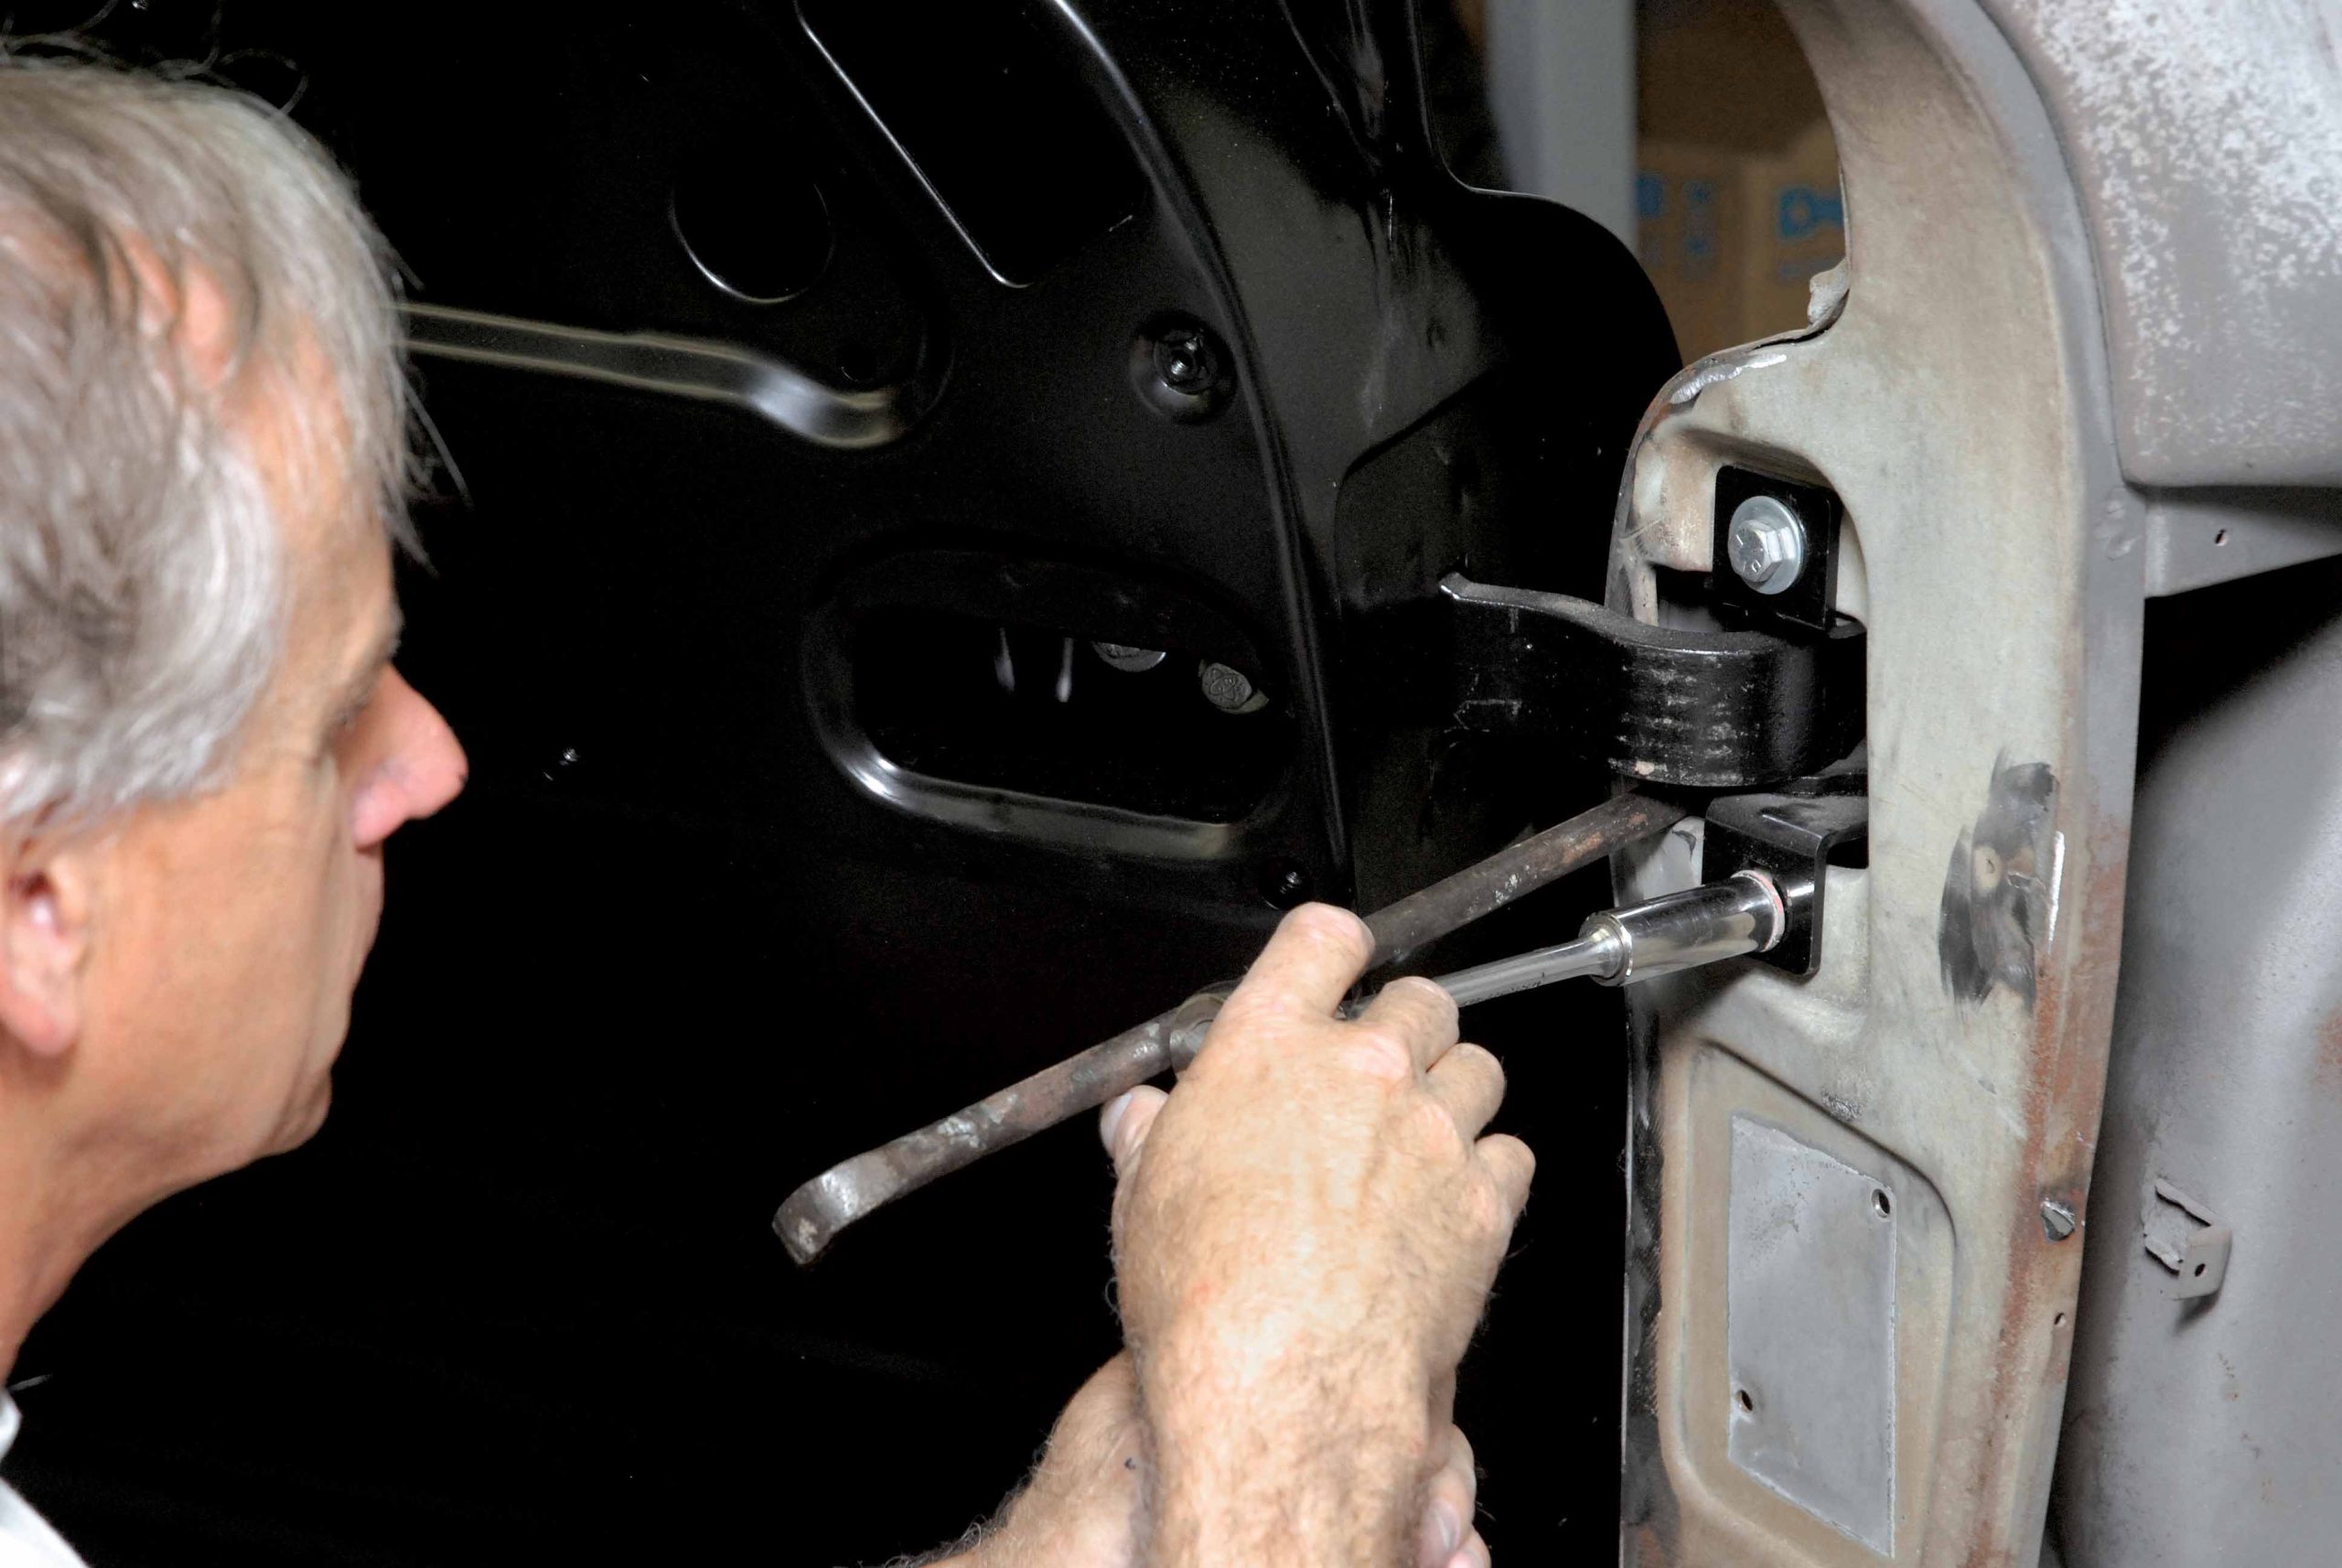
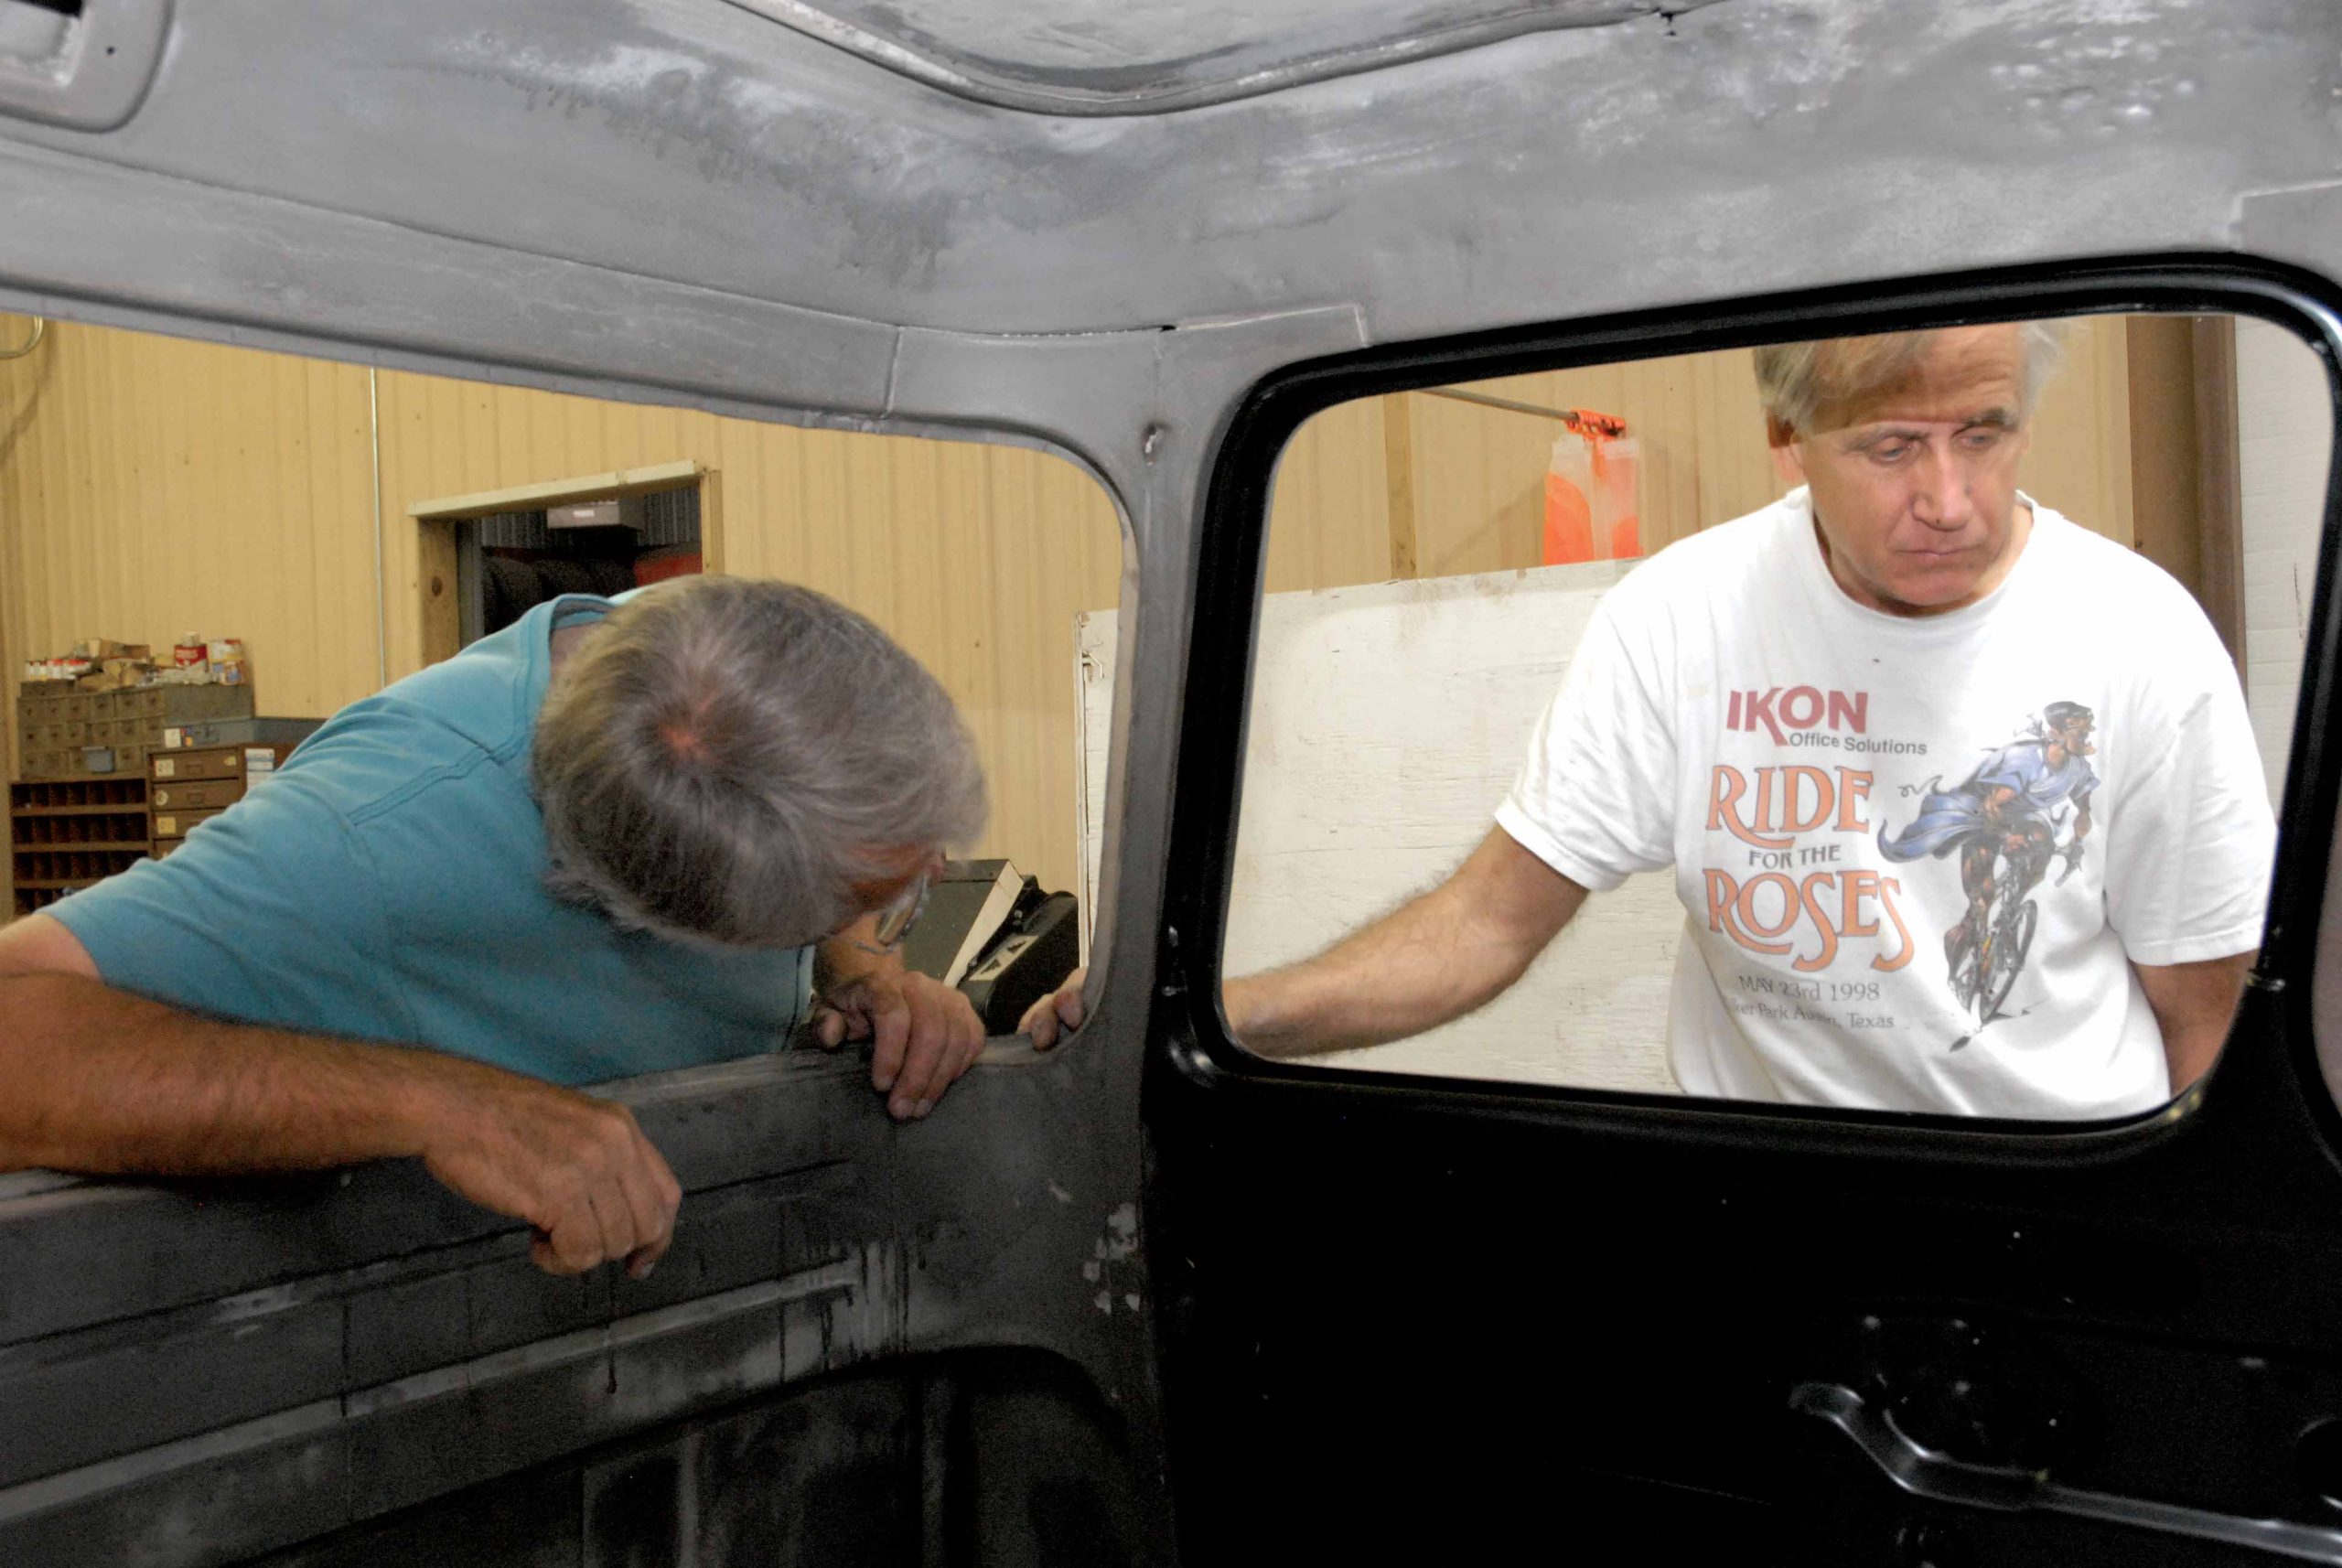
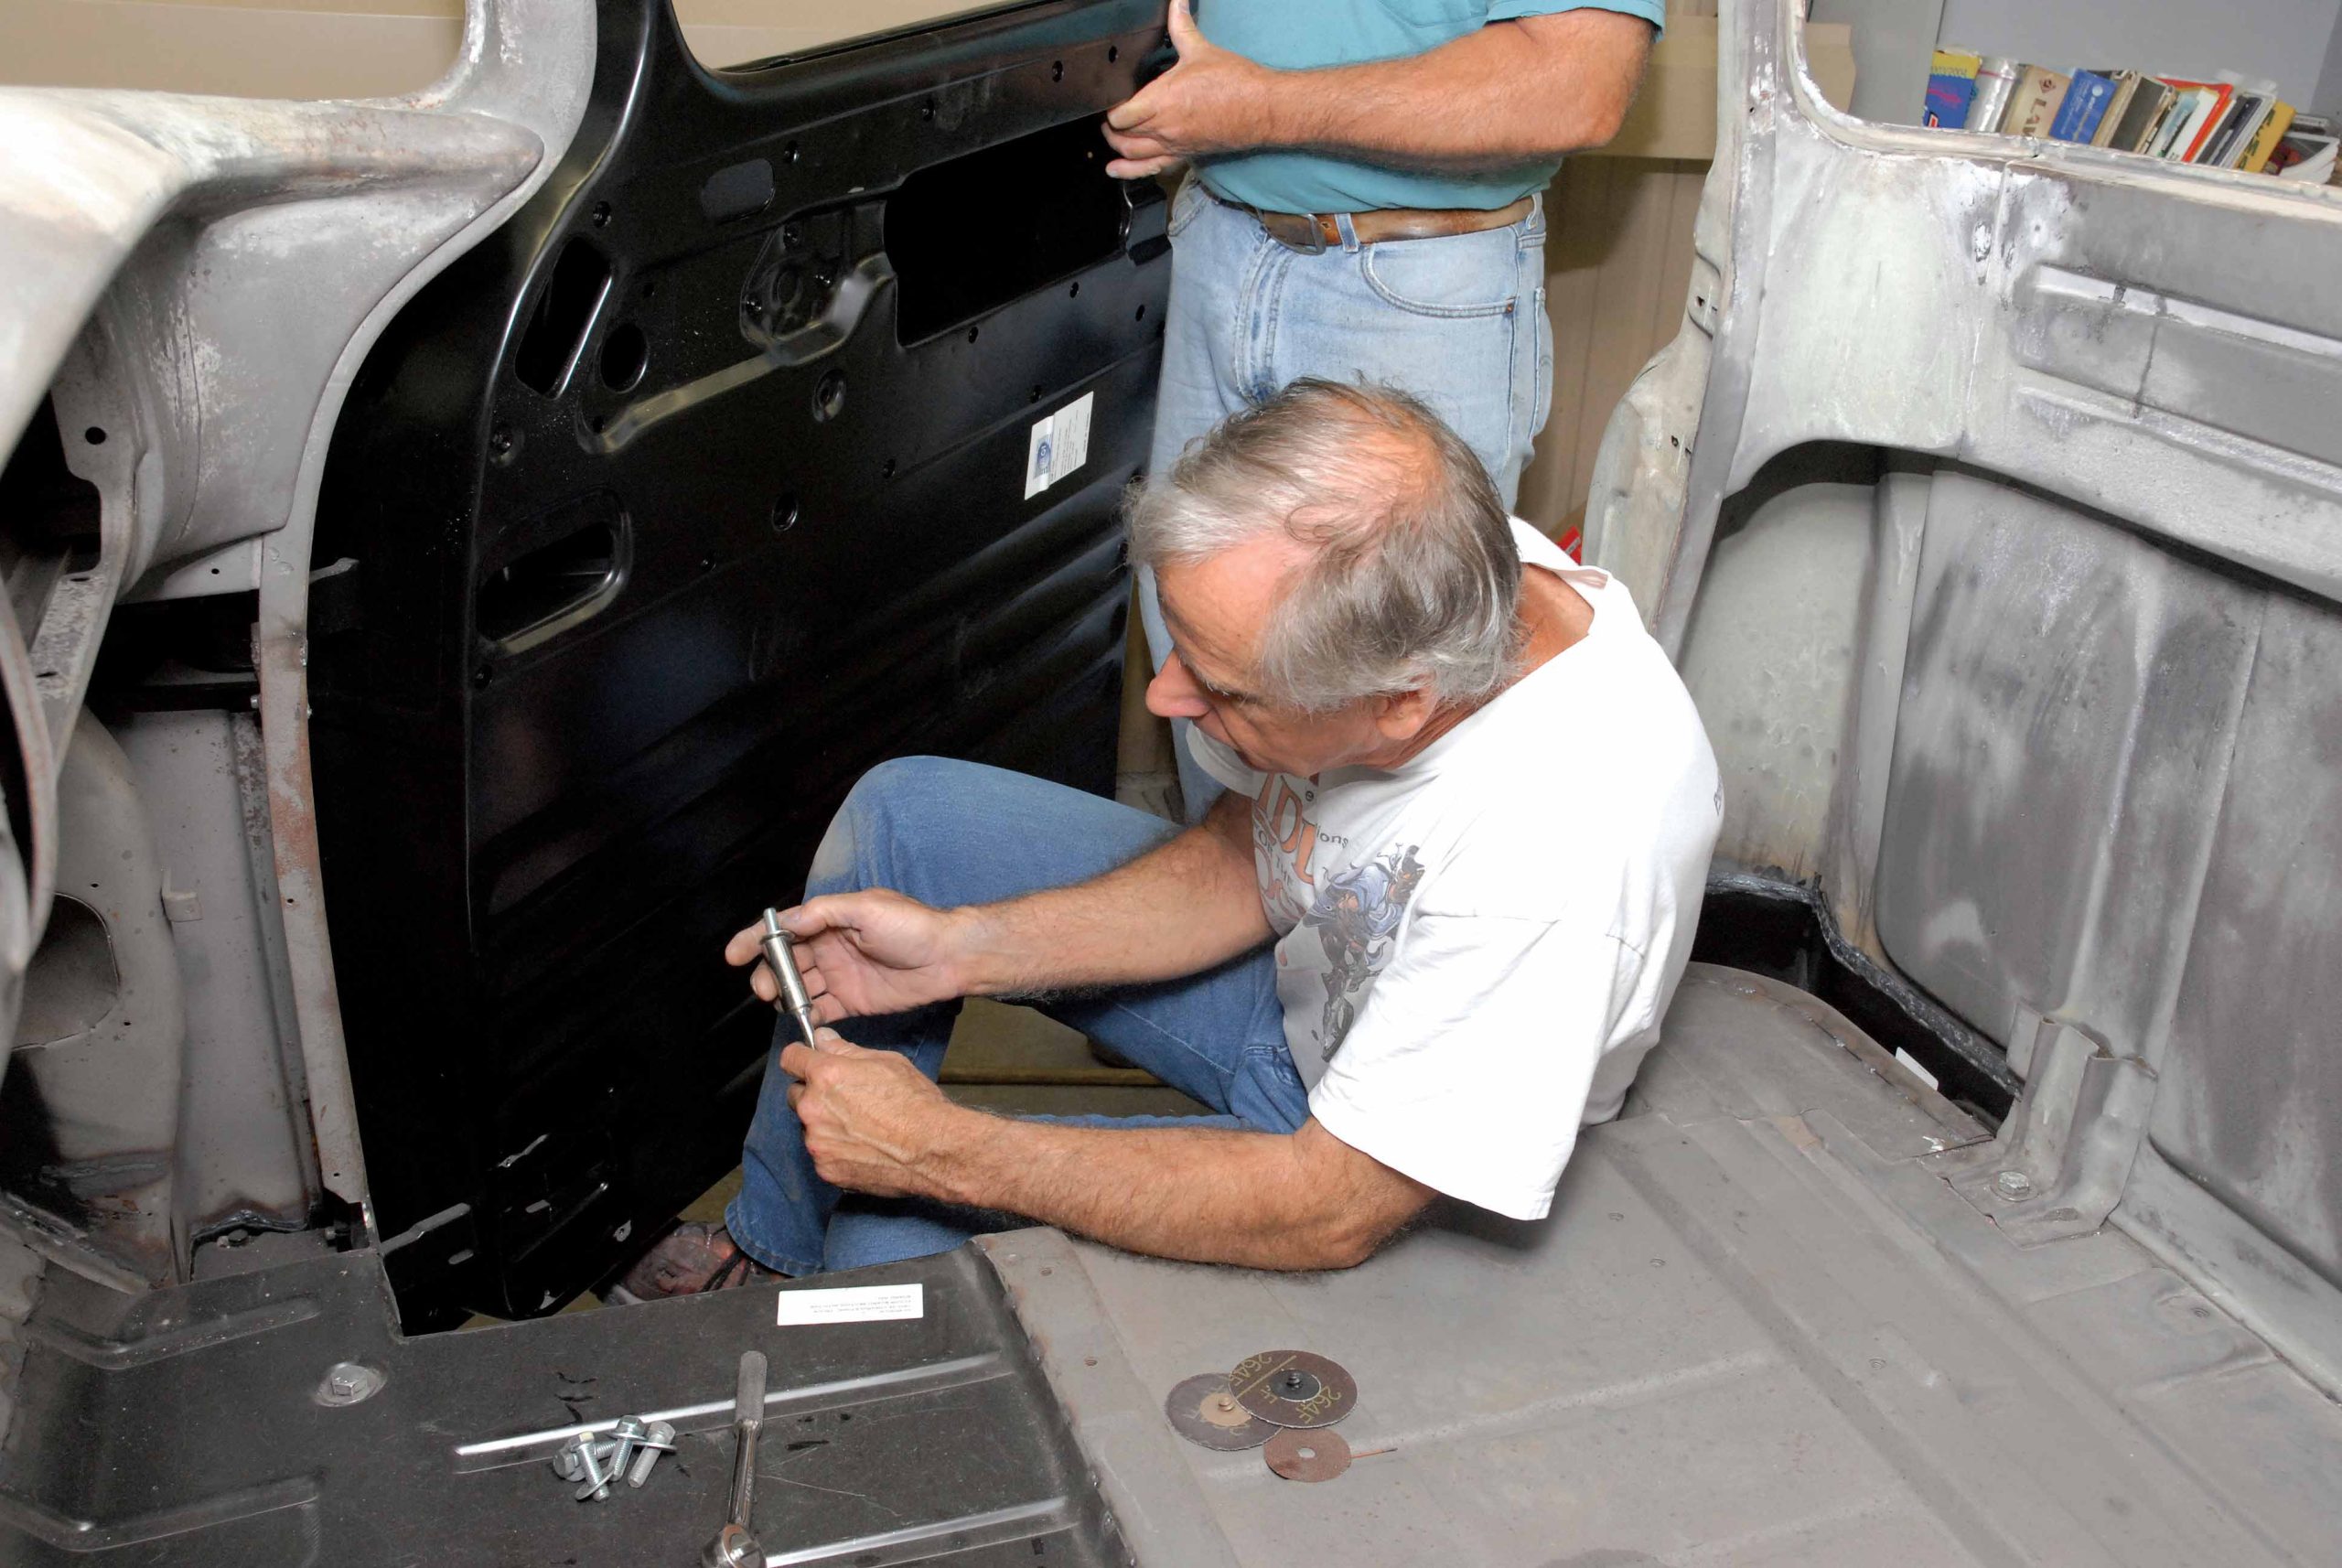
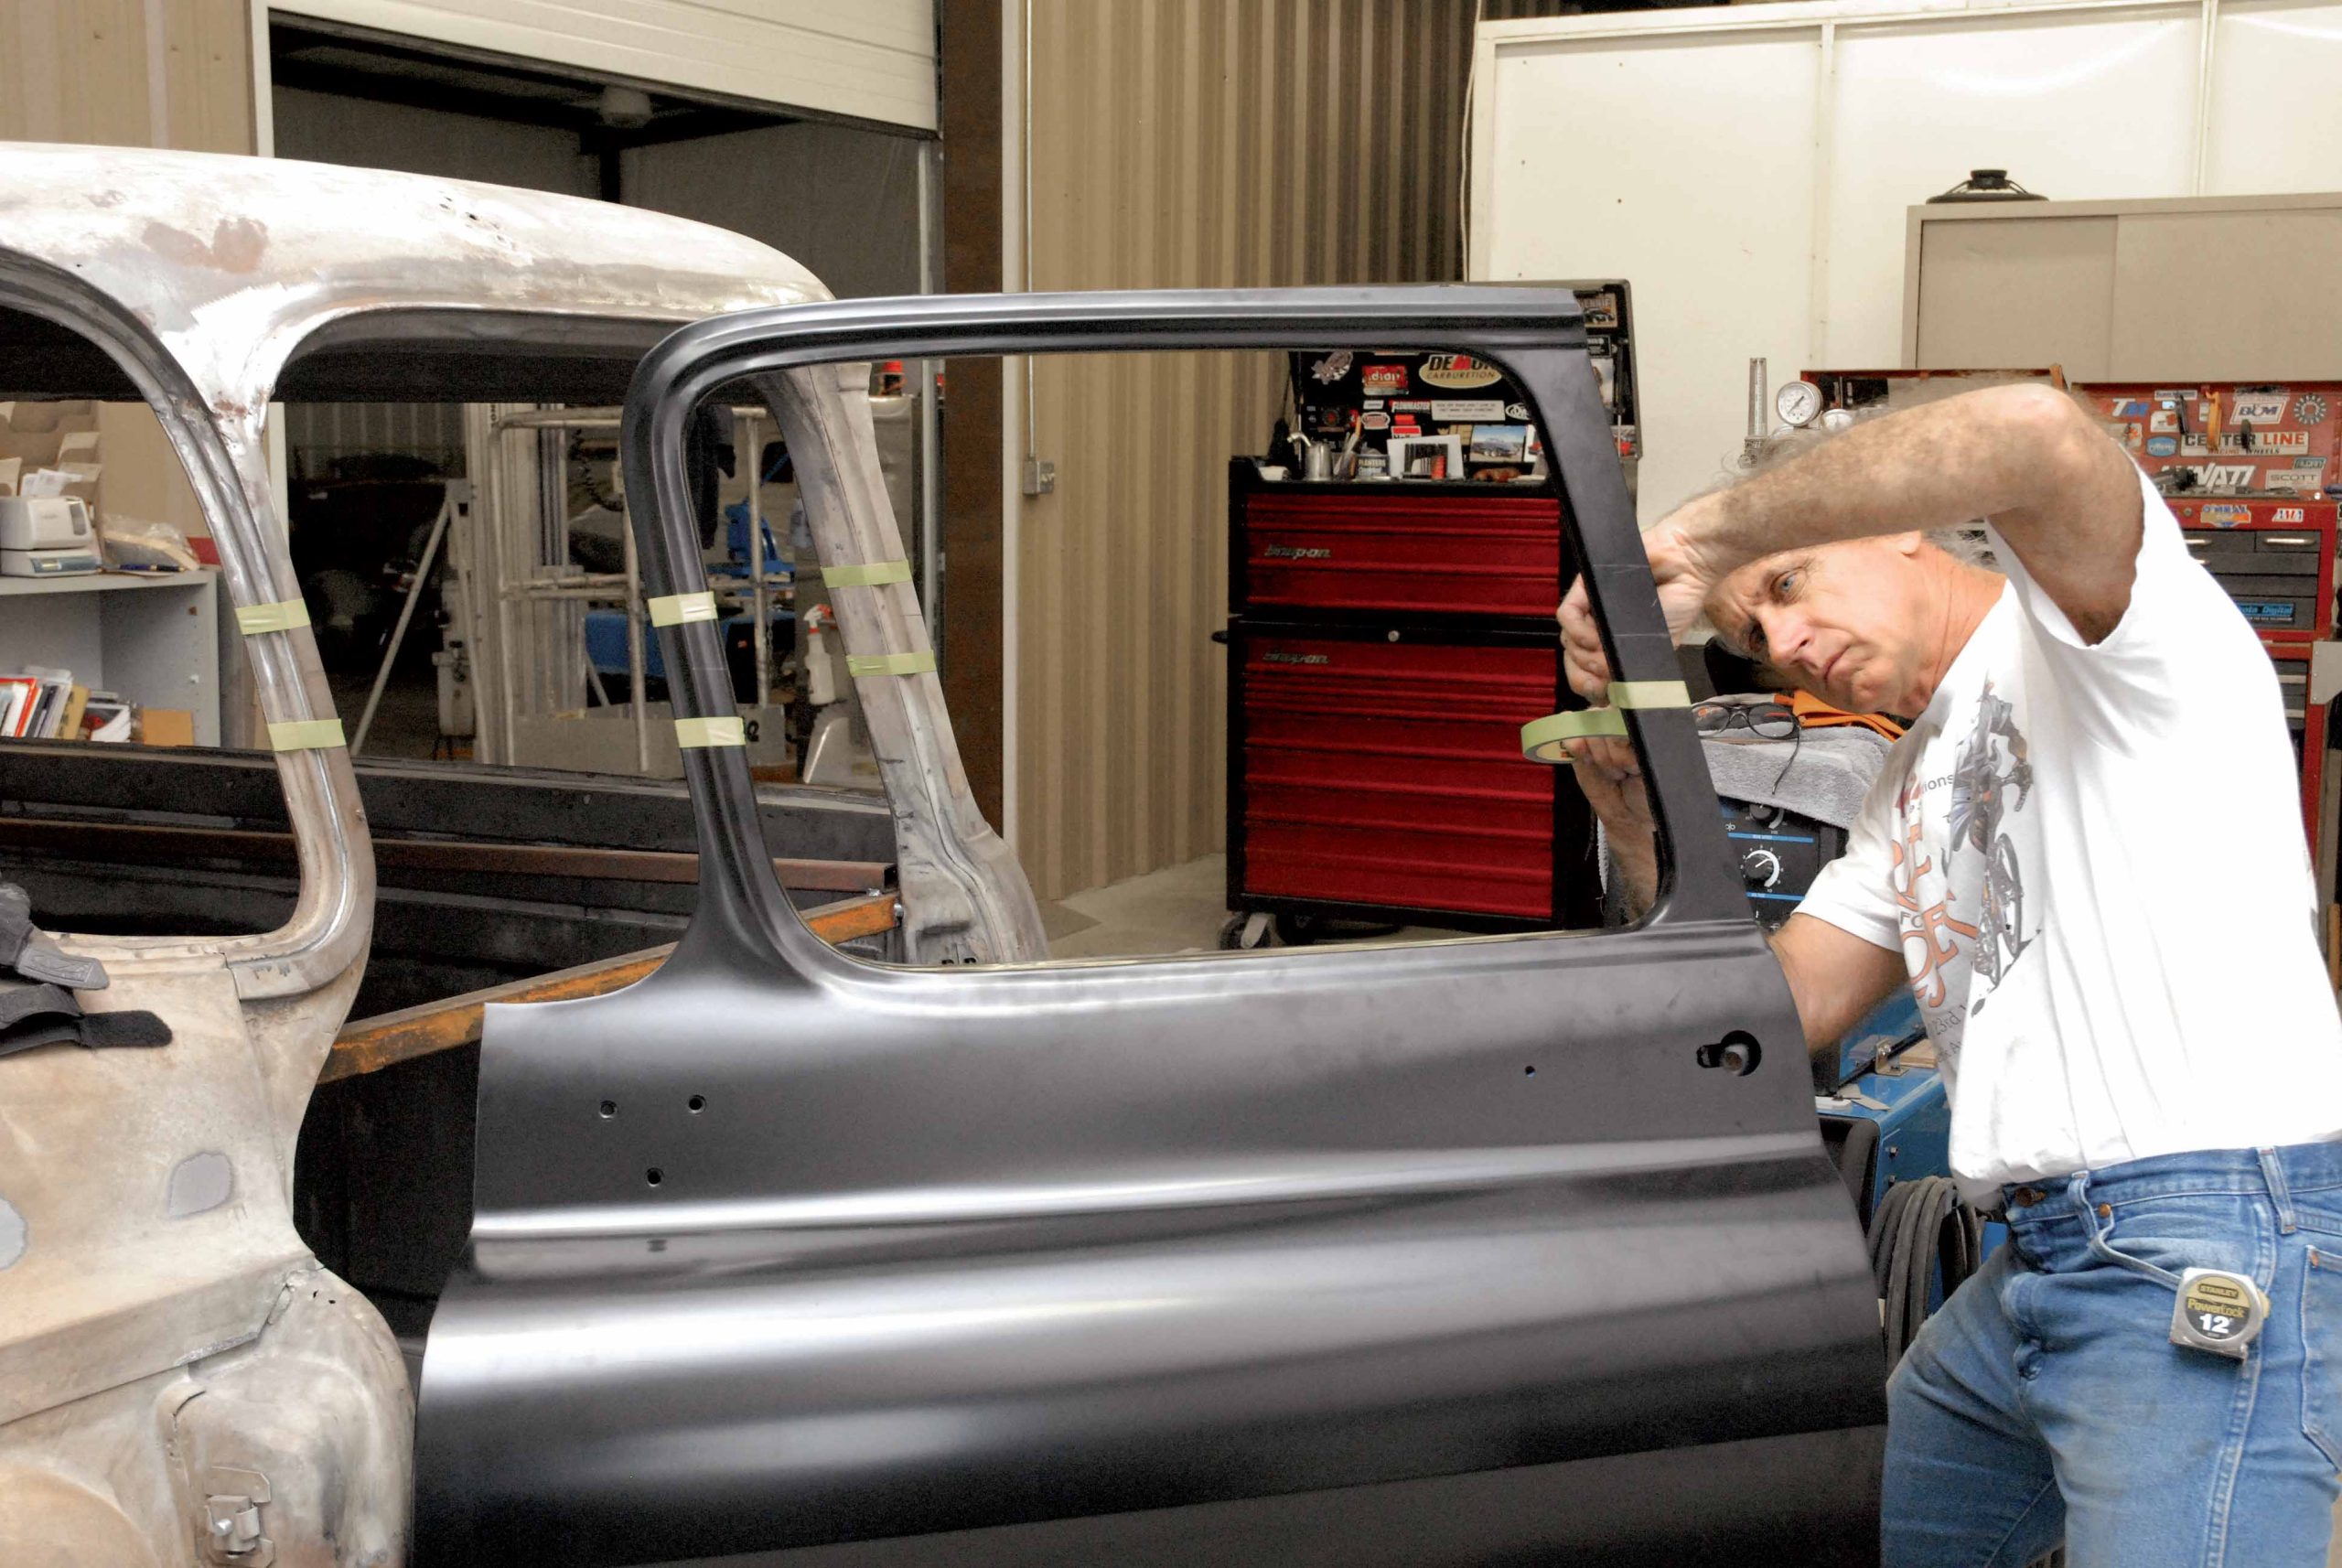
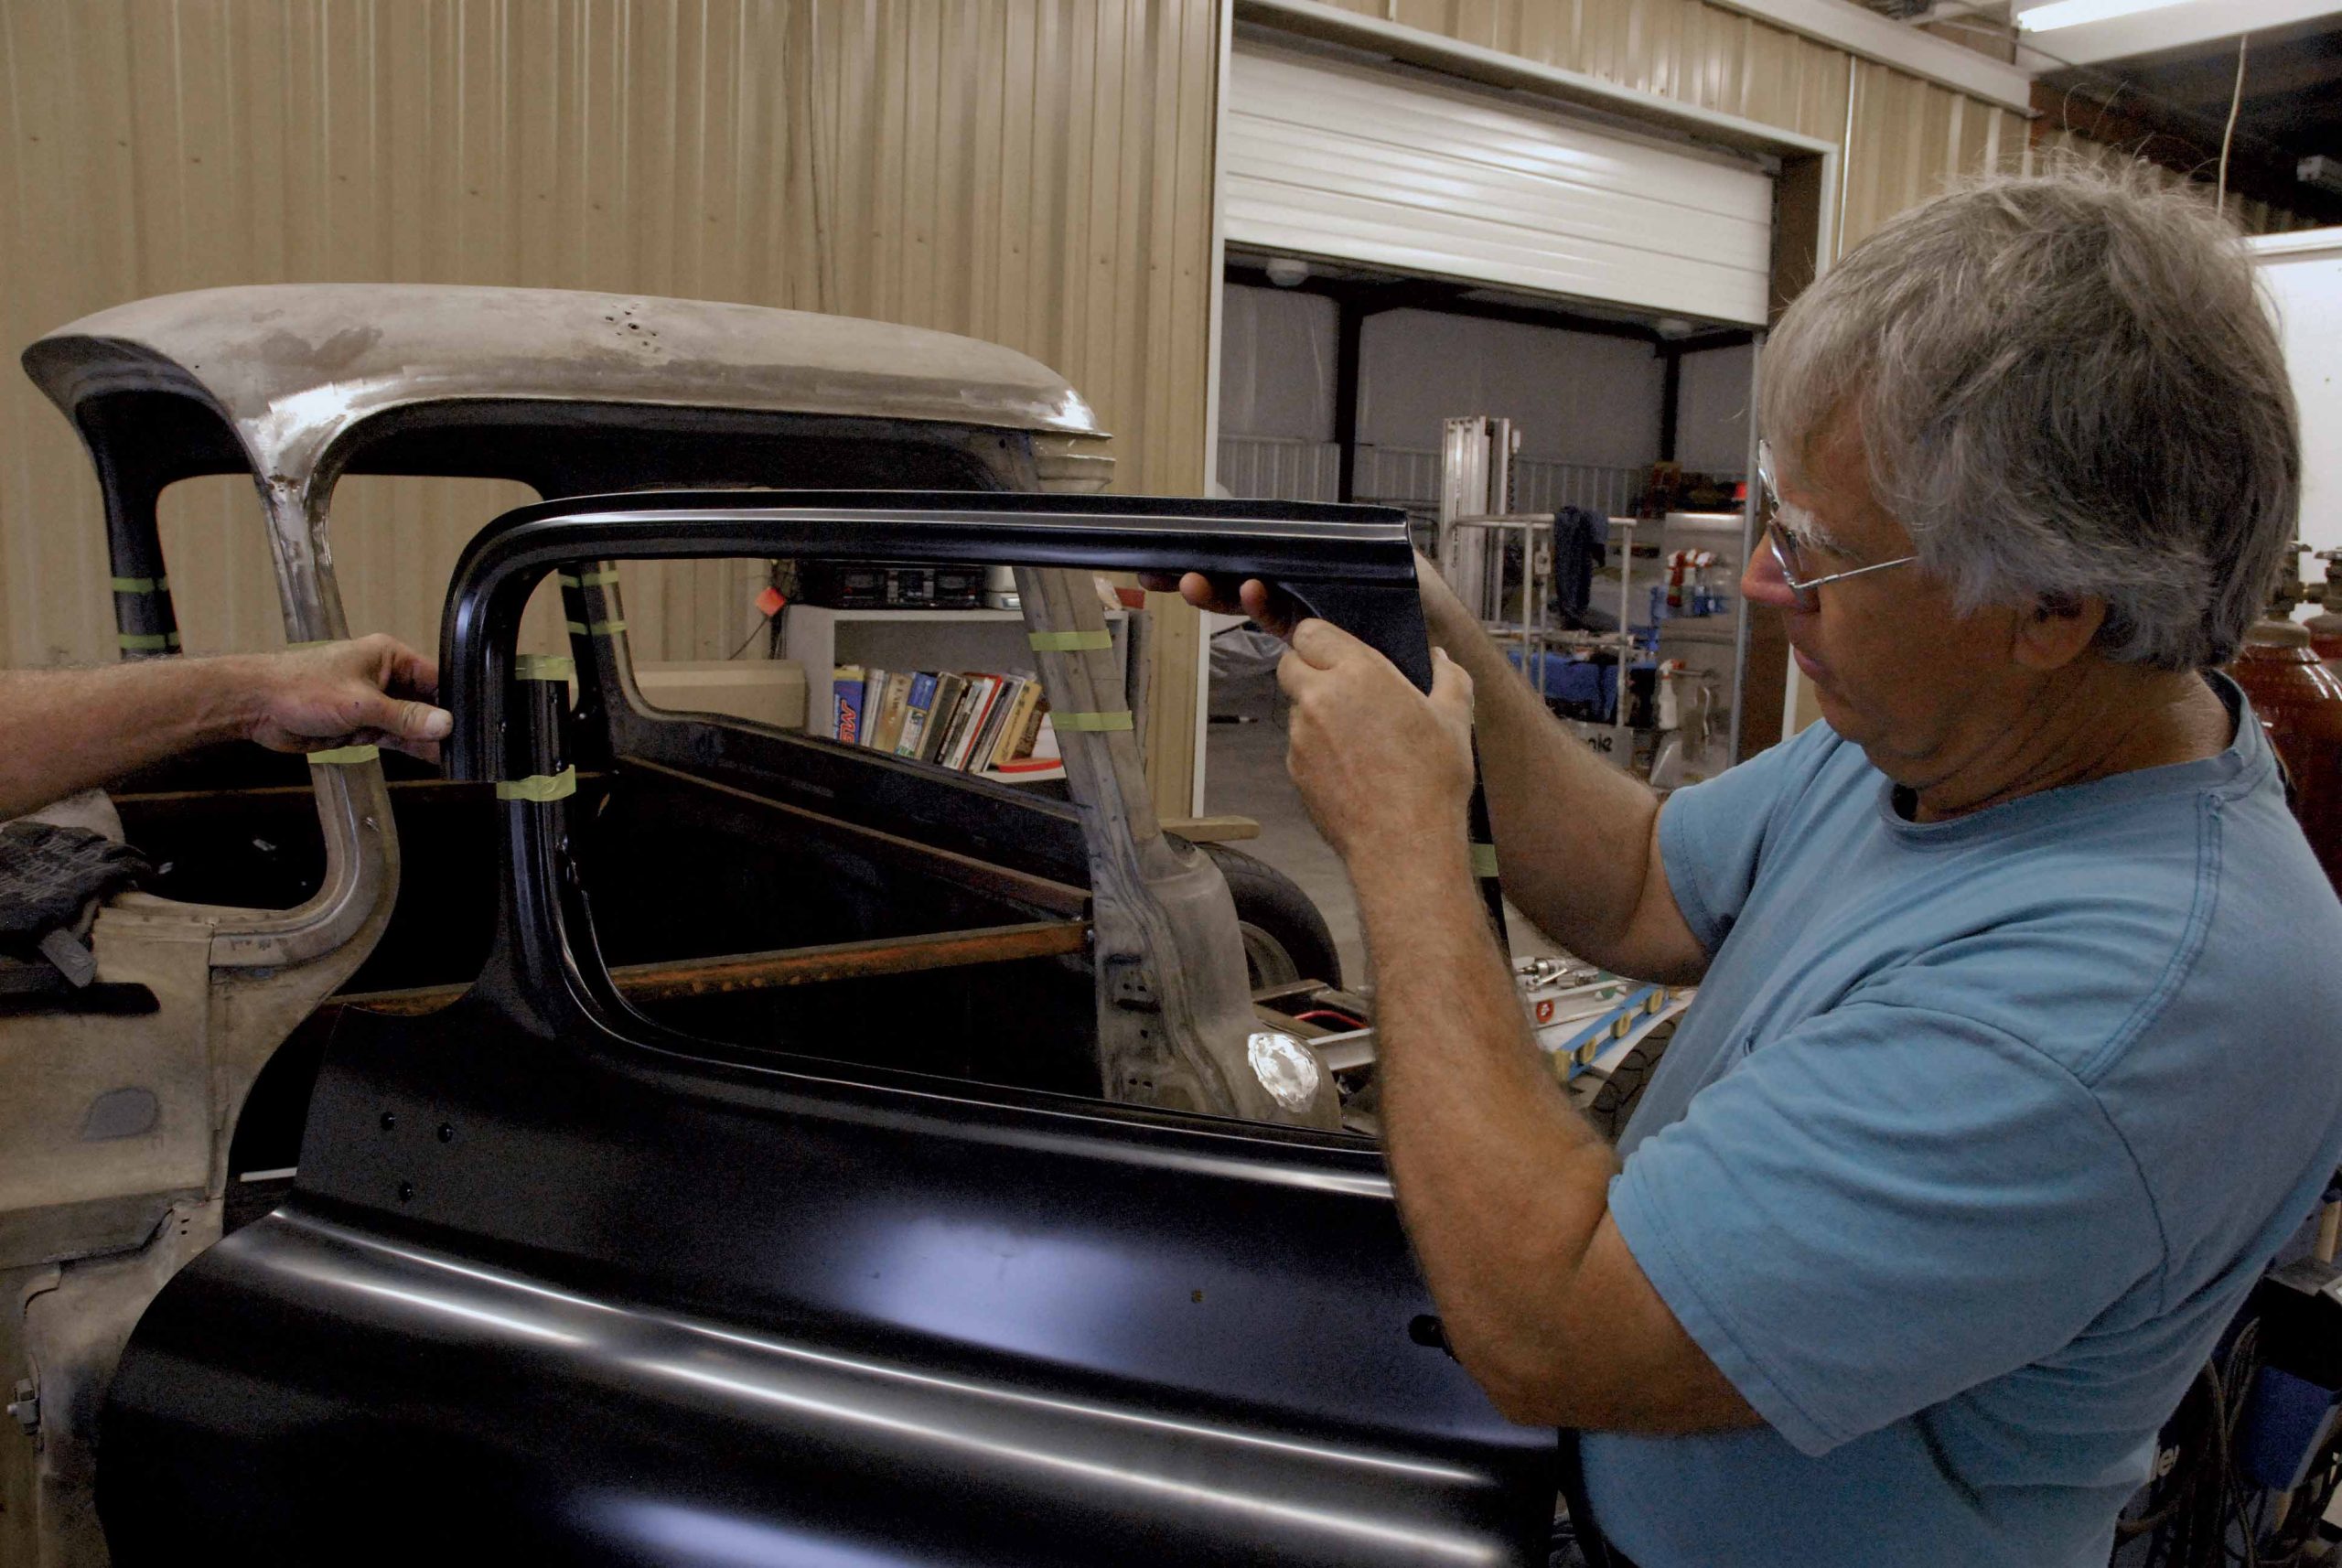
Since Cimtex Rods was able to shortcut the time-consuming door prep process, all that remained for the guys to do was install and align the new Dynacorn doors onto the new Classic Industries reproduction door hinges, which we installed in Part 9 in our series. During the process, the door openings were checked to make certain that they were square. After all, we are dealing with a 51-year-old mass produced vehicle, and if you don’t know anything of the history of the project truck, anything is possible.
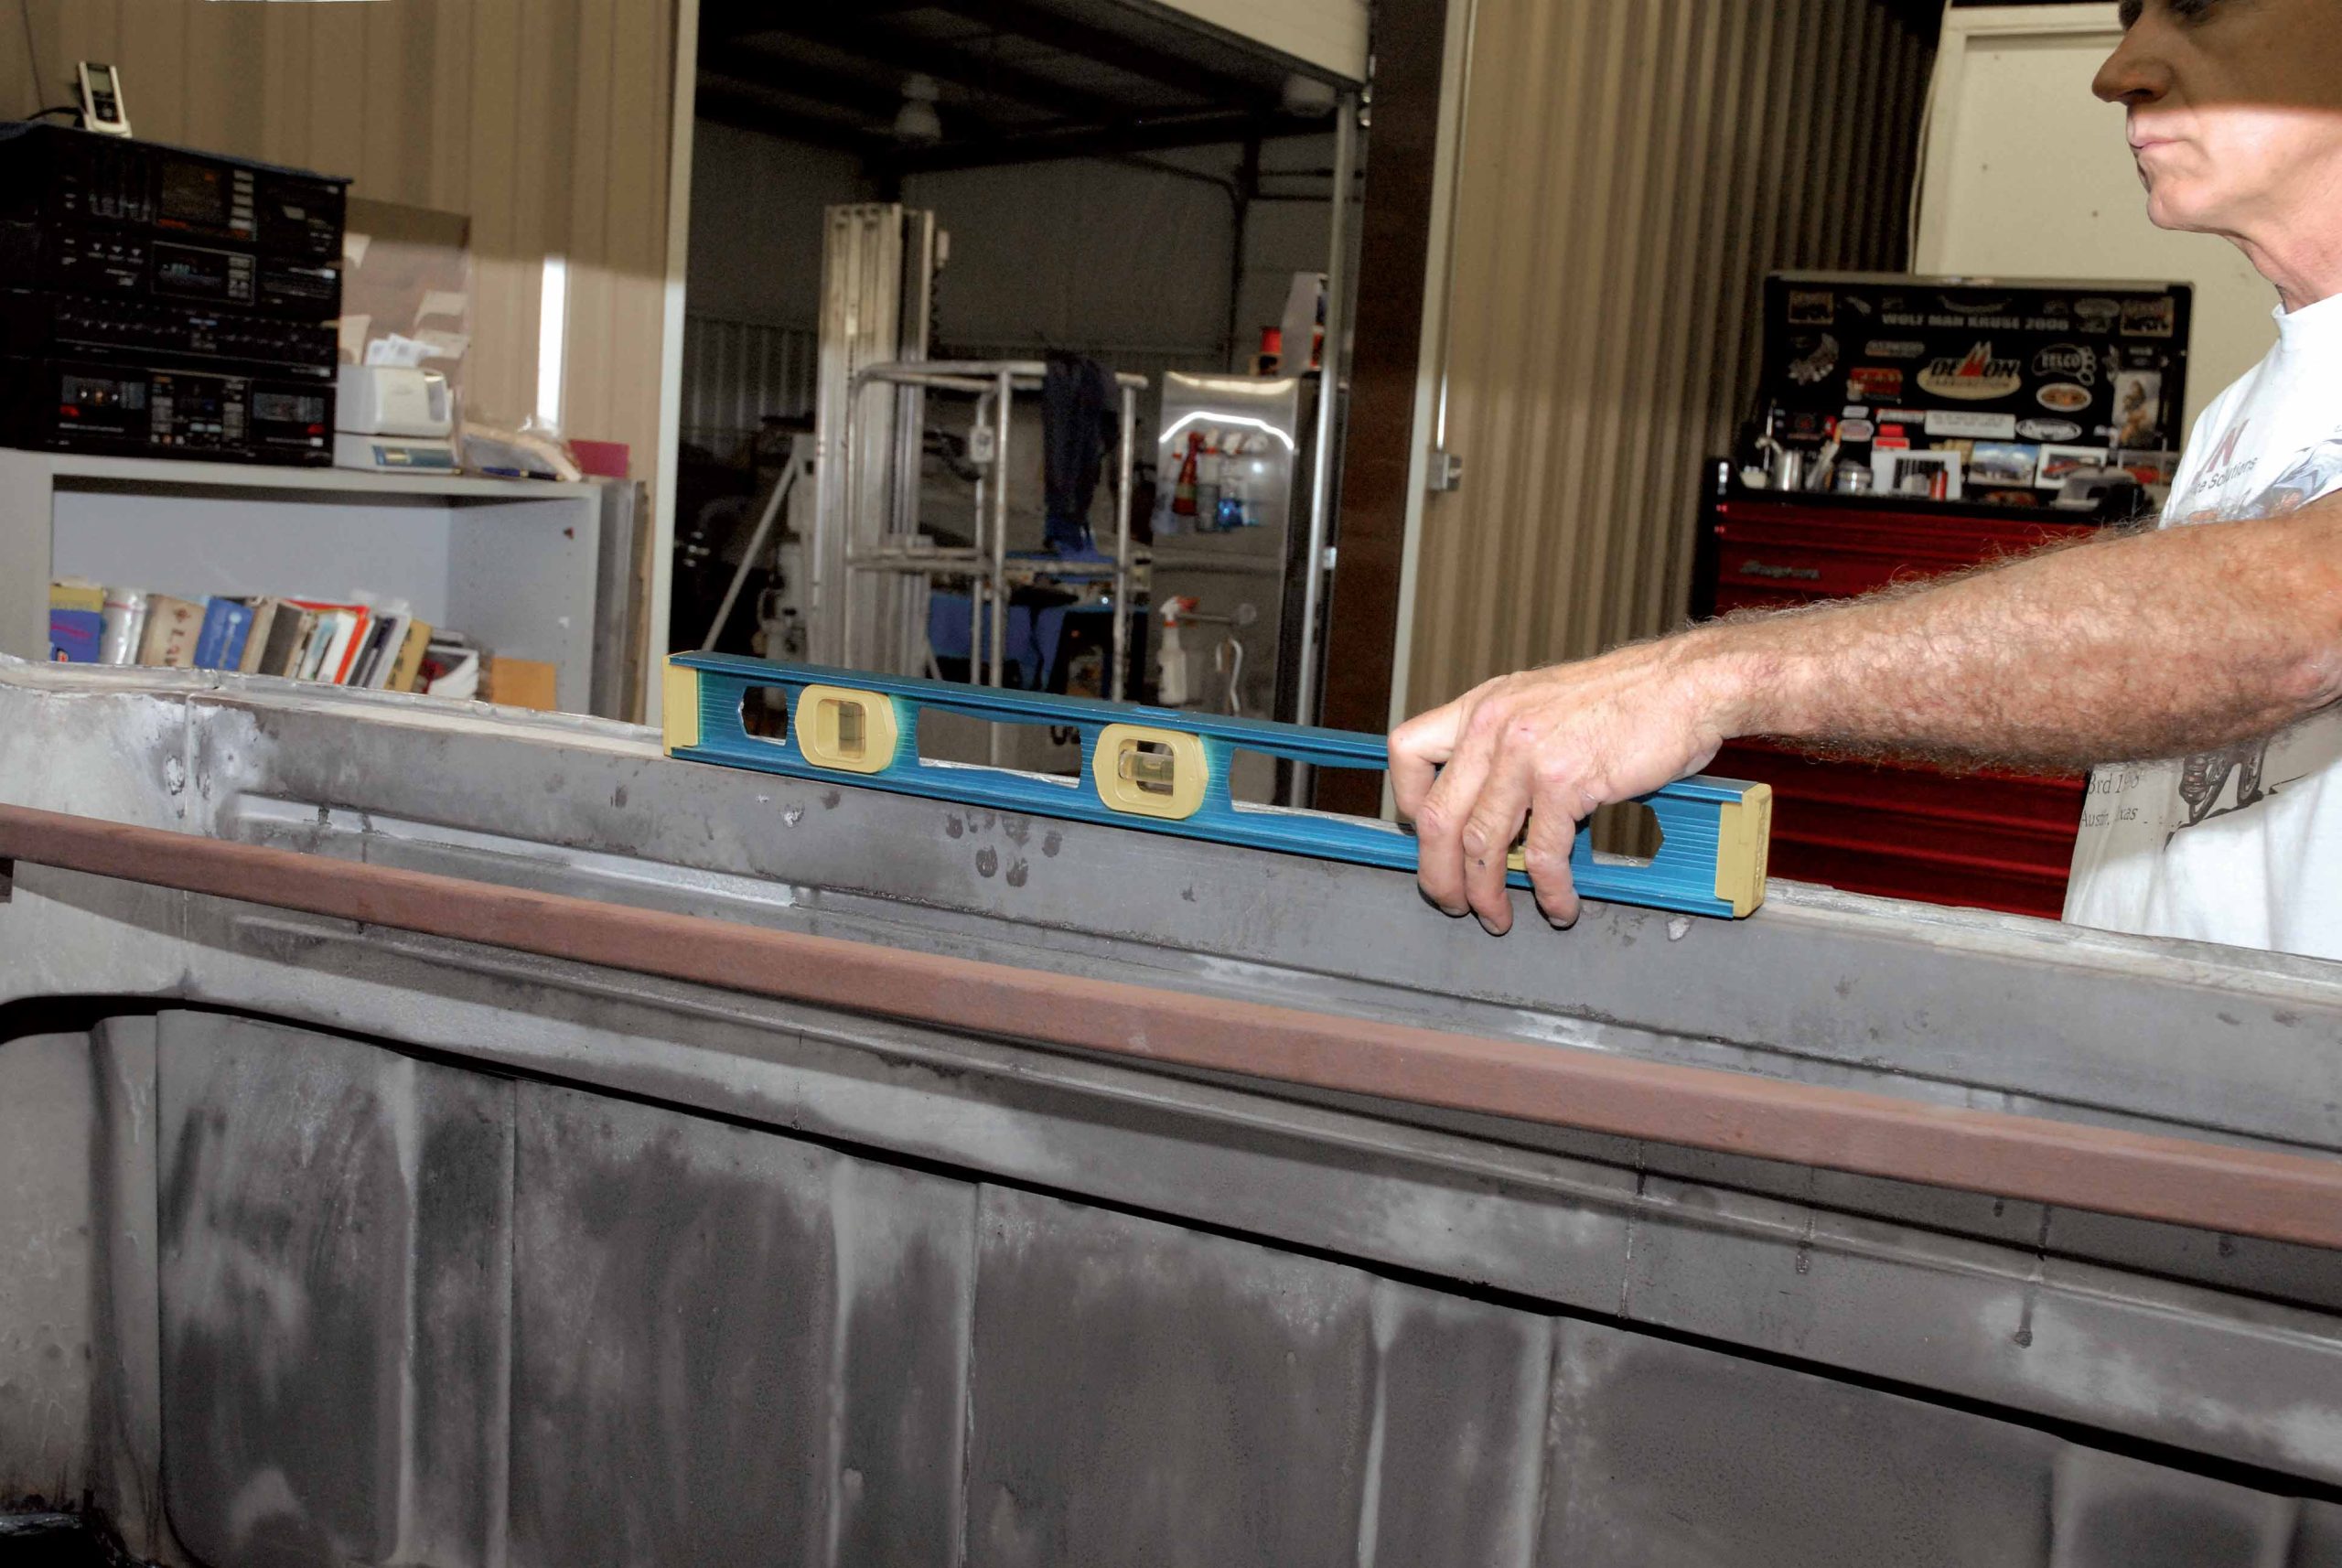
Keeping in mind that Cimtex Rods already built in a 3-inch rake into the chassis, the front of the chassis was jacked up and the cab was leveled prior to doing any measuring or cutting. This is an absolute must or you may end up with a chopped top that looks like it was drawn by a cartoonist.
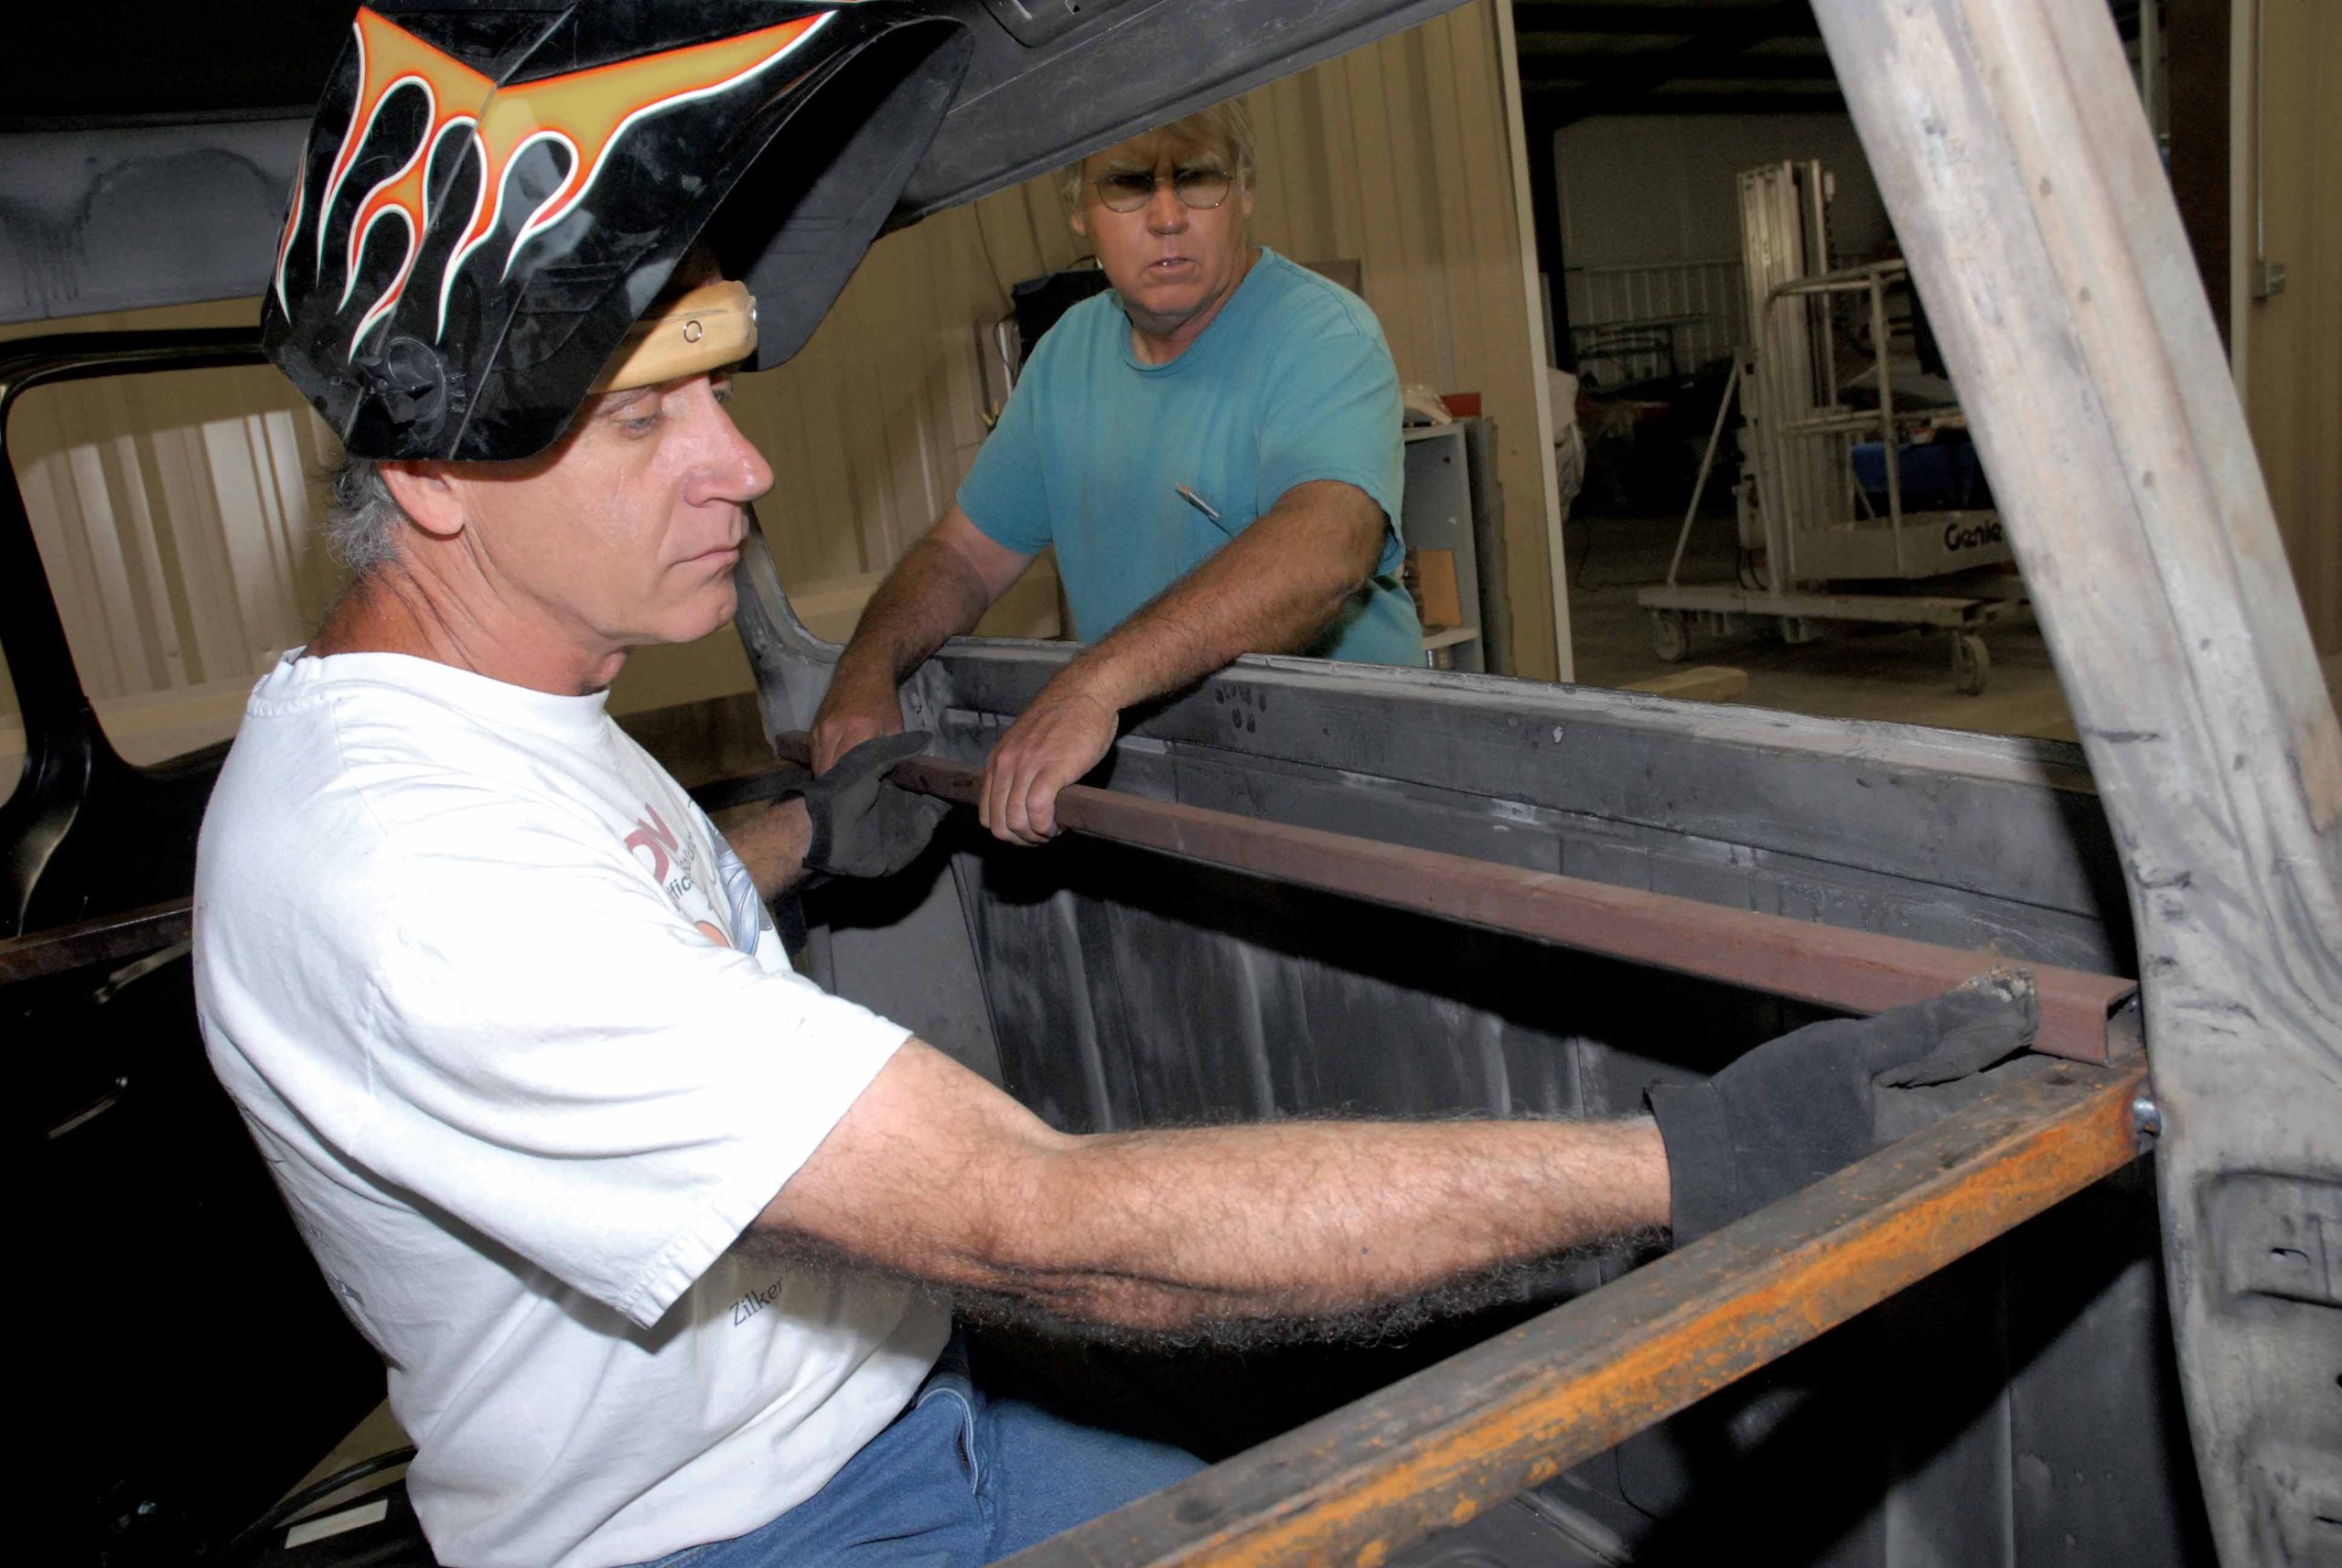
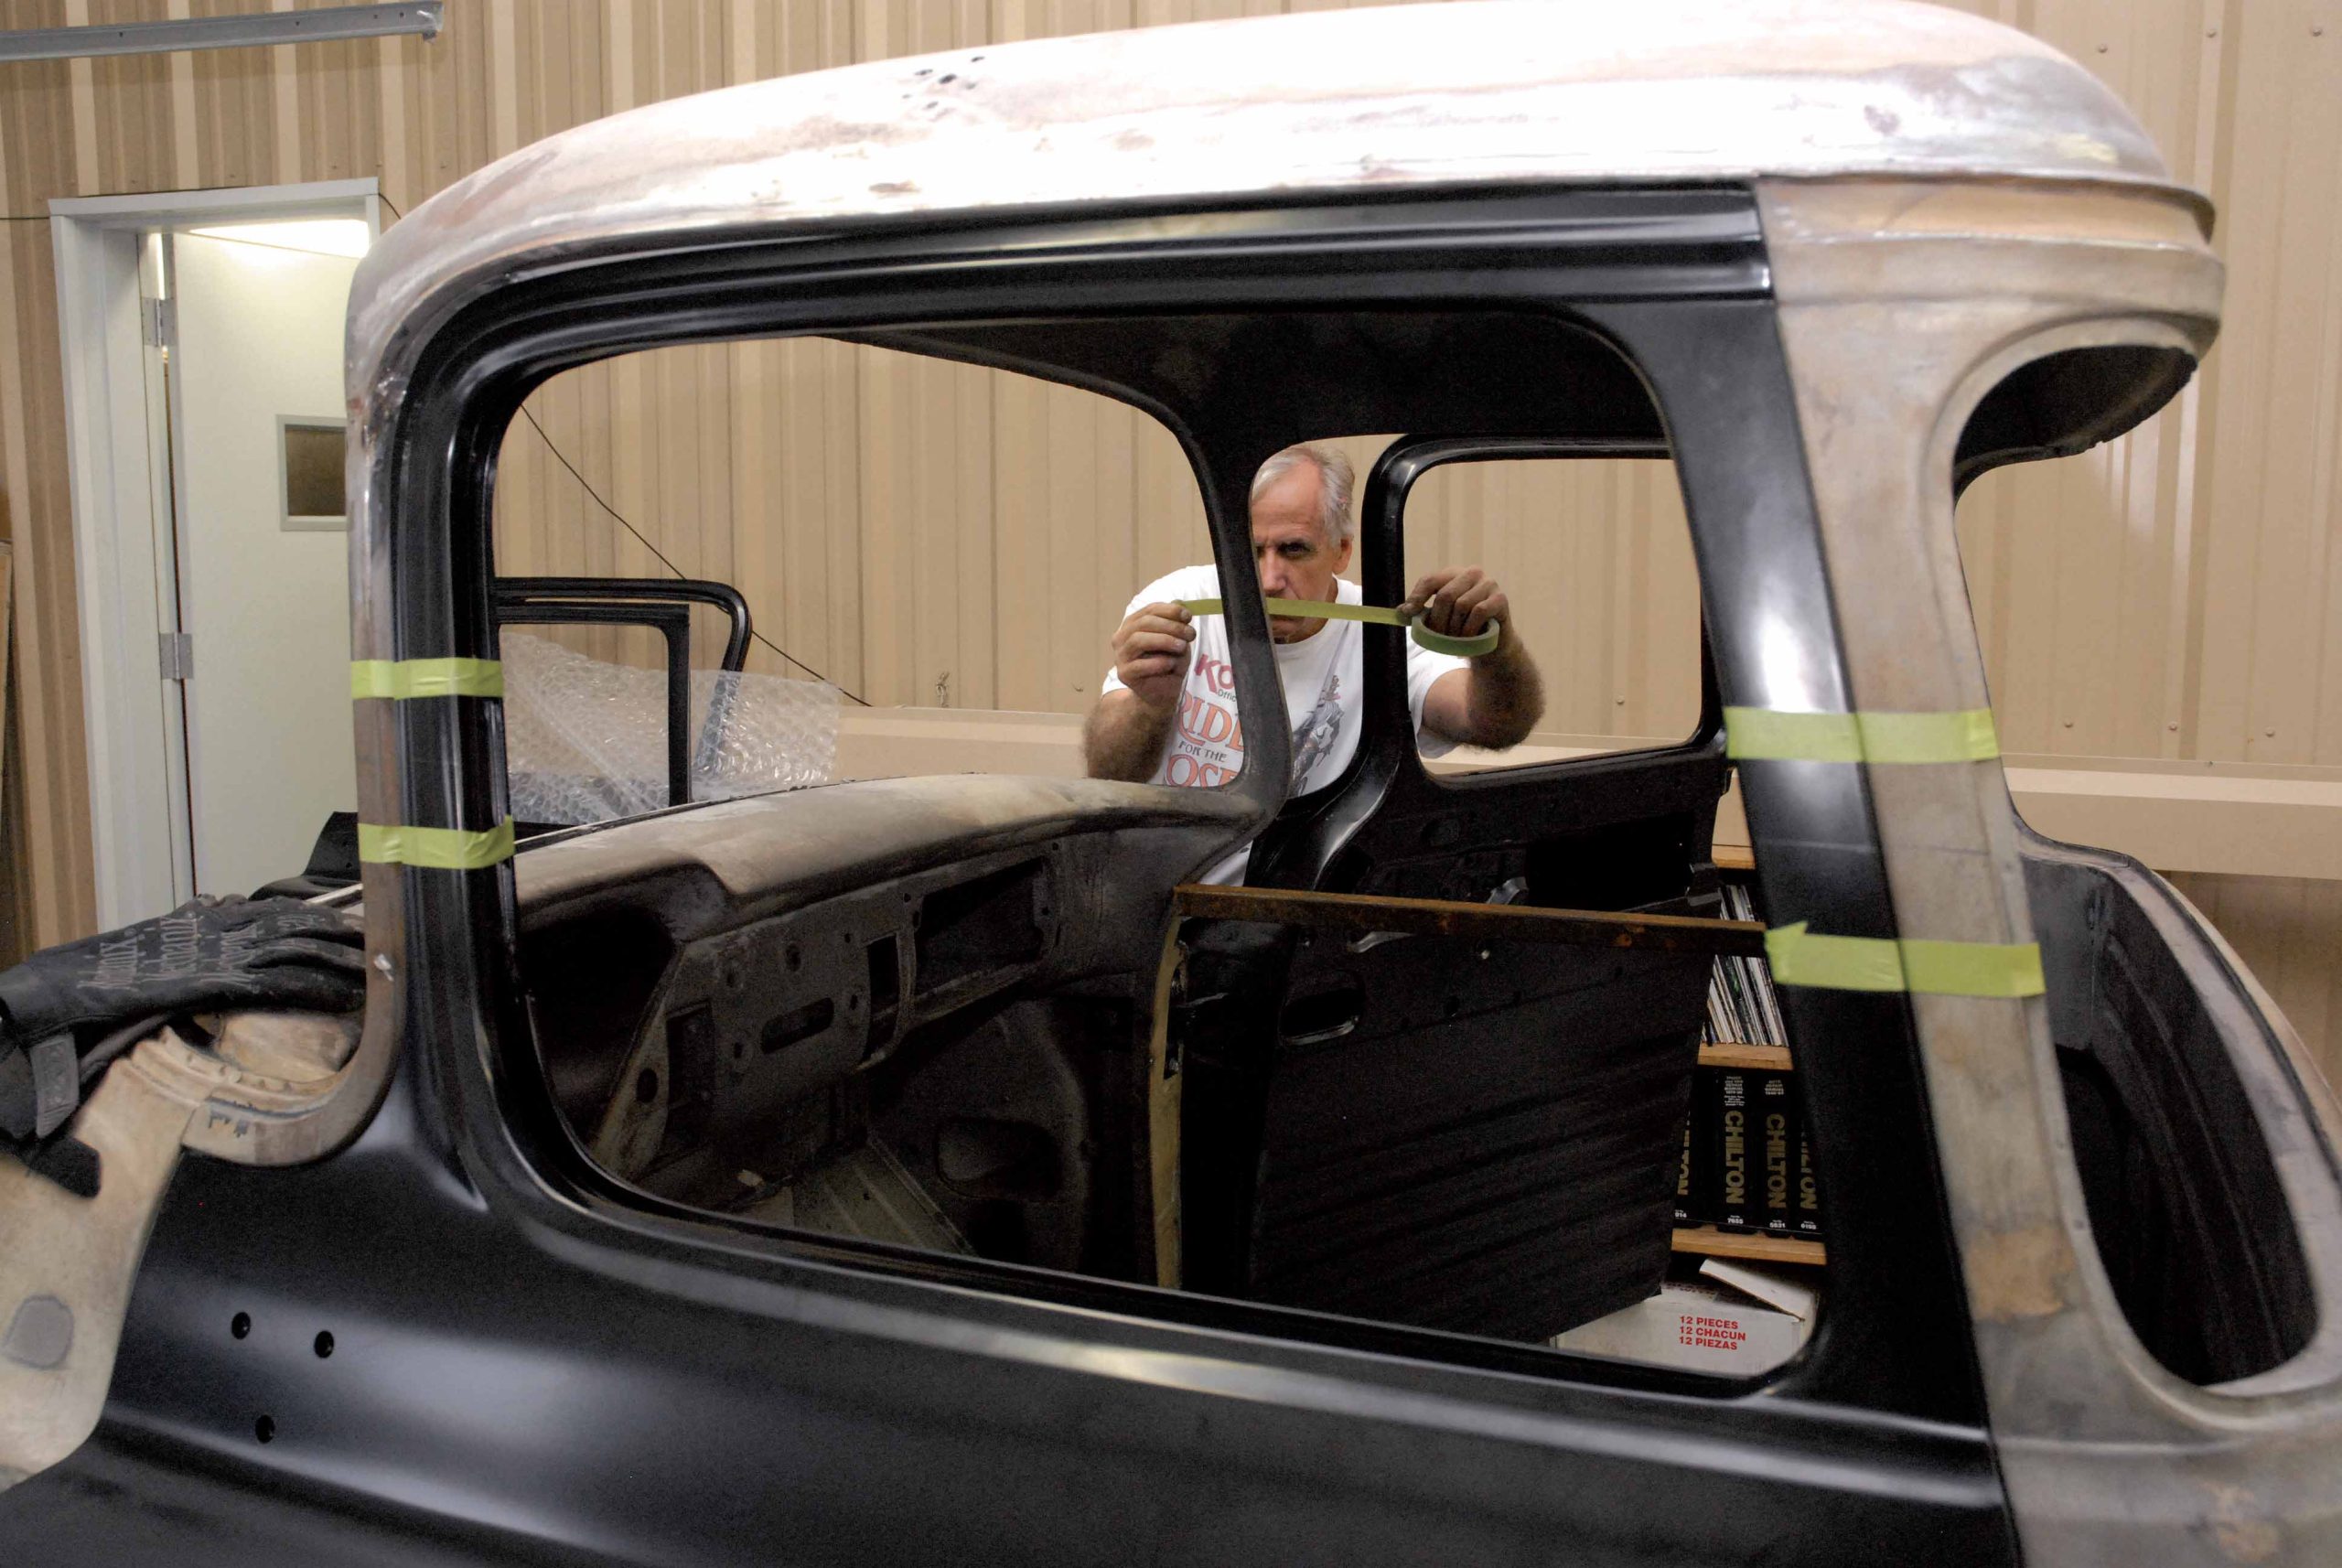
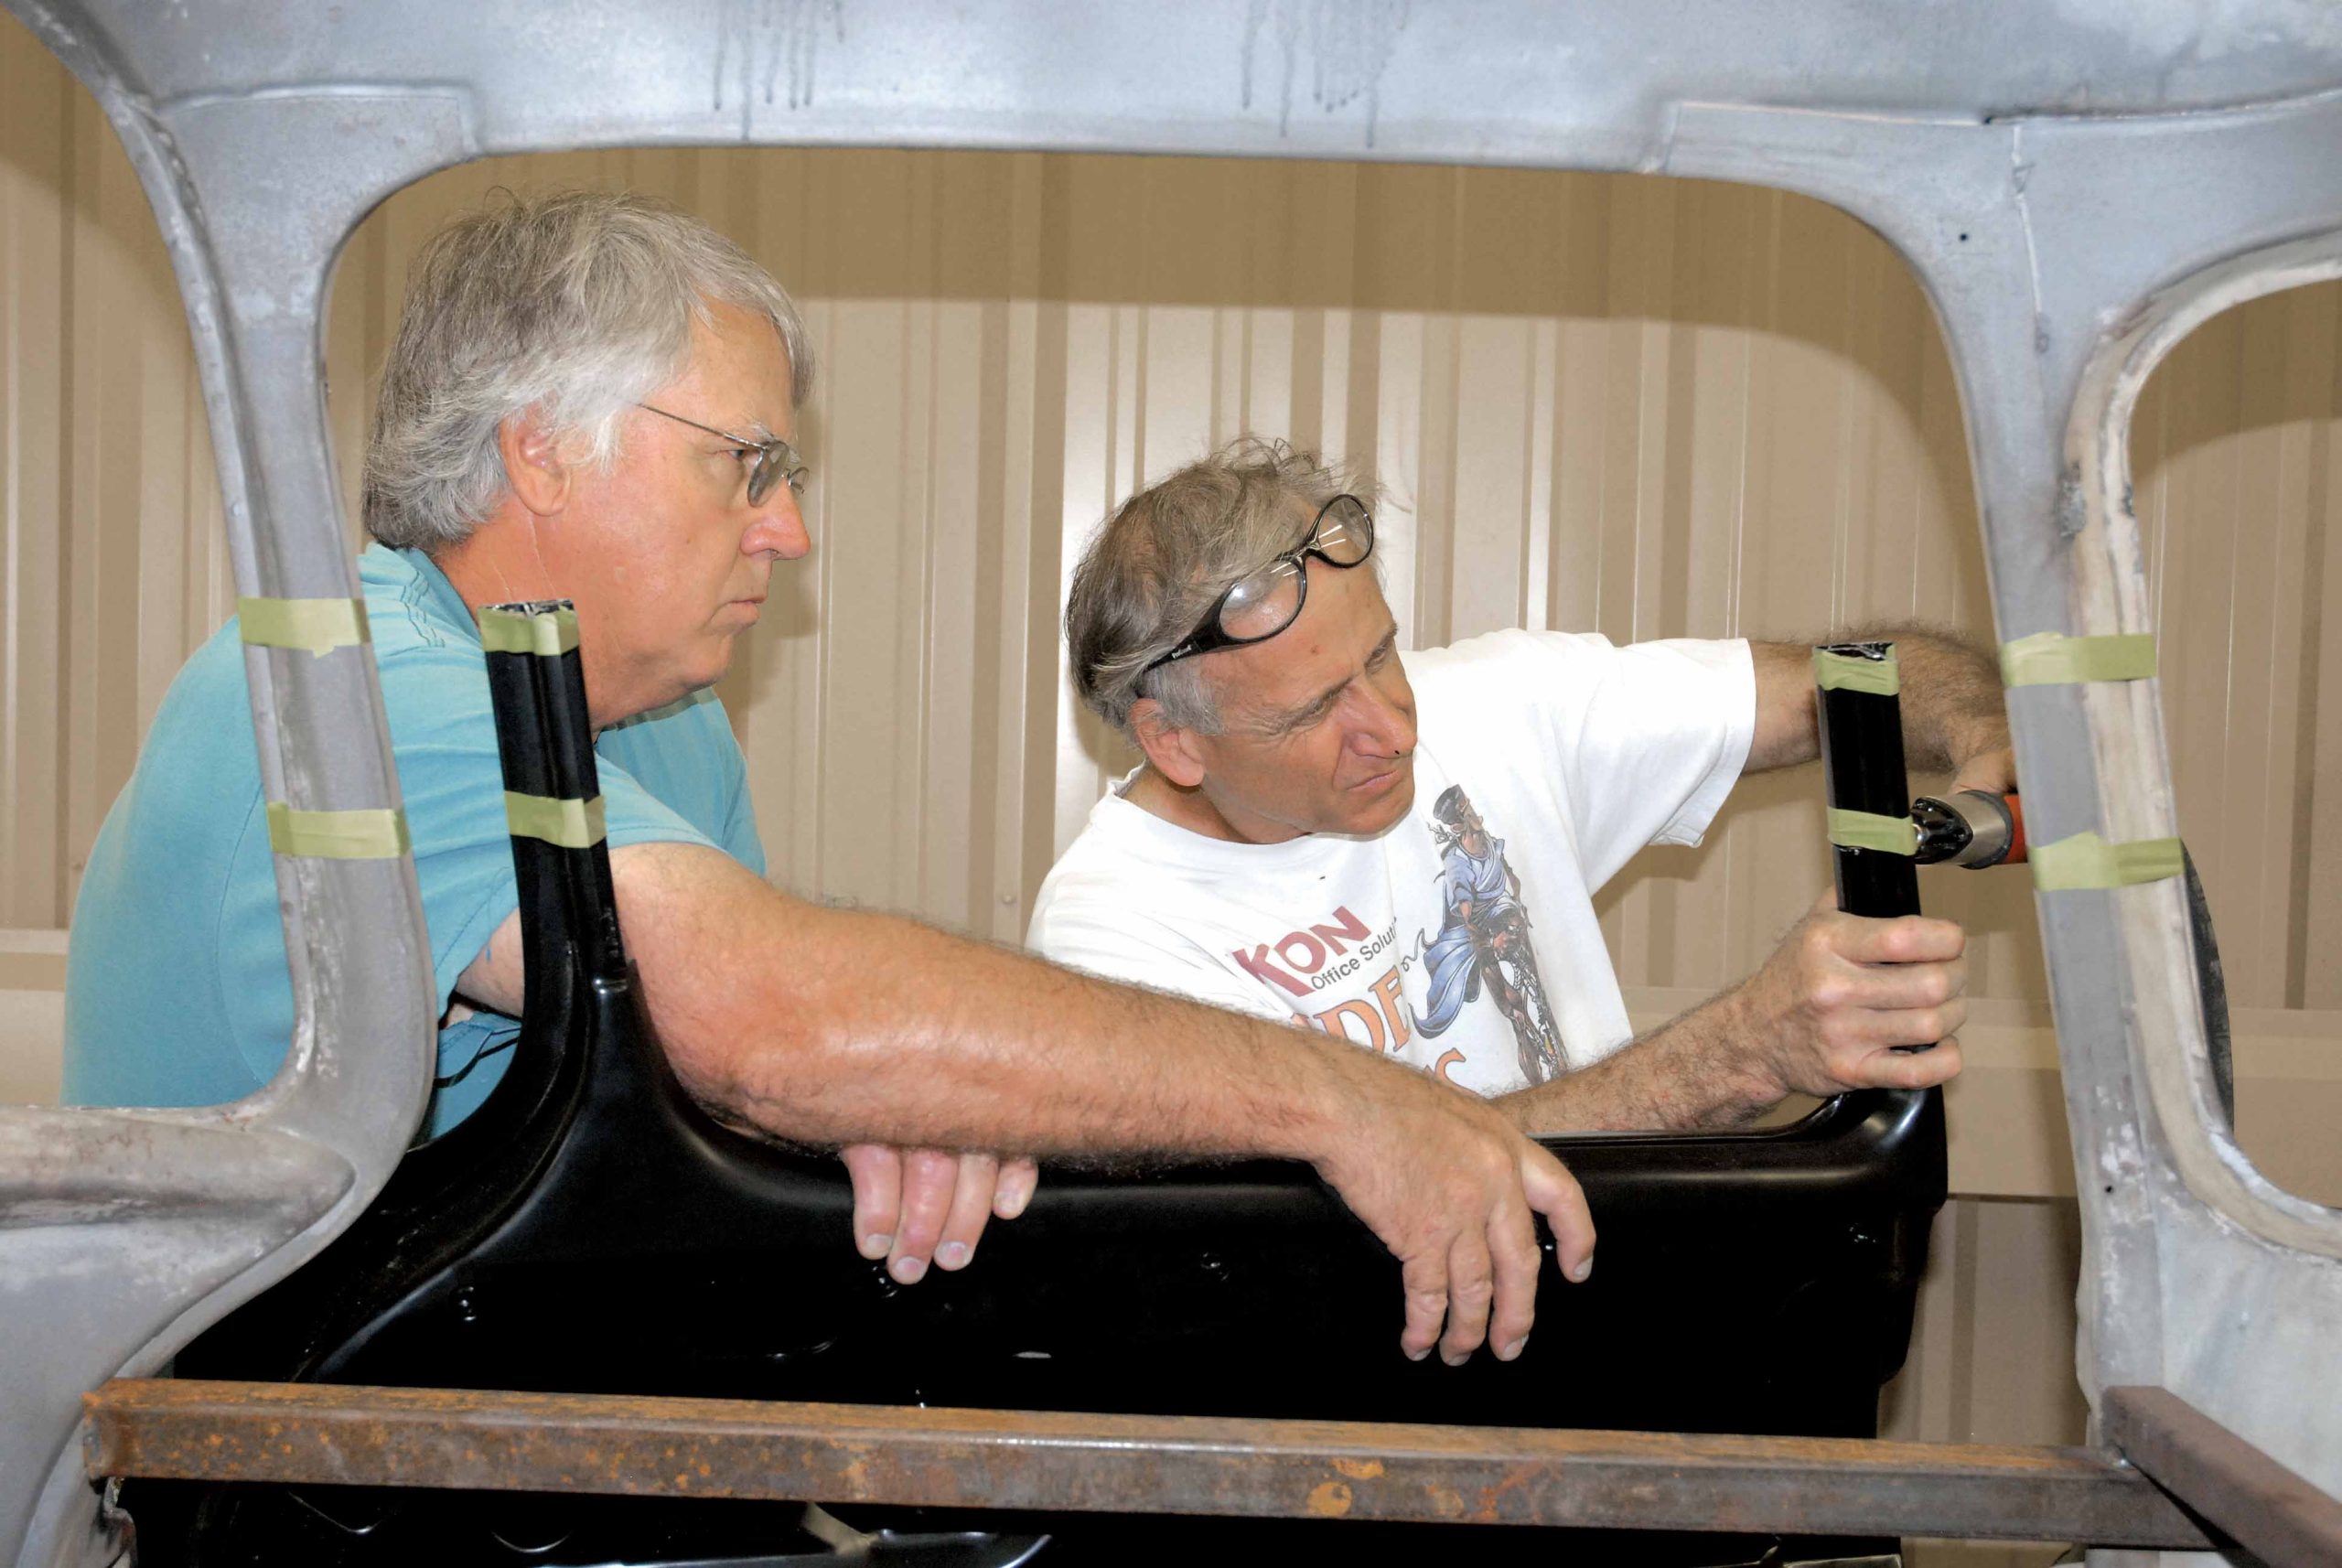
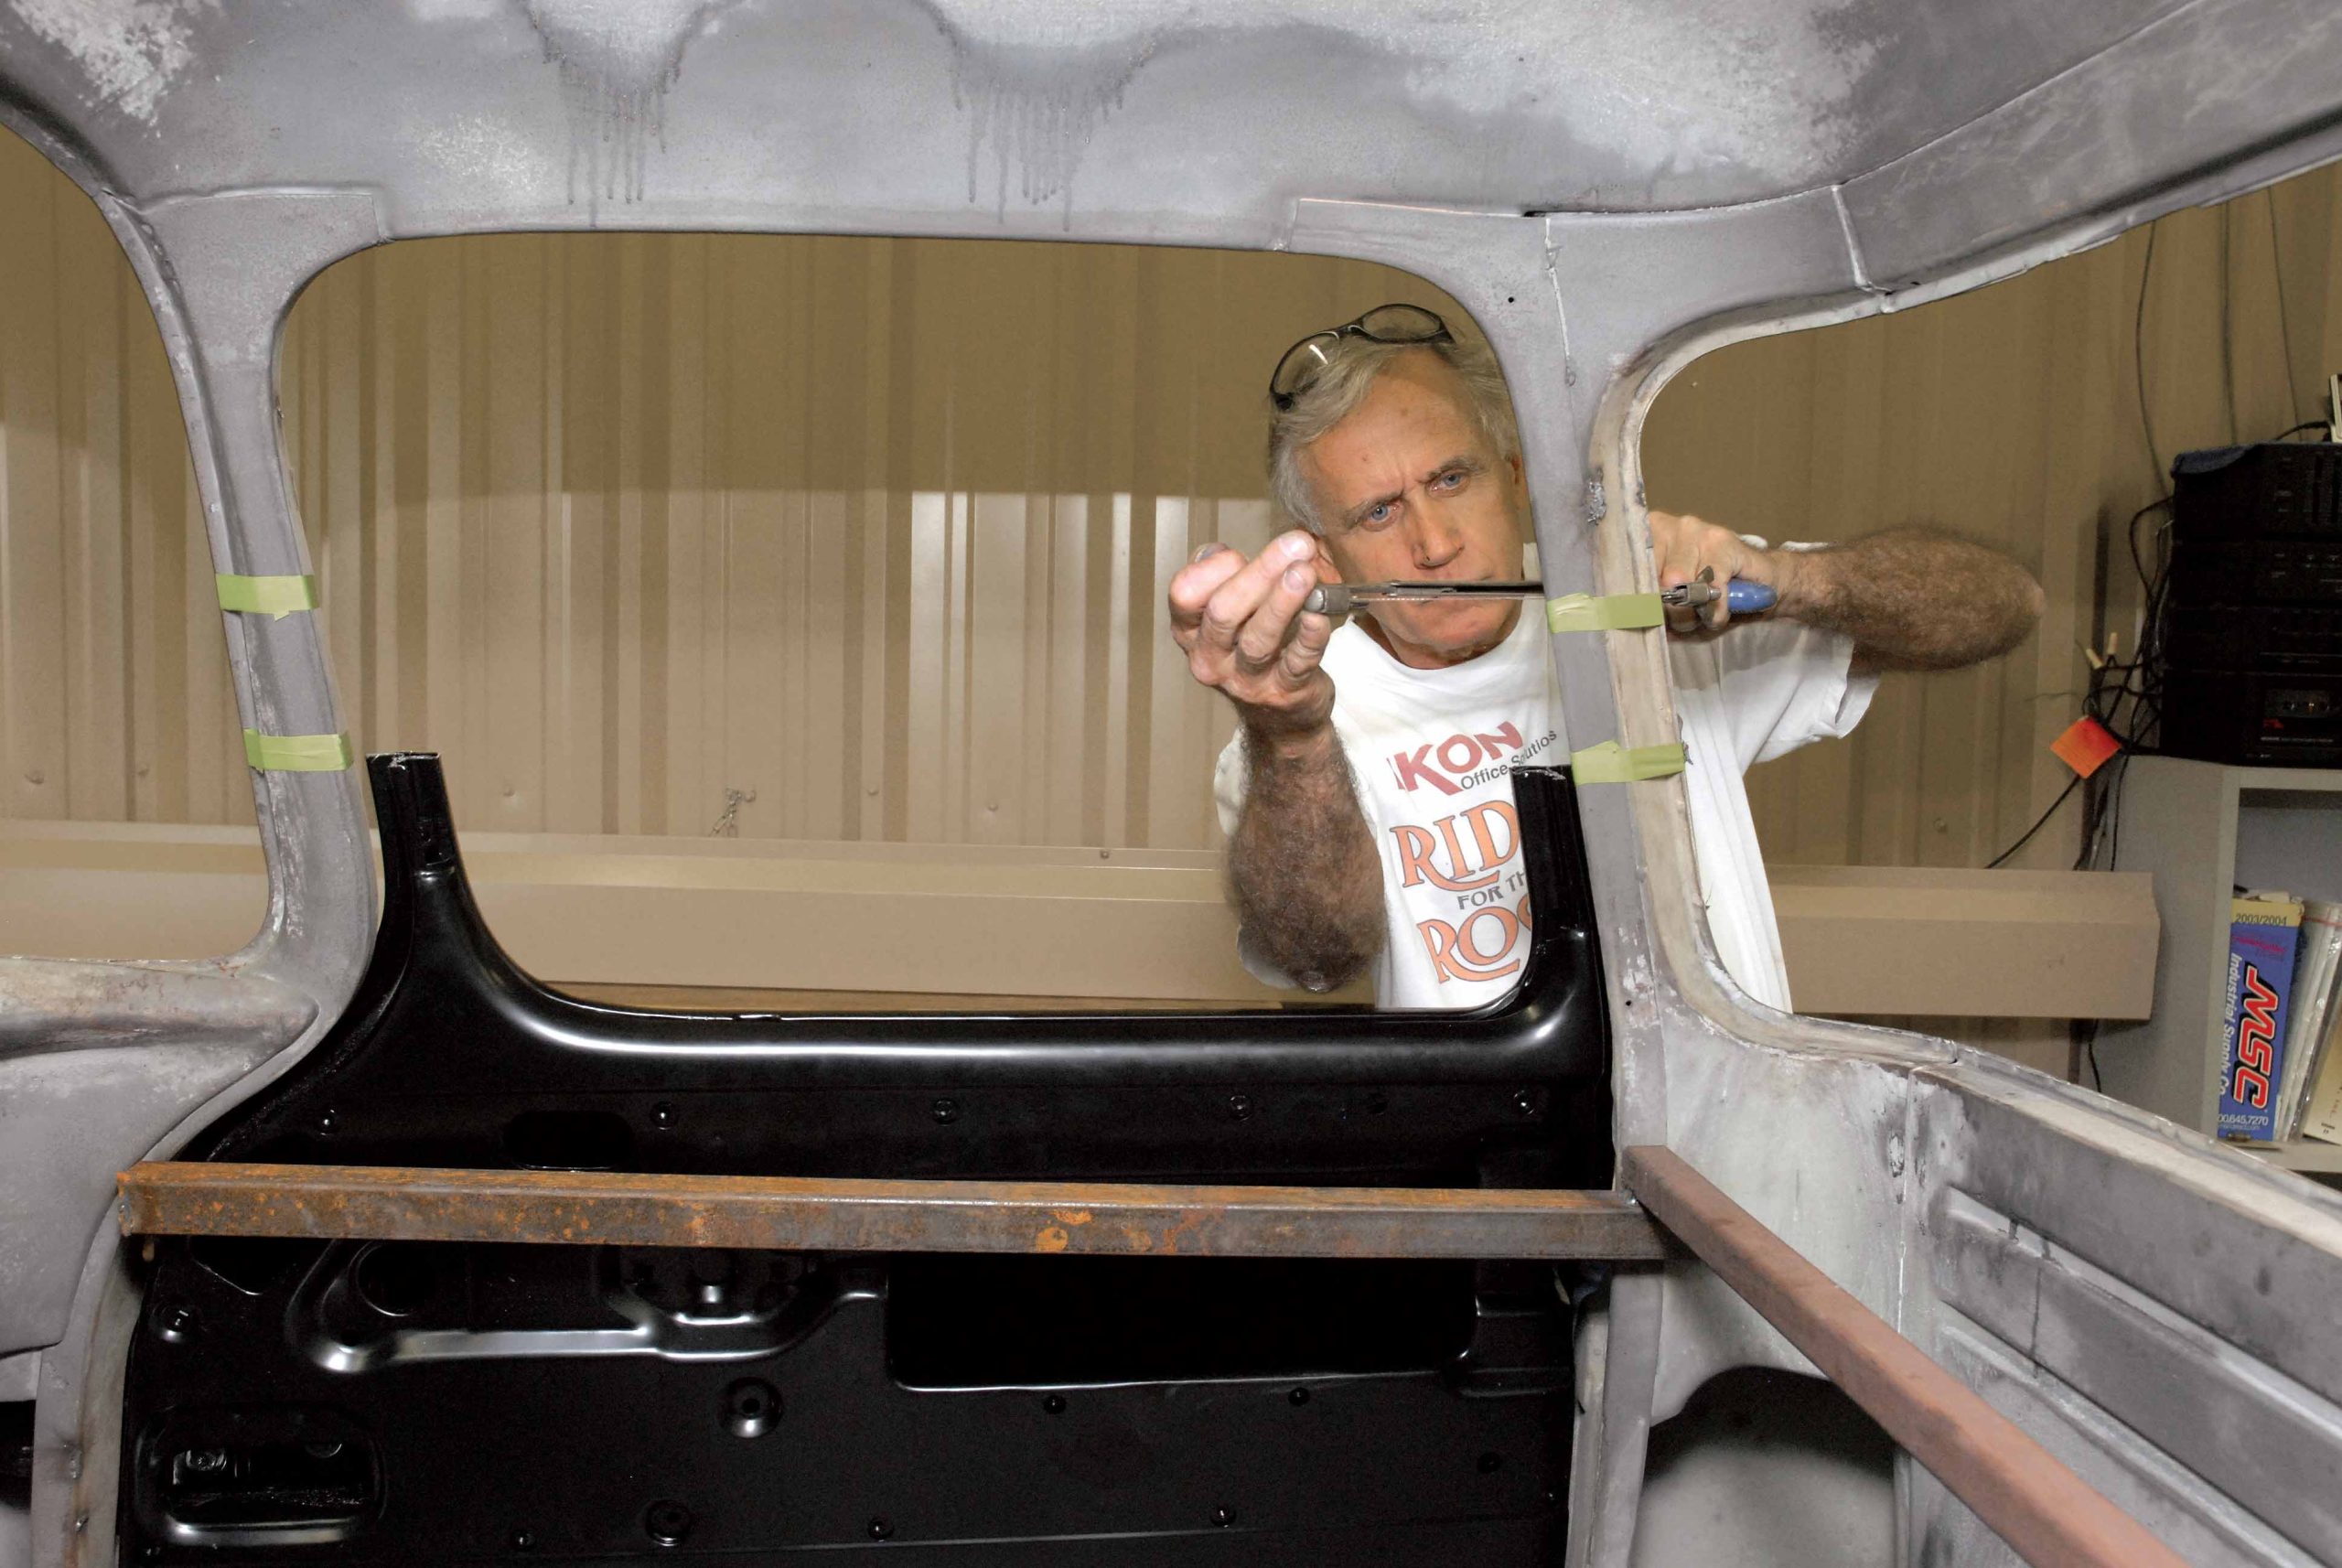
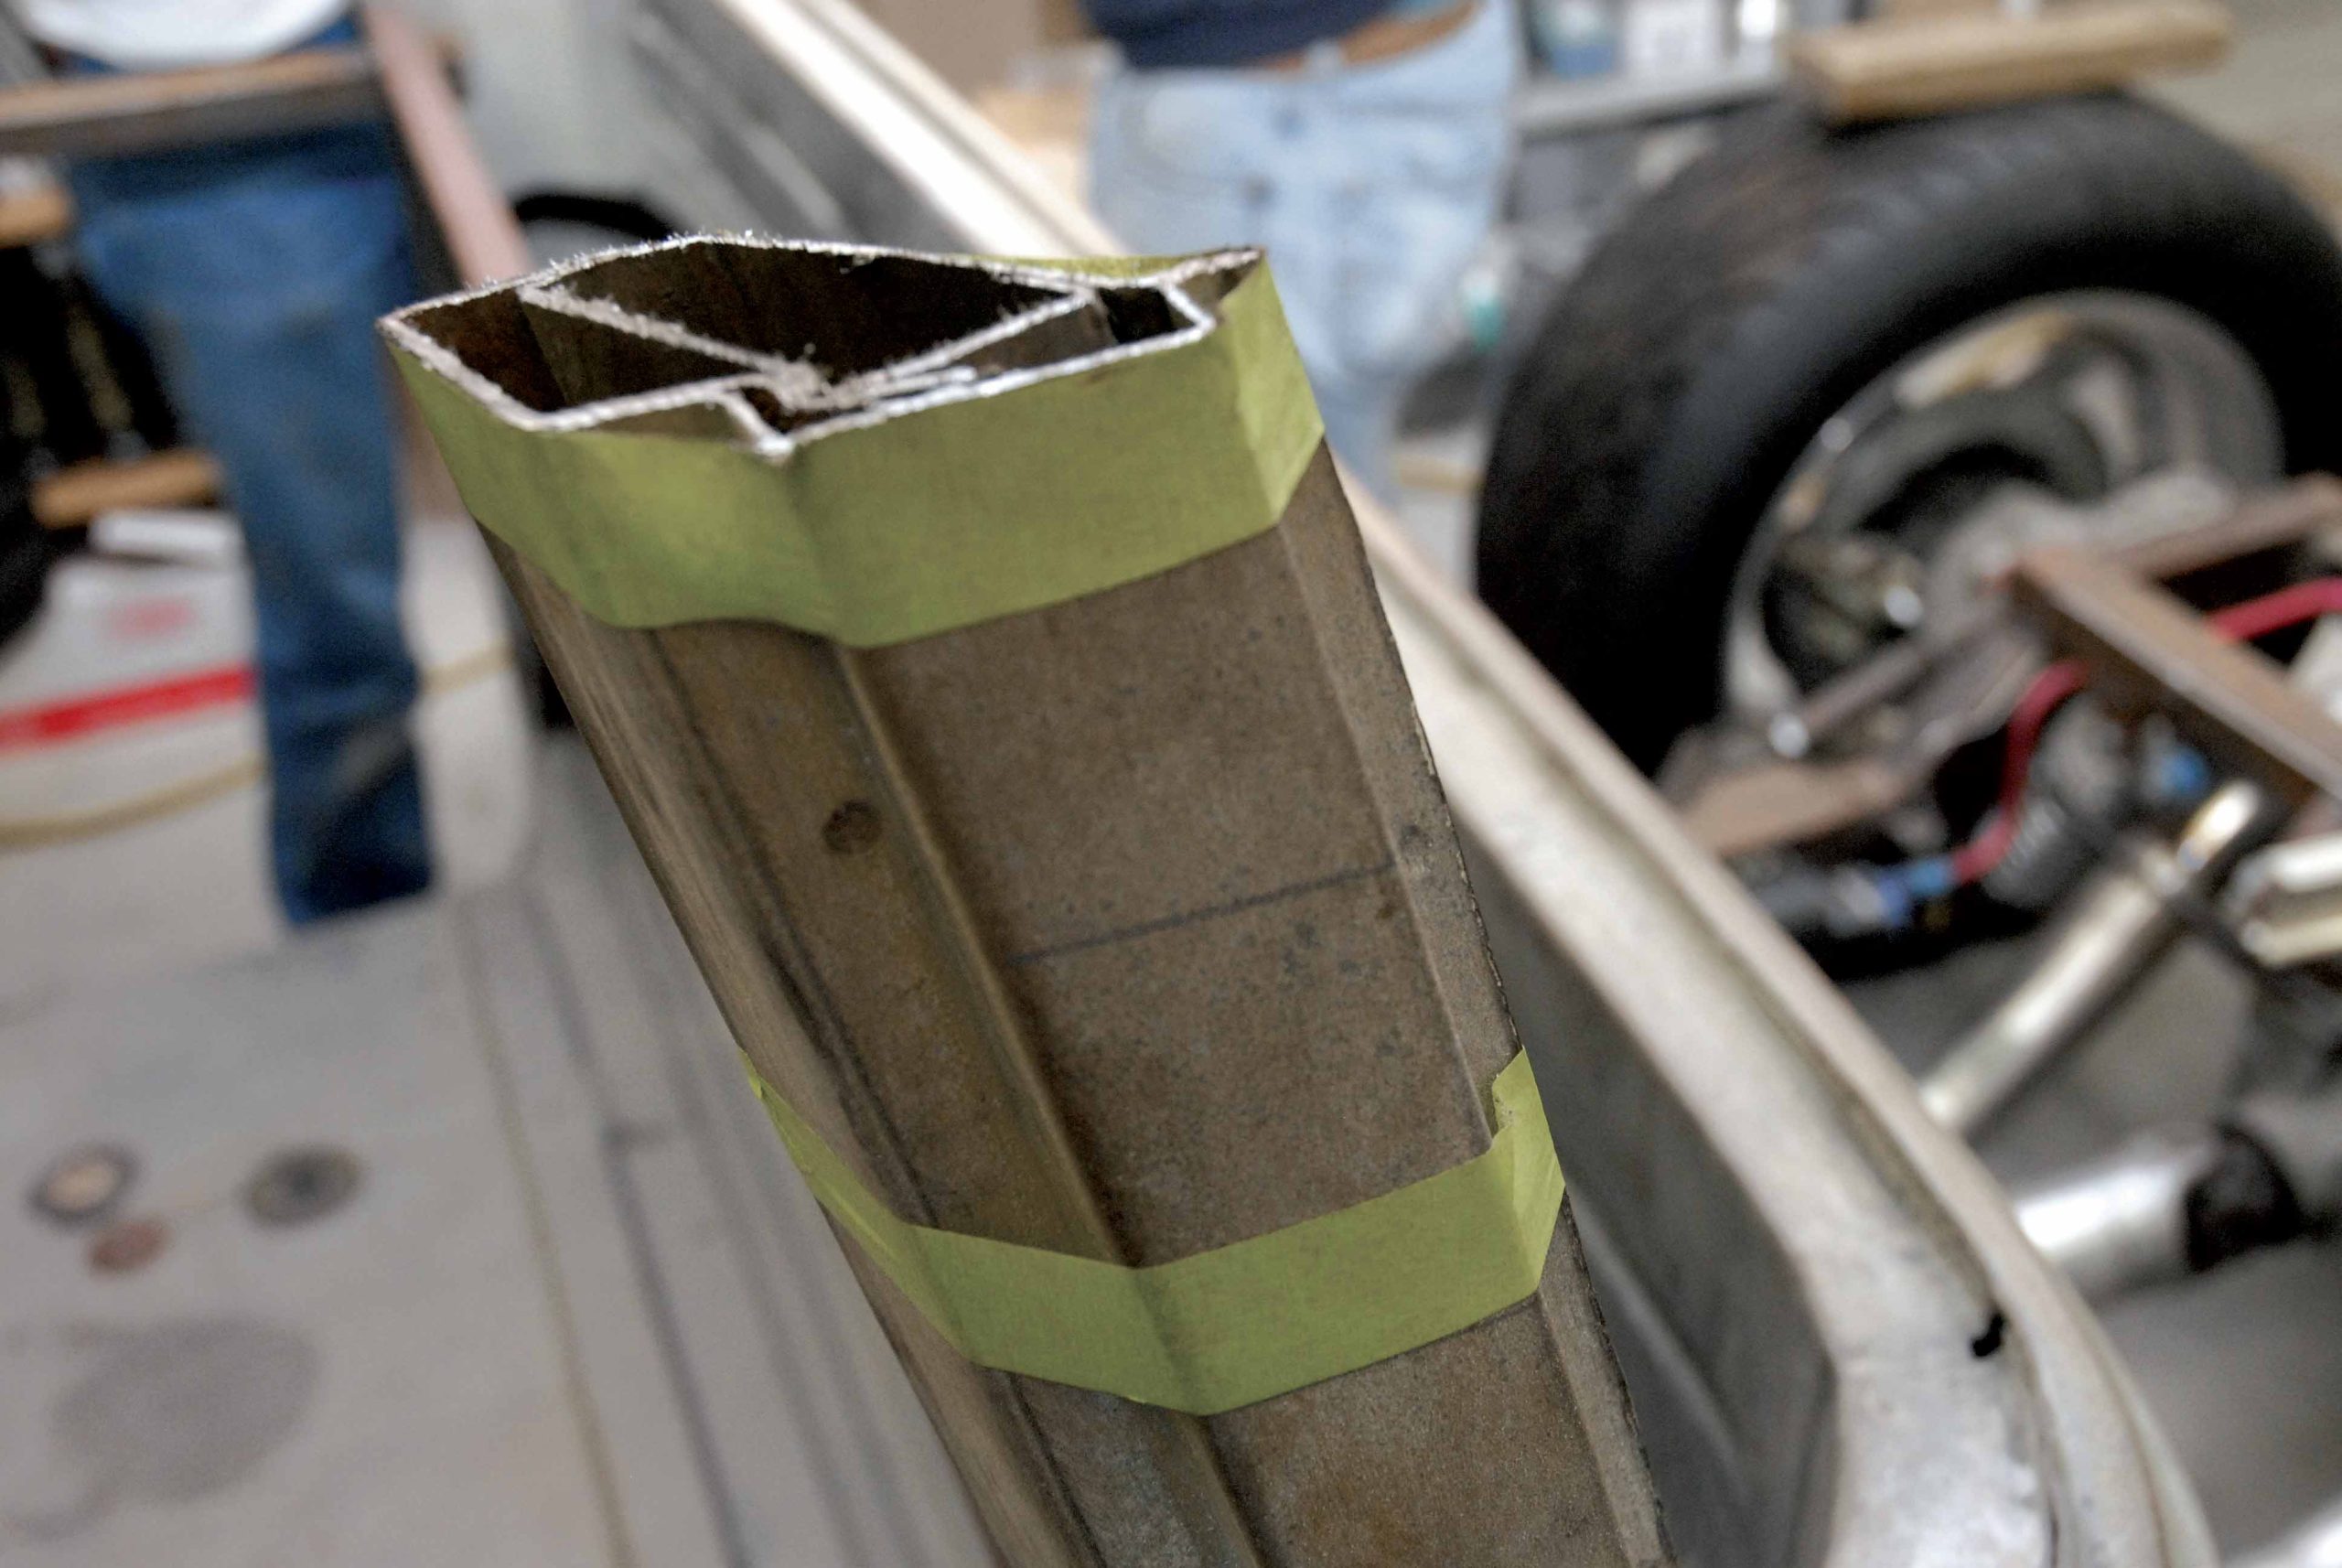
Before cutting, the inside of the cab was shored up using three pieces of 1×1-inch square tubing, with two pieces tack-welded across the door openings and one piece tack-welded across the rear of the cab to keep it from shifting once the top has been removed. However, you may be wondering why there was no cross brace tack-welded at the dash. The multilayer construction dash and the recently fortified cowl assembly are now undoubtedly the strongest sections of the cab, and keep things from shifting on their own.
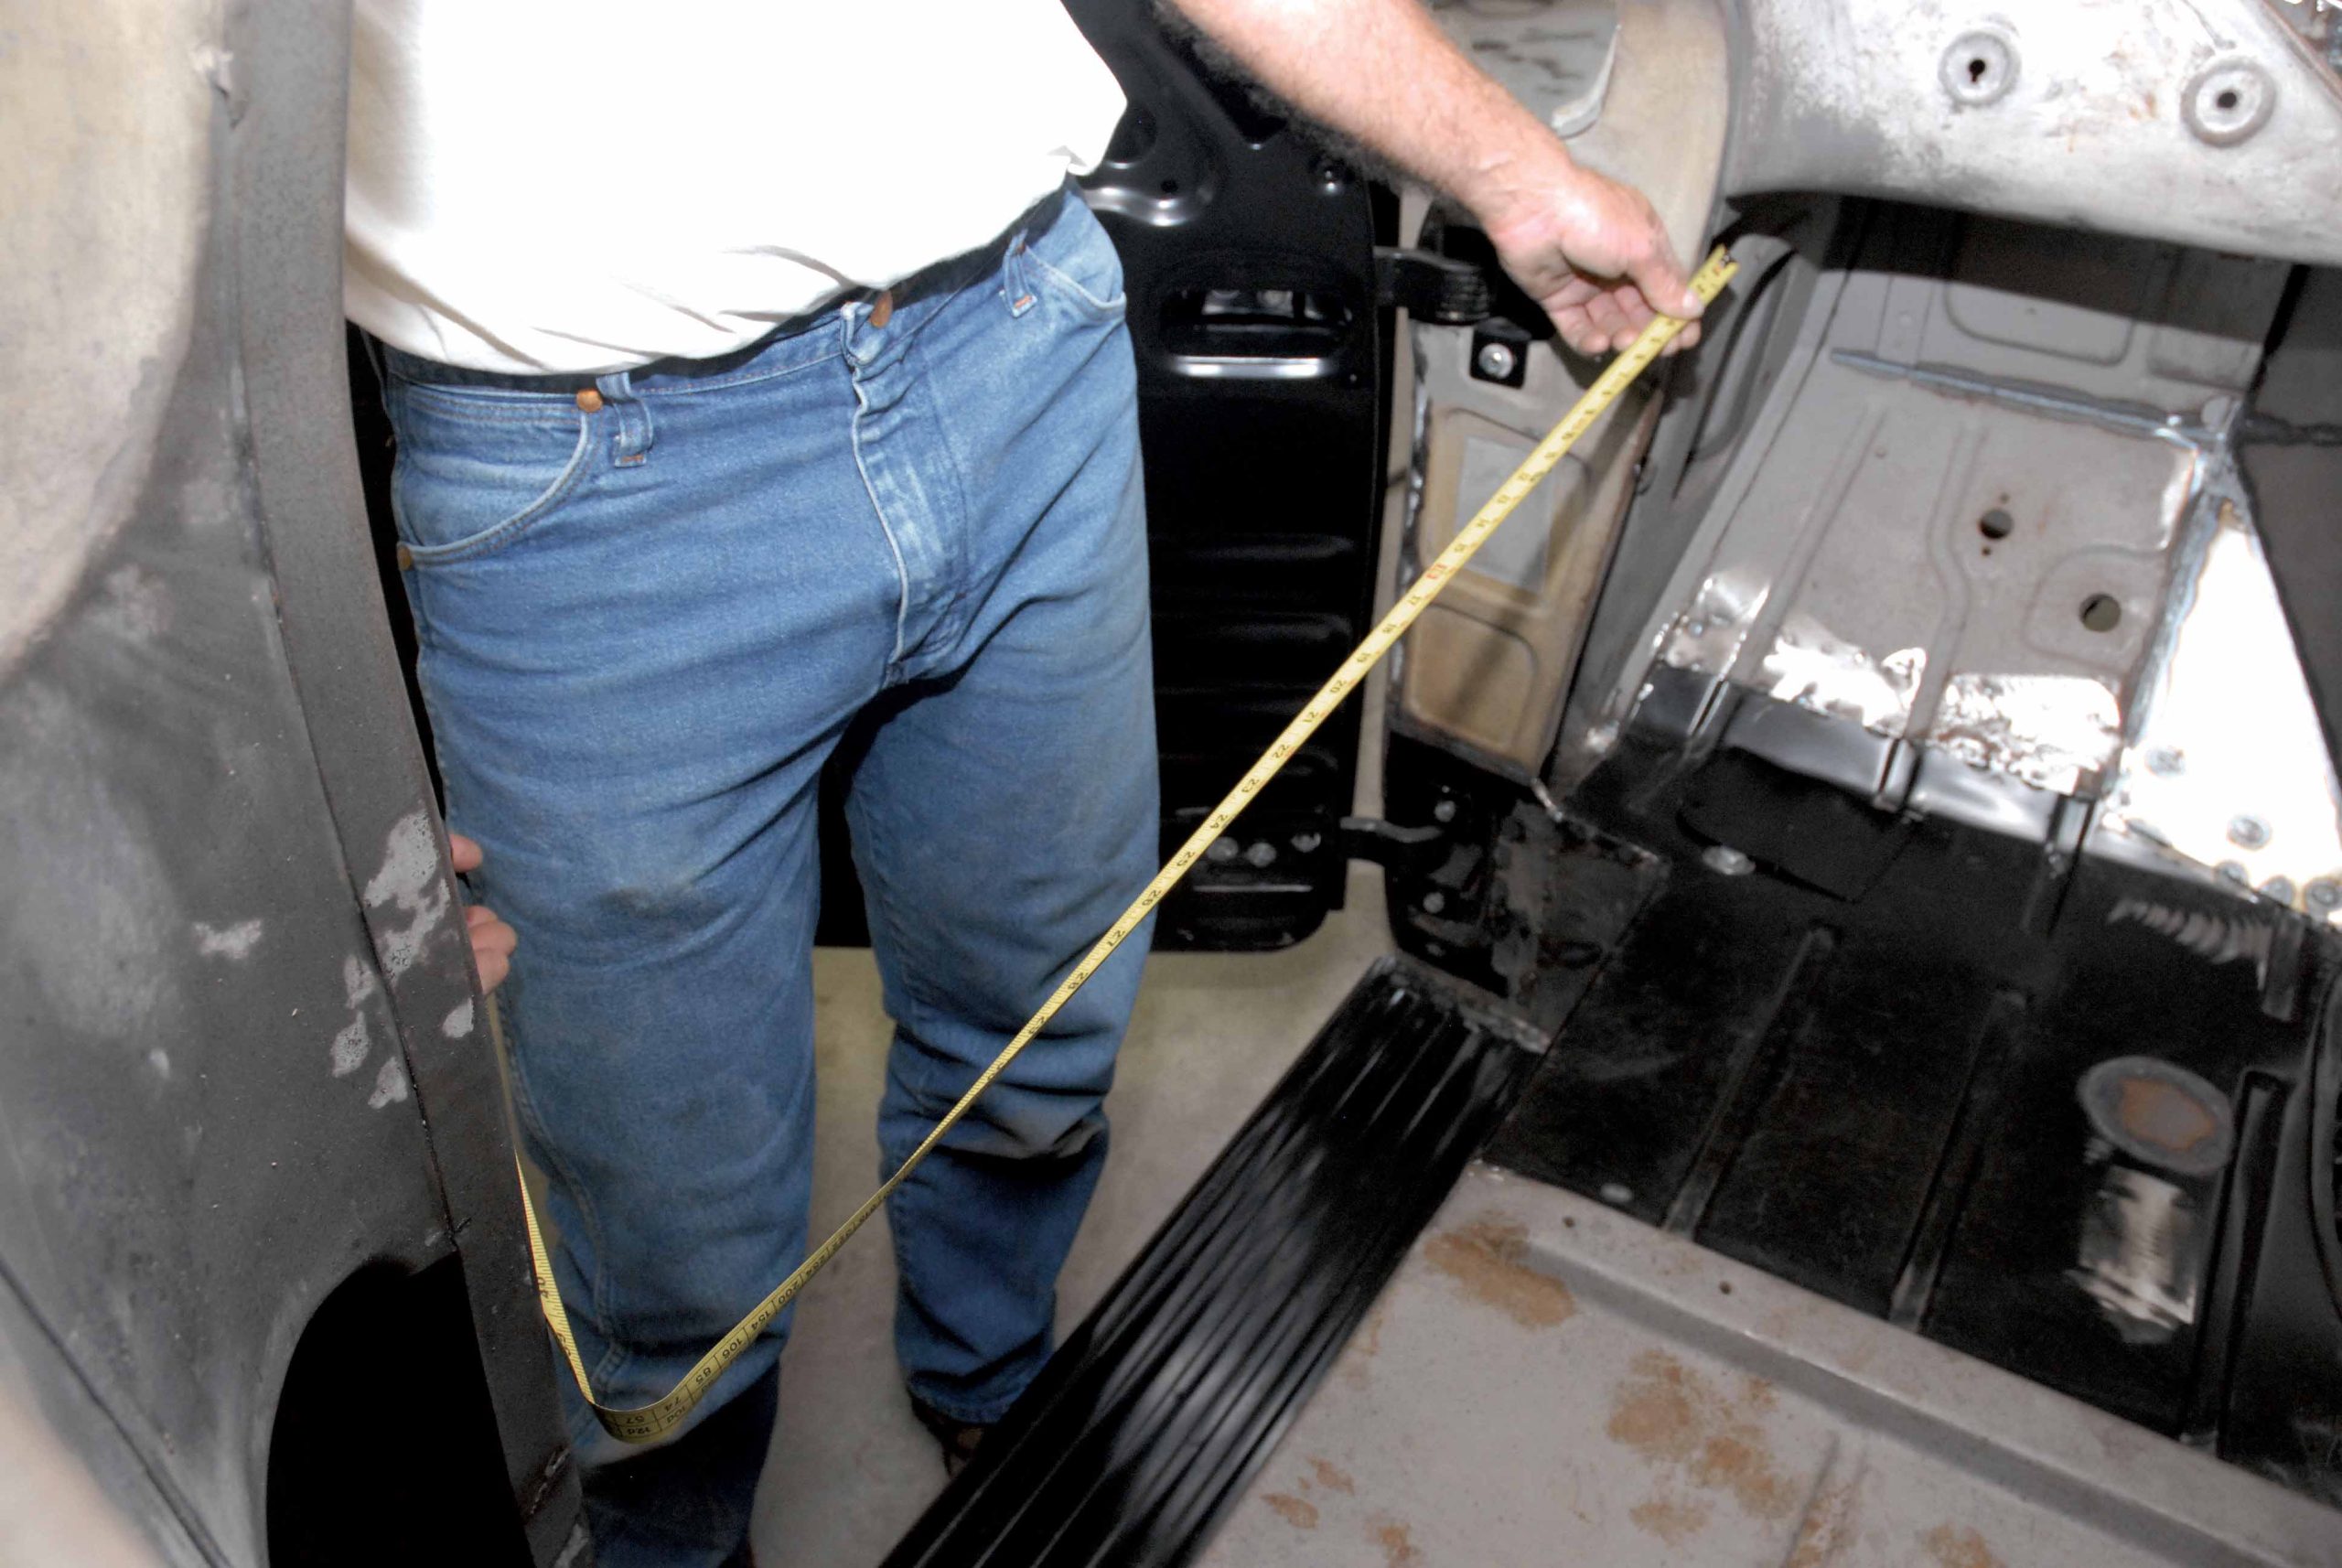
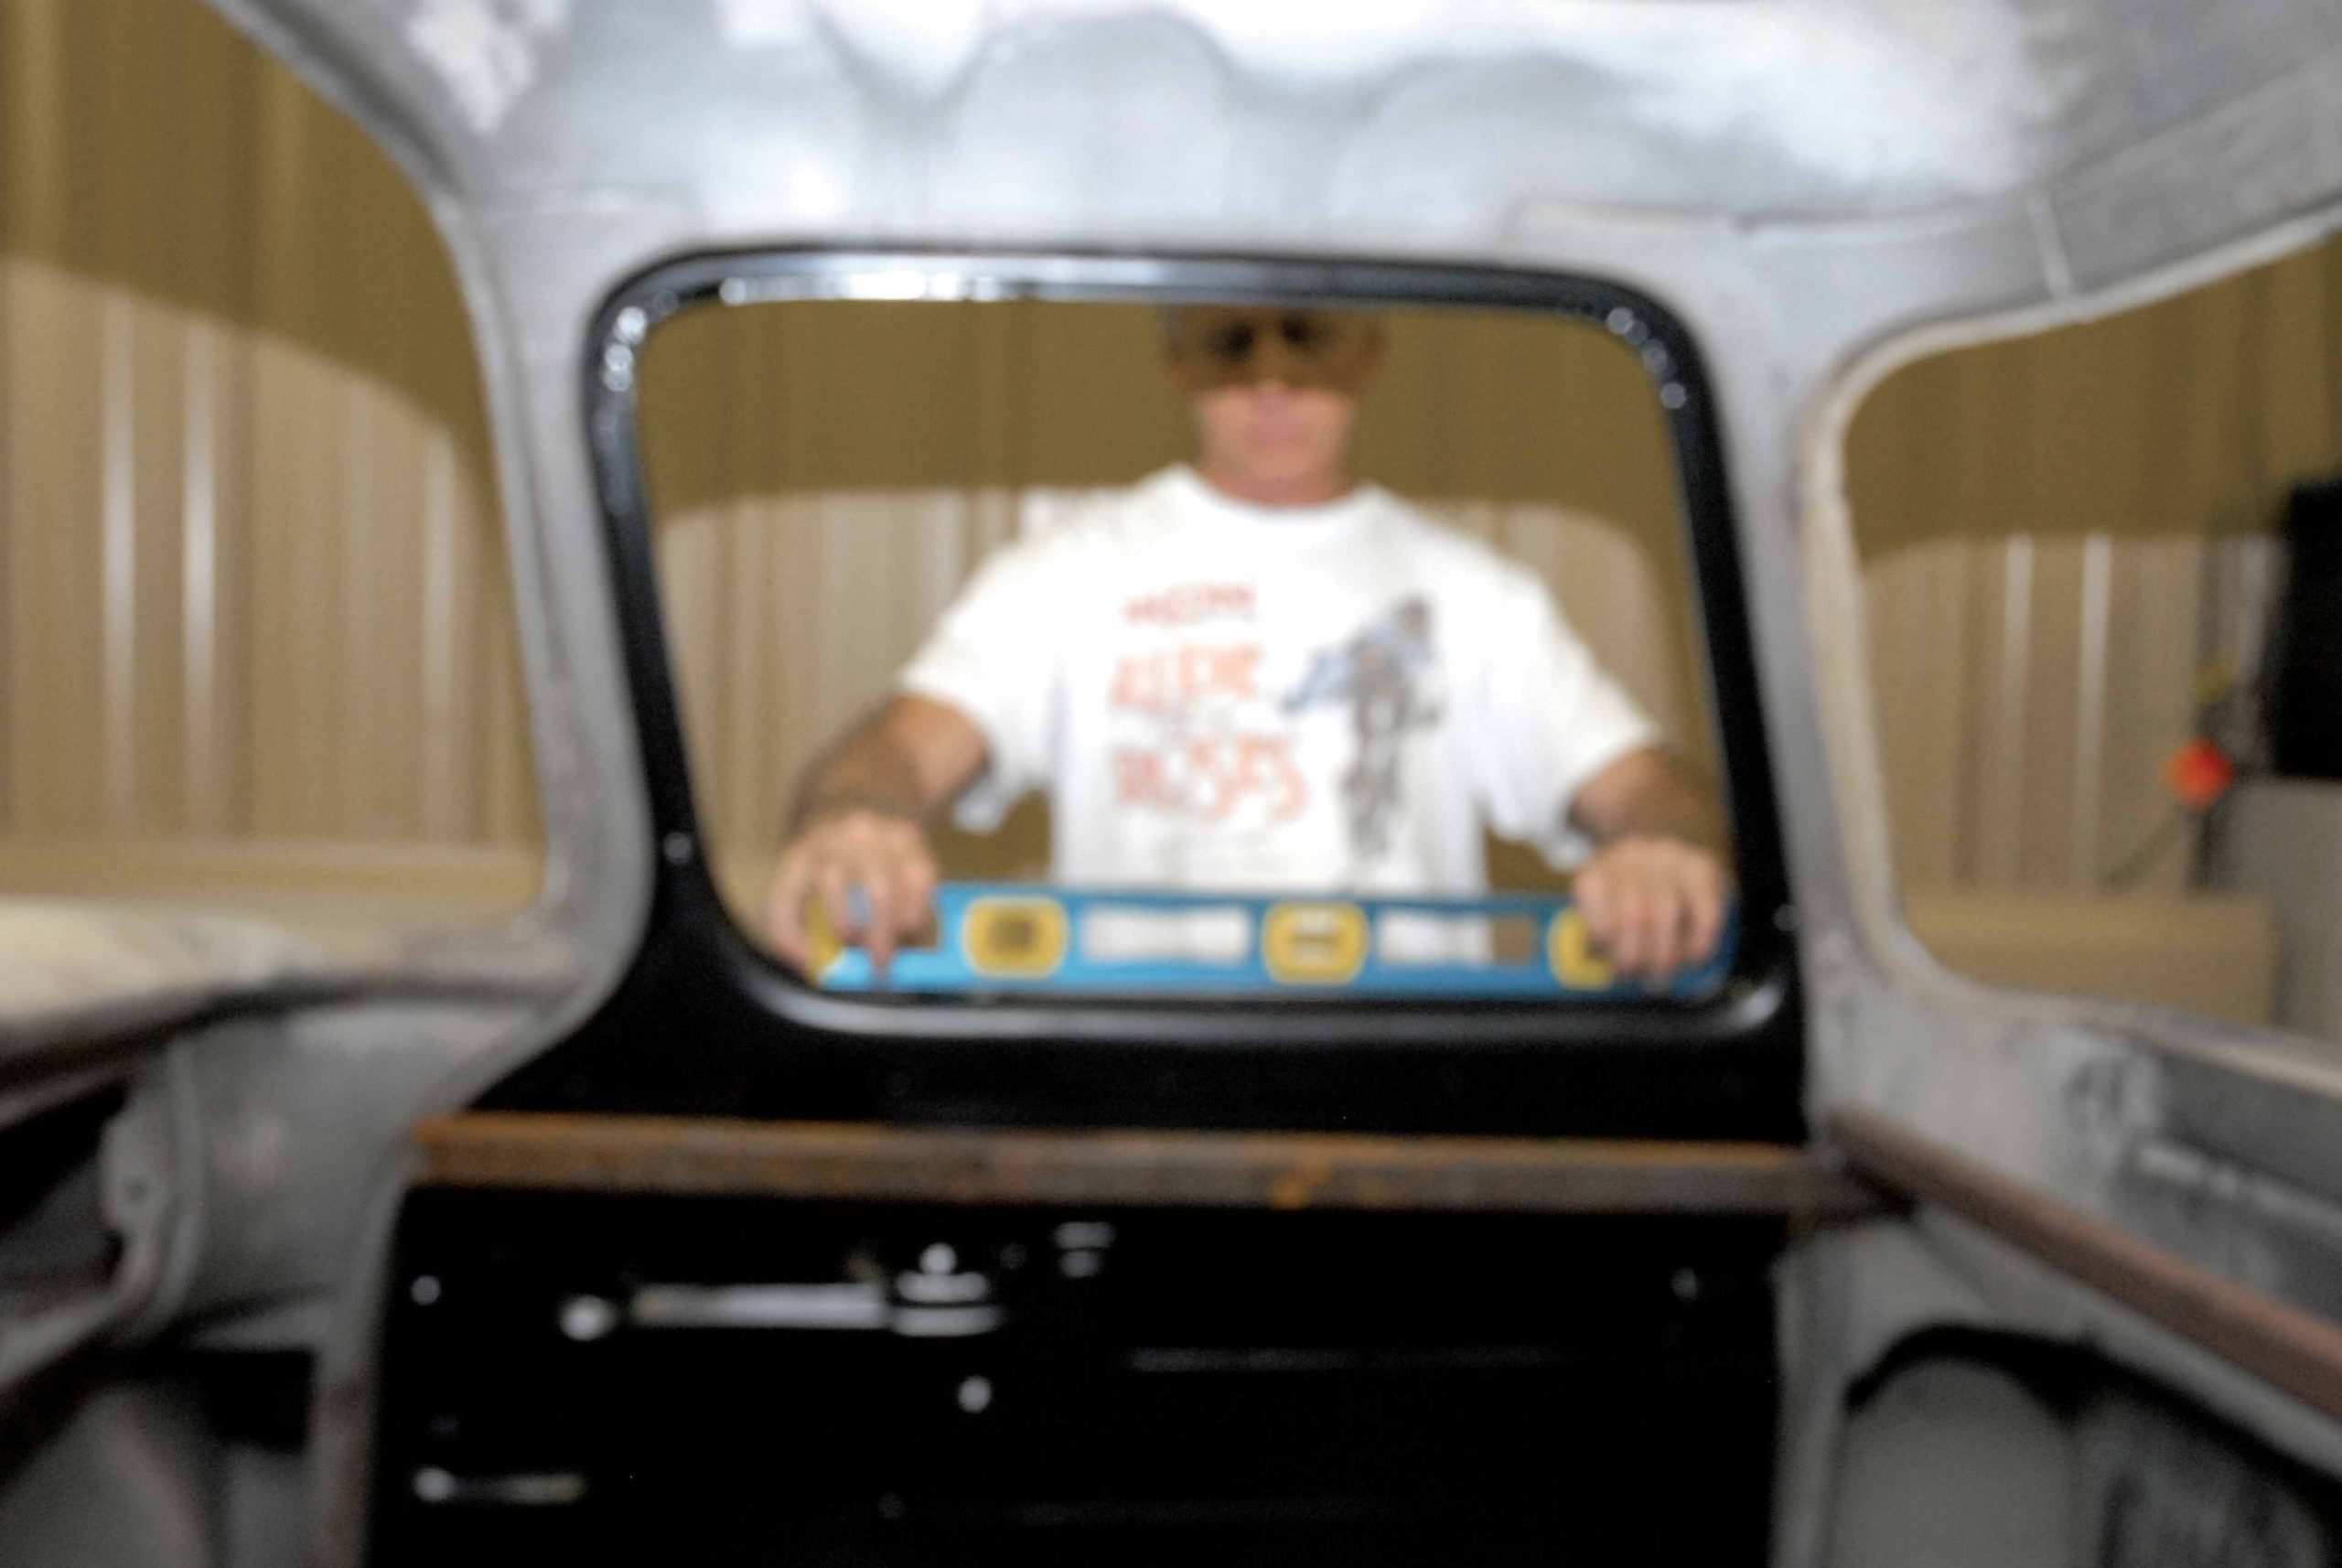
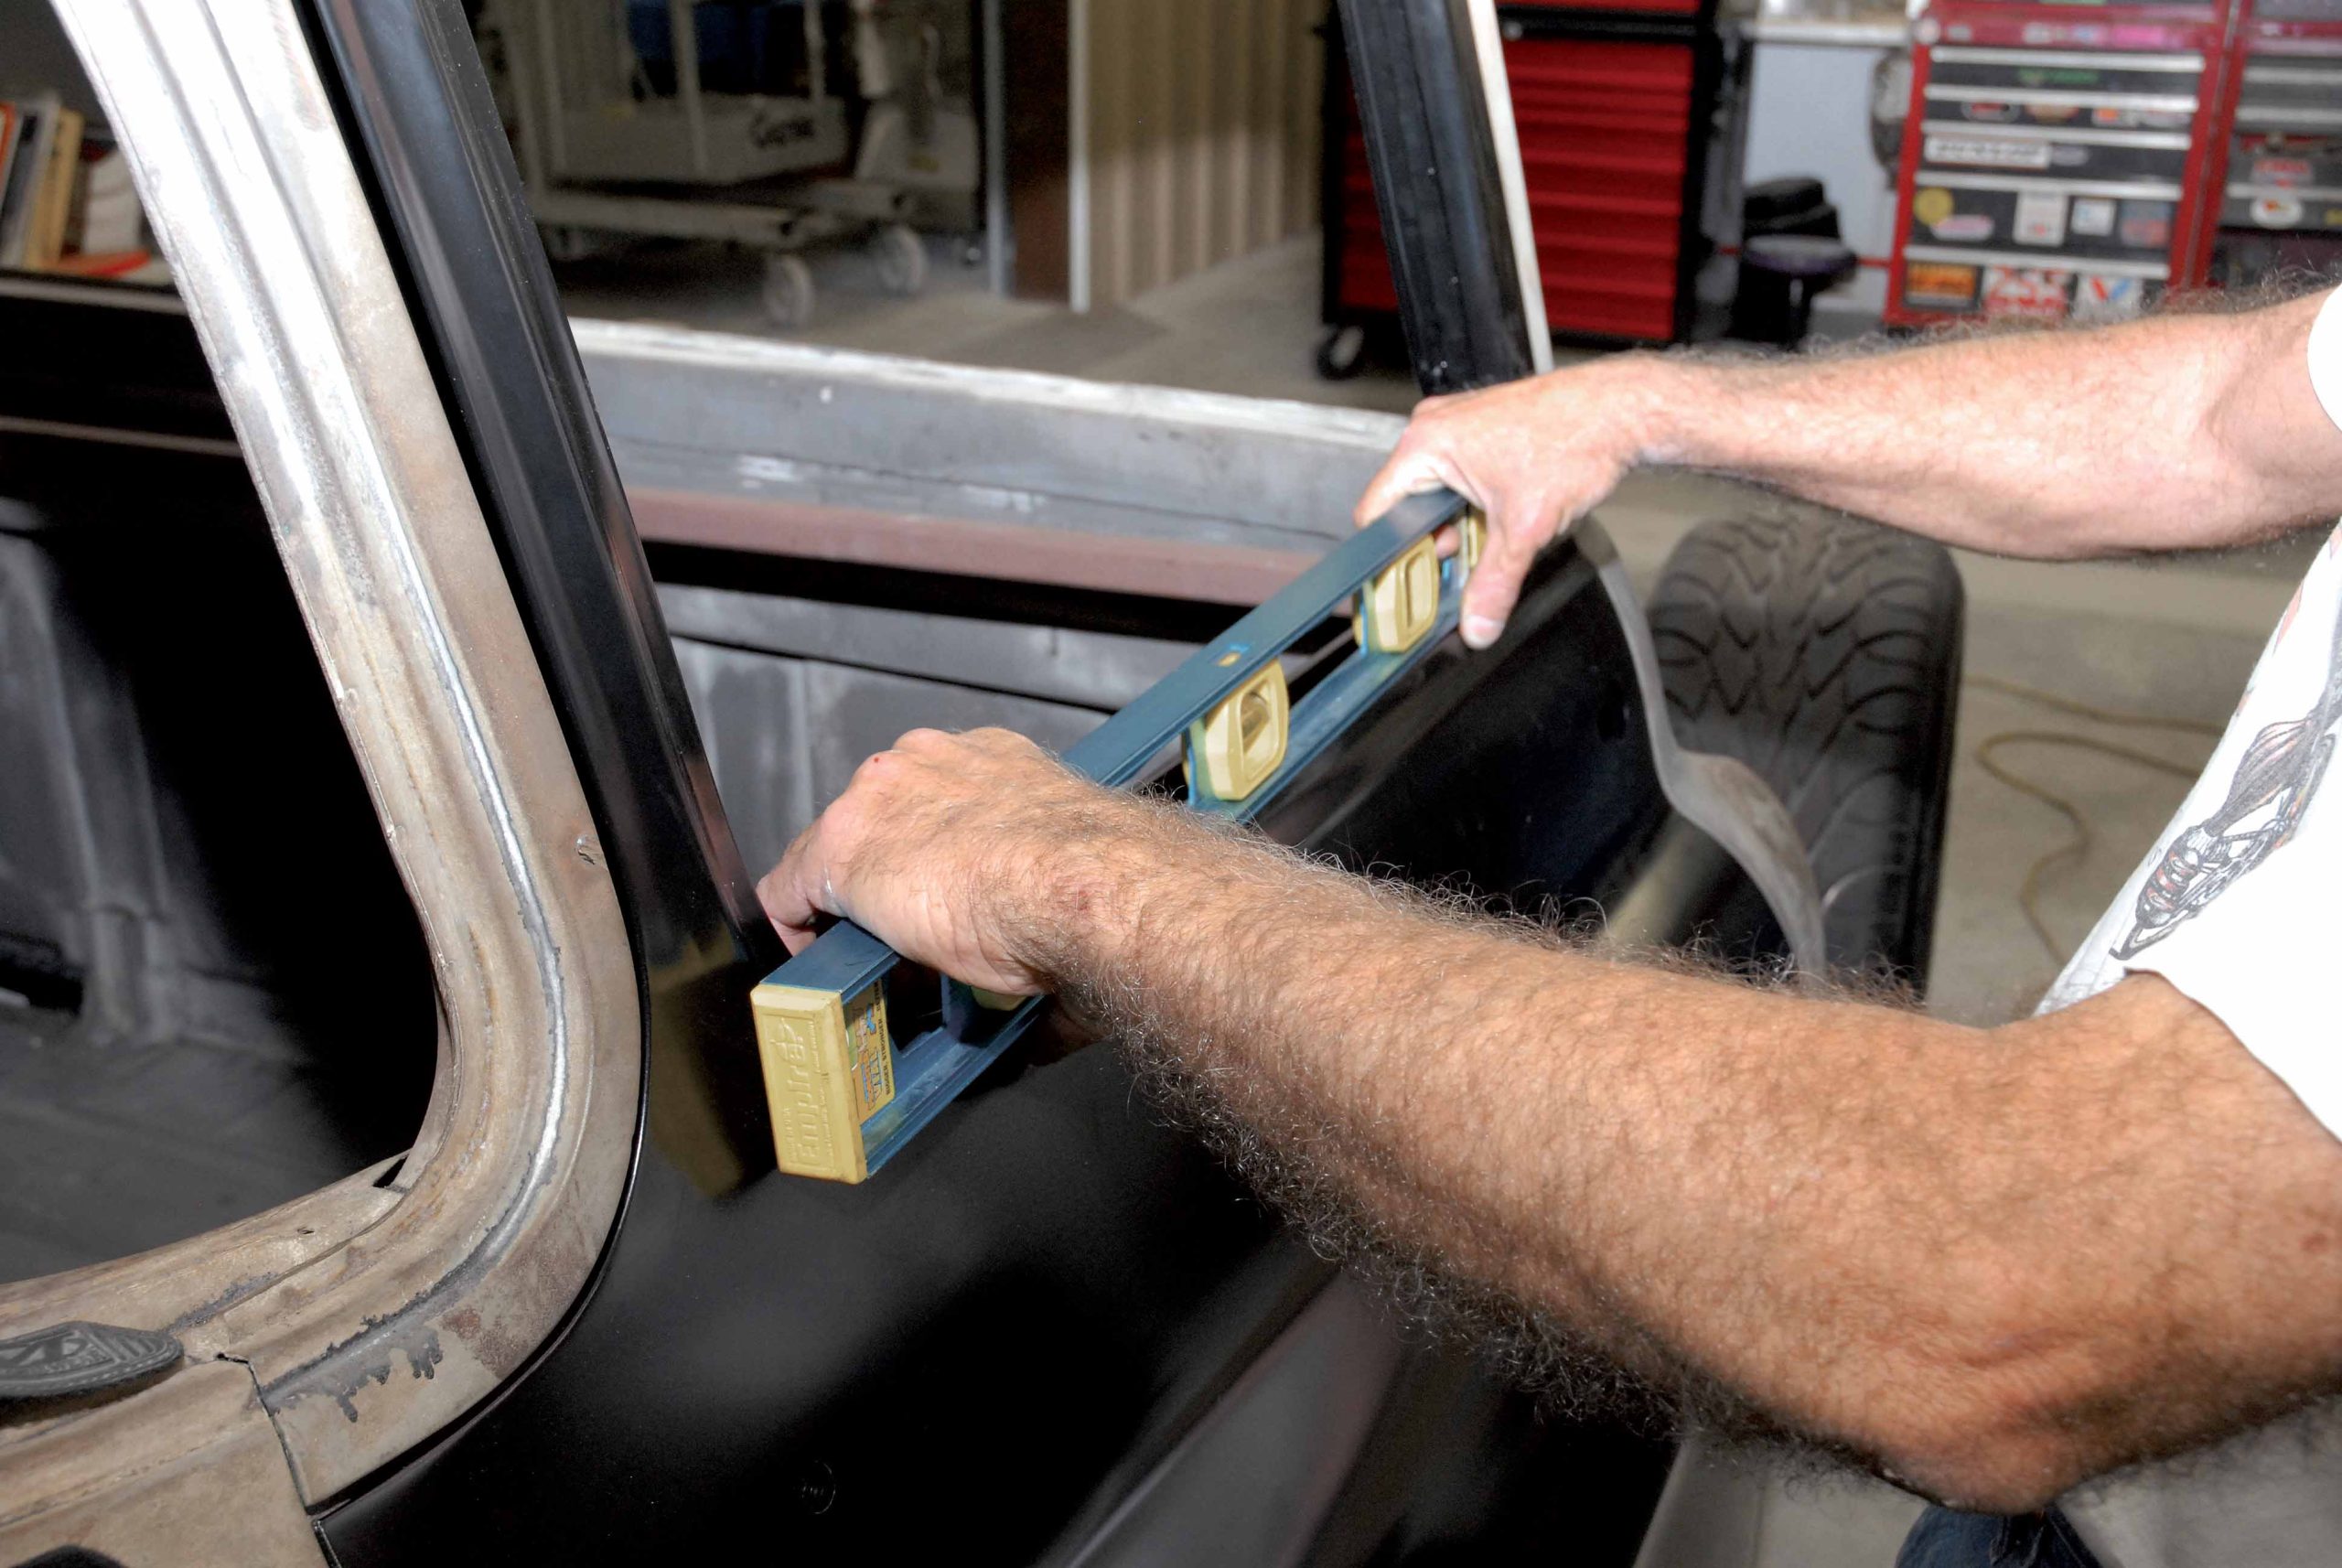
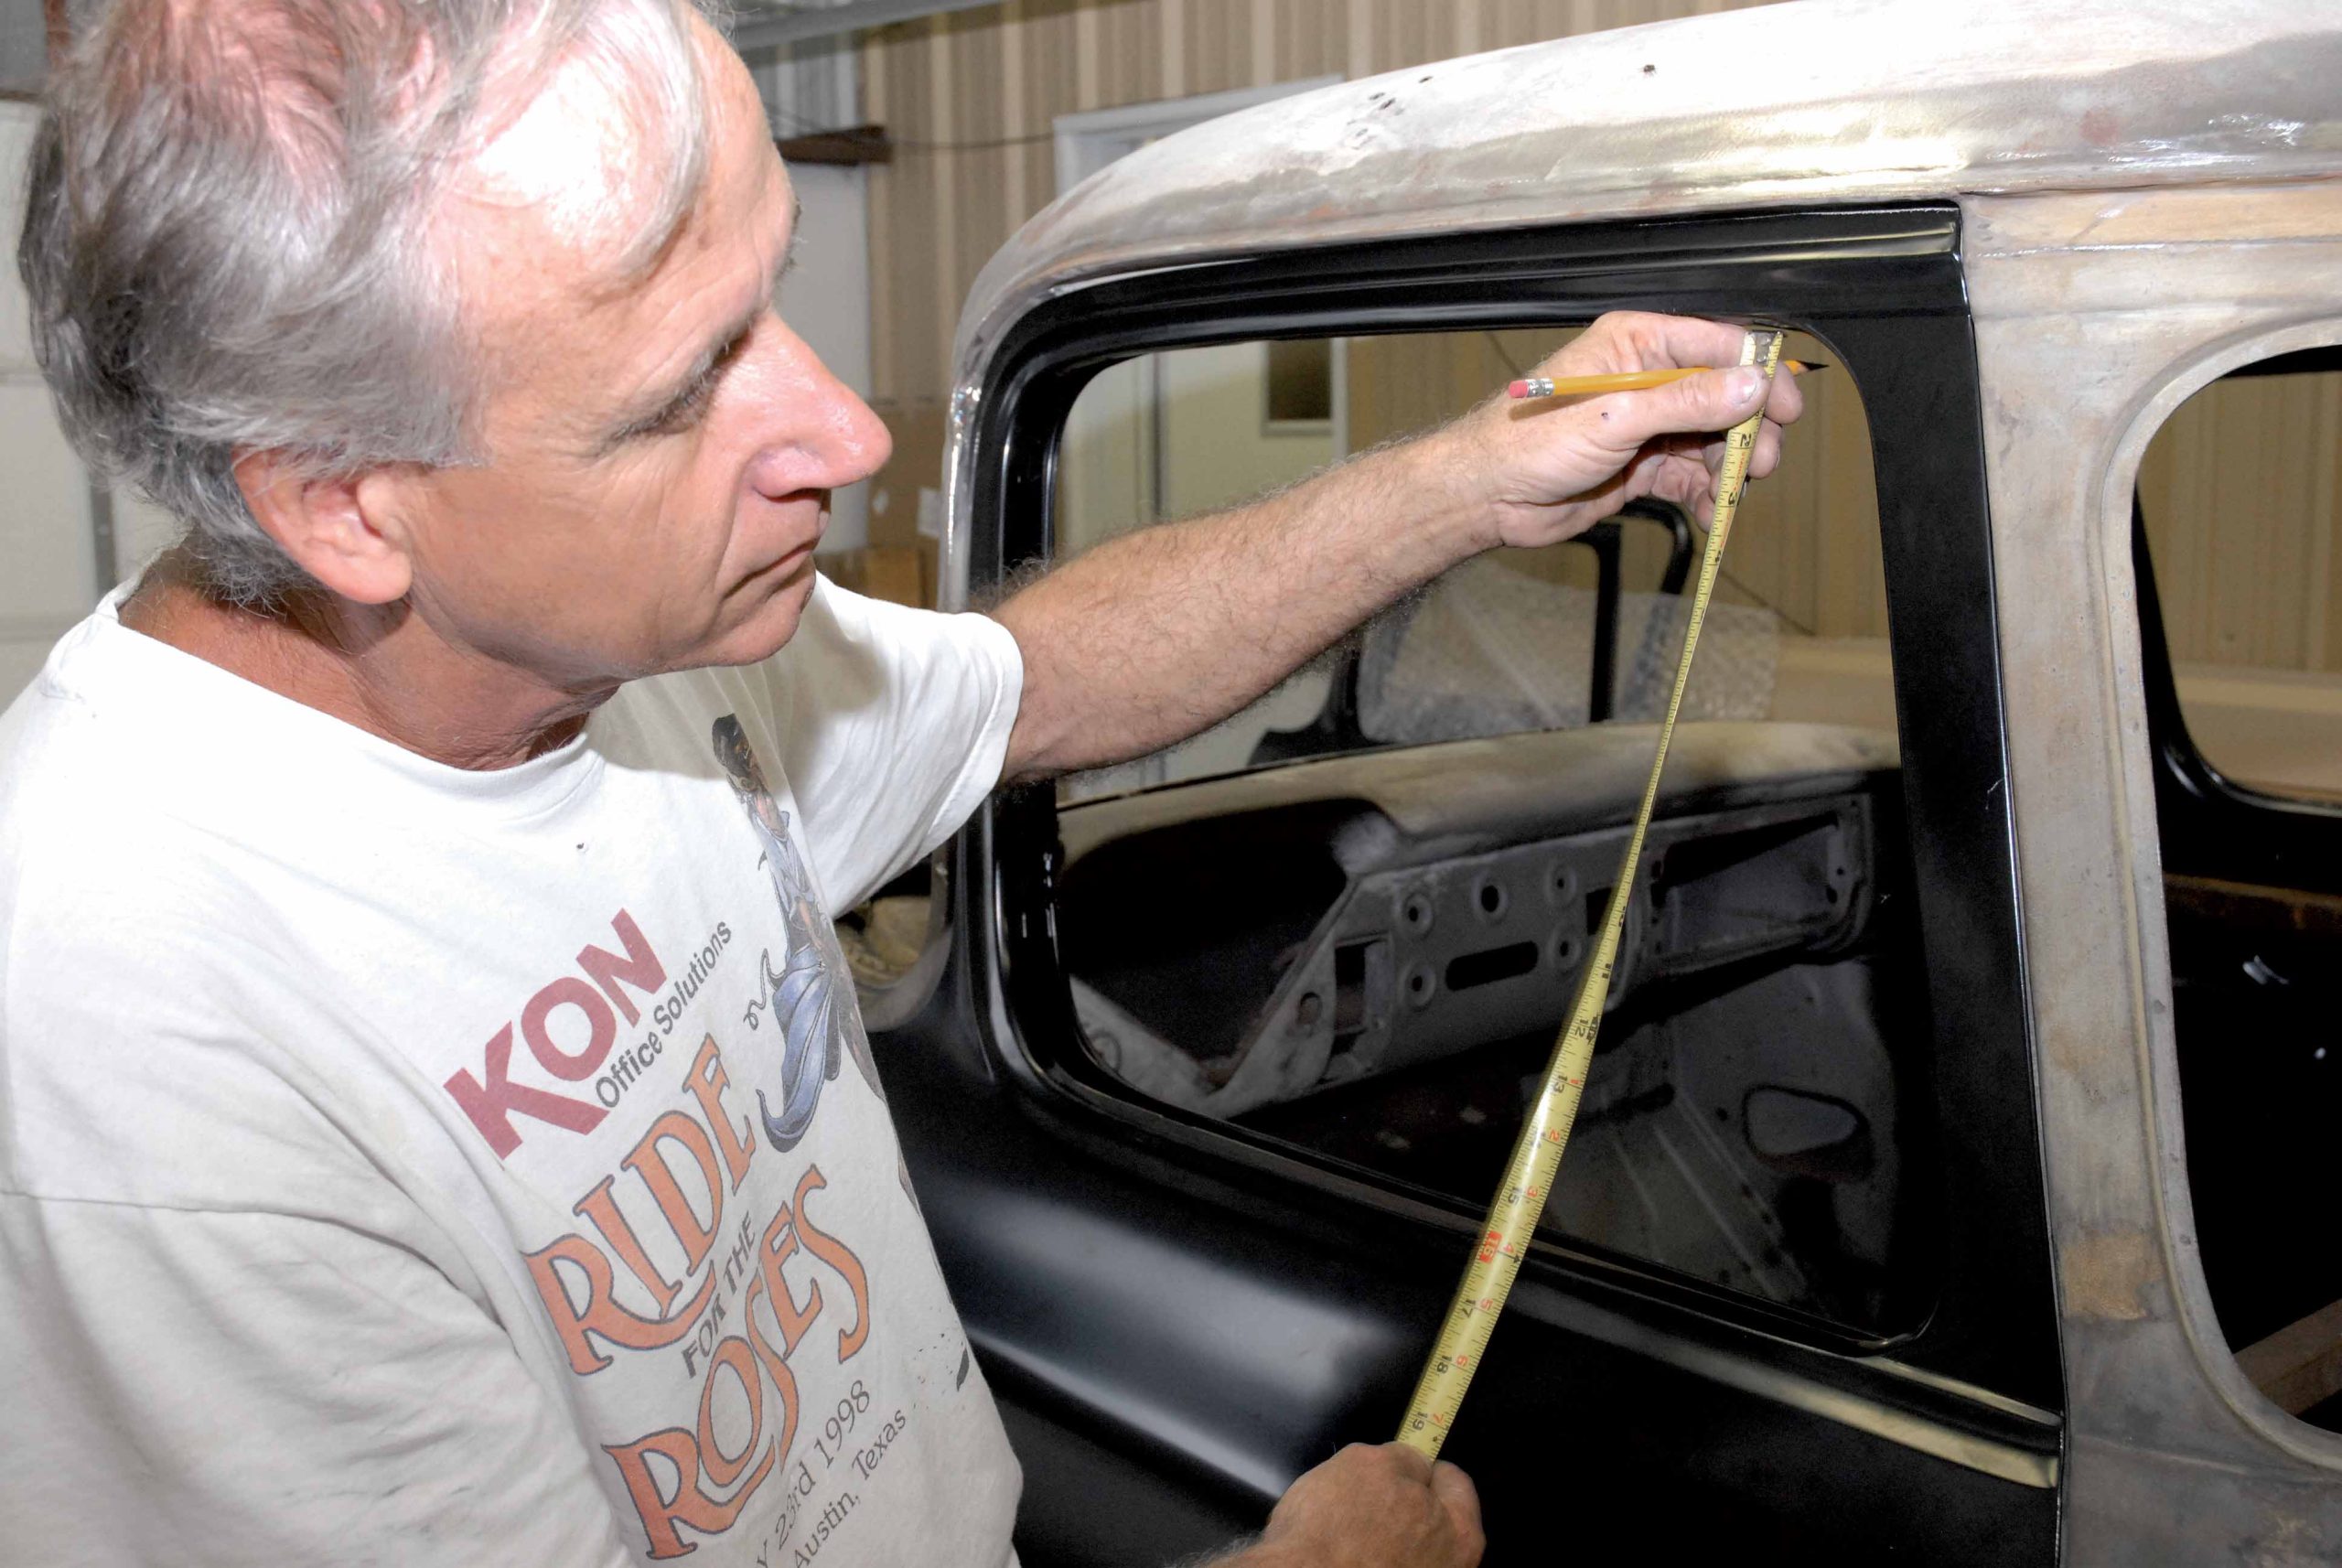
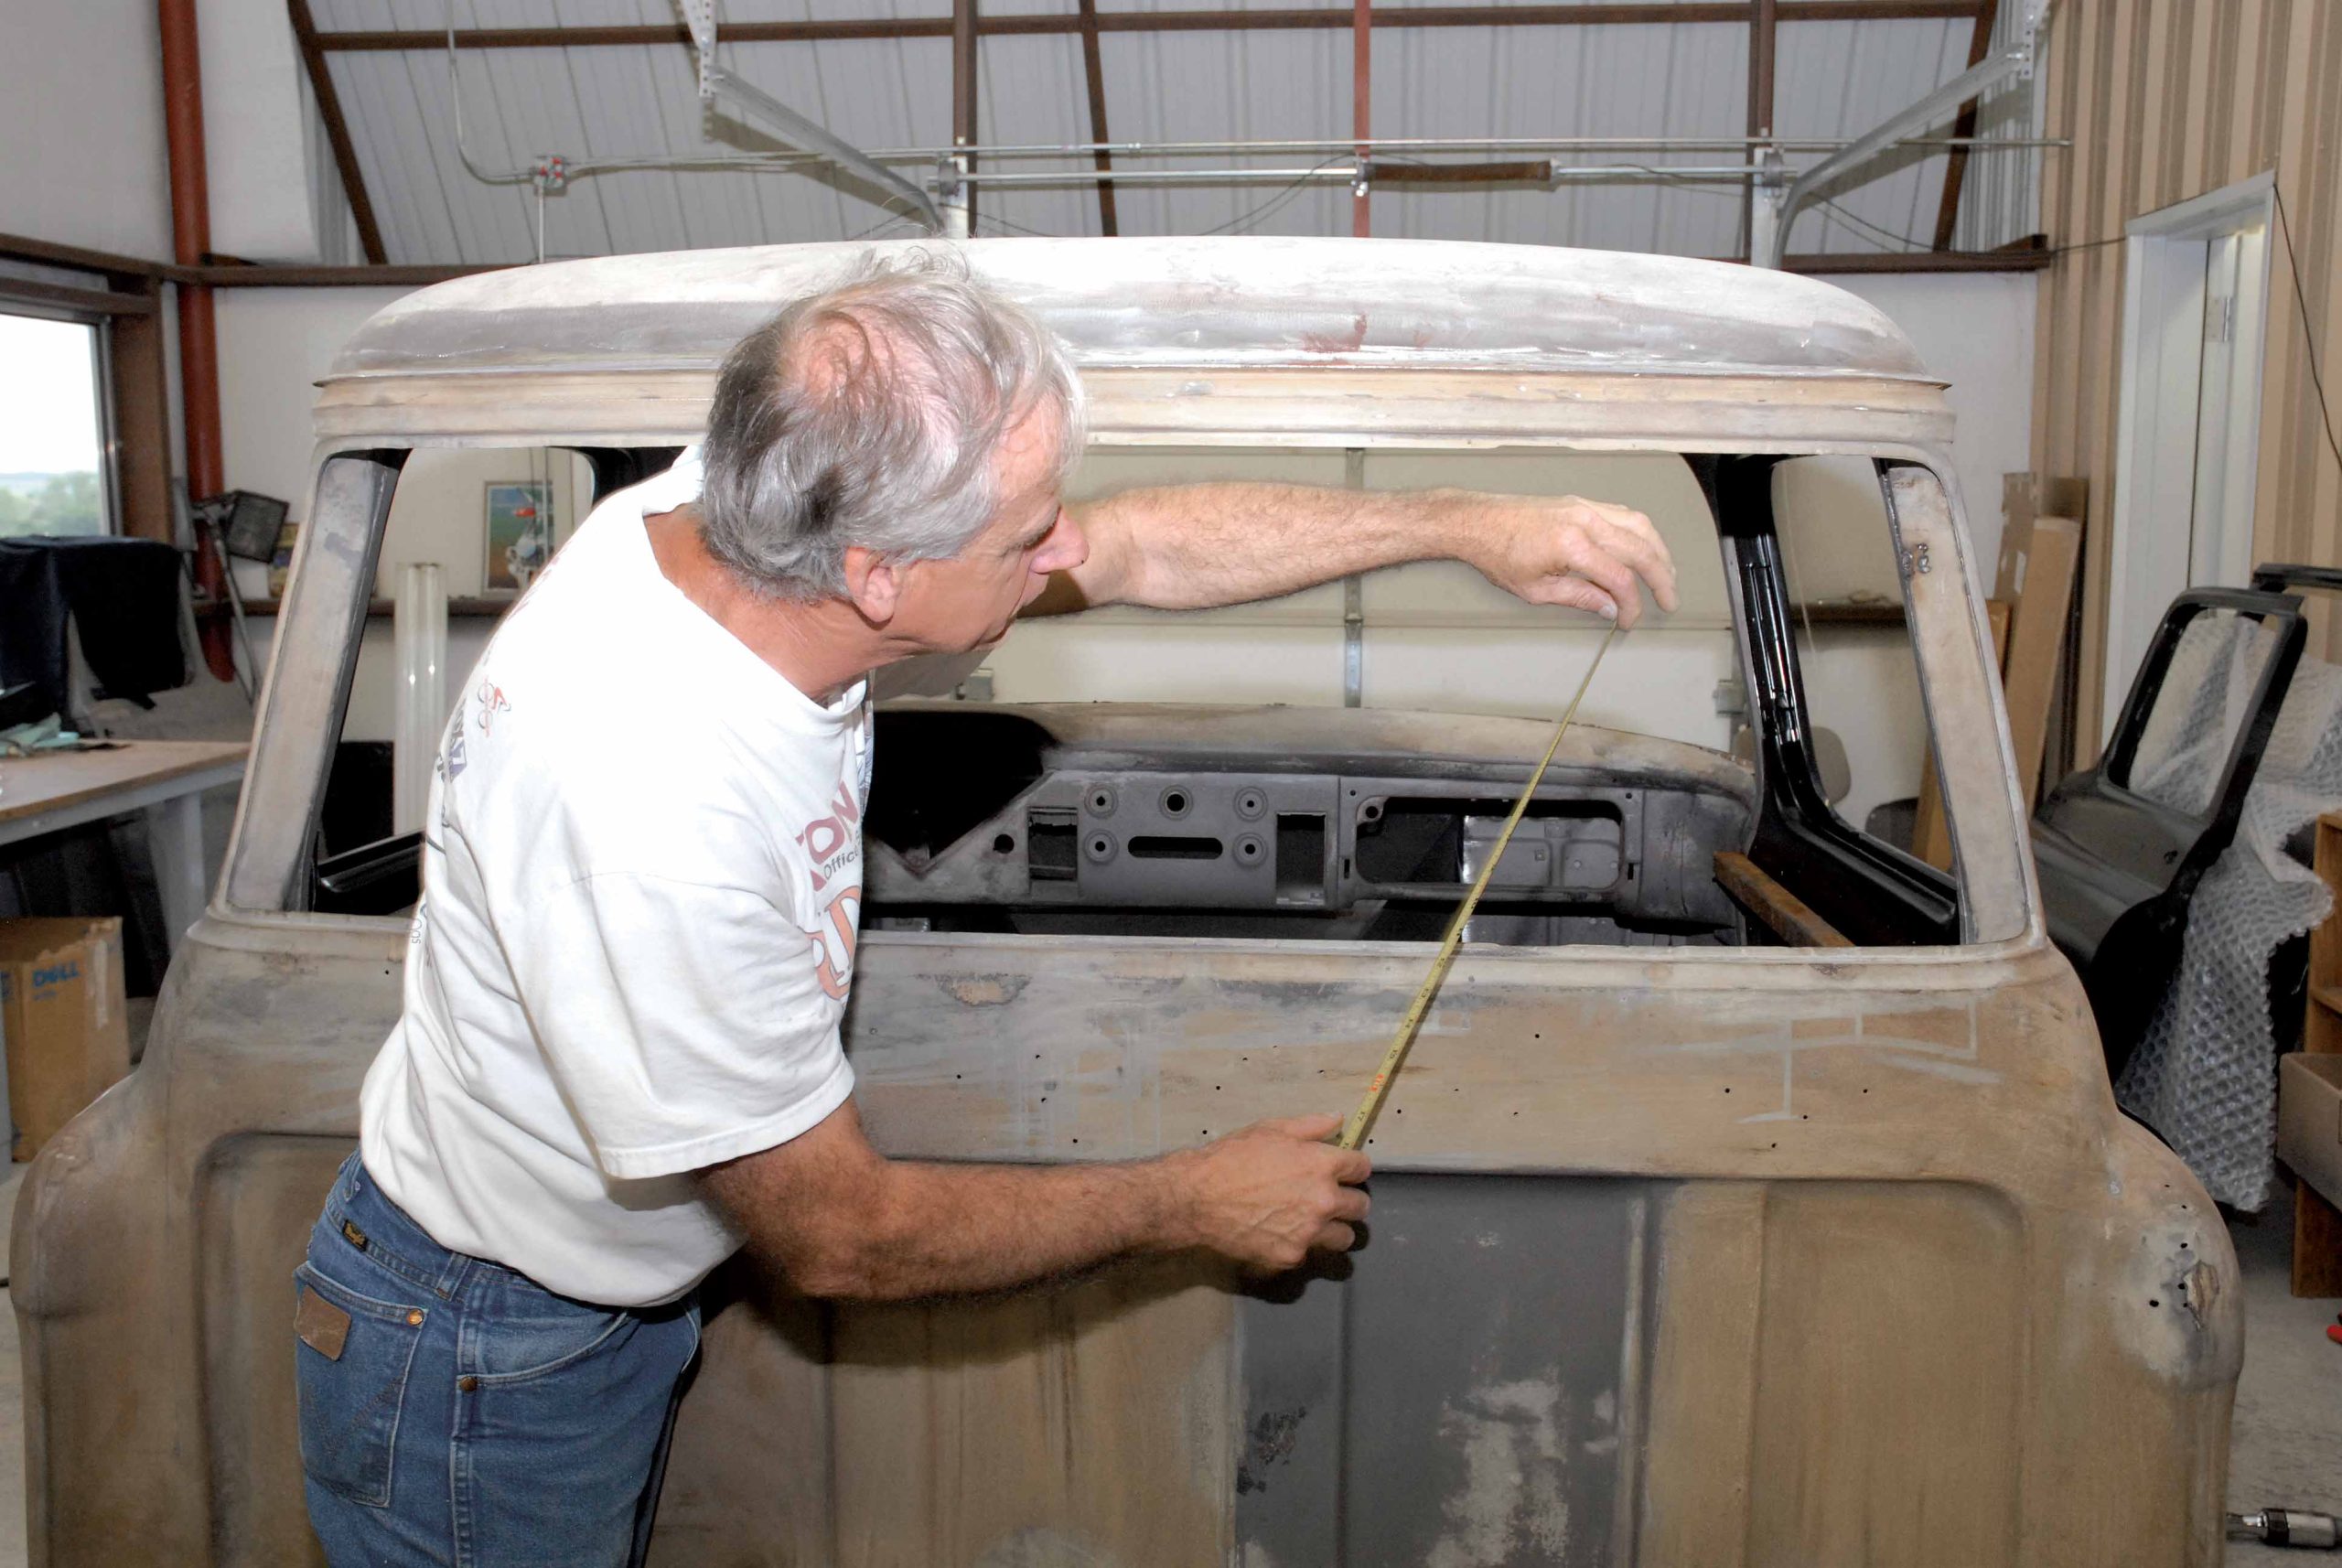
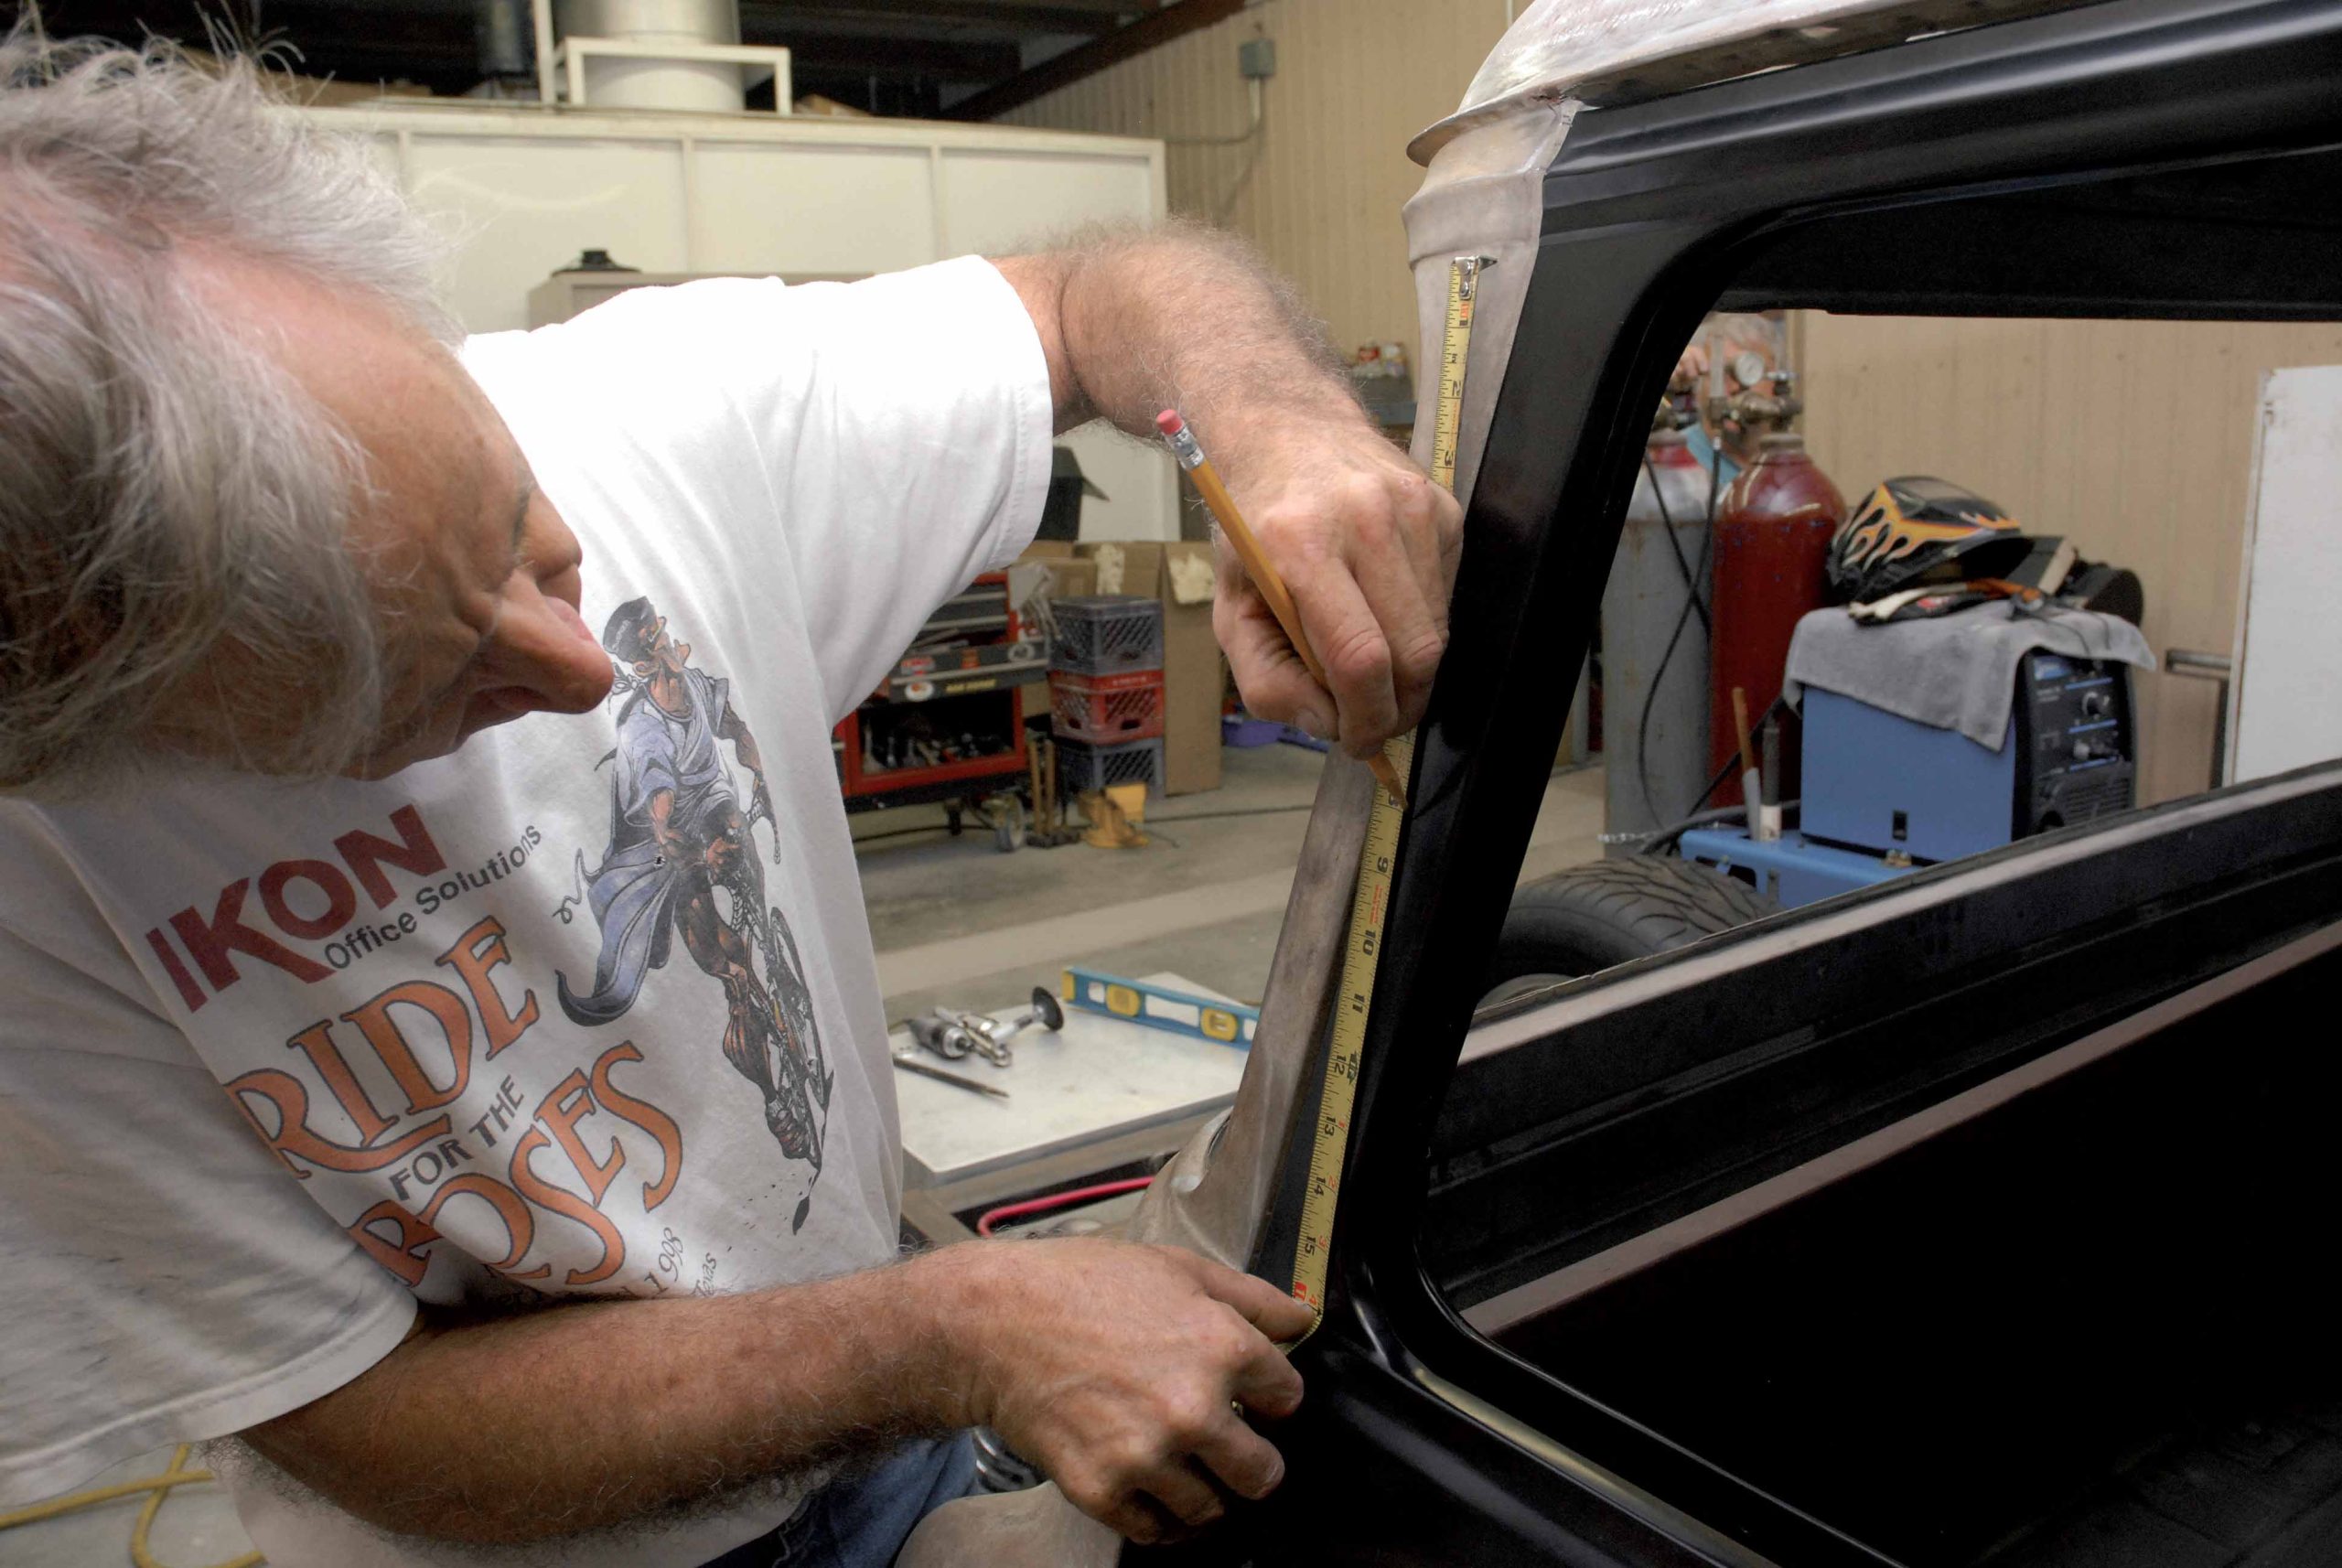
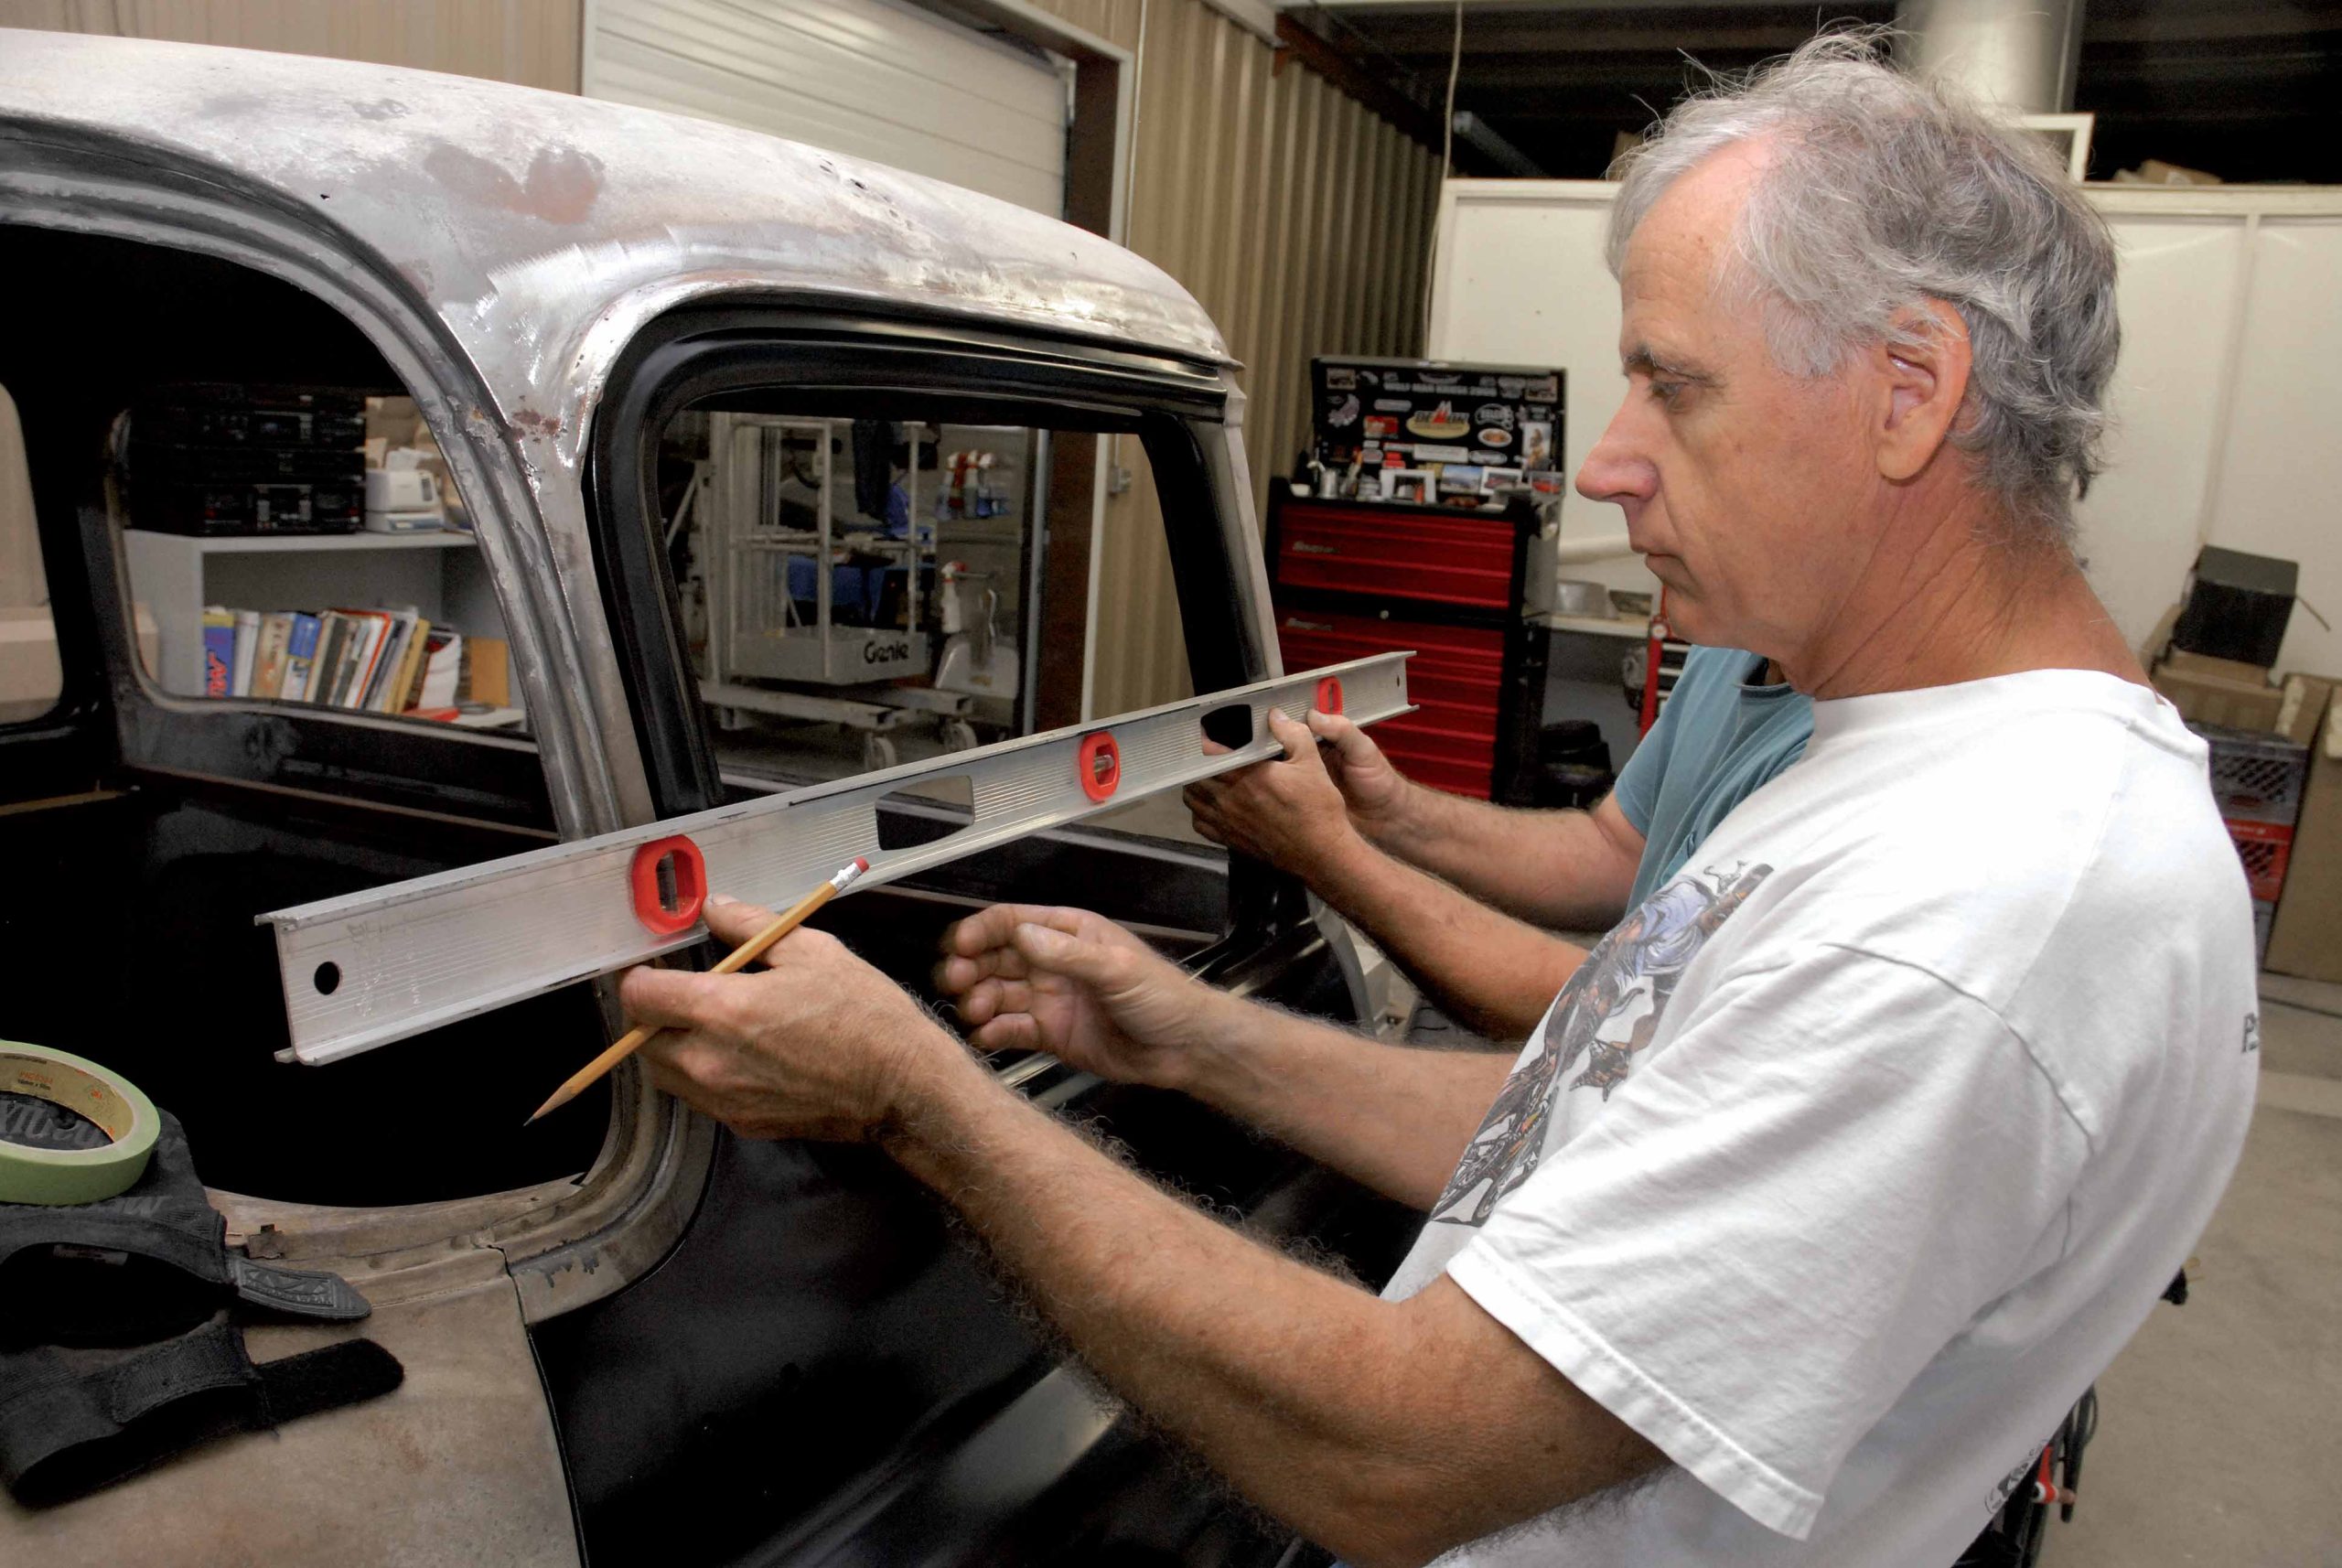
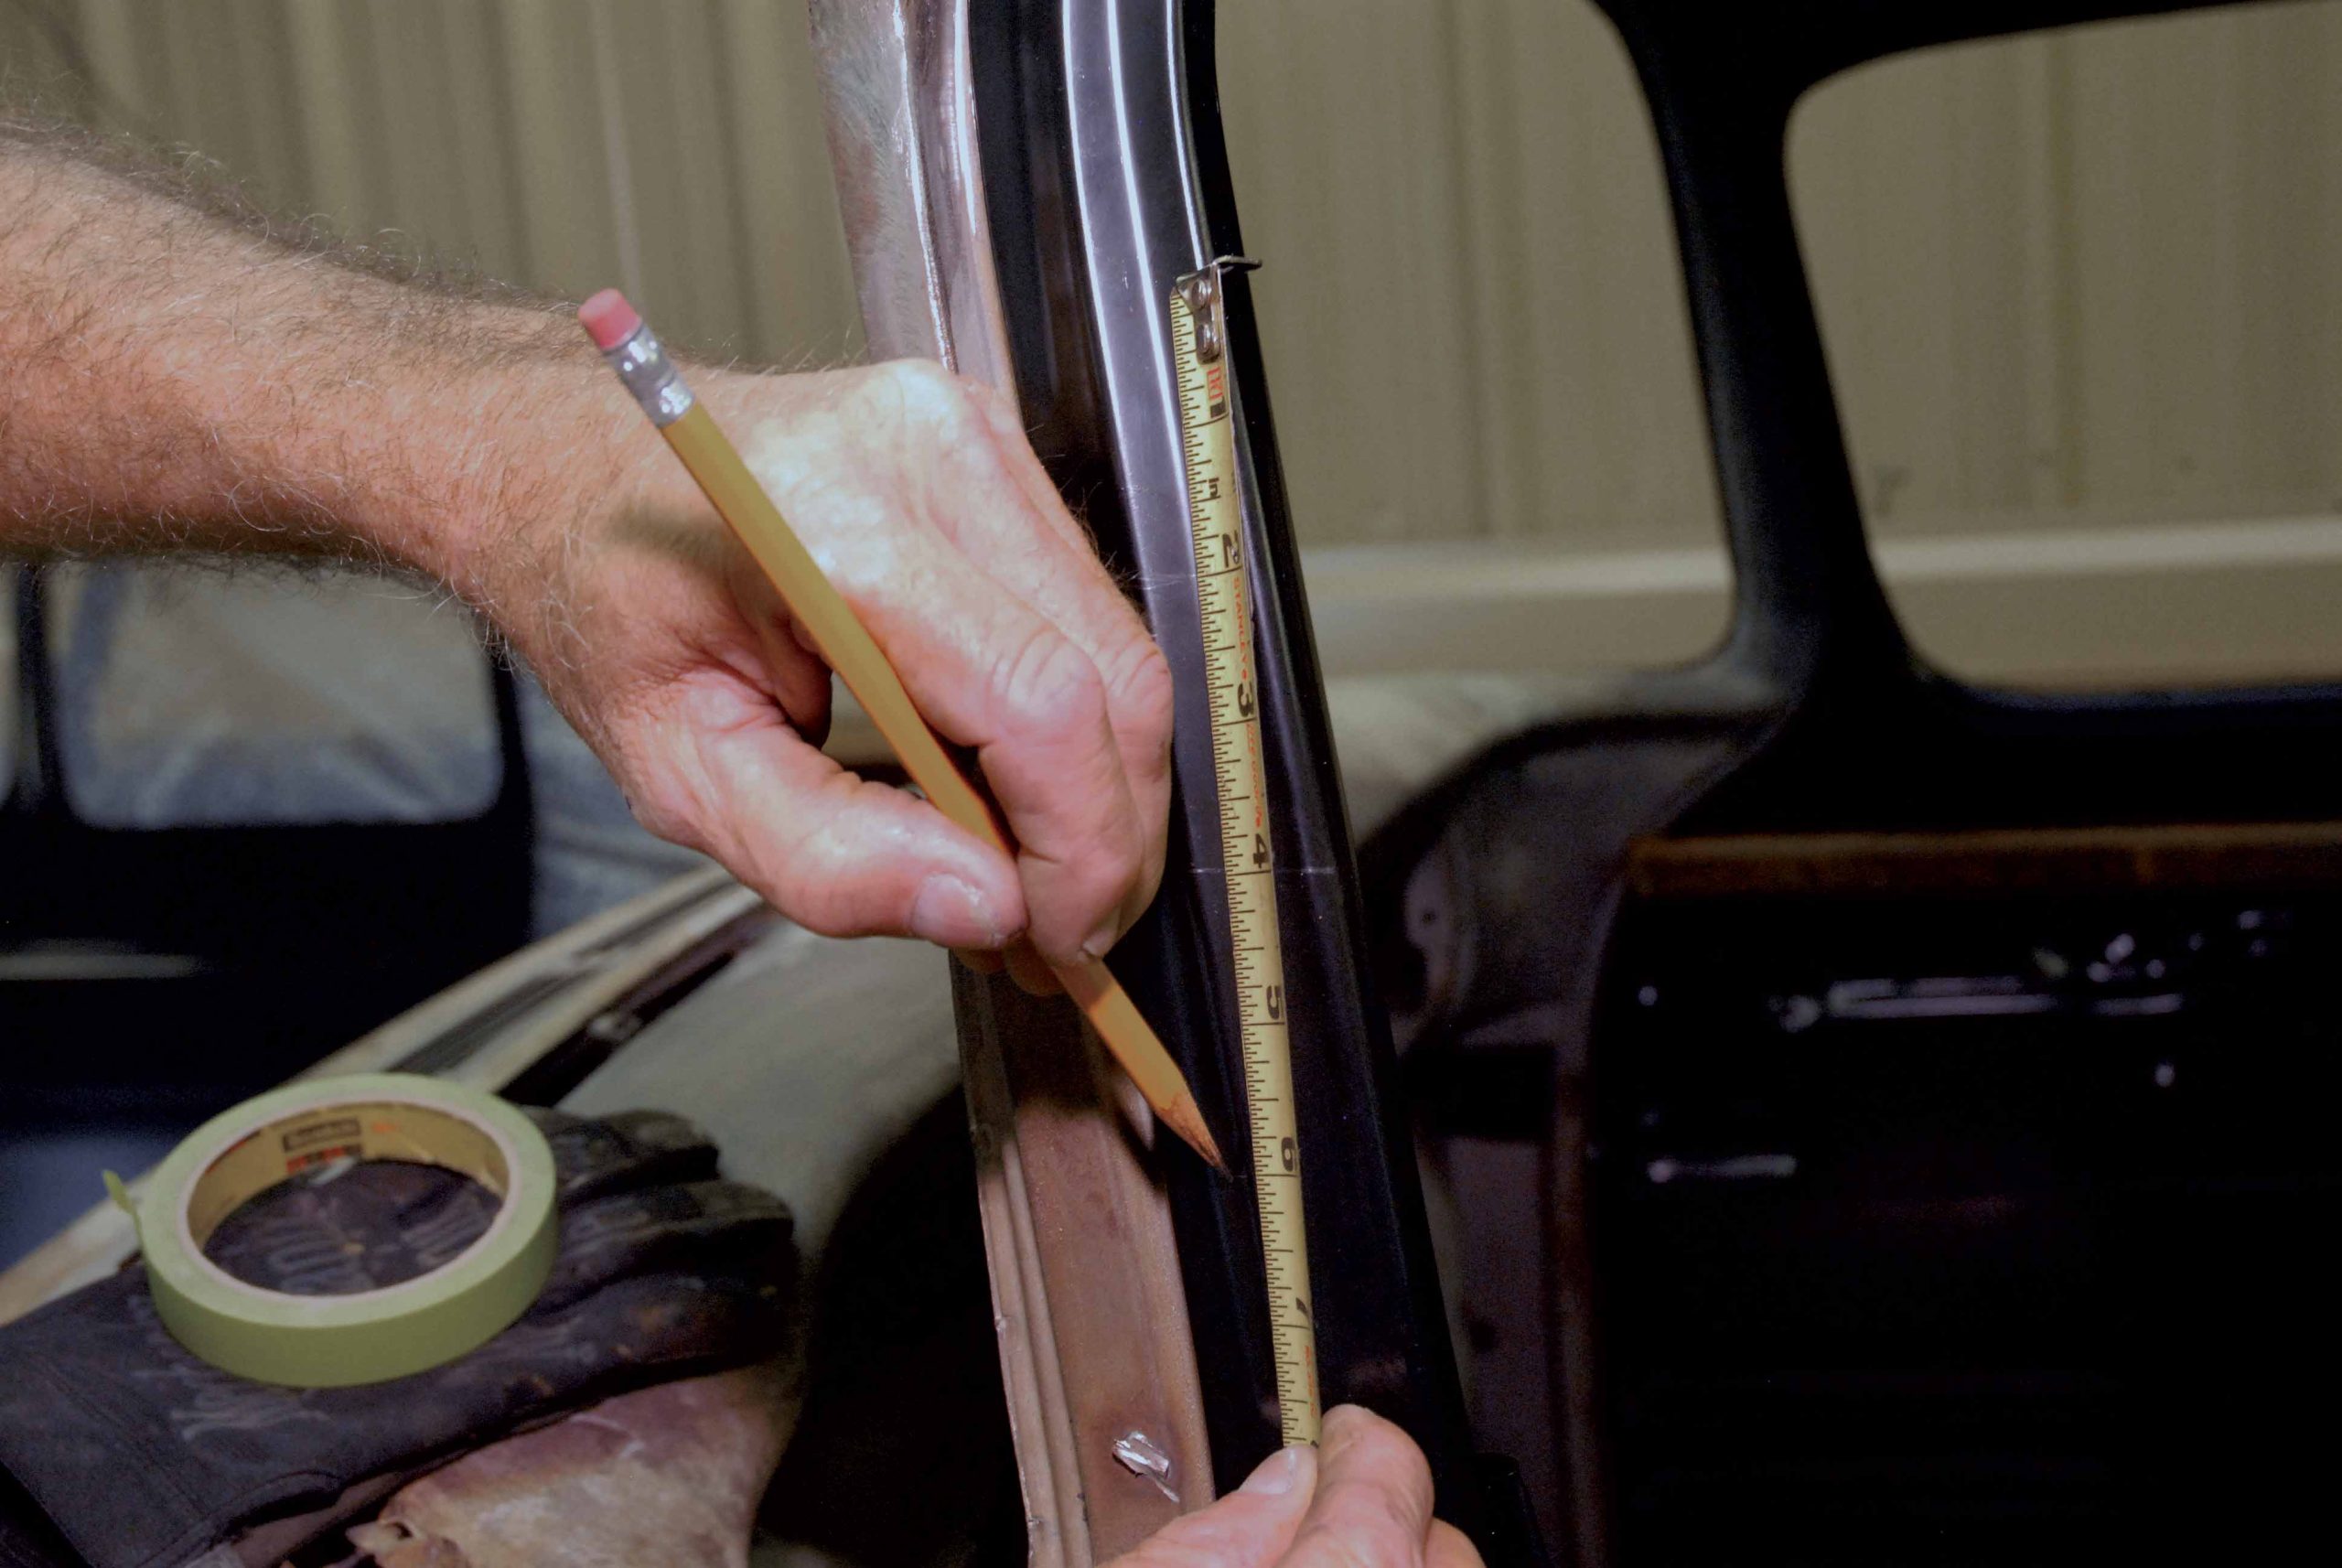
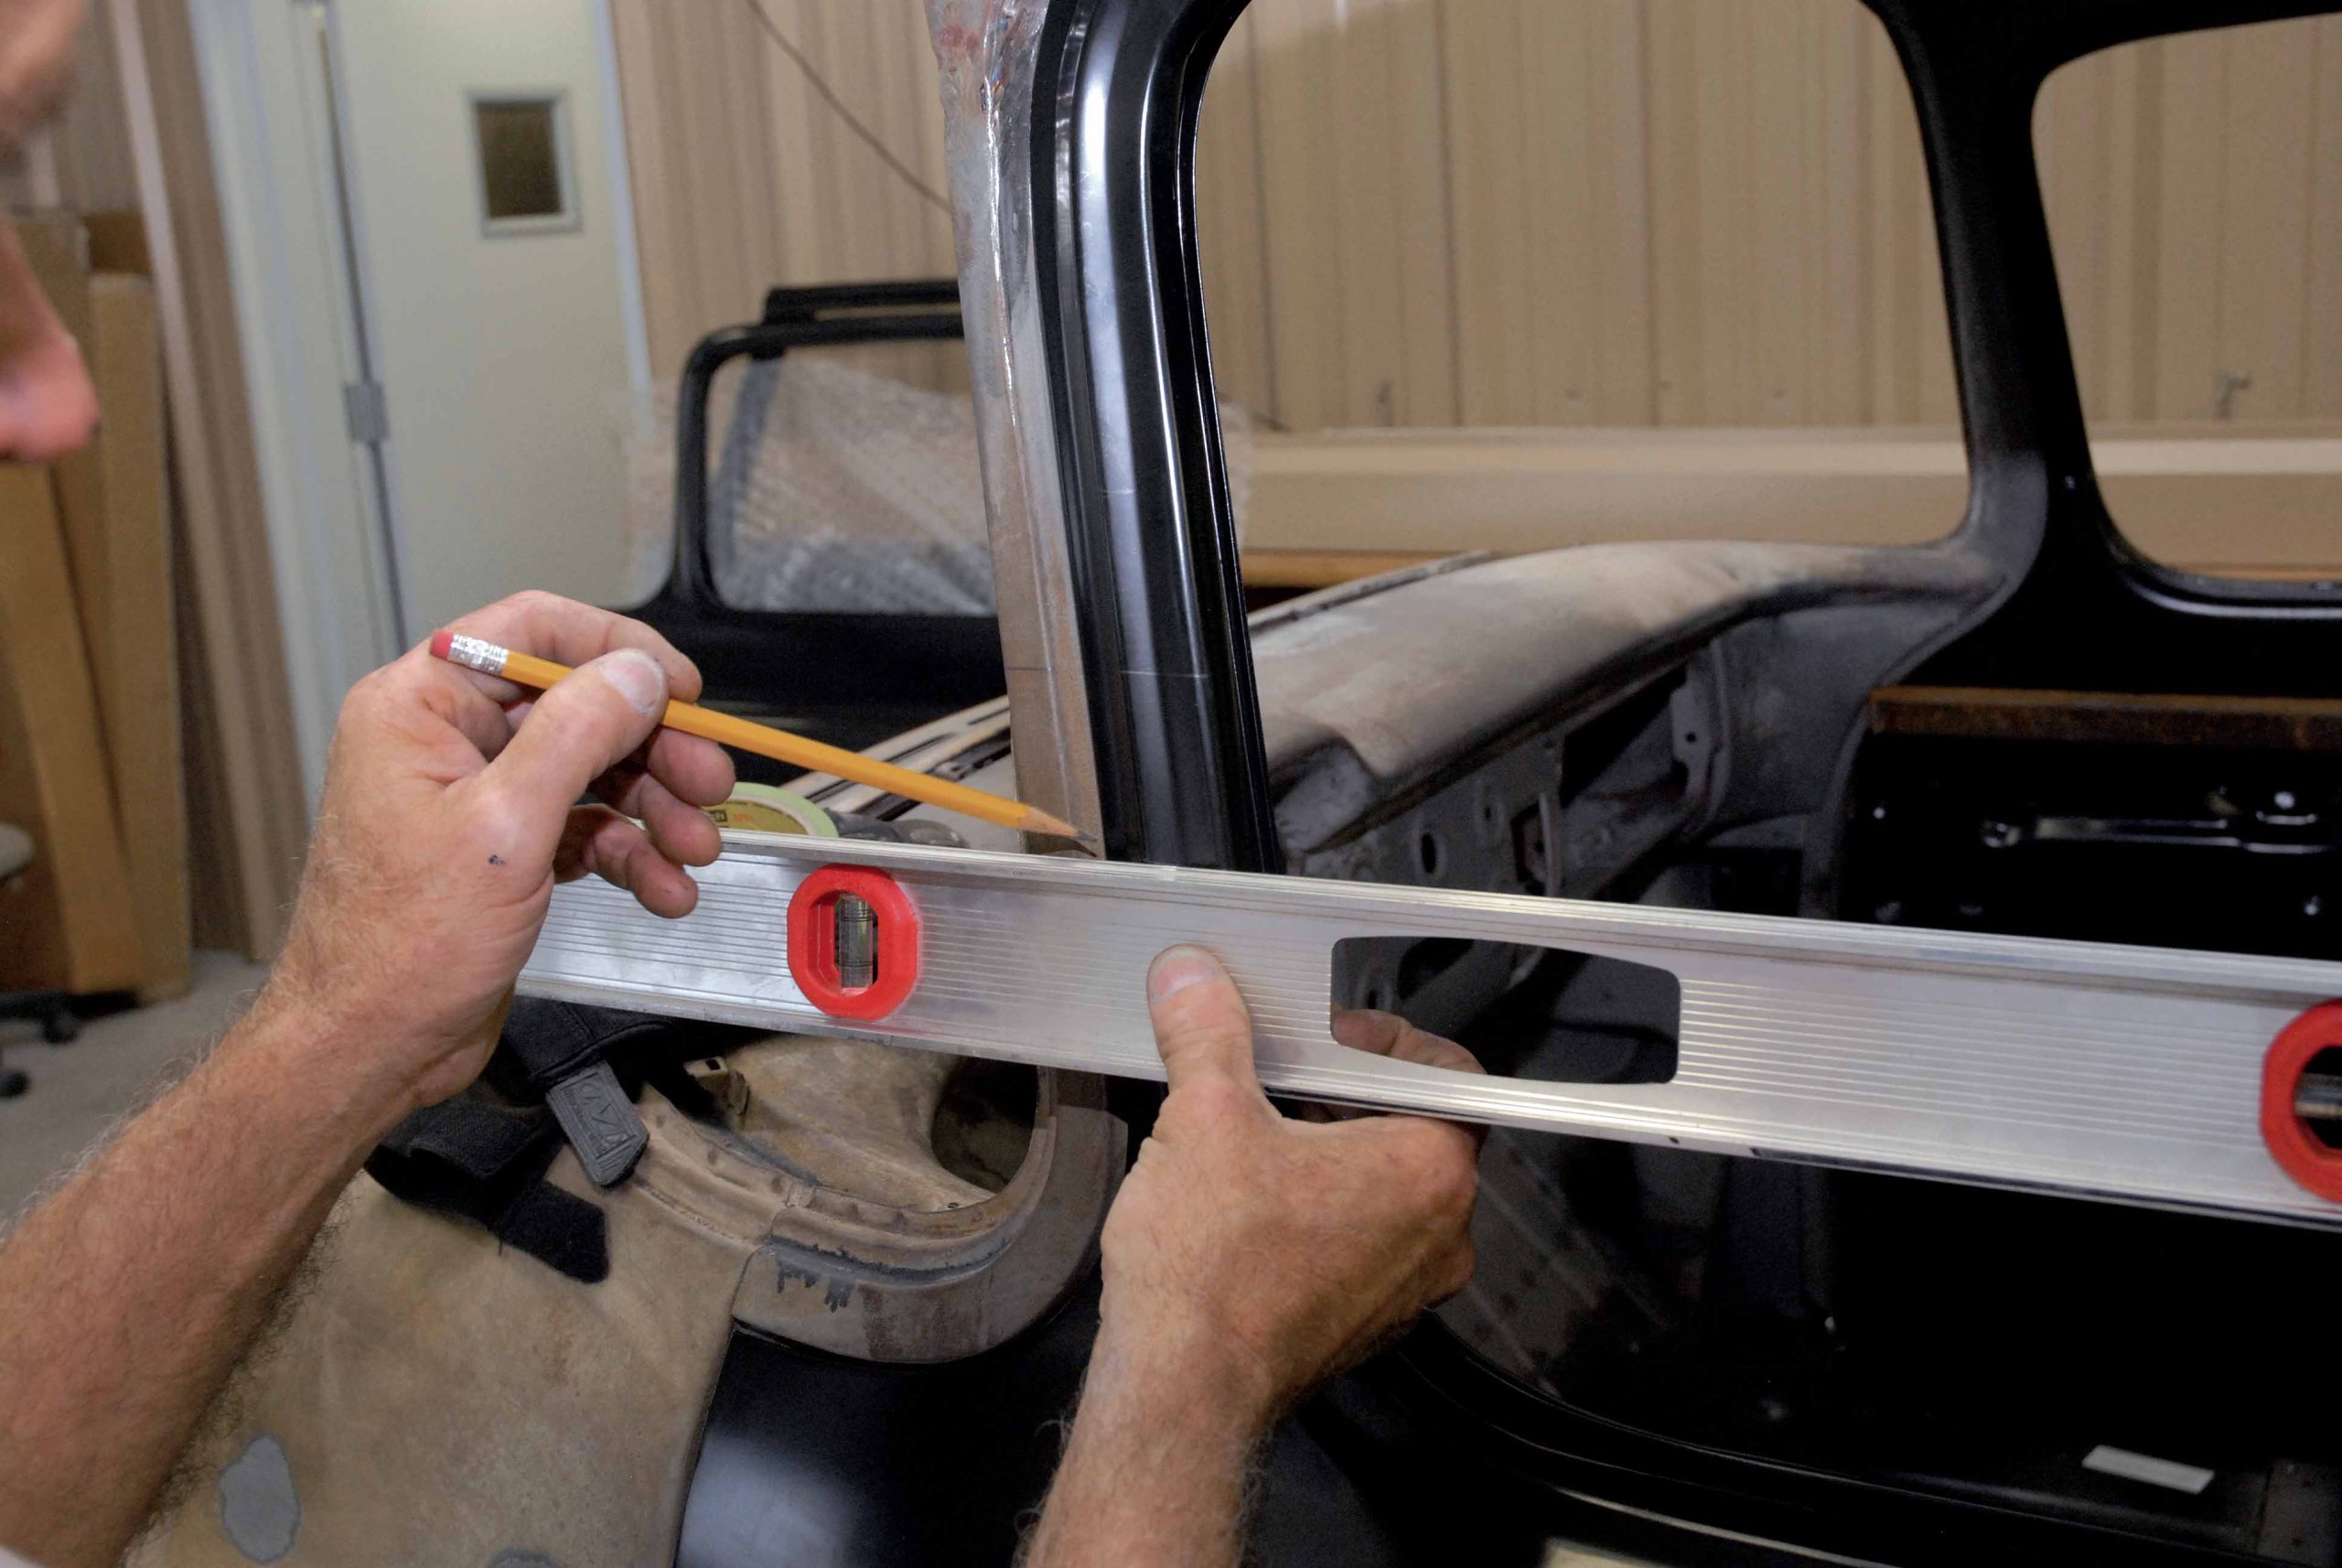
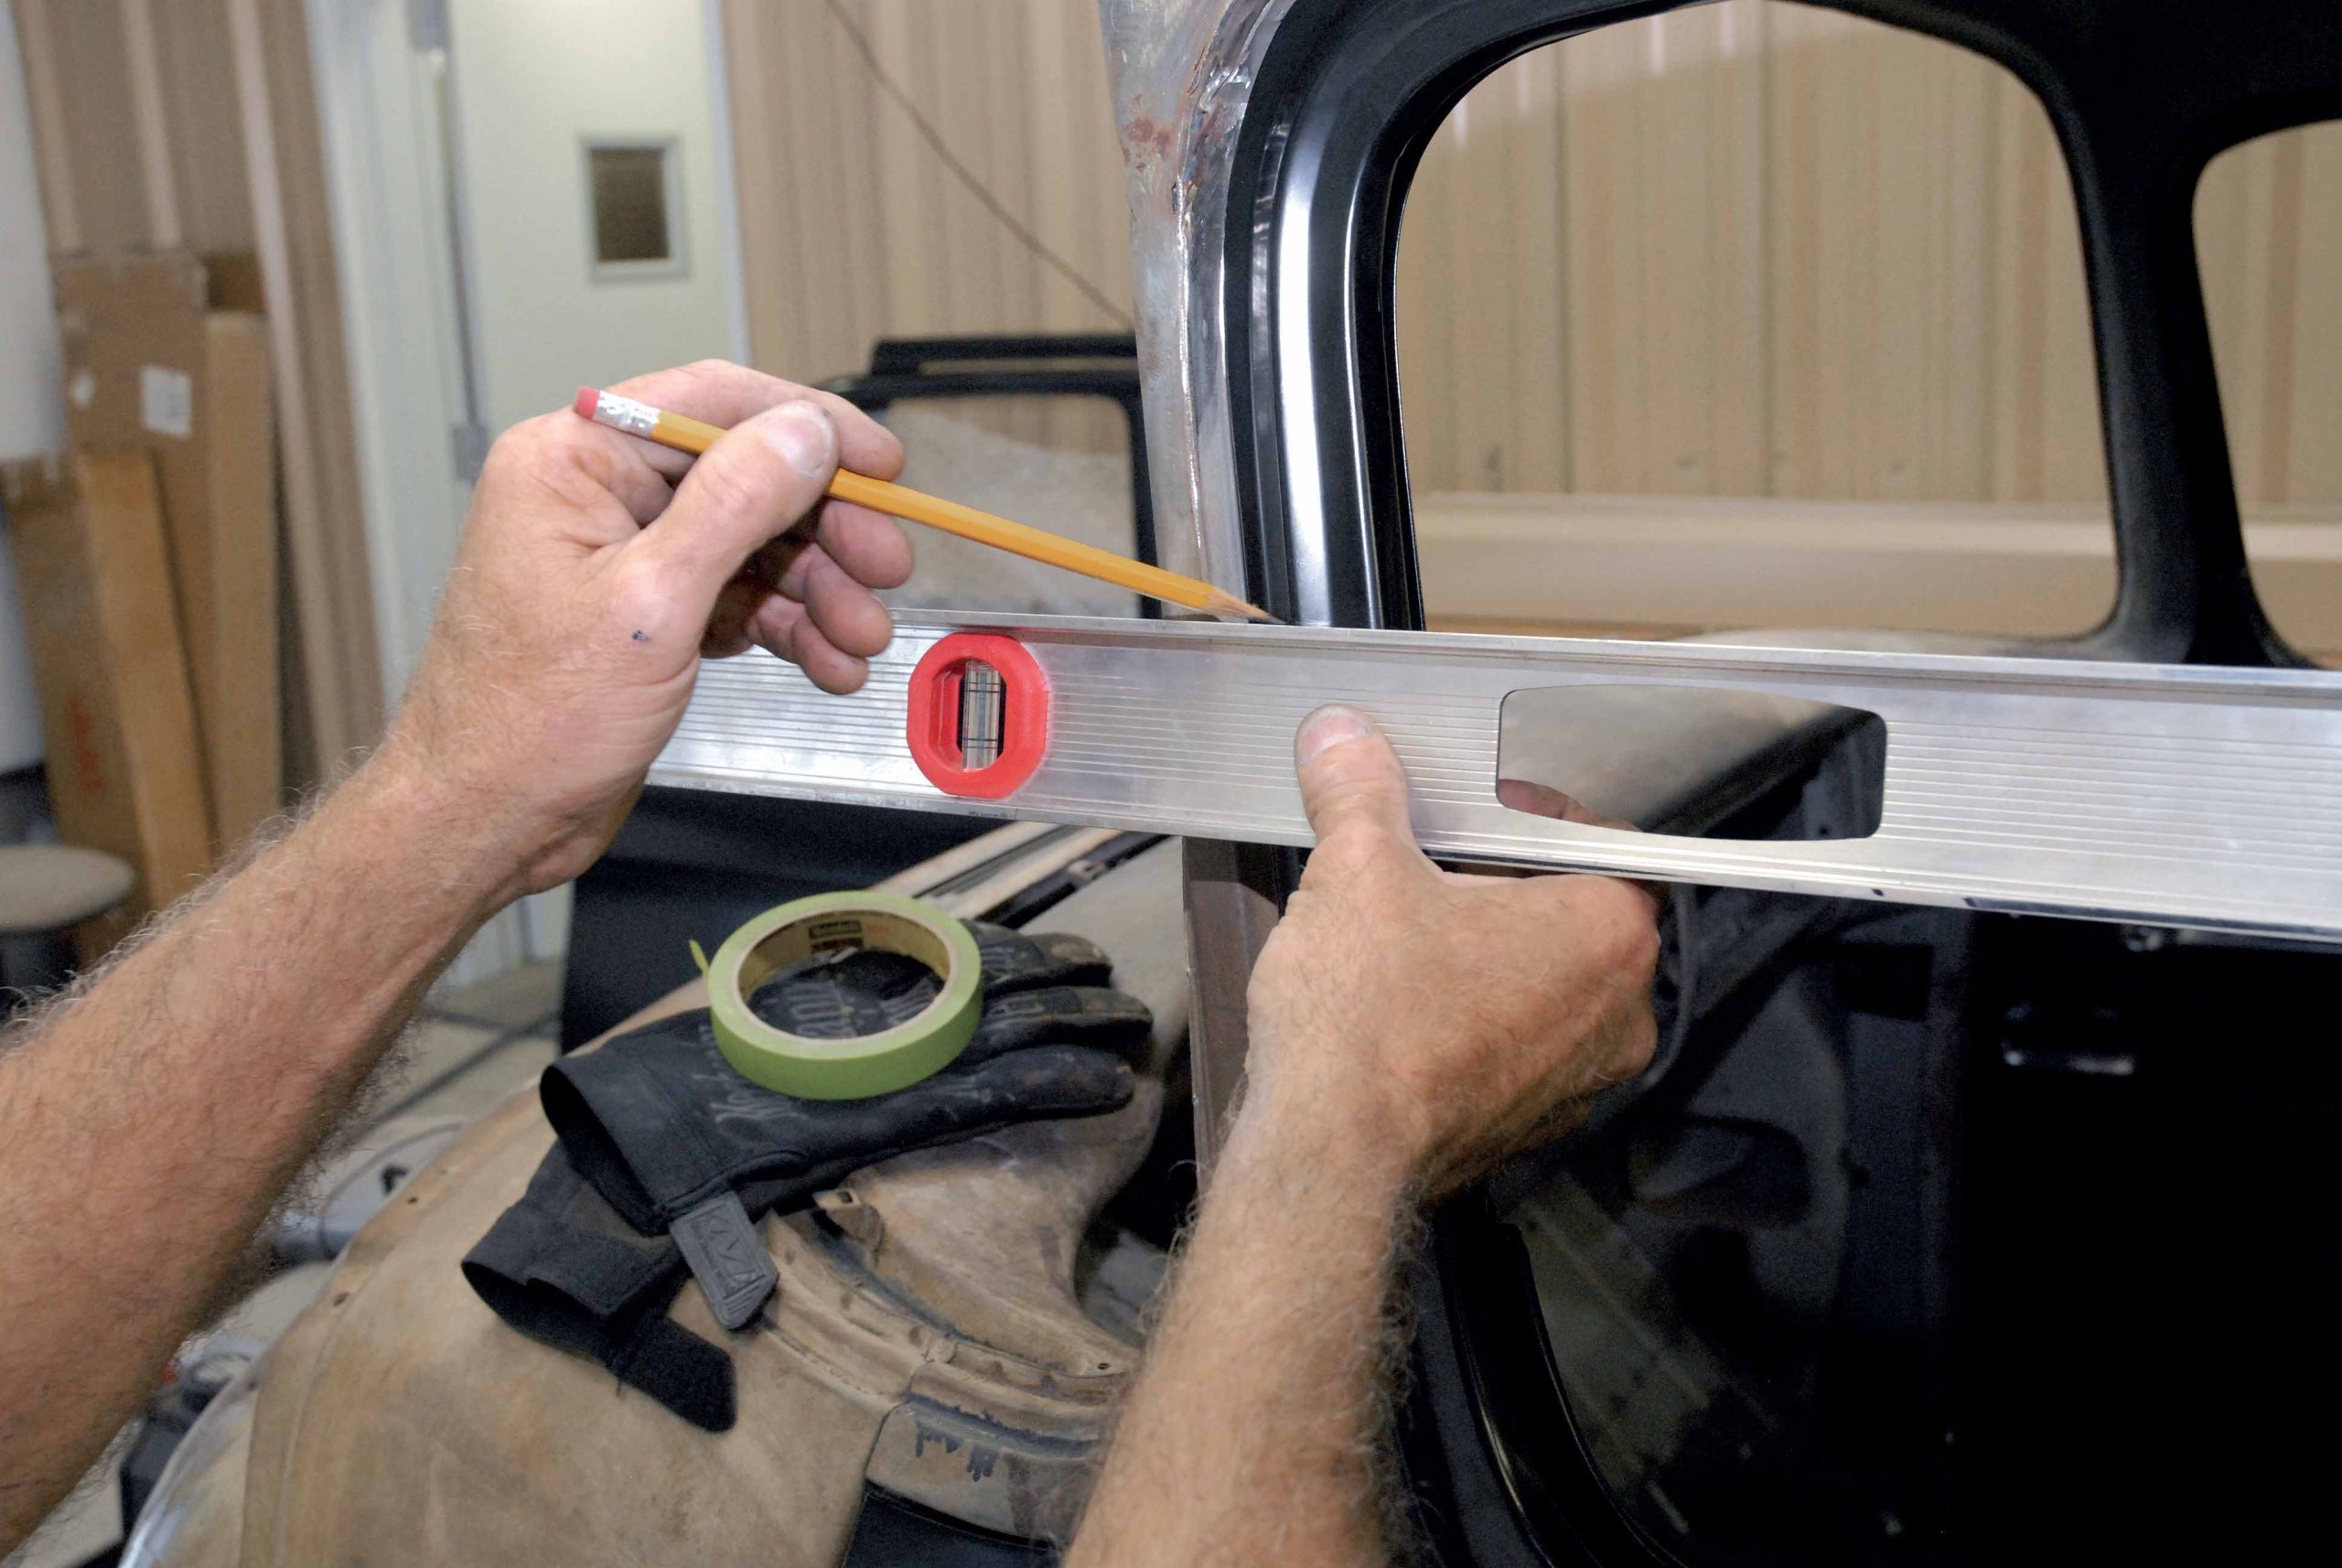
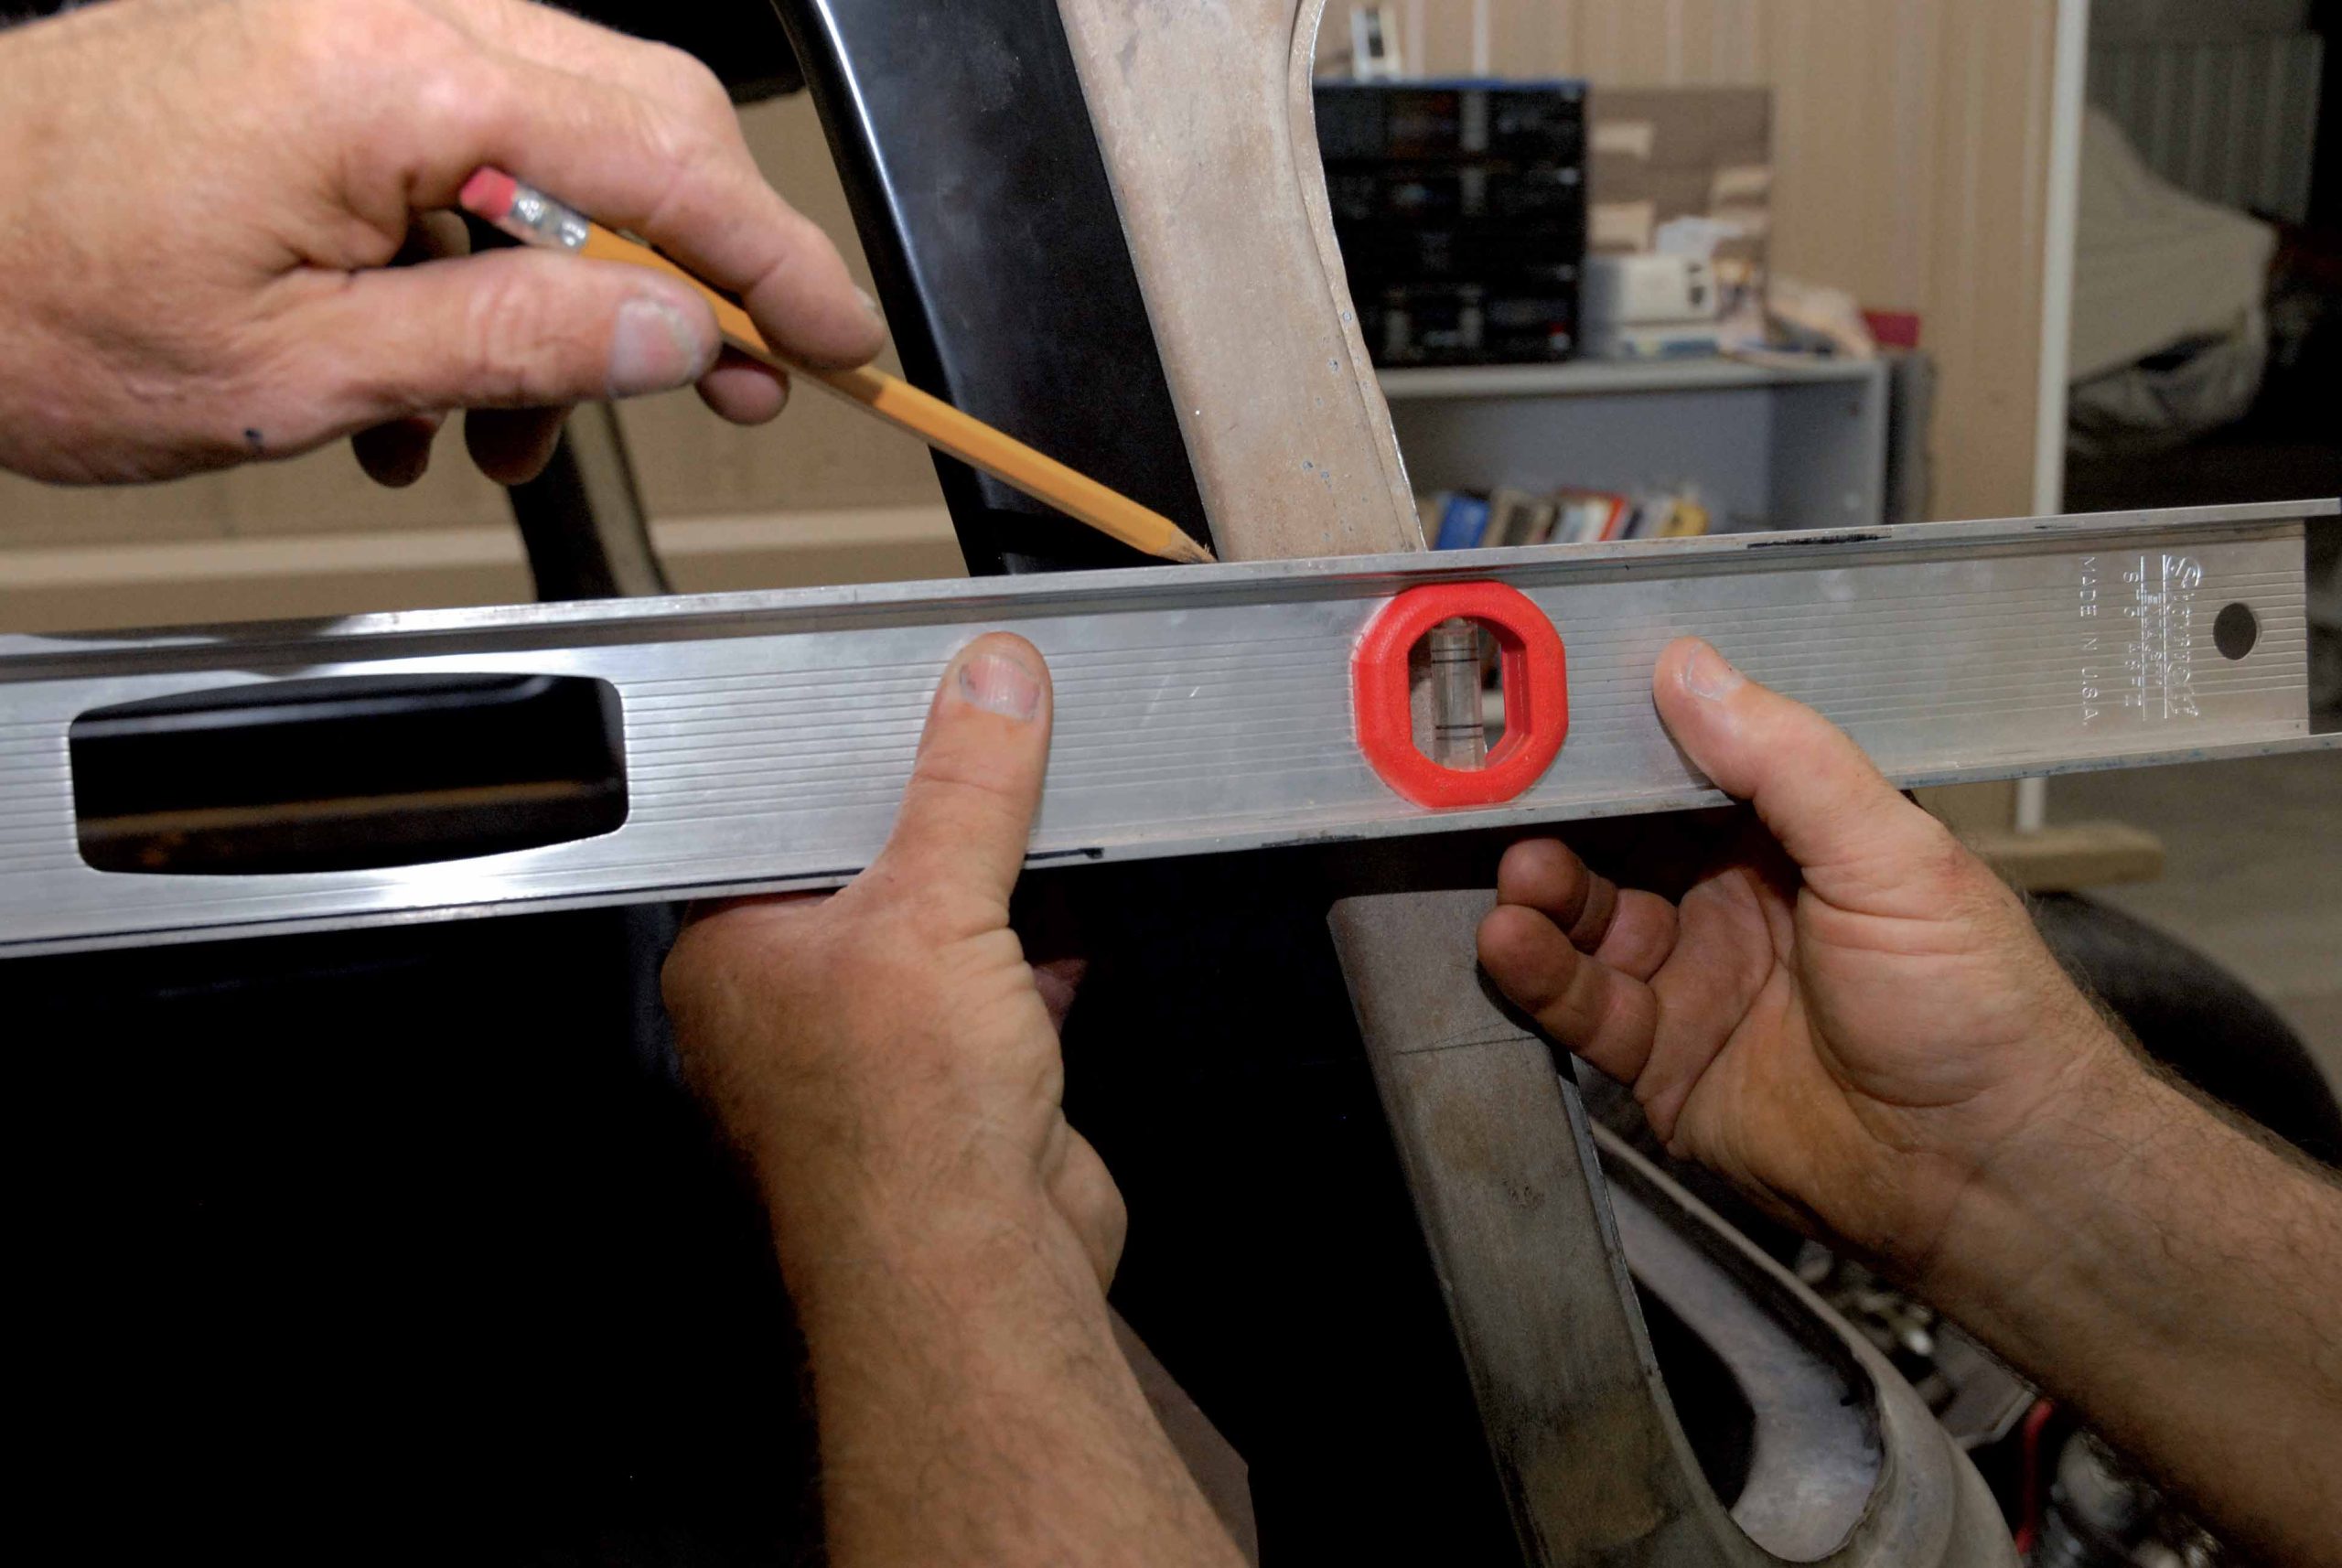
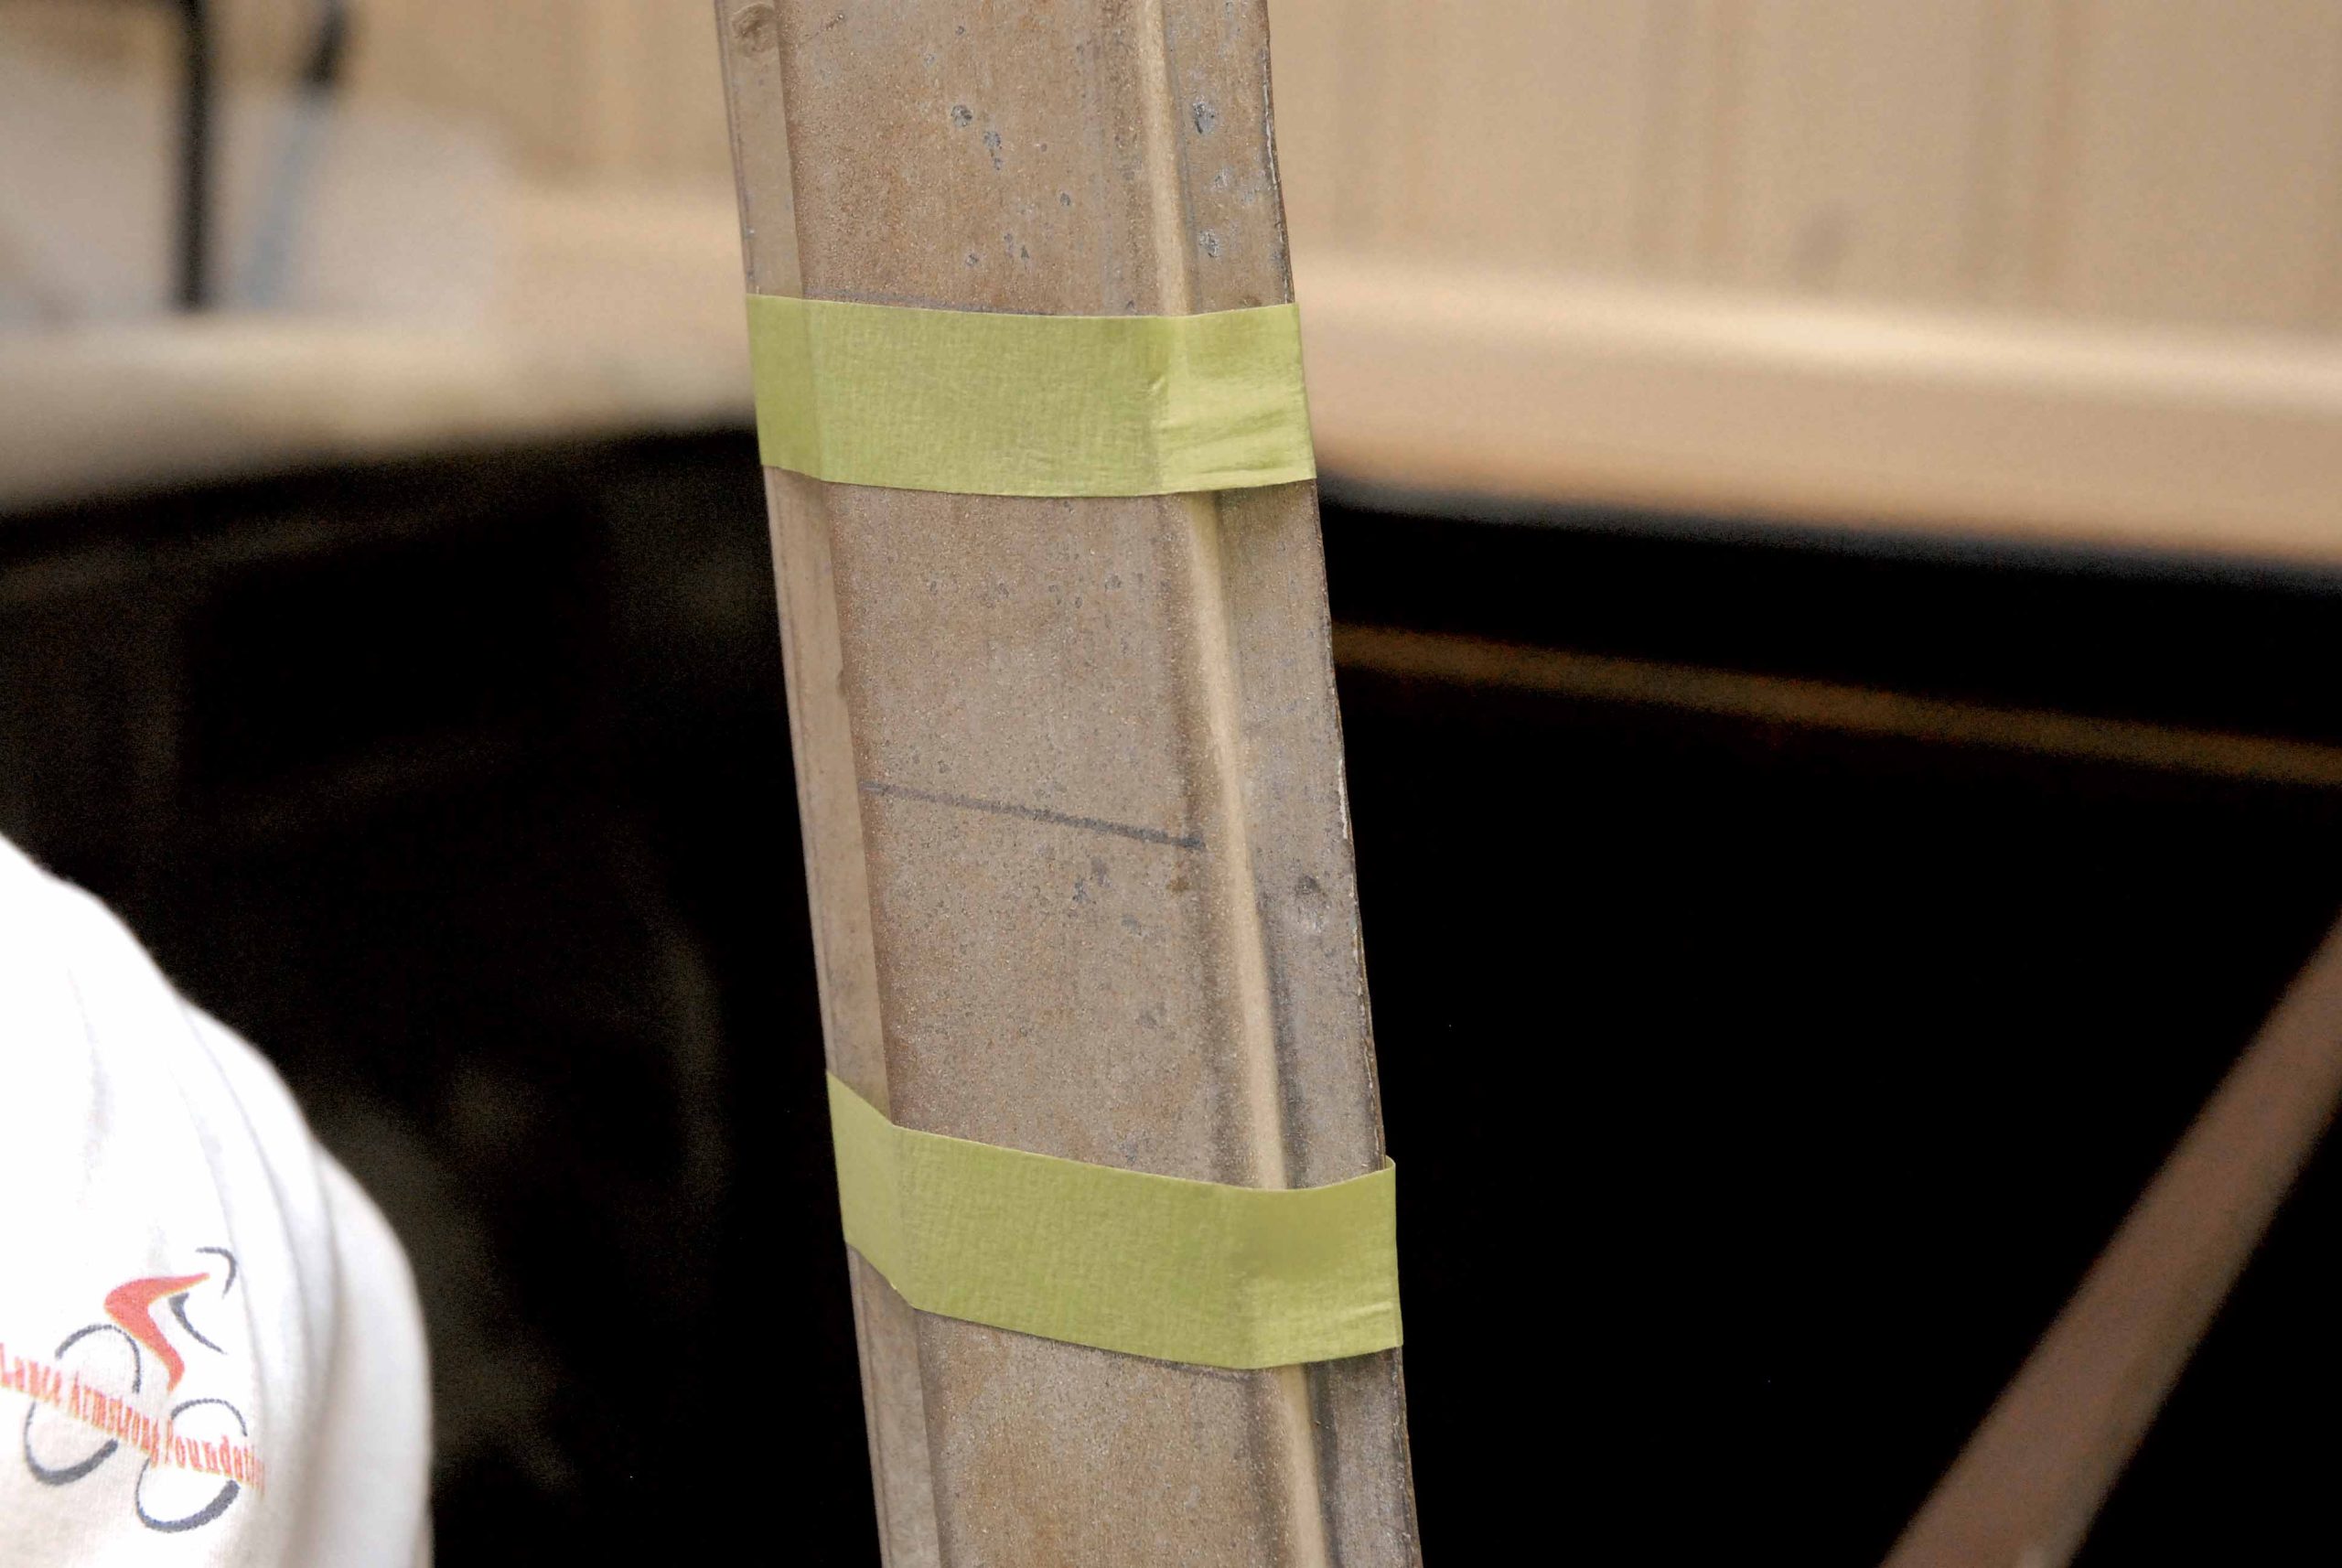
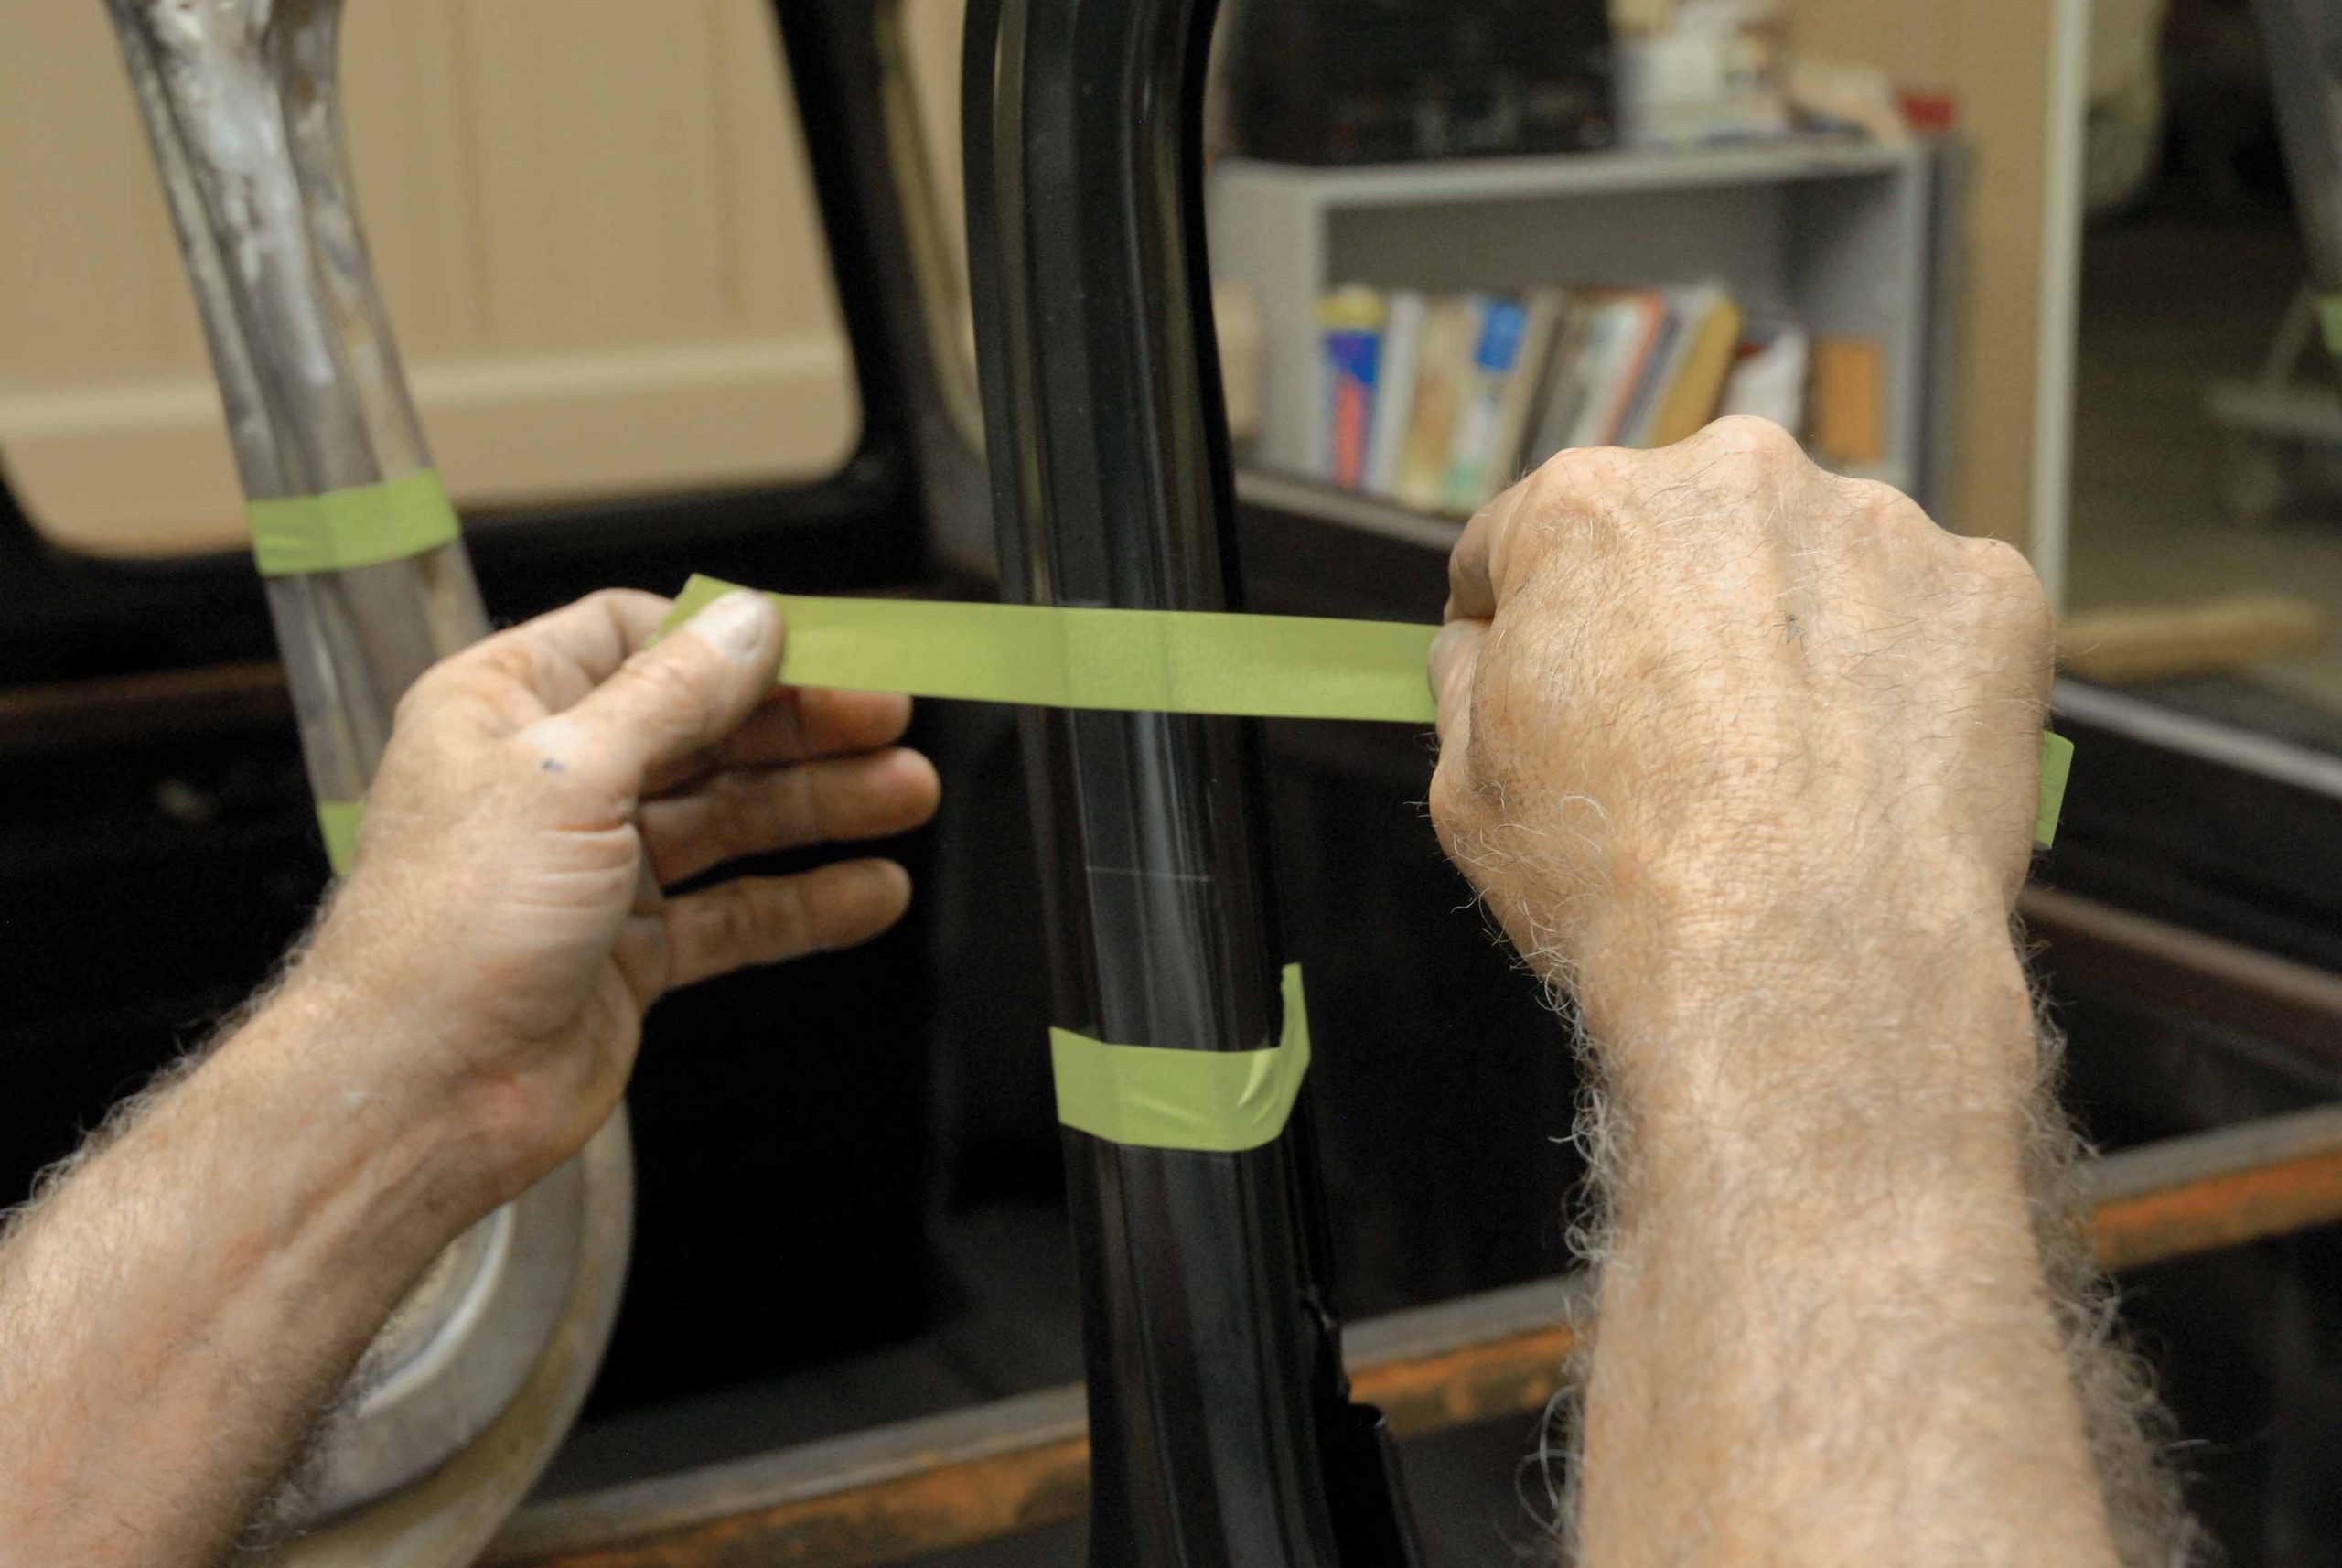
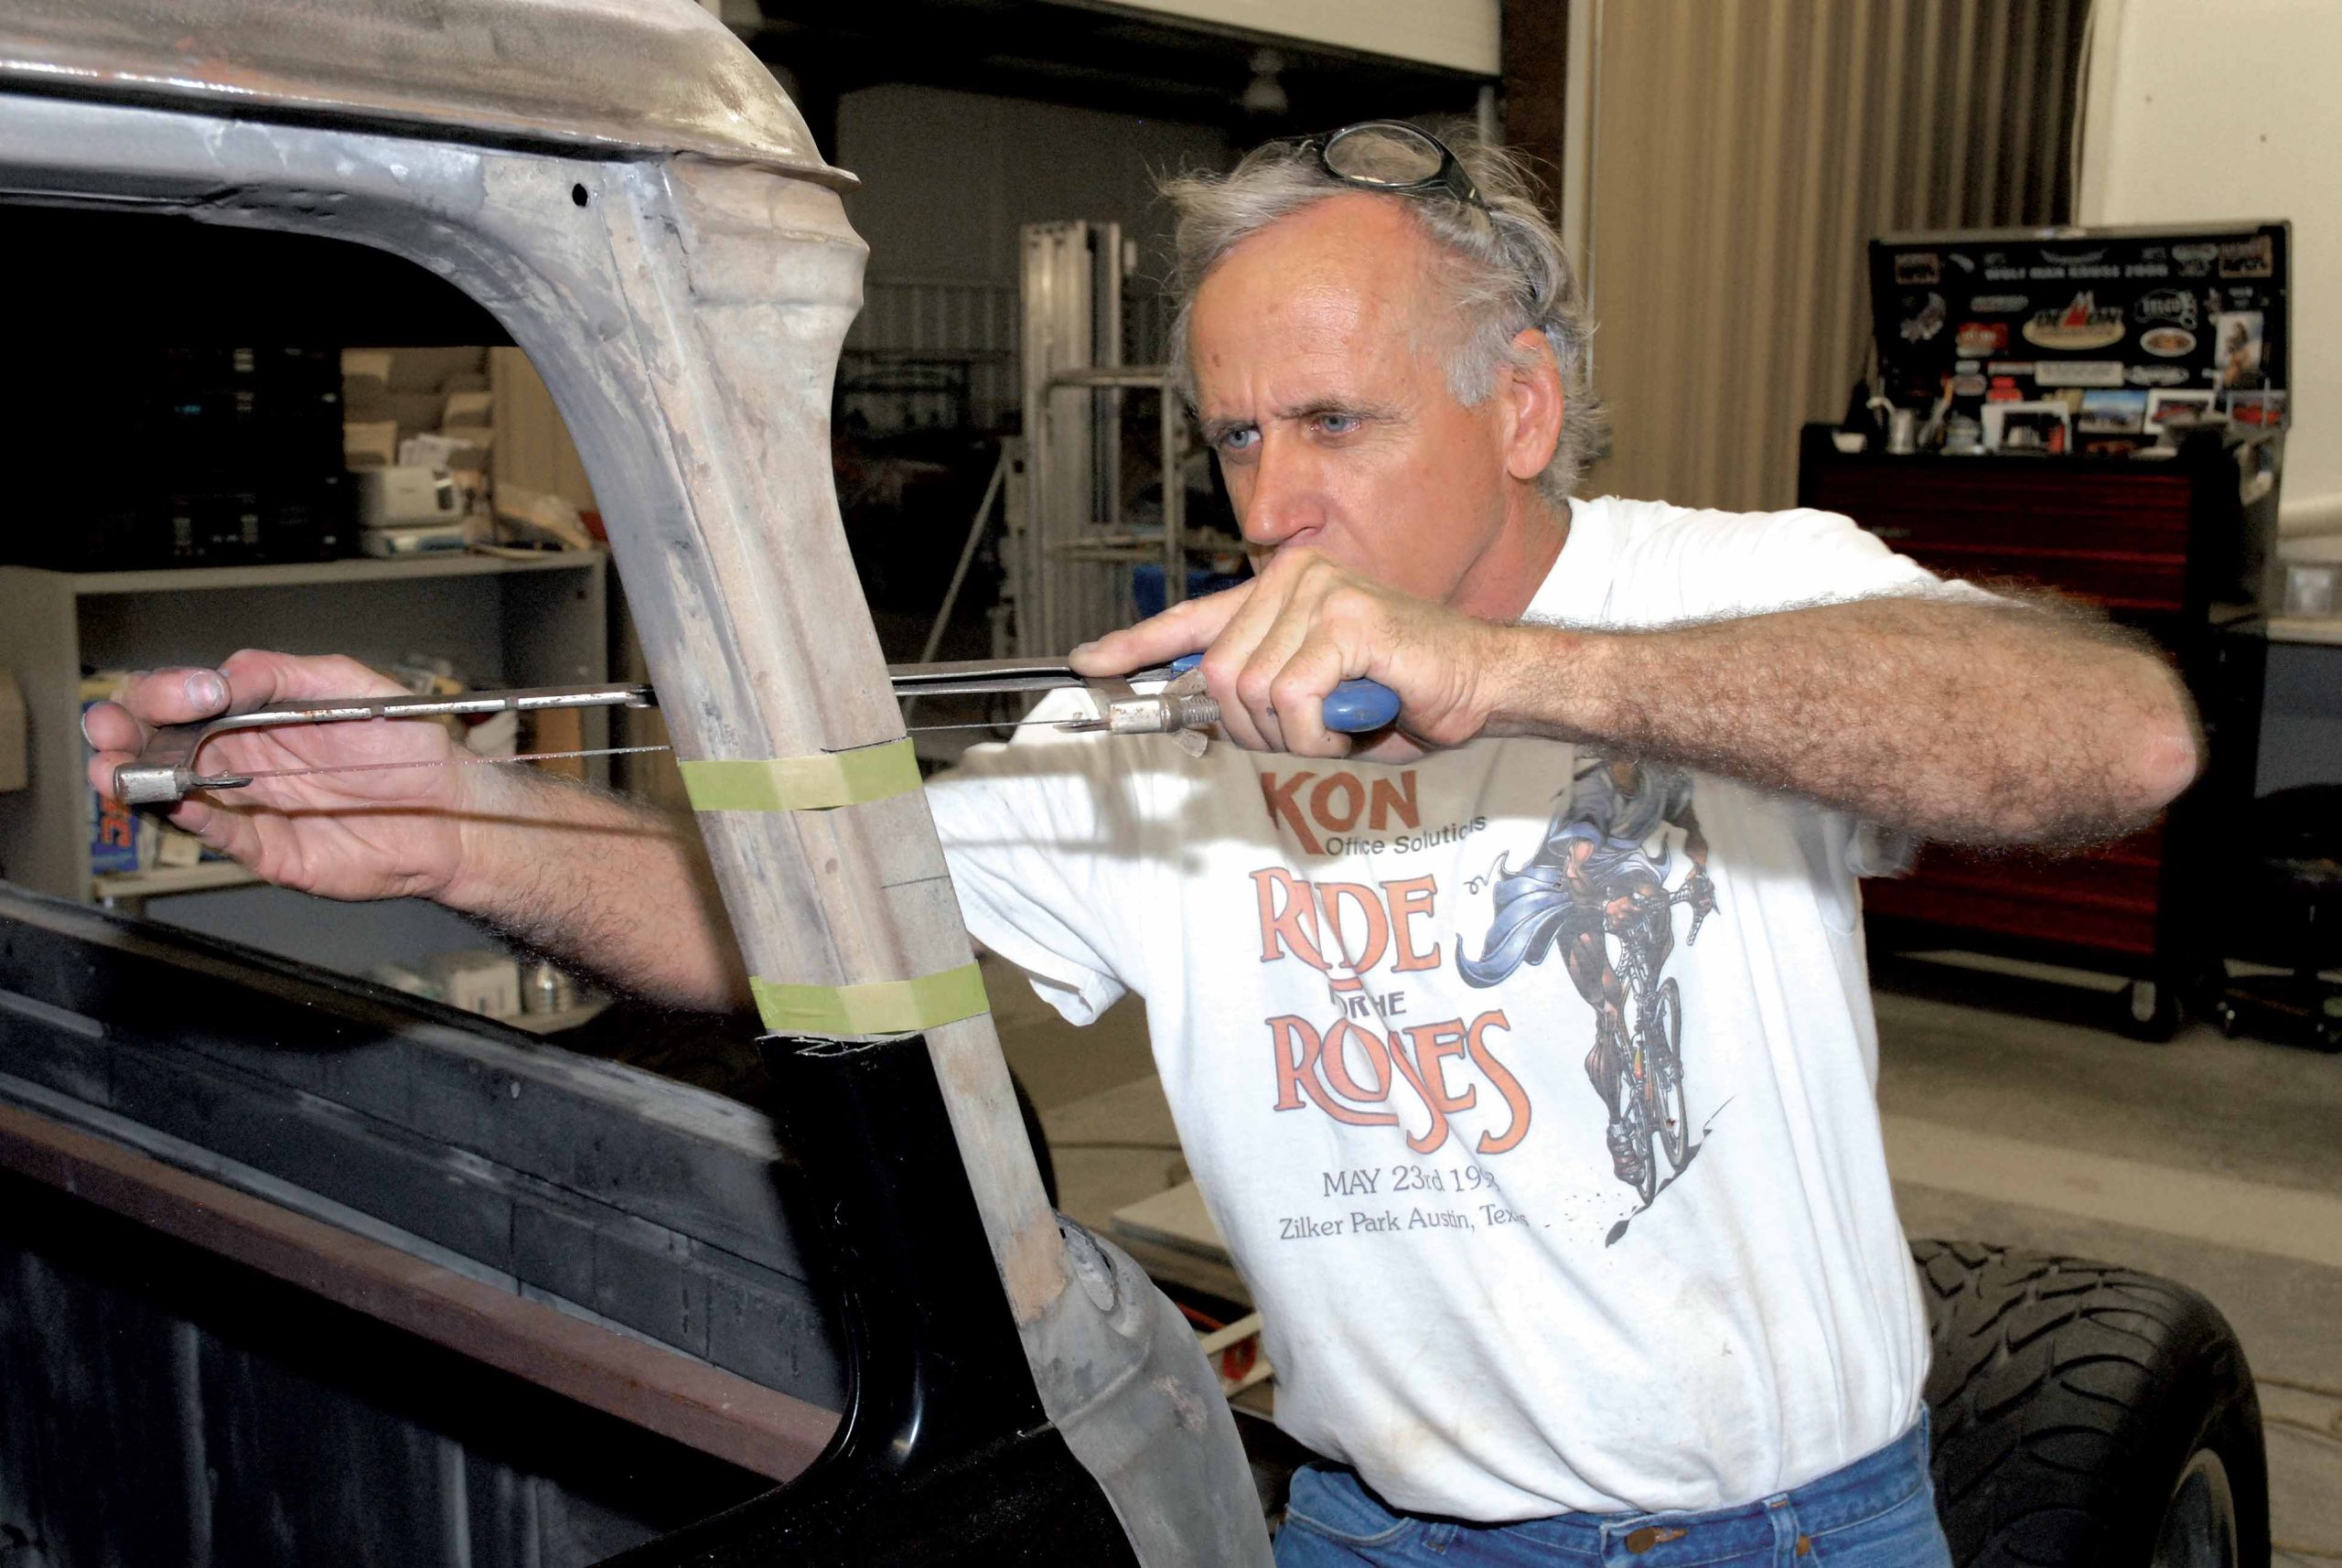
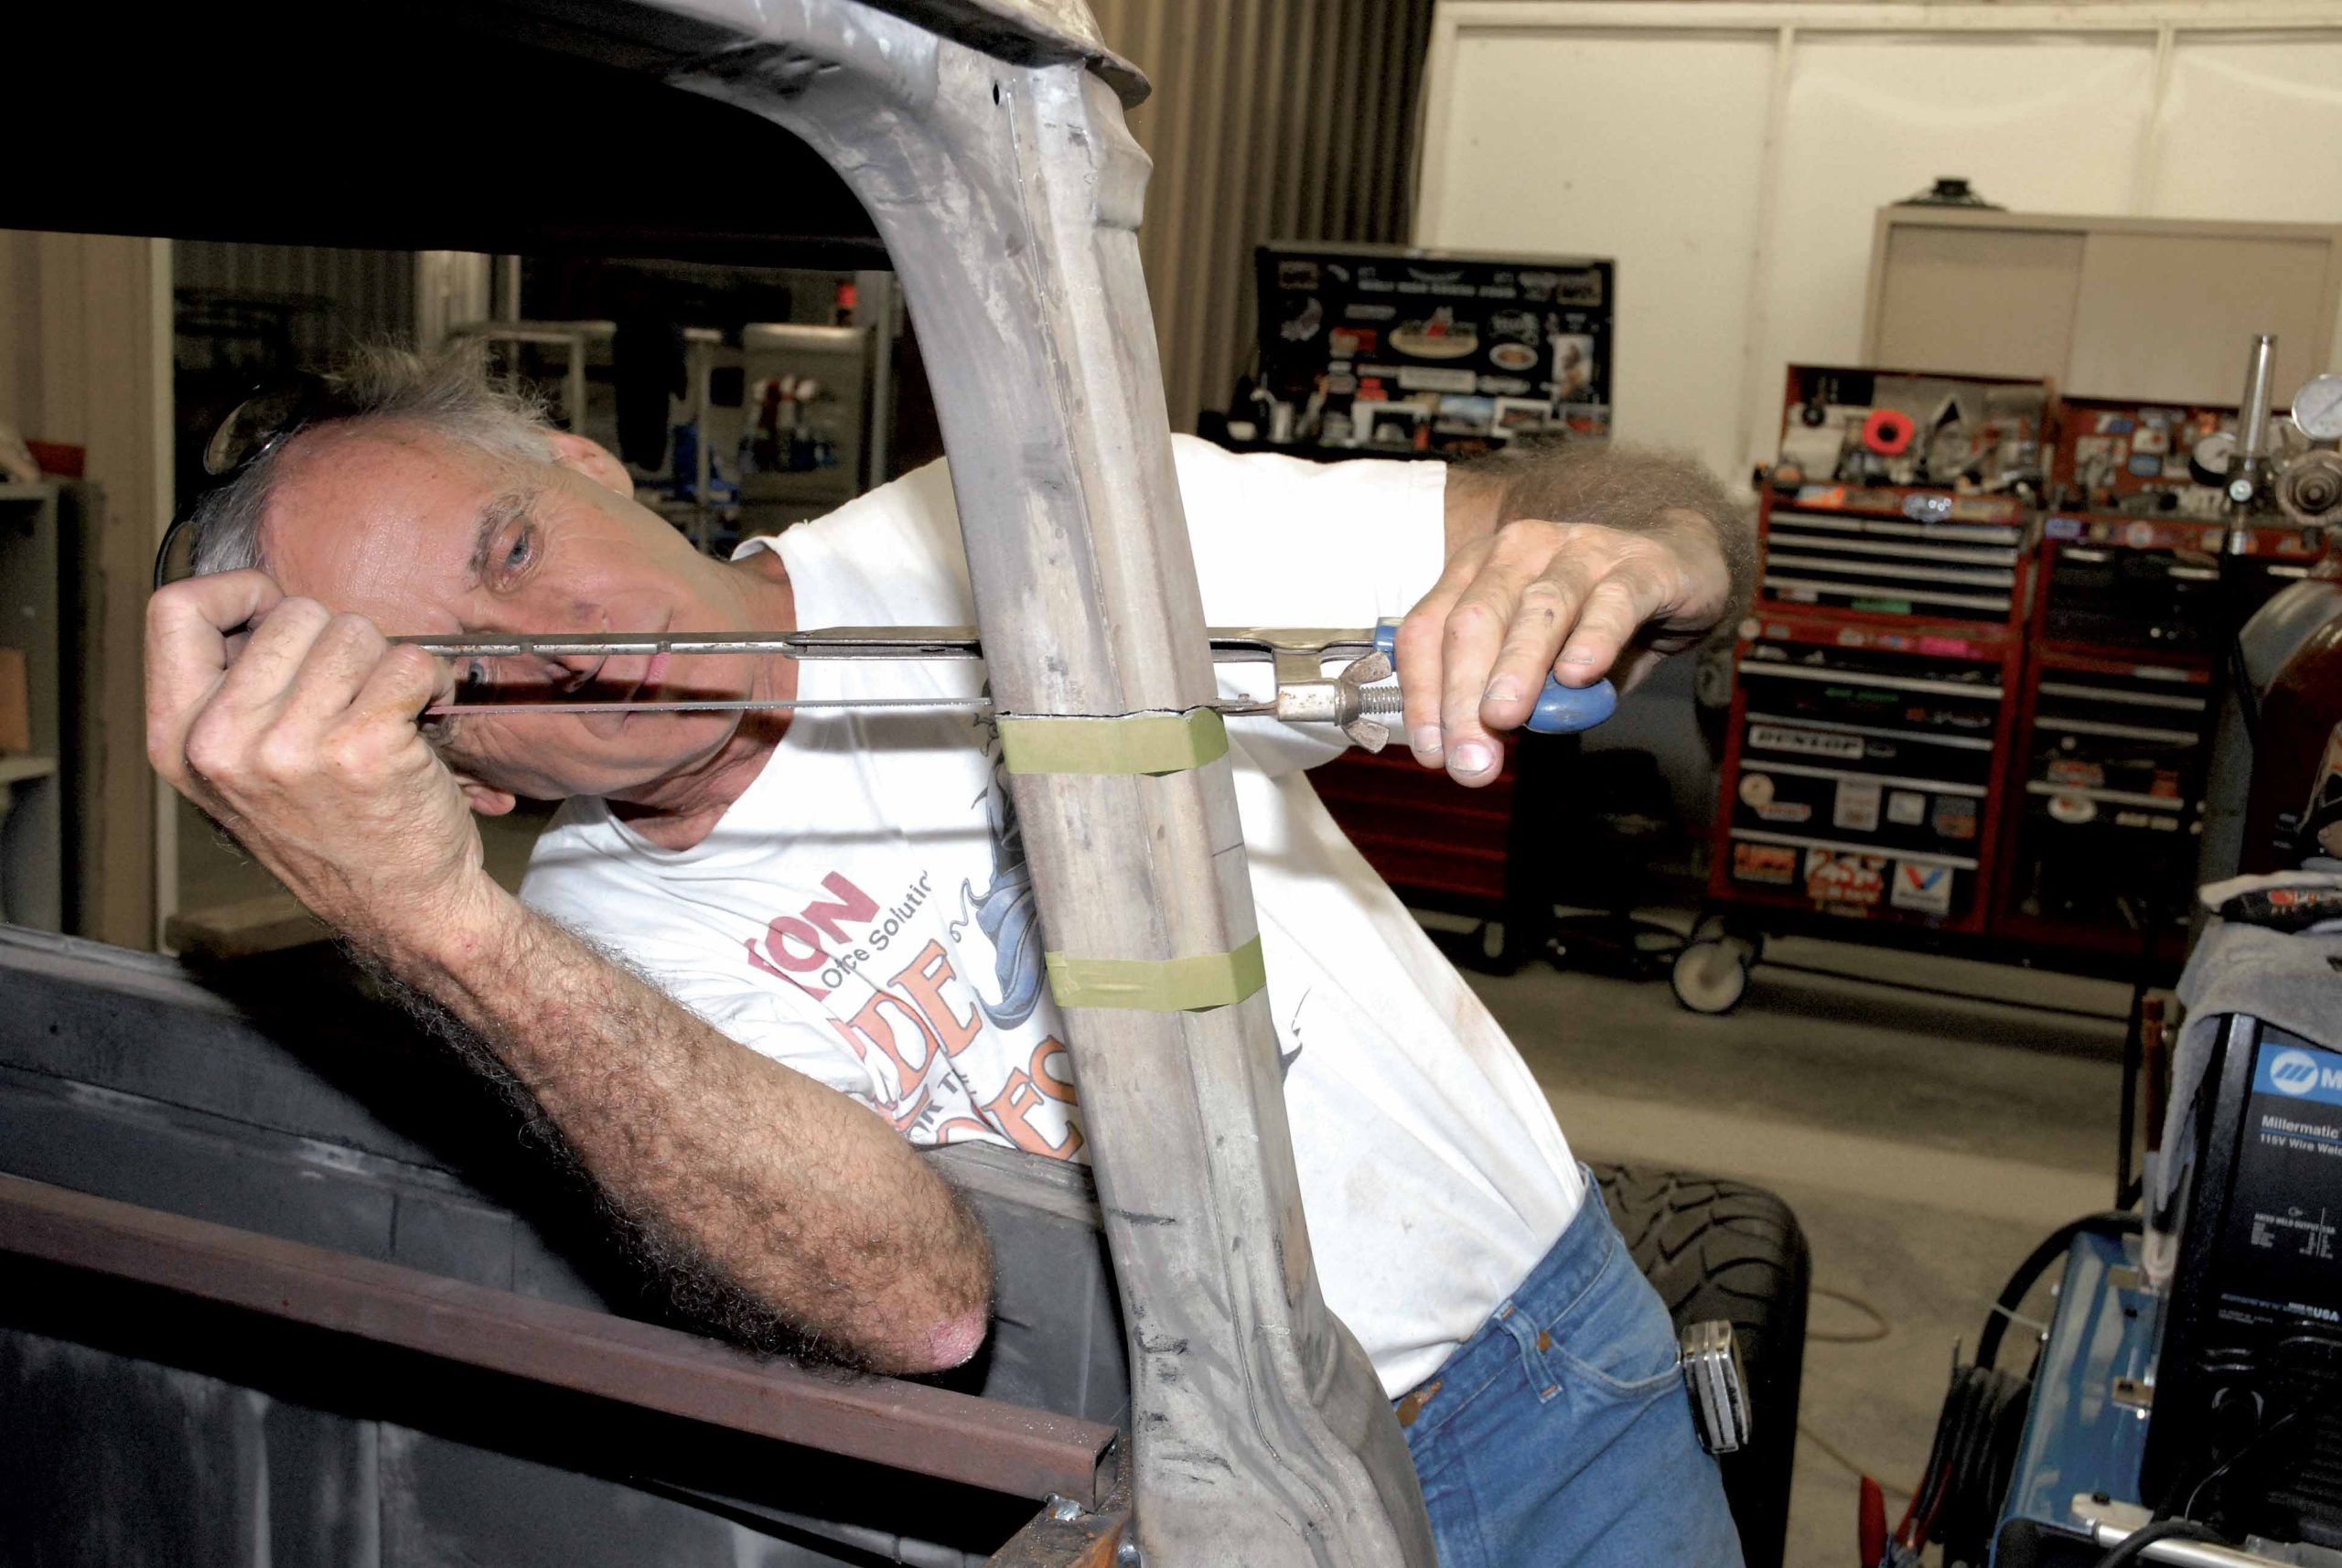
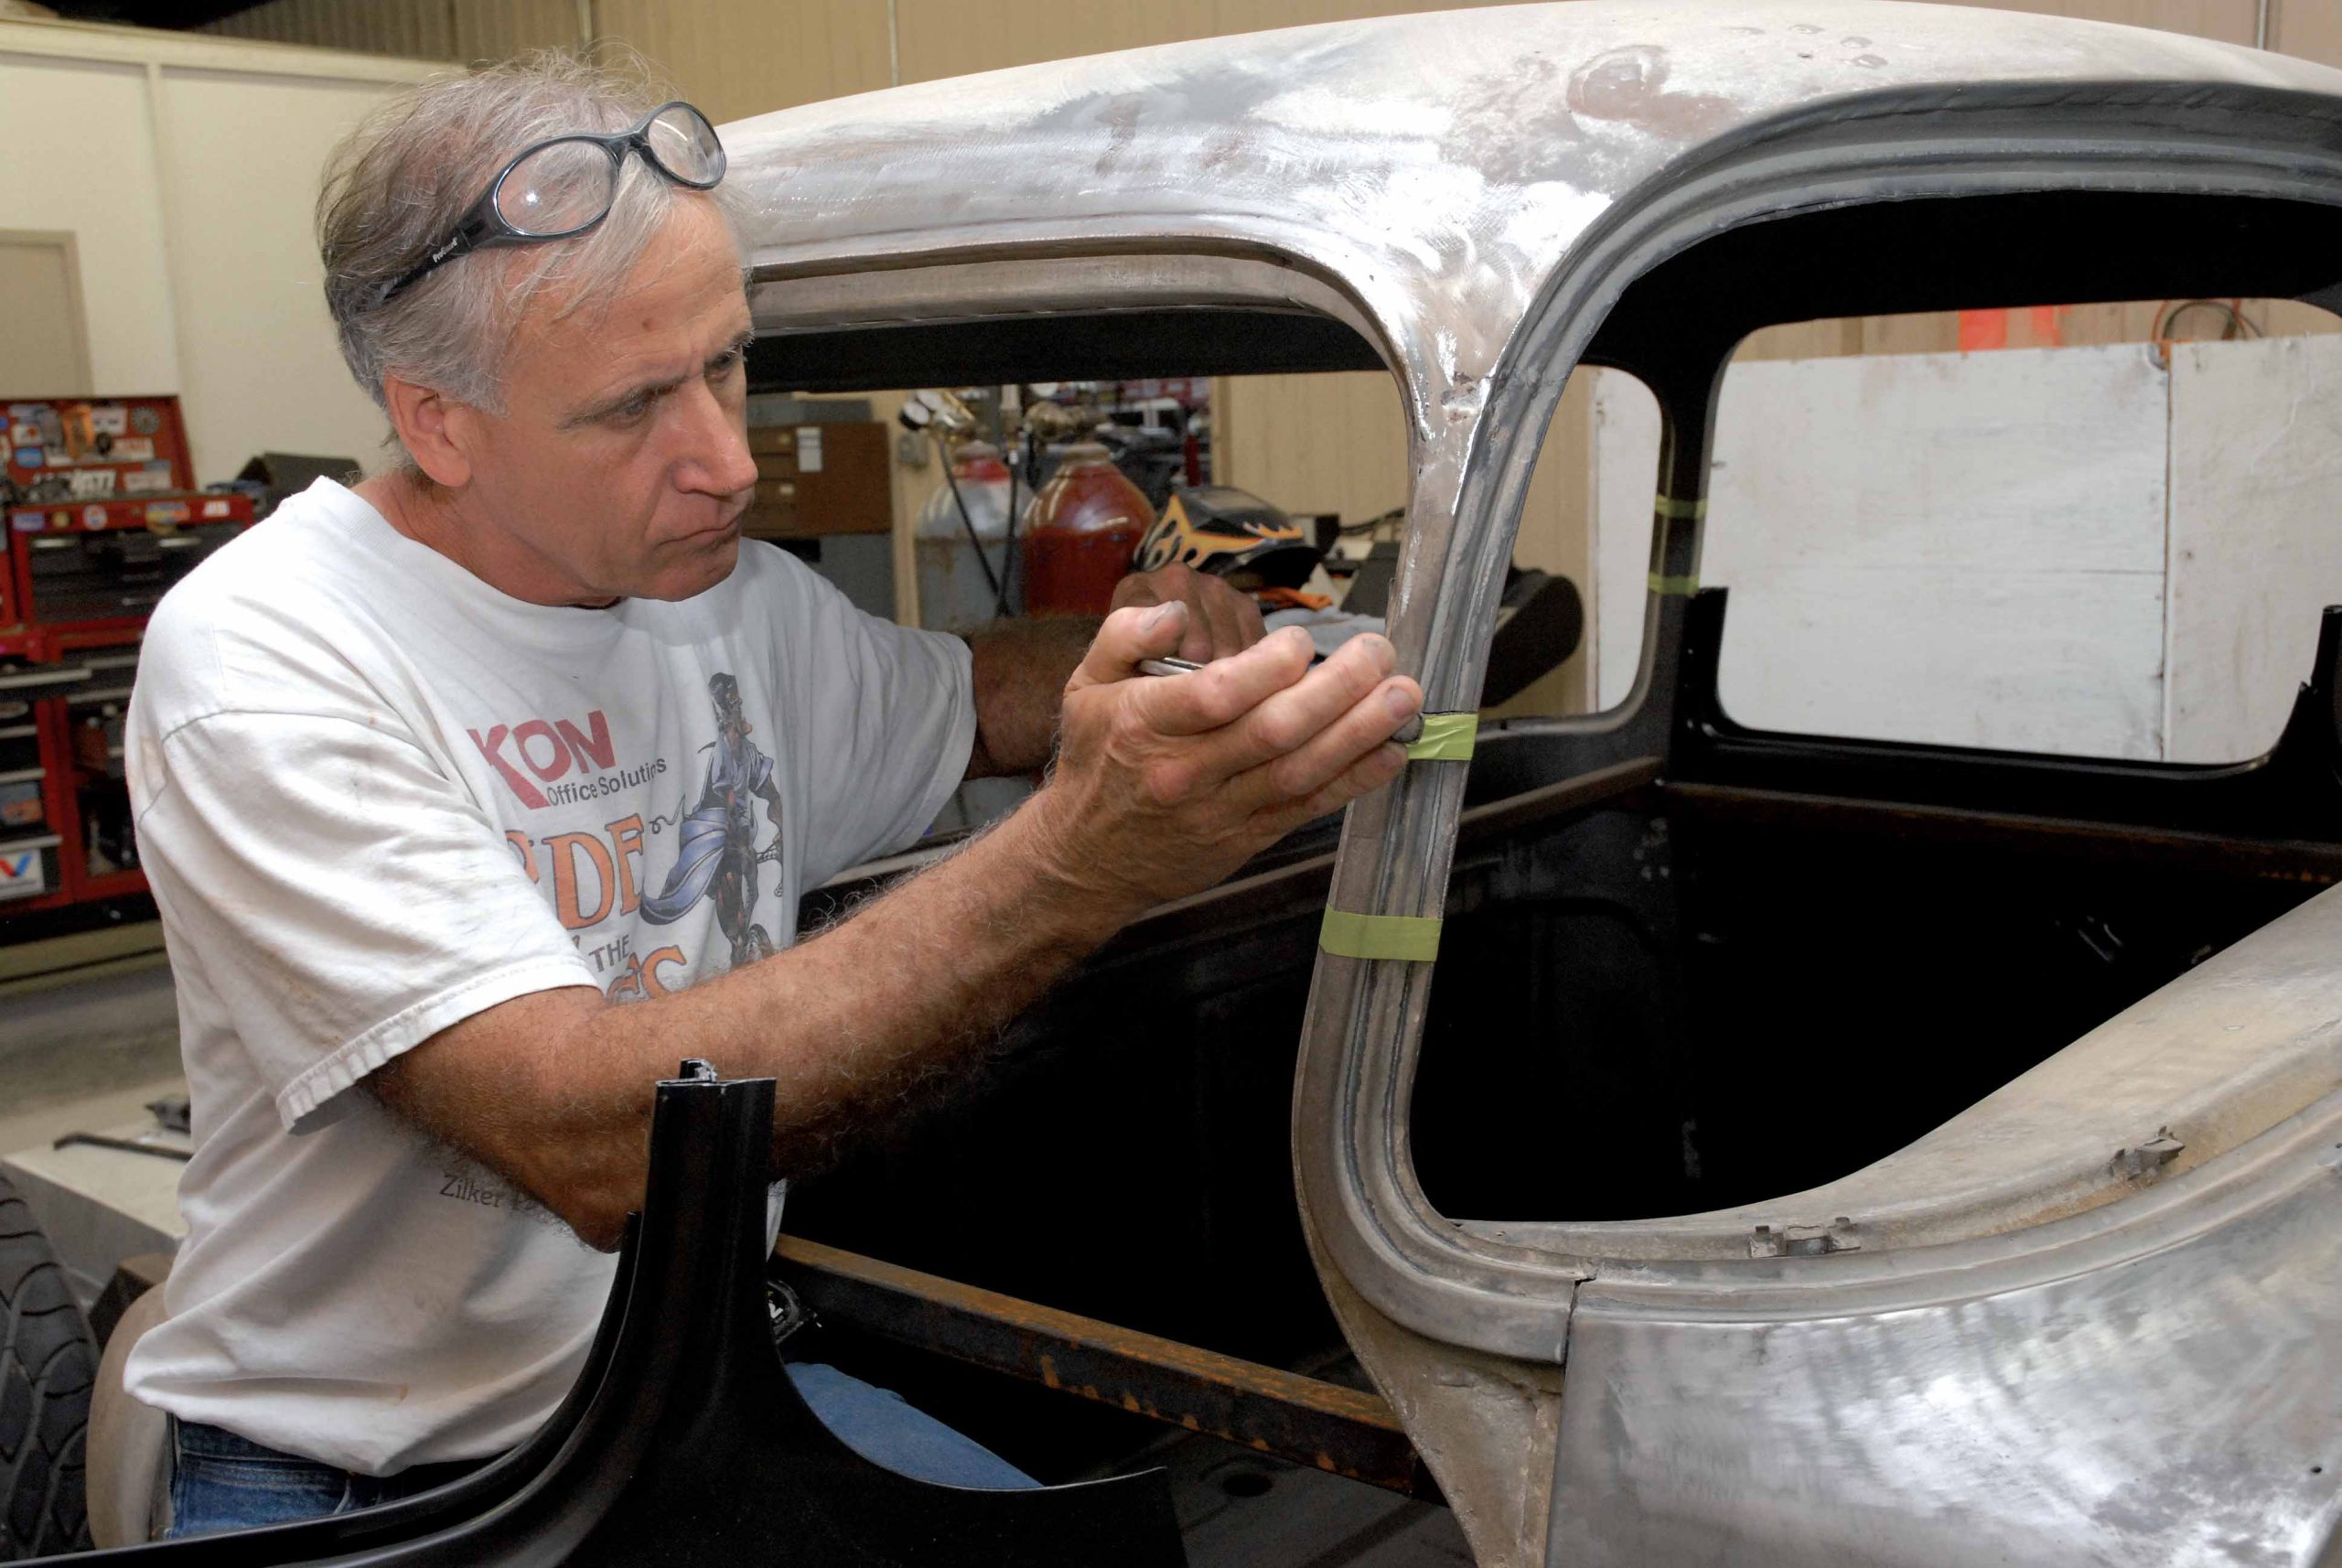
Next, the Cimbanins used their trusty tape to arrive at the inside height (16 inches) on both the driver’s- and passenger-side window openings. Then, an 8-inch centerline was located and clearly marked on the door posts. From there, they measured the height of the front (18-3/4 inches) and rear (16-1/4 inches) window openings, essentially arriving at the same measurement. Once again, the centerline was drawn on both front and rear window posts and checked with a level to make sure everything matched correctly. In the process, both the front and rear centerline of the roof of the cab and firewall are also located and marked for future reference.
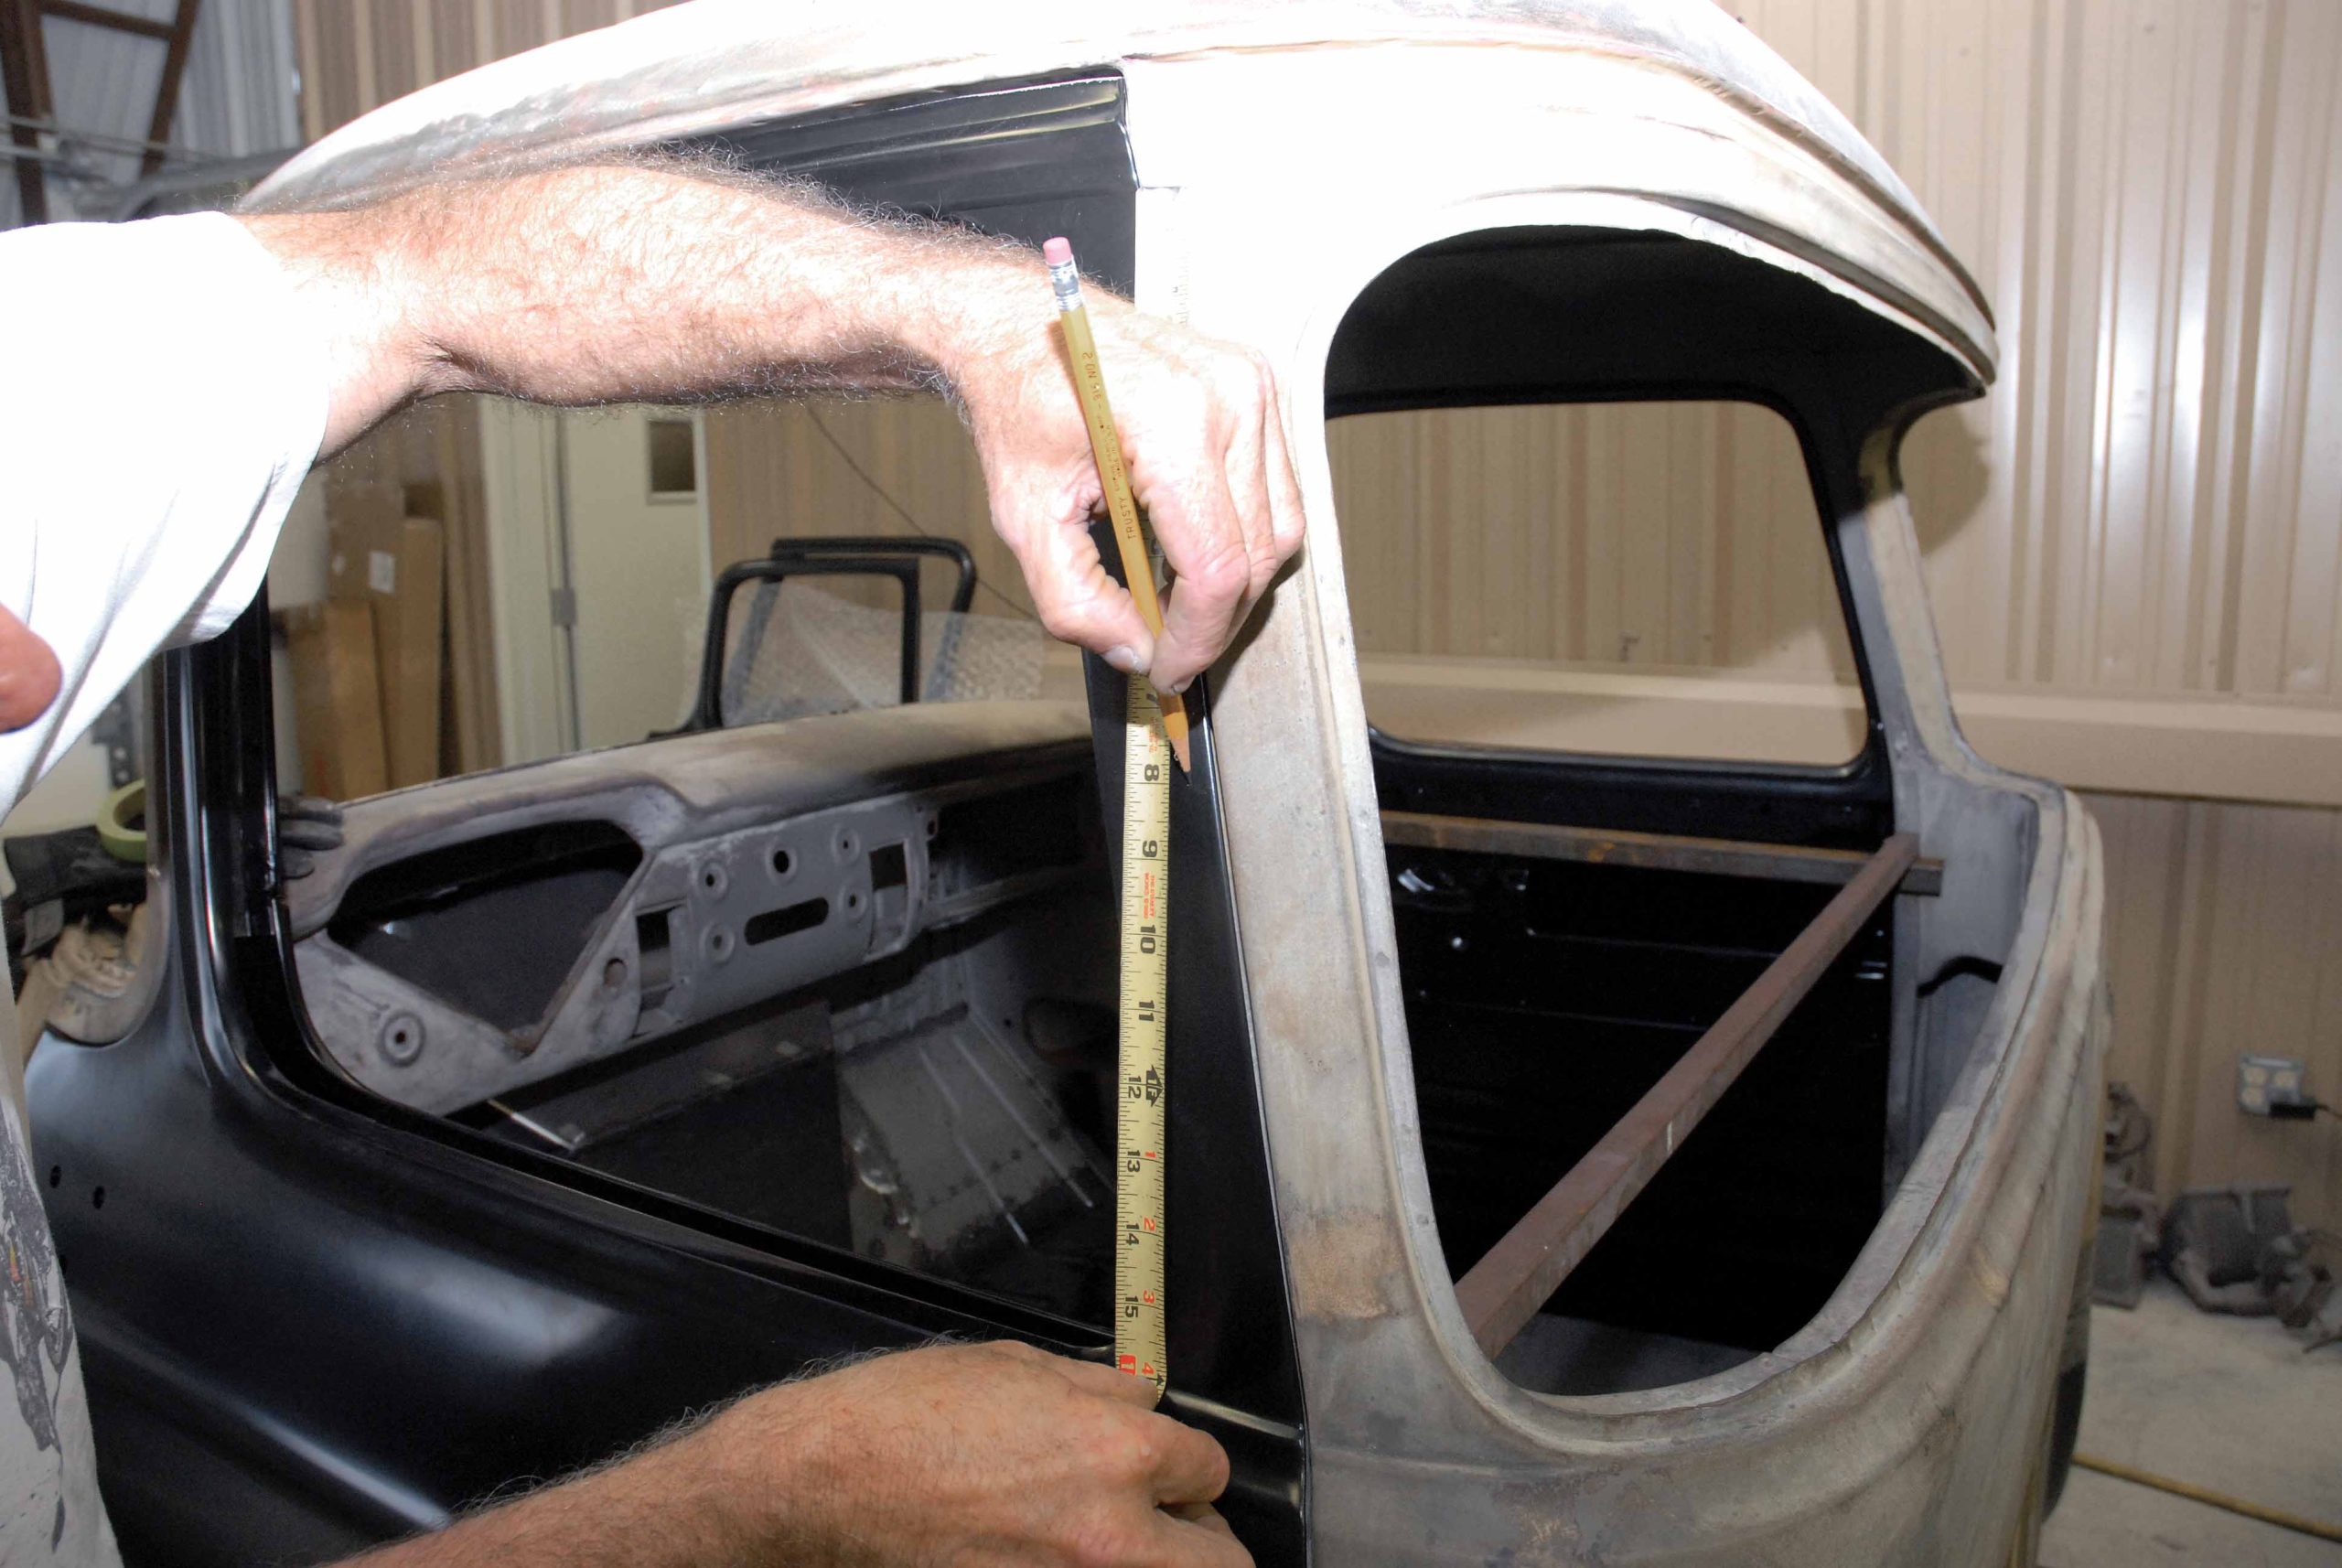
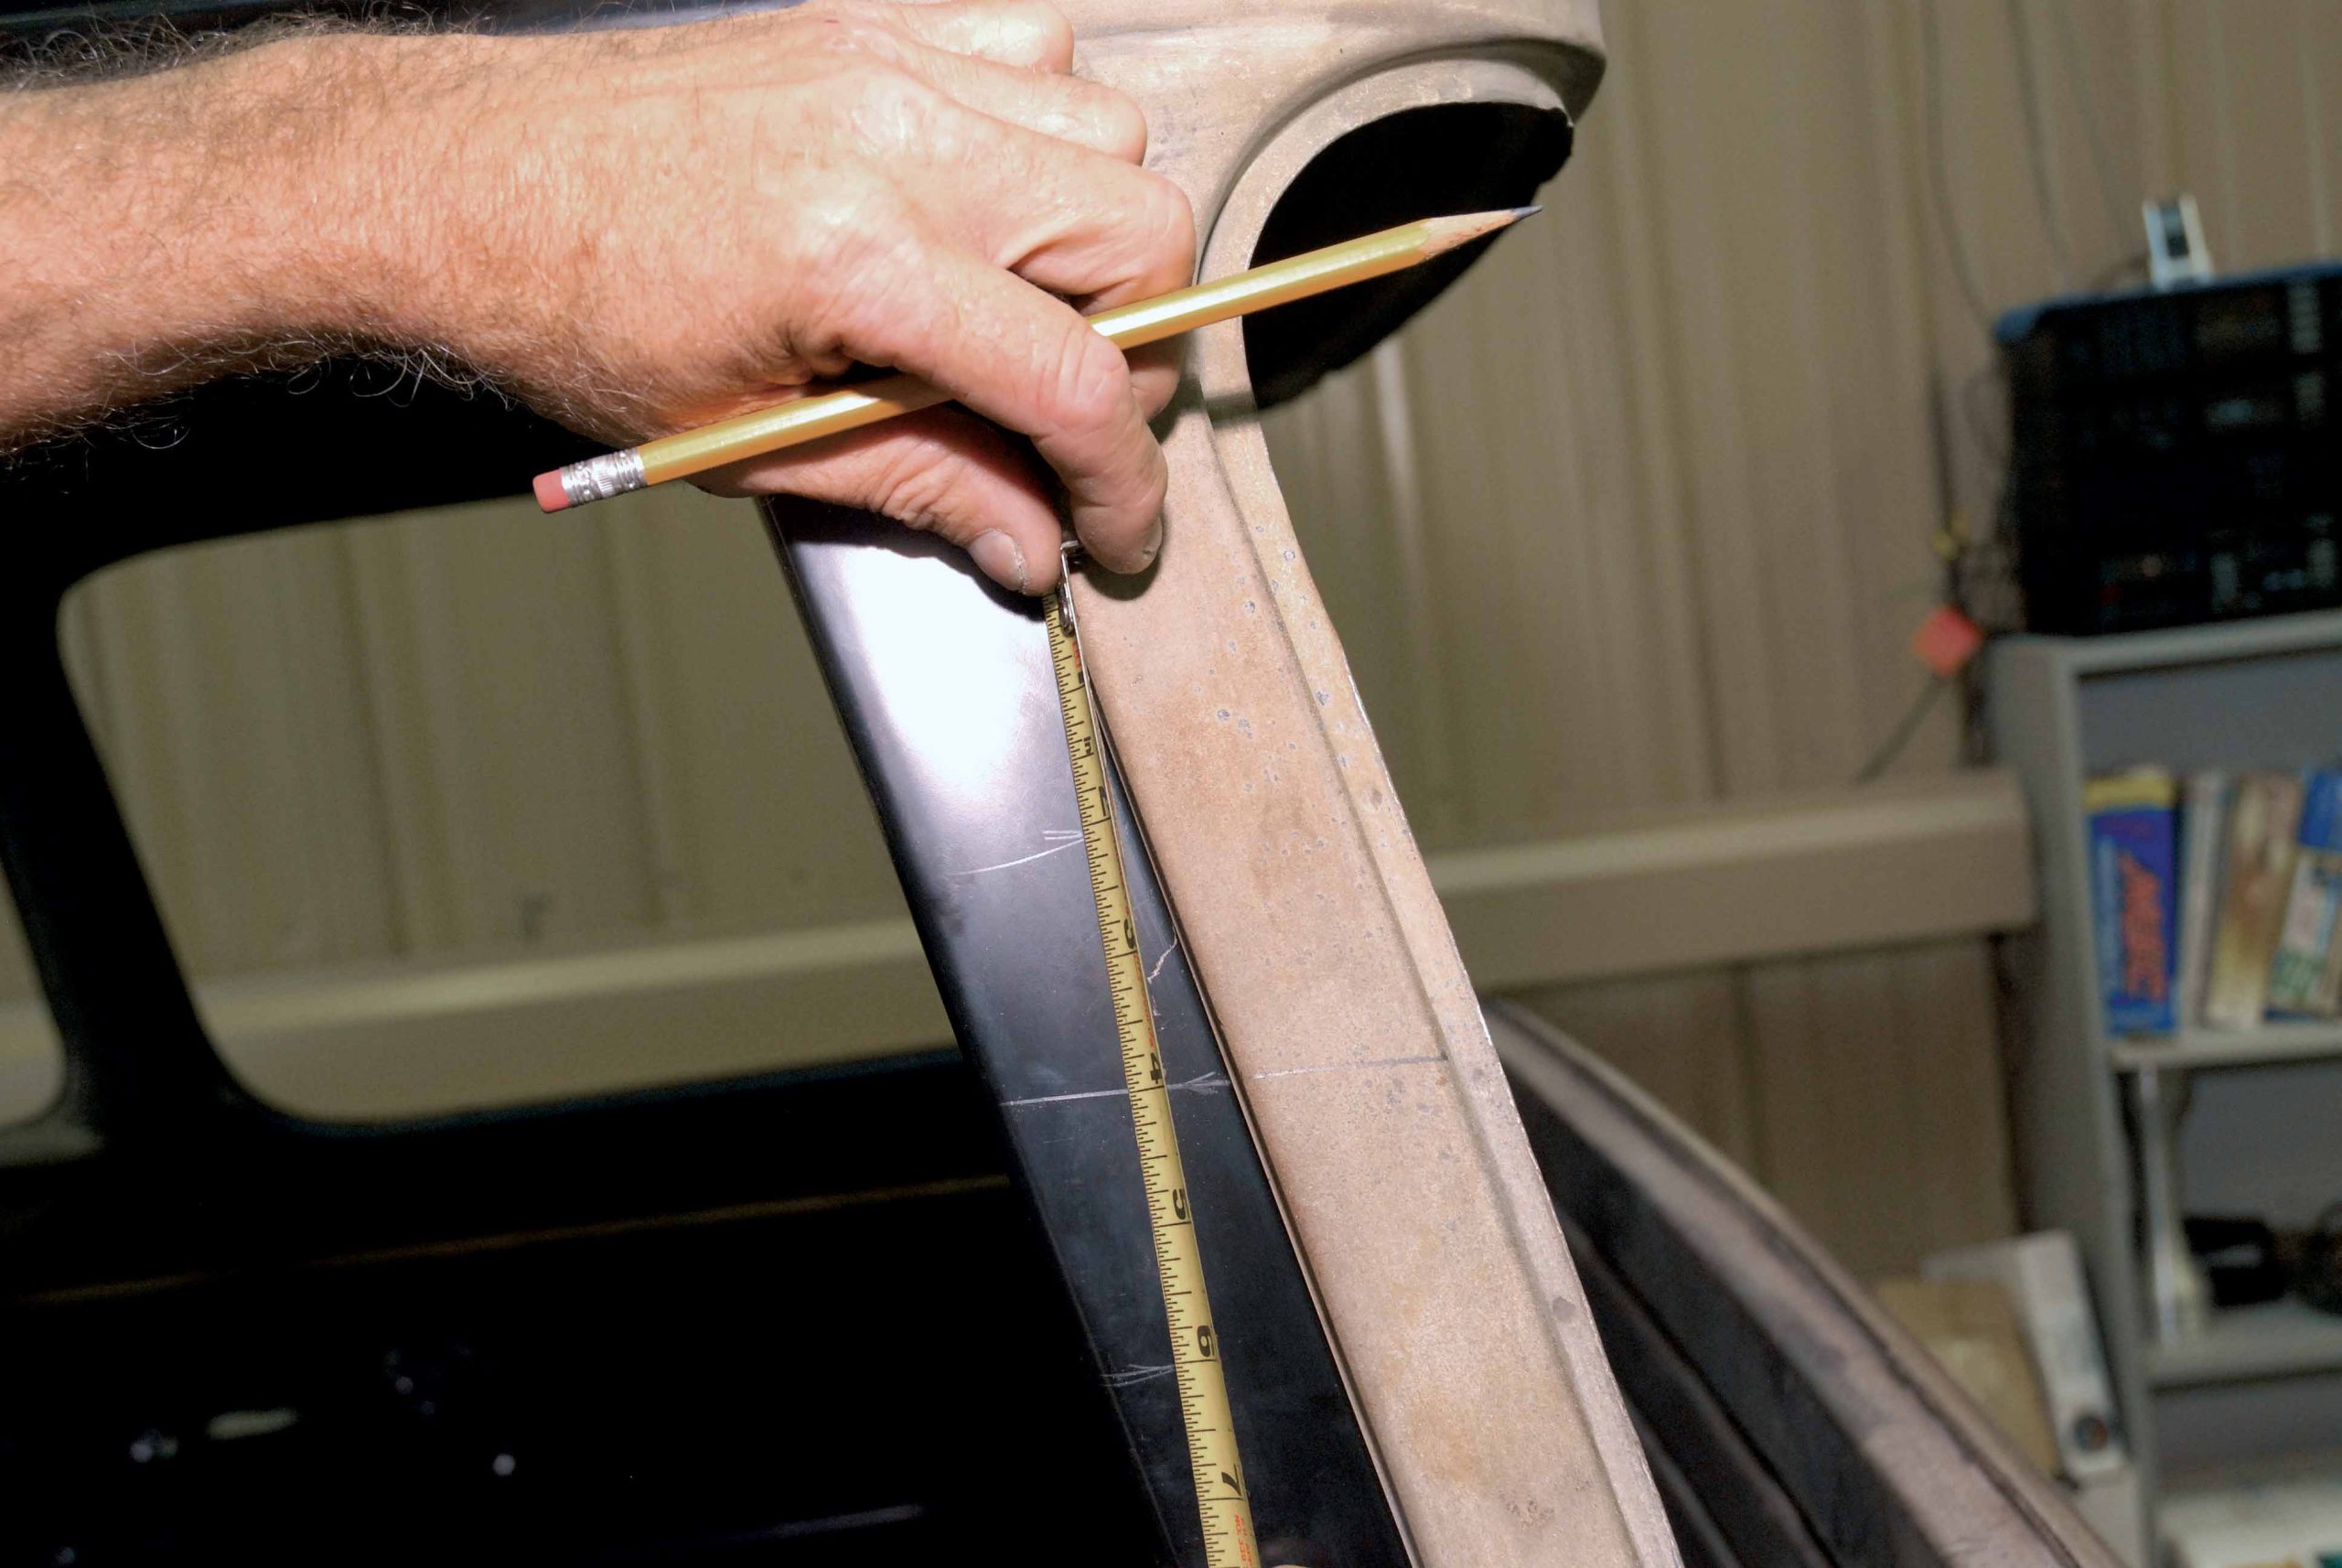
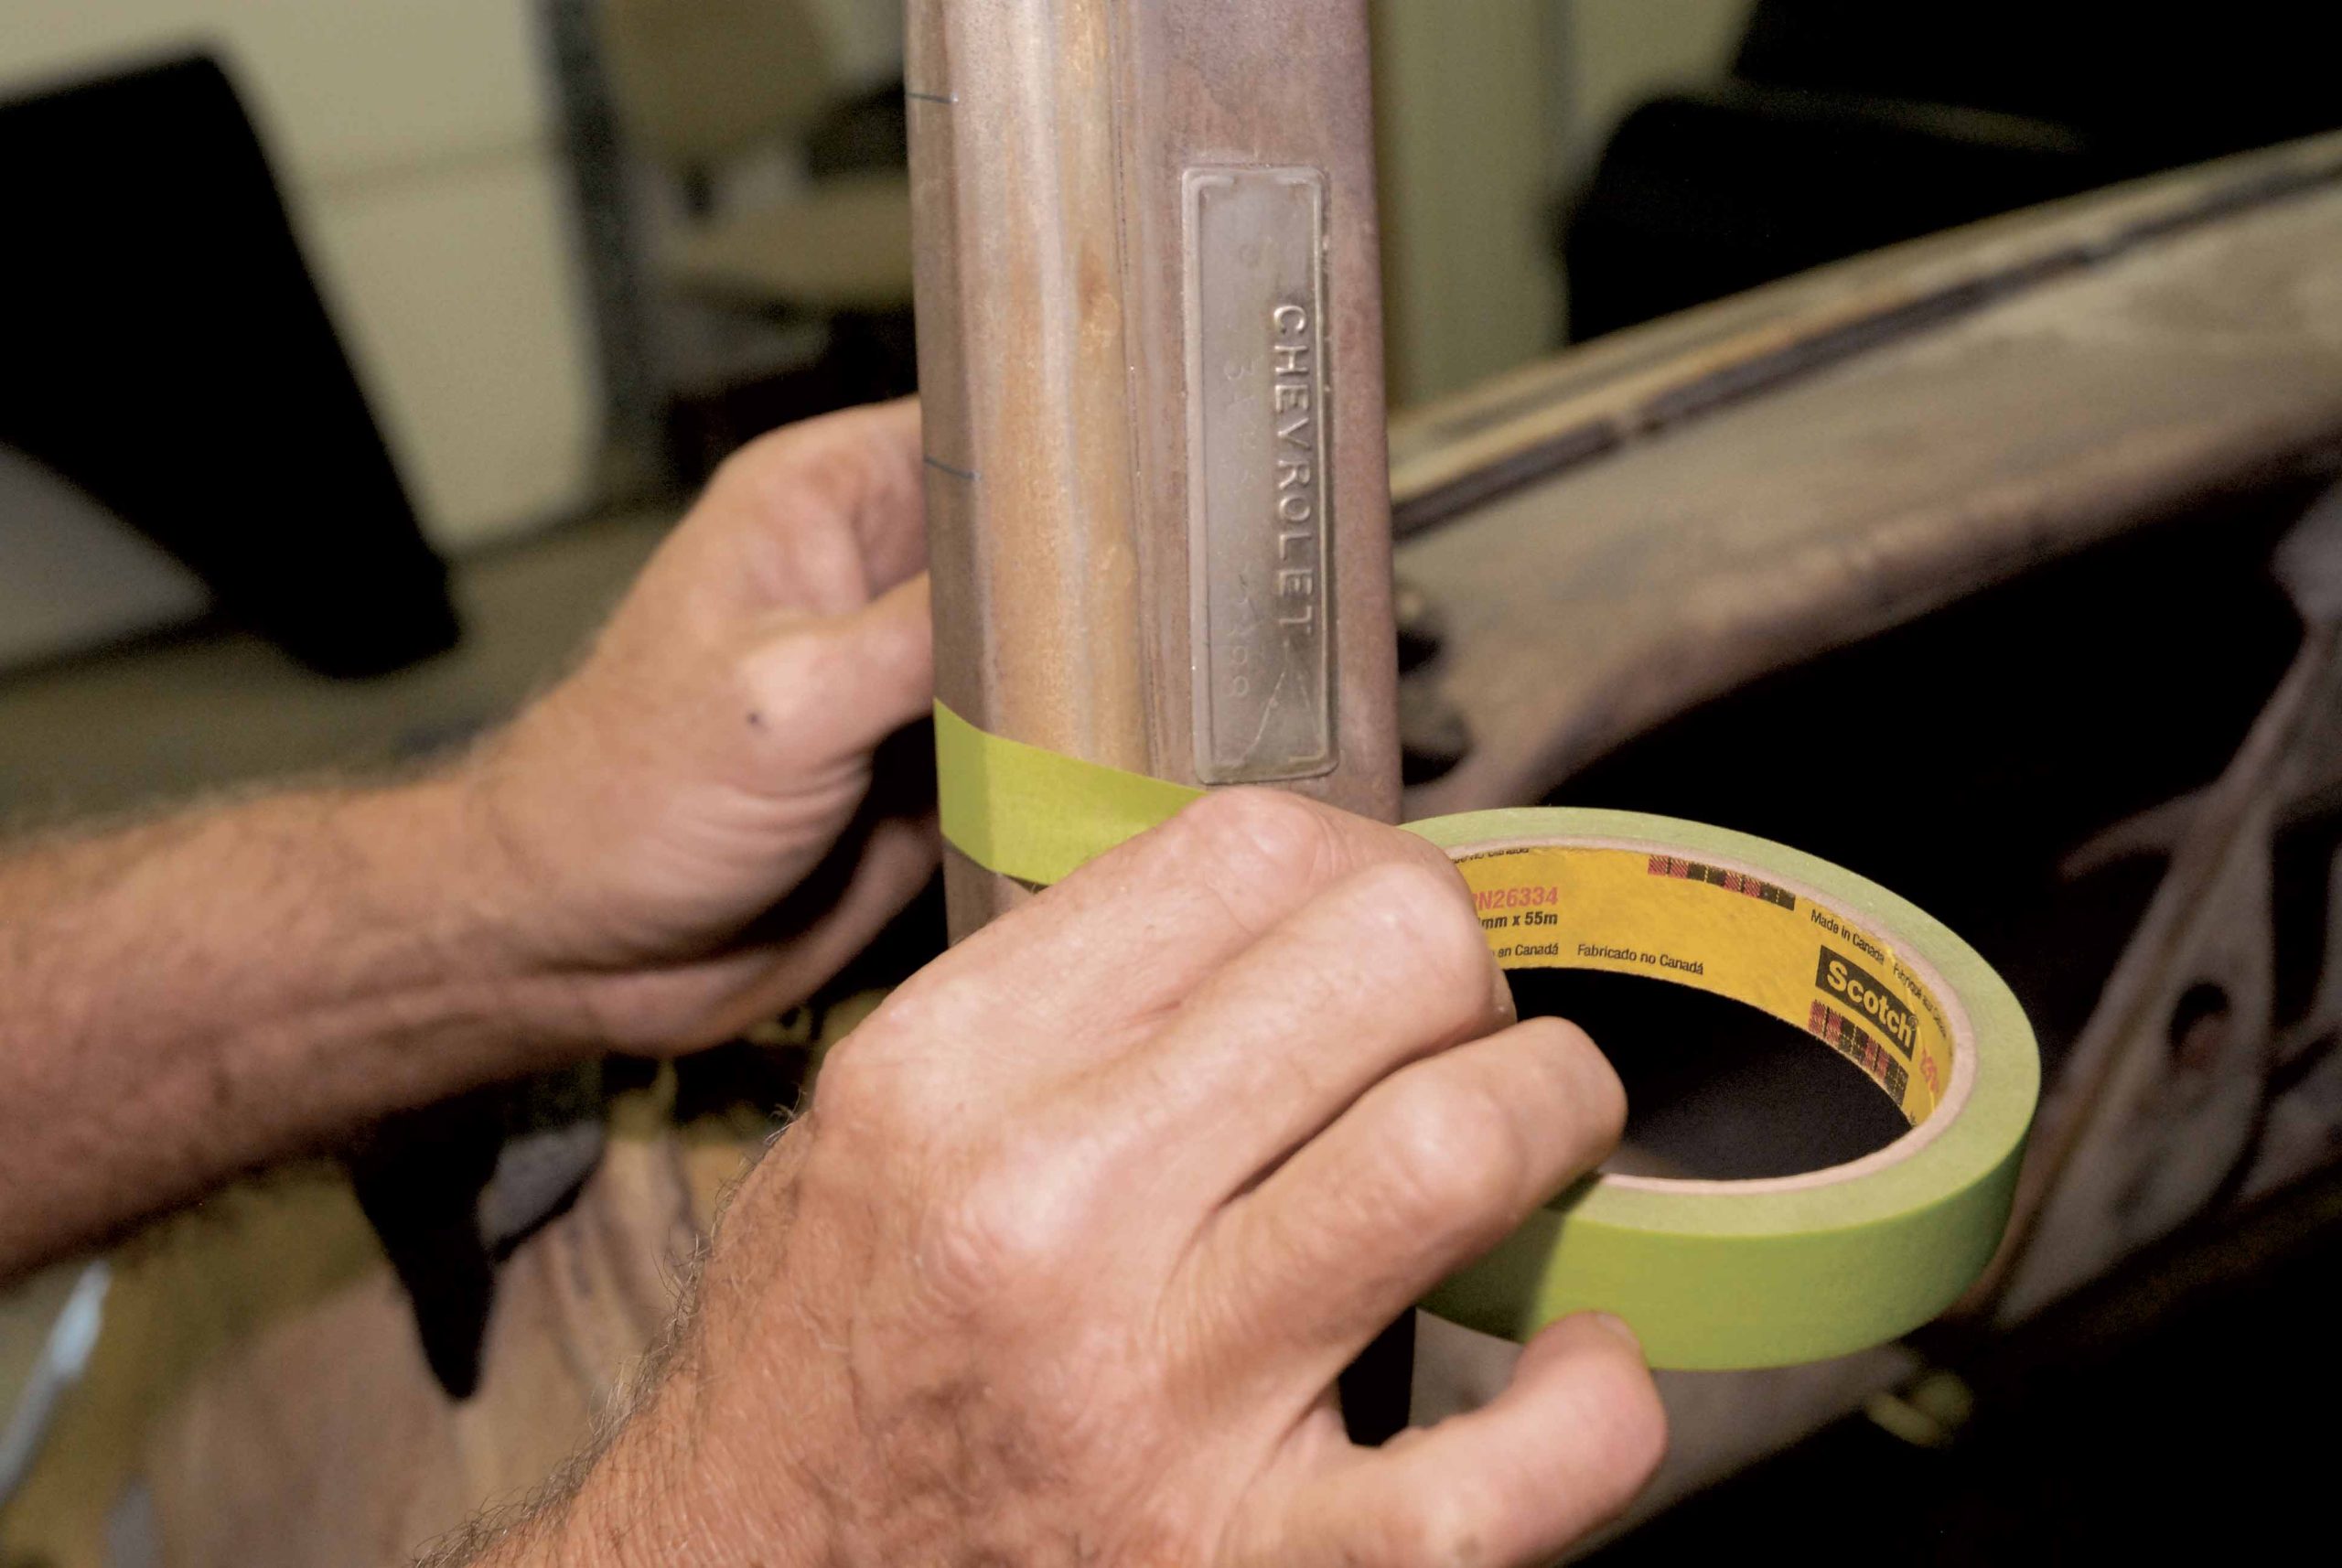
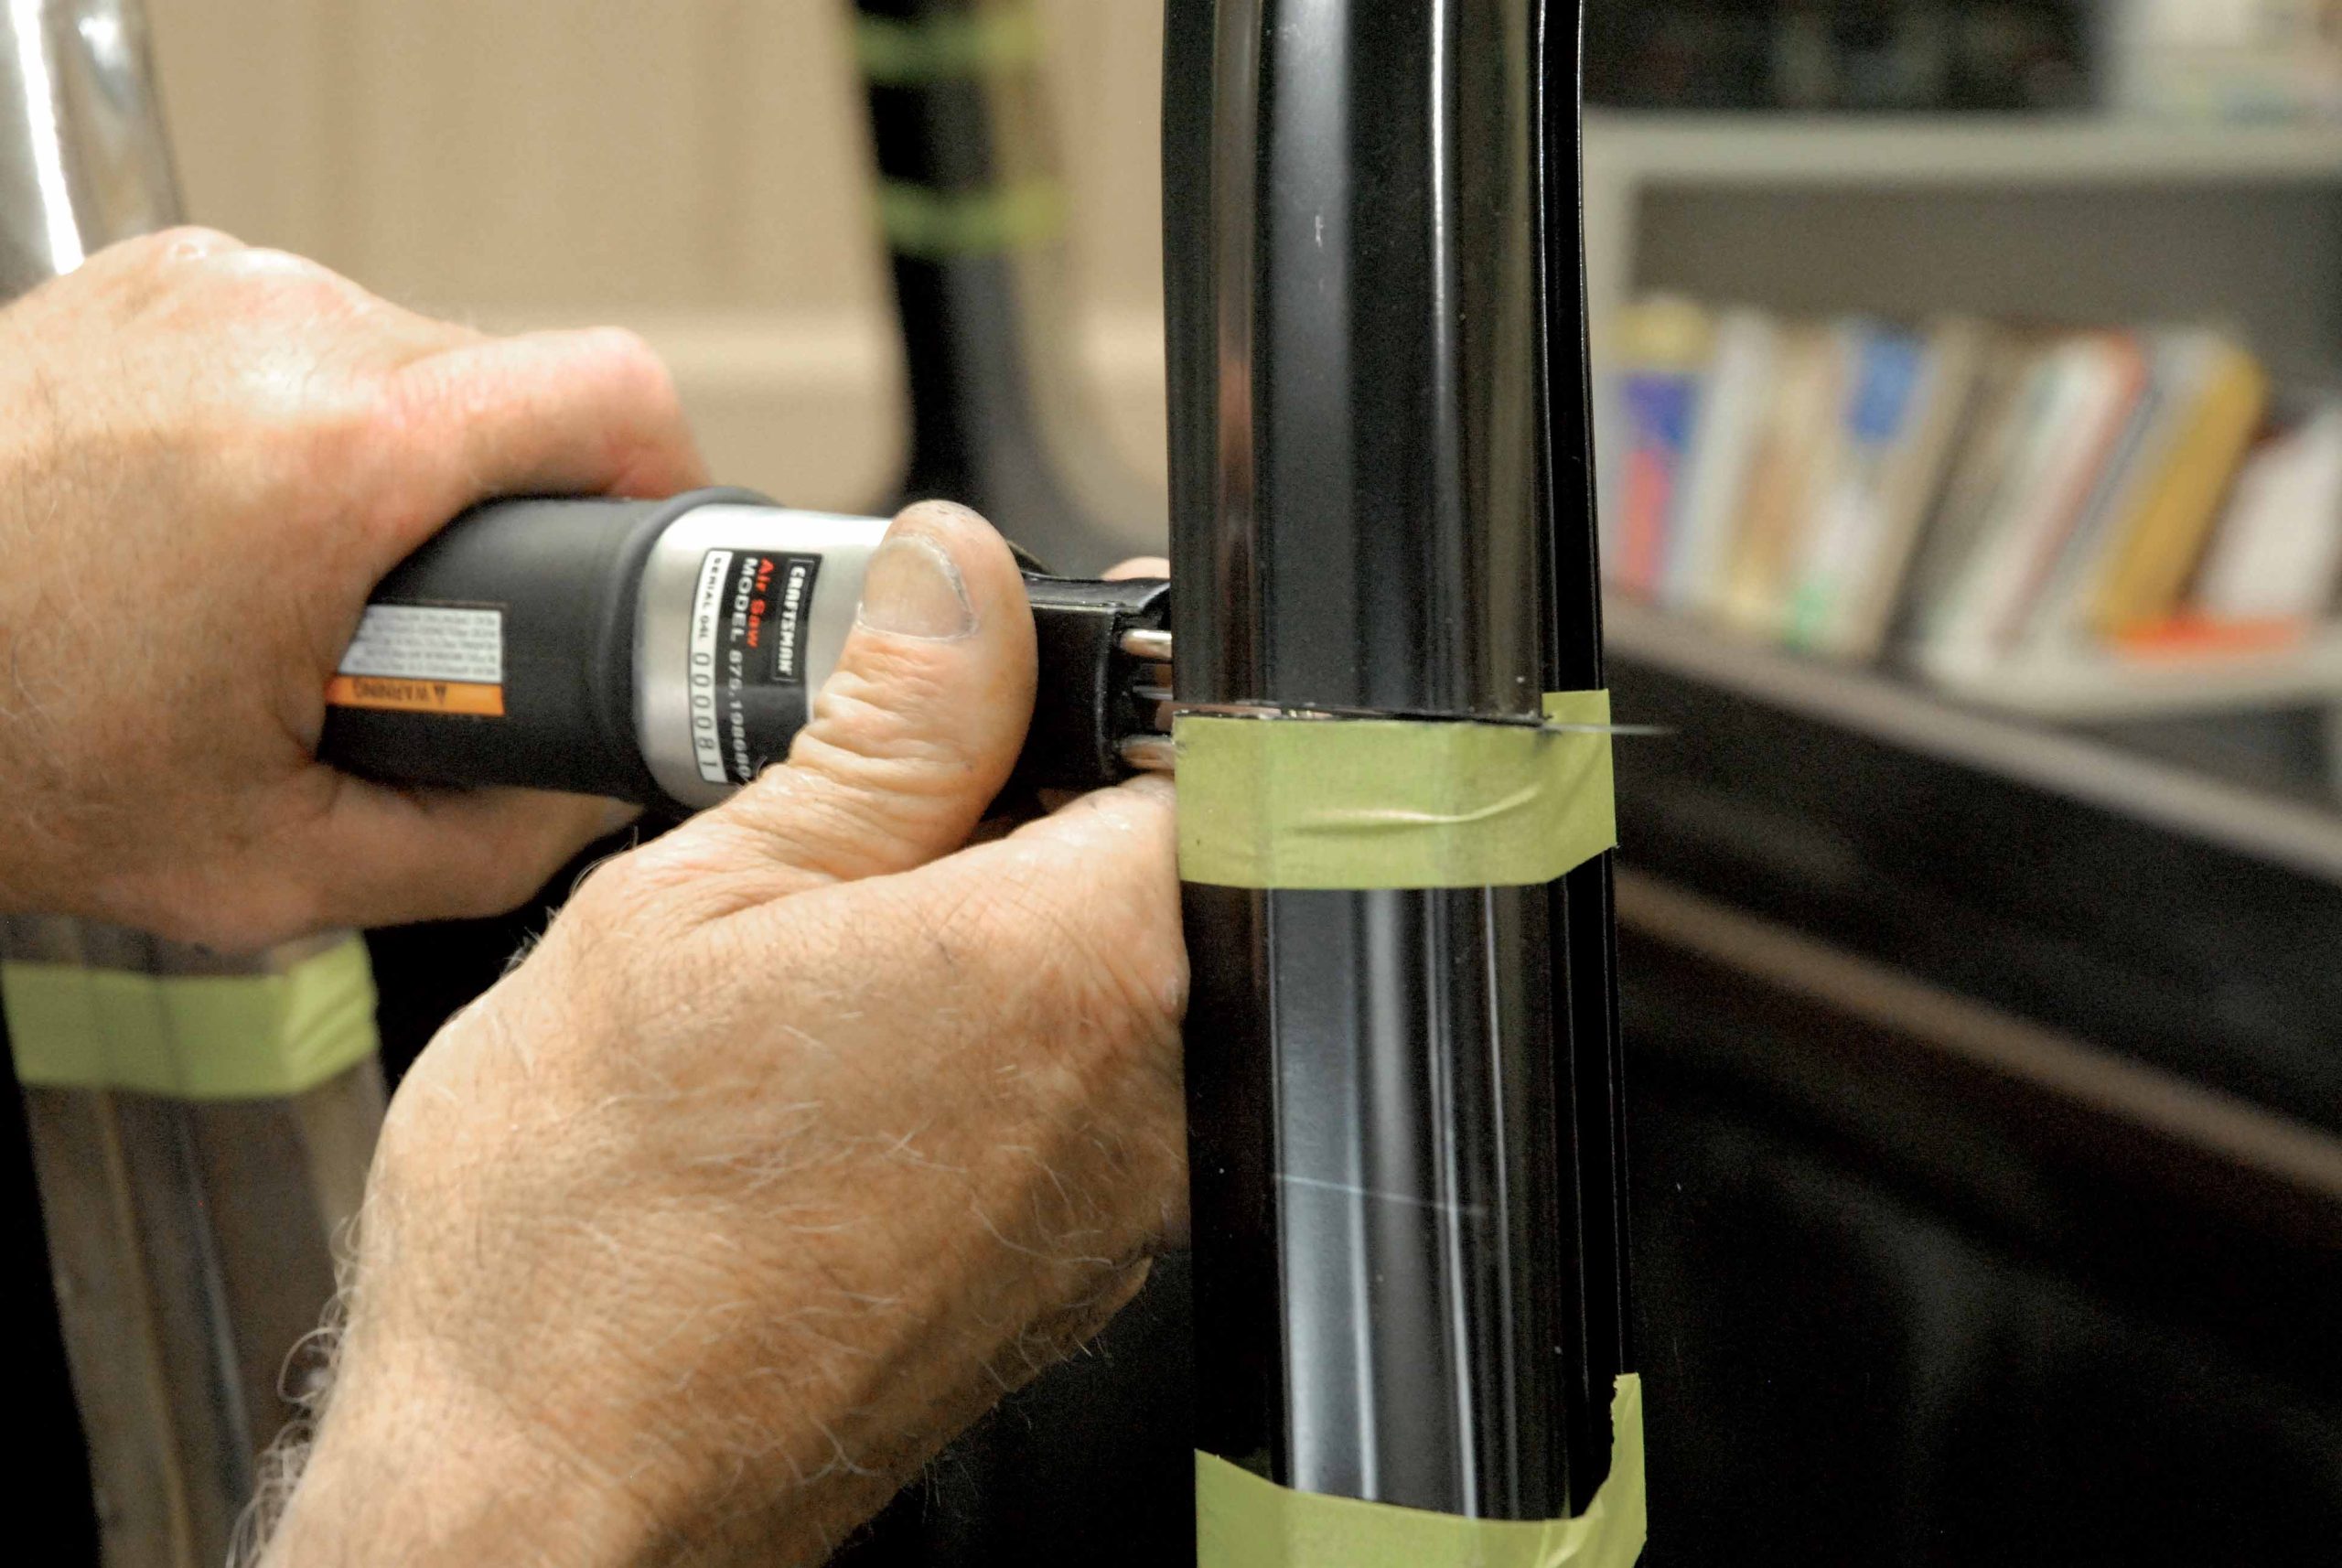
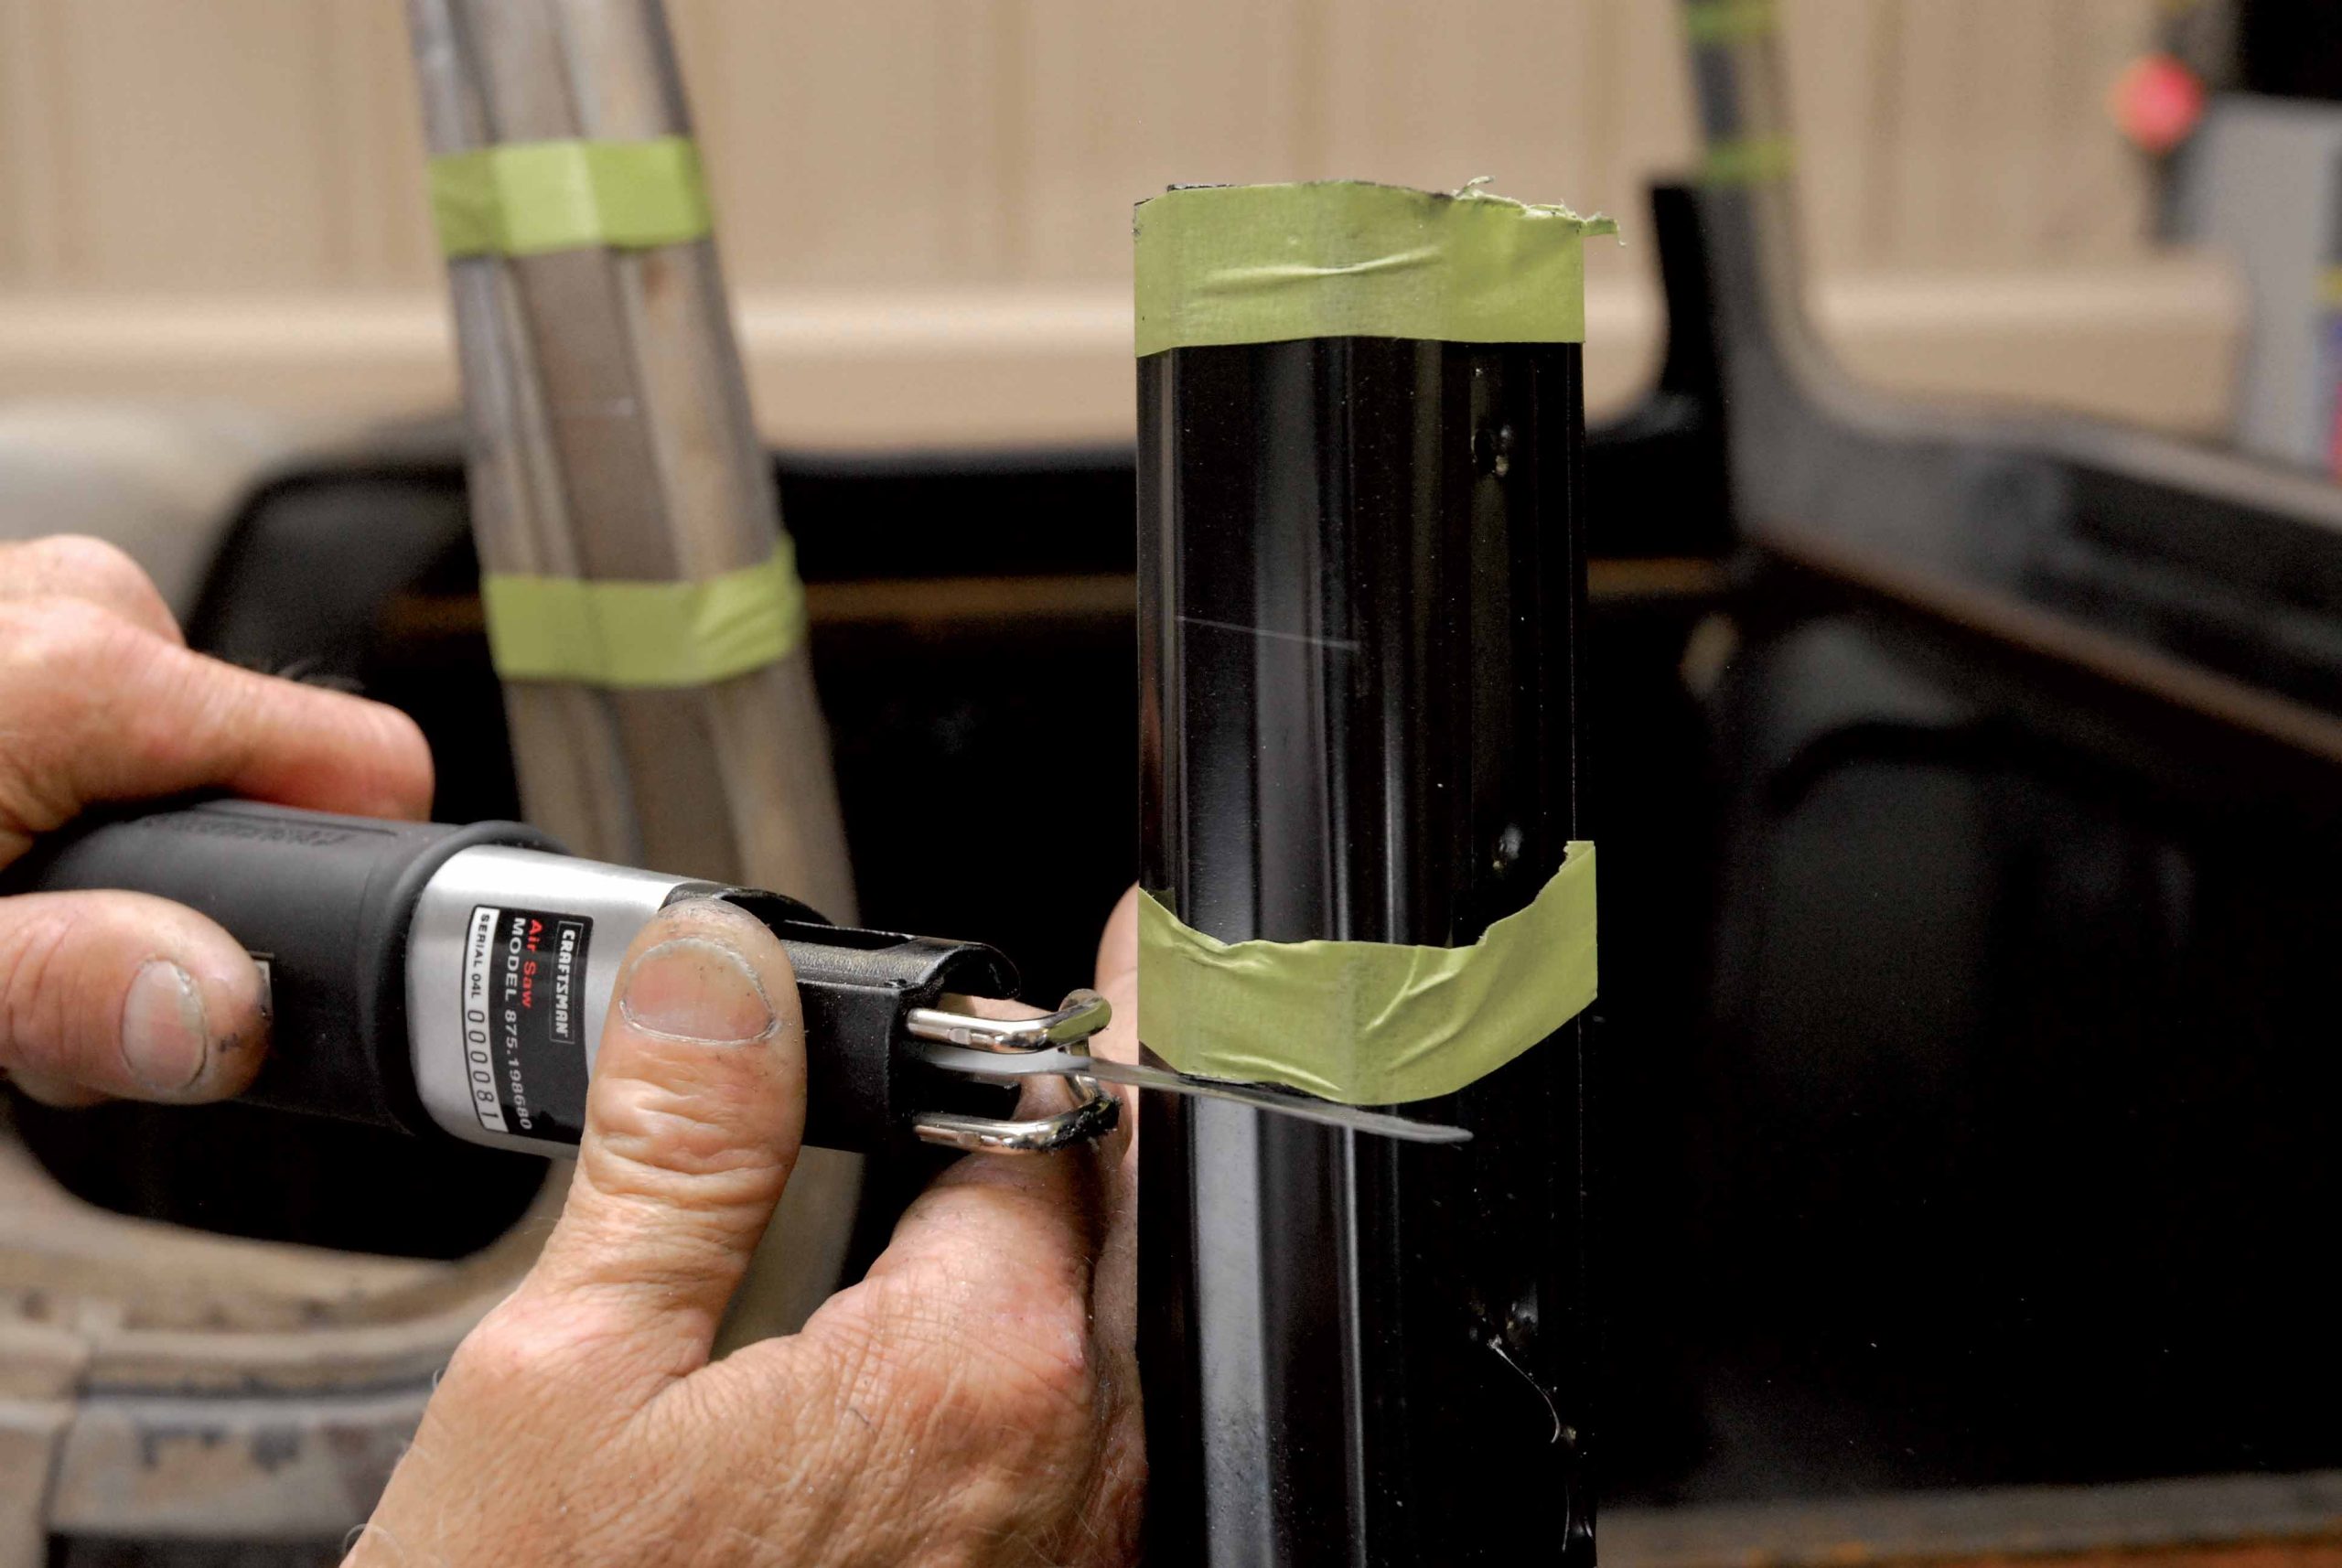
With both horizontal and lateral centerlines established, the Cimbanins measured a total of 2 inches up from the front and rear window frame and door posts and 2 inches down. Then Darrell used 3M Green masking tape along the penciled-in cut lines for easy reference. Now the cutting begins!
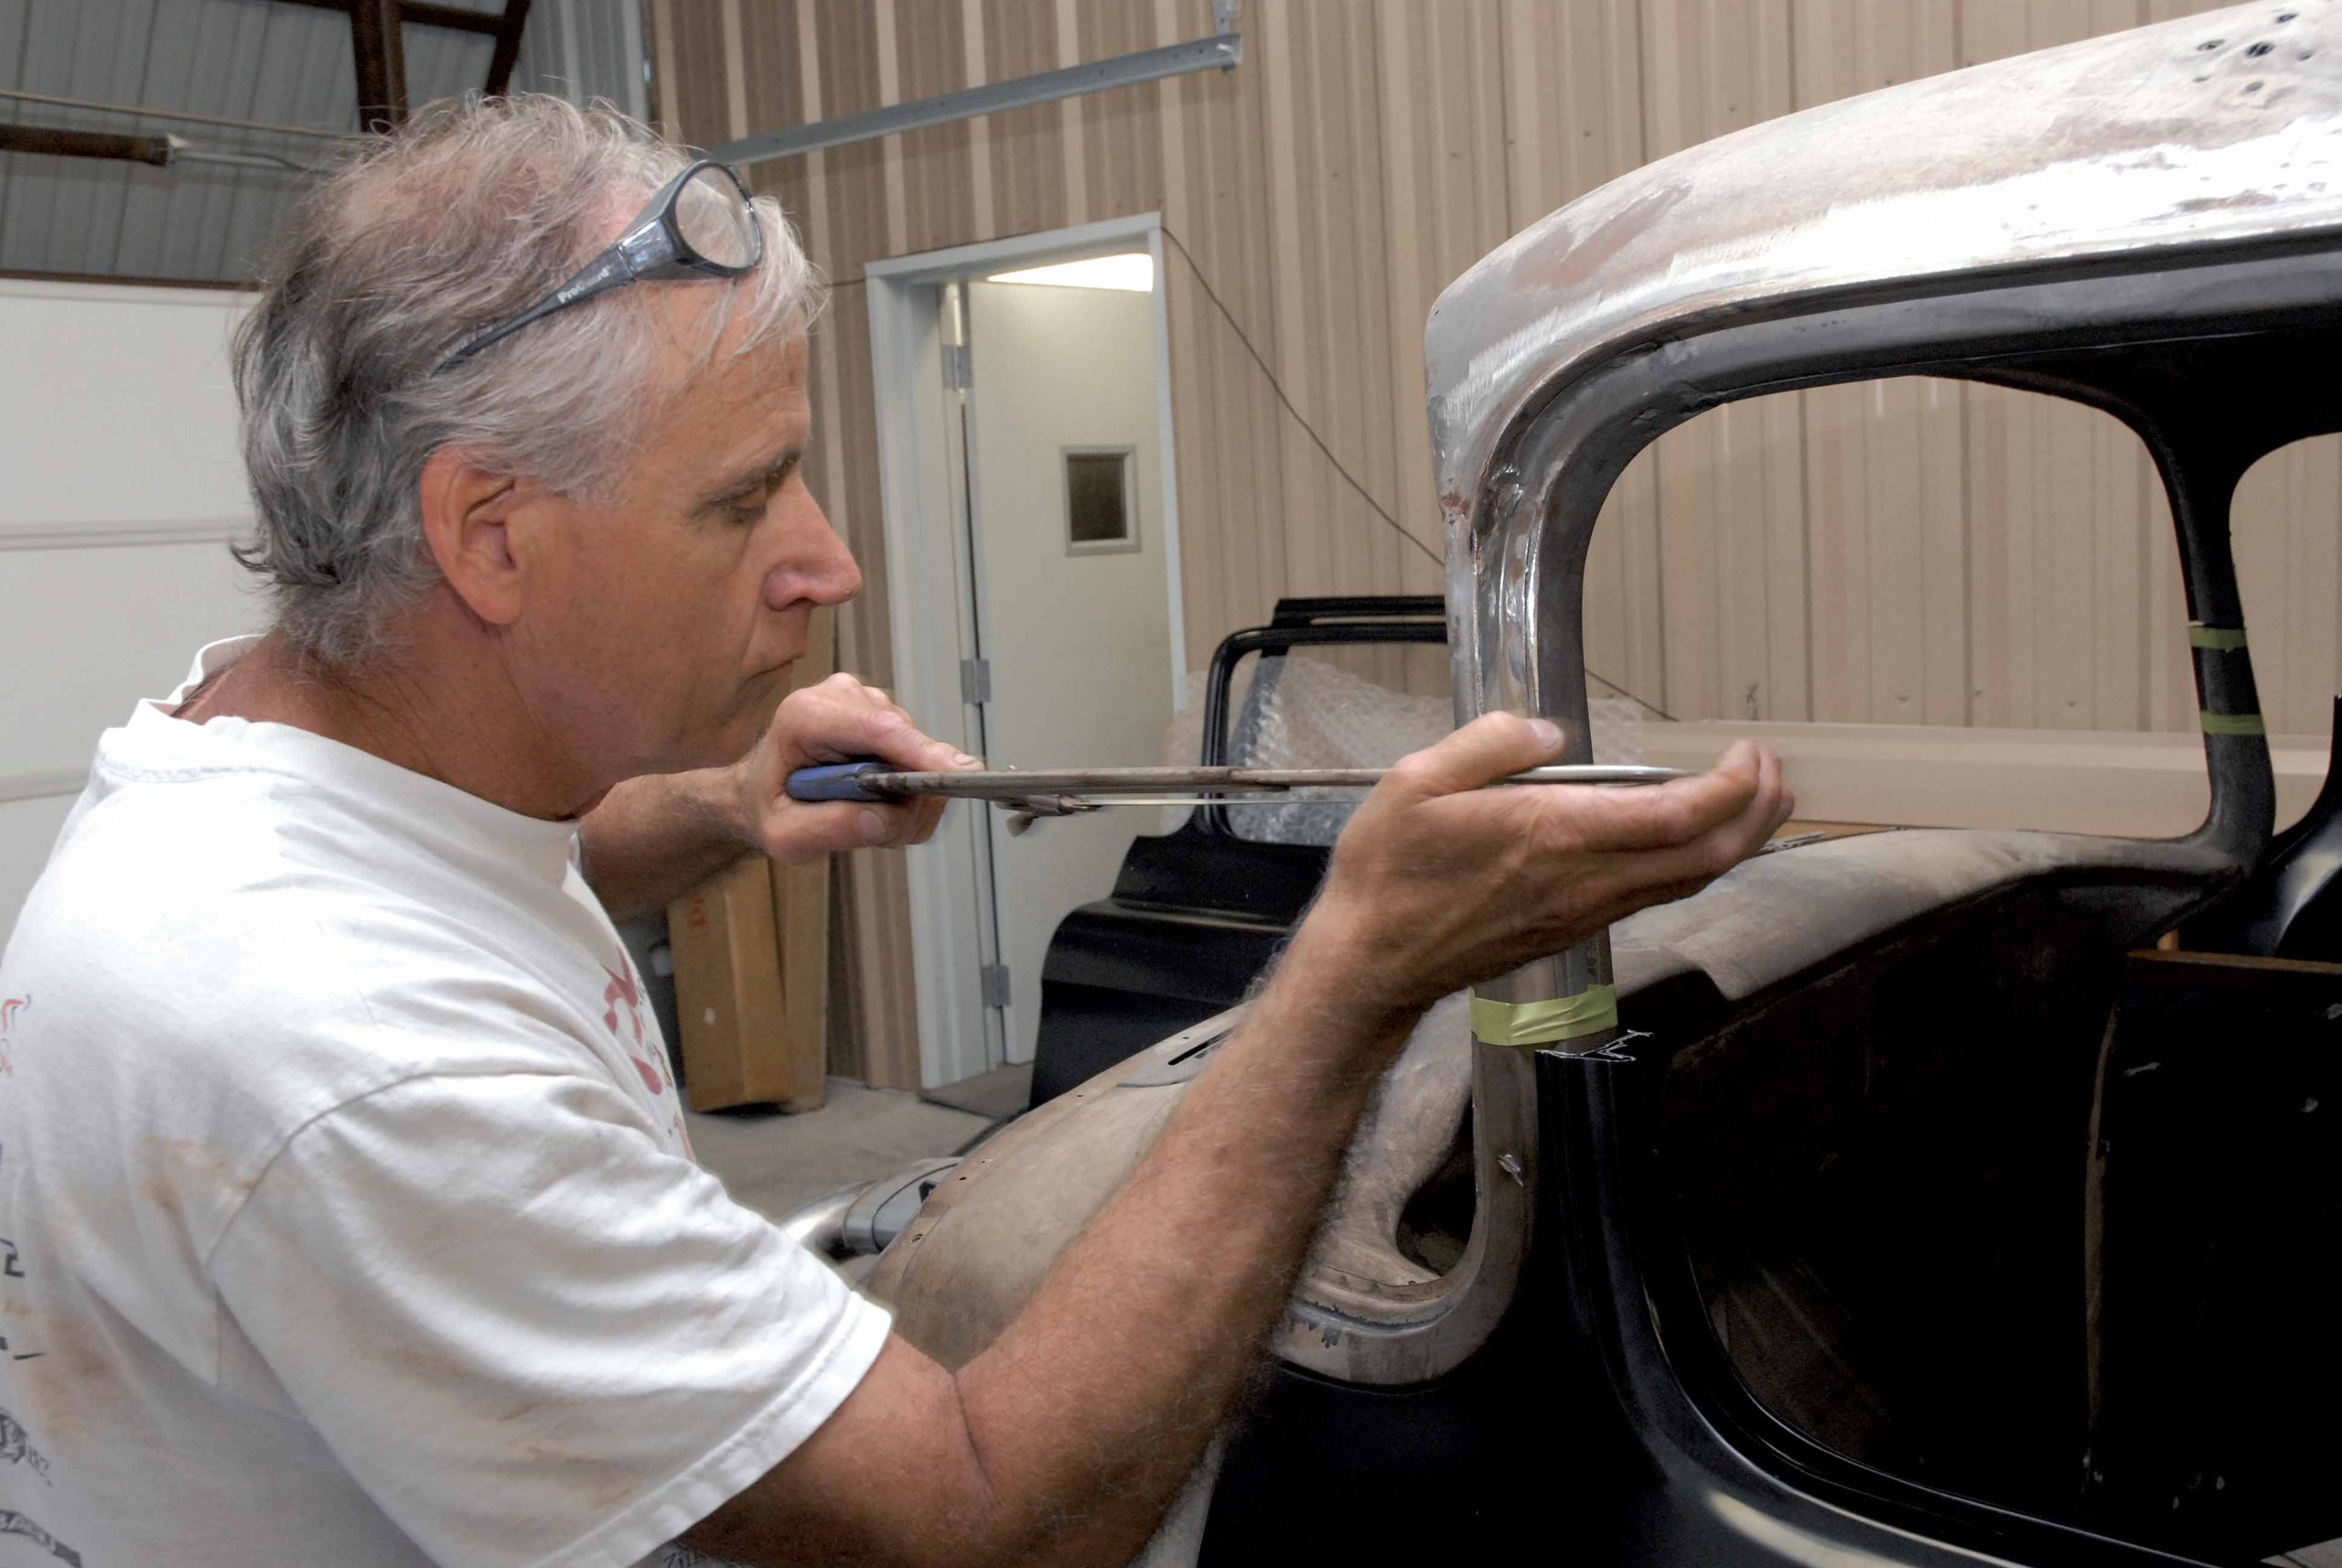
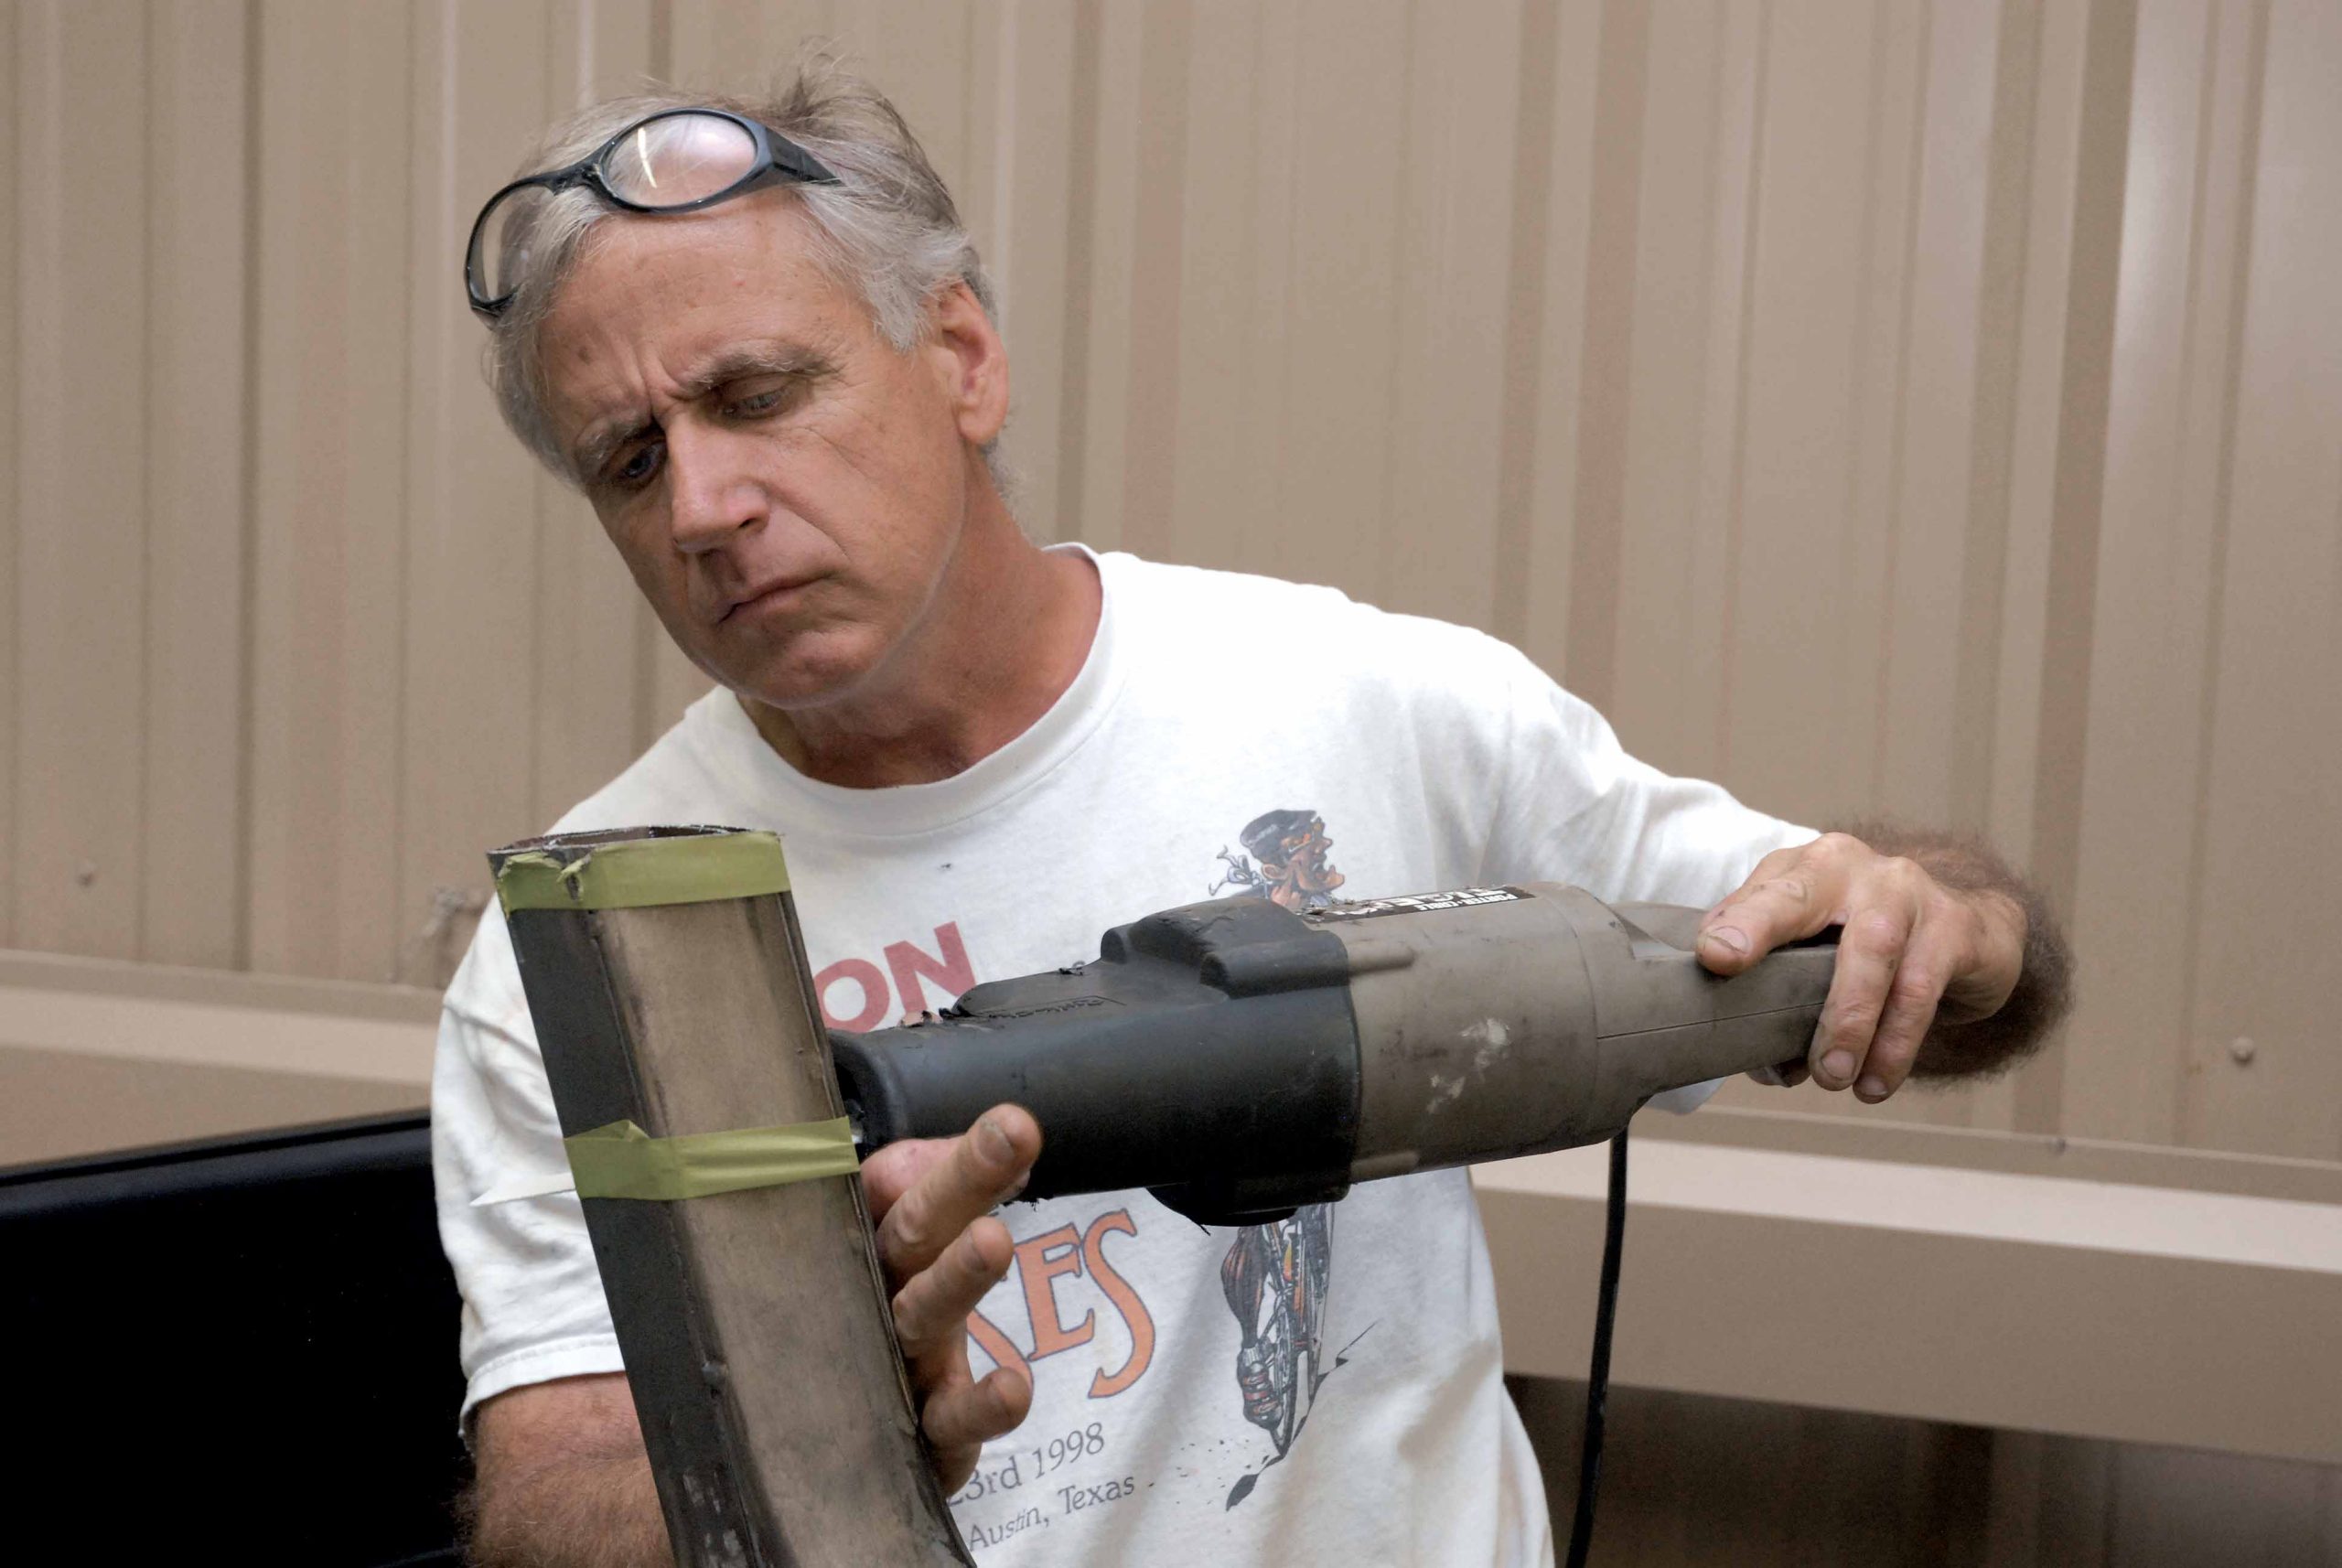
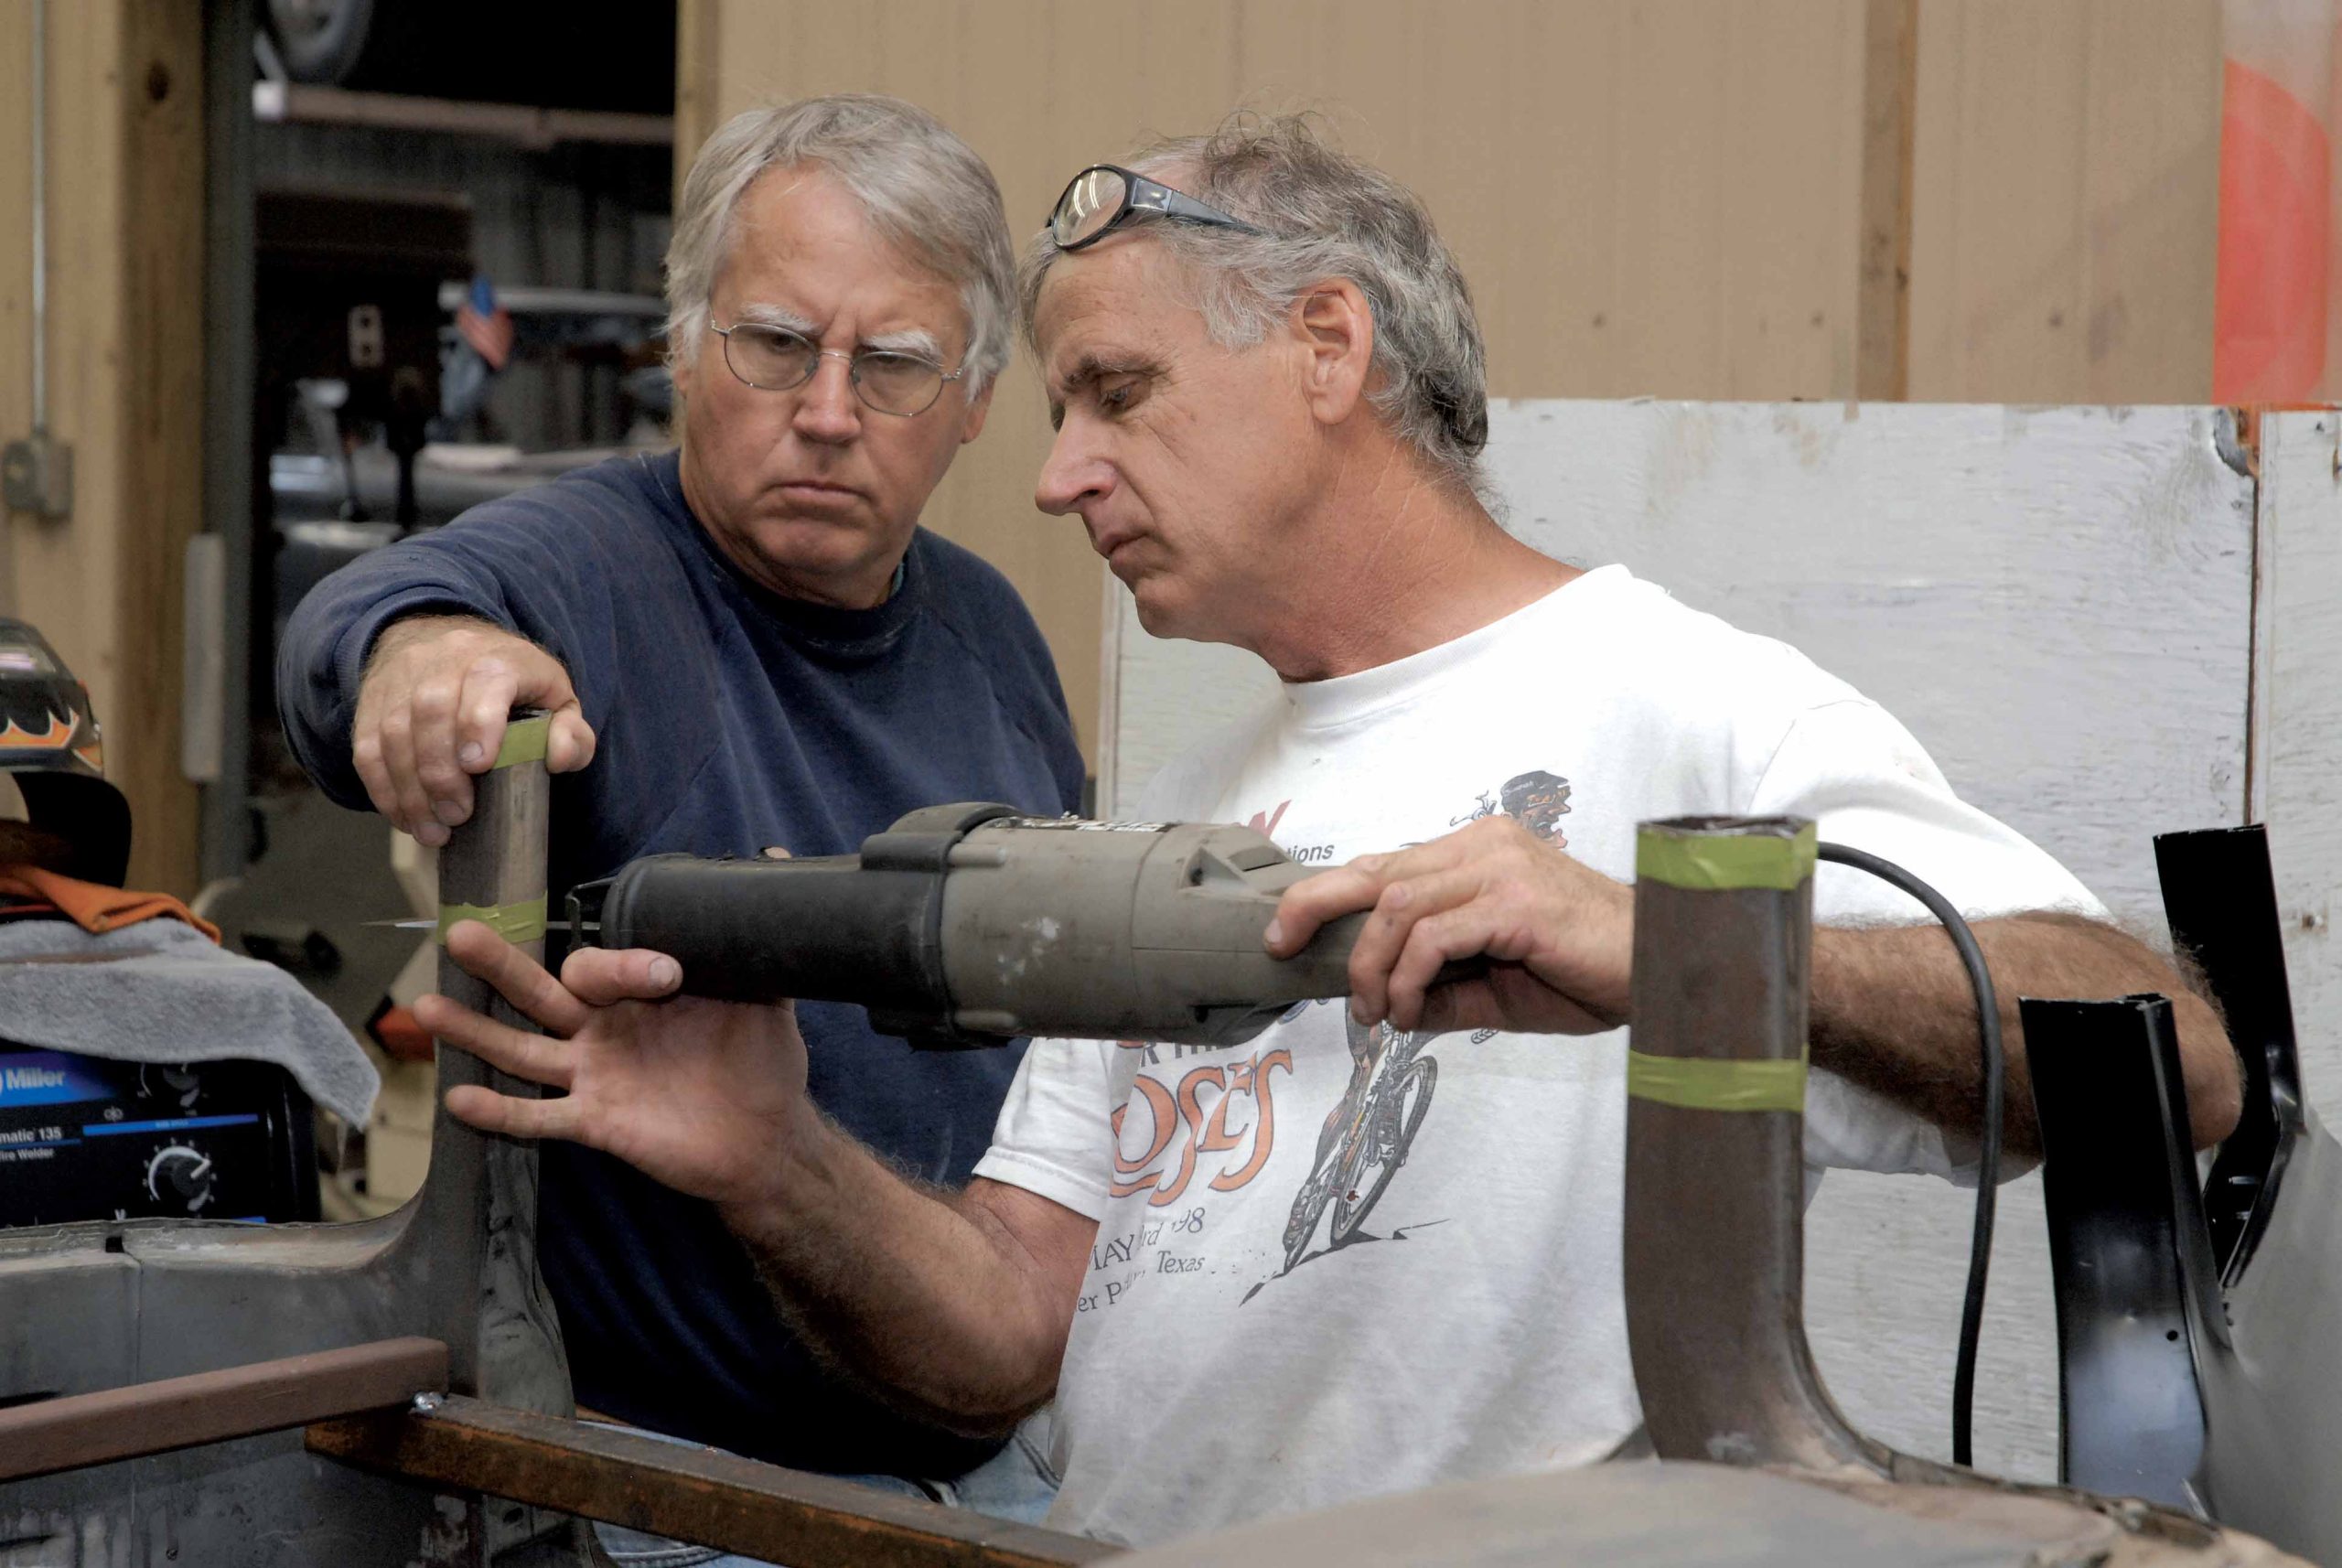
The doors were cut first. Why? Because the doors can swing open freely and must be moved out of the way in order to successfully cut the window posts. In the process, they used a number of saws ranging from a small hand-held Craftsman Air Saw to a Sawzall, depending on the particular area needed to be cut, and how difficult it was to get to it. However, the tool most preferred by the Cimbanins was a hacksaw equipped with a fresh cutting blade.
When you chop a top, it’s not about how fast you can chop it, says Darrell, It’s all about how precise you can chop it. With a hacksaw, you have more control. Remember, you’ve got to replace whatever it is you’ve mistakenly cut out, and since the disc on a tool like a die grinder is about 1/16th of an inch thick, you’ve got that much more material to replace. Here’s another tip: Never use any kind of a torch to chop a top!
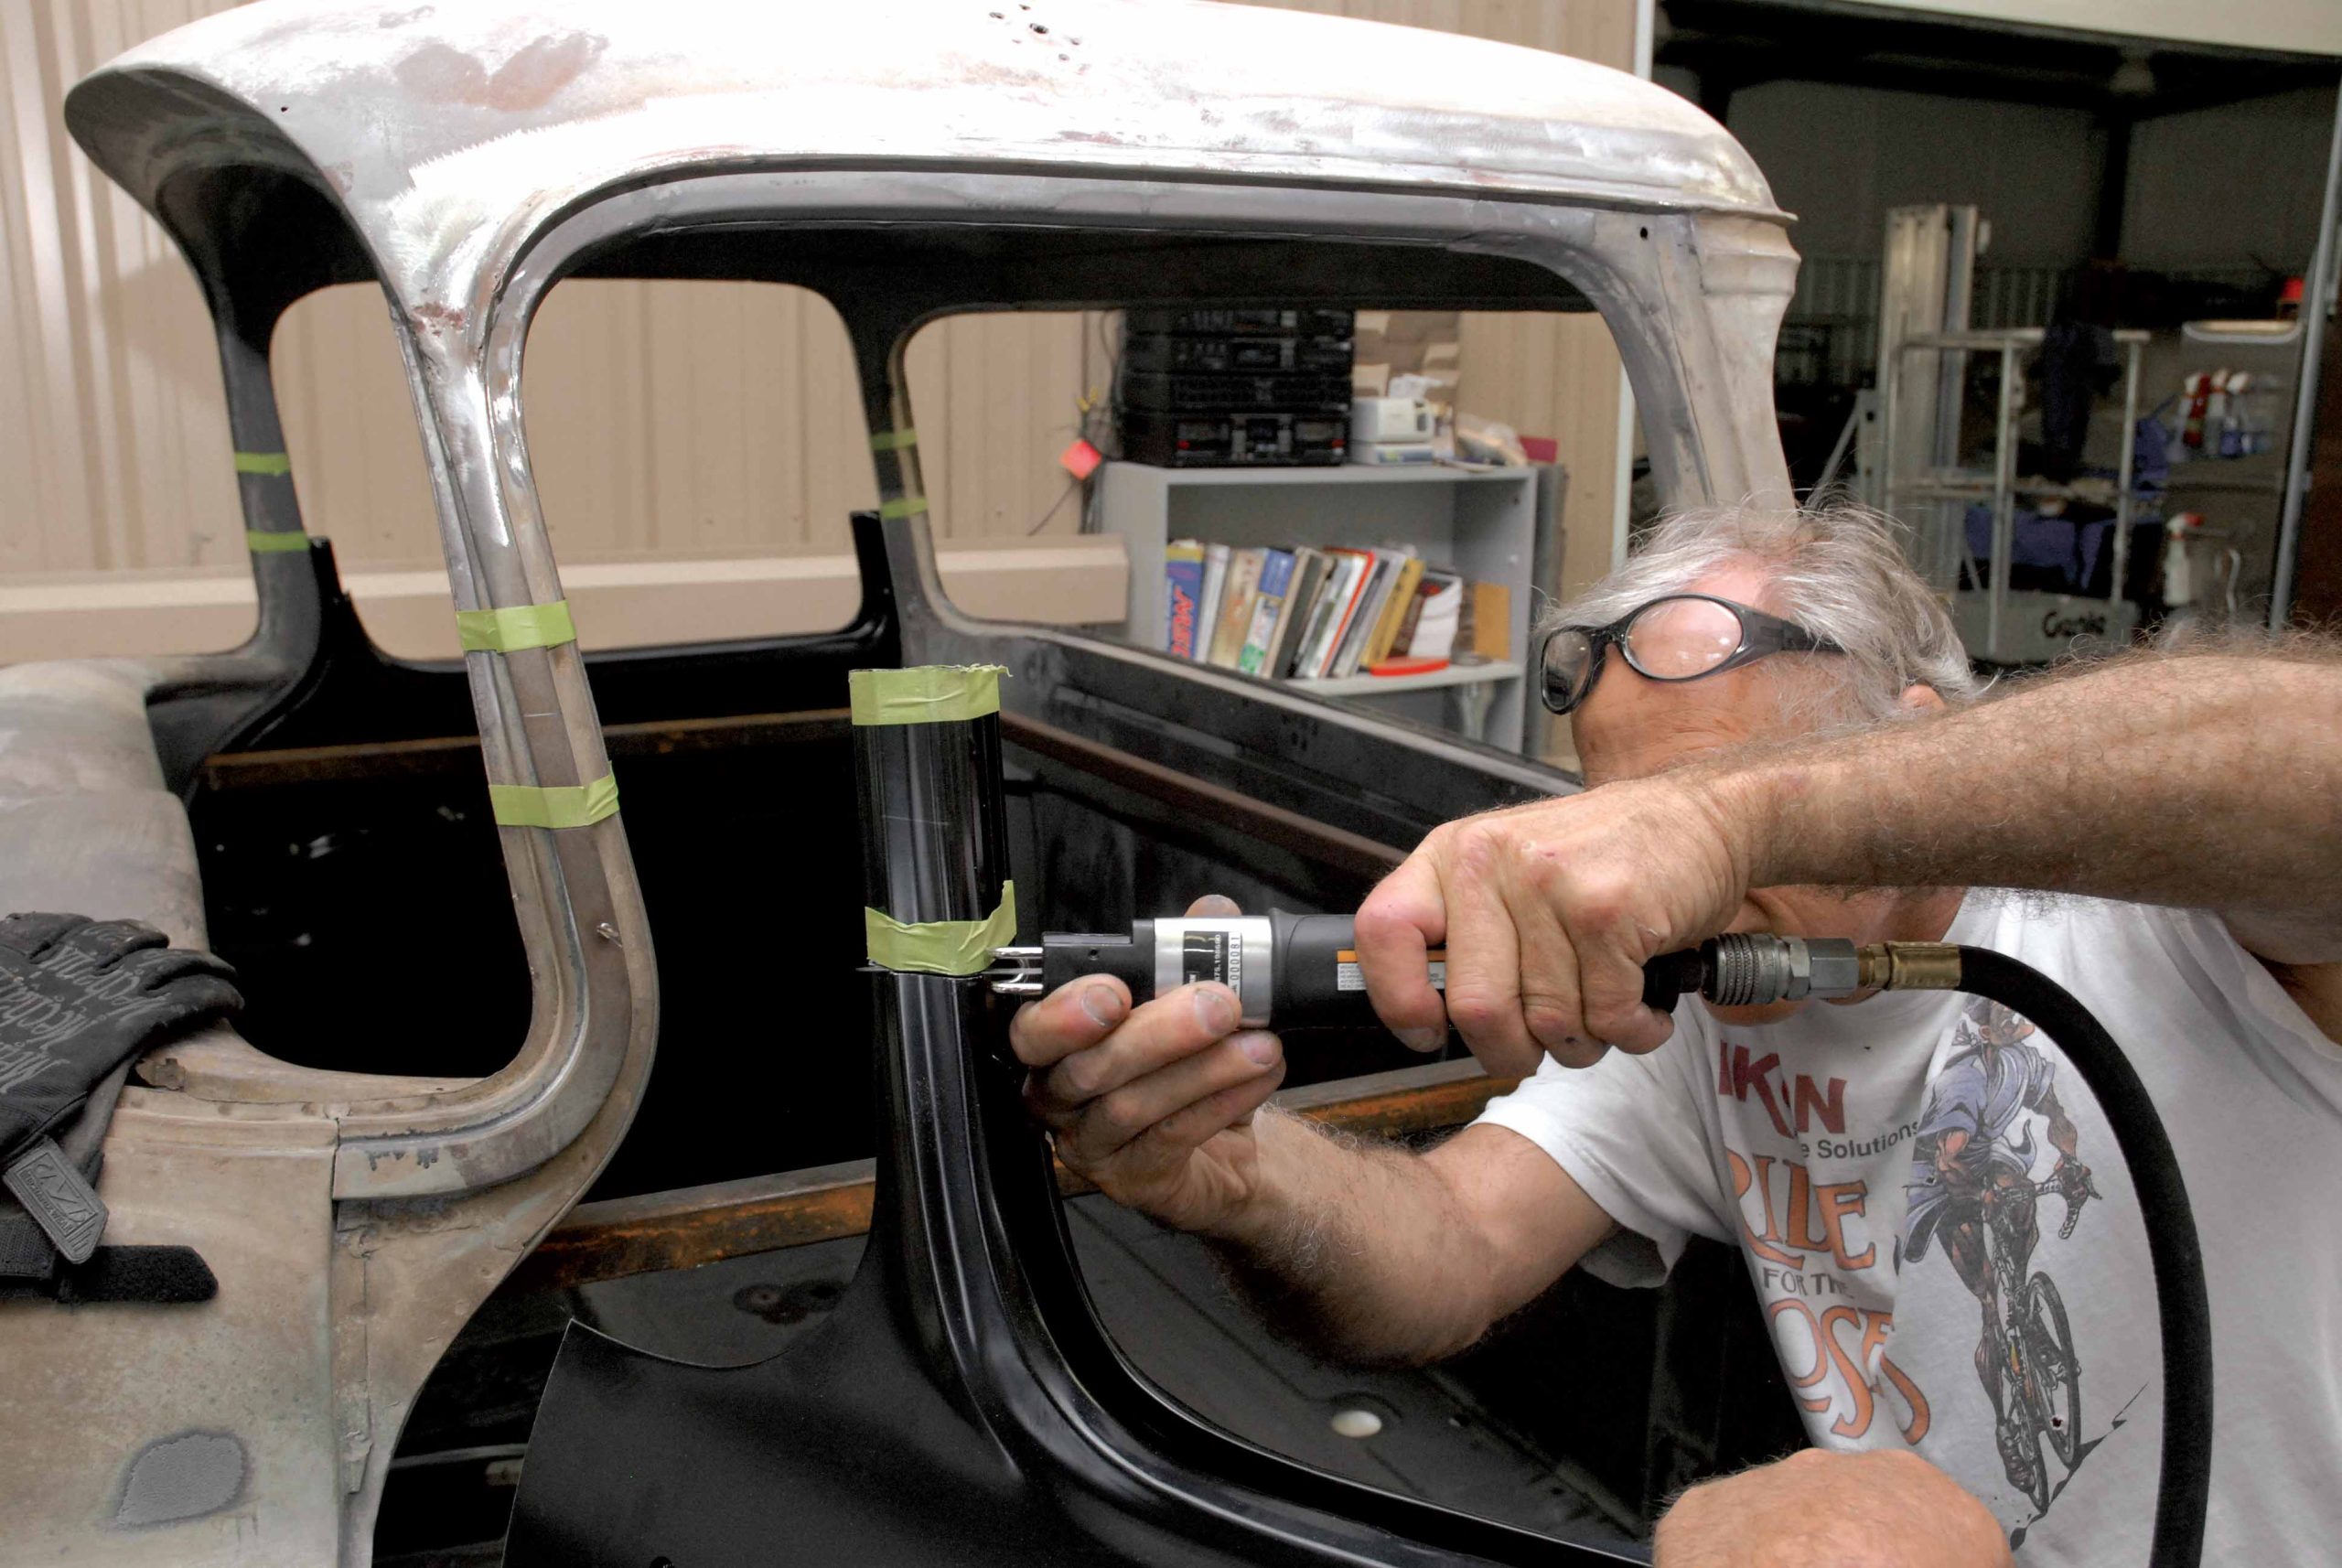
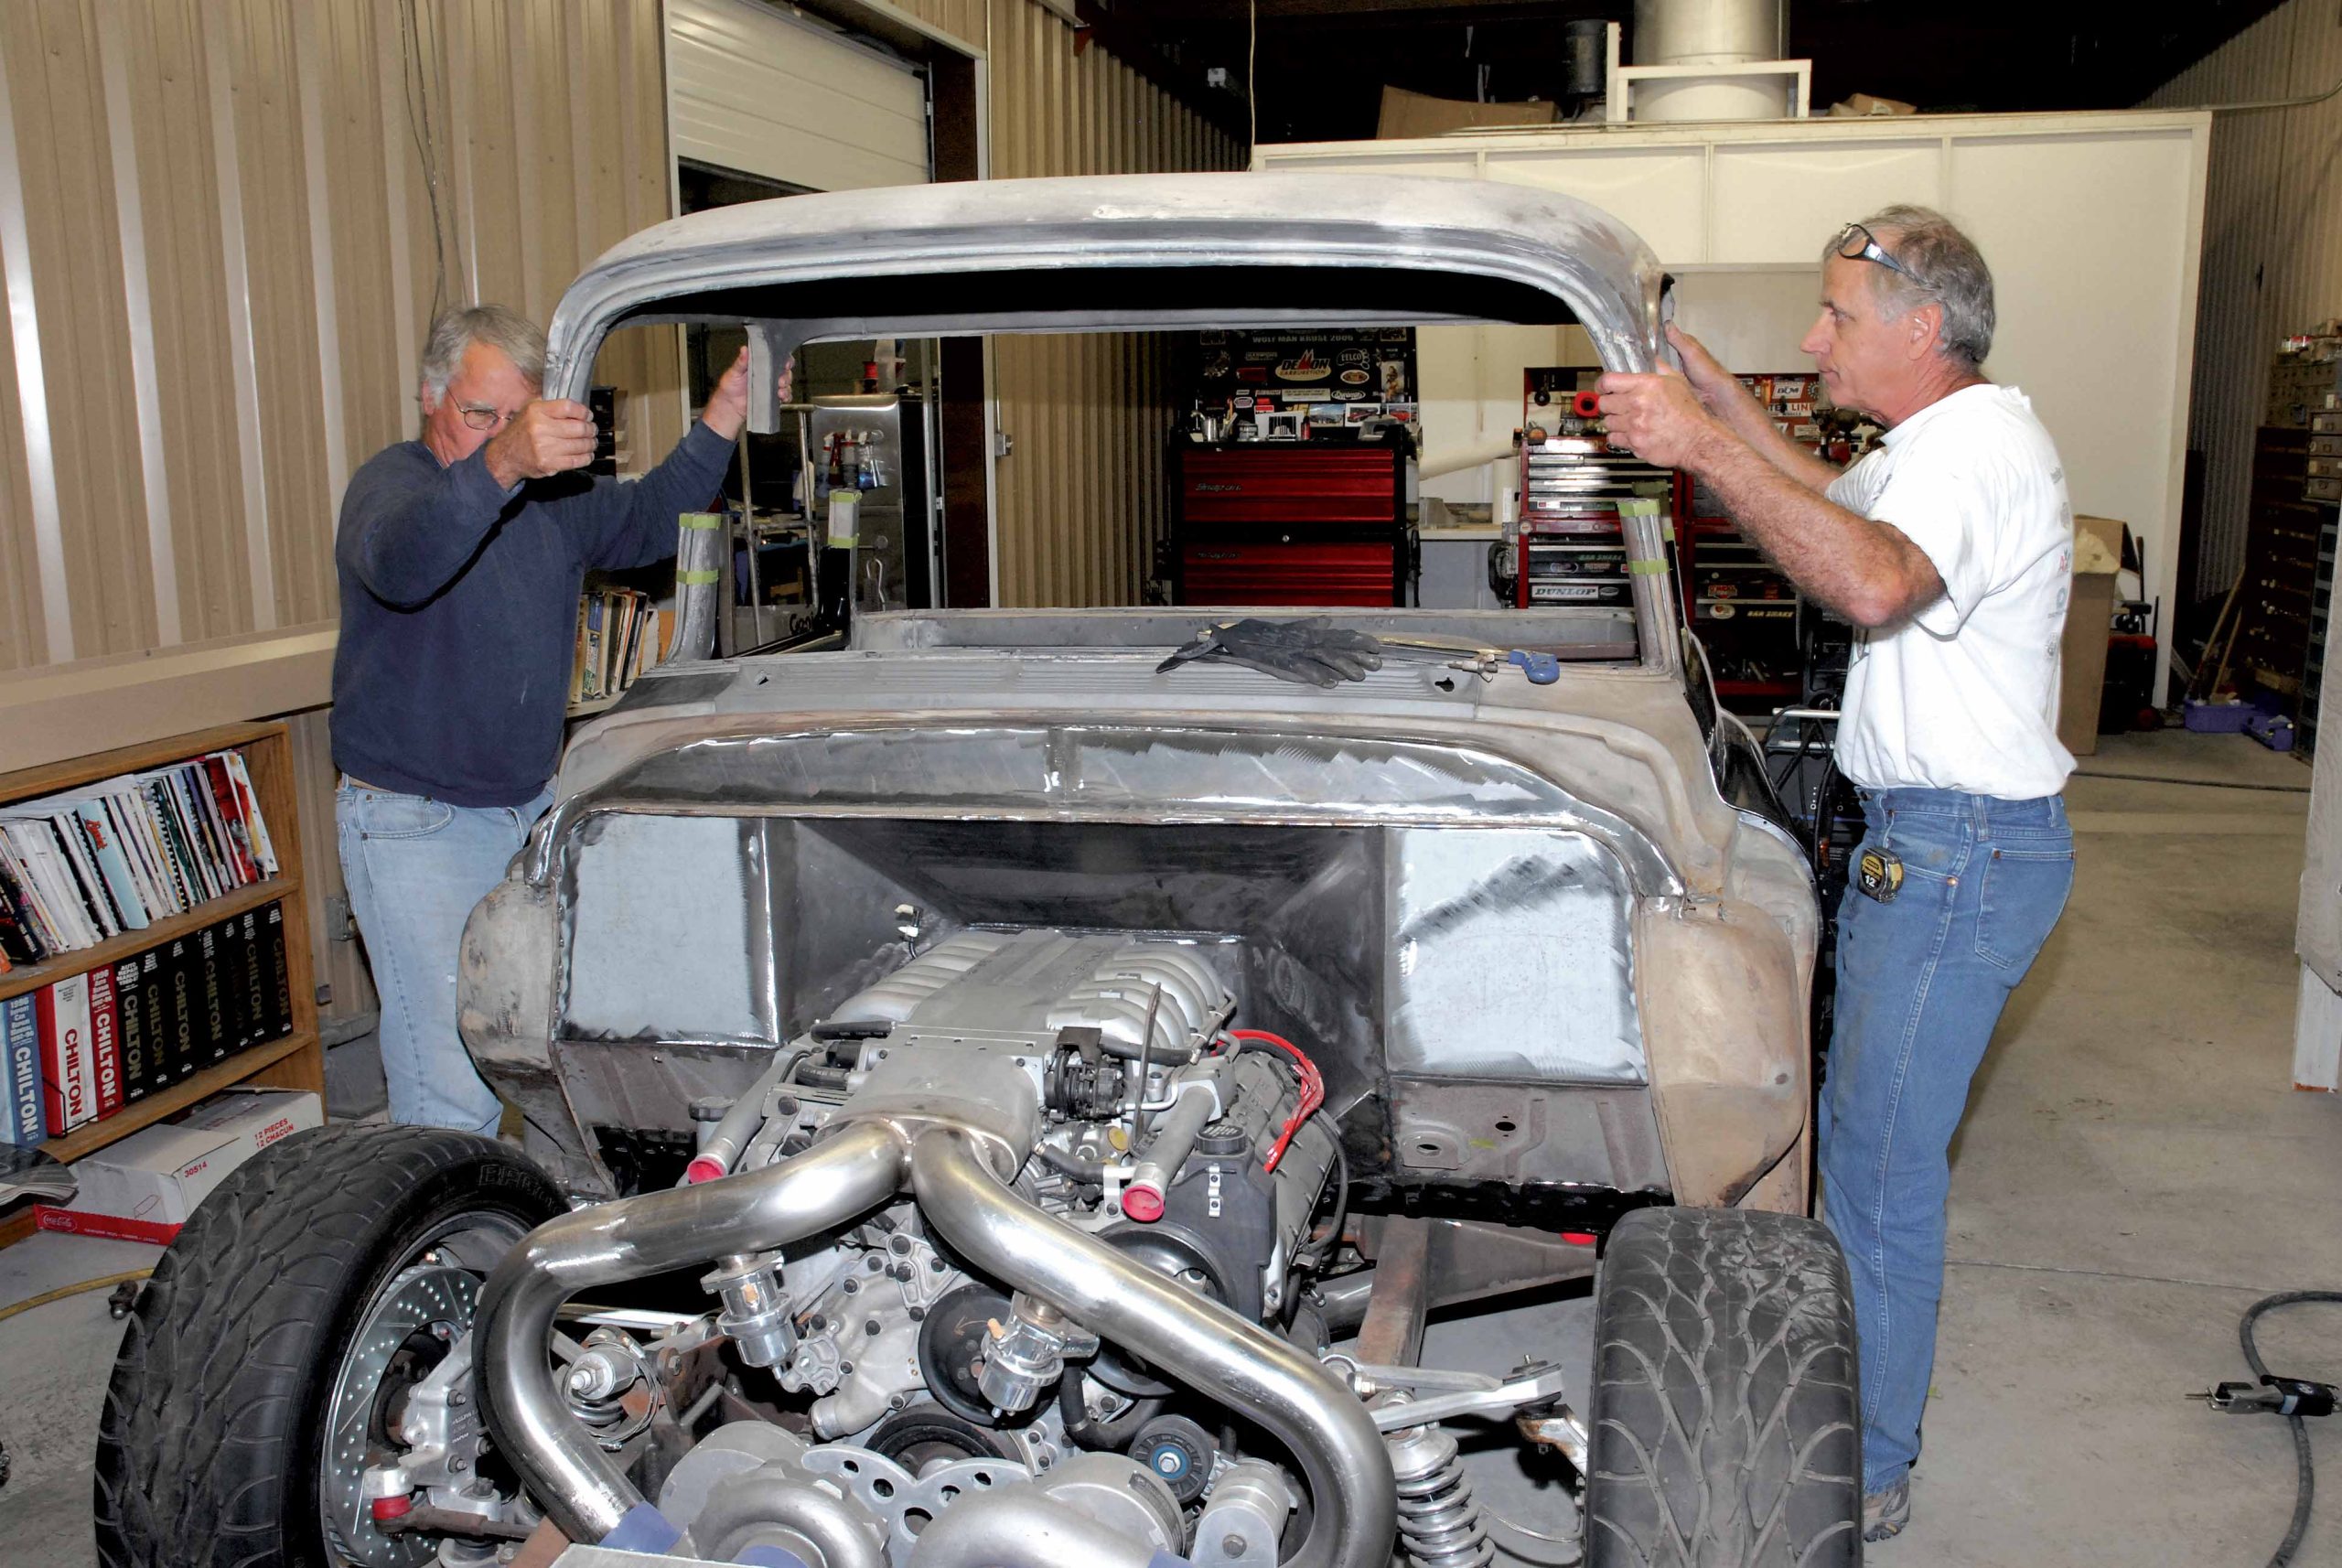
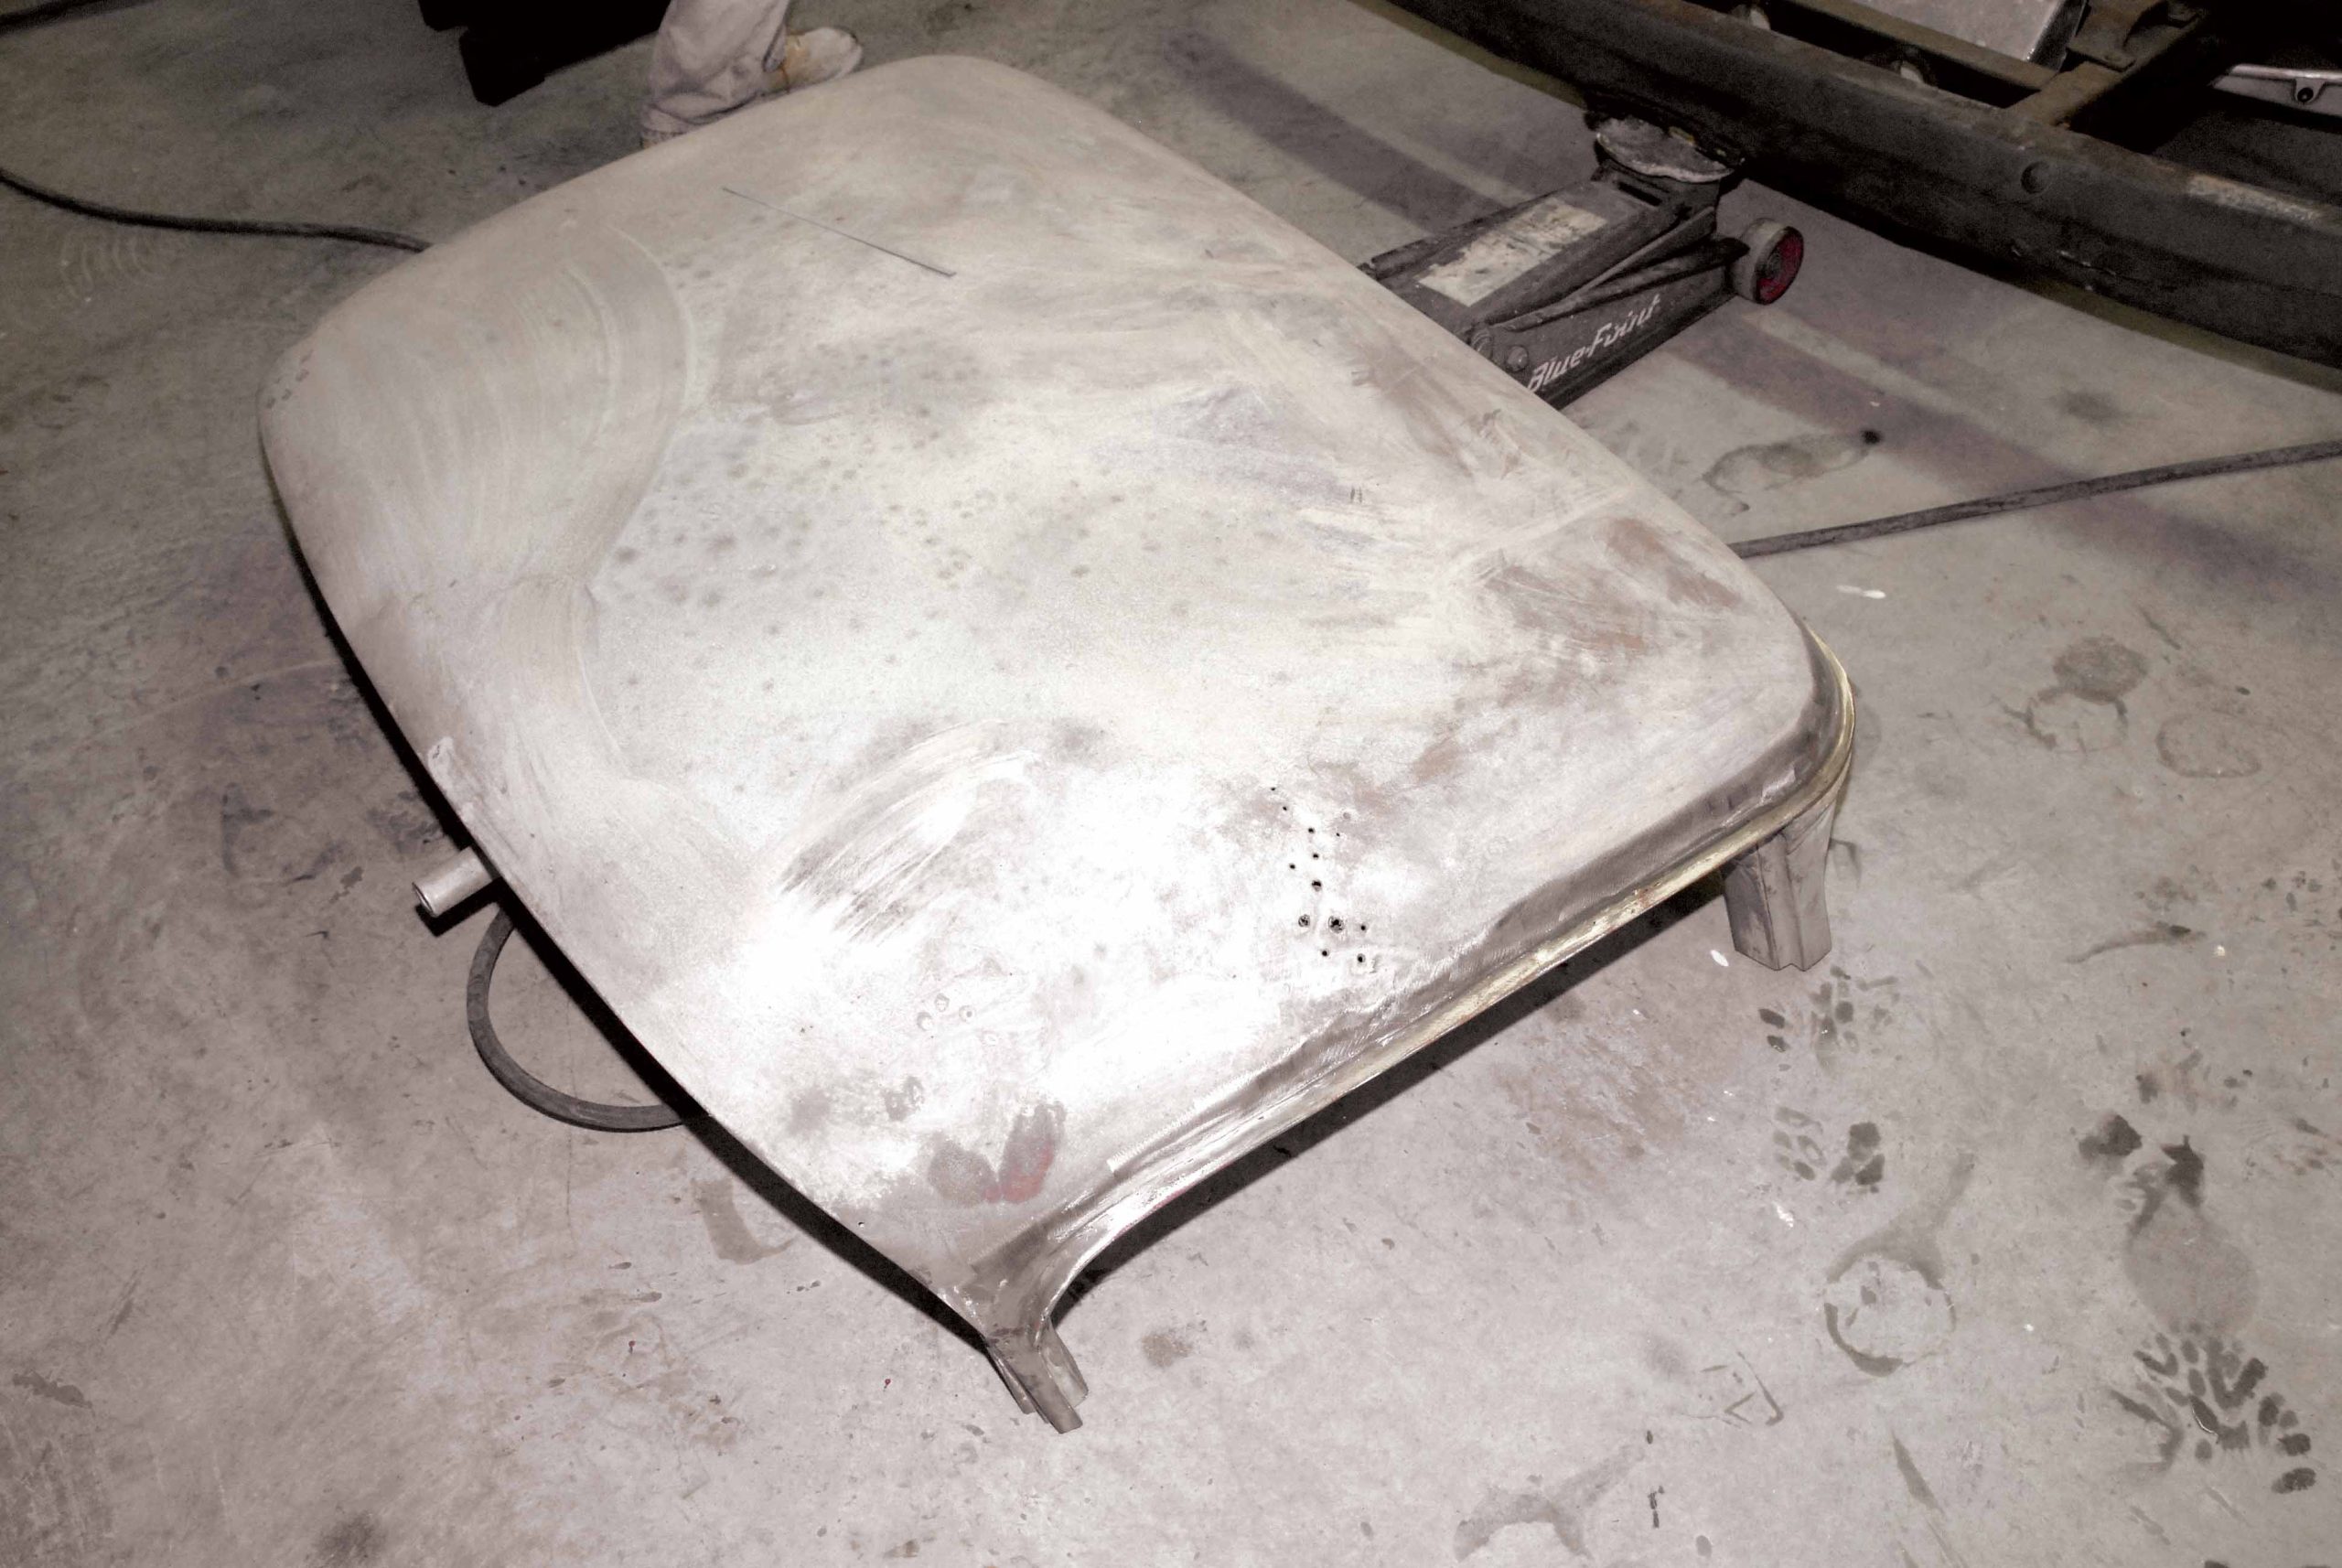
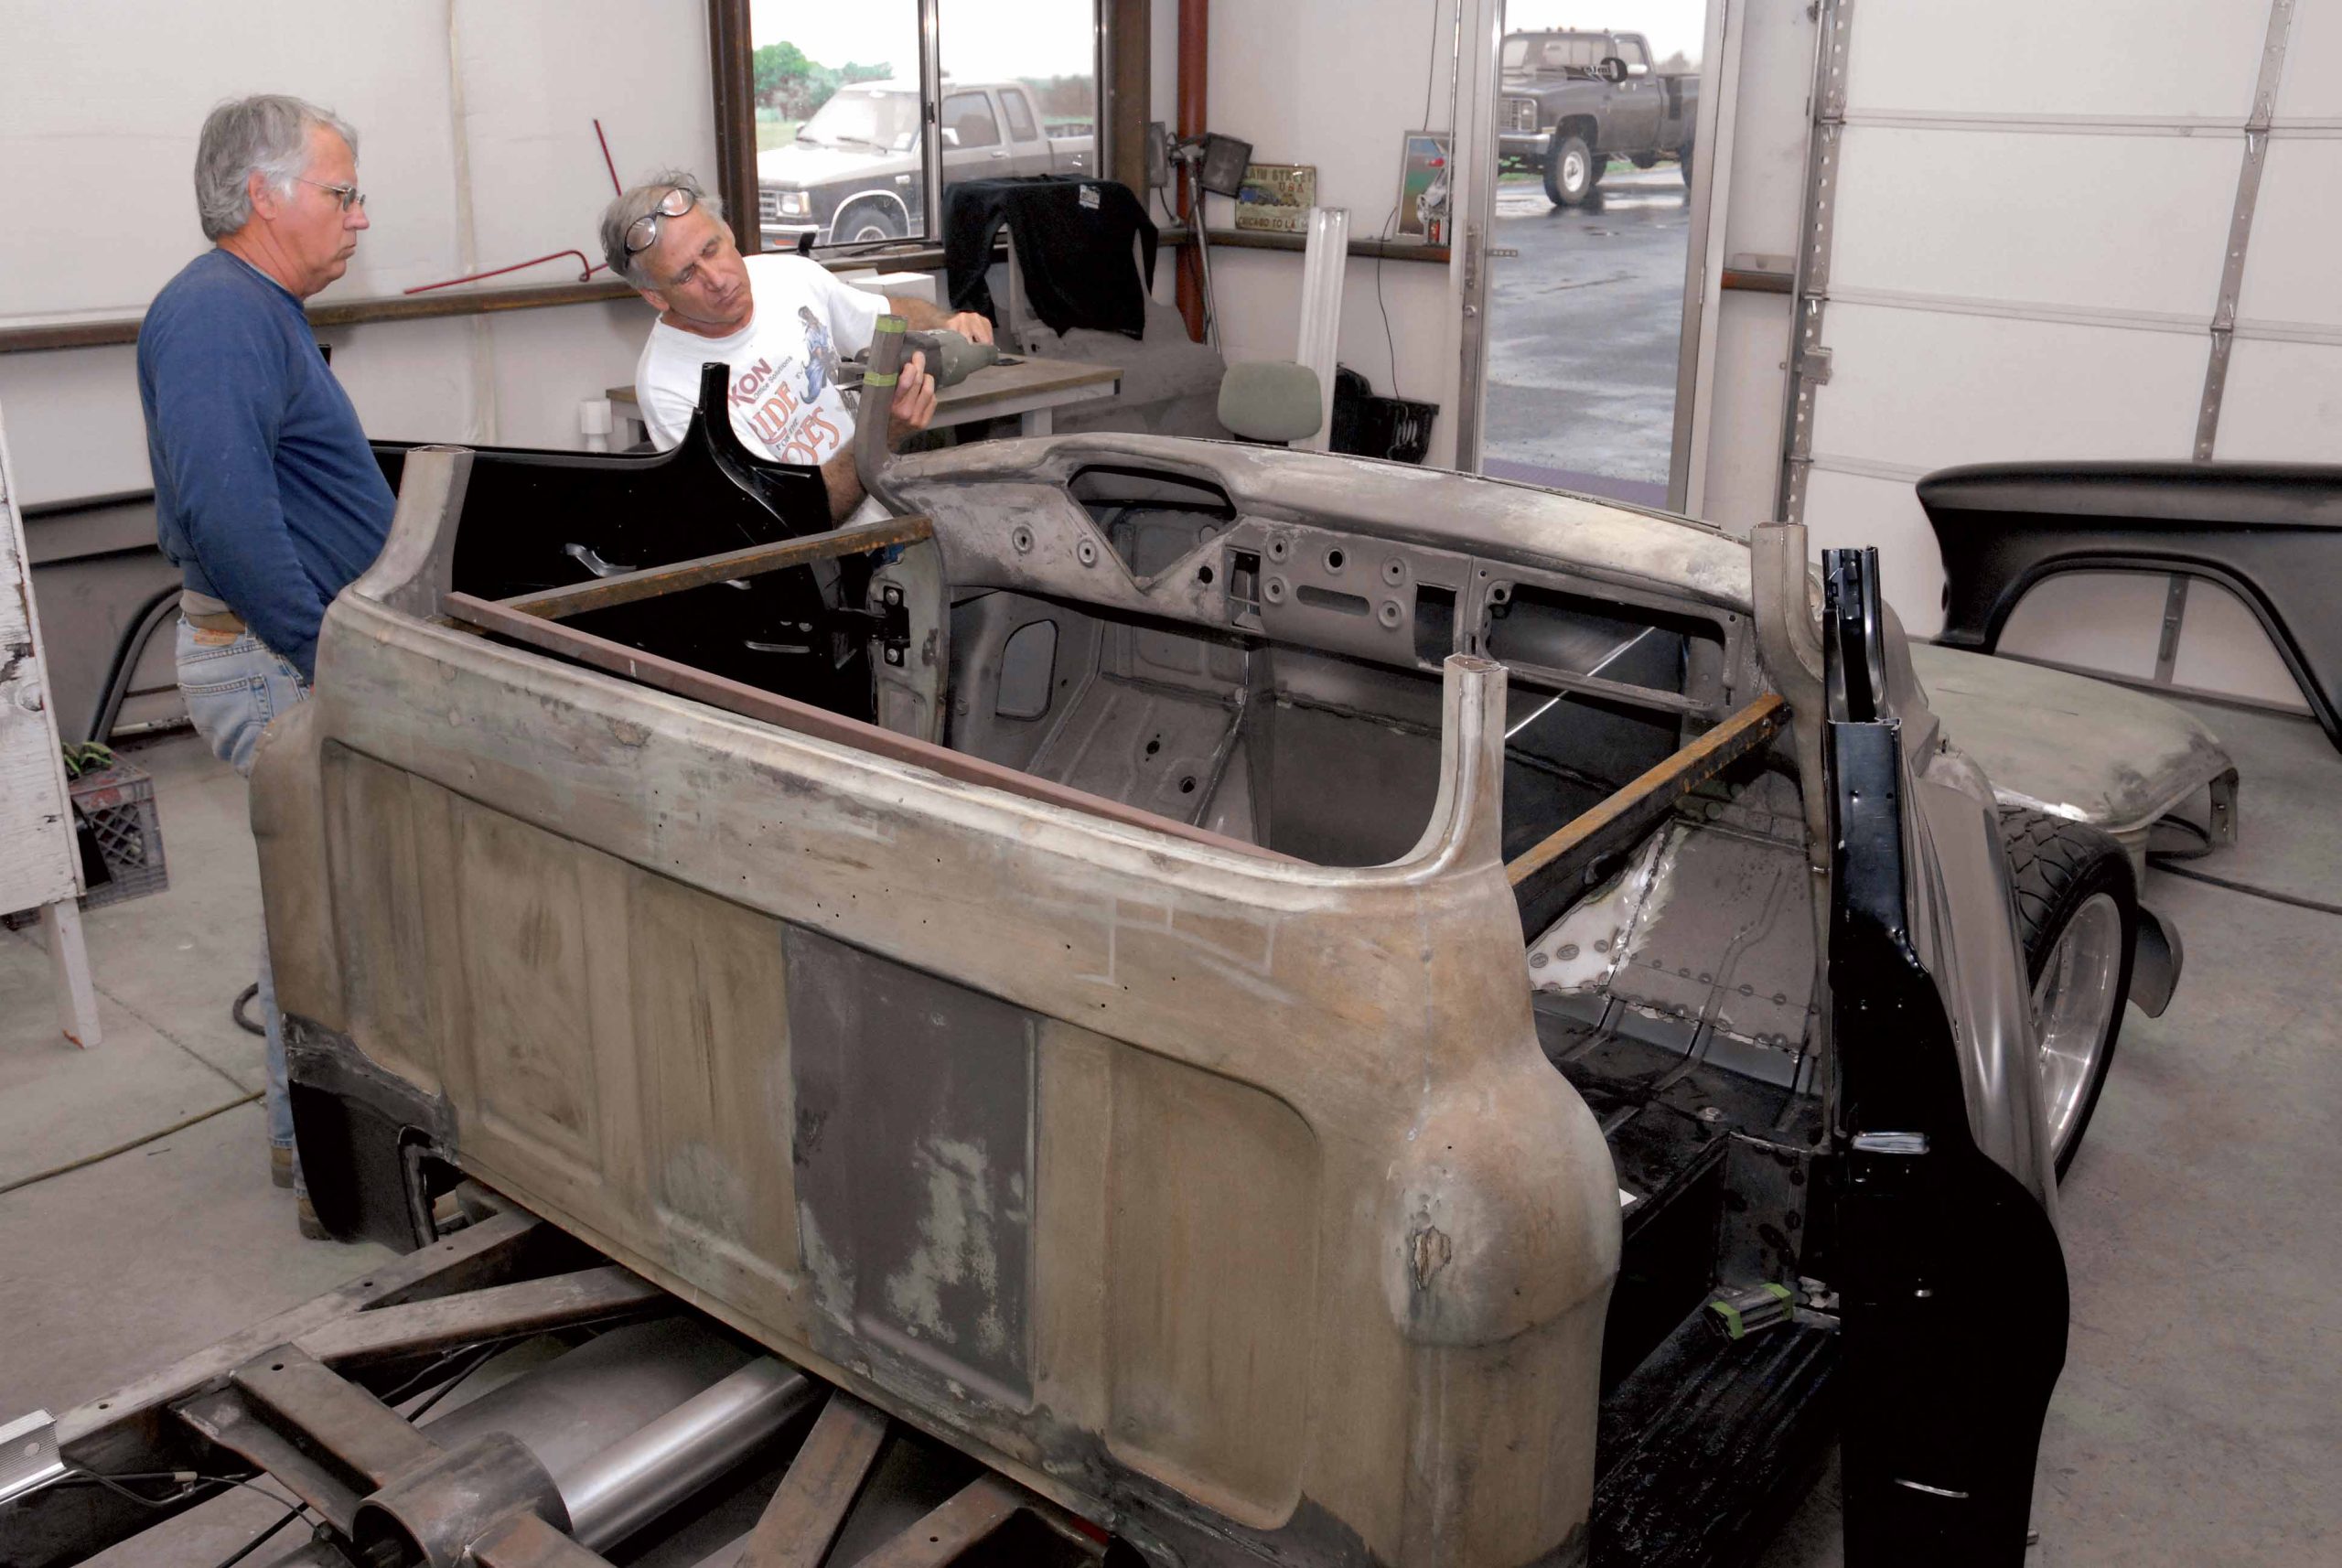
Another thing to remember is to be consistent when chopping both sides. A lopsided top wouldn’t work very well, so Darrell begins by cutting along the cut line made at the top of the front and rear window posts. Once all four corners of the cab have been cut, following the top cut line, the Cameo top is removed and set aside.
With the top removed, the Cimbanins used both a hacksaw and a Sawzall to trim the multilayered sheetmetal along the lower cut line on both the top posts and door posts. After a little grinding, it’s time to reinstall the top section and start making a series of cuts in both upper and lower top posts and door frames, to successfully realign and reinstall the top.
Believe it or not, this is where the real work begins, click here to go to Part 12 for the second installment in Cimtex Rods top chop.


