Cimtex Super Cameo Buildup: Part Nine – Rebuilding the Cab Floor
In part nine of our Cimtex Rods Super Cameo Buildup Series, we covered the installation of the Classic Industries Parts and Accessories reproduction ’55-’59 Chevrolet/GMC lower door hinge panels, doorsill rocker panels, upper and lower door hinges, new right- and left-side front floor pans, inner and outer lower cab patch panels, and right-and left-side truck cab supports.
To put it in a nutshell, the crew at Cimtex Rods in Jarrell, Texas, basically rebuilt the whole bottom end of our Super Cameo ’56 Chevrolet big window truck cab from stem to stern.
Cimtex Super Cameo Buildup: Part Ten – Unexpected Delays and New Tasks
Now, with a rock-solid truck cab firmly bolted onto our Cameo’s highly modified C4 Corvette-suspended truck chassis, we closed with the promise that we would be installing a new set of Dynacorn International Inc. ’55-’59 Chevrolet/GMC reproduction truck doors, followed by angle-chopping the top on our ’56 big-window a total of 3-1/2 inches in the front and 3 inches in the rear. Unfortunately, things didn’t exactly go according to plan.
Early last March, we arrived back in Jarrell, Texas, looking forward to lowering the roof line on our ’56 Chevrolet Cameo street truck as previously outlined. Unfortunately, a last minute snag in getting our shipment from Dynacorn’s overseas stamping company, Golden Trust, prevented us from receiving our new doors in time to make this installment. Ignoring our latest deadline would have spelled editorial disaster. Fortunately for us, Darrell Cimbanin already had a backup plan.
“Don’t worry—we’ve got plenty of other things we can do to keep us busy, and then we’ll get to those new Dynacorn doors. For example, we still haven’t completed all the modifications to the truck’s firewall, and we still need to fabricate a panel to cover those unsightly spot welds at the top of the cowl. We also need to fill in the driprails. That ought to be enough work to fill a number of pages in your magazine,” Darrell said with a smile. In short order, brother Tim Cimbanin was hard at work fabricating a pair of sheetmetal panels to fill in the cowl.
Cimtex Super Cameo Buildup: Part Ten – Starting with Firewall Modifications
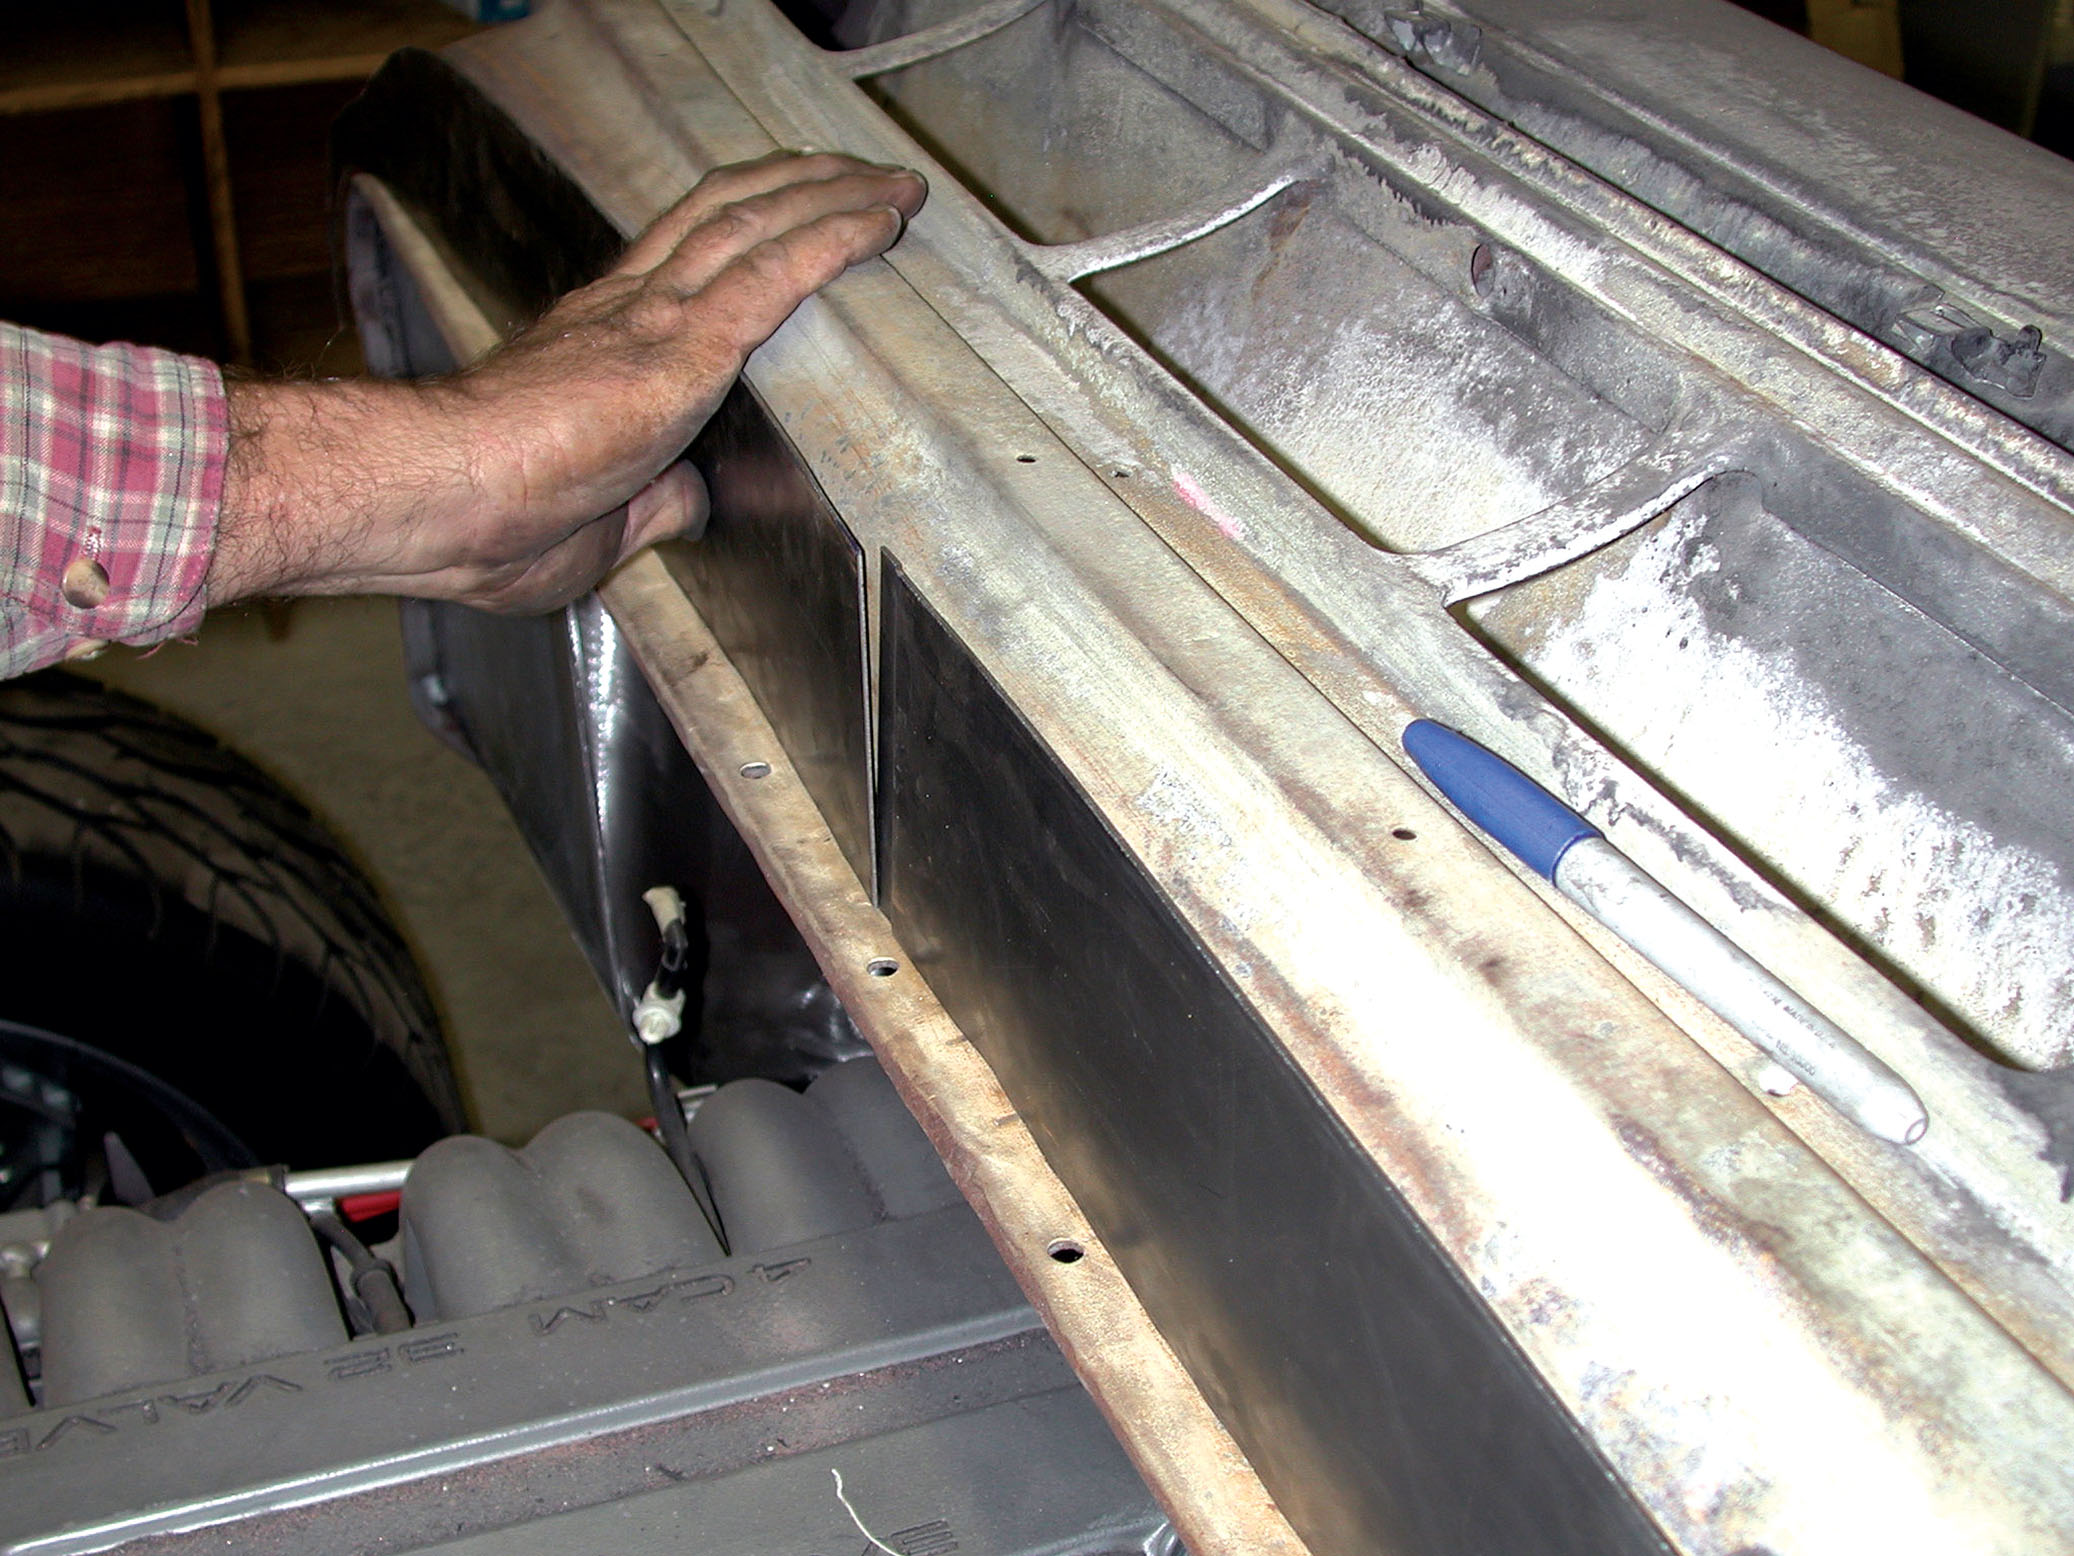
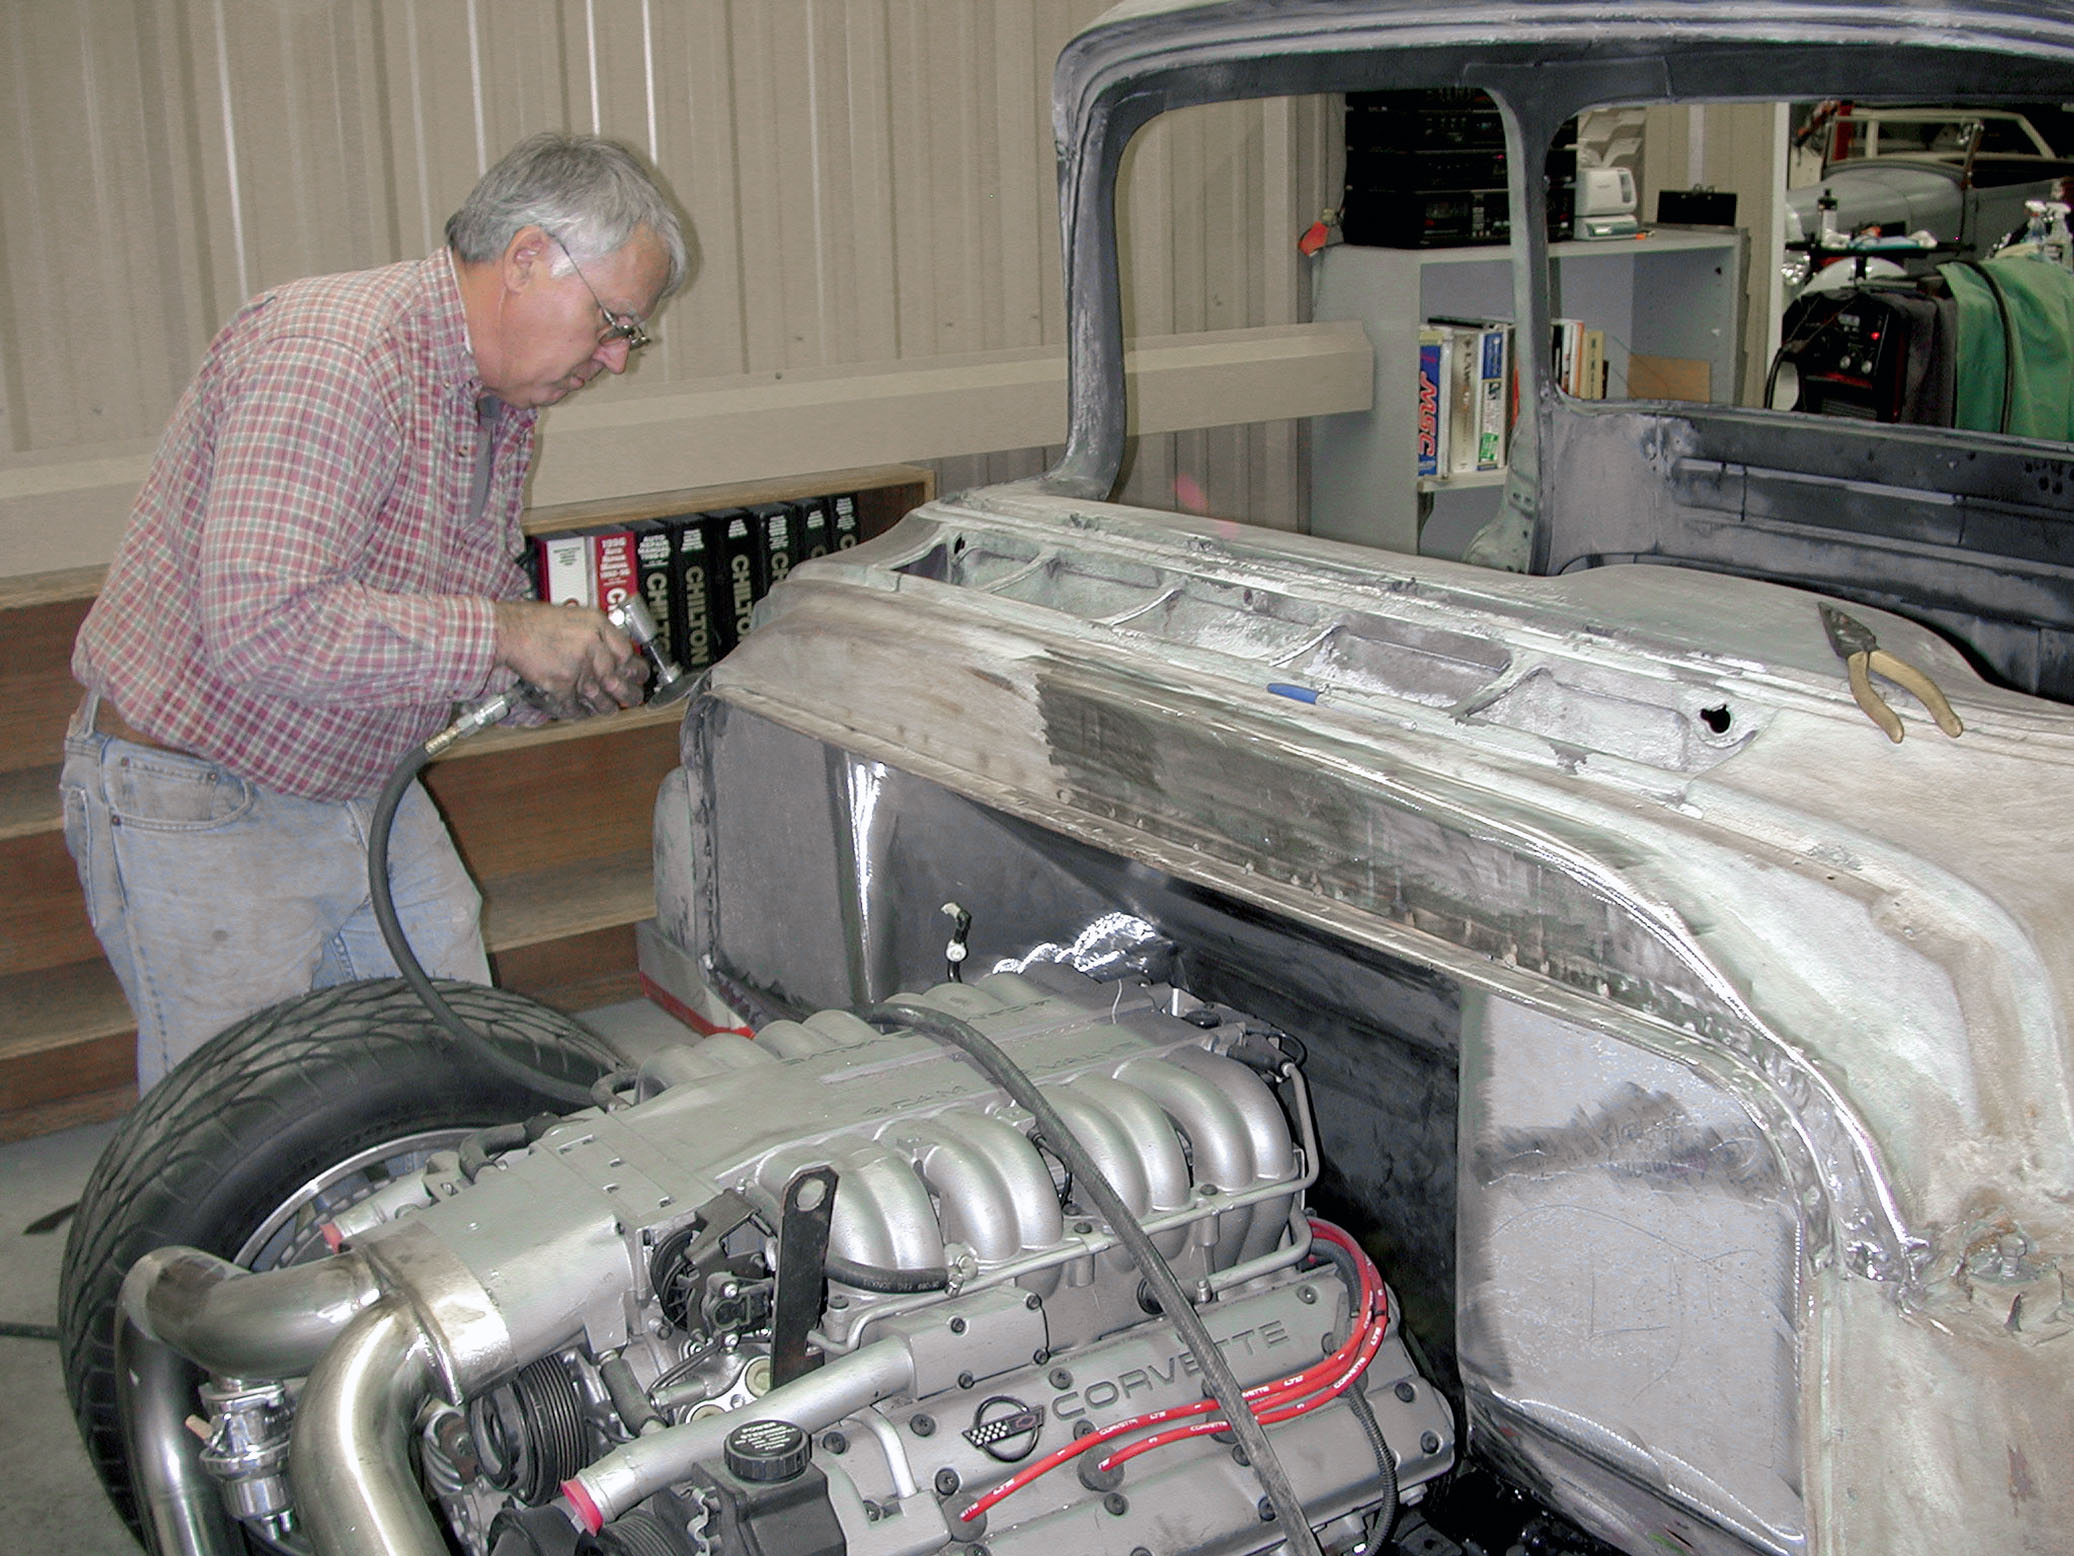
In short order, brother Tim Cimbanin was hard at work fabricating a pair of sheetmetal panels to fill in the cowl.
Cimtex Super Cameo Buildup: Part Ten – Filling the Cowl Panel Gaps
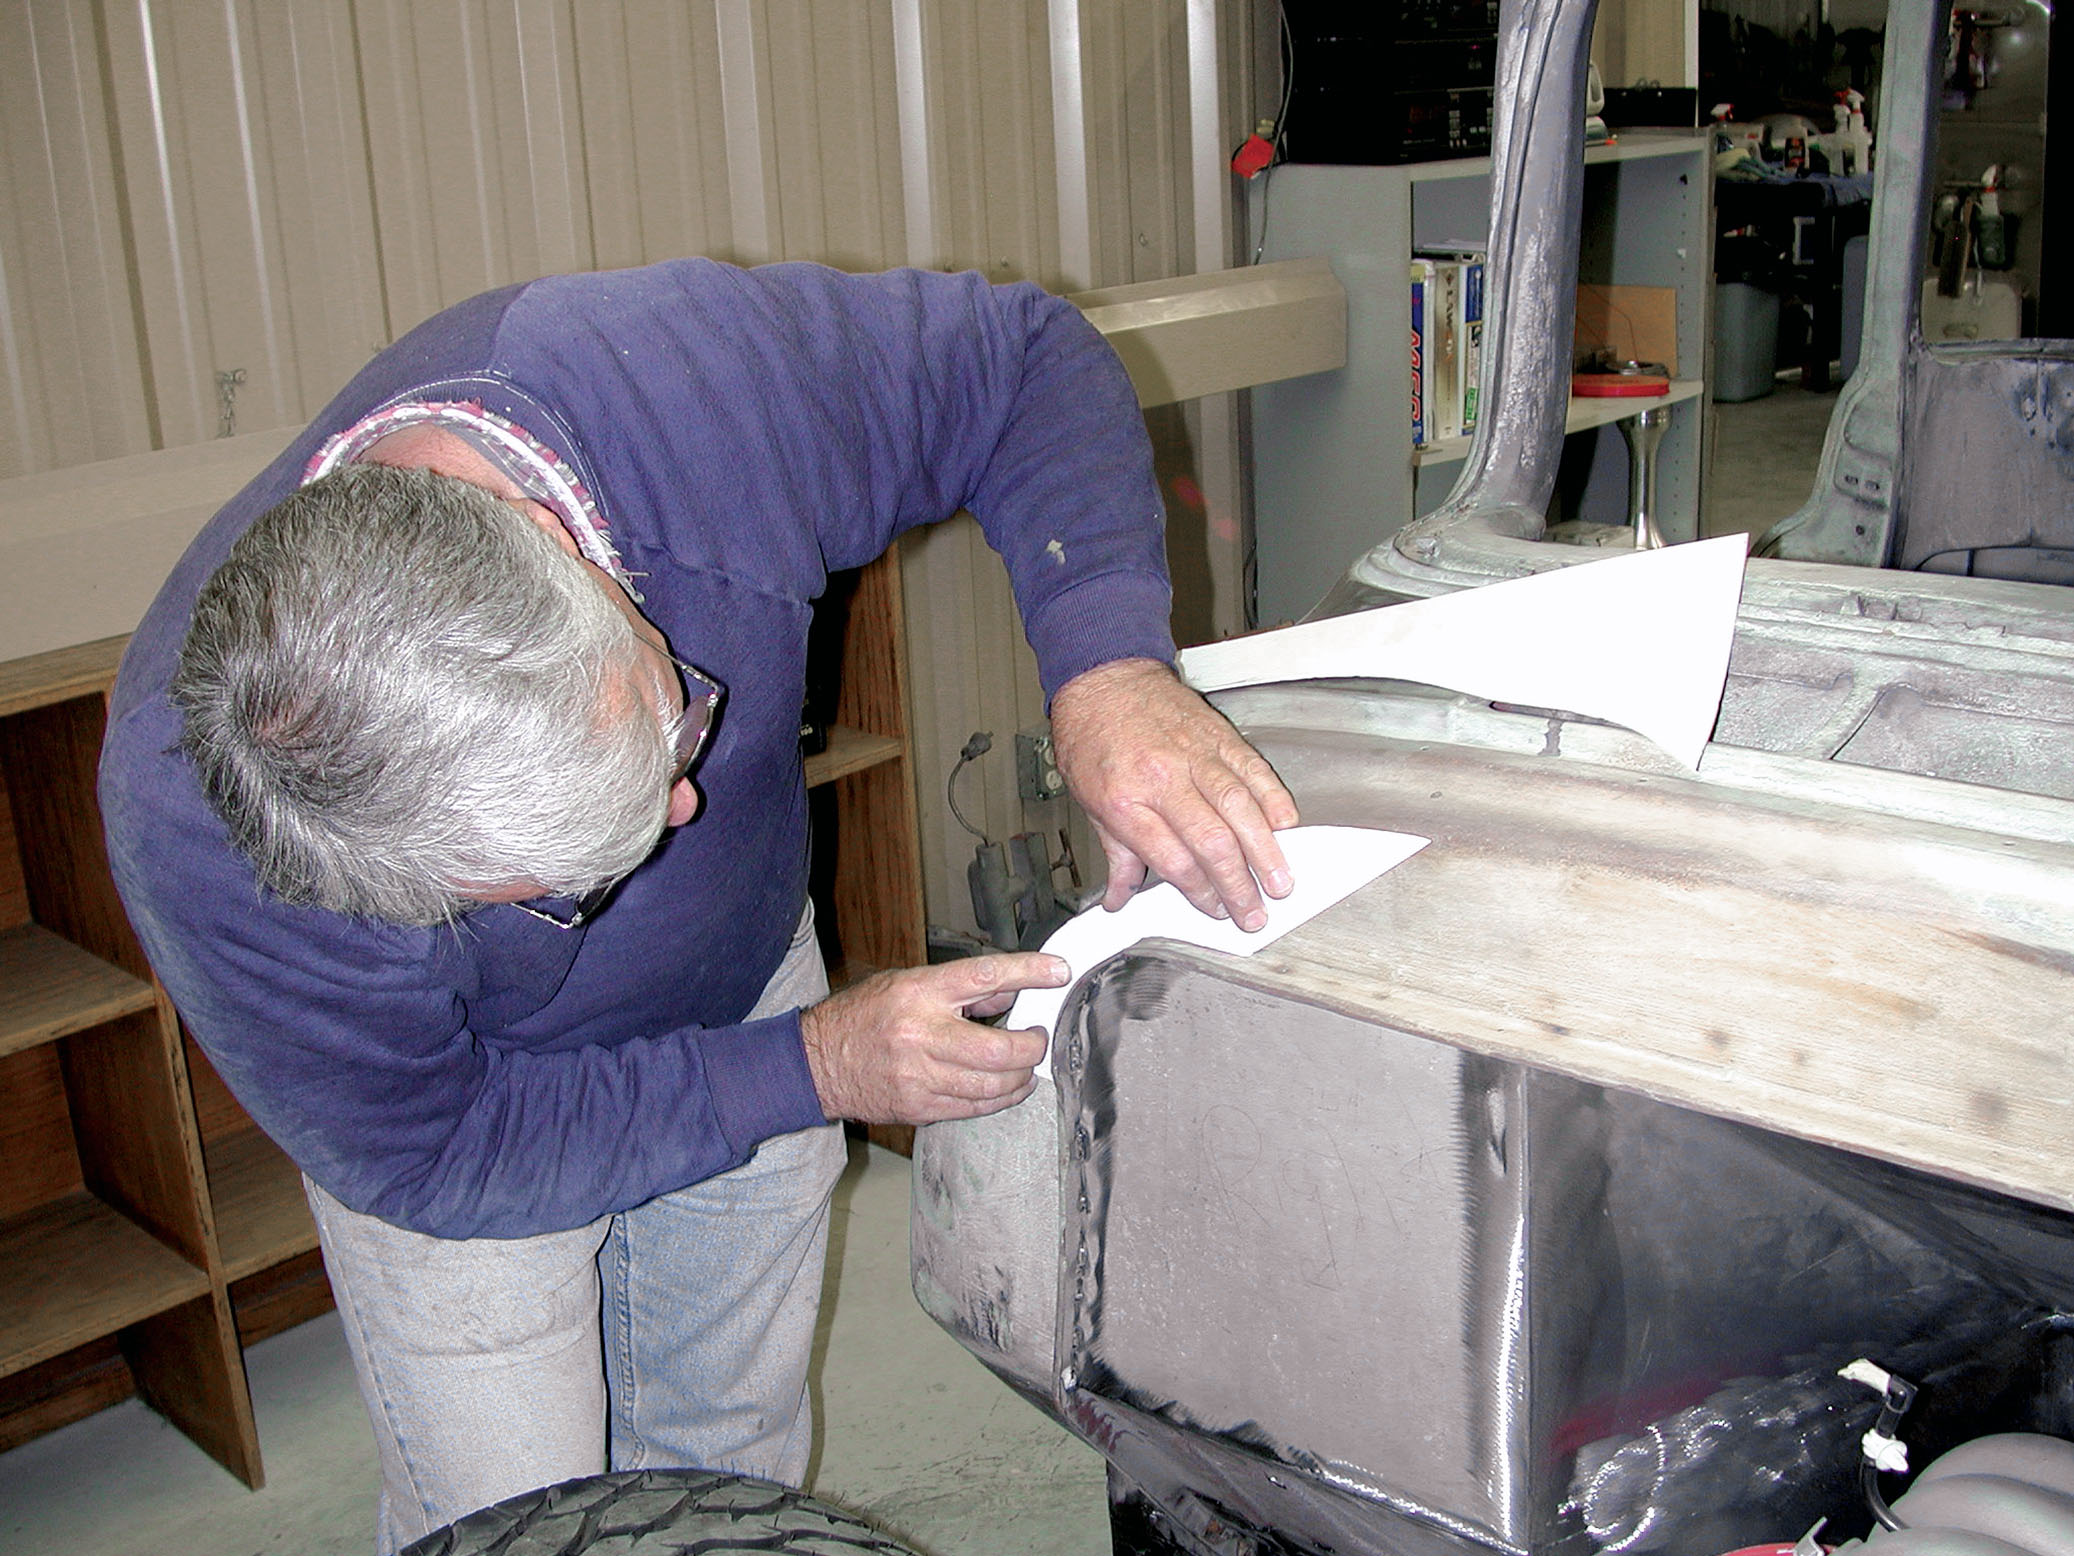
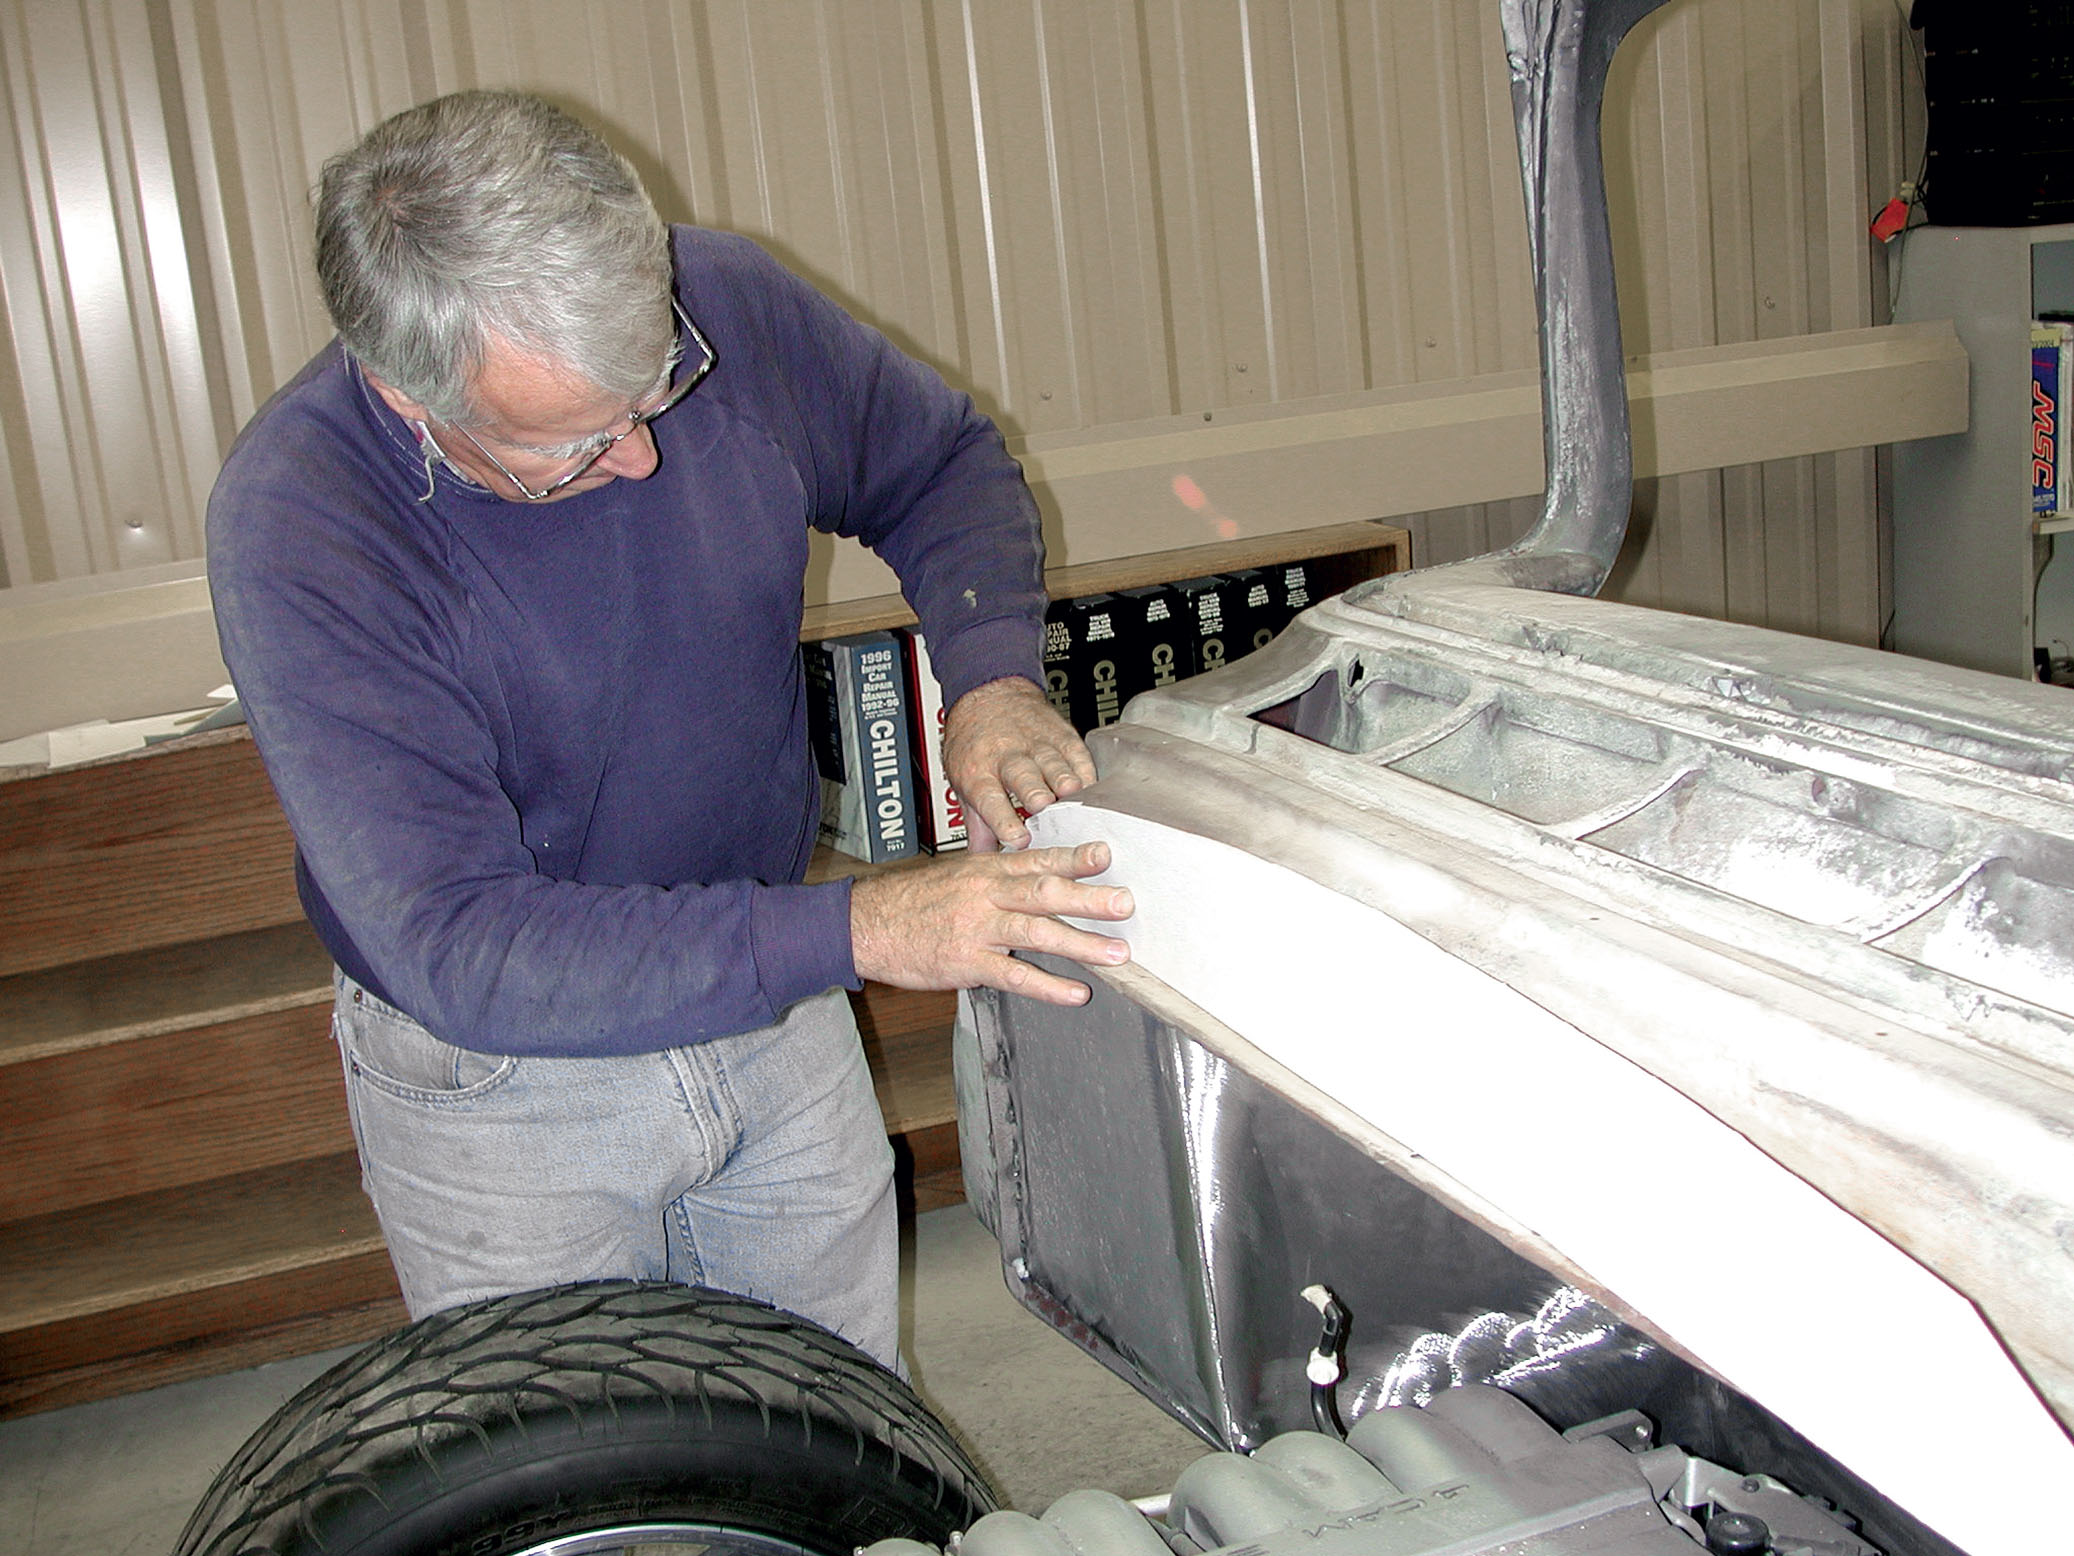
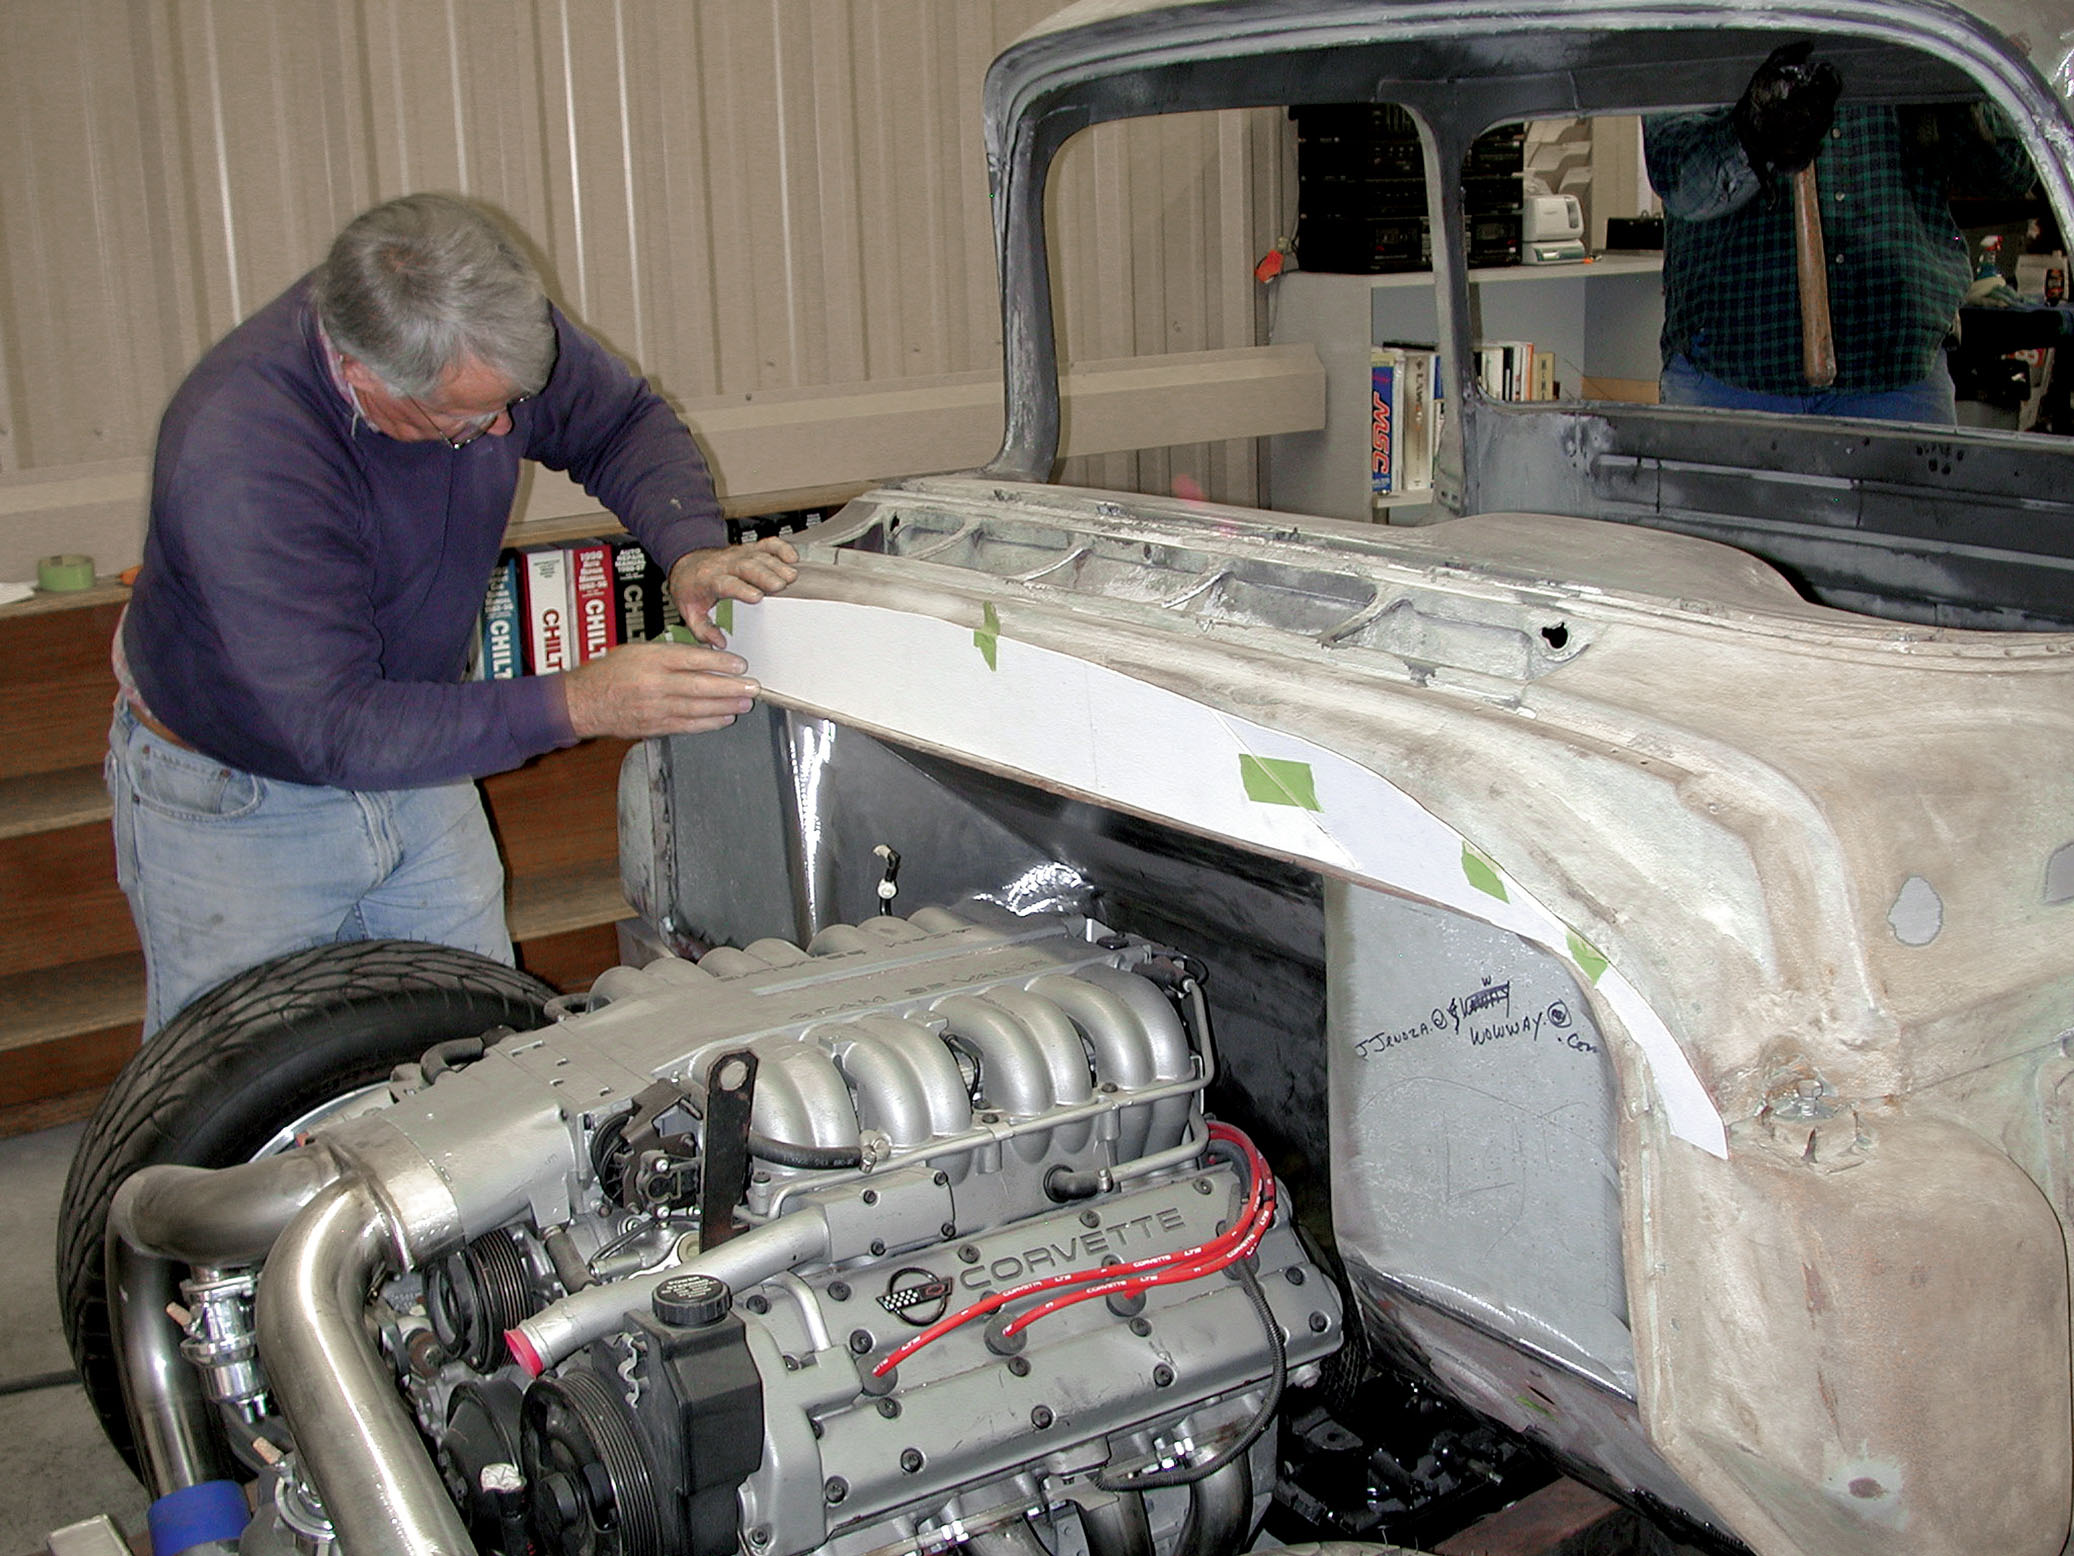
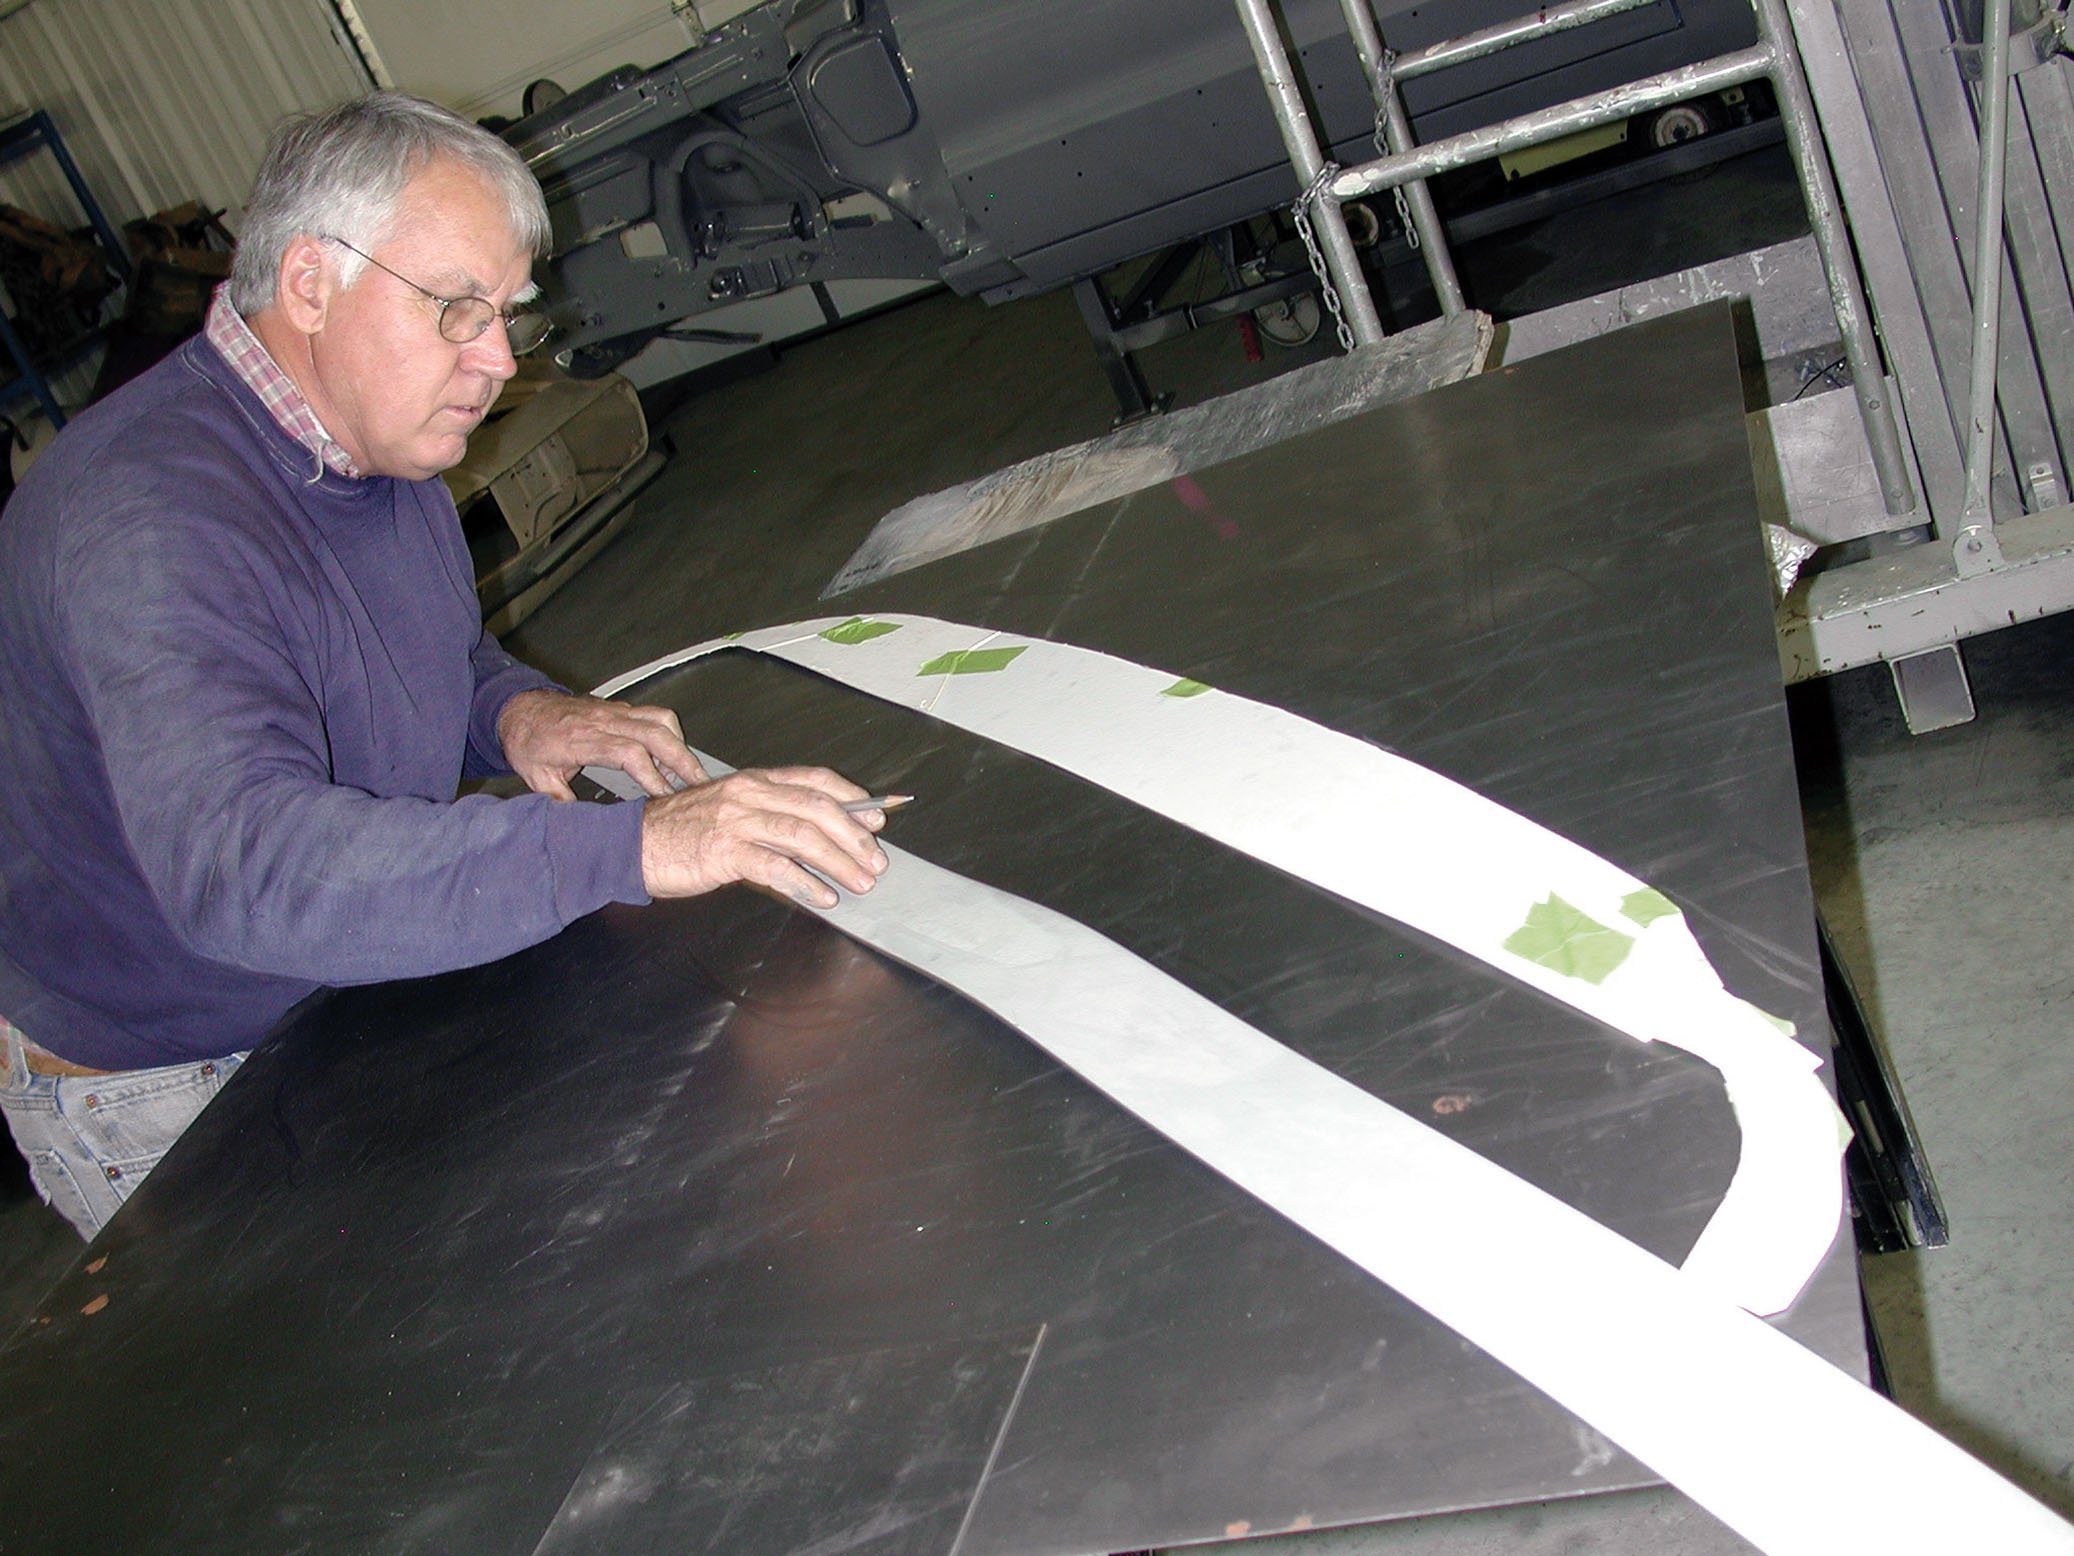
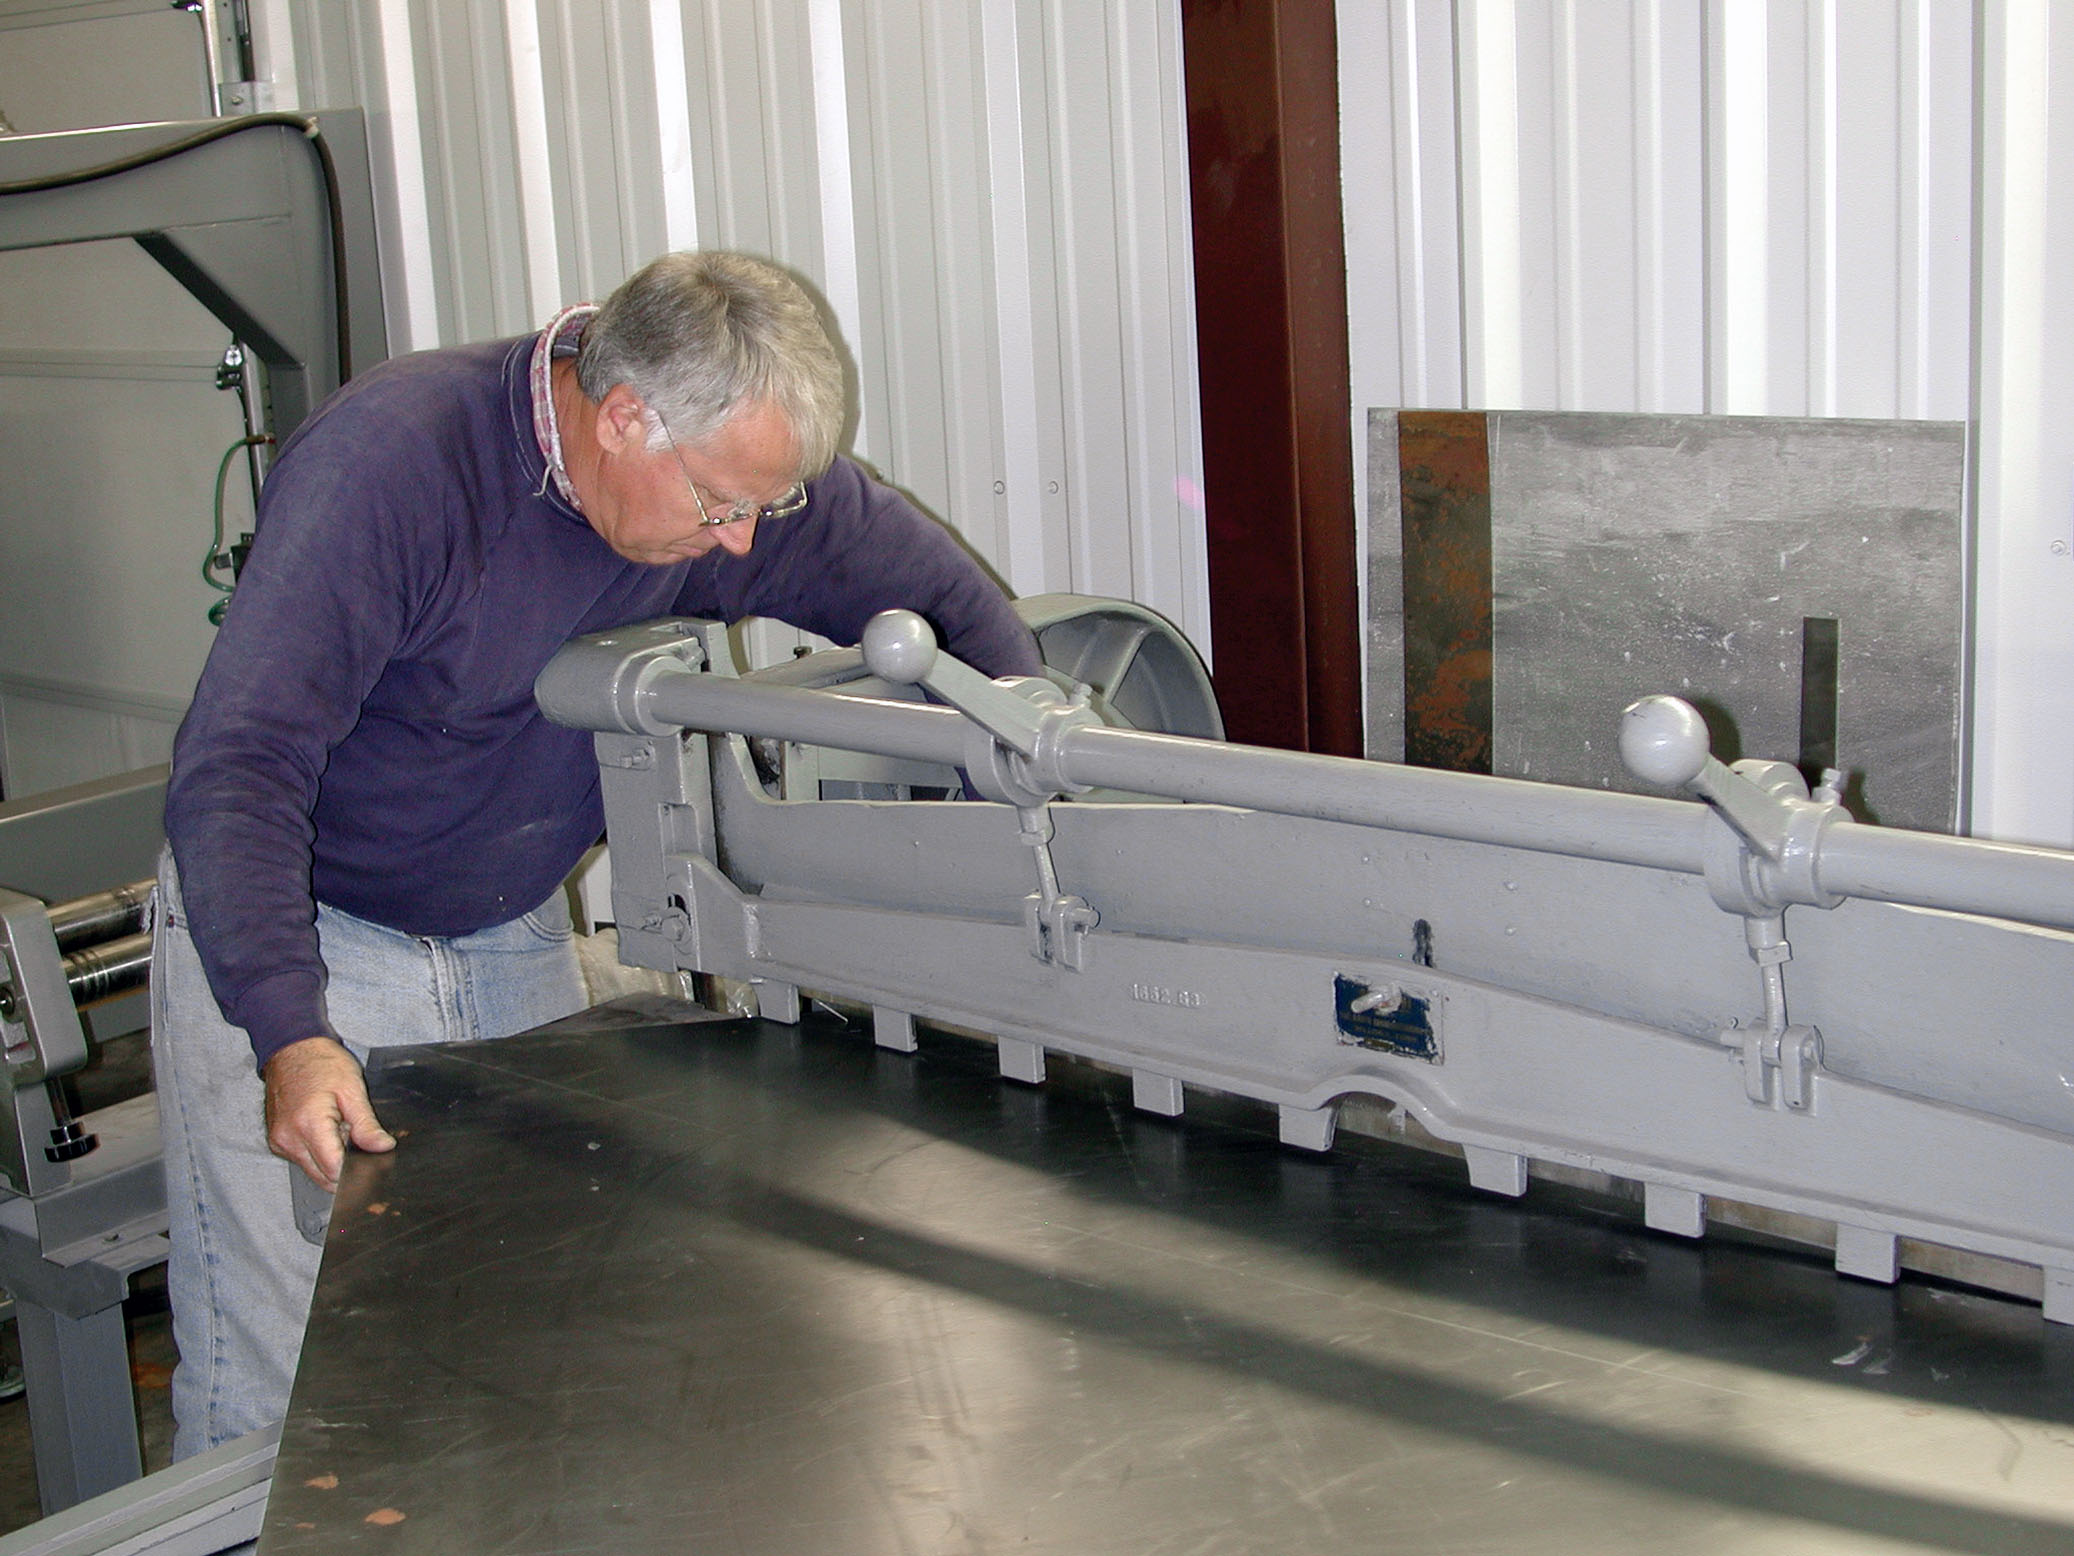
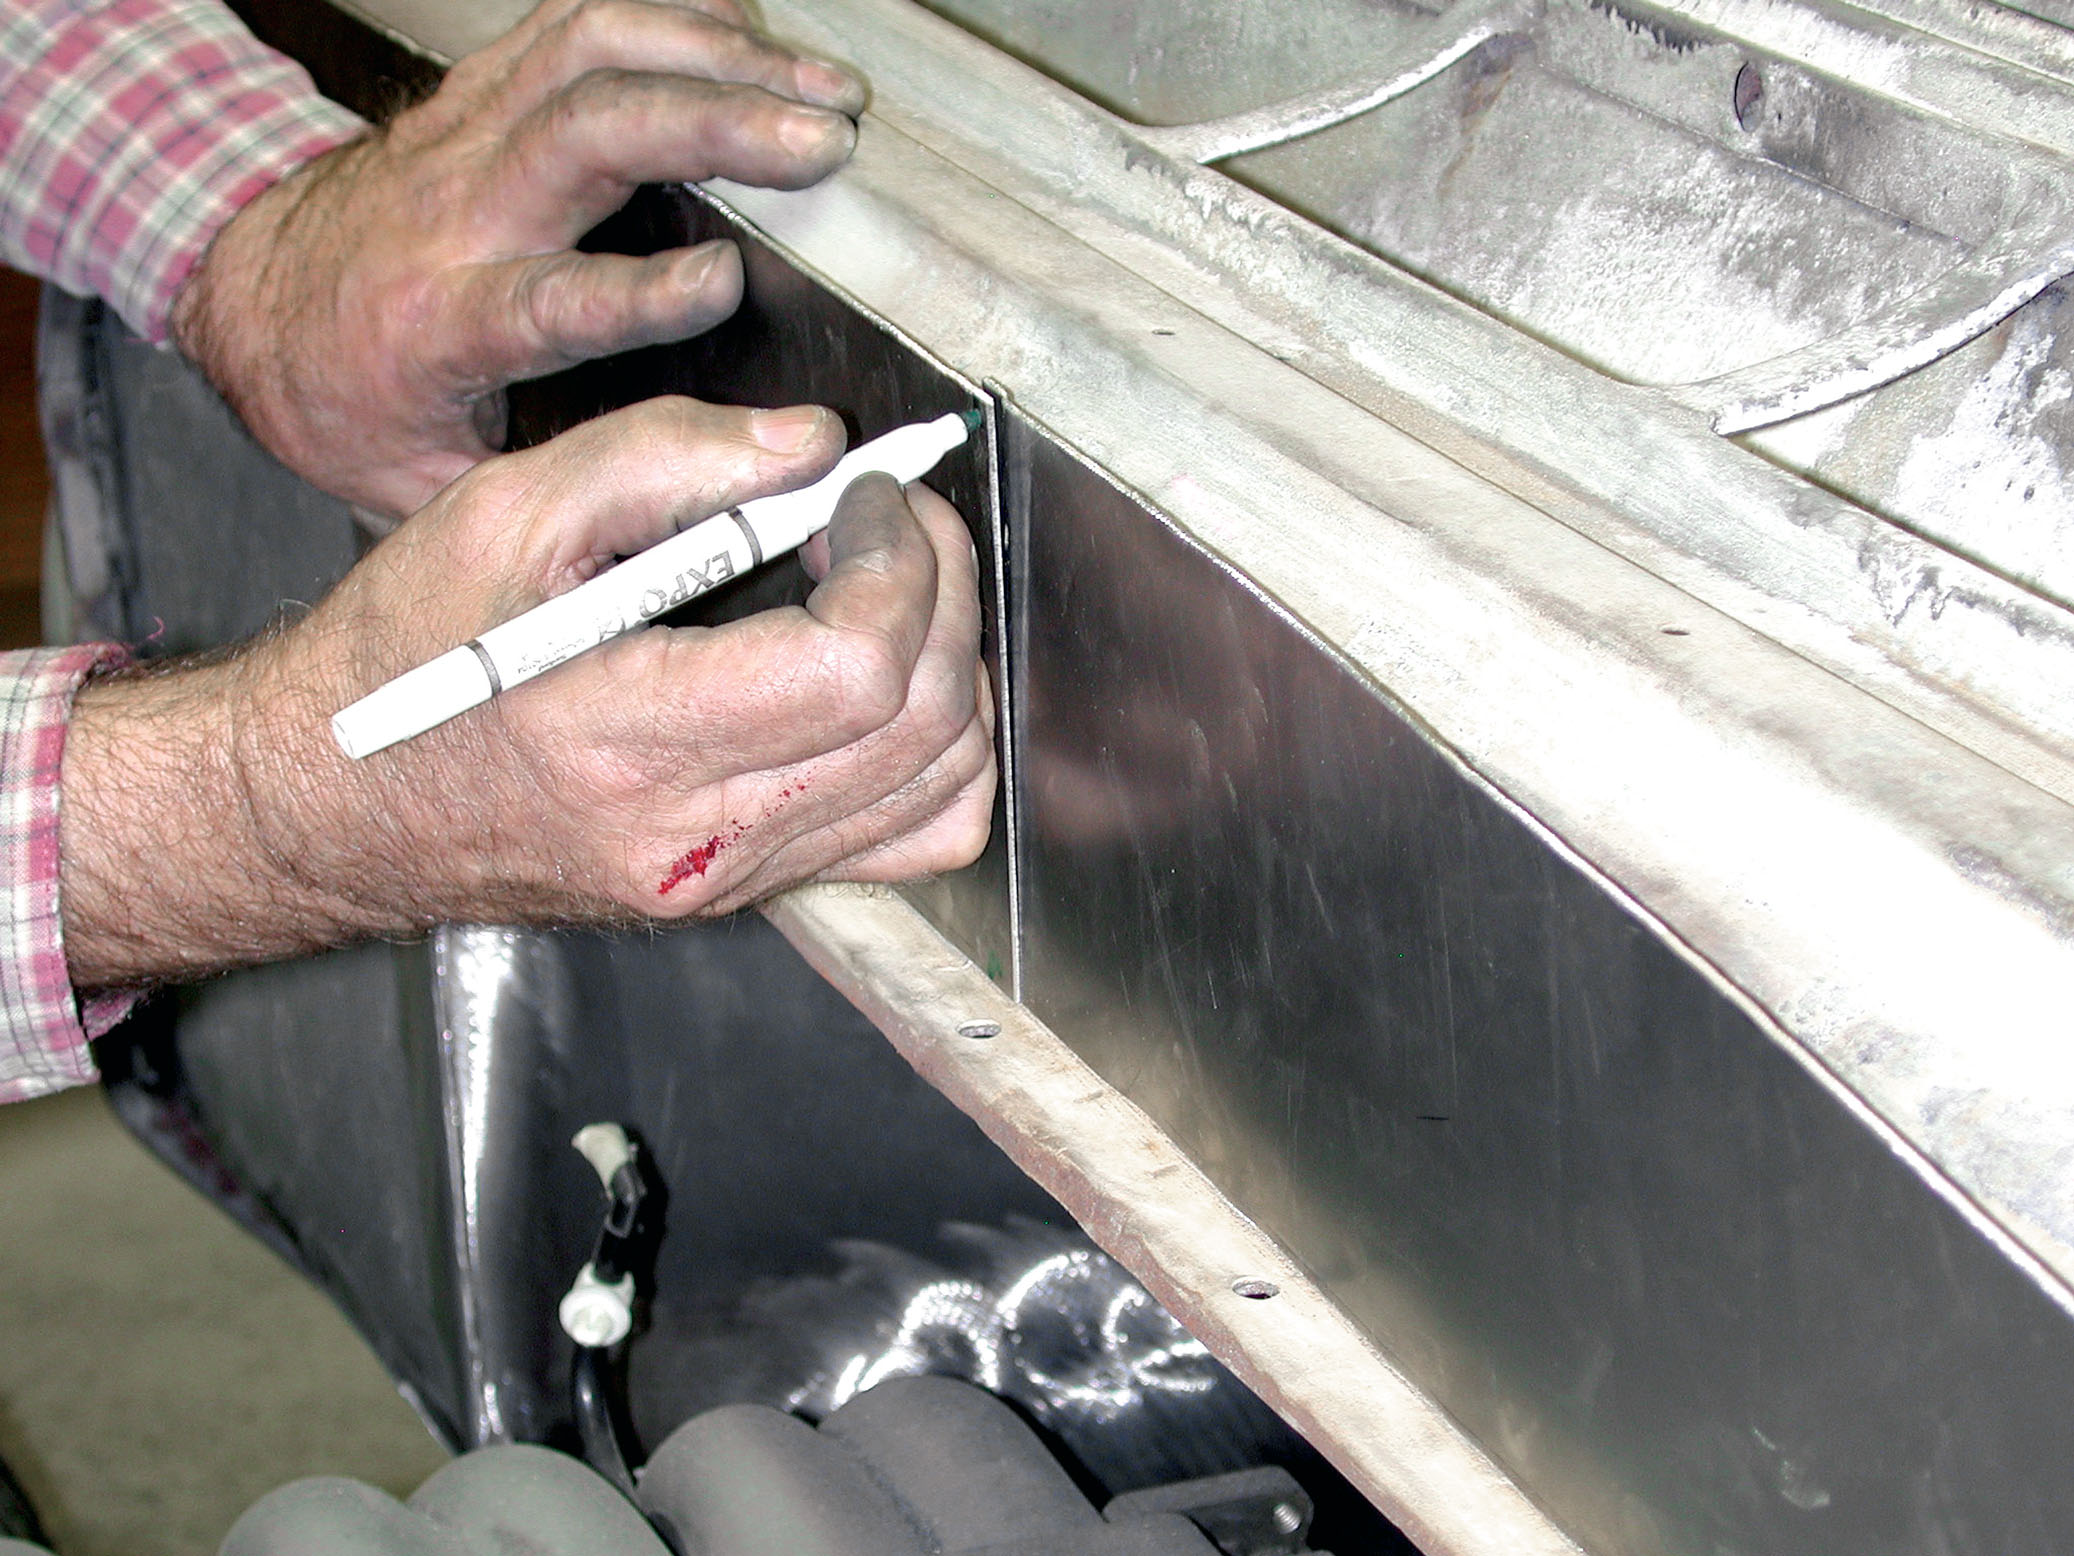
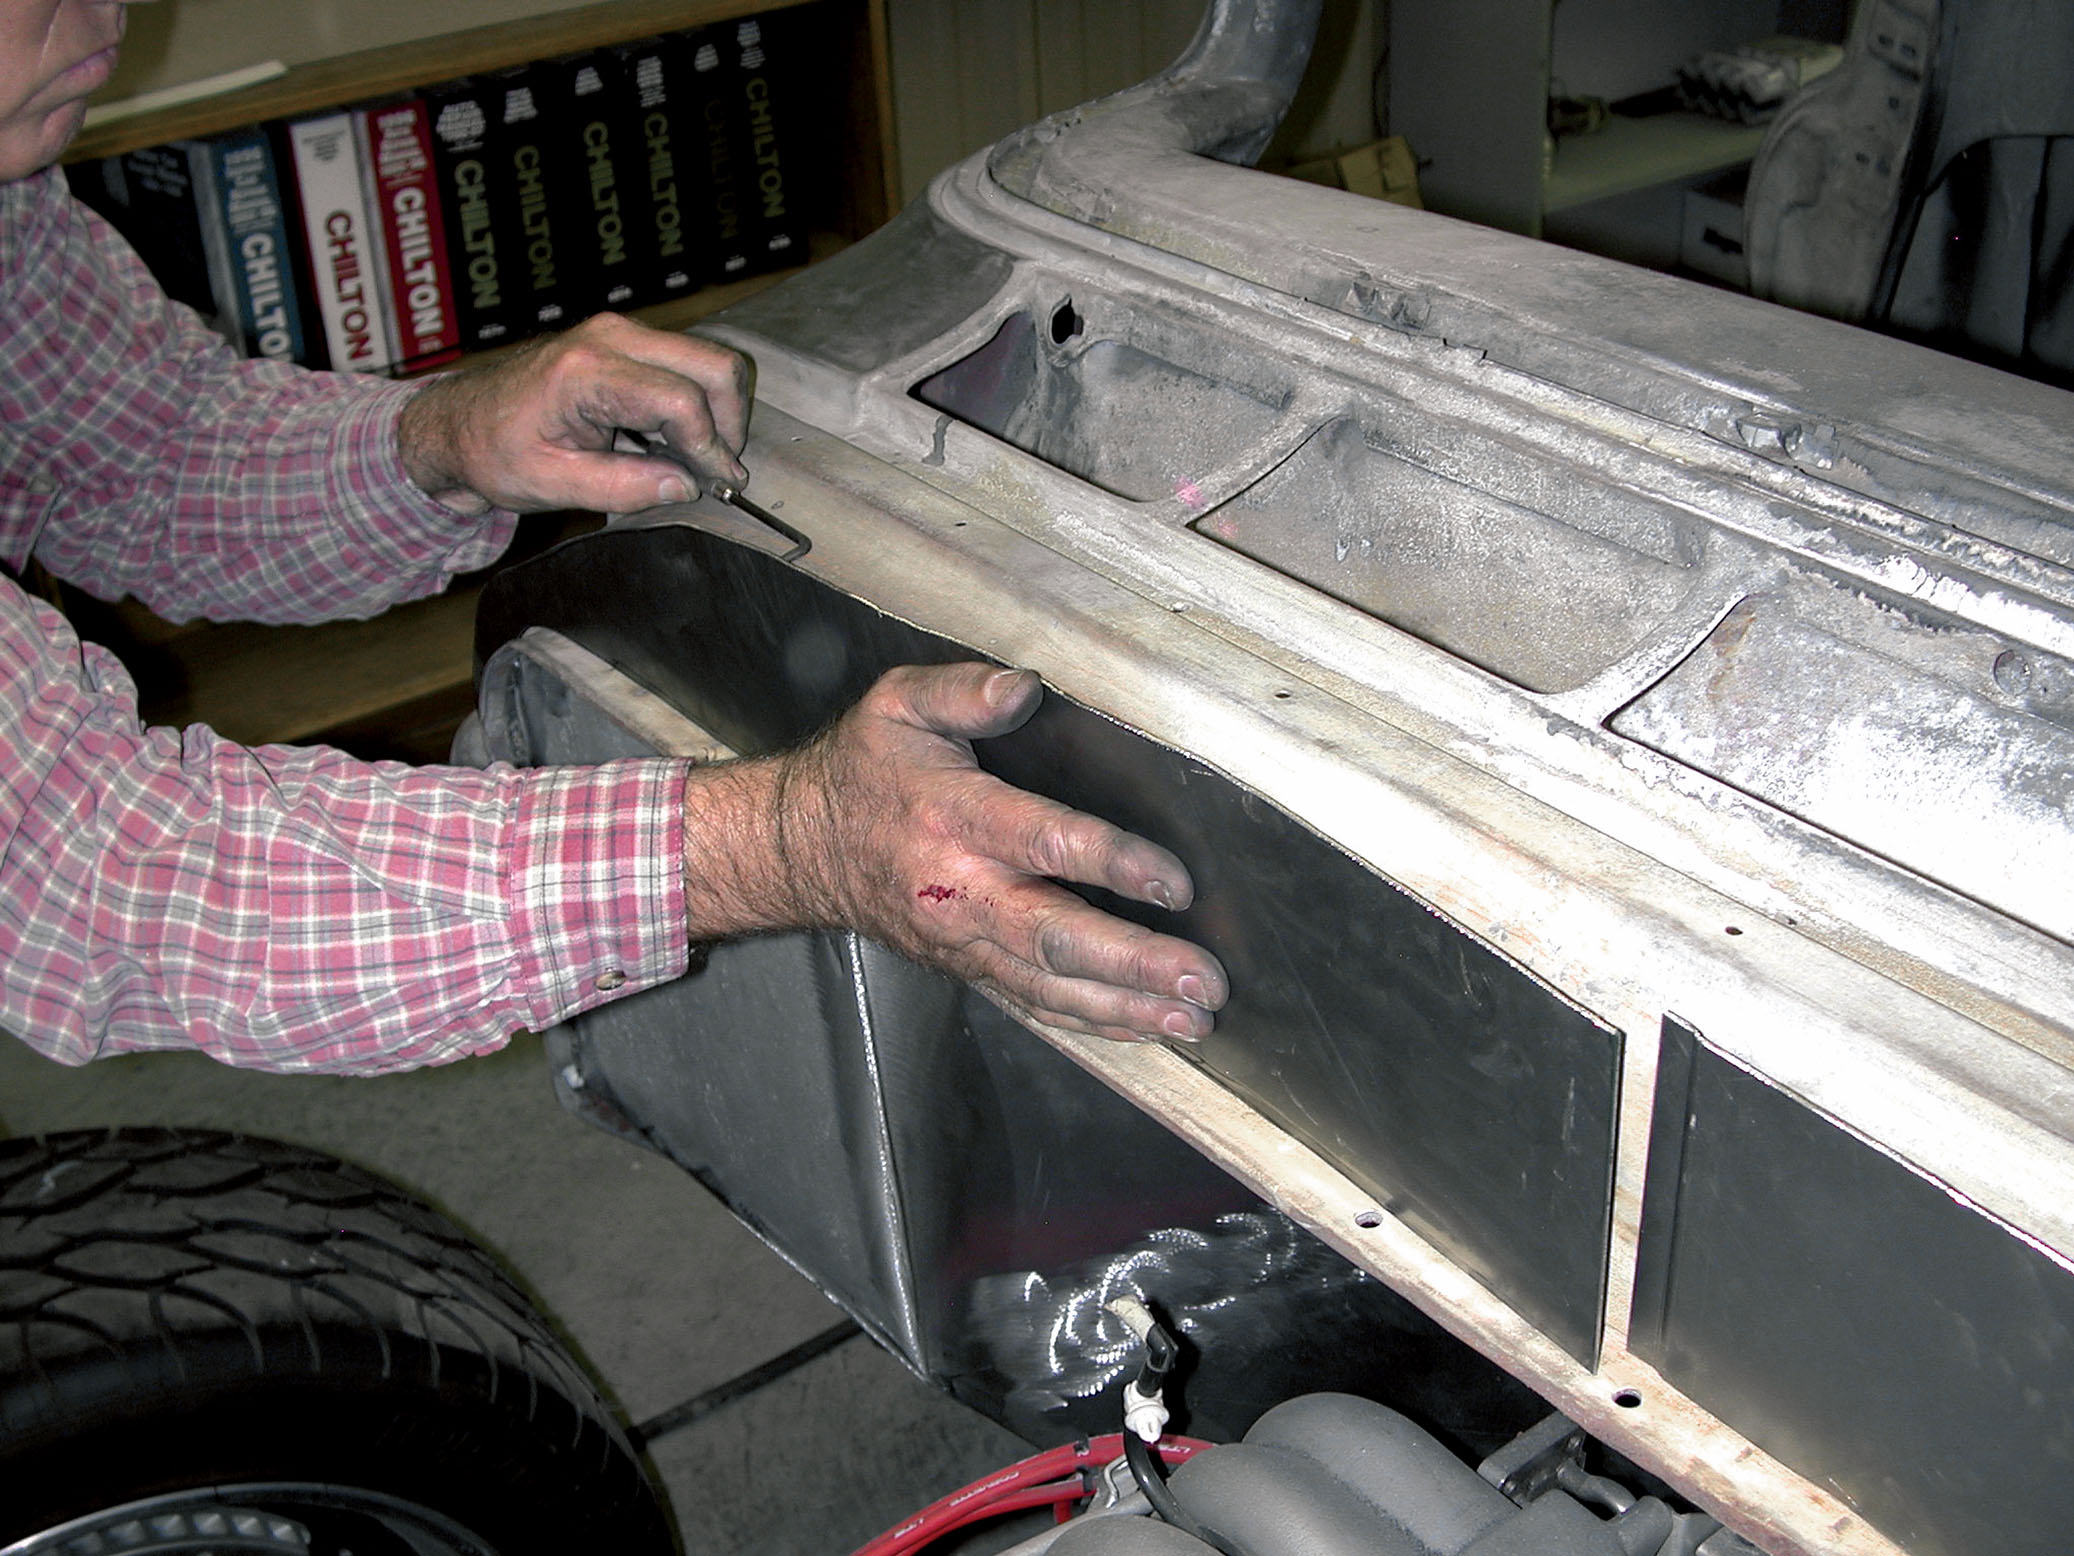
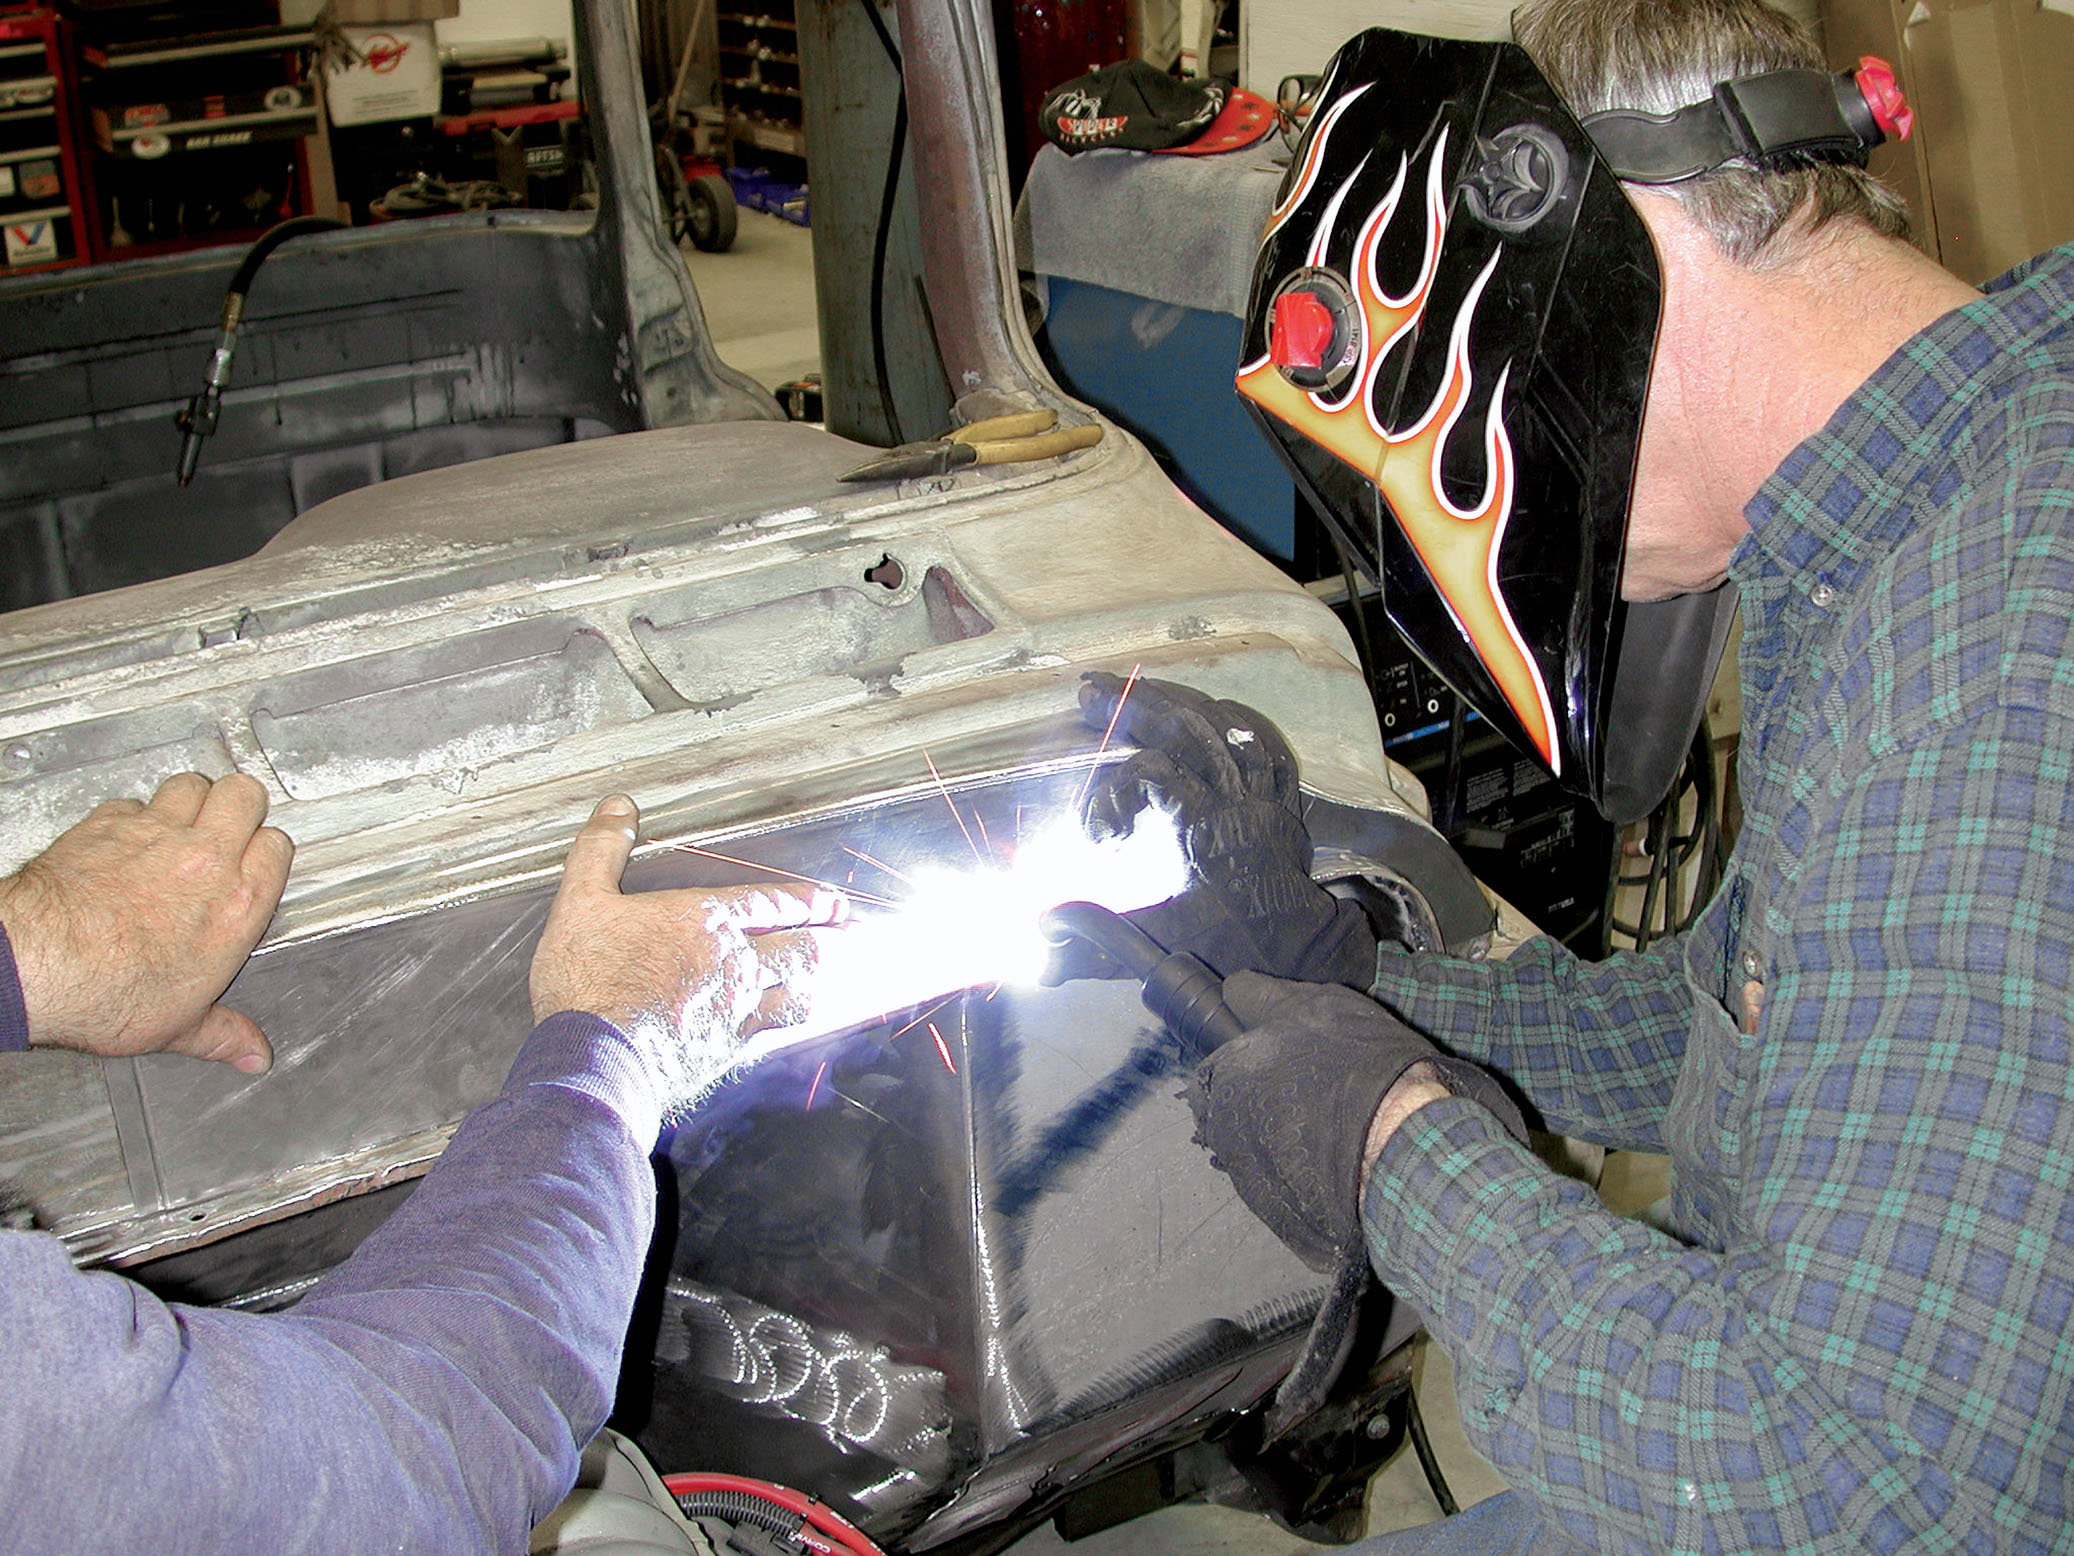
“There’s no way of accurately measuring the crossover piece required to cover all those unsightly spot weld indentations across the top of the cowl. Each truck varies,” commented Tim. “Basically we took some pieces of thin cardboard and drew a rough template following the curvature. This rough pattern was then transferred to 18-gauge sheetmetal and cut to fit the firewall. Then, after some trimming, we tacked ’er down!”
Of course, Tim makes it all sound so easy. In reality, these two pieces were trimmed and retrimmed a number of times prior to being tack-welded in place to ensure a proper fit. In the process, both right- and left-side panels were step-rolled at the center, which not only made handling these pieces a lot easier, but it also provided double-thickness material at the center of the cowl, which prevented potential panel warping during the final MIG-welding process.
Cimtex Super Cameo Buildup: Part Ten – Filling the Drip Rails
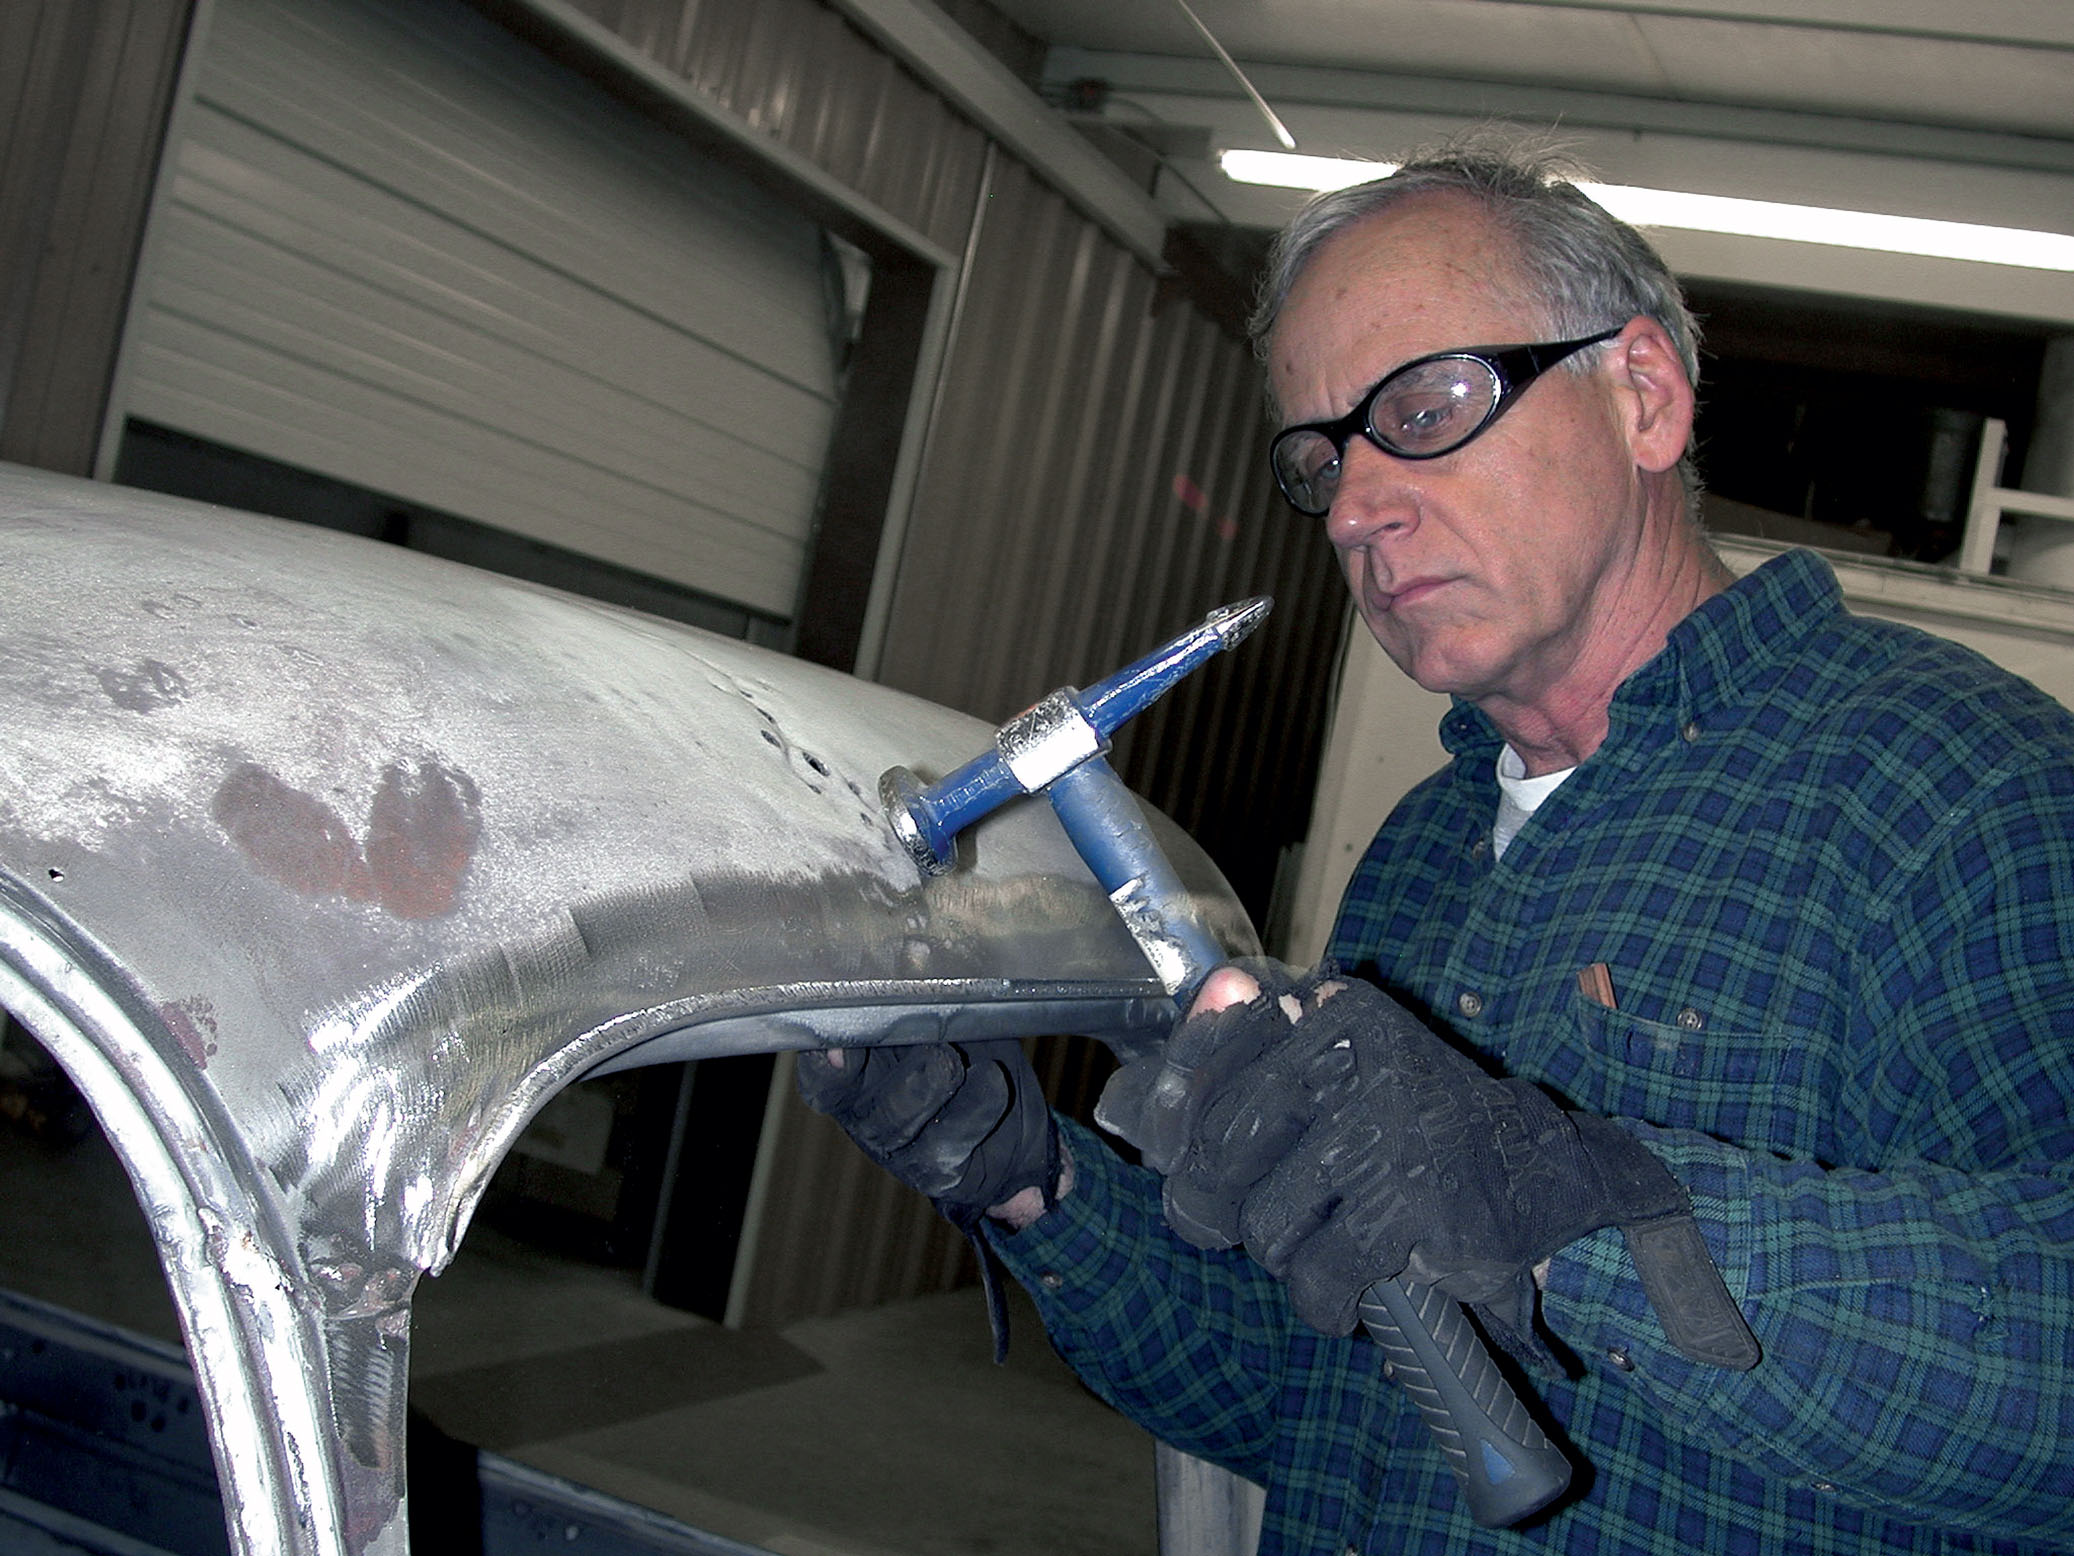
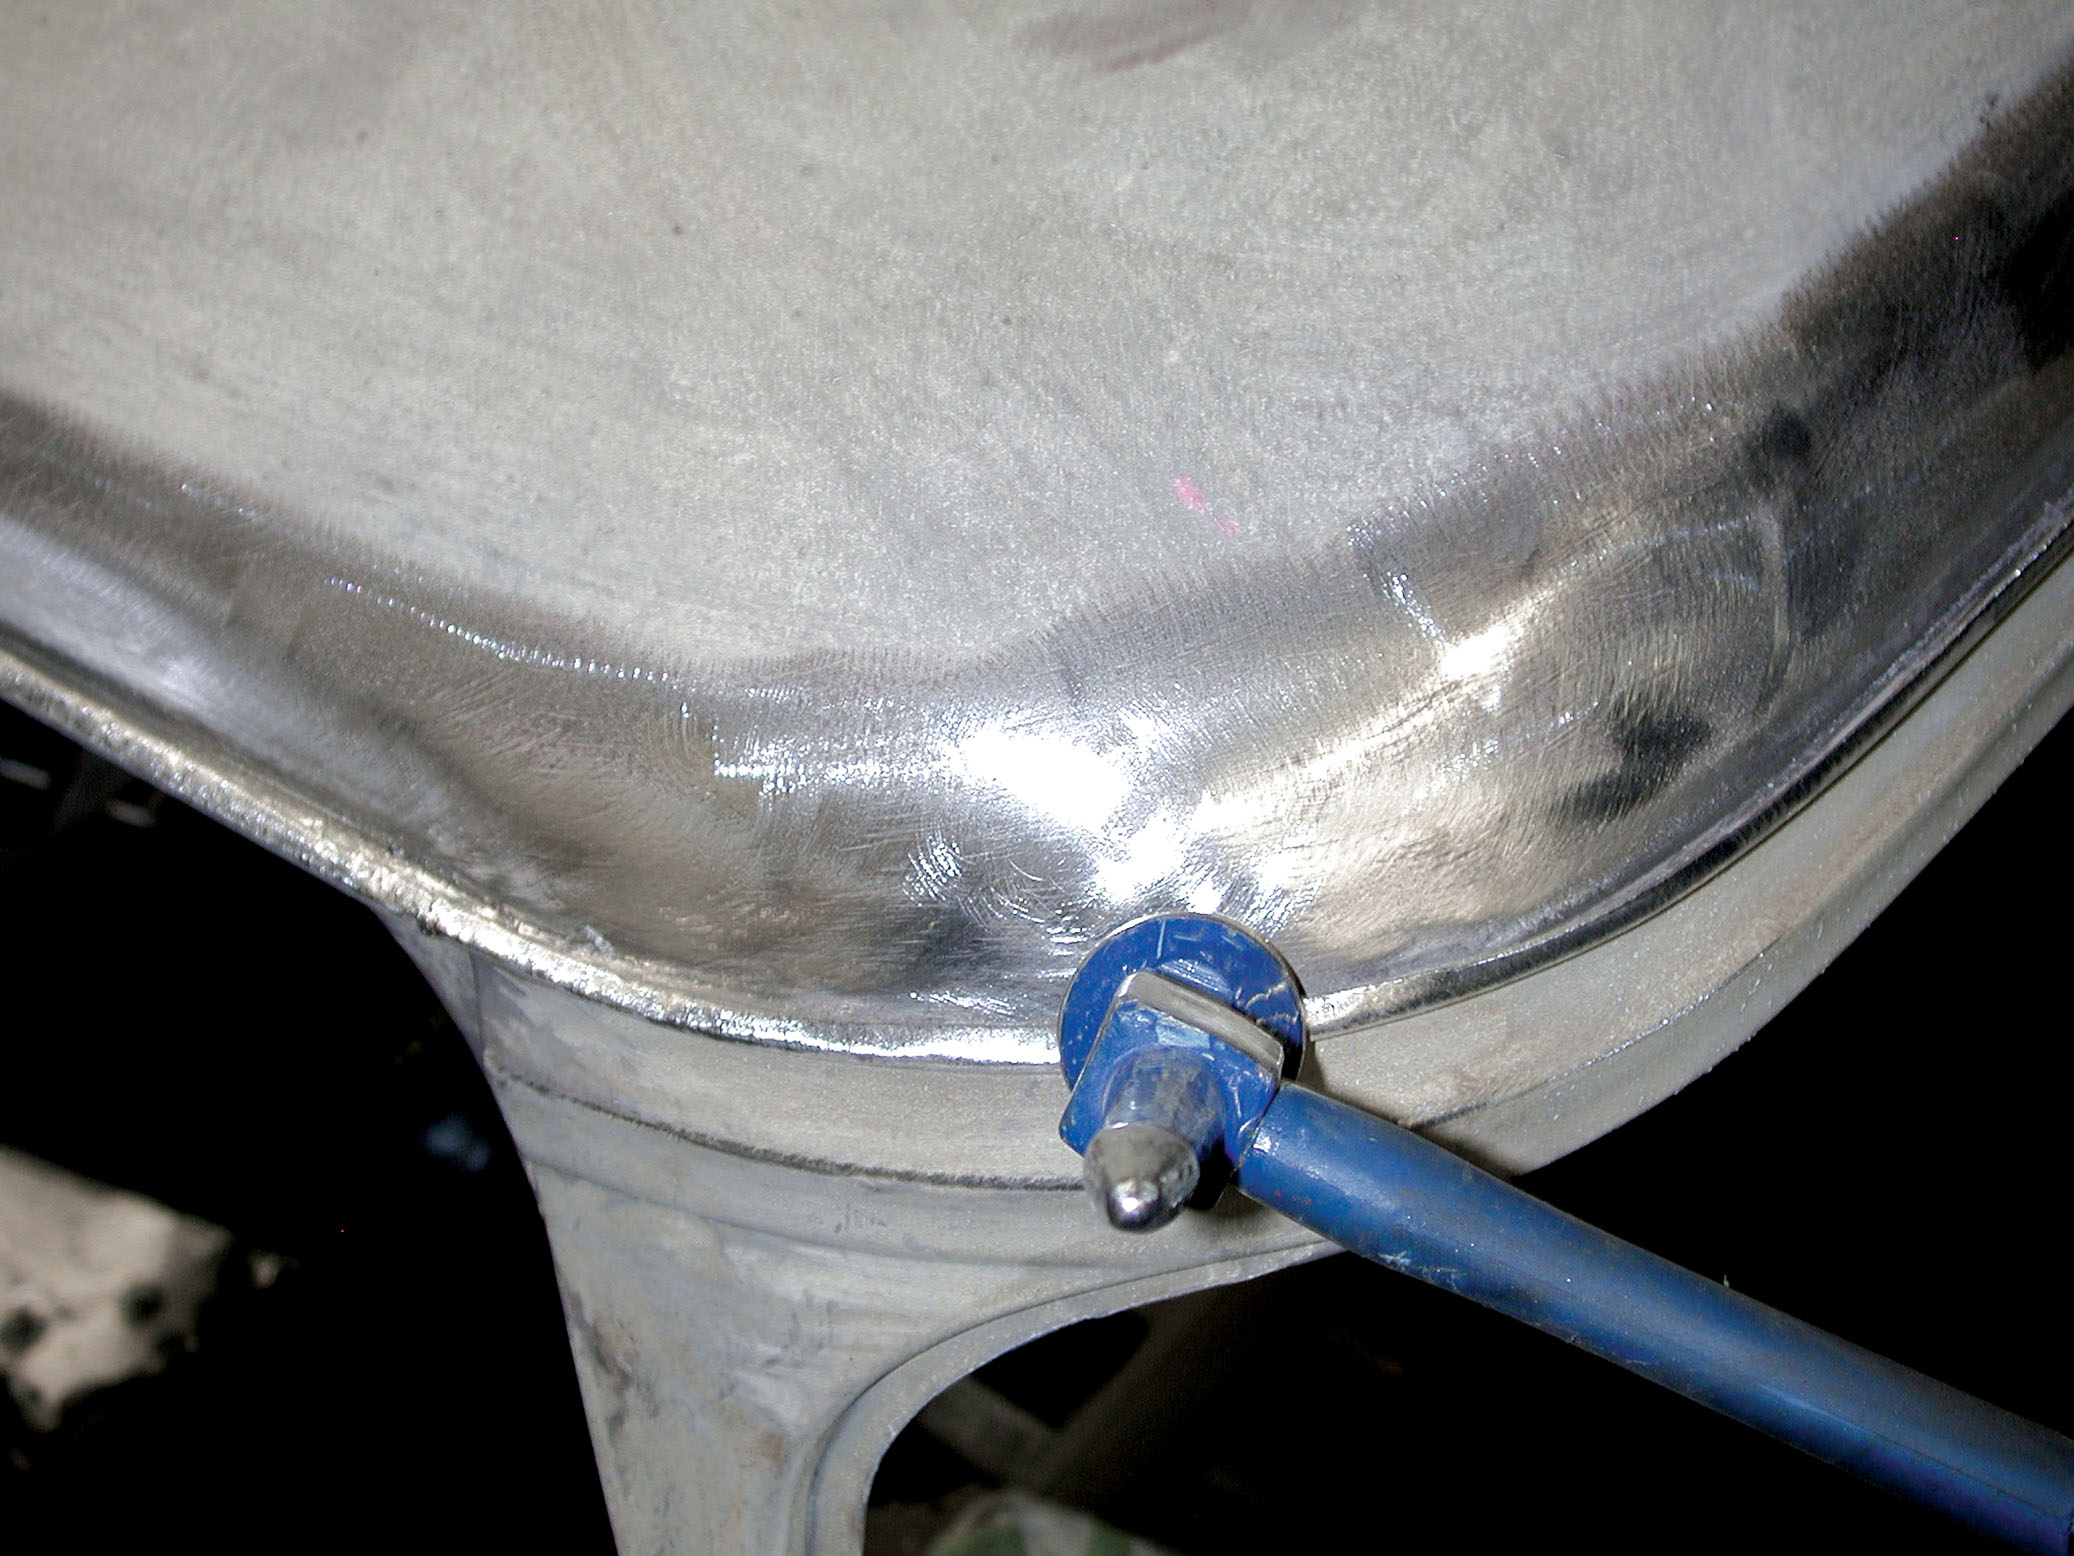
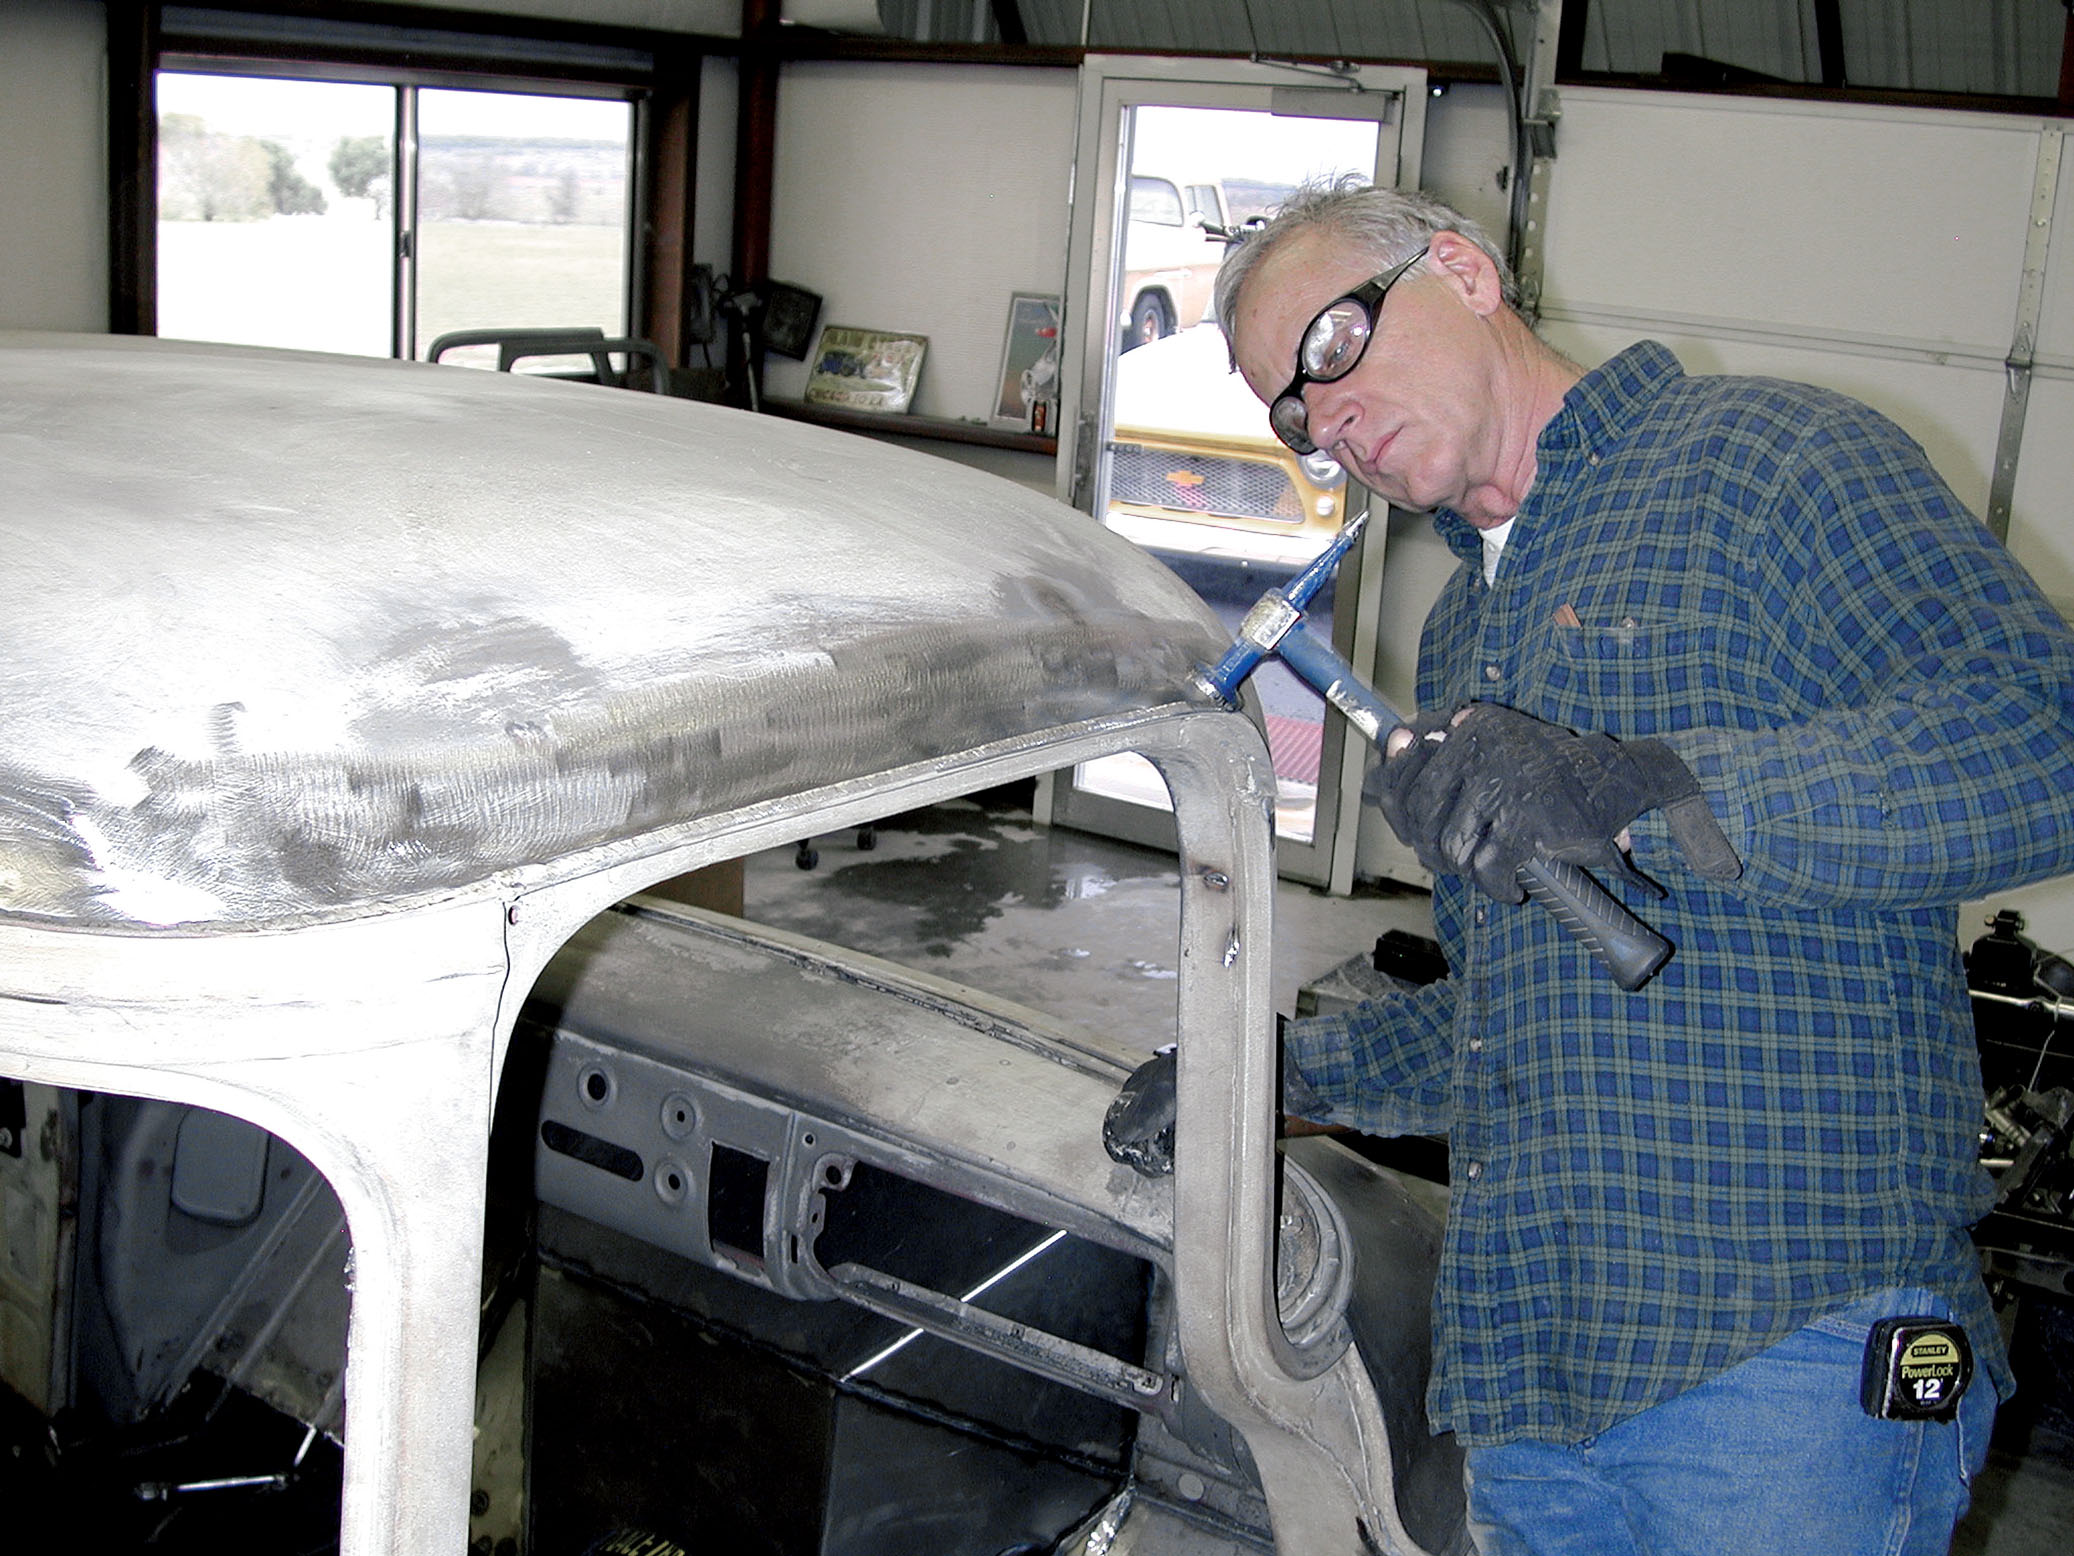
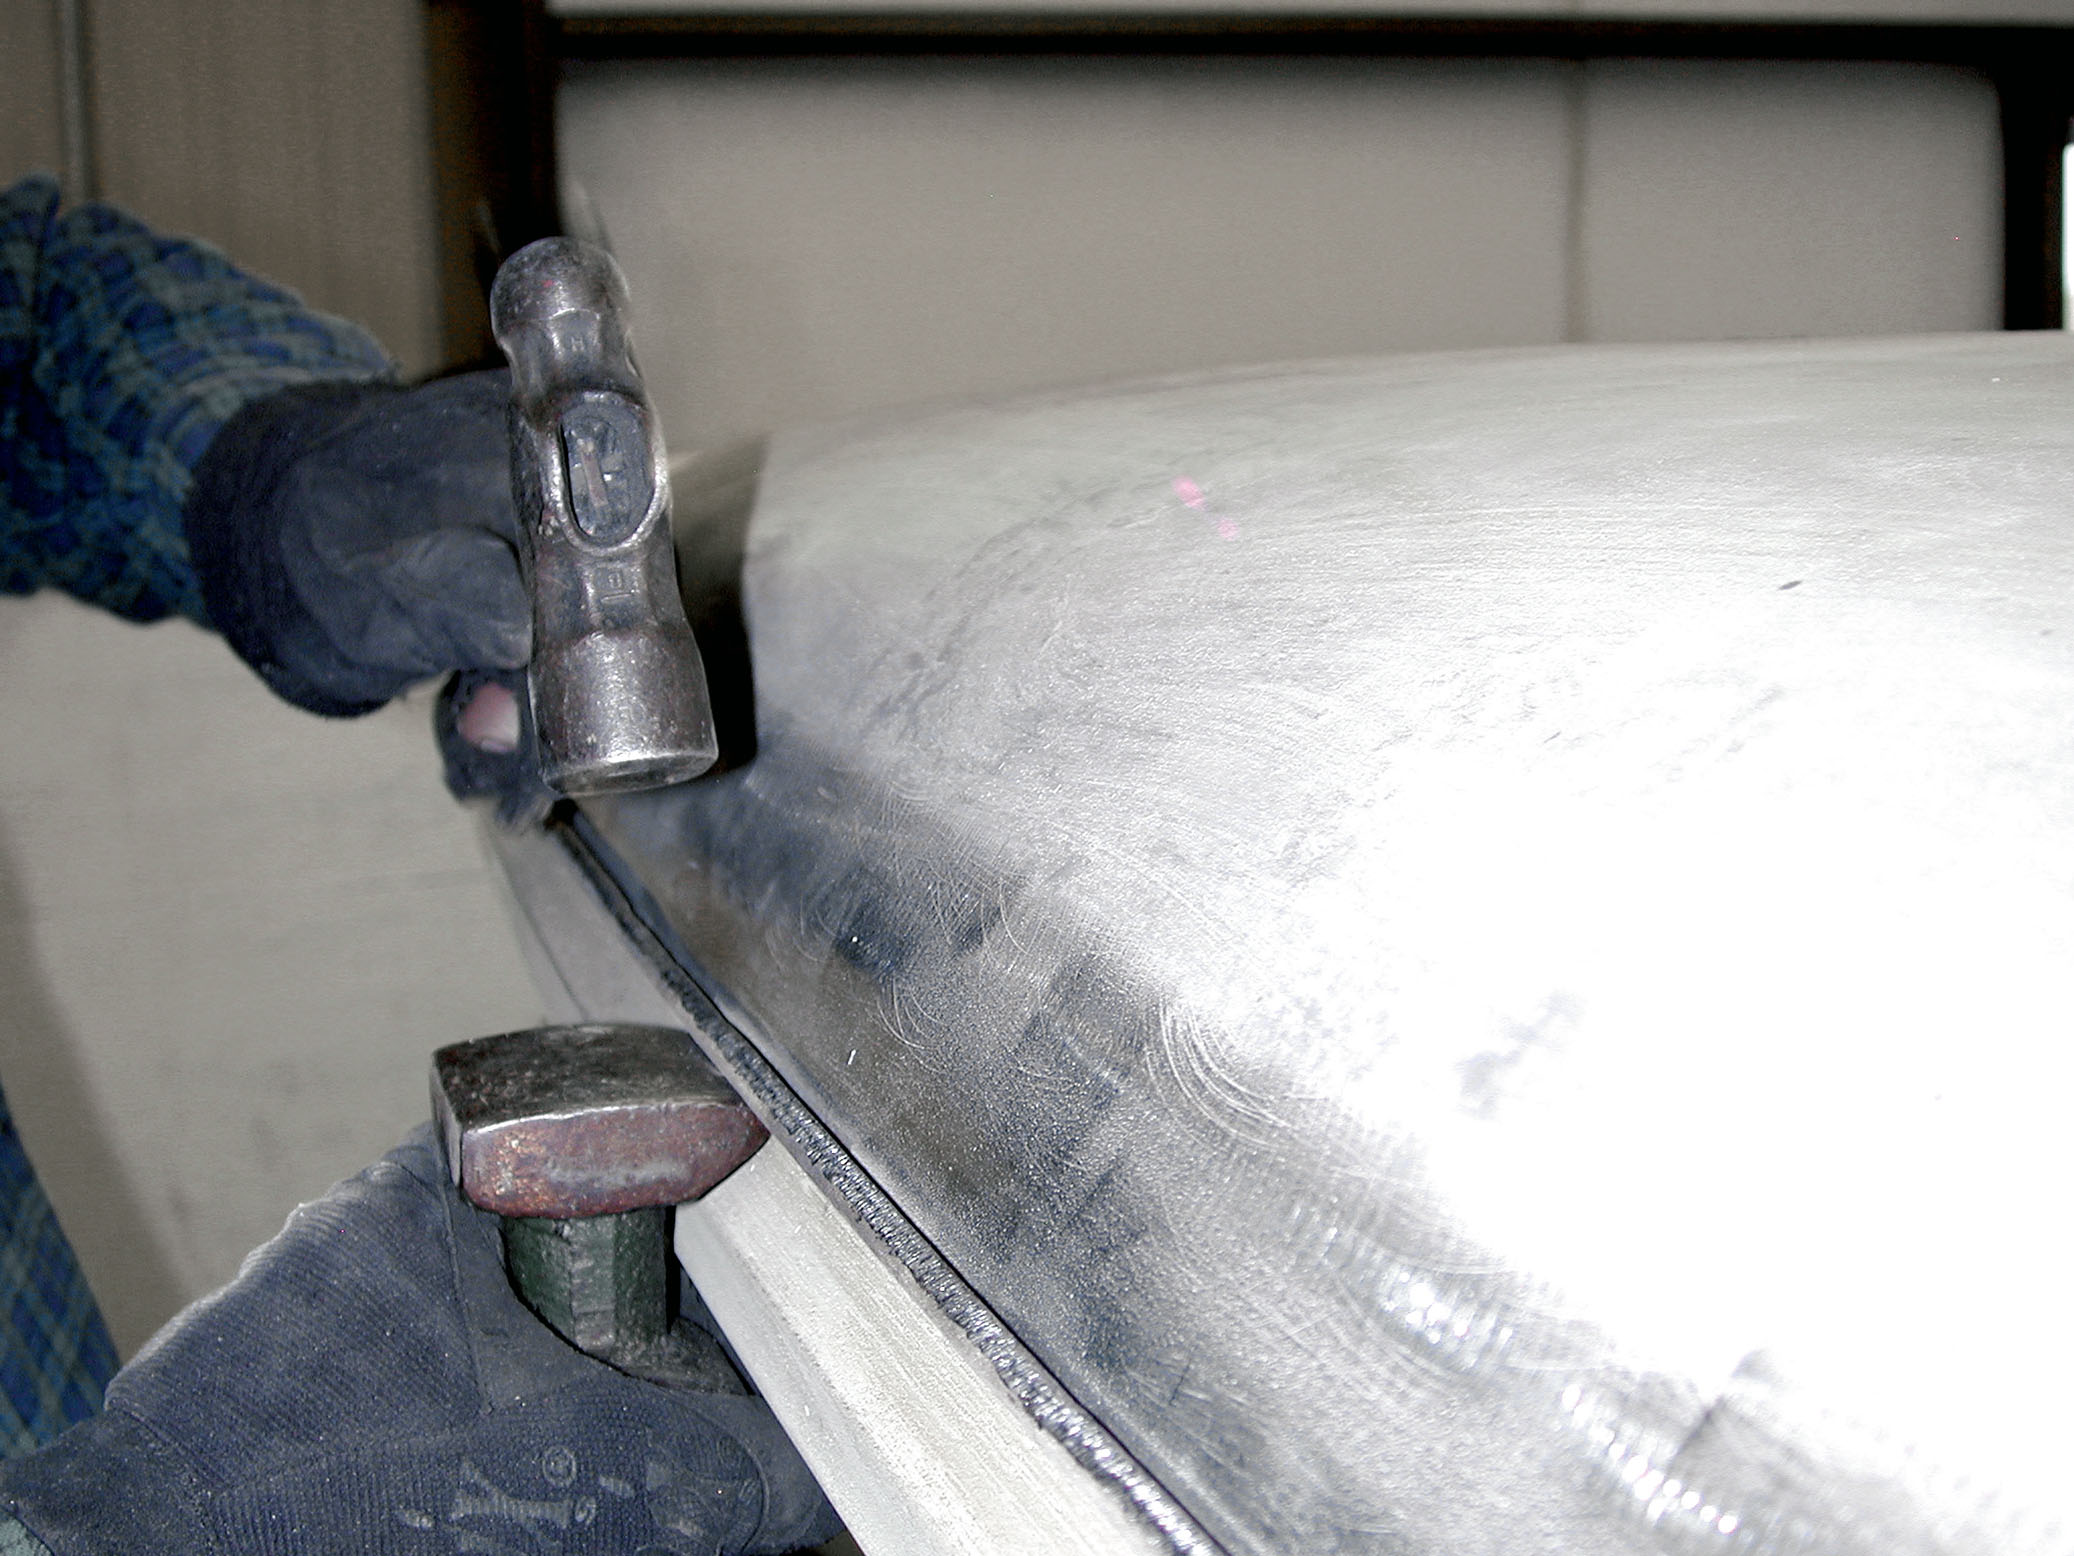
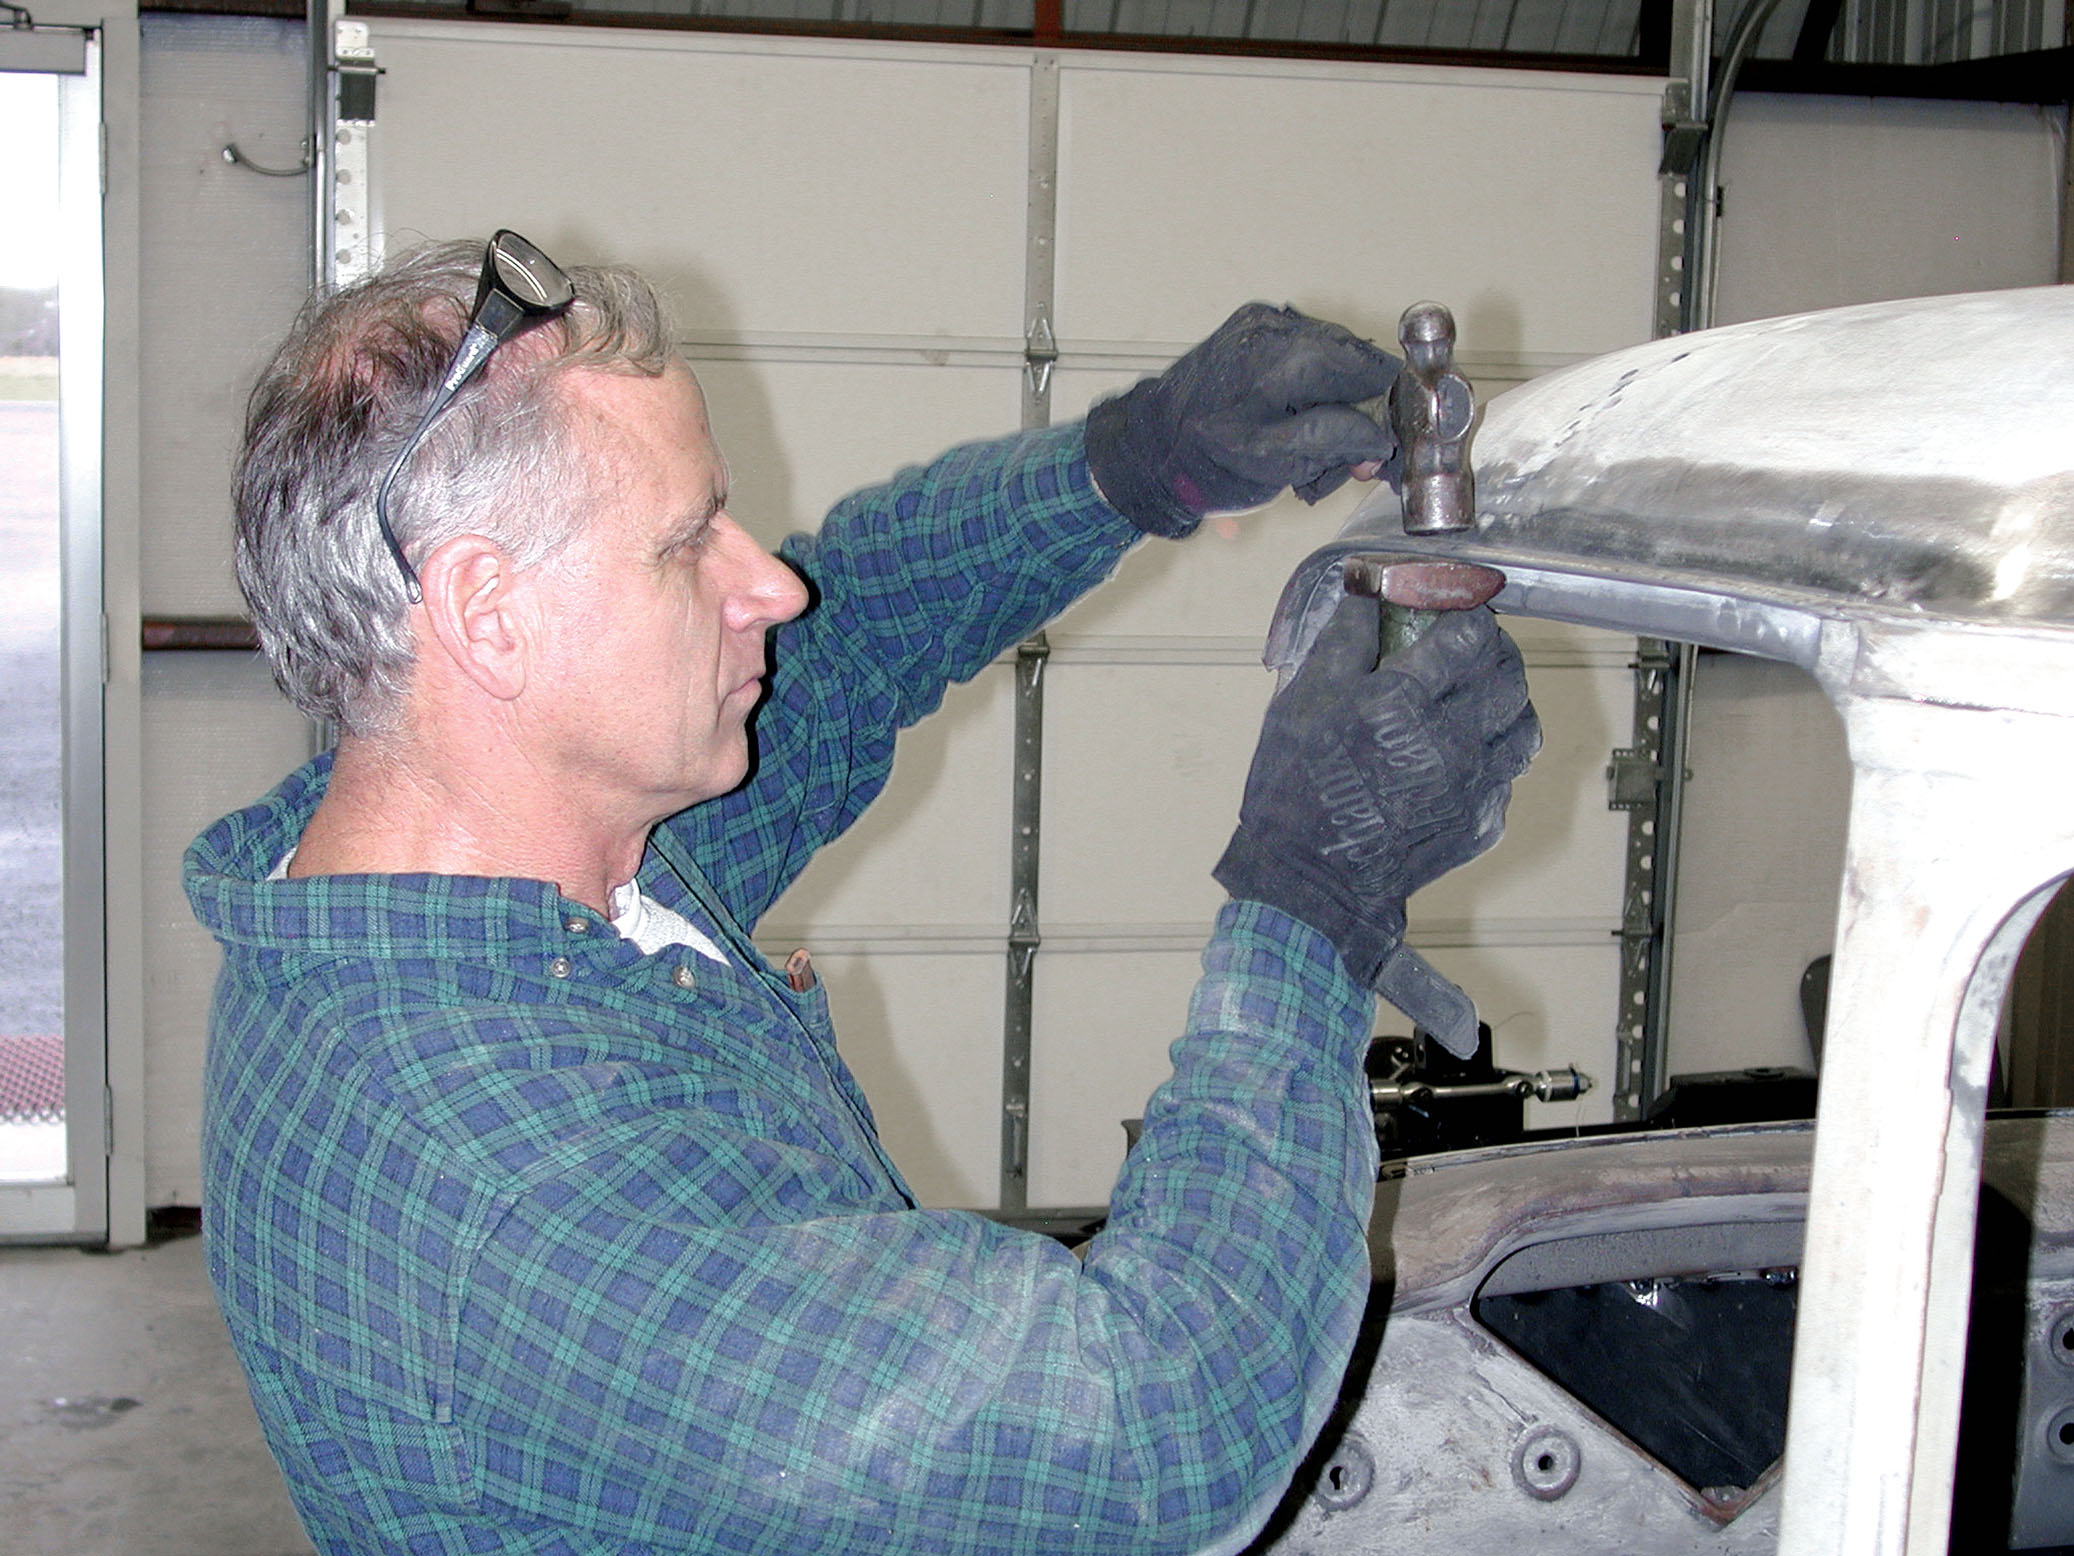
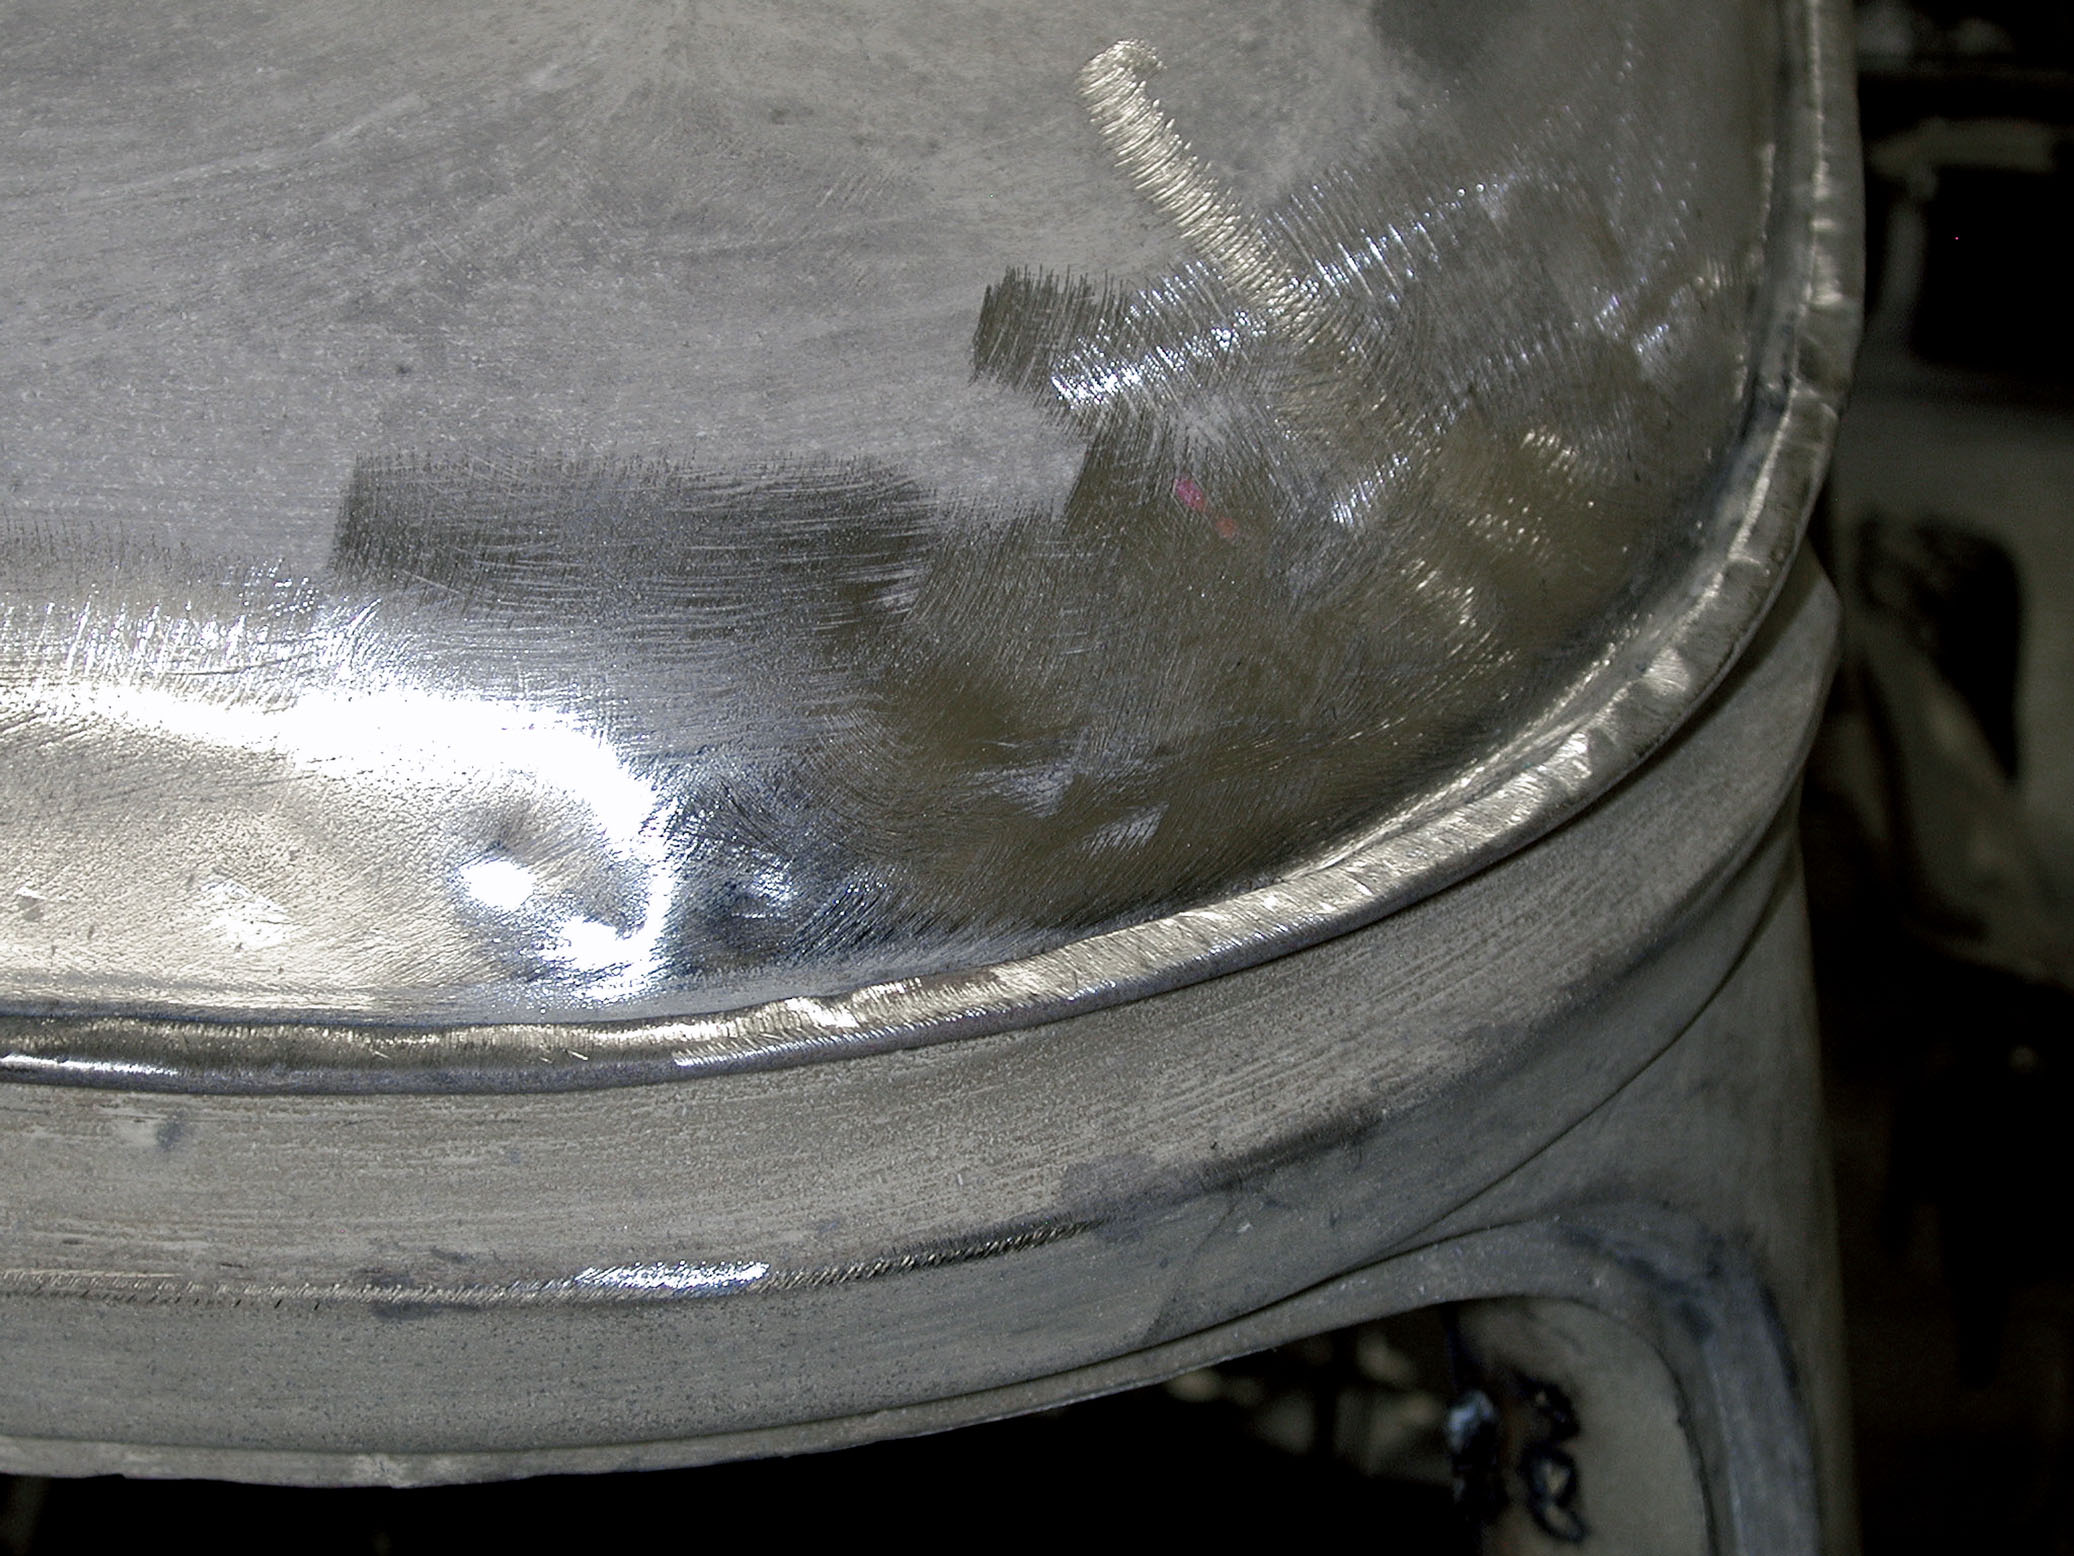
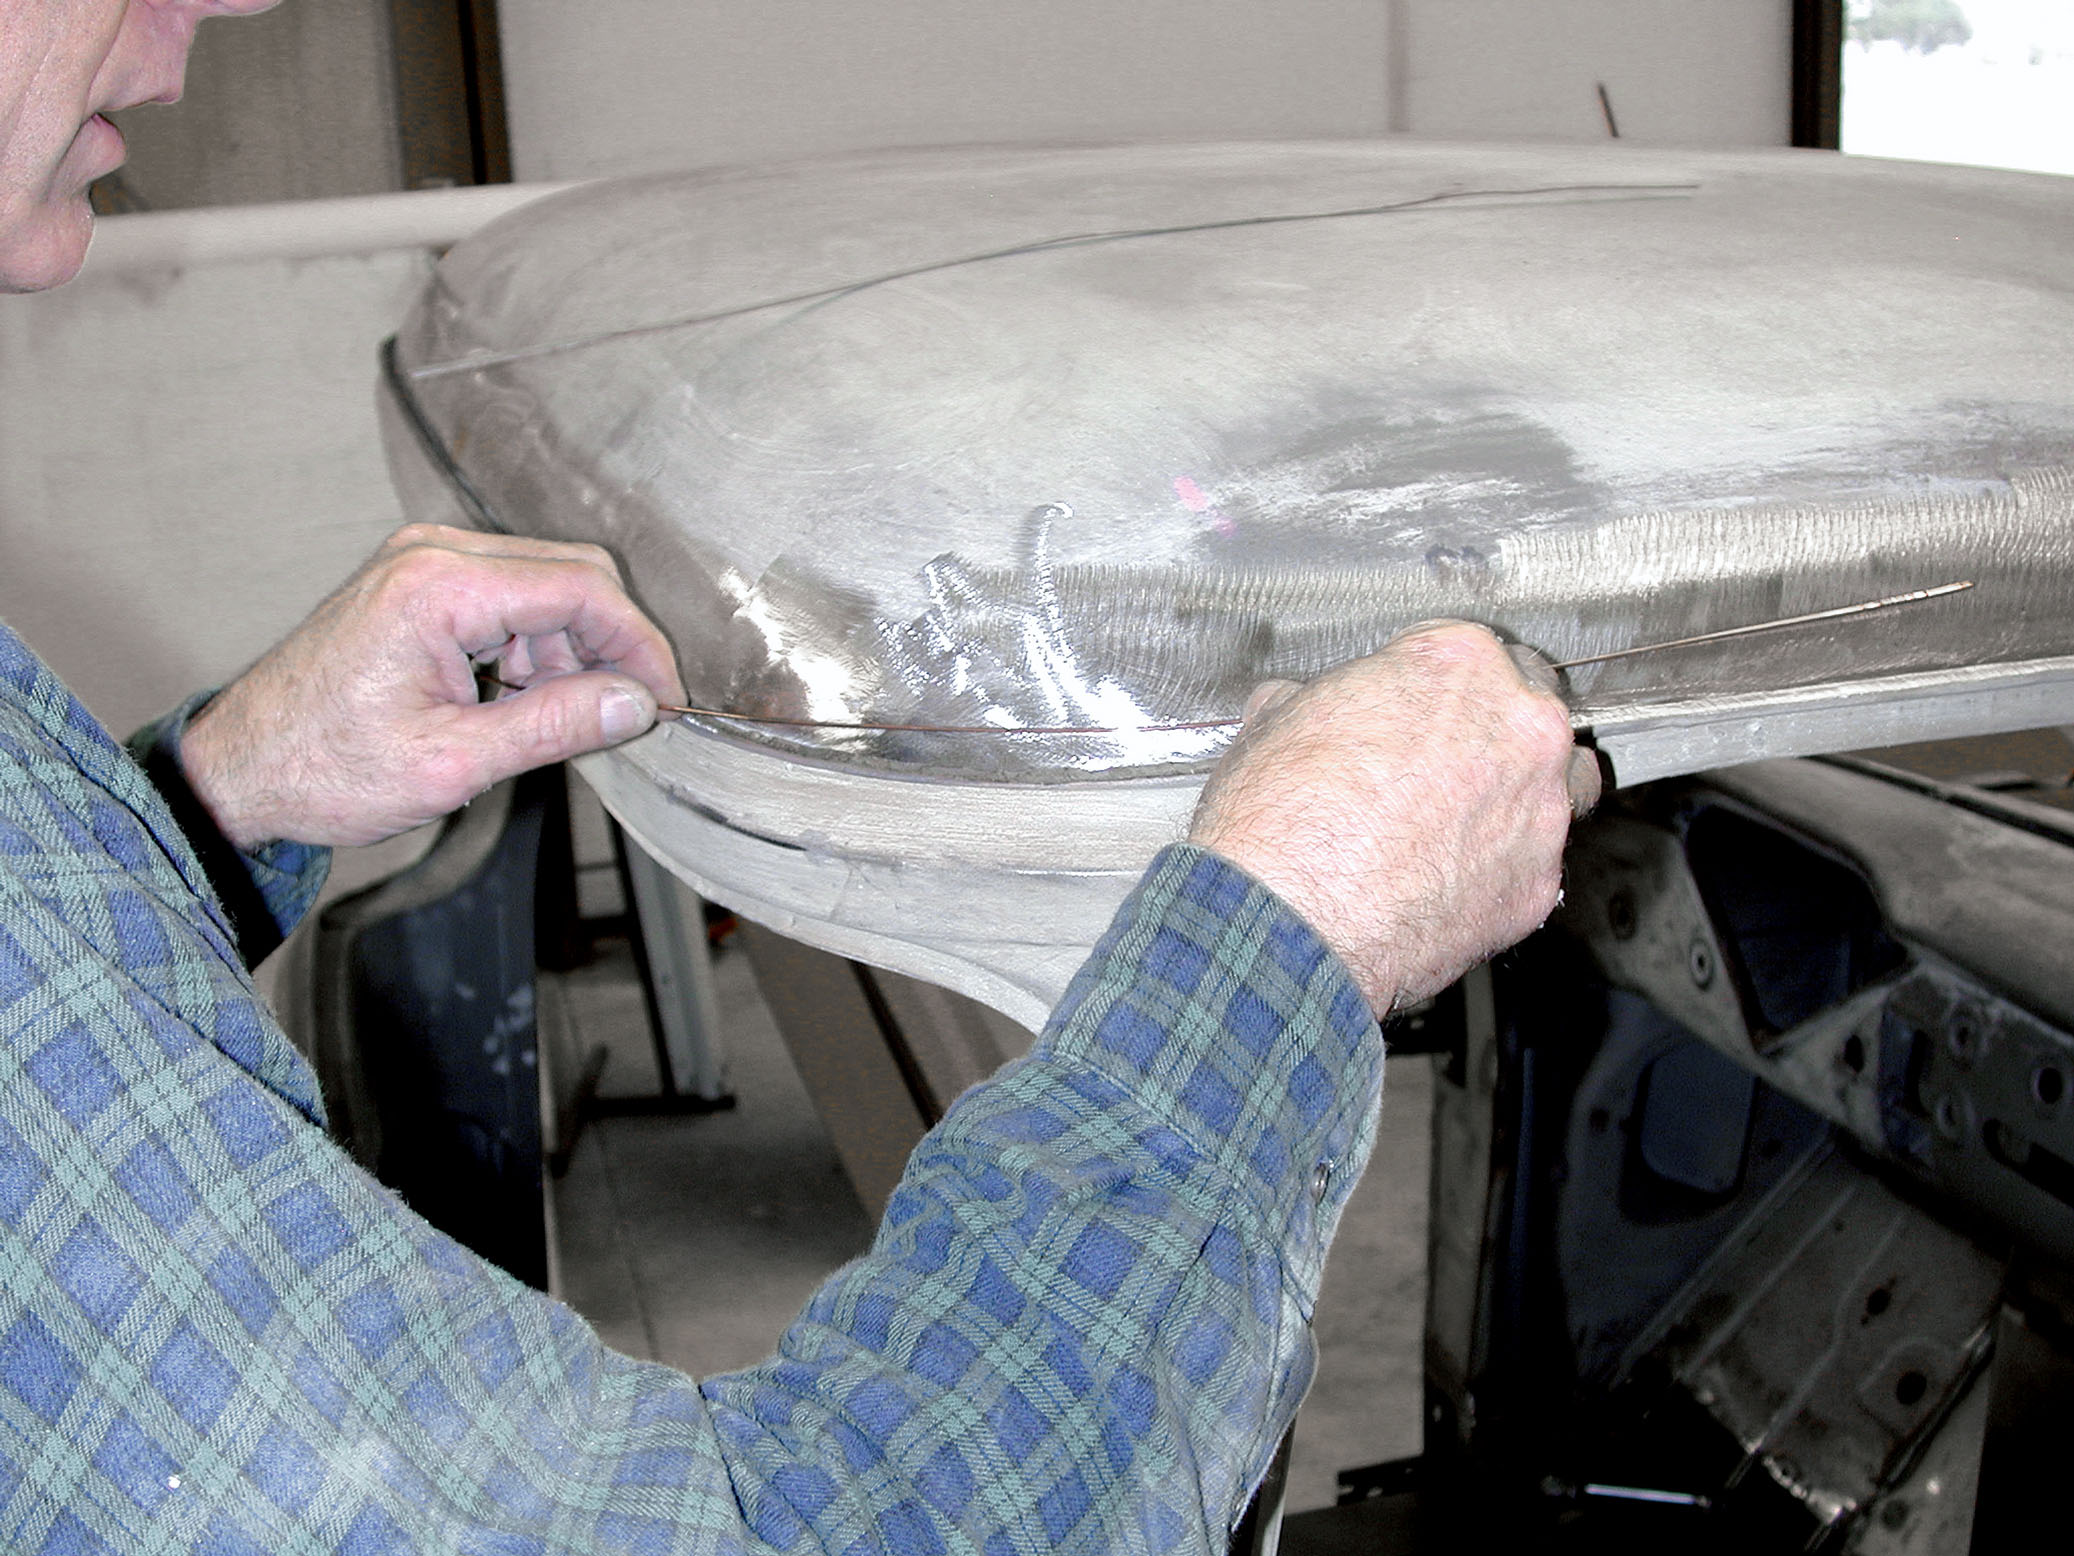
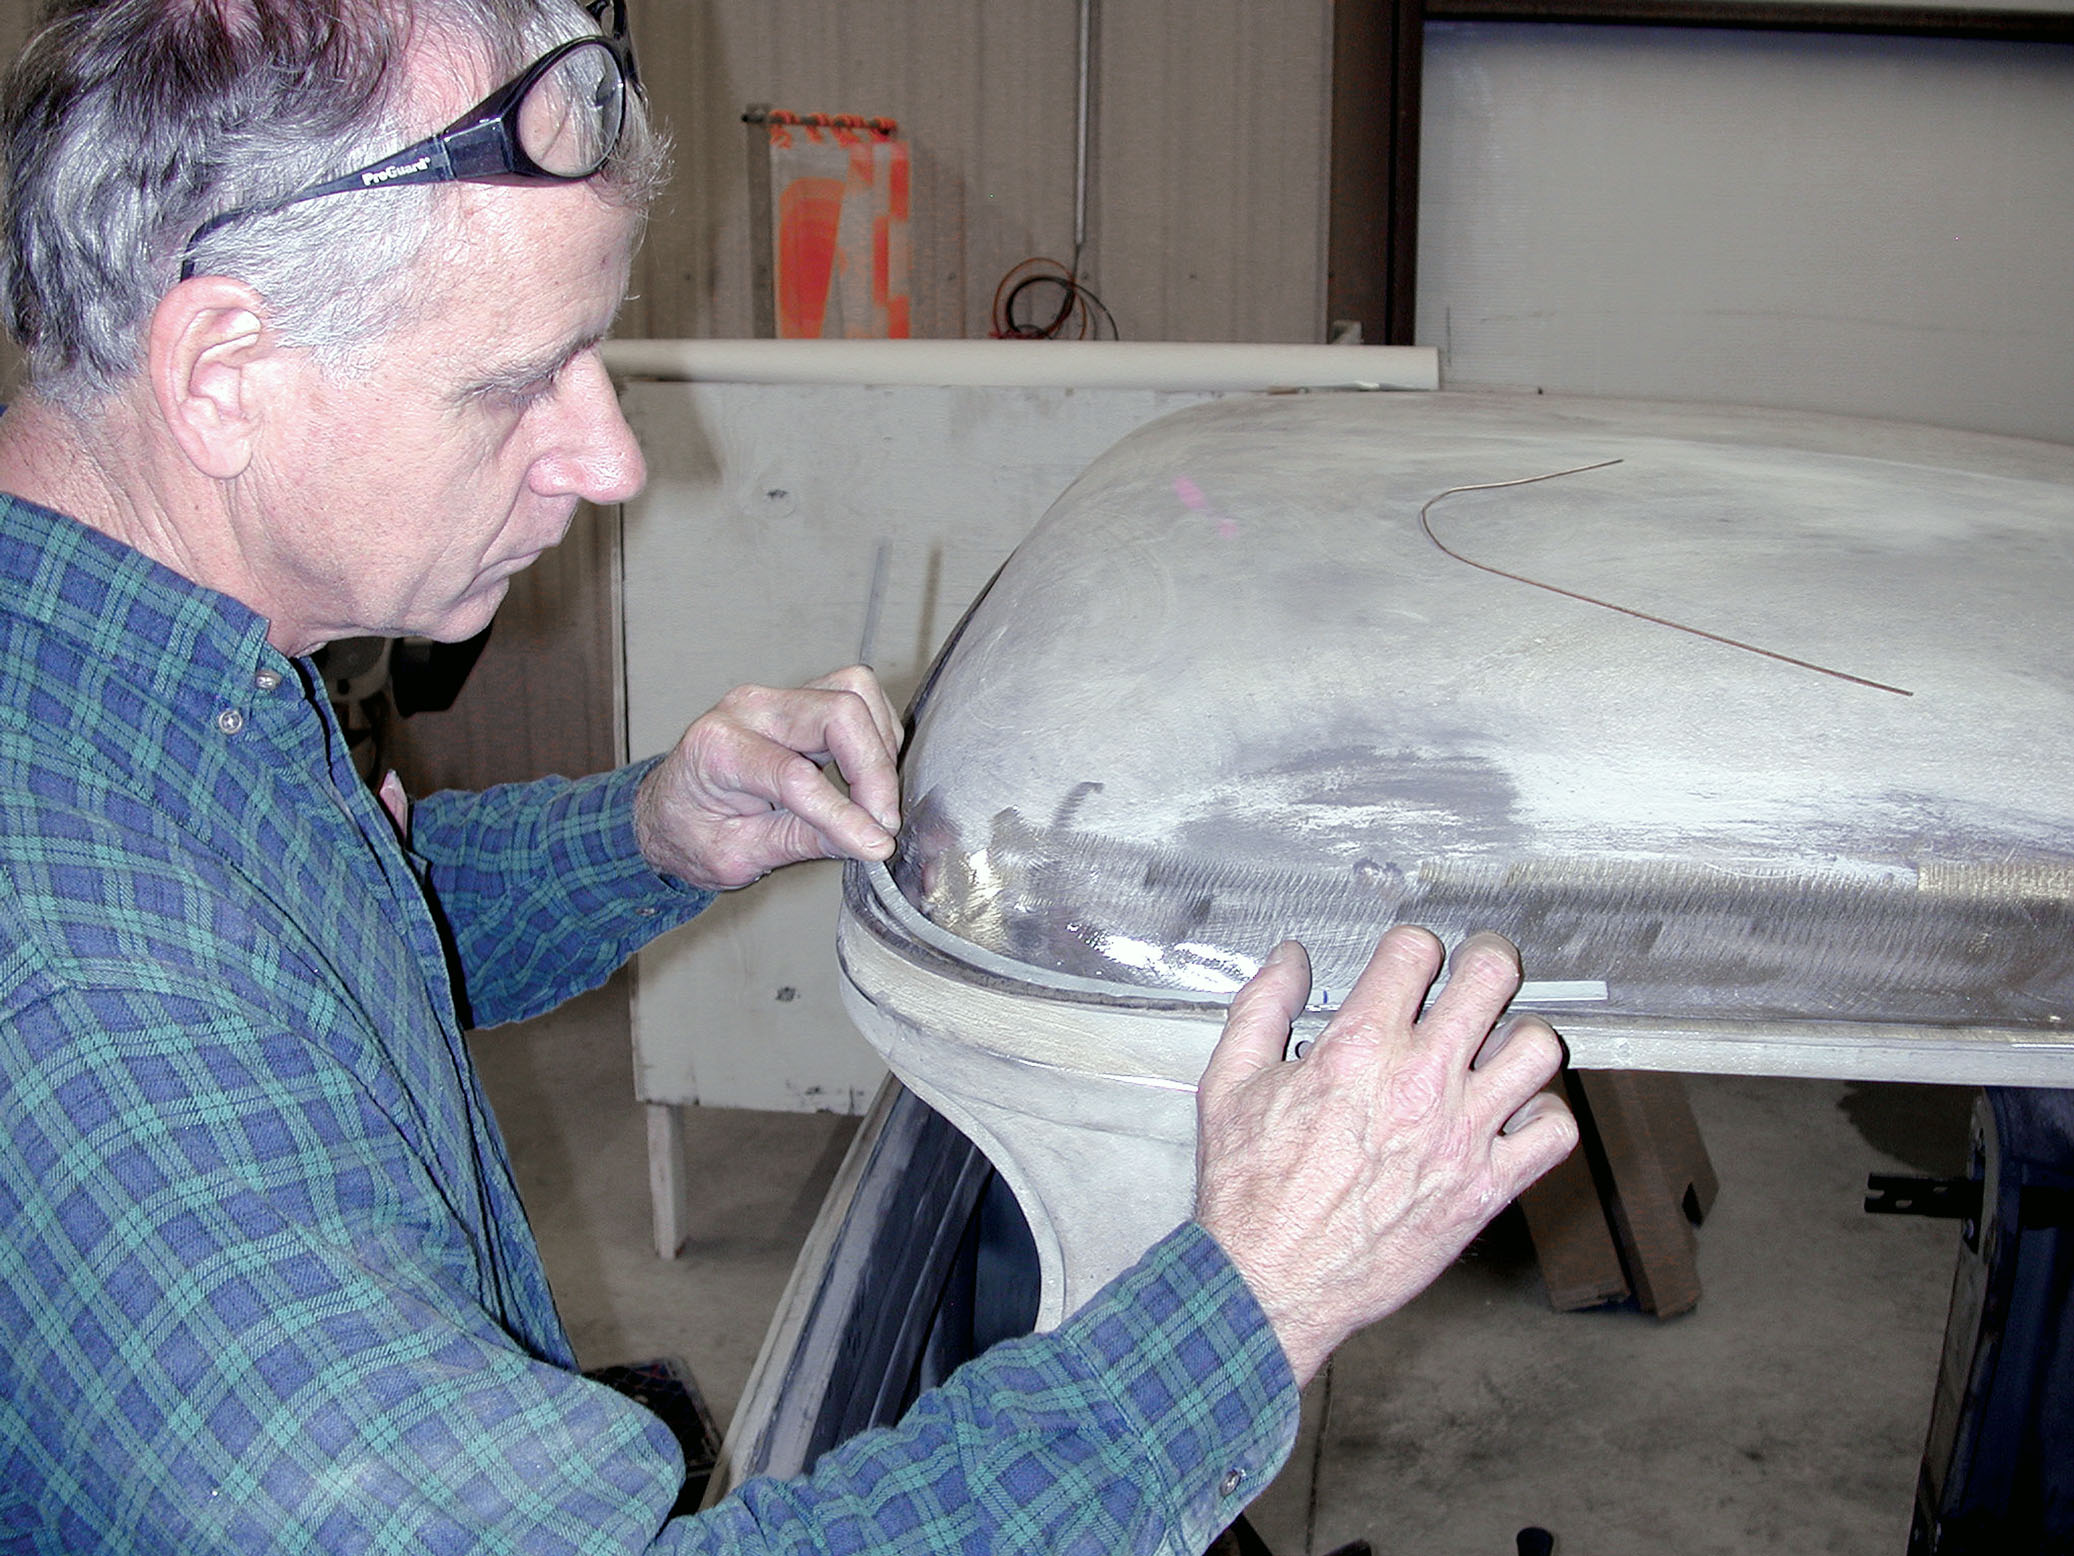
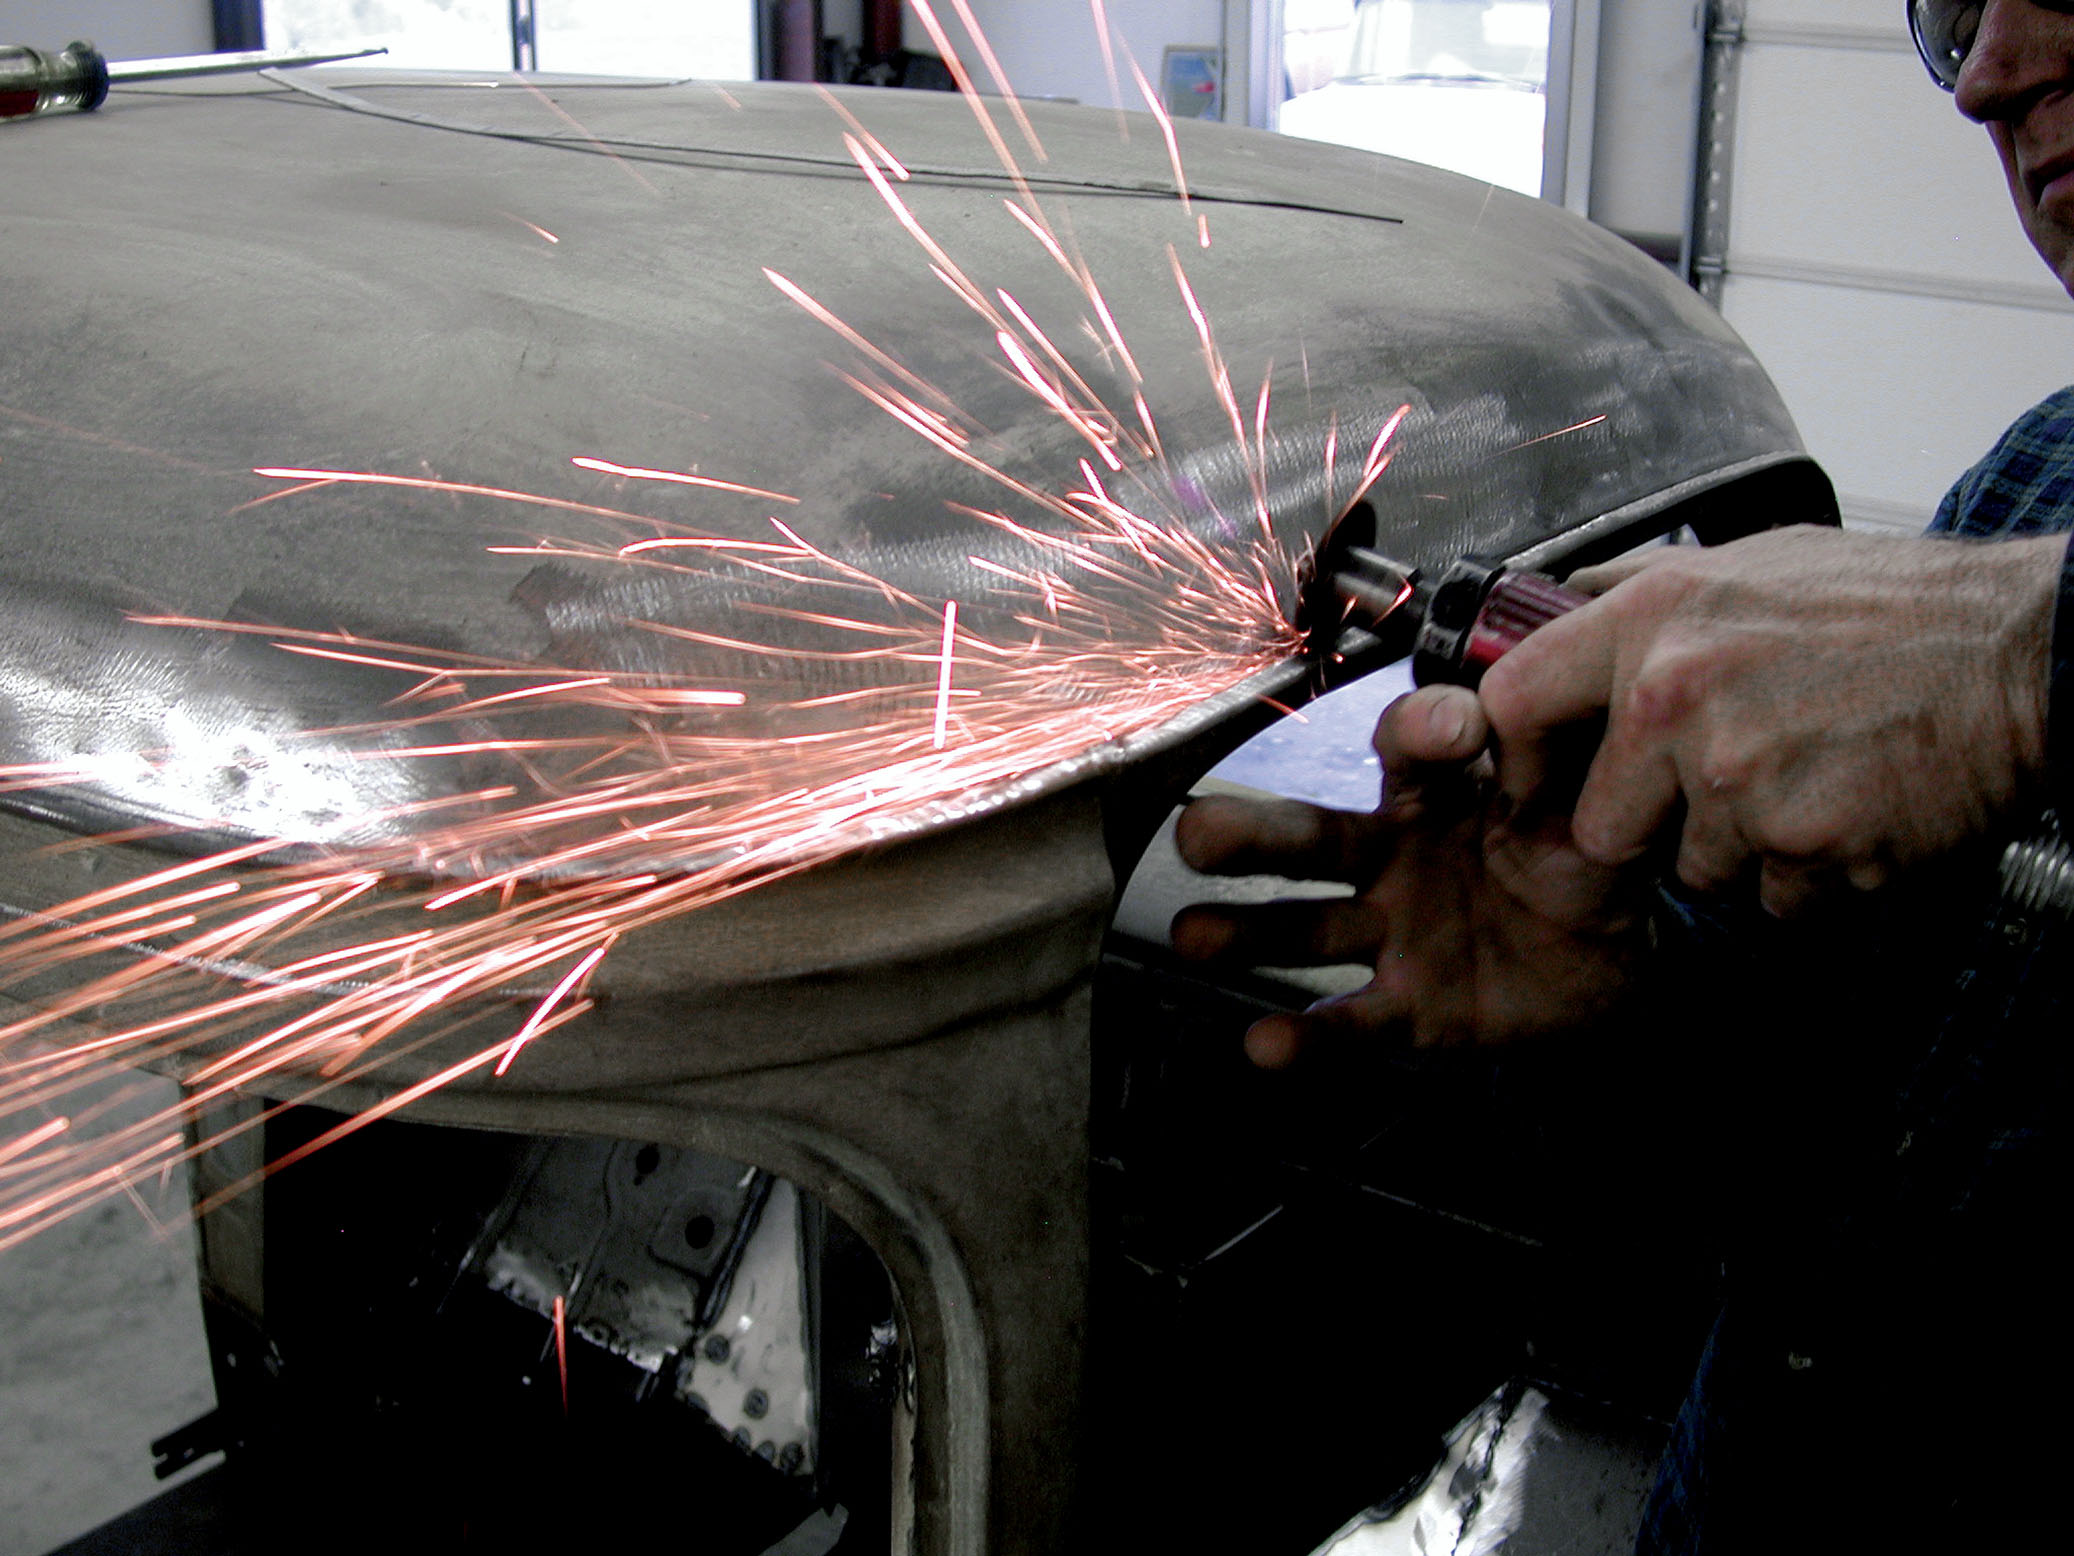
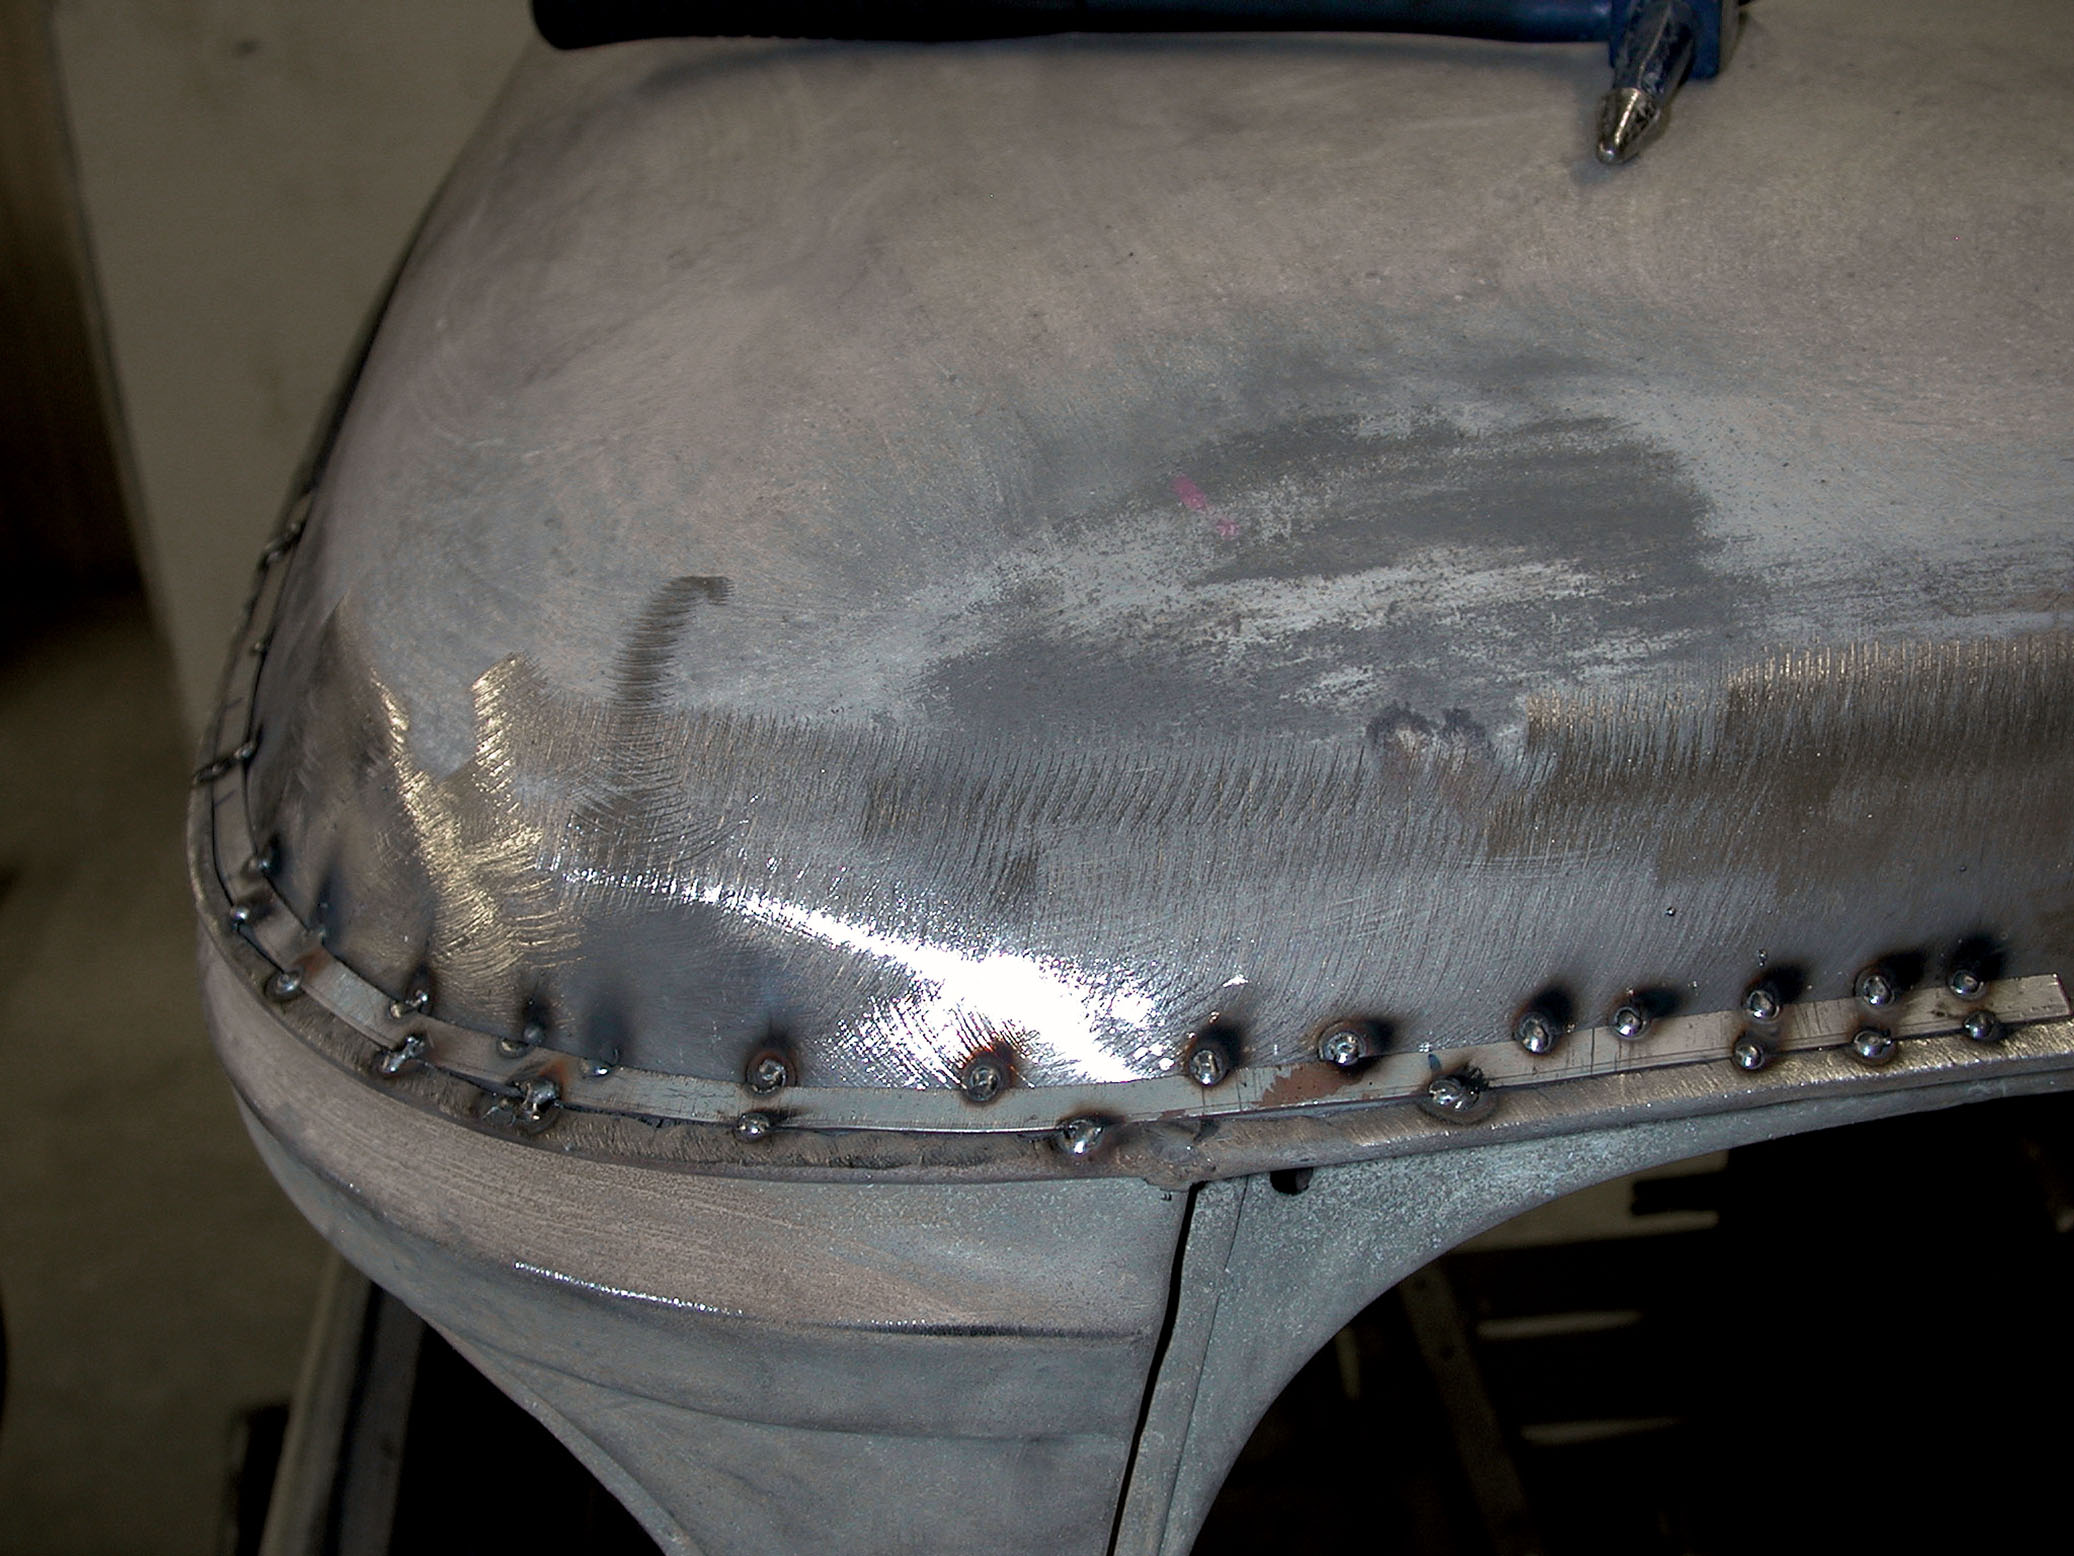
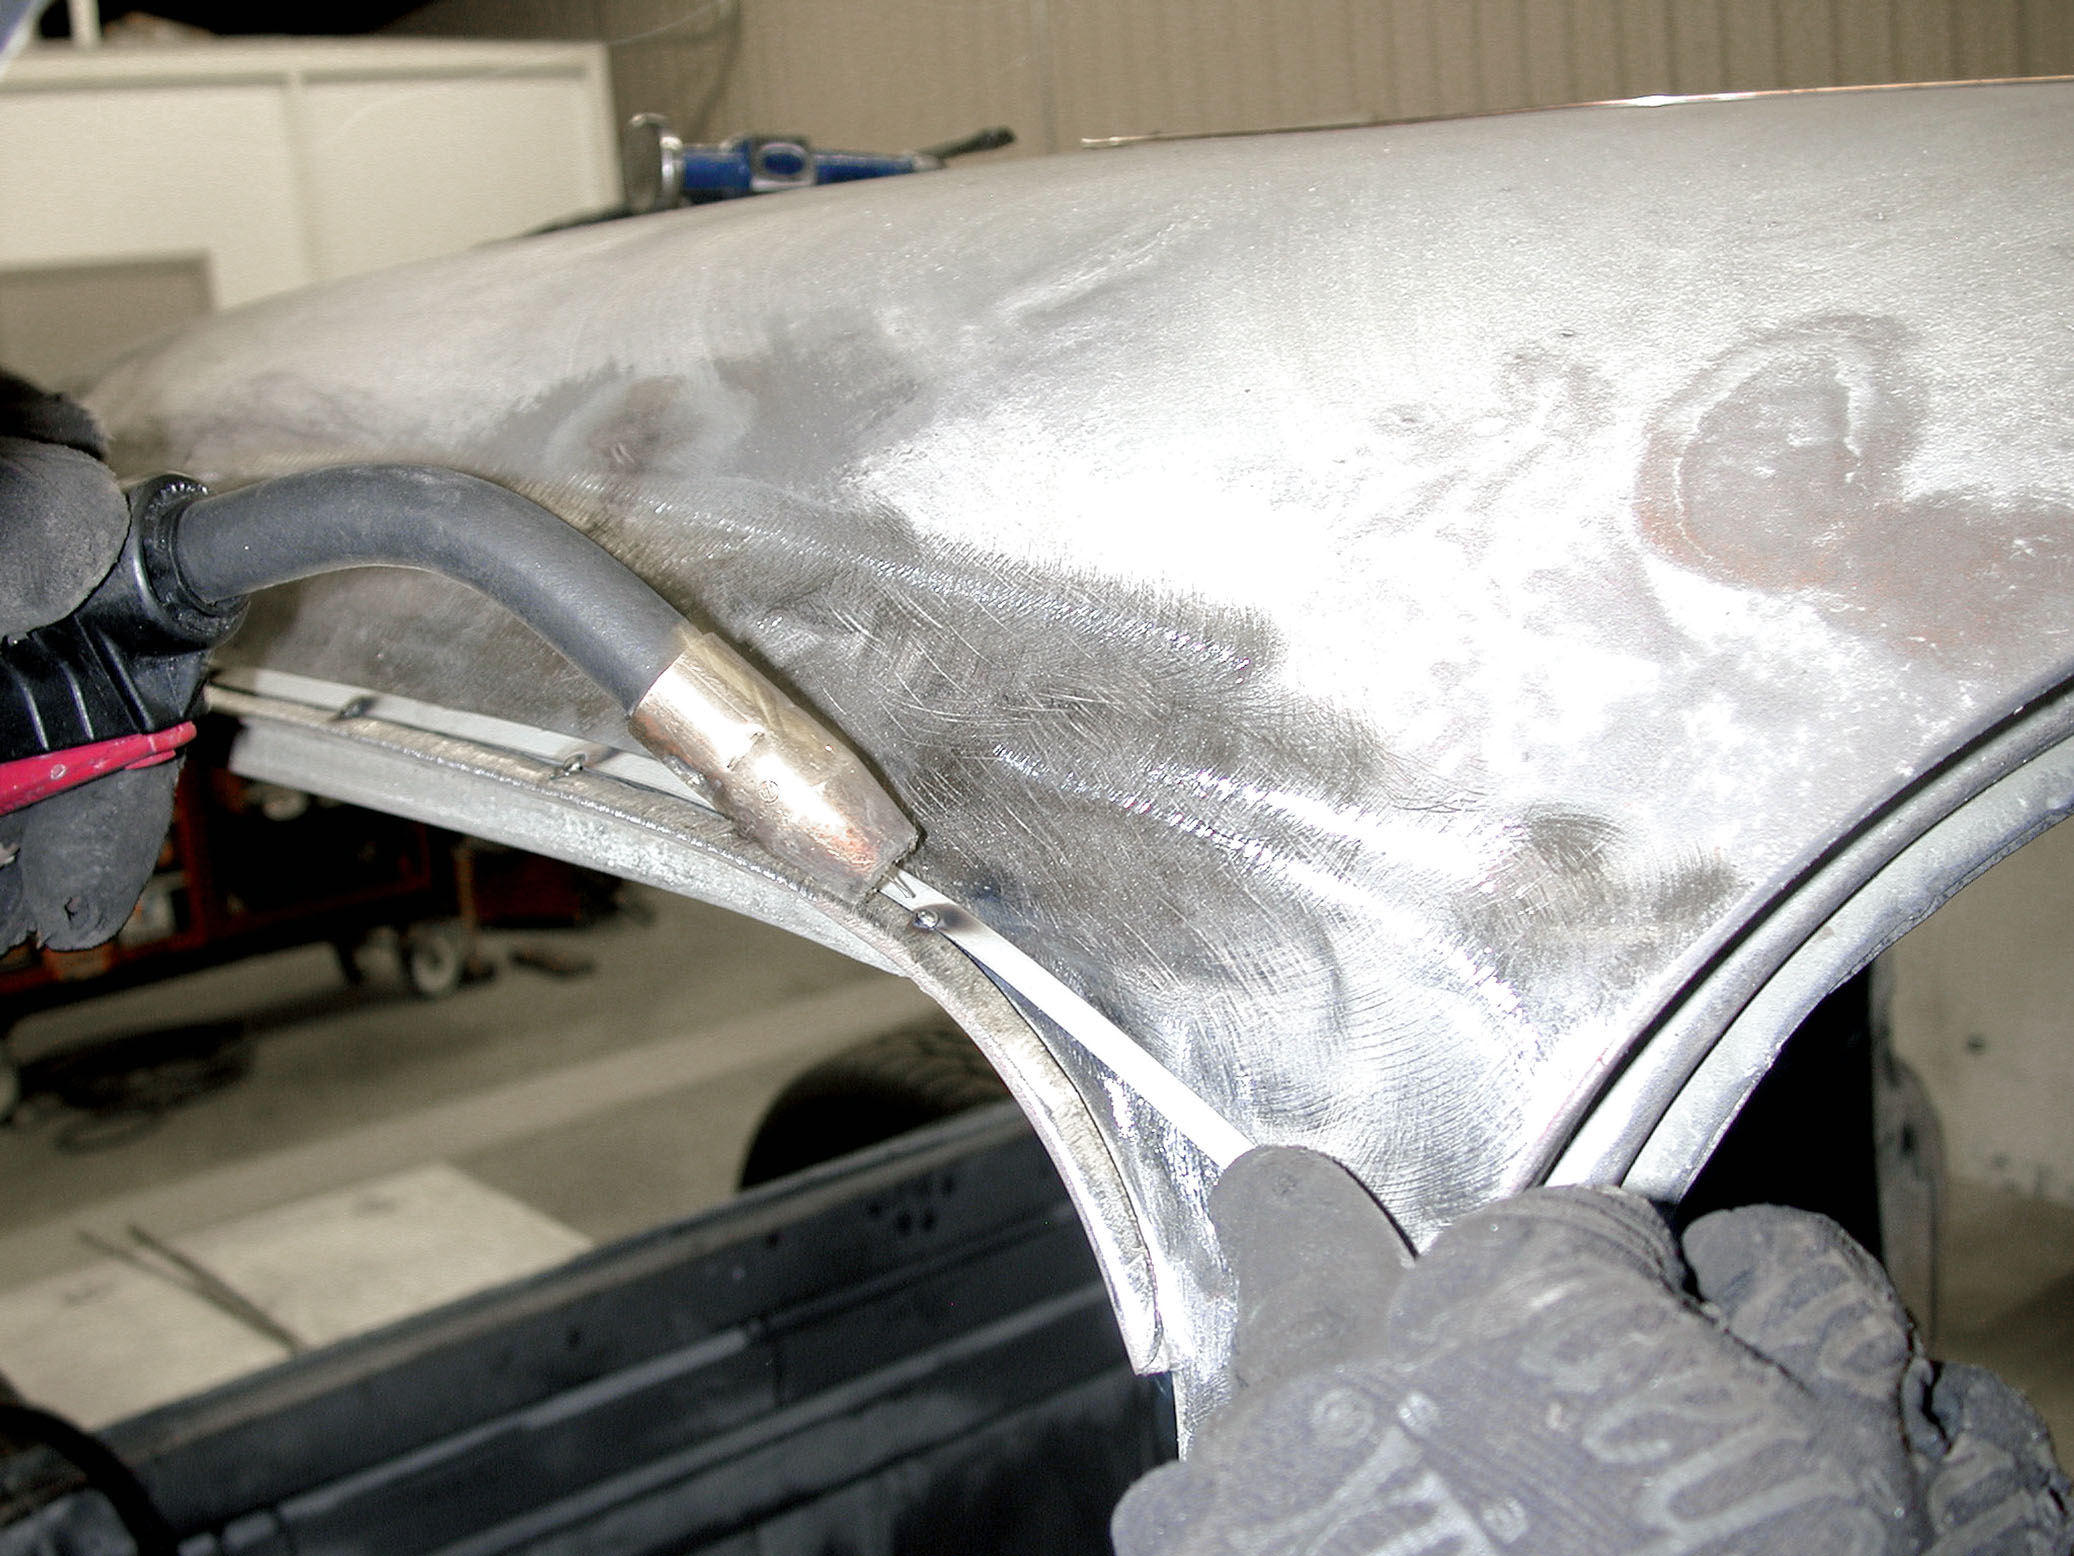
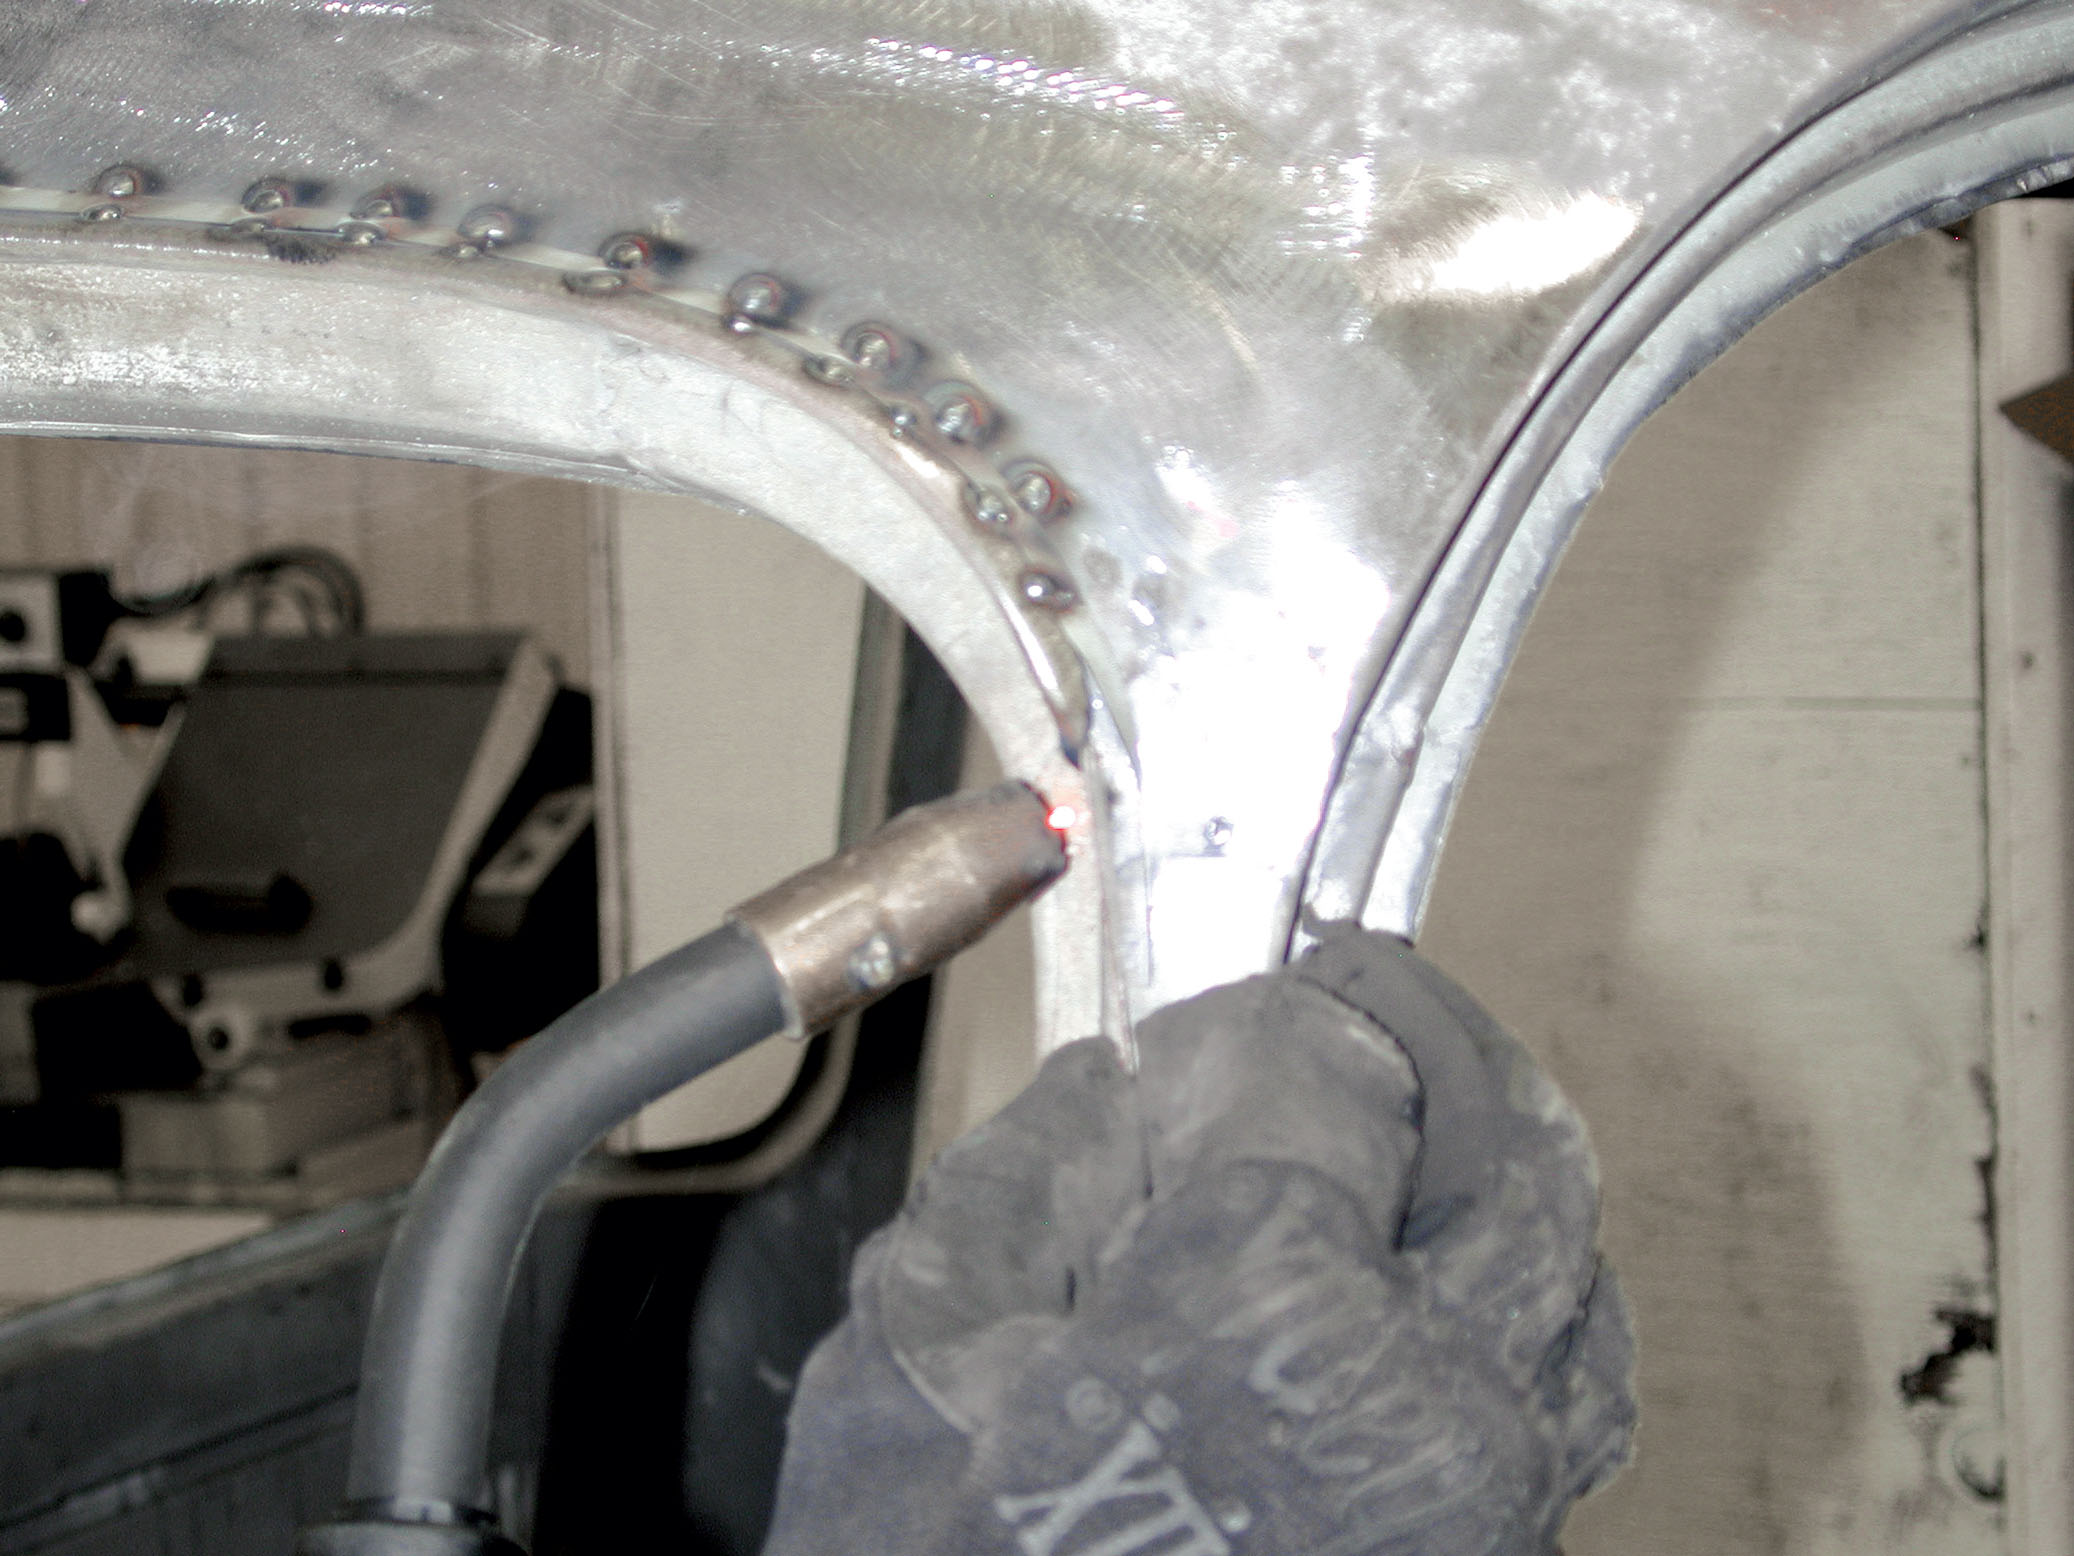
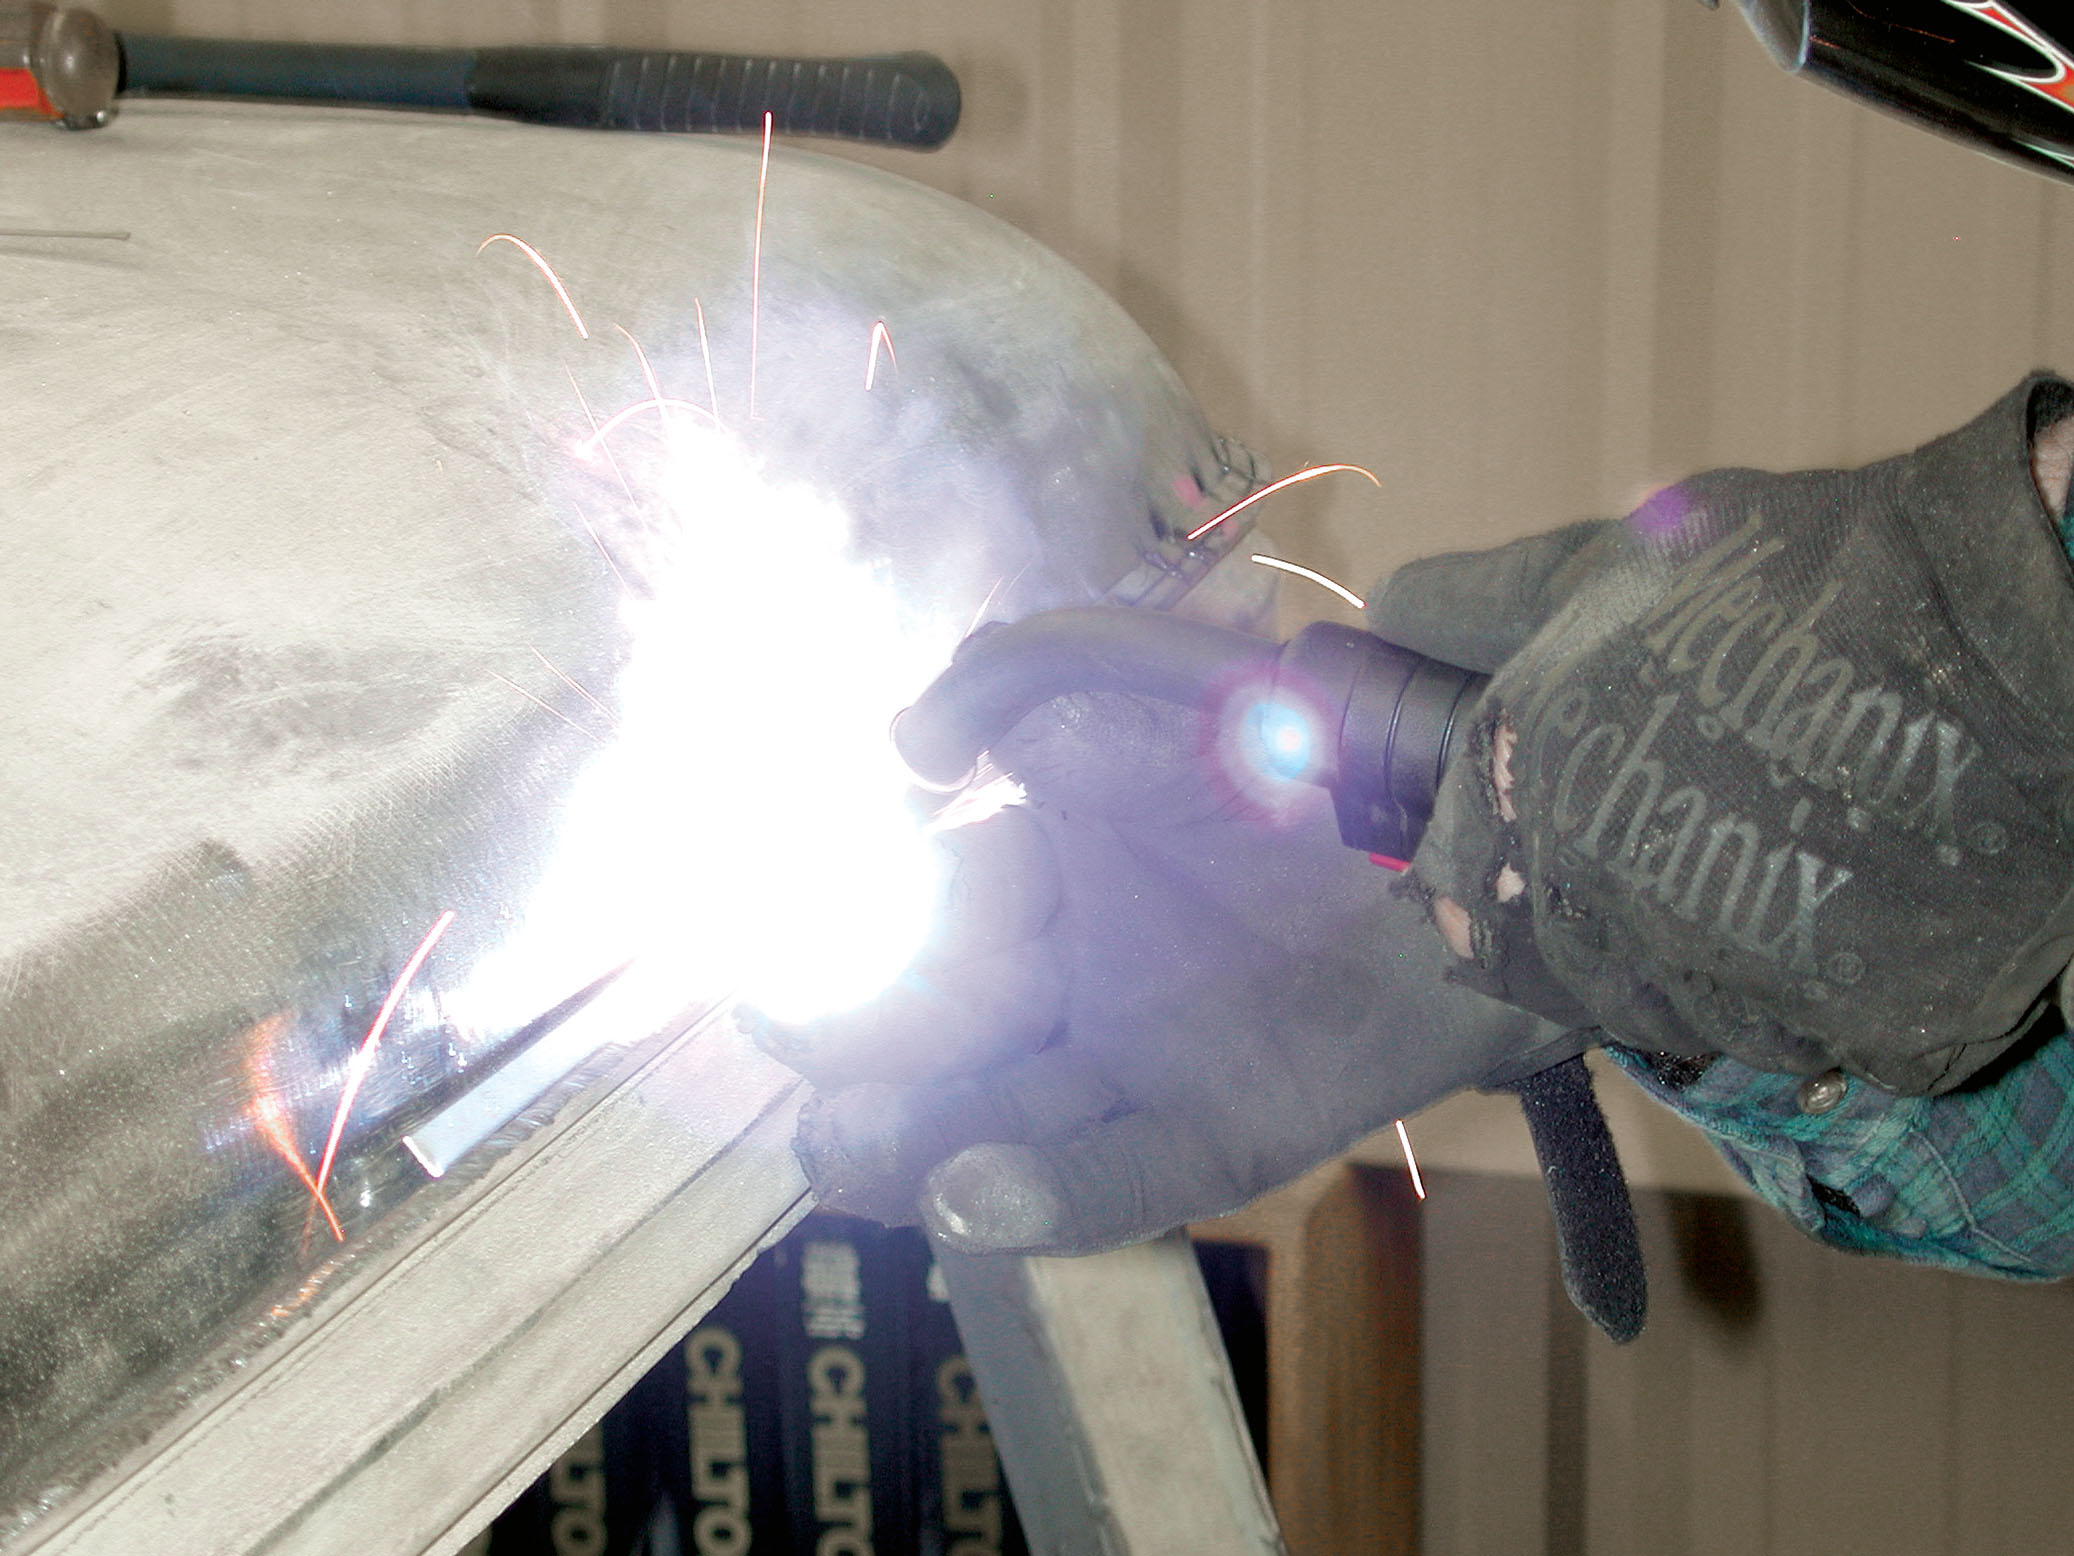
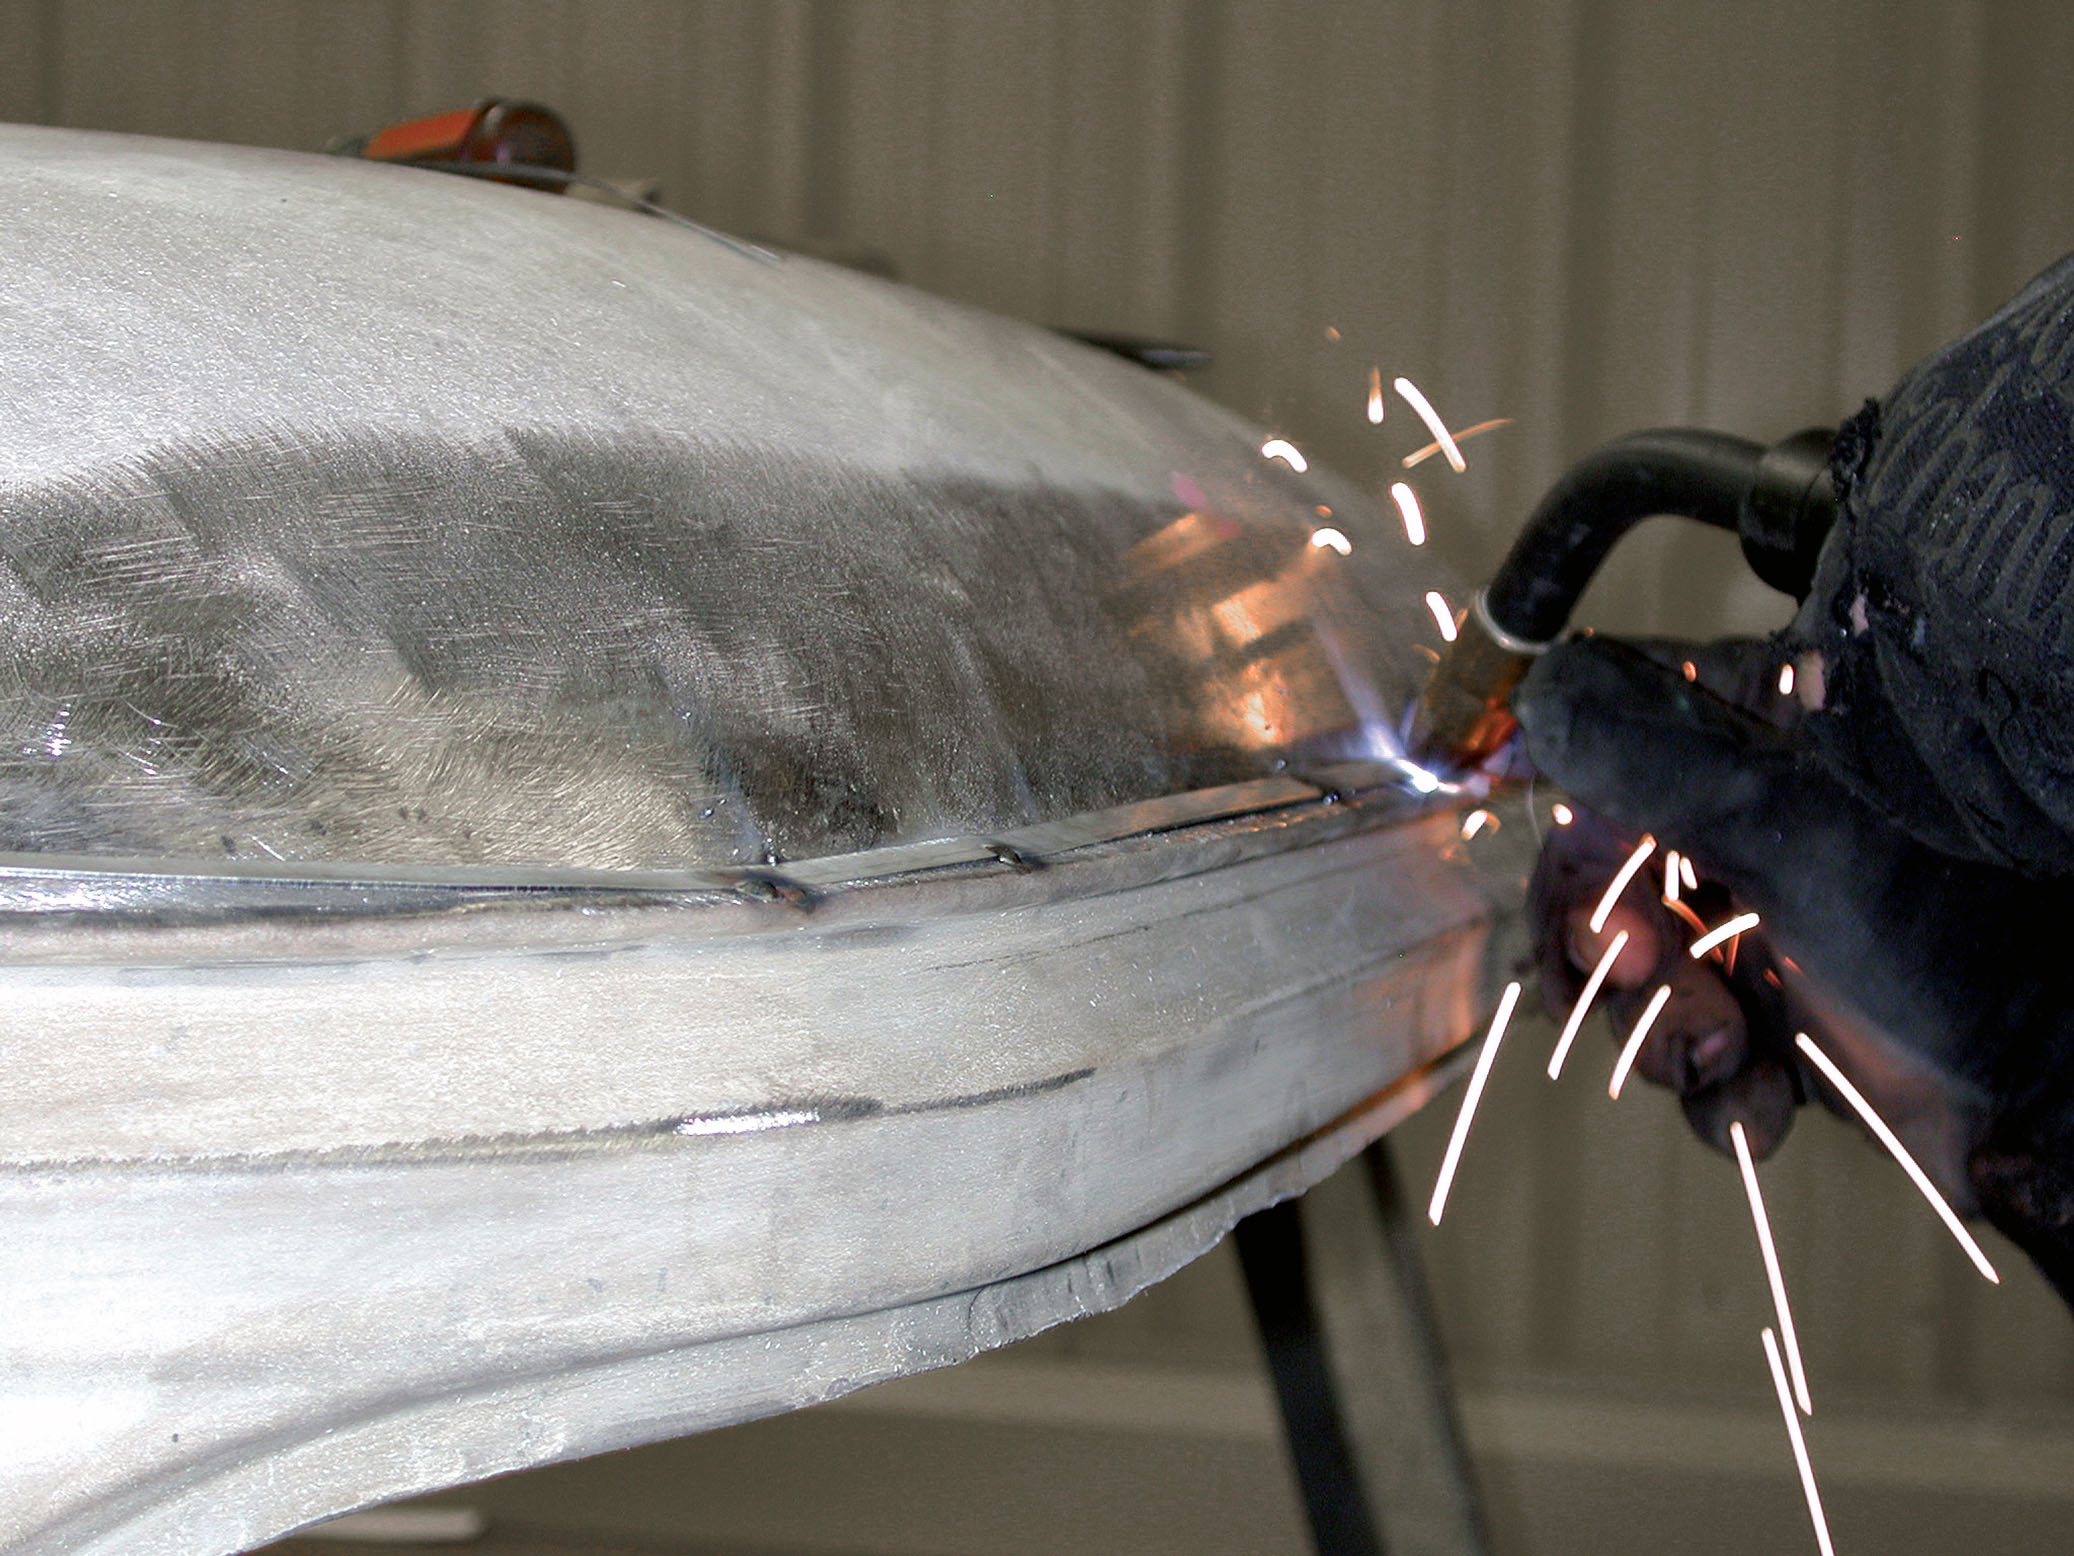
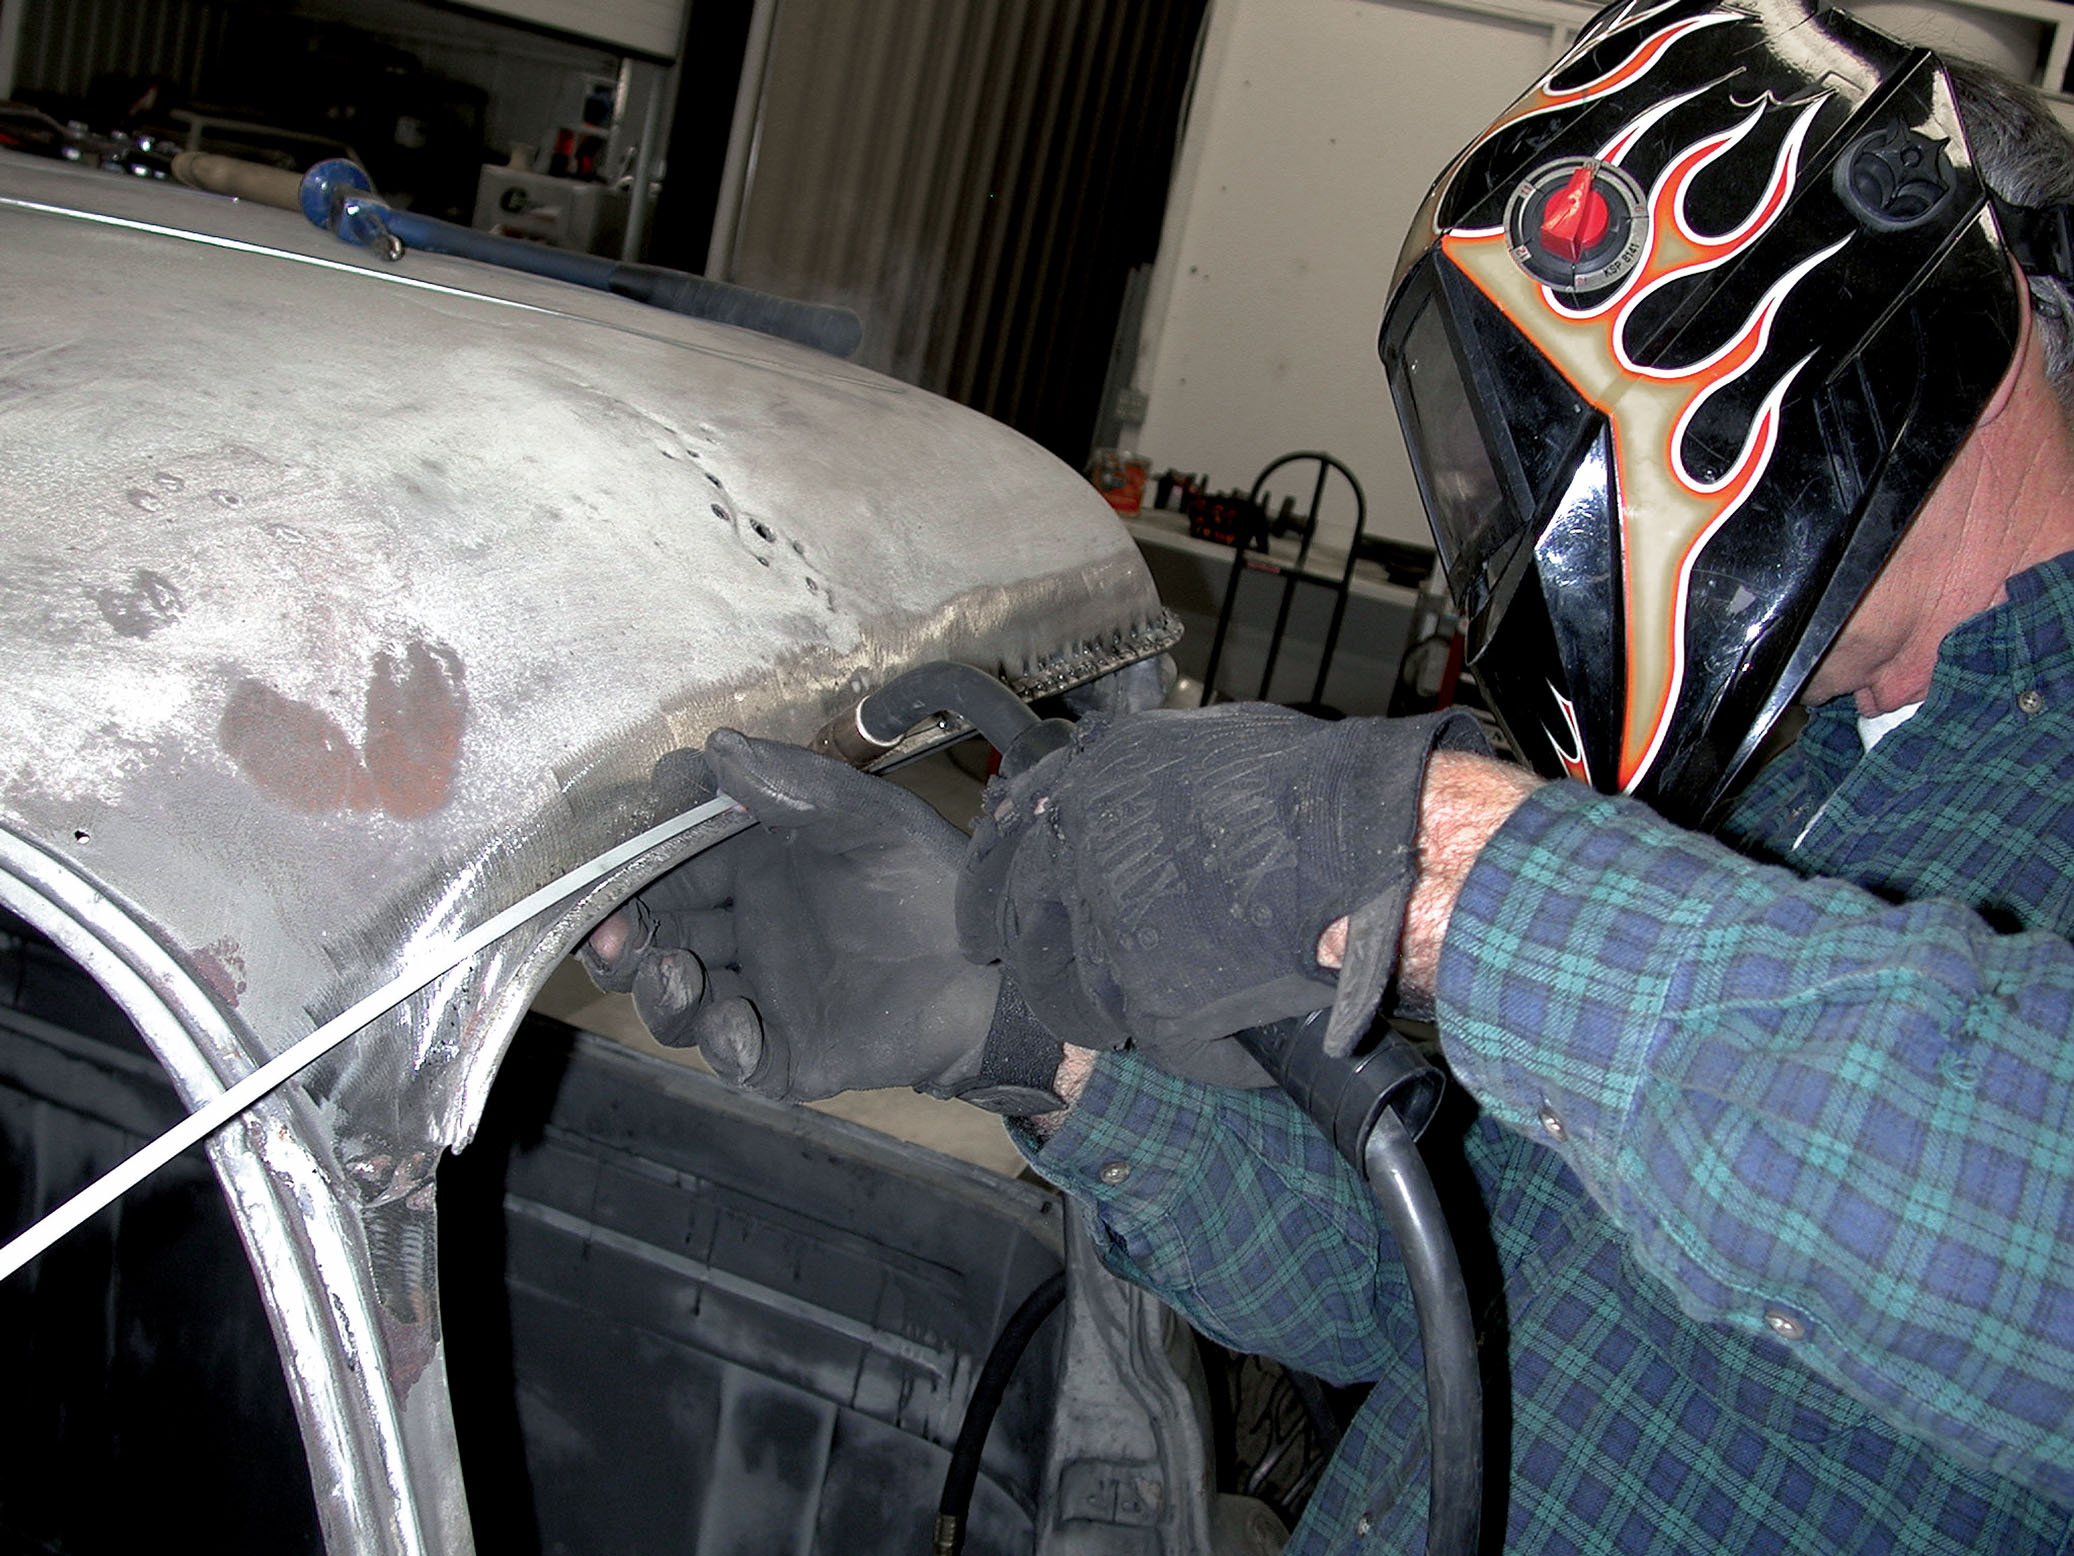
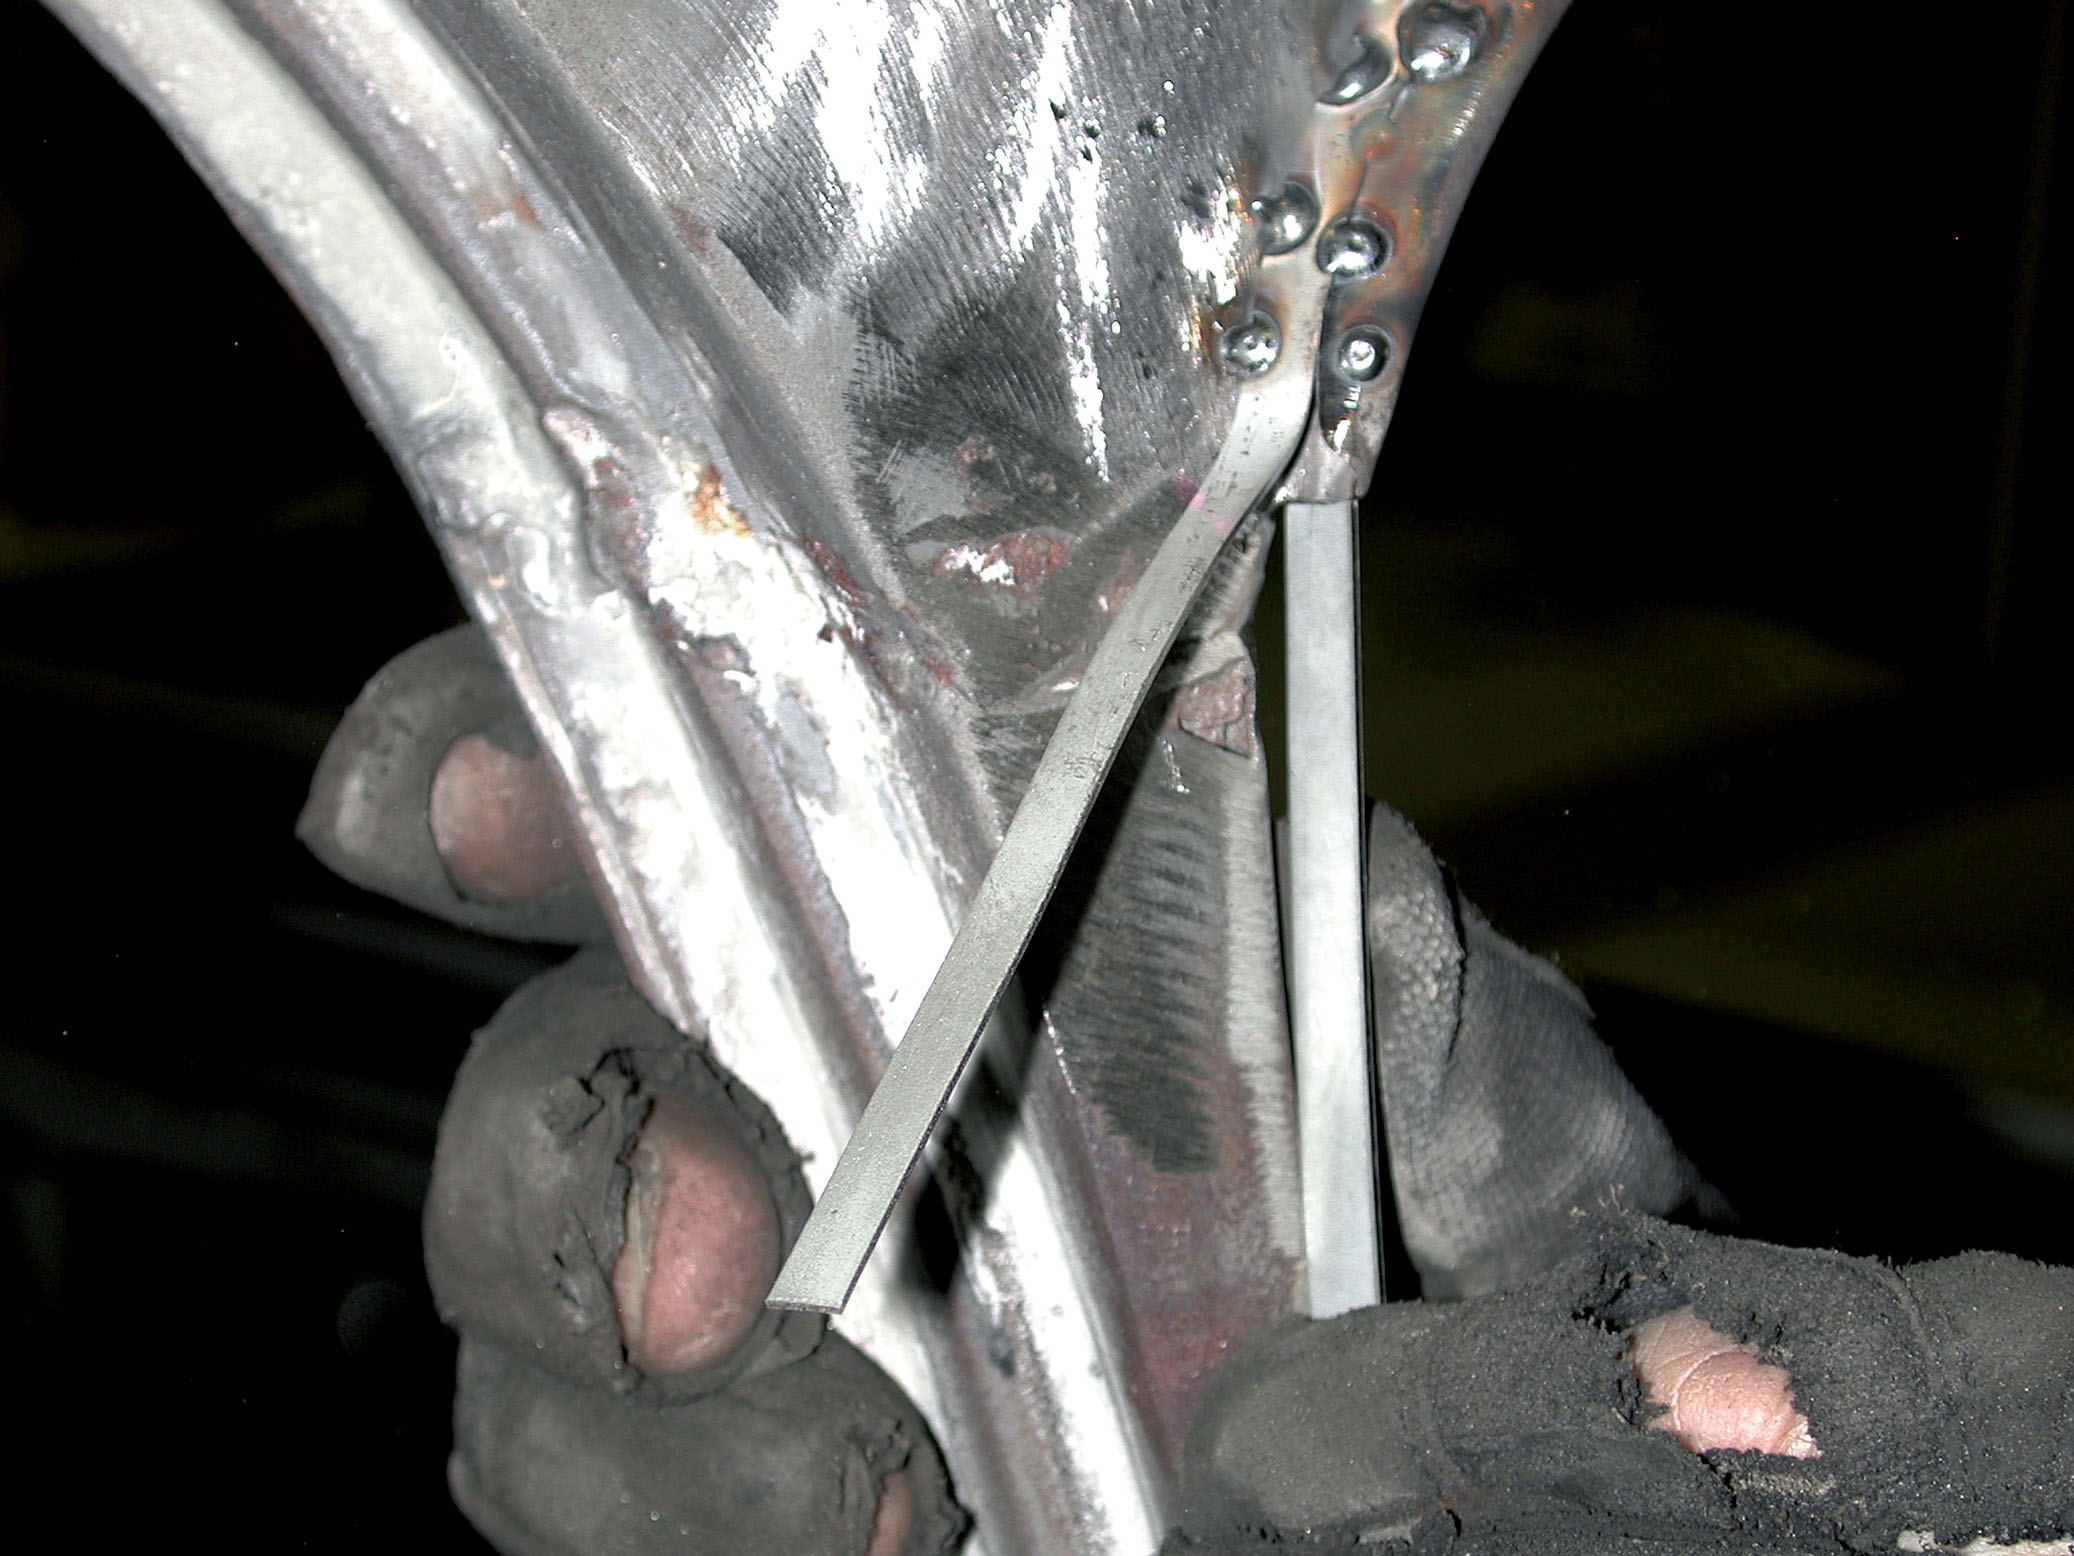
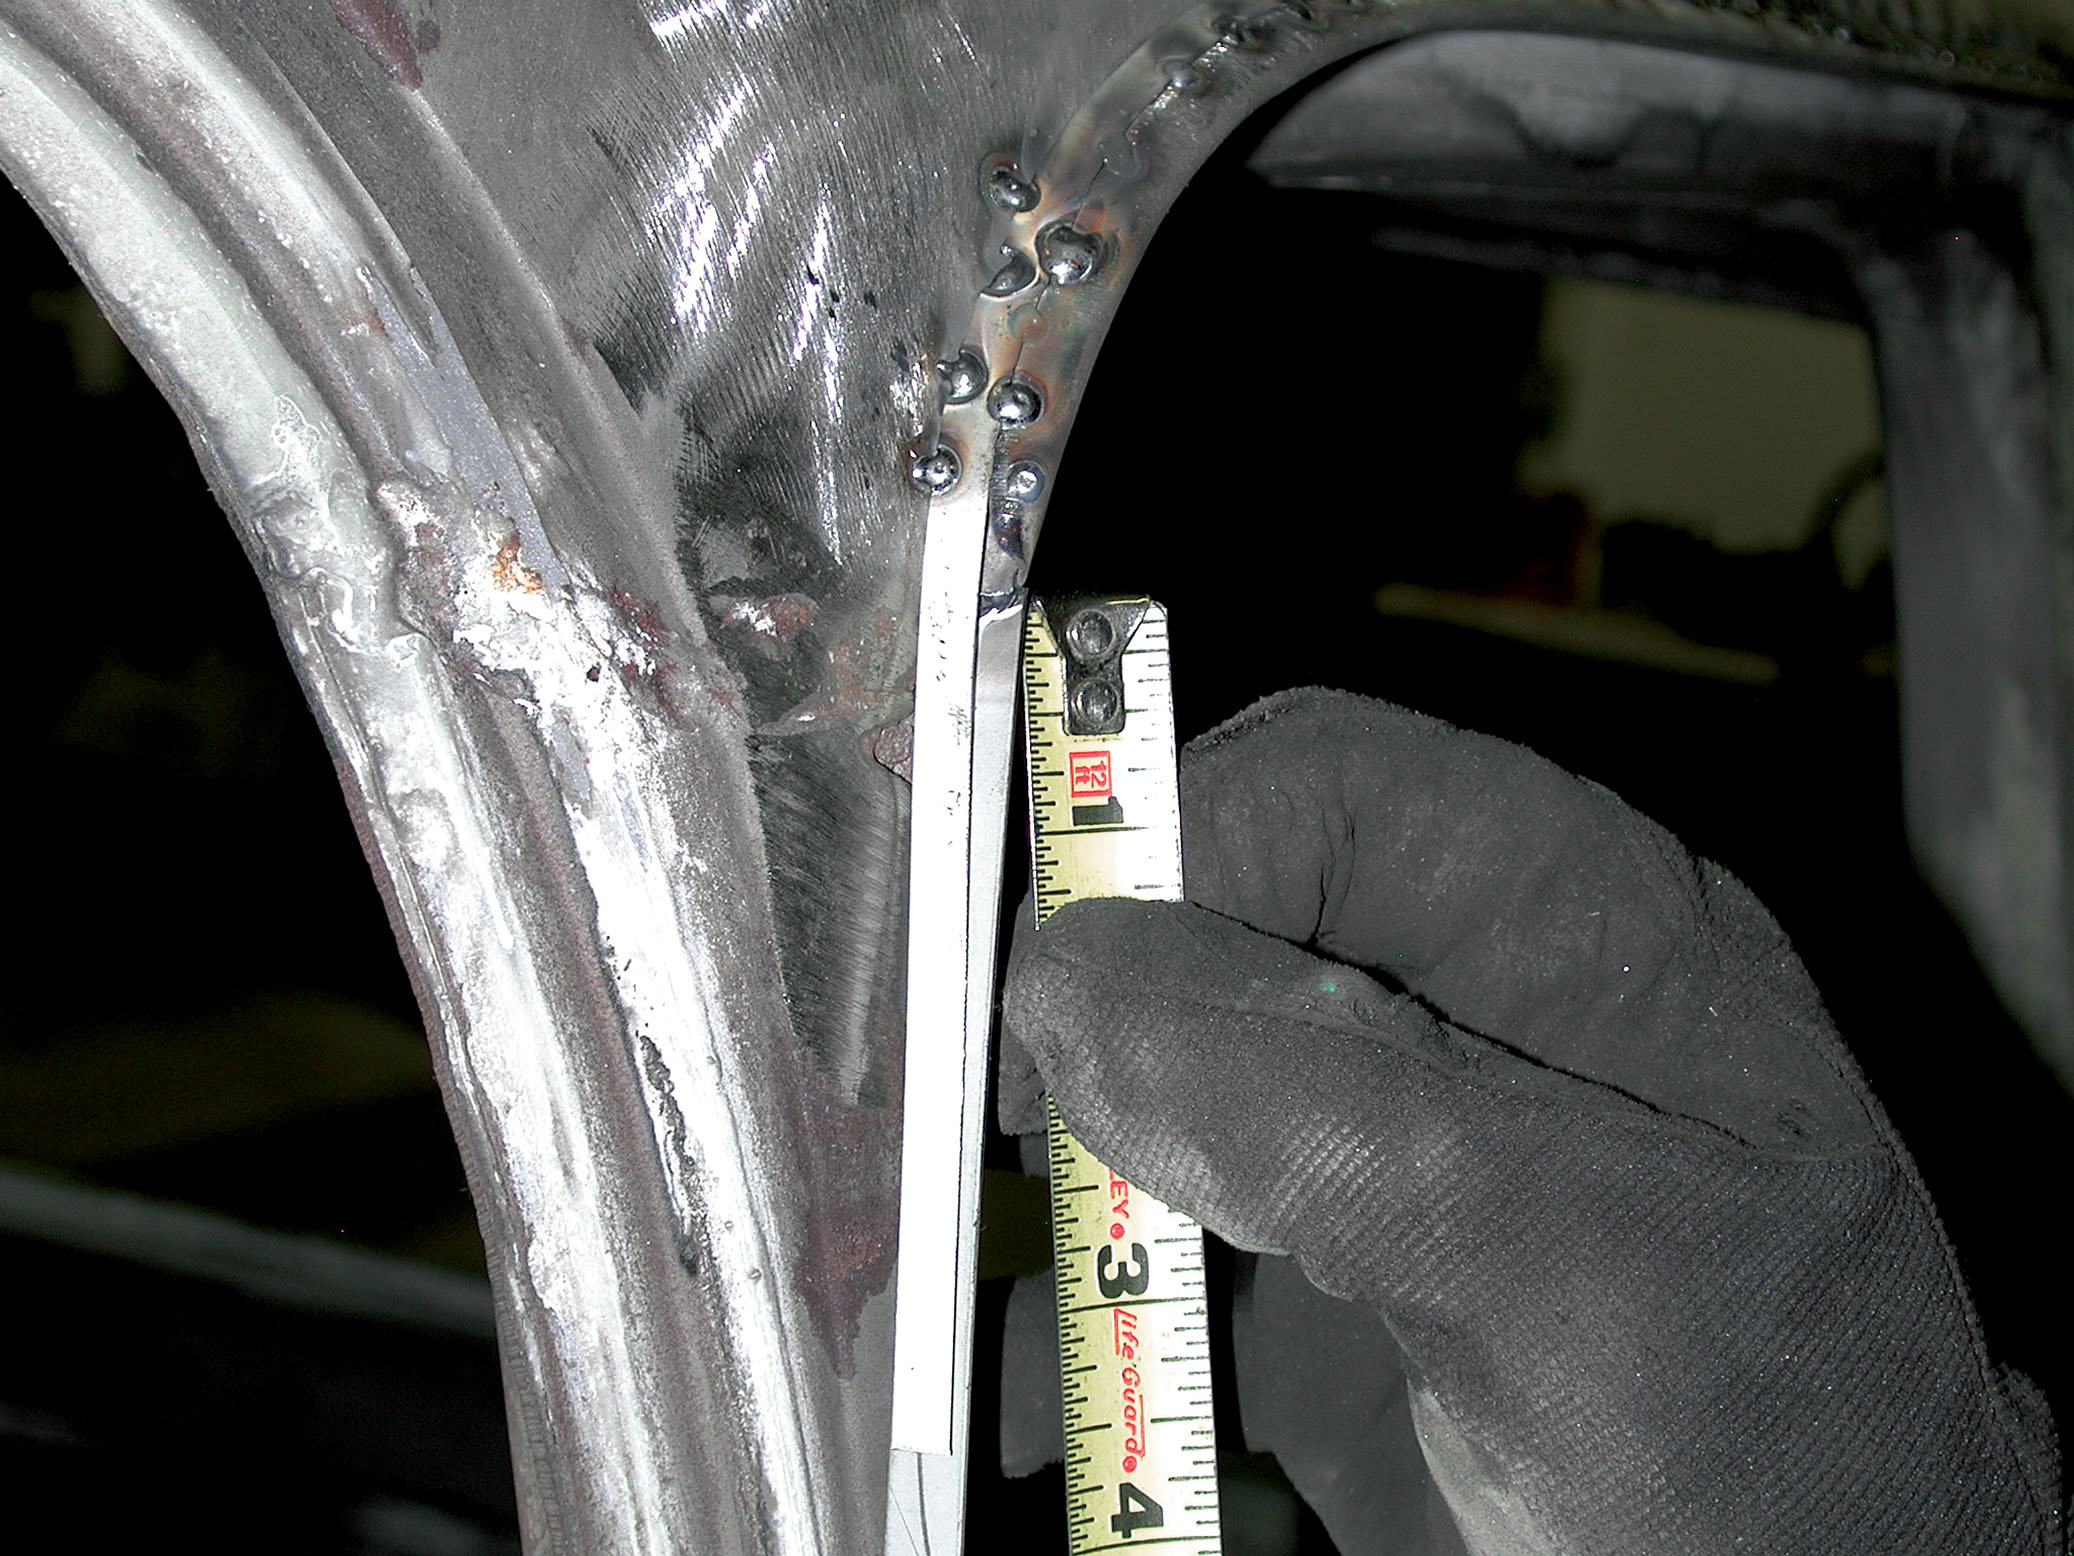
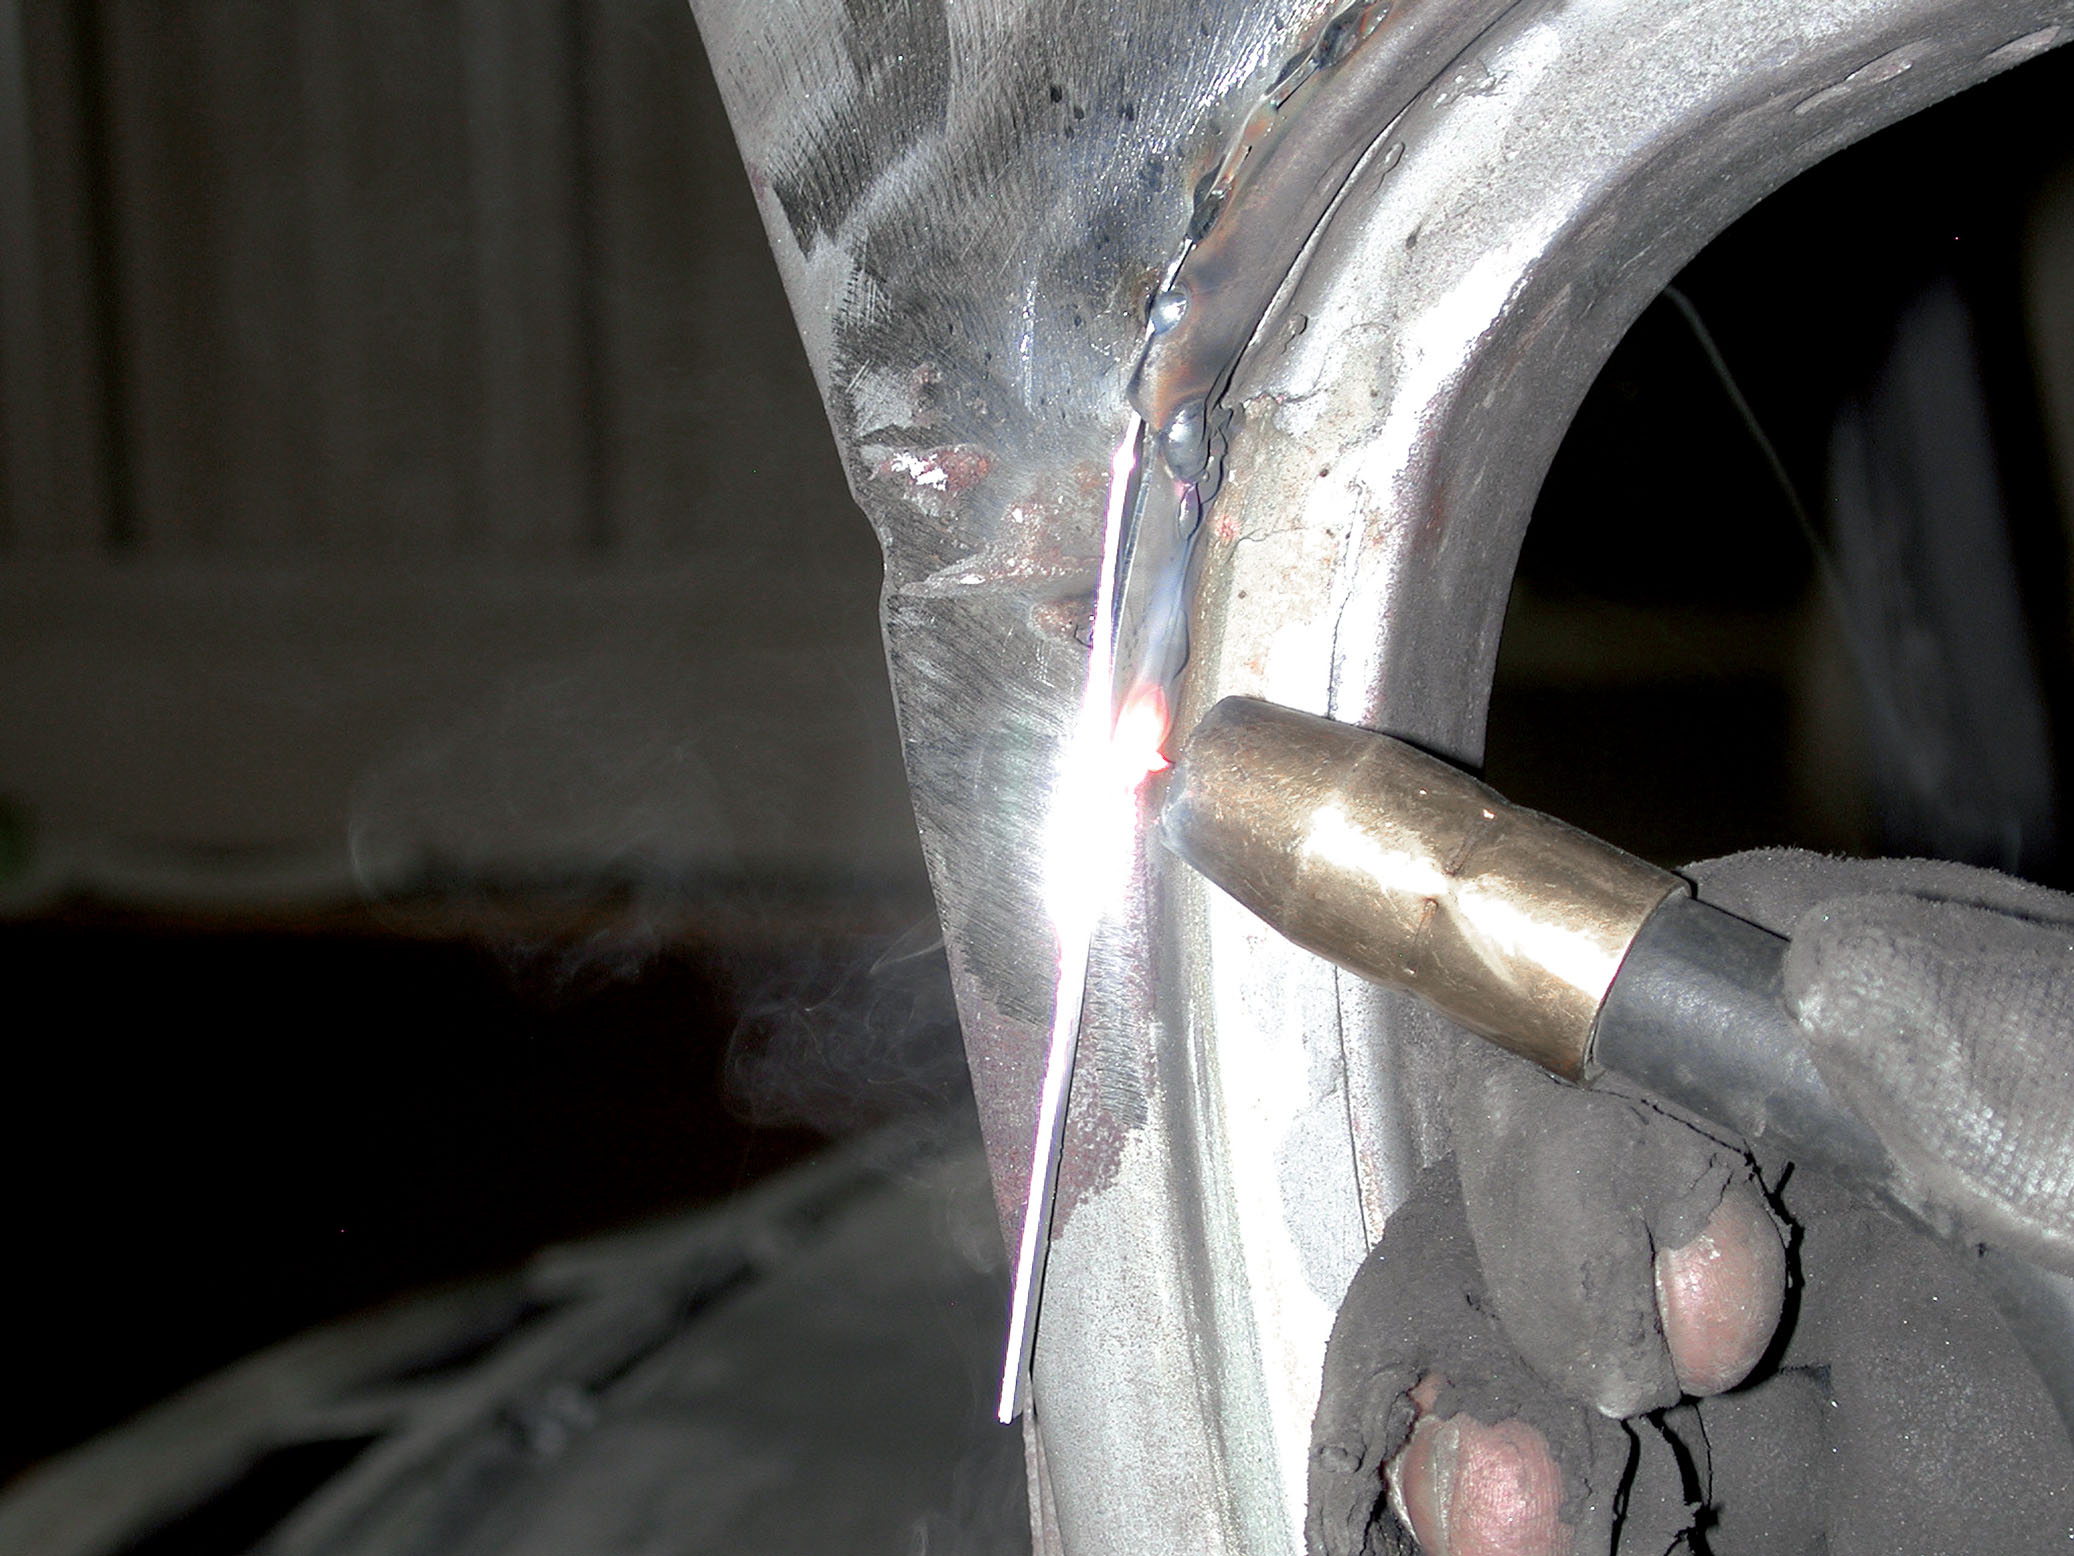
“When it came to the driprails, we hammered the edge of the driprail over to where we were able to tack-weld a 1/4-inch piece of 18-gauge sheetmetal, which we sandwiched in between the edge of the driprail and the curvature of the roof.”
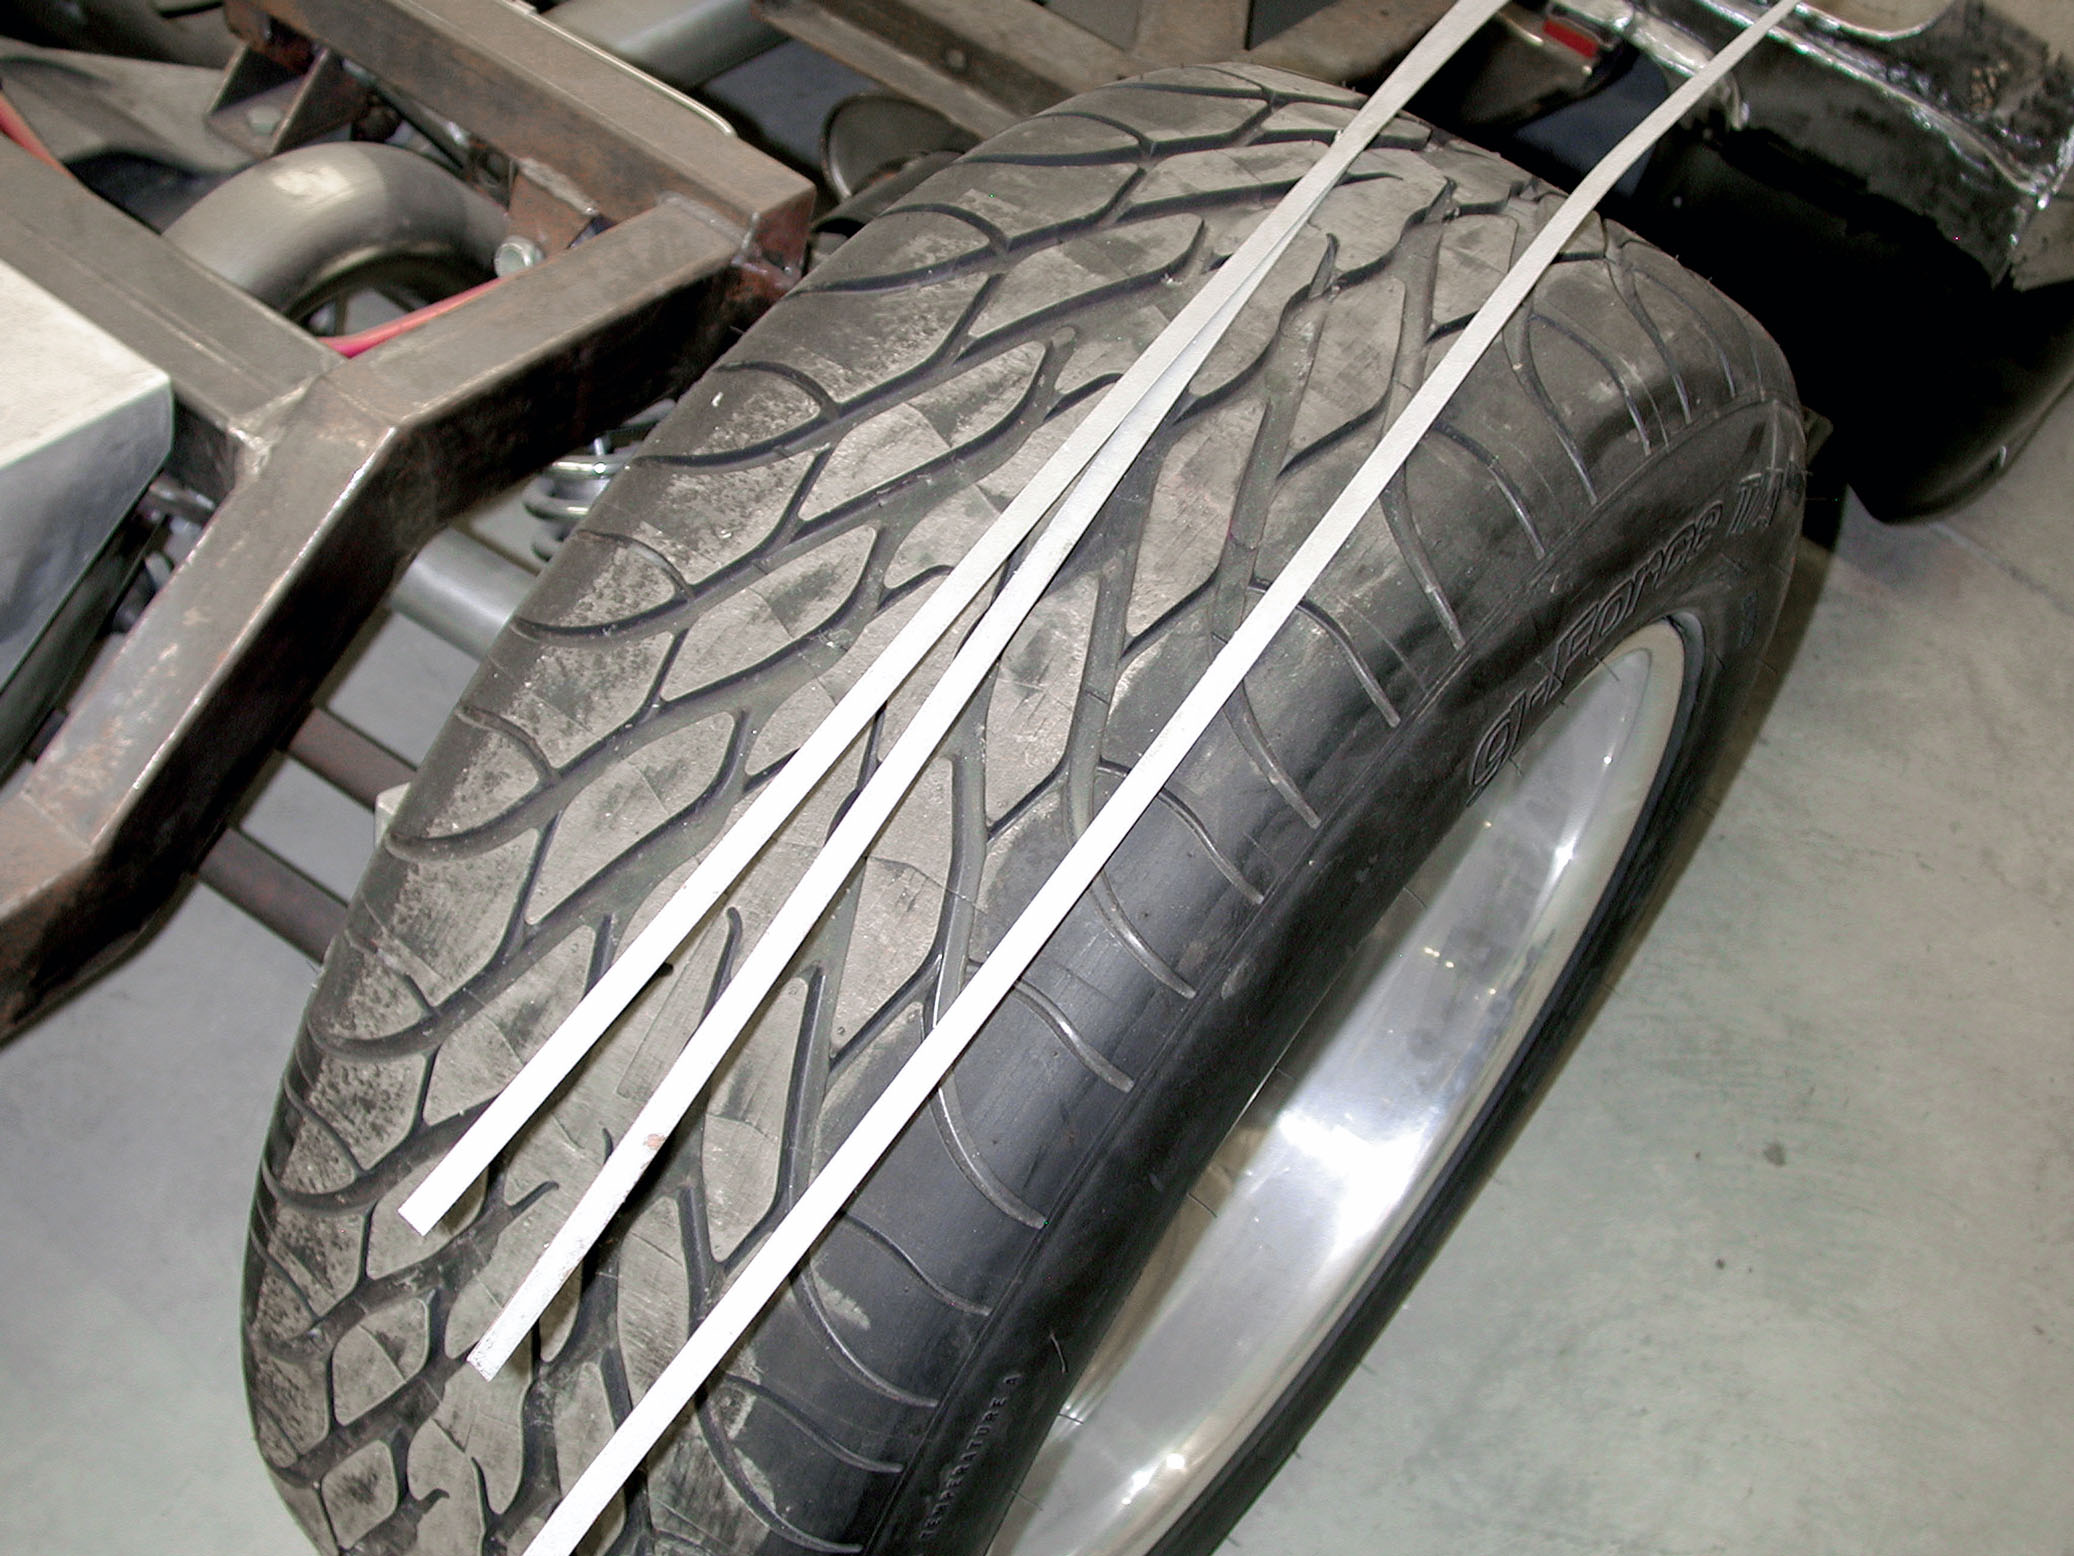
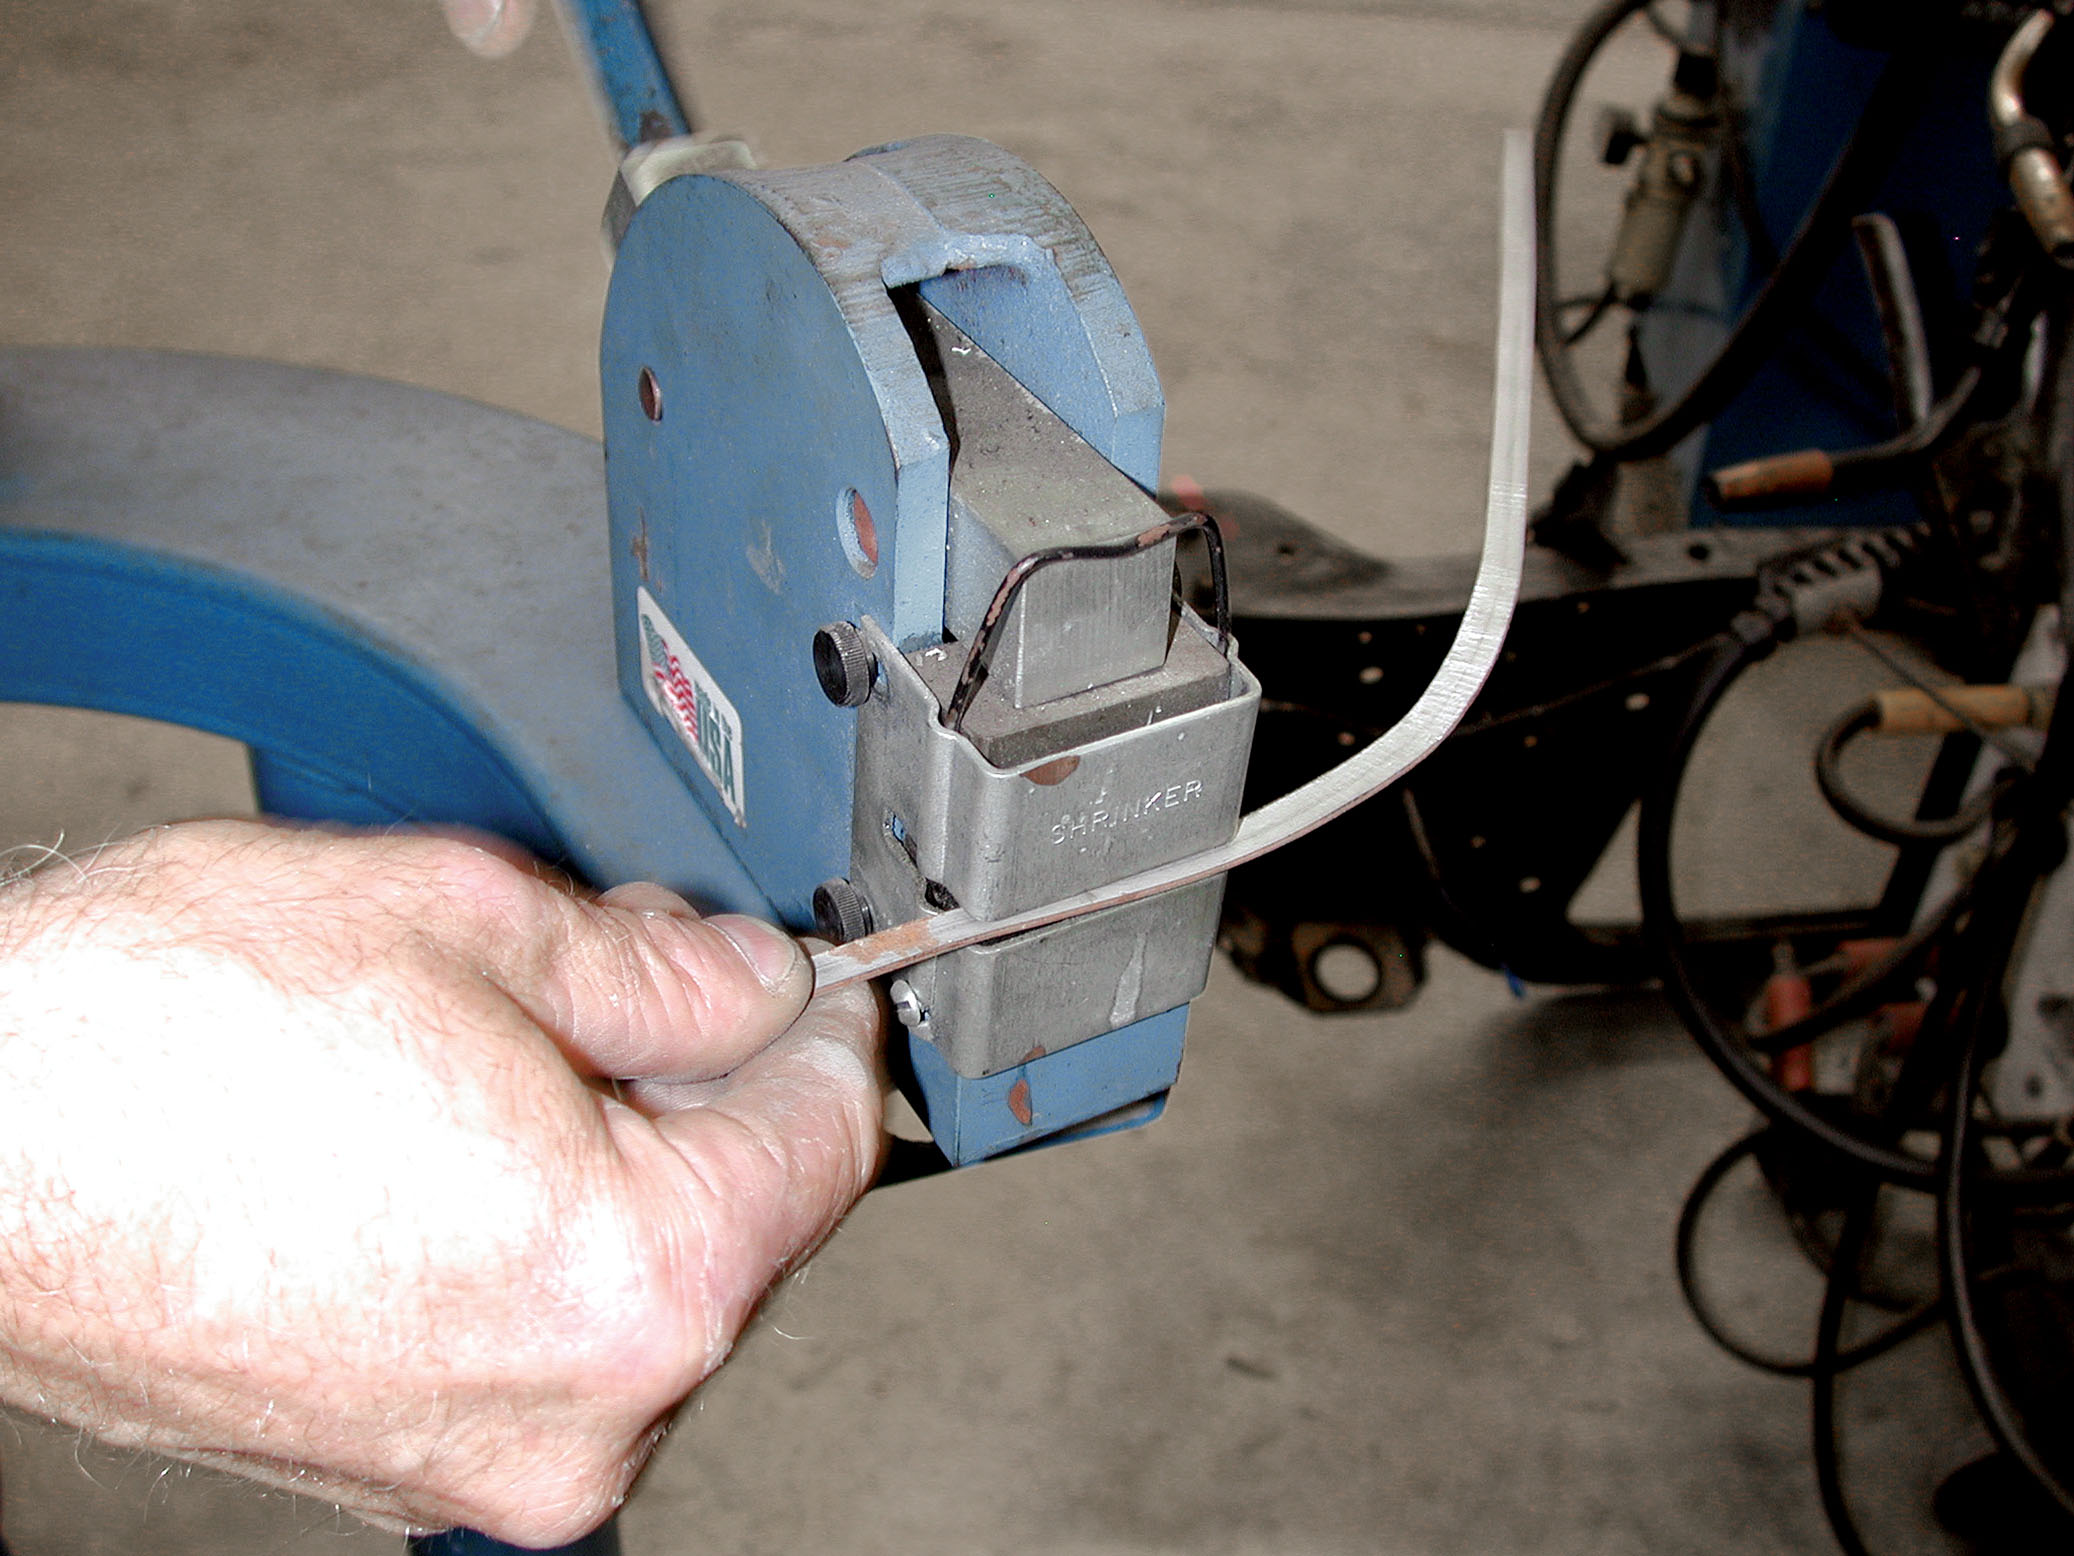
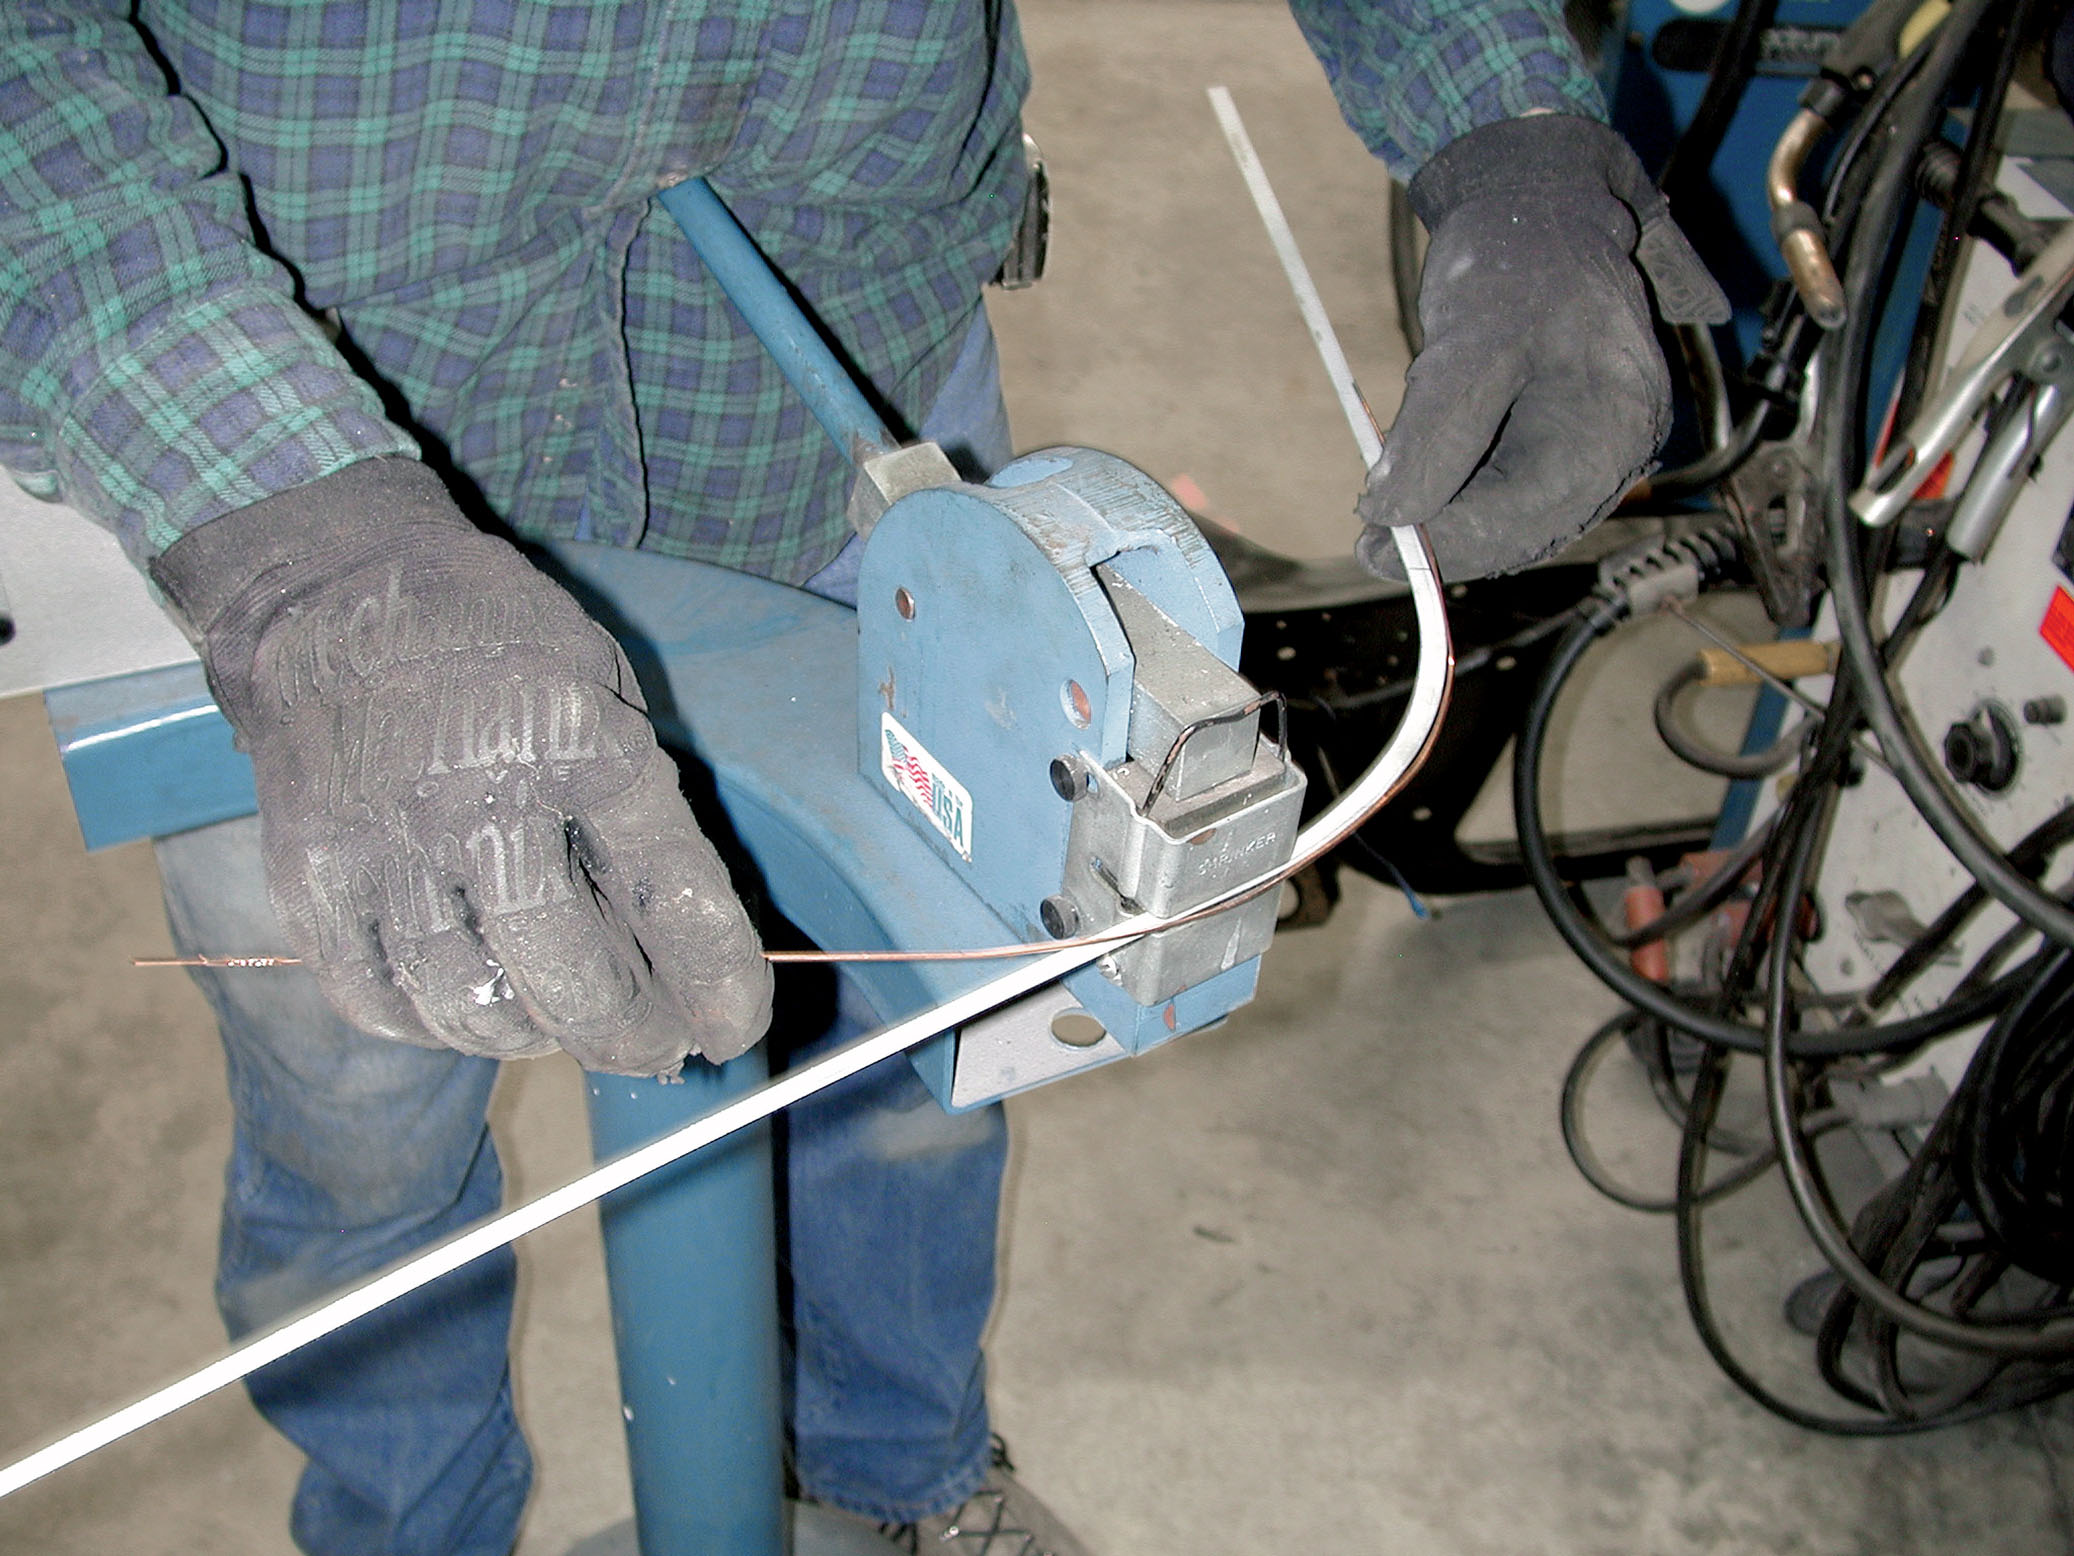
When it came to the corners, the Cimbanins first constructed a template out of copper wire and then transferred these dimensions over to a piece of 1/4×18-gauge sheetmetal strap using a metal shrinker and a metal stretcher to fashion those pieces.
Cimtex Super Cameo Buildup: Part Ten – Hammering and Welding the Drip Rails
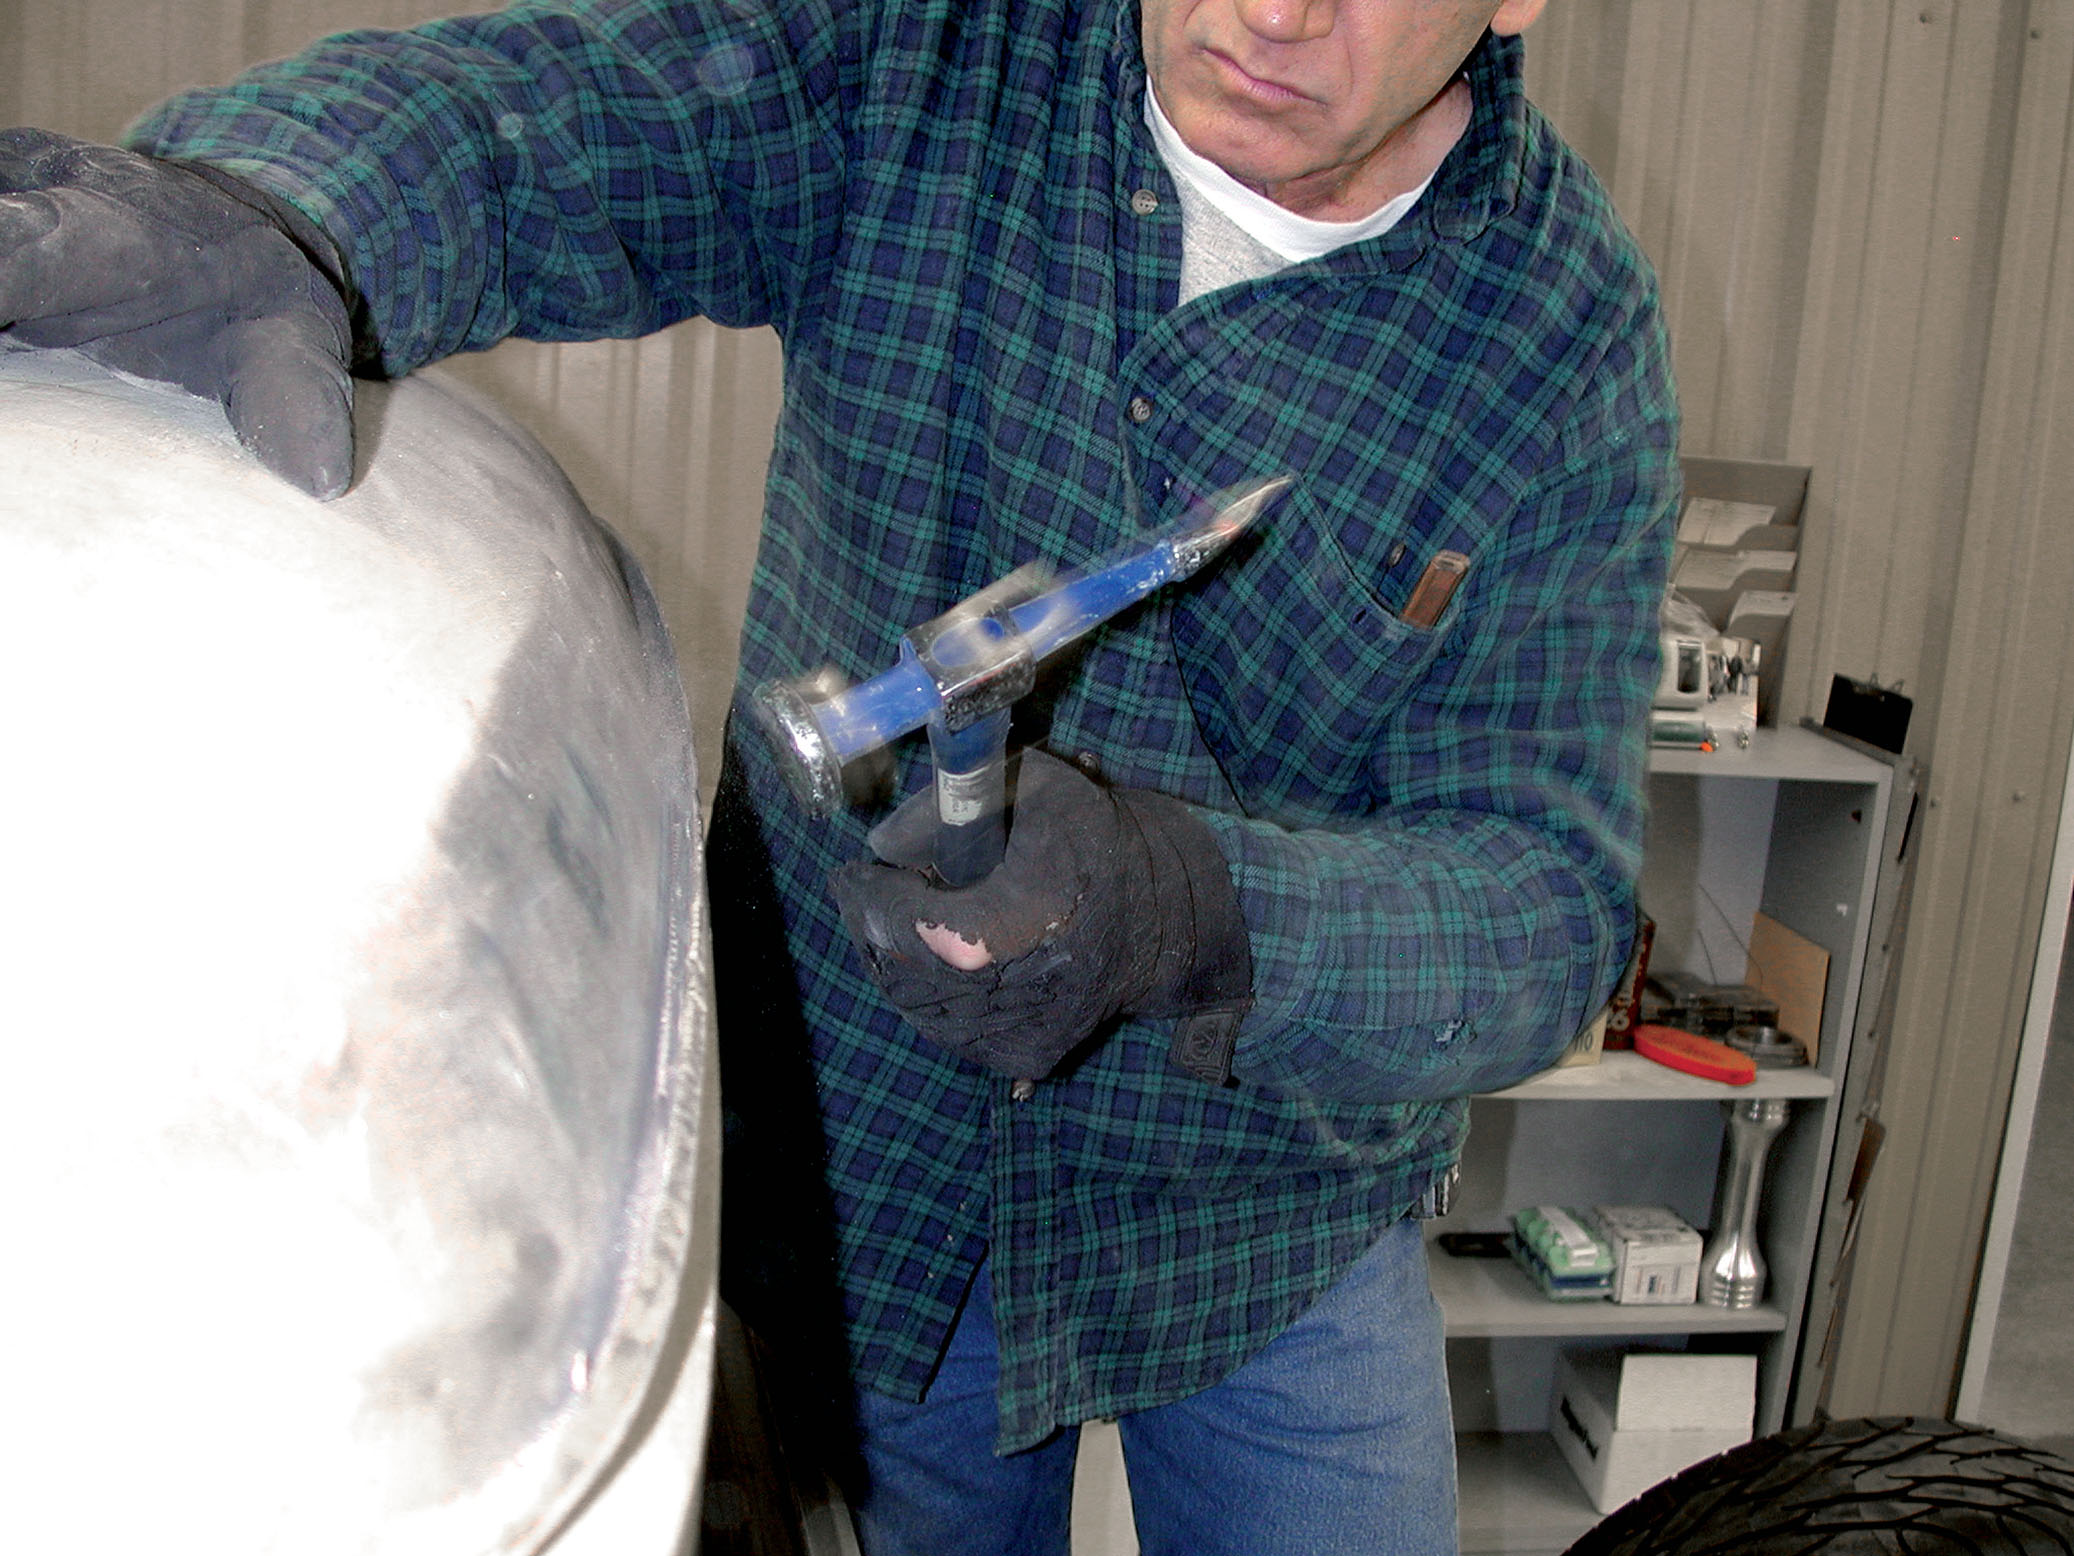
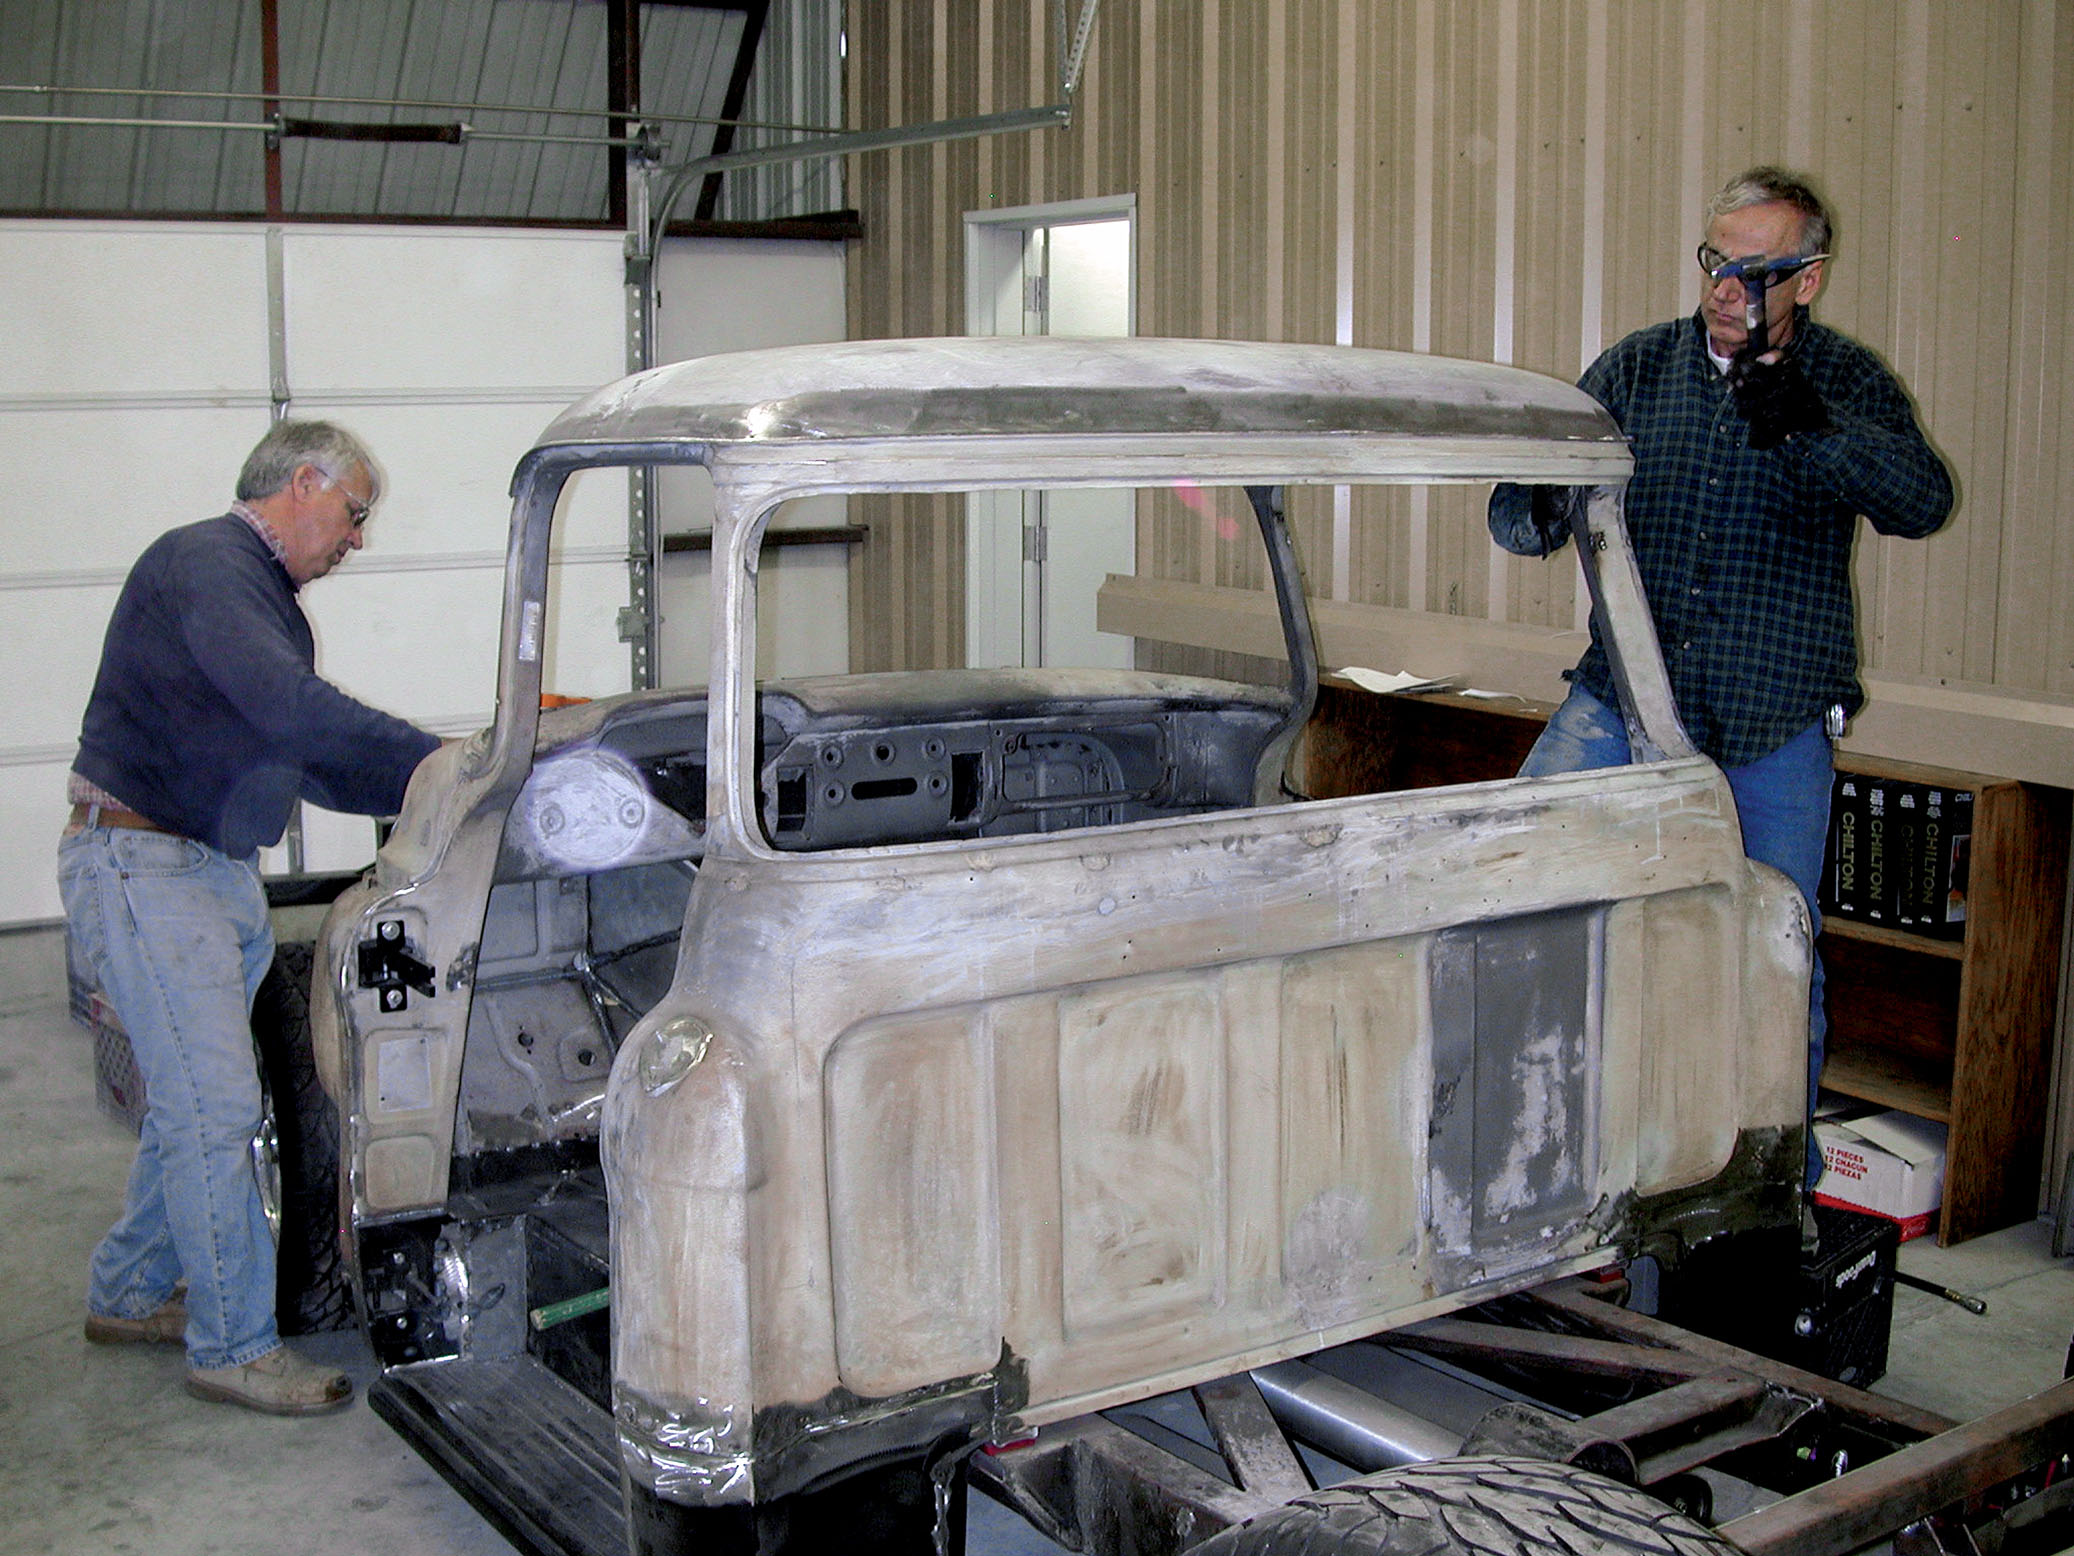
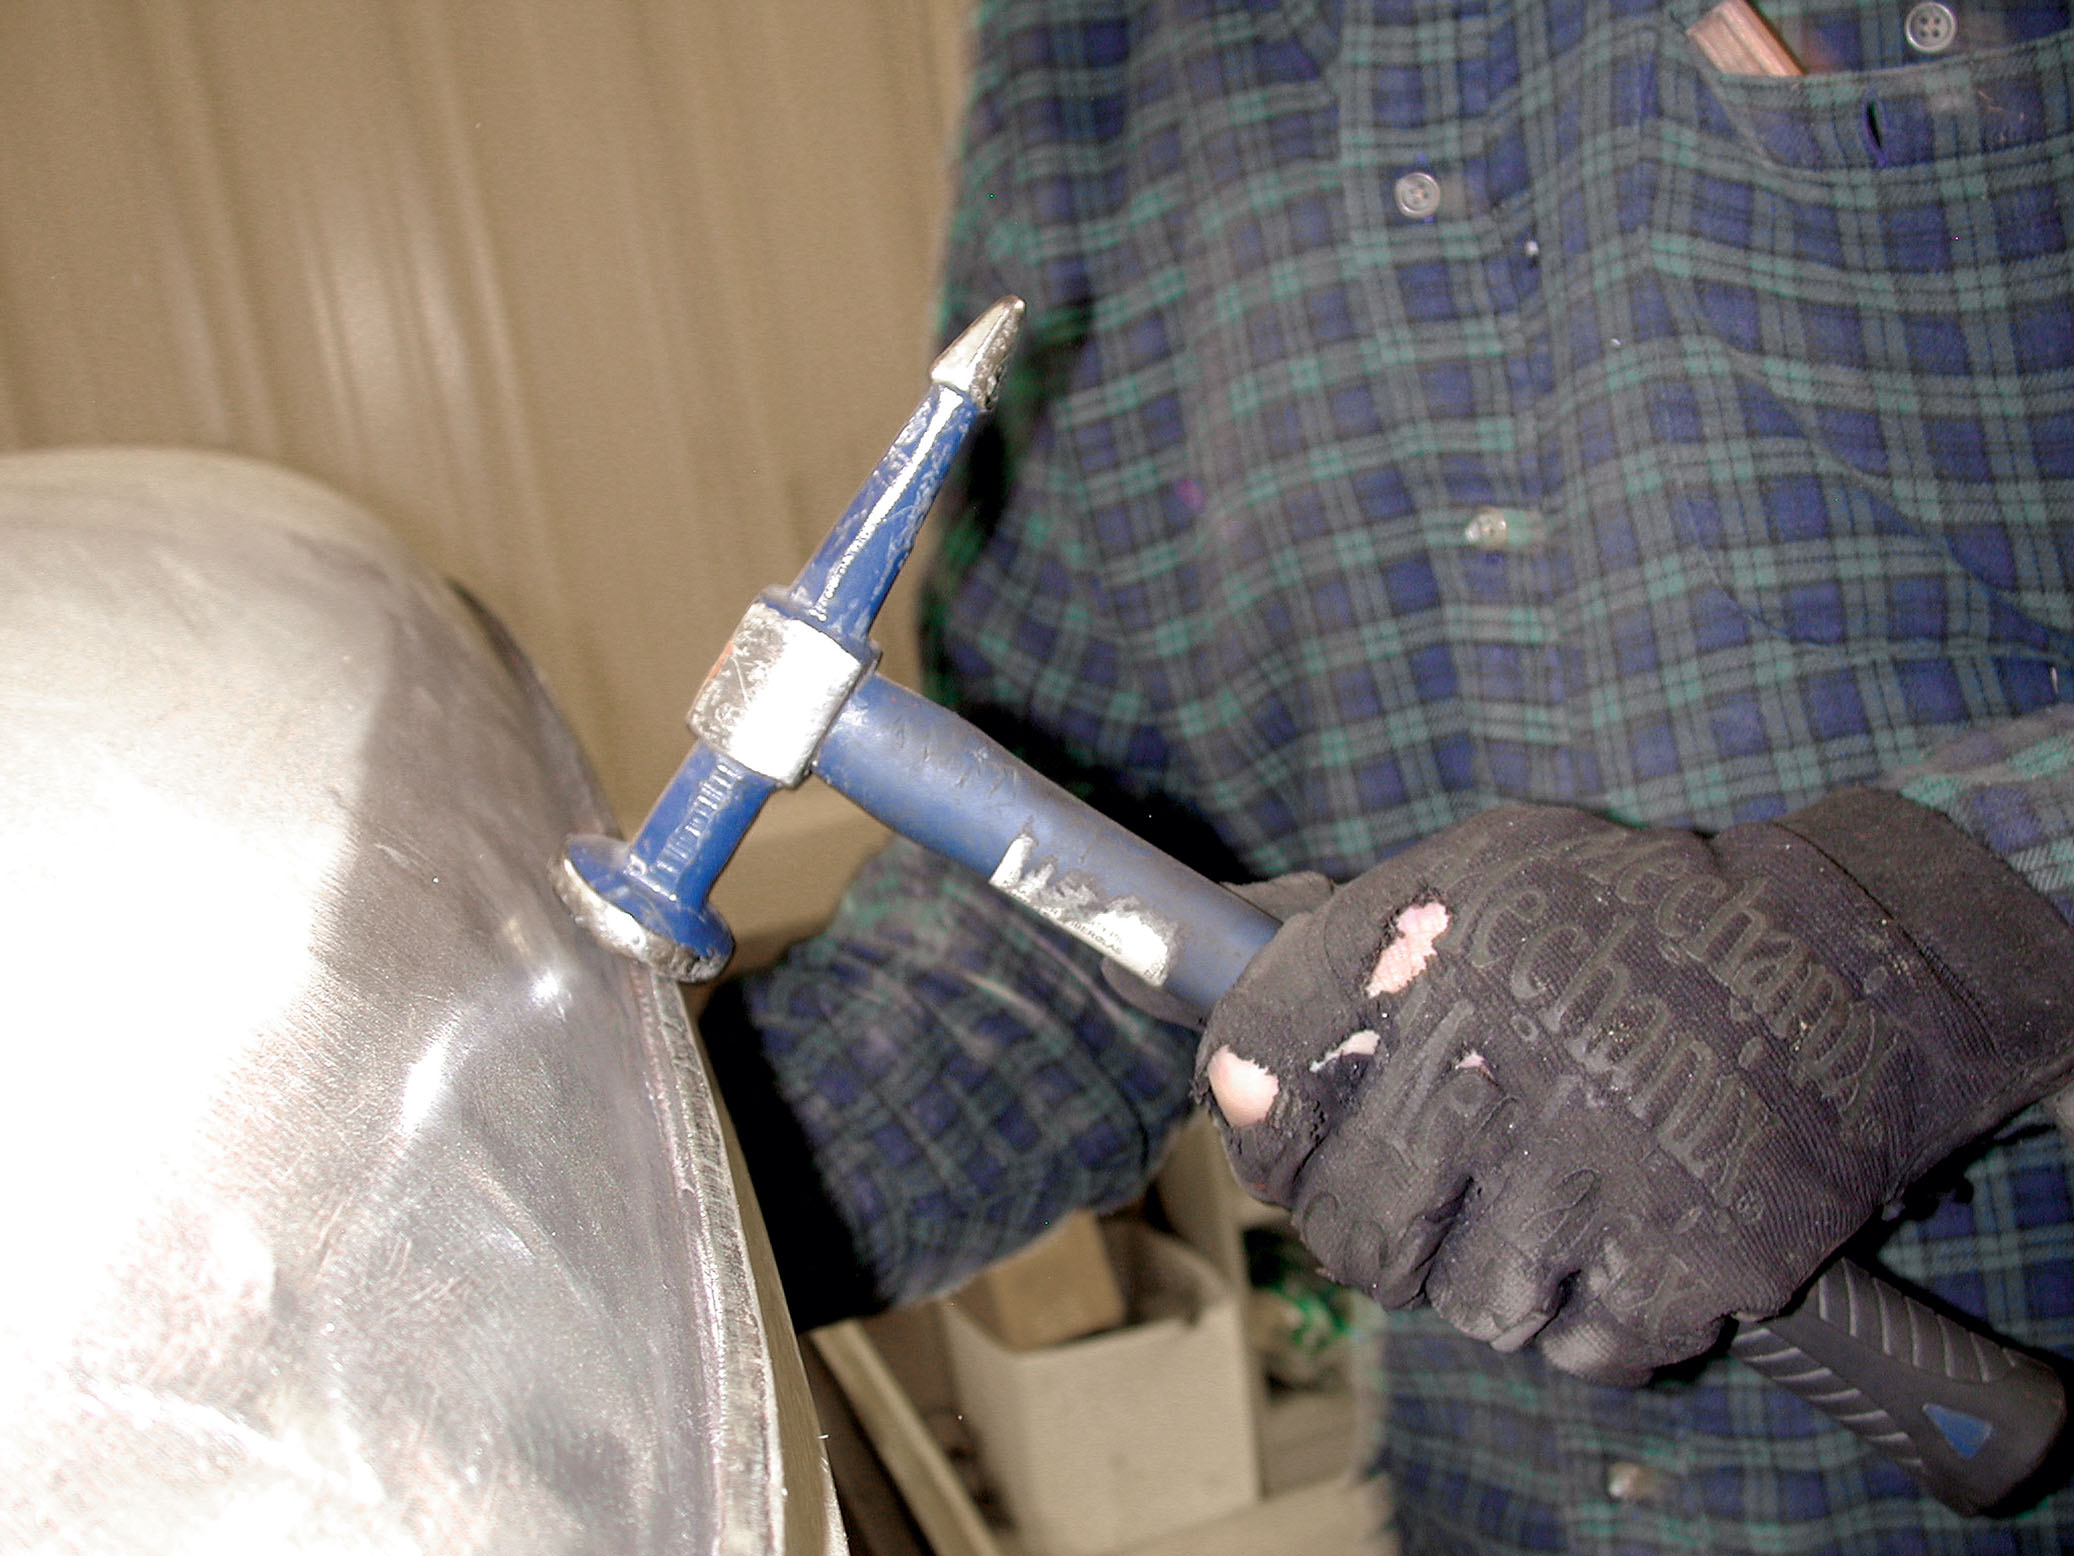
In retrospect, the Cimbanins made this job look and sound a lot easier than it really is. For openers, you need to be absolutely consistent when hammering the driprail over. In fact, this is a two-phase job. First you body hammer the face of the driprail in toward the cab, then you flatten the rail over against itself using a body hammer and a dolly.
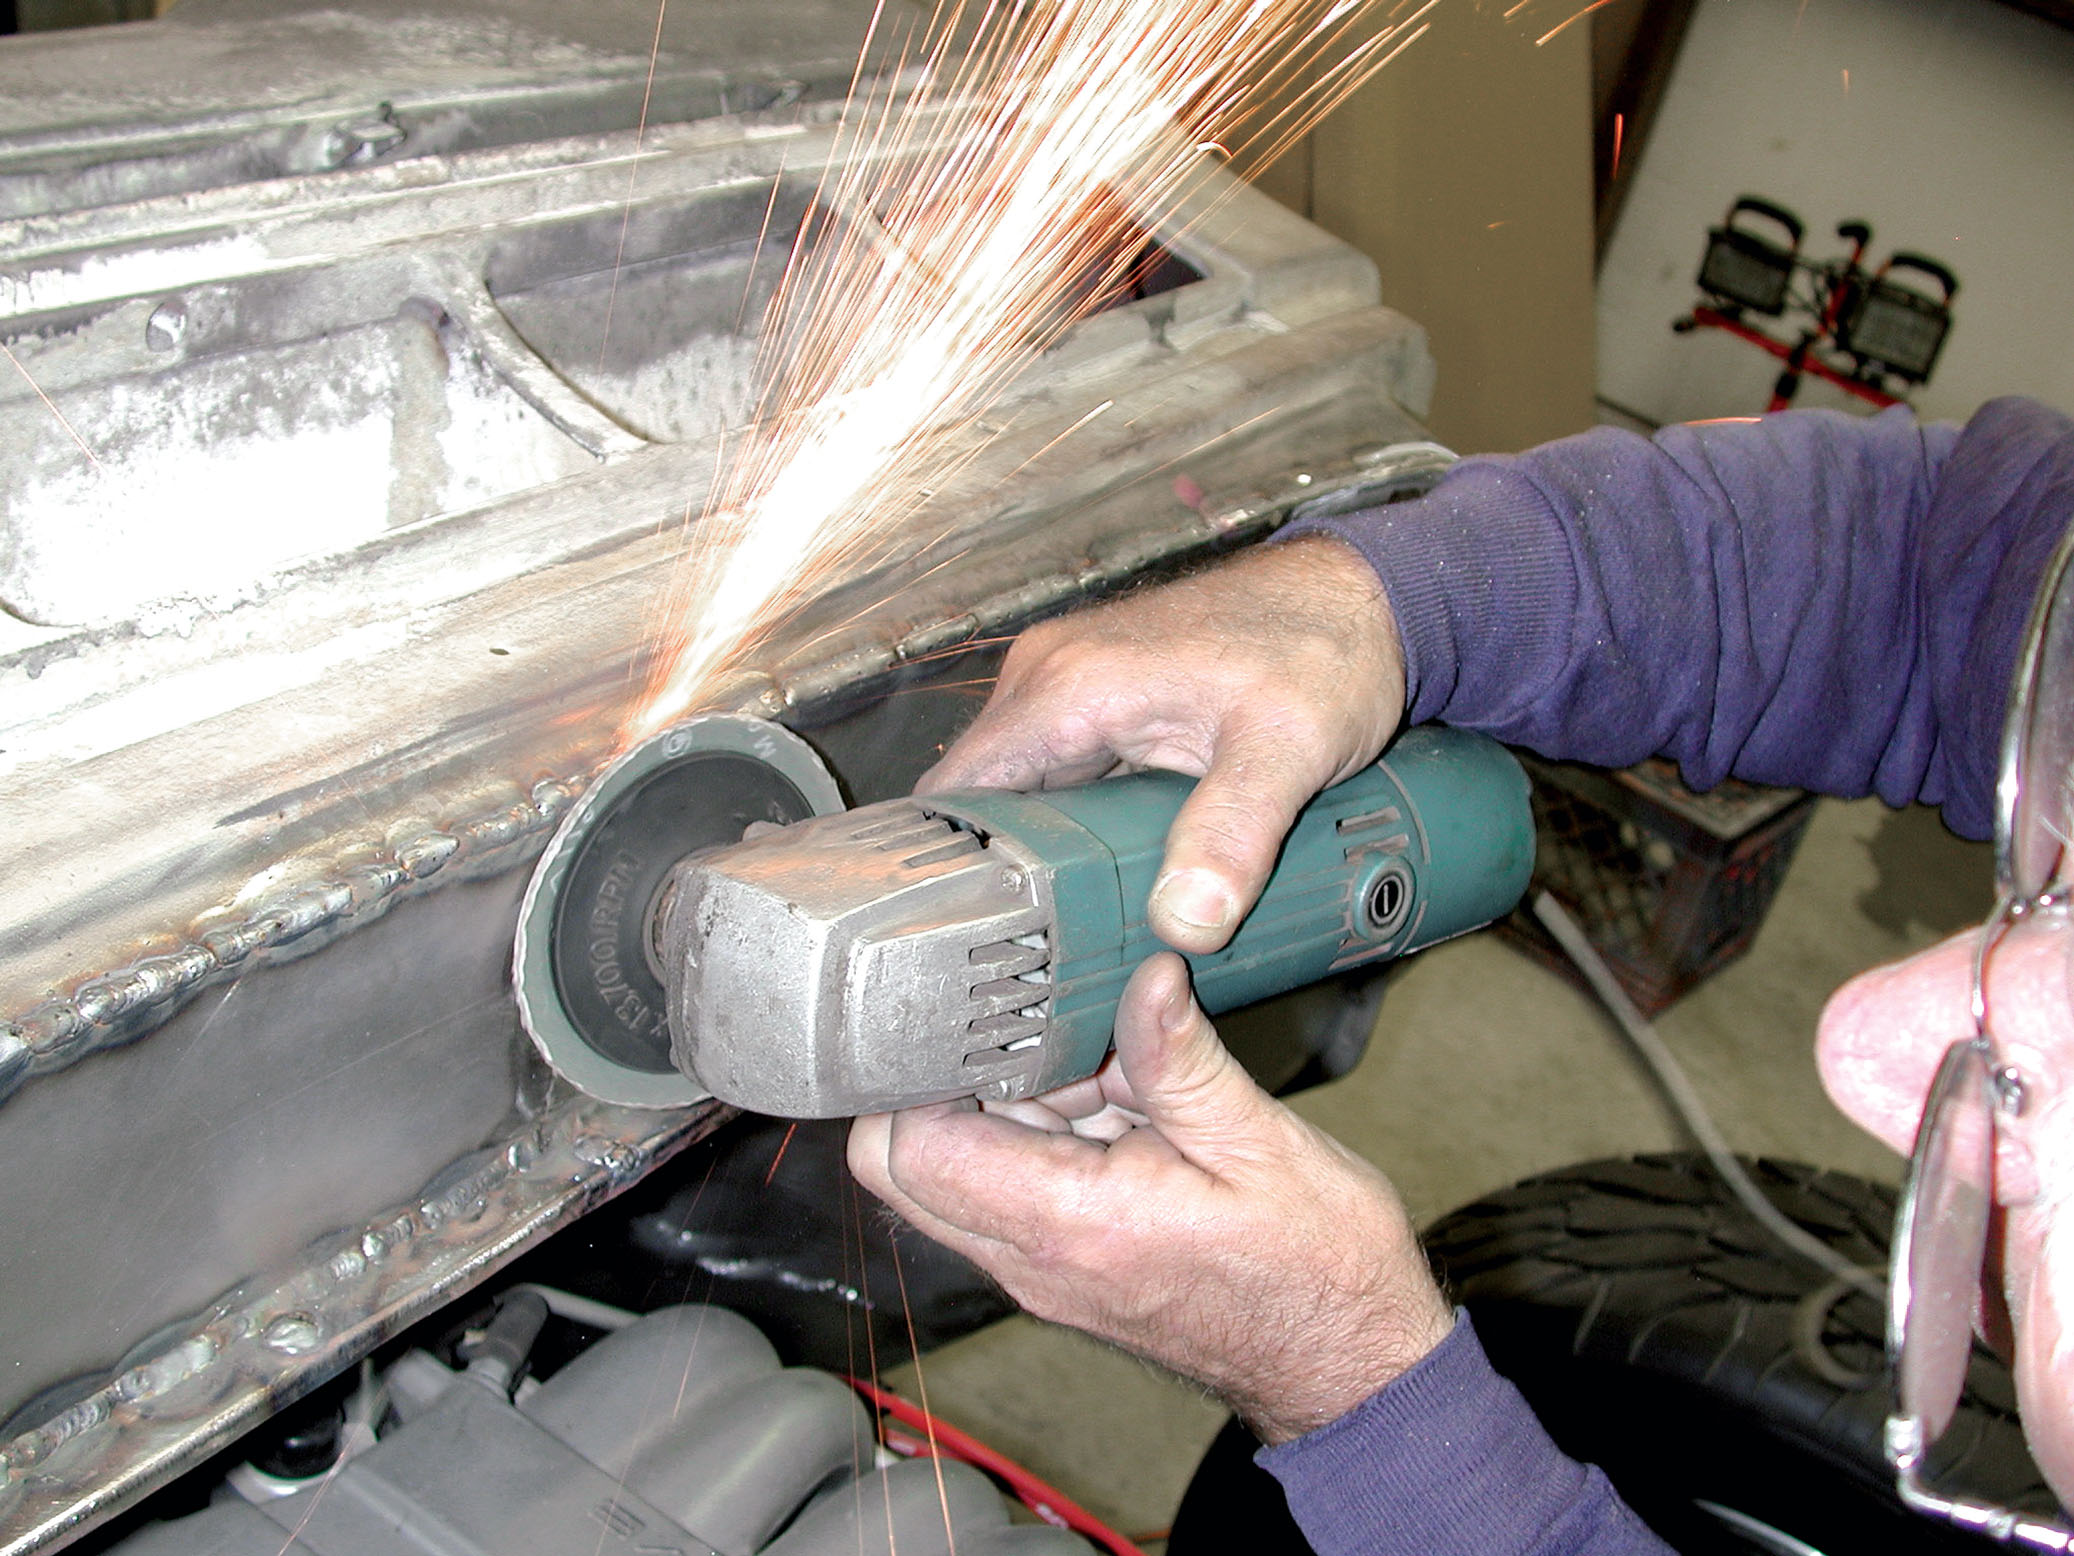
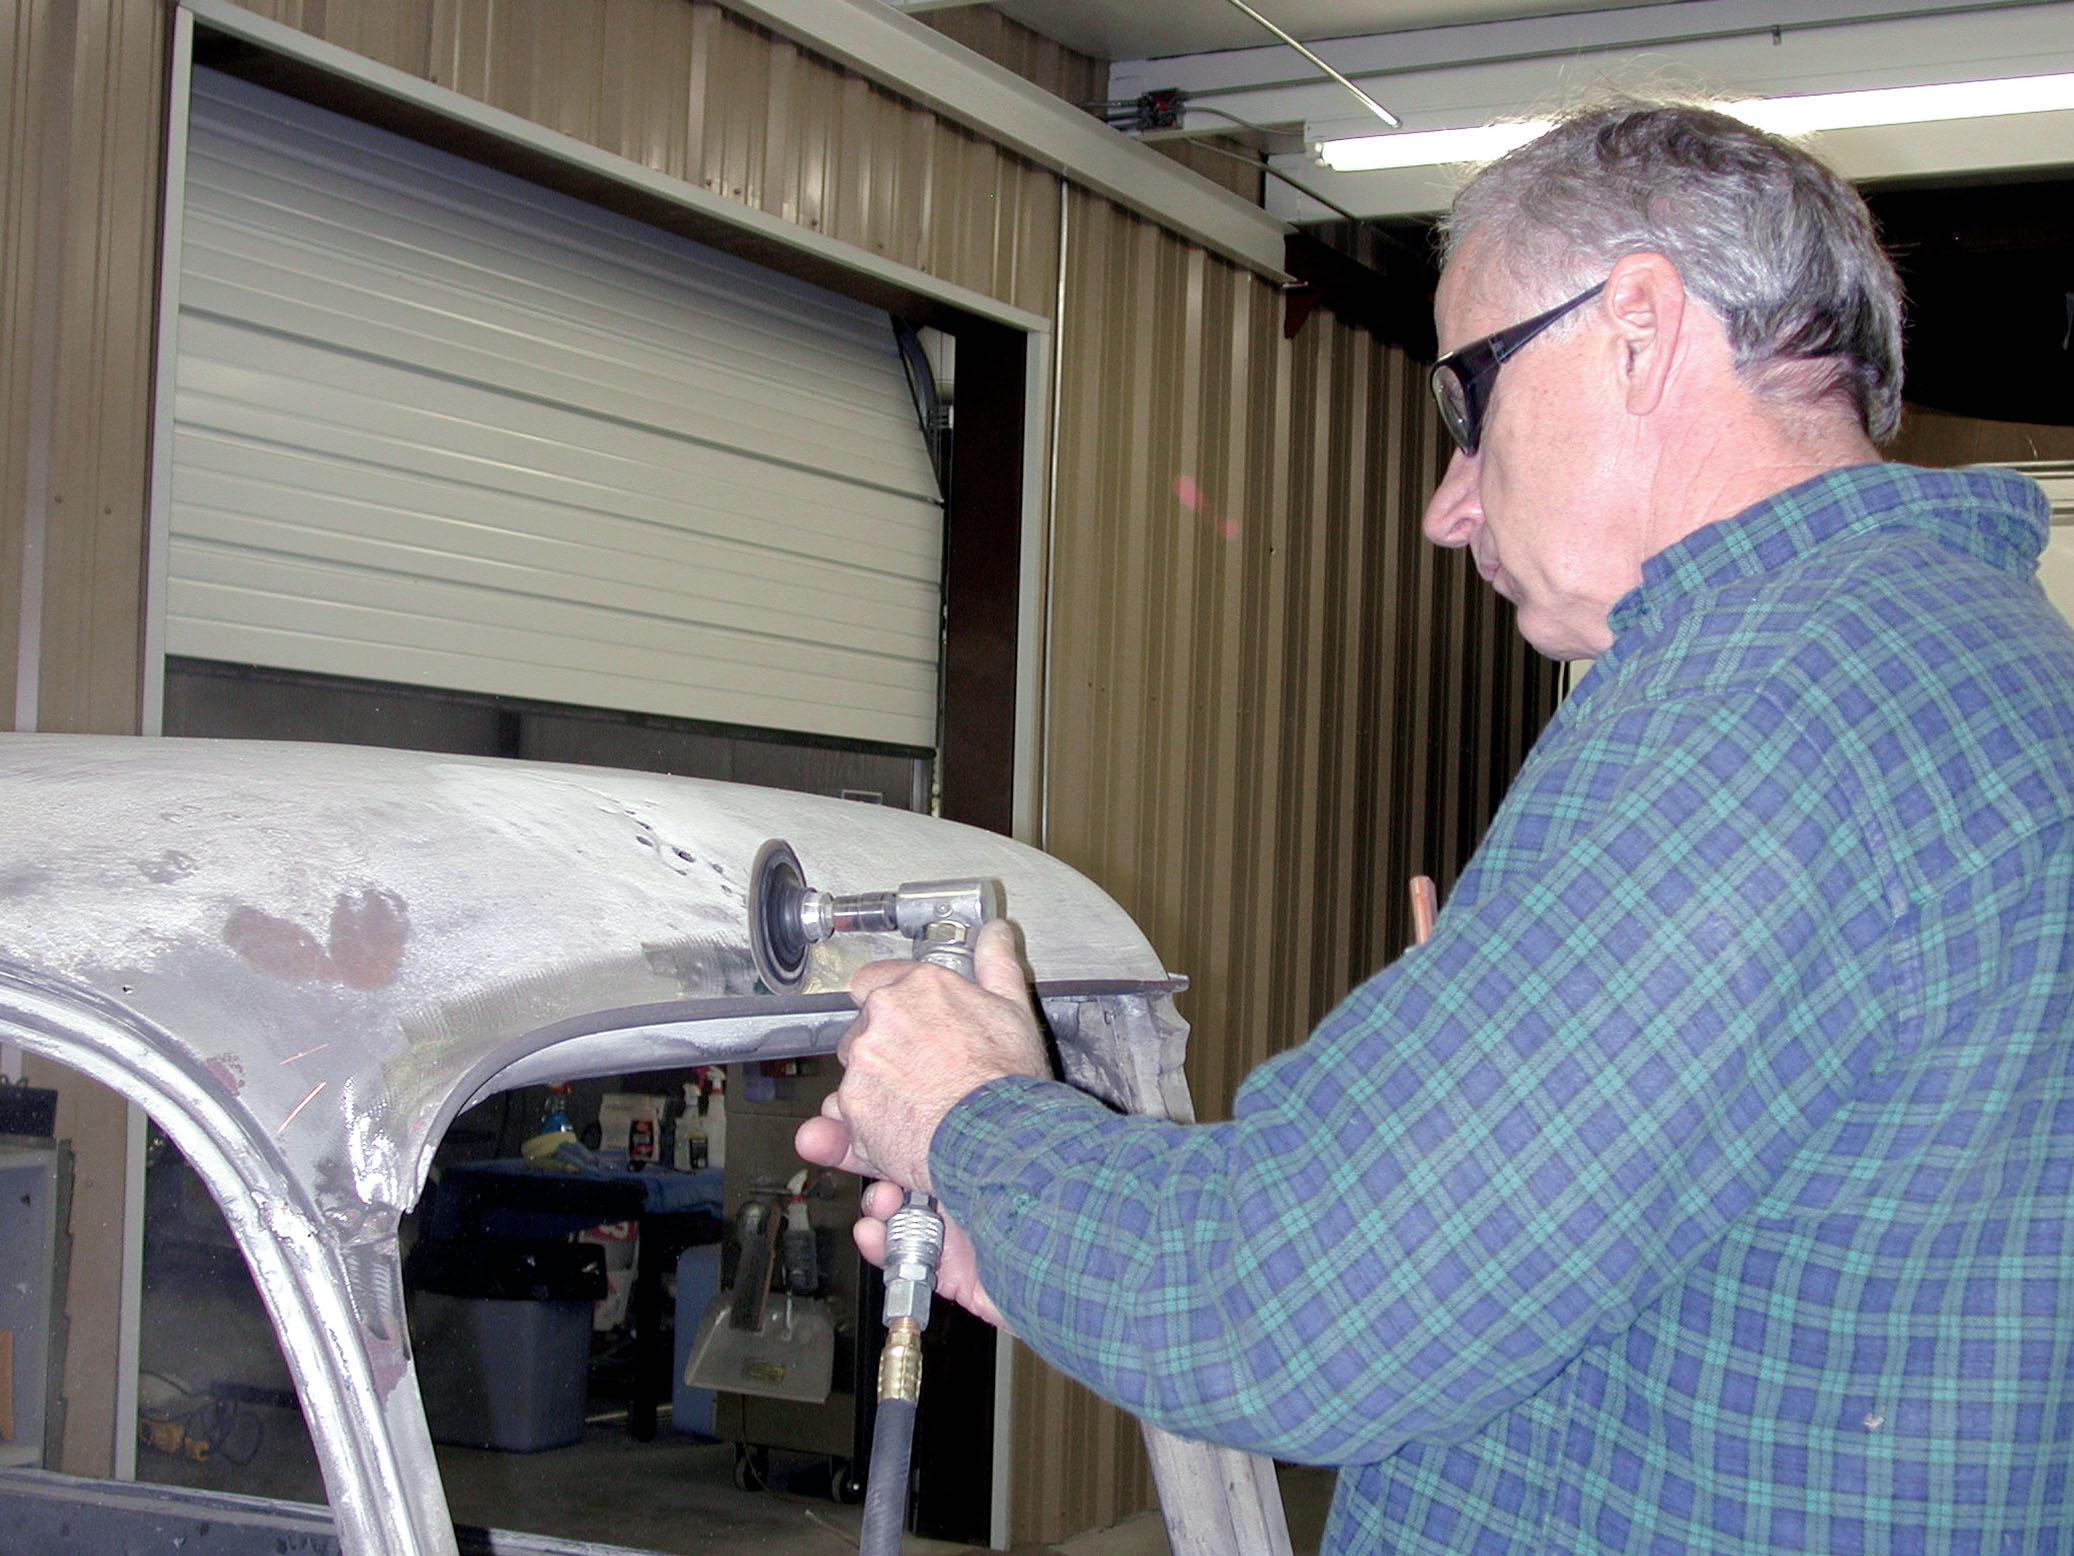
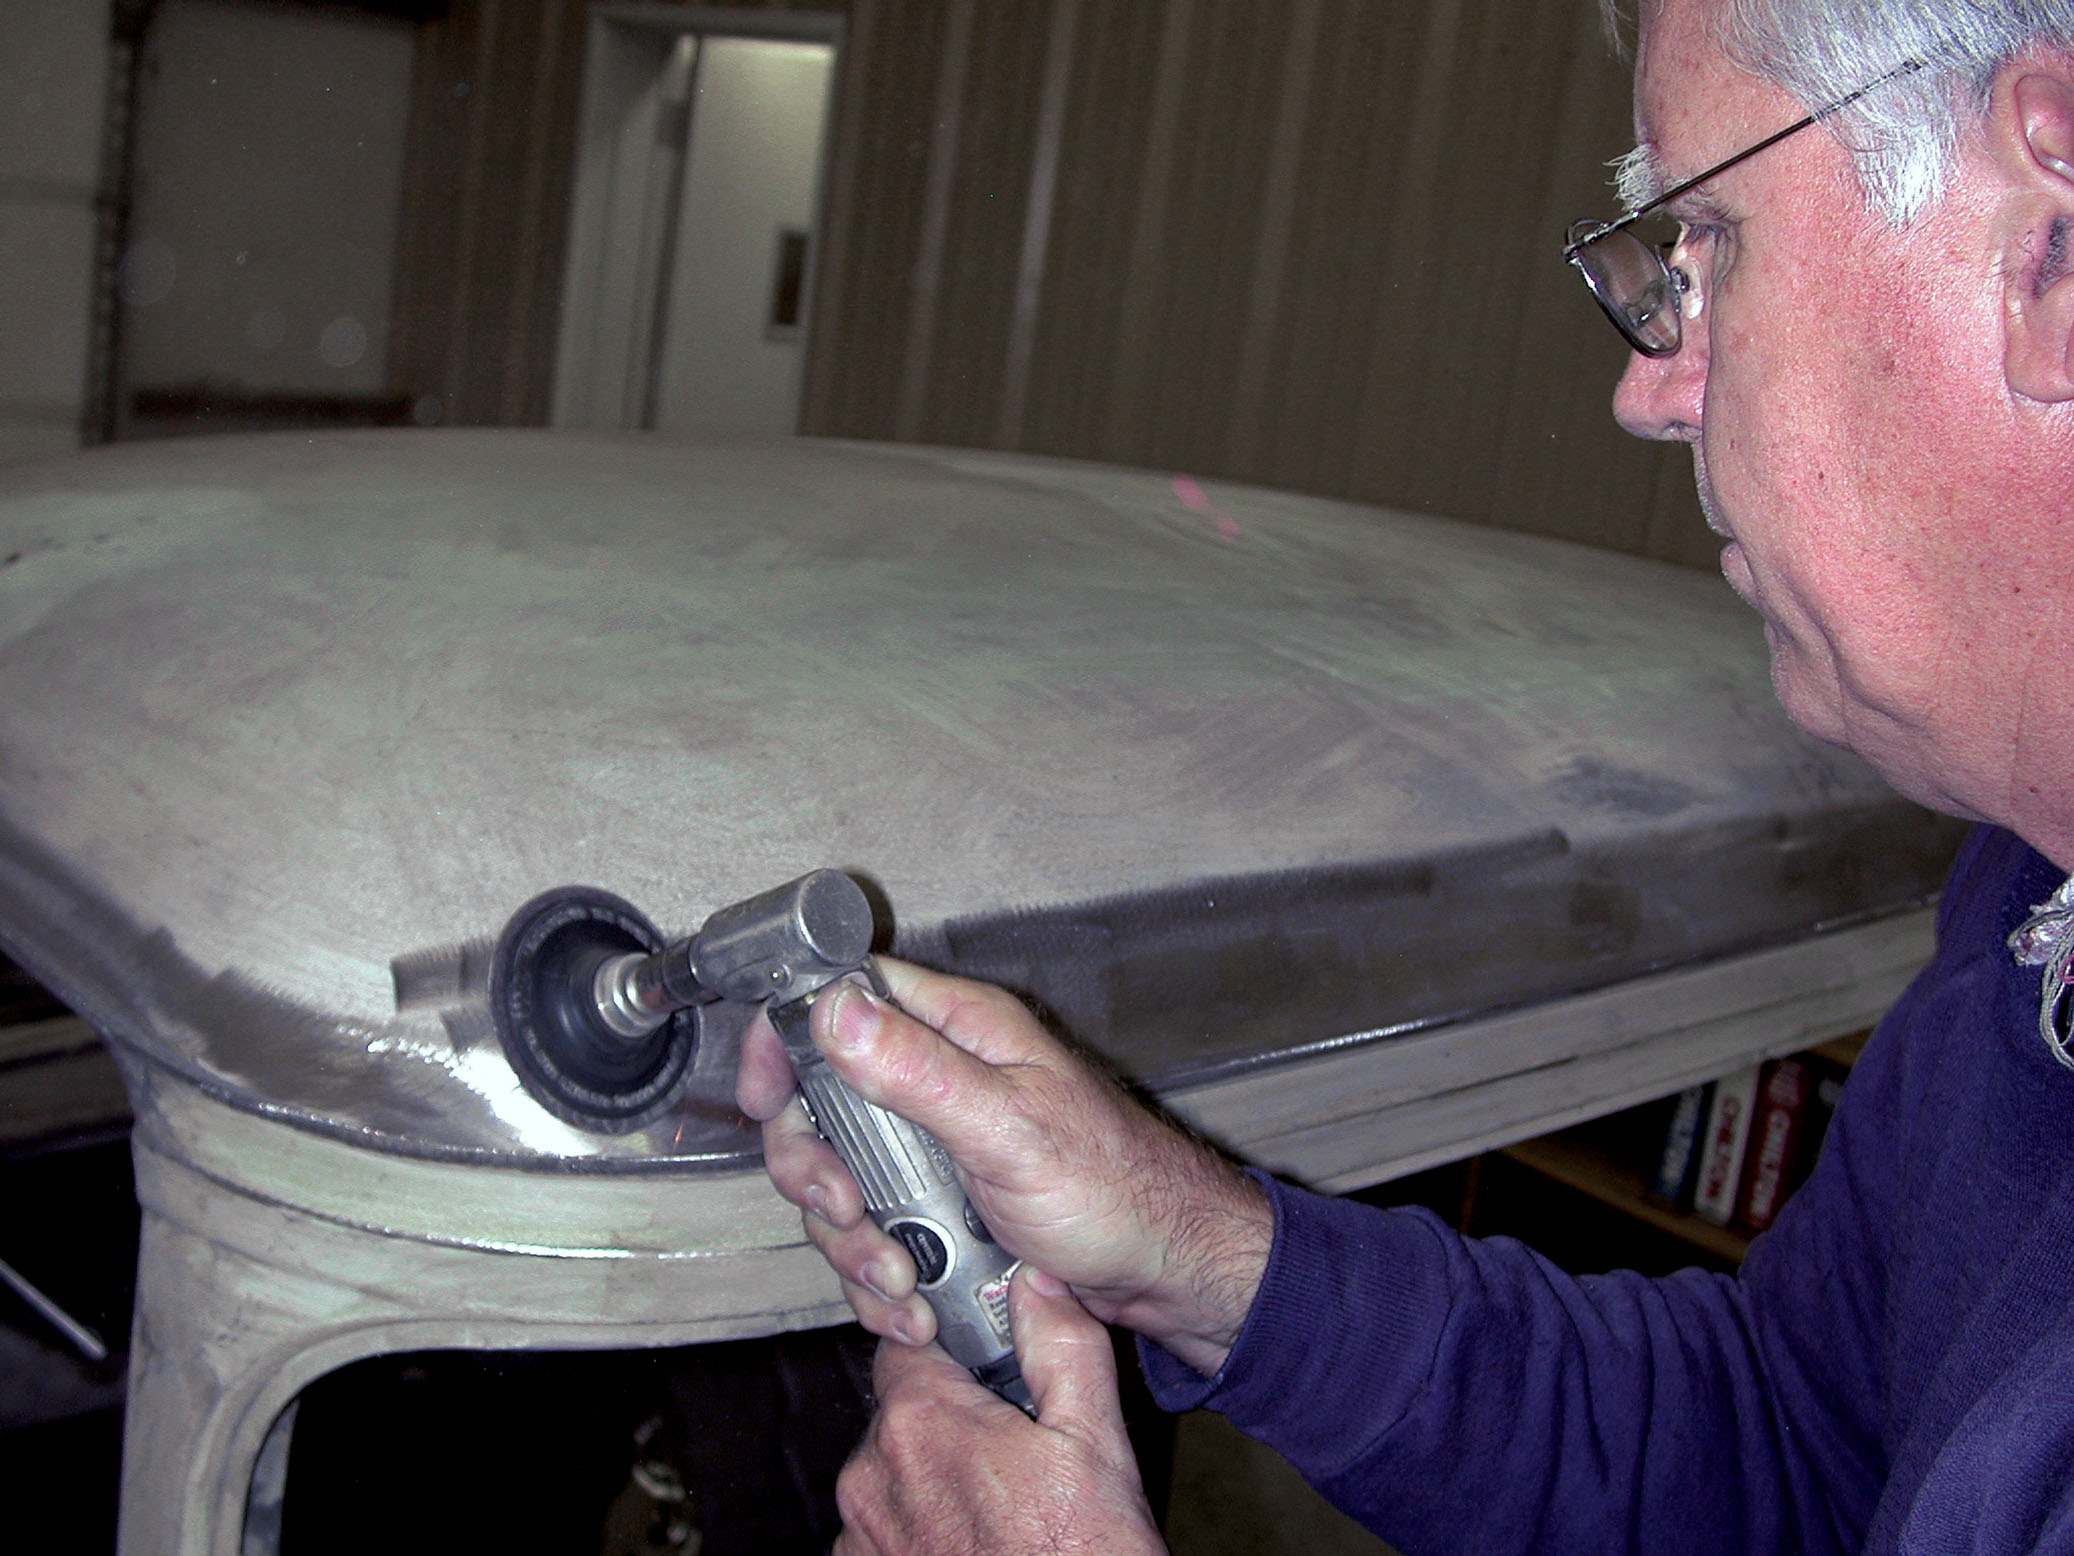
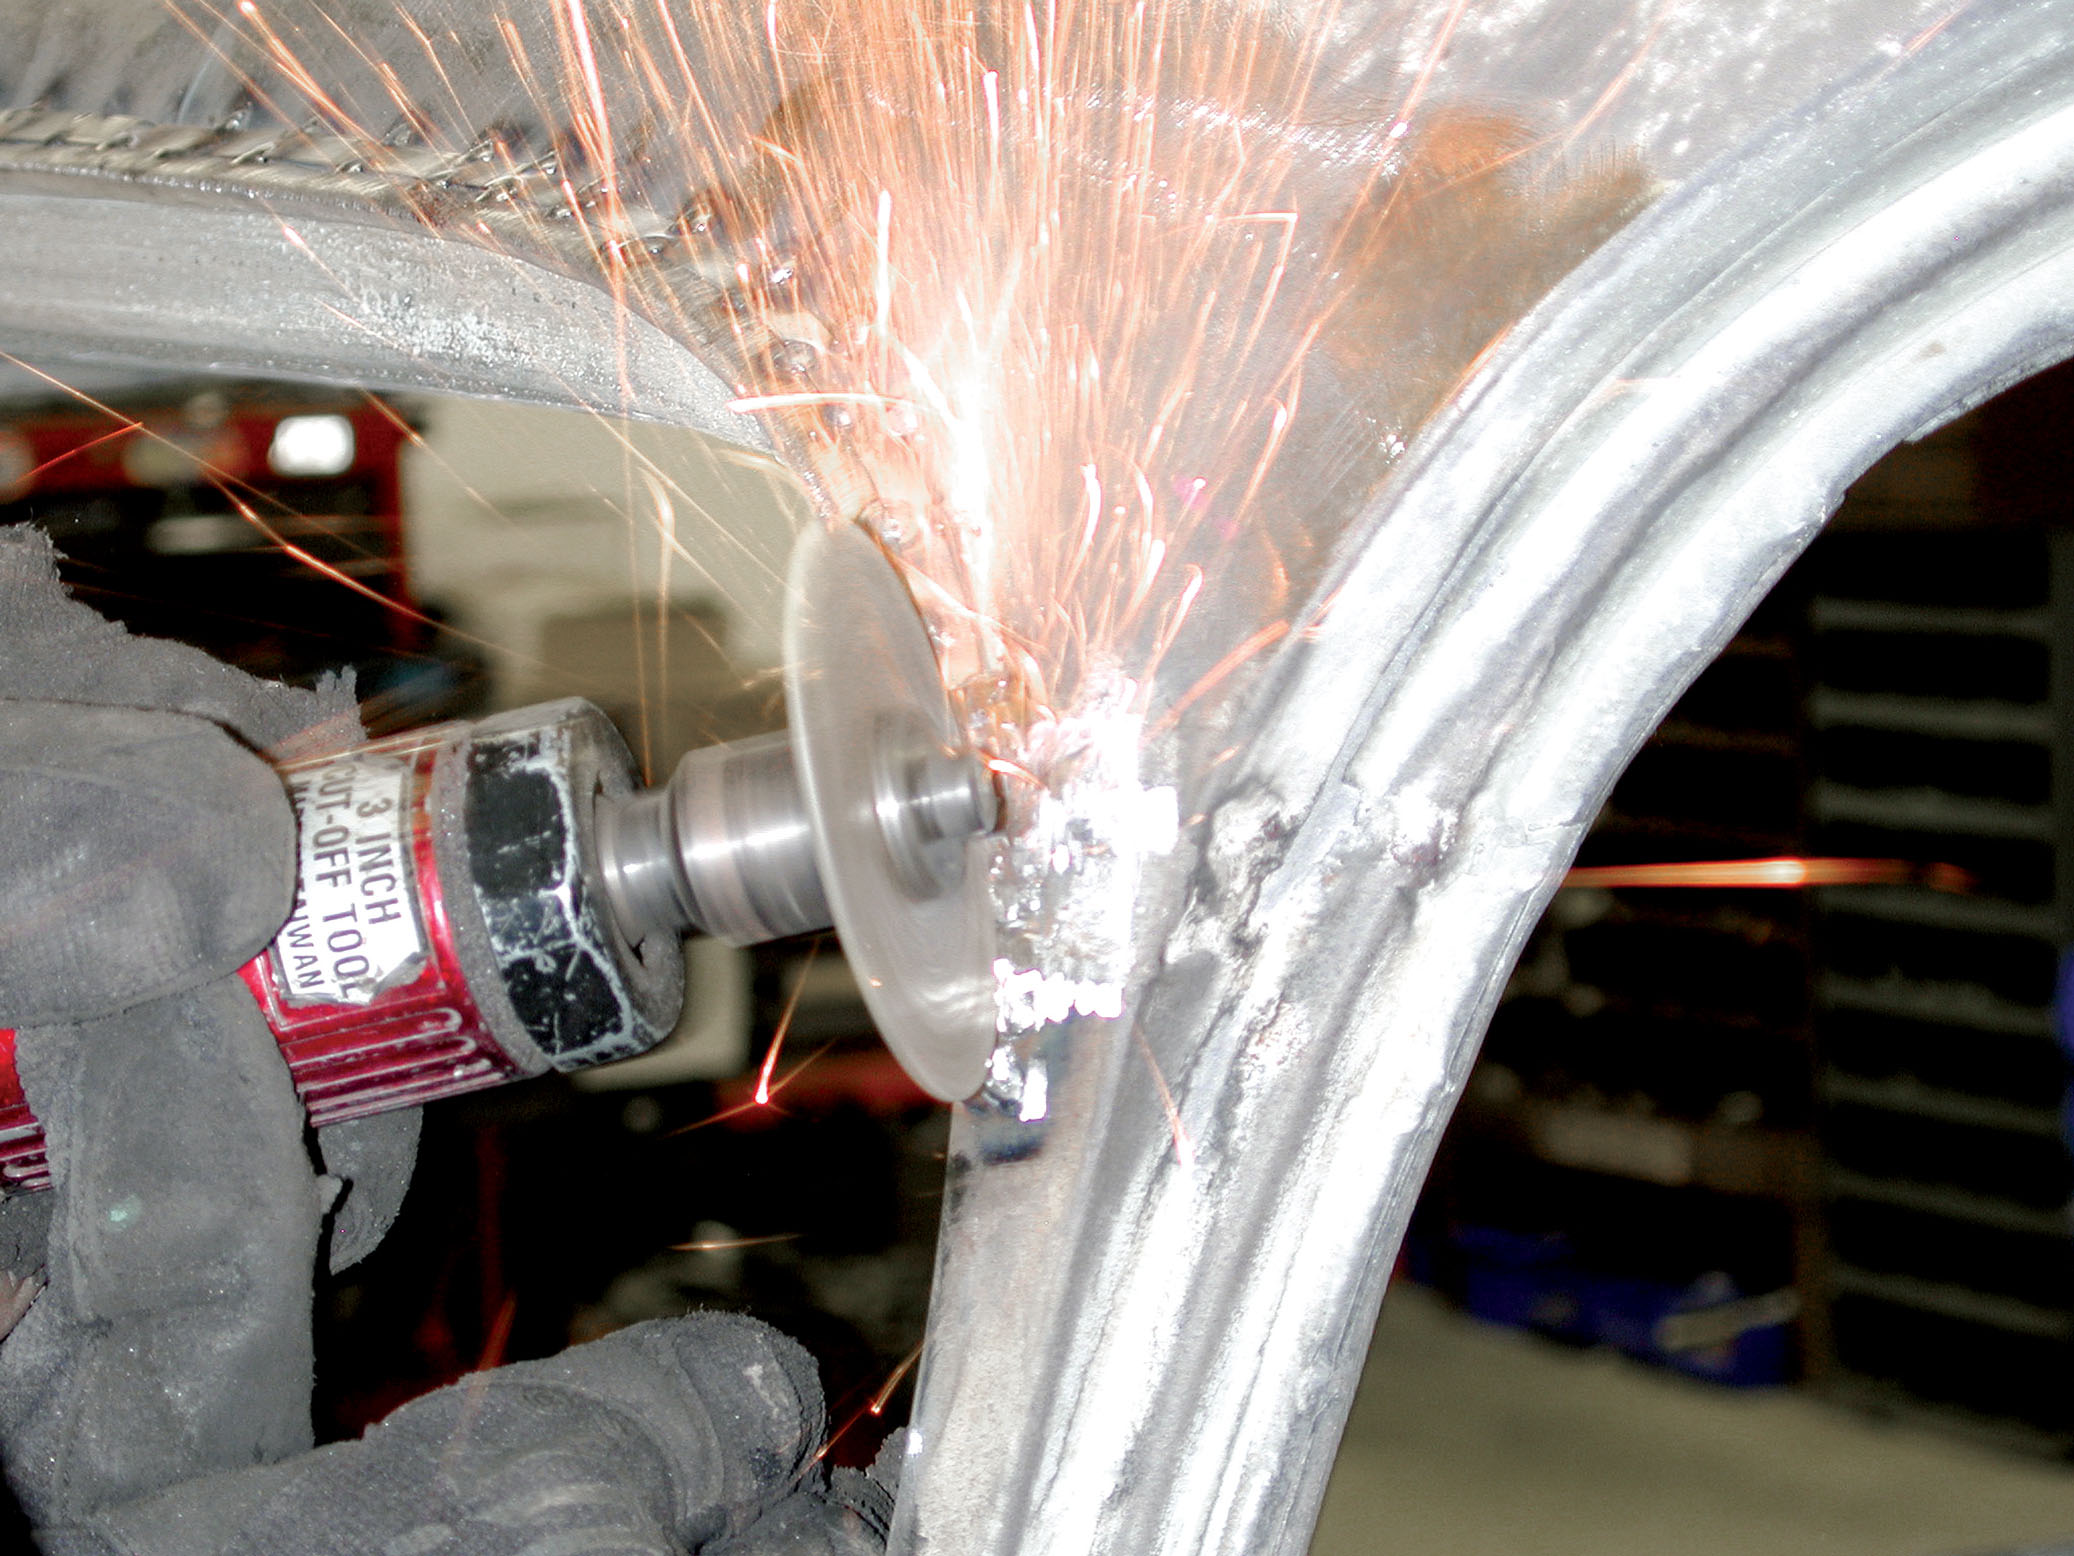
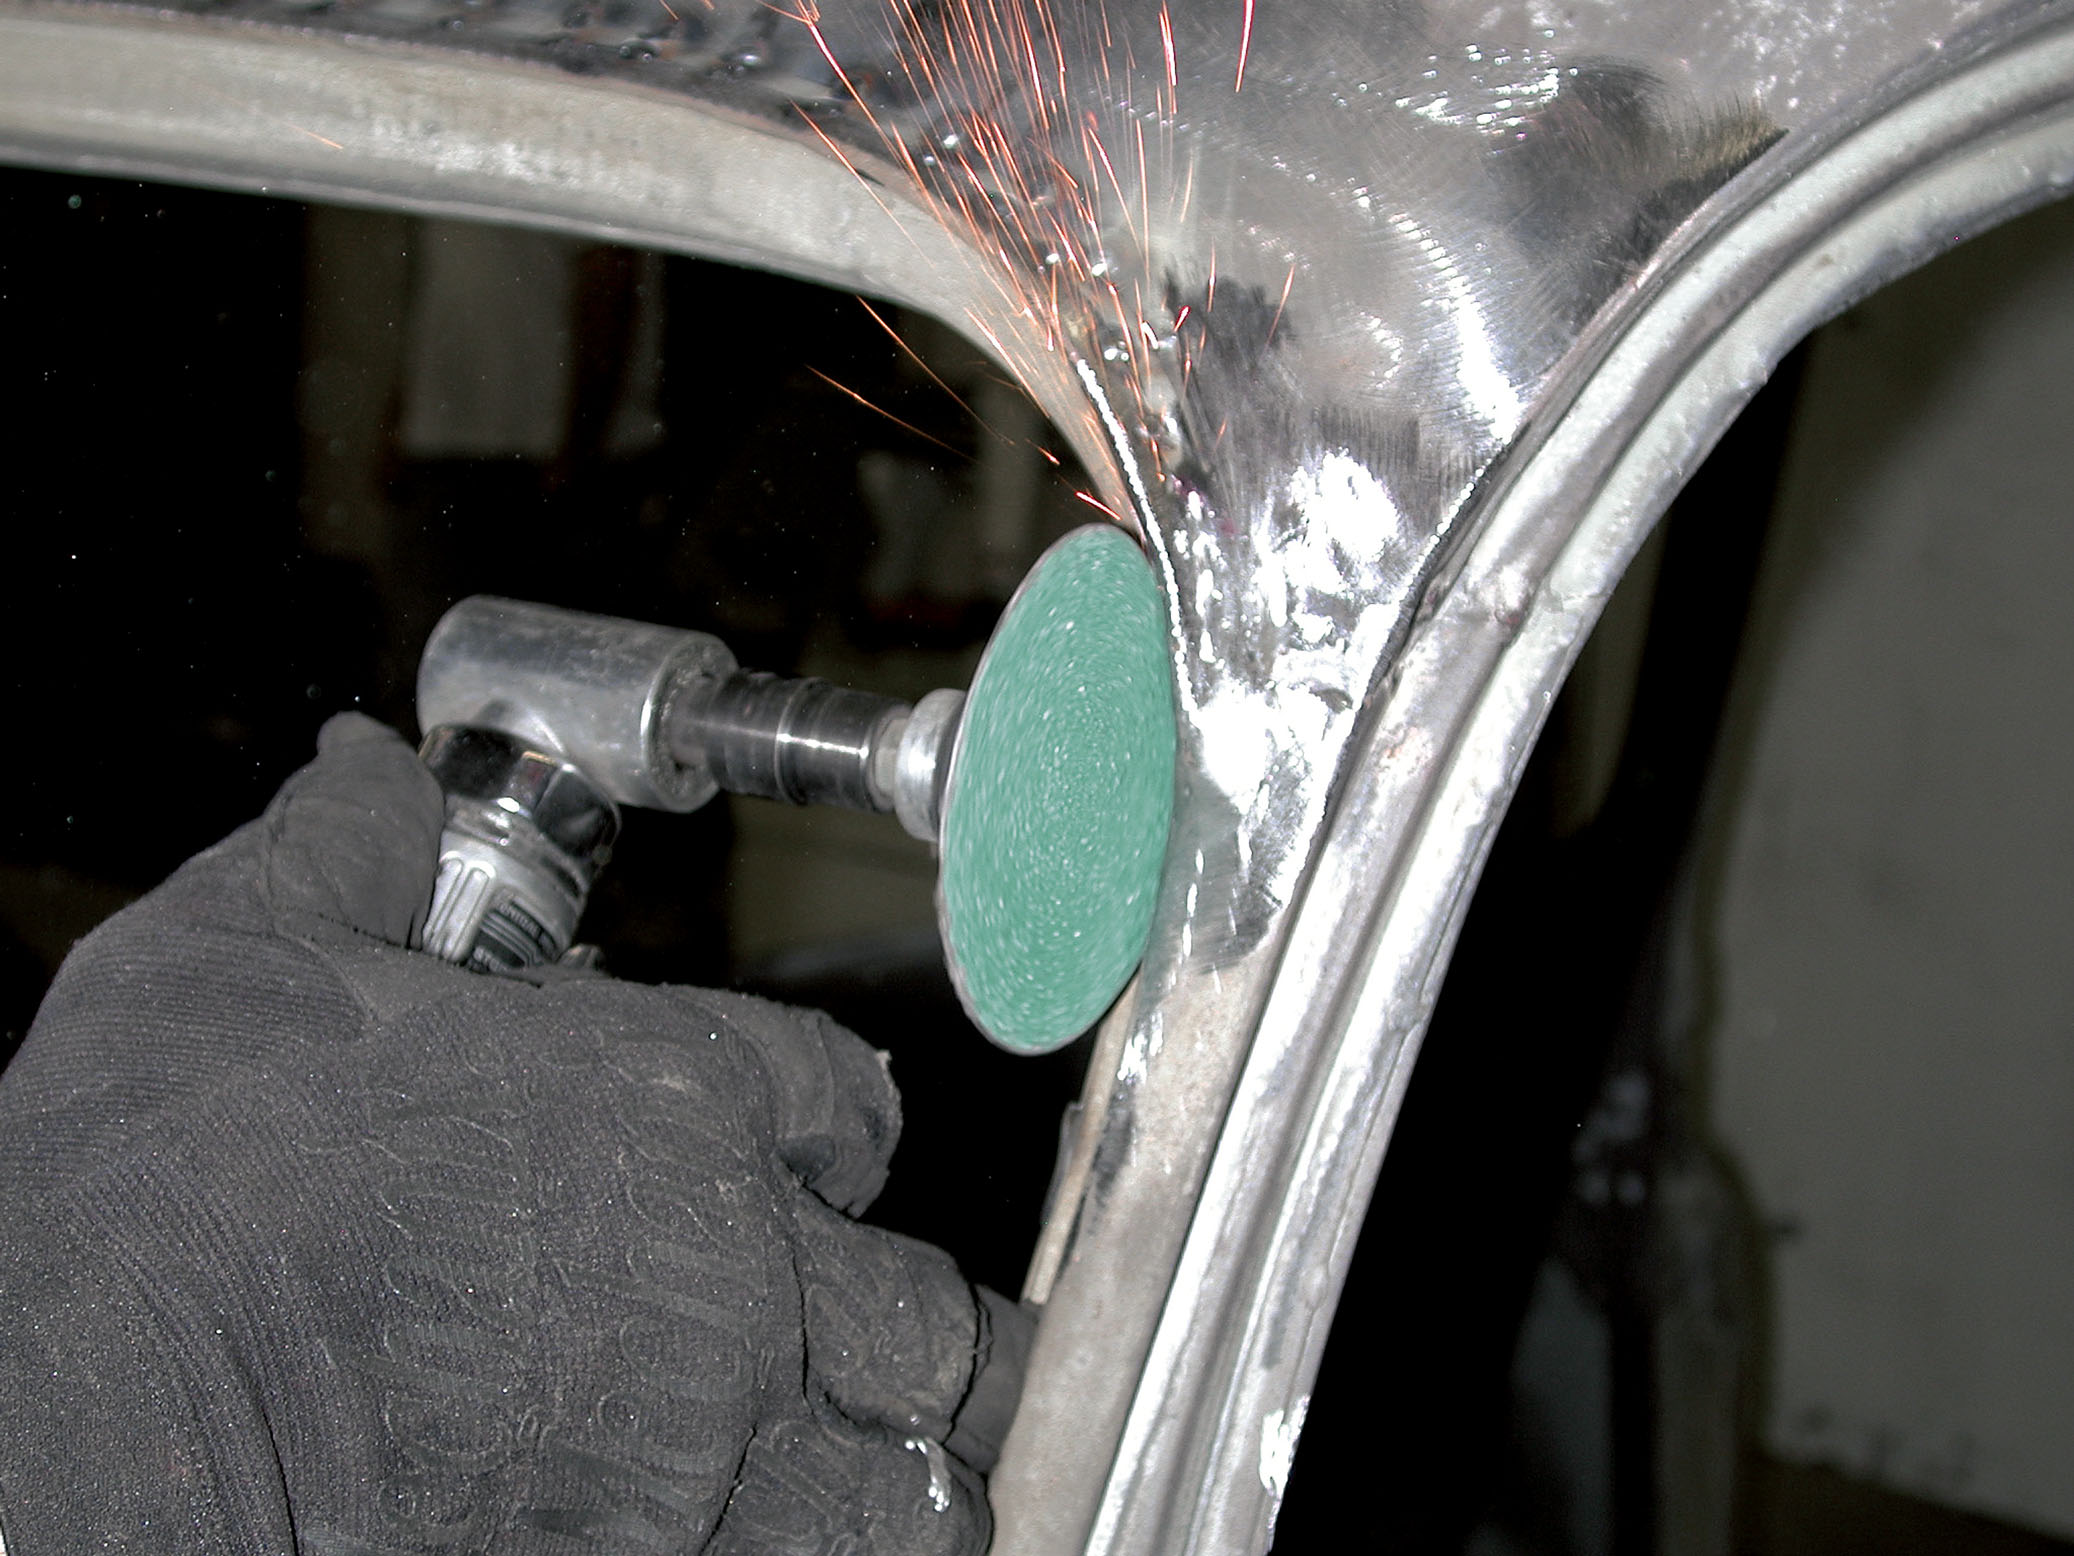
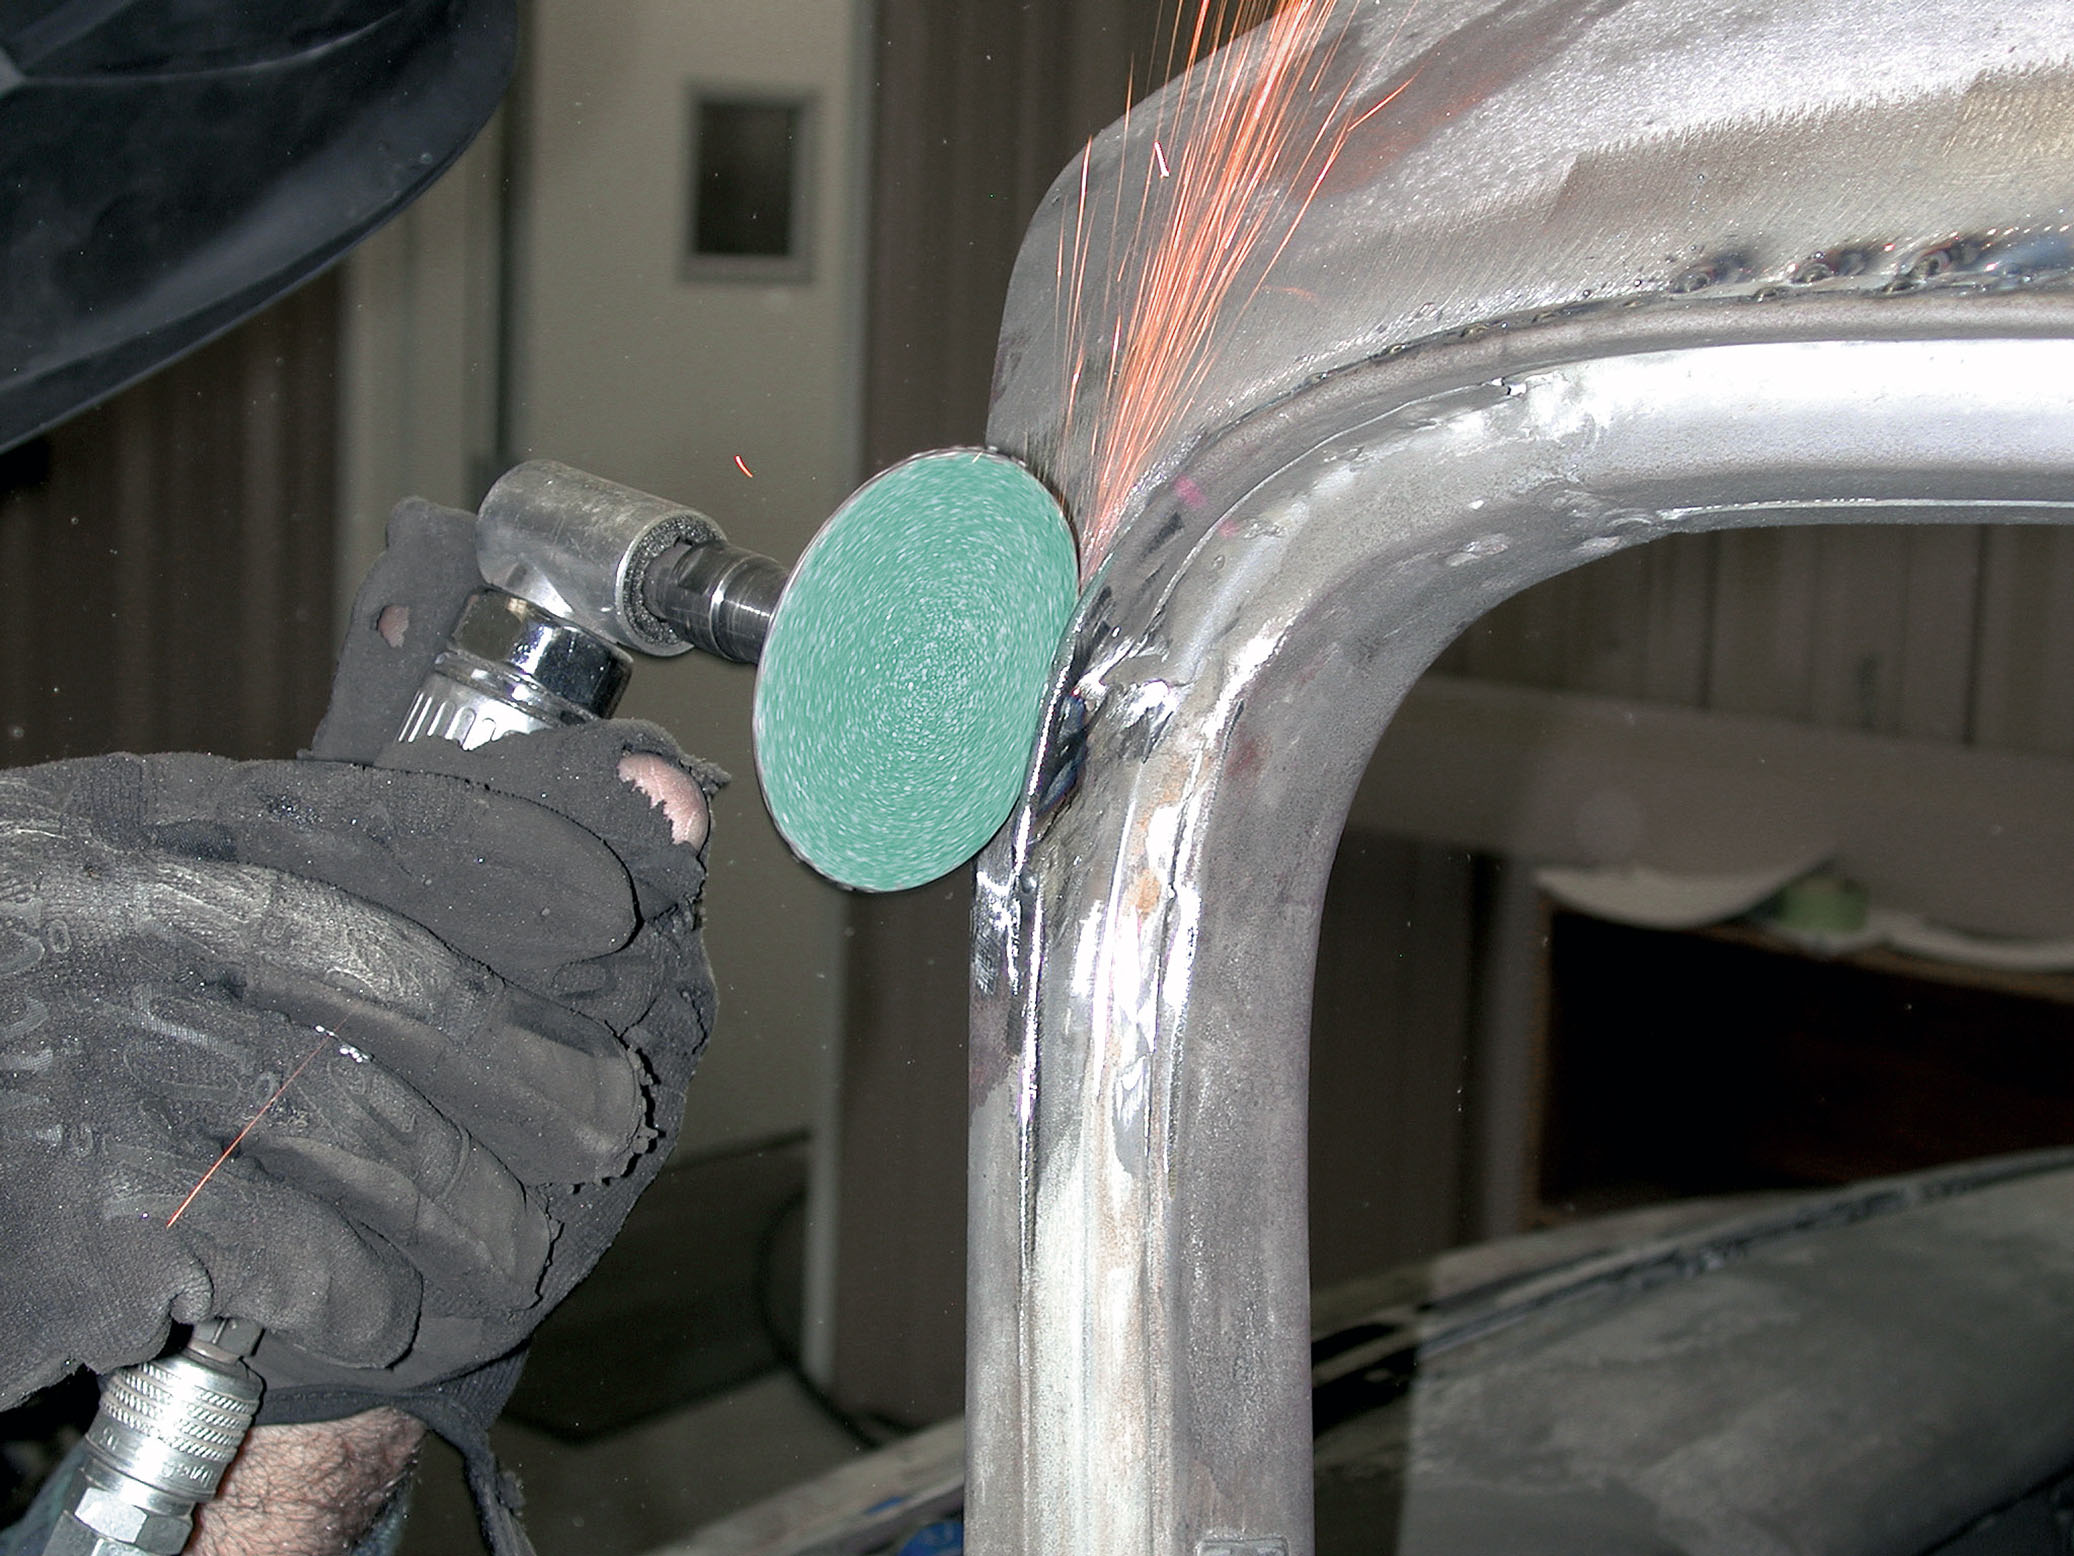
Of course, consistency is the name of the game here. But take all the time you need in order to do the job right. However, before you tack-weld in those new 18-gauge strips, it’s advisable to run a tape measure around the circumference of the roof line/driprail area to check for continuity. Overall it should measure approximately 1/4 inch. In the process of doing so, you may find a few high spots in the driprail. A little body hammering followed up with a die grinder should adequately get the job done.
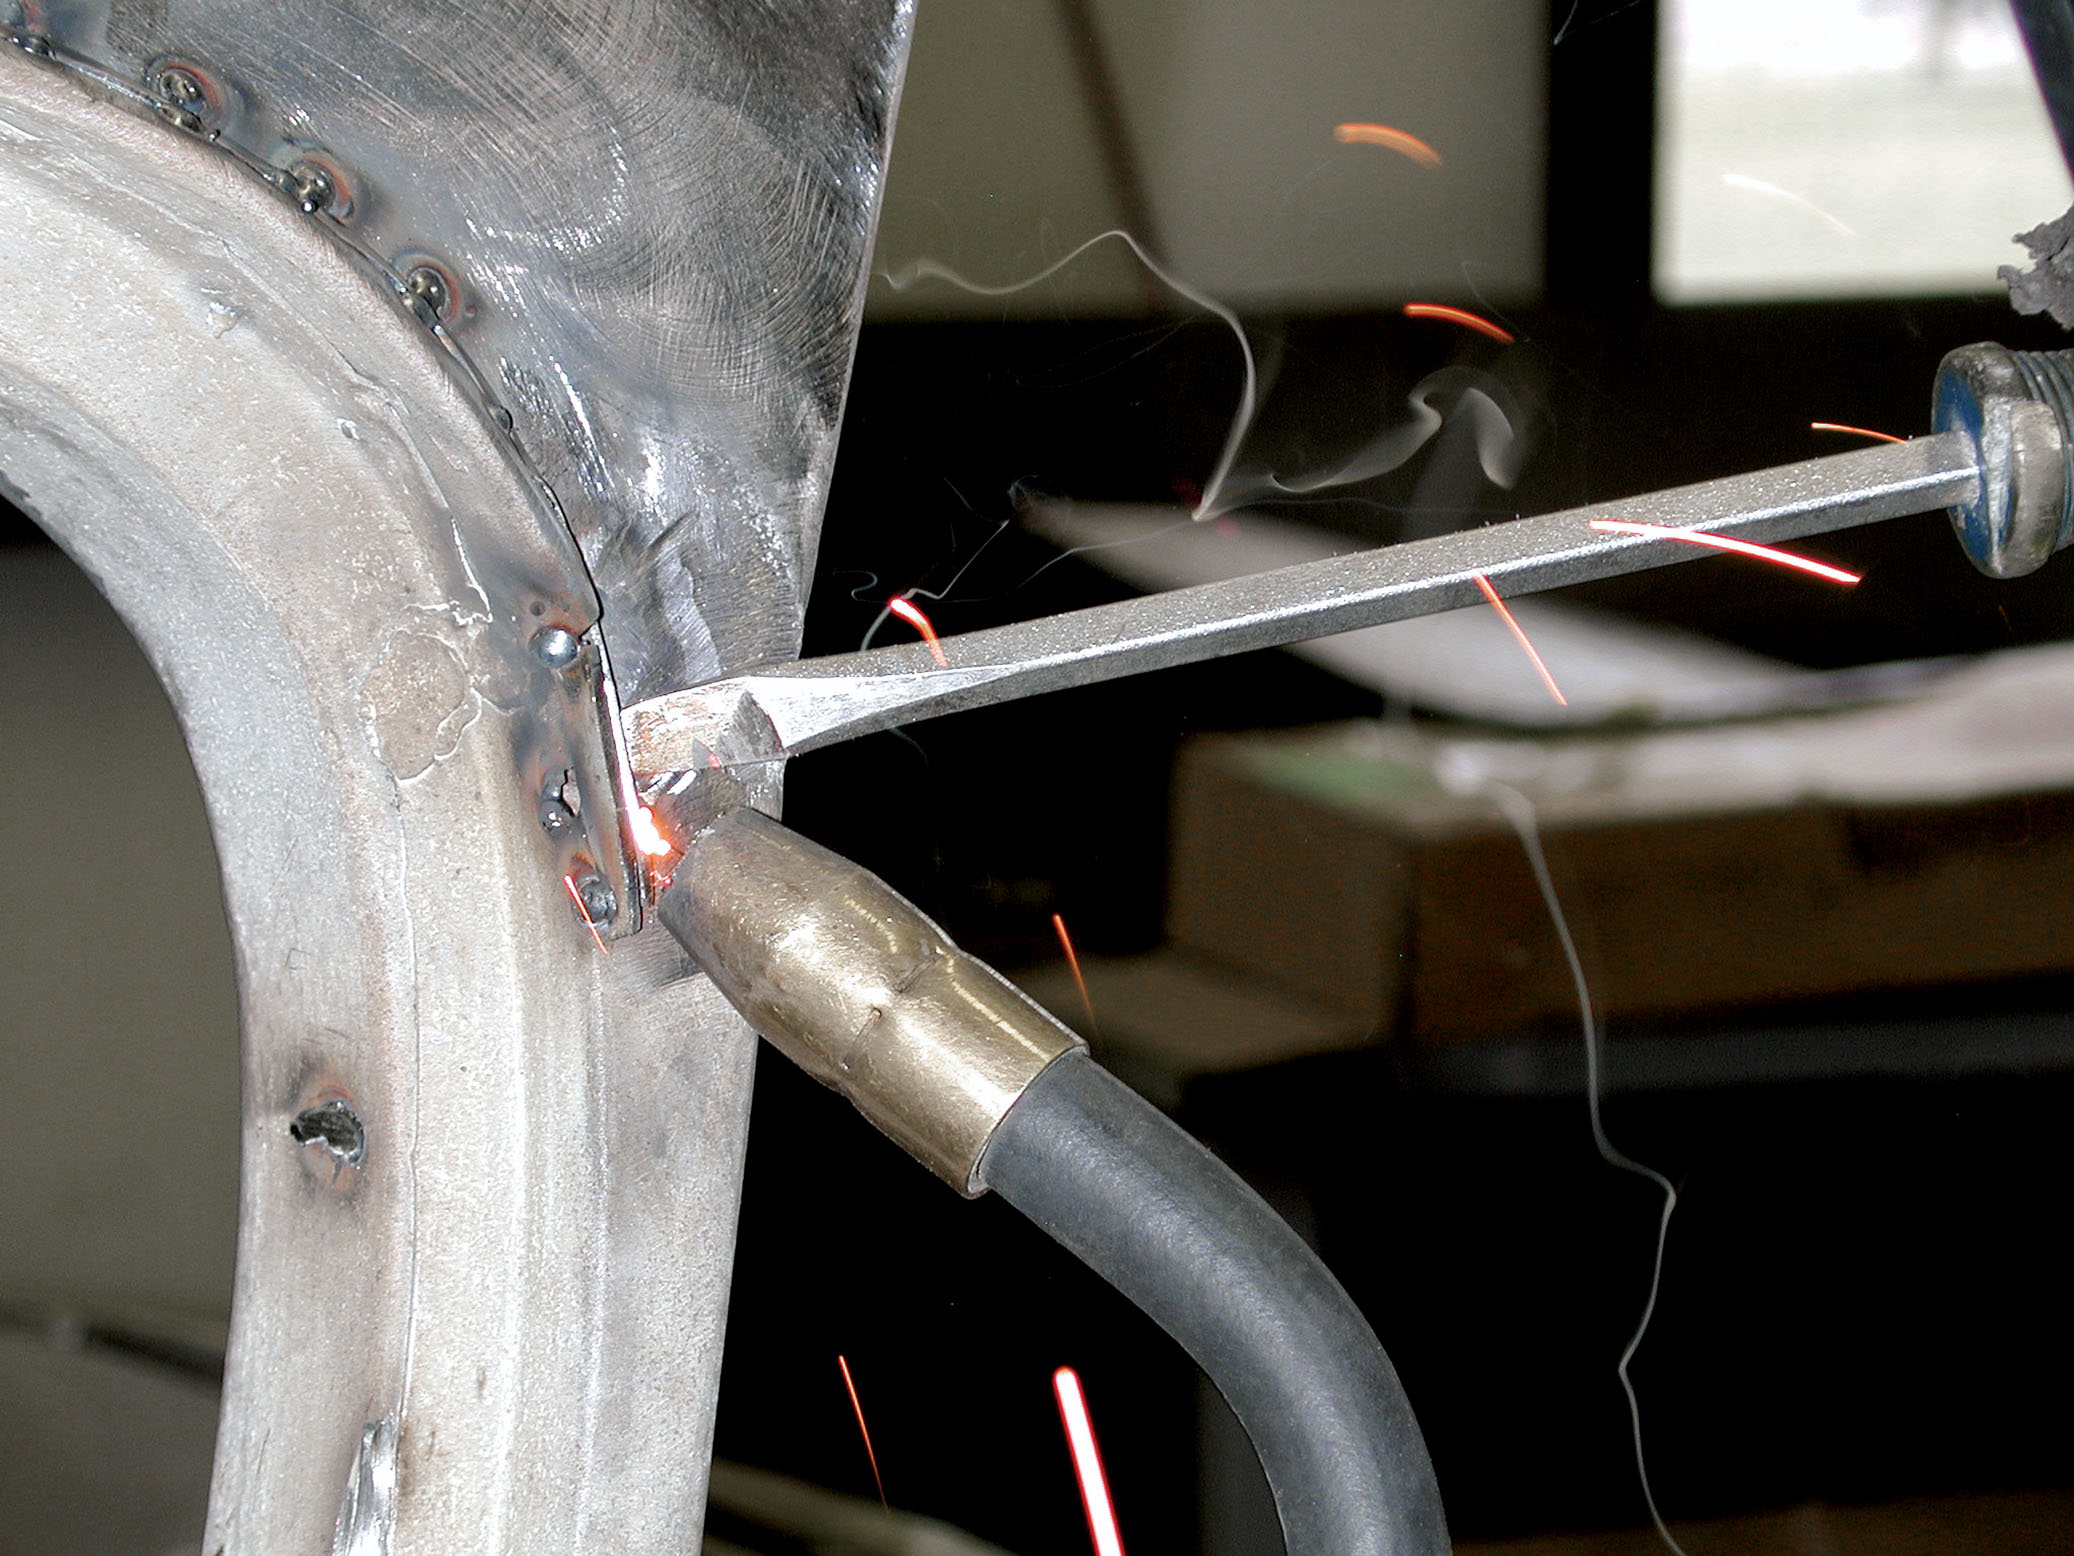
“Up front, we’ve blended in the driprail to form a nice point or curvature at the forward area of the door post using two pieces of 1/4-inch sheetmetal. This gives it a nice finished look,” commented Tim.
Cimtex Super Cameo Buildup: Part Ten – Final Welding and Upcoming Steps
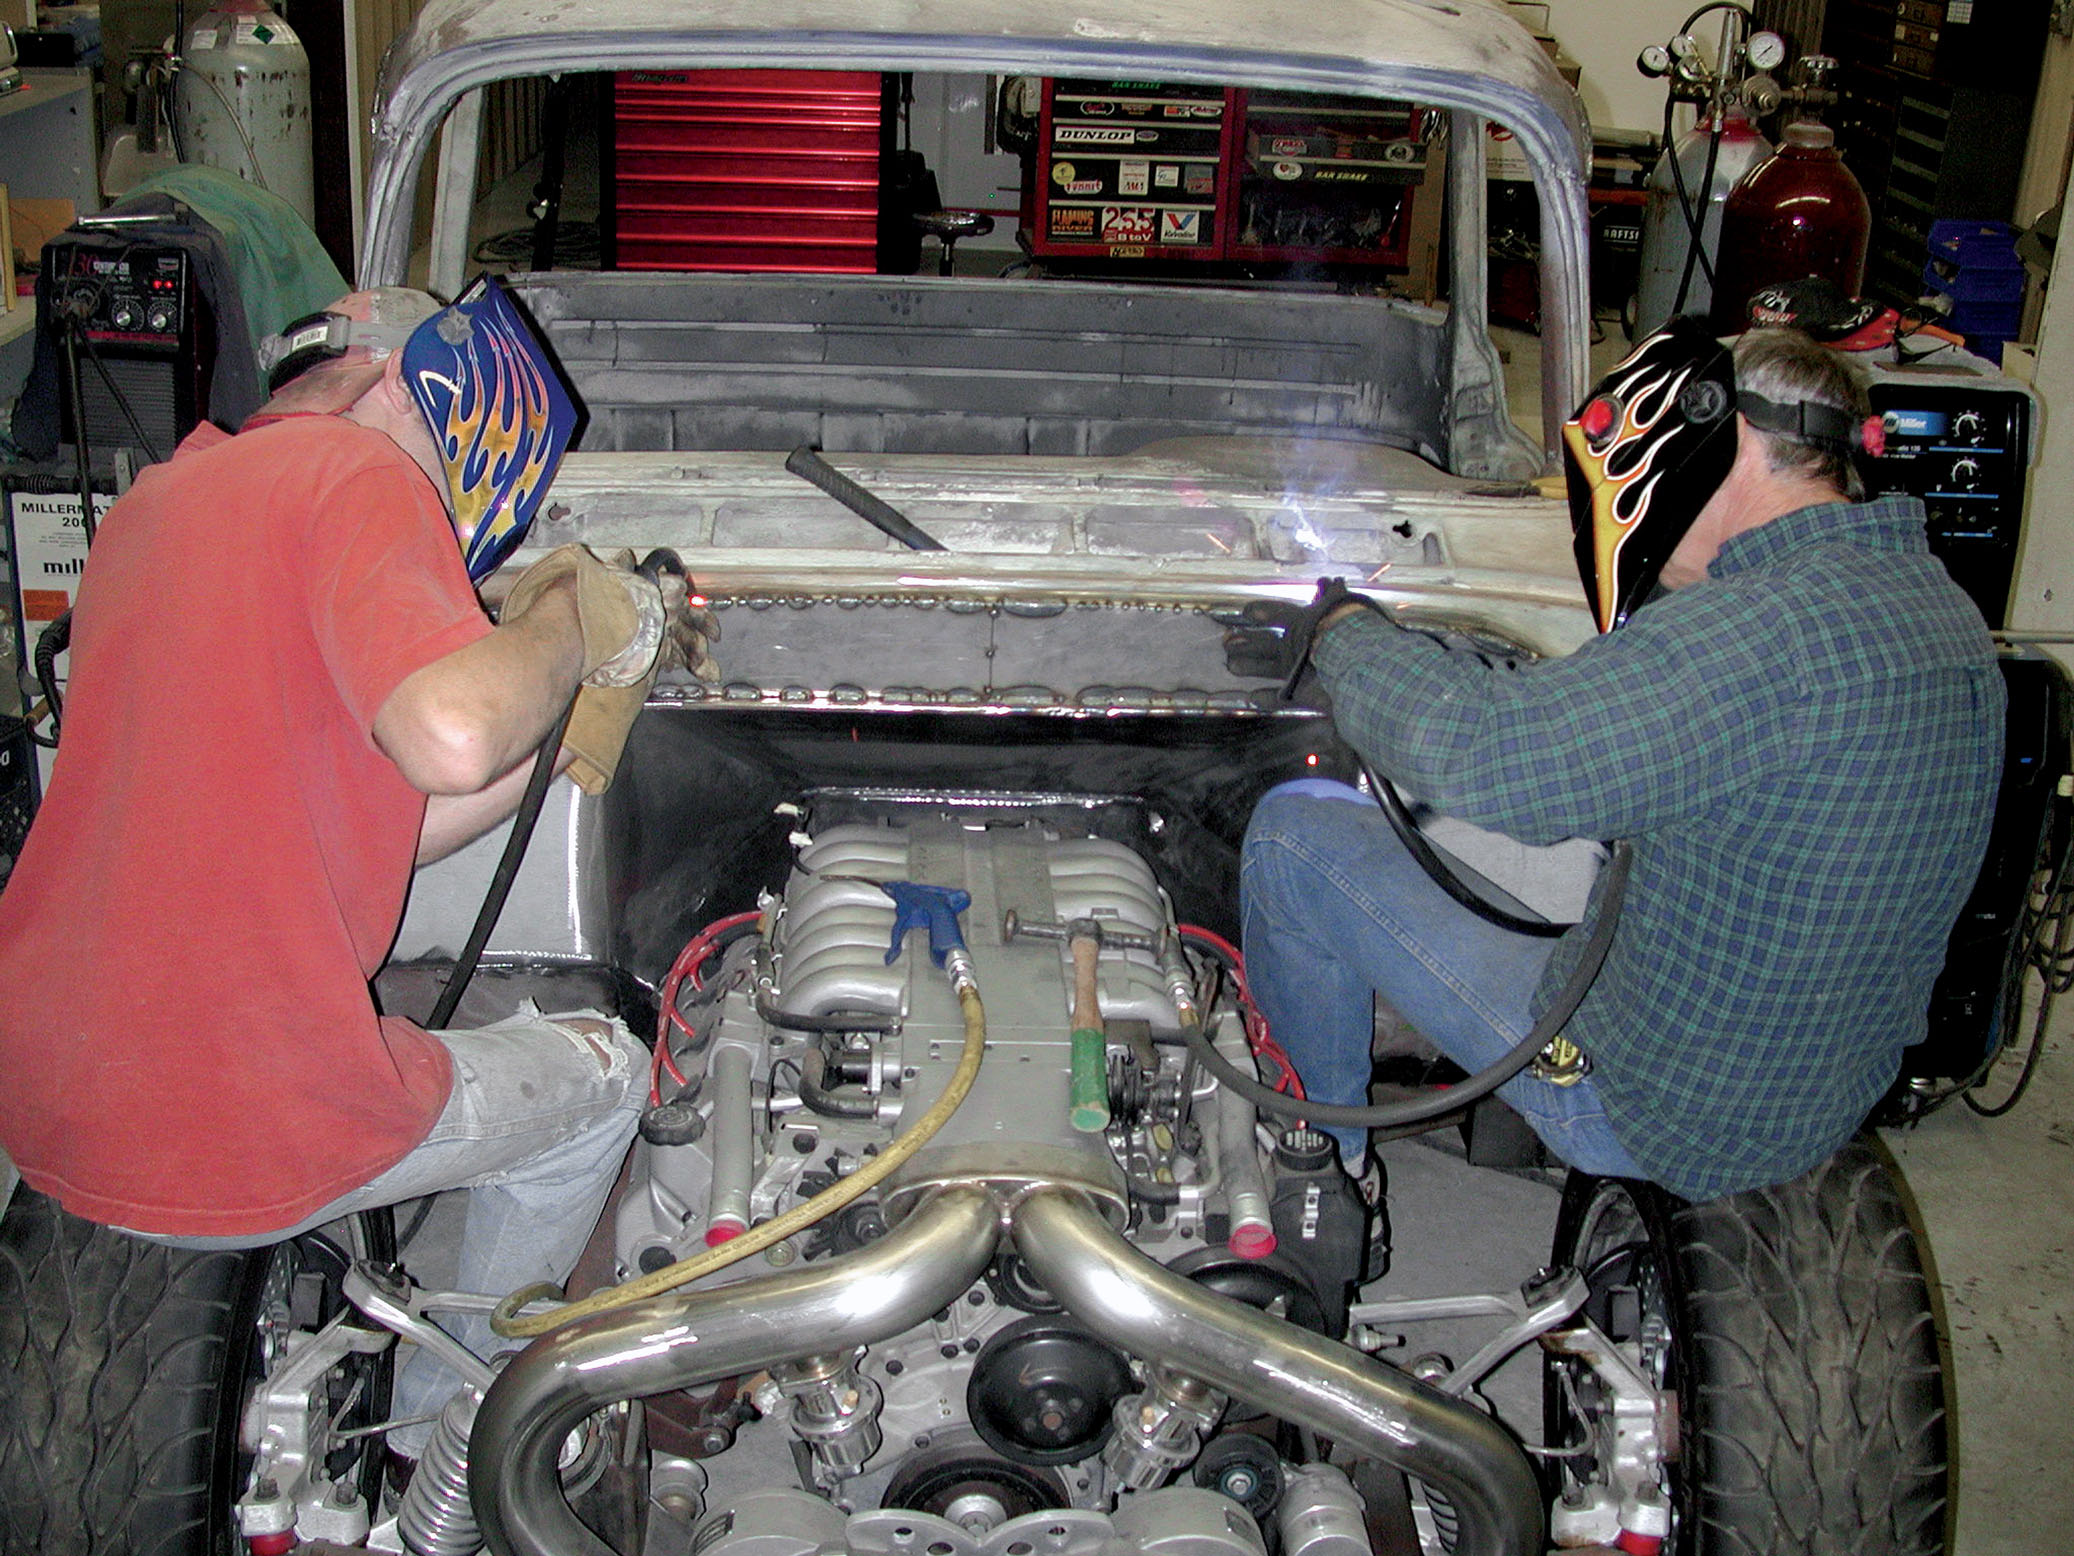
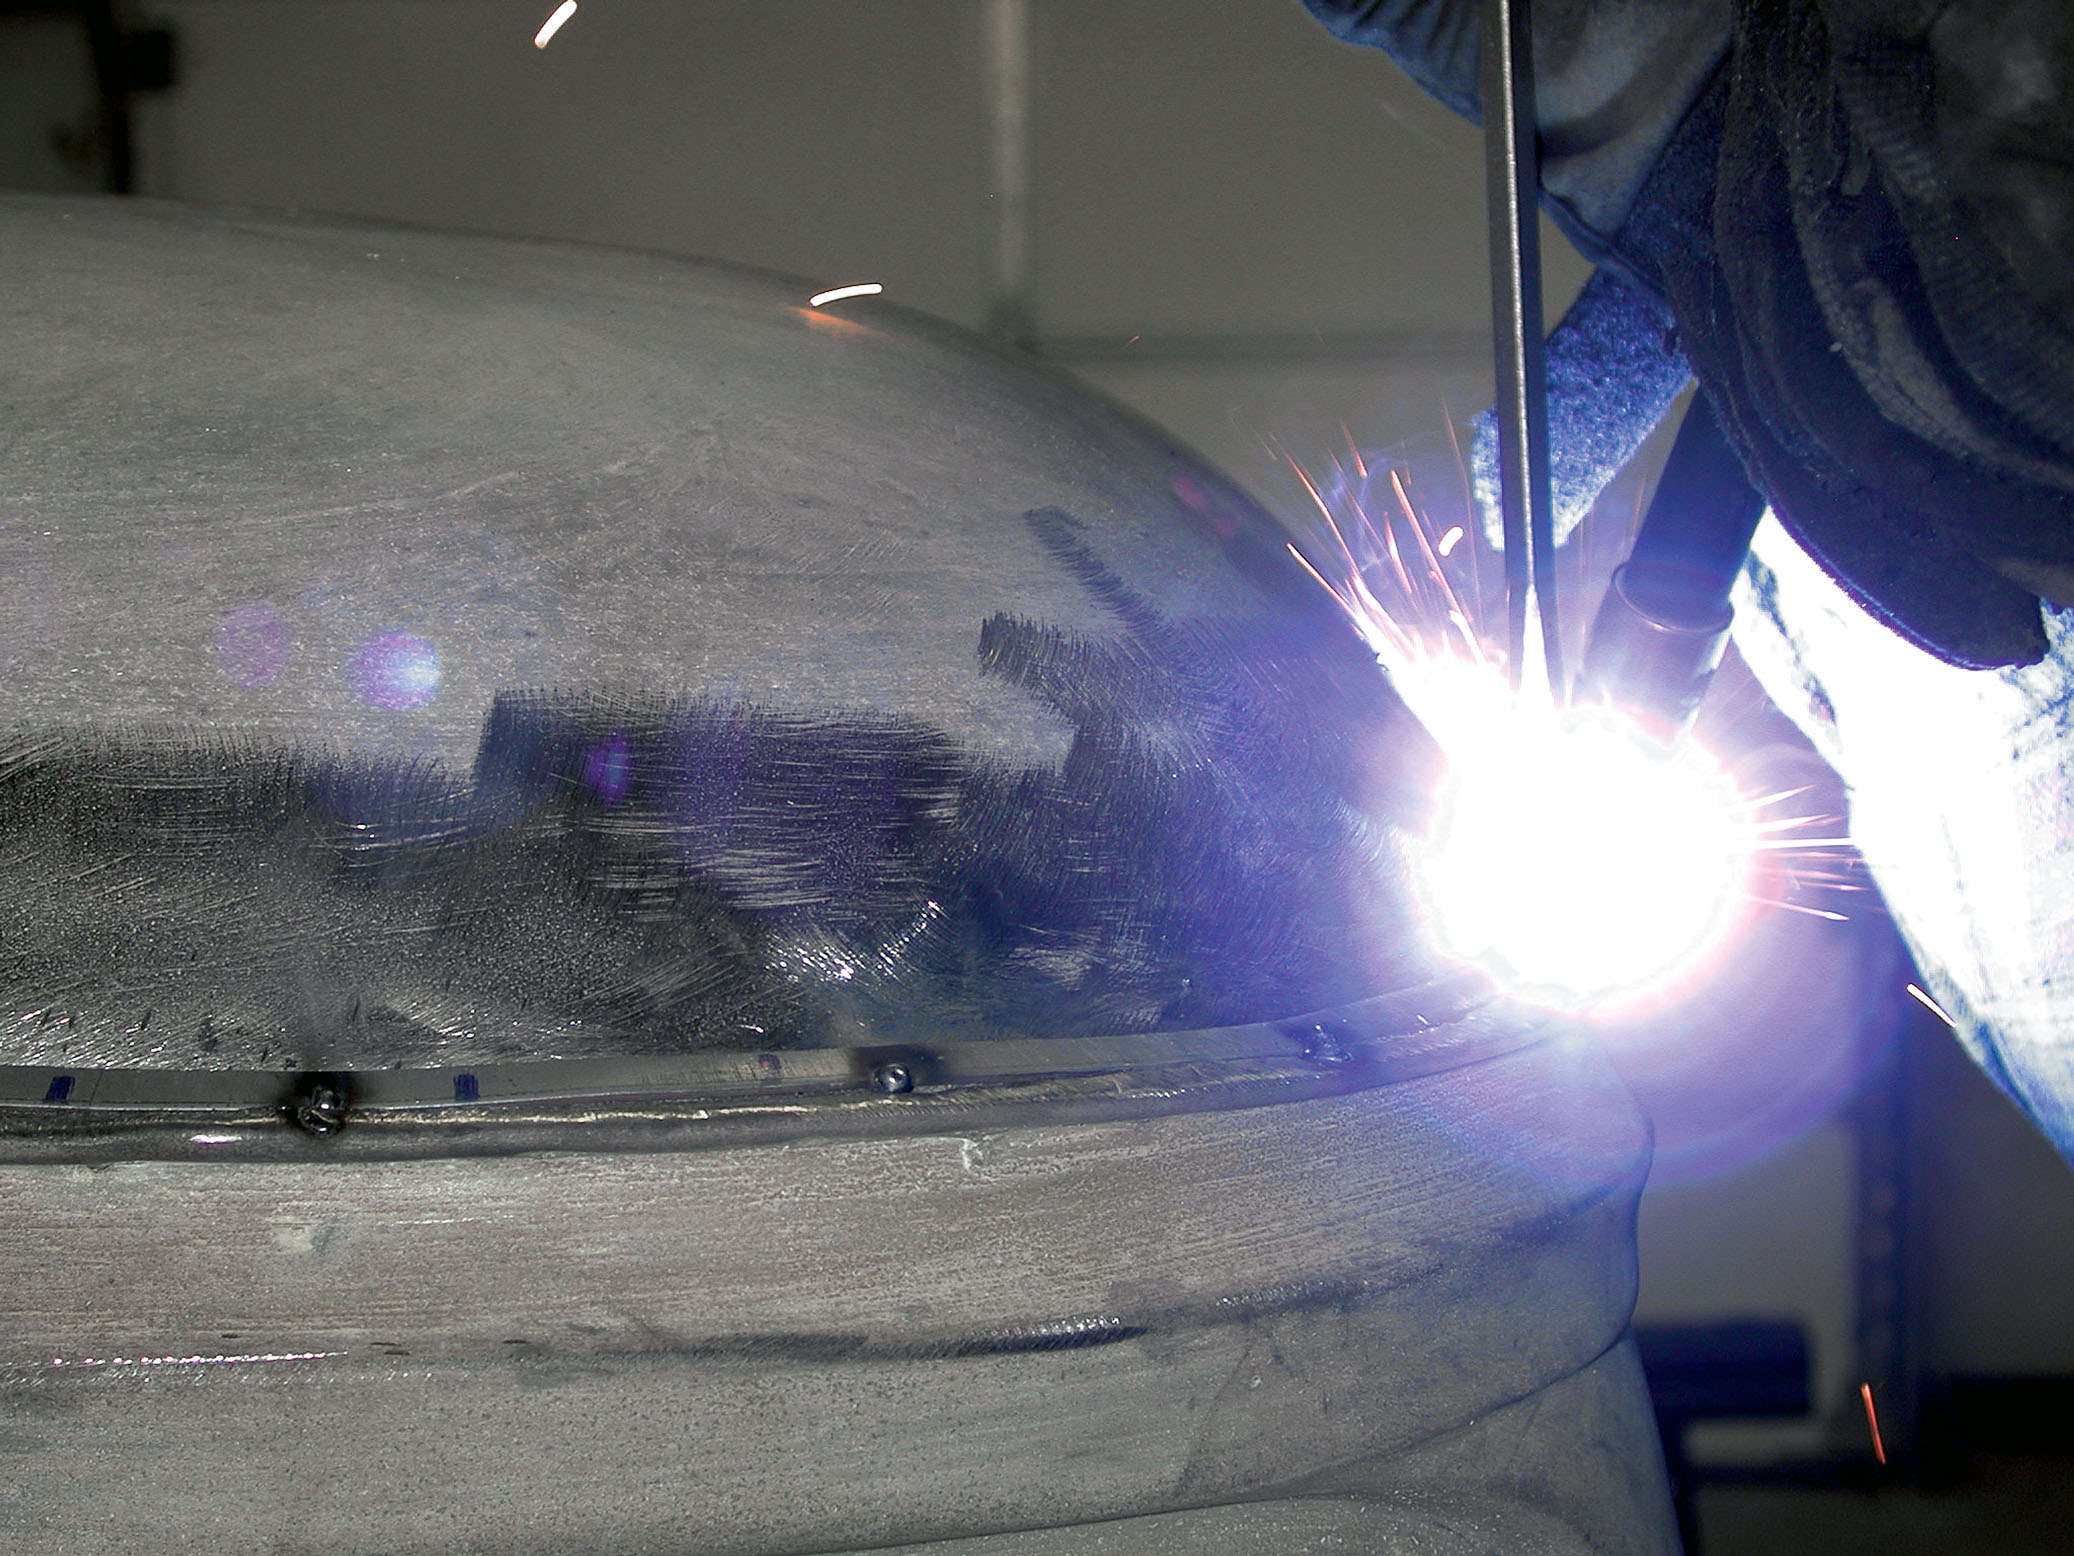
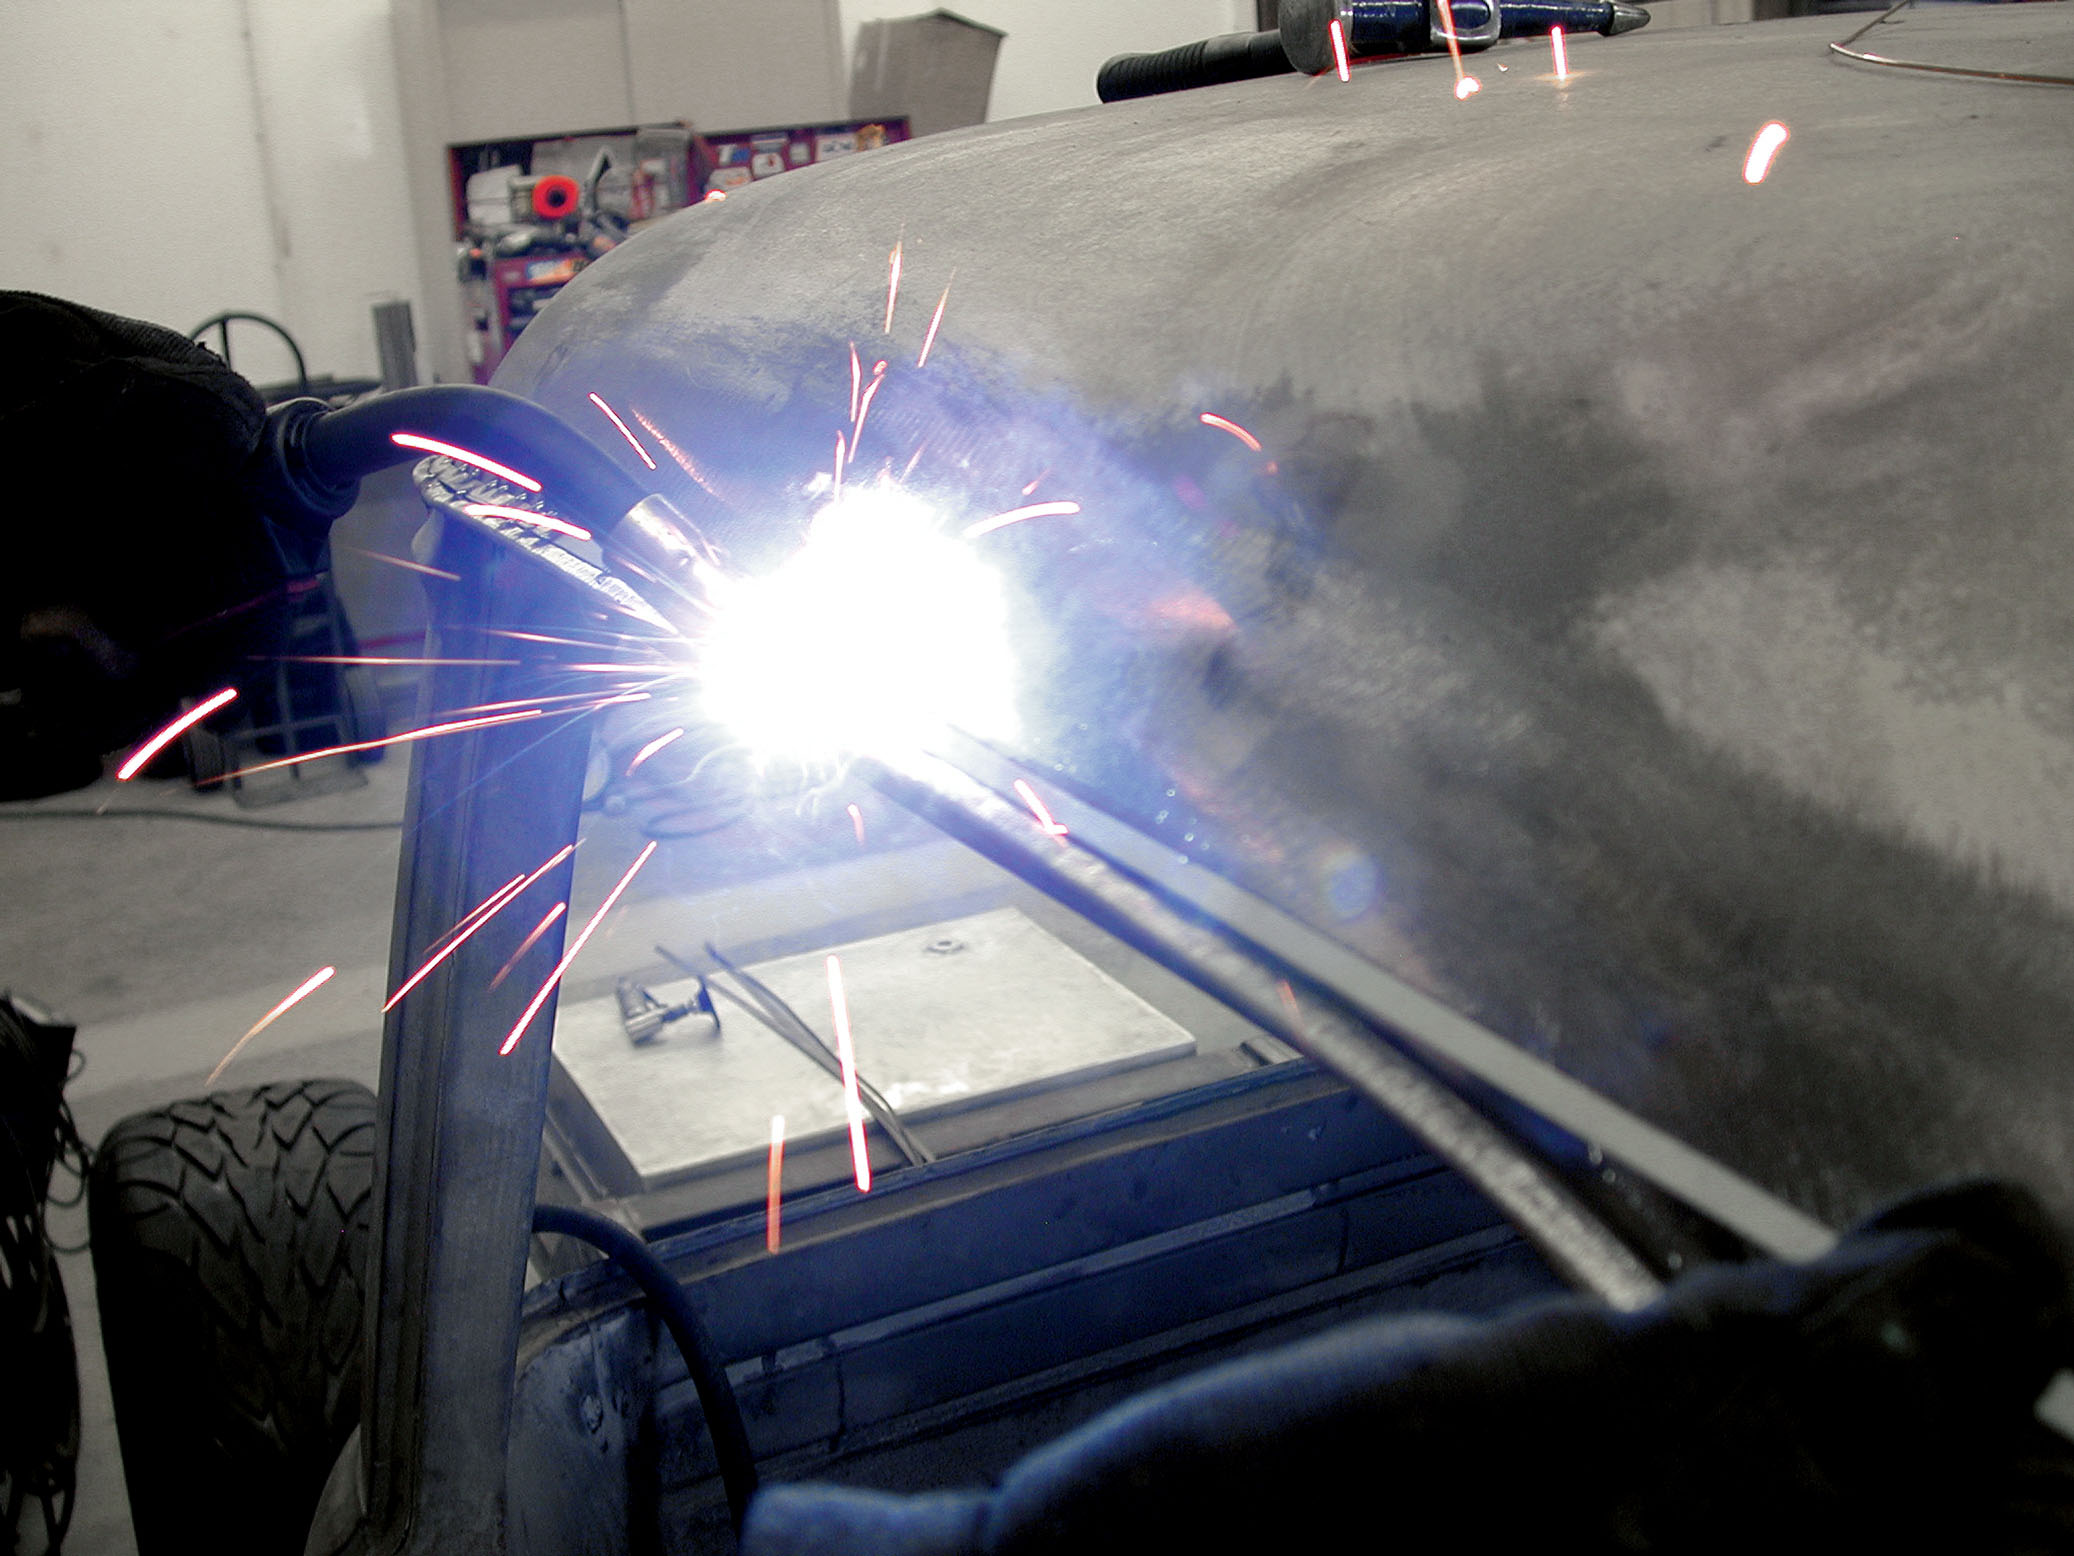
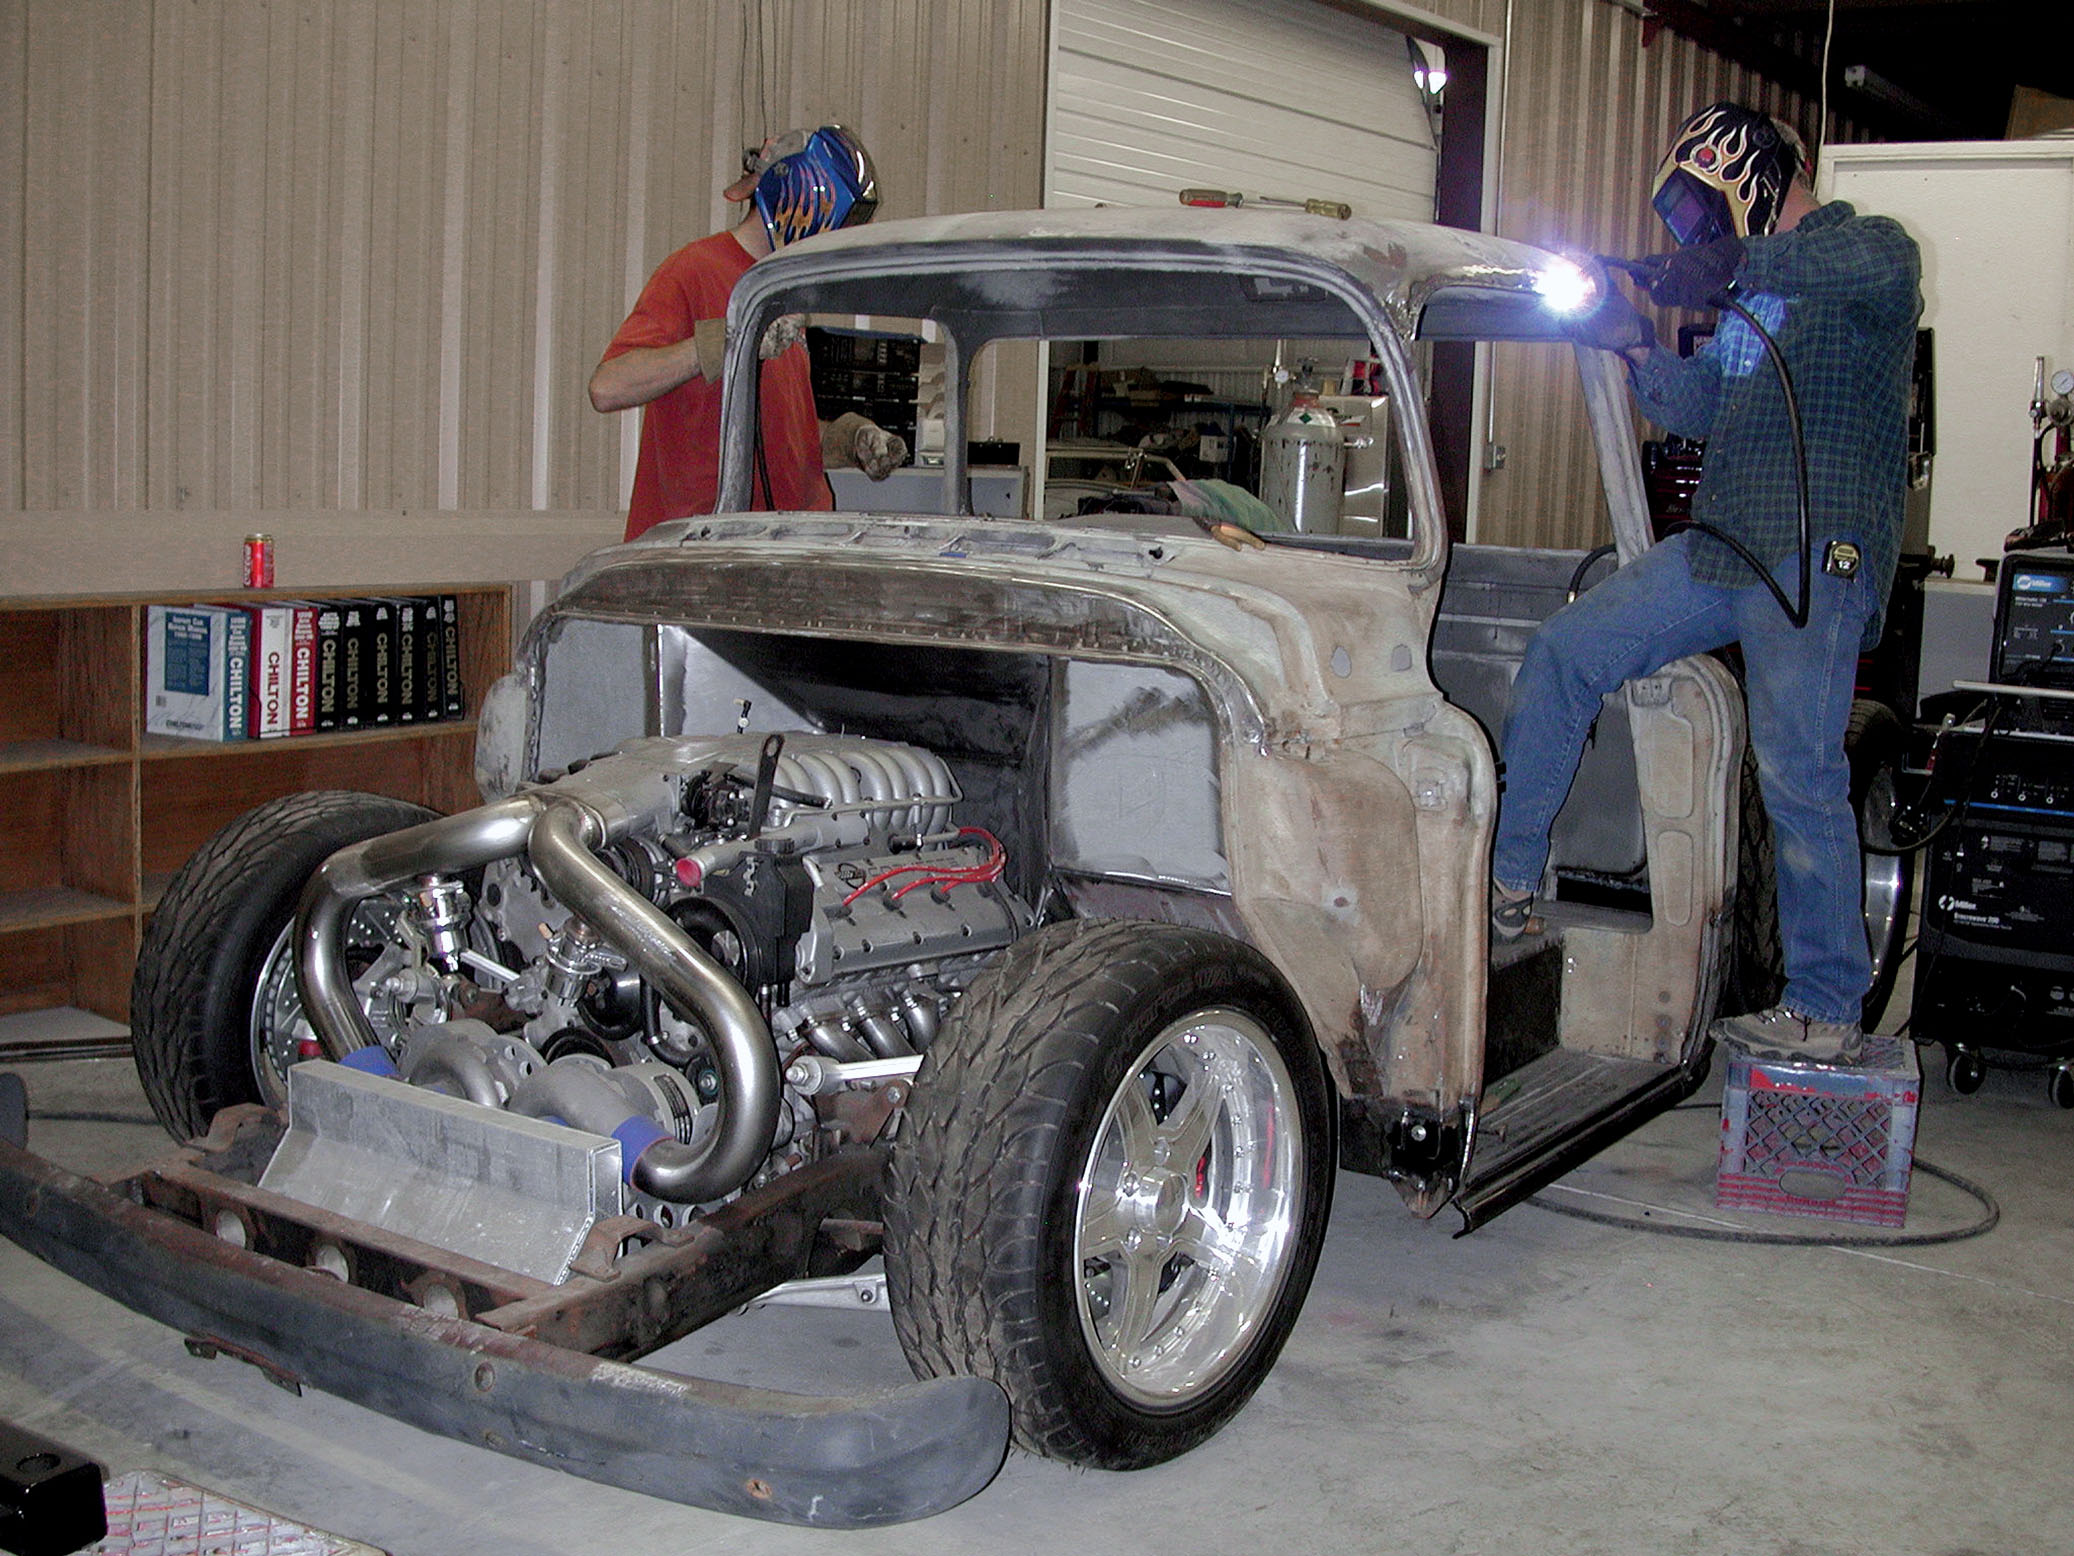
Final welding was again accomplished using a pair of 110-volt MIG welders expertly manned by Darrell and Cimtex Rods craftsman James Parker. A series of sectional welds, or stitch welds, is made to the perimeter of the cab in order to reduce warping and save you hours of bodywork. “Now all we have to do is grind these areas down and lead them in. But that will have to wait until we chop the top,” commented Tim. Incidentally, we’ve just received a telephone call from Cimtex Rods informing us that our new doors are in hand, so you’ll be seeing the actual top chopping ceremony unfolding in the next installment.