50 Pub TB Truck Builder
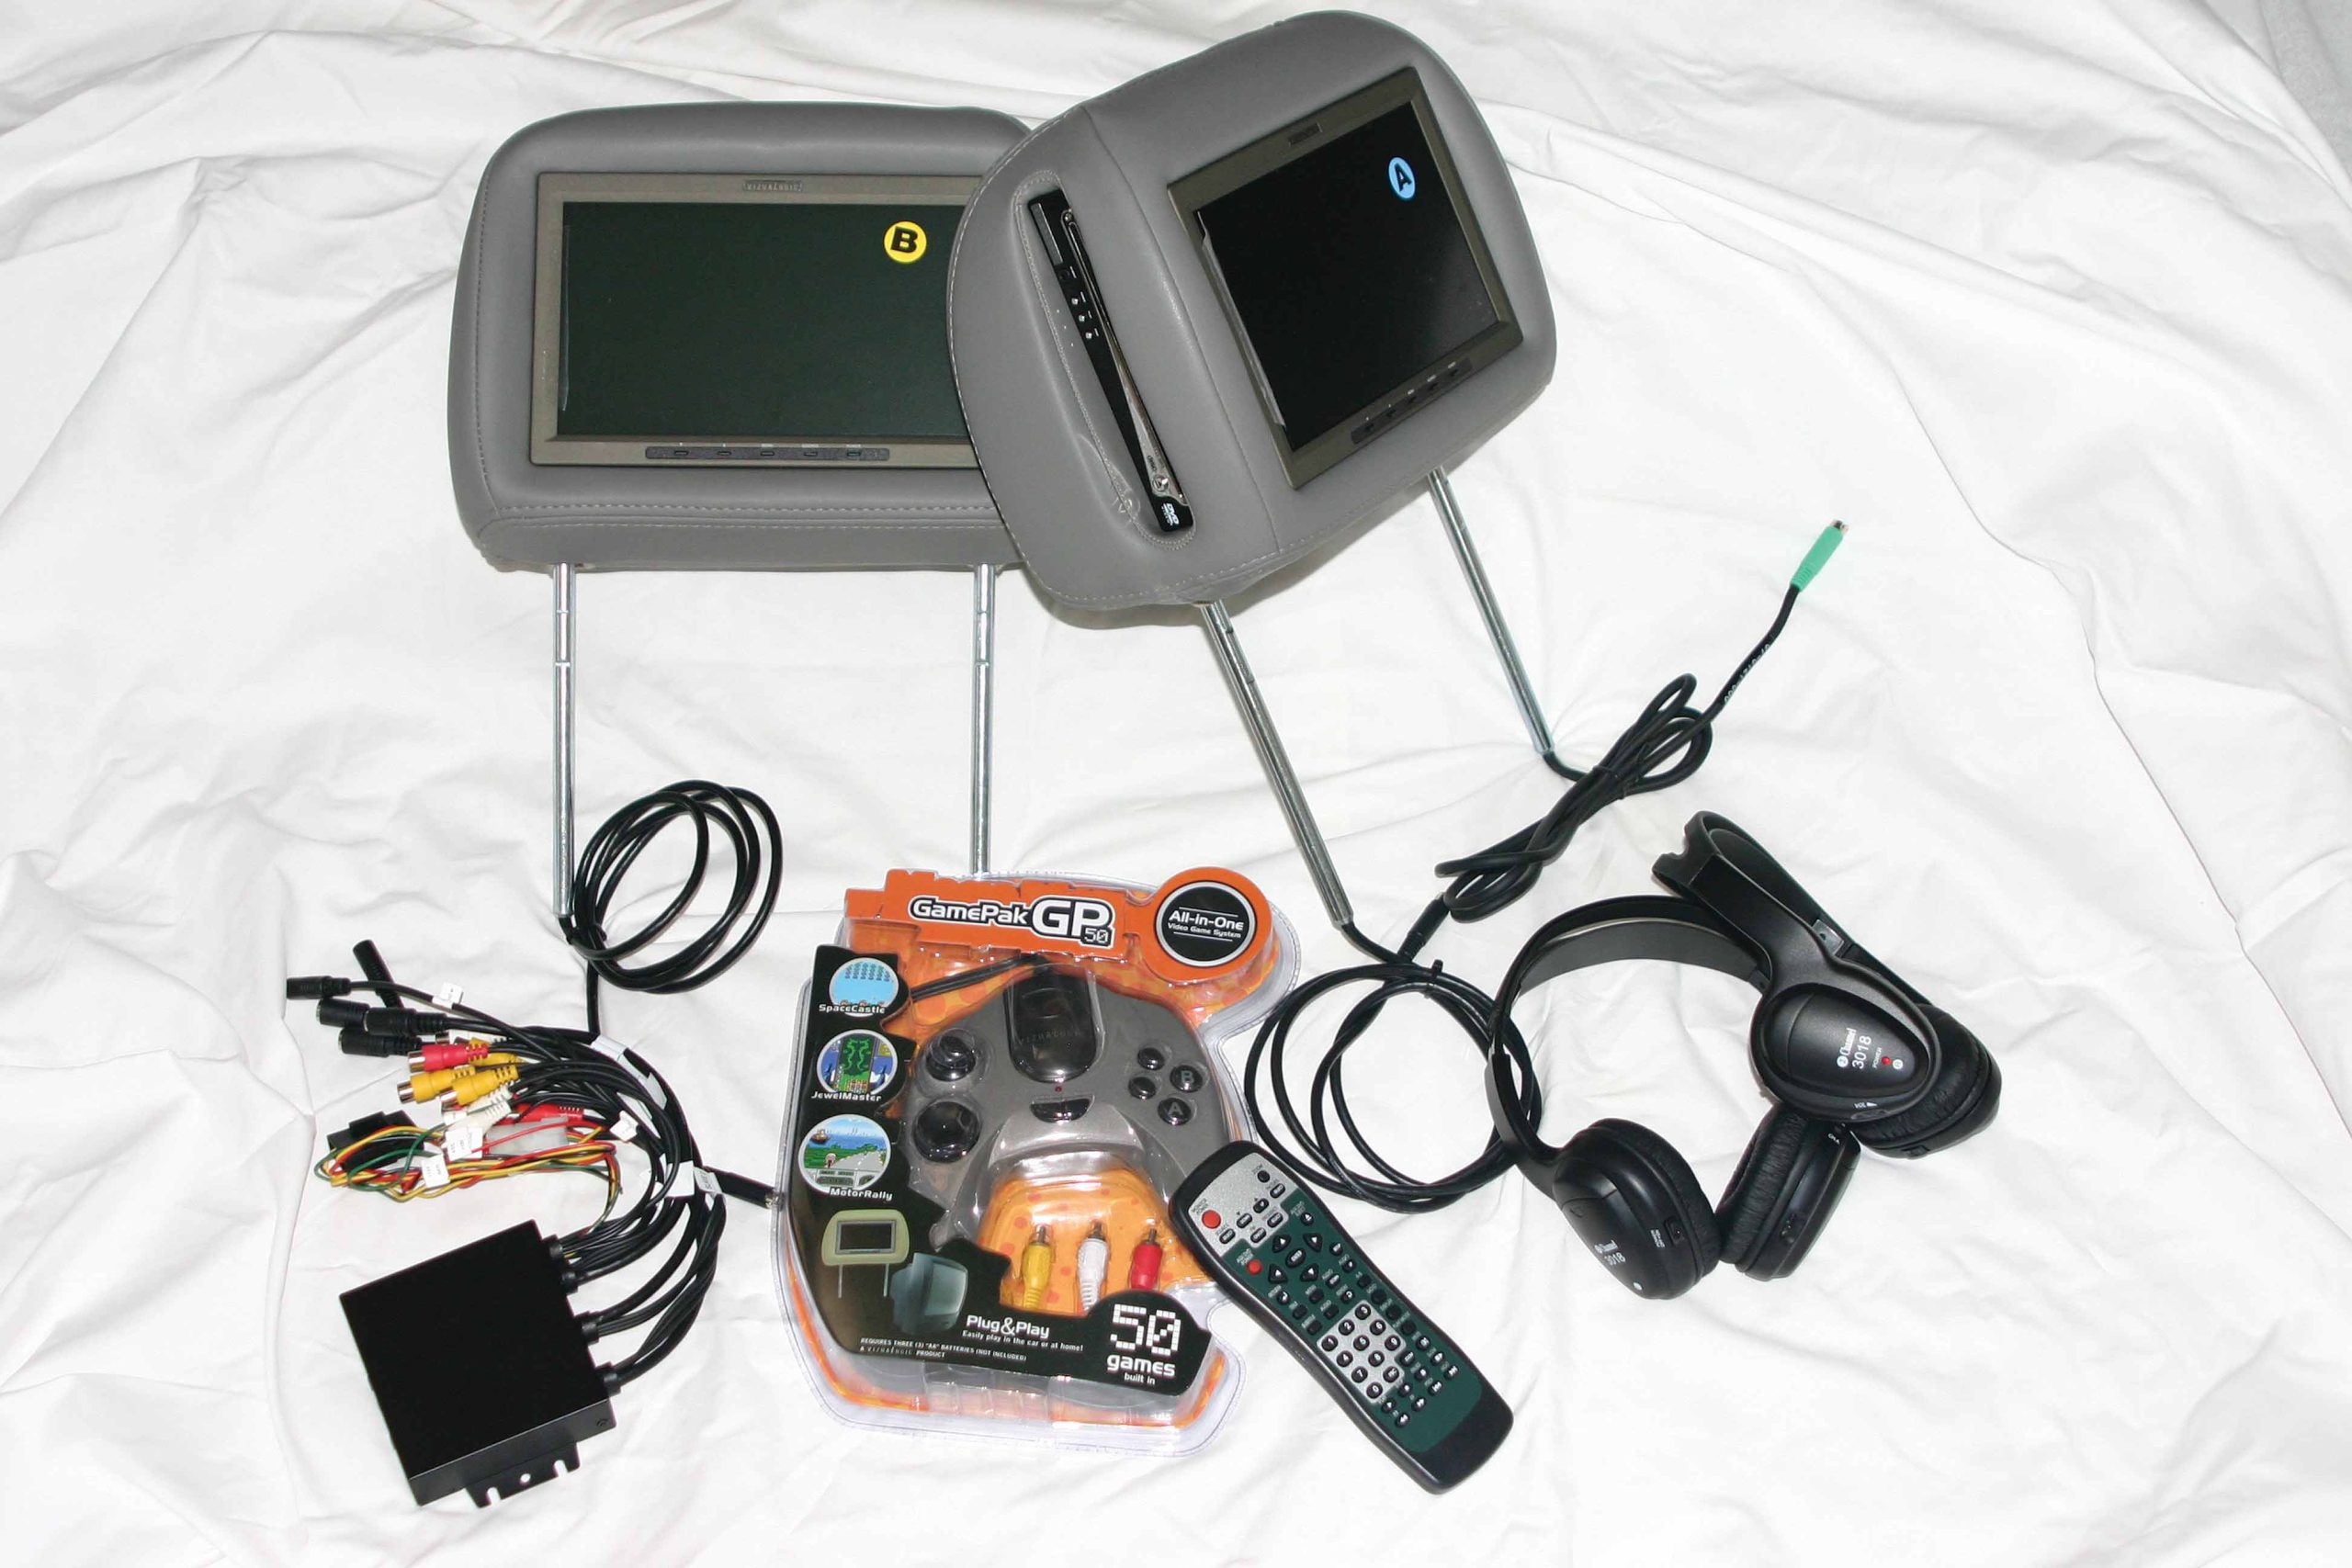
Learn how to upgrade your SUV or truck with a rear seat entertainment system, making long road trips enjoyable for the whole family. Follow our guide as we install the Vizualogic A-2000 9-inch LCD system, complete with wireless headphones and easy-to-use DVD player, ensuring hours of entertainment on the go.
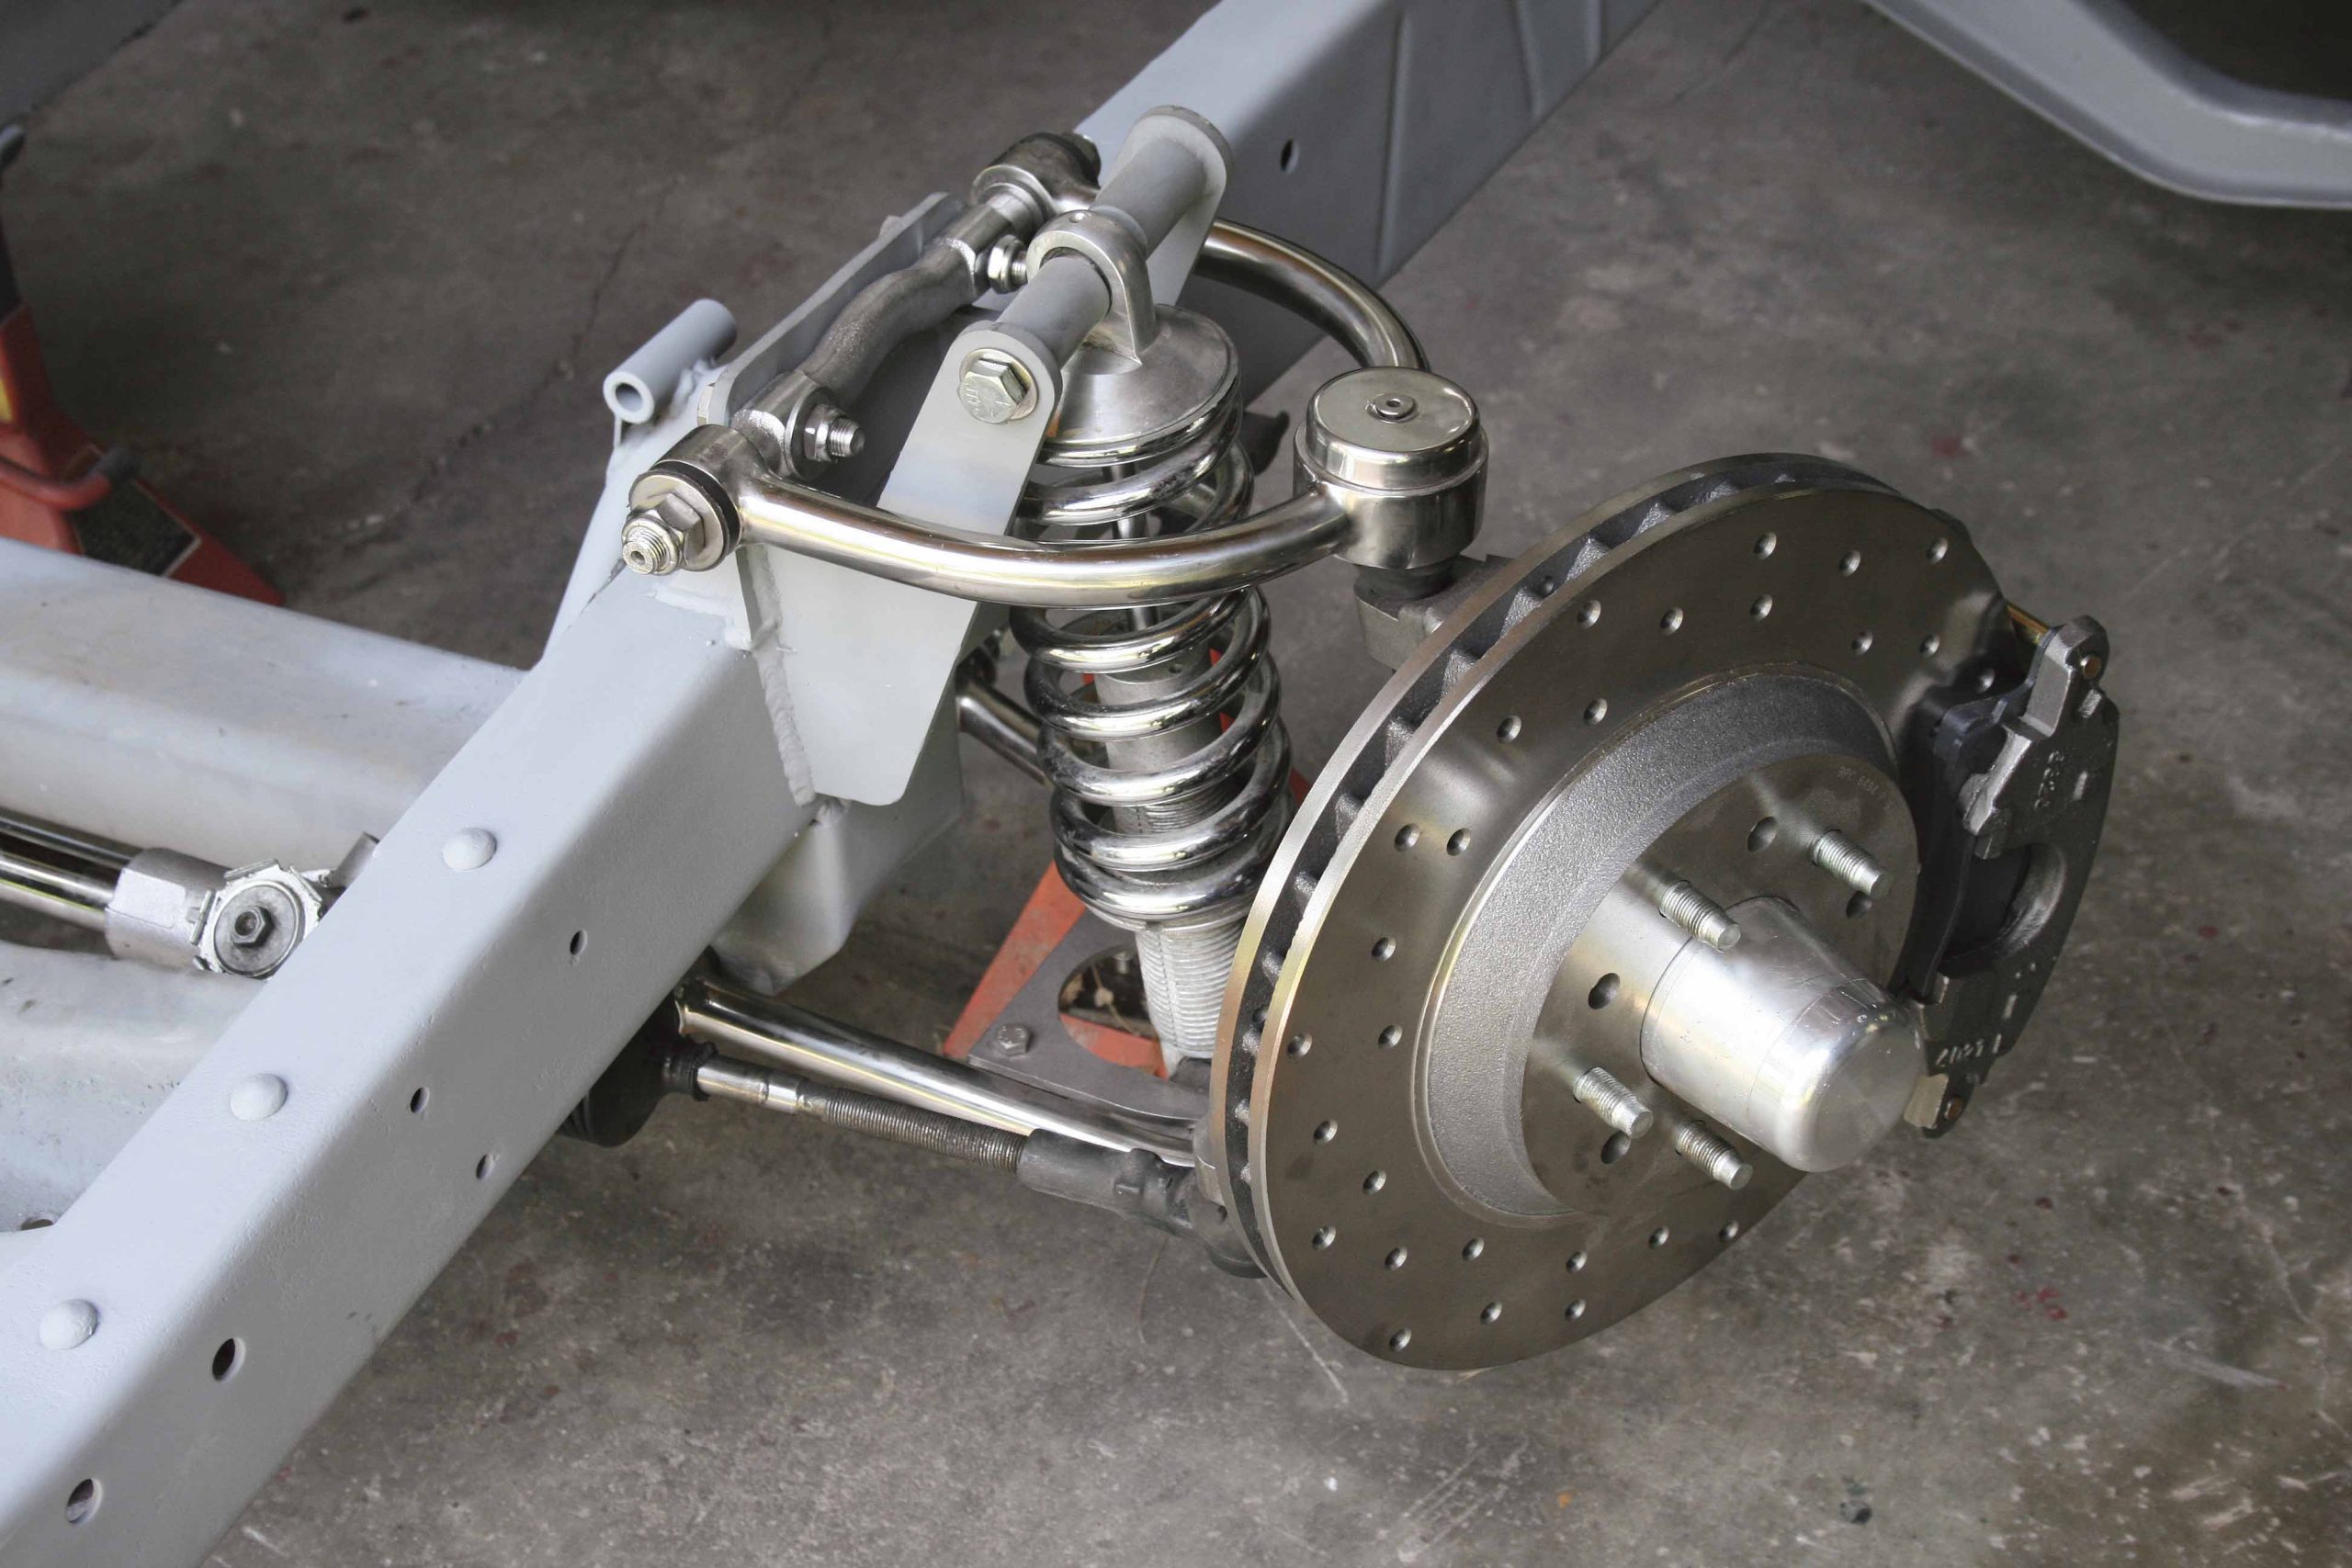
Delve into the world of aftermarket Mustang II-style independent front suspensions, a popular choice for upgrading classic trucks like the ’53 Chevy. Discover how these suspension kits provide improved ride quality, enhanced safety, and better performance, making them essential for modernizing vintage vehicles.
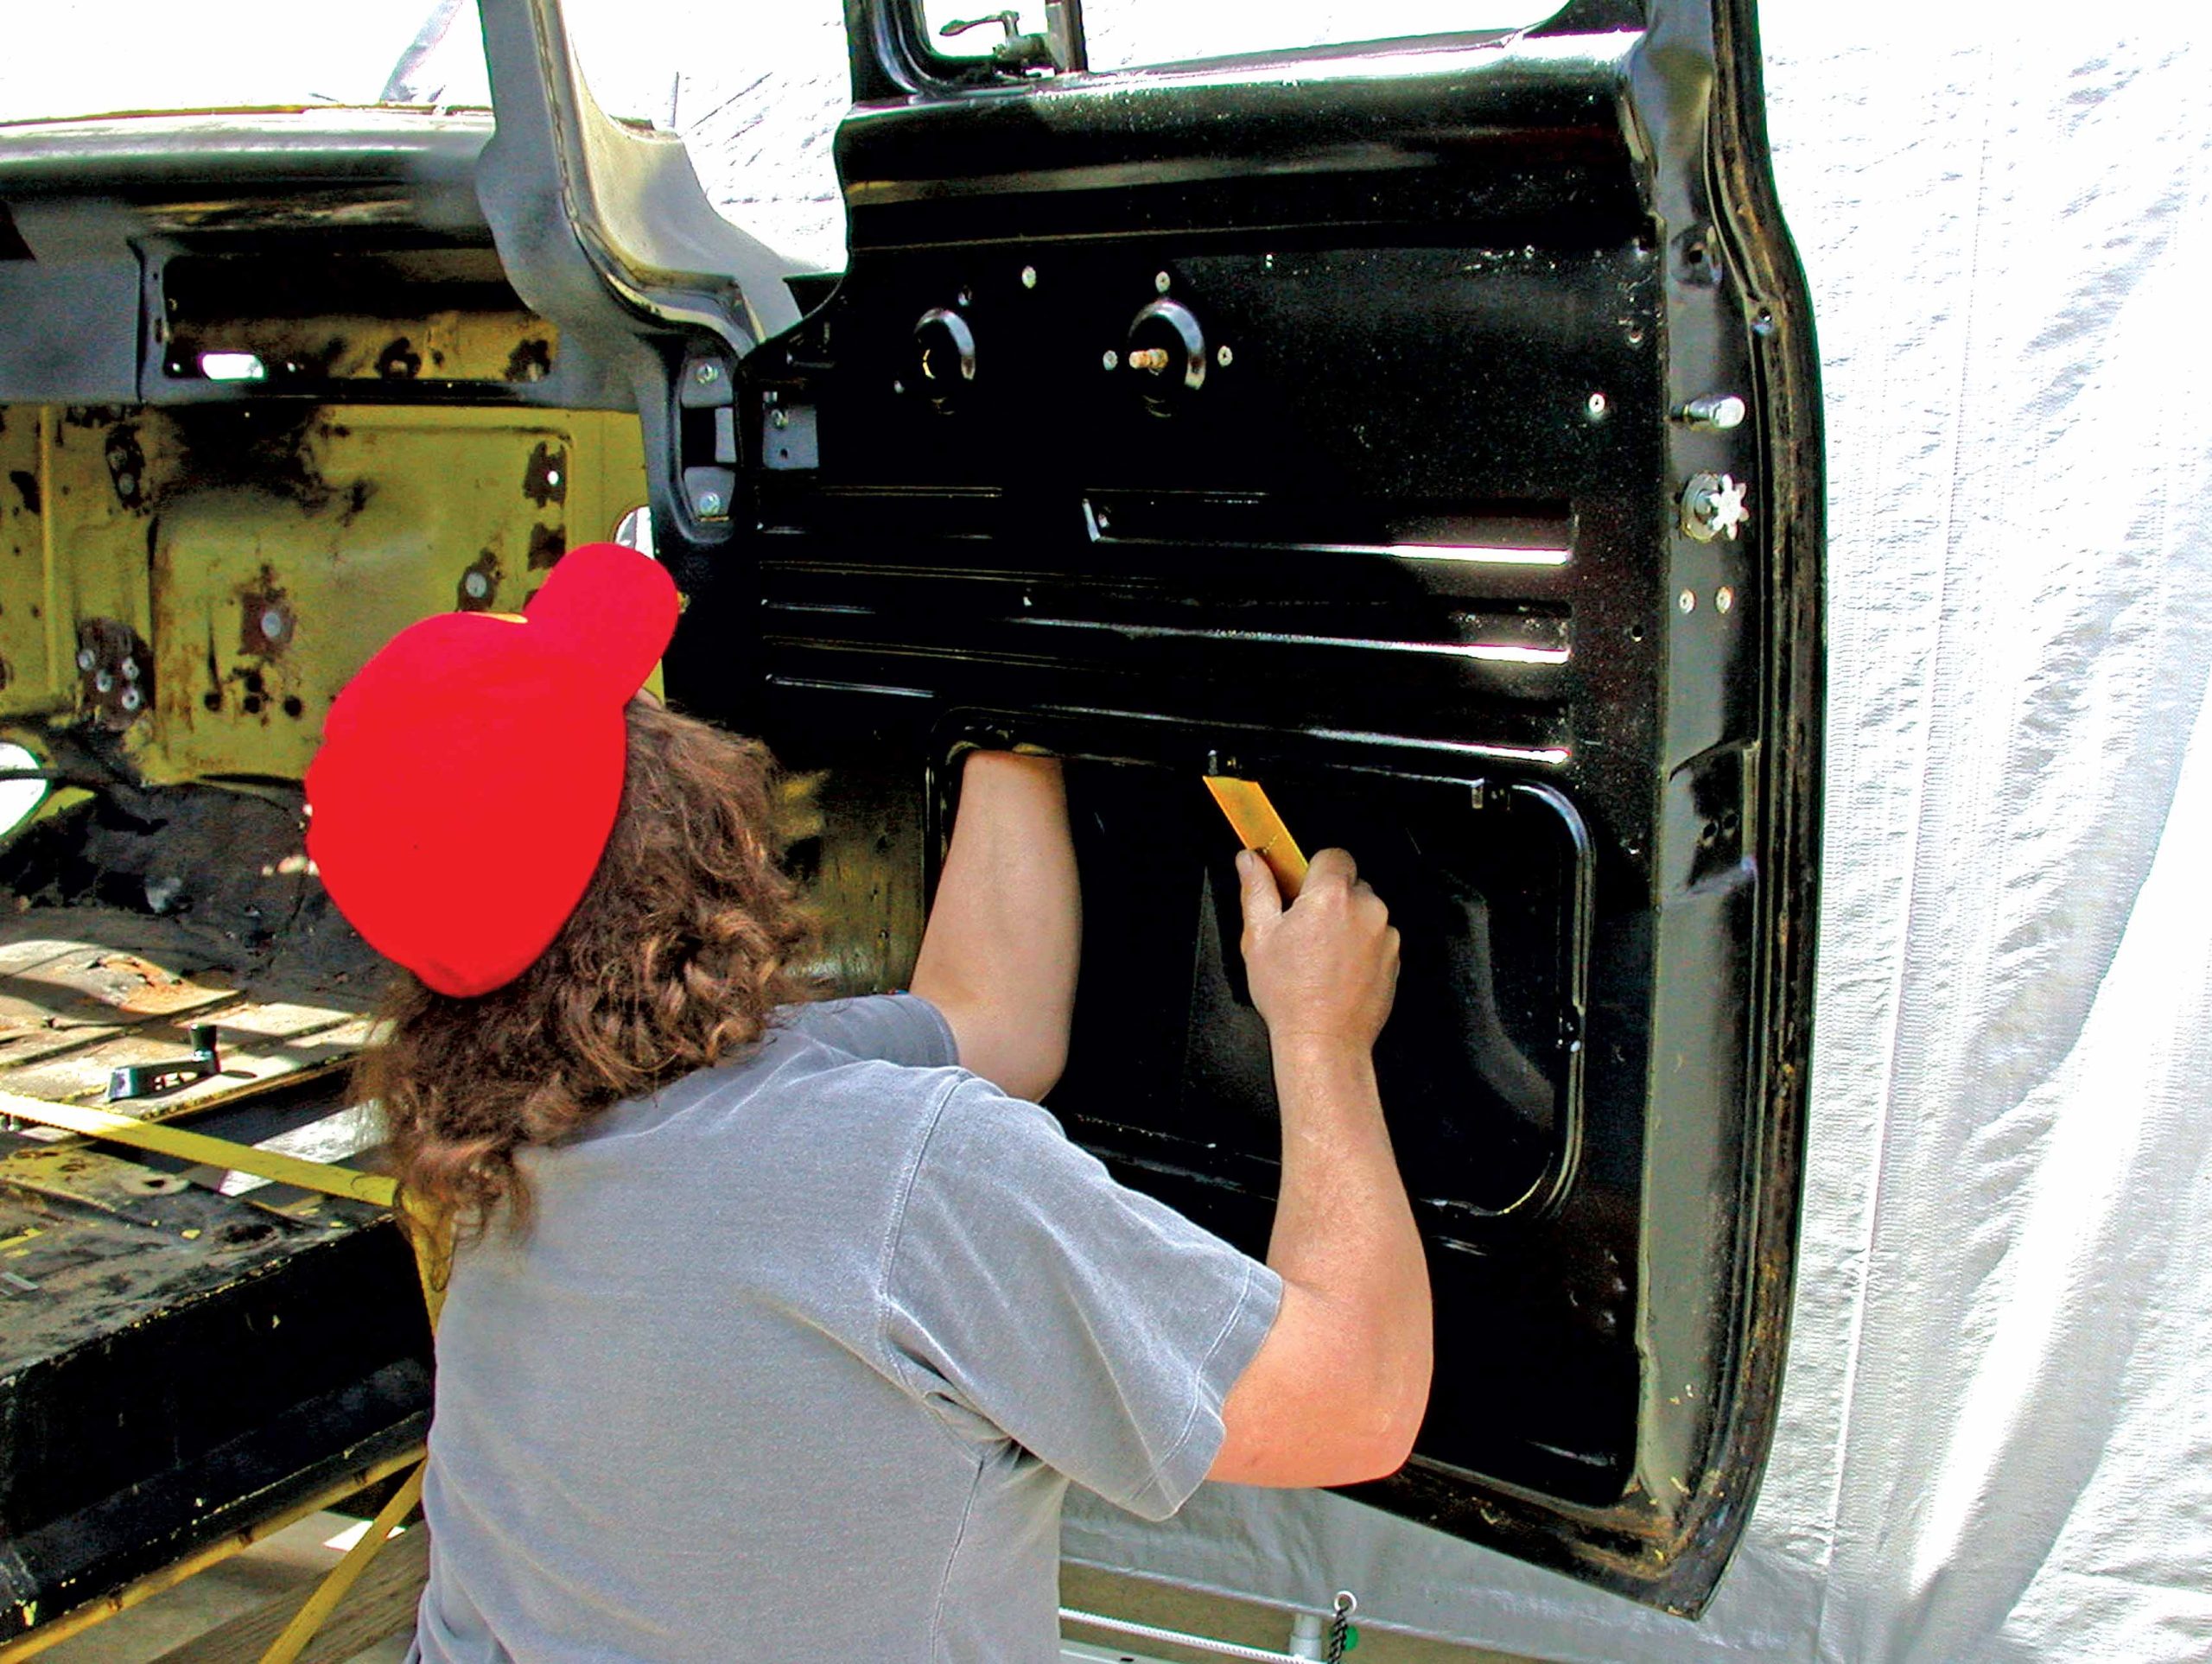
Adding power windows is a popular aftermarket option for classic vehicles these days. Worn-out window regulators have given people problems for years, and as replacement parts have become increasingly more expensive and harder to find, it’s simply easier and often cheaper to replace the old regulators with new electric ones. In the past we had to raid wrecking yards for parts that would adapt into our vehicles, and as expected there were generally a few problems associated with doing this. First, you don’t always know the condition of the parts being used, even though they look good; and second, you would need some background in window geometry to get the job done correctly. Finally, you need a certain level of basic fabrication skill and tools, which would be more than basic hand tools. With today’s technology and the availability of well-engineered aftermarket power window kits this has all changed, as it’s commonplace for most people to go straight to a kit designed for their vehicle.
Author What You Need to Know Before Installing a Gen III Small Block in Your Classic Truck Since the introduction of the Gen III small-block engine in 1997, enthusiasts have been scouring junkyards, local pick-a-parts and aftermarket sources such as Street & Performance and Arizona Speed & Marine in search of the perfect engine package for their older pickups. Not since 1955 has an engine sparked so much interest and captured the imagination of so many builders. The first LS1 showed up in the ’97 Corvette, which immediately became of interest to all manner of hobbyists. GM recognized this and eventually began offering these soon-to-be popular engines in crate form. By then the engines had been available in Camaros and other GM cars, and finally in the truck line as the Vortec. These engines first appeared in the ’99-and-newer trucks, and now that they are readily available and reasonably inexpensive, they are very popular for early truck swaps. Originally based off the LS1, the Vortec engines were cast iron blocks with aluminum heads and could be found in the Silverado, Sierra, Yukon and Tahoe, with the most powerful being the LQ9, which is now in the Escalade with 345 hp and 390 lb-ft of torque. While more expensive than their 4.8- or 5.3-liter counterparts, they offer increased horsepower and torque. To find out more we called a local salvage yard and learned that we could pick up a 50,000-mile, 5.3-liter Vortec and 4L60E transmission for about $1,900-$2,000. Of course, pricing will have more to do with your own location and demand, and engine mileage is usually factored in. While this example is not going to come with everything you need to complete a swap, neither will the purchase of a new crate engine. These engines do not include the fuel tank and system, the cooling components or the computer, but all this can quickly be purchased with little problem, and much of it would require some modification. If you are looking for the more powerful LQ9, expect to spend upward of $3,000-$4,000 for a good low-mileage example. Finally, the LS1 and LS6 can also be found used in the $4,000-$5,000 range, complete with transmission. If you plan on attempting to produce serious power, purchasing the LS1 or LS6 is the most popular option, as tuning and bolting performance parts on the Vortec can become expensive. If you do not feel particularly comfortable with purchasing an engine from the salvage yard, companies such as Street & Performance, Arizona Speed & Marine and GM Performance Parts dealers offer a full line of LS engines, as well as polished parts and full warranties. Depending upon what year of truck you plan to install your new engine in, the vintage can make a real difference, as there’s more to installing an LS-series or Vortec engine into a truck than simply bolting it in and hooking up a fuel line. A wiring harness, fuel return lines and a gas tank that will accommodate the high-pressure fuel system are essential. Even the cooling system and the driveshaft are major considerations. So let’s look at choosing the right engine for your application. Depending on what look you are striving for with the build, how you use your truck will play a major role in the decision of what engine to purchase. If you plan on simply updating a late ’80s pickup, or even an early ’90s for that matter, a simple 4.8- or 5.3-liter engine will work and will be much simpler than starting with, say, a late ’50s or mid-’60s truck that was originally carbureted. If you are looking for serious power output, an LS1 or LS6 makes the best choice. They also come with a warranty, and there’s nothing better with a high-performance engine. When beginning your search for a Gen III, there are a few things that might prove helpful, as everyone wants either a new engine or one with the lowest mileage possible. Consider that every engine after 2003 uses drive-by-wire, which is an electronic throttle. So while throttle cables have been in use since the engine was first introduced, GM implemented a sensor and pedal locator to apply fuel load information to the engine controller. A single sensor and electric wire operates the throttle from beneath the pedal. There’s nothing wrong with the drive-by-wire system; you just need to get all the components from the junkyard to complete the install, including the pedal and the sensor. Mark Campbell of Street & Performance informed us that the drive-by-wire works great once installed. While many choose to swap the drive-by-wire to a throttle cable, it offers crisp throttle response and a clean installation with no cable needed to run through the firewall. If you do land a cable-driven engine, Lokar Performance Products offers a stainless steel braided throttle cable and oil dipstick for these engines that helps dress them up compared to the drab OE hardware. Once you have selected an engine and transmission and have all the necessary components it is time to begin the installation. There are a lot of options for mounting these engine packages in your pickup chassis, and what you use determines if the truck is to be a daily driver or a showstopper. GM has managed to keep its front framerails and the front crossmembers nearly unchanged since the early ’60s, with the exception of various motor-mount styles. Early Classic Enterprises offers a direct bolt-in for the Vortec crowd, which includes everything needed to set the engine into place in a ’60-’72 Chevy (and GMC) pickup. After speaking with the guys at Early Classic, we learned that you can simply relocate your stock transmission mount for the 4L60E on the ’60-’72 Chevy pickup, since the new trans uses the traditional 350, 400 and 700R4 trans mounts. If you are installing the engine into the newer genre of trucks, Street & Performance offers motor-mount adapter plates that bolt to the engine and allow the use of the
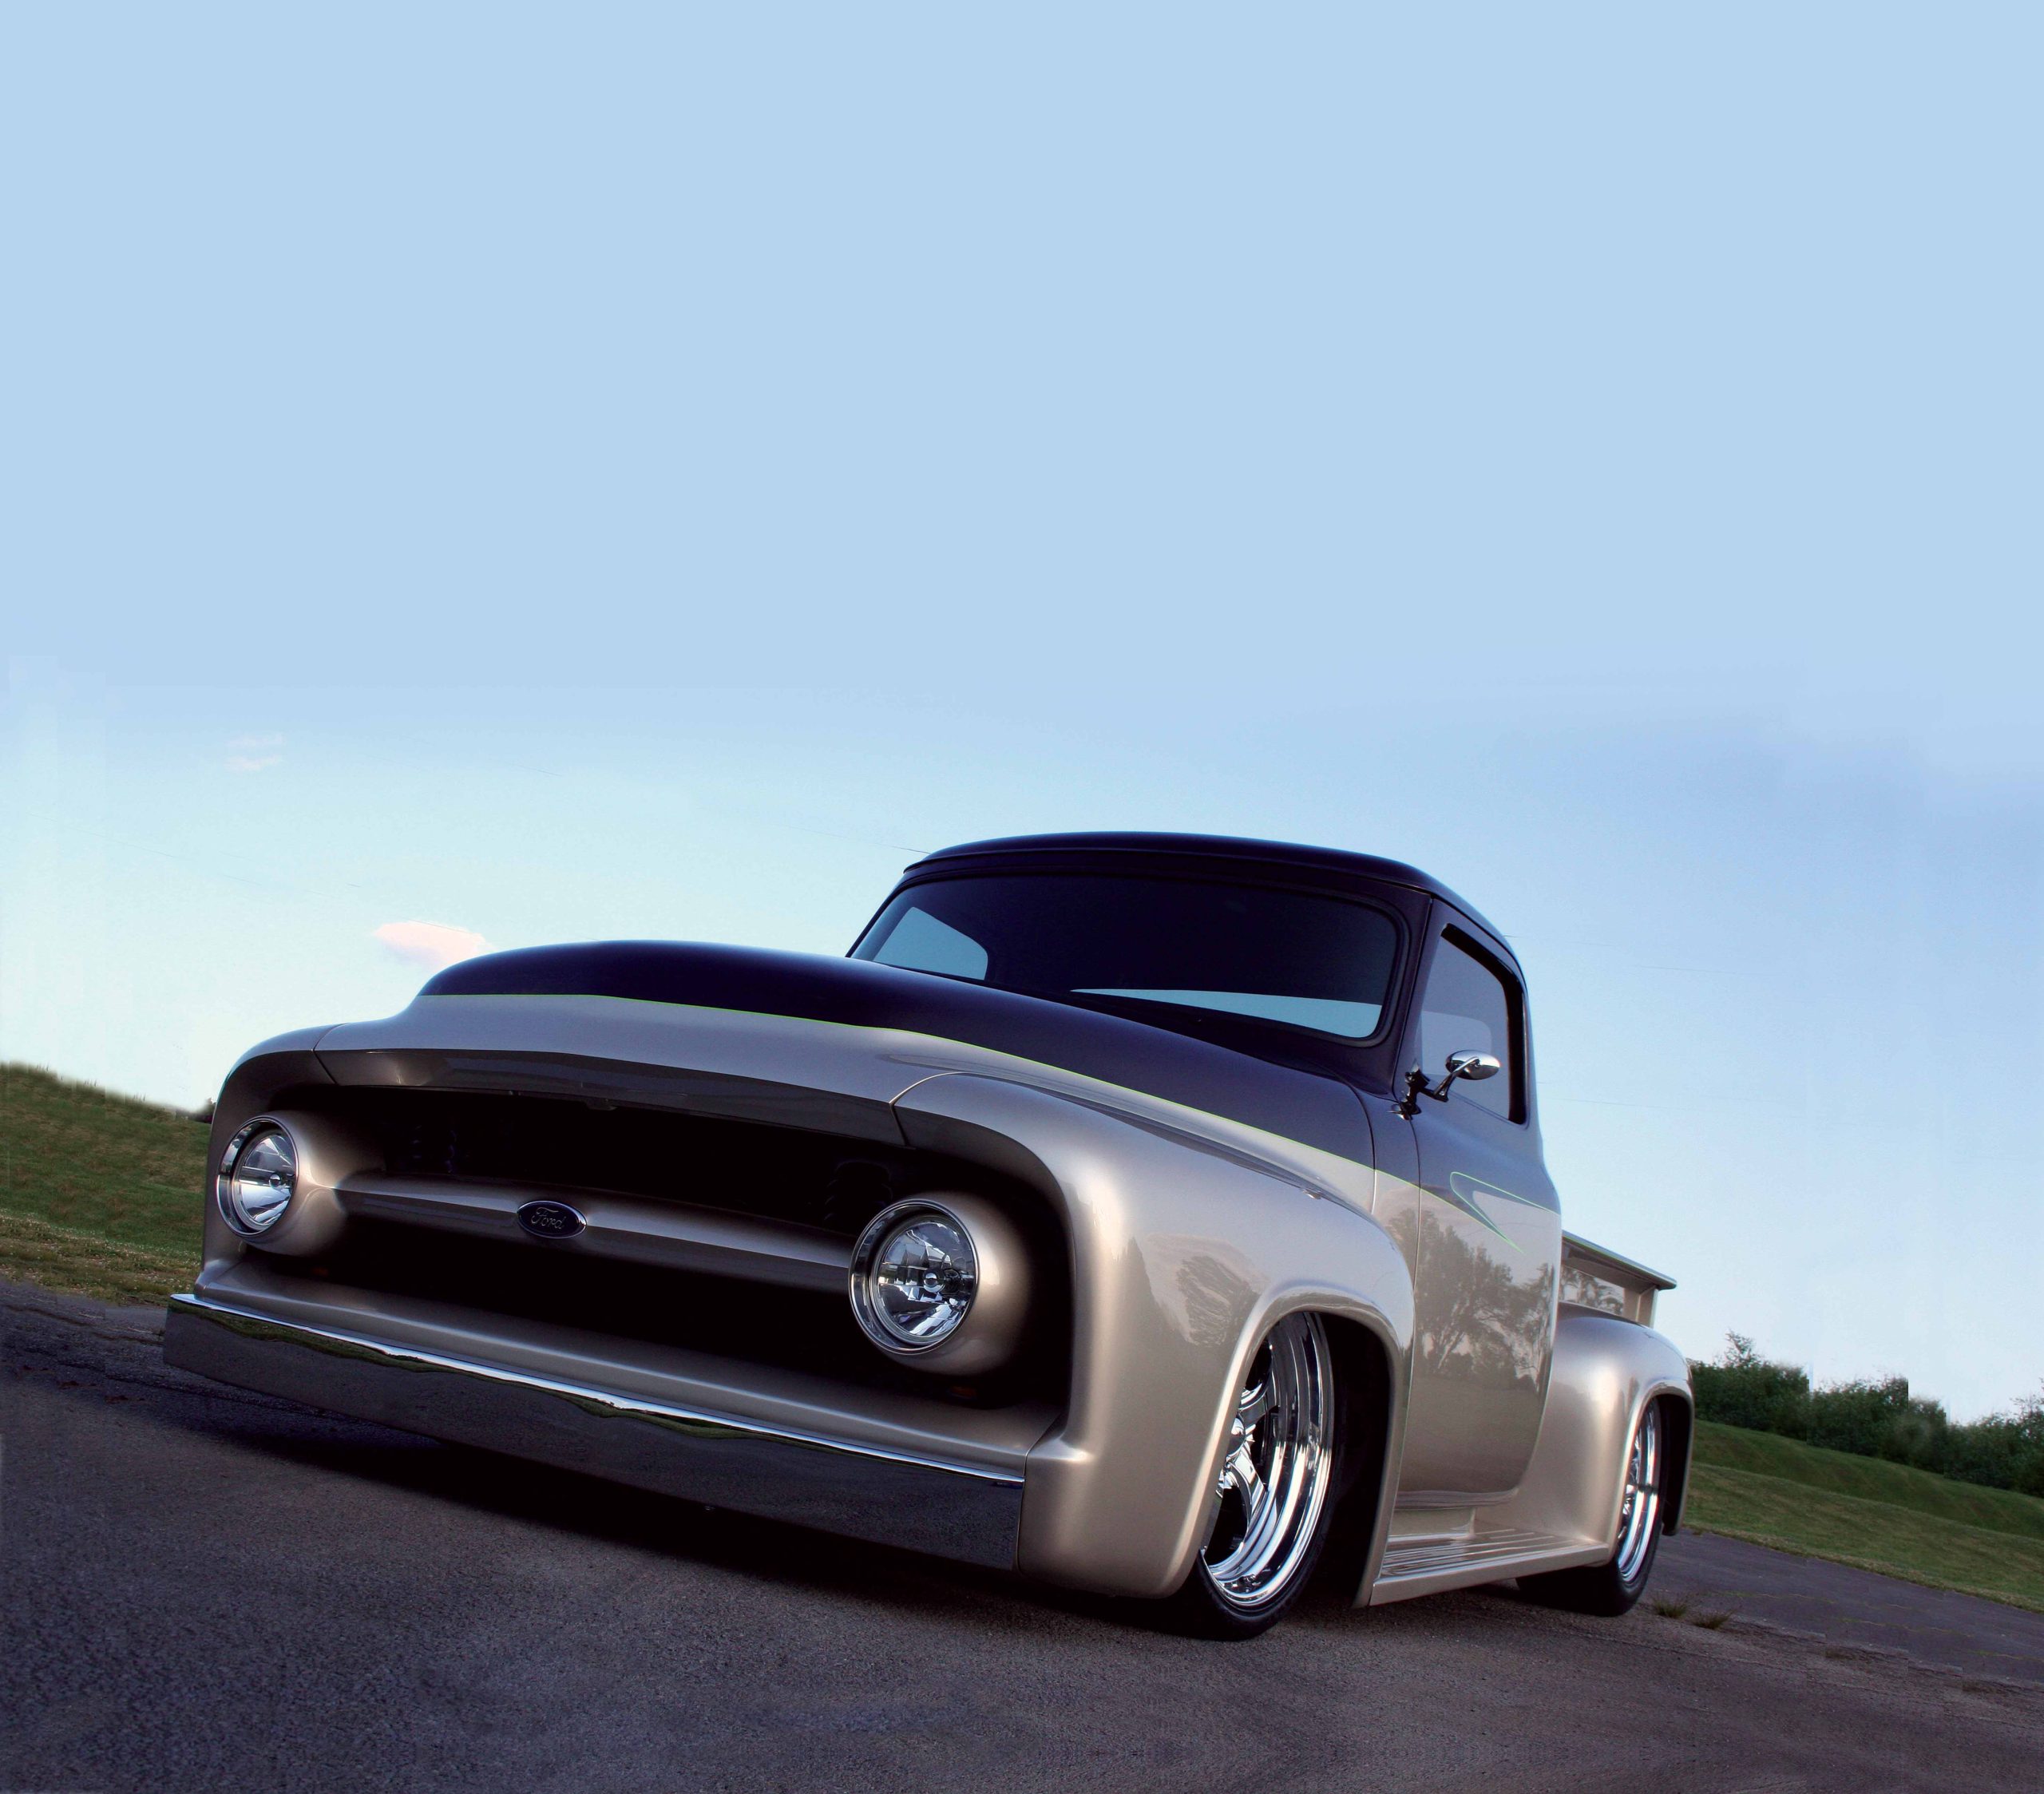
Join Jeff Schwierman in his quest for the prestigious F-100 Truck of the Year award as he breathes new life into a ’53 Ford F-100. From the ground-up build on a Fat Man Fabrications chassis to the powerful Ford Racing 351W engine, every detail of this custom pickup is crafted to perfection. Follow along as Schwierman and his team reshape the classic truck into a true showstopper, setting new standards for classic Ford truck enthusiasts.
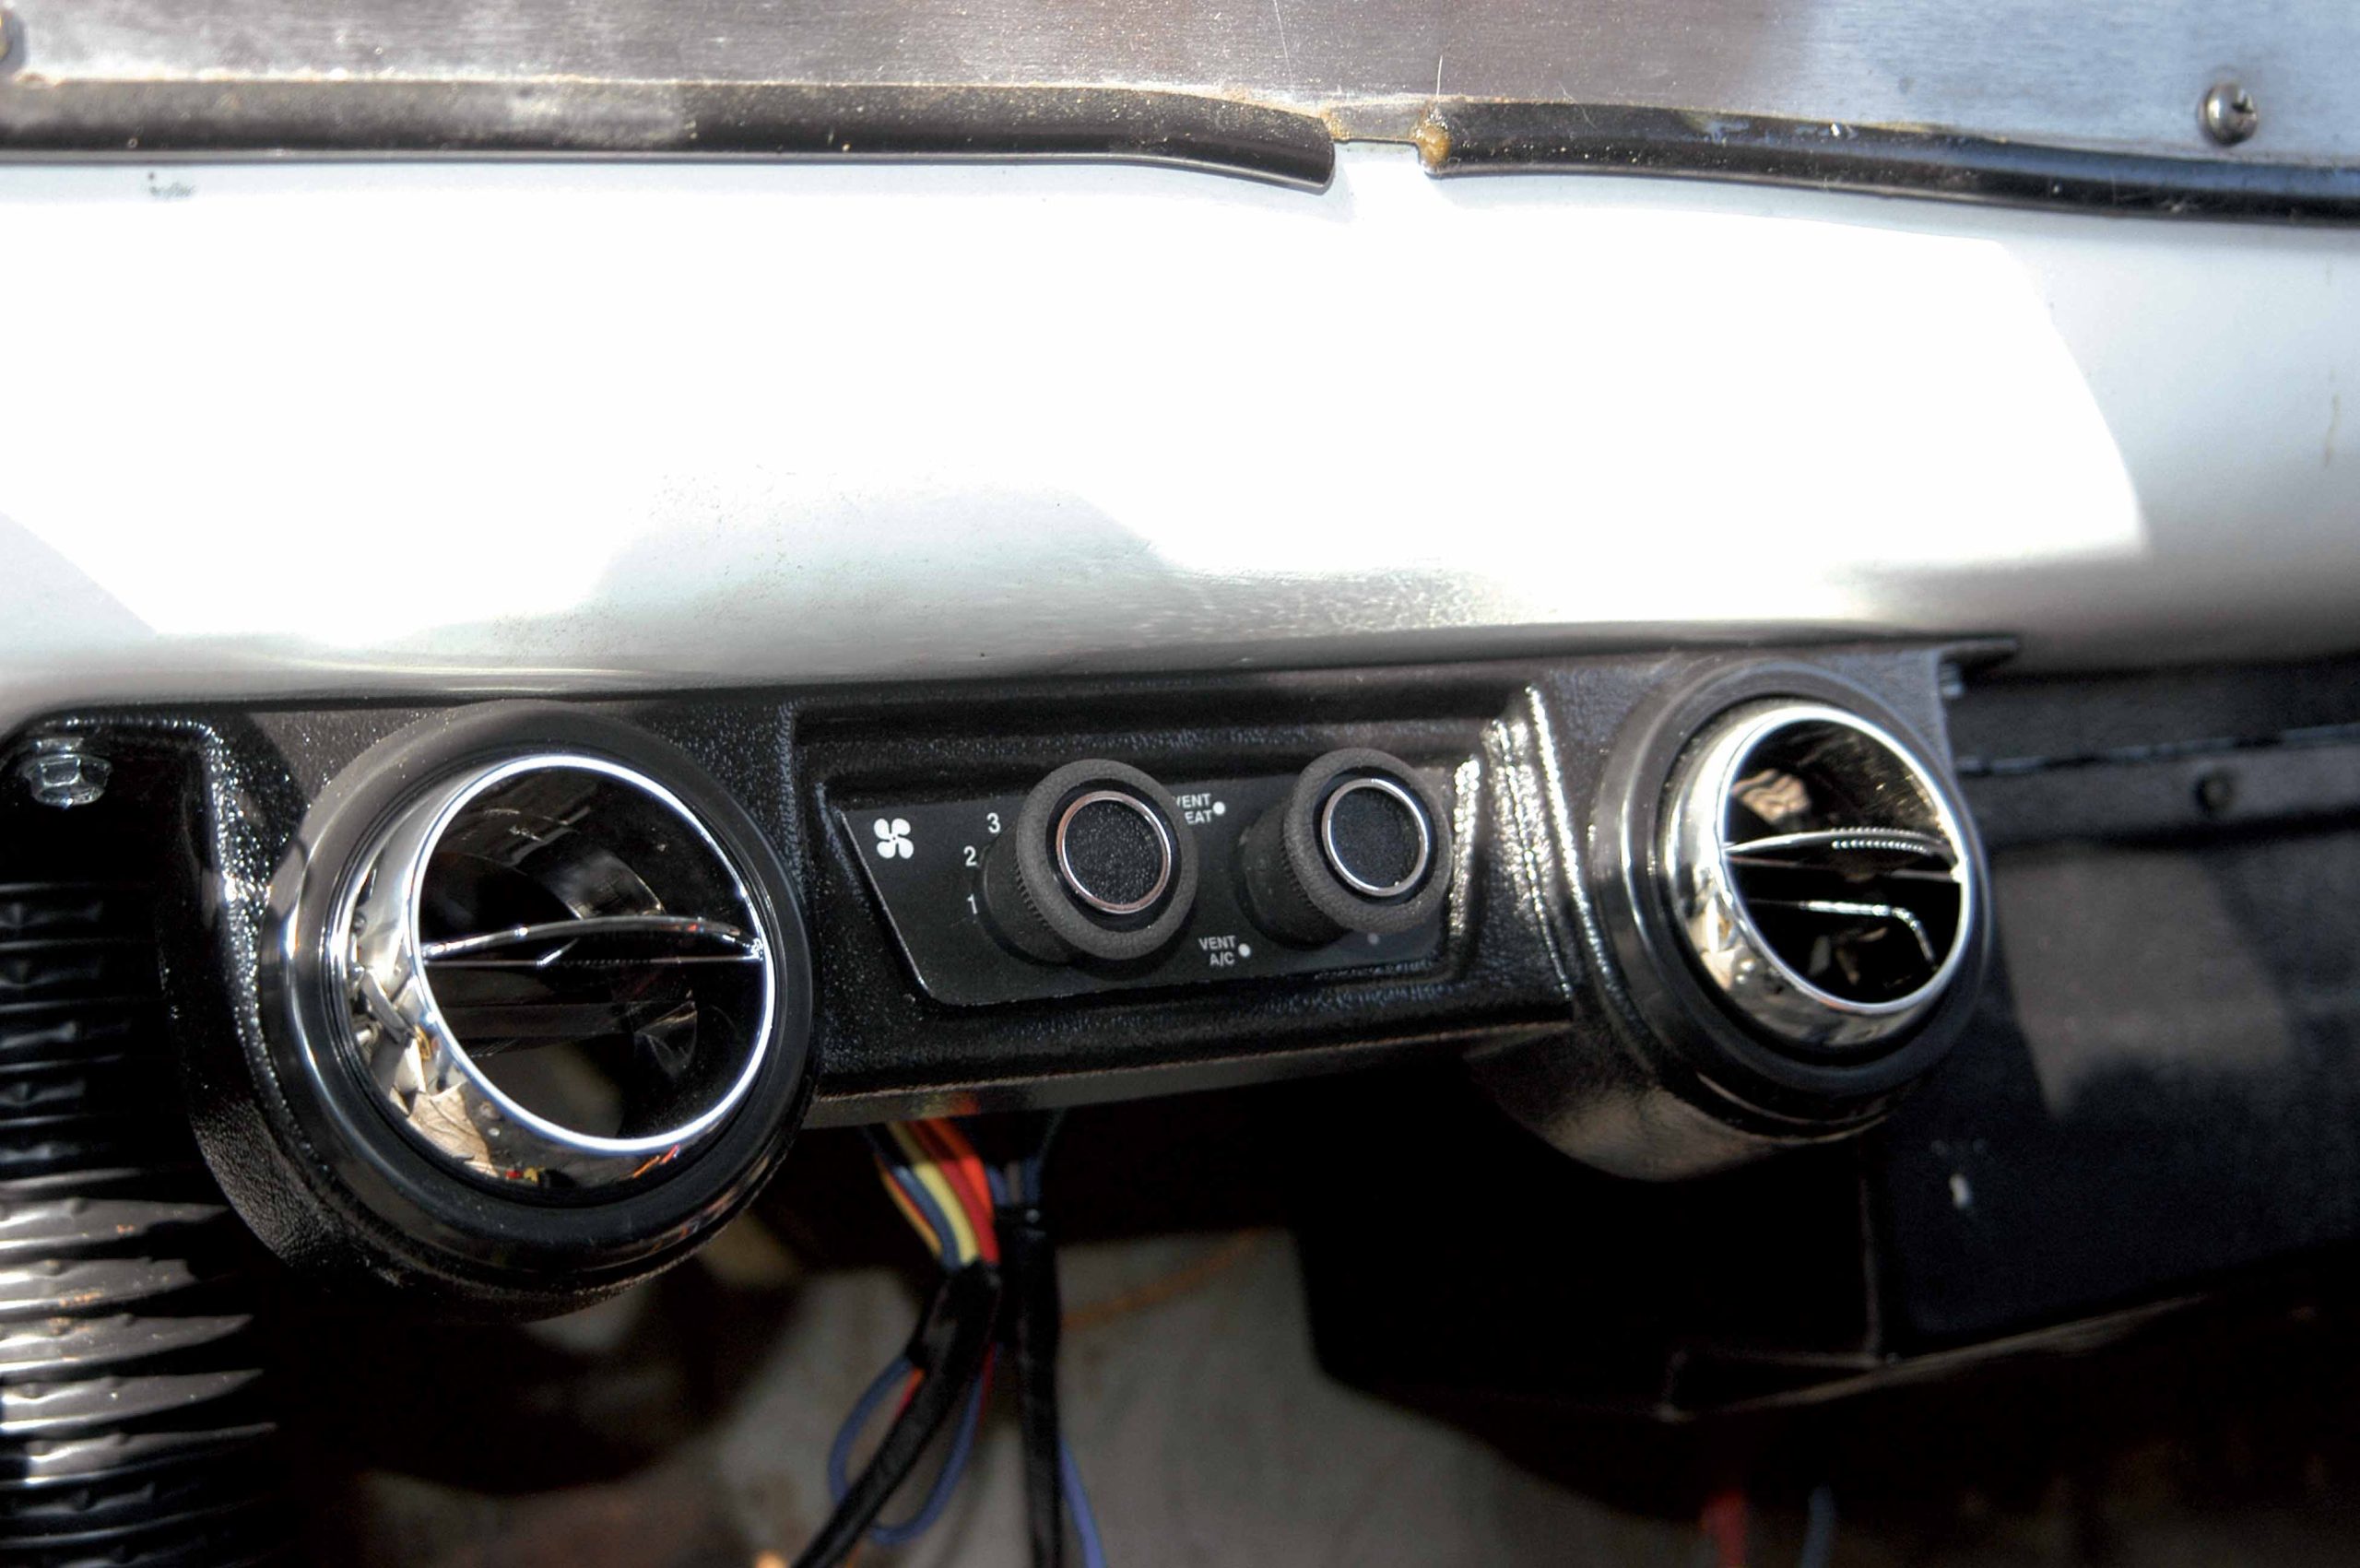
Witness the transformation of a ’55 Chevy panel truck as it embraces modern comfort with the installation of a Hot Rod Air climate-control system. Designed for convenience, this aftermarket system seamlessly integrates power steering, power brakes, and air conditioning, ensuring a comfortable and enjoyable driving experience. Follow the step-by-step installation process, emphasizing the easy-to-follow instructions and plug-in connections. Discover the potential for personalization with chrome-plated upgrades, billet mounts, and other enhancements offered by Hot Rod Air, allowing enthusiasts to customize their street rods according to their preferences.
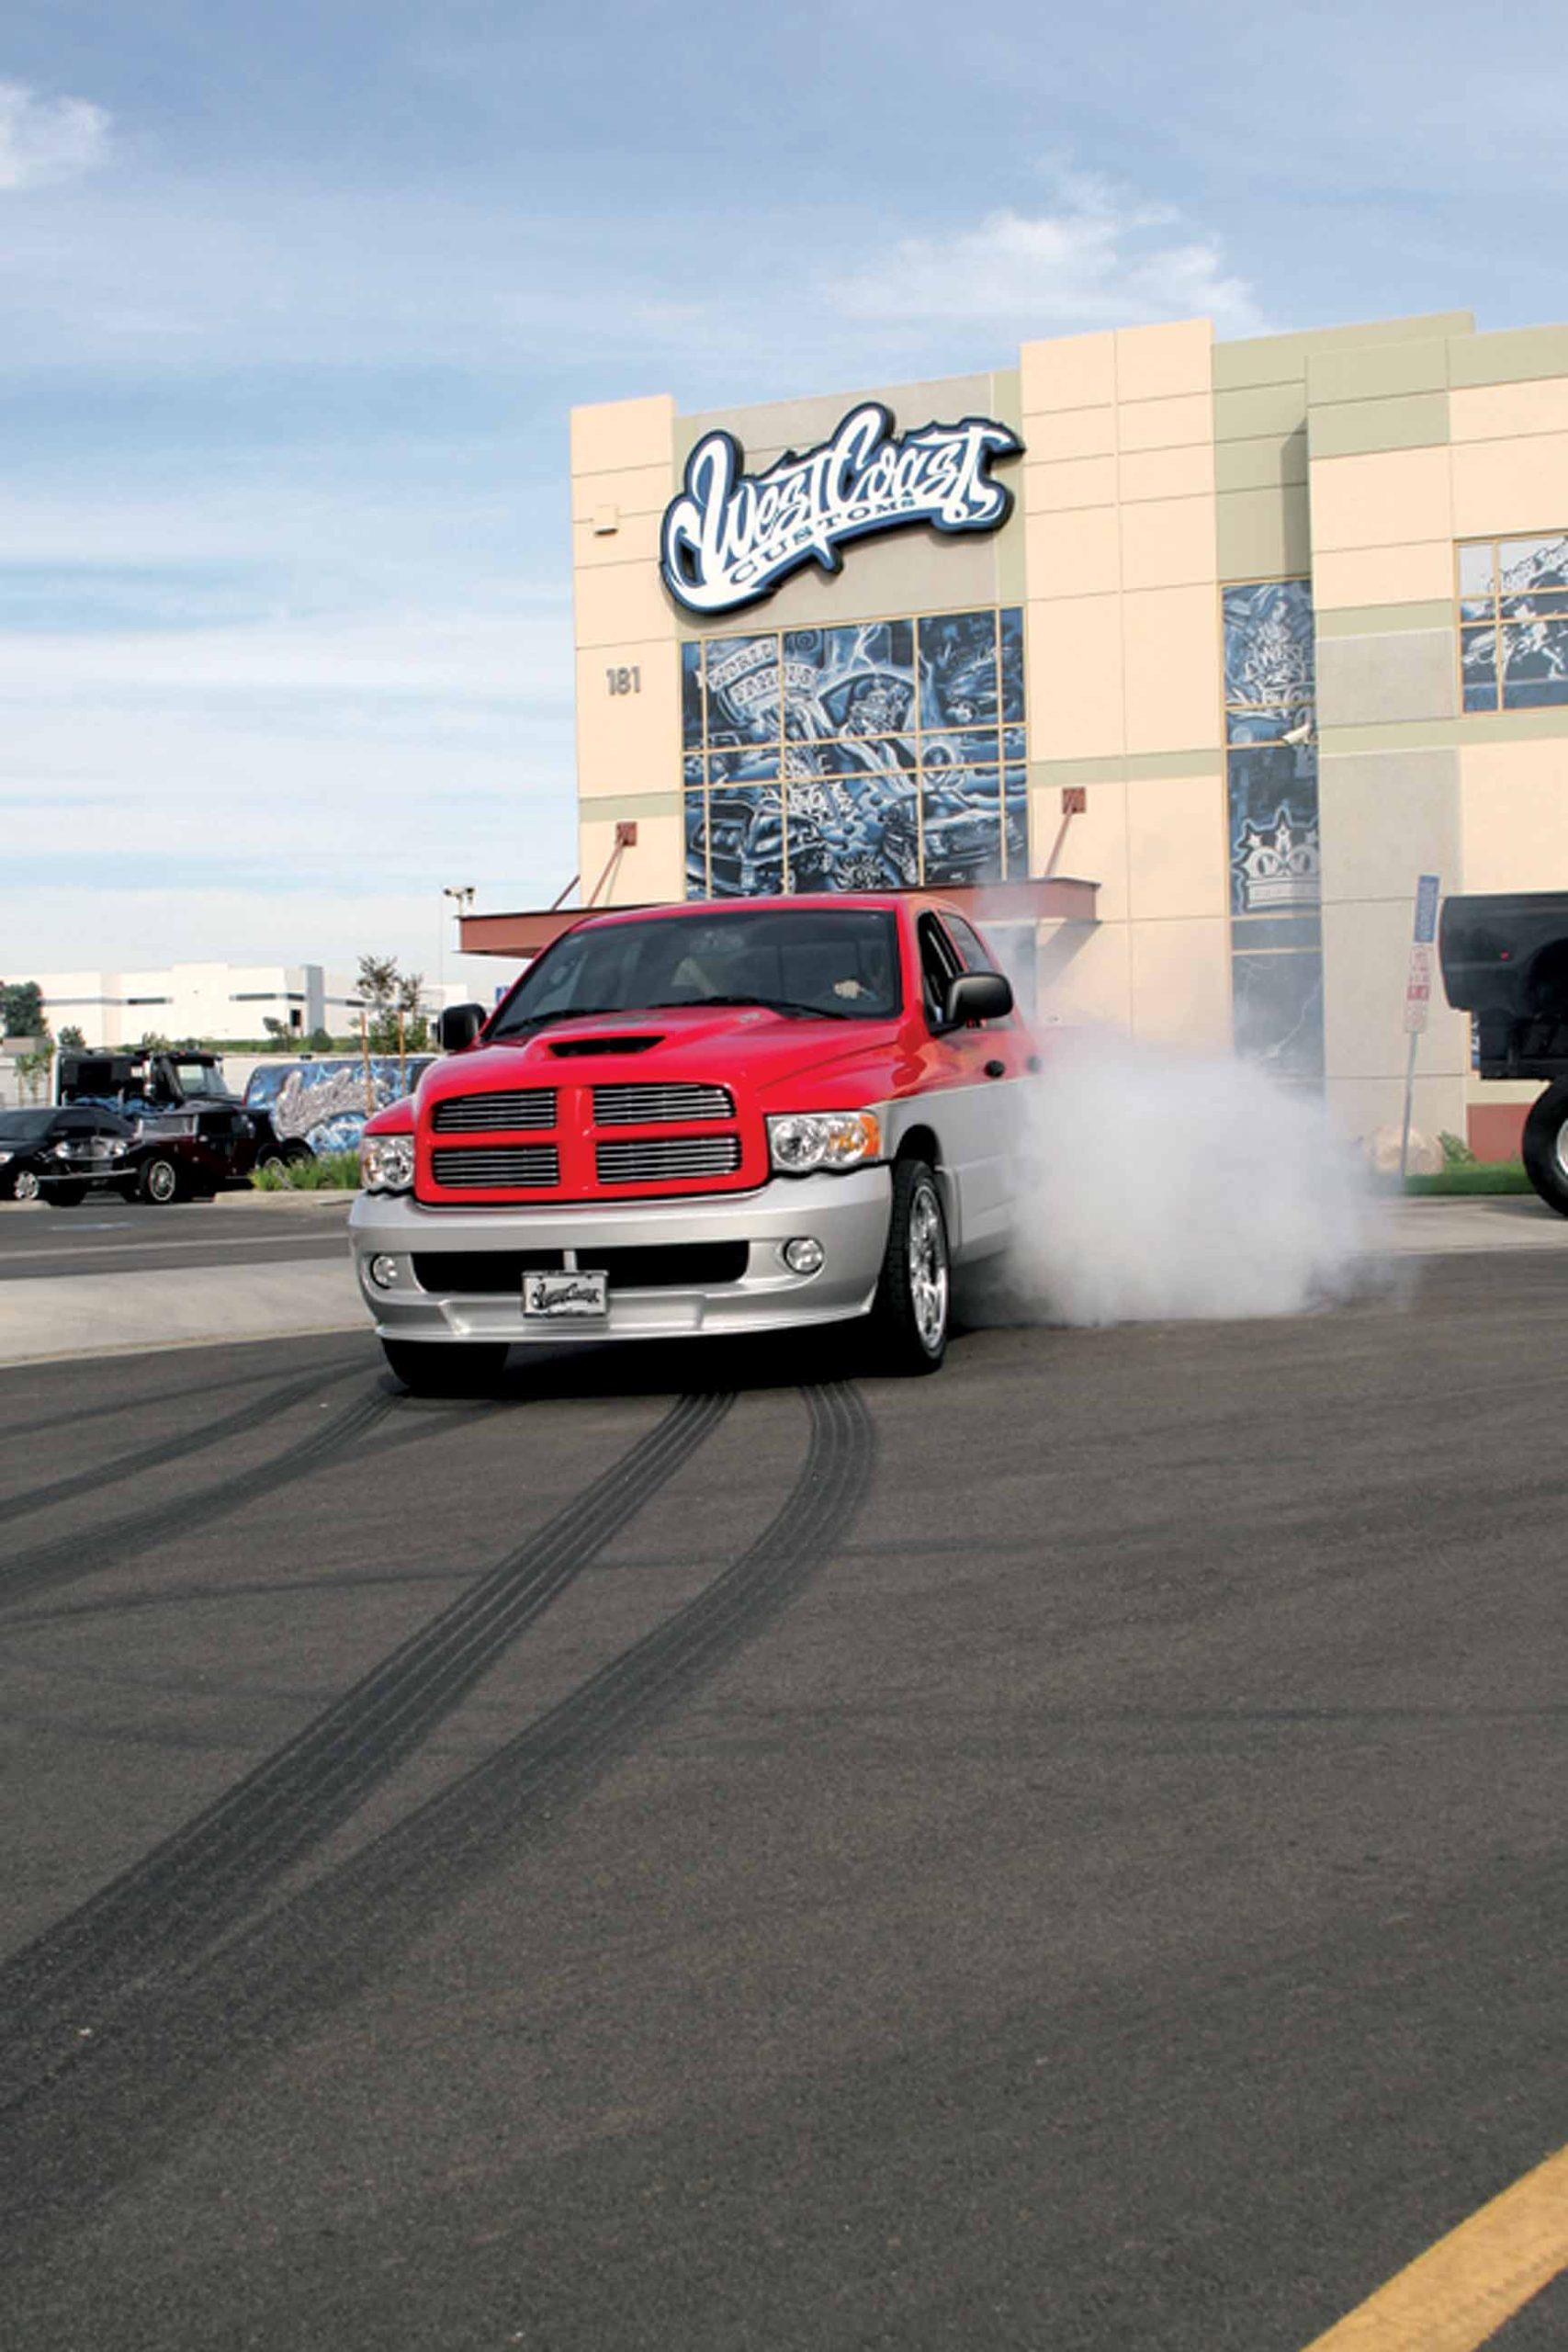
Discover how Tim McKenna enhances his Dodge Ram SRT-10 with upgrades ranging from a powerful sound system to customizations by West Coast Customs. With its Viper V-10 engine and distinctive appearance, McKenna’s truck stands out as a unique and formidable powerhouse on the road, showcasing the perfect blend of performance and style.
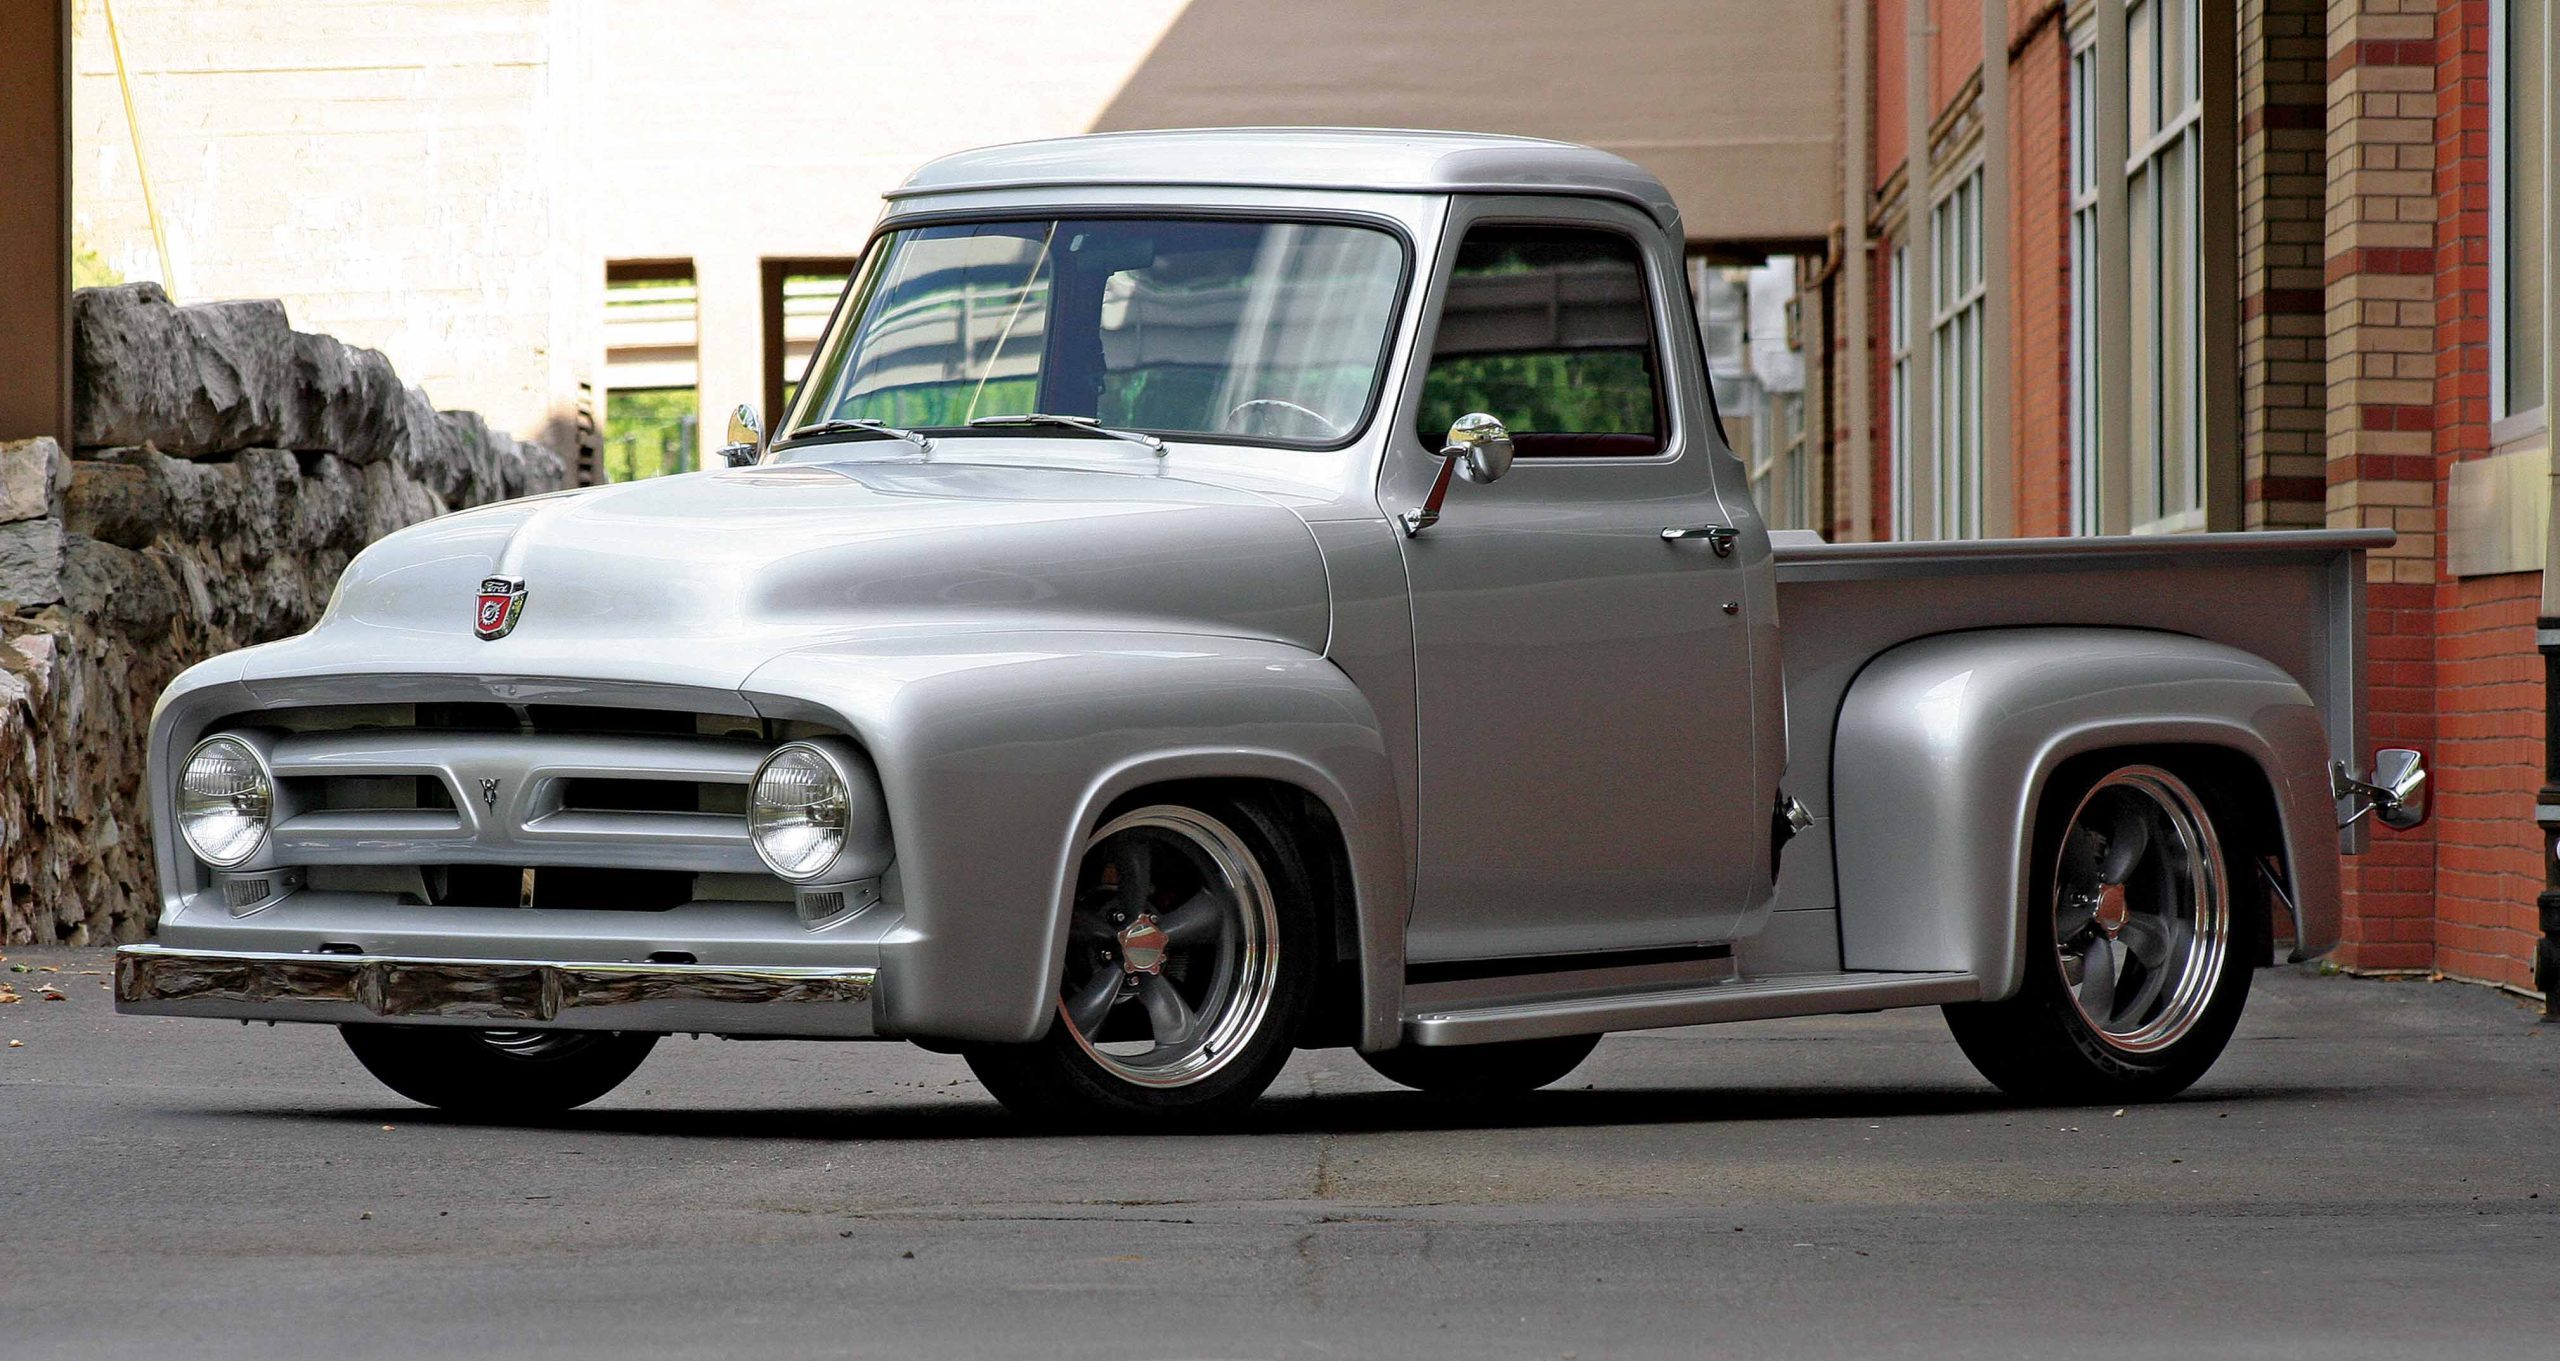
Longtime classic truck enthusiast Mark Coleman has built countless classic cars and trucks over the years, including a trio of early Mustangs, a ’56 F-100 Ford panel truck and a ’55 Ford SuperCab, which have graced these very pages. When it came time to build another truck, Coleman took a long, hard look in his own backyard and decided that his old ’53 F-100 would be the prime candidate.
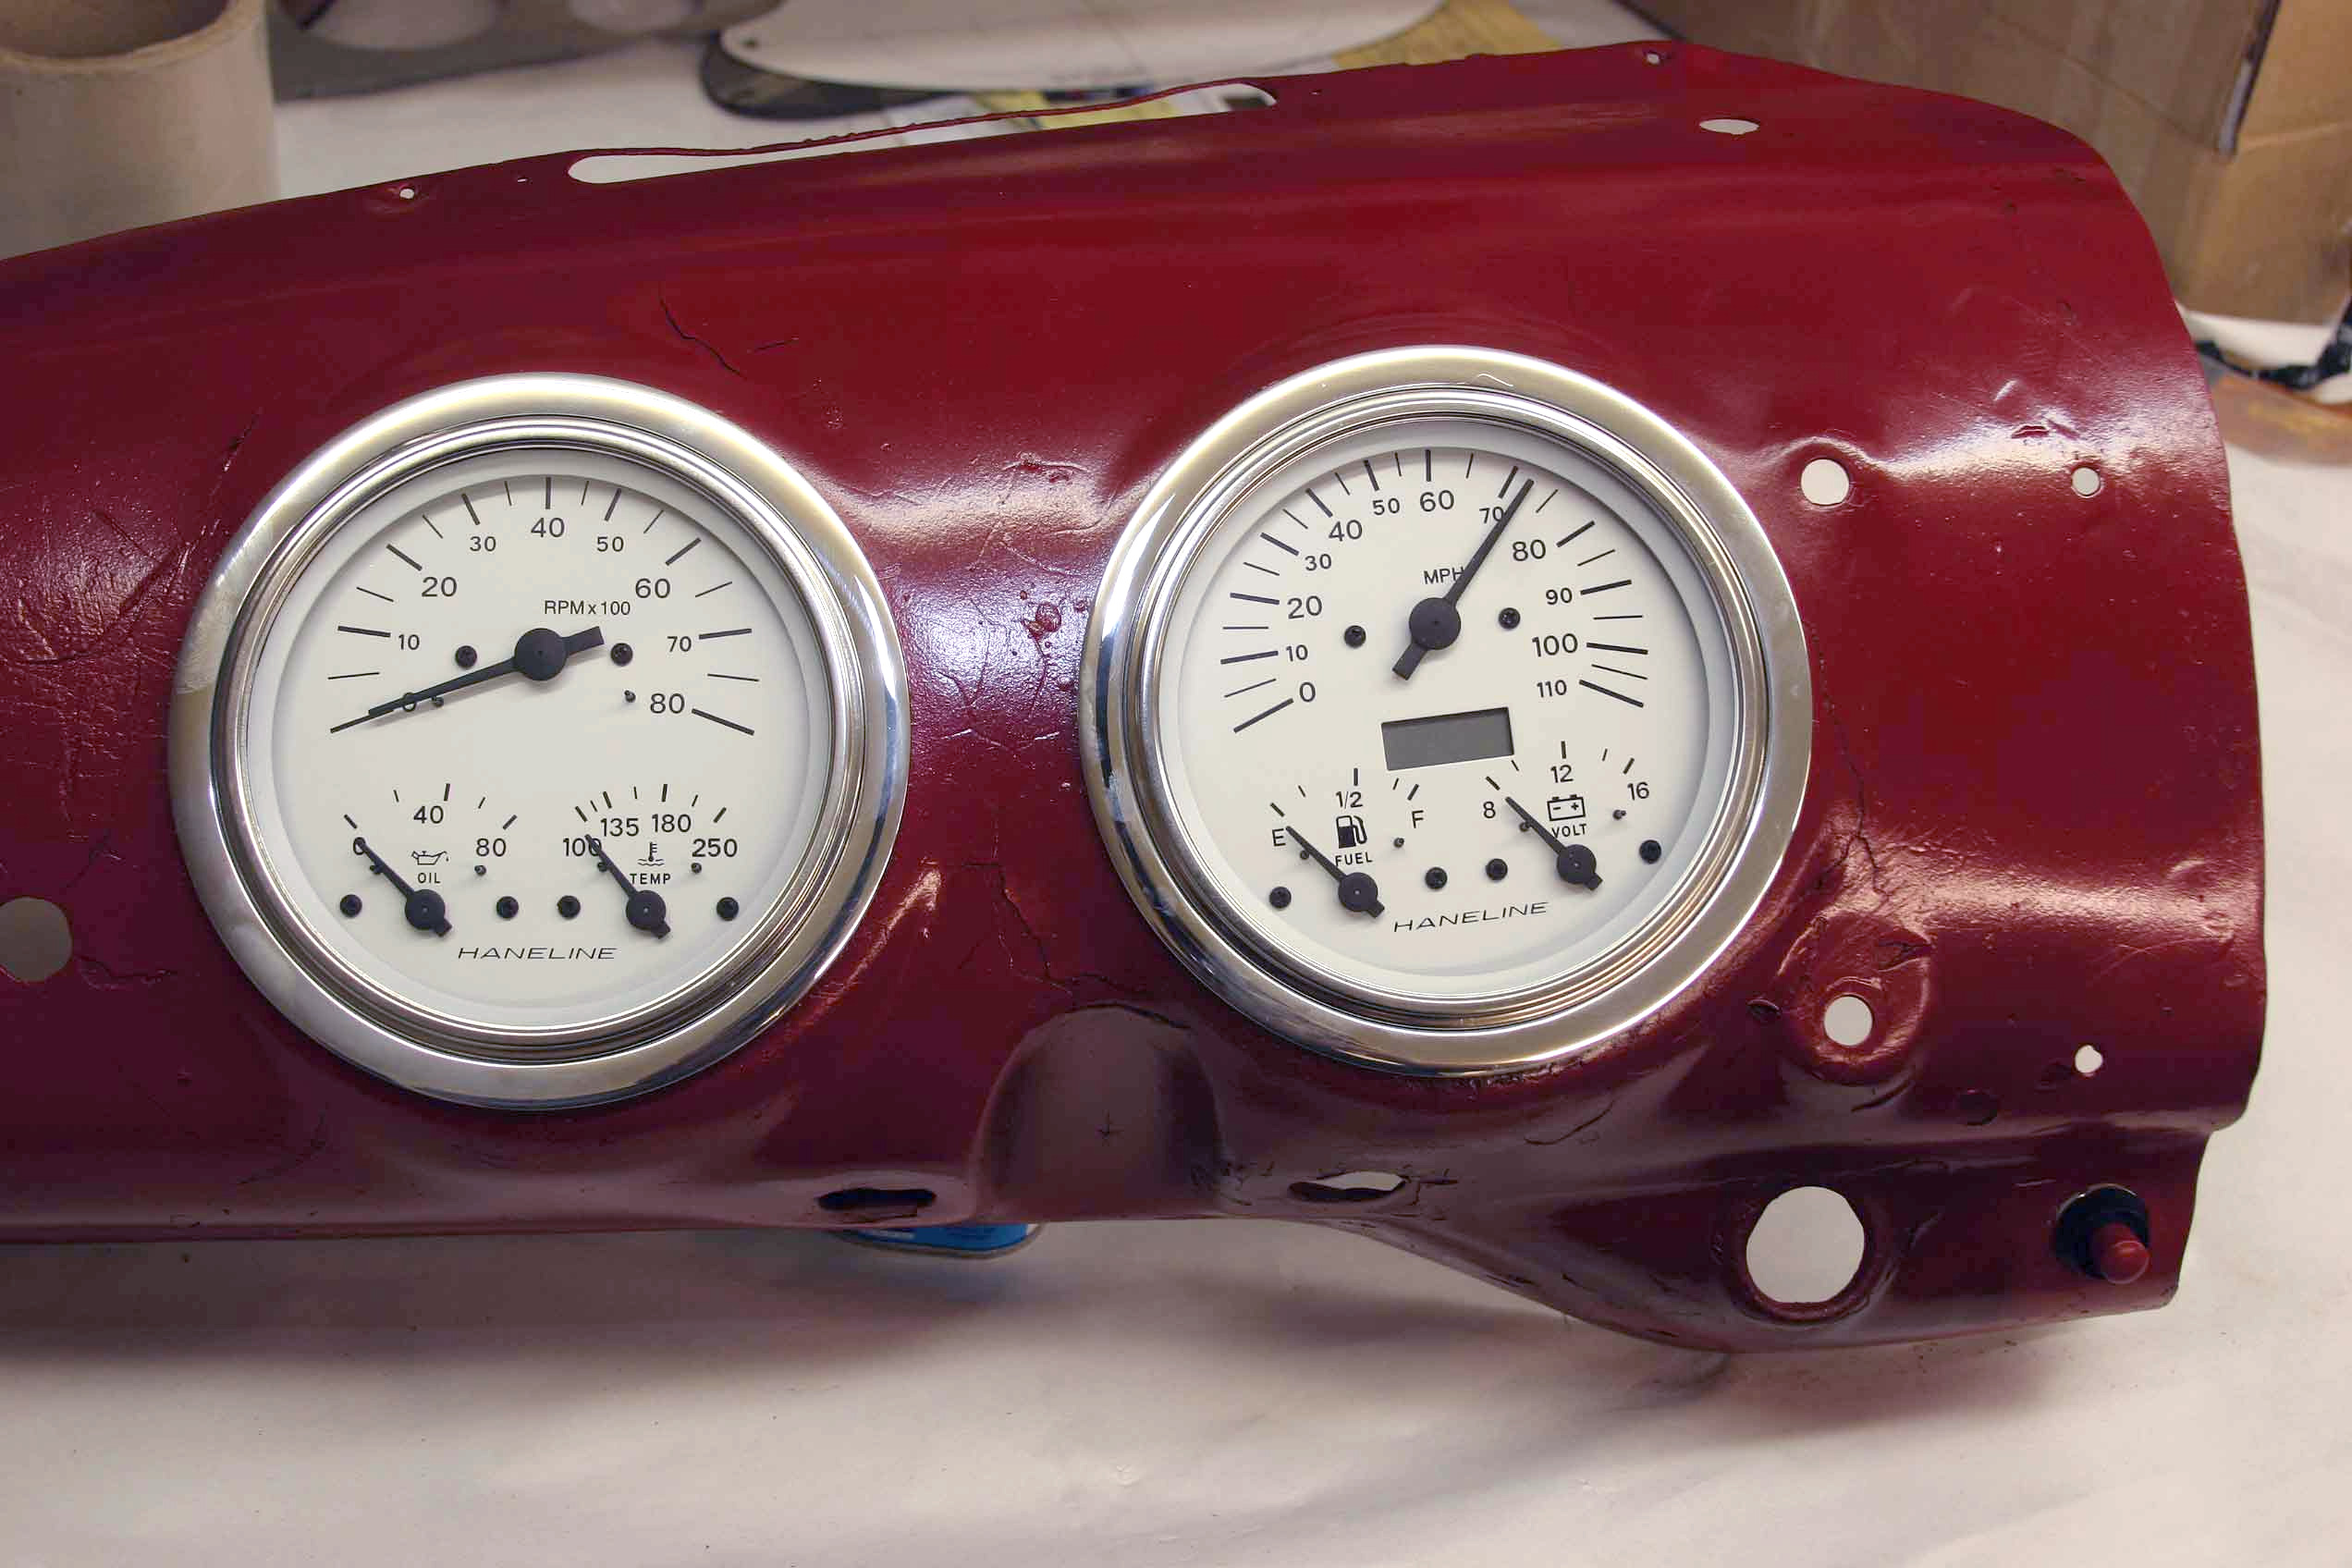
Say you drive an older pickup in which the original designers weren’t all that interested in engine management. Thanks to the addition of that high-horsepower engine, however, you are very interested in what it is up to. But you are also interested in keeping the dash area clean and don’t want to put a bunch of holes into it. You also don’t really want to have an old-style gauge panel hanging beneath the dash. What to do? For those who drive a 1947-’53 Chevrolet pickup truck, the ideal way to handle this problem is to install Haneline’s 3-in-1 gauge clusters.
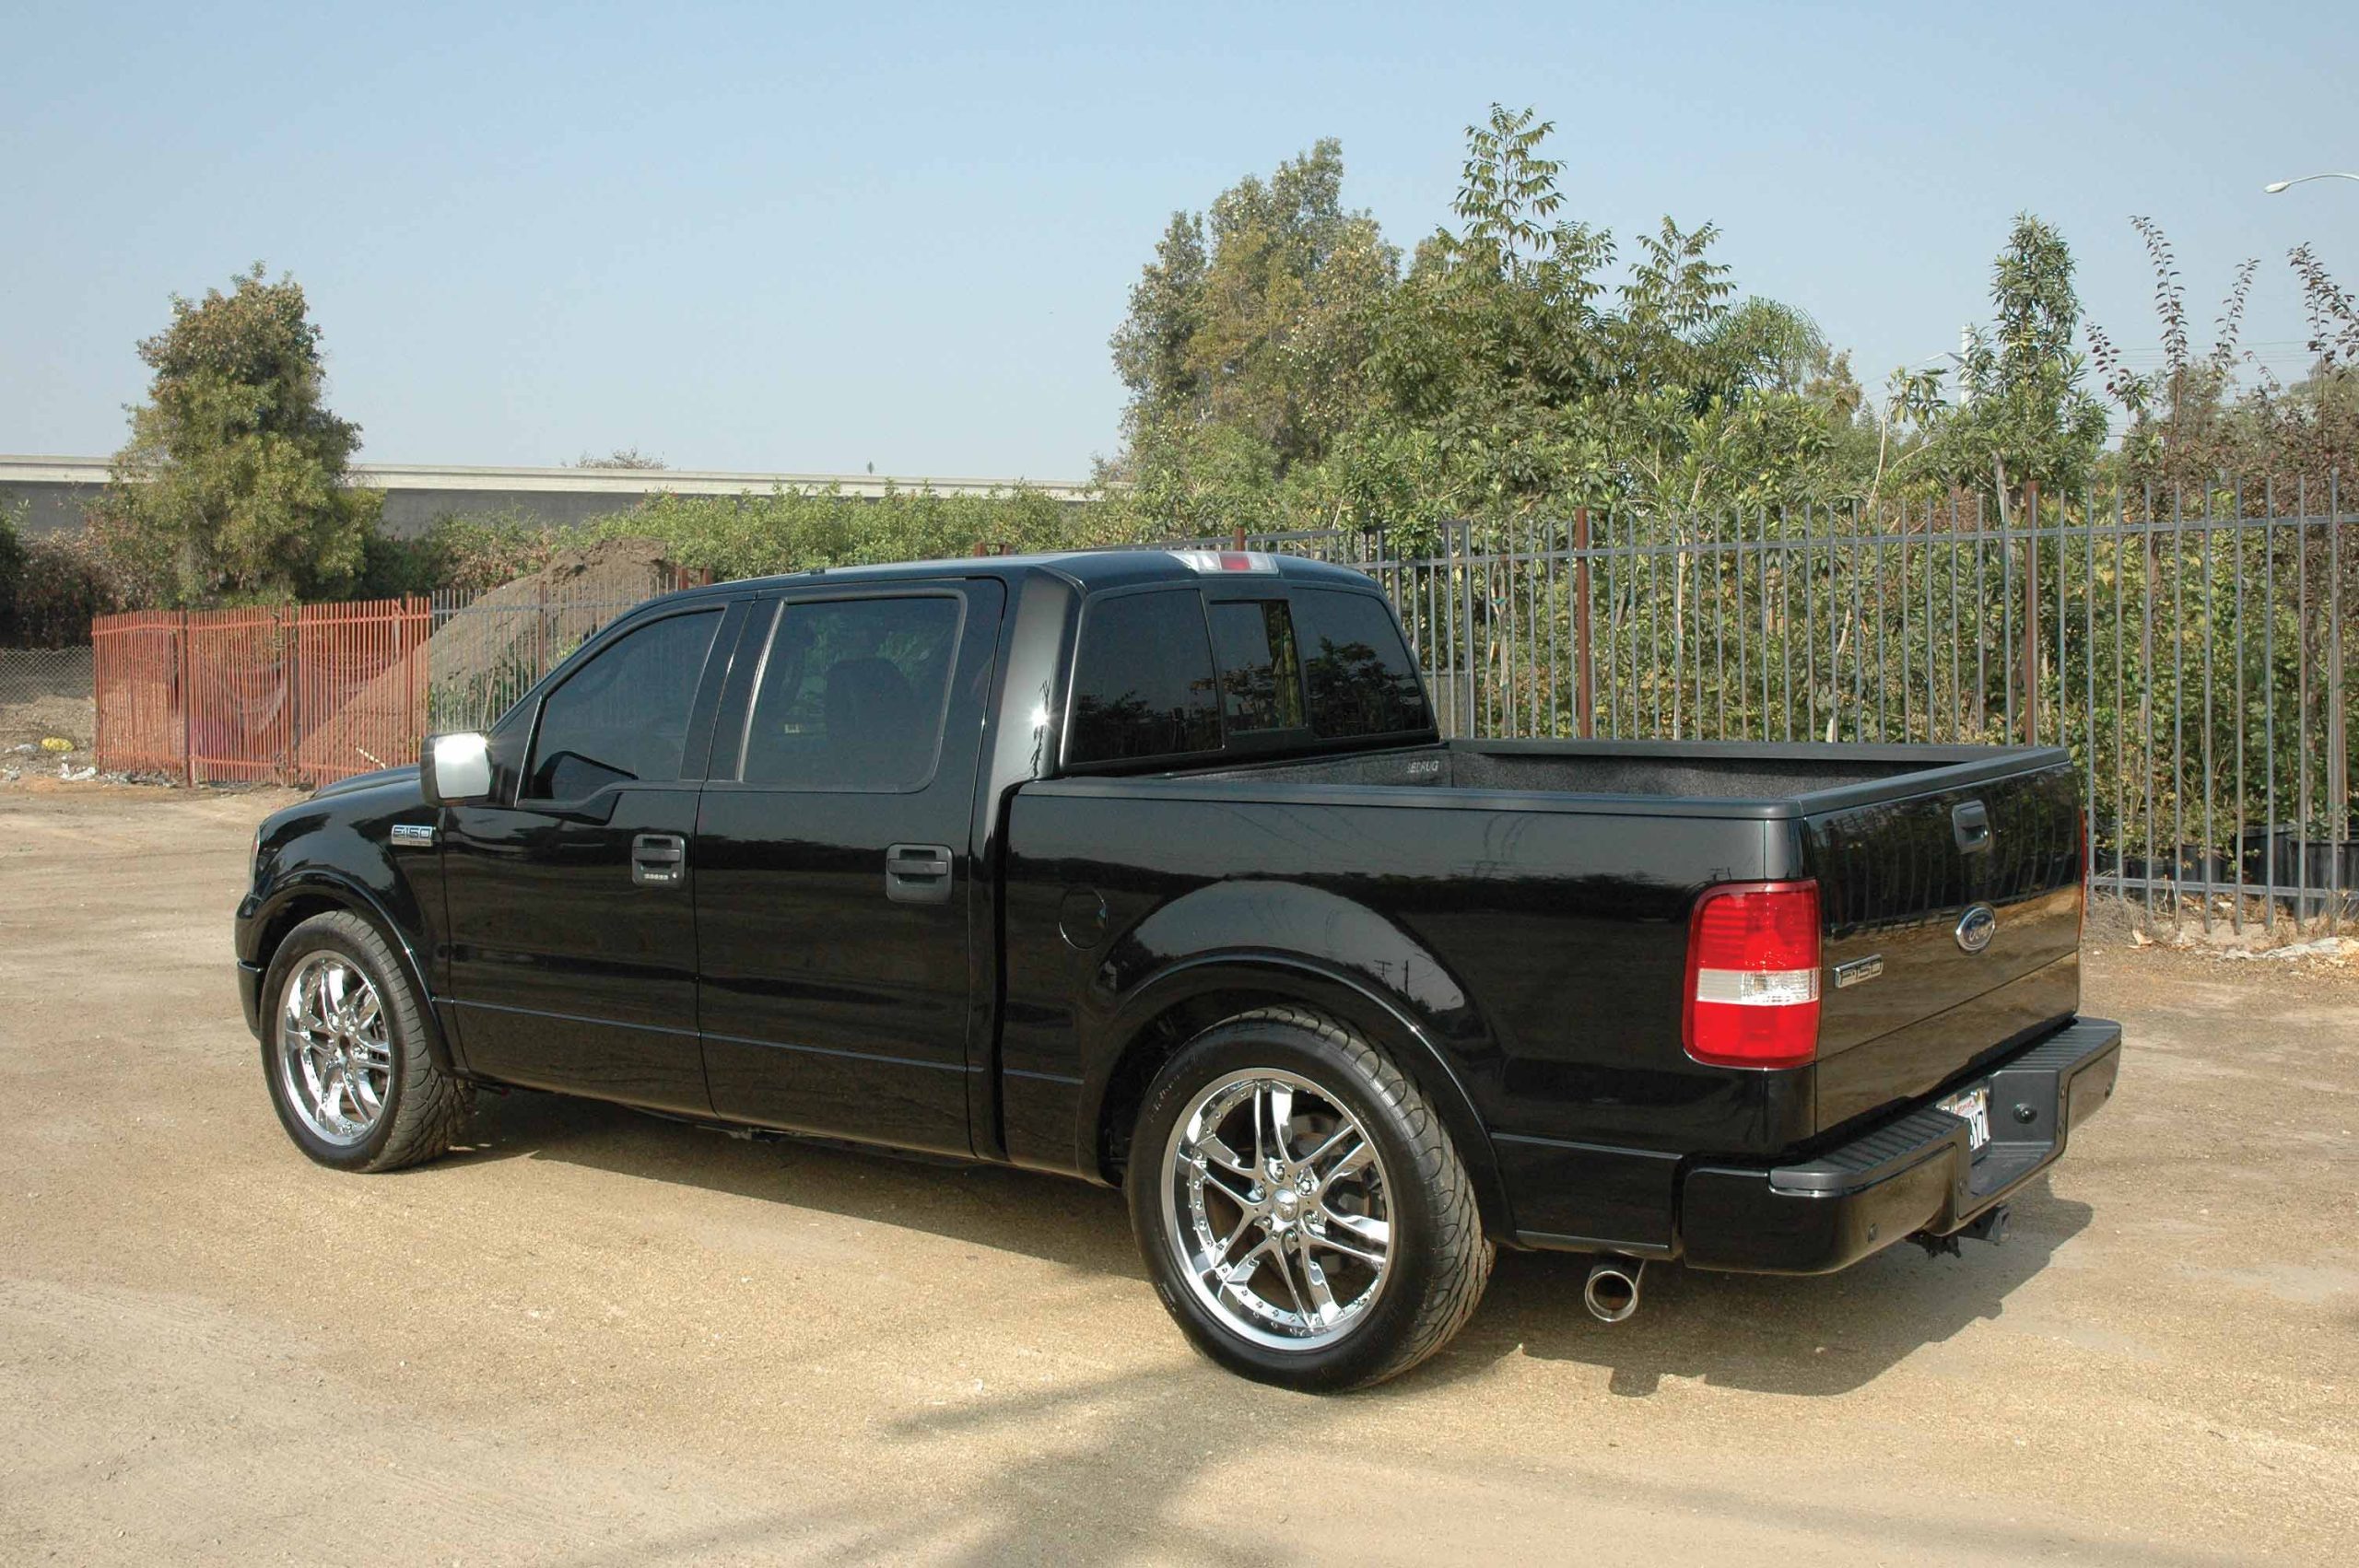
The suspension of stock four-wheel-drive vehicles is deliberately set very high to provide improved ground clearance. For years the trend in serious off-roading has been to “lift” the vehicle even higher. The OEs suspend their four-bys high enough to clear rocks, traverse gulleys and fallen trees and most anything else that one might encounter in more serious off-roading. Nevertheless, there are four-by owners who would like to lower their vehicles, as they spend more time on-road than off. Recently we met just such an owner, and we couldn’t resist questioning him about his desire to drop this ’04 Ford F-150 four-by-four.


