

THE AUTO BUILDER
Featured

VALUABLE LESSONS
Building an engine at home is exactly what you make of it—your first experience could be a good one if you choose to do it the right way, or it could be a bad one if you take short cuts along the way. As cheesy as it may sound, with engine building, you determine your own destiny with how you go about the build. Buy the right parts, talk to the right people and you may just have a long-lasting engine that puts a smile on your face every time the loud pedal hits the floor. Buy junk parts and think you know it all from the get-go and you’re looking at a big disappointment when it comes time to fire that bad boy.

PROJECT ’67
In the long continuation of our Project ’67, the 1967 Chevrolet C10 buildup, several major components and systems have been previously addressed, most notably the Goodwrench LQ4 6.0-liter 366ci Escalade engine buildup by Arizona Speed & Marine. This included the versatile Magnuson Radix supercharger, 4L60E transmission and numerous performance parts and accessories. Continuing along those performance lines and all-out fashion, we would need to contend with the great amount of power this engine package would deliver. Initially, we can’t say that the stock brakes on the C10 were ever designed for the shear torque that would be applied to these assemblies, so it would eventually be necessary to address the stopping performance as well as the go performance. And, after all, brake upgrading was a part of this project plan from the beginning.

MORE THAN ORIGINAL
It’s funny how certain car-related associations work out. Maybe timing really is everything when it comes to cars. When Arvada, Colorado’s Ken Godsey was a teenager, his dream car was a ’67 big-block Mustang. “I always wanted to own a 1967 Mustang Fastback,” Godsey SAID. “And when I went looking for my first car with my father, we found a ’67 Mustang Fastback, one with a 428 FE engine that had been installed by the previous owner. It was the perfect car for me!” Godsey’s father, however, thought otherwise. “What I ended up with instead of that 428 Mustang was a ’70 Chevelle sedan with a 307 engine in it. I never forgave old dad for that one,” he SAID with a smile.
Spotlighter
POPULAR READS
-
Product Spotlight: Bill Mitchell Products Aluminum LS Engine Block
-
PRODUCT SPOTLIGHT: 60-66 Chevy C10 Fresh Air Vent Block Off Plate
-
The Auto Builder’s Hottest Product Picks from The Triple Crown of Rodding 2026
-
Product Spotlight: Pyramid Optimized Design Sequential Aurora Taillight for 1964½–1966 Mustang
MULTITASKING FOR THE MASSES
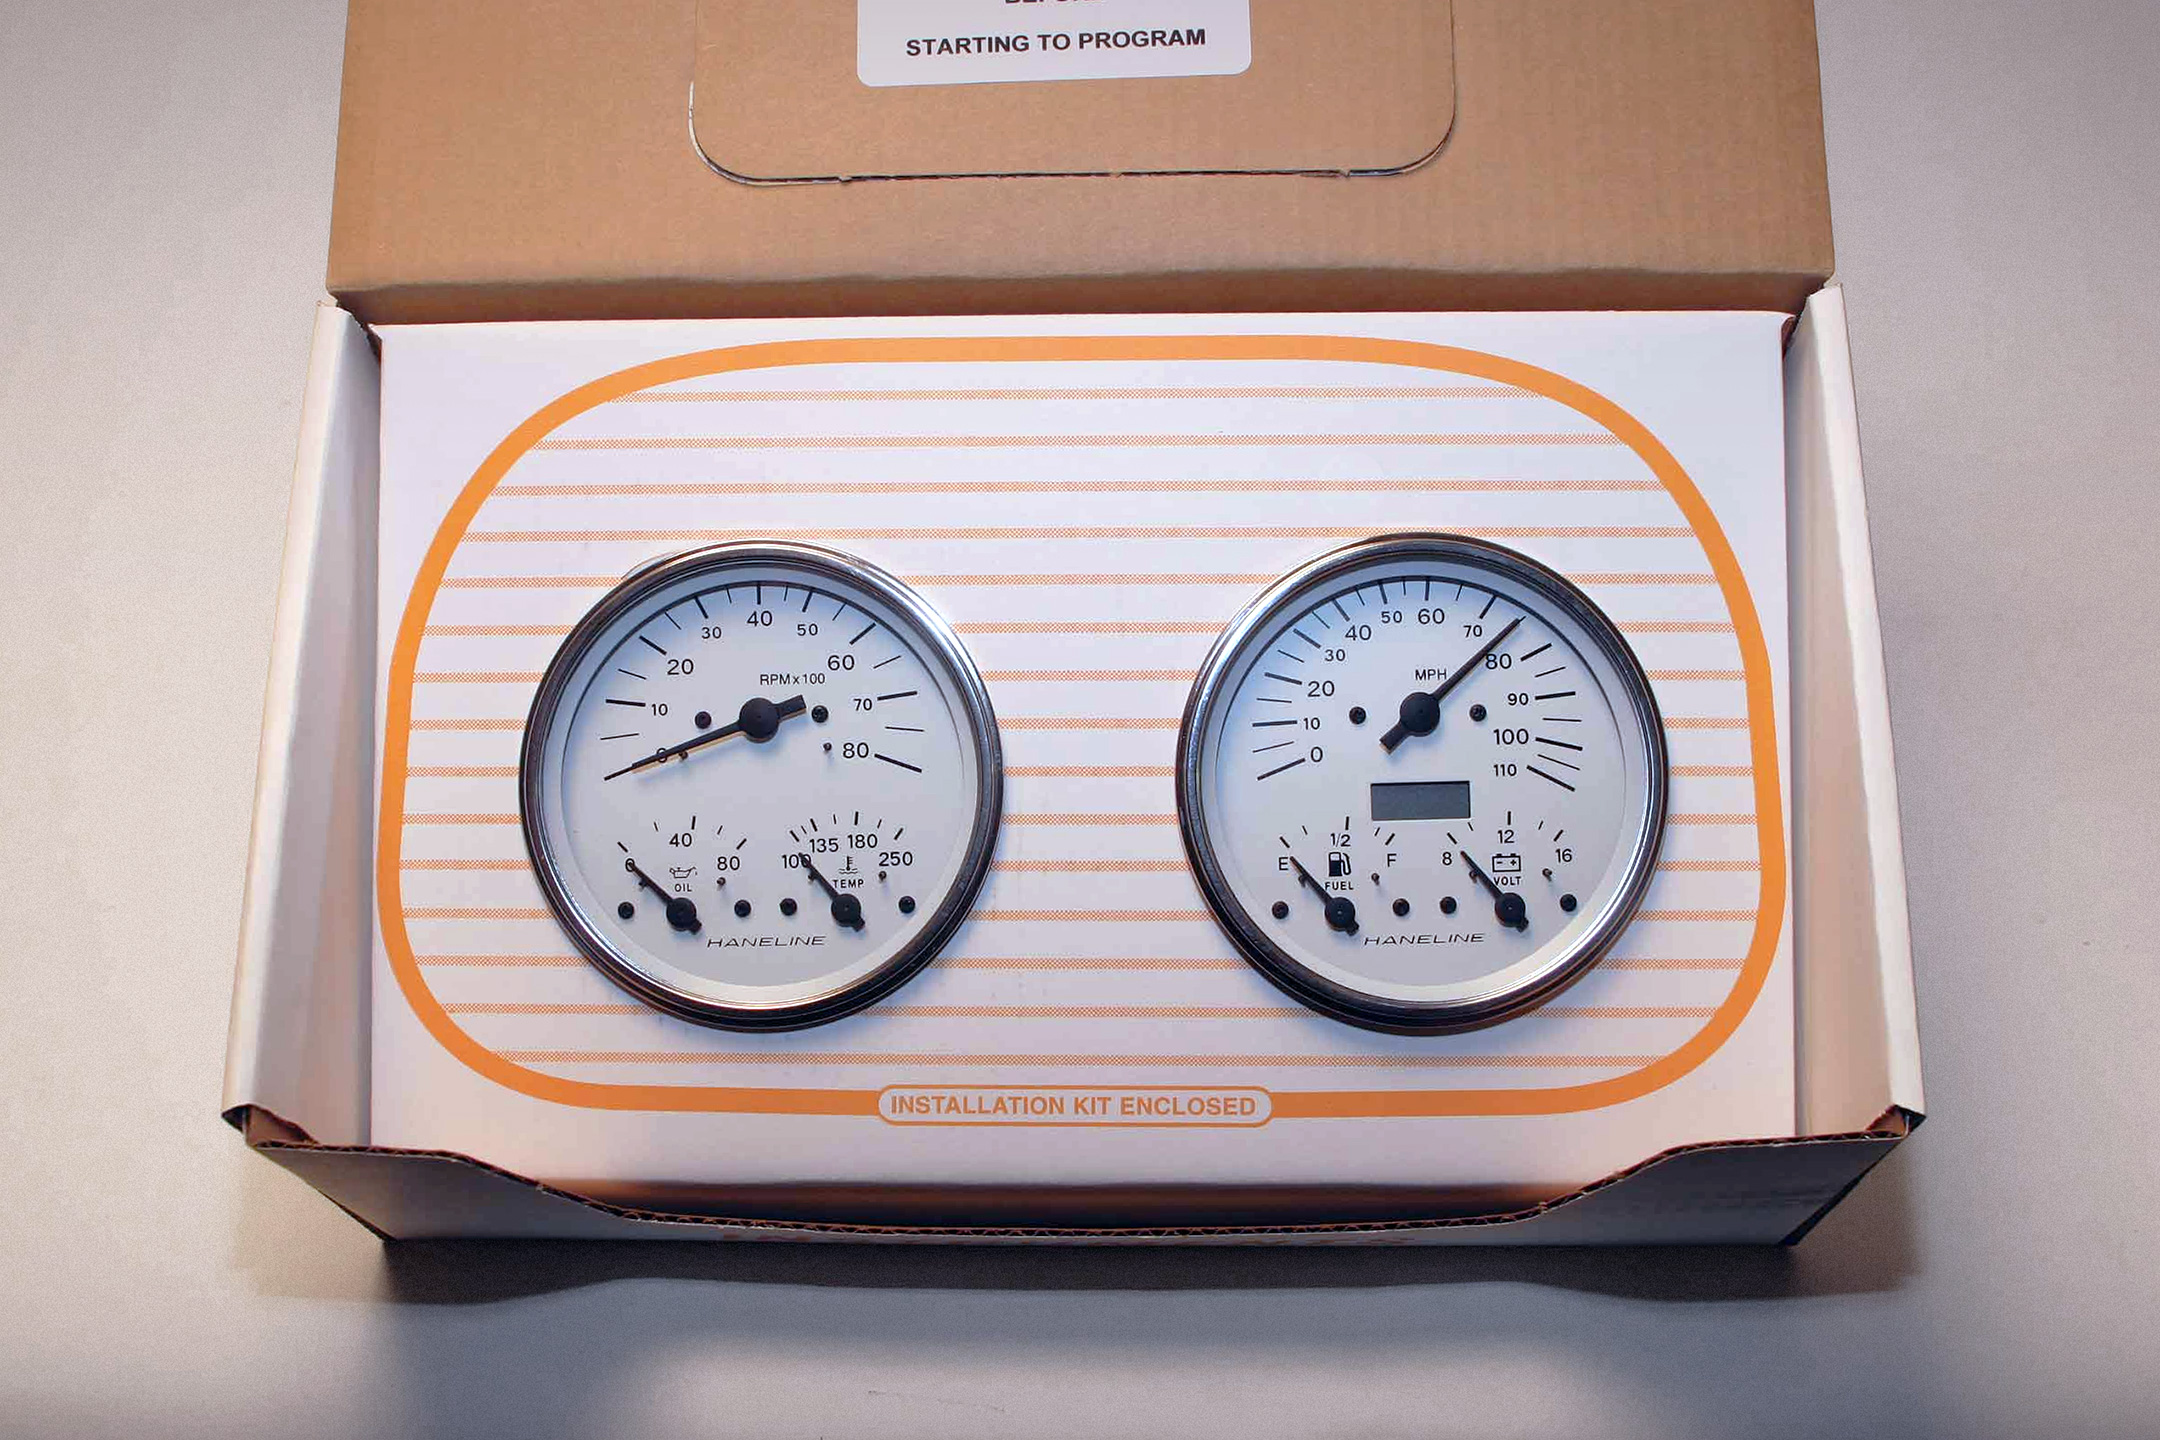
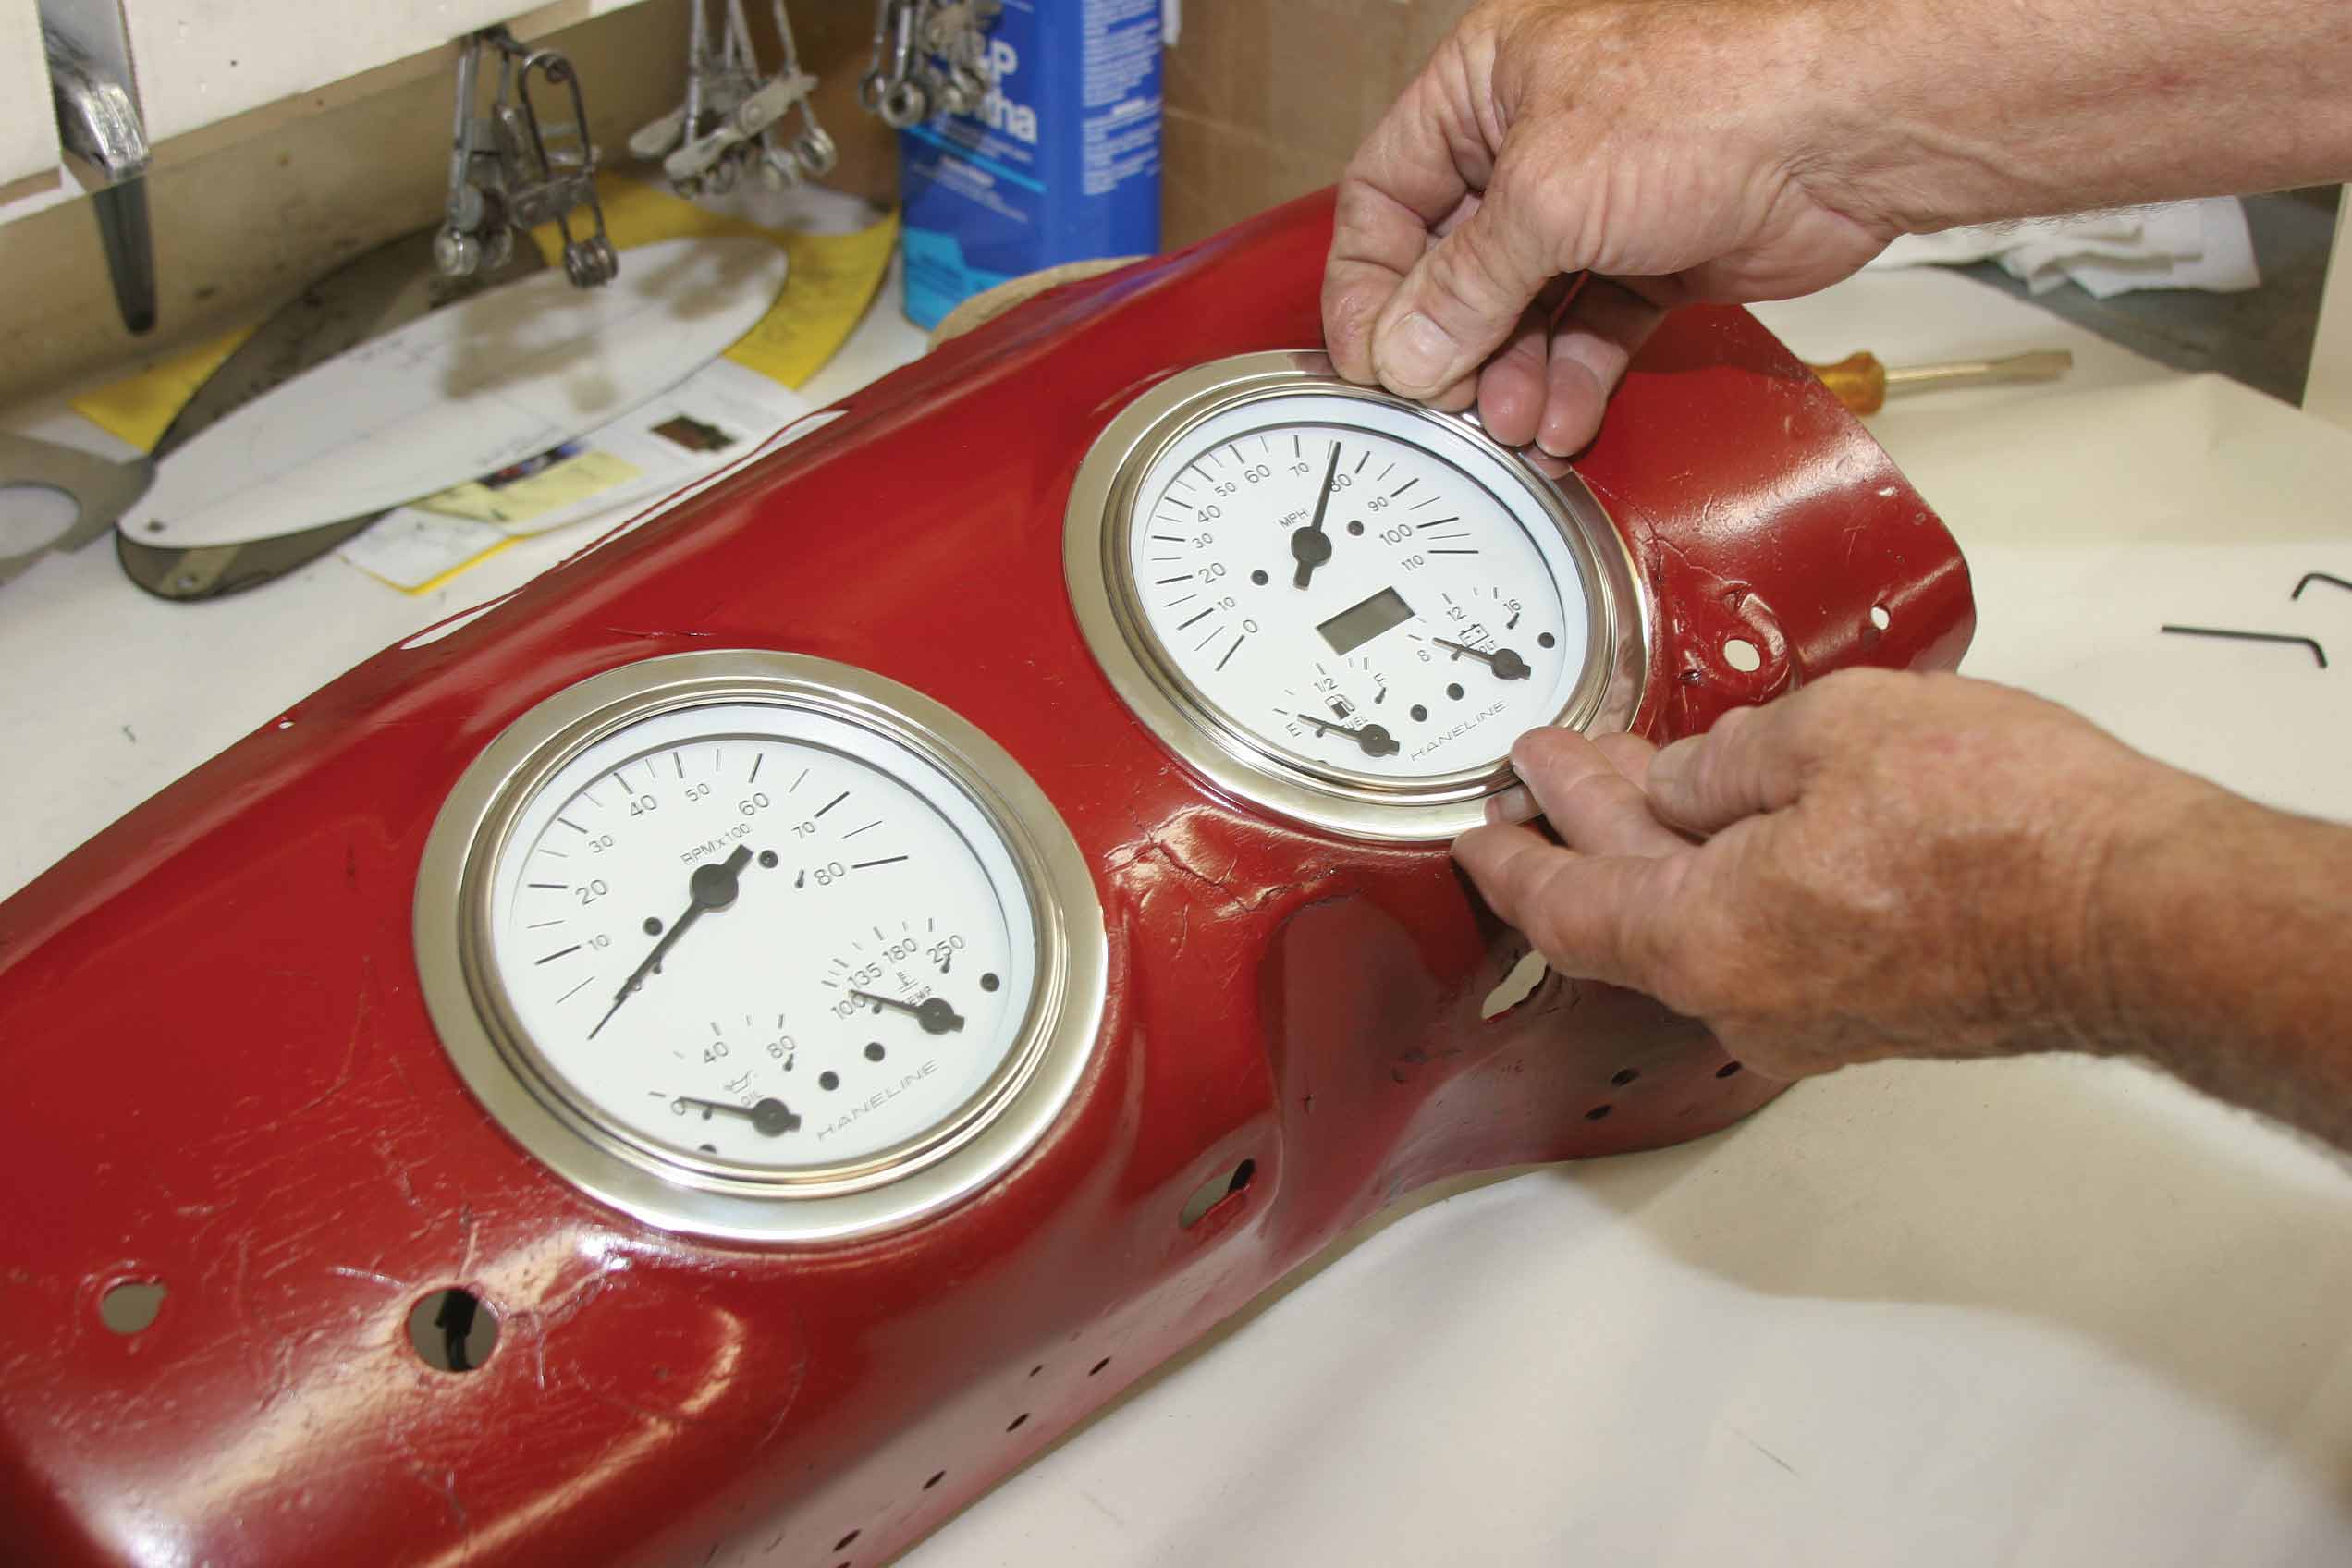
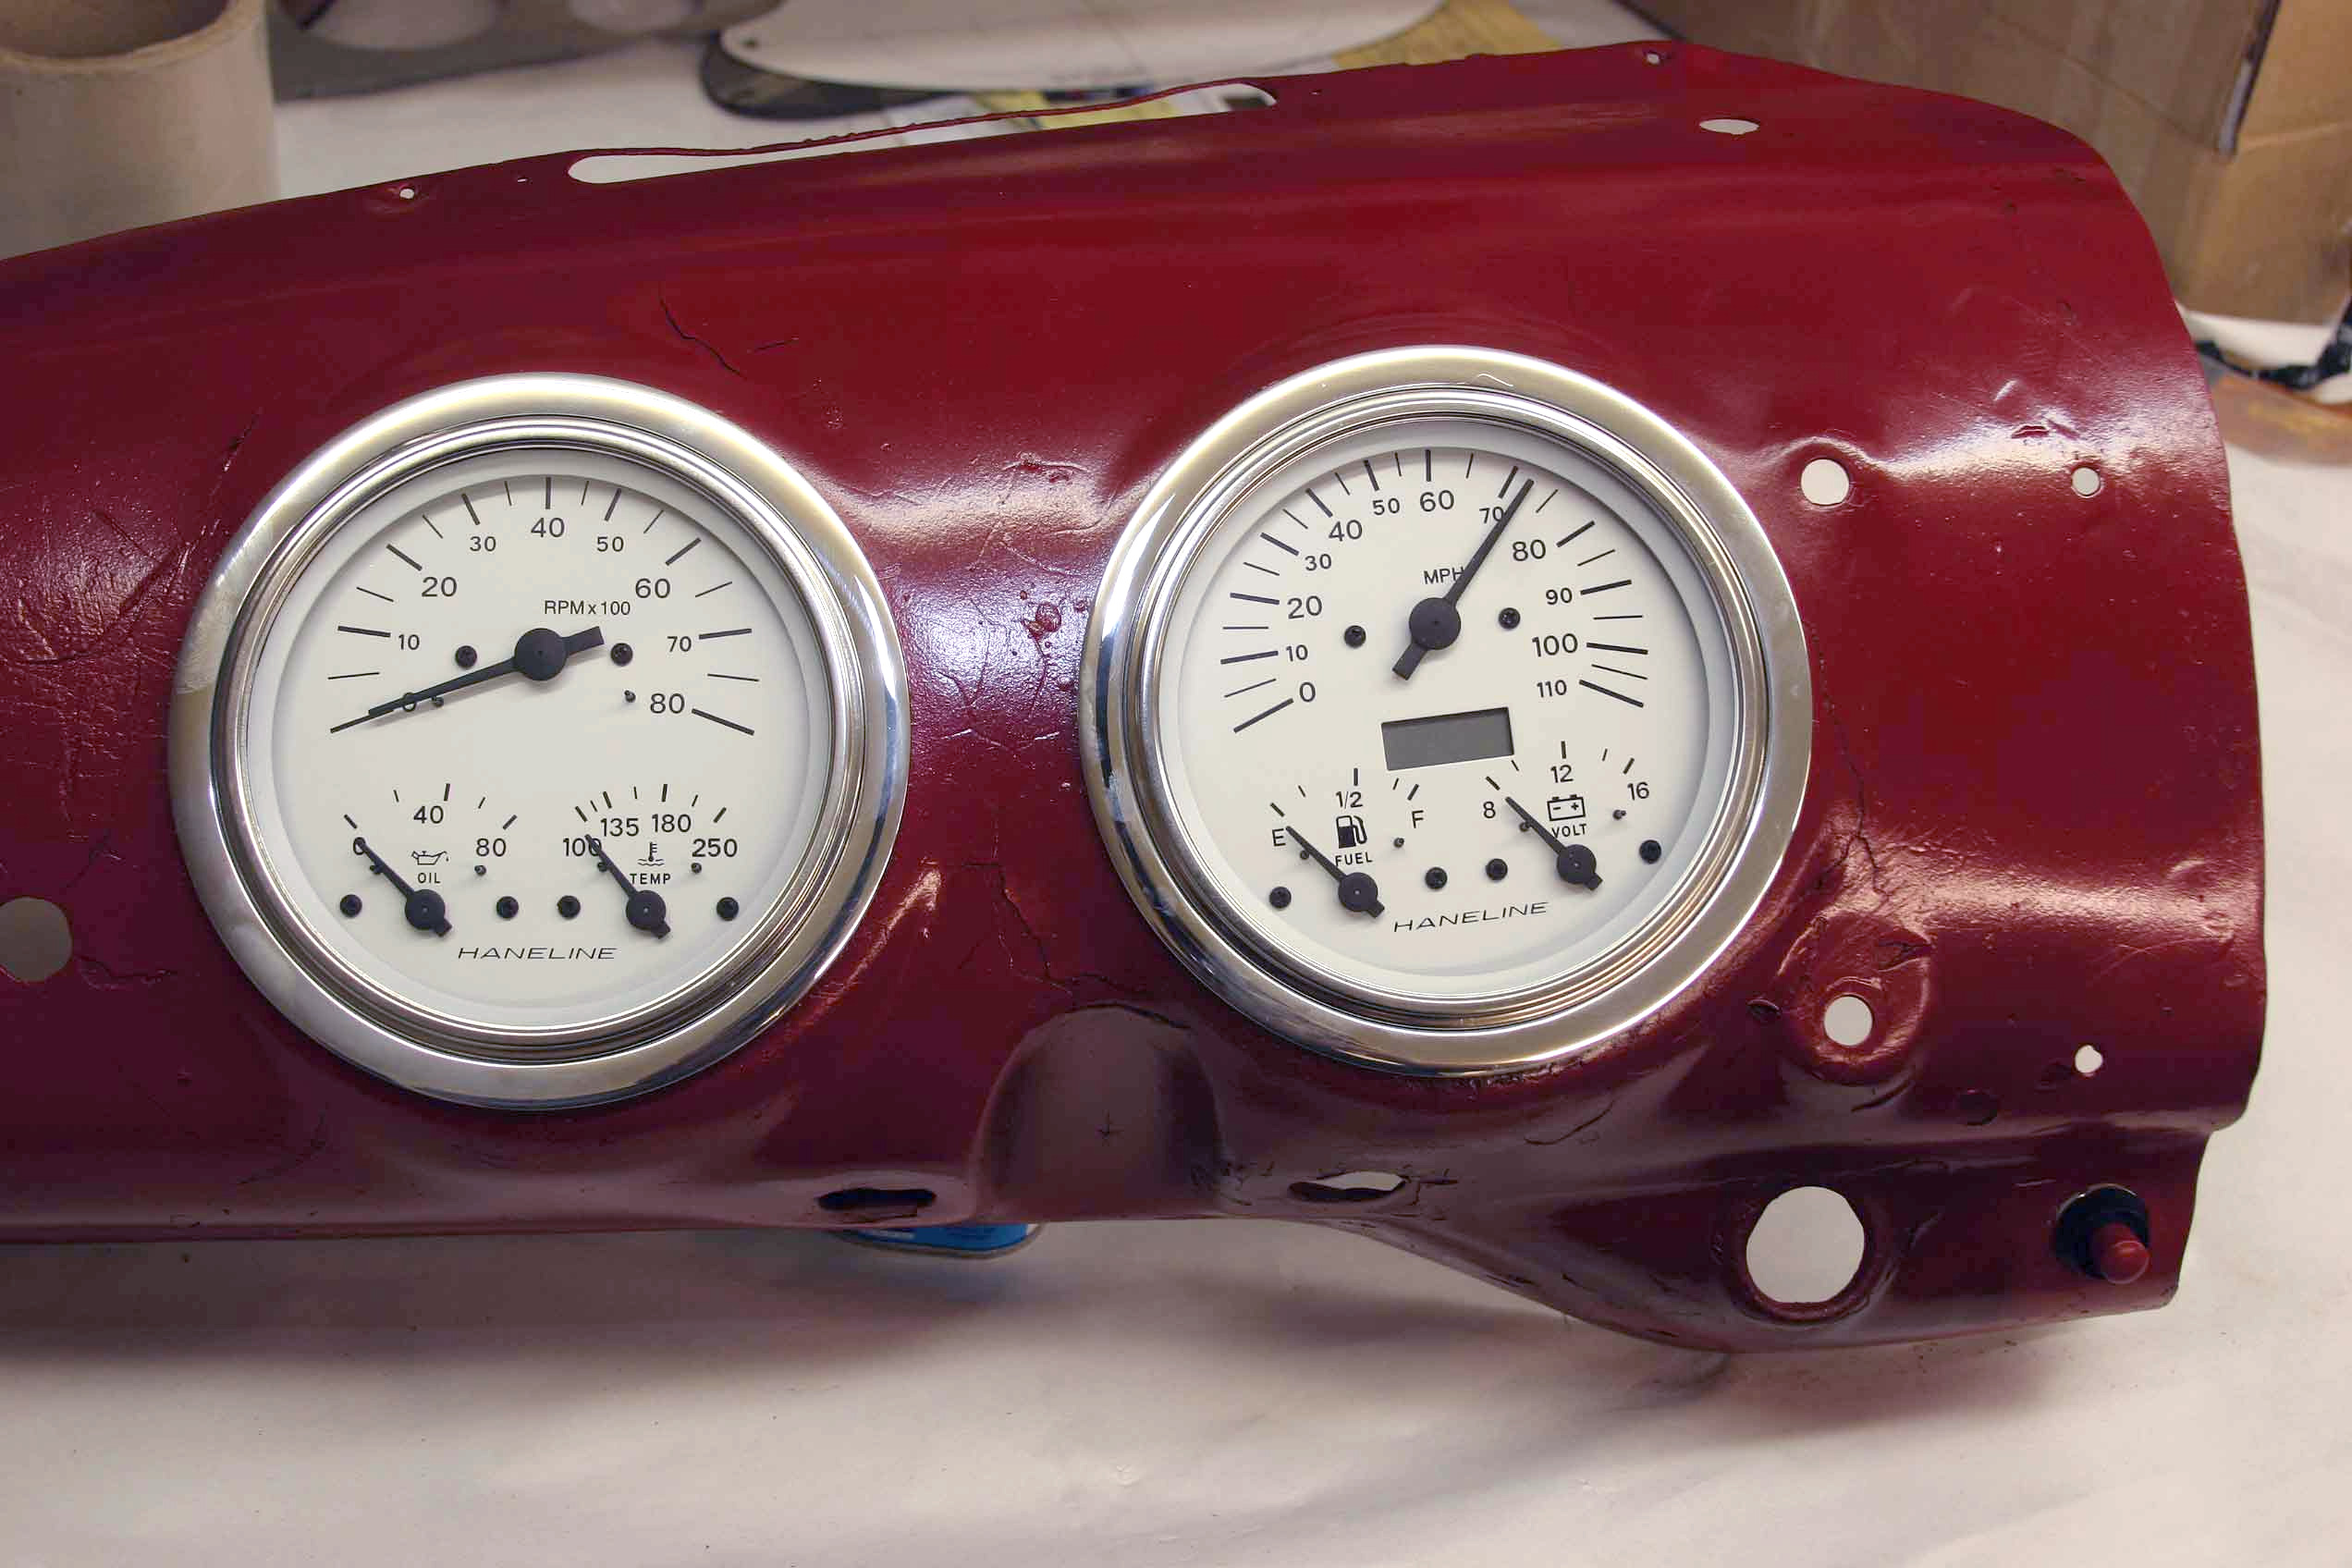
Installing Haneline’s 3-in-1 Gauge Clusters
Author
Matt Emery
Story & Photography
Say you drive an older pickup in which the original designers weren’t all that interested in engine management. Thanks to the addition of that high-horsepower engine, however, you are very interested in what it is up to. But you are also interested in keeping the dash area clean and don’t want to put a bunch of holes into it. You also don’t really want to have an old-style gauge panel hanging beneath the dash. What to do?
For those who drive a 1947-’53 Chevrolet pickup truck, the ideal way to handle this problem is to install Haneline’s 3-in-1 gauge clusters.
Haneline has a long history of producing high-quality gauge packages that are designed as a direct replacement for a majority of classic autos and pickup trucks. It is well known for its “machine” finish gauge panels and vintage-appearing gauge faces, but with the advent of these multitasking gauges the company is reaching out to those owners who don’t actually have dash panels.
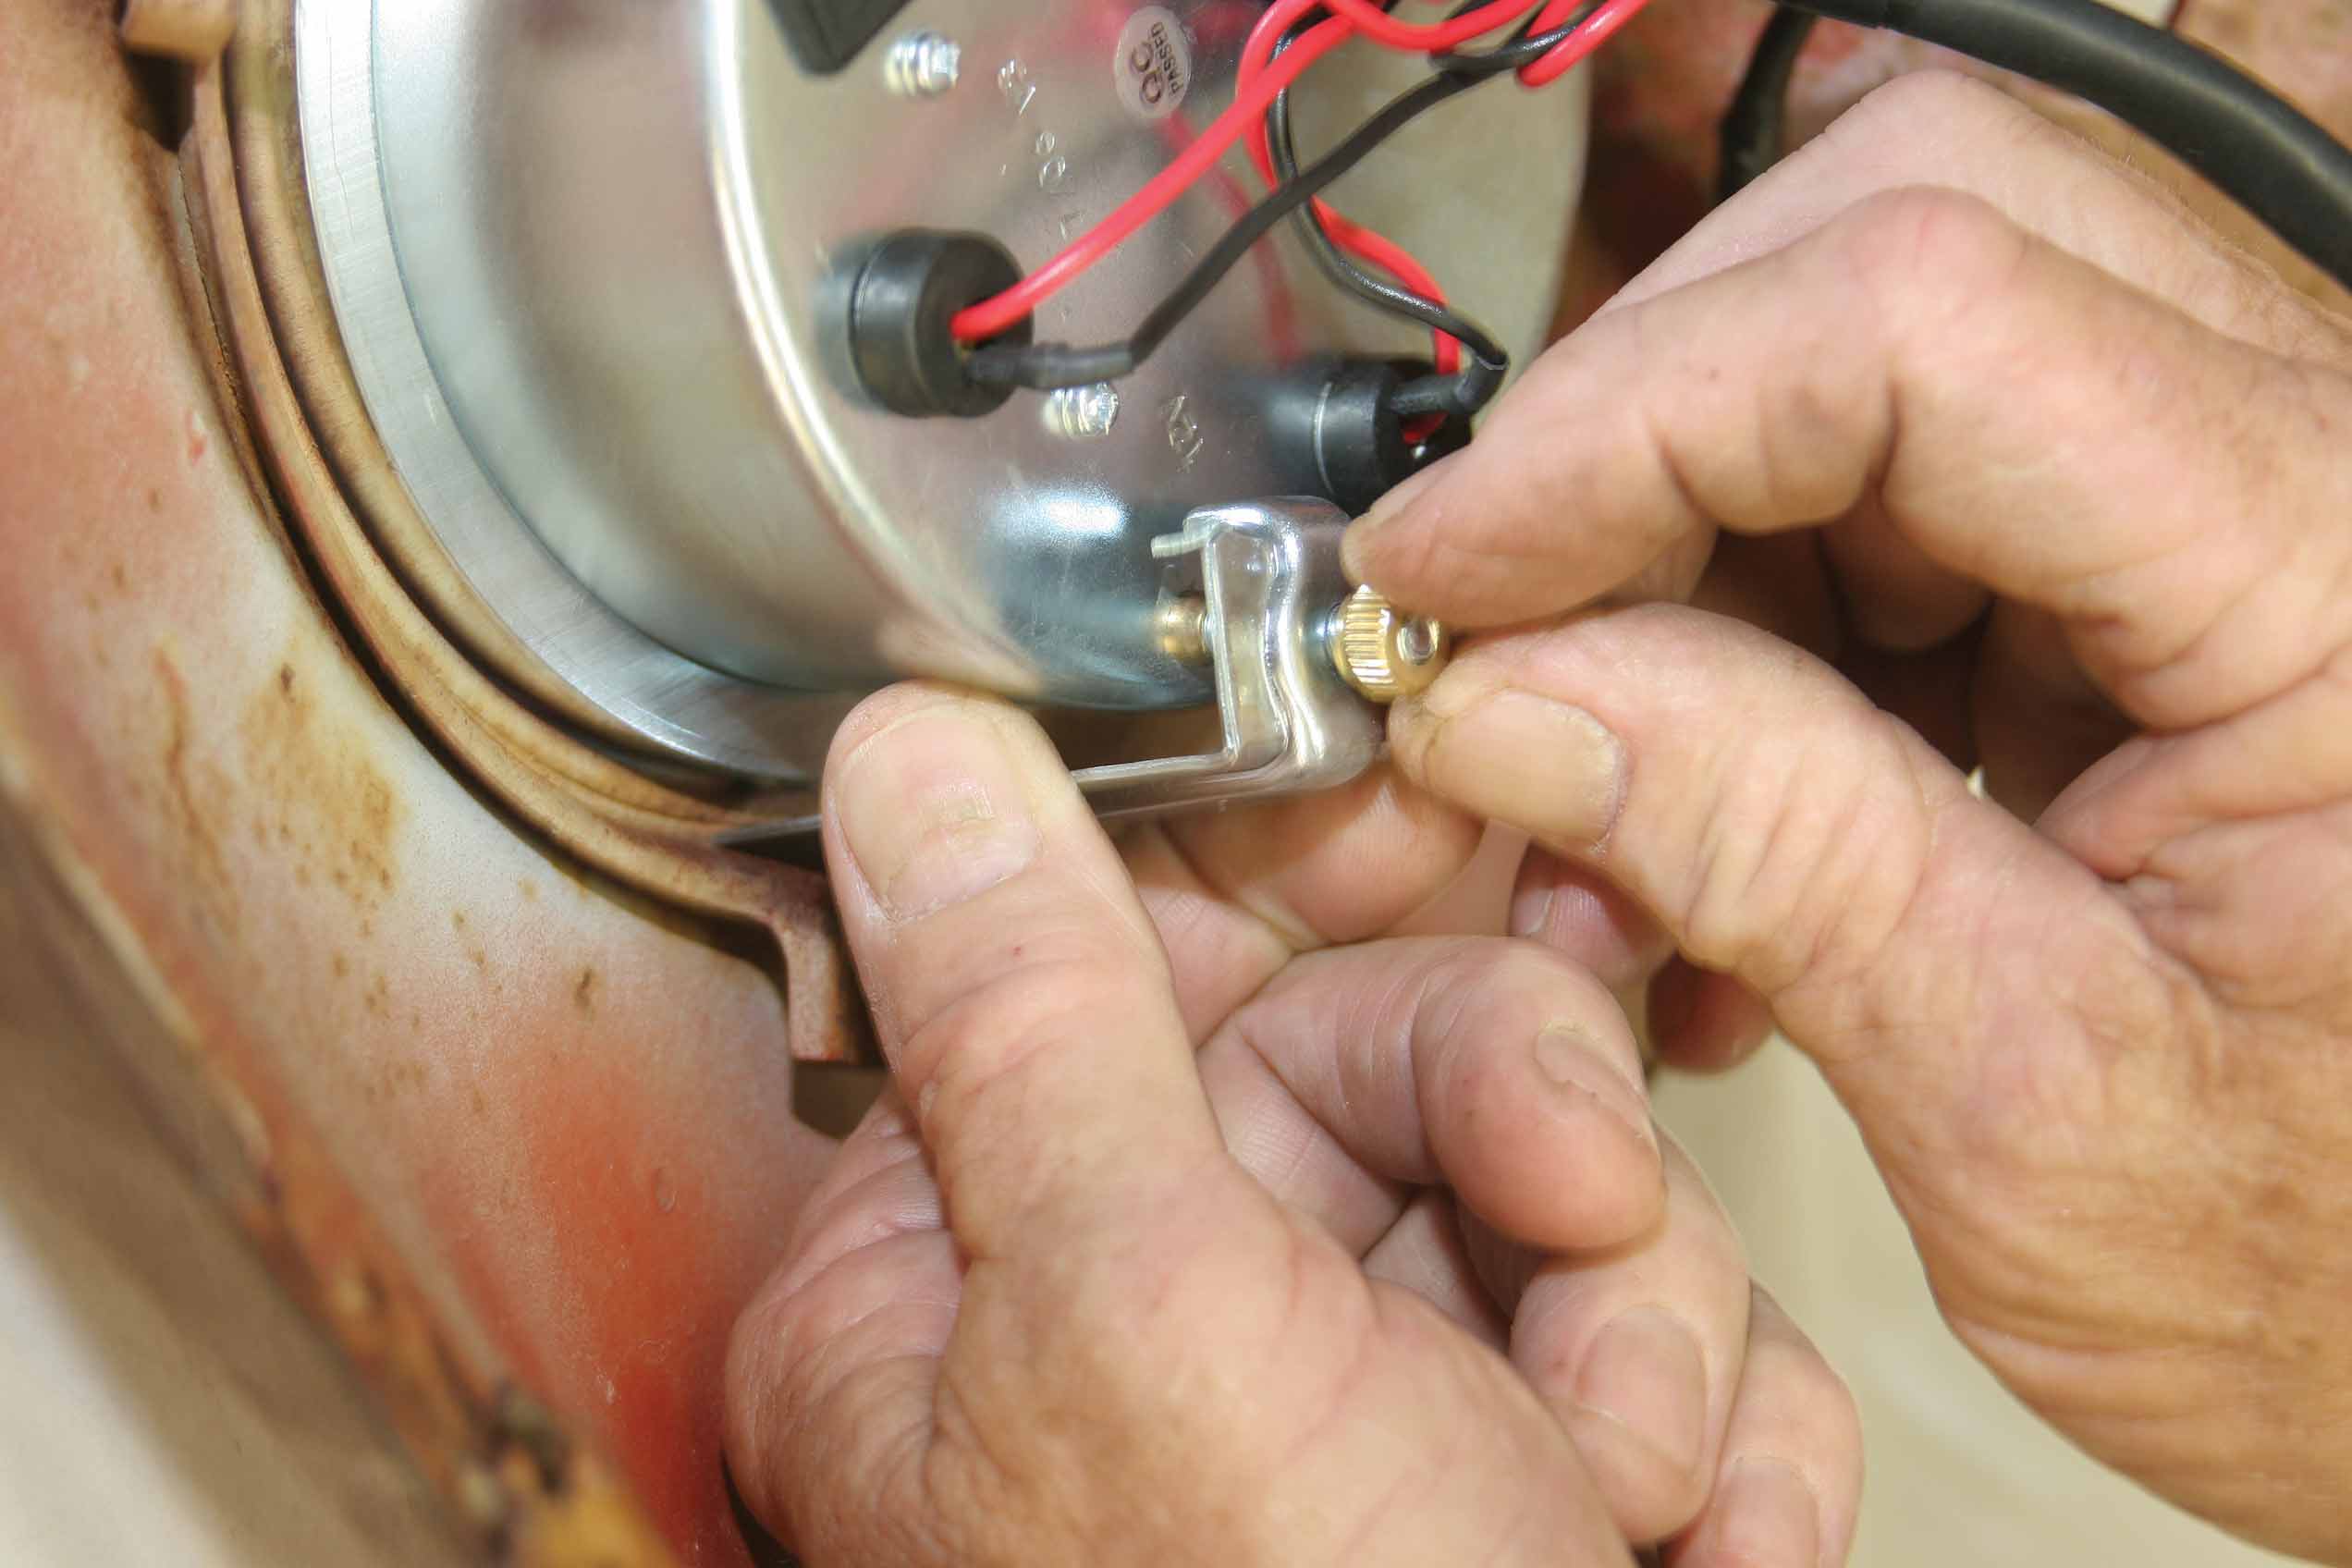
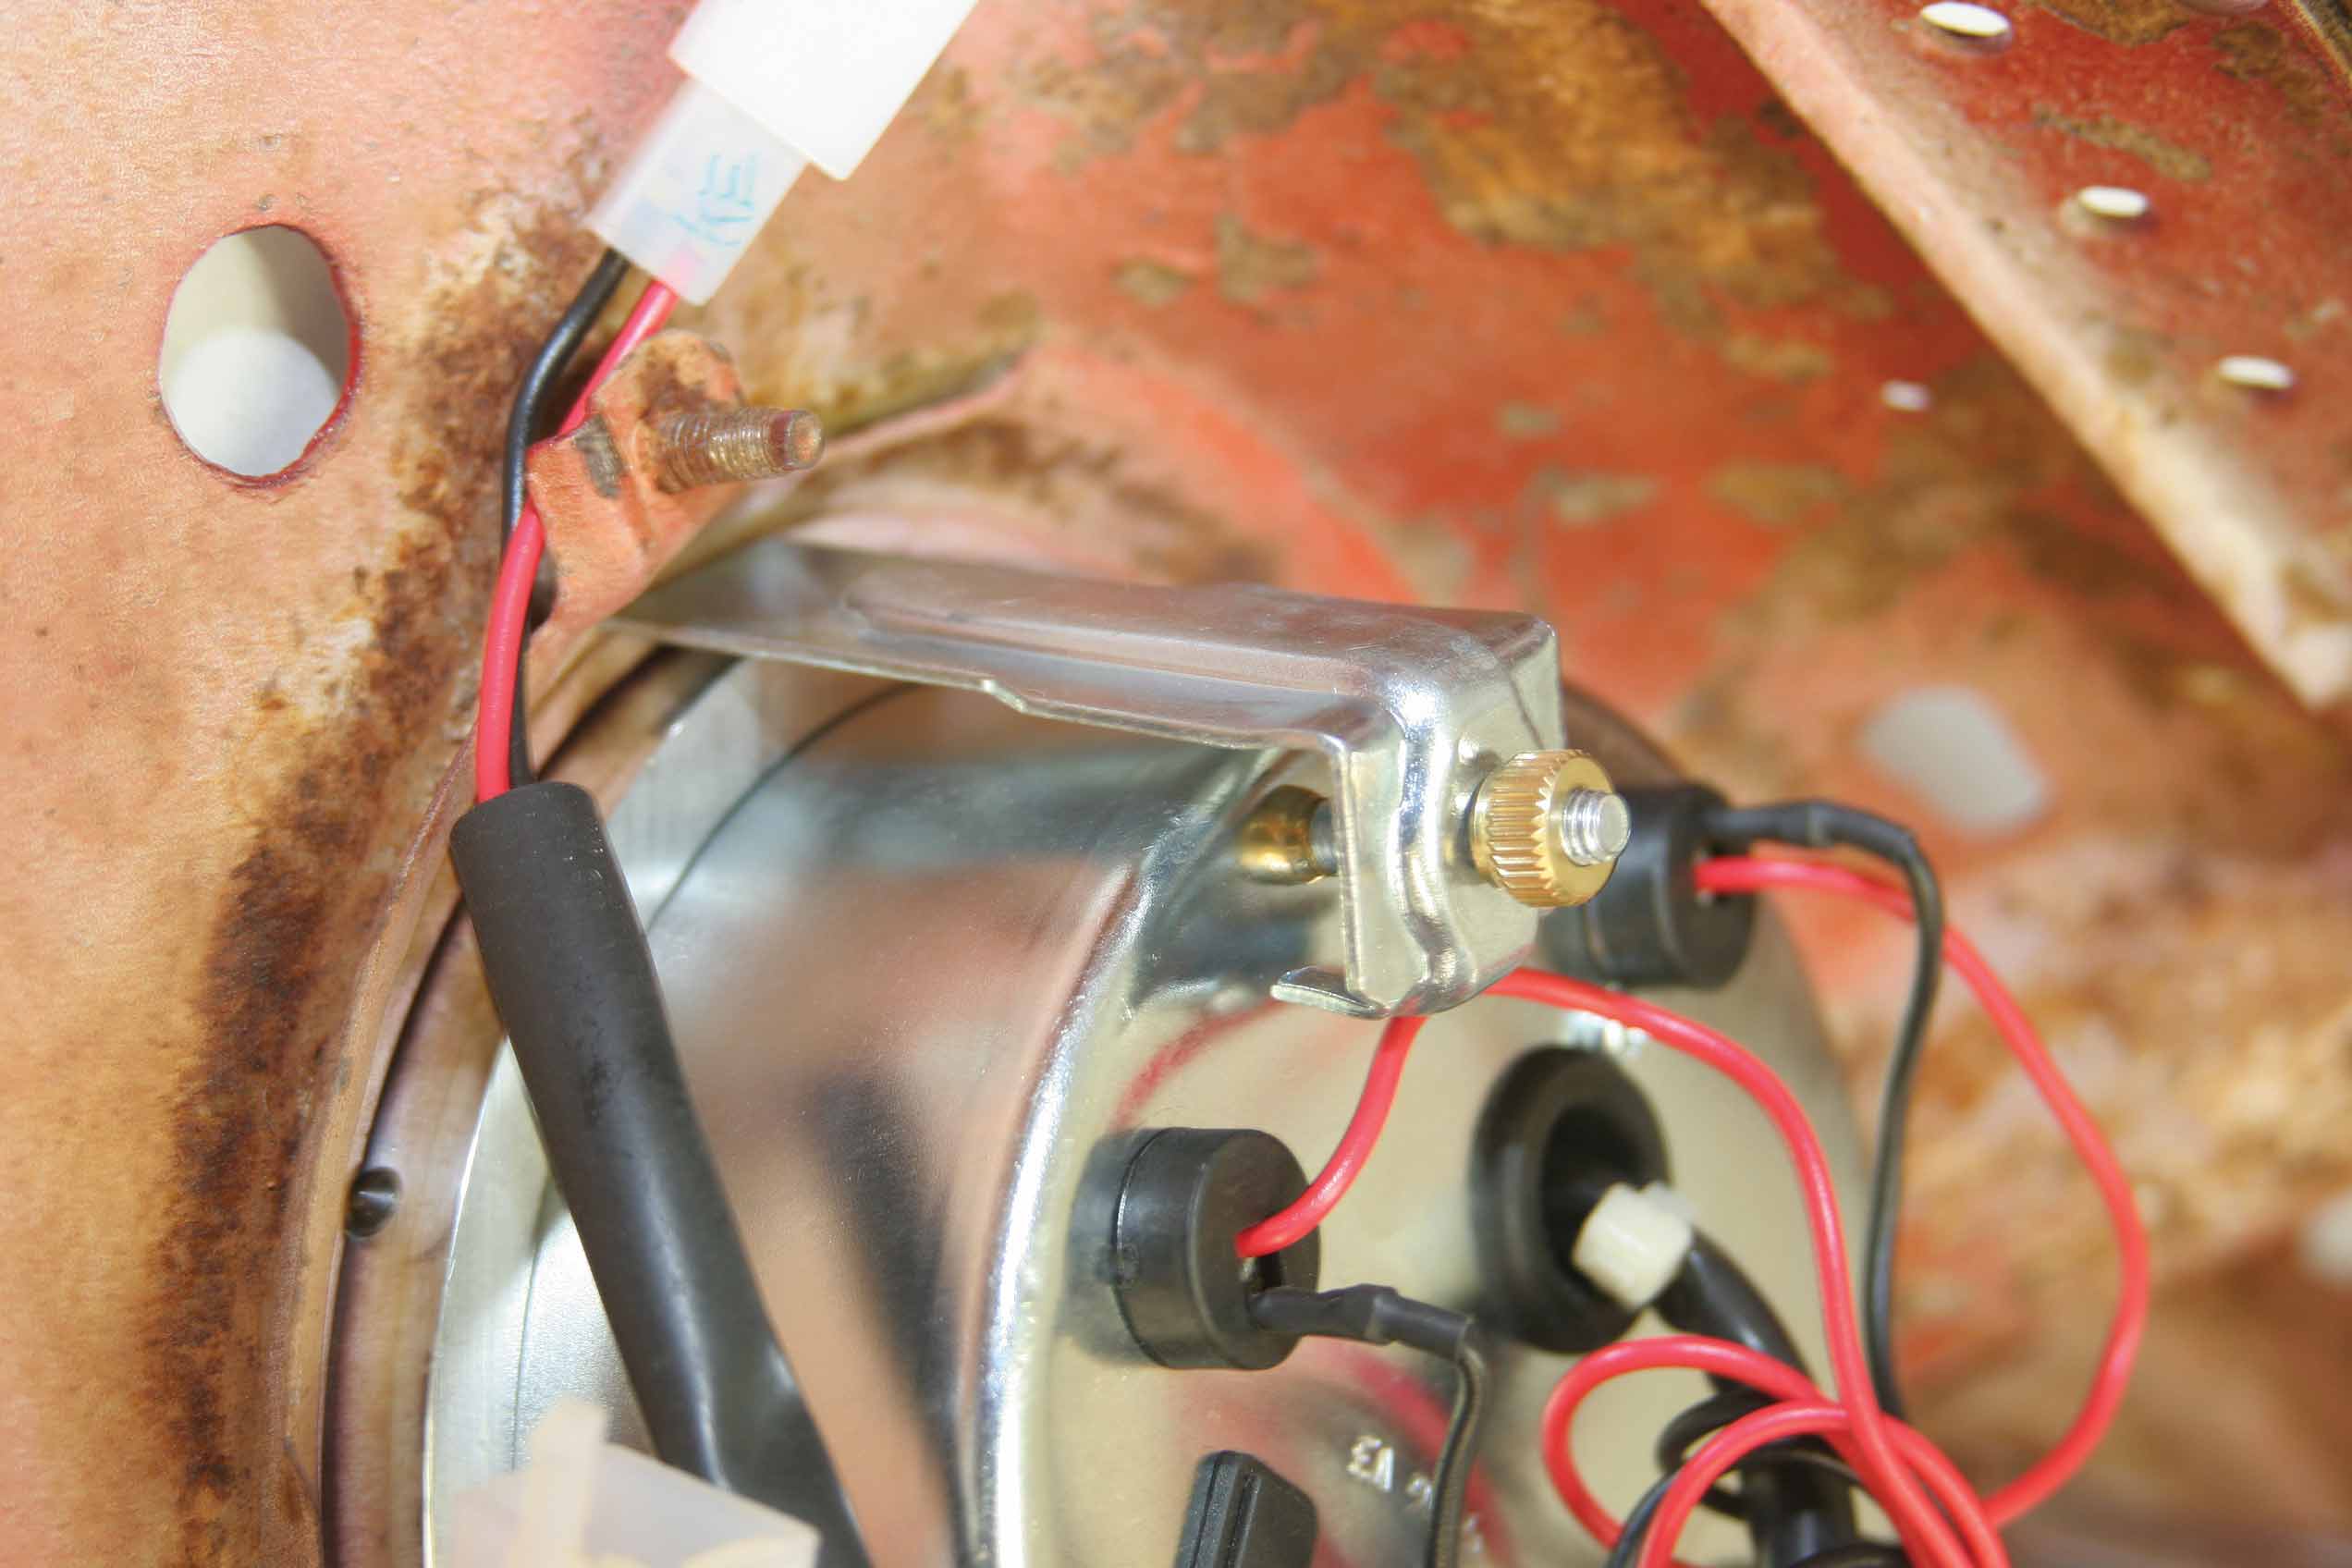
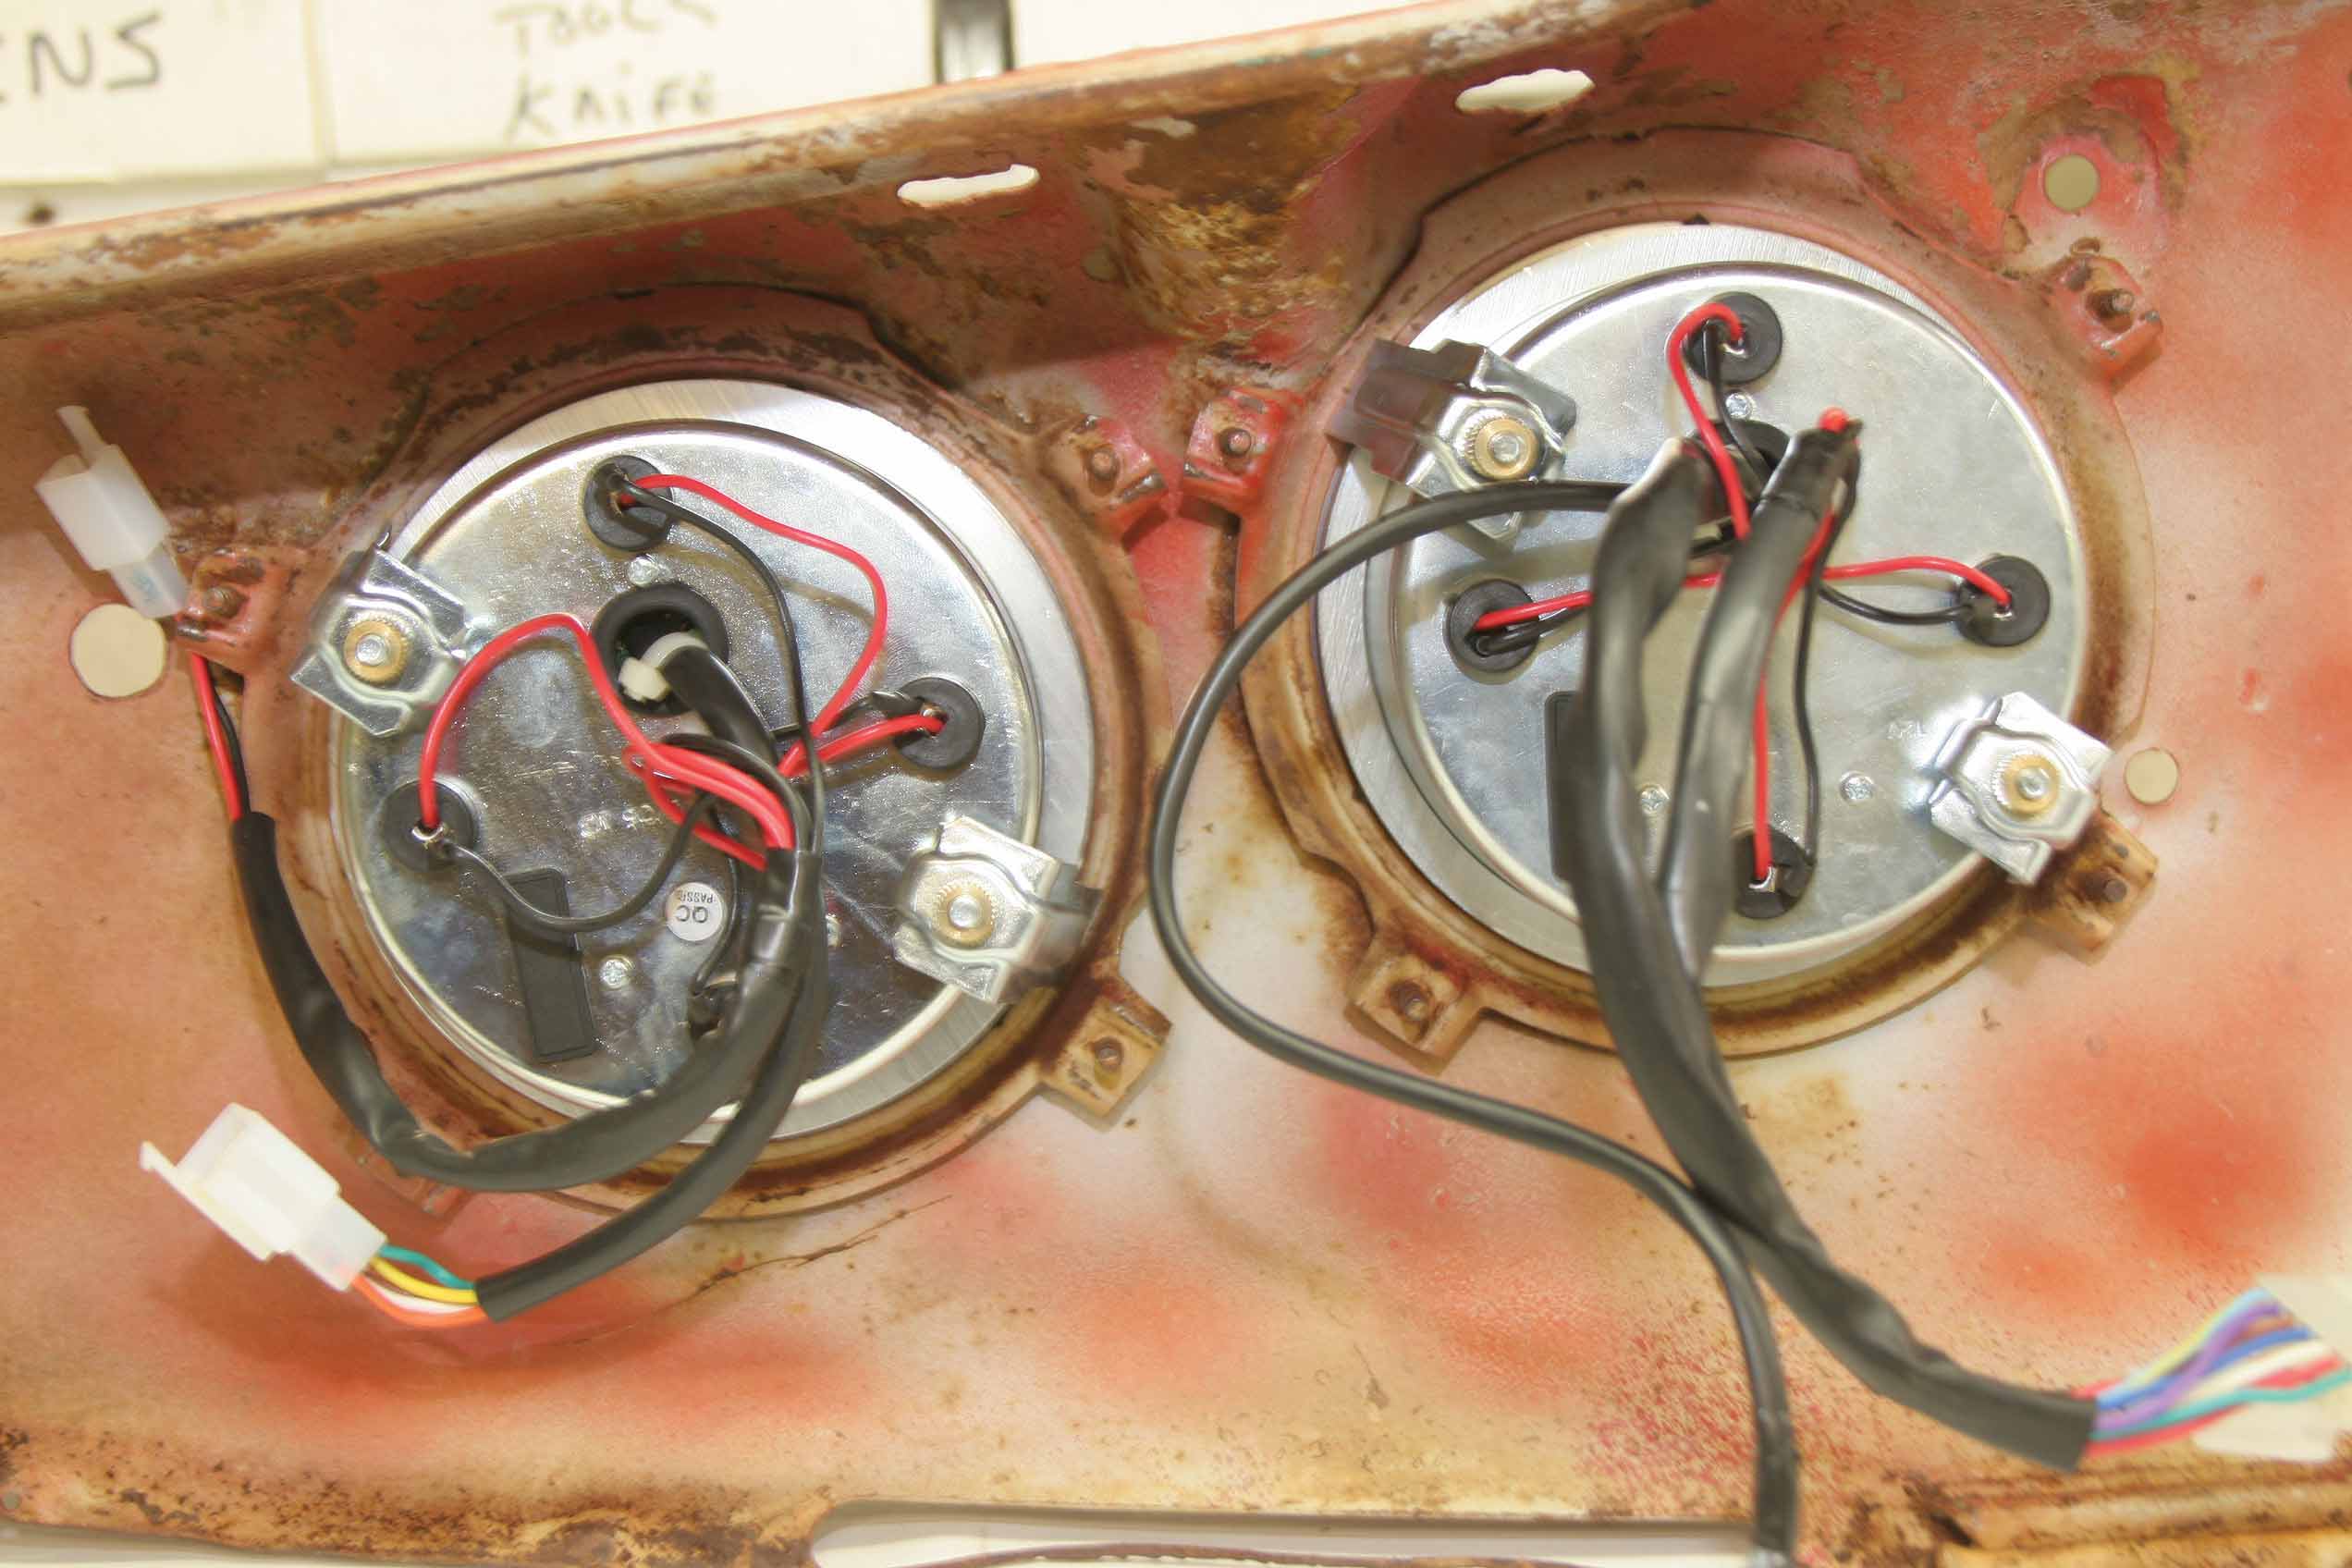
As with most of the Haneline product line, the 3-in-1 gauge clusters are a snap to install. It takes only an hour or so to install the units (not including the time to install the senders).
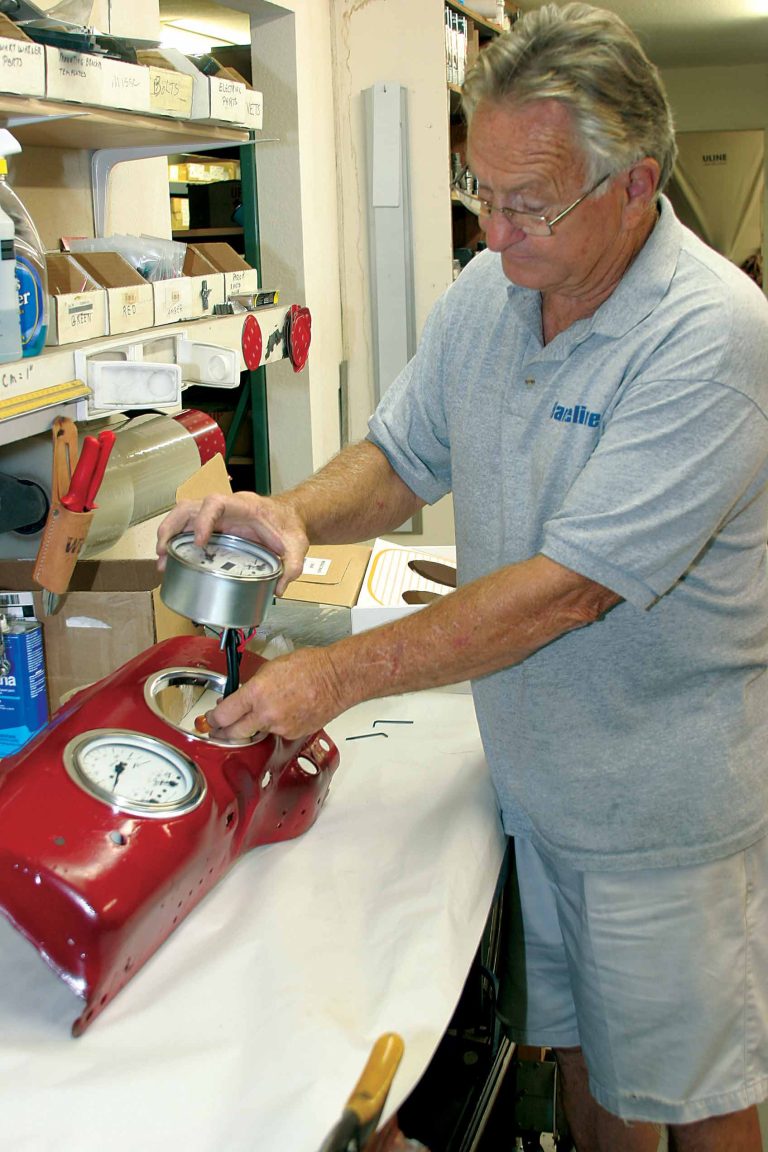
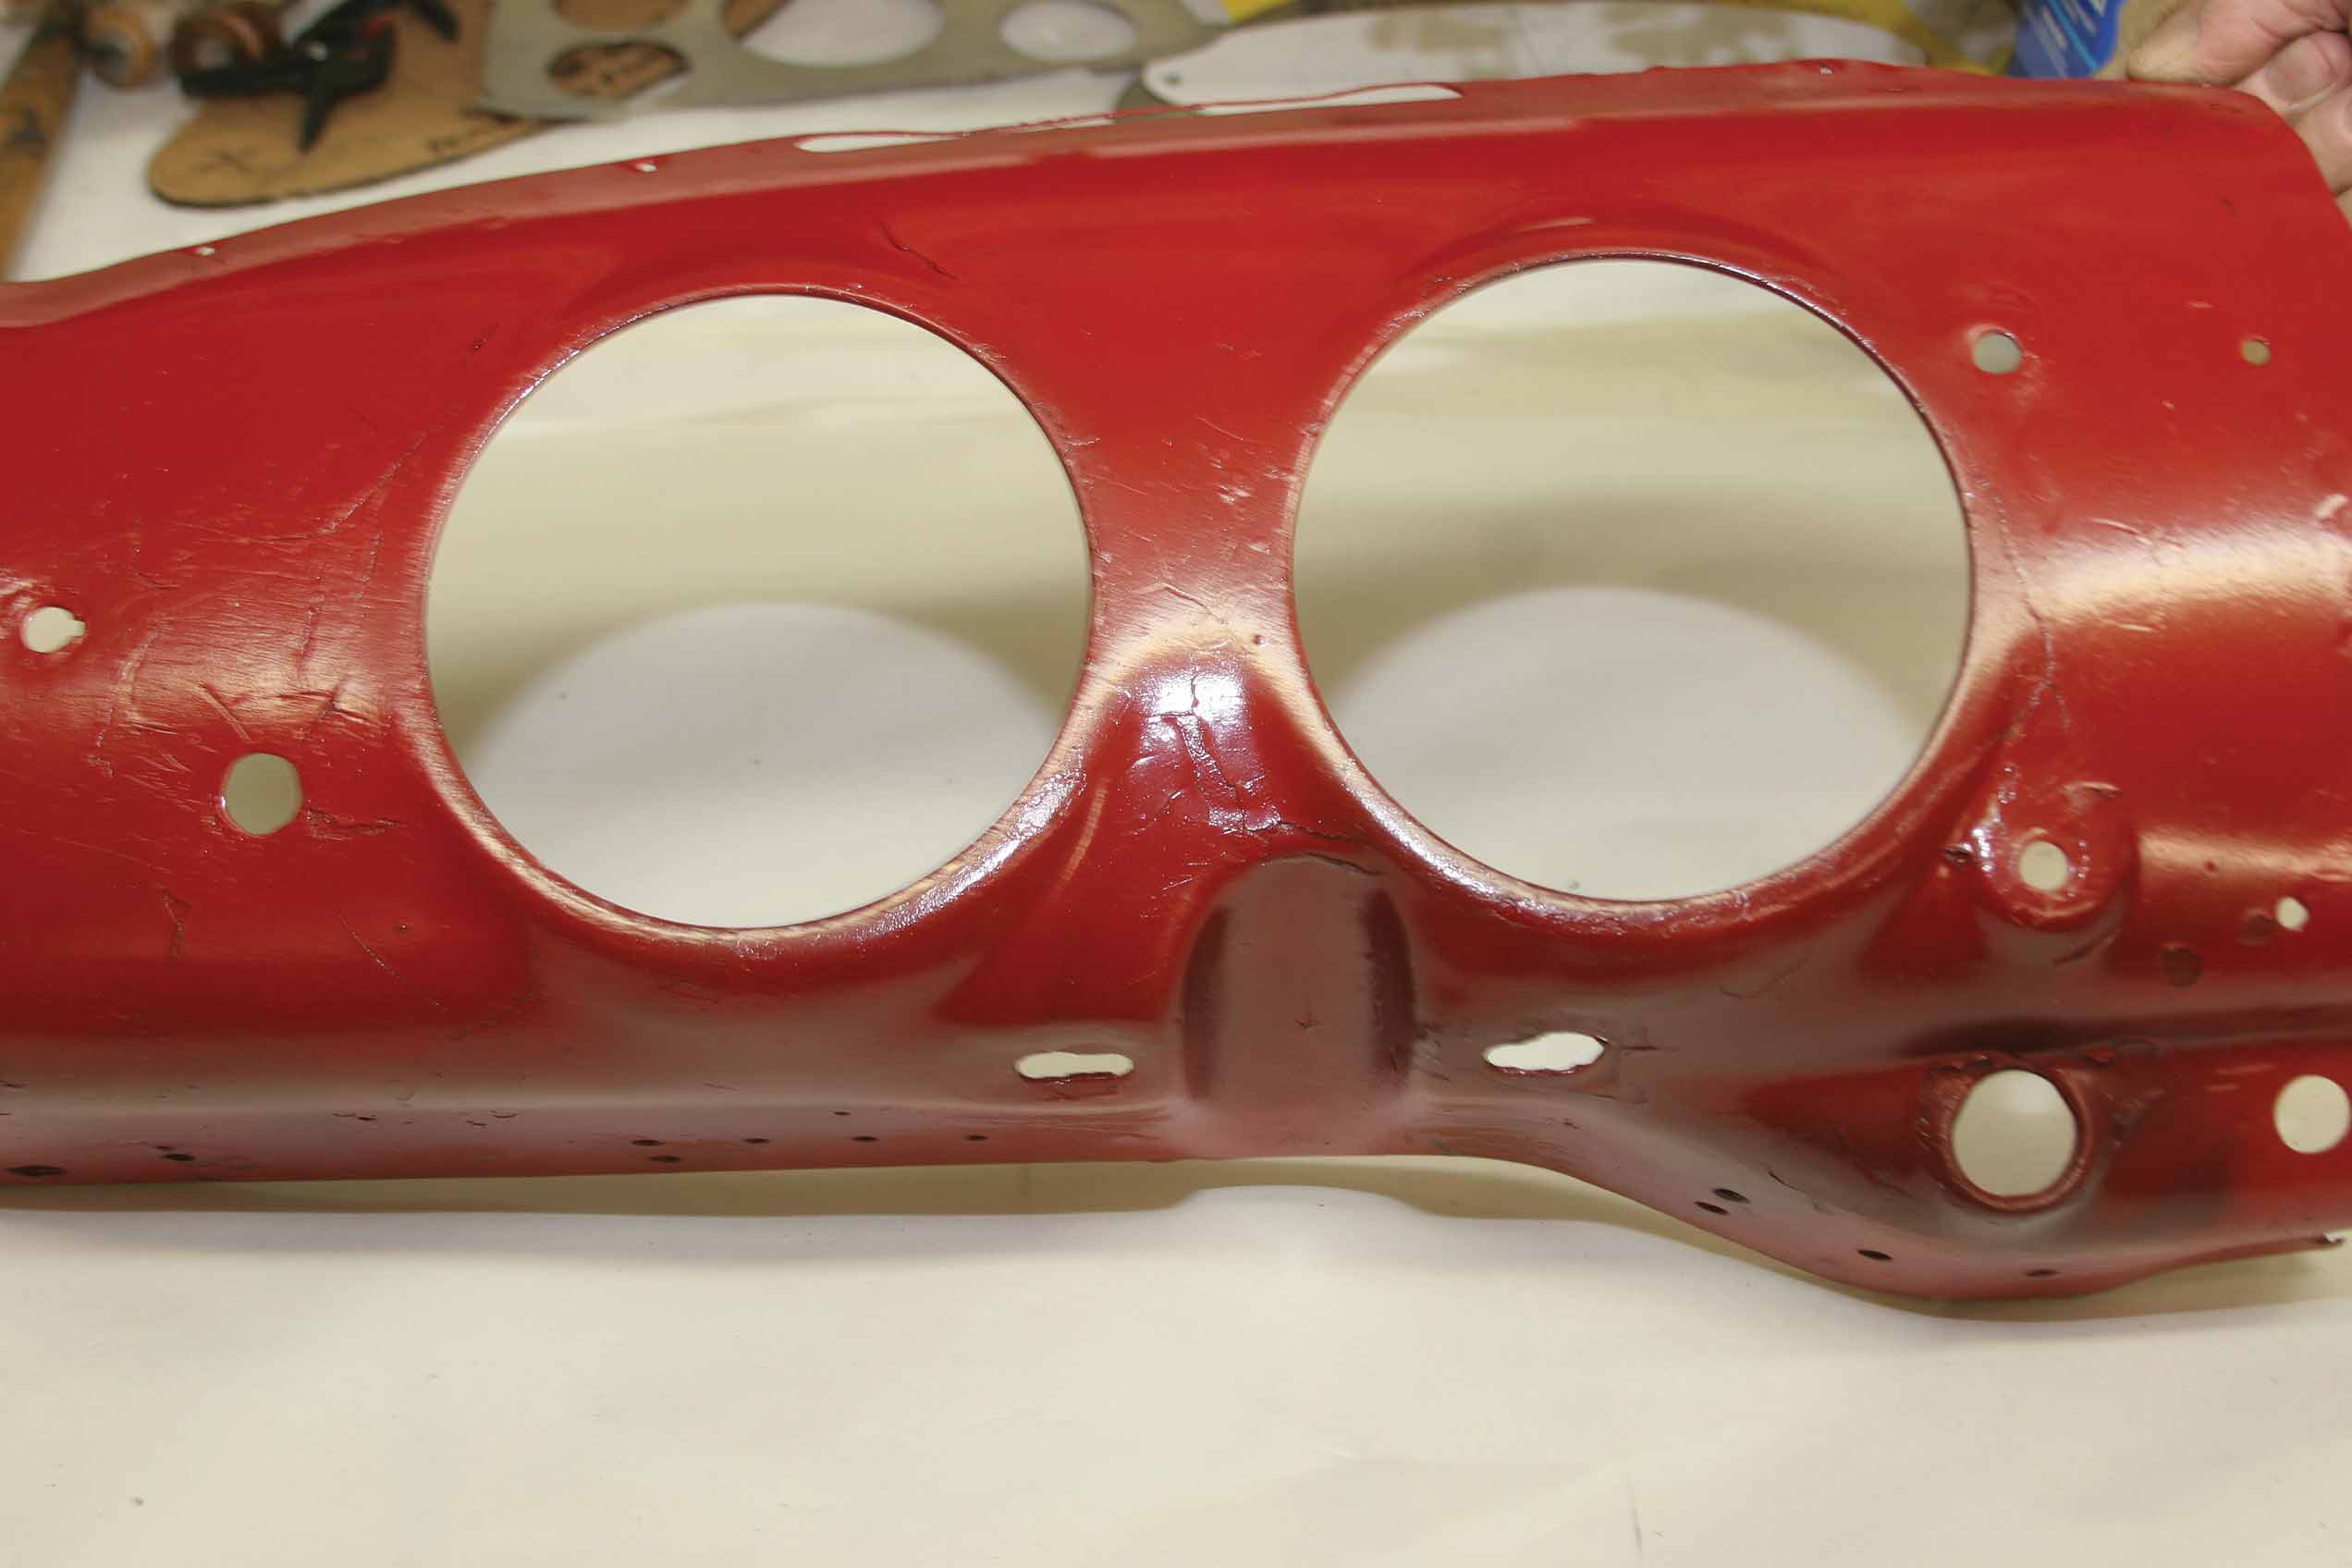
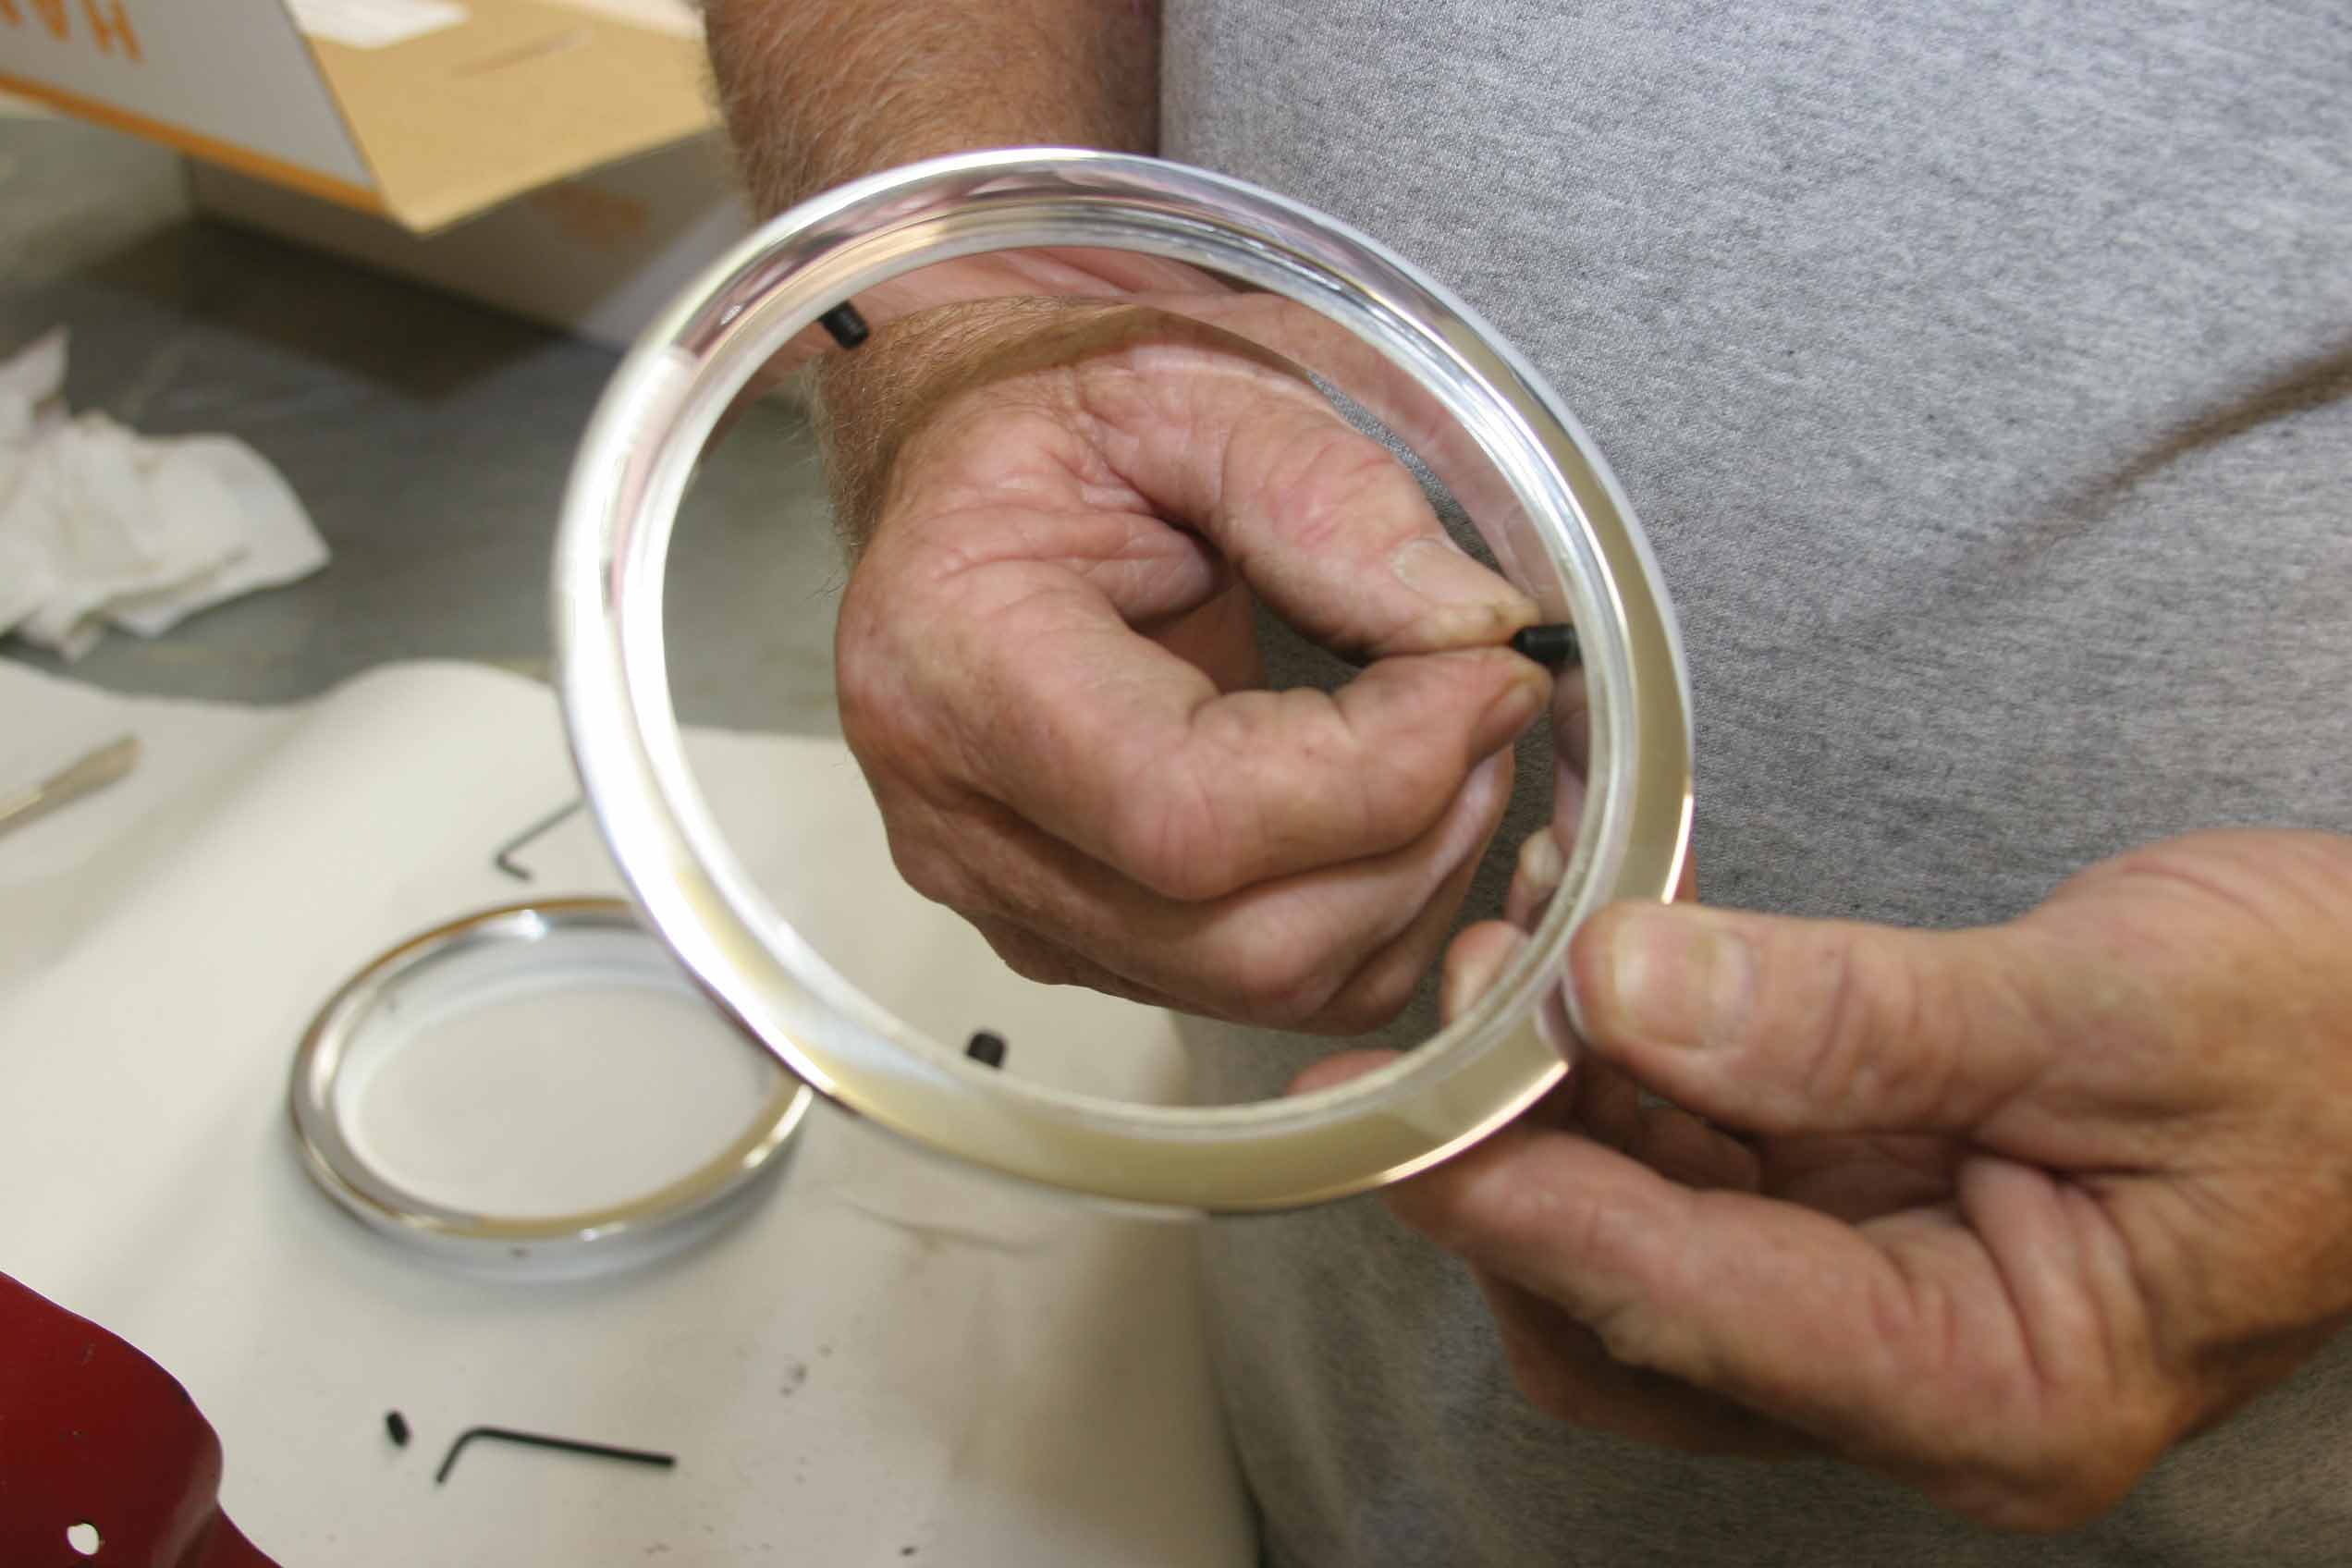
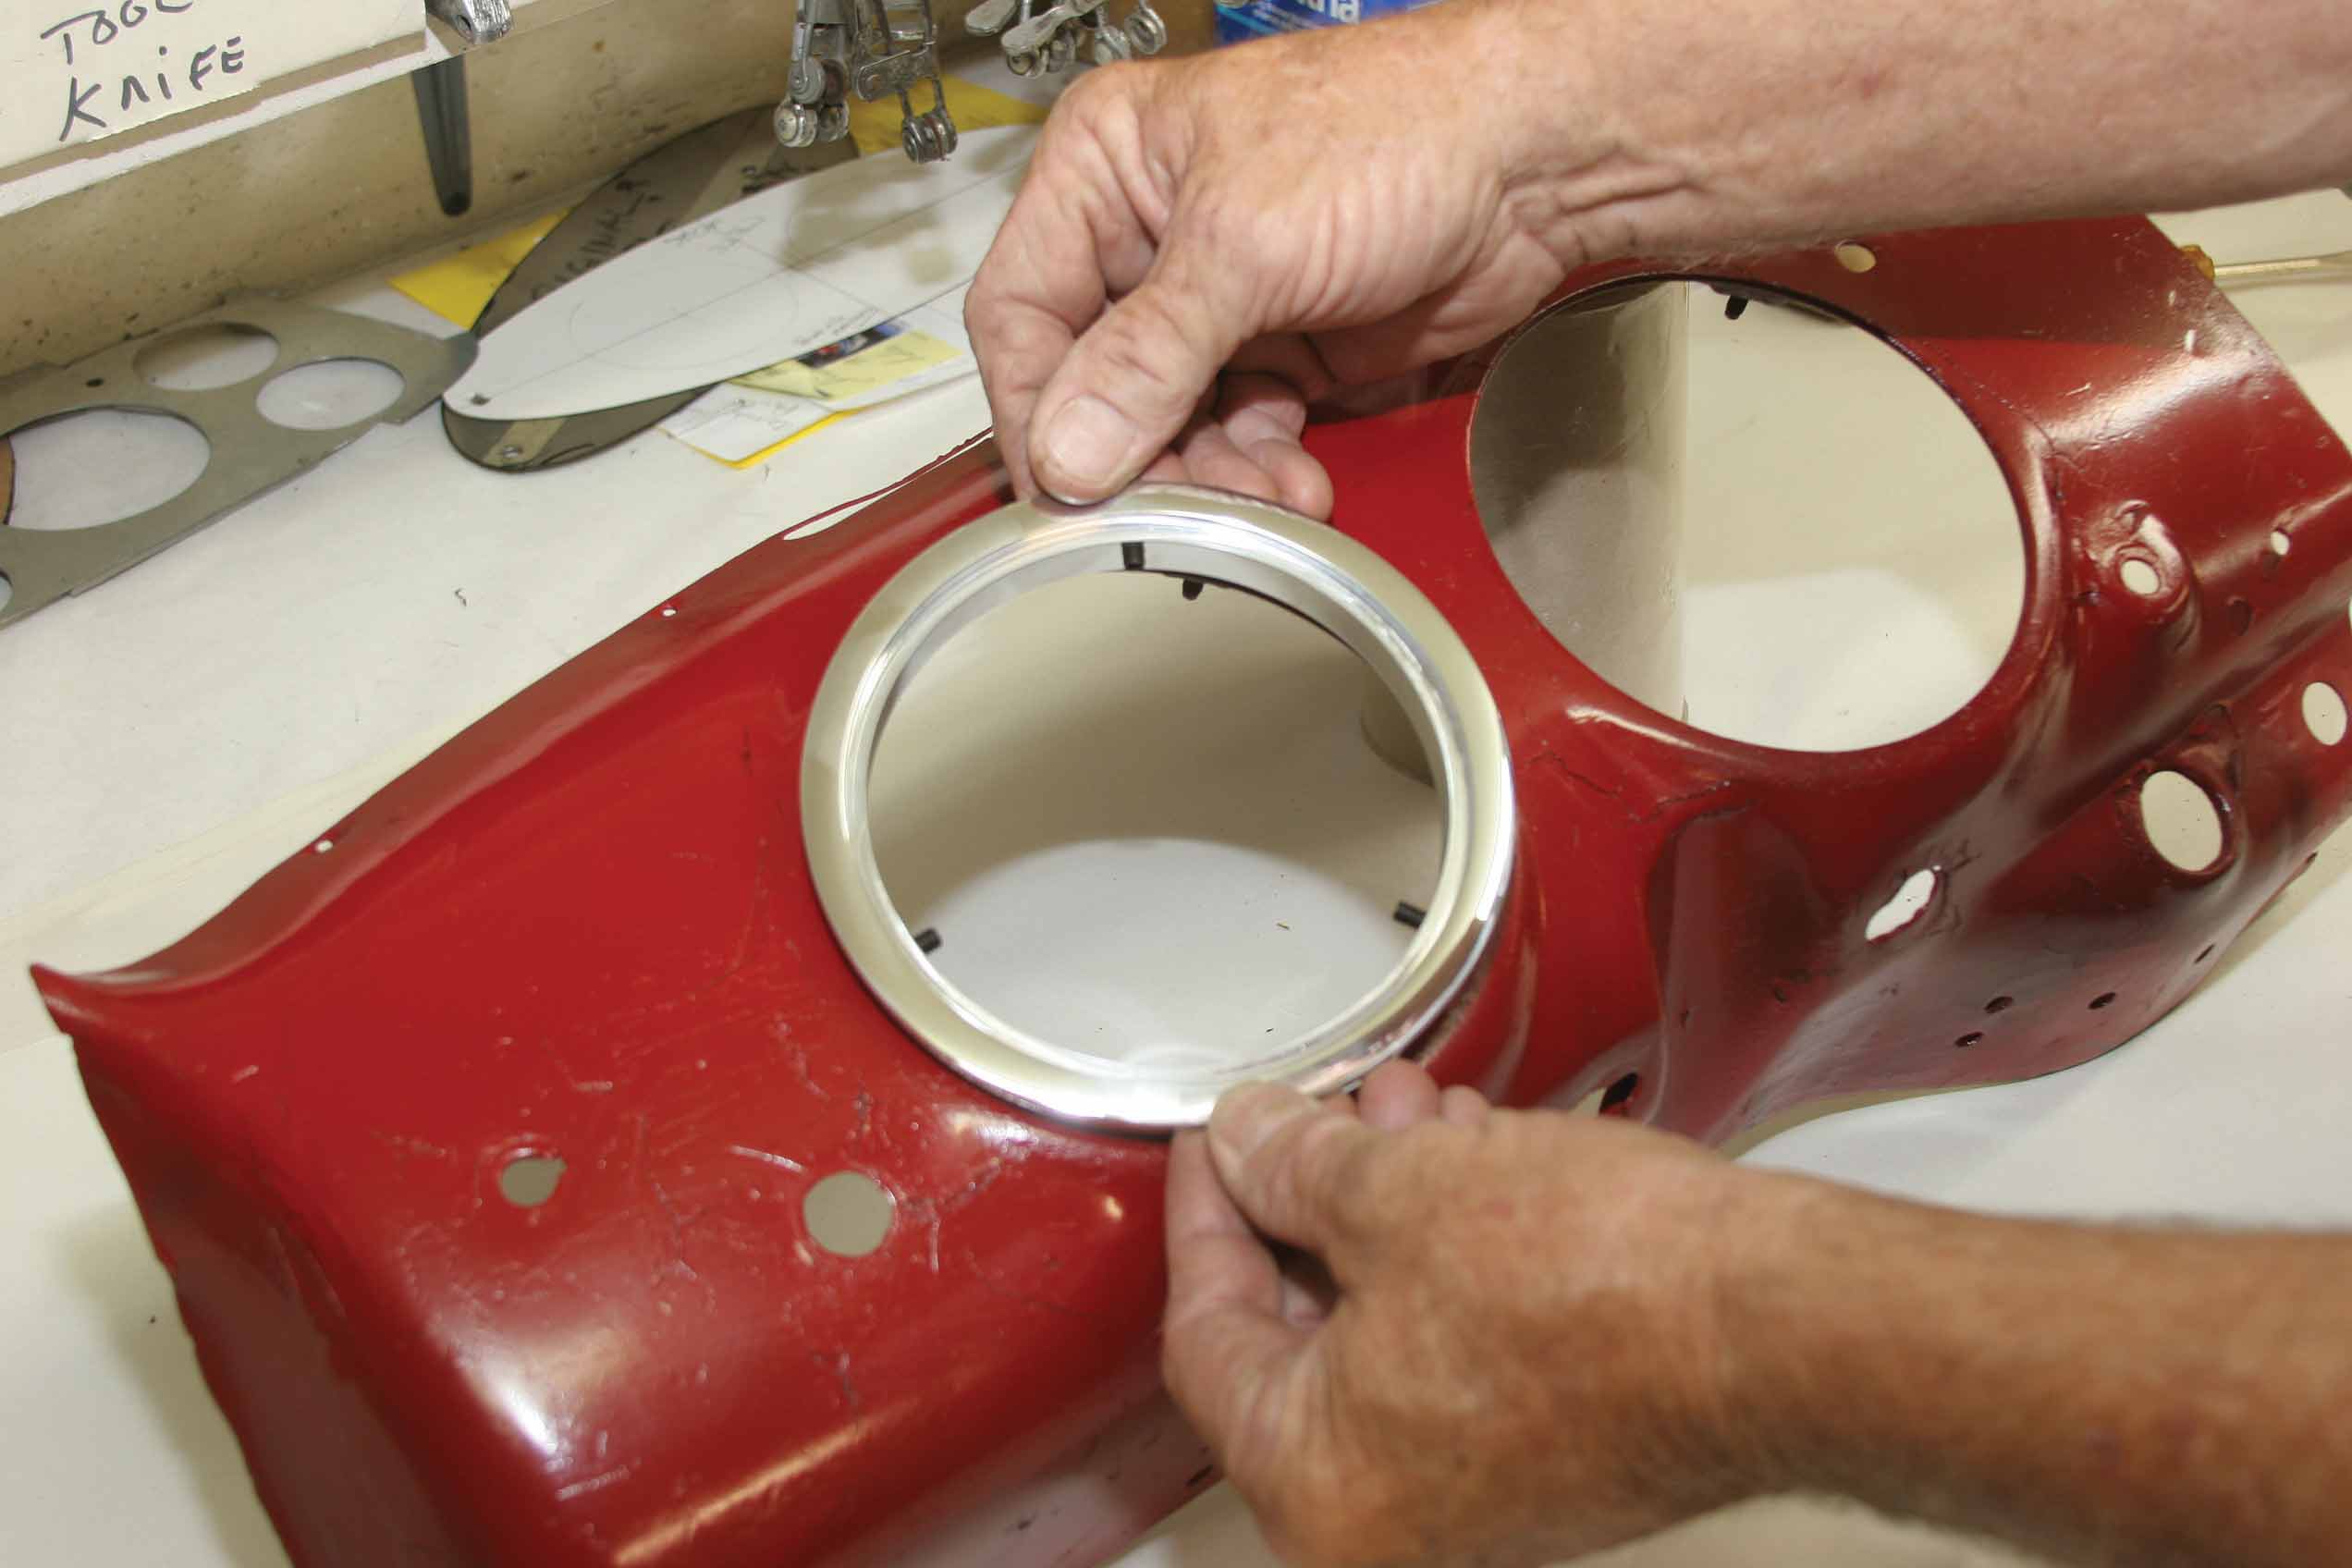
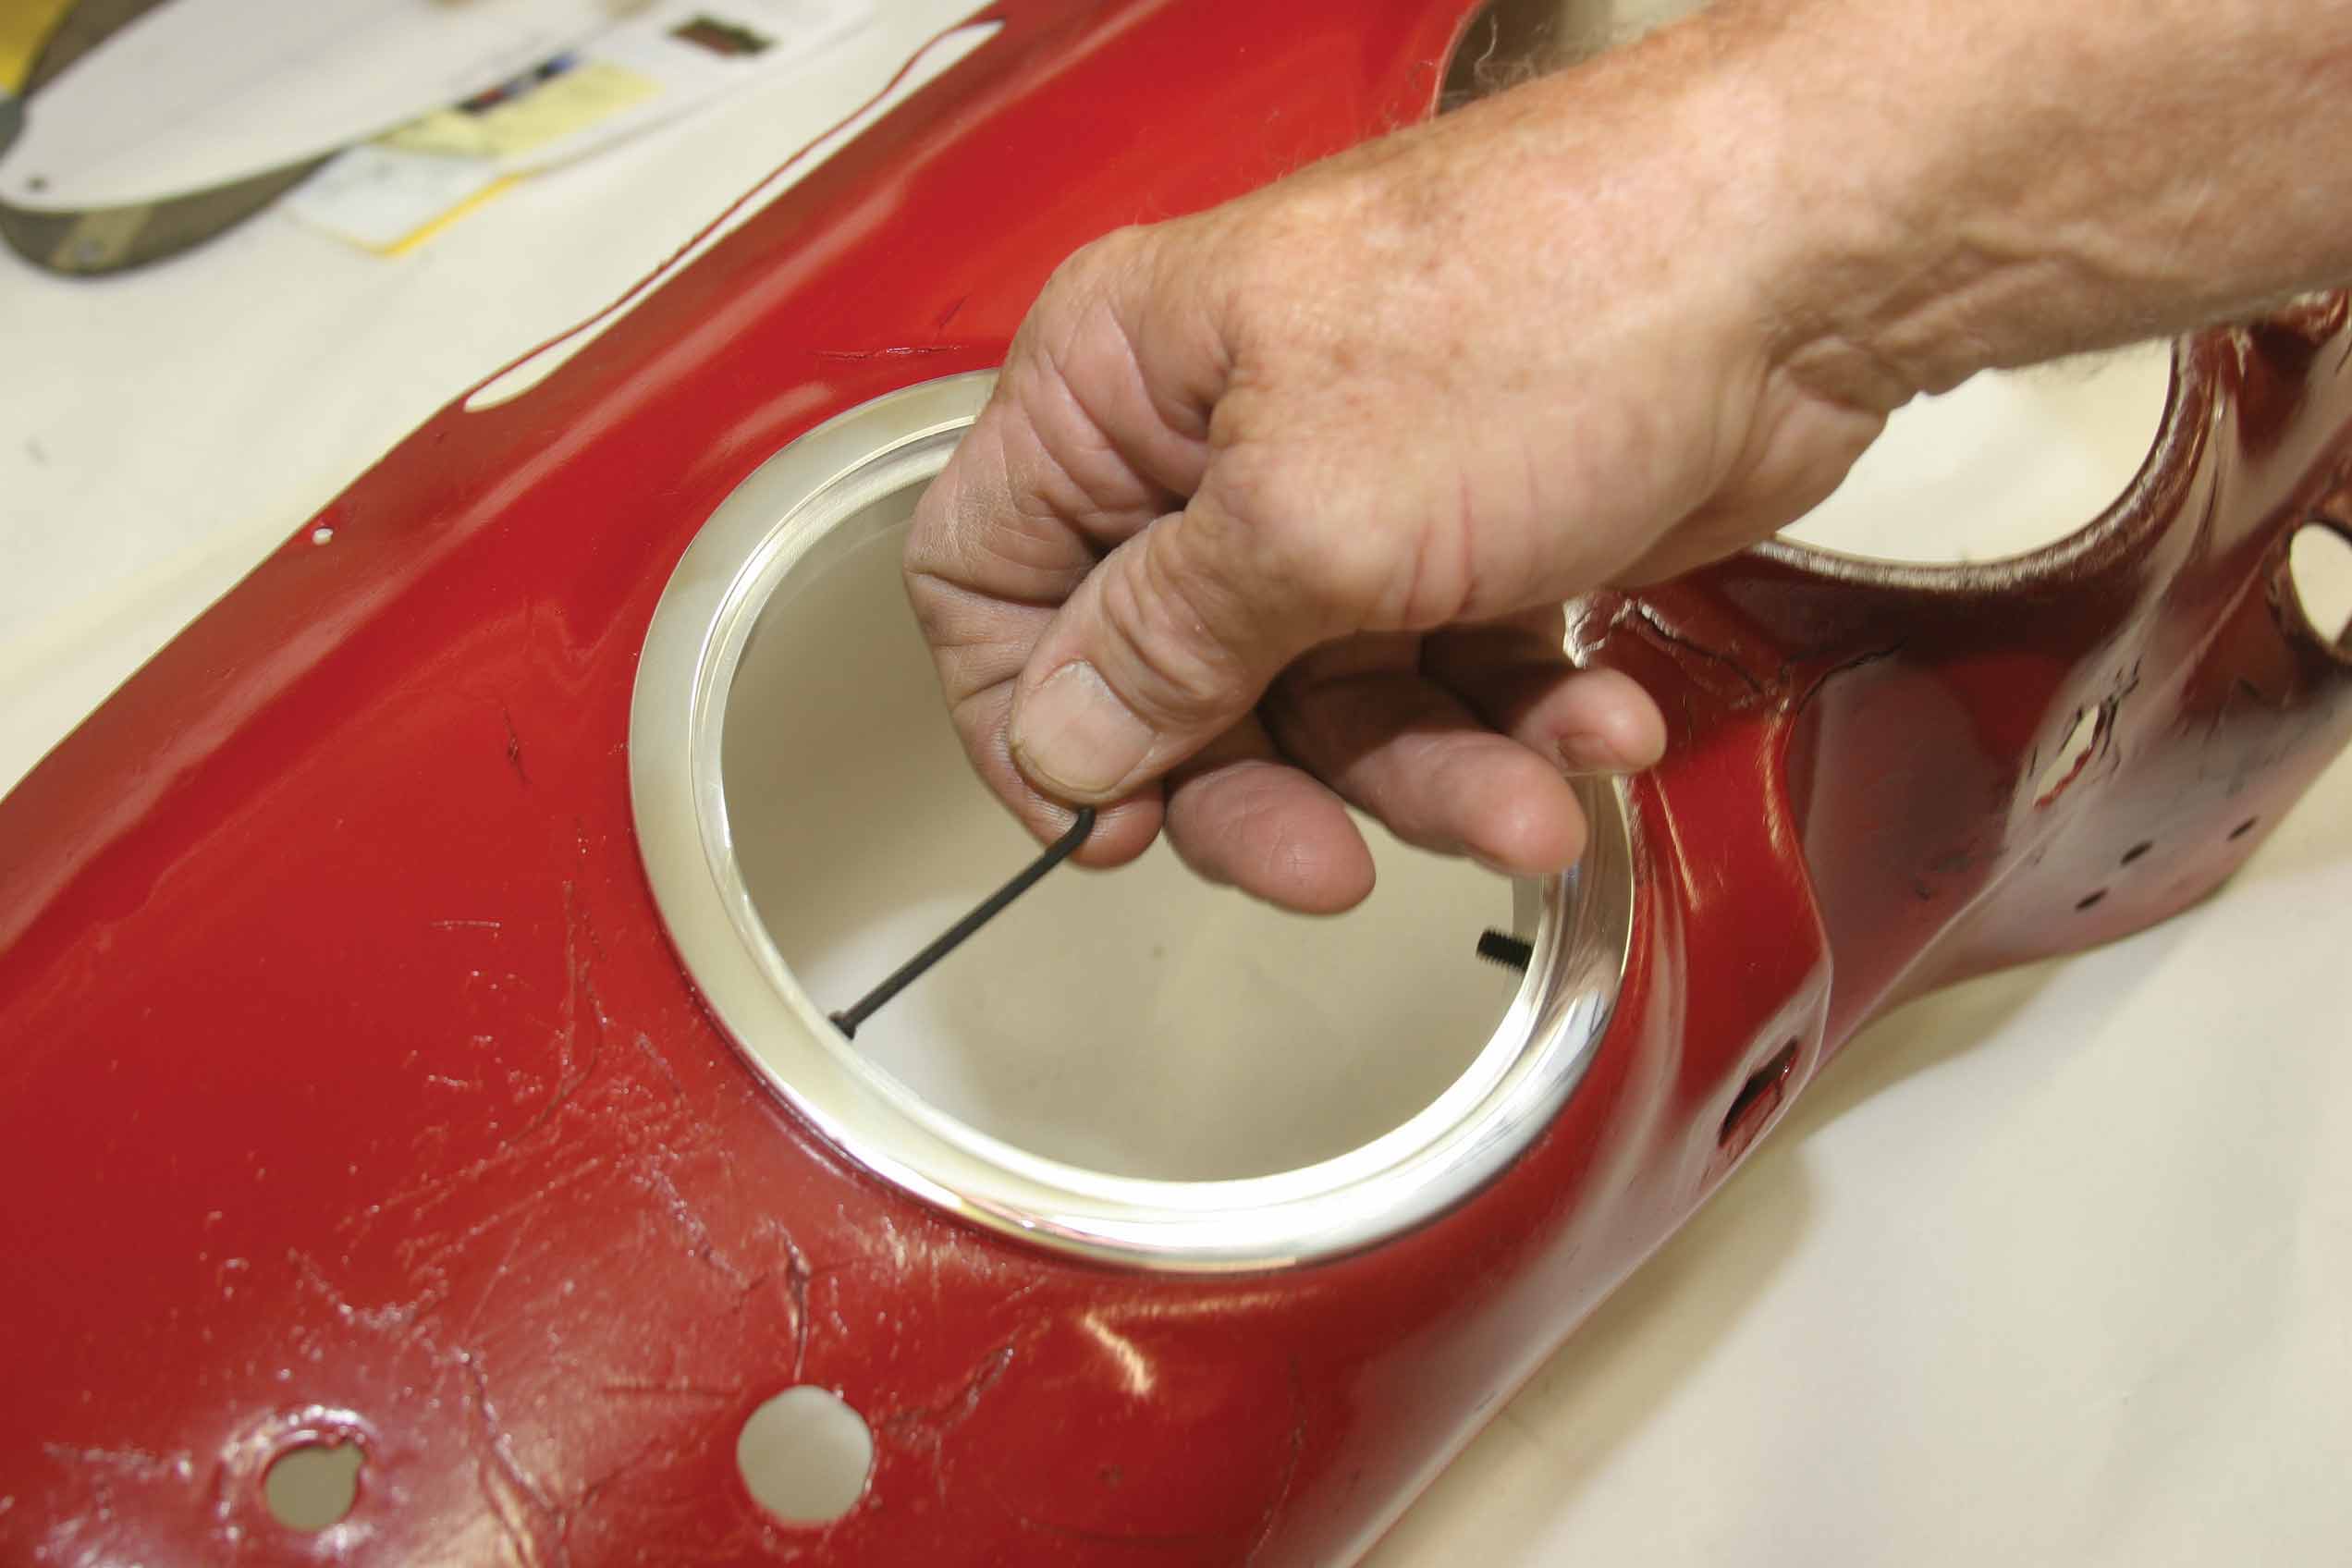
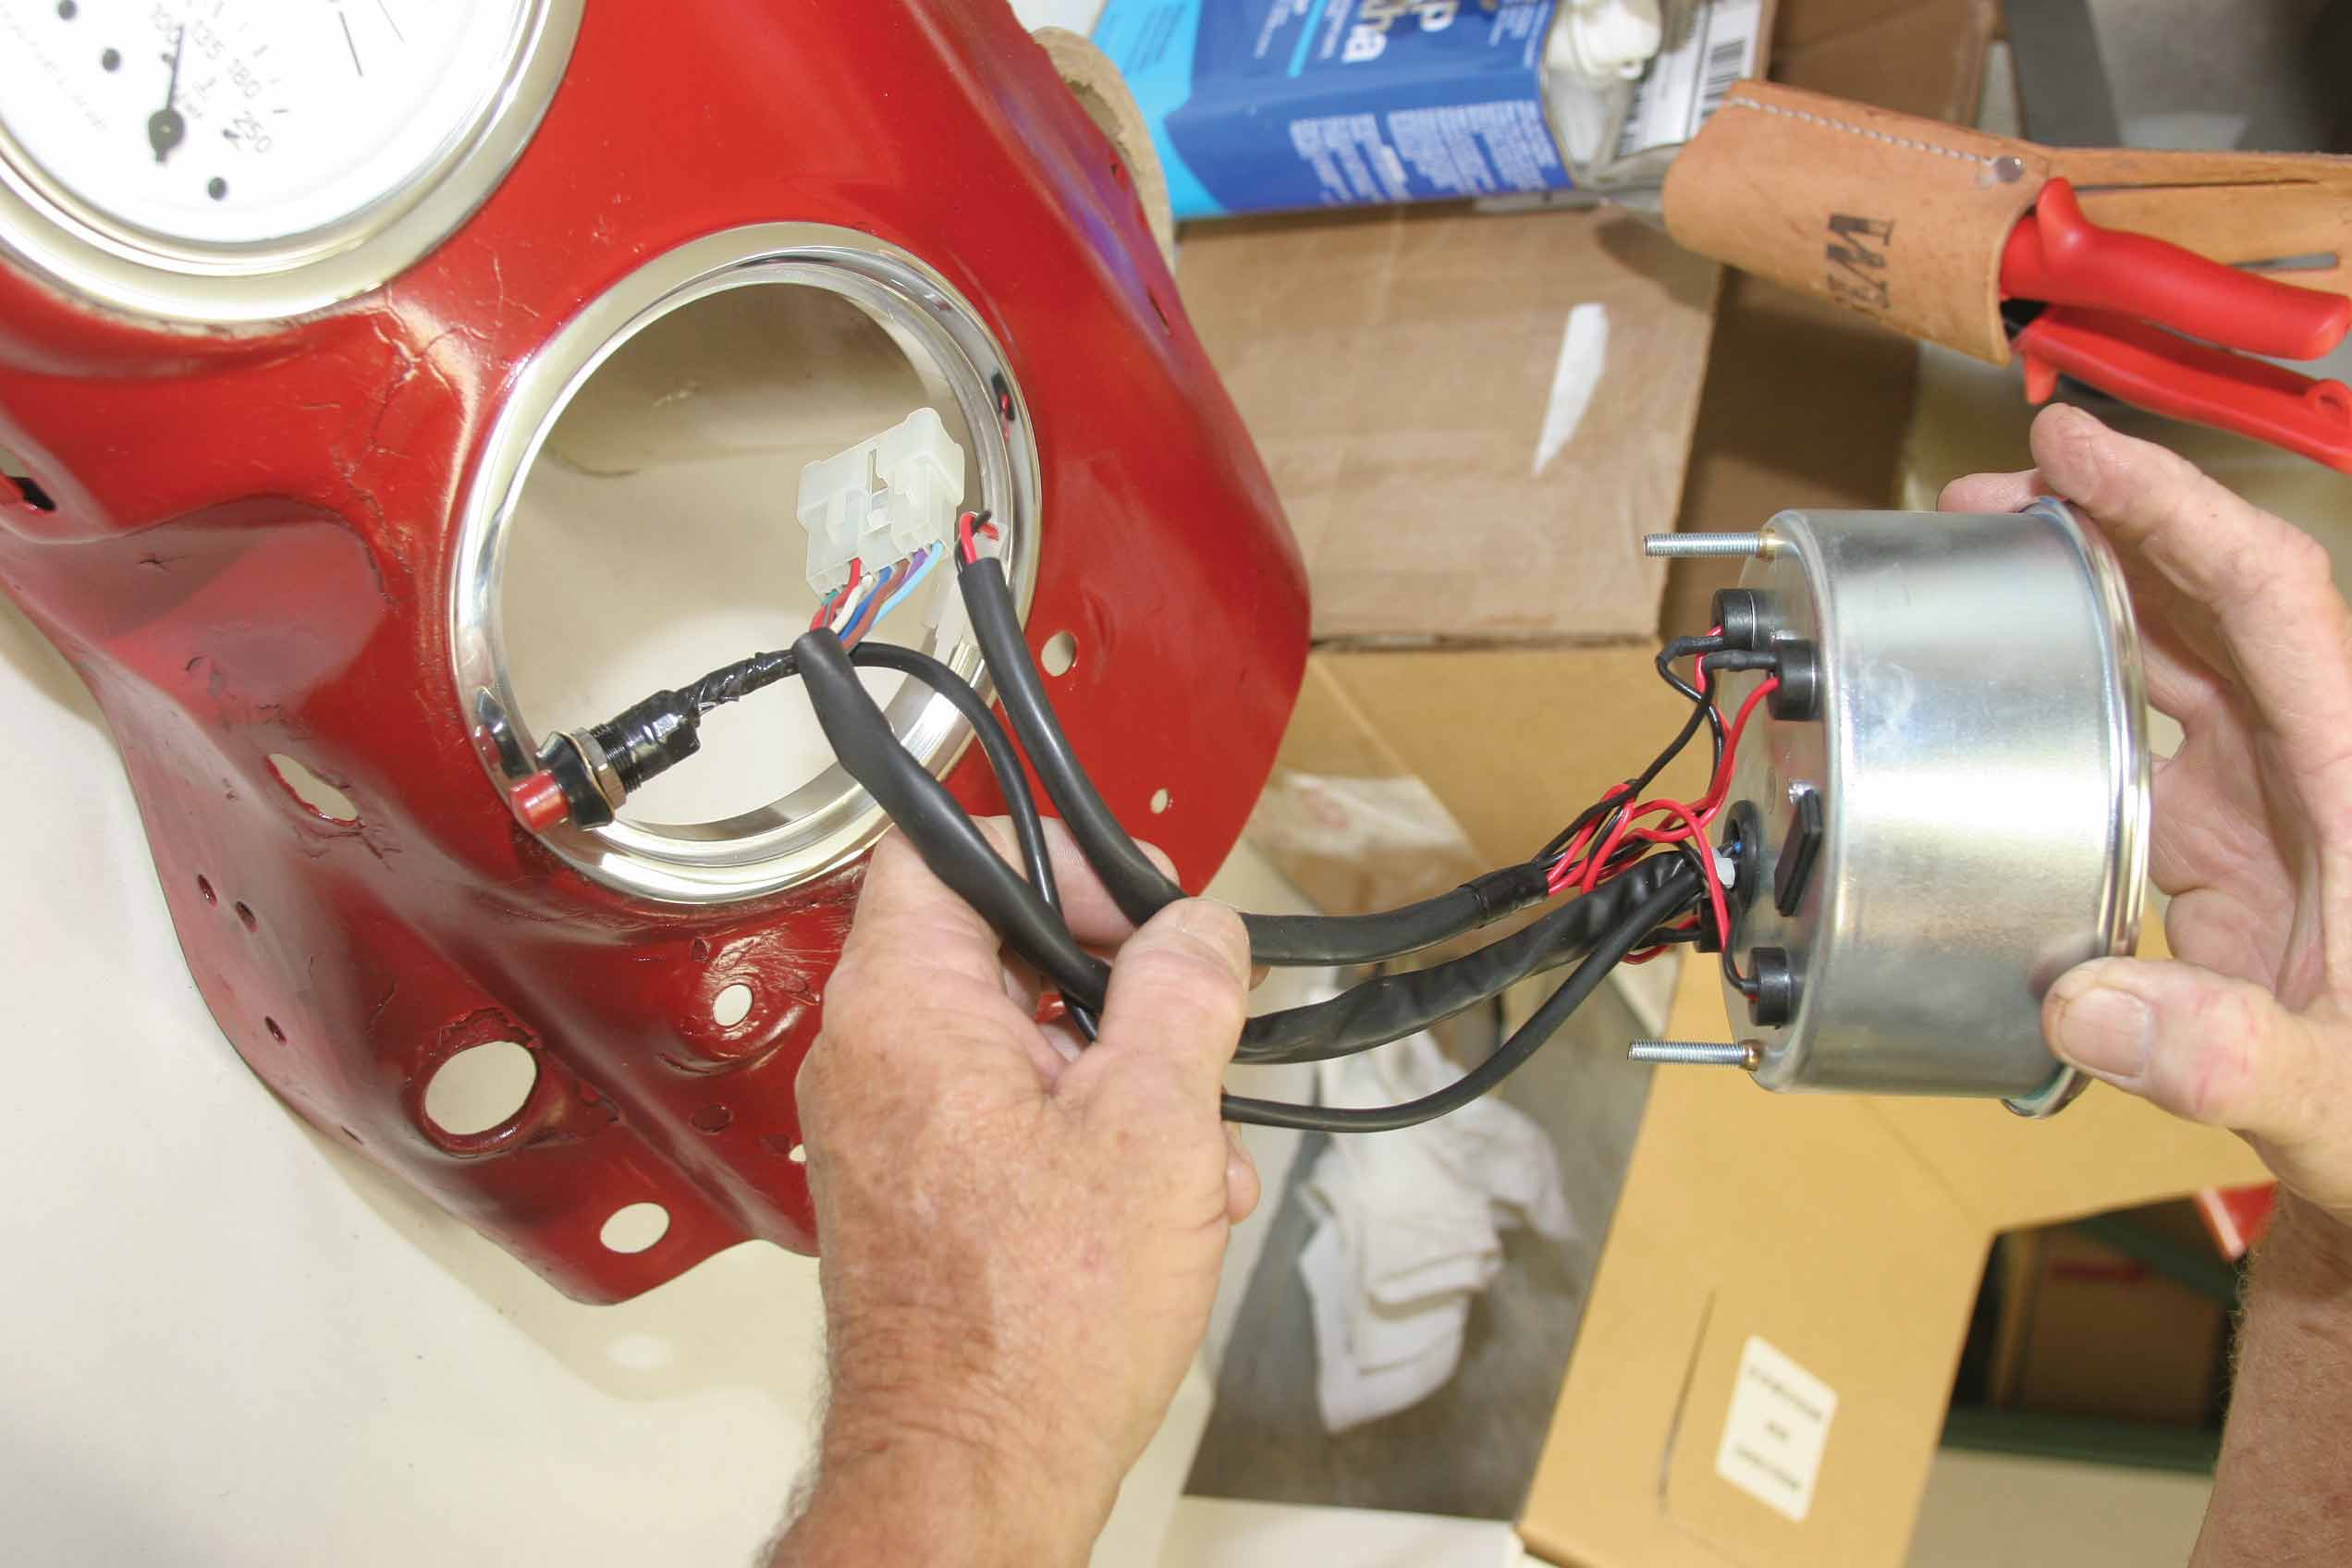
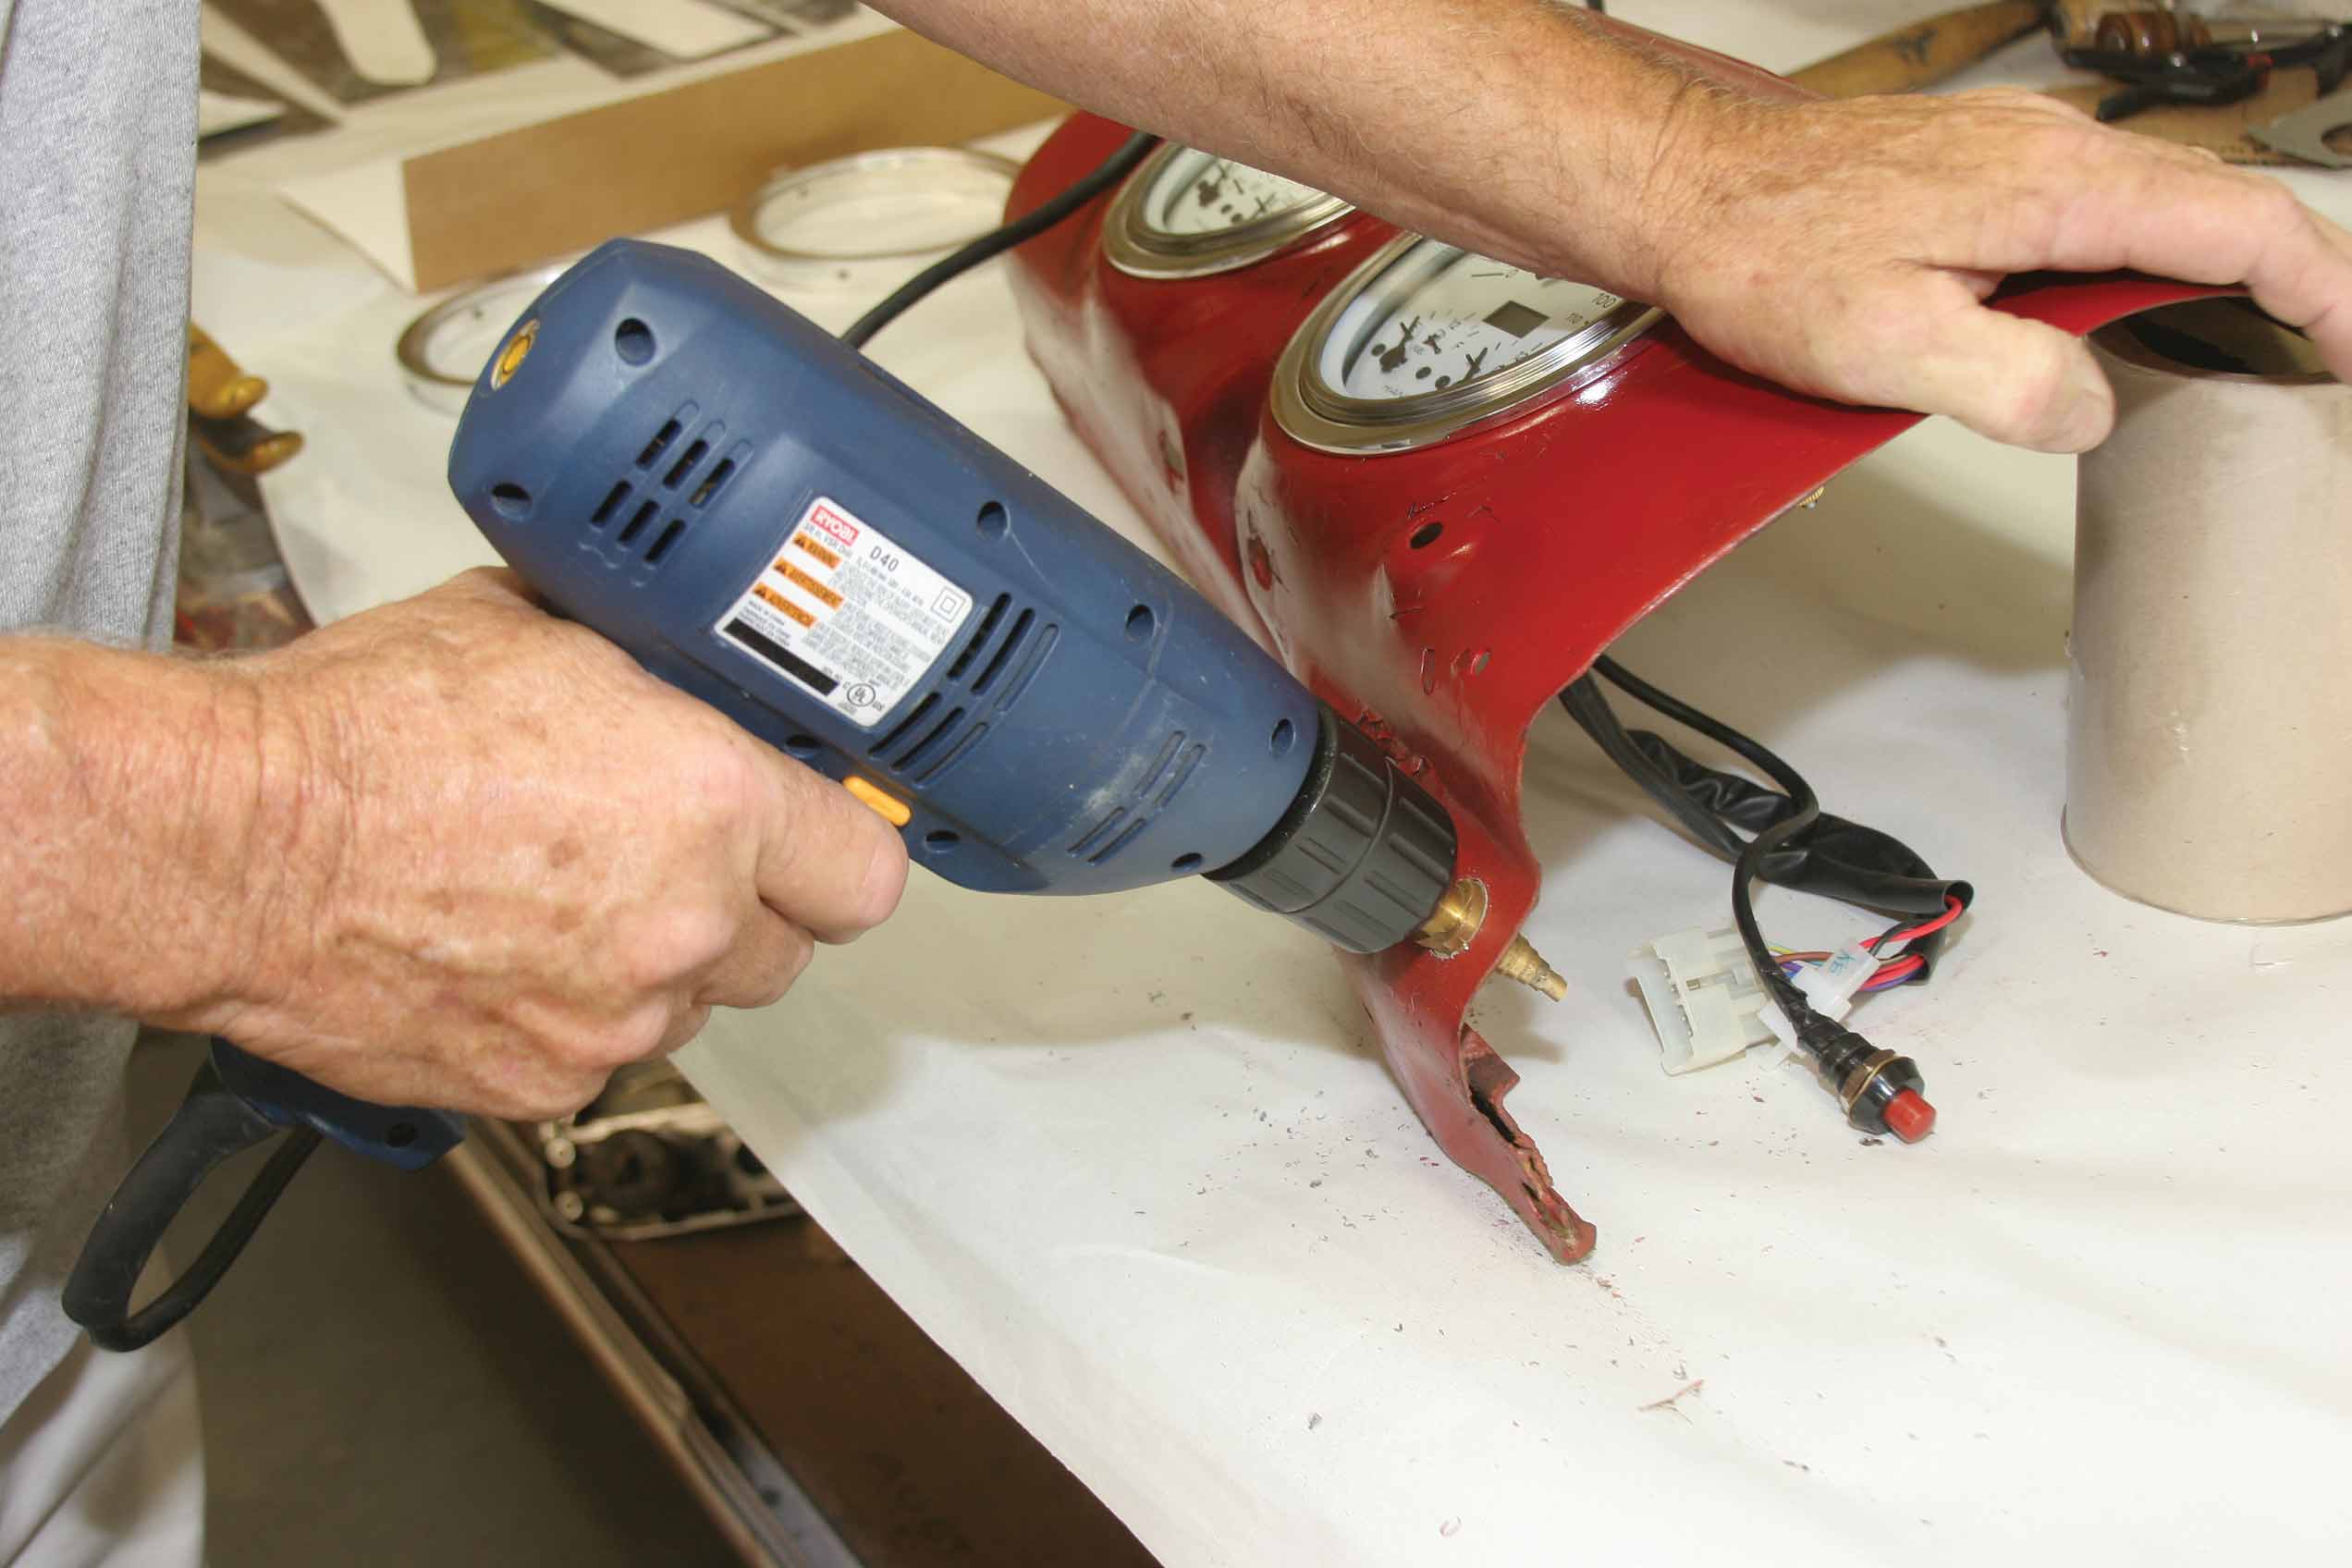
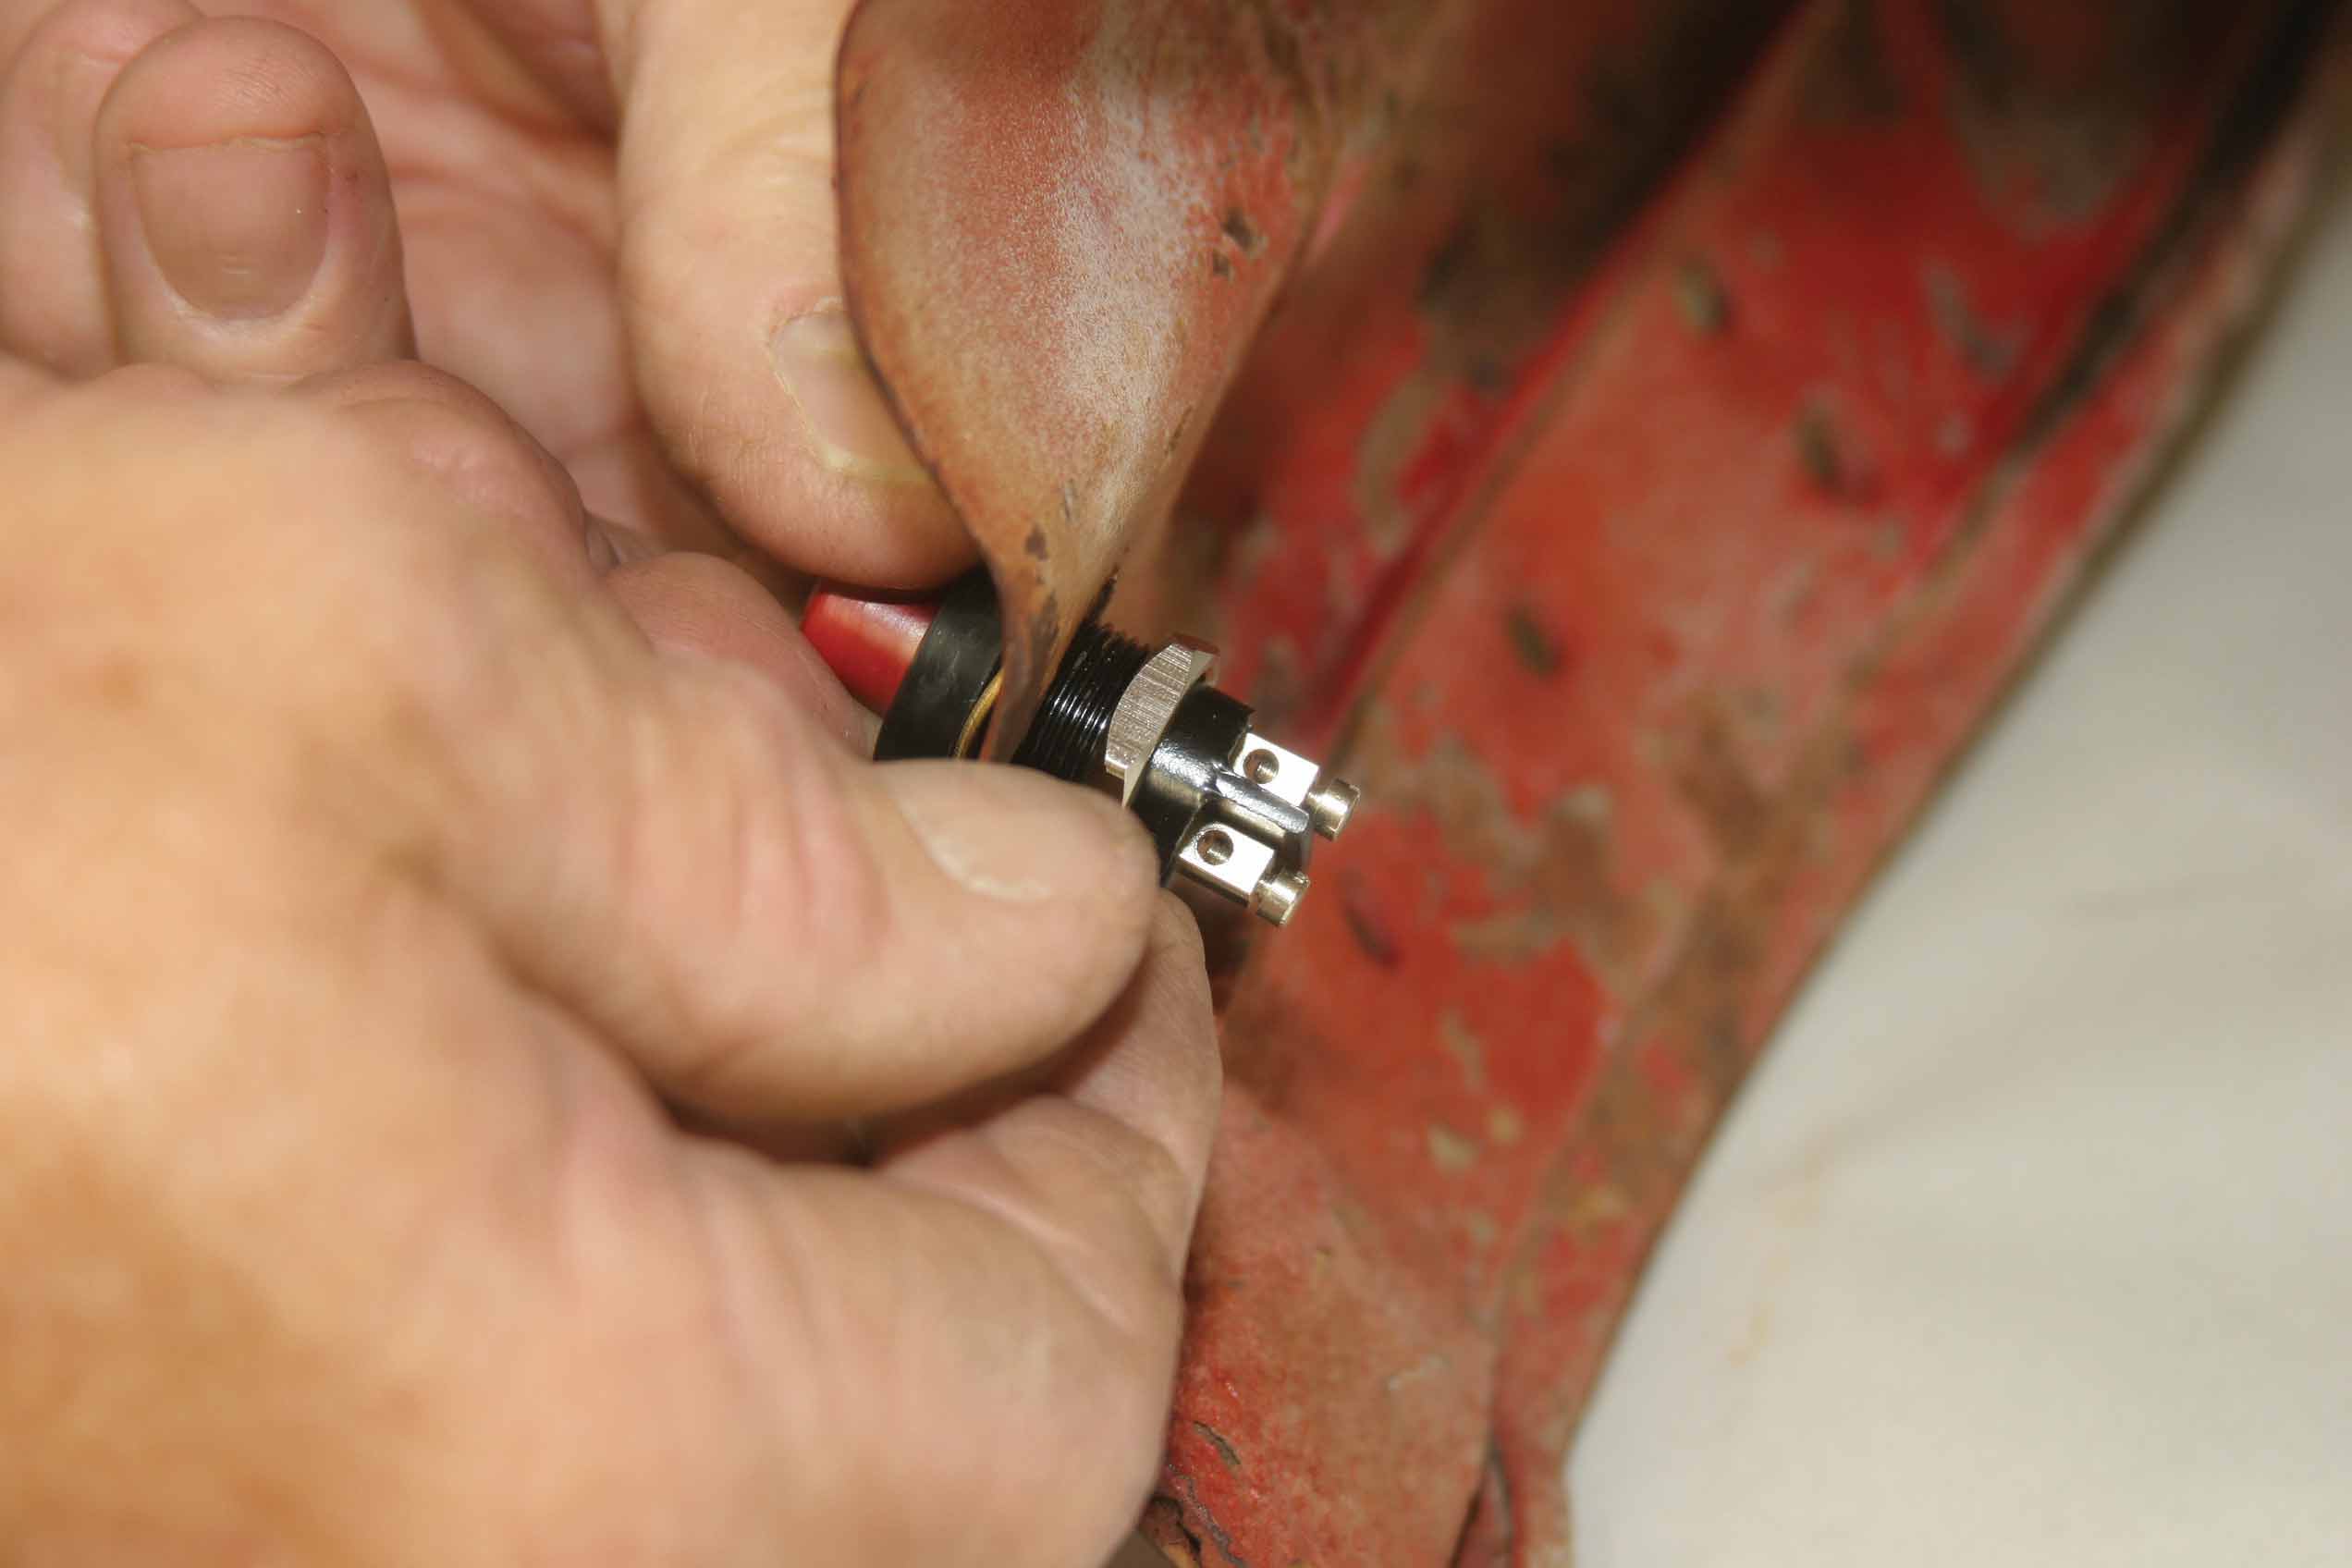
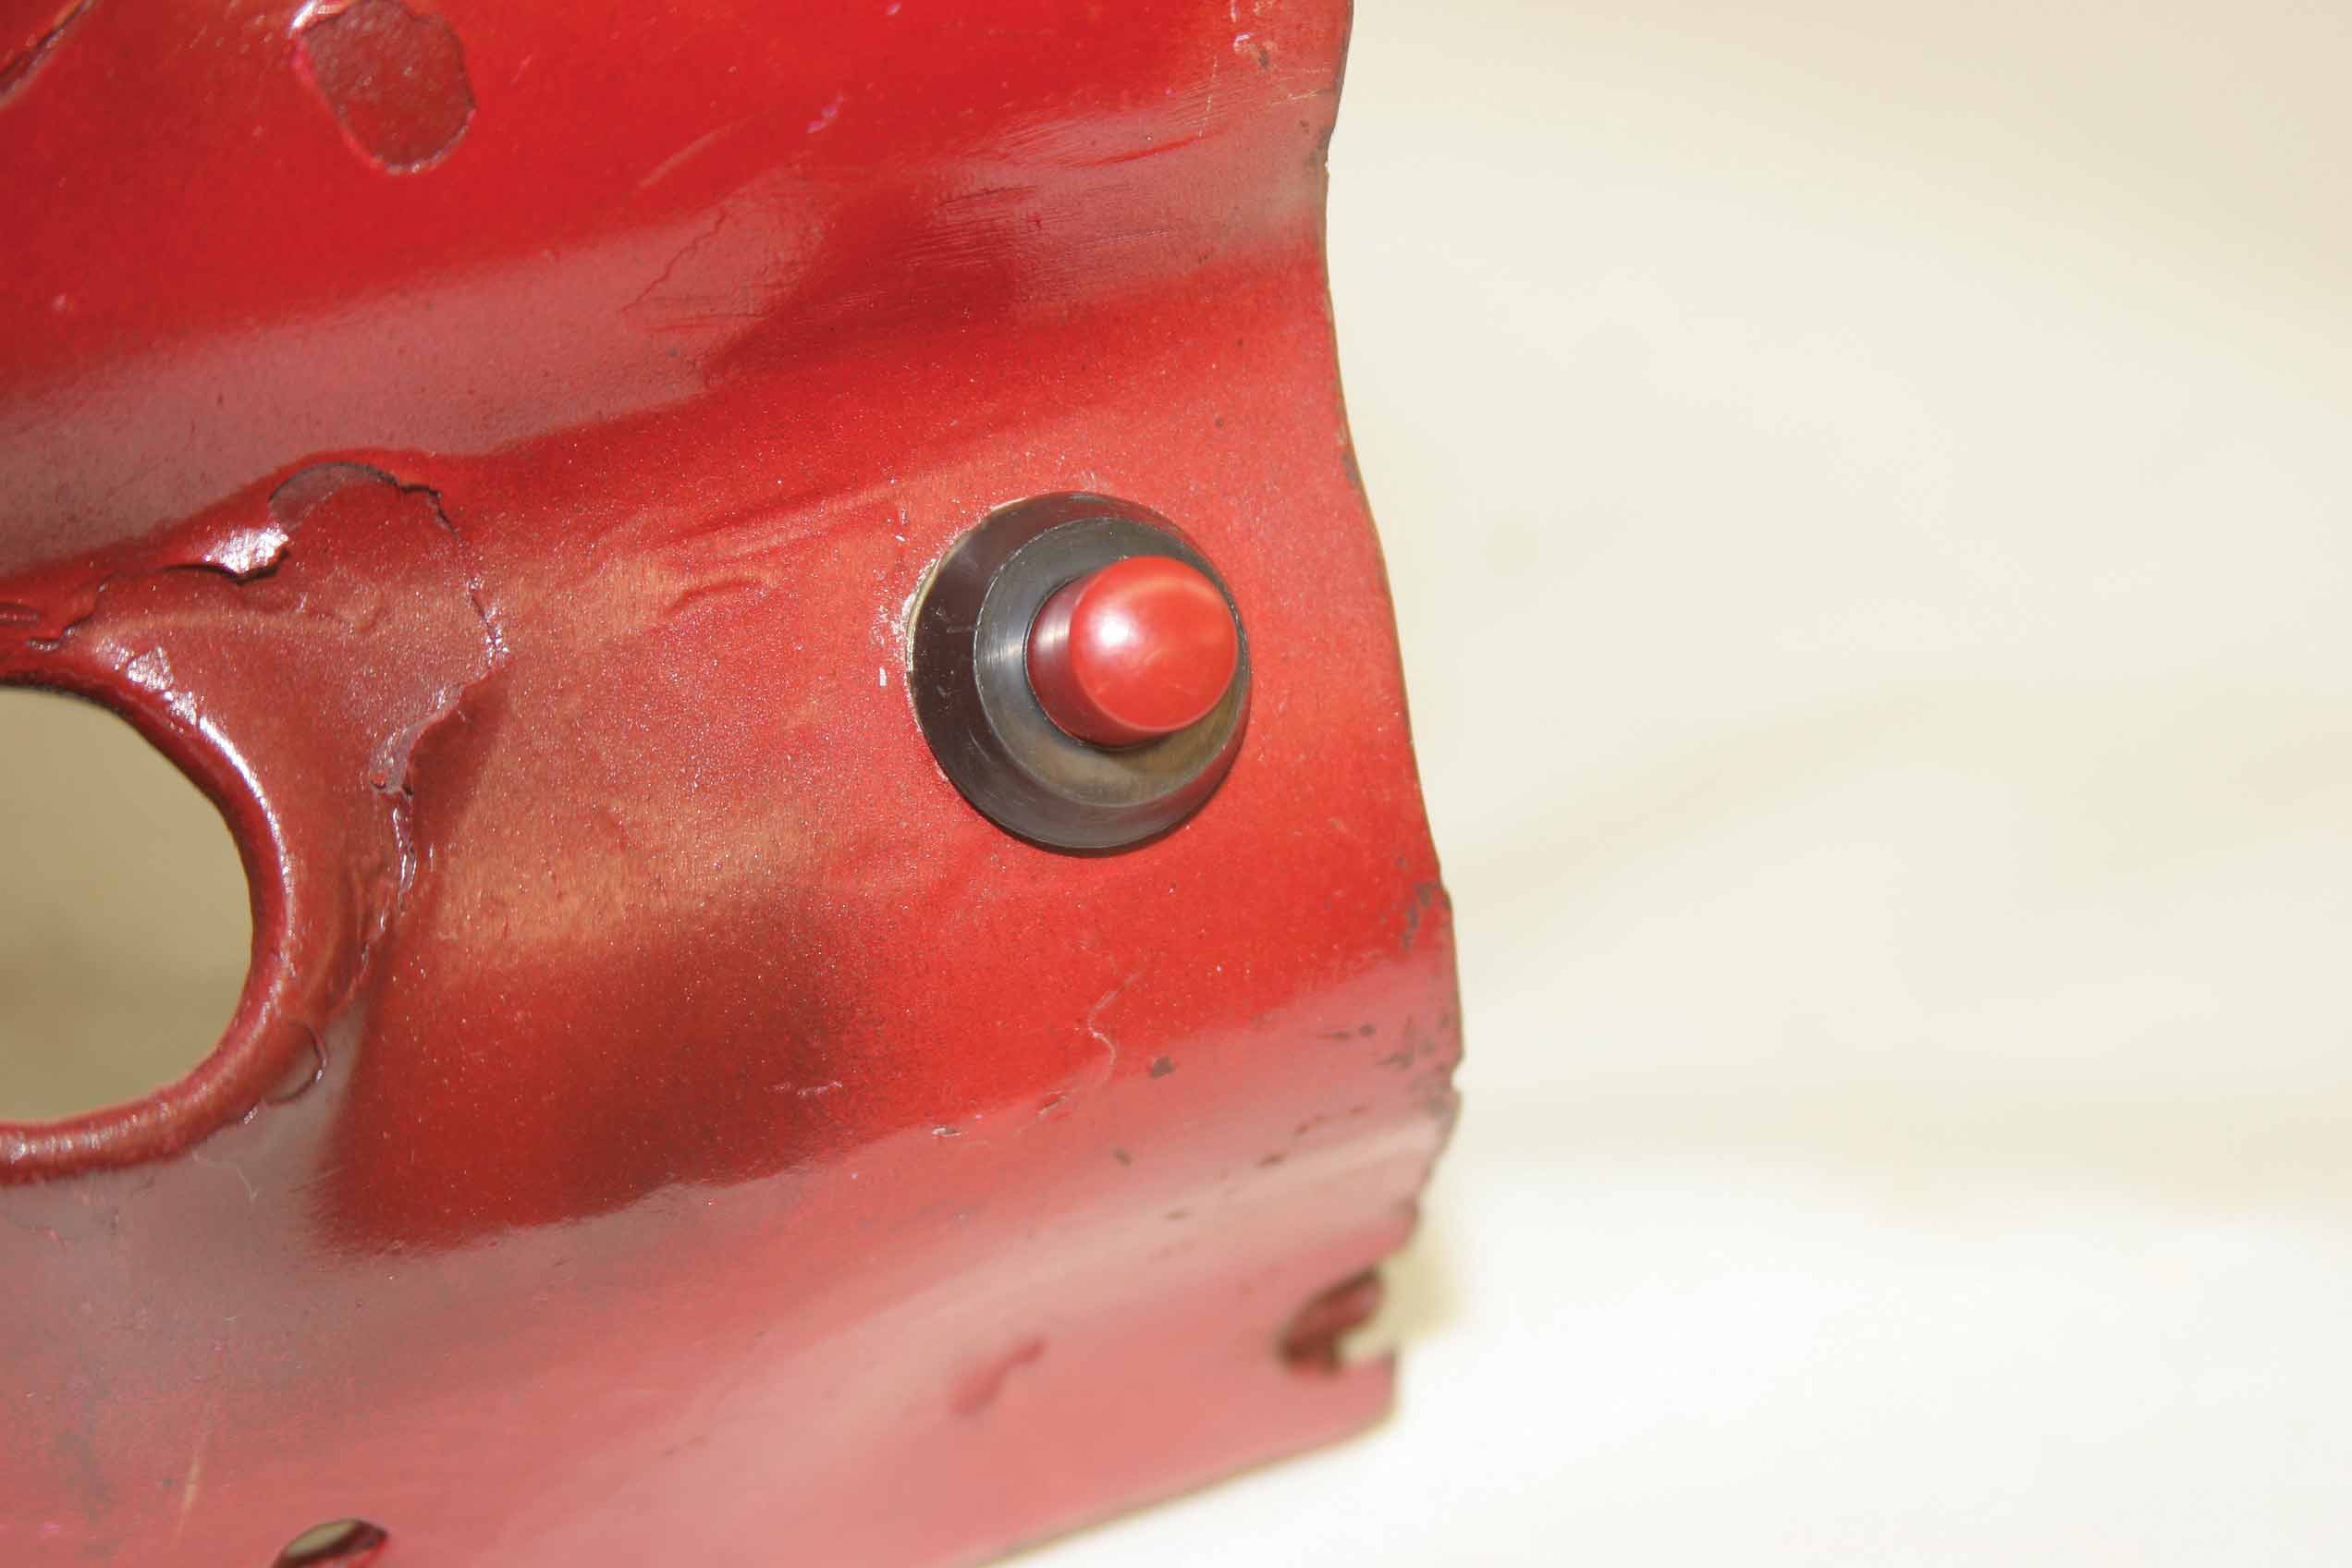
We were on hand as Jim Bible showed us how to install the units into a Chevy dash. Okay, it was not one that was actually mounted into a truck; it was one that Bible used to design the billet ring, as well as the size of the gauges that he would use in the kit. Haneline includes a detailed installation sheet with the kit, which takes into consideration not just how to install the gauges into the dash, but how to install the sending units and even how to calibrate the speedometer to work with a variety of tire sizes.
So if you like a clean dash, as well as being completely informed on how your truck is running, take a look at Haneline. You will probably like what you see.
ARTICLE SOURCES
Haneline
P.O. Box 430
Morongo Valley, CA 92256
888/878-8678