
THE AUTO BUILDER
Featured
- All Post
- 20 High Priority - SR Super Rod
- Builds
- 25 High Priority - FB Ford Builder
- Cars
- 30 High Priority - AR American Rodder
- 01 Post Status
- 35 High Priority - RD Rodders Digest
- 40 High Priority - OTR On the Road
- 45 High Priority - SRB Street Rod Builder
- 50 High Priority - TB Truck Builder
- 55 High Priority - BSCENE Buckaroo Scene
- 60 High Priority - FPB Family Power Boat
- Trucks
- Swaps
- Performance Boats
- _000 Home Sliders
- Builders
- 00 Sidebars
- Manufacturers
- 05 High Priority - HCI Hot Compact Imports
- 05 Publications
- 10 High Priority - CR Chevy Rumble
- Back
- Chassis
- Engine
- Fuel System
- Electrical
- Exhaust
- Transmission / Drivetrain
- Suspension
- Steering
- Brakes
- Wheels and Tires
- Interior
- Exterior
- Accessories
- Power Adders
- Back
- Chassis
- Engine
- Fuel System
- Electrical
- Exhaust
- Transmission / Drivetrain
- Suspension
- Steering
- Brakes
- Wheels and Tires
- Interior
- Exterior
- Accessories
- Power Adders
- Back
- Chassis
- Engine
- Electrical
- Exhaust
- Fuel System
- Transmission / Drivetrain
- Suspension
- Steering
- Brakes
- Wheels and Tires
- Interior
- Exterior
- Accessories
- Power Adders
- Back
- Chassis
- Engine
- Electrical
- Exhaust
- Fuel System
- Transmission / Drivetrain
- Suspension
- Steering
- Brakes
- Wheels and Tires
- Interior
- Exterior
- Accessories
- Power Adders
- Back
- Chassis
- Engine
- Fuel System
- Electrical
- Exhaust
- Transmission / Drivetrain
- Suspension
- Steering
- Brakes
- Wheels and Tires
- Interior
- Exterior
- Accessories
- Power Adders
- Back
- Chassis
- Engine
- Fuel System
- Electrical
- Exhaust
- Transmission / Drivetrain
- Suspension
- Steering
- Brakes
- Wheels and Tires
- Interior
- Exterior
- Accessories
- Power Adders
- Back
- Chassis
- Engine
- Fuel System
- Electrical
- Exhaust
- Transmission / Drivetrain
- Suspension
- Steering
- Brakes
- Wheels and Tires
- Interior
- Exterior
- Accessories
- Power Adders
- Back
- Engine
- Fuel System
- Electrical
- Outdrives
- Steering
- Interior
- Accessories
- Power Adders
- Exterior and Hull
- Back
- Chassis
- Engine
- Electrical
- Exhaust
- Fuel System
- Transmission / Drivetrain
- Suspension
- Steering
- Brakes
- Wheels and Tires
- Interior
- Exterior
- Accessories
- Power Adders
- Back
- Chevrolet
- Cadillac
- Pontiac
- AMC
- Buick
- Jeep
- Lincoln
- Ford
- Honda
- GMC
- BMW
- Mitsubishi
- Dodge
- Nissan
- Chrysler
- Subaru
- Toyota
- Plymouth
- Mercury
- Volvo
- Volkswagen
- Oldsmobile
- Acura
- Back
- 05 Pub HCI Hot Compact Imports
- 15 Pub 4x4 4x4 Builder
- 20 Pub SR Super Rod
- 25 Pub FB Ford Builder
- 30 Pub AR American Rodder
- 35 Pub RD Rodders Digest
- 40 Pub OTR On the Road
- 55 Pub BSCENE Buckaroo Scene
- 10 Pub CR Chevy Rumble
- 50 Pub TB Truck Builder
- 60 Pub FPB Family Power Boat
- 45 Pub SRB Street Rod Builder
- Back
- Chip Foose
- Ring Brothers
- Jack Fuller
- Bob Cullipher
- Jerry Nichols
- Bobby Alloway
- Jesse James
- Carl Casper
- J.F. Launier
- Steve Sellers
- Boyd Coddington
- Rad Rides by Troy
- Cal Auto Creations
- George Barris
- West Coast Customs
- Back
- Street Rods
- Hot Rods
- Late Model
- Drag Race
- Handling
- Compact Cars
- Chassis
- Engine
- Fuel System
- Electrical
- Exhaust
- Transmission / Drivetrain
- Suspension
- Steering
- Brakes
- Wheels and Tires
- Interior
- Exterior
- Accessories
- Power Adders
- Chassis
- Engine
- Fuel System
- Electrical
- Exhaust
- Transmission / Drivetrain
- Suspension
- Steering
- Brakes
- Wheels and Tires
- Interior
- Exterior
- Accessories
- Power Adders
- Chassis
- Engine
- Electrical
- Exhaust
- Fuel System
- Transmission / Drivetrain
- Suspension
- Steering
- Brakes
- Wheels and Tires
- Interior
- Exterior
- Accessories
- Power Adders
- Chassis
- Engine
- Electrical
- Exhaust
- Fuel System
- Transmission / Drivetrain
- Suspension
- Steering
- Brakes
- Wheels and Tires
- Interior
- Exterior
- Accessories
- Power Adders
- Chassis
- Engine
- Electrical
- Exhaust
- Fuel System
- Transmission / Drivetrain
- Suspension
- Steering
- Brakes
- Wheels and Tires
- Interior
- Exterior
- Accessories
- Power Adders
- Chassis
- Engine
- Fuel System
- Electrical
- Exhaust
- Transmission / Drivetrain
- Suspension
- Steering
- Brakes
- Wheels and Tires
- Interior
- Exterior
- Accessories
- Power Adders
- Back
- 05 Post Imported
- 20 Post Missing Images (All)
- 25 Post Missing Images (Partial)
- 15 Post In Progress
- 30 Post Internal Review
- 40 Post On Hold
- 50 Post Approved
- 10 Post Images Imported
- 17 Post Missing TXT Files
- 18 Post Missing PDF Files
- 27 Post Missing Content
- Back
- Chassis
- Engine Swaps
- Interior Swaps
- Driveline
- Back
- Street Trucks
- OffRoad Trucks
- Chassis
- Engine
- Fuel System
- Electrical
- Exhaust
- Transmission / Drivetrain
- Suspension
- Steering
- Brakes
- Wheels and Tires
- Interior
- Exterior
- Accessories
- Power Adders
- Chassis
- Engine
- Fuel System
- Electrical
- Exhaust
- Transmission / Drivetrain
- Suspension
- Steering
- Brakes
- Wheels and Tires
- Interior
- Exterior
- Accessories
- Power Adders
- Back
- 01 Sidebar Left
- 01 Sidebar Right
Spotlighter
POPULAR READS
-
Product Spotlight: Bill Mitchell Products Aluminum LS Engine Block
-
Product Spotlight: Pyramid Optimized Design Sequential Aurora Taillight for 1964½–1966 Mustang
-
PRODUCT SPOTLIGHT: 60-66 Chevy C10 Fresh Air Vent Block Off Plate
-
PRODUCT SPOTLIGHT: Cam Covers for GEN/3 Coyote from Pyramid Optimized Design
Trick Truck Suspension
Story and Photography by Jeff Tann
Installing a Jaguar IFS in a ’55 Chevy Pickup
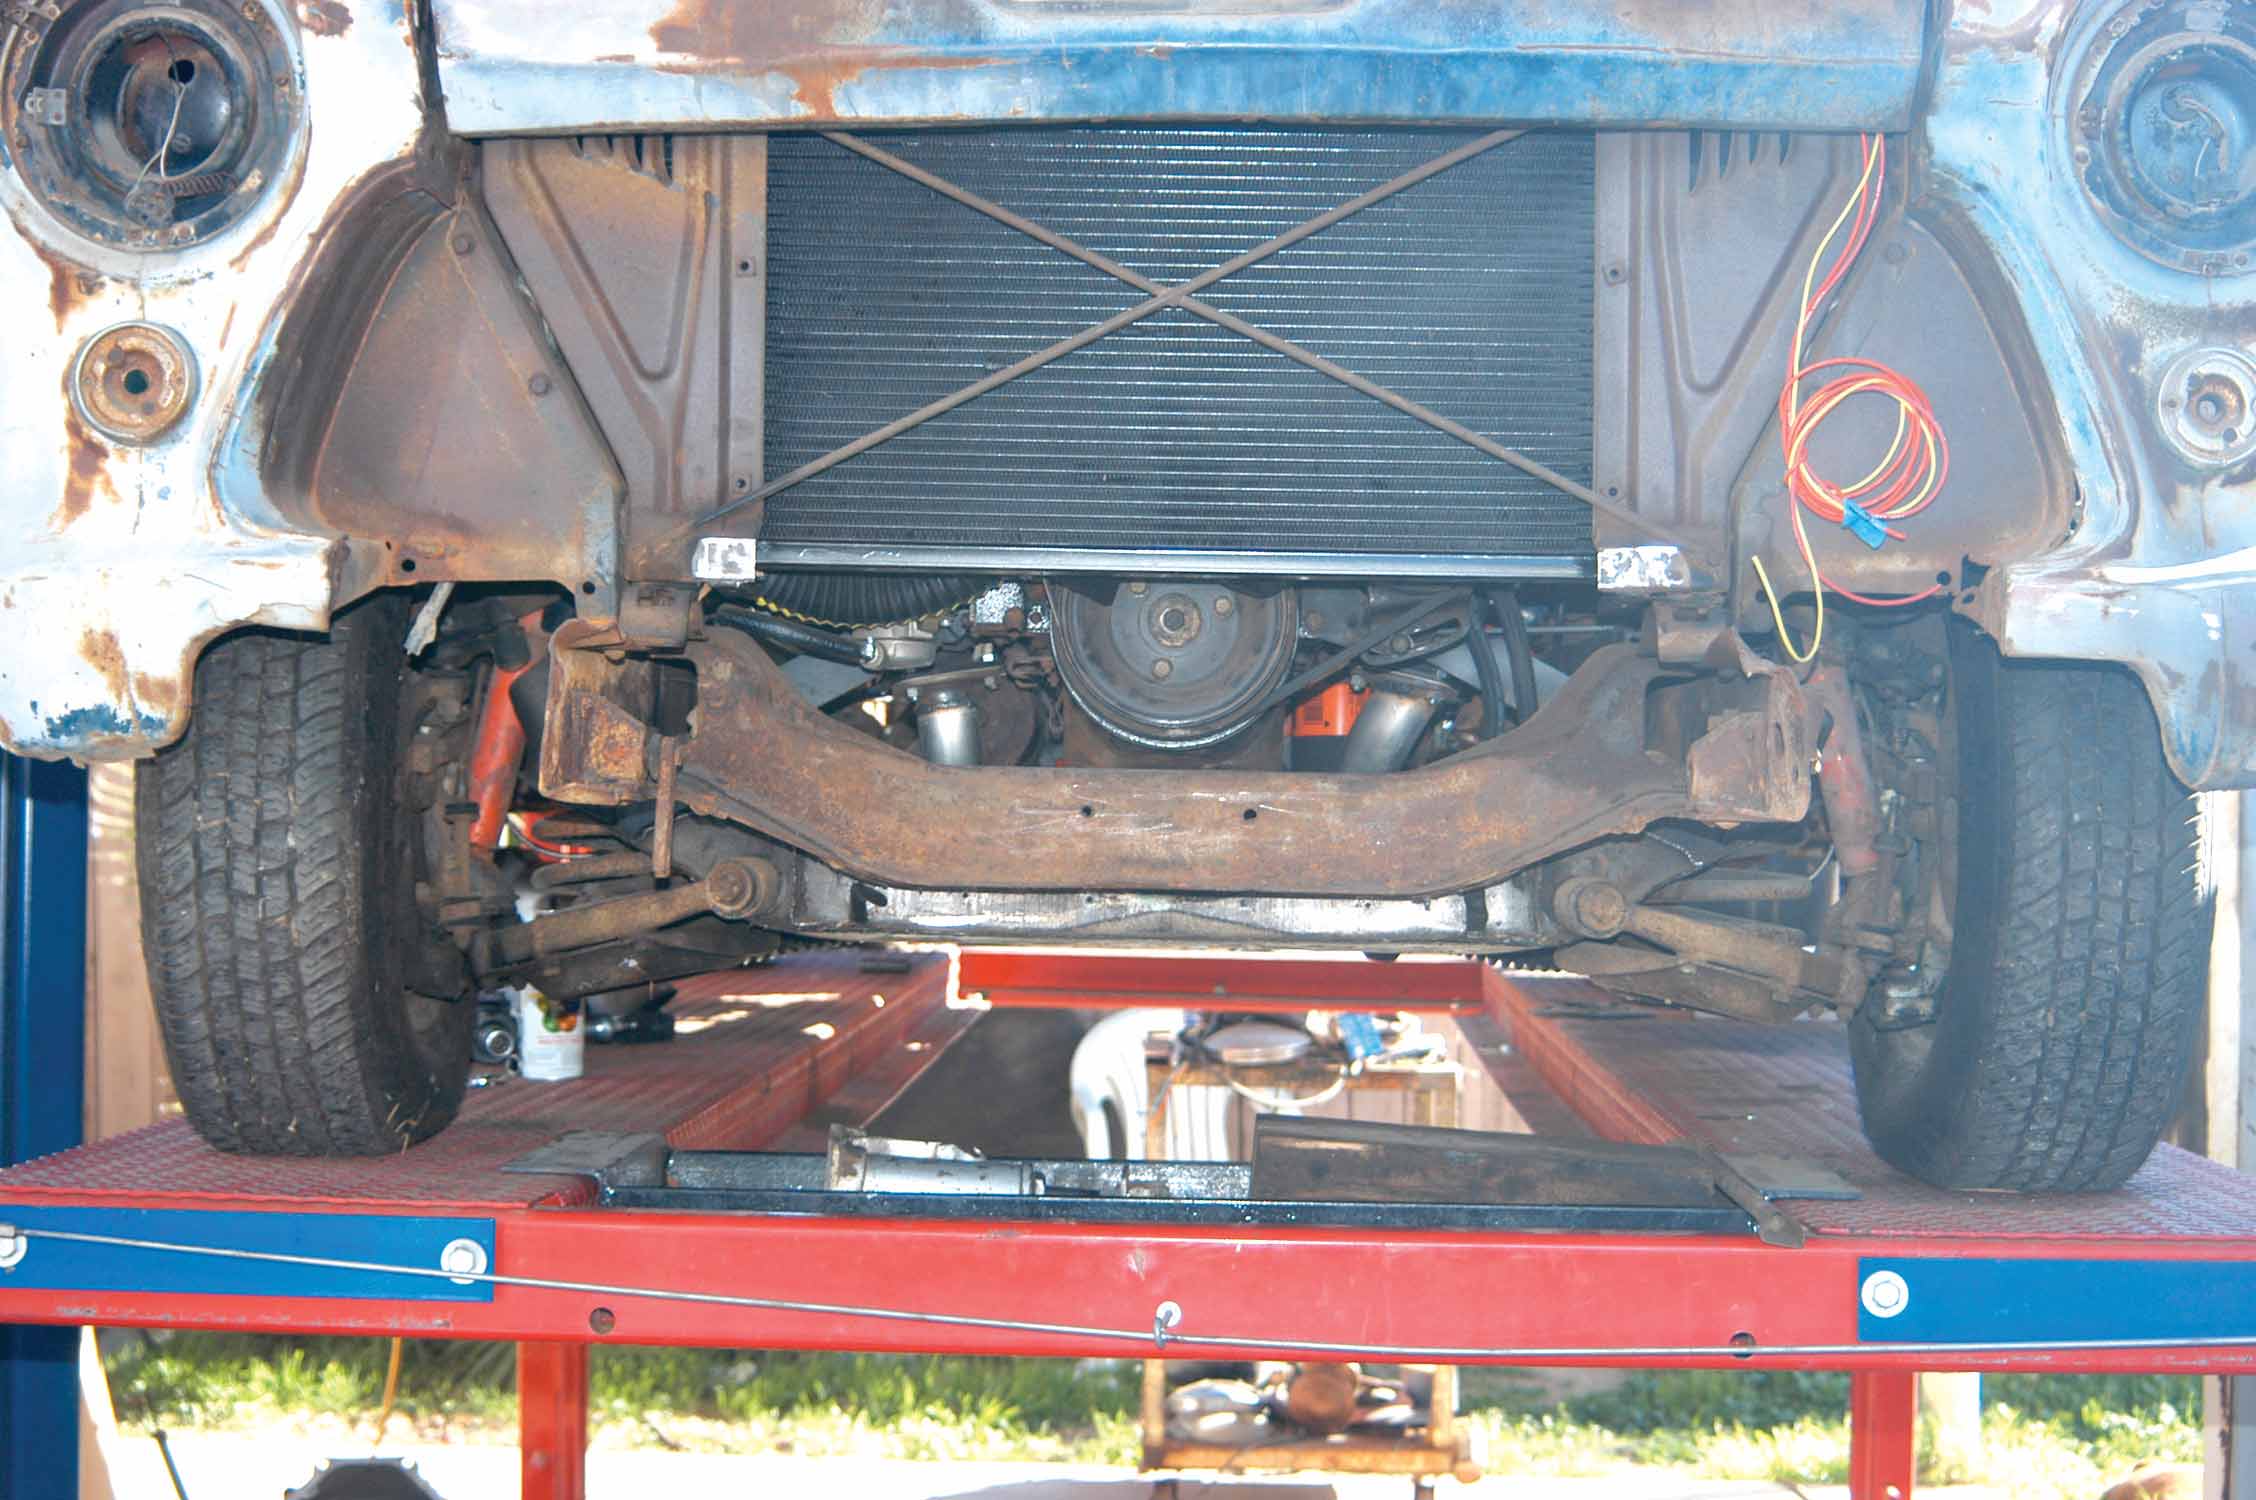
Awhile back, a friend called Don Shirer, the owner of Dream Cars, and asked him if he knew anyone who might want an old Jaguar. The car was free all you had to do was get the thing out of the owner’s yard. Shirer really didn’t want the Jaguar, but he knew that the front and rear suspension would be good street rod parts to have on hand. He brought the car home, stripped out the good parts and then delivered the shell to the local auto-wrecking yard.
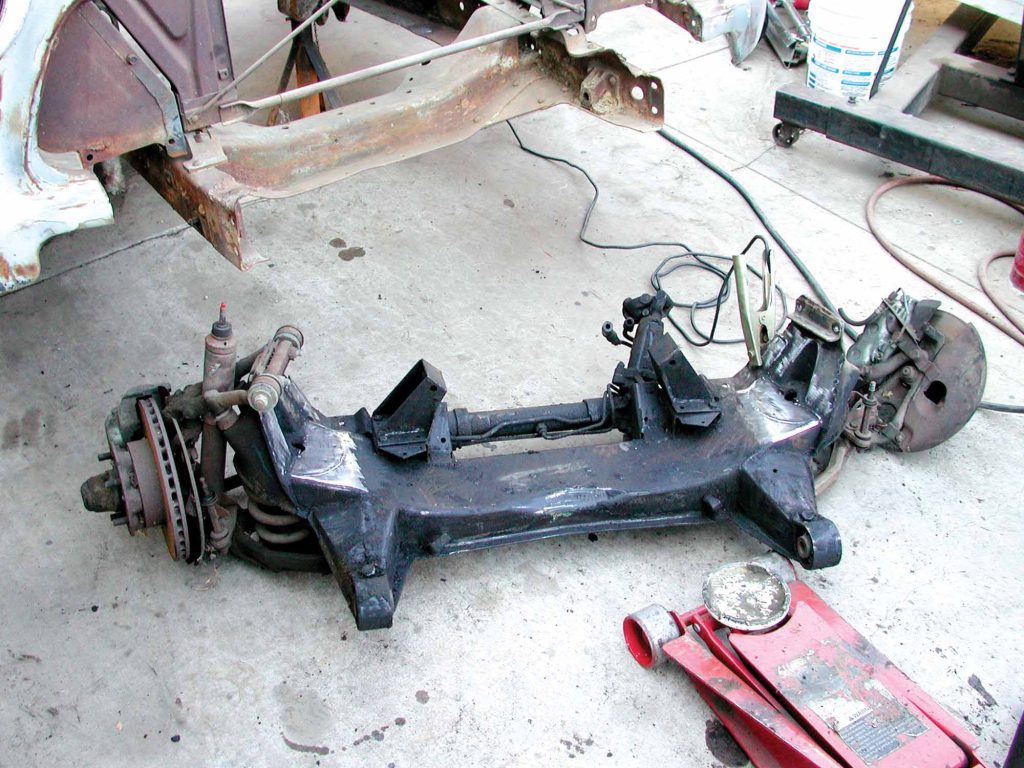
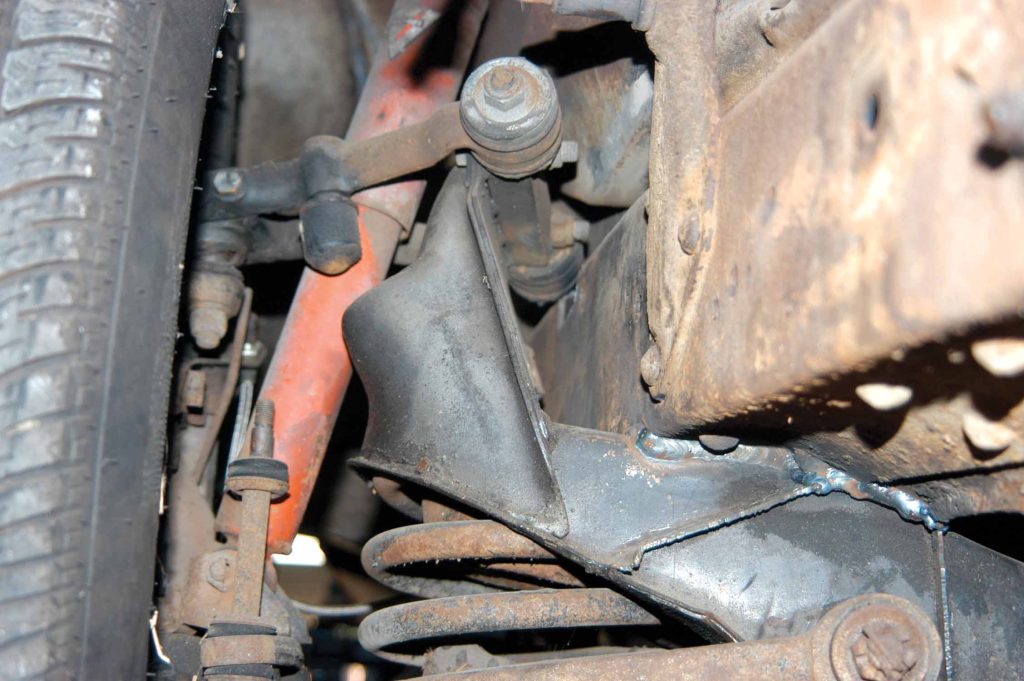
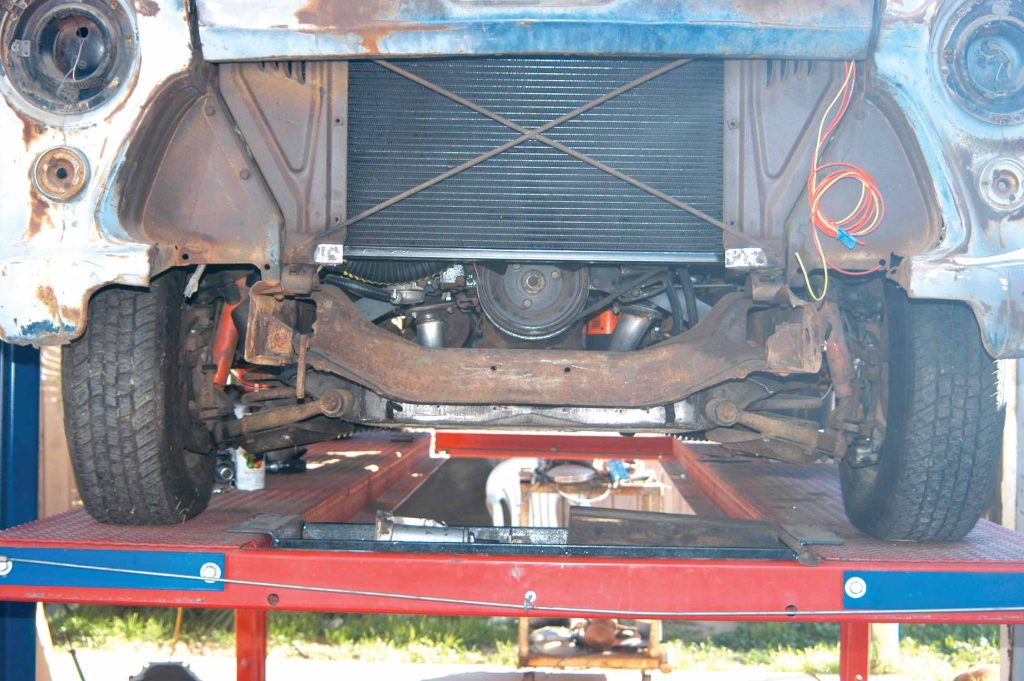
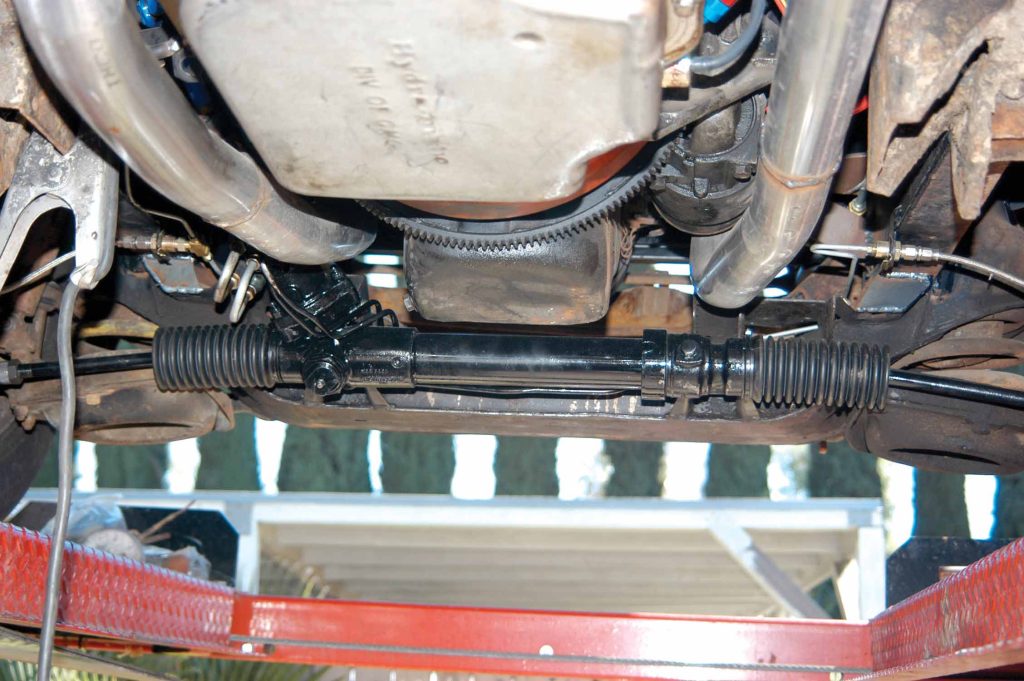
The car was an XJ6 with the popular independent rear suspension and an A-frame-style coil-spring front suspension. Similar to many of the early Jaguars, the rear suspension cage could be easily removed from the chassis. The front suspension is also a bolt-in arrangement, so Shirer removed the entire suspension as a unit. The parts were put into a storage area and then Shirer started thinking about an old ’55 Chevy pickup he owned. He wondered if that Jag could be adapted to the truck. He made a few frame measurements and then measured the Jag unit. The Jag crossmember assembly would fit the framerails perfectly and the tread width would also be fine. Since Jaguars offer a very comfortable ride in the touring sedan, this seemed as if it would be a great swap for the truck.
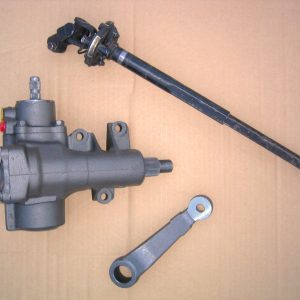
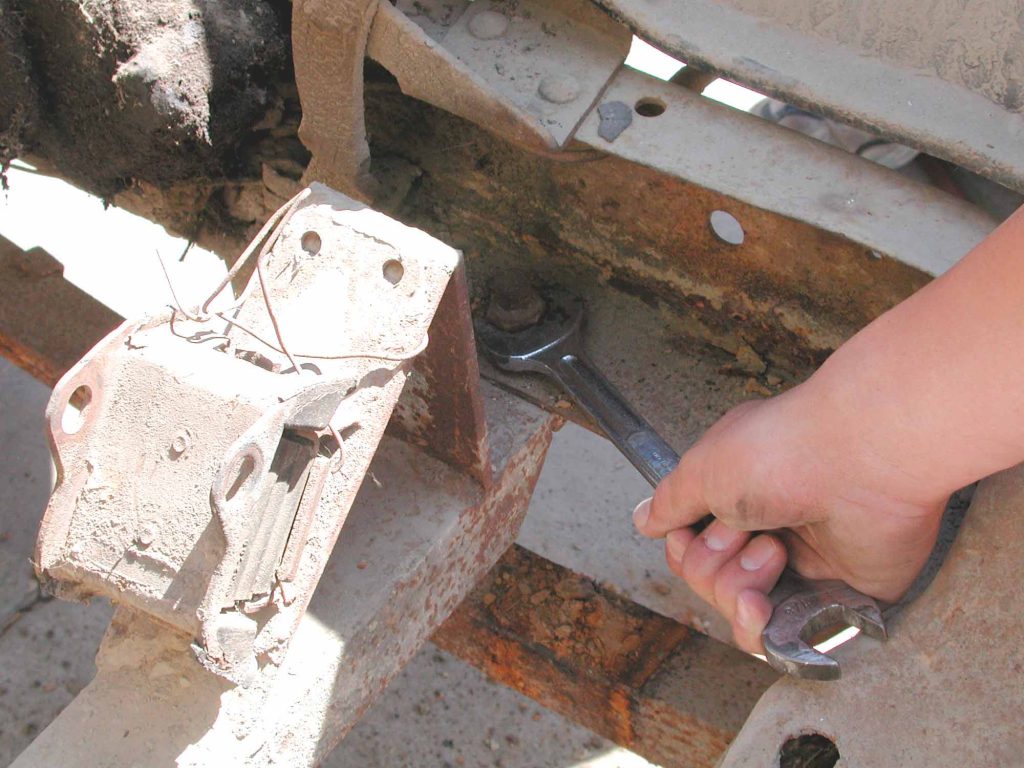
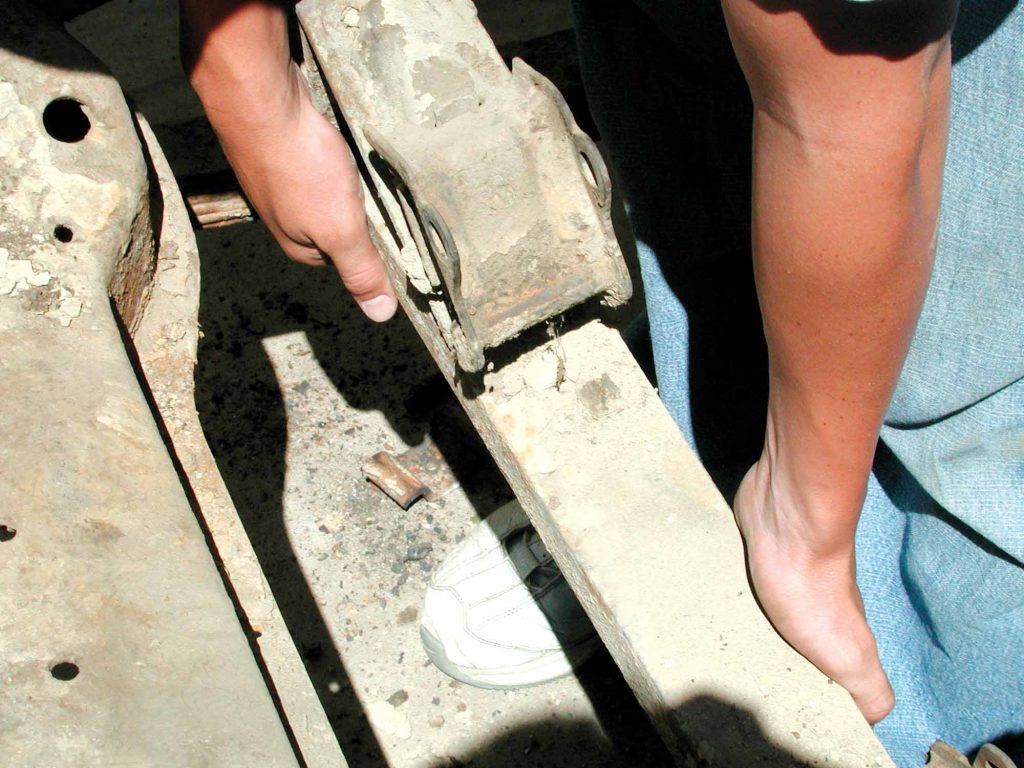
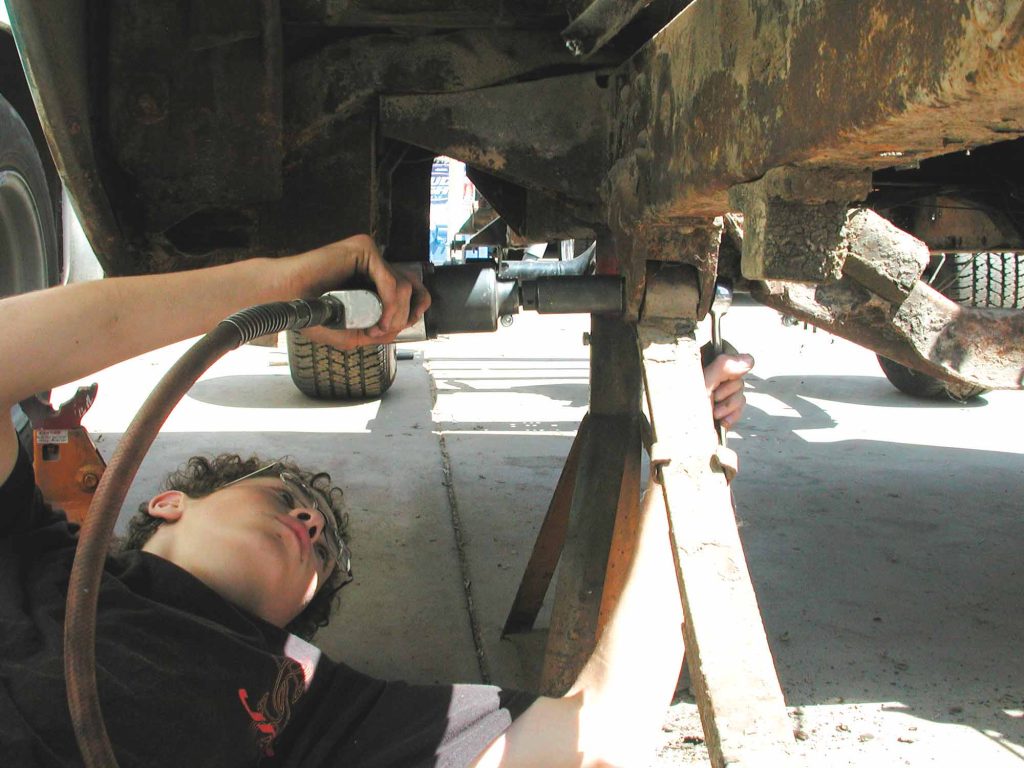
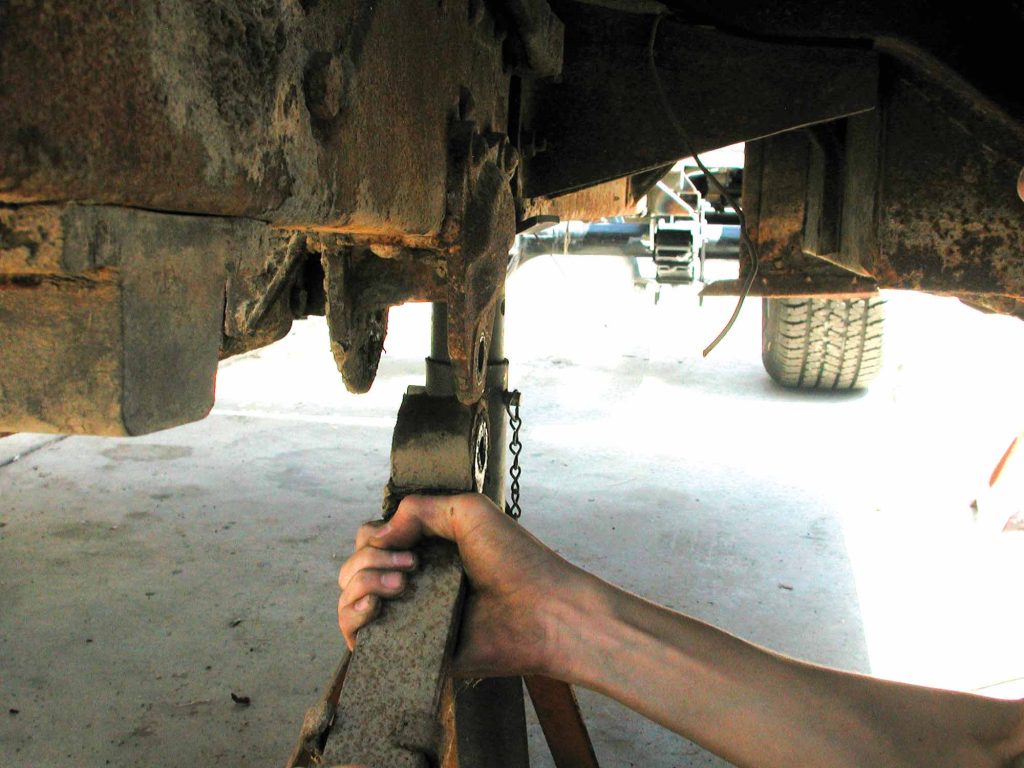
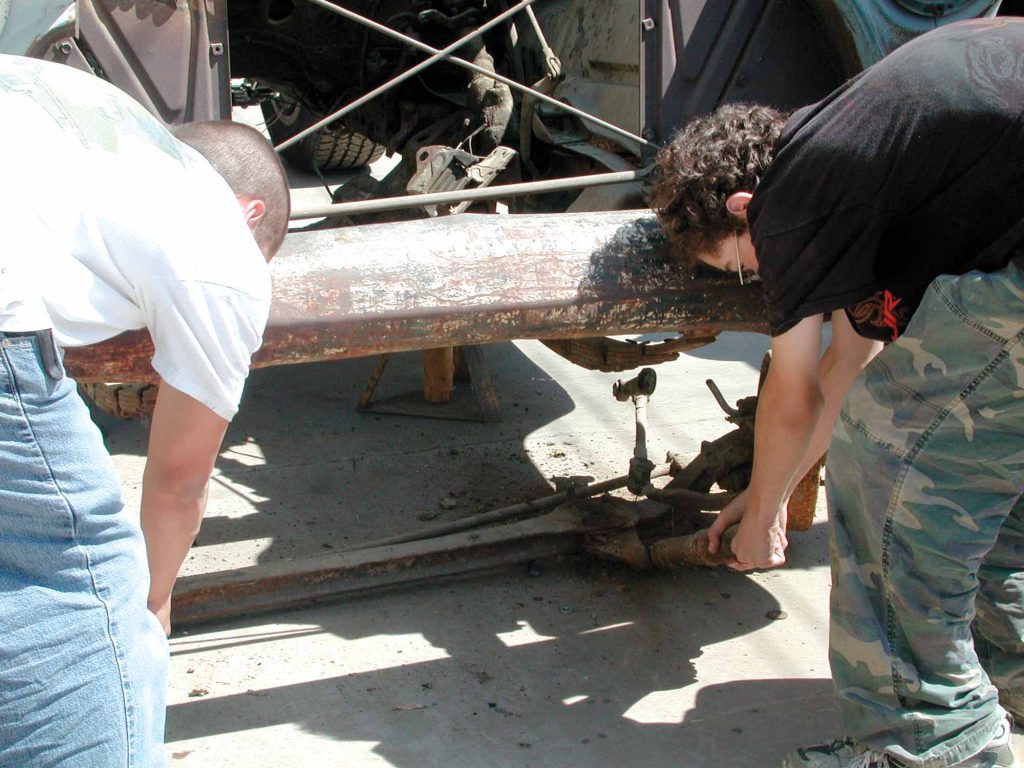
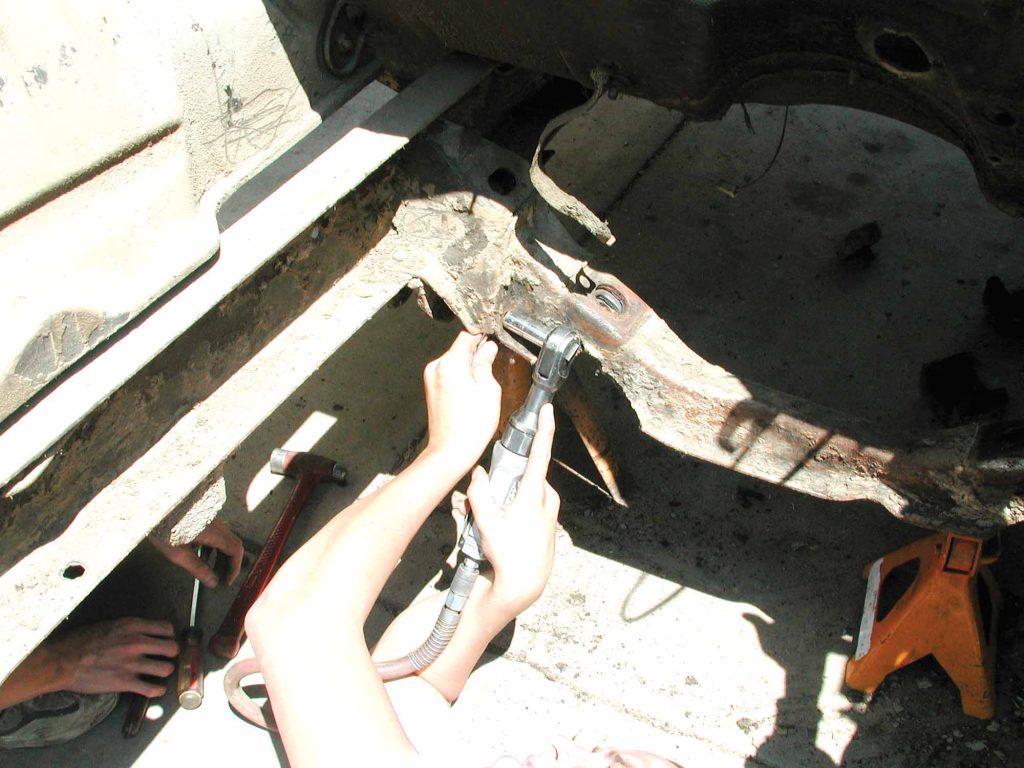
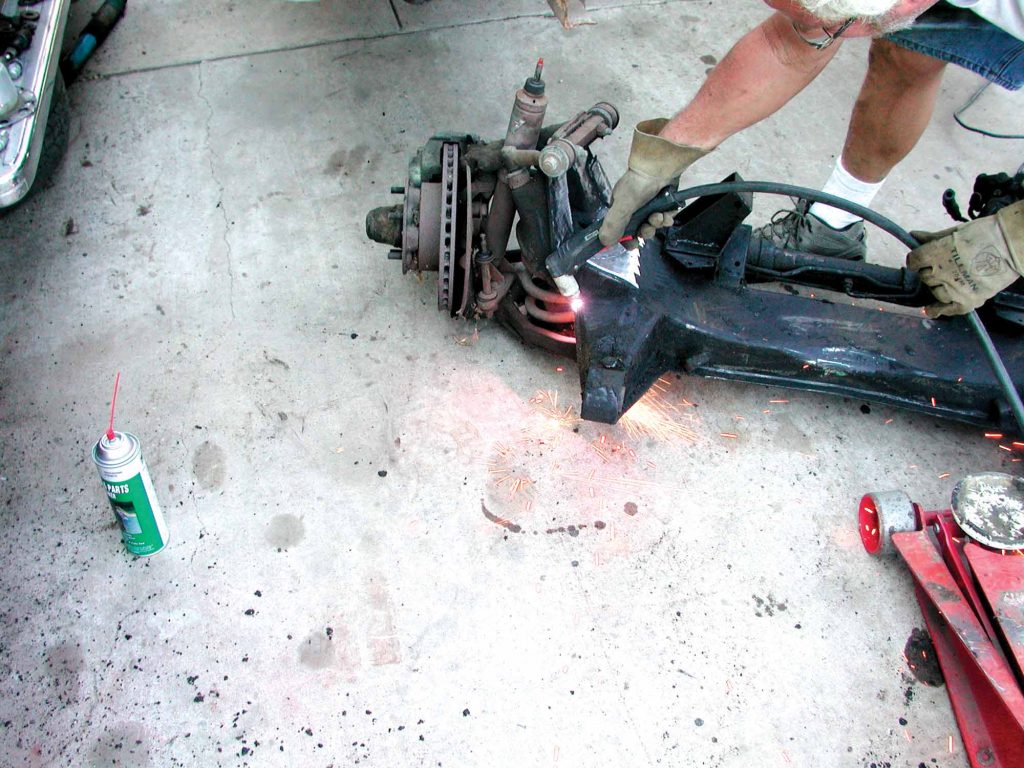
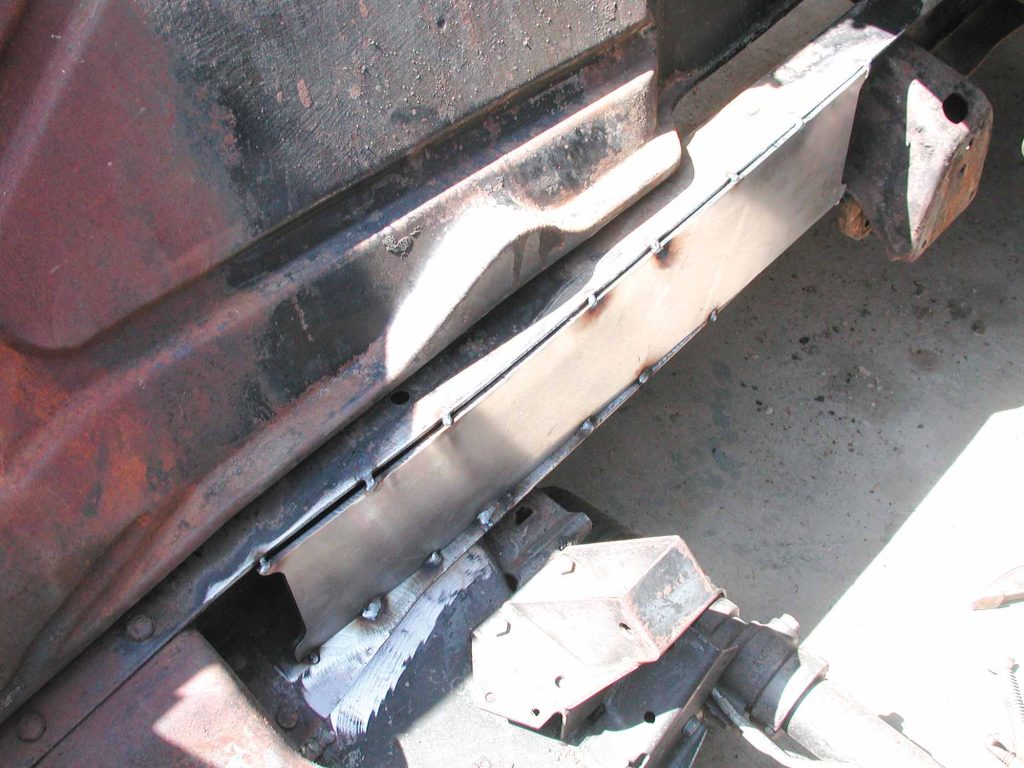
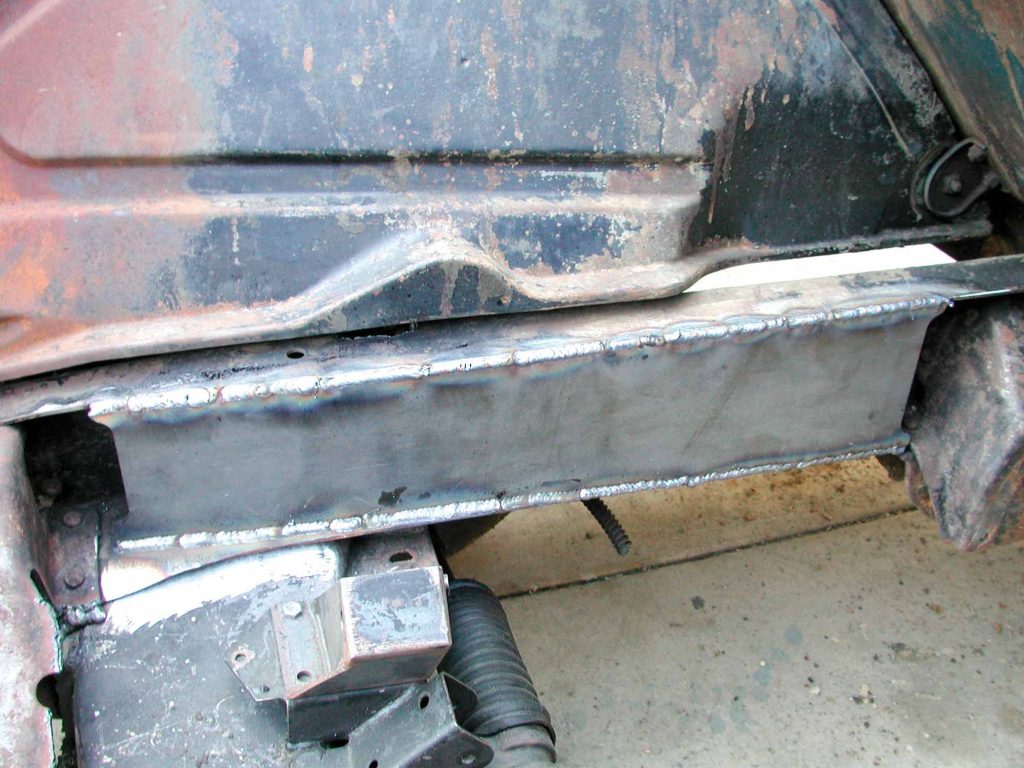
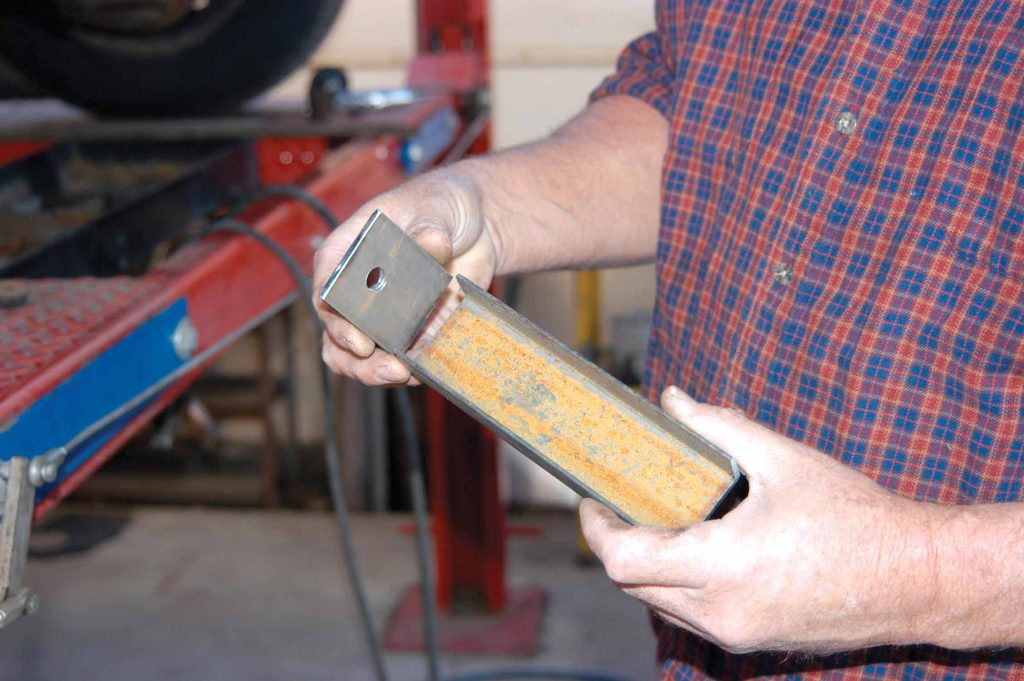
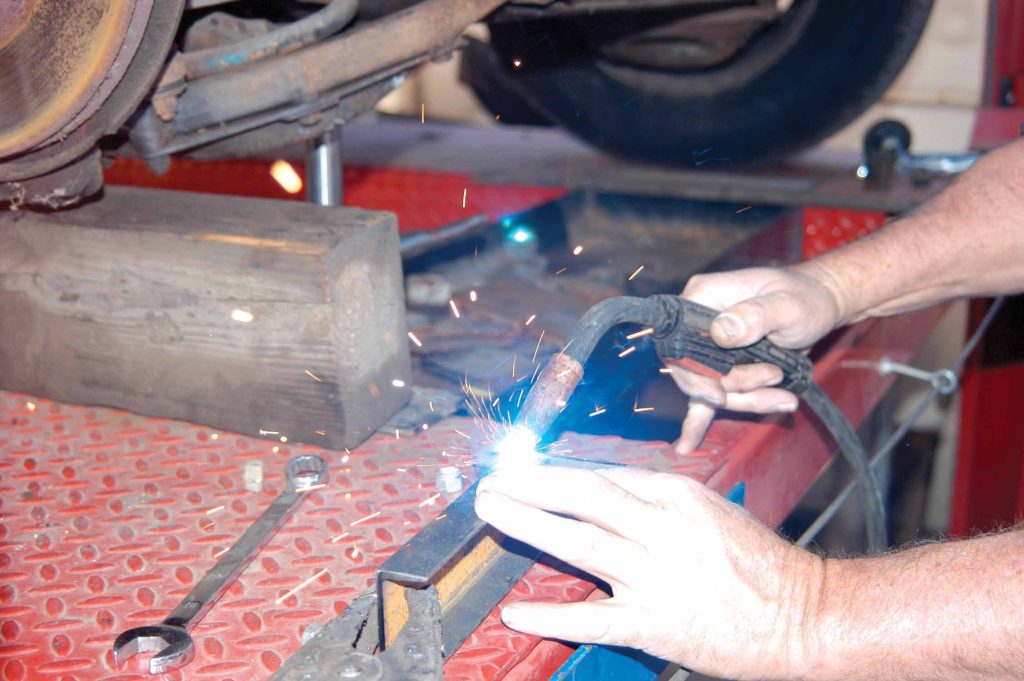
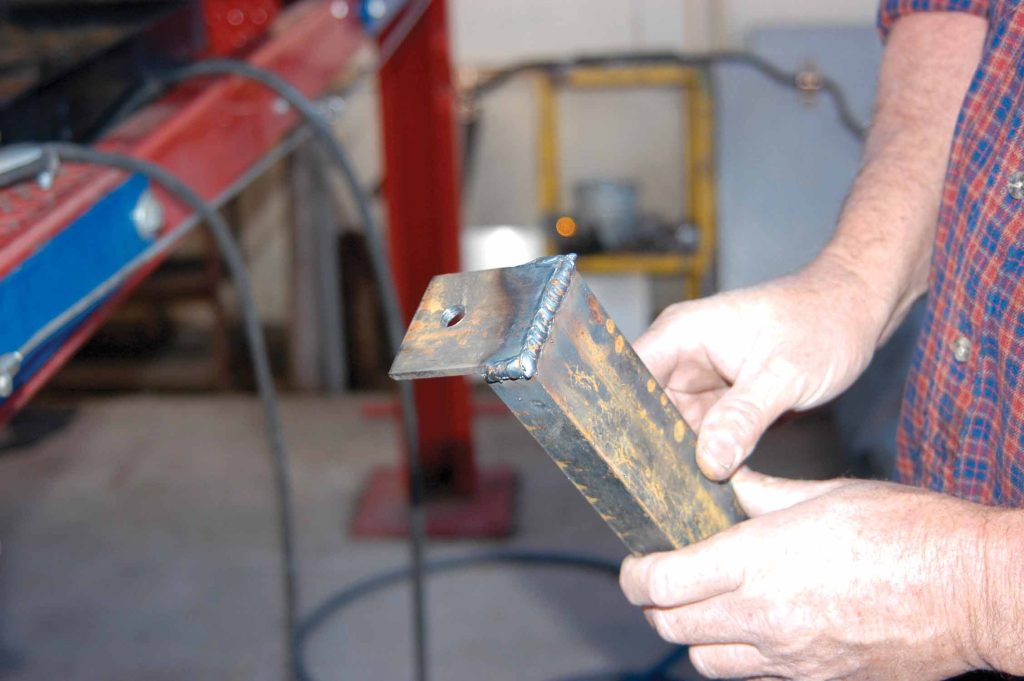
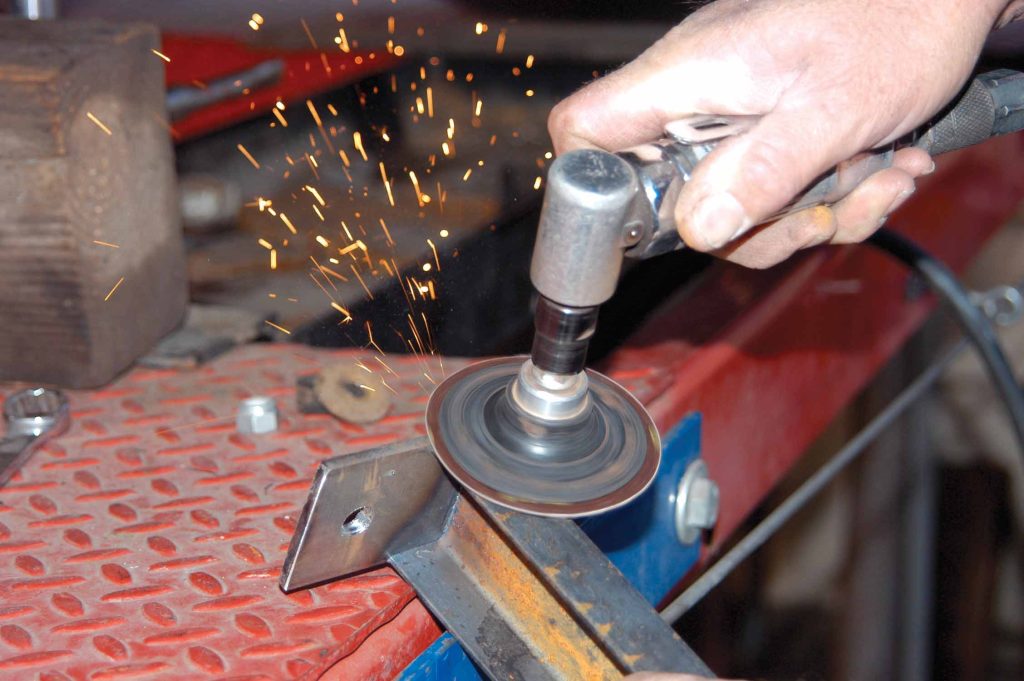
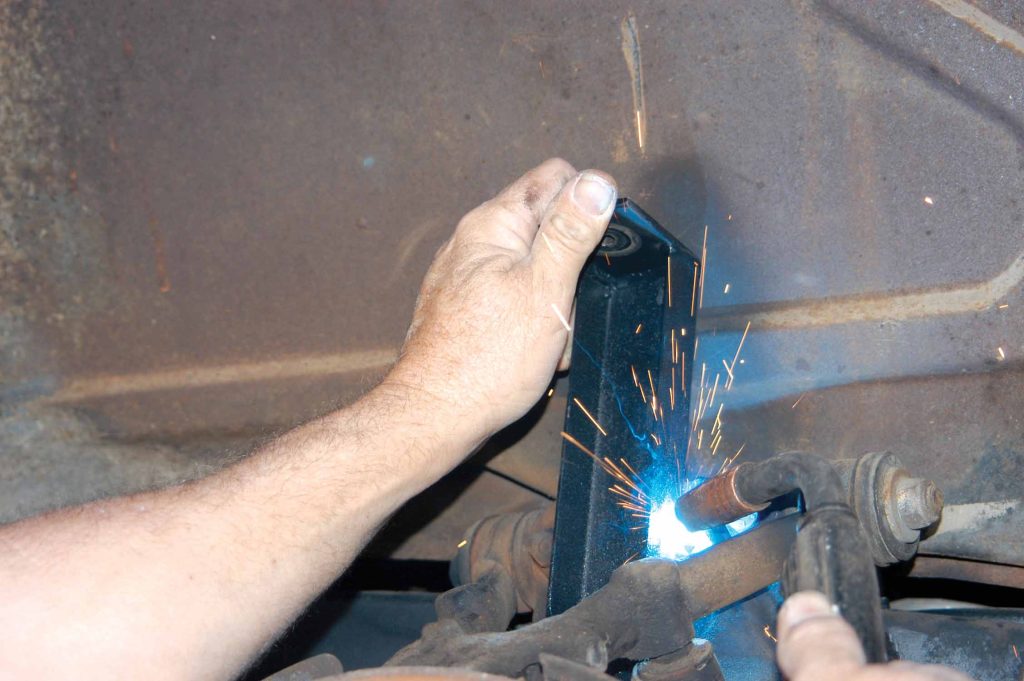
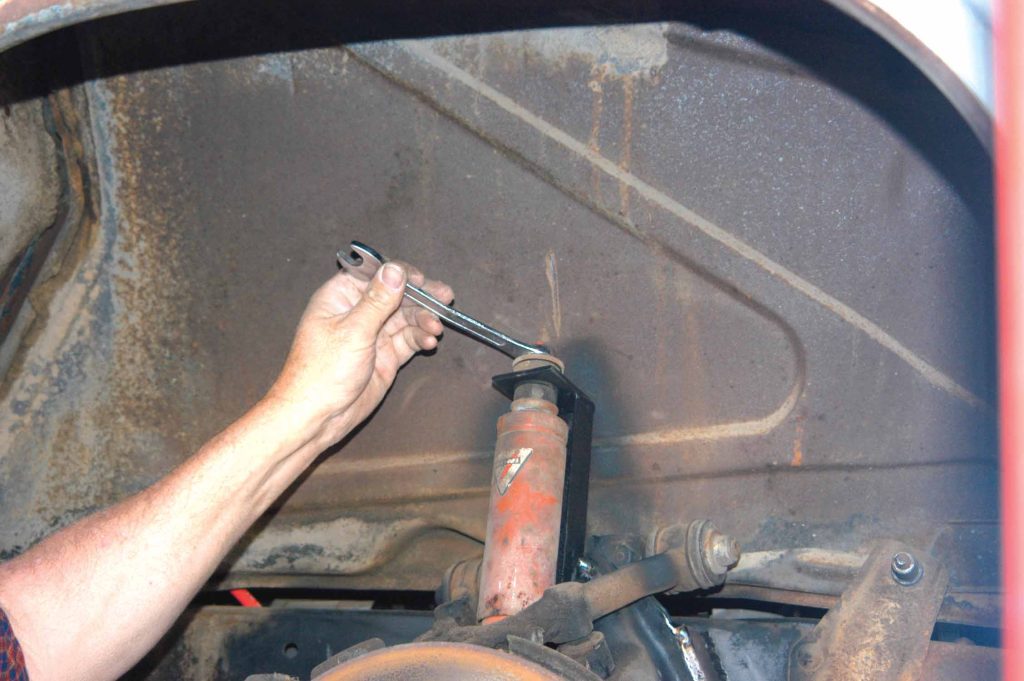
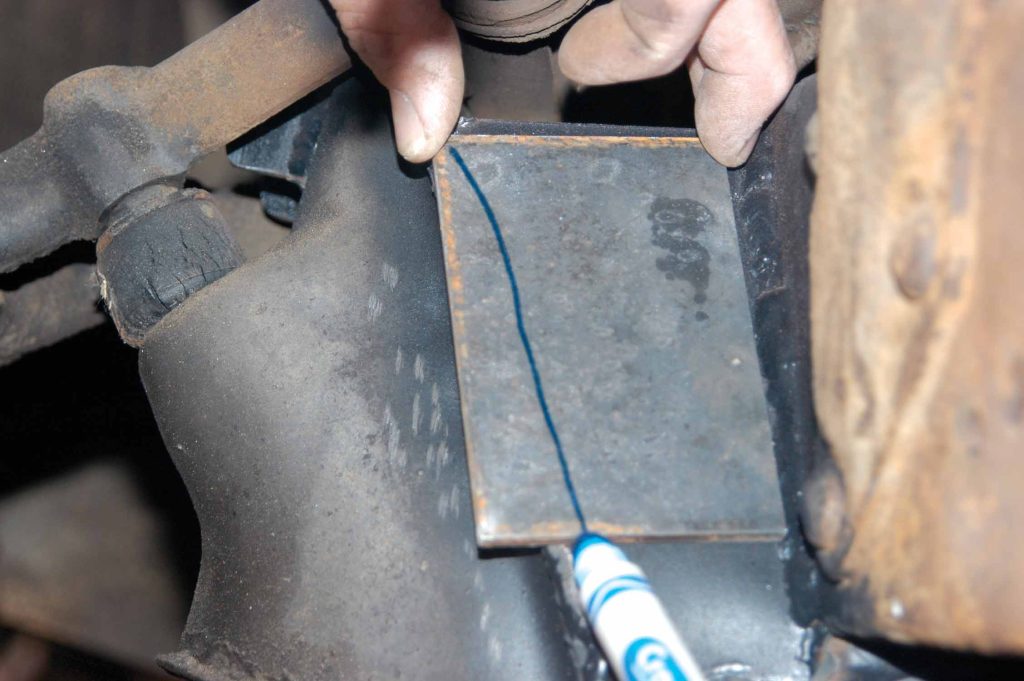
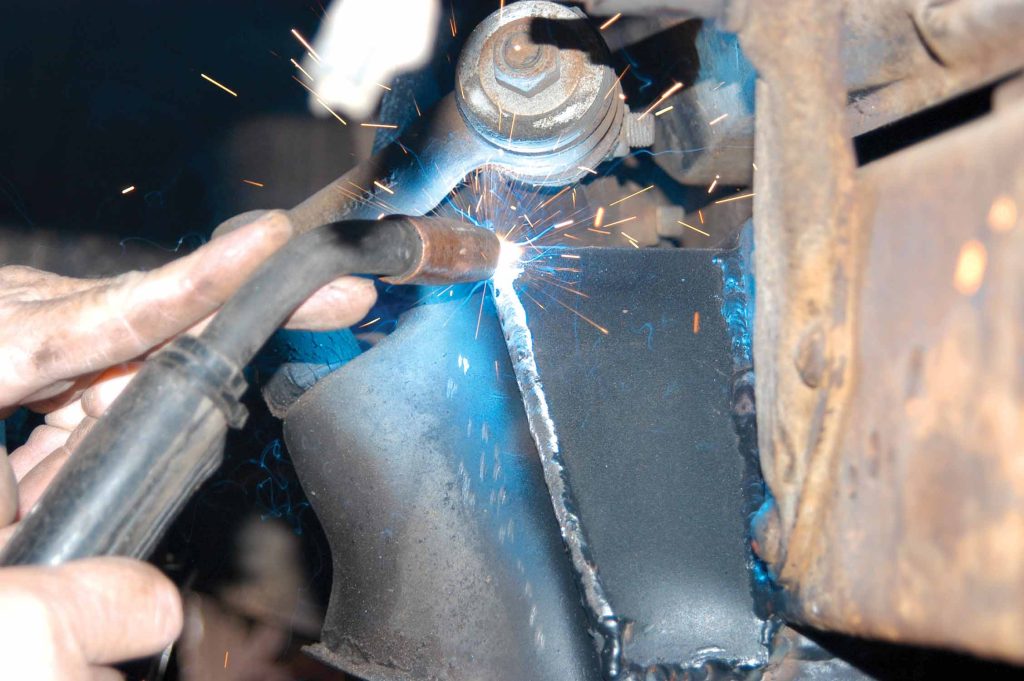
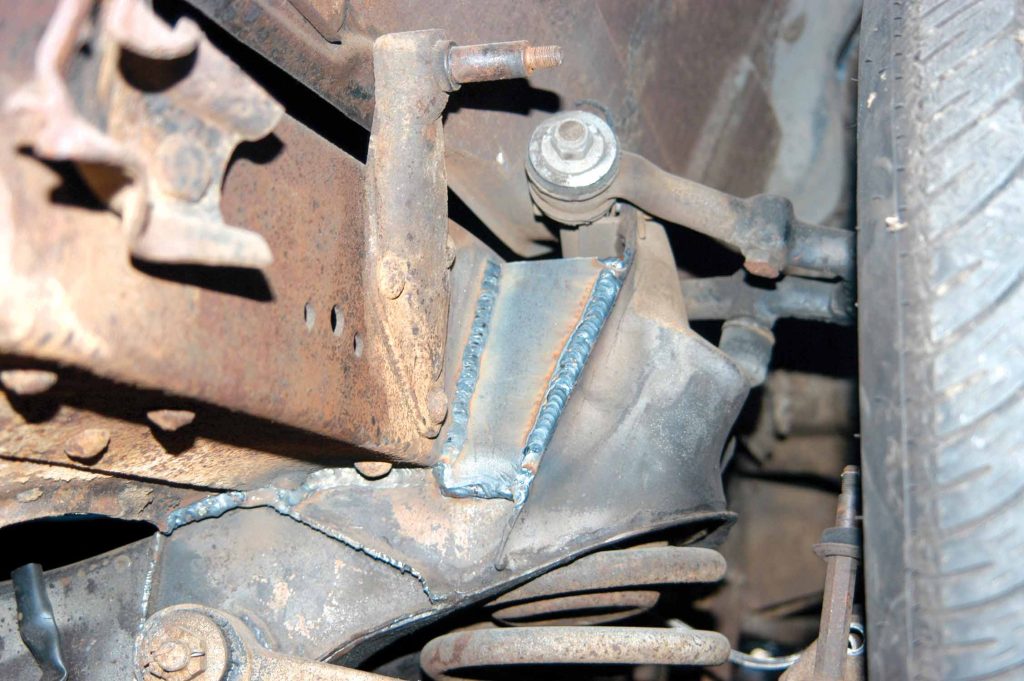
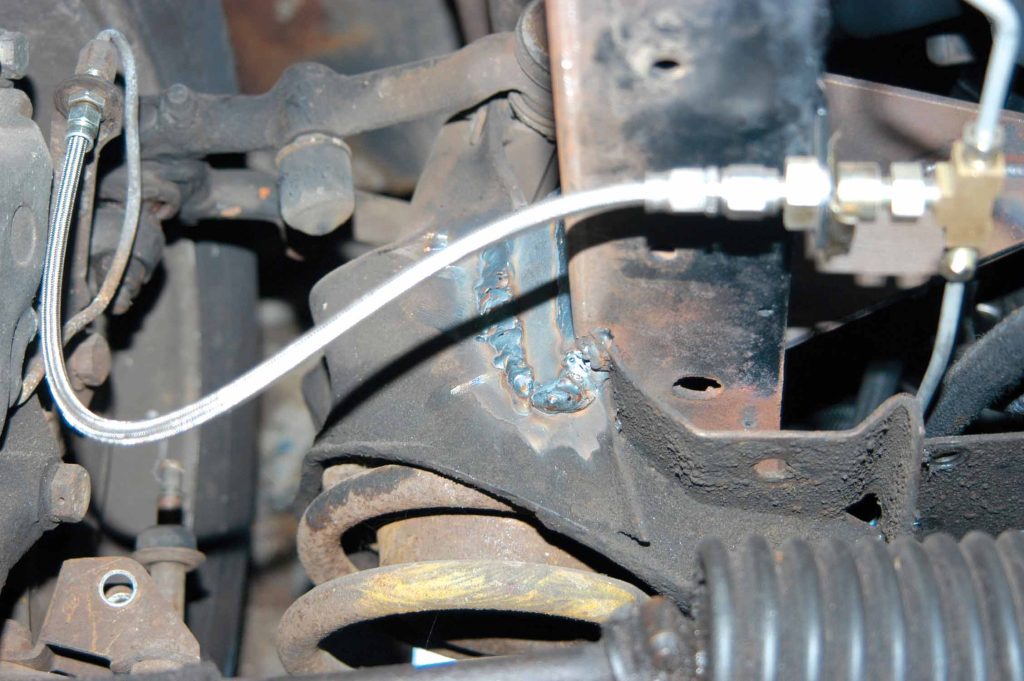
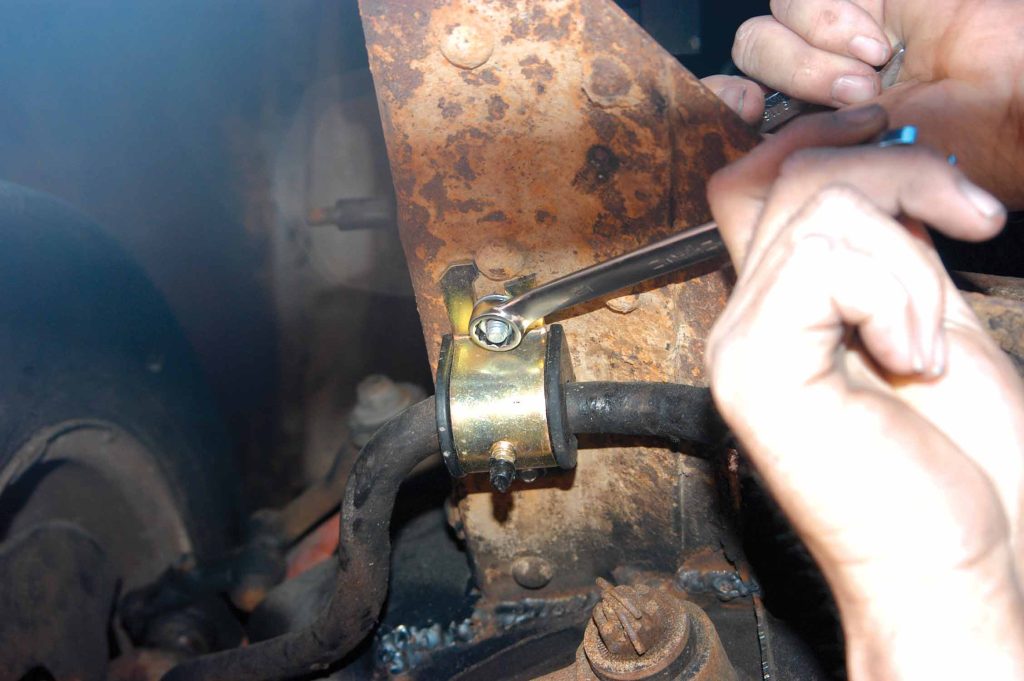
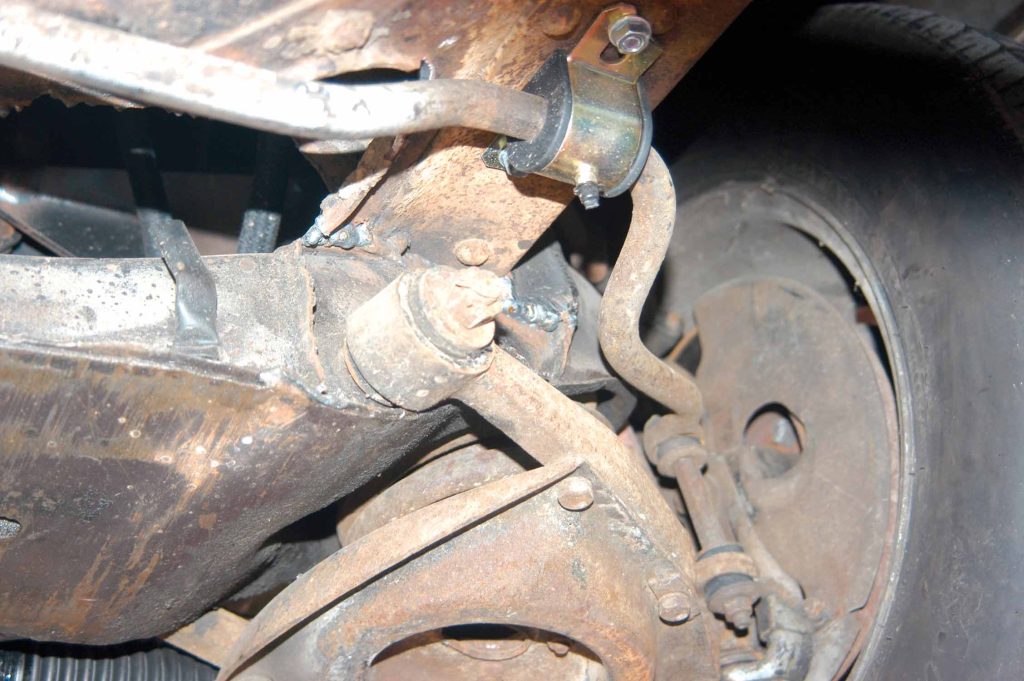
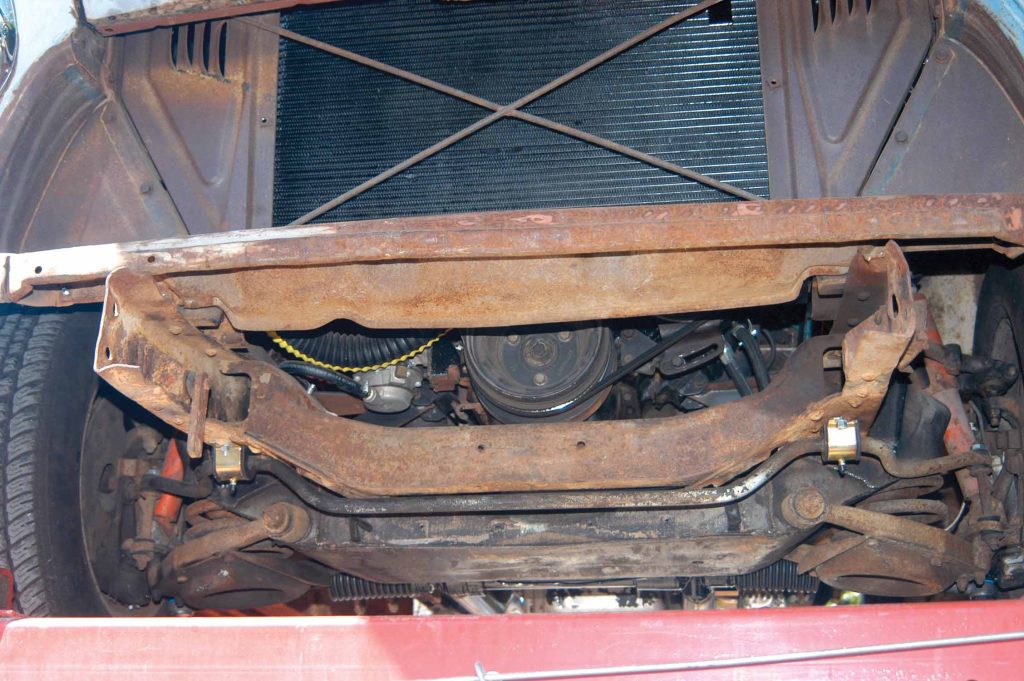
The front suspension was complete with disc brakes, springs, shocks and steering, so this would be a perfect upgrade. There are no kits available to install this suspension, so Shirer had to find a way to do it on his own. We were there and watched as he installed this nice suspension system. The installation required a good assortment of hand tools, a plasma cutter, a MIG welder and a 5-inch angle sander. Here’s how it went.
SOURCE
Dream Cars
Dept. TB
4265 Apricot Rd., Unit A
Simi Valley, CA 93063
805/306-9265


