Introduction to the Buildoff ’55 Paint Project
As the Buildoff ’55 is the first of three project cars to be painted using the entire line of Hot Hues surface-finishing products, the crew at Woody’s was impressed with how well these products performed and how easy they were to use. One of the things that Woody’s sees day-in and day-out is the fact that most owners seem to only care about the color and finish of their vehicle. They rarely come into the shop to specify which products they would like to be used in order to give their project the results they envision. They most wish to finalize the color, but there’s much more to custom paints. This is something about which your own painter will hopefully help to educate you before you decide to purchase just any product. The other issue is that some shops are aligned with certain paint products, mostly because that is what they’ve become accustomed to using, so when finalizing your choice in painters, bear this fact in mind.
Custom Shops vs. Collision Paints
Most of the paints available today are manufactured with the collision market in mind, and those paints that are commonly used in collision work need to work quickly to help increase paint shop productivity. But that’s not what we pay for in custom shops, or at least we shouldn’t. Custom shops normally don’t push three or four vehicles through their paint booths in a day. Some won’t do that volume in a week because of all the detail that goes into painting professional-grade, high-profile cars. And with inner, outer, top, bottom and other body parts being painted individually rather than after assembled, the application of a custom paint job is much different from collision work. Because of reduced urgency in custom painting, a different type of paint system may better suit your objectives, and in many cases, it will already be in use at most shops. The Hot Hues team has used all of the available technology at DuPont to develop an entire system for the custom painter.
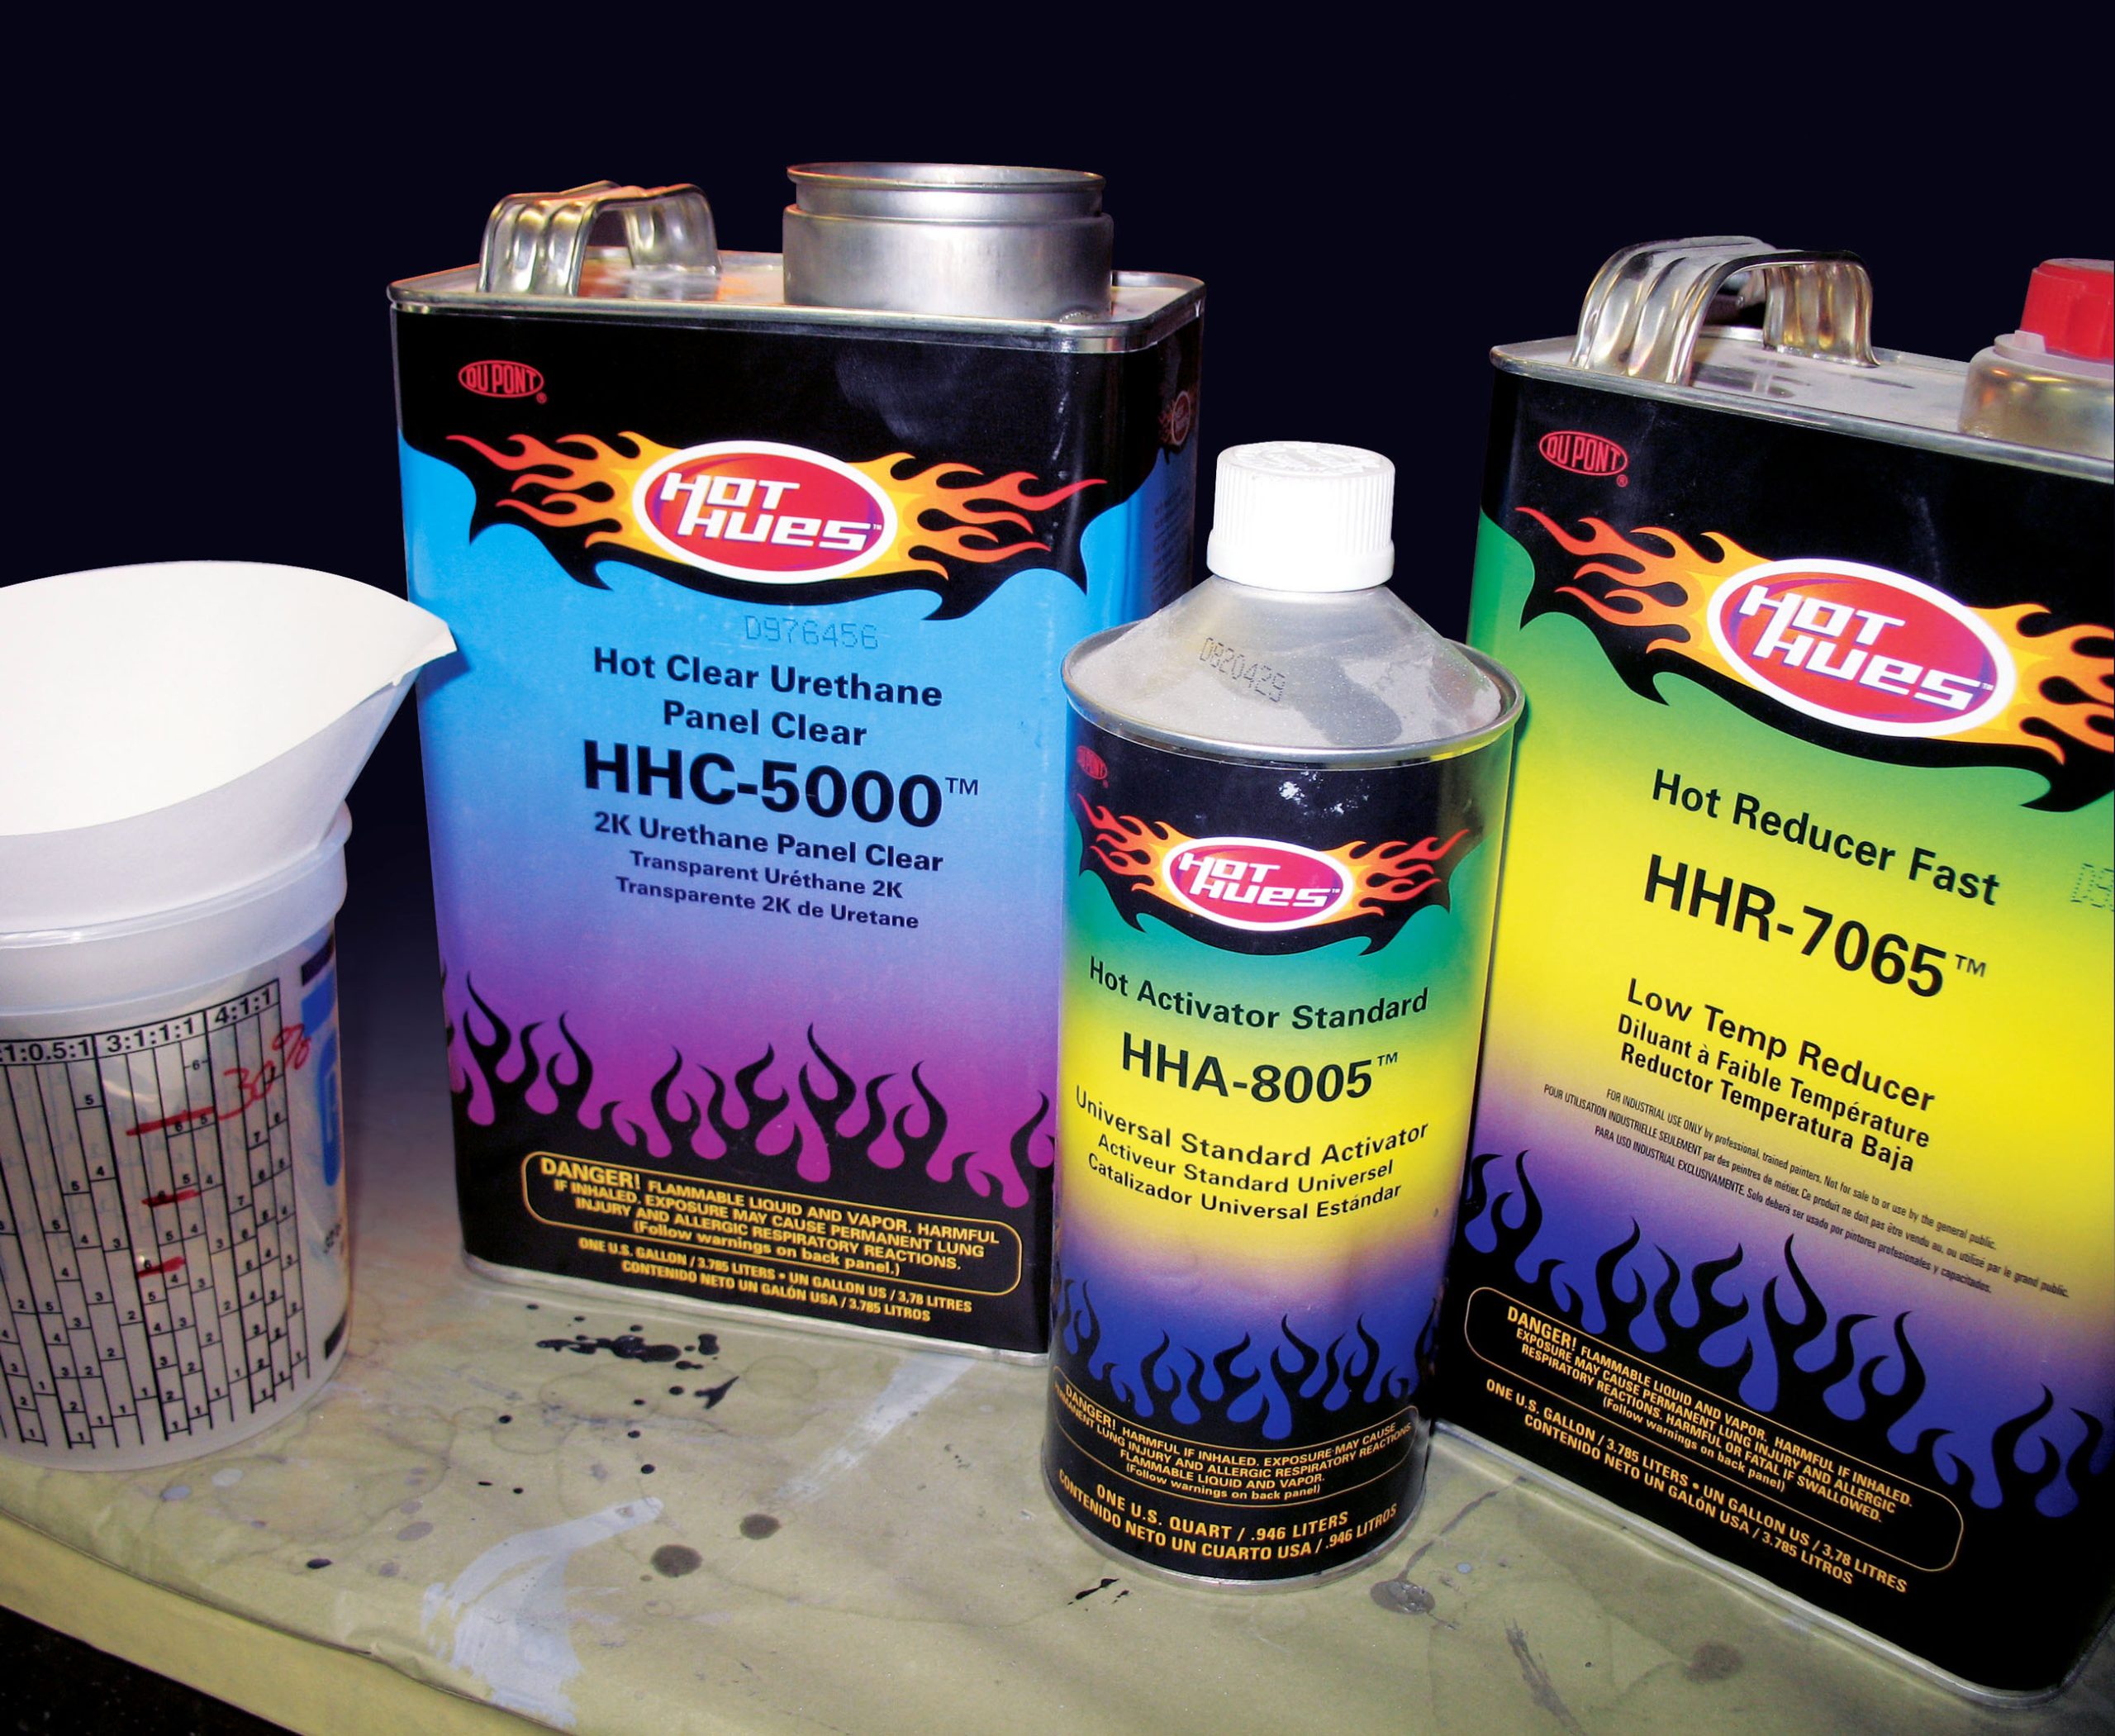
The Hot Hues System
To lay the foundation for this story, DuPont’s Ron Skyrme and Dennis Silva of the Hot Hues division took the time to visit Woody’s Hot Rodz, talked to them about our Buildoff cars and offered their expertise on these projects. The plan for the cars was to use nothing but Hot Hues from beginning to end. The reason for this choice was to eliminate what happens in so many cases, where shops rely on production-type undercoats and then step up to a higher-end base for the color and clearcoat. But after discussing all of the elements with the guys who know about them, Woody’s began to understand that the Hot Hues system involved elements that were anything but production-level products. They offer a much more sophisticated finish, in most cases superior to other systems available today. In fact, much of the Hot Hues line comes from combinations of the DuPont core line and the DuPont European paint lines. The development team took a very long time to formulate this new system, which uses some existing products as well as new ones that underwent comprehensive evaluation with the custom painter in mind. One big advantage to this system is the fact that the entire line is catalyzed, which provides each layer of paint with an interlocking bond with the previous layer, creating much stronger paint protection. And with the cost of custom paint today, you need all of the protection you can get to protect your investment.
Color Selection & Preparation
Before you even think of painting, color selection is a major decision, even if you think you have the color picked out. It is always best to first buy a small quantity of the color that you think you want, and if your paint shop has a DuPont paint library/mixer on hand, your worries are over as you can test-paint a few panels to examine them in direct sunlight, at night and in shadows. Test panels are particularly helpful if more than one color will be used as you may wish to lighten or darken one or the other once you see them together. It is also common that one color will need to be warmed up to make more of a natural contrast within the color spectrum. This will also enable you to more readily finalize a contrast or accent color for pinstriping, beltline highlights, wheel trim, interior, engine trim and so on. And remember, too, that color can make or break a car, so don’t be the least bit hesitant to test-spray a color or combination that you wouldn’t have otherwise chosen. It’s far less expensive to pay for test colors in tiny cans than it is to paint your car only to become cool on the color early on. Paint is expensive, and as DuPont Hot Hues has stated, new paint is formulated to last, so you don’t want the paint to outlast your taste in color.
Painting Preparation & Equipment
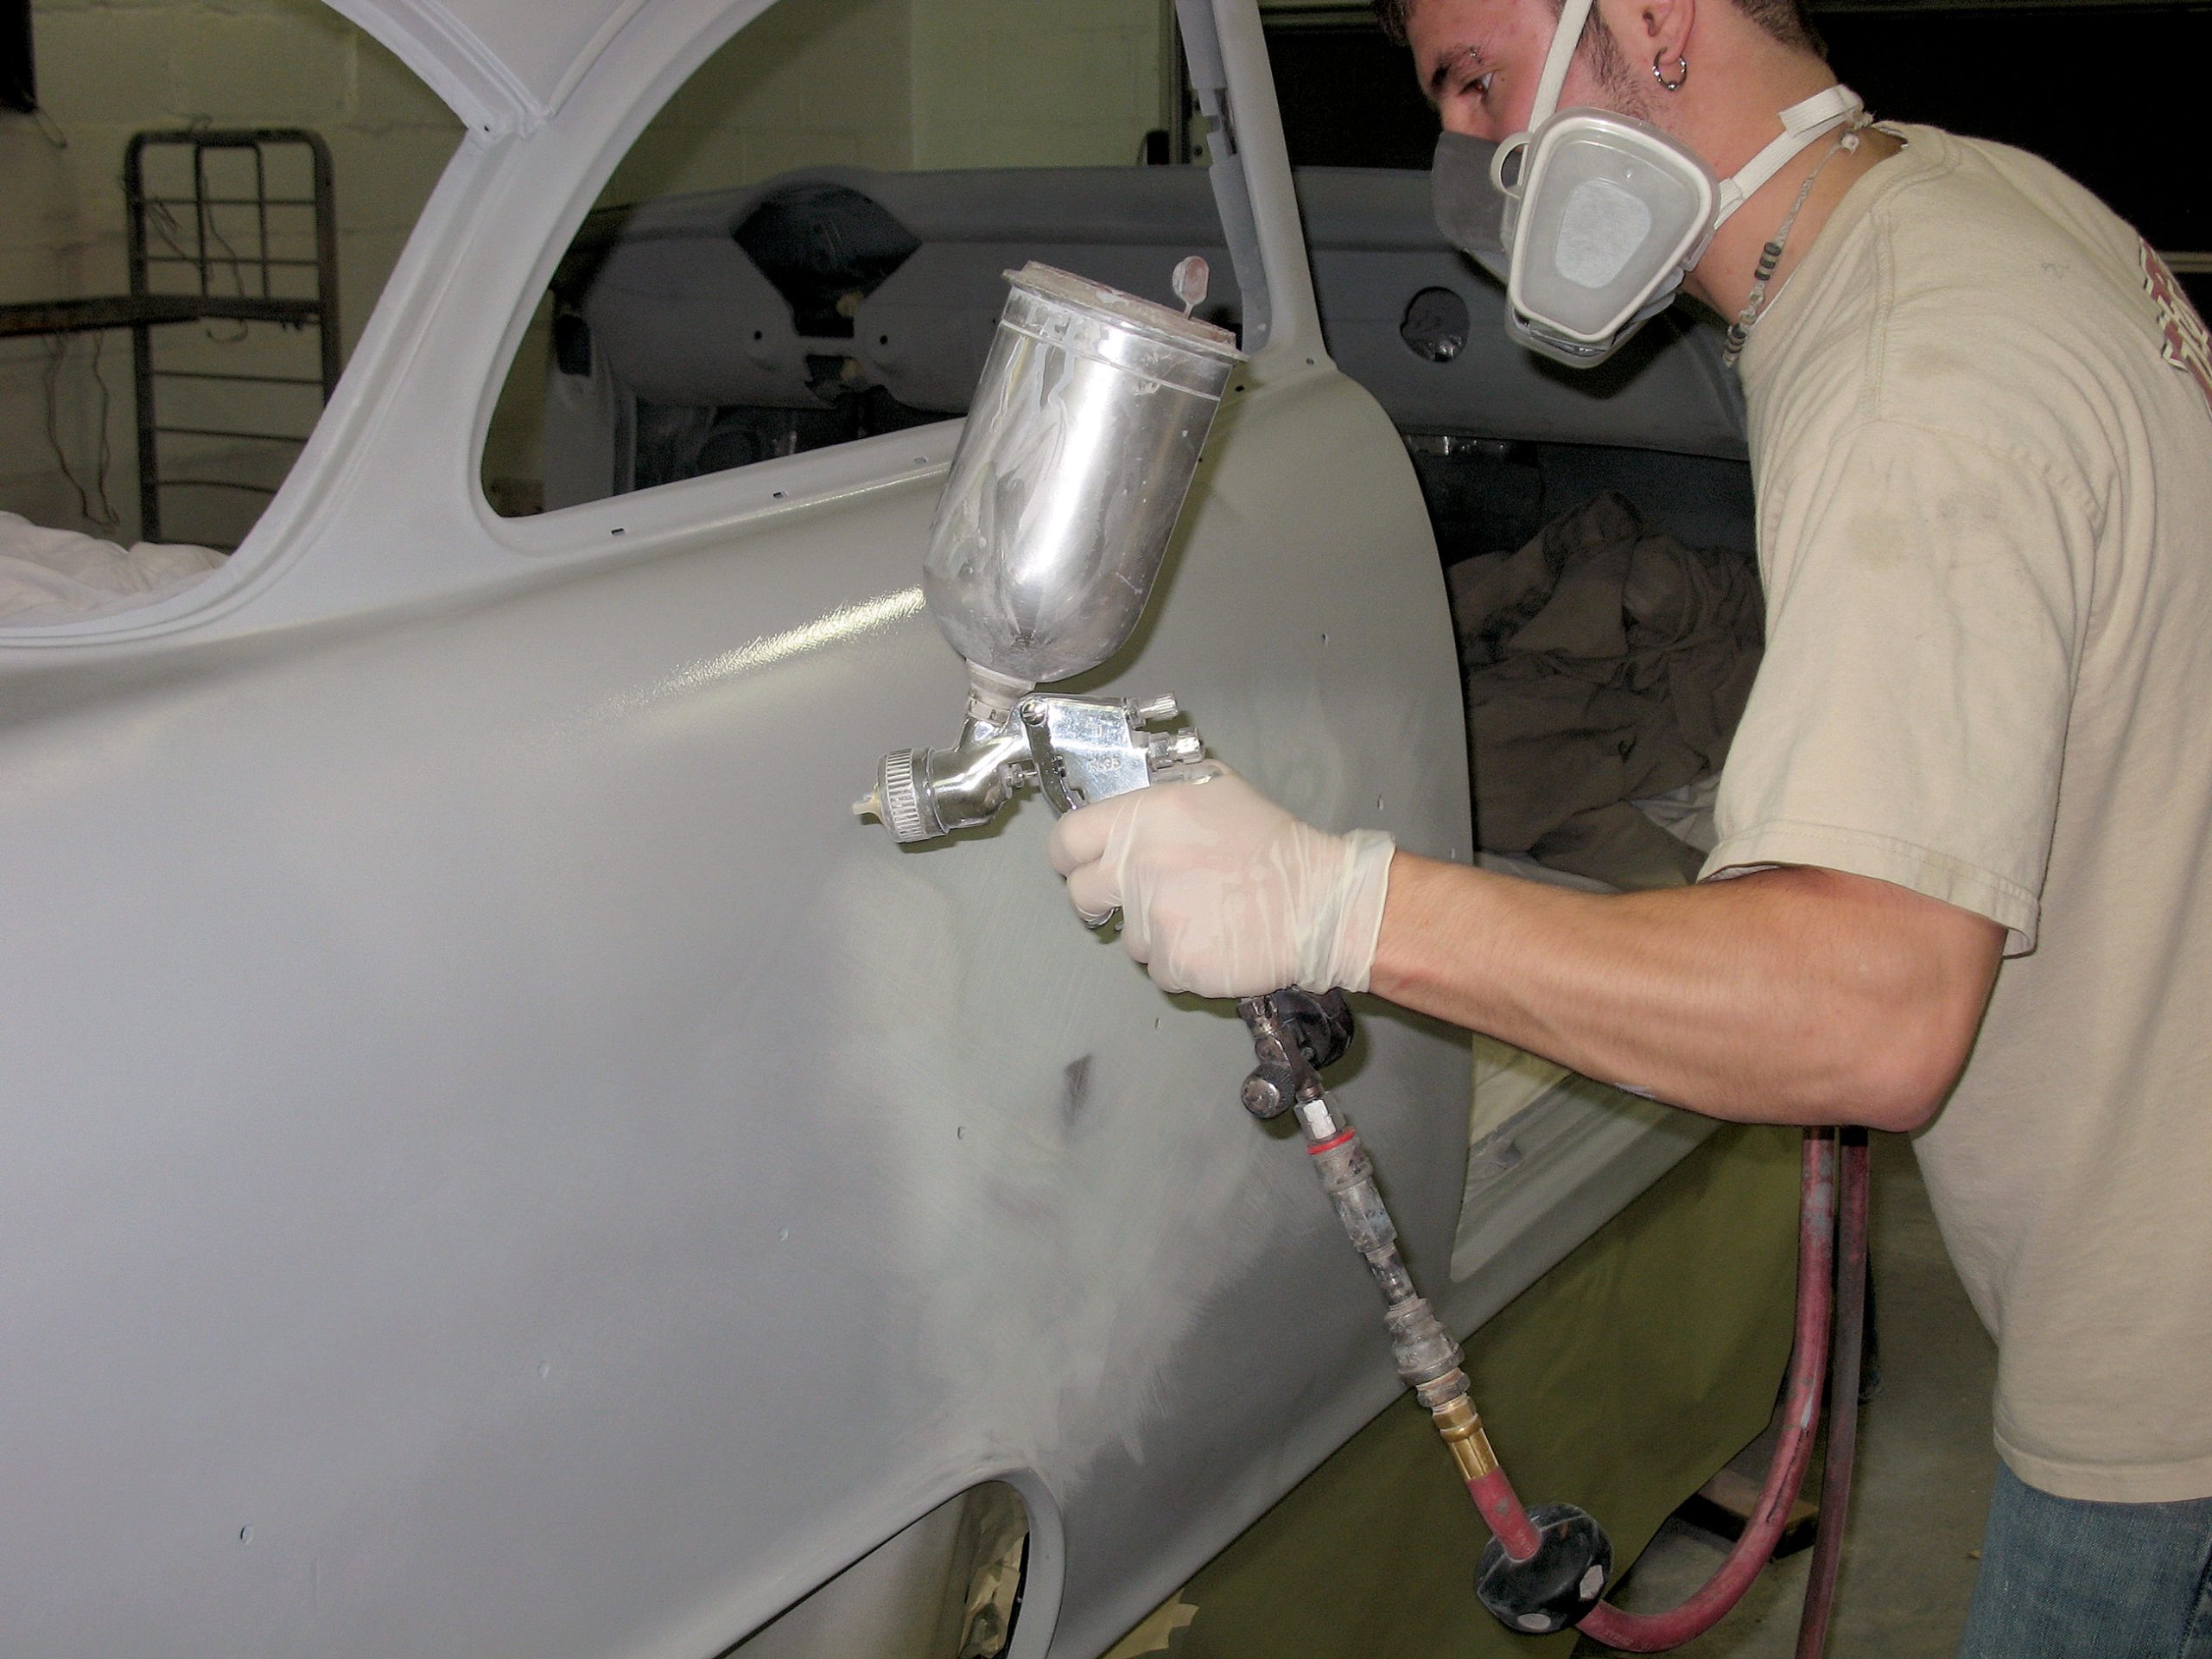
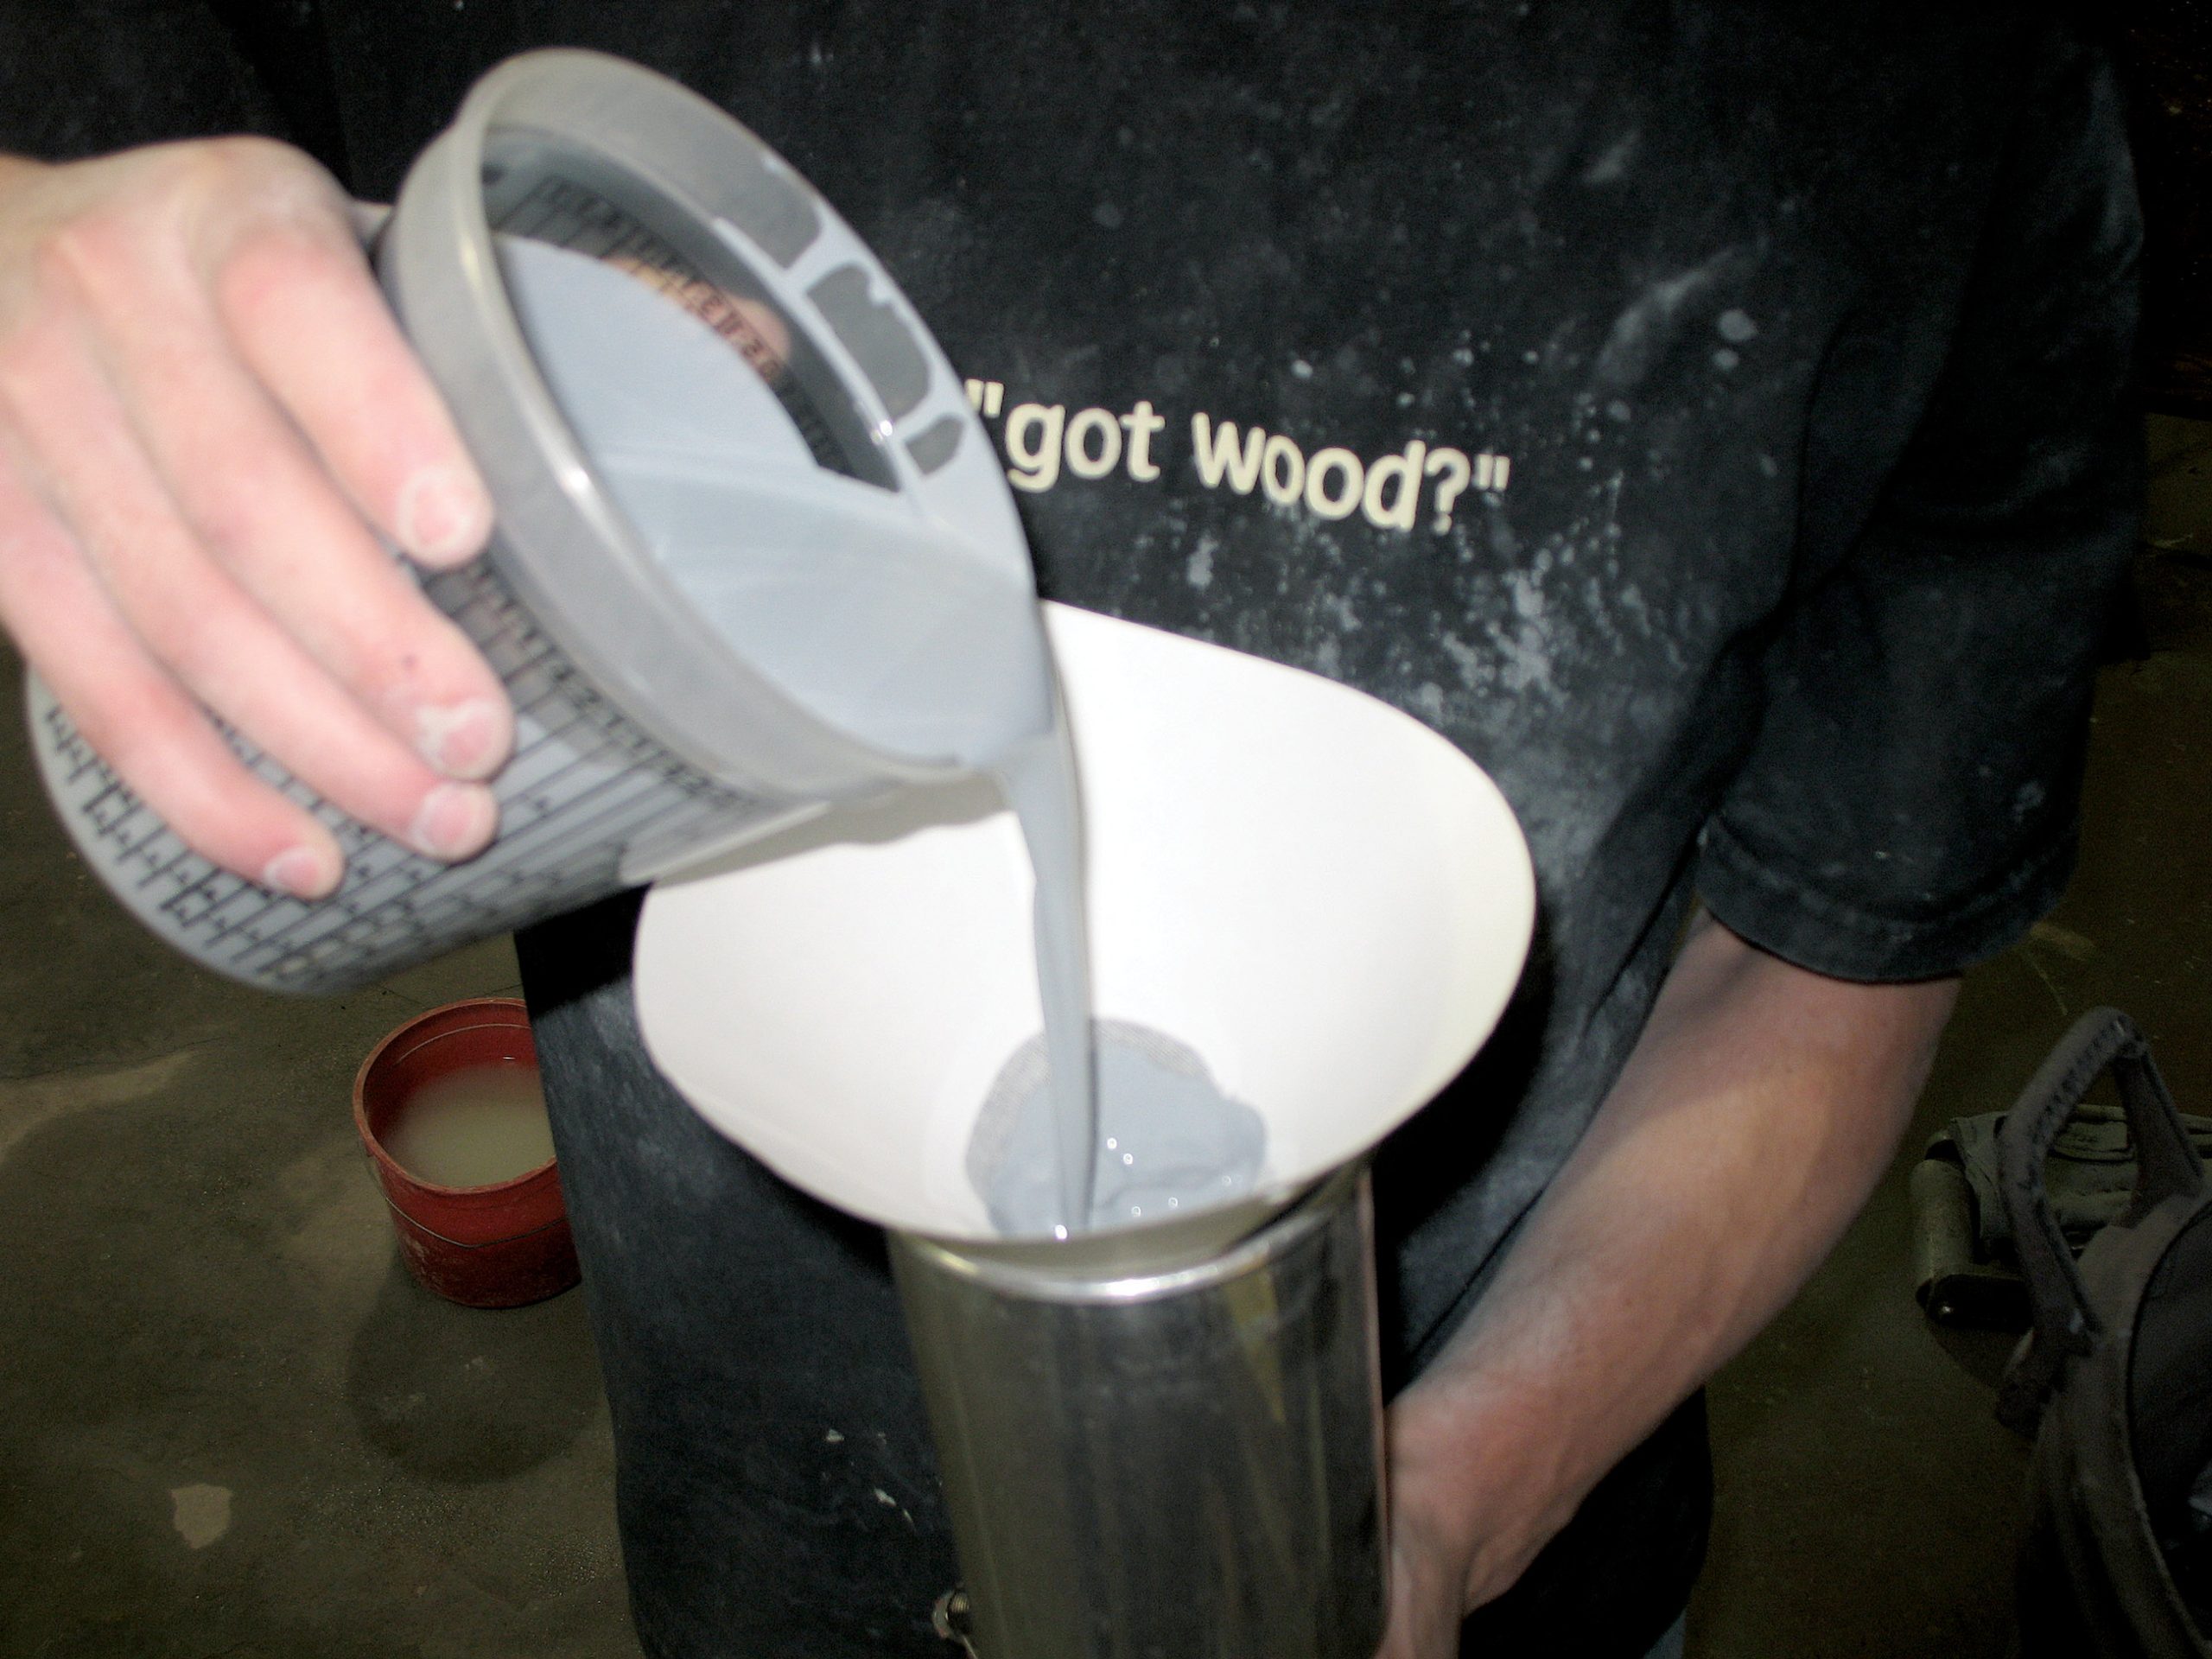
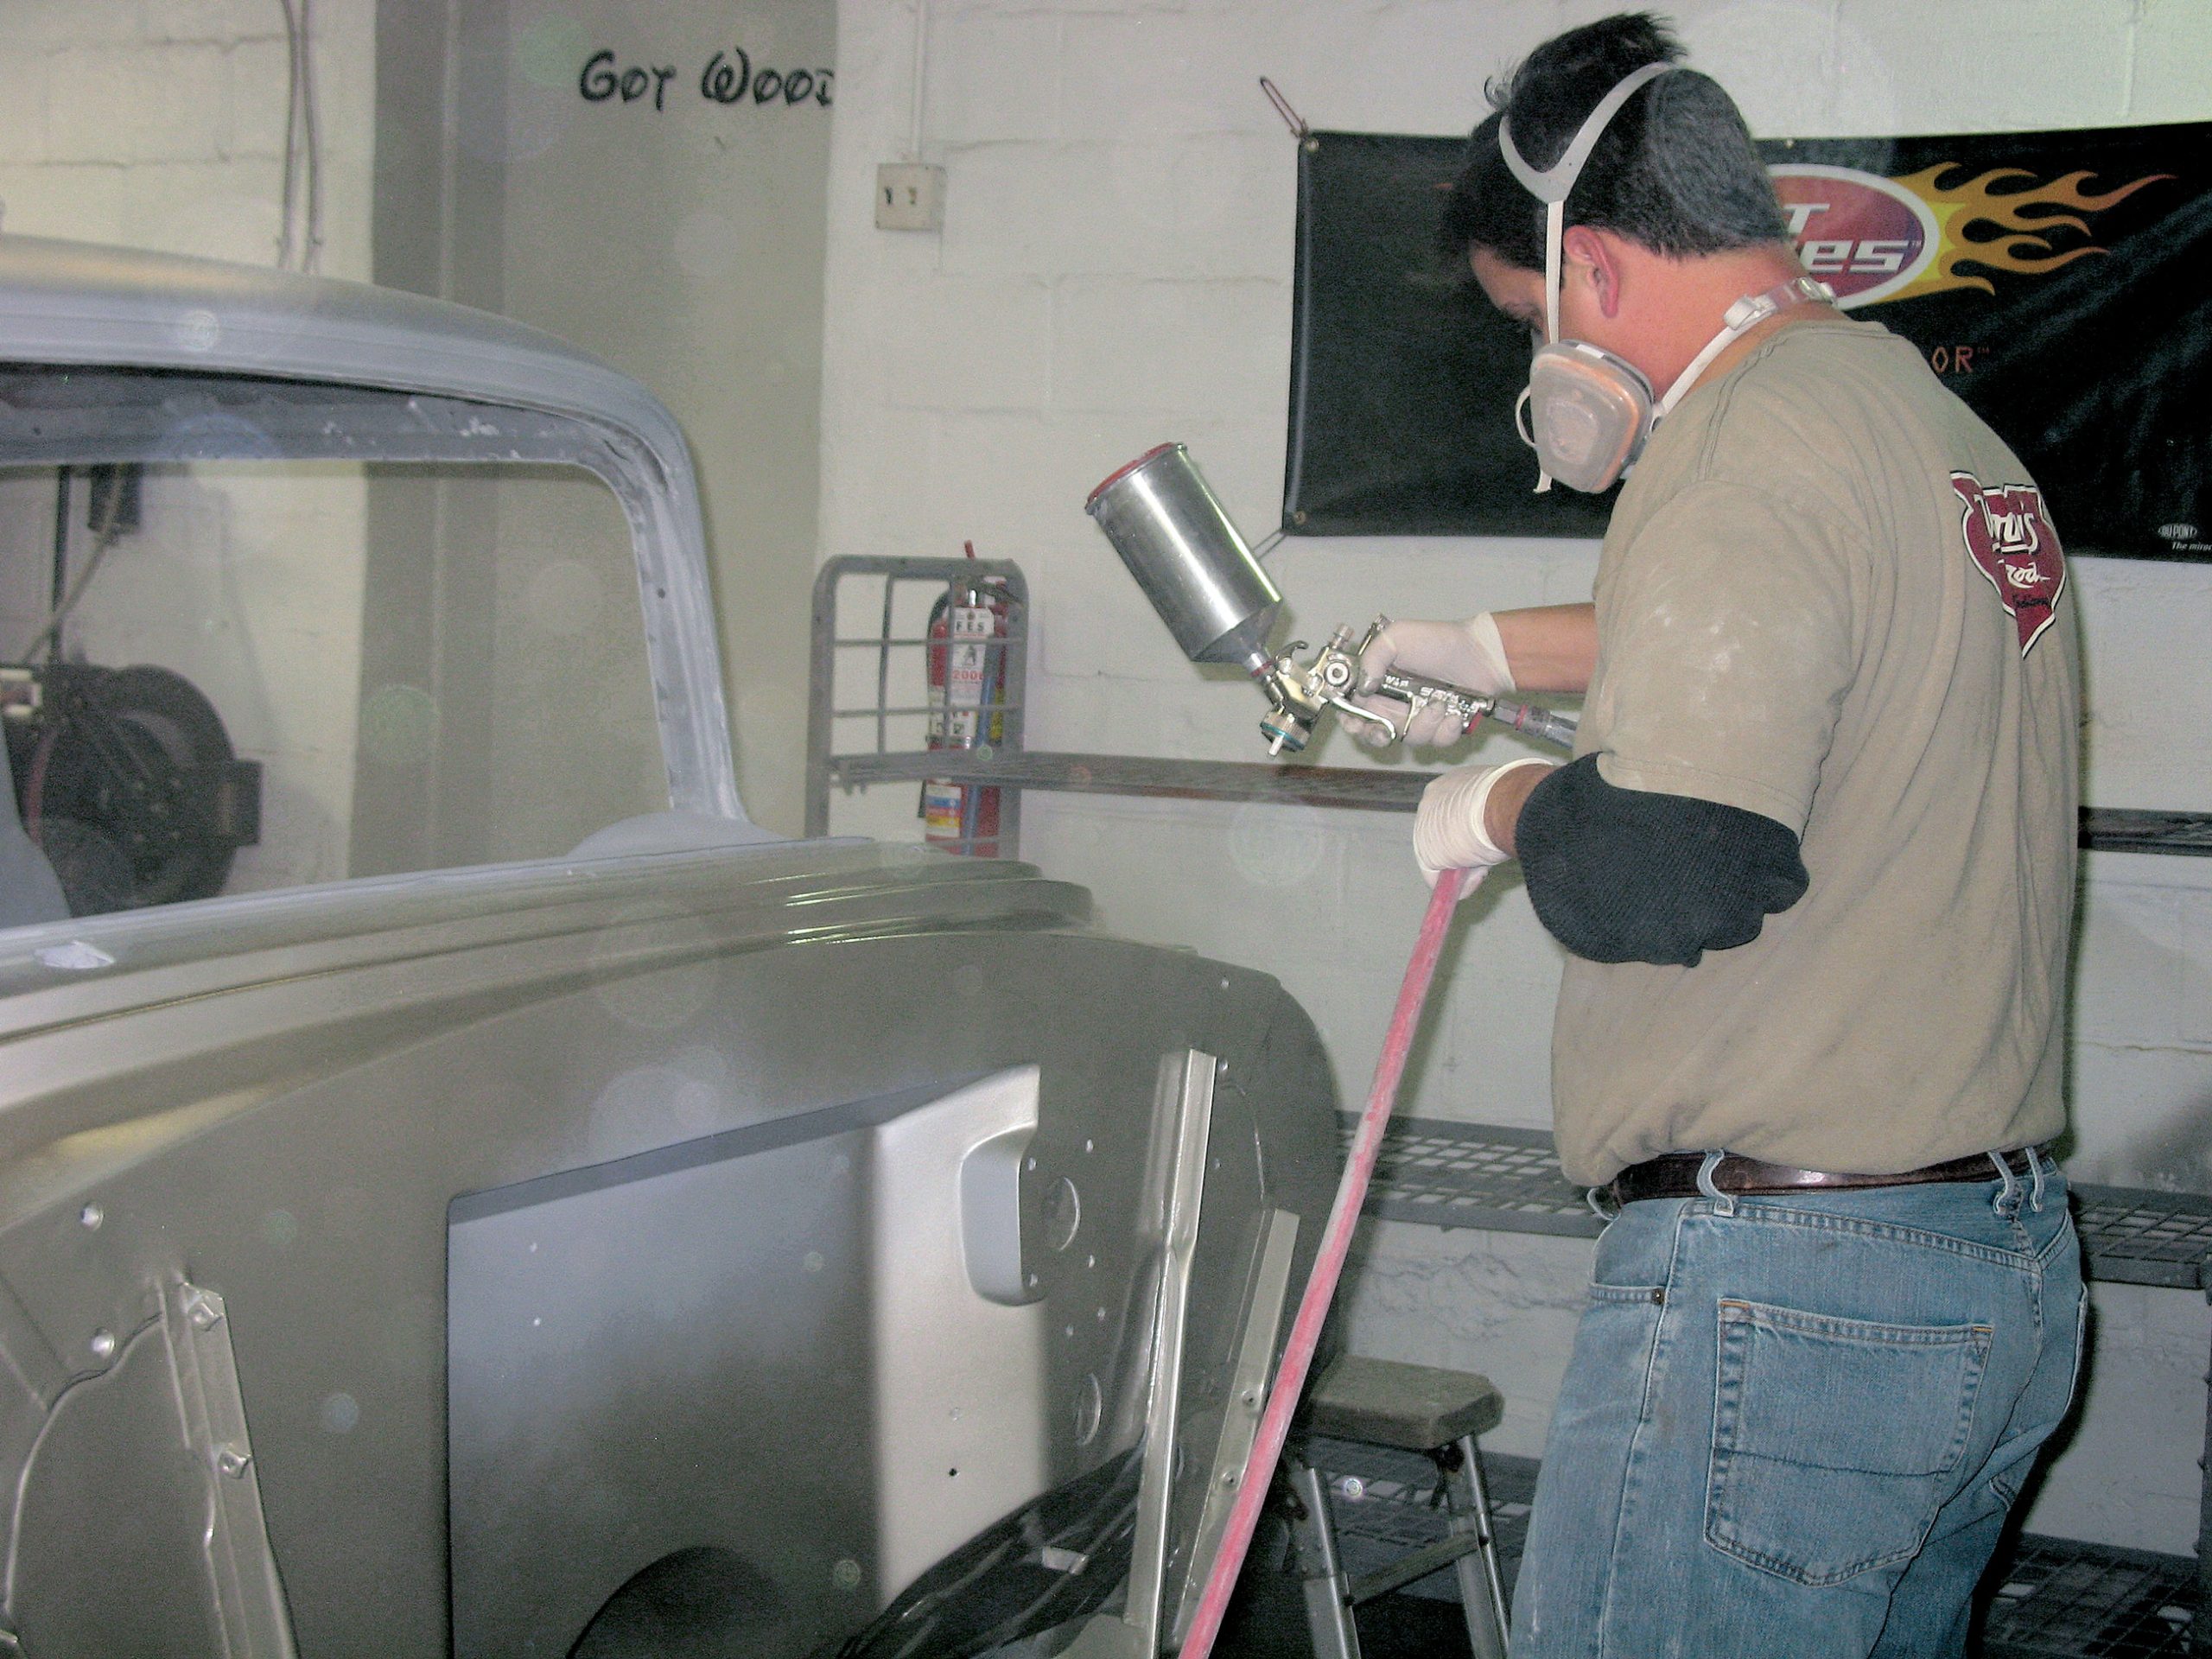
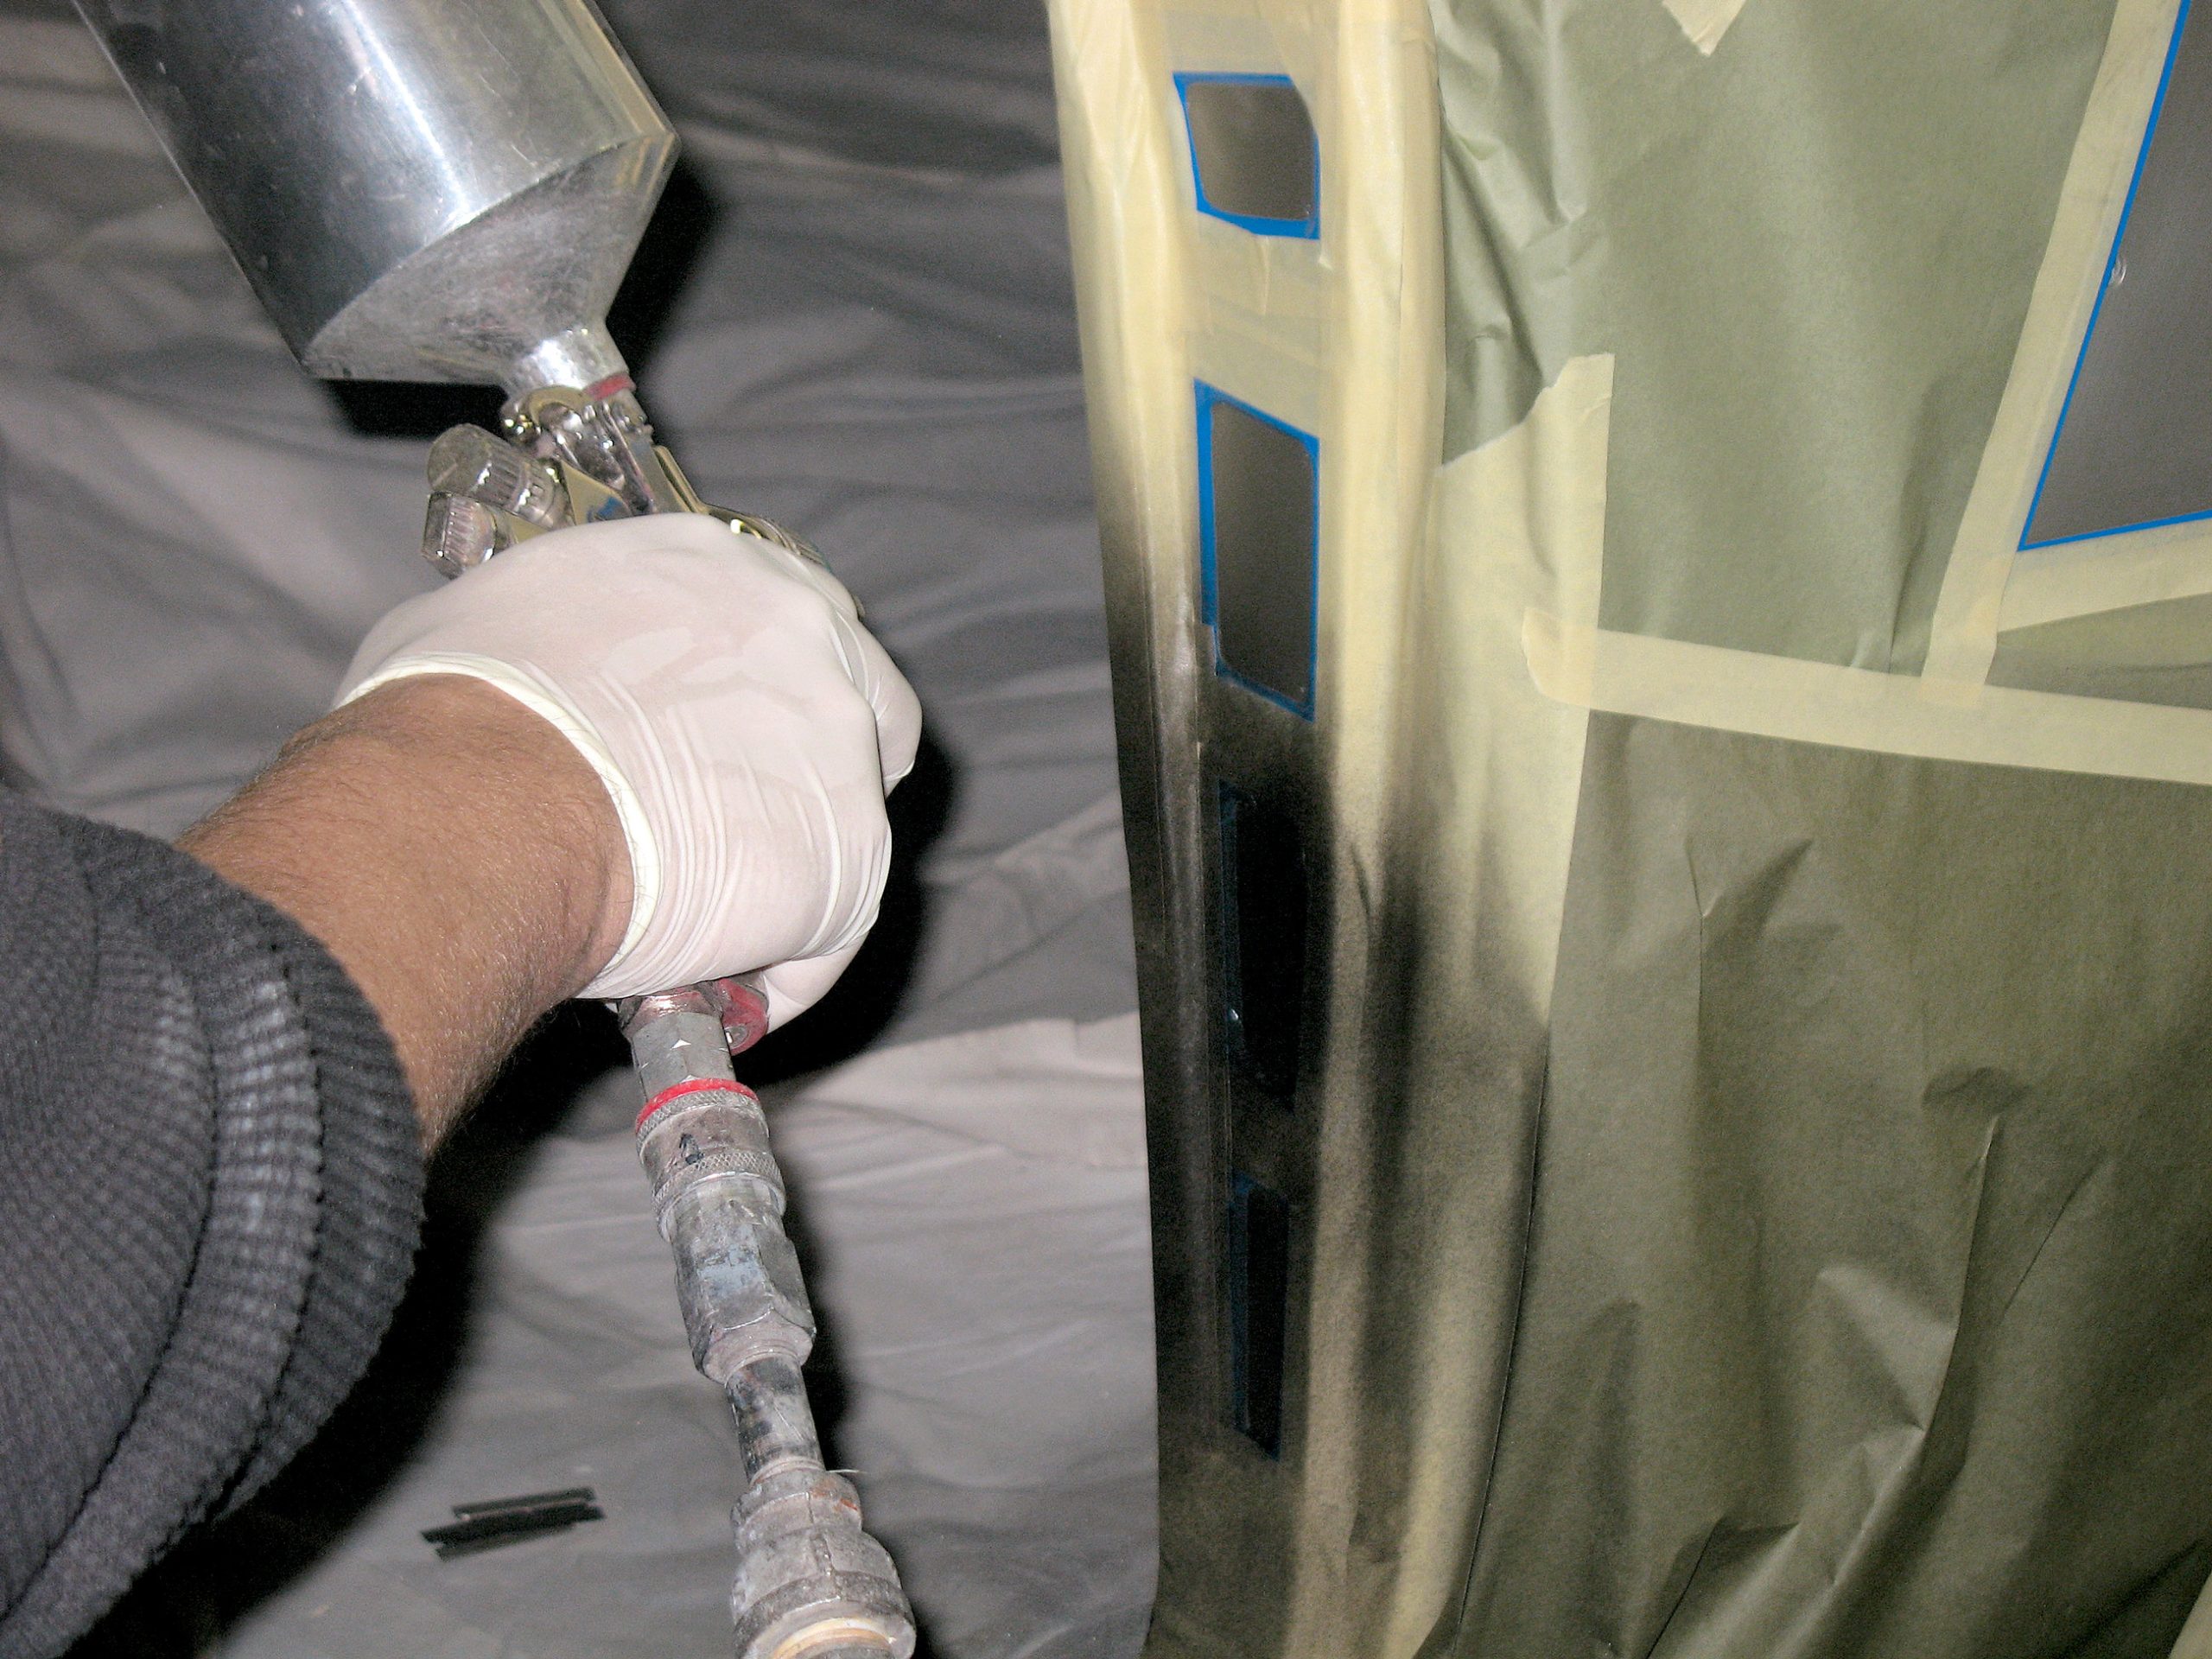
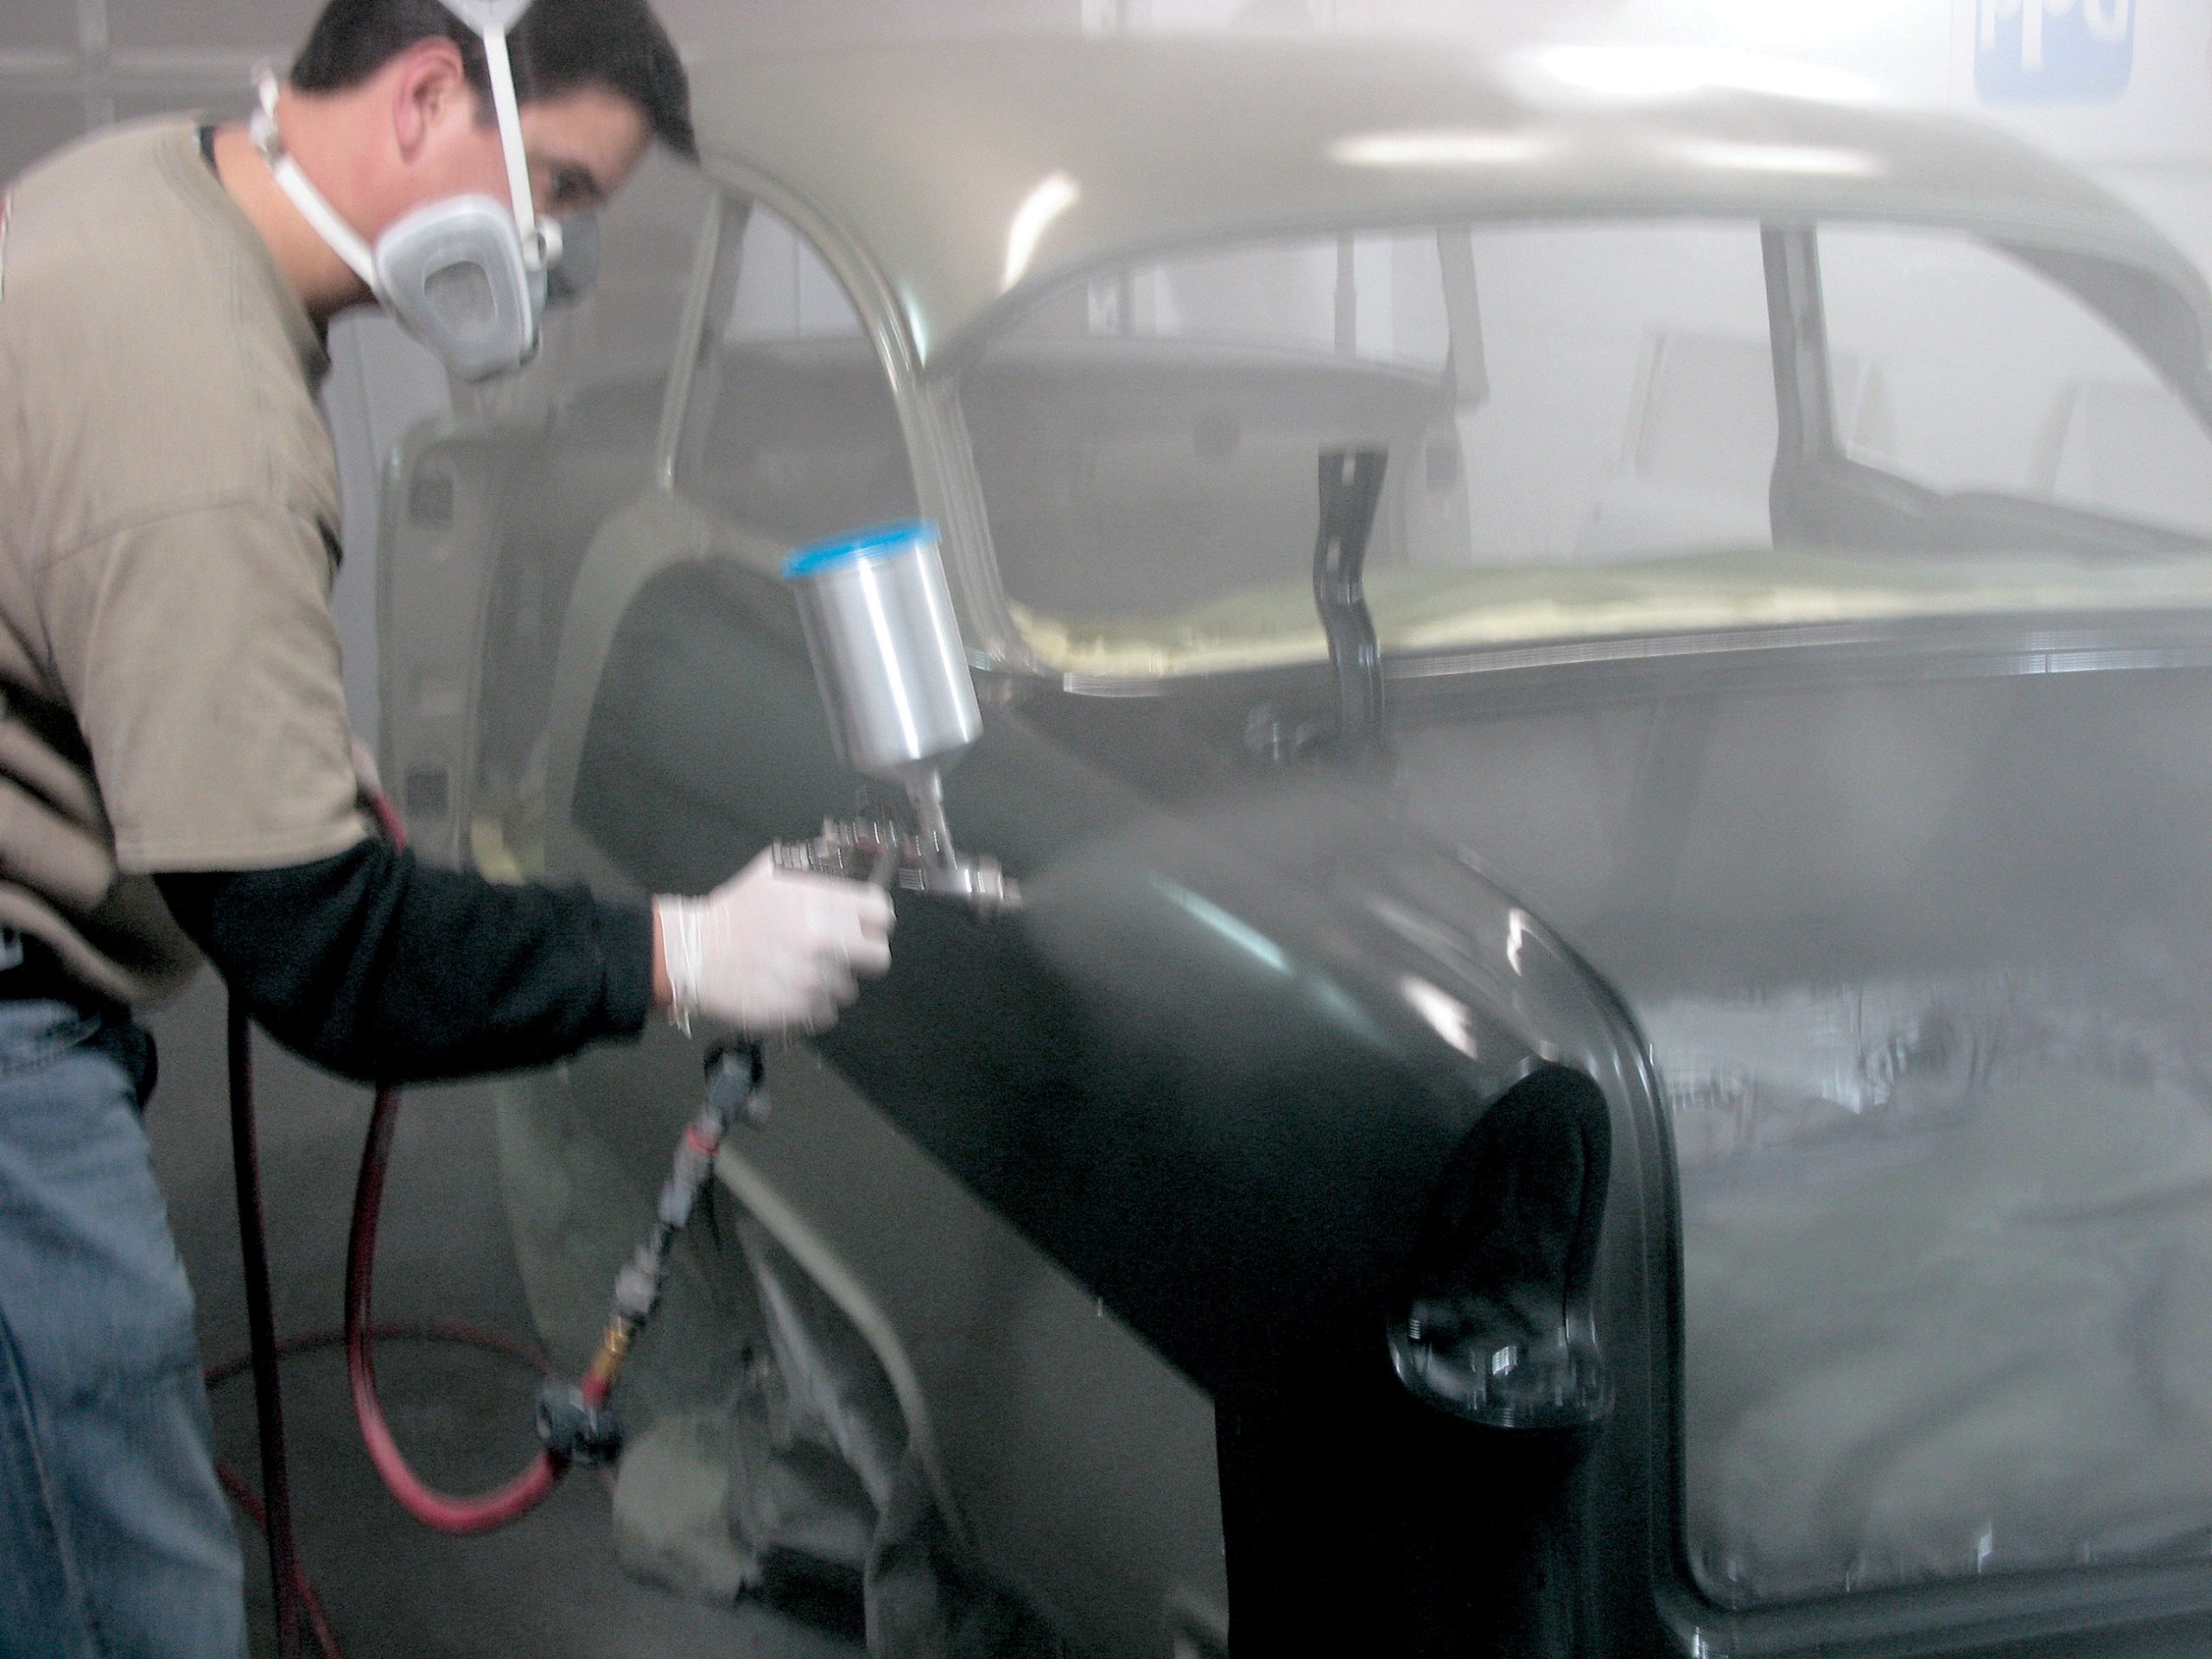
Before the painting begins, be sure to protect yourself and your product. Ventilation is a must as paint needs air movement in order to dry properly. Even with today’s HVLP technology, some overspray will hang in the air unless it’s pulled out. If you are a hobbyist and are attempting to spray your own car for the first time, a paint booth is not absolutely essential, but filtered ventilation is a must. You must also protect your hands with gloves, and the most important piece of safety equipment is a good paint respirator. At Woody’s, they use SATA NR2000 guns for undercoat products and the basecoat, and they use an Iwata W400 for shooting clearcoat. Don’t be fooled and think that a cheap gun will shoot like a good-quality gun; they don’t, and you will spend more time sanding out problems than the money you saved buying less than top-notch equipment. Also, be sure that the air lines that you plan to use have some sort of filtration and an air dryer. There is nothing worse than getting condensation in your air line and then spraying it into your paint. Again, this causes you more work than taking precautions.
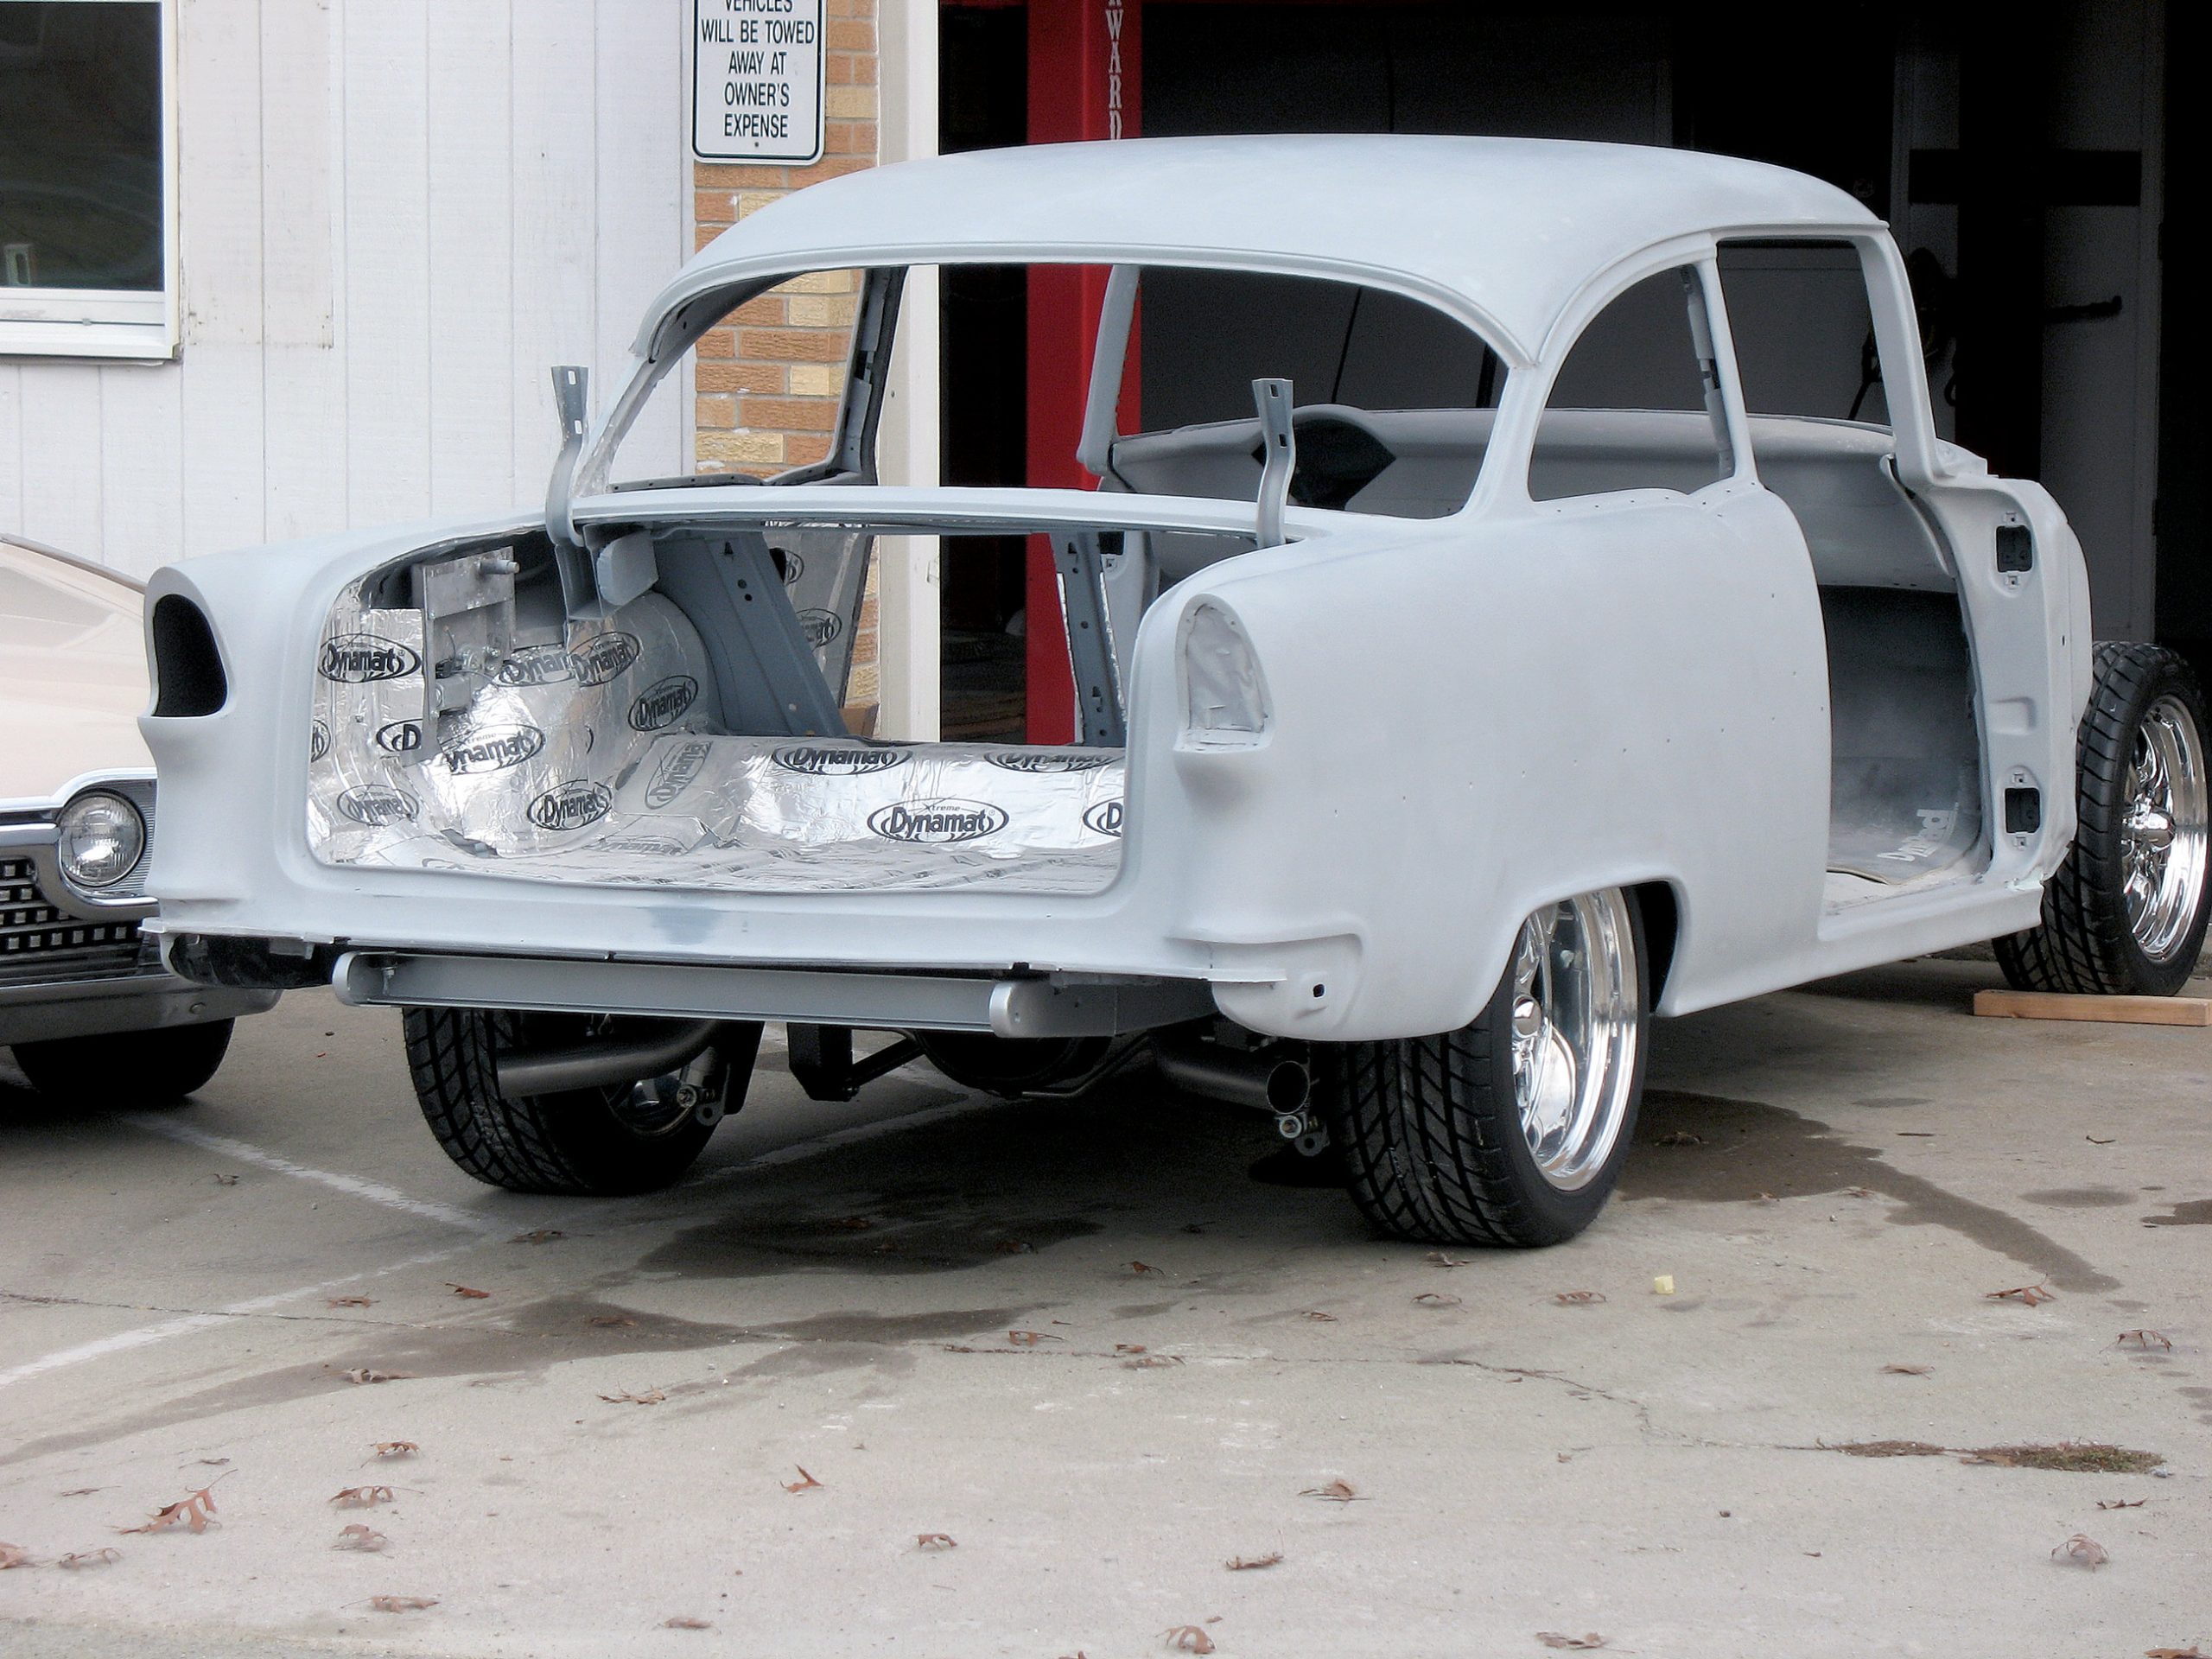
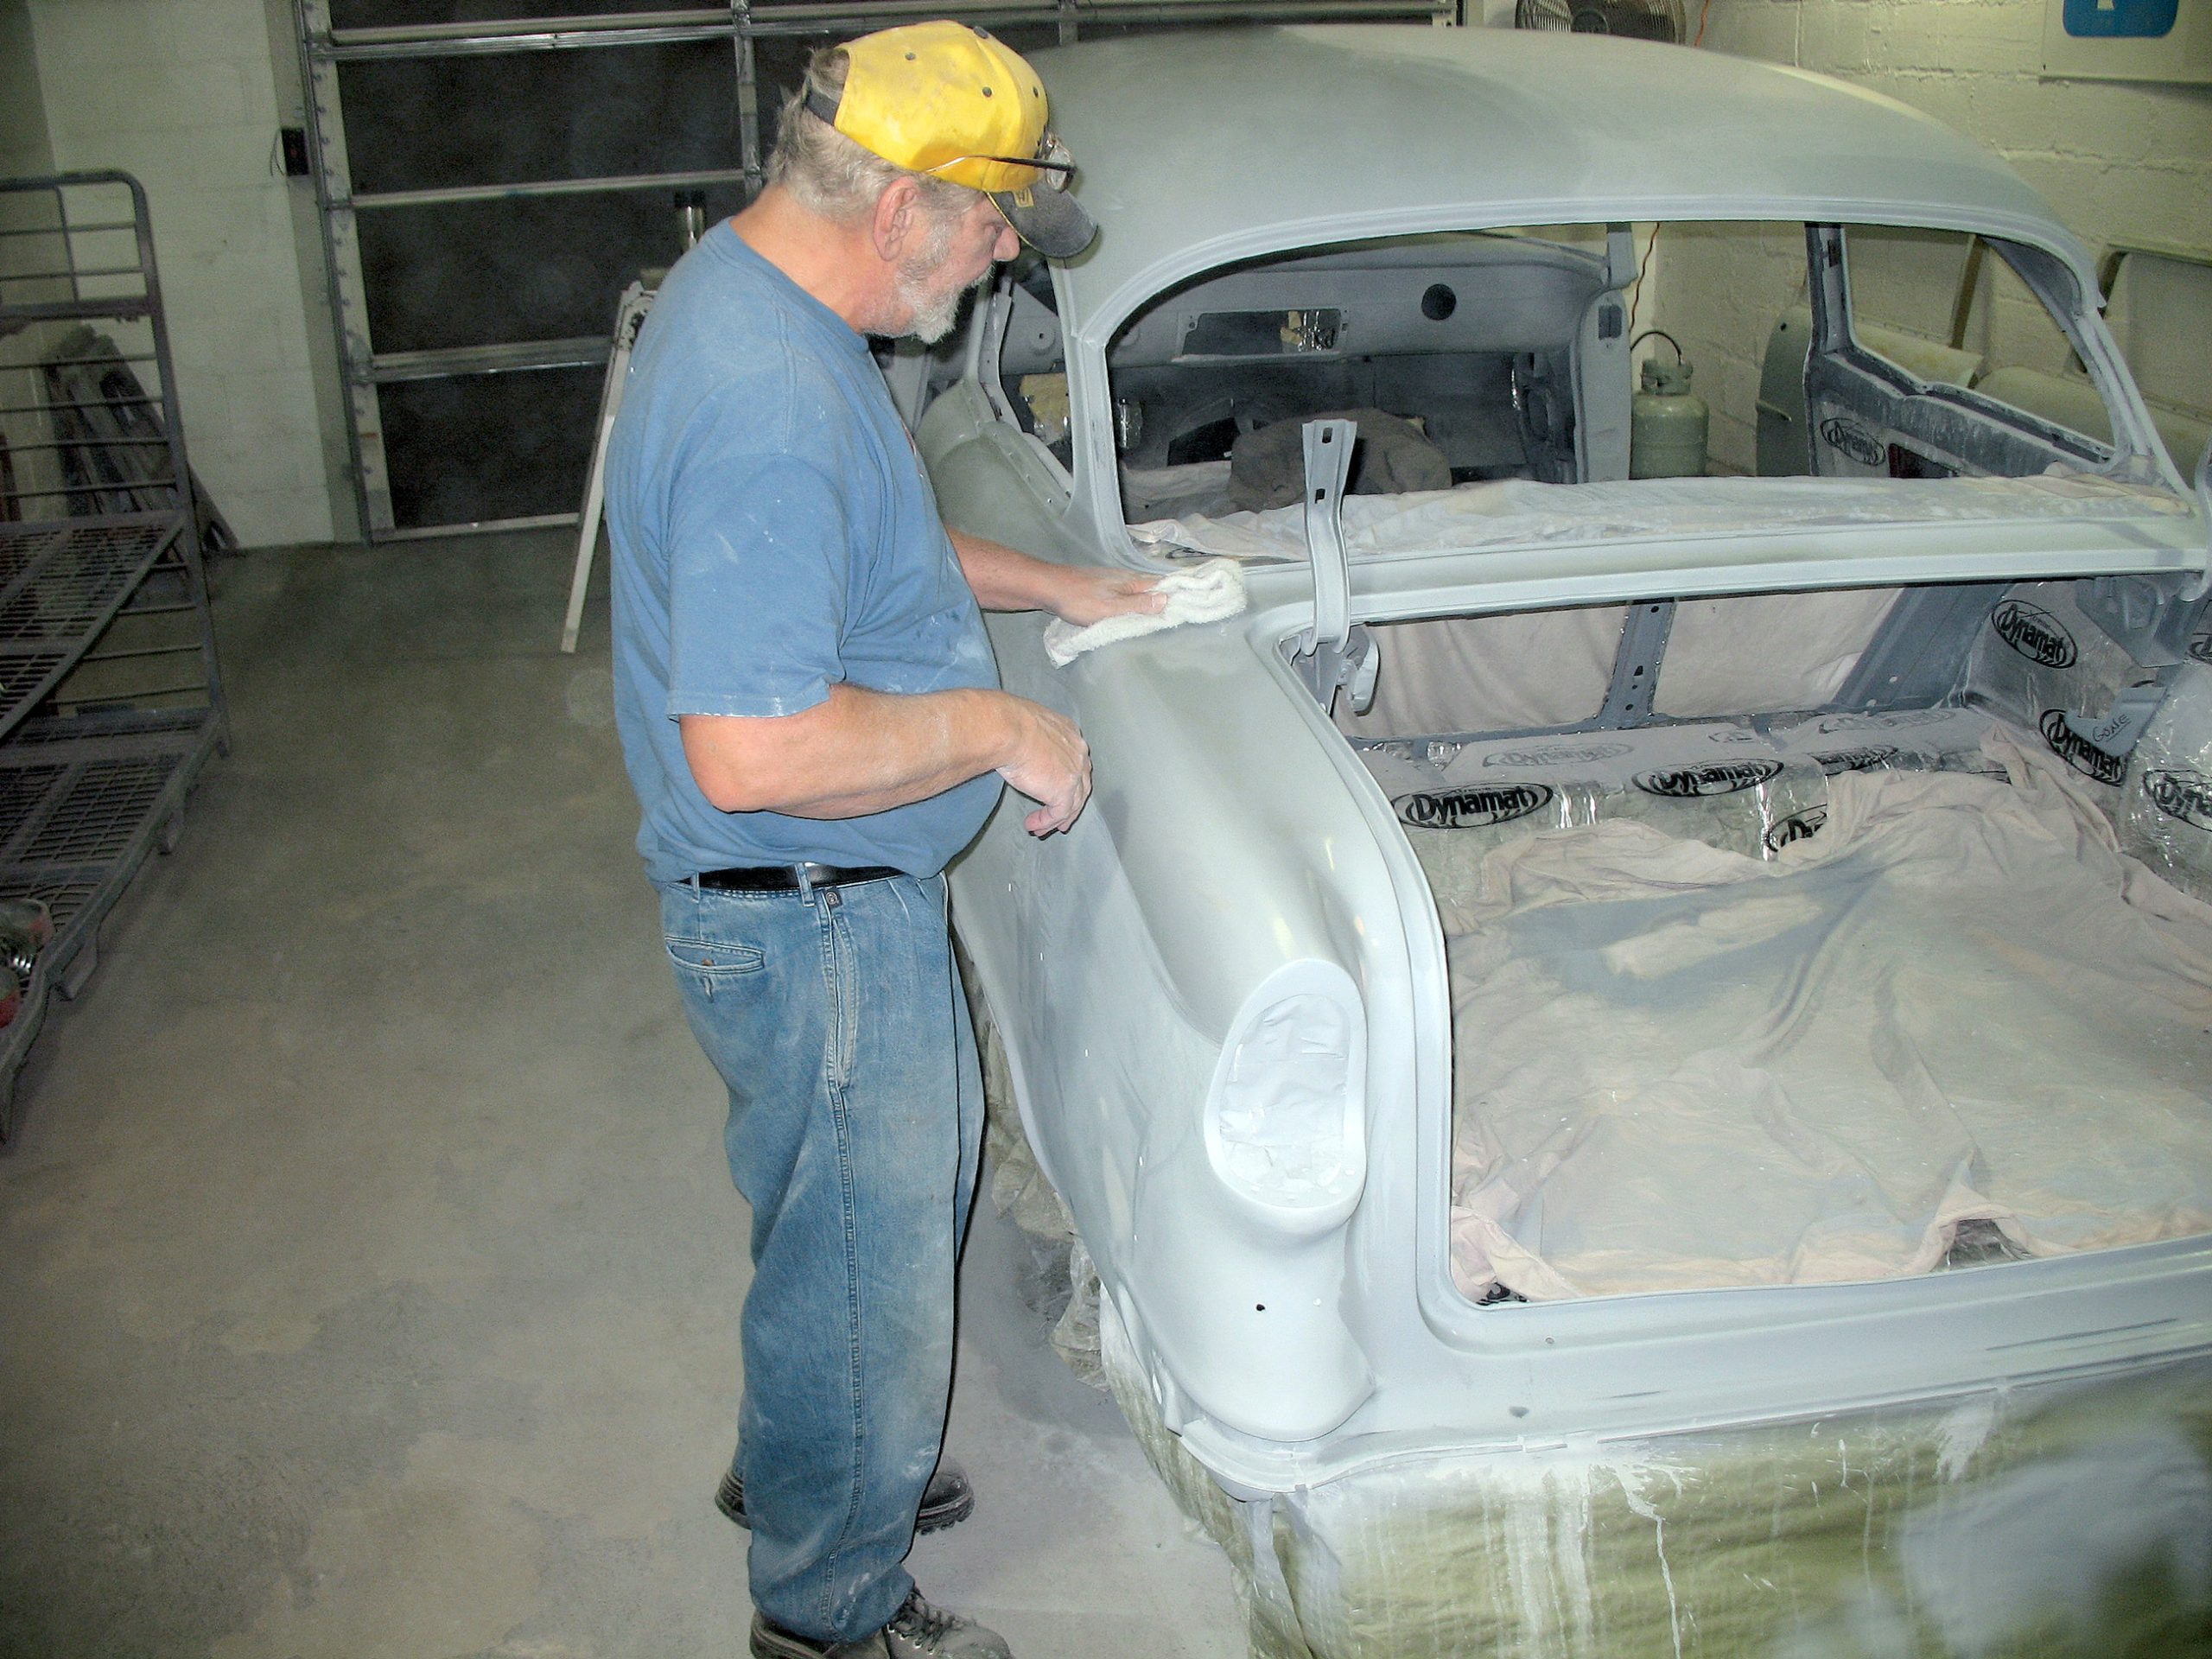
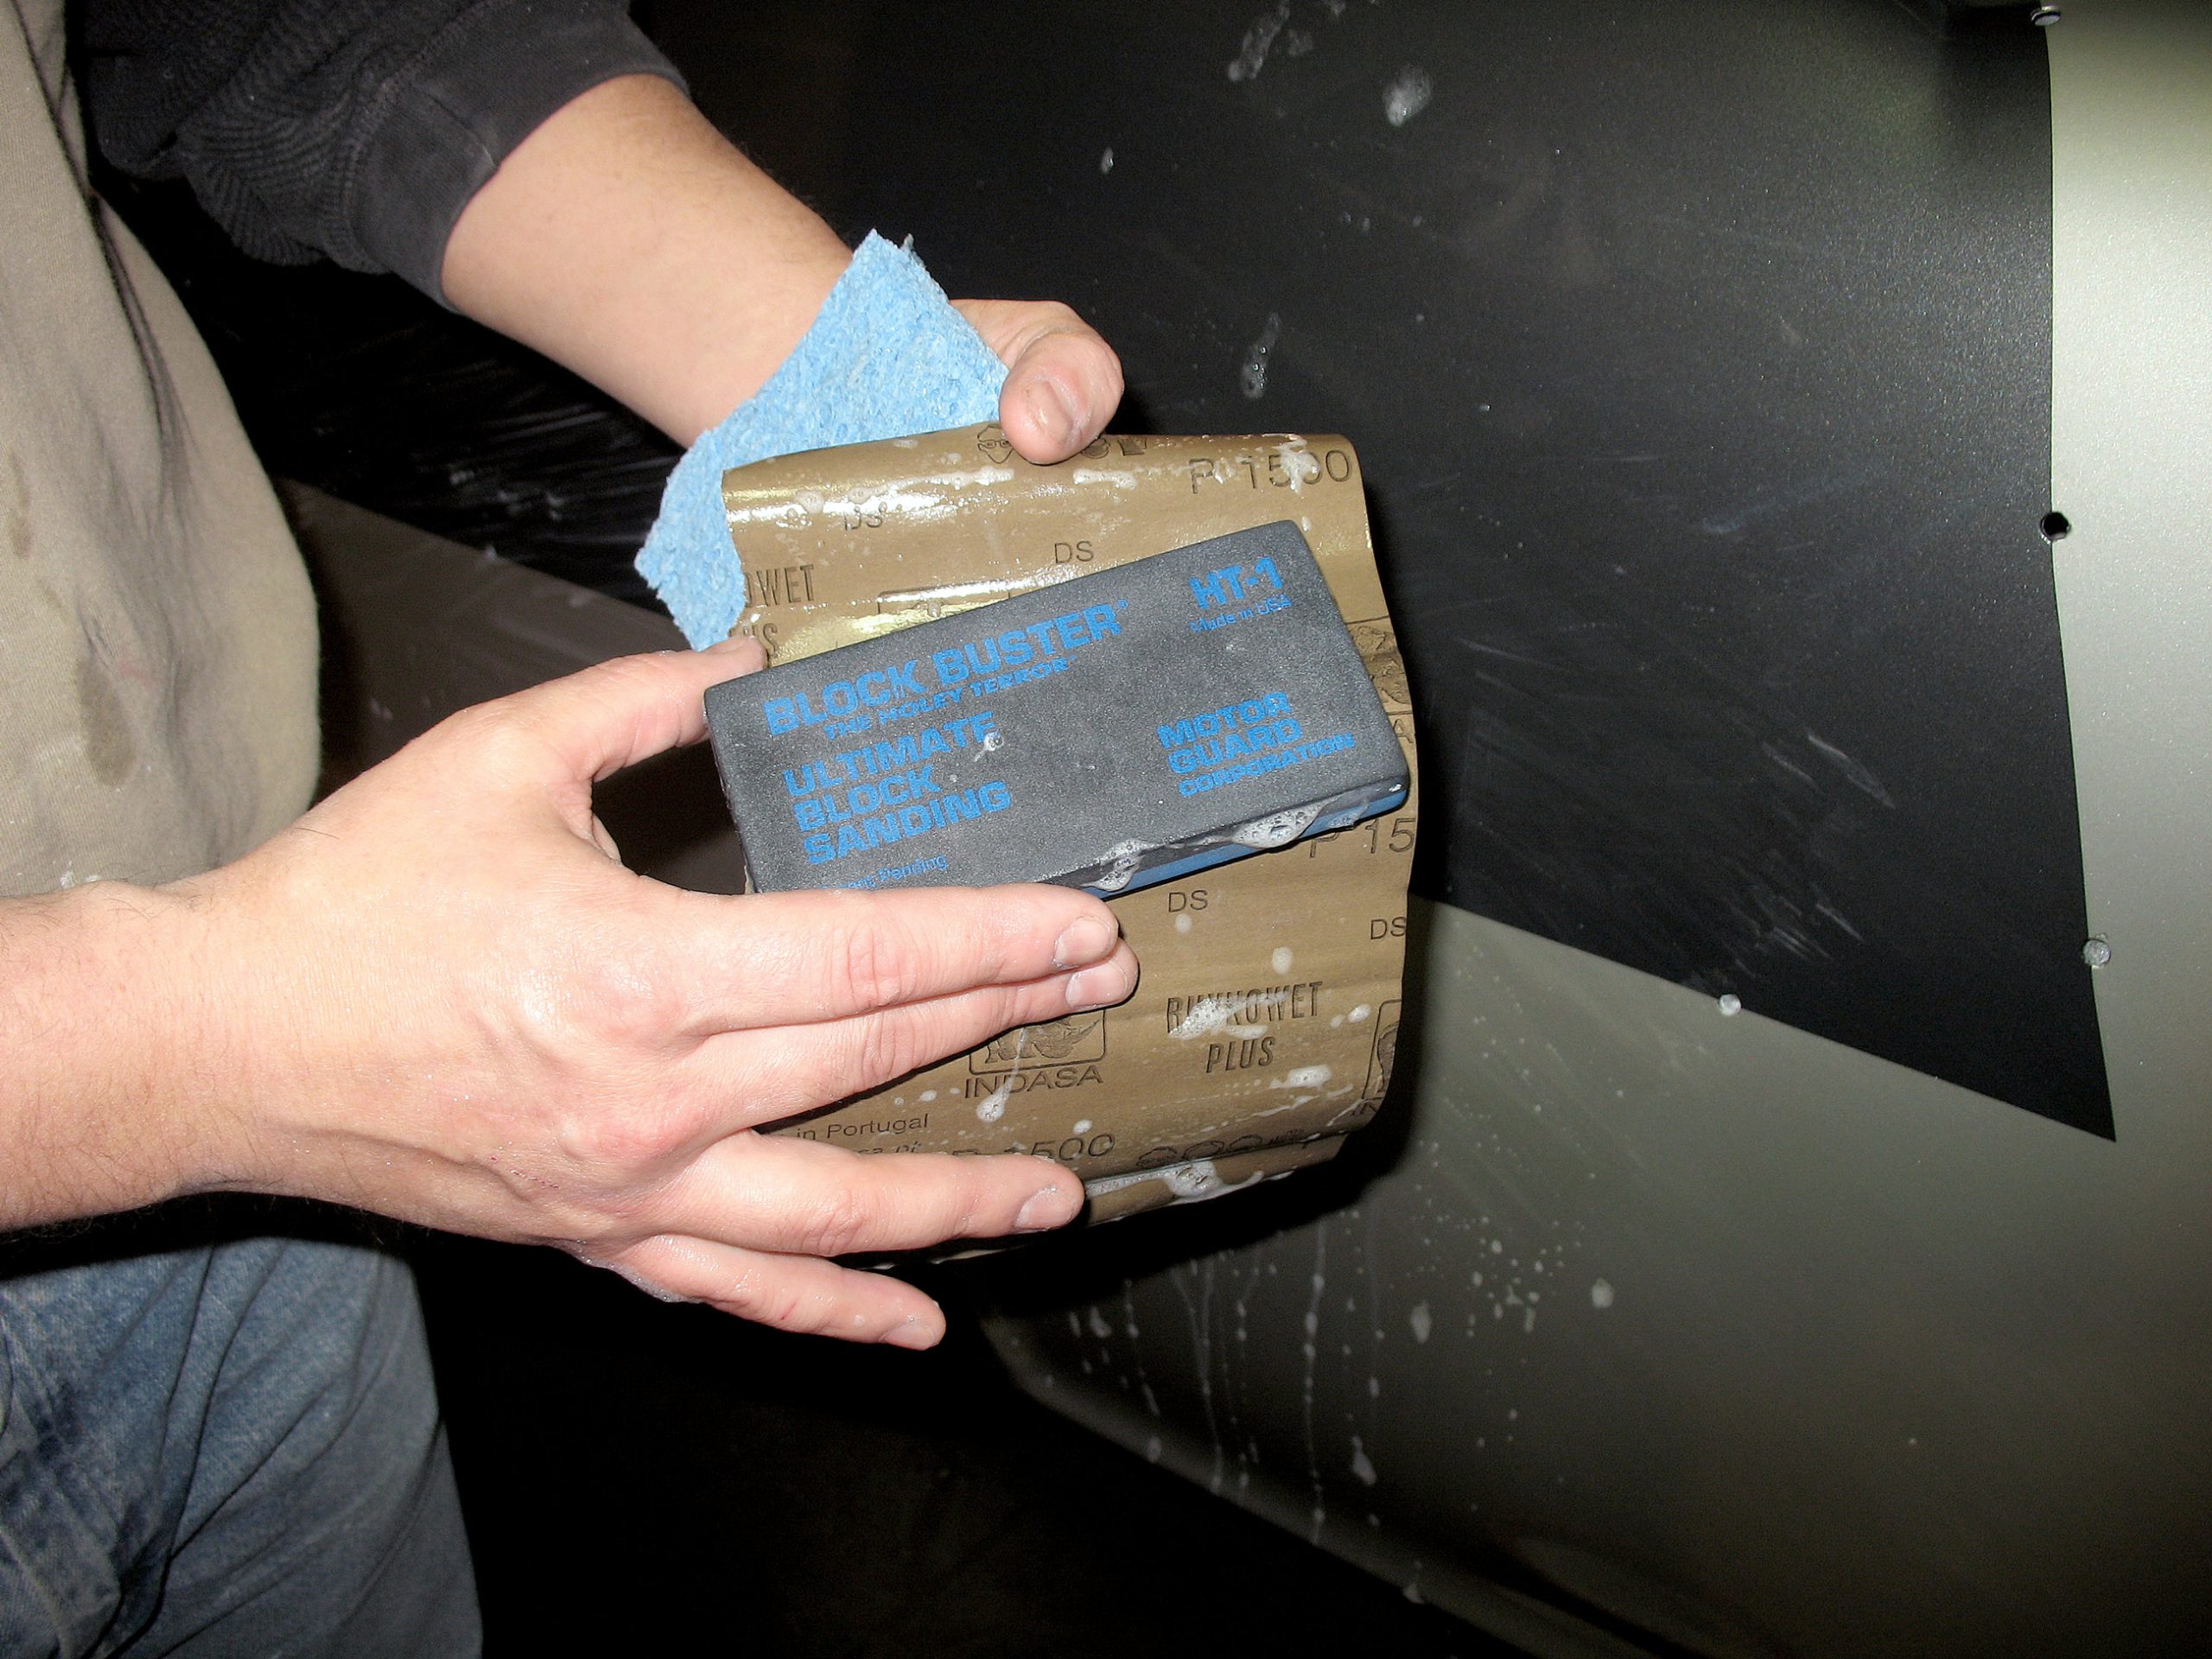
Primer & Body Prep Work
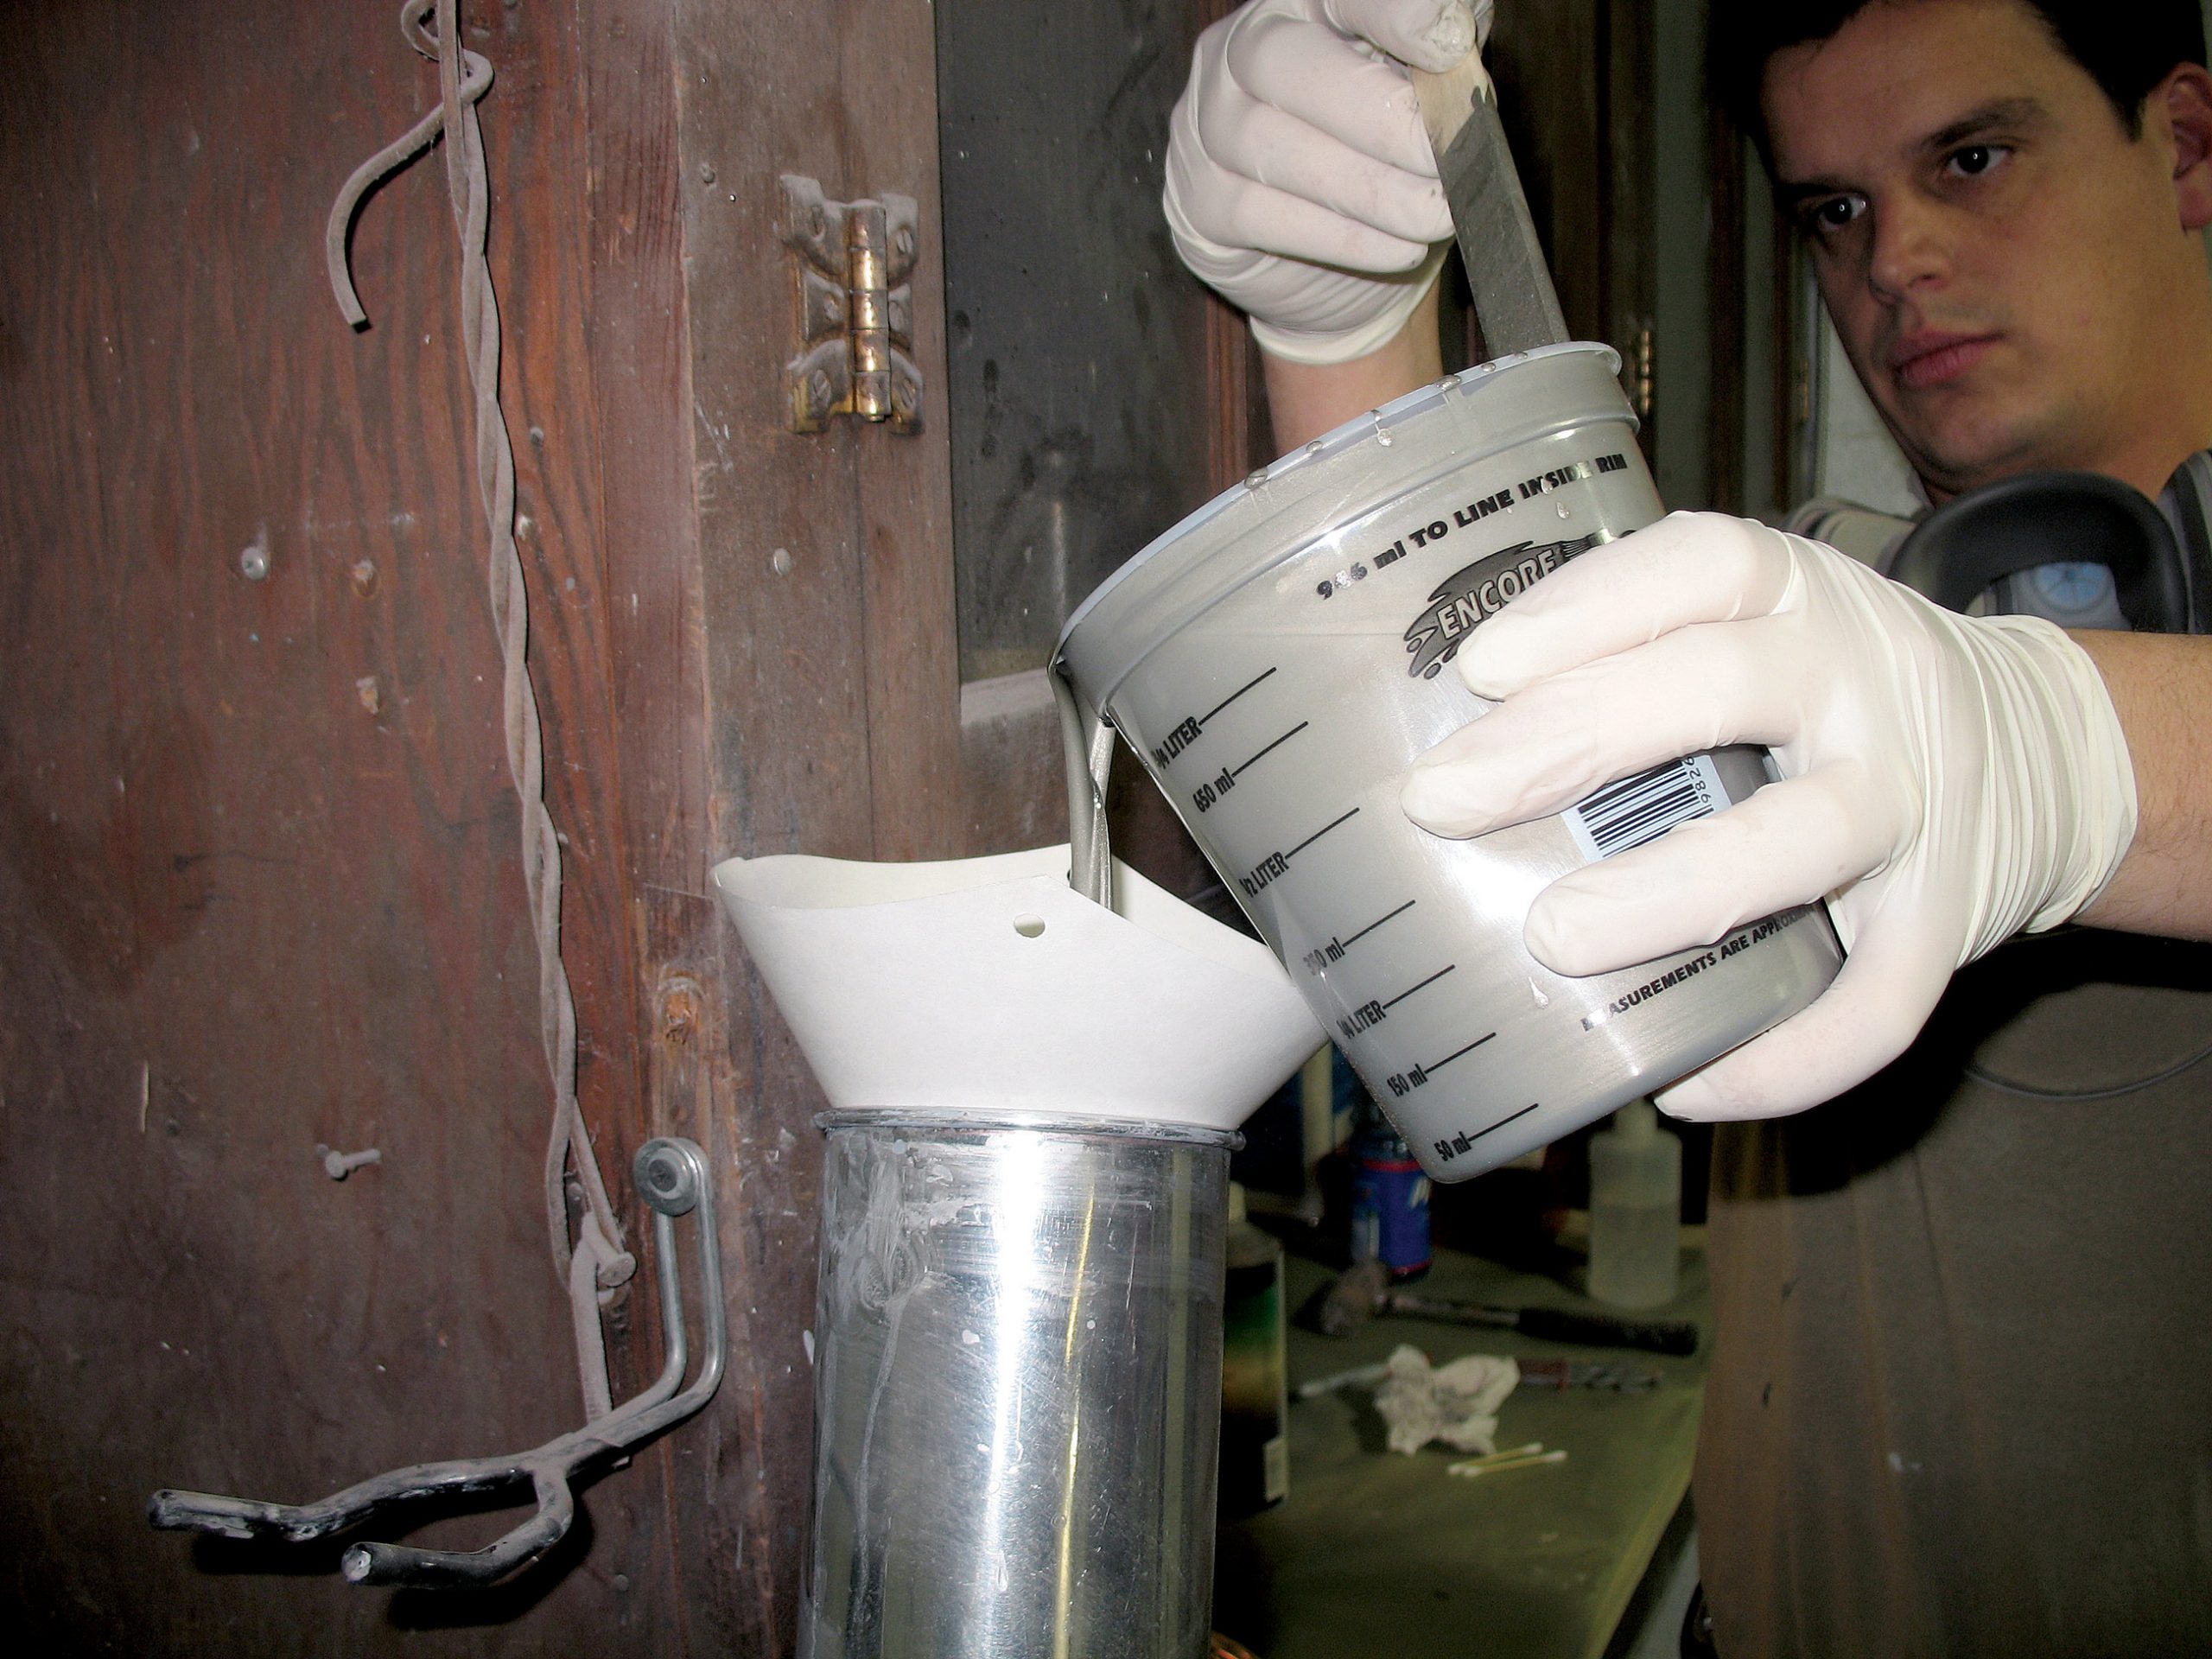
The paint on the ’55 started with a medium coat of Hot Seal DTM Primer/Sealer HHU-4040. The sealer is a direct-to-metal product that requires no sanding of the bare metal. The adhesion is excellent, and the paint can be laid over bare metal, fiberglass, SMC or plastics. Another nice feature is that it can be top-coated in just under an hour. After the sedan was coated in Hot Seal, Woody’s laid three wet coats of Hot Prime HHU-3140. The High-Solids Urethane primer utilizes low VOC technology and is designed specifically for custom shops that require high-build urethane primers. This primer actually uses the same activator as the clear that’s used later in the process. This cuts down on the number of items that a shop will need to inventory or that you will have to purchase going in. After all of the bodywork was completed and the primer was sanded, several more coats of primer were laid and block-sanded flat. The Hot Hues primer sands extremely easy and has great fill properties.
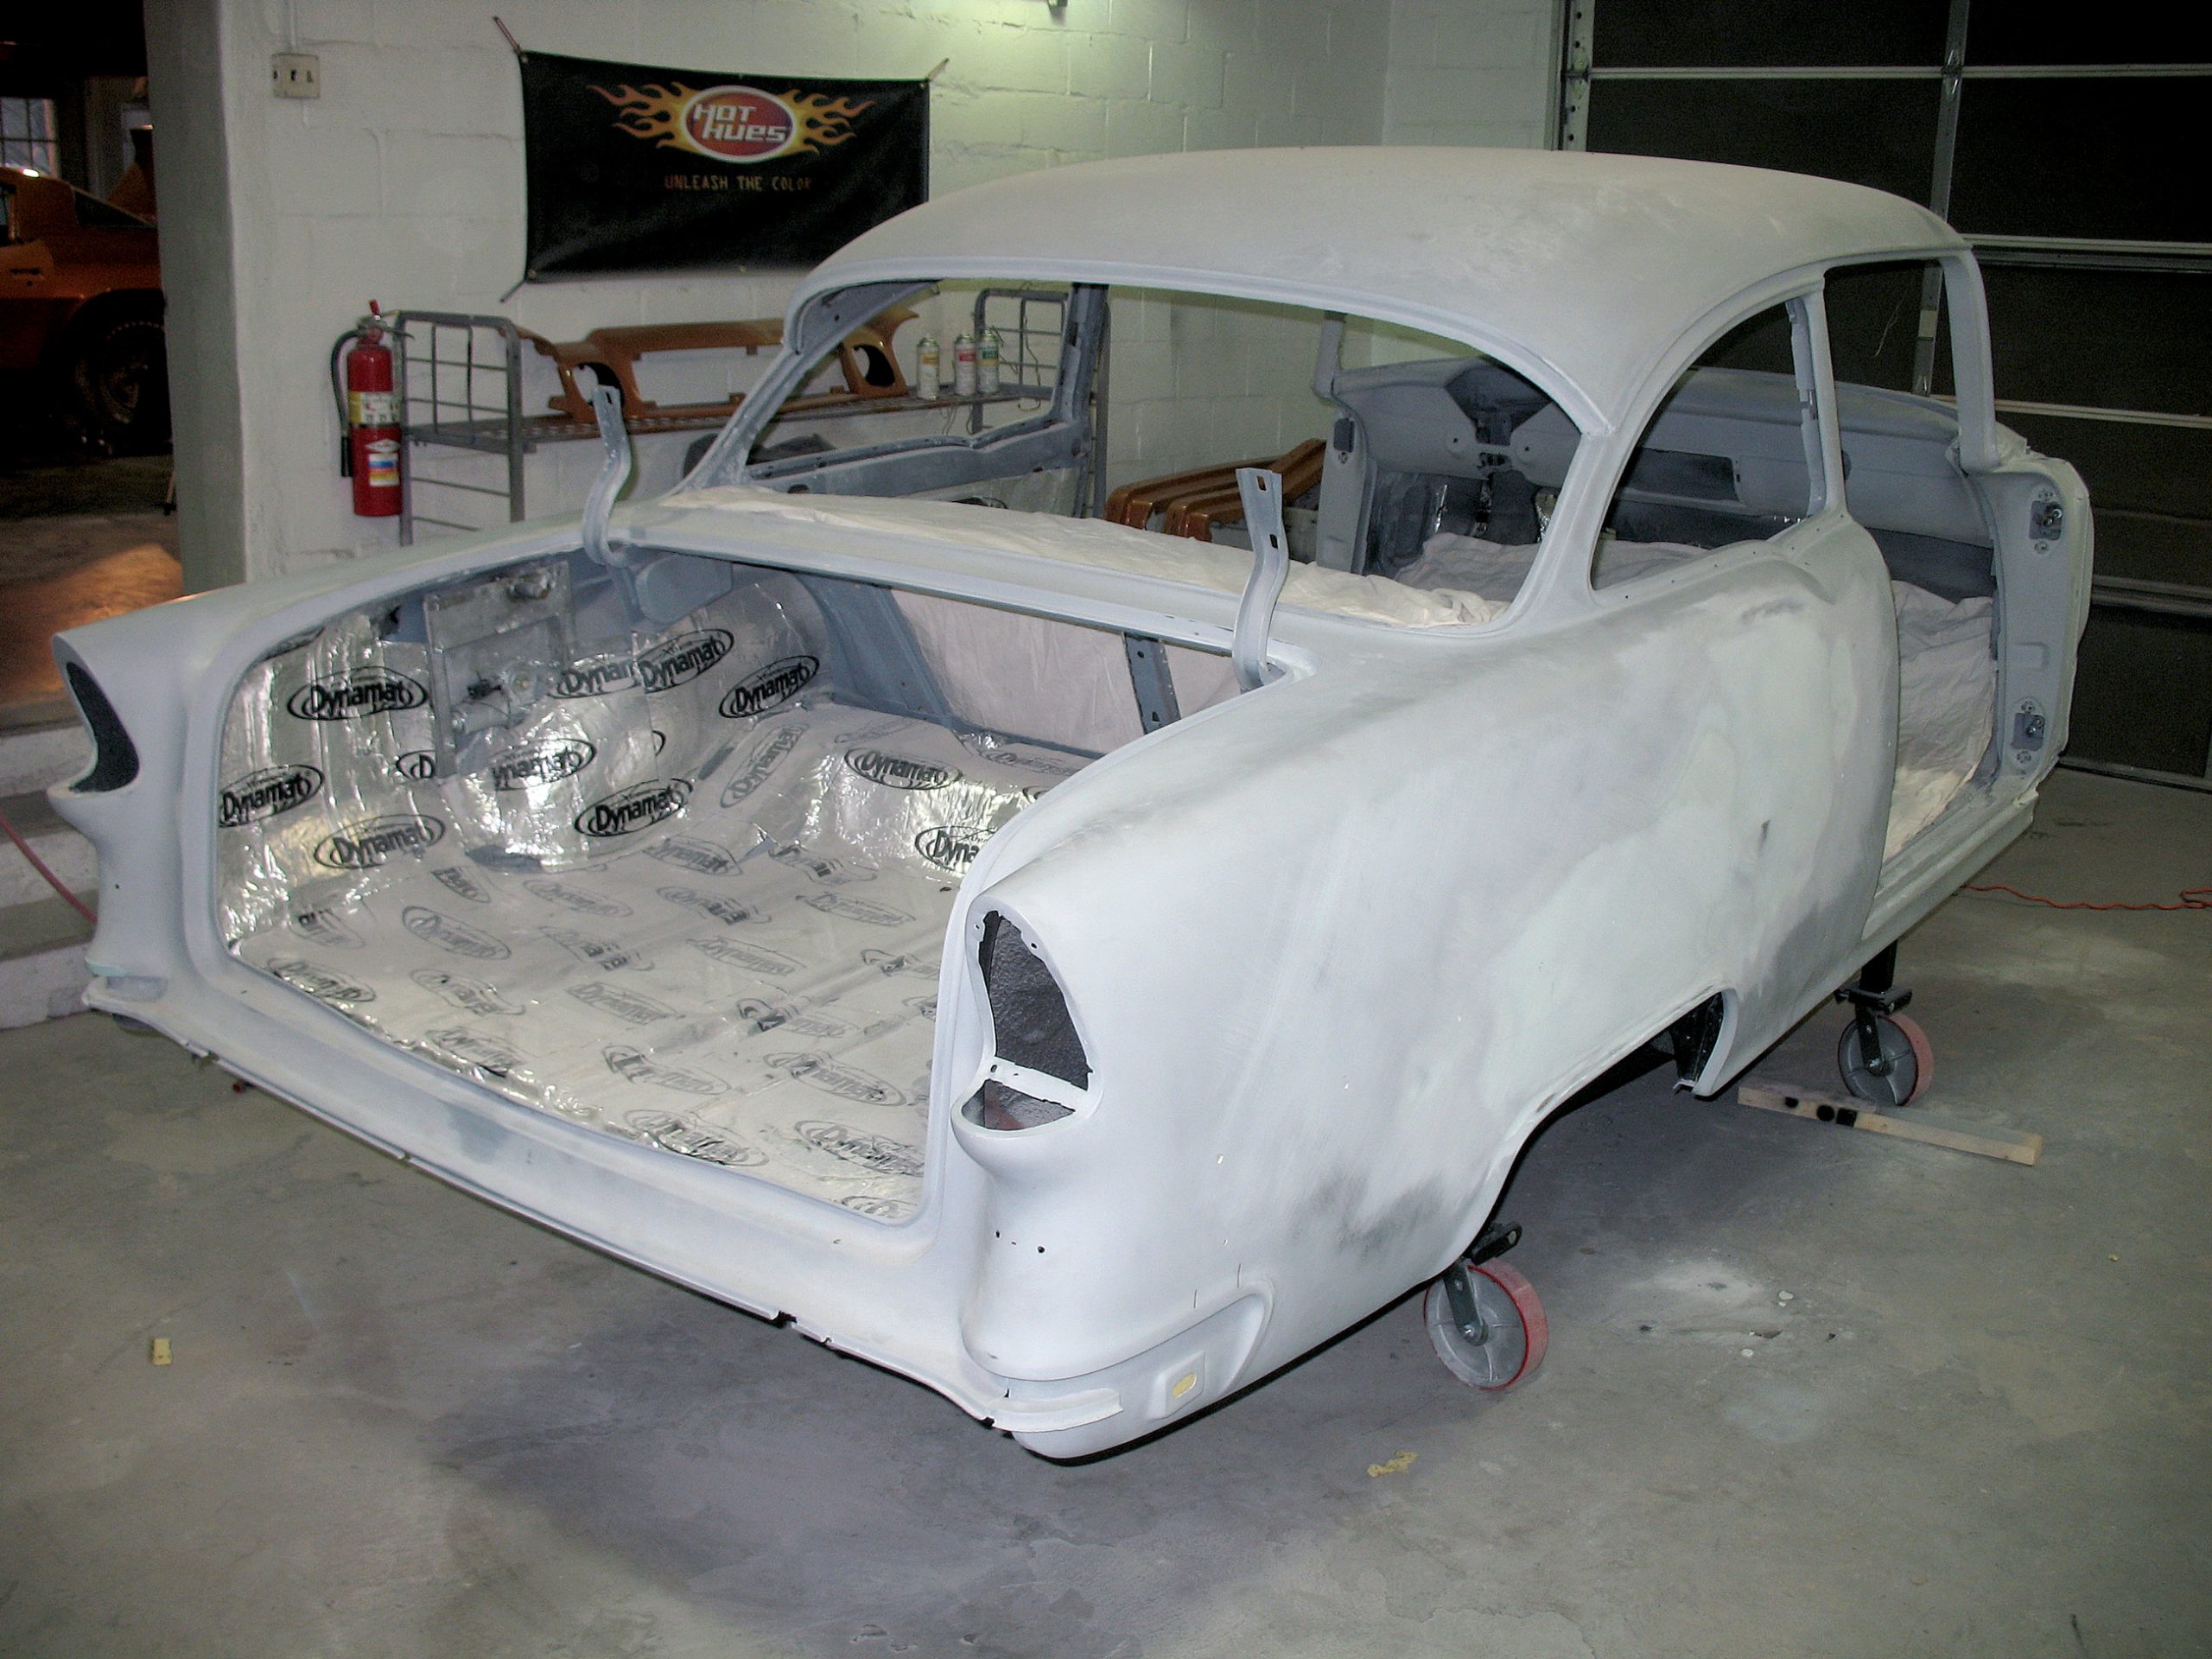
Sealing & Basecoat Application
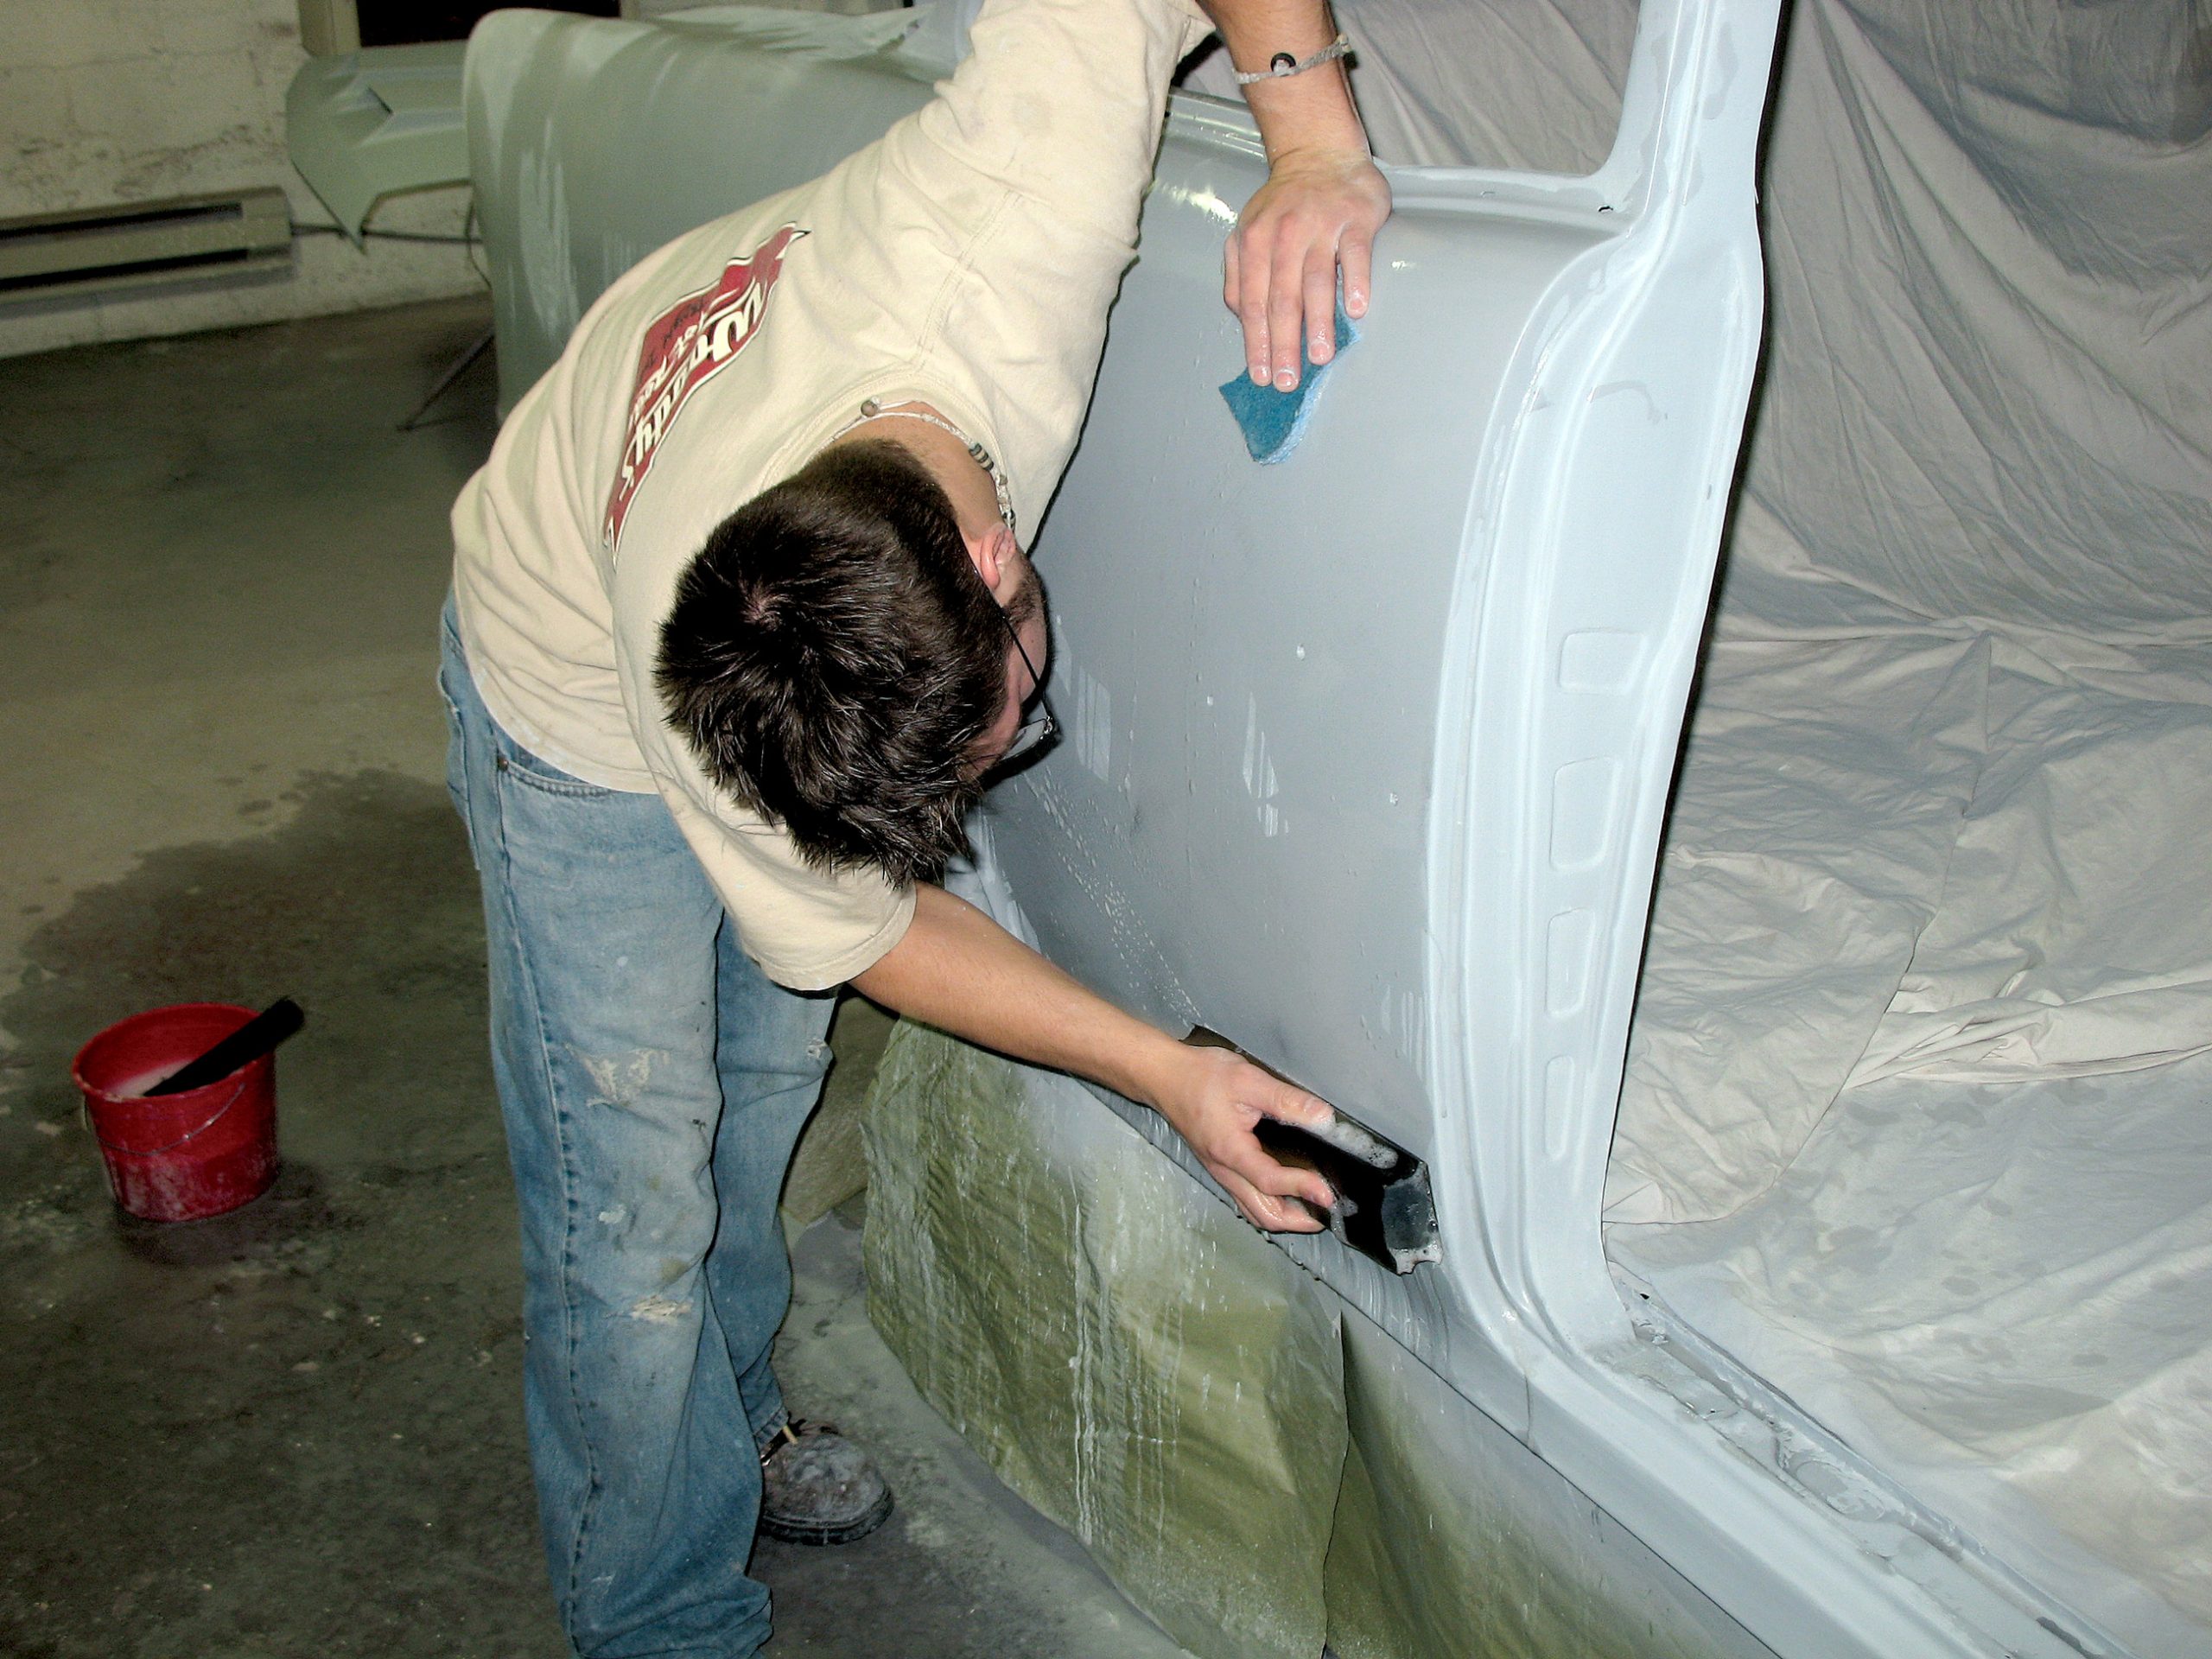
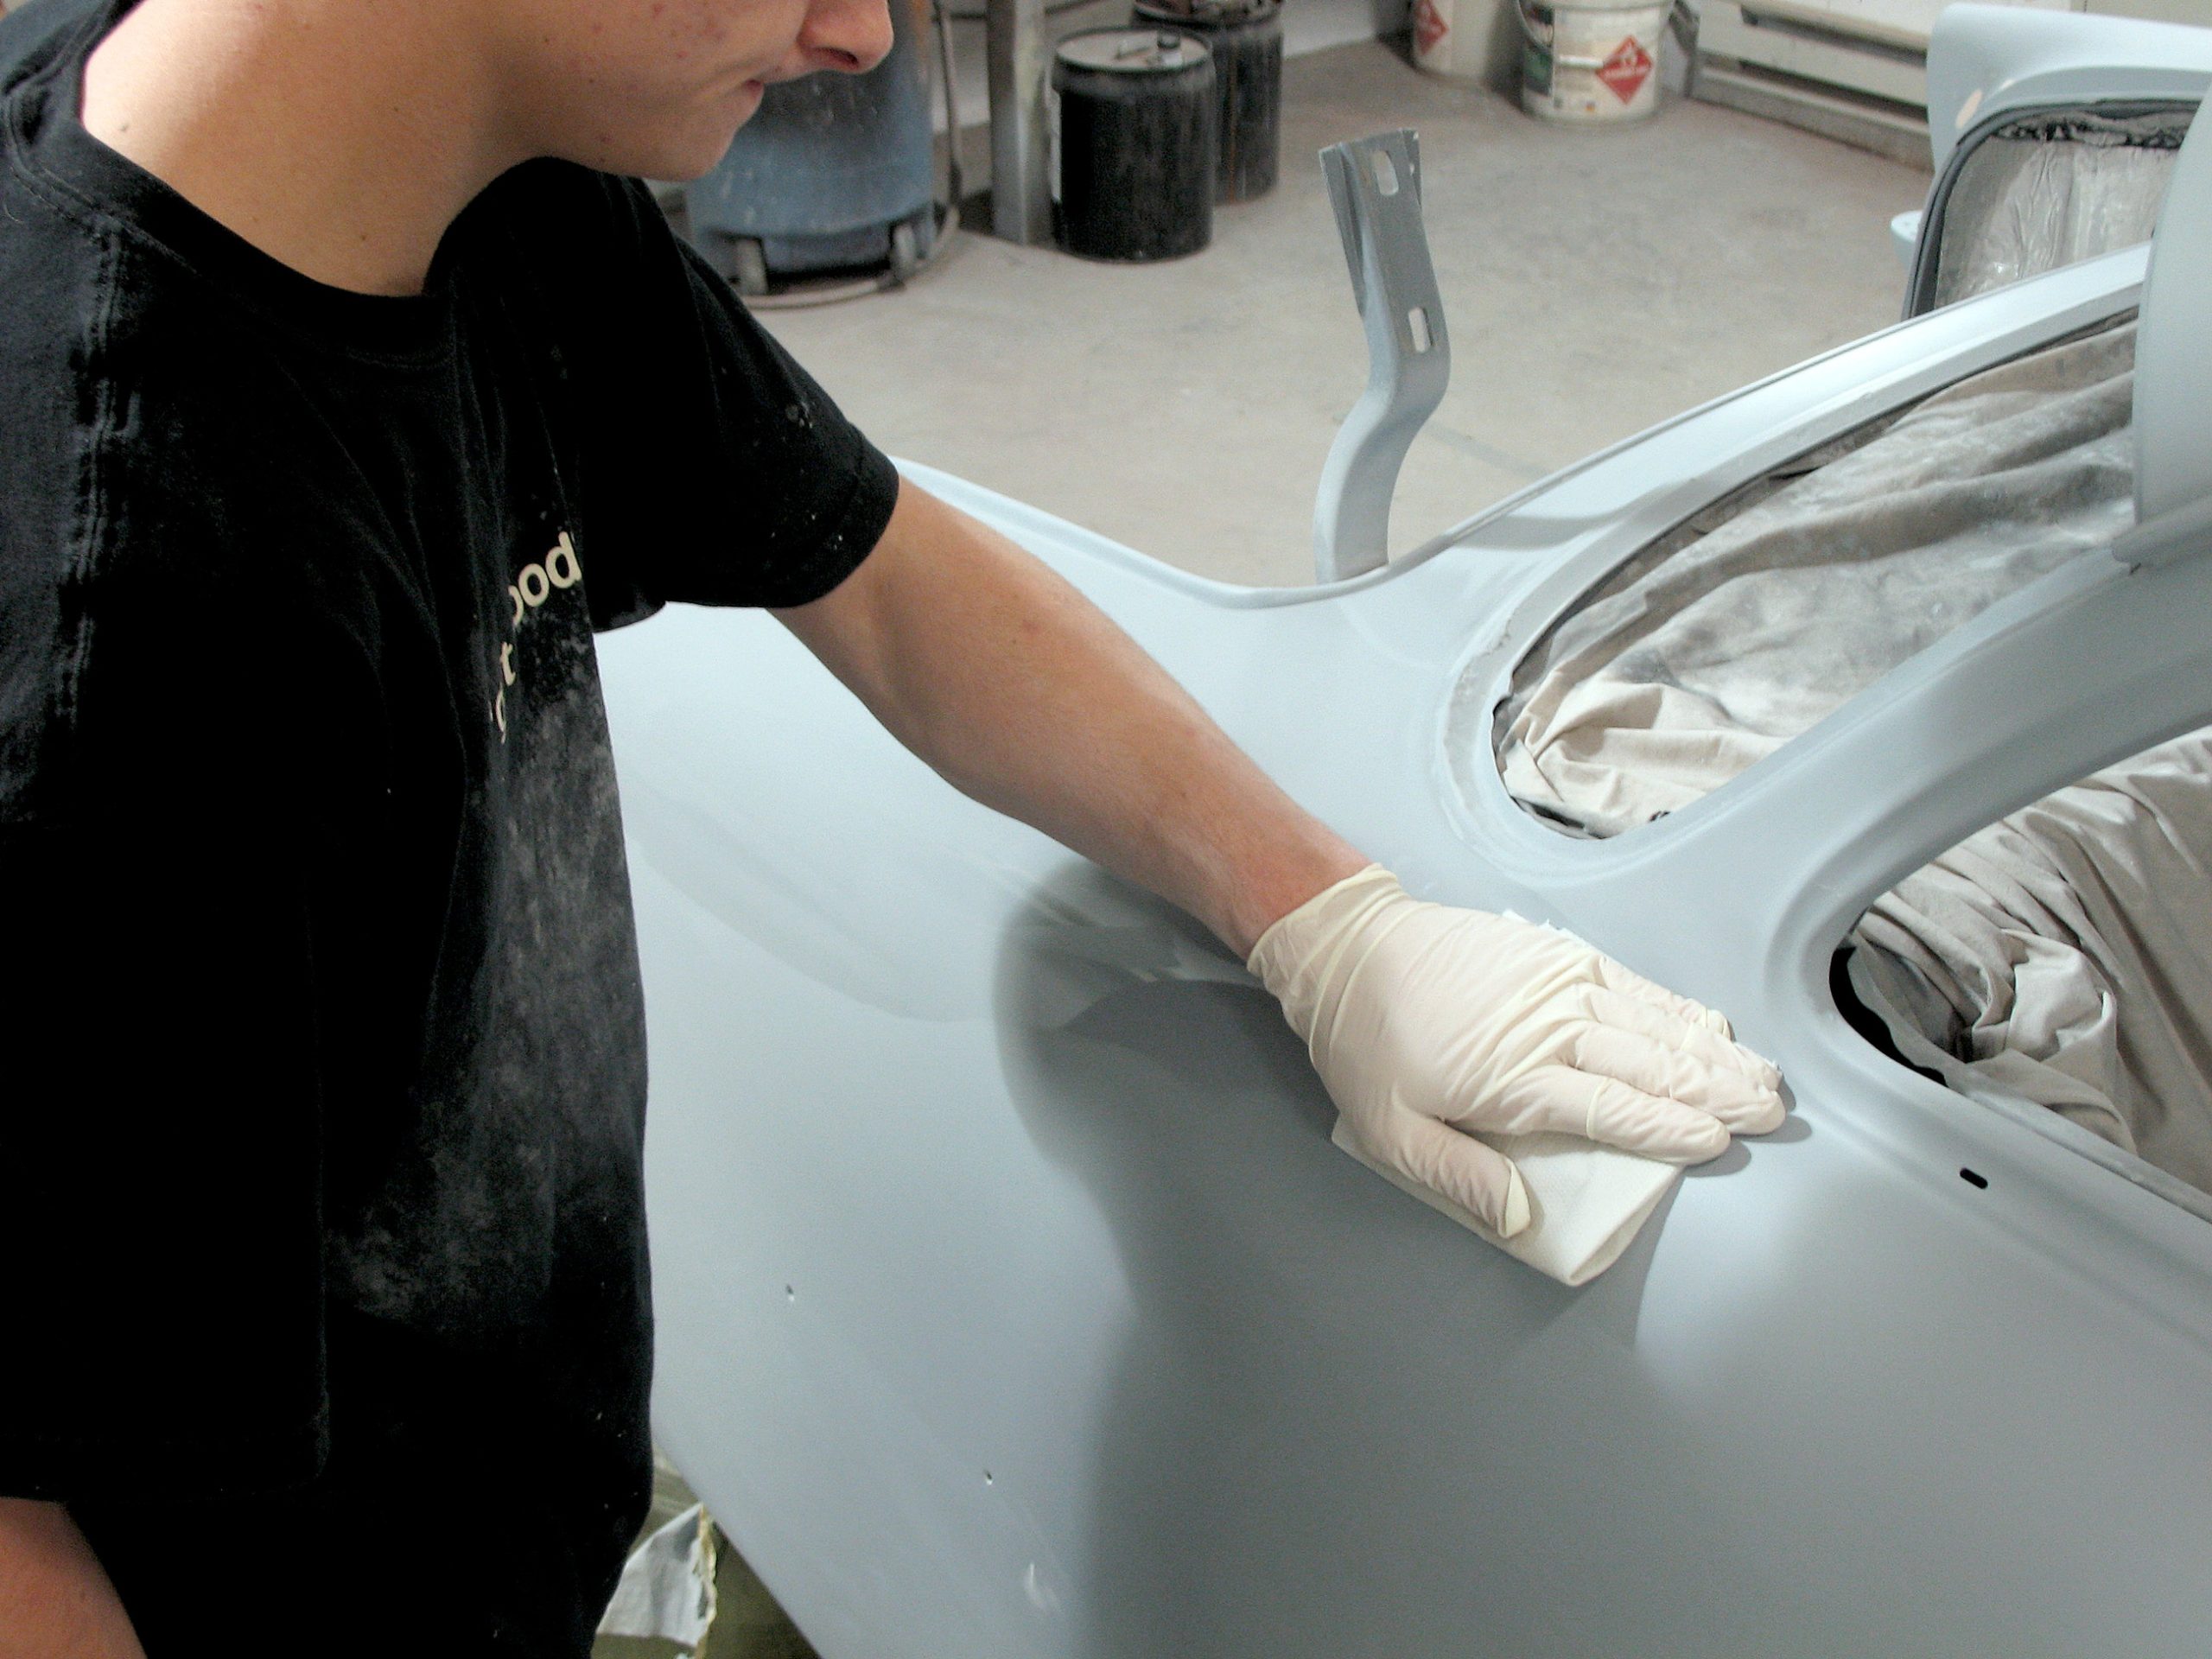
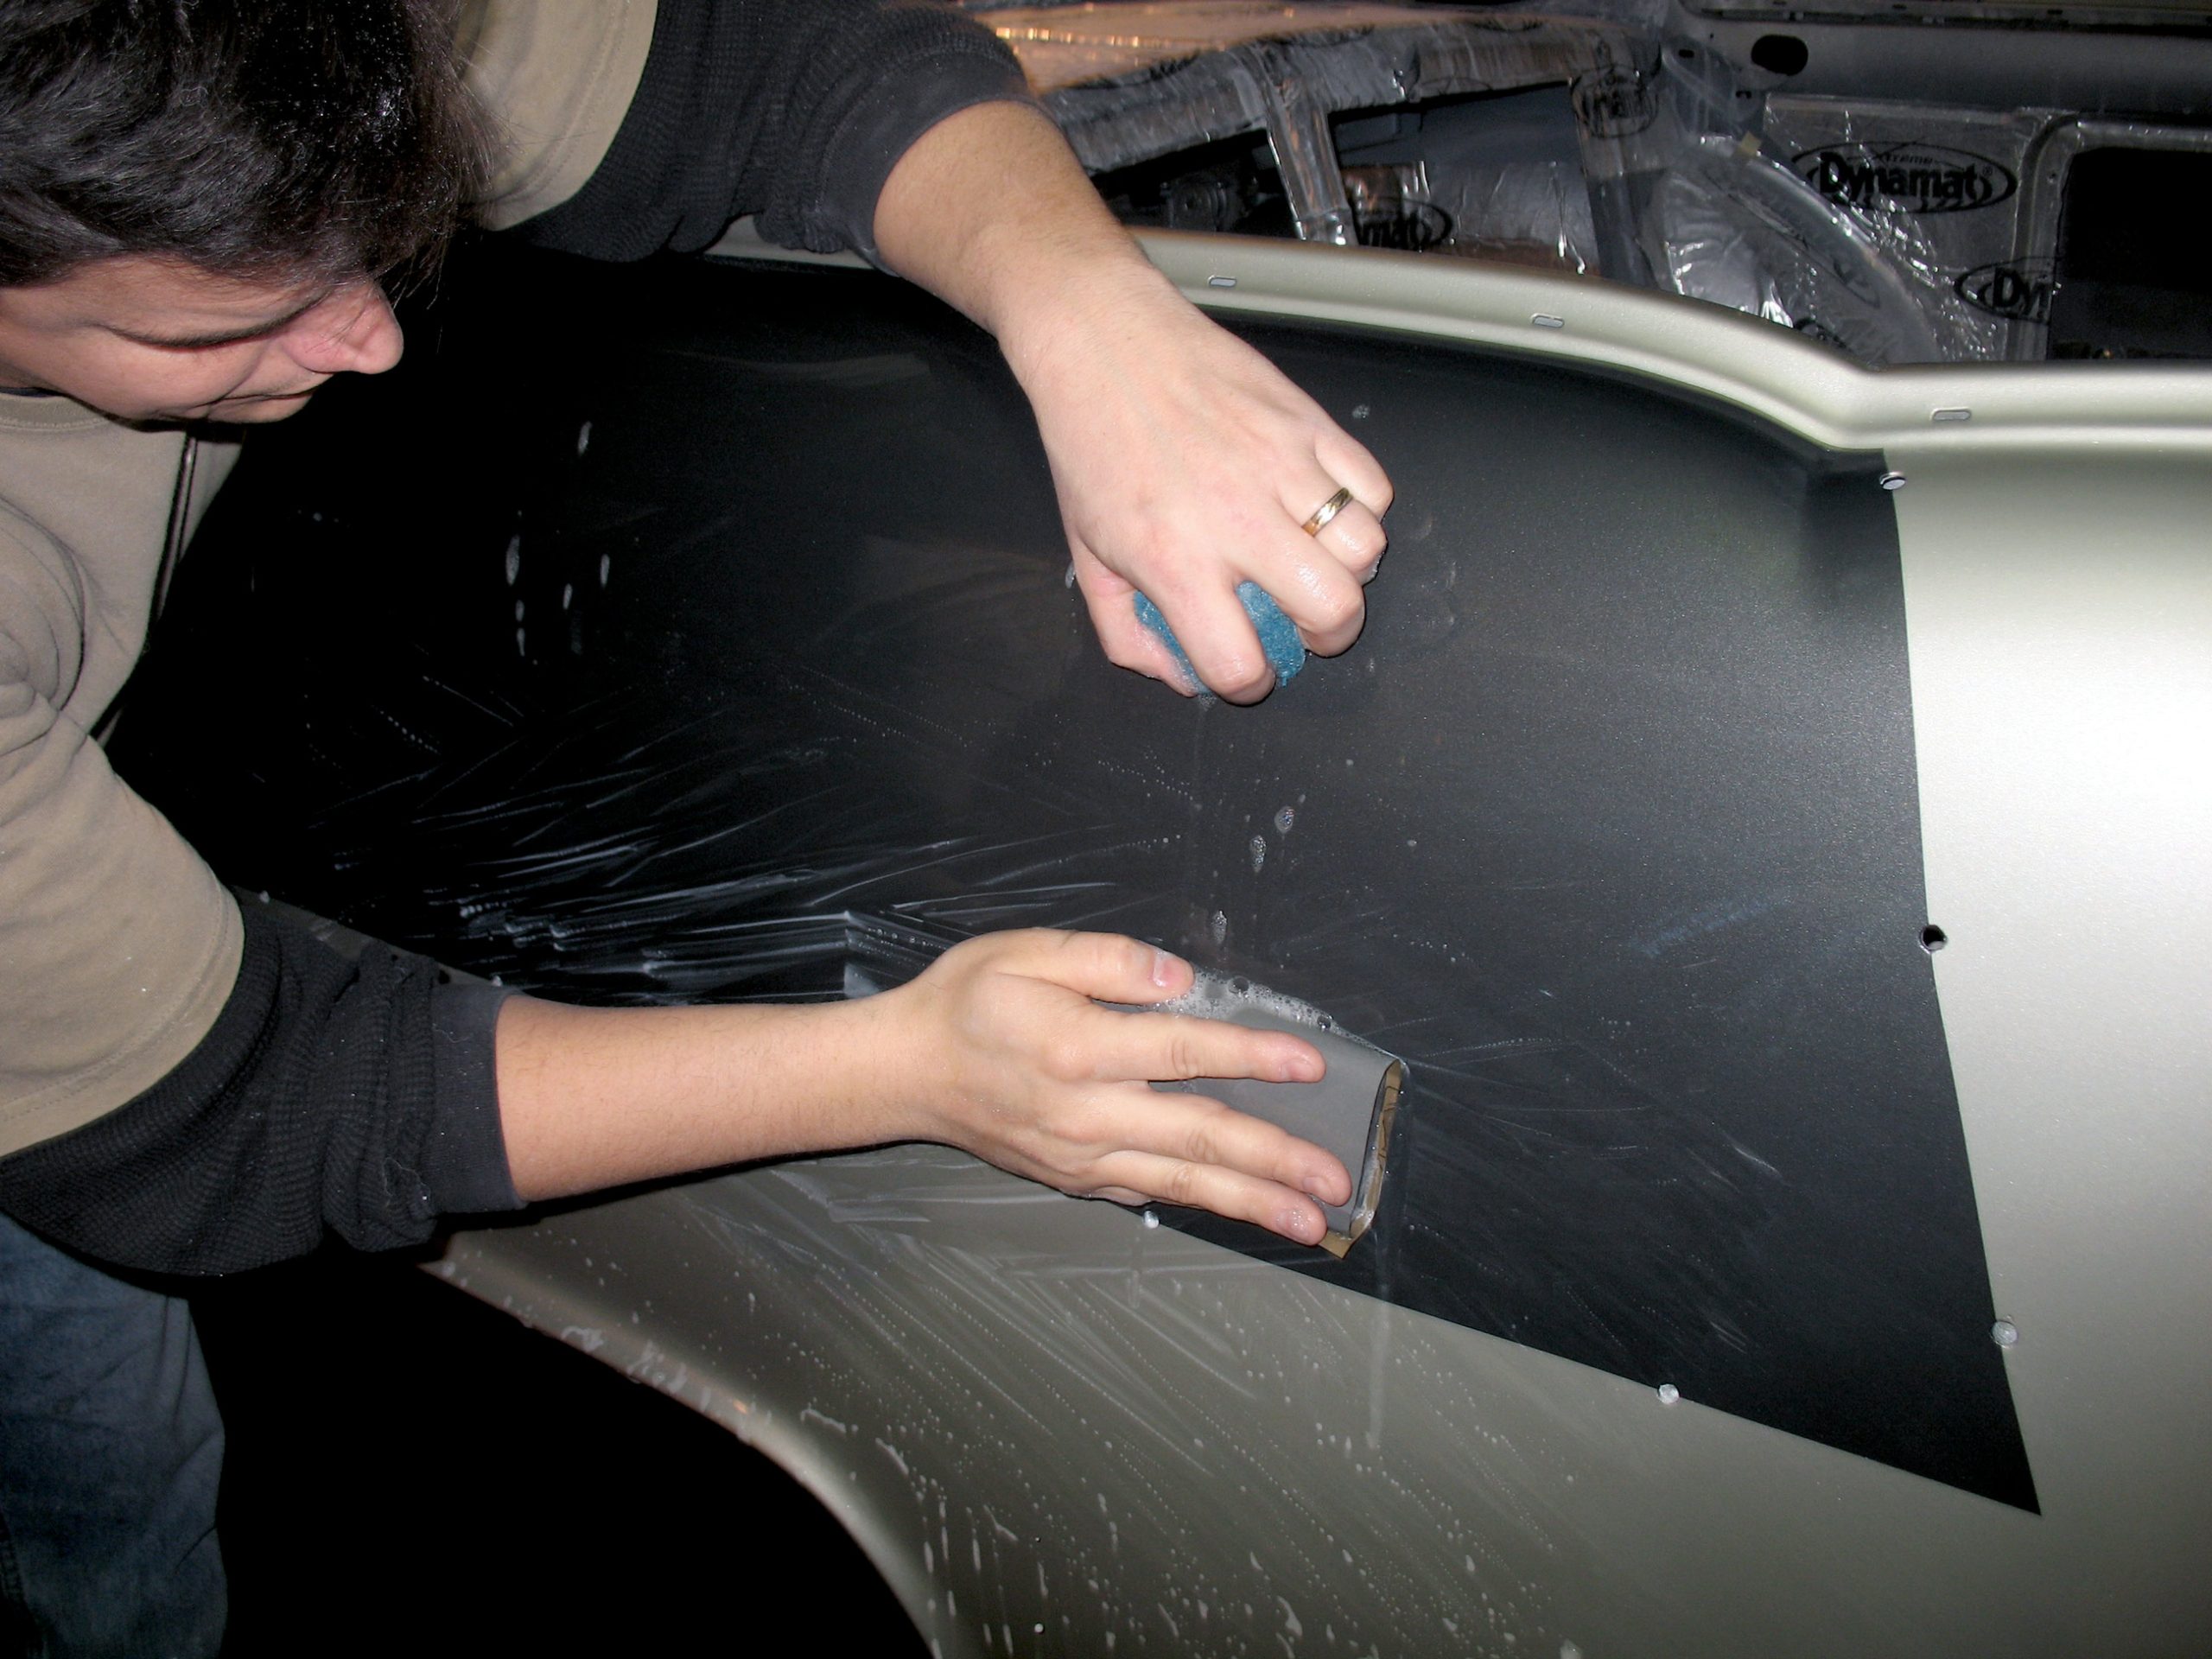
Once the body prep work was completed, the entire car was sprayed with Hot Seal HHU-4140. This 2K sealer has some fill properties and allows final detail-sanding to be done before the color is applied. It also will provide your finish with more uniform color and gloss retention. Sealer is a step that is too often ignored by some painters, so if you are looking for a first-class finish, insist on sealing your project before it is basecoated. As mentioned, HHU-4140 can be finish-sanded, but don’t use it as you would a final primer coat; it should only be used to level your final finish and to lock down the undercoats. If you accidentally cut through the sealer when sanding, spot it back in before moving to the next step.
Applying the Basecoat
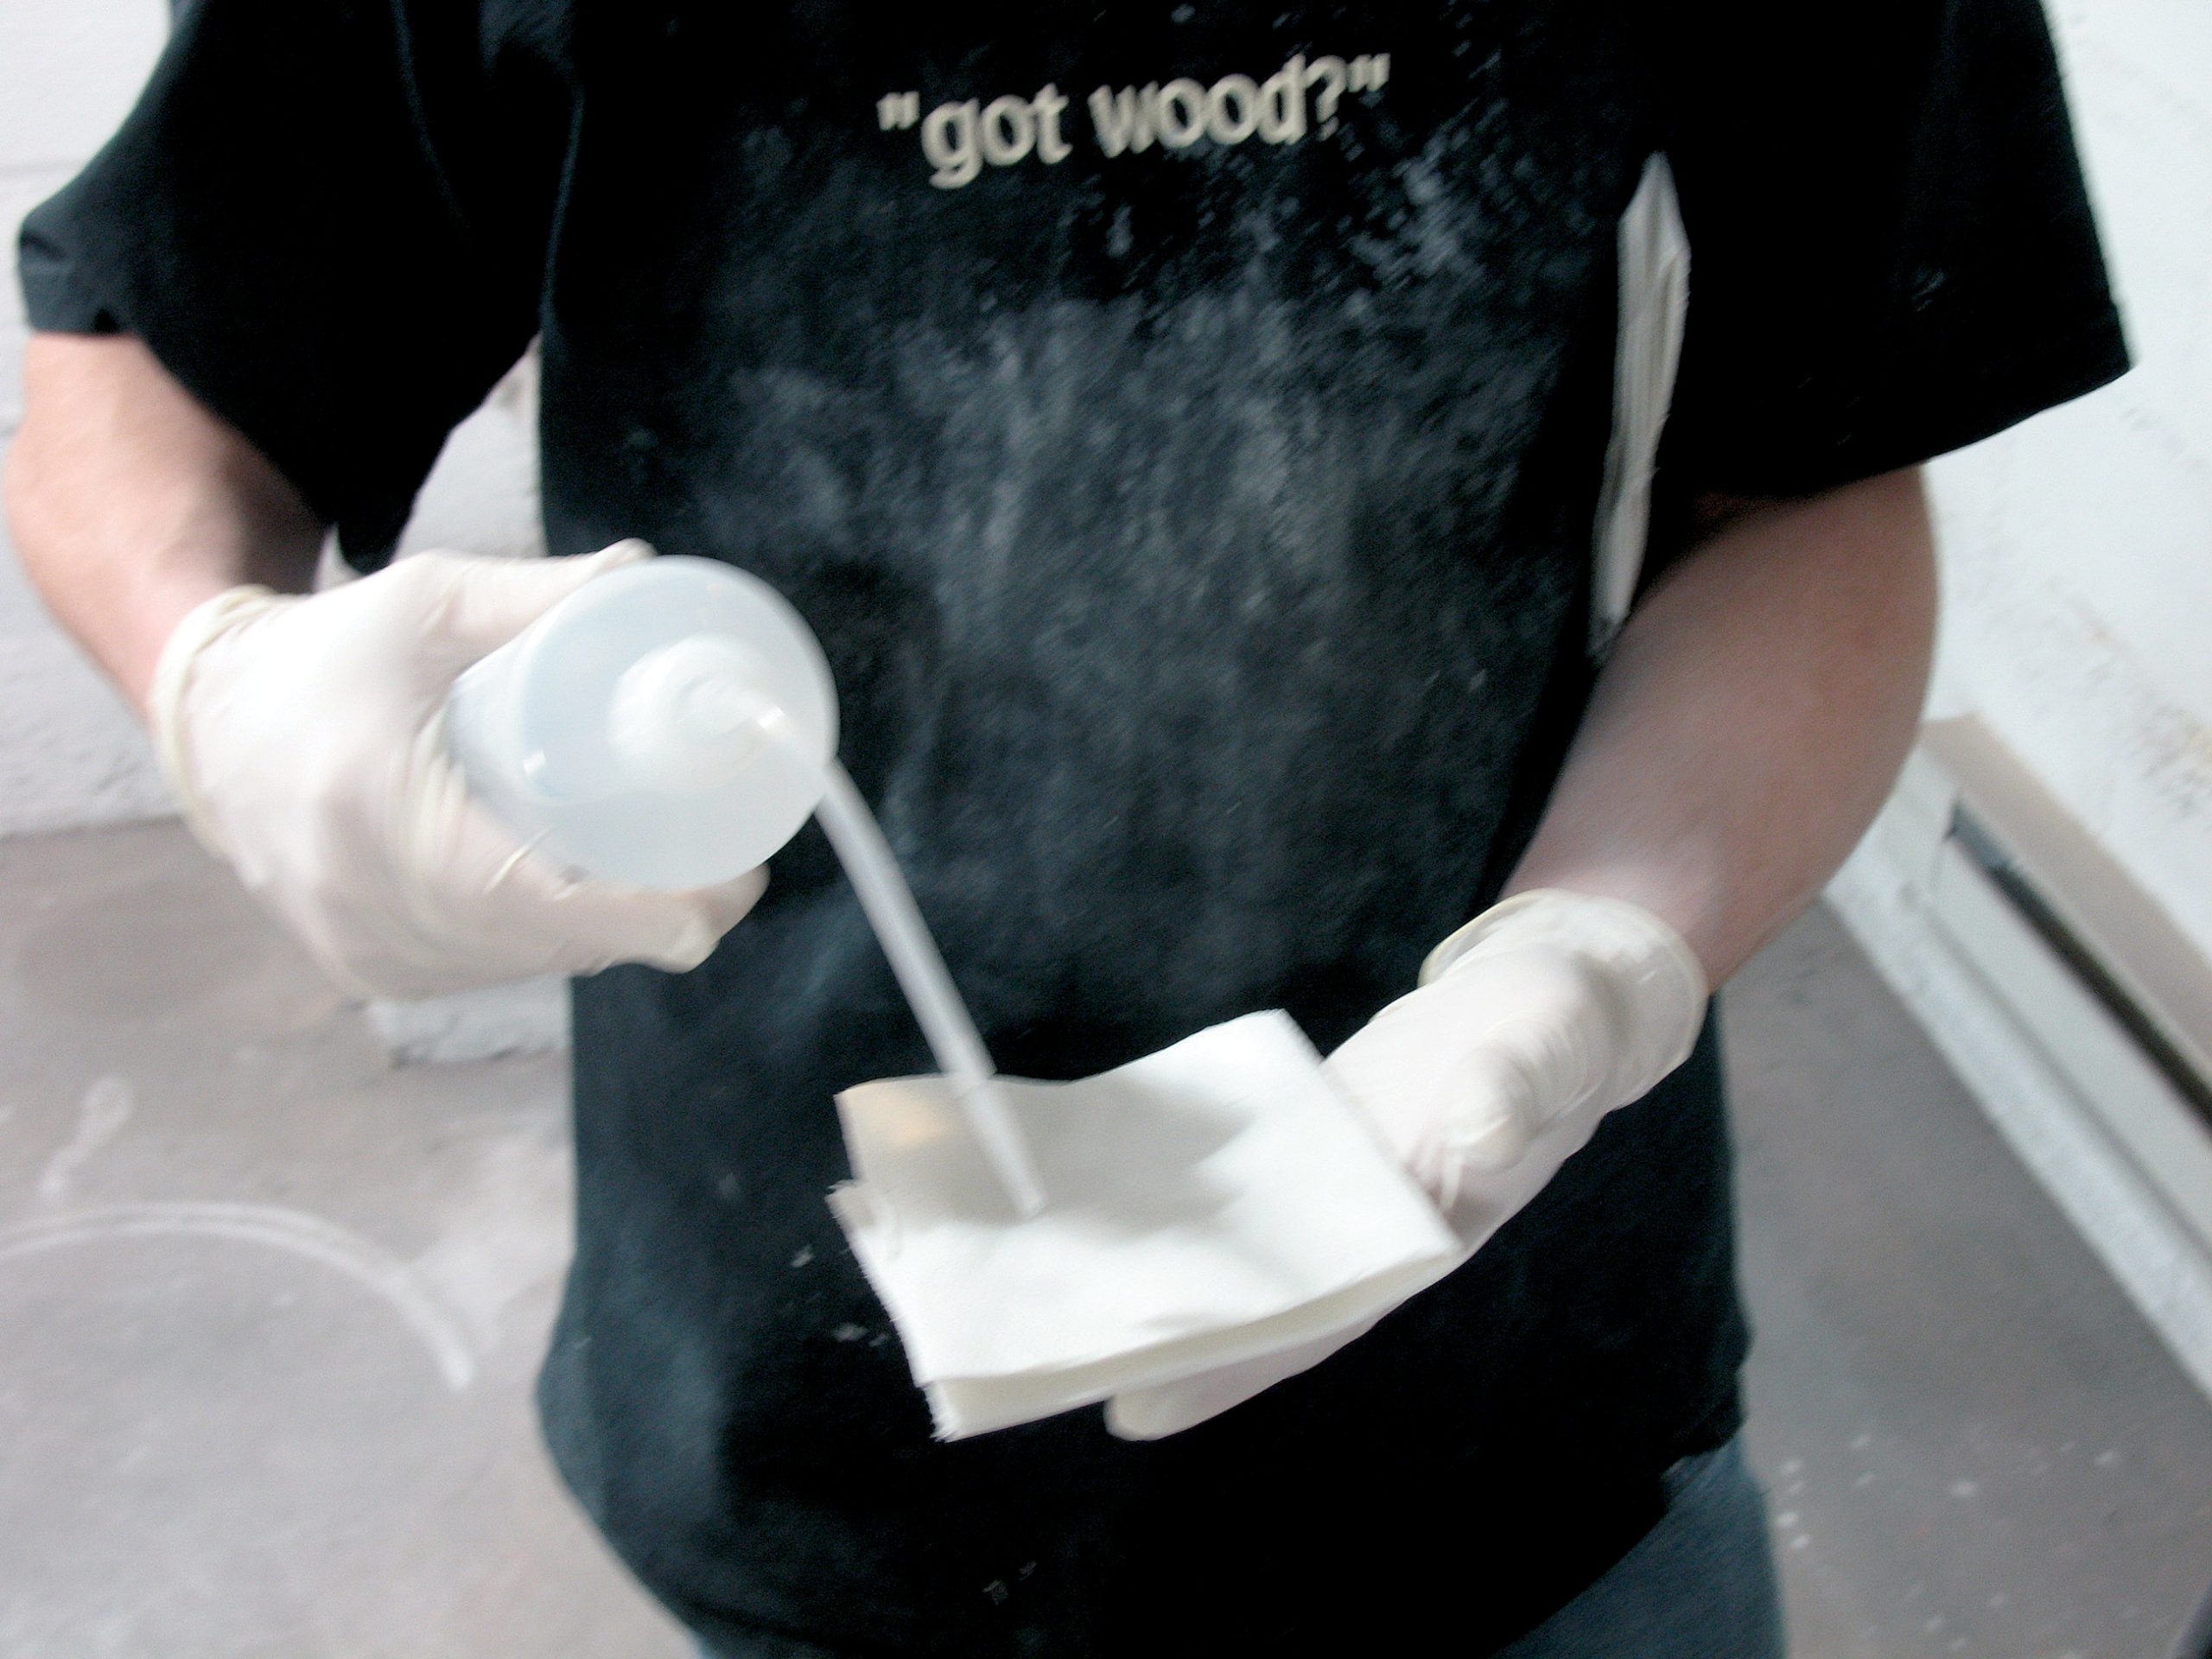
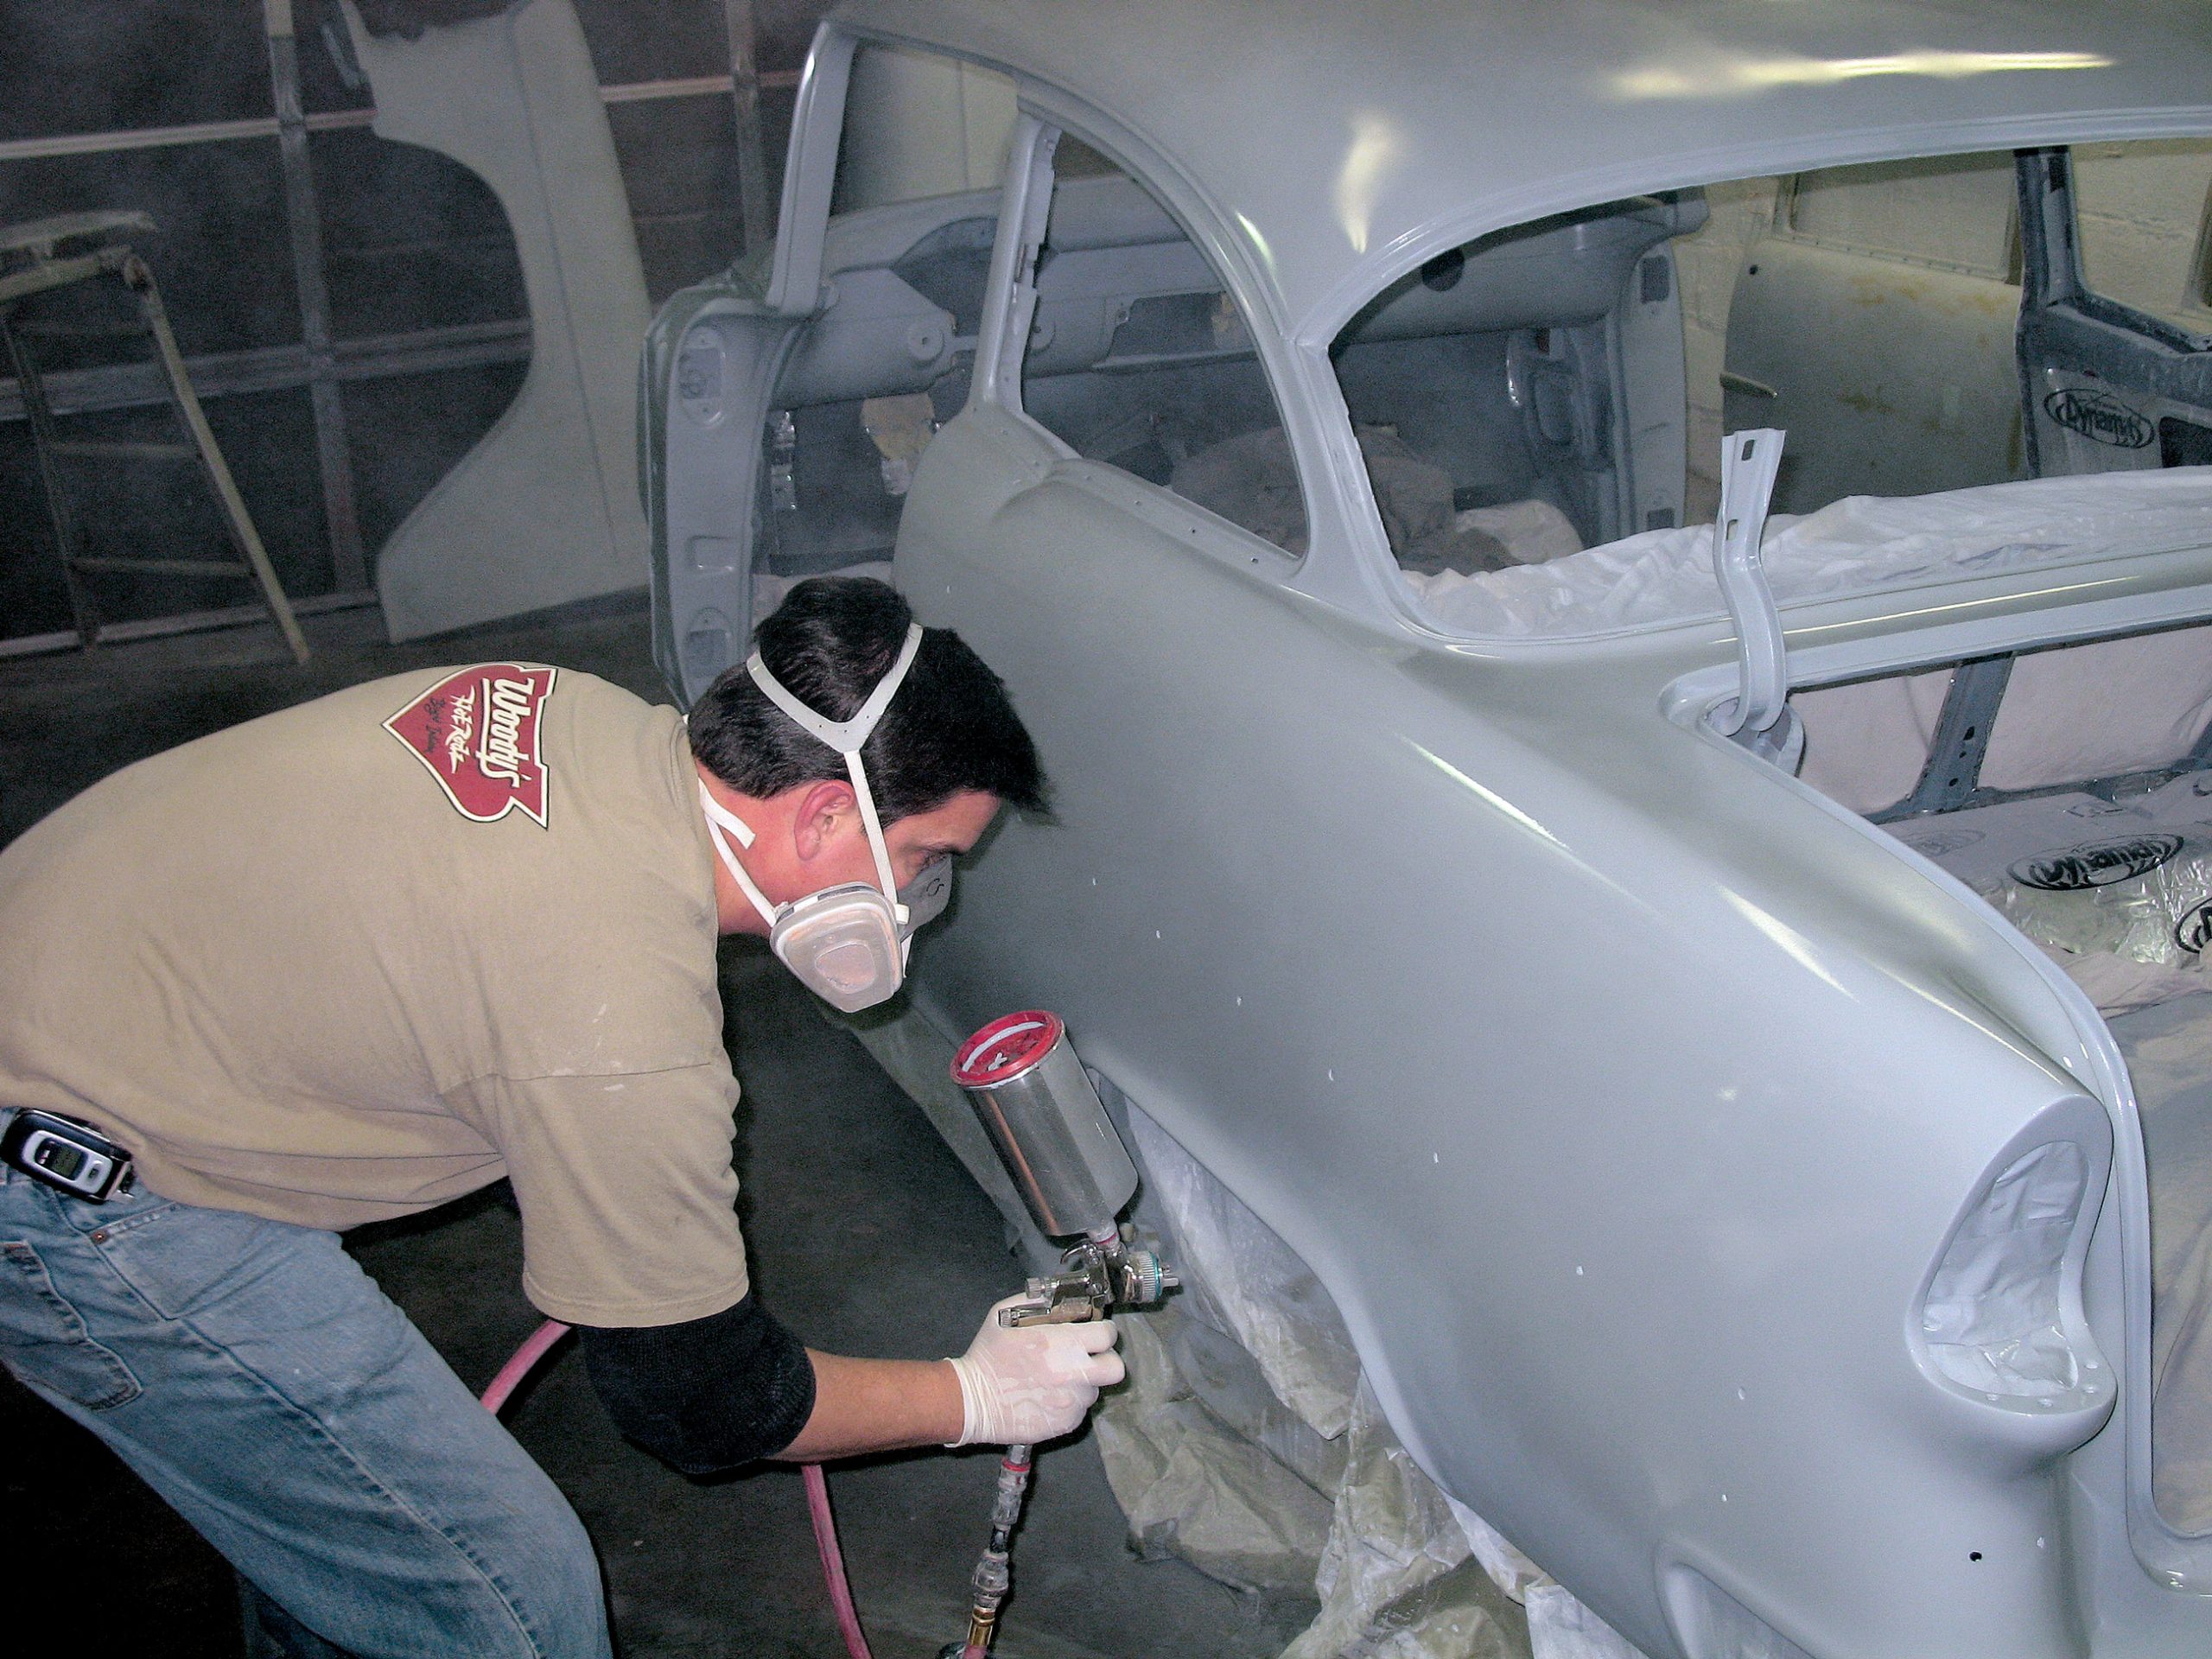
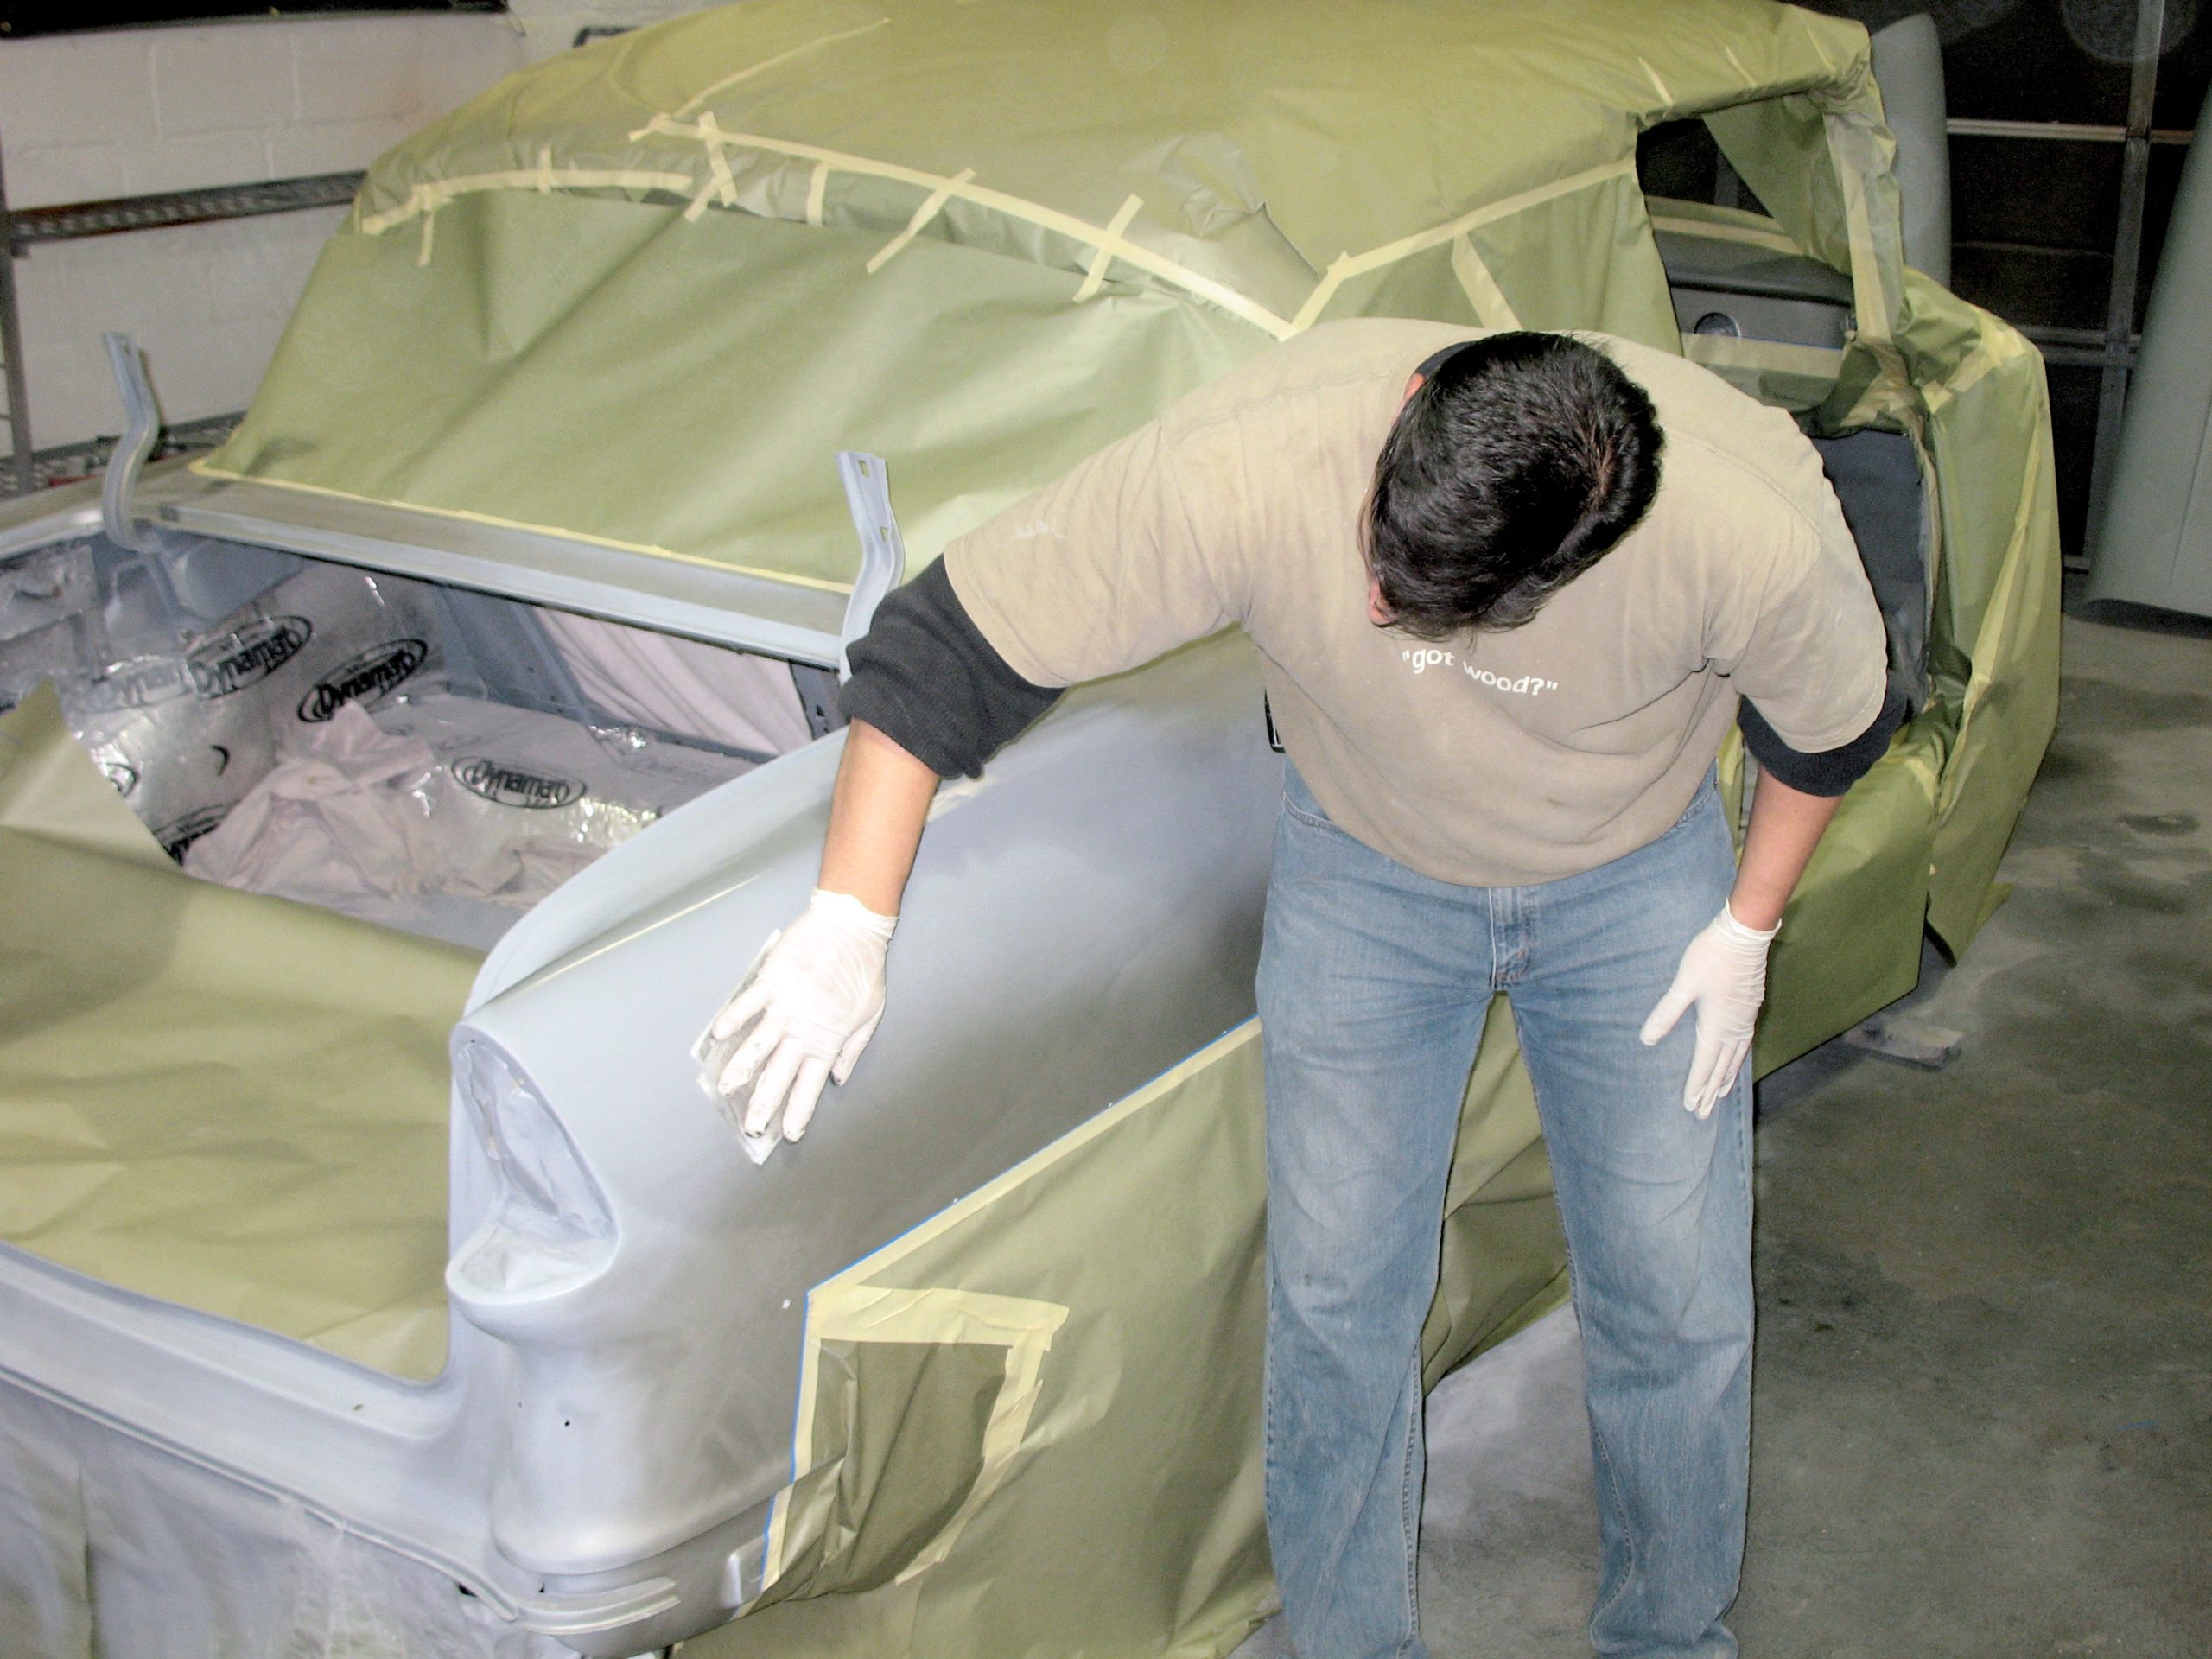
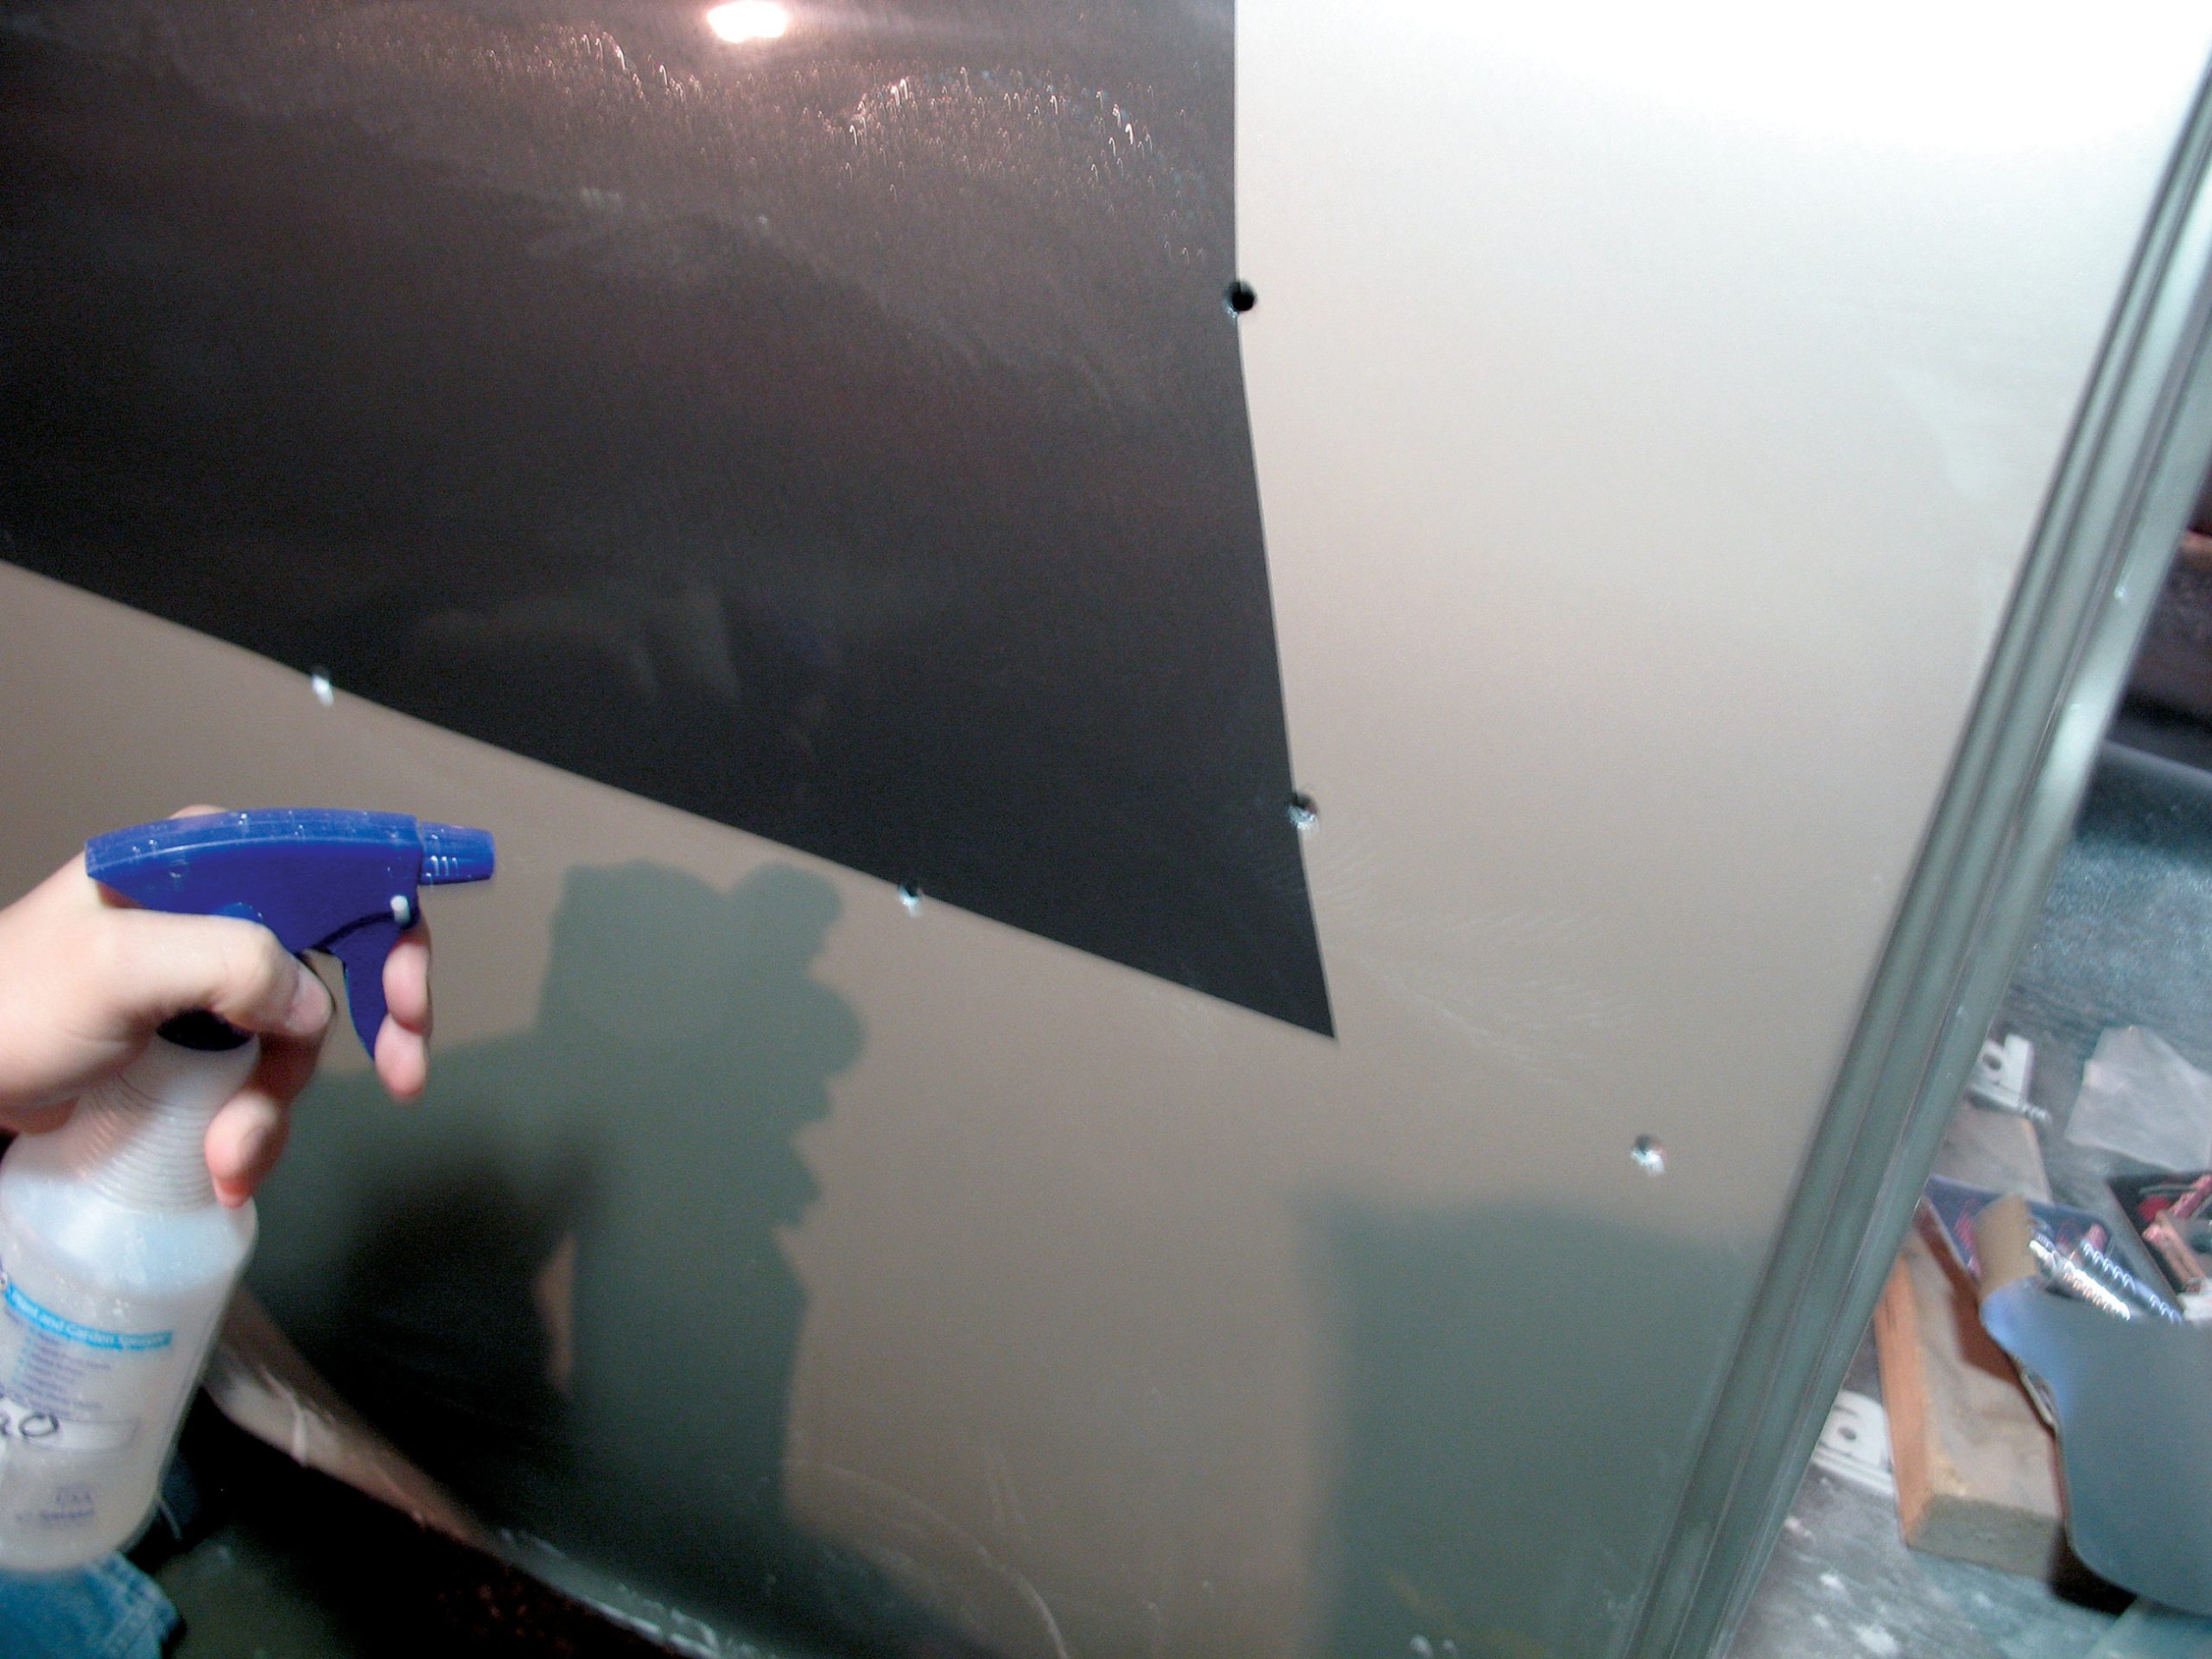
The next step is applying the color coat (or basecoat). Keep in mind that once the color starts flowing, it is harder to go back and fix any little thing that should have already been caught prior to color application. Carefully inspect your sealer if it has a slight shine to it so that it is relatively easy to see any waviness that may still be present in a panel somewhere. Check this out carefully before applying color as this is the point where you should be totally happy with the completed bodywork. And before you begin spraying the basecoat, clean the car completely with a wax and grease remover and again with a tack cloth. Prevention is the key to a good paint job.
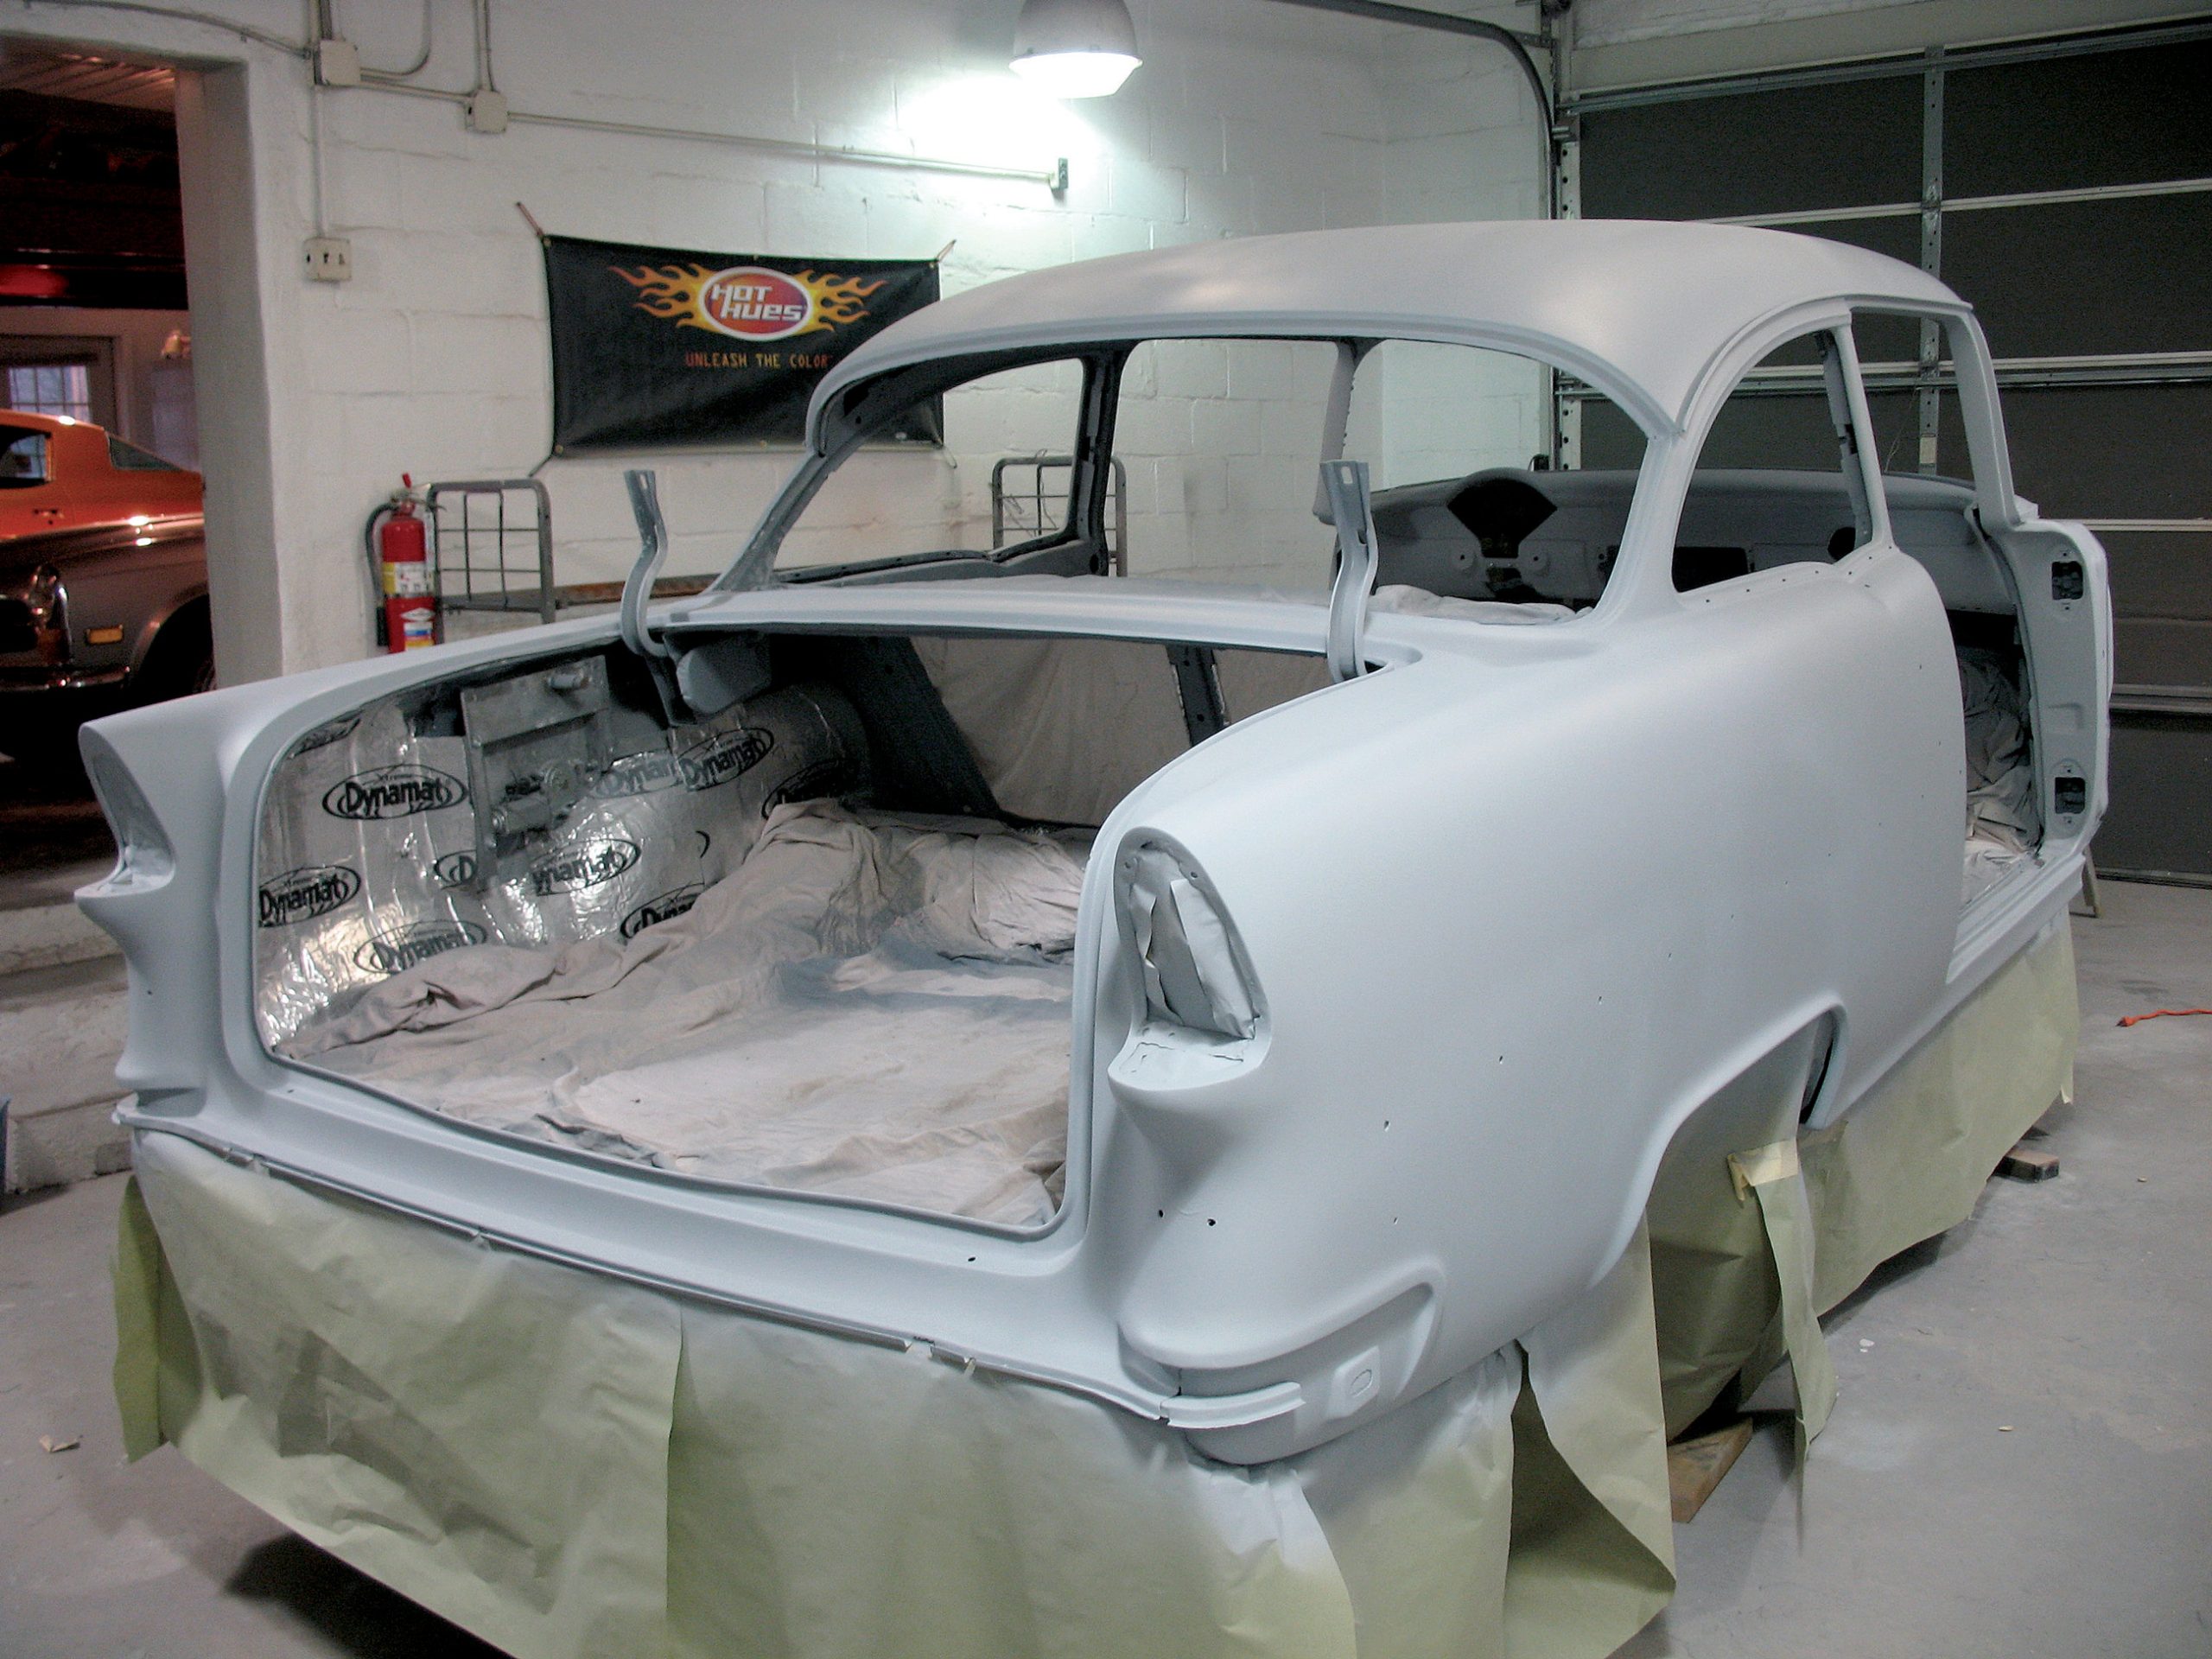
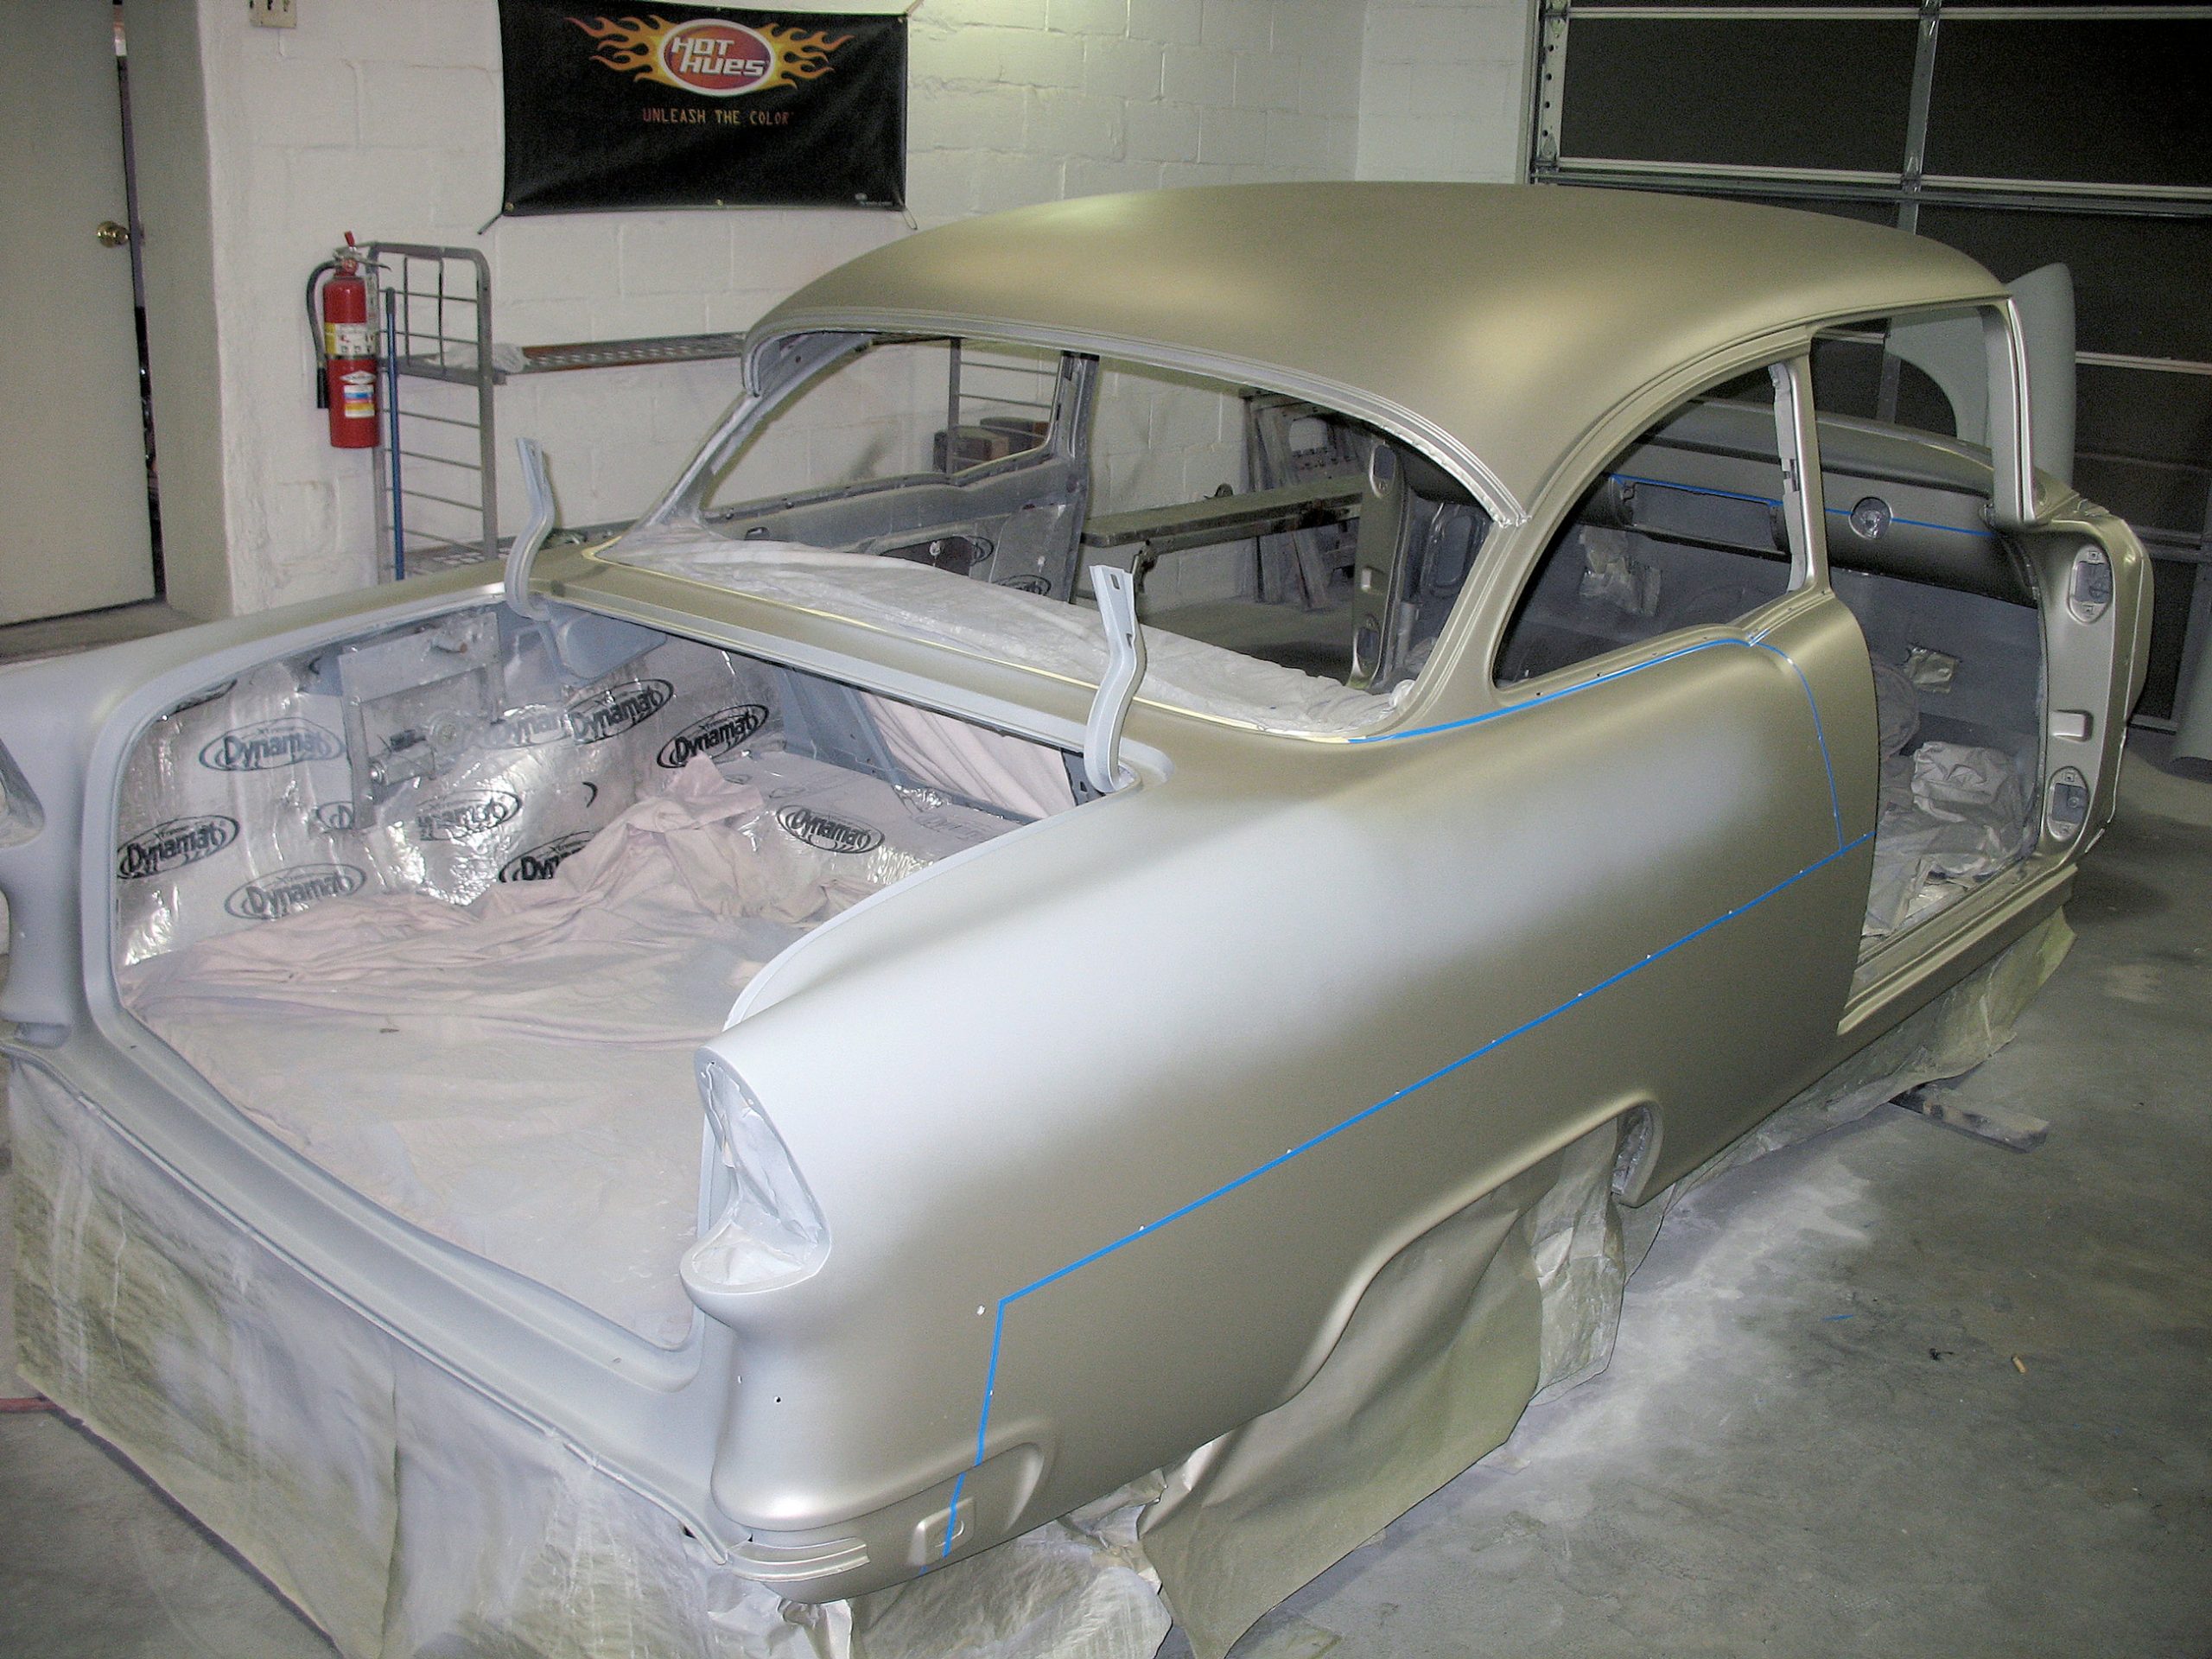
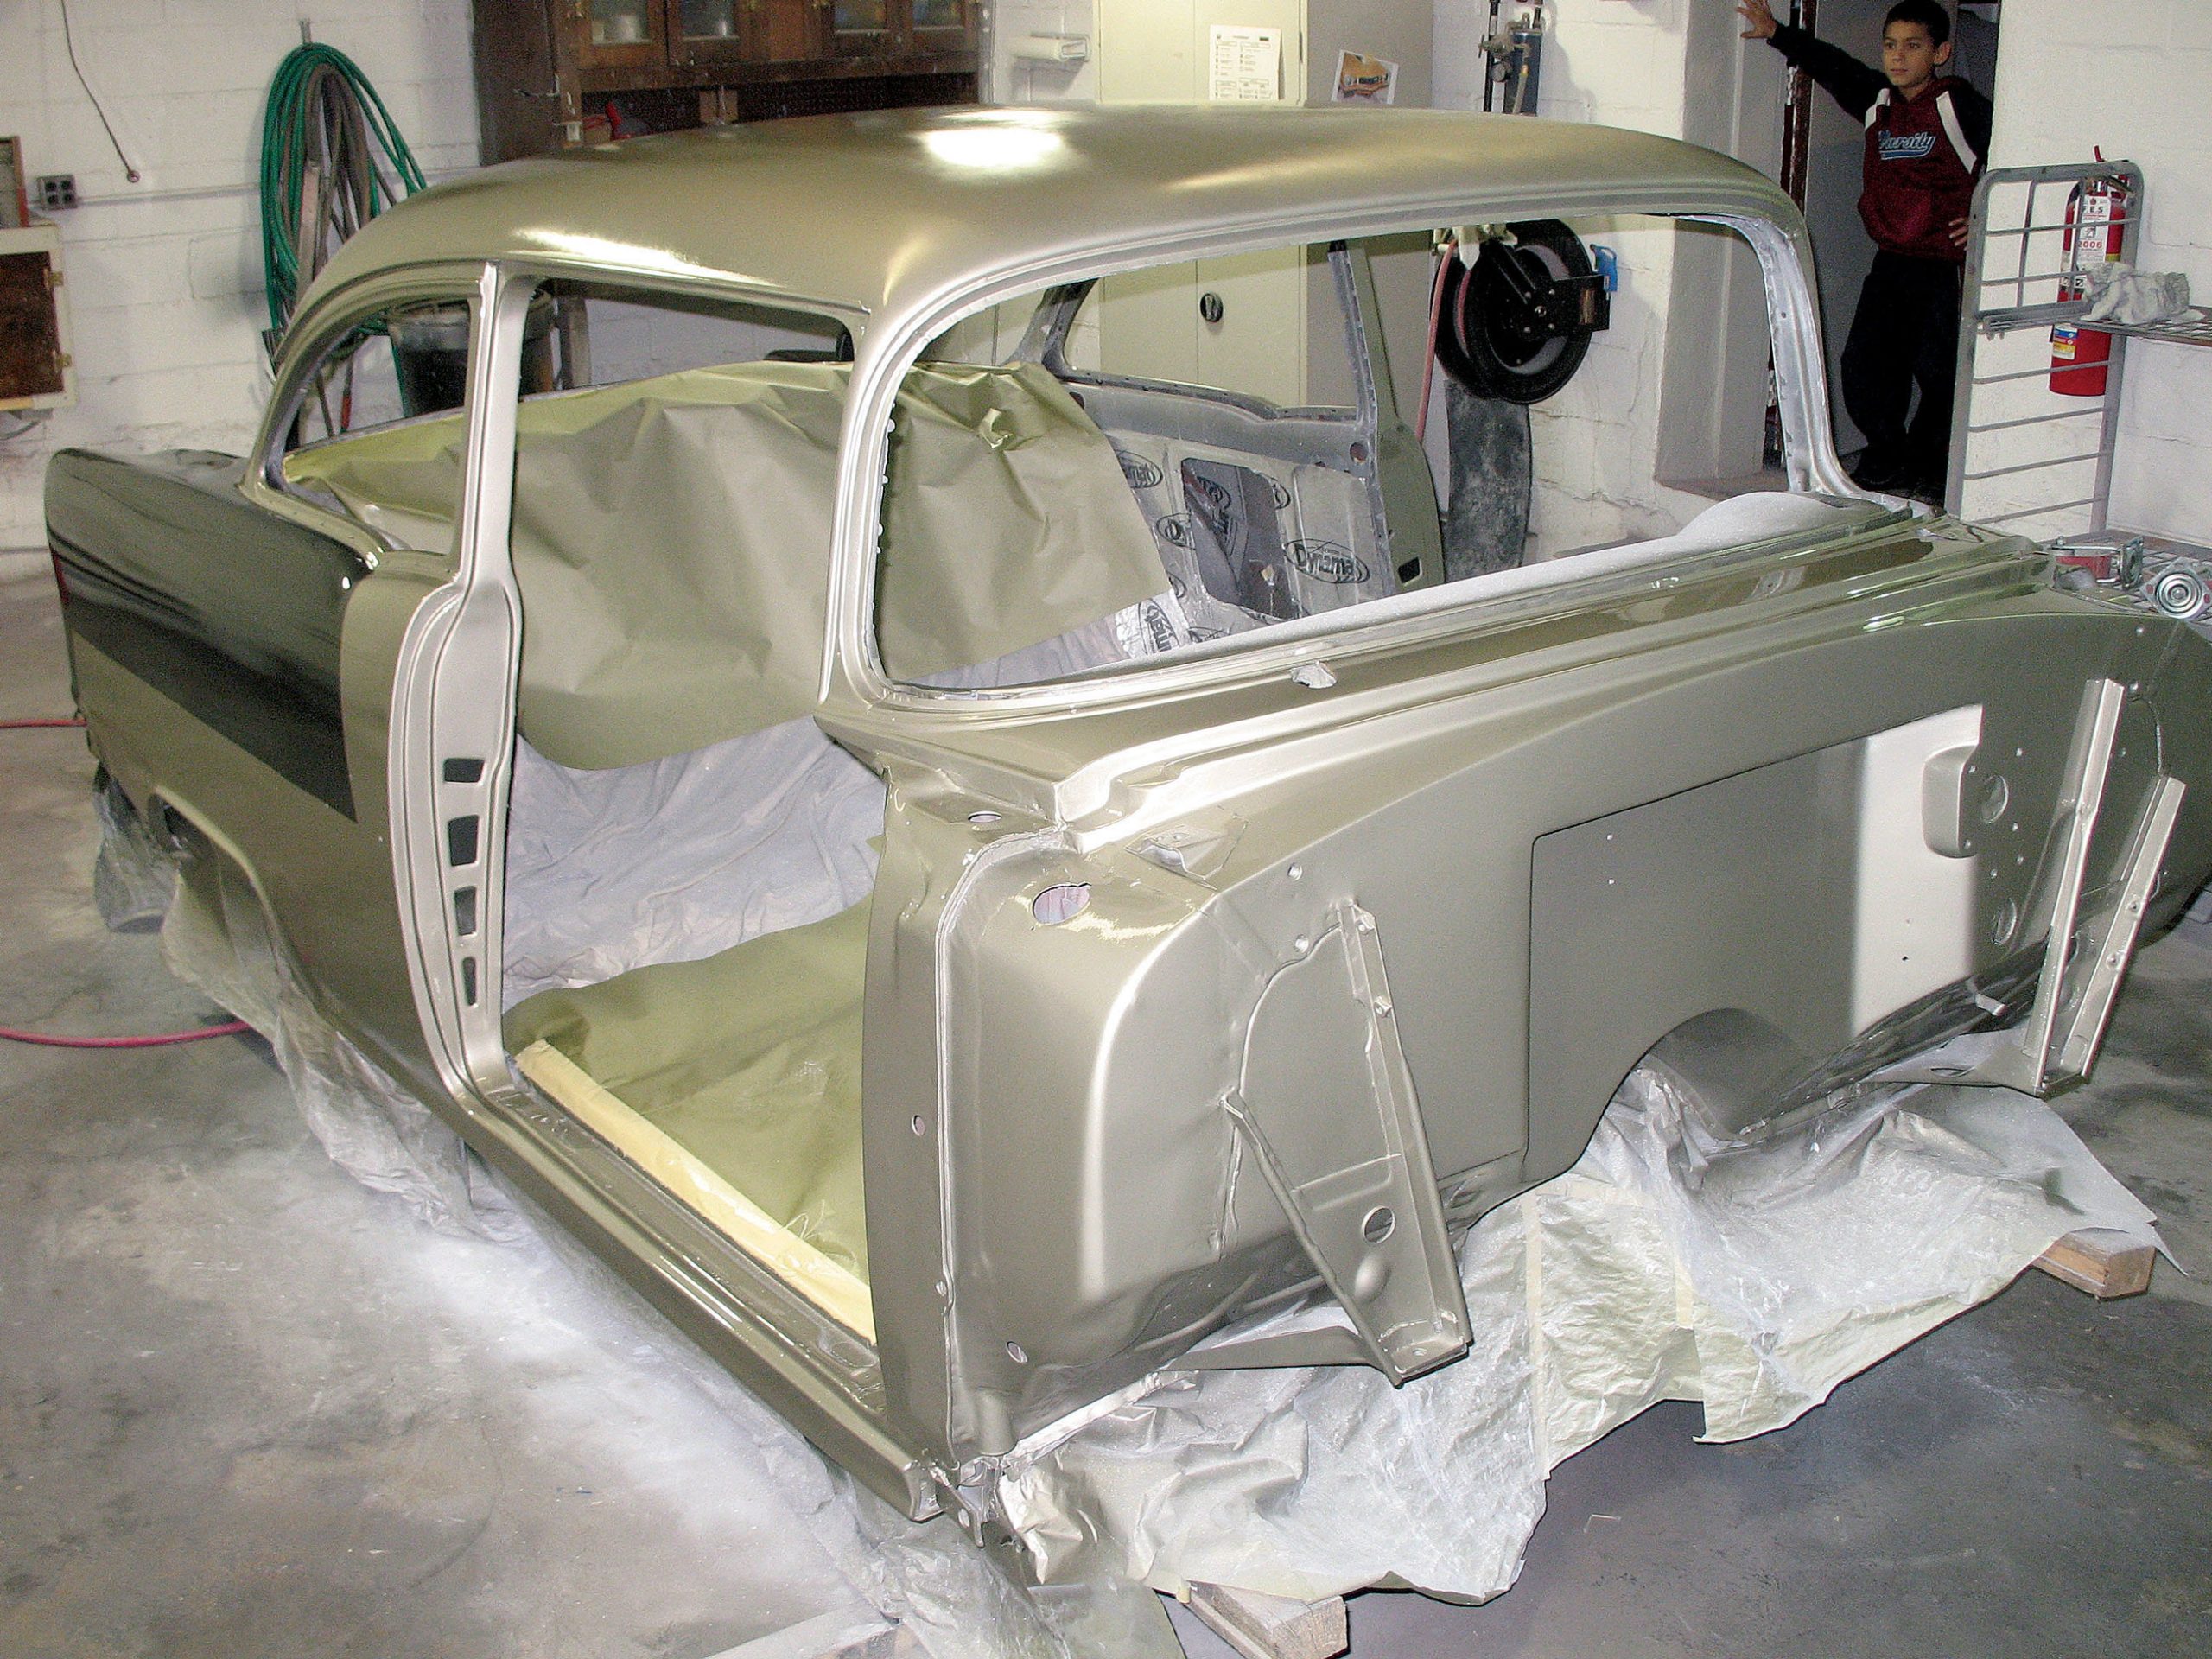
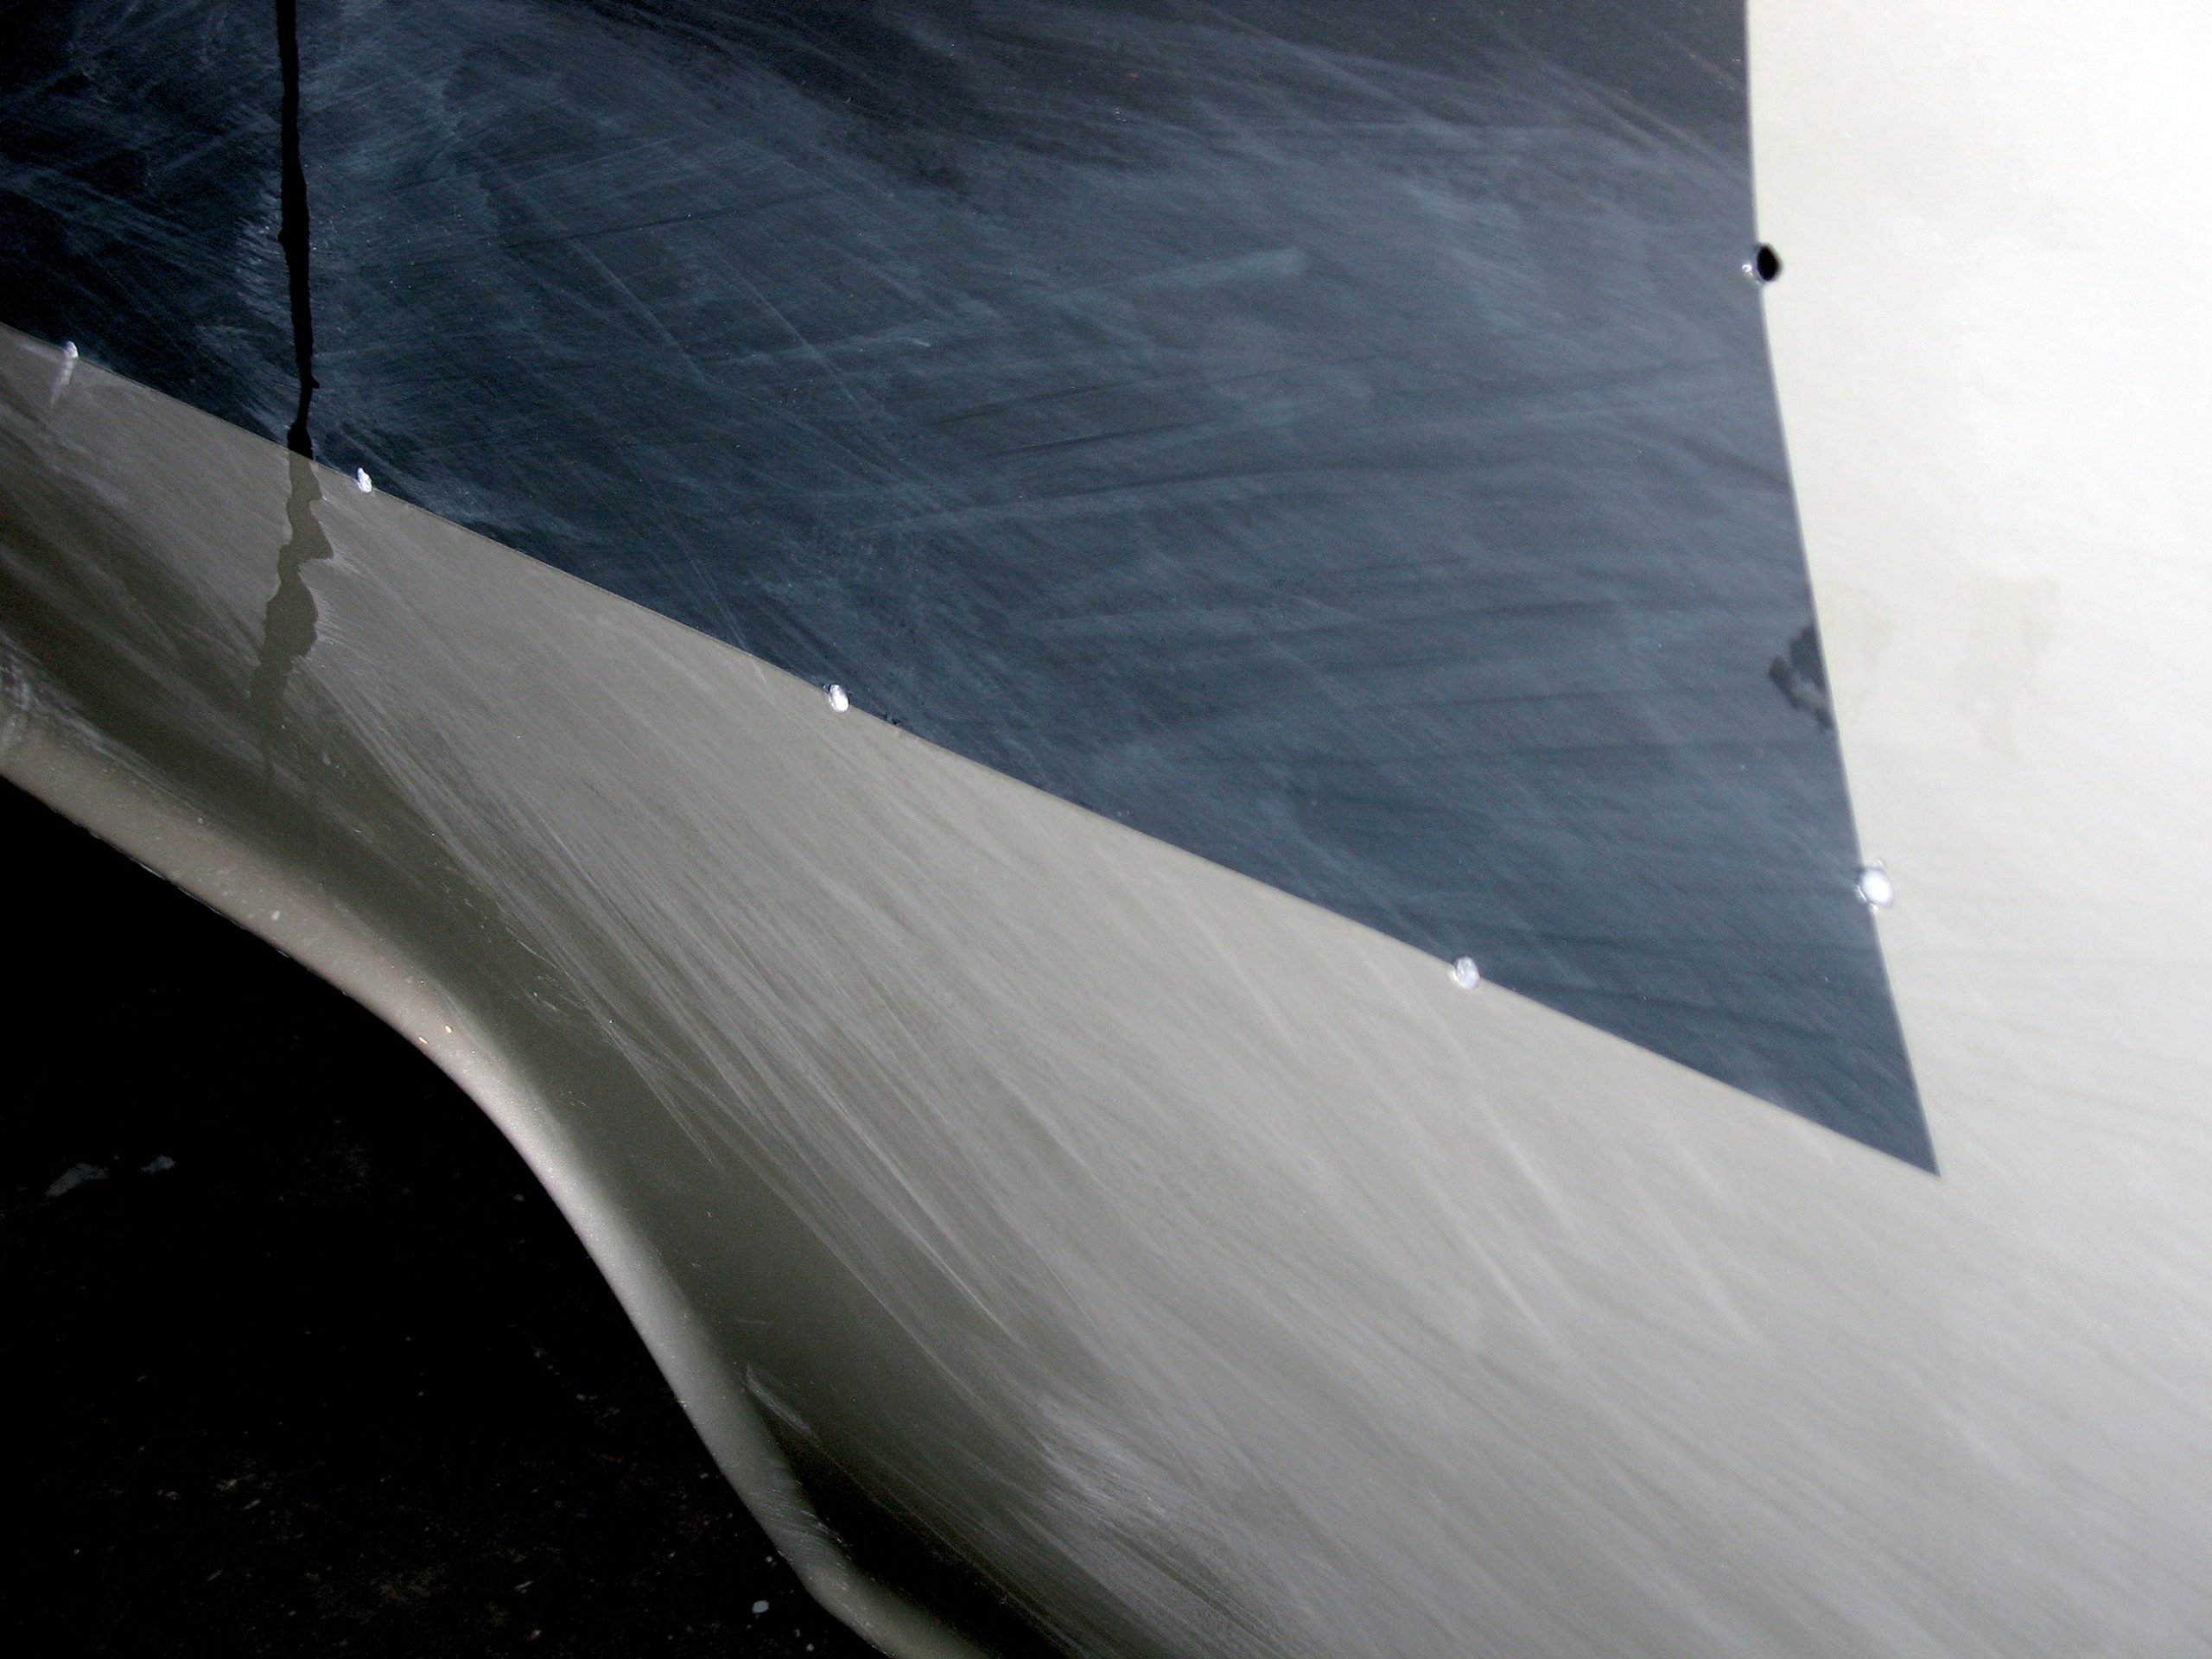
Two-Tone Paint Scheme
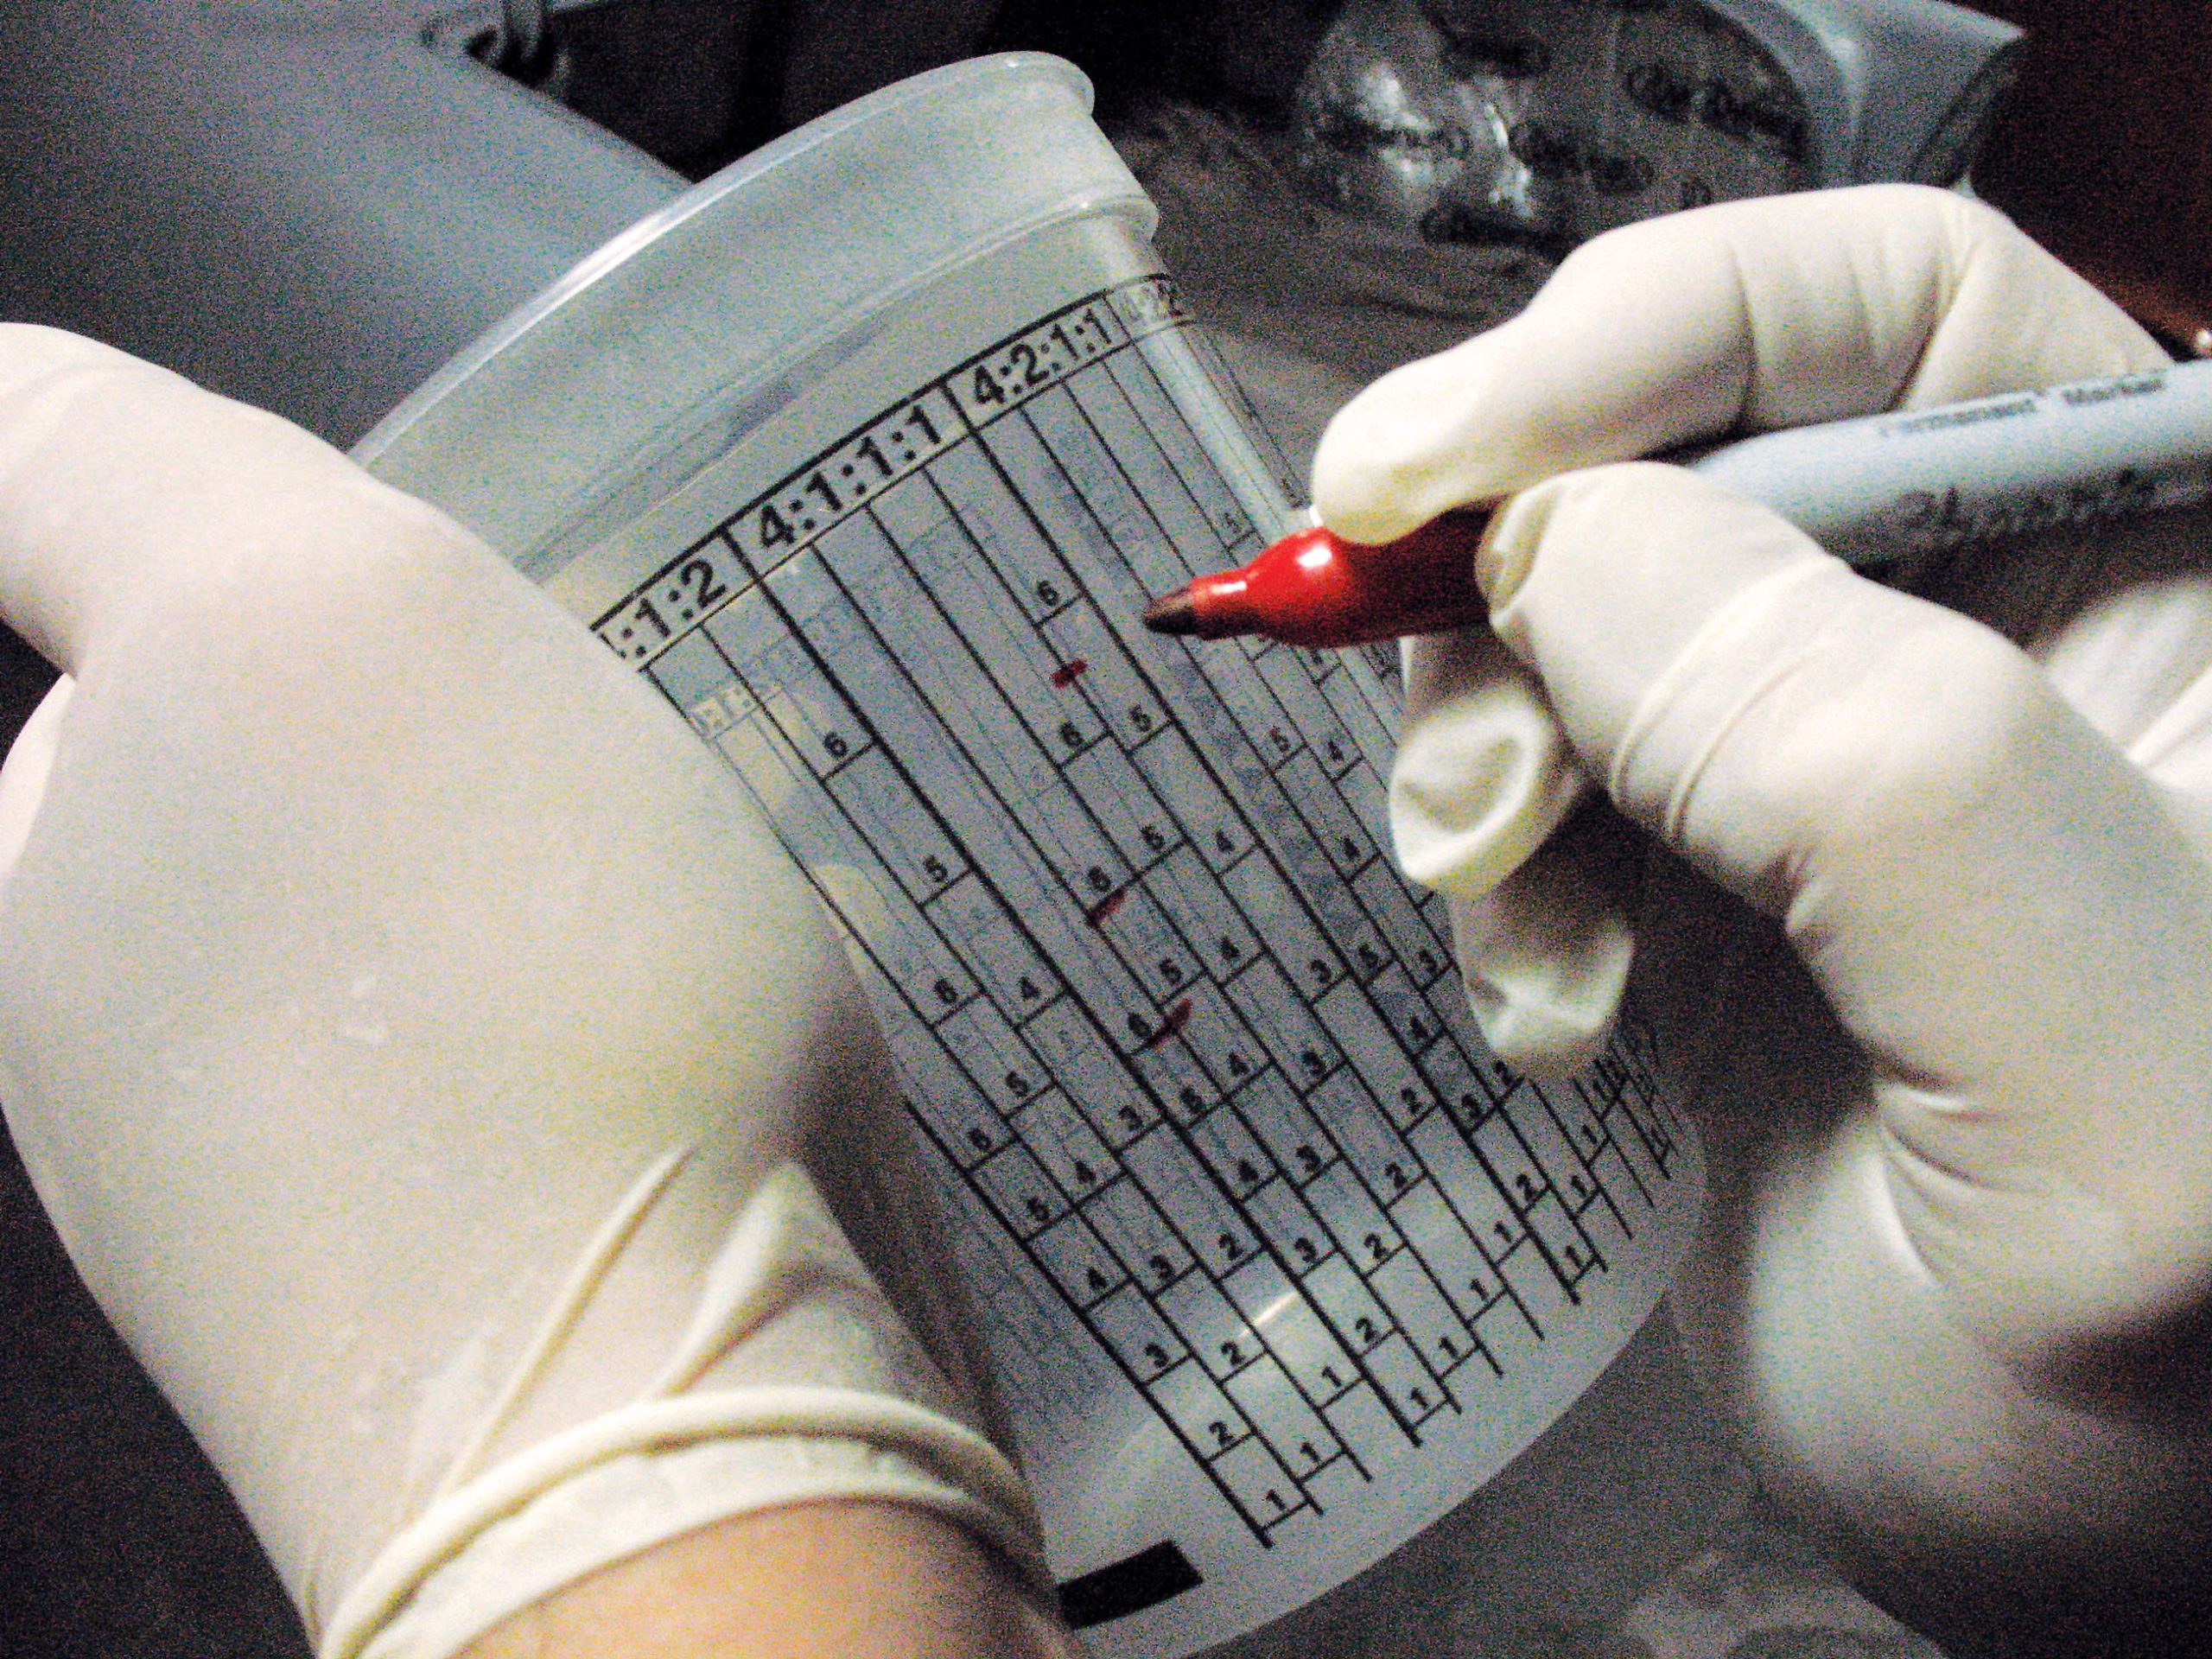
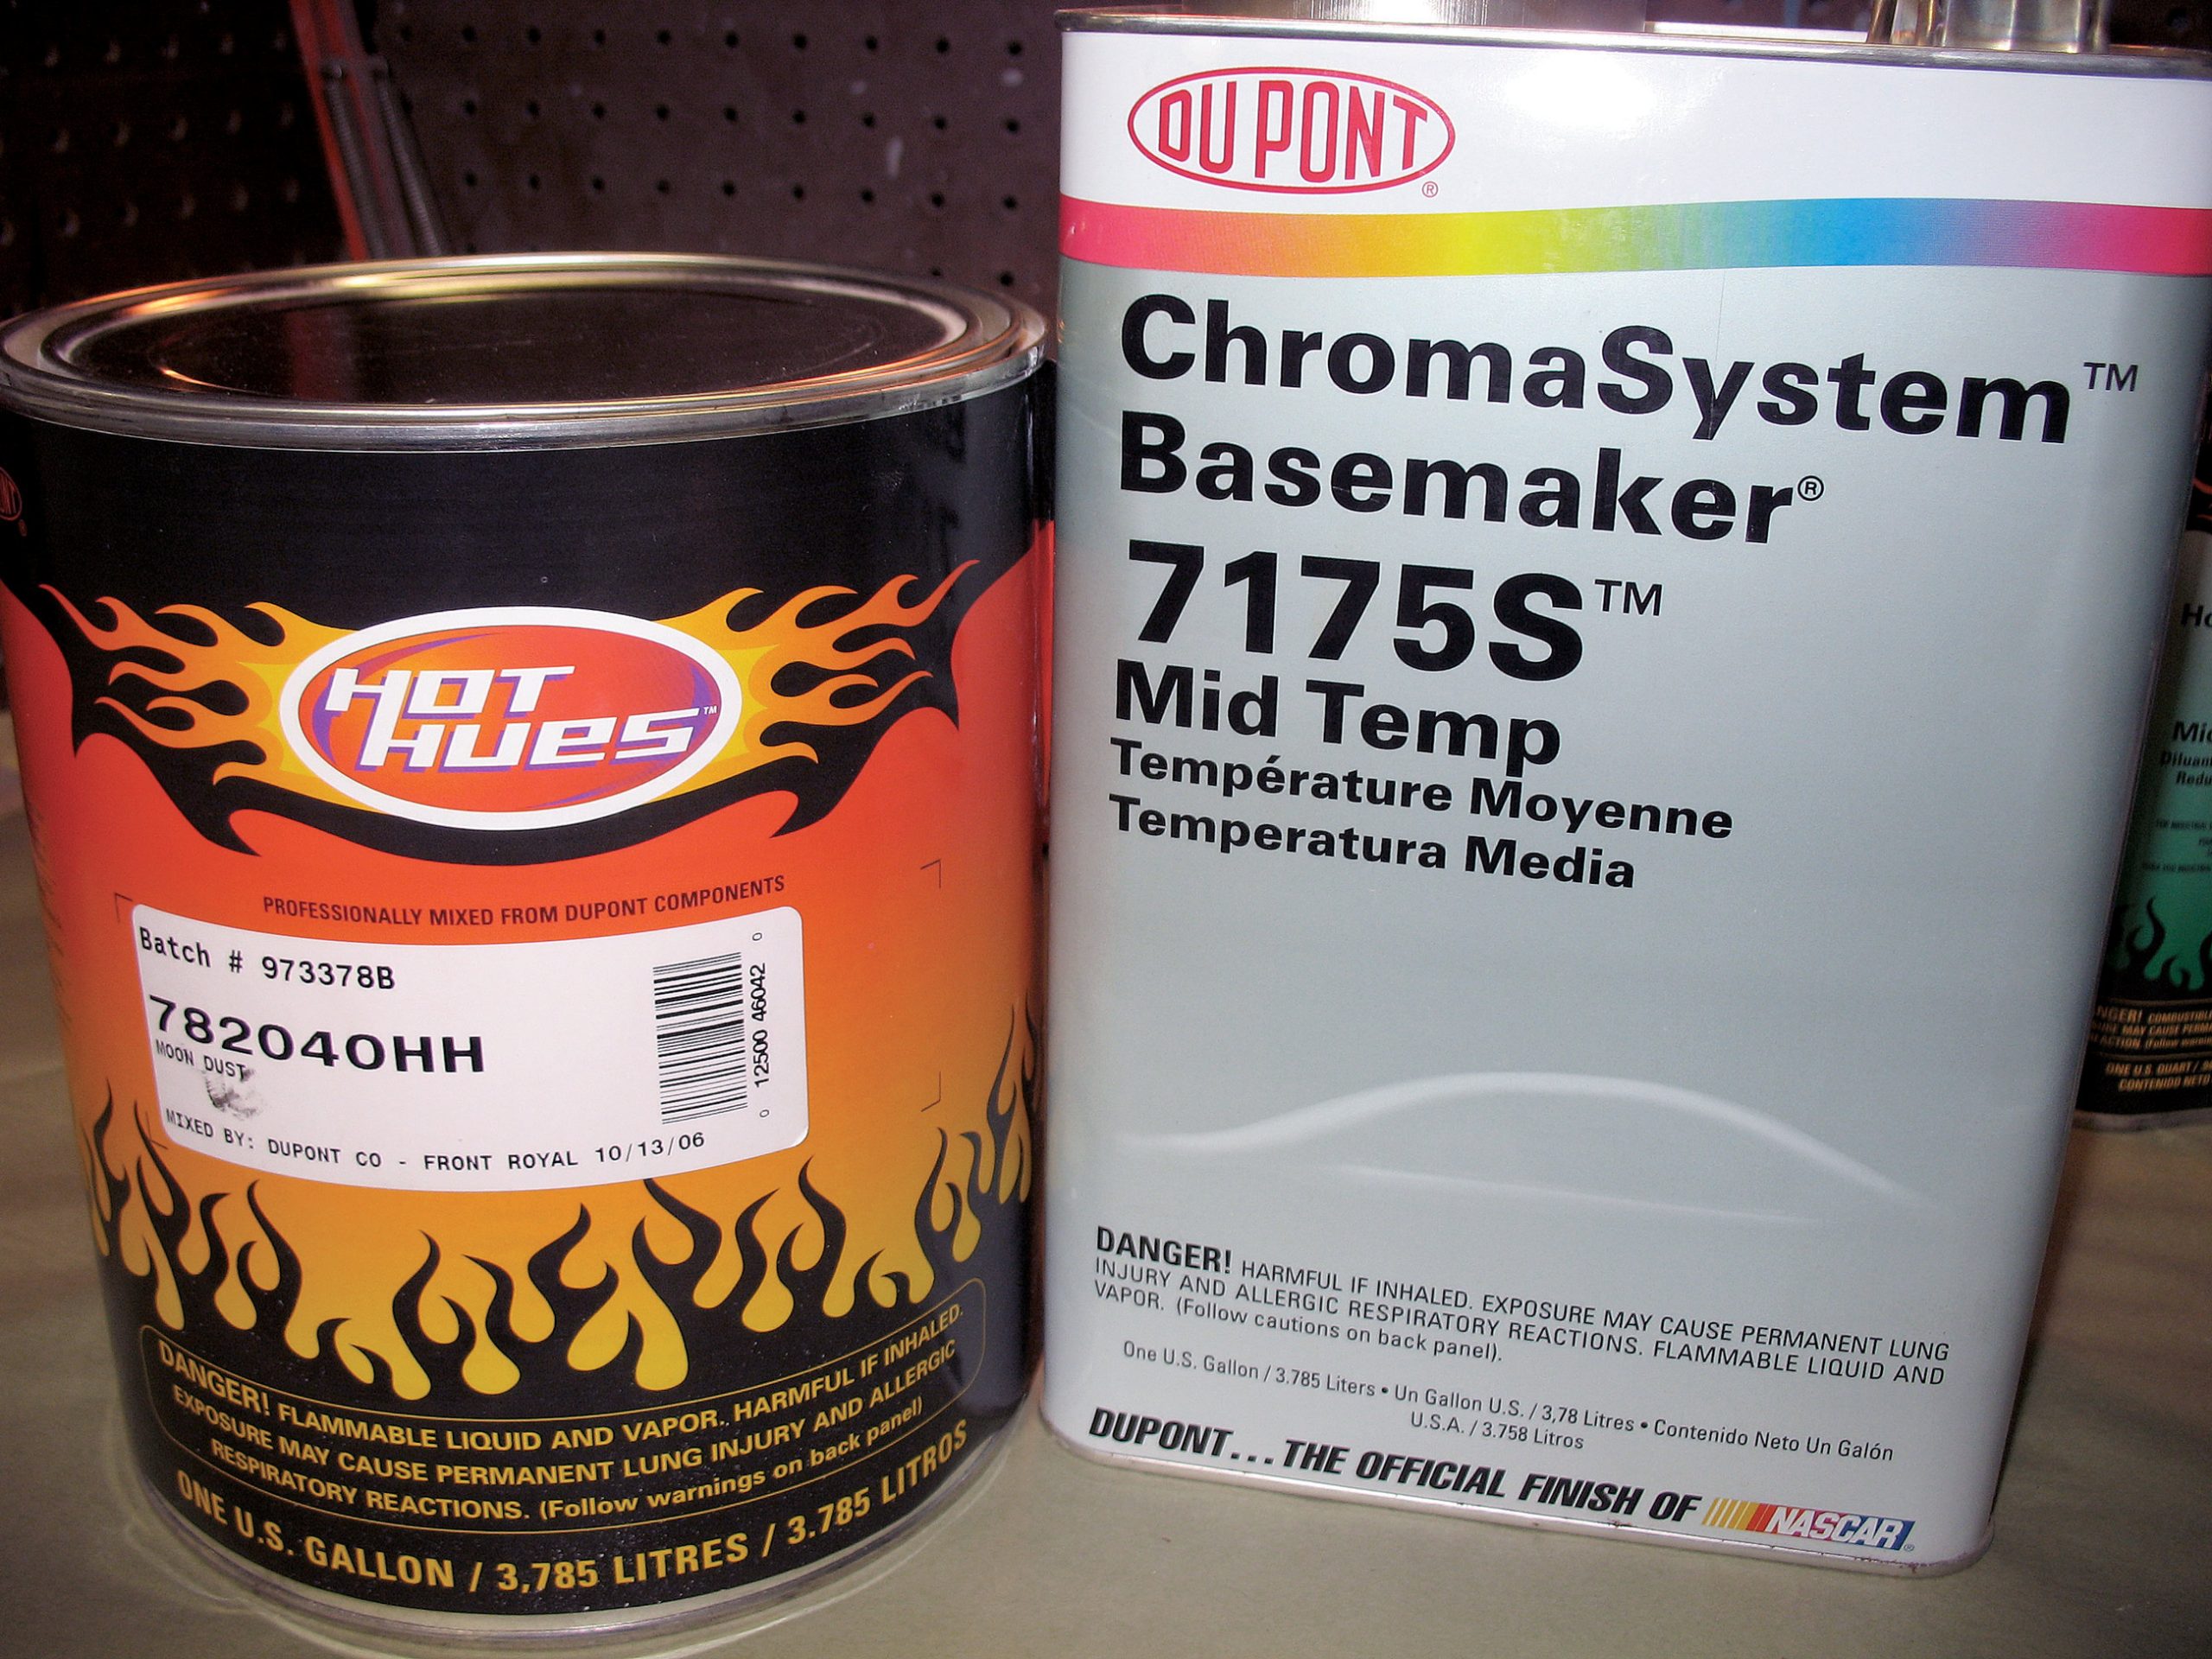
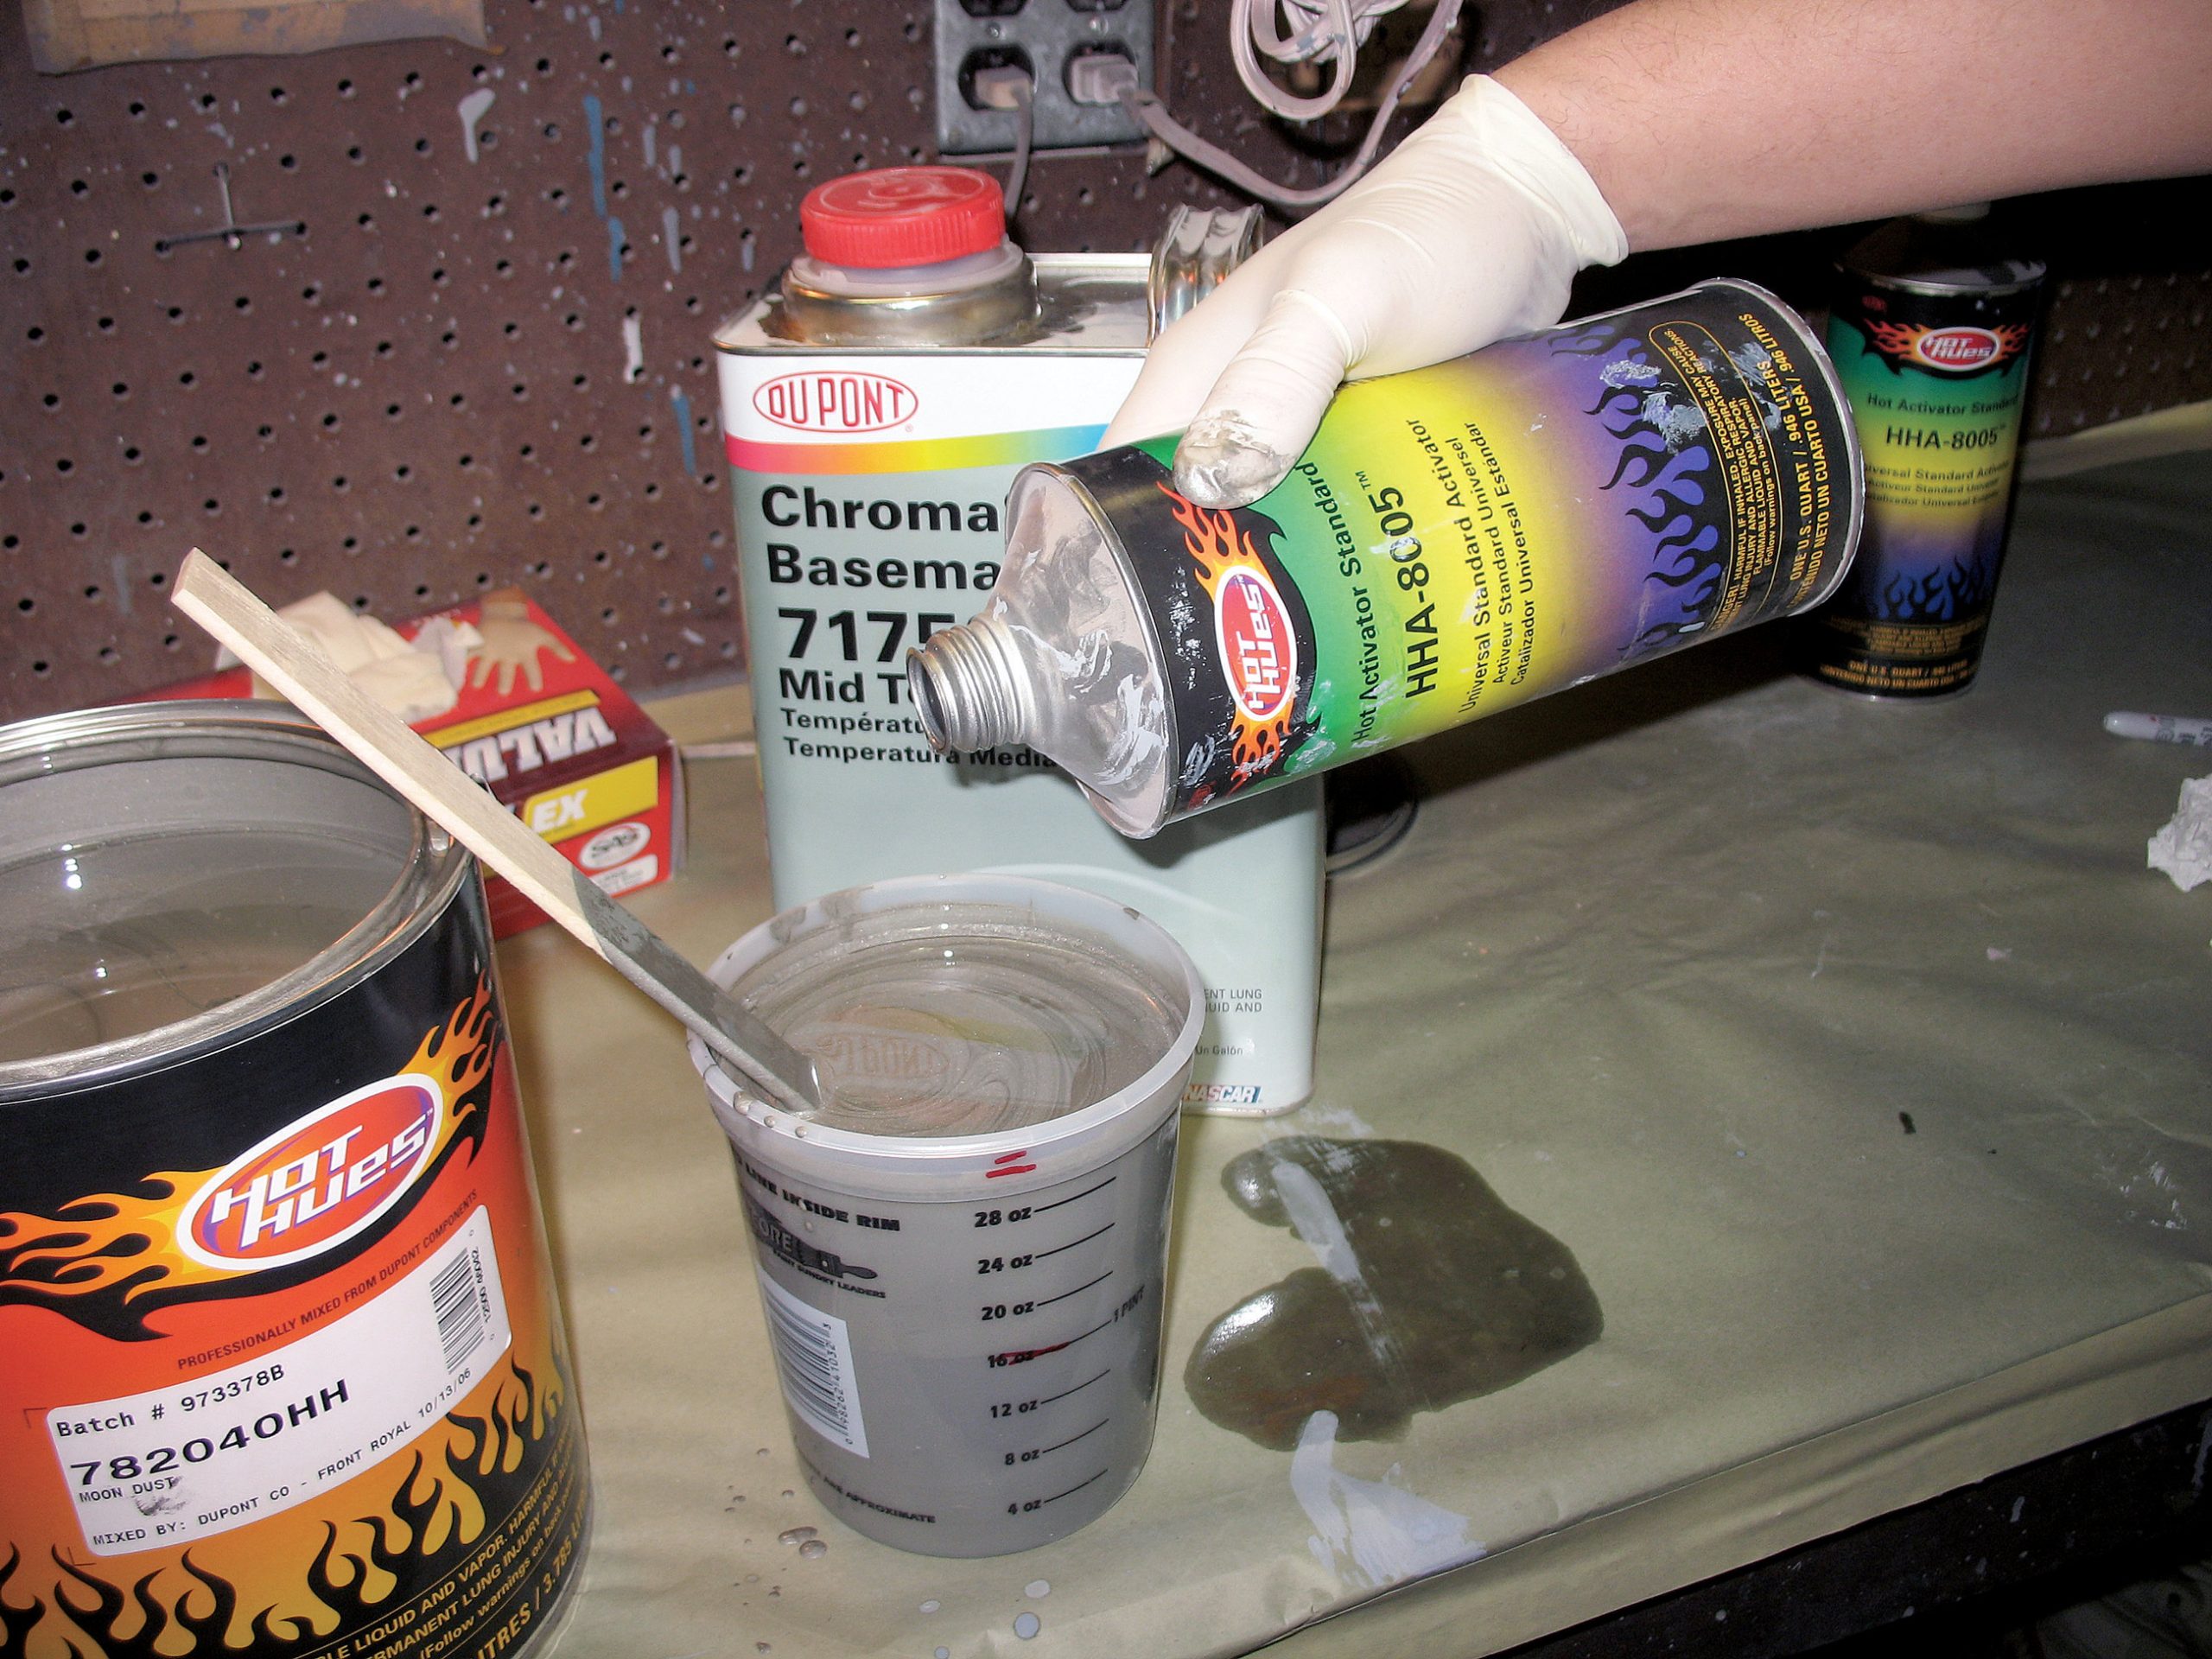
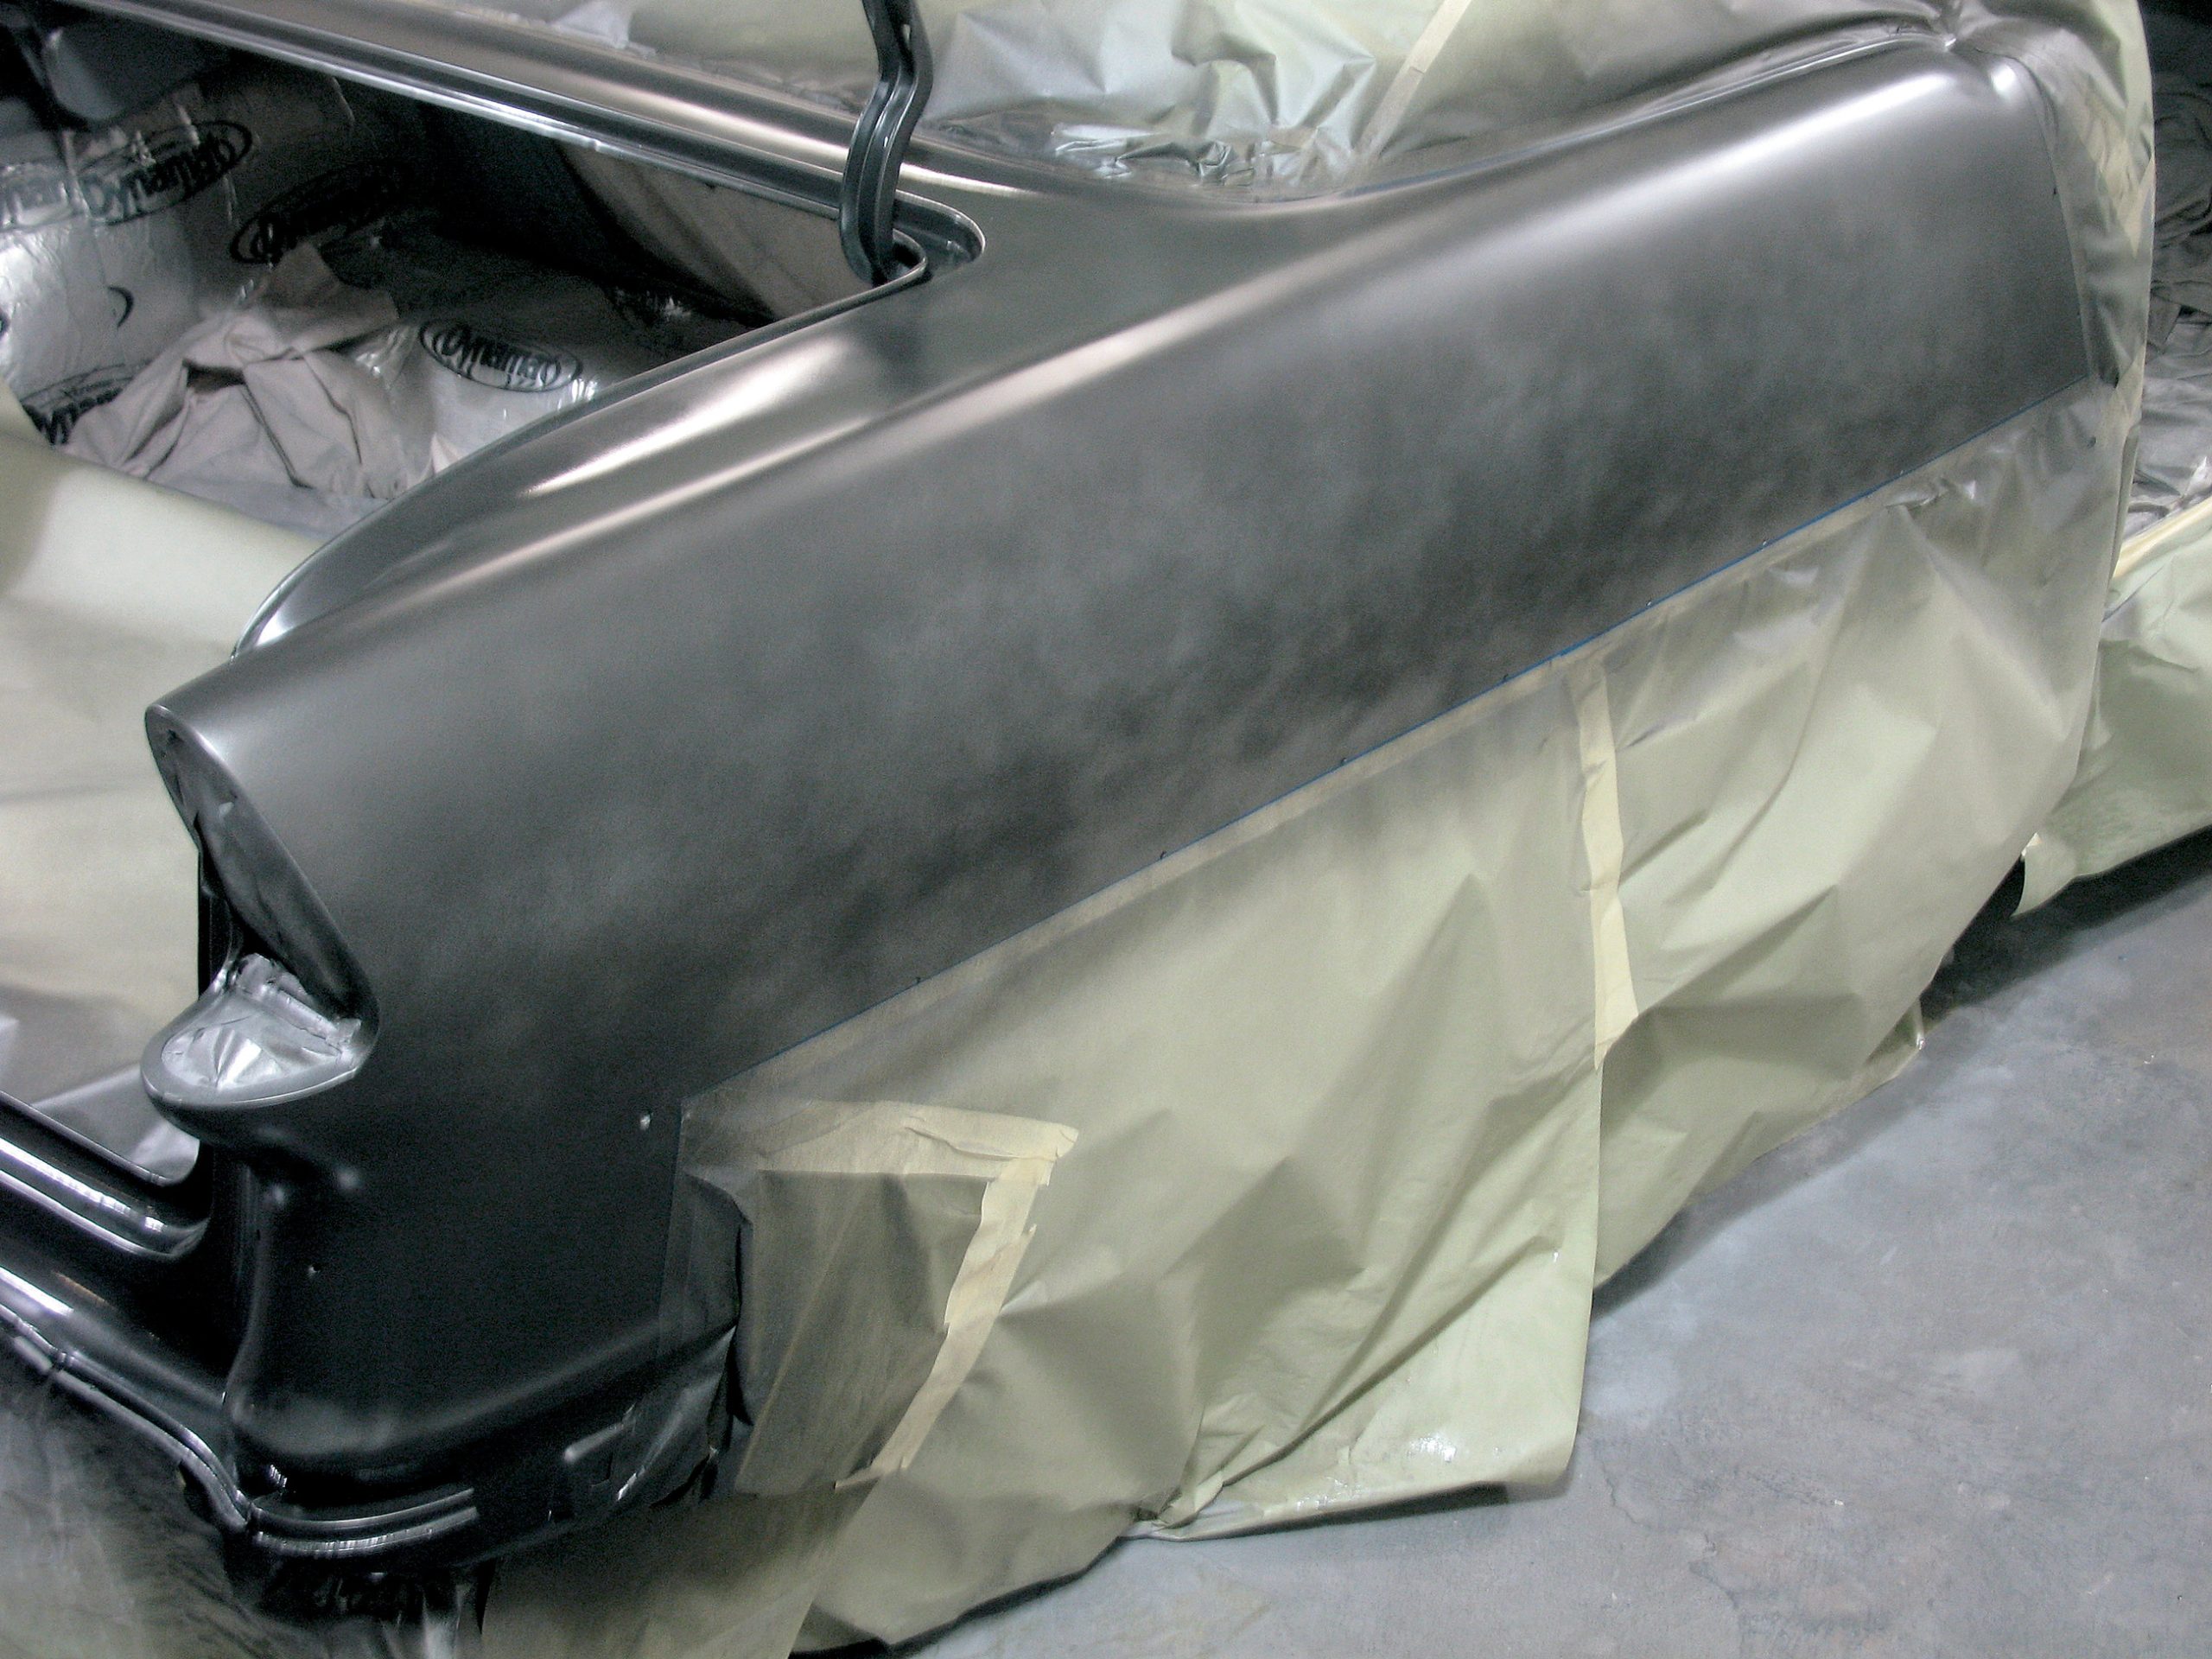
Woody’s began the color application by first spraying the lighter of the two basecoats used in the two-tone paint scheme. The Hot Hues base requires an activator and a reducer, which was DuPont 7175 Basemaker in our case. Keep in mind that reducers are temperature-sensitive, so you may need to choose a hotter or cooler reducer depending on your painting environment and the temperature in which the material is used.
When spraying the basecoat, coverage is key. Woody’s initially sprayed a light first coat followed by two medium coats. Allow the base to set up before applying another coat, and always use a tack cloth between coats to eliminate any possible dust or dirt. The Hot Hues base covers amazingly well, and after three coats, the car was completely covered. At this point, the Woody’s crew went back and nib-sanded out any dirt or dust imperfections before applying the final coat. To even out the large amount of pearl in the color, the air pressure was increased to about 14 lbs, and the gun was backed away from the body slightly. This coupled with crossing your pattern should eliminate any stripping that may take place when using pearls or metallics.
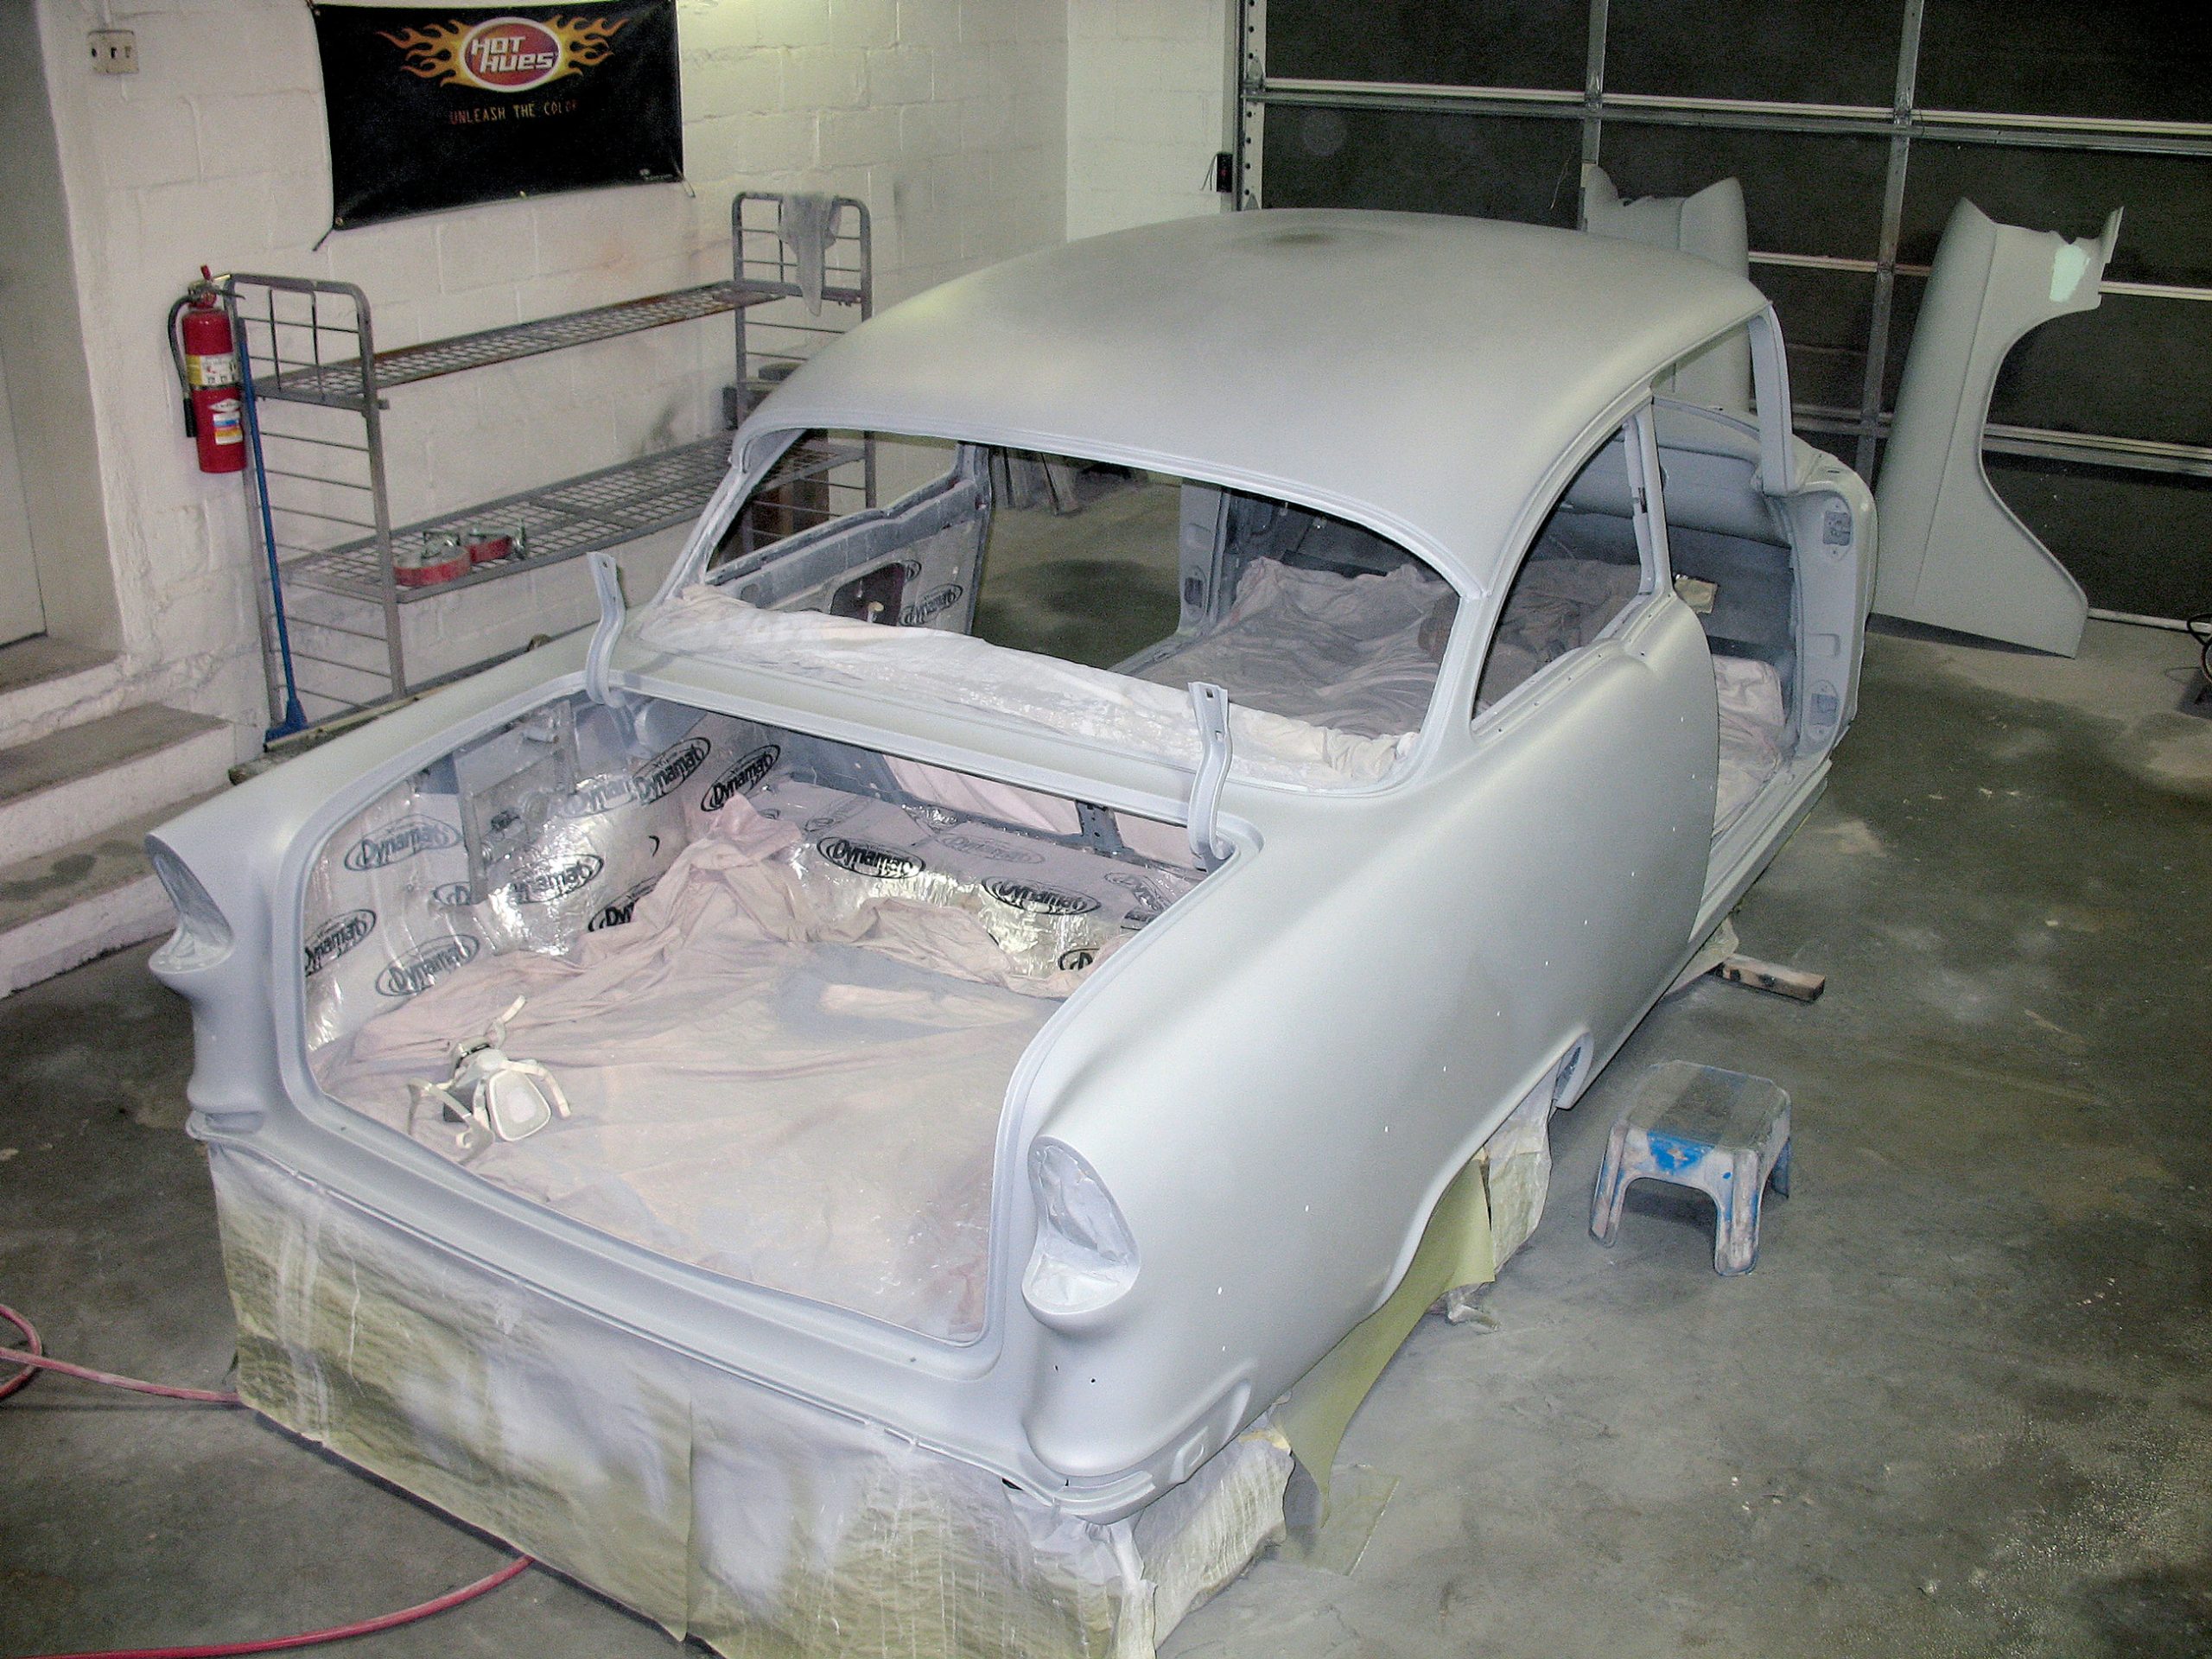
Diary & Taping
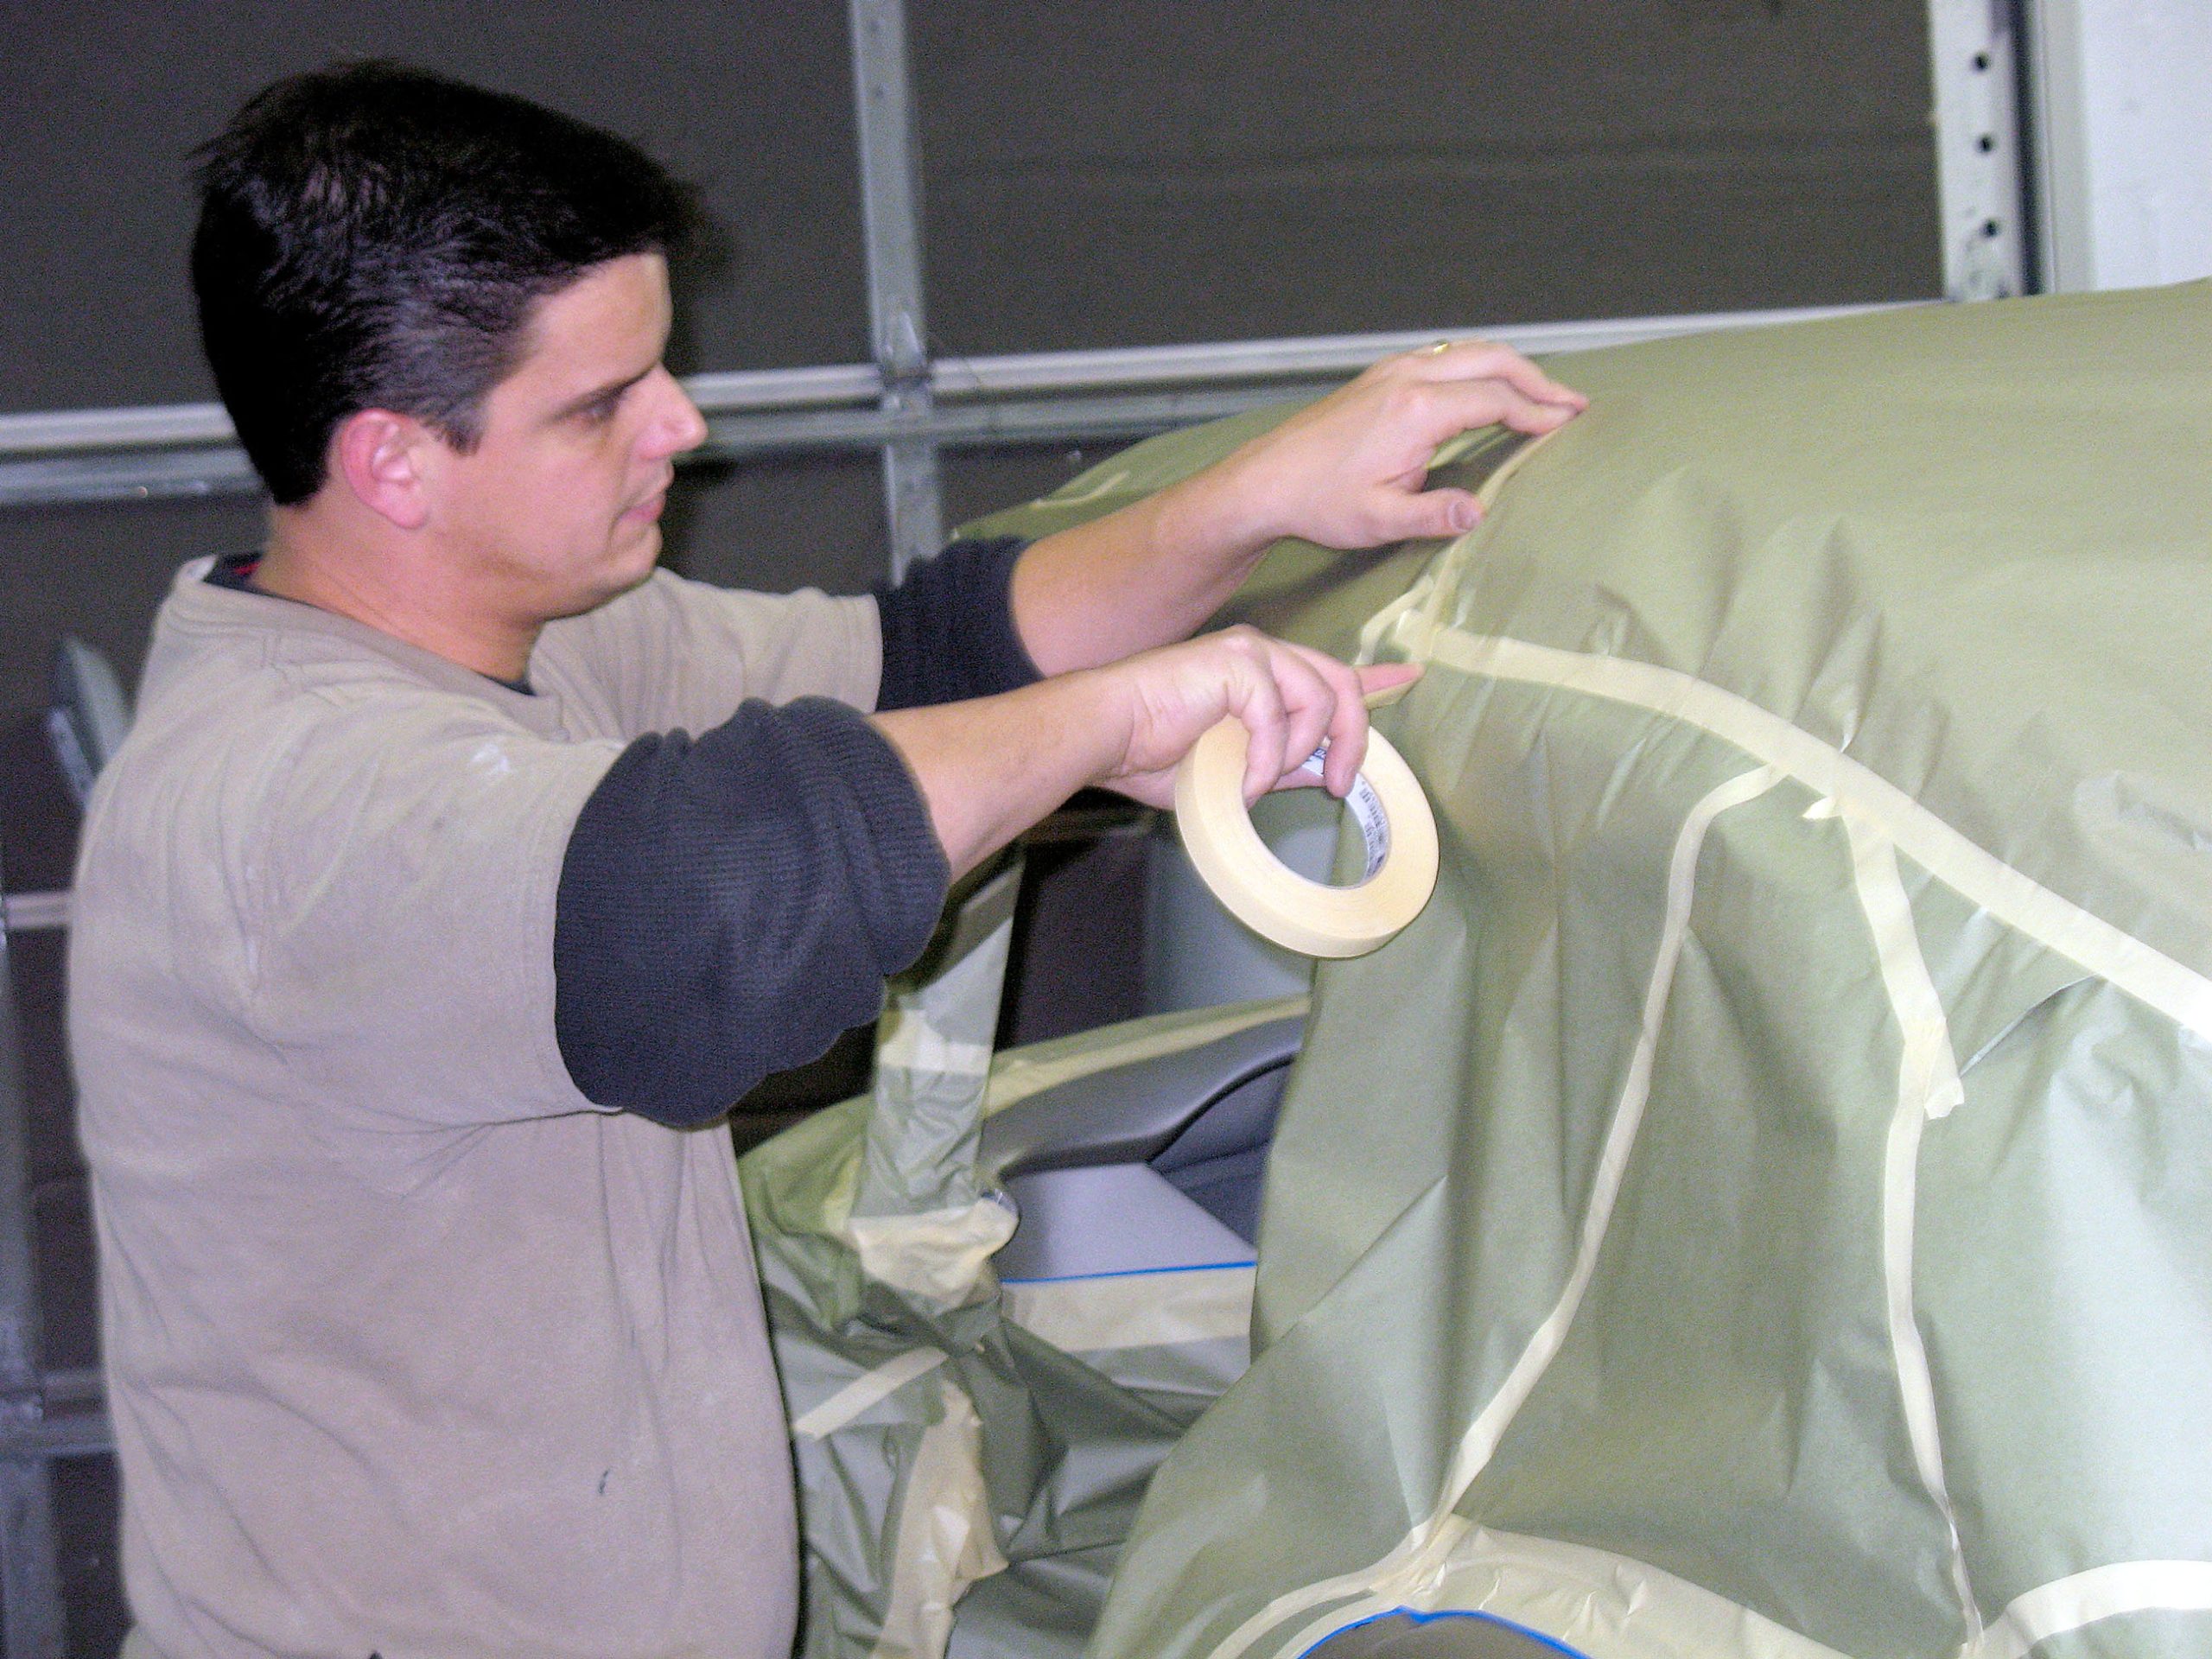
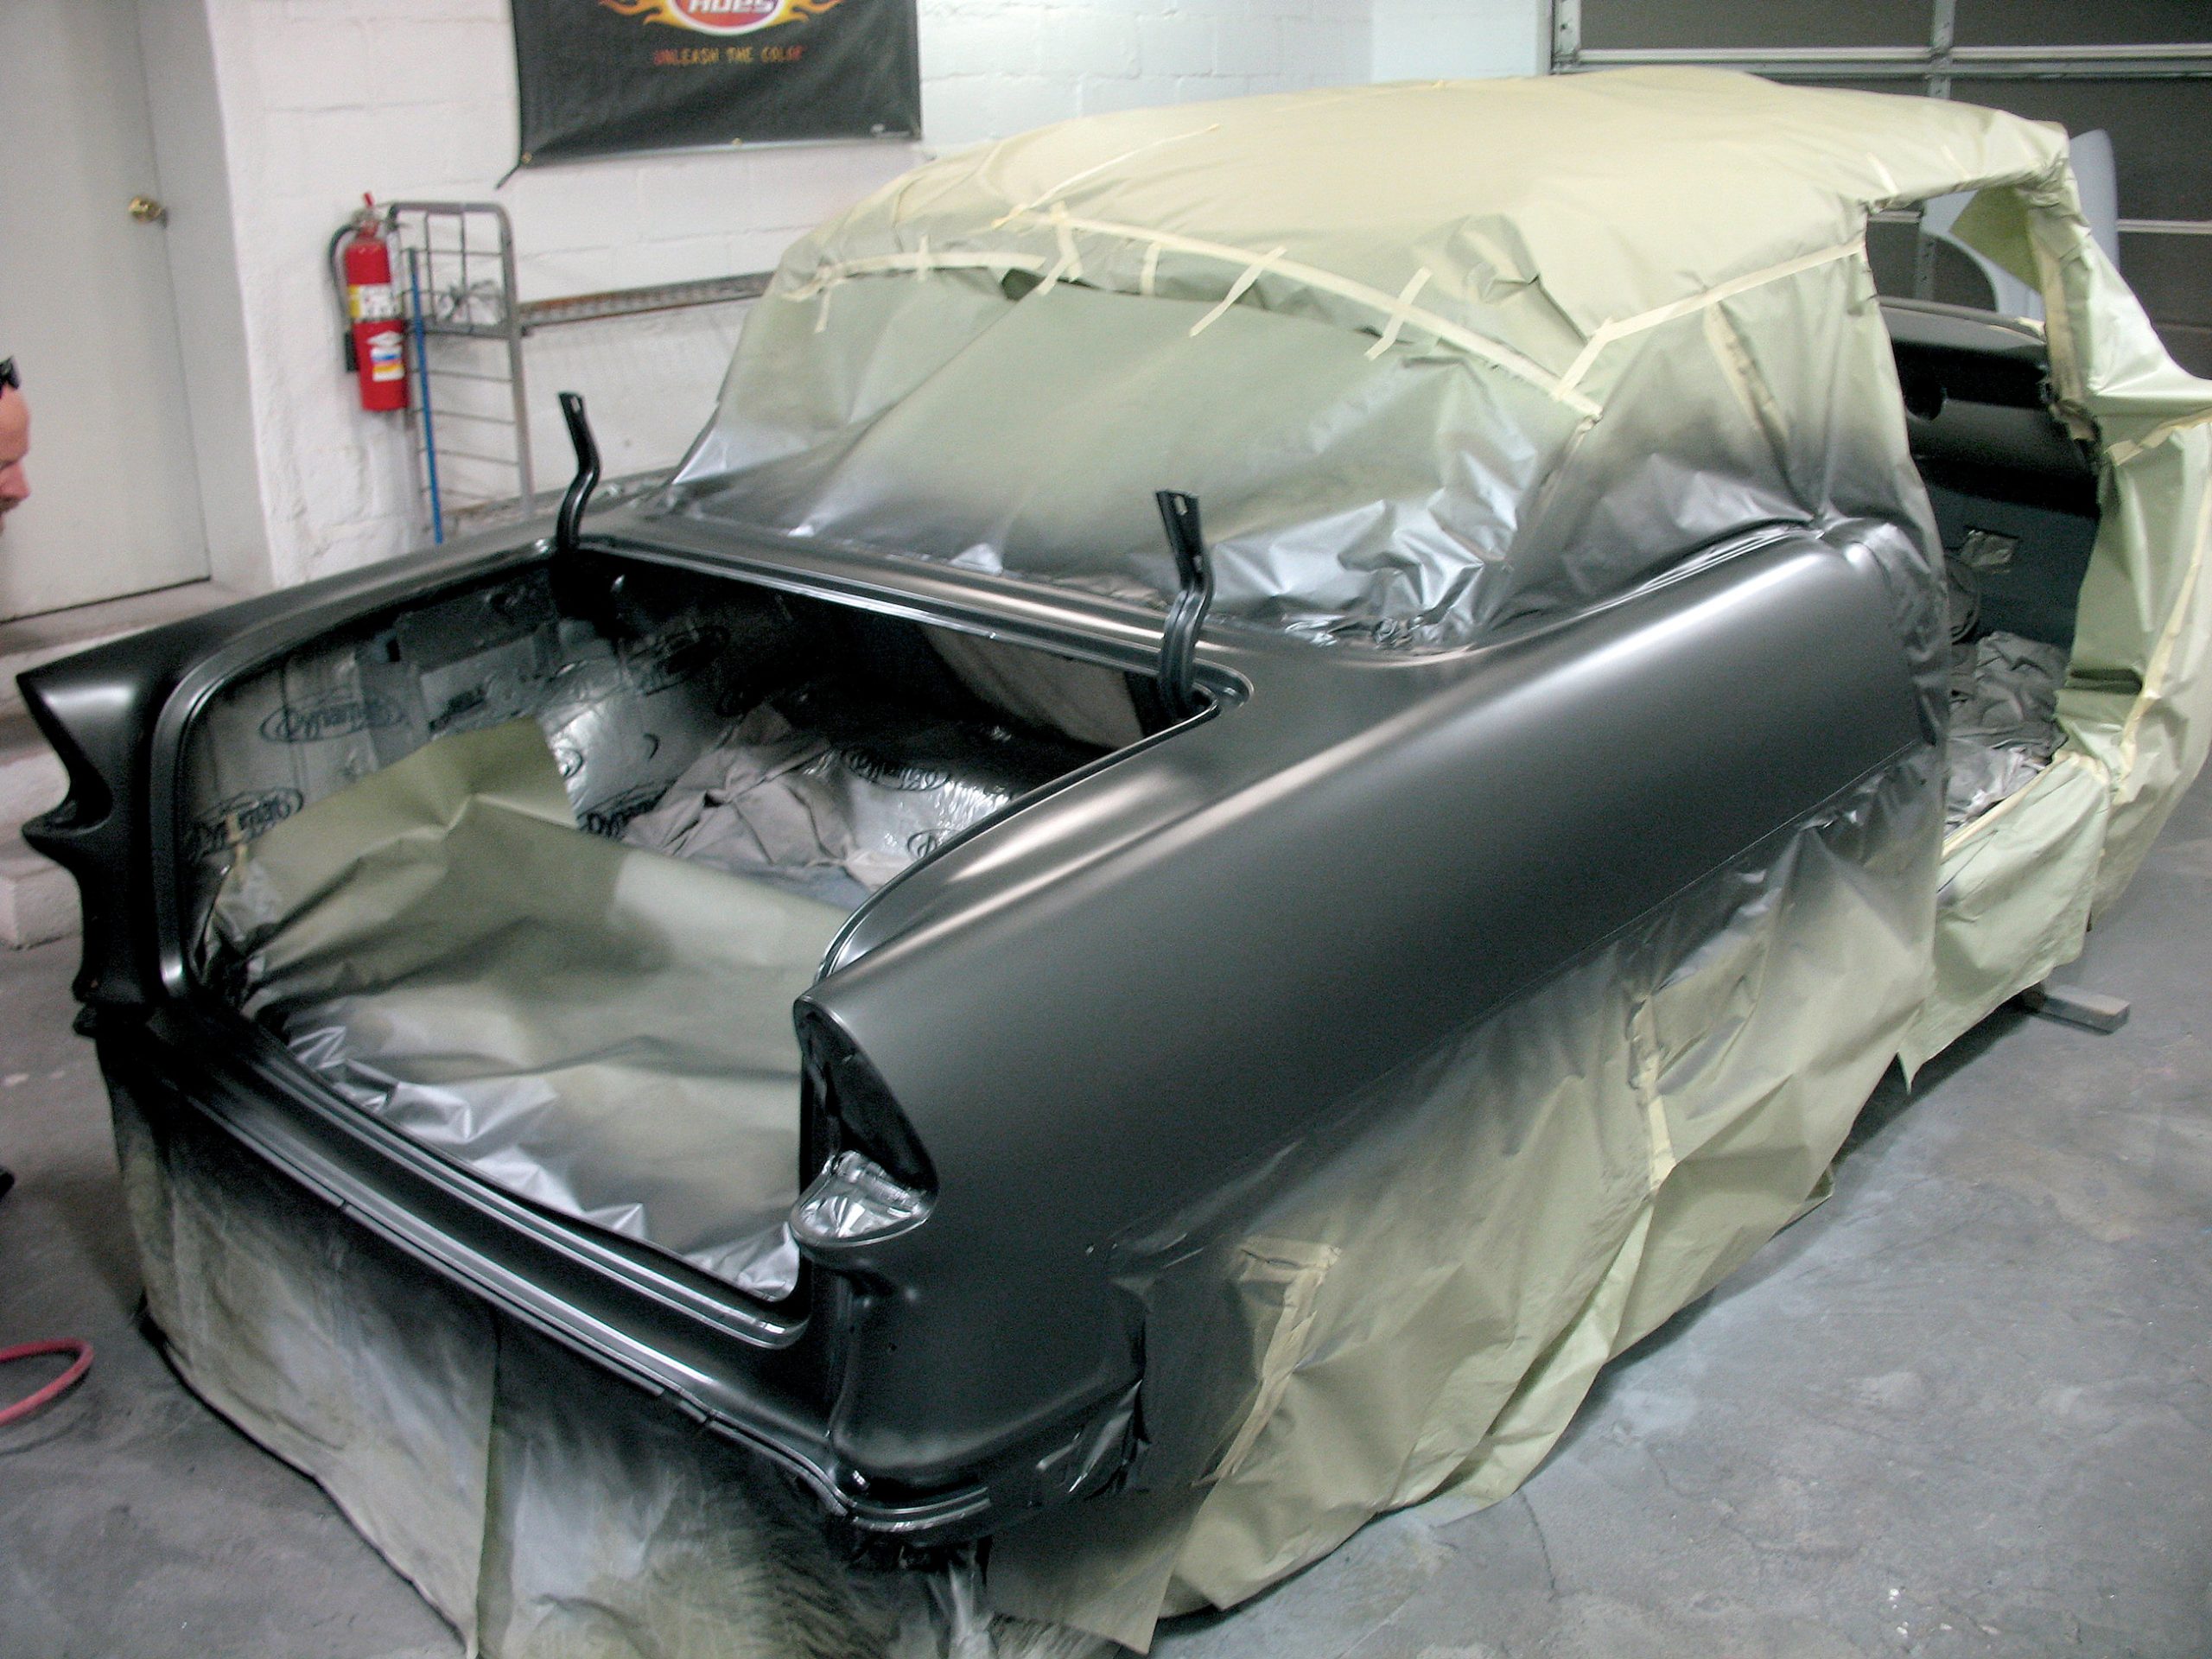
Note: Keep a diary of how you spray your basecoat, from how many ounces per coat to what pressure and distance from the car you sprayed. This will allow you to duplicate the application for any future projects. Once the basecoat was on, Woody’s masked off the car to lay out the second color. Careful use of 3M tape left an excellent edge line. After covering the remaining parts of the car, the second color was laid on in the same manner as the first. Don’t allow the first color to cure completely before applying the second. The longer you wait, the better chance you have of lifting the tape edge. Be sure to keep the tape at the edge of the color line wet with basecoat so that you have a nice even edge. Again, keep track of how much material you use on this color and how you spray it so that both colors will match perfectly.
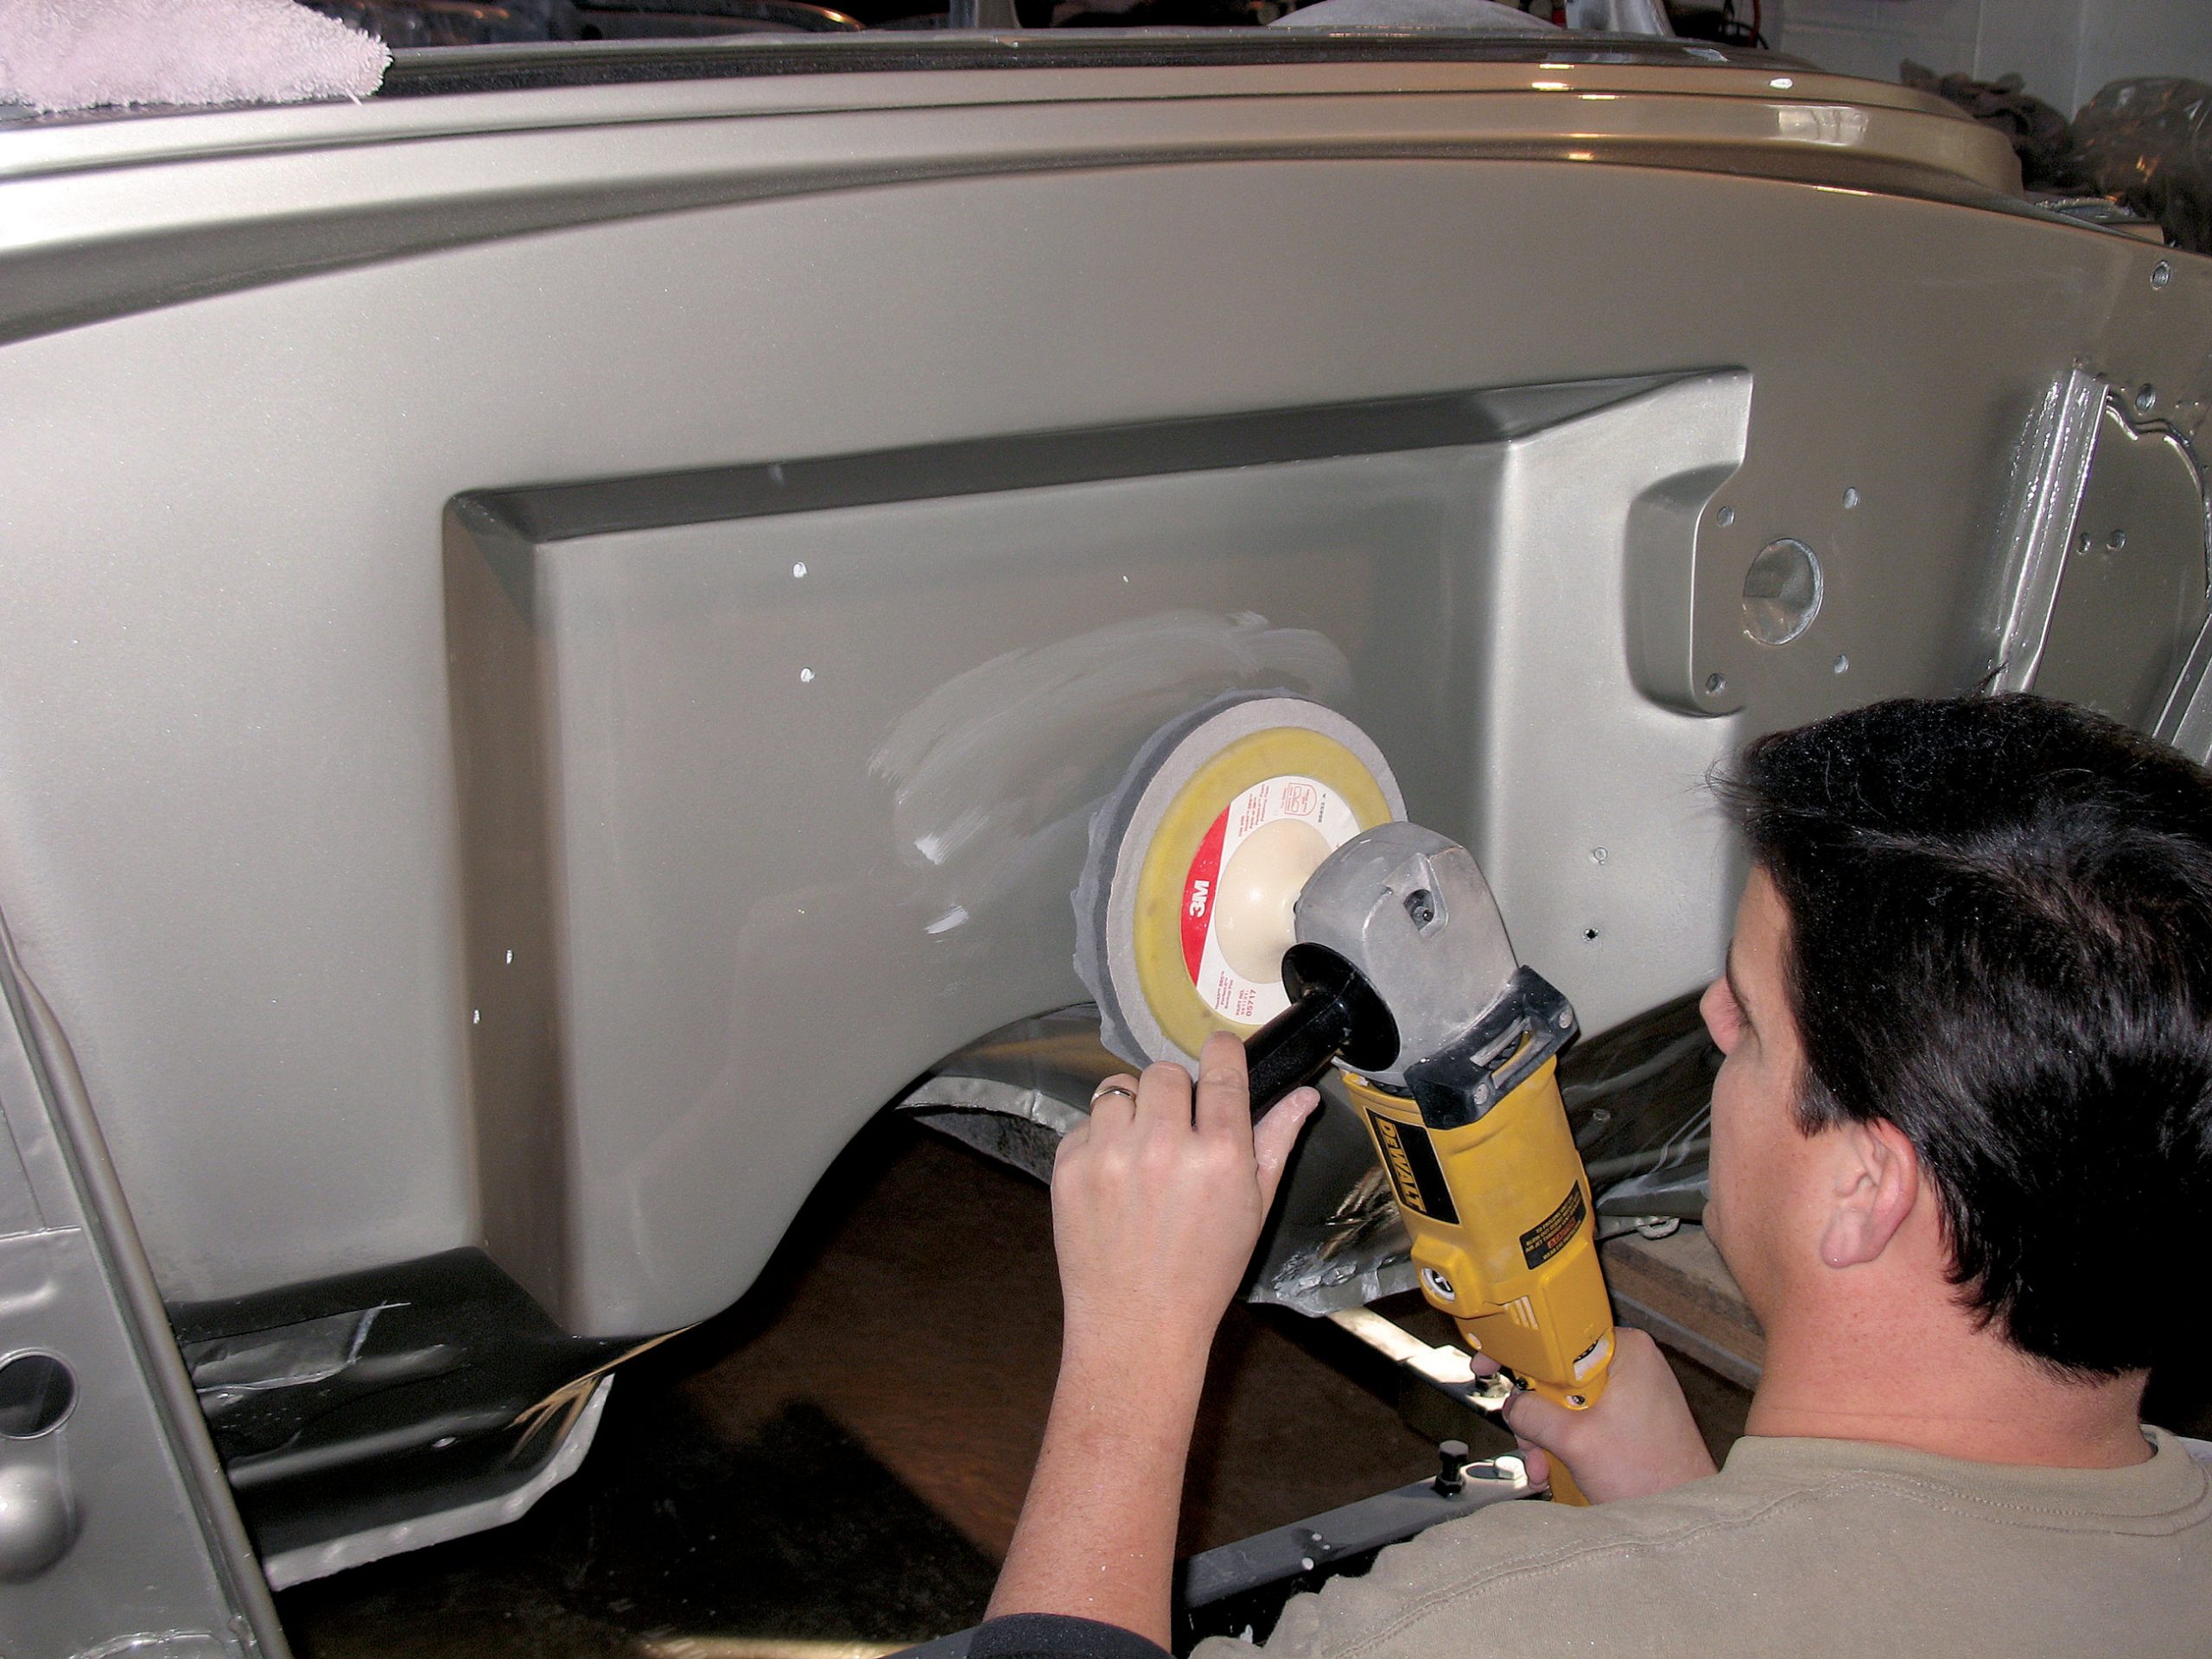
Clearcoat Application
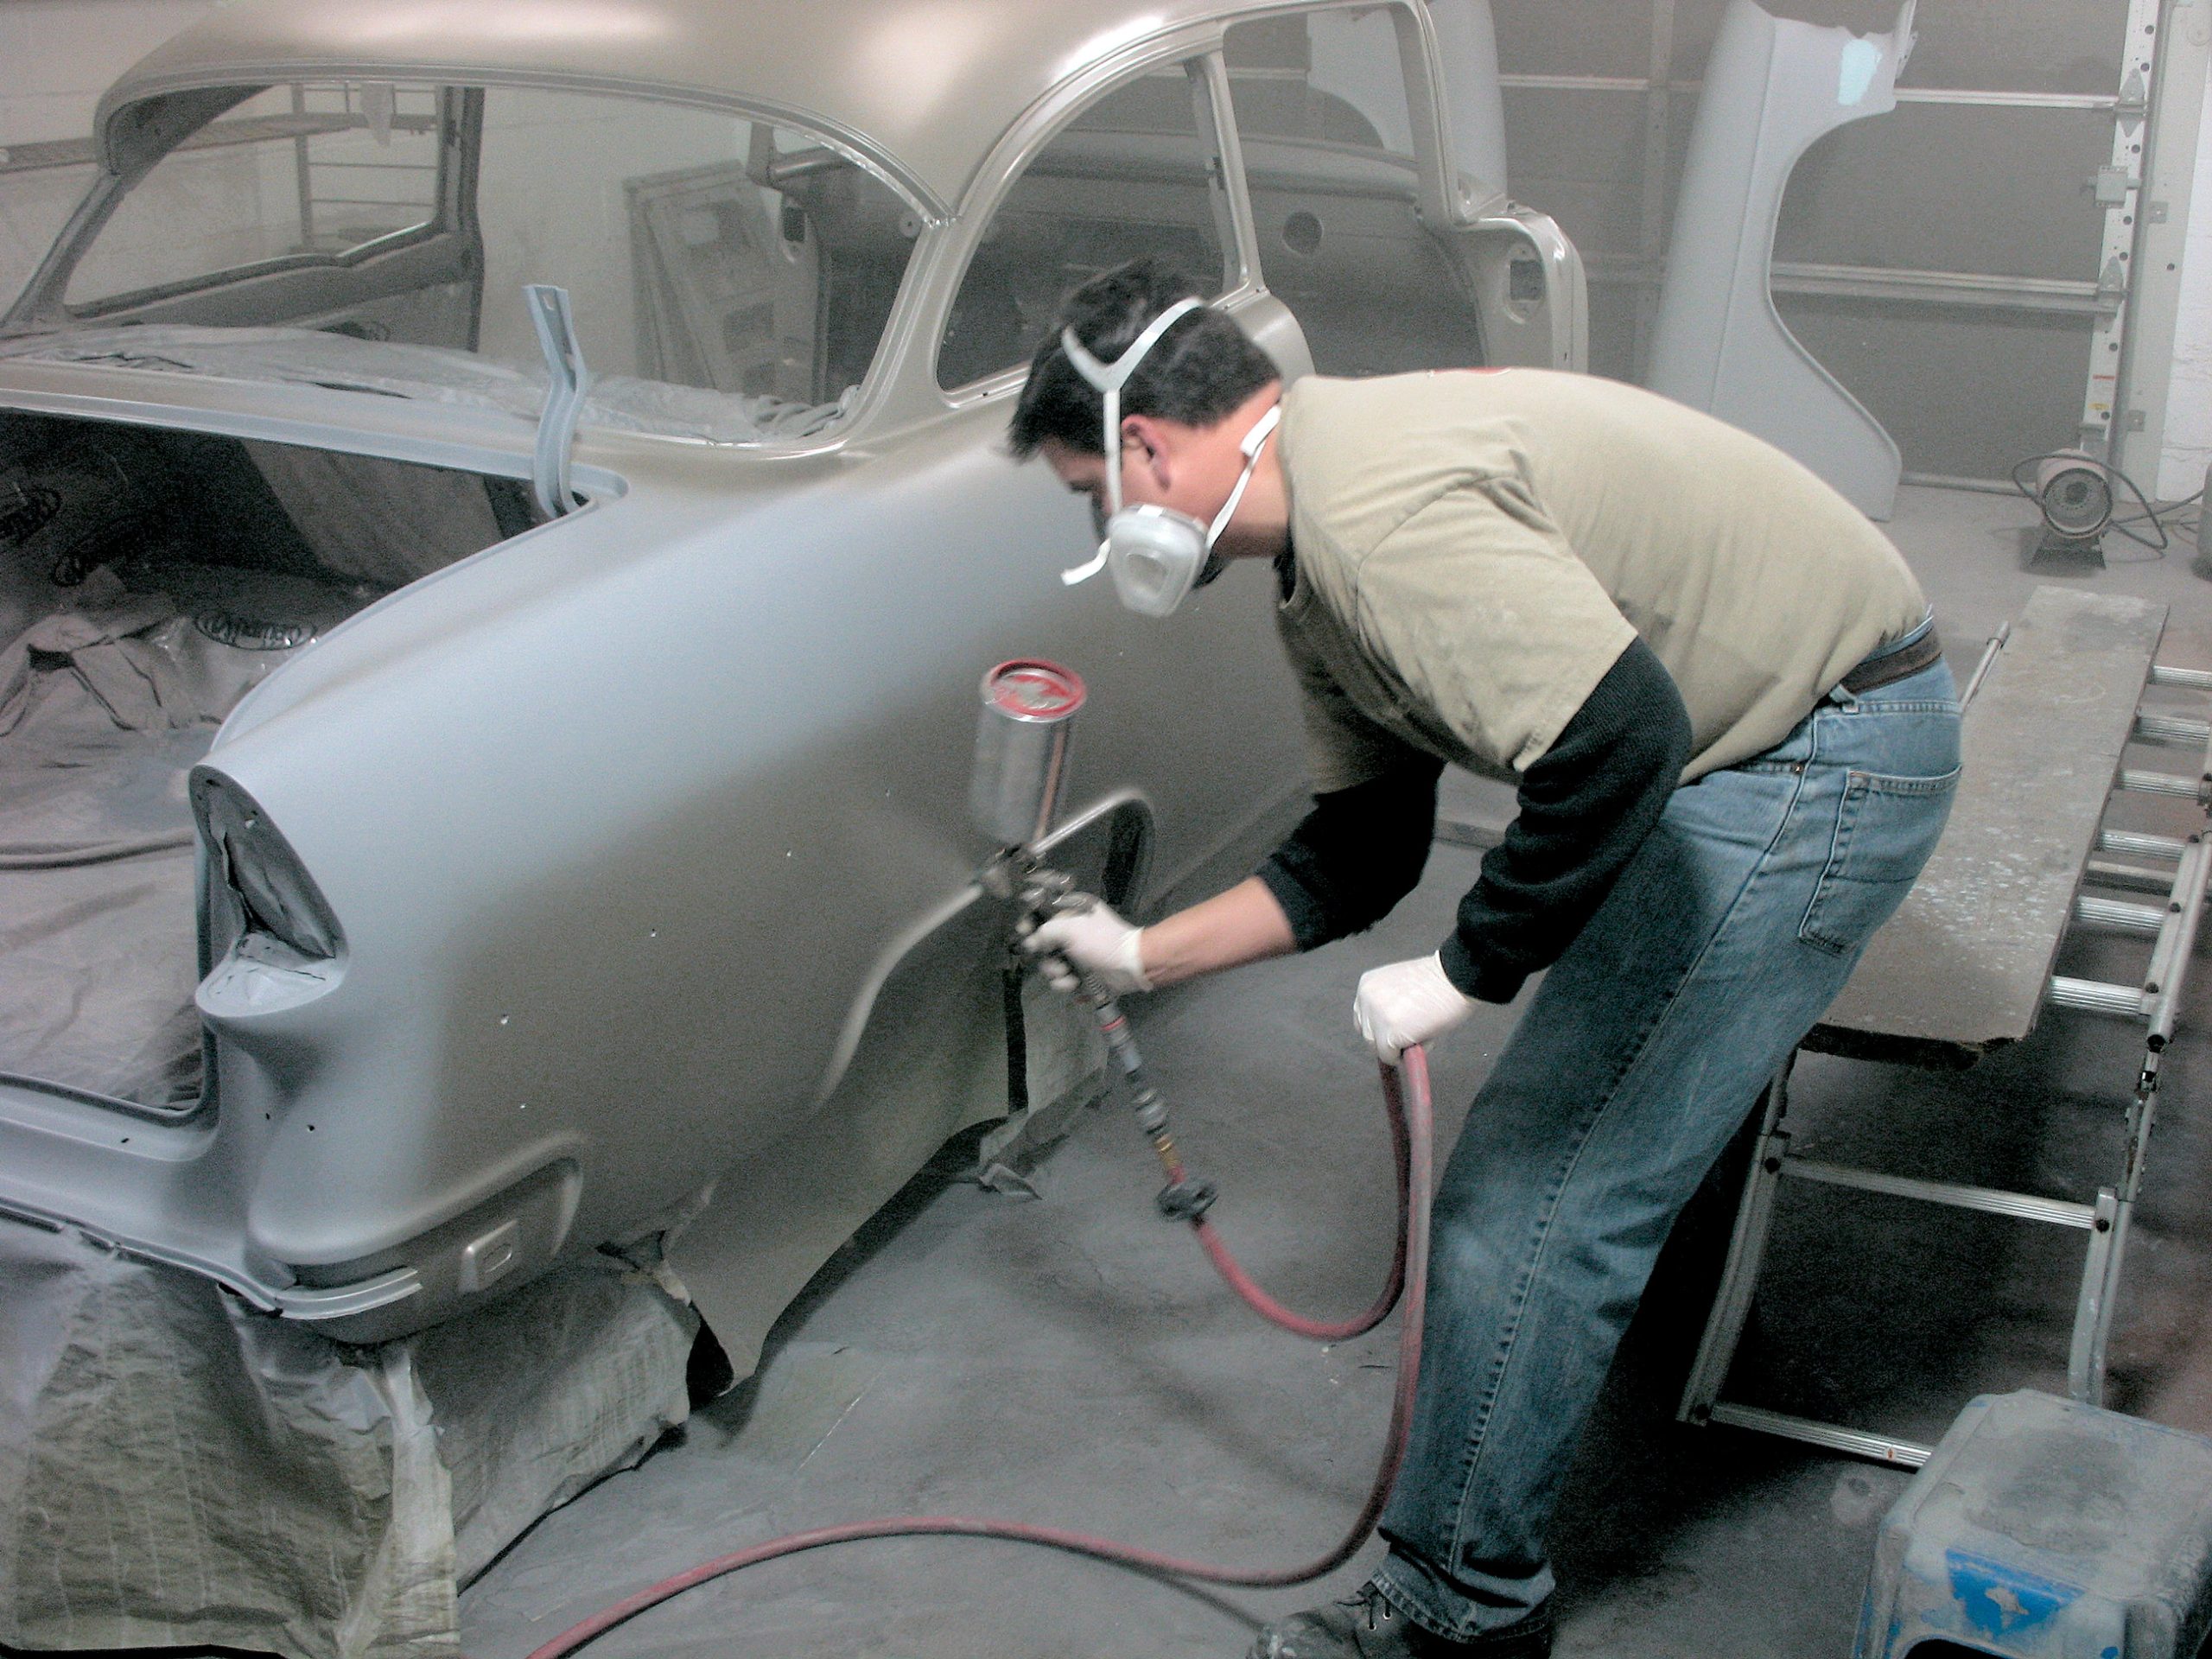
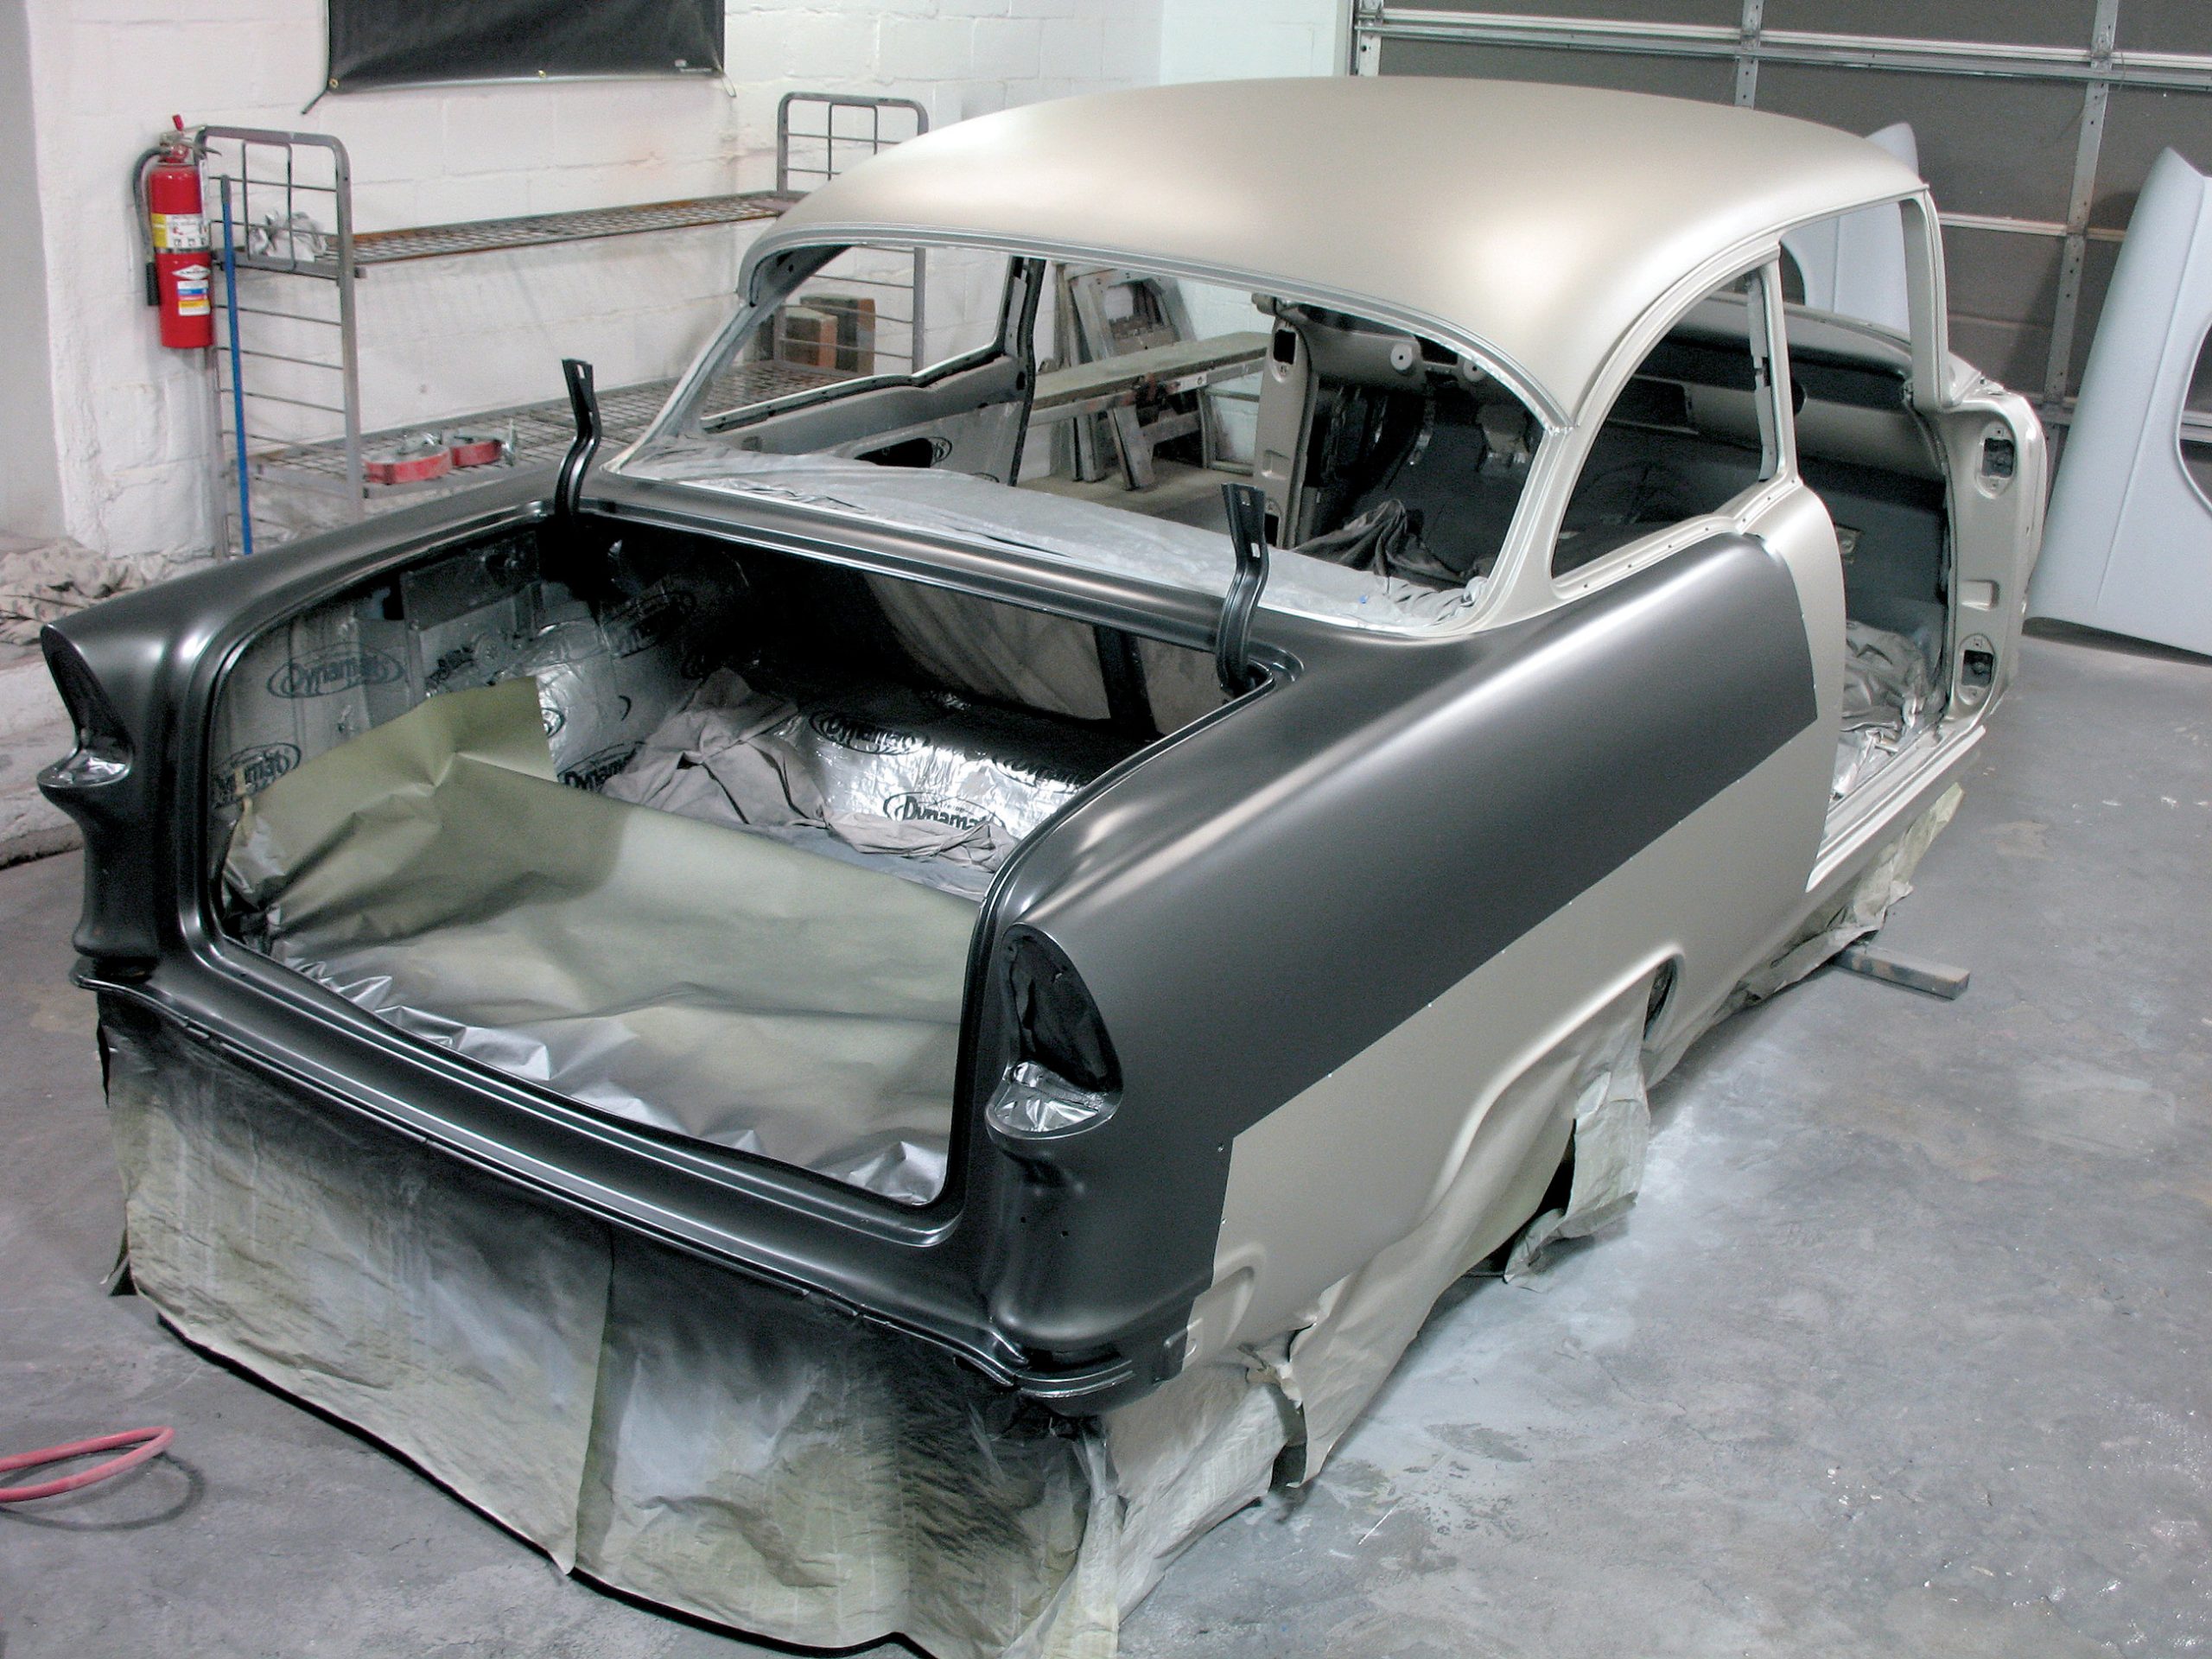
Once both basecoats are on, allow the car to dry overnight before clearing. Don’t touch the car at all during this time and don’t allow any tape to remain on the car as it may pull the basecoat up. Woody’s used Hot Clear HHU-1050 on the ’55. This is the top-of-the-line Hot Hues clear, and it’s a European-style clear that requires three coats. The first two are full-flow coats, which cover the basecoat nicely and provide a great surface to lay the final clear coat. The last coat is allowed to flow out and should be applied a little heavier to allow for more flow and shine. As with all the products, clean the car well with a tack cloth and make sure that there is no dust or dirt in your paint booth.
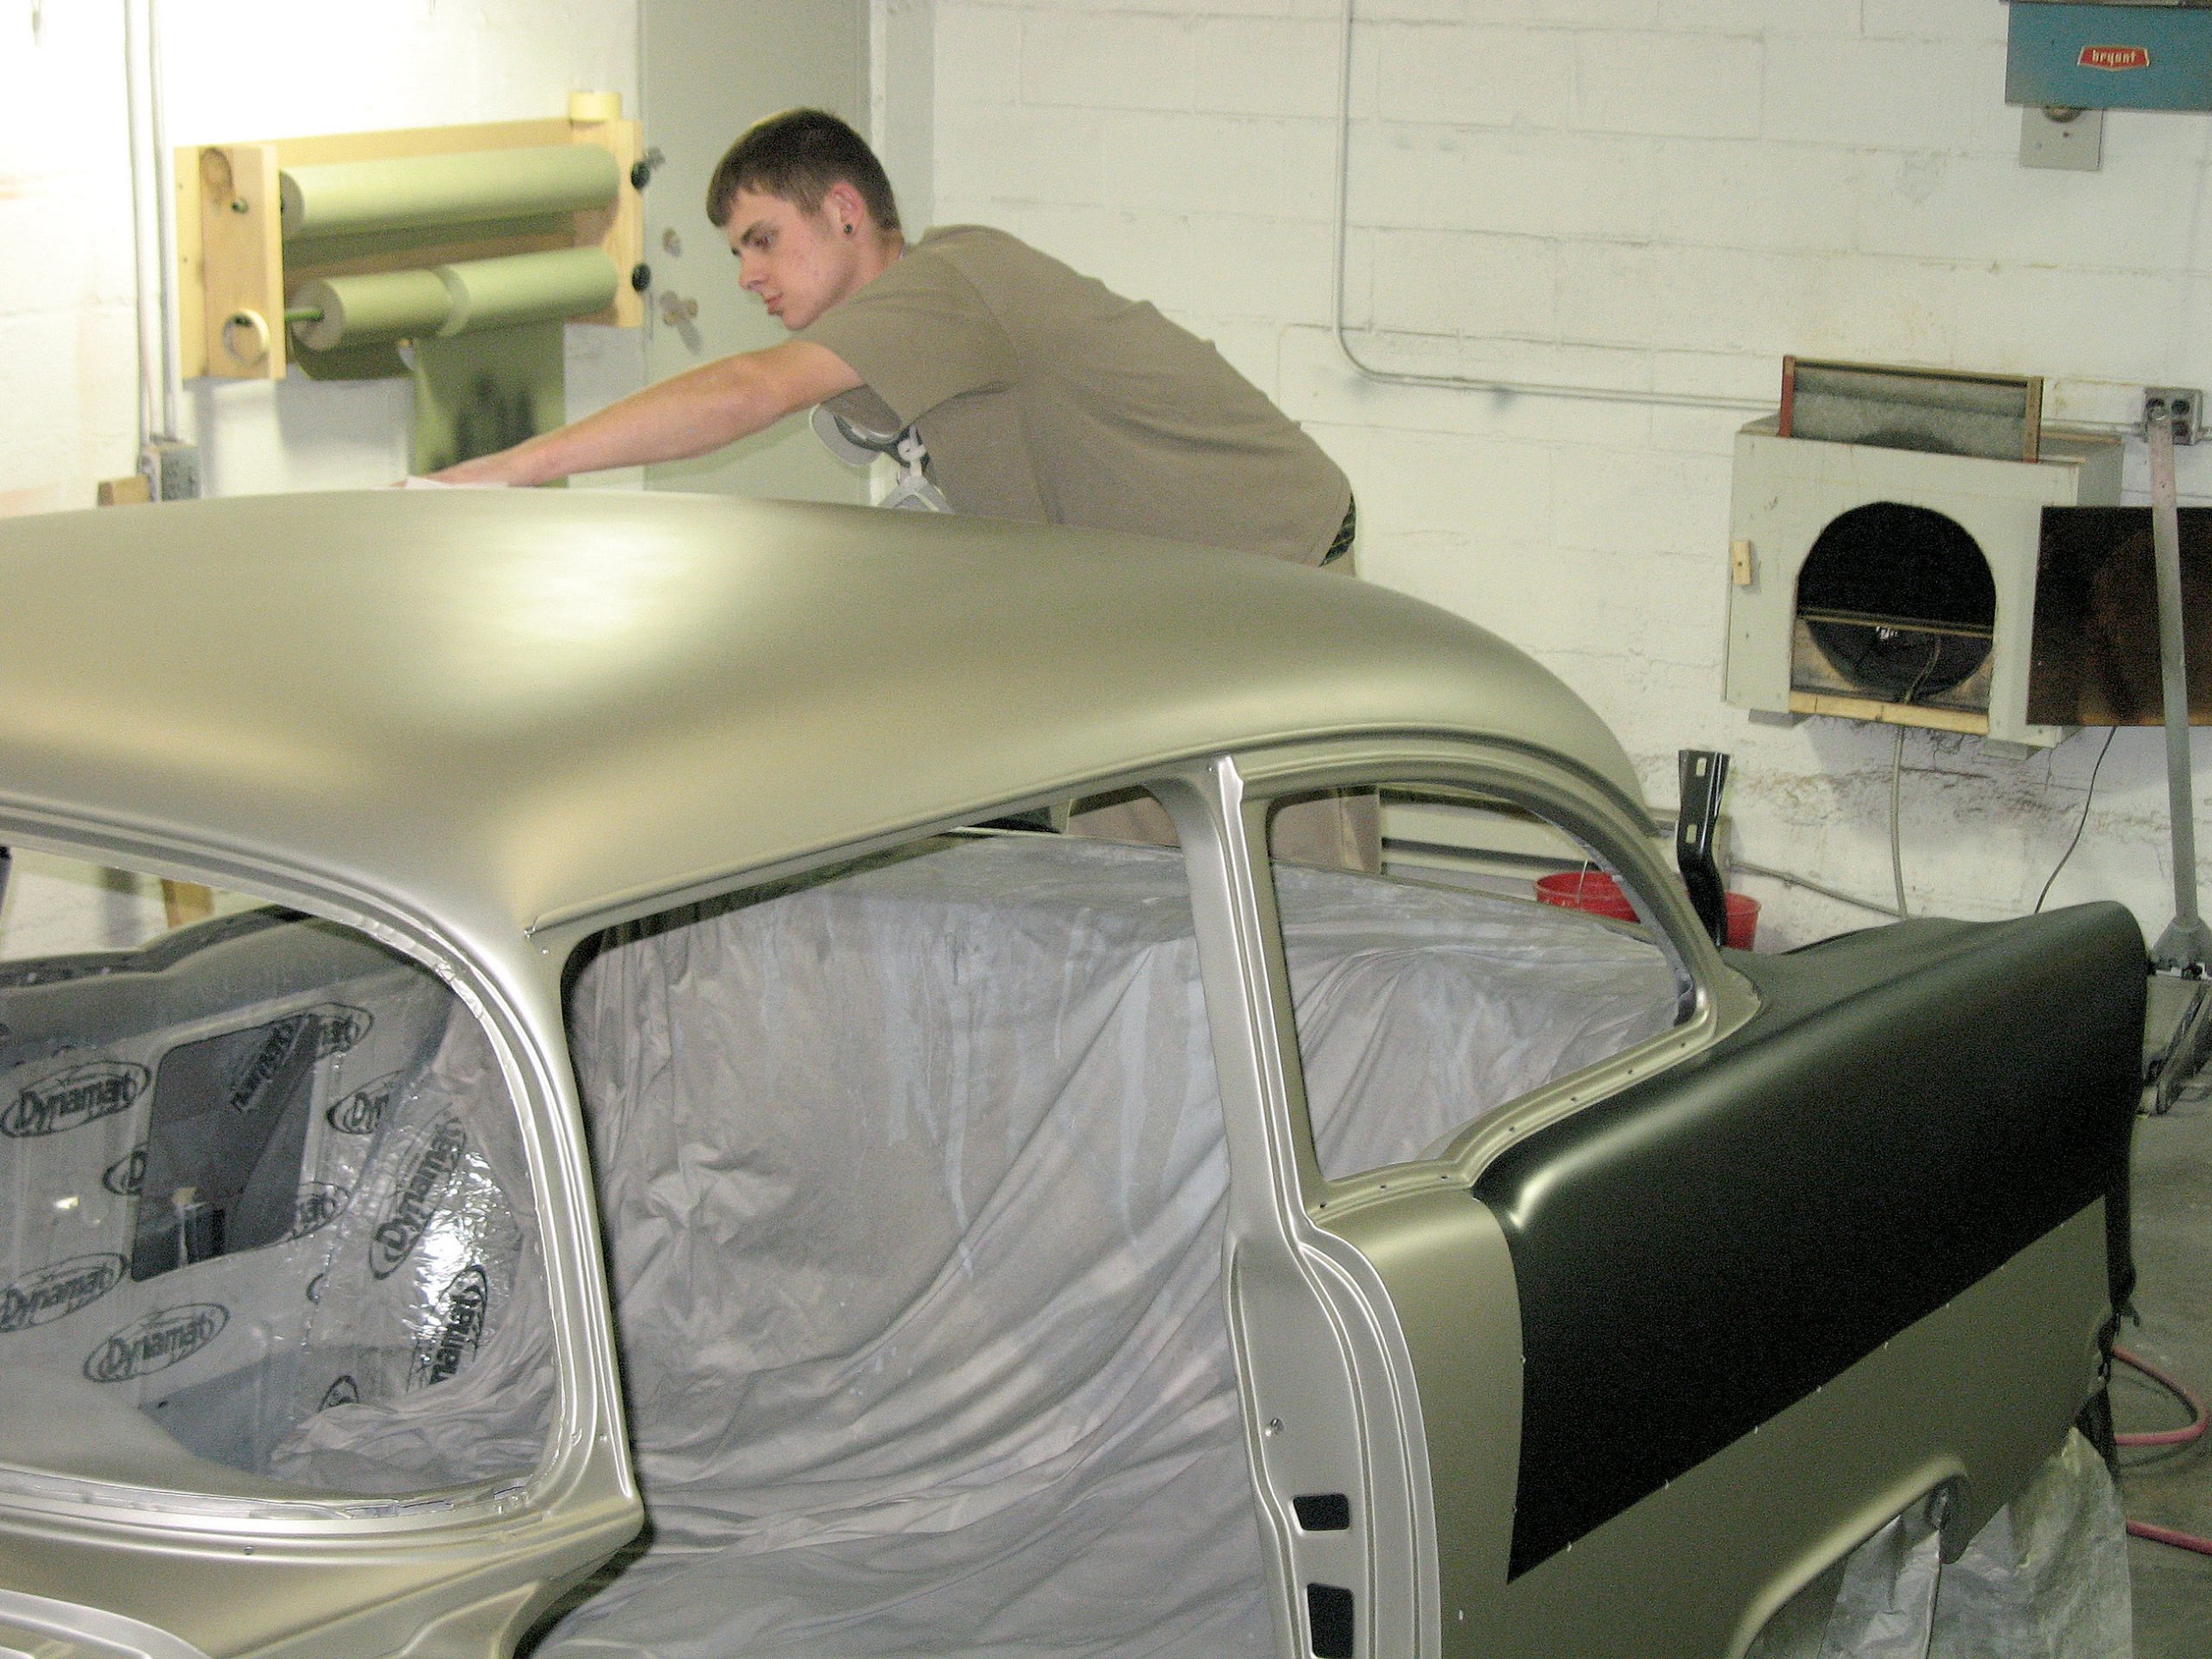
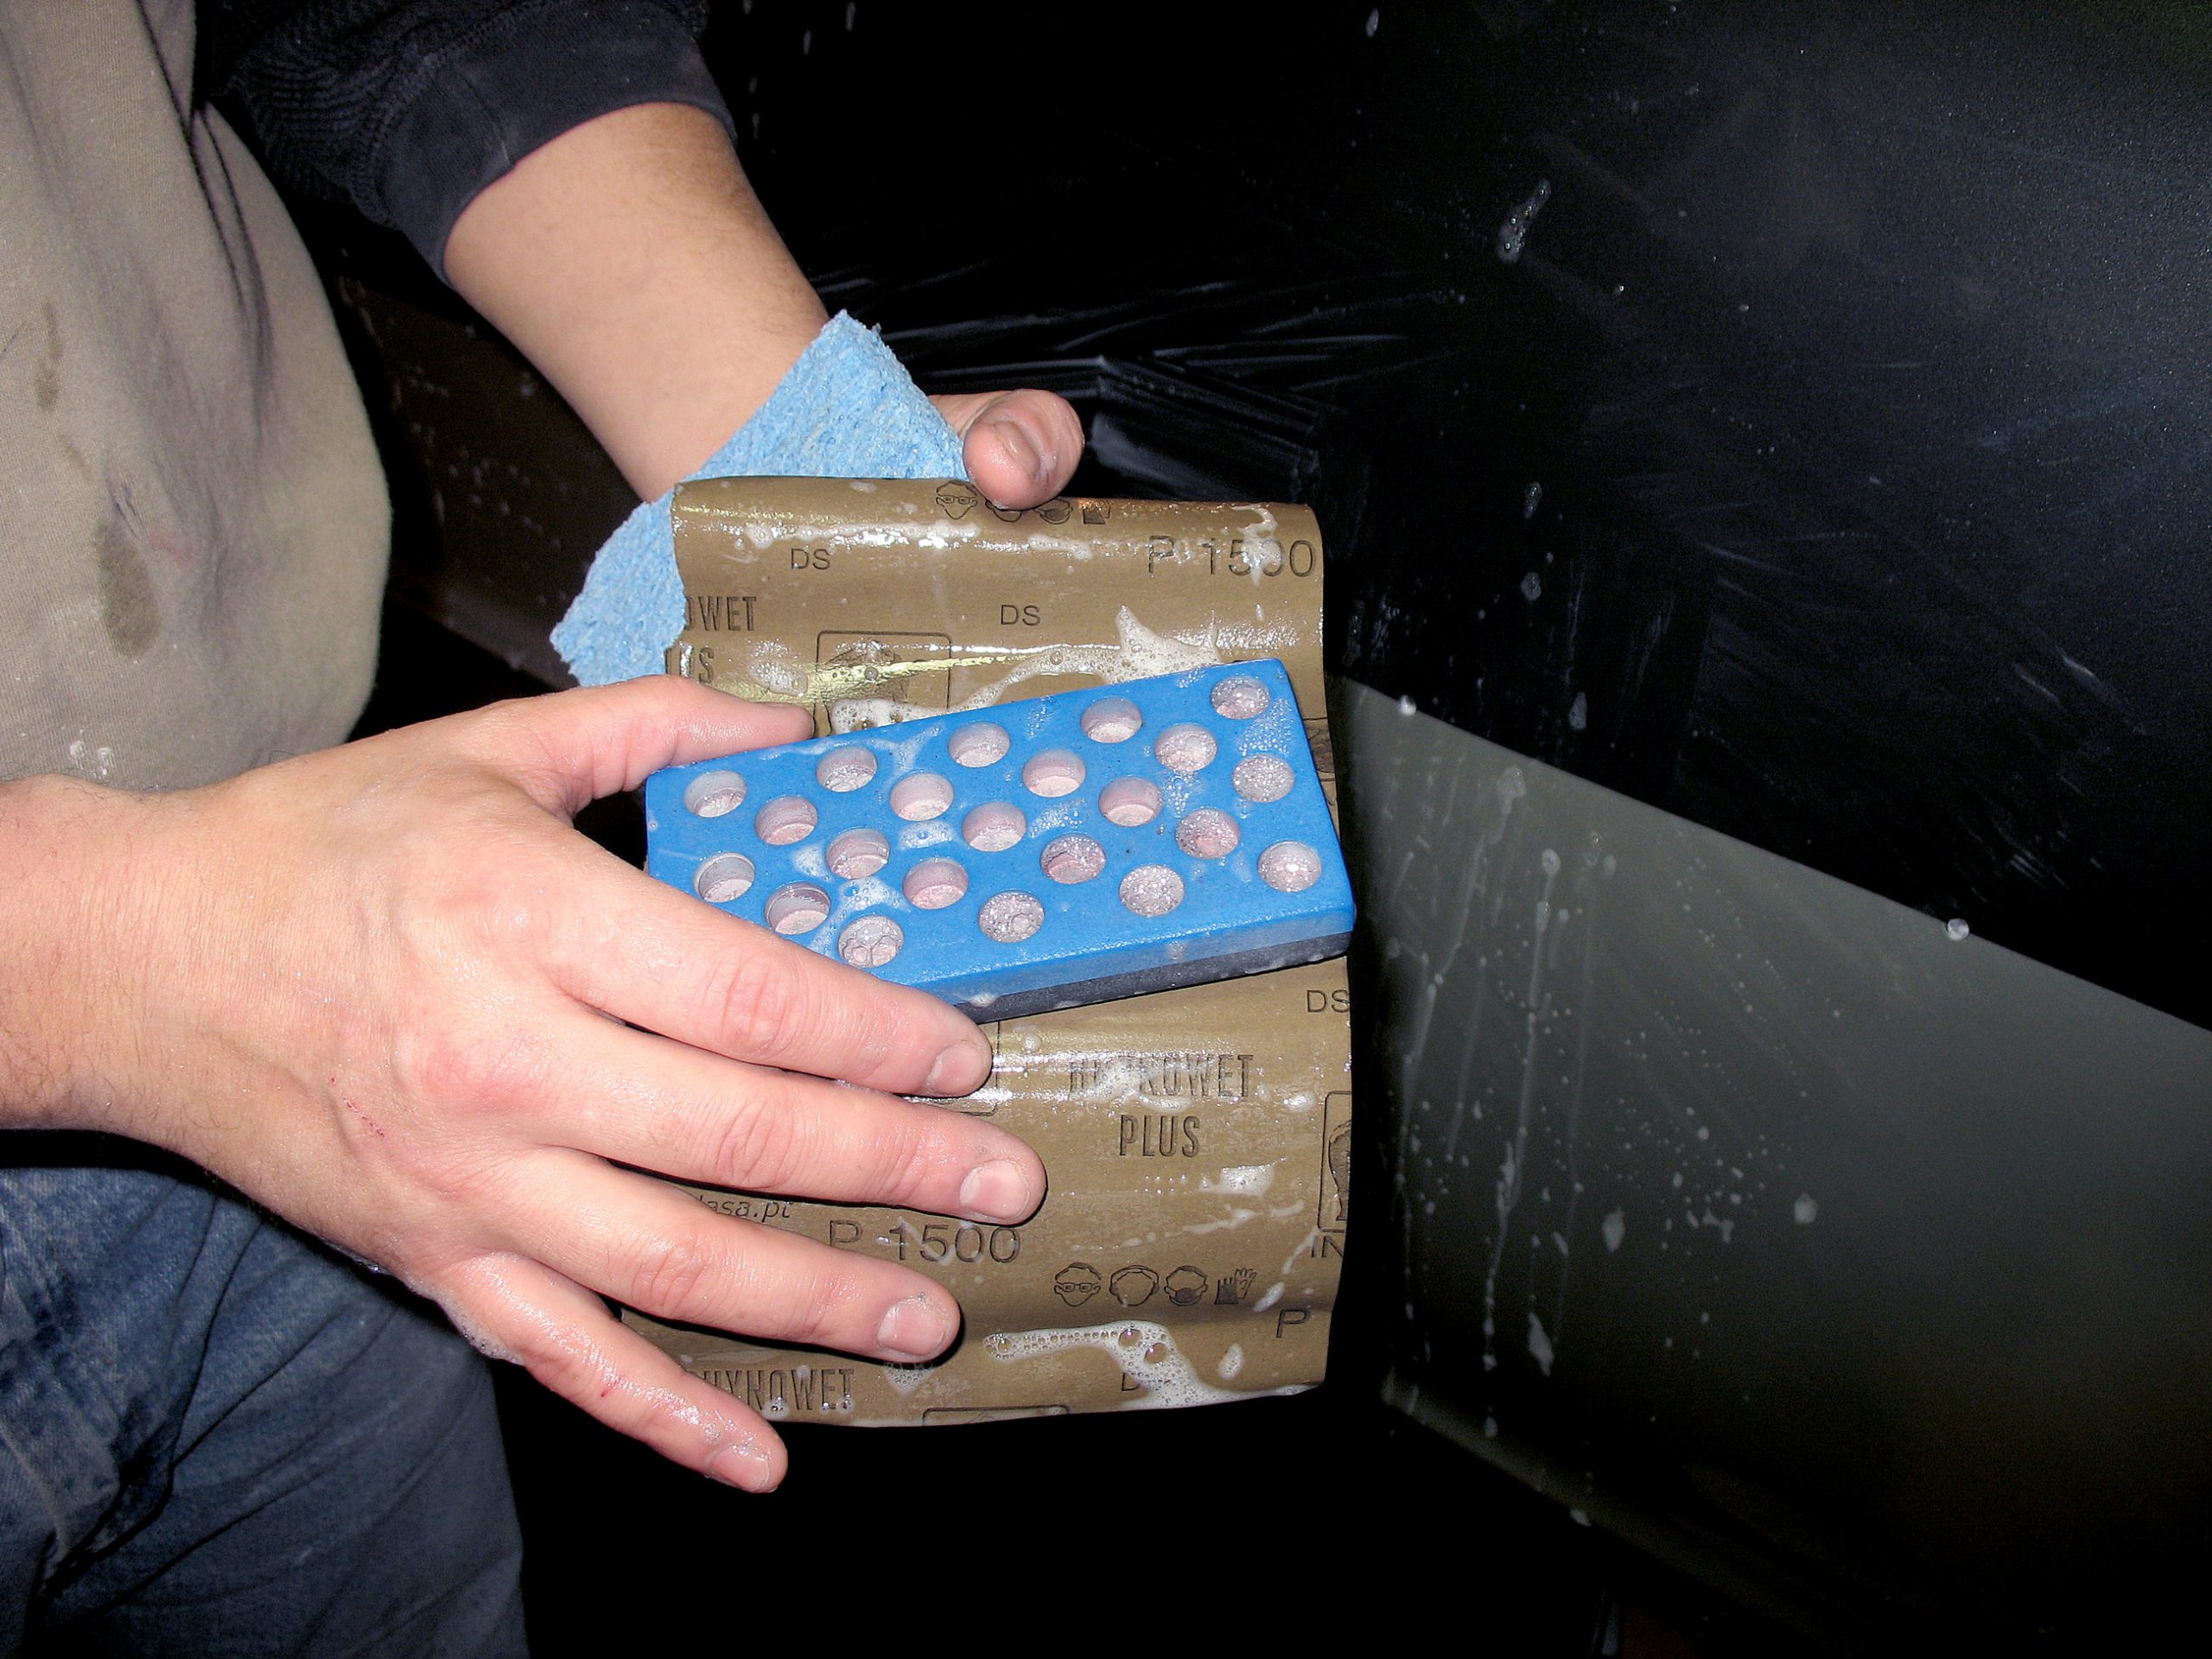
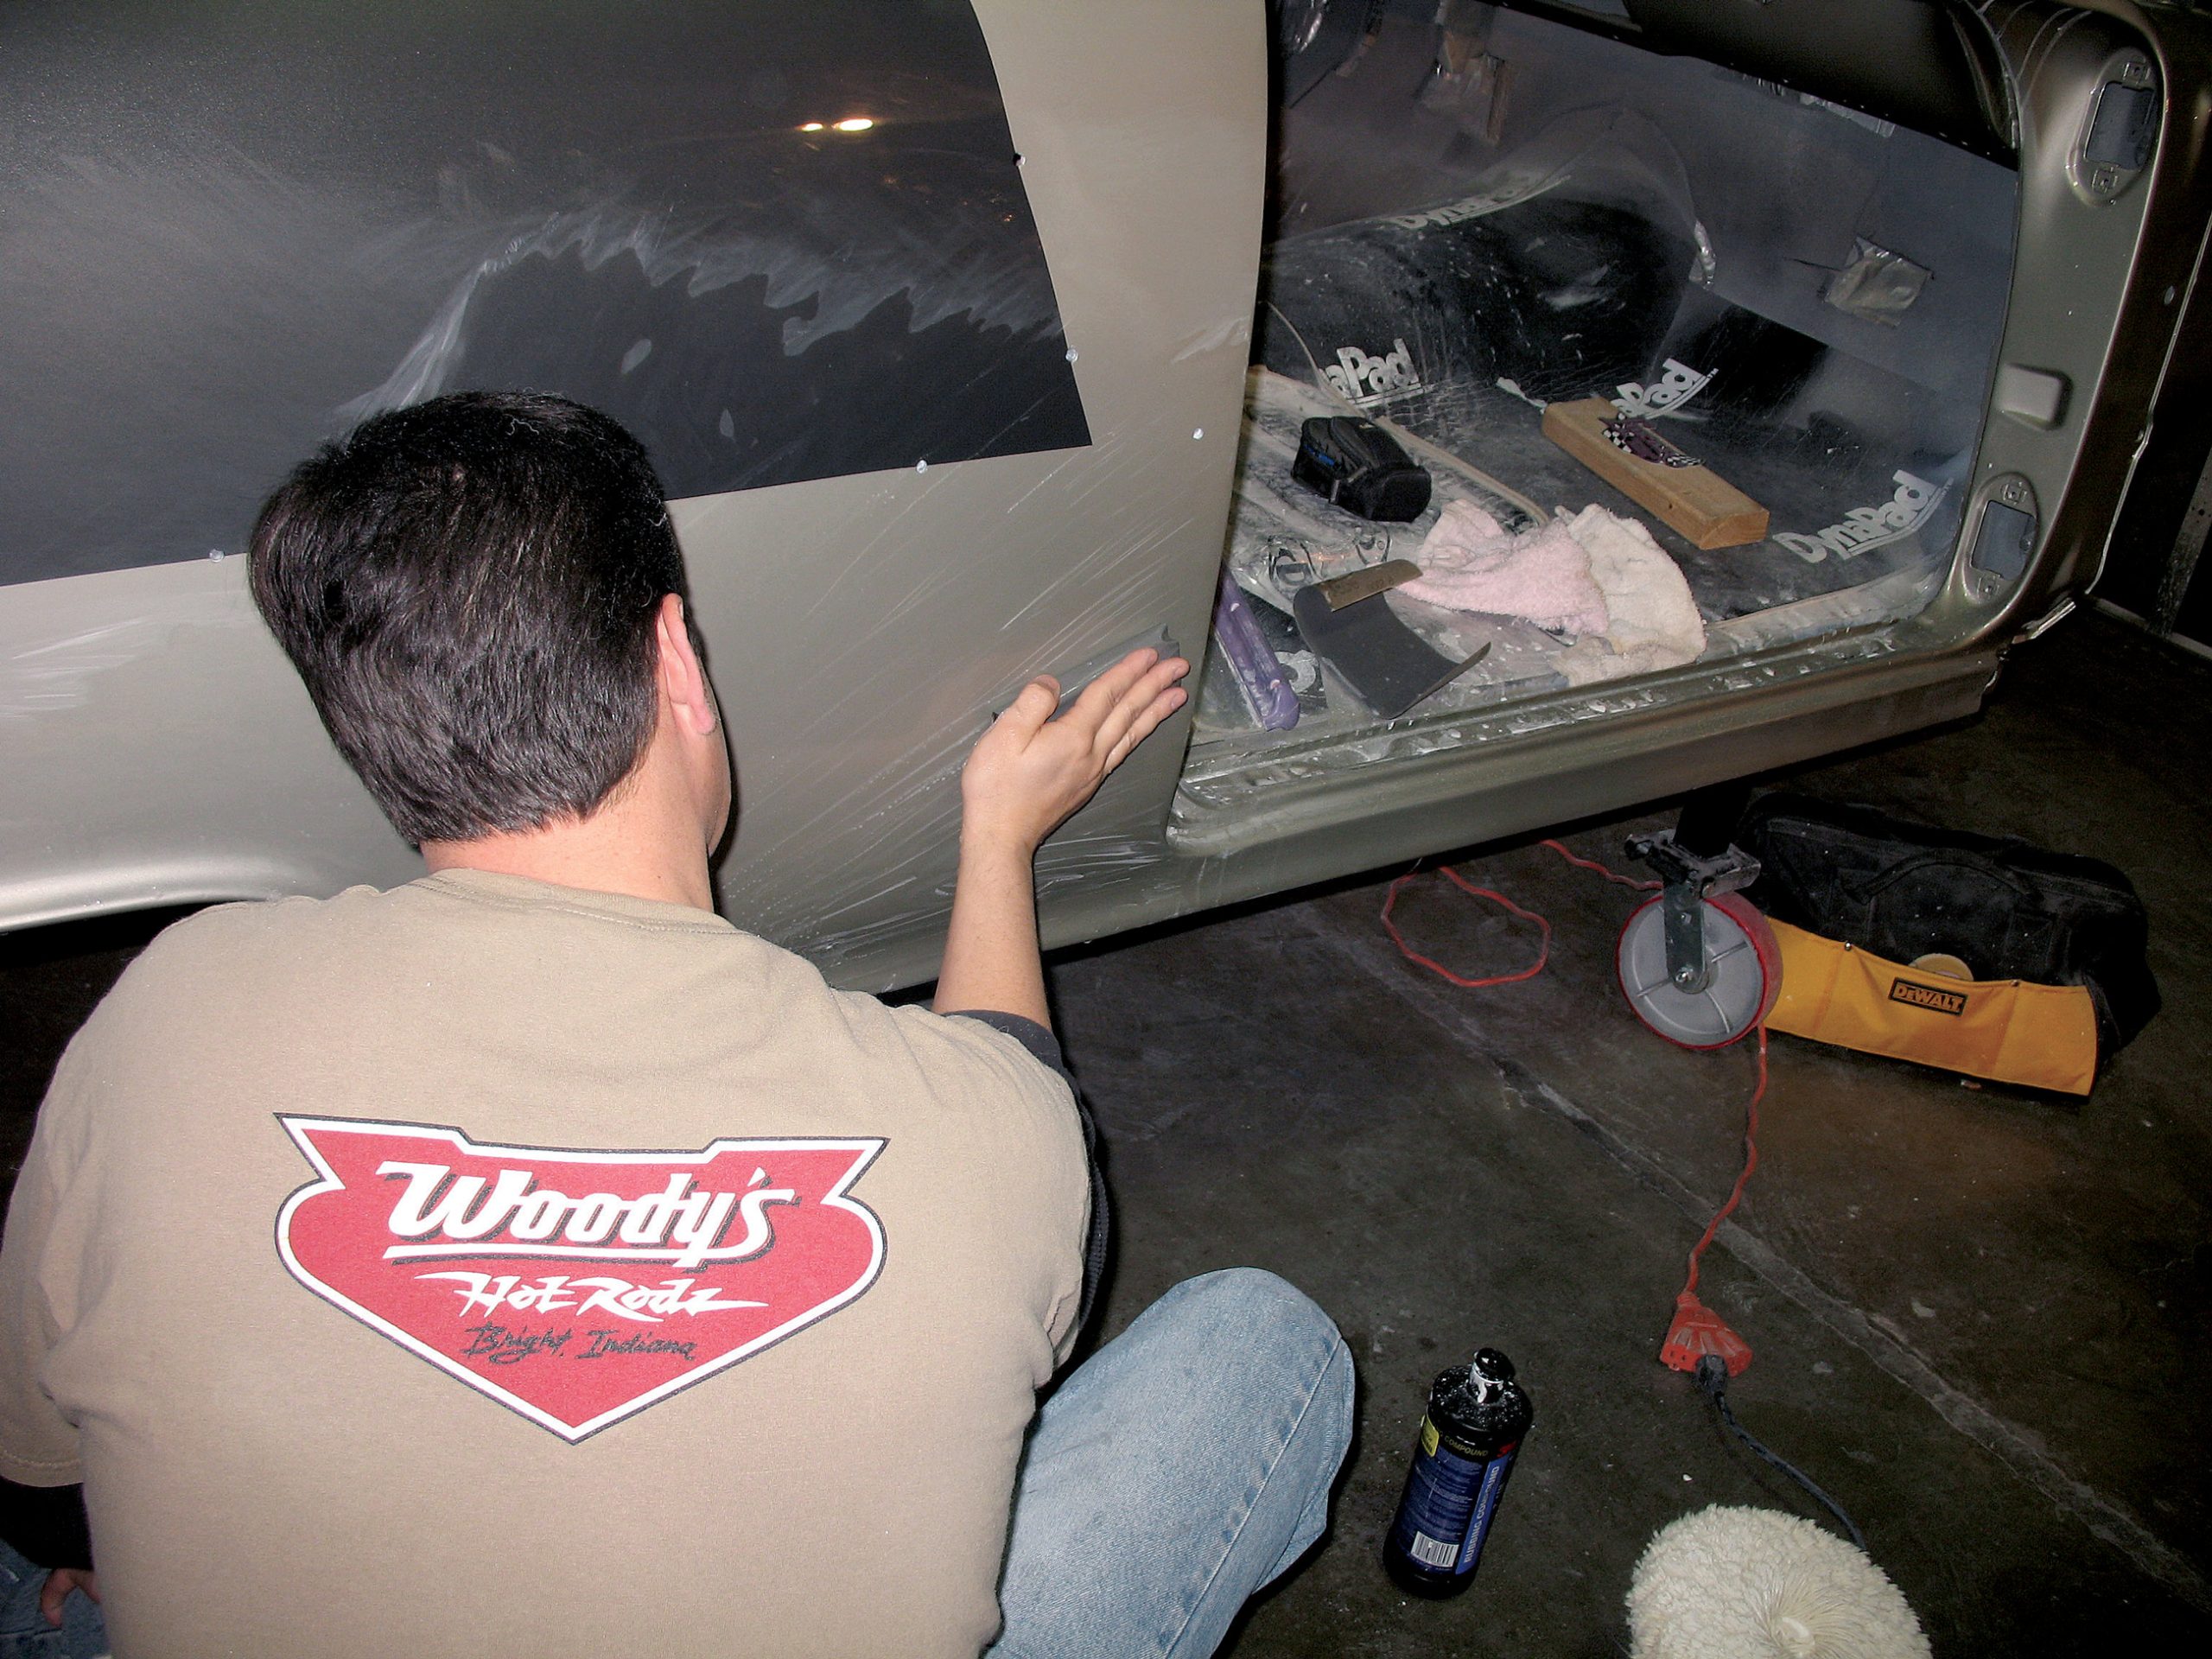
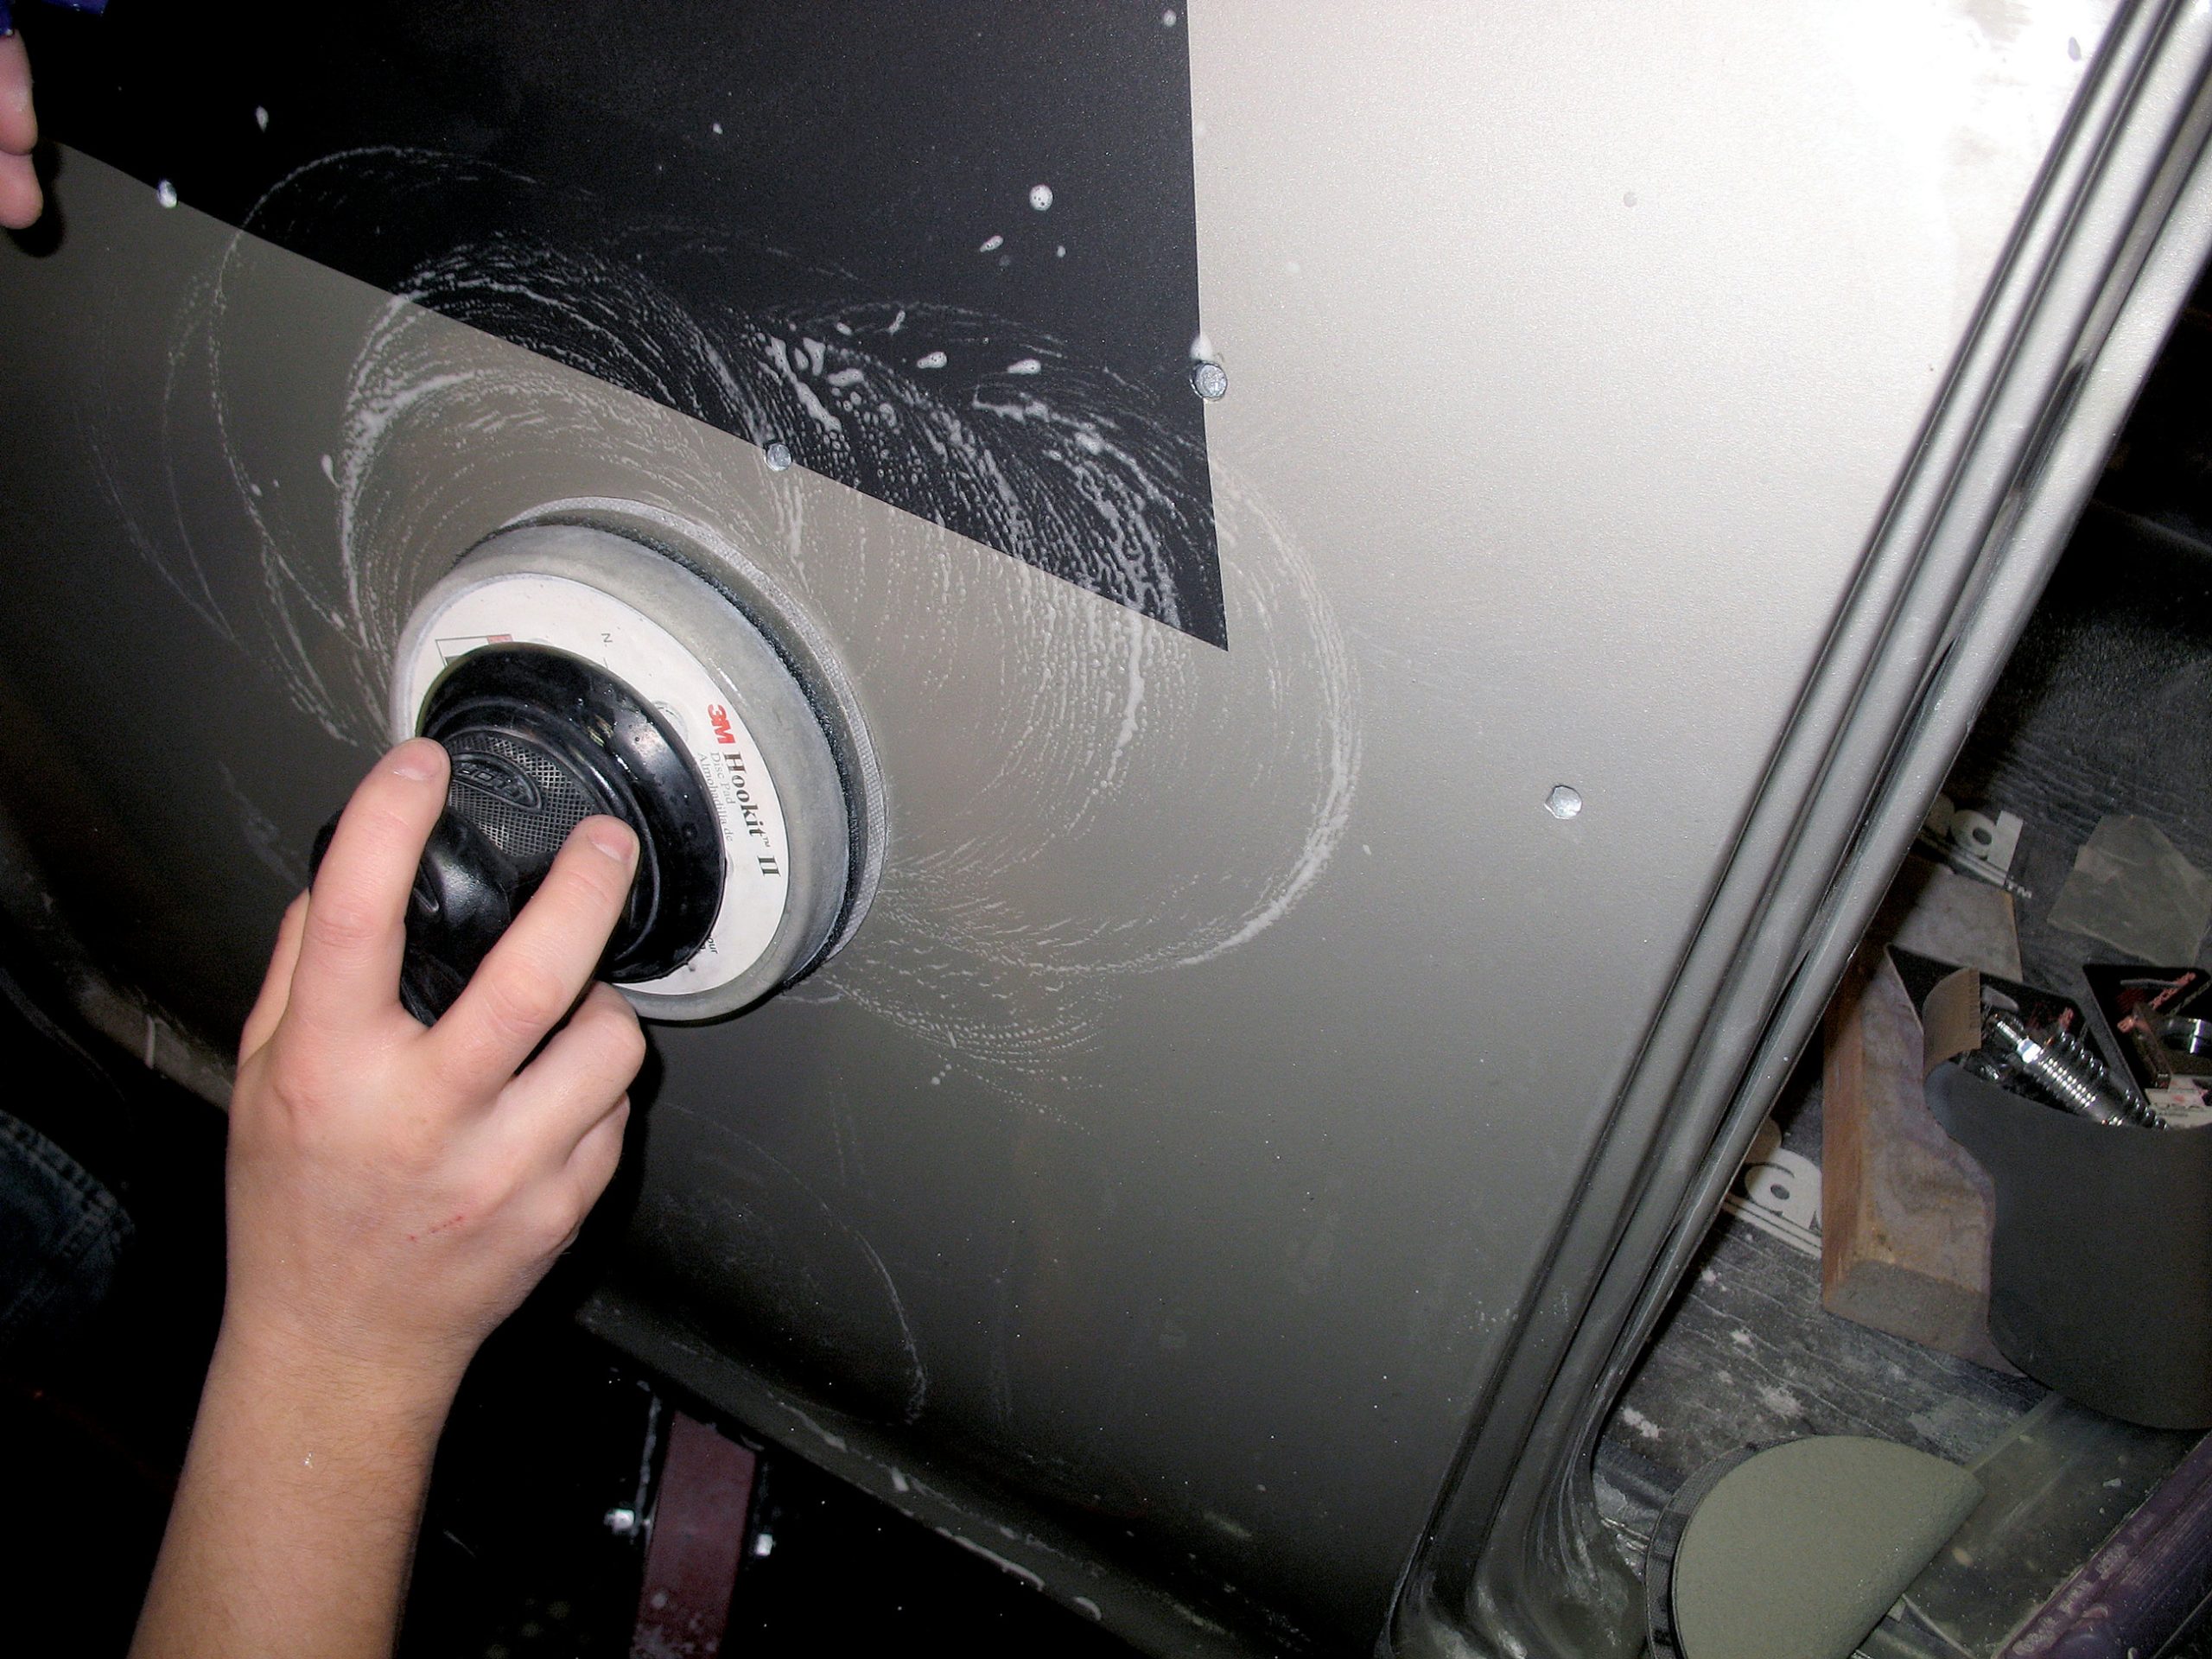
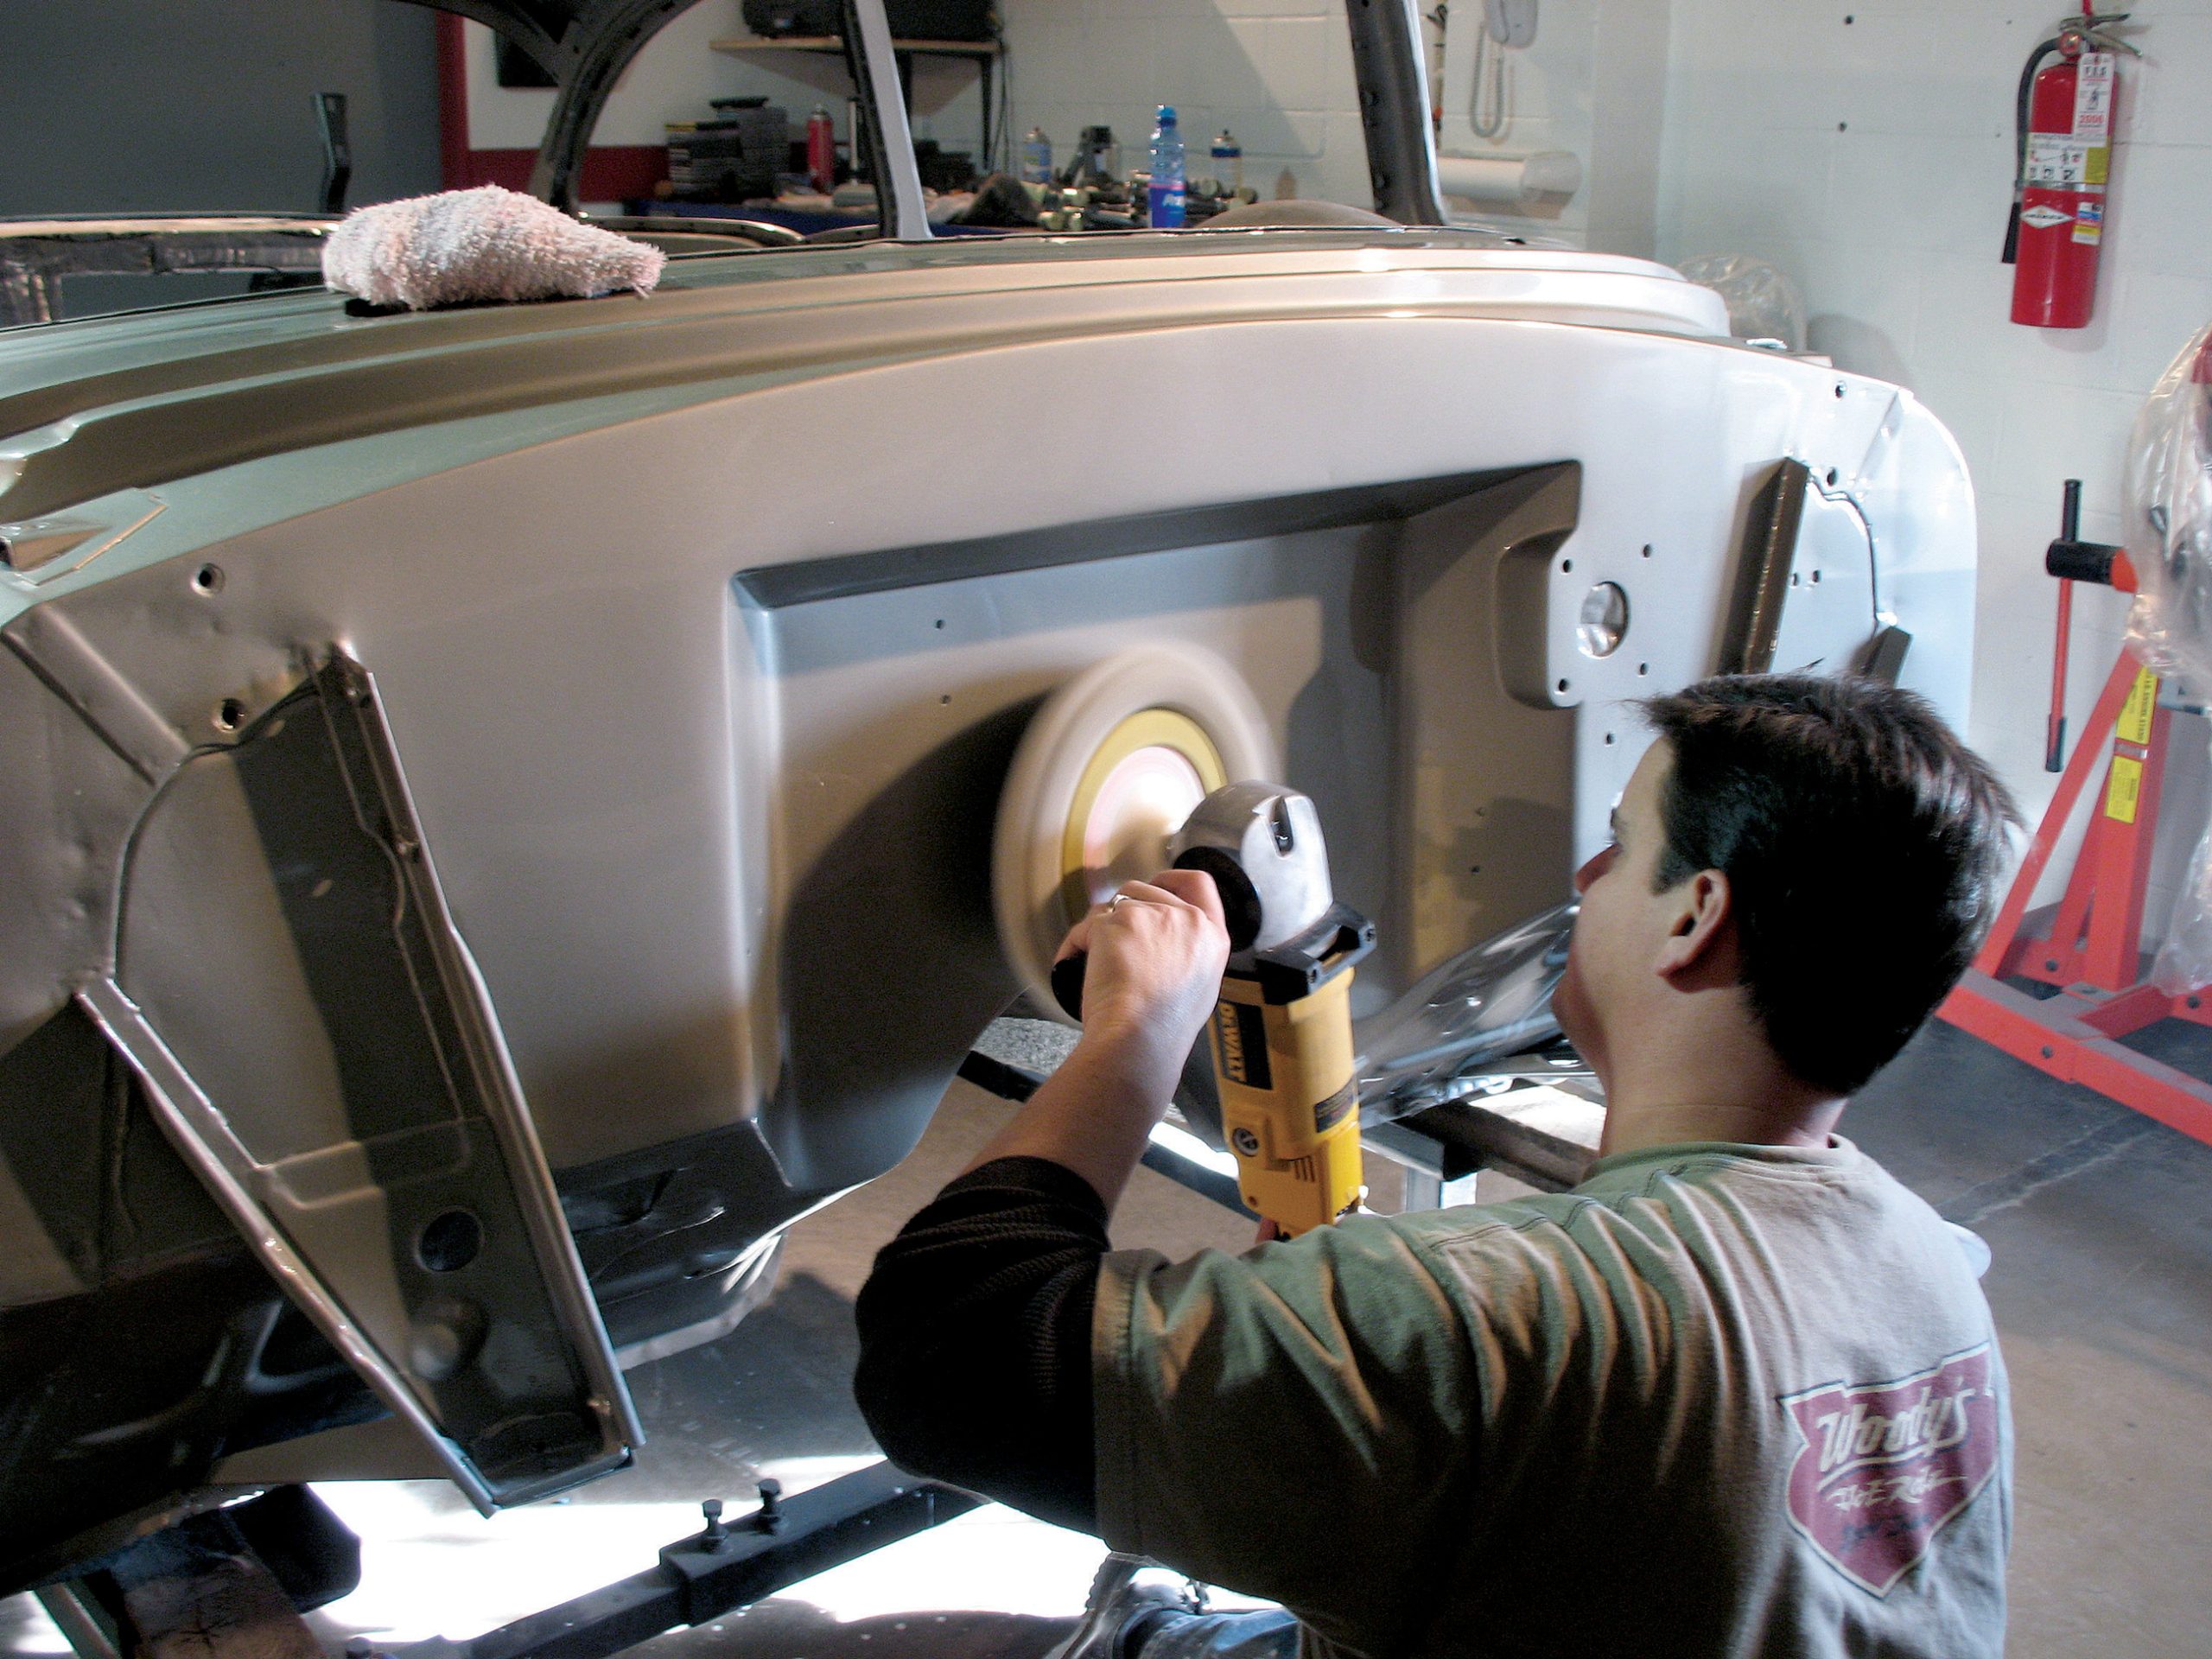
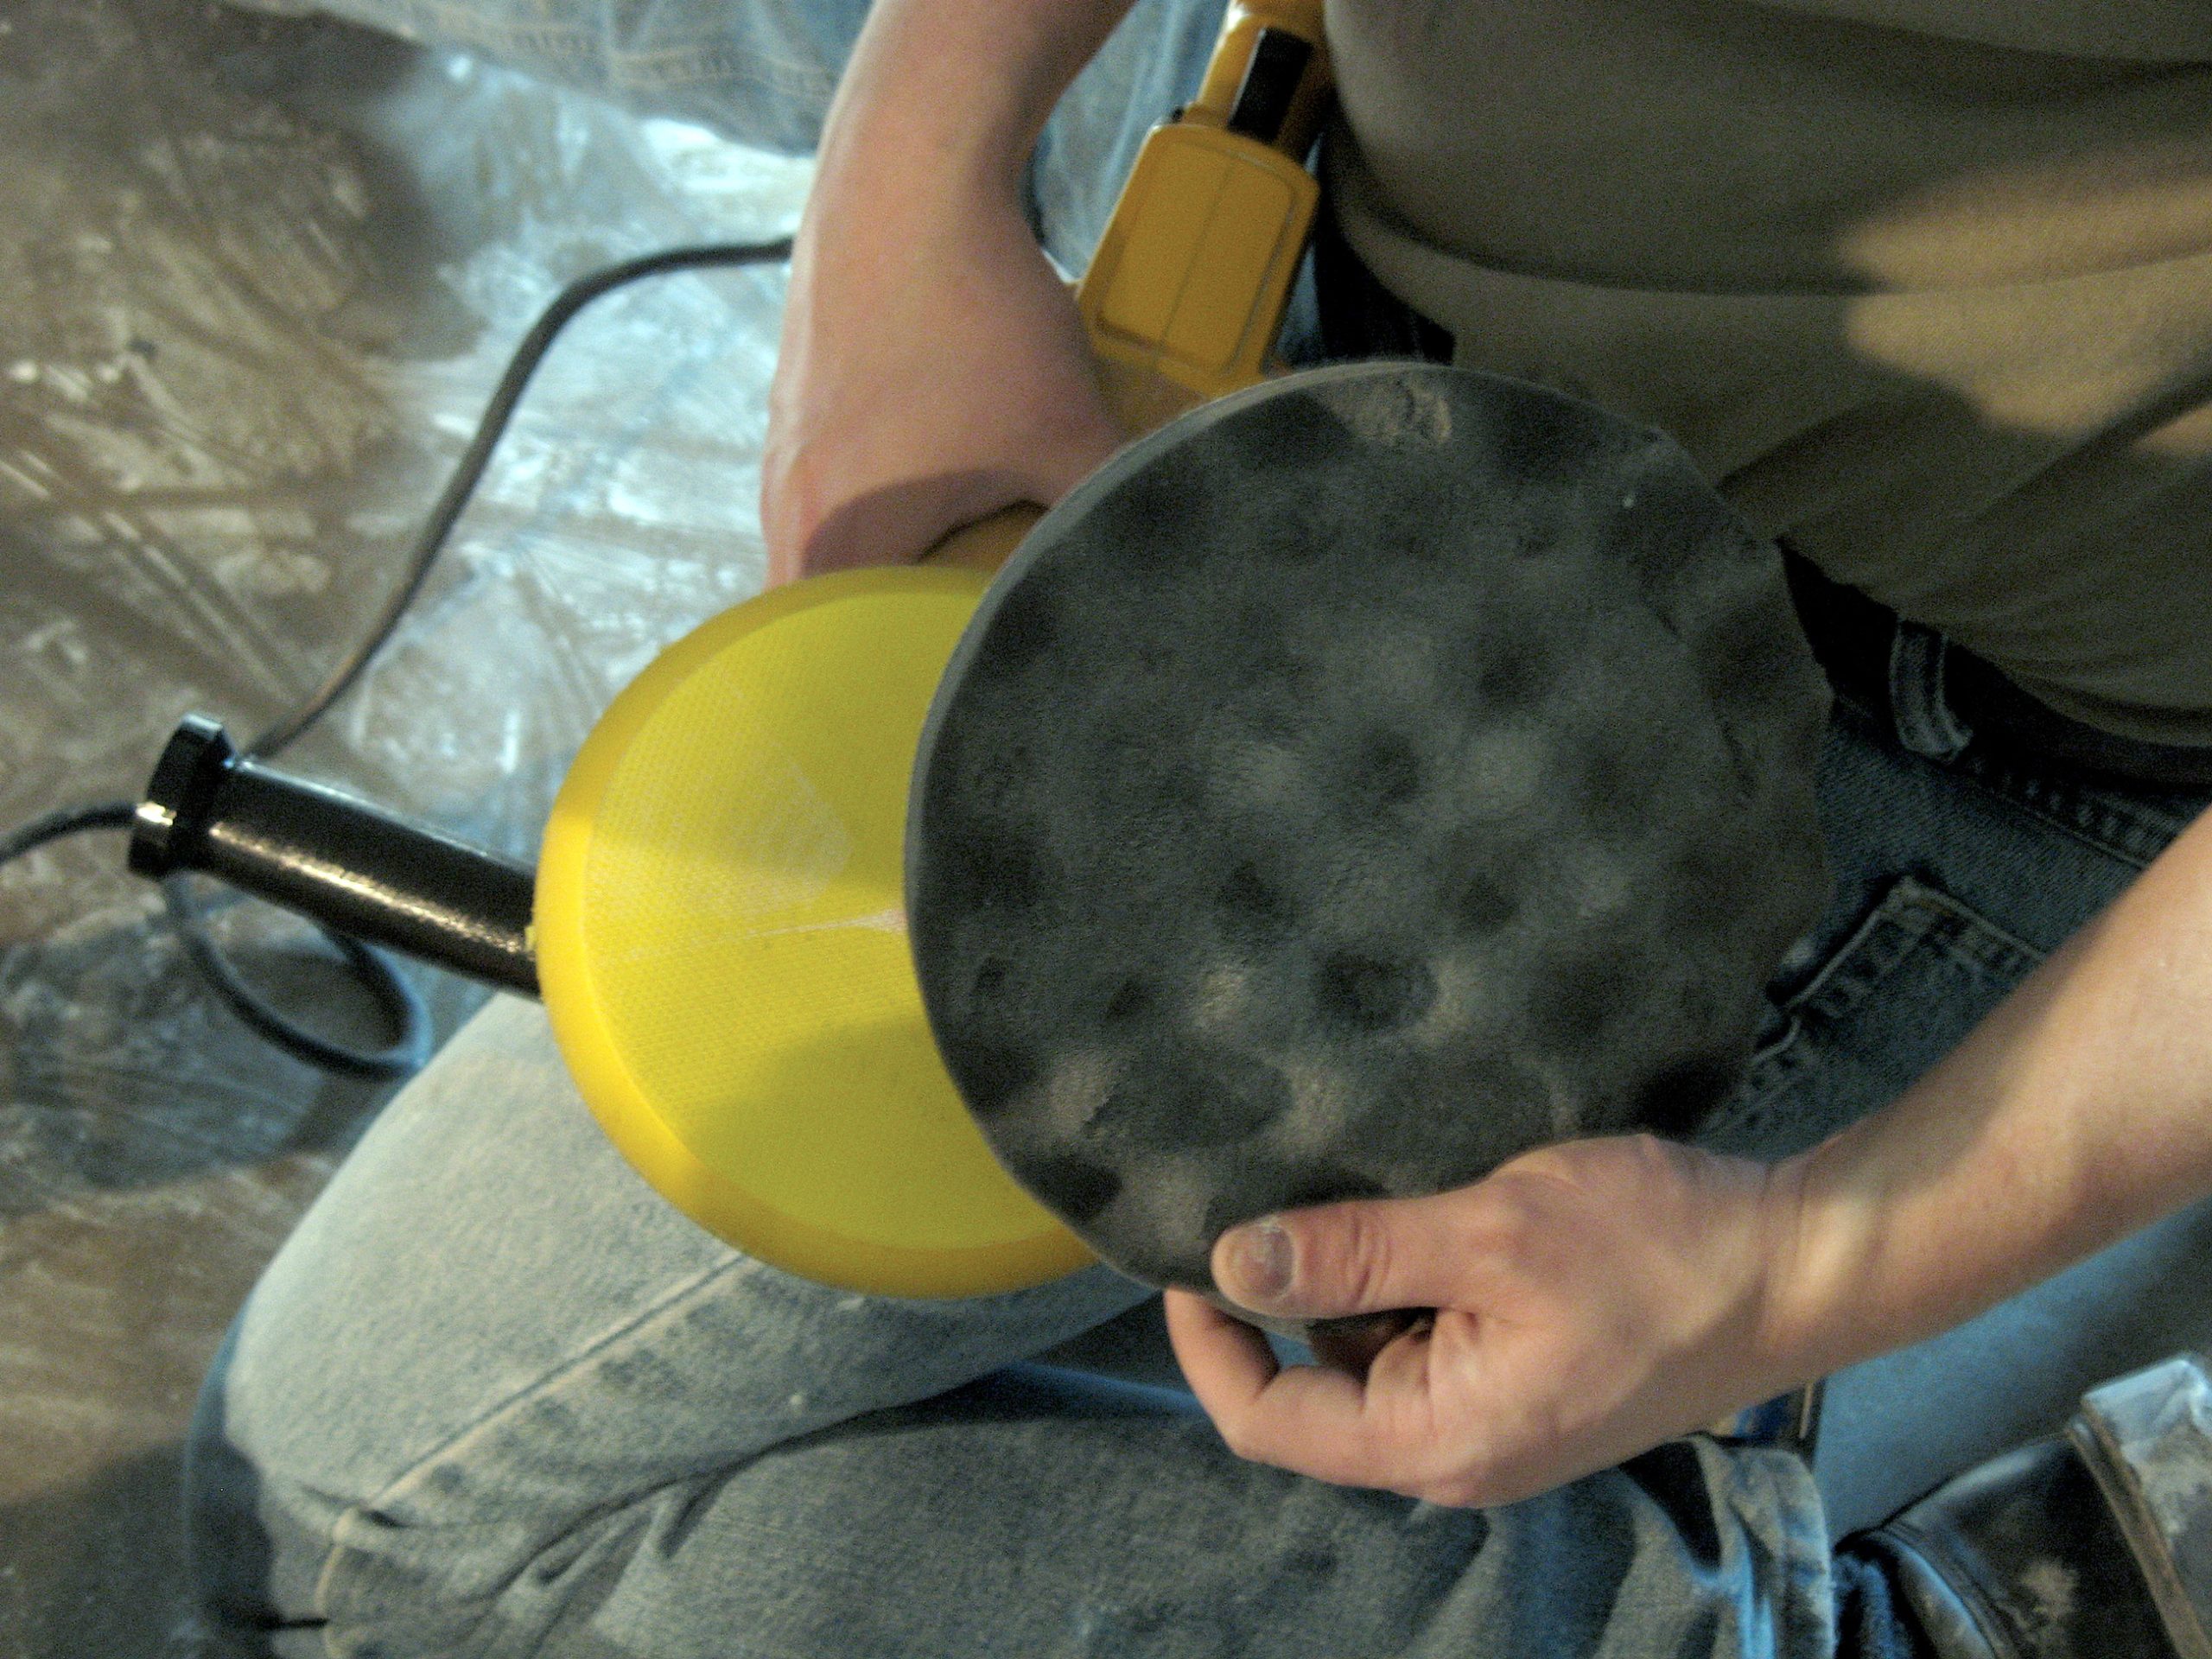
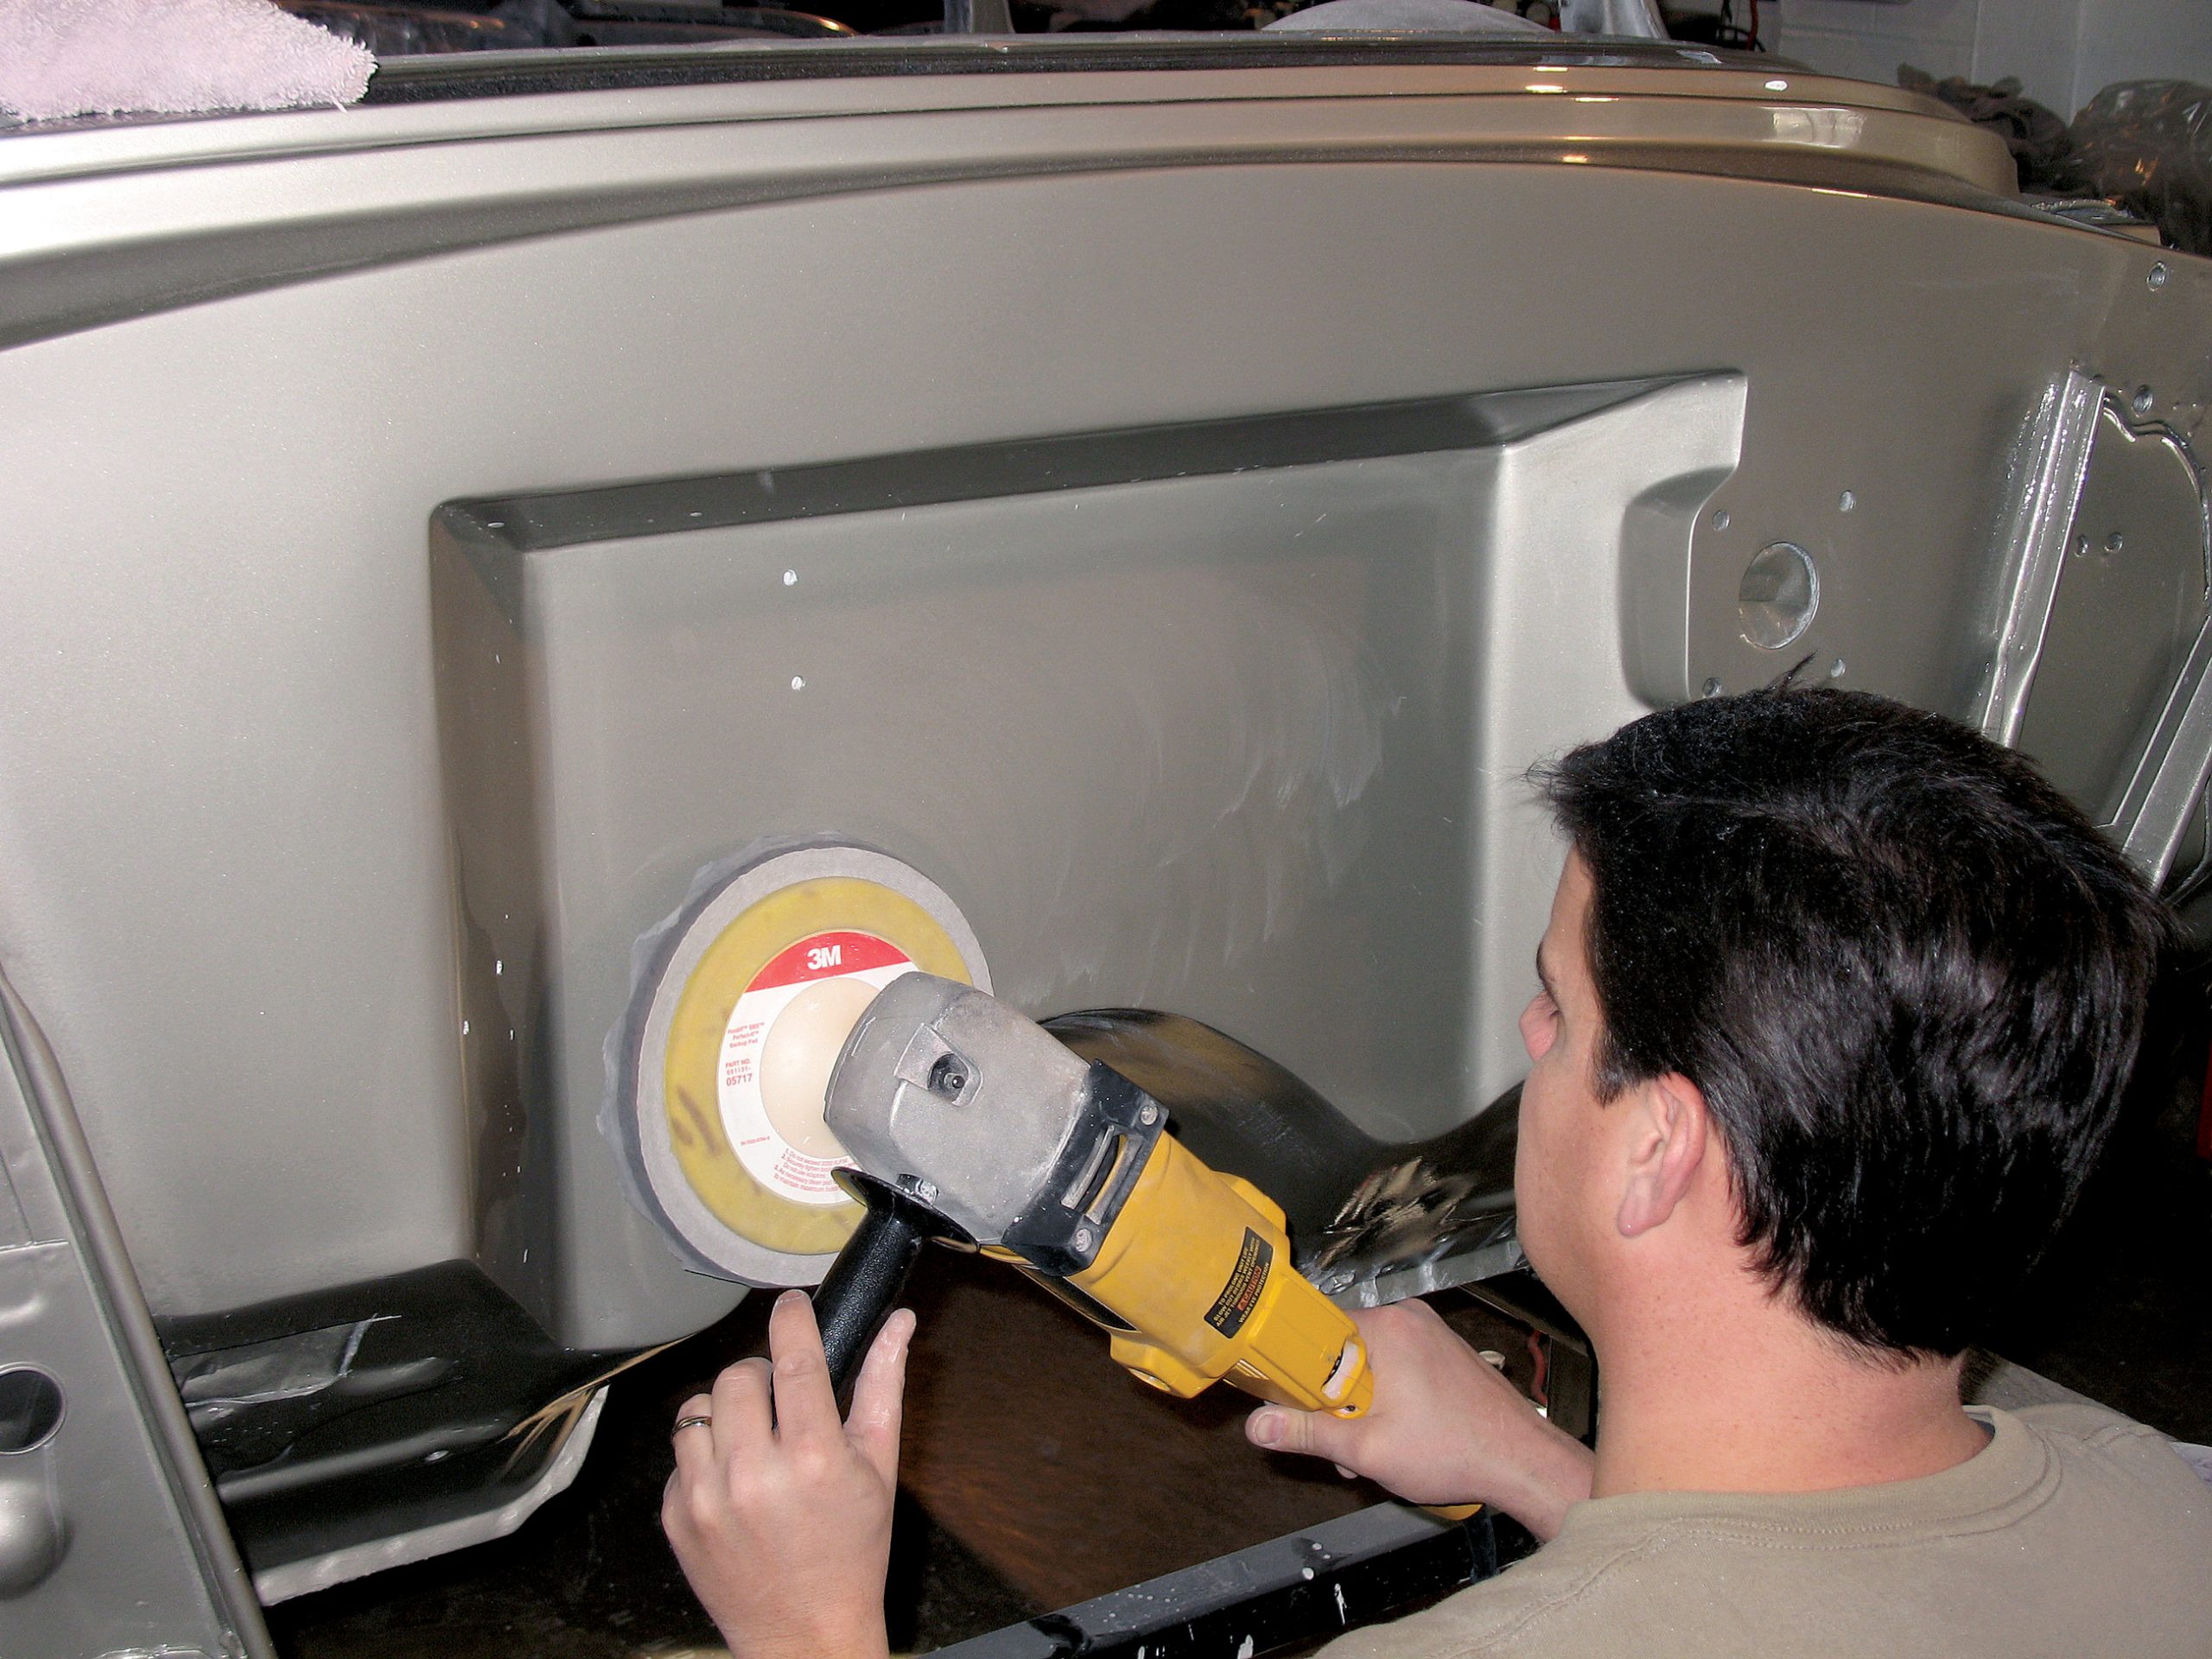
Final Sanding & Buffing
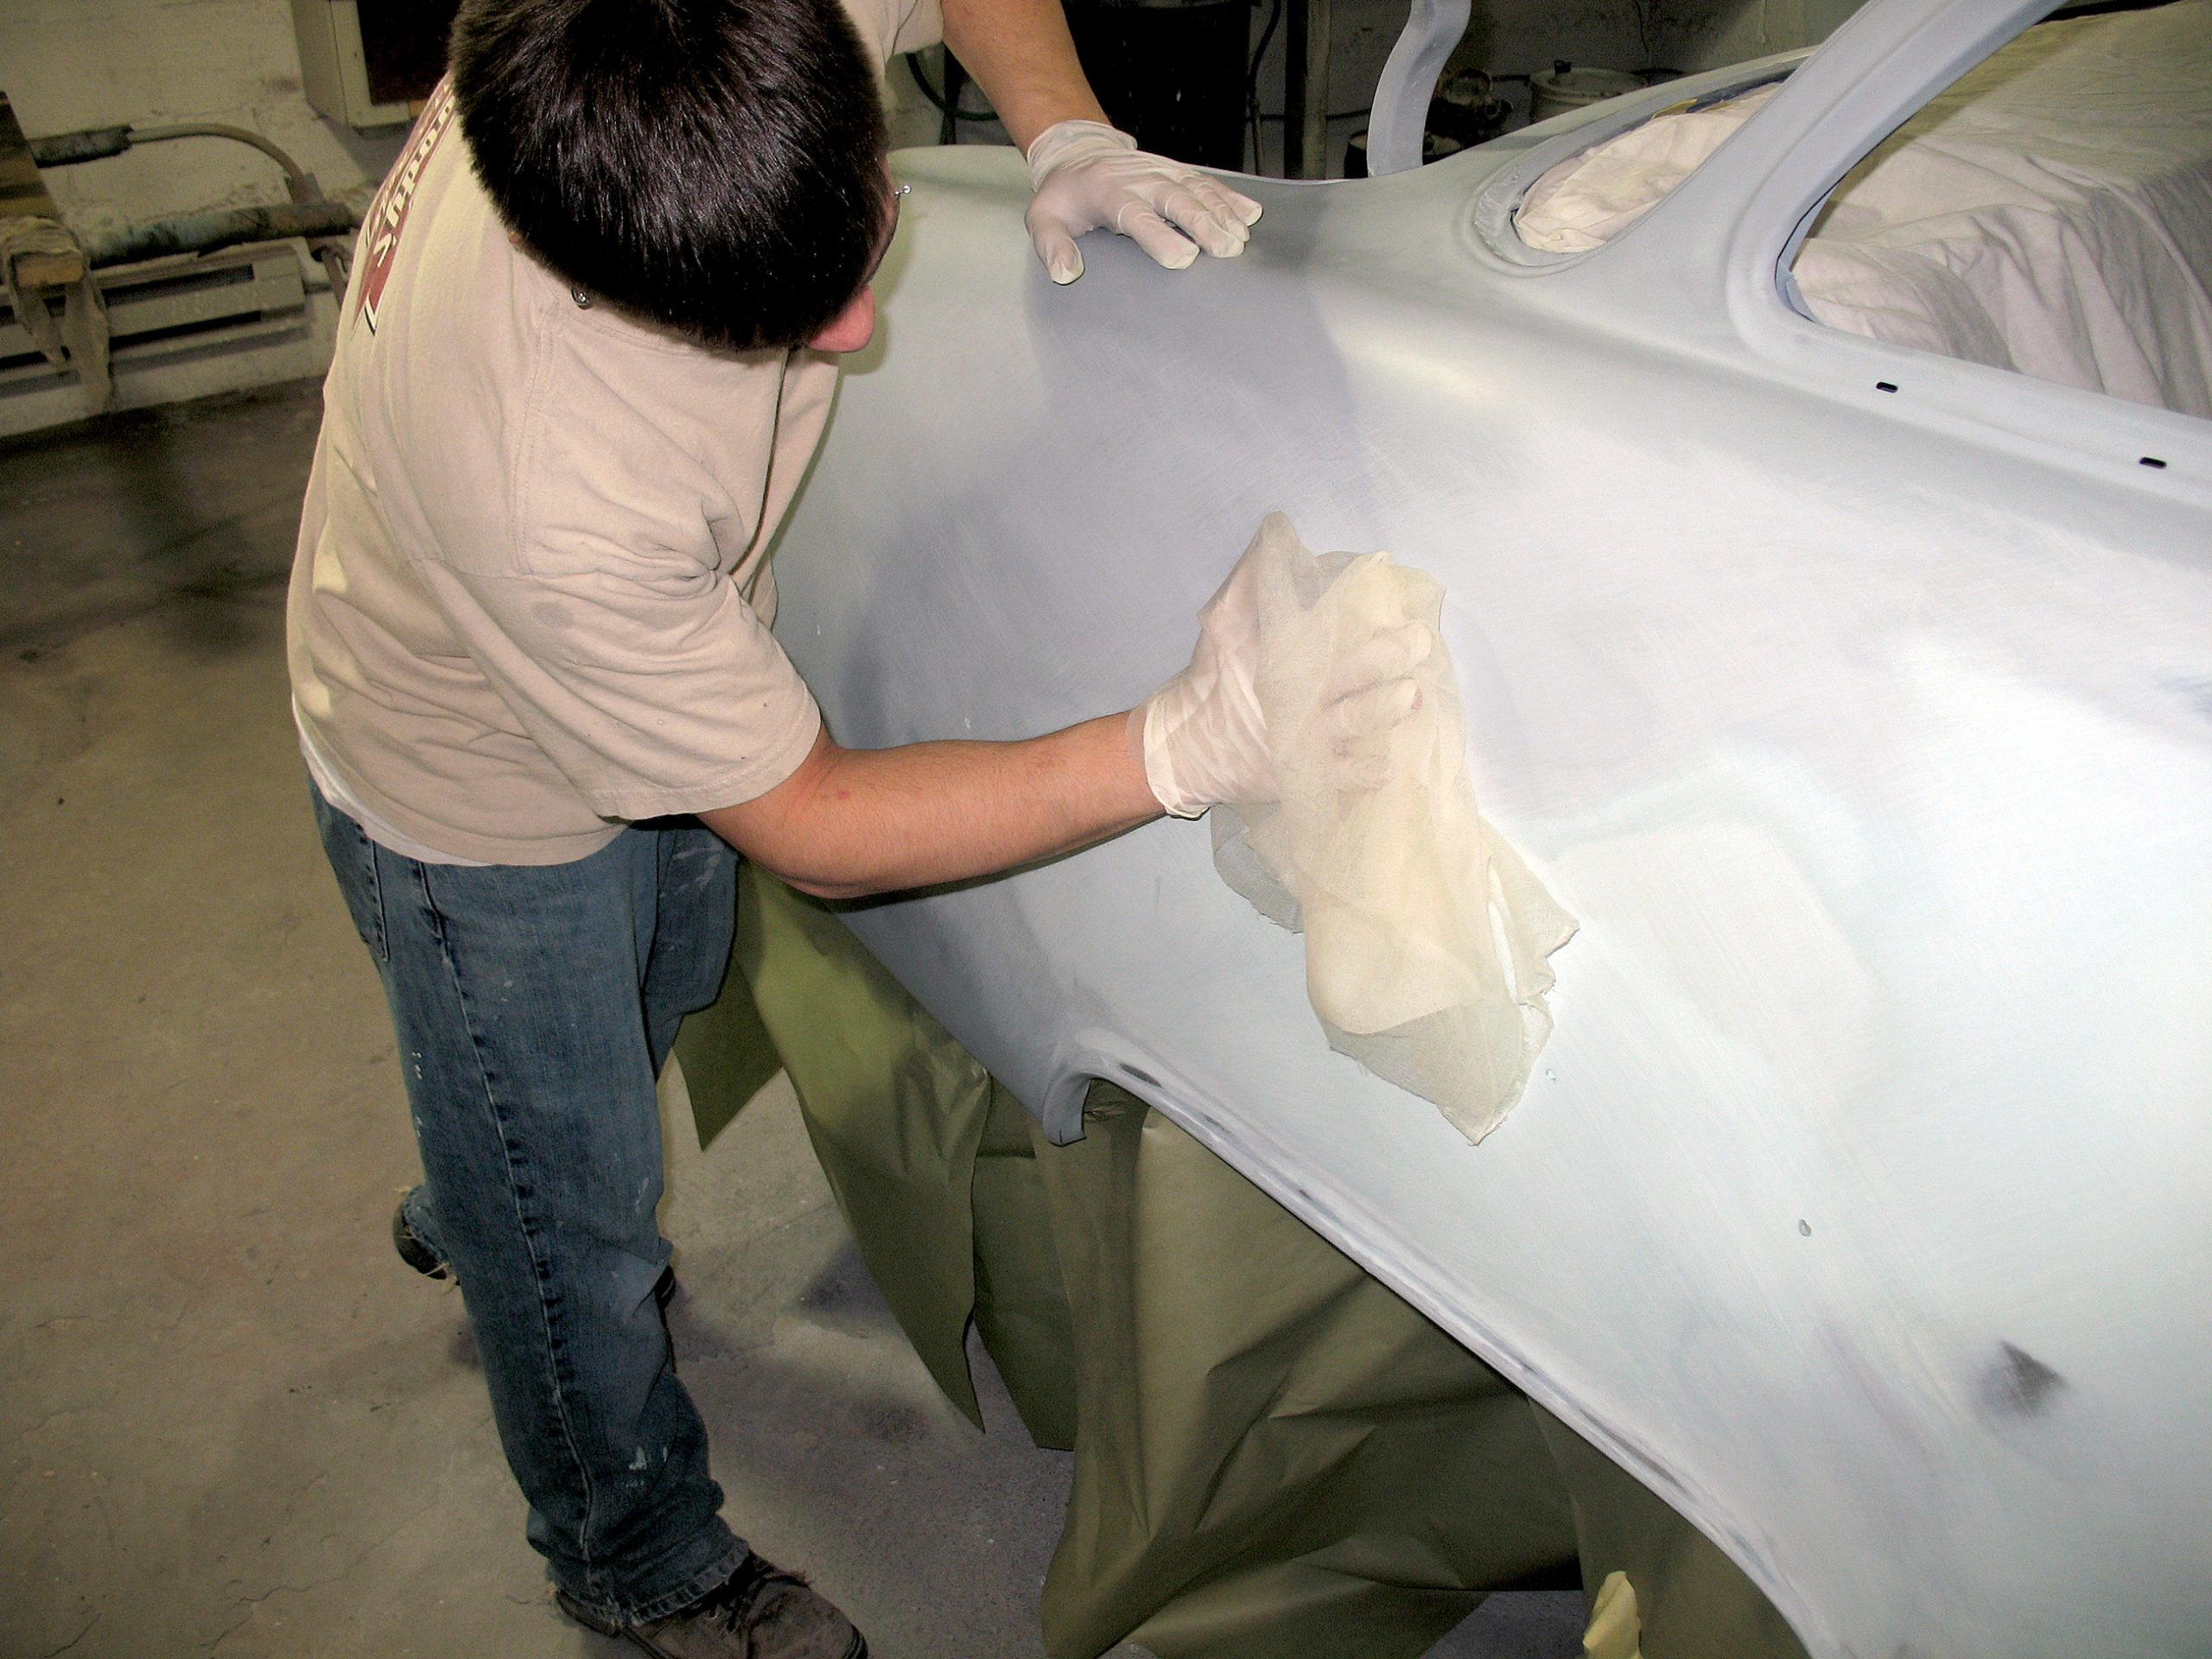
Once the clear is on, allow the car to cure overnight before touching it again. Don’t be in too much of a hurry to sand out the final finish. Allow the paint to cure for a few days or even a week if you have the time. Once it is cured, Woody’s started with 800-grit sandpaper on a soft pad. This allowed them to nib-sand out any dirt and some of the rough texture that was present in the clear. Woody’s then blocked the car completely with 1200-grit sandpaper to remove any of the orange peel present in the finish. The final step was color-sanding the entire car with 1500-grit sandpaper to remove any deep scratches left from the coarser sandpaper. A soft hand pad should be used for these steps to eliminate the risk of damaging the finish. This can take a long time depending on the size of the car and how rough the initial finish was, but the extra time you take at this step will pay off with a better final result. The last step before buffing was to go over the car once again with 2000-grit sandpaper to remove any deeper scratches that may have been left behind. This is key to a good finish, and you need to keep track of how you sand the car. As with painting, keep a diary of how you sand, what grit you used, and how many coats you applied so that if you do have to repaint a section, you can match it up with what you have already done.
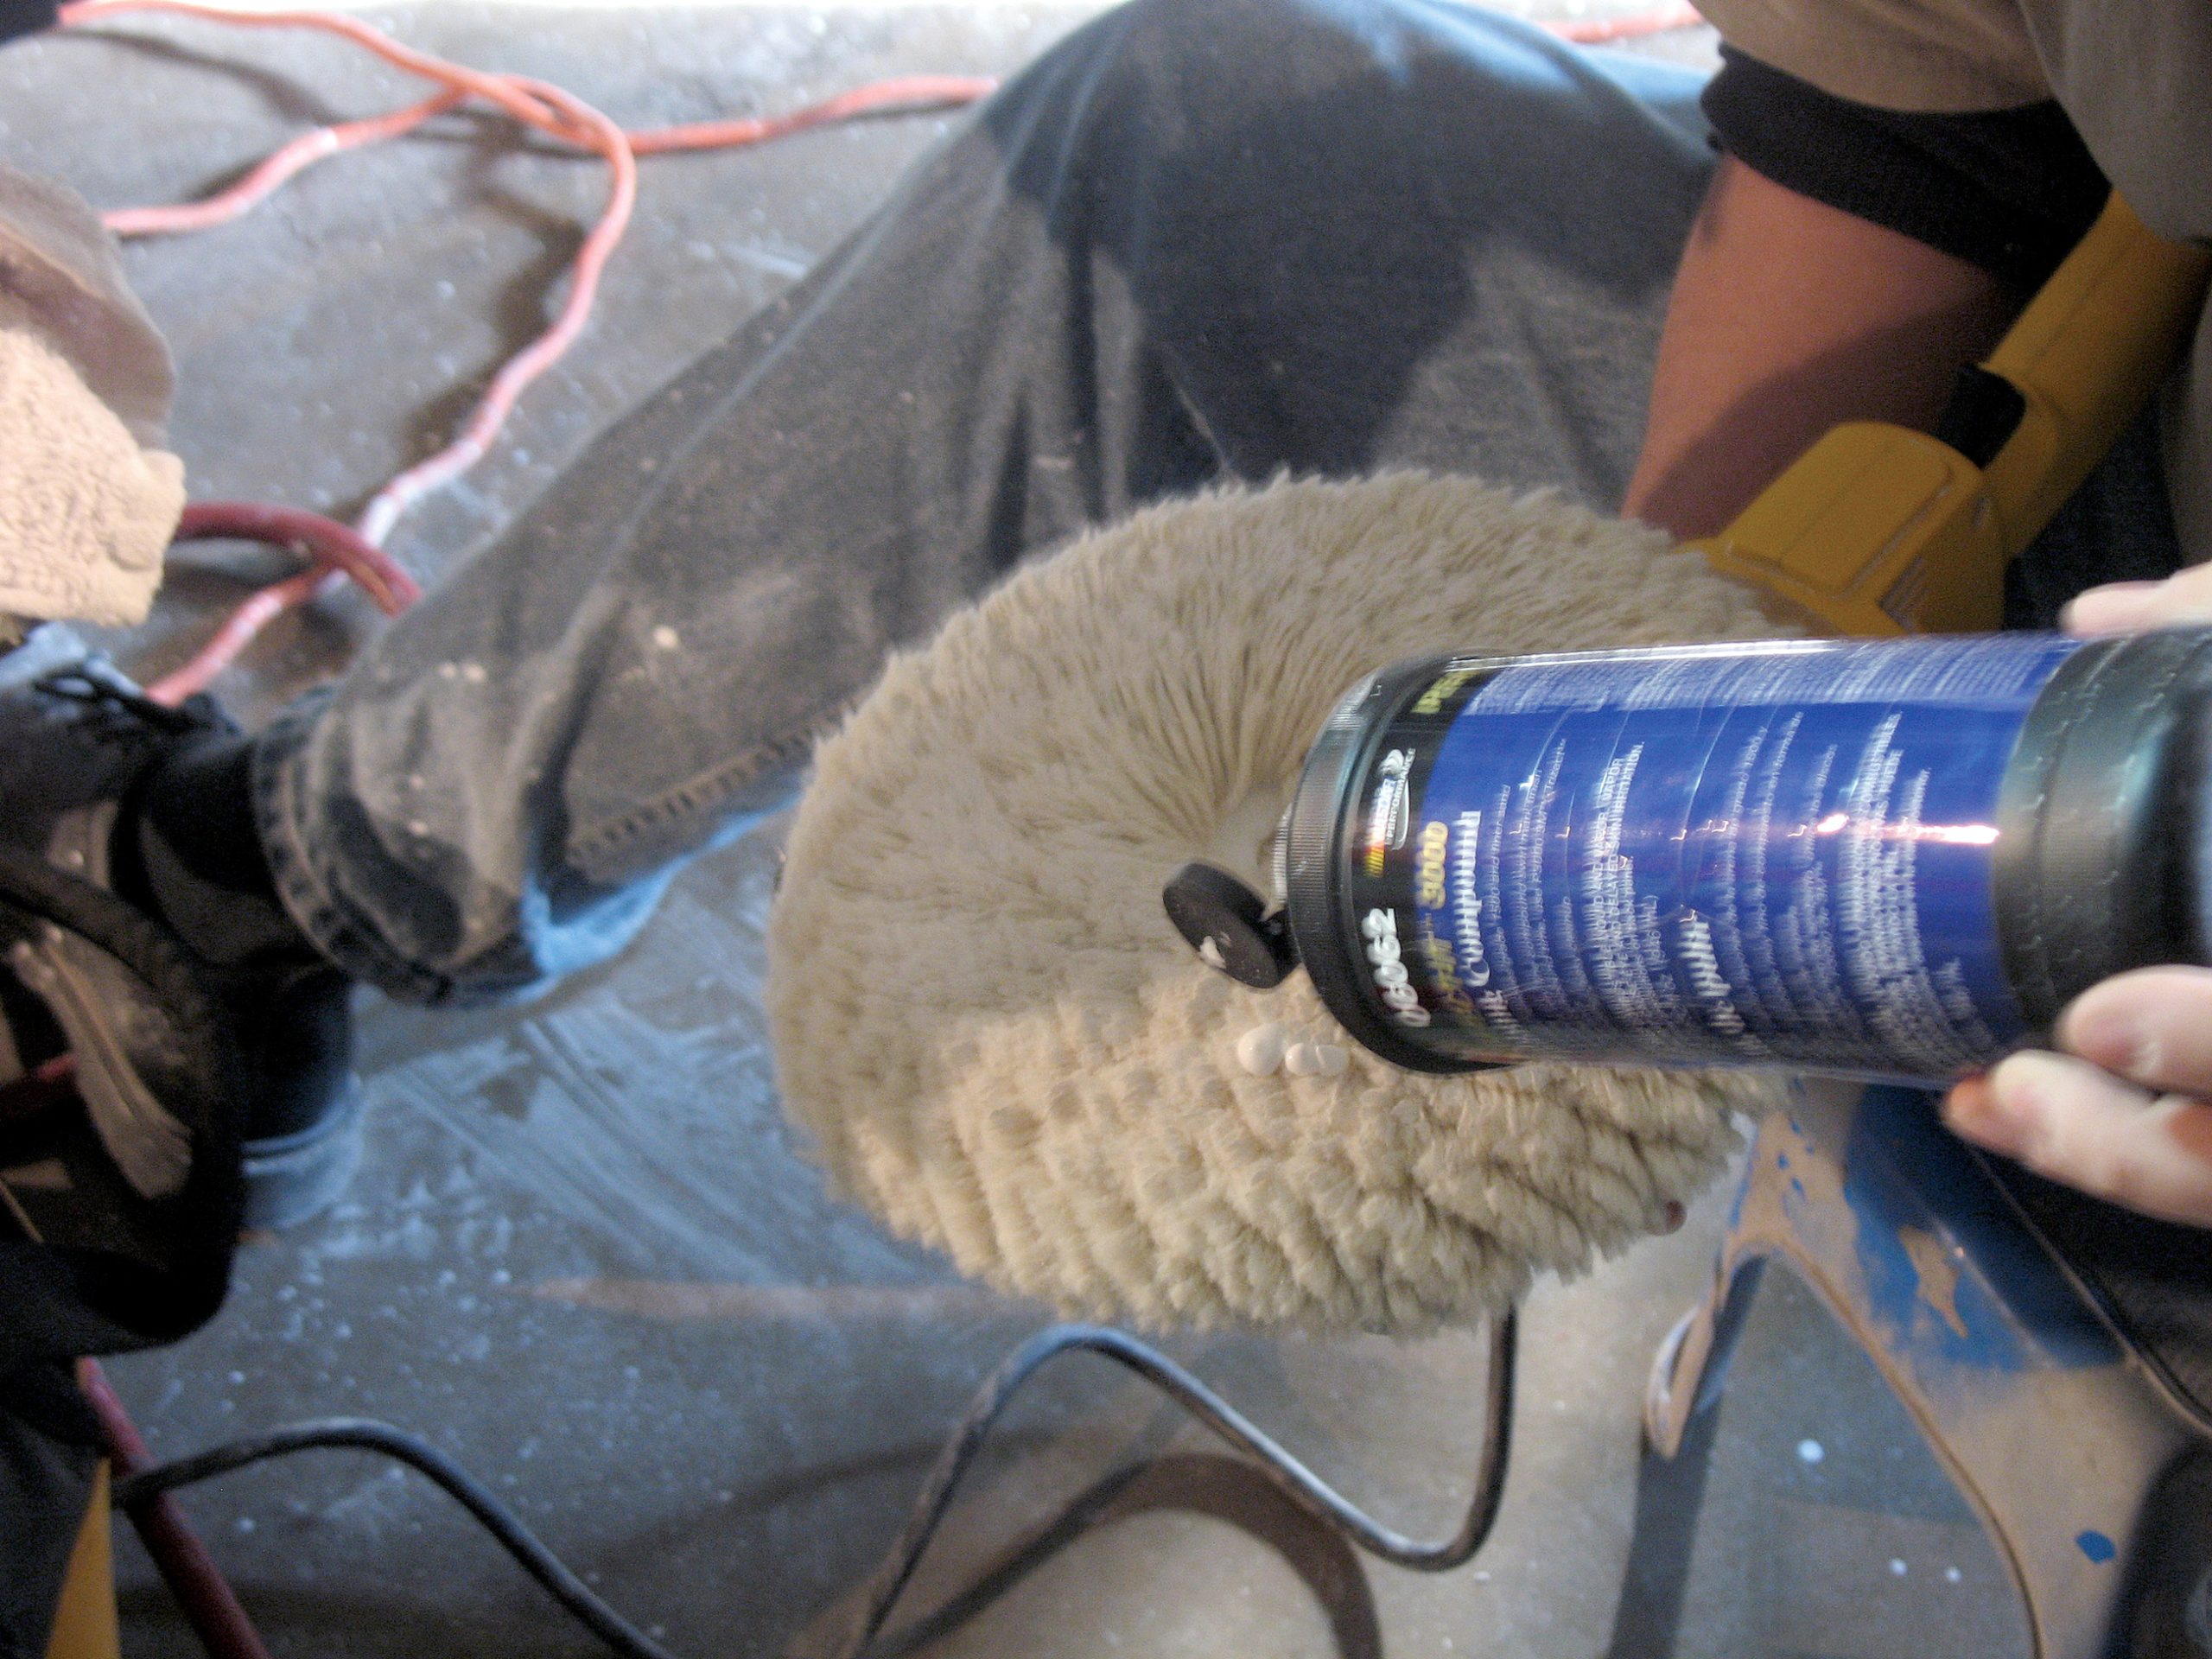
Final Buffing & Polishing
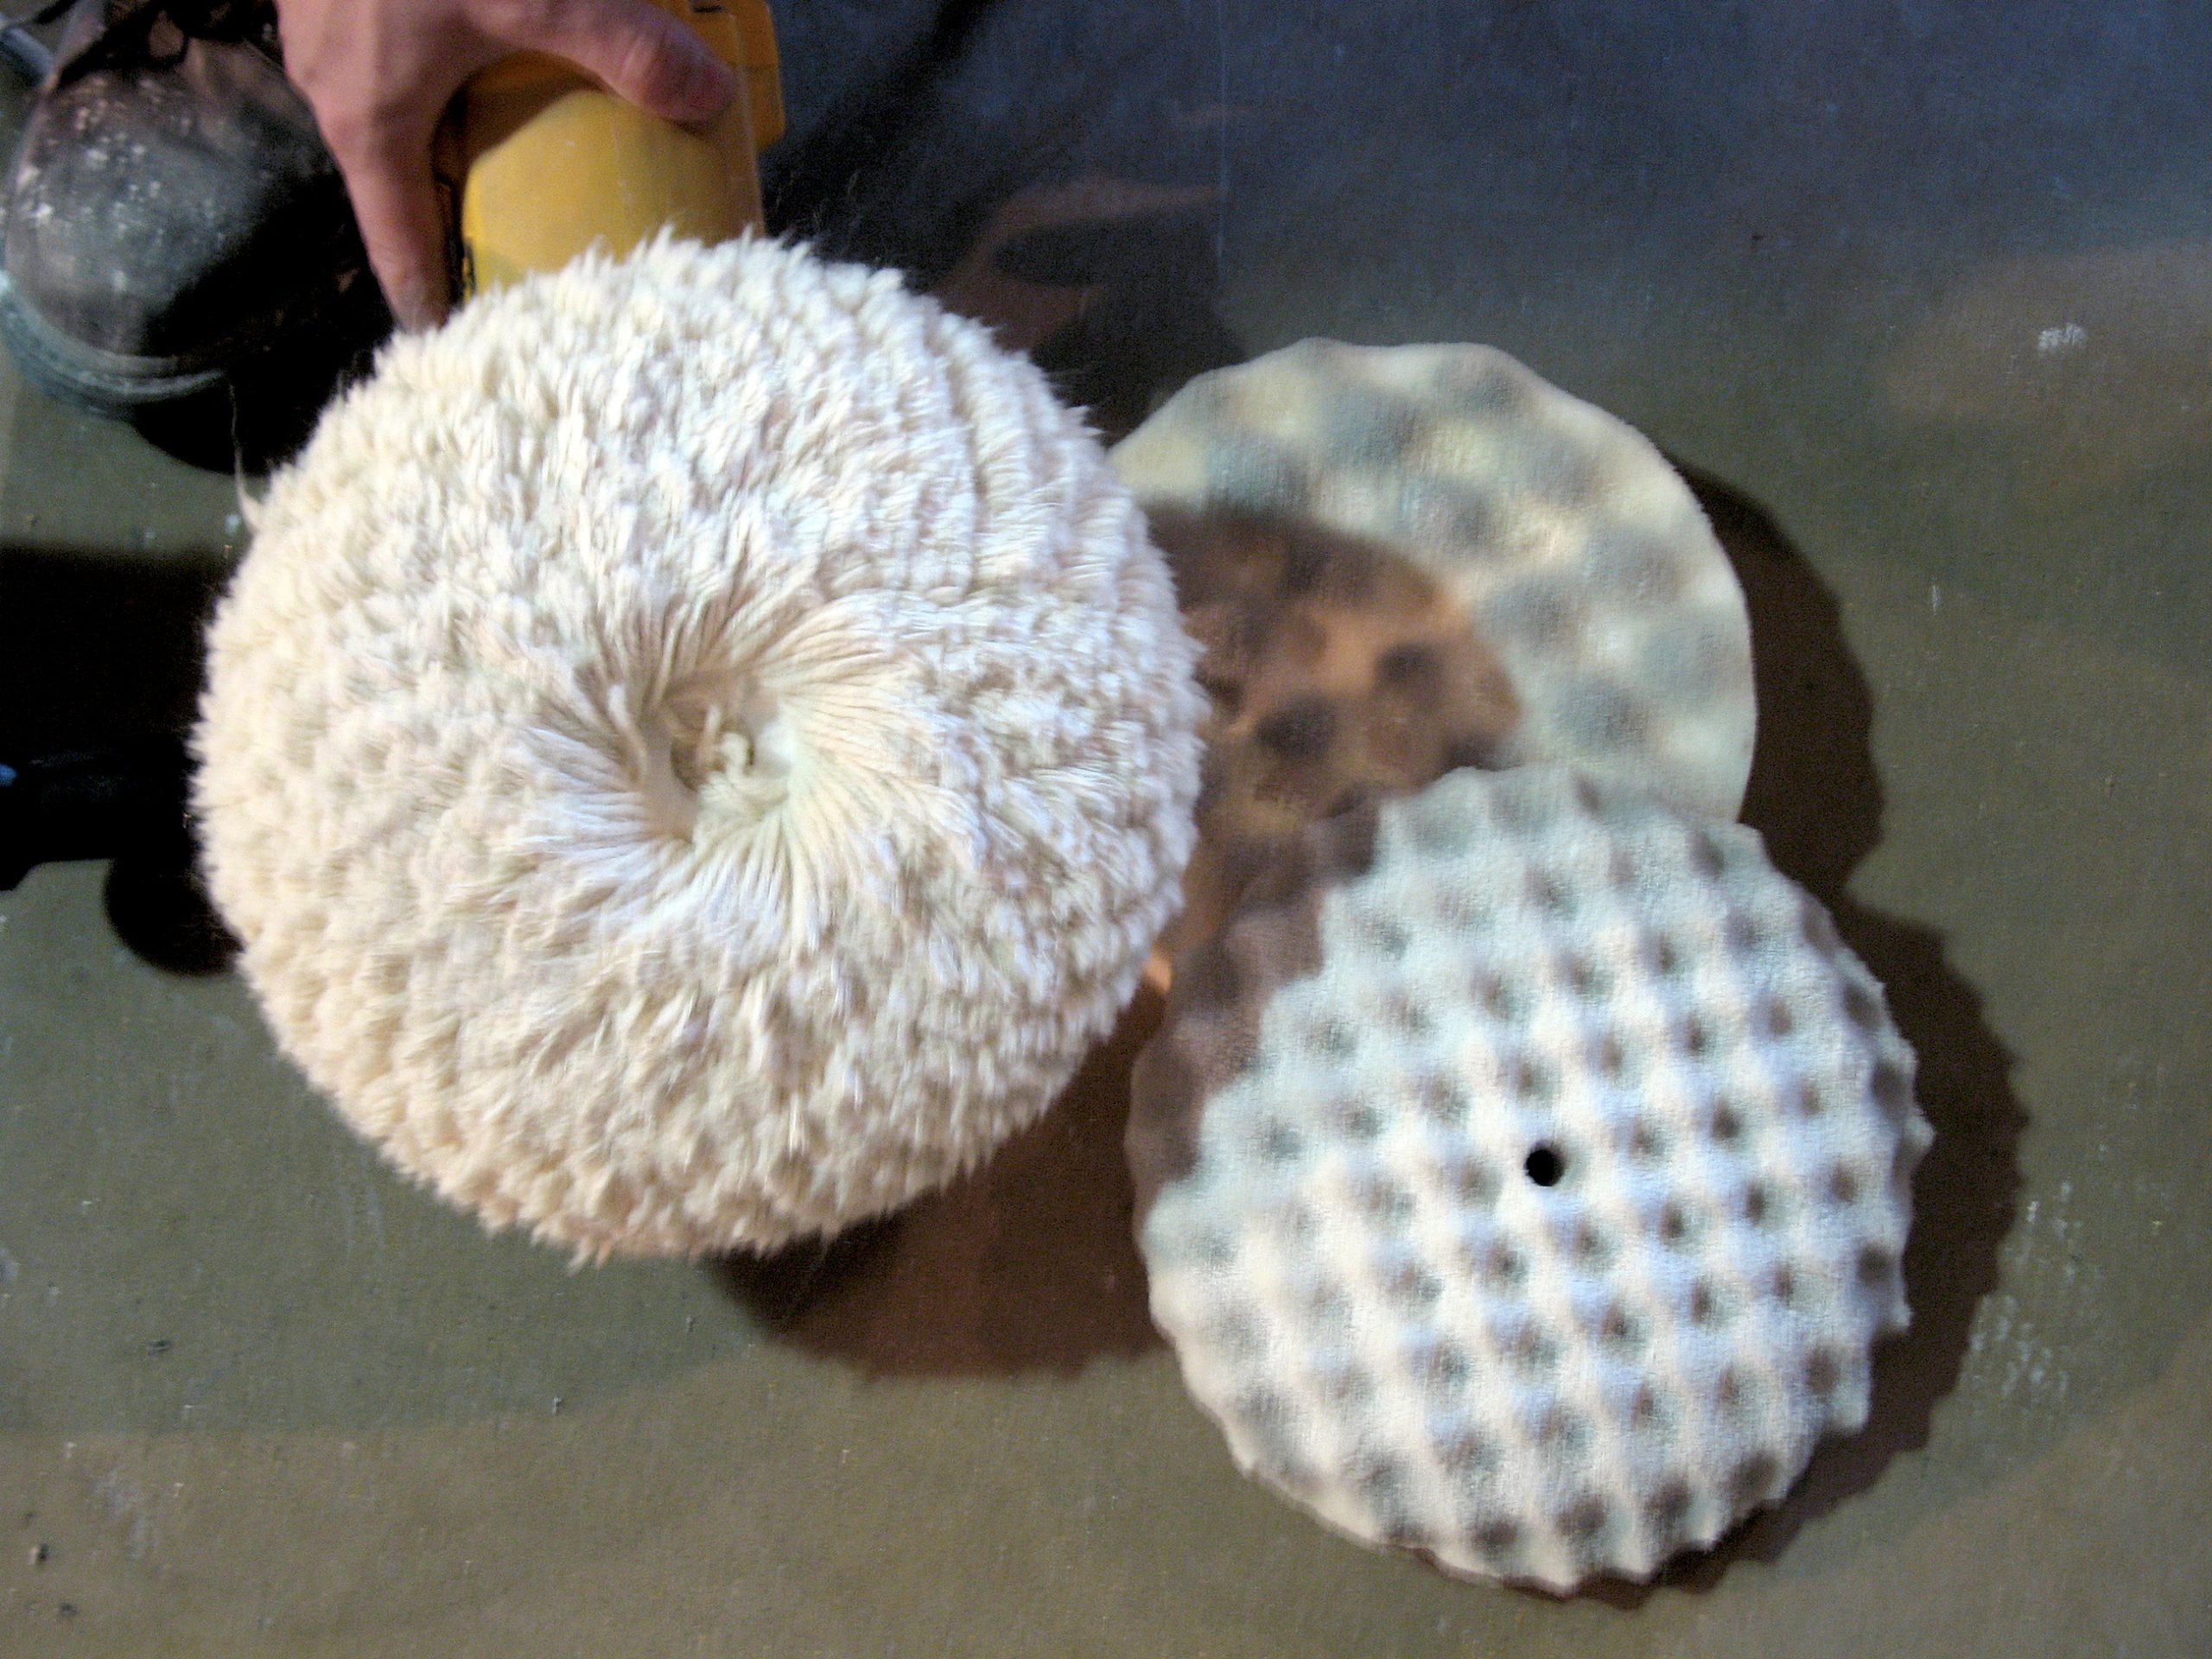
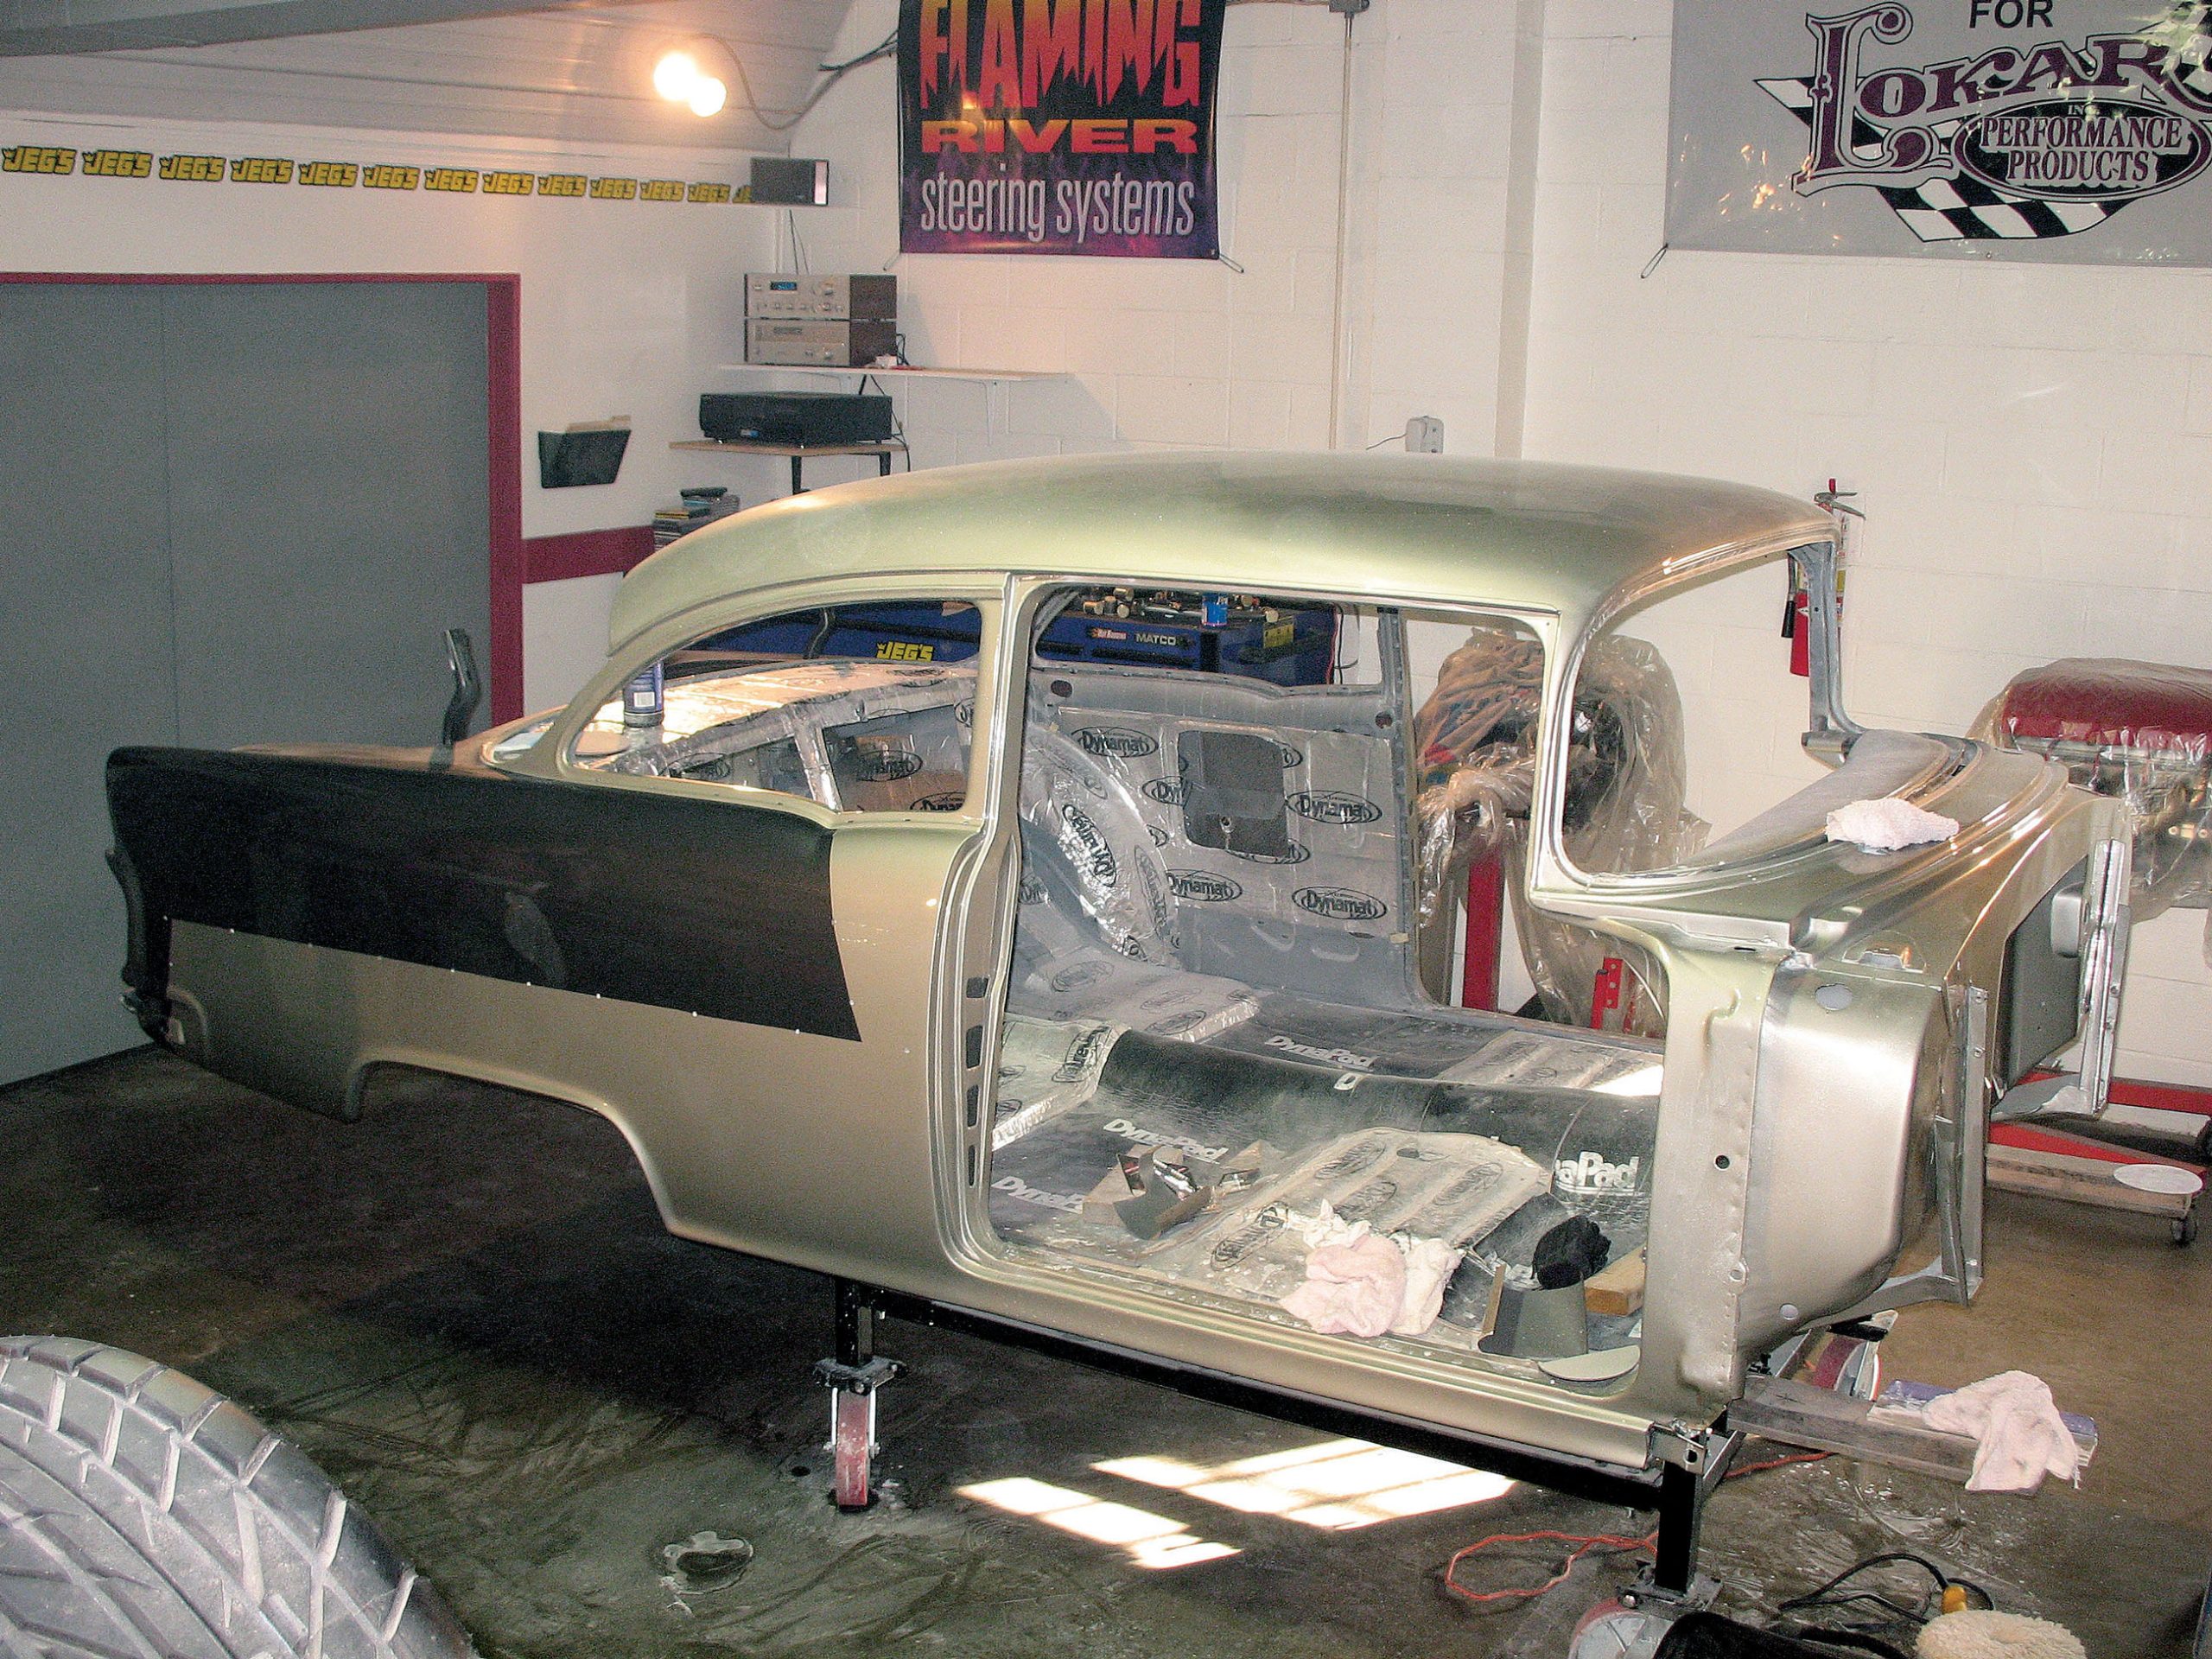
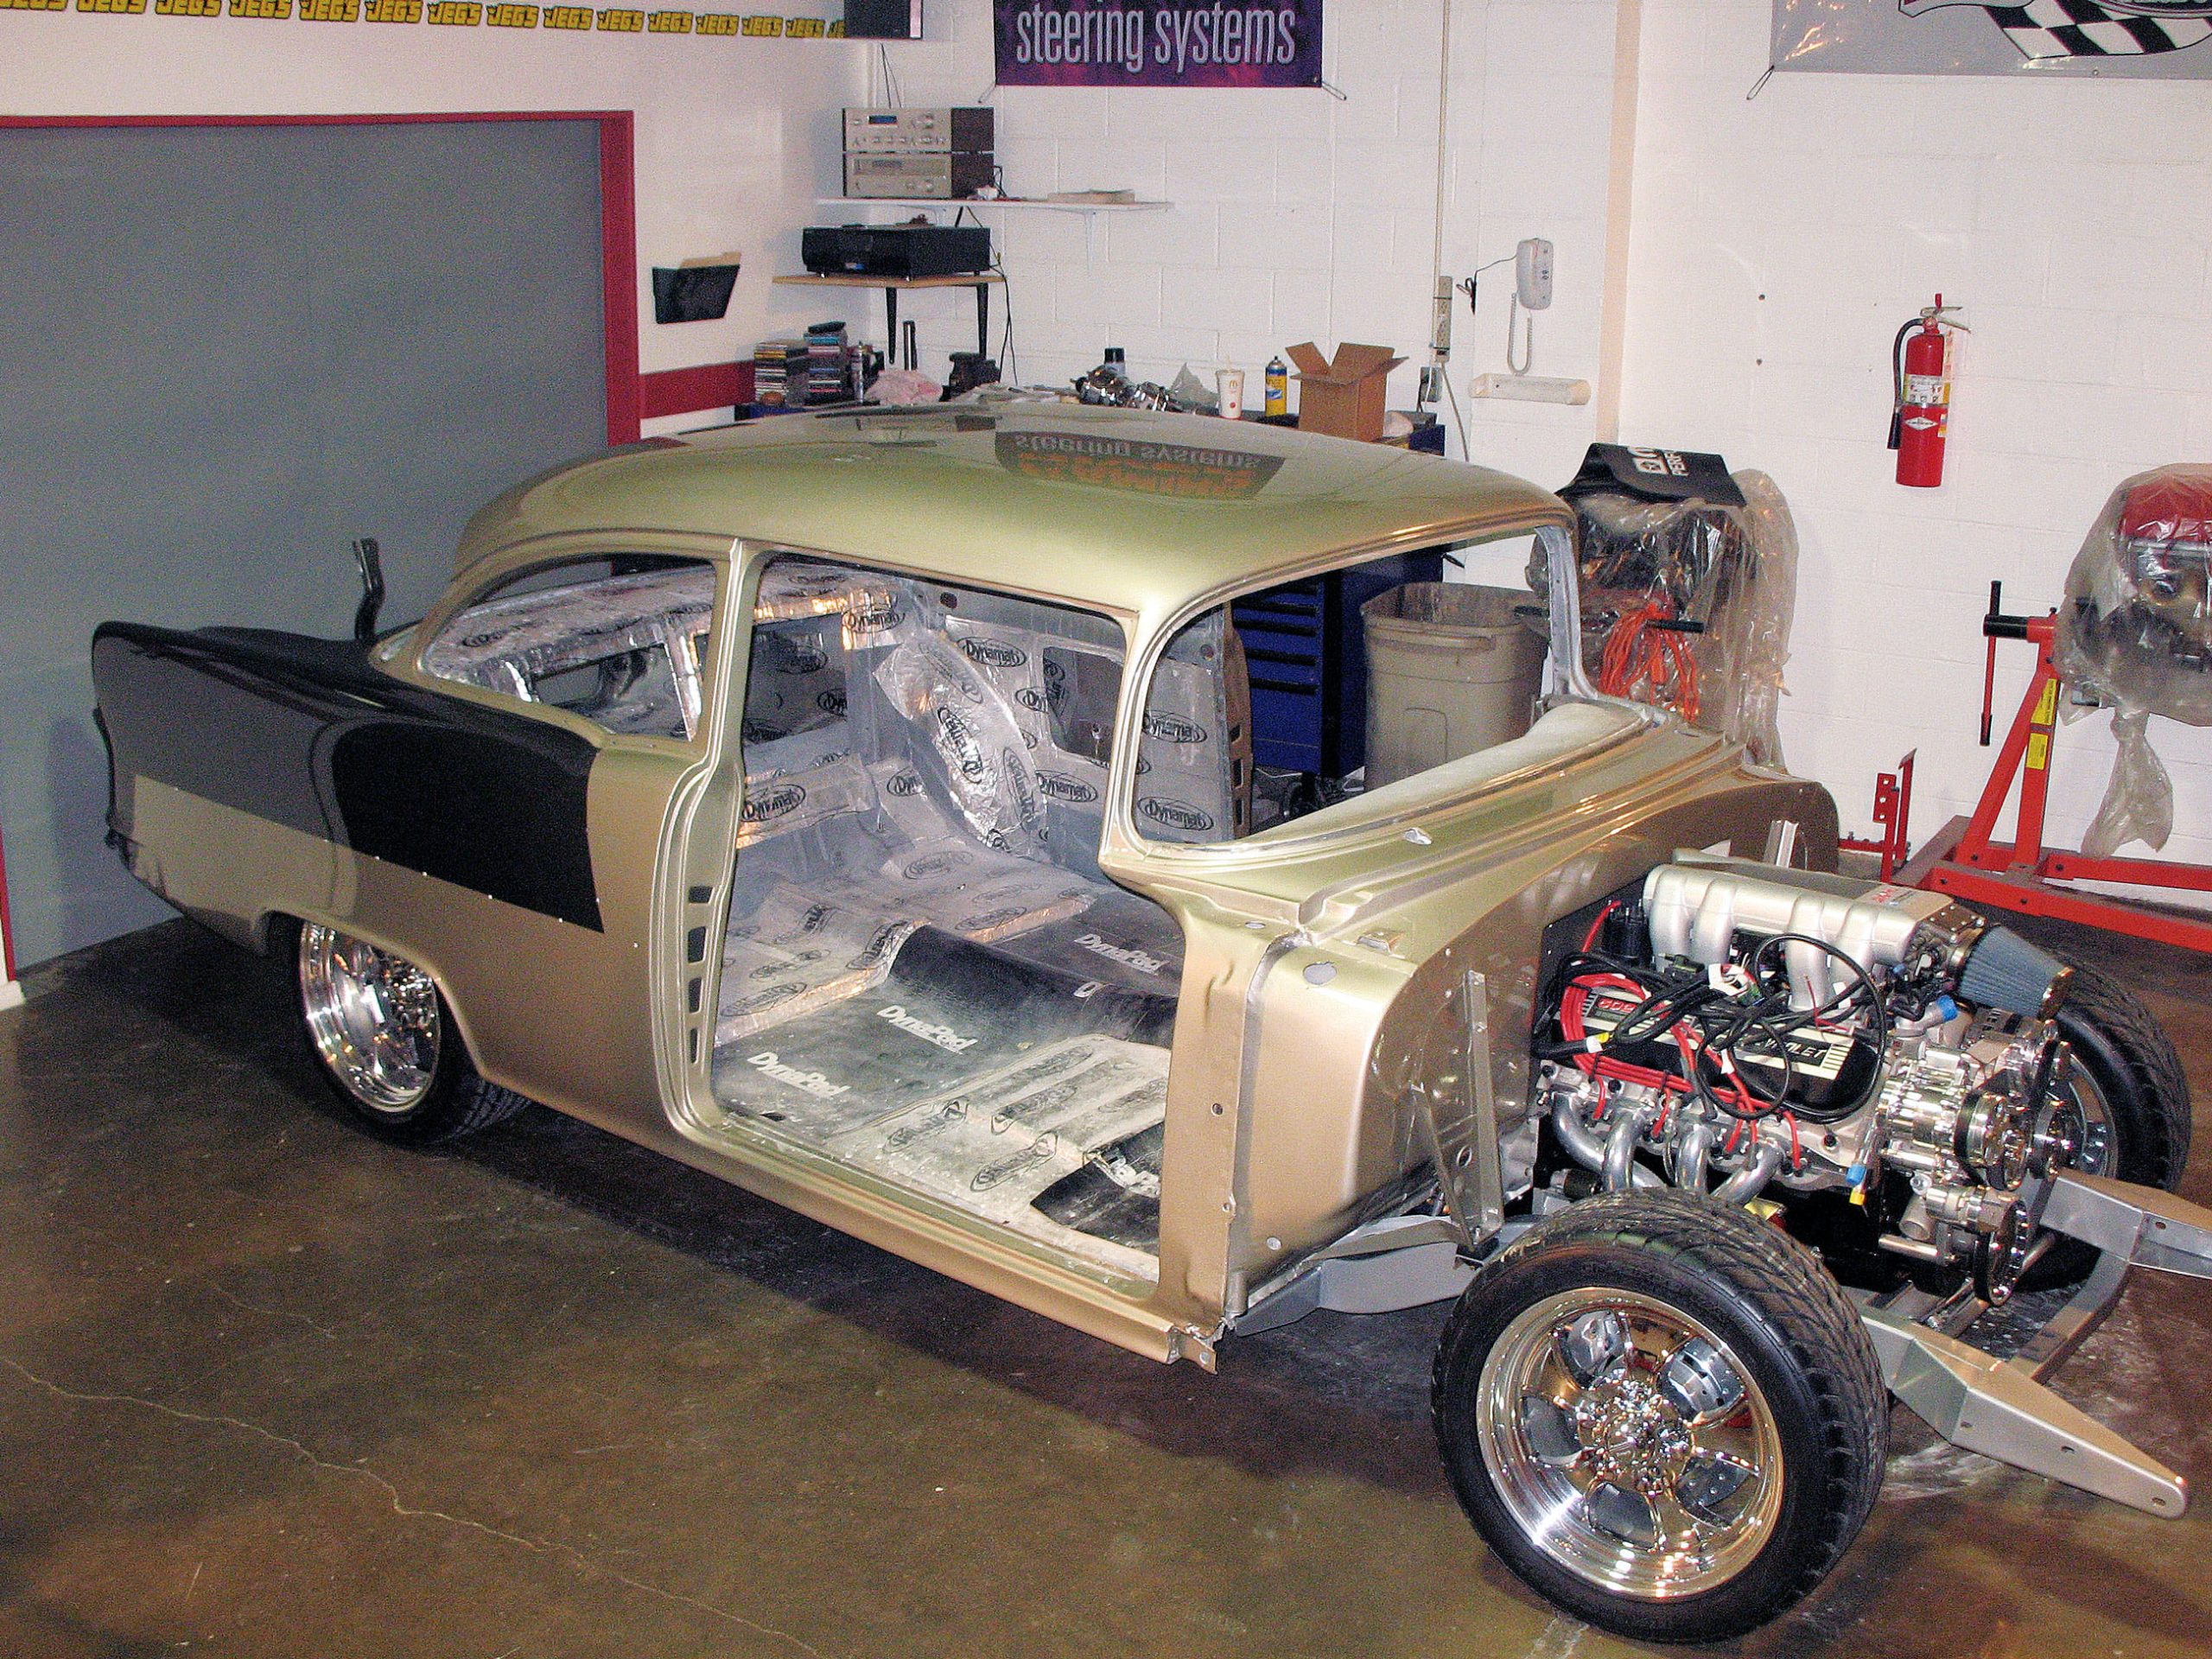
The car was then ready to be buffed. Woody’s uses a wool pad with compound to begin the buffing process. This process was time-consuming, but after completing the first pass with the compound, they followed it up with another wool pad and a glaze that DuPont recommended for the clear. After this, the car was rubbed down by hand with a polish and some cotton towels. This step is important because it removes any remaining swirl marks that may have been left from the buffing process. After the car was cleaned and all the masking was removed, the car was ready for assembly. The end result was nothing short of amazing, with a finish that looked like glass and a shine that was unmatched. The Hot Hues system had proven itself on the Buildoff ’55, and Woody’s was already looking forward to using it on the next project.


