


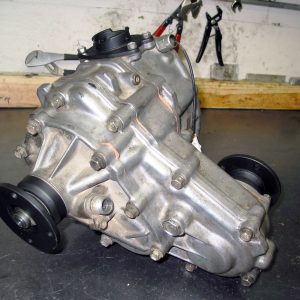
Toyota RF1A Level Up
The gear driven RF1A Toyota transfer case found in 1979-1995 4 cylinder pickups and 4Runners fits the needs of many wheelers. It offers a strong, lightweight package with growing aftermarket support. These transfer cases have been used in numerous pickups, 4Runners, buggies, and even Jeeps! Everything from dual transfer case adapters, low range gear sets, twin sticks, and low profile crossmembers are available for Toyota transfer cases from a bevy of aftermarket sources. The RF1A is lighter and less expensive than a Dana 300, though they are not as easy to “clock” and do not allow front wheel drive operation.
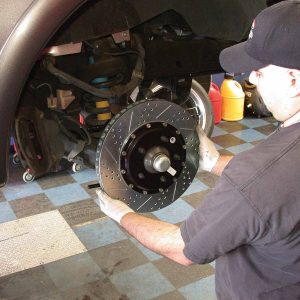
THEM’S THE BRAKES
There is no other more important system than braking, so when the folks at Baer told us at the SEMA Show that they were finishing up their latest kit—one designed to fit the Ford F-150, as well as the Expedition, Navigator and Navigator 4WD—we wanted to see one installed. Baer has been producing high-?performance braking systems since 1986. The company specializes in high-performance, bolt-on brake systems that radically enhance the ability of the otherwise stock brake systems.

MAXIMUM DETAIL
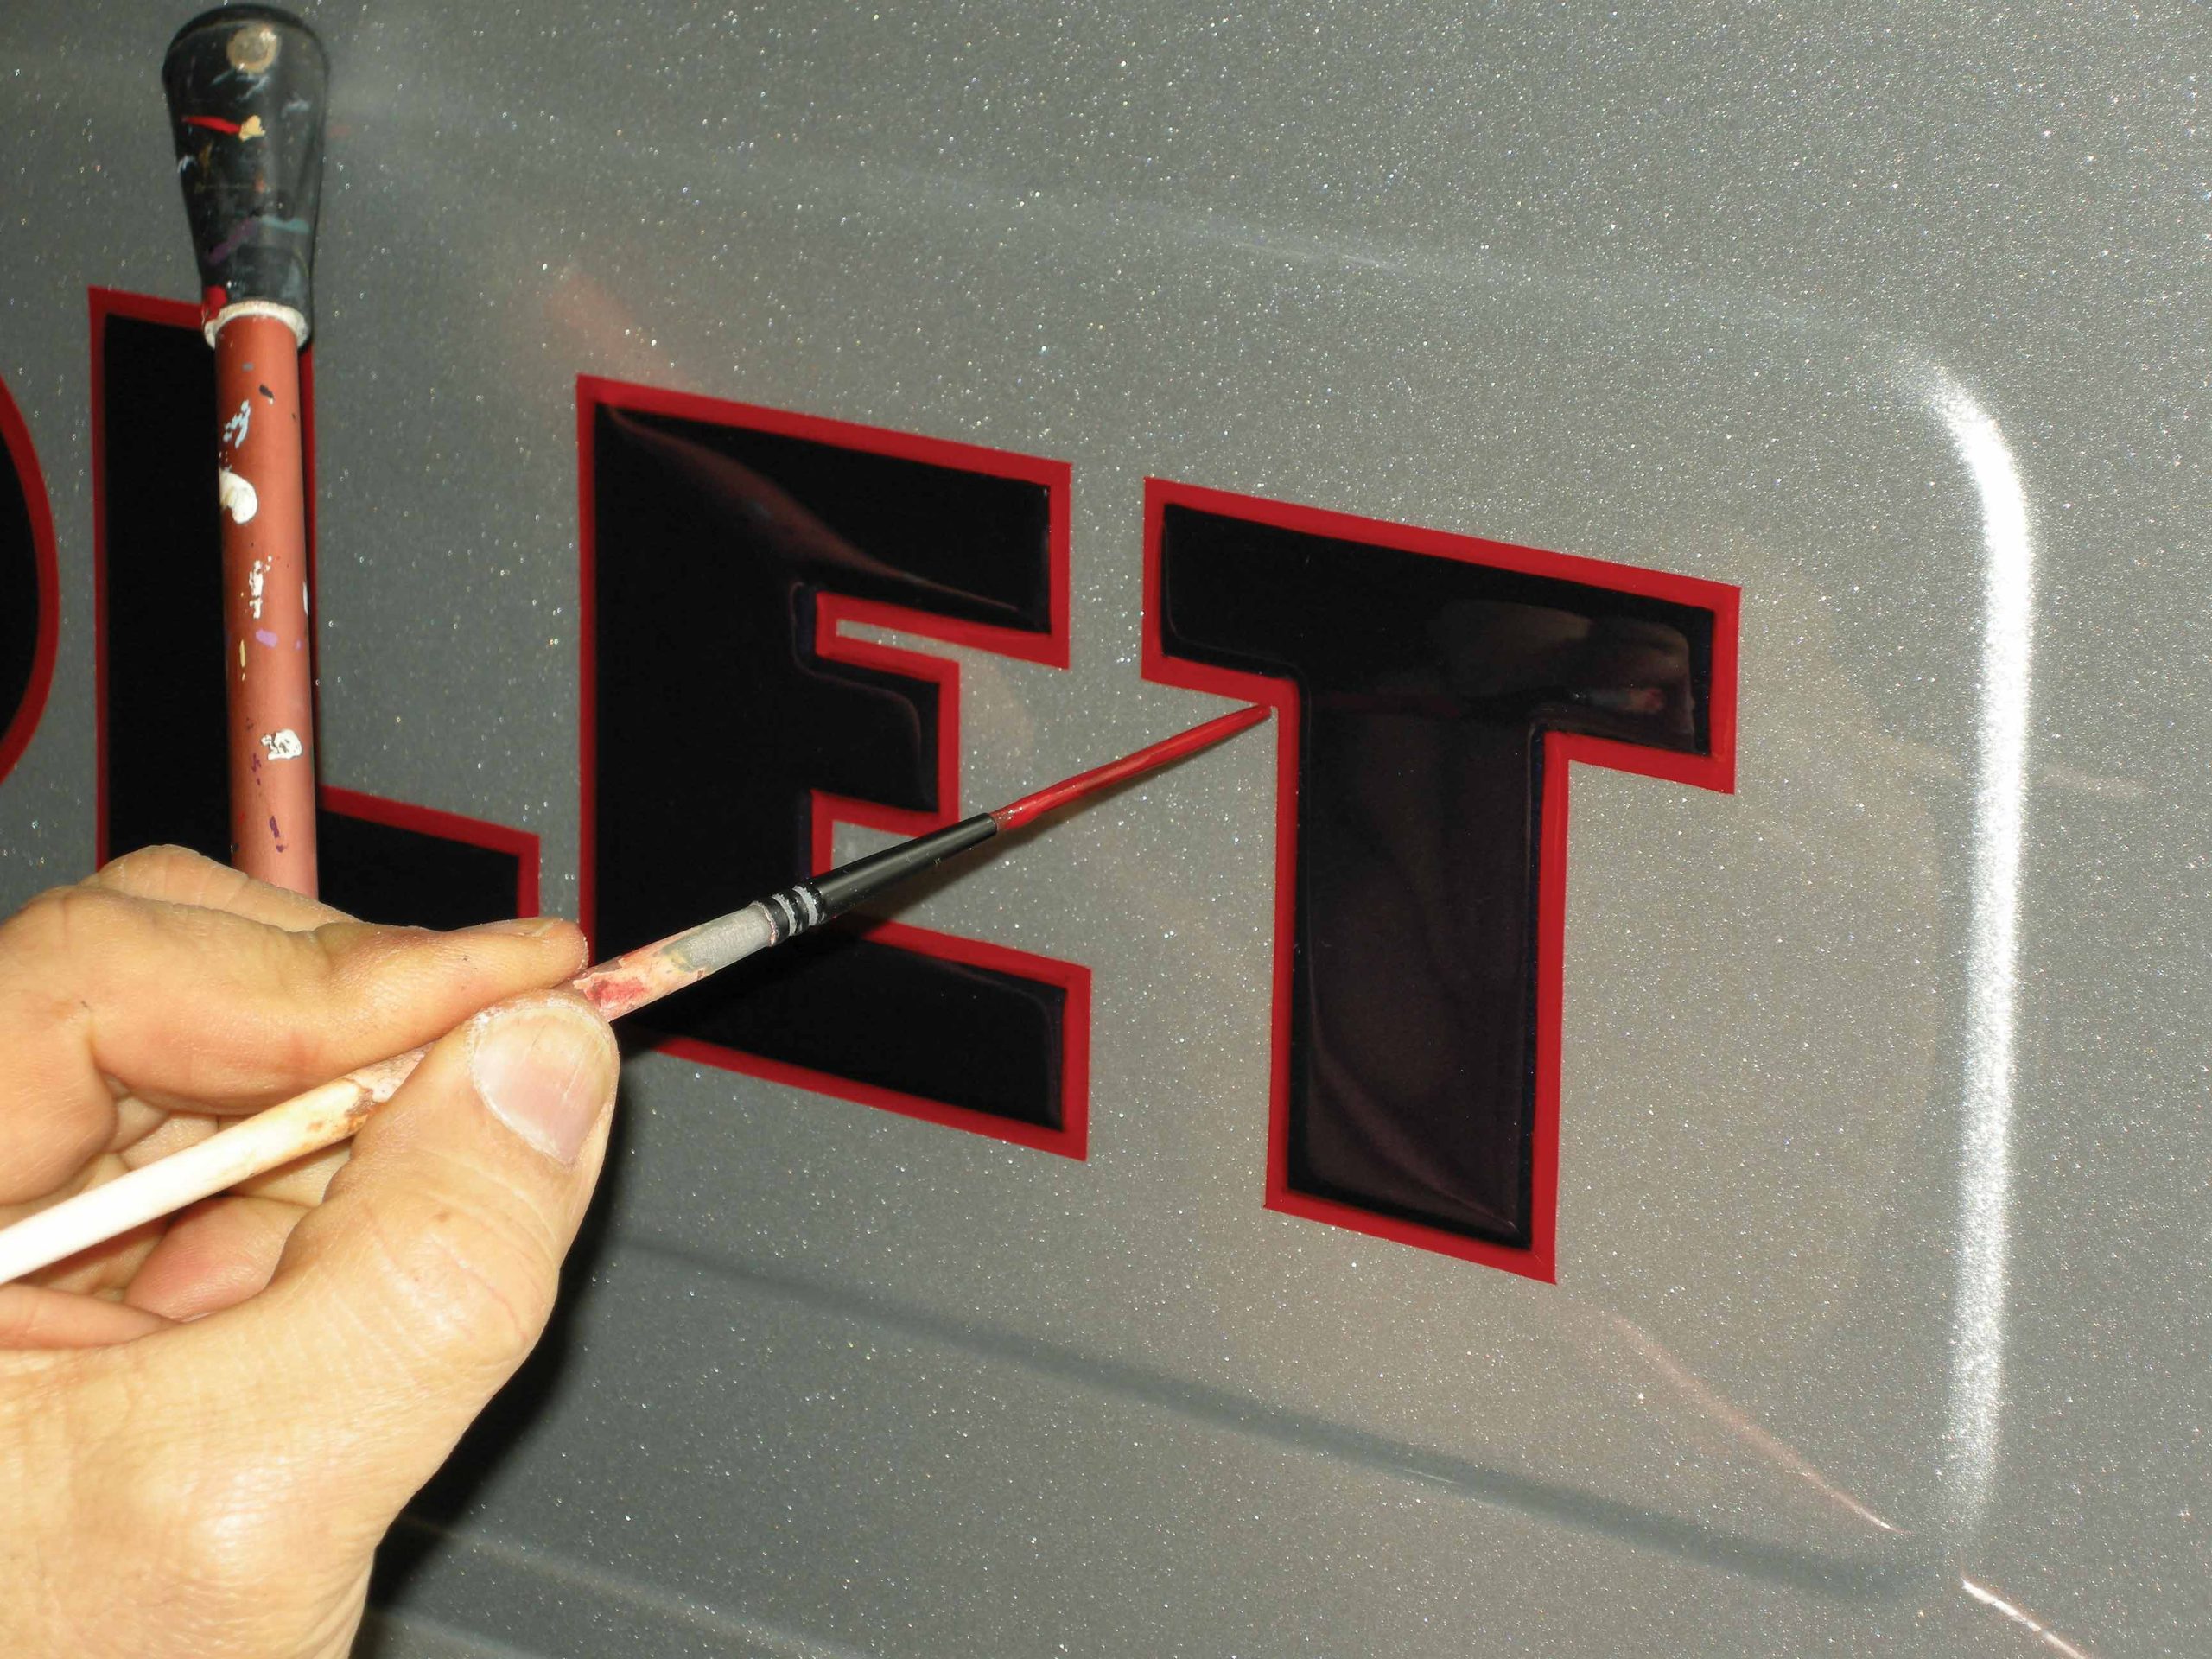
With its immaculate details throughout, this ’06 Mustang GT never fails to grab attention, but we’re sure Frank DeFeo isn’t finished modifying his Ford. An aggressive lower valance, smoked headlights and a billet grille lead the way, and the Torch Red finish is complemented by black stripes, painted by McClure Collision of Charlotte.


