


Masterclass in Metal: The Battle for the Al Slonaker Memorial Award
The 75th annual O’Reilly Auto Parts Grand National Roadster Show, presented by Meguiar’s, went full throttle this year, bringing out some of the most insane custom cars the hot rod world has ever seen. Sure, the AMBR award gets all the press, but the real hardcore builders know that the Al Slonaker Memorial Award is where true engineering battles happen. This isn’t just about looking pretty—this is about pushing the limits of fabrication, design, and flat-out mechanical genius.

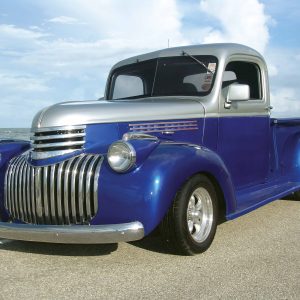
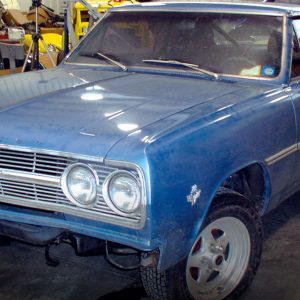
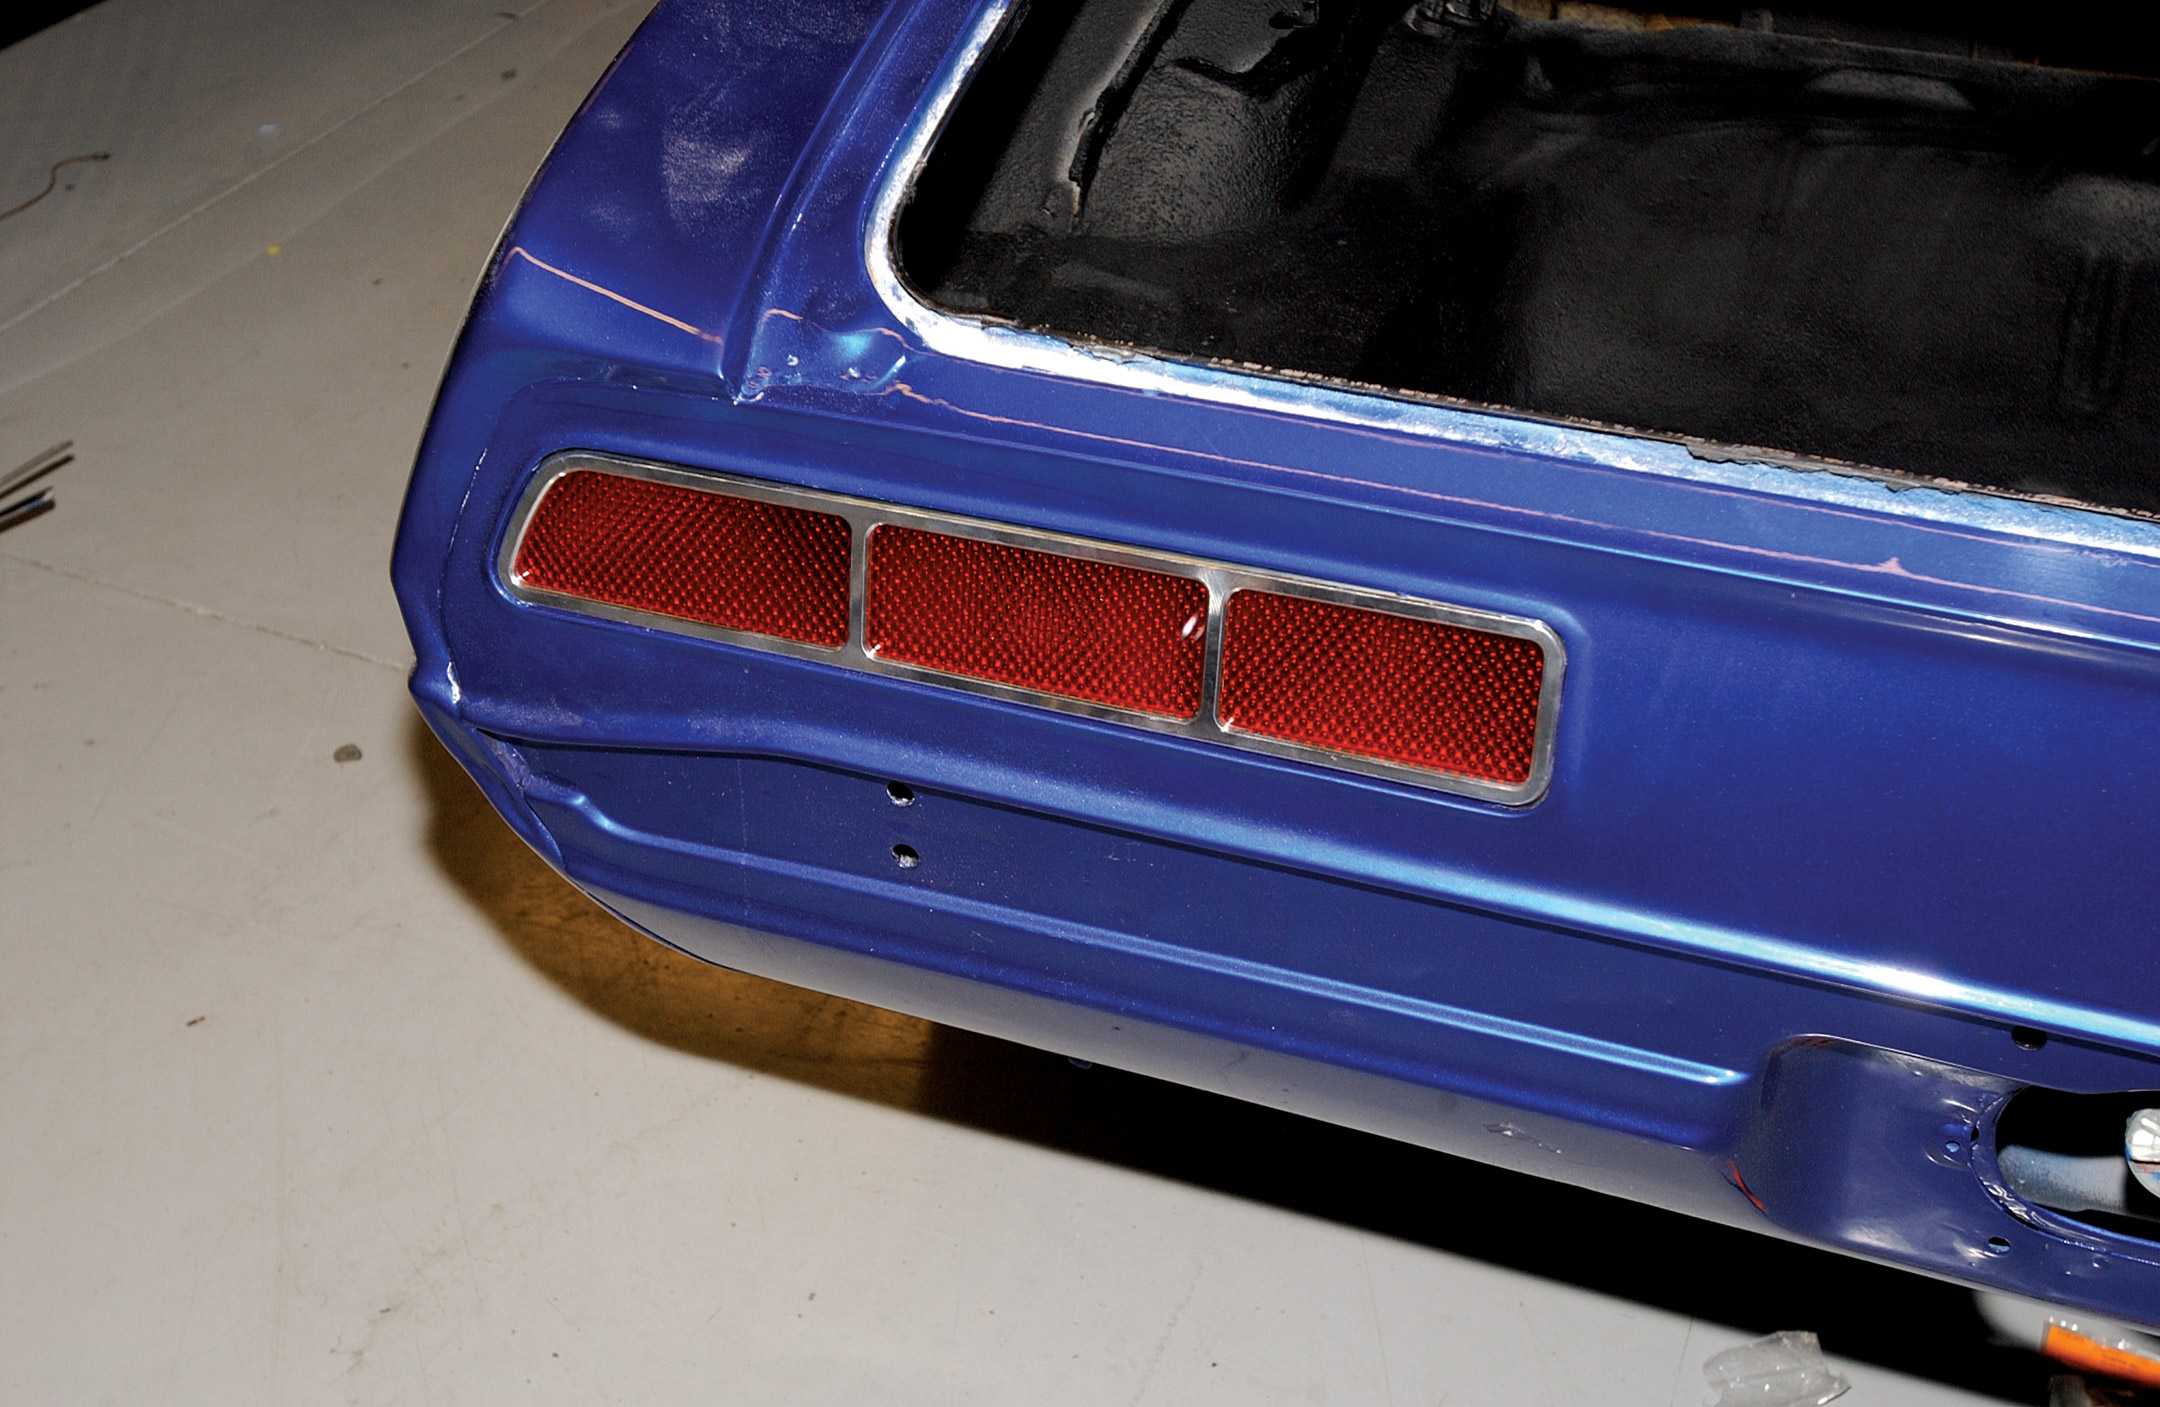
SENSUOUS AT SUNSET
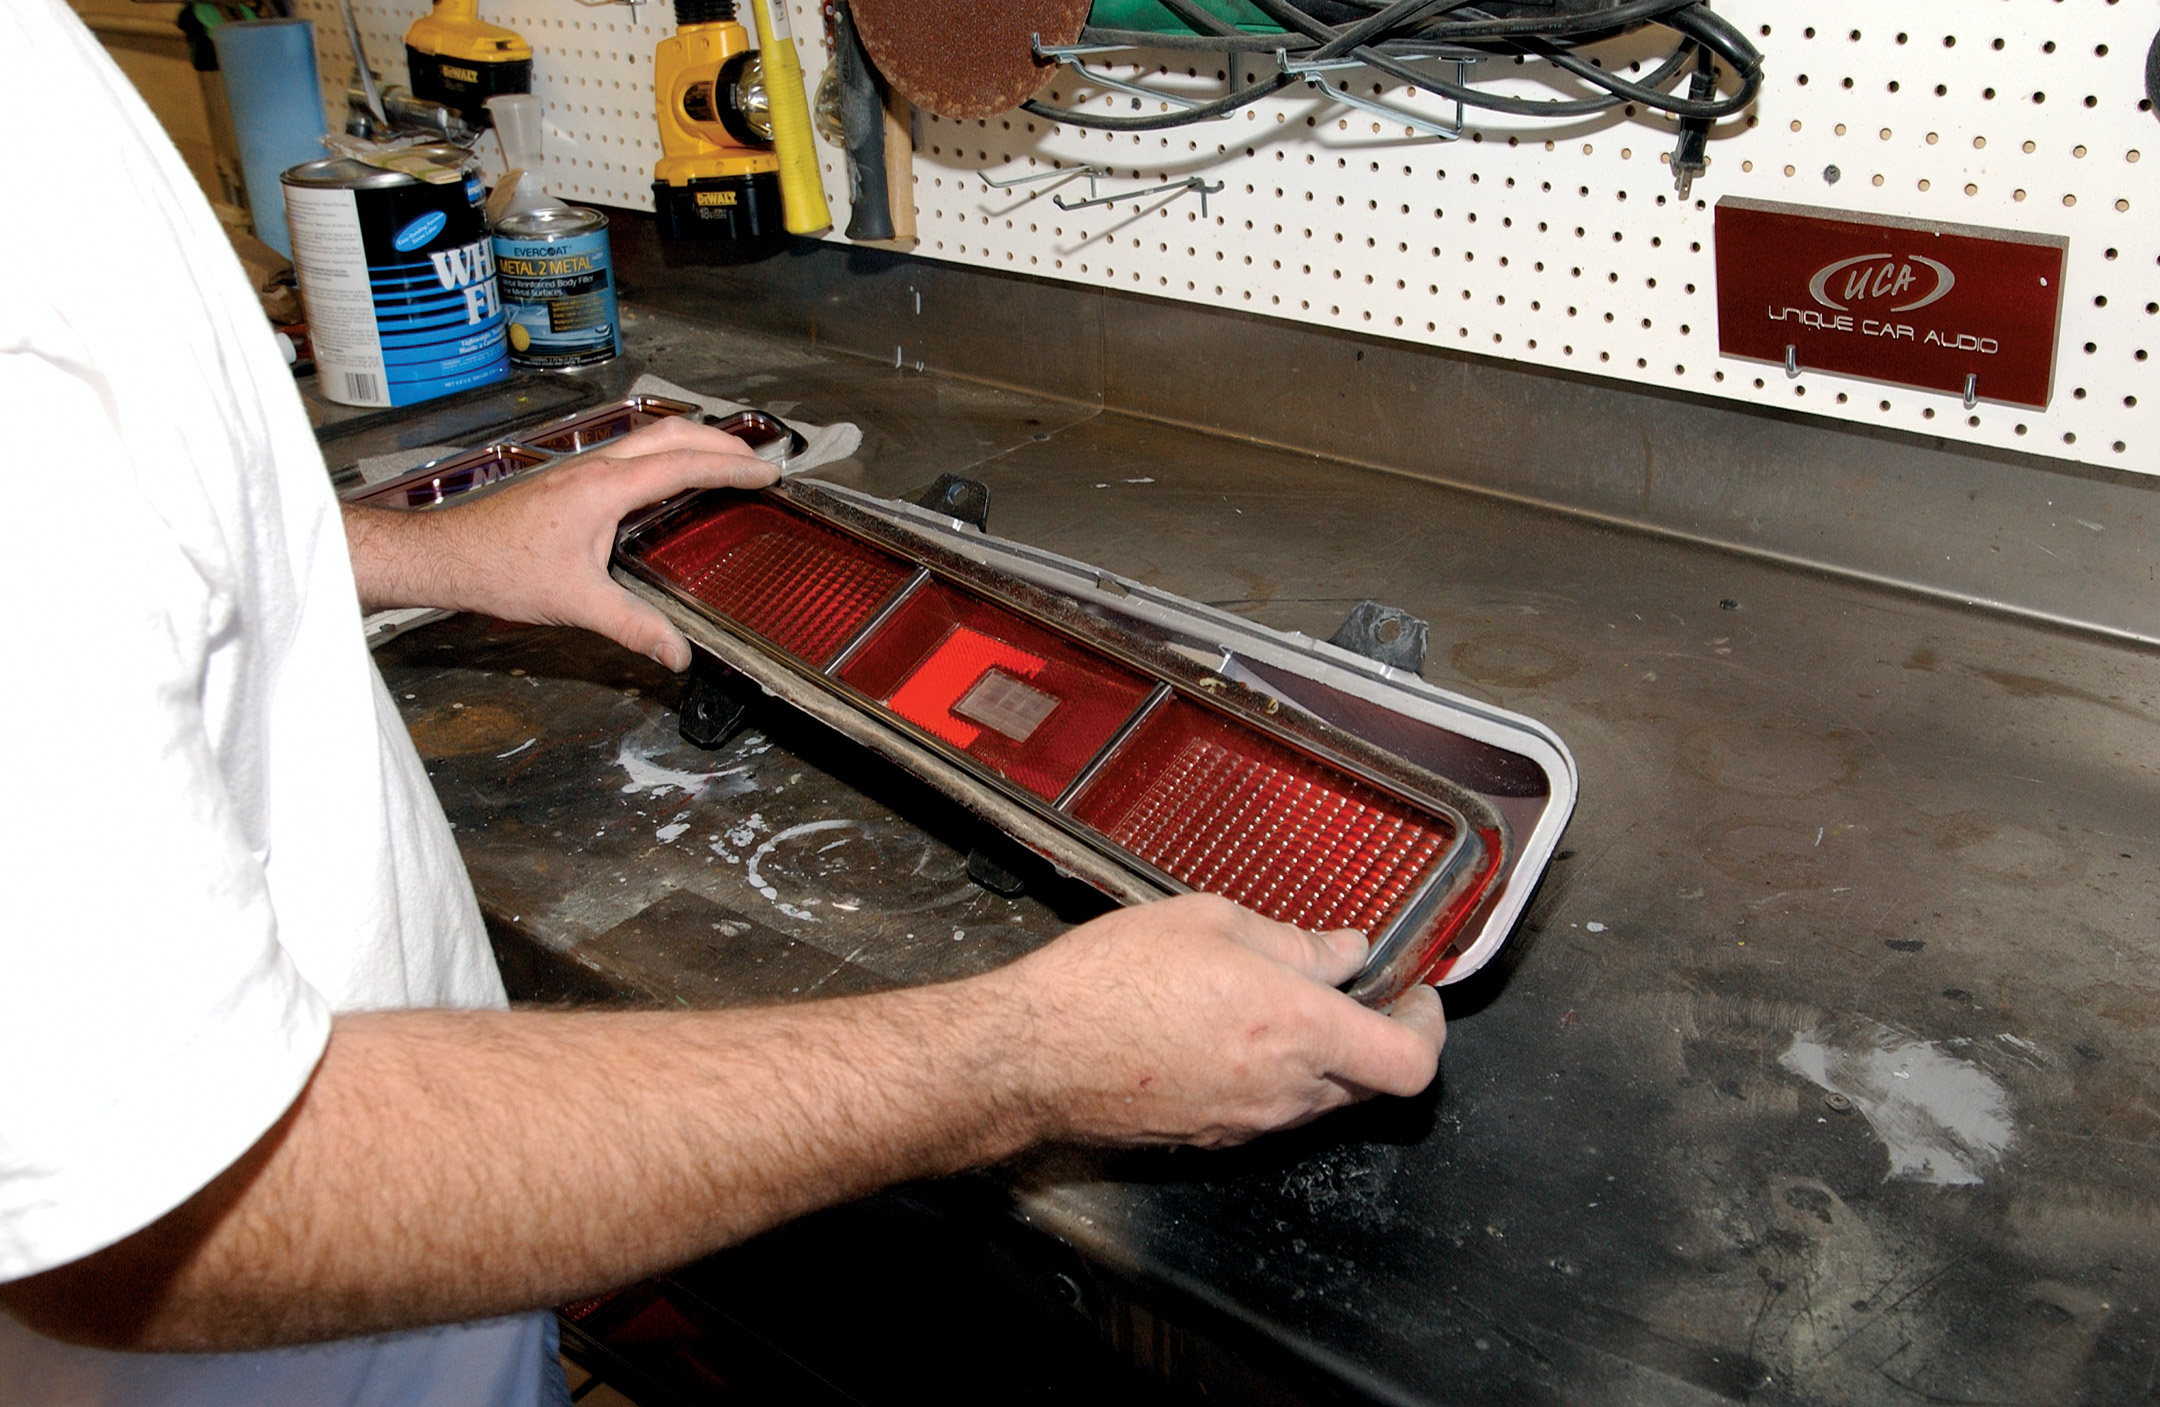
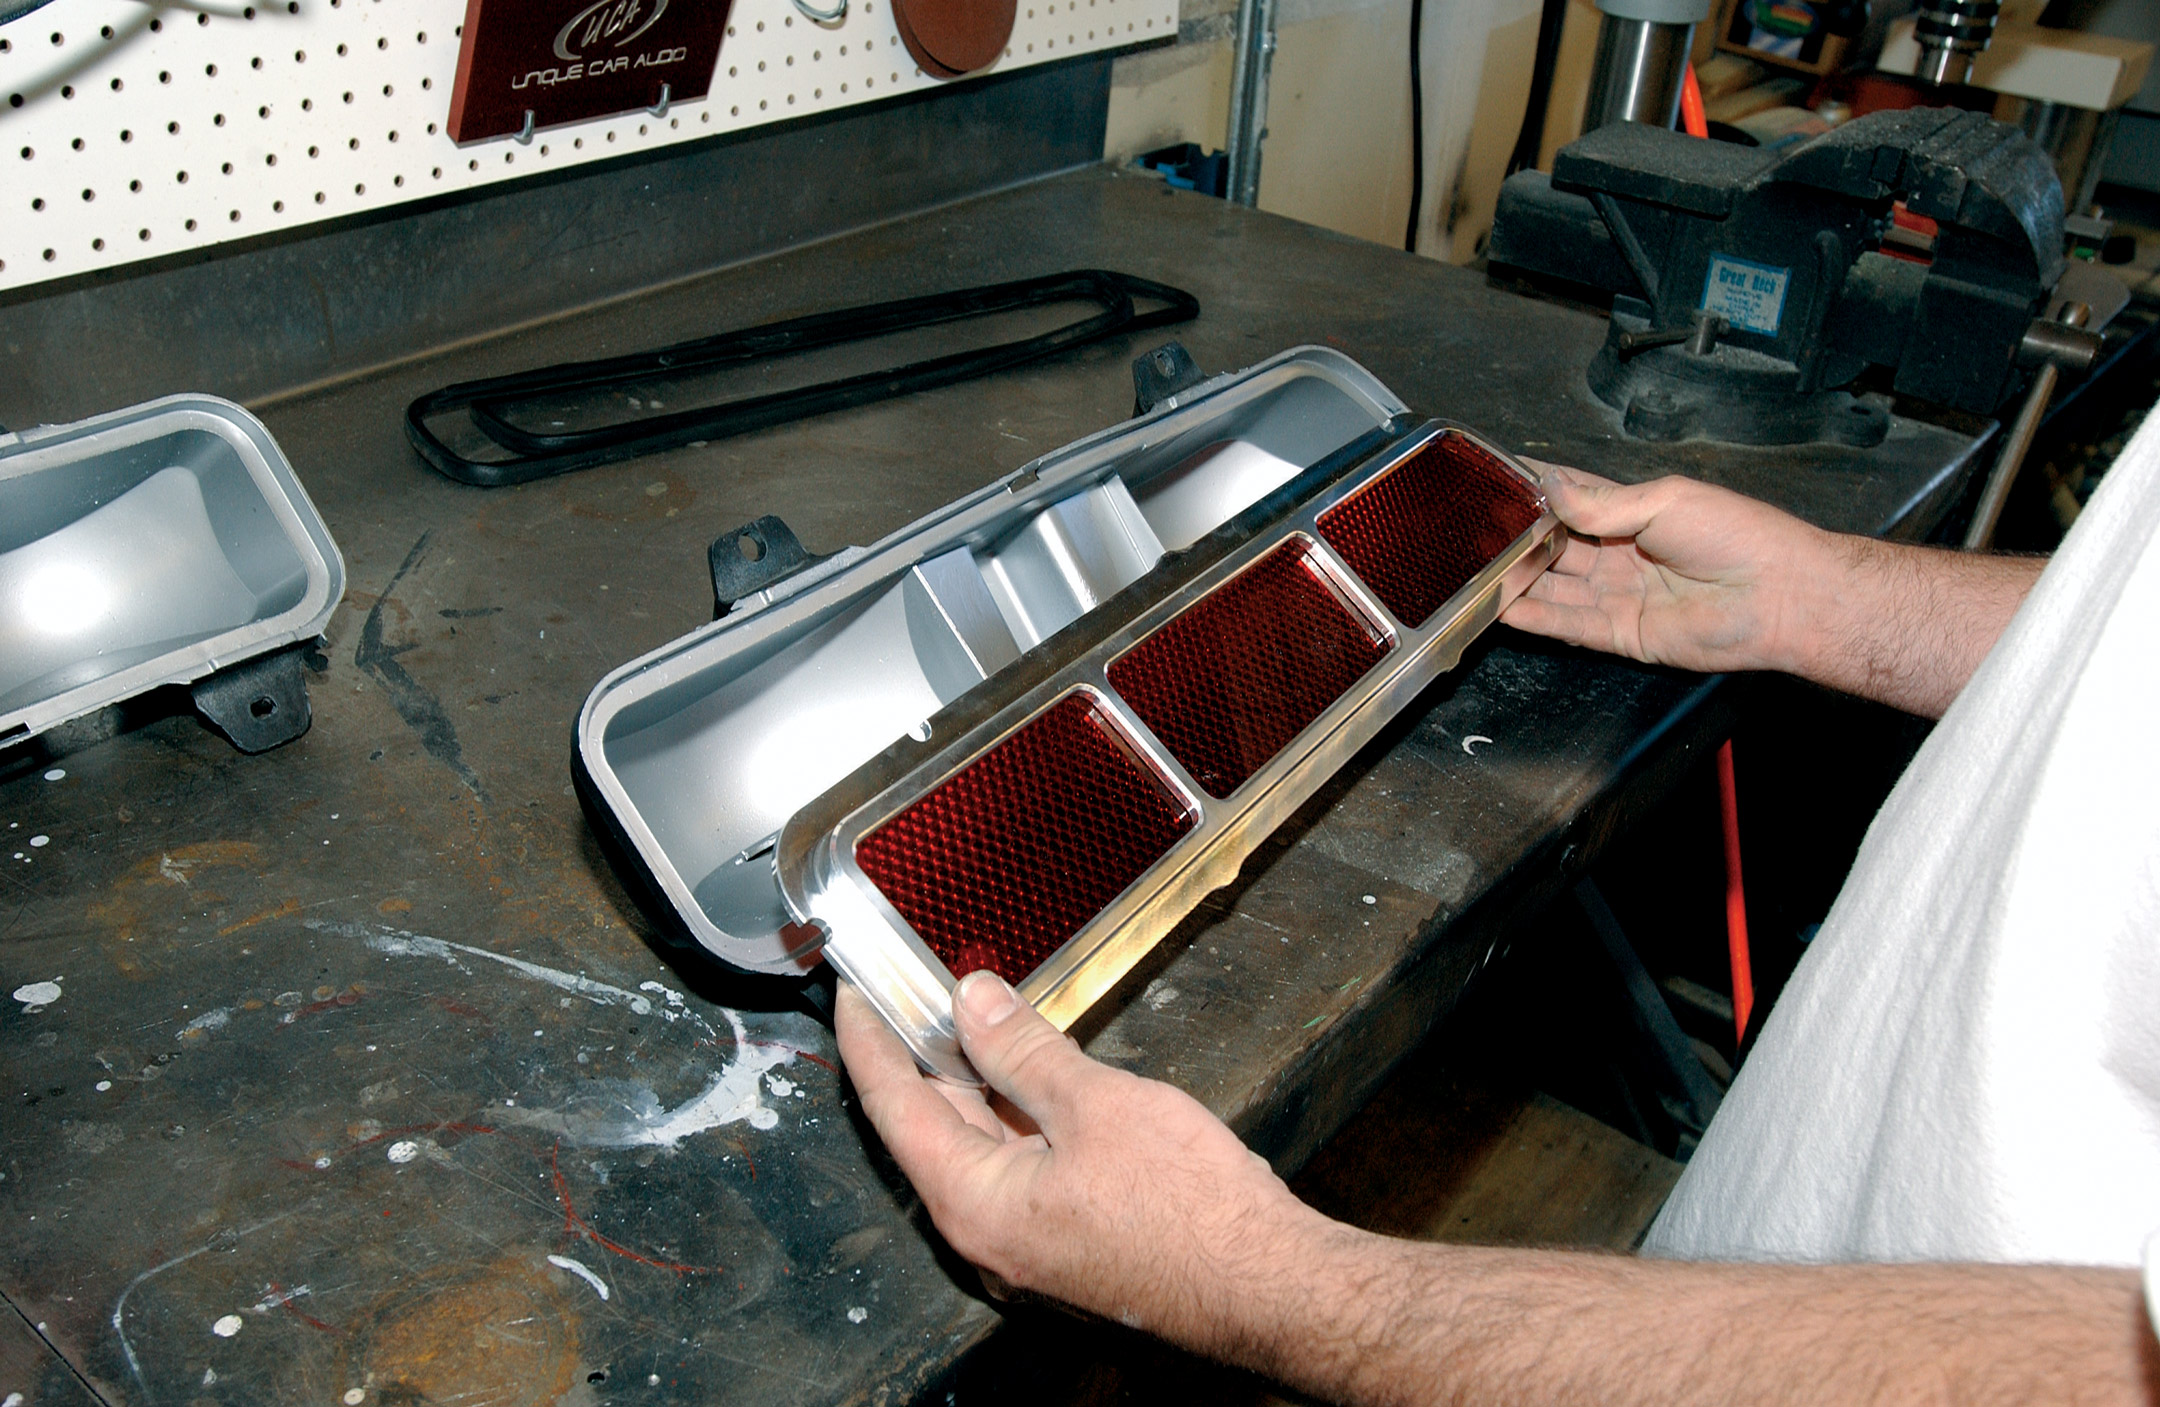
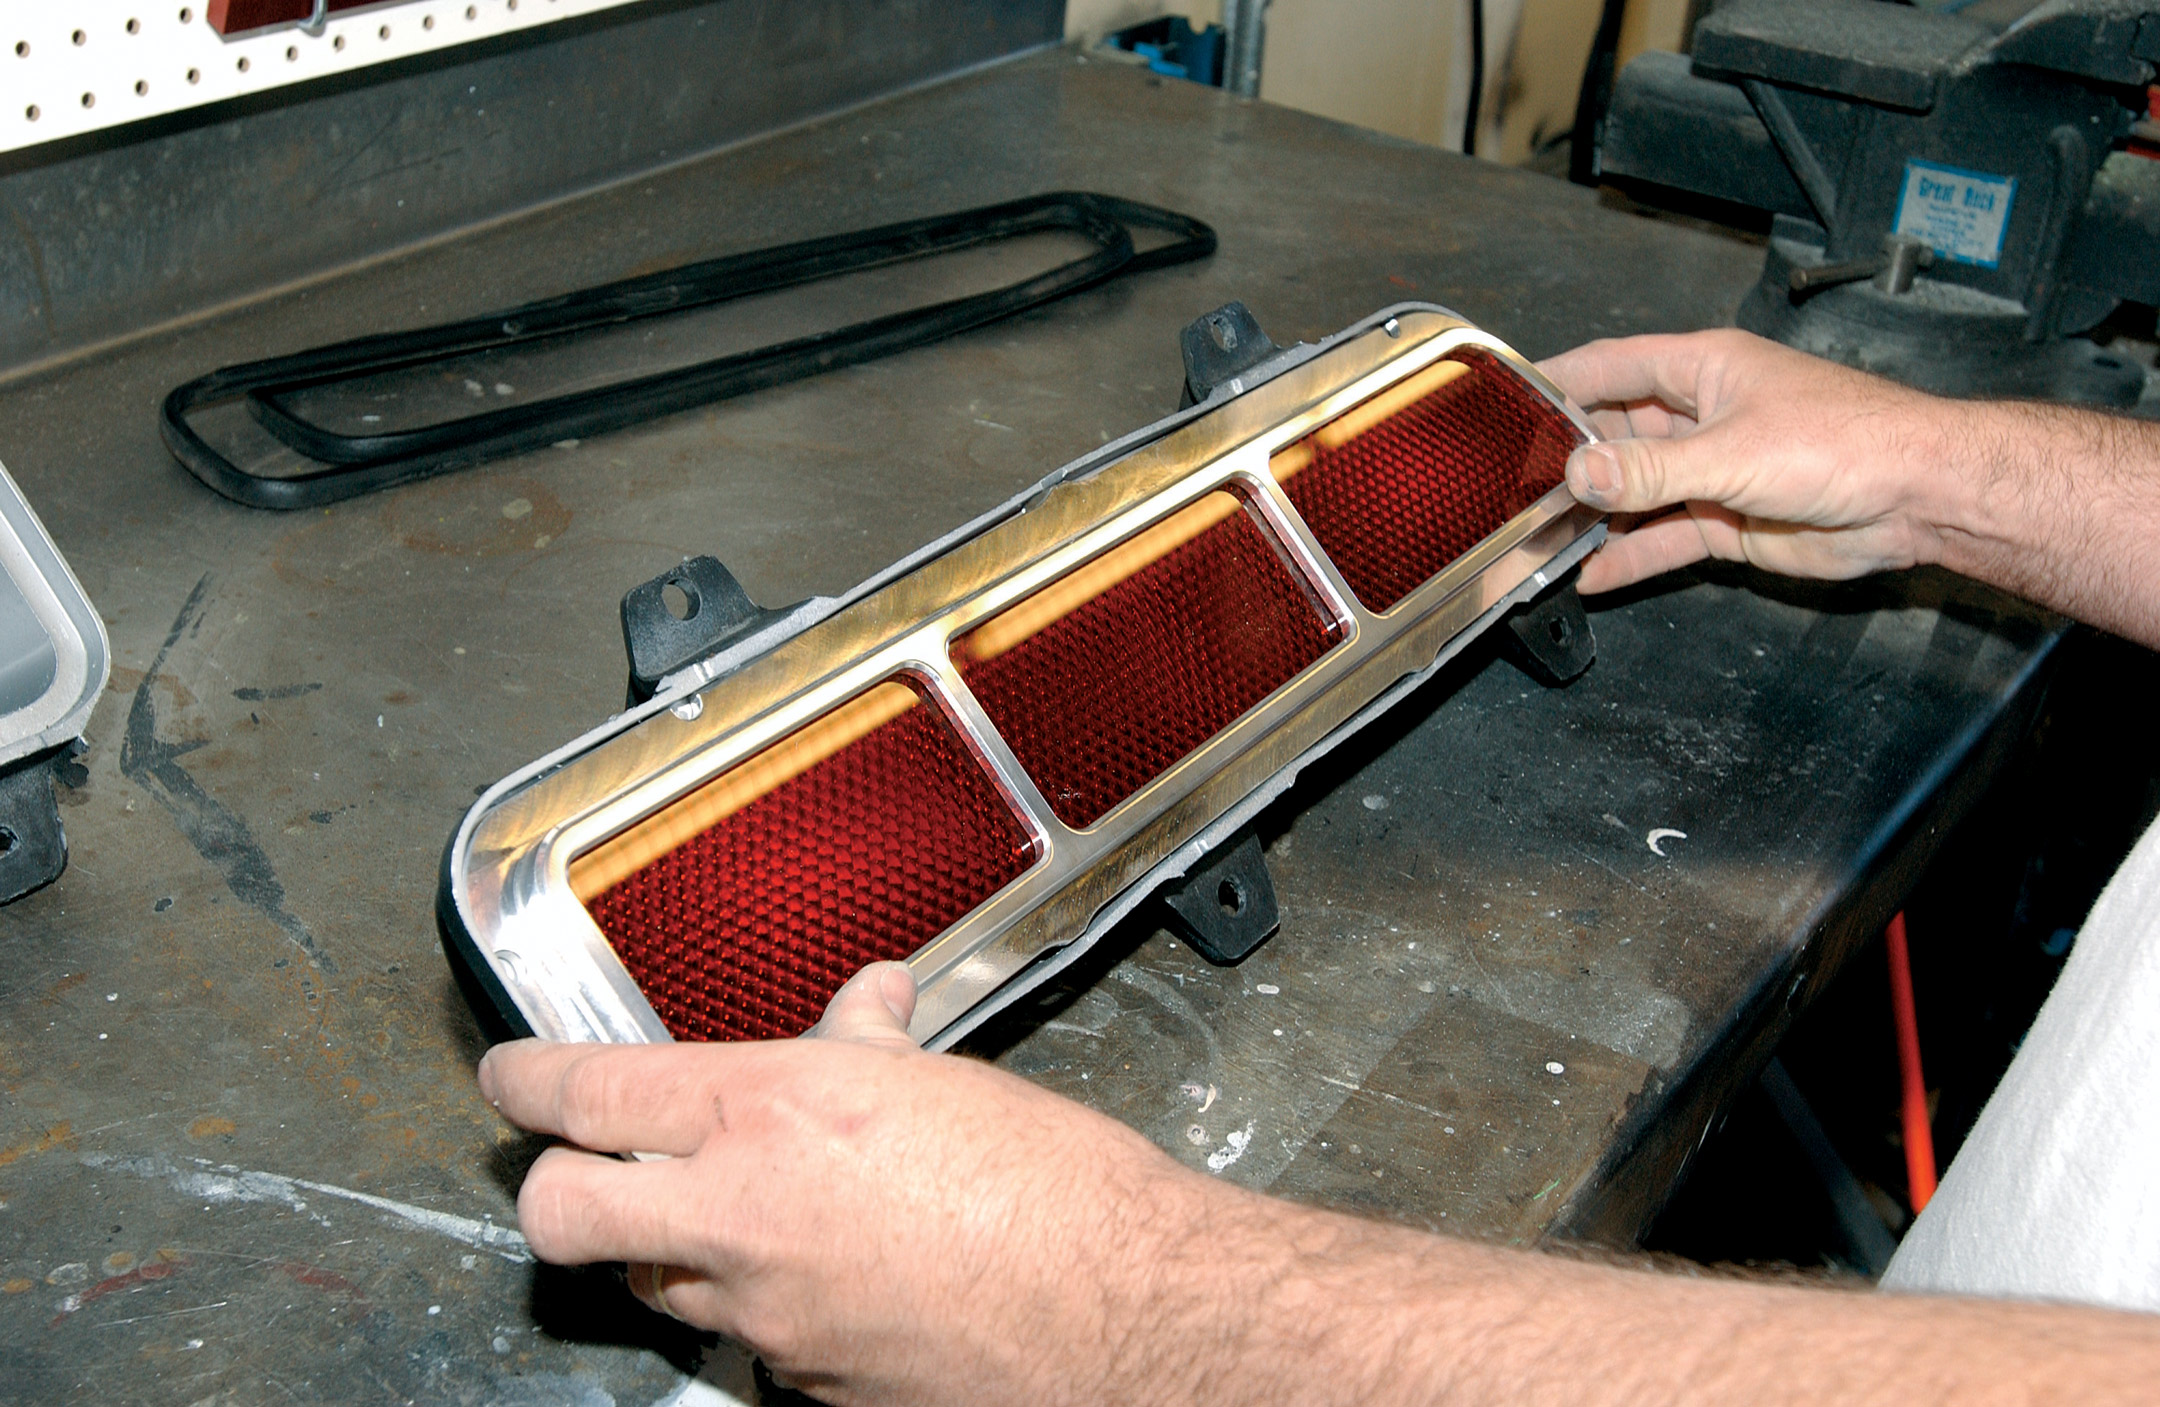
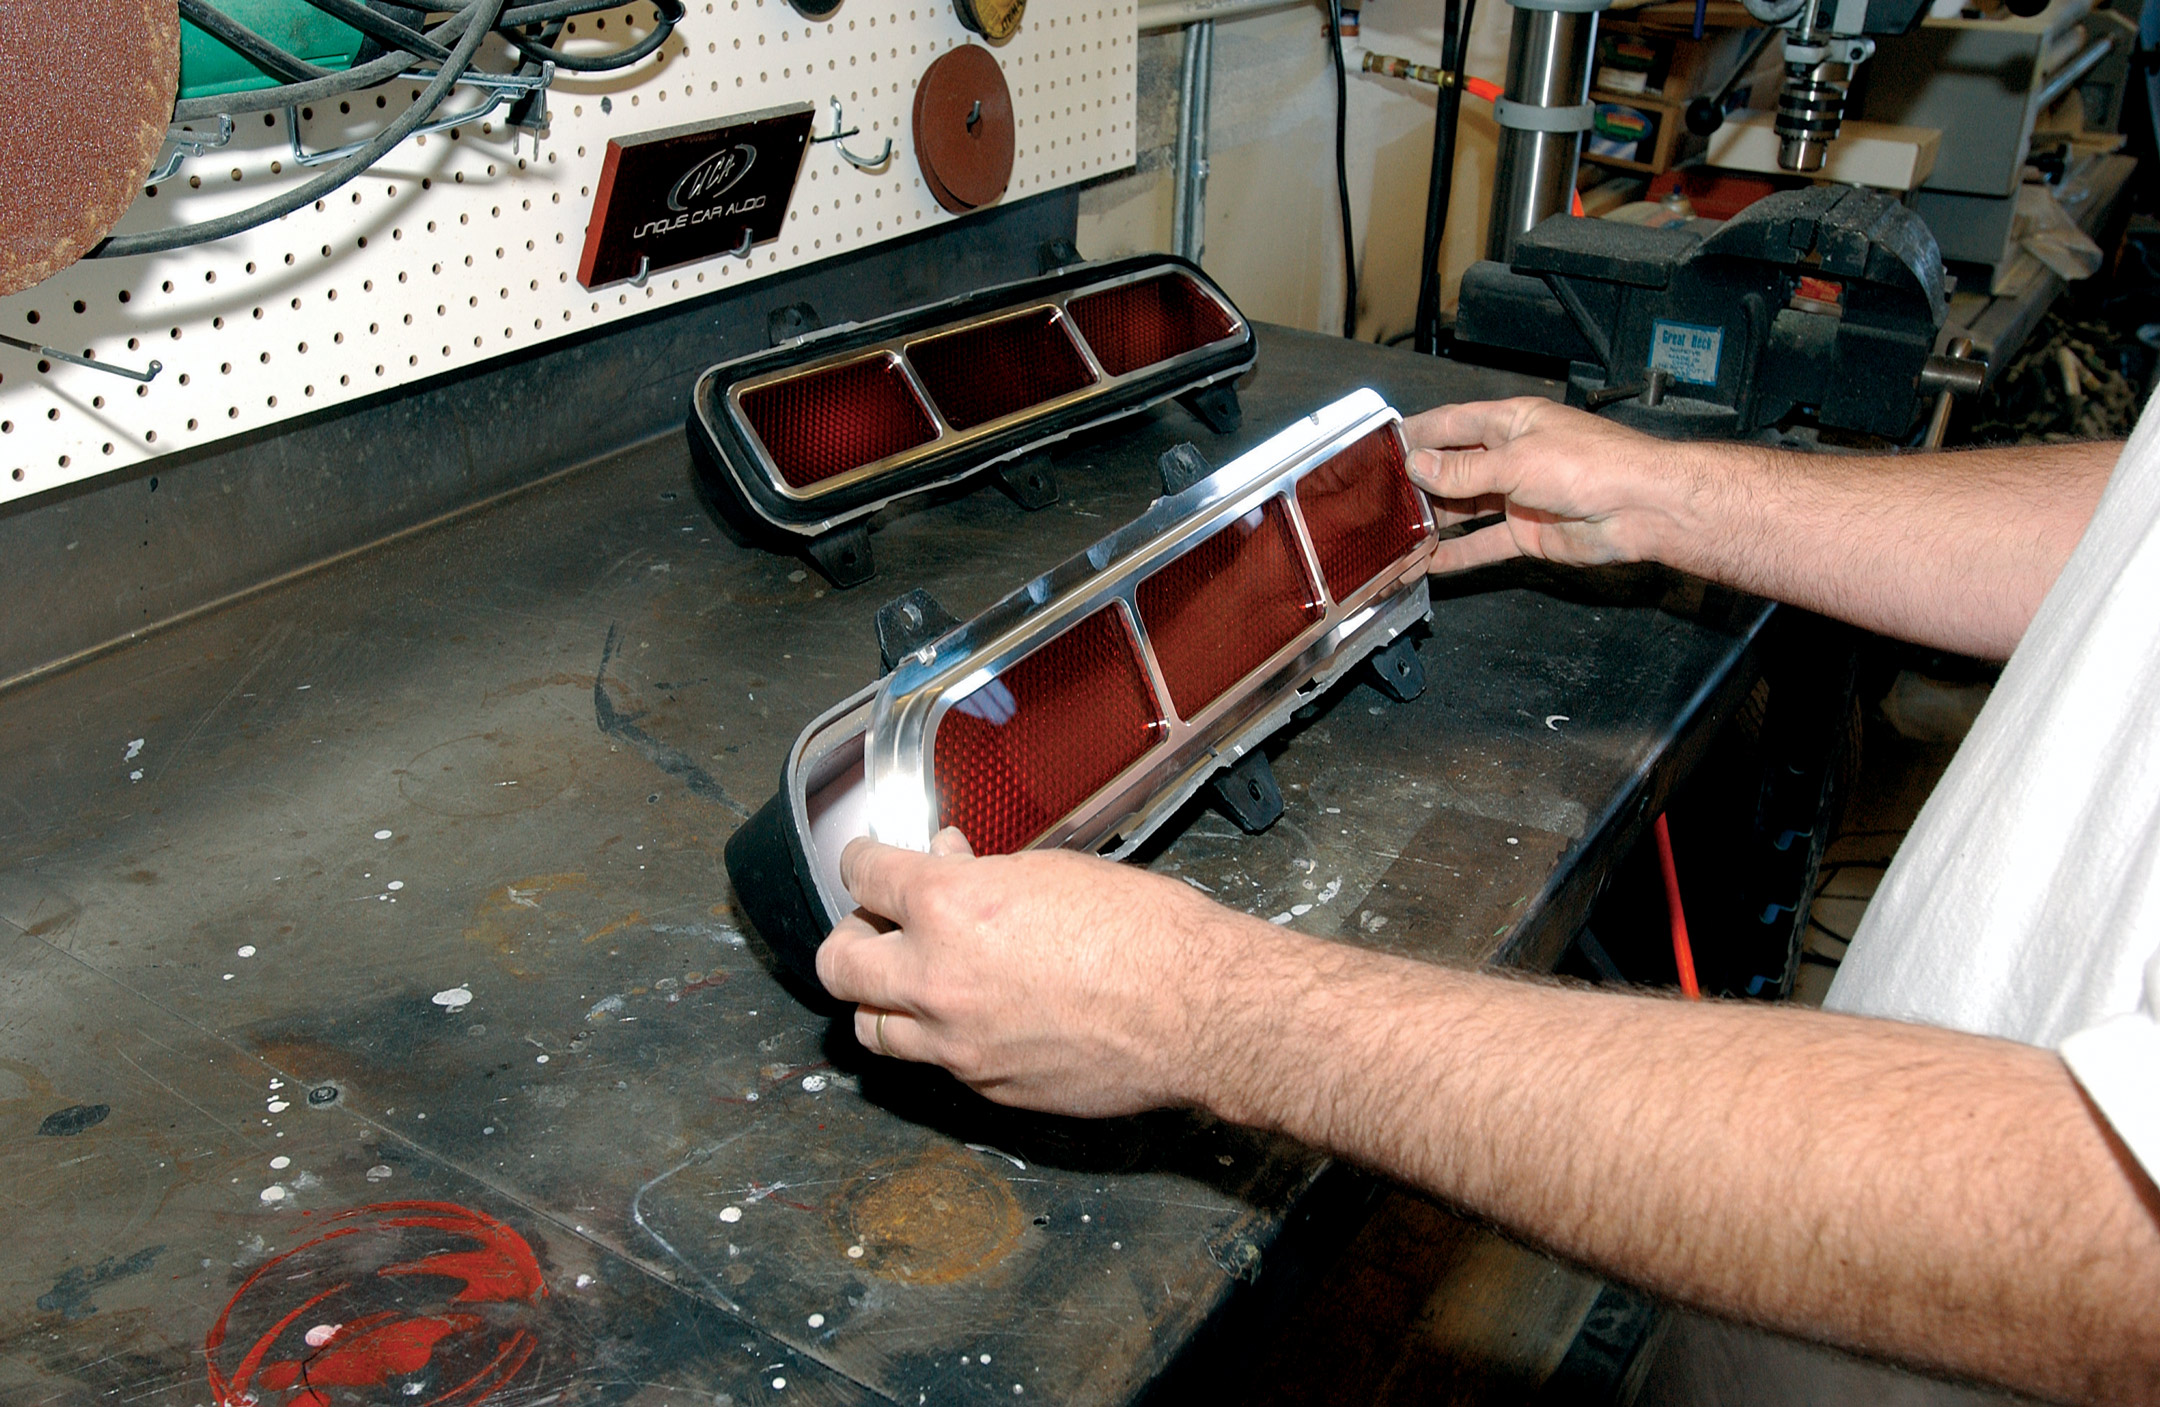
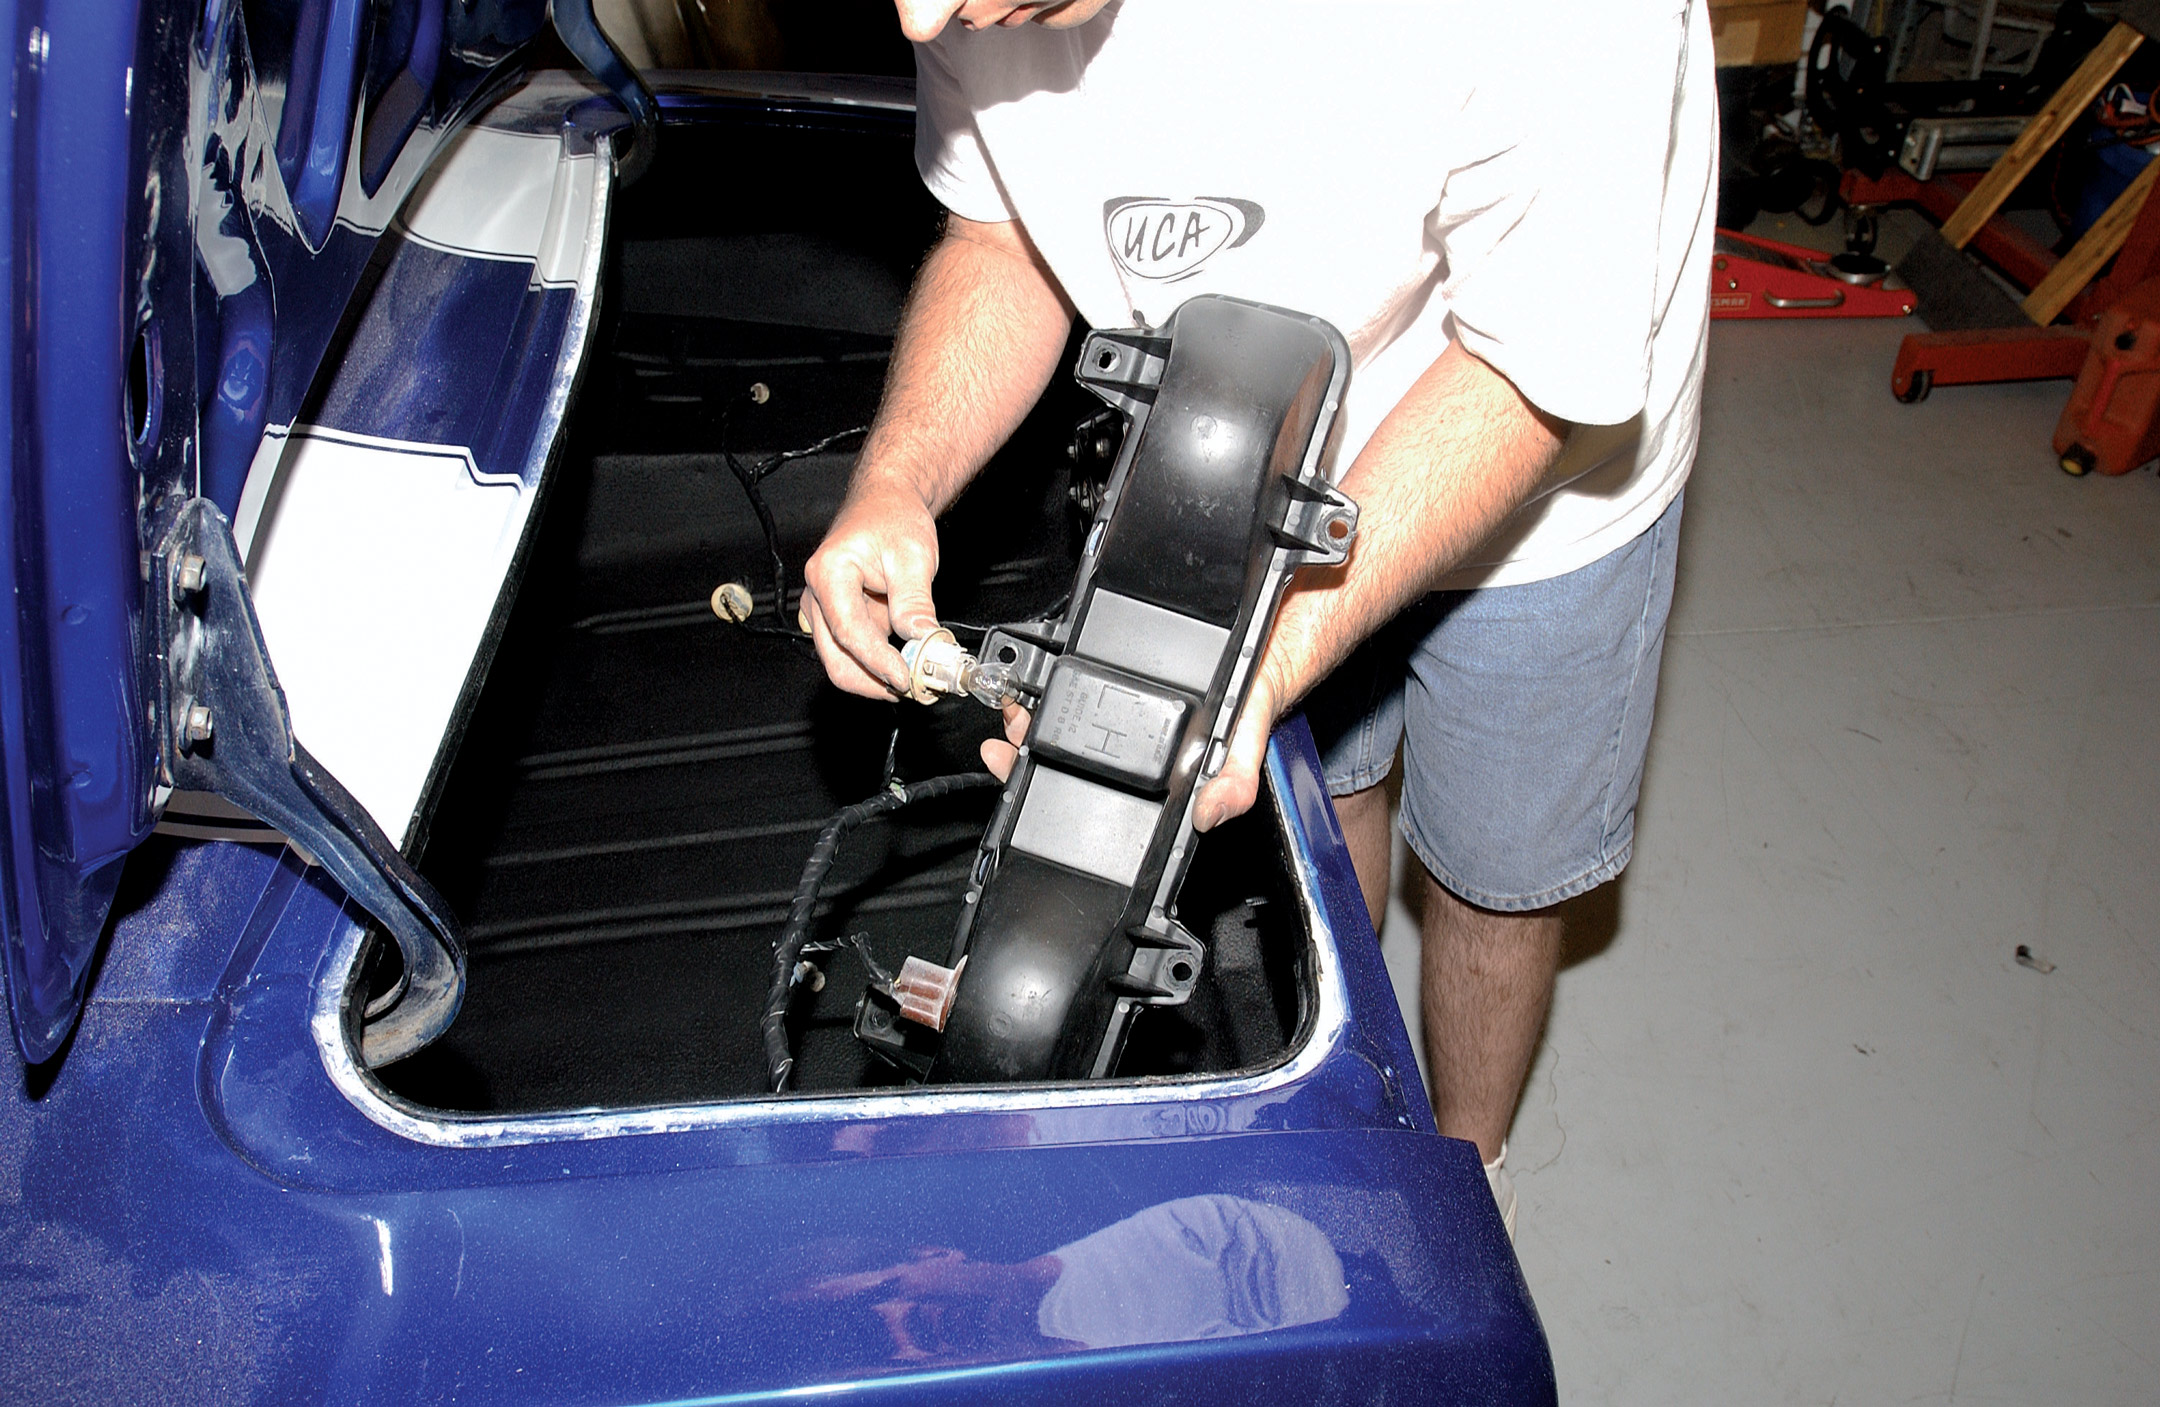
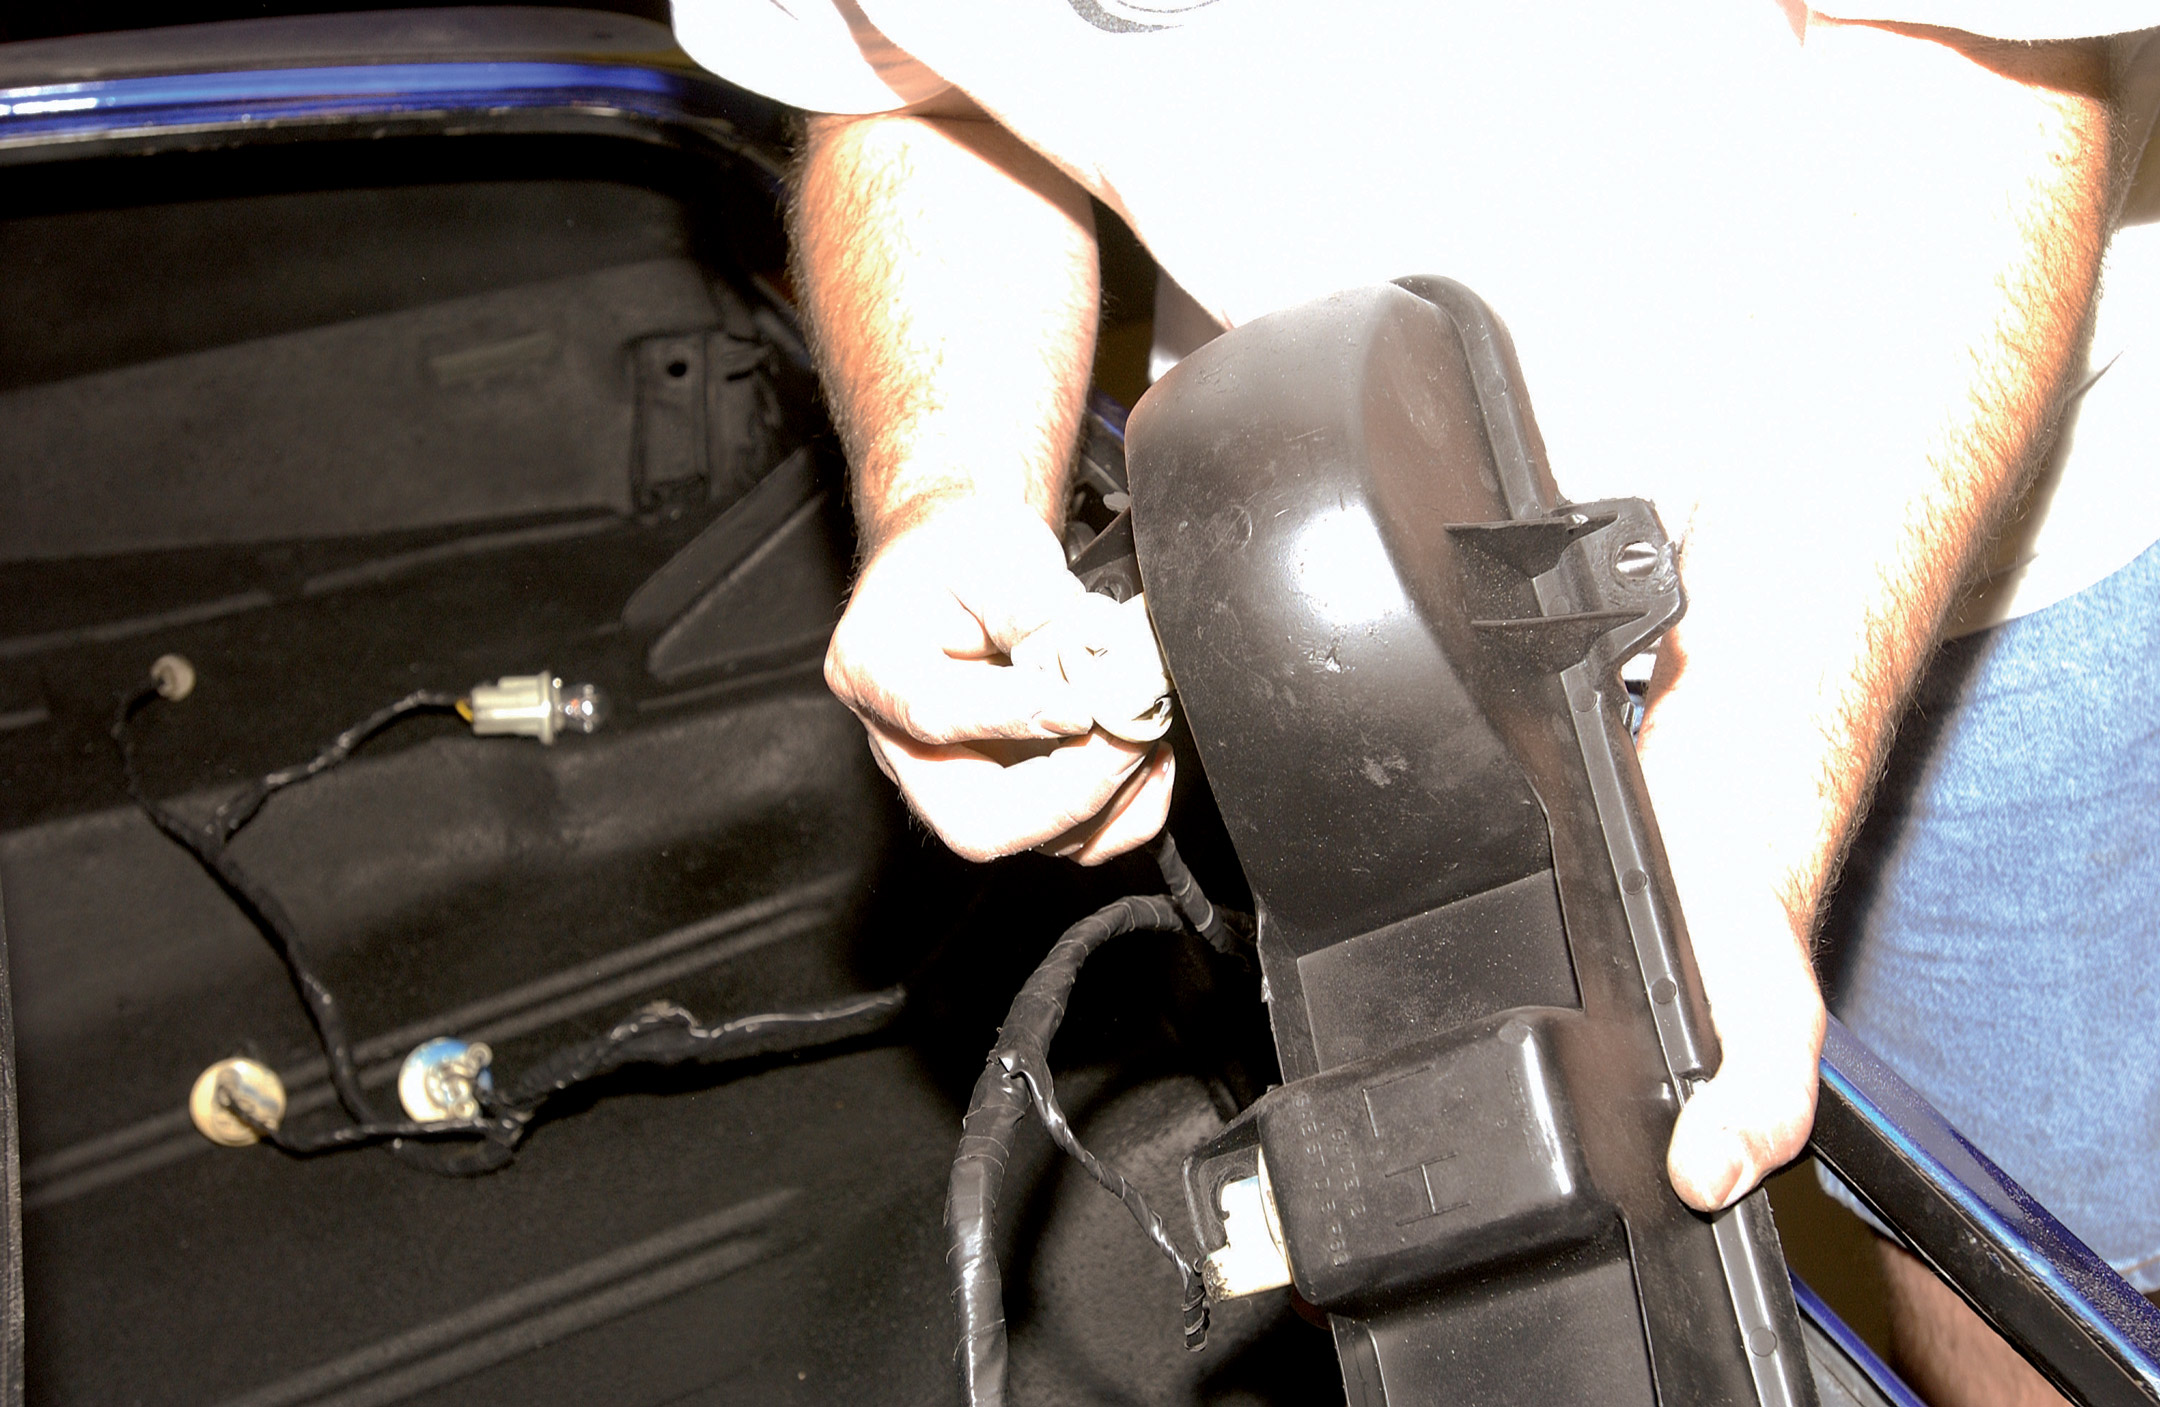
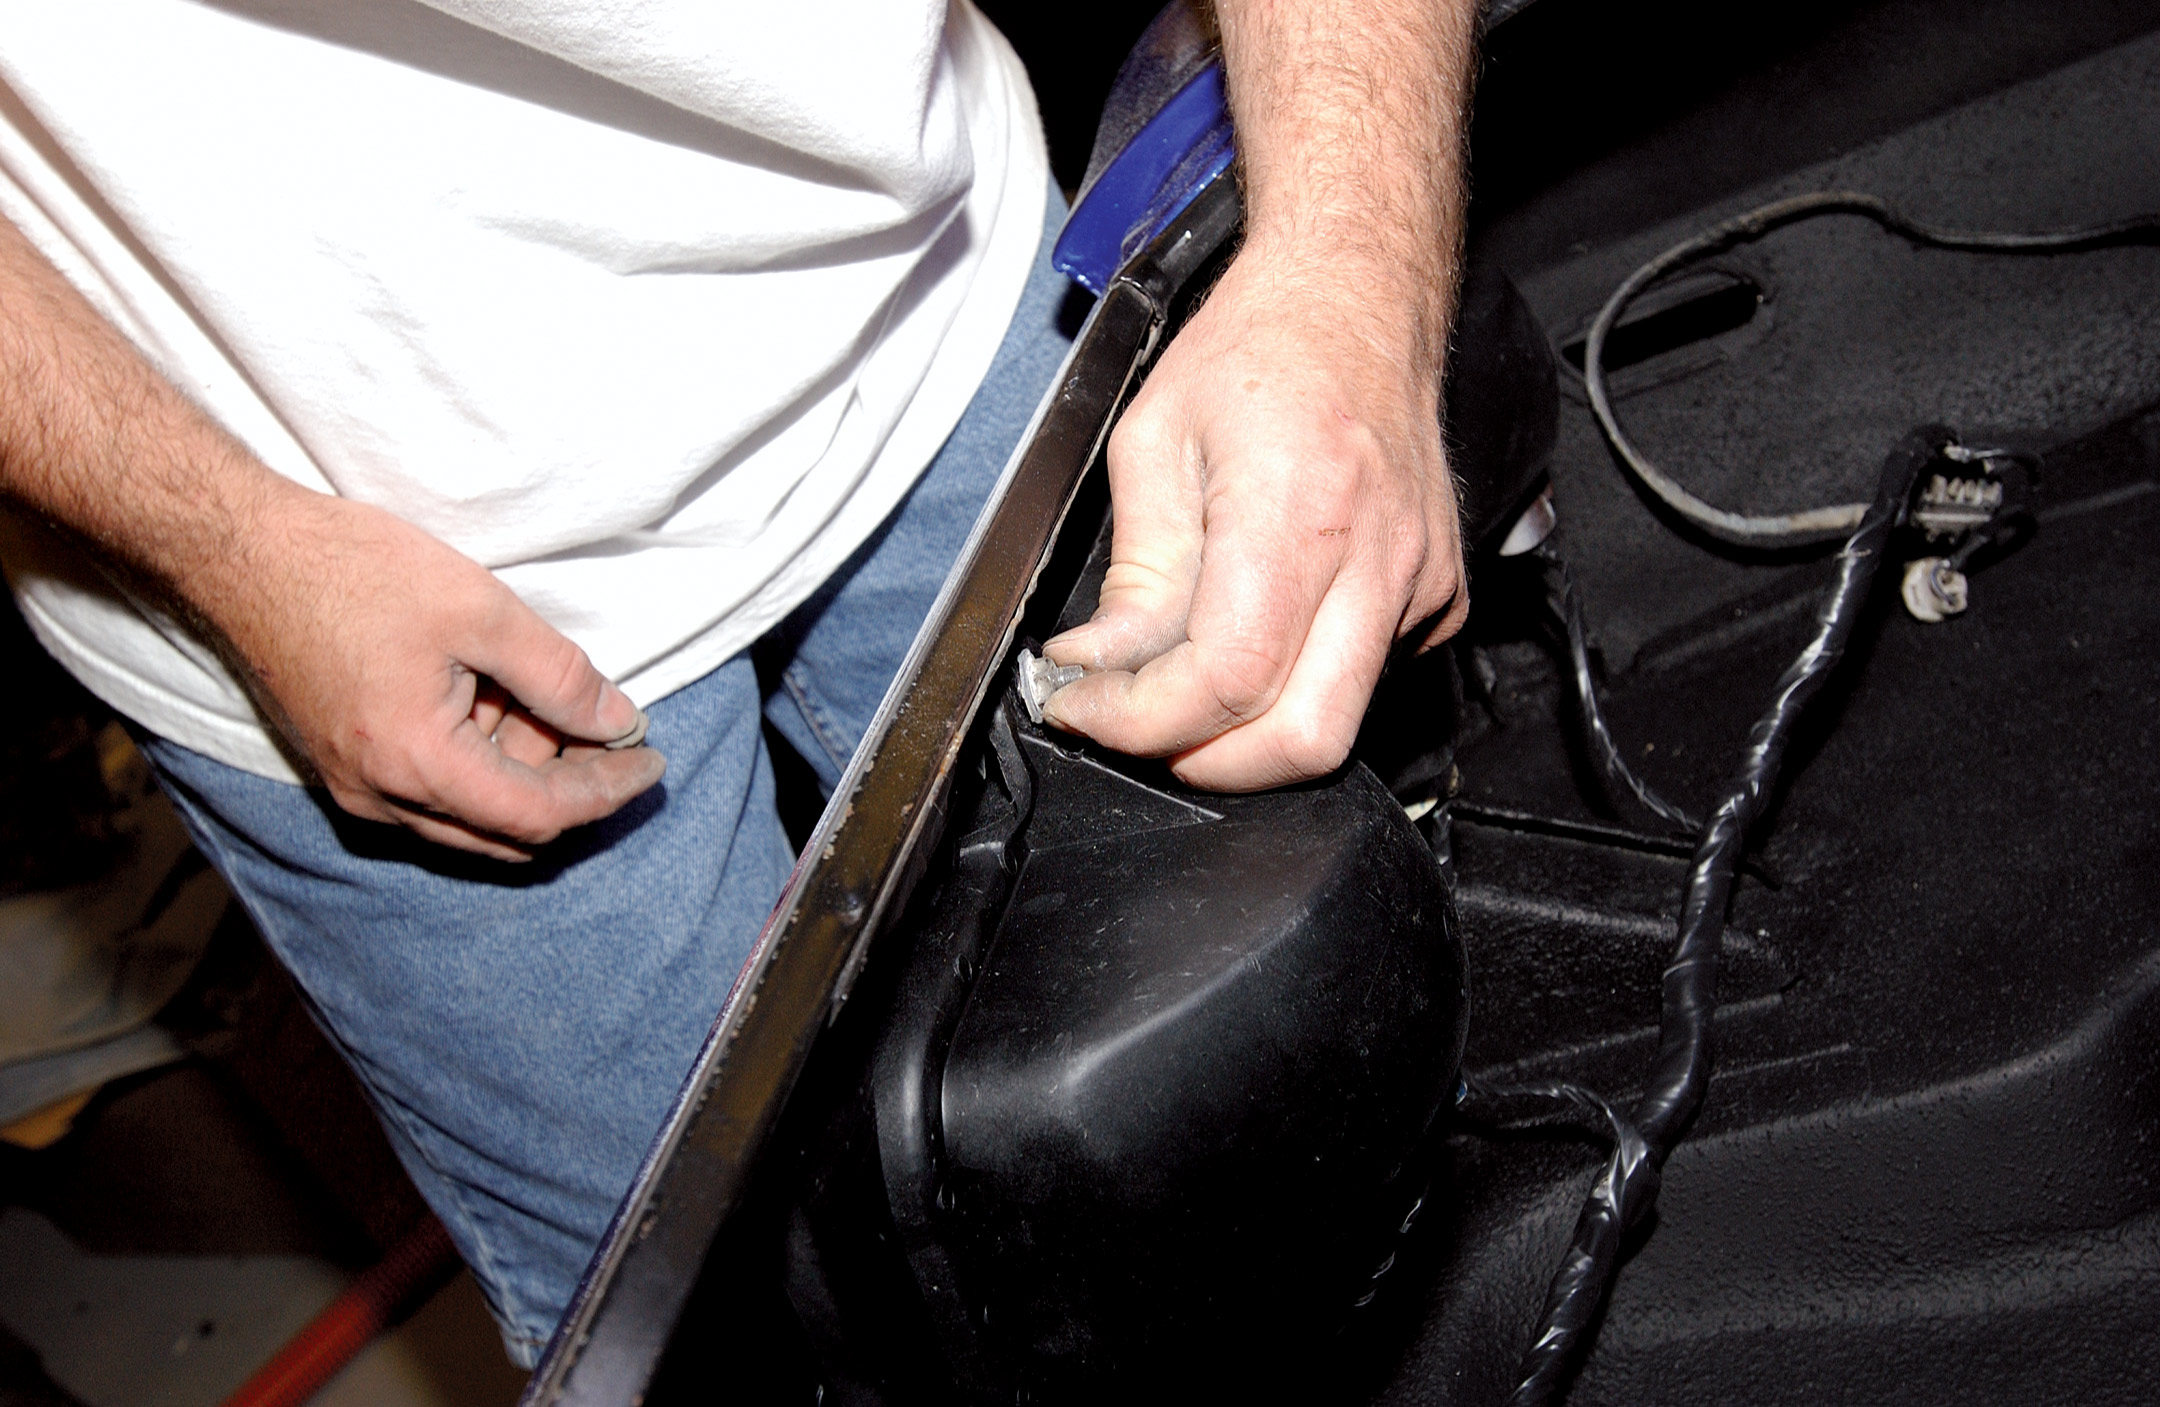
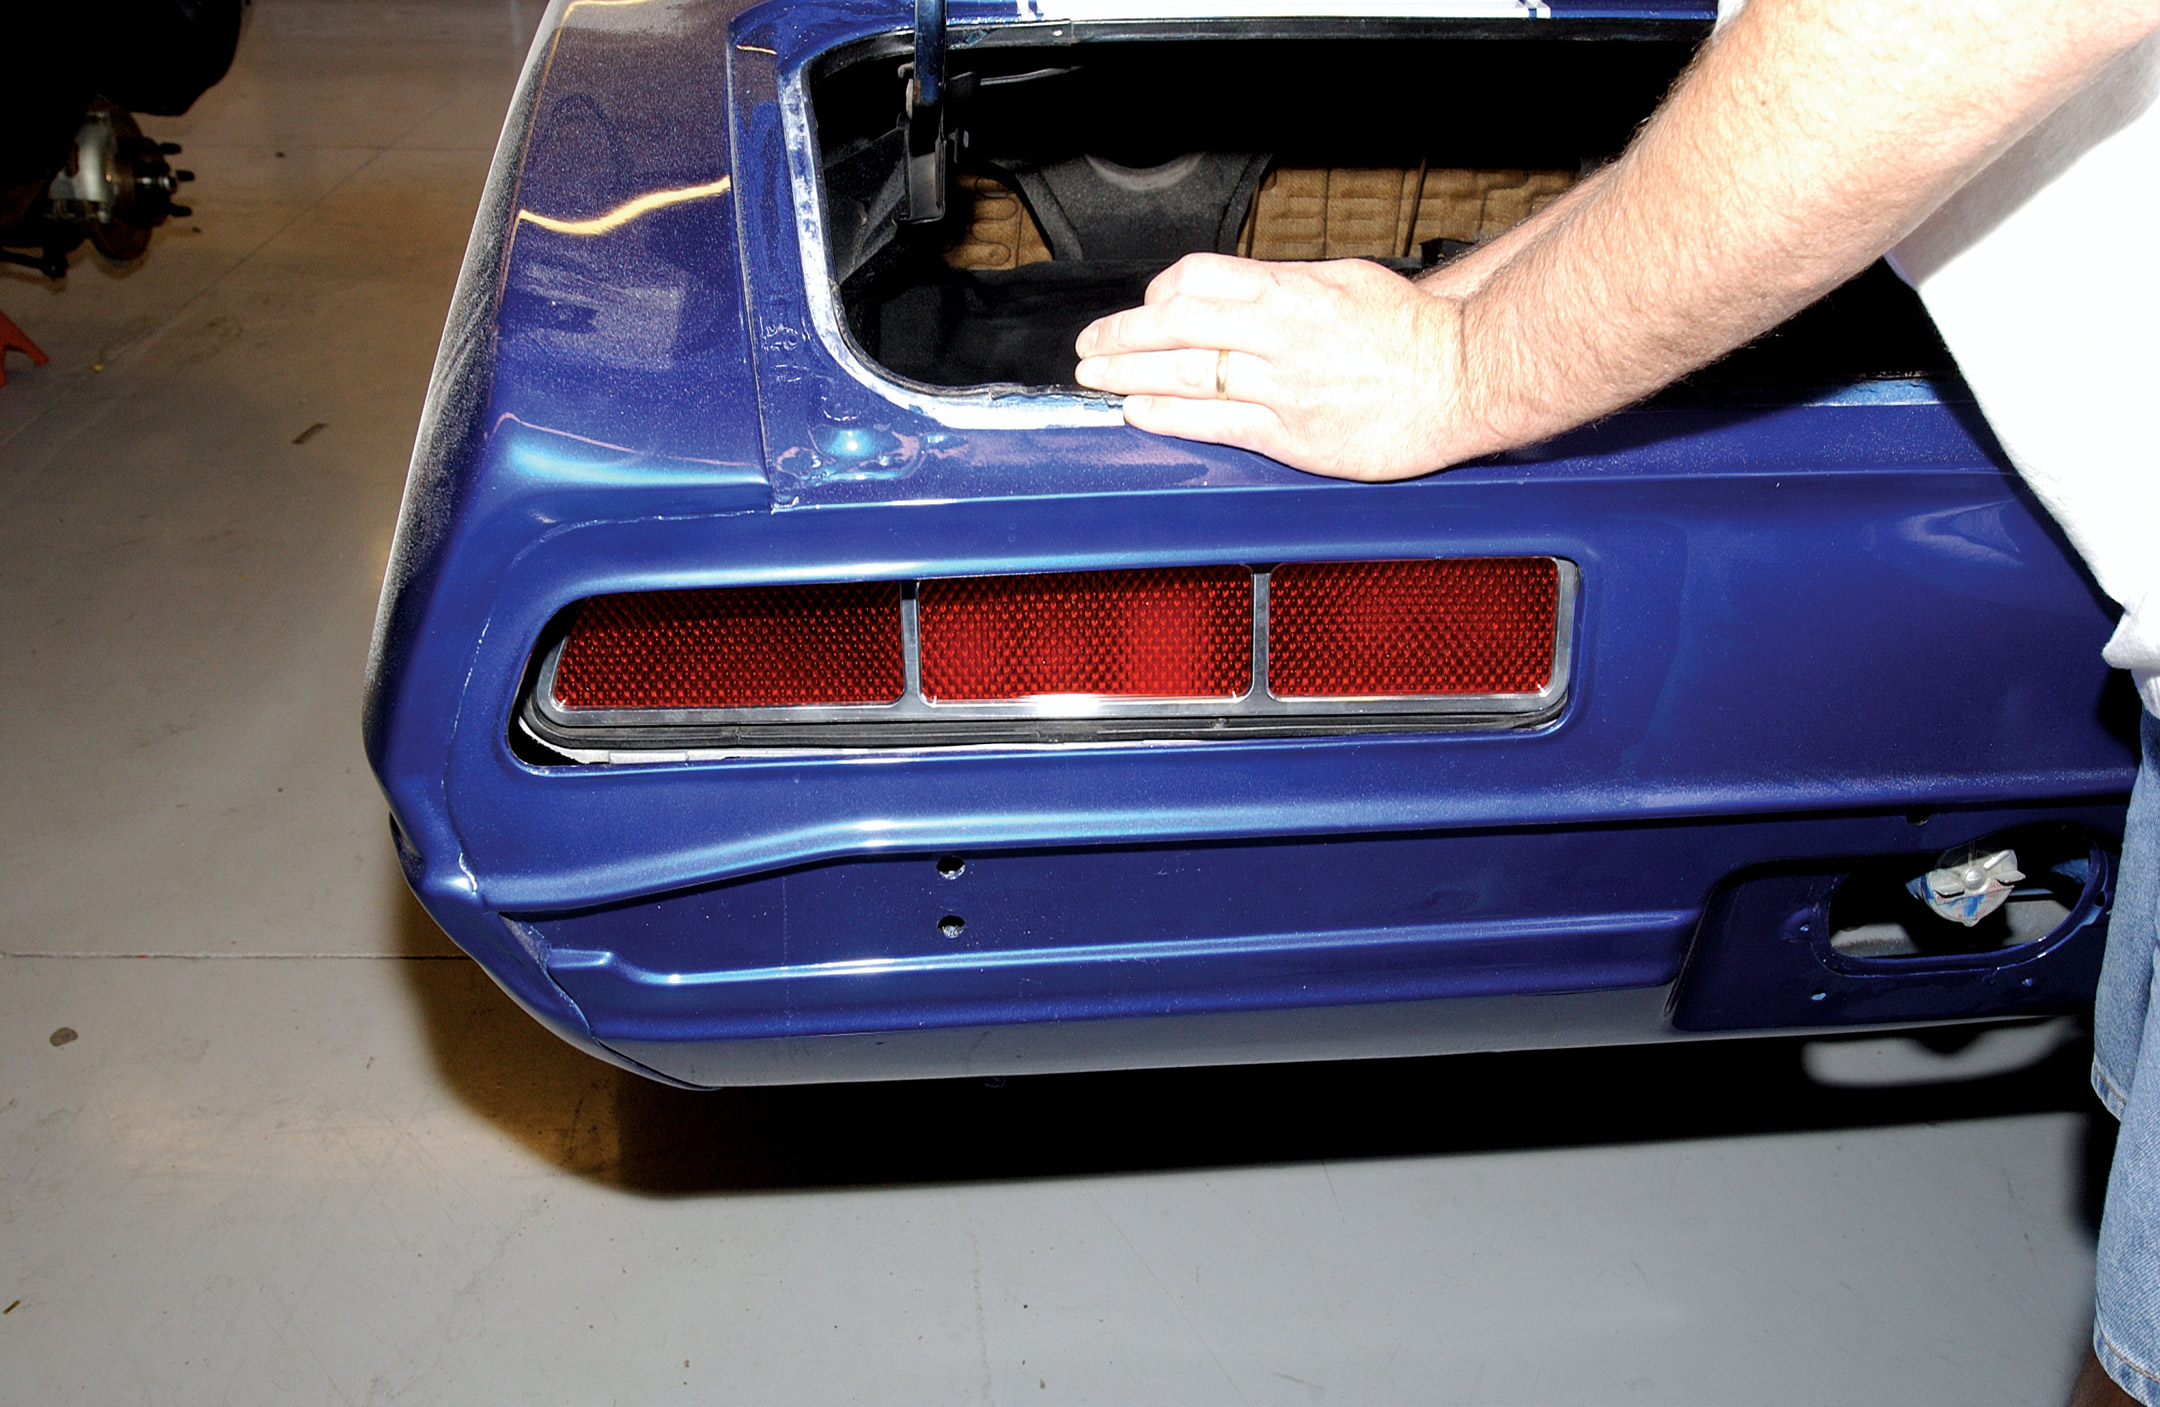
It’s a mammoth effort—building world-class street rods, that is, and to accomplish the goal generally means employing the skills of craftsmen from all across the country. Dave Tucci Jr. is one of the “young gun” rod builders on the scene right now, but he has enough experience to know that finding the right people is more important than where you find them, but we’re getting ahead of ourselves a bit here.


