D&P Chevy Installs New Cobalt Taillights into a Vintage Chevy
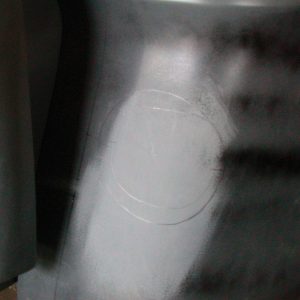
As the Chevy is undergoing the bodywork phase of the buildup, now is the time to install the new taillights. Notice that the stock taillight-mounting holes have been patched.
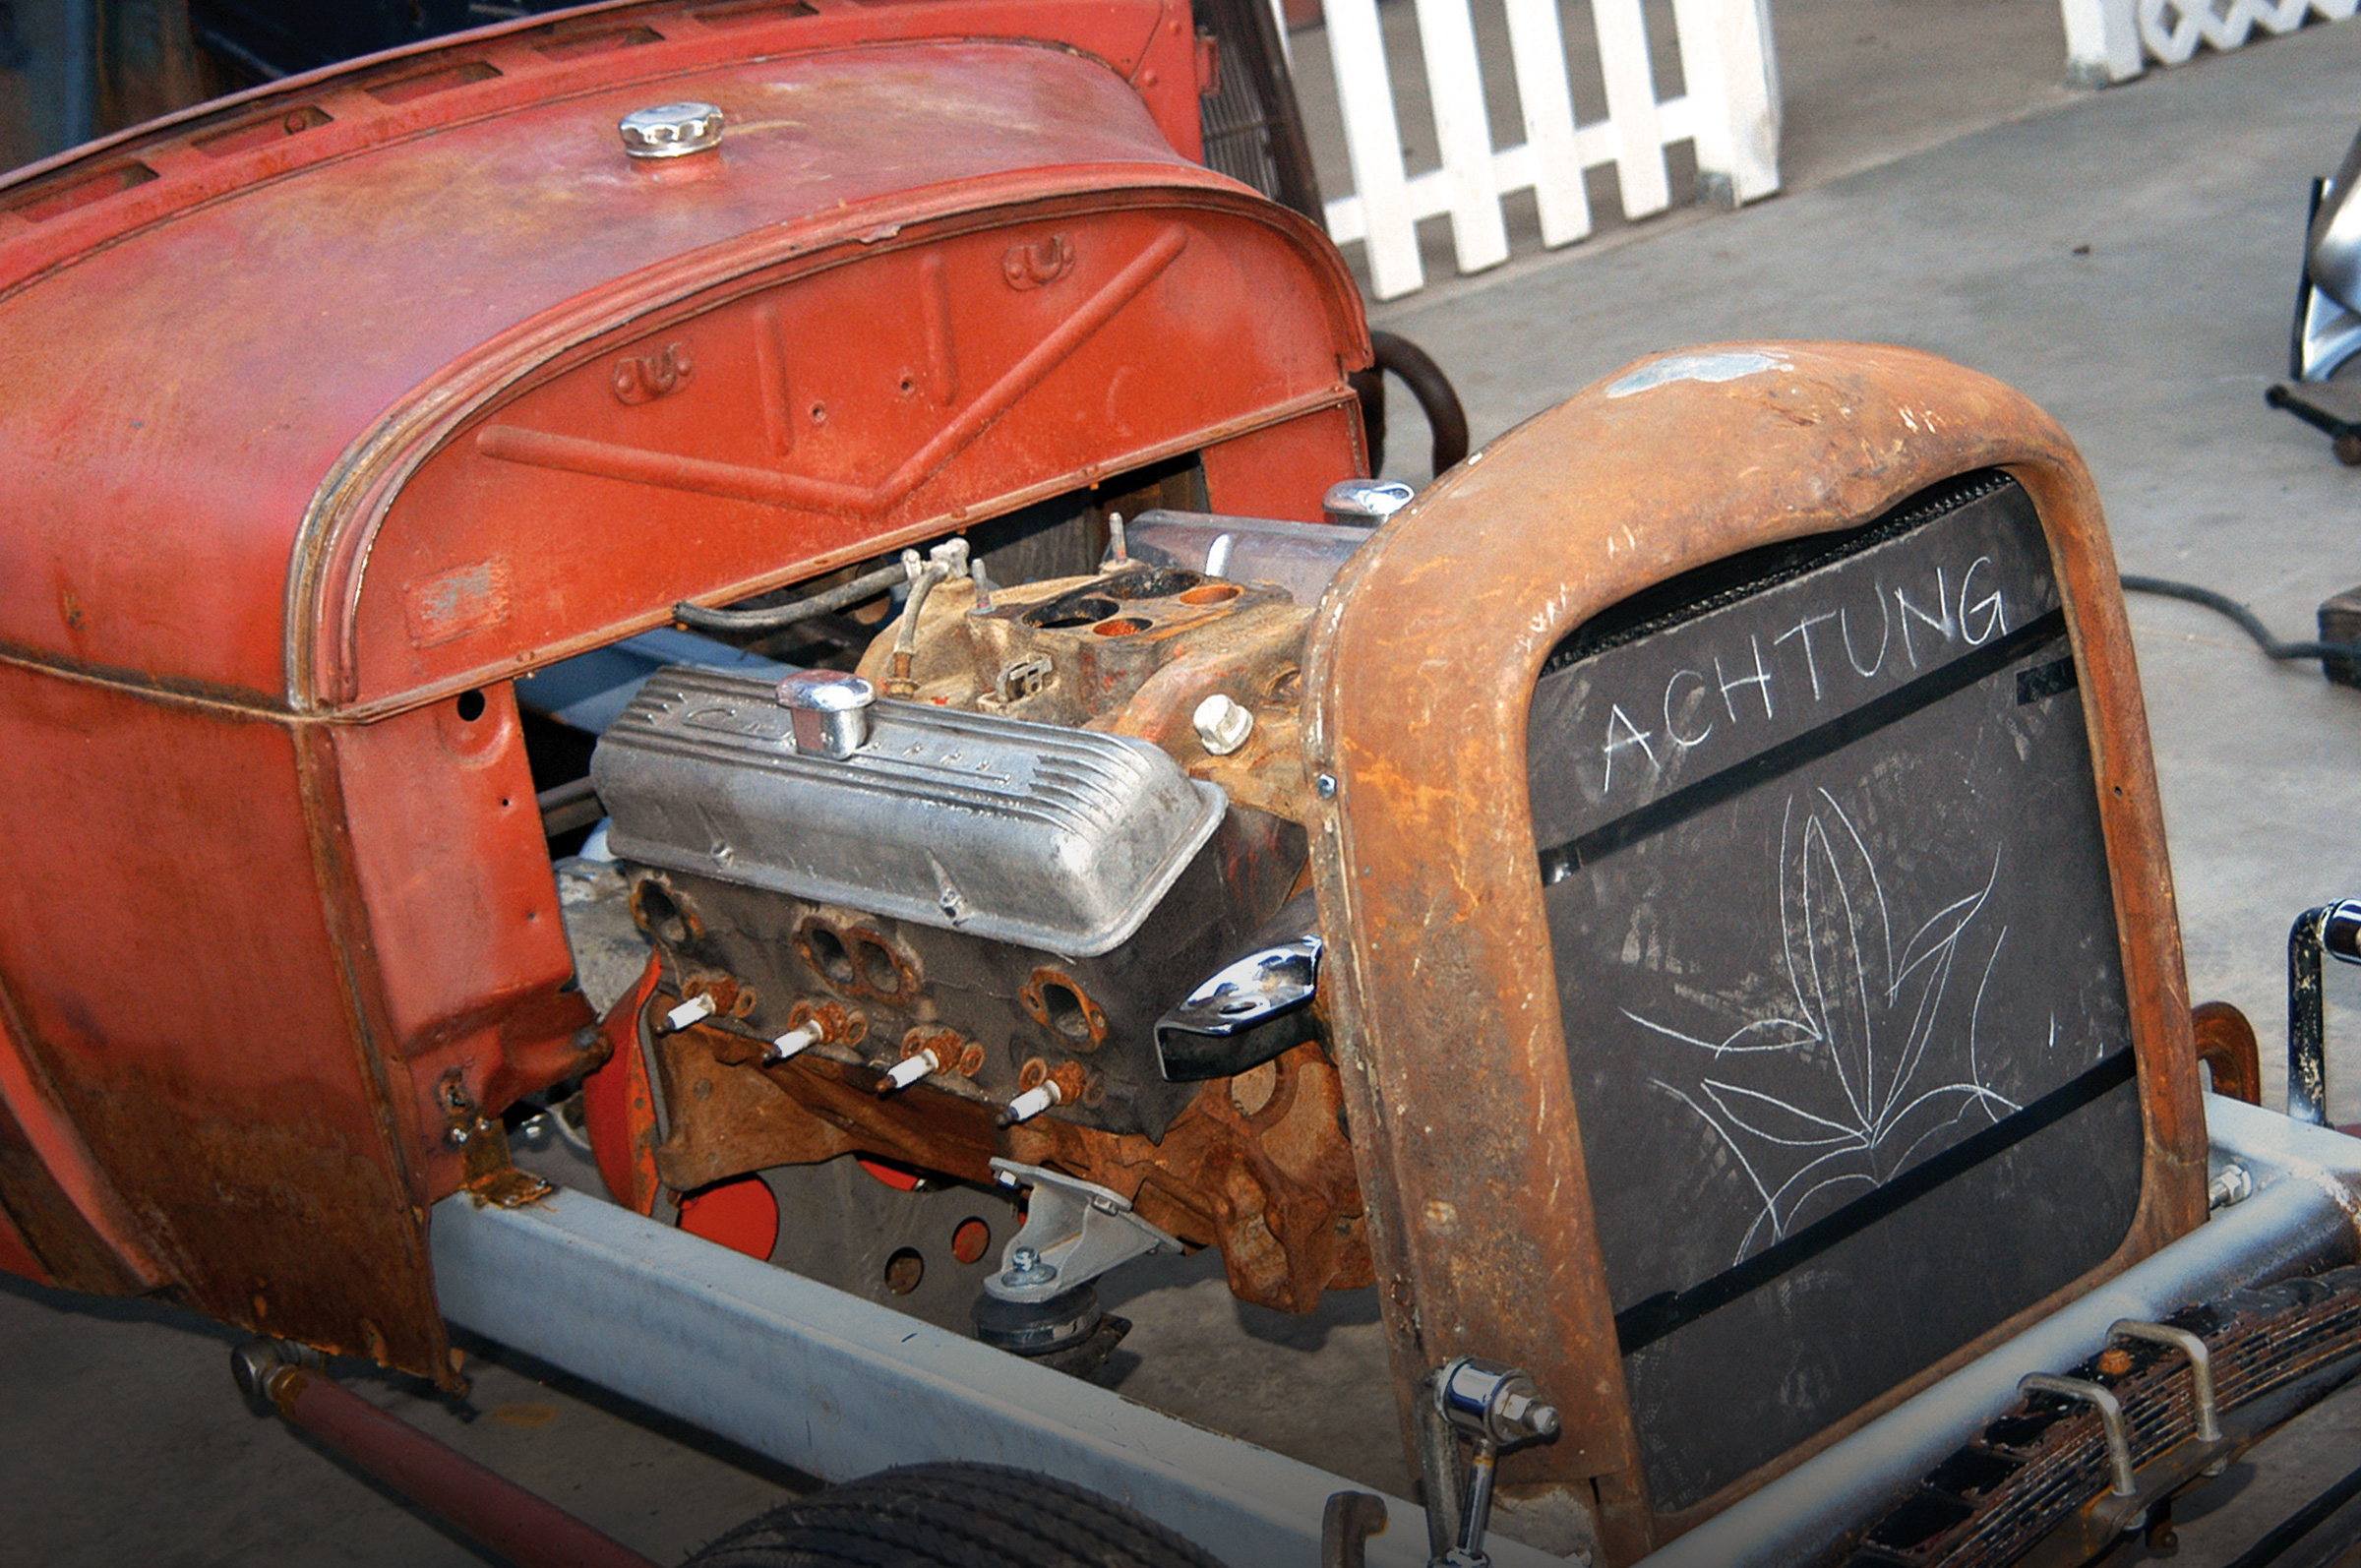
Always hard at work in the never-ending pursuit to do something just a little different, Darryl Nance and the crew at D&P Classic Chevrolet in Huntington Beach, California, recently added a pair of Chevy Cobalt taillights to one of the mid-’50s pickups that they have been working on. The Chevy is a frame-off project that was completed to exhibit all of the tricks that the D&P team can throw at it, and we were on hand when they installed the late-model lights to the old-time treasure.
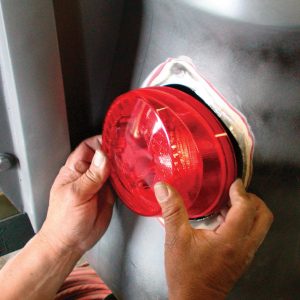
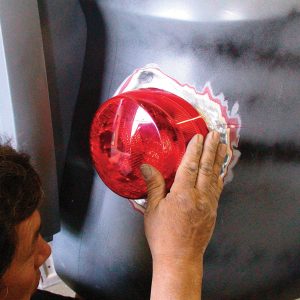
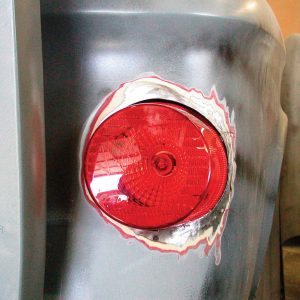
Here is the new Cobalt taillight. The overall size of the unit is within range of what could be installed into the fender, and thanks to the design of the unit (and unlike the stock units), it will throw light to the side of the truck as well as to the rear.
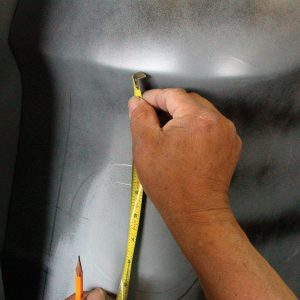
As with most things of this nature, it came down to measuring twice and cutting once. For those who might try this type of modification to your own ride, the same rule applies. It is imperative to have the lights in the same place on both fenders to make completely sure of the location of the hole before any cutting is done. Though these fenders are much thicker than the ones out there today, they are still susceptible to warping if too much welding is done. Also, when you start cutting out the hole, be sure to cut along the inside of the line. This may leave the hole on the small side, but it is far easier to grind more metal off than it is to weld it back on.
As you probably know, D&P Classic Chevrolet is one of the best places to call if you need anything from parts to a complete buildup on your Chevy. Follow along as they transform the taillights on this vintage Chevy with ones from the newest Chevy.
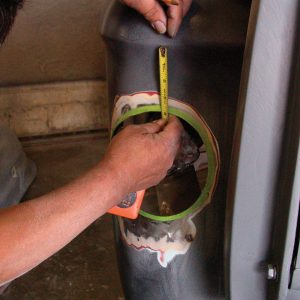
It is always good to do one side at a time, and the D&P crew had already cut the hole on the driver’s side. Measurements are taken to ensure that the two holes are in exactly the same location on both fenders.
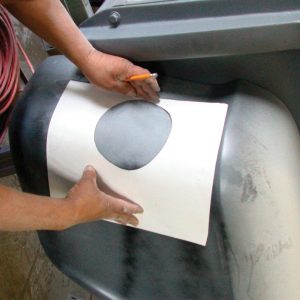
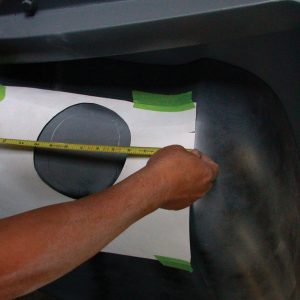
A template of the hole is made, and the measurements taken off of the other fender are used to line it up.
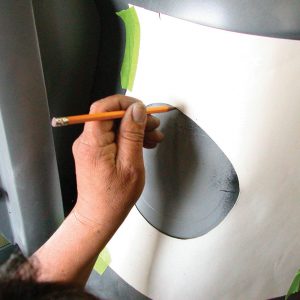
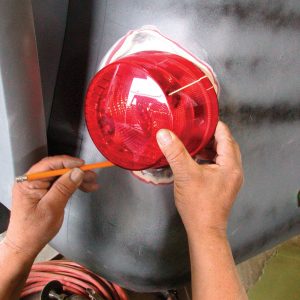
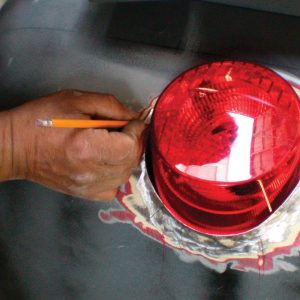
A pencil is used to trace the hole.
Remember what we said about measuring twice and cutting once? Now is the last chance to make sure that the hole is where you want it.
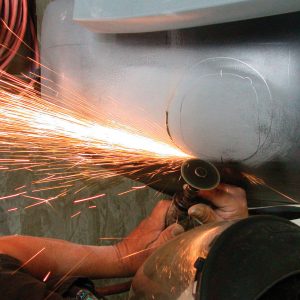
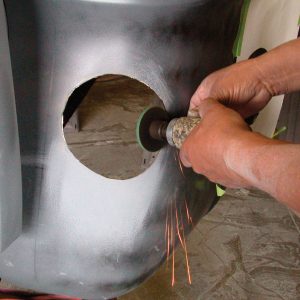
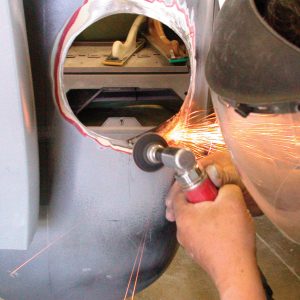
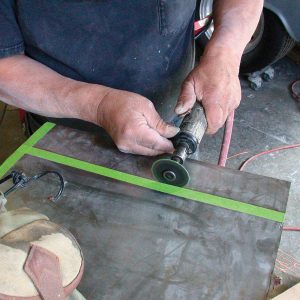
The next step is to cut the hole out. While a cut-off wheel and deft touch was used to do this, a pneumatic reciprocating saw or a plasma cutter would also work.
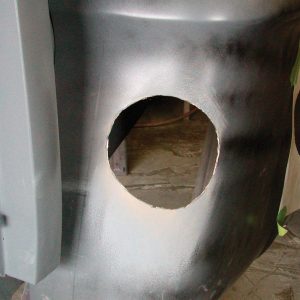
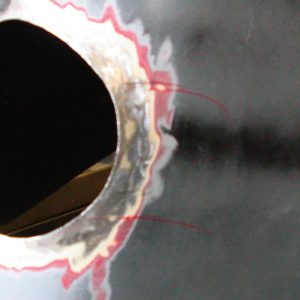
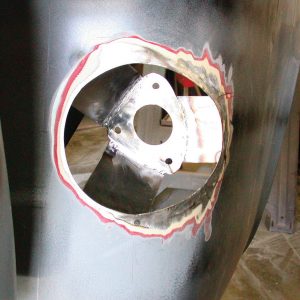
With the material out of the way, the size of the hole is apparent: the Cobalt light is big and will shine plenty of light when on.
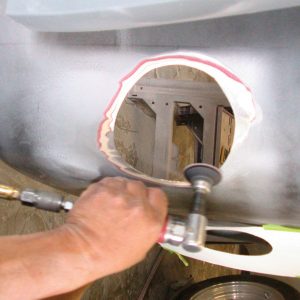
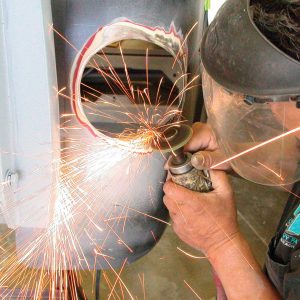
The first step is to clean the cut with a grinding wheel, which is followed with a sanding disc mounted into an angle grinder.
The light is set into place, and the fit is checked. Marks are placed where some additional material needs to be removed.
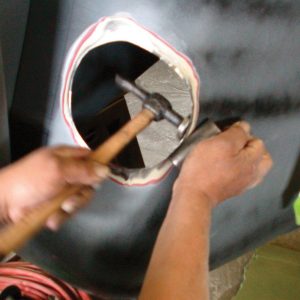
A few taps of the hammer and dolly are used to massage the outer contour of the fender to better match the contour of the light. The light is again set in place and the fit is checked.
After deciding that a little more surfacing is needed, marks are placed exactly where the work needs to be done.
The hammer and dolly are again put into play, but just as with cutting out the hole, the hammering is done a little at a time to ensure that only what is needed is done.
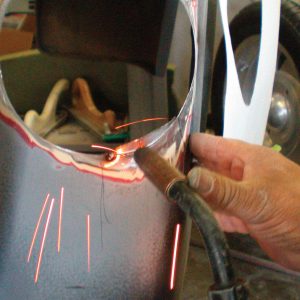
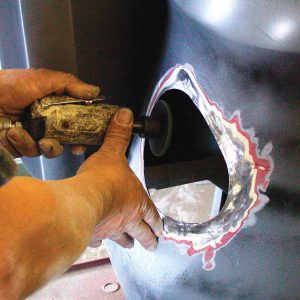
As it turns out, a little patch is necessary, though in all fairness it is tough to place anything but an entirely round hole (the light is more of an egg shape) into a curved surface. The area where the patch is needed is marked.
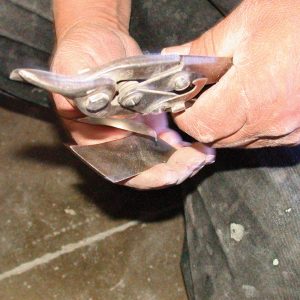
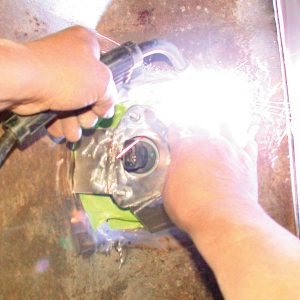
The patch is cut from sheetmetal using tin snips and is tack-welded into place.
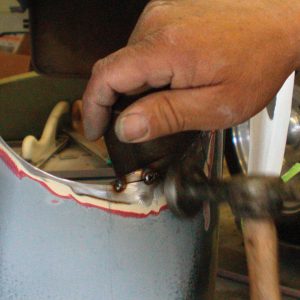
After checking the fit with the light housing, a few taps of the hammer and dolly get the piece bent just right.
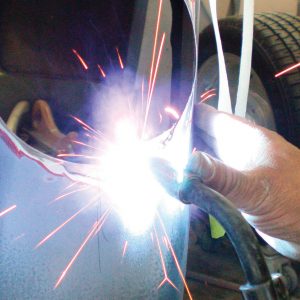
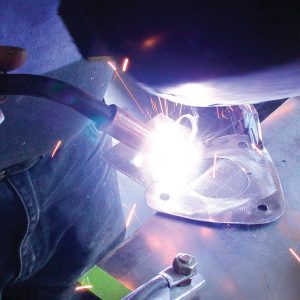
The patch is welded up.
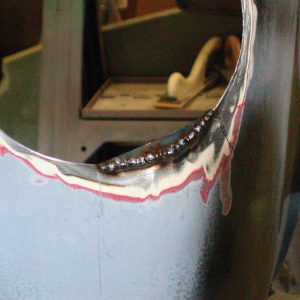
The surface is dressed with the grinder and sanding disc.
It’s time for the final fit. With a little more material taken off, this part of the job is finished.
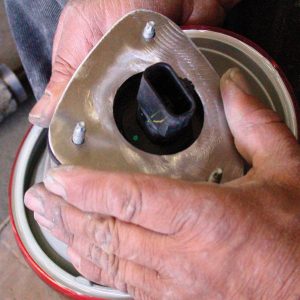
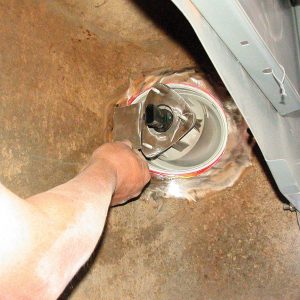
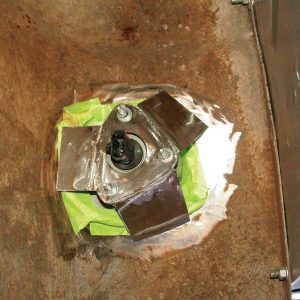
To mount the light, a bucket is needed. The first step was to make this mounting bracket that fit the back of the housing and its mounting studs.
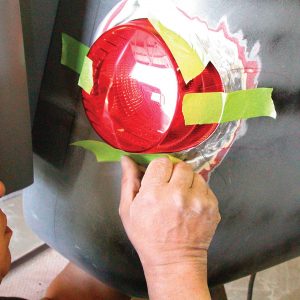
The light is taped into the opening. Notice that masking tape is normally used in painting rather than duct tape. This type of tape comes off easily and won’t leave the residue that duct tape will.
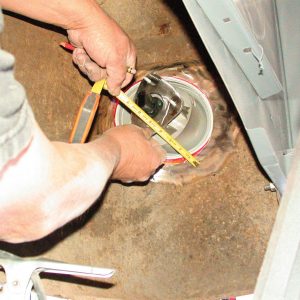
After crawling beneath the bed, measurements are taken from the bracket to the fender itself.
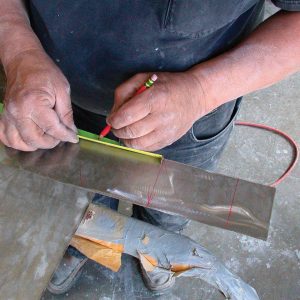
These pieces are cut from heavy-gauge sheetmetal.
The new piece is set into place to check for fit. It will also be marked where the two pieces mate.
In order to be cleaner, the new piece is cut to match the contour of the mounting bracket. It is then tack-welded into place.
After measuring, cutting and fitting the other pieces, this is what the mounting flange will look like. Again, note that the pieces were only tack-welded because another fitting check will occur. When satisfied with the fit, the piece is welded completely.
The new mounting bracket is set onto the housing’s mounting posts and tack-welded to the inside of the fenders. The housing is then removed and the final welding is completed. Be sure not to final-weld the bracket to the fenders with the housing in place; it is plastic and will probably melt.
The new bucket from the outside looking in.
The job is almost finished. Though there will be a little routine bodywork done before the paint goes on, this is essentially what everyone behind the Chevy will be looking at. Pretty slick, huh?