


4 Door Tegger
It’s all about girl power. Over the past few years, we have featured more than a handful of female-built and owned rides. It doesn’t matter how many times we feature a girl’s ride, some guys still assume that women can’t build cool rides. You guys all know the saying, “Don’t assume cause it makes an a** out of you and me.” So with that said, please don’t assume that this is just another ordinary four-door Integra owned by some girl.
Free Horsepower Tips
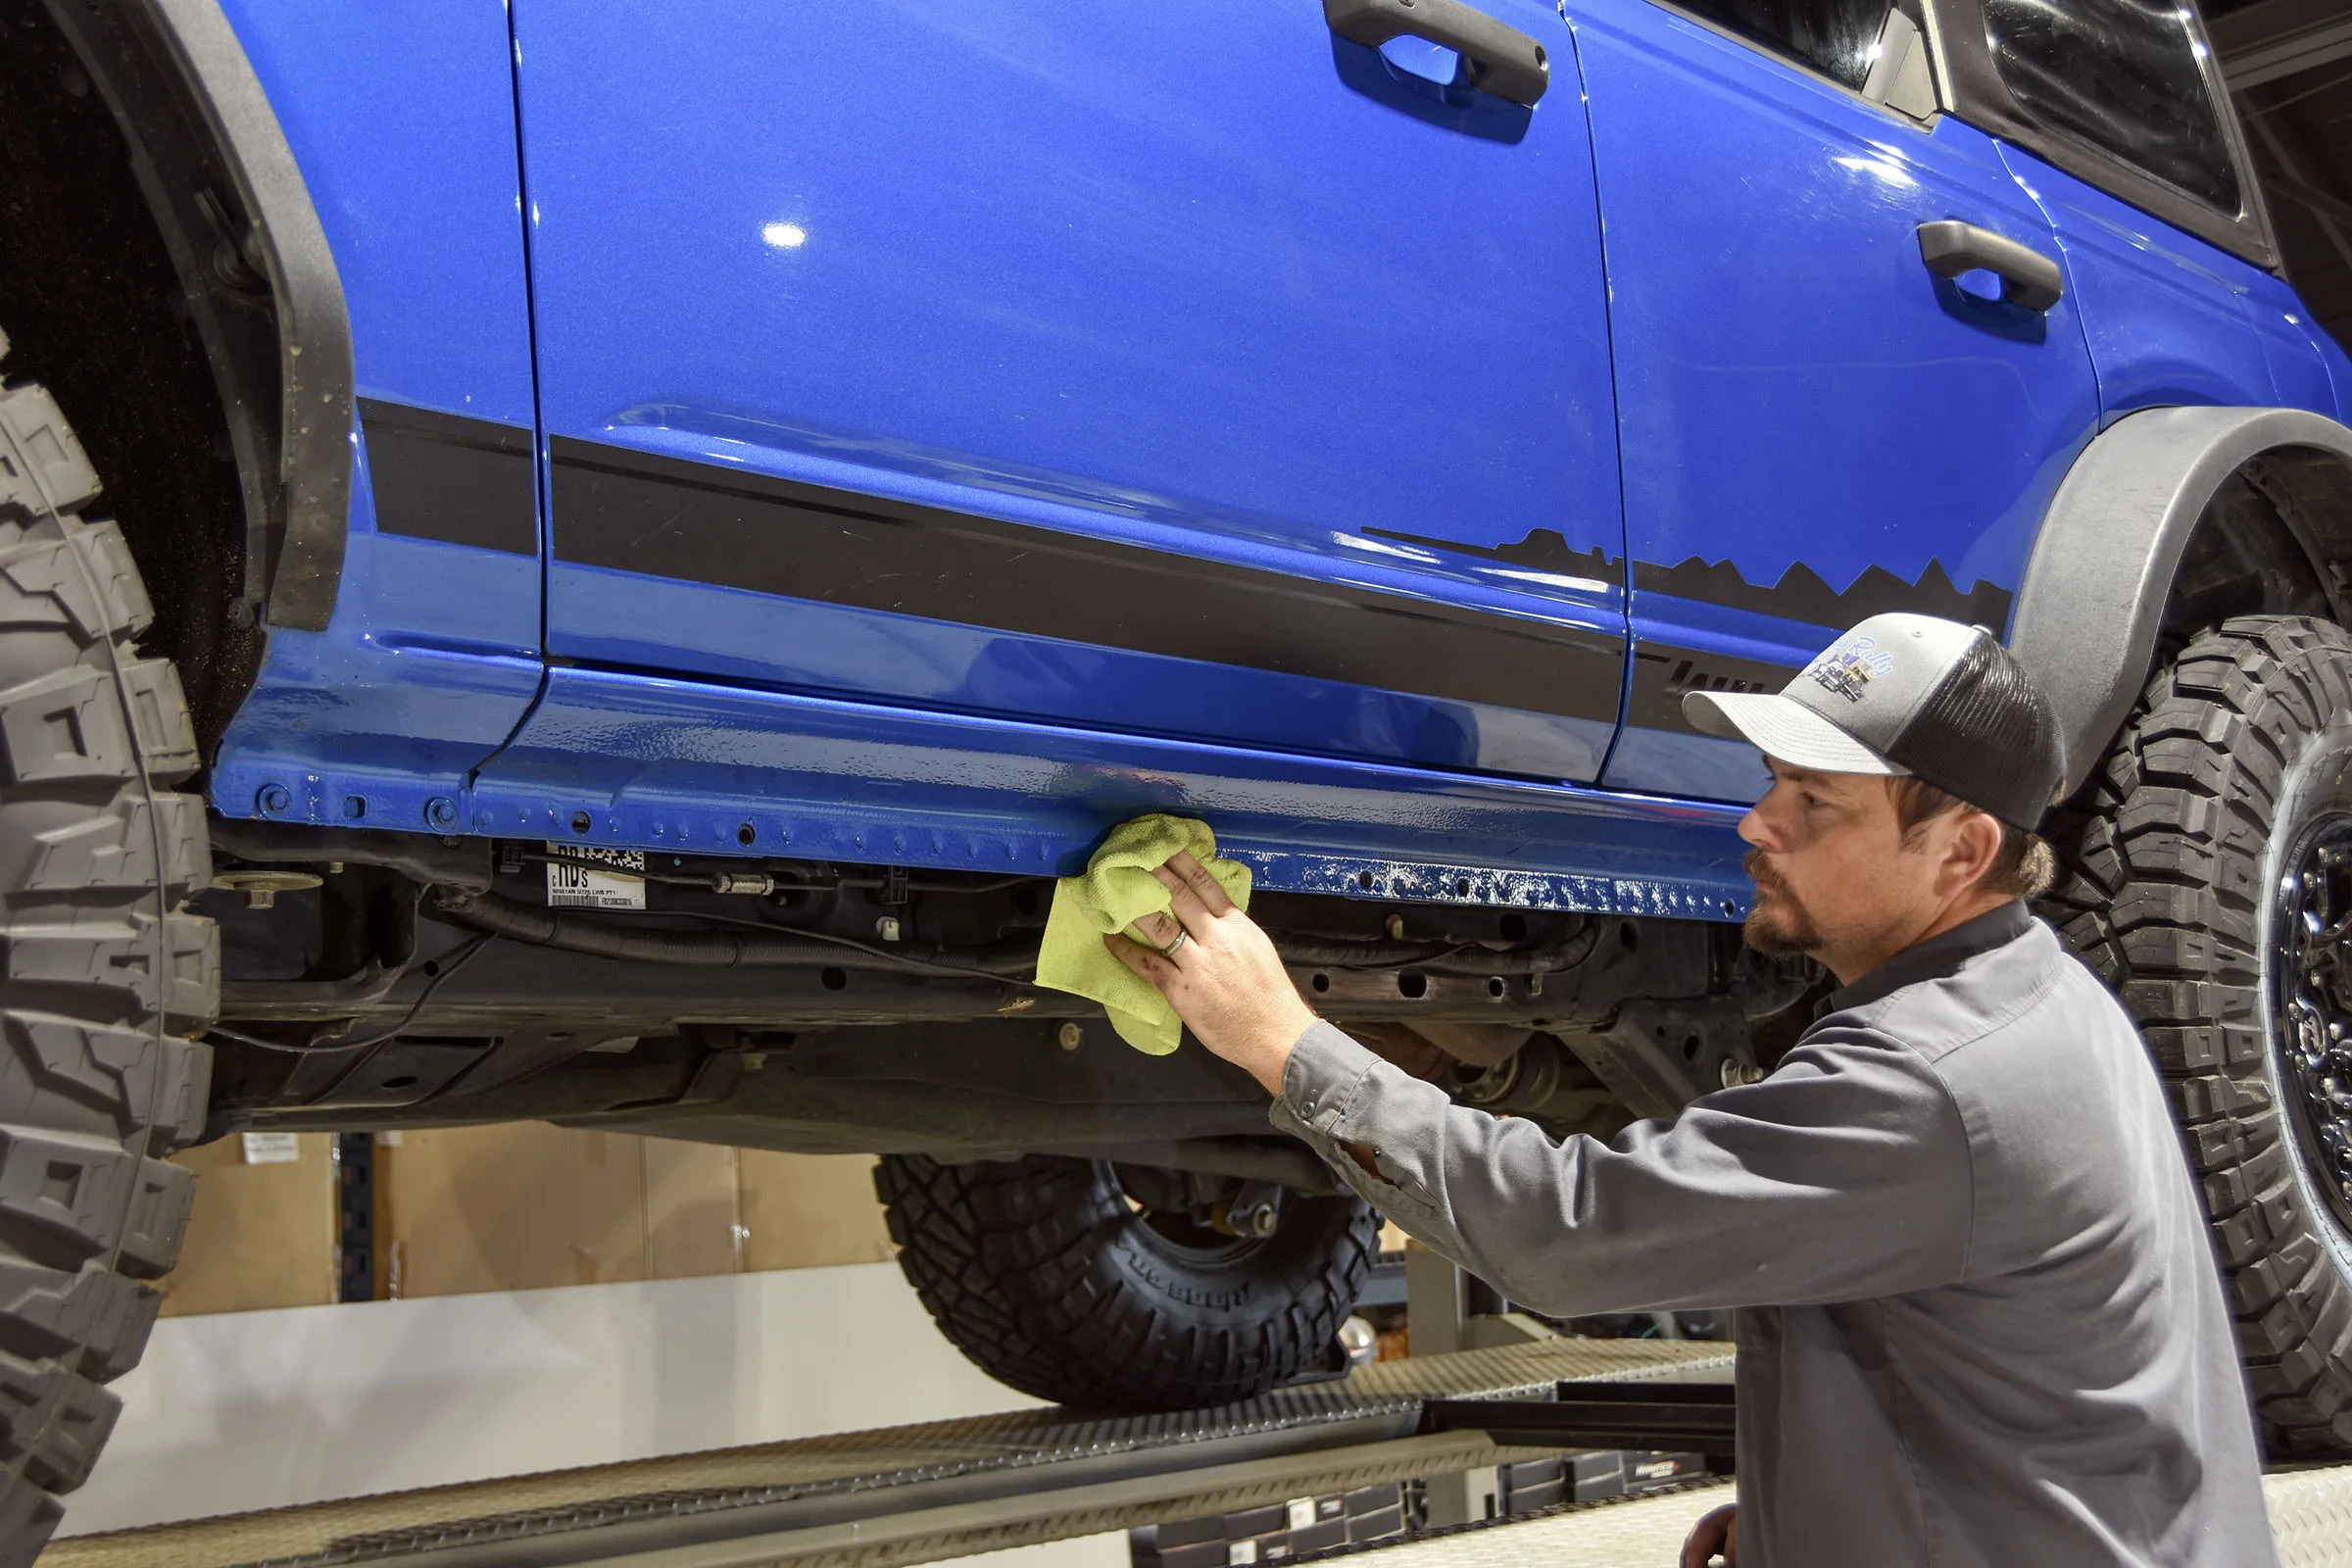
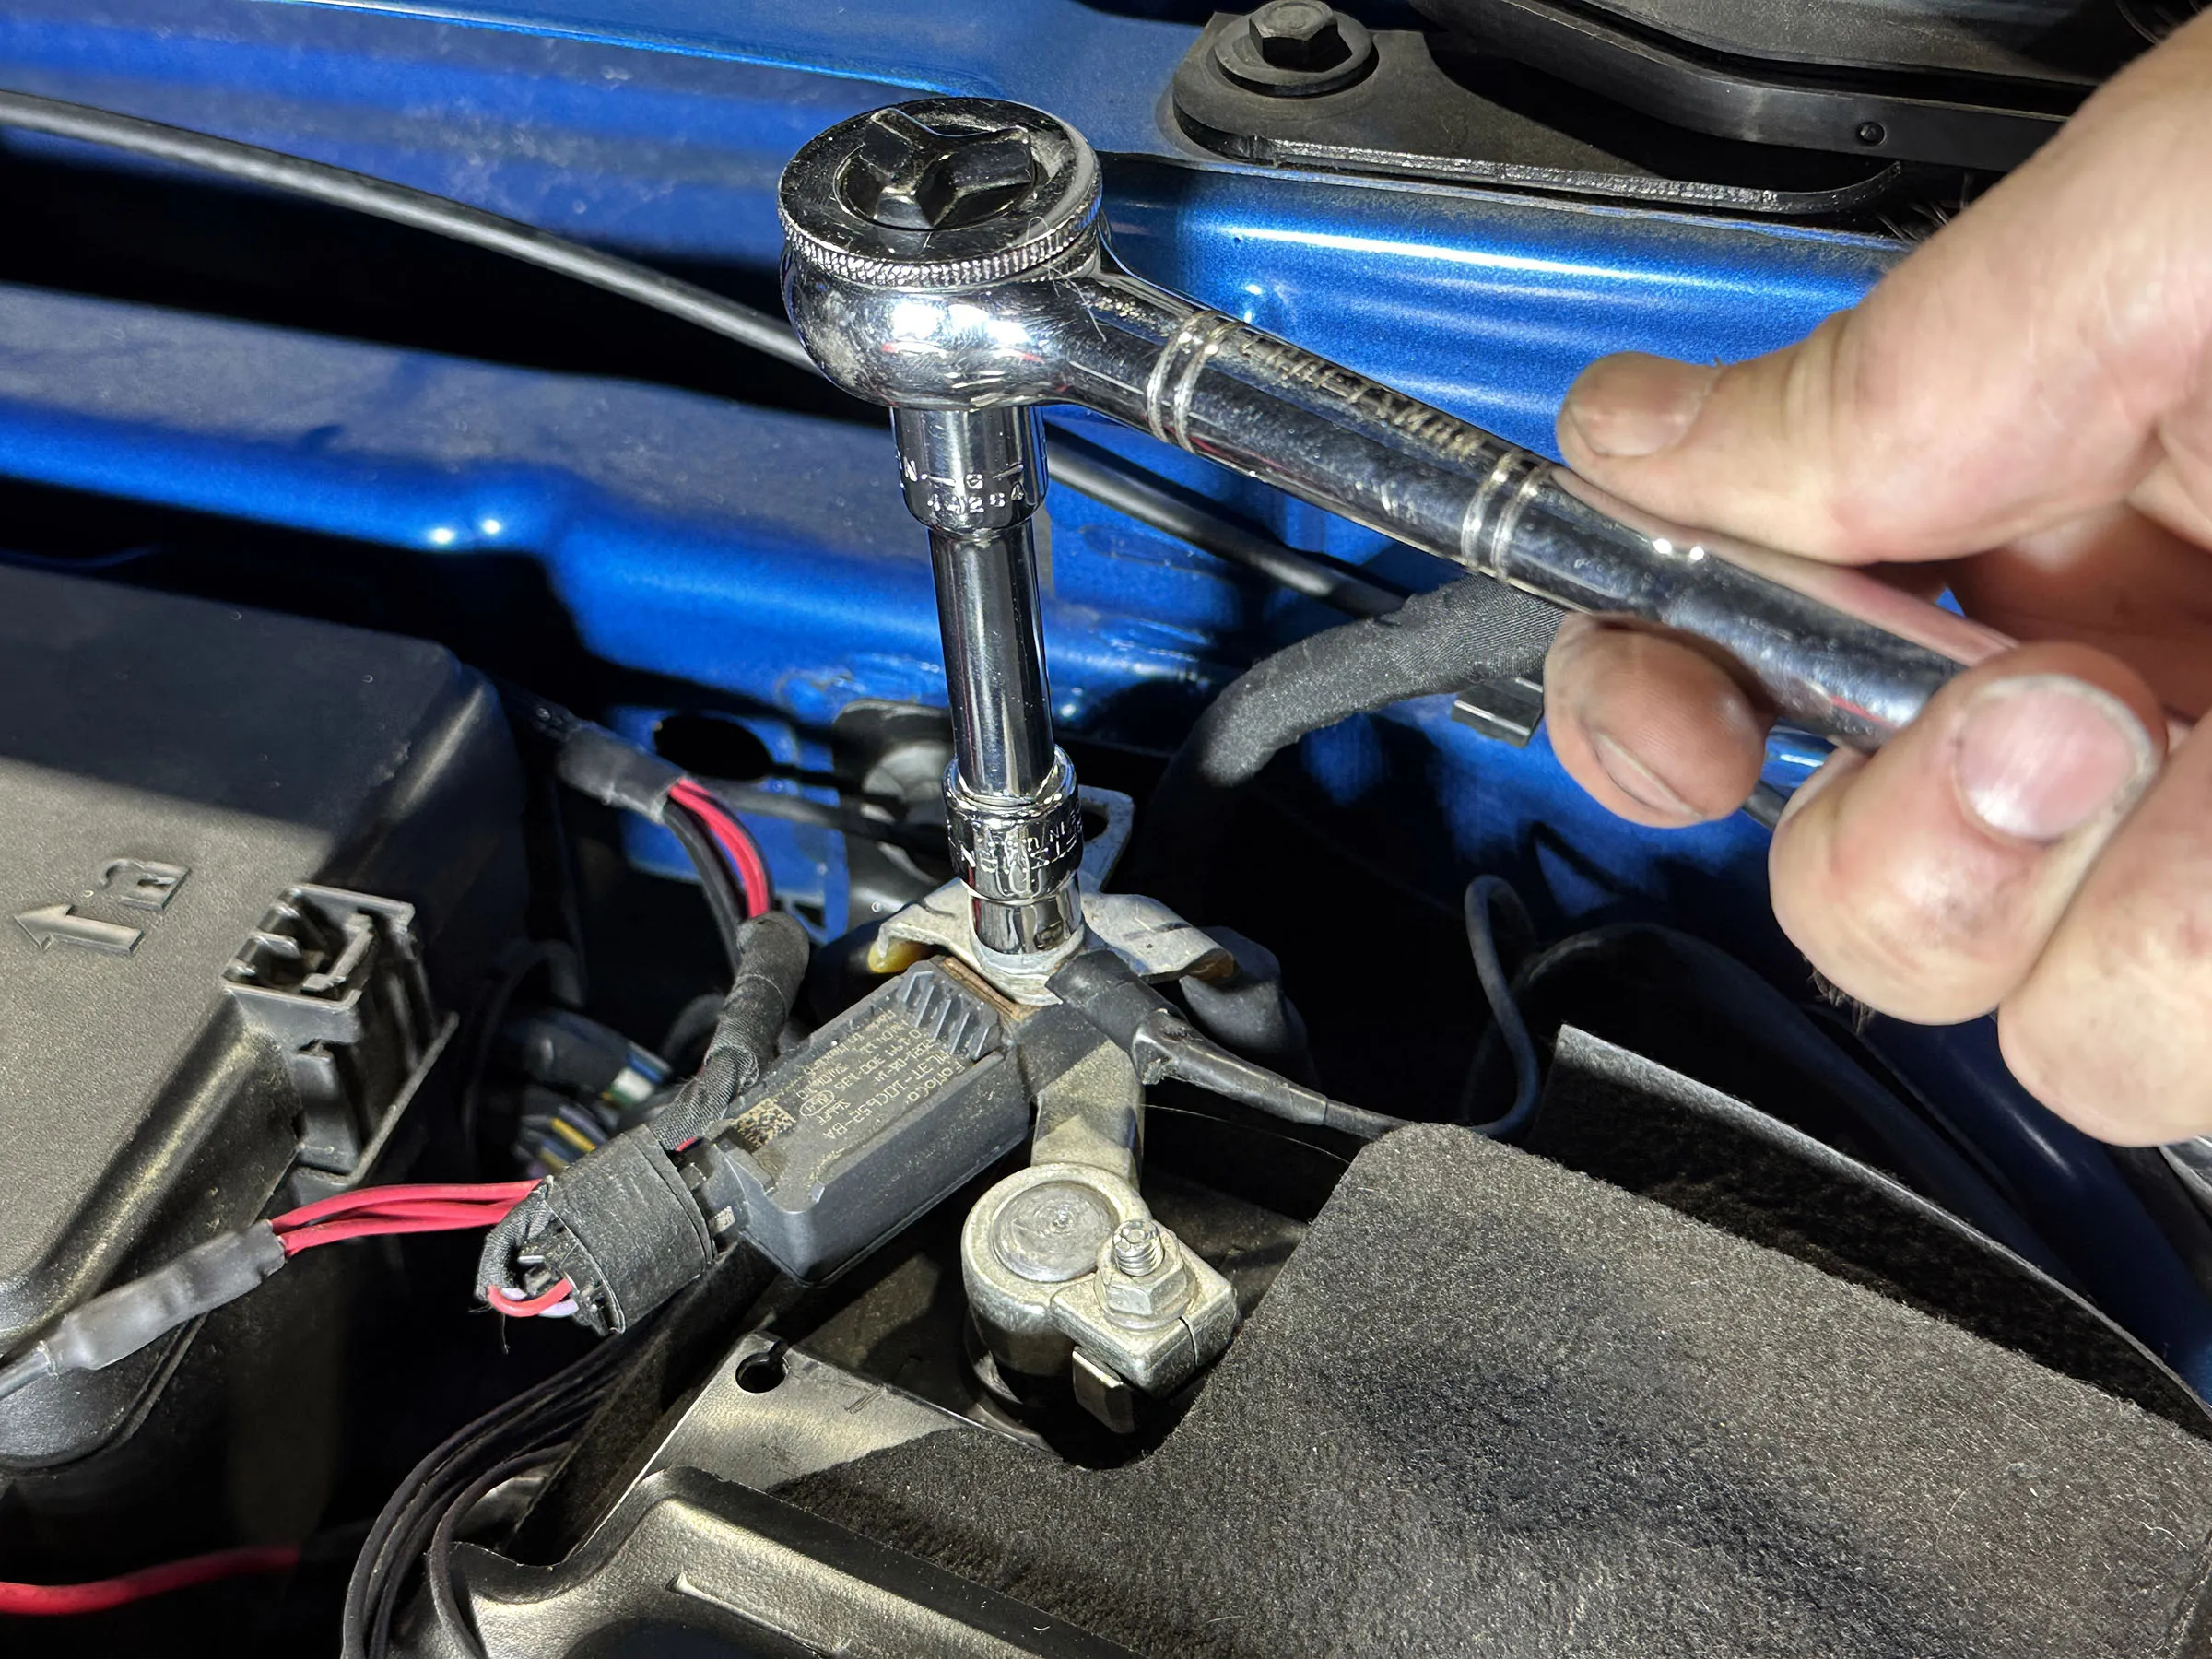
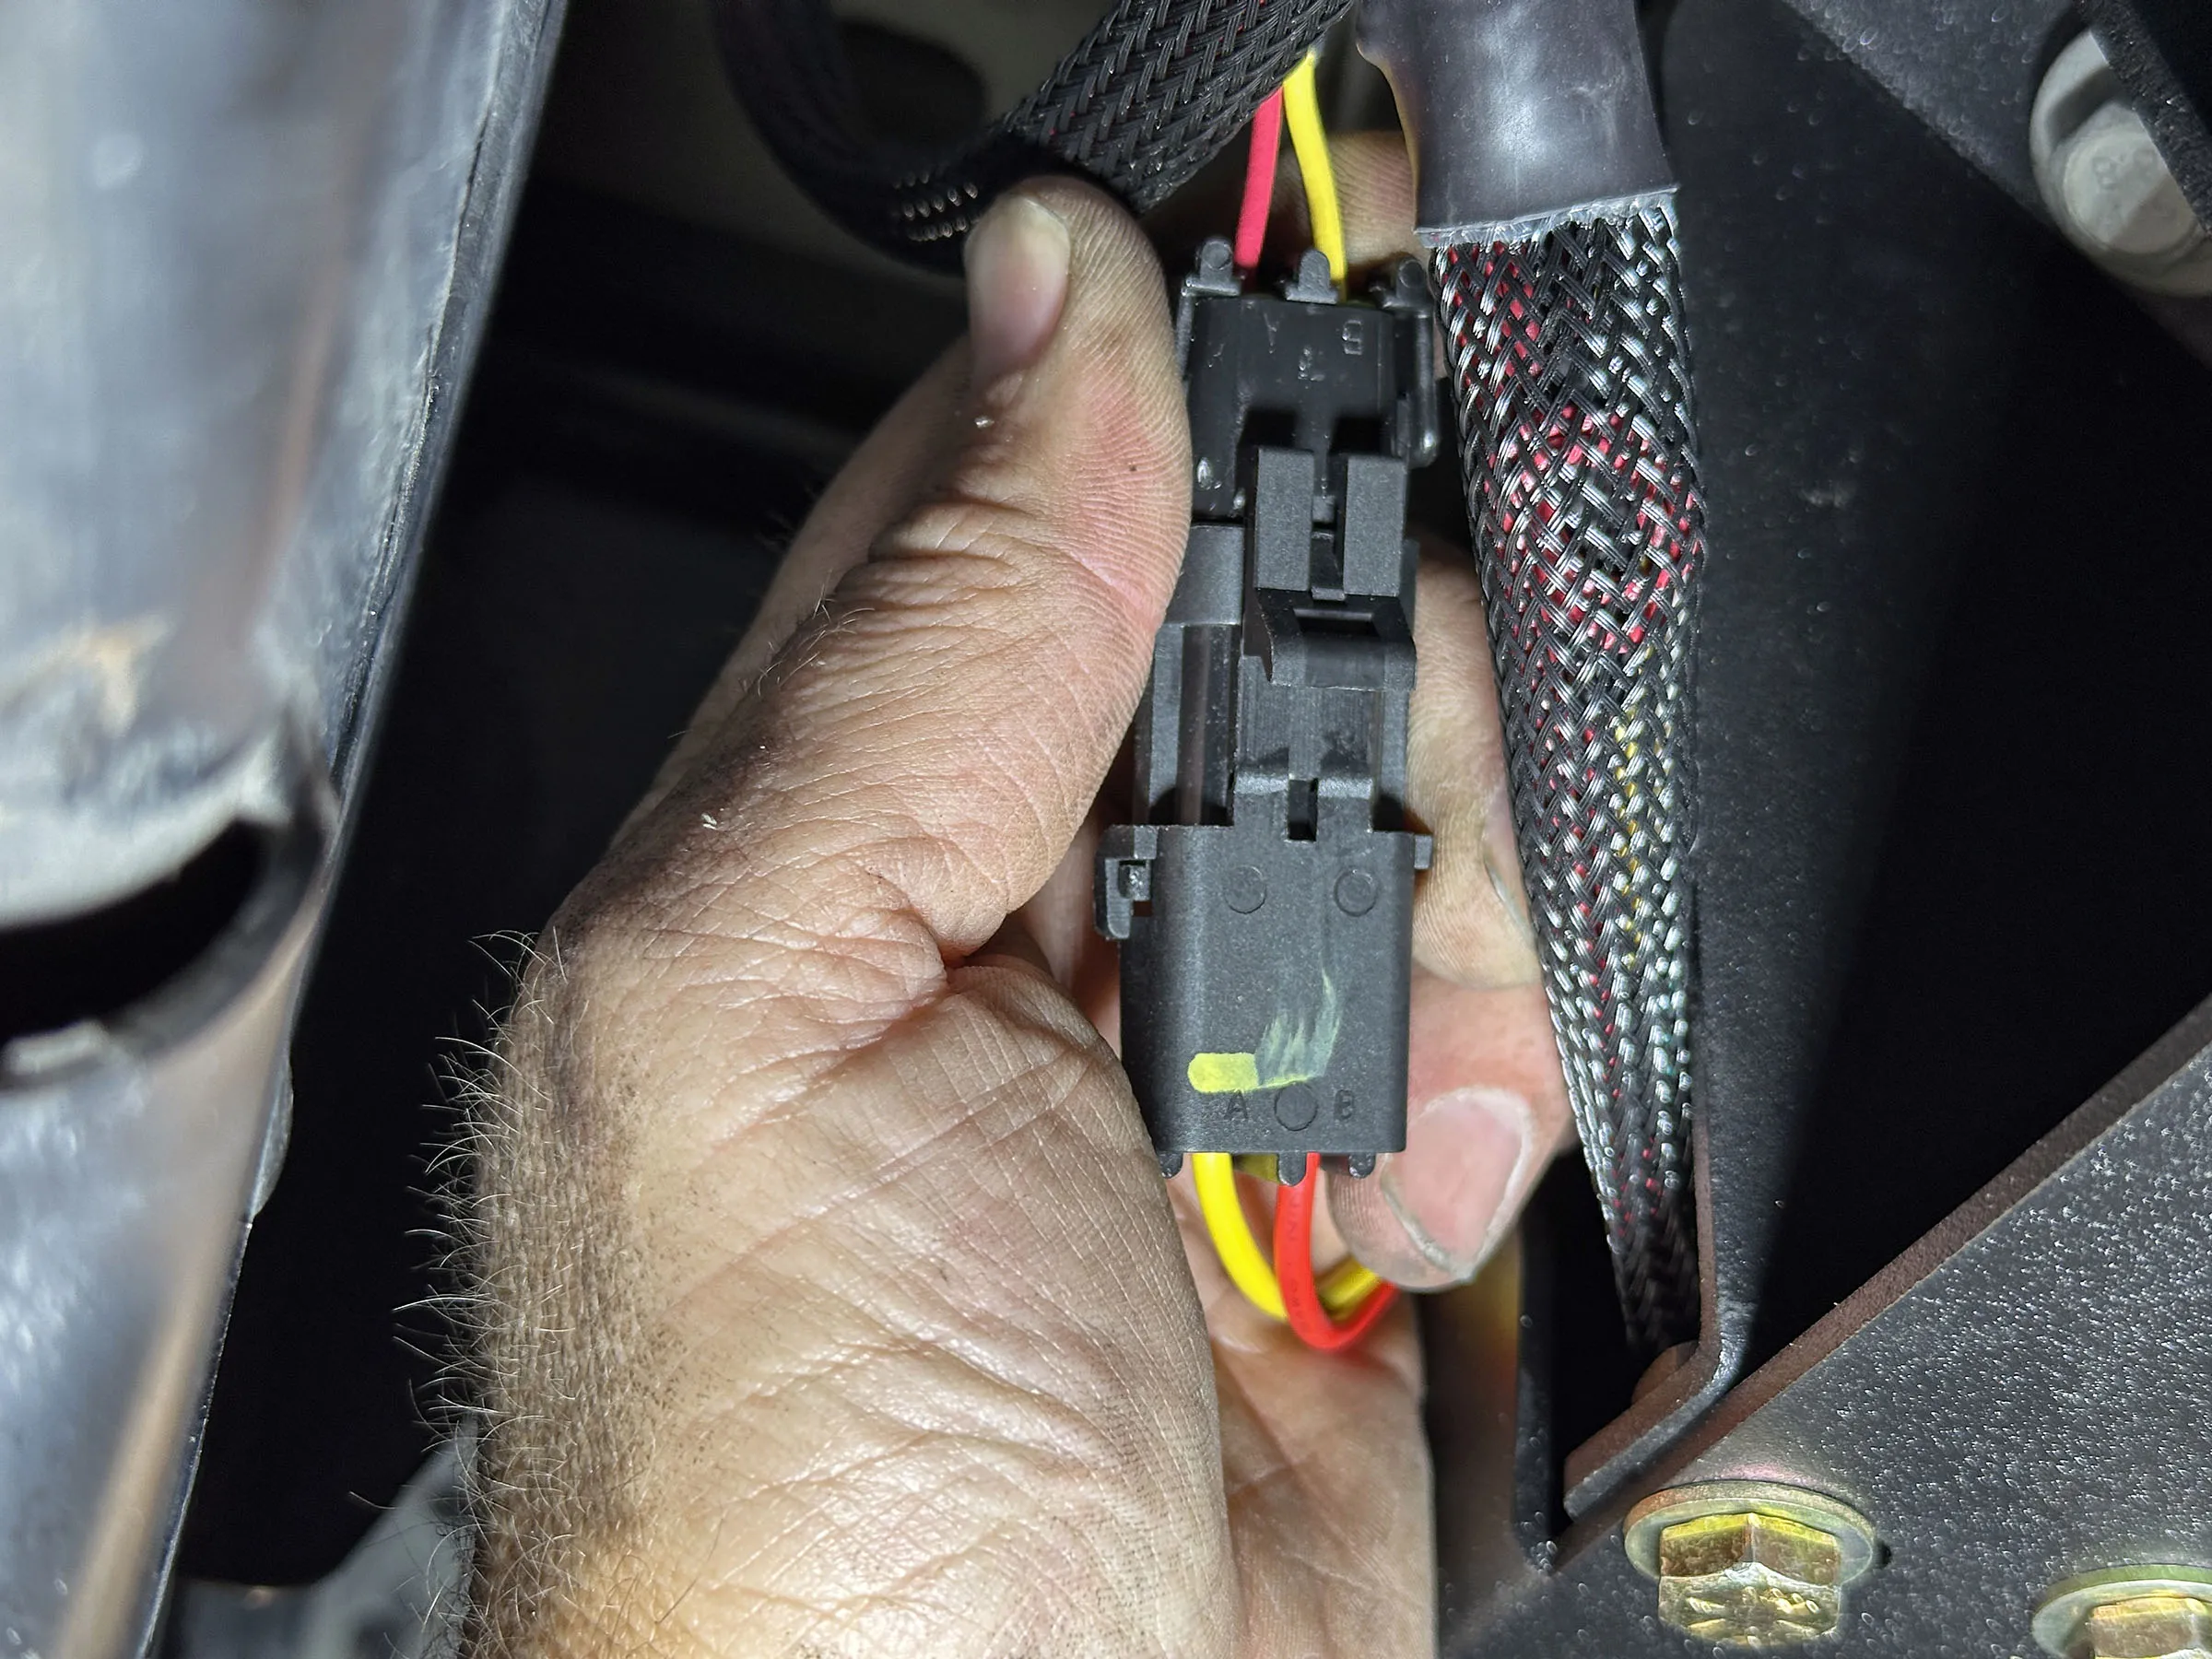
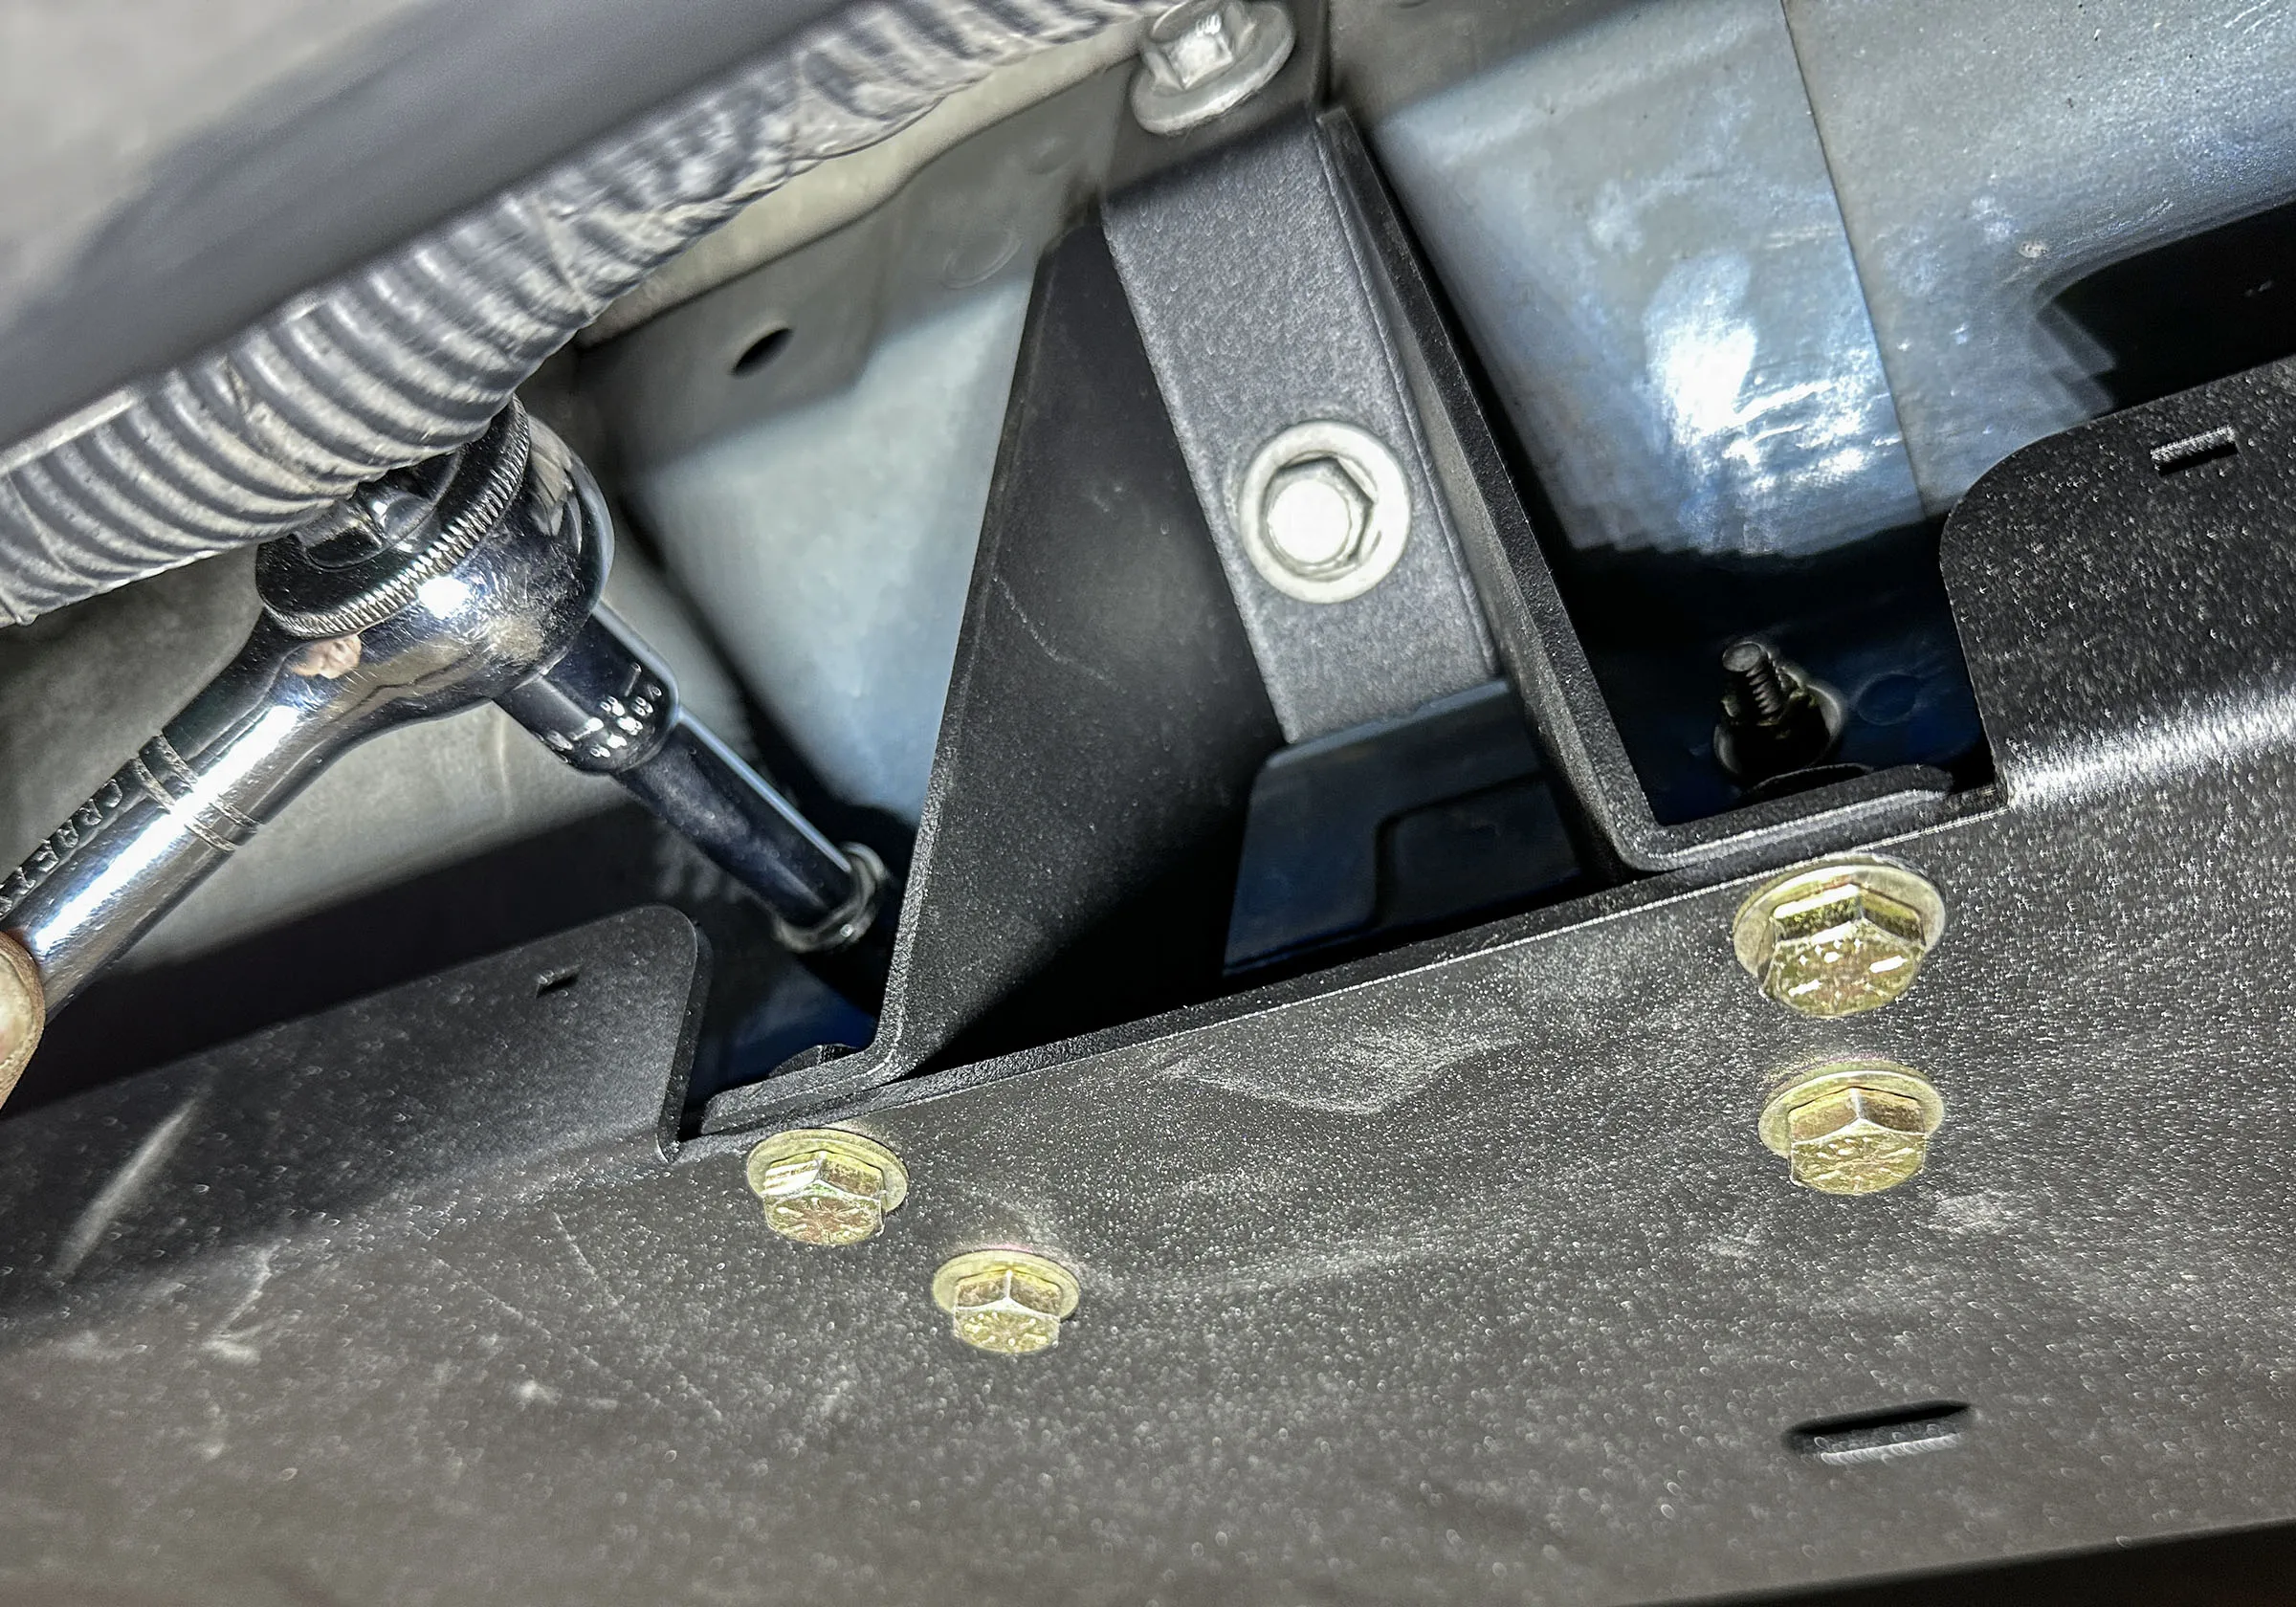
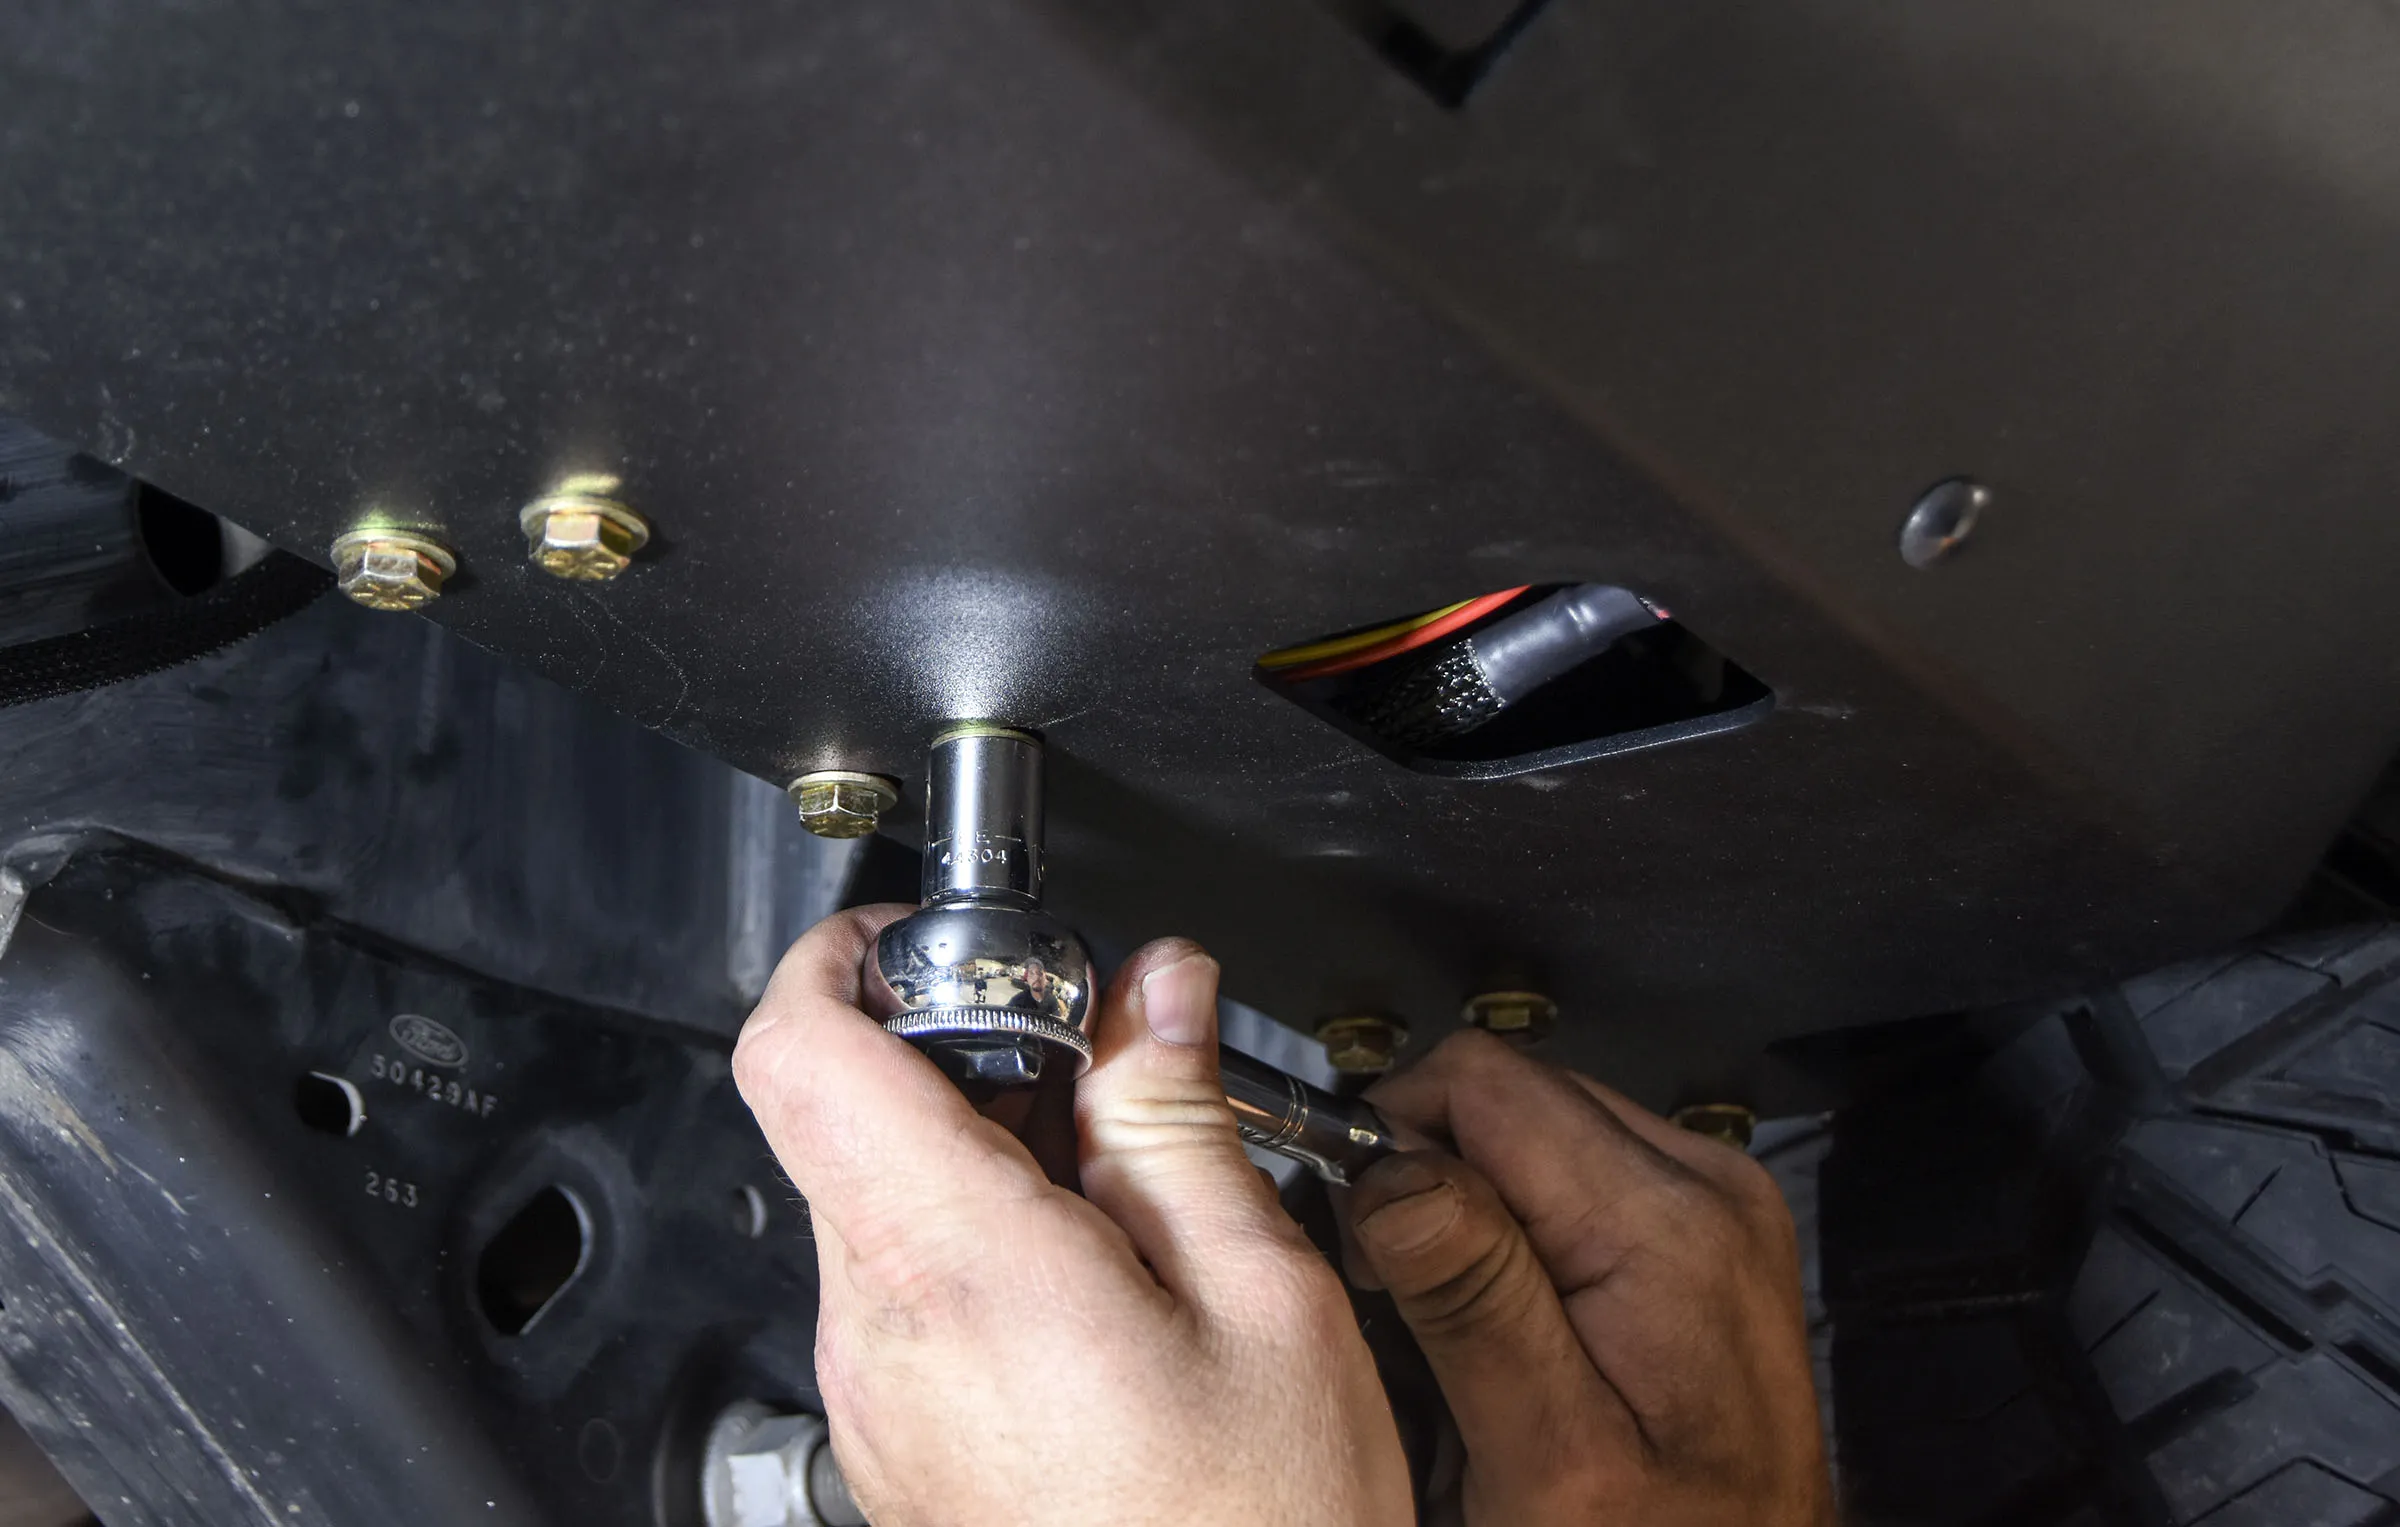
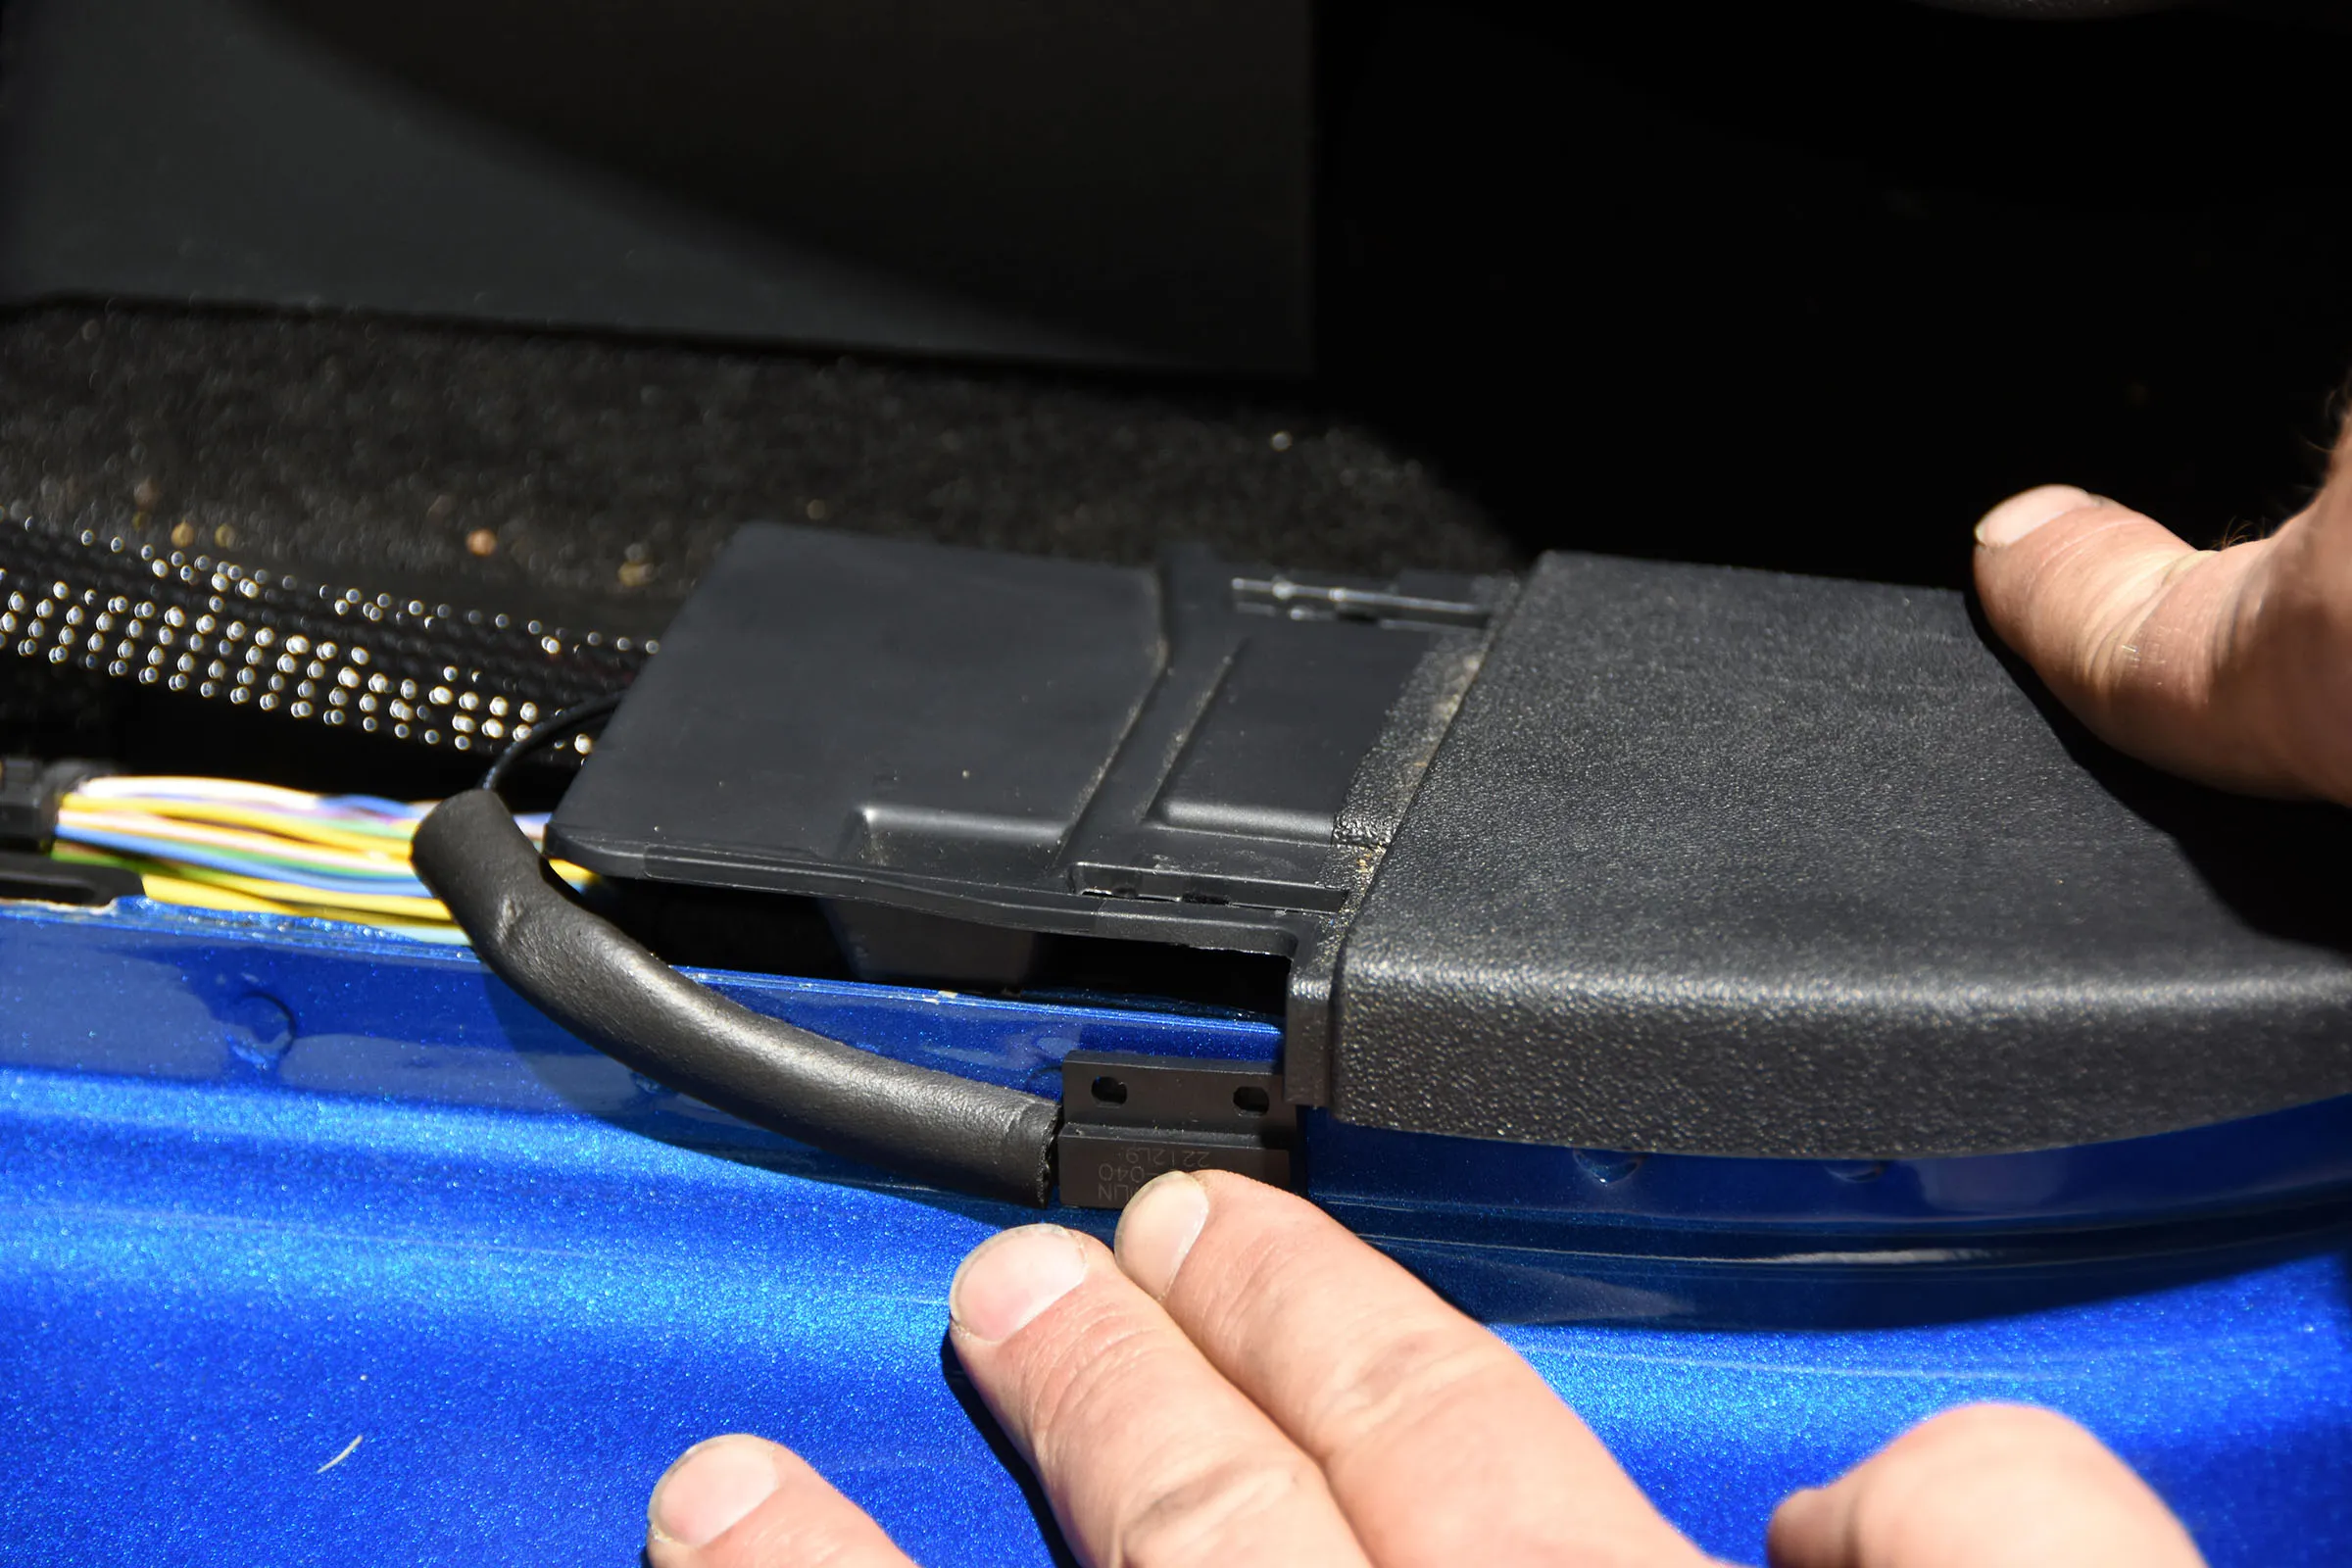
If you’re in the planning stages of building your car, or even if you have finished and are driving it, there are lots of free or inexpensive things you can do to make your ride faster and/or more efficient. This month, The Auto Builder gives you 25 of those ideas. Most of these free tips simply involve putting your car on a diet. Every 100 pounds of weight removed from your car equals dropping 1/10th of a second at the strip. Even though you may not be racing, the same theory applies to the street, and also to the extra weight you must lug around.
Nuthin’ Fancy
Ryan Newman grew up with a steering wheel in his hands. From the age of five, he has been behind the wheel of a racecar. Now, almost 20 years later, Ryan drives for Penske Racing South on the NASCAR Nextel Cup Series. In 2003, Ryan won eight races, 11 poles and was named Speed Channel’s Driver of the Year. In 2004, he will be driving a Dodge sponsored by primary sponsor Alltel with associate sponsorship form Mobil 1 and Sony Electronics on 38 weekends.