


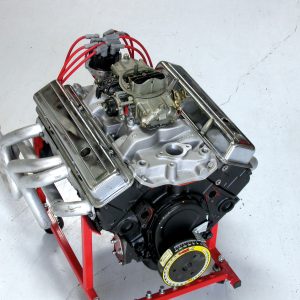

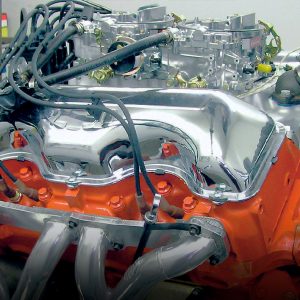
COAST-TO-COAST 482ci STREET 409
You can drive this bad boy coast to coast and burn all the rubber you want in between.” That was Day Automotive’s Tony Shaffer proclaiming the abilities of his shop’s 482/409. Soon thereafter, we were entering the confines of Day Automotive in Independence, Missouri, where Shaffer and crew had just completed the engine in seven days. It represents what can be accomplished power-wise with the right combination of parts, plus some internal modifications. And with a 10.0:1-compression ratio, it’s very street-friendly.

Project ’47: Part Three
Project ’47 All In has undergone an extensive transformation from a worn-out farm truck to a meticulously detailed pickup. The project features a chassis upgrade with C4 Corvette suspension, a robust 383 stroker engine from Blueprint Engines, and premium components. The restoration process includes a focus on sheetmetal work, from disassembly and rust repair to the final paint job, highlighting the skillful blend of classic design and modern performance.
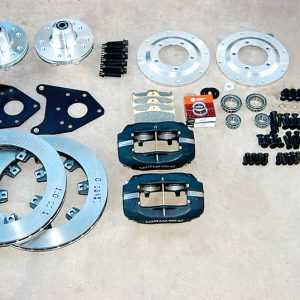
SLOWING DOWN A FAST MUSTANG
The Ford Mustang was one of the first cars to offer disc brakes as an option, but they were not a big hit with buyers when they were first introduced. Most buyers were happy to buy a base model with a six-cylinder engine or a slightly improved version with a 289 backed by an automatic transmission. This was the standard Mustang package that most Mustang owners wanted in those days—grocery-chasers that people had no intention of using to sit on the pole of the Indianapolis 500. Aside from the Brickyard, that’s all changed, as standard drum brakes are no longer considered standard fare, and car enthusiasts now know the benefits of full disc brakes. It’s hard to find a car today without them, at least on the front brakes.


EDITOR’S NOTE
Street & Performance, Inc. closed its doors back in 2016, but have no fear, Gandrud Performance has your back. Whether you’re hunting for engine parts for your Chevy pickup or are planning an LS/LT swap, the experts at Gandrud have what you’re looking for. Top-notch gear and killer service make Gandrud Performance the go-to experts.
