TheAutoBuilder.com

Stop, Drop And Roll – extra

Author

Picture of Josh Kaylor

Josh Kaylor

Story & Photography

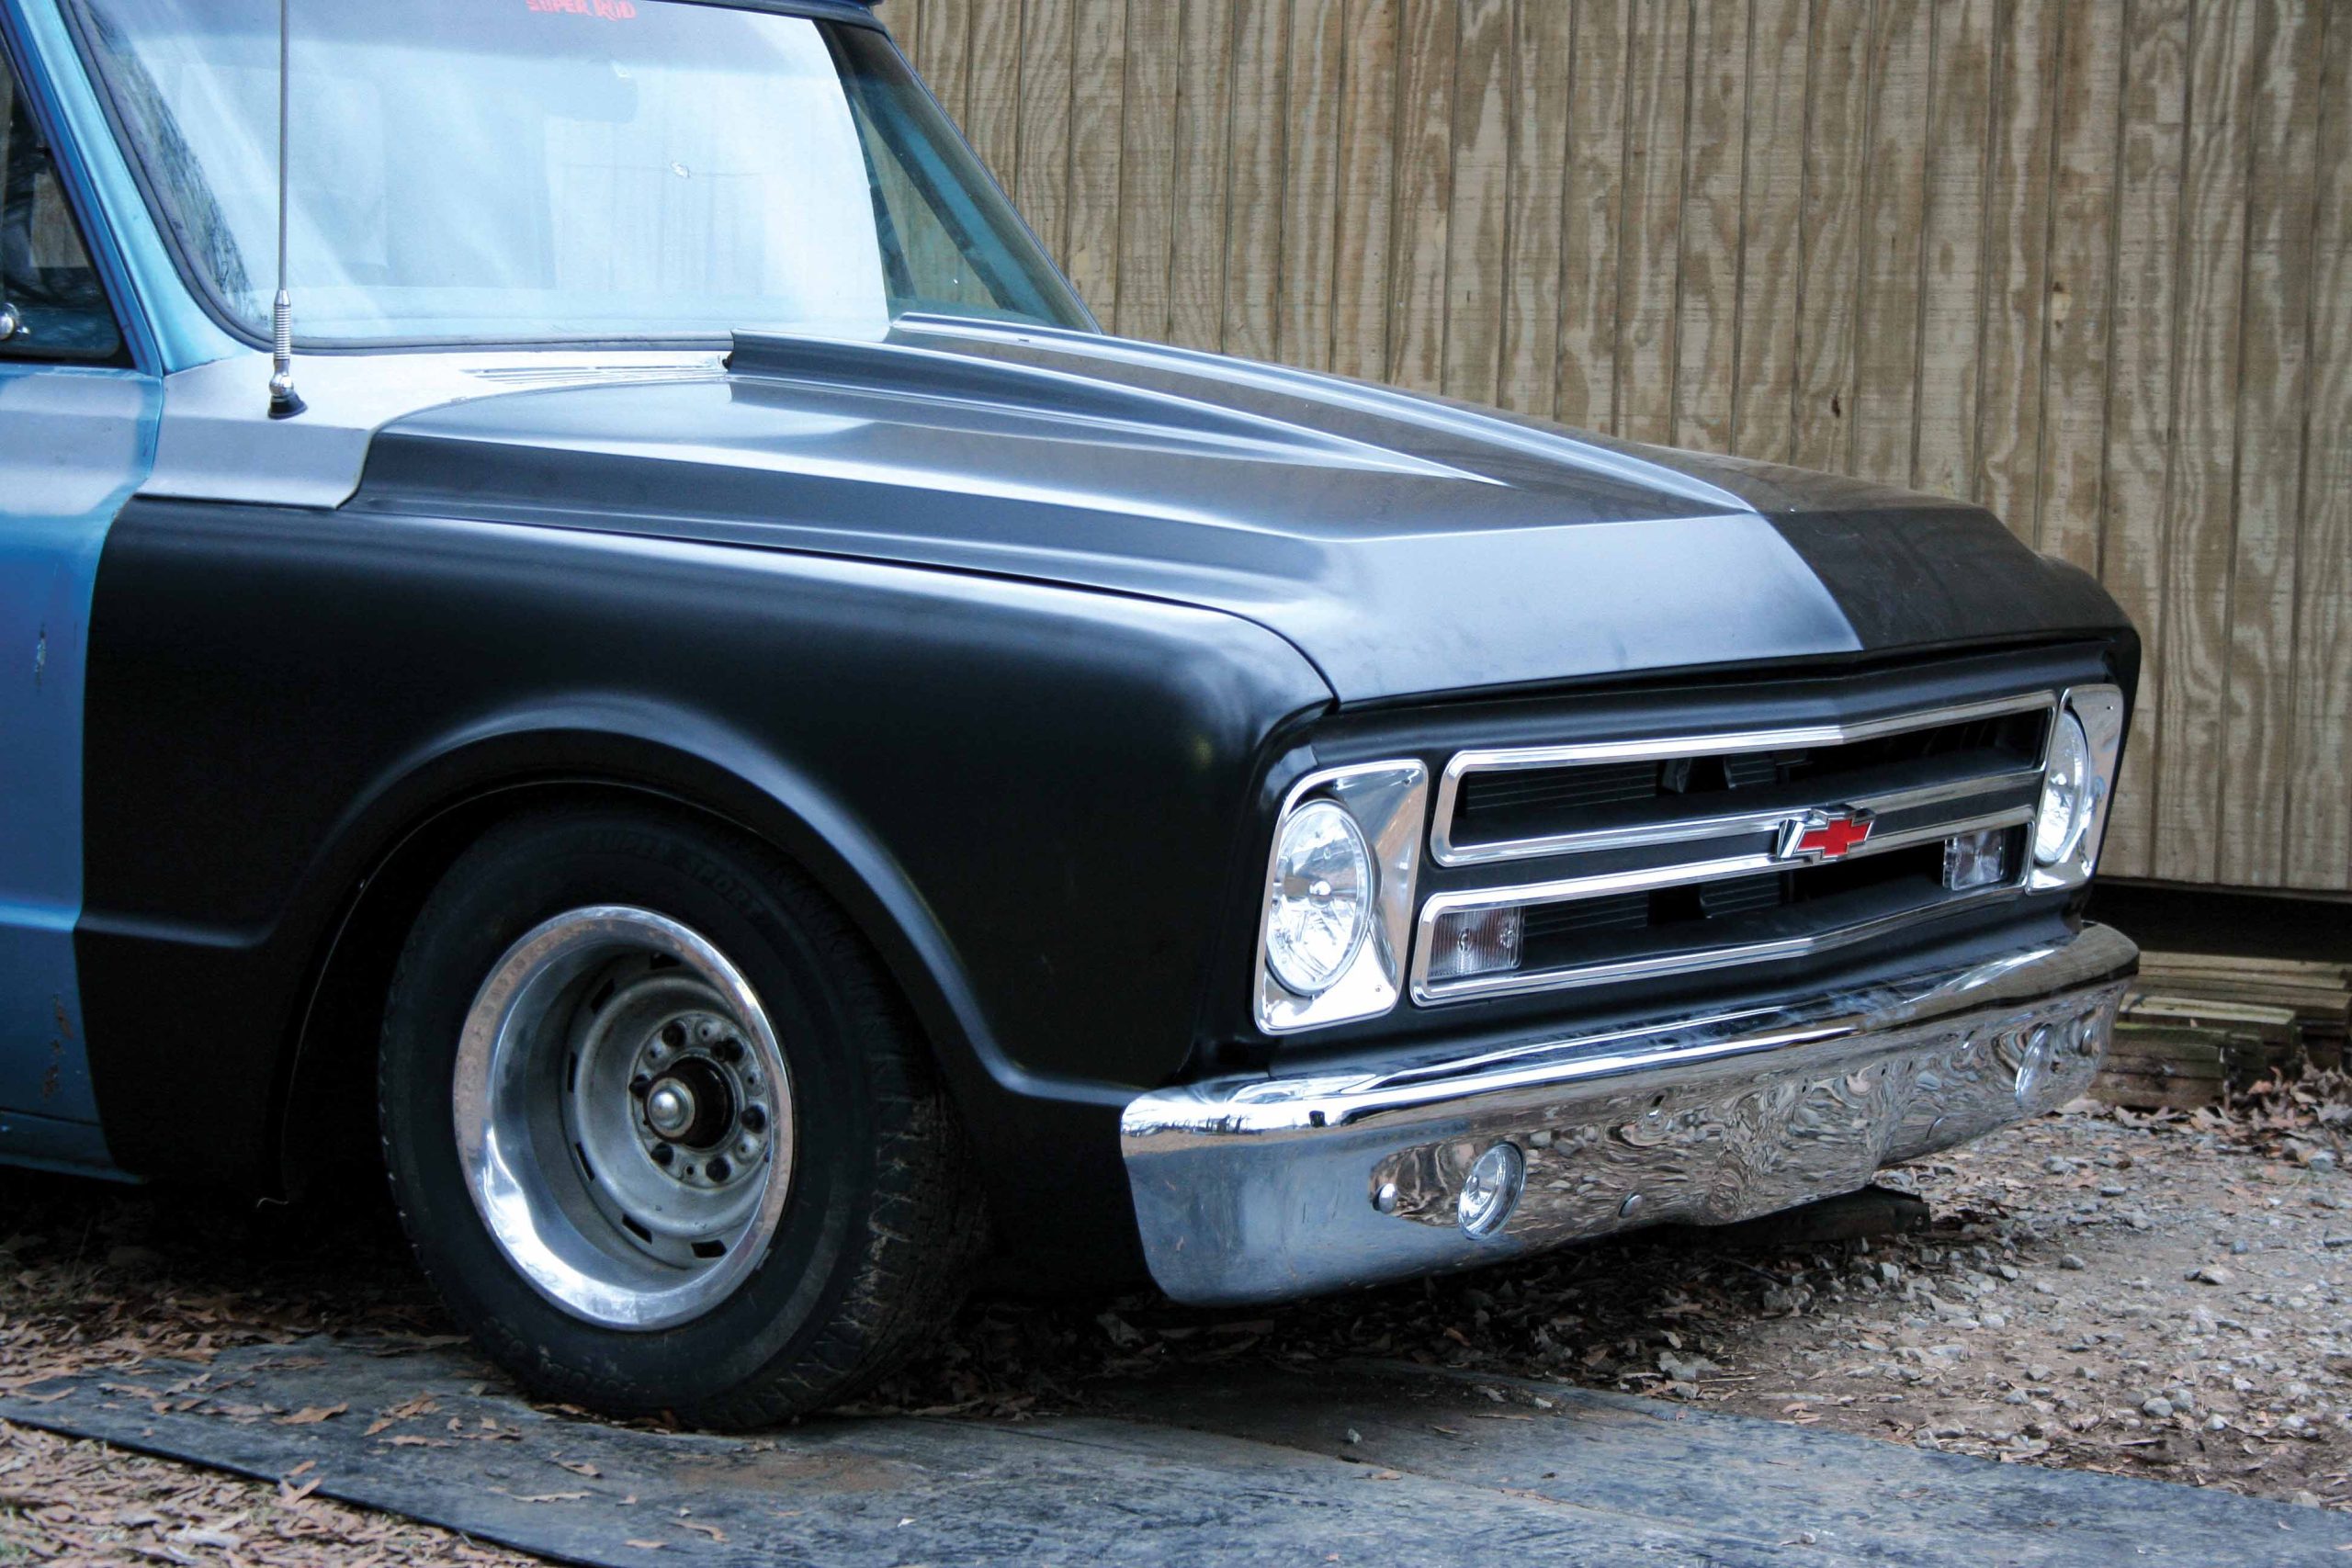
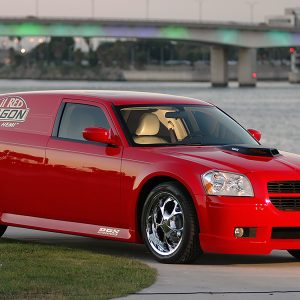
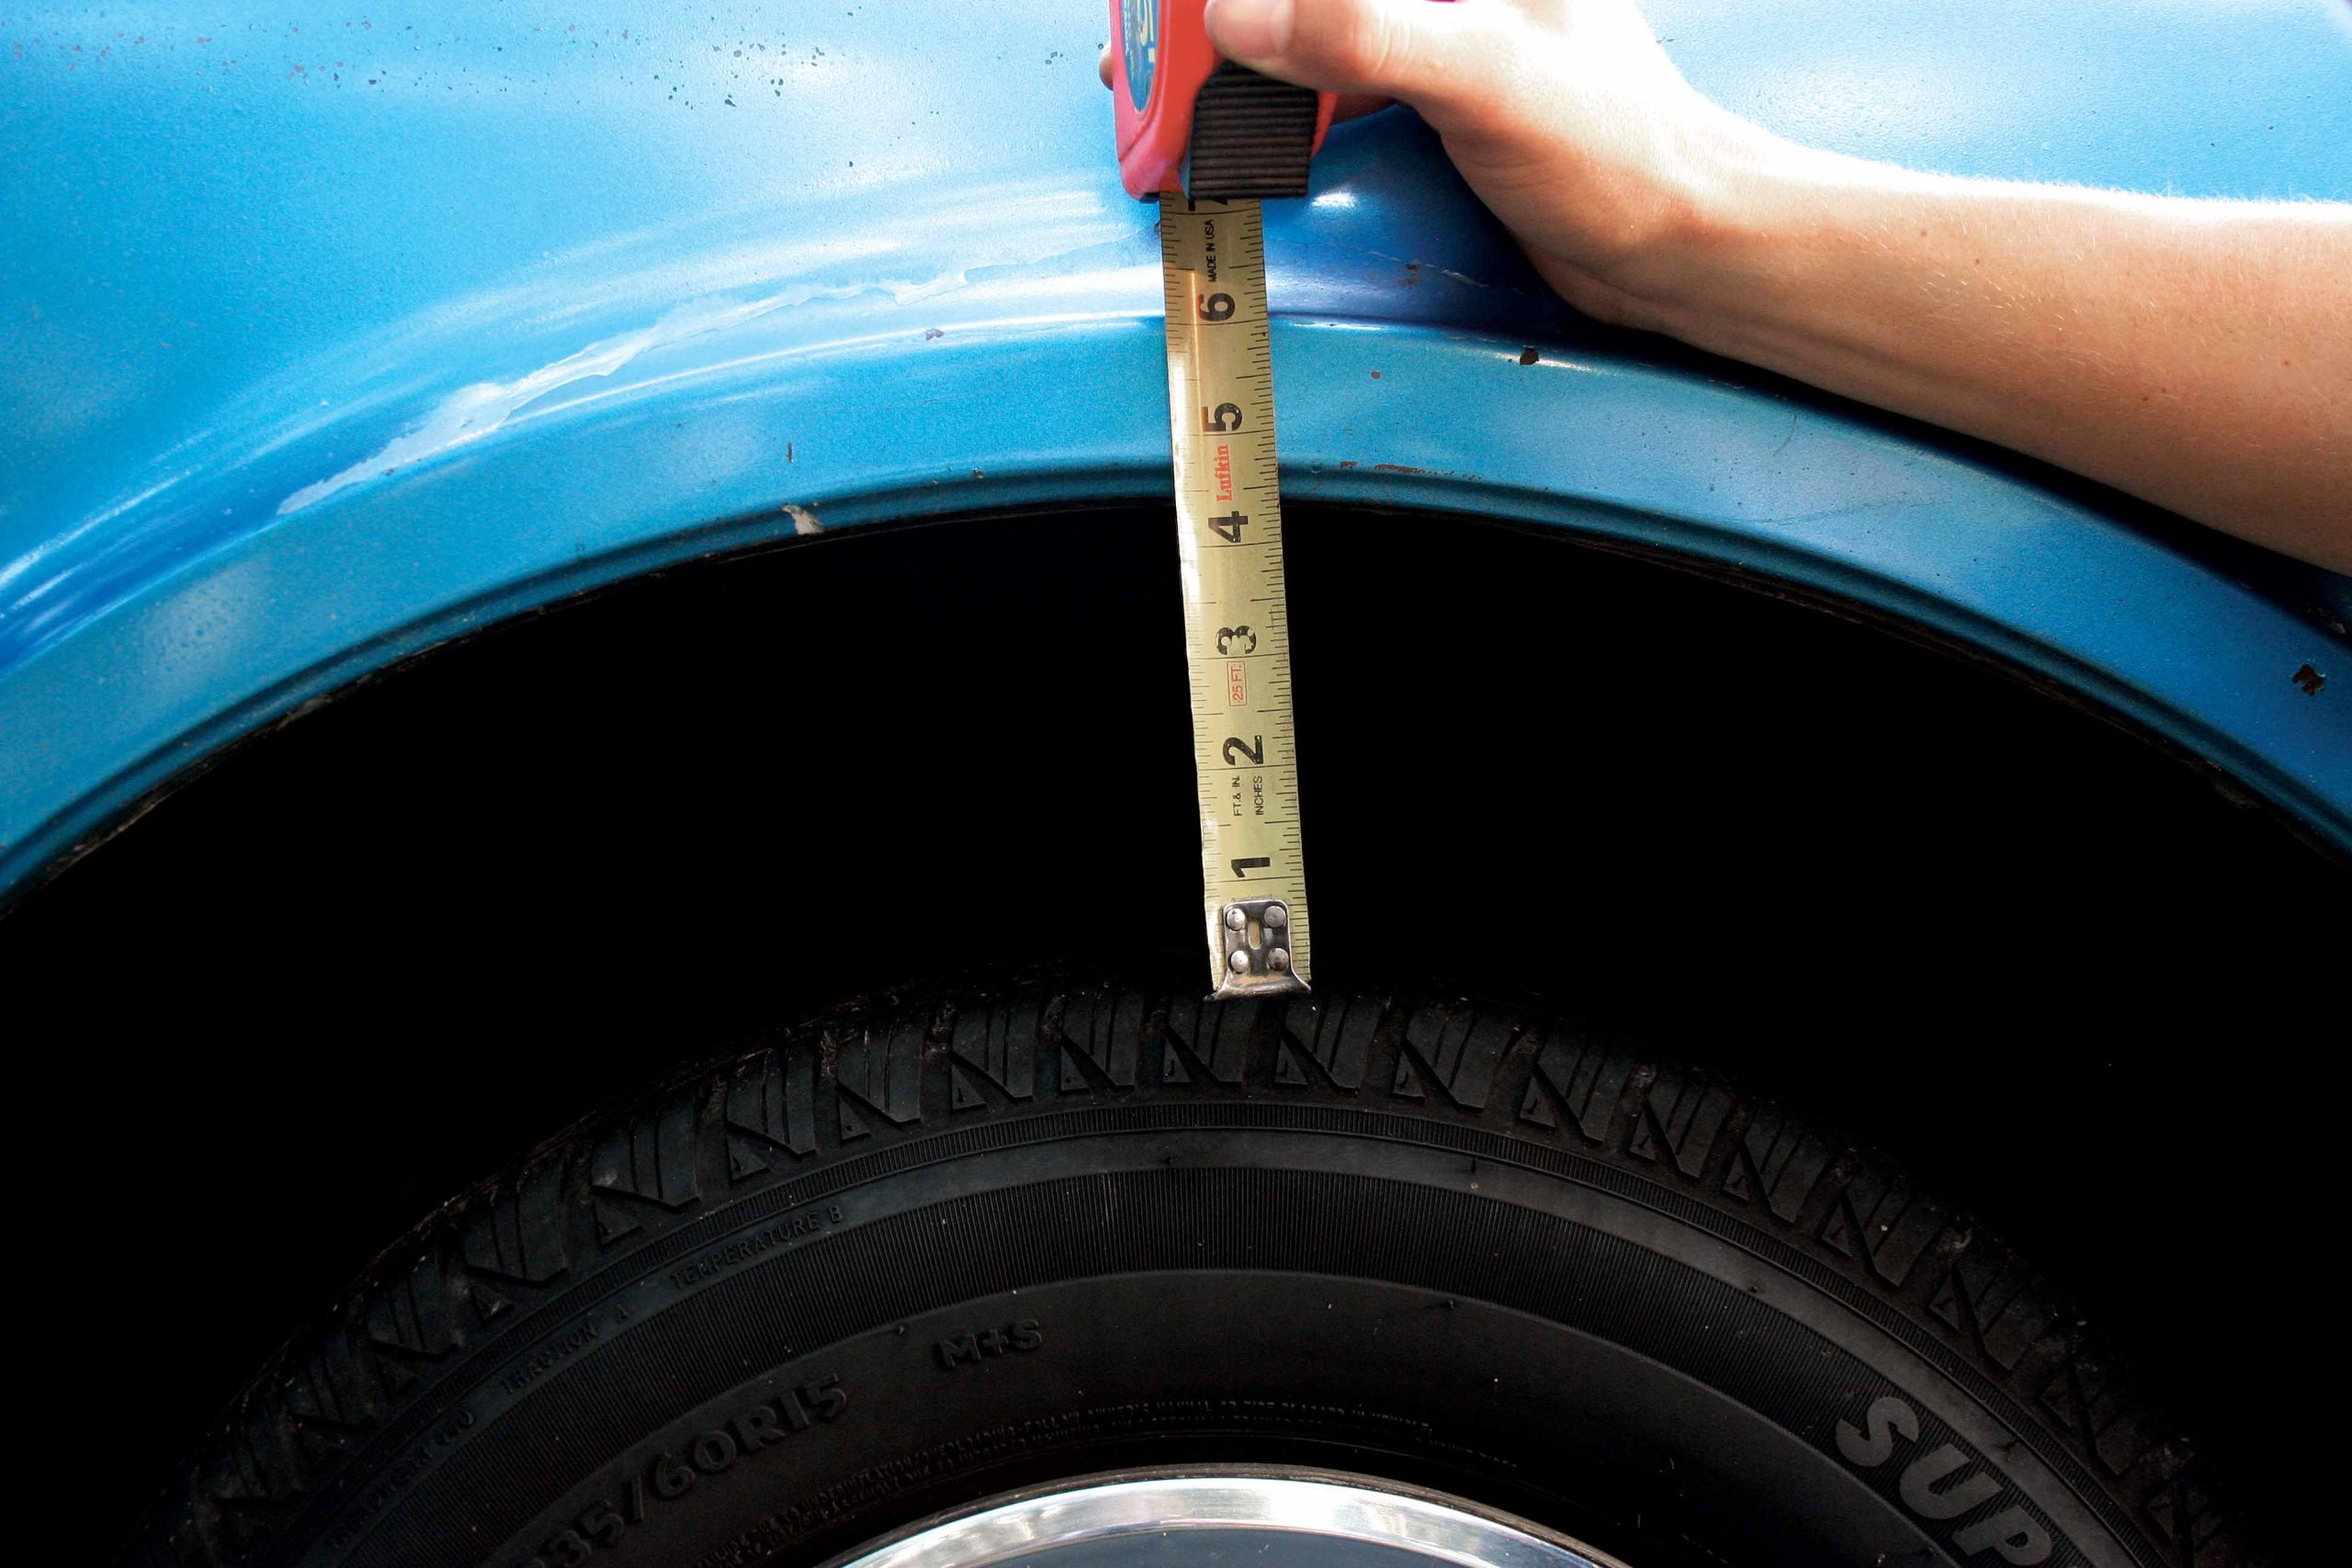
As you can see, the truck now sits significantly lower thanks to the new dropped spindles and lowered coils. The style of the truck has changed dramatically.

Installing Drop Spindles and Disc Brakes on a Classic Chevy Pickup.

Until the early ’70s, trucks were raw workhorses, and they rode high and hard. They were fundamentally designed to work hard. Overly simplistic suspensions were stiff but built to last. These trucks hauled loads around the farm and into town, carried work materials to jobs and even home goods and foodstuffs, much like the wagons of old. They performed their jobs well and for a long time.

Over the years, trucks have evolved and gradually become more and more luxurious, much like automobiles. They were eventually equipped with anti-skid and anti-lock braking, four-wheel disc brakes, anti-roll systems, power steering and auto-track, with interiors that call for full leather appointments as standard interiors, complete with heated and power seats. Since the introduction of these car-like luxury ergonomics in new pickups, truck owners have been looking for ways to retrofit these components onto their classic trucks.

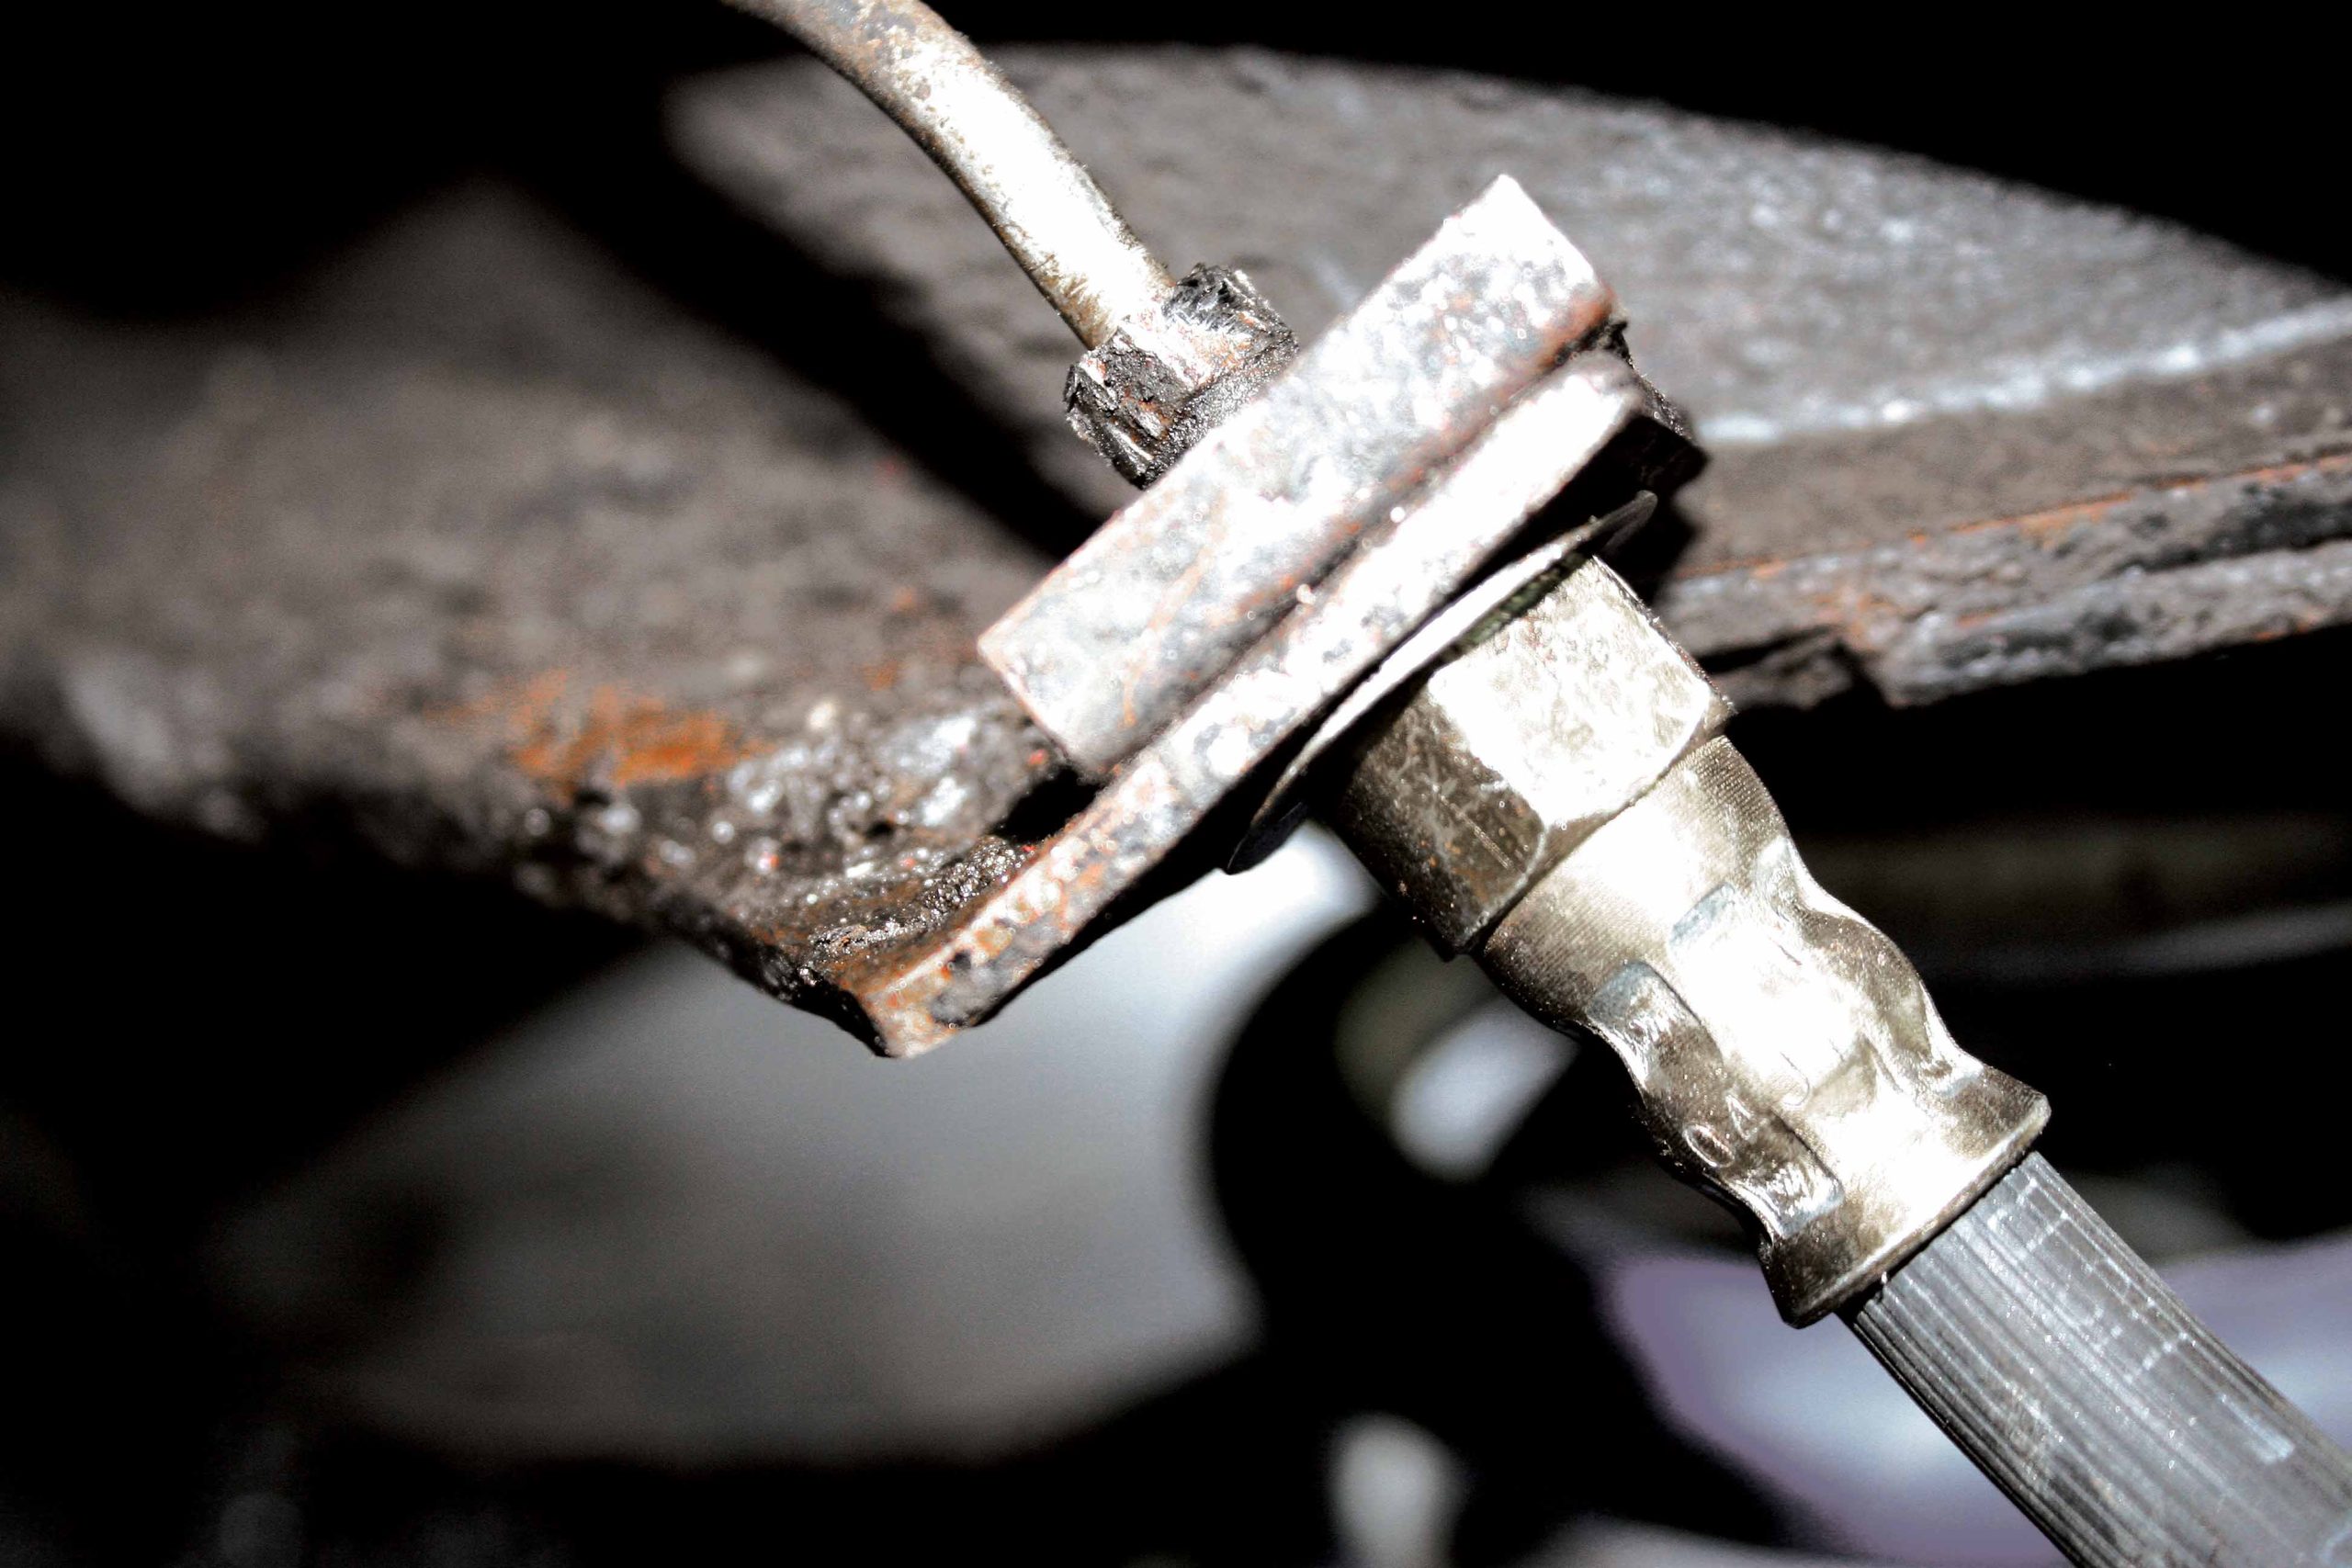
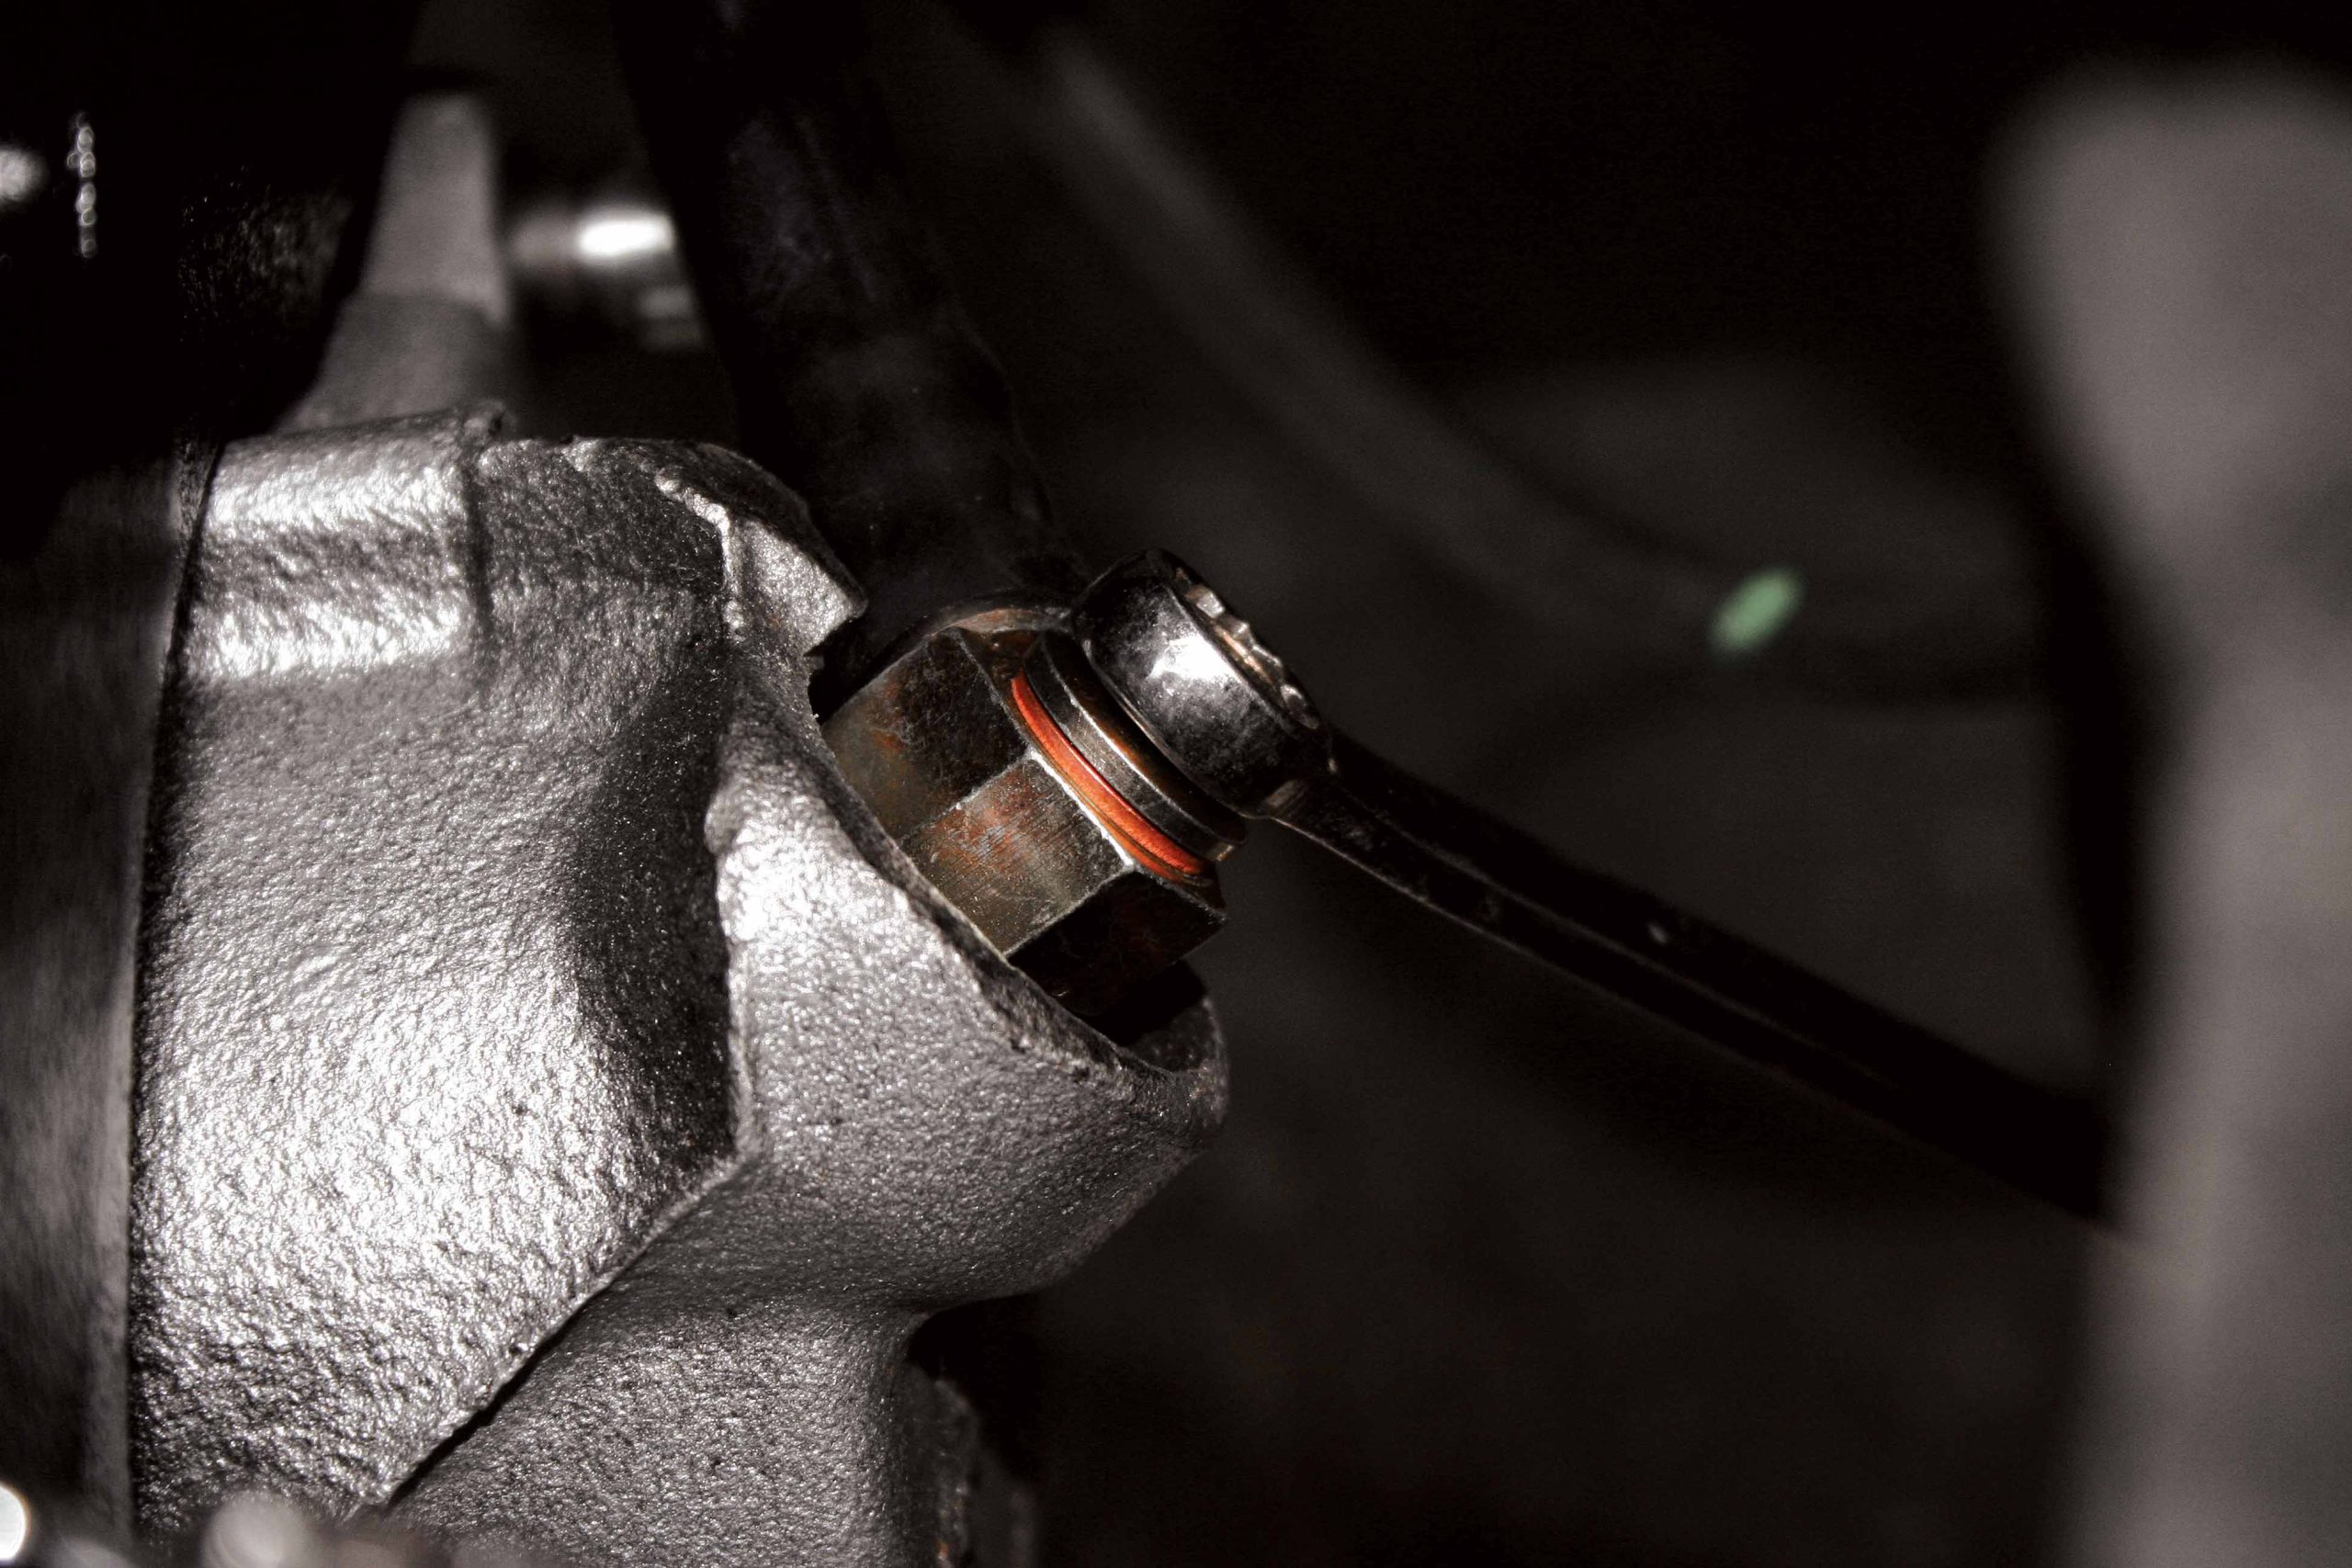
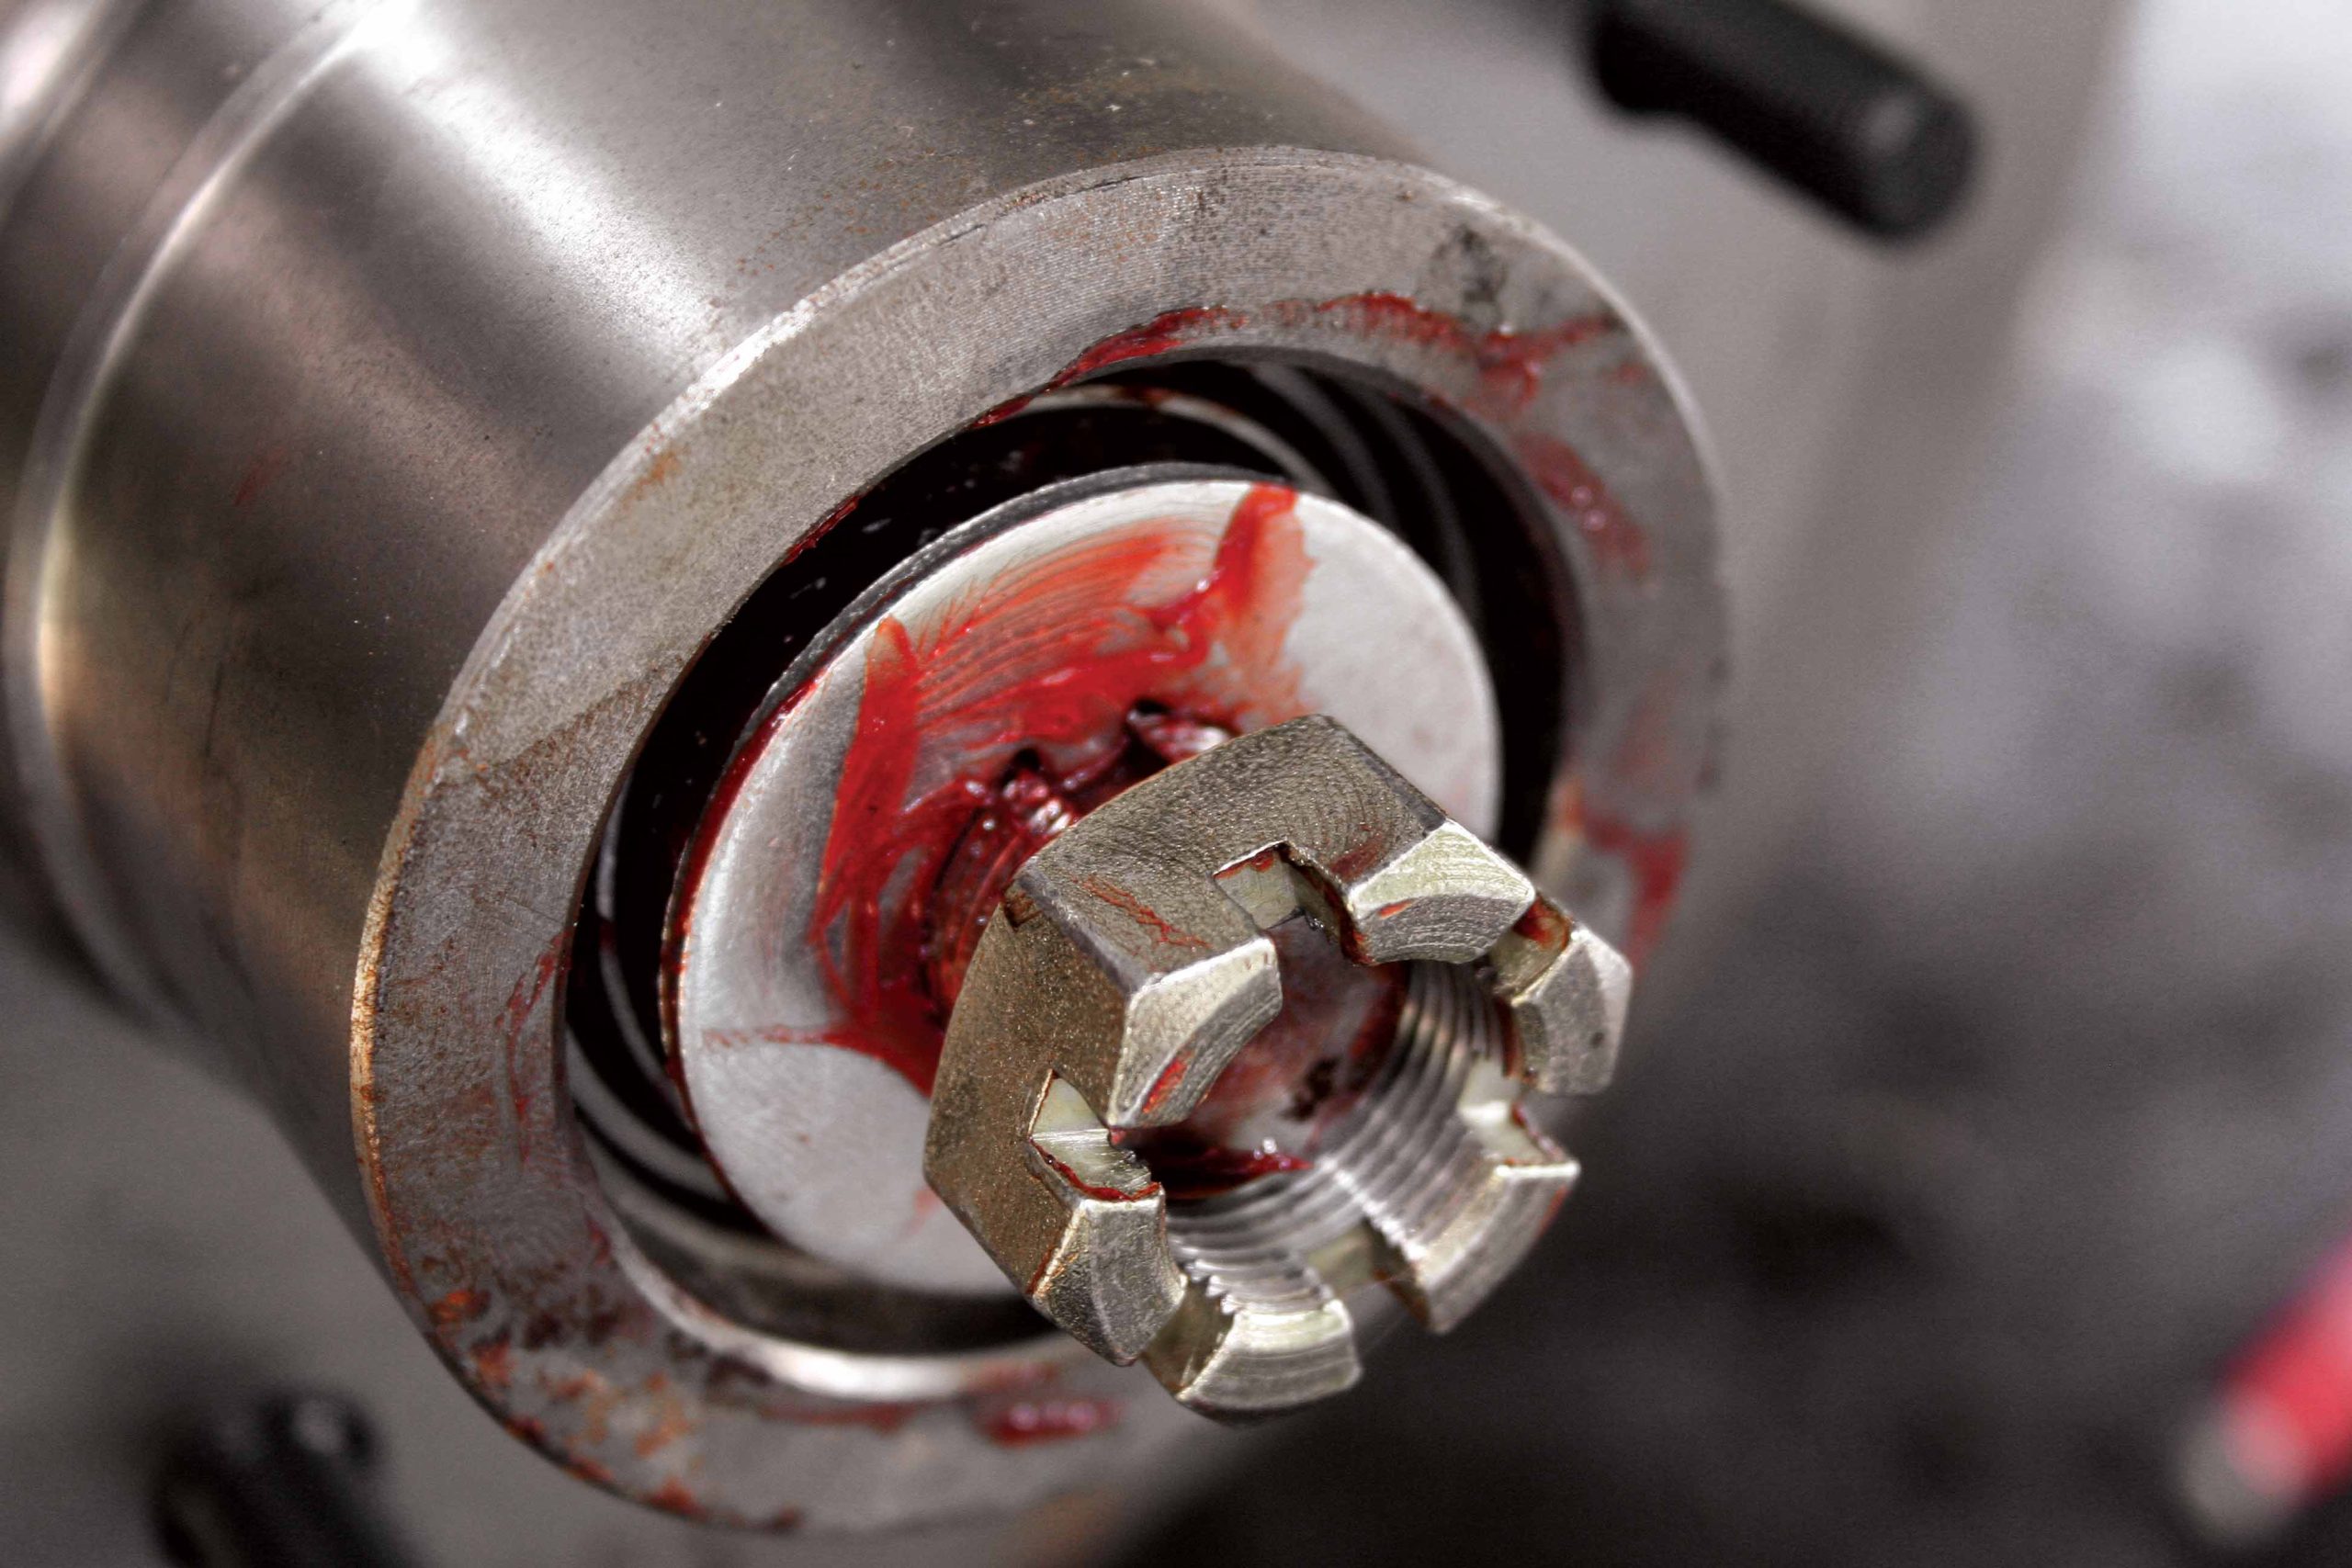
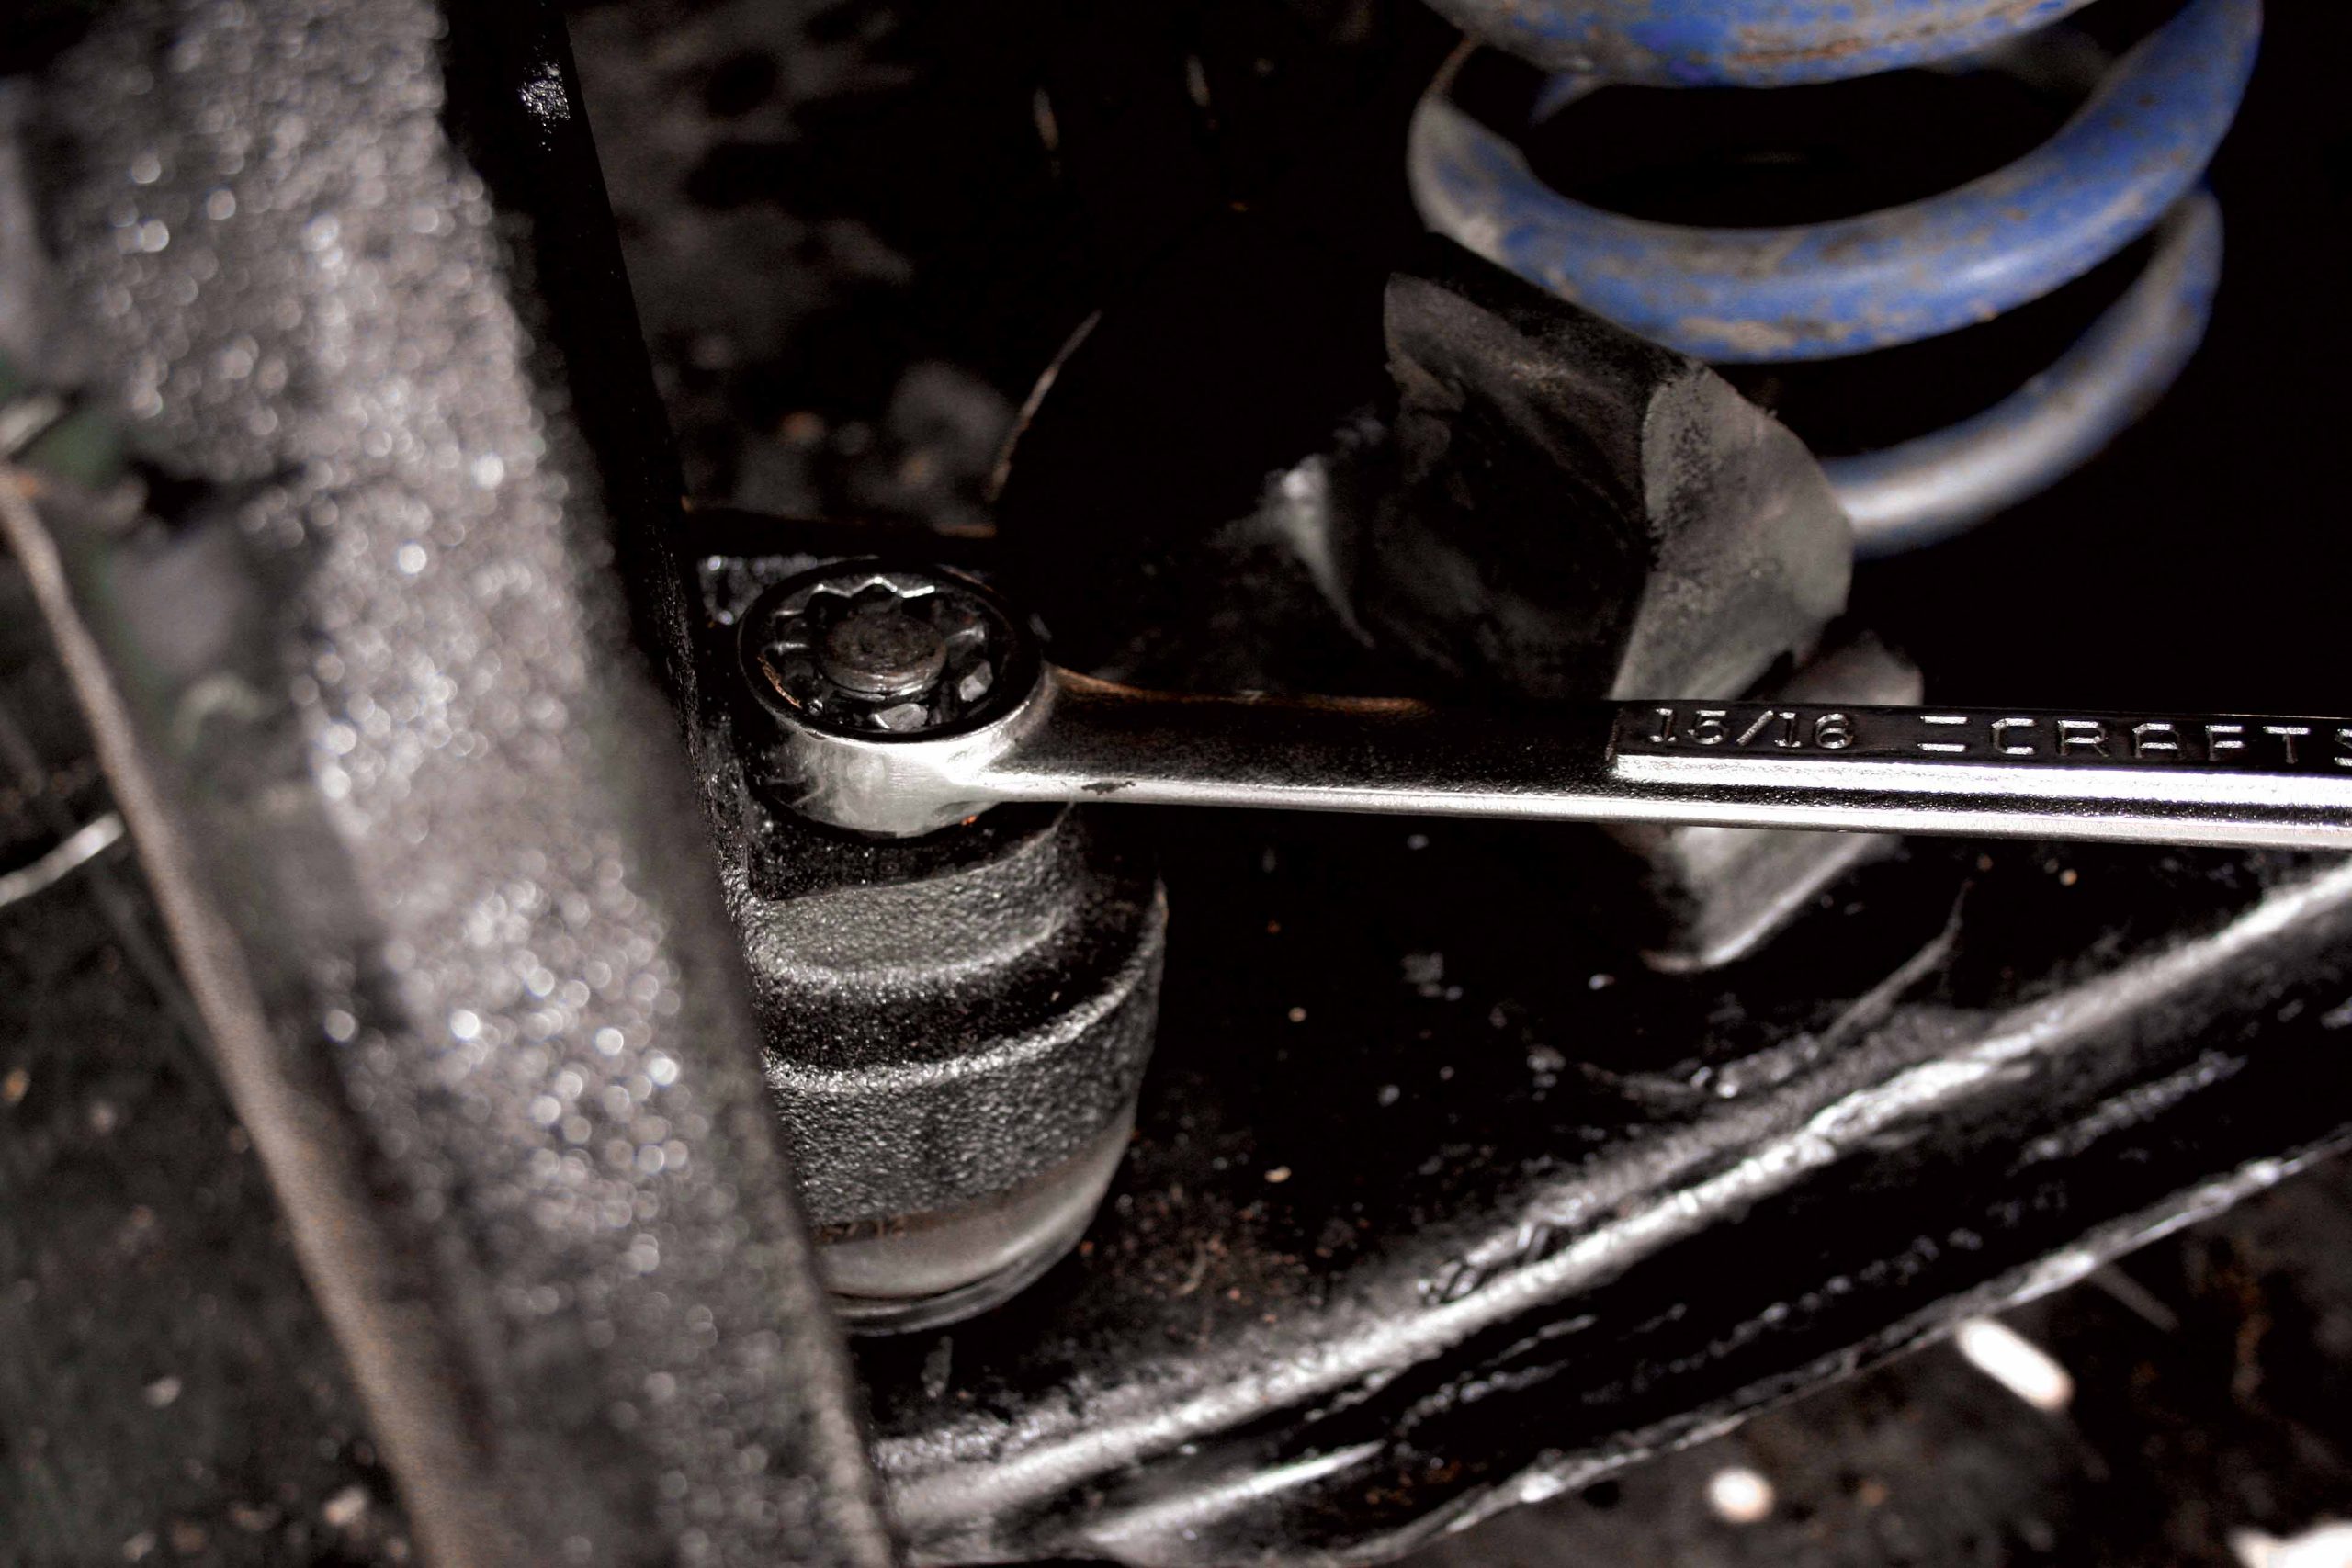
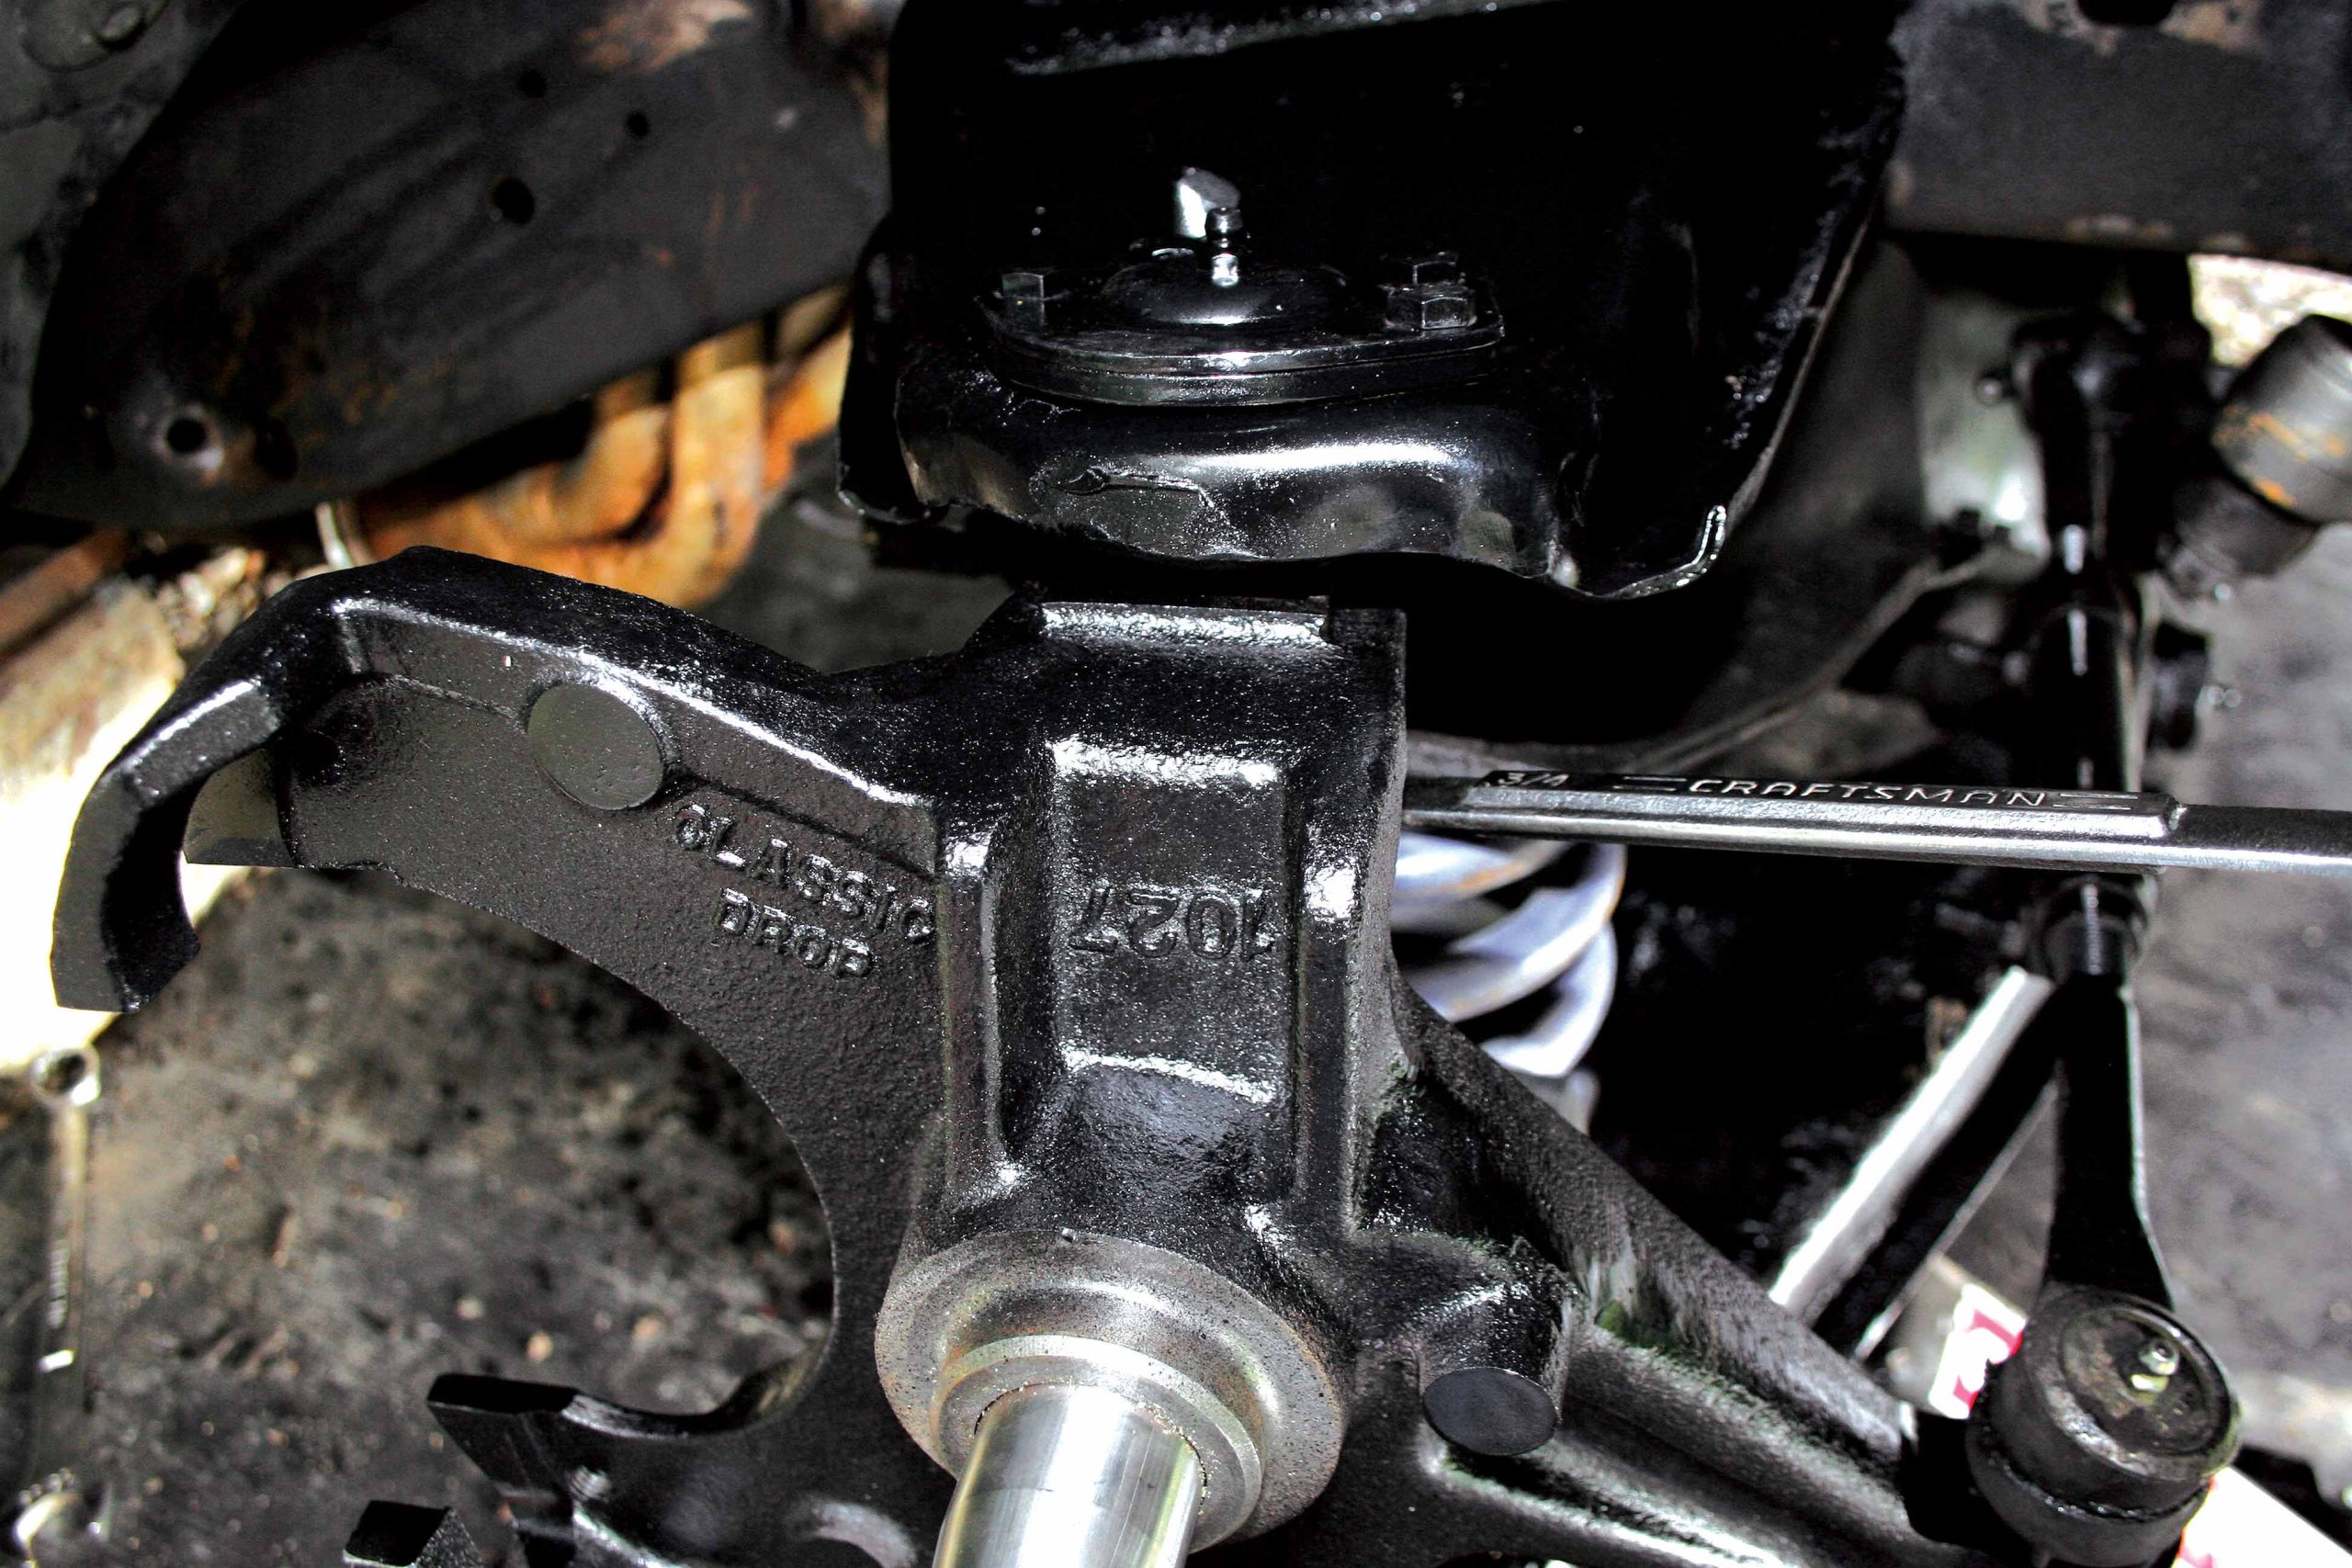
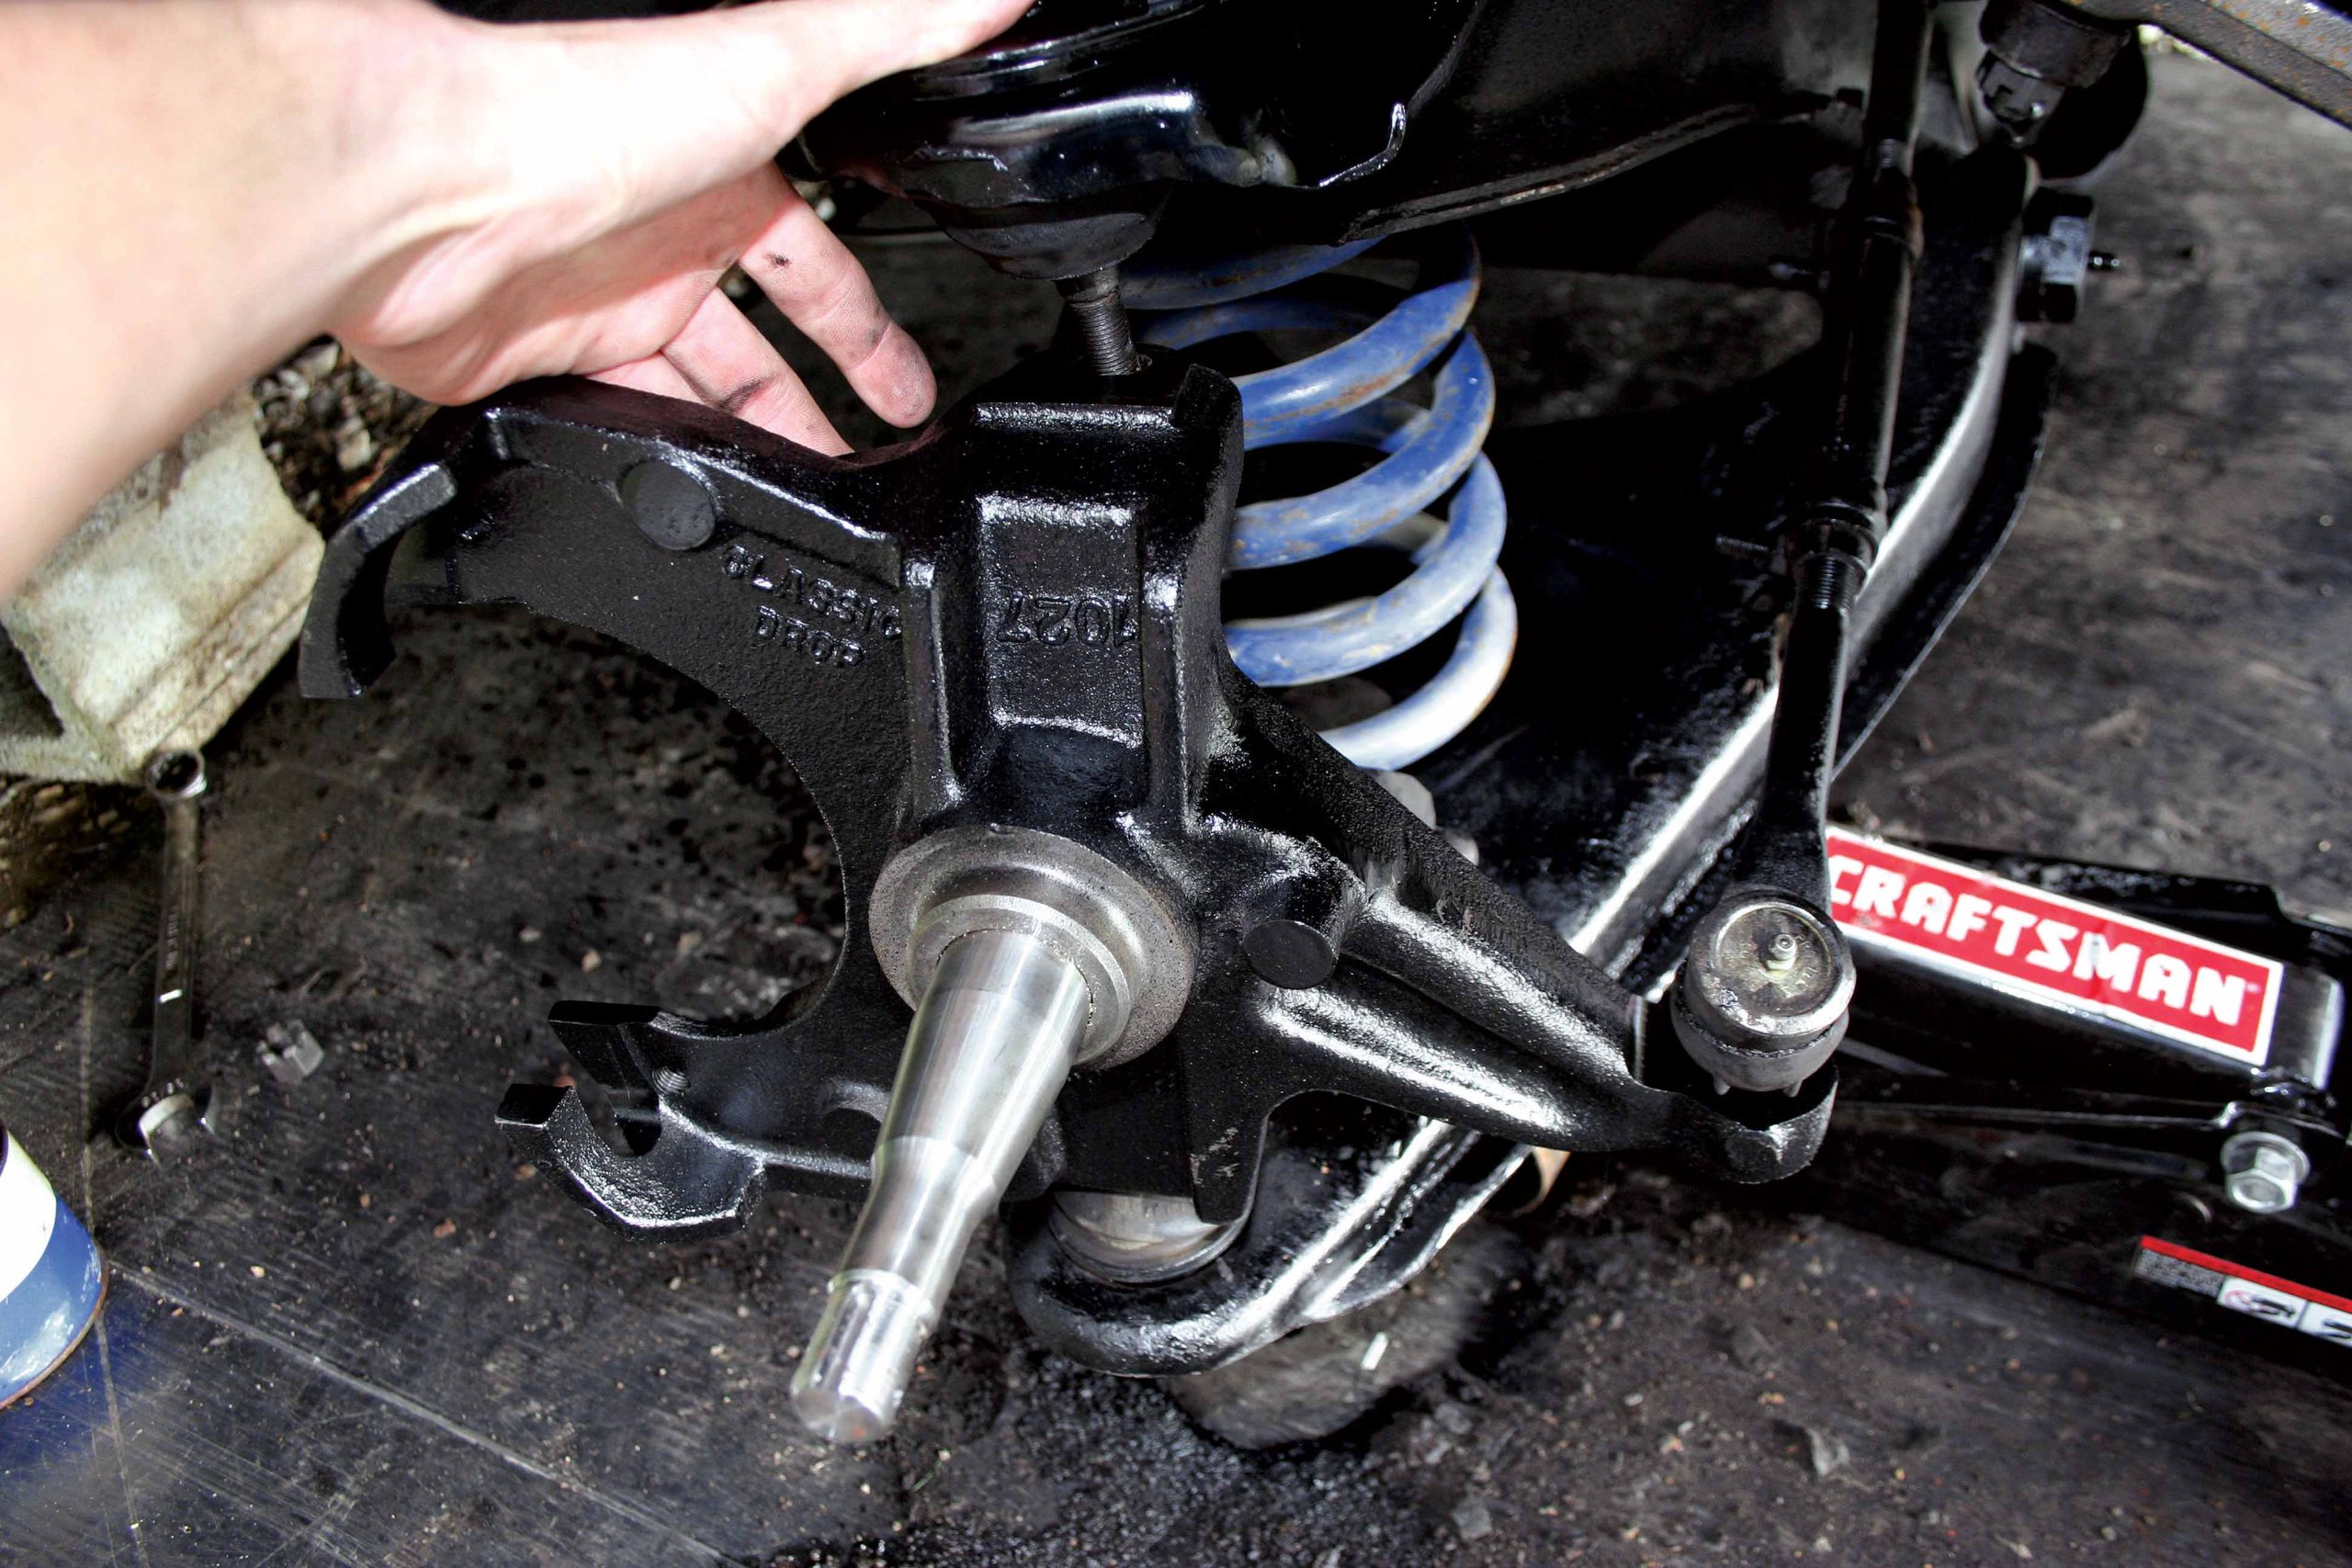
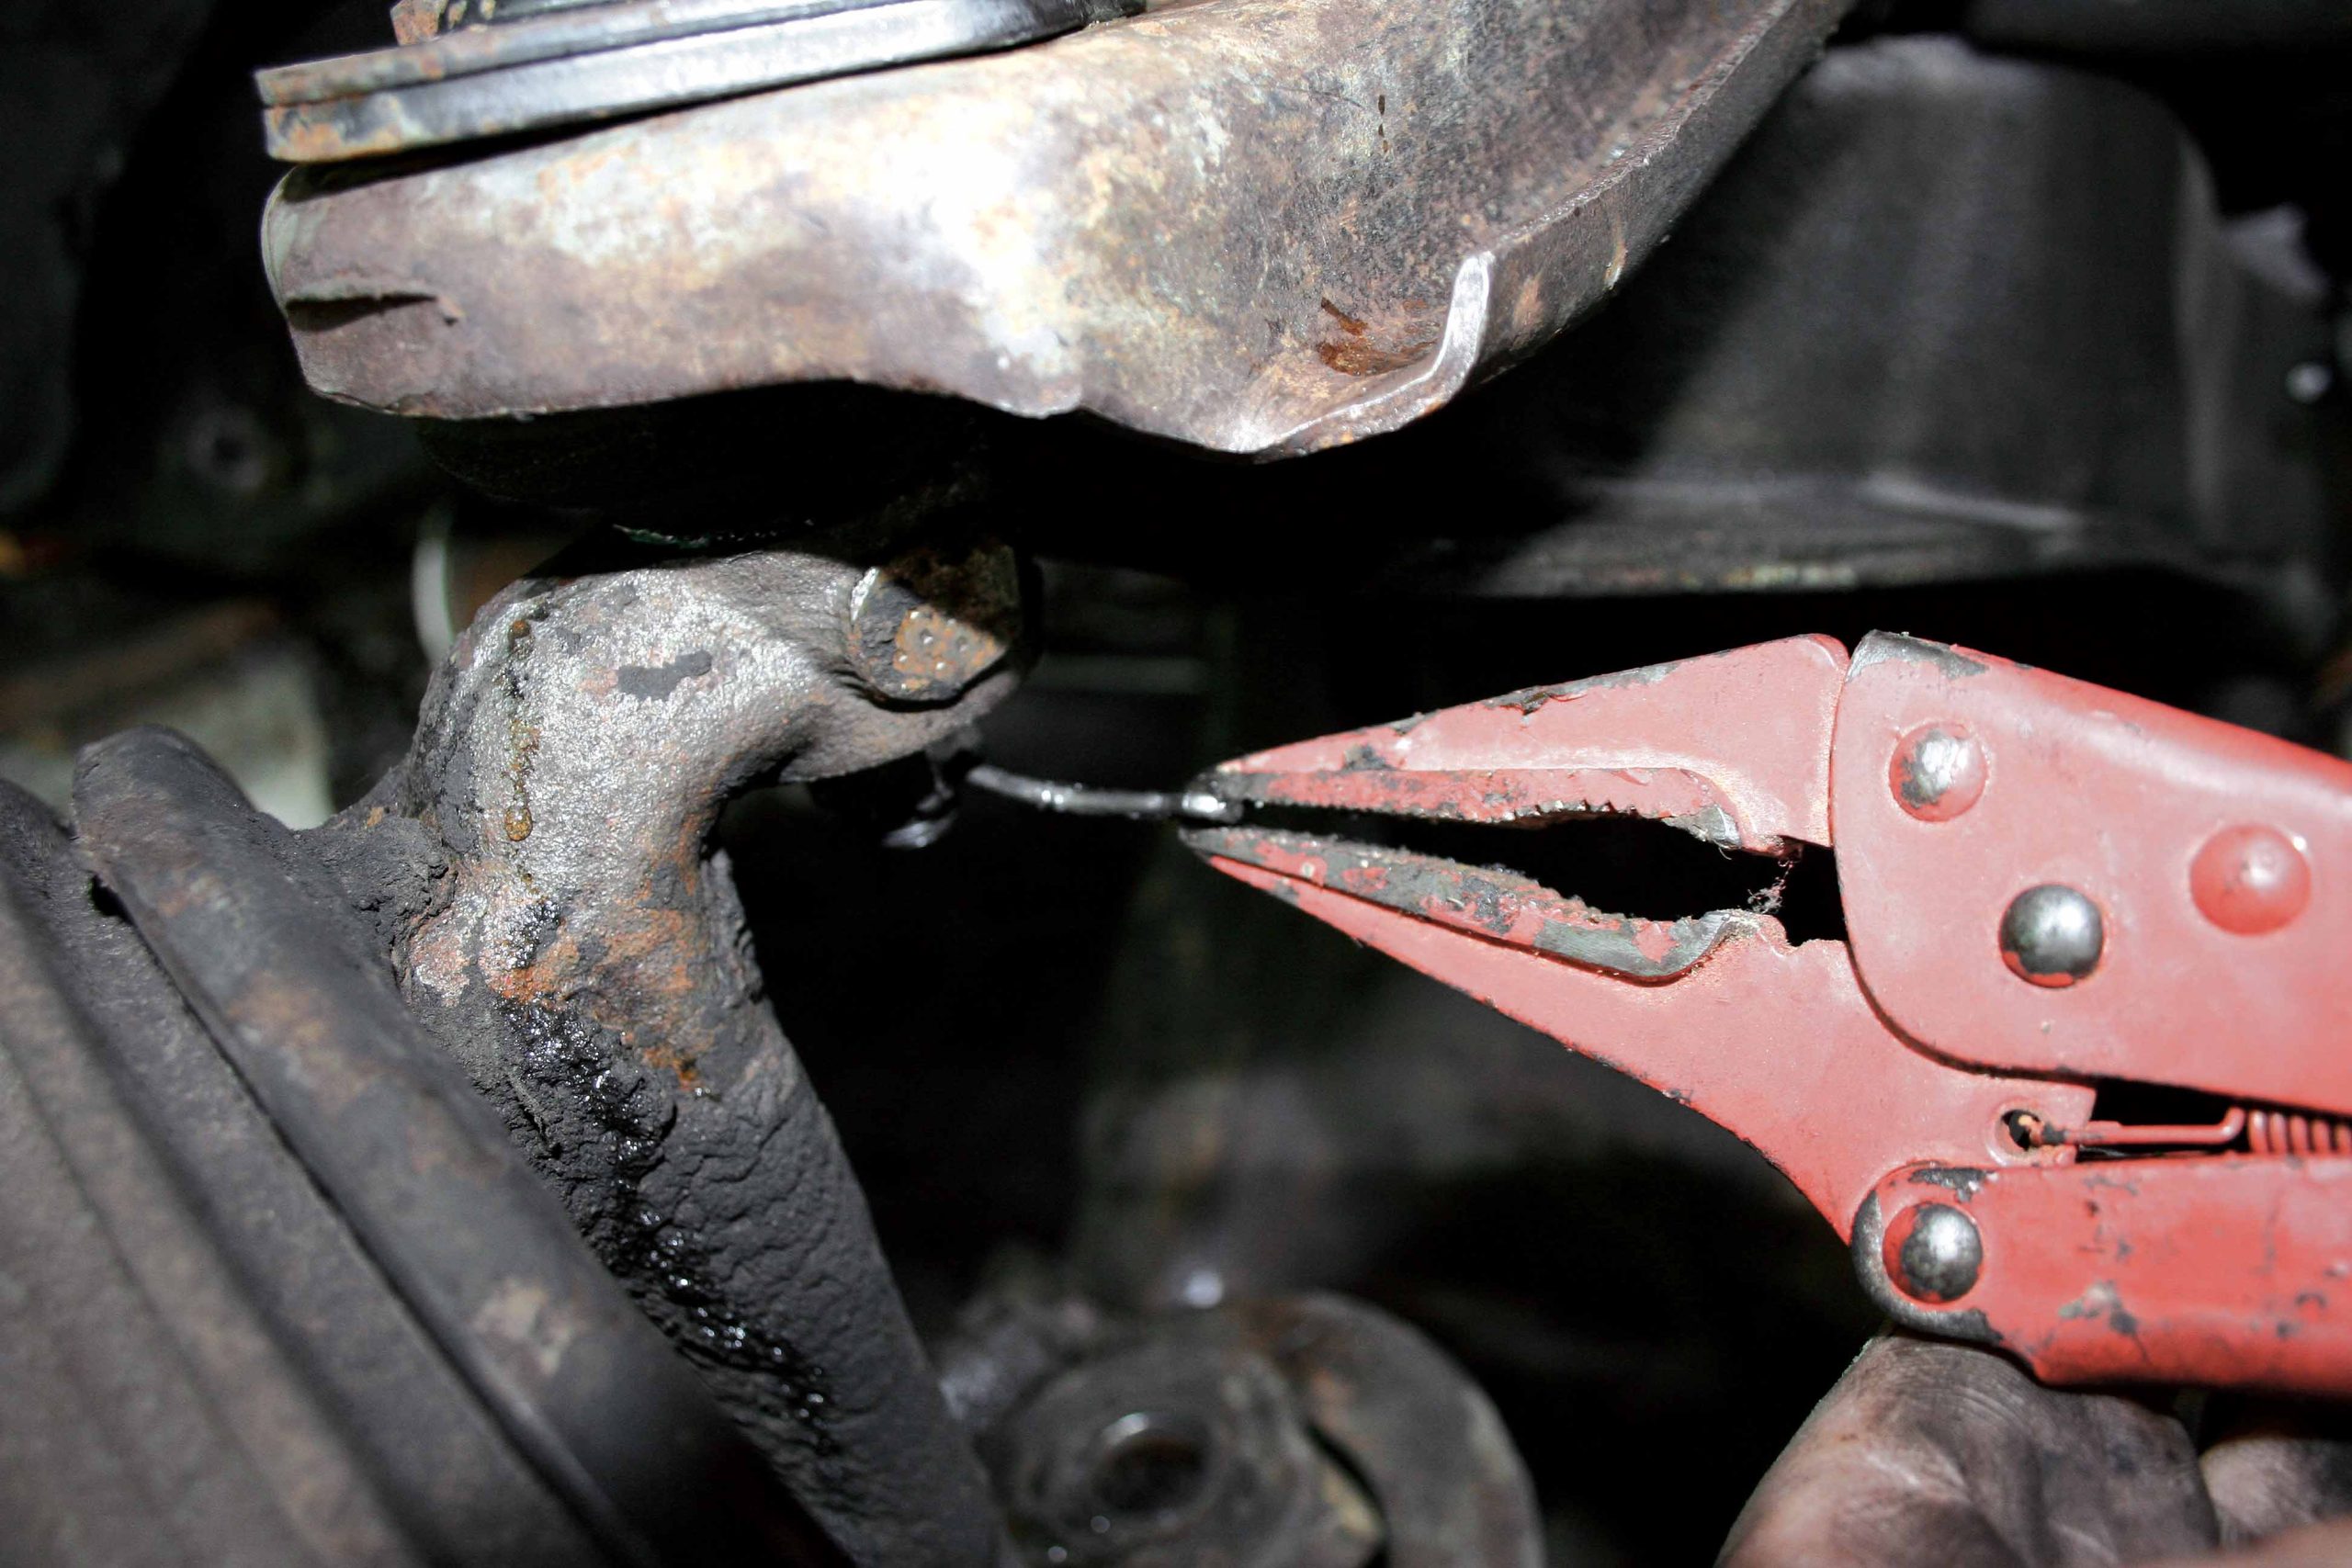
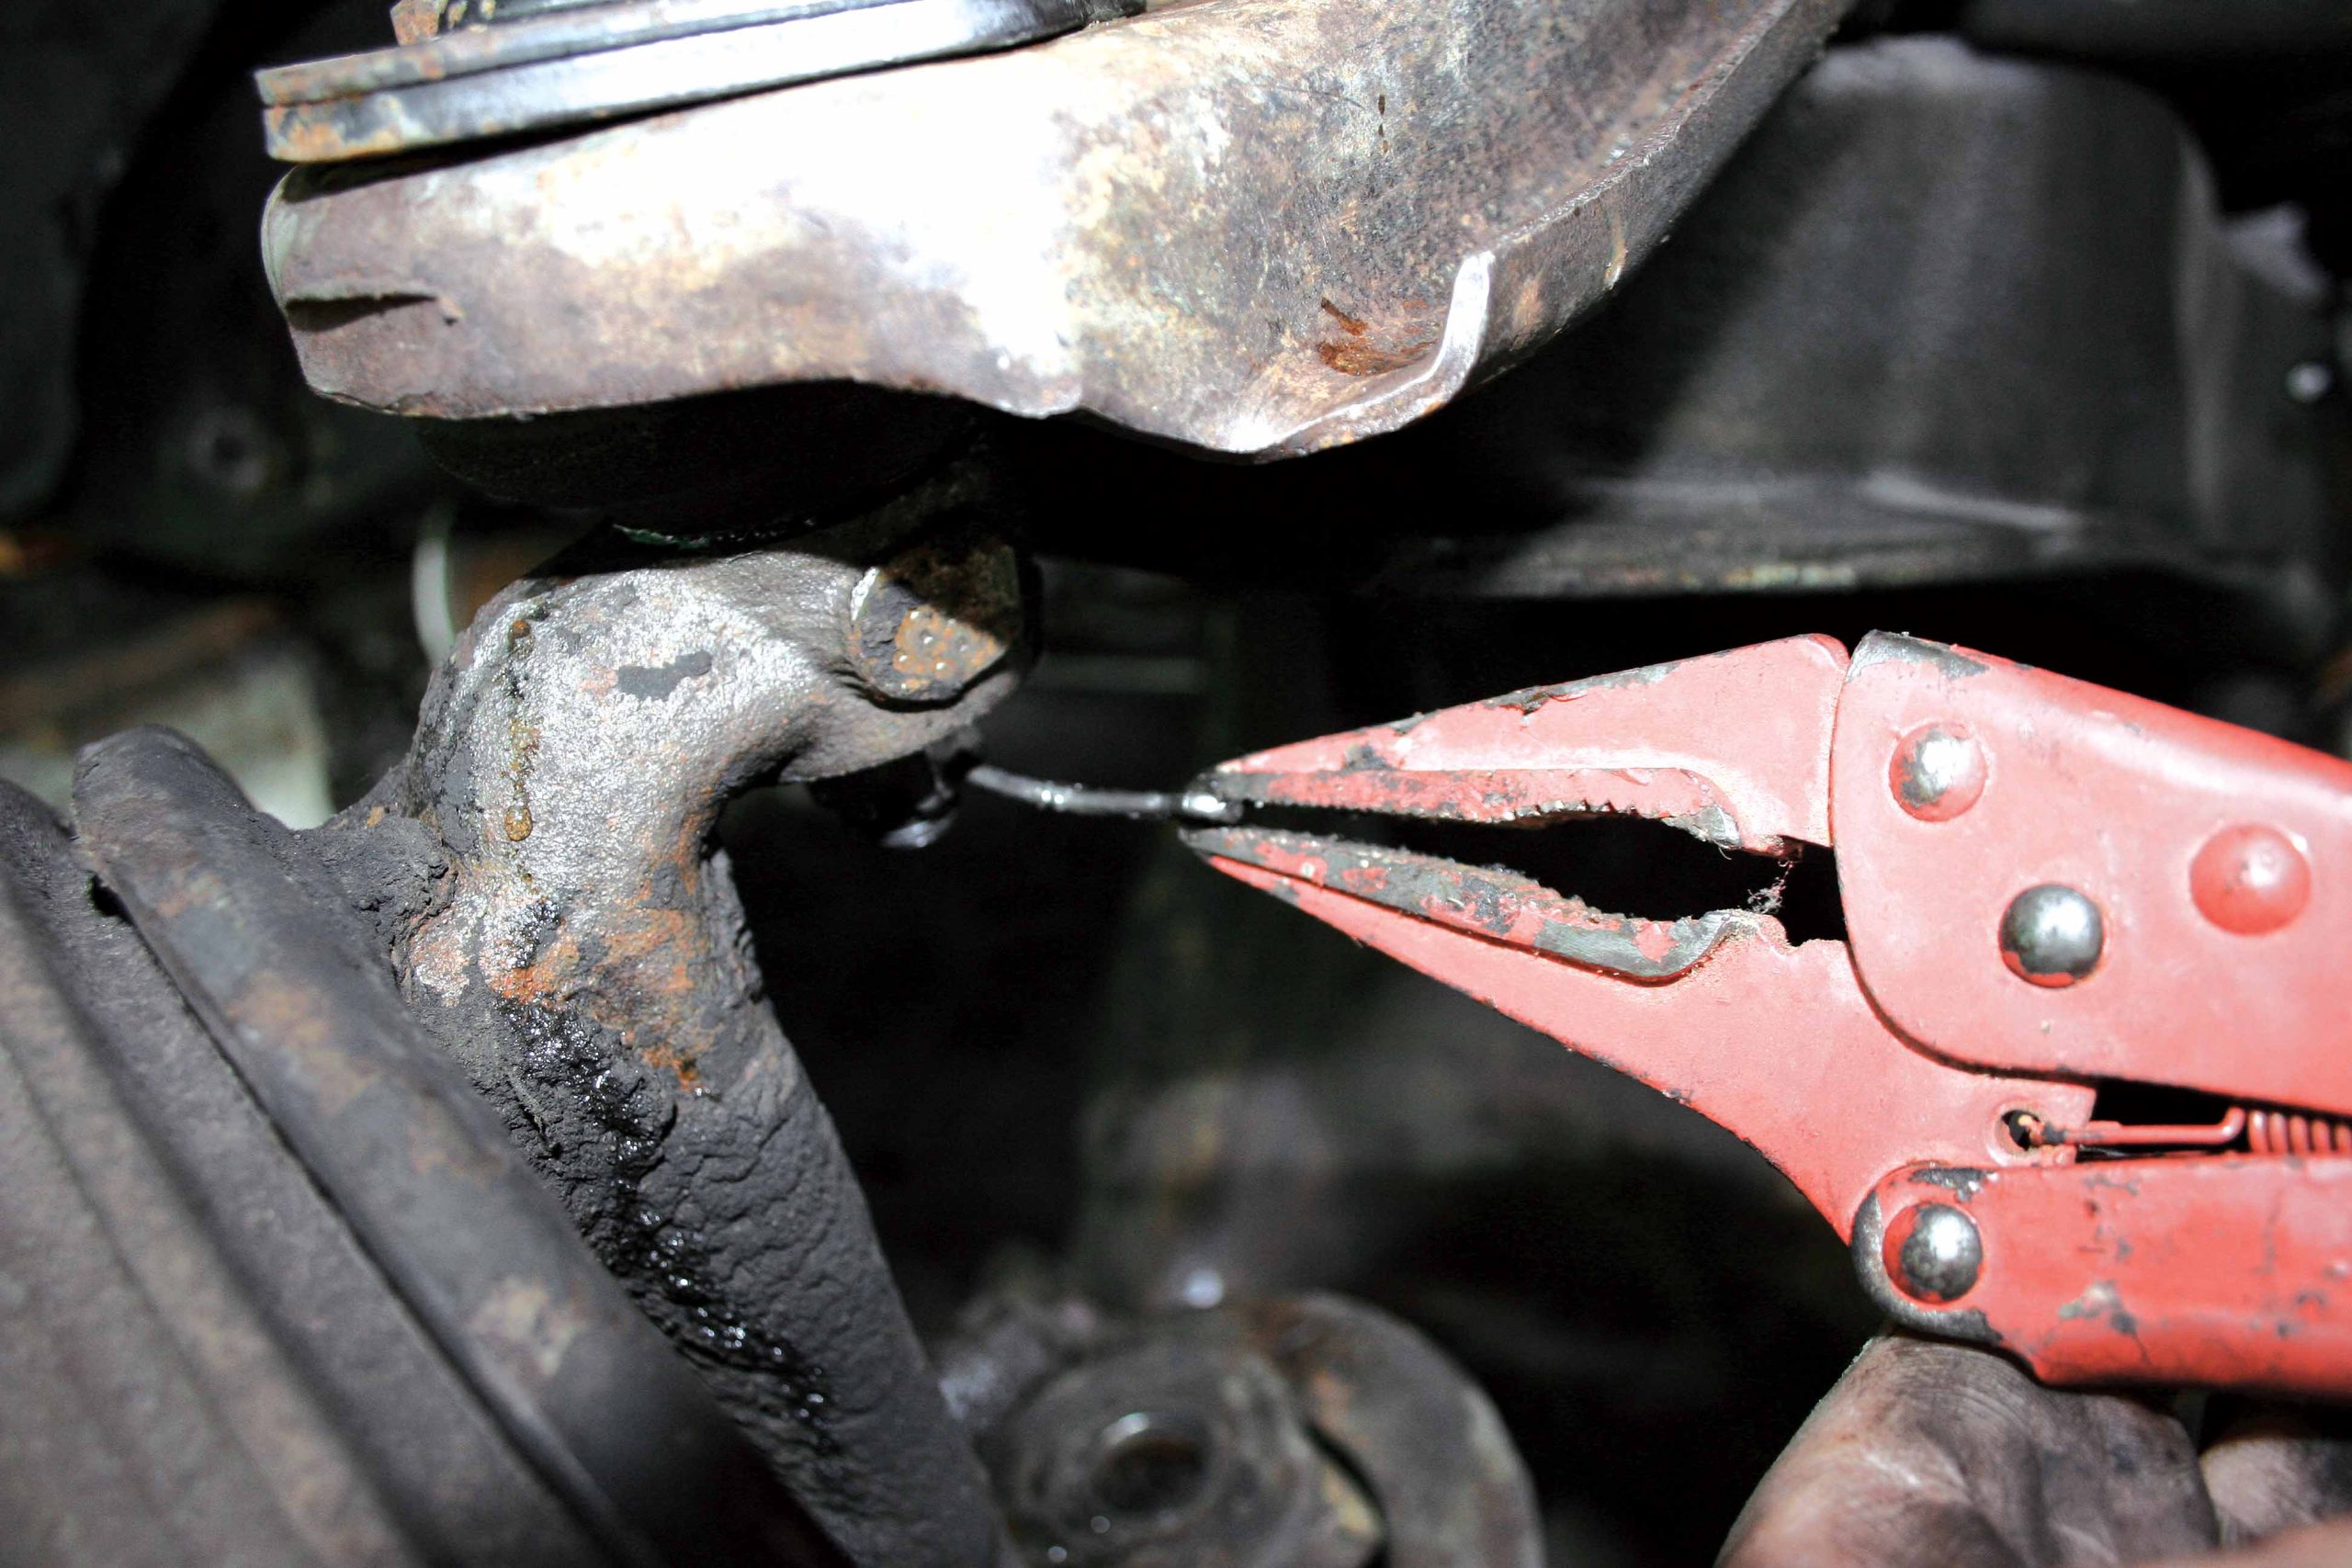
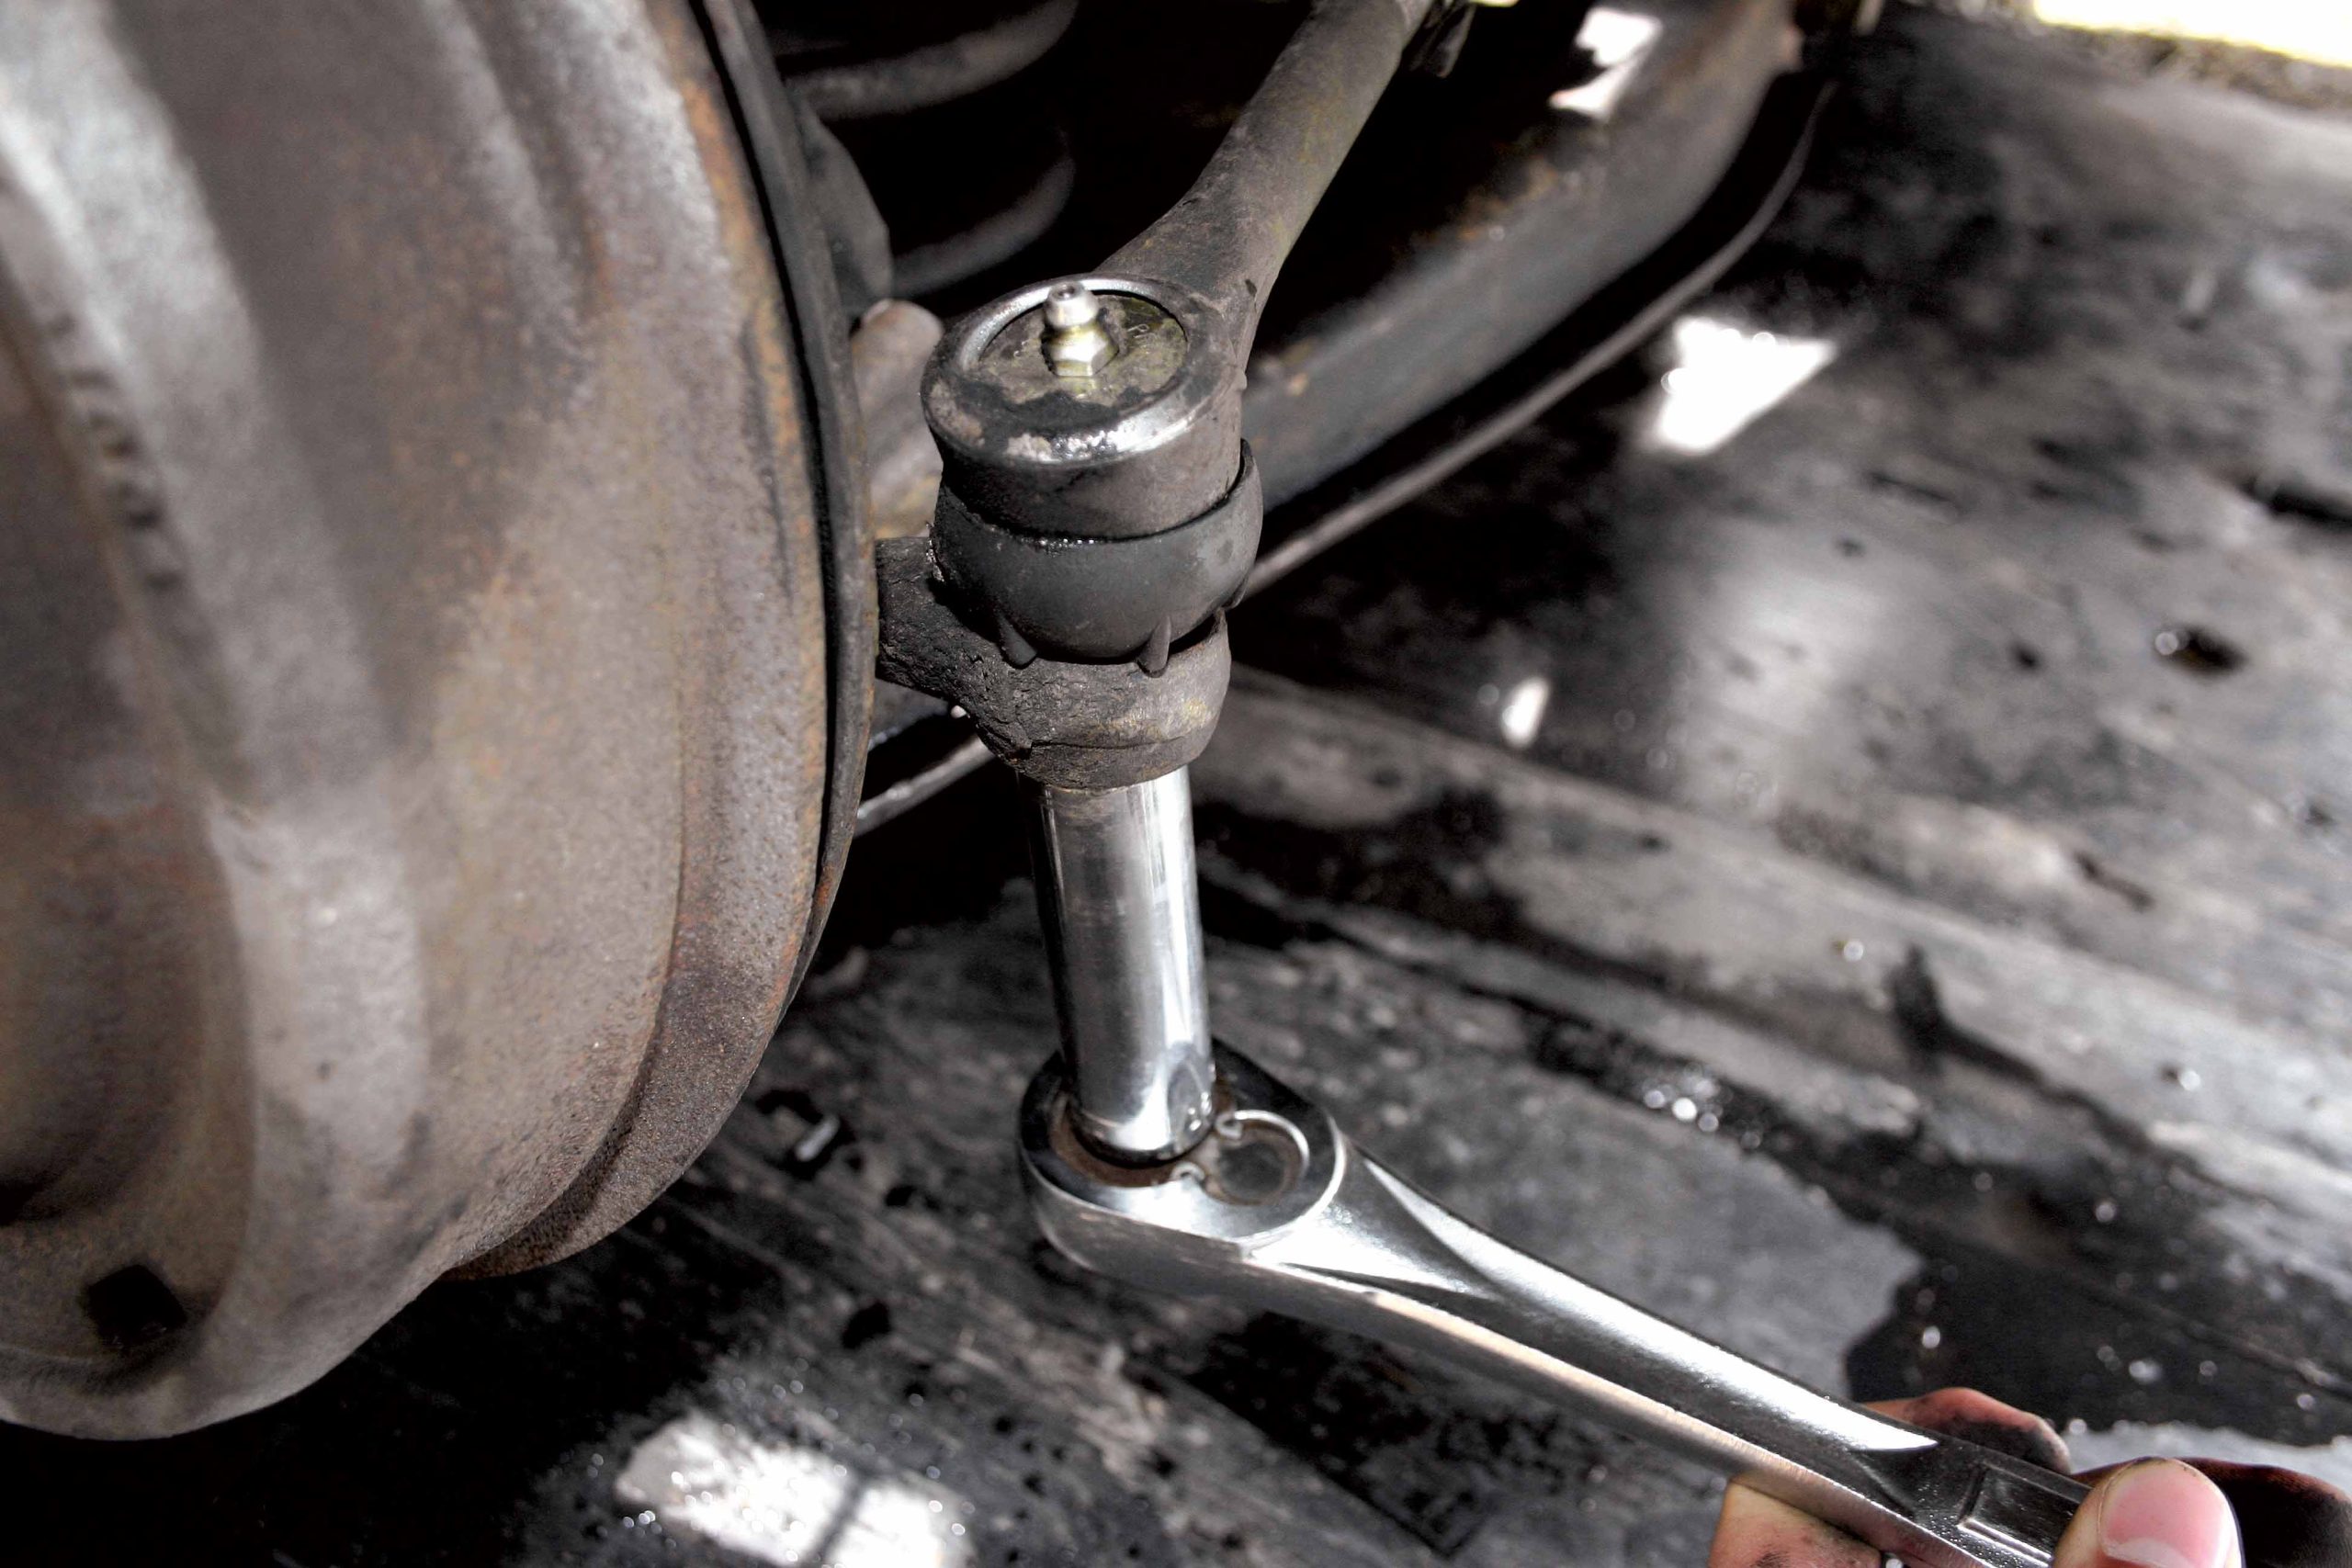
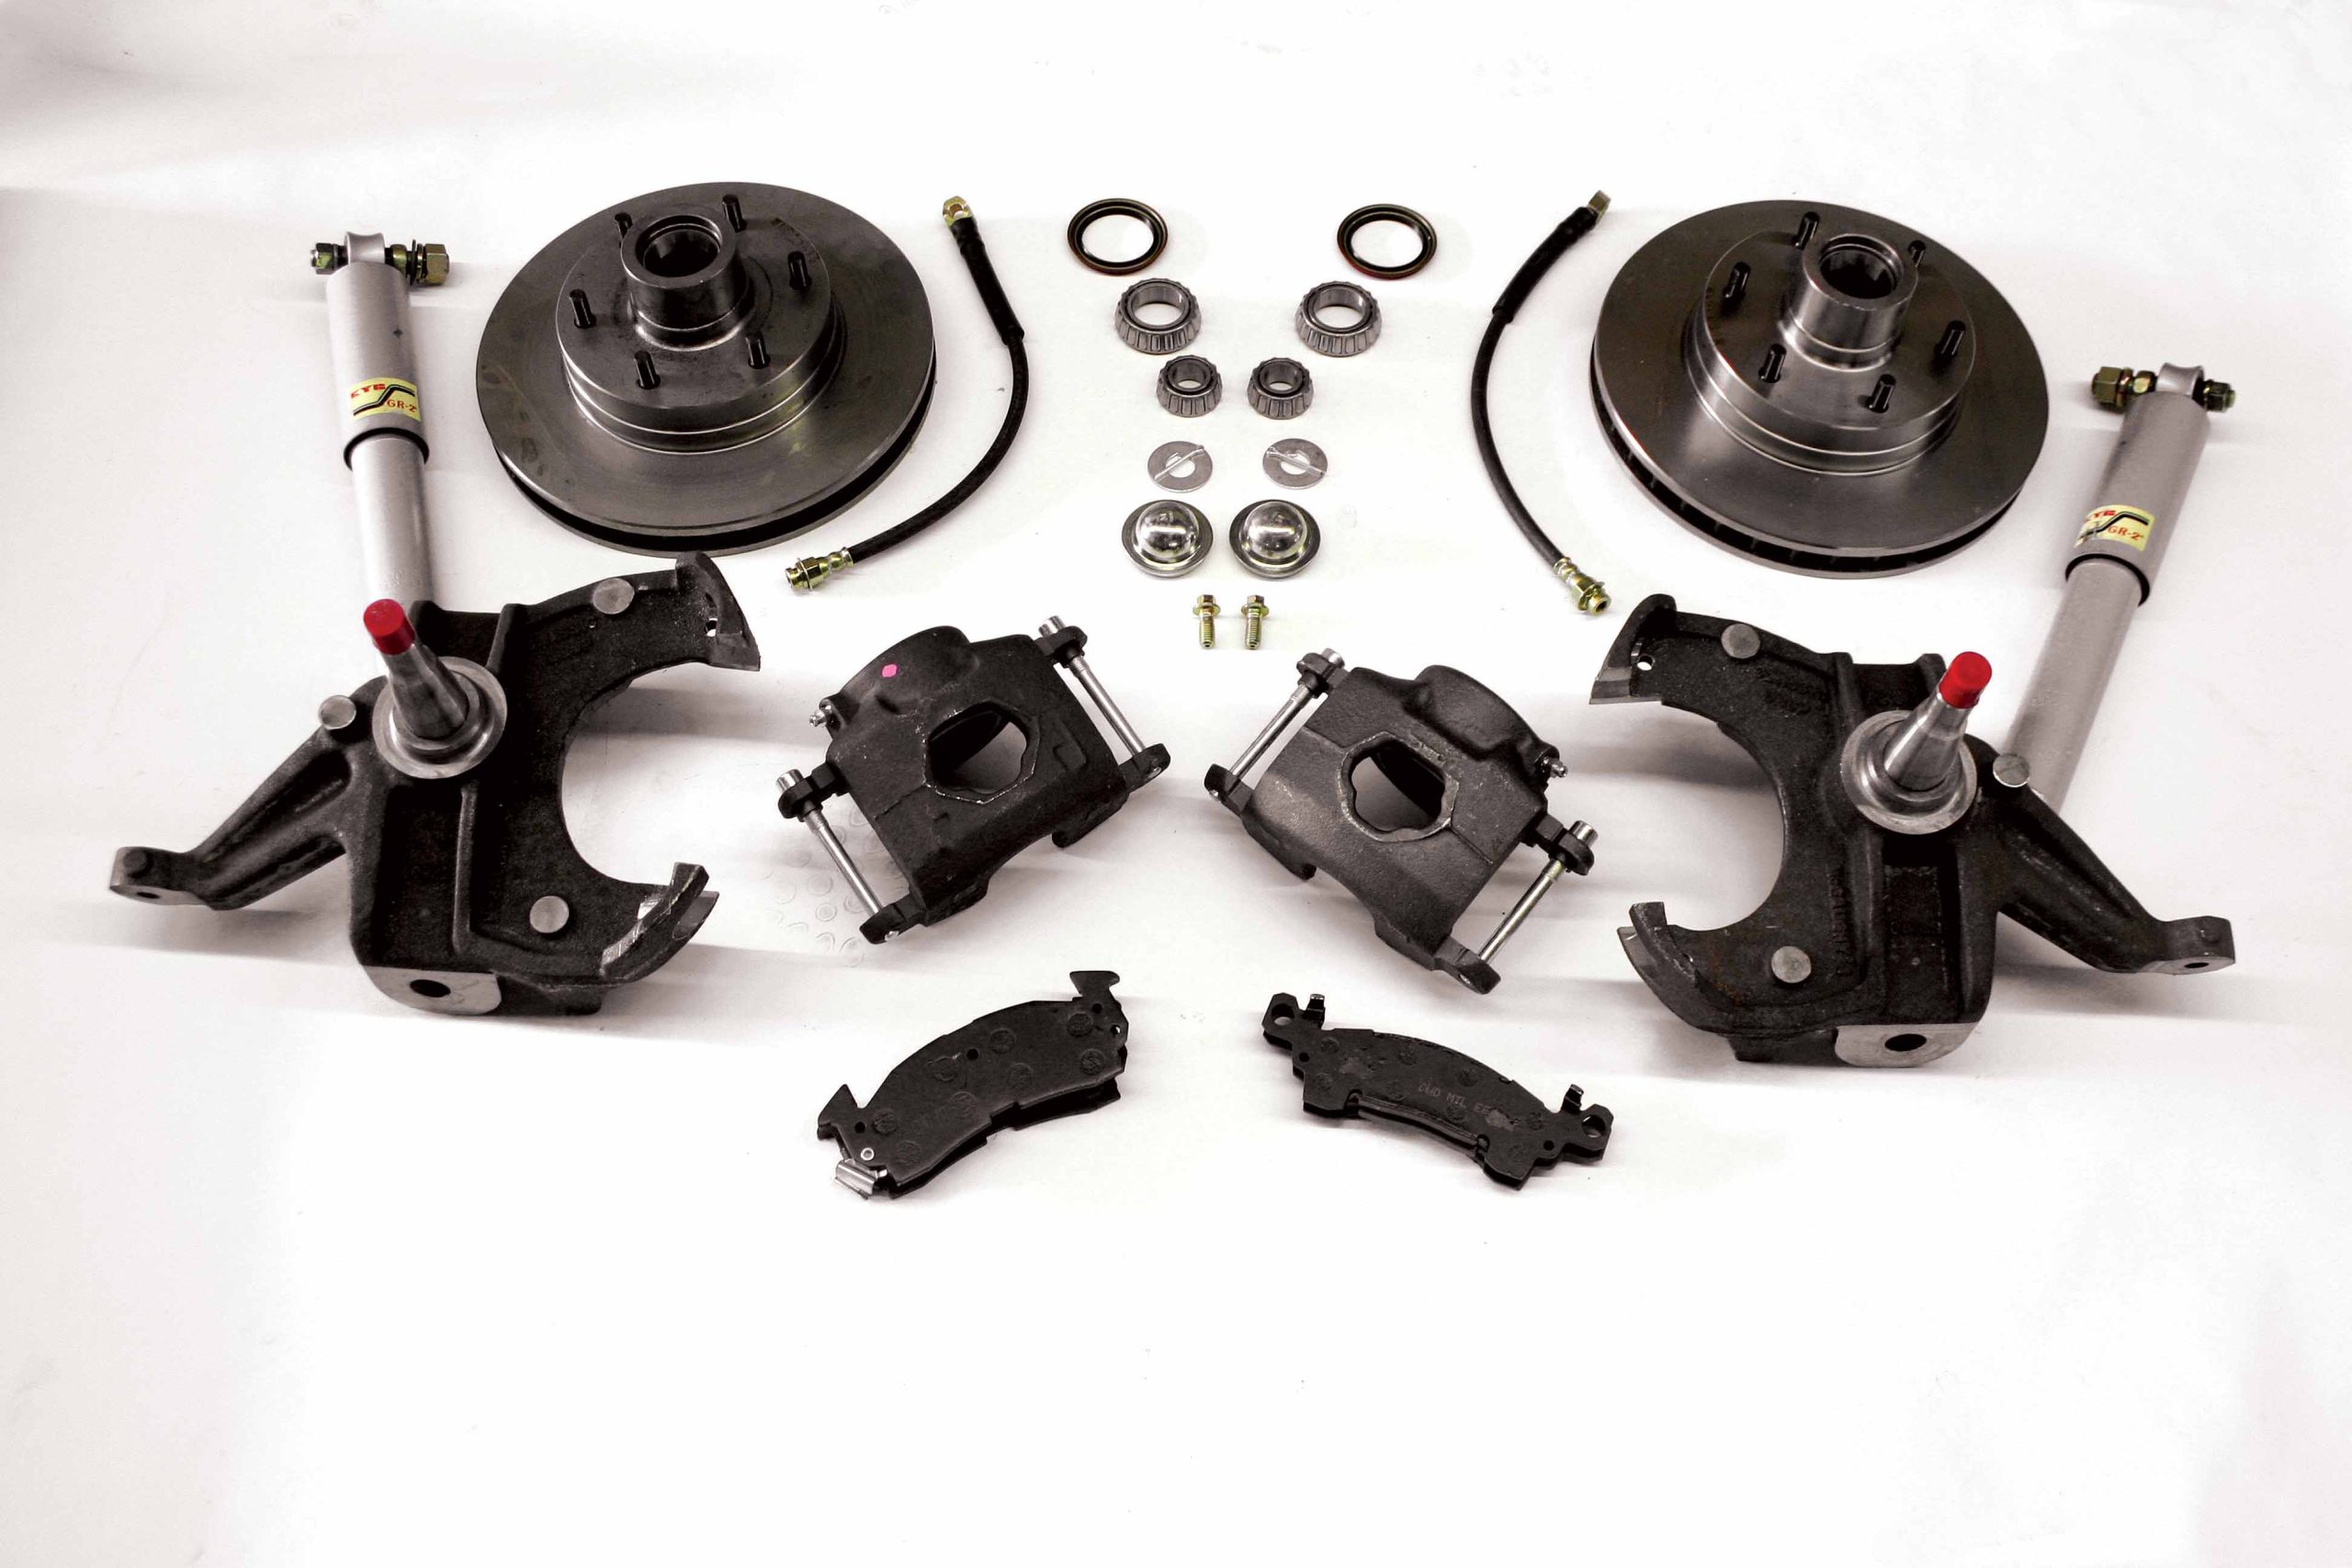
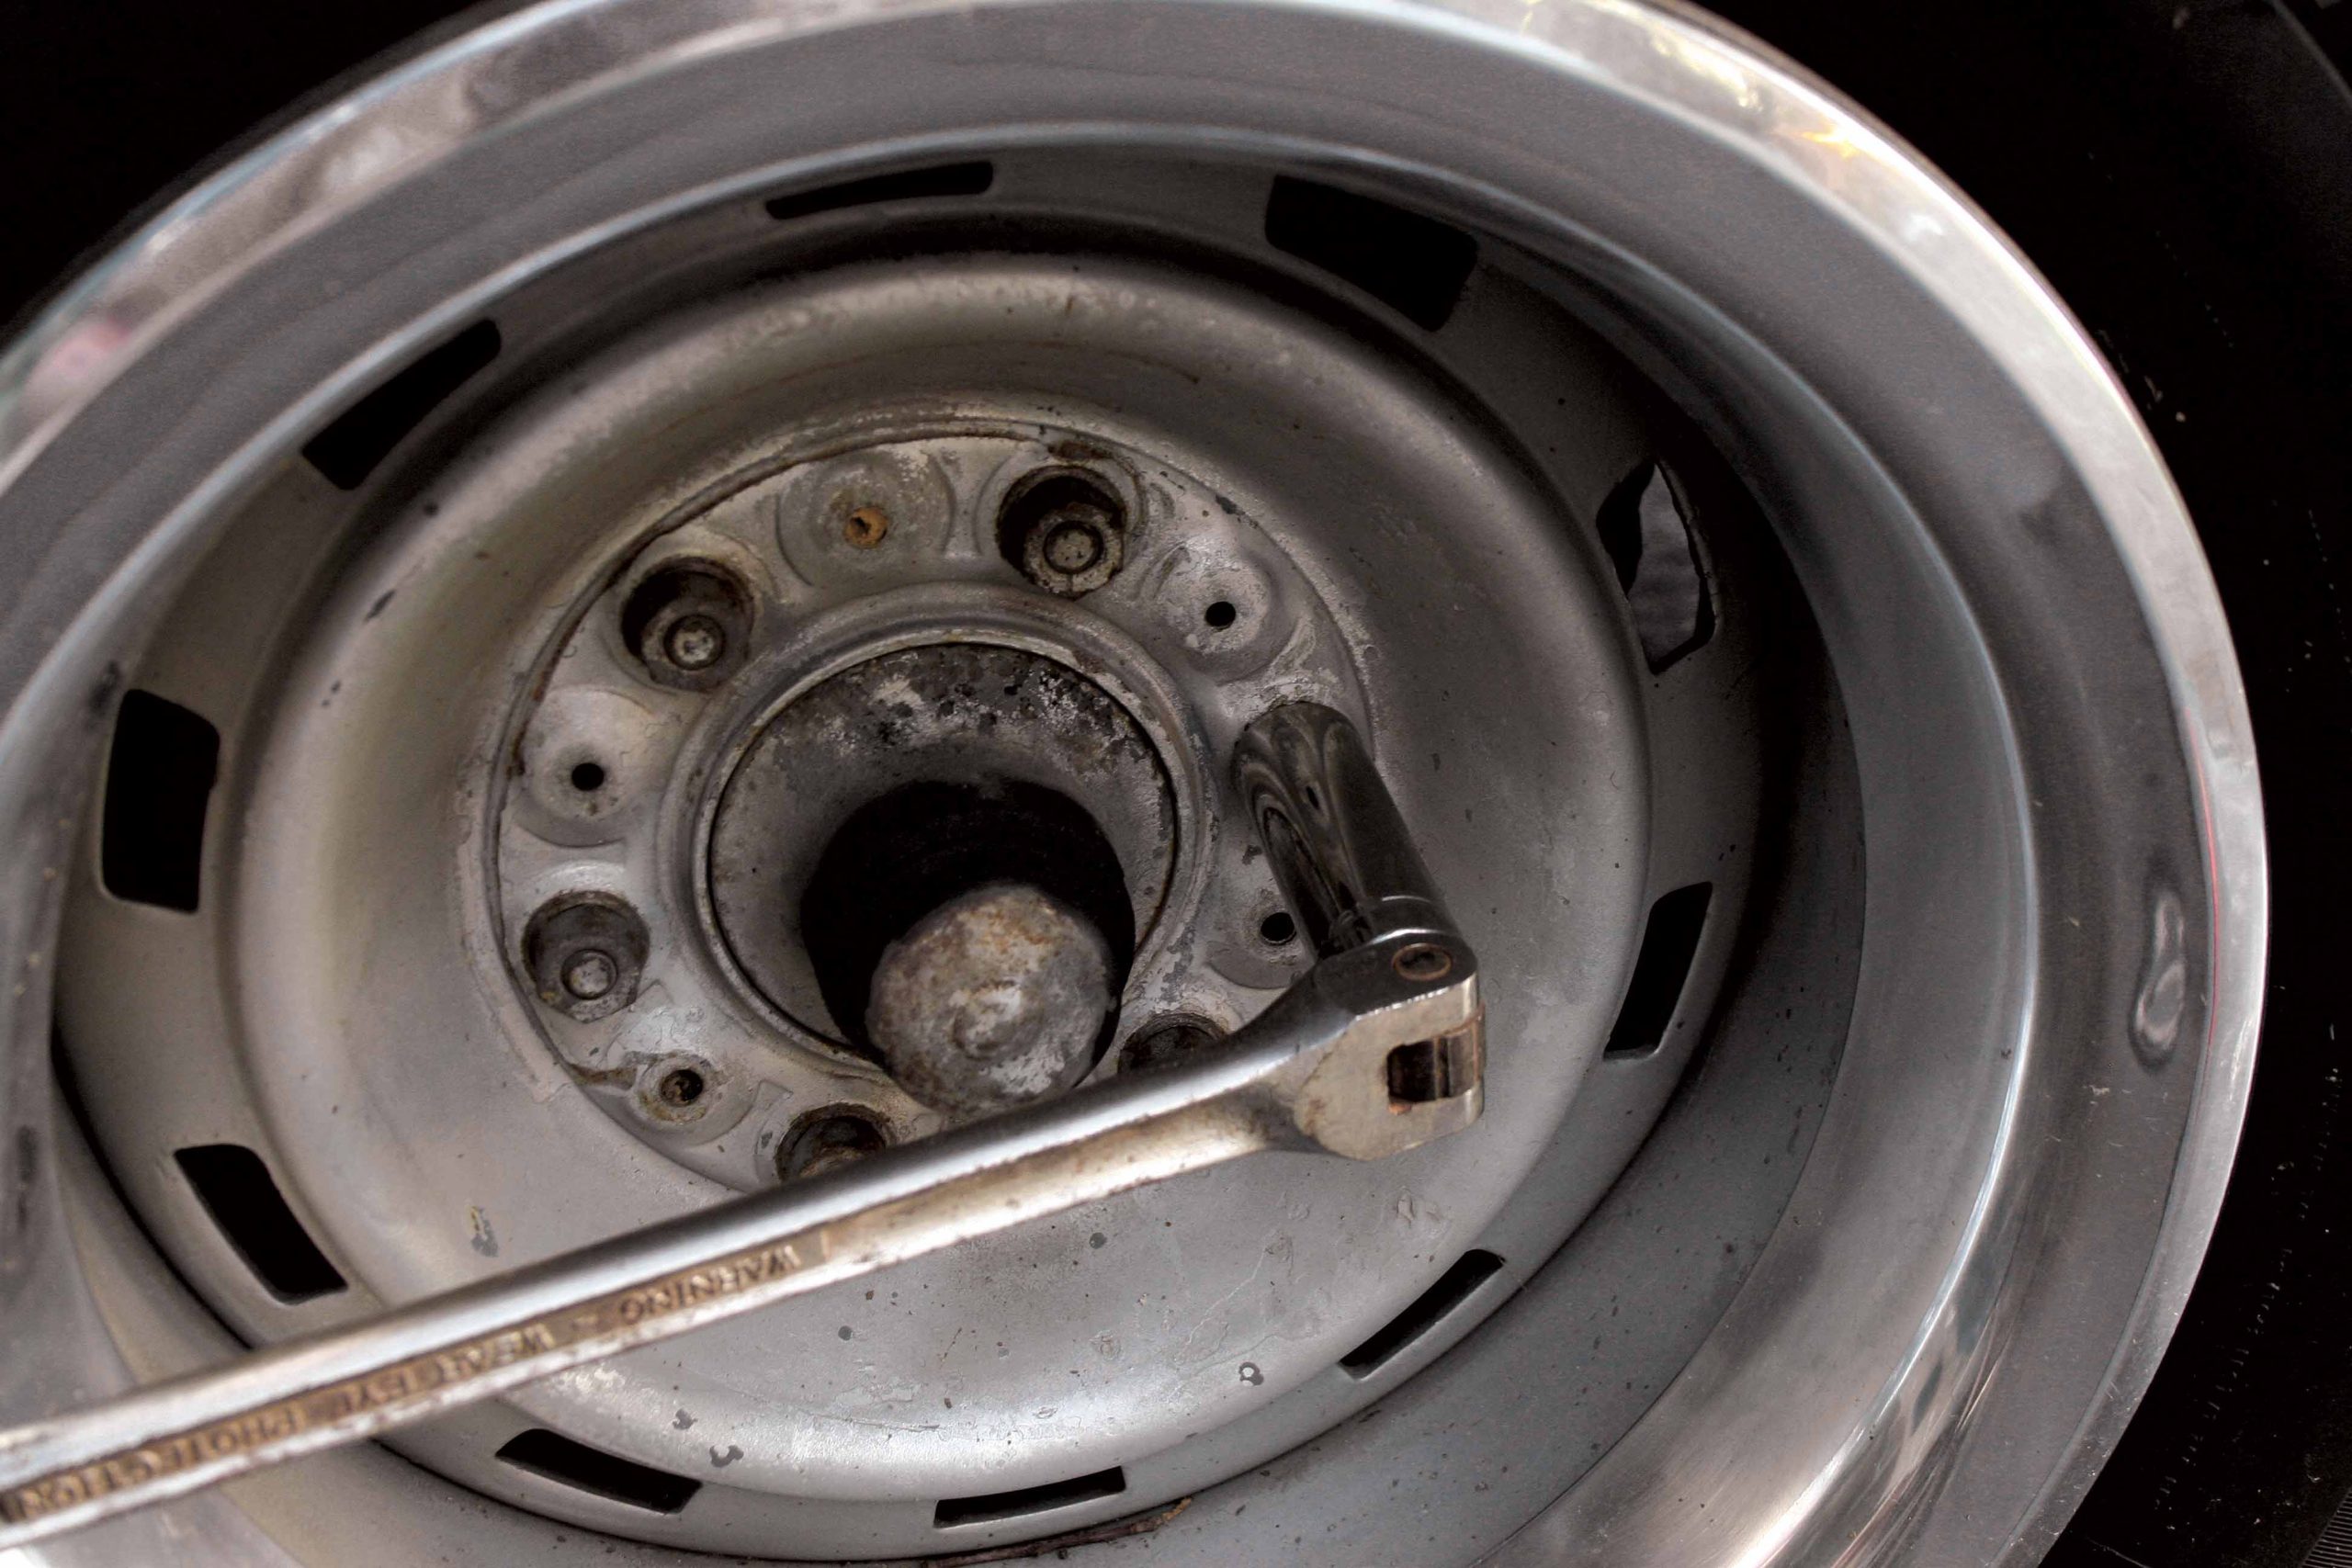
The ’68 Chevy truck pictured here came from the factory with power steering and independent front suspension, which for a project truck is not a bad start. The truck didn’t, however, come with disc brakes but rather large drum brakes. Not only do drum brakes require an excessive amount of pedal force to apply, but they are also dangerous when running through deep water in any serious rainstorm. For this project, the plan was to not only improve the braking, but also lower the front of the truck using a set of 2-1/2-inch-dropped spindles. The dropped spindles will lower this classic truck while maintaining proper suspension geometry. After the decision was made to lower the pickup and to improve braking, the search ended at No Limit Engineering, as it offered a dropped spindle/disc brake conversion kit.

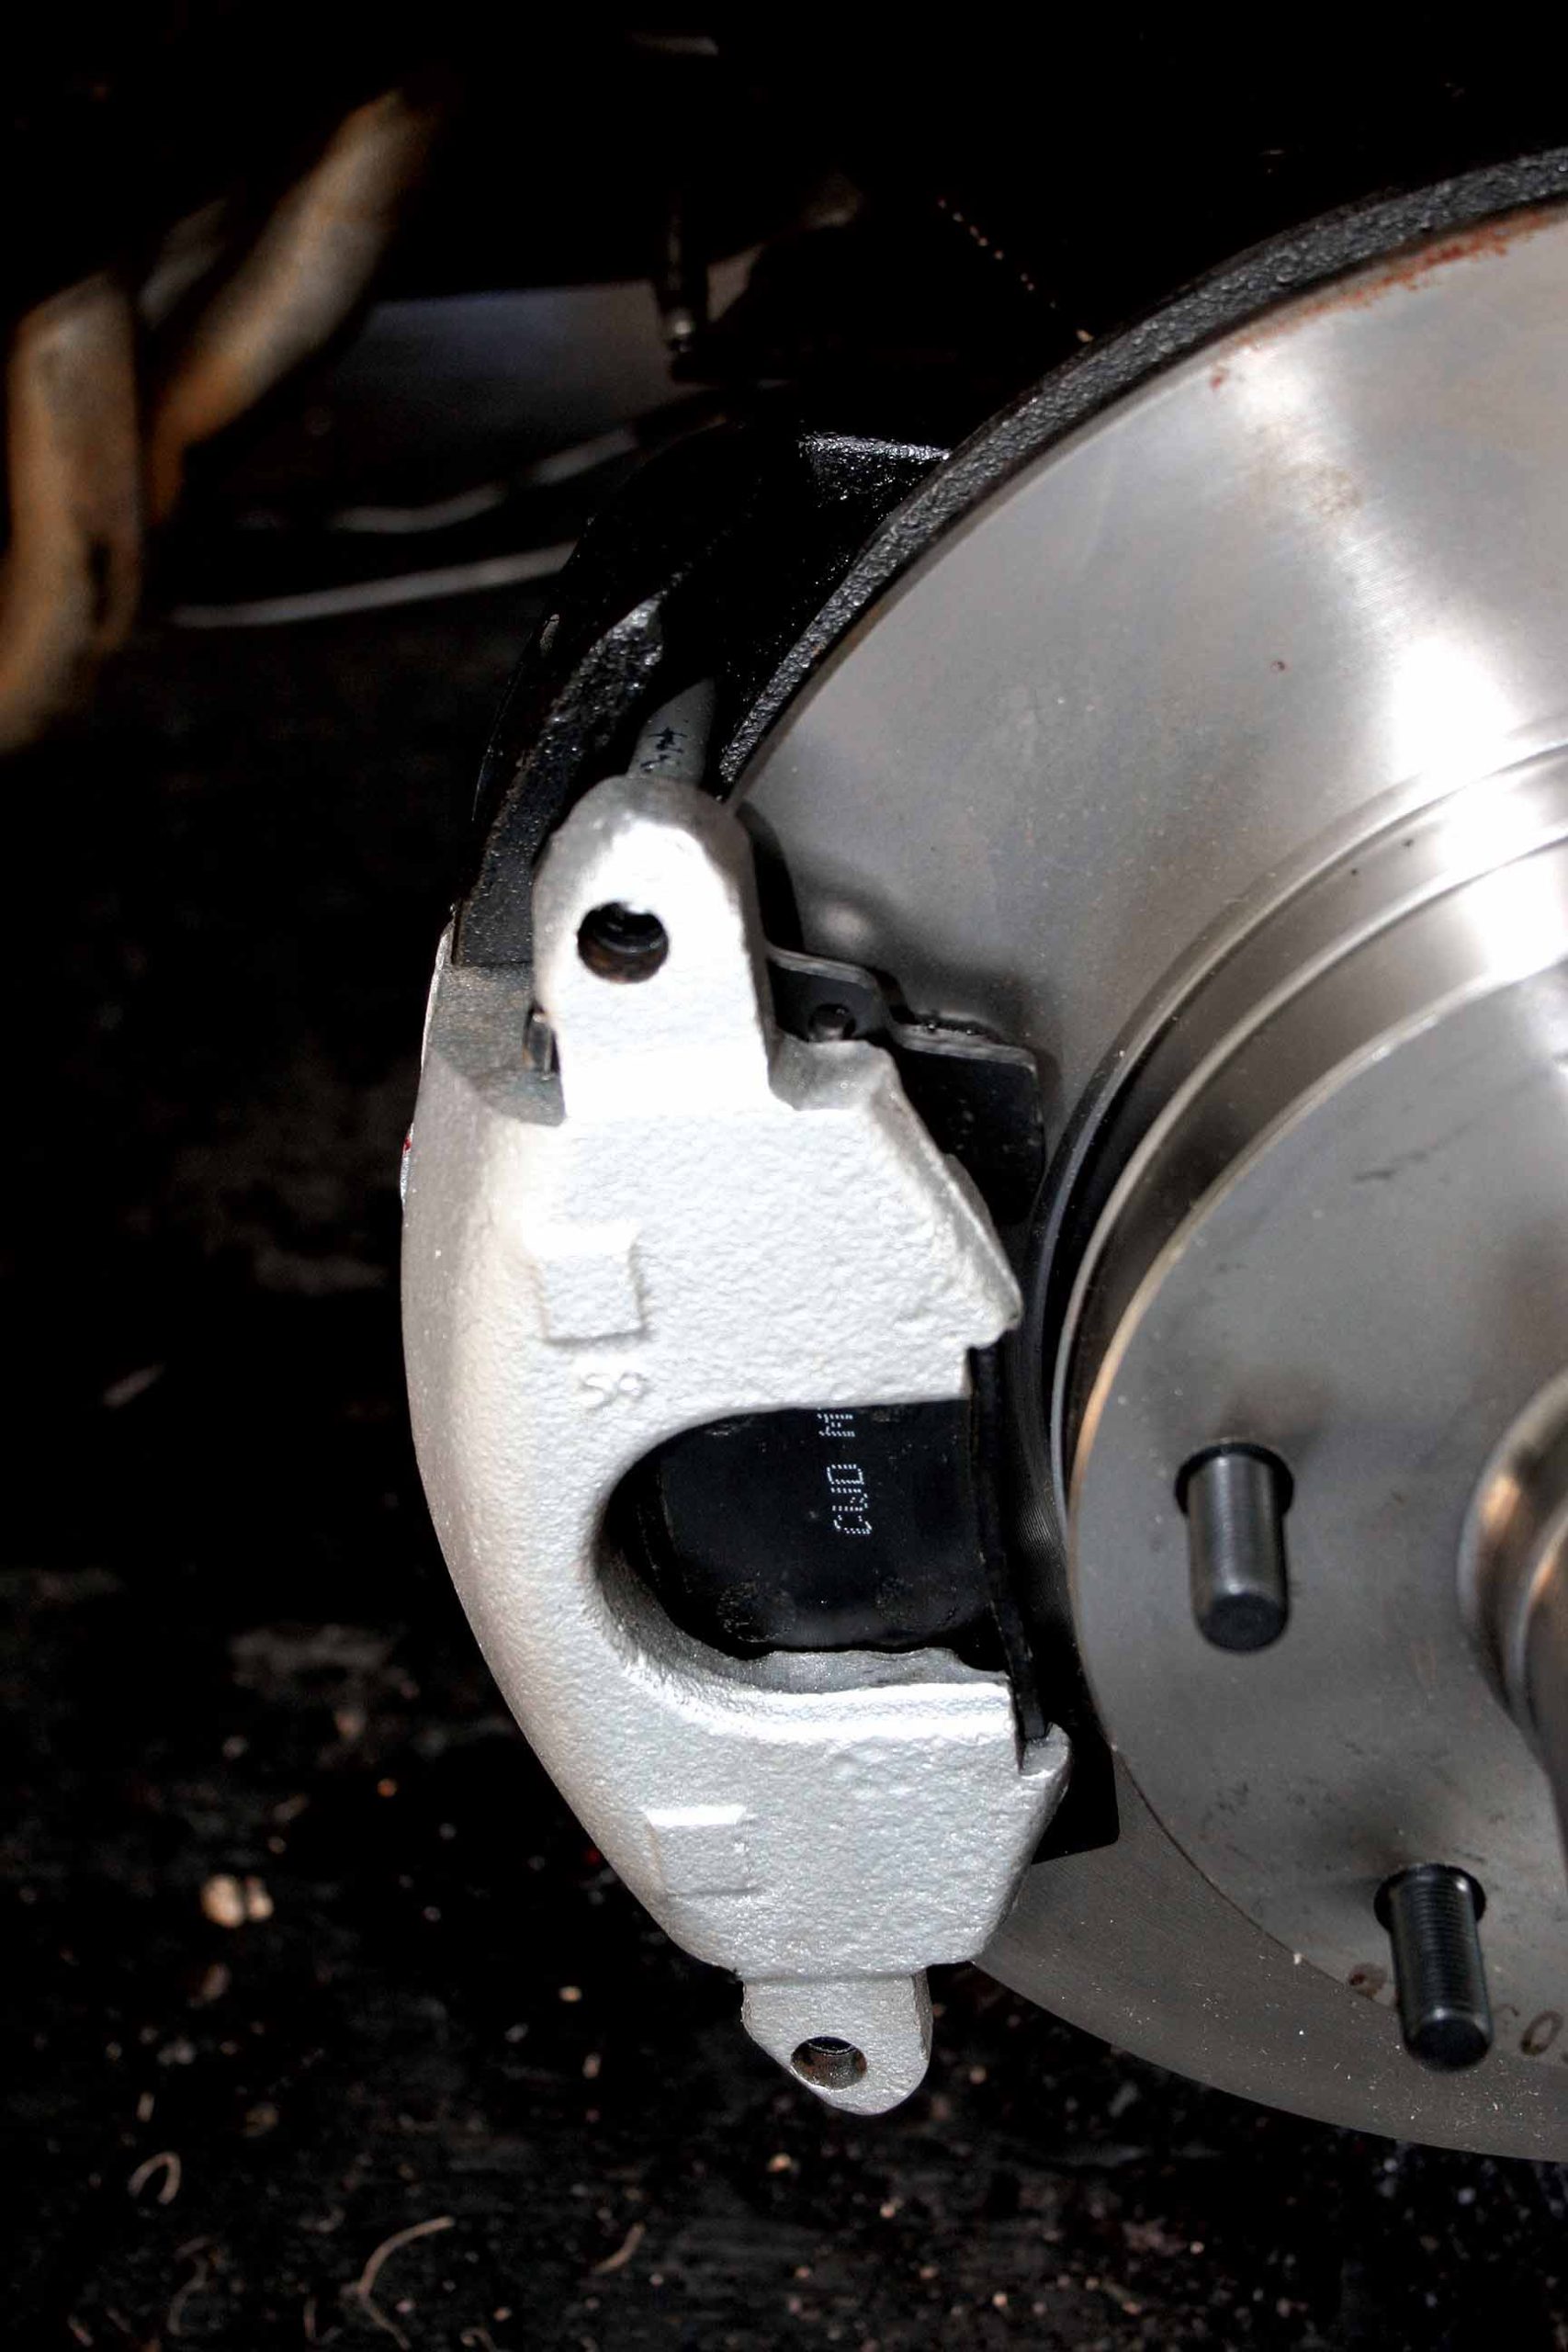
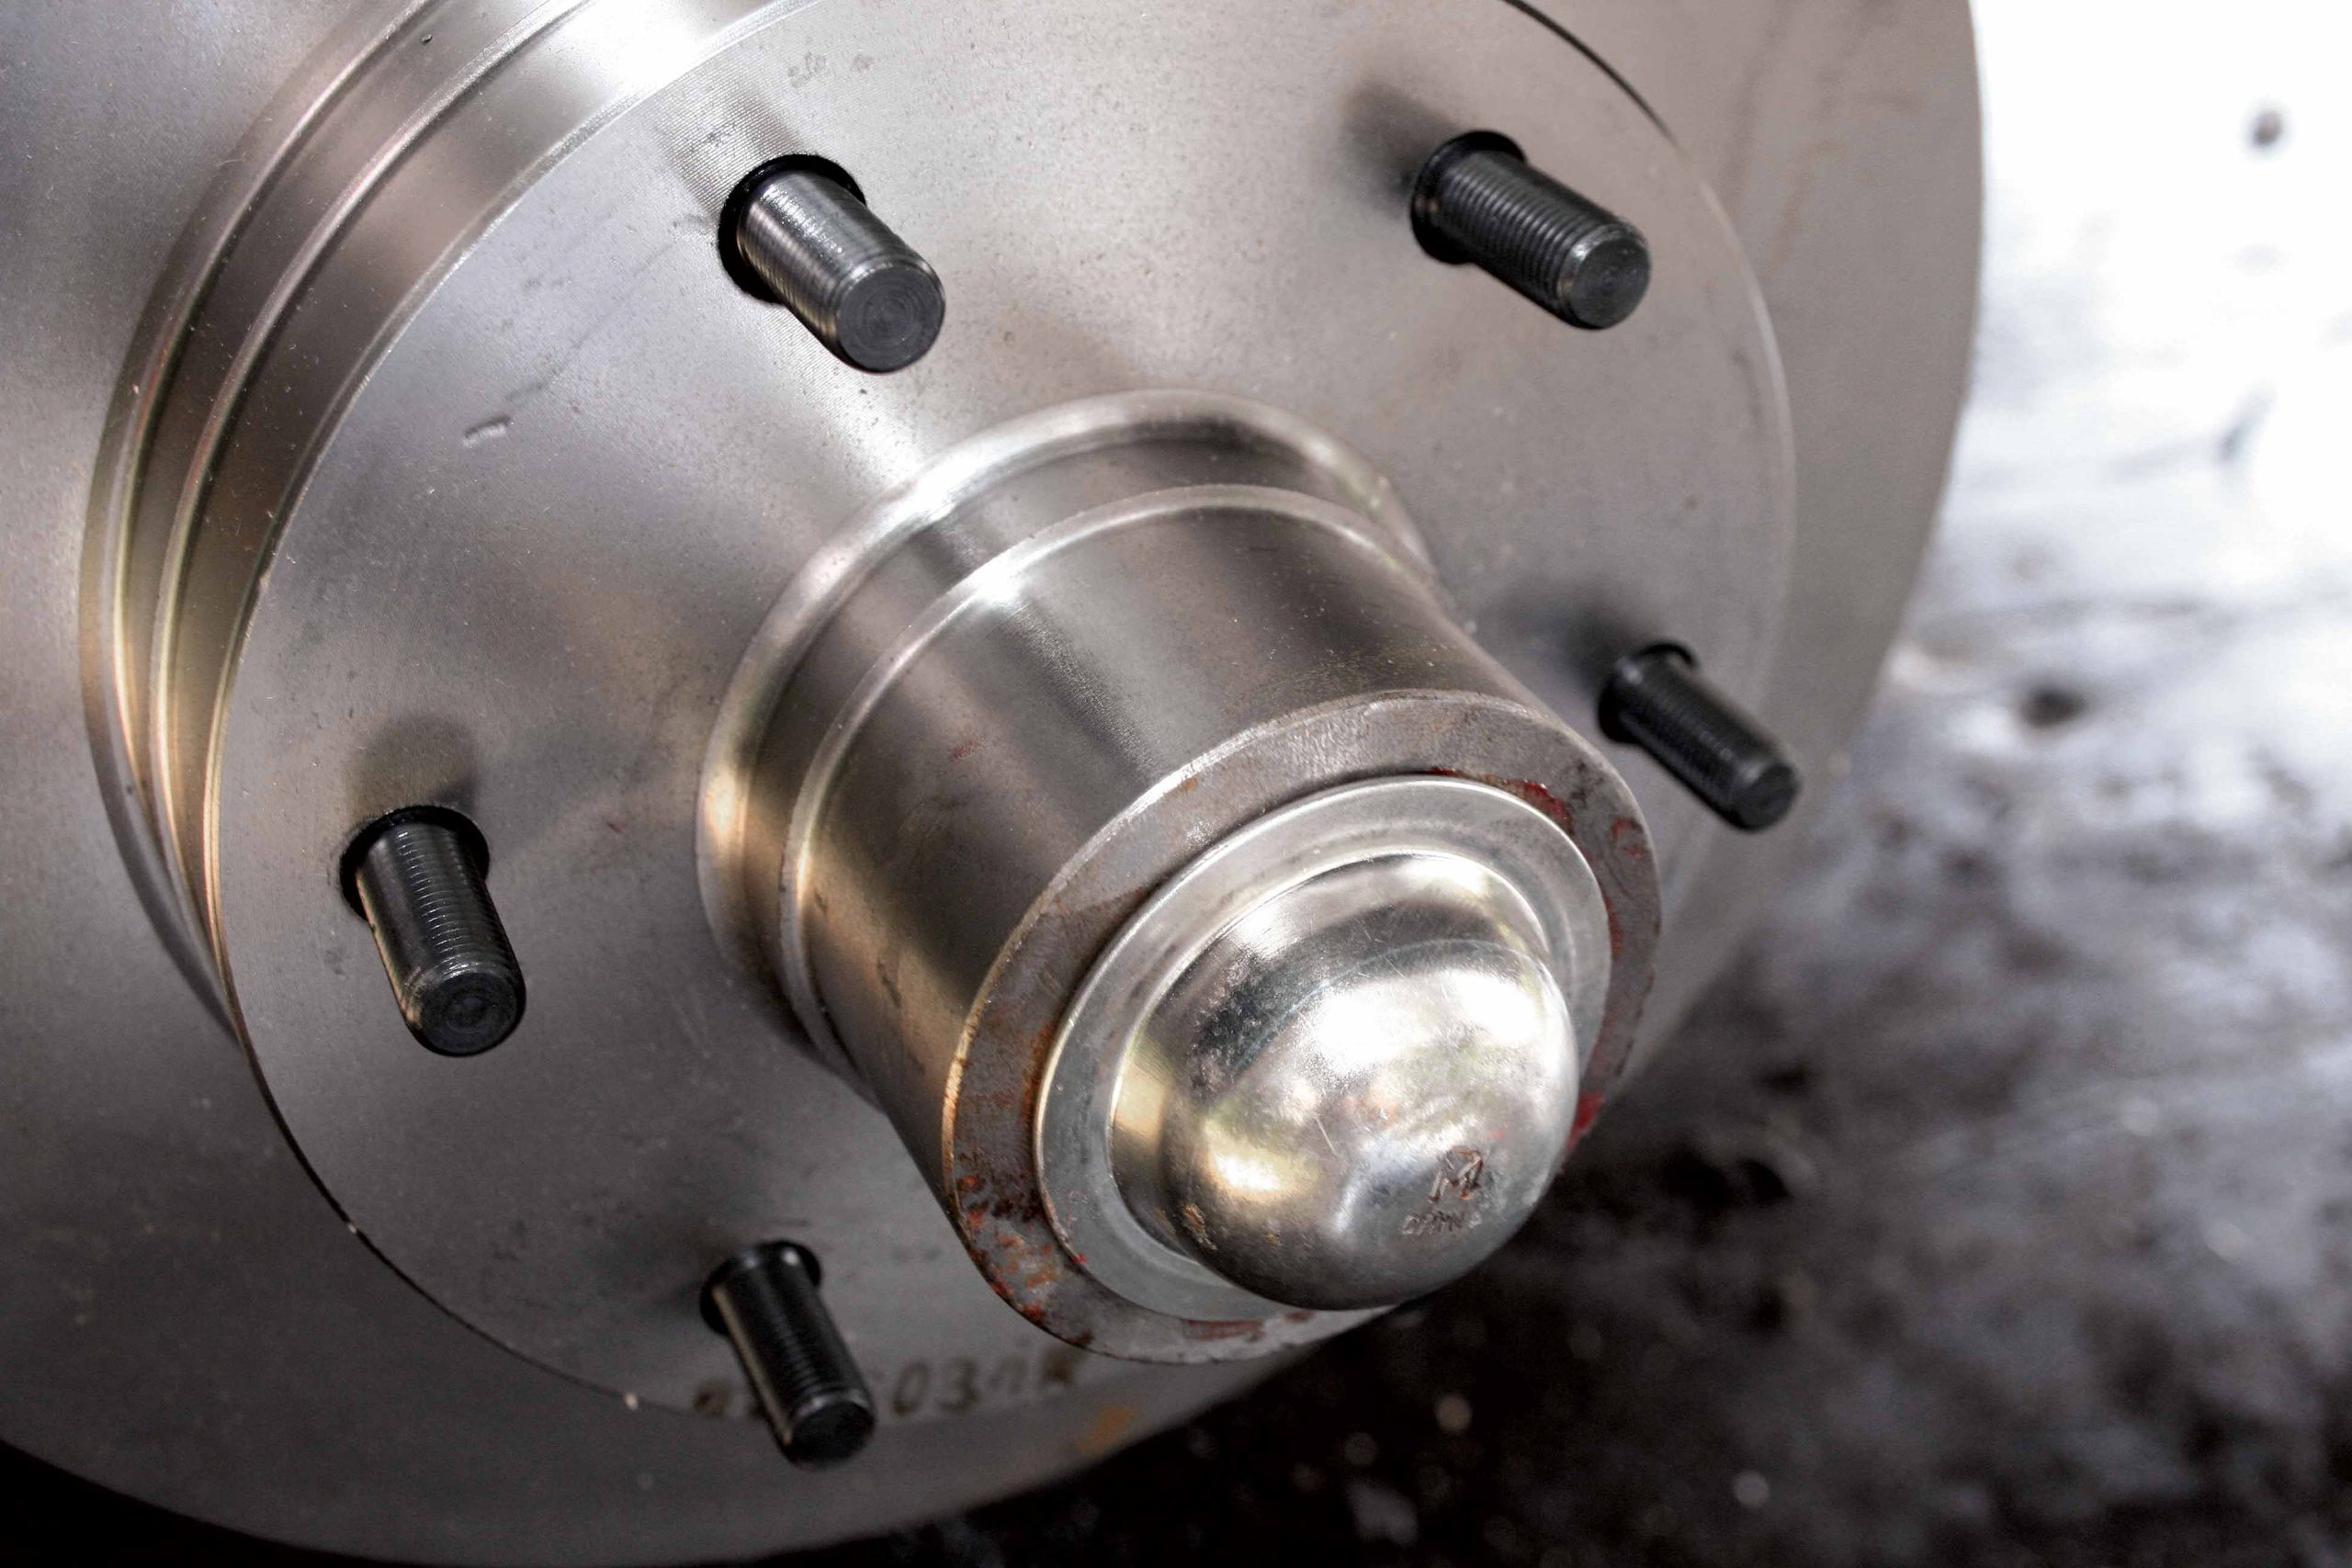
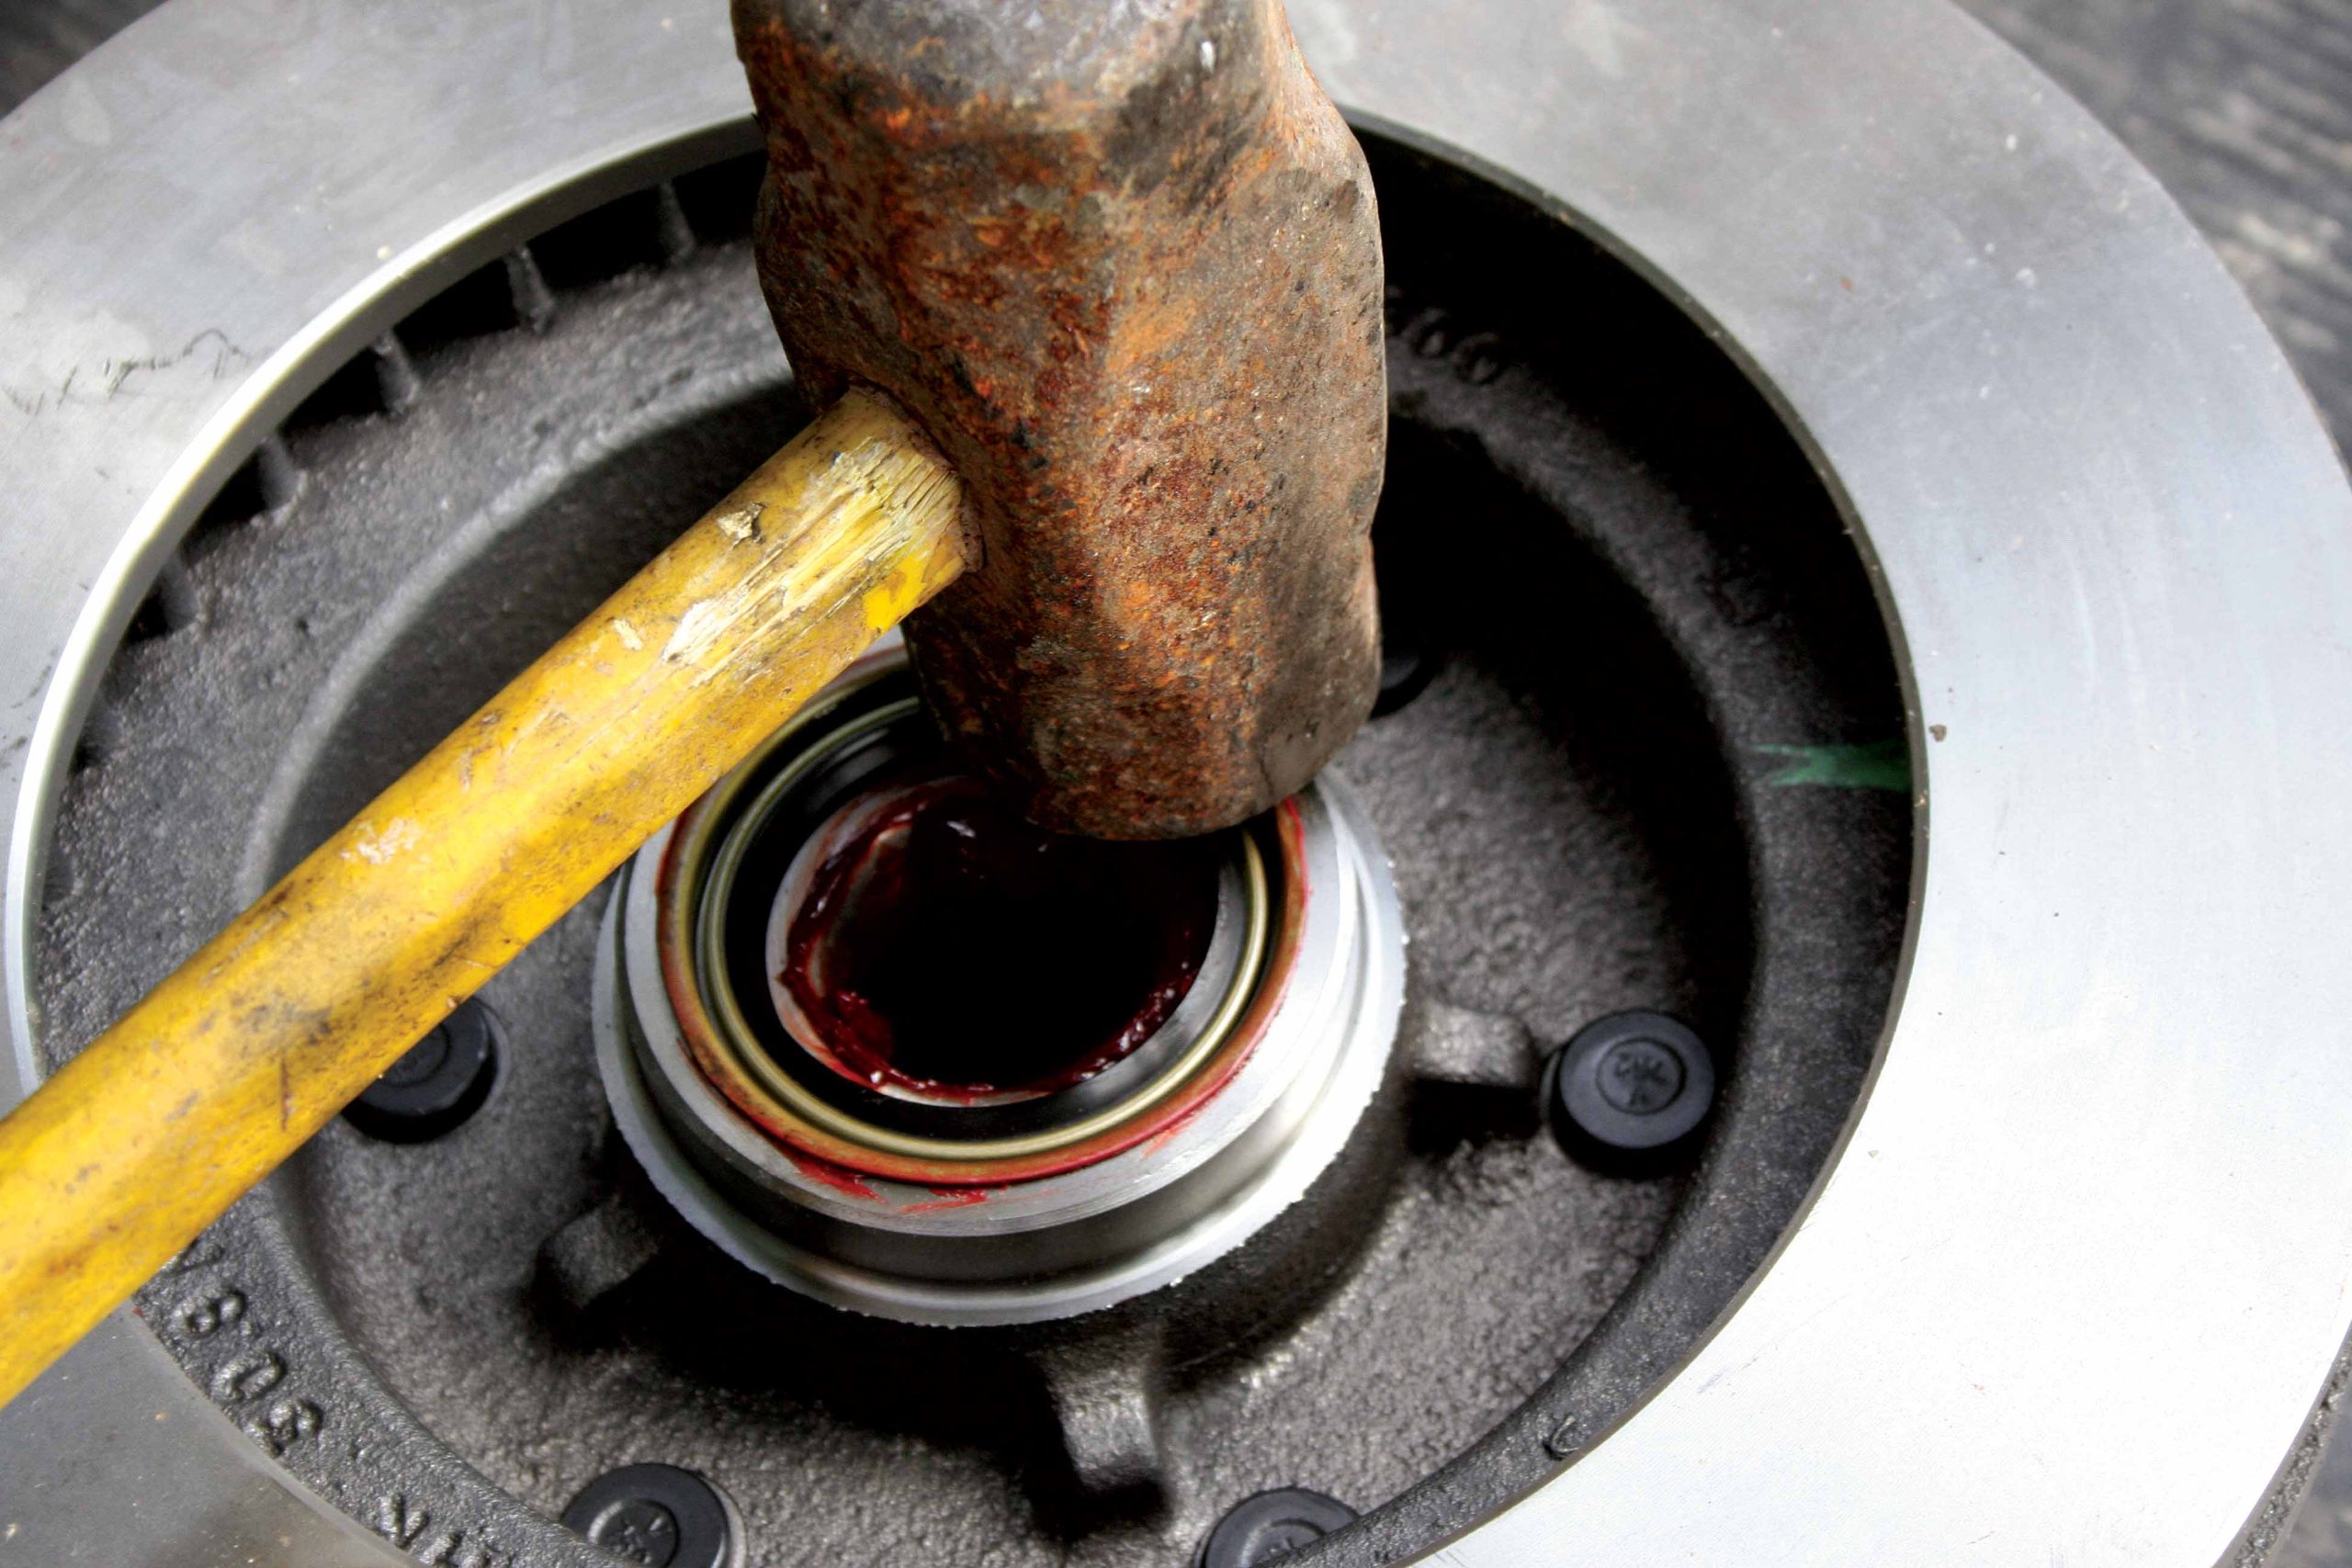
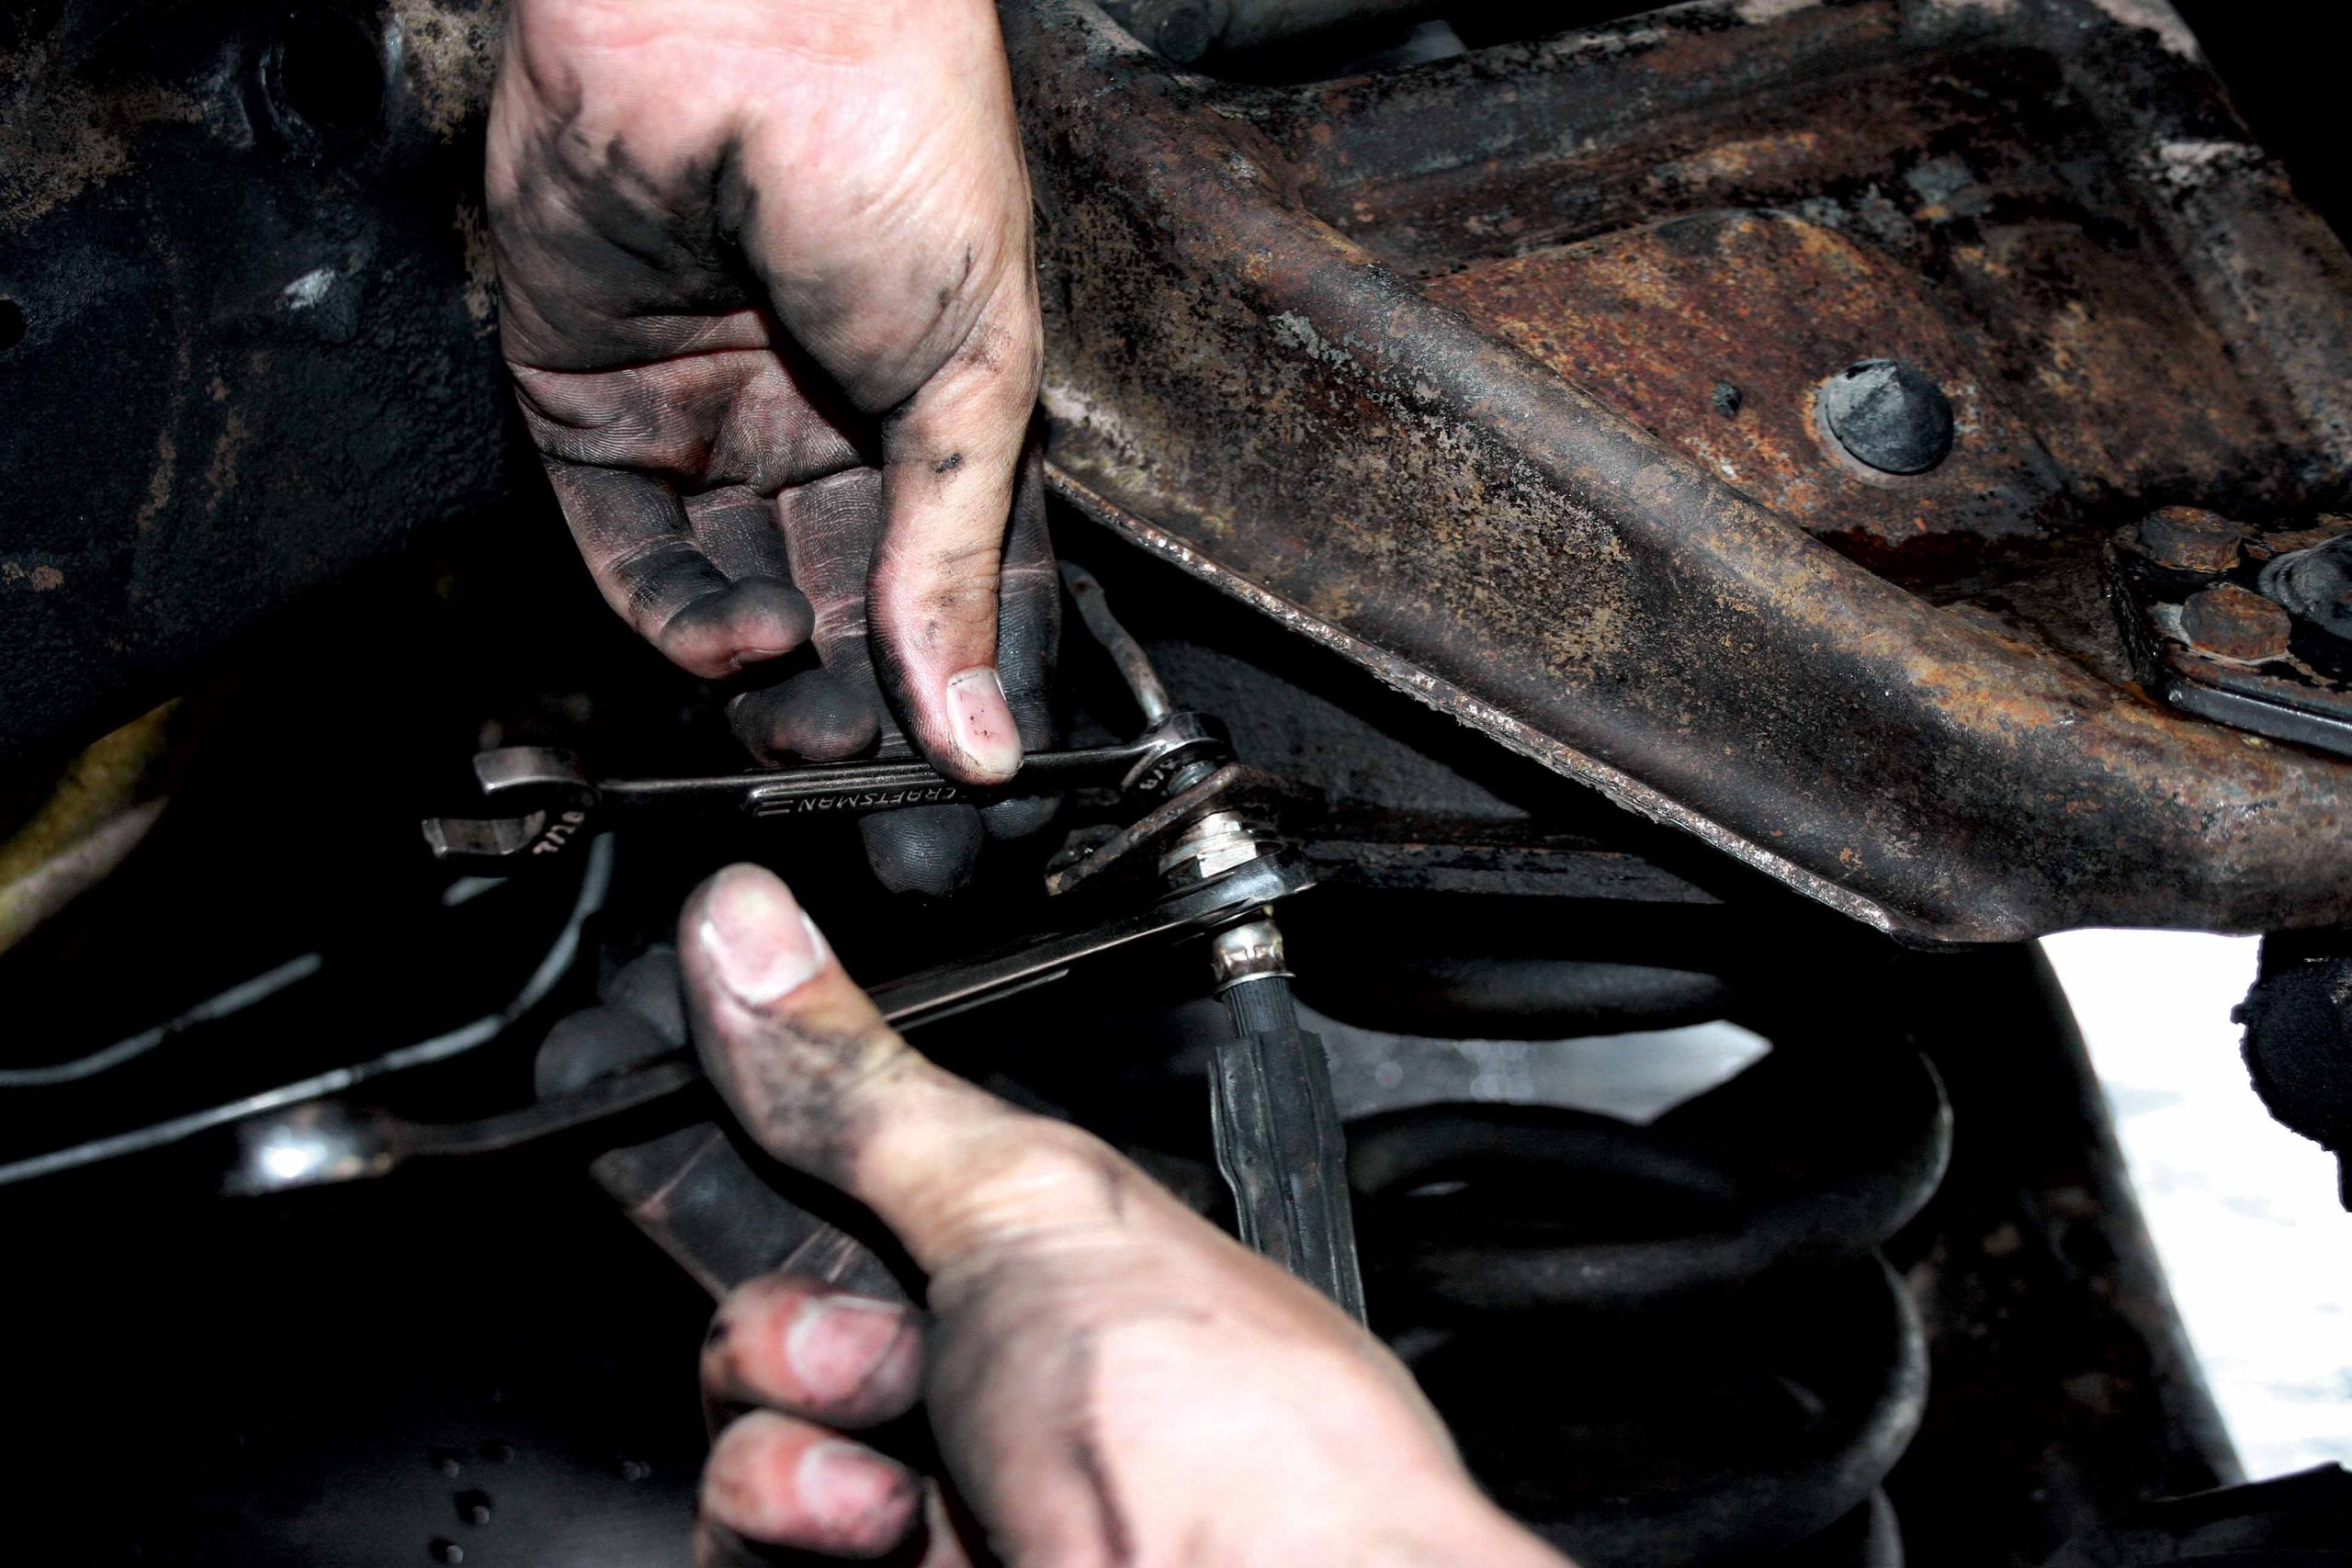
 The drop spindle/disc brake kit includes all of the components needed to complete the swap, including new steel 2-1/2-inch-dropped spindles, wheel bearings, seals, calipers, rotors, pads, hoses and all the attachment hardware. These kits come in both five- and six-lug, so you have a choice if you already have nice wheels and tires in a certain lug size.

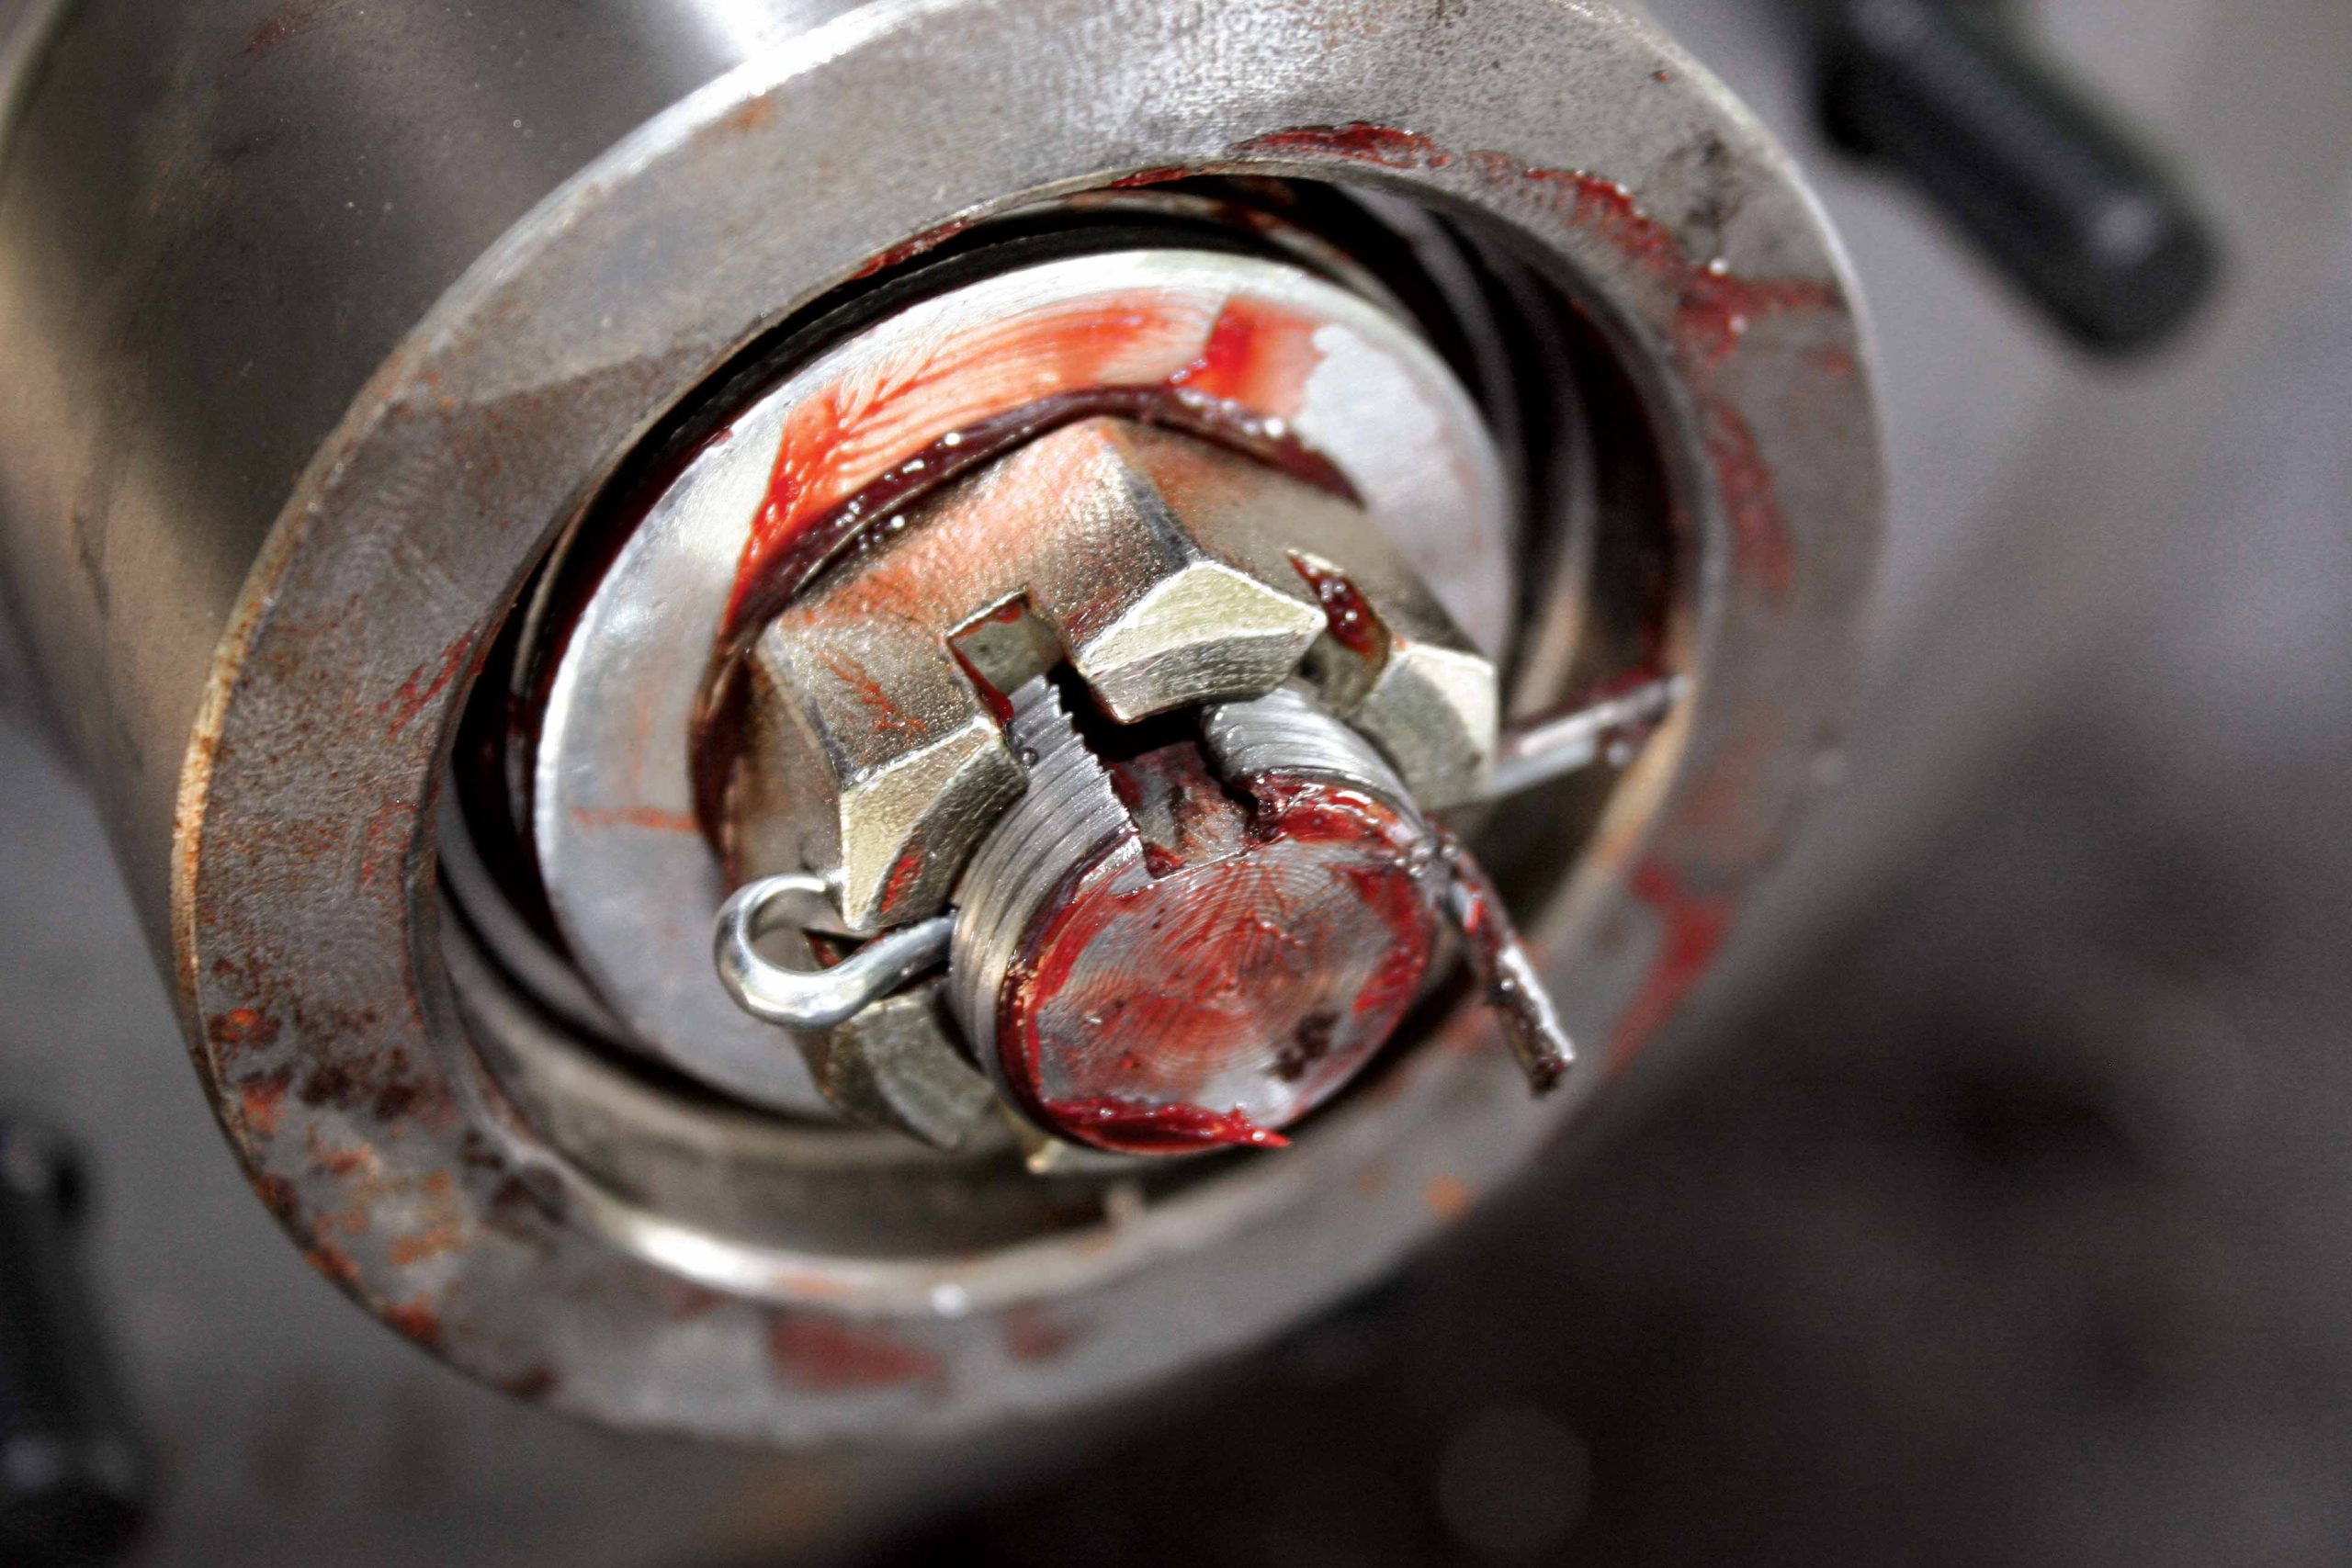
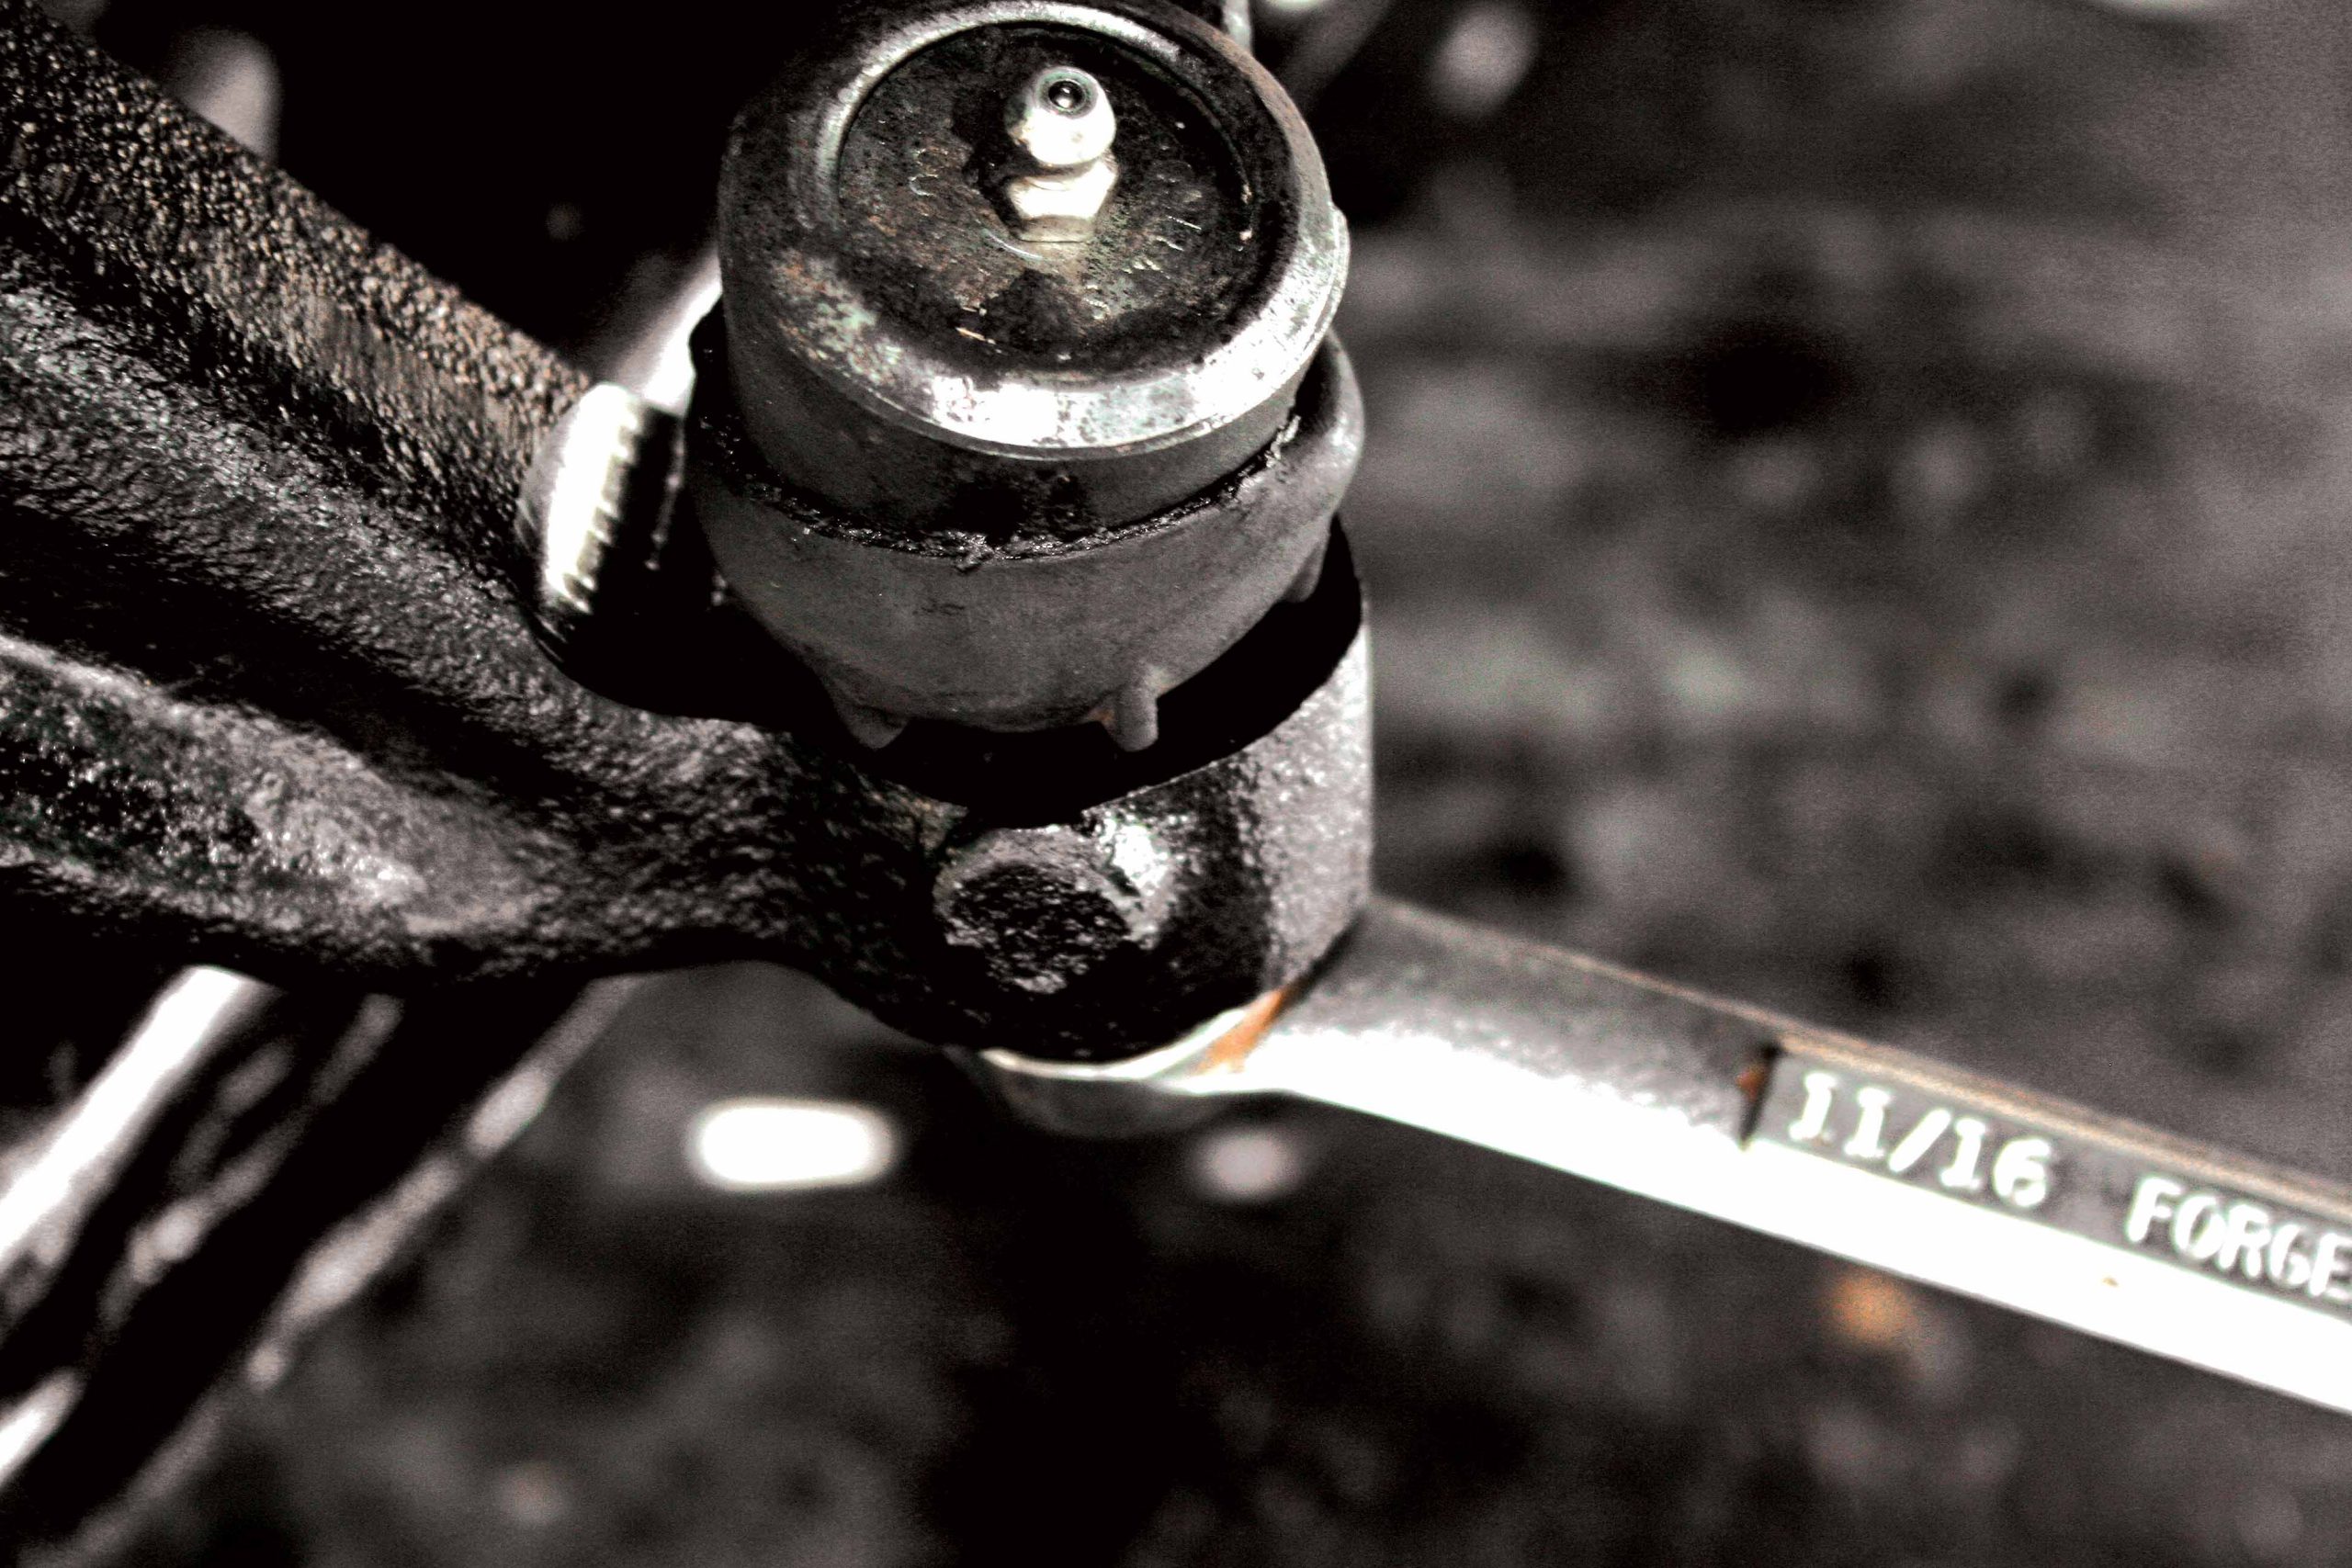
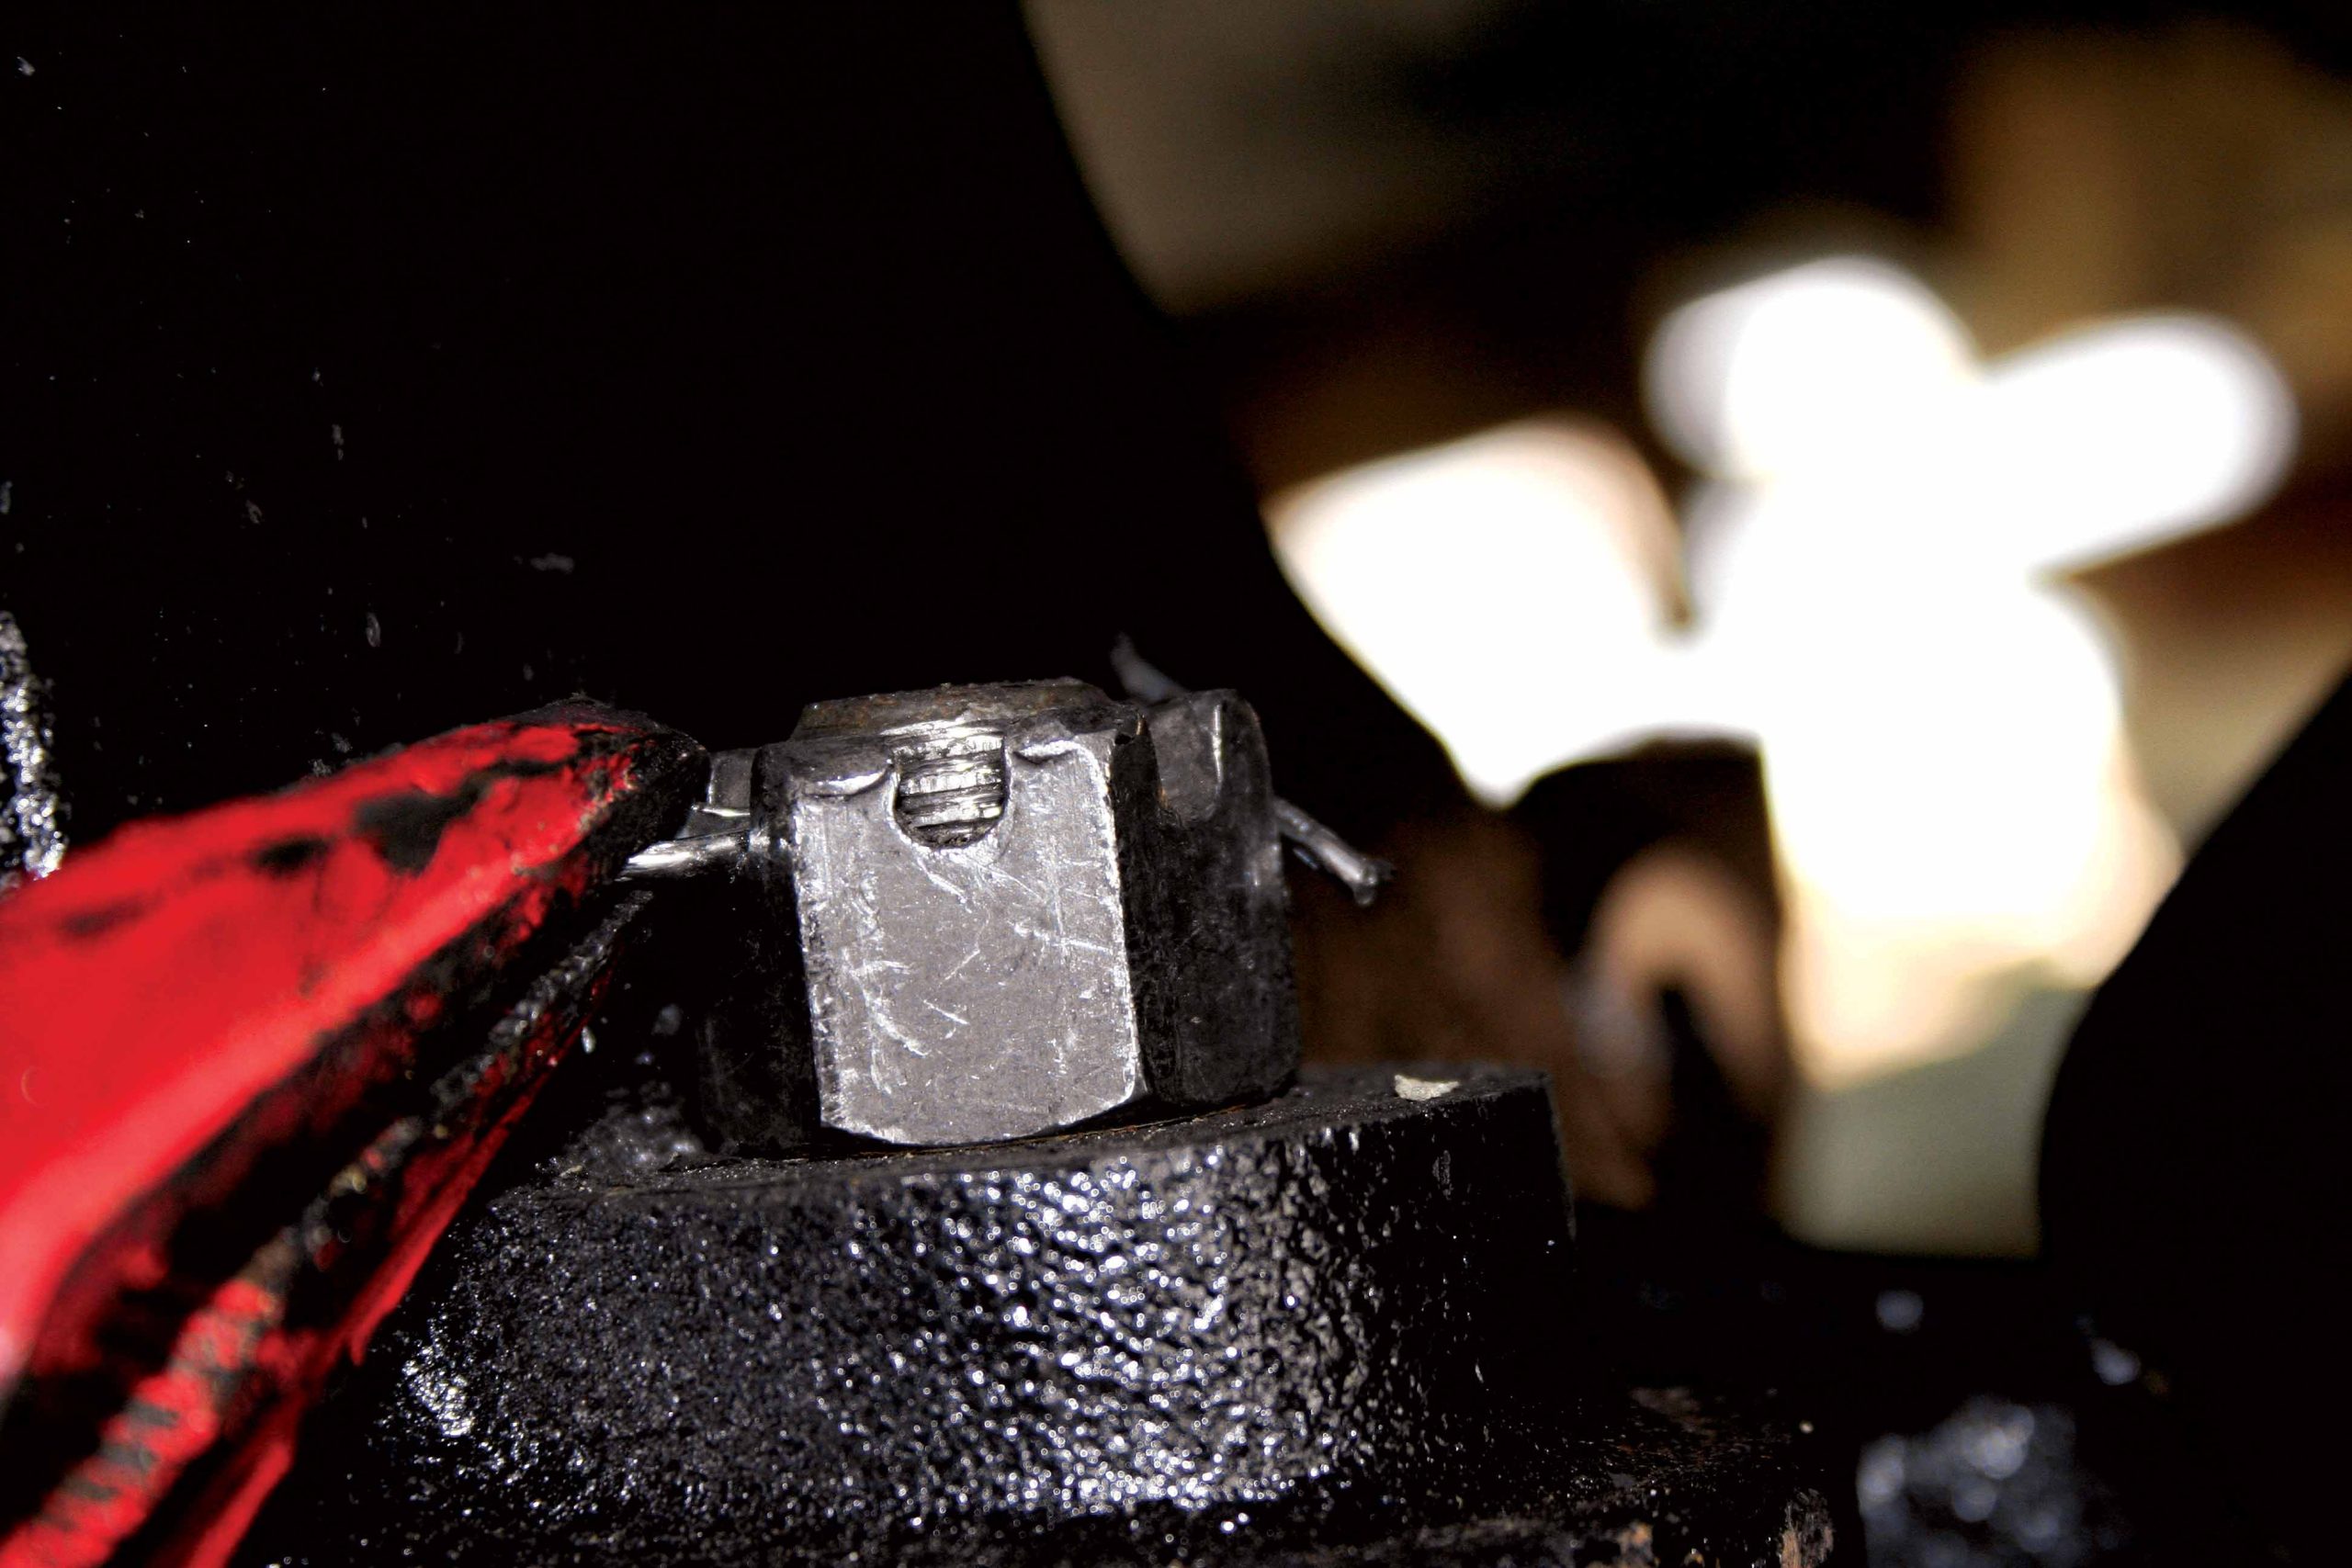
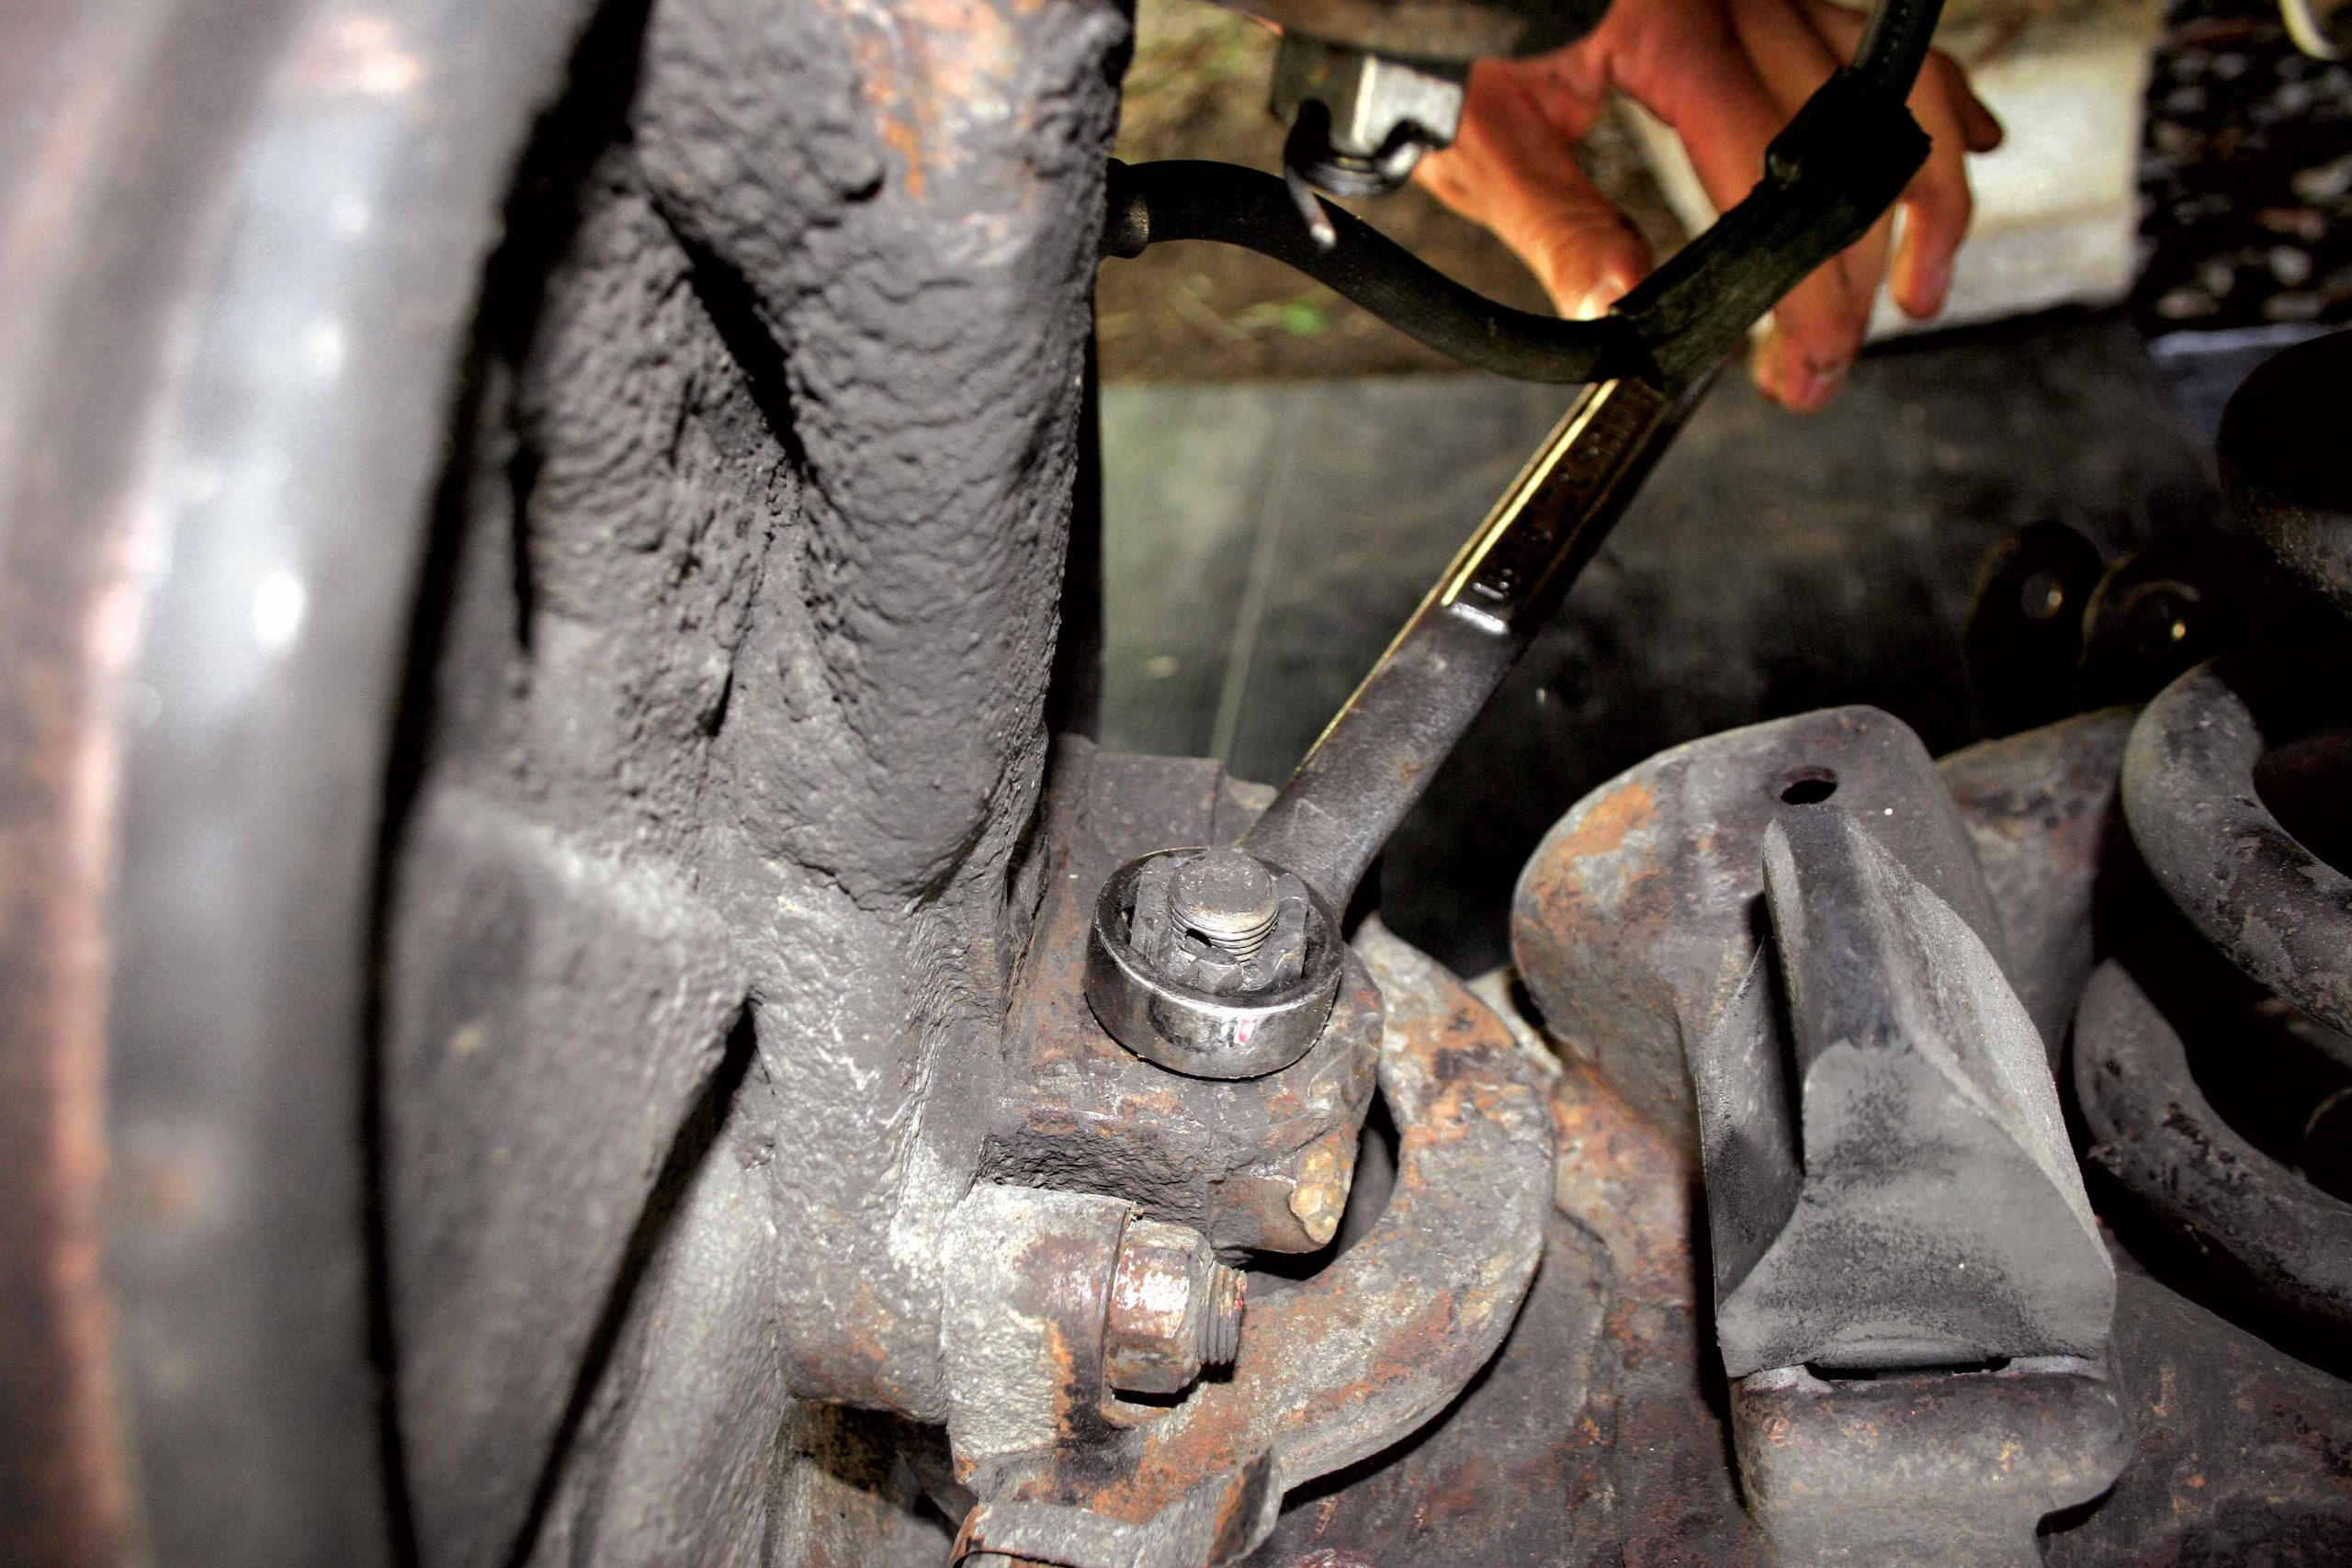
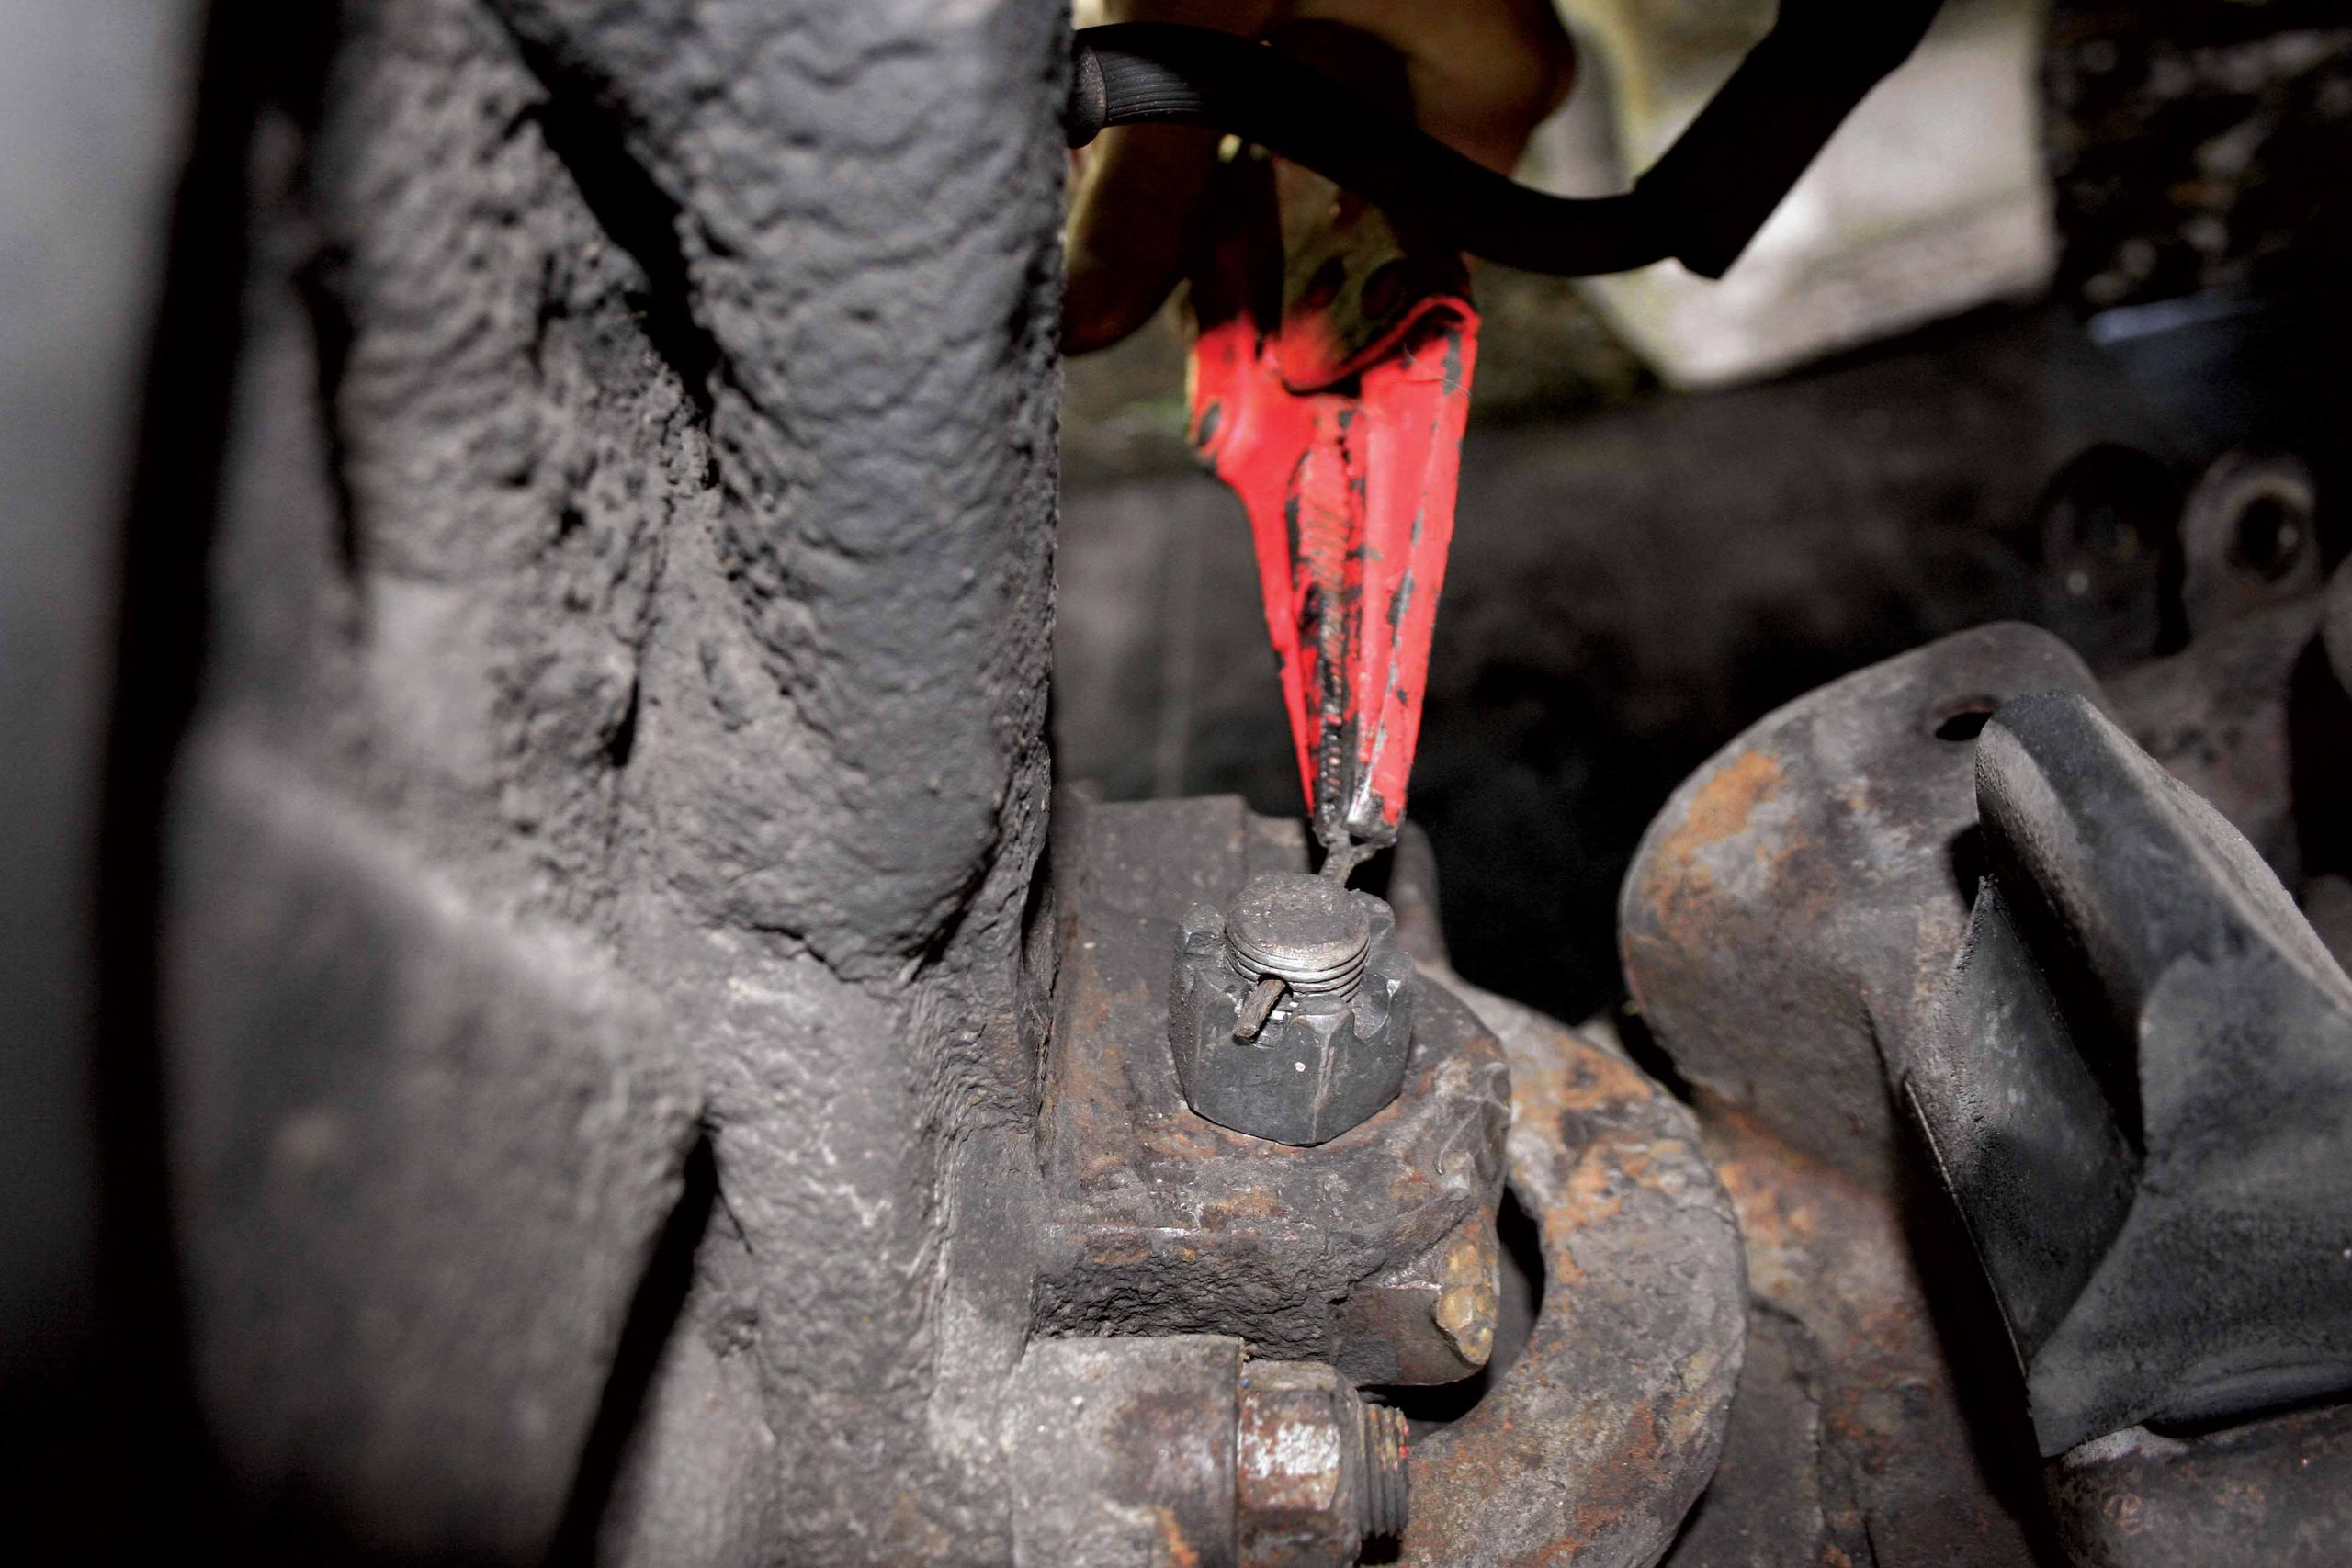
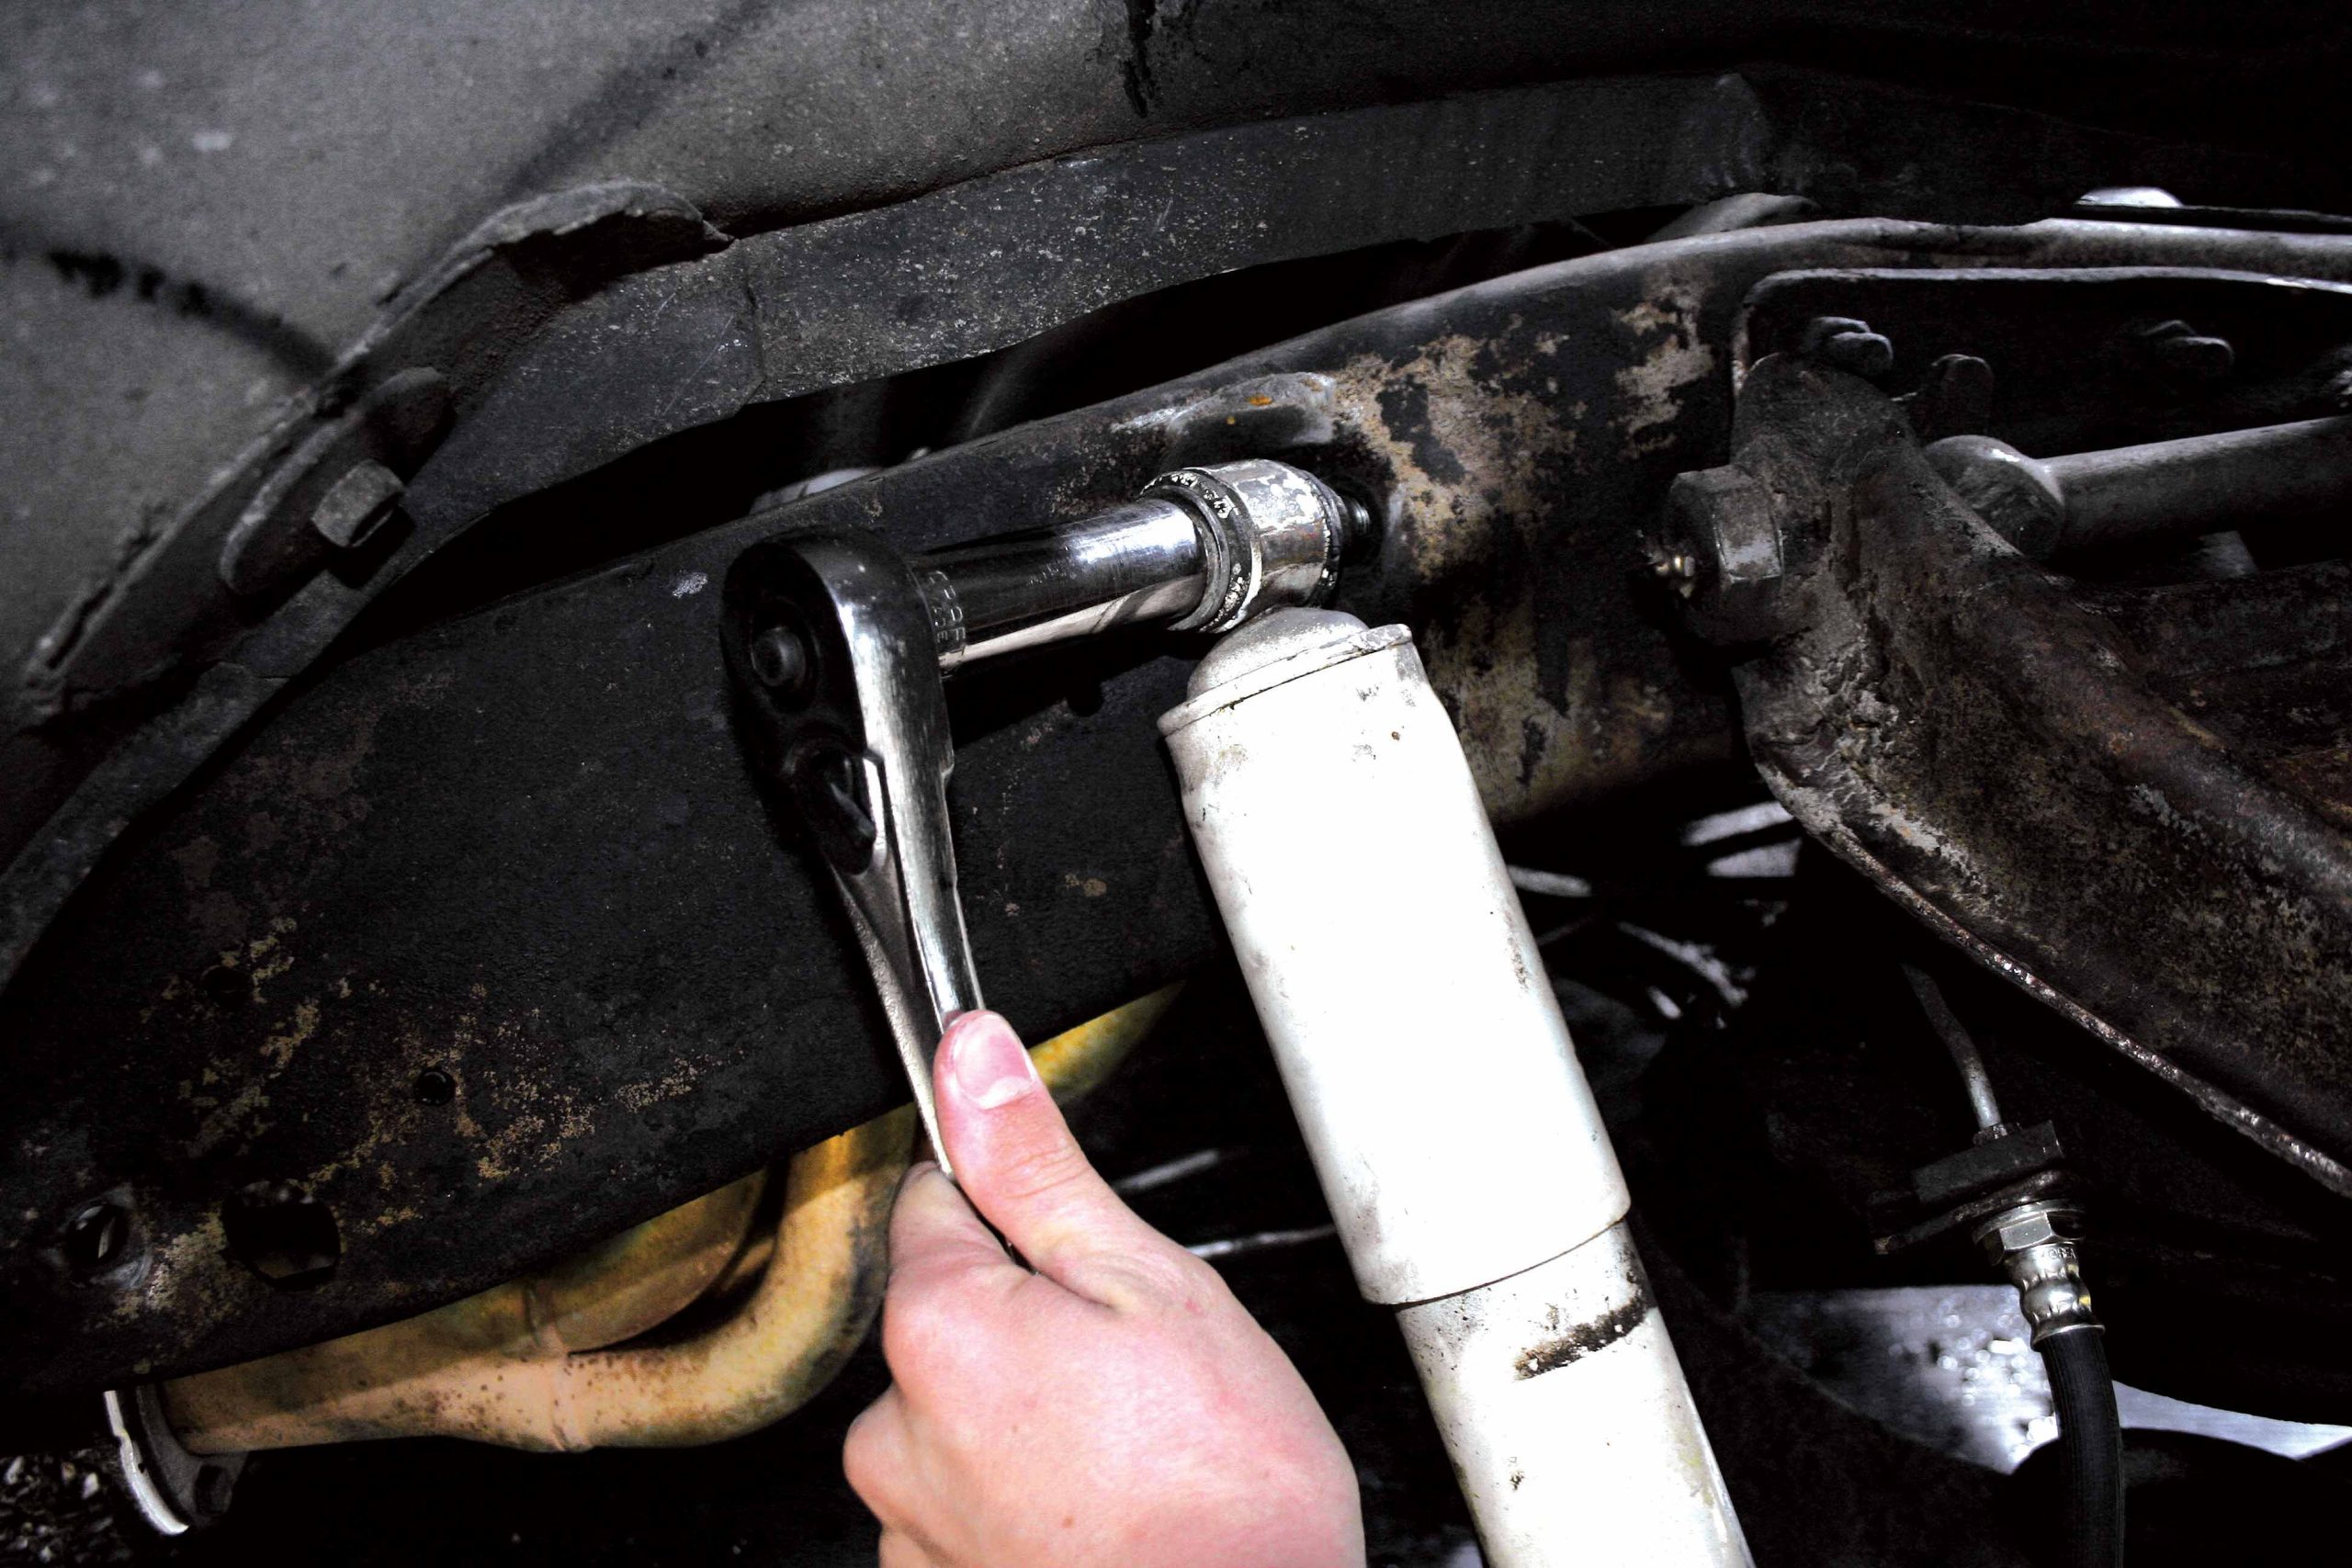
The kit is straightforward, the components are high quality, and thanks to the included instructions, the kit is a breeze to install. The spindles and brakes can either be assembled and installed or installed as one component step by step. The complete installation took about four hours, thanks to a few nasty, rusty bolts that took time to dislodge. During the installation, a set of 2-inch drop springs was also installed and will help drop the truck closer to the ground.

Once the truck was completely back together, it was tested for braking, which had greatly improved. The look of the truck is wonderful!


1 One and a half coils were previously cut, yet there was 4 inches between the tire and the fender. The plan was to close this gap for a low ride height. 2 A breaker bar was used to break the lug nuts loose that had been on for a long time. The wheels were removed and the work began. 3 Everything you need is included in the No Limit Engineering kit. This saves both time and trouble when lowering your truck. In addition to the kit, a set of KYB shocks was used. 4 The first components removed were the old shocks. They were shot and headed for the dumpster.
5 After removing the shocks, the lower ball-joint castle-nut cotter pins were removed. The kit included new cotter pins for reassembly. The old ones should not be reused. 6 A floor jack was placed beneath the lower control arm to ensure the spring does not push the control arm down. The lower spindle nut was removed. 7 The outer tie-rod-to-spindle cotter pin and nut were next to go. New cotter pins will be used. The tie rod must be removed before the lower control arm can be lowered down.

8 The brake lines were disconnected. They were shot, so a set of Vise Grip pliers had to be used to break the seal between the old hoses and the steel lines. 9 With the jack beneath the control arm, a small sledgehammer was used to strike the control arm and break the seal. The lower ball joint began to slide free as the jack was slowly lowered, and the springs were removed. 10 The upper ball-joint cotter pin and nut were removed. Again, a sledgehammer was used to knock the spindle loose. 11 Here’s the entire assembly removed from the truck. While this may bring 10 or so bucks on eBay, it all was tossed. 12 The new lowered coil springs were set in place, along with the drop spindles. The jack was slid into place. This will hold the assembly in place while the new spindle is set into the control arms, but a spring compressor is safer. 13 The upper ball-joint nut is installed and tightened first. Before assembly, the control arms were cleaned and painted. 14 Next, the lower castle nut is installed onto the ball joint. Once tight, the floor jack is lowered and removed from beneath the control arm. The jack is let down slowly. 15 The new cotter pins were installed into the castle nuts and bent. This ensures that the castle nuts will not come loose, which could lead to catastrophic failure. 16 The tie rod is slid into the spindle arm, and the nut is installed and tightened. It is then set using a new cotter pin. 17 The kit includes new inner and outer bearings, which are fully greased before installation. 18 The inner bearing is installed first. A bearing installer or a brass drift should be used. When it seats, you will hear a thunk. 19 The outer bearing along with the retaining plate and spindle nut are then installed onto the spindle. Be patient, as the bearing can be a little difficult to slide onto the spindle.

20 After tightening the spindle nut, the new cotter pin is installed into the spindle.

21 The kit includes a set of new wheel bearing dust caps. Simply tap them into place. Be sure to use them, as they will keep dirt and dust from damaging the bearings.

22 The pads are loaded into the calipers and bolted into place. The calipers are held in place with two long attachment bolts that bolt through the spindle.

23 After installing the calipers, the new lines are connected. Crush washers and banjo bolts are included in the kit.

24 Once the brake lines are connected to the calipers, the hard lines are connected to the flex lines. The small clip then reinstalls between the flex line and bracket to hold the assembly into place.

25 The calipers are bled and the new KYB shocks are installed. When installed, the kit looks great and should provide a great improvement in braking.

ARTICLE SOURCES

No Limit Engineering

Dept. TB
455 S. D St.
San Bernardino, CA 92401
888/297-6032

Download WordPress Themes Free
Download Best WordPress Themes Free Download
Download Nulled WordPress Themes
Download WordPress Themes
free online course
download mobile firmware
Download Best WordPress Themes Free Download
udemy paid course free download
Scroll to Top