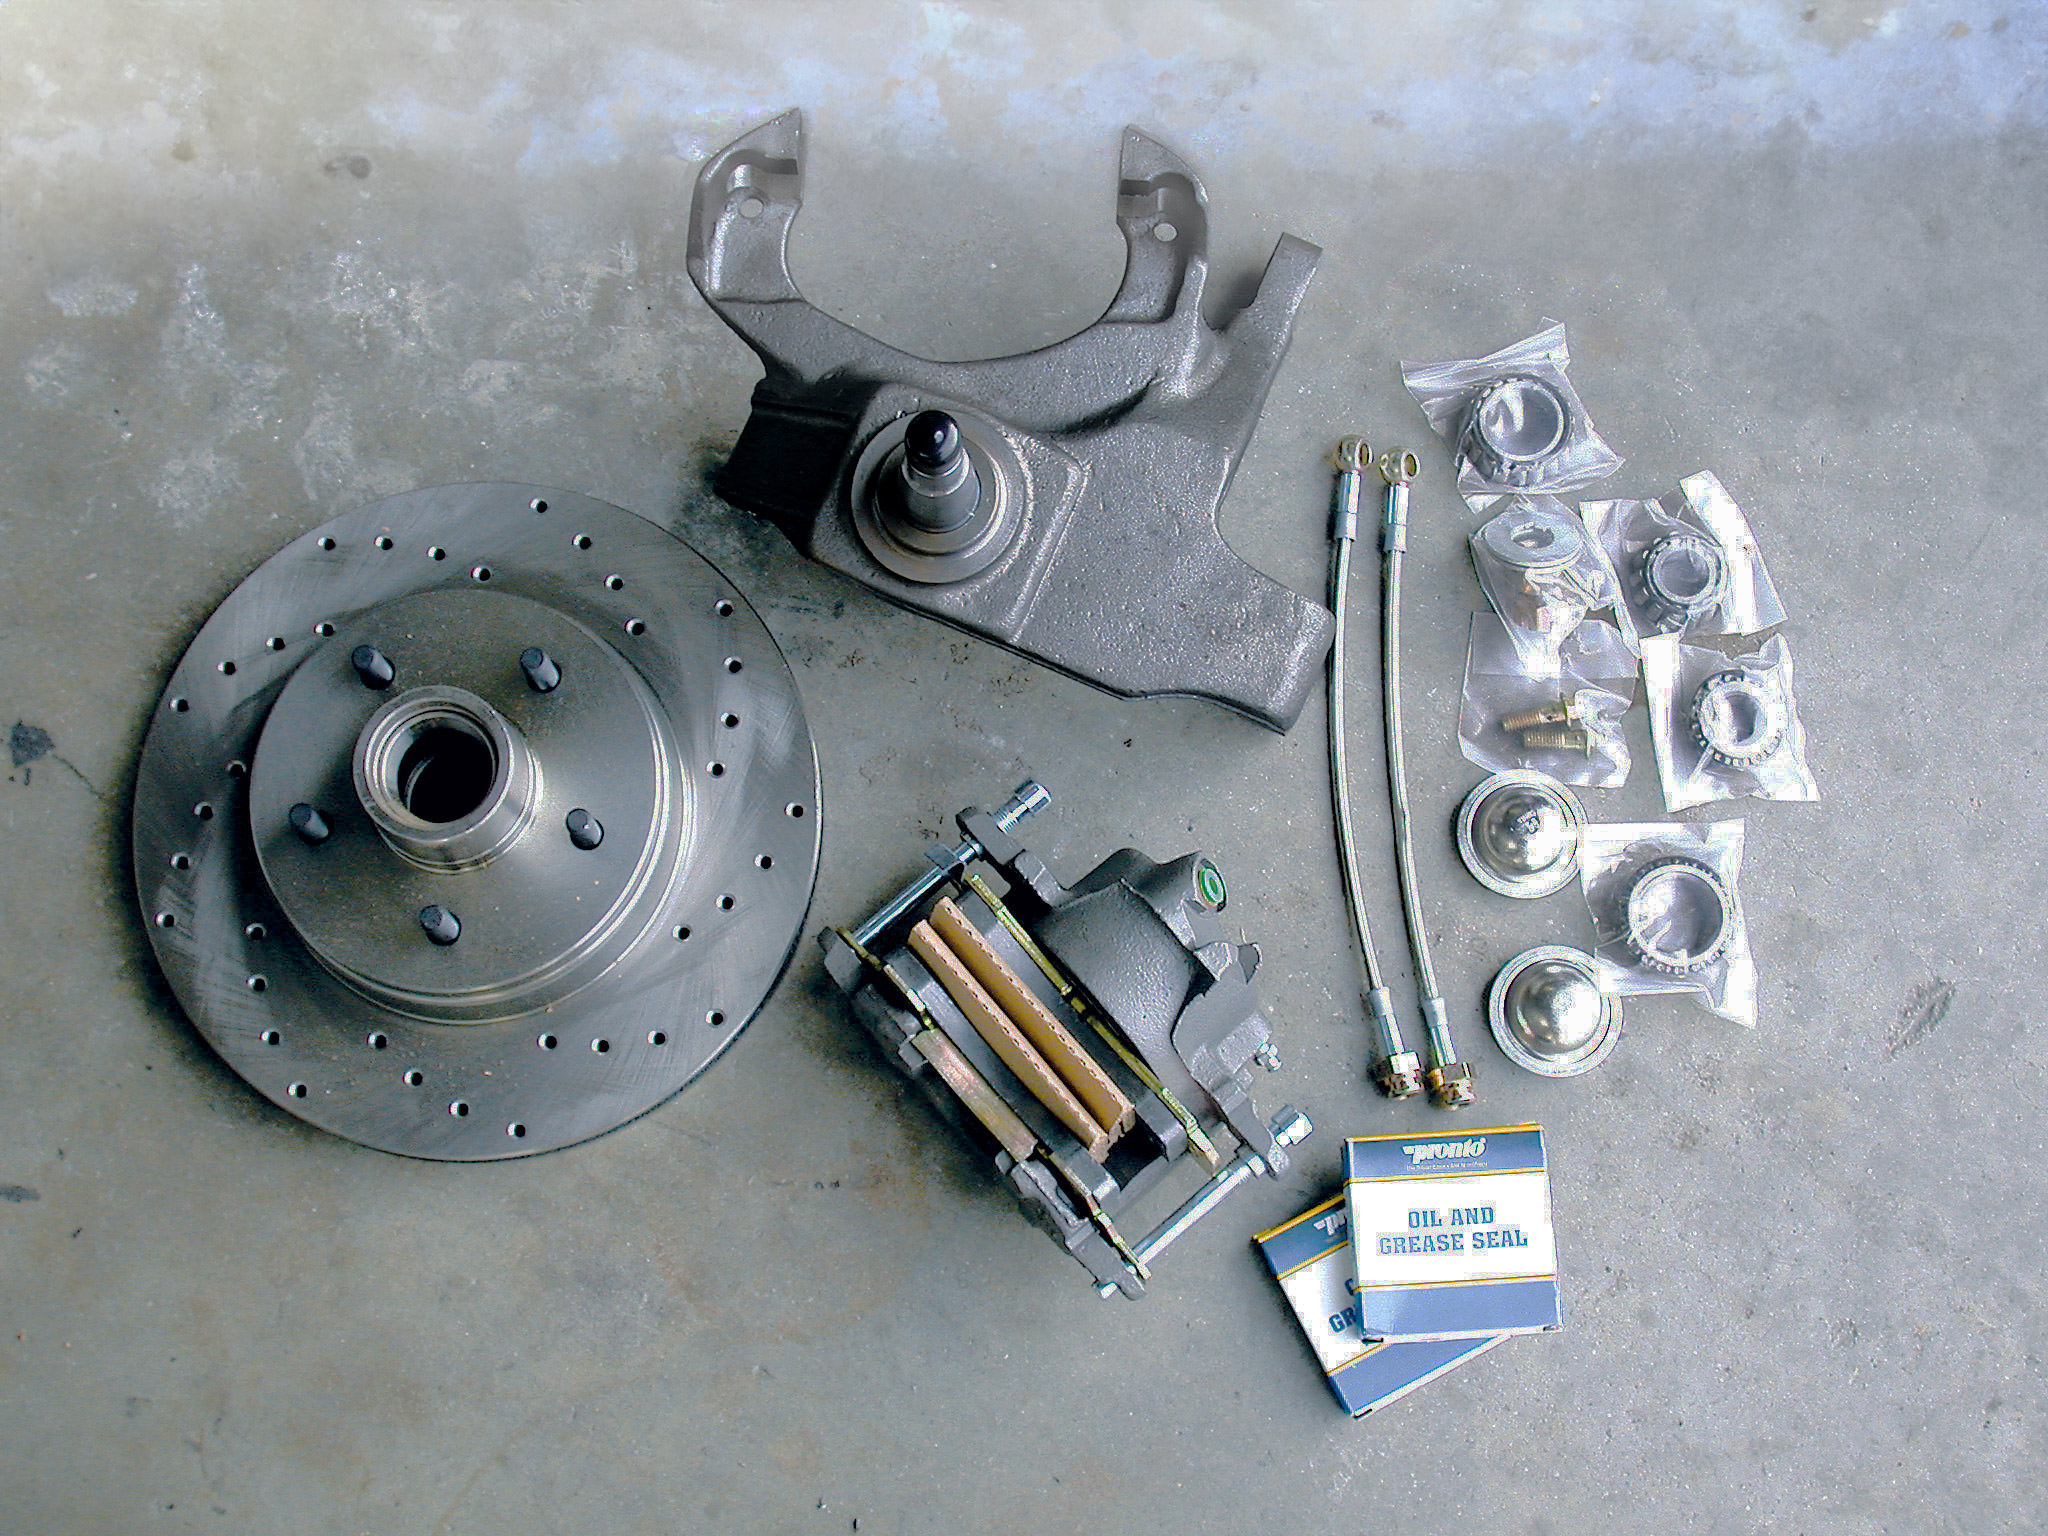
The American Brake & Steering rear disc brake kit for a 10-bolt rearend comes with custom brackets, rotors, calipers and all of the hardware needed to complete the installation.
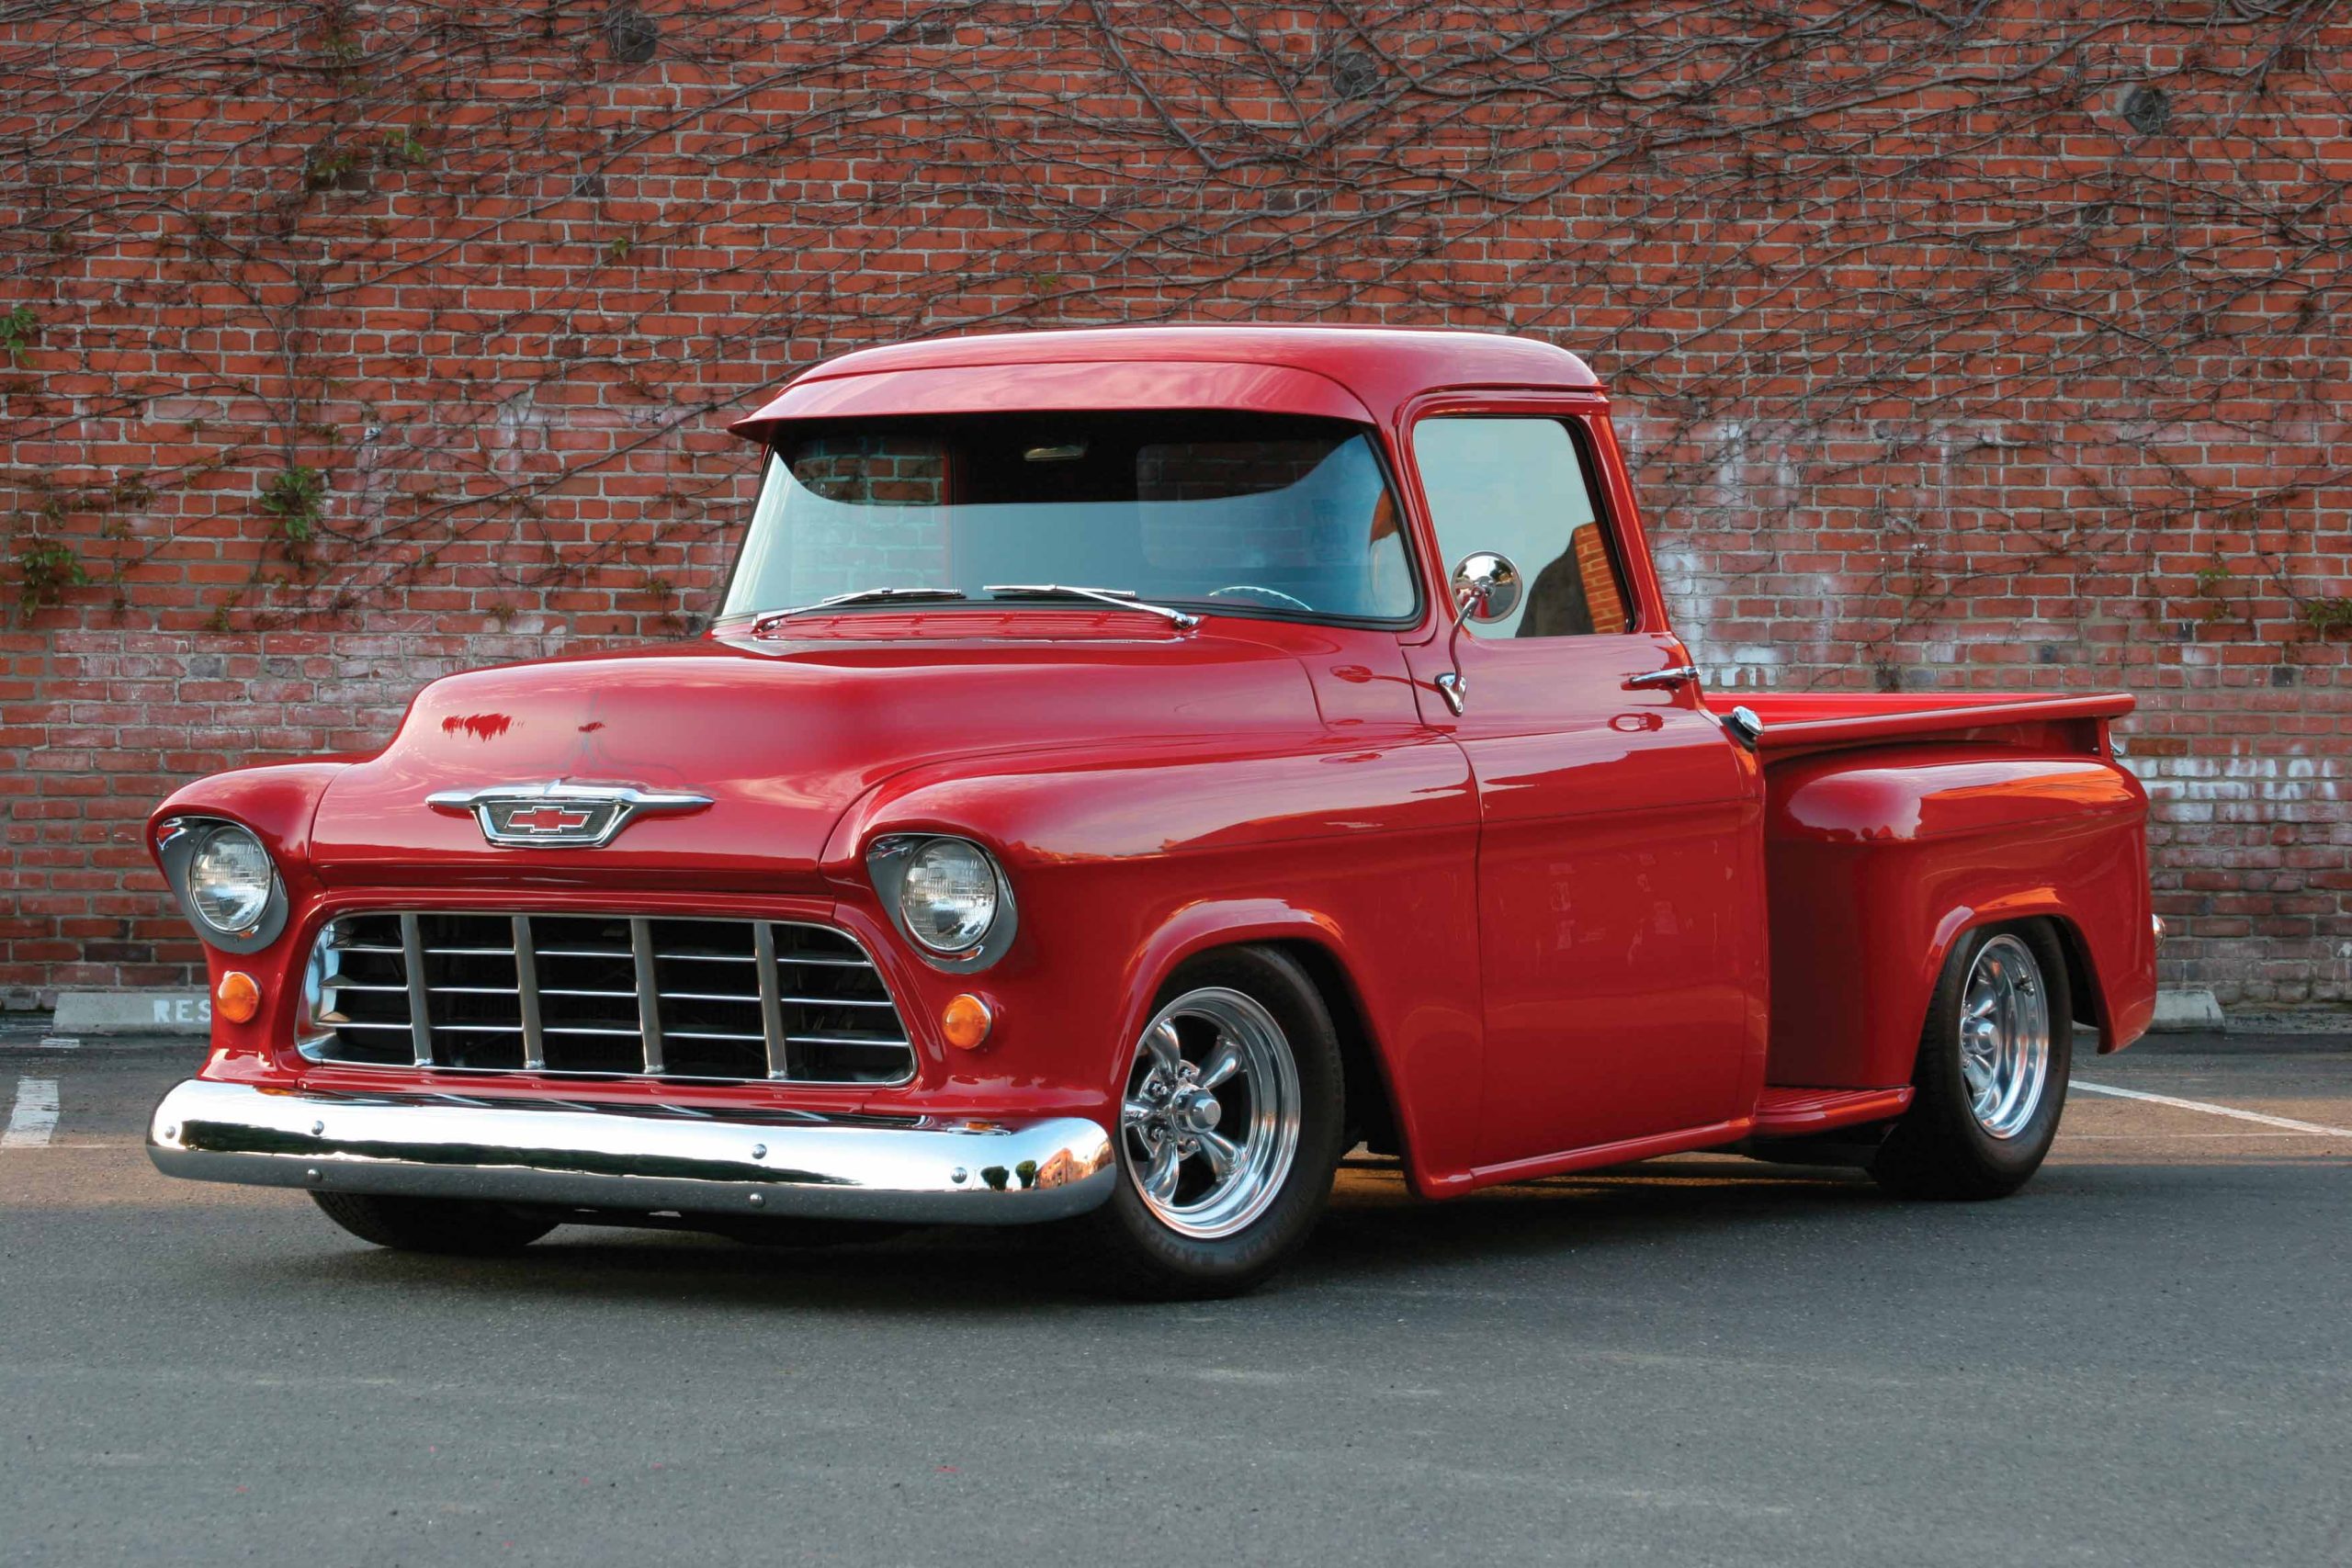
If you are driving down the highway in an older car, you are at a major disadvantage if you have to make a quick stop. Many of the high-performance cars being built today have fantastic stopping power, and if you can’t stop as well as the car in front of you, that could certainly be a big problem. The owner of this ’55 Chevy improved it with front disc brakes that work well, but he wanted the Chevy to stop even better, so he decided to add rear disc brakes.
In the process of rebuilding this Chevy, it was outfitted with a Chevy 10-bolt differential. This differential is a staple, and the same style has been available in many different GM cars, from early Novas to later-model Malibus. Rodders have found that the Nova and Camaro rearends are a perfect fit in ’55-’57 Chevys, so many have been upgraded with 10-bolt units. This disc brake installation therefore applies to many tri-year Chevys, and also to any other street machine or street rod that is equipped with a Chevy 10-bolt rear differential.
The owner of this Chevy contacted American Brake & Steering and ordered a bolt-on brake kit that comes complete with the brackets, rotors, calipers and all of the hardware required to make the conversion. After he purchased the components, he contacted Dream Cars in Simi Valley, California, to complete the installation. This kit is a bolt-on installation that requires no specialized tools. If you have a normal assortment of hand tools it can be done in a day. There are a few things you should know, so we will show you how it was accomplished.
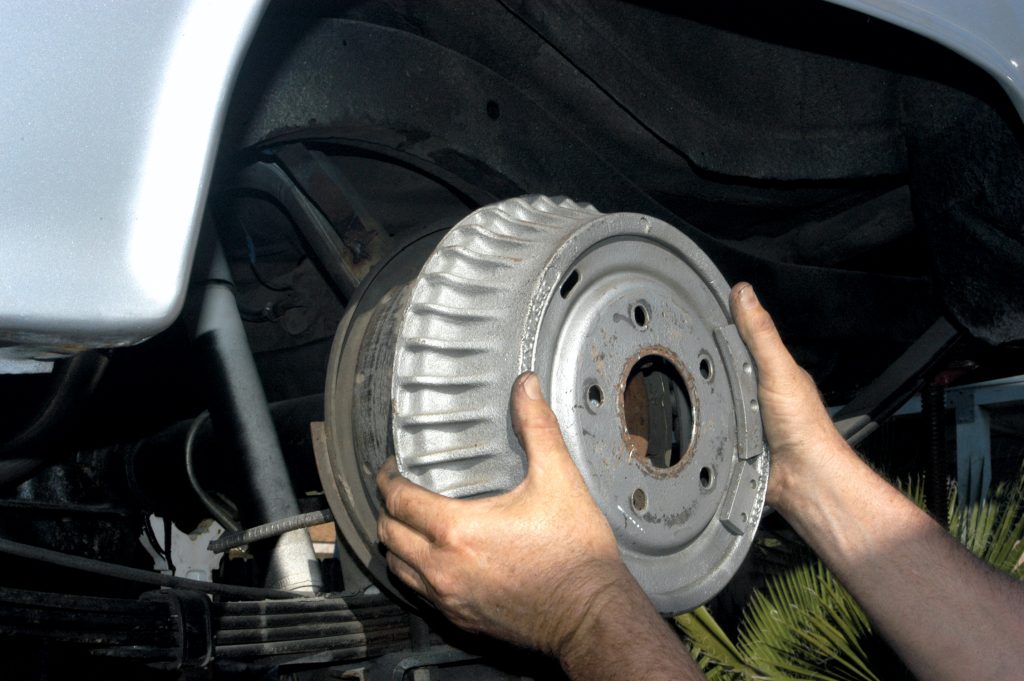
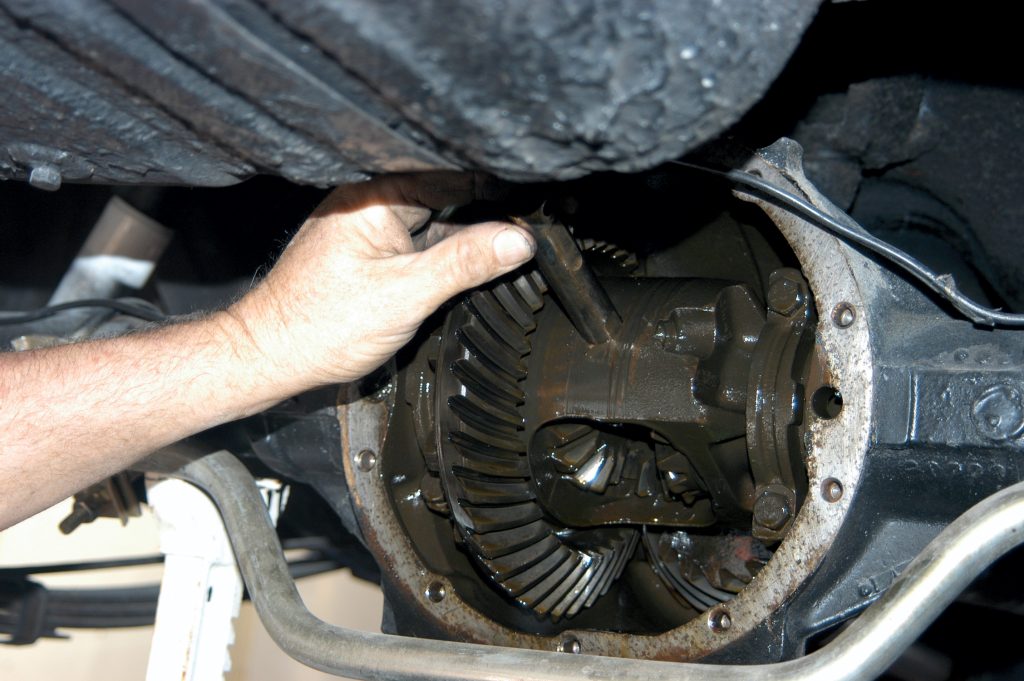
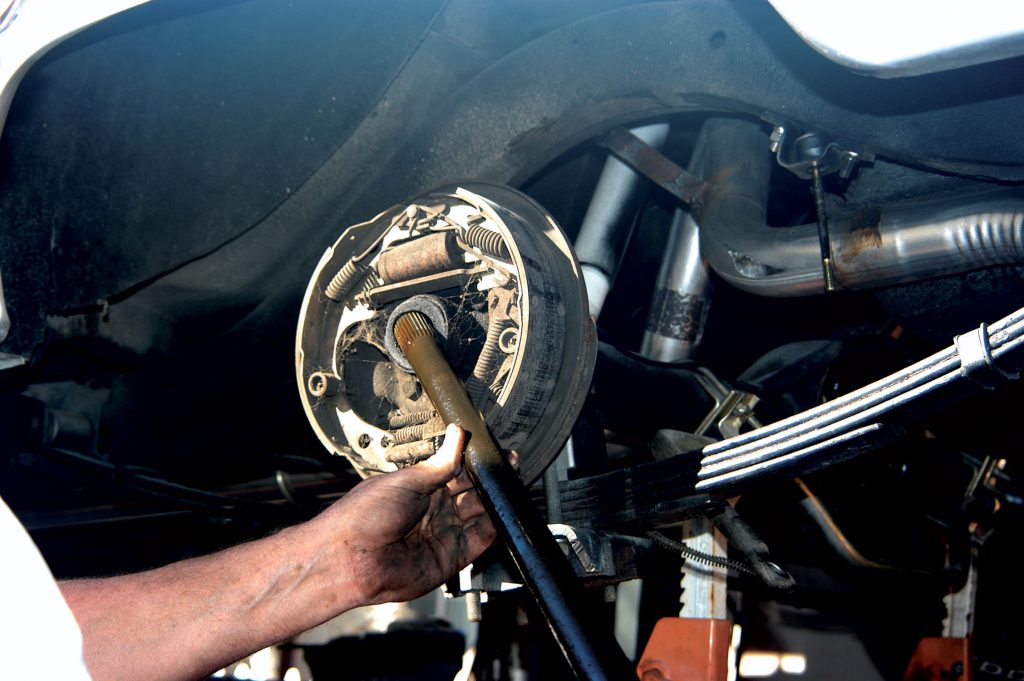
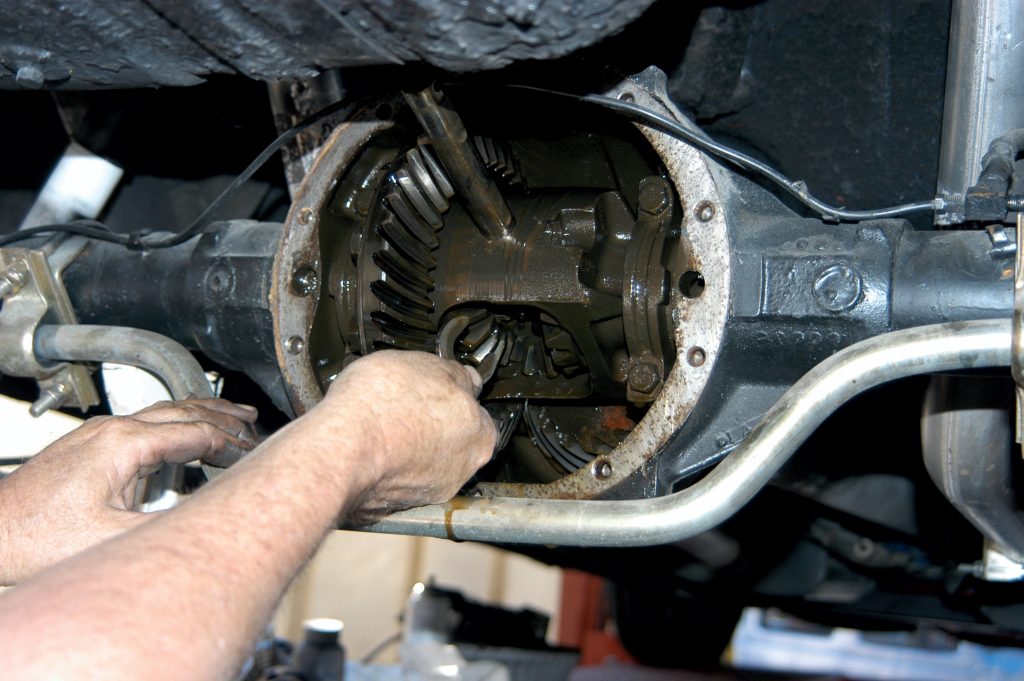
The Dream Cars staff first removed the drum brake to access the backing plate. The rear differential cover also had to be removed before the axle could be removed. The differential is filled with lubricant, so they drained it into a pan.
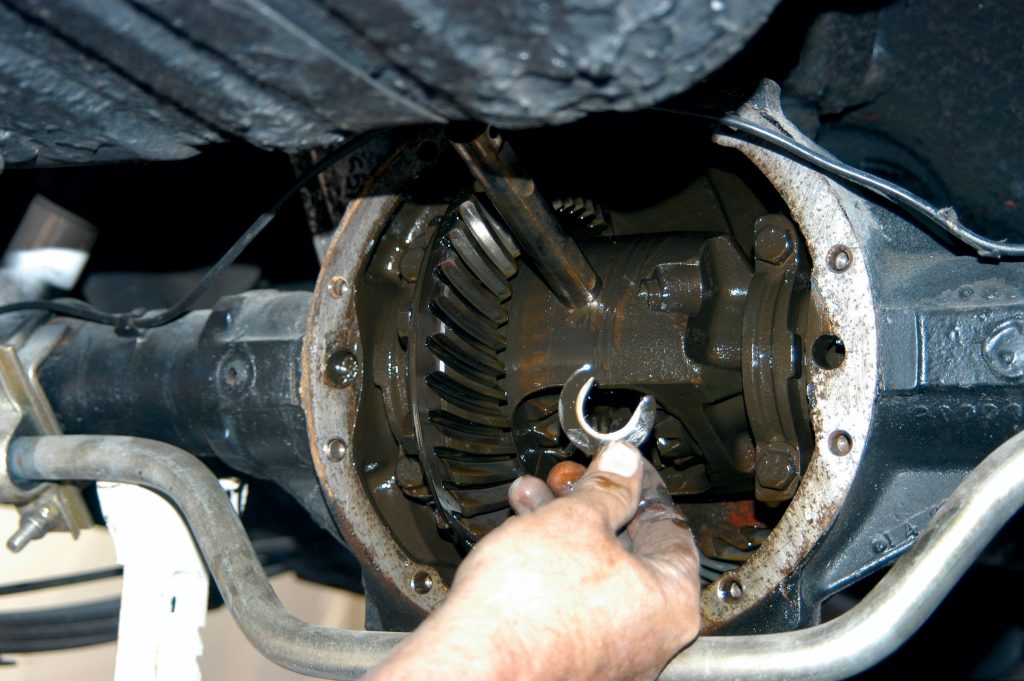
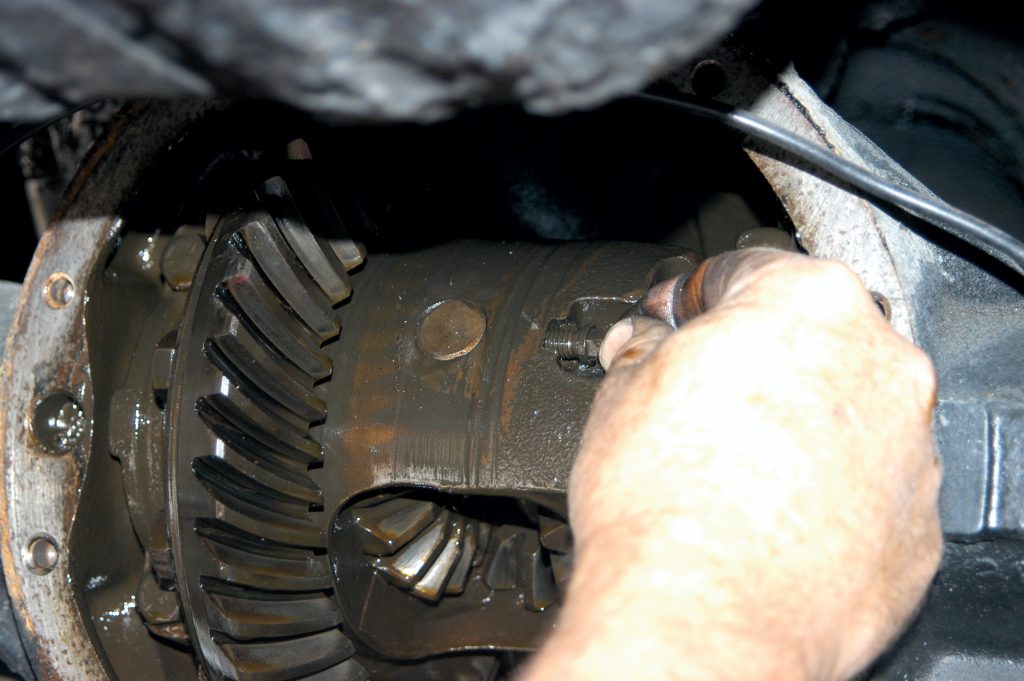
They removed the small retaining bolt and moved the pin outward so that the axle C-clip could be accessed.
This C-clip holds the axle in the housing, so it has to be removed to install the brake system.
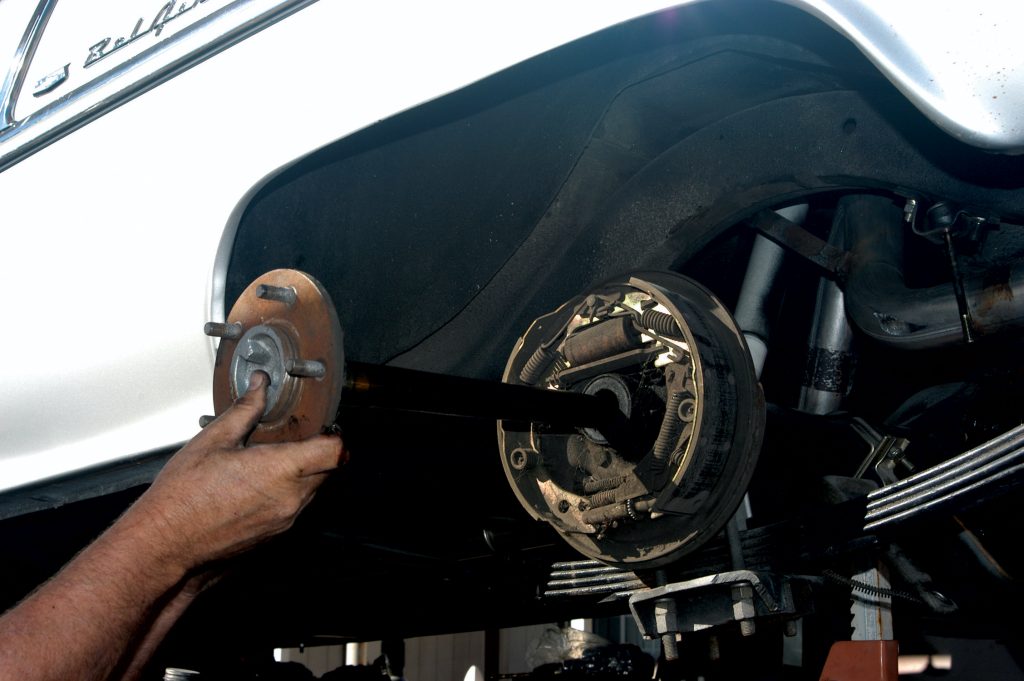
After they removed the C-clip, they pulled the axle out of the differential.
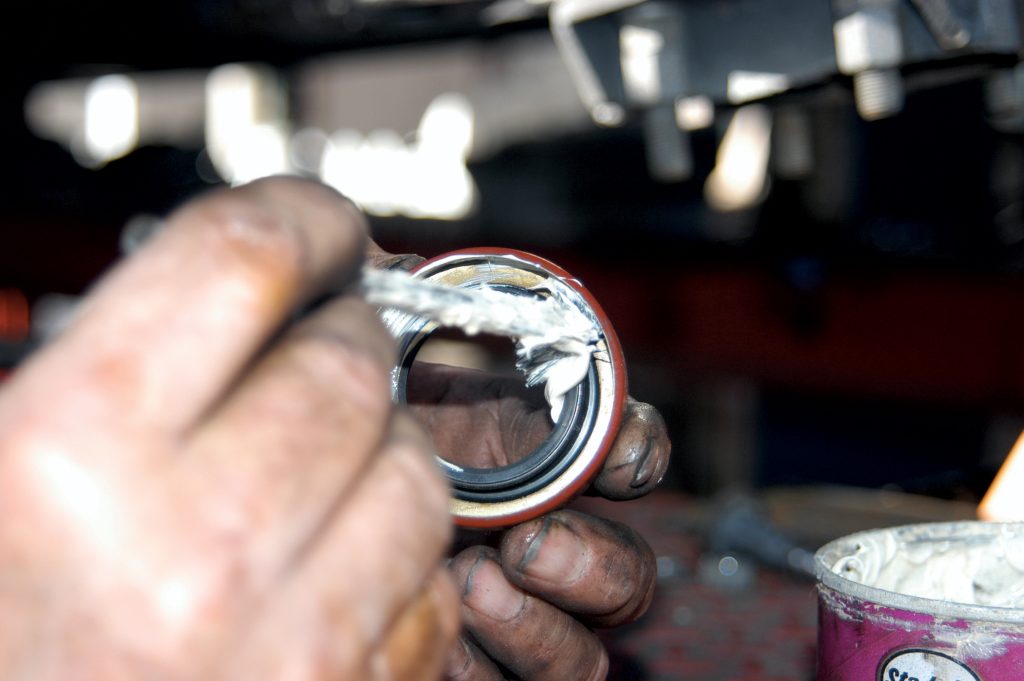
Using the axle as a pry bar, they also removed the axle seal. A new seal will be installed later.
The backing plate had to be removed next. Here the bolts are being removed with an impact gun.
They removed the brake line with a line wrench. The line wrench should be used to avoid stripping the brake-line fitting.
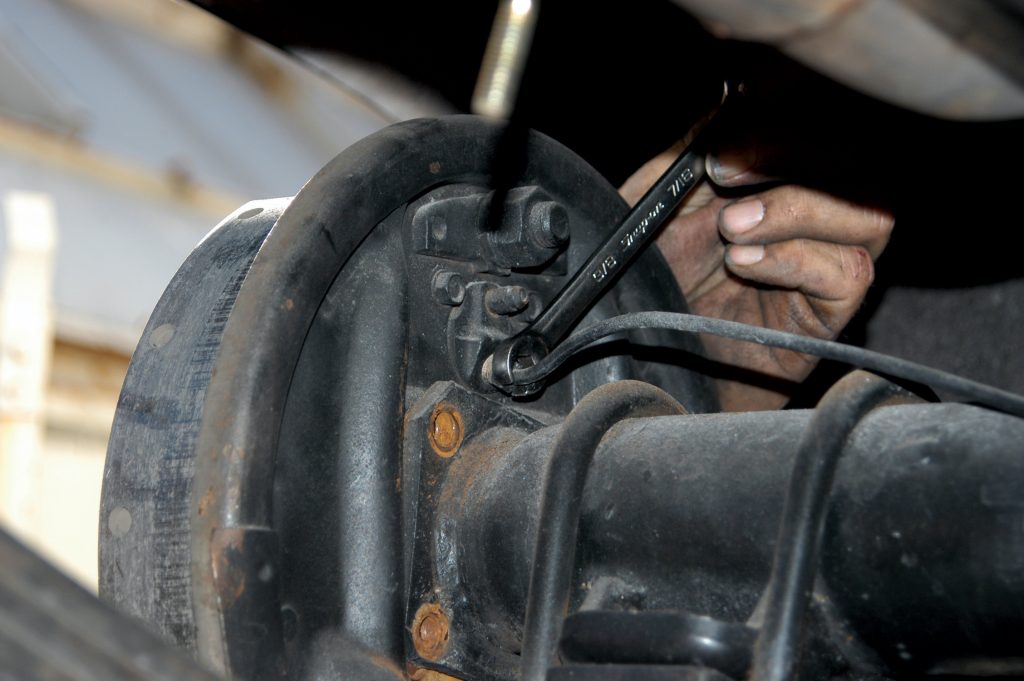
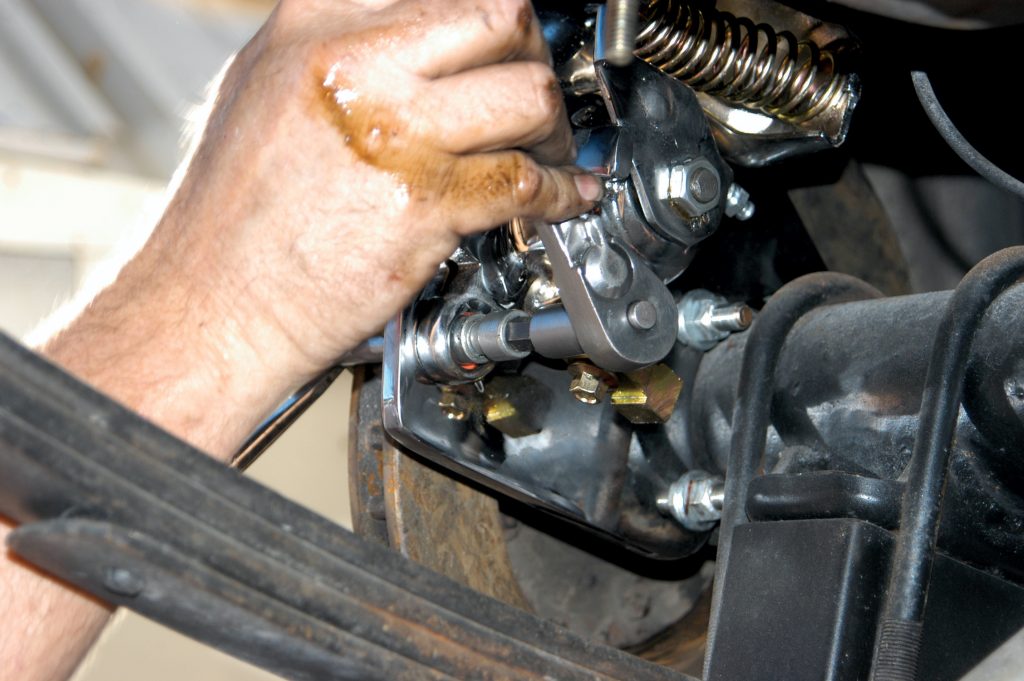
They held the bracket up to the axle flange and it seemed to line up perfectly. Here the first bolt is being installed.
After they installed all of the bracket bolts, they tightened them with an impact gun.
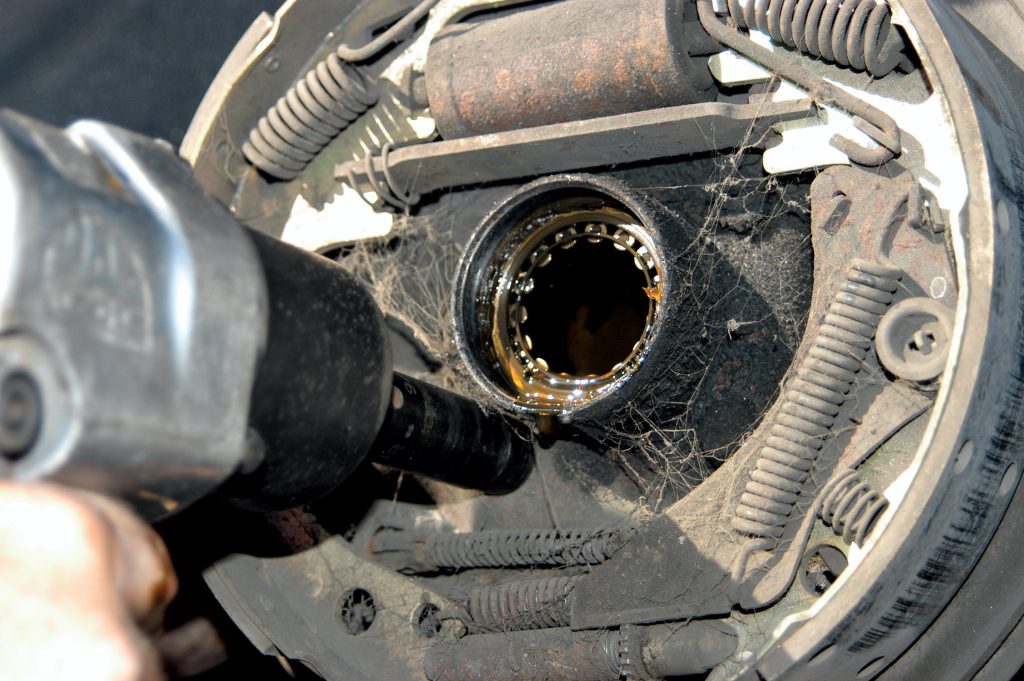
This was a good chance to install new axle bearings, so Dream Cars took the opportunity to make the upgrade. Here the seal is being greased prior to installation.
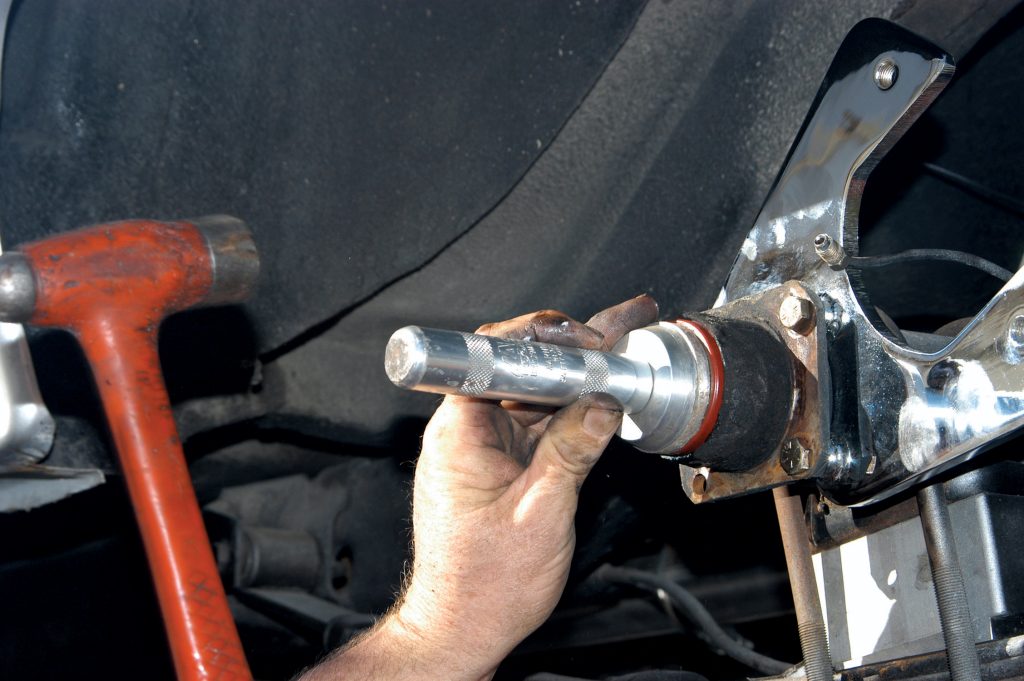
The axle bearing was installed with a special installation tool. If you don’t have a special tool, this can be done with an improvised one.
After the bearing was in place, they installed the axle in the housing. It is always a good idea to clean the axle where the seal rides.
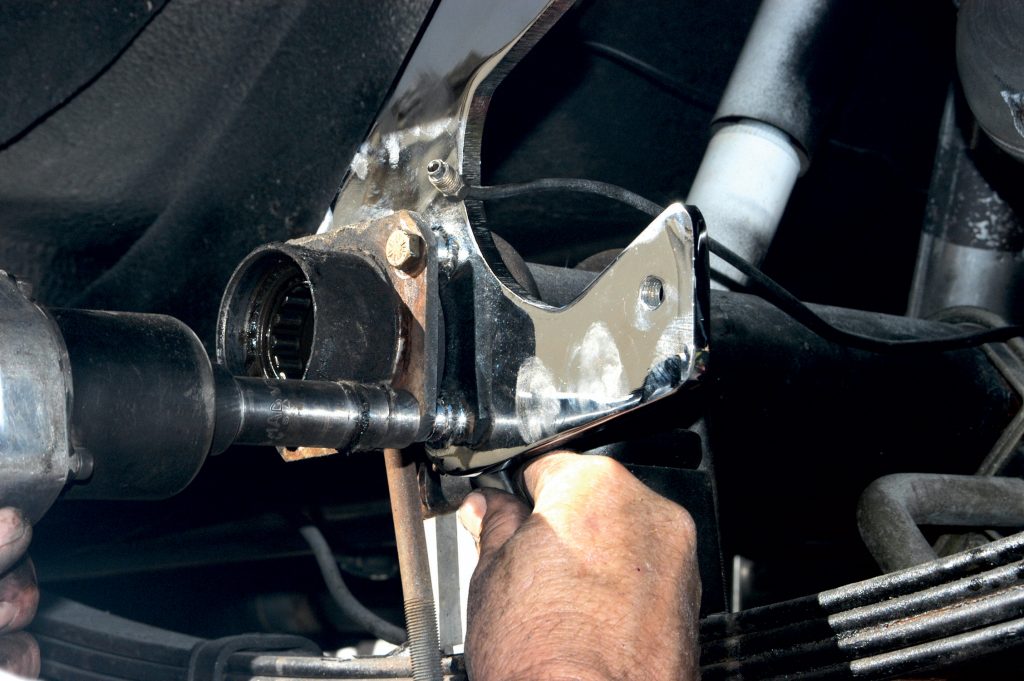
They installed the C-clip on the axle to secure it. The C-clips work great on the street, but they aren’t good for hardcore drag racing.
They pushed the securing pin back into the carrier and bolted it in place.
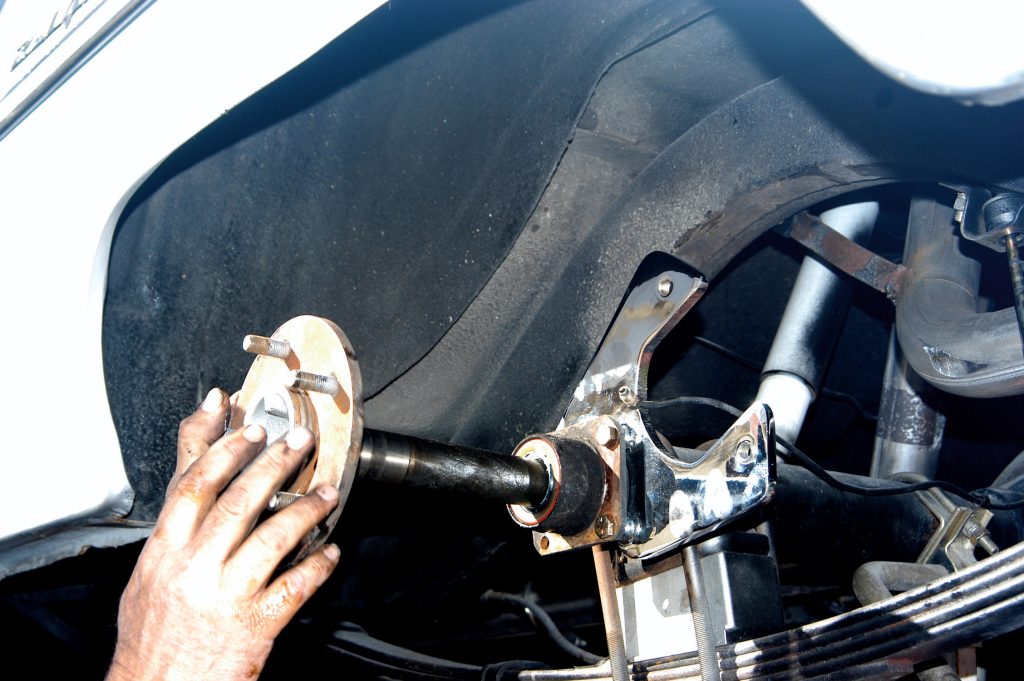
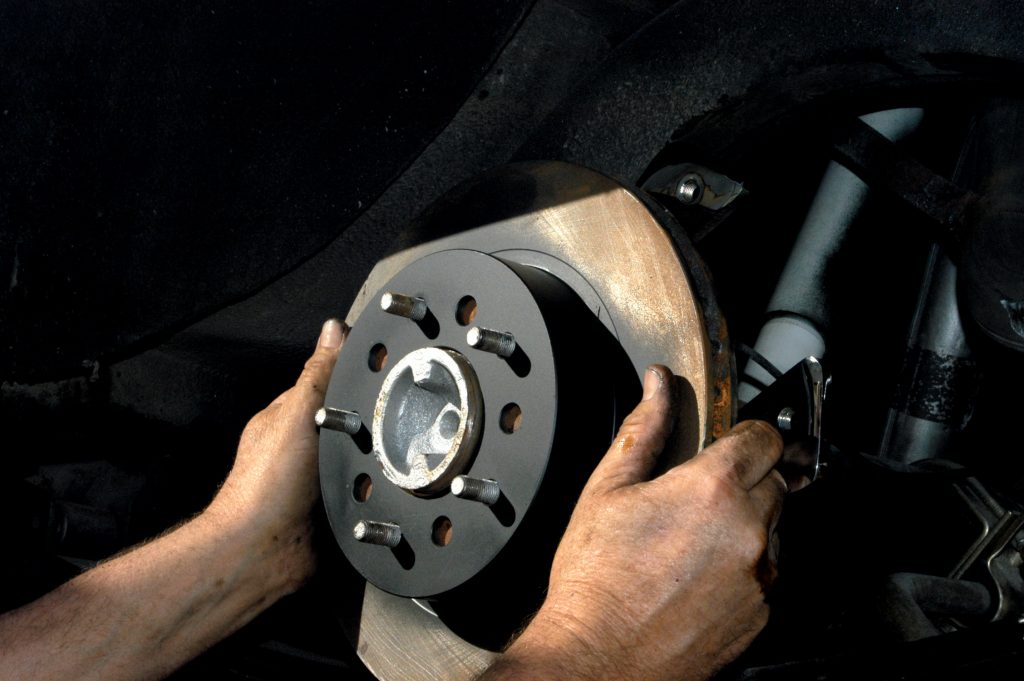
They installed the disc brake rotor over the lug studs. The stock studs will work fine for this application.
Since the brake brackets were chrome plated, they tapped the threads so that the bolts would start easily.
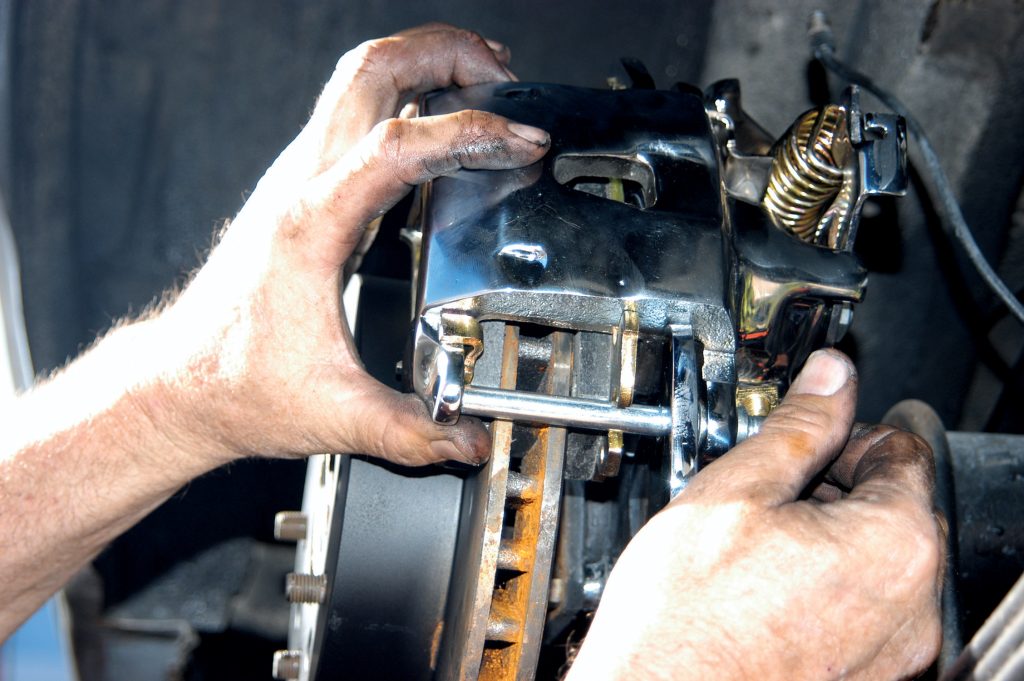
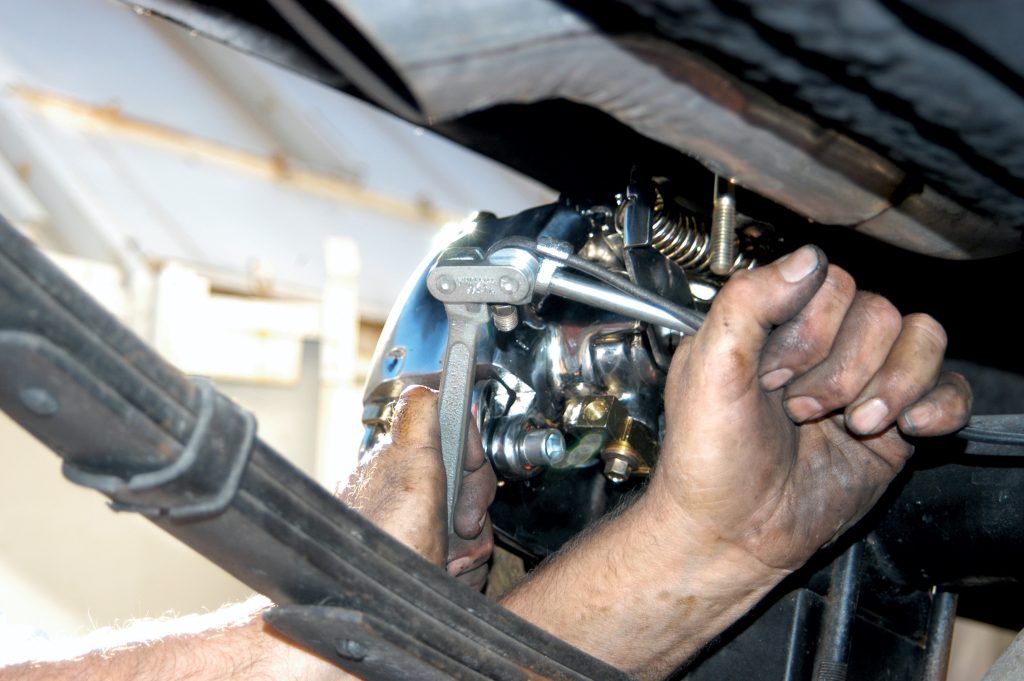
They placed the calipers onto the bracket and installed the bolts. These are floating calipers just like the ones used on the front.
Here the bolts are being tightened with a socket wrench equipped with an Allen-head socket.
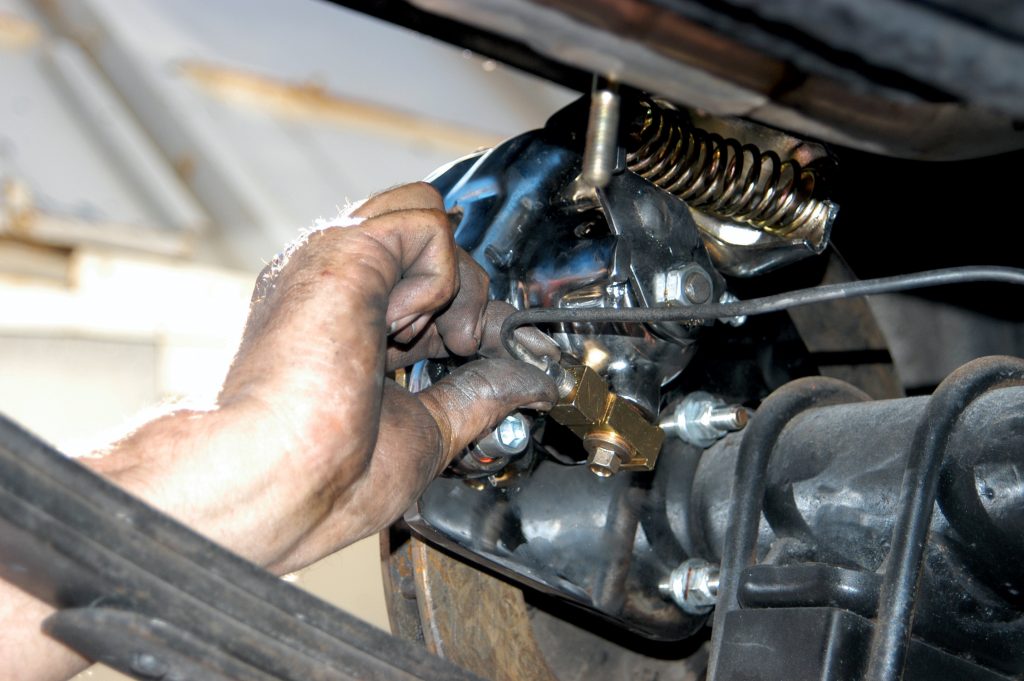
The original brake lines will work, but they need a different bend at the end. Here the line is being bent with a tubing bender.
After the brake line was bent correctly, they connected it to the fitting without a problem.
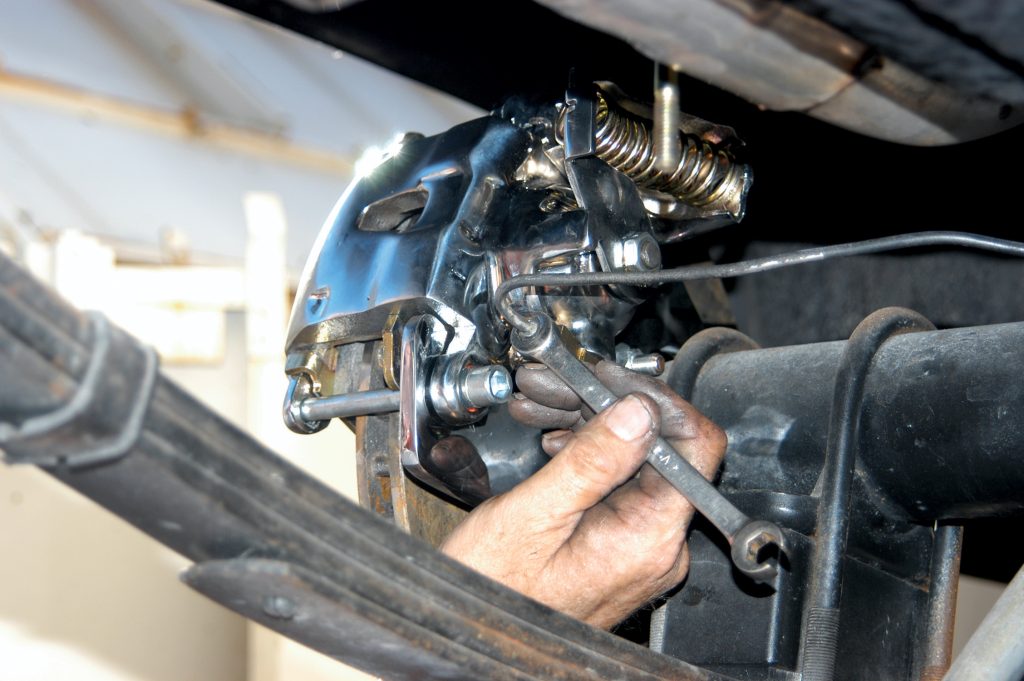
They tightened the brake line with a special line wrench. All of the lines should be tight.
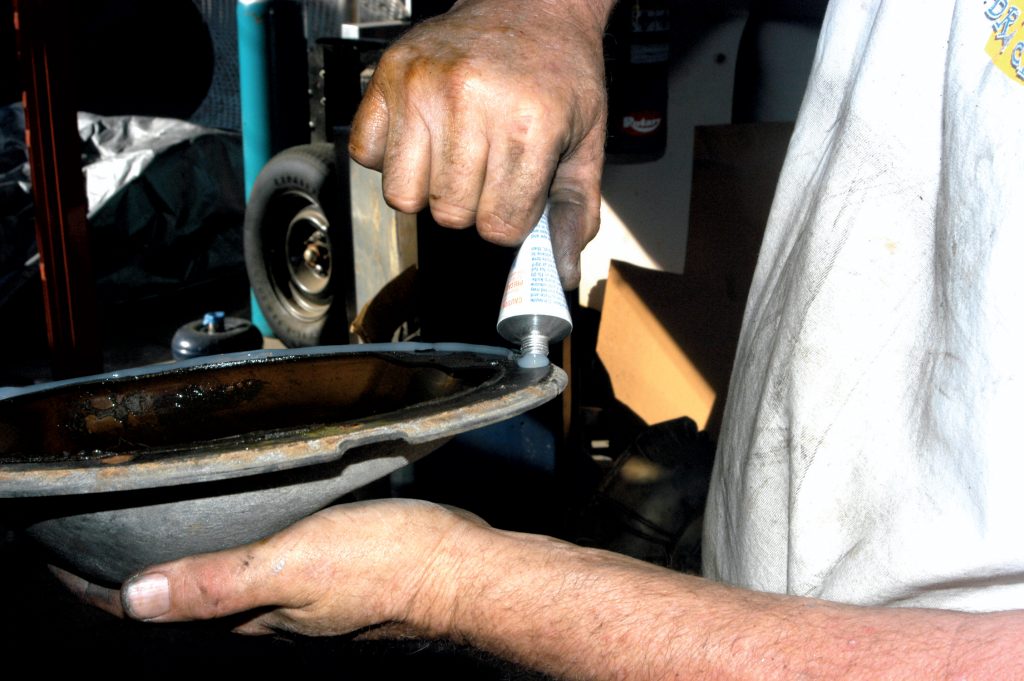
The rearend cover mounting lip was coated with silicone before they installed it.
They installed the cover on the axlehousing and tightened it with a socket wrench, working side to side to tighten the bolts.
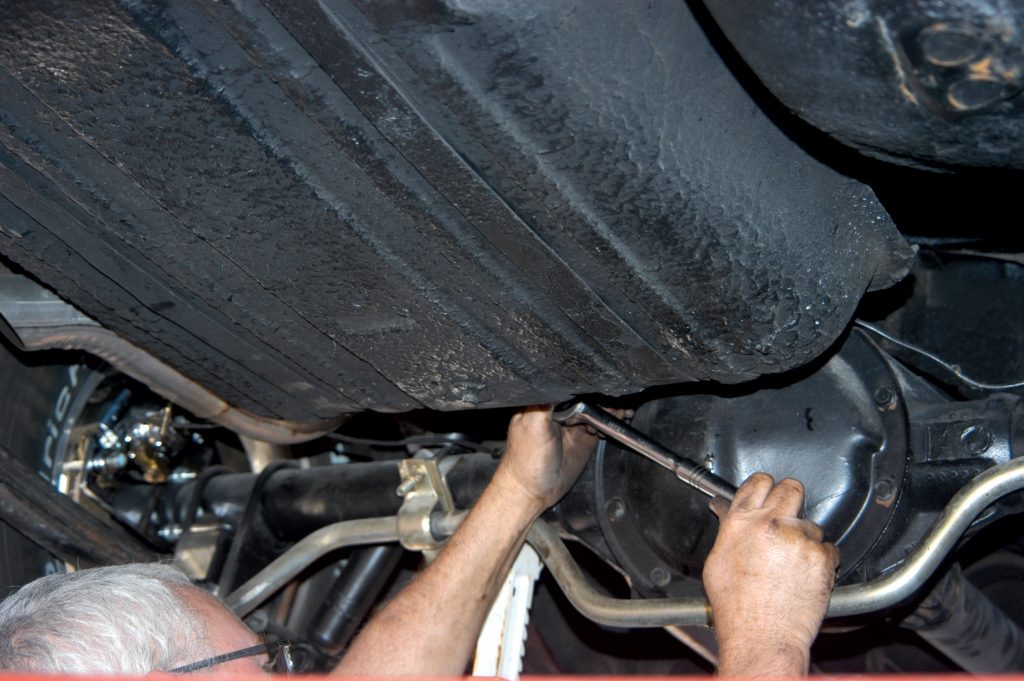
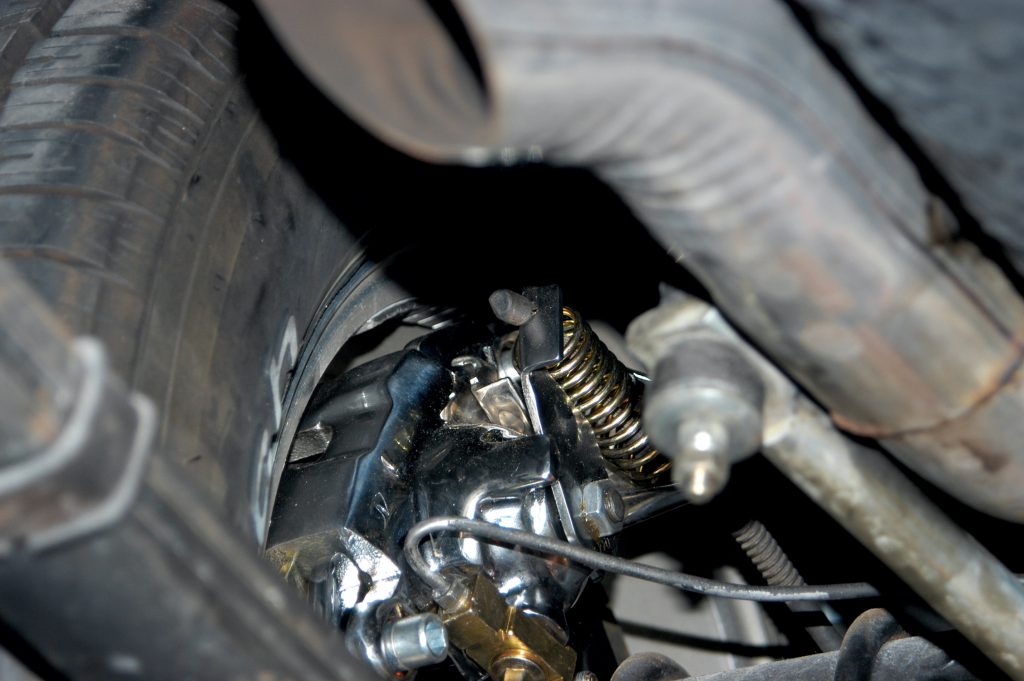
After they installed the rearend cover, they connected the sway bar. It is always a good idea to install sway bars on ’55-’57 Chevys because they improve the cars’ handling and cornering ability.
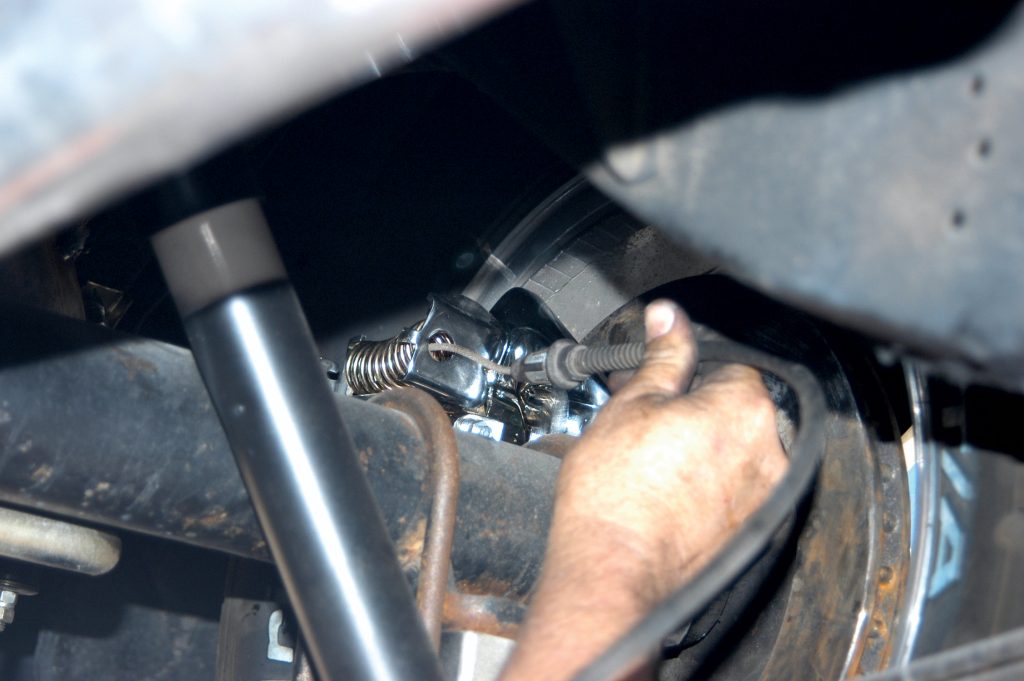
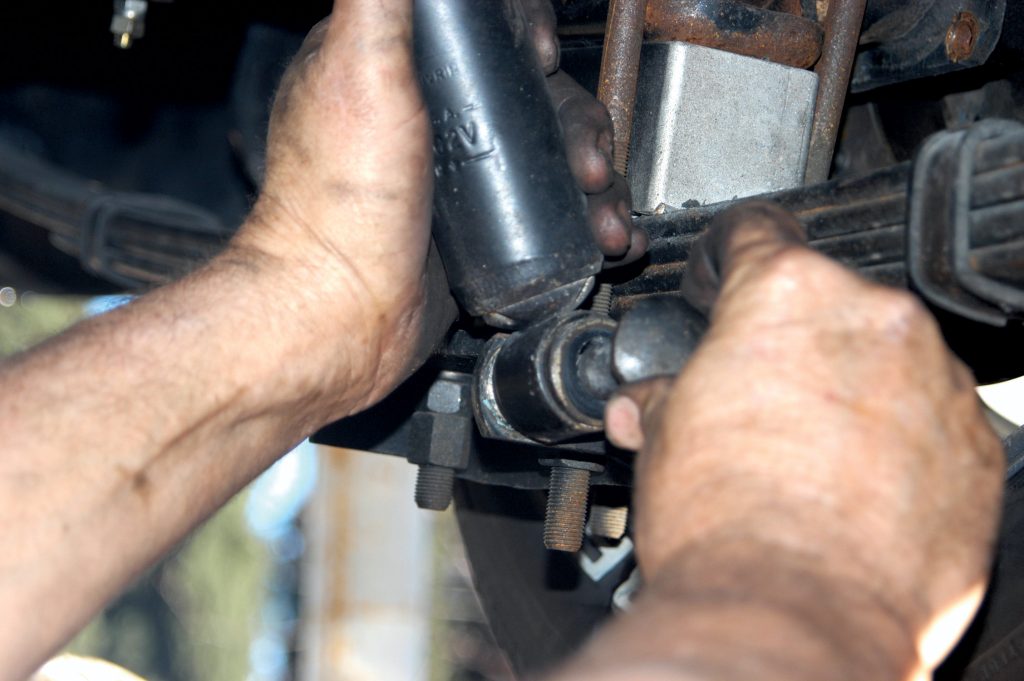
They installed the emergency brake cable into the bracket on the caliper. The end will snap into the bracket.
The knob on the end of the bracket will fit into the emergency brake clip. When the cable is connected, you can make the necessary adjustments to the cable mechanism. The line should have almost no slack when it is adjusted properly.
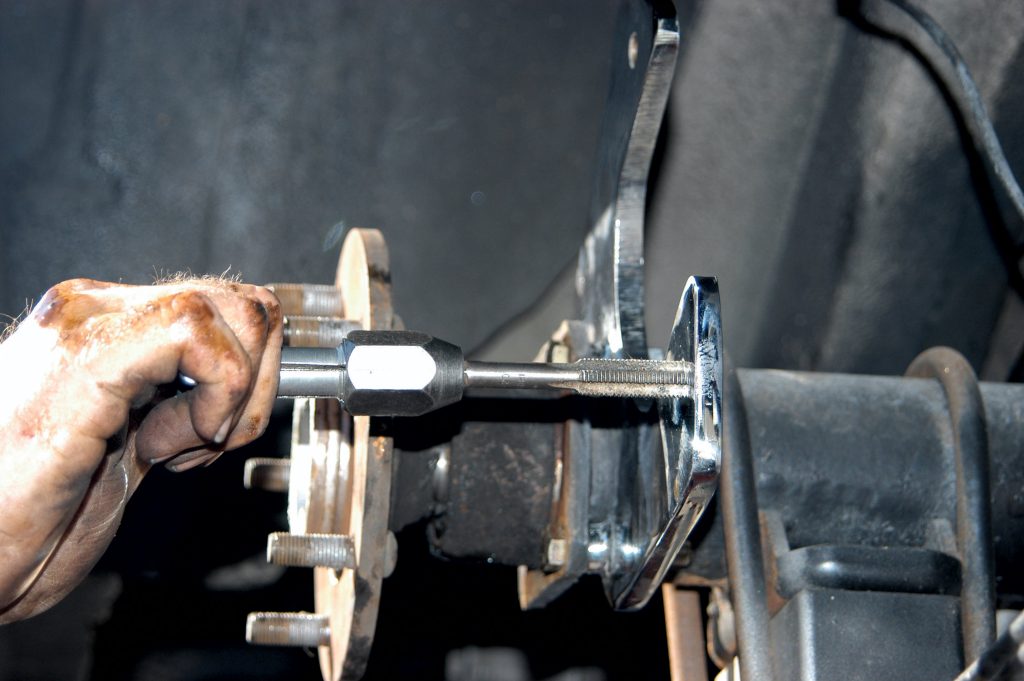
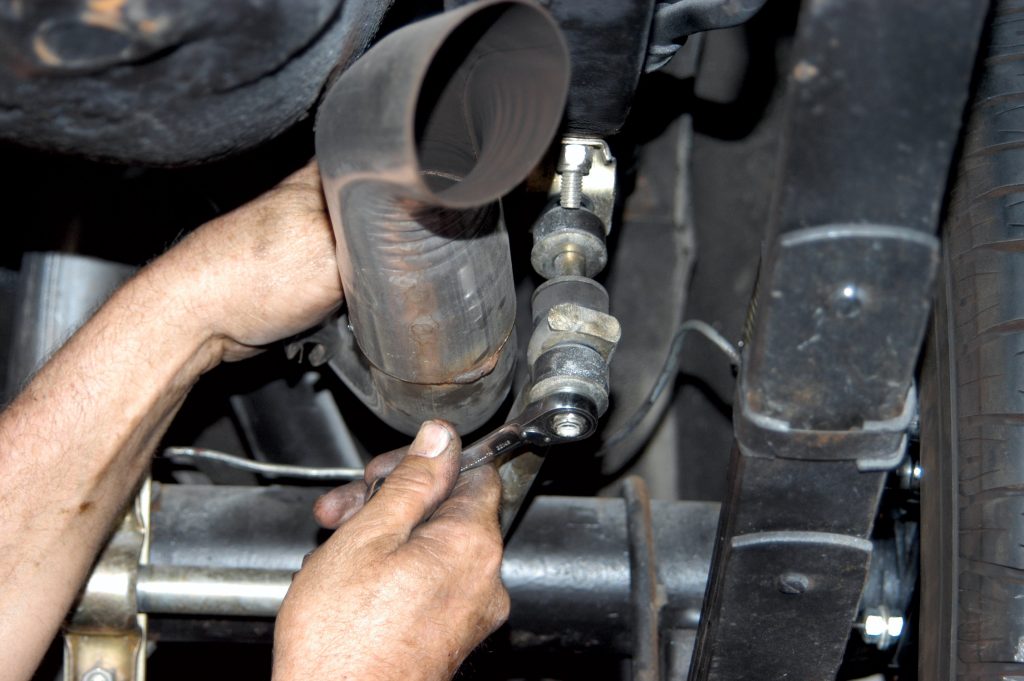
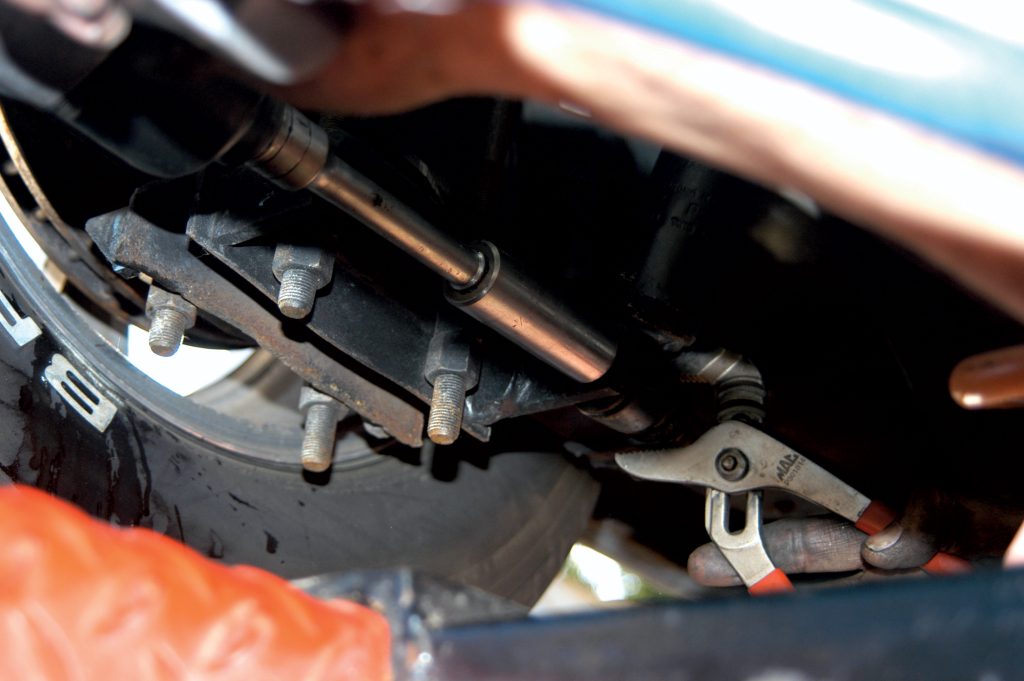
The shocks also had to be connected, so they installed this special shock bolt.
They installed a nut and washer on the other side and then torqued it down with an impact gun and a 9/16-inch socket.
When the brakes were finished, Dream Cars installed the tires and wheels. Installing and removing tires and wheels can be a little tricky on early Chevys because of their wheel well design.