What Is Titanium and Does It Really Matter?
Everywhere we go, we hear people talking about how cool the new titanium exhaust stuff is. But do people even know what titanium is? Does it really make a difference?
When I got a call from Craig Lieberman, marketing director of MagnaFlow Performance Exhaust, to tell me about the company’s new Ti line, I was totally stoked. Not because it had anything to do with titanium, but because I was going to get a firsthand look at what the new stuff looked like and how it performs on the dyno. Although we didn’t expect anything in particular in terms of power, the weight savings alone was worth the install.
Inside the MagnaFlow Tech Center
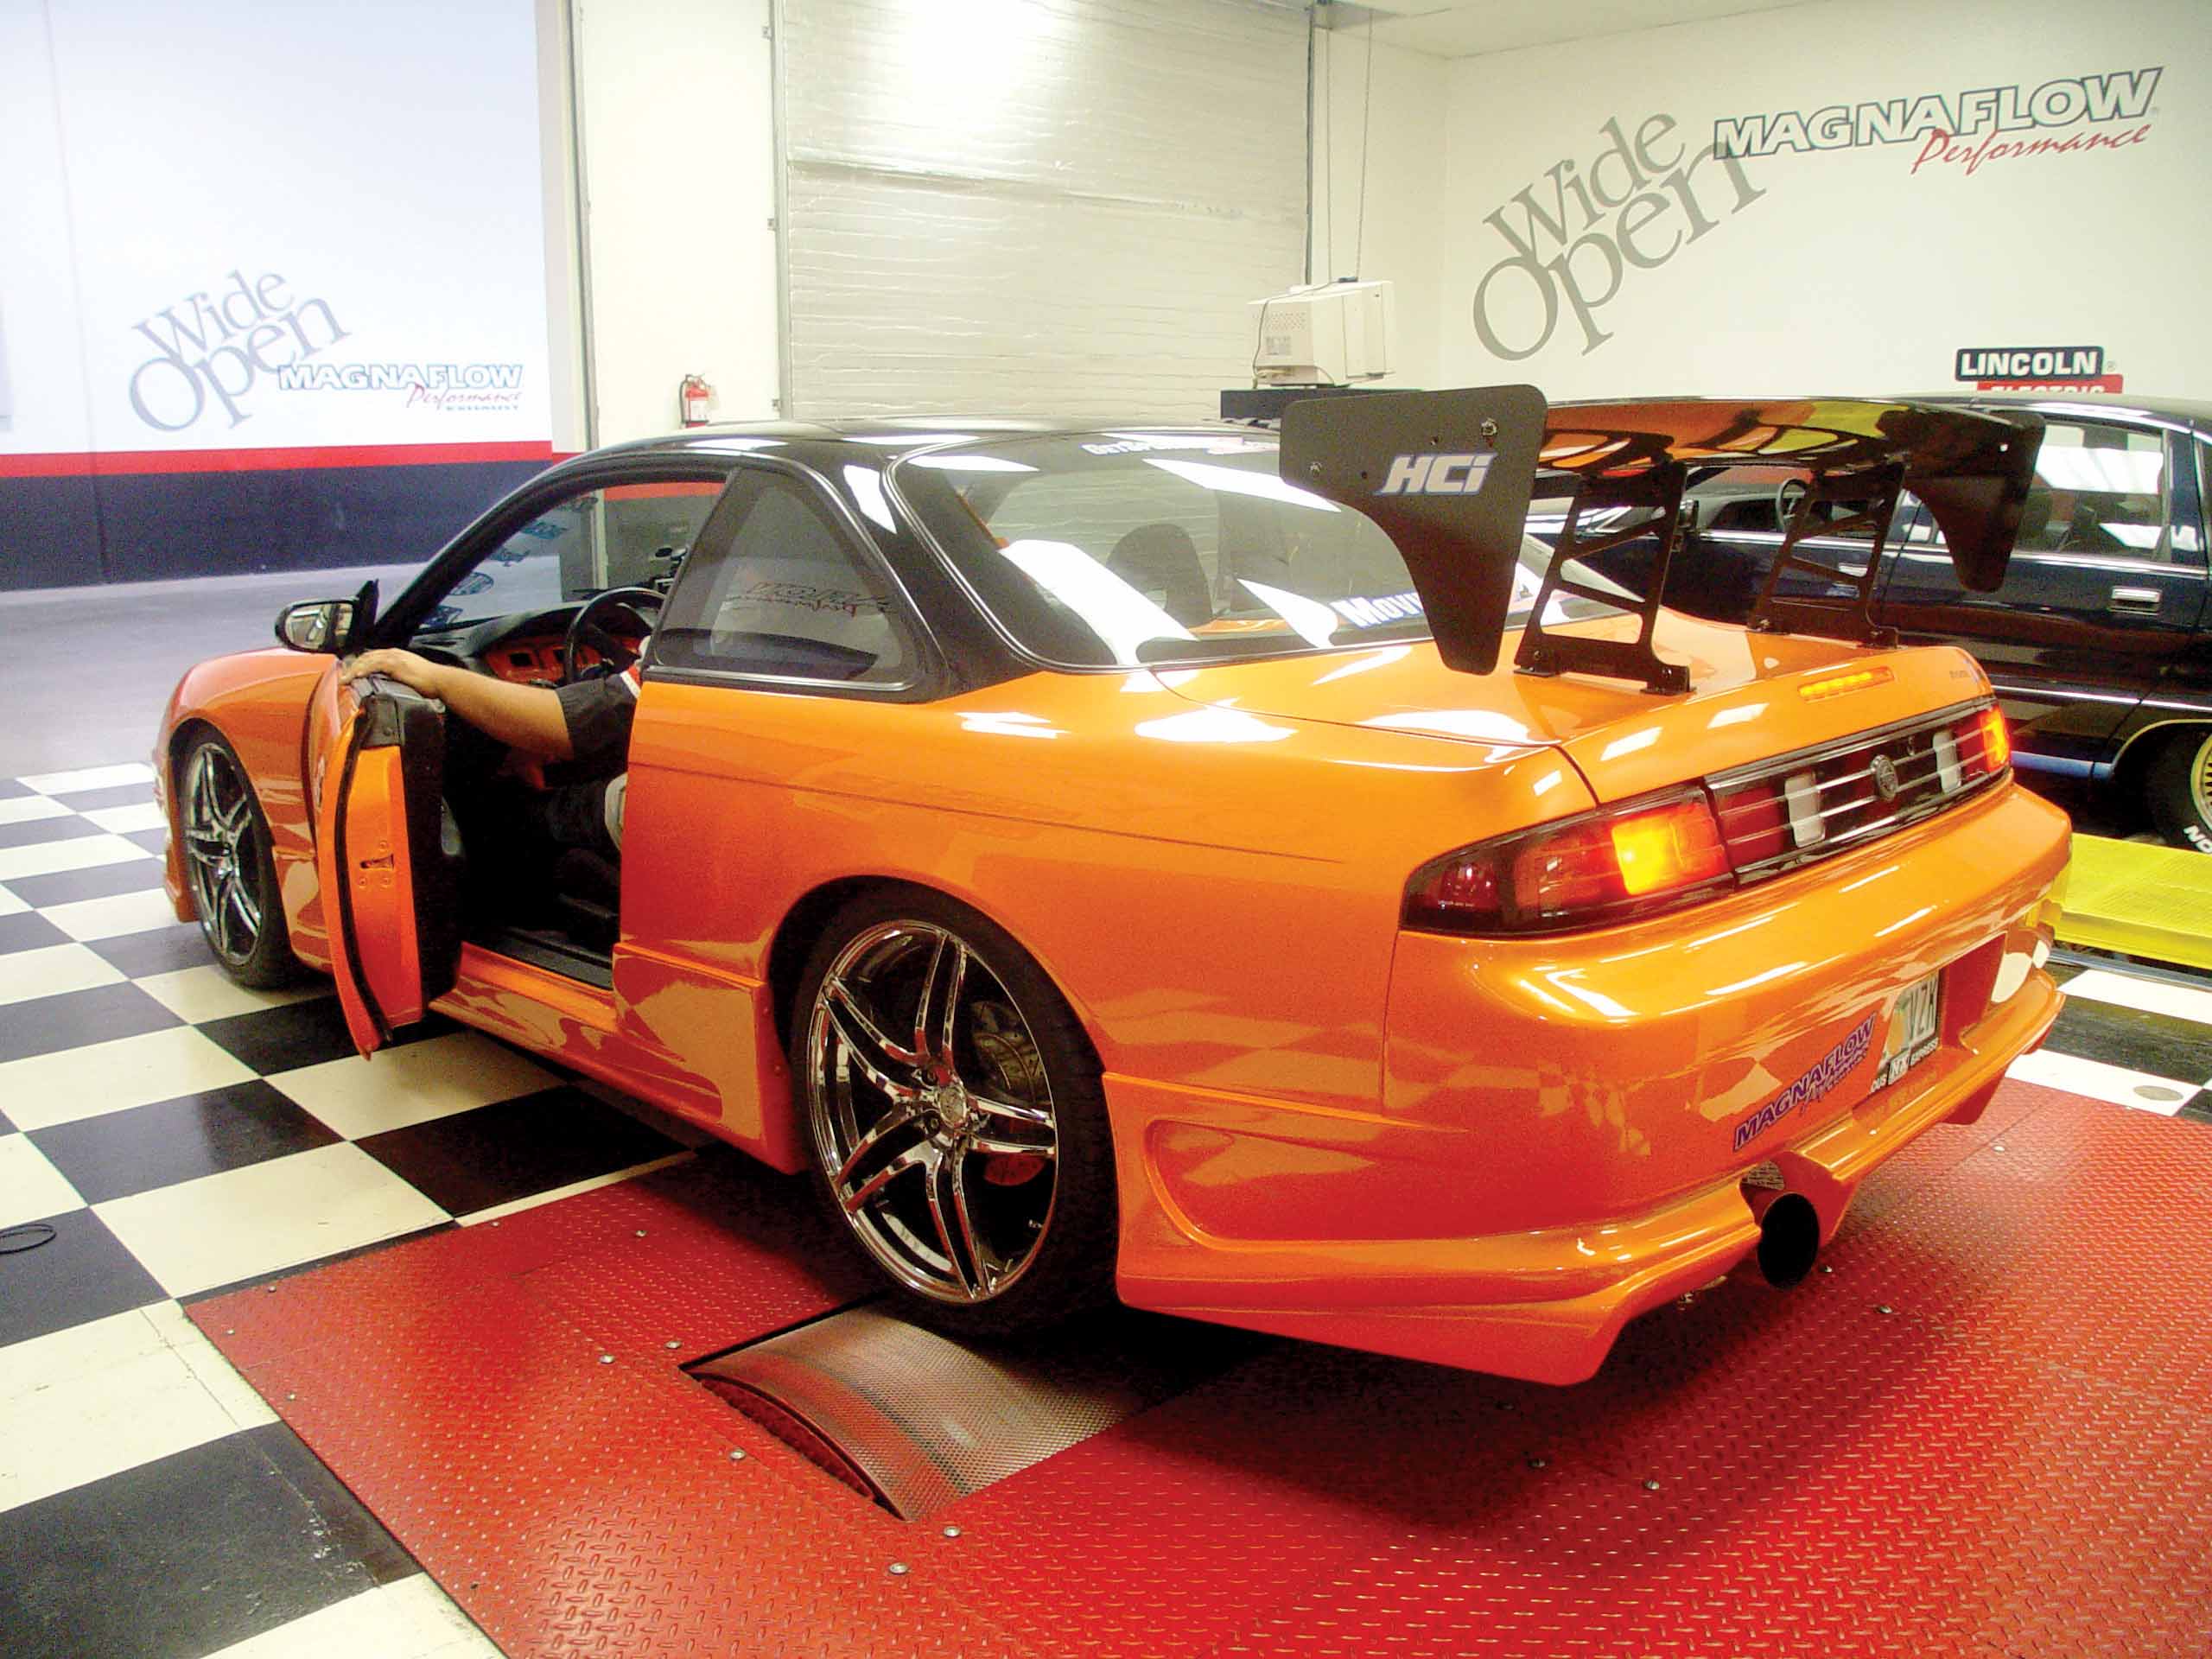
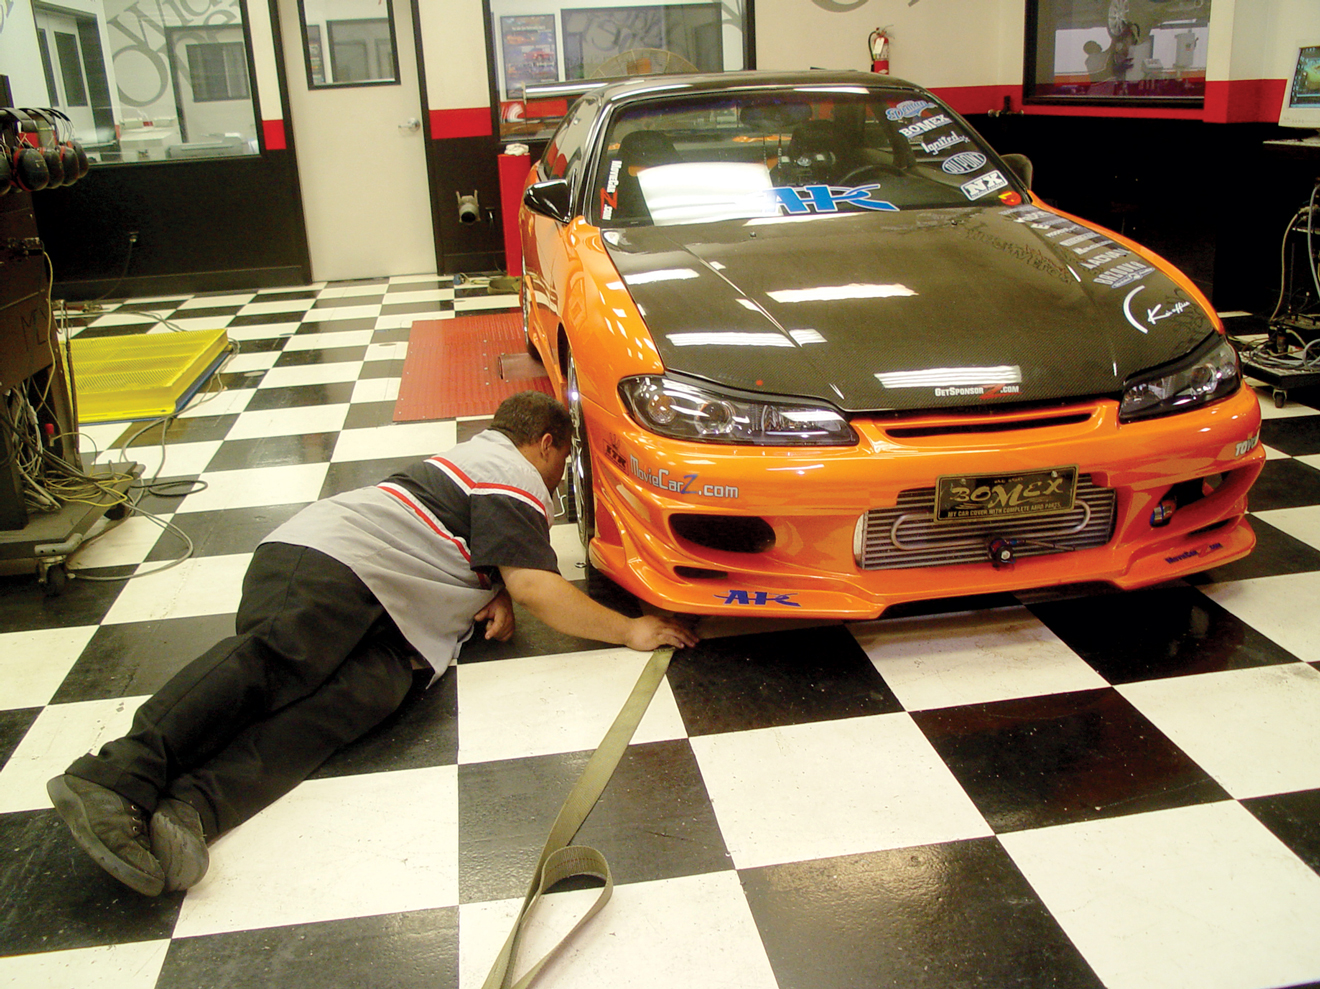
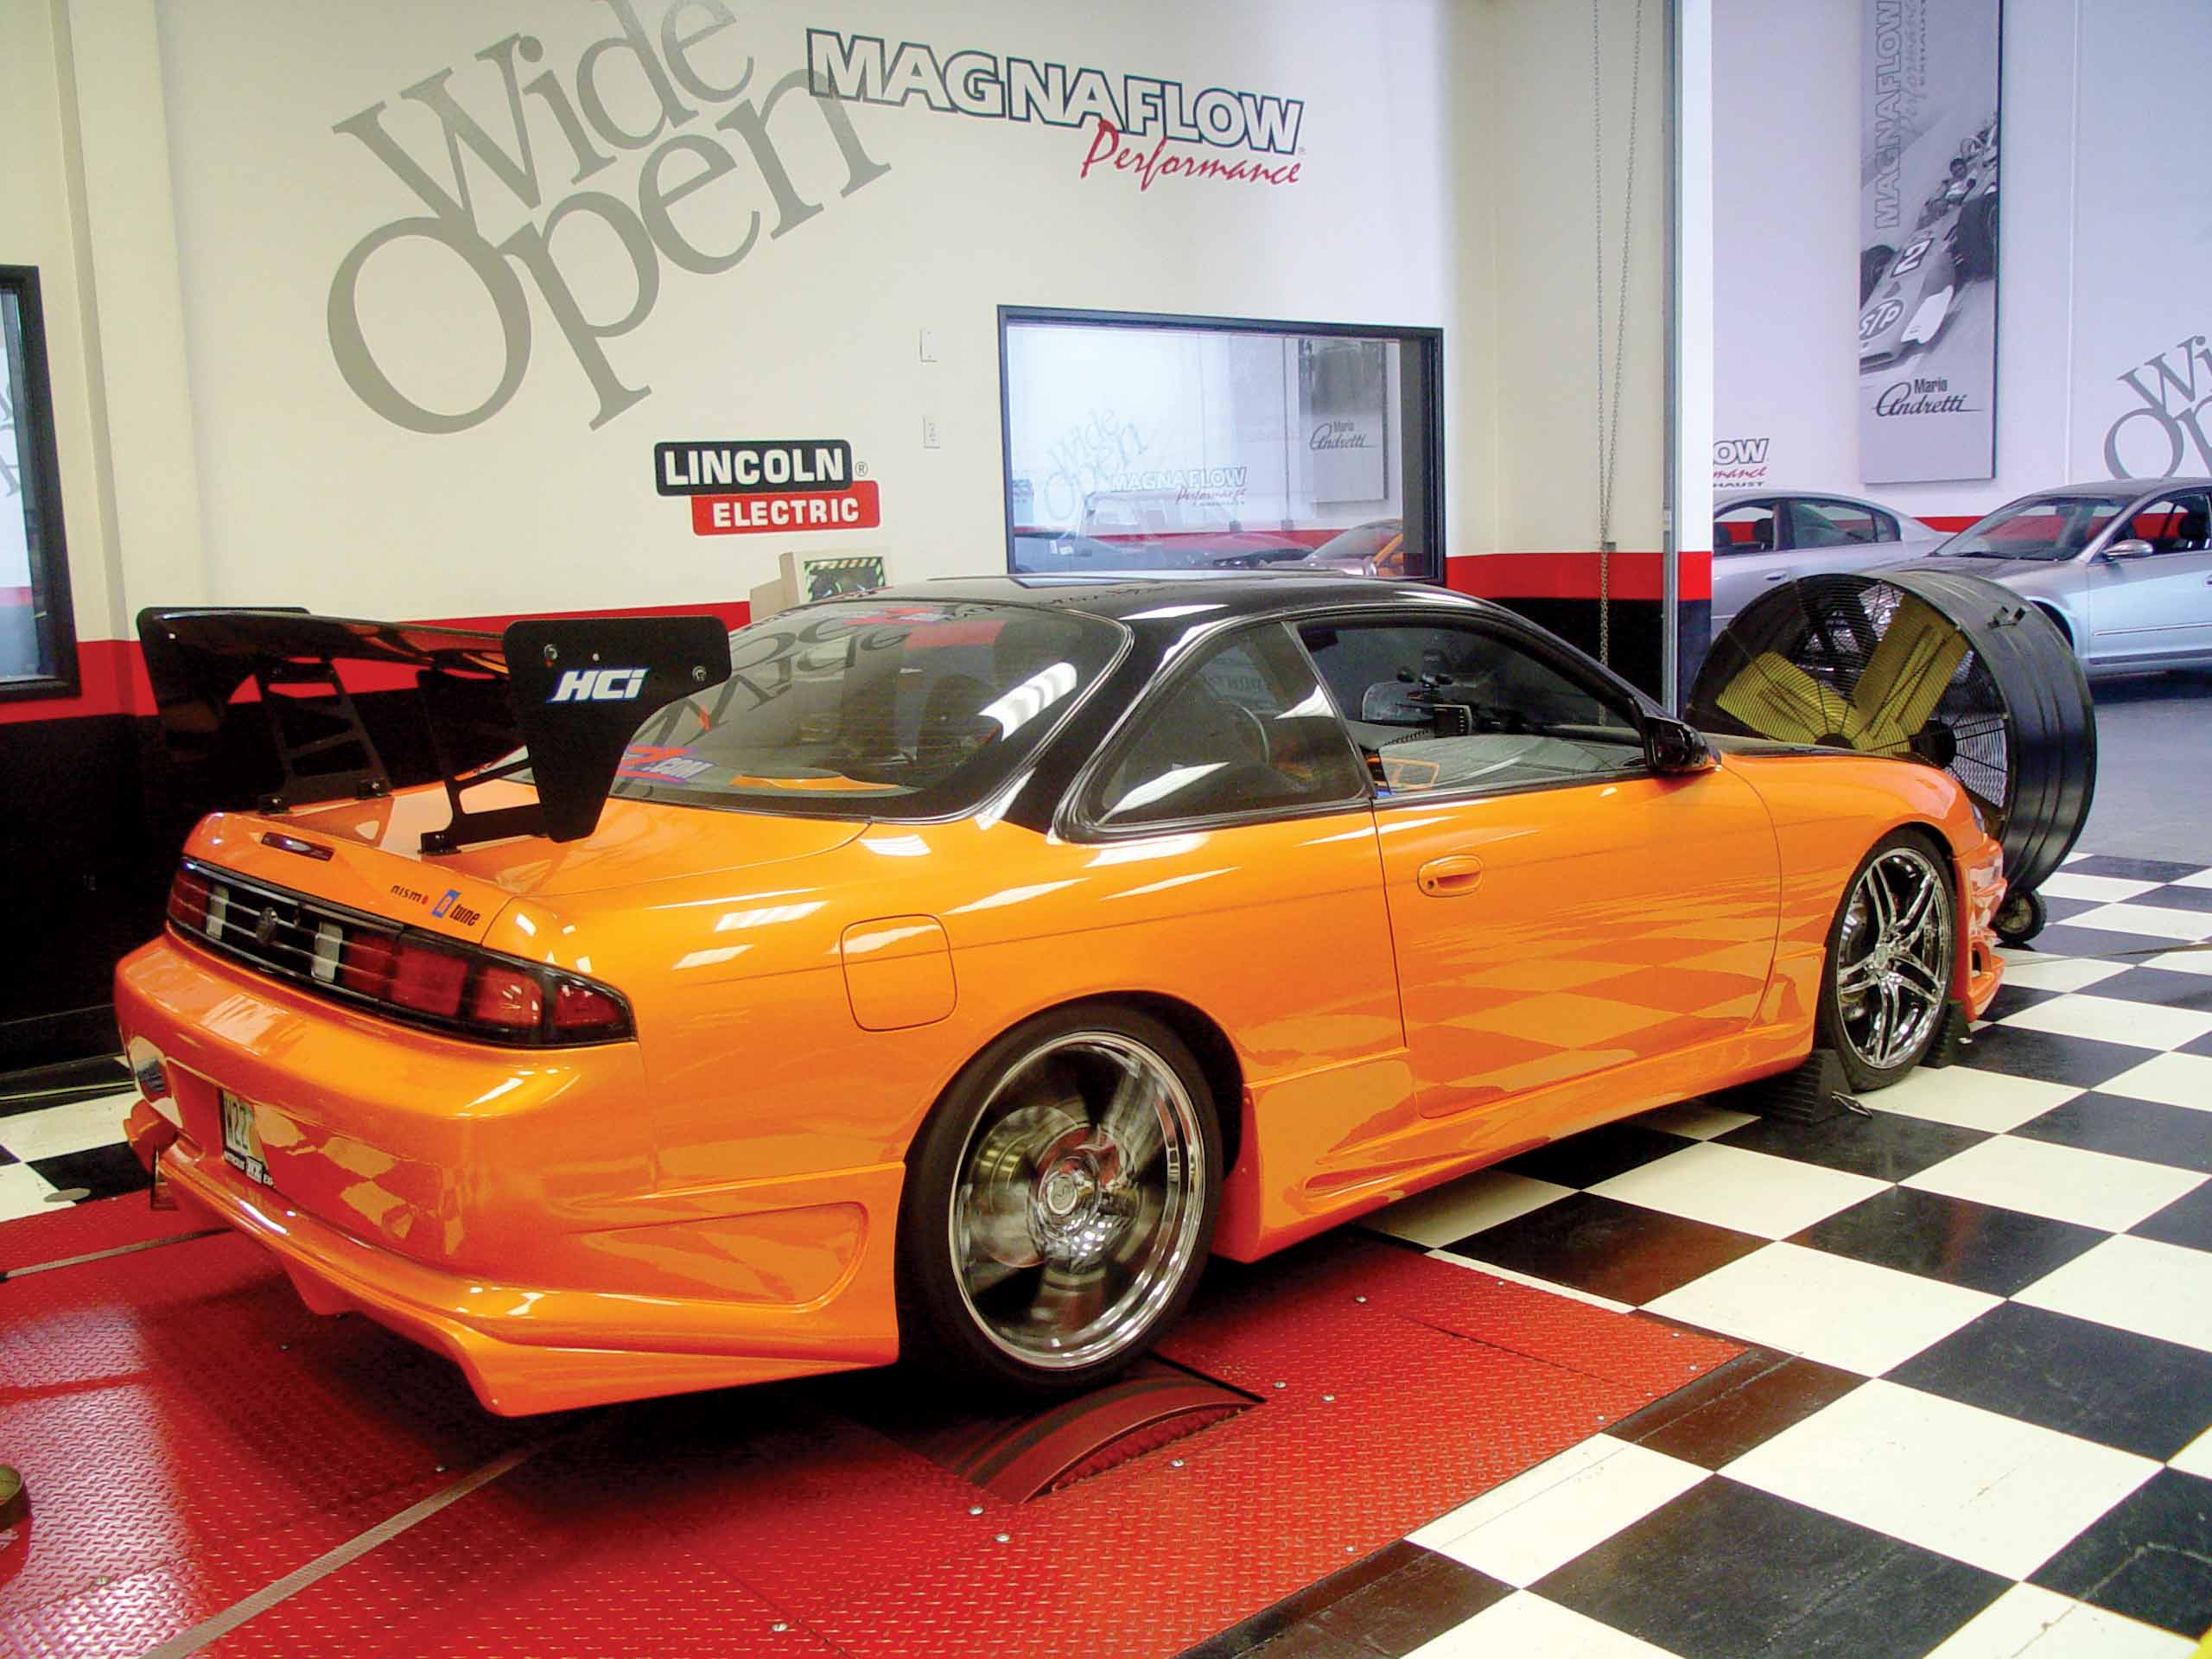
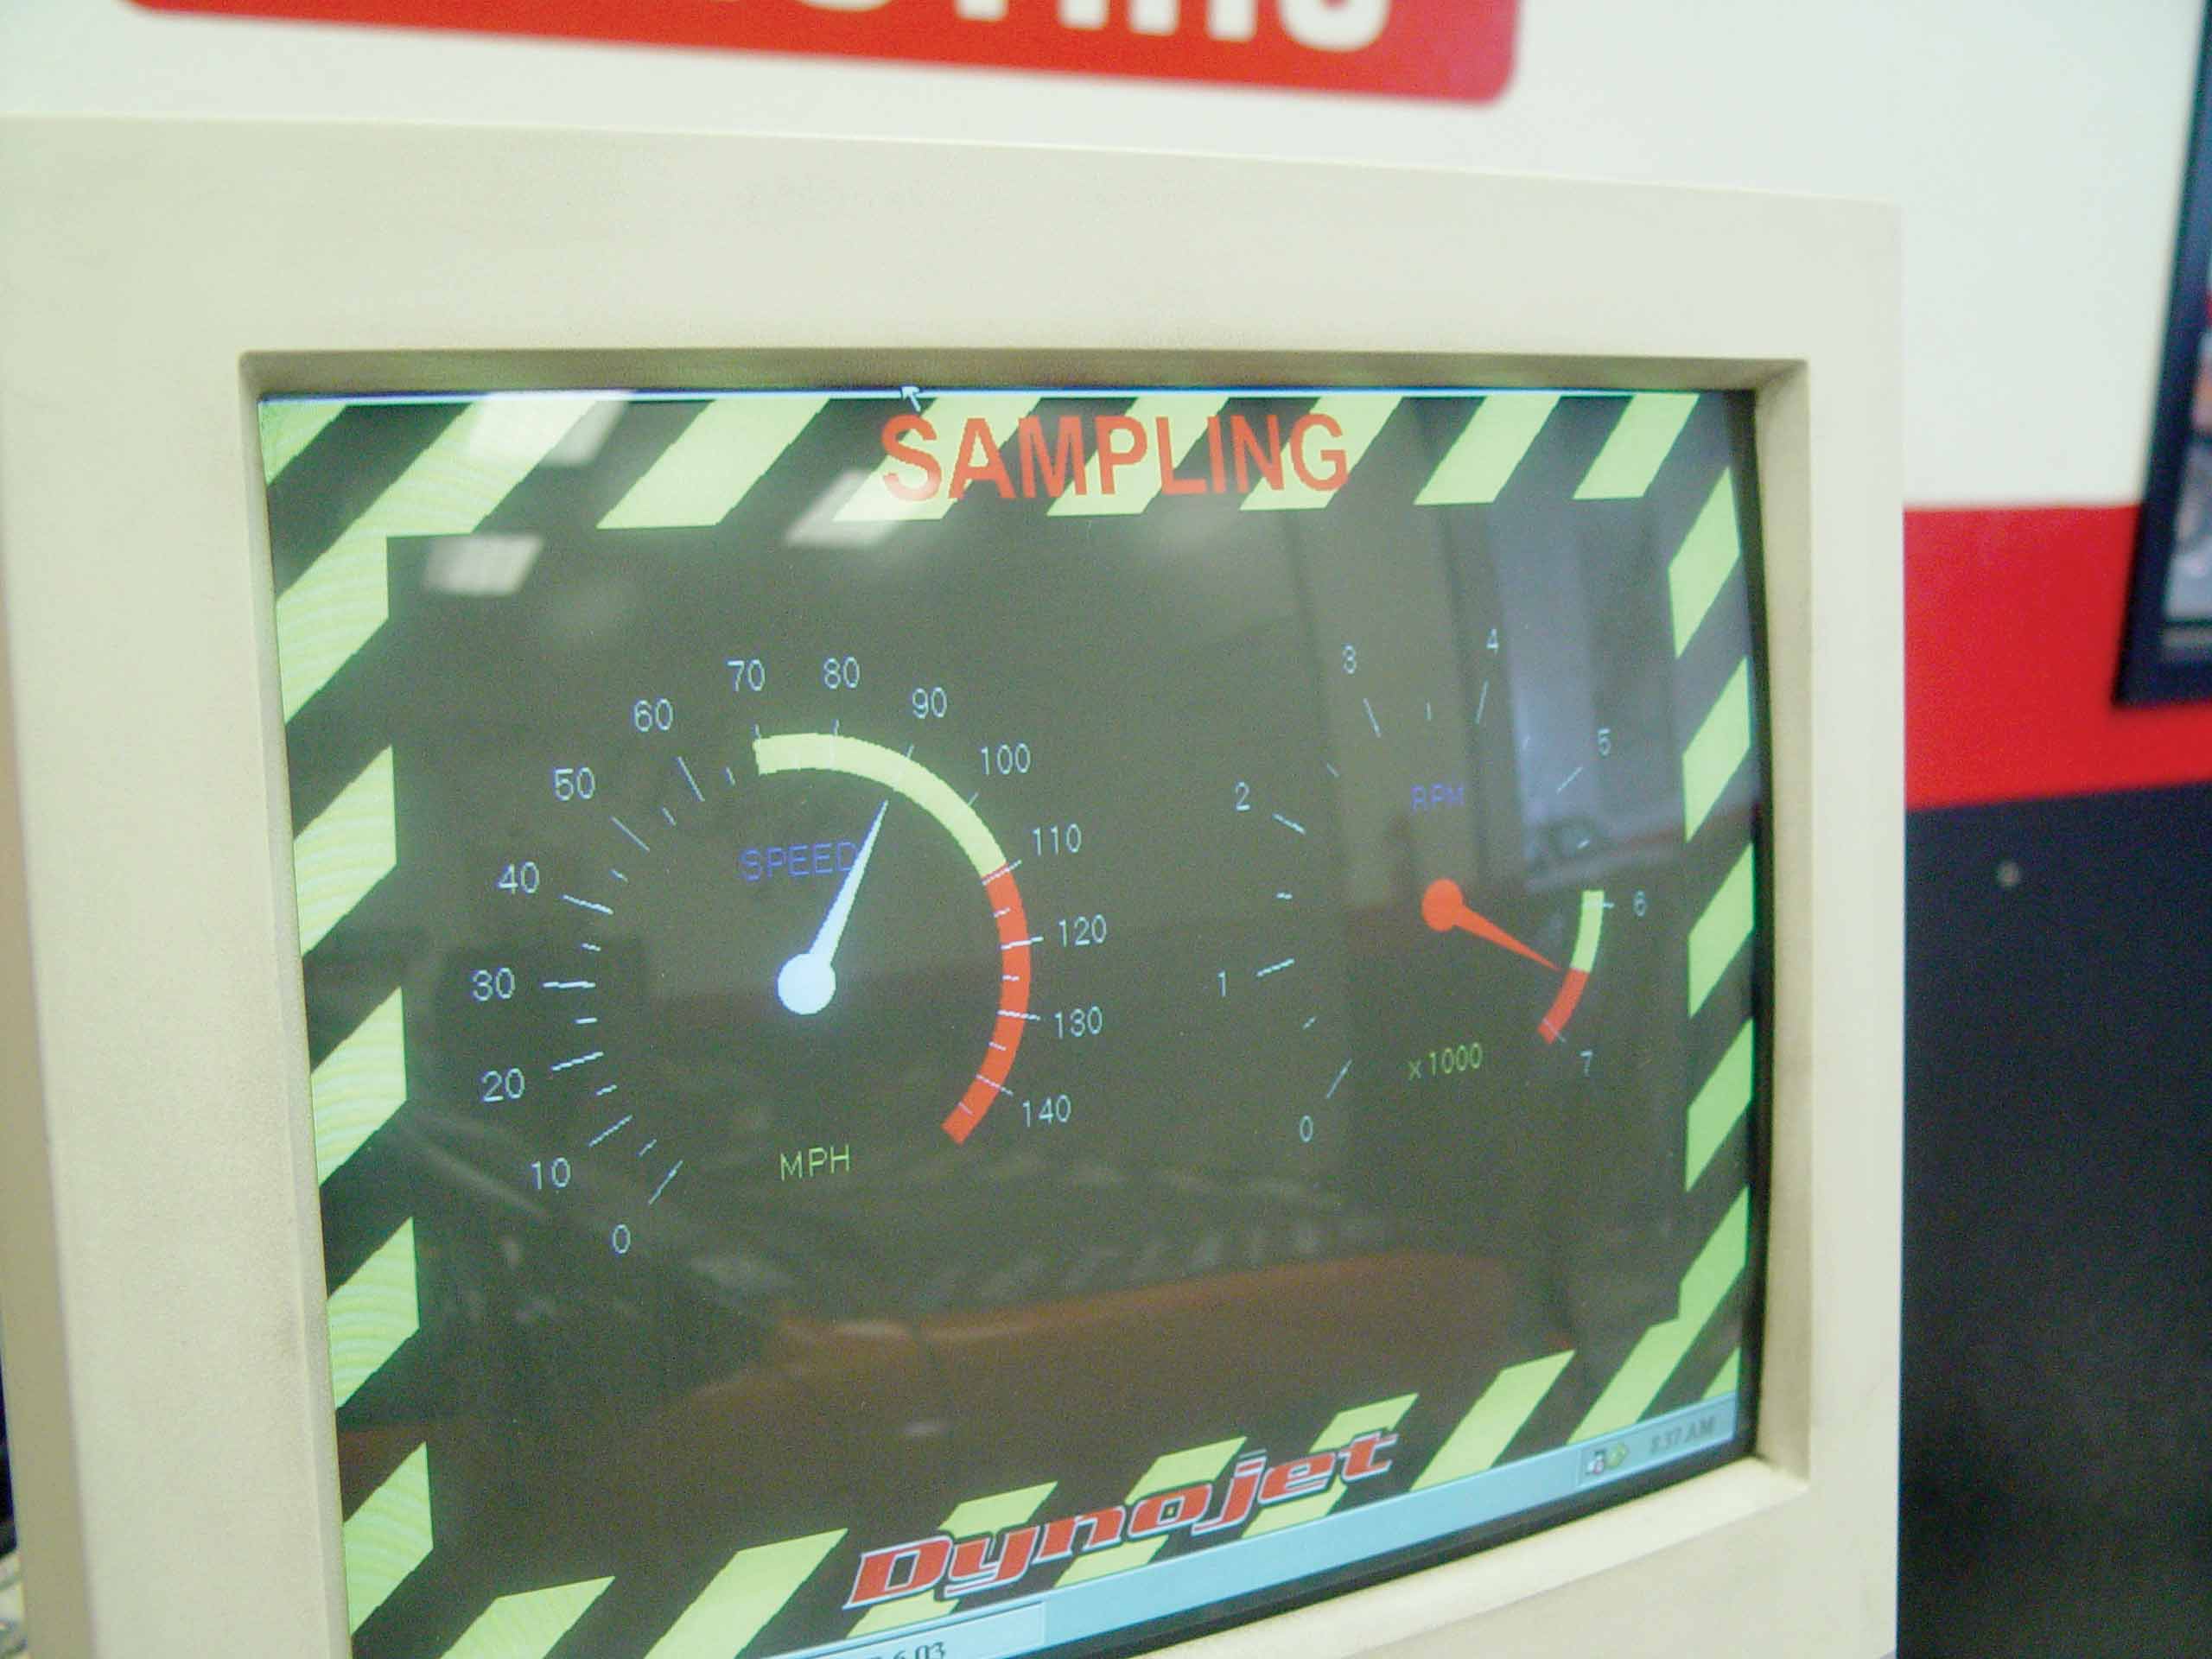
I was given a tour of the huge MagnaFlow Tech Center from Richard Waitas, the gentleman in charge of doing the tech install and dyno runs on our new exhaust. The crew offered me a dyno run with my old exhaust and promised it would perform other dyno runs after the new MagnaFlow Titanium Exhaust was installed. After strapping the 240SX in and double-checking all the straps, we were ready to rock and roll with the first couple of dyno passes.
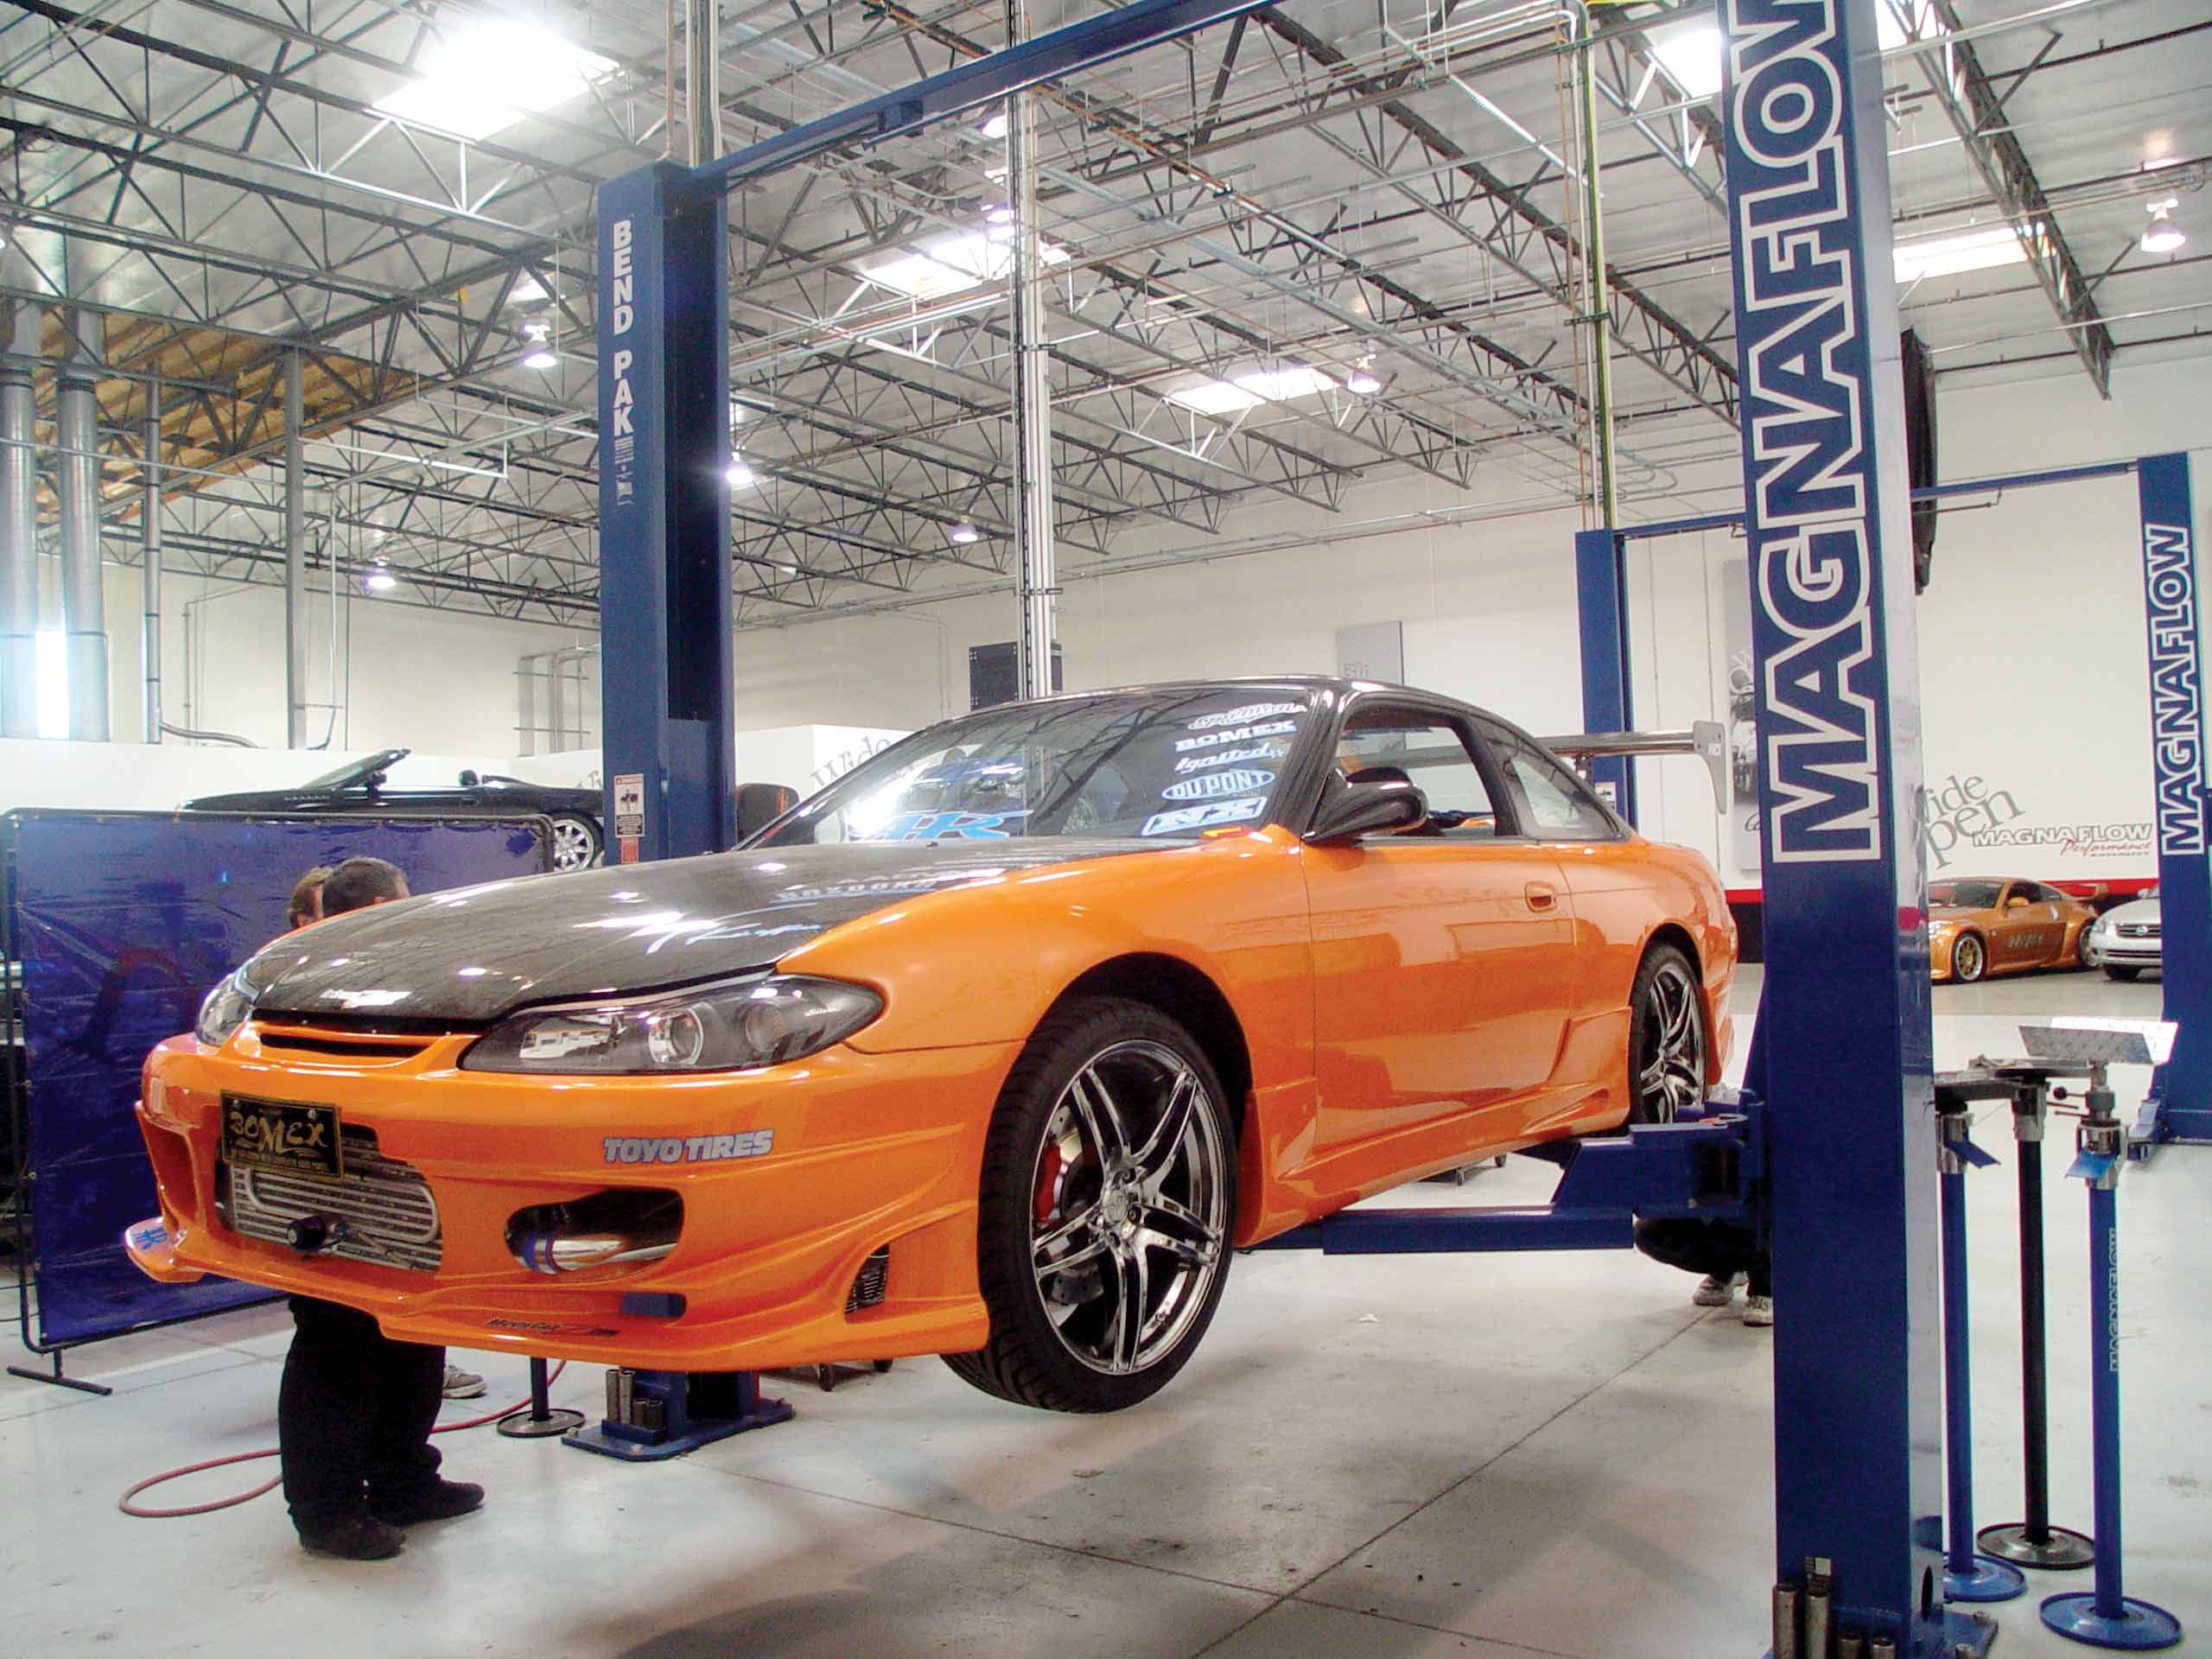
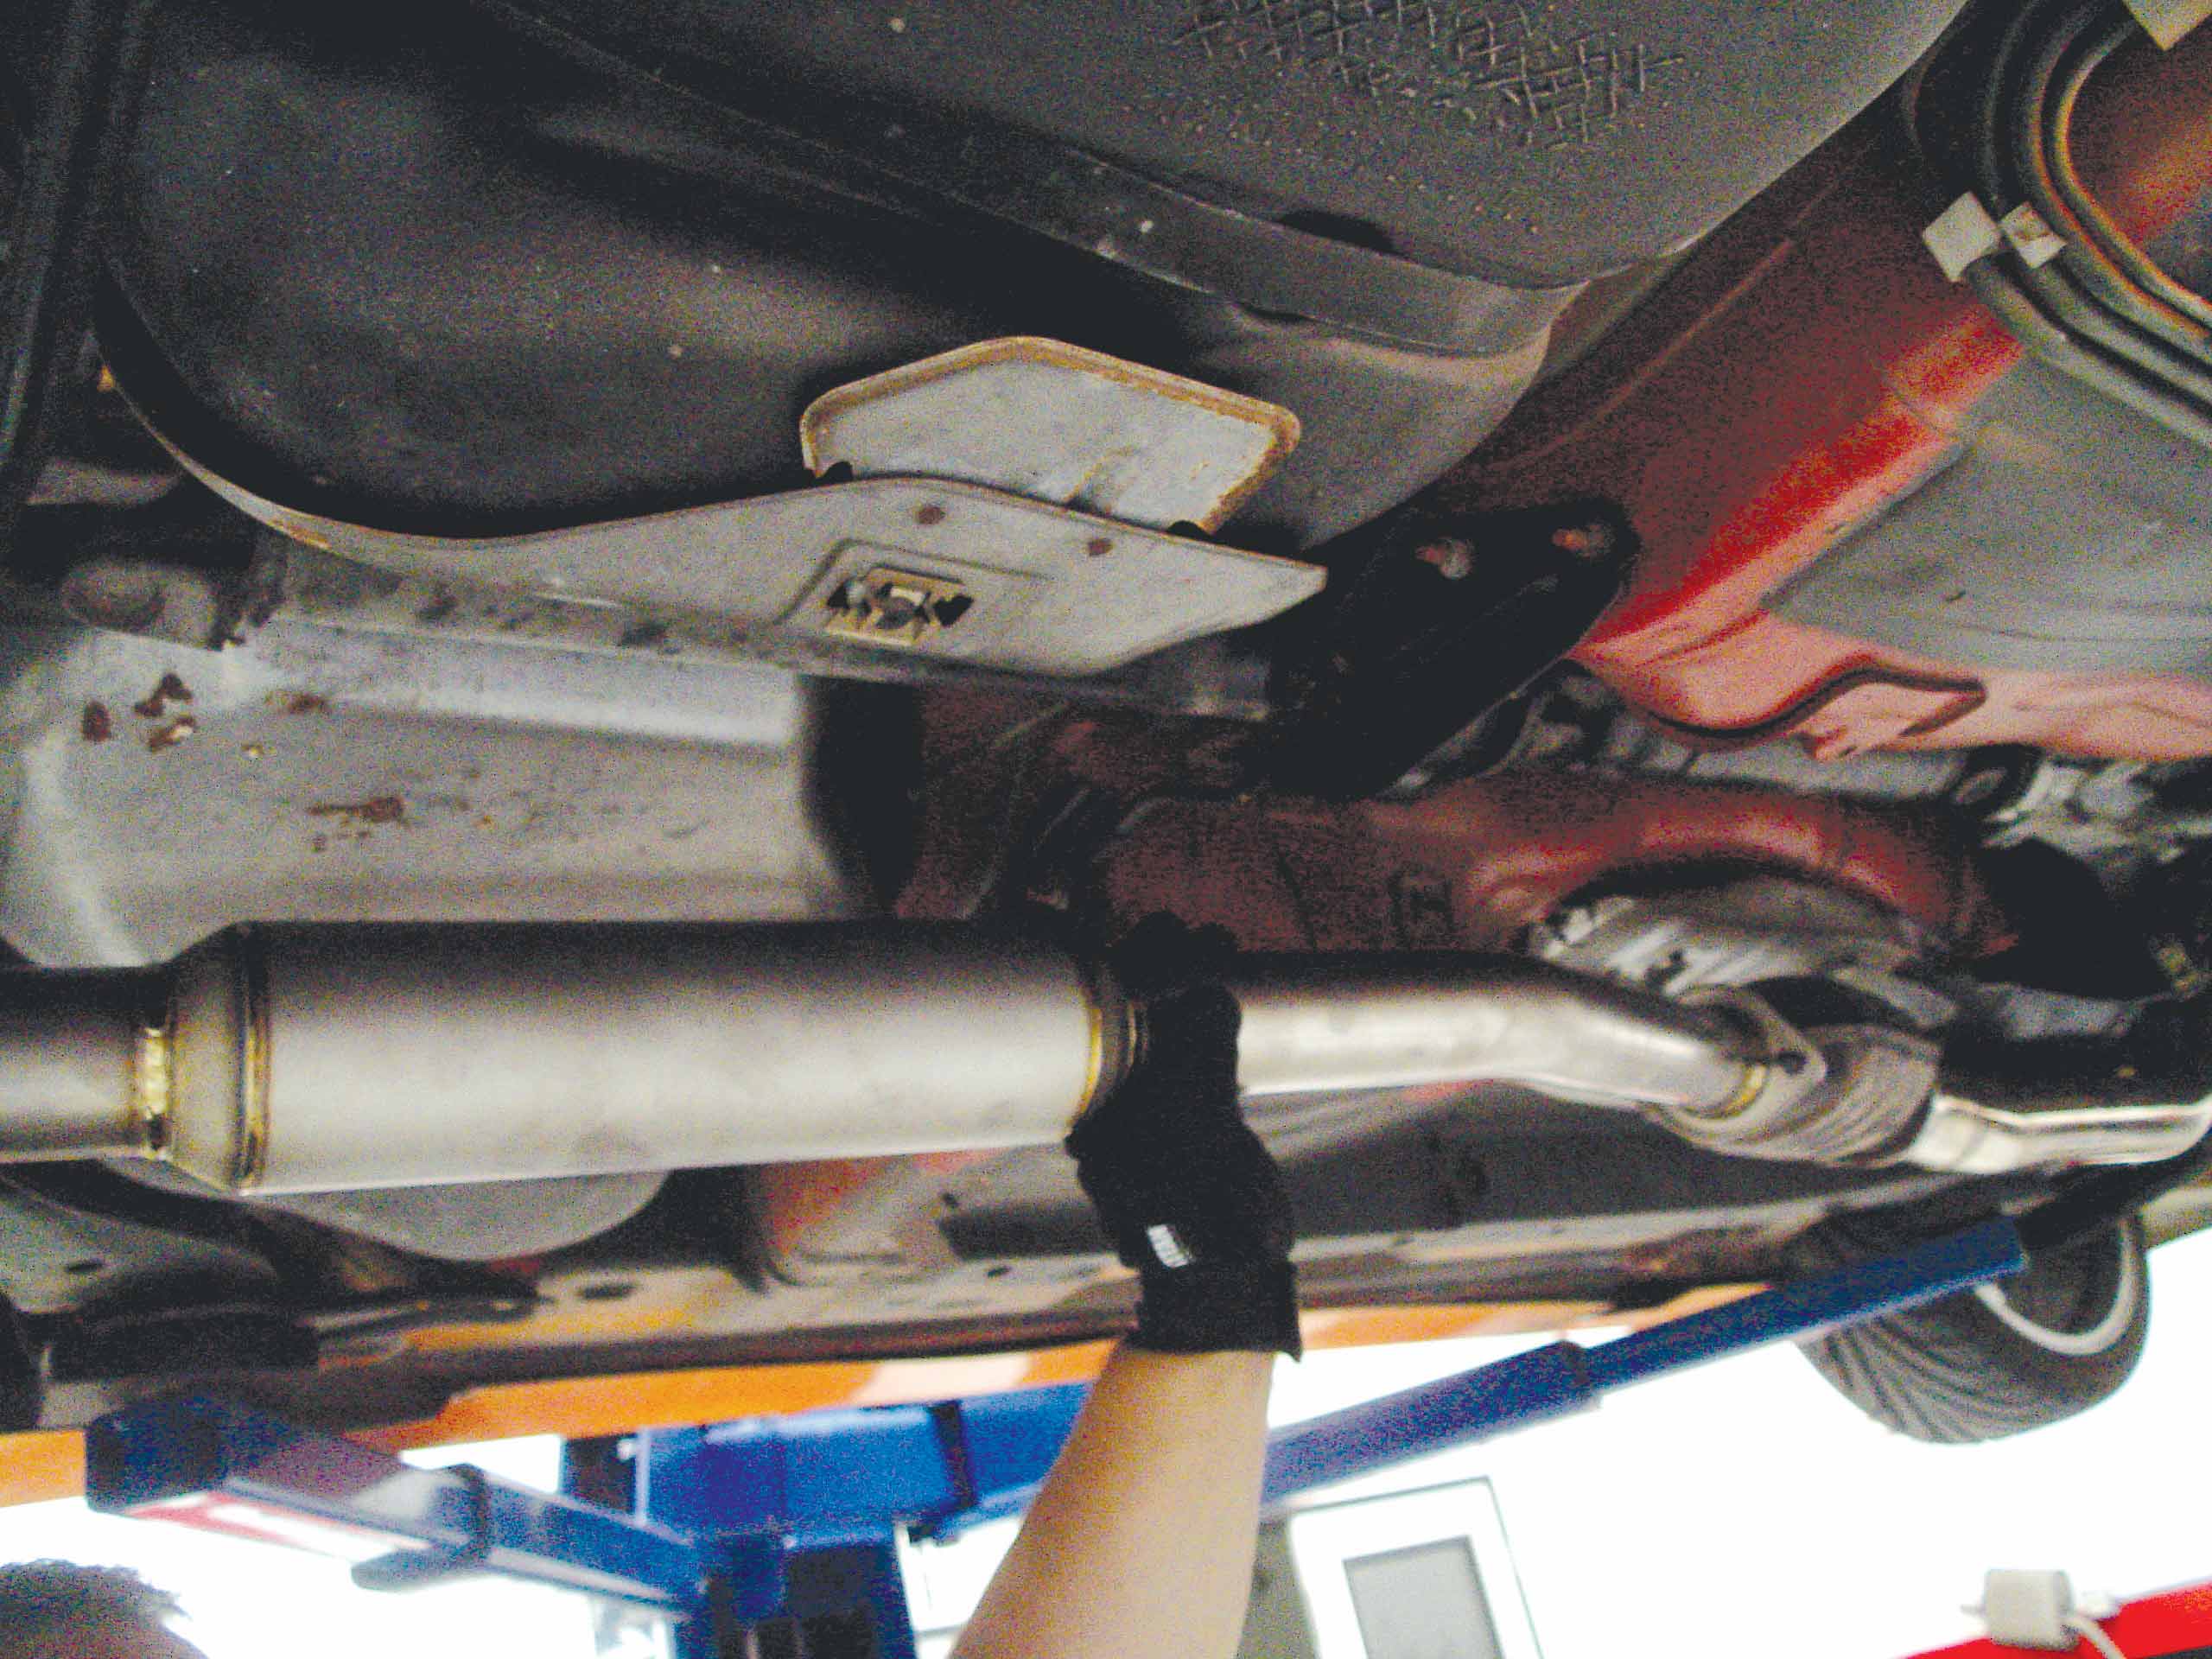
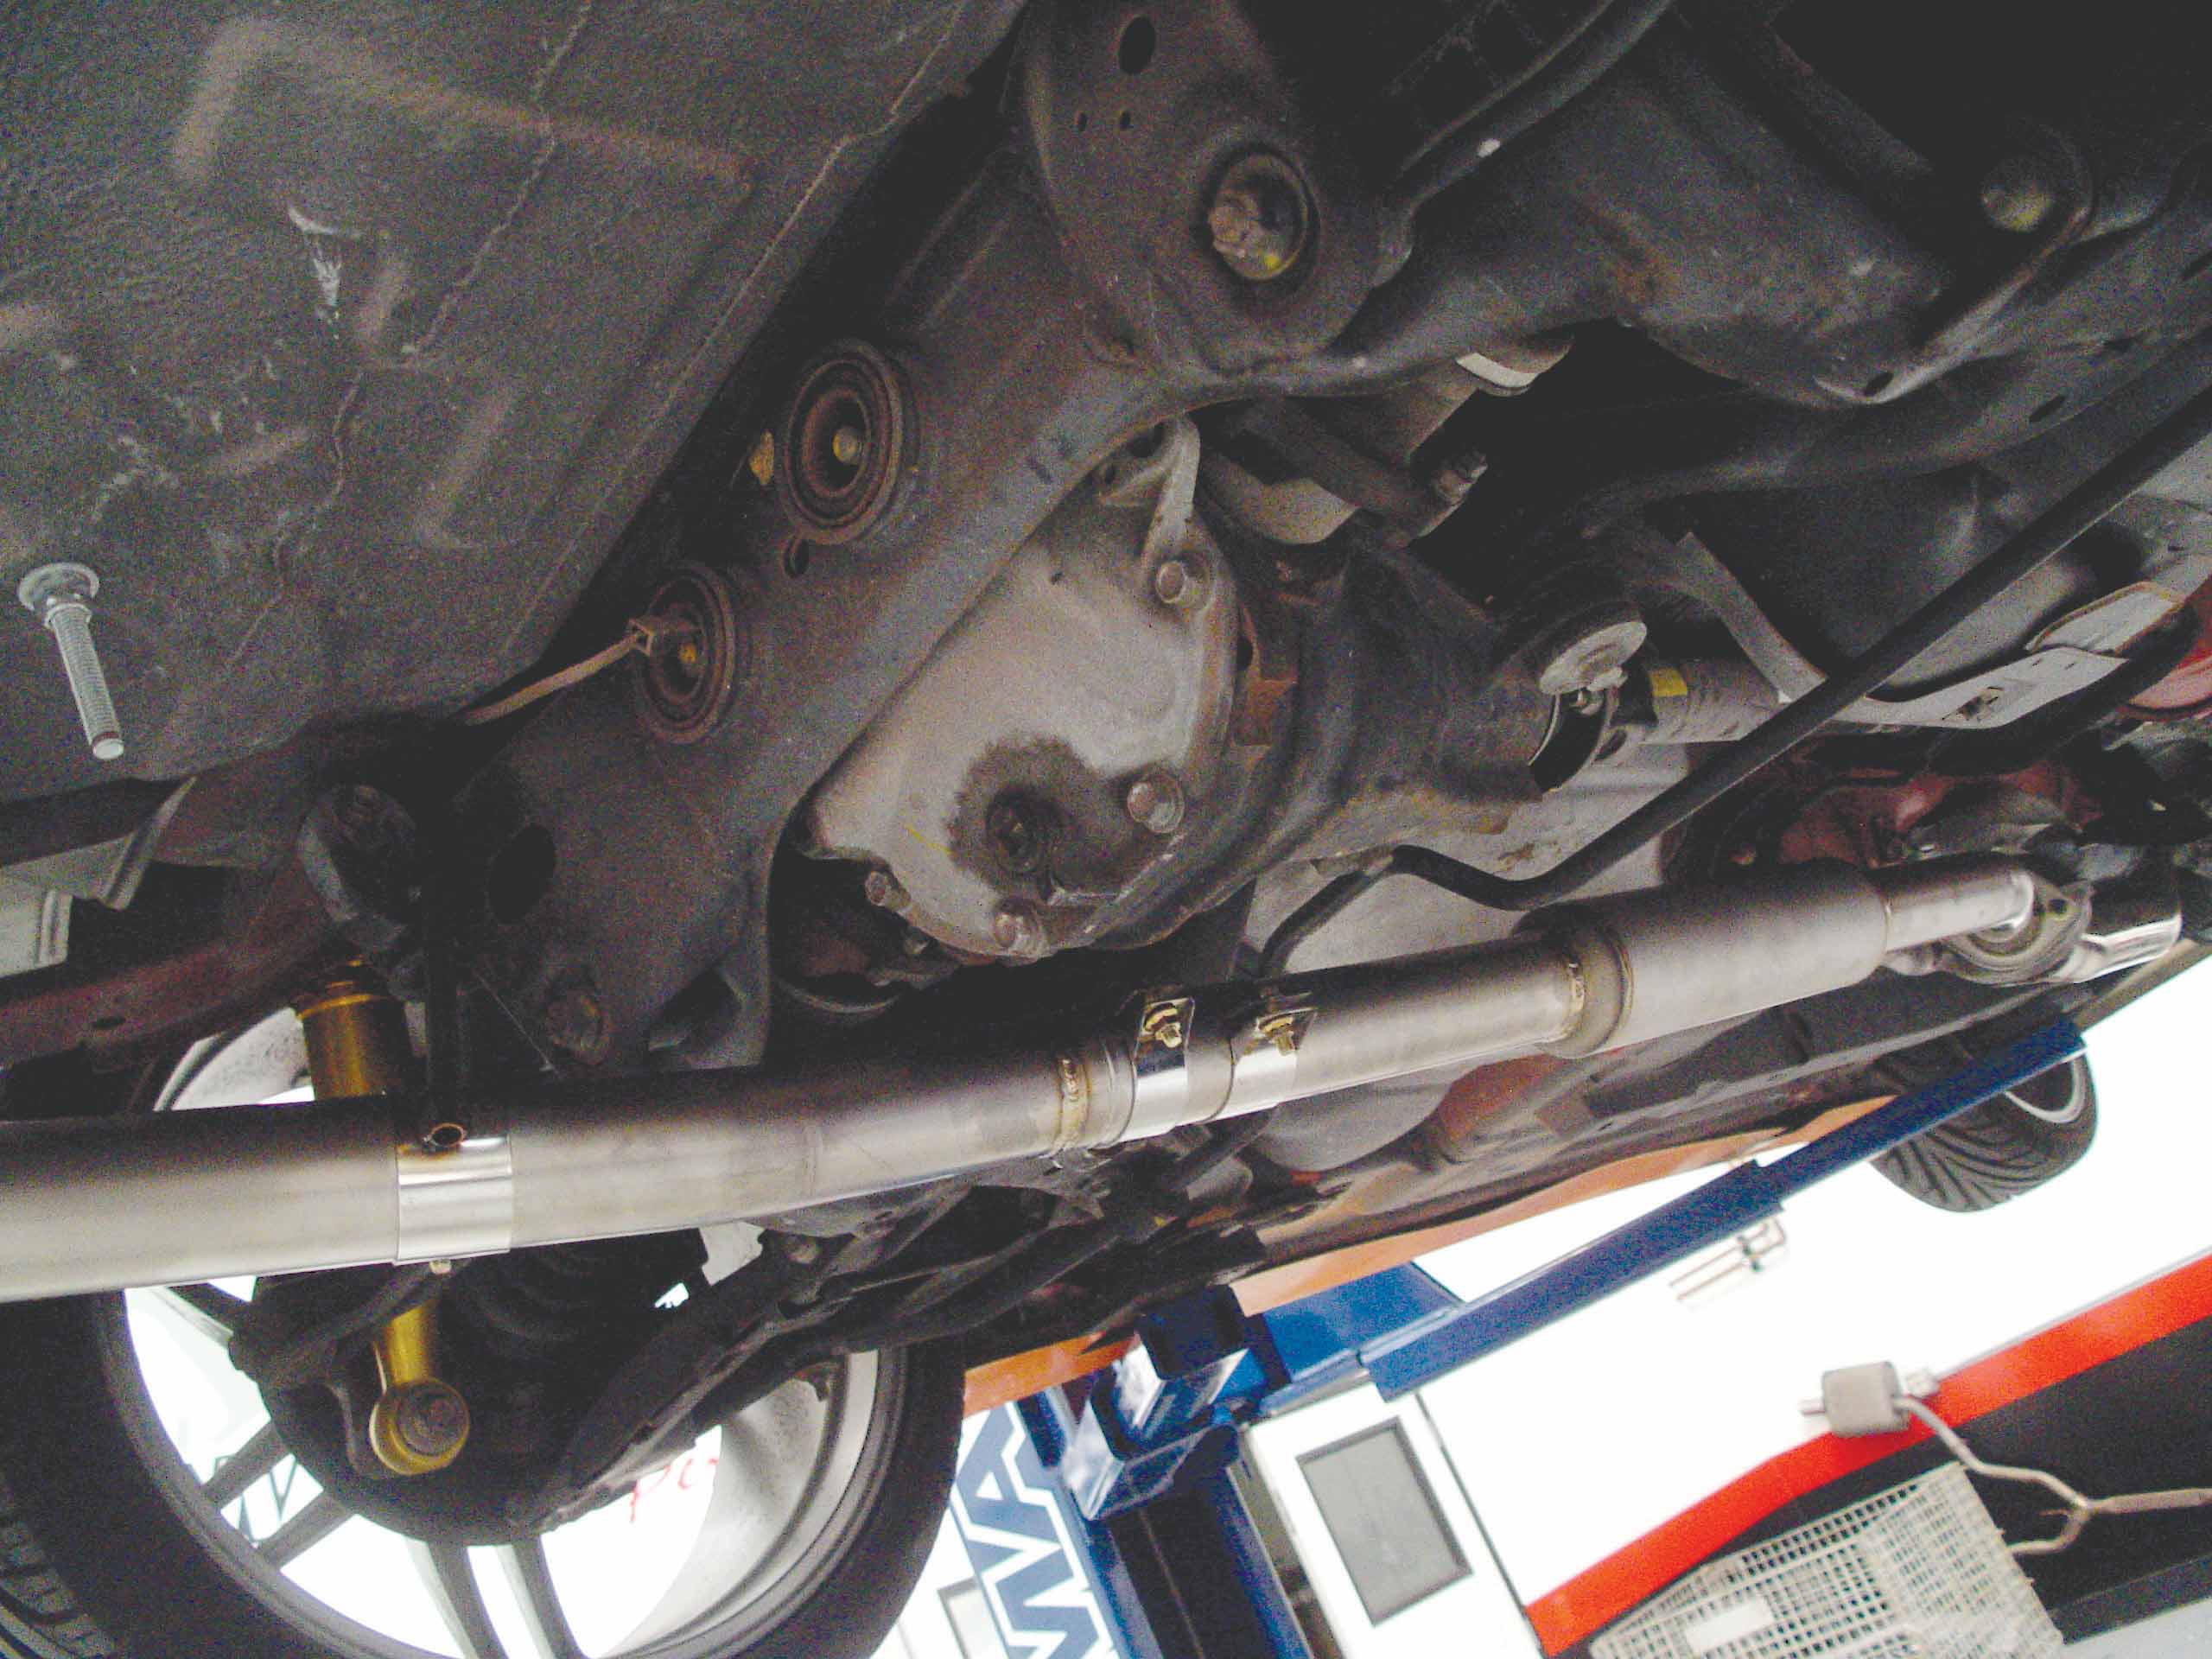
After four passes, Waitas was satisfied with the numbers and it was time to move the car from the dyno onto the lift. As you can tell from the photos, these guys don’t play around. Waitas took a peak underneath the car and made sure that the new exhaust would have no problems bolting on.
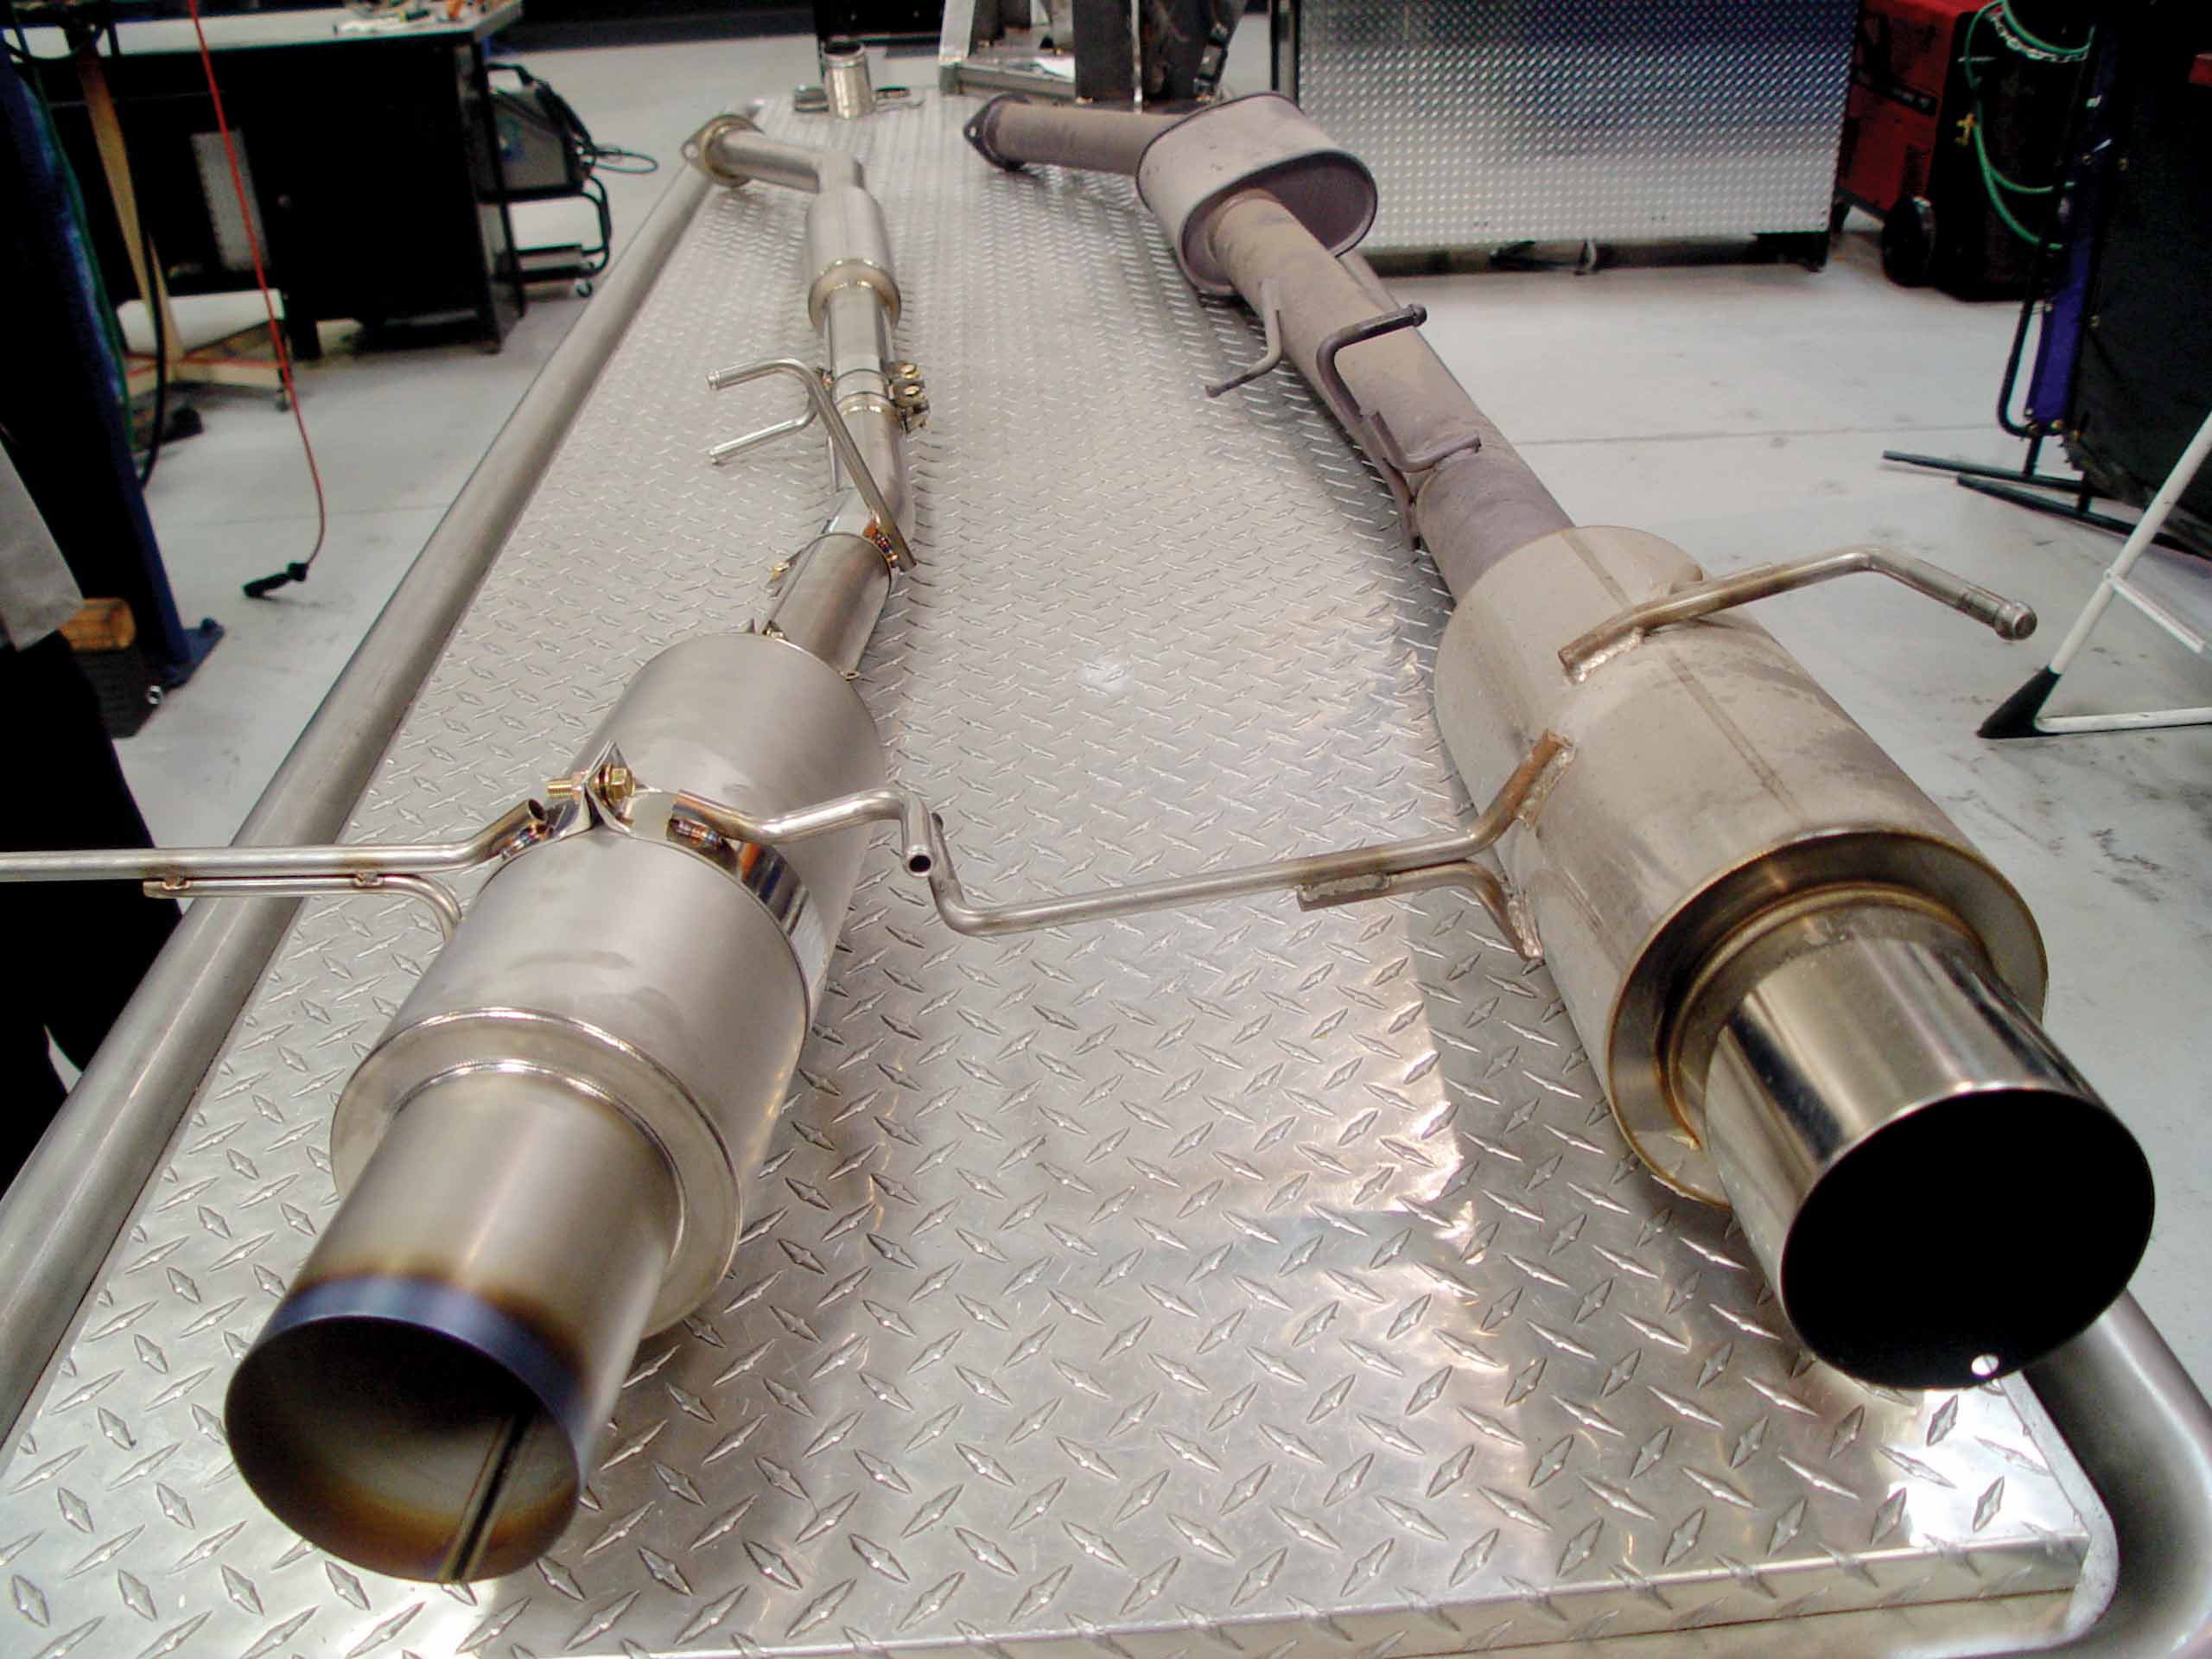
Comparing the Old Exhaust vs. the Titanium System
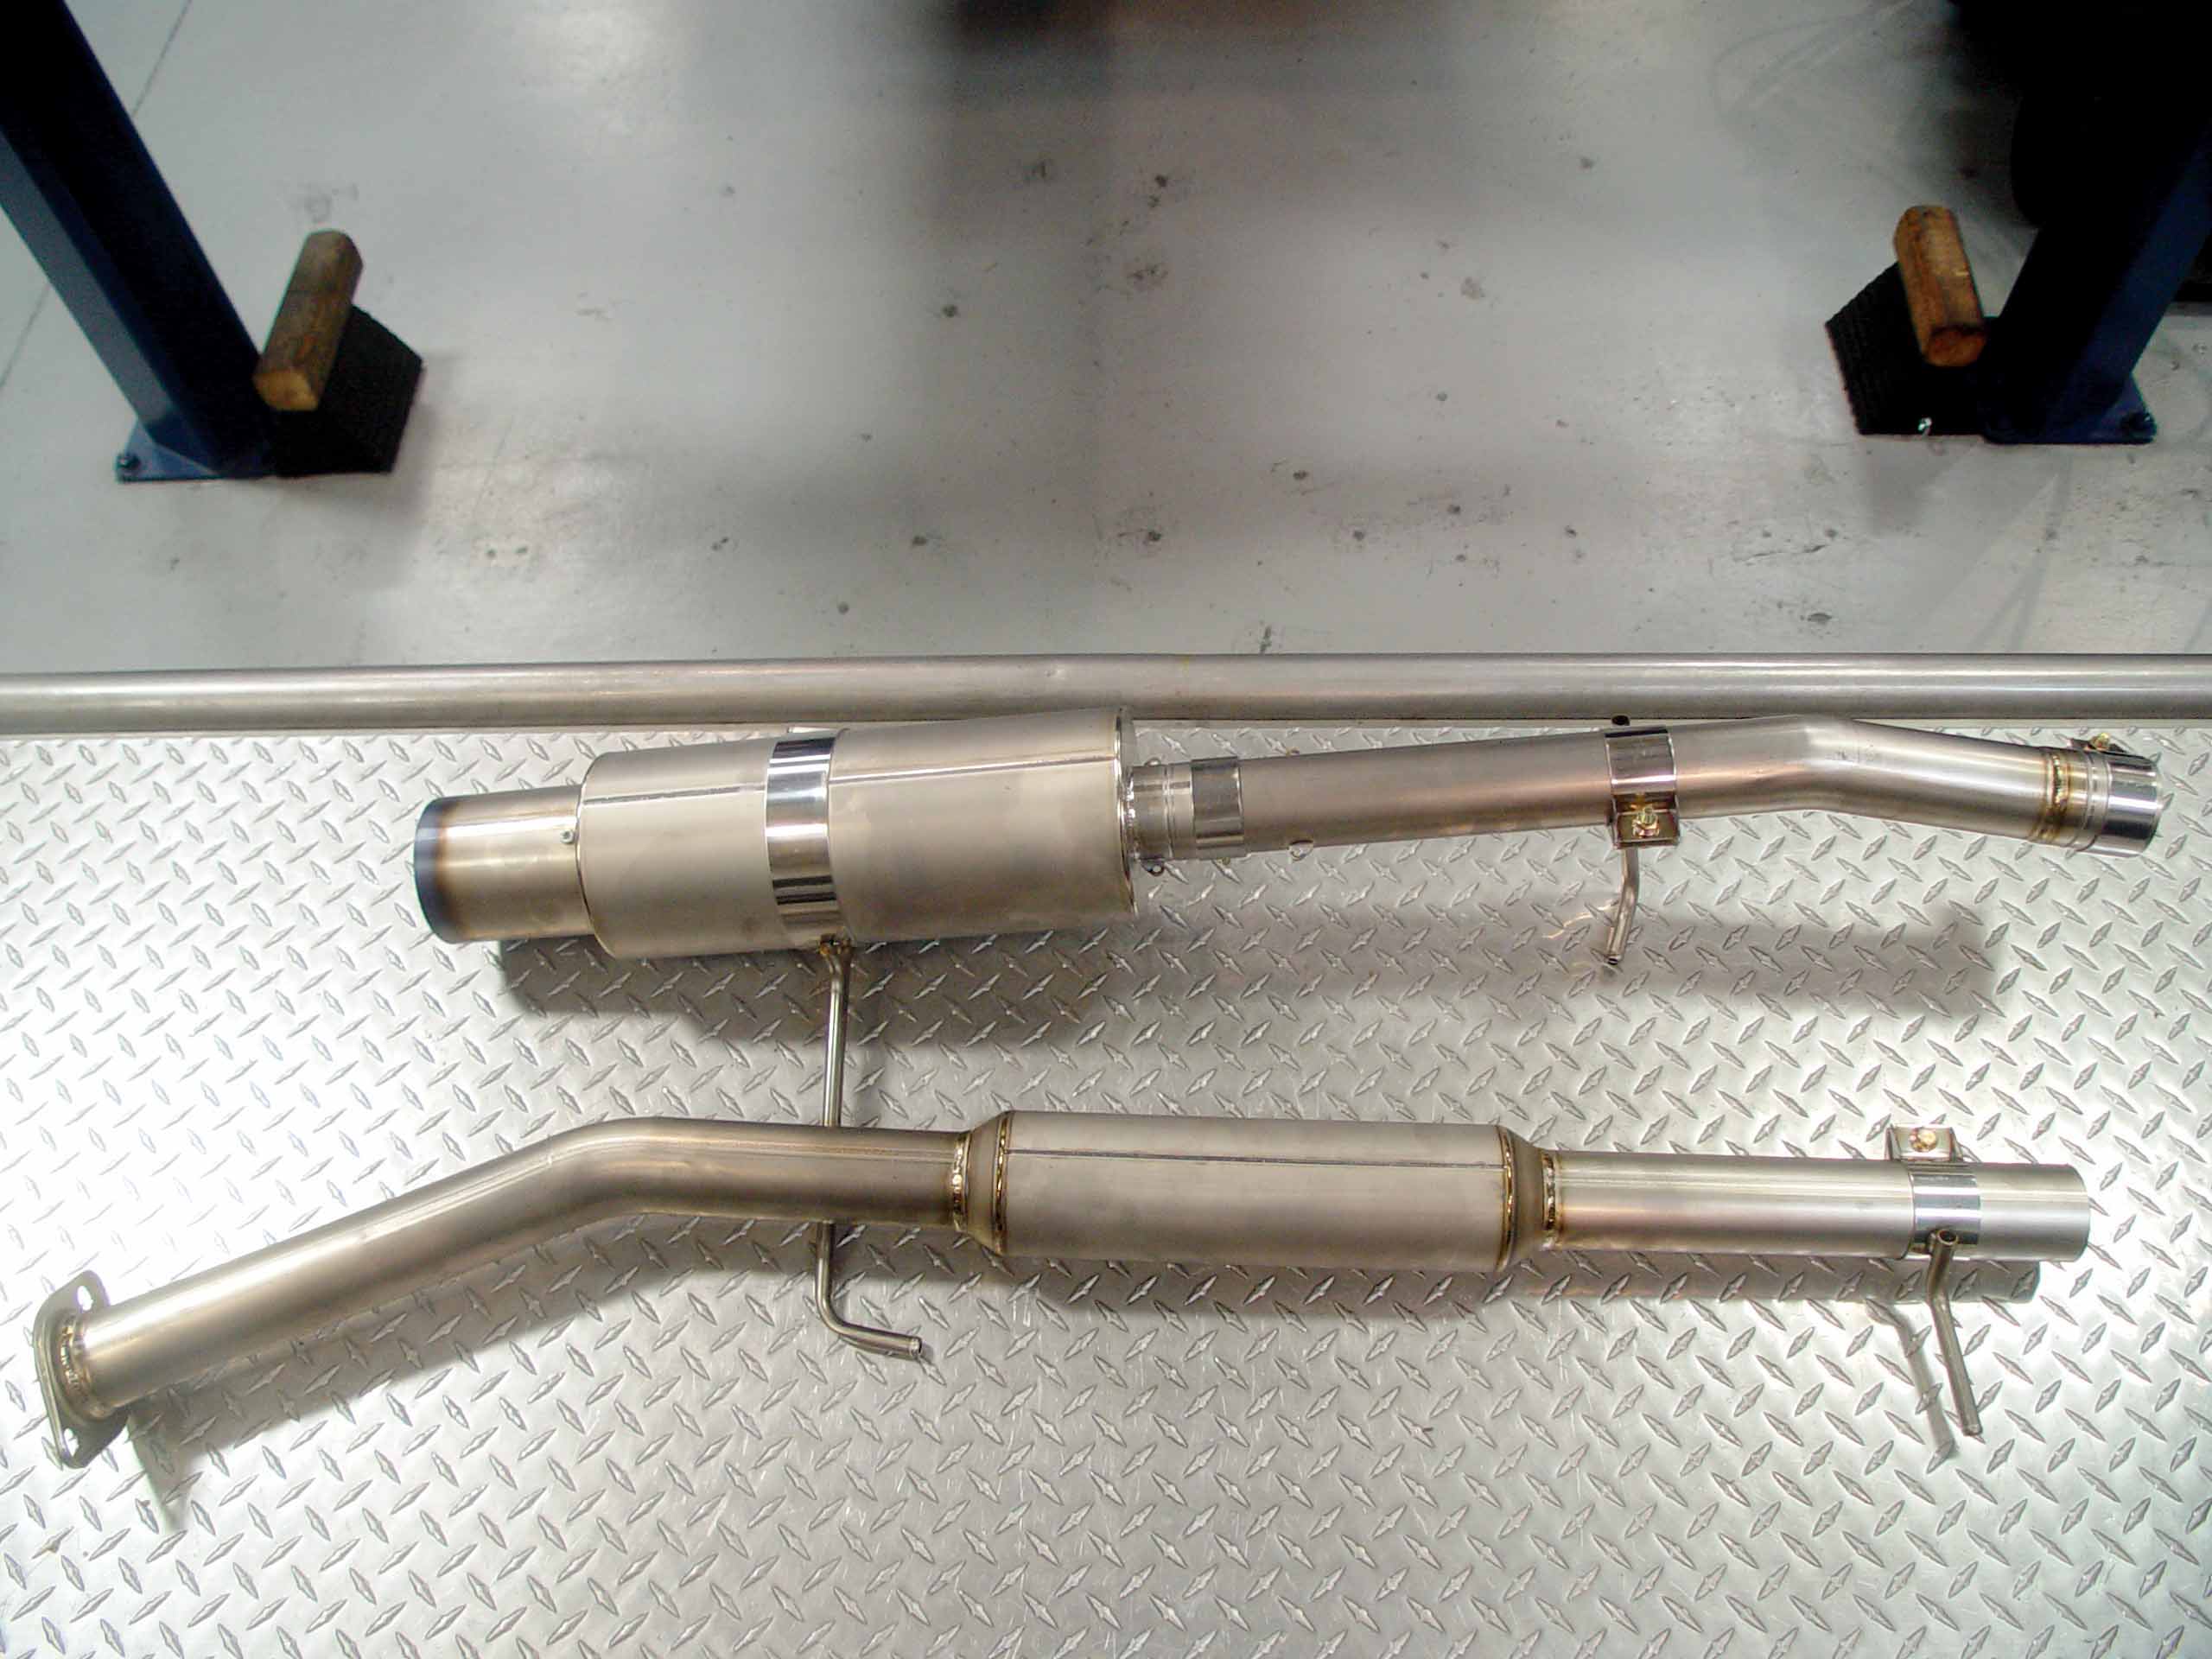
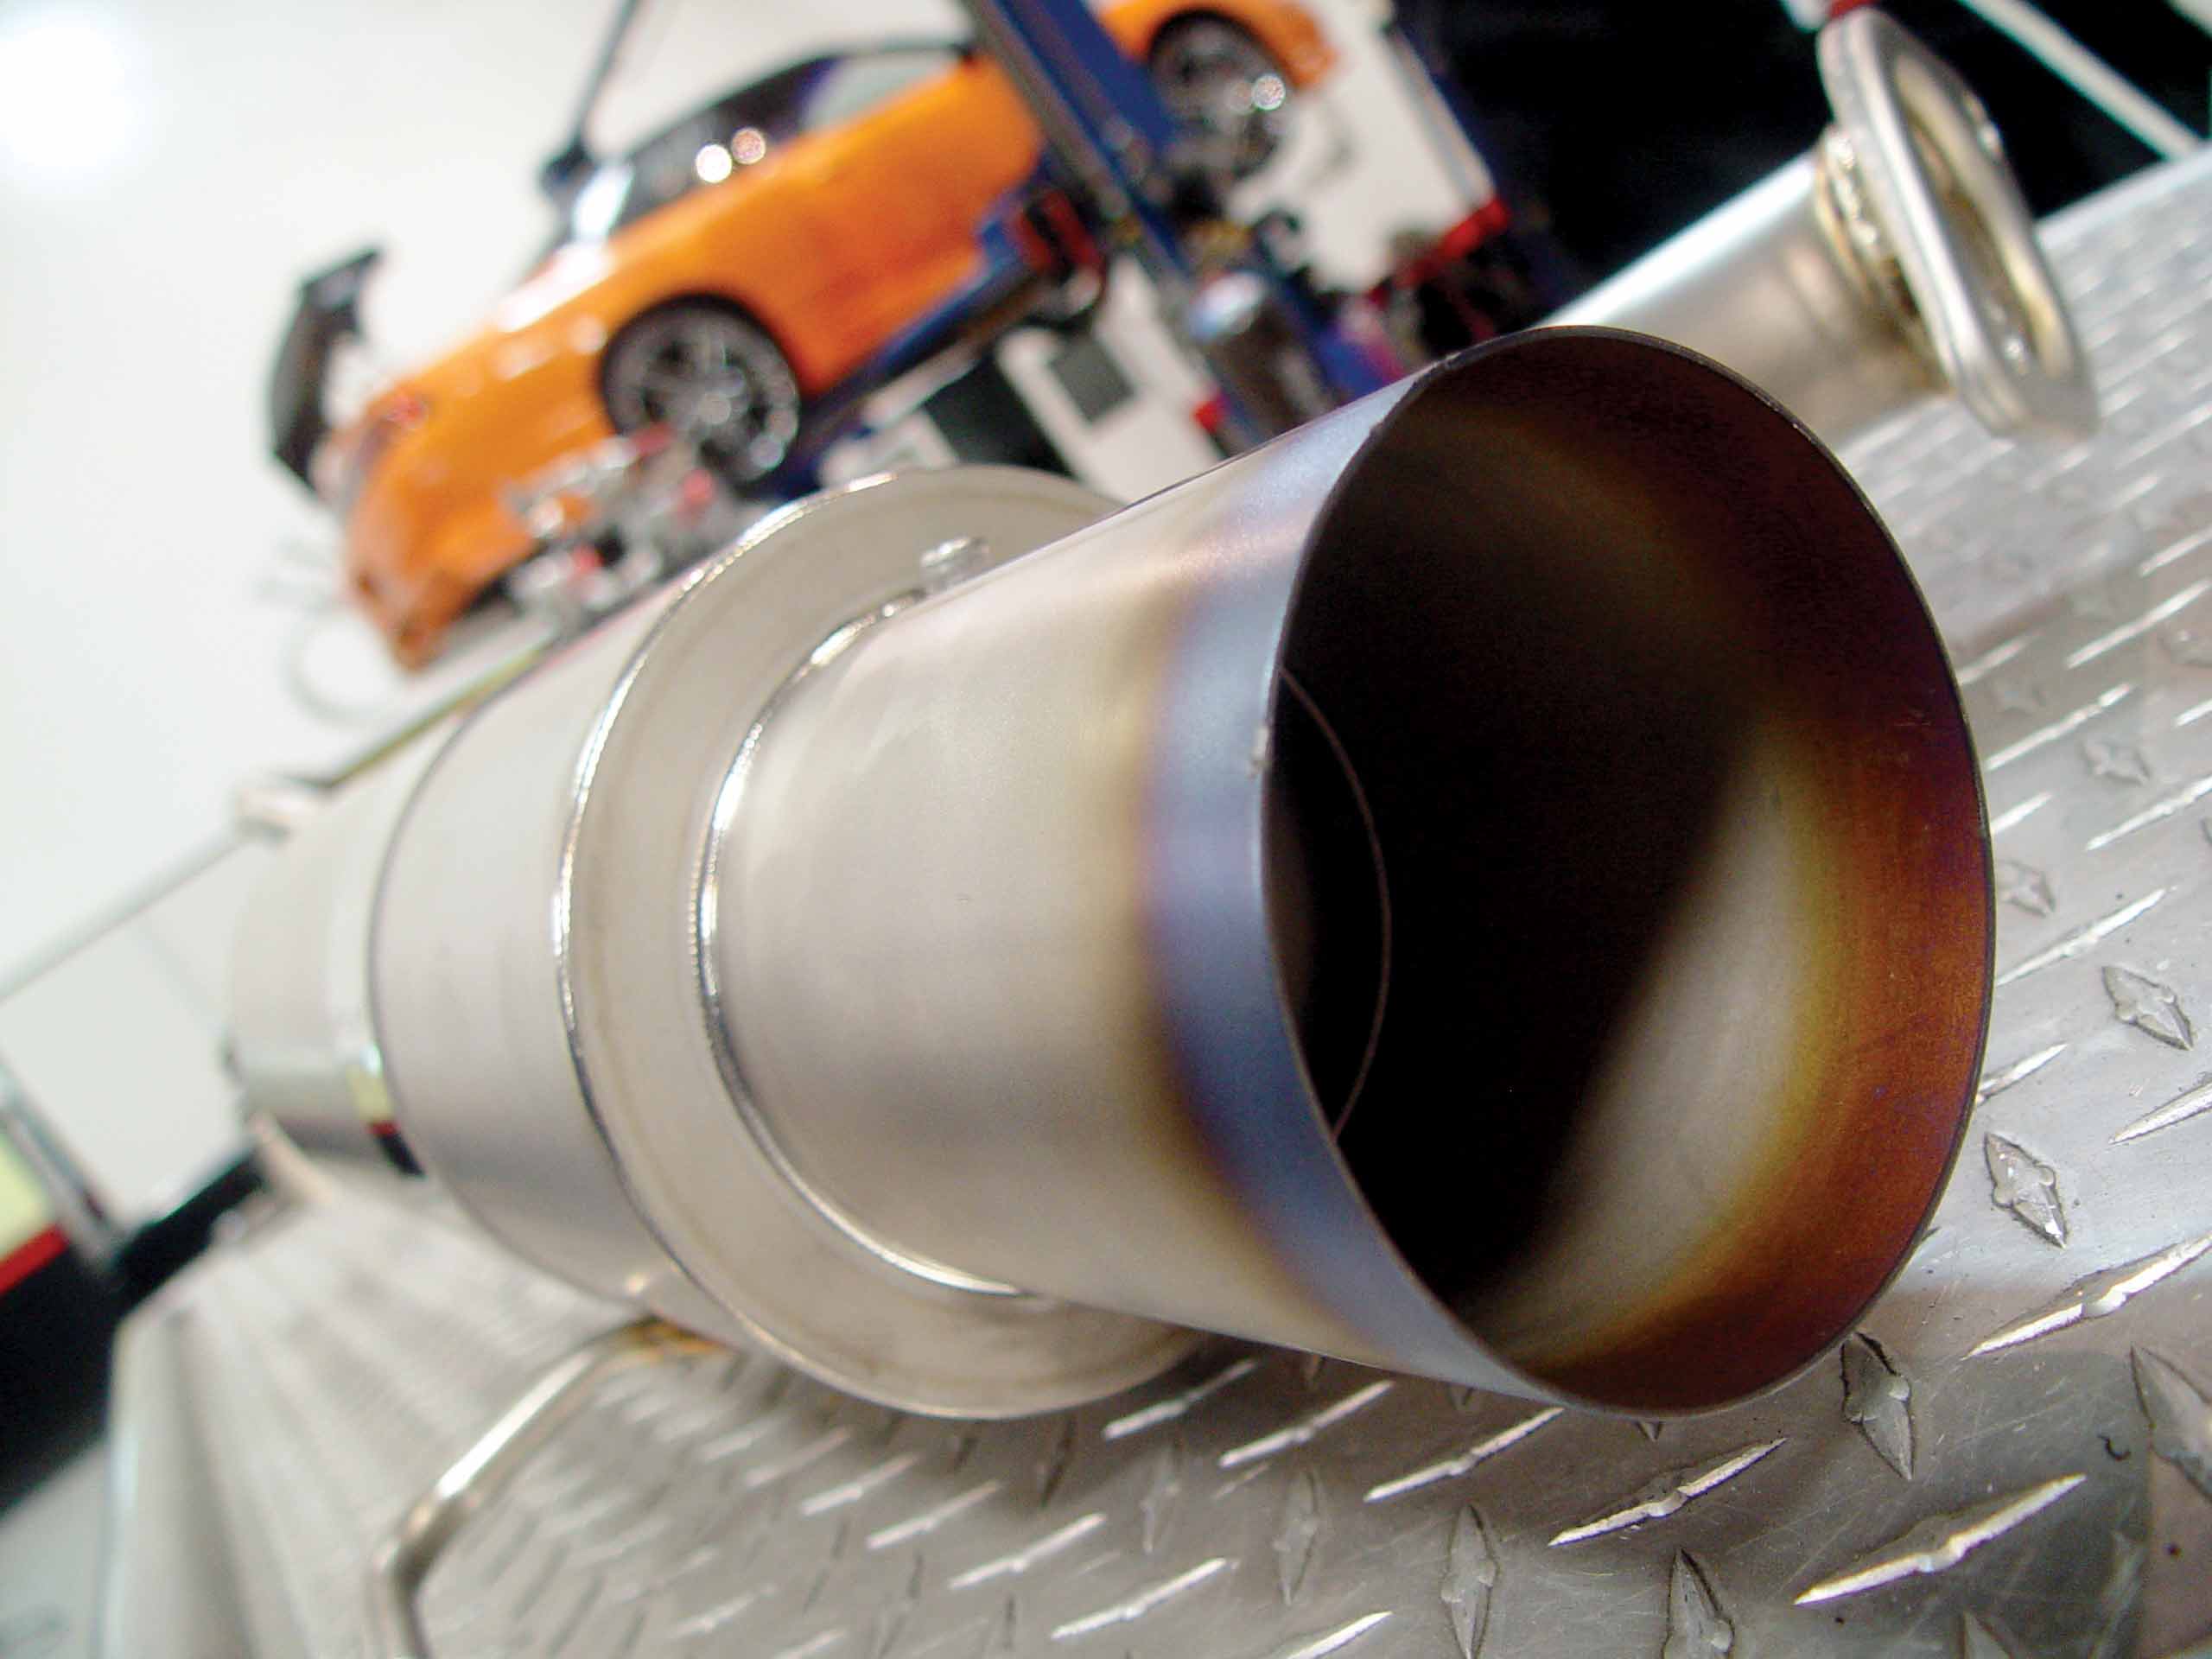
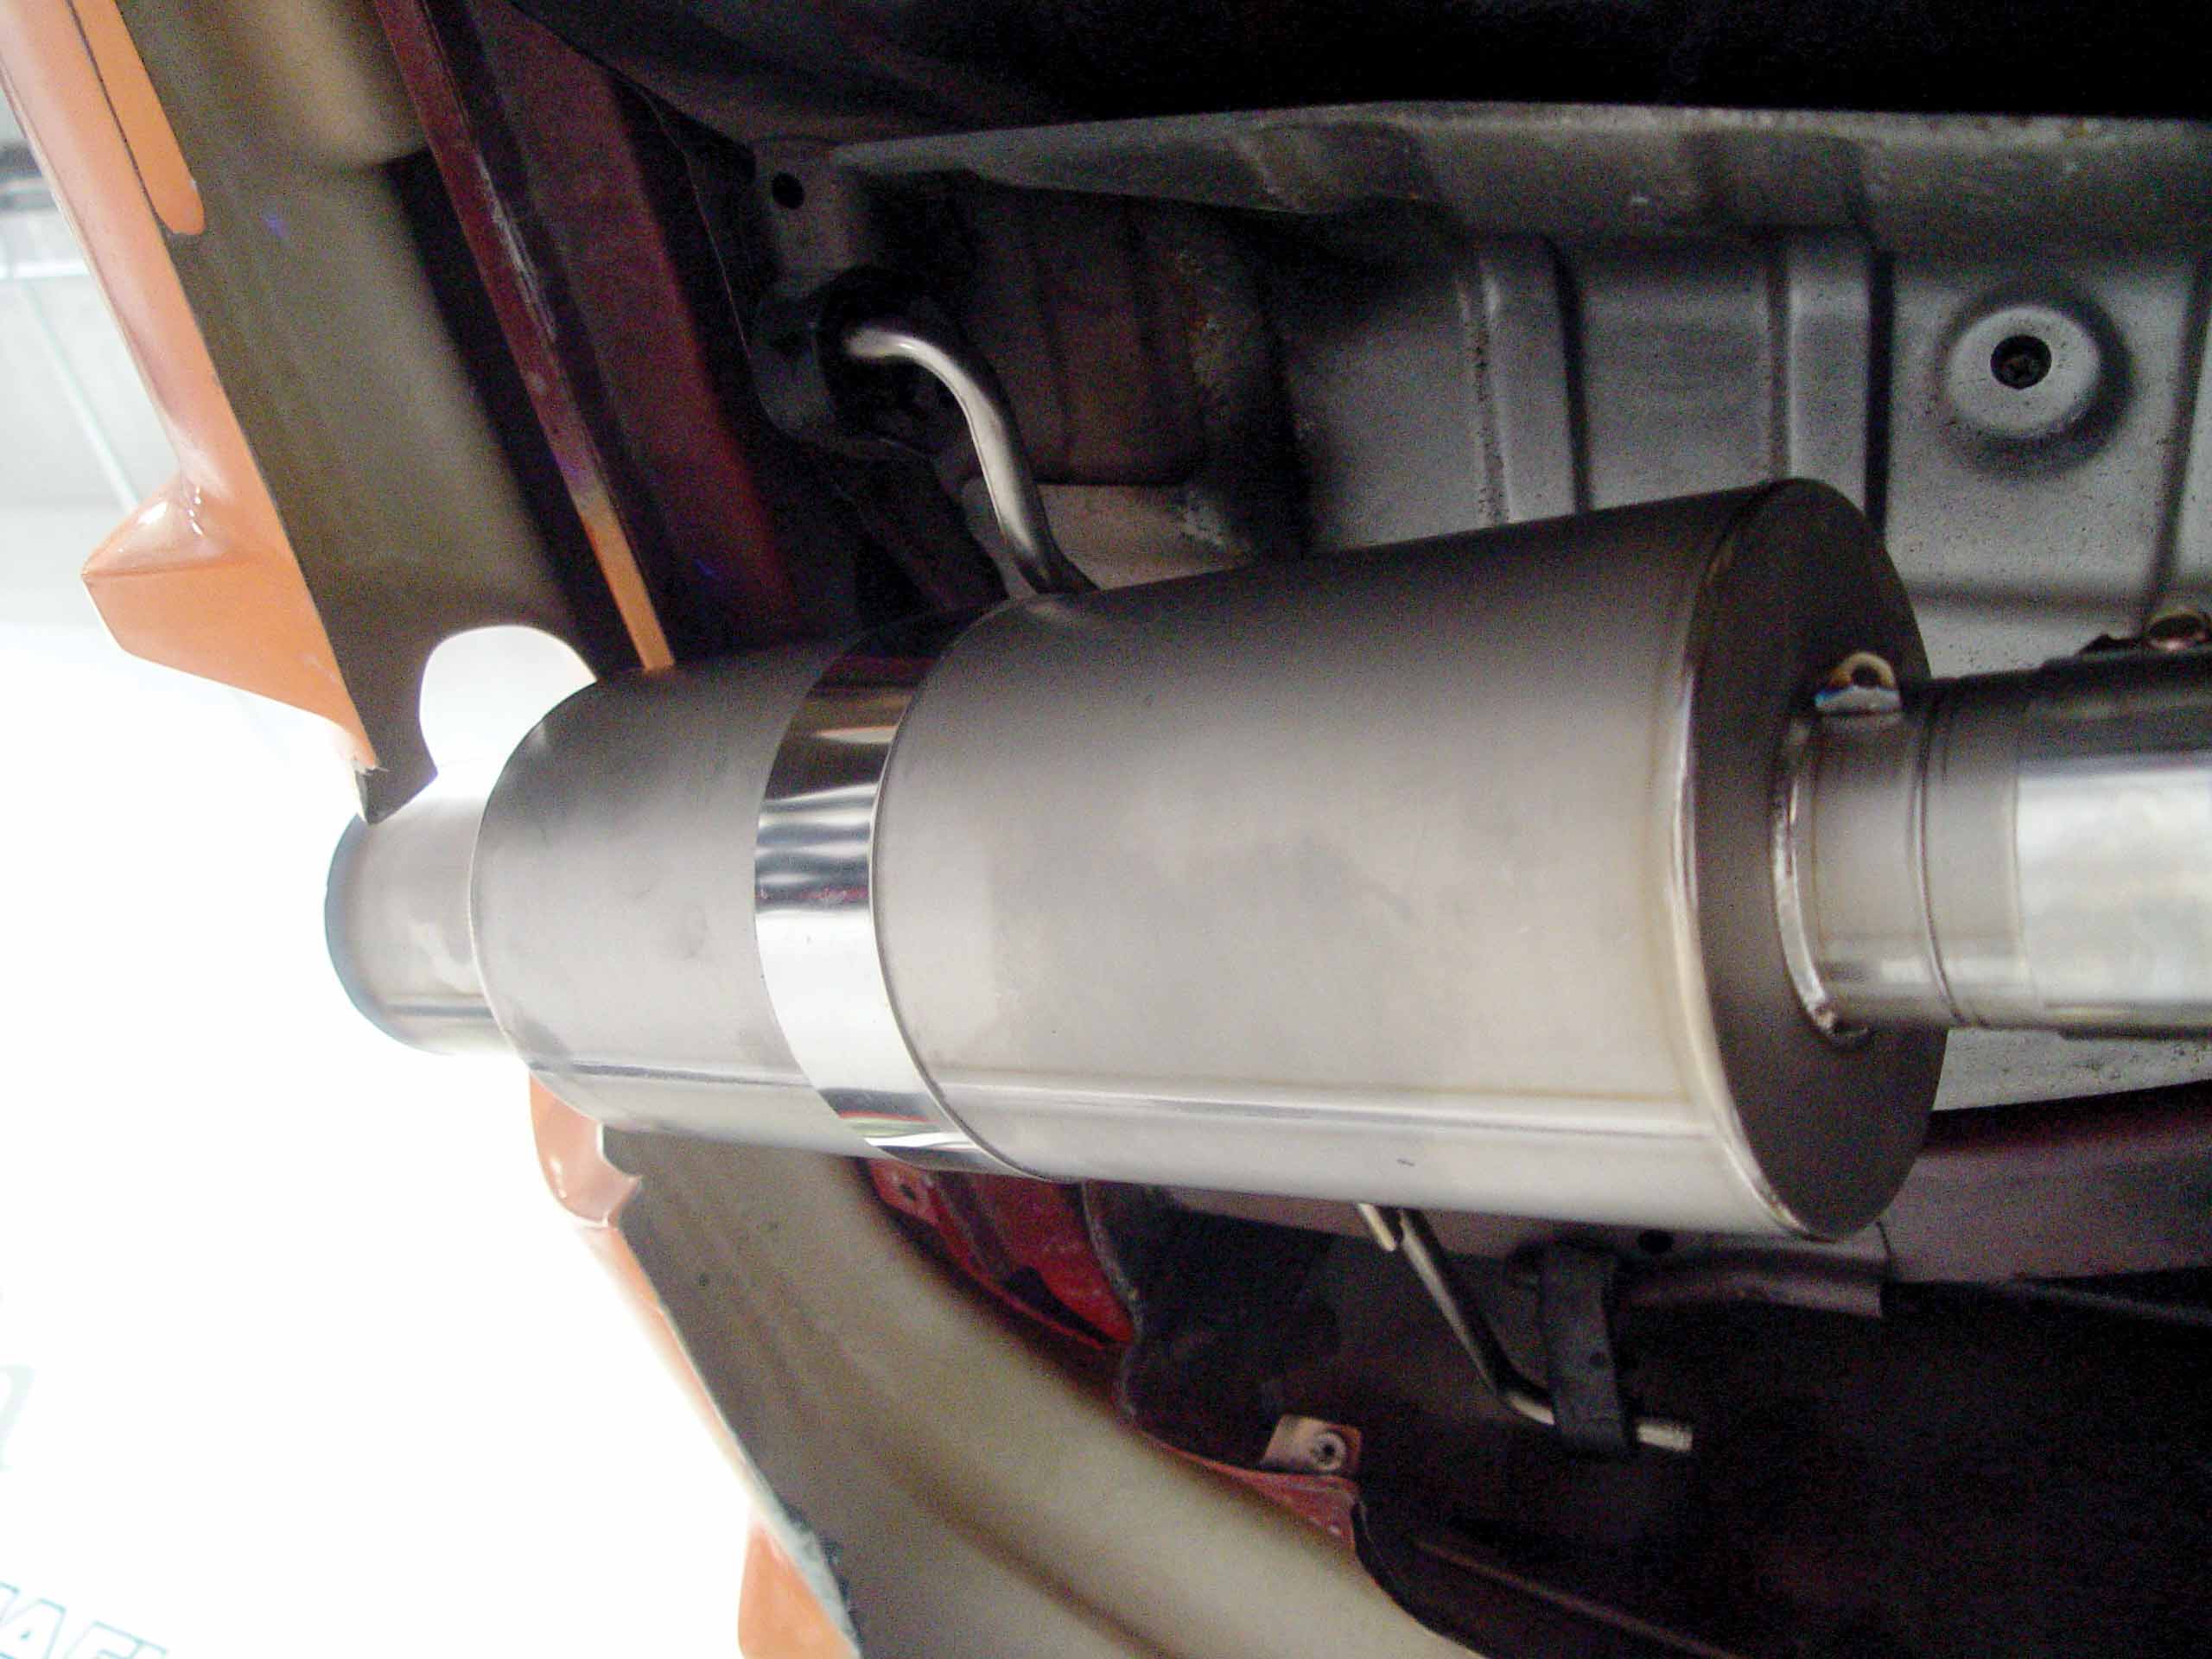
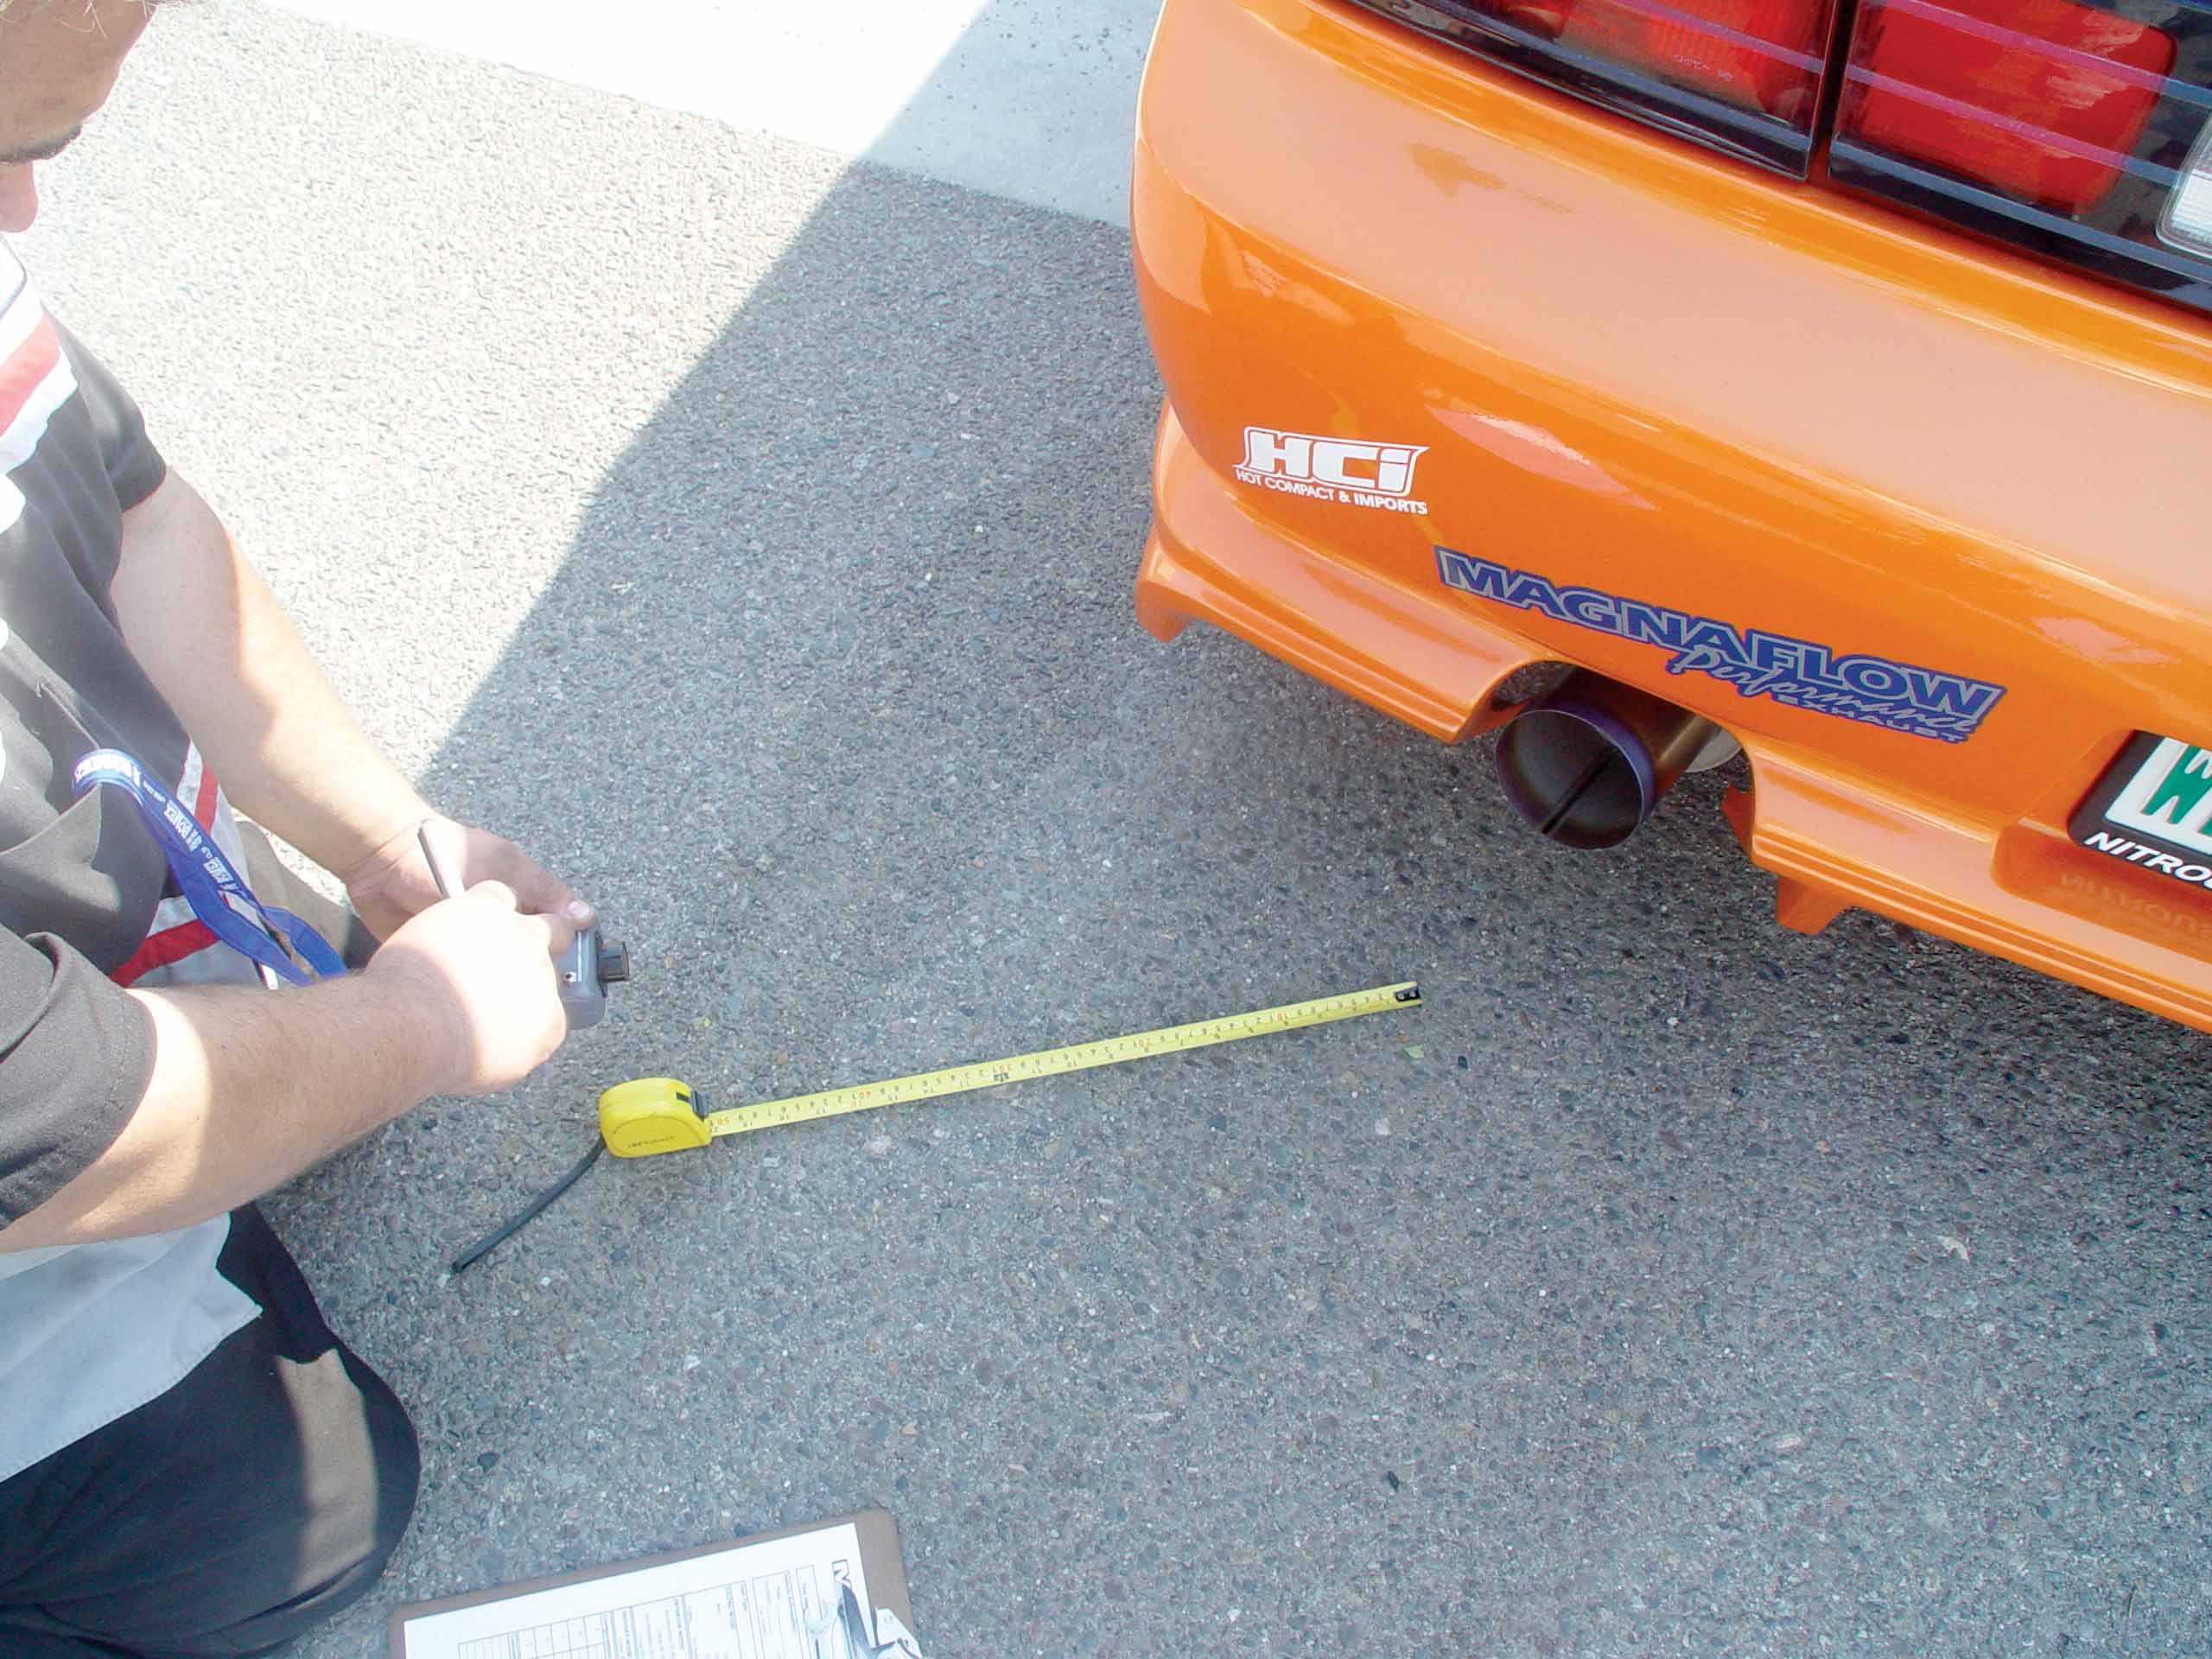
Upon inspection of the old exhaust we noticed right away that it was a little beat up. The old unit was considerably larger than the new MagnaFlow Ti exhaust unit and the piping and canister had been dinged up from the daily grind. With its smaller piping and smaller canister, the new exhaust will make road clearance 100-times better.
Installing the MagnaFlow Titanium Exhaust
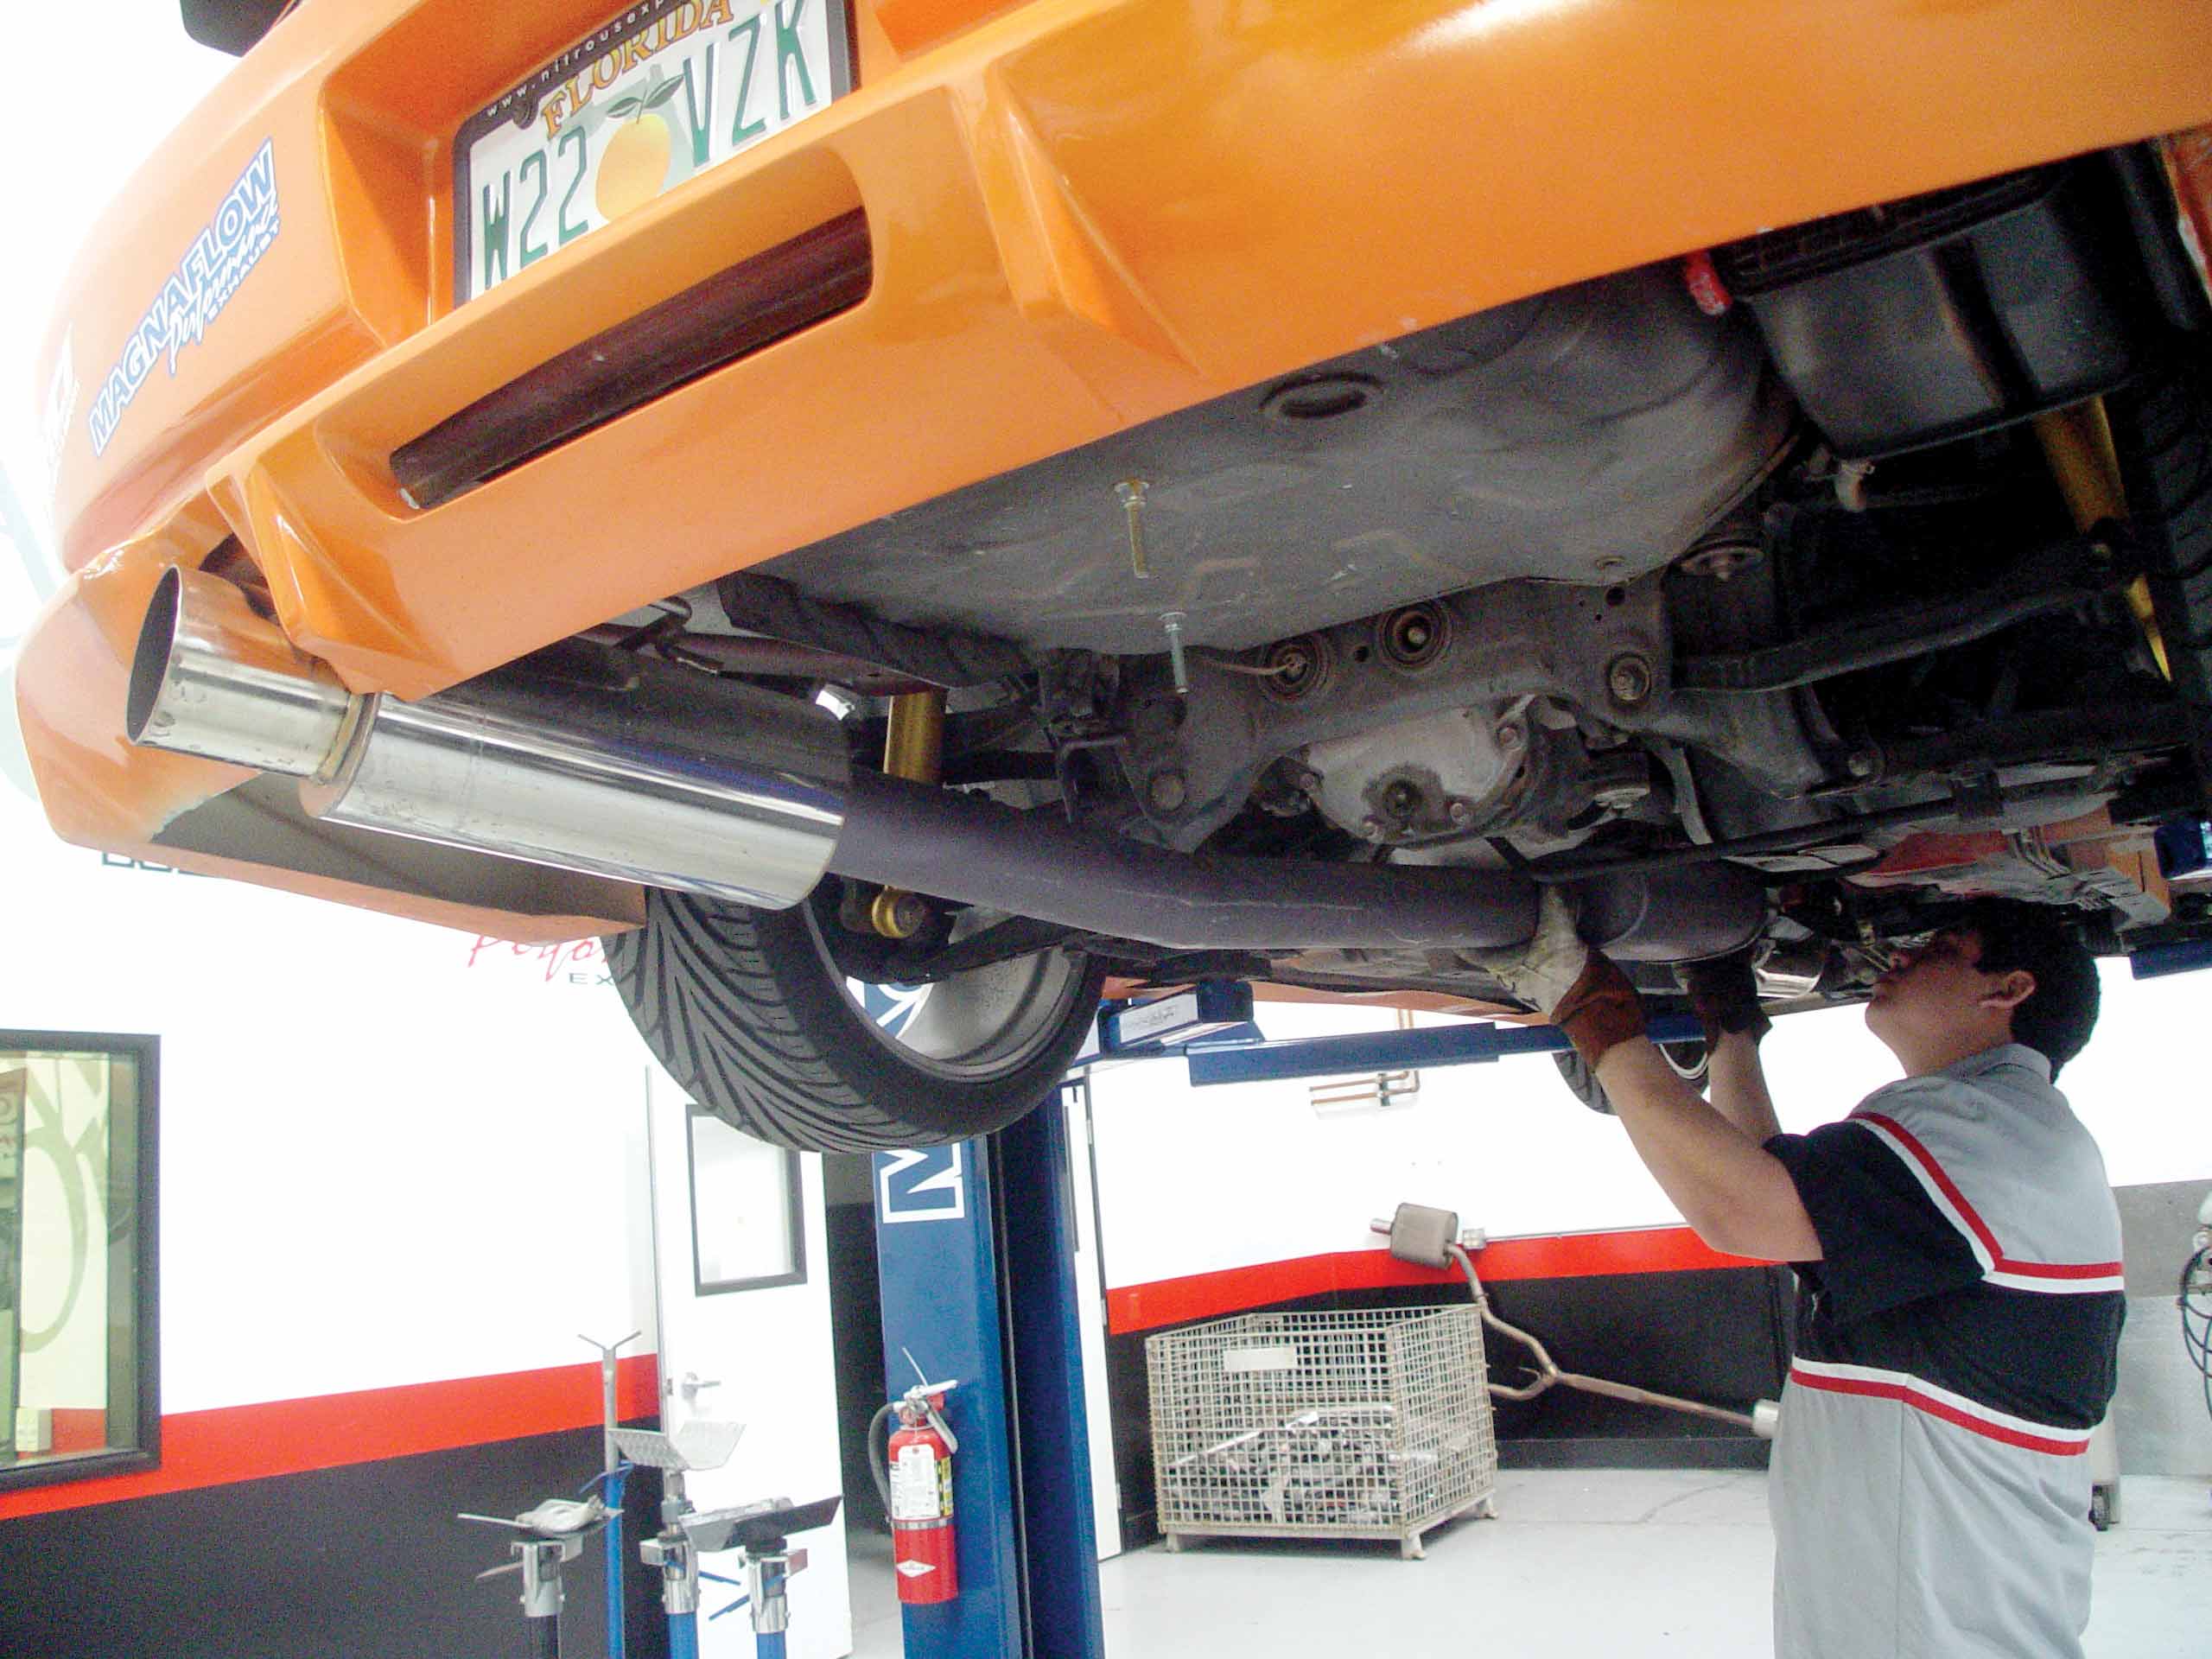
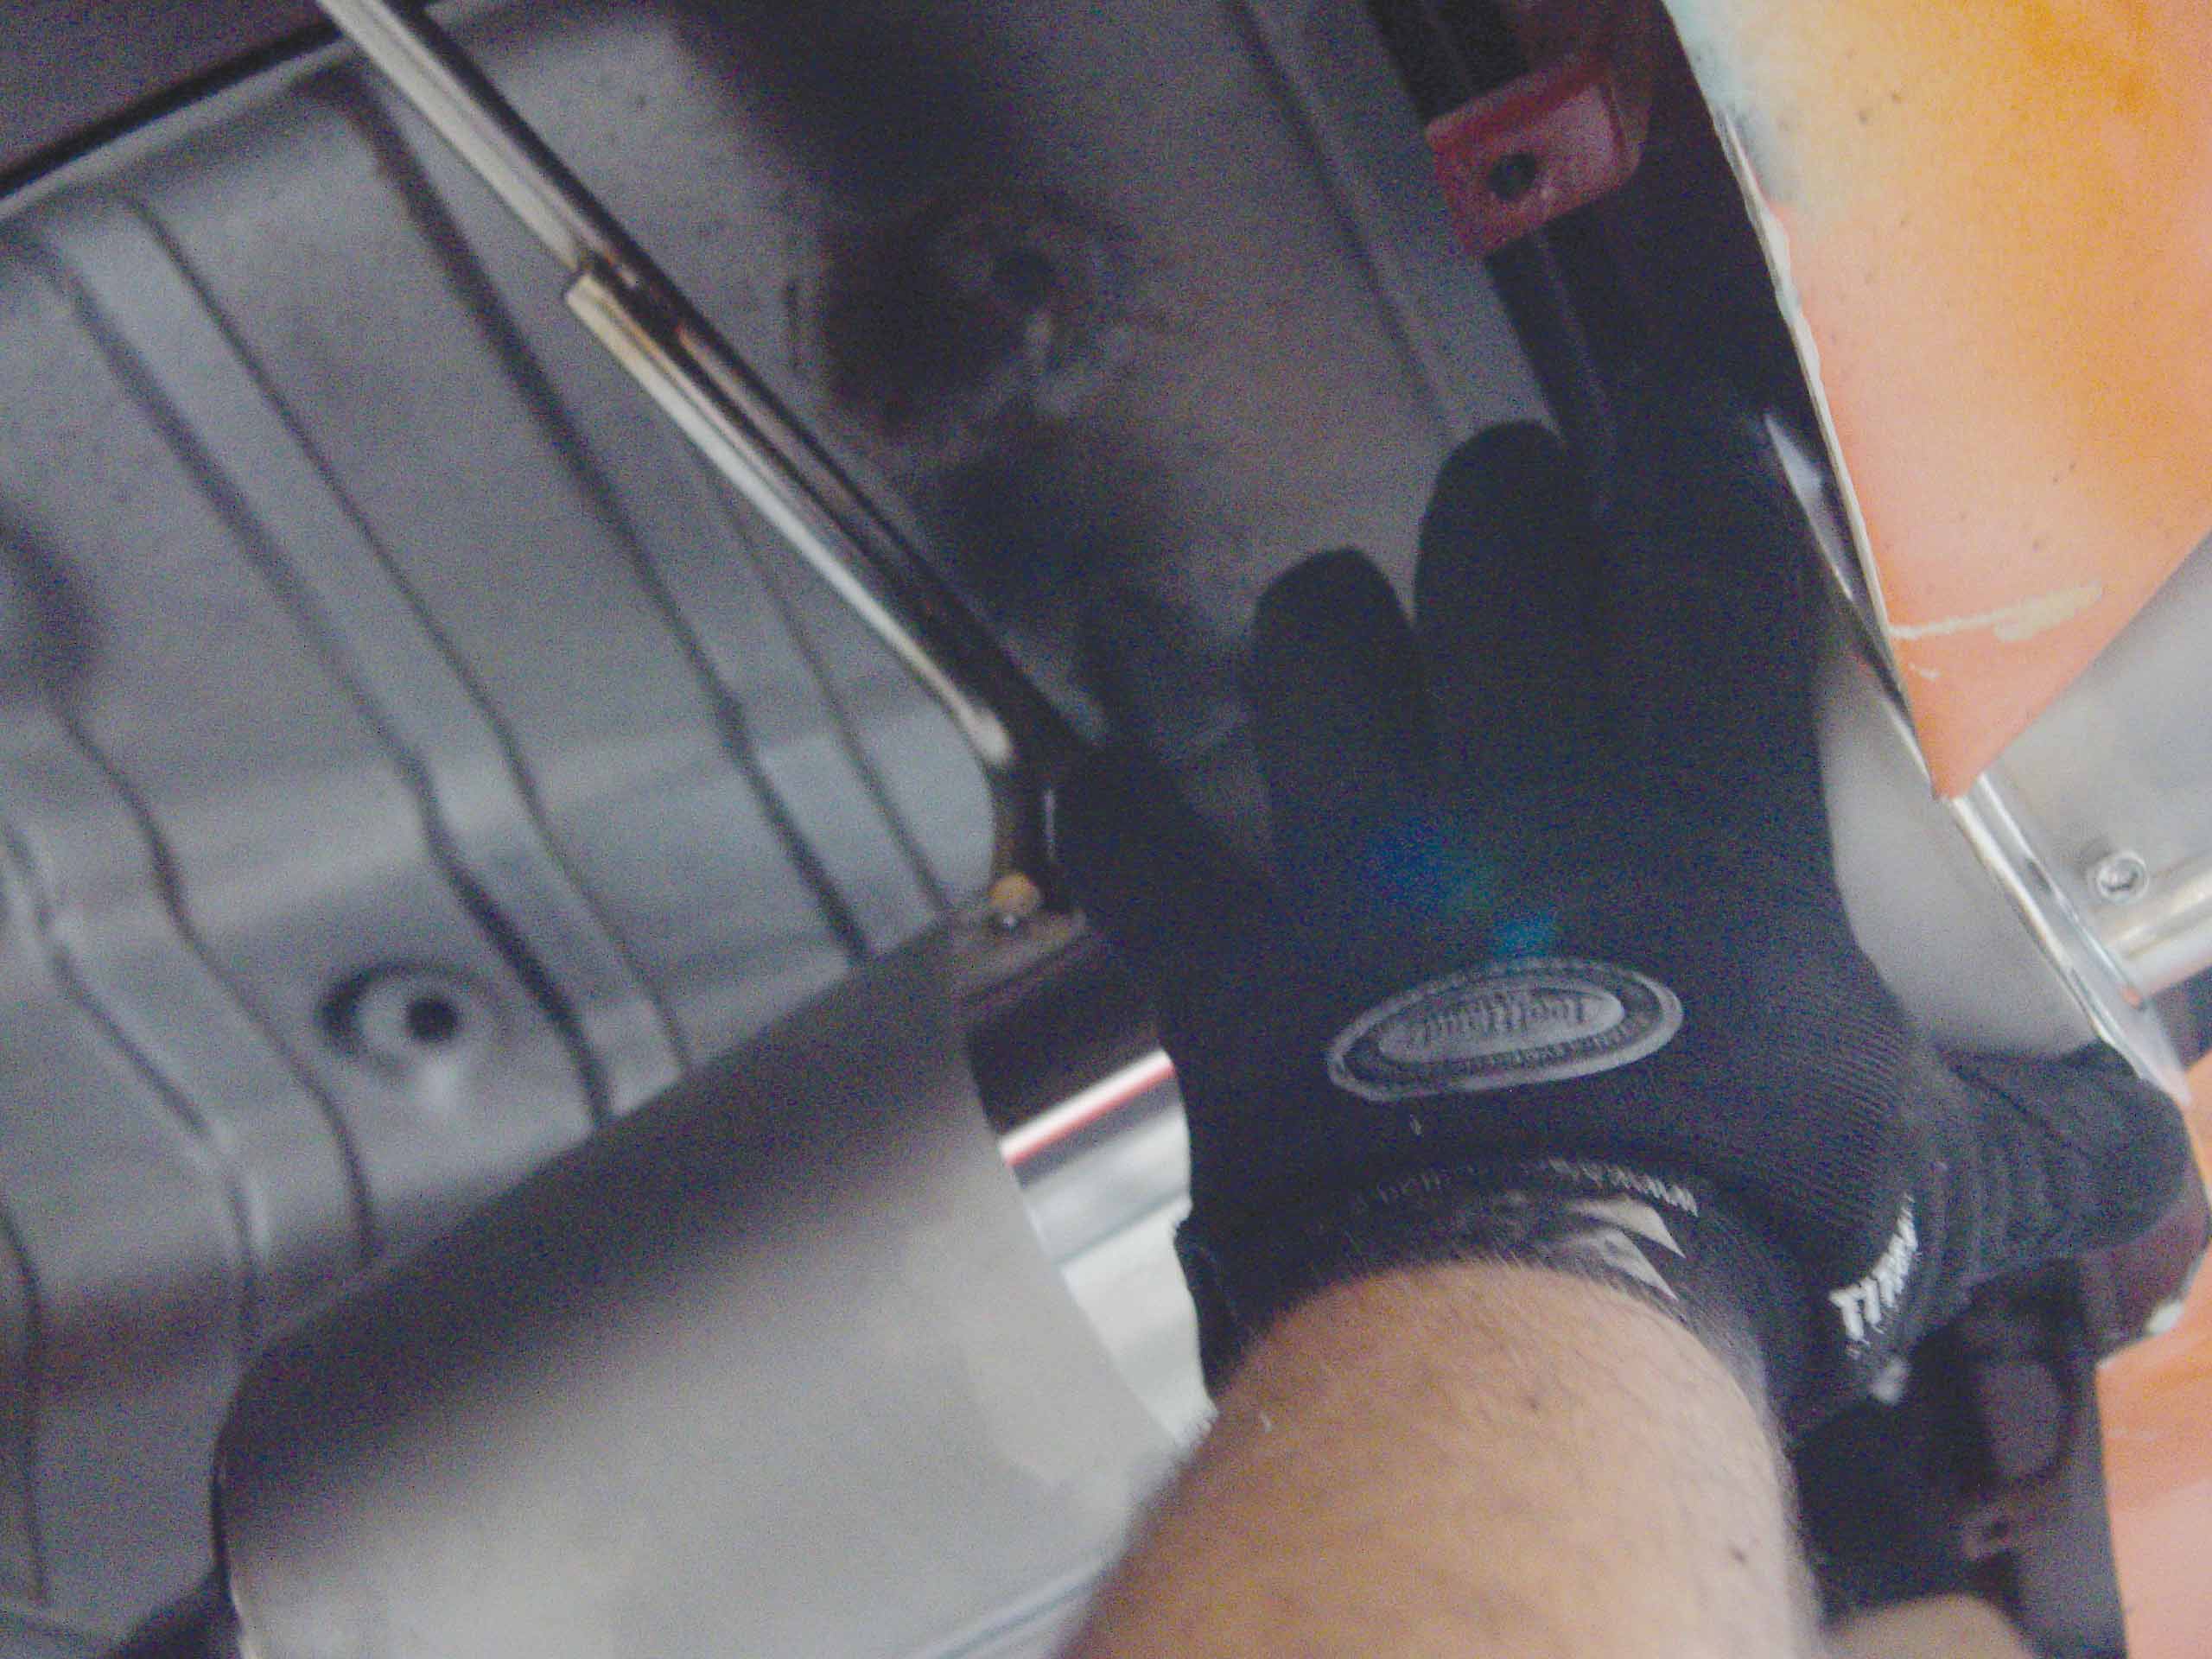
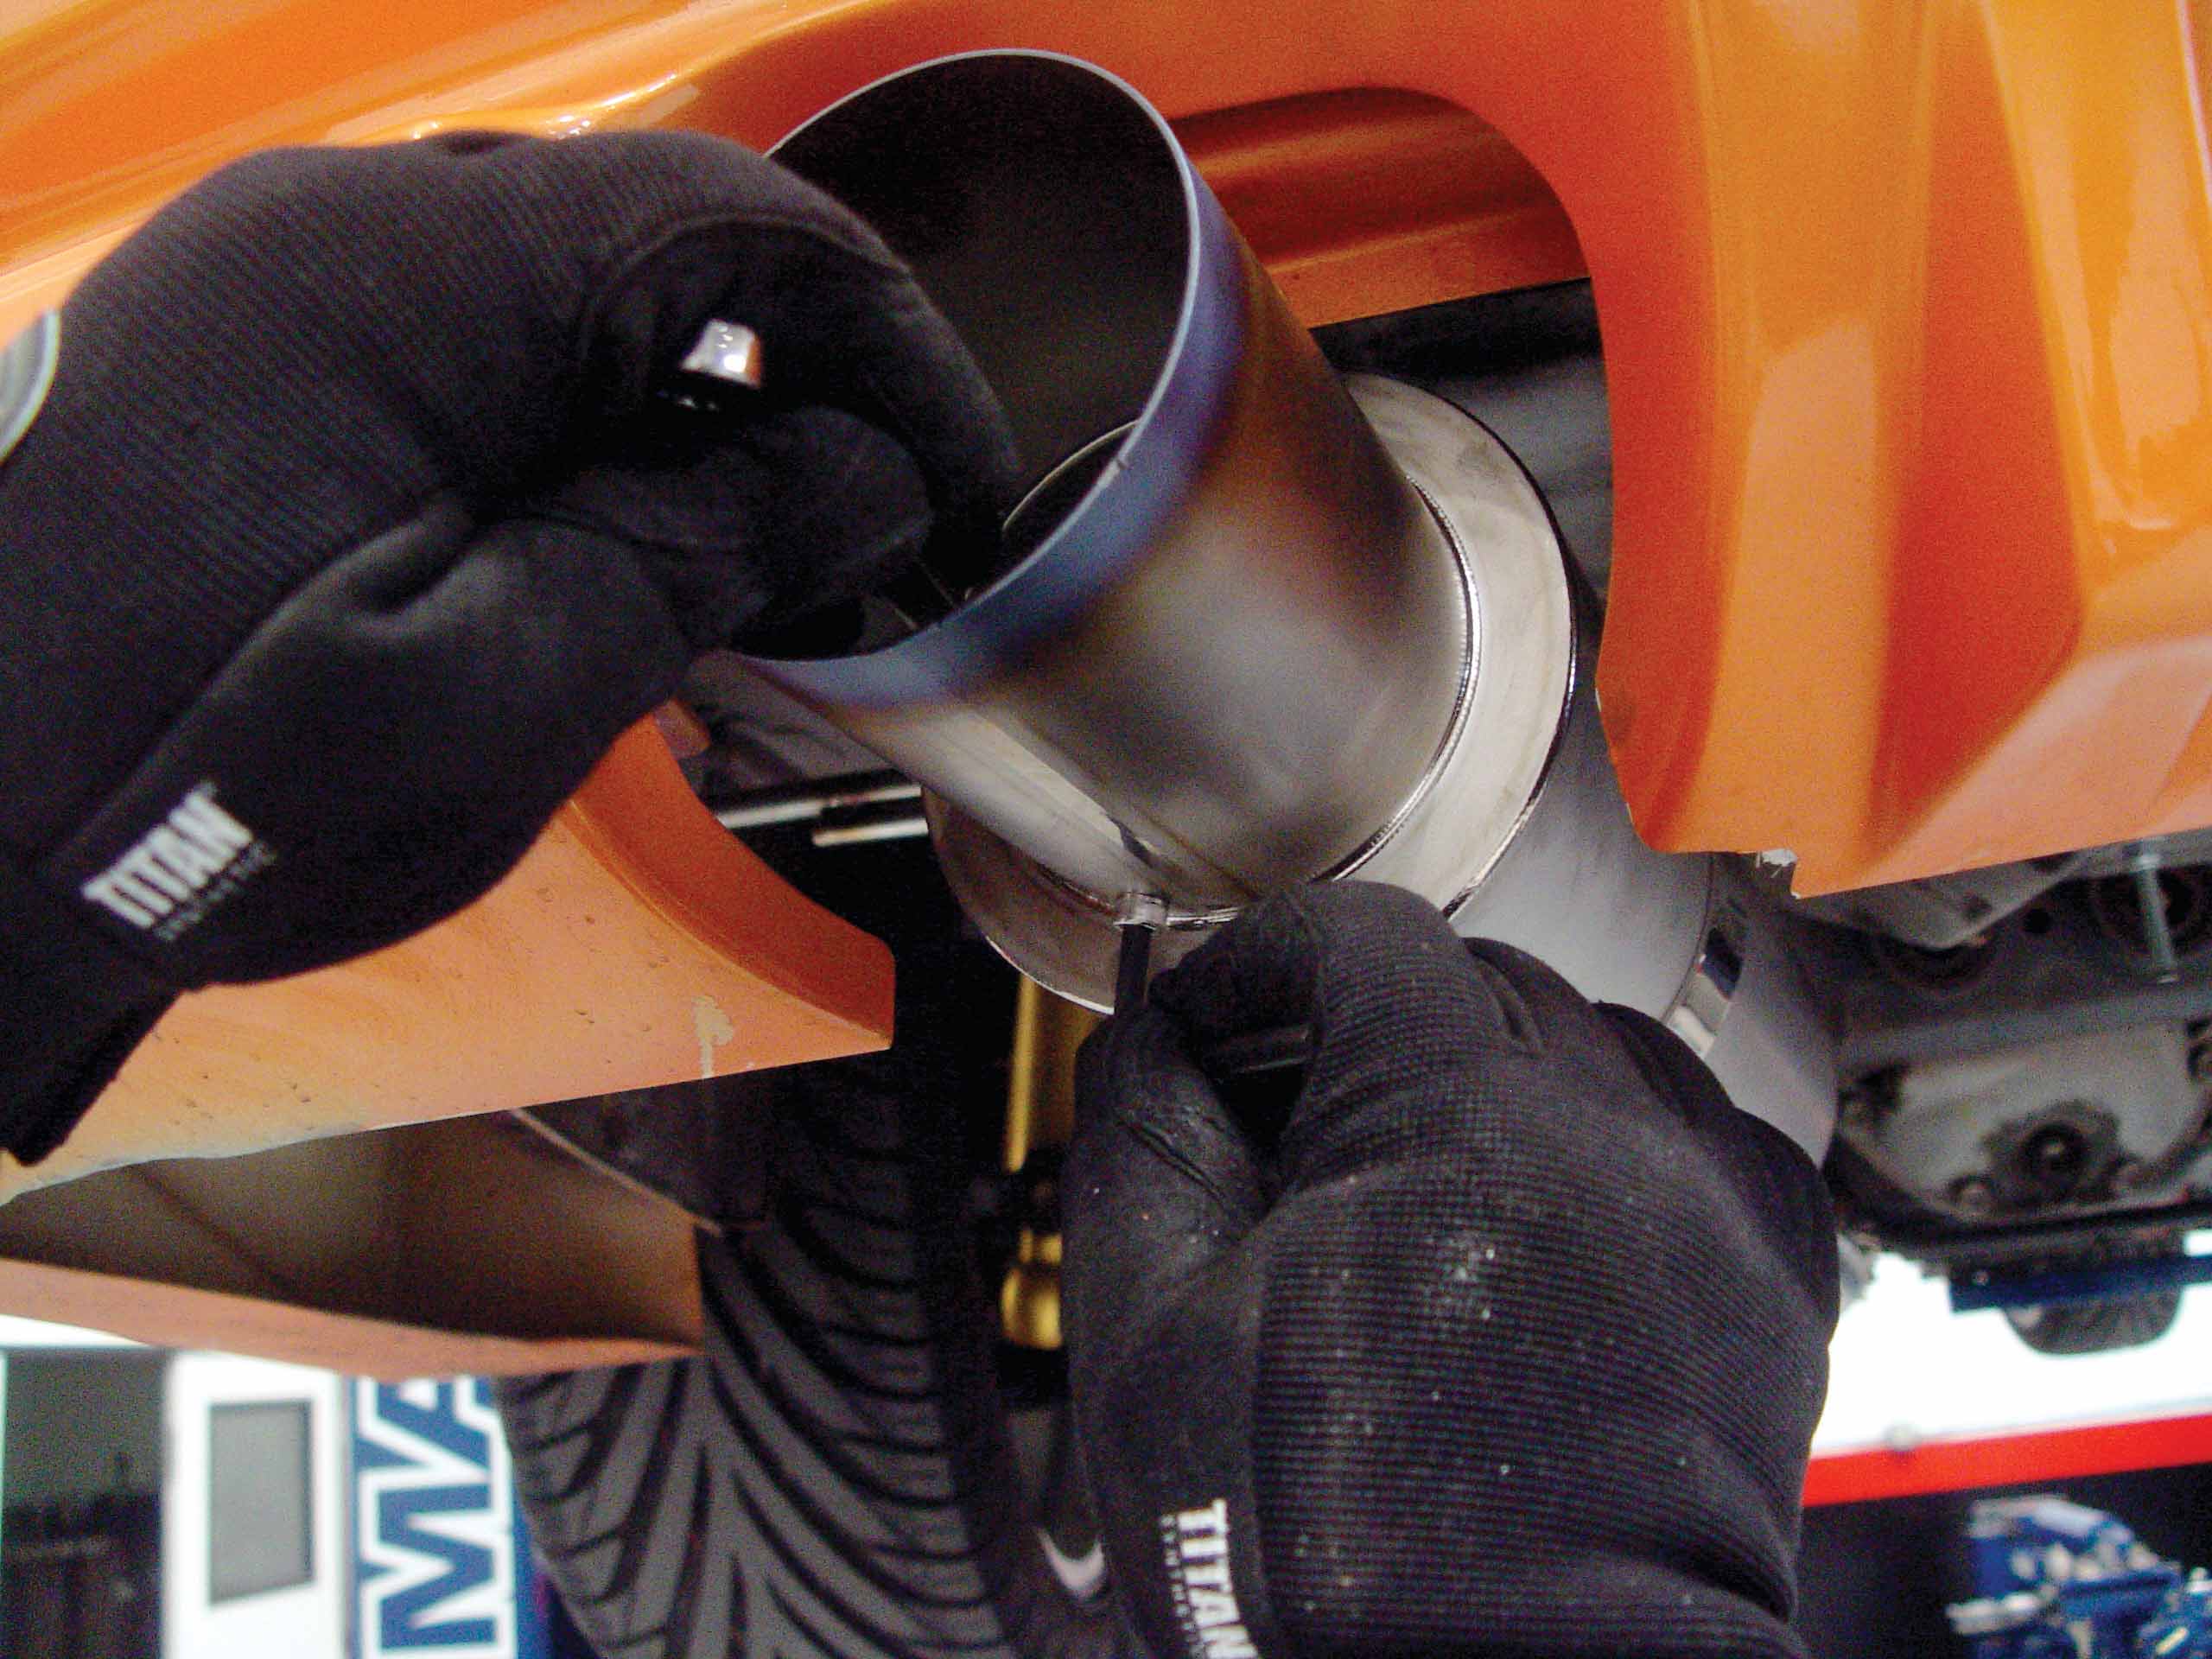
The crew removed the old exhaust and it was time to bolt on the new Ti unit, which requires one or two people. Most other applications that we have come across are built as one piece, requiring at least two people to do the installation. For this particular install, Waitas enlisted an assistant.
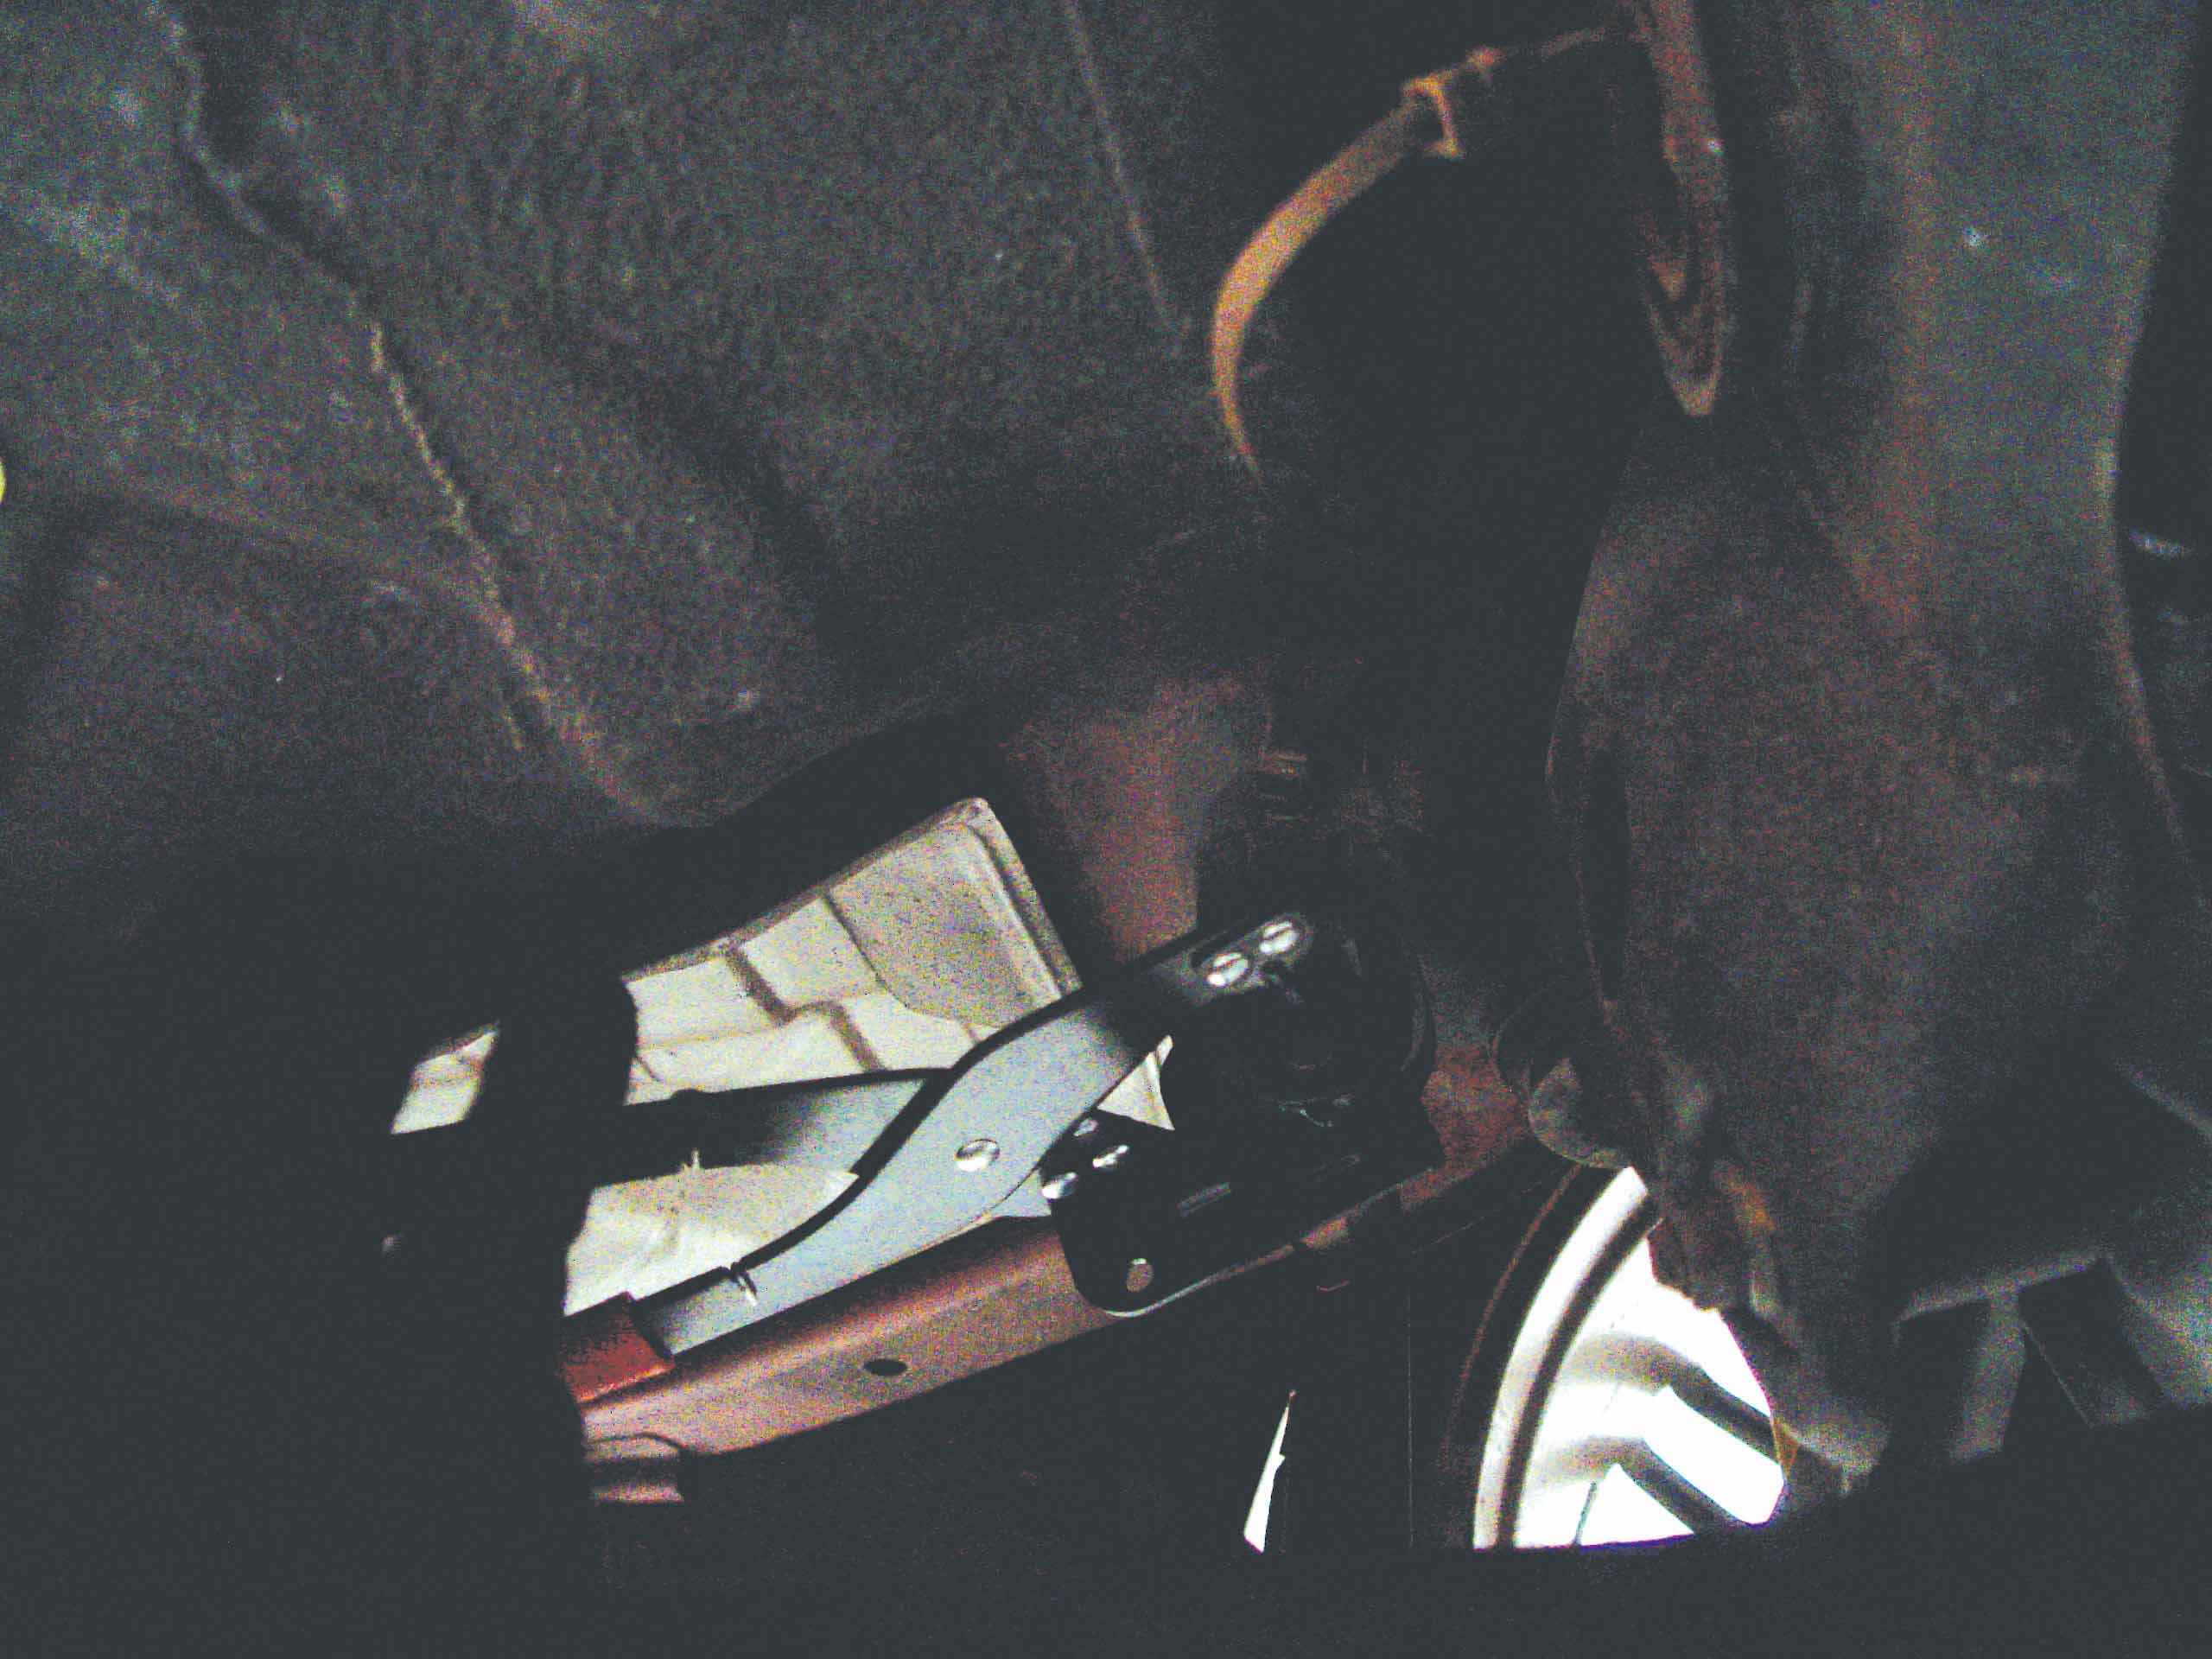
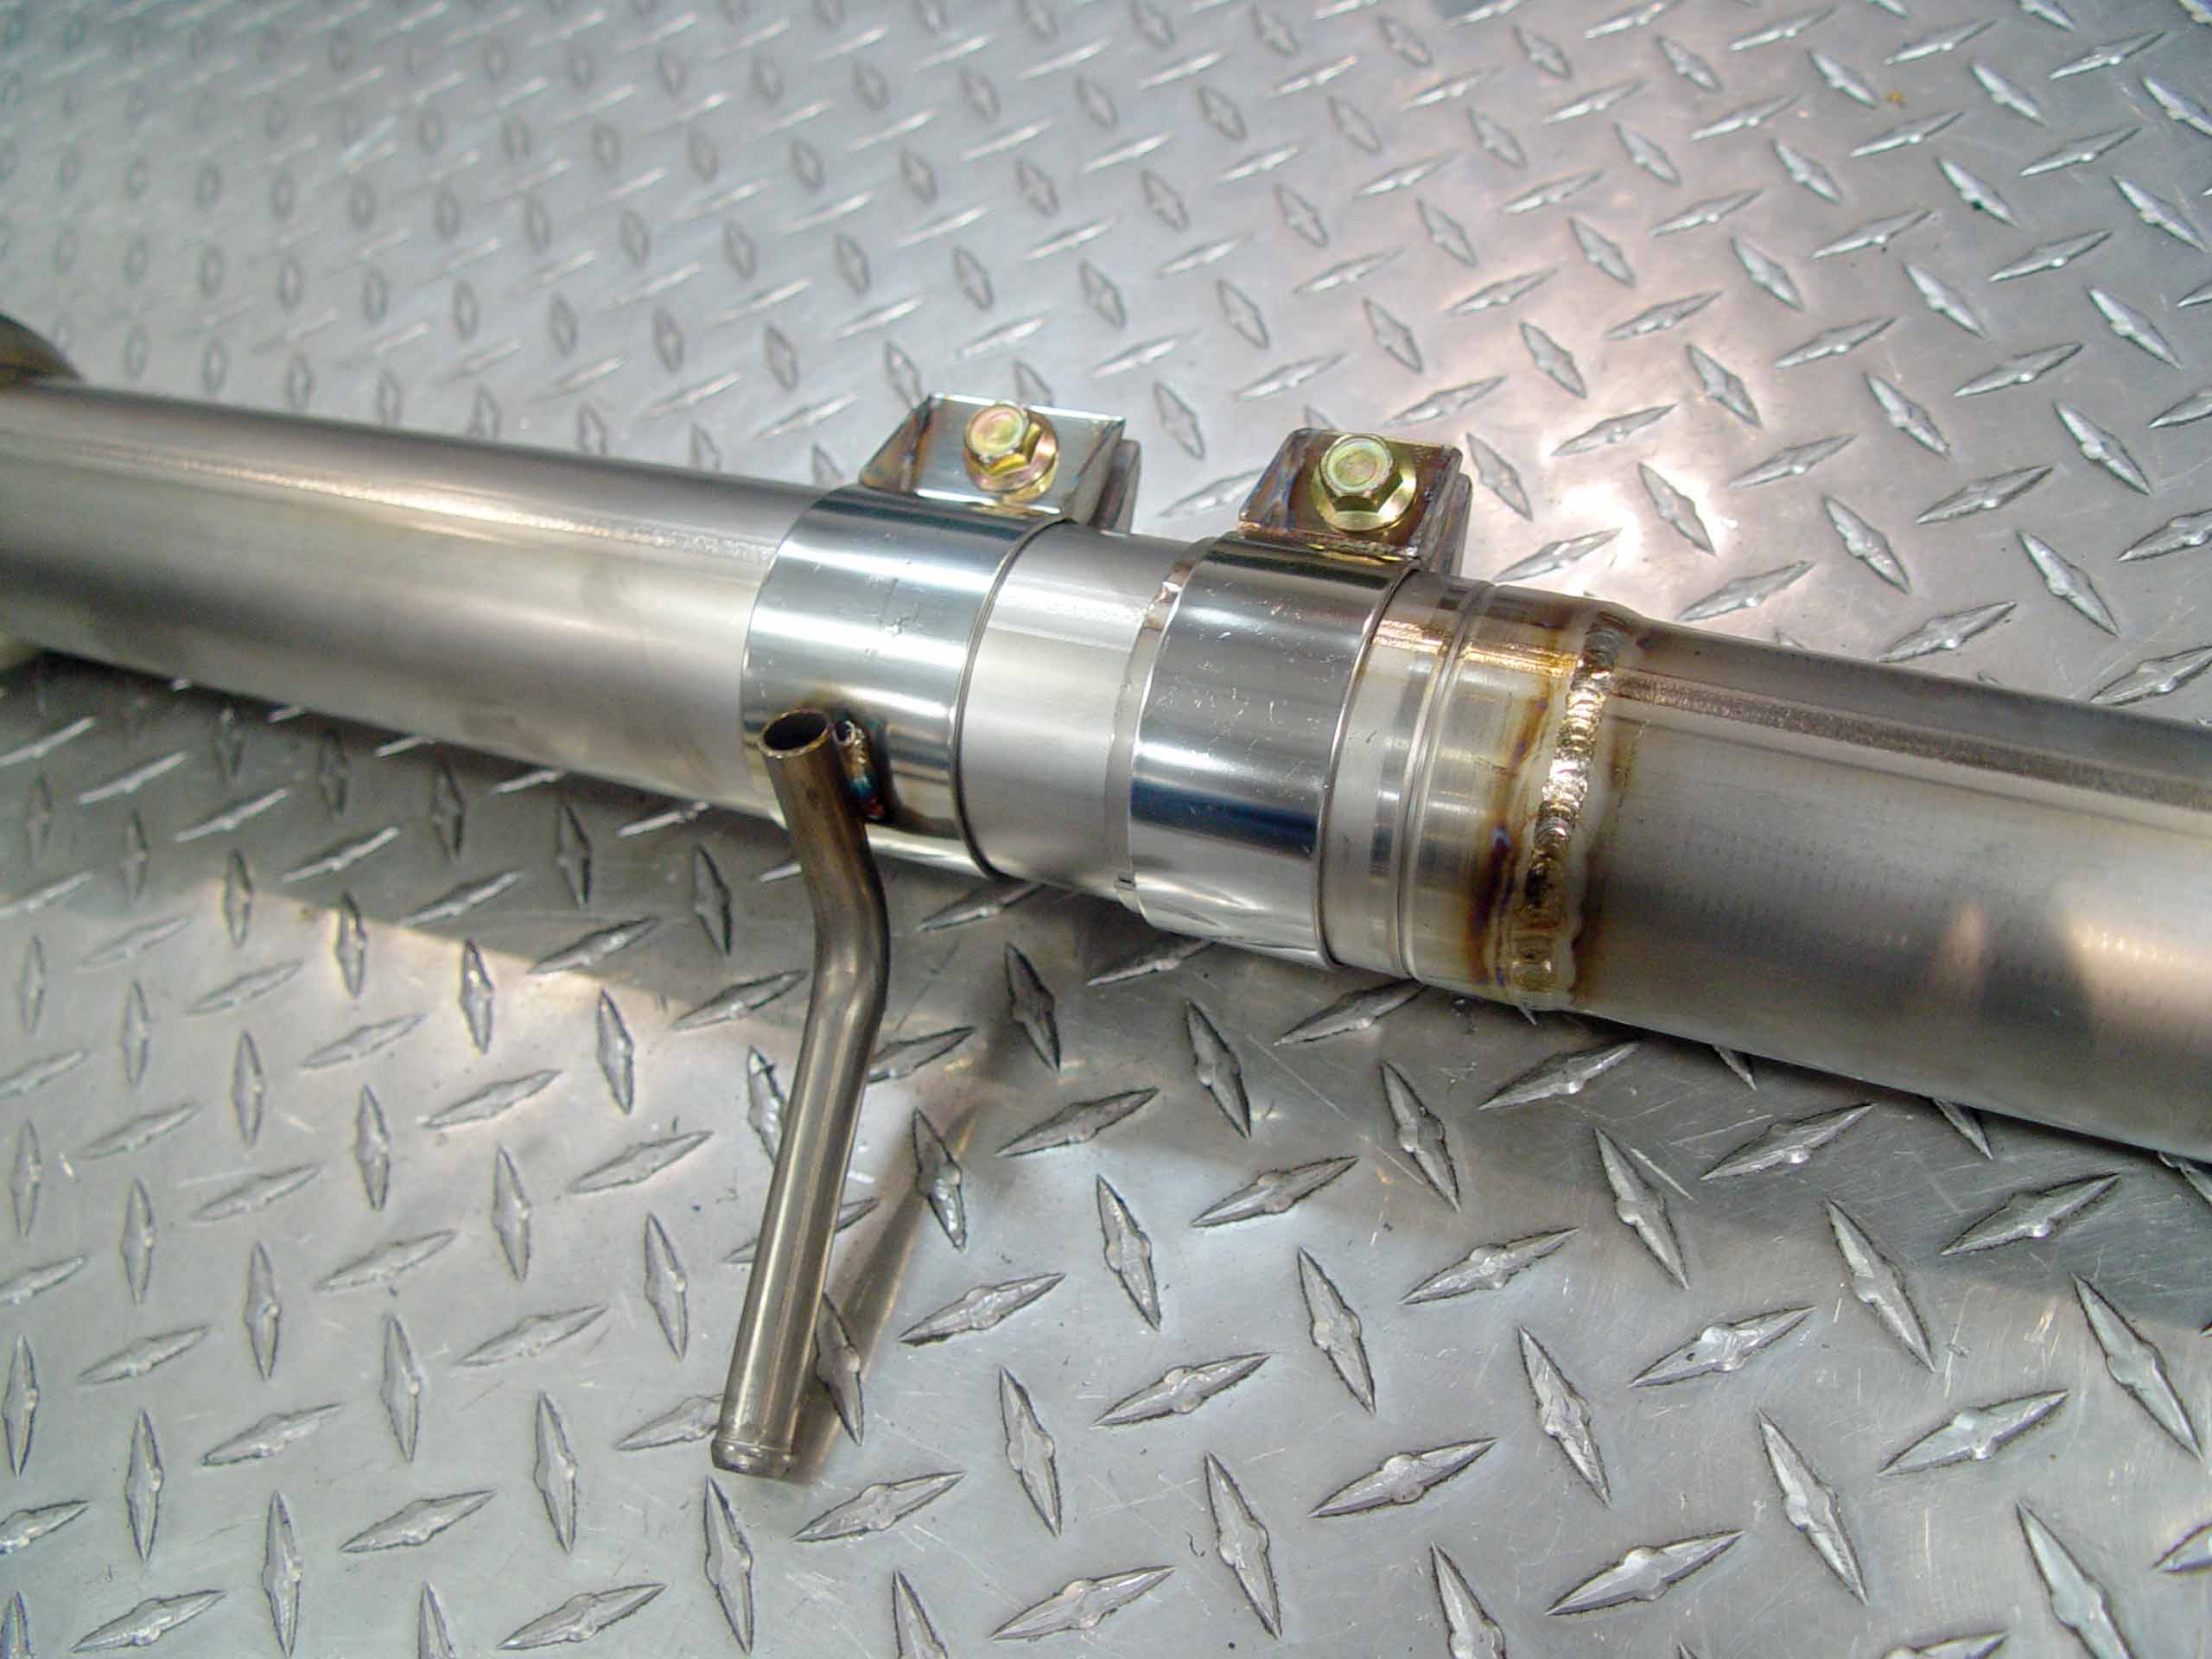
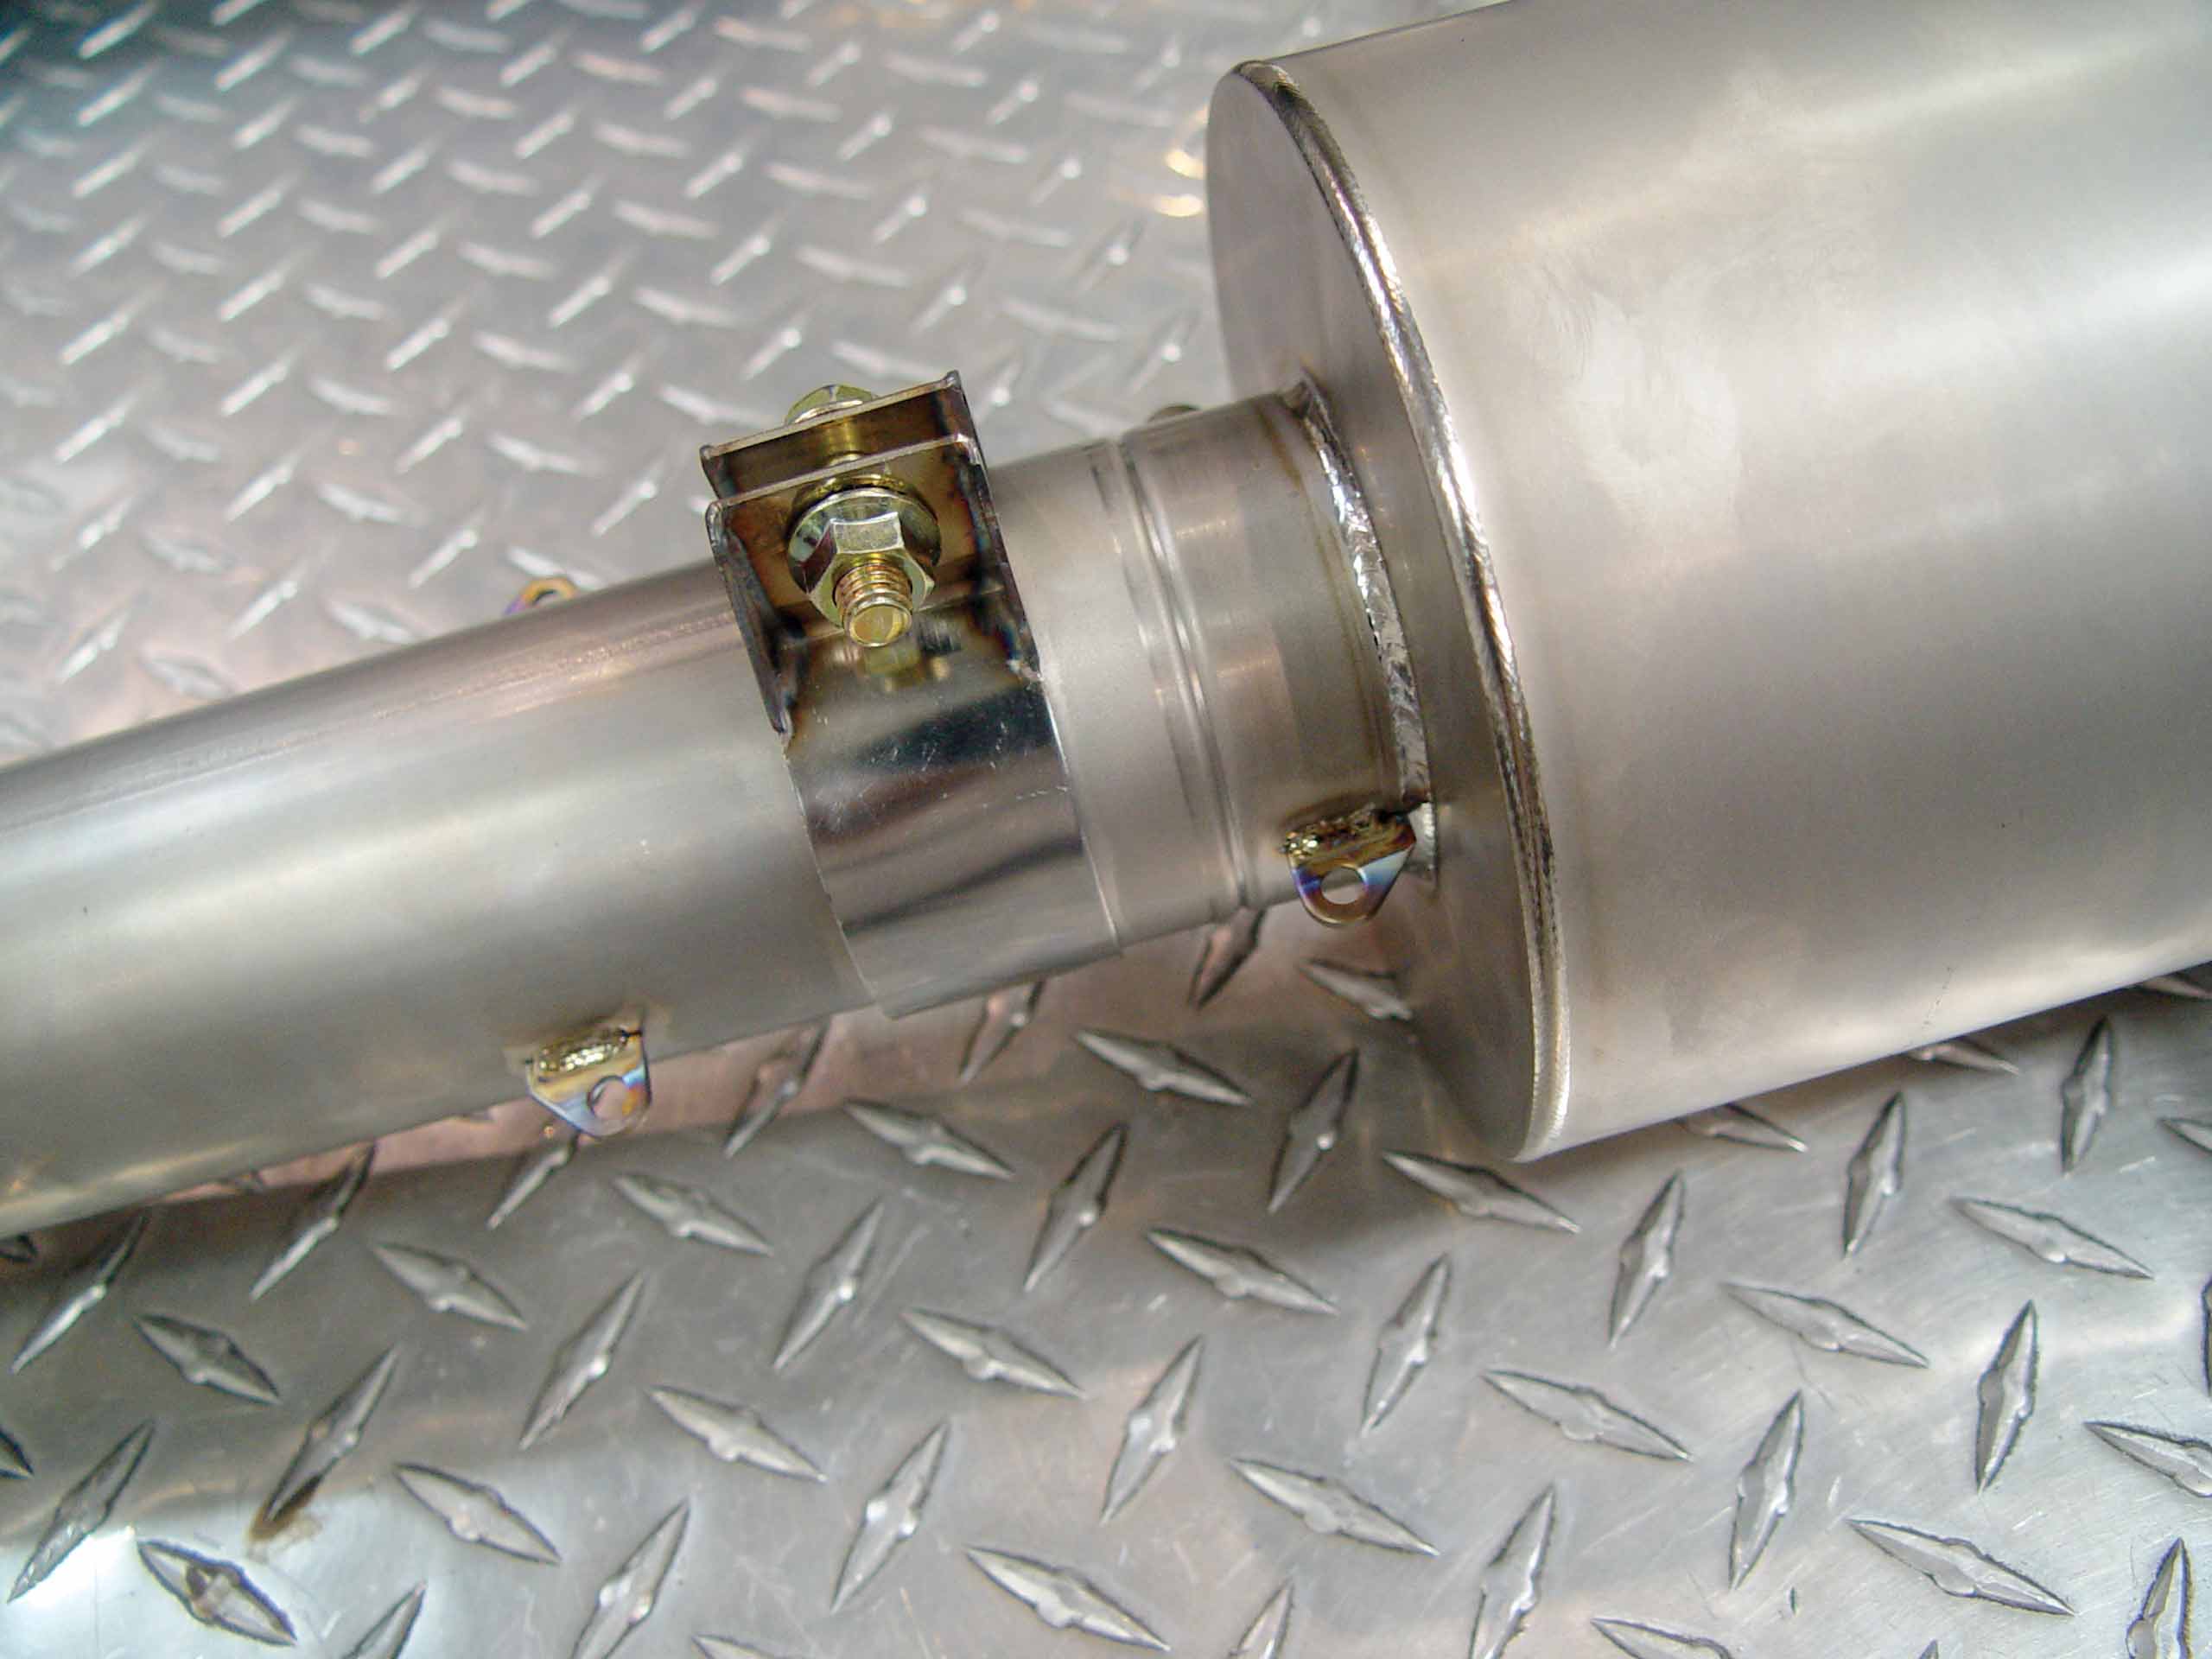
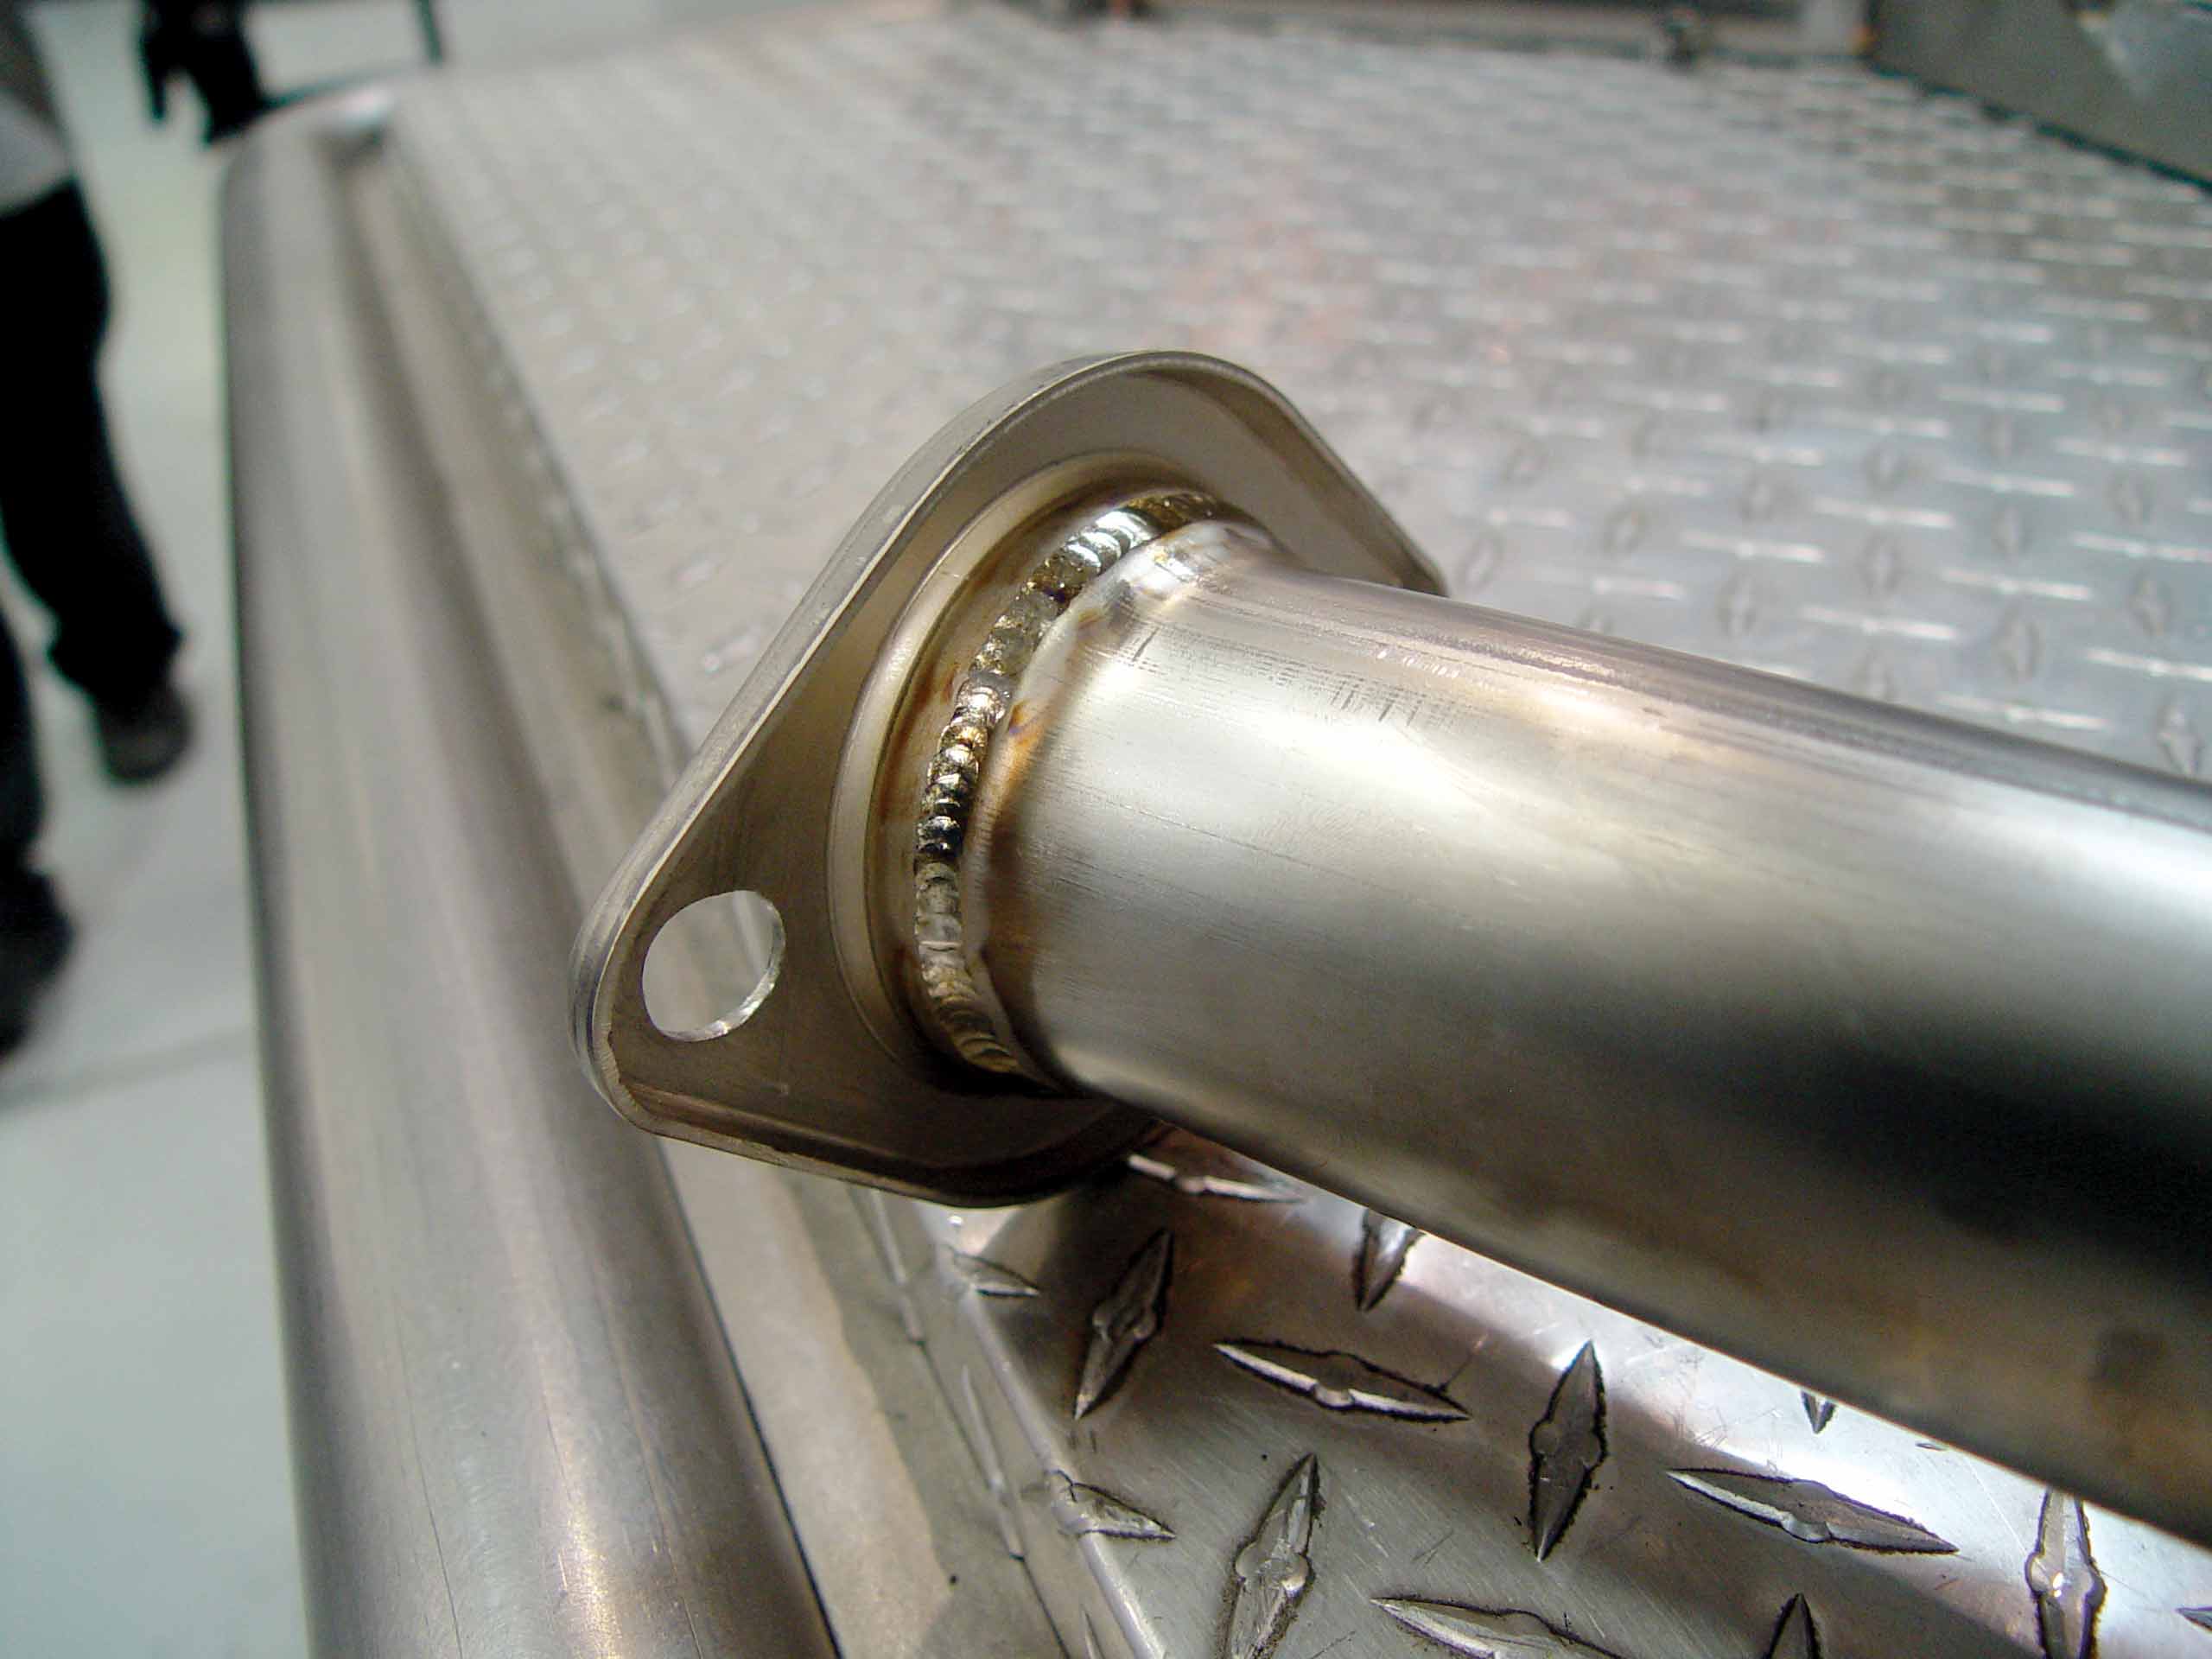
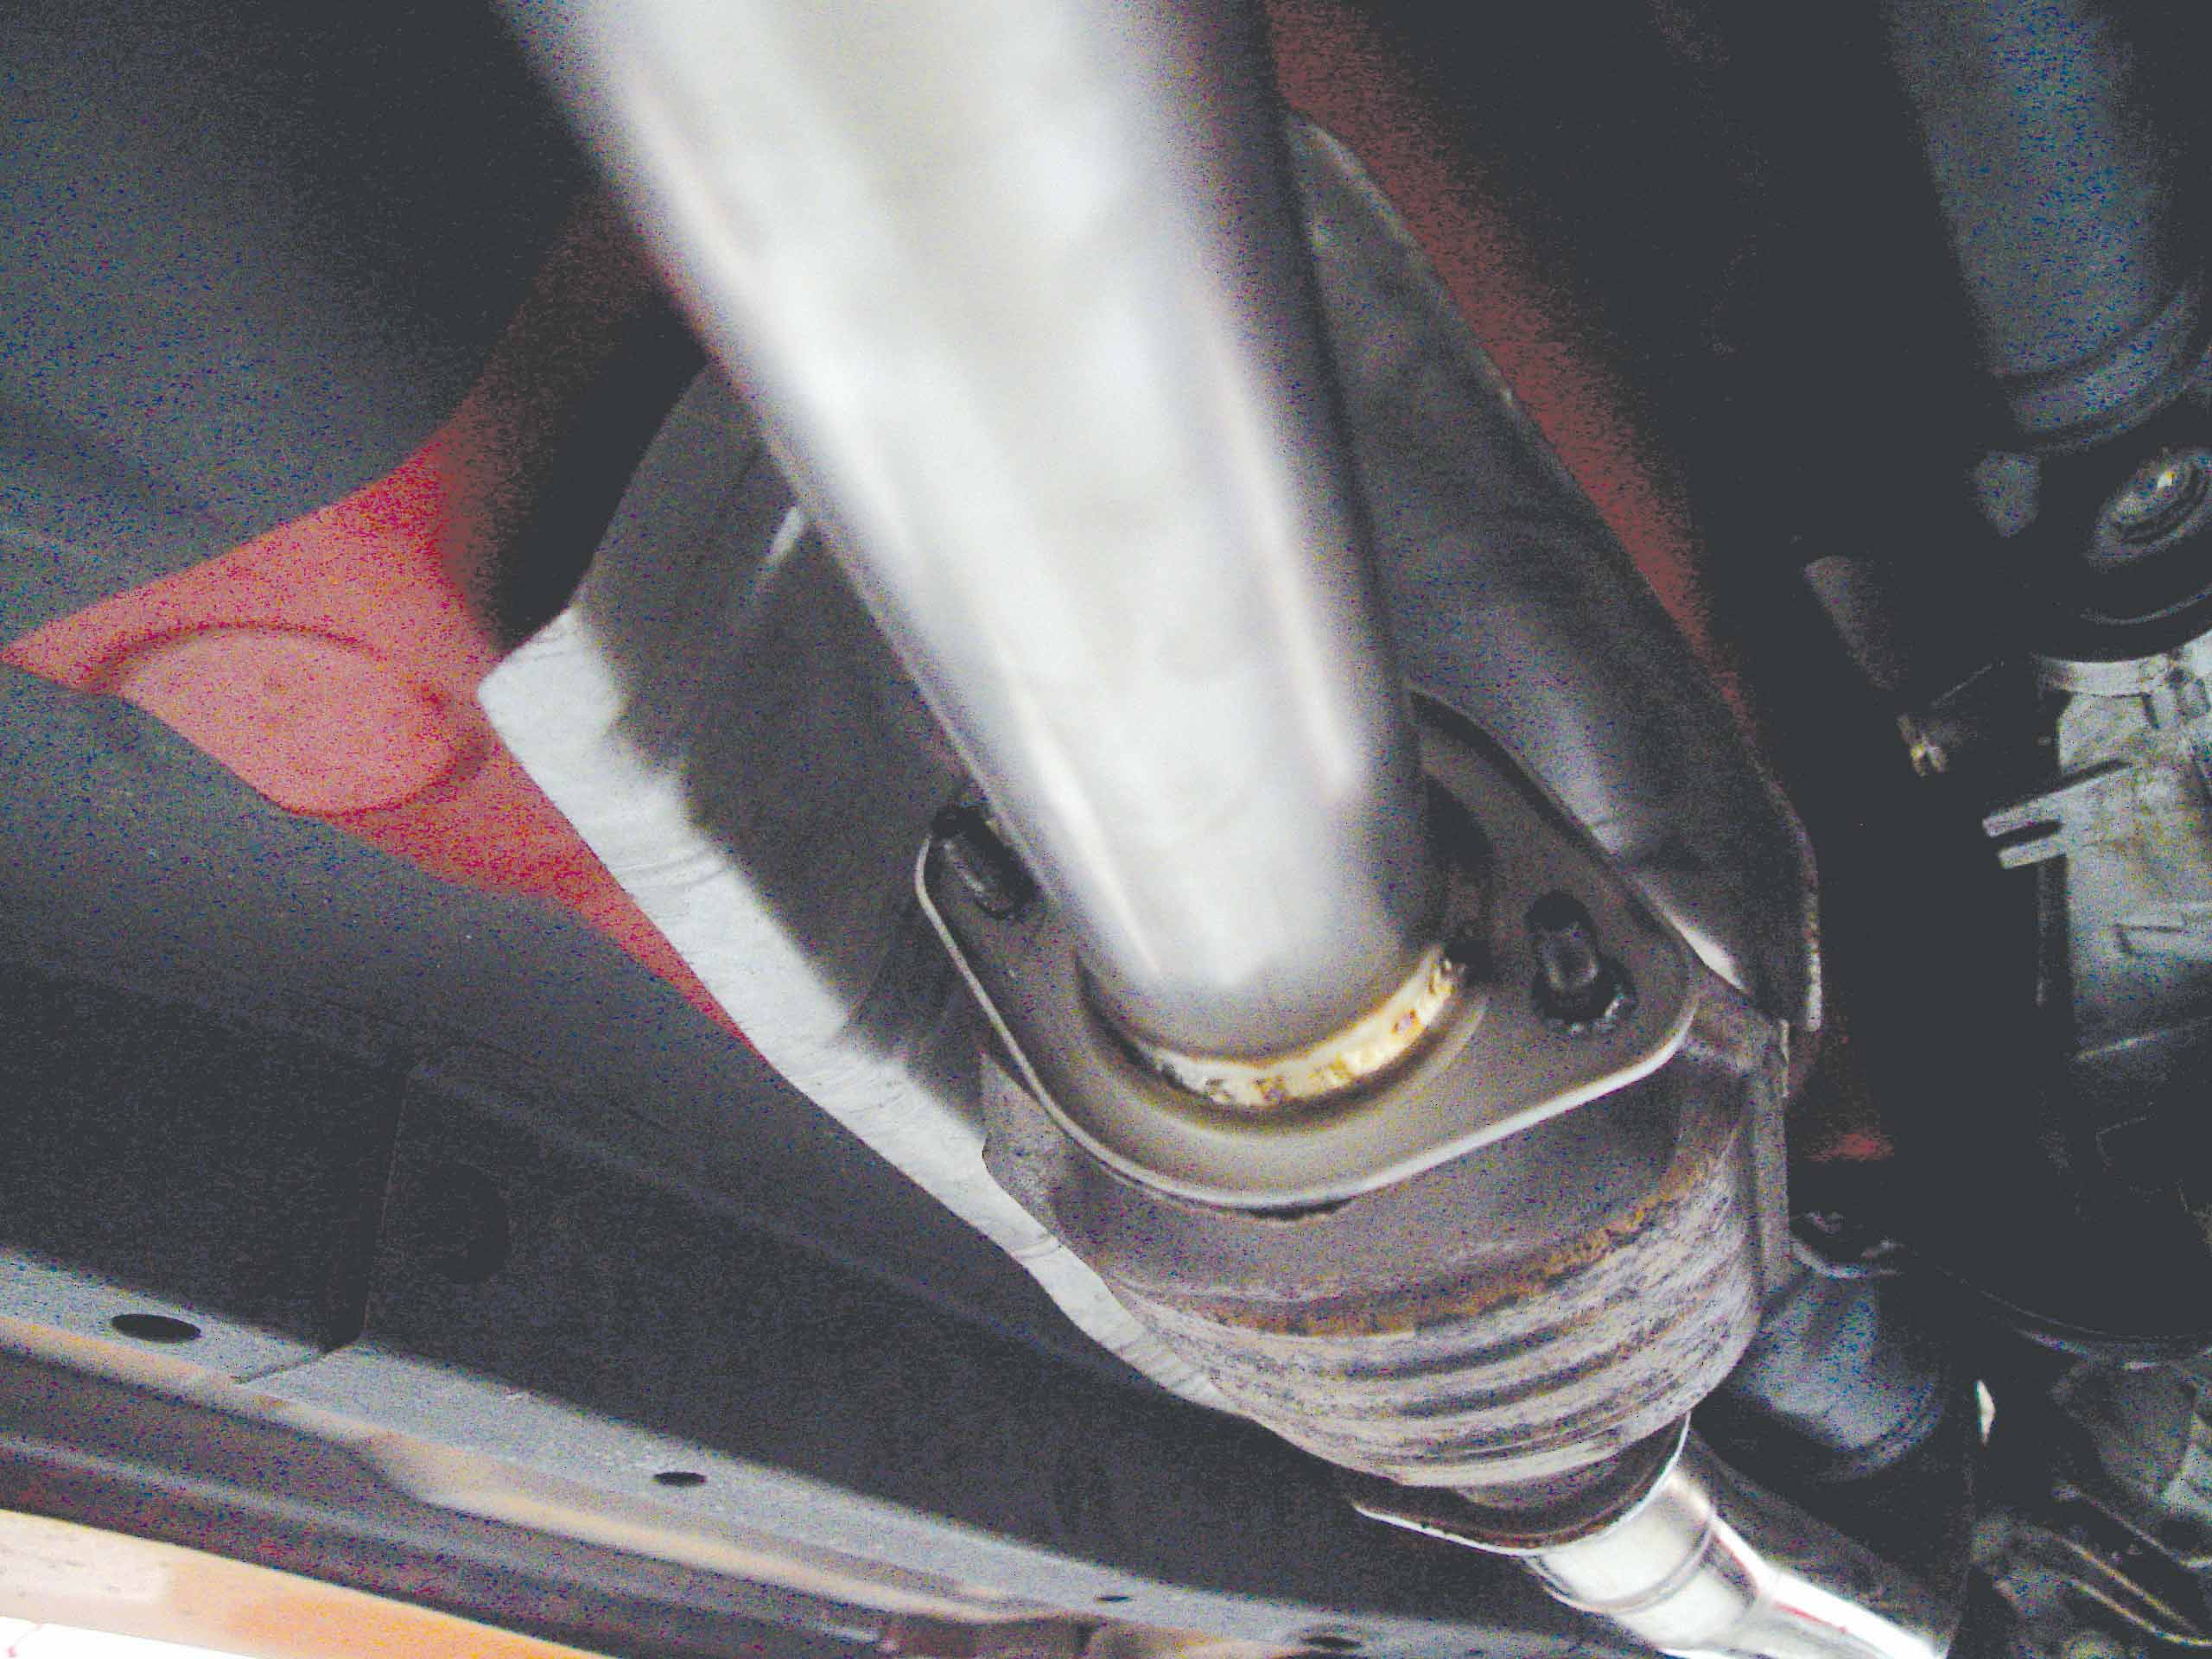
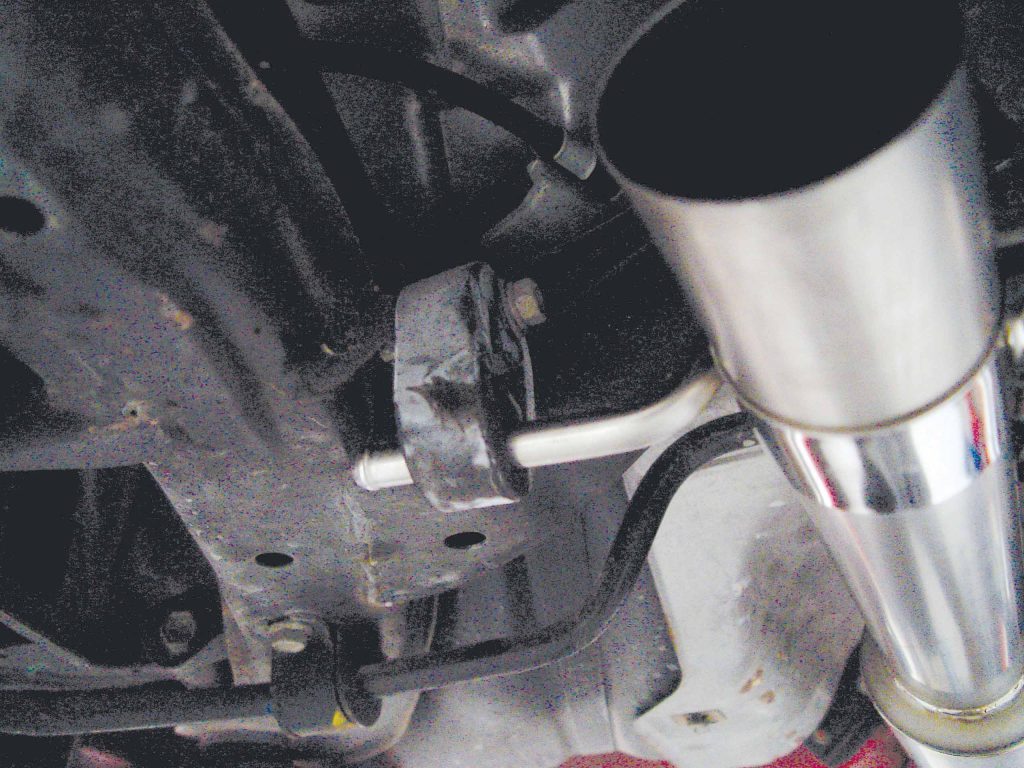
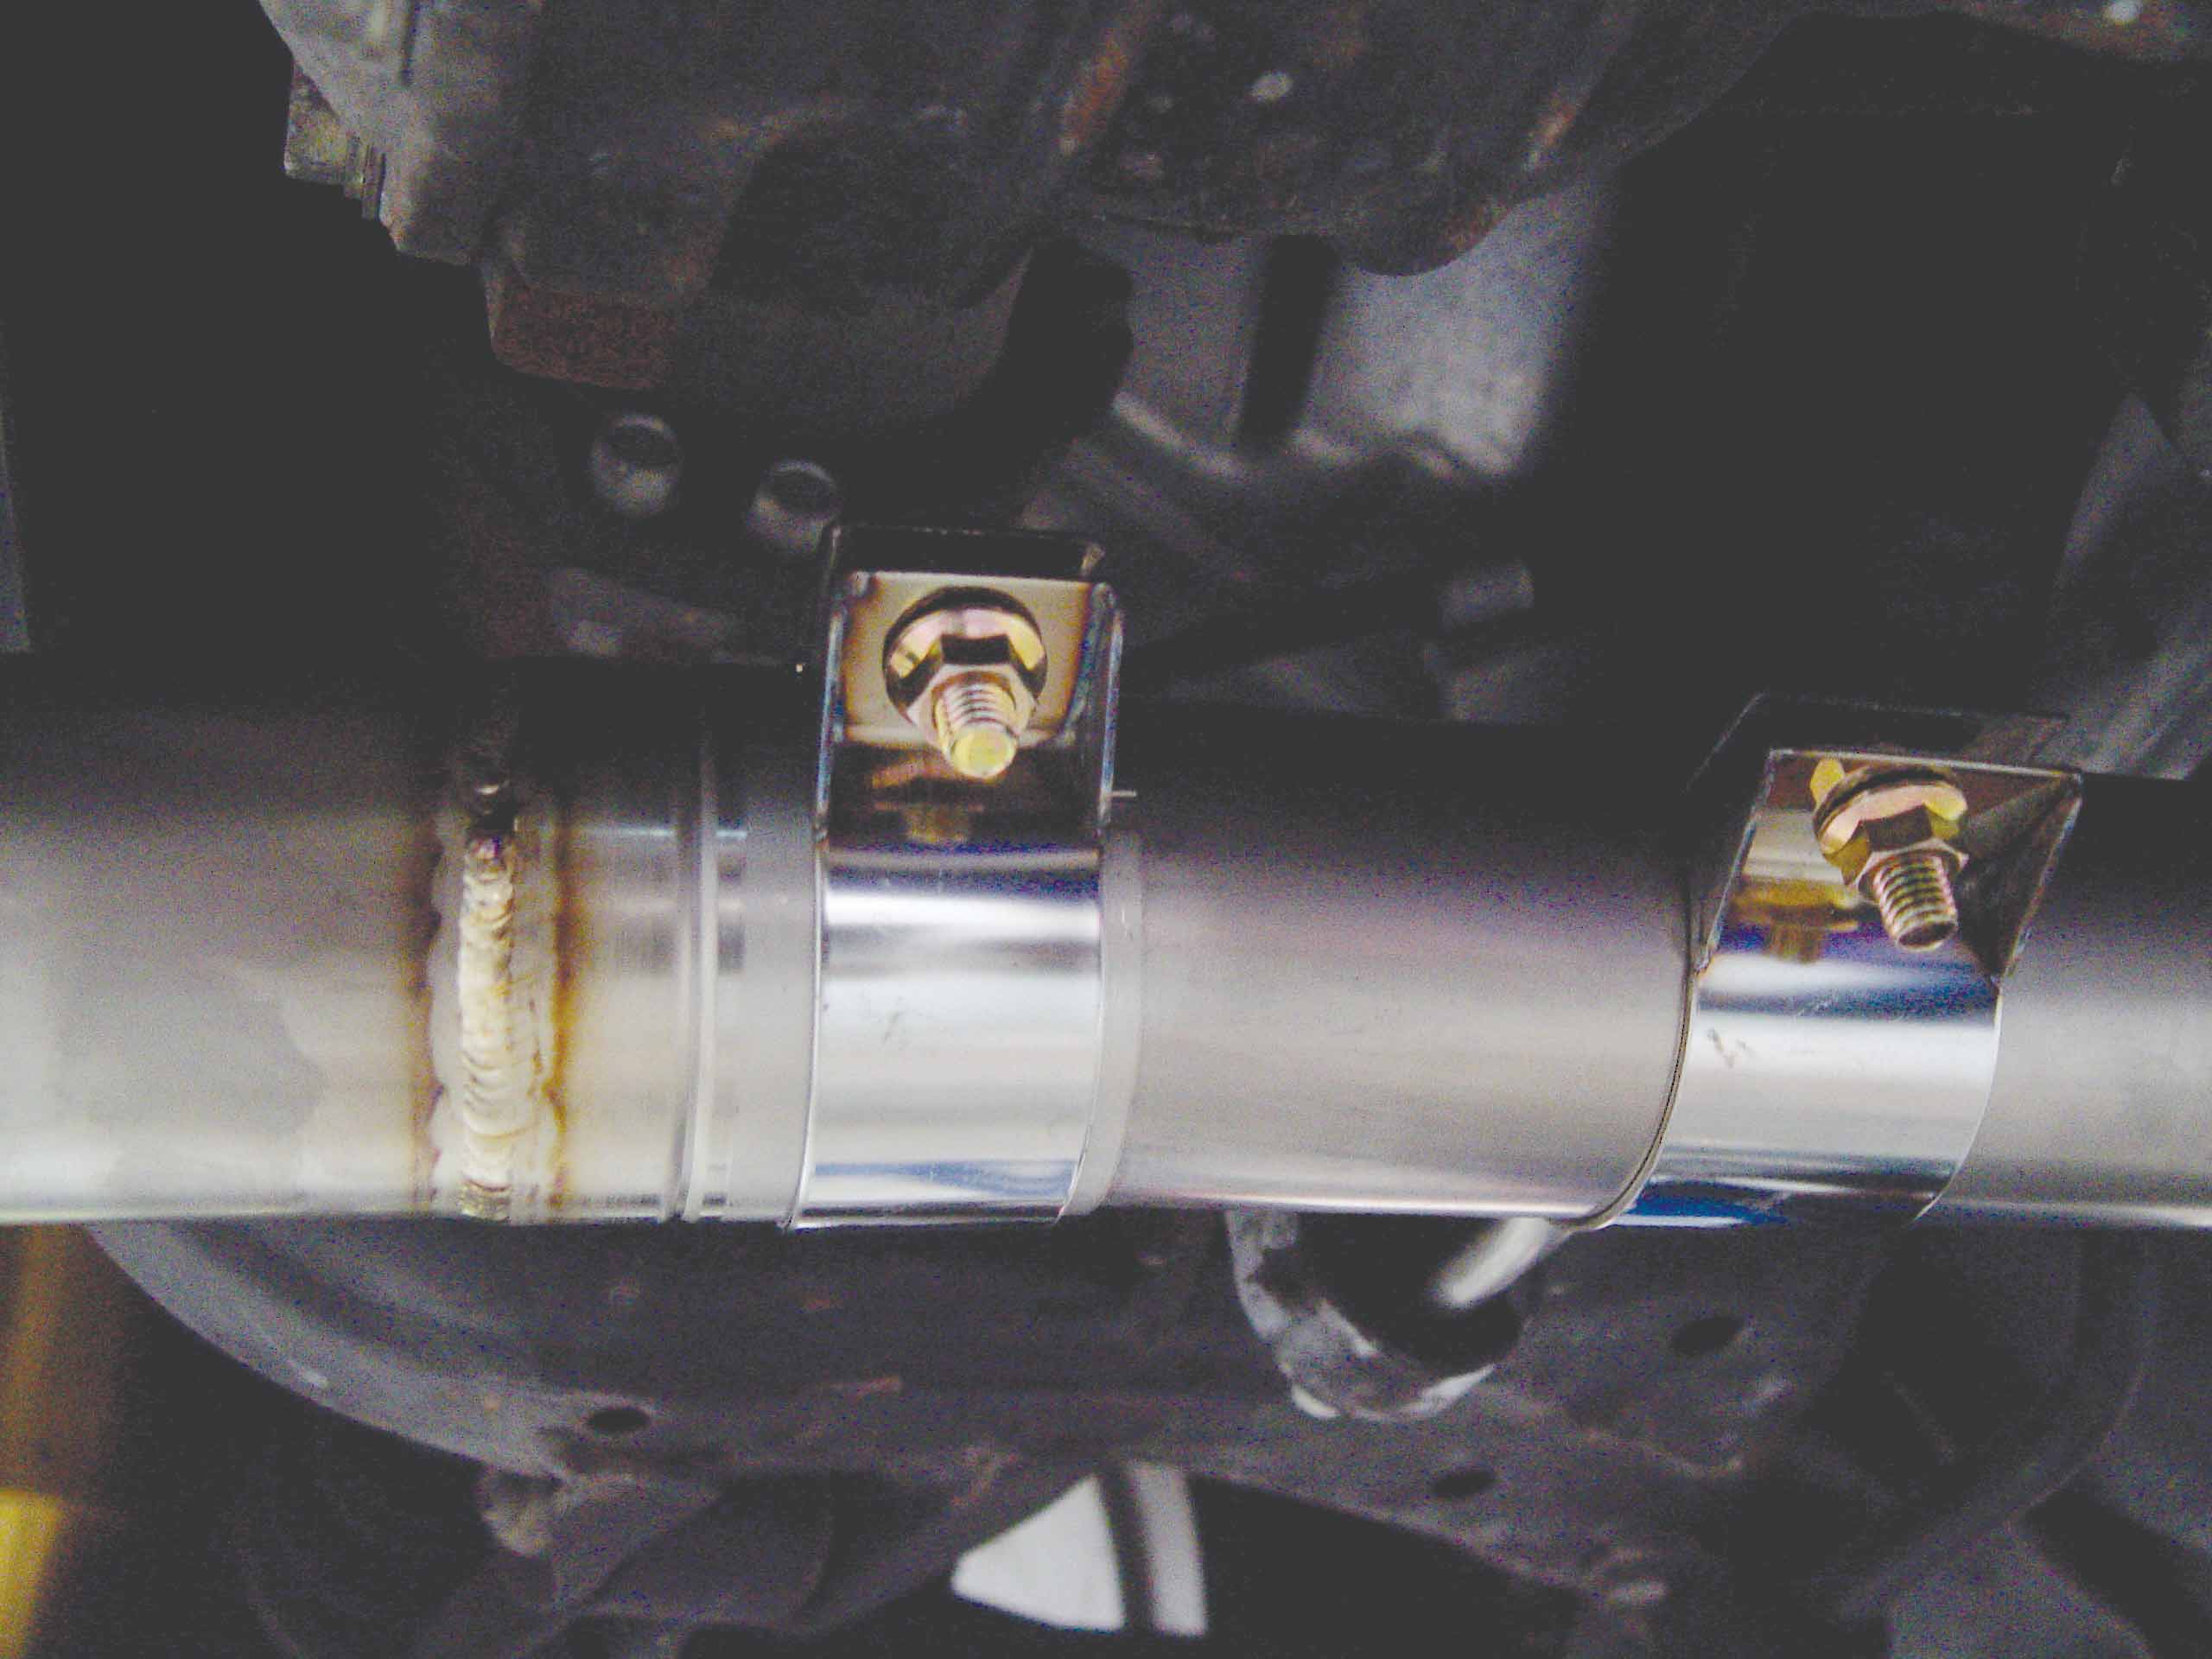
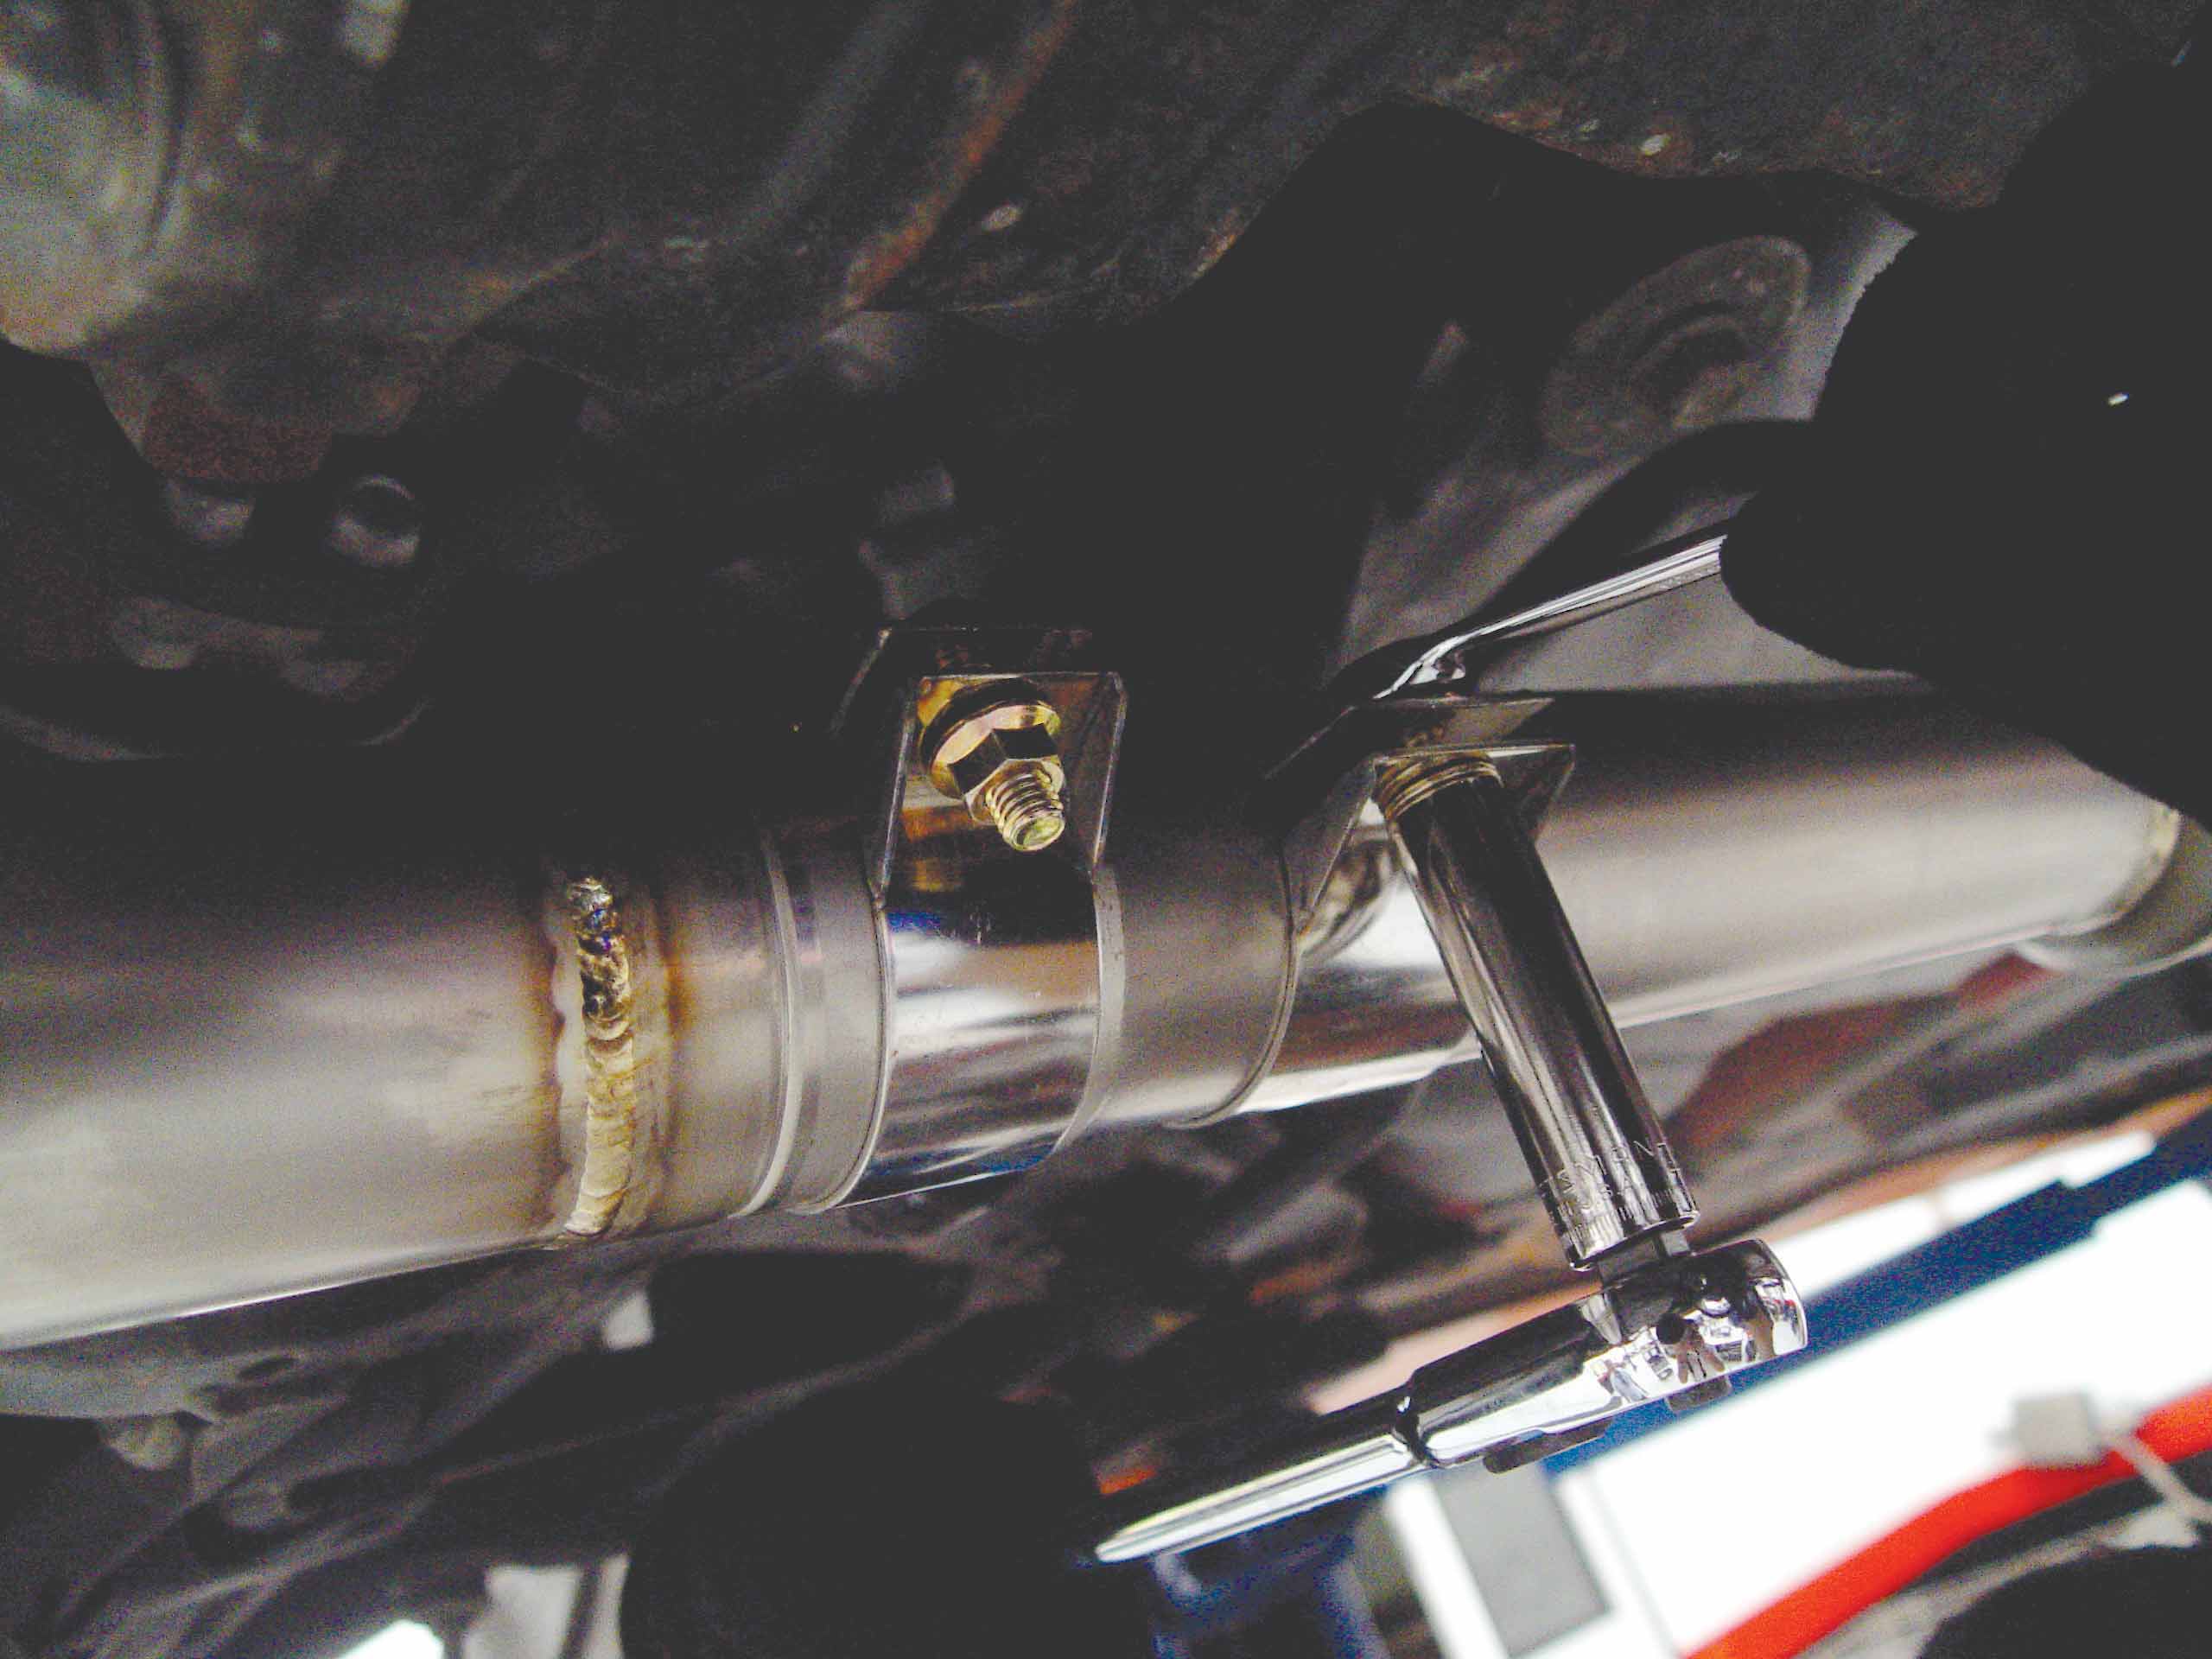
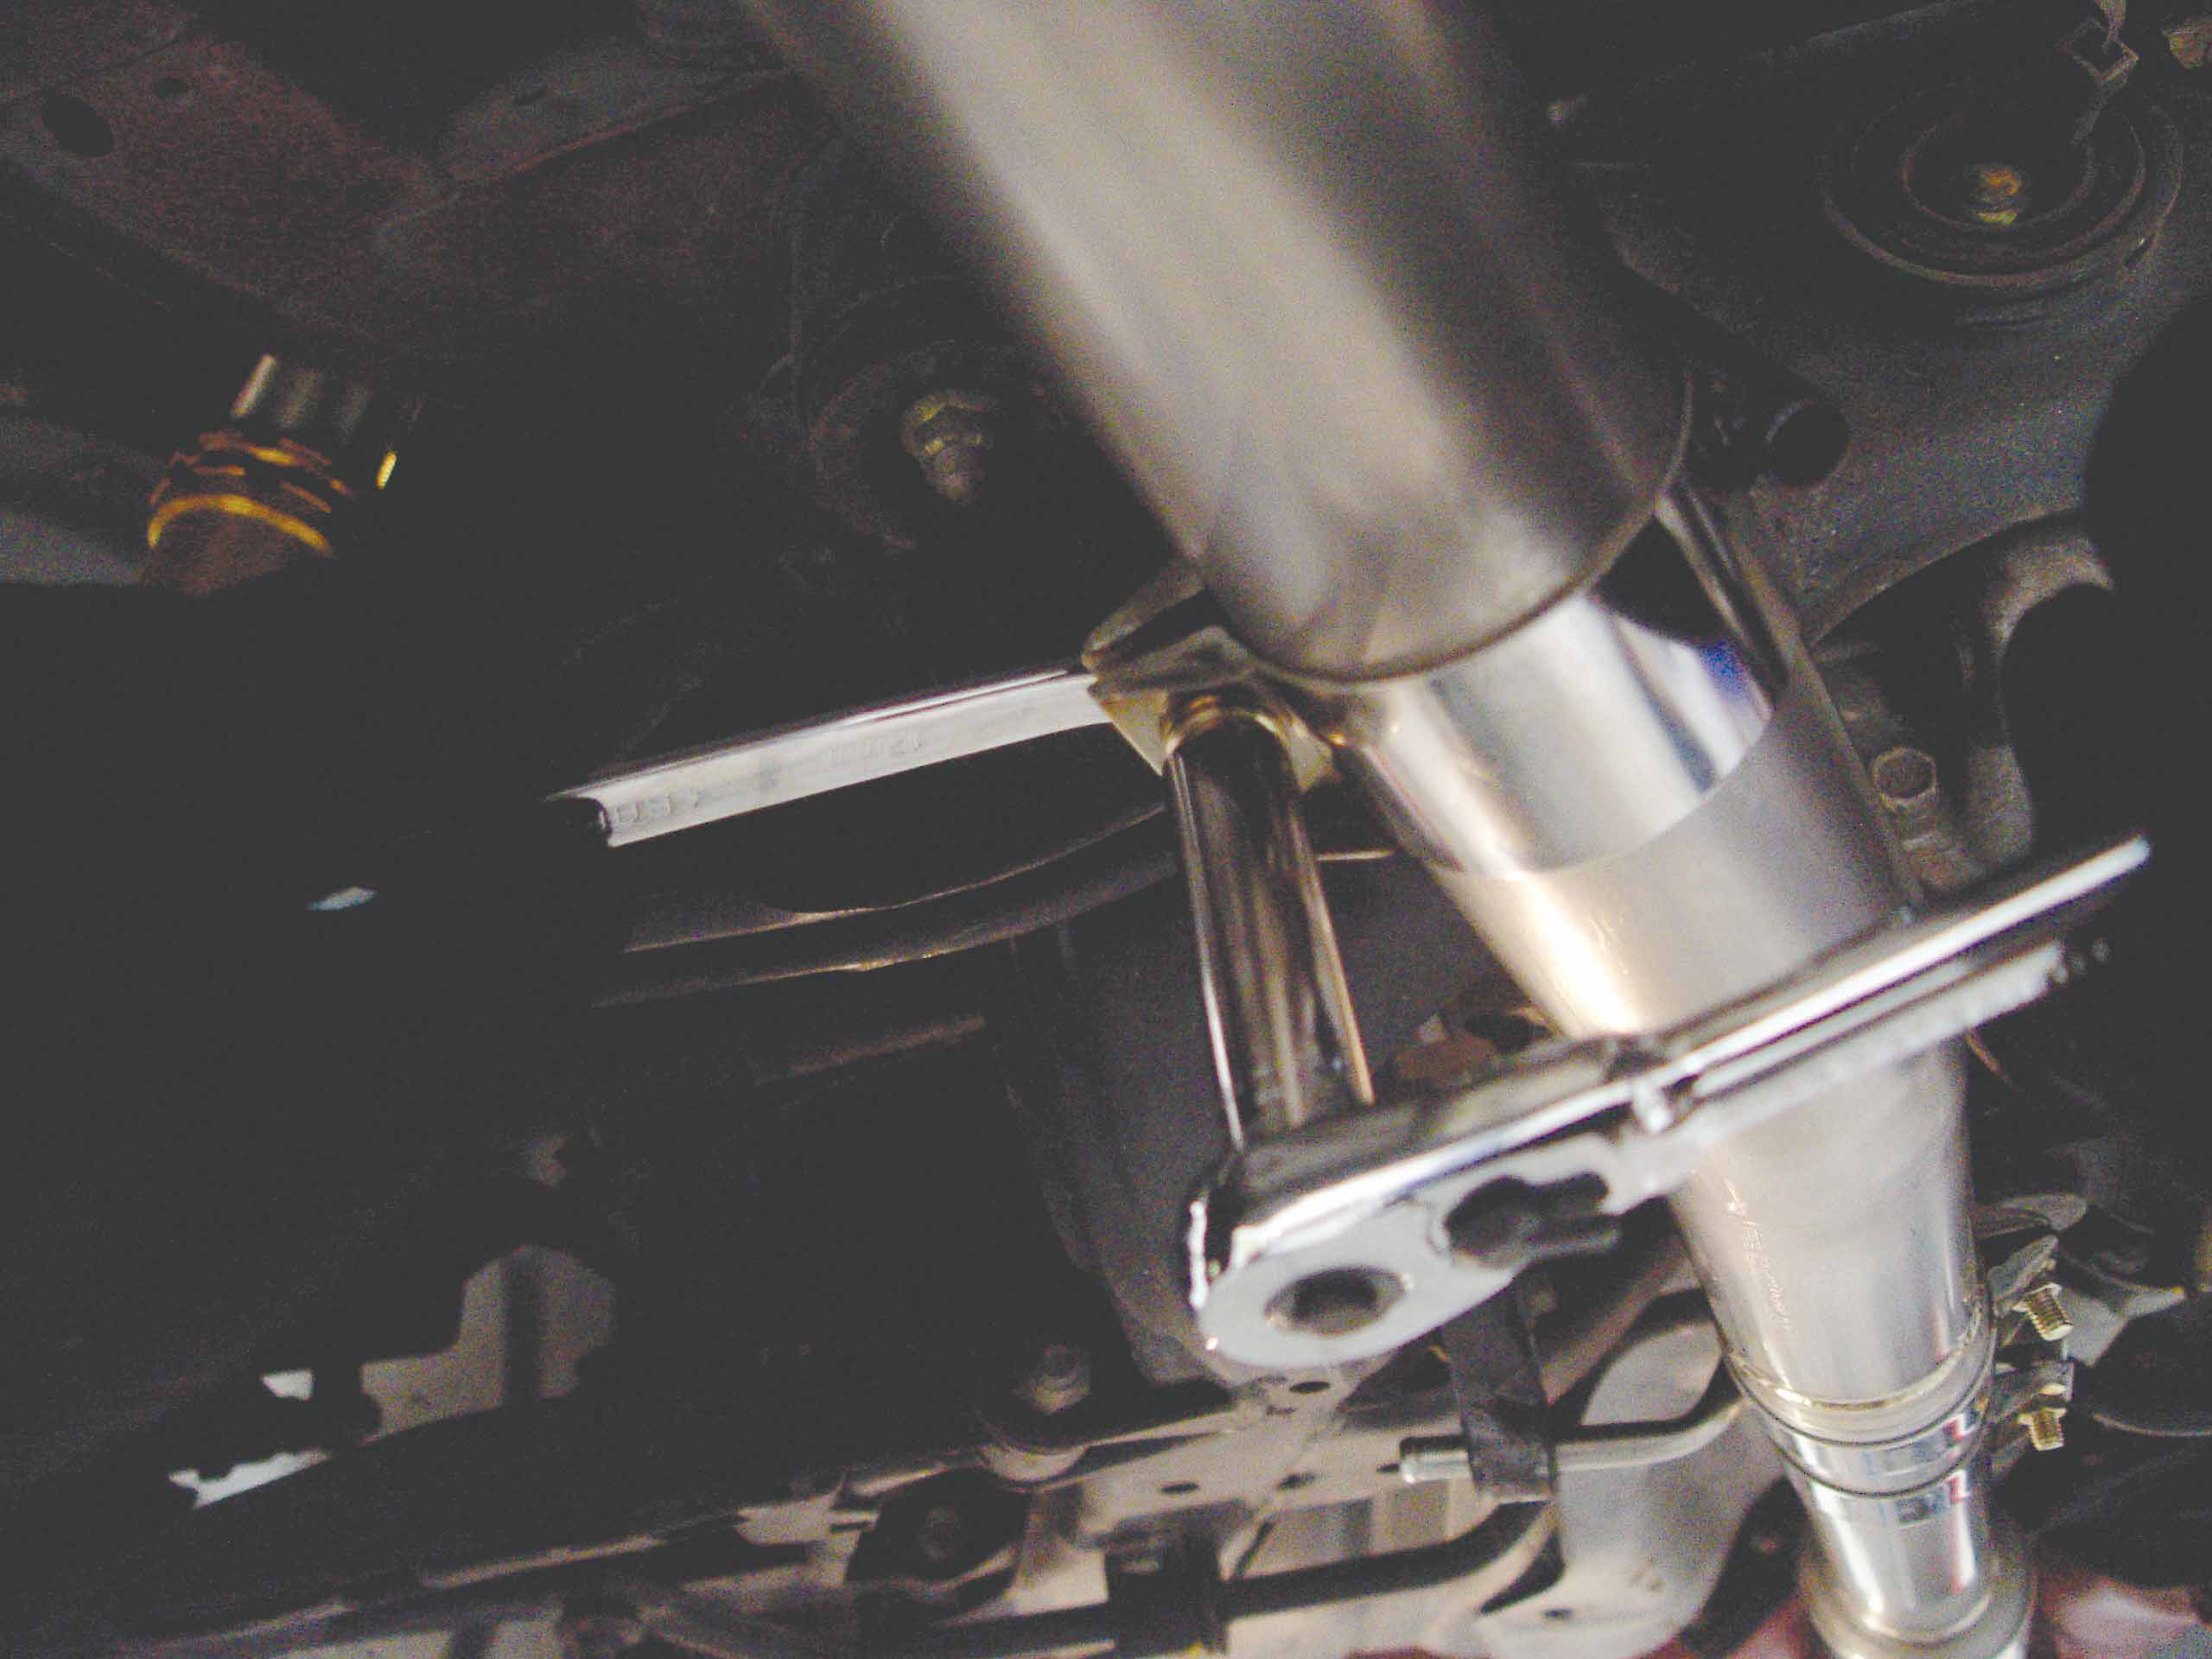
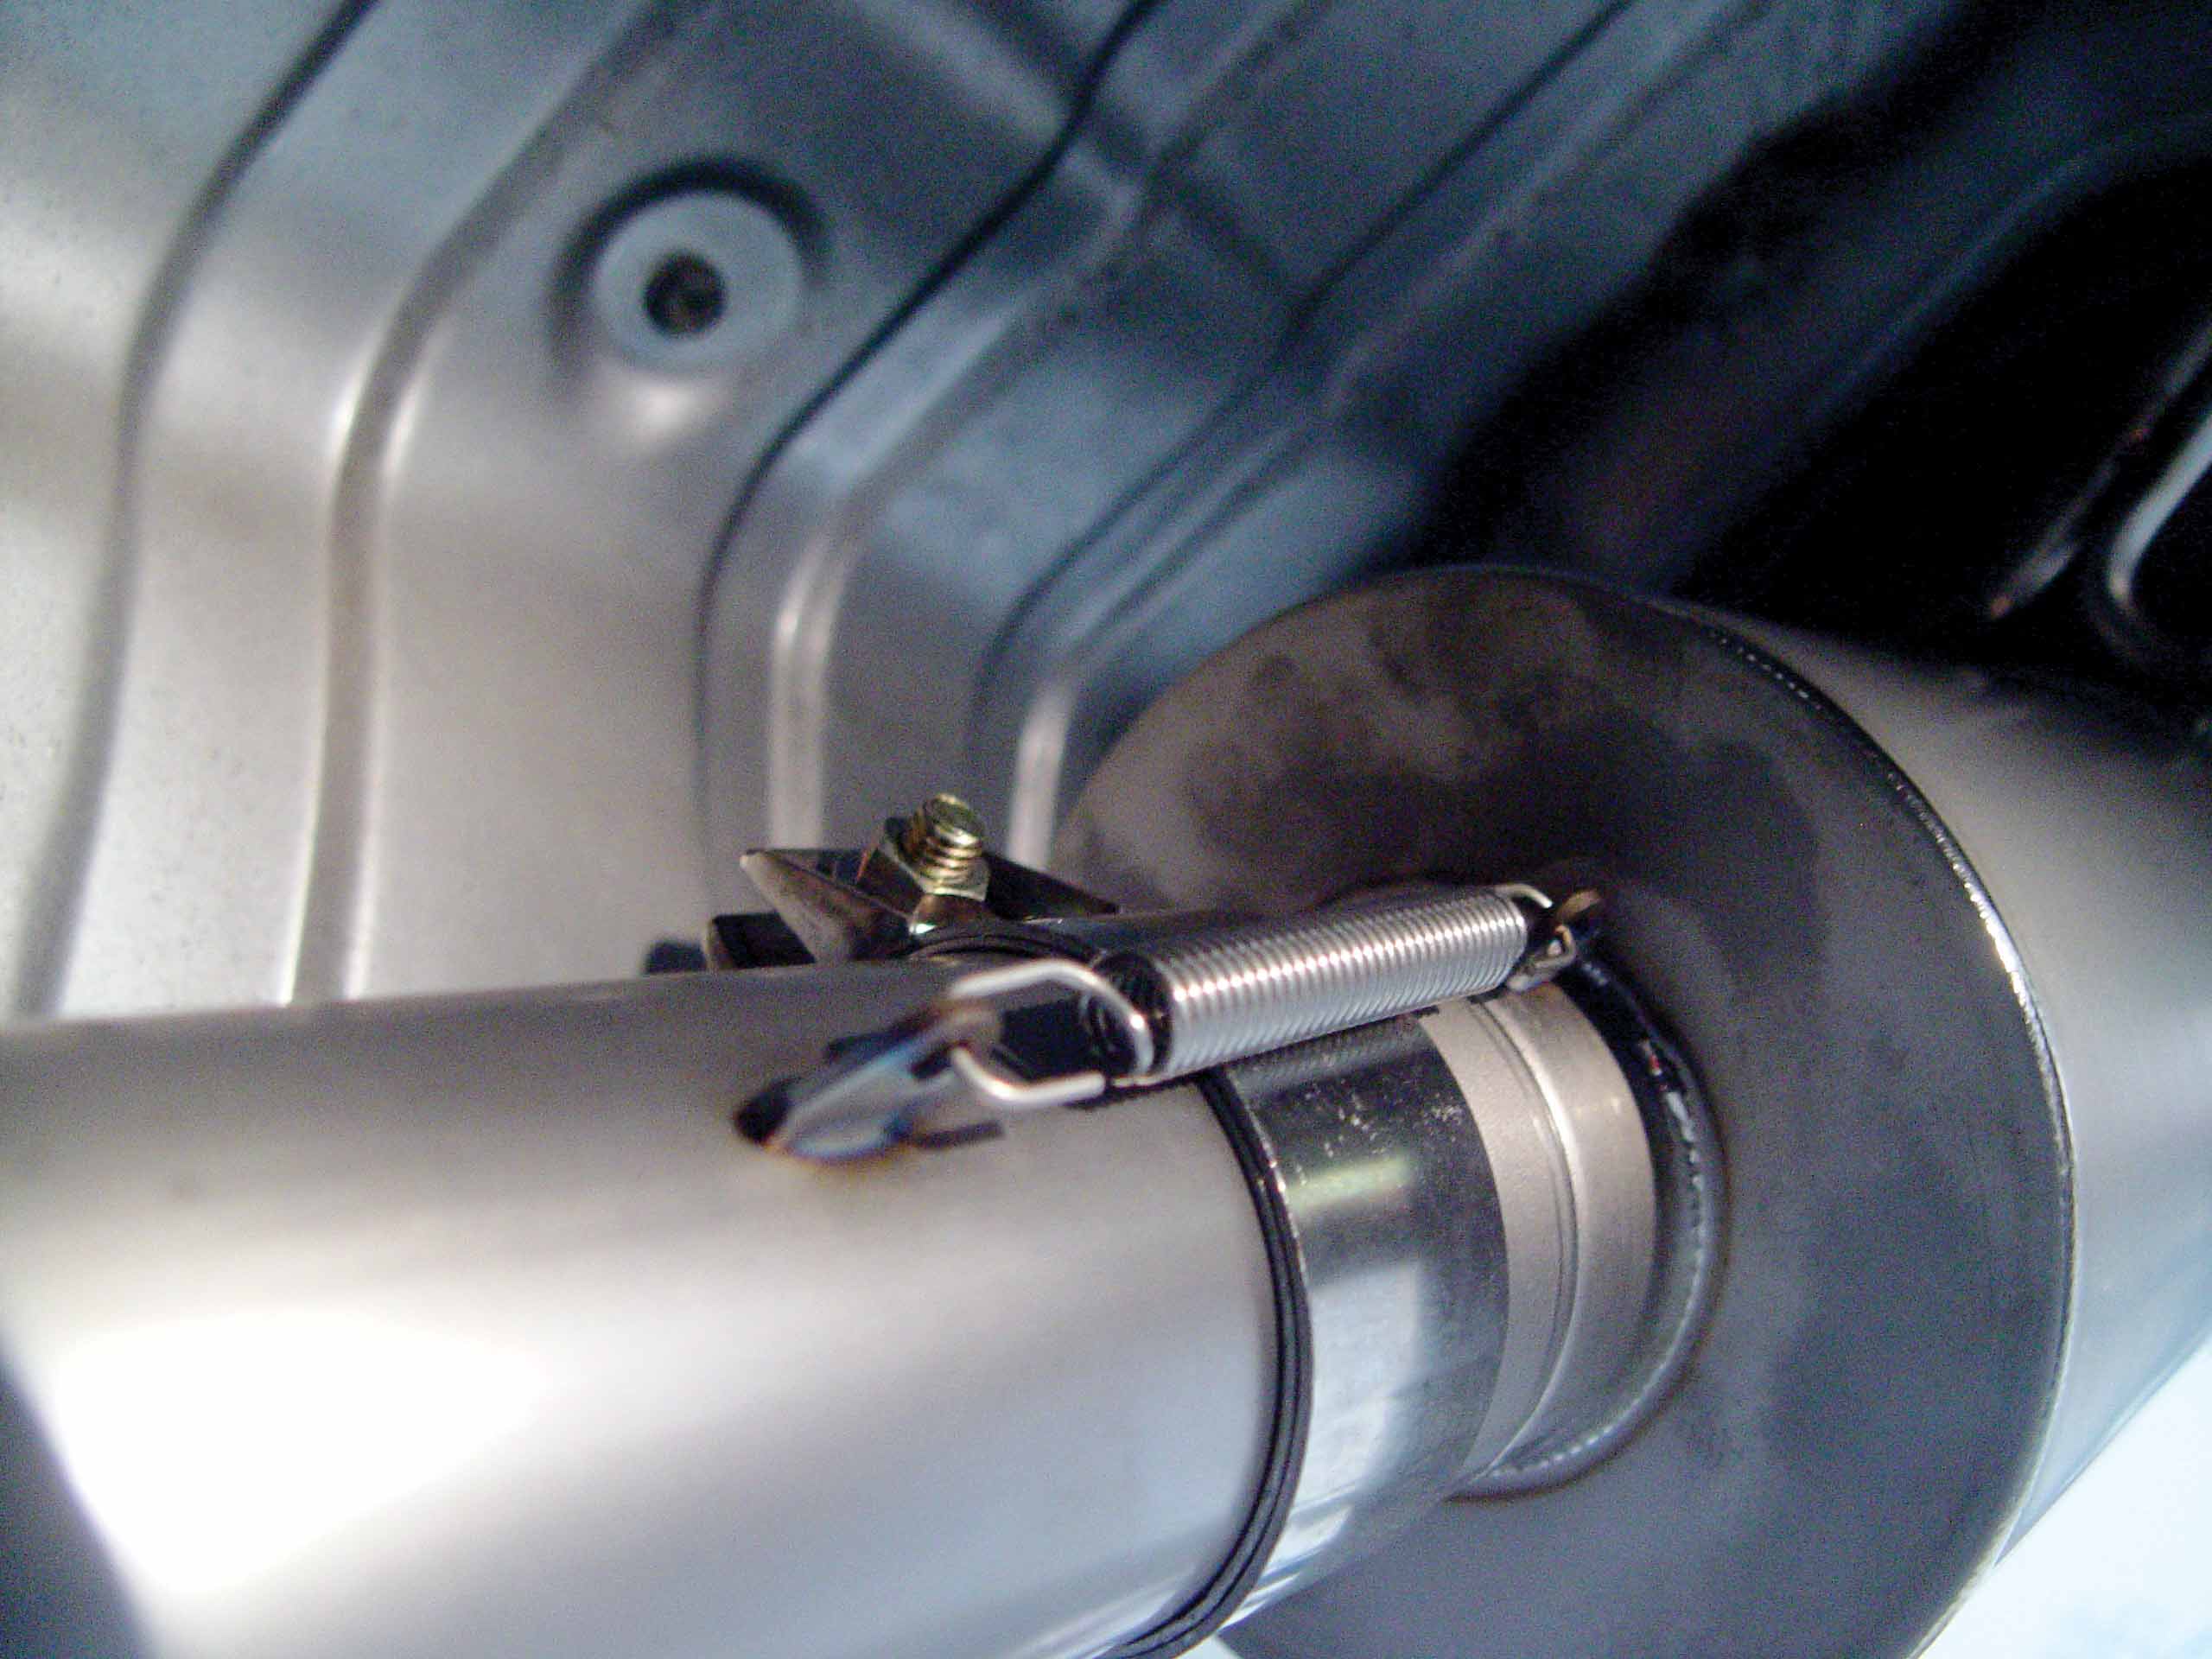
The Ti unit is broken down into two sections: the front section connects to the resonator and the second section contains the canister. The first thing that Waitas did was bolt the first section to the resonator. Then he connected the first section to the stock hangers. Nothing was fully tightened always make sure that everything is correctly installed and aligned before fully tightening the hardware. Another important rule: Always start the install from the front and work your way toward the back, making sure that everything is aligned.
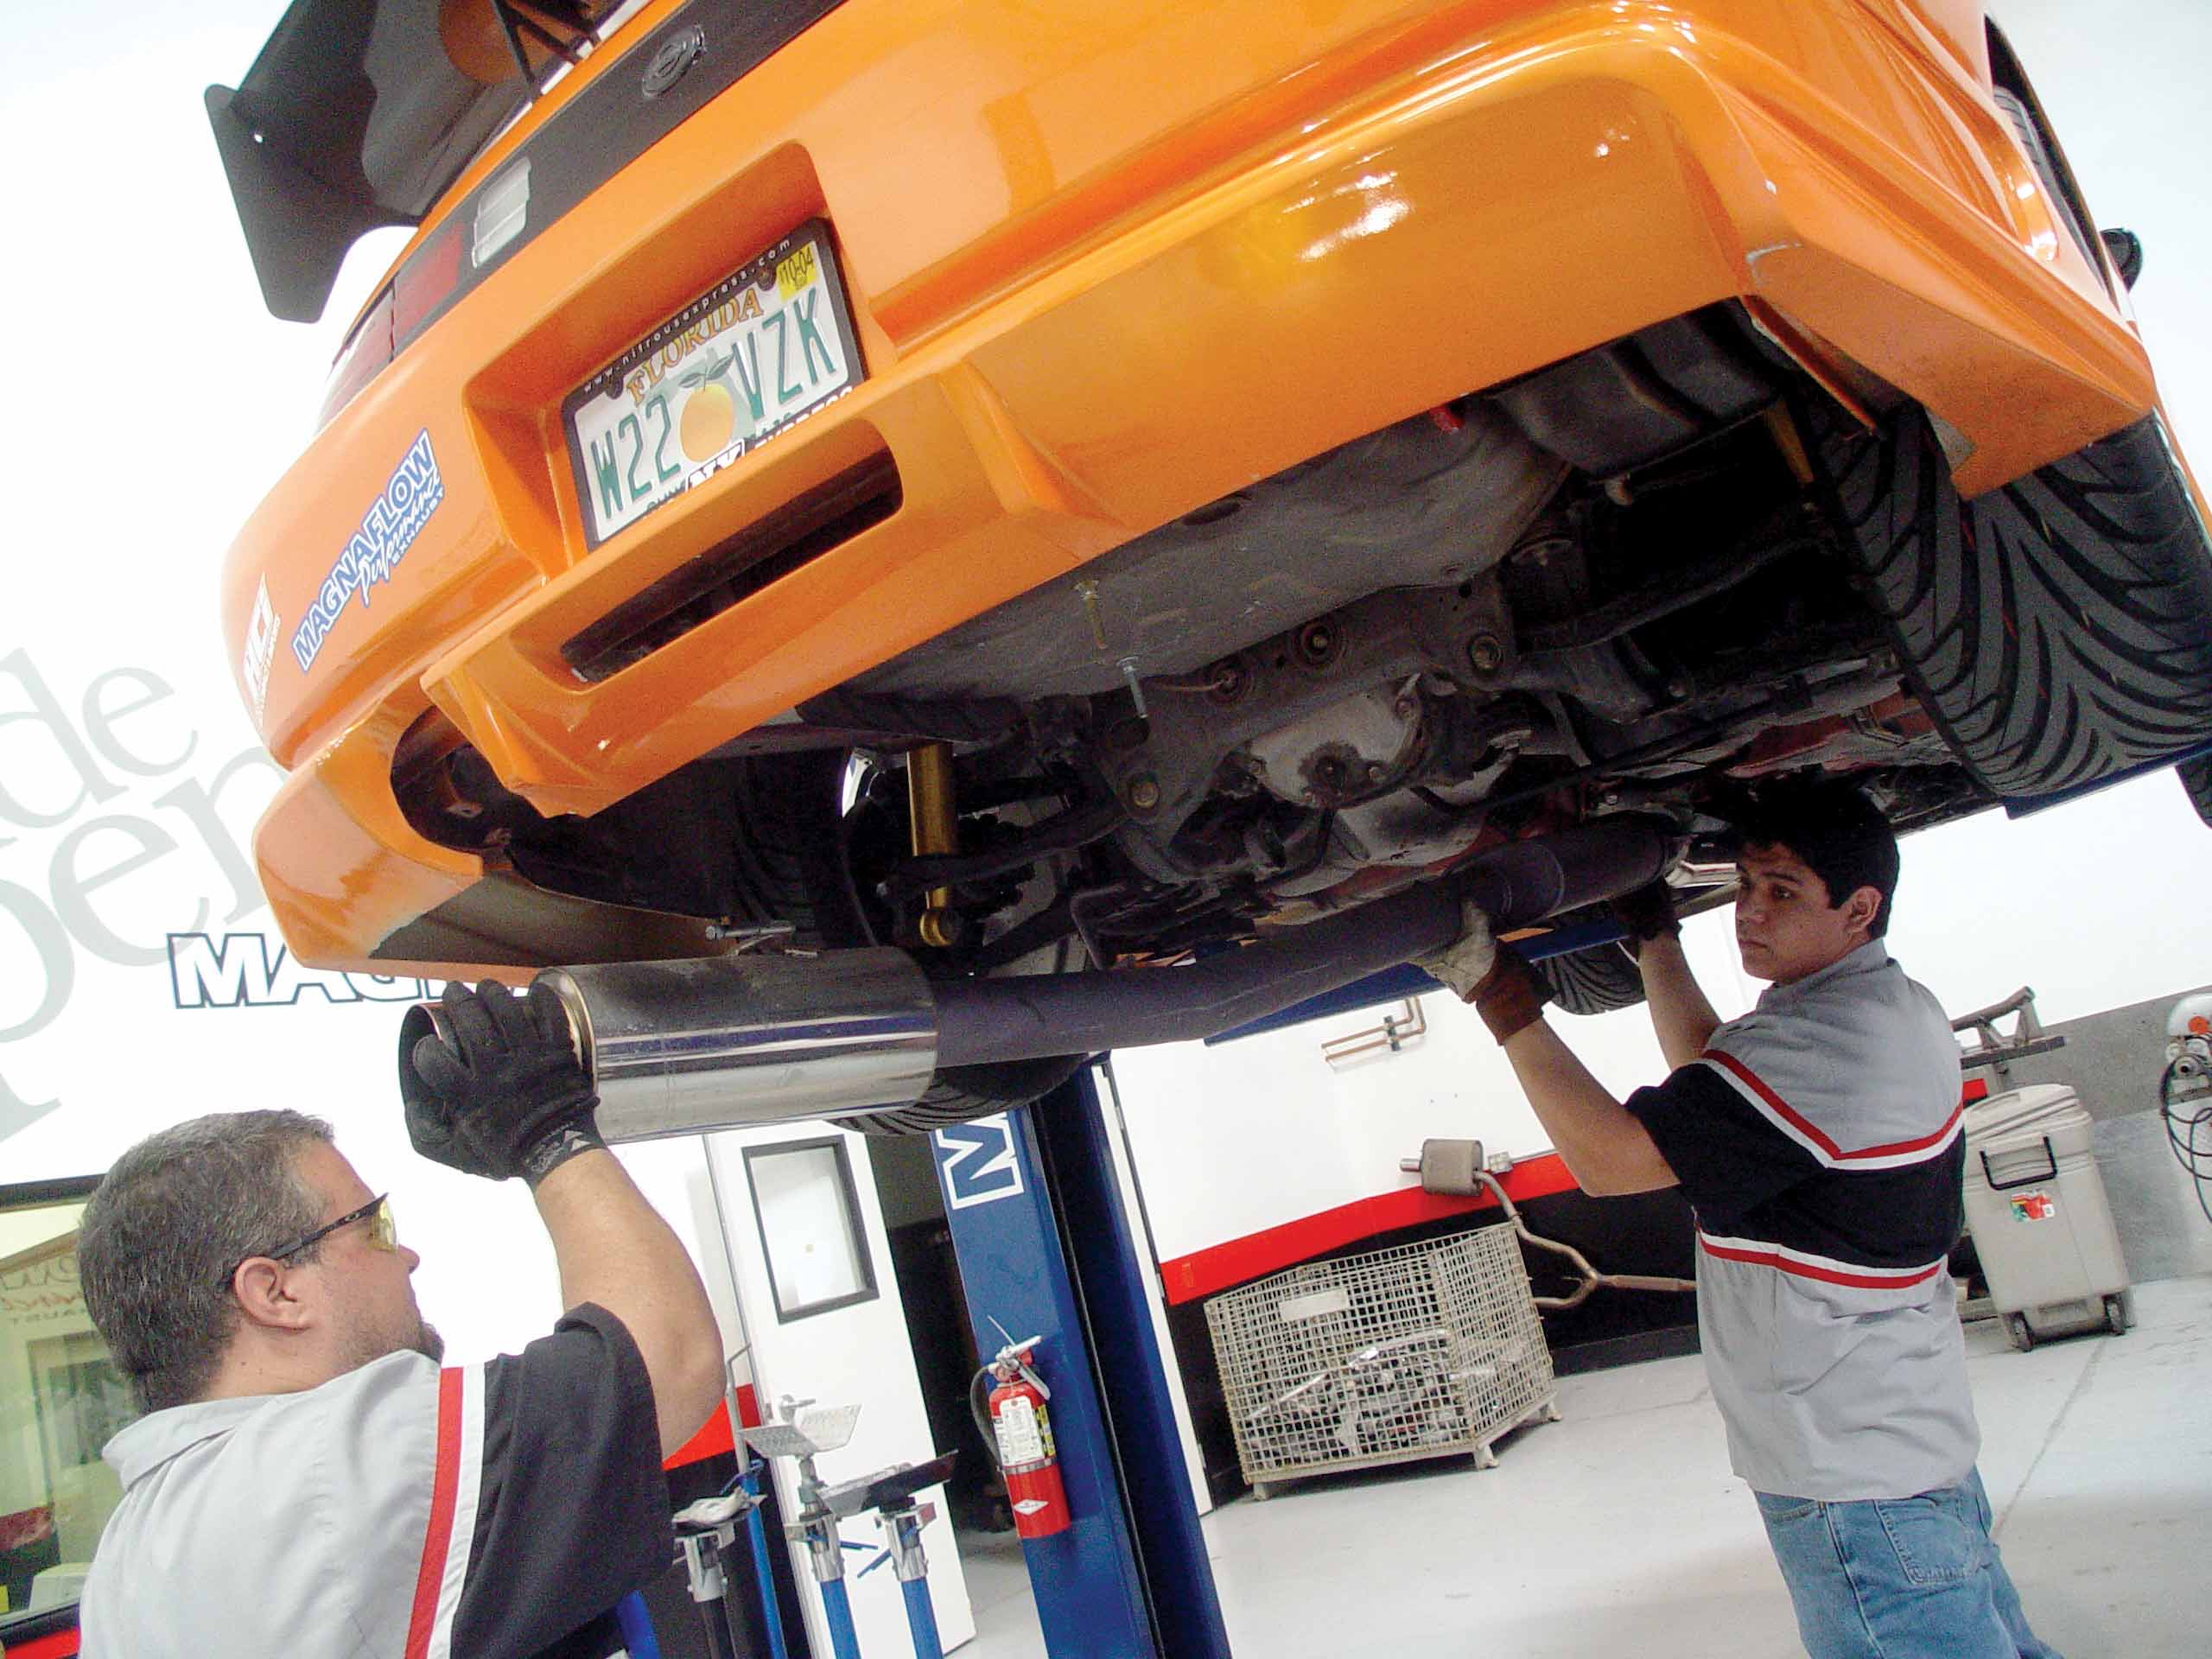
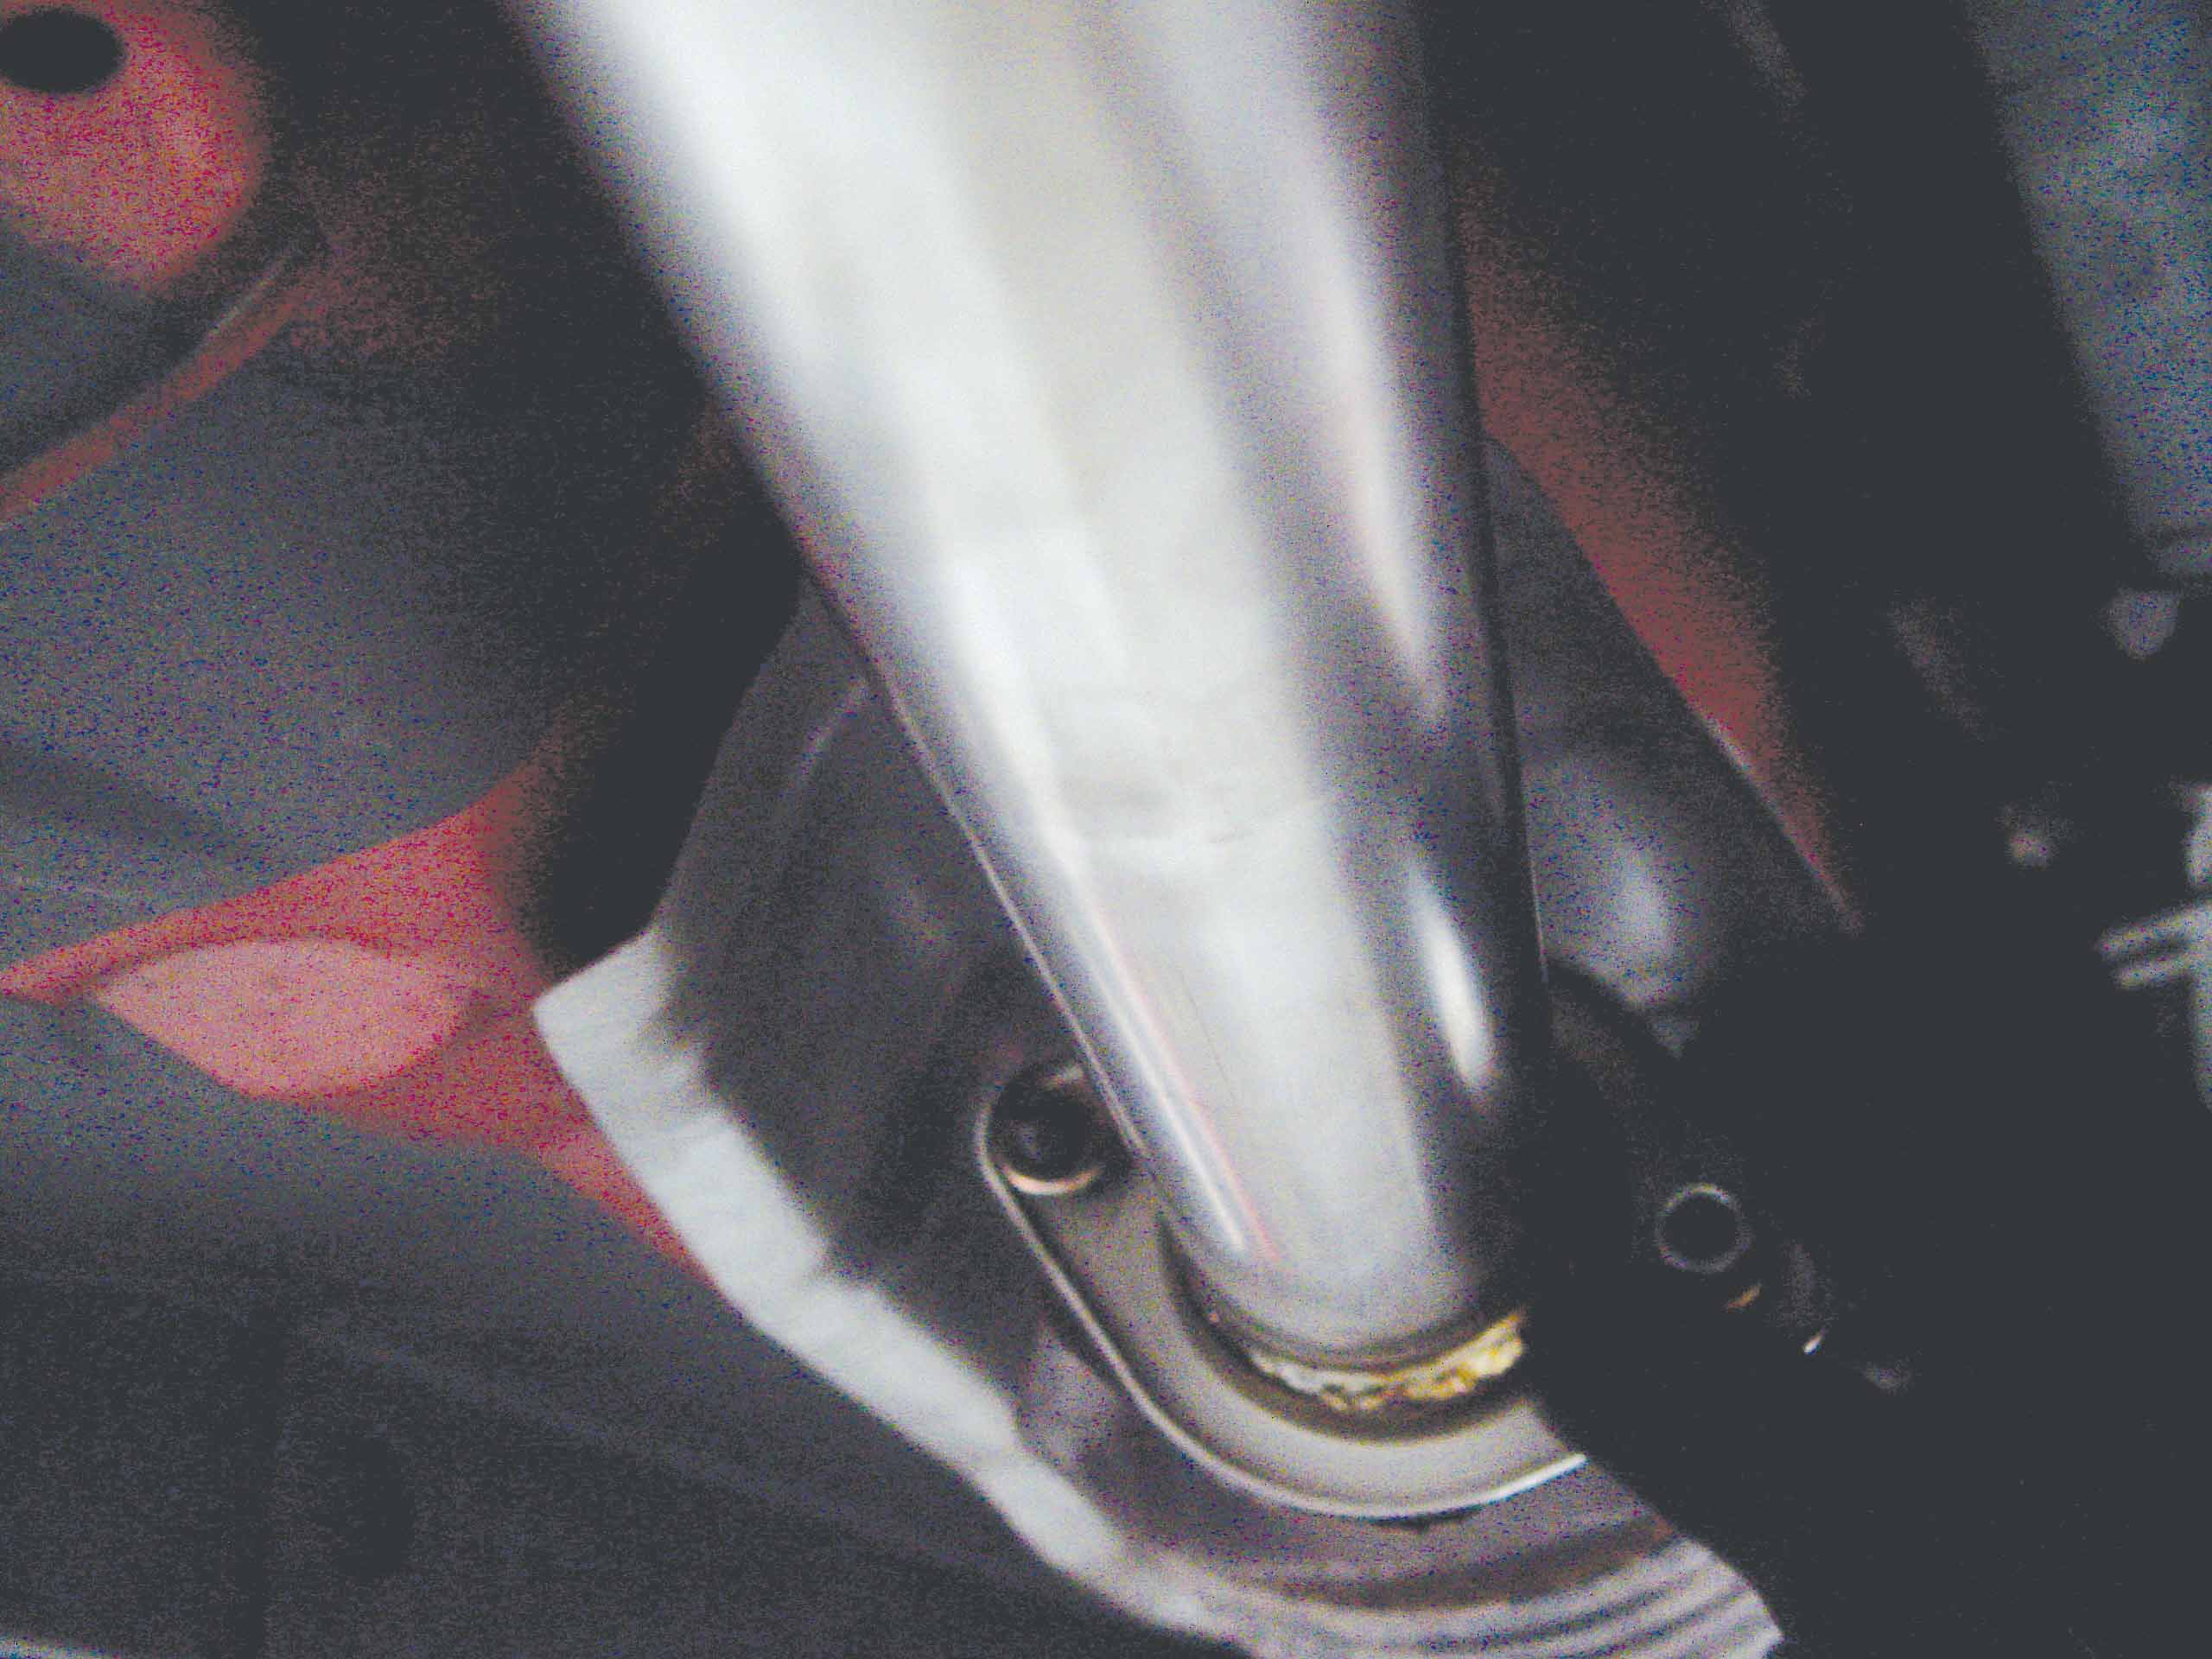
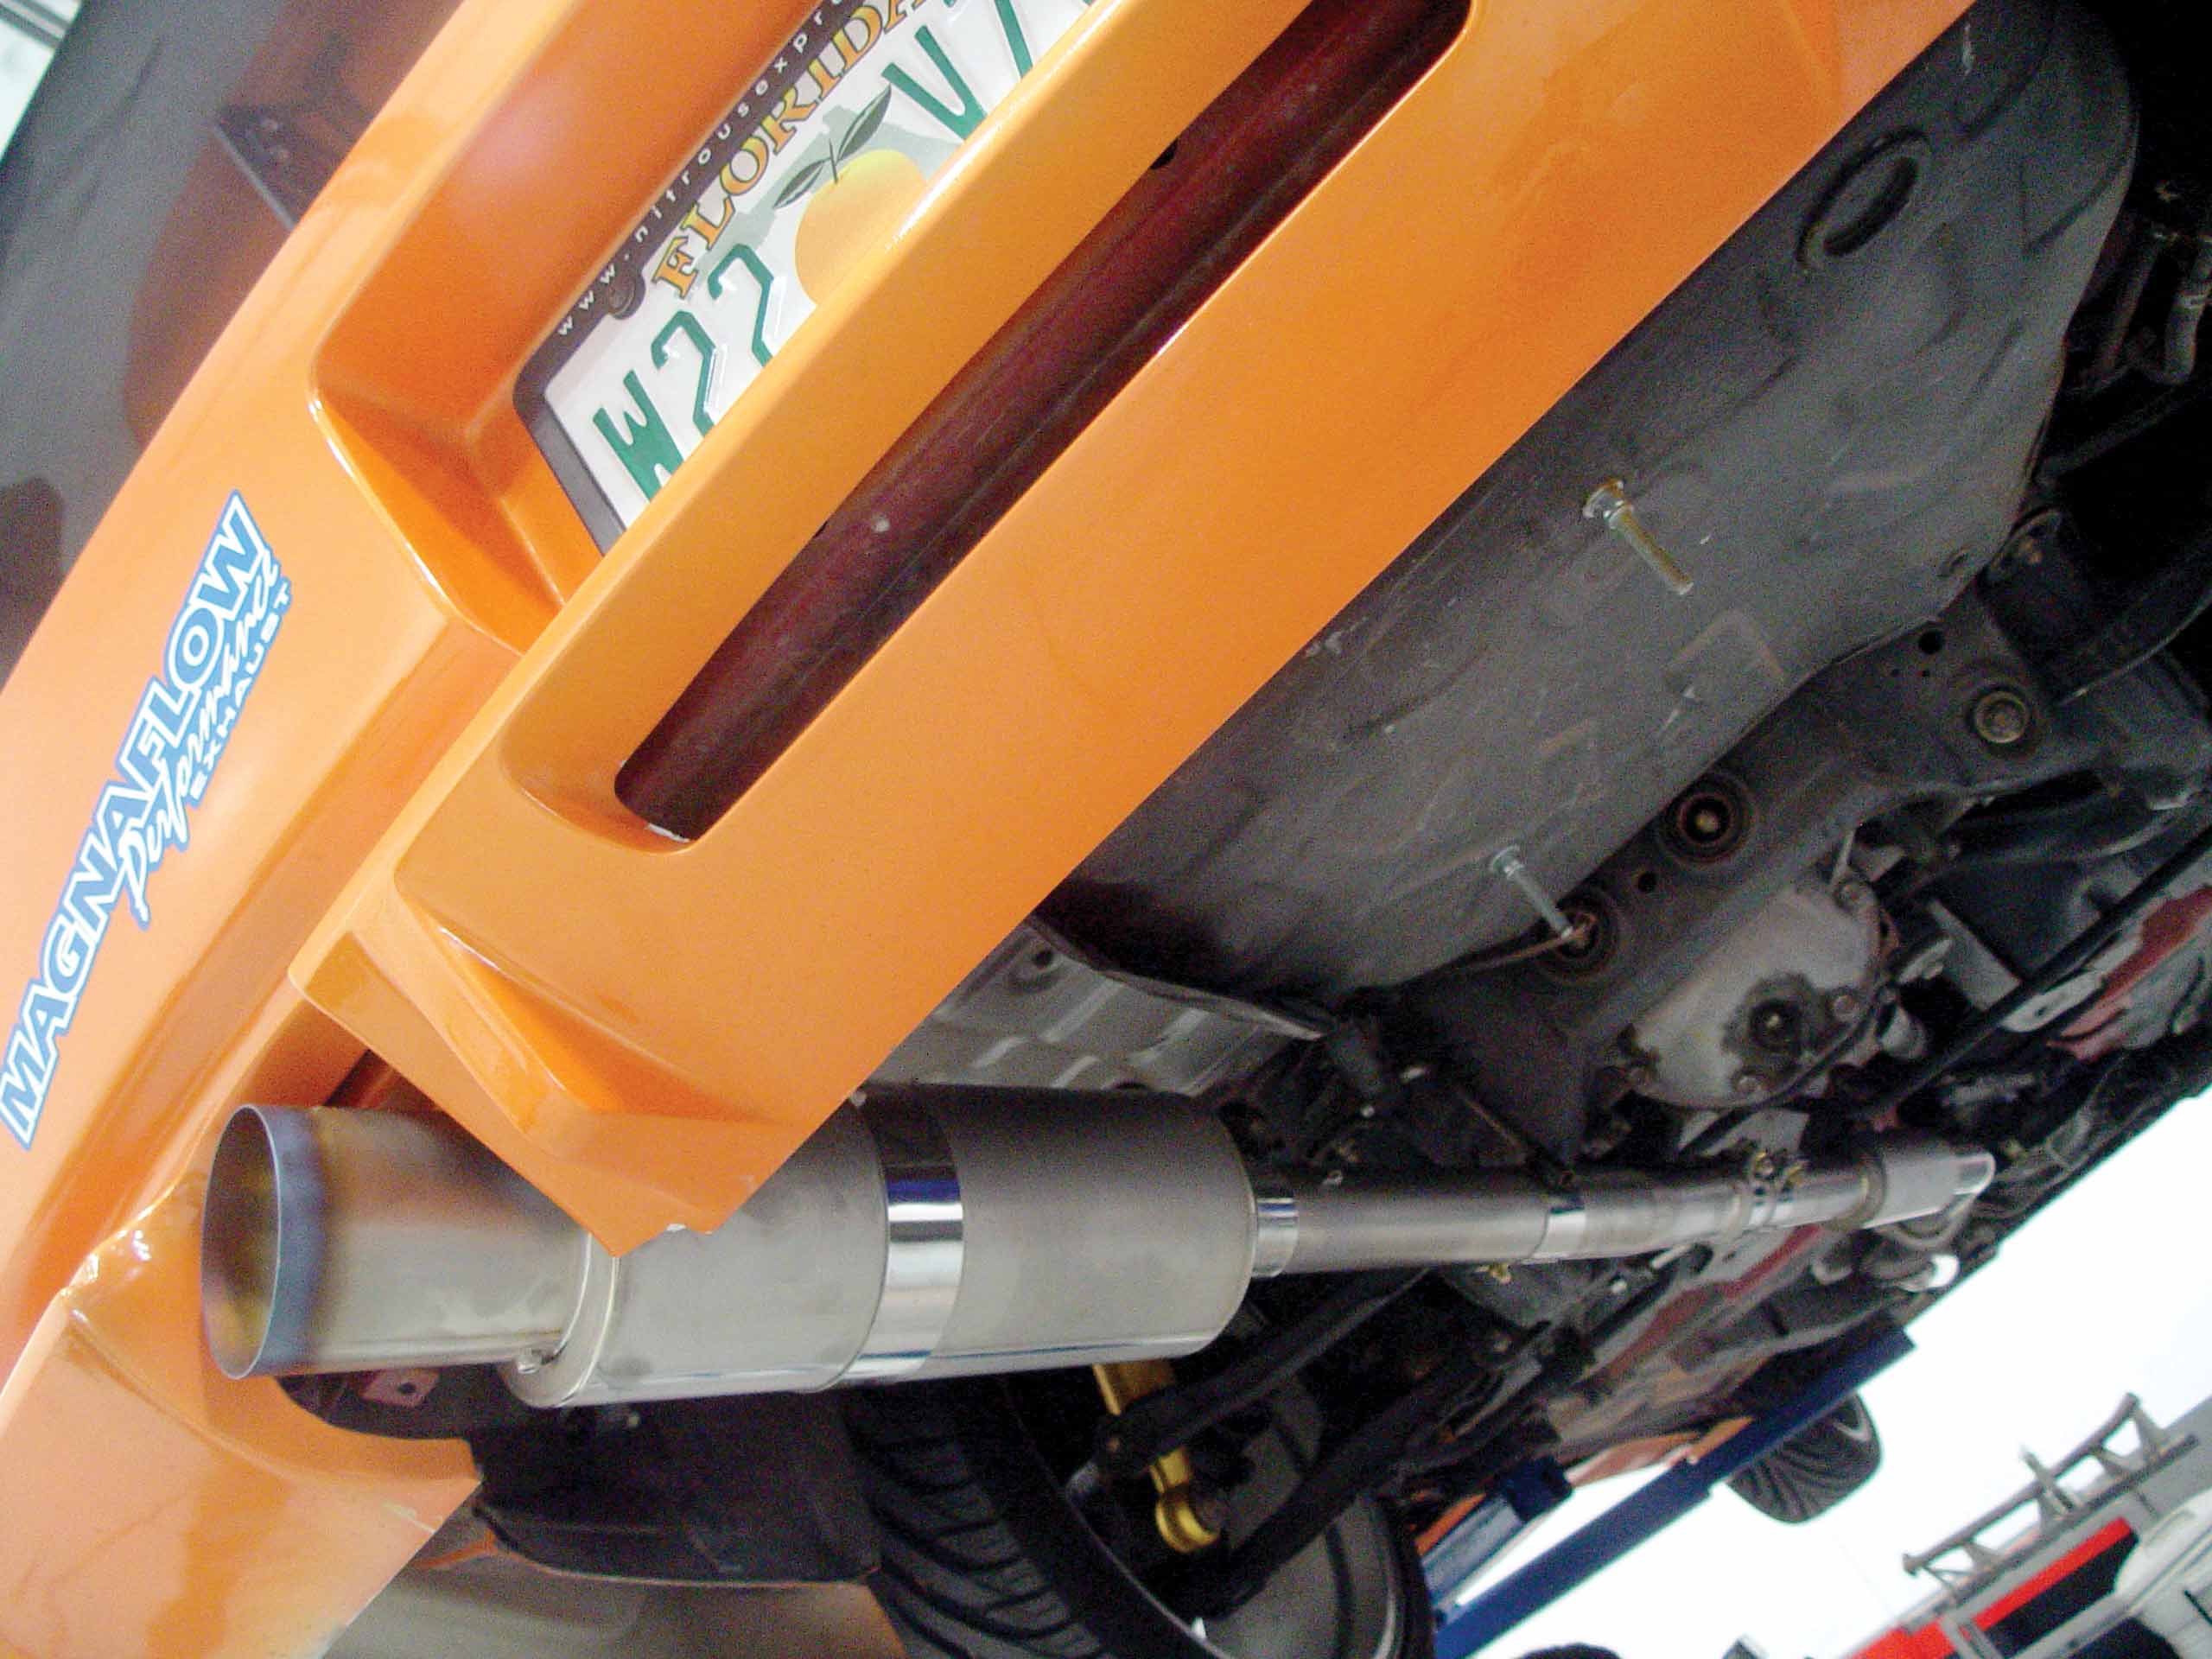
Waitas then took the second section and bolted it up to the front section, which was now hanging securely on the hangers. Then he made sure that the canister was secure by connecting the second section to the hangers located at the rear of the vehicle. Next, he made sure that everything lined up and that the canister looked just right from behind the car. After it was all secure, he went back and tightened everything.
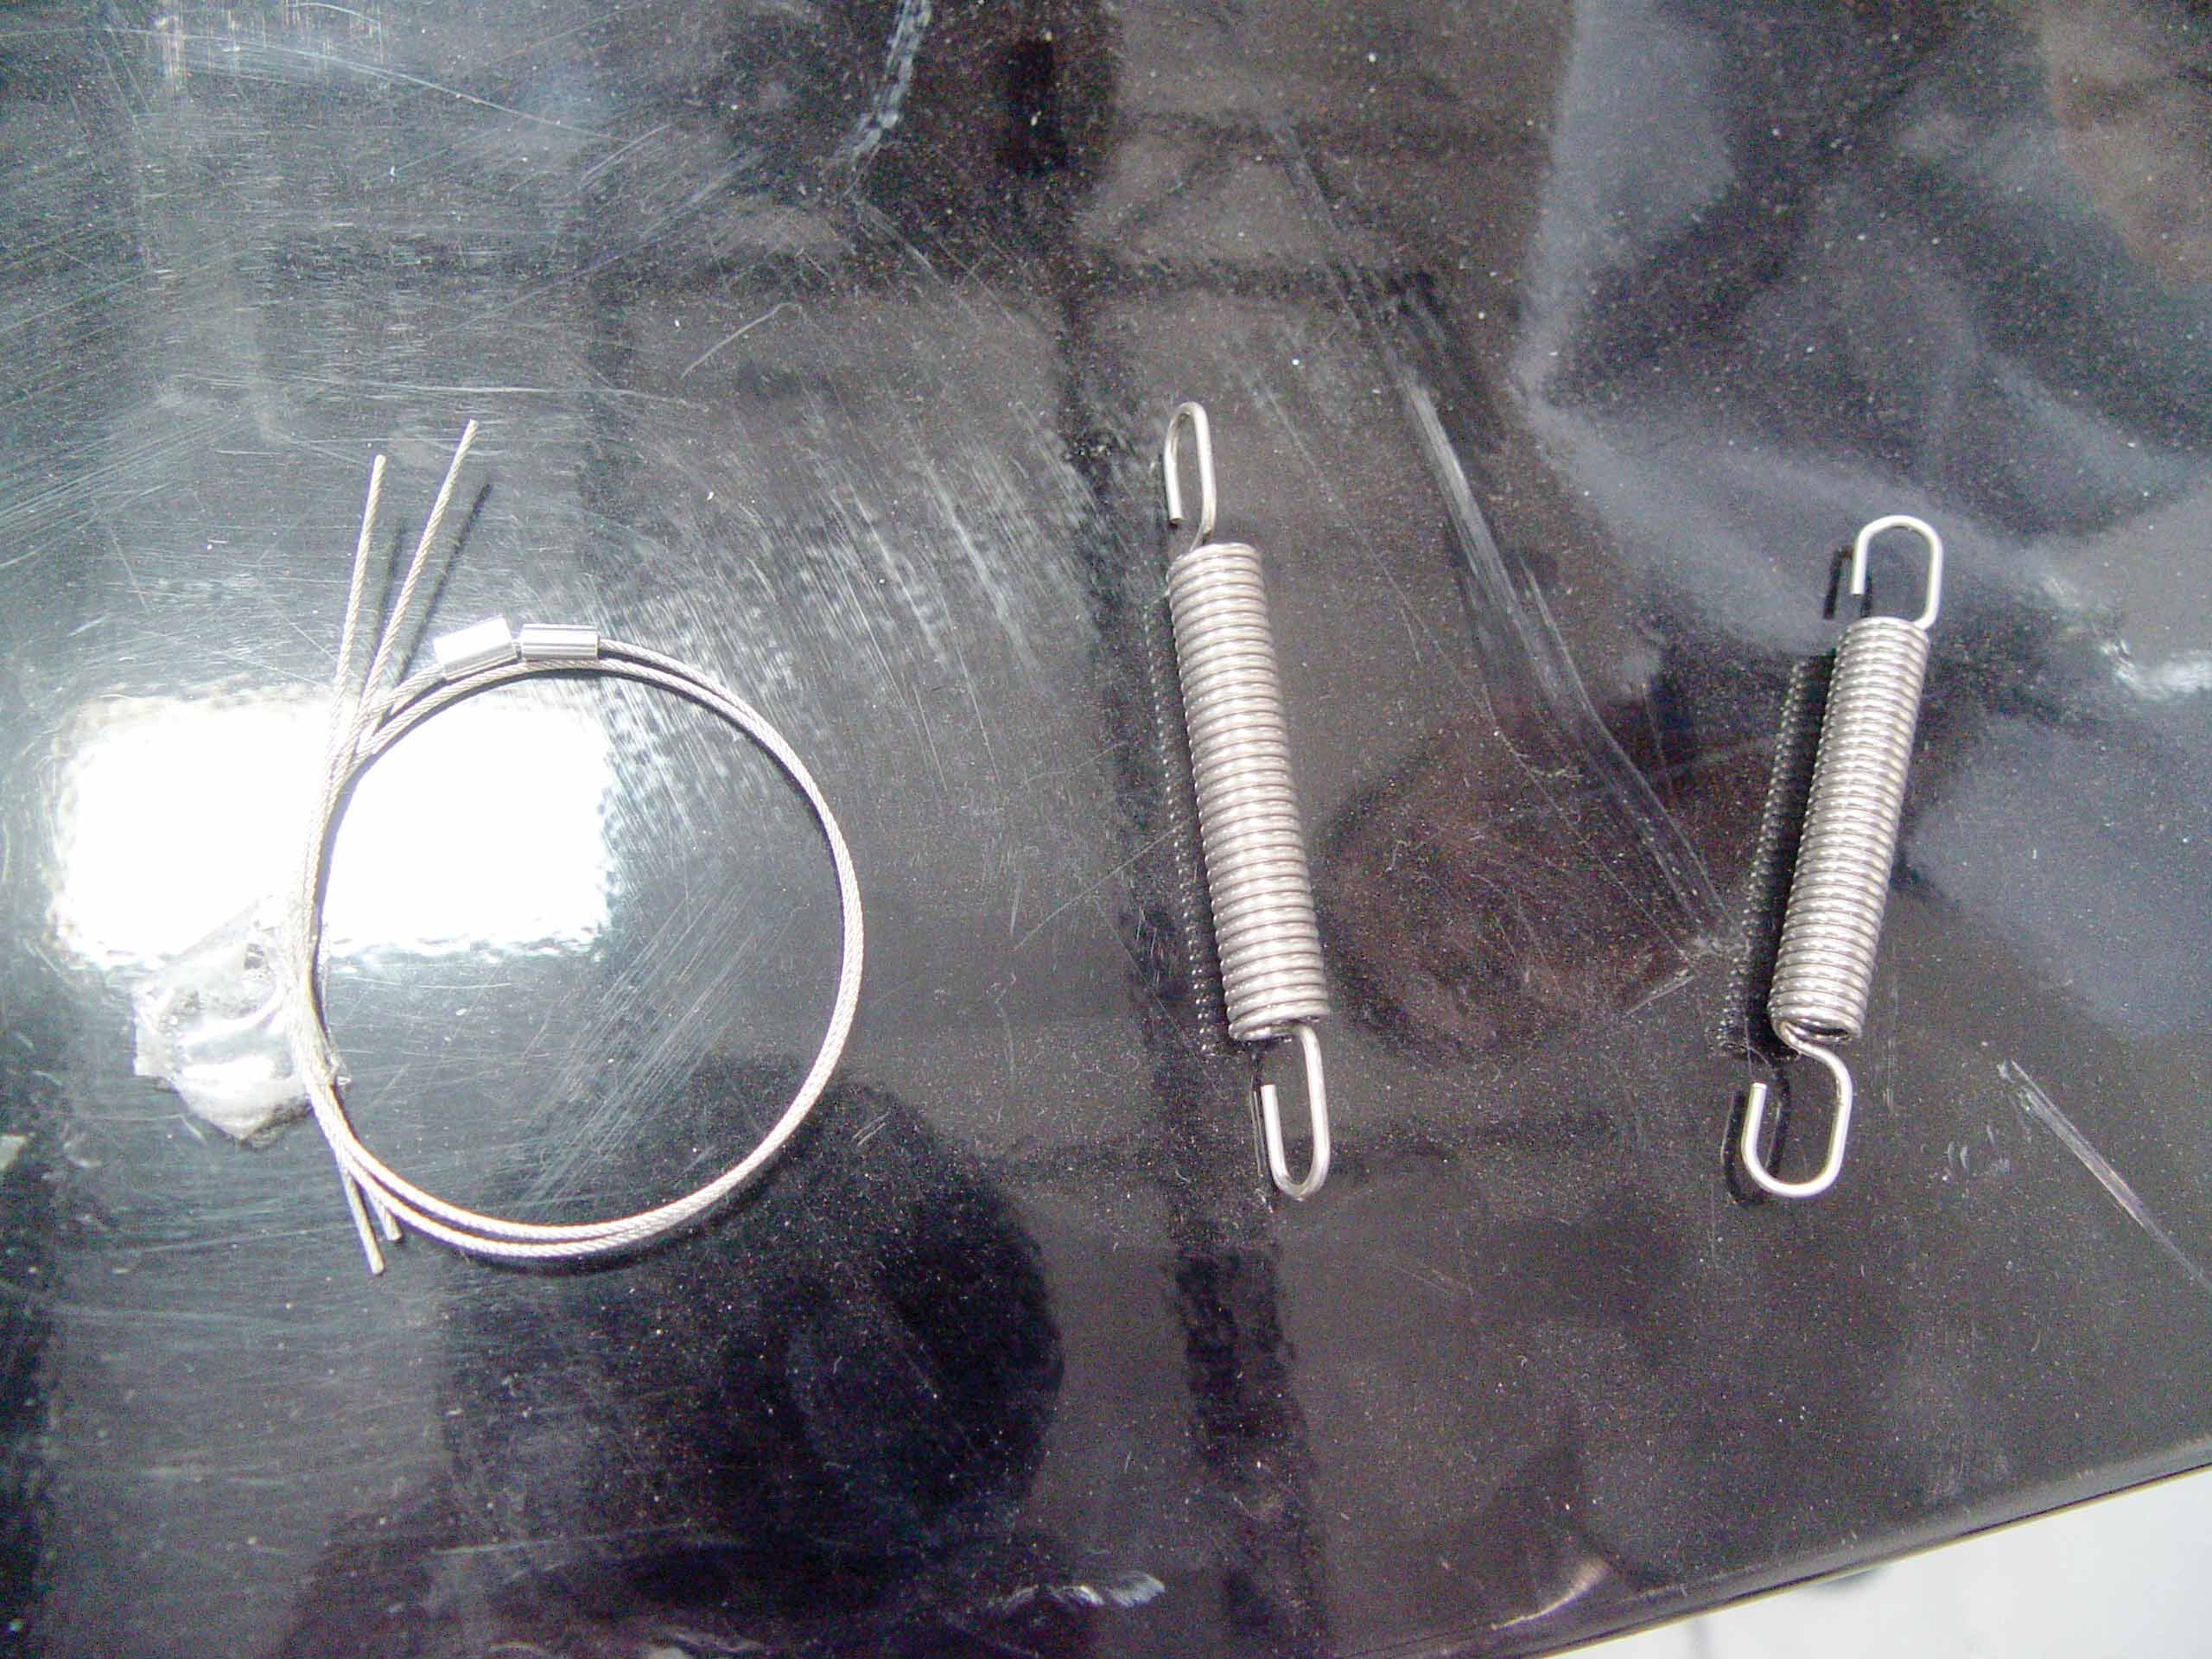
The only tools needed for this install were 12mm and 14mm wrenches and a set of hanger pliers. MagnaFlow supplies the rest of the hardware, including washers and an Allen wrench.
Sound Testing the Titanium Exhaust
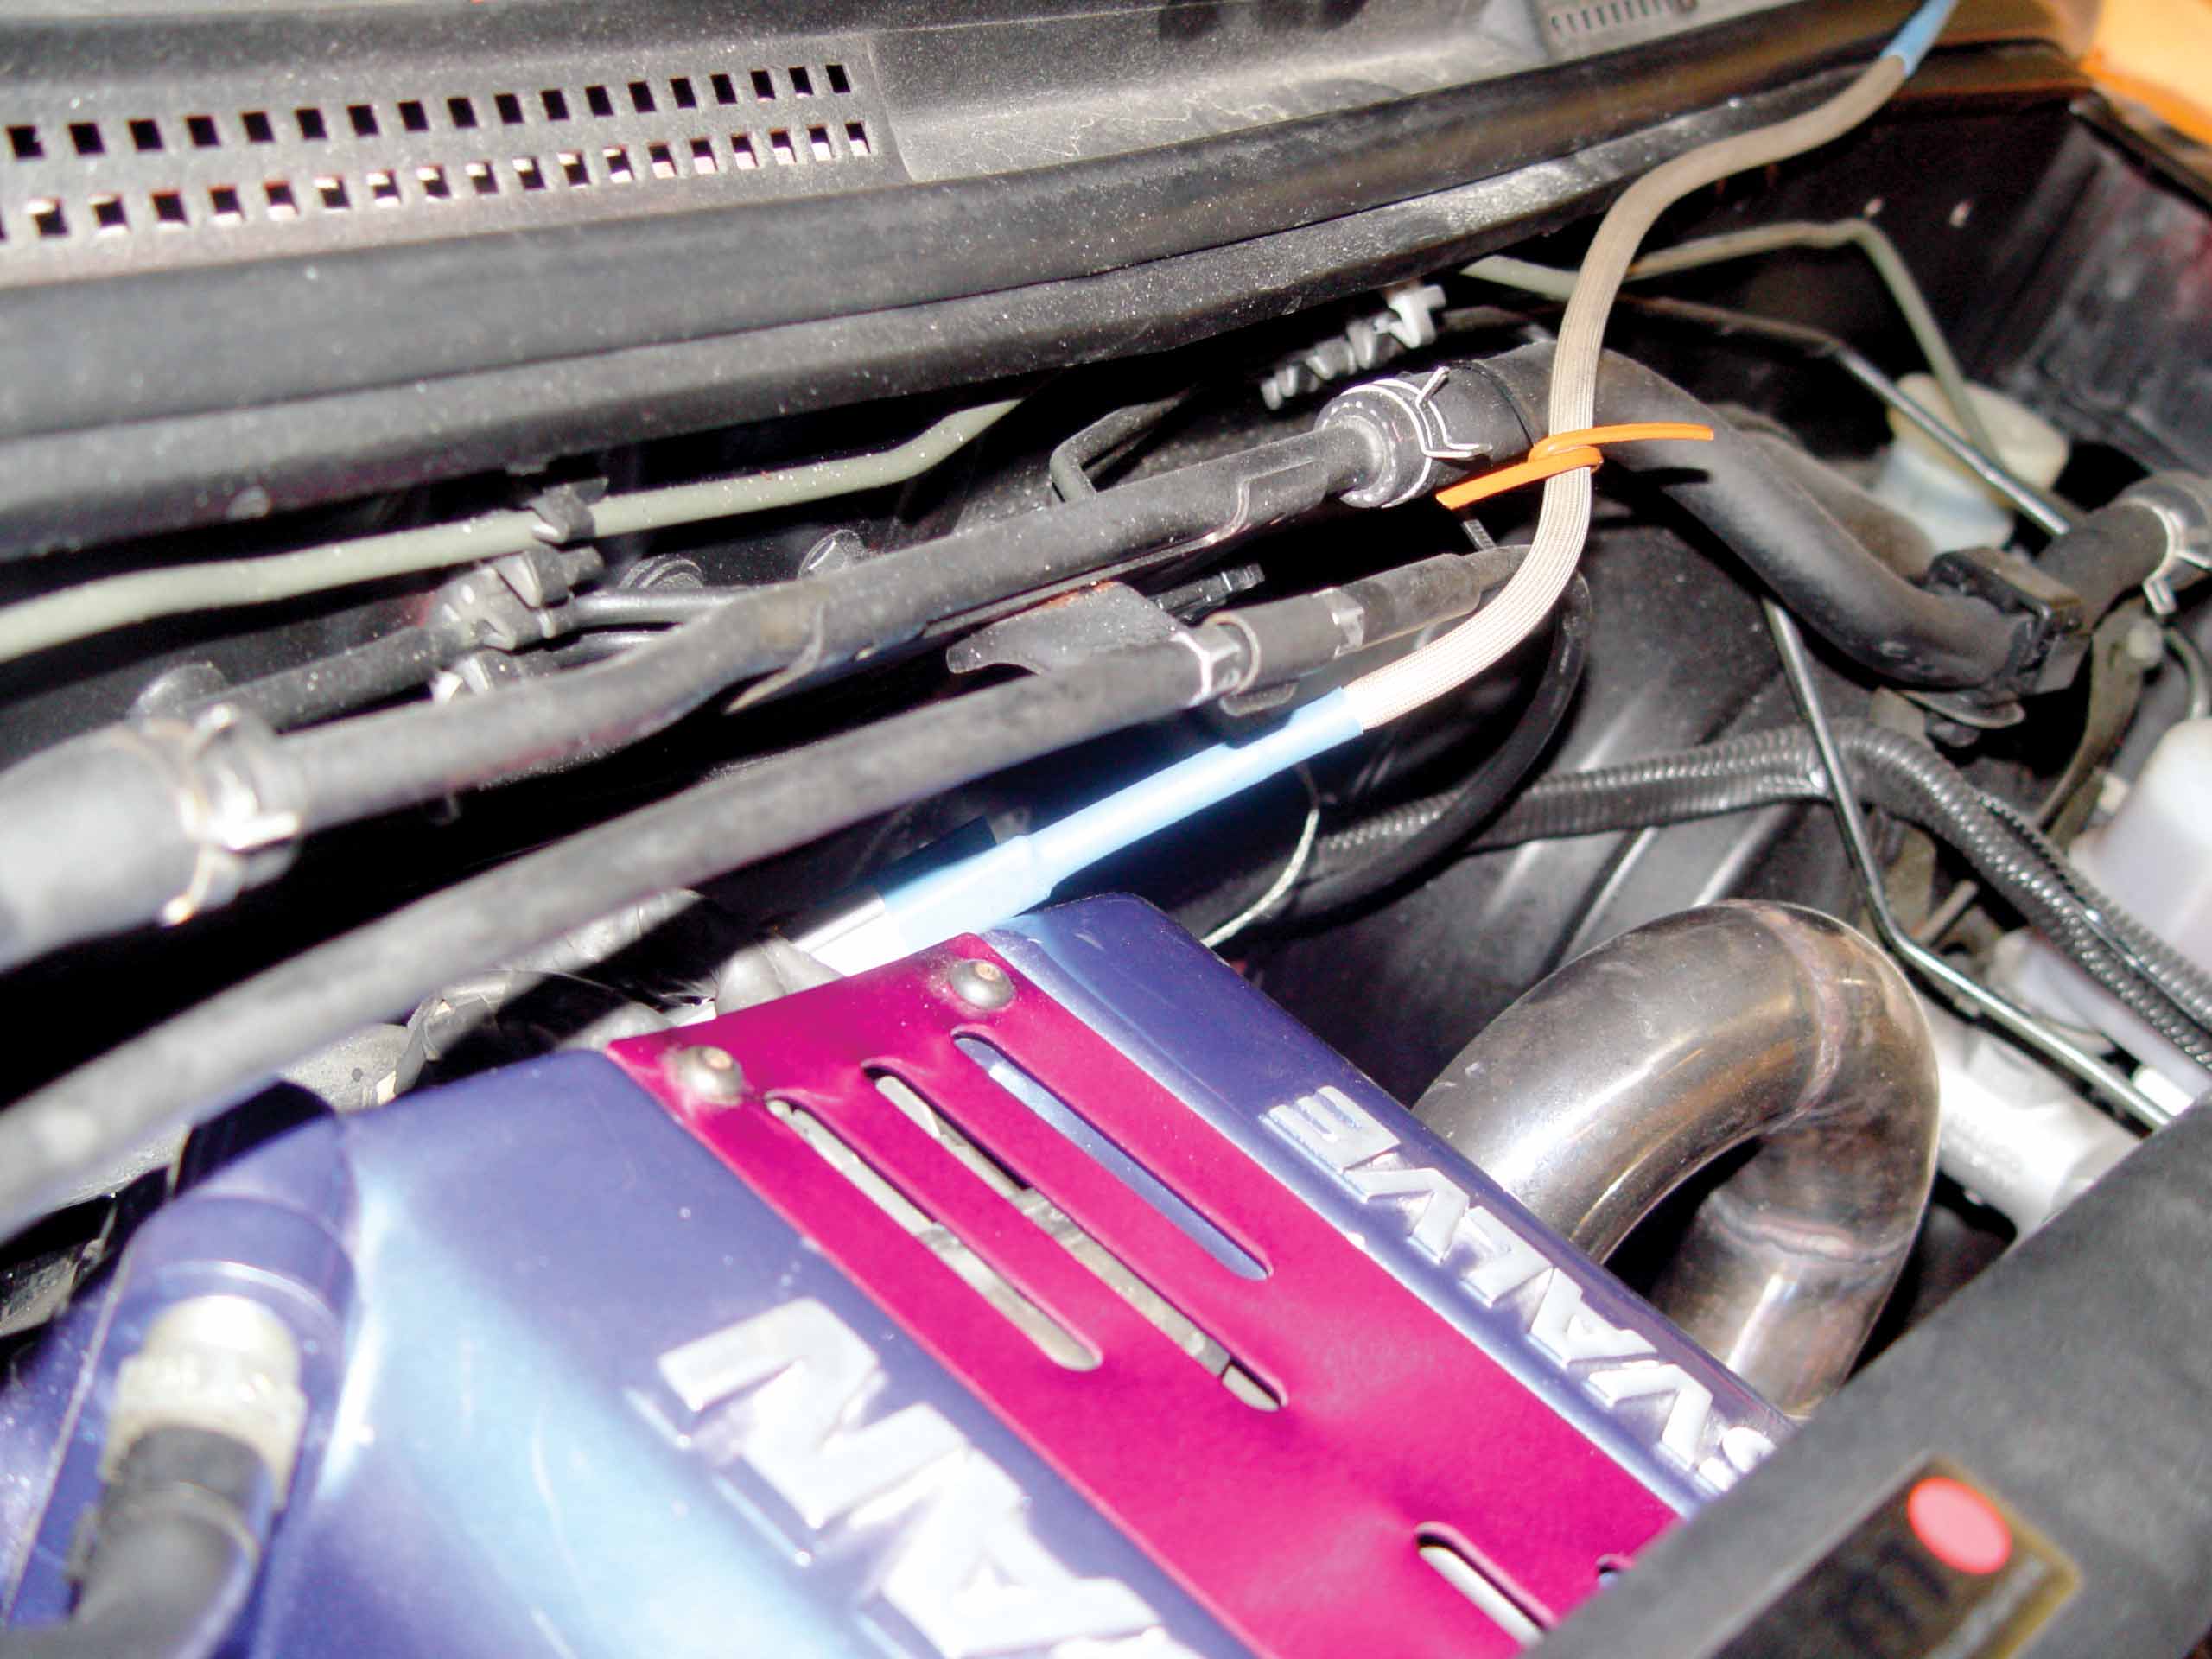
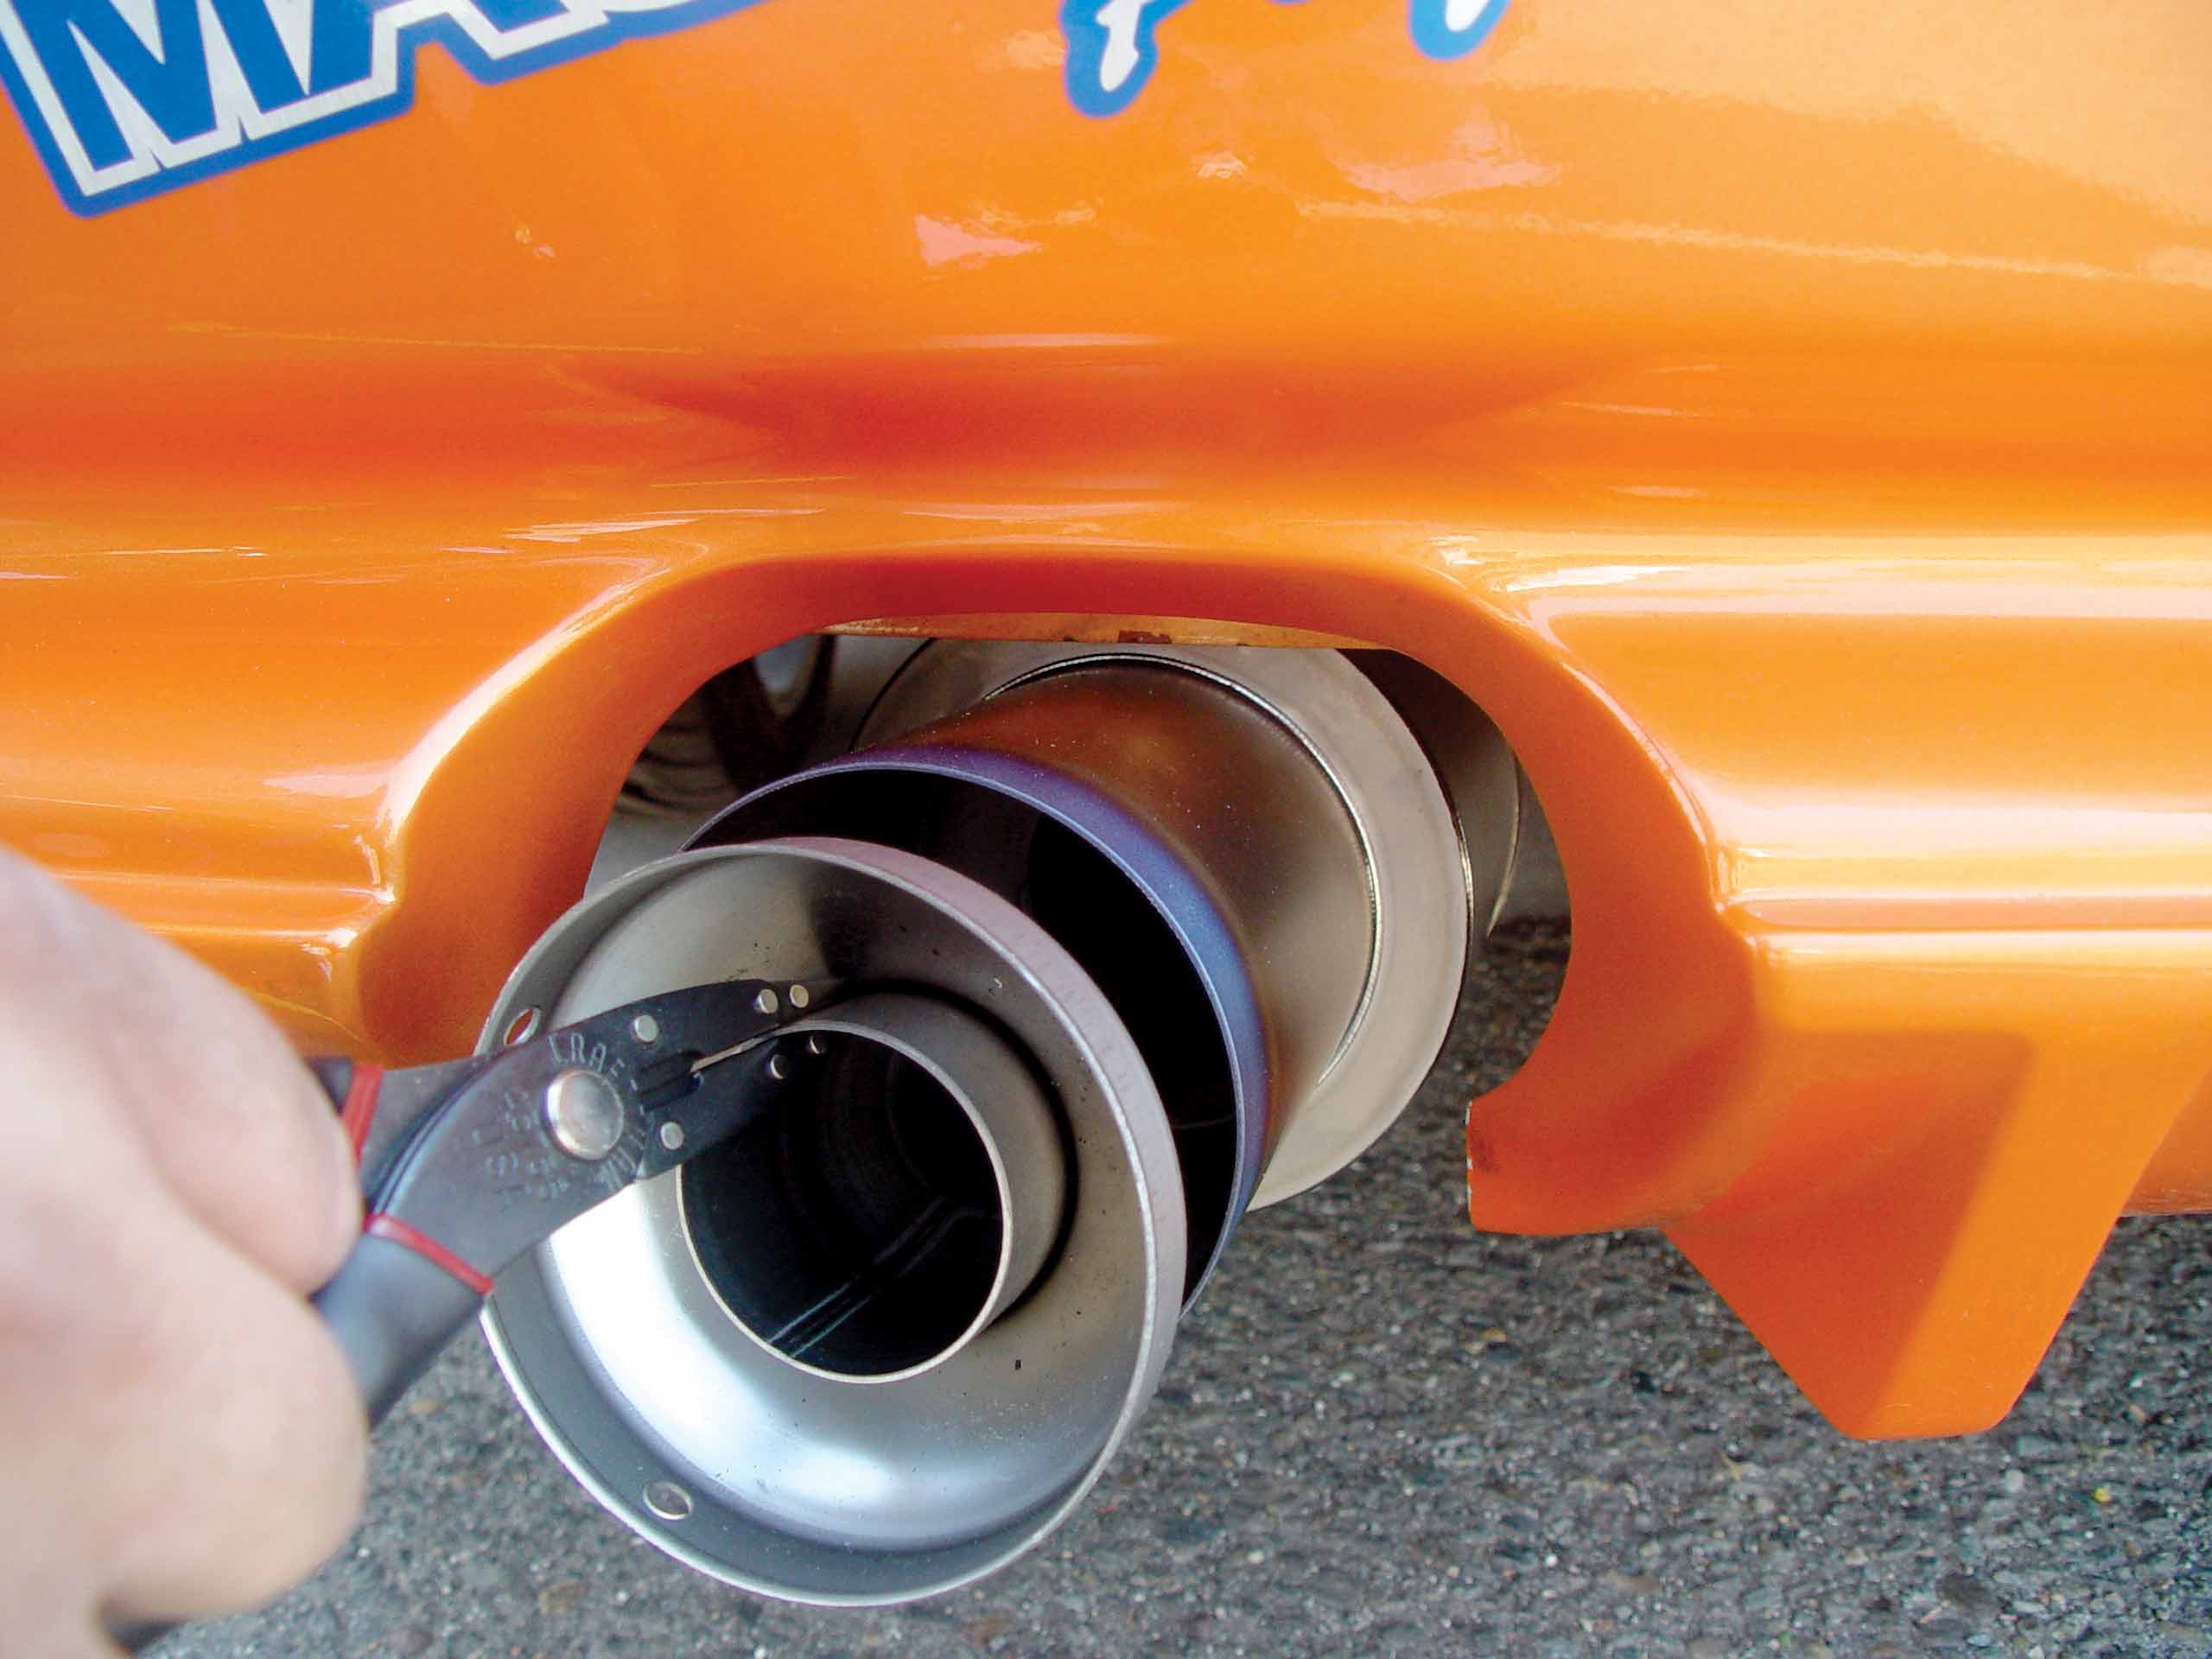
Before we did the final dyno run, Waitas and Lieberman wanted to sound-test the new exhaust. Now, this exhaust unit was made for a 240SX with a KA24 motor; they had never dyno’d the product on a 240SX with an SR20DET motor.
As Waitas drove the car outside, I could already tell that the new piece was a work of art. It not only looked great, but it sounded even better. As we watched Waitas do the sound test, we noticed how quiet the new Ti piece is. With the silencer in place, the level never got over 93 dB at full throttle.
After testing the exhaust with the silencer, Waitas took it out and redid the test, just to see if there would be a difference. To our surprise, the decibels only went up to 96 dB without the silencer. Not bad at all. I loved it because it was nice and quiet, yet sounded just right.
Dyno Results: Titanium Performance Gains
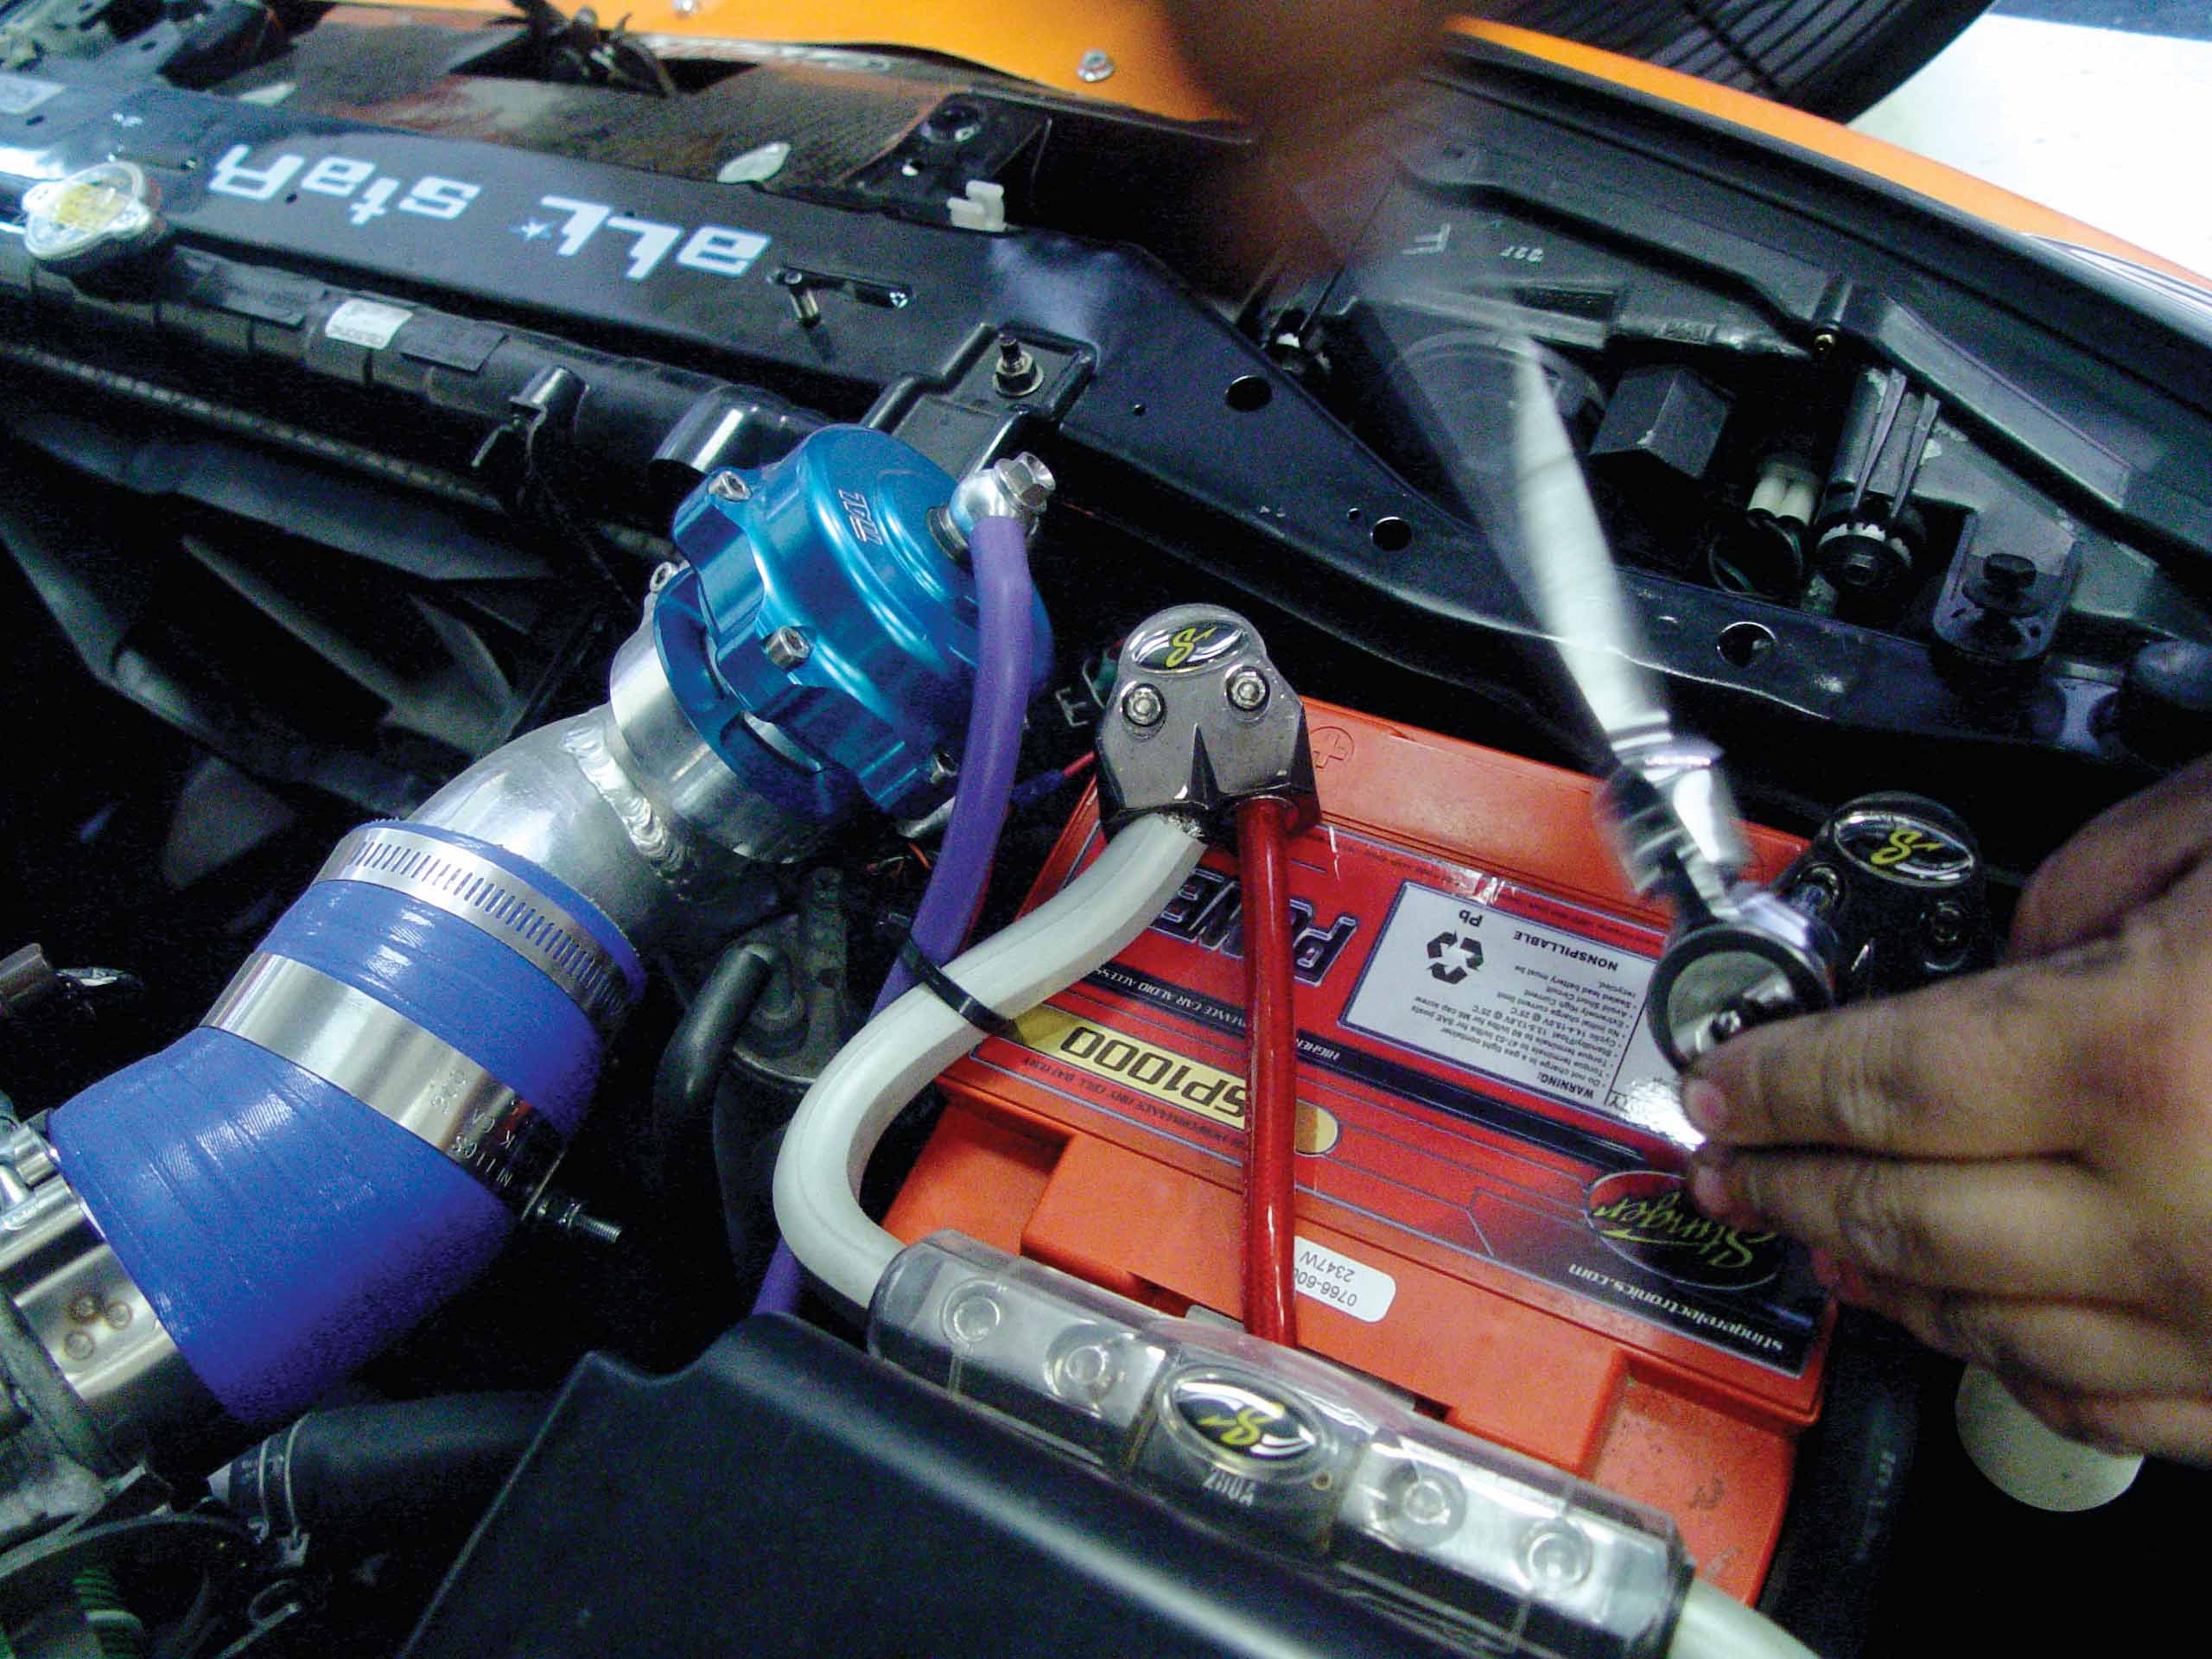
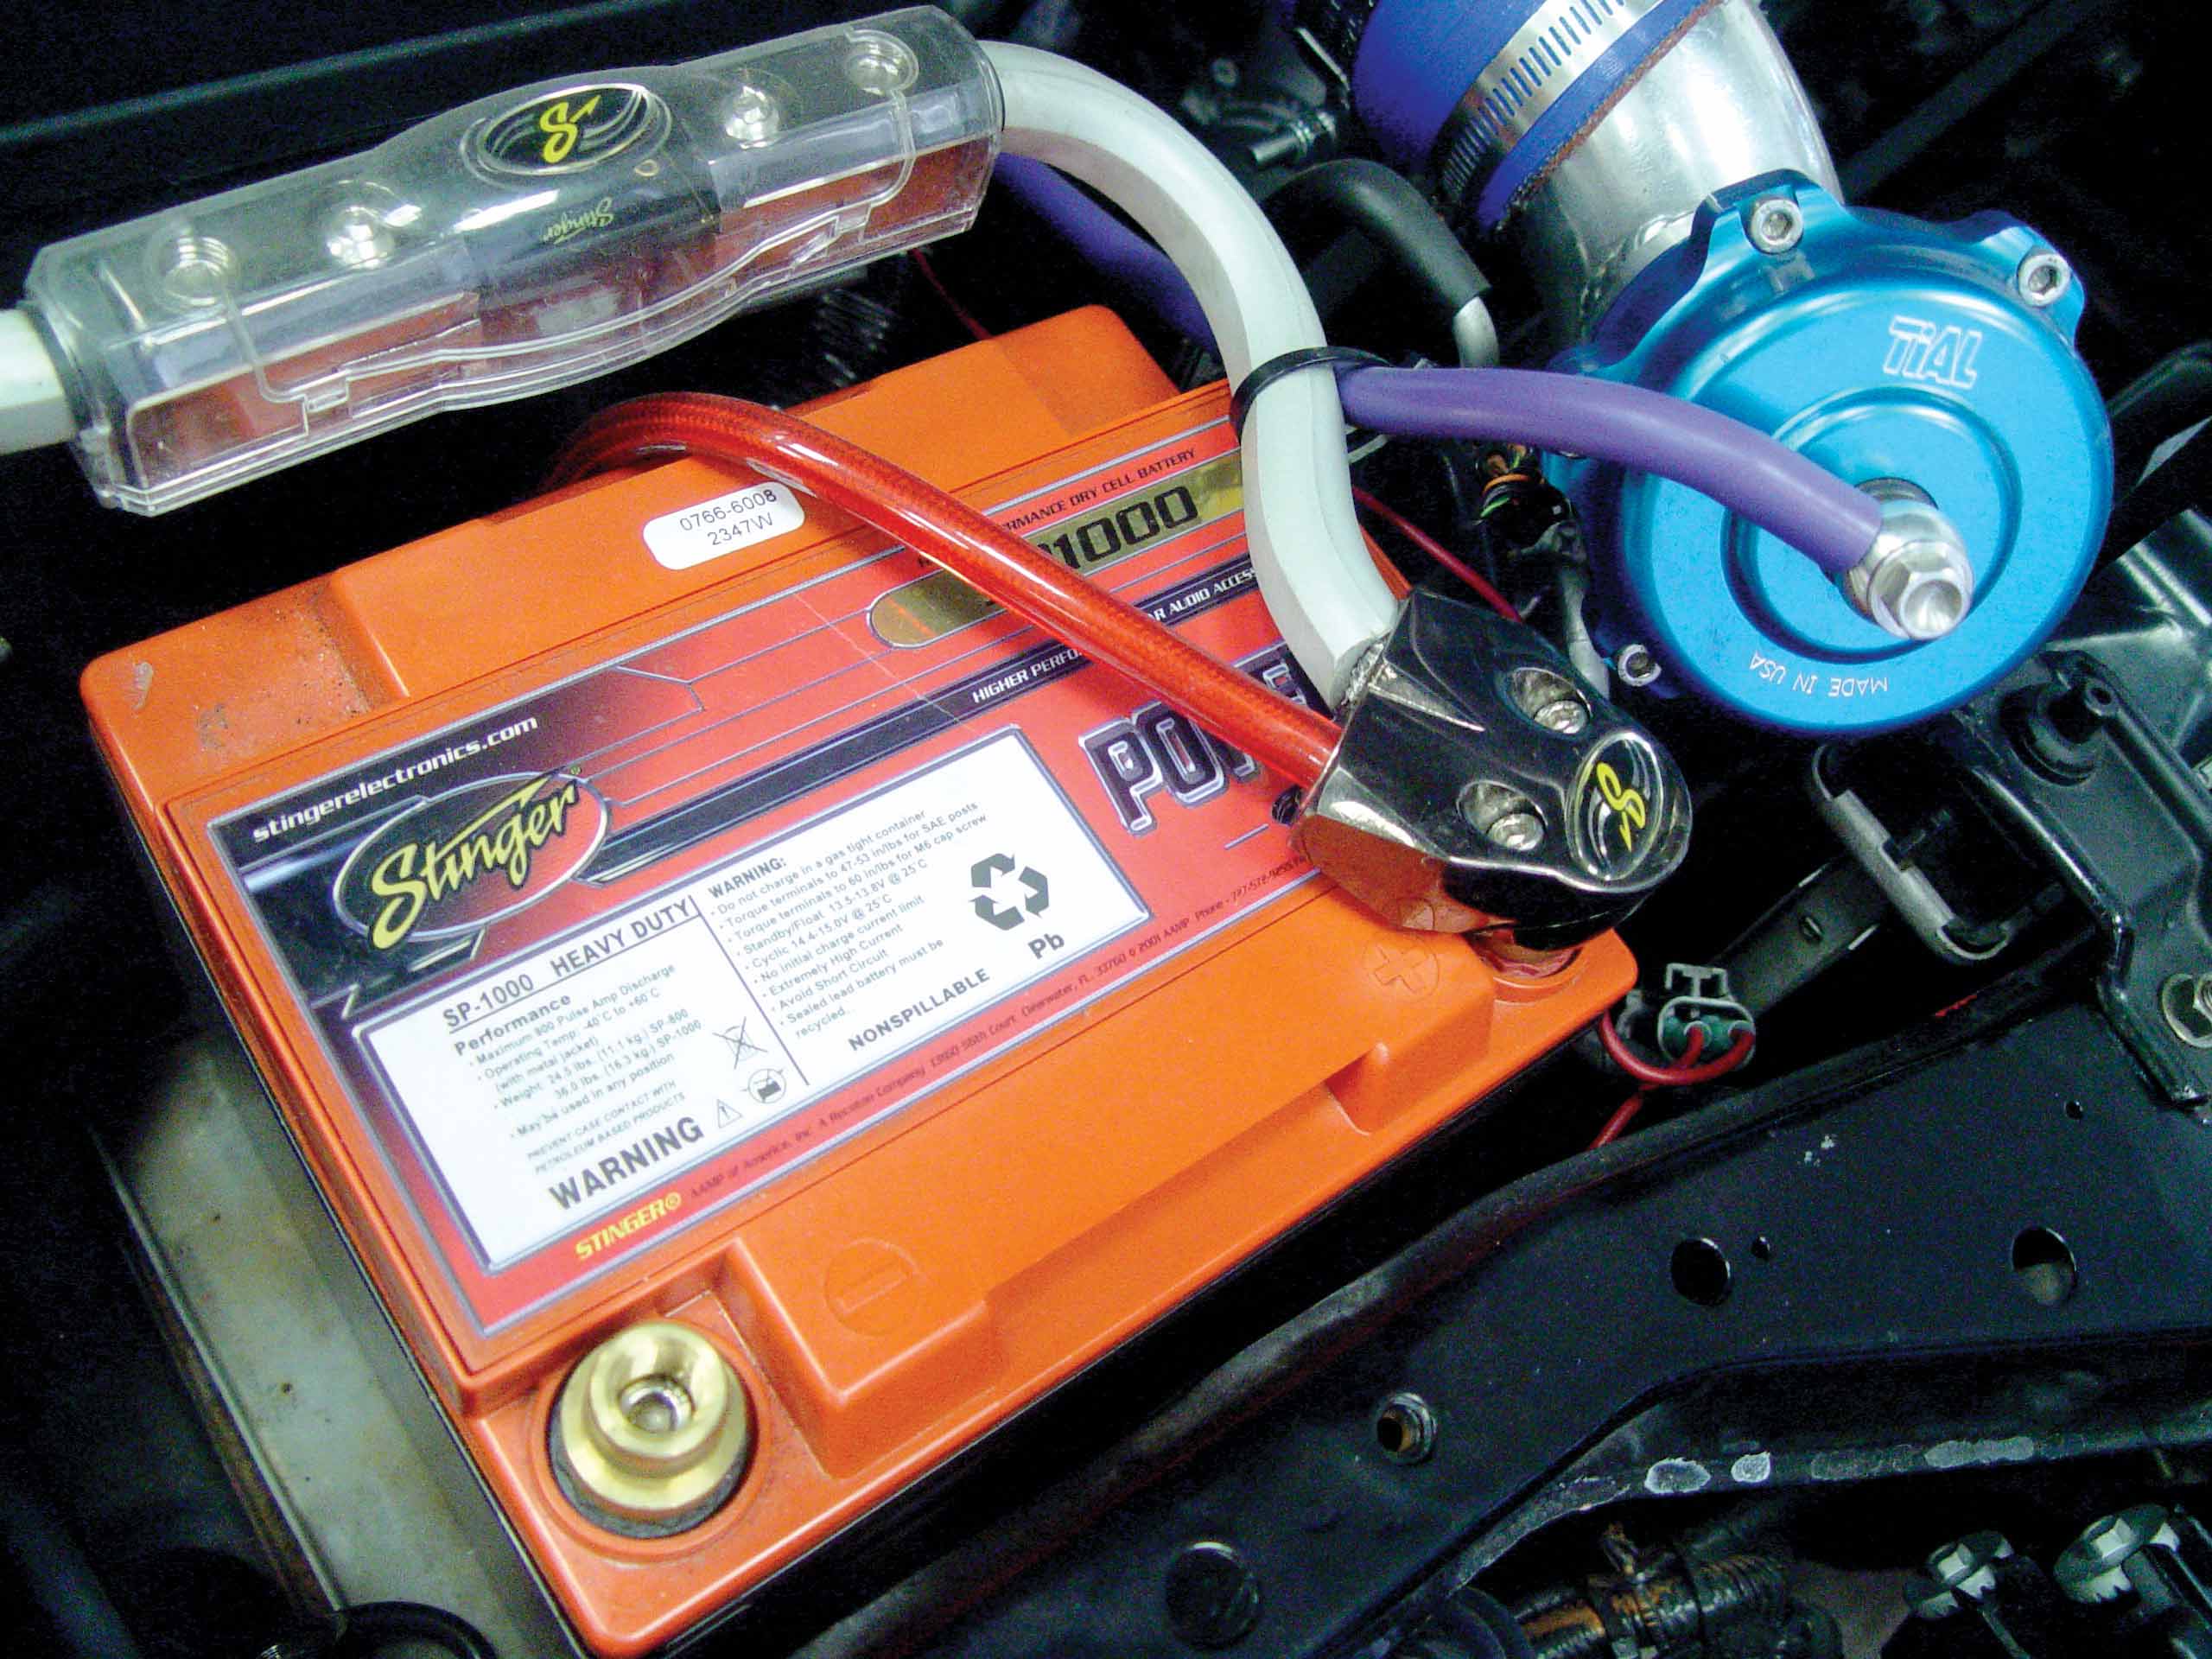
Now was the moment of truth. Would the titanium exhaust system be able to put out better numbers than the old unit? Waitas pulled the car back on the dyno and strapped it down one more time. Most importantly, before we started our next series of dyno runs, Waitas disconnected the battery for about 10 minutes. This resets the computer and gives it a fresh start with the new unit. After a 10-minute break, it was time to see what this baby could do.
A total of four dyno runs were done and the new MagnaFlow Titanium Exhaust put out an extra 6 hp and 3 lb-ft of torque. Not too bad if you ask me! Note that the 240SX didnÕt have a stock exhaust; it had an upgraded unit with 3.25-inch piping. The new Ti exhaust is only using 2.25-inch piping and the numbers still improved.
Pricing and Availability
If you would like one of these beauties, you can pick one up for anywhere between $895 and $1,400, depending on whether you get the resonator (which is not to be confused with the silencer; that is included at no extra charge).