

THE AUTO BUILDER
Featured
- All Post
- 20 High Priority - SR Super Rod
- Builds
- 25 High Priority - FB Ford Builder
- Cars
- 30 High Priority - AR American Rodder
- 01 Post Status
- 35 High Priority - RD Rodders Digest
- 40 High Priority - OTR On the Road
- 45 High Priority - SRB Street Rod Builder
- 50 High Priority - TB Truck Builder
- 55 High Priority - BSCENE Buckaroo Scene
- 60 High Priority - FPB Family Power Boat
- Trucks
- Swaps
- Performance Boats
- _000 Home Sliders
- Builders
- 00 Sidebars
- Manufacturers
- 05 High Priority - HCI Hot Compact Imports
- 05 Publications
- 10 High Priority - CR Chevy Rumble
- Back
- Chassis
- Engine
- Fuel System
- Electrical
- Exhaust
- Transmission / Drivetrain
- Suspension
- Steering
- Brakes
- Wheels and Tires
- Interior
- Exterior
- Accessories
- Power Adders
- Back
- Chassis
- Engine
- Fuel System
- Electrical
- Exhaust
- Transmission / Drivetrain
- Suspension
- Steering
- Brakes
- Wheels and Tires
- Interior
- Exterior
- Accessories
- Power Adders
- Back
- Chassis
- Engine
- Electrical
- Exhaust
- Fuel System
- Transmission / Drivetrain
- Suspension
- Steering
- Brakes
- Wheels and Tires
- Interior
- Exterior
- Accessories
- Power Adders
- Back
- Chassis
- Engine
- Electrical
- Exhaust
- Fuel System
- Transmission / Drivetrain
- Suspension
- Steering
- Brakes
- Wheels and Tires
- Interior
- Exterior
- Accessories
- Power Adders
- Back
- Chassis
- Engine
- Fuel System
- Electrical
- Exhaust
- Transmission / Drivetrain
- Suspension
- Steering
- Brakes
- Wheels and Tires
- Interior
- Exterior
- Accessories
- Power Adders
- Back
- Chassis
- Engine
- Fuel System
- Electrical
- Exhaust
- Transmission / Drivetrain
- Suspension
- Steering
- Brakes
- Wheels and Tires
- Interior
- Exterior
- Accessories
- Power Adders
- Back
- Chassis
- Engine
- Fuel System
- Electrical
- Exhaust
- Transmission / Drivetrain
- Suspension
- Steering
- Brakes
- Wheels and Tires
- Interior
- Exterior
- Accessories
- Power Adders
- Back
- Engine
- Fuel System
- Electrical
- Outdrives
- Steering
- Interior
- Accessories
- Power Adders
- Exterior and Hull
- Back
- Chassis
- Engine
- Electrical
- Exhaust
- Fuel System
- Transmission / Drivetrain
- Suspension
- Steering
- Brakes
- Wheels and Tires
- Interior
- Exterior
- Accessories
- Power Adders
- Back
- Chevrolet
- Cadillac
- Pontiac
- AMC
- Buick
- Jeep
- Lincoln
- Ford
- Honda
- GMC
- BMW
- Mitsubishi
- Dodge
- Nissan
- Chrysler
- Subaru
- Toyota
- Plymouth
- Mercury
- Volvo
- Volkswagen
- Oldsmobile
- Acura
- Back
- 05 Pub HCI Hot Compact Imports
- 15 Pub 4x4 4x4 Builder
- 20 Pub SR Super Rod
- 25 Pub FB Ford Builder
- 30 Pub AR American Rodder
- 35 Pub RD Rodders Digest
- 40 Pub OTR On the Road
- 55 Pub BSCENE Buckaroo Scene
- 10 Pub CR Chevy Rumble
- 50 Pub TB Truck Builder
- 60 Pub FPB Family Power Boat
- 45 Pub SRB Street Rod Builder
- Back
- Chip Foose
- Ring Brothers
- Jack Fuller
- Bob Cullipher
- Jerry Nichols
- Bobby Alloway
- Jesse James
- Carl Casper
- J.F. Launier
- Steve Sellers
- Boyd Coddington
- Rad Rides by Troy
- Cal Auto Creations
- George Barris
- West Coast Customs
- Back
- Street Rods
- Hot Rods
- Late Model
- Drag Race
- Handling
- Compact Cars
- Chassis
- Engine
- Fuel System
- Electrical
- Exhaust
- Transmission / Drivetrain
- Suspension
- Steering
- Brakes
- Wheels and Tires
- Interior
- Exterior
- Accessories
- Power Adders
- Chassis
- Engine
- Fuel System
- Electrical
- Exhaust
- Transmission / Drivetrain
- Suspension
- Steering
- Brakes
- Wheels and Tires
- Interior
- Exterior
- Accessories
- Power Adders
- Chassis
- Engine
- Electrical
- Exhaust
- Fuel System
- Transmission / Drivetrain
- Suspension
- Steering
- Brakes
- Wheels and Tires
- Interior
- Exterior
- Accessories
- Power Adders
- Chassis
- Engine
- Electrical
- Exhaust
- Fuel System
- Transmission / Drivetrain
- Suspension
- Steering
- Brakes
- Wheels and Tires
- Interior
- Exterior
- Accessories
- Power Adders
- Chassis
- Engine
- Electrical
- Exhaust
- Fuel System
- Transmission / Drivetrain
- Suspension
- Steering
- Brakes
- Wheels and Tires
- Interior
- Exterior
- Accessories
- Power Adders
- Chassis
- Engine
- Fuel System
- Electrical
- Exhaust
- Transmission / Drivetrain
- Suspension
- Steering
- Brakes
- Wheels and Tires
- Interior
- Exterior
- Accessories
- Power Adders
- Back
- 05 Post Imported
- 20 Post Missing Images (All)
- 25 Post Missing Images (Partial)
- 15 Post In Progress
- 30 Post Internal Review
- 40 Post On Hold
- 50 Post Approved
- 10 Post Images Imported
- 17 Post Missing TXT Files
- 18 Post Missing PDF Files
- 27 Post Missing Content
- Back
- Chassis
- Engine Swaps
- Interior Swaps
- Driveline
- Back
- Street Trucks
- OffRoad Trucks
- Chassis
- Engine
- Fuel System
- Electrical
- Exhaust
- Transmission / Drivetrain
- Suspension
- Steering
- Brakes
- Wheels and Tires
- Interior
- Exterior
- Accessories
- Power Adders
- Chassis
- Engine
- Fuel System
- Electrical
- Exhaust
- Transmission / Drivetrain
- Suspension
- Steering
- Brakes
- Wheels and Tires
- Interior
- Exterior
- Accessories
- Power Adders
- Back
- 01 Sidebar Left
- 01 Sidebar Right
Spotlighter
POPULAR READS
-
Product Spotlight: Bill Mitchell Products Aluminum LS Engine Block
-
Product Spotlight: Pyramid Optimized Design Sequential Aurora Taillight for 1964½–1966 Mustang
-
PRODUCT SPOTLIGHT: 60-66 Chevy C10 Fresh Air Vent Block Off Plate
-
PRODUCT SPOTLIGHT: Cam Covers for GEN/3 Coyote from Pyramid Optimized Design
From Four to More: A Modern Manual for Your Vintage Mustang
With Keisler’s PerfectFit Five-Speed Transmission Upgrade, You Can Have it All
Author

Will Smith
Story & Photography
From Four to Five: Why Upgrade Your Mustang Transmission?
Decades ago, Ford made the jump from four-speed manual transmissions to five-speeds. Newer Cobras even feature six-speeds, so it’s natural that those who own earlier Mustangs with four-speed manuals now feel a little gear envy. Many people love the feel of having a manual transmission, but if you’re still using a four-speed, you’re missing out on a lot of performance and economy potential. Adding a transmission with additional gears places your gears closer together for better acceleration and gives you more gears to choose from for easier cruising. But which transmission is right for your Mustang? You need one that’s strong, smooth and capable of bolting to your engine, and it’s not easy to find all three attributes in the same gearbox.
Meet Keisler Automotive Engineering
If you’re considering swapping a five-speed manual into your early Mustang, you need to consider calling Keisler Automotive Engineering (865/609-8187). Located in Rockford, Tennessee, this company is an expert at adapting new manual transmissions to older cars. Although most of the company’s previous experience has been in GM and Mopar circles, Keisler is expanding into the Mustang market in a big way. In fact, when Gateway Classic Mustang heard what Keisler had available, Gateway knew it wanted one of these transmission conversion kits for its Eleanor clone that we featured in our June ’06 issue. The car was equipped with a four-speed T10 manual, and considering everything else that Gateway had built into this car, the transmission was sorely lacking.
The Keisler PerfectFit Kit and Tremec TKO-600
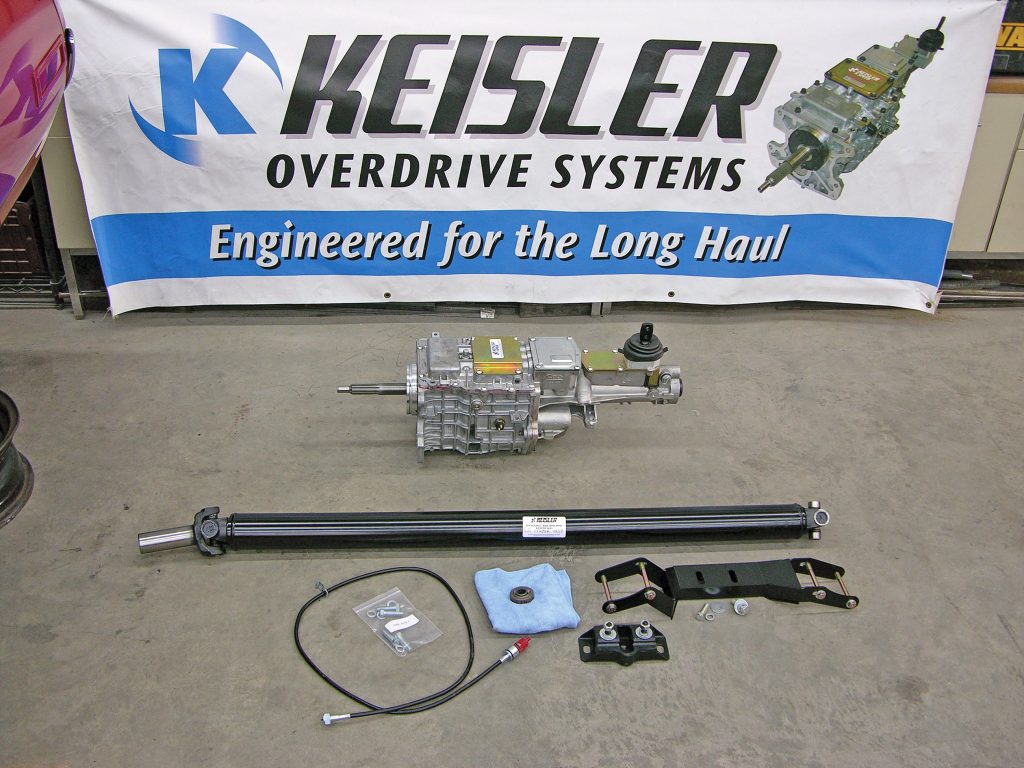
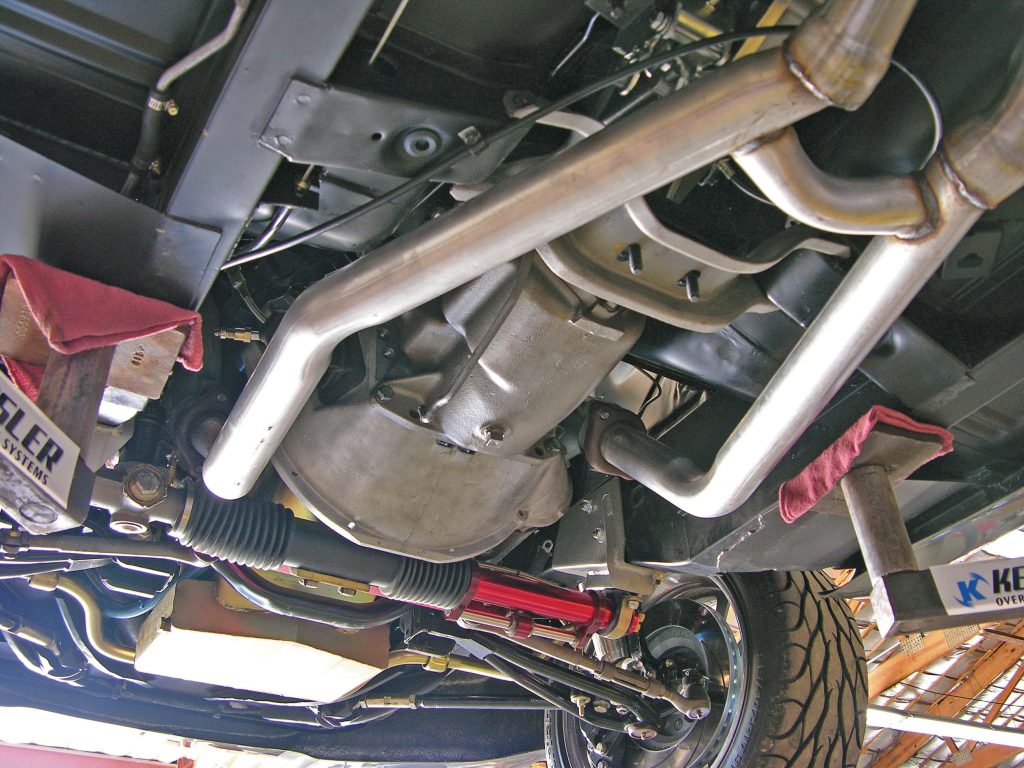
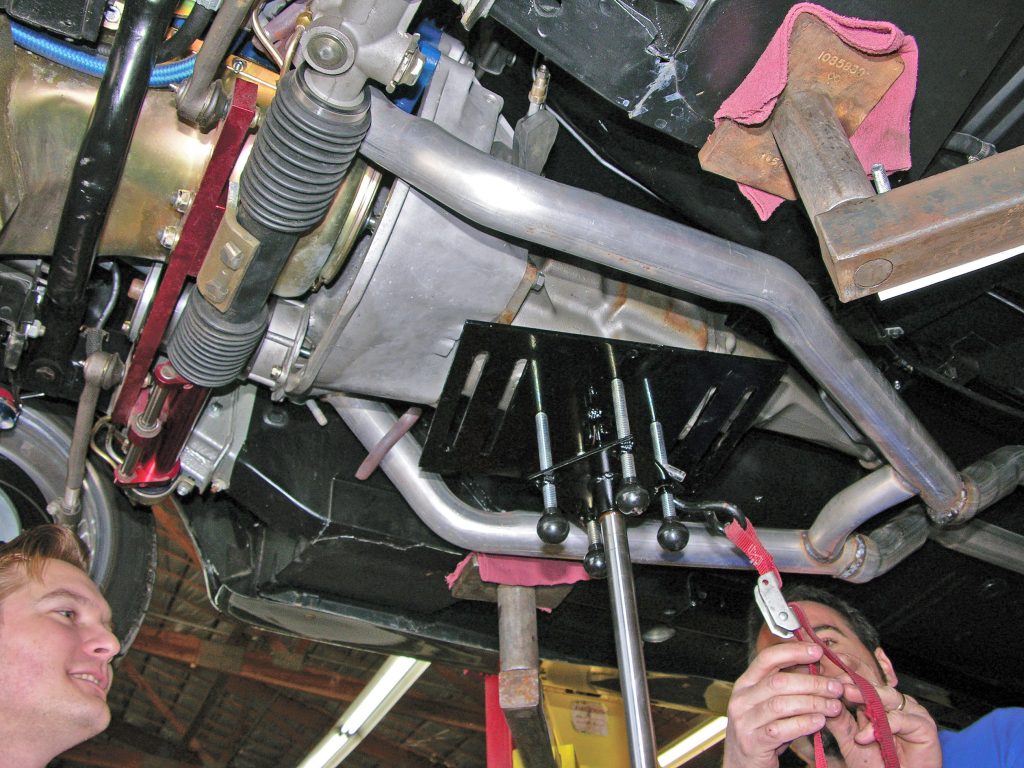
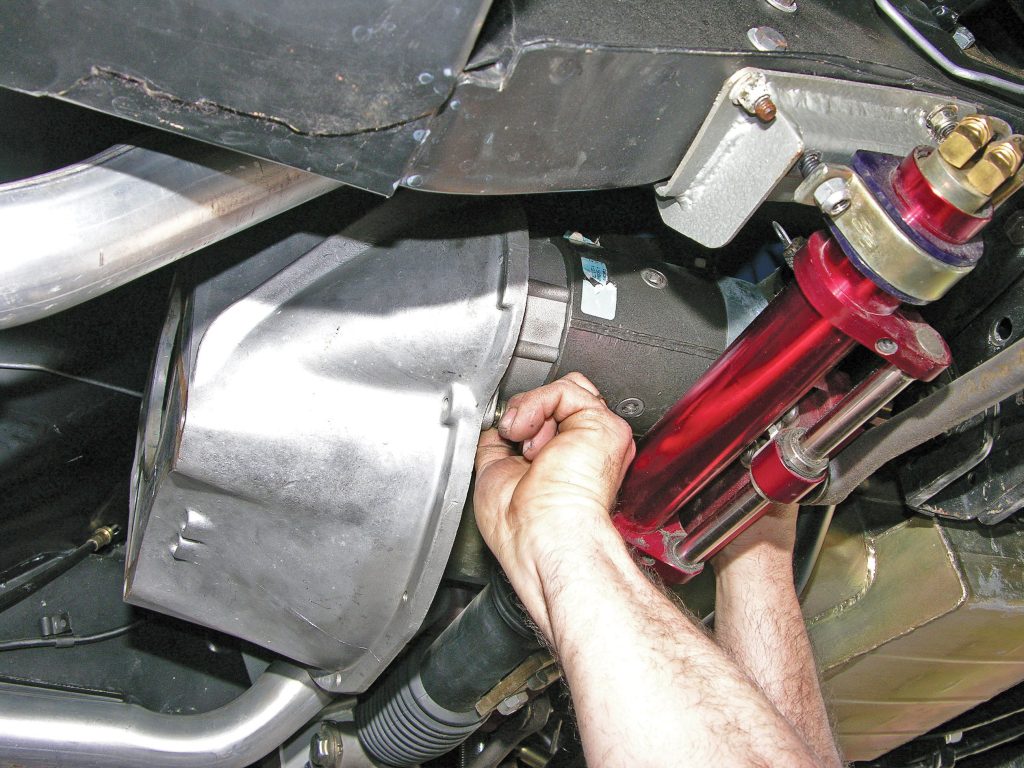
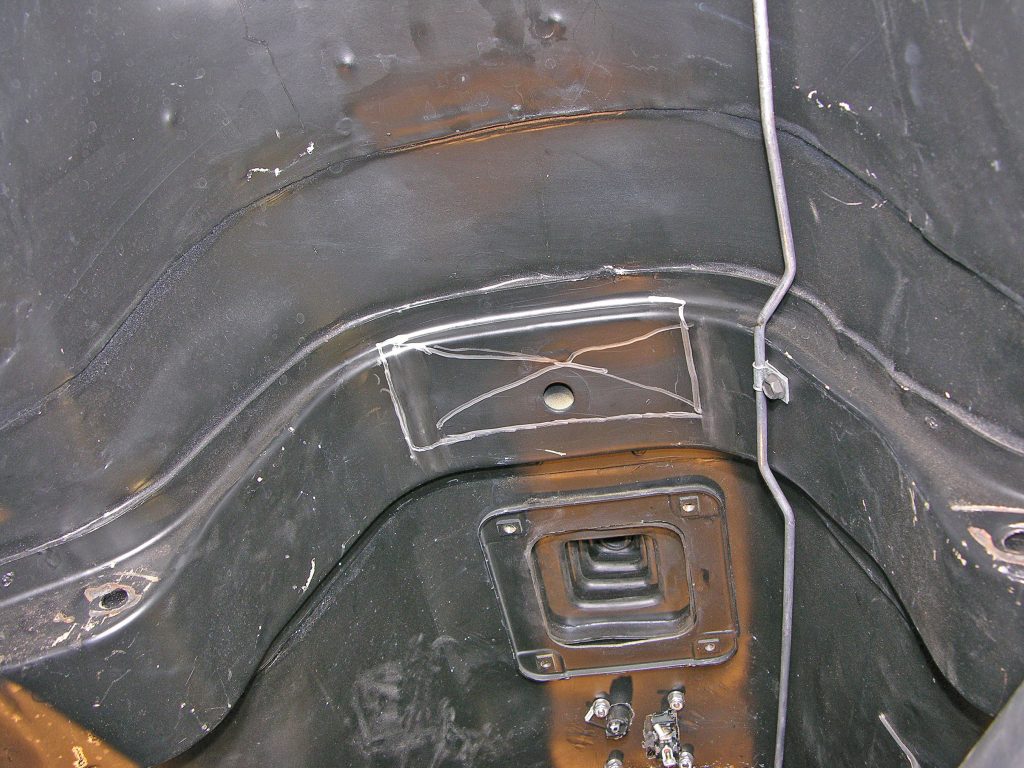
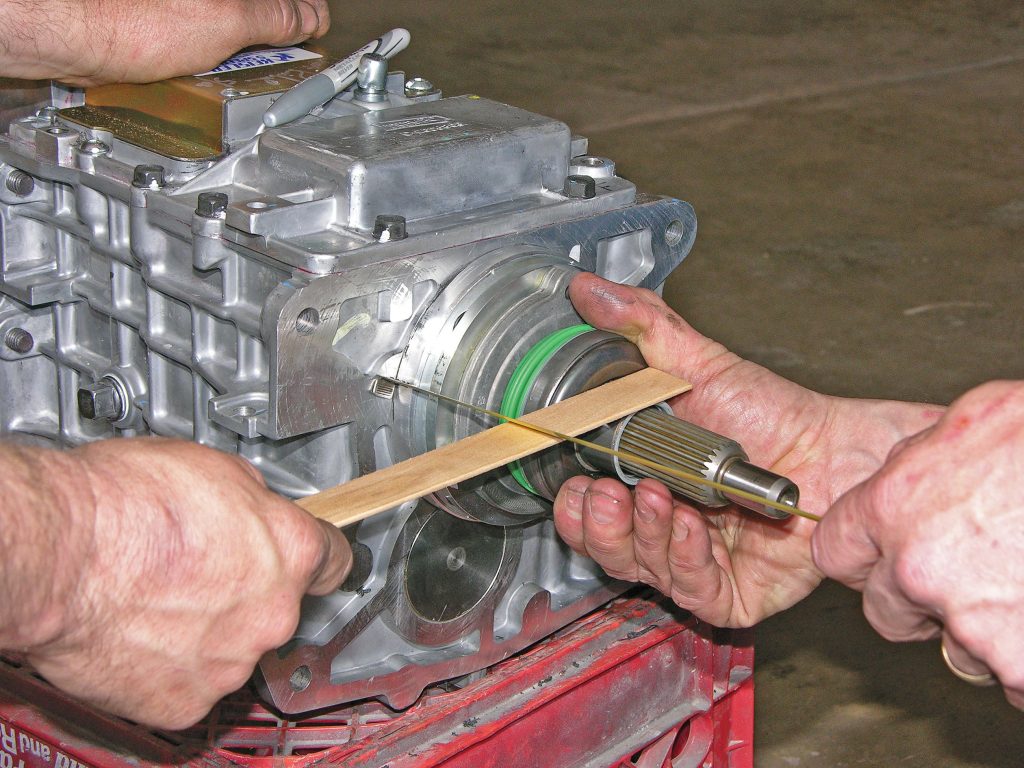
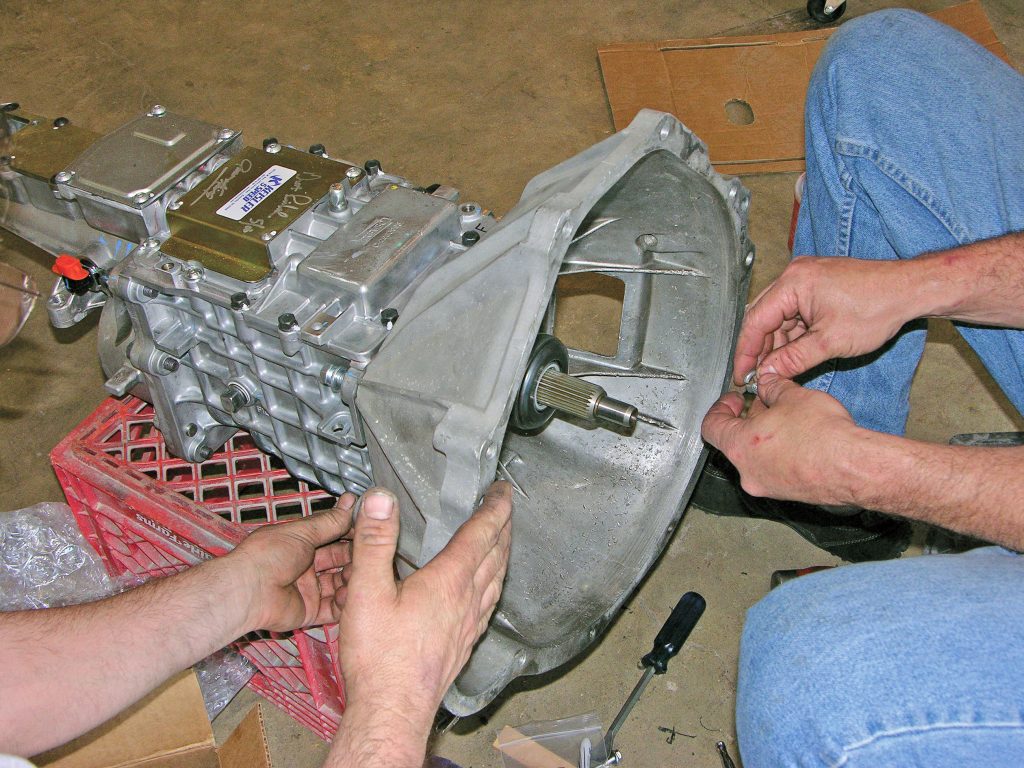
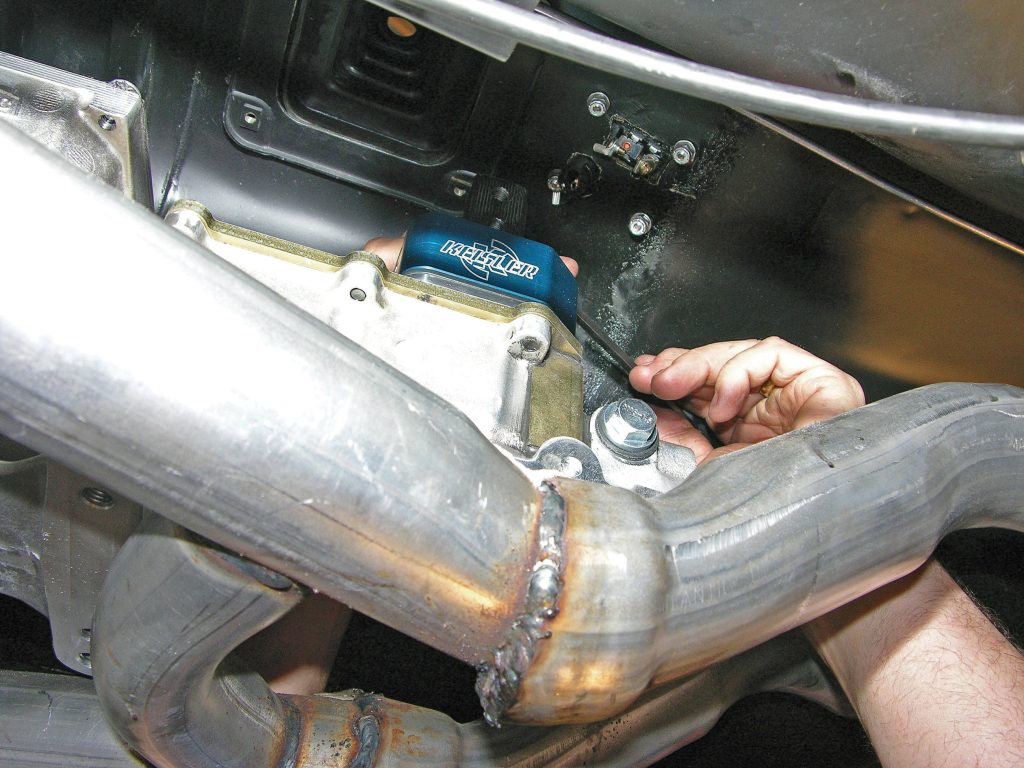
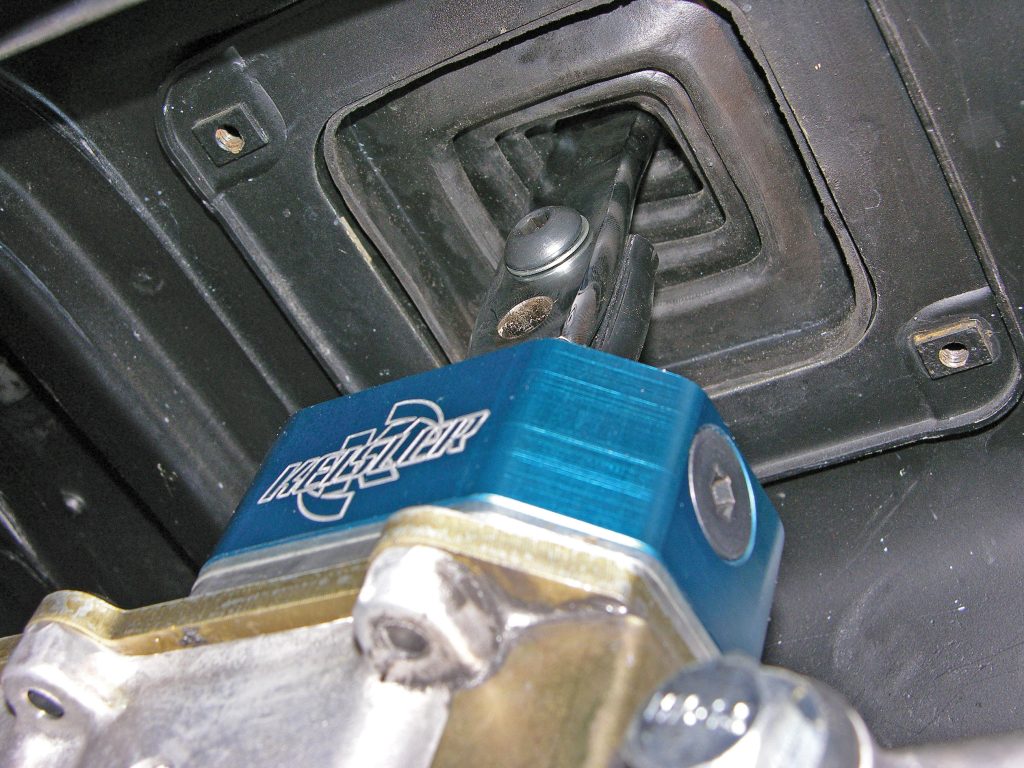
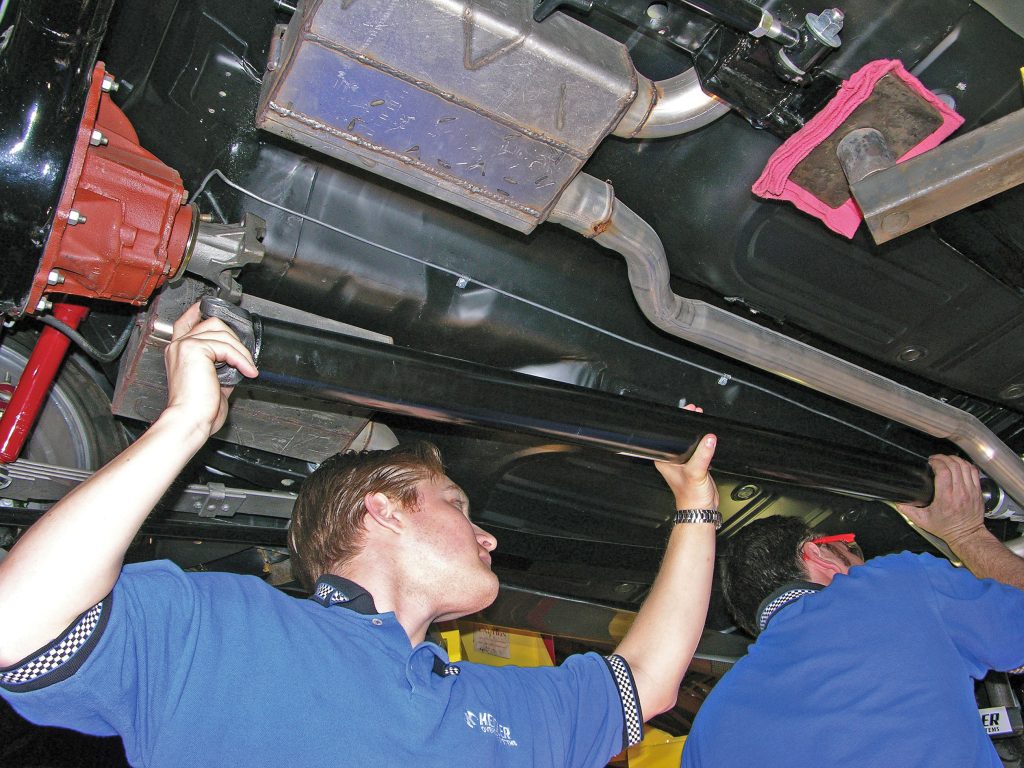
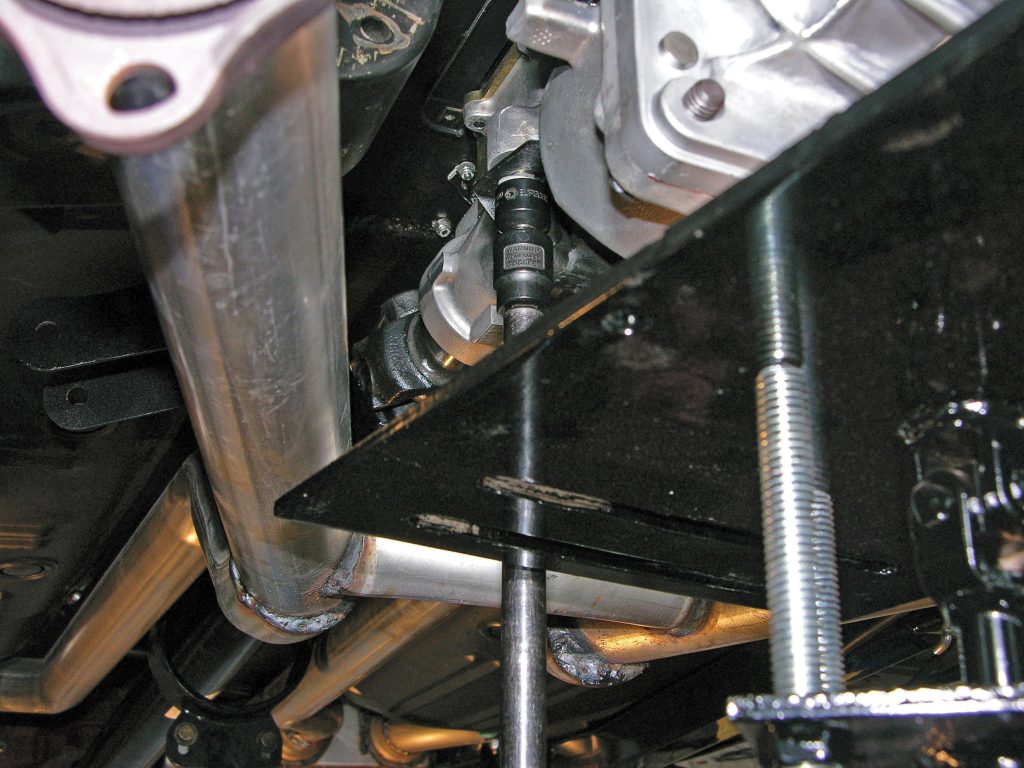
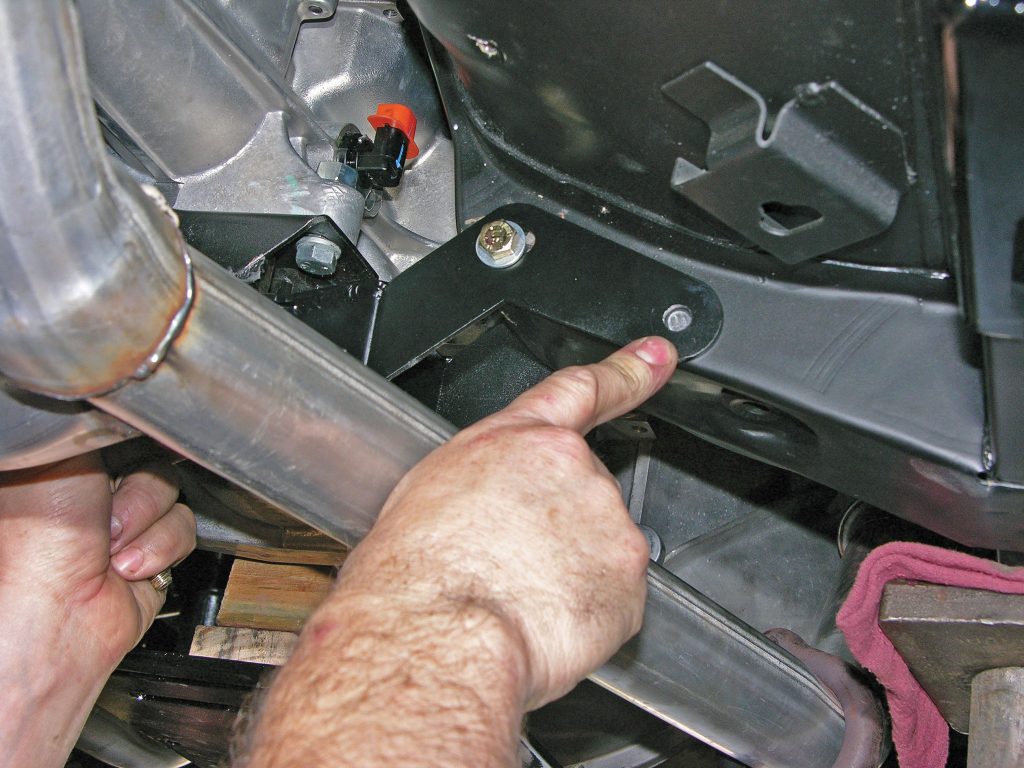
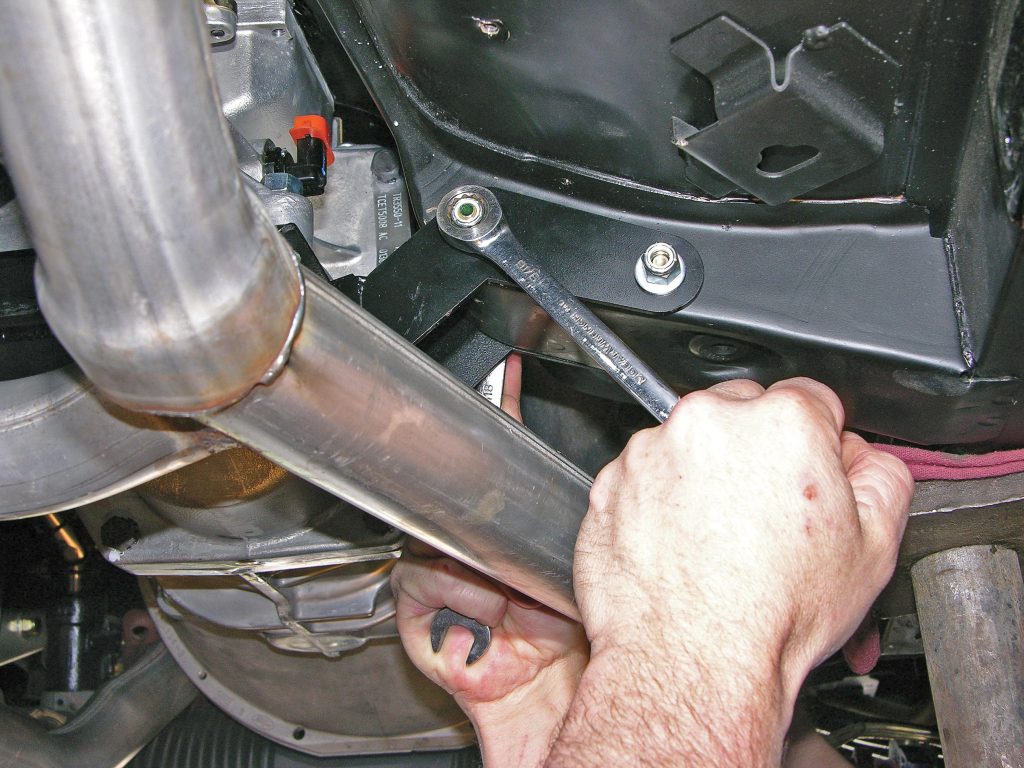
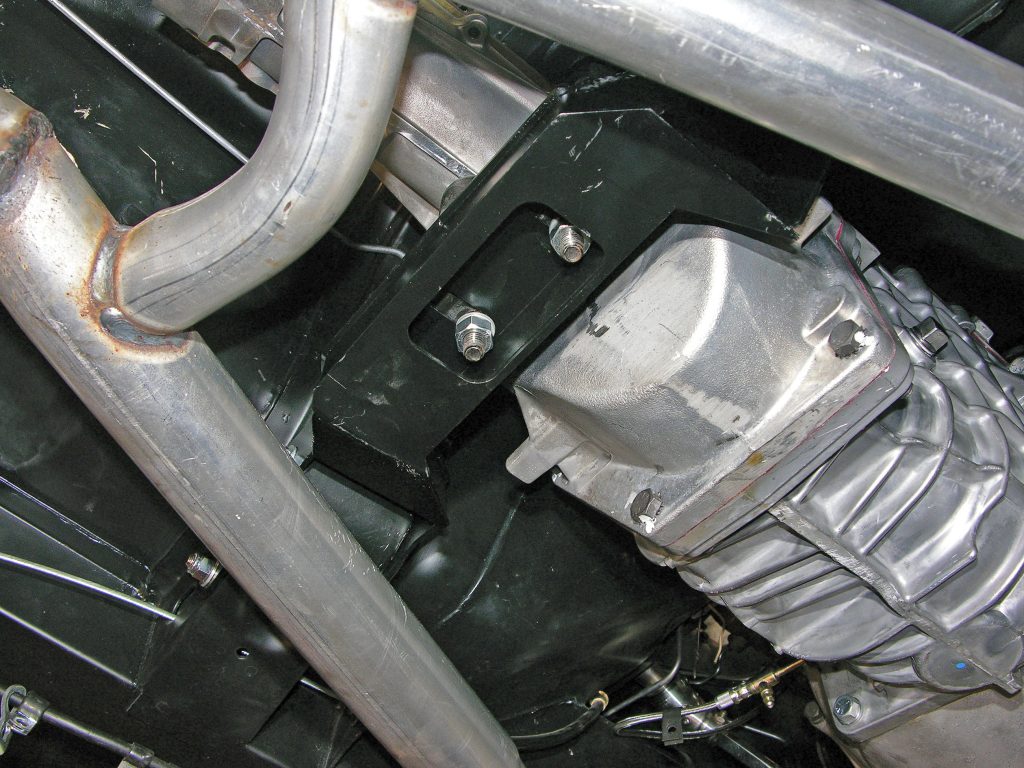
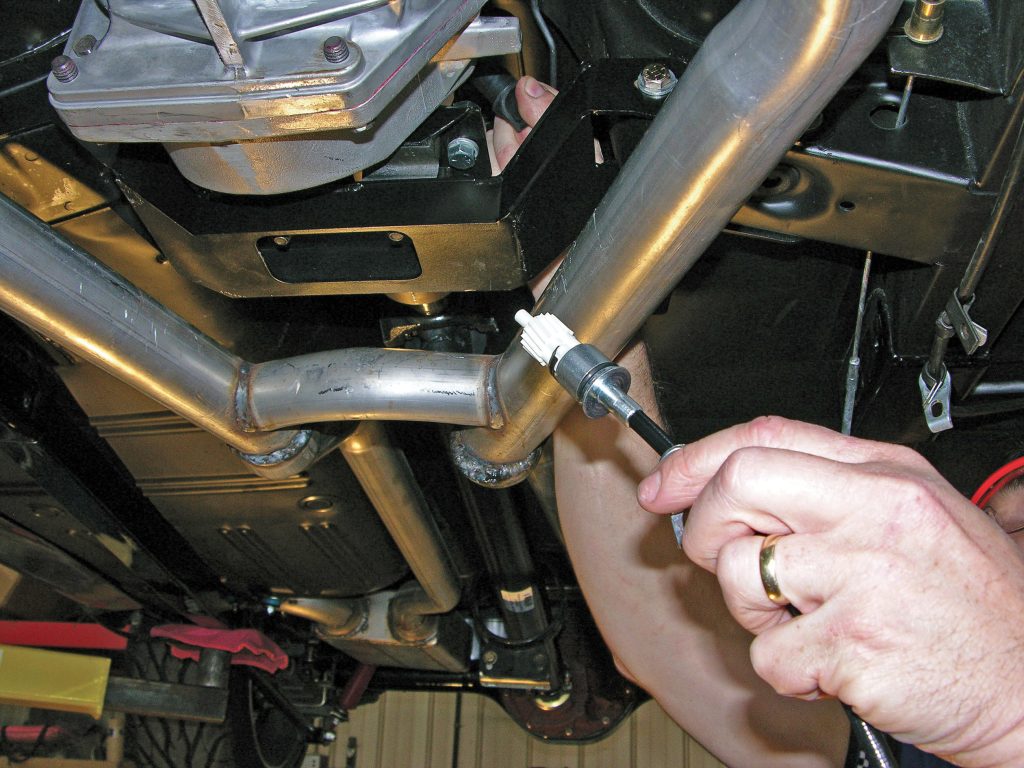
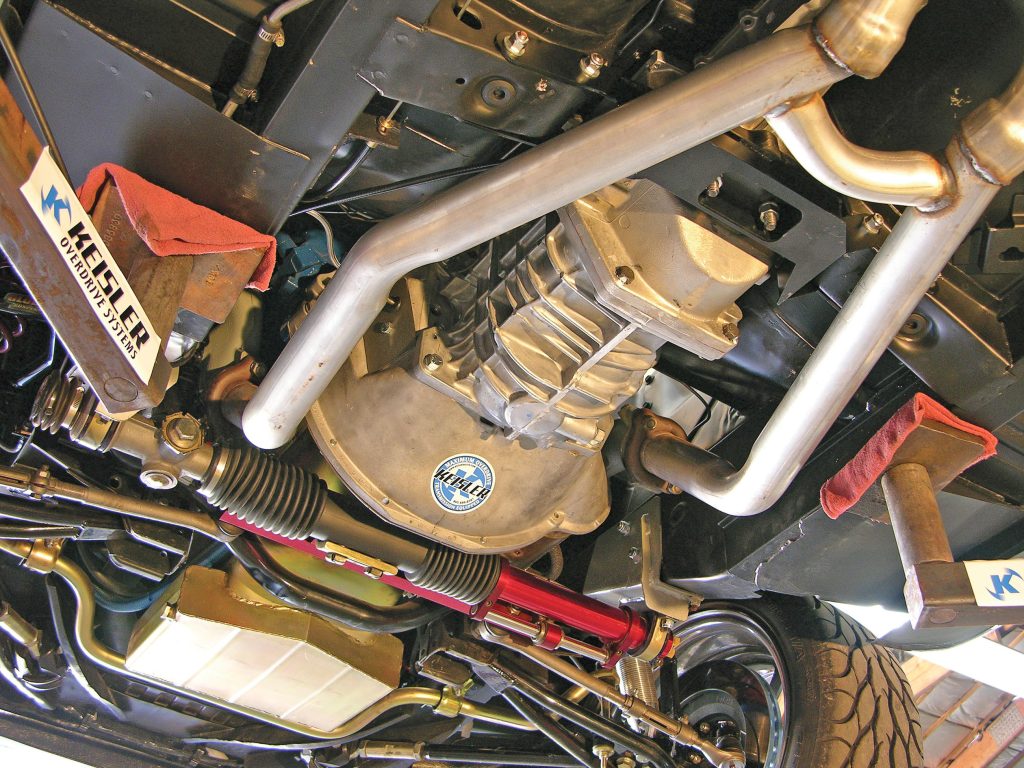
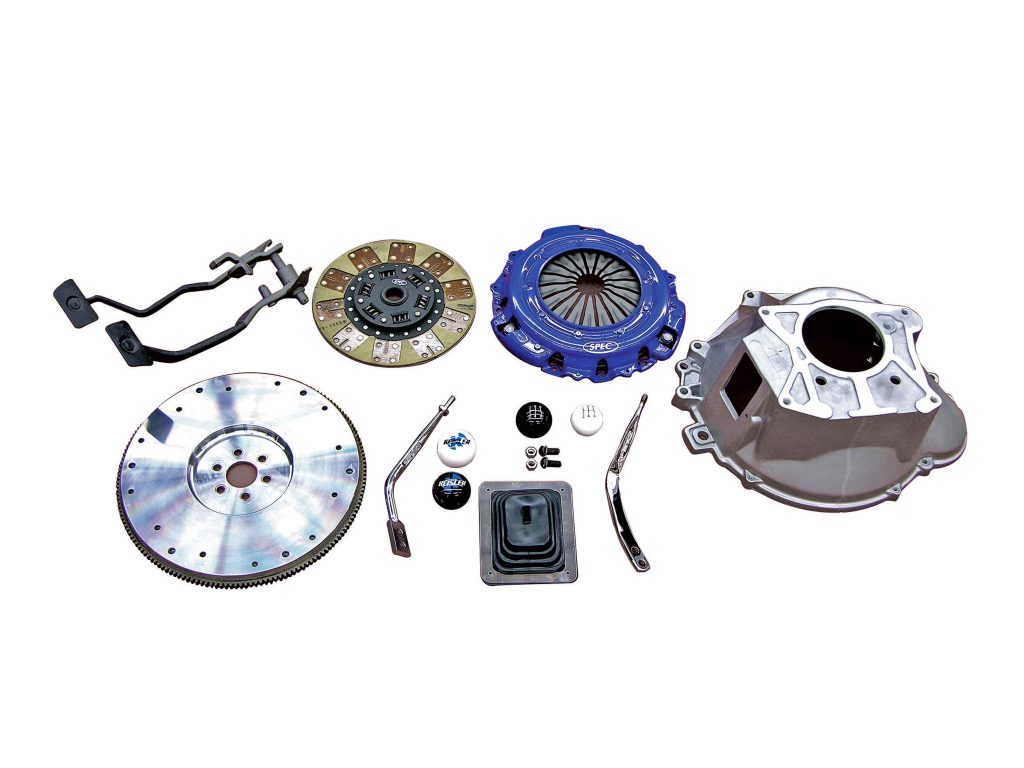
Keisler responded with a PerfectFit upgrade kit and a Tremec TKO-600 five-speed manual transmission. The TKO-600 is an incredibly stout piece. Unlike factory five-speeds, this one is made for performance and can handle 650 hp right out of the box. But Keisler doesn’t leave the transmissions alone. Keisler modifies them with a shifter location designed for your specific vehicle and includes a high-performance, short-throw shifter. The shift tower and tail shaft are designed to keep cutting of the floor to a minimum, and a T10-style bolt pattern means the transmission will bolt right up to your engine. But the PerfectFit kit includes much more, including a new crossmember, mount, driveshaft, speedo cable, pilot bearing, hardware and even a six-month warranty.
Additional Components for a Seamless Swap
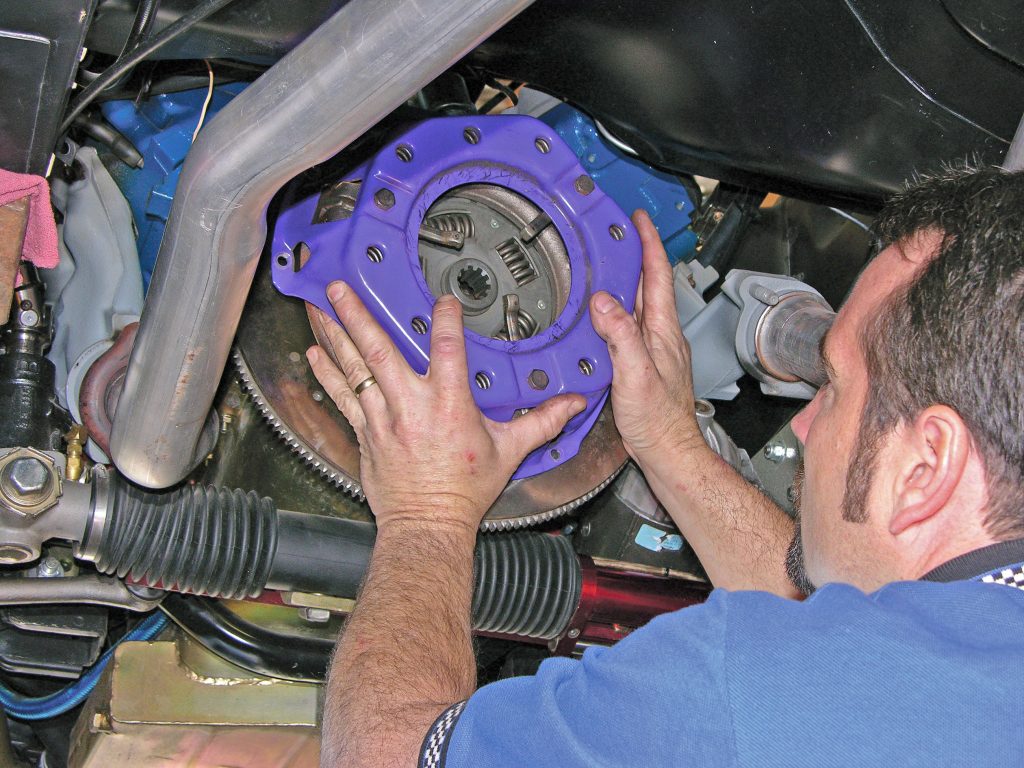
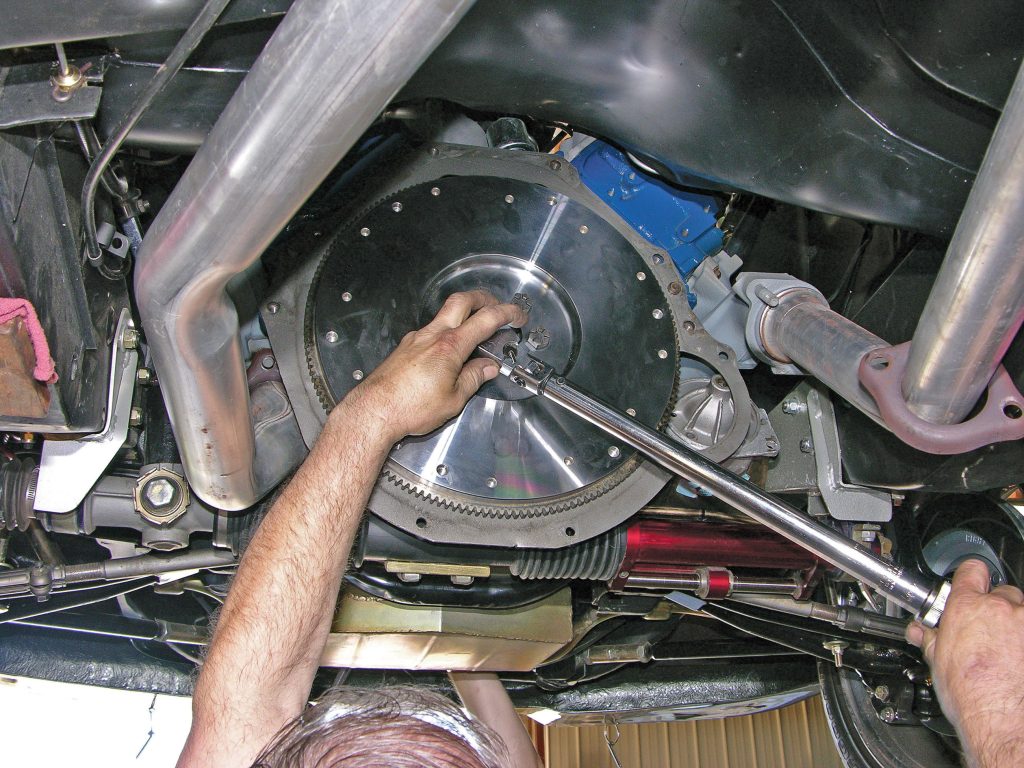
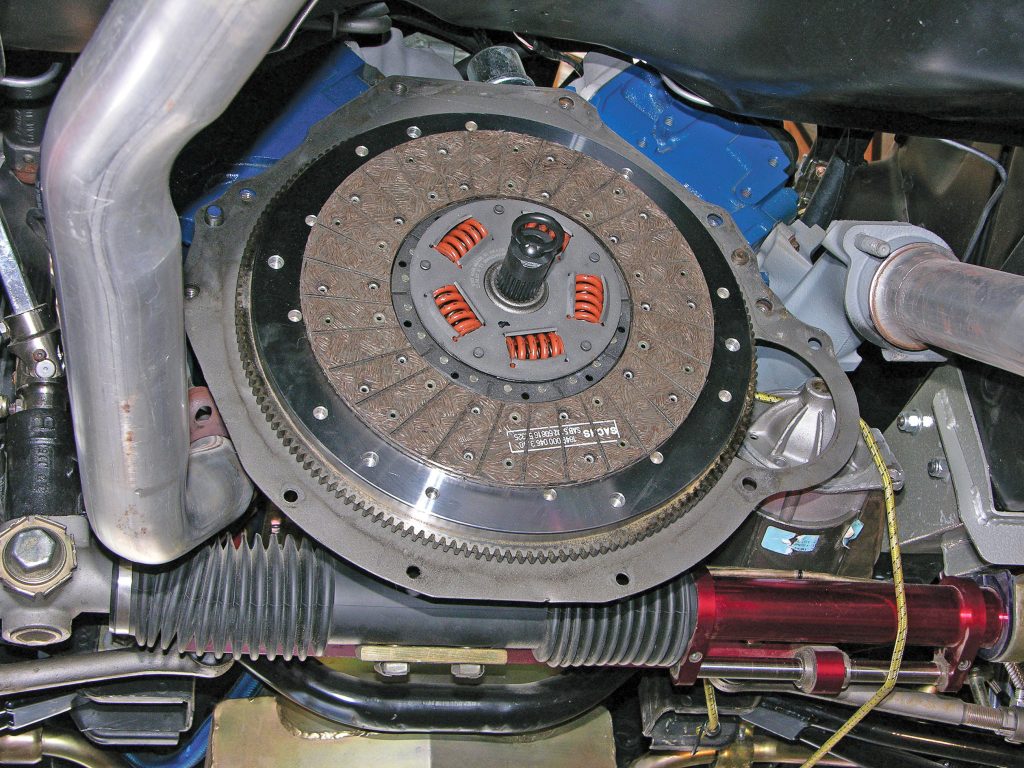
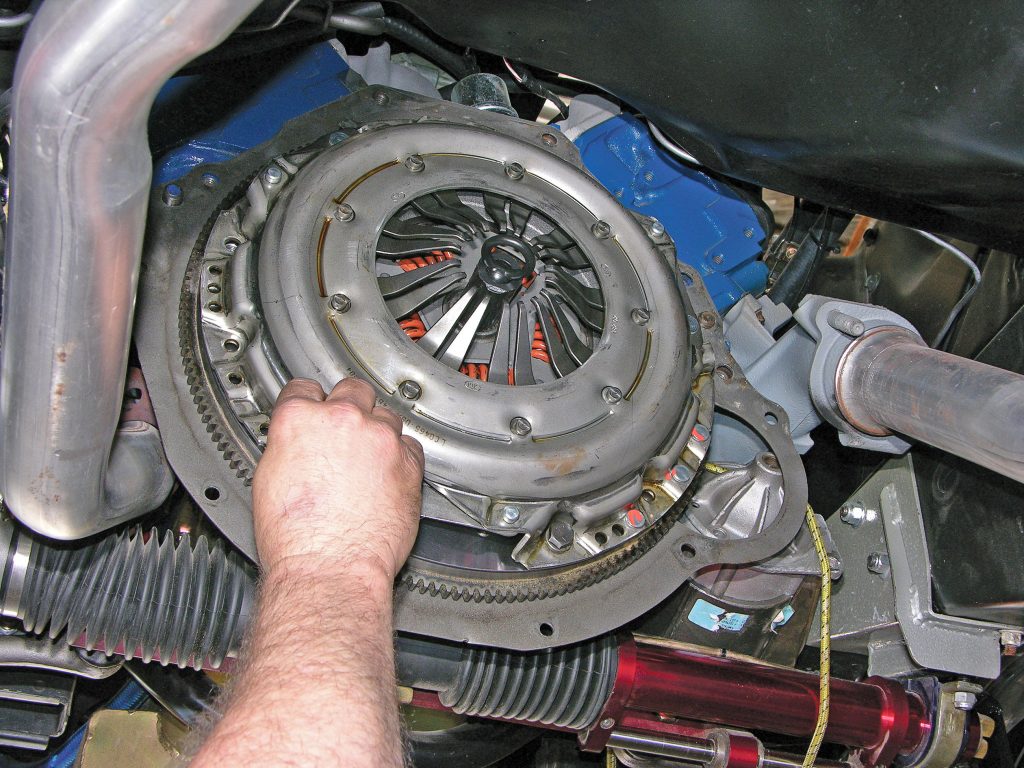
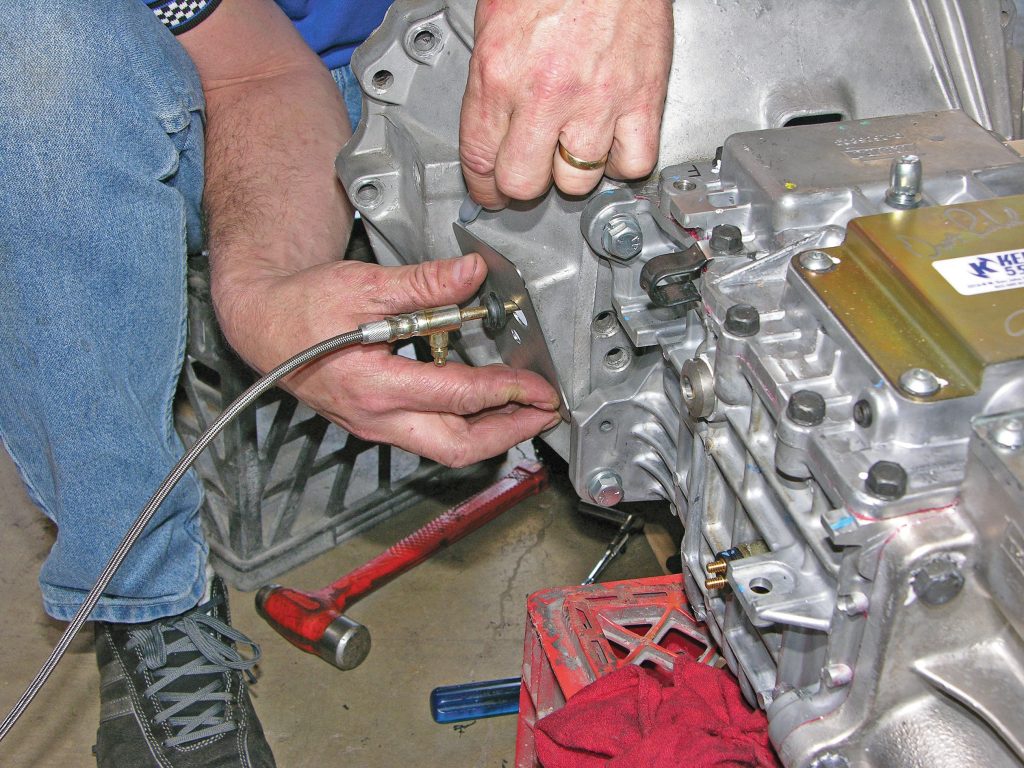
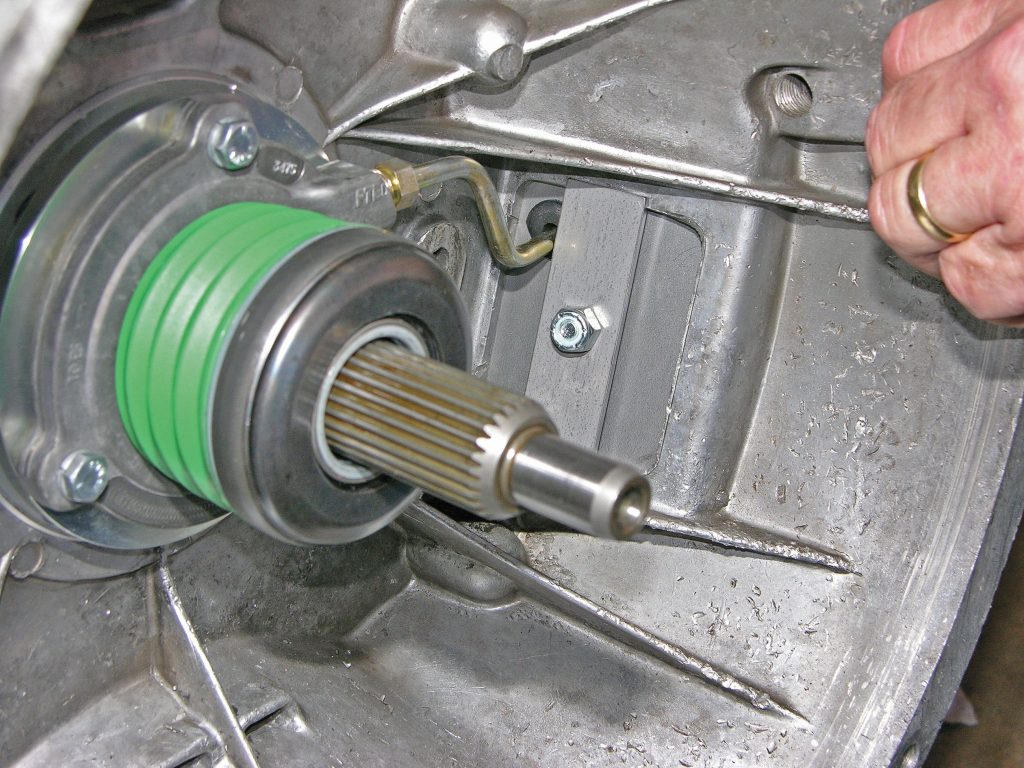
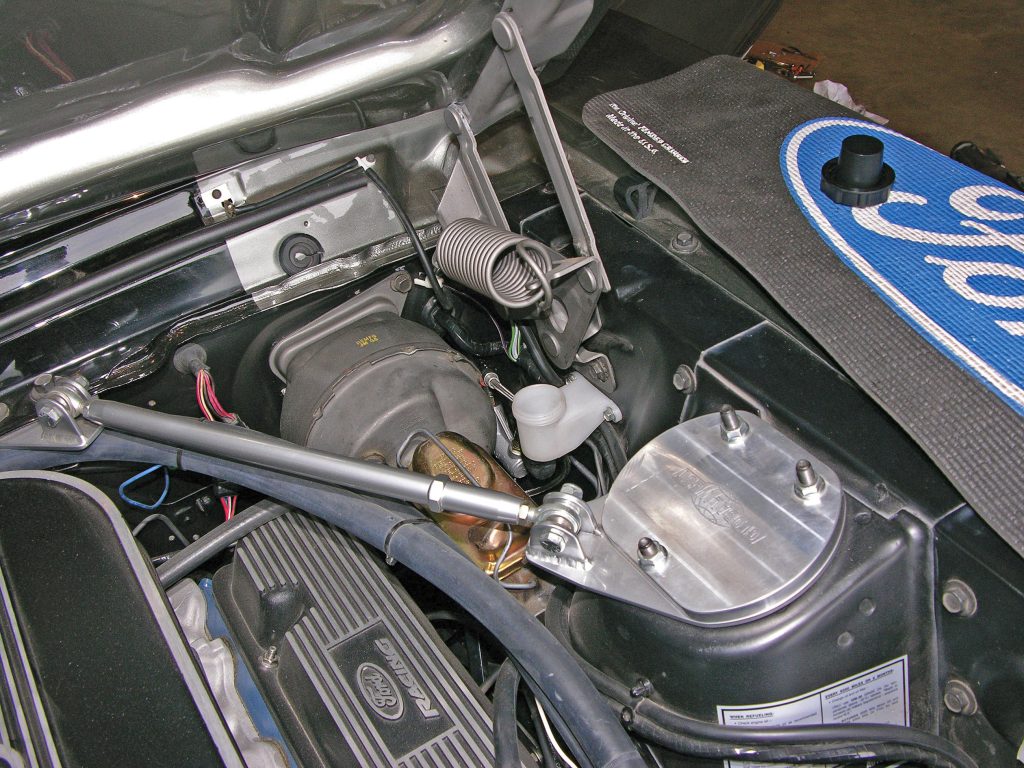
Keisler also supplied Gateway with a clutch kit that included a new SPEC clutch disc, pressure plate and flywheel. Keisler included a new shift boot, arm and knob, too, as well as a hydraulic clutch kit with a clutch cylinder, reservoir and line. Additional parts, such as pedal assemblies, are available if your Mustang is an automatic and you want to make the swap.
Installation with Gateway Classic Mustang
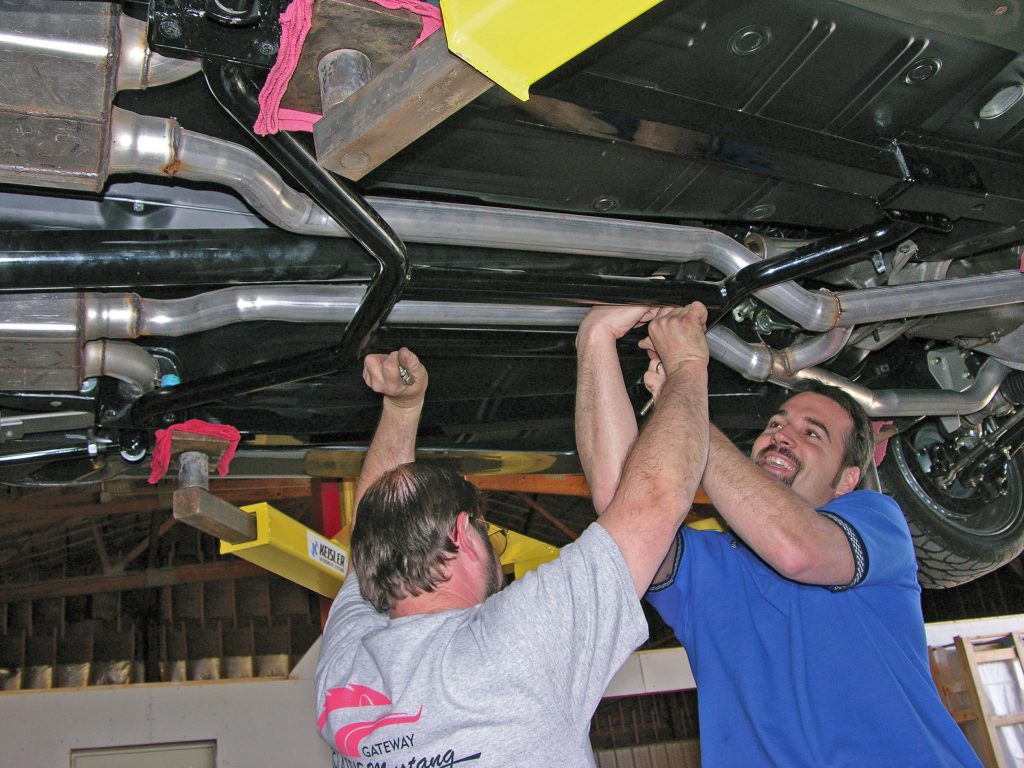
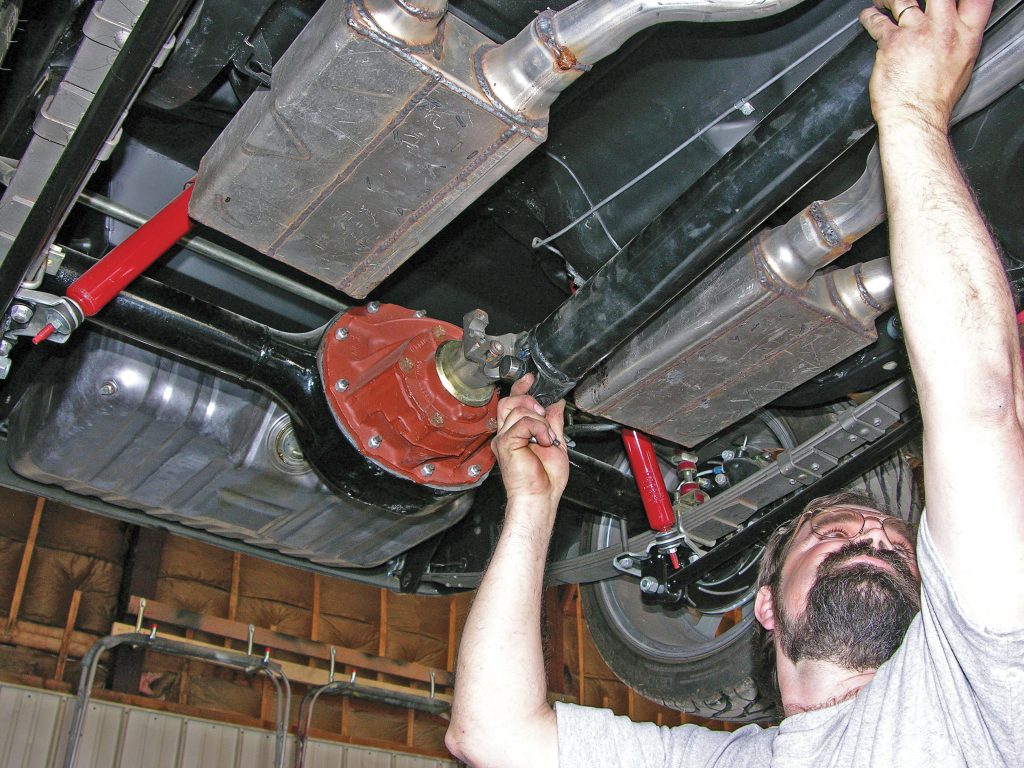
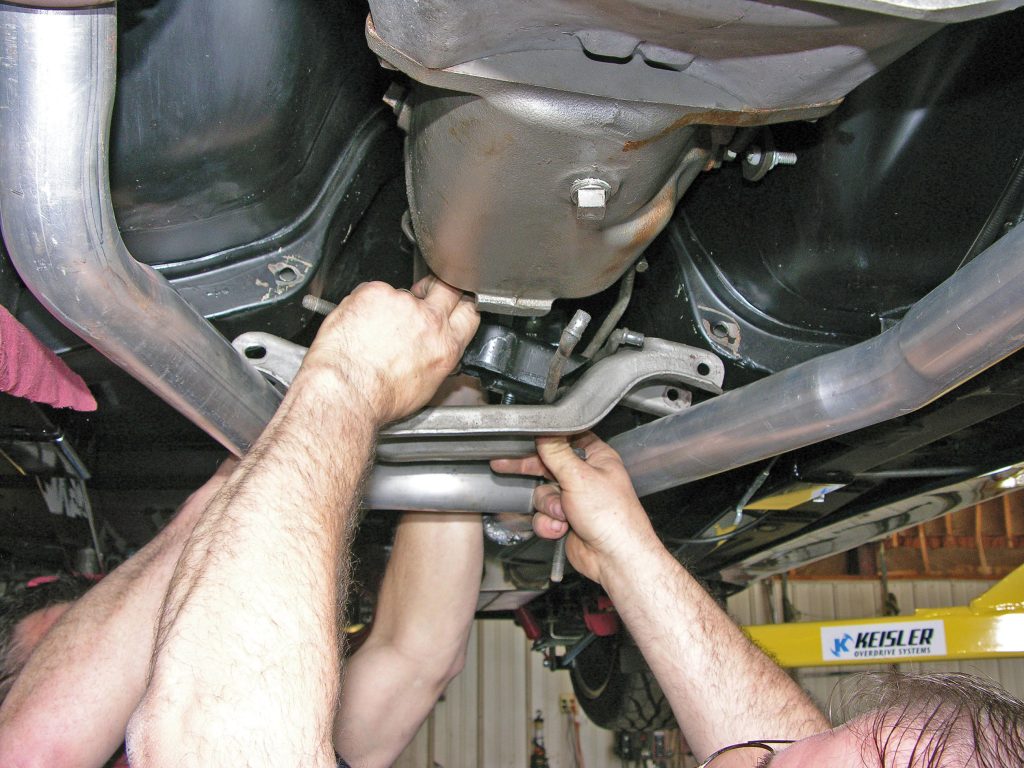
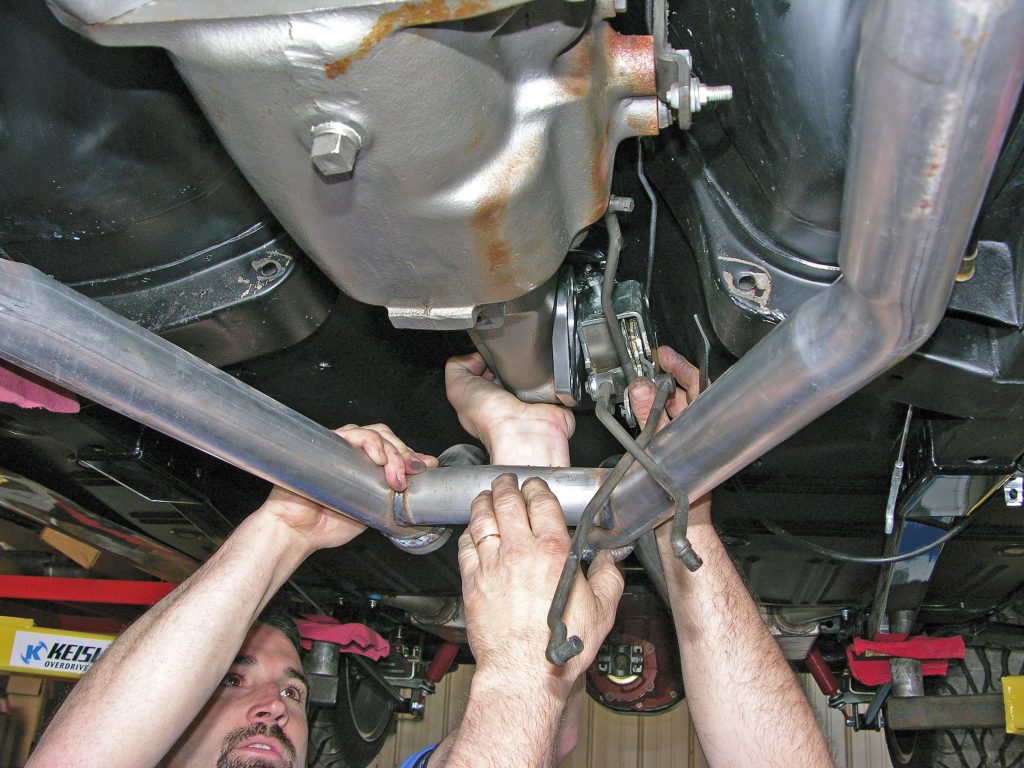
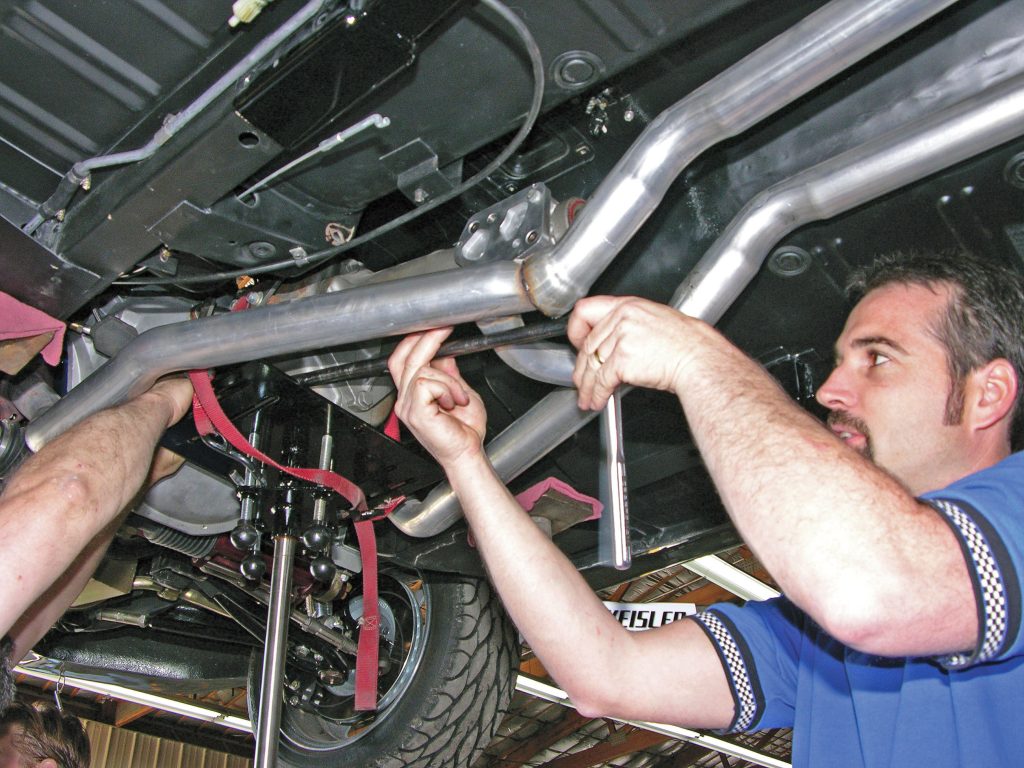
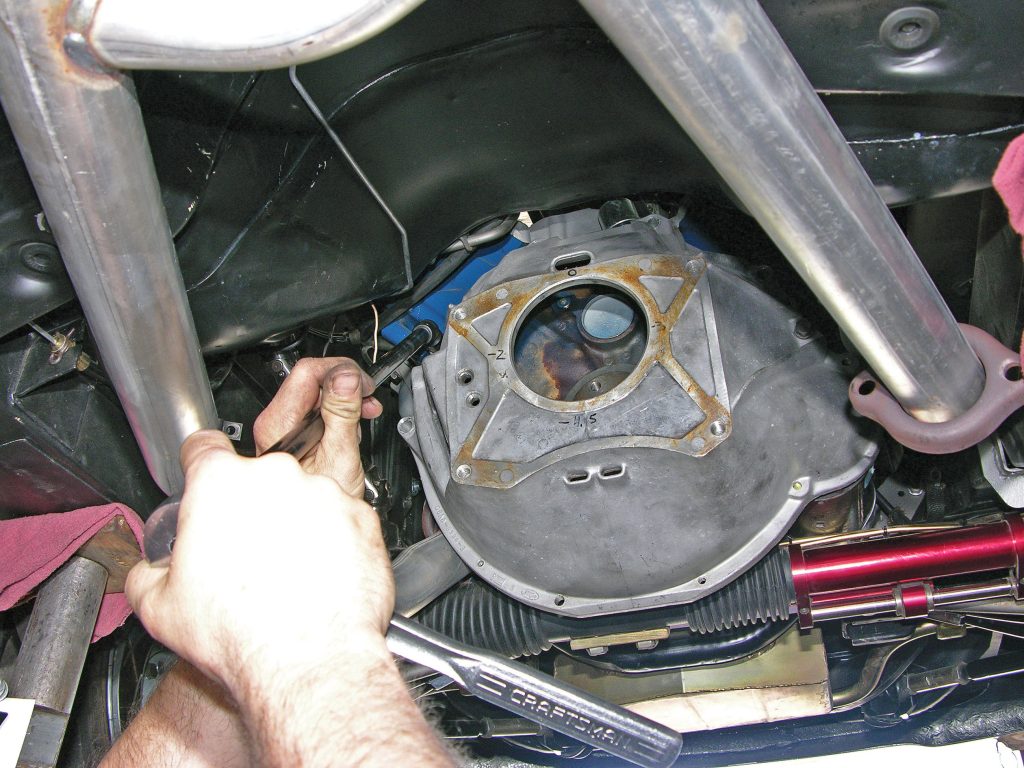
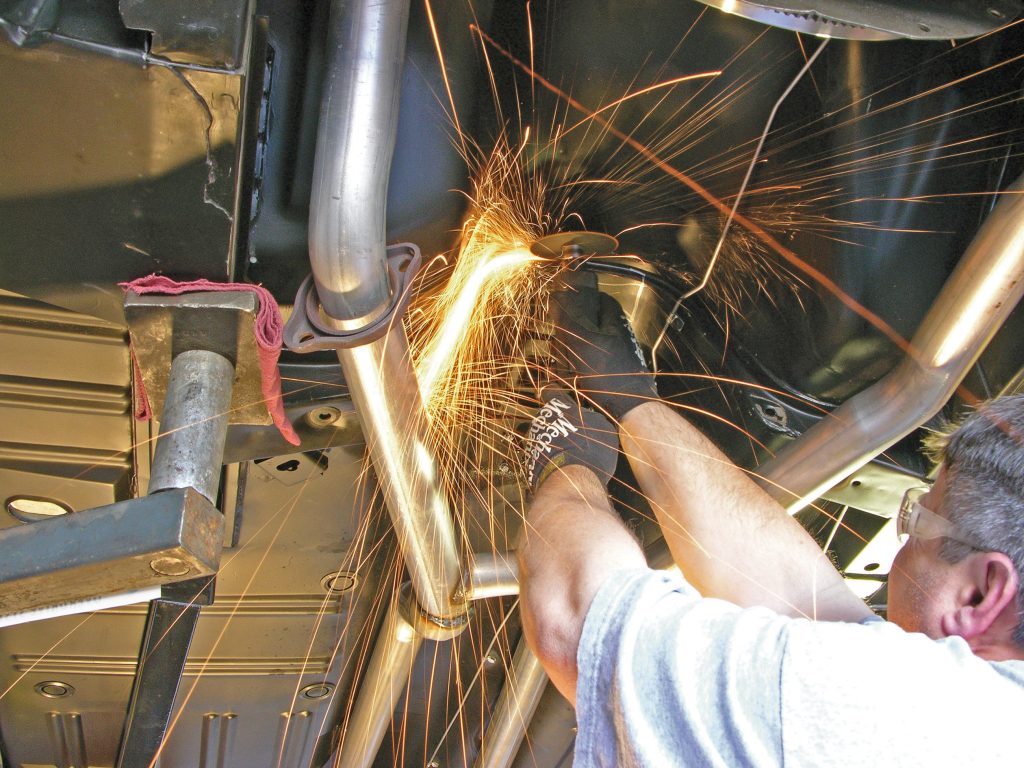
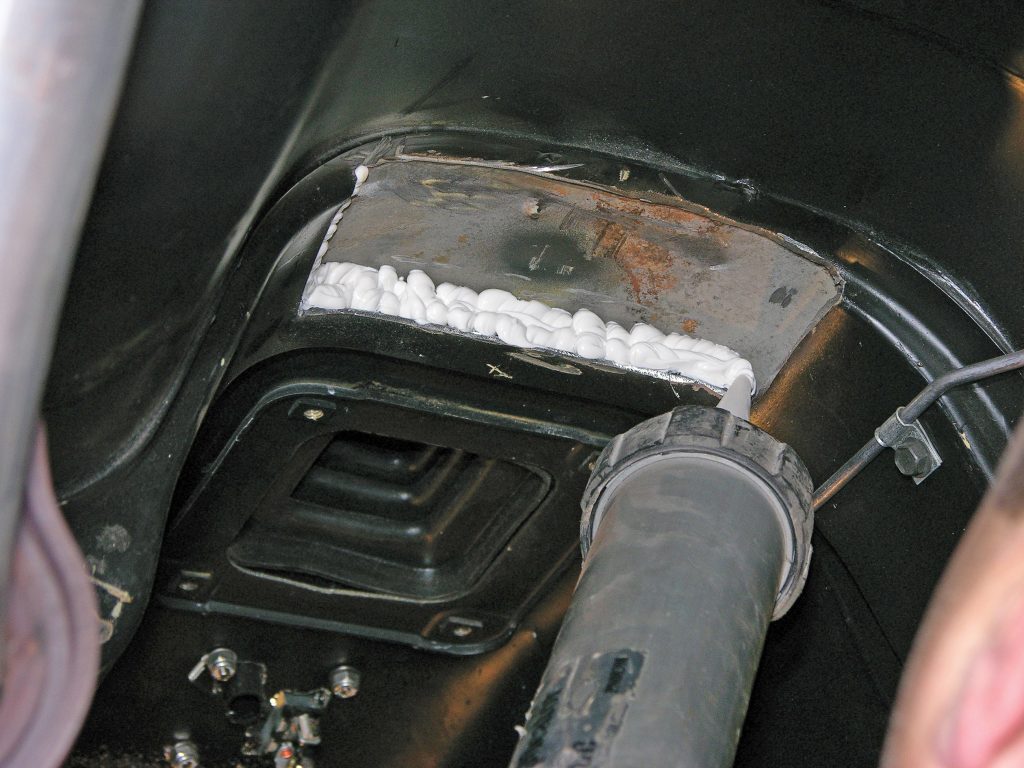
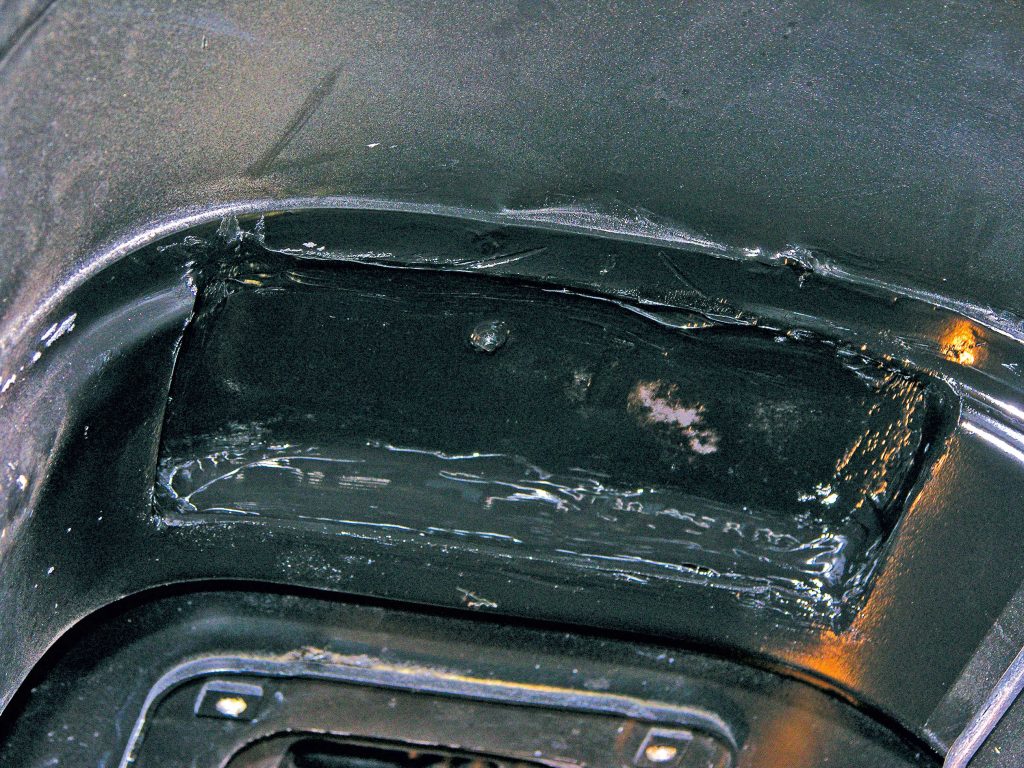
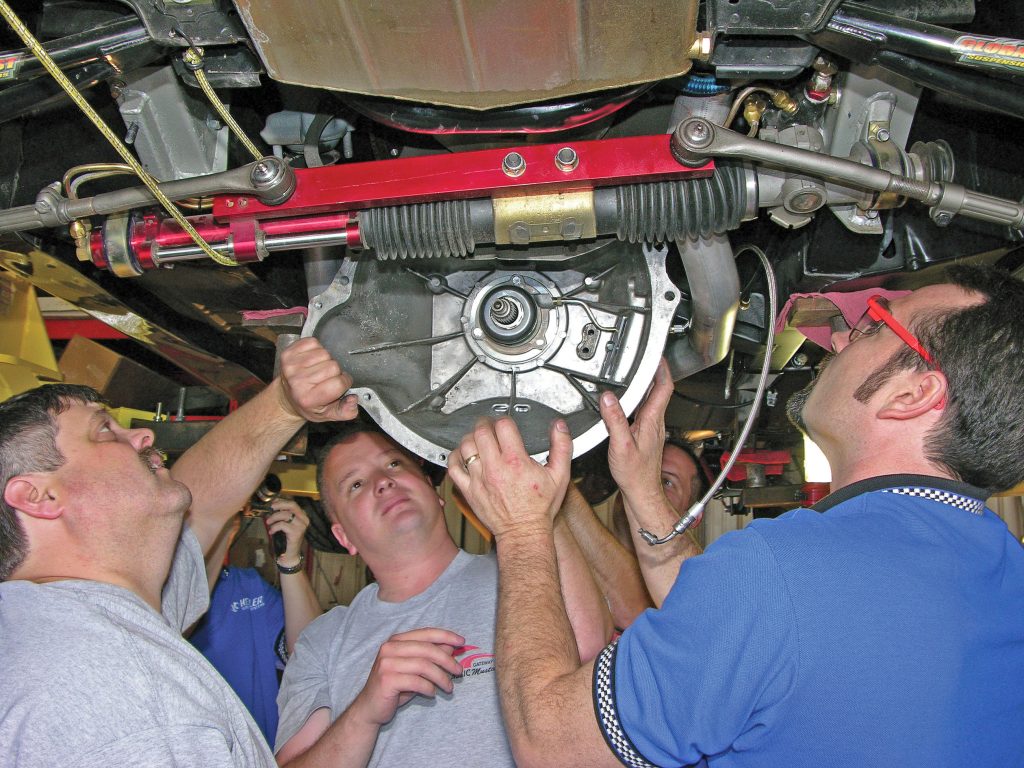
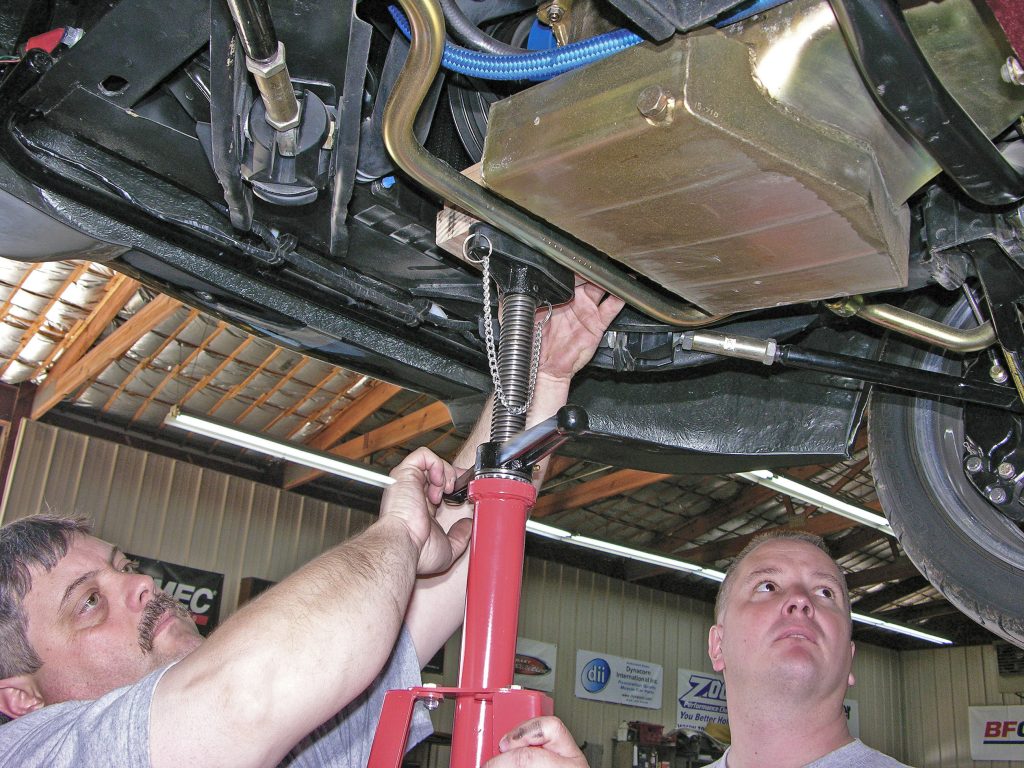
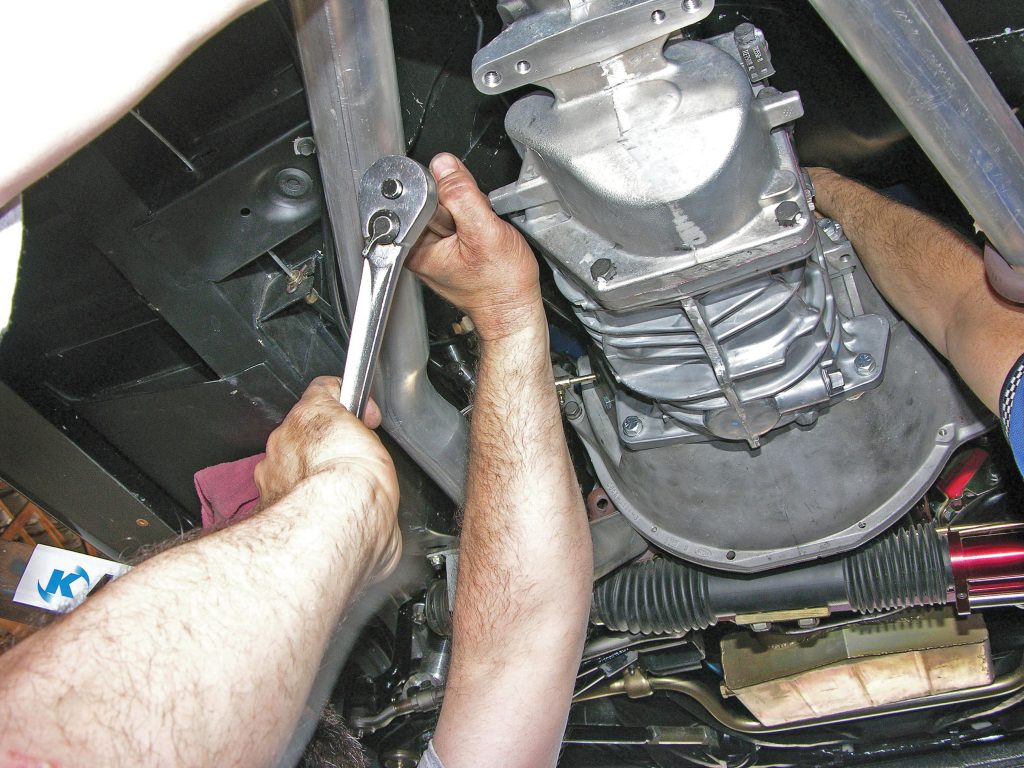
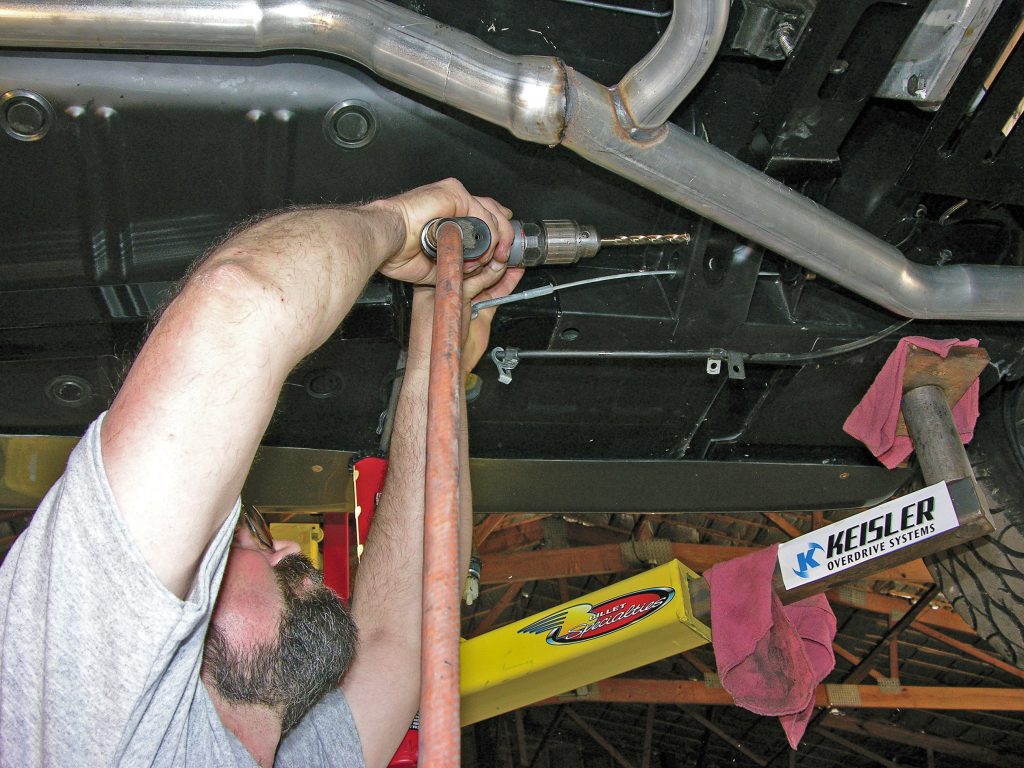
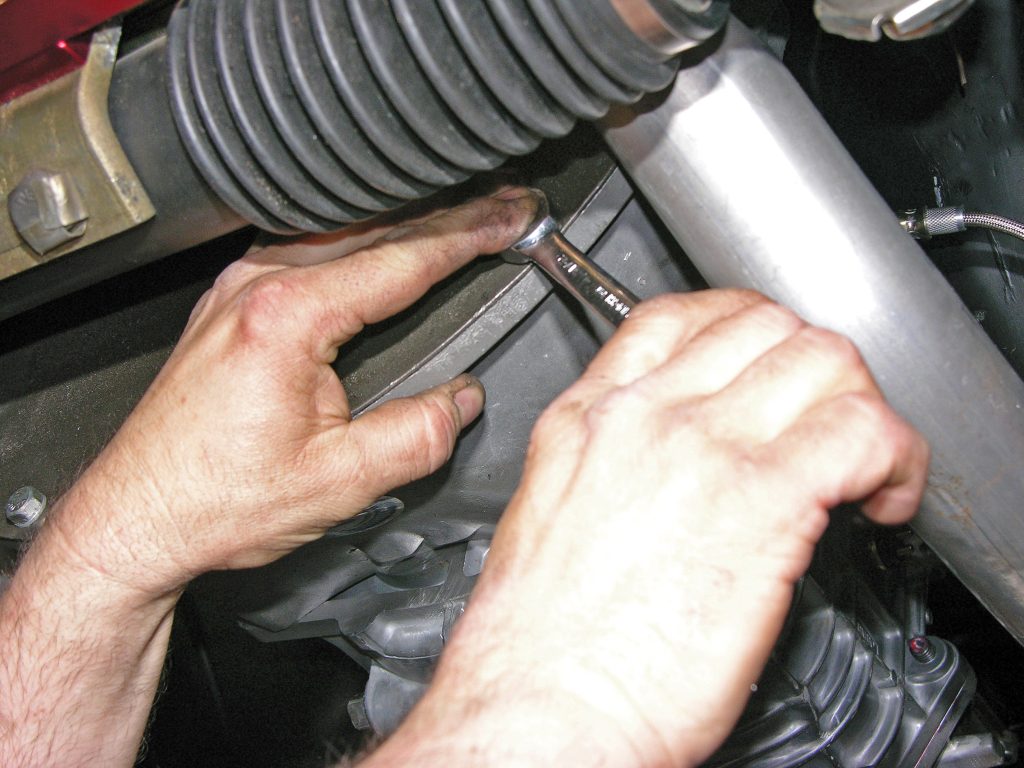
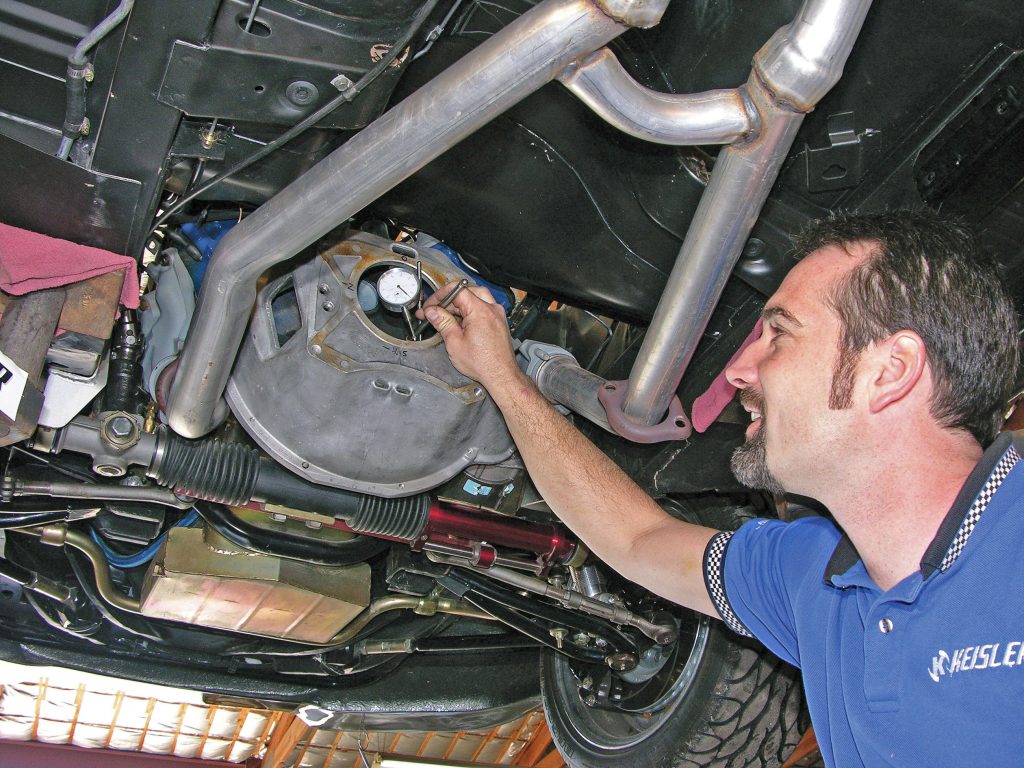
We were present at Gateway Classic Mustang as Keisler and the GCM crew teamed up on the installation. Although they had a lot of manpower and expertise, you and a few friends should be able to perform the same installation in about a weekend. There are a few special tools involved, so when you call Keisler to ask what it recommends for your car, find out what you’ll need to install the kit as well. But with that said, follow along with GCM and Keisler to see how you can get more performance, fuel economy and fun out of your Mustang by upgrading to a Keisler five-speed transmission.
EDITOR’S NOTE
Keisler Automotive Engineering is now Silver Sport Transmissions (SST). SST continues to offer high-performance transmission solutions and remains a trusted source for PerfectFit™ kits and Tremec manual conversions for classic Mustangs and other vehicles. For the most current products and support, please visit www.shiftsst.com to learn more.


