
THE AUTO BUILDER
Featured
- All Post
- 20 High Priority - SR Super Rod
- Builds
- 25 High Priority - FB Ford Builder
- Cars
- 30 High Priority - AR American Rodder
- 01 Post Status
- 35 High Priority - RD Rodders Digest
- 40 High Priority - OTR On the Road
- 45 High Priority - SRB Street Rod Builder
- 50 High Priority - TB Truck Builder
- 55 High Priority - BSCENE Buckaroo Scene
- 60 High Priority - FPB Family Power Boat
- Trucks
- Swaps
- Performance Boats
- _000 Home Sliders
- Builders
- 00 Sidebars
- Manufacturers
- 05 High Priority - HCI Hot Compact Imports
- 05 Publications
- 10 High Priority - CR Chevy Rumble
- Back
- Chassis
- Engine
- Fuel System
- Electrical
- Exhaust
- Transmission / Drivetrain
- Suspension
- Steering
- Brakes
- Wheels and Tires
- Interior
- Exterior
- Accessories
- Power Adders
- Back
- Chassis
- Engine
- Fuel System
- Electrical
- Exhaust
- Transmission / Drivetrain
- Suspension
- Steering
- Brakes
- Wheels and Tires
- Interior
- Exterior
- Accessories
- Power Adders
- Back
- Chassis
- Engine
- Electrical
- Exhaust
- Fuel System
- Transmission / Drivetrain
- Suspension
- Steering
- Brakes
- Wheels and Tires
- Interior
- Exterior
- Accessories
- Power Adders
- Back
- Chassis
- Engine
- Electrical
- Exhaust
- Fuel System
- Transmission / Drivetrain
- Suspension
- Steering
- Brakes
- Wheels and Tires
- Interior
- Exterior
- Accessories
- Power Adders
- Back
- Chassis
- Engine
- Fuel System
- Electrical
- Exhaust
- Transmission / Drivetrain
- Suspension
- Steering
- Brakes
- Wheels and Tires
- Interior
- Exterior
- Accessories
- Power Adders
- Back
- Chassis
- Engine
- Fuel System
- Electrical
- Exhaust
- Transmission / Drivetrain
- Suspension
- Steering
- Brakes
- Wheels and Tires
- Interior
- Exterior
- Accessories
- Power Adders
- Back
- Chassis
- Engine
- Fuel System
- Electrical
- Exhaust
- Transmission / Drivetrain
- Suspension
- Steering
- Brakes
- Wheels and Tires
- Interior
- Exterior
- Accessories
- Power Adders
- Back
- Engine
- Fuel System
- Electrical
- Outdrives
- Steering
- Interior
- Accessories
- Power Adders
- Exterior and Hull
- Back
- Chassis
- Engine
- Electrical
- Exhaust
- Fuel System
- Transmission / Drivetrain
- Suspension
- Steering
- Brakes
- Wheels and Tires
- Interior
- Exterior
- Accessories
- Power Adders
- Back
- Chevrolet
- Cadillac
- Pontiac
- AMC
- Buick
- Jeep
- Lincoln
- Ford
- Honda
- GMC
- BMW
- Mitsubishi
- Dodge
- Nissan
- Chrysler
- Subaru
- Toyota
- Plymouth
- Mercury
- Volvo
- Volkswagen
- Oldsmobile
- Acura
- Back
- 05 Pub HCI Hot Compact Imports
- 15 Pub 4x4 4x4 Builder
- 20 Pub SR Super Rod
- 25 Pub FB Ford Builder
- 30 Pub AR American Rodder
- 35 Pub RD Rodders Digest
- 40 Pub OTR On the Road
- 55 Pub BSCENE Buckaroo Scene
- 10 Pub CR Chevy Rumble
- 50 Pub TB Truck Builder
- 60 Pub FPB Family Power Boat
- 45 Pub SRB Street Rod Builder
- Back
- Chip Foose
- Ring Brothers
- Jack Fuller
- Bob Cullipher
- Jerry Nichols
- Bobby Alloway
- Jesse James
- Carl Casper
- J.F. Launier
- Steve Sellers
- Boyd Coddington
- Rad Rides by Troy
- Cal Auto Creations
- George Barris
- West Coast Customs
- Back
- Street Rods
- Hot Rods
- Late Model
- Drag Race
- Handling
- Compact Cars
- Chassis
- Engine
- Fuel System
- Electrical
- Exhaust
- Transmission / Drivetrain
- Suspension
- Steering
- Brakes
- Wheels and Tires
- Interior
- Exterior
- Accessories
- Power Adders
- Chassis
- Engine
- Fuel System
- Electrical
- Exhaust
- Transmission / Drivetrain
- Suspension
- Steering
- Brakes
- Wheels and Tires
- Interior
- Exterior
- Accessories
- Power Adders
- Chassis
- Engine
- Electrical
- Exhaust
- Fuel System
- Transmission / Drivetrain
- Suspension
- Steering
- Brakes
- Wheels and Tires
- Interior
- Exterior
- Accessories
- Power Adders
- Chassis
- Engine
- Electrical
- Exhaust
- Fuel System
- Transmission / Drivetrain
- Suspension
- Steering
- Brakes
- Wheels and Tires
- Interior
- Exterior
- Accessories
- Power Adders
- Chassis
- Engine
- Electrical
- Exhaust
- Fuel System
- Transmission / Drivetrain
- Suspension
- Steering
- Brakes
- Wheels and Tires
- Interior
- Exterior
- Accessories
- Power Adders
- Chassis
- Engine
- Fuel System
- Electrical
- Exhaust
- Transmission / Drivetrain
- Suspension
- Steering
- Brakes
- Wheels and Tires
- Interior
- Exterior
- Accessories
- Power Adders
- Back
- 05 Post Imported
- 20 Post Missing Images (All)
- 25 Post Missing Images (Partial)
- 15 Post In Progress
- 30 Post Internal Review
- 40 Post On Hold
- 50 Post Approved
- 10 Post Images Imported
- 17 Post Missing TXT Files
- 18 Post Missing PDF Files
- 27 Post Missing Content
- Back
- Chassis
- Engine Swaps
- Interior Swaps
- Driveline
- Back
- Street Trucks
- OffRoad Trucks
- Chassis
- Engine
- Fuel System
- Electrical
- Exhaust
- Transmission / Drivetrain
- Suspension
- Steering
- Brakes
- Wheels and Tires
- Interior
- Exterior
- Accessories
- Power Adders
- Chassis
- Engine
- Fuel System
- Electrical
- Exhaust
- Transmission / Drivetrain
- Suspension
- Steering
- Brakes
- Wheels and Tires
- Interior
- Exterior
- Accessories
- Power Adders
- Back
- 01 Sidebar Left
- 01 Sidebar Right
Spotlighter
POPULAR READS
-
Product Spotlight: Bill Mitchell Products Aluminum LS Engine Block
-
Product Spotlight: Pyramid Optimized Design Sequential Aurora Taillight for 1964½–1966 Mustang
-
PRODUCT SPOTLIGHT: 60-66 Chevy C10 Fresh Air Vent Block Off Plate
-
PRODUCT SPOTLIGHT: Cam Covers for GEN/3 Coyote from Pyramid Optimized Design
Force-Fed Prelude
ETD Racing And DRAG Give A Much-Needed Boost
Author

Sean Greene
Photography by Jim Edwards
The Honda Prelude: A Hidden Gem in the Tuner Scene
The Honda Prelude may not be as popular as the Civic or the Integra, but it does have a rather large tuner following. One of the reasons that the Prelude isn’t as modified as often as other Hondas is that the model’s initial purchase price is considerably more than a Civic Si or Integra GS-R, since the Prelude was better appointed with options and a more powerful engine.
Prelude’s H22A Engine Performance
In its stock form, the H22A produces between 195 hp and 200 hp (depending on the year of the Prelude). Unfortunately, the aftermarket was fairly sluggish to jump on the bandwagon when it came to hardcore parts for Preludes, such as the valvetrains, superchargers, and even turbo kits. Many enthusiasts were putting together their own turbo kits by making tubular exhaust manifolds, fabricating intercooler piping with U-bends, and using a boost-sensitive fuel management system. For the most part, this method of boosting an H-series engine was acceptable, but unless you had a whiz that really knew what he was doing, the results of this home-brewed turbo system could be something less than expected.
Improved Aftermarket Support for the H22A Engine
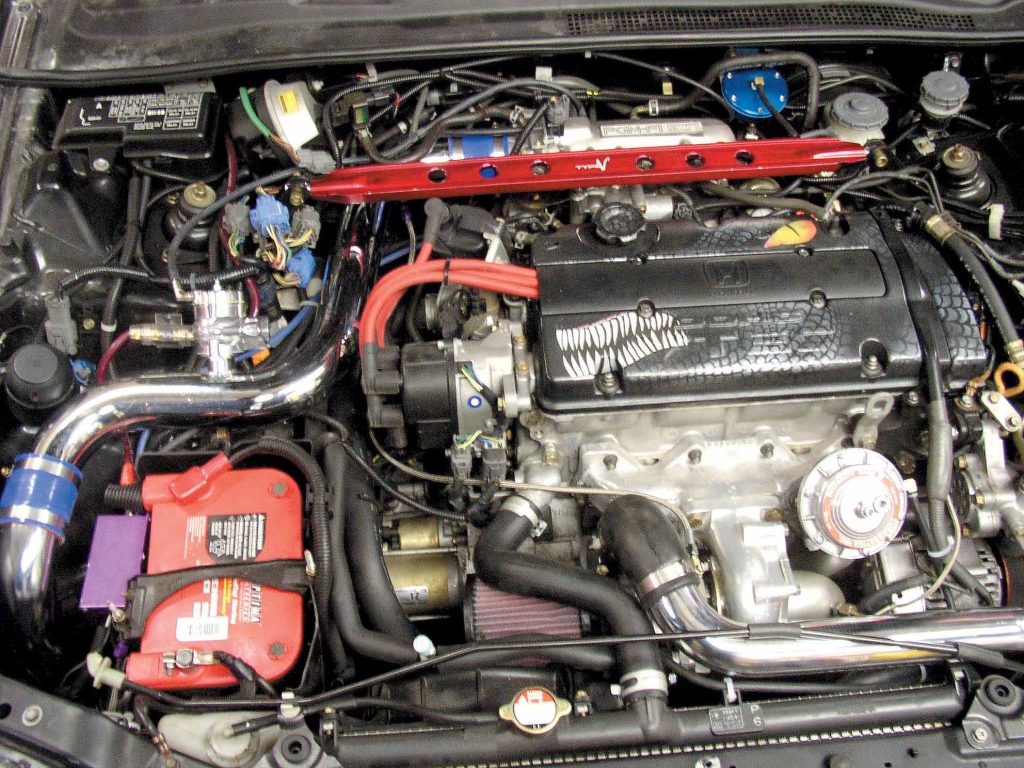
Thankfully, the H-series has better support nowadays, and both enthusiasts and racers are making more power than ever with the aid of off-the-shelf turbo kits, like the DRAG system shown here.
The DRAG Turbo Kit: Boosting Power Made Easy
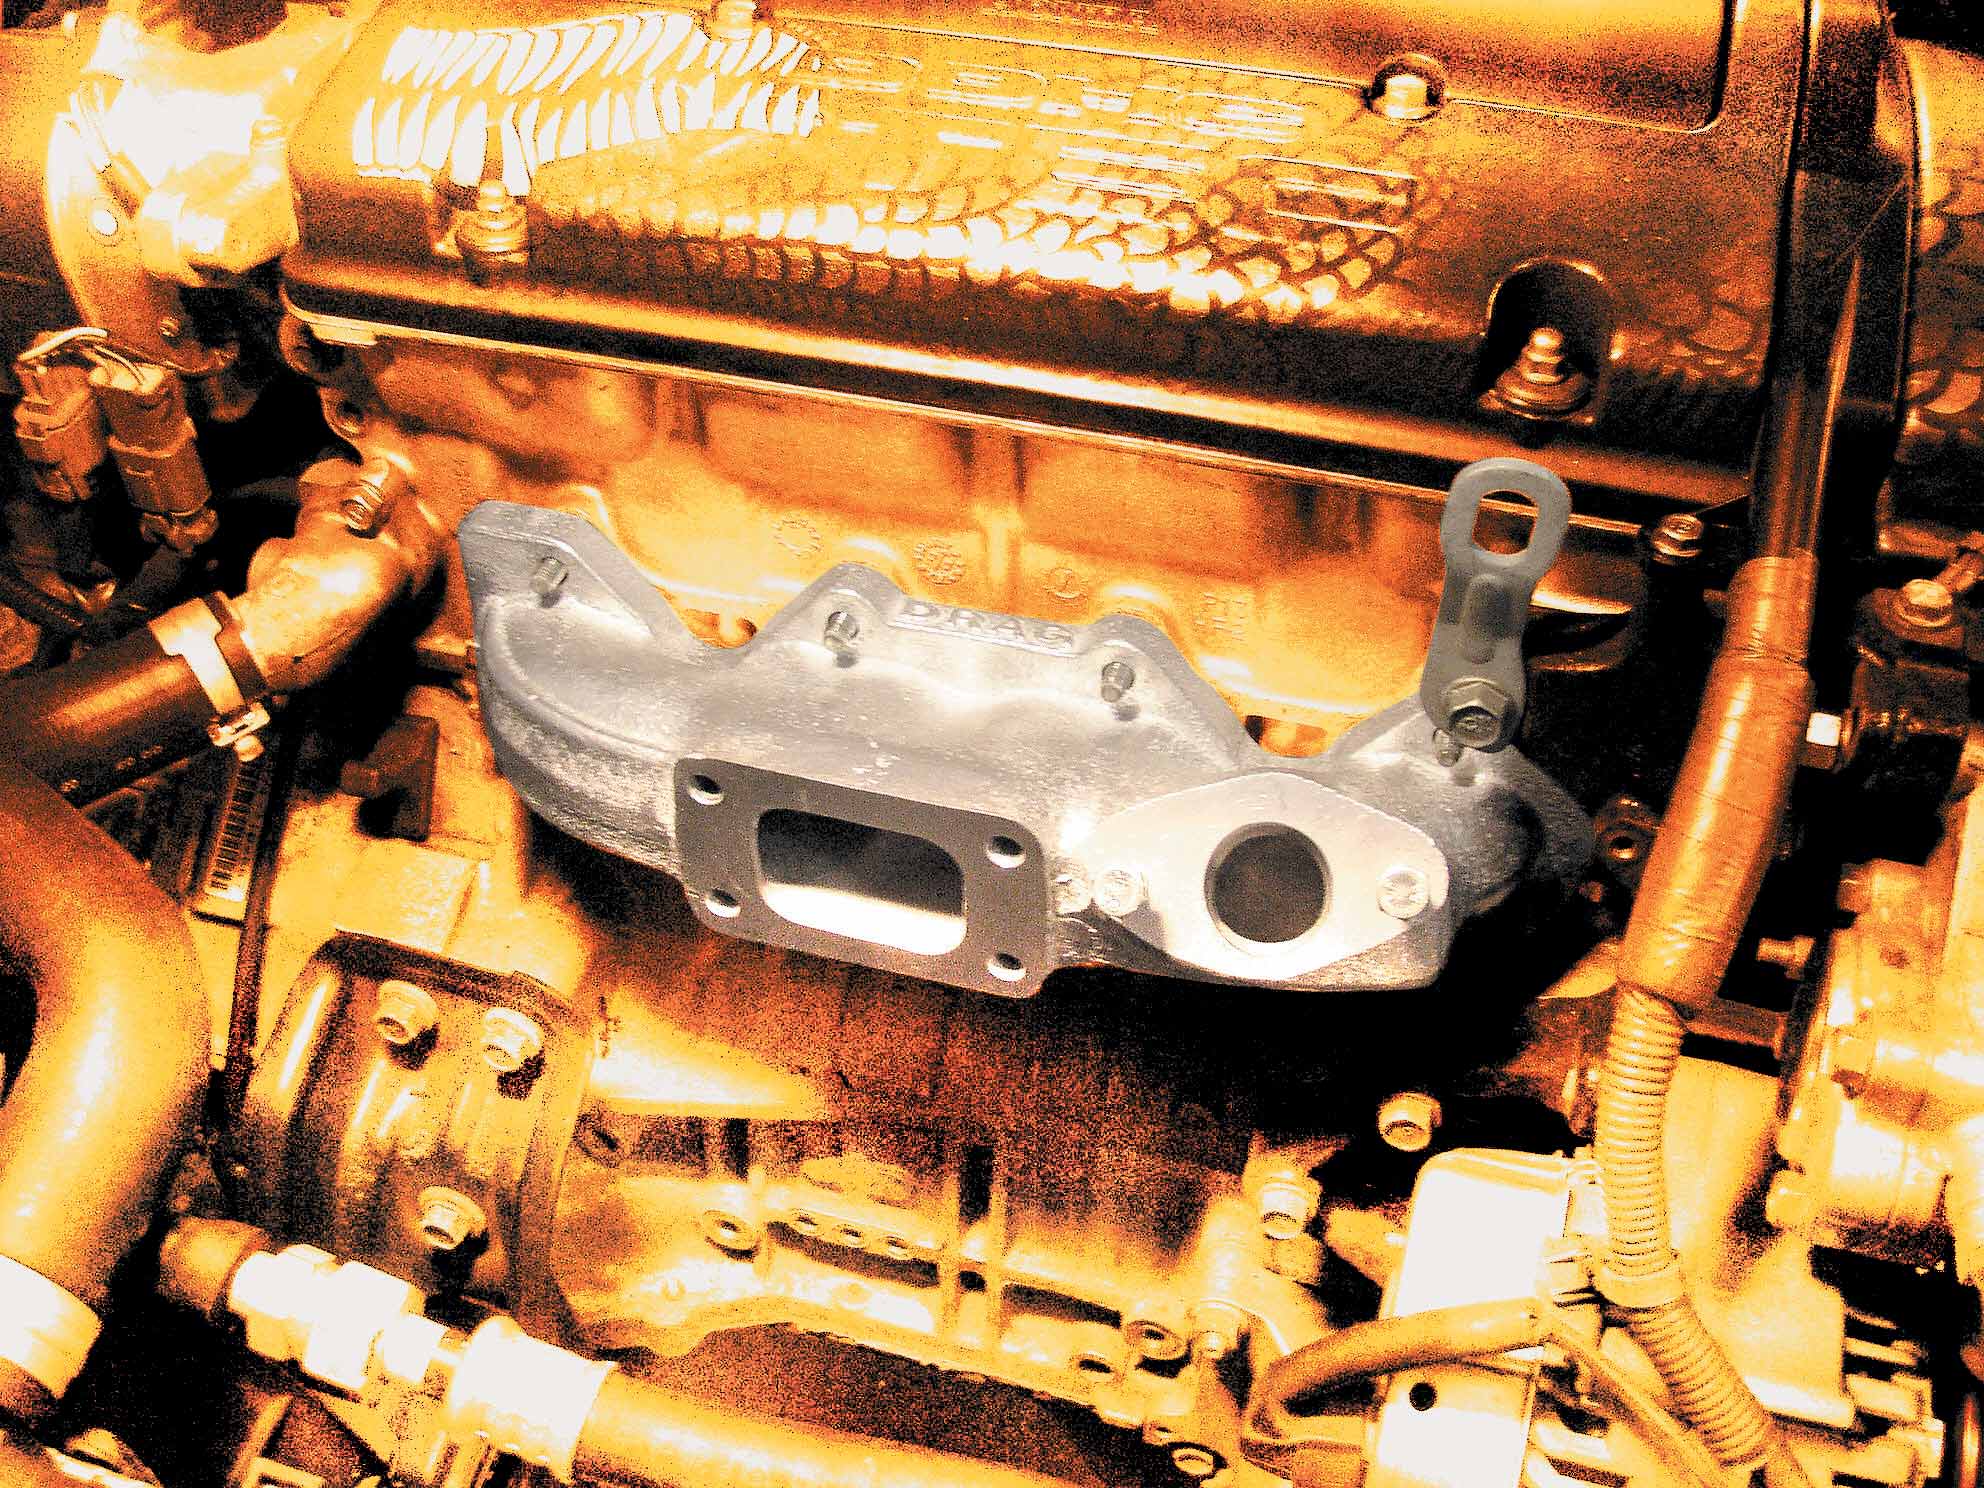
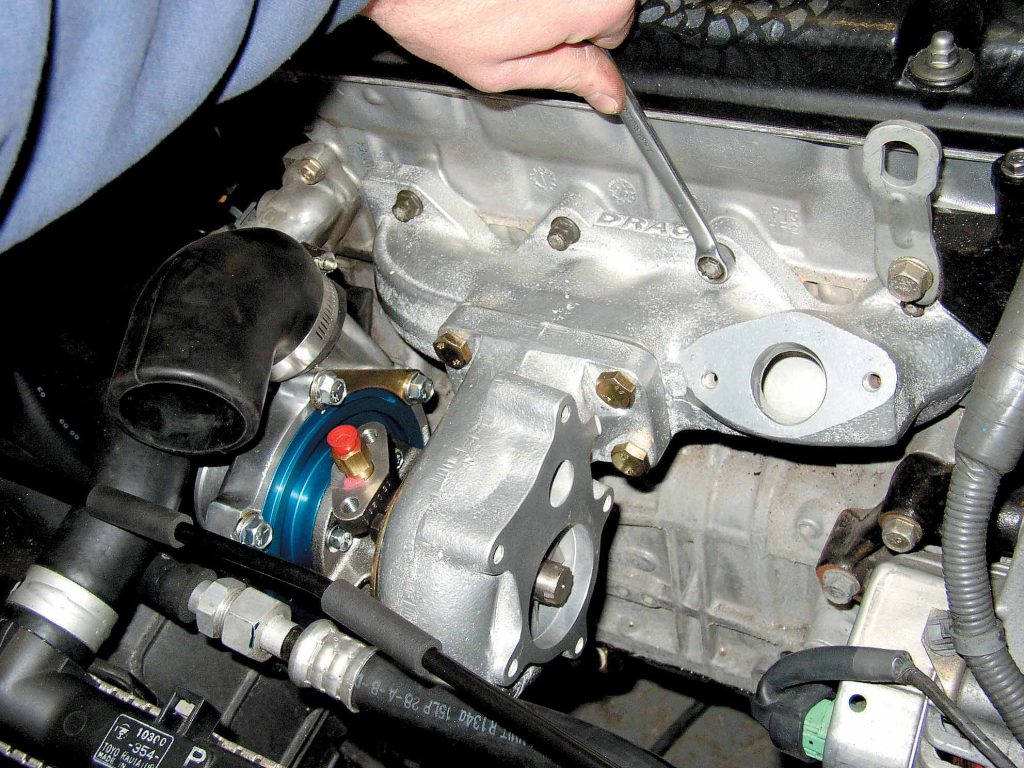
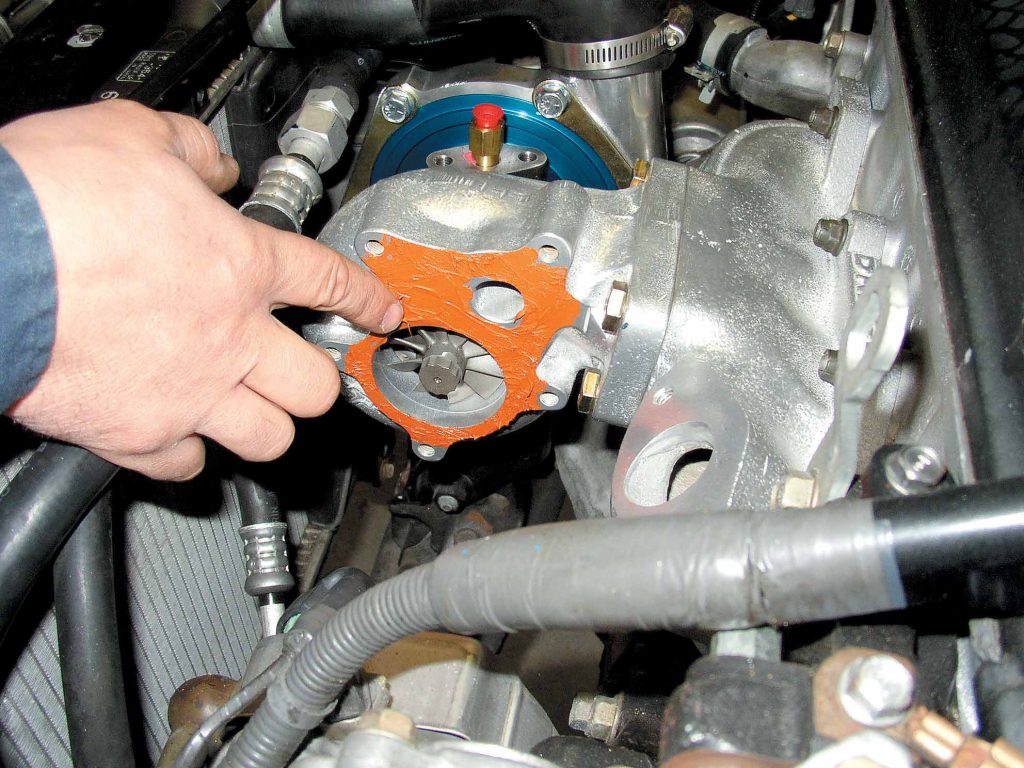
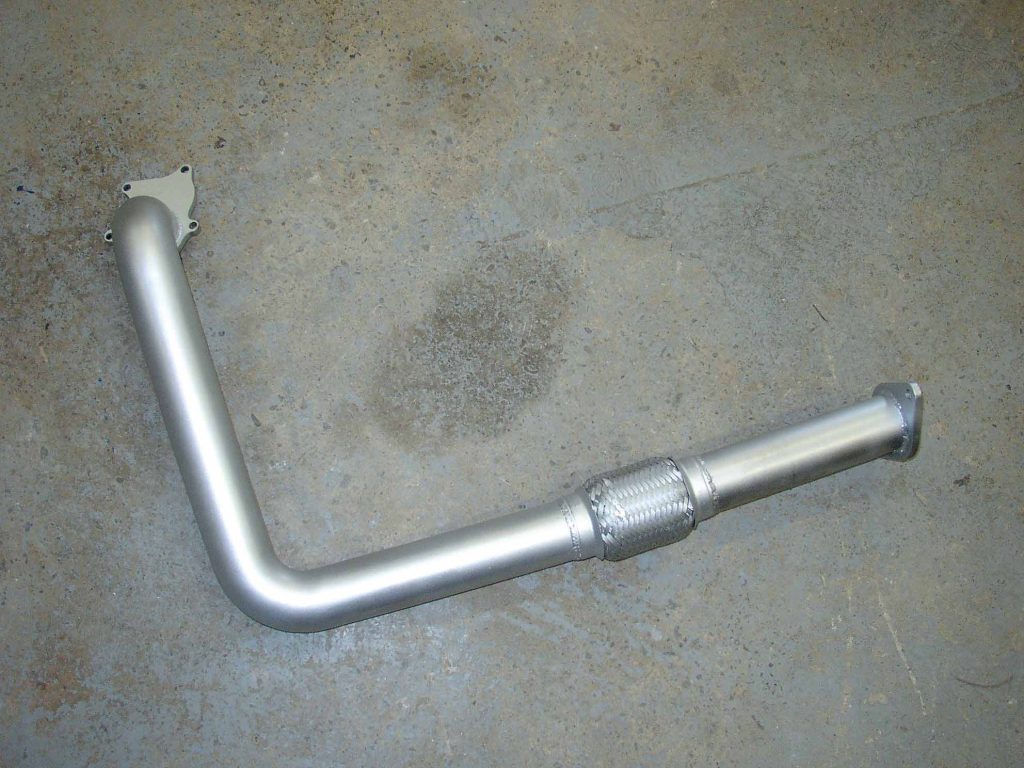
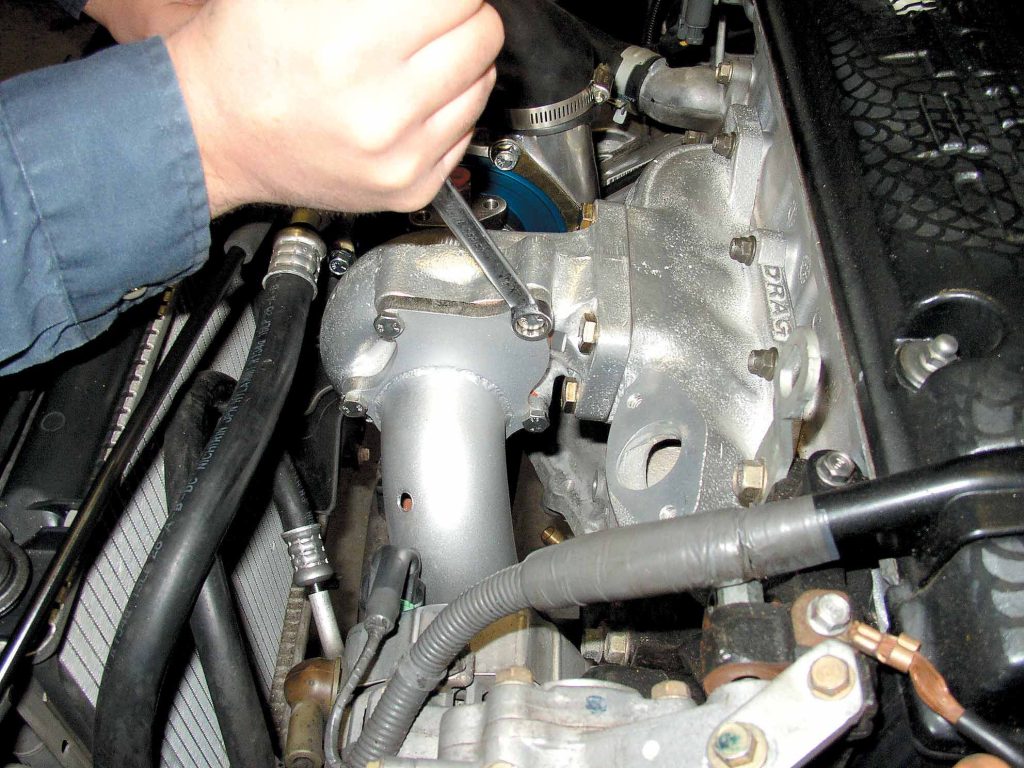
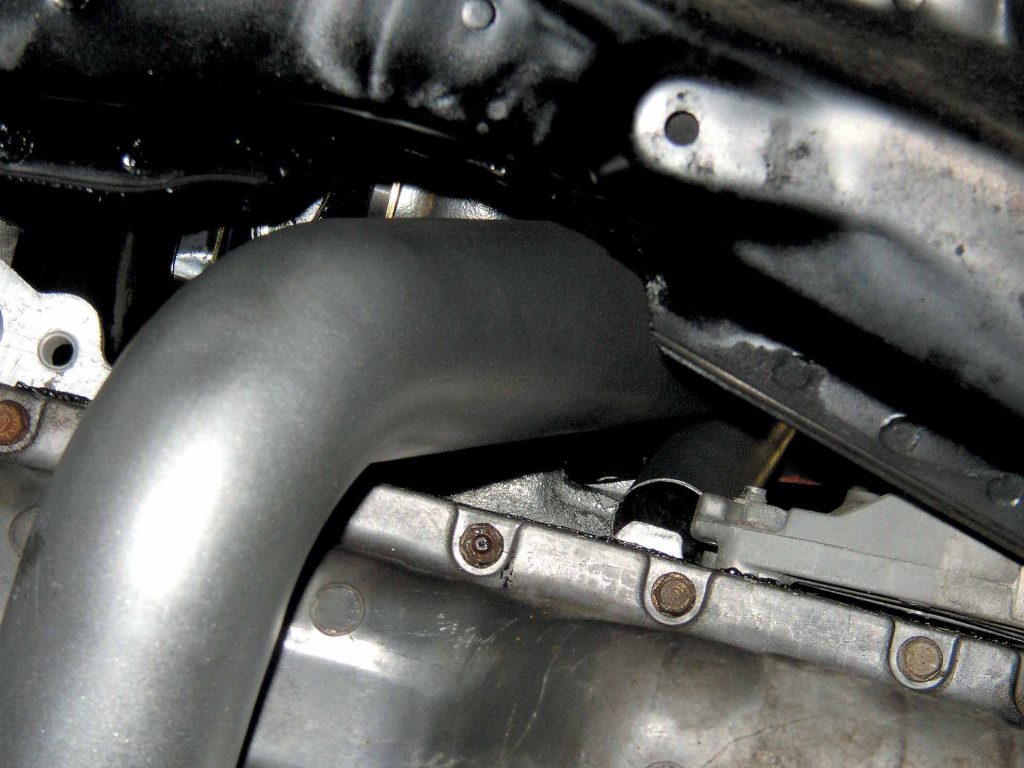
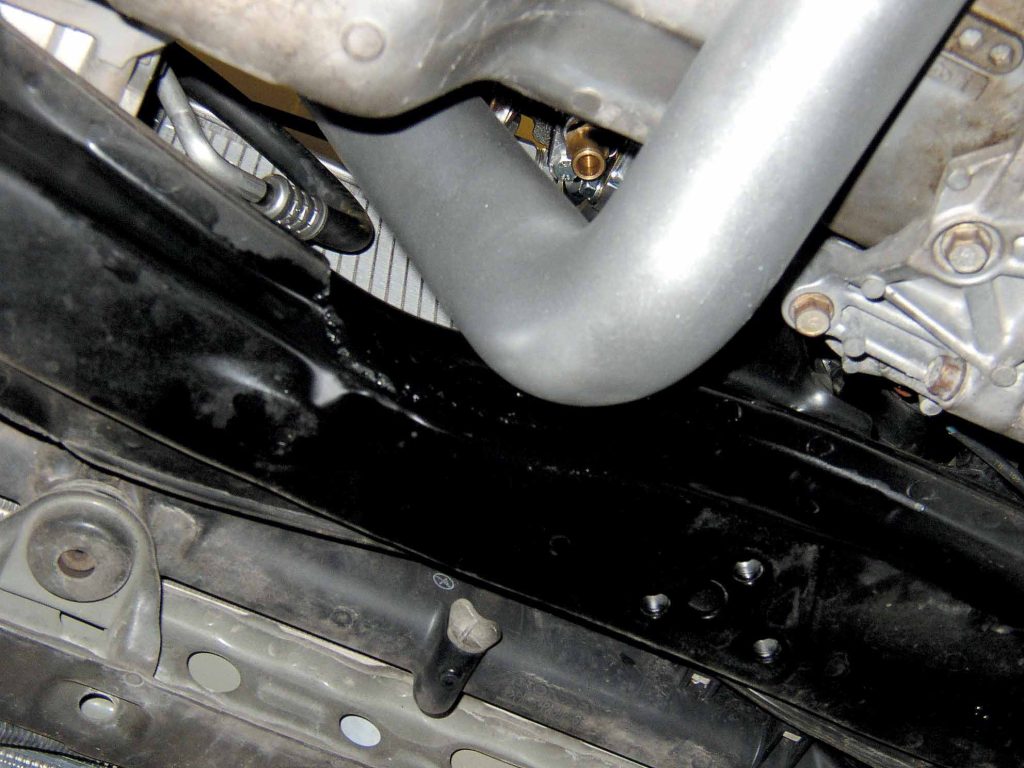
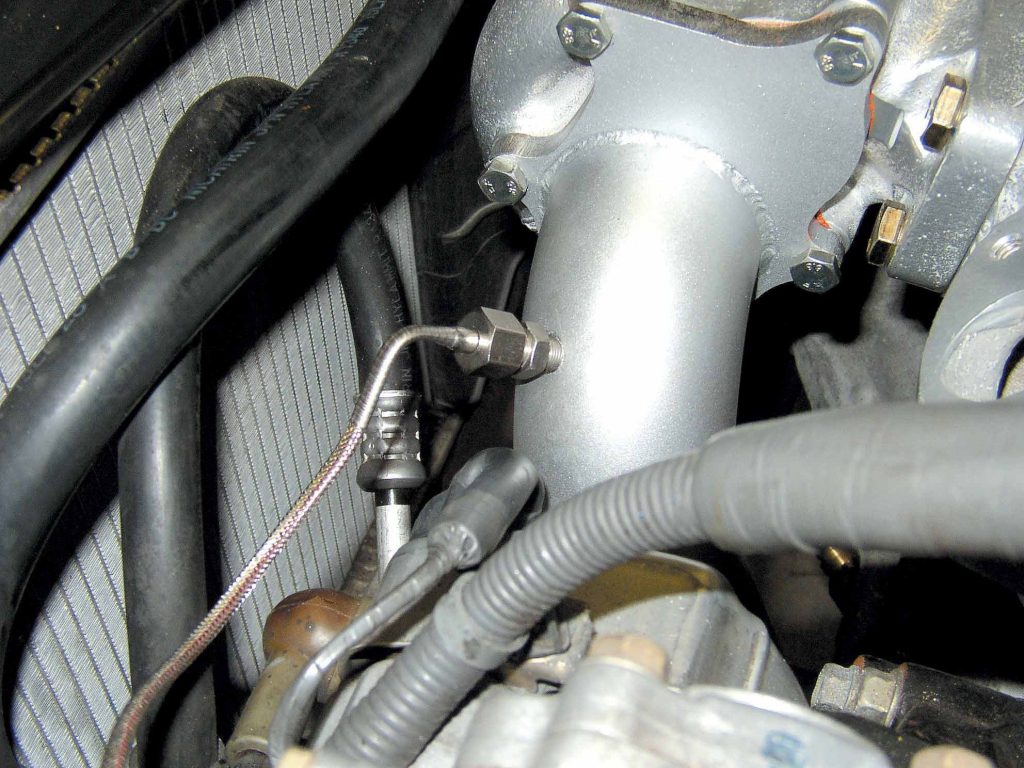
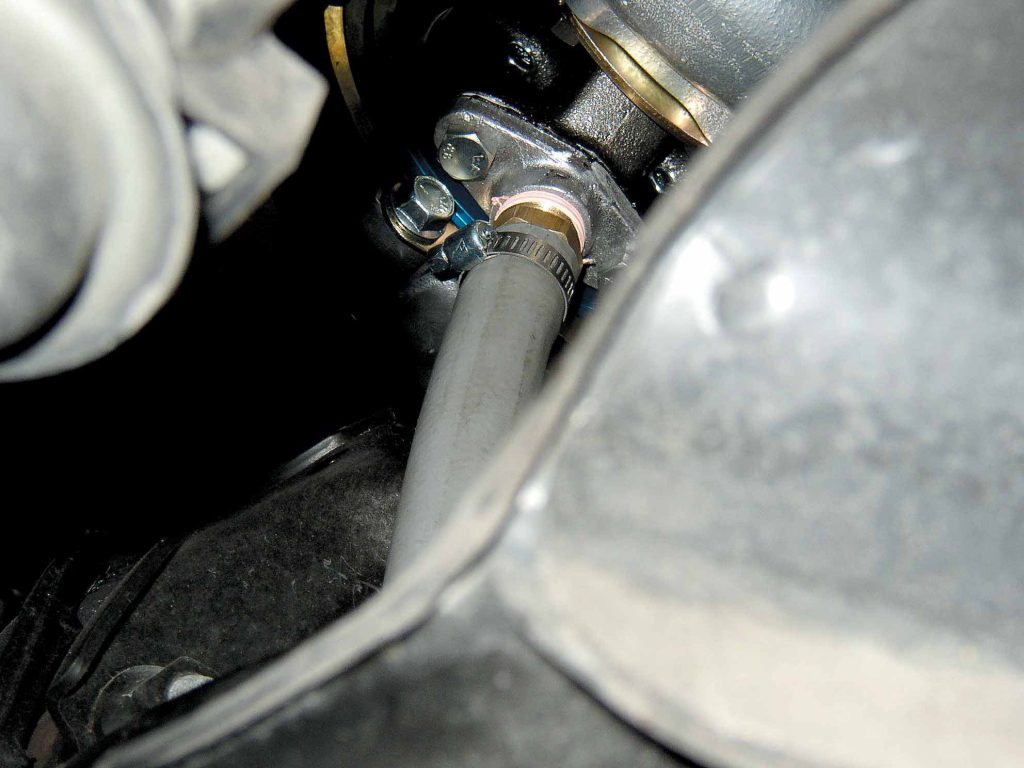
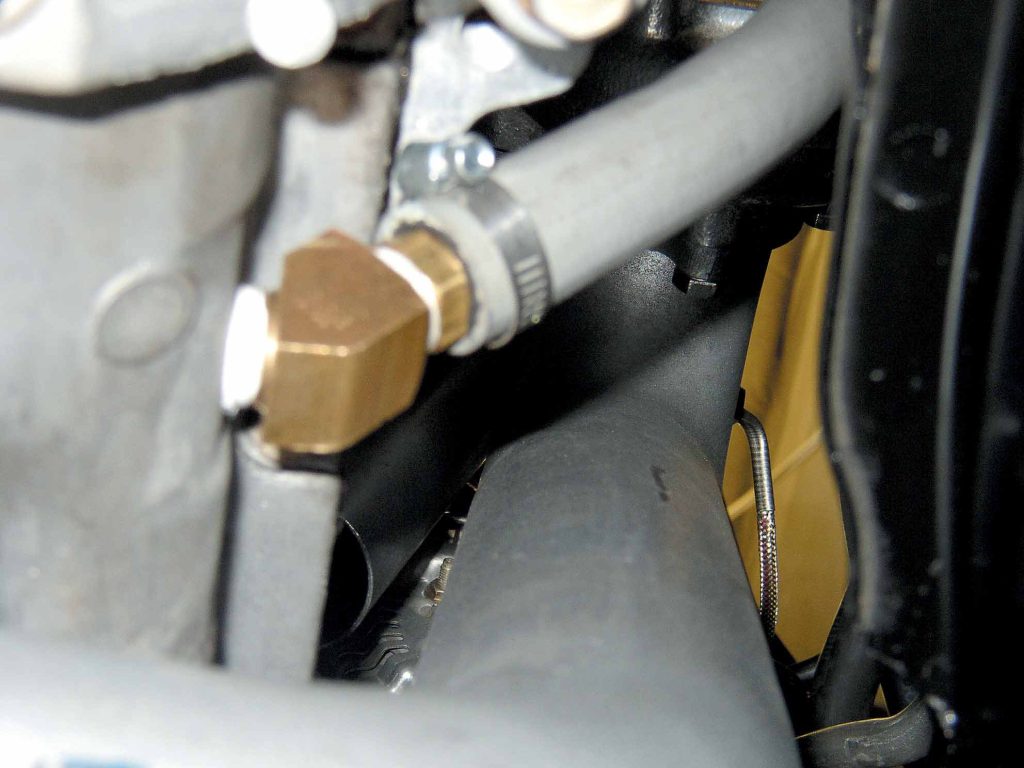
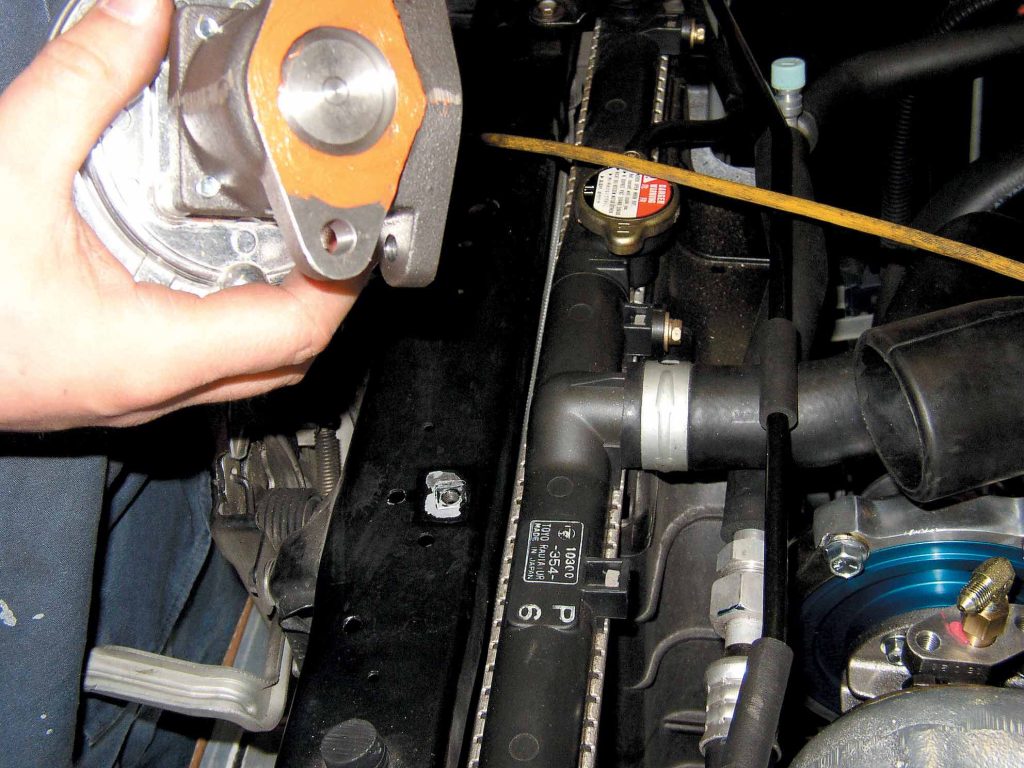
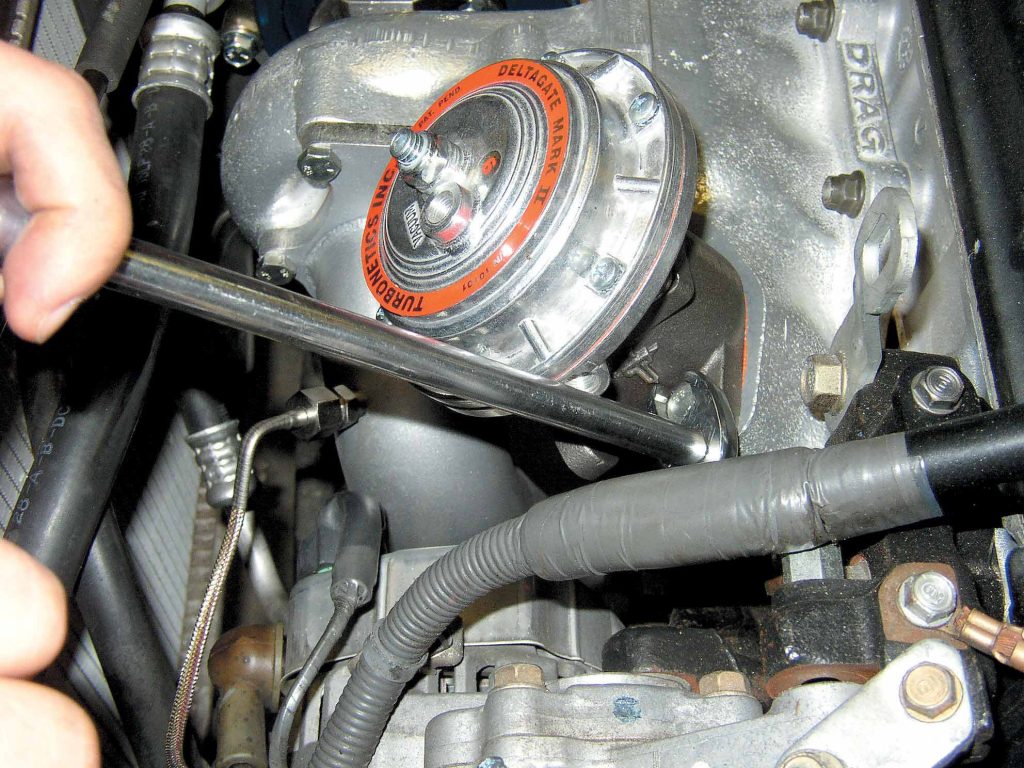
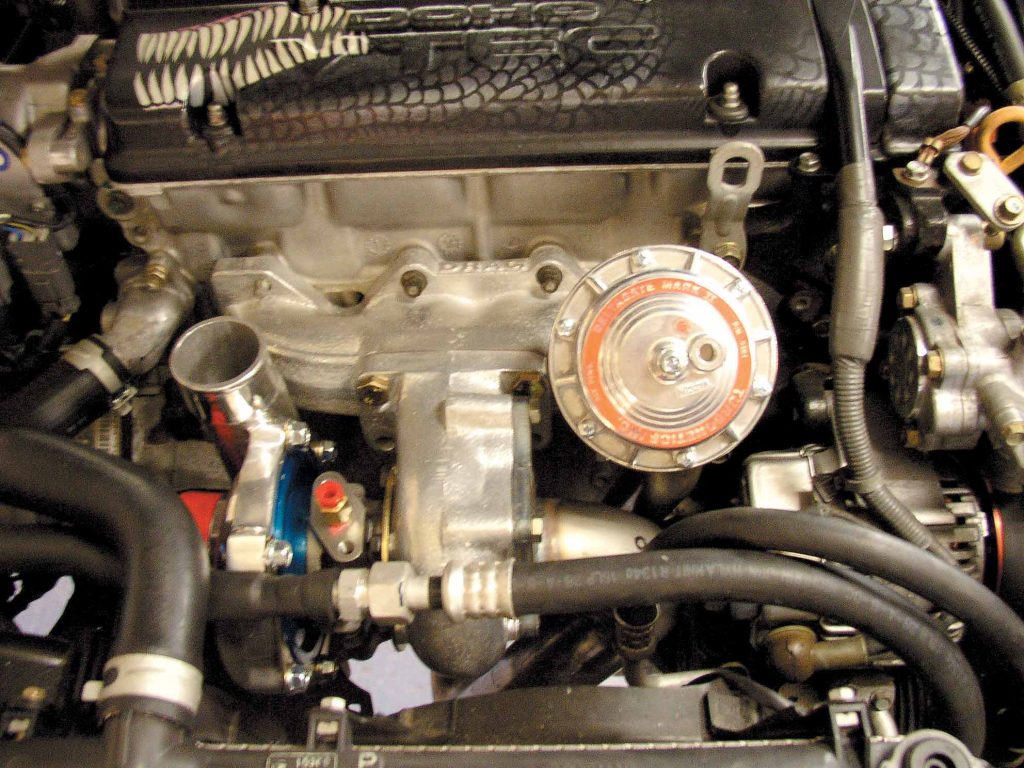
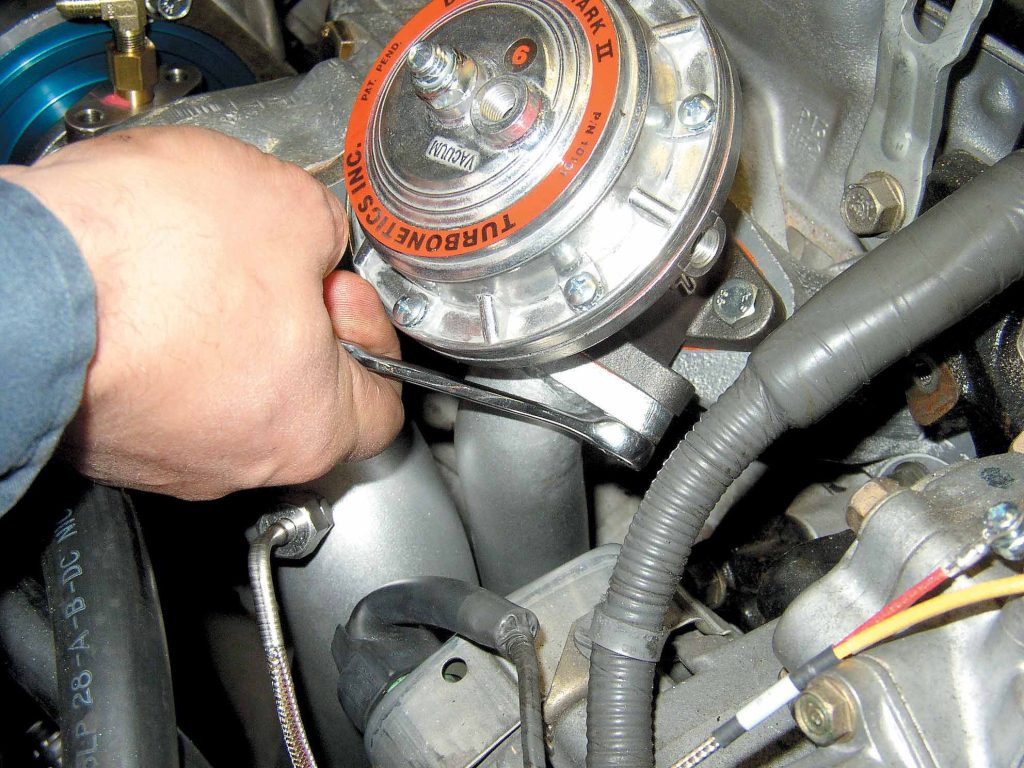
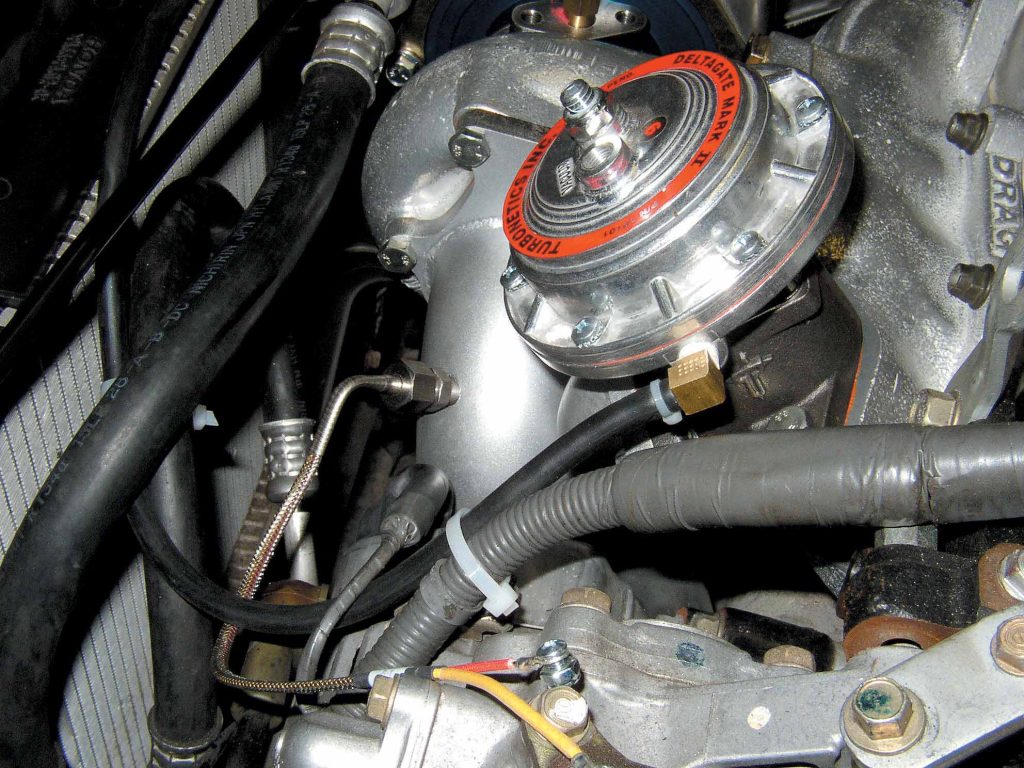
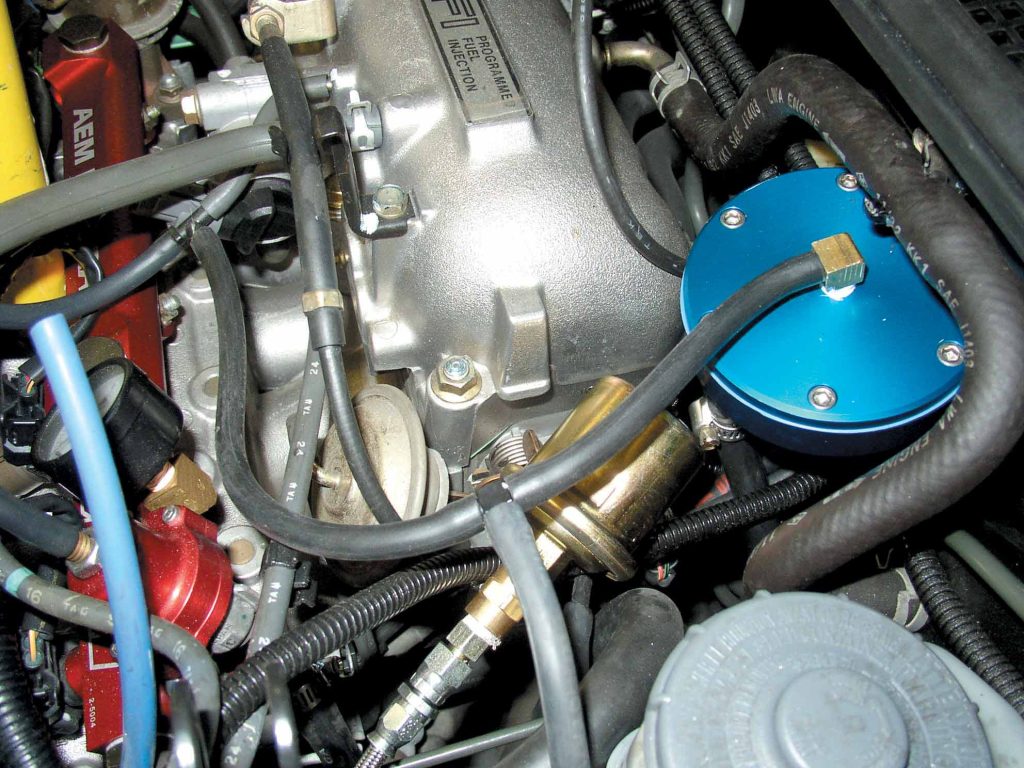
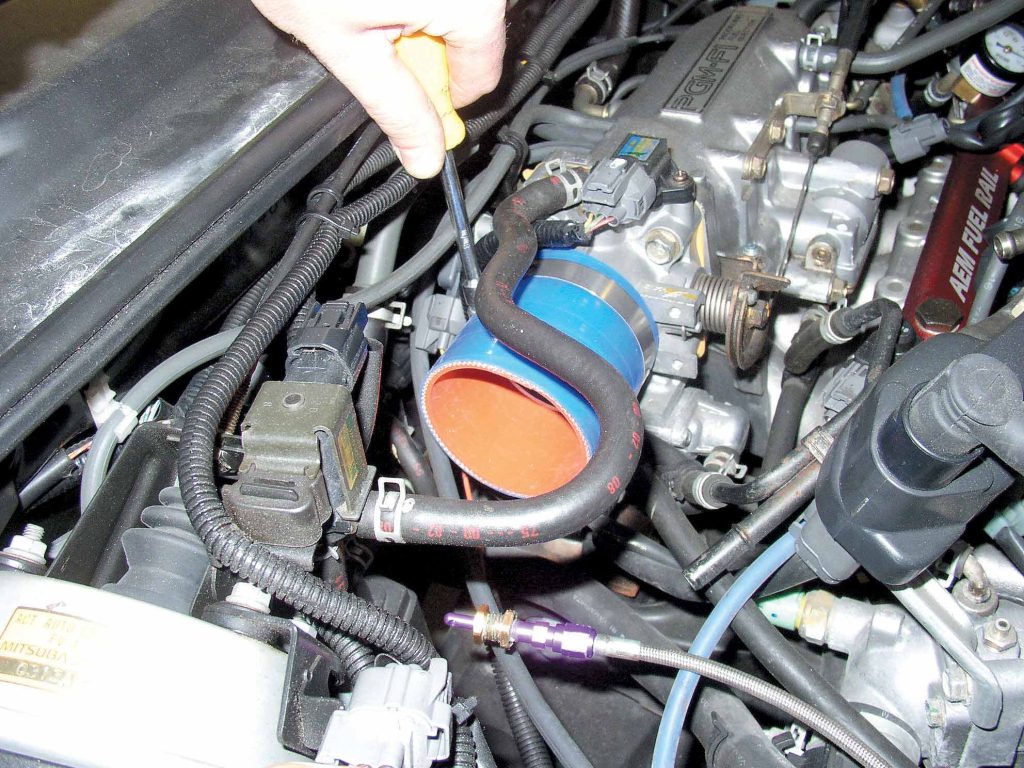
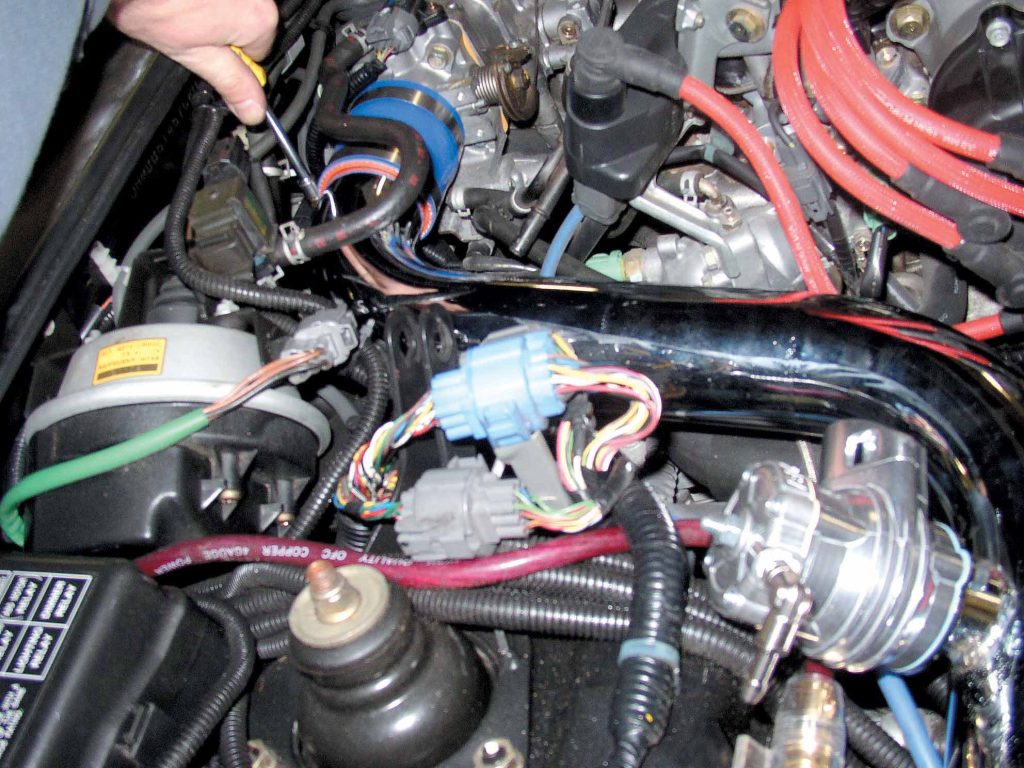
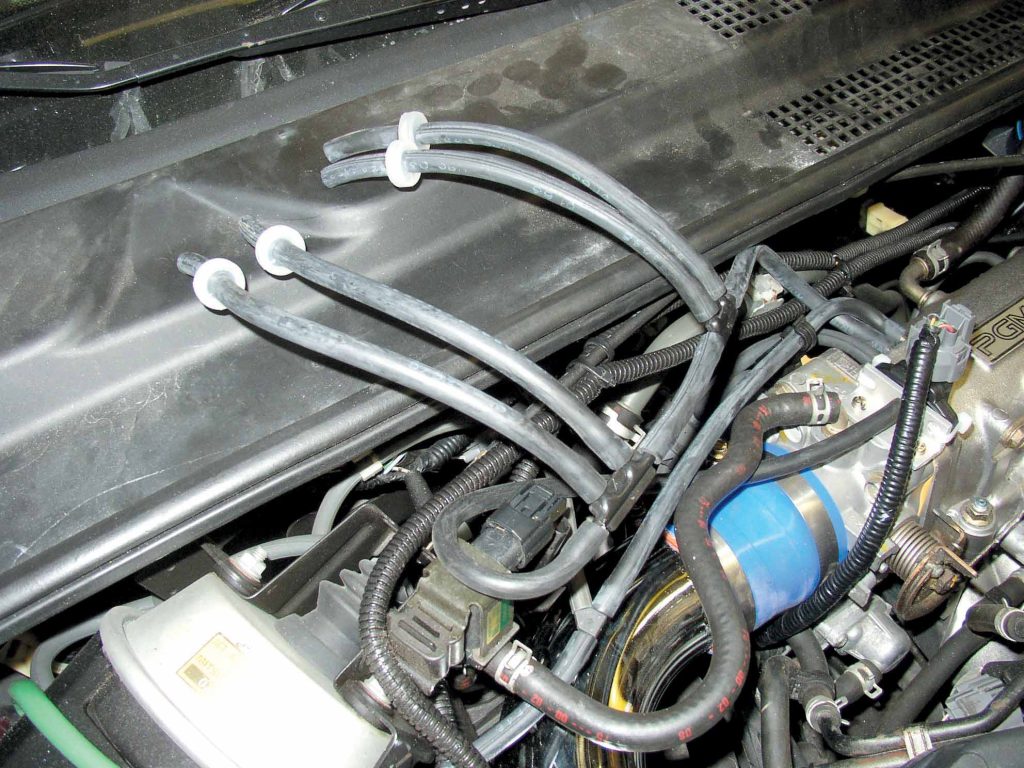
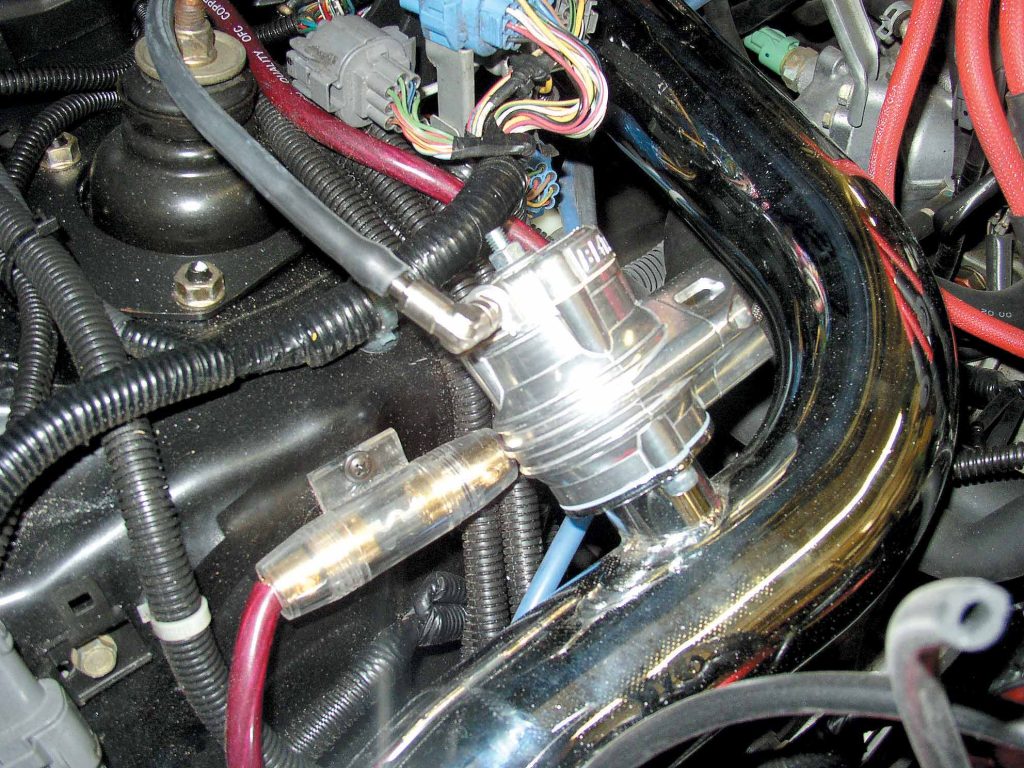
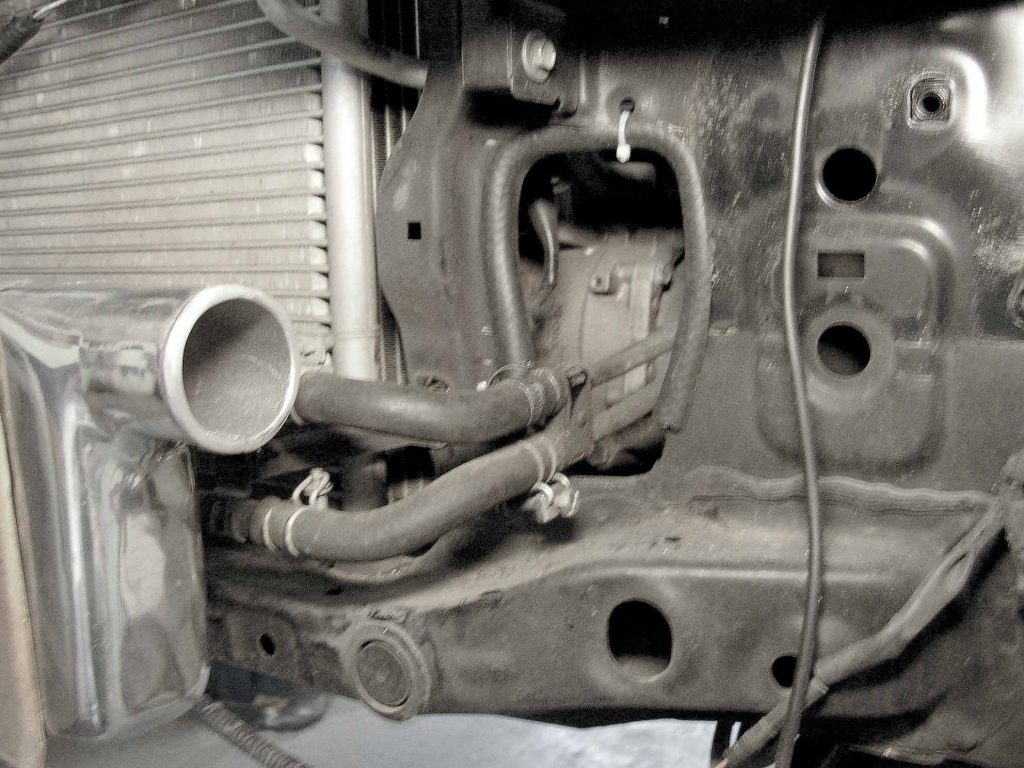
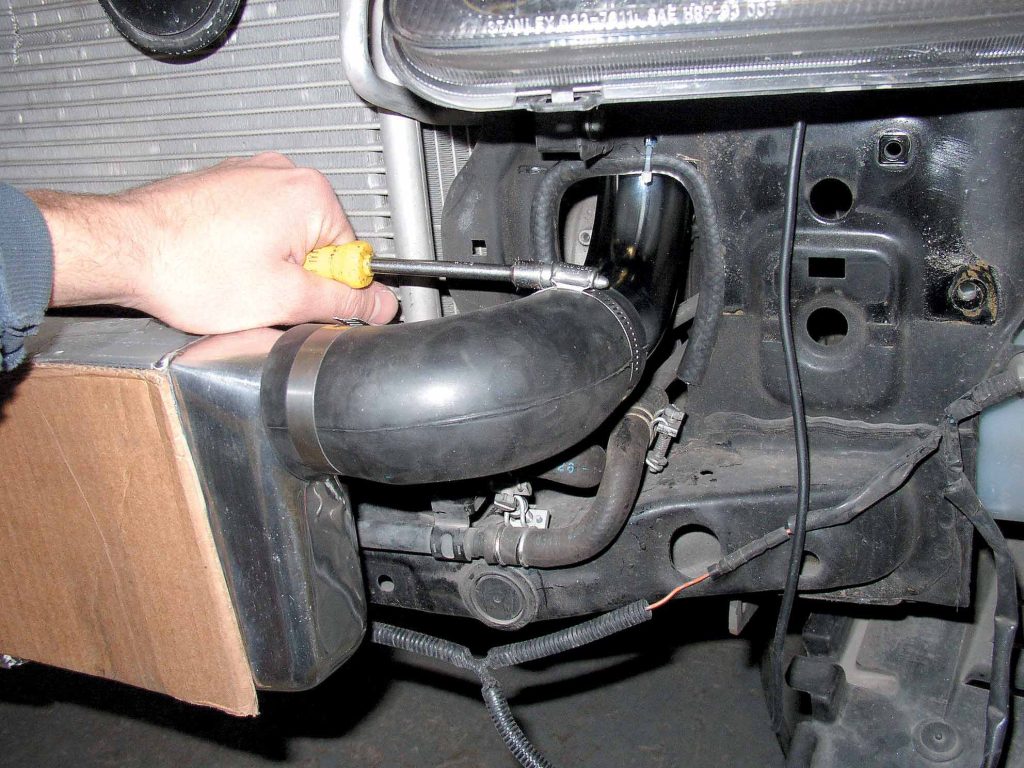
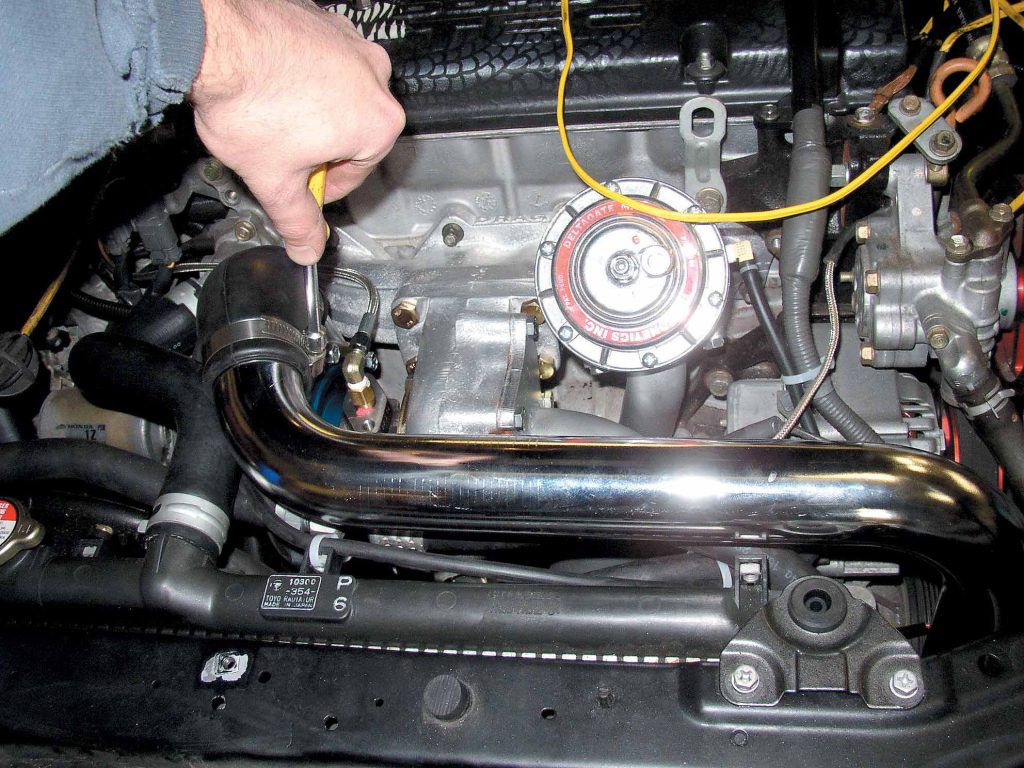
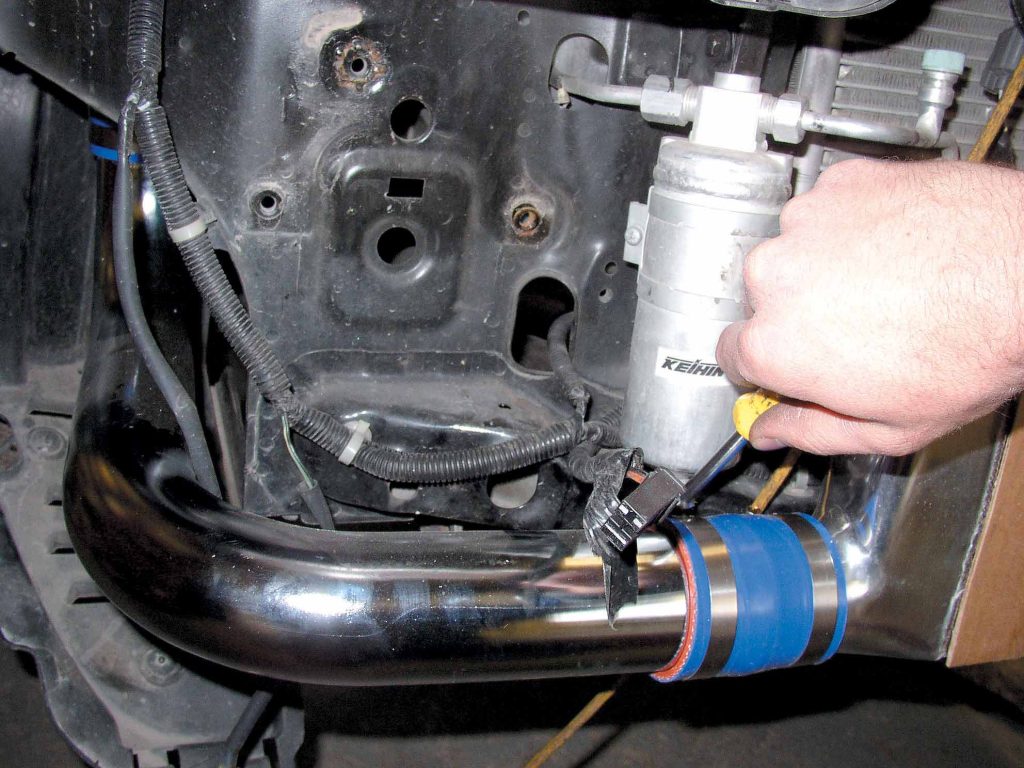
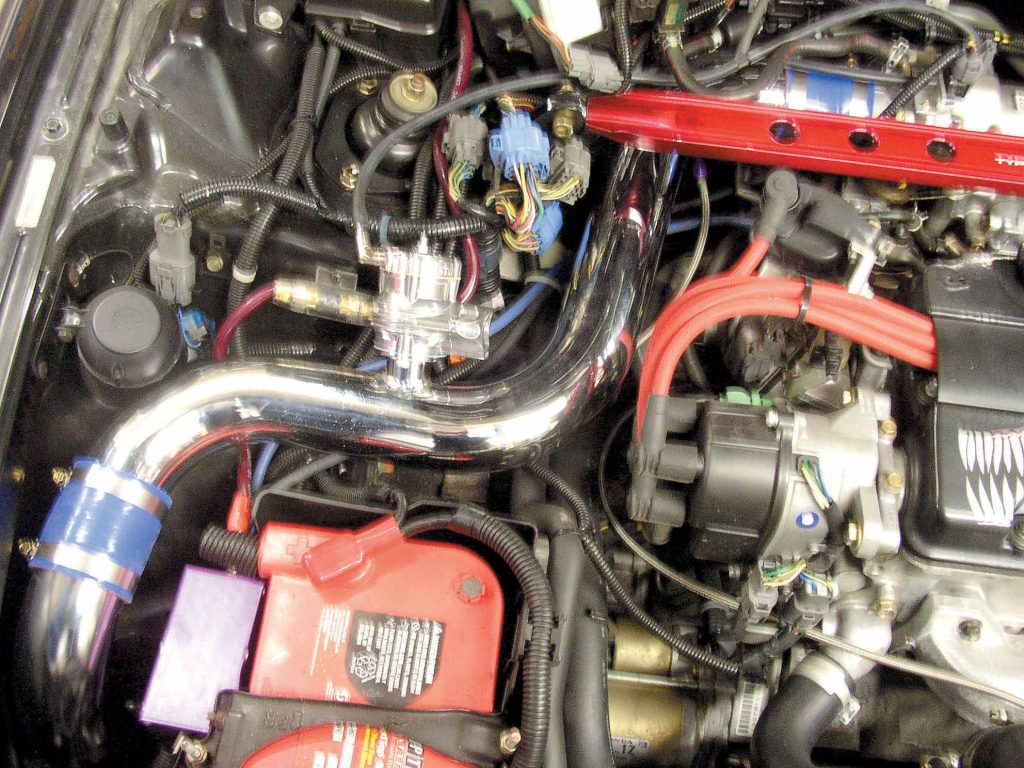
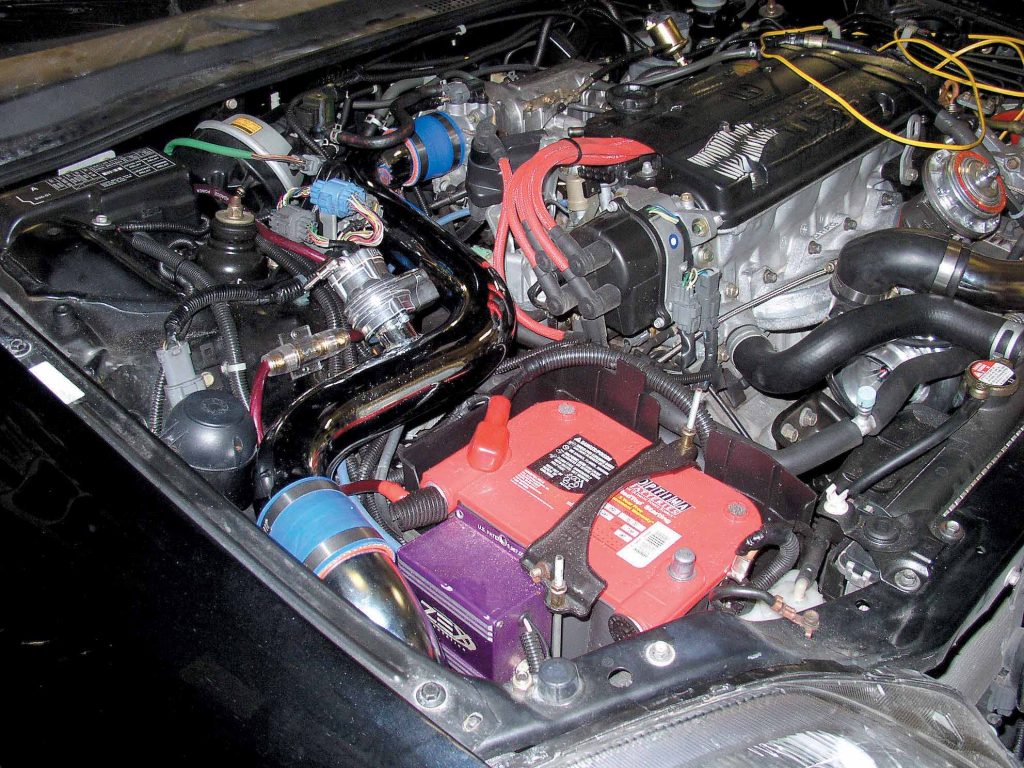
The DRAG turbo kit comes with everything you need to start making power: a high-flow 4-into-1 cast-iron manifold; Turbonetics T3/T4 turbo; Turbonetics Deltagate with a 7psi spring; DRAG high-flow front-mount intercooler; Blitz super blow-off valve; DRAG mandrel-bent chrome intercooler piping and mandrel-bent downpipe; DRAG wastegate dump-tube assembly; silicone hose and stainless steel hose clamps; high-pressure/high-volume inline fuel pump; boost dependent FMU, map sensor bypass; stainless steel oil feed and return hardware; and all necessary hardware and gaskets.
ETD Racing: Bringing Turbo Power to the Prelude
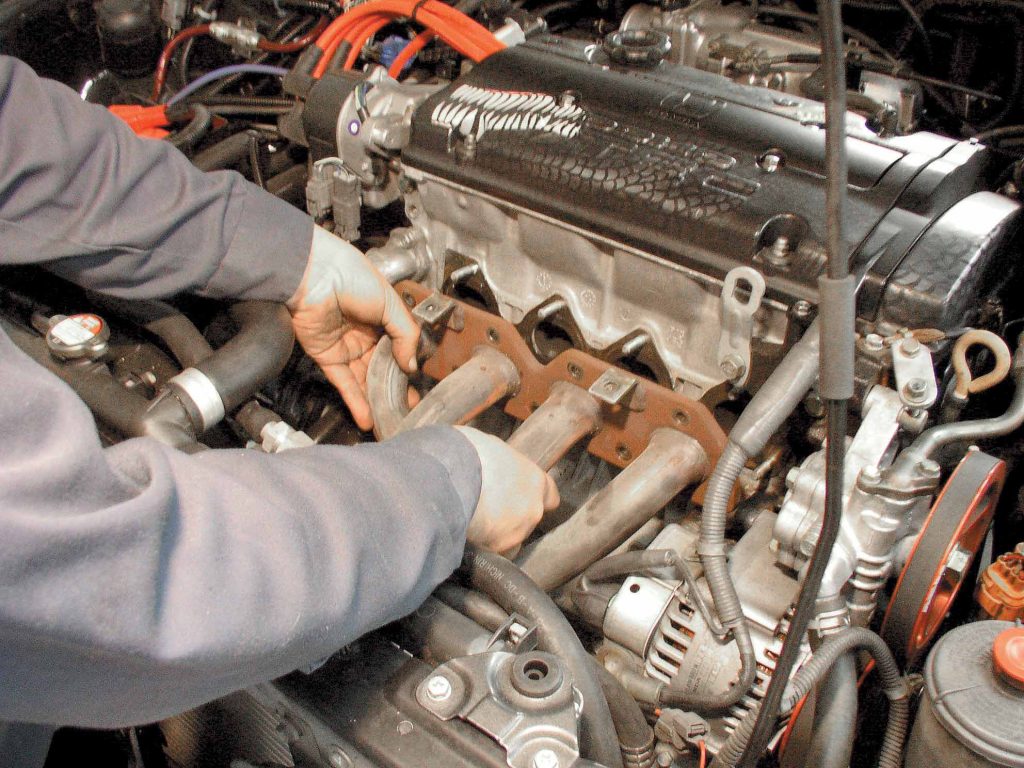
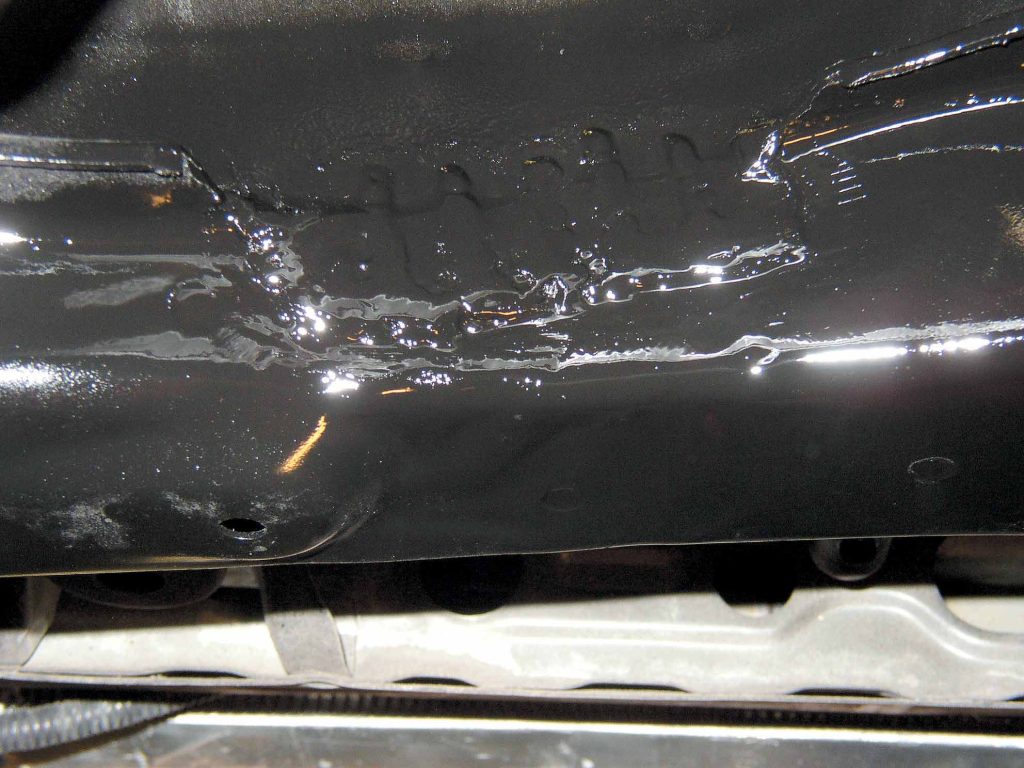
ETD Racing is one of many shops in Canada that are feeding enthusiasts with the fixes they crave. No stranger to performance, ETD has sponsored several successful pro racers, and it is home to North America’s fastest-piston Mazda Miata. Luckily for our readers, an ETD customer purchased a DRAG turbo kit for his ’00 Prelude, and the crew covered the entire installation from start to finish. The kit is easy to set up — it’s a bolt-on affair and only takes a few hours to install.

ARTICLE SOURCES
Manufacturer

Drag Turbo Kits
43290 Christy St.
Fremont, CA 94538
510/440-9894
Manufacturer
ETD Racing
5201 Vivian Rd., Unit #1
Cedar Valley, Ontario
L0G 1E0 Canada
905/473-5022

