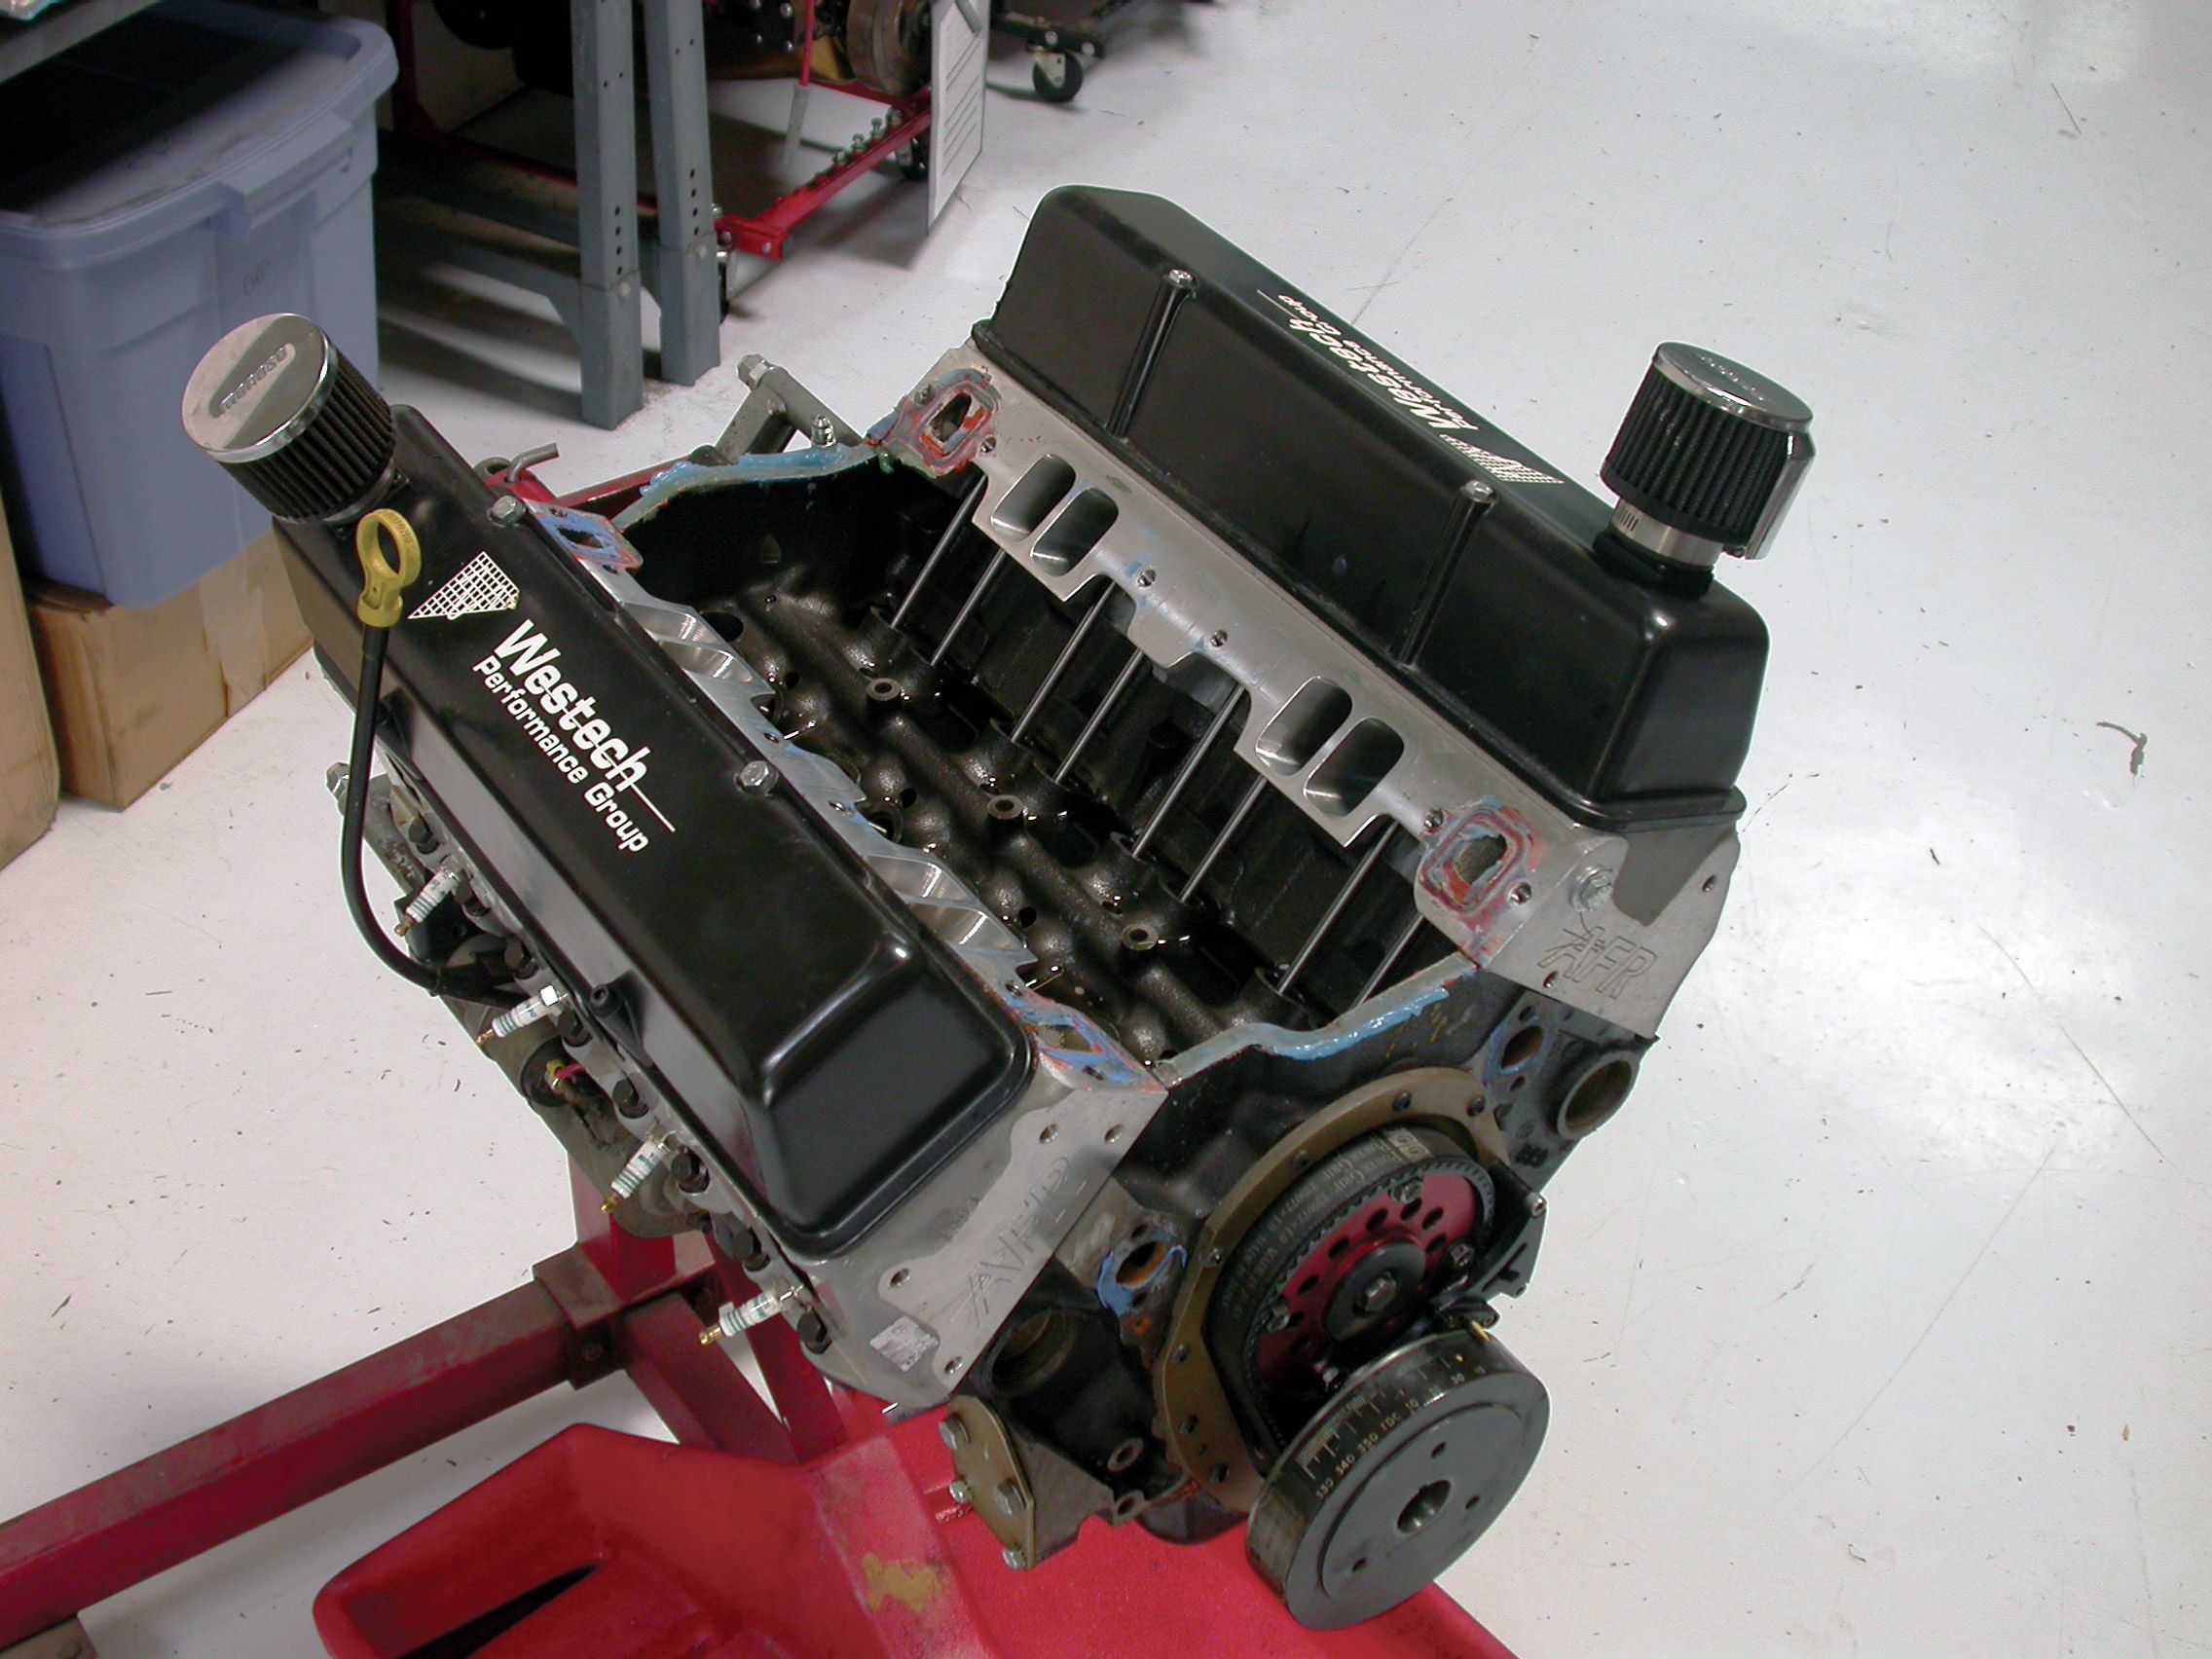
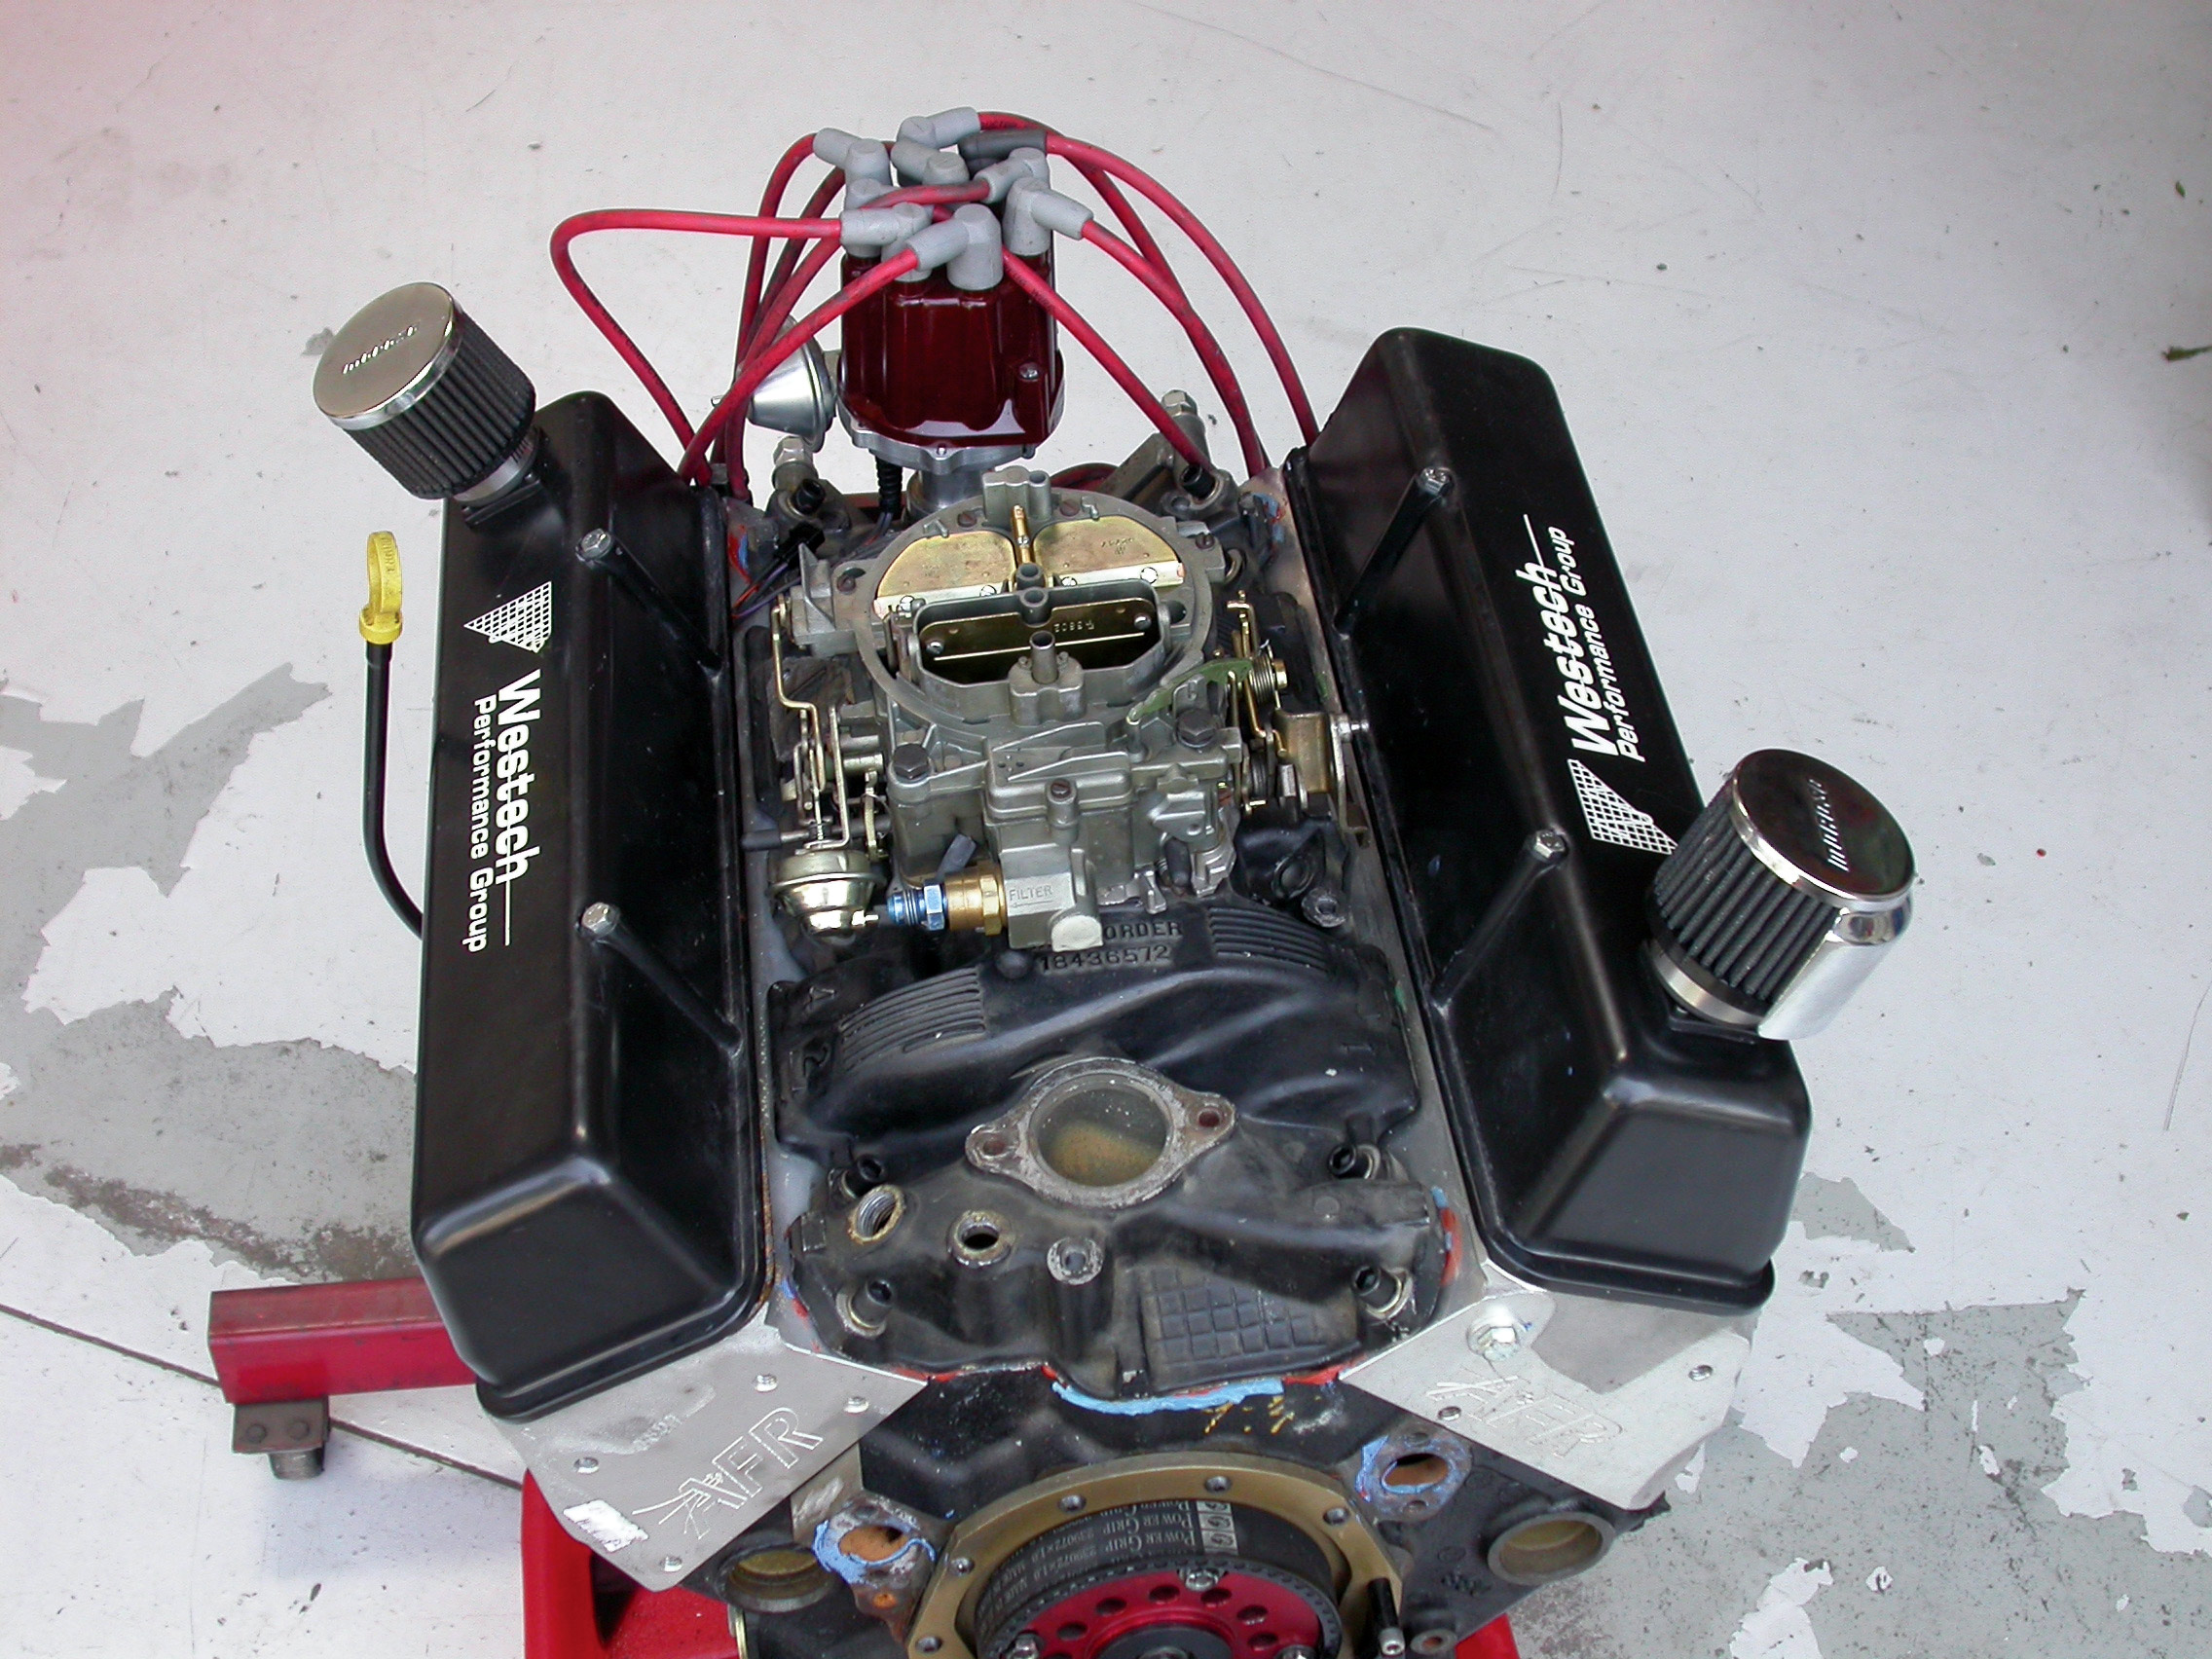
To illustrate the gains offered by an induction upgrade, we topped the AFR heads with a factory four-barrel intake and carburetor. The GM aluminum performance intake was designed to accept the factory 750cfm Q-Jet carb, a combination that over time has proven itself a capable performer in terms of airflow, throttle response and fuel economy.
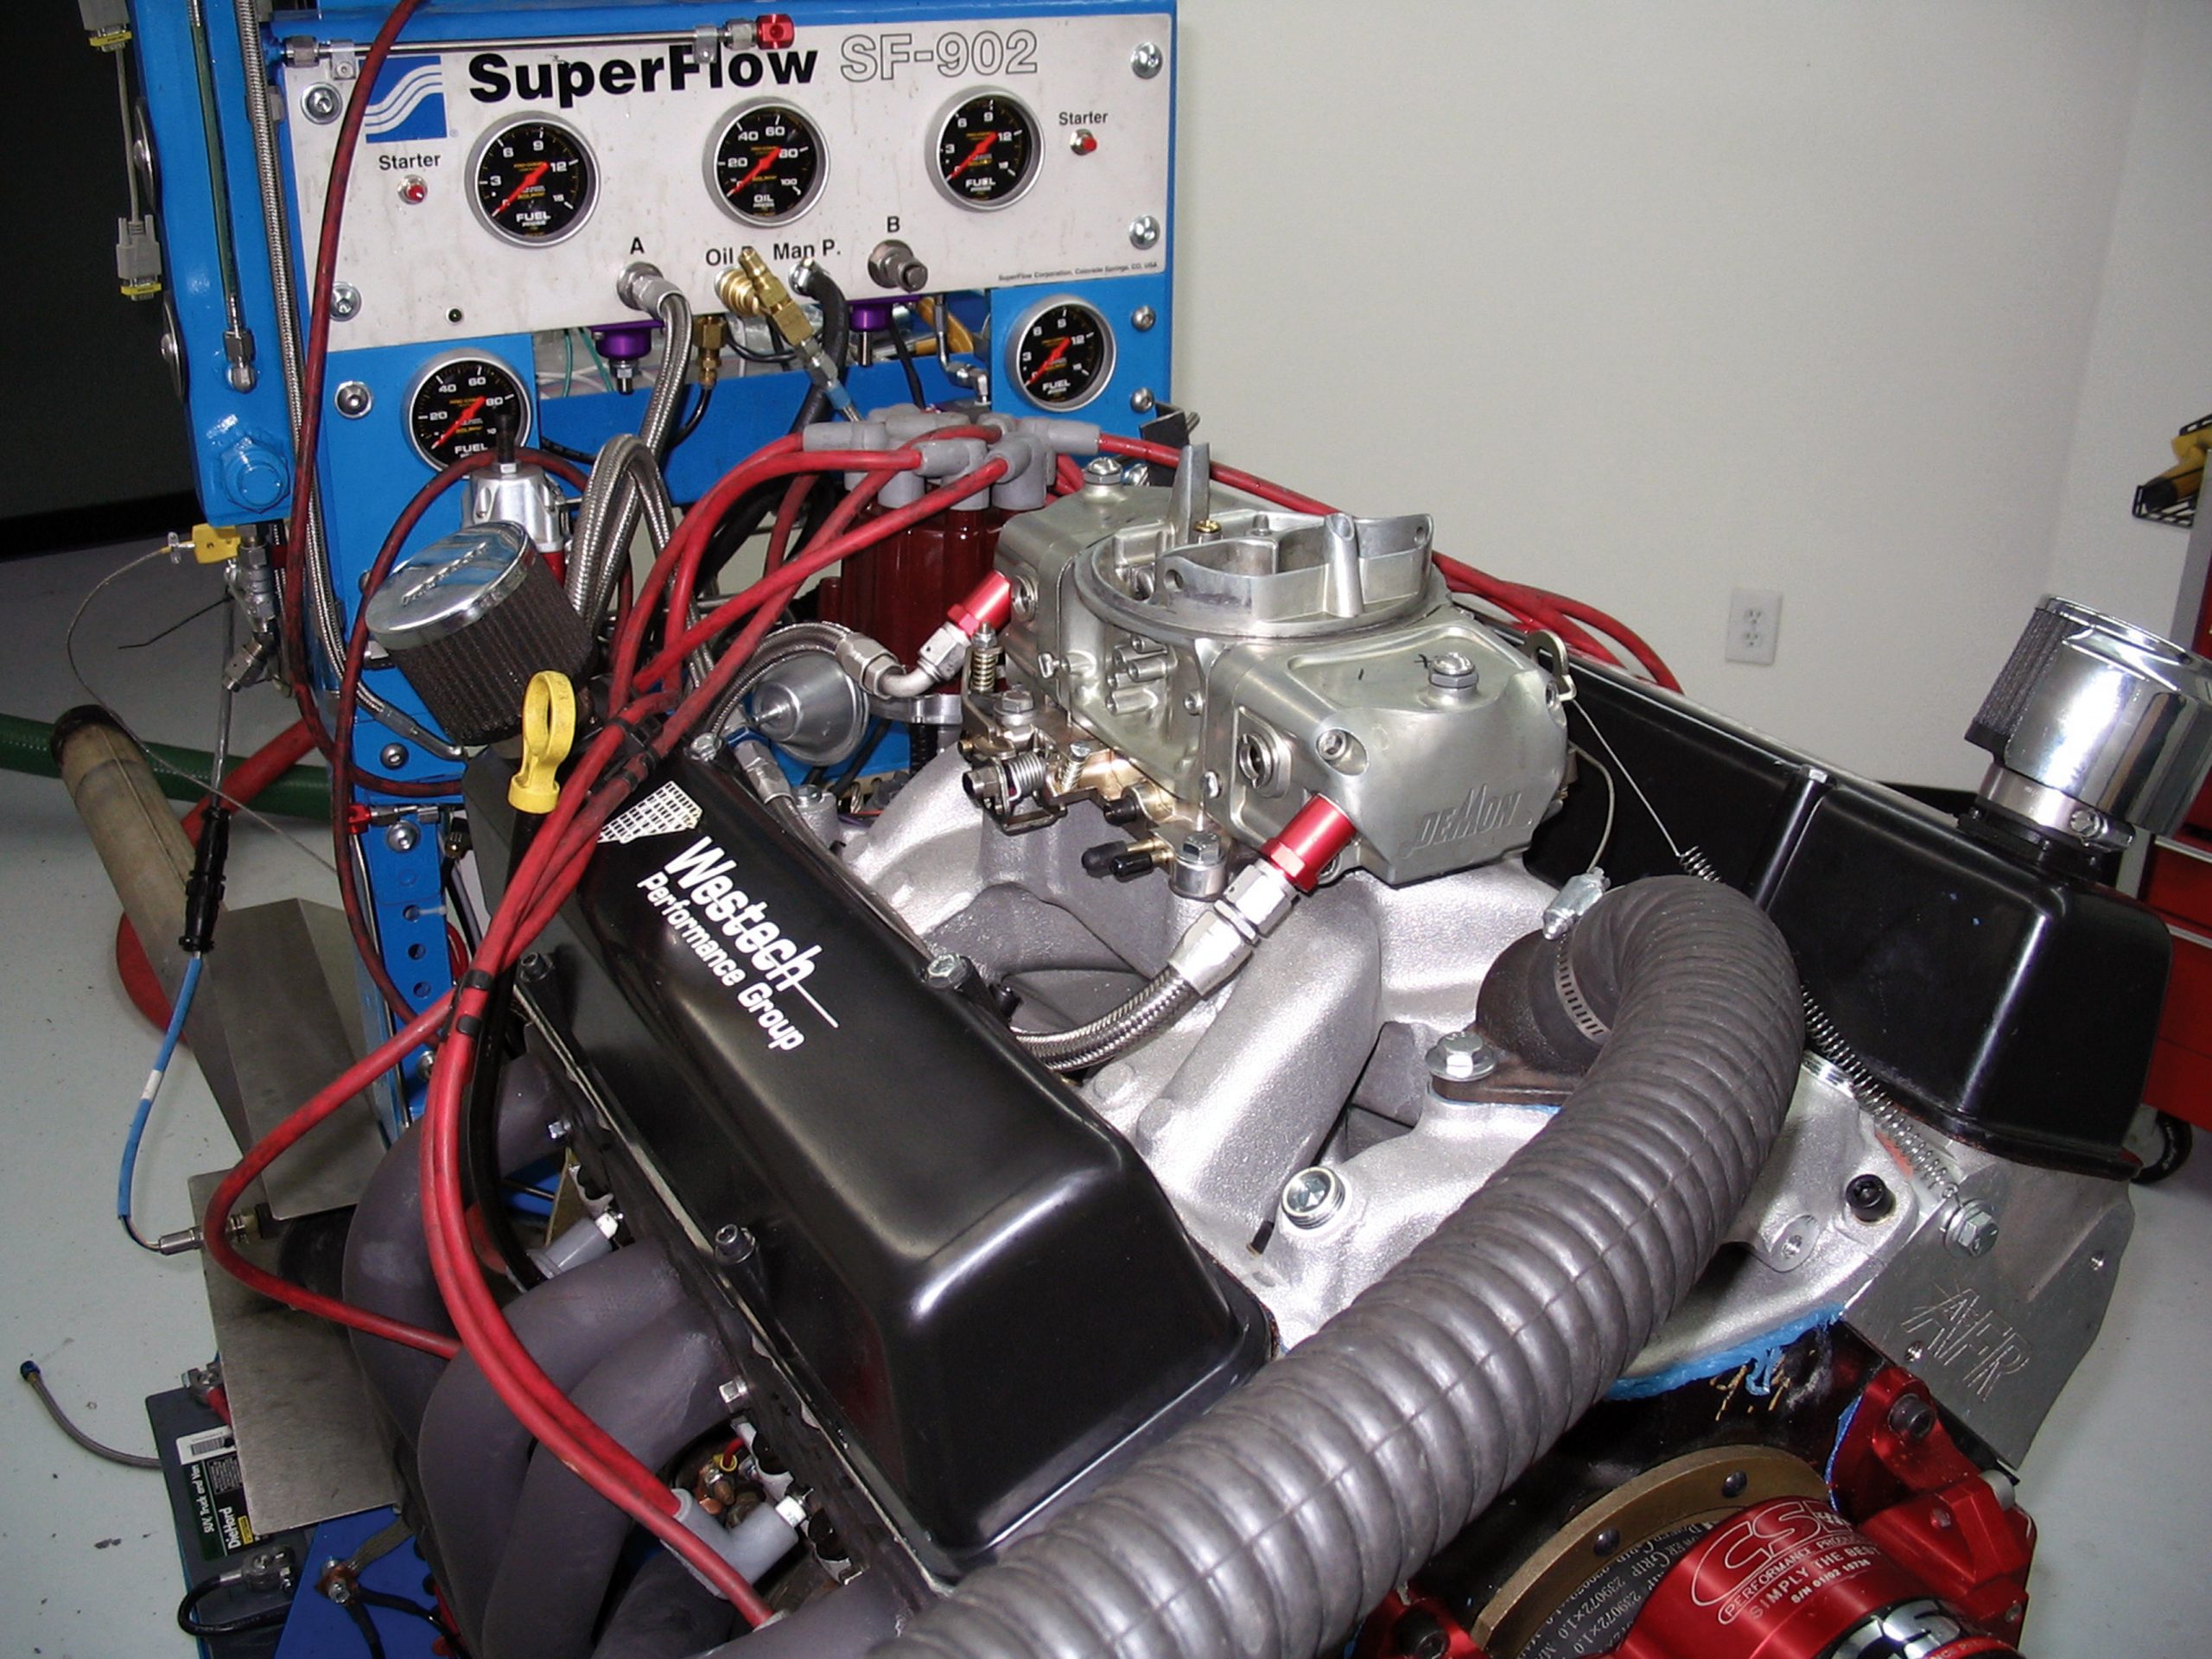
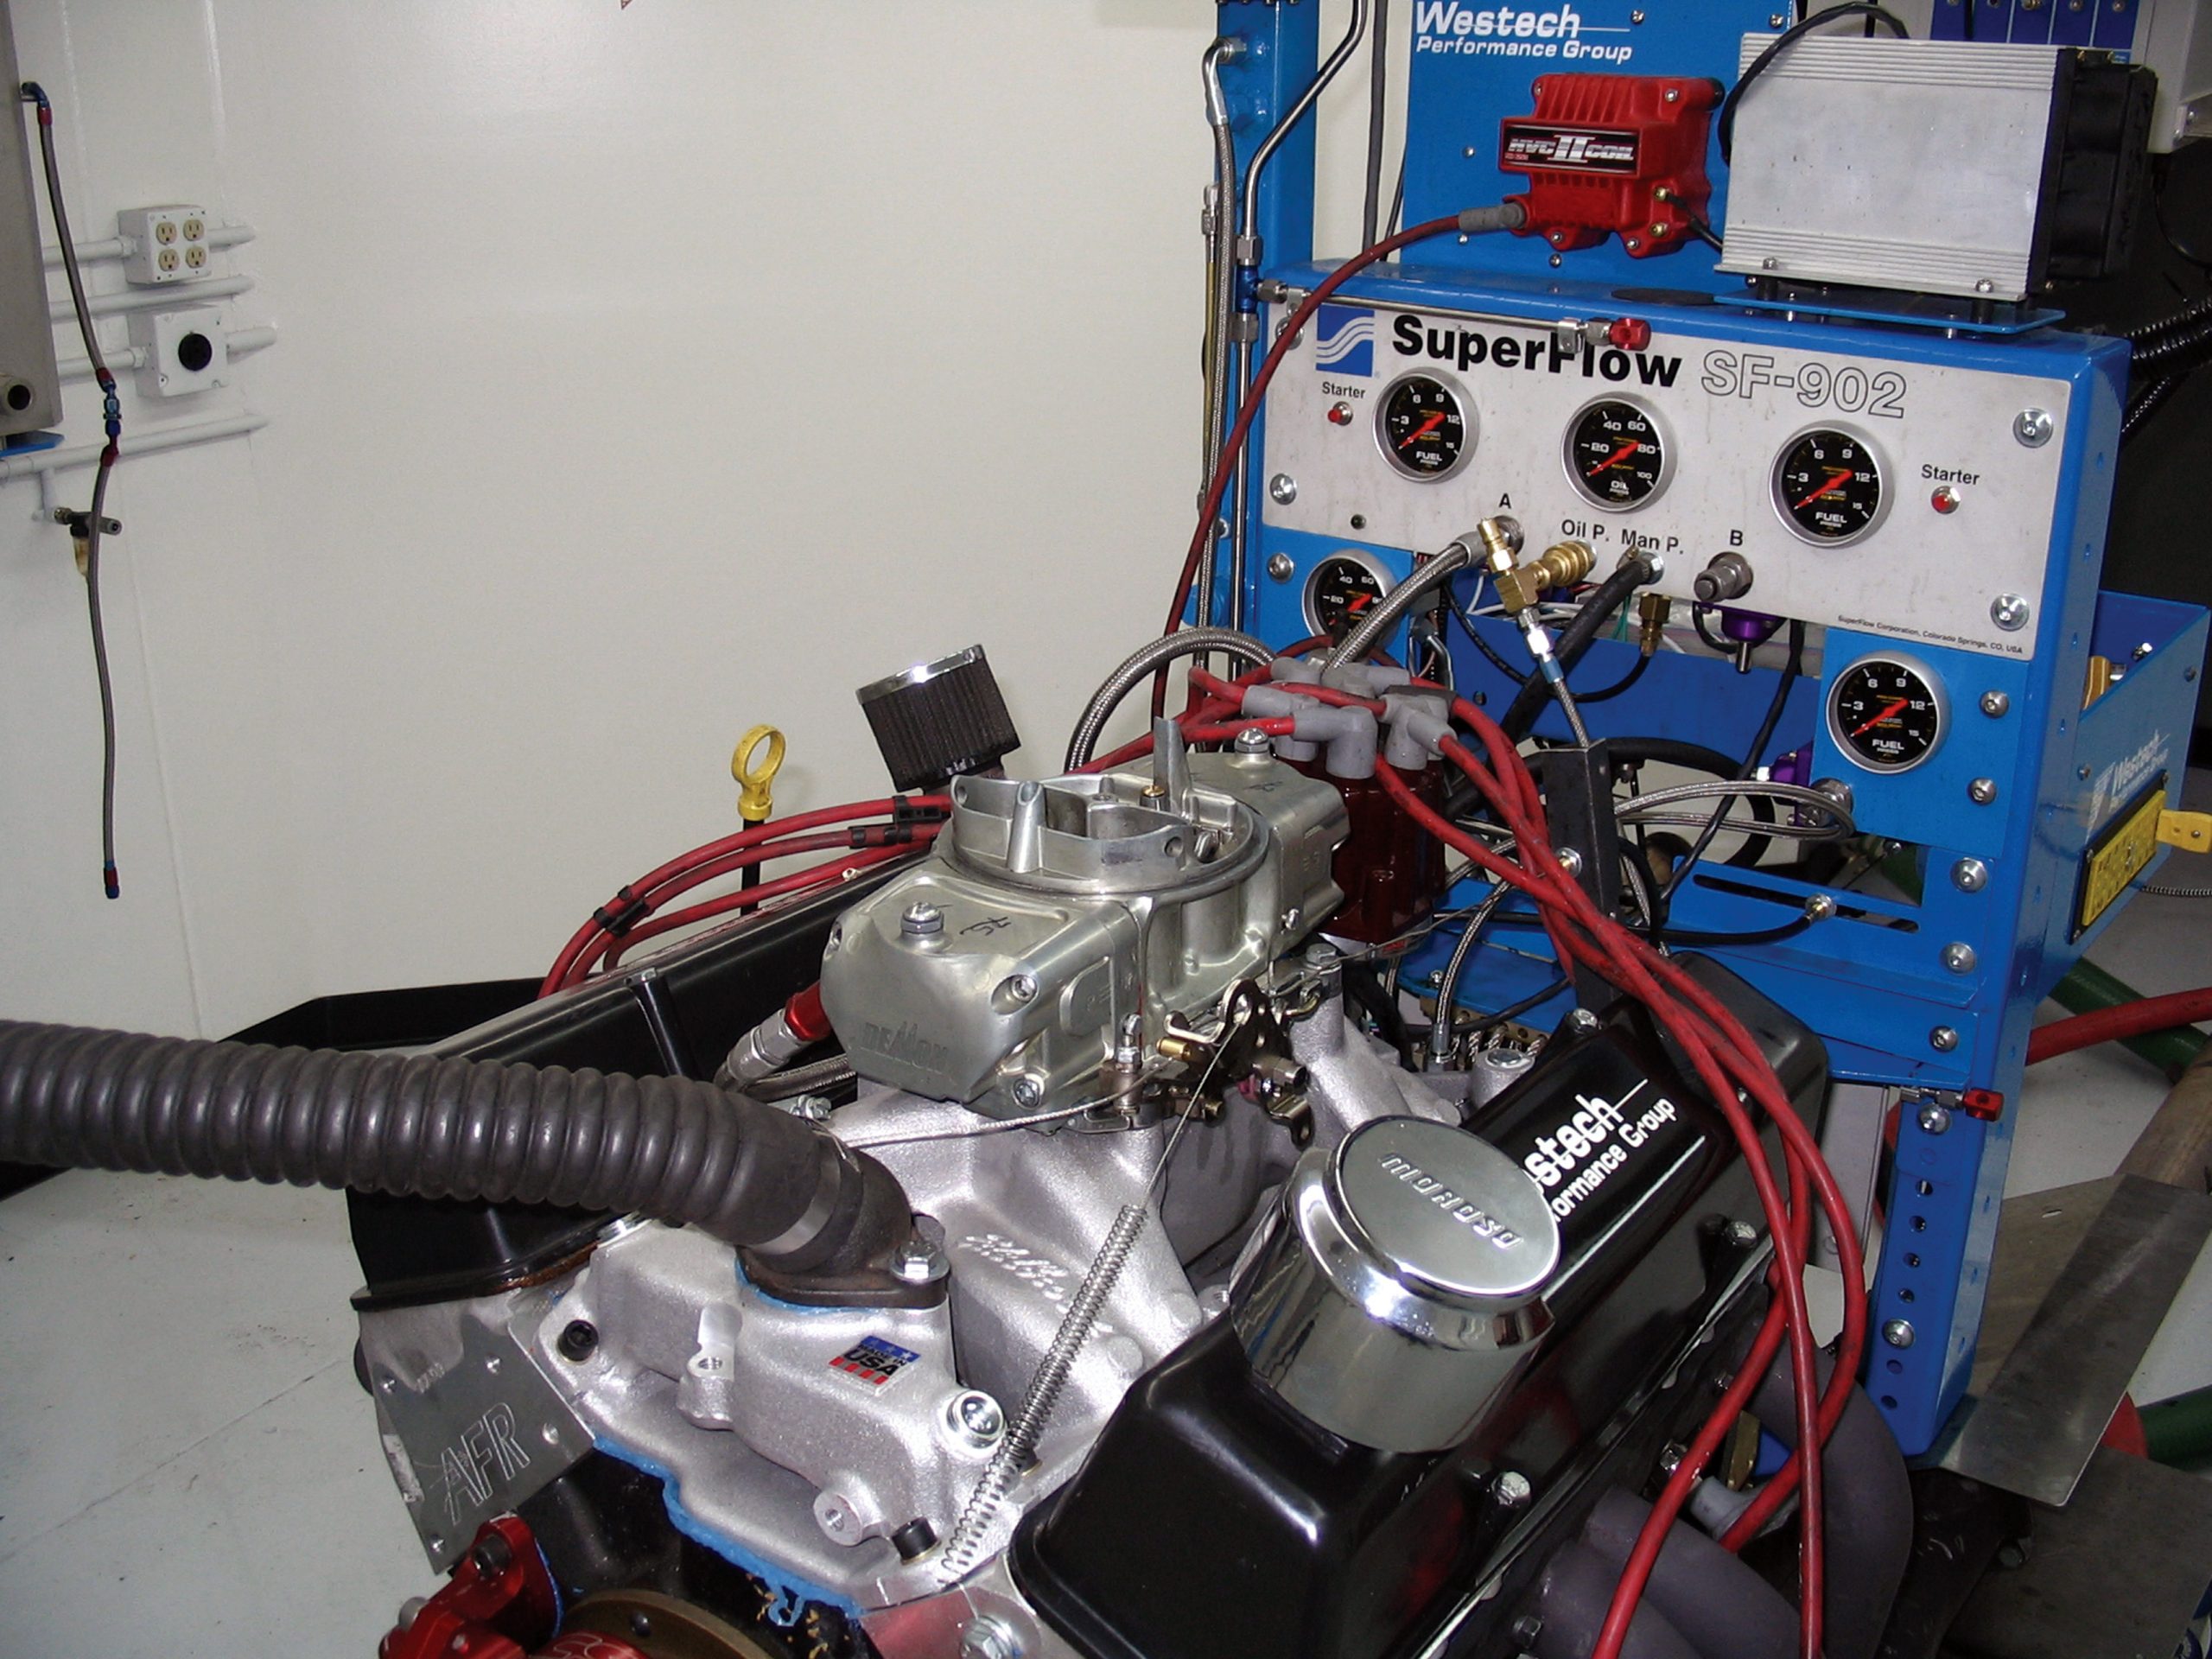
Our 350 was typically installed on the engine dyno using Hooker 1-1/2-inch Camaro headers. Other components used on the 350 included a set of 1.5:1-ratio roller rockers, an MSD ignition and a CSI electric water pump. Equipped with the Q-Jet aluminum intake and carb, the small block produced 365 hp at 5,100 rpm, and an impressive 430 lb-ft at just 2,900 rpm. For a street rod or street machine application, the 365hp engine would be perfectly adequate, especially given the impressive torque curve that exceeded 400 lb-ft from 2,800 rpm to 4,700 rpm. Credit the mild, but powerful, XE256H cam and dual-plane Q-Jet intake for this impressive torque production.
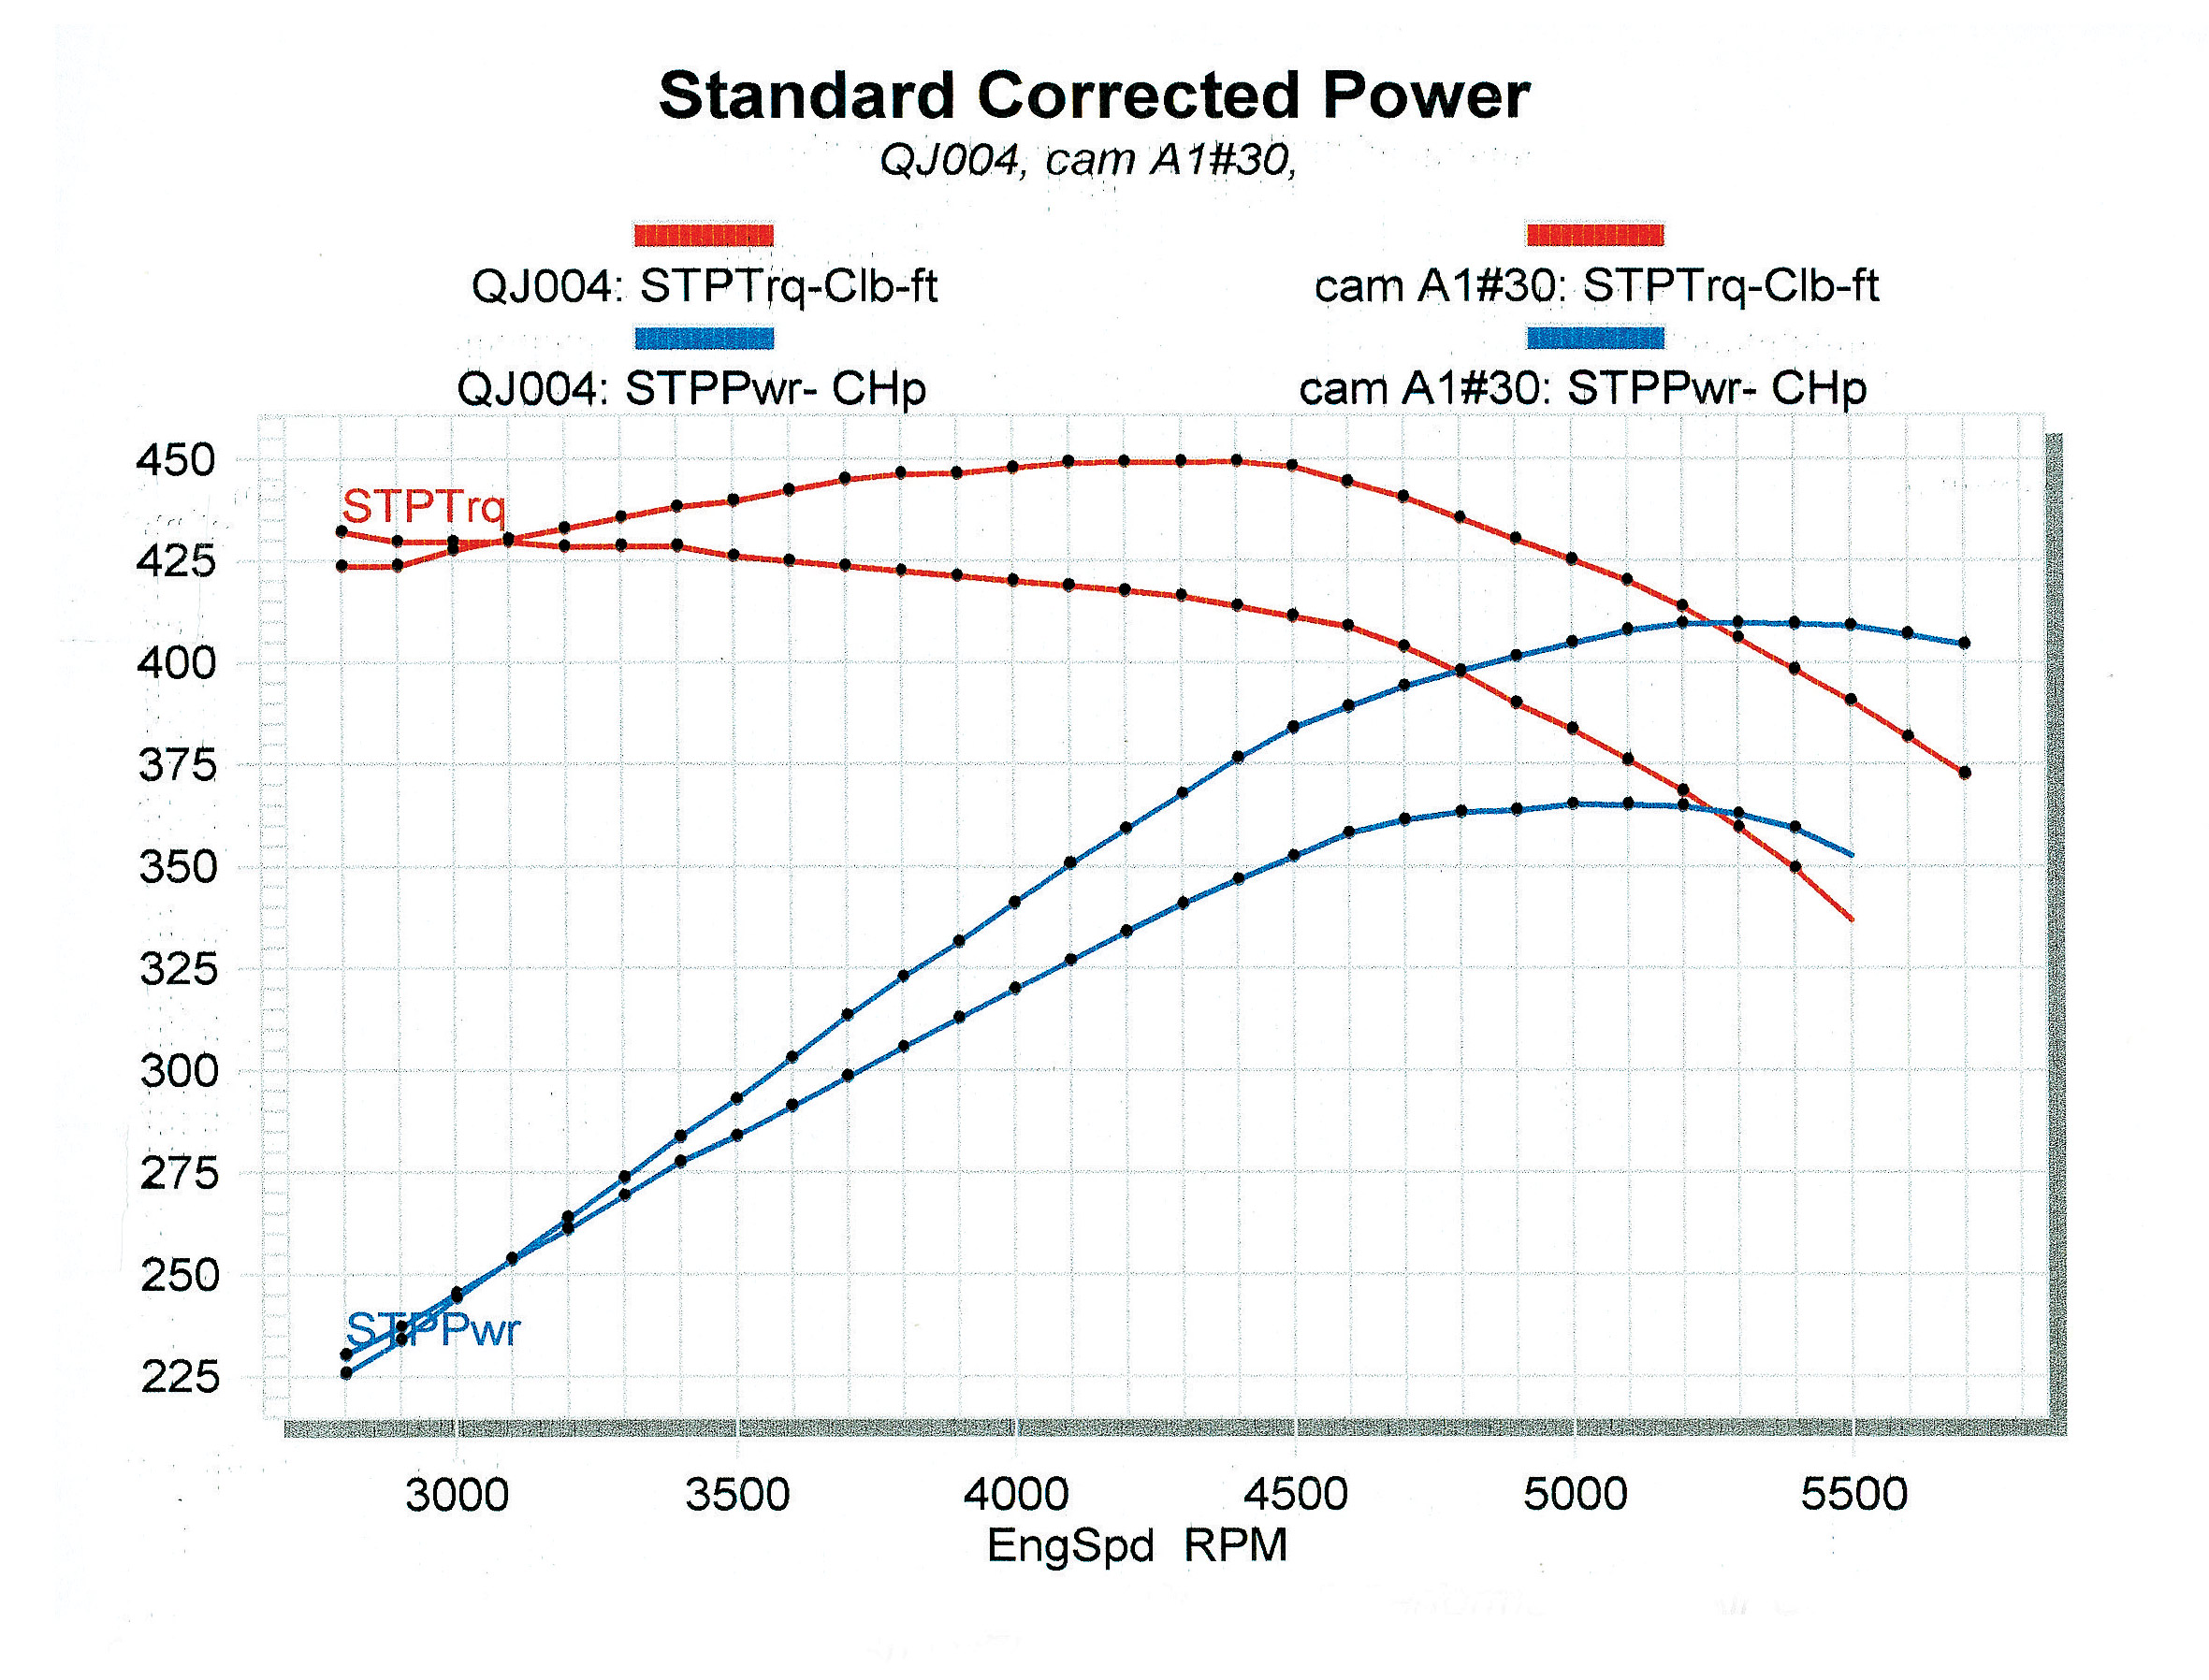
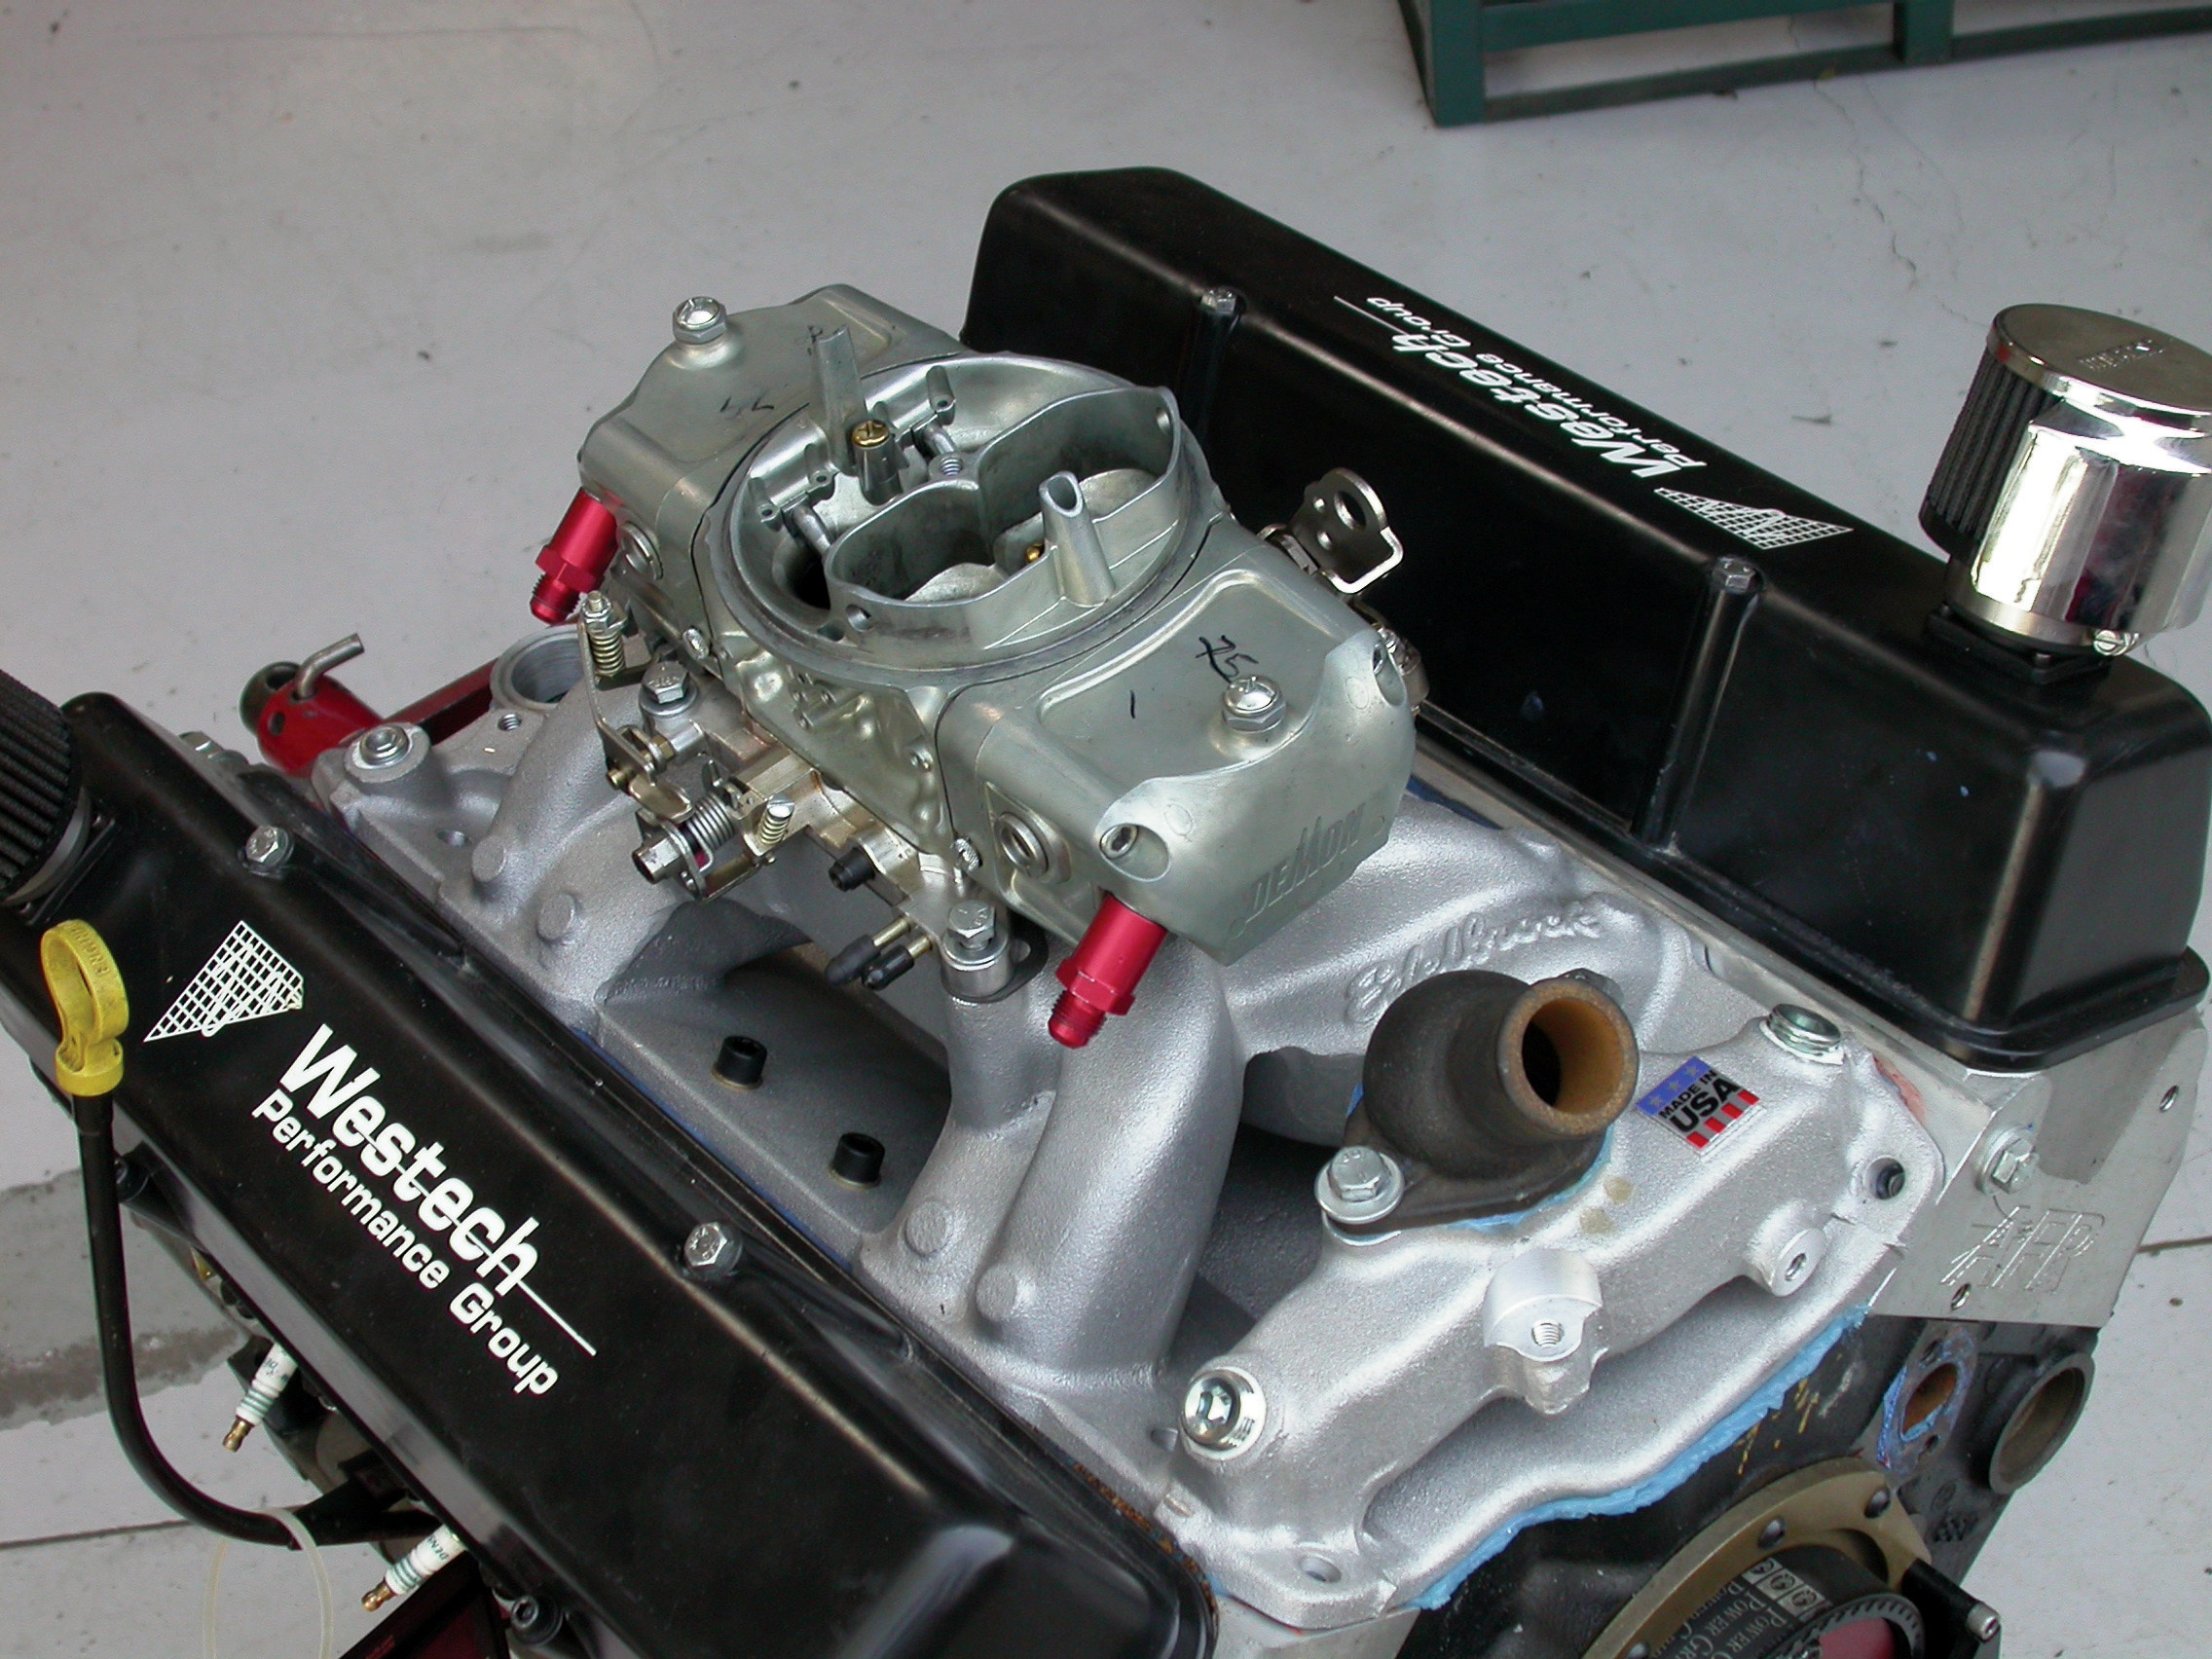
While 400 hp makes a car fast, 400 lb-ft of torque makes it enjoyable. Replacing the Q-Jet setup with a Barry Grant 650 Speed Demon and Edelbrock Performer RPM Air Gap intake resulted in even more impressive power gains. The peak numbers jumped from 365 hp at 5,100 rpm to 410 hp at 5,300 rpm. The peak torque was up as well, from 430 lb-ft at 2,900 rpm to a more impressive 450 lb-ft, at 4,300 rpm. While the induction upgrade shifted the peak torque from 2,900 rpm to 4,300 rpm, the engine still exceeded 400 lb-ft from 2,800 rpm to 5,400 rpm, and more than 425 lb-ft from 2,800 rpm to 5,000 rpm. With 450 lb-ft of torque, it is not likely you would be lacking in acceleration; and even more important, with such a mild combination of well-detailed parts, properly maintained, the power should last forever.
While the induction upgrade netted impressive power, you might say it was almost expected. Though effective, the stock GM intake and Q-Jet does leave a lot to be improved upon, making a carb and intake swap an obvious good choice to improved performance. Less obvious are the subtle touches that can also lead to more hidden power.
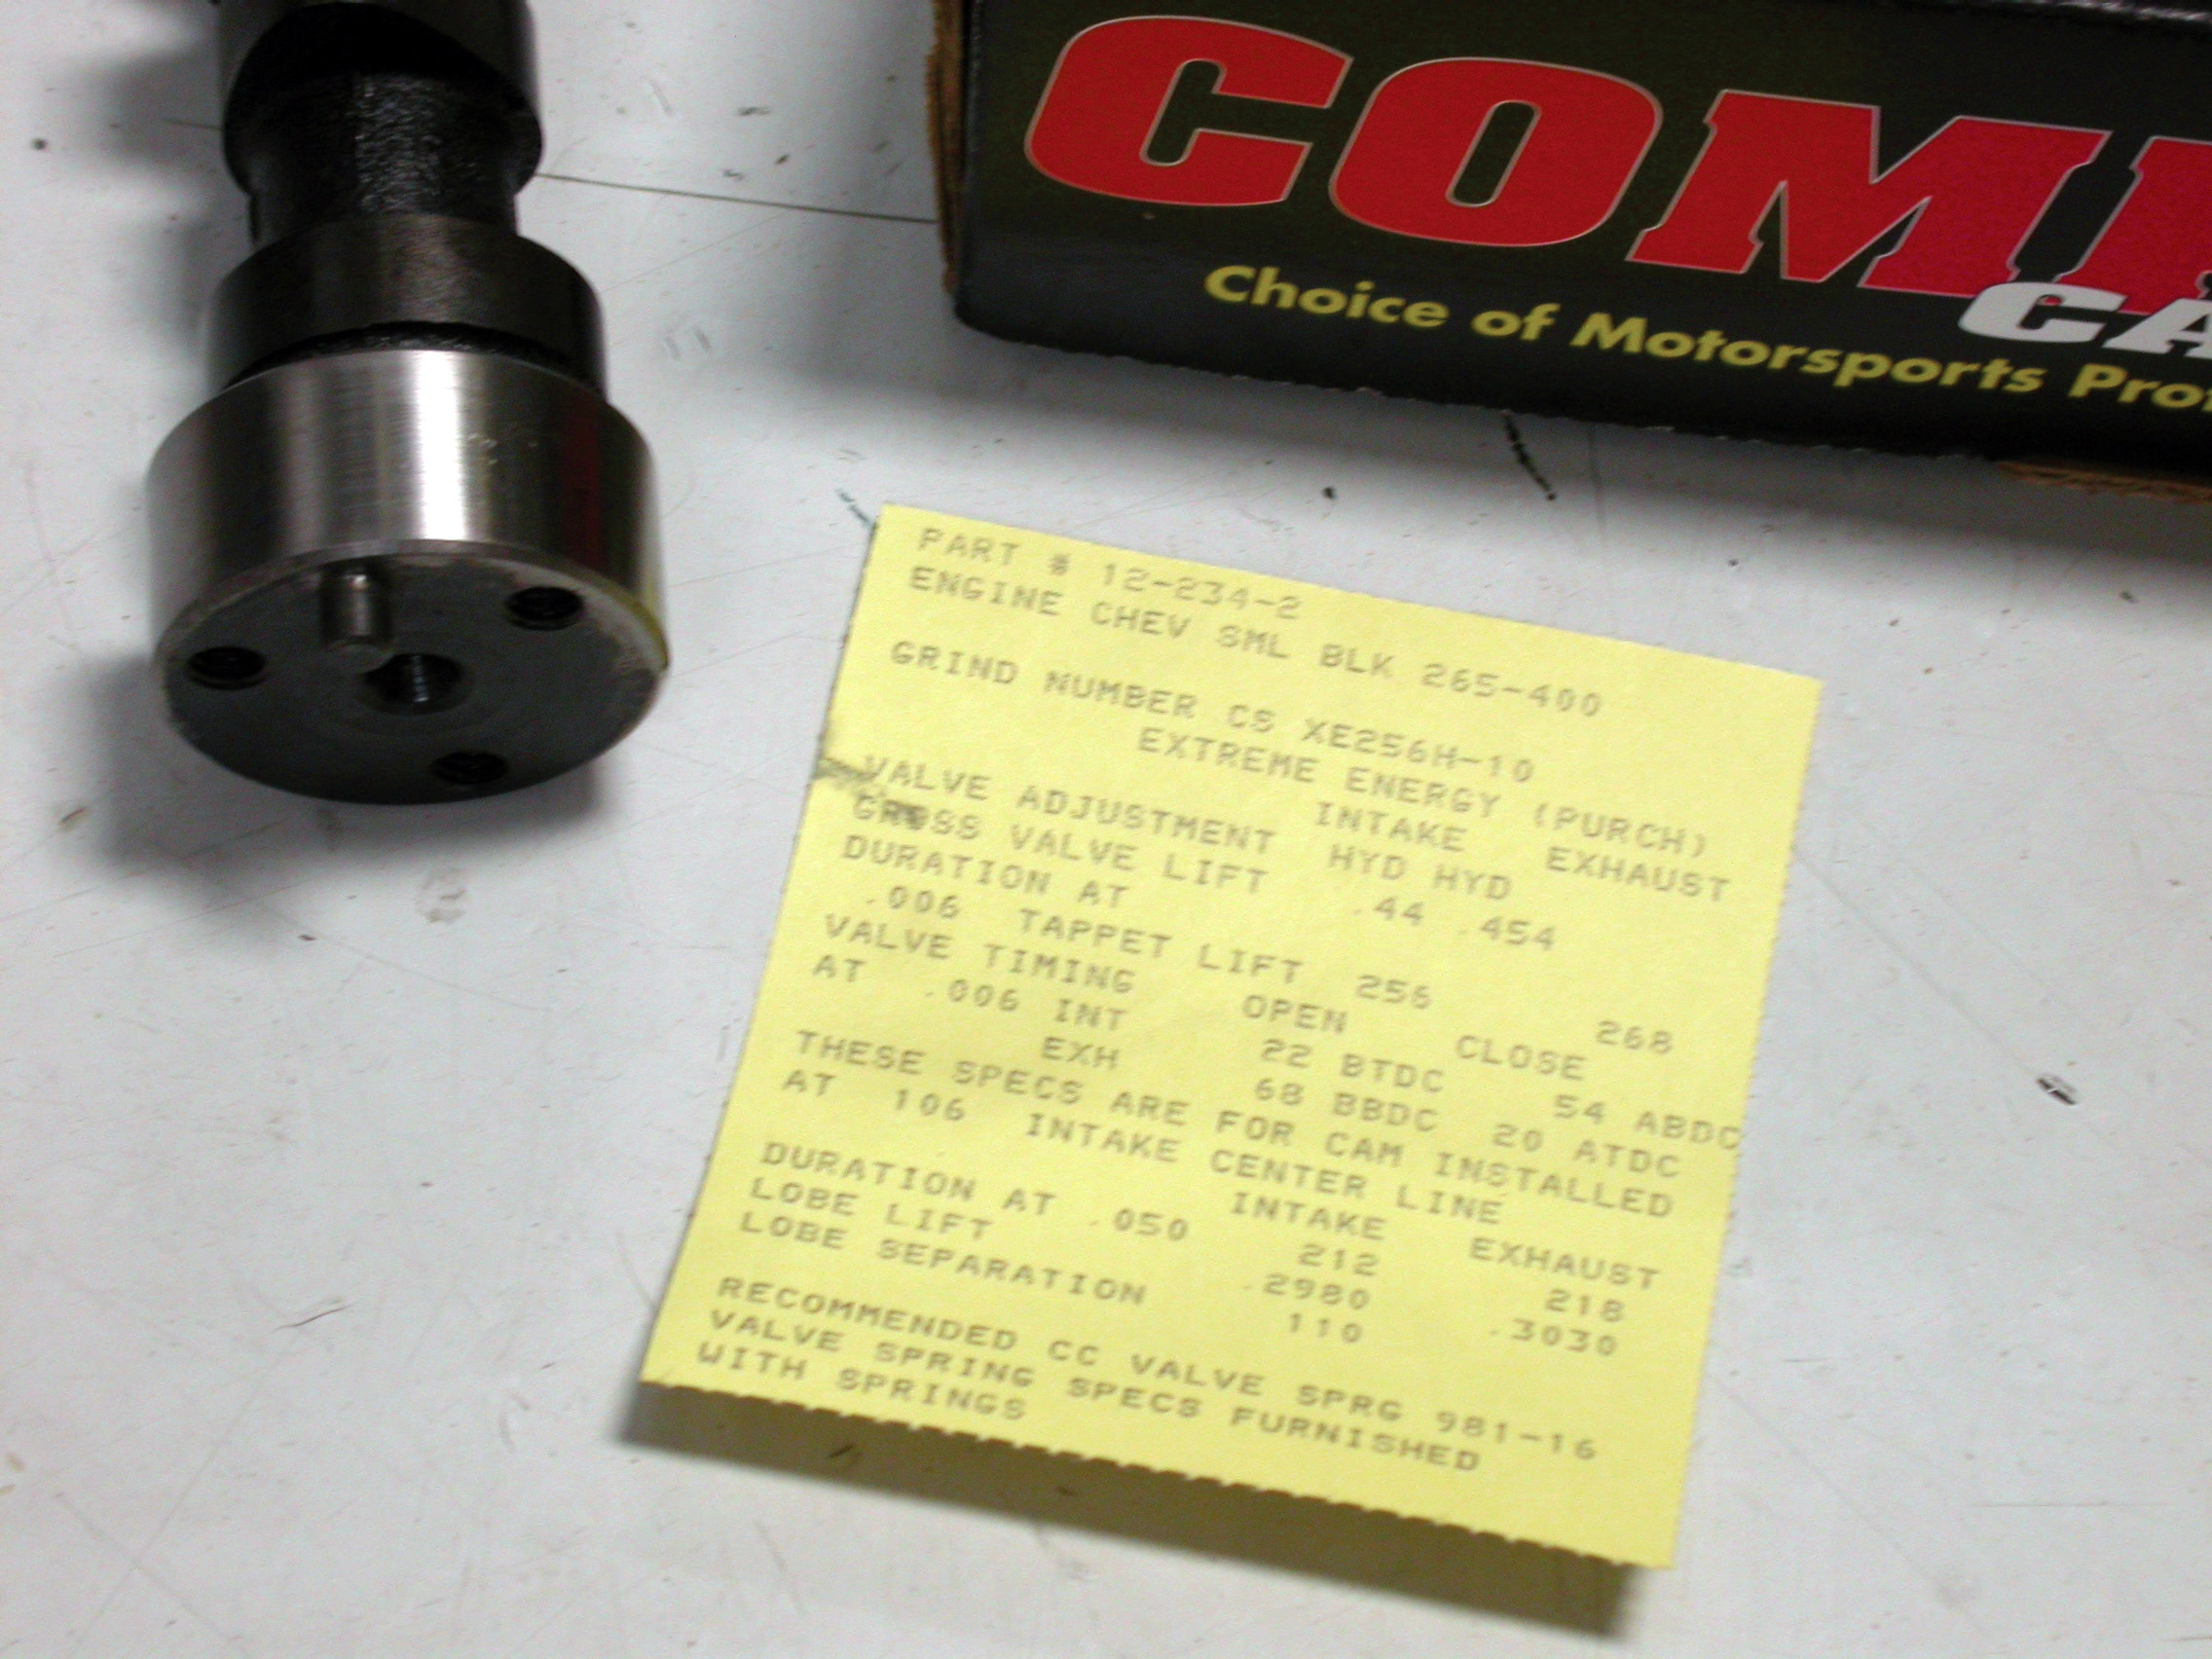
Although not quite on par with the gains achieved by the induction system upgrade, combining the gains achieved through a number of small changes do add up. Case in point: degreeing the camshaft. When you purchase a camshaft from any cam manufacturer, it will come with a cam card listing all of the important data associated with that particular cam grind. Included on the cam card are the basics such as lift, duration and lobe separation angle, but so too are the recommended intake centerline and associated valve timing events. These opening and closing points, in crankshaft degrees, depend on the cam’s installed position relative to the crank. Advancing these events usually improves the low-speed power, while retarding the events generally improves top-end power. Unfortunately, the improvements usually come with a loss elsewhere, as there is almost always a trade-off.
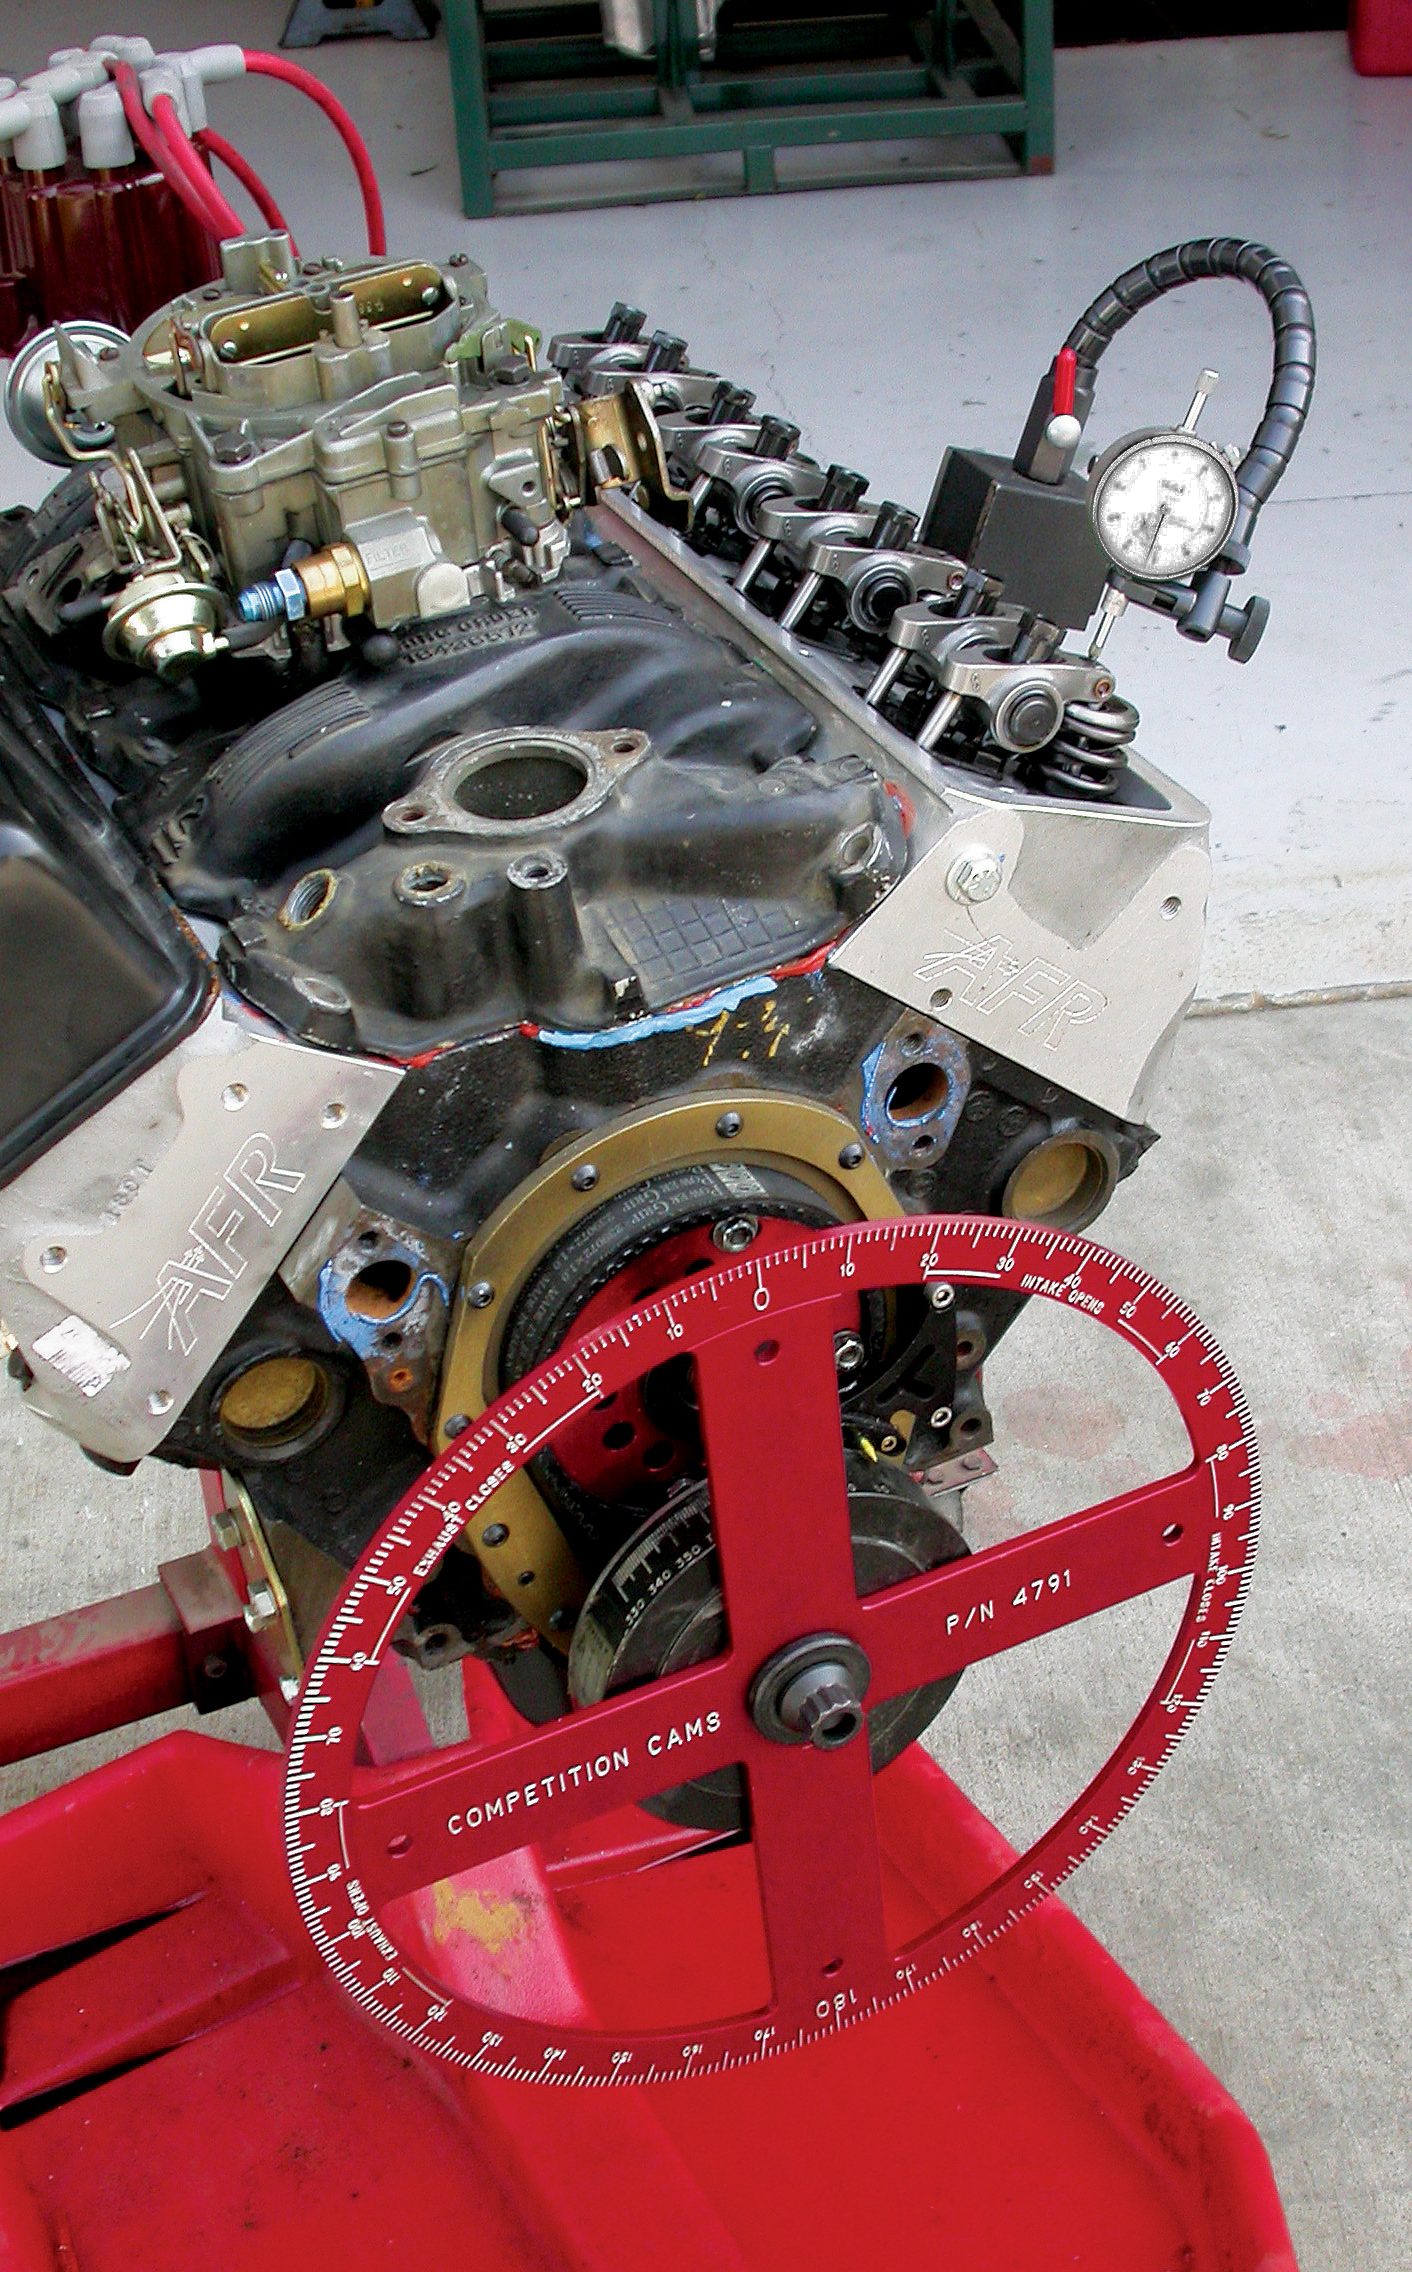
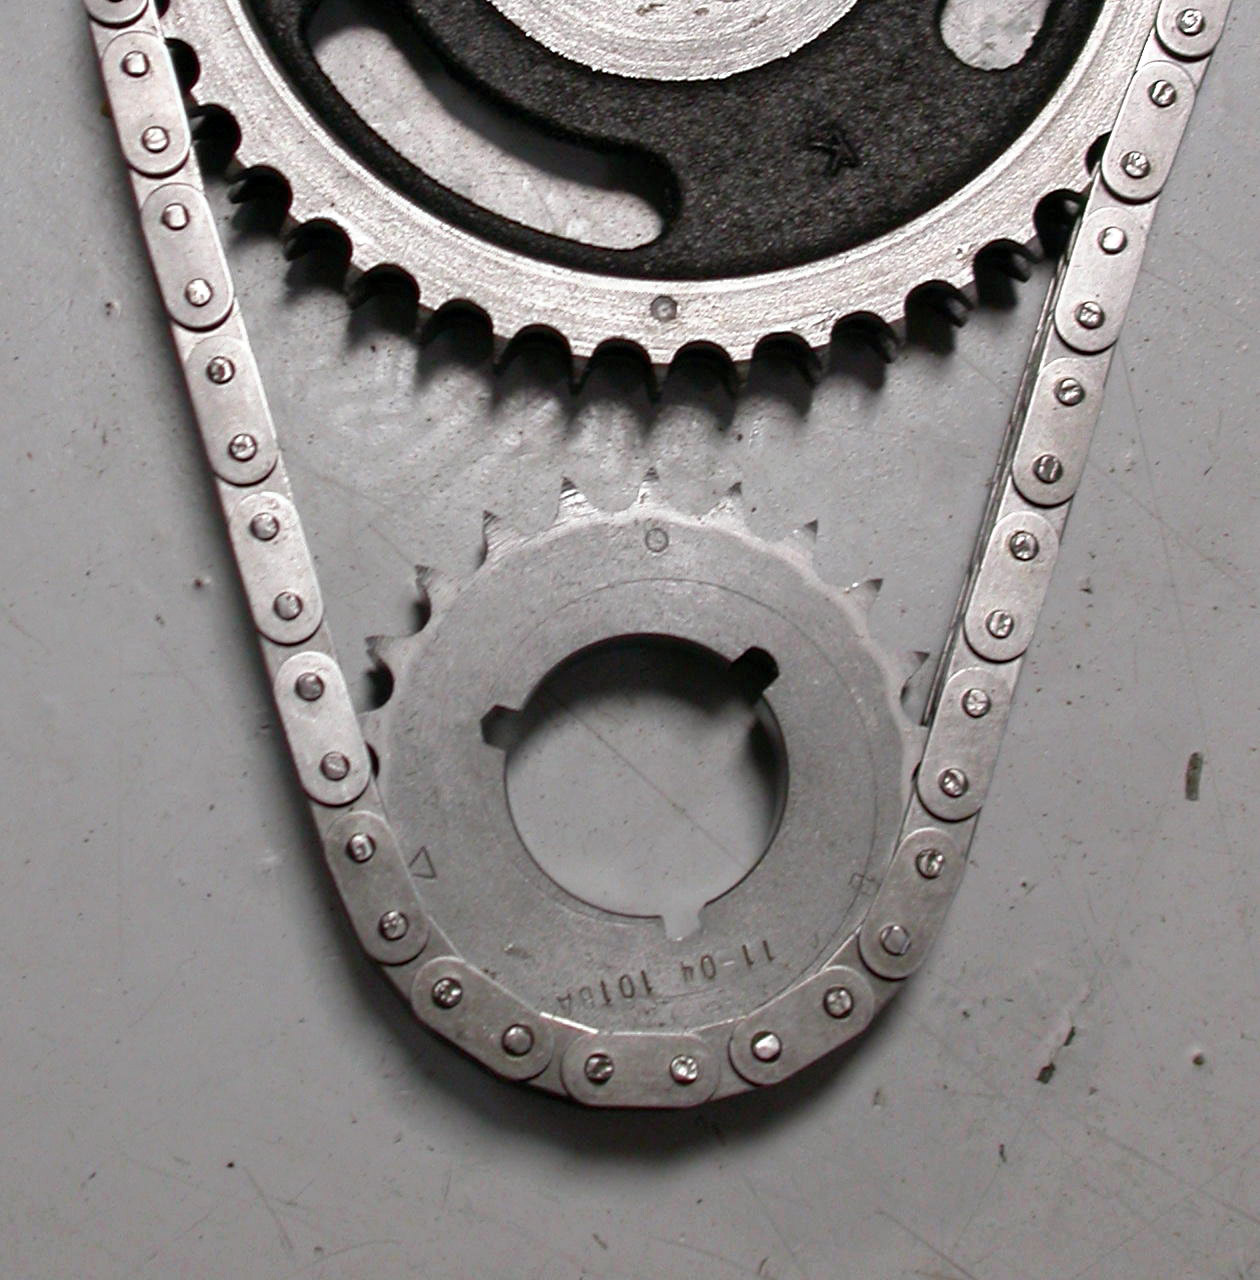
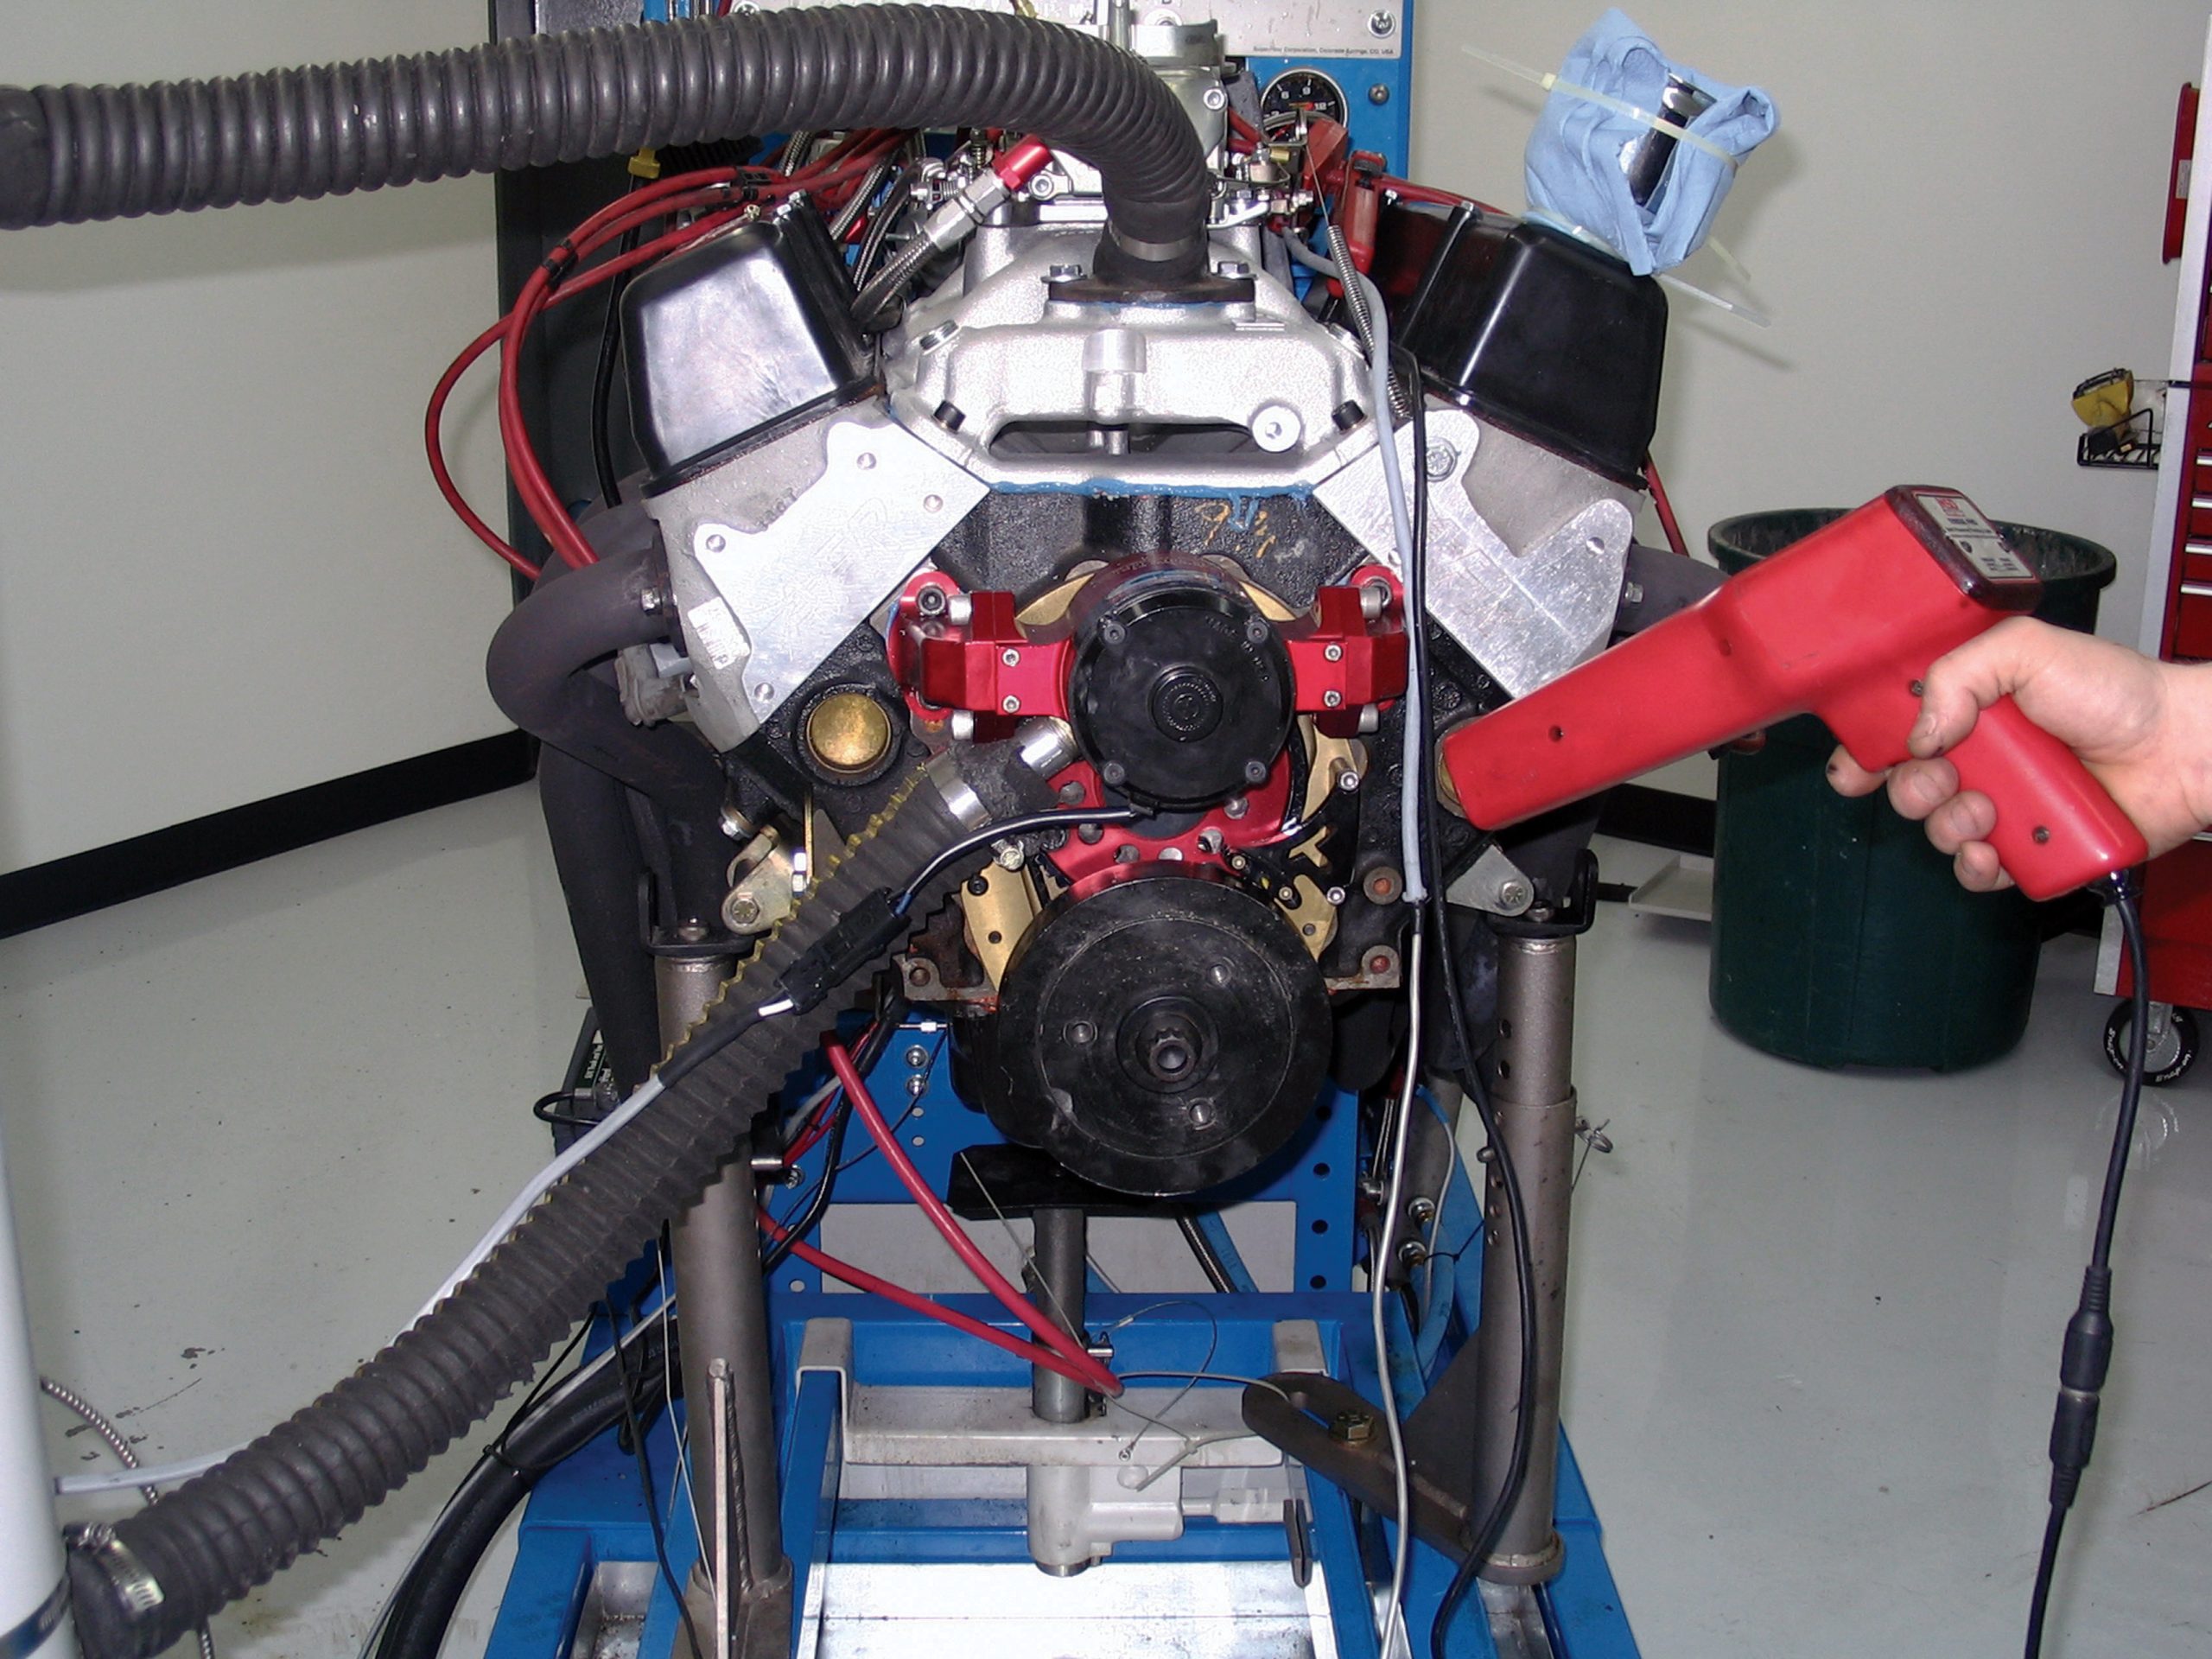
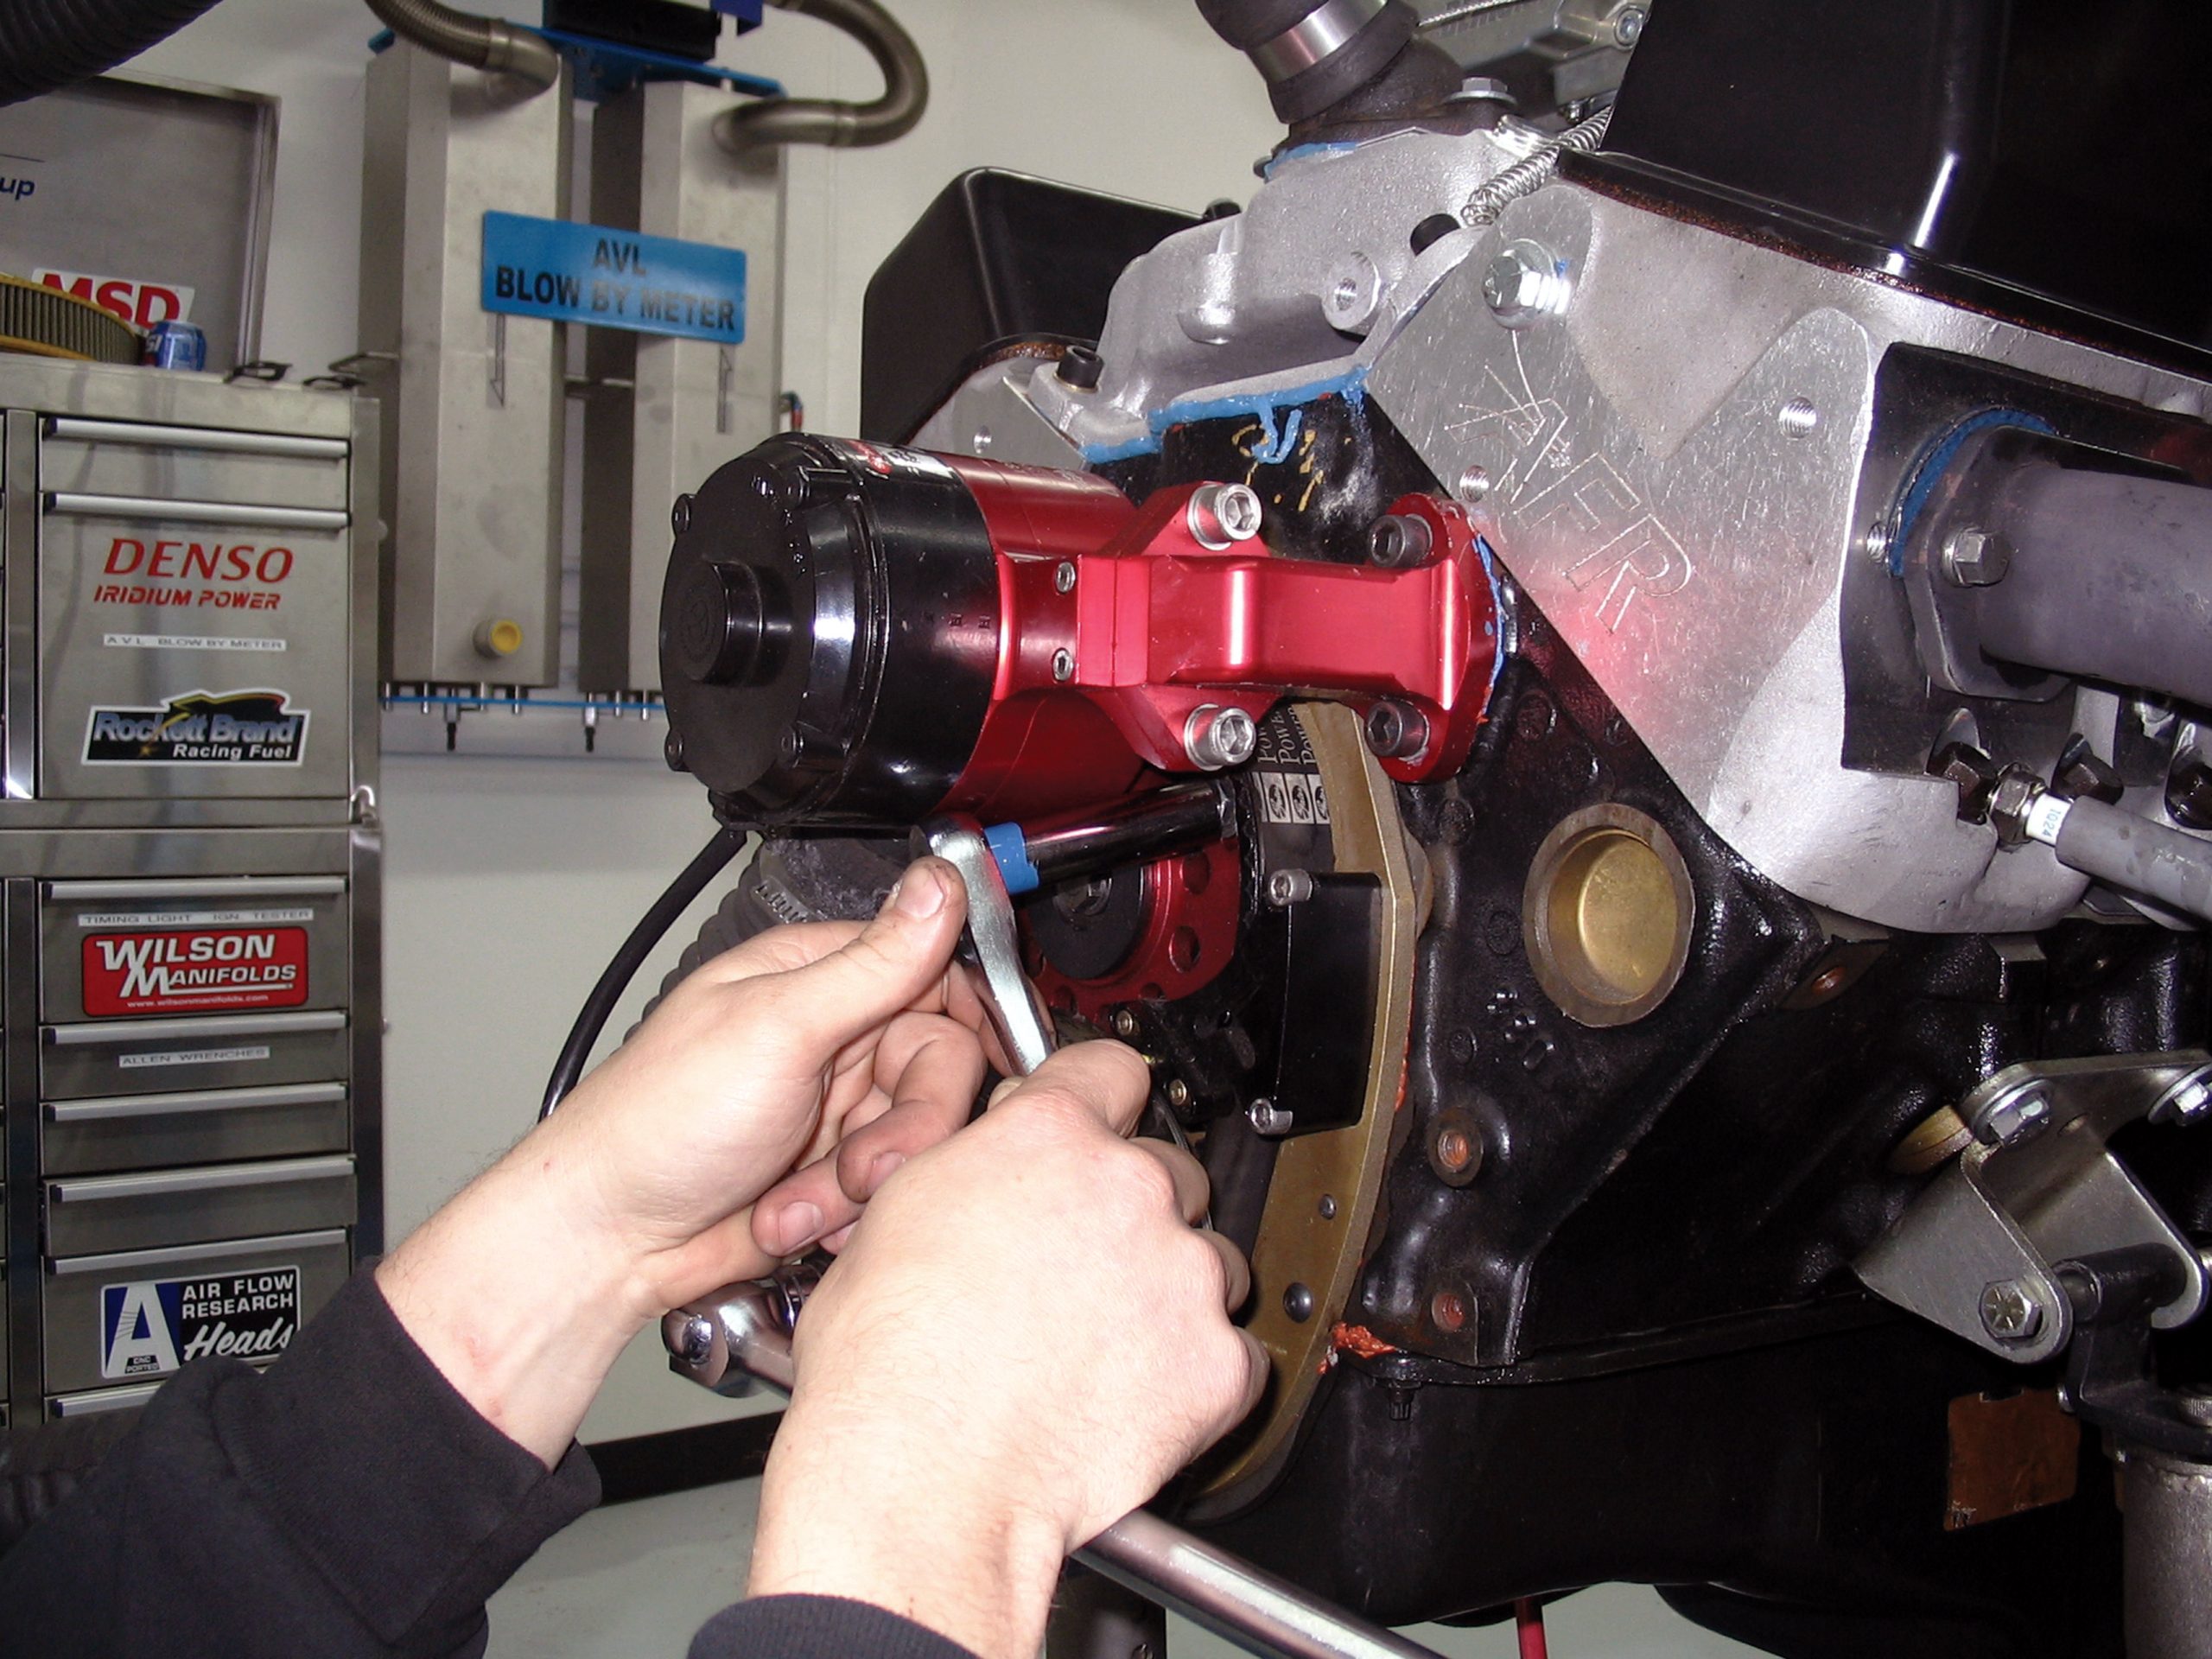
Degreeing the camshaft is how you determine if the camshaft is installed to the recommended manufacturer’s specifications. Given production tolerances in the timing gear, timing chain (or belt), the physical distance between the cam and crank centerlines, and even in the cam profile itself, it is not uncommon for the cam installation to be advanced or retarded from its recommended installed position. To dial in the cam during installation, it must be degreed to learn exactly where the cam timing is placed in relation to the crankshaft (in degrees). That will tell you exactly how much you should advance or retard the cam, so that you can make the necessary cam timing adjustment to achieve the desired cam/crank position. Most enthusiasts do not go through the ordeal of degreeing the cam in the engine while performing its installation. That’s a mistake.
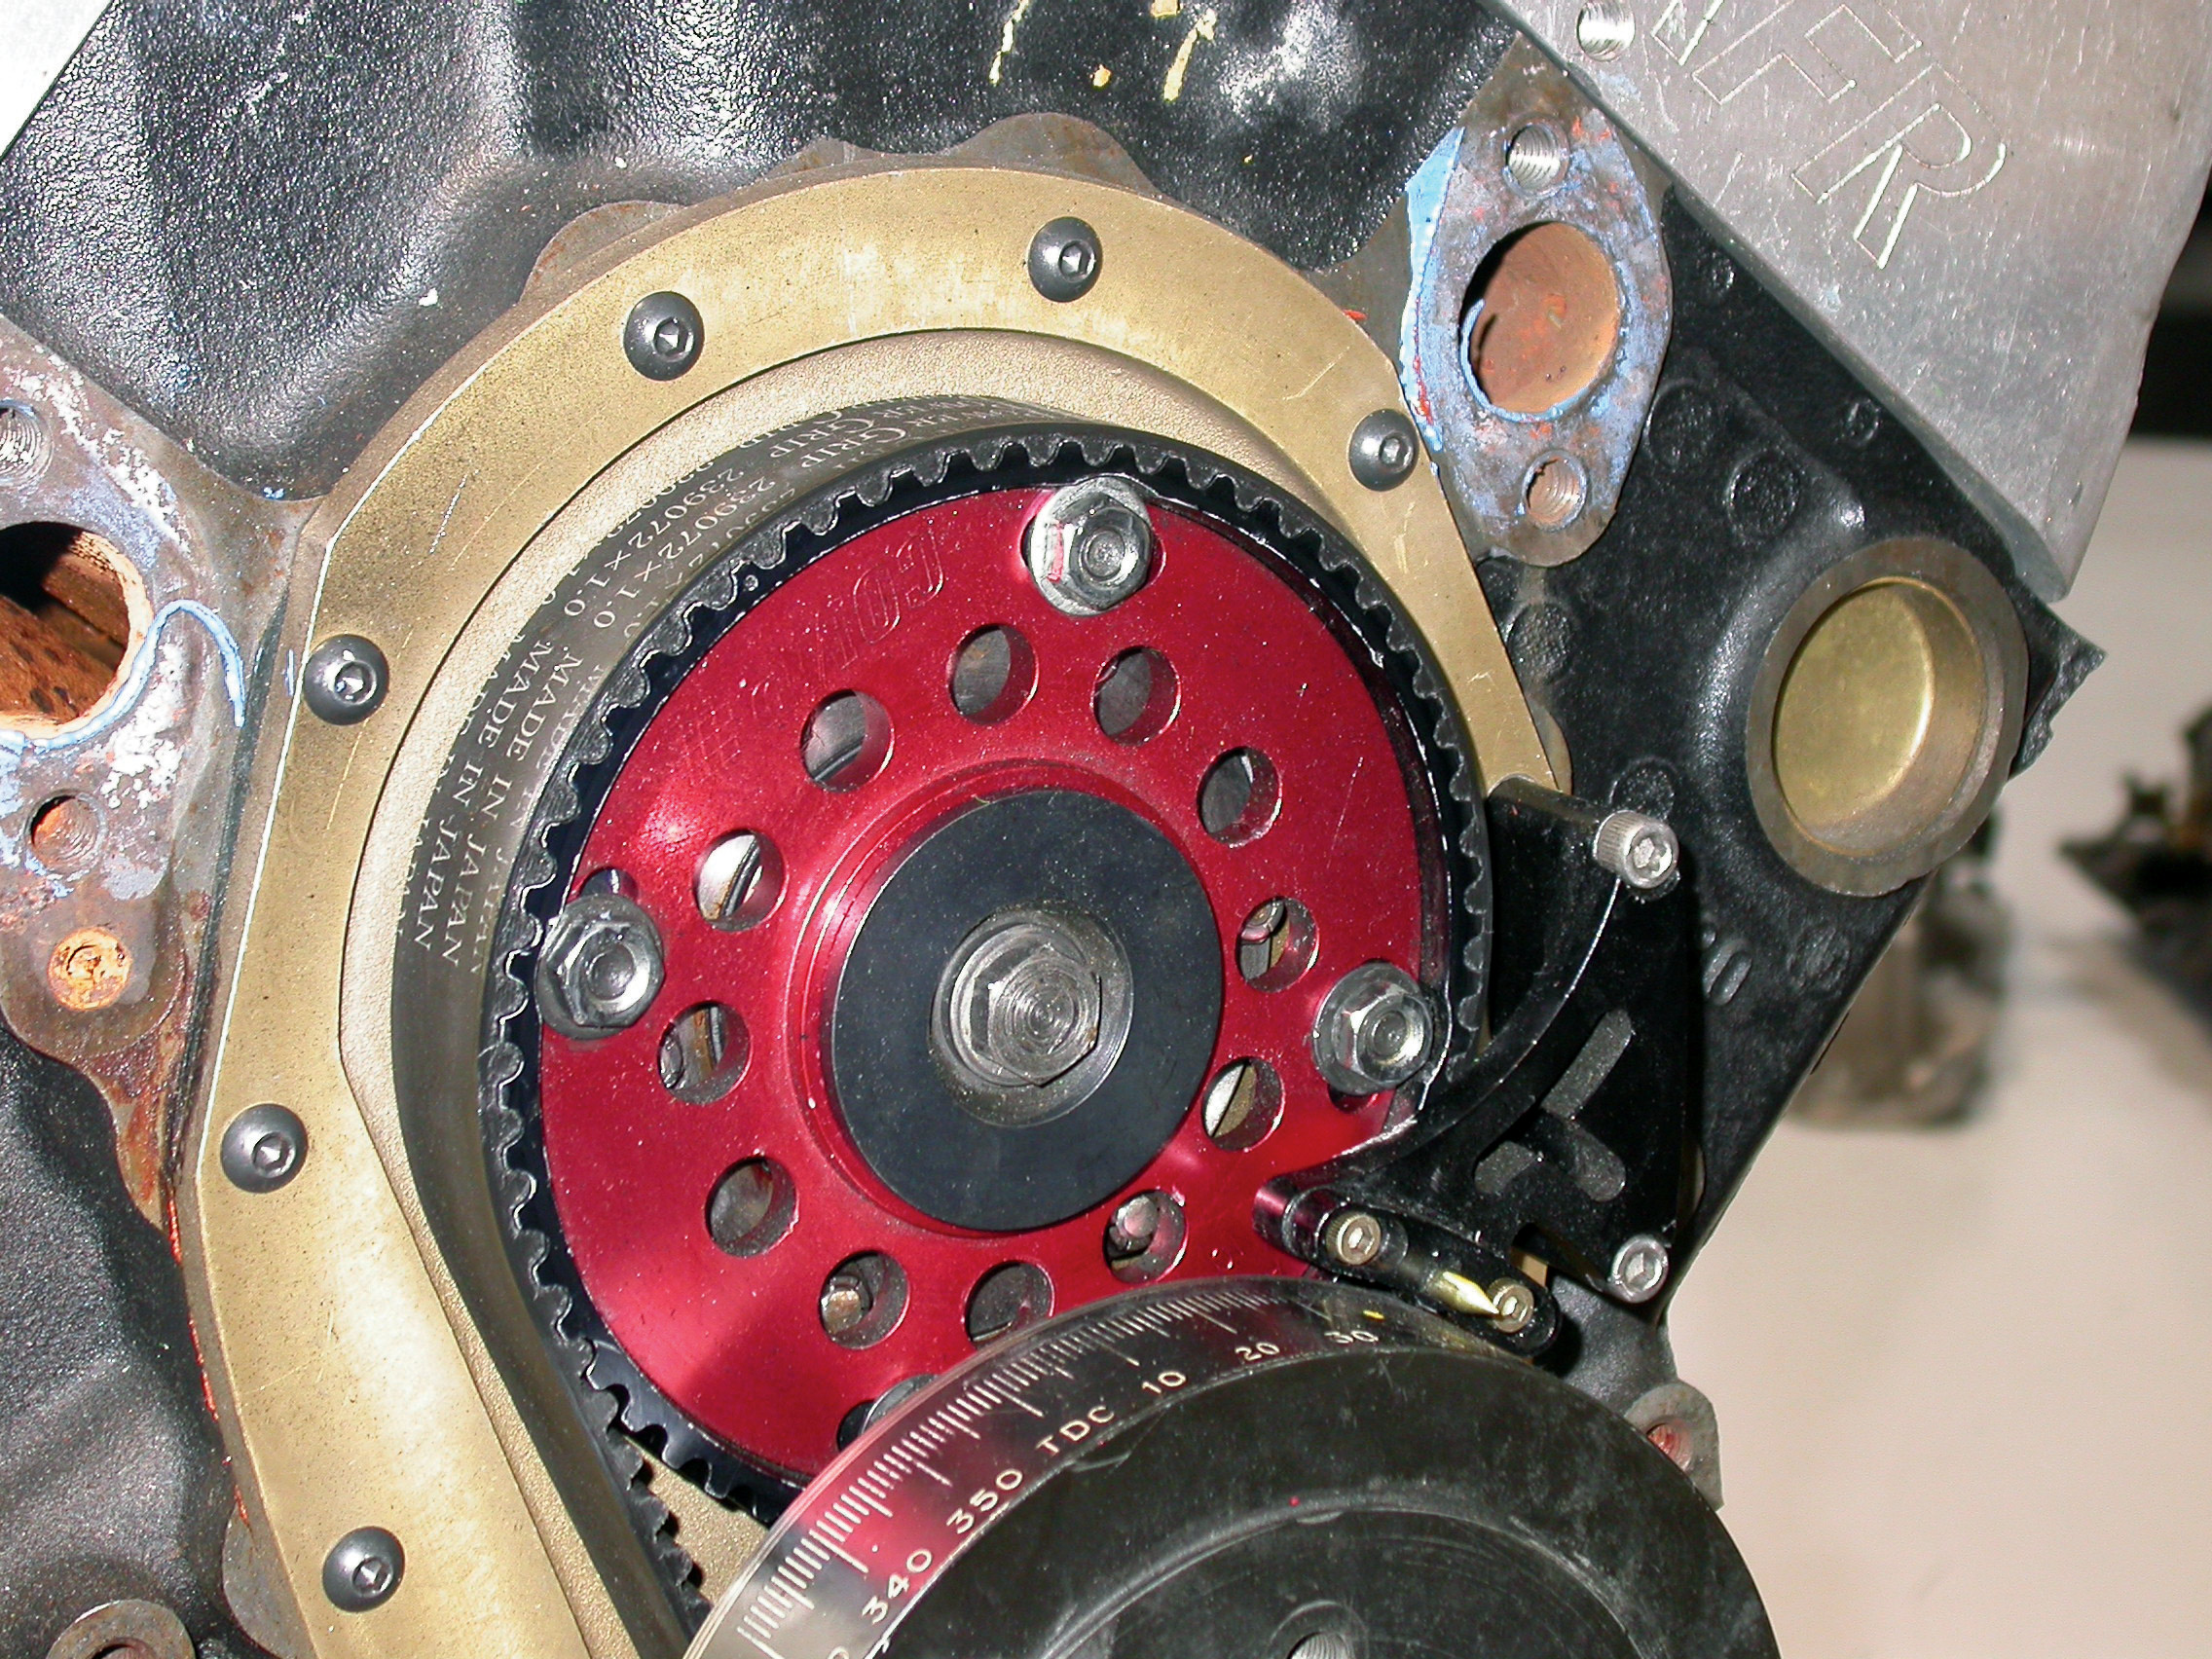
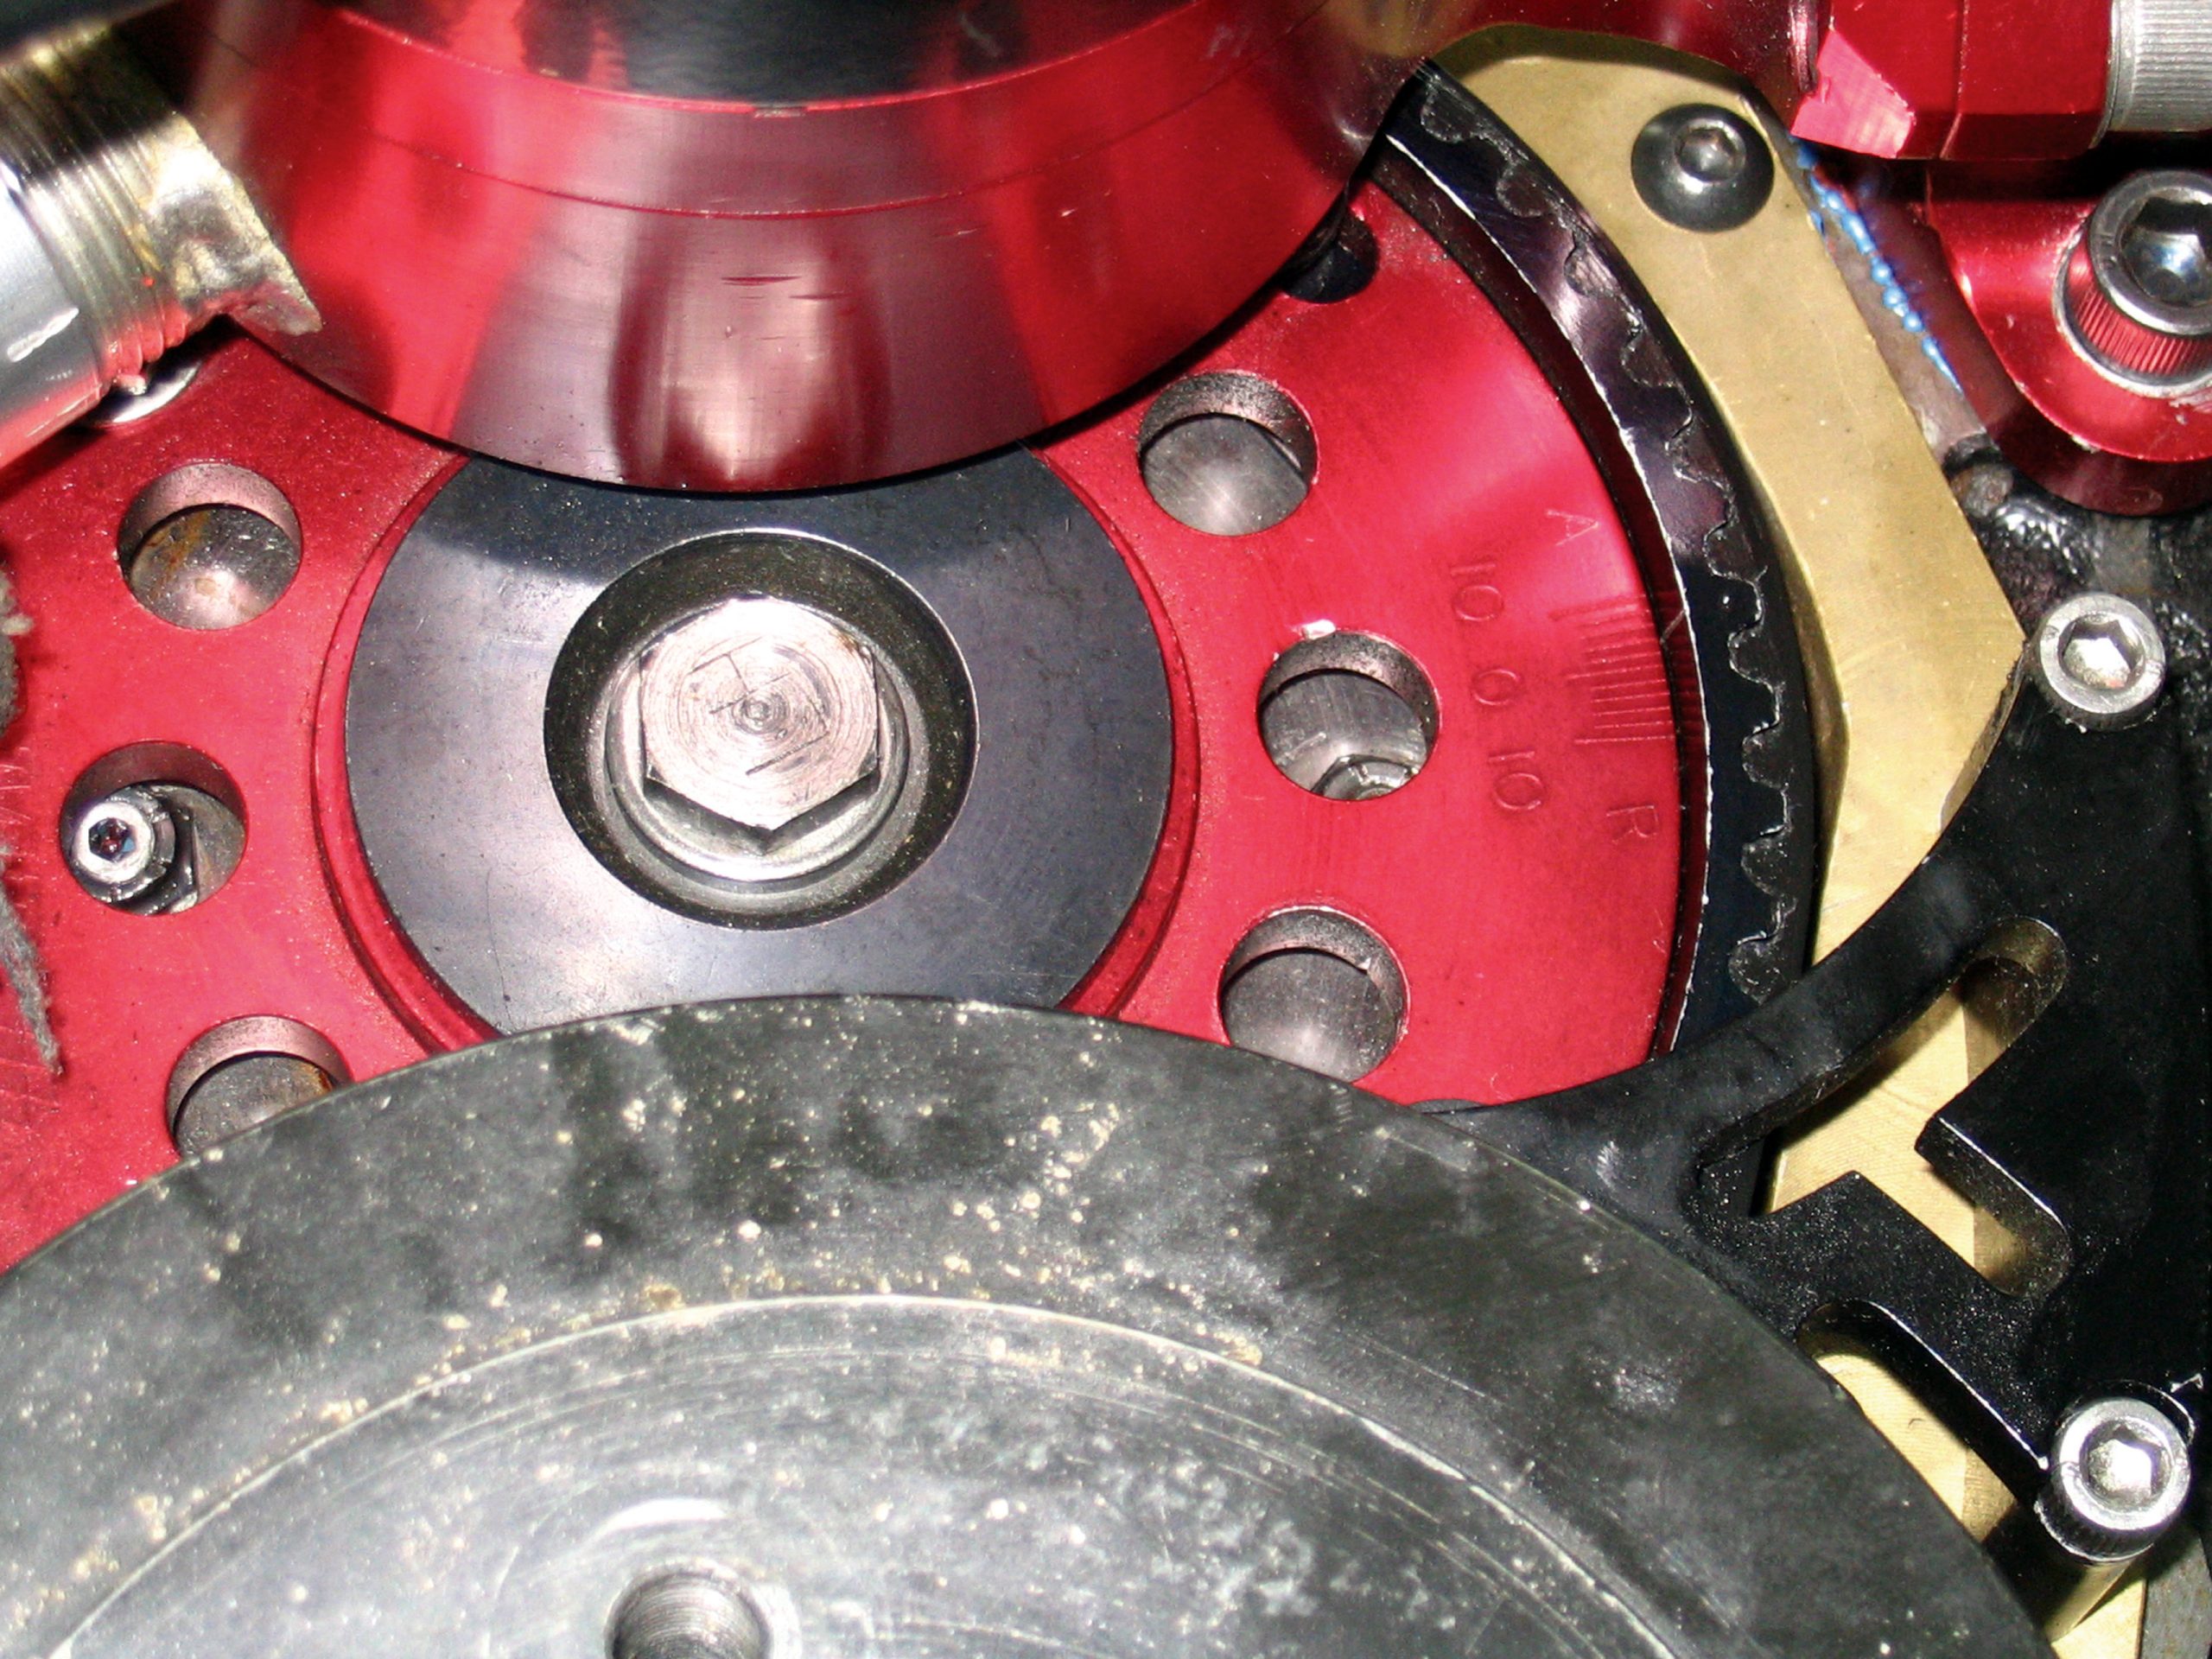
When doing a cam swap, unless you have the proper tools and dial indicator setup that fits within the confines of your installation, degreeing a camshaft with the engine in the car is more difficult than degreeing in a camshaft on an engine stand. So, it goes without saying, it is quicker and easier to perform this important task when initially building a motor during initial assembly. A proper cam orientation is one of the industry’s speed secrets, tricks of the trade, so to speak, as a properly indexed camshaft can yield impressive power gains. To illustrate this point, we installed our XE256H Xtreme Energy cam in the straight-up position (matching timing marks). This is exactly where more enthusiasts would generally install the cam, at least those not considering the importance of this significant step. We then dialed it in using an external (adjustable) belt drive, but you can do it with adjustable timing gears or offset cam keys or offset timing buttons, whichever your engine uses. By advancing and retarding the cam in this manner, we were able to find the ideal position that provided the best overall power curve for our combination. This is important, as knowing going in is not only a good place to start but will also allow less guesswork if you need to tailor the power curve to better complement a particular vehicle installation (vehicle weight, transmission, rear gear ratio, driving habits, etc.). Once you have determined where that particular cam falls within the engine, crank timing wise, it will be easier to “fine-tune” for the proper power where you can use it most.
Our cam was installed straight up—the “0” position on our belt drive—and run on the dyno. So equipped, the motor produced 404 hp and 448 lb-ft of torque. Degreeing the cam (prior to installation on the dyno) revealed that the “0” position was actually 3 degrees advanced from the recommended intake centerline listed on the cam card. Knowing this, we retarded the cam timing by 3 degrees to produce the cam timing recommended by the Comp Cams cam card. Retarding the cam 3 degrees, from its over- advanced position, resulted in a jump to 410 hp and 450 lb-ft of torque. While a 6-hp gain cannot be considered huge, at 5,600 rpm, the change in cam timing added as much as 10 hp. If you find 10 extra horsepower from degreeing the cam, think about what might be had from a proper distributor advance, carb jetting or adjusting the lash. It is easy to change the intake manifold and carburetor, but once you reach a certain point, you have to start looking for all the little gains that can add significantly to your overall power number. Measured one at a time, each gain may not seem like much, but if you can obtain 10 hp from degreeing the cam, 6 hp more from changing the advance curve and another 8 hp from tightening the lash, those small gains ultimately equate to 24 hp!
Don’t expect to keep finding hidden horsepower indefinitely, but there is extra power to be had from optimizing your existing combination, even without making major hard part changes. All it takes is time, effort and the desire for more power.


