Using Dipsticks, Silicone Sealer and O-Rings to Maintain the Fluids in Your Street Rod
Fluids are the lifeblood of the vehicle. We need to contain those fluids yet still be able to monitor the fluid levels. Our older readers can remember the days before aftermarket flexible dipsticks or silicone caulk were available. The only option in those days was to use an OEM dipstick and dipstick tube. If you needed to shorten the tube, a hacksaw was the tool of choice. If you cut 4 inches off the tube, you then cut 4 inches off the dipstick and ground a couple of notches in the side of the dipstick to note “full” and “add.” Gaskets could be sealed with Permatex, but they had to be used as there was no such option of placing a bead of silicone caulk on the mating surface and assembling the parts.
The 1st Installation: Engine Oil Dipstick
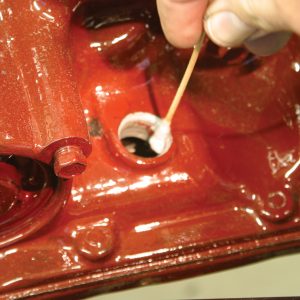
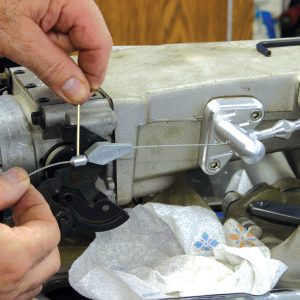
The first installation is the engine oil dipstick. Here, the portion of the housing that will fit into the engine block is cleaned with denatured alcohol on a cotton swab.
Another cotton swab soaked with alcohol is used to clean the inside of the dipstick tube hole. Remember, silicone will not adhere to an oily surface.
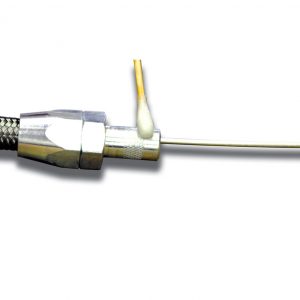
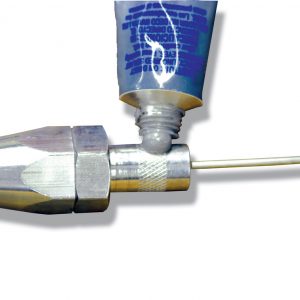
After the mating surfaces are cleaned and allowed to dry, silicone sealer is applied to the knurled section of the dipstick tube.
The dipstick tube is pushed into the hole in the engine block. The excess silicone will ooze out around the hex portion of the dipstick tube.
The mounting bolt for the dipstick is installed and tightened before the silicone begins to solidify.
The same cotton swab is used to remove the excess silicone
The installation of the engine oil dipstick is now complete. The silicone sealer should be allowed to dry overnight before starting the engine.
Building a street rod is much easier today. Manufacturers such as Lokar (877/469-7440) offer well-engineered products for most applications. The sealers (like silicone) that are now available are also excellent. However, design excellence cannot overcome a lack of common sense. Cleanliness should be the primary consideration. Silicone sealer will seal almost anything, but it will not adhere to an oily surface.
Let’s take another look at several installations using Lokar products and common sense. The dipsticks used are Lokar products (PN ED5002 for the engine oil and PN TD3350TM for the transmission dipstick).
The 2nd Installation: Transmission Dipstick
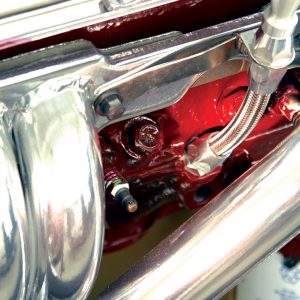
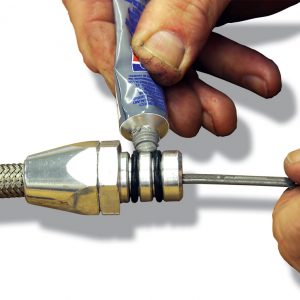
A new cotton swab and more denatured alcohol are used to clean the dipstick hole in the transmission case. We also clean the dipstick tube in the area around and between the two O-rings.
The Lokar transmission dipstick has two O-rings to seal it to the case. The silicone is added for sealing and prevents the dipstick from vibrating loose.
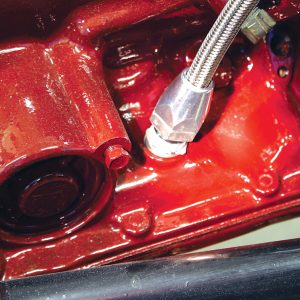
With the surfaces cleaned and the silicone applied, the dipstick tube is inserted into the hole in the transmission case.
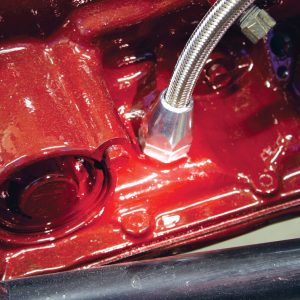
With the dipstick tube fully installed and the excess silicone cleaned off, this end of the application is complete. Again, we advise you to let the silicone dry overnight before starting the engine.
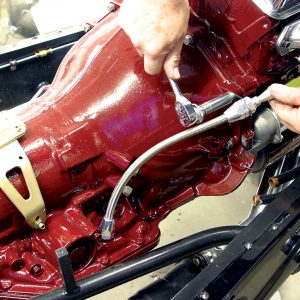
This Lokar dipstick anchors to a bell-housing bolt. The dipstick is bolted down before the silicone is dry. Lokar also makes transmission dipsticks that offer a mounting bracket that mounts onto the firewall.
The 3rd Installation: Kick-down Cable
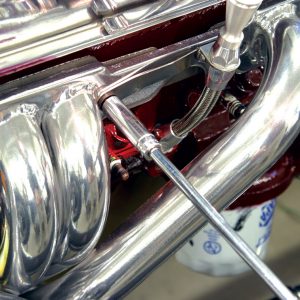
While we are in the neighborhood, we also install a Lokar kick-down cable for the 350 Turbo transmission.
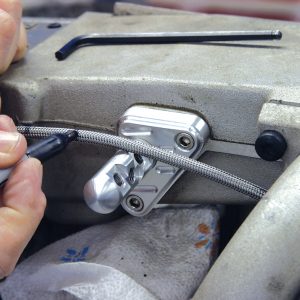
The kick-down cable housing needs to be cut to length before the transmission end can be installed. We dummy our TPI fuel injection, mount the Lokar bracket and stud, route the cable under the TPI runners and mark the desired length. Follow Lokar’s instructions and cut the housing.
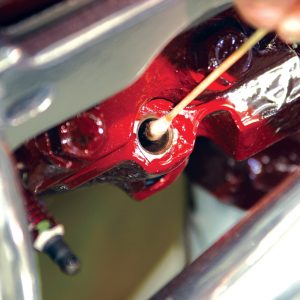
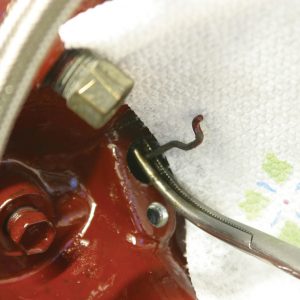
Kick-down cables and how they attach may be a mystery to some of our younger readers, so this is the end of the link that controls the valve inside the transmission valve body.
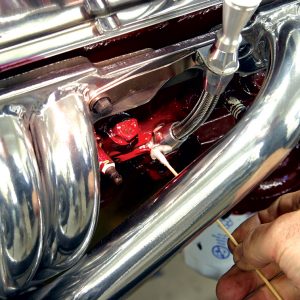
This is how the Lokar cable attaches to the end of the link. The cable end slips over the link, and the bore of the cable housing end piece will prevent the two parts from becoming disconnected.
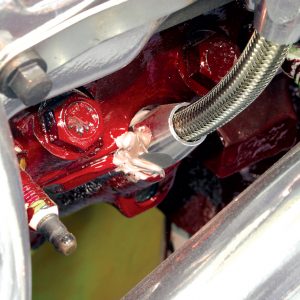
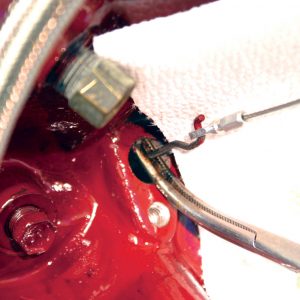
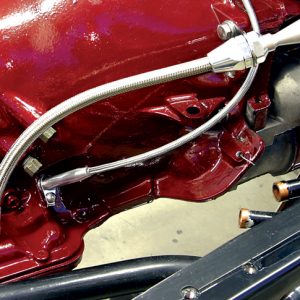
With a little more denatured alcohol and silicone on the O-ring, the cable housing slides down over the end of the link and into the transmission case. Lokar even supplies the bolt to secure the cable housing end to the transmission case.
The safest place to keep the assorted pieces until the installation is complete and loosely assembled on the TPI.
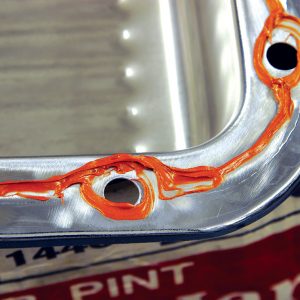
Here’s one more tech tip before we leave the “silicone valley.” Chrome is good, but it’s also very smooth. Before we install the new transmission pan, we scuff up the gasket surface with a 100-grit sanding disk on our 2-inch grinder. This will give the surface something for the silicone to adhere to.
We are using a gasket, so this is all the silicone that is needed. There are some very real horror stories regarding where excess silicone can end up, what it can plug up and what it can cause to become burned up. The scuffed surface is also visible here.