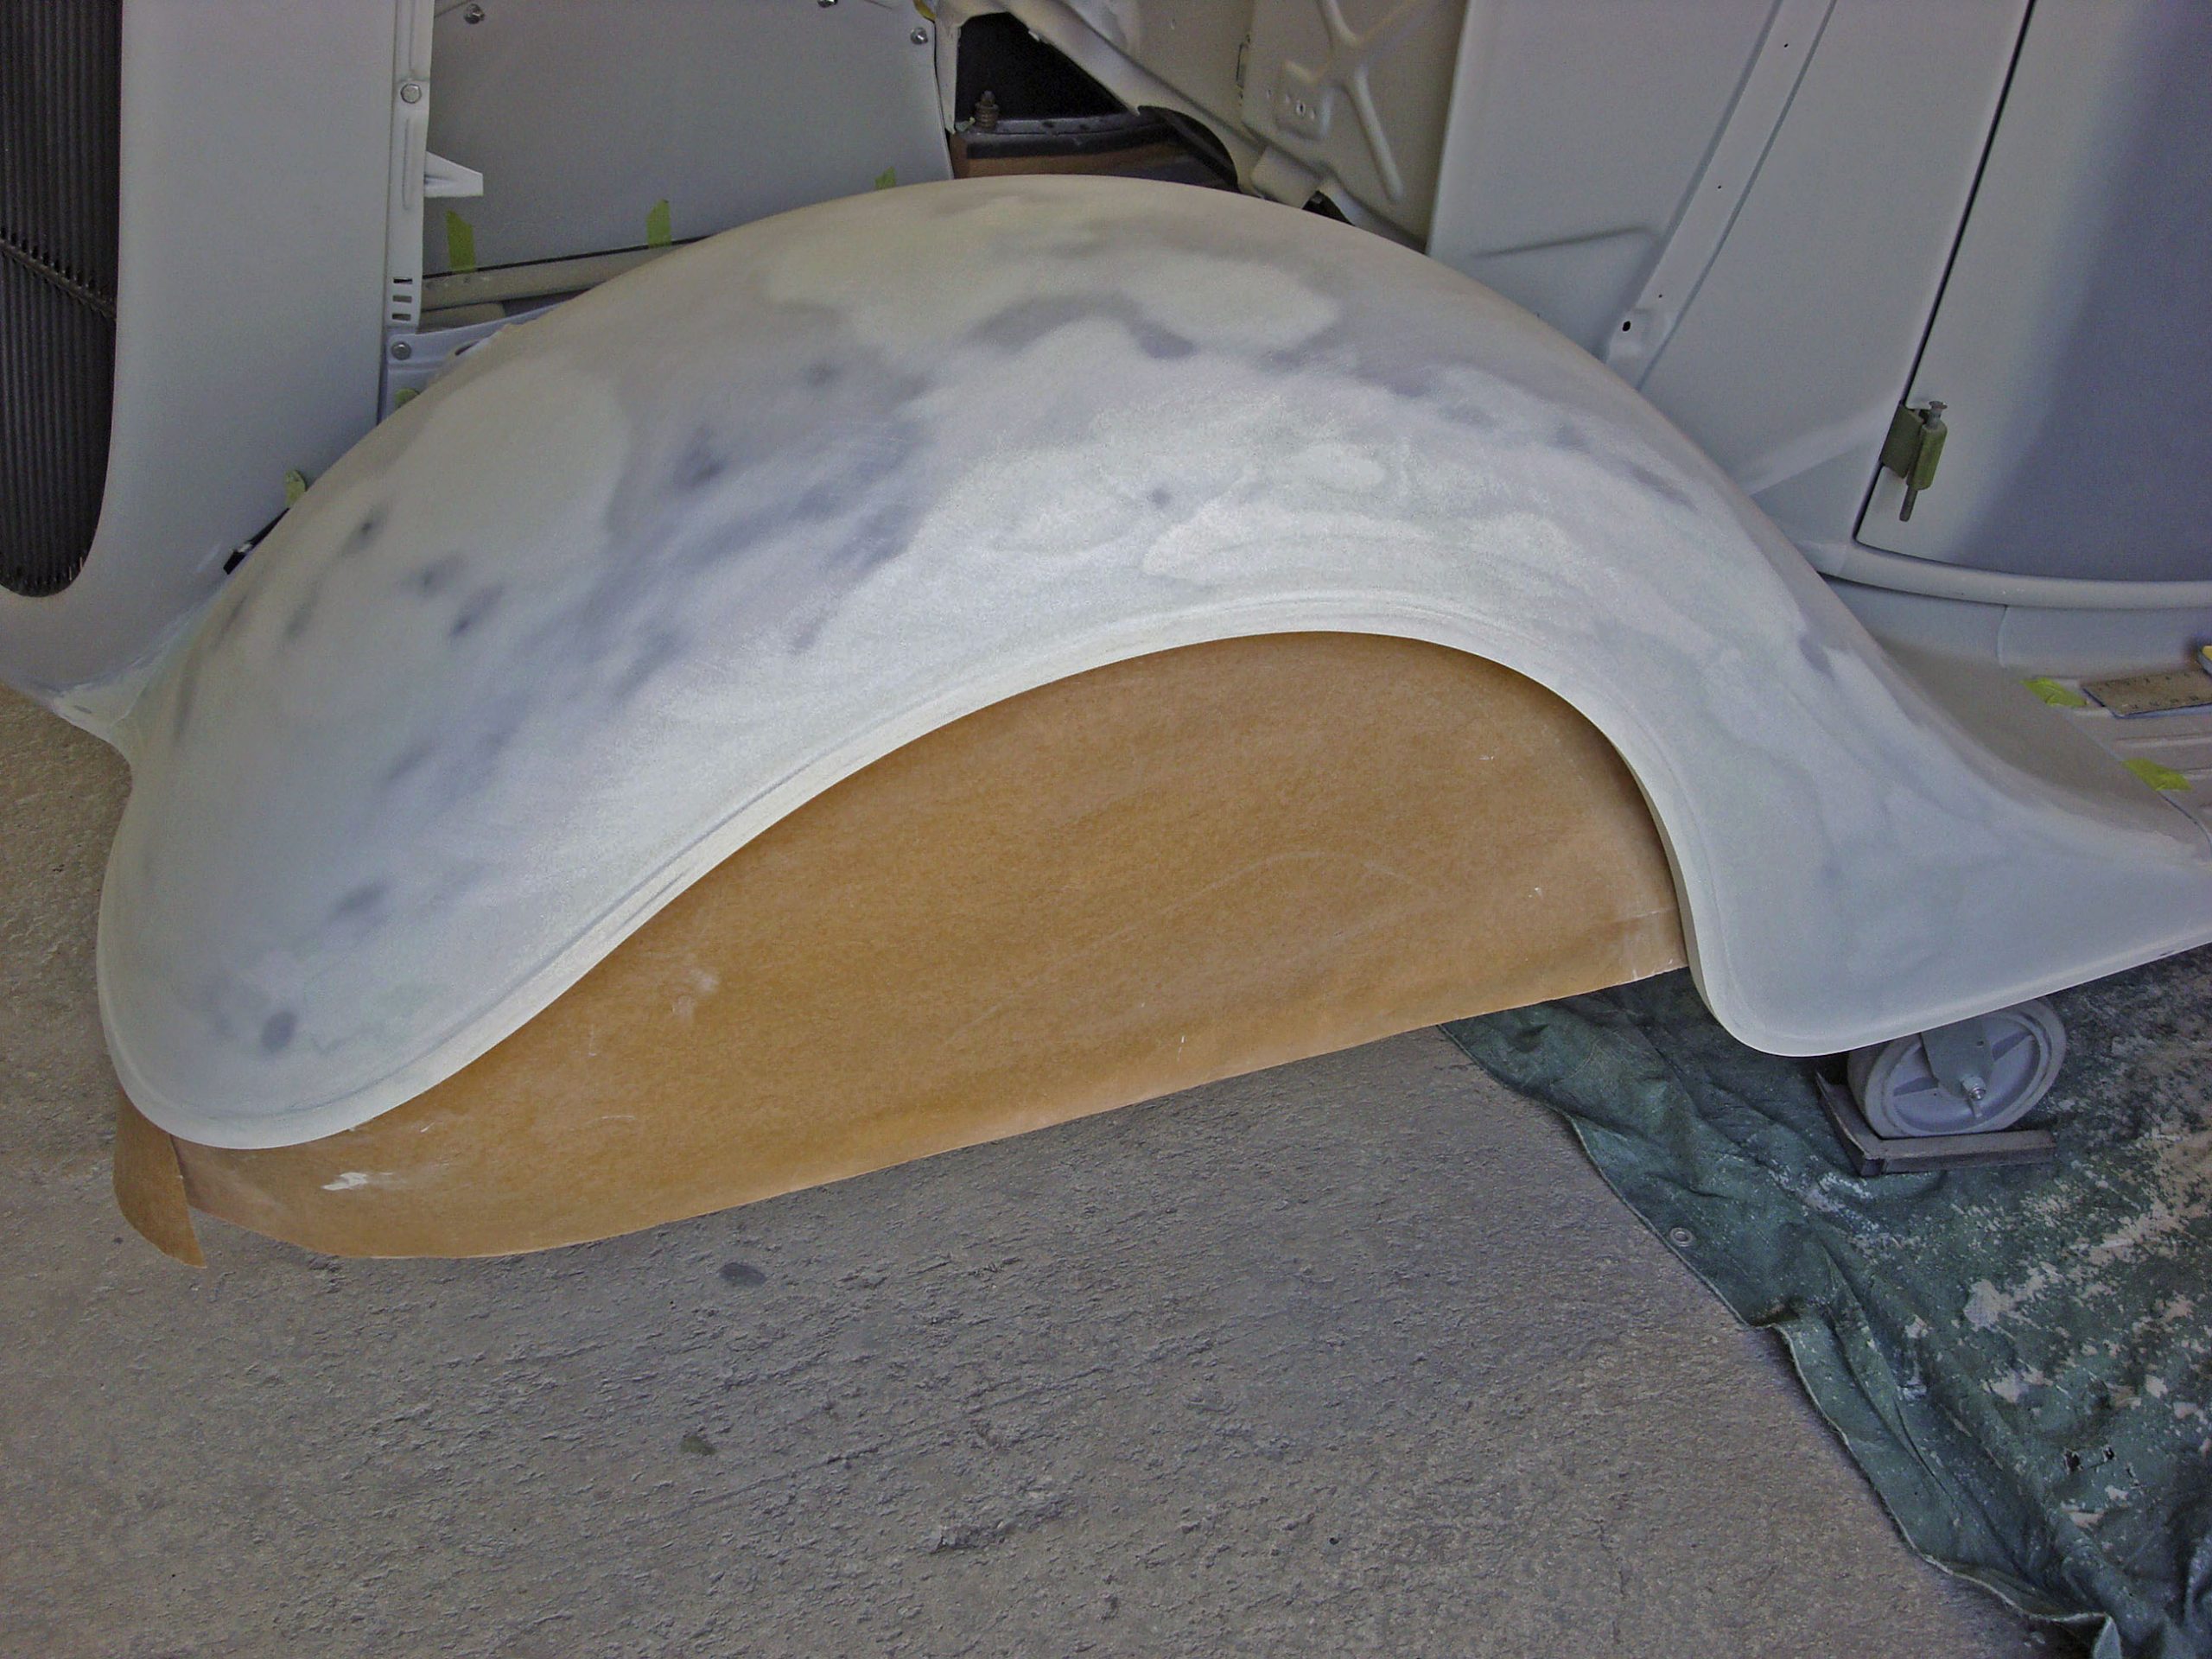

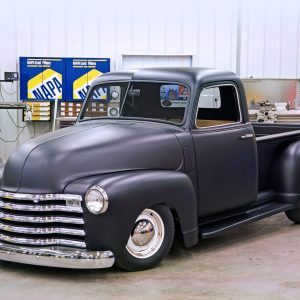
Texas Sized Toyota
They say that everything is bigger in Texas. “Everything” applies to belt buckles, women’s hair, and yes, even trucks. Frisco, Texas residents Charles and Vickie Kim’s 1969 FJ-40 Land Cruiser was built using that same “bigger is better” philosophy, in everything from the gearing to the axles to the tires.

Rearend Upgrade
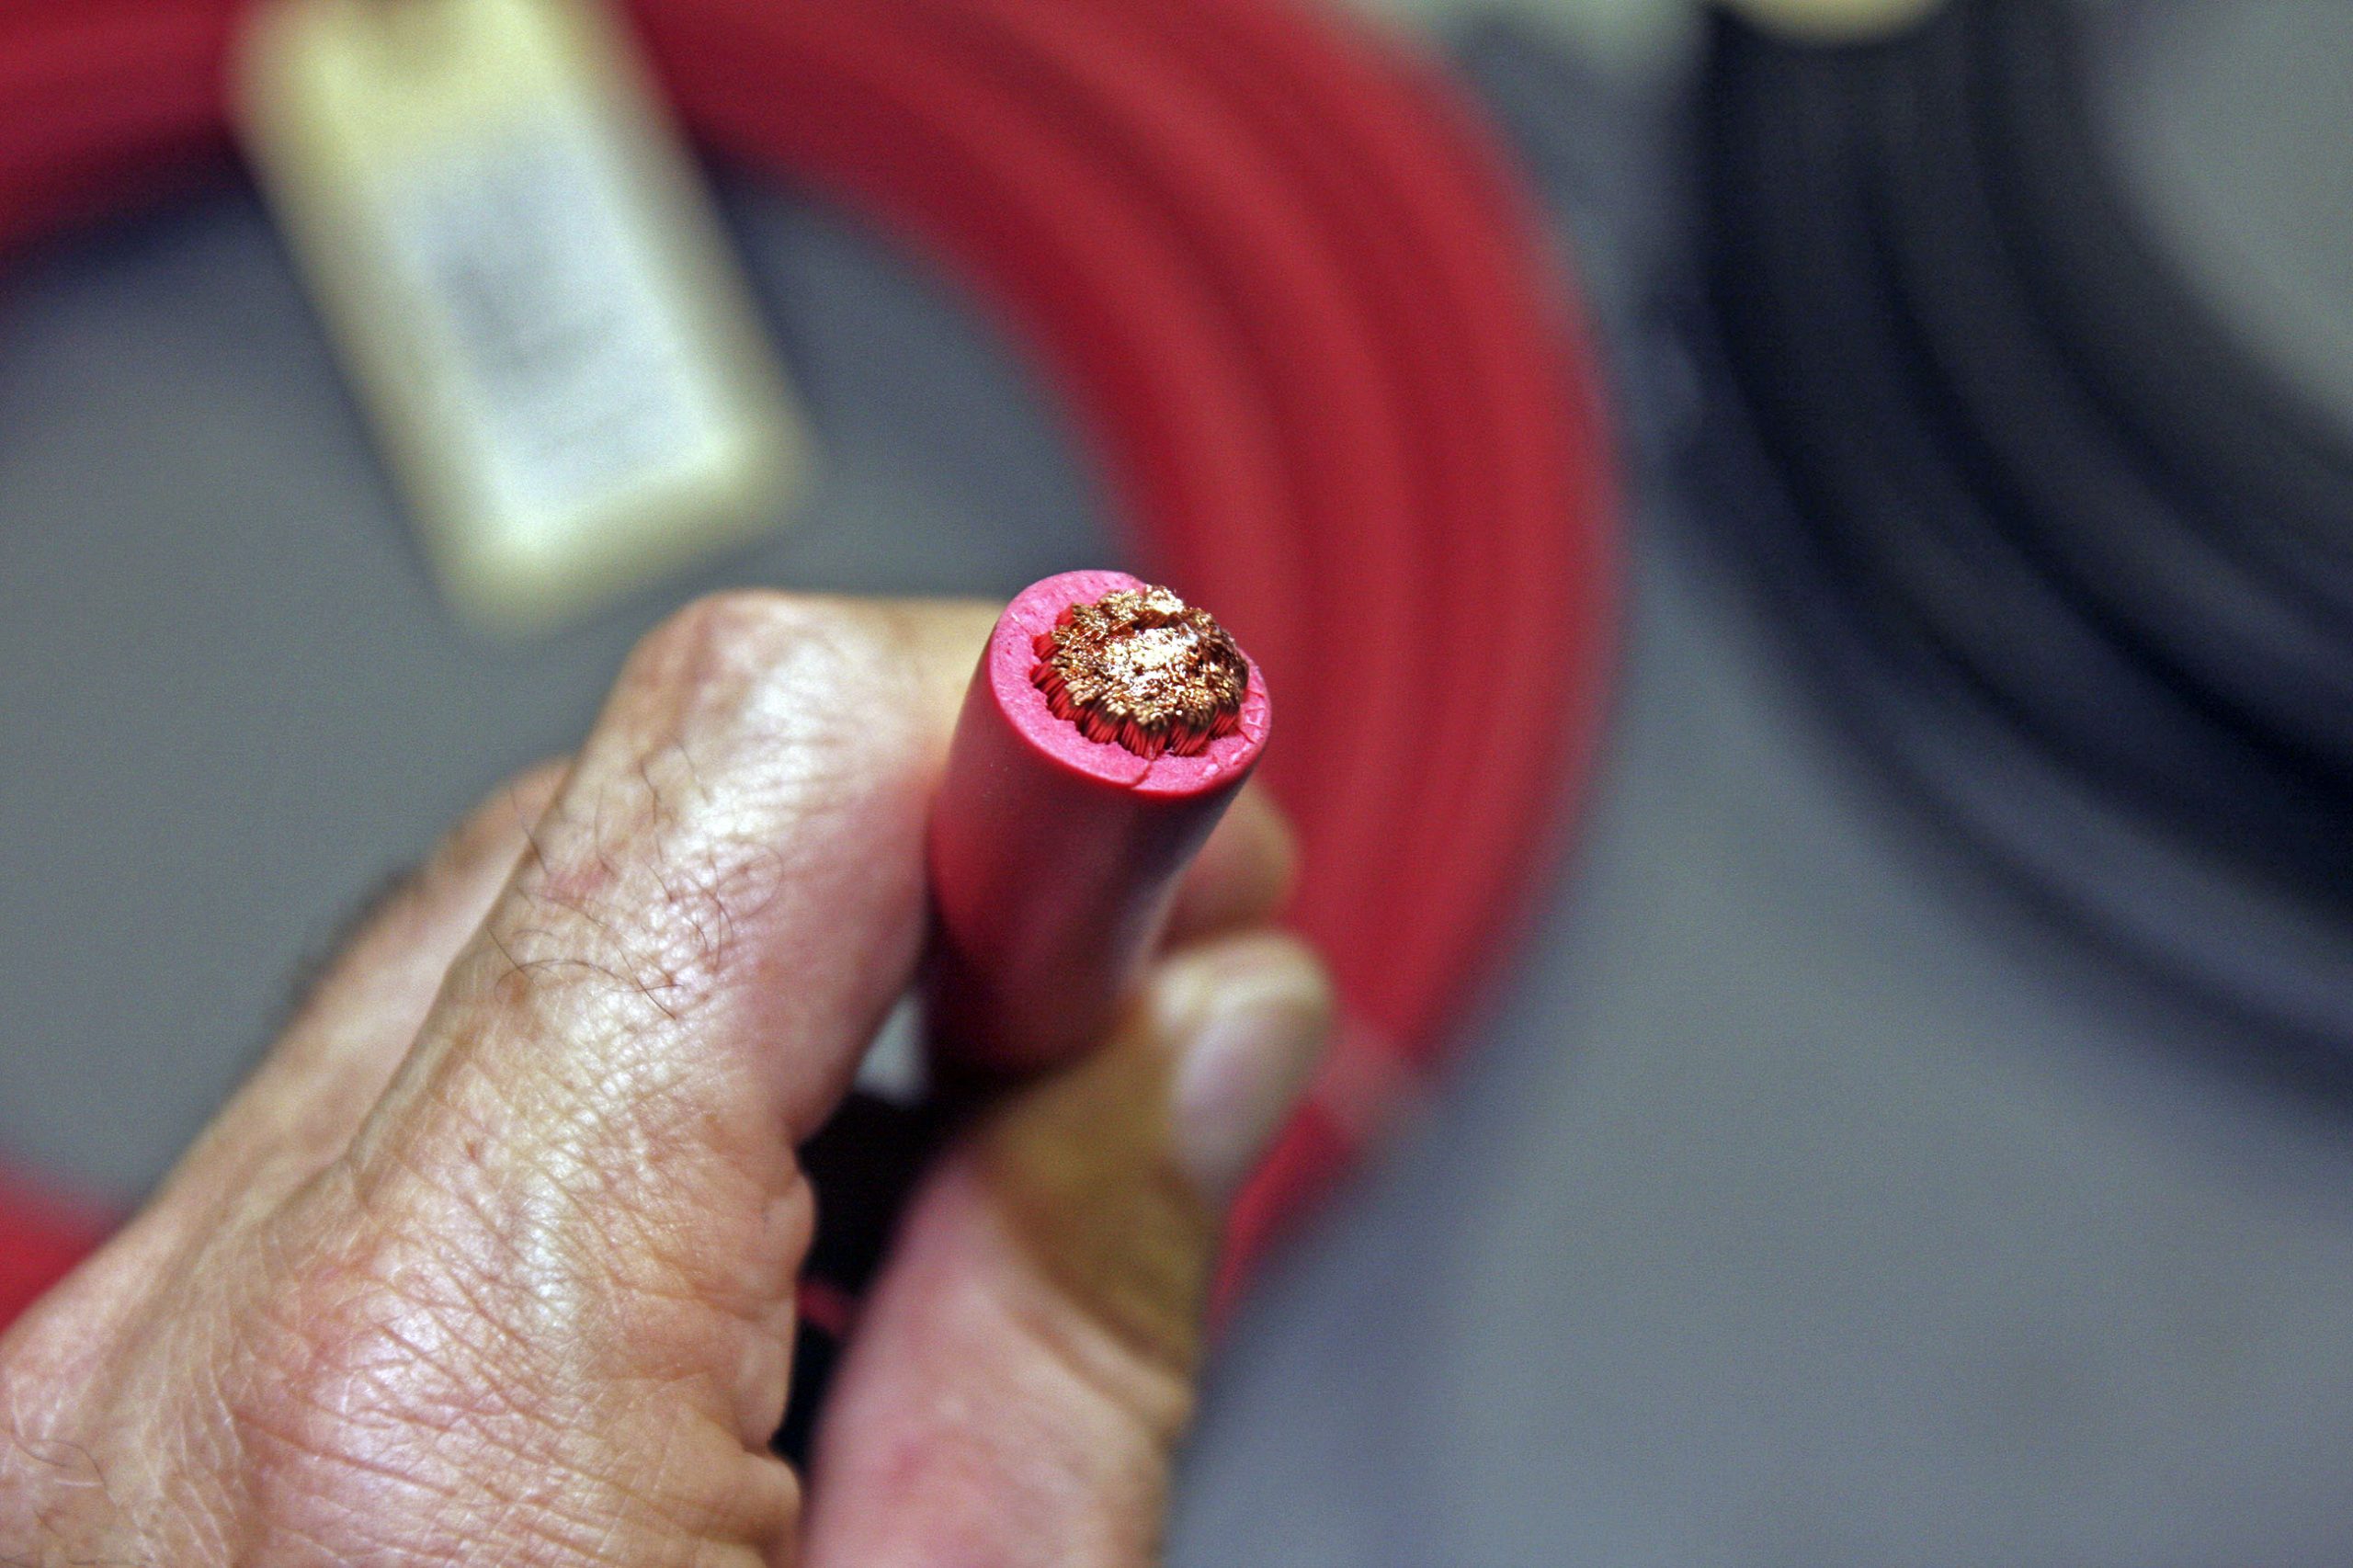
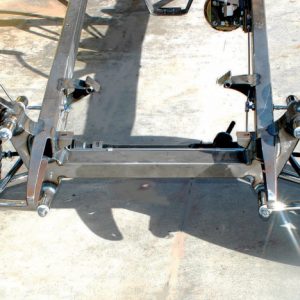
This article delves into the process of upgrading a ’40 Chevy truck, focusing on swapping the original torque tube differential with a ’69 Camaro axle assembly and enhancing the rear suspension. It provides a comprehensive guide on reusing the leaf springs, installing new bushings, and incorporating a strong shock mount for rear frame strengthening. Essential tools like a bushing removal tool, MIG welder, and an oxy-acetylene torch are highlighted, demonstrating the intricate steps involved in modernizing early Chevy trucks.
ONE-WEEKEND WONDER
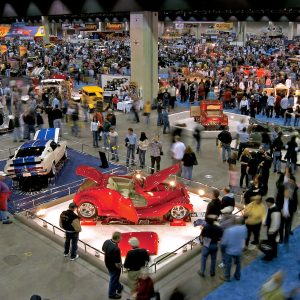
Instant gratification. It’s an addicting thing whereby somewhat suddenly, you find compete satisfaction. It’s the opposite of long, laborious projects that linger on for years, doling out their pain and pleasure in measured portions along the way. Sure, it can be fulfilling, but few things are more fun than putting things in fast-forward and doing what should take a long time in a short time. TV shows are based on just such rewards in this ever-accelerating time we live in, and in a reversal, we now find life imitating art as hot rodders do their own versions of Overhaulin’; we like to call it Over-Thrashin’. Generally, there are no cameras whirling, no lights and no scripts. It’s just a bunch of hot rodders, a good garage and maybe stacks of empty pizza and parts boxes in the corner.