


AN EVENT TO REMEMBER
As the years go by, and as the quality of cars continues to exceed expectations, it isn’t surprising that the venues attracting the top cars get more spectacular over time. This year, record crowds in Columbus, Ohio, came out in droves to witness an amazing chrome carnival. Cars of every description, many of which were completed weeks, days, and in some cases only hours before the event, were debuted there, which made for an amazing array of automotive artistry. And if you think you’ve heard this before, know that even the most ardent car nuts were wide-eyed and standing motionless with mouths gaping as they tried to make sense of all the hardware in attendance.
TOYOTA STEERING SOLUTIONS
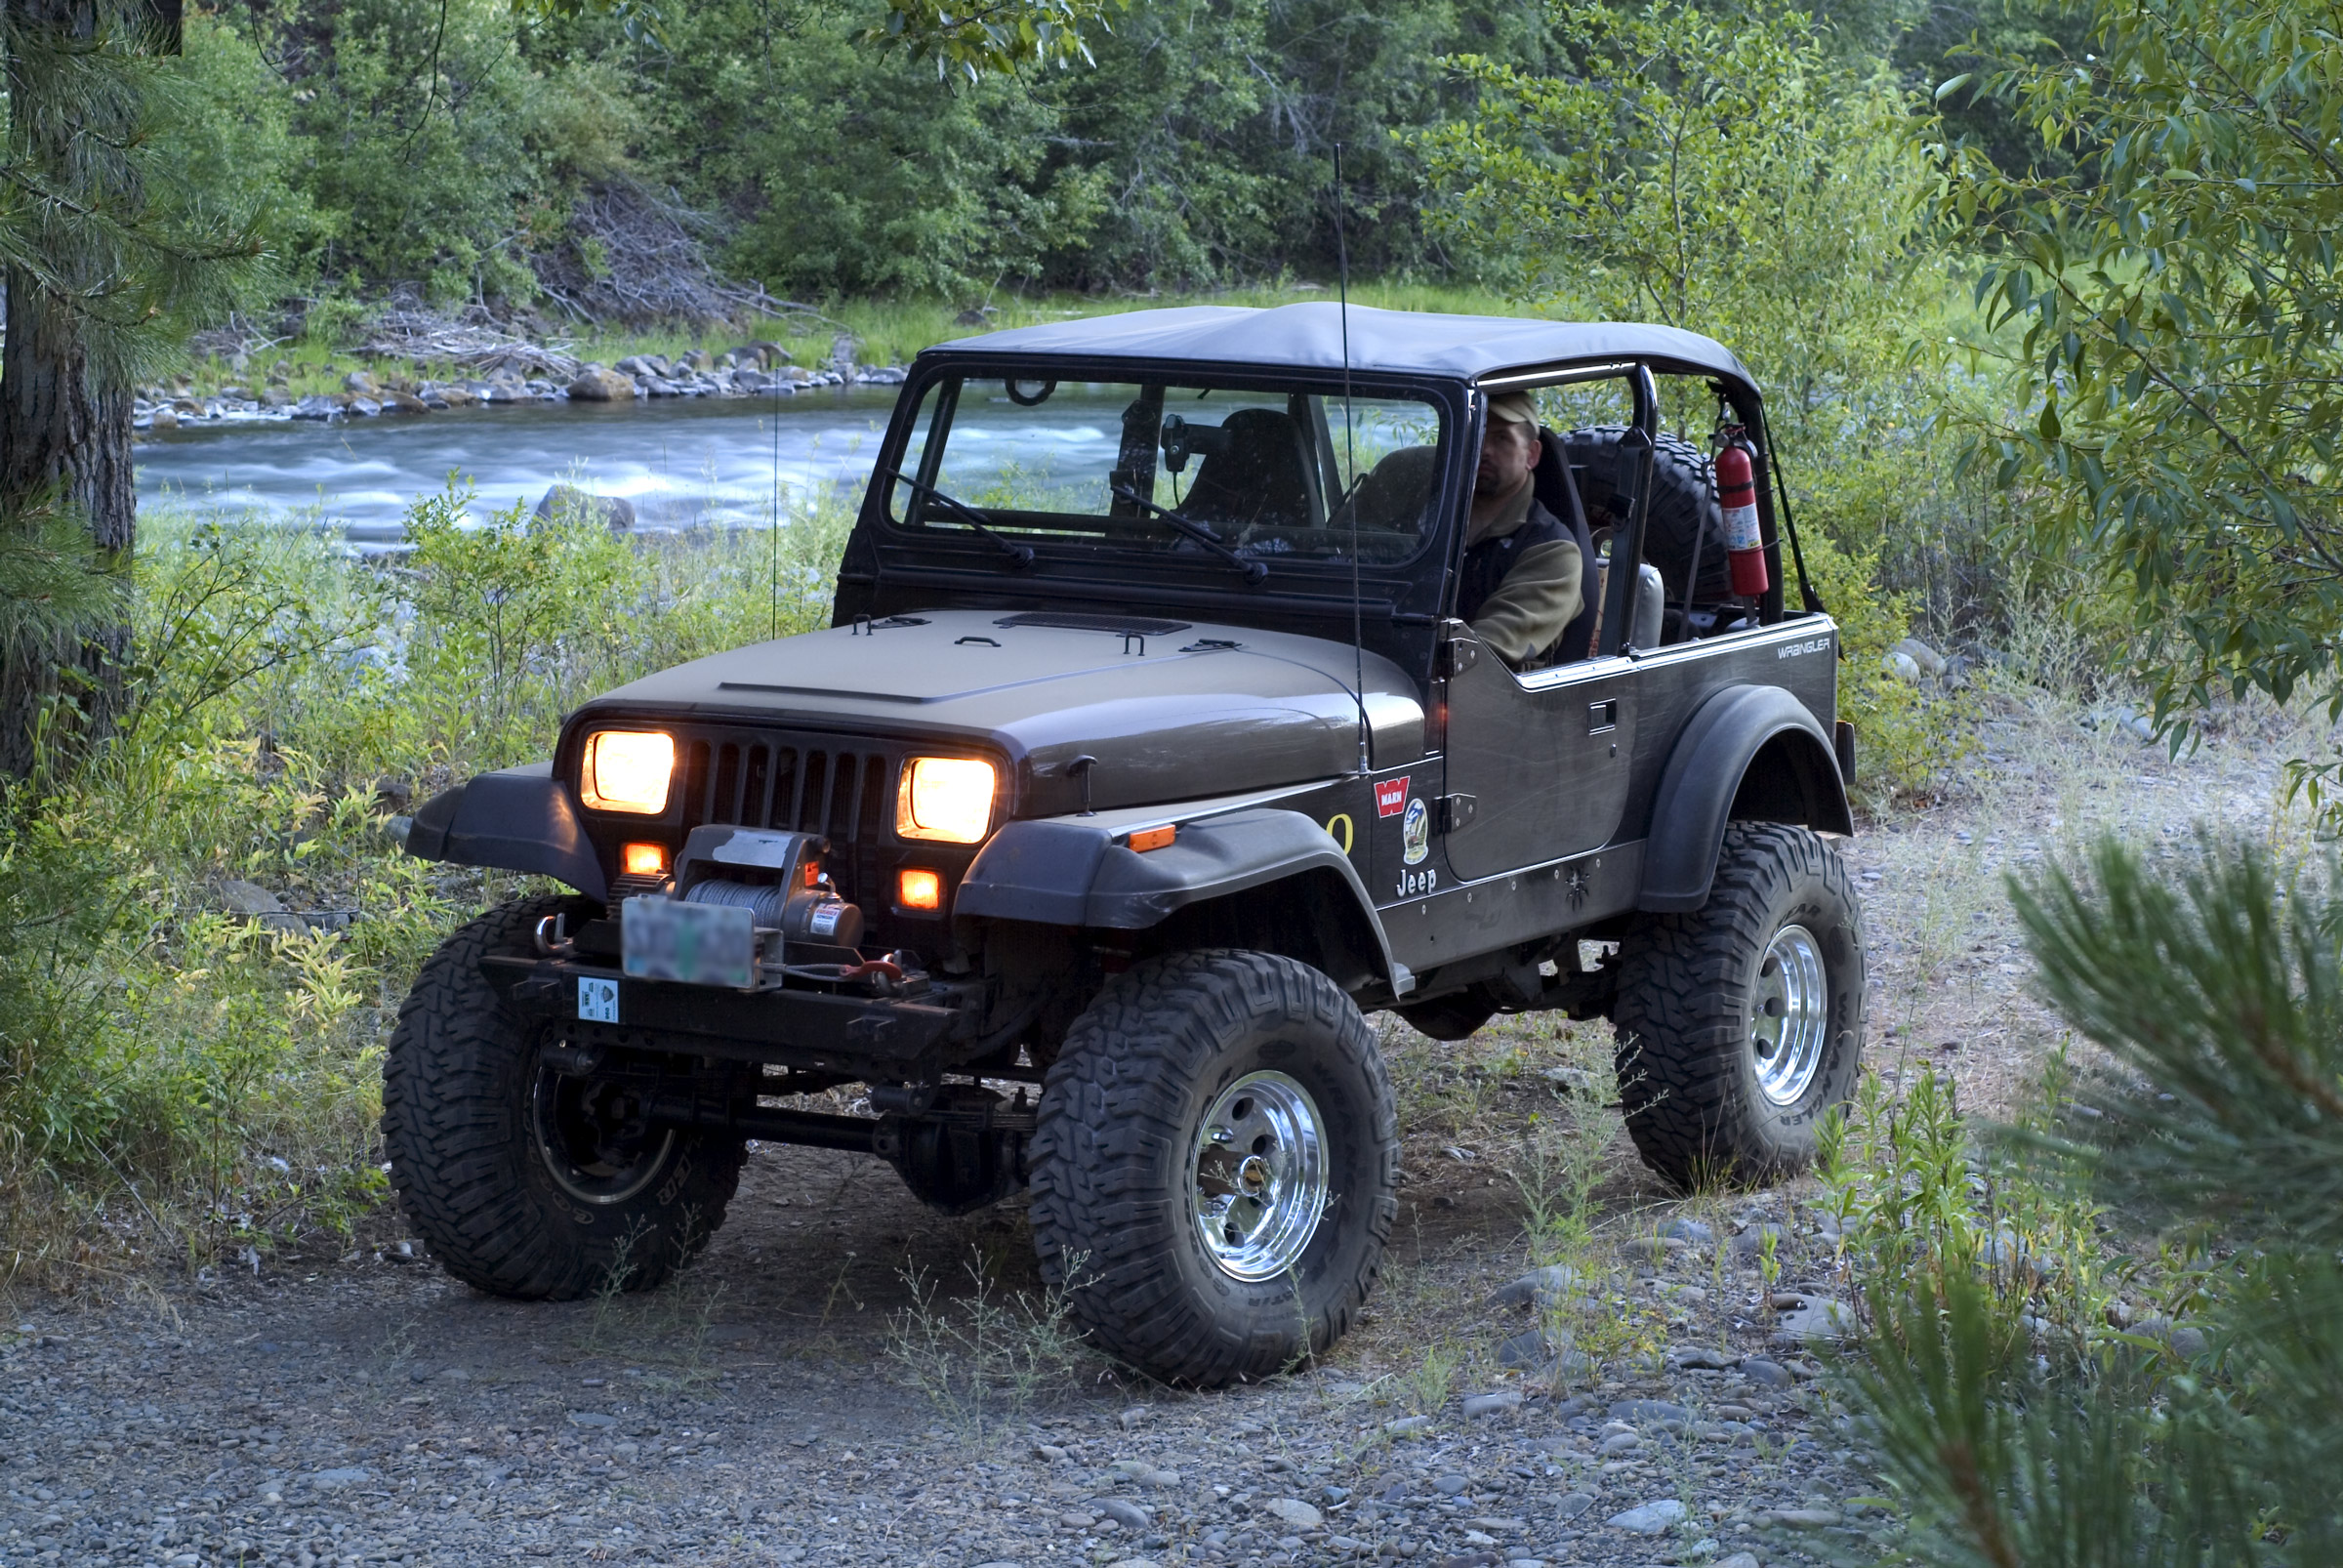
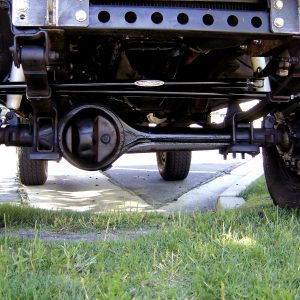
While early Toyota trucks are a great foundation, they do require a few modifications to make them capable of serious off-road use. Sure, you’ll need the basics, such as larger tires, lower gears and some kind of traction-aiding device in the differentials, but first there is a more important issue at hand. The steering on these early Toyota trucks was not designed with hardcore off-road use in mind.

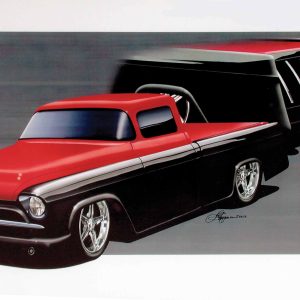
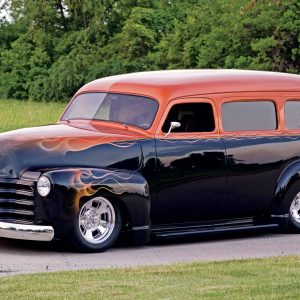
WHO’S YOUR CADDY?
One day, Ron Jones was walking around a consignment lot looking for his next rodding project. He had gone there with the intention of checking out a particular car, a ’29 Ford, but while there he noticed another vehicle that caught his eye. Tucked in the back of the lot was a ’49 Cadillac sedanette. It was mostly white and in rather poor shape, with dents, body filler and a little rust as evidence of a neglected existence. But Jones saw the car and knew he had to have it.


