
THE AUTO BUILDER
Menu
Featured

STEPPIN’ UP TO A LIFTED TUNDRA
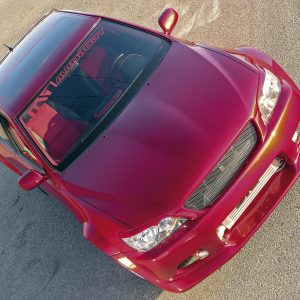
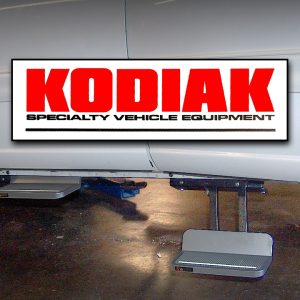
To a truck nut, there is no thrill like driving his pickup right after it’s been lifted. No pun intended, but a lifted truck just seems to bring a guy up in the world. Unfortunately, the thrill is gone as soon as his lady gripes about her struggle to get in it.
WHAT A CONCEPT
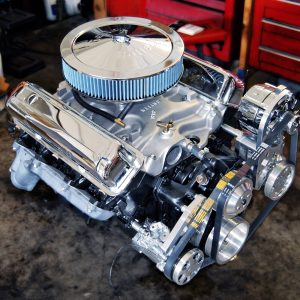
After recently purchasing a ’62 Thunderbird, it became obvious very quickly that the car needed a new engine. Our plan was to turn the car into a daily driver, and so, as long as we needed a new engine, we figured we’d add air conditioning to the car while we were at it. And if you really know your Ford history, you also know that the ’62 was the last model T-bird to come with a generator rather than an alternator—one more reason to consider an upgrade.

SWEET SOUNDS
Everyone wants a killer stereo that rocks. You can’t just roll out in your car without something fabulous to listen to. The factory equipment just won’t work for those who demand more, especially if you are trying to show off. You have to be able to turn up the music and be heard—it’s all part of the game. If you’re going to roll, you know the rules: you have to roll hard and that means your entire stereo system has to be up to the task. Nothing is worse than blasting a stereo and hearing everything rattle and shake. That’s a huge no-no. There is a simple solution to this problem, however. To do a proper stereo installation, you must first lay a solid foundation. The first layer of this foundation is called sound damping or sound control.




Spotlighter
POPULAR READS
-
The Auto Builder’s Hottest Product Picks from The Triple Crown of Rodding 2026
-
Product Spotlight: Bill Mitchell Products Aluminum LS Engine Block
-
PRODUCT SPOTLIGHT: 60-66 Chevy C10 Fresh Air Vent Block Off Plate
-
Product Spotlight: Pyramid Optimized Design Sequential Aurora Taillight for 1964½–1966 Mustang




Cimtex Rods Super Cameo: Part 12
Chopped Top Reassembly, Top And Door Alignment And Final Welding
Author

Bob McClurg
Story & Photography
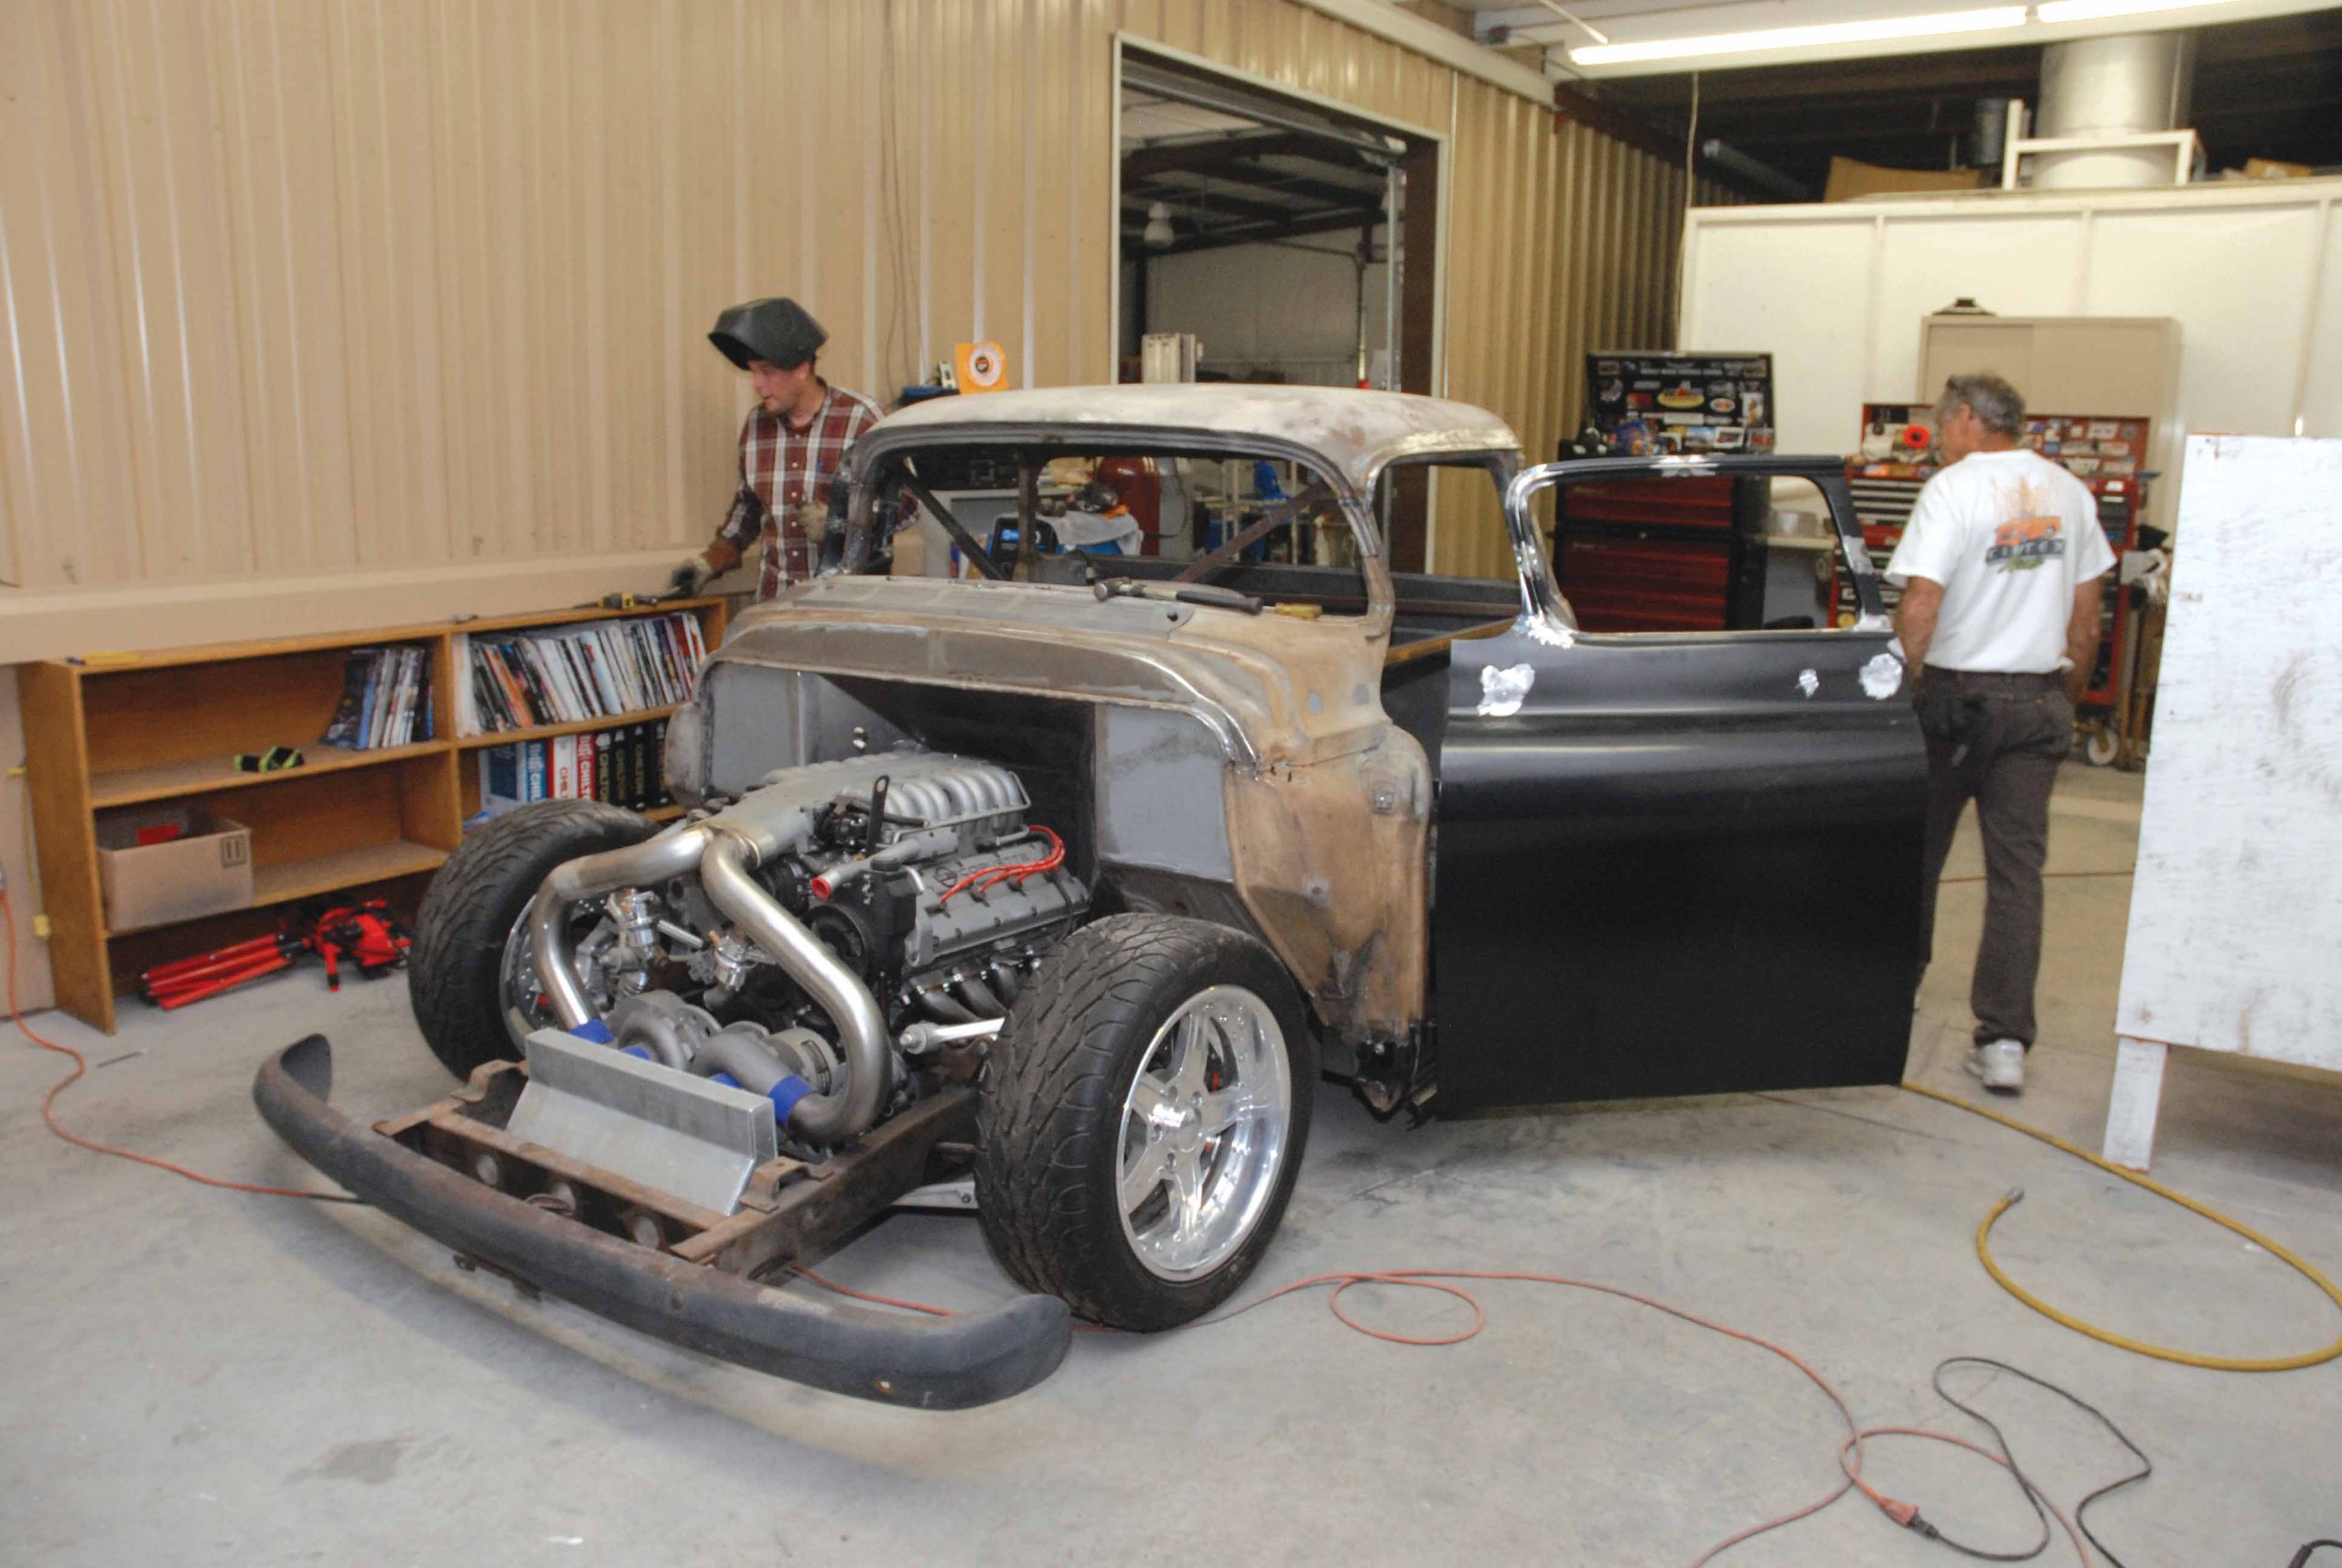
We left our Cimtex Rods Super Cameo buildup with the brothers Cimbanin standing around a ’56 Chevrolet Cameo roadster parked in their shop in Jarrell, Texas. You can take our word for it that it was simply a temporary condition. The fact of the matter is this top chop was just too involved to cram every photo and detail into one issue. So, we’re back, and it’s time to reinstall that cut-off top.
Now, some of you may be wondering why Cimtex Rods didn’t pie cut the top rather than reinstalling it in one piece. They just don’t look good that way, commented Darrell. You either mess up the natural contour of the top when you cut it up into sections or you make the truck look too square by not slanting the doorposts. Actually, this is the most simple and intelligent way of doing things!
Darrell should know since the ’55 small-window Chevrolet Stepside which he and his brother, Tim, built was voted Goodguys Truck of the Year for 2002-2003. That says a lot with regards to their abilities.
However, that’s not to imply that chopping the truck’s big-window cab the way Cimtex Rods does is hassle-free. Regardless of which way you do it, it’s necessary to square the cab up after preliminary welding, as it may have shifted slightly. Ours moved a quarter of an inch.
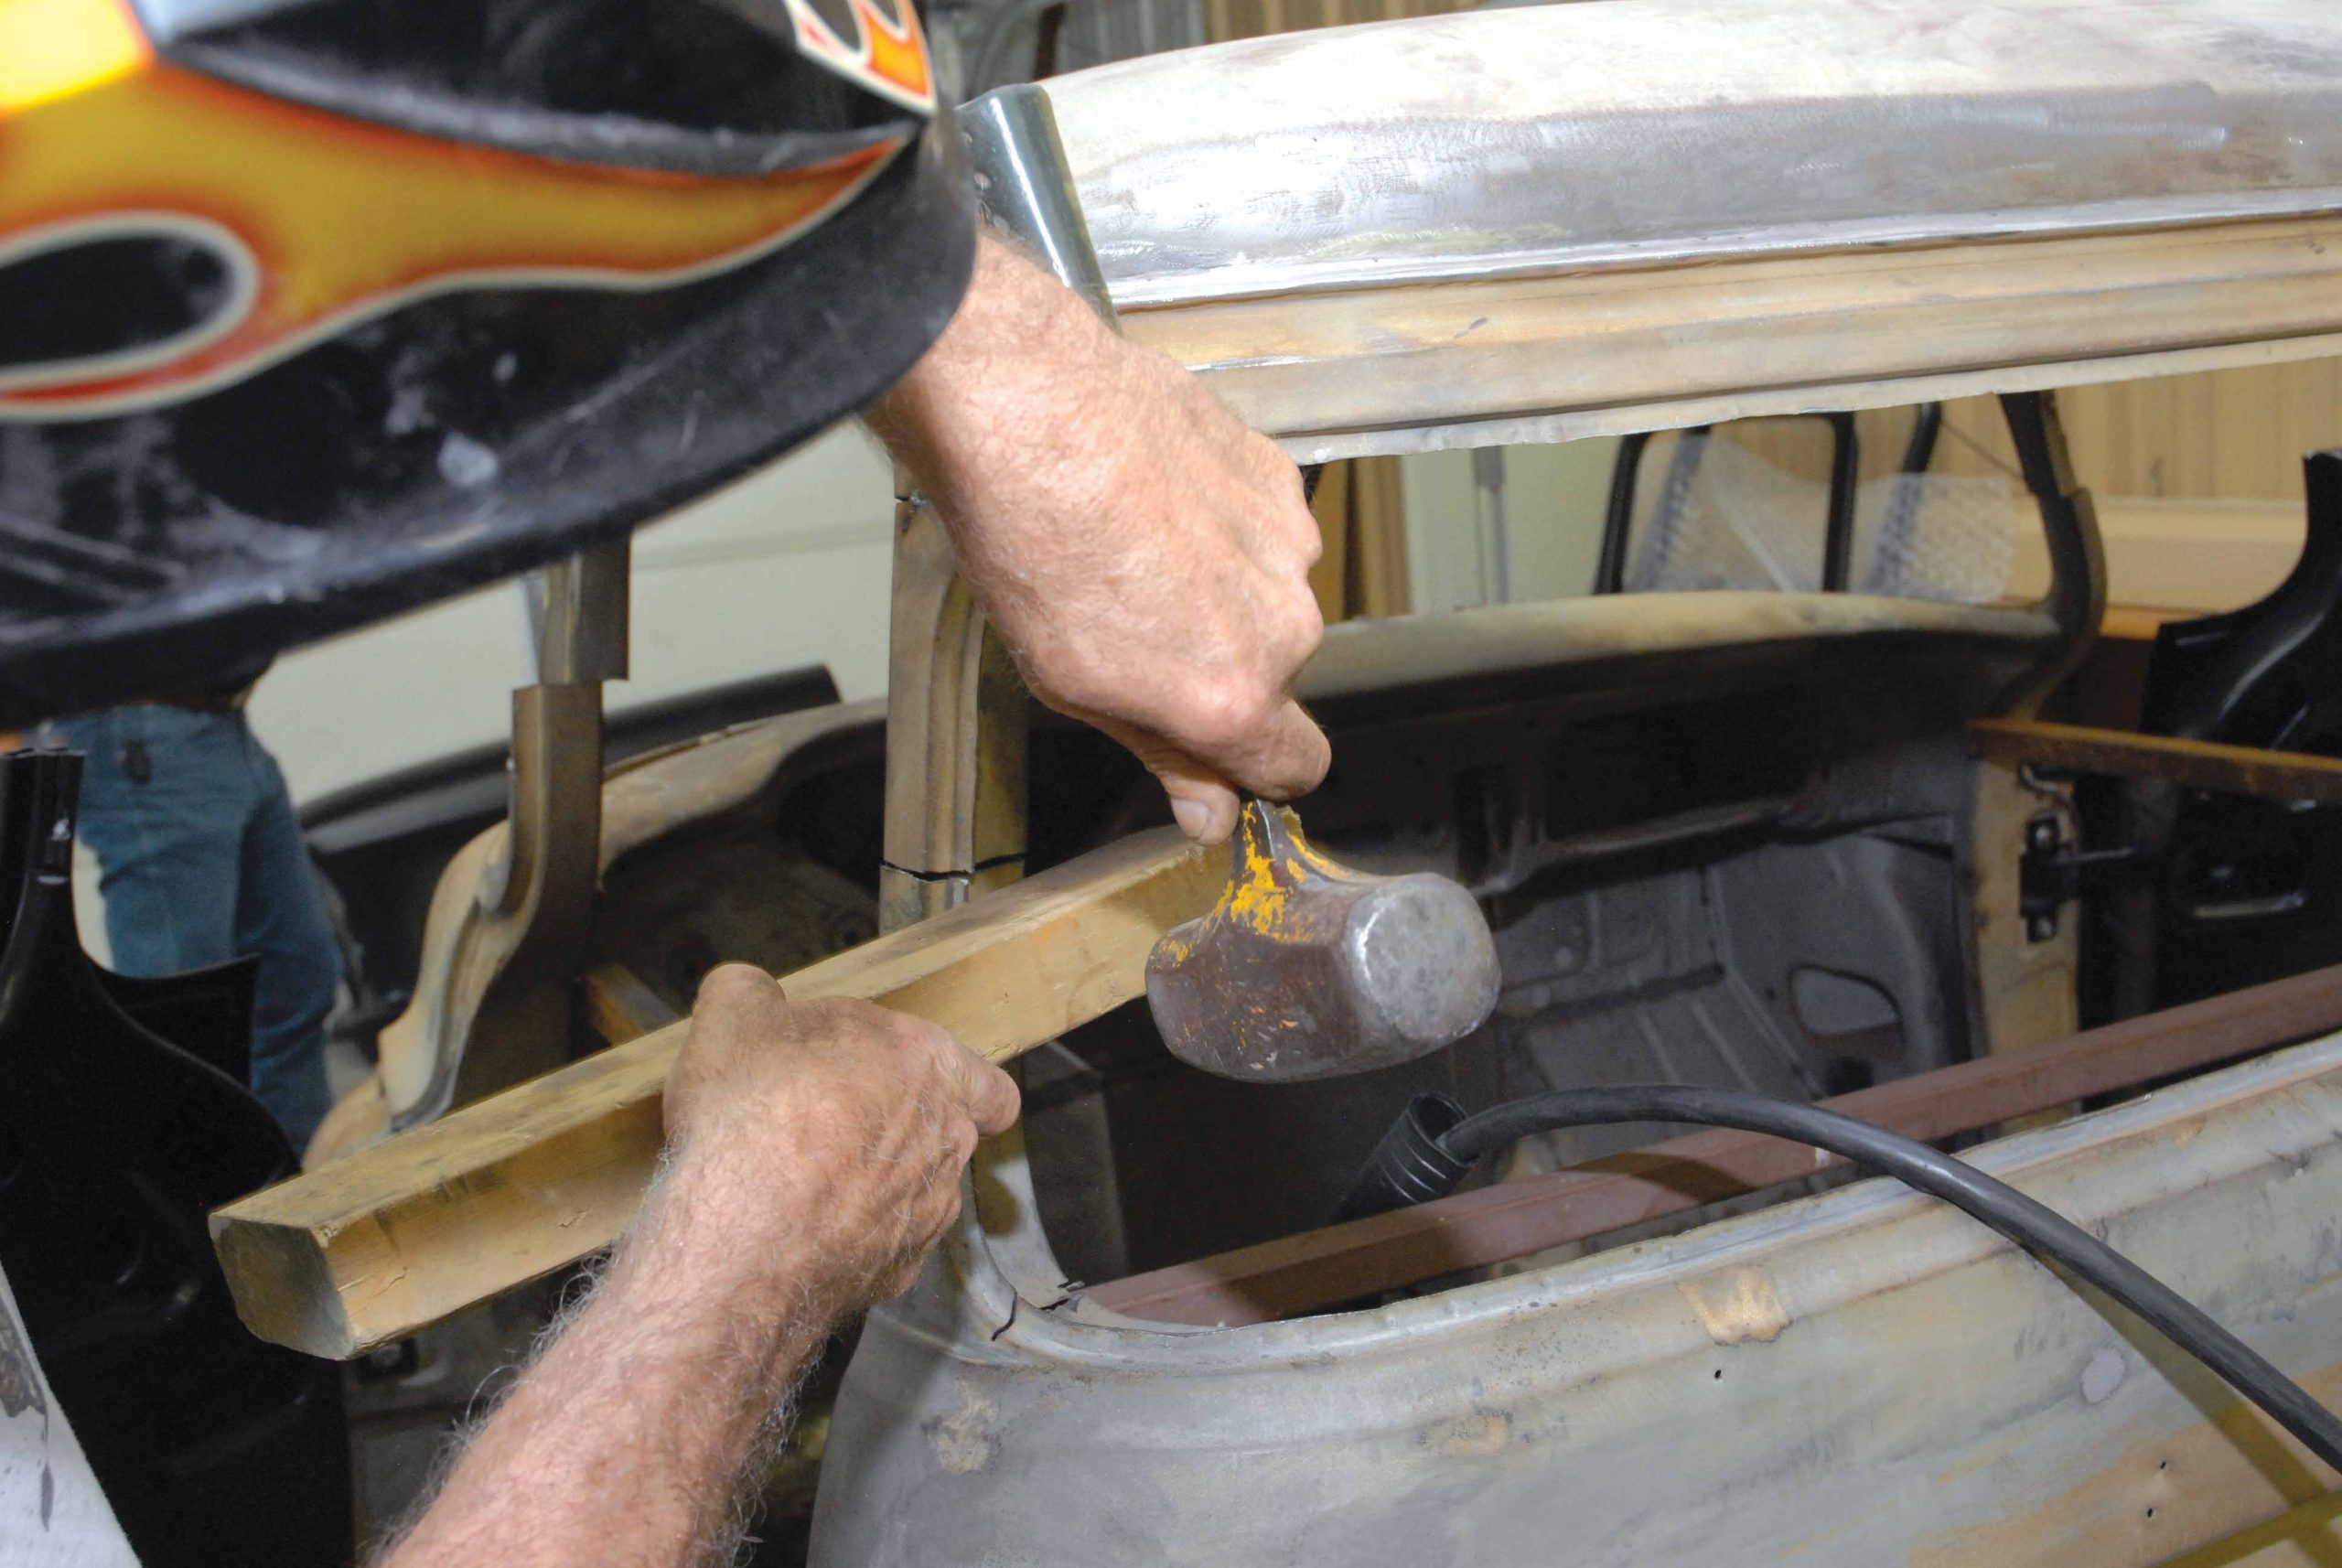
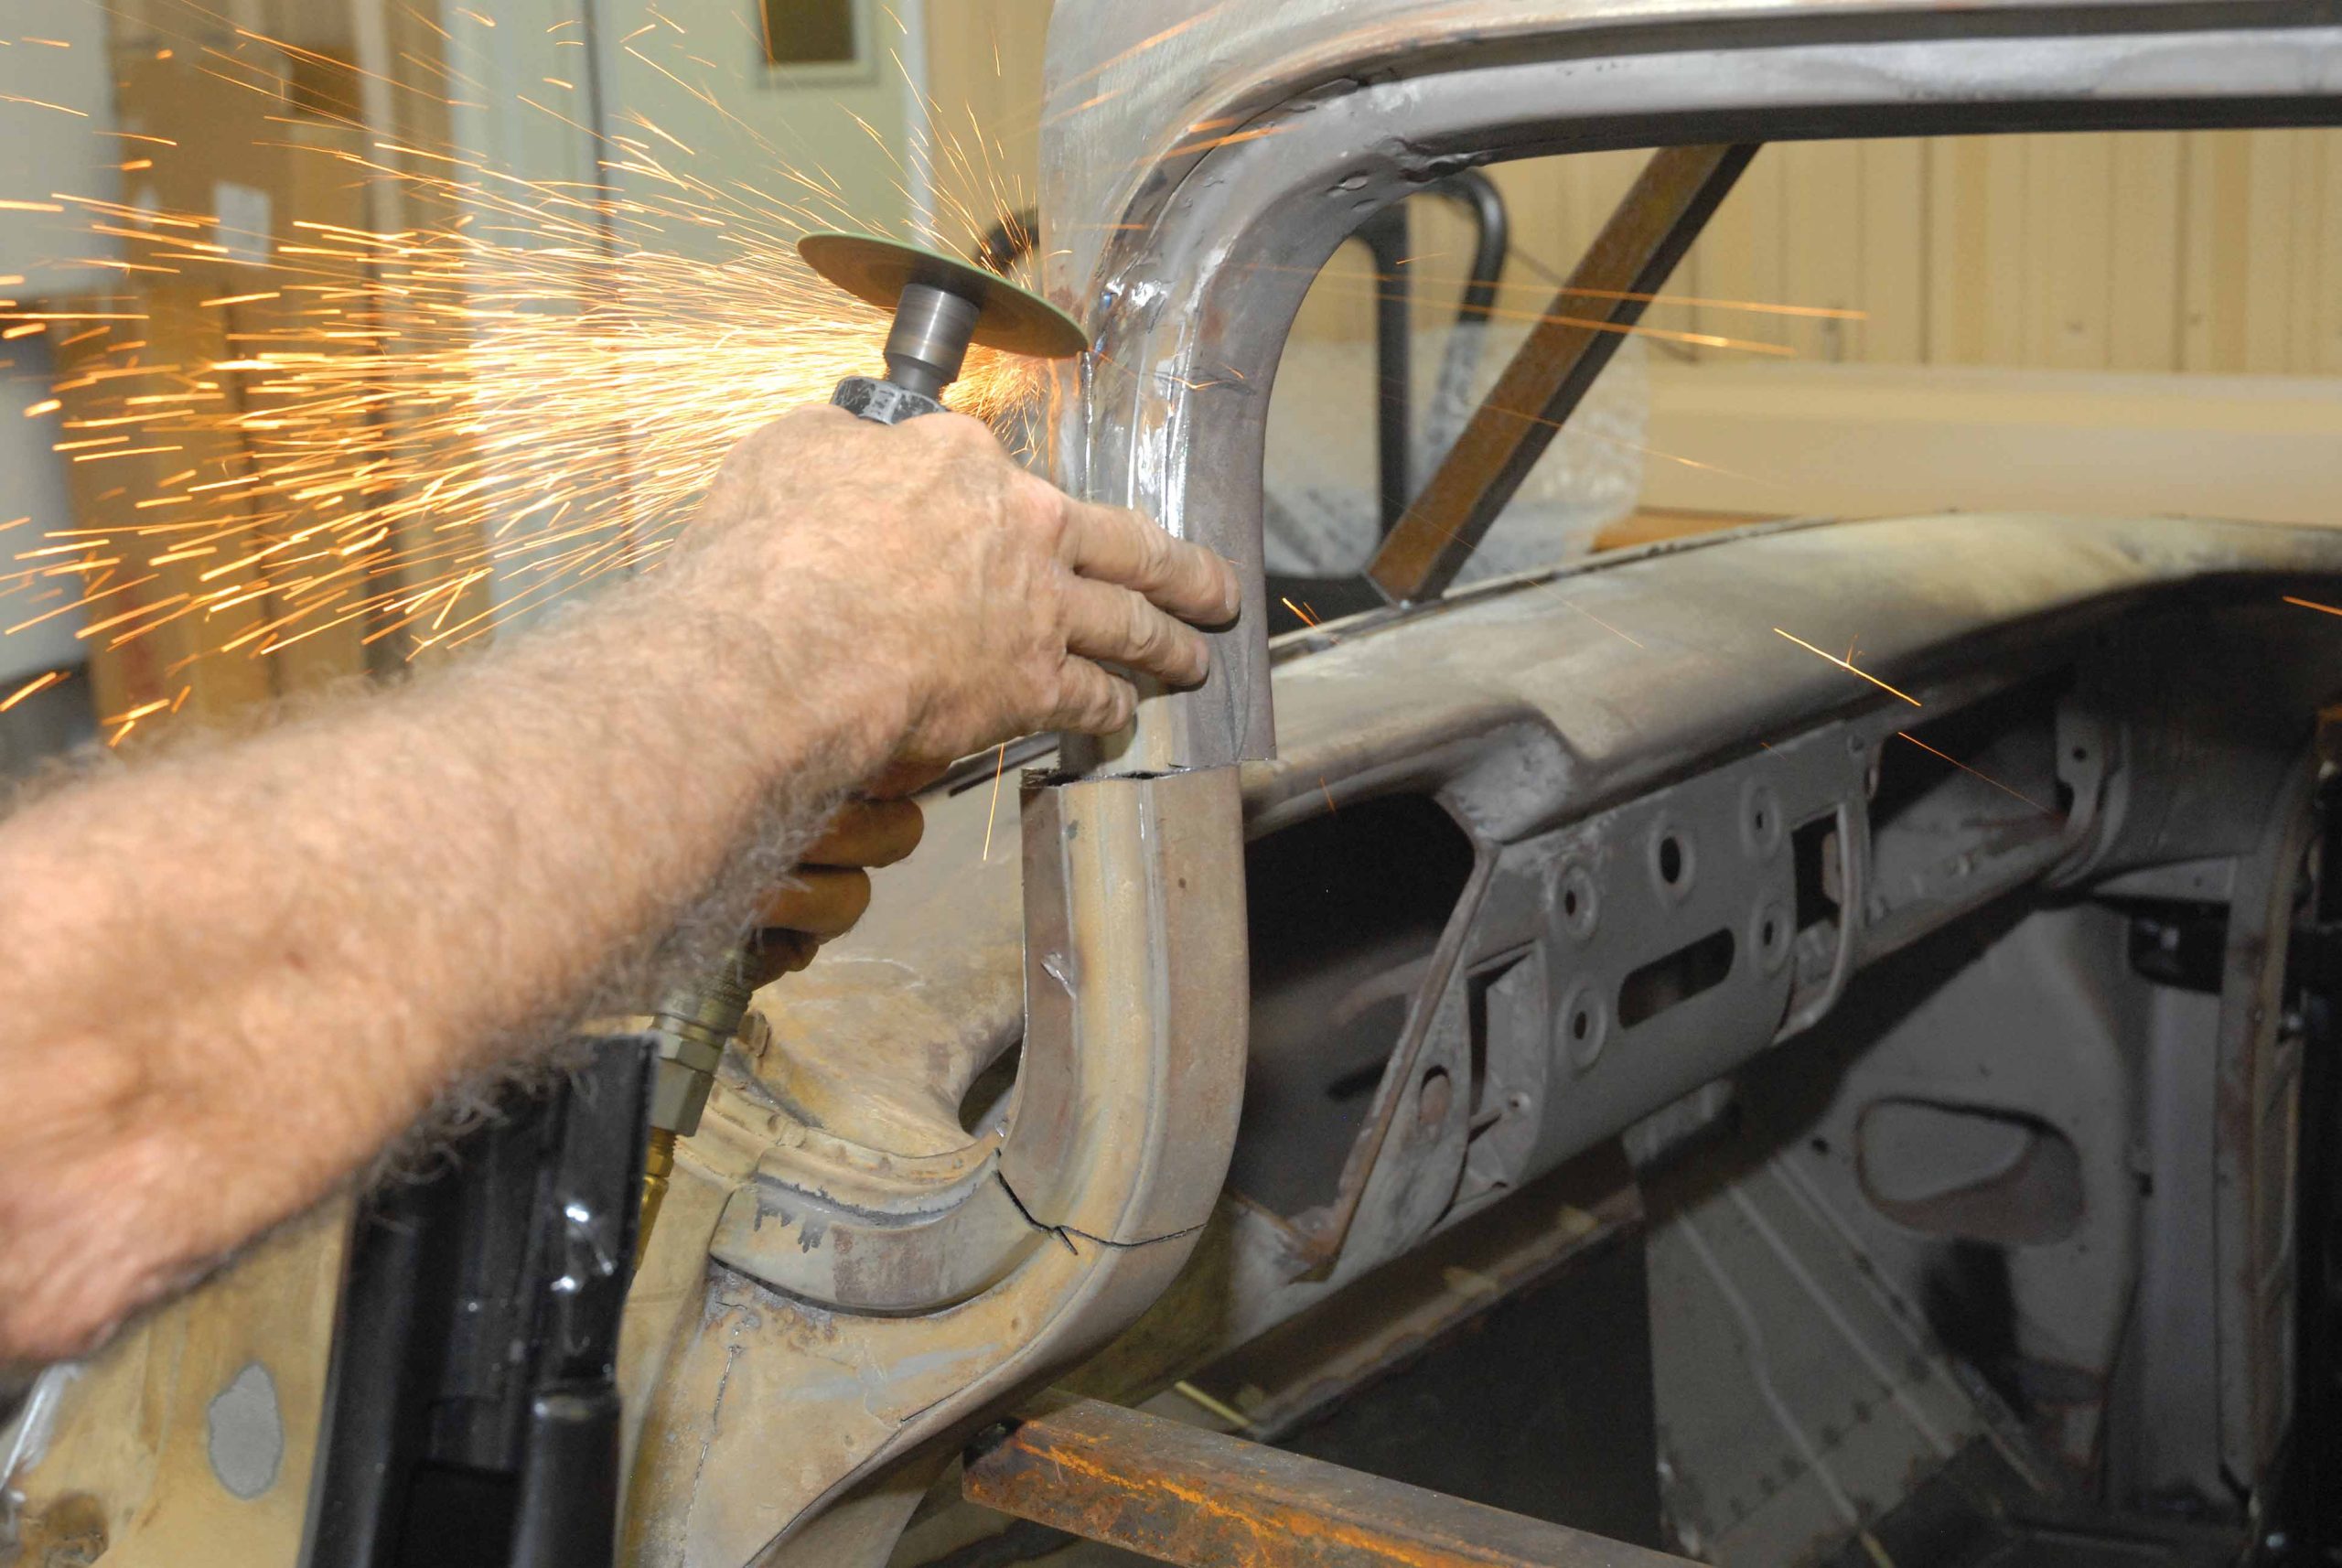
Angling out those top doorposts approximately 1/4 inch and angling in those bottom doorposts approximately 1/4 inch requires a series of carefully executed pie cuts around the circumference of the doors and door pillars using a hack saw, a die grinder, a body hammer and dolly and a good old-fashioned 2×4.
It’s advisable to make small cuts, once again keeping in mind that whatever material you mistakenly remove, you’ll have to put back again, says Cimbanin.
Door frame alignment may also take a little time as the roof profile on both sides of the ’55-1/2-’59 Chevrolet/GMC truck cabs are not exactly the same. For whatever reason we think that it was to provide more driver headroom the contour of the top around the driver’s door is slightly different, and door frame alignment may take a bit more time.
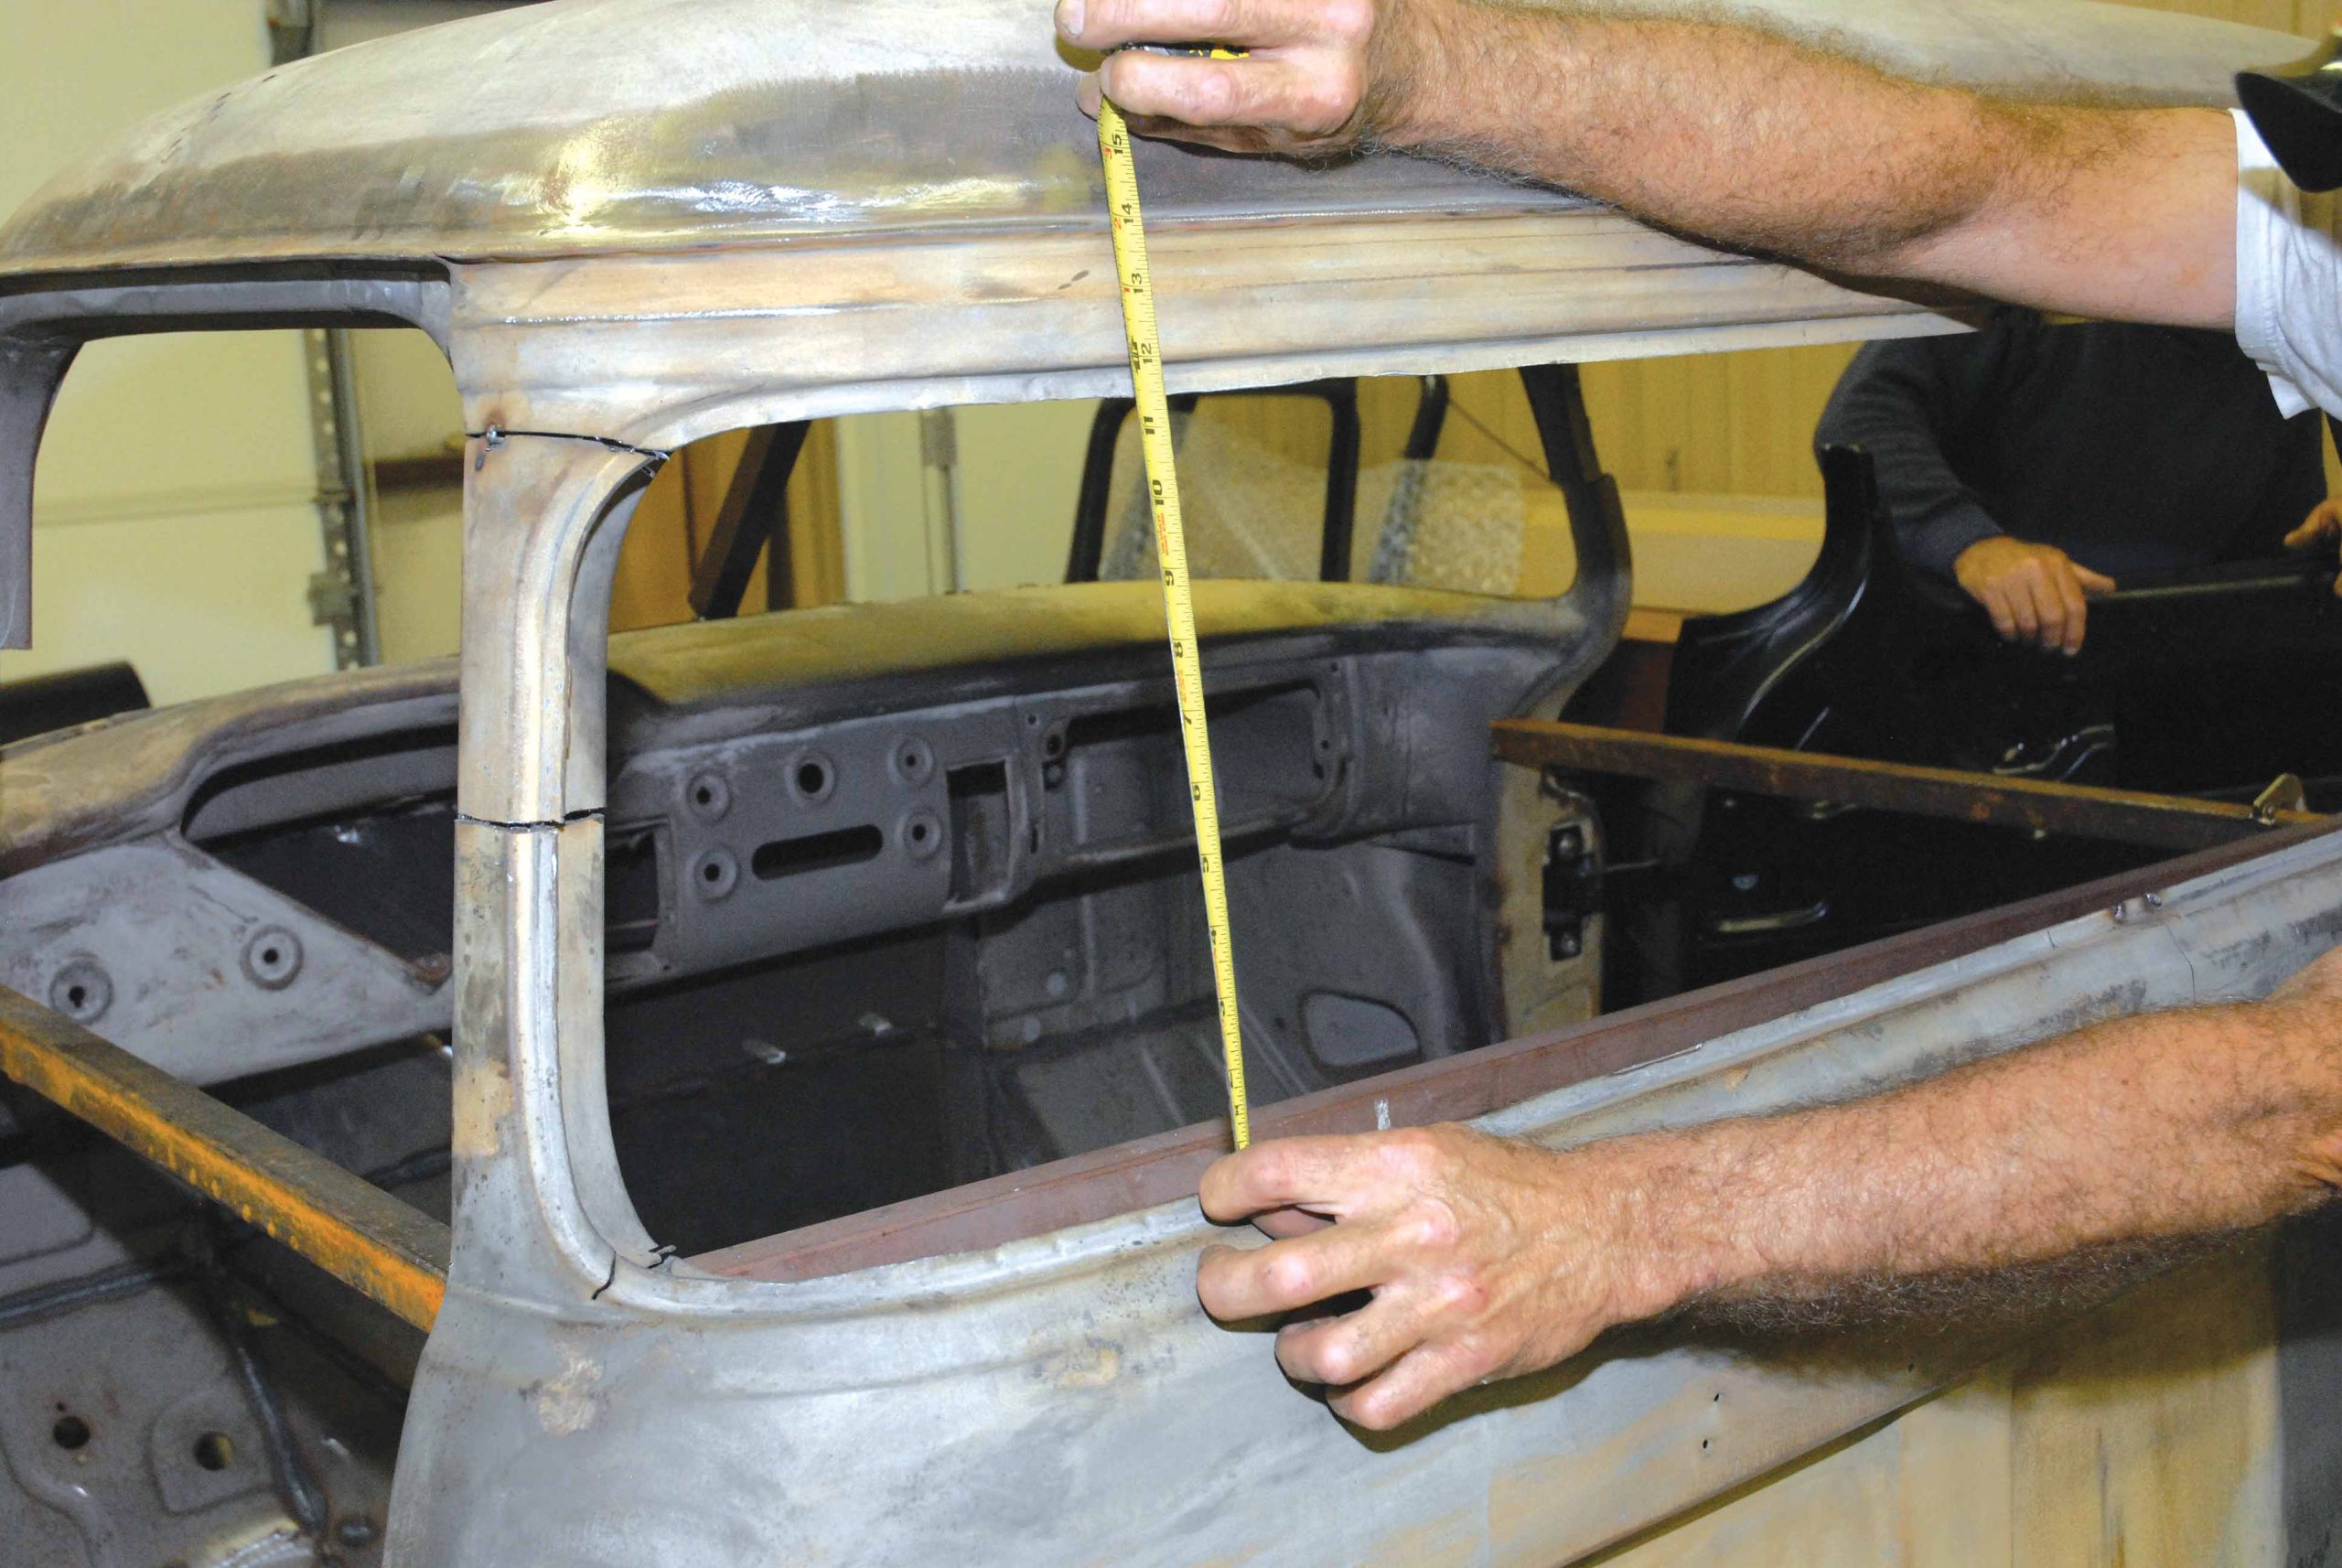
When all was said and done, the front window height on this chop measured 14-3/4 inches. All told, we removed roughly 4-1/4 inches from the front of the top. The top will naturally come down a little more than the back when you move the window posts in and back, commented Tim. Furthermore, the rear window height on this chop measured 12-1/2 inches, which meant that it came down a total of 4 inches. For reference sake, the front windshield centerline on our ’56 big-window measured 27-5/8 inches, while the rear or cab centerline measured a total of 29 inches.
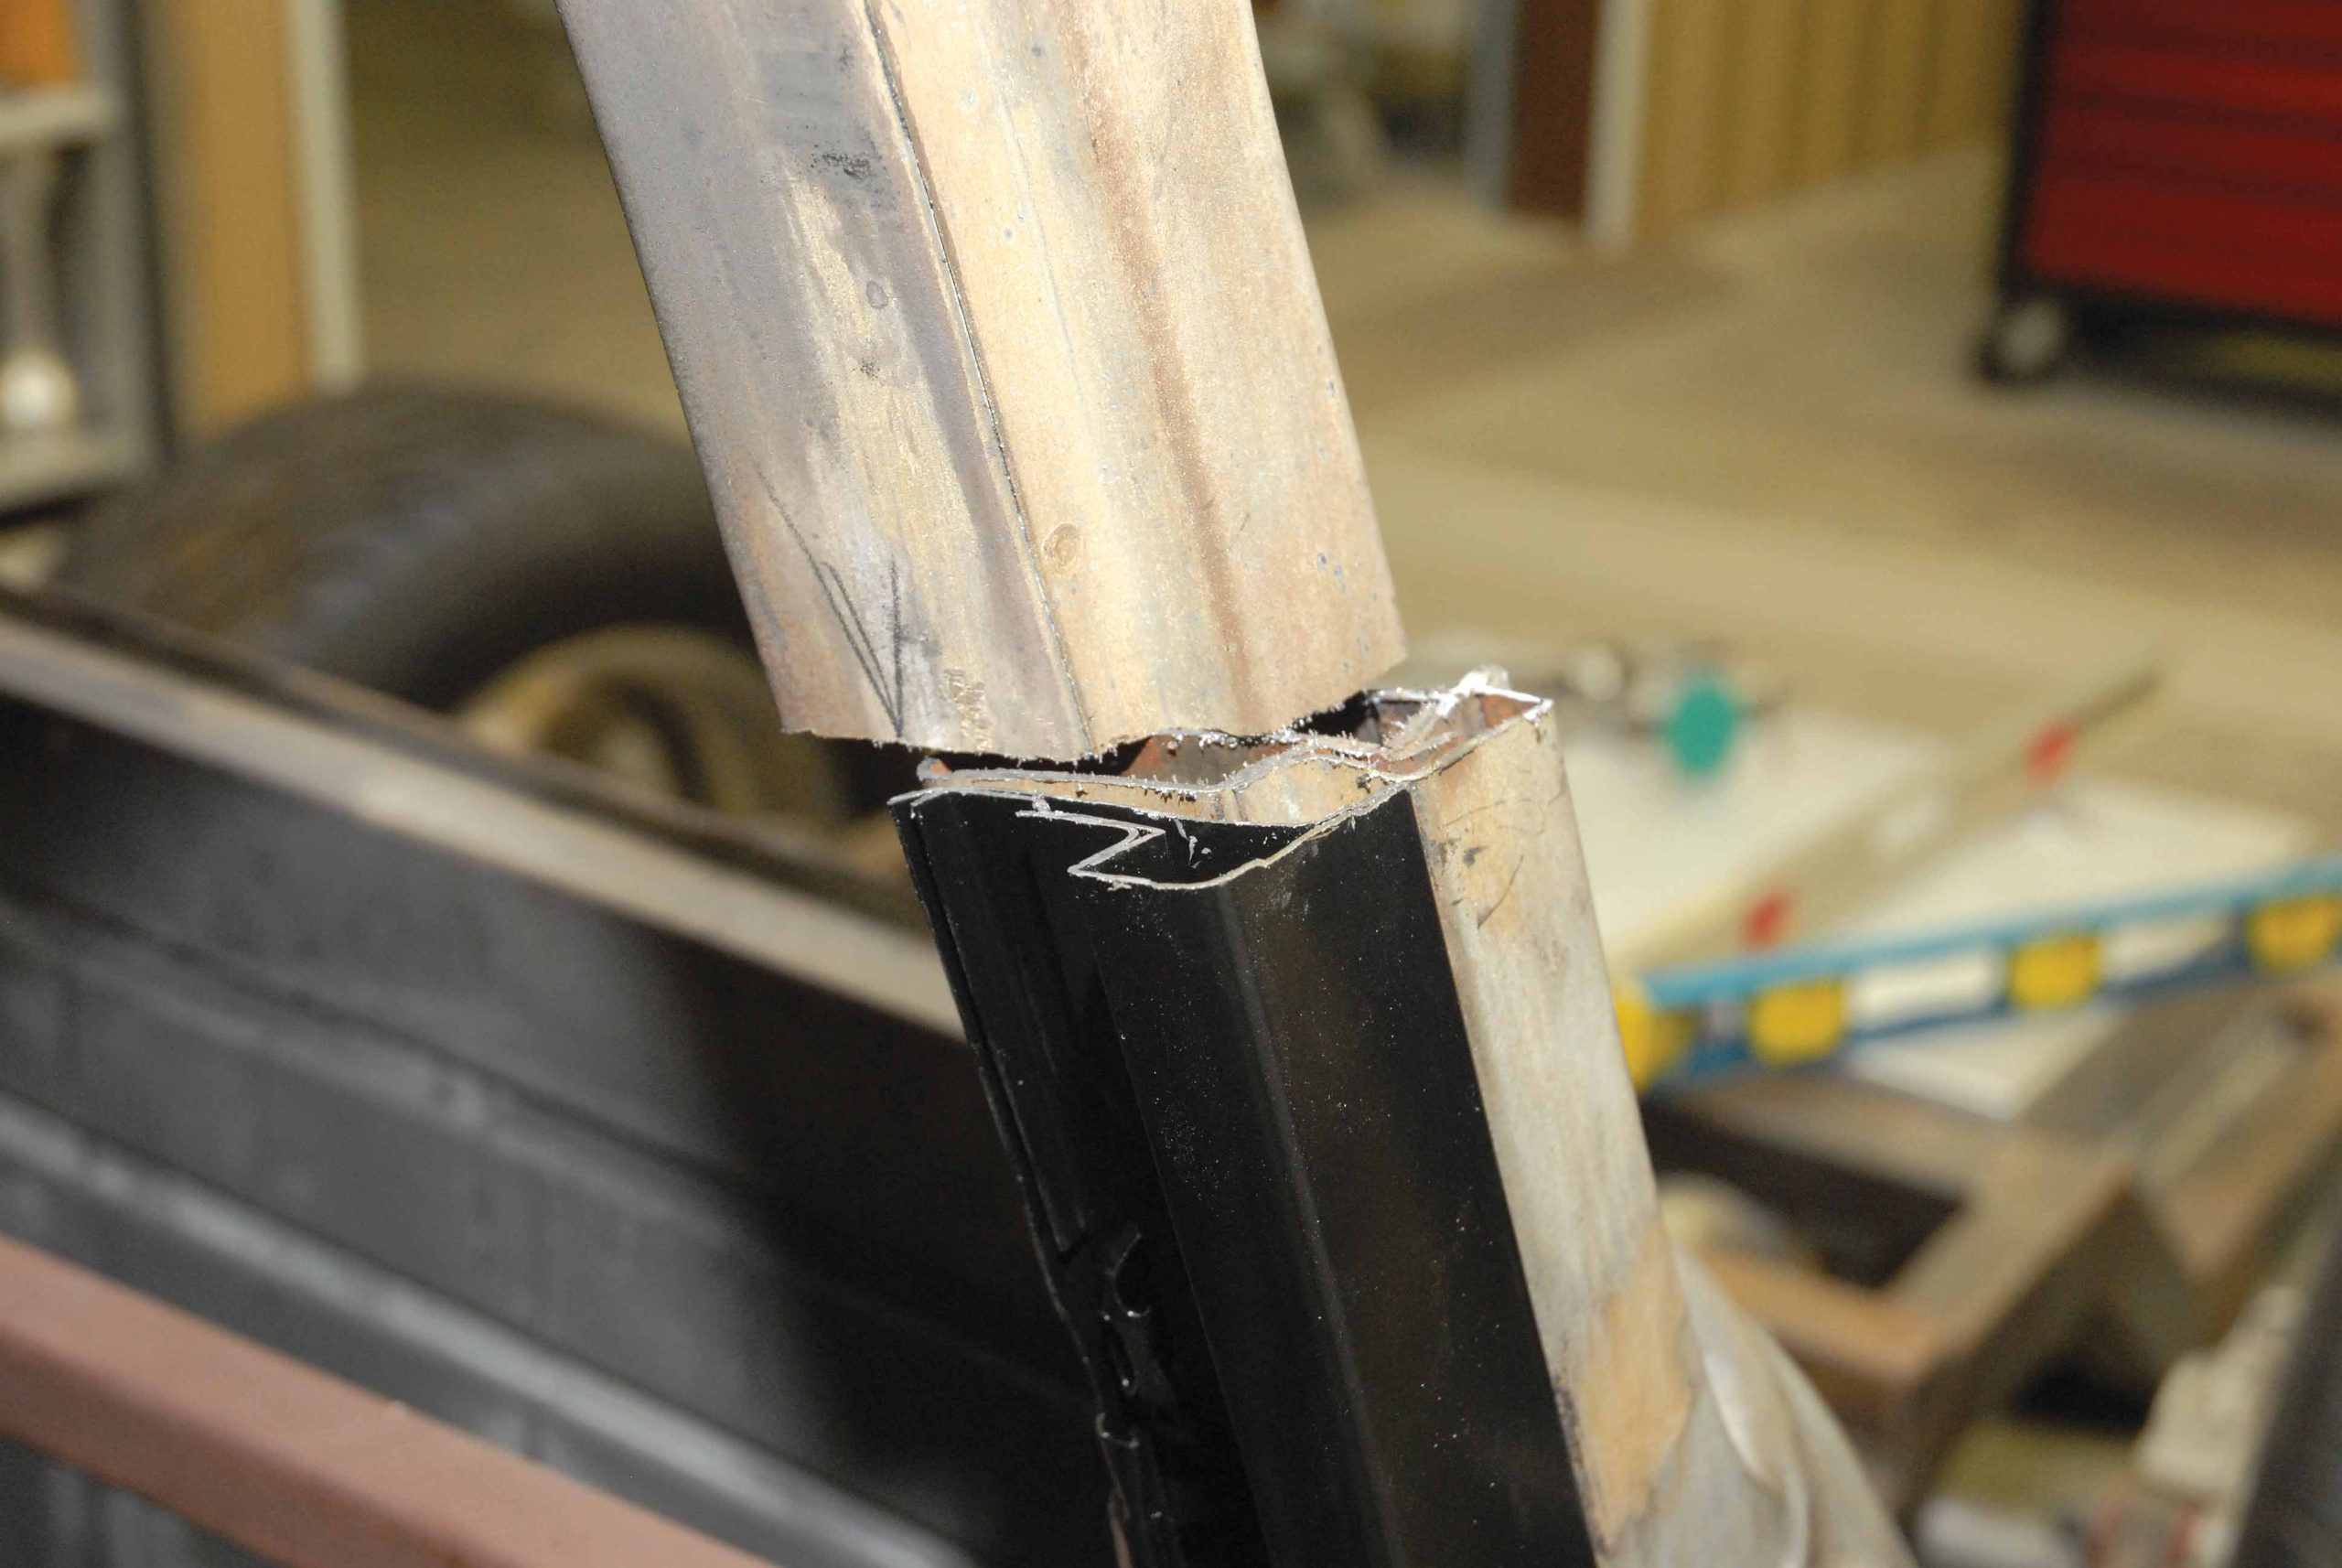
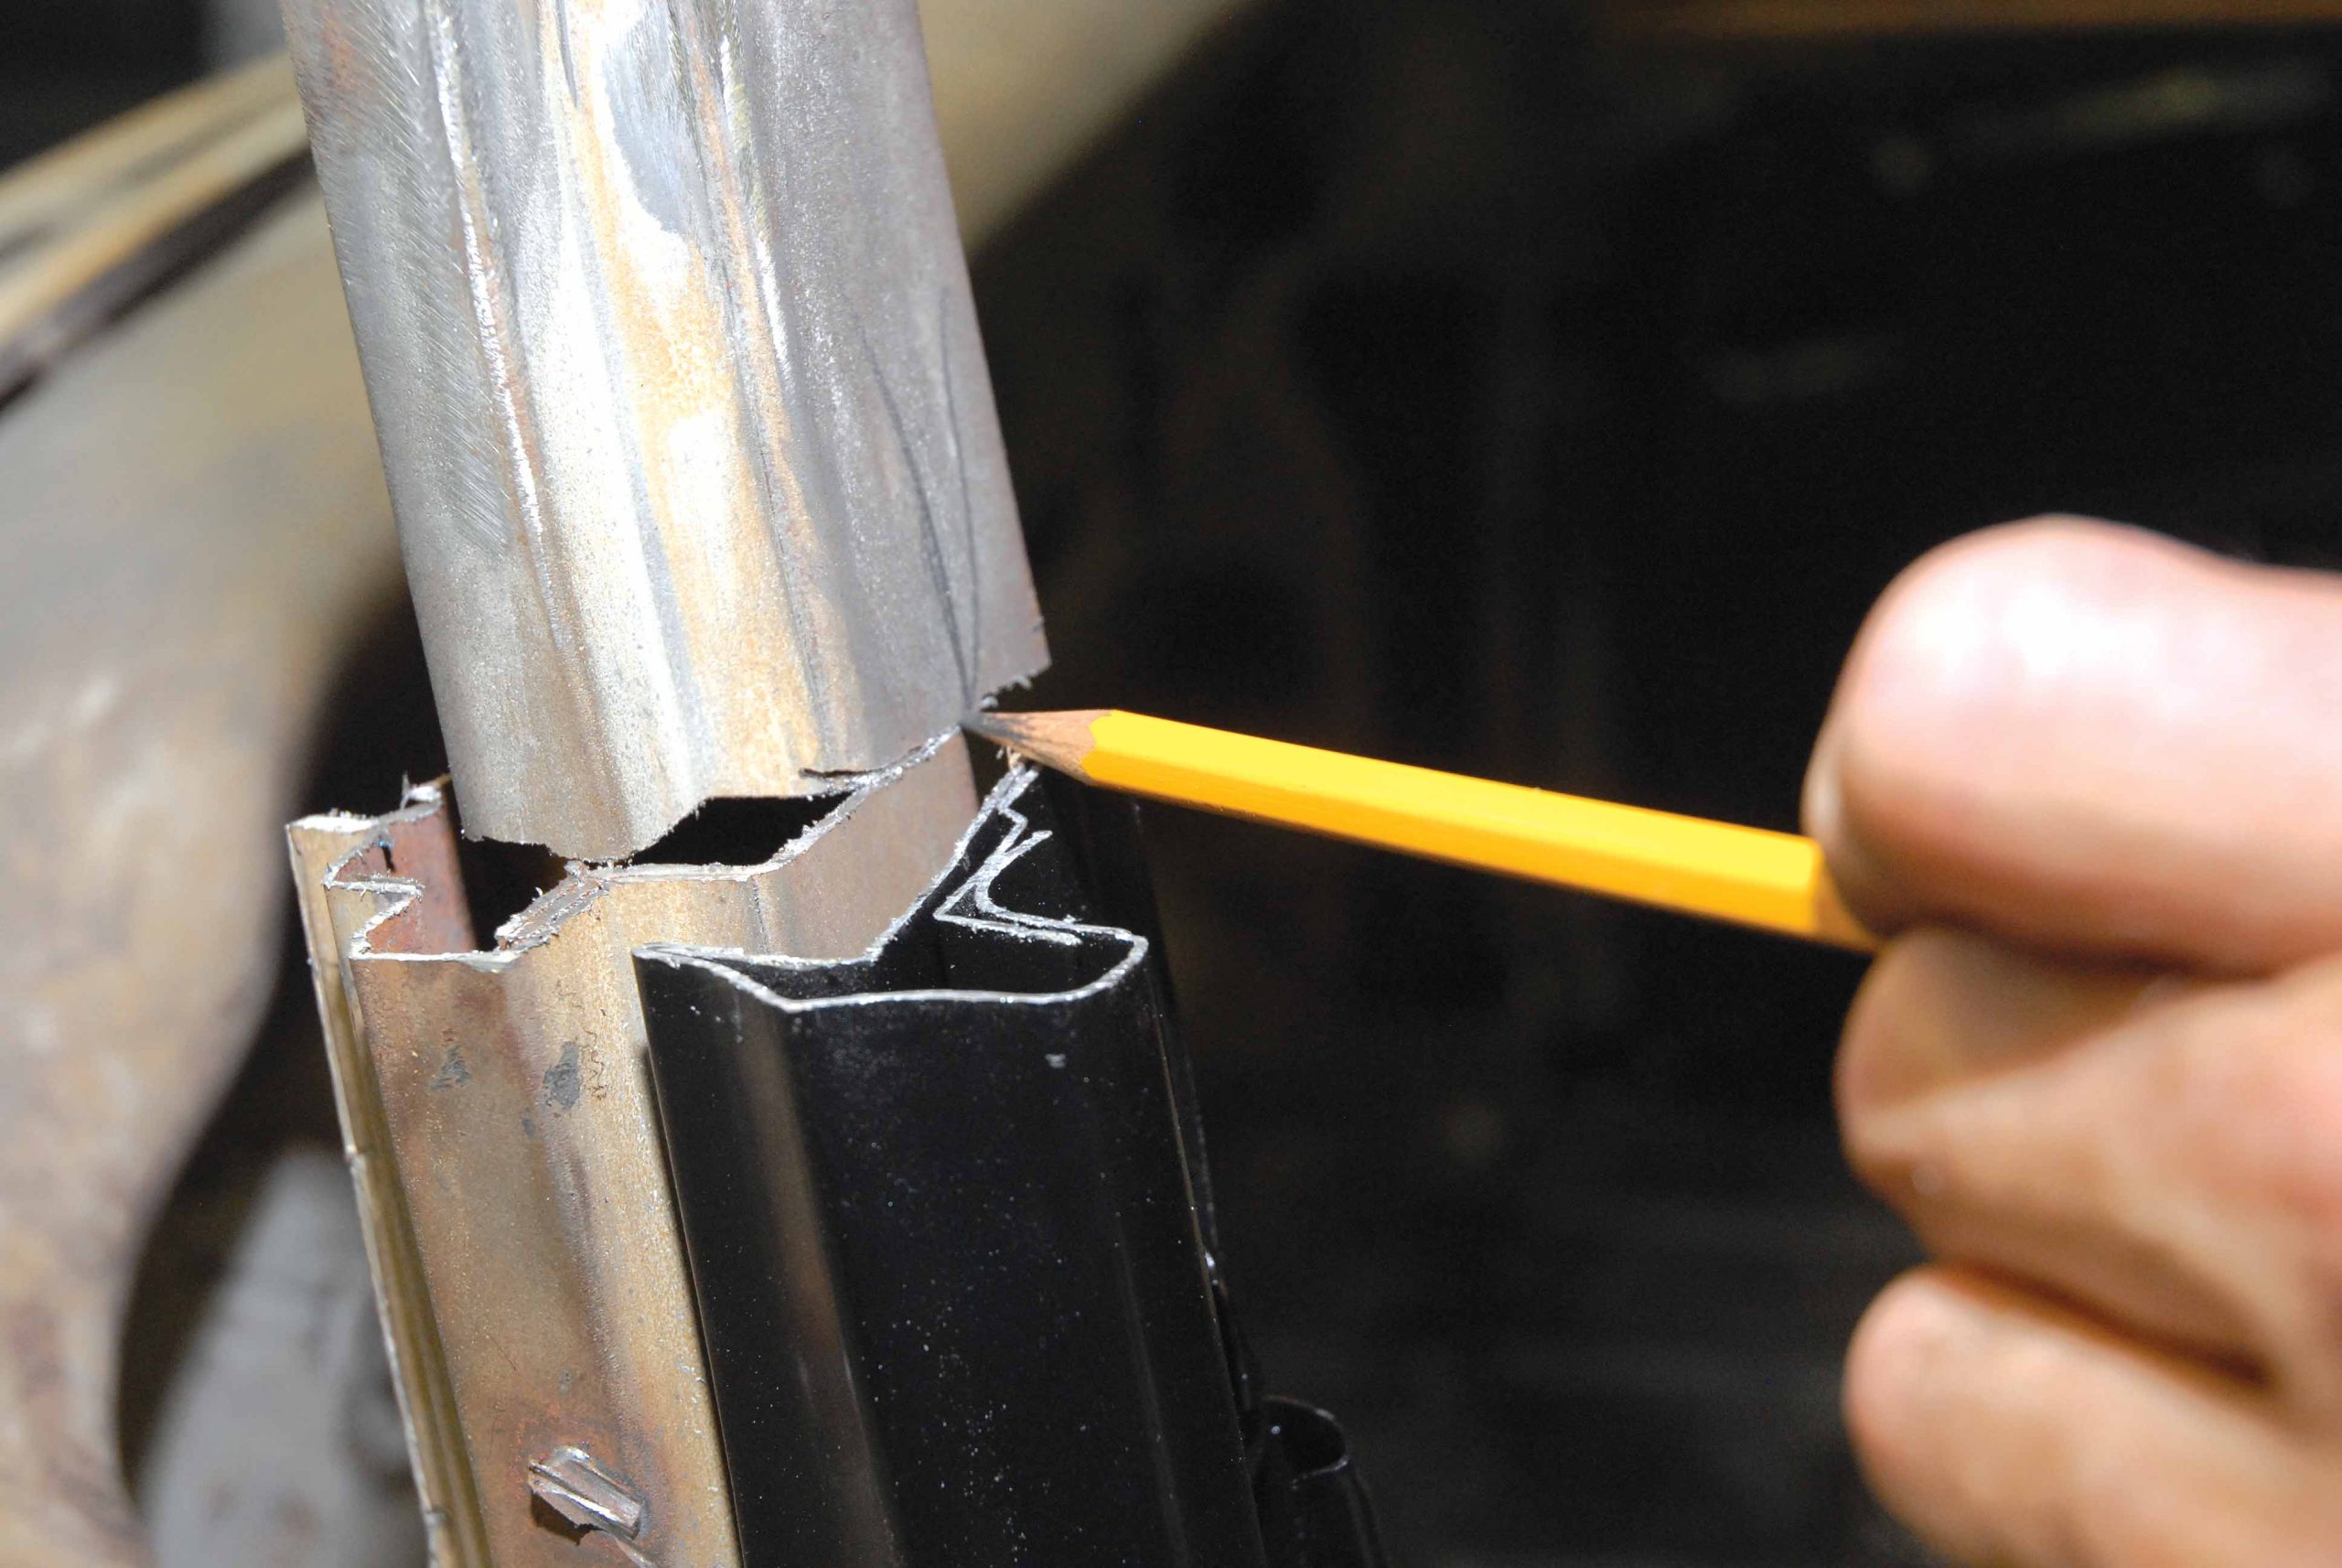
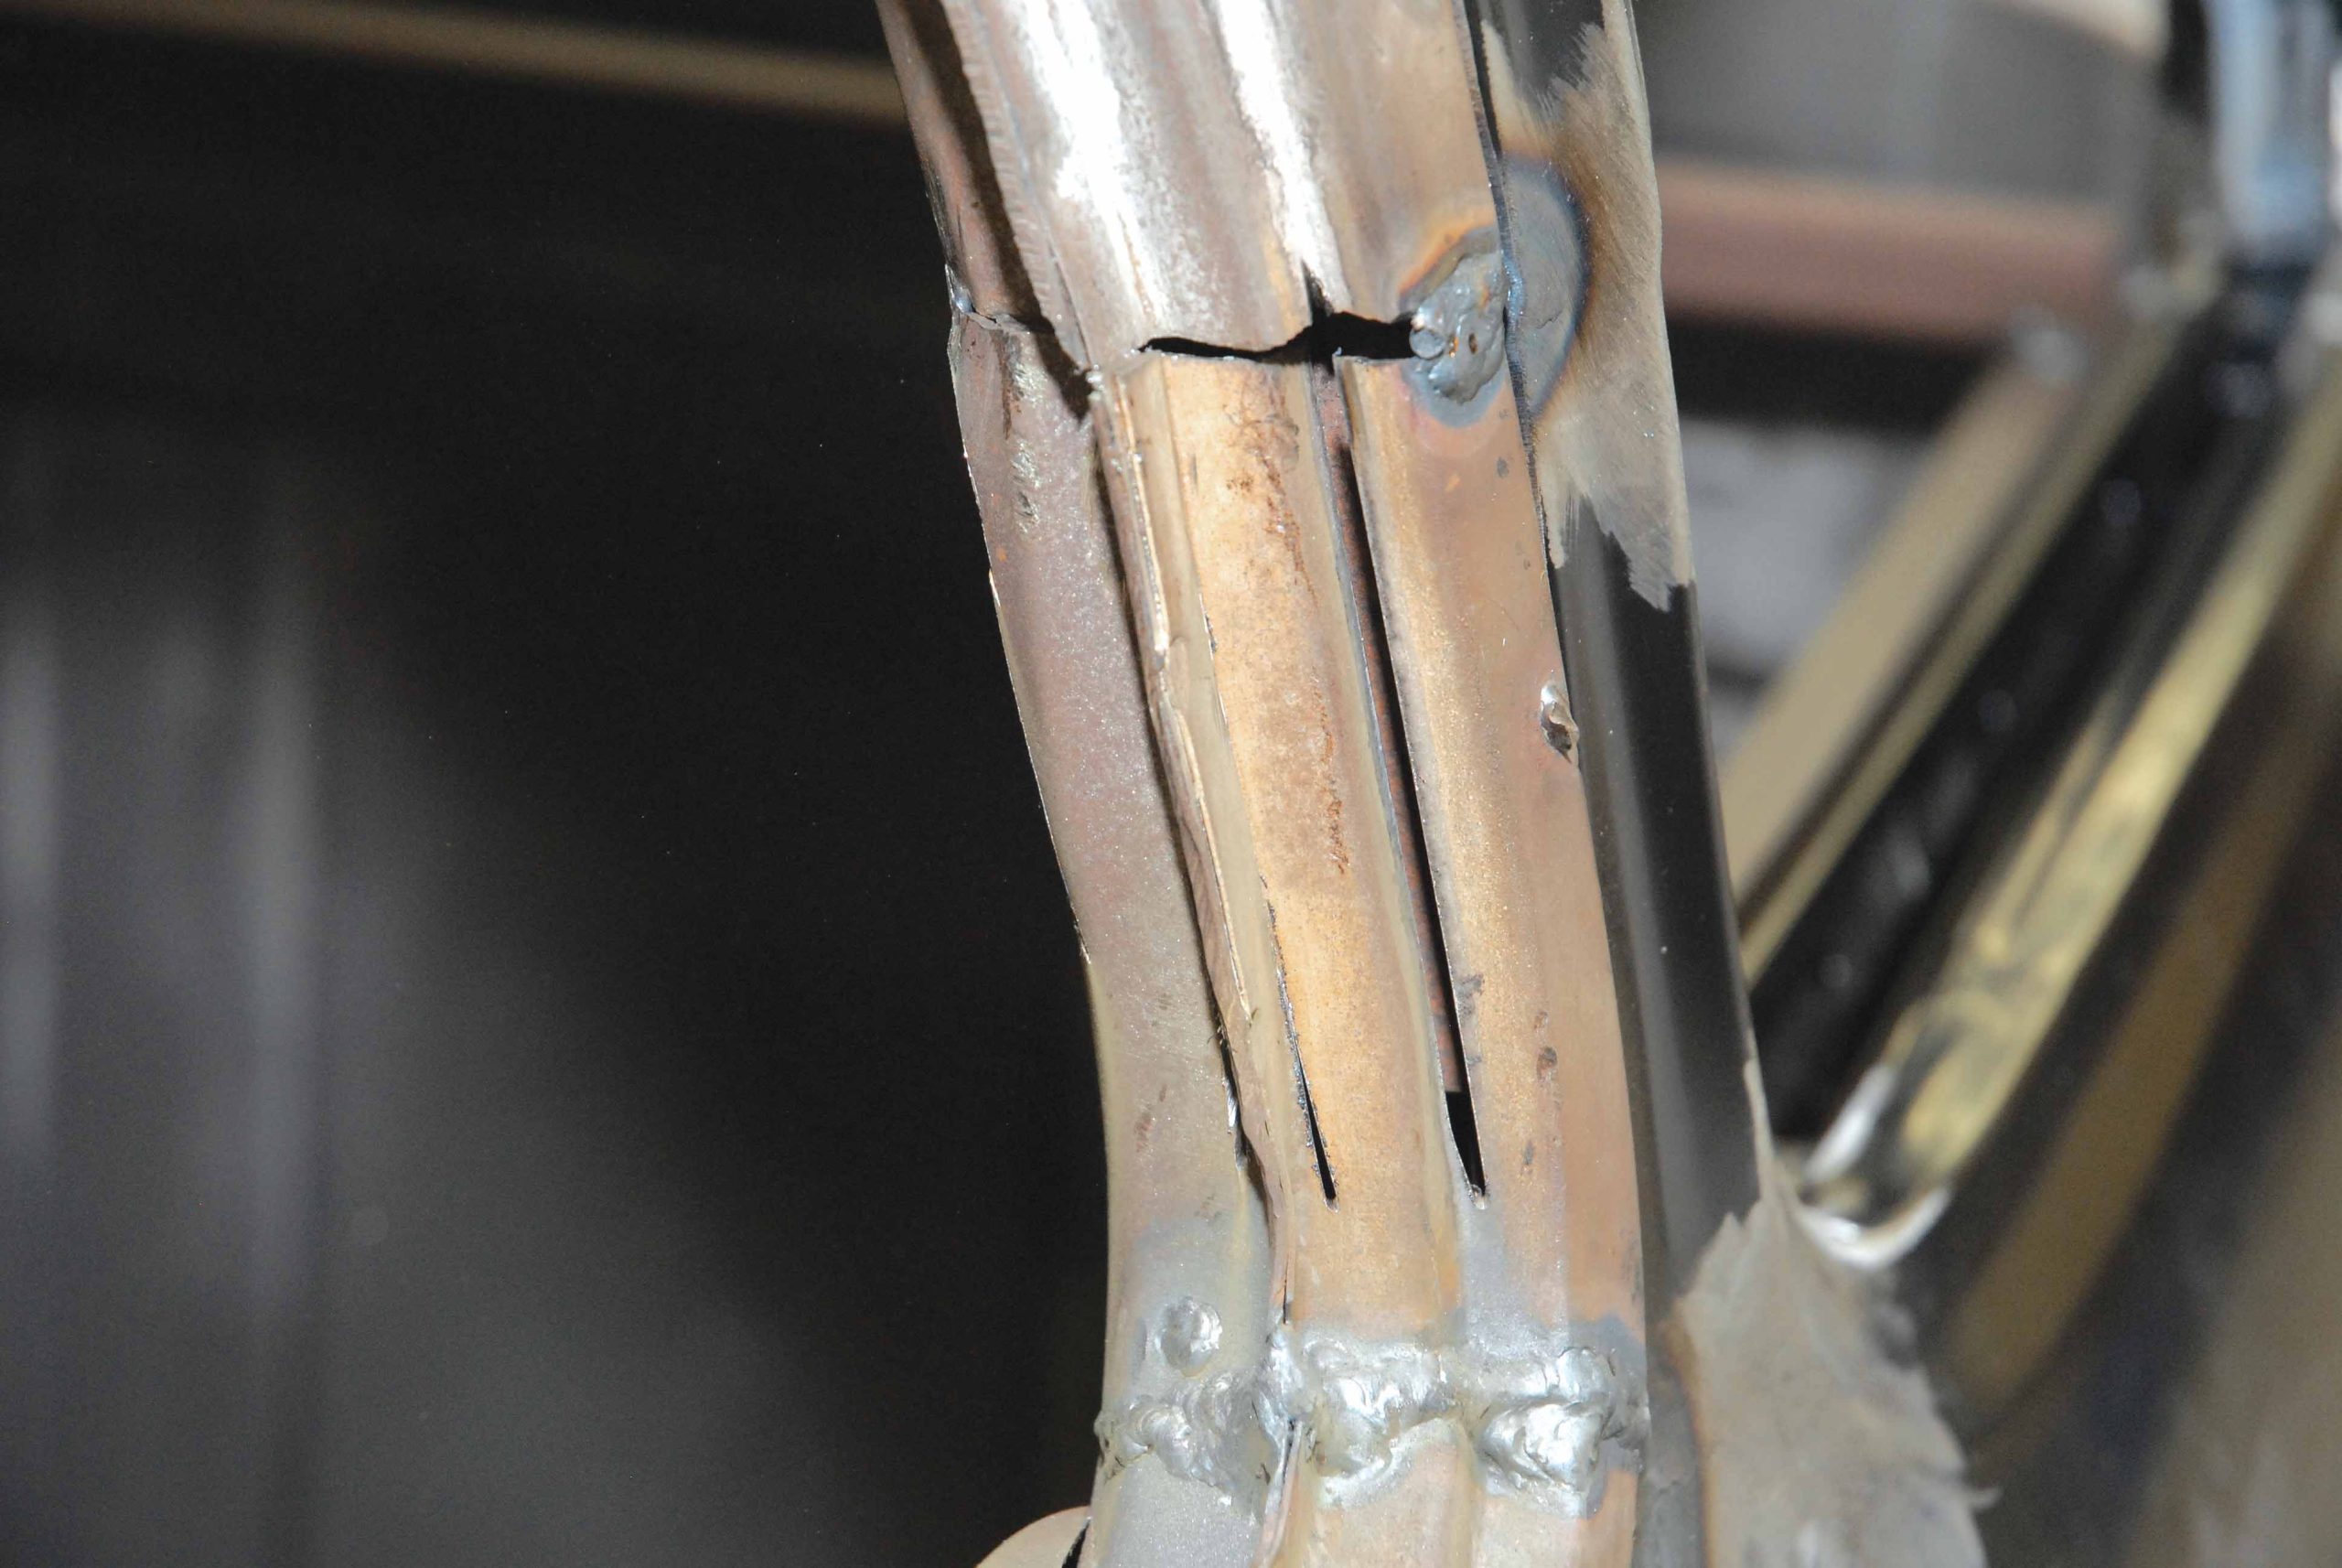
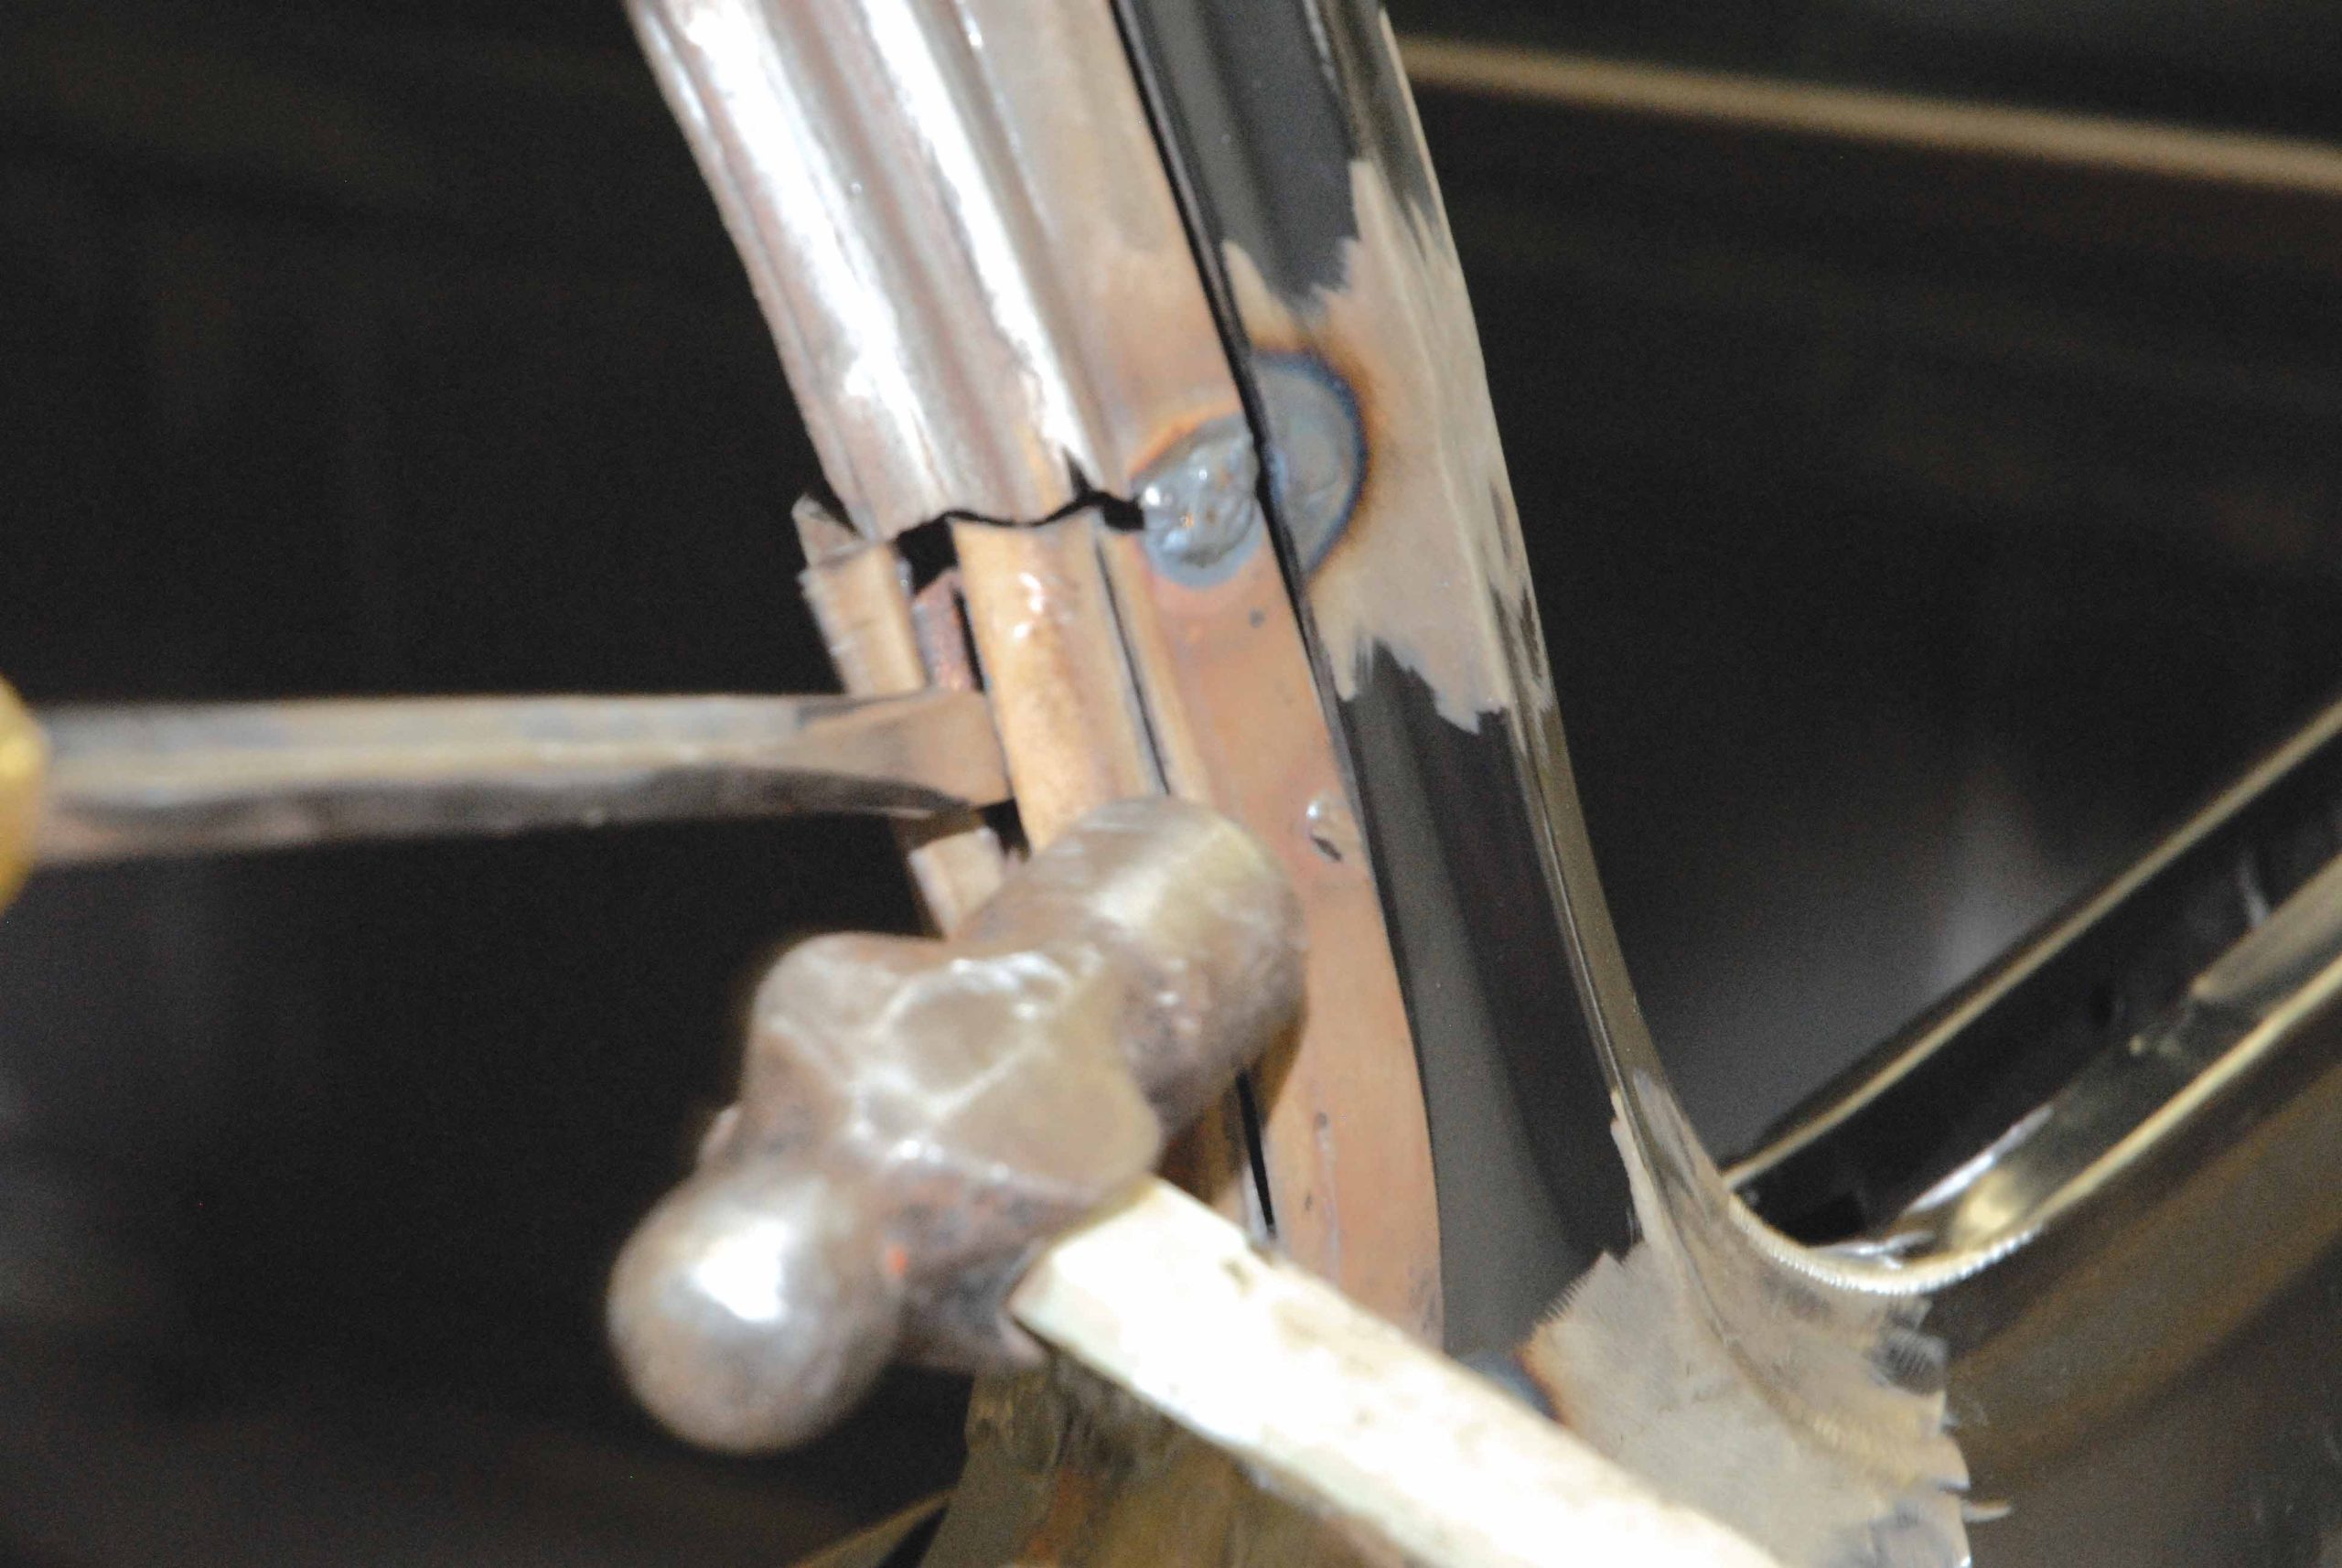
Here are a couple of items worth mentioning. It is absolutely imperative that you lay back or match up the pinch welting on the top and bottom sections of the front doorposts, as they are critical to proper window movement during body flex. Also, due to the somewhat different contour of the driver’s side of the top, it was necessary to perform a little of the old slice-‘n’-dice routine on the driver’s-side upper door frame by cutting it in two sections and piecing in a 3/8-inch section from one of the old doors in order to make everything conform. I would like to have a dollar for every chopped truck I’ve seen that has a cracked front windshield because someone forgot to line up the pinch welting, commented Cimbanin.
Now, follow along with us as Tim and Darrell Cimbanin and Cimtex Rods craftsman Darren Barker rejoins the Super Cameo’s abbreviated top with the bottom end of our modified big-window truck cab.
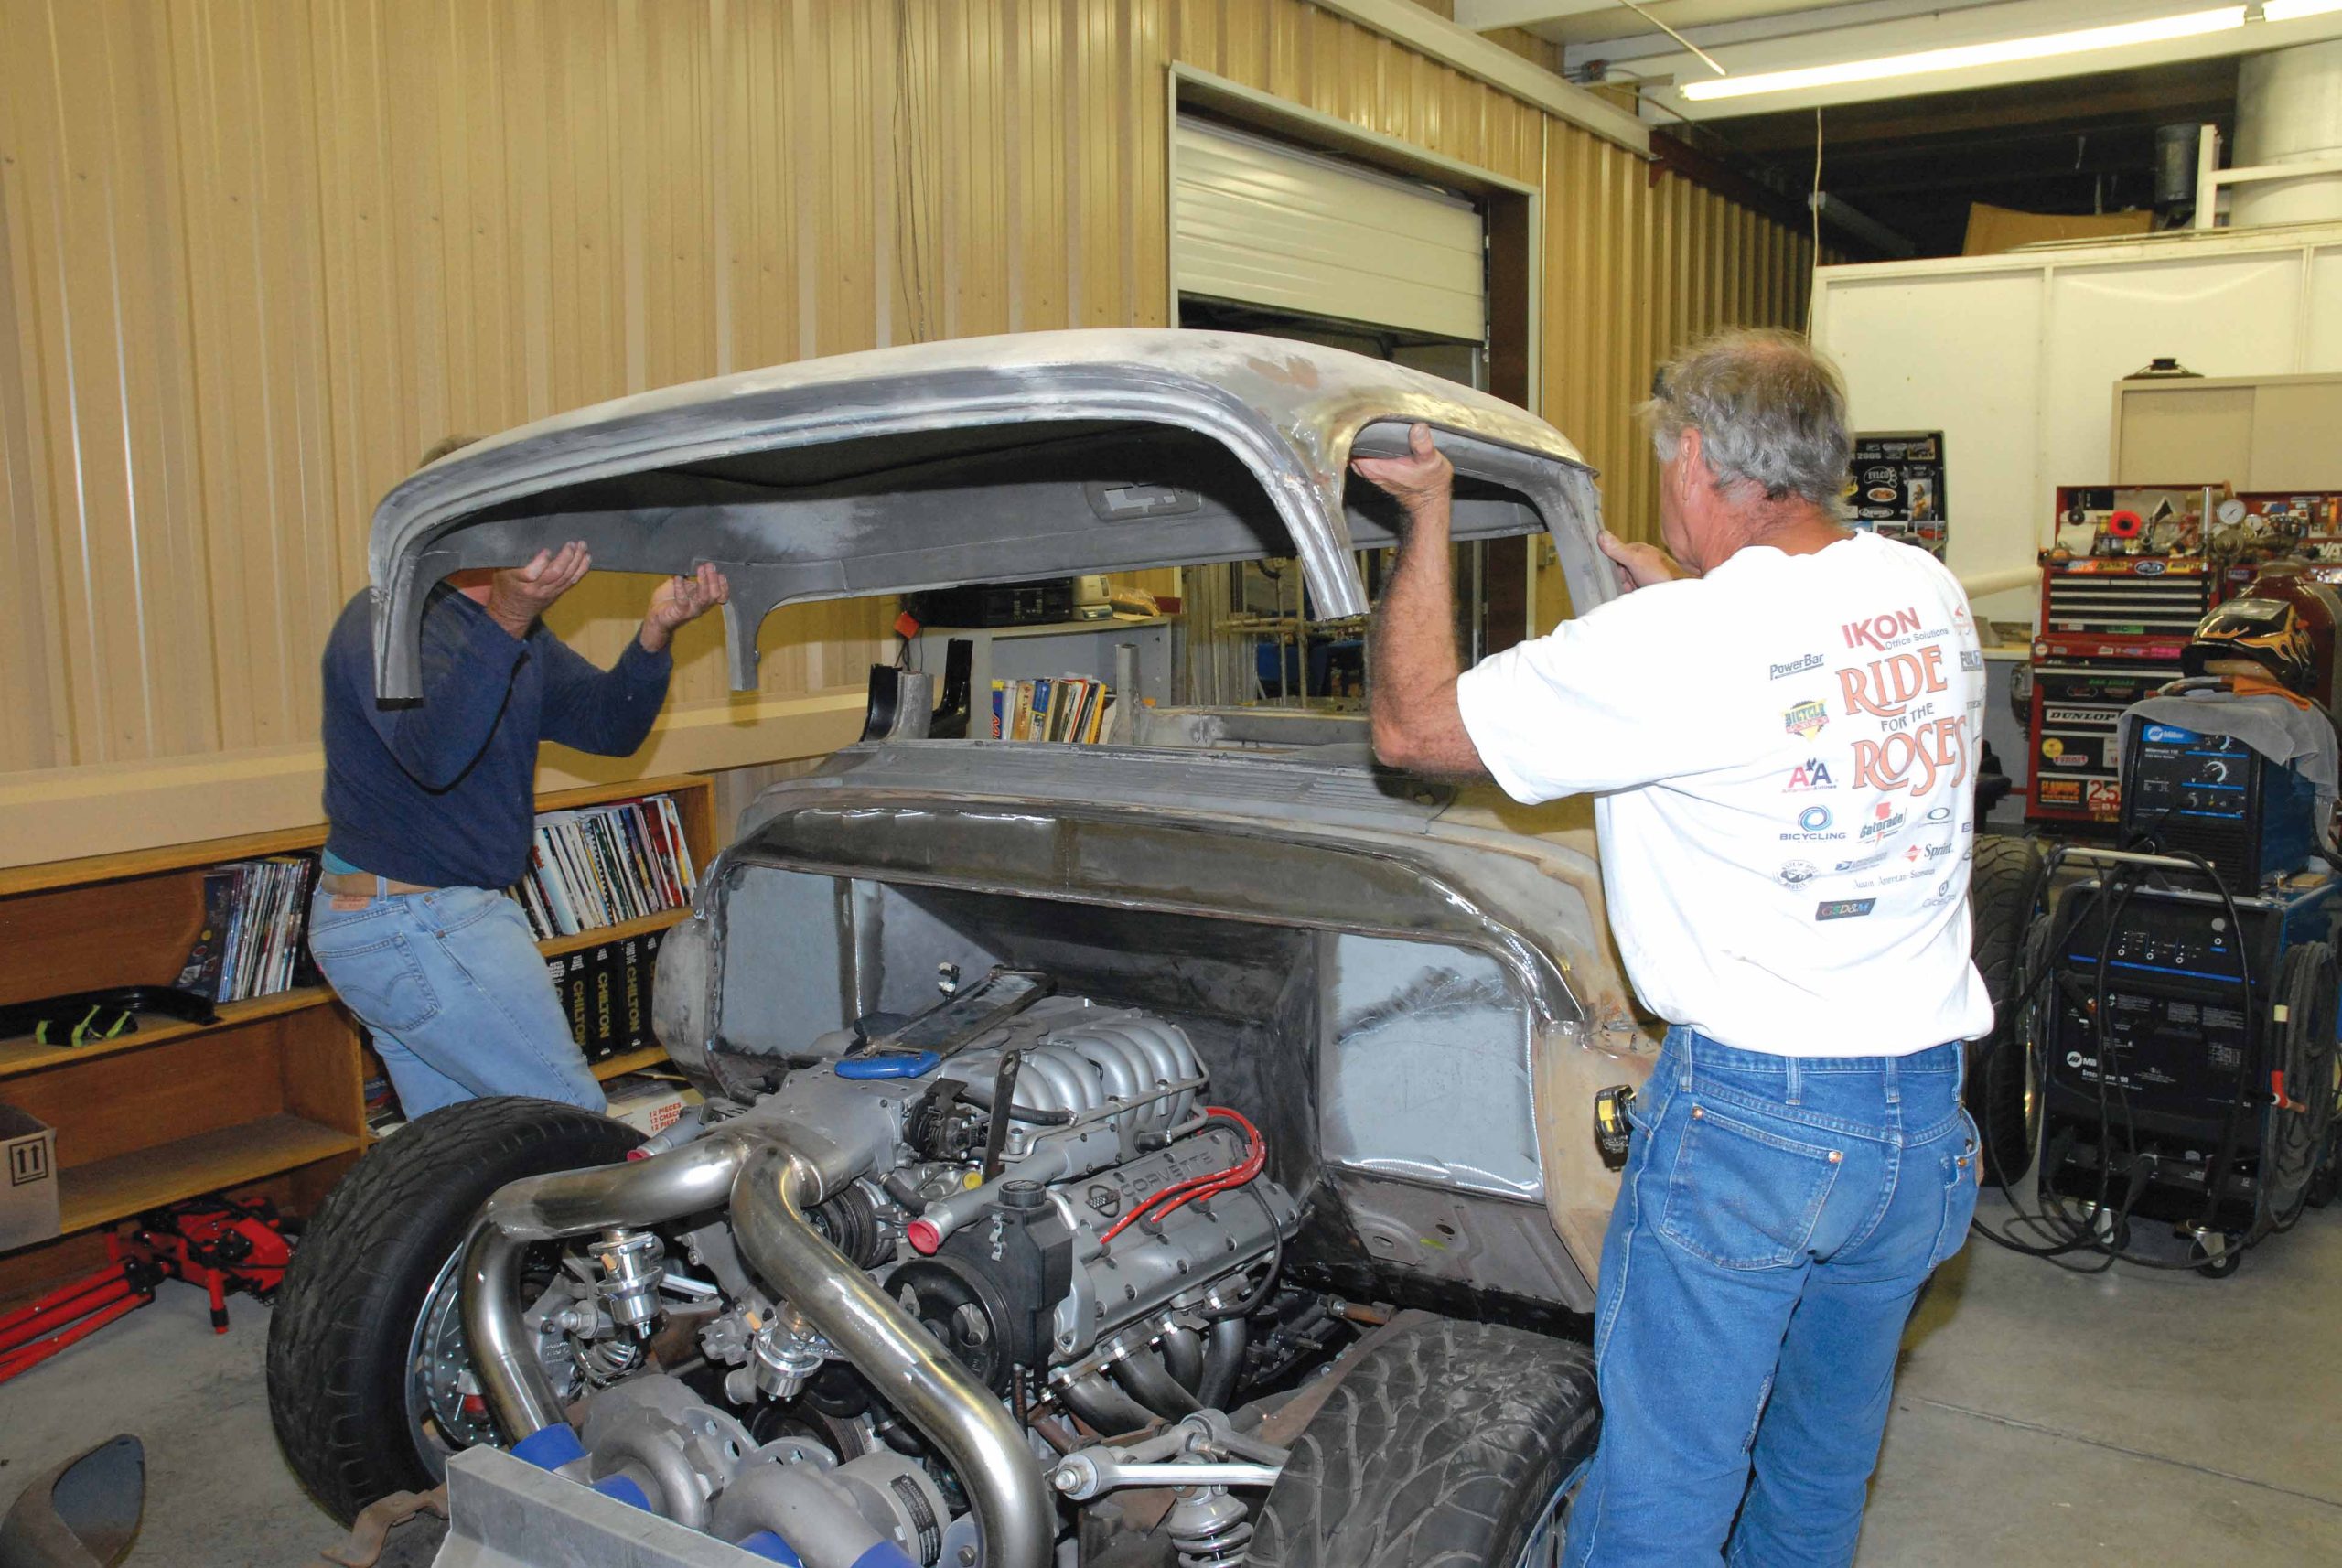
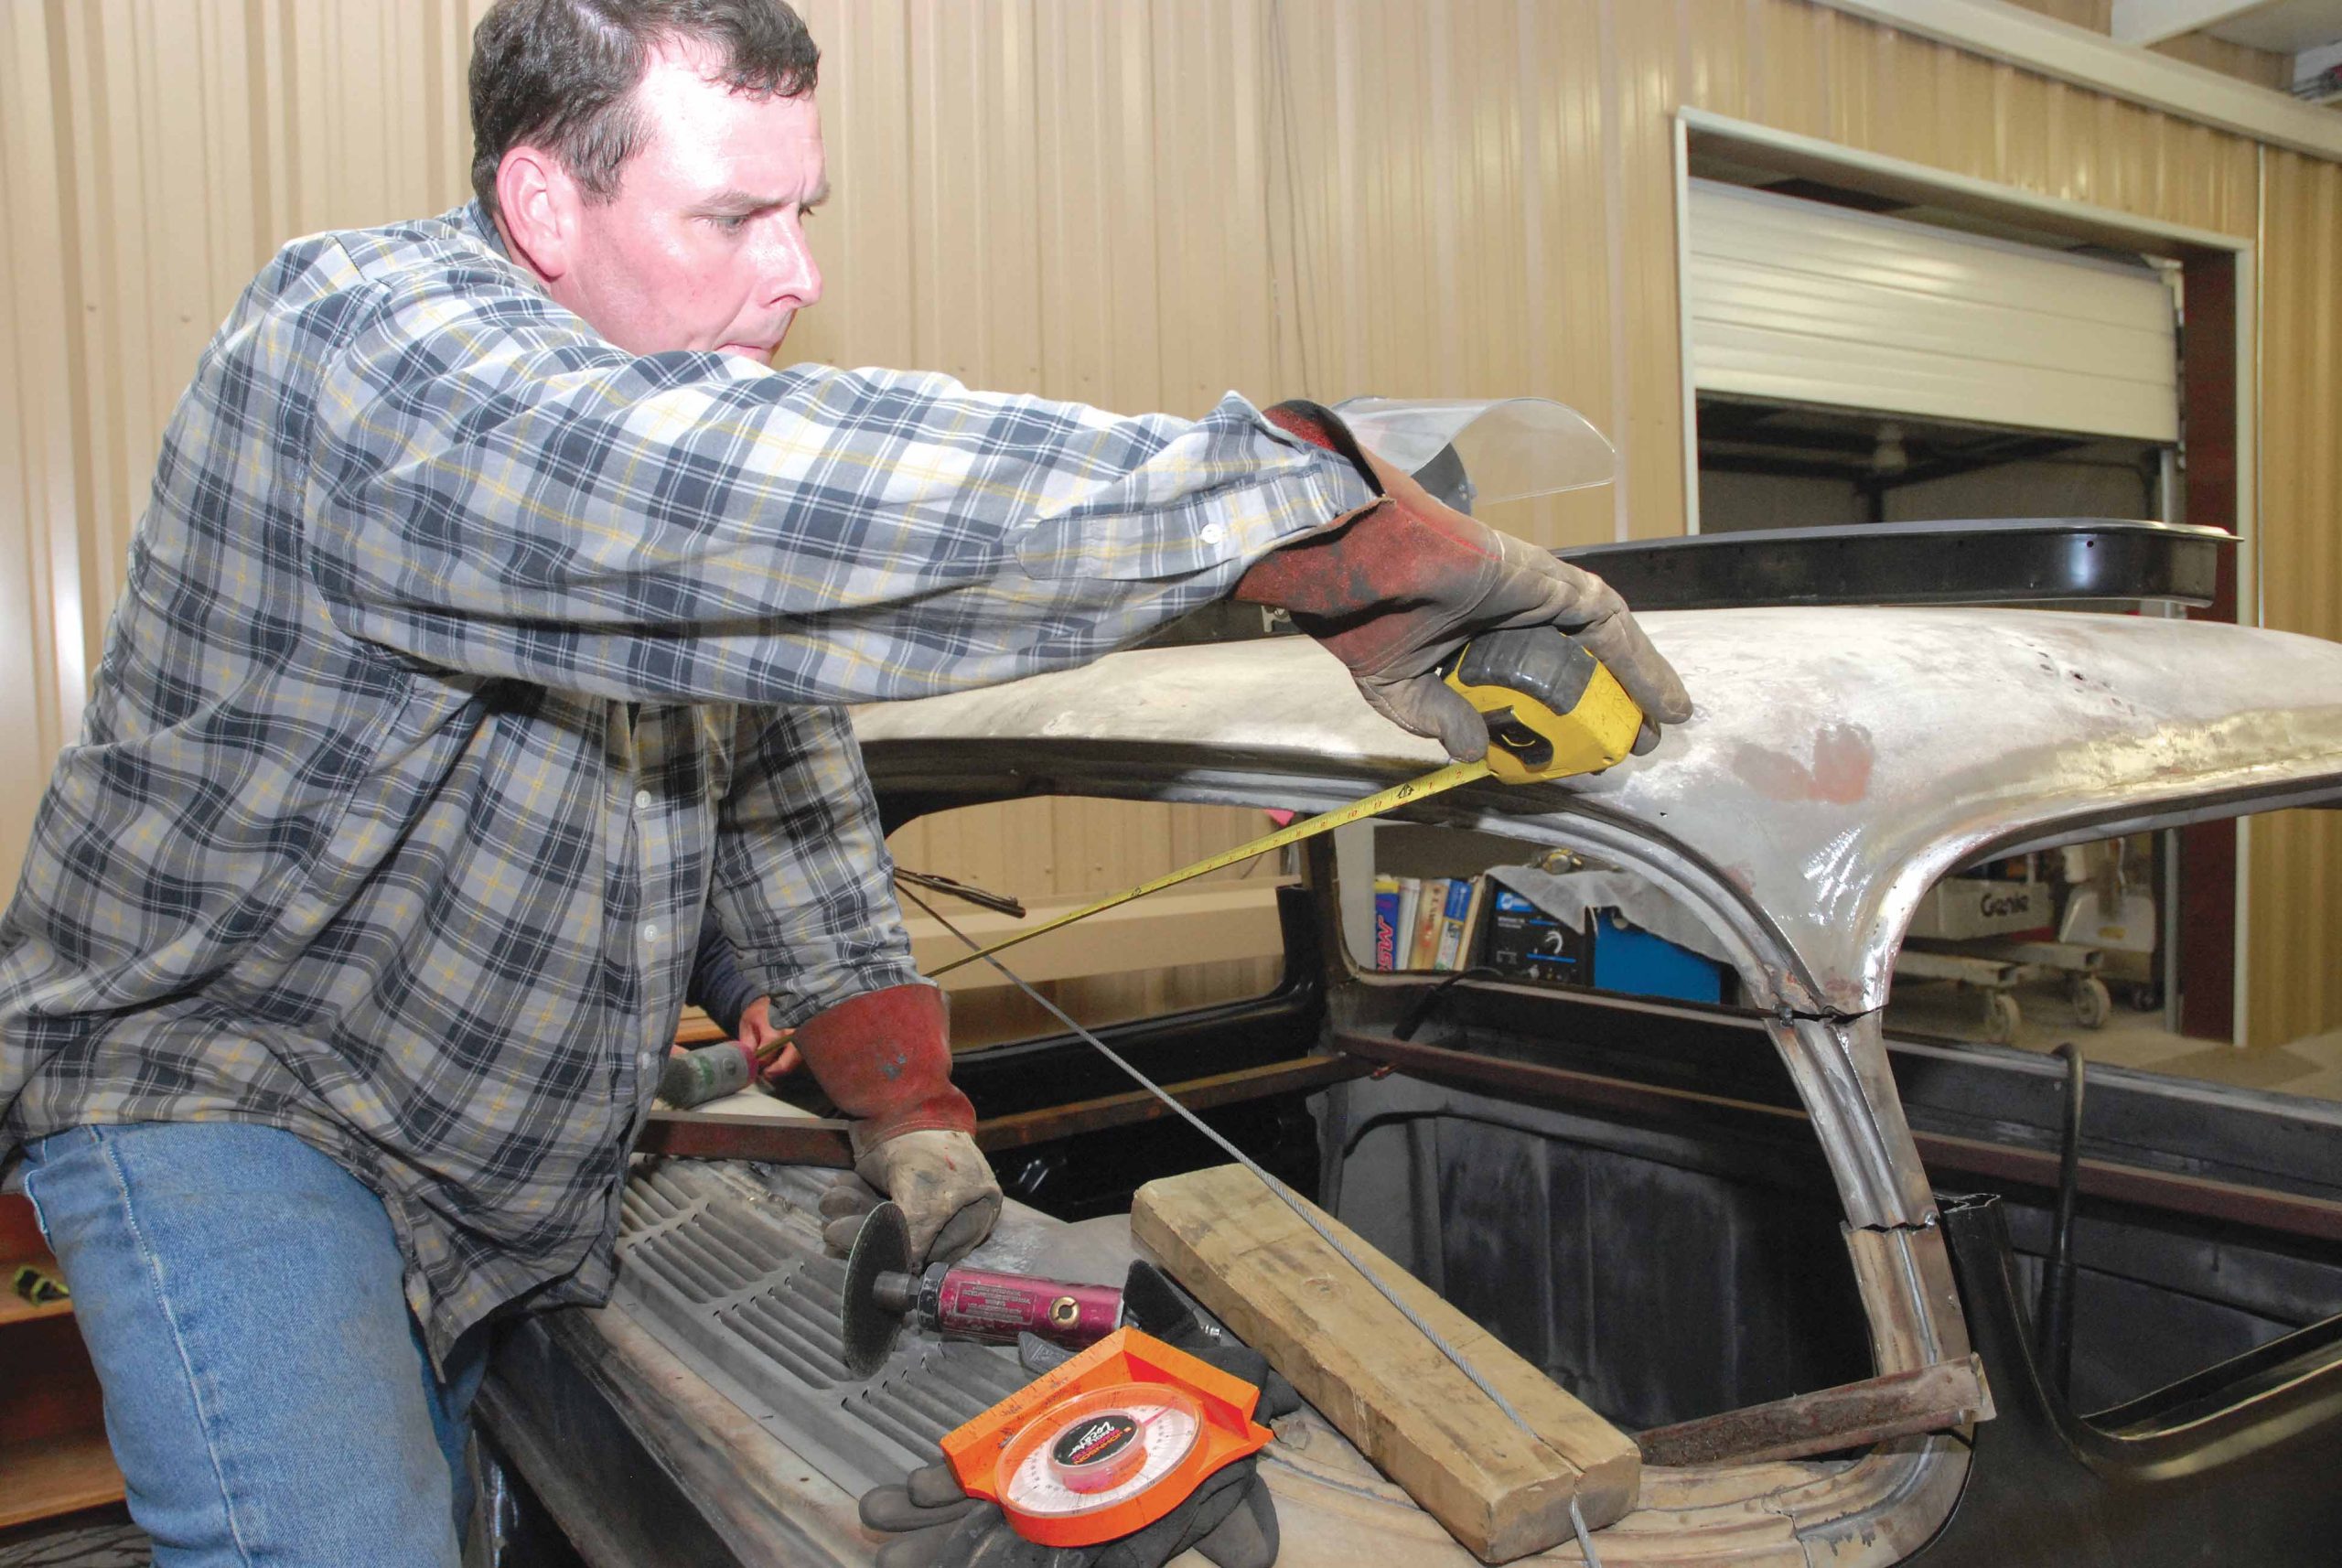
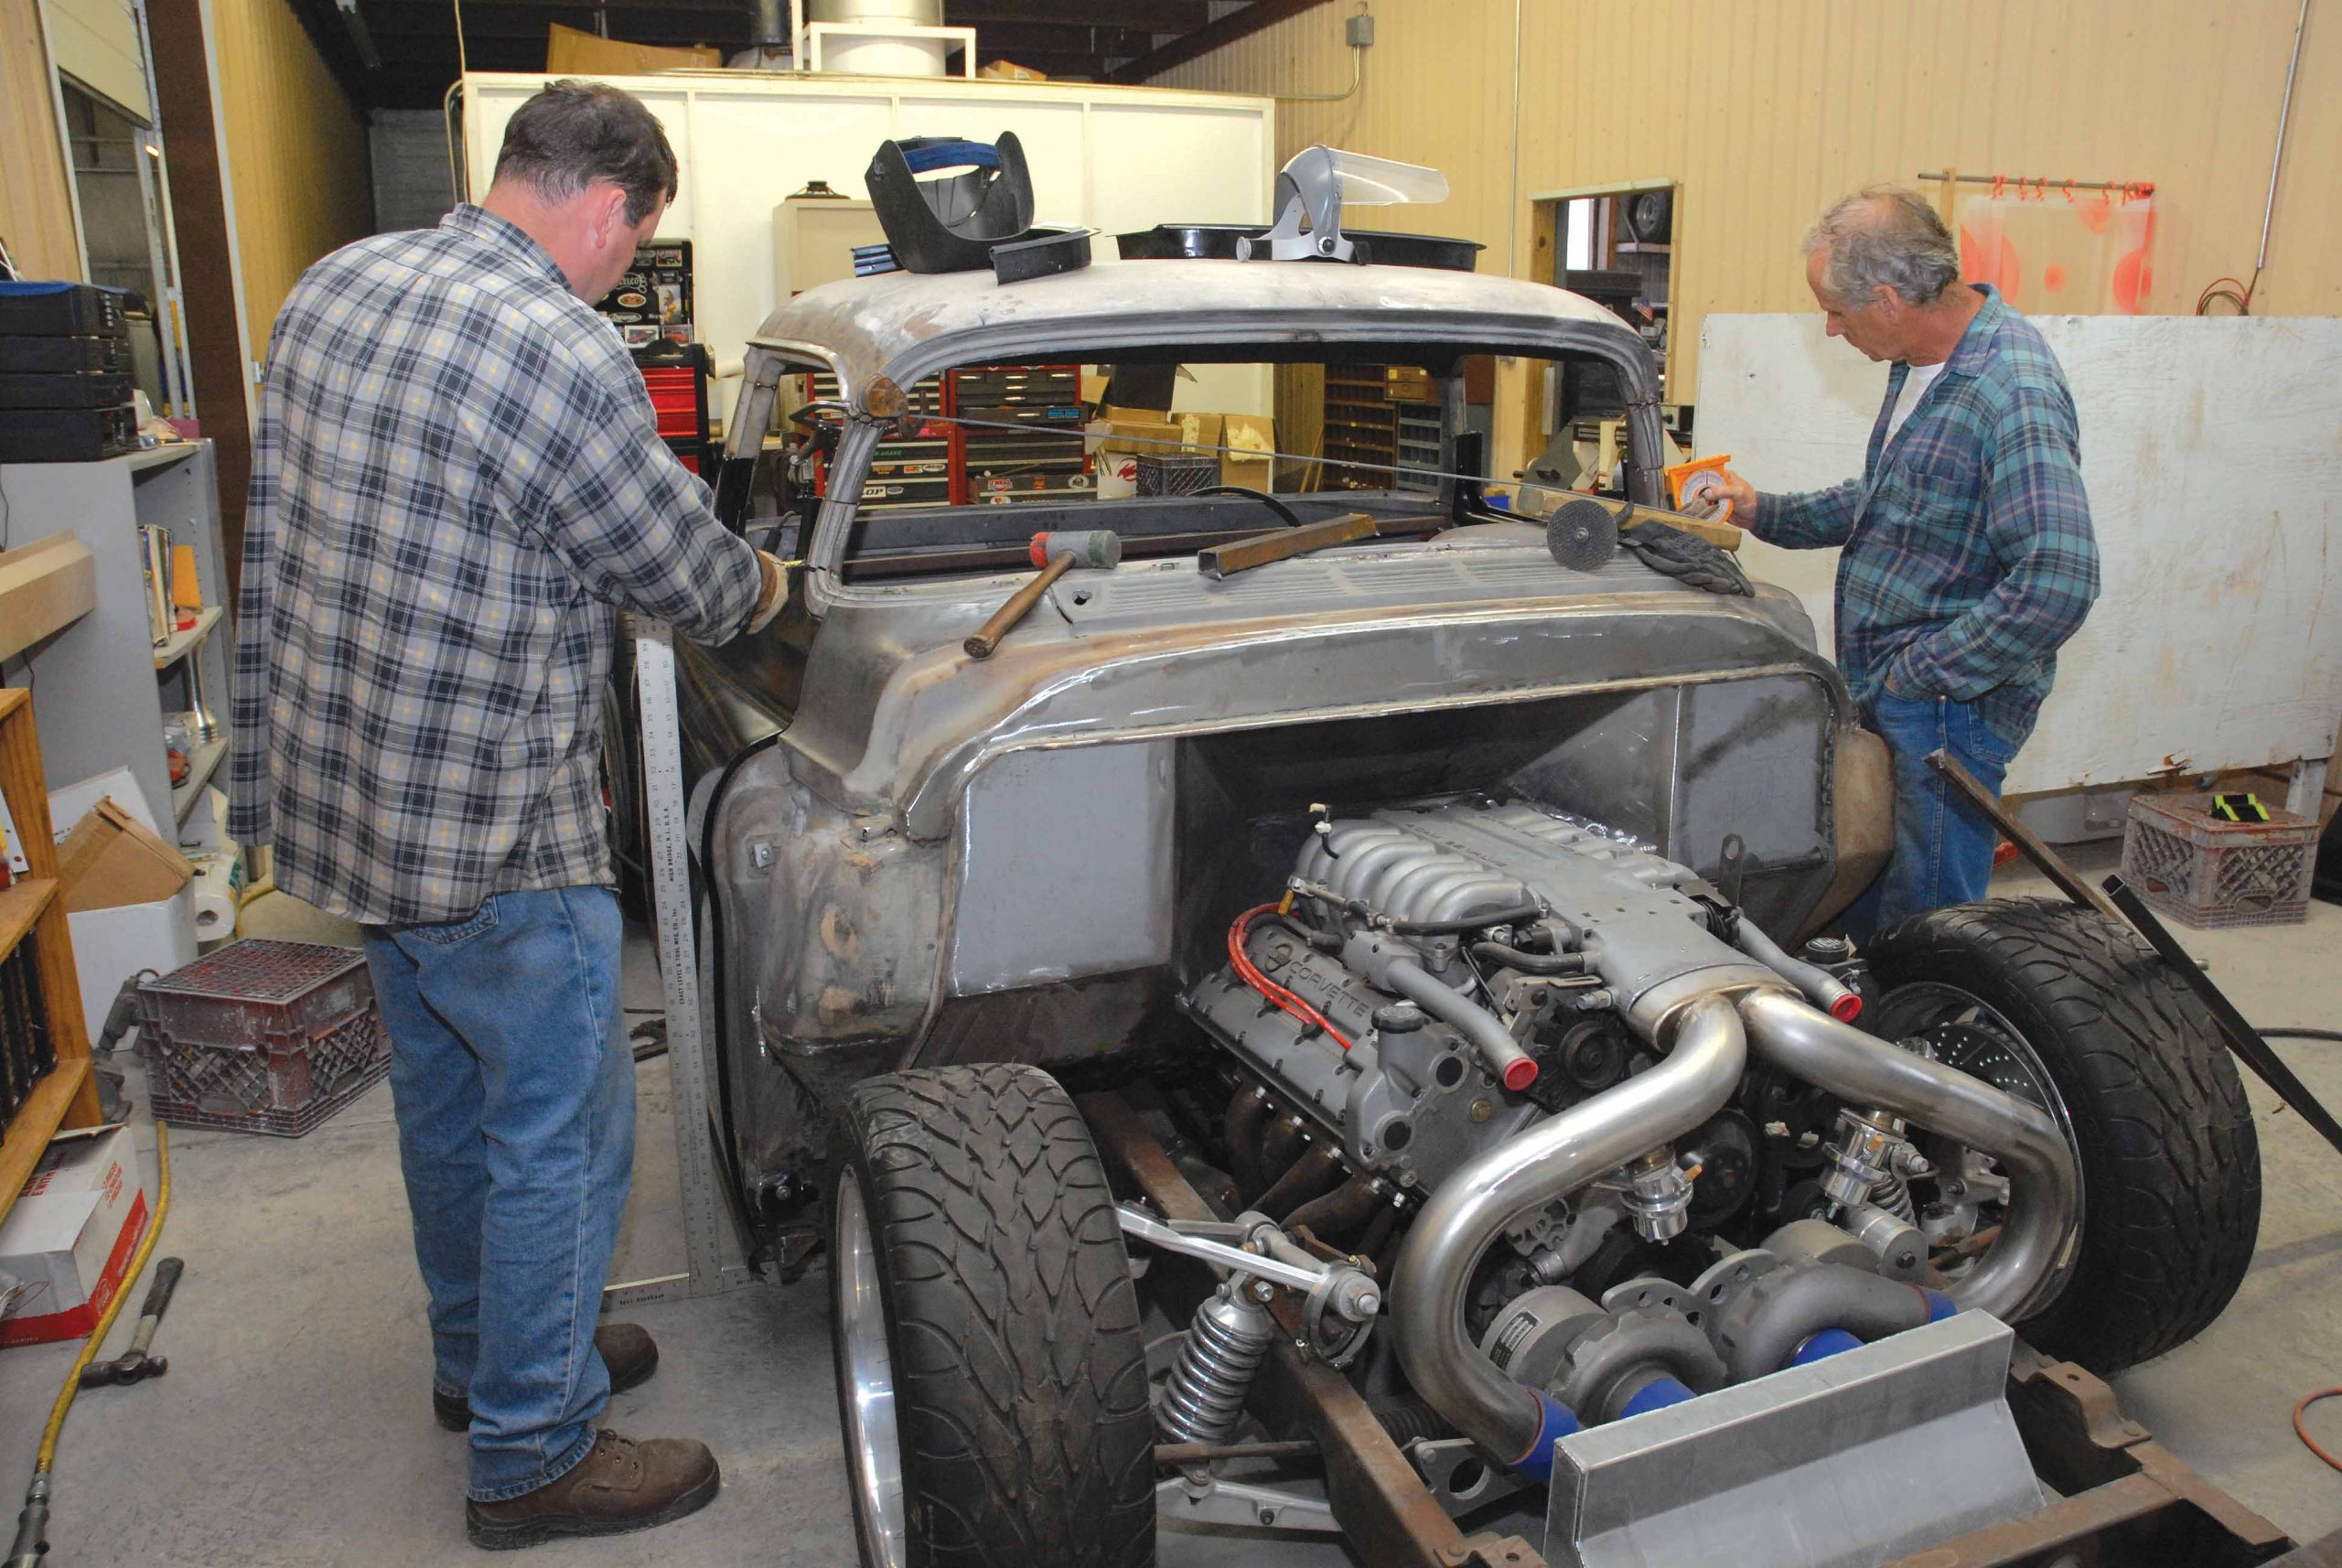
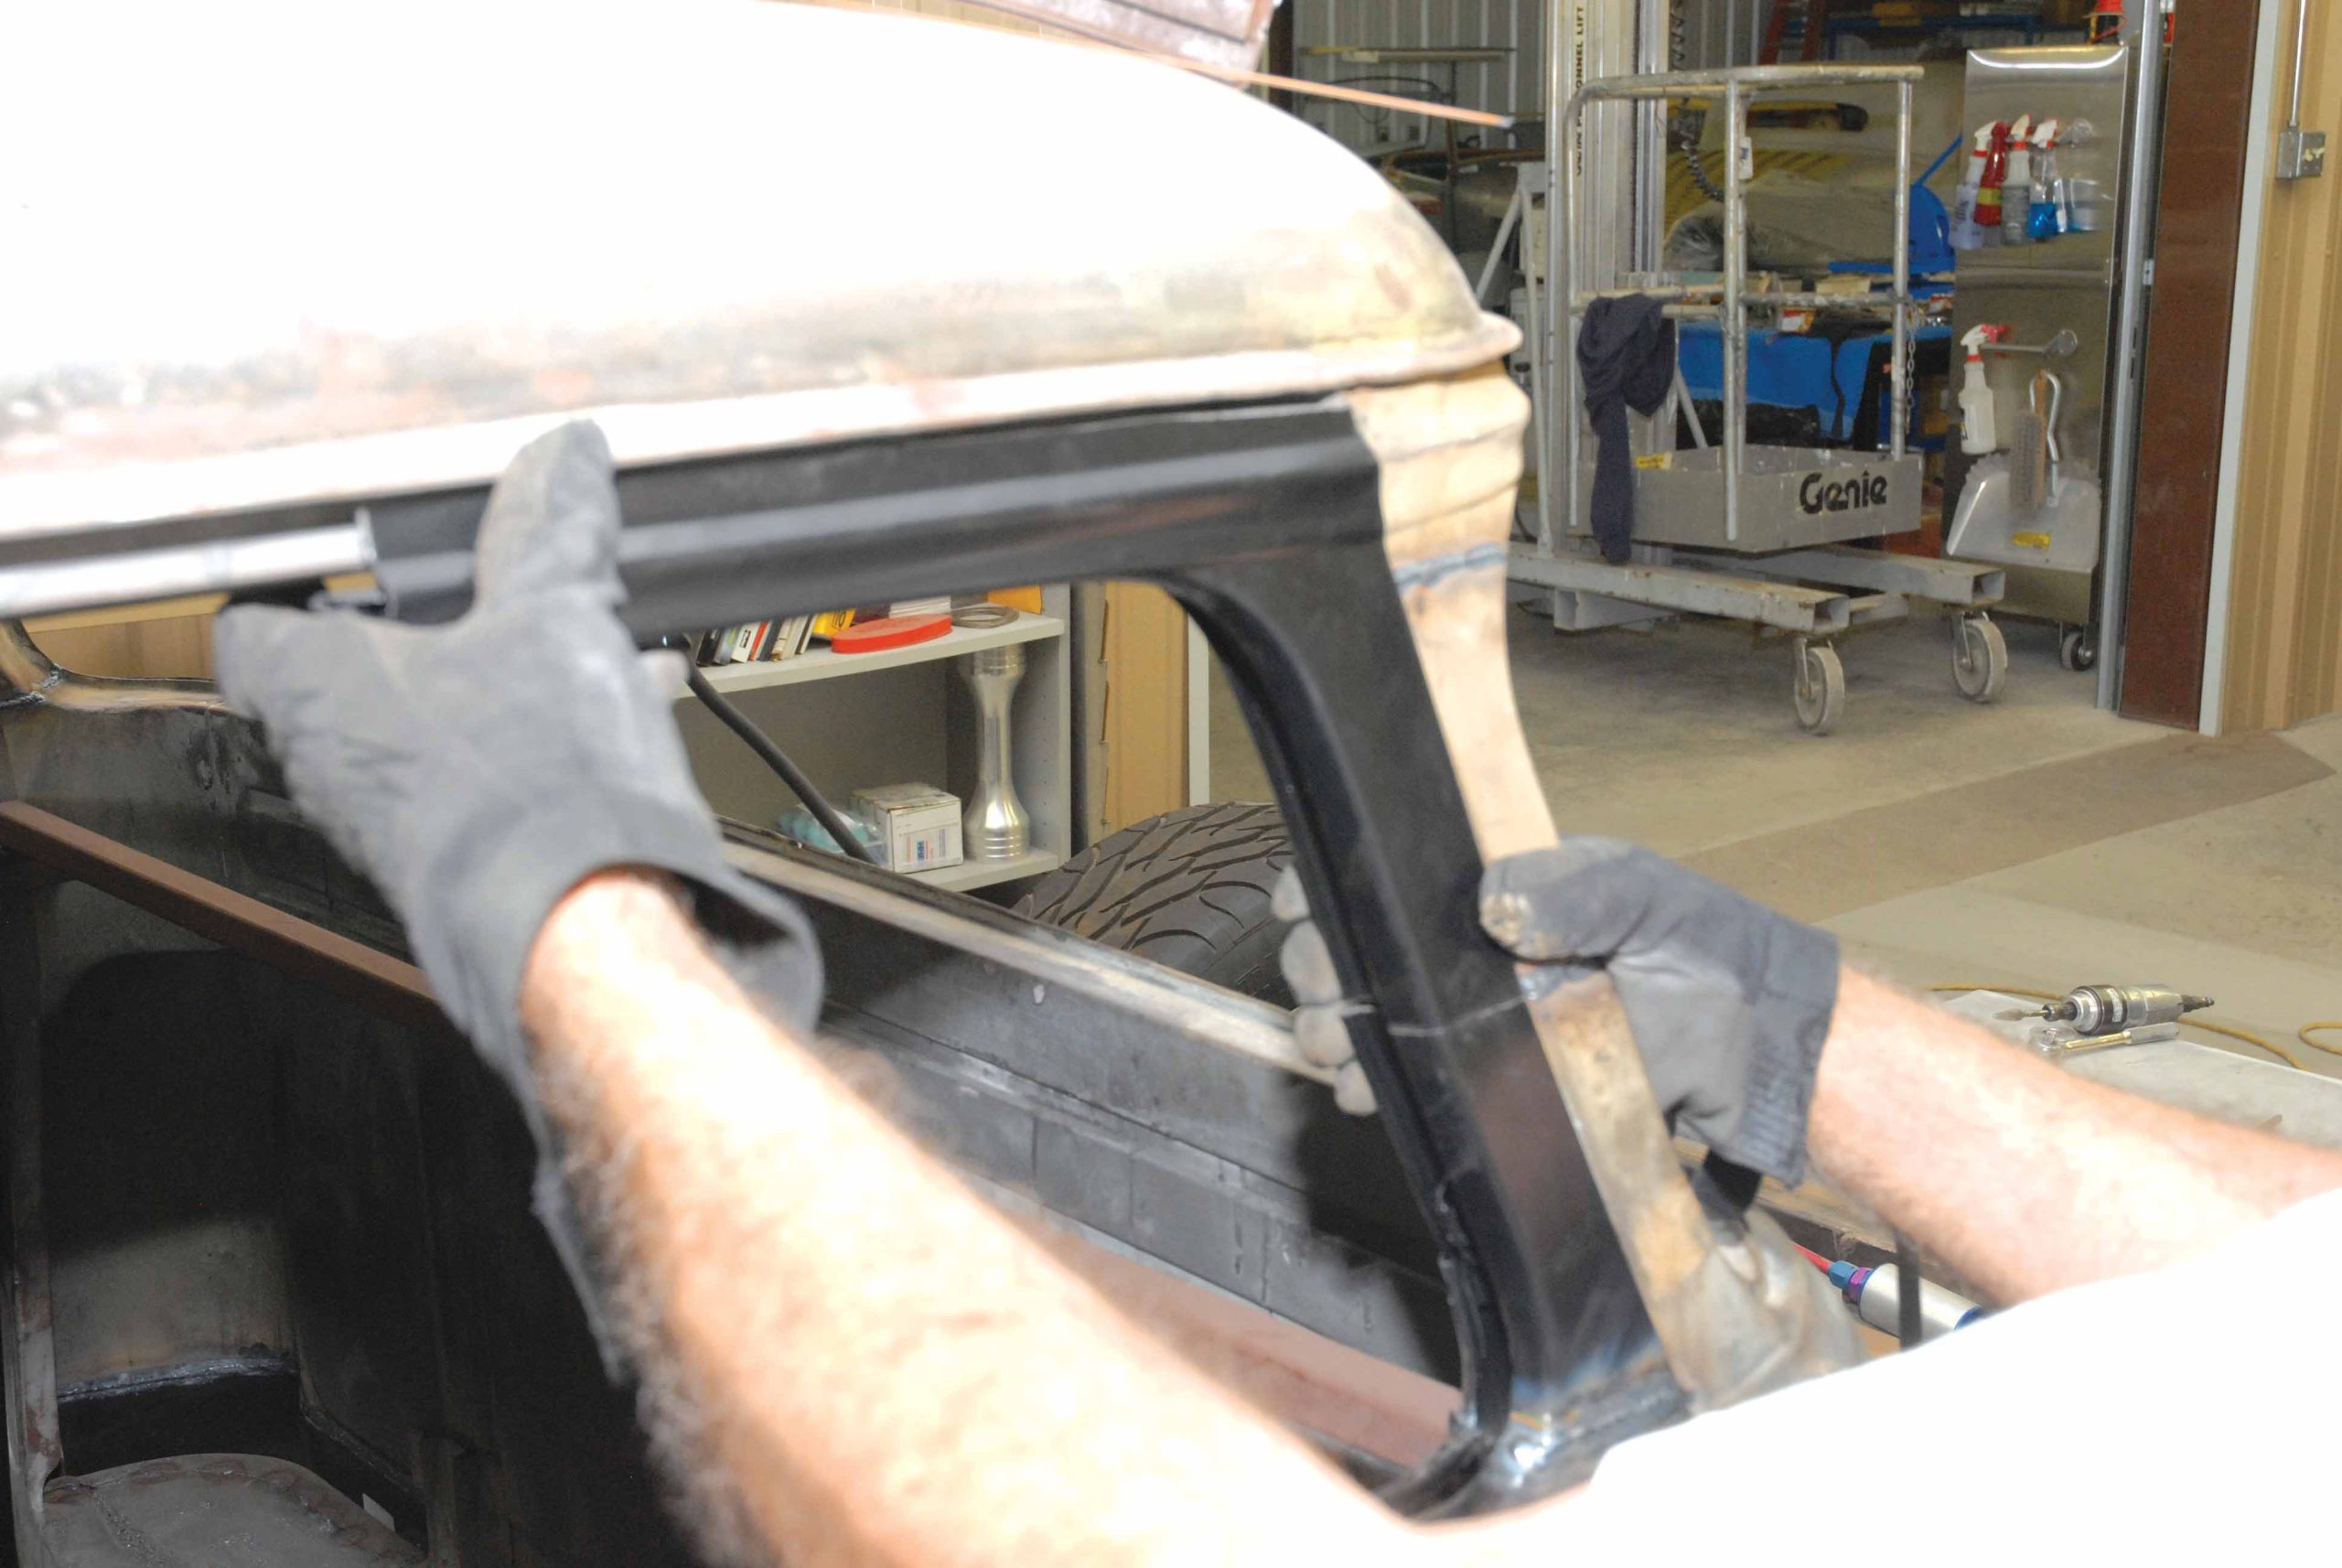
1-3. We intently watch as Team Cimtex reinstalls the one-piece '56 Chevrolet big-window top on our drastically abbreviated 4-inch front and rear roof pillars. According to Cimbanin, the main objective is to keep the top centered on the rear pillars.
1-3. We intently watch as Team Cimtex reinstalls the one-piece '56 Chevrolet big-window top on our drastically abbreviated 4-inch front and rear roof pillars. According to Cimbanin, the main objective is to keep the top centered on the rear pillars.
1-3. We intently watch as Team Cimtex reinstalls the one-piece '56 Chevrolet big-window top on our drastically abbreviated 4-inch front and rear roof pillars. According to Cimbanin, the main objective is to keep the top centered on the rear pillars.
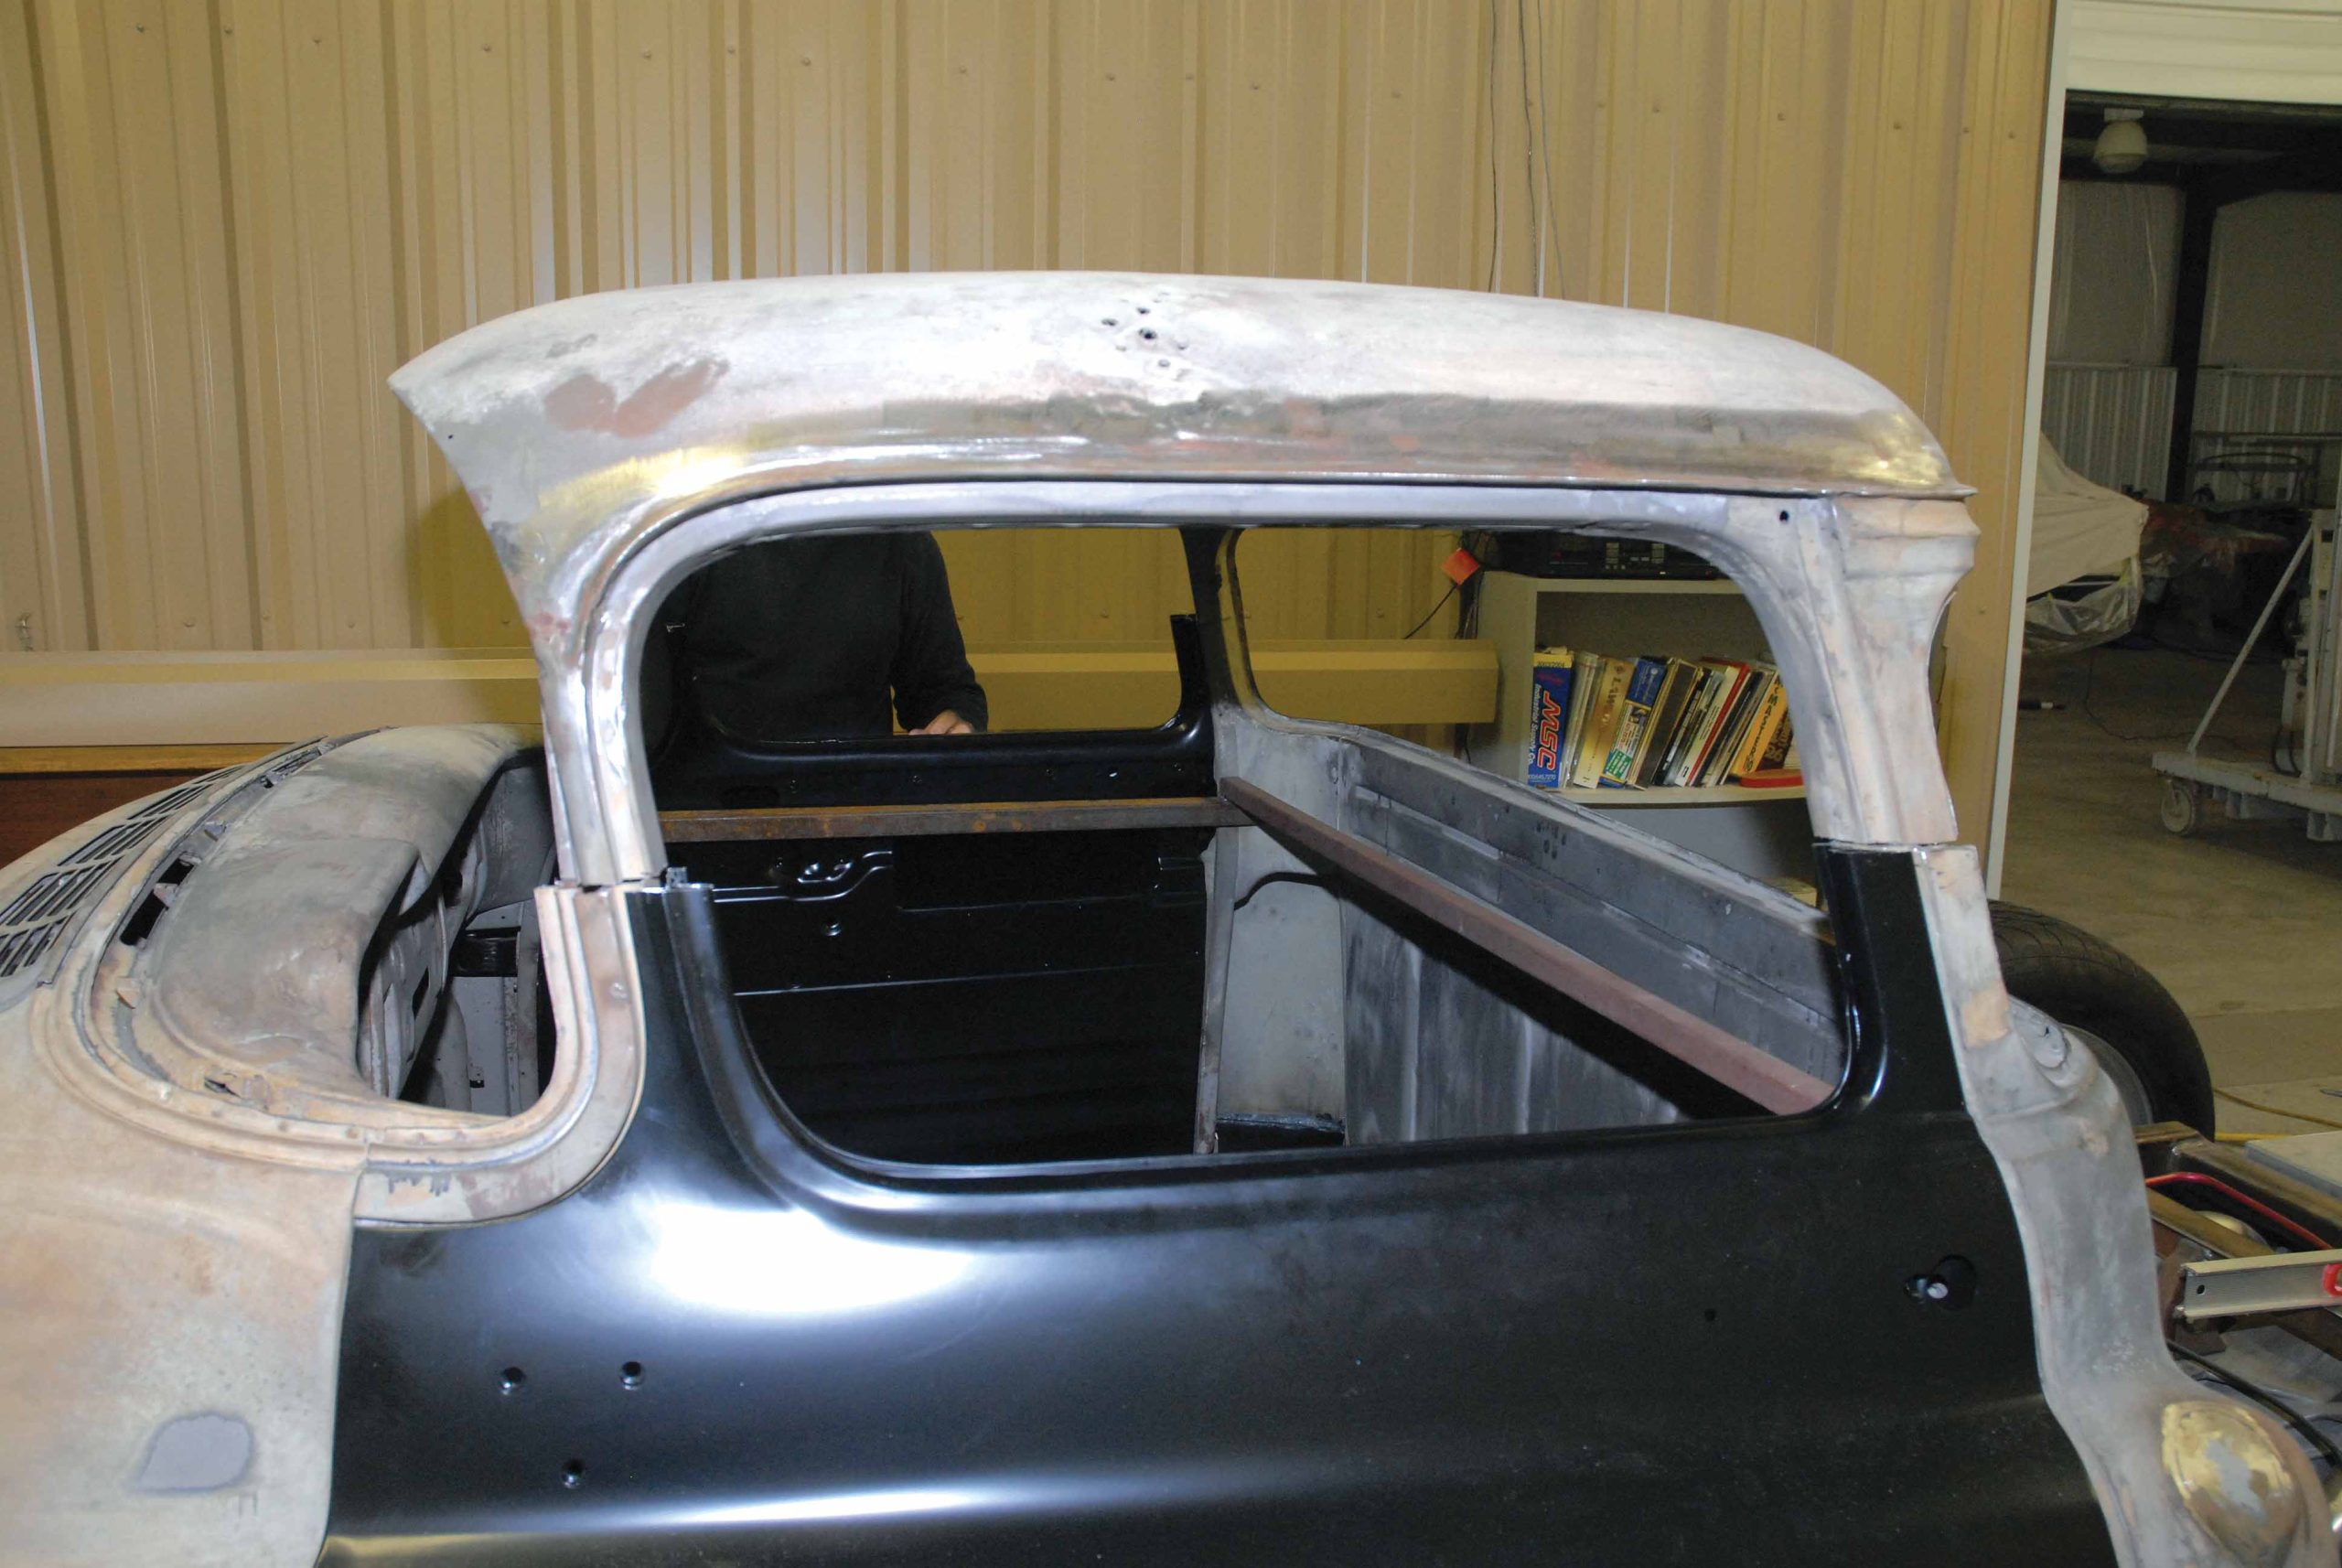
4-6. Angling in those upper doorposts approximately 1/4 inch is going to require making some pie cuts around the circumference of the upper door post itself.
4-6. Angling in those upper doorposts approximately 1/4 inch is going to require making some pie cuts around the circumference of the upper door post itself.
4-6. Angling in those upper doorposts approximately 1/4 inch is going to require making some pie cuts around the circumference of the upper door post itself.
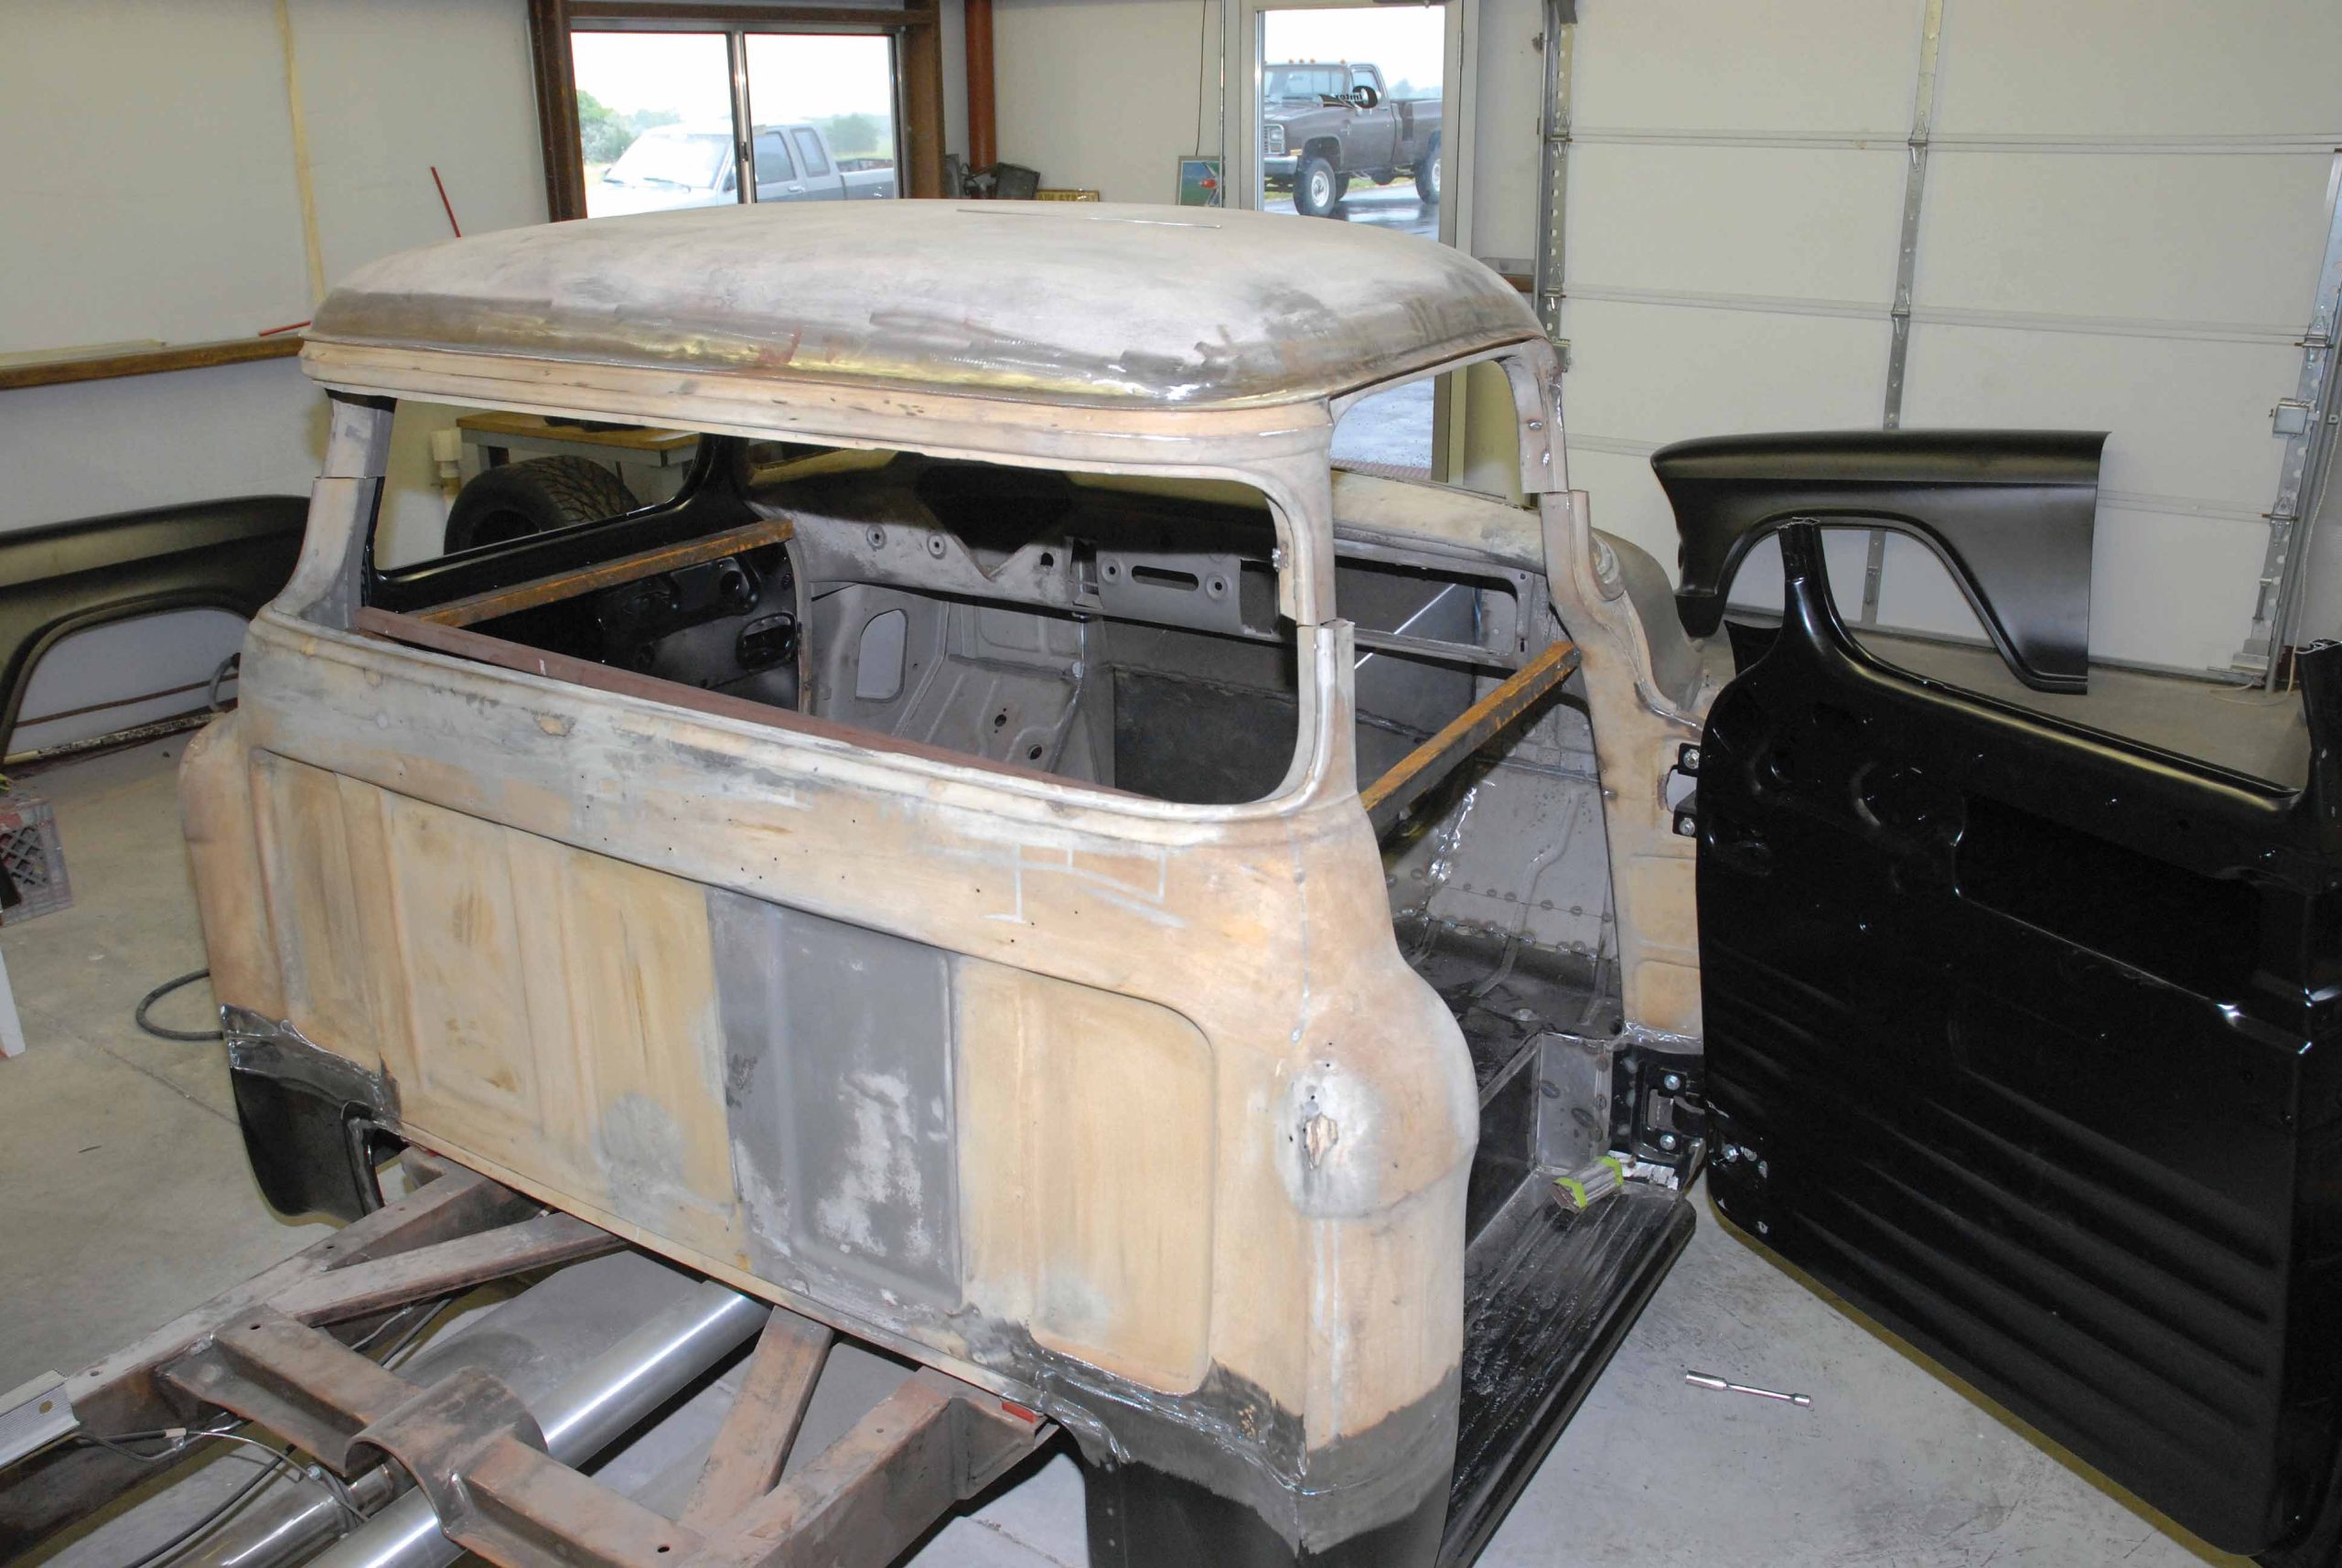
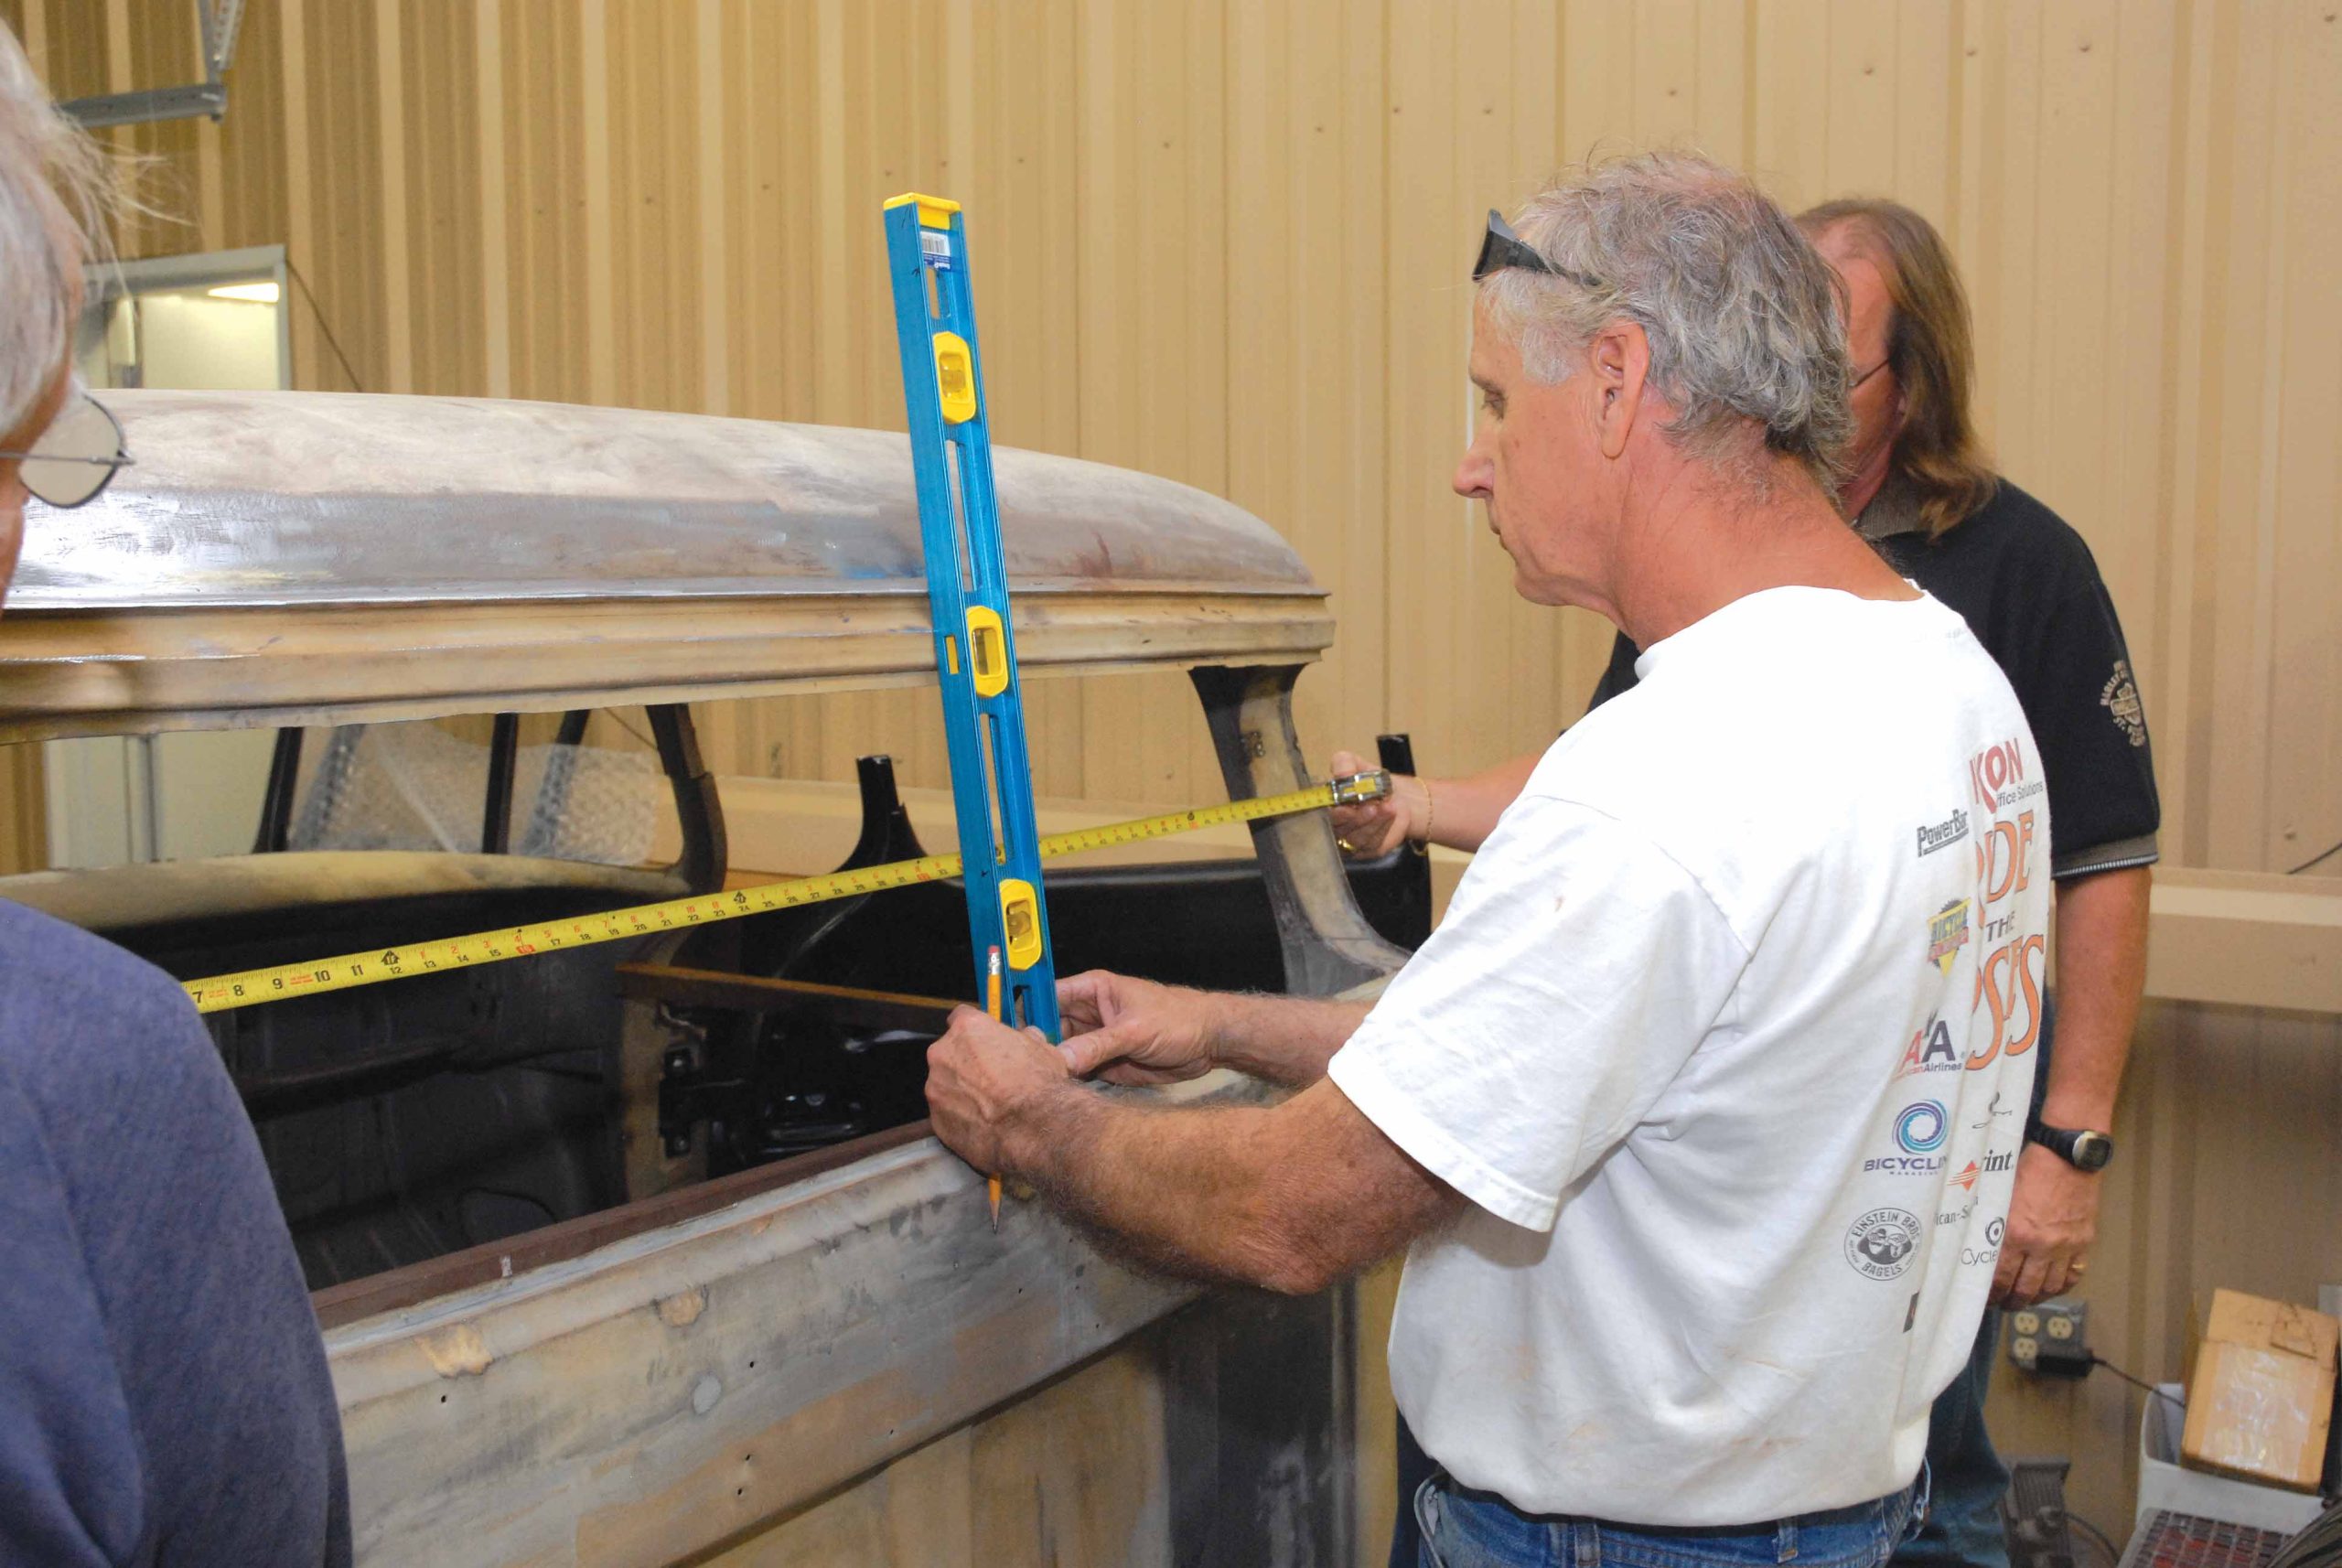
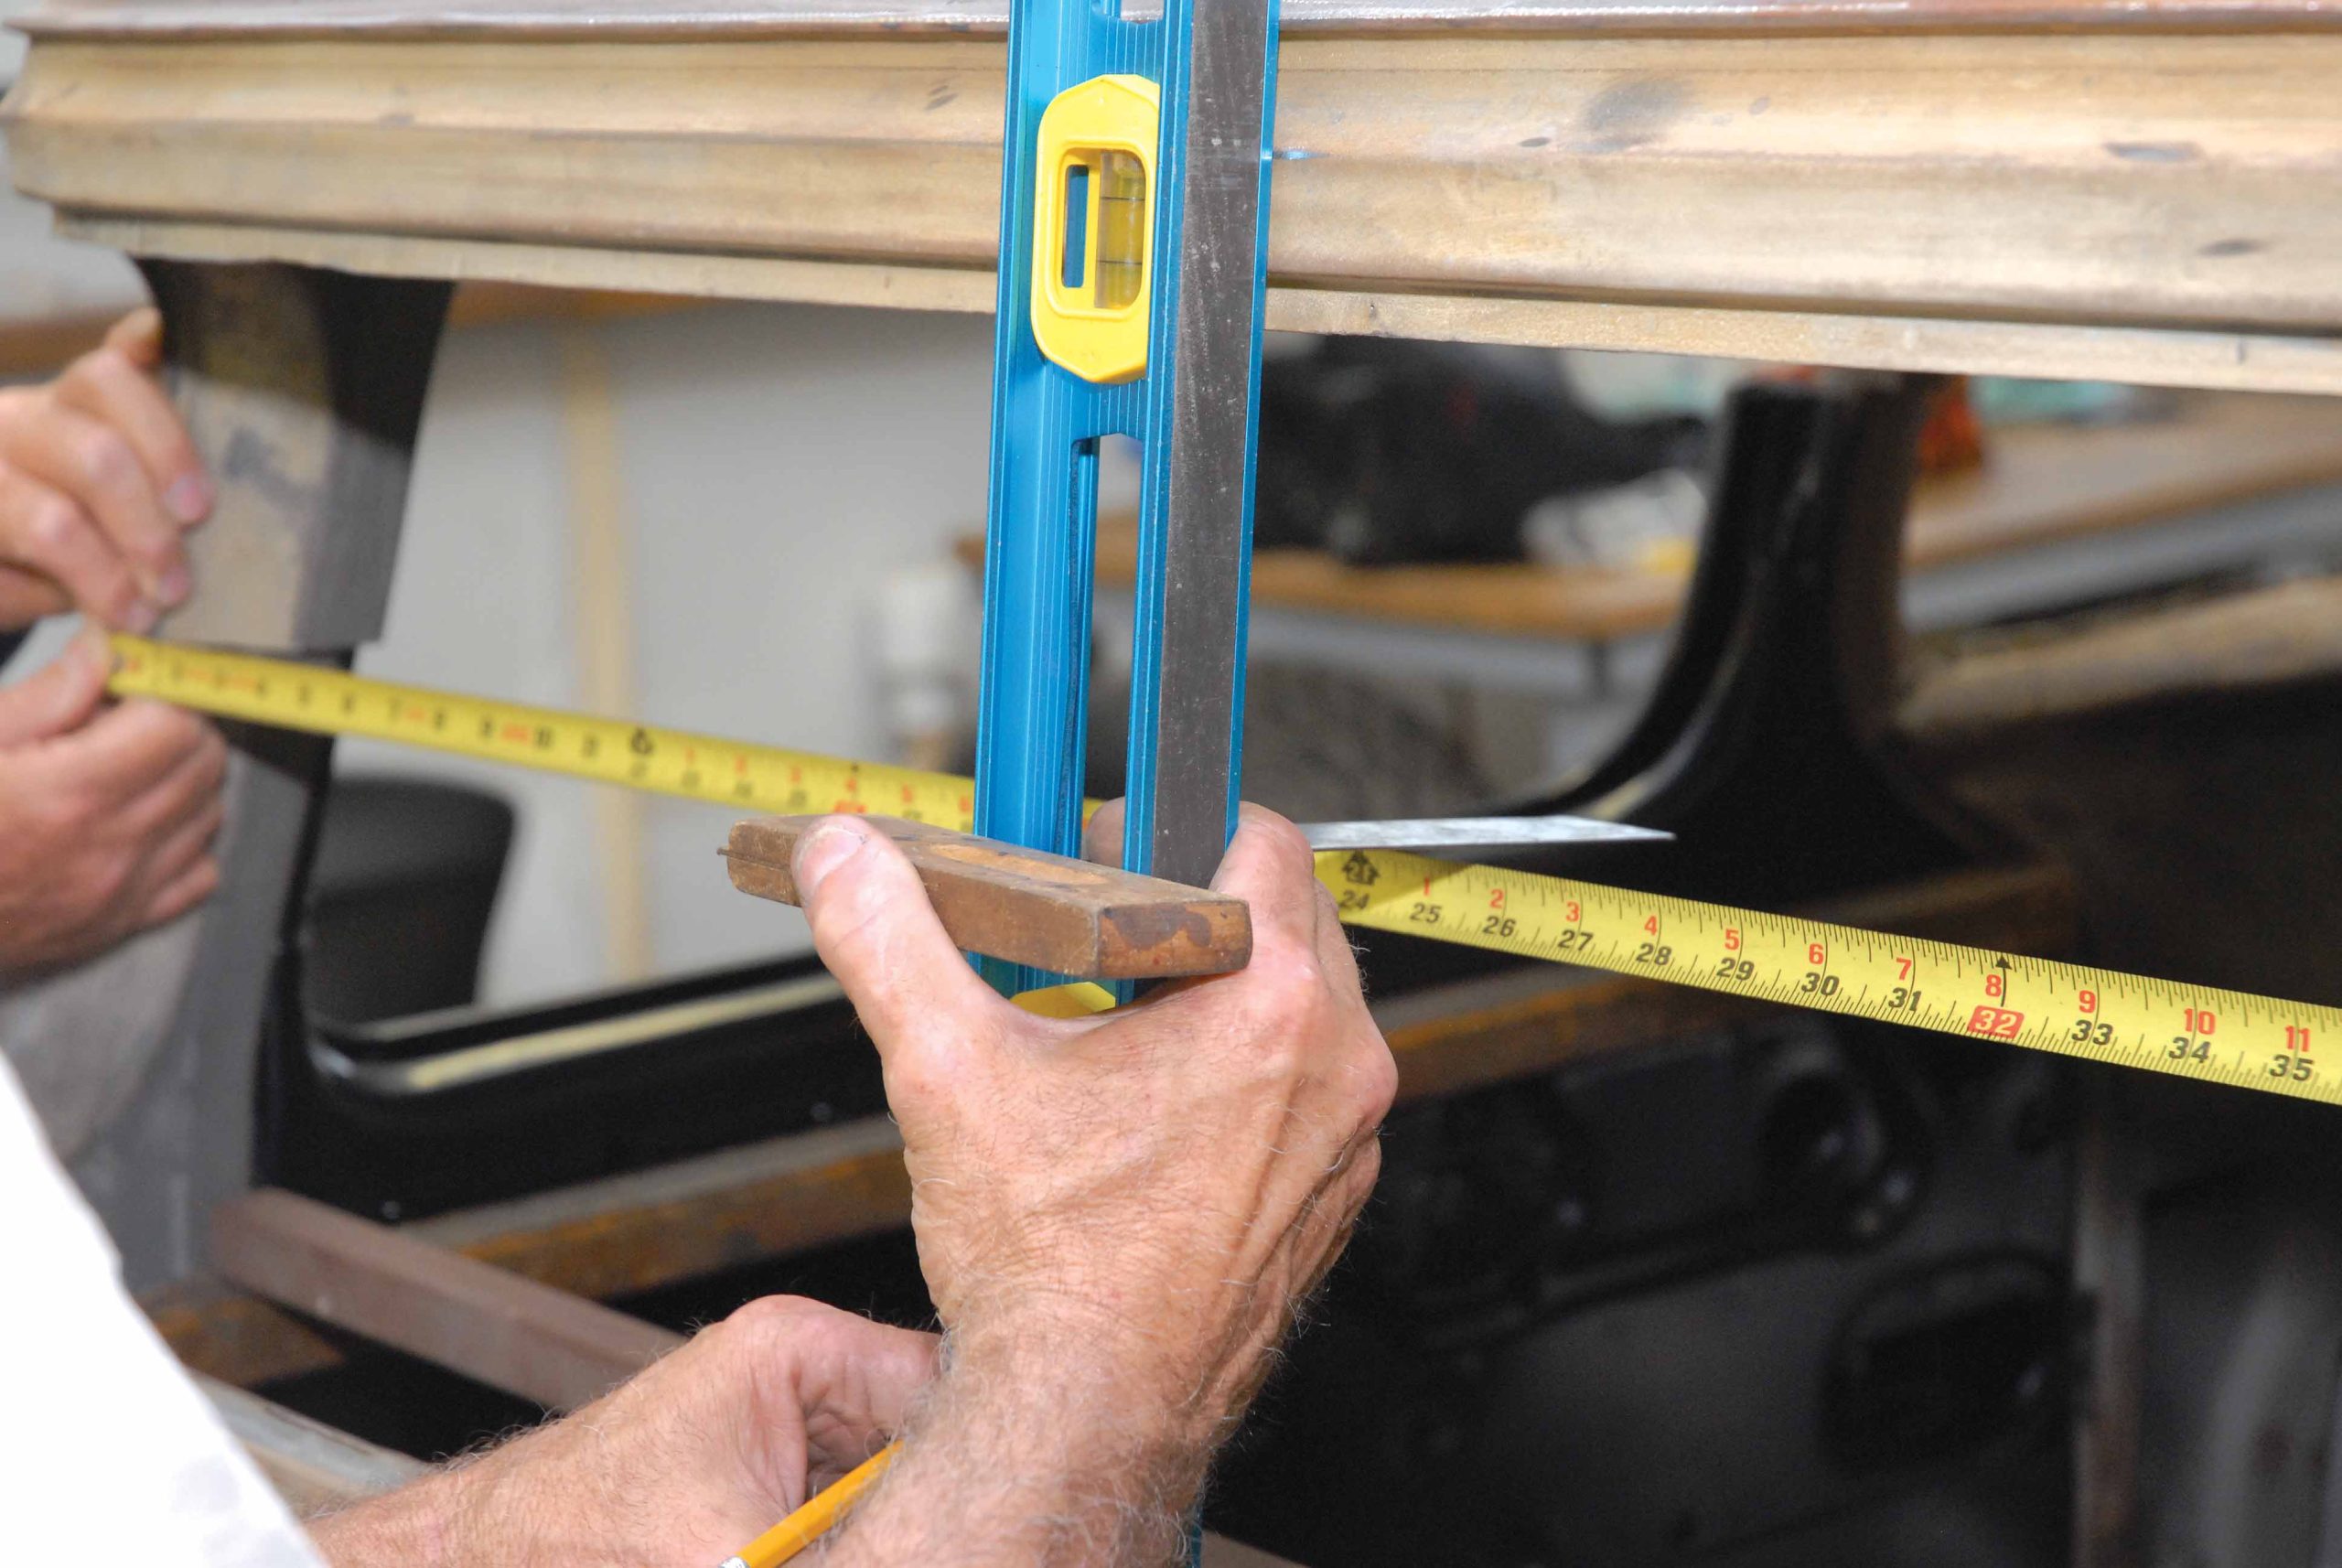
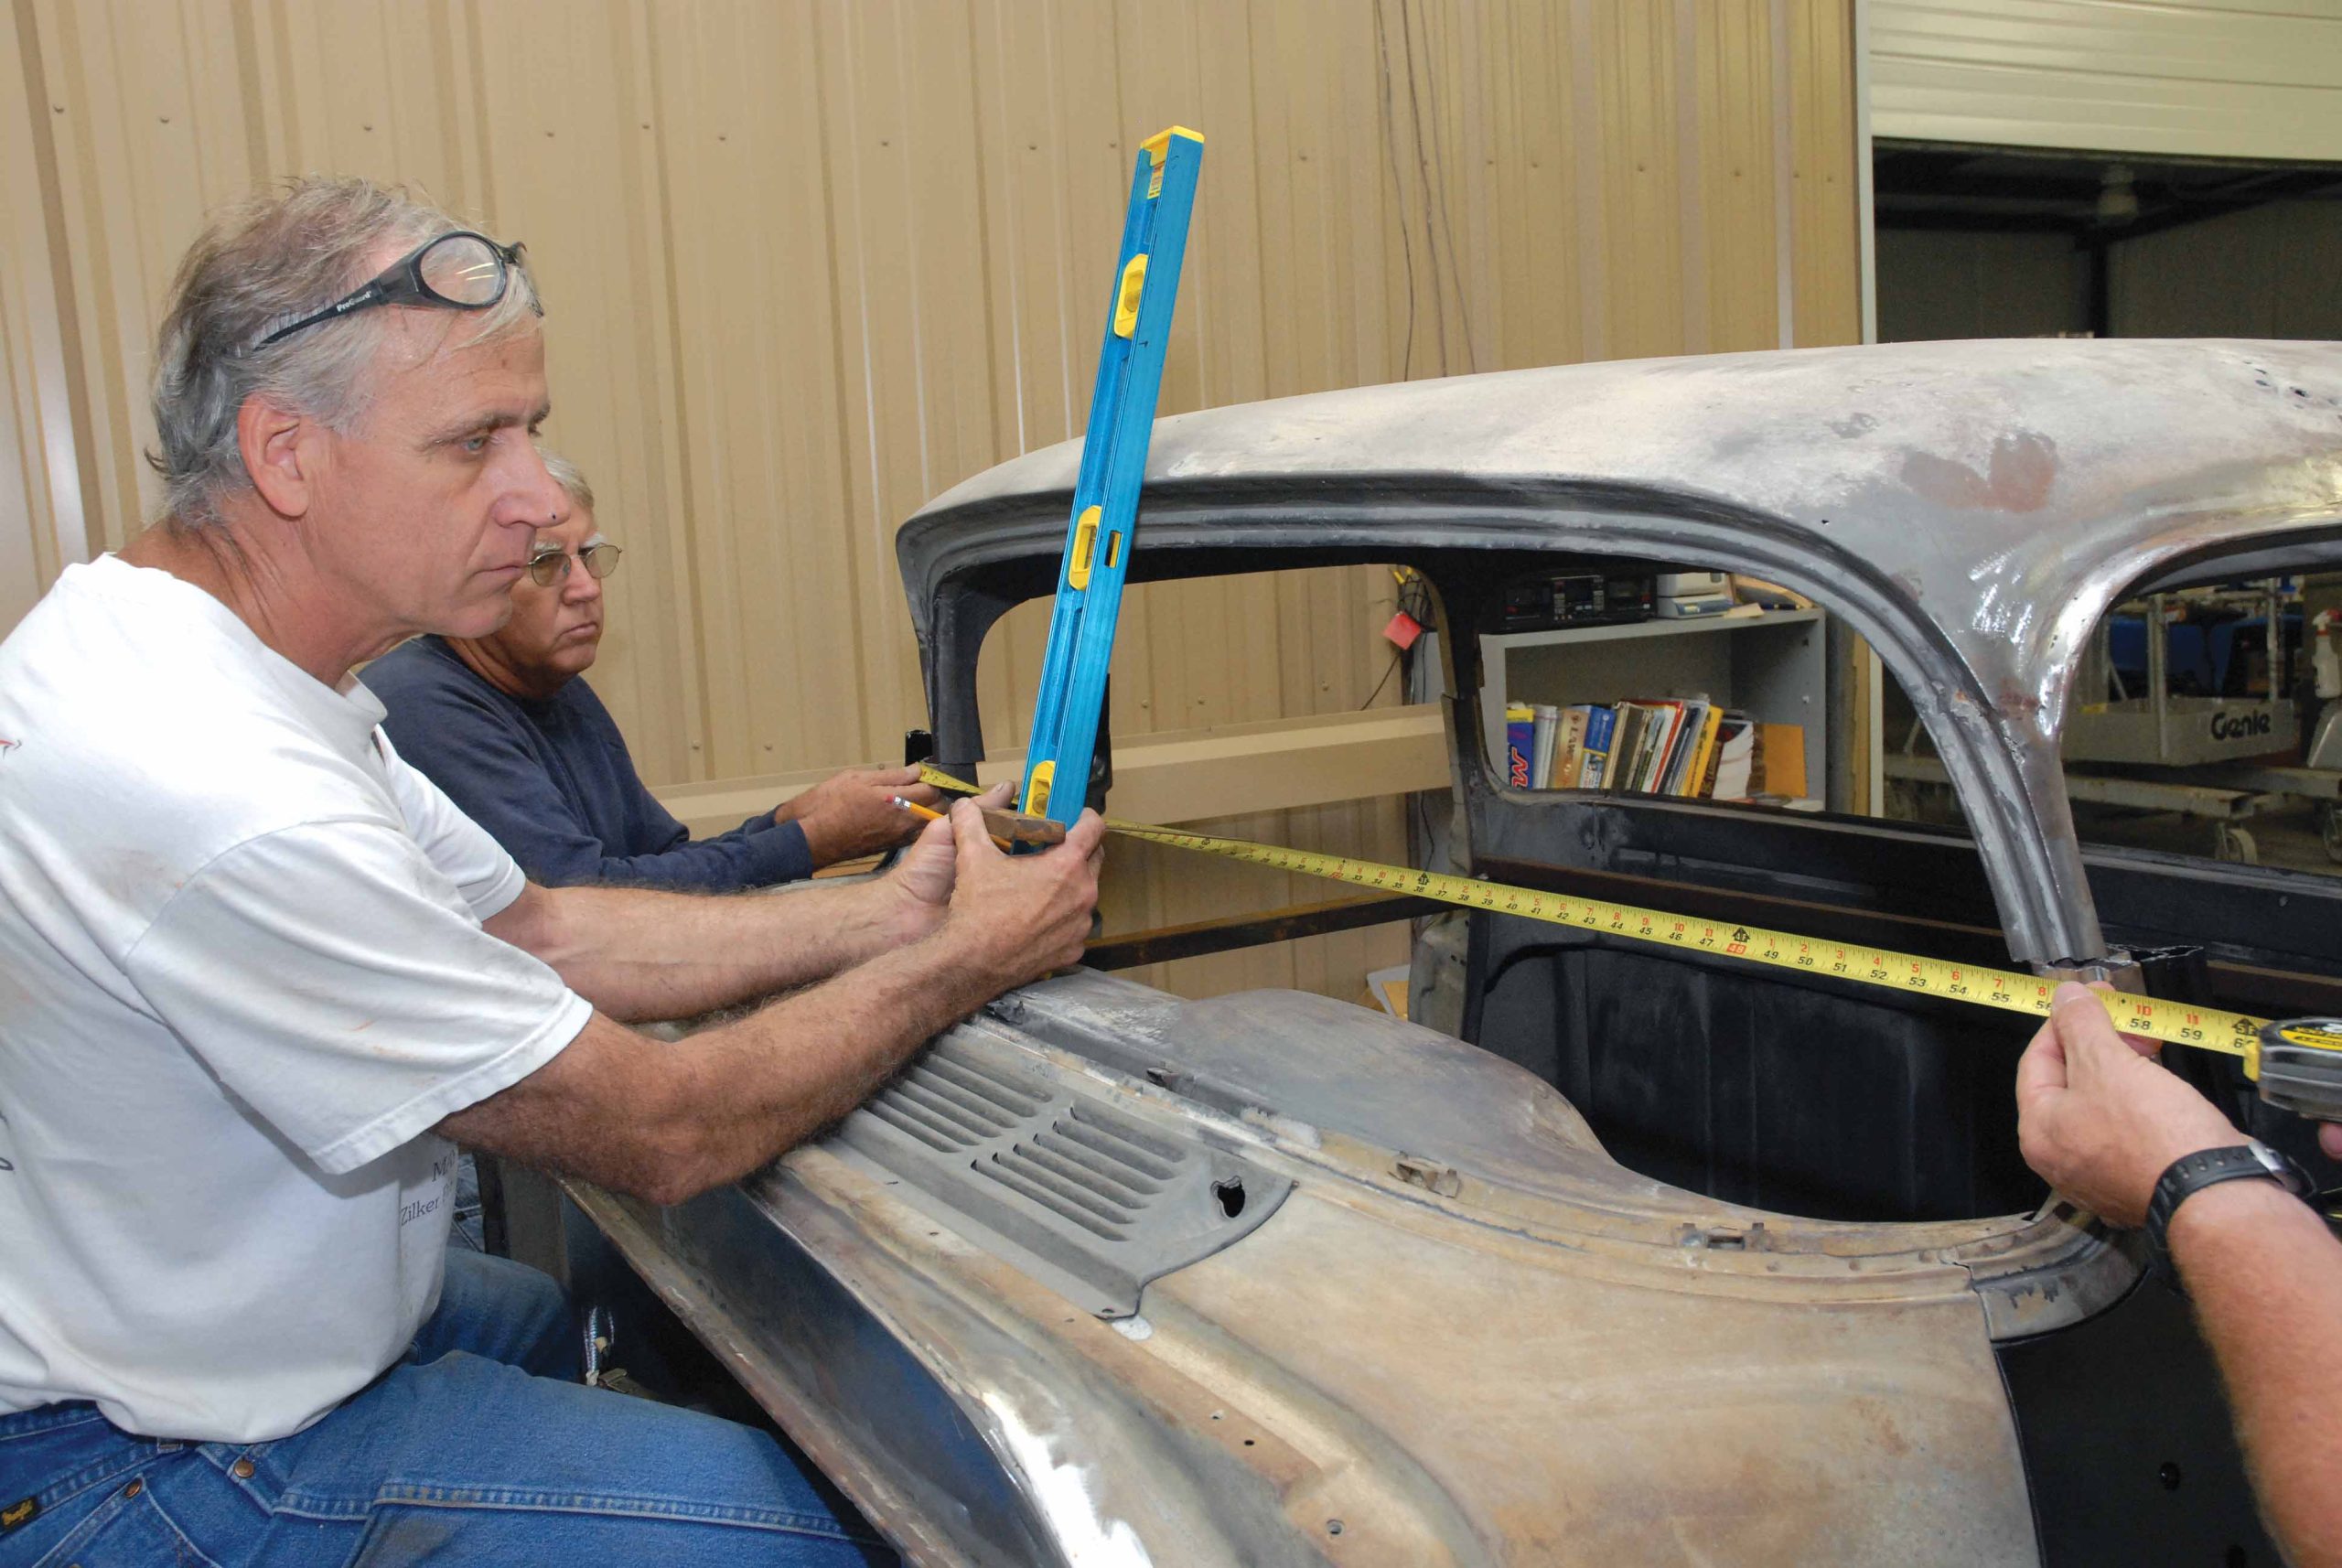
7-8. With the top sitting squarely on the rear door pillars, Cimbanin checks the rear window for square. It measures 58-1/2 inches side-to-side, and 29-1/4 inches centered.
7-8. With the top sitting squarely on the rear door pillars, Cimbanin checks the rear window for square. It measures 58-1/2 inches side-to-side, and 29-1/4 inches centered.
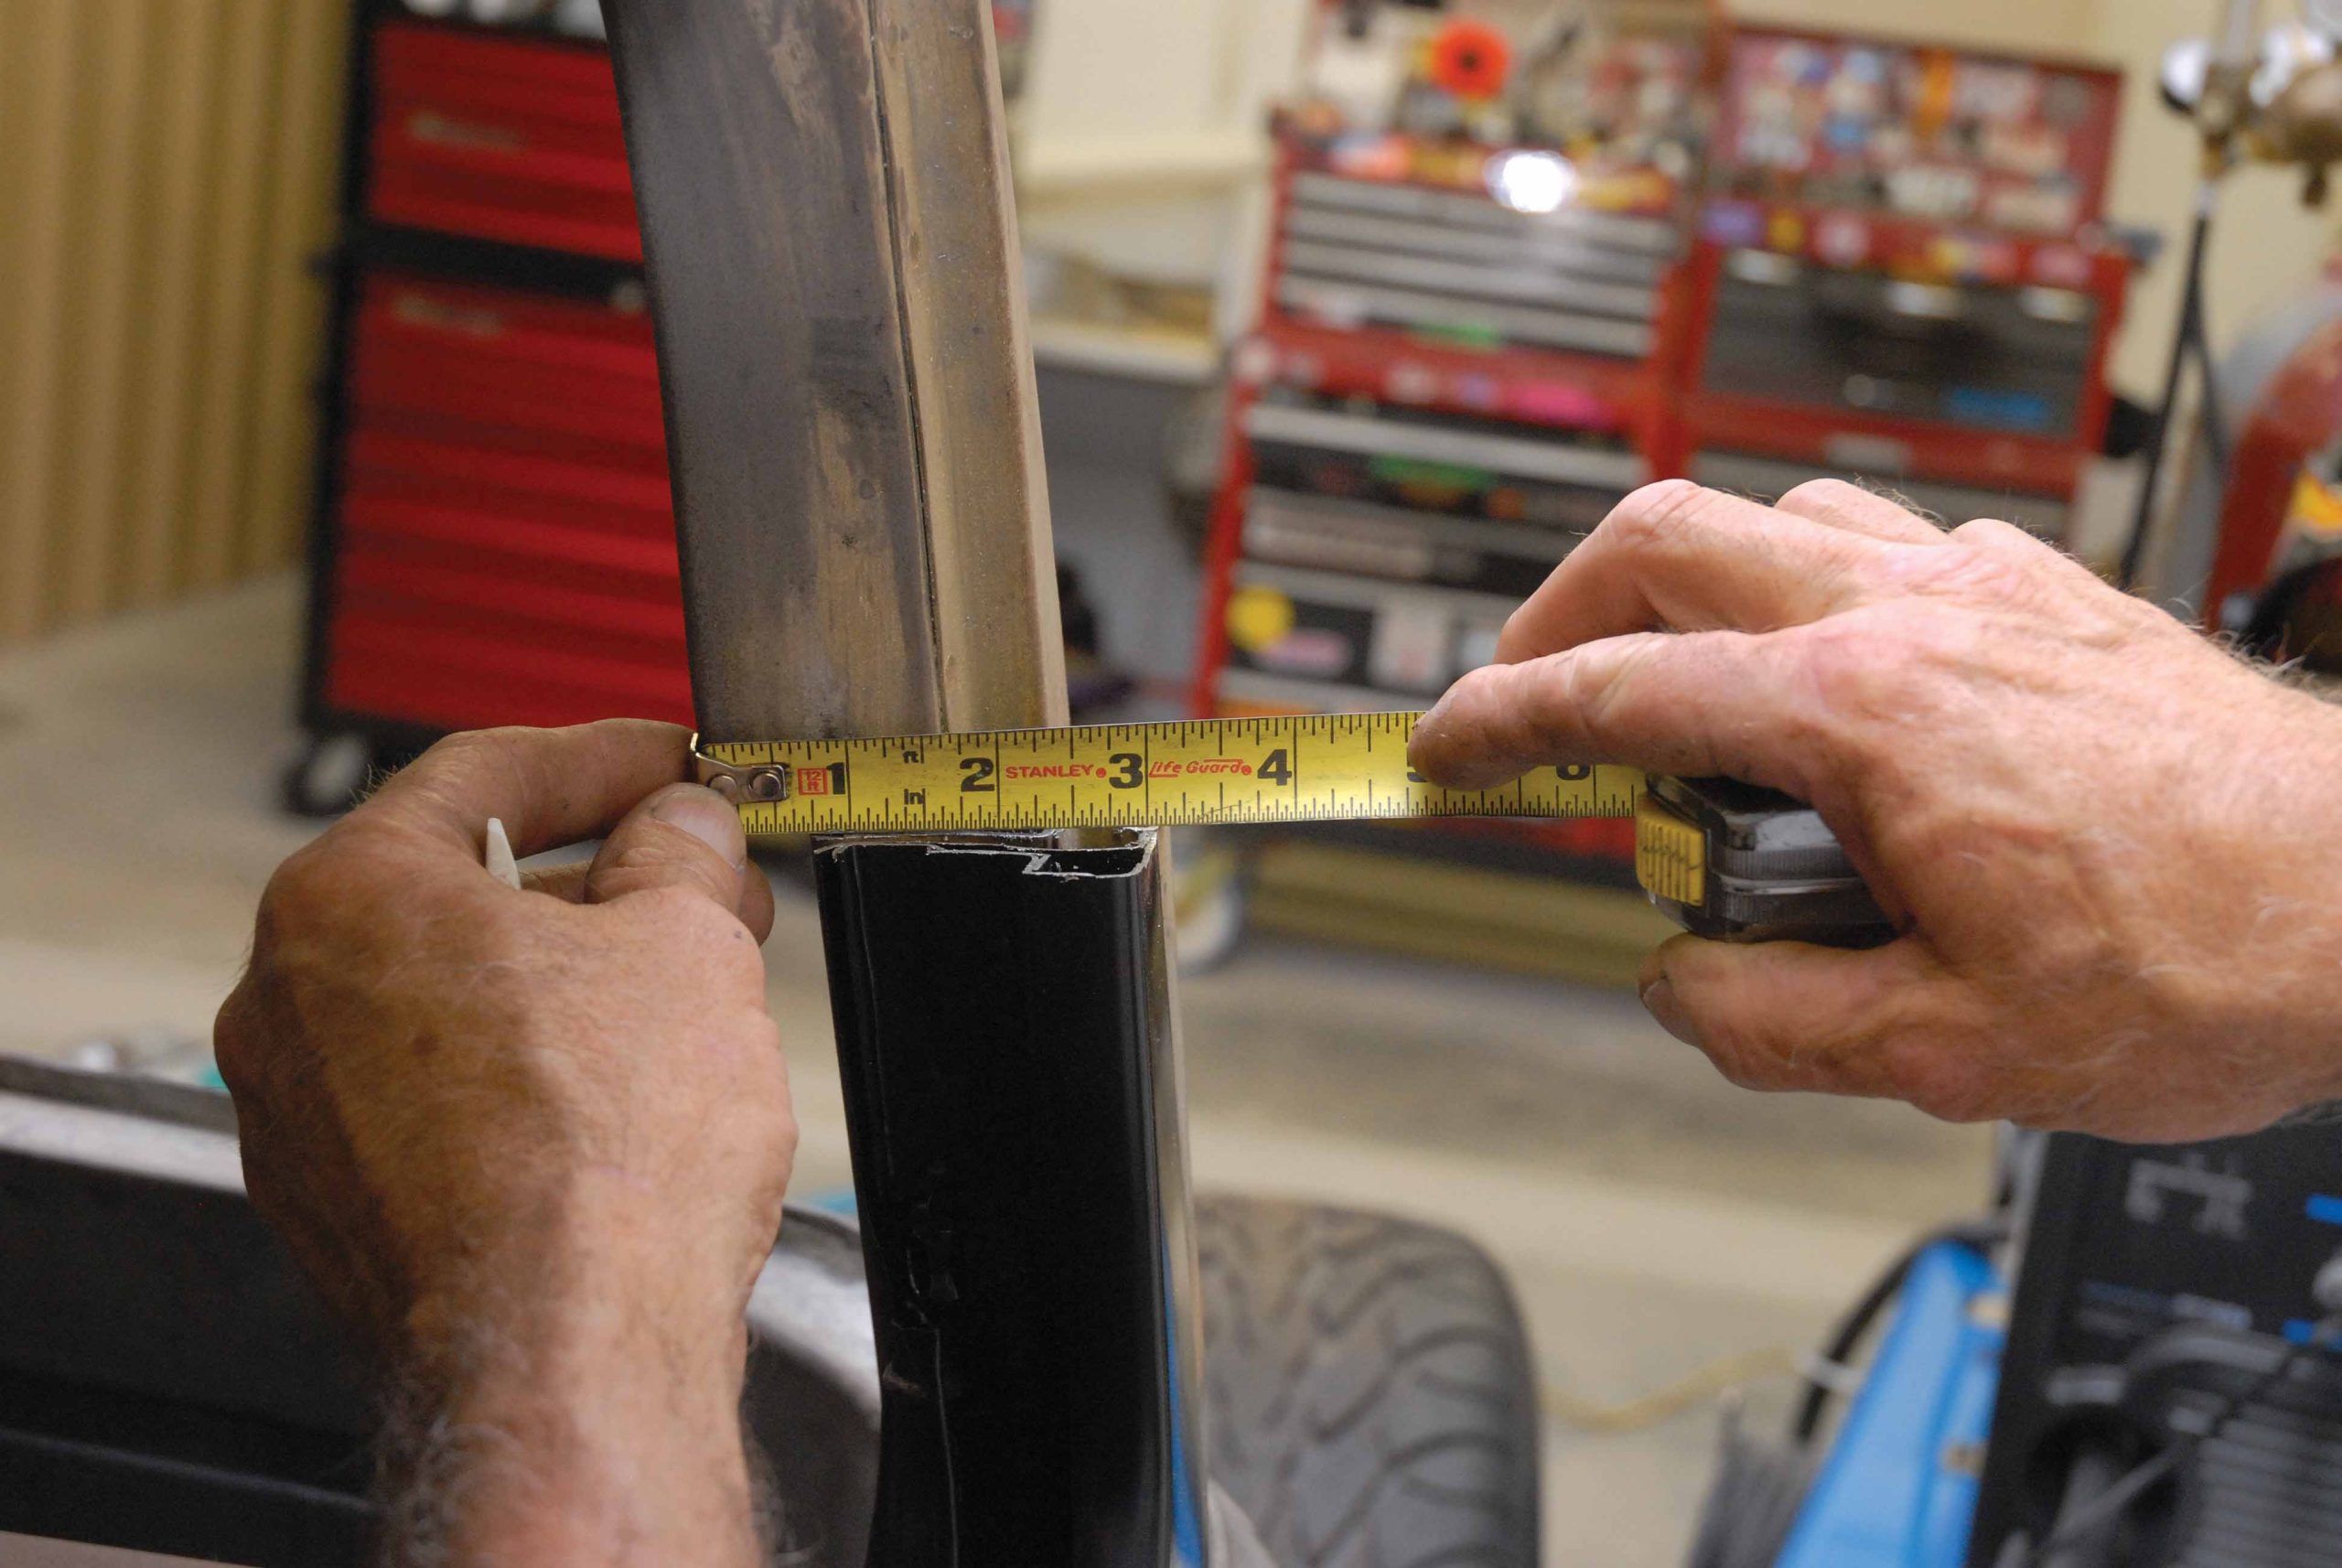
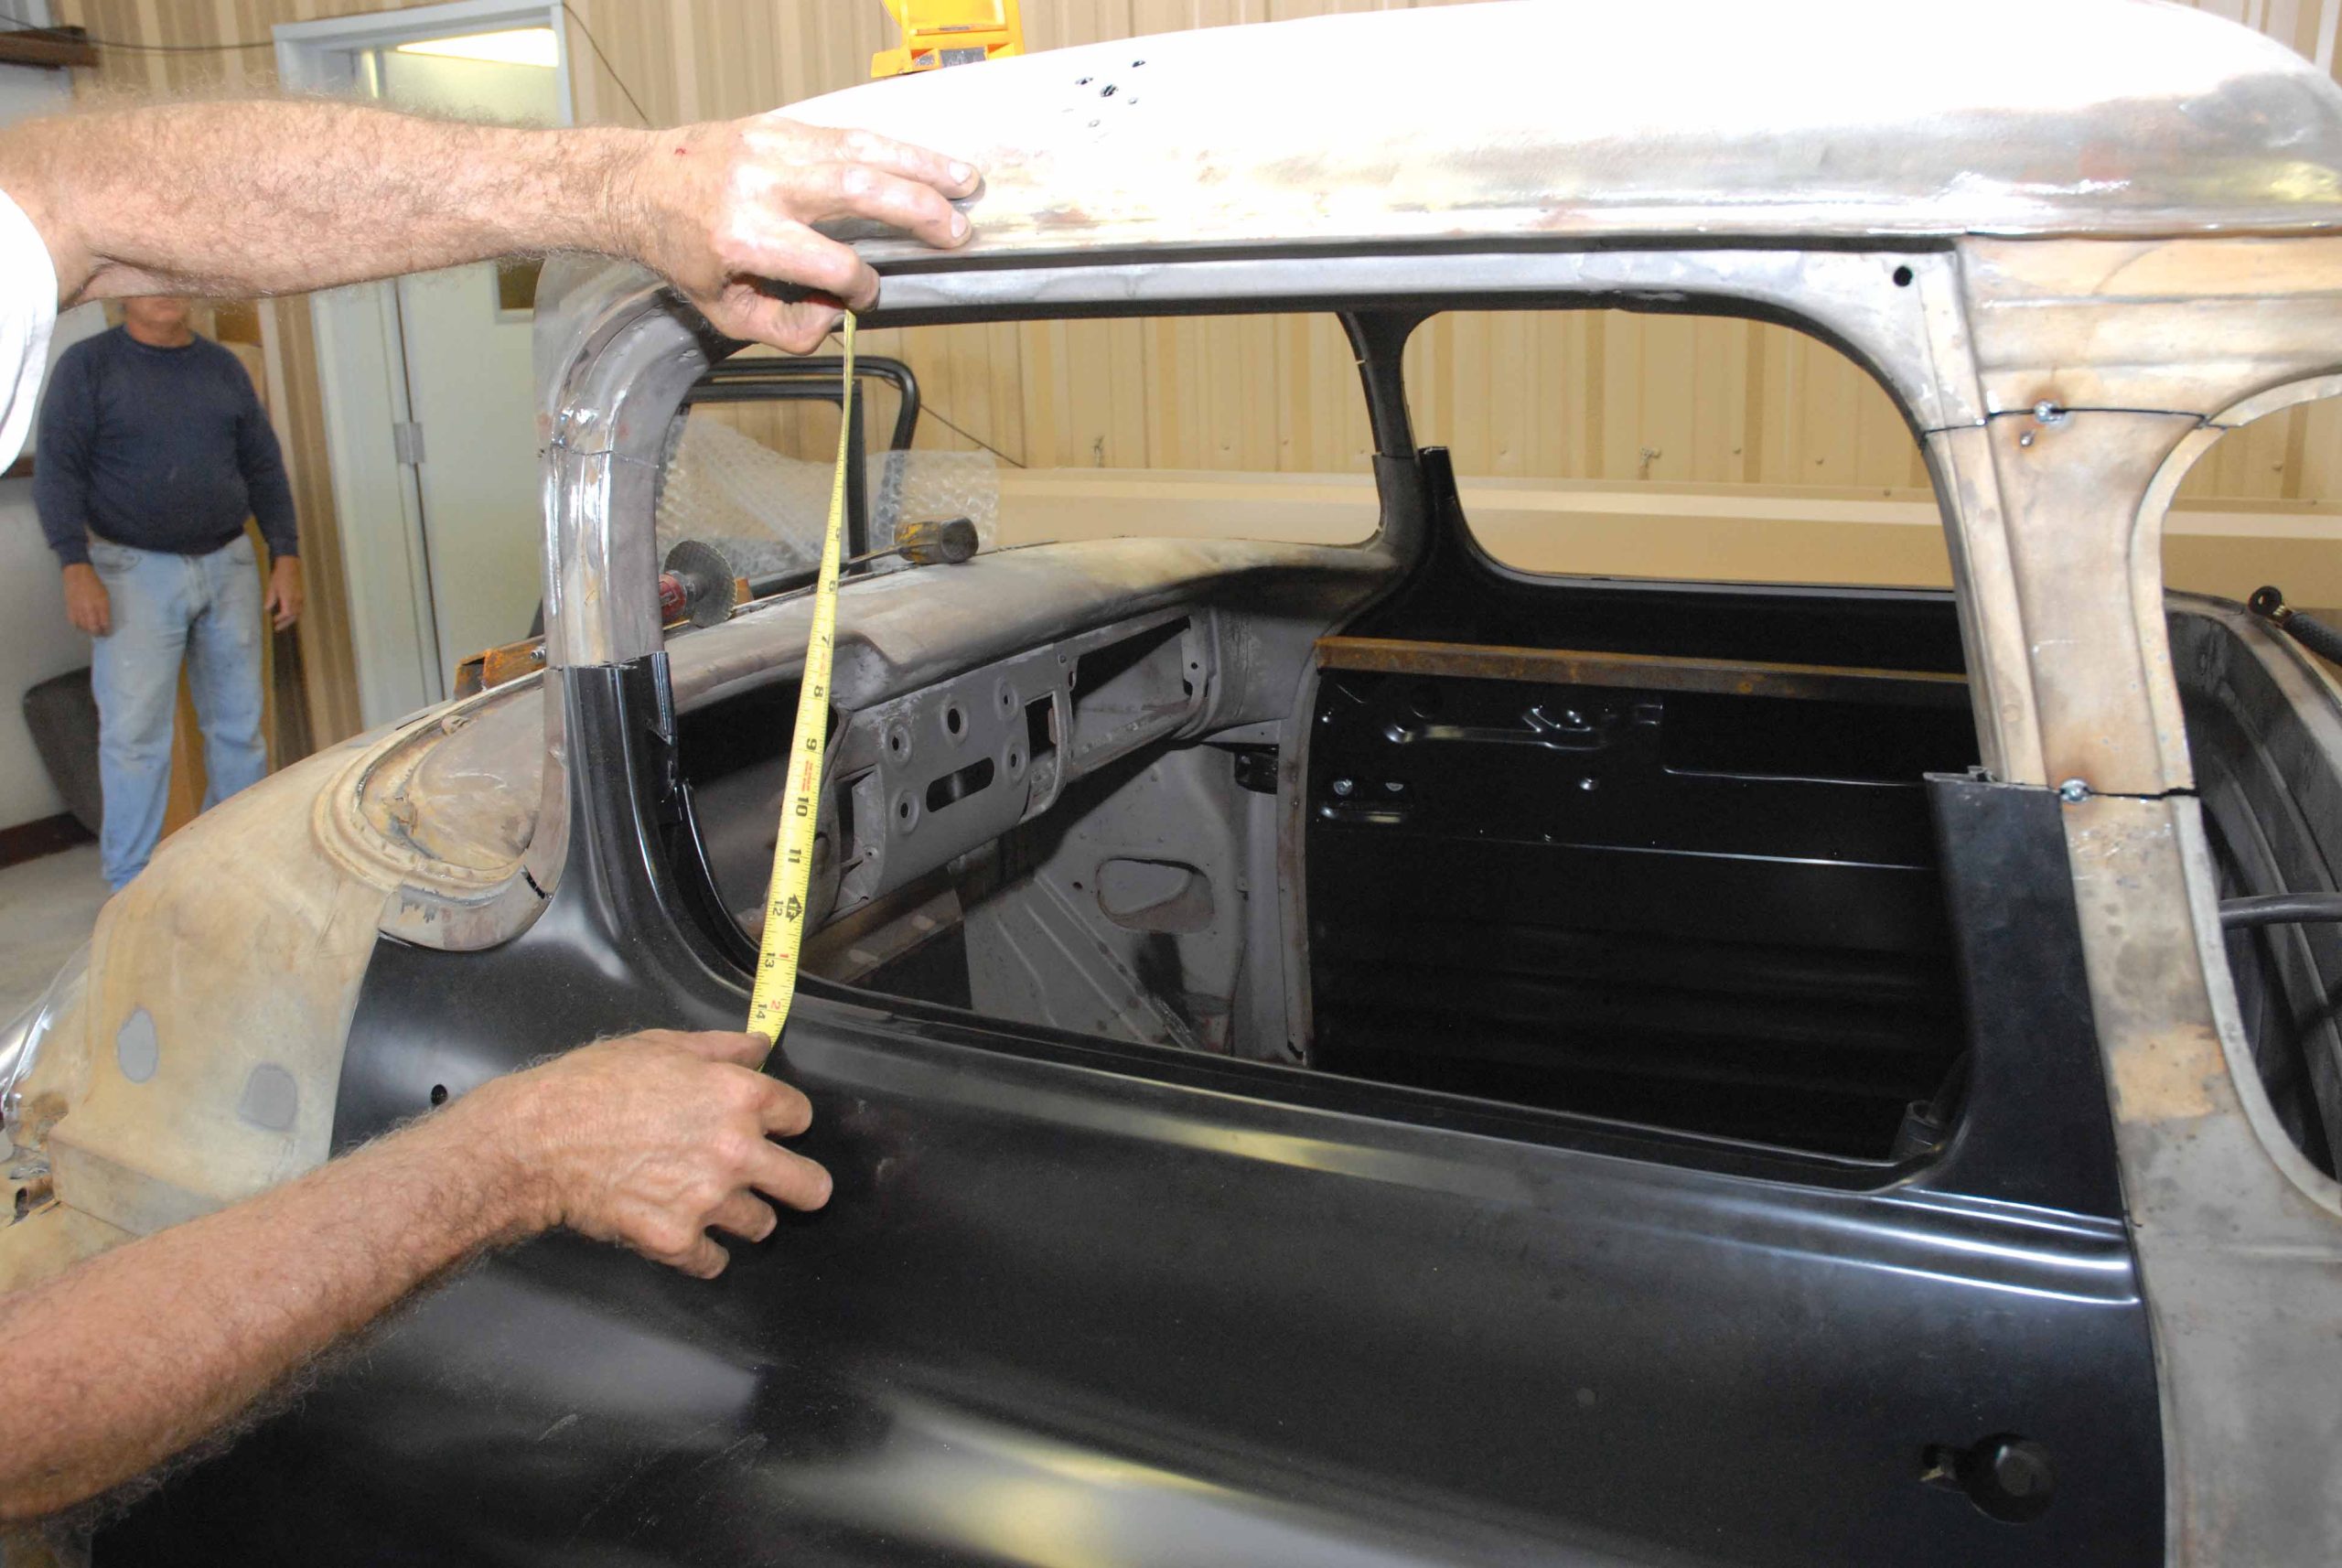
9. In this photo, we see Cimbanin checking the centerline of the front windshield. He came up with a measurement of 27-5/8 inches.
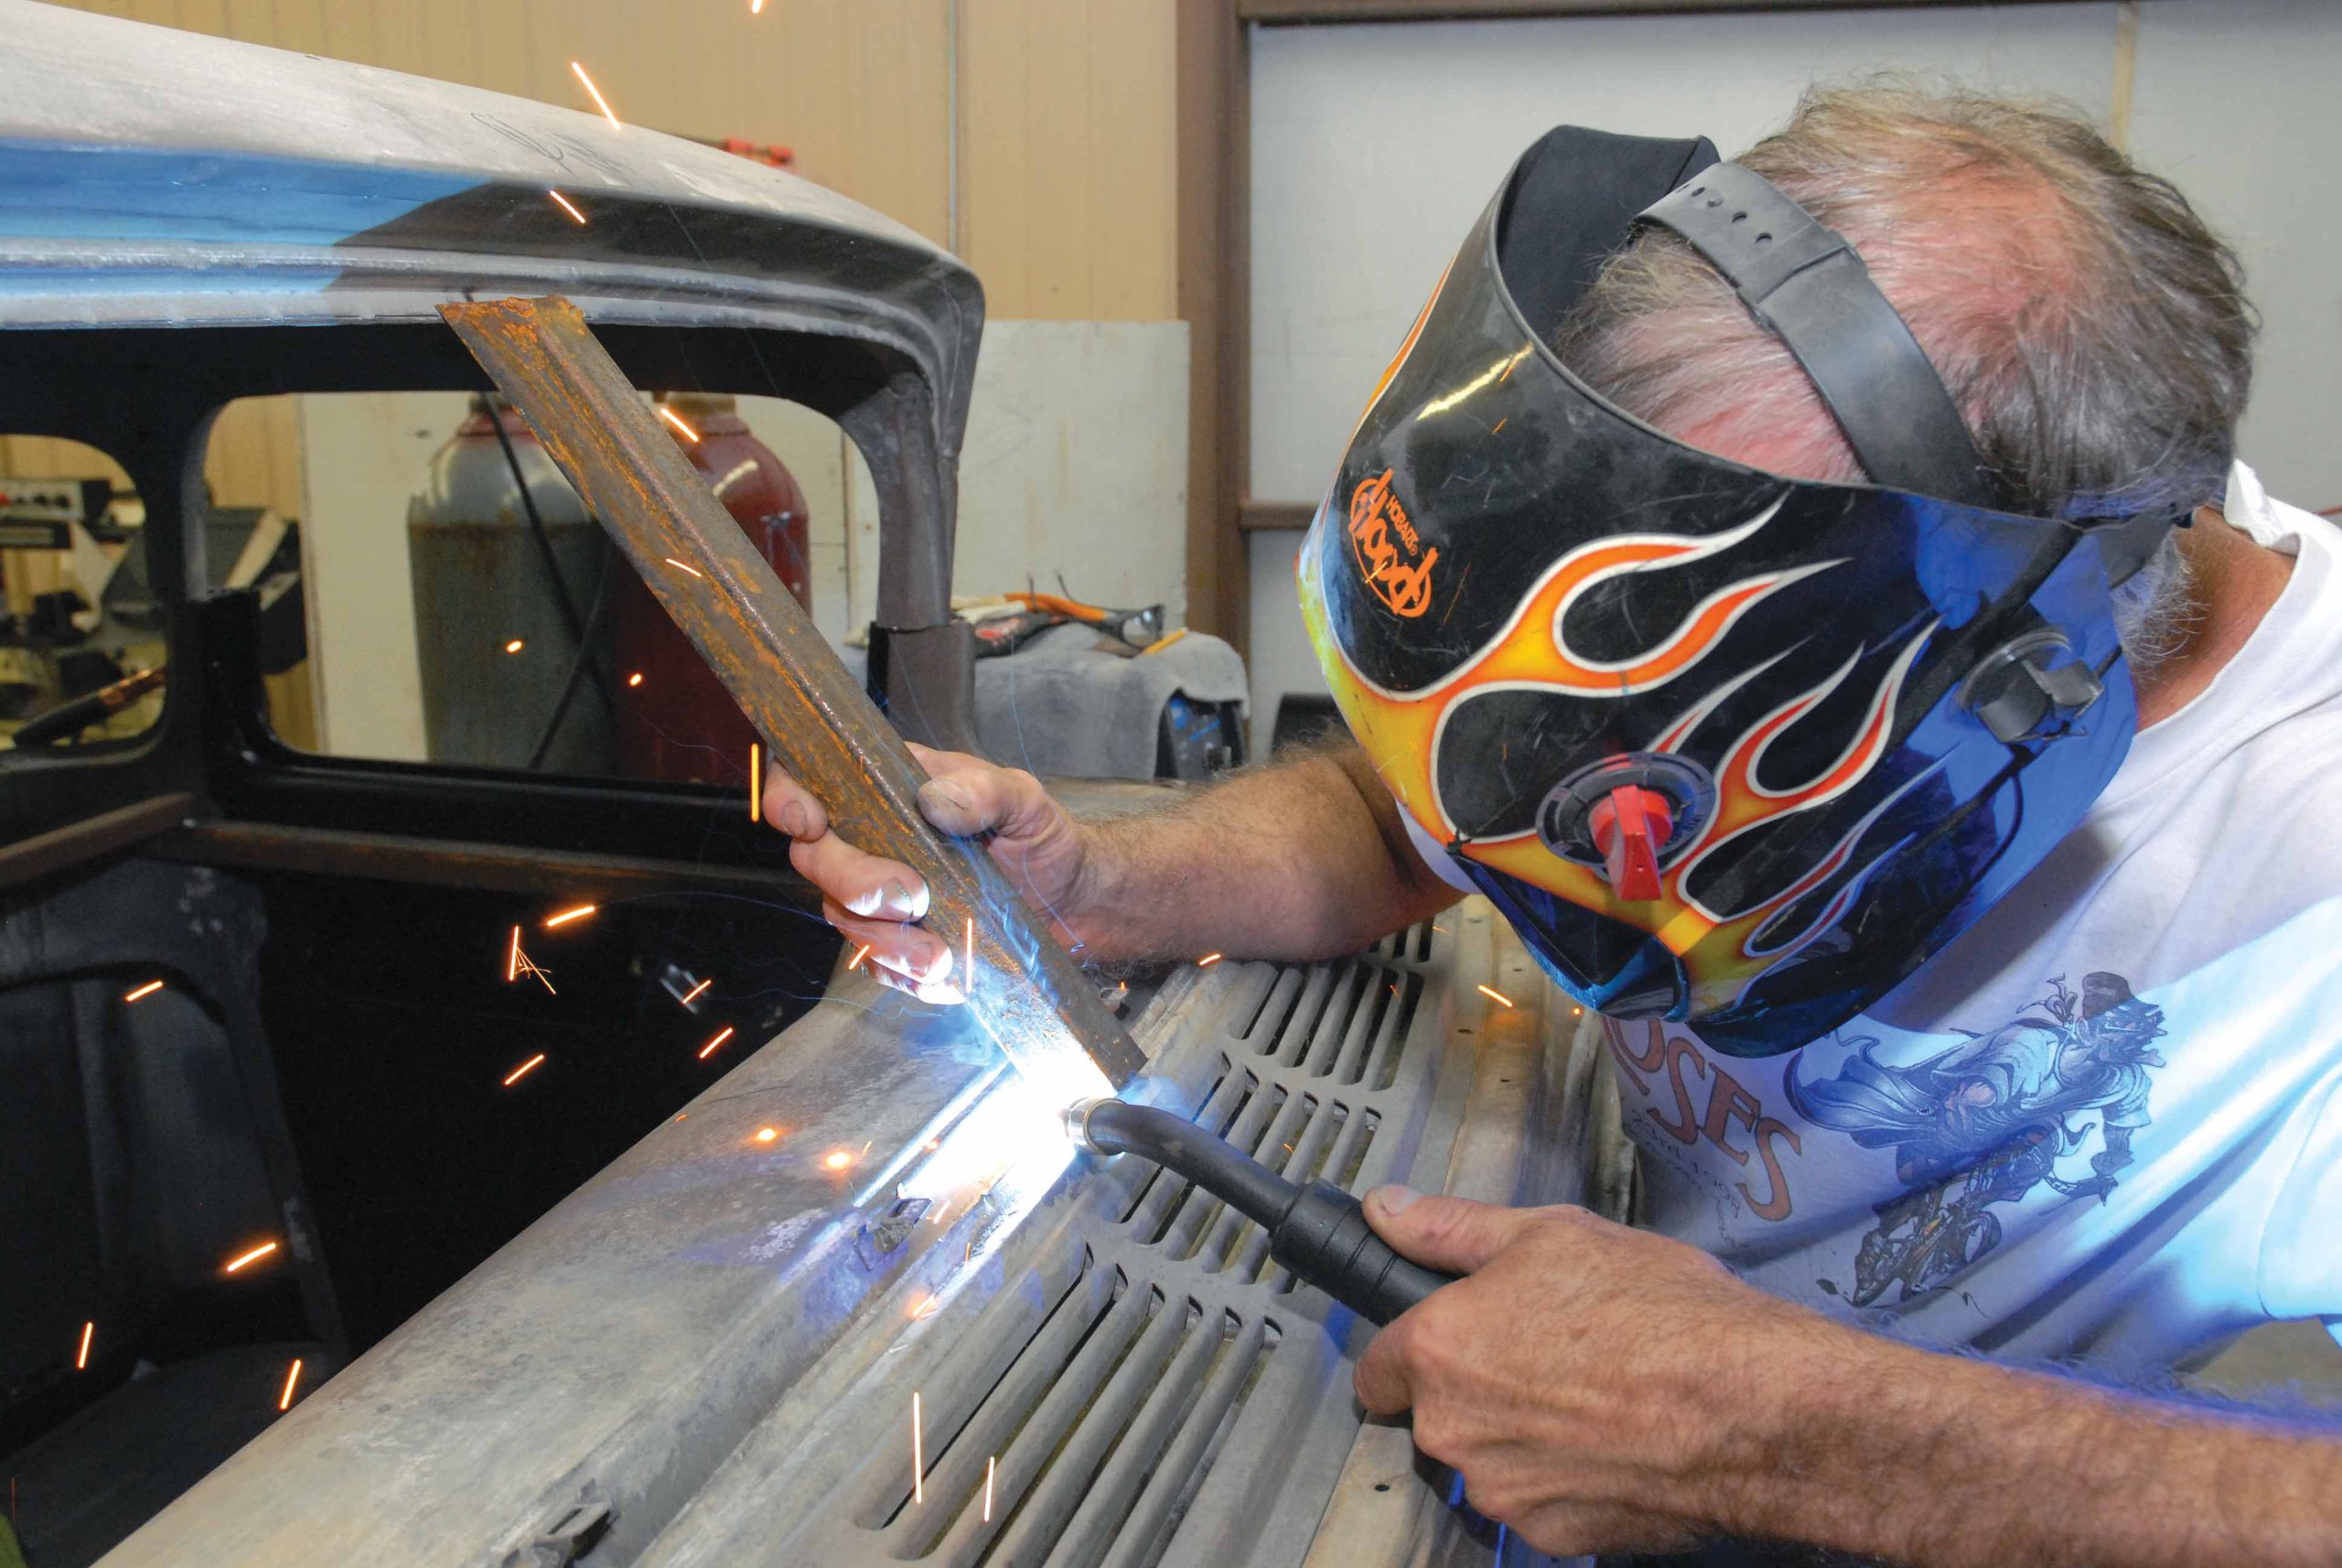
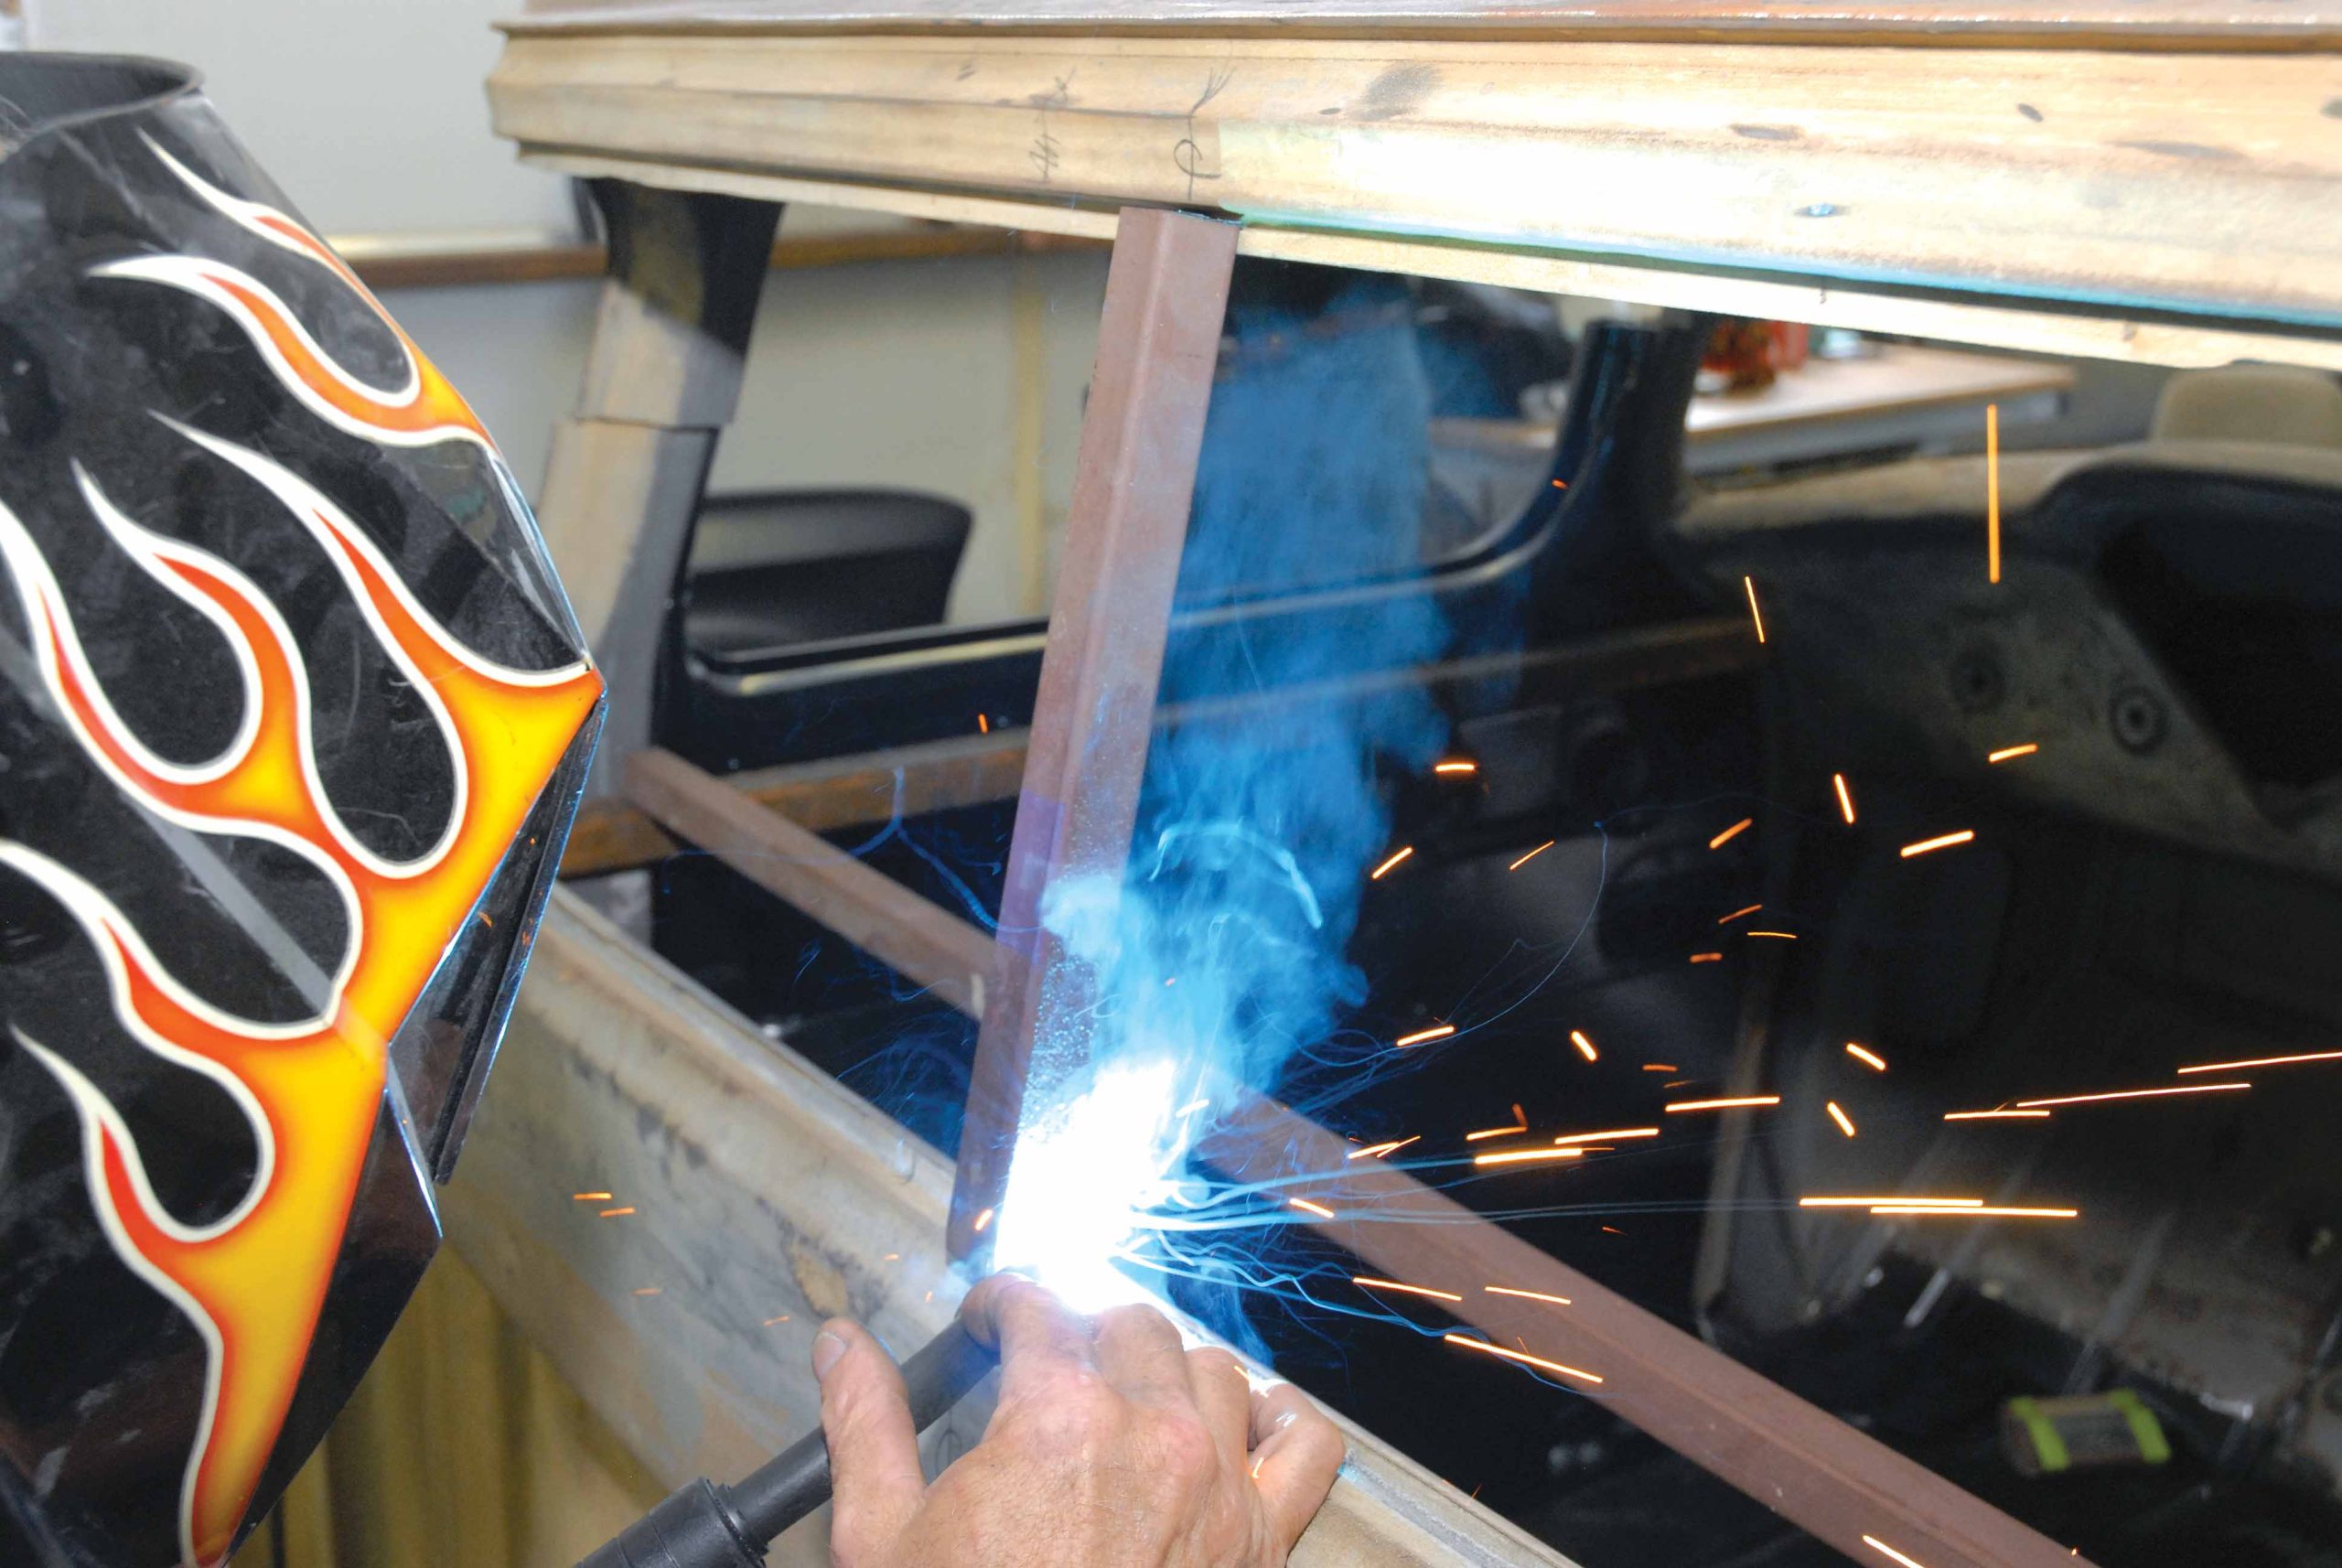
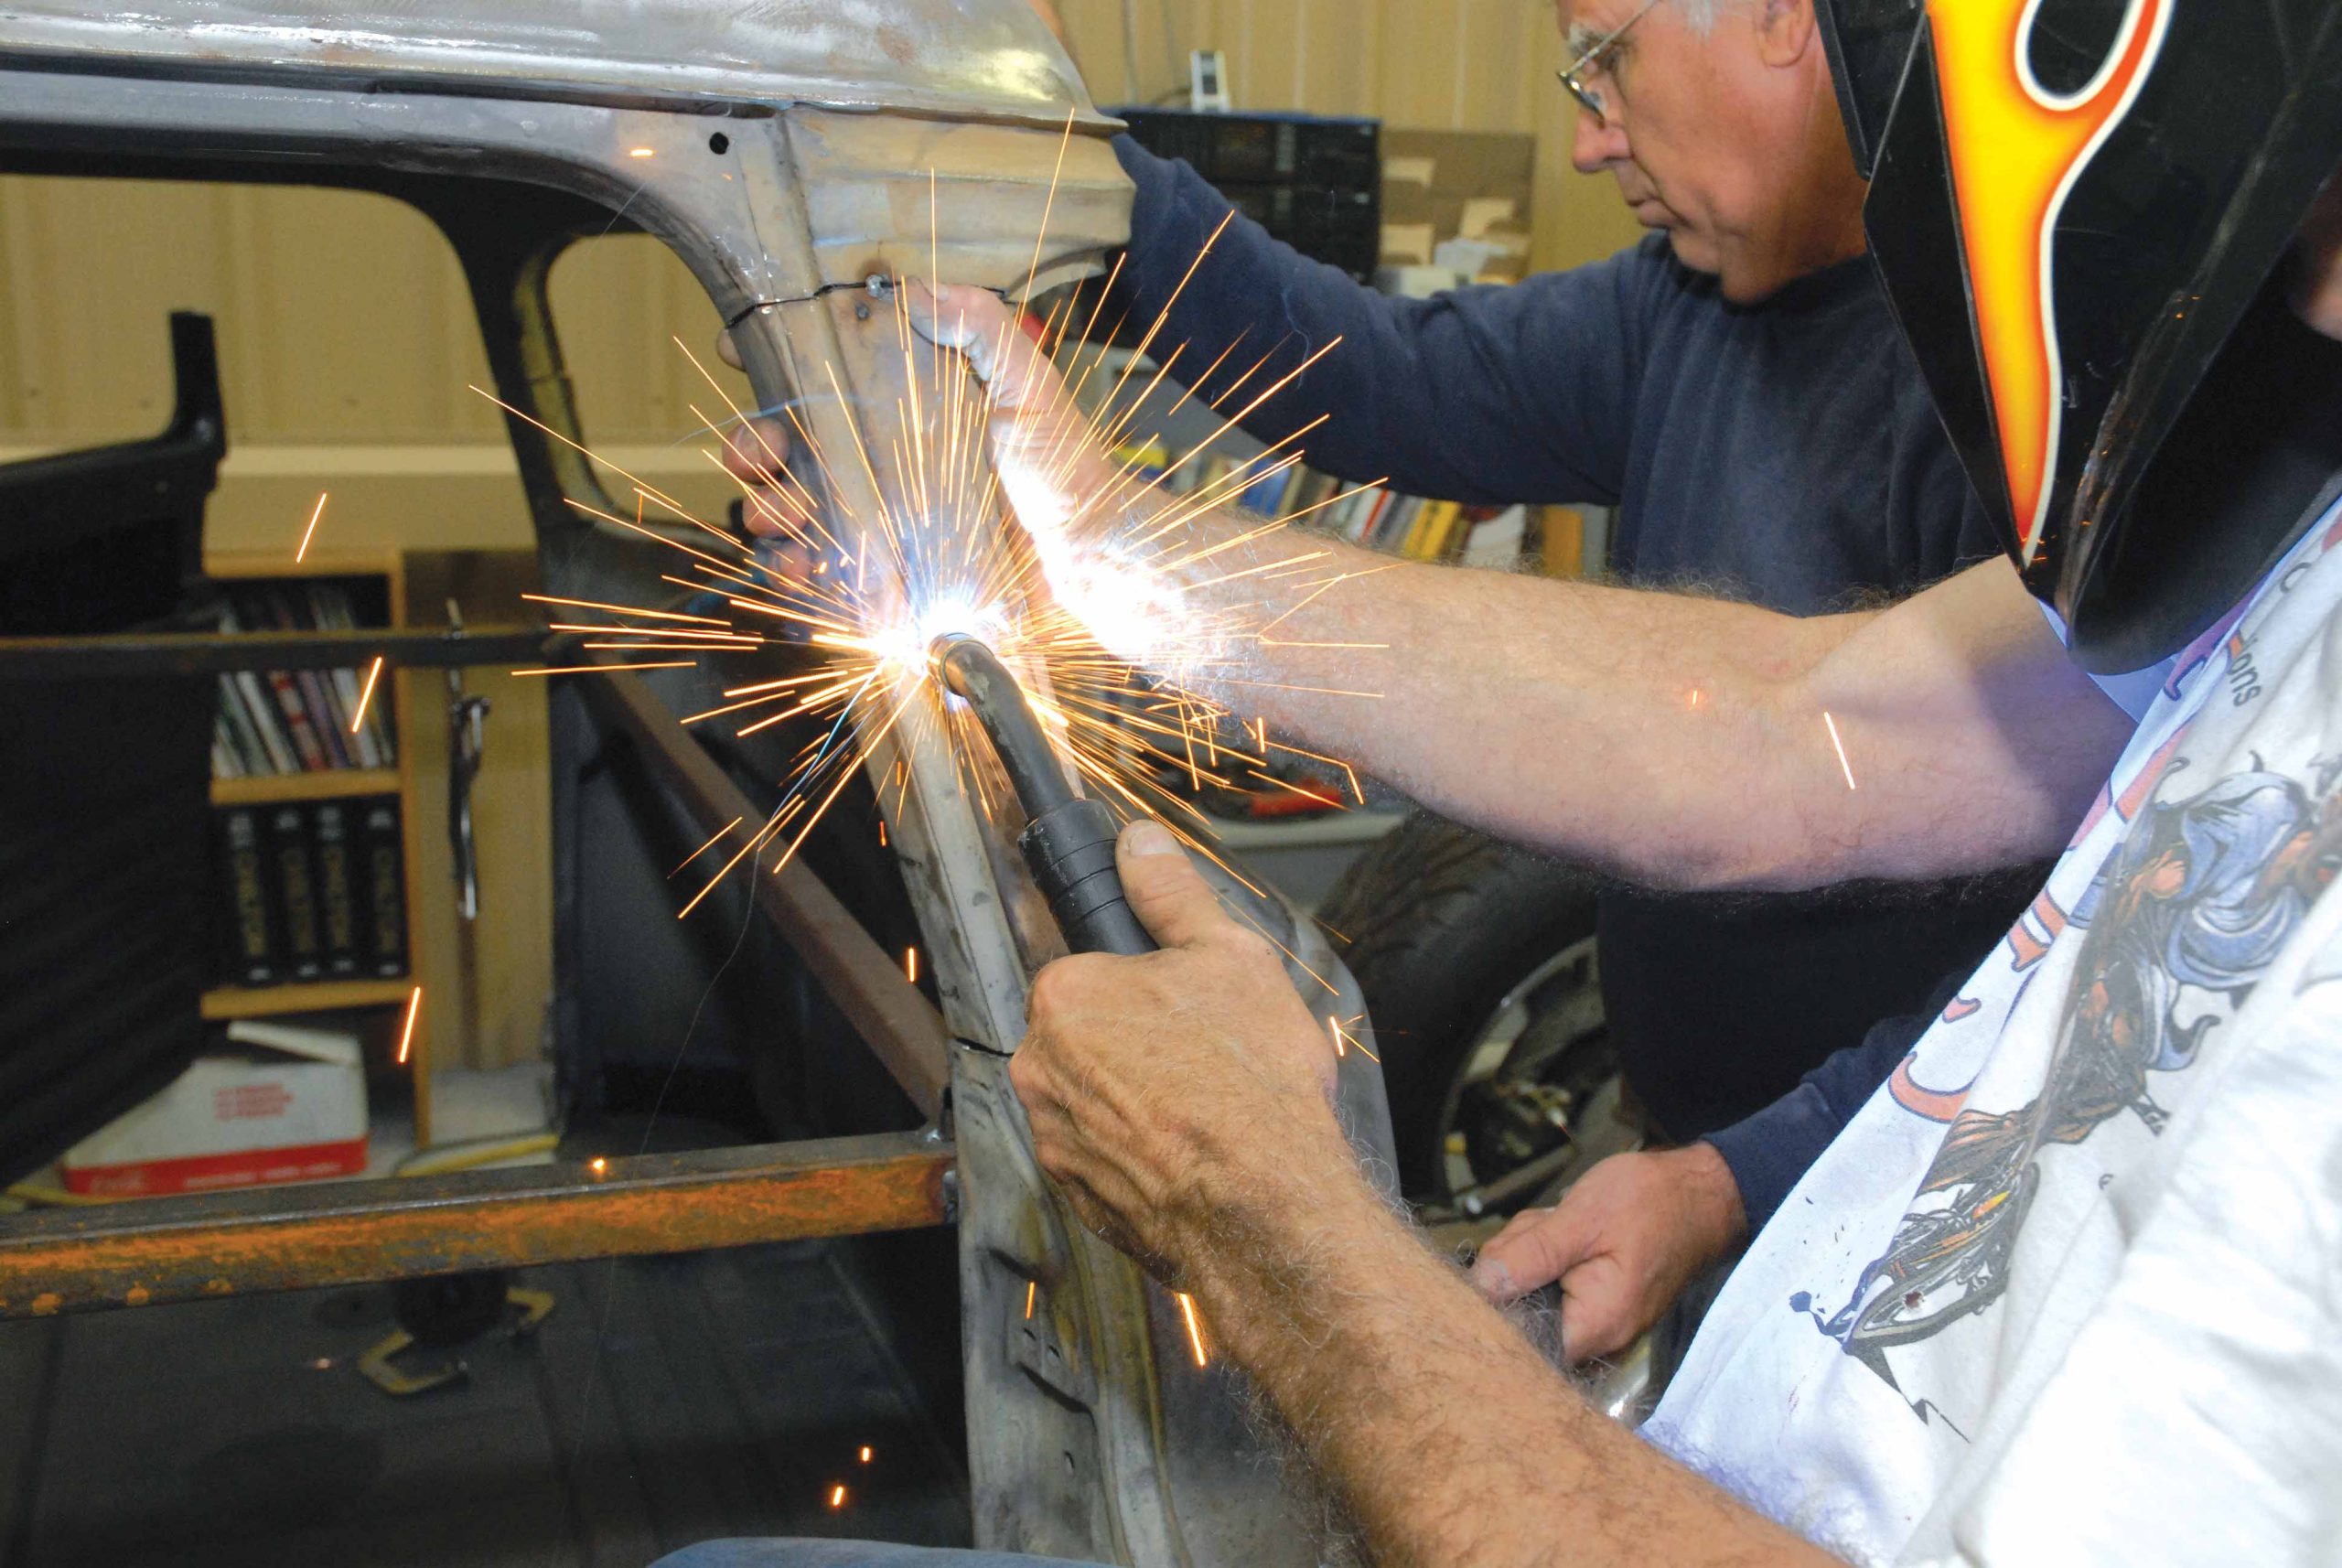
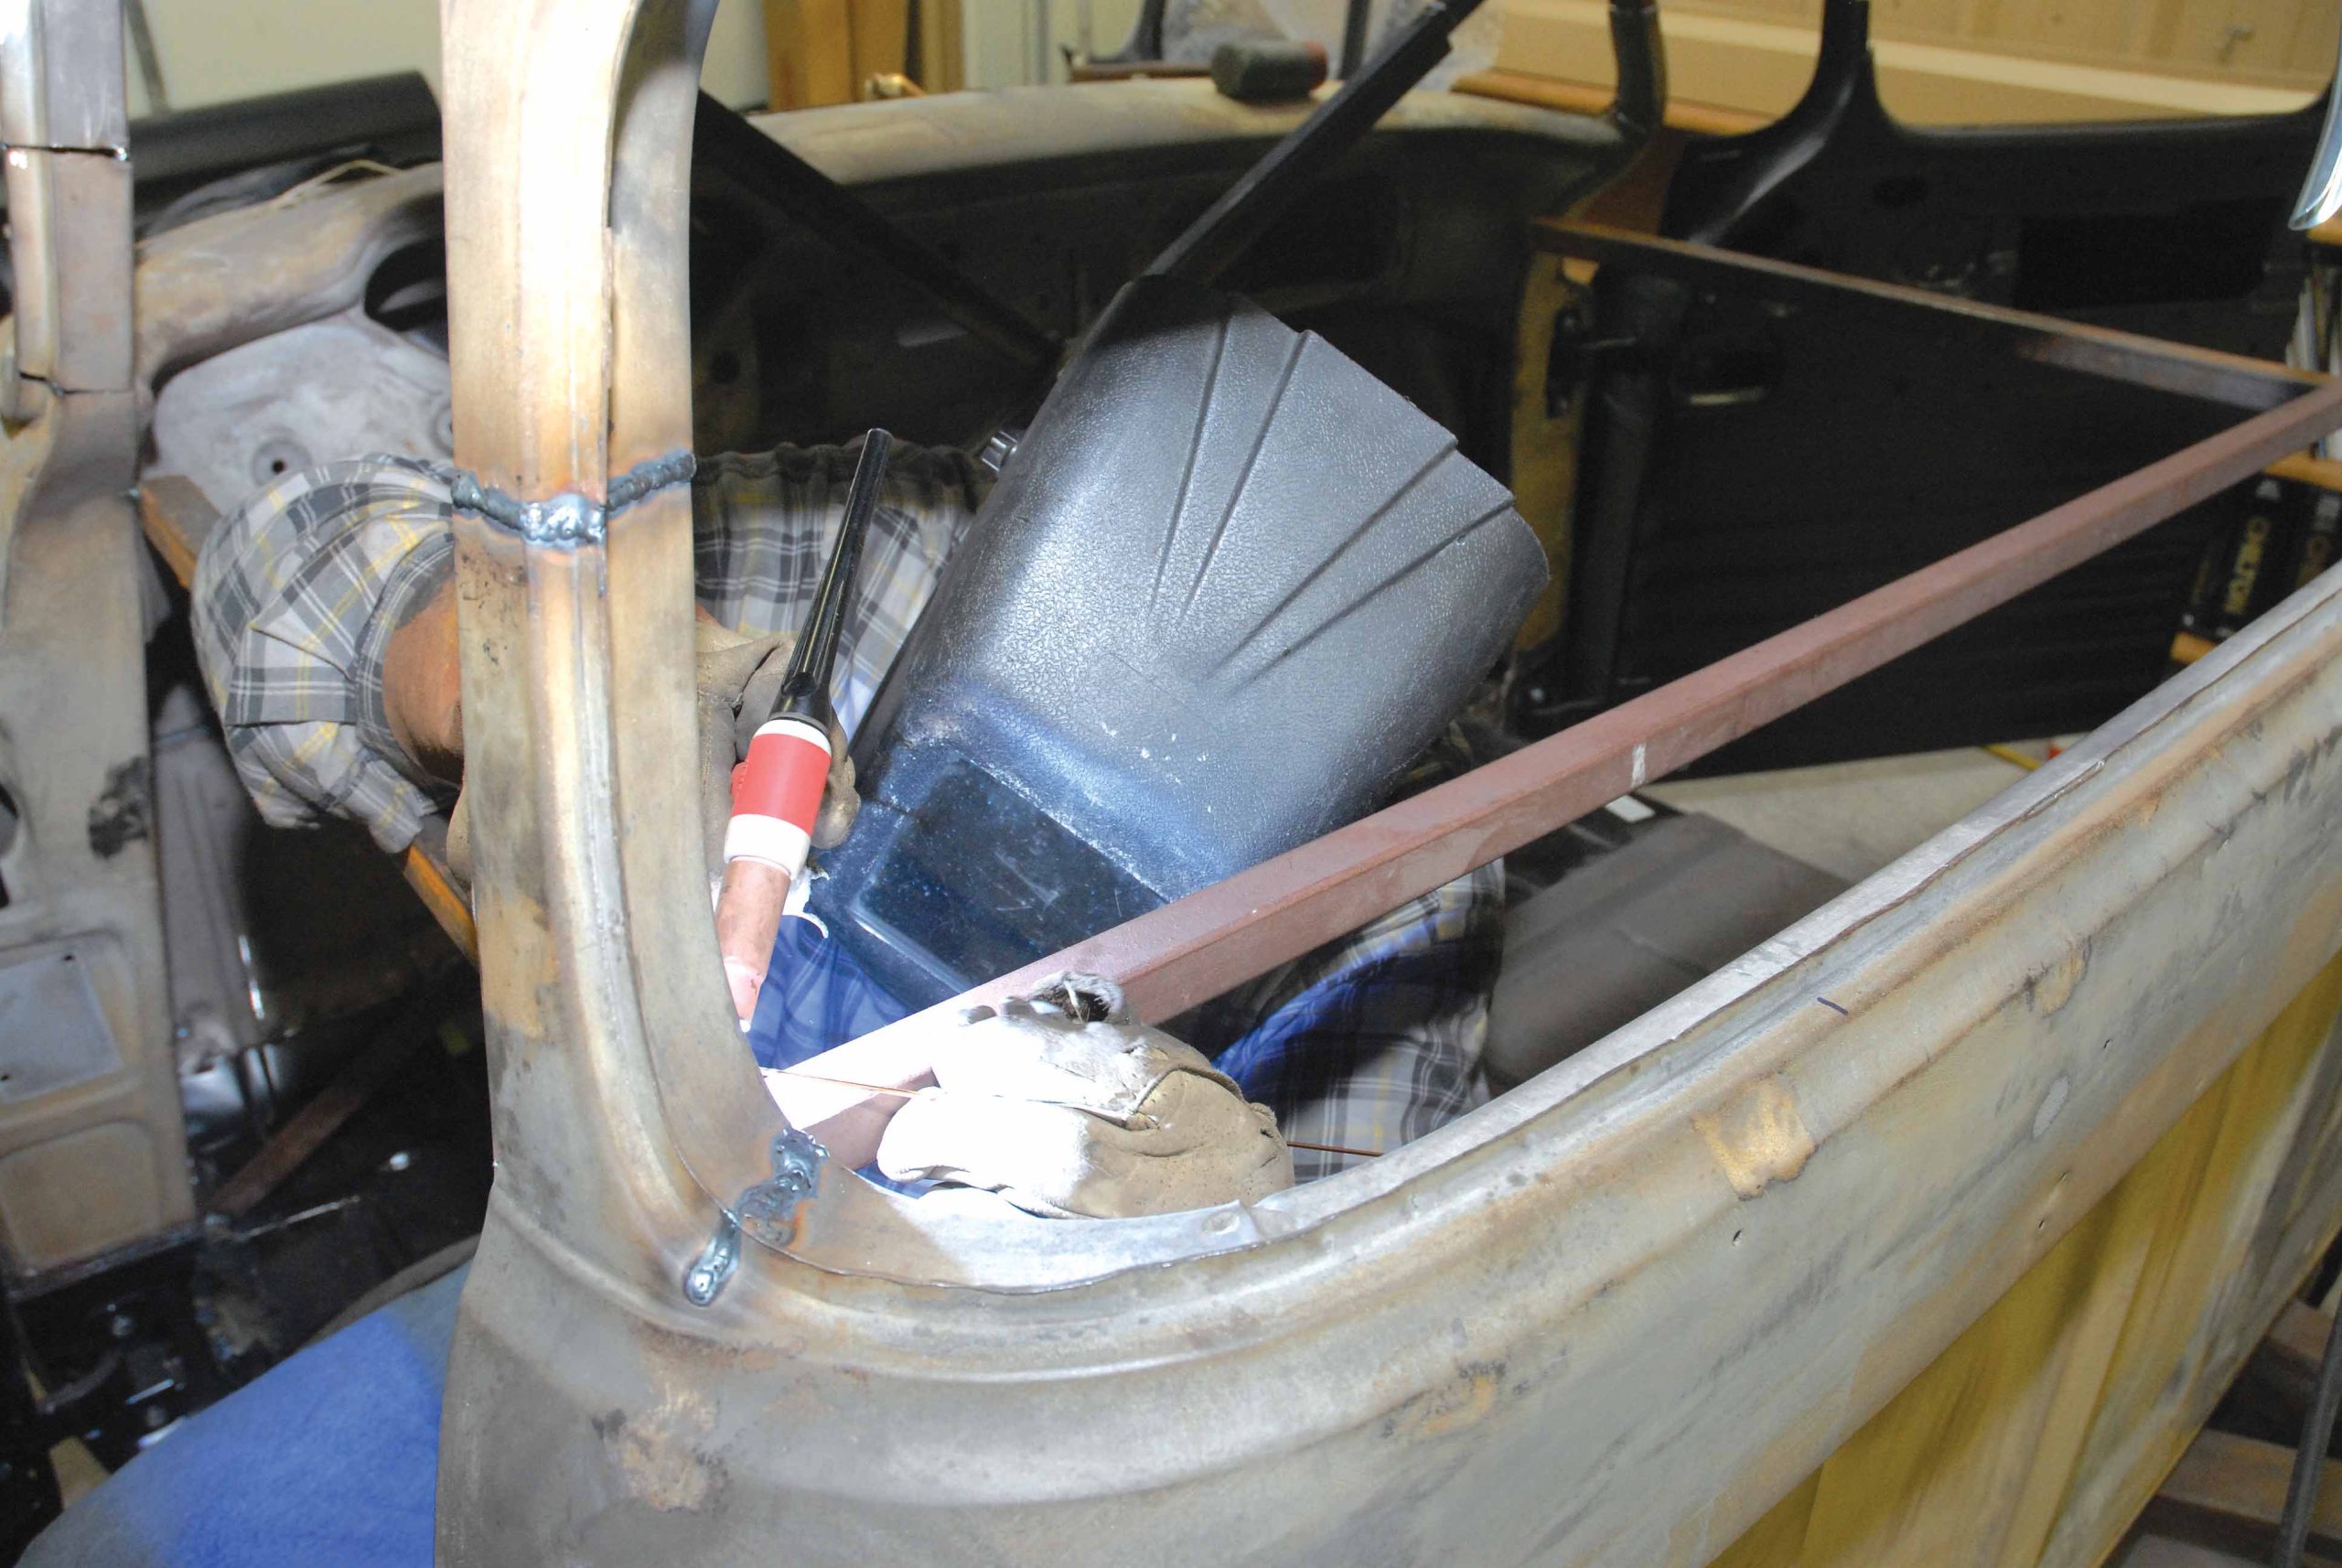
10-11. With the top squared up and leveled, Darrell welds in a pair of 1x1-inch box tube support braces to keep the top from walking around.
10-11. With the top squared up and leveled, Darrell welds in a pair of 1x1-inch box tube support braces to keep the top from walking around.
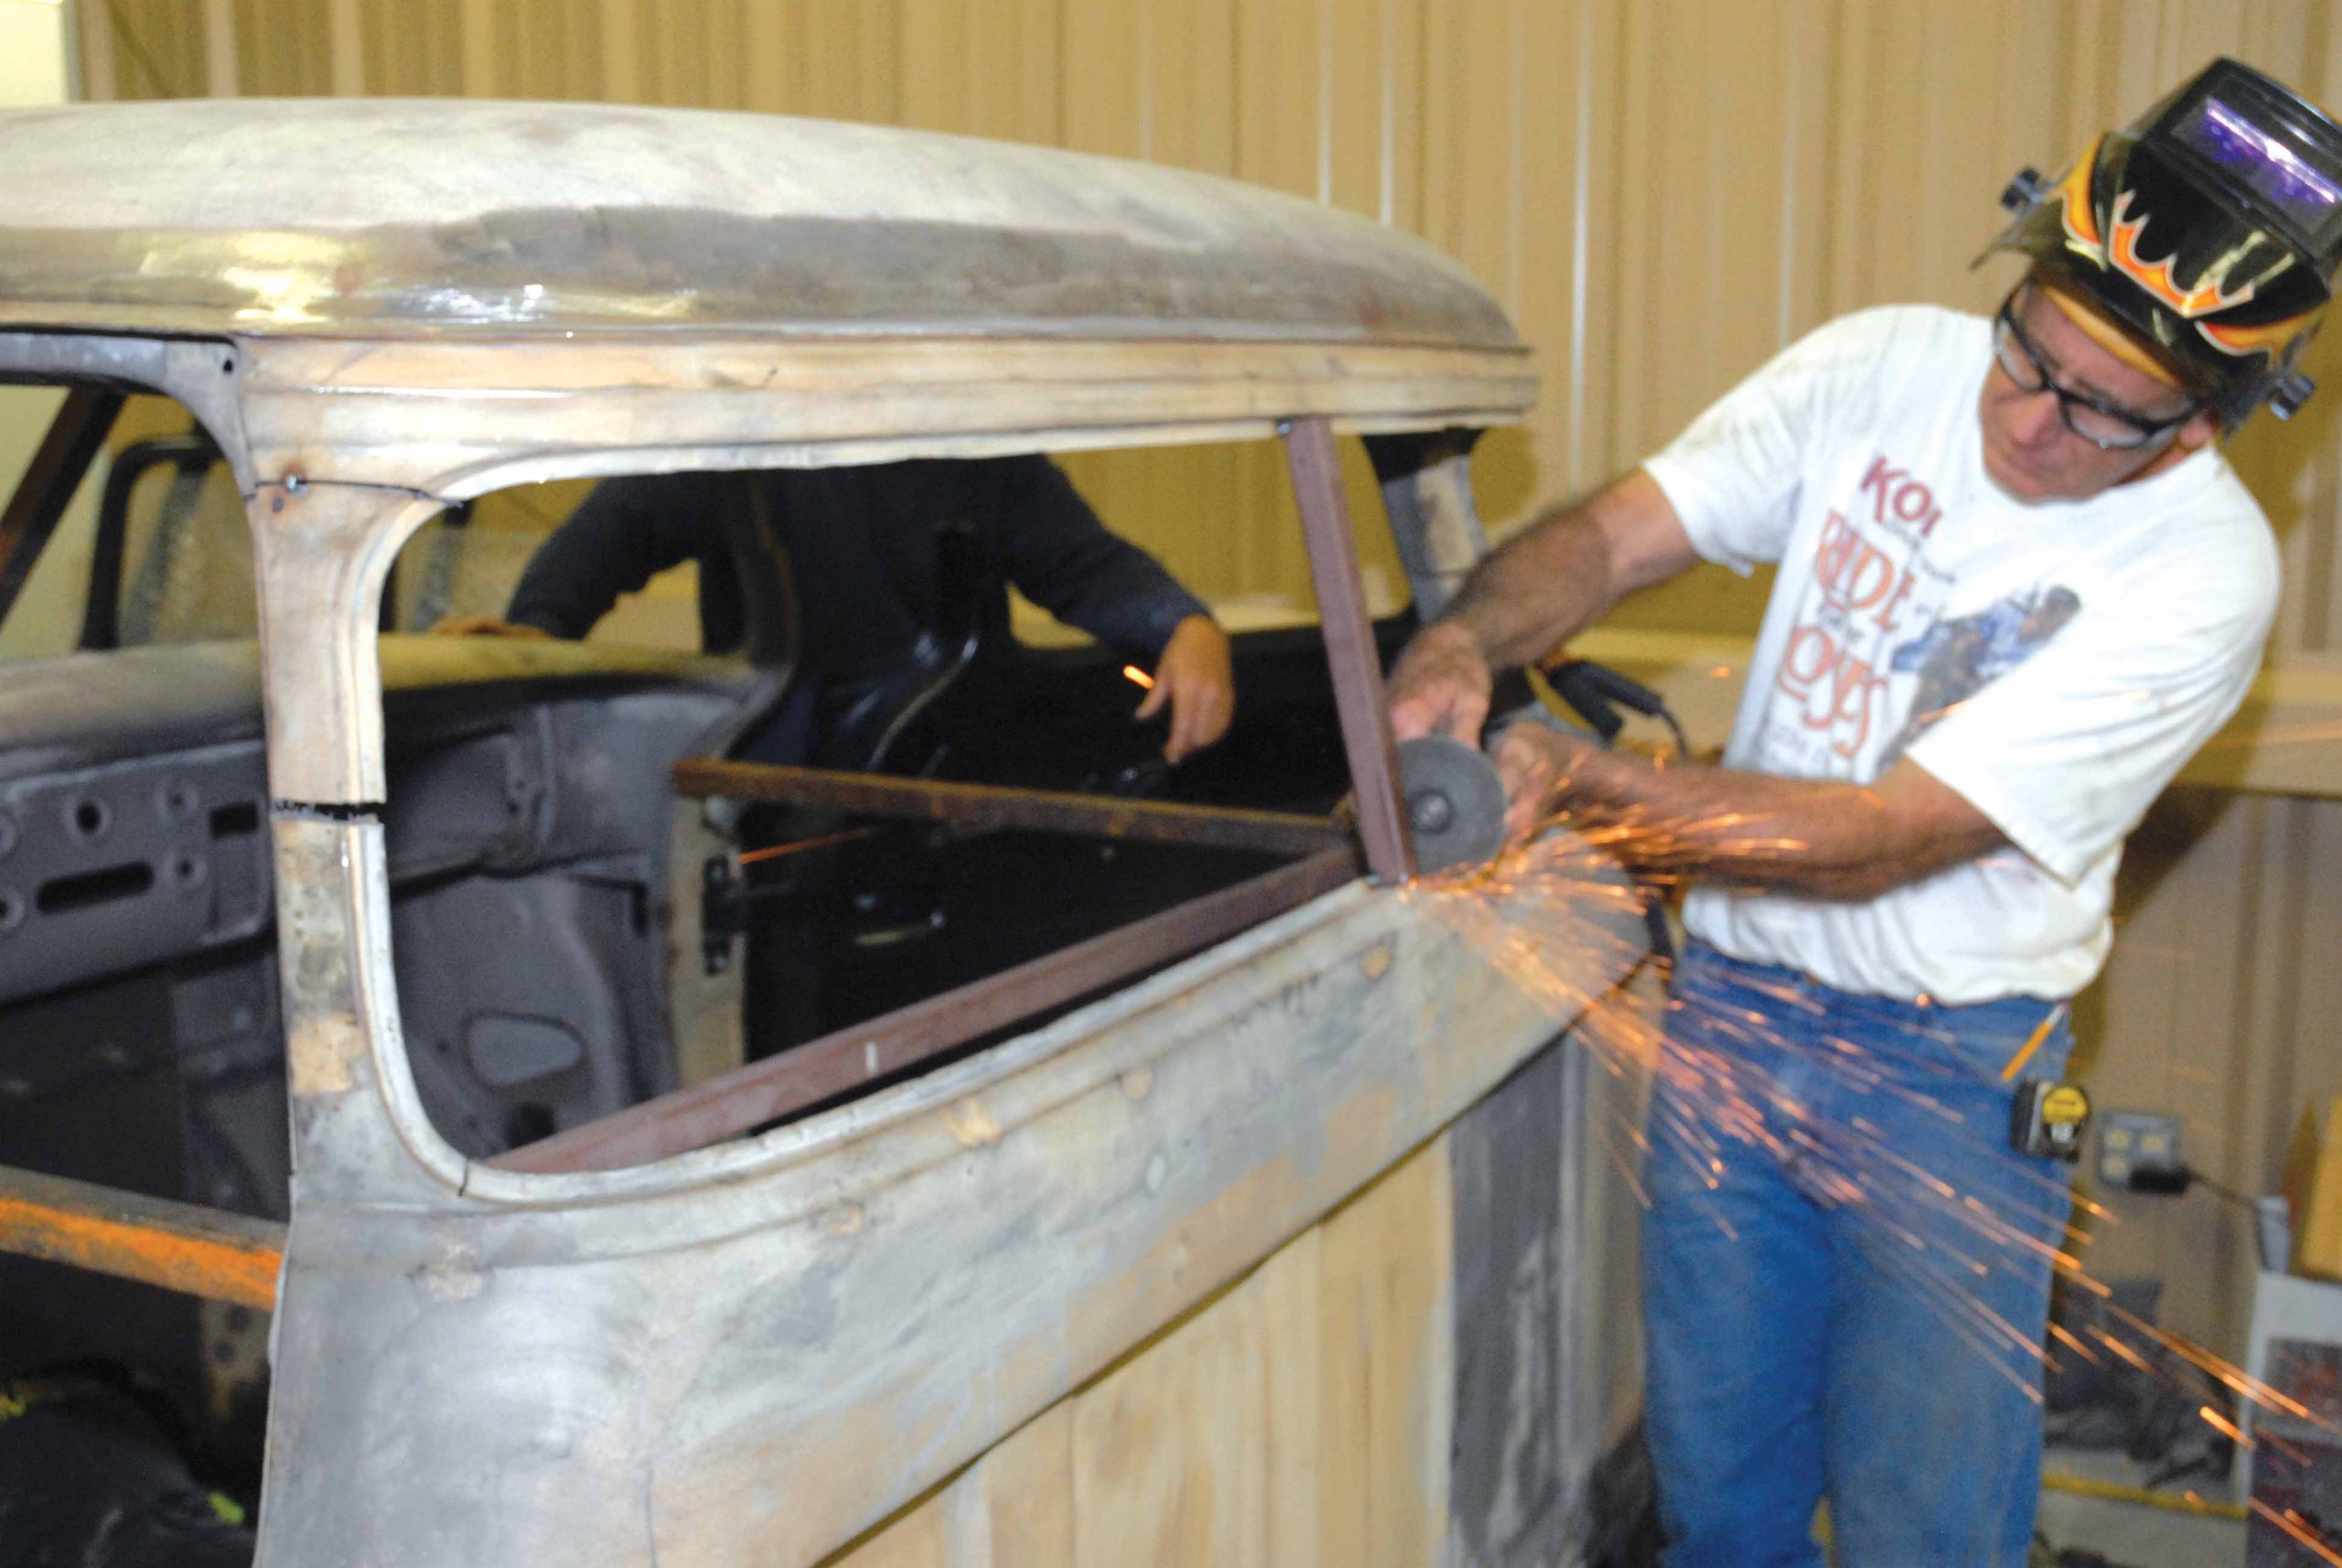
12-13. Now, the cutting begins. Cimbanin uses a die grinder to make his first cut at the inside bottom of the rear window post.
12-13. Now, the cutting begins. Cimbanin uses a die grinder to make his first cut at the inside bottom of the rear window post.
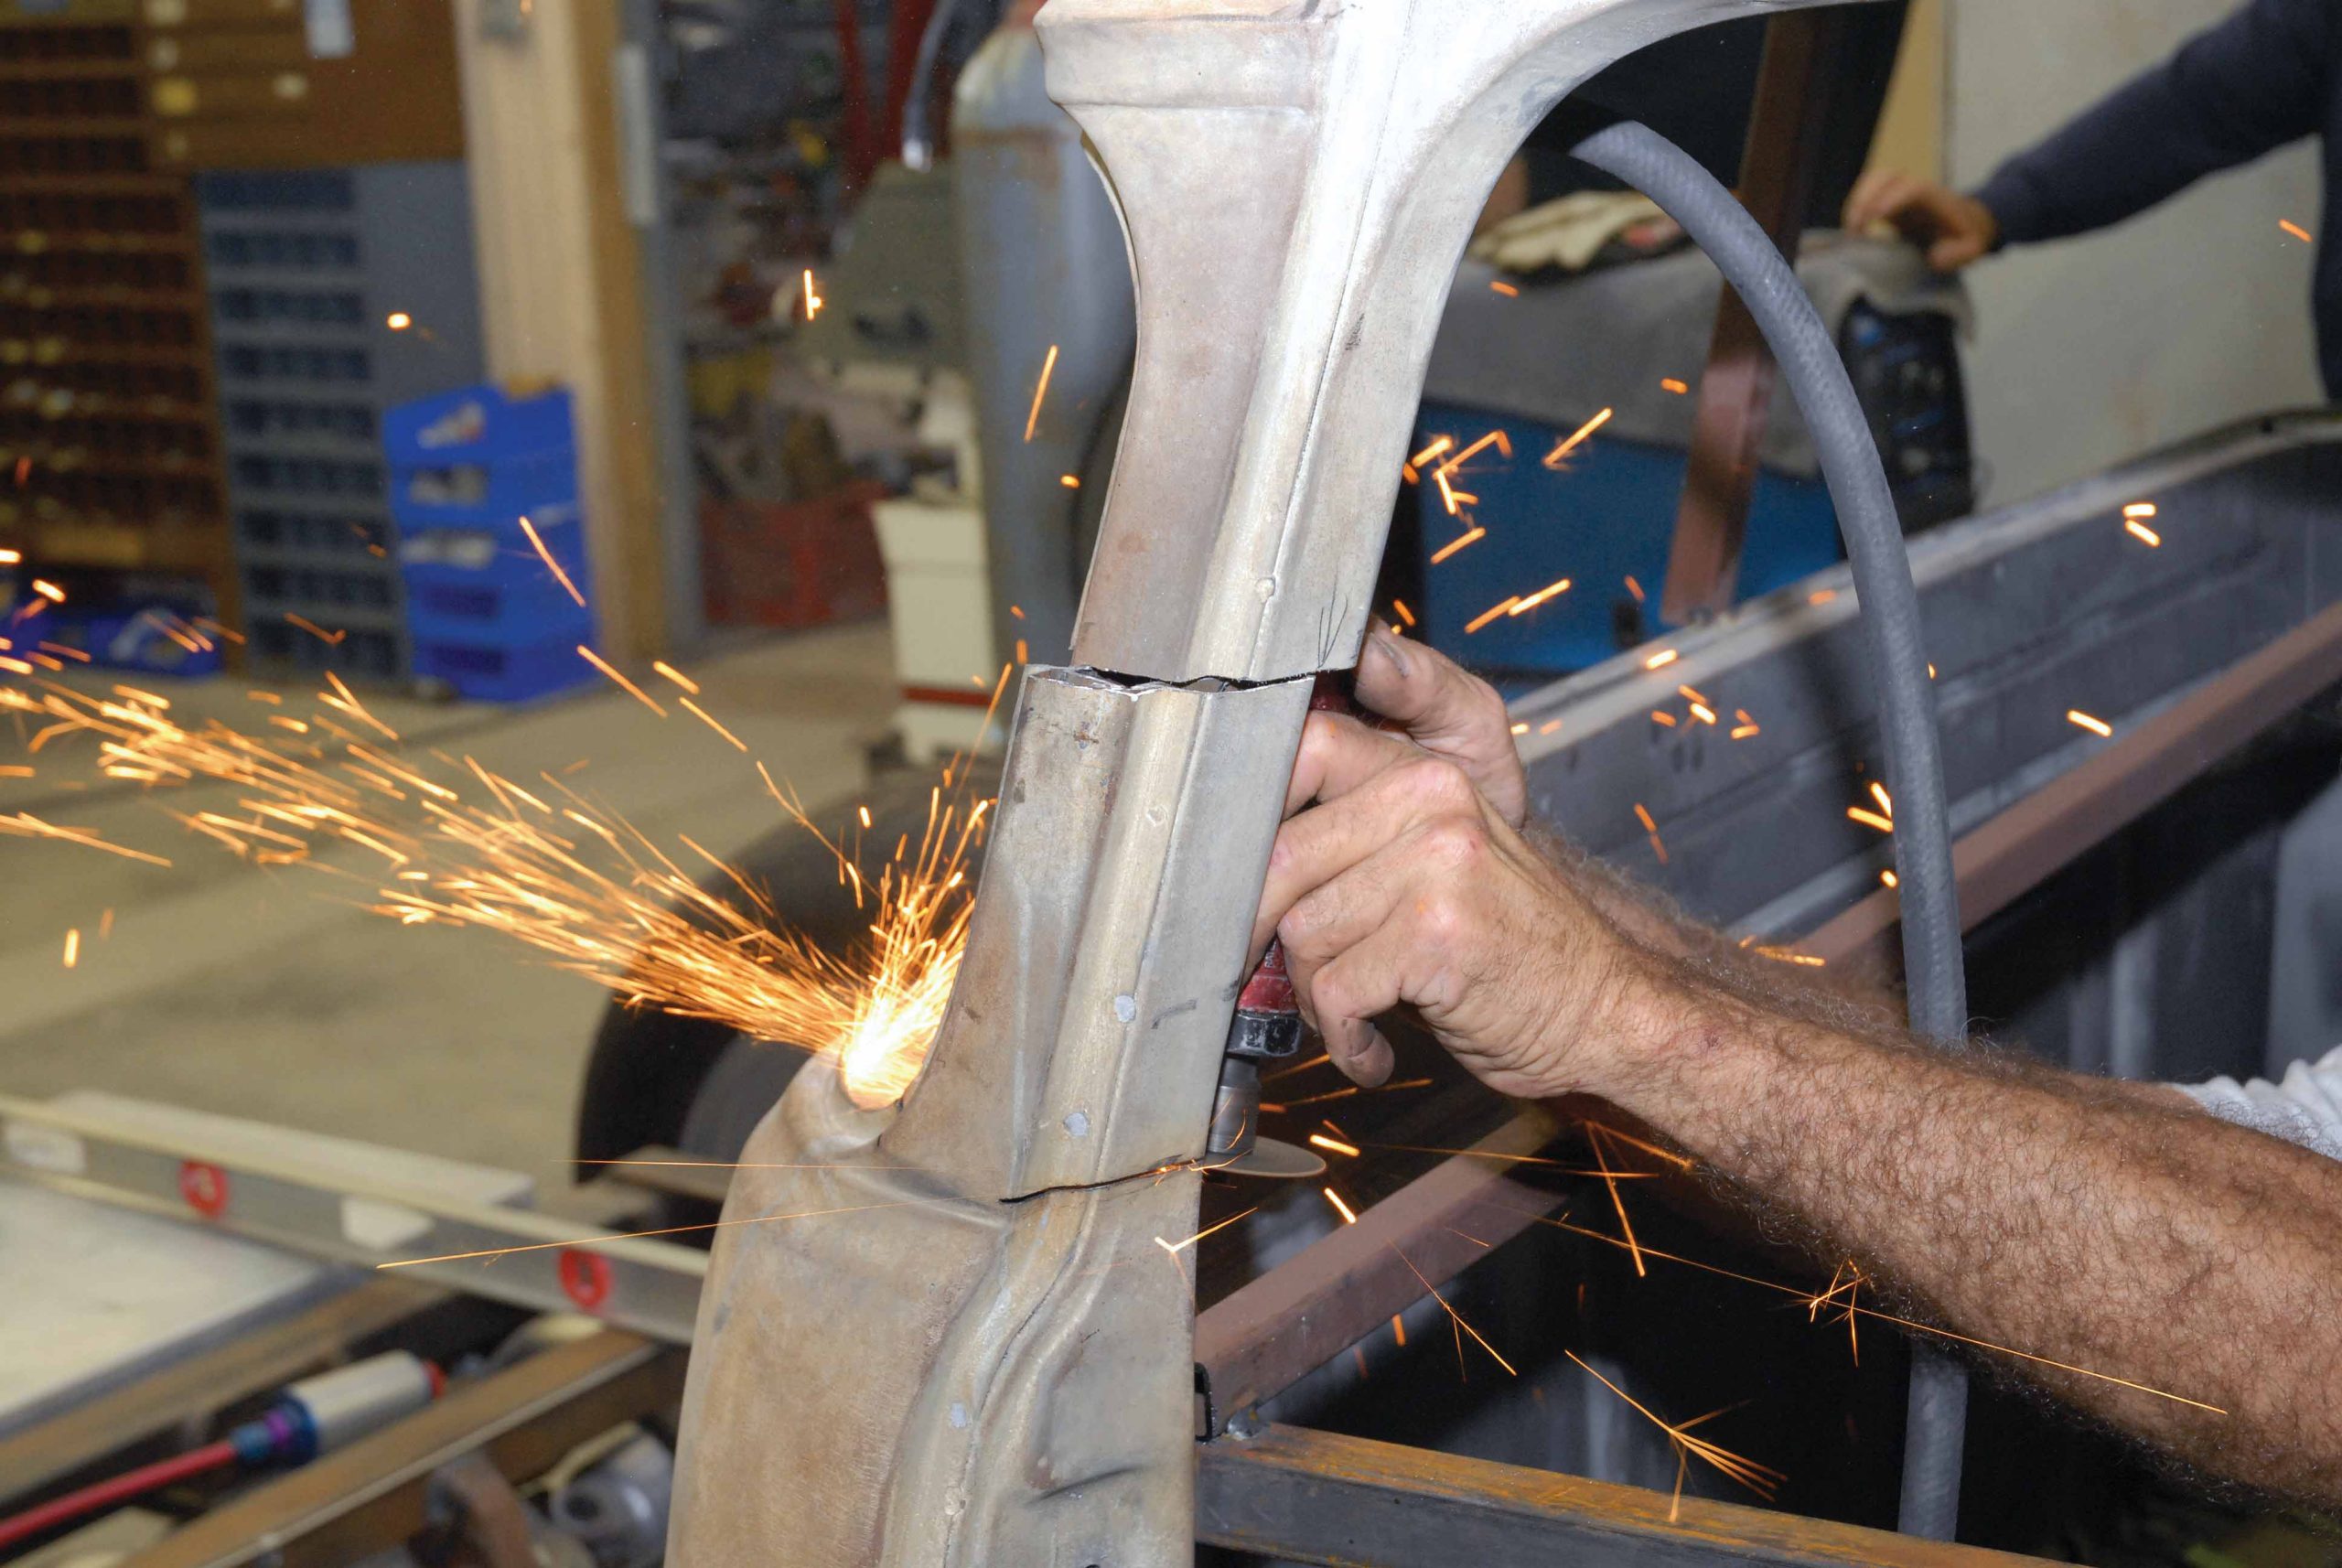
14-15. This is followed with a series of cuts made around the entire circumference of the upper rear window post. The trick is to loosen up the doorposts just enough so that they can either be laid in or laid out without rippling the sheetmetal.
14-15. This is followed with a series of cuts made around the entire circumference of the upper rear window post. The trick is to loosen up the doorposts just enough so that they can either be laid in or laid out without rippling the sheetmetal.
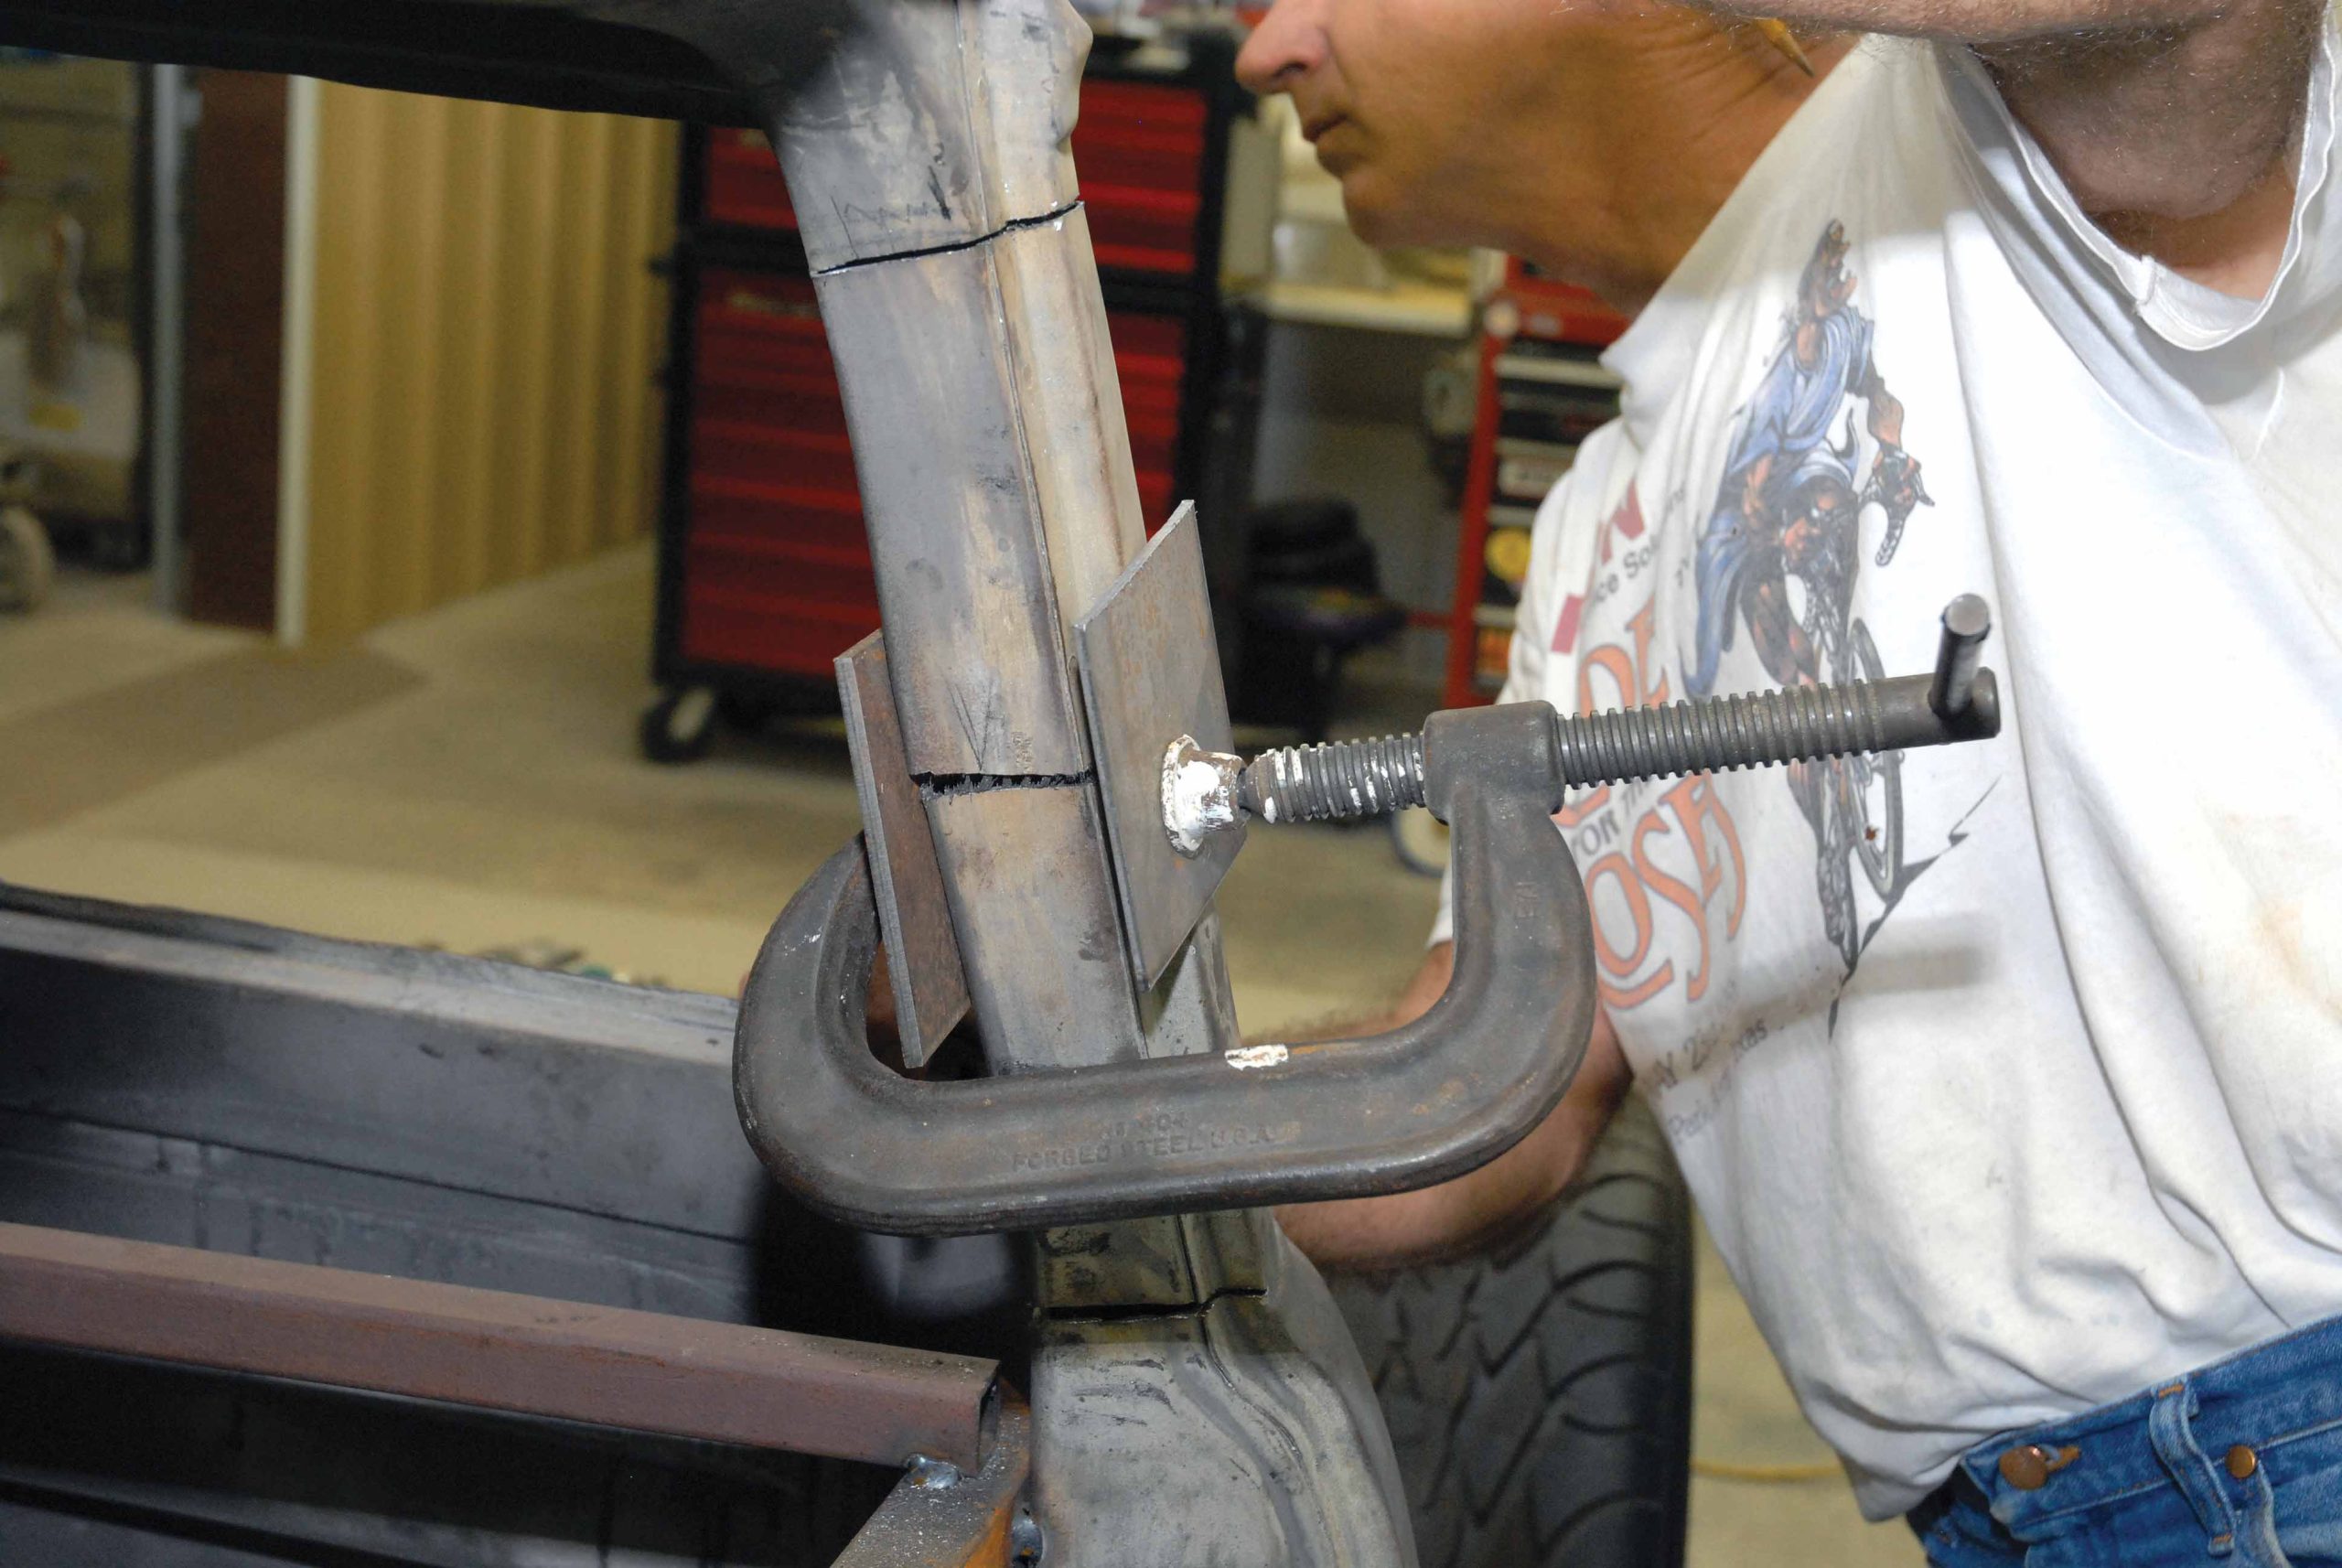
16. After trying a body clamp, it's determined that the upper post needs to be loosened up just a little bit more.
17. In order to maintain concentricity, Darrell executes his cuts in the passenger-side lower rear doorpost.
18-19. This is followed with the radial cutting of the upper passenger-side doorpost.
18-19. This is followed with the radial cutting of the upper passenger-side doorpost.
20. The passenger-side upper and lower rear post combination appears to fit to Cimbanin's satisfaction, so he tack-welds these pieces in place to keep them from moving around.
21-22. With the backside of the cab tacked up, Darrell removes the rear window brace and checks for side-to-side fit. At 12-1/2 inches, it's perfect!
21-22. With the backside of the cab tacked up, Darrell removes the rear window brace and checks for side-to-side fit. At 12-1/2 inches, it's perfect!
23-24. Not quite satisfied with the alignment of the driver's-side rear post, Cimbanin uses his metric persuader to achieve correct post alignment then tack-welds the rejoined posts in place.
23-24. Not quite satisfied with the alignment of the driver's-side rear post, Cimbanin uses his metric persuader to achieve correct post alignment then tack-welds the rejoined posts in place.
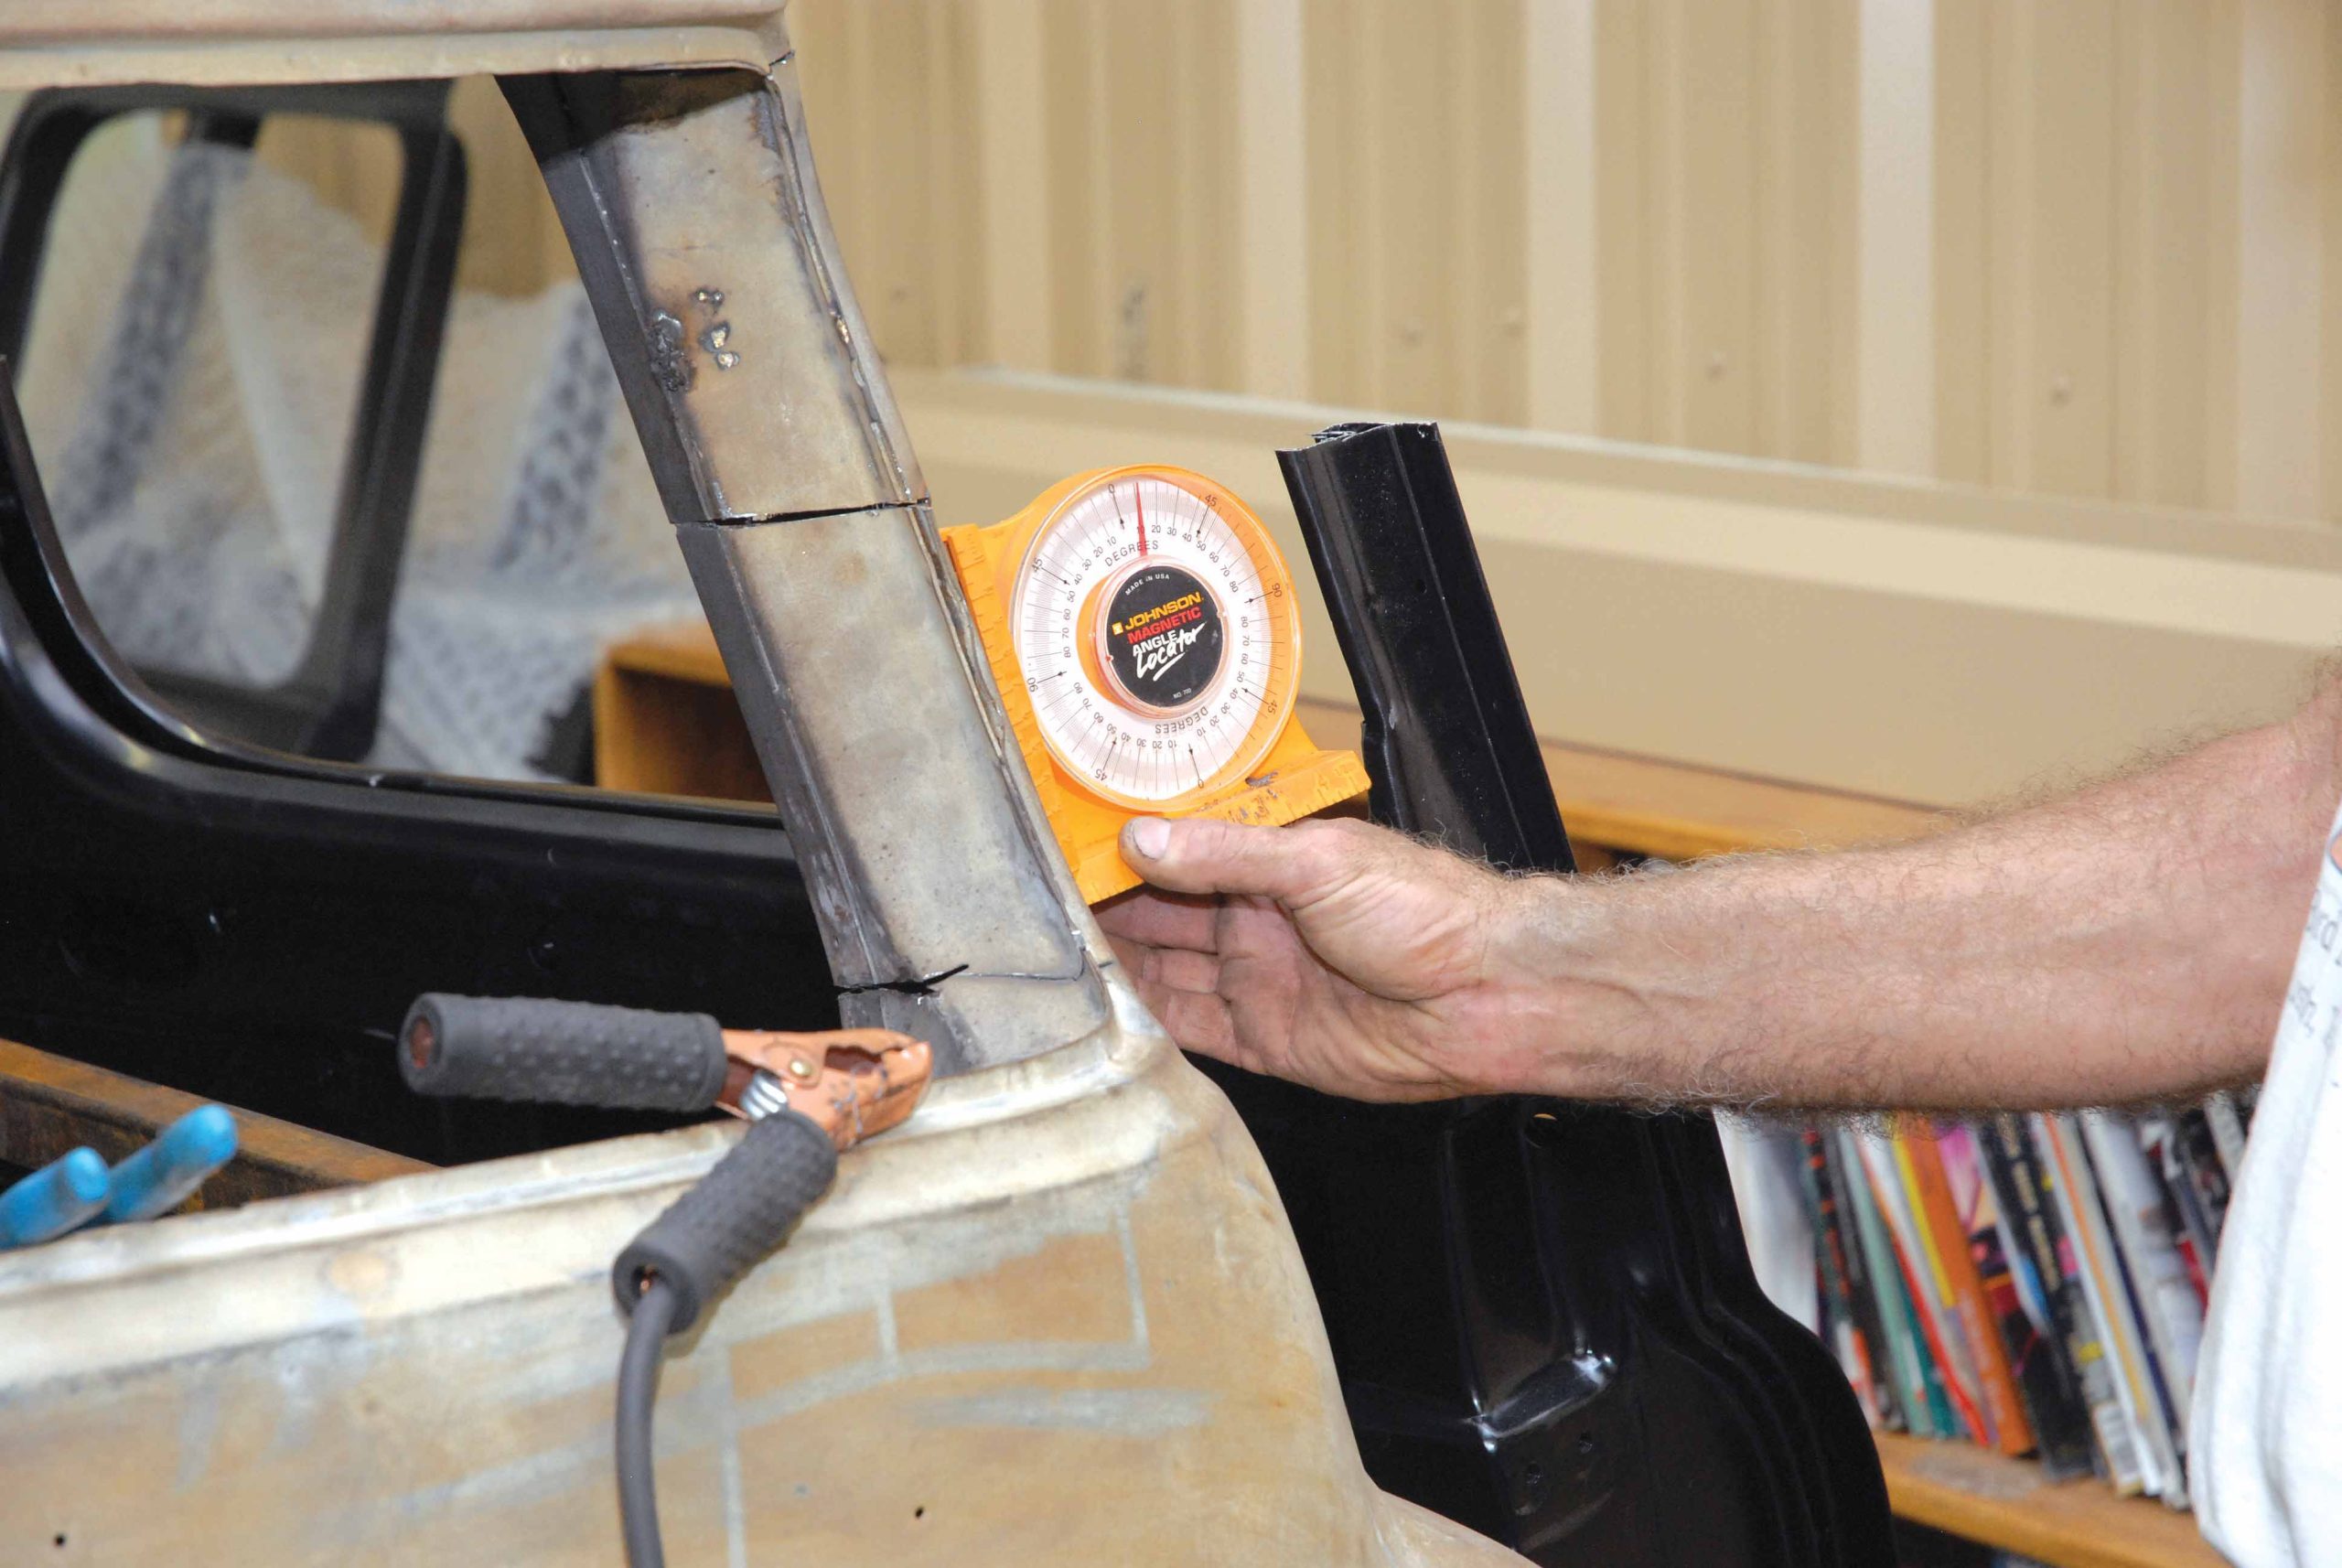
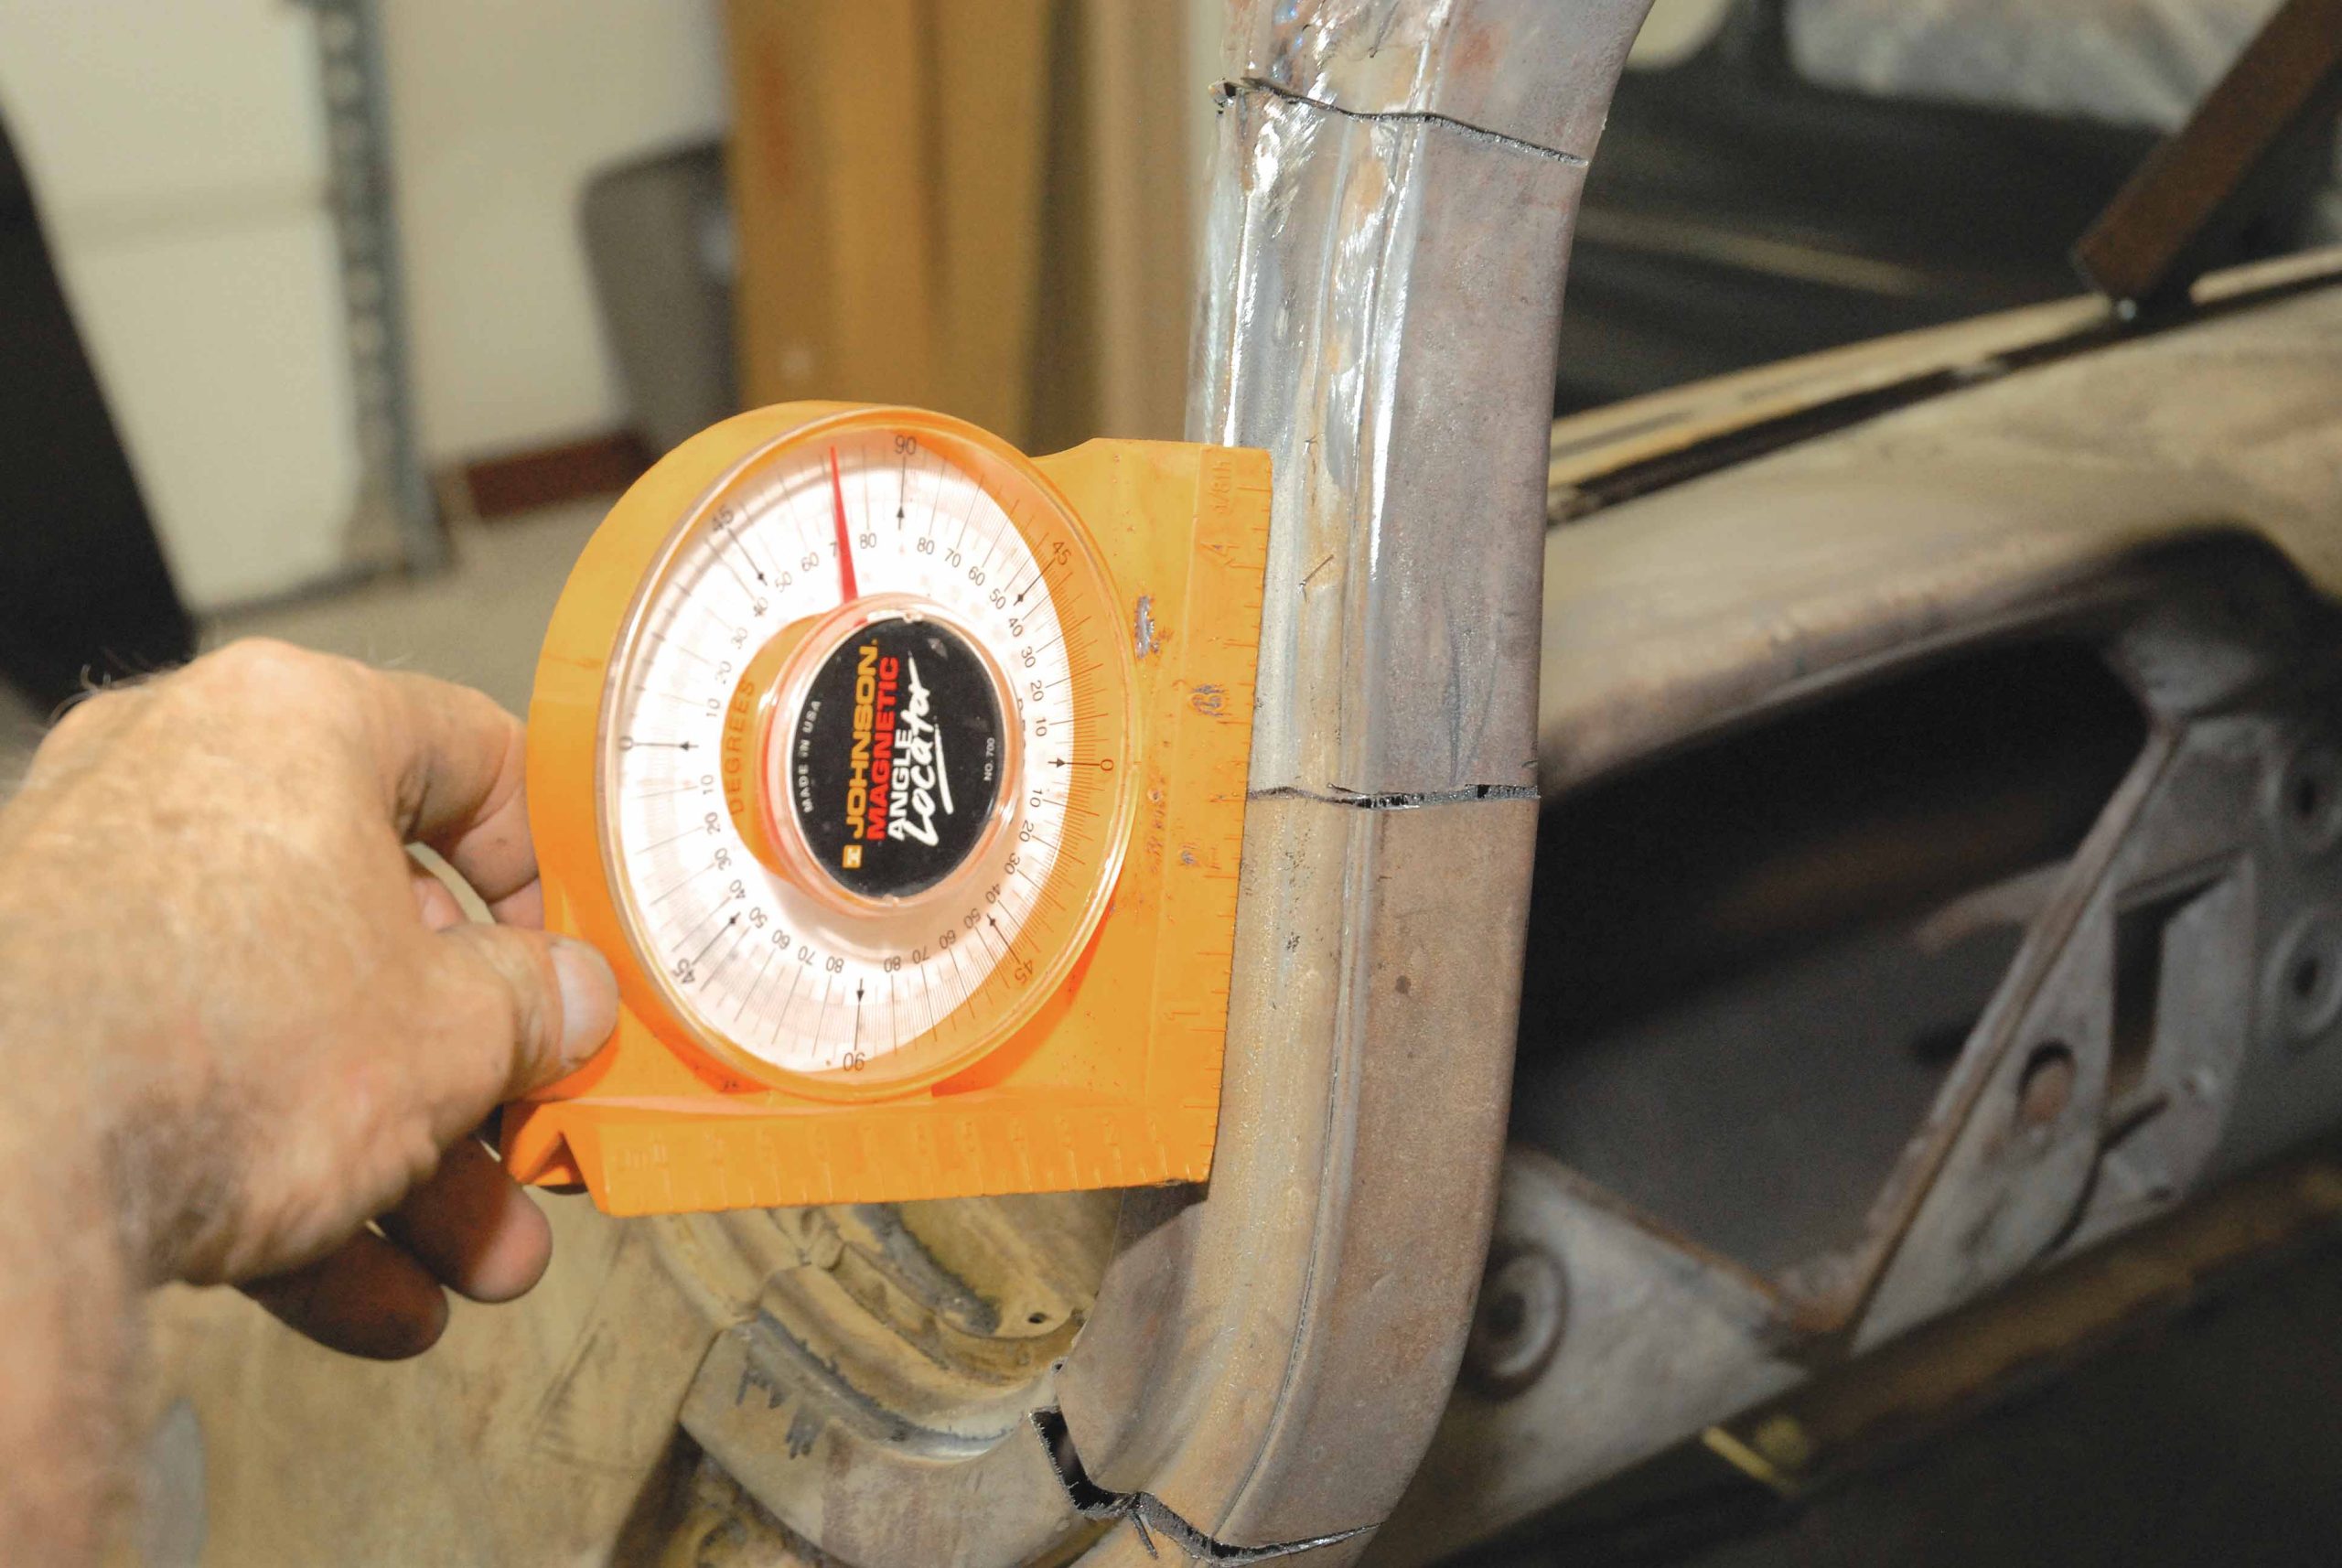
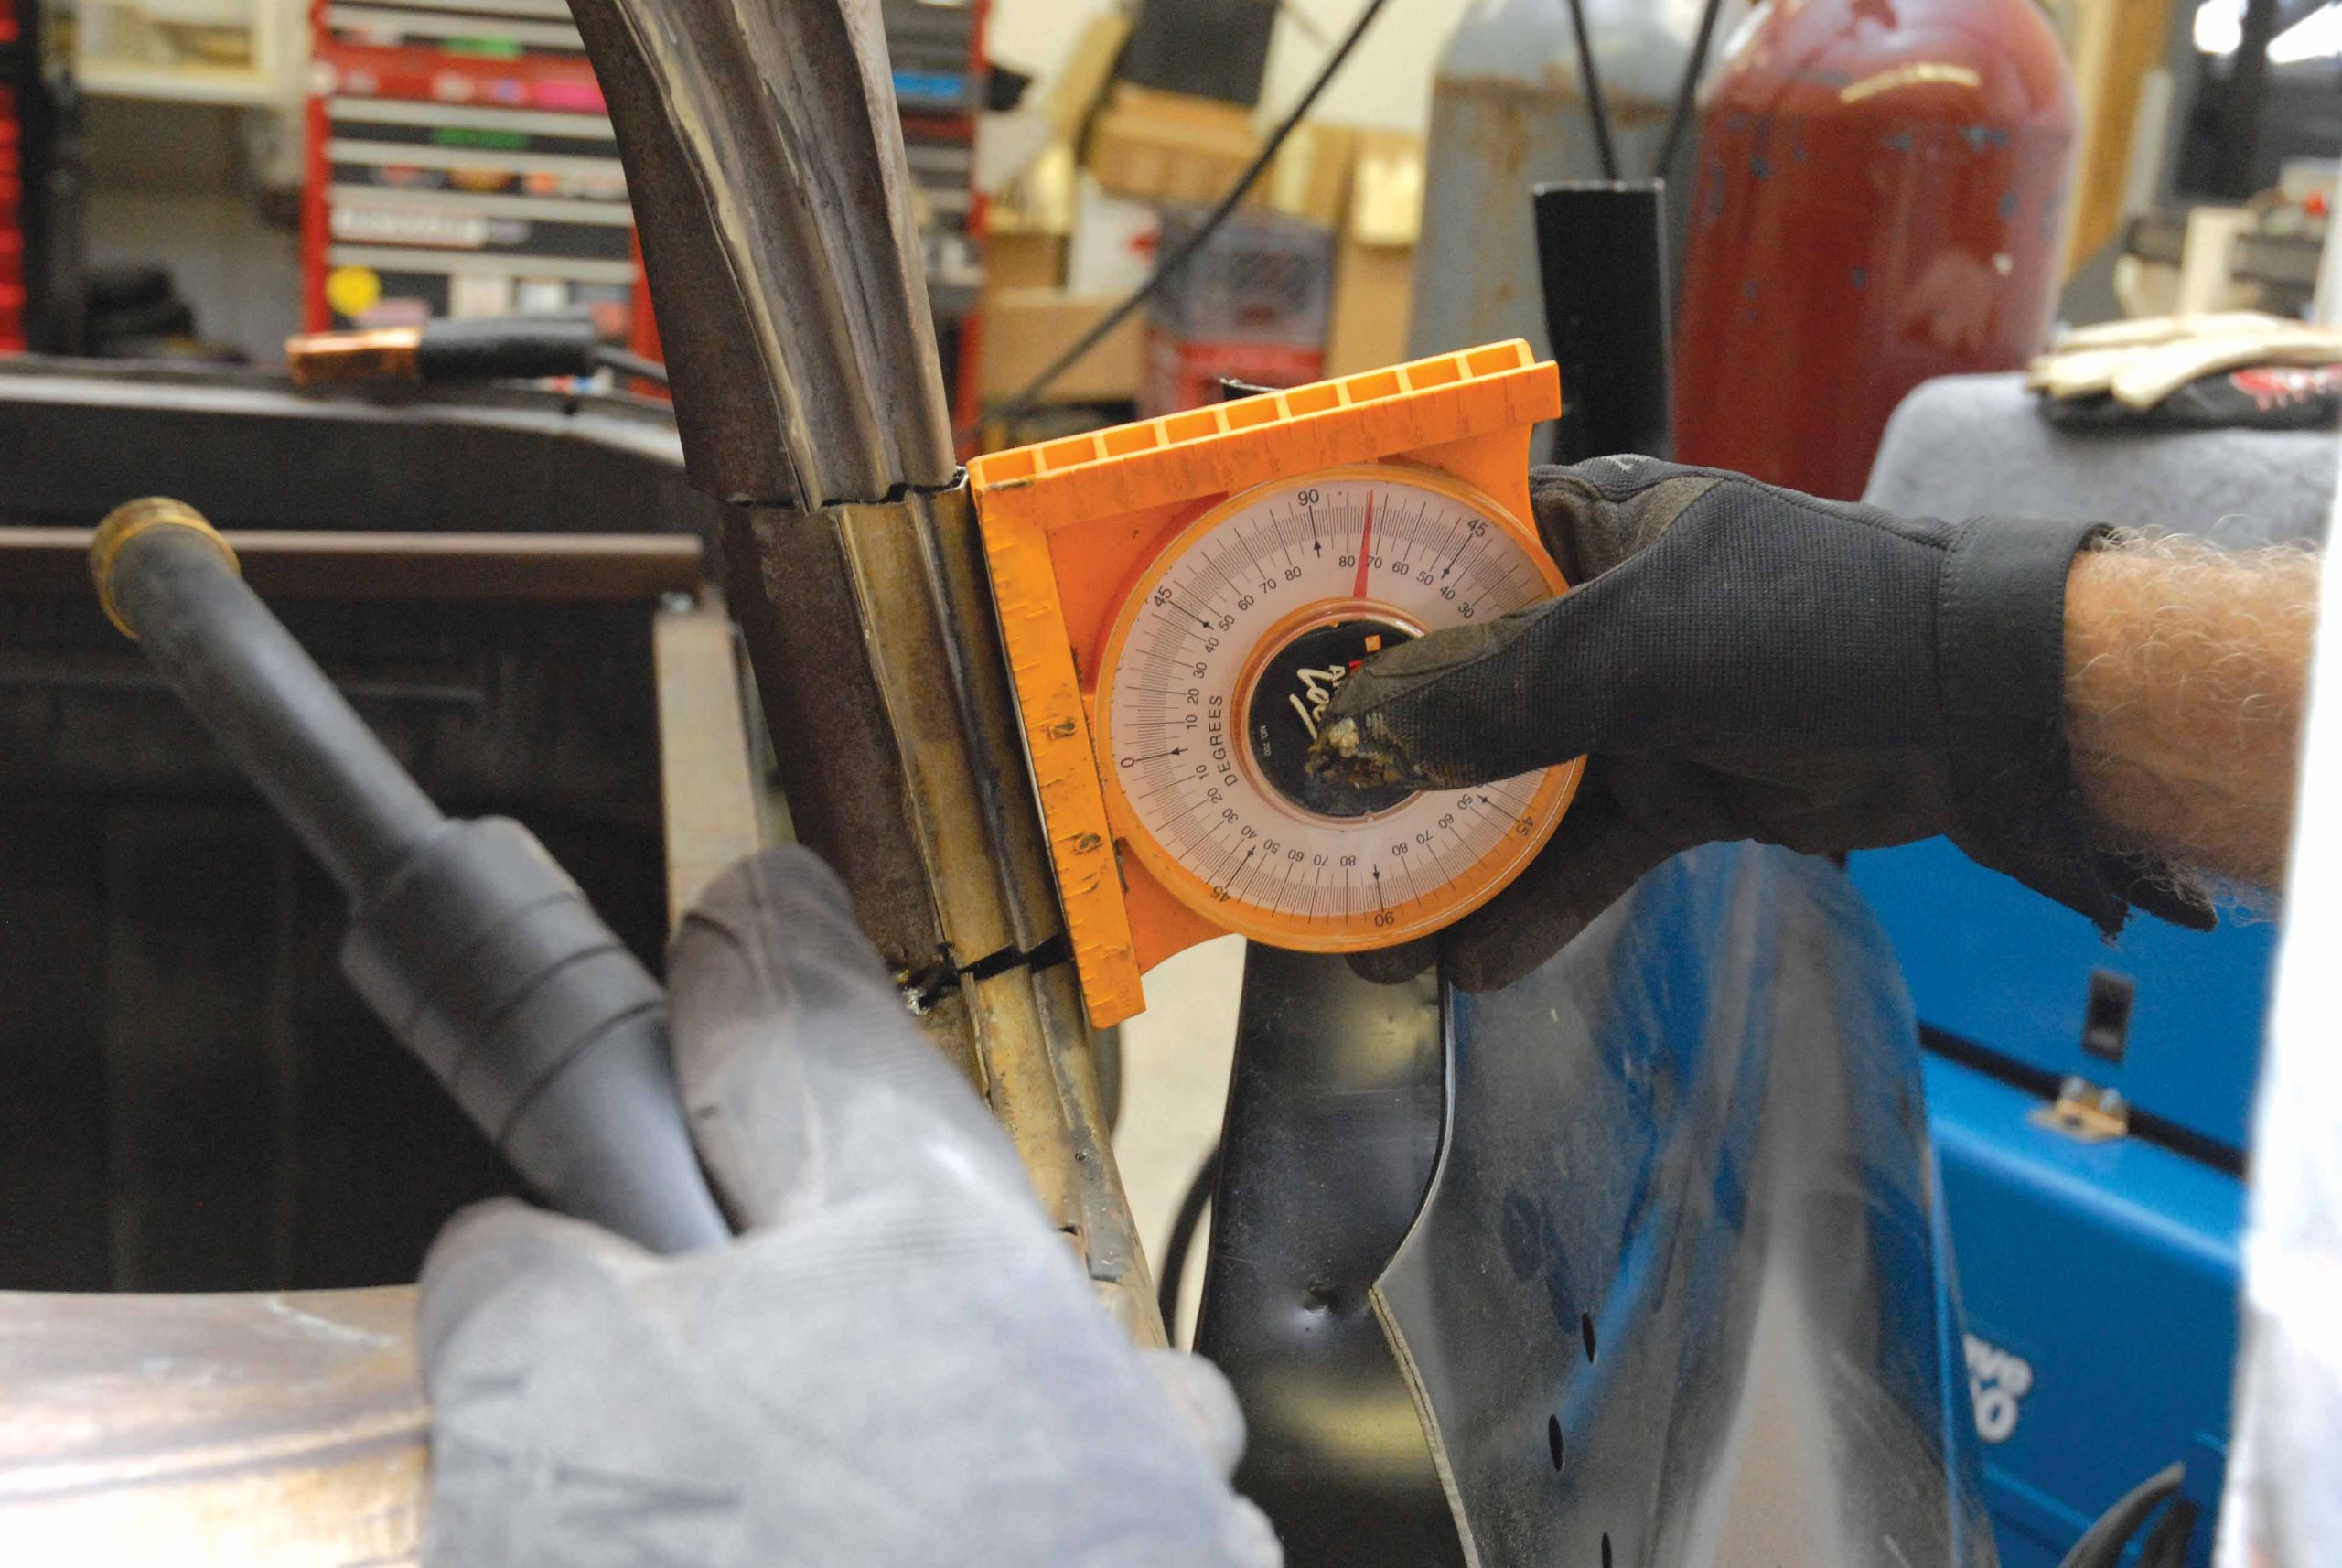
25. An angle finder is used to check the angle of the modified rear posts. They both check in within half of a degree of each other!
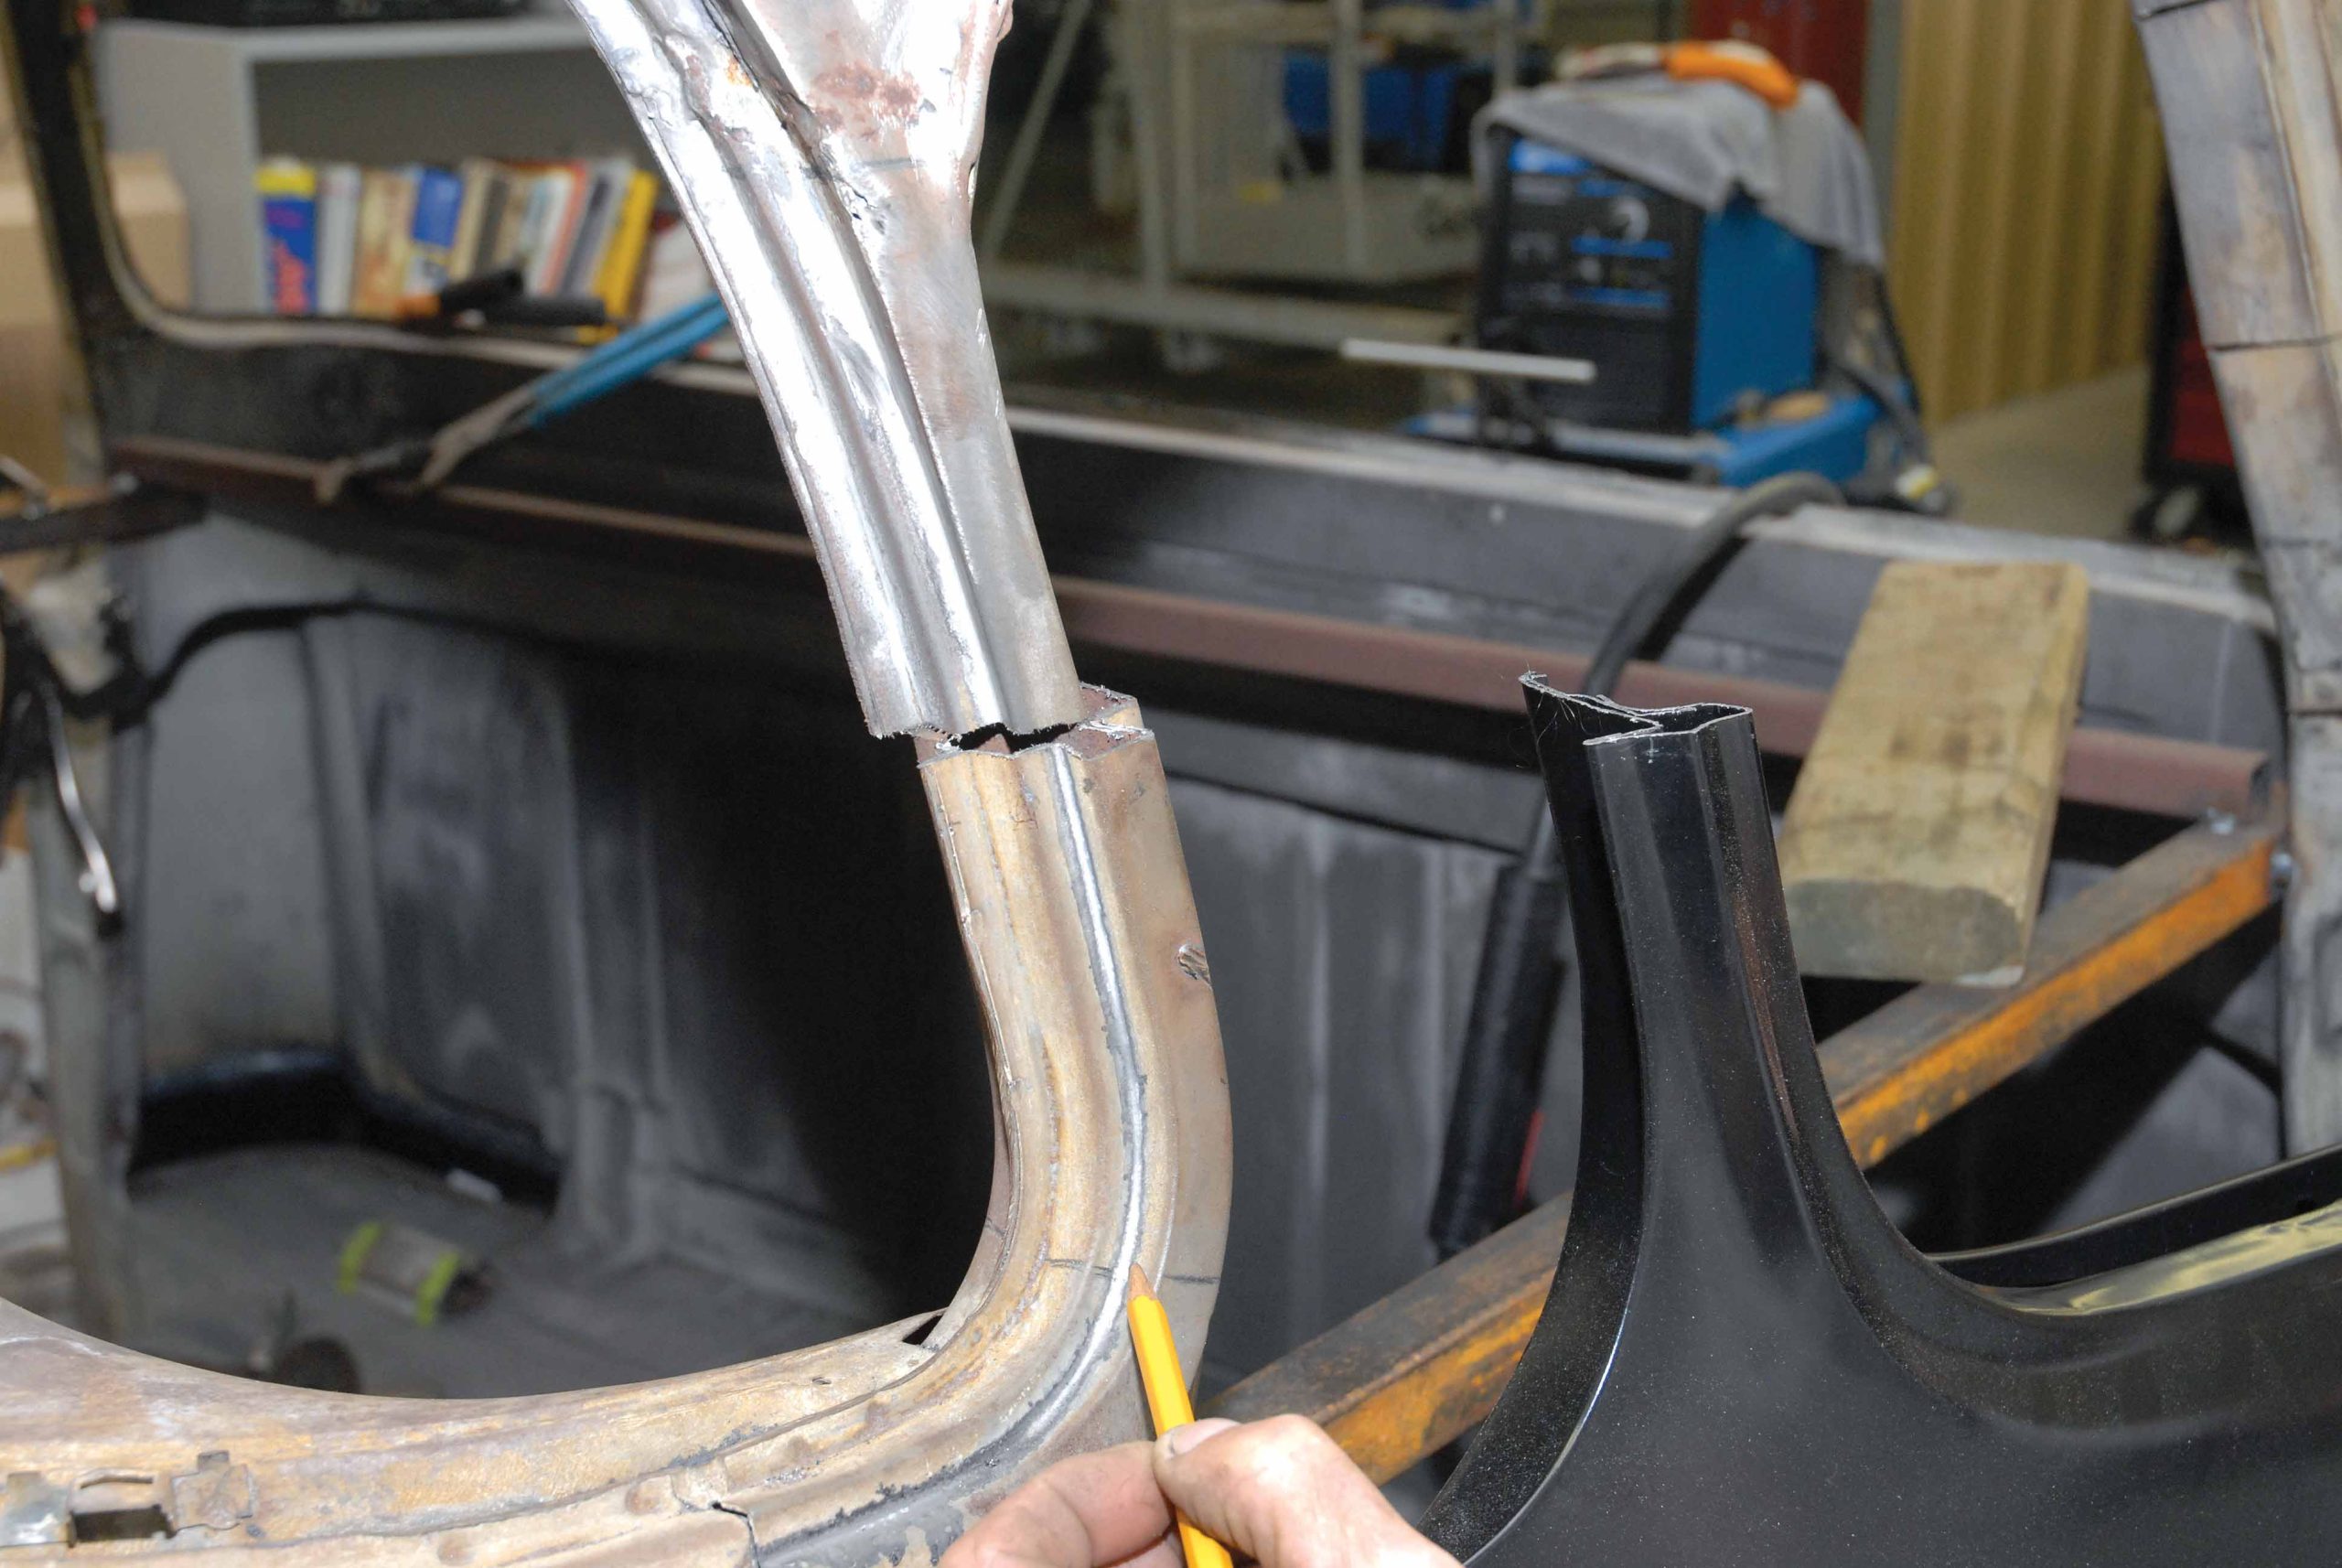
26. Moving onto the driver's-side front post or door pillar, Cimbanin scribes his cut marks into the radius of the bottom post.
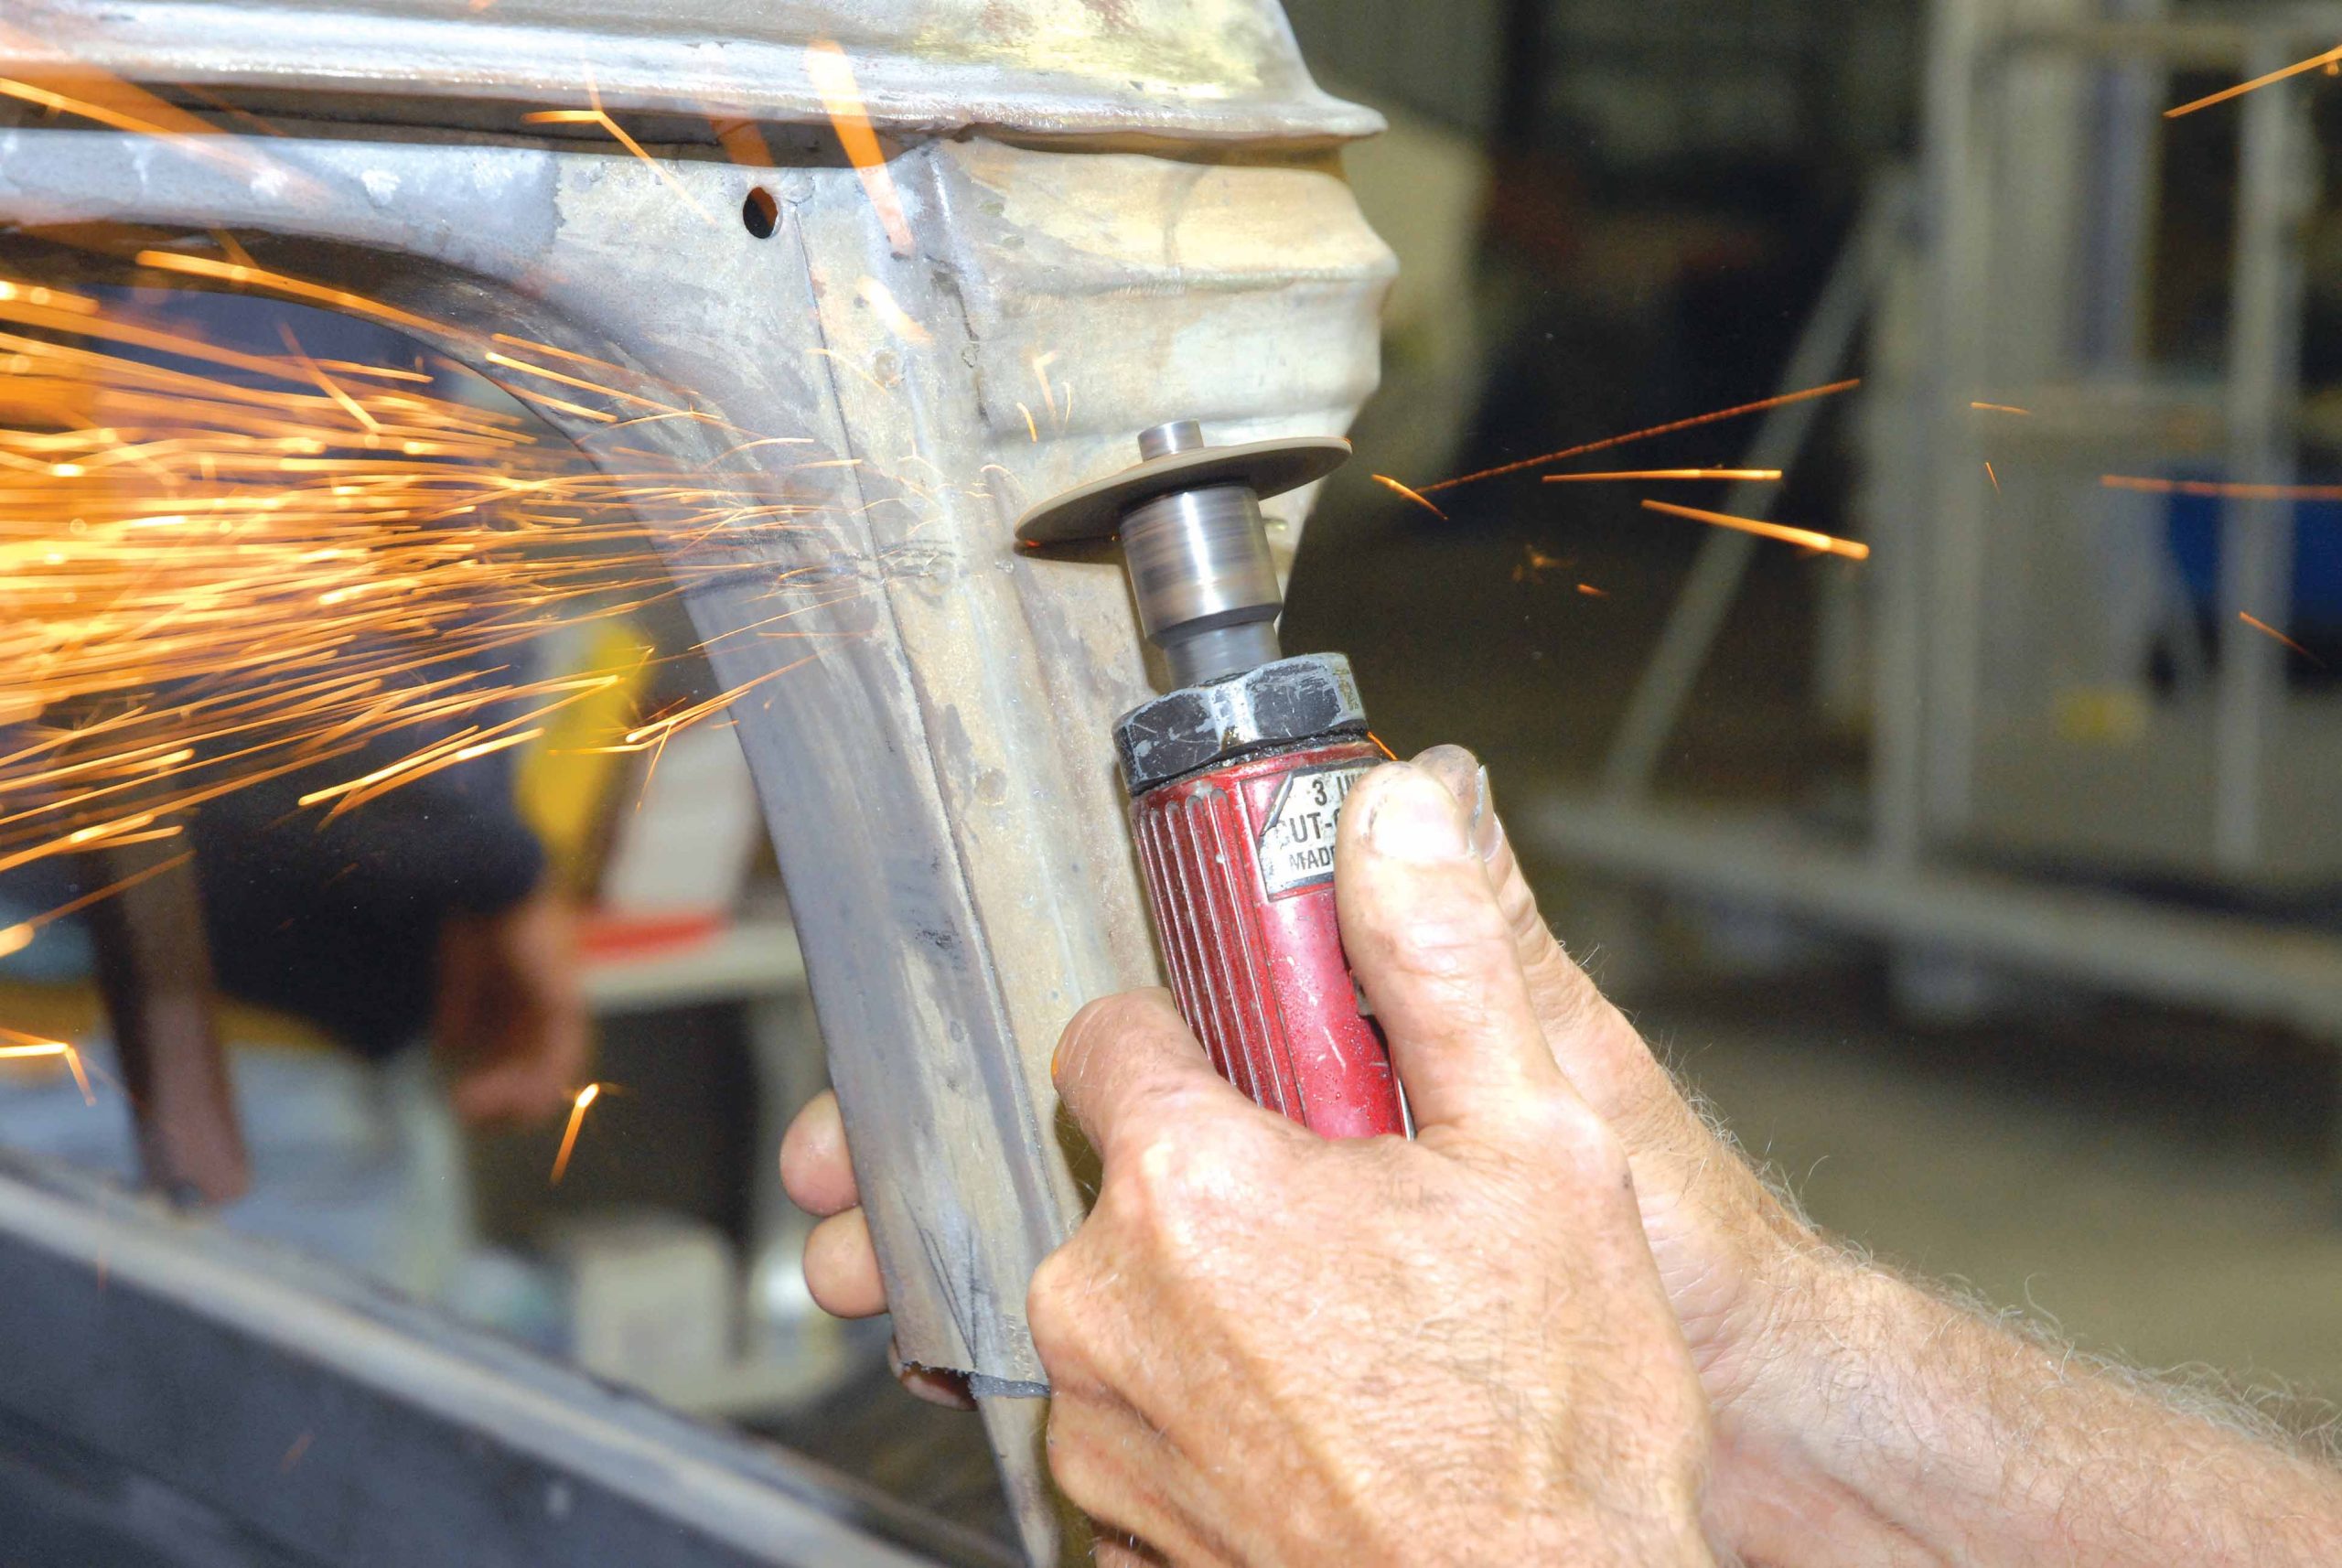
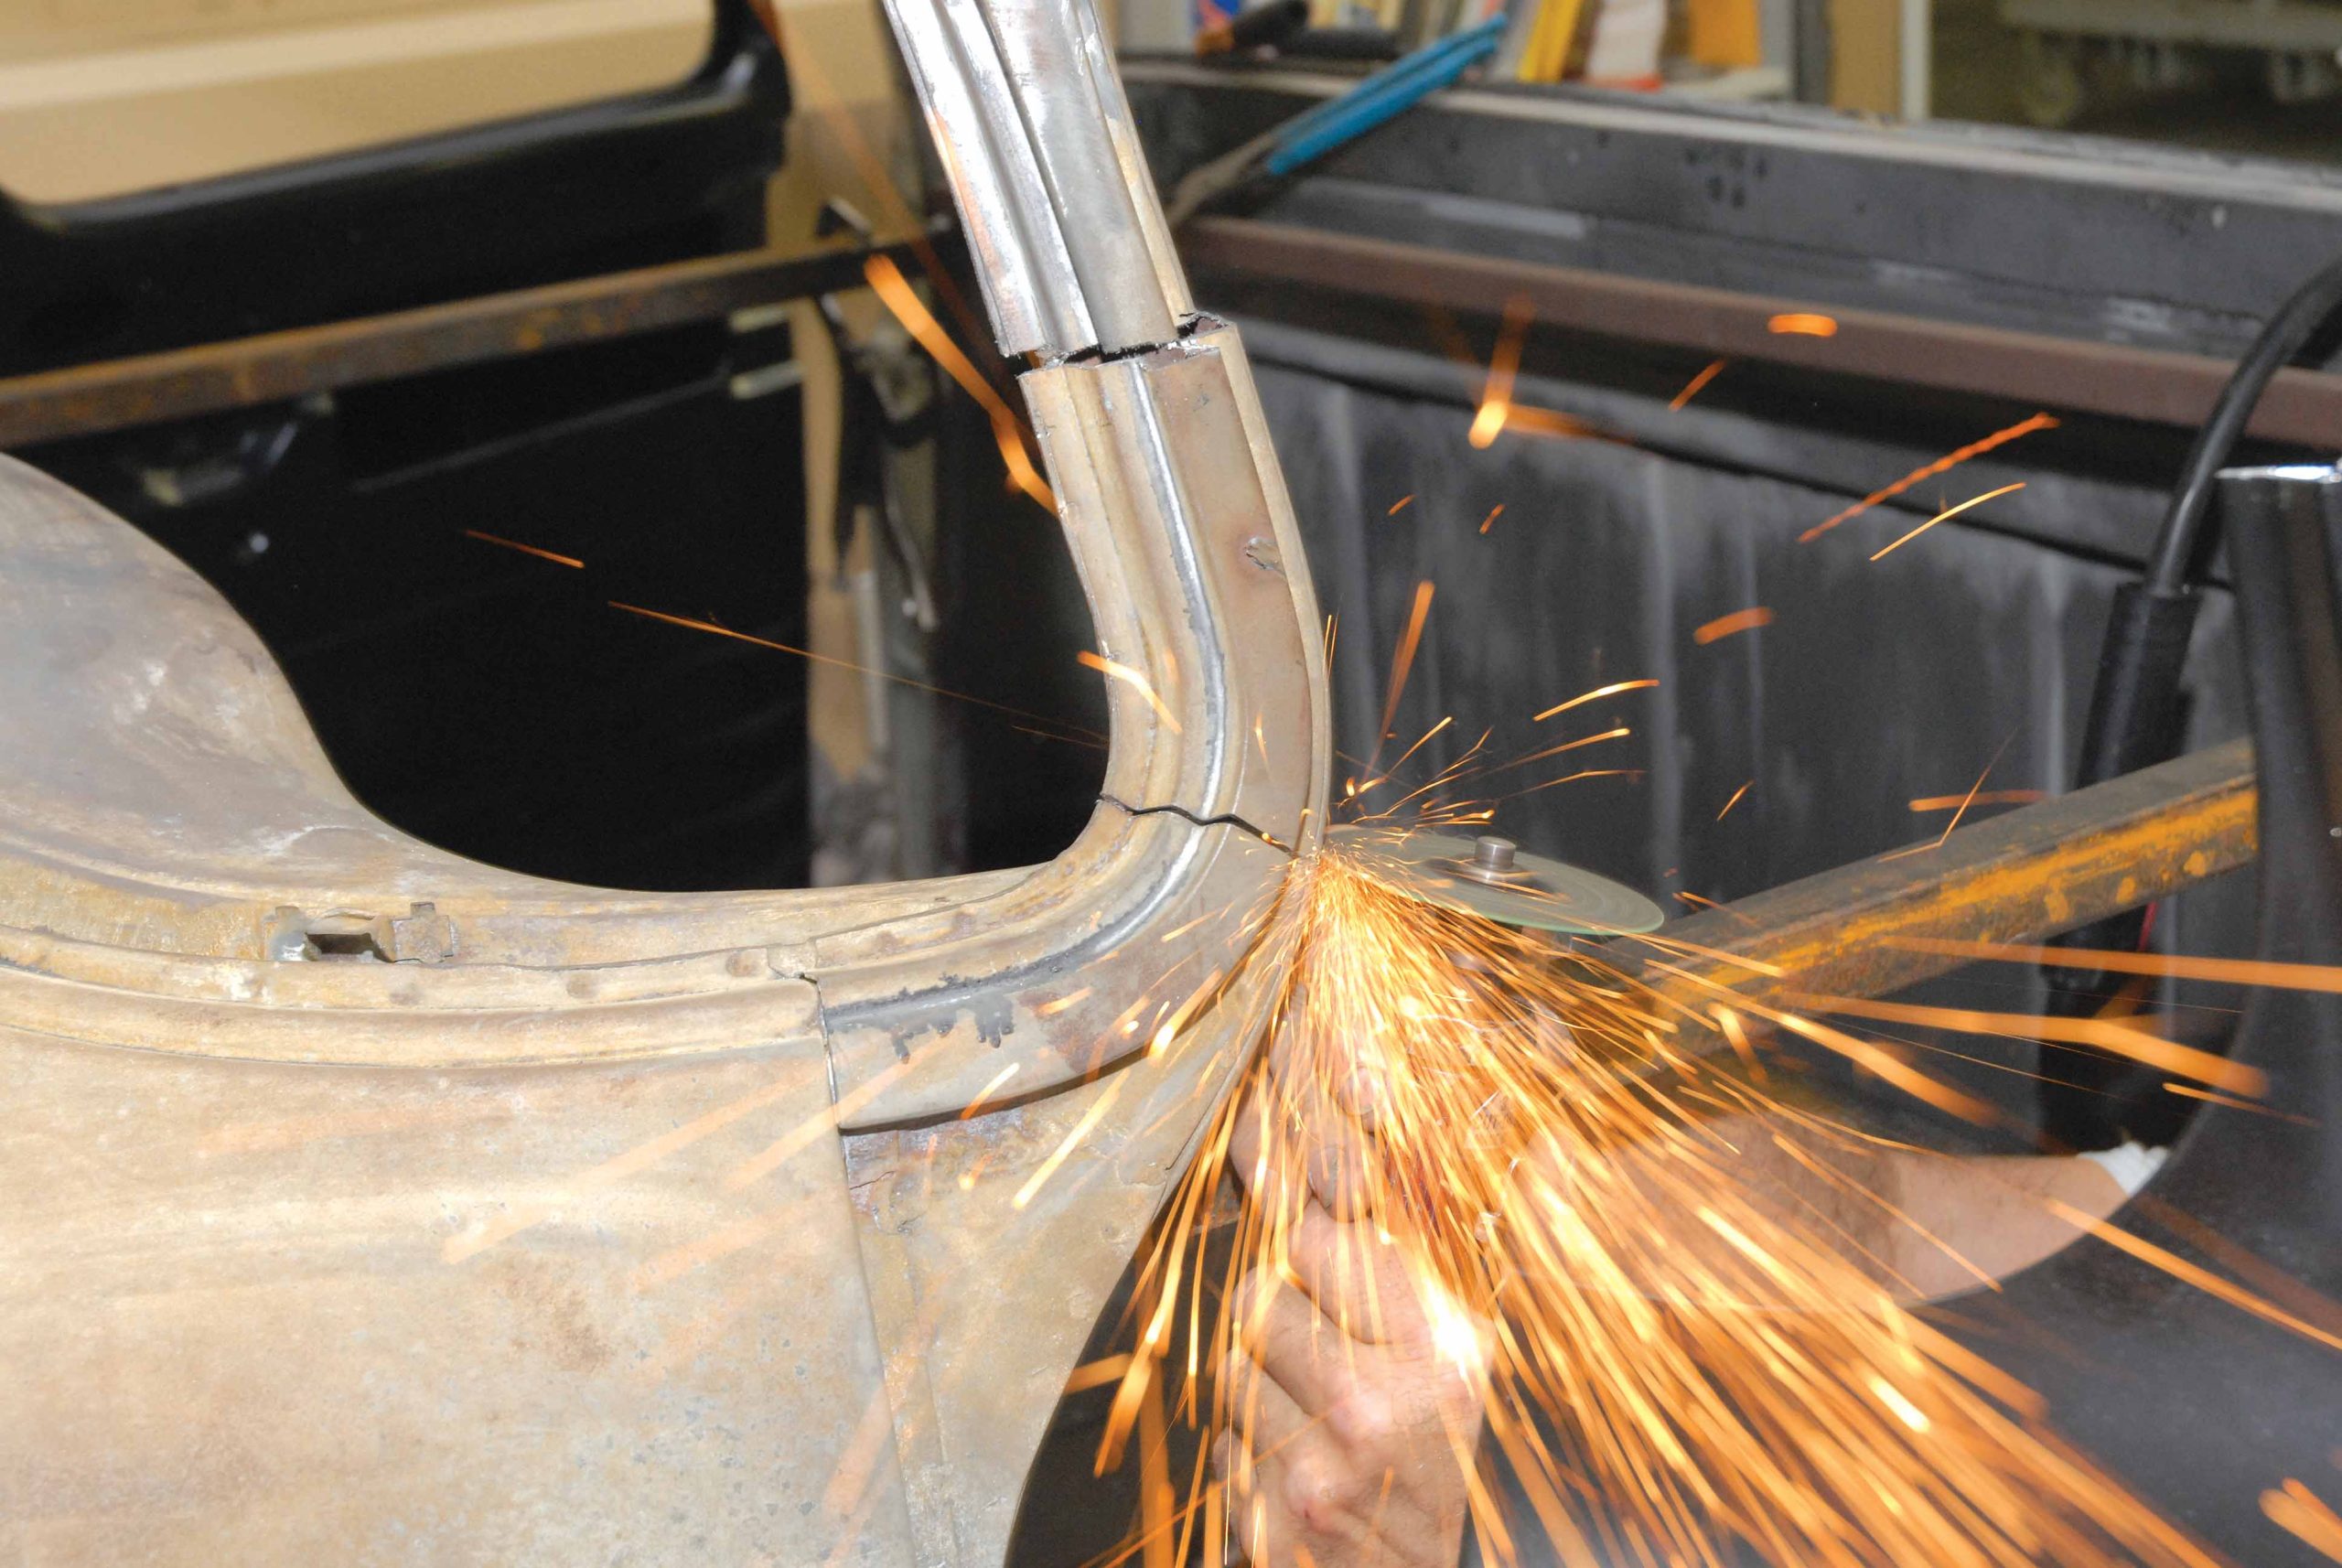
27. A series of small pie cuts are made around the circumference of the post.
28. Then, Darrell focuses his attentions toward the upper post, making a series of radial cuts right around the driprail area.
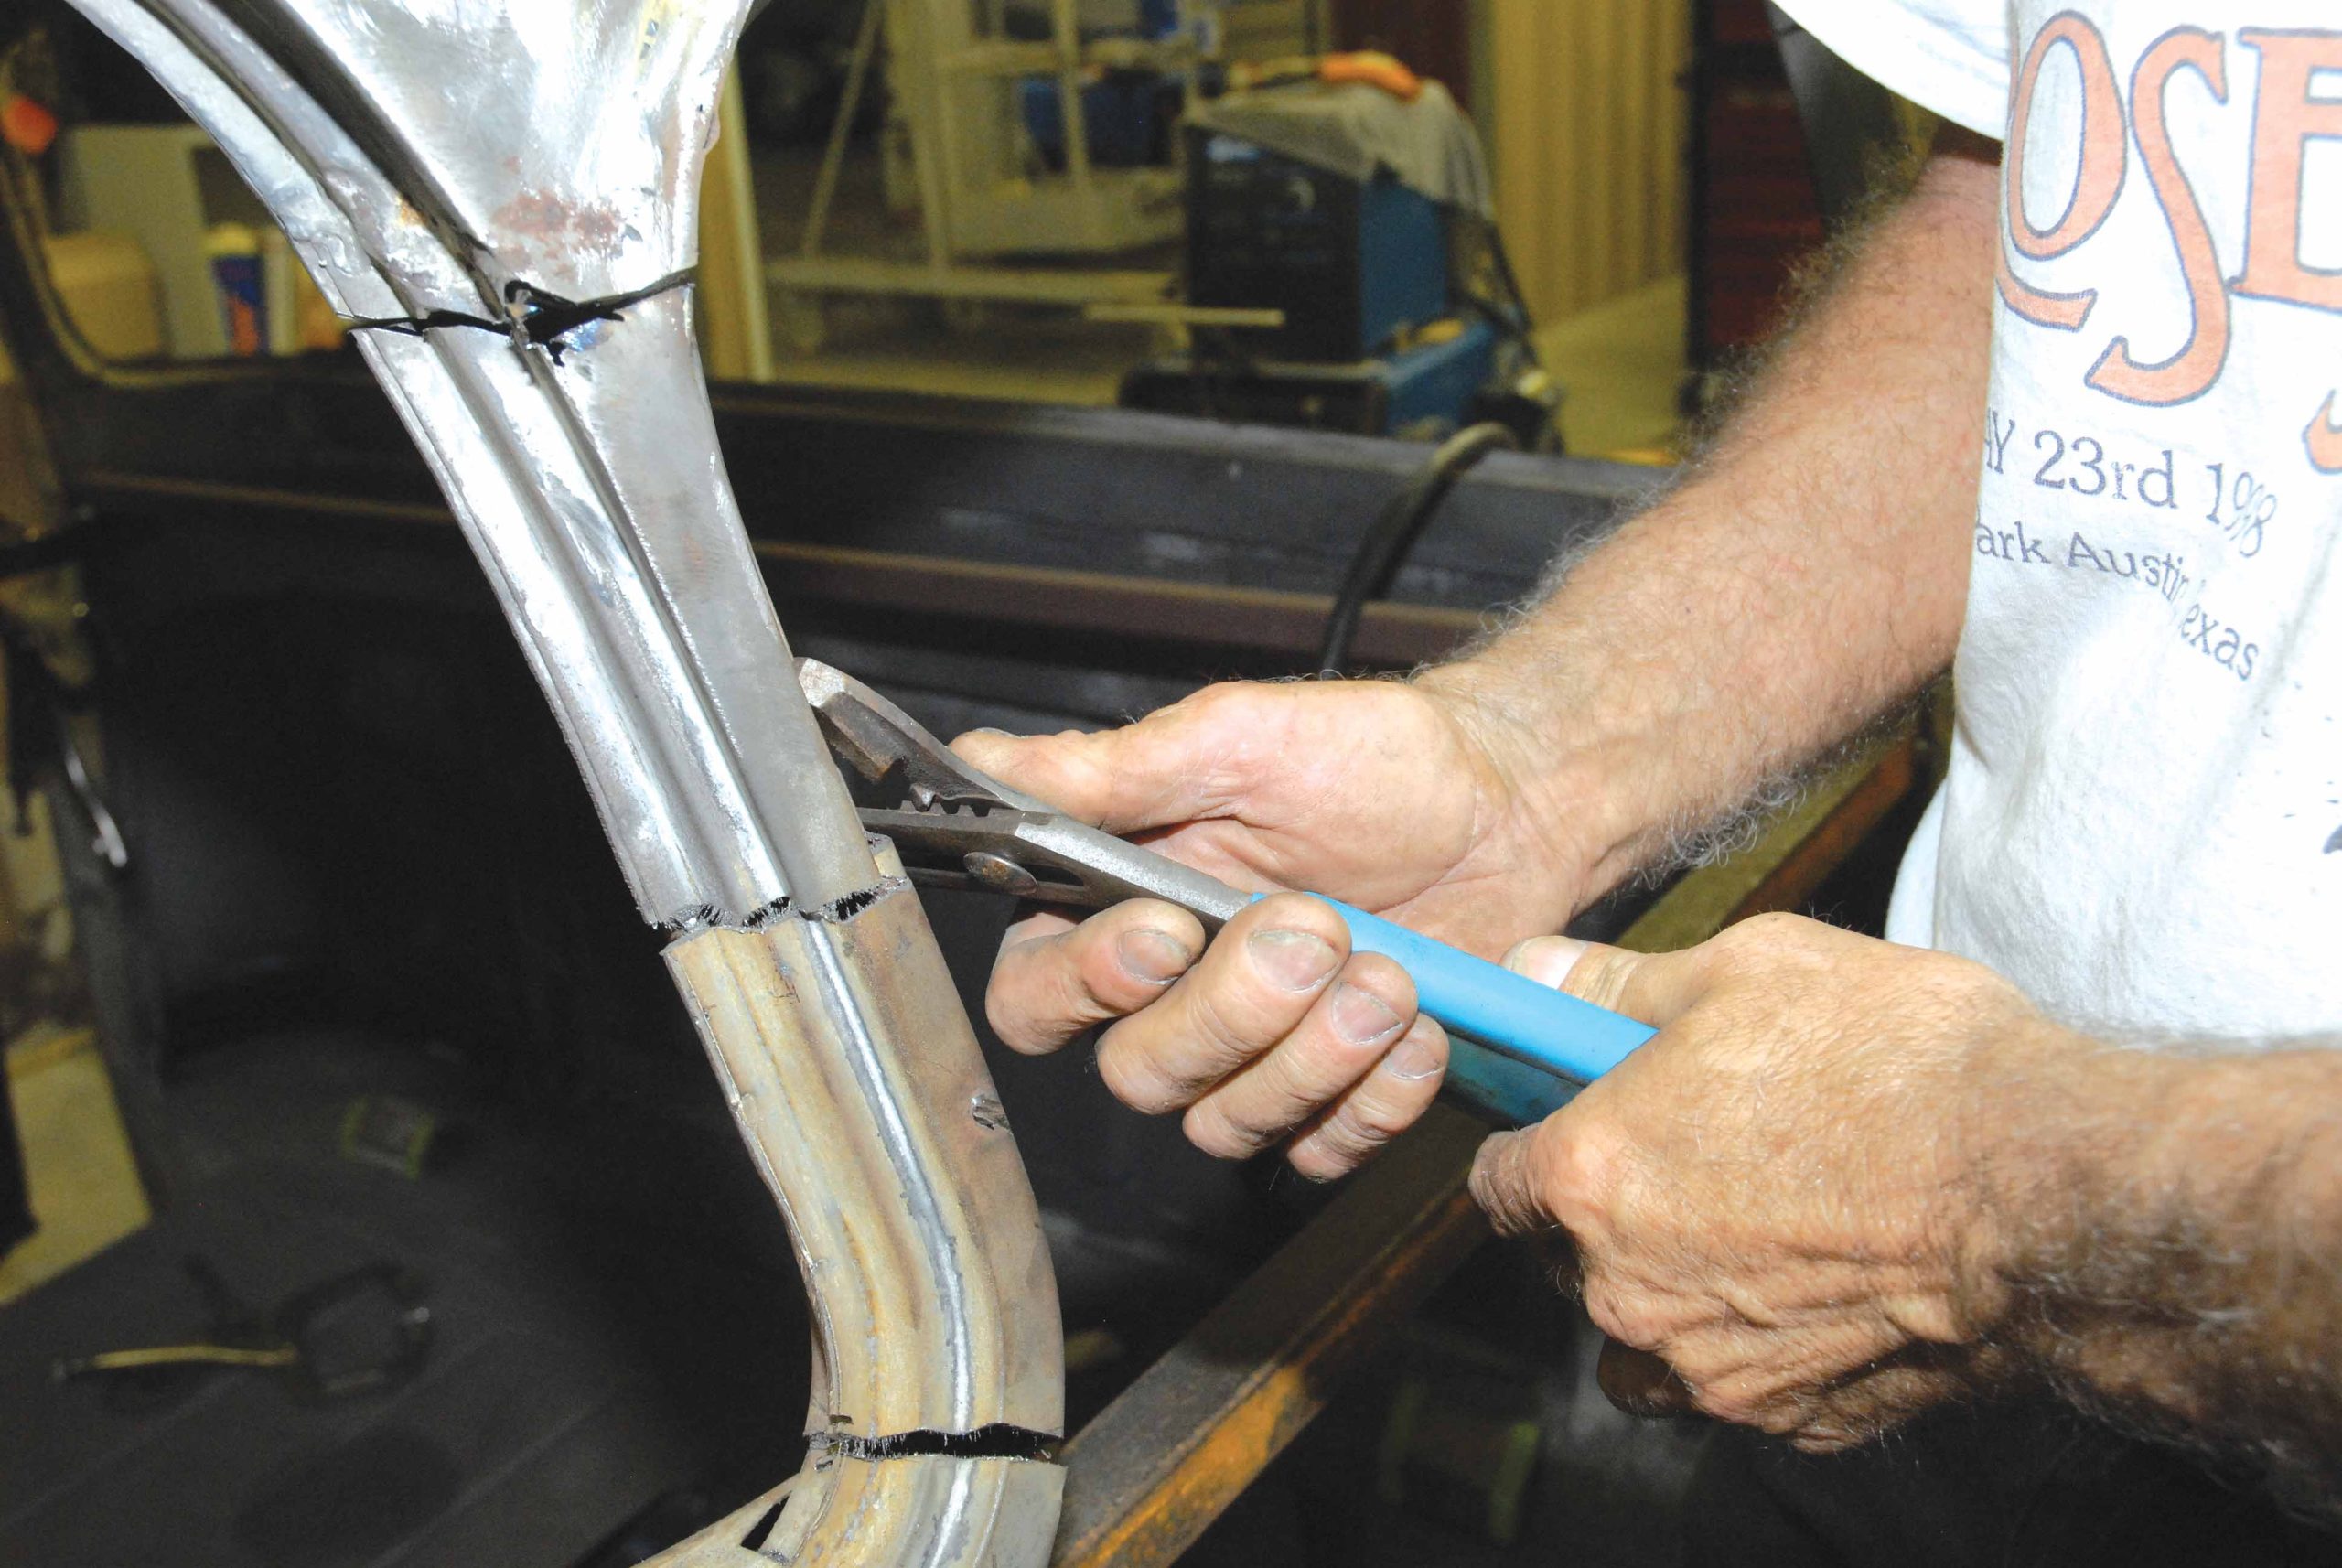
29-30. A little creative massaging is used to bring the two front posts (which cant in at 75 degrees) in line with each other. The top section of the front window pillar is also twisted in a few degrees using a pair of channel locks to compensate for the drop. Once again, Cimbanin uses an angle finder to check his work. It checks in at 75 degrees.
29-30. A little creative massaging is used to bring the two front posts (which cant in at 75 degrees) in line with each other. The top section of the front window pillar is also twisted in a few degrees using a pair of channel locks to compensate for the drop. Once again, Cimbanin uses an angle finder to check his work. It checks in at 75 degrees.
31-32. Now, Cimbanin checks for square of the window area and arrives at a reading of 40-5/8 inches from front to rear!
31-32. Now, Cimbanin checks for square of the window area and arrives at a reading of 40-5/8 inches from front to rear!
33-34. Now, it's time to align and tack-weld the passenger-side doorposts together.
33-34. Now, it's time to align and tack-weld the passenger-side doorposts together.
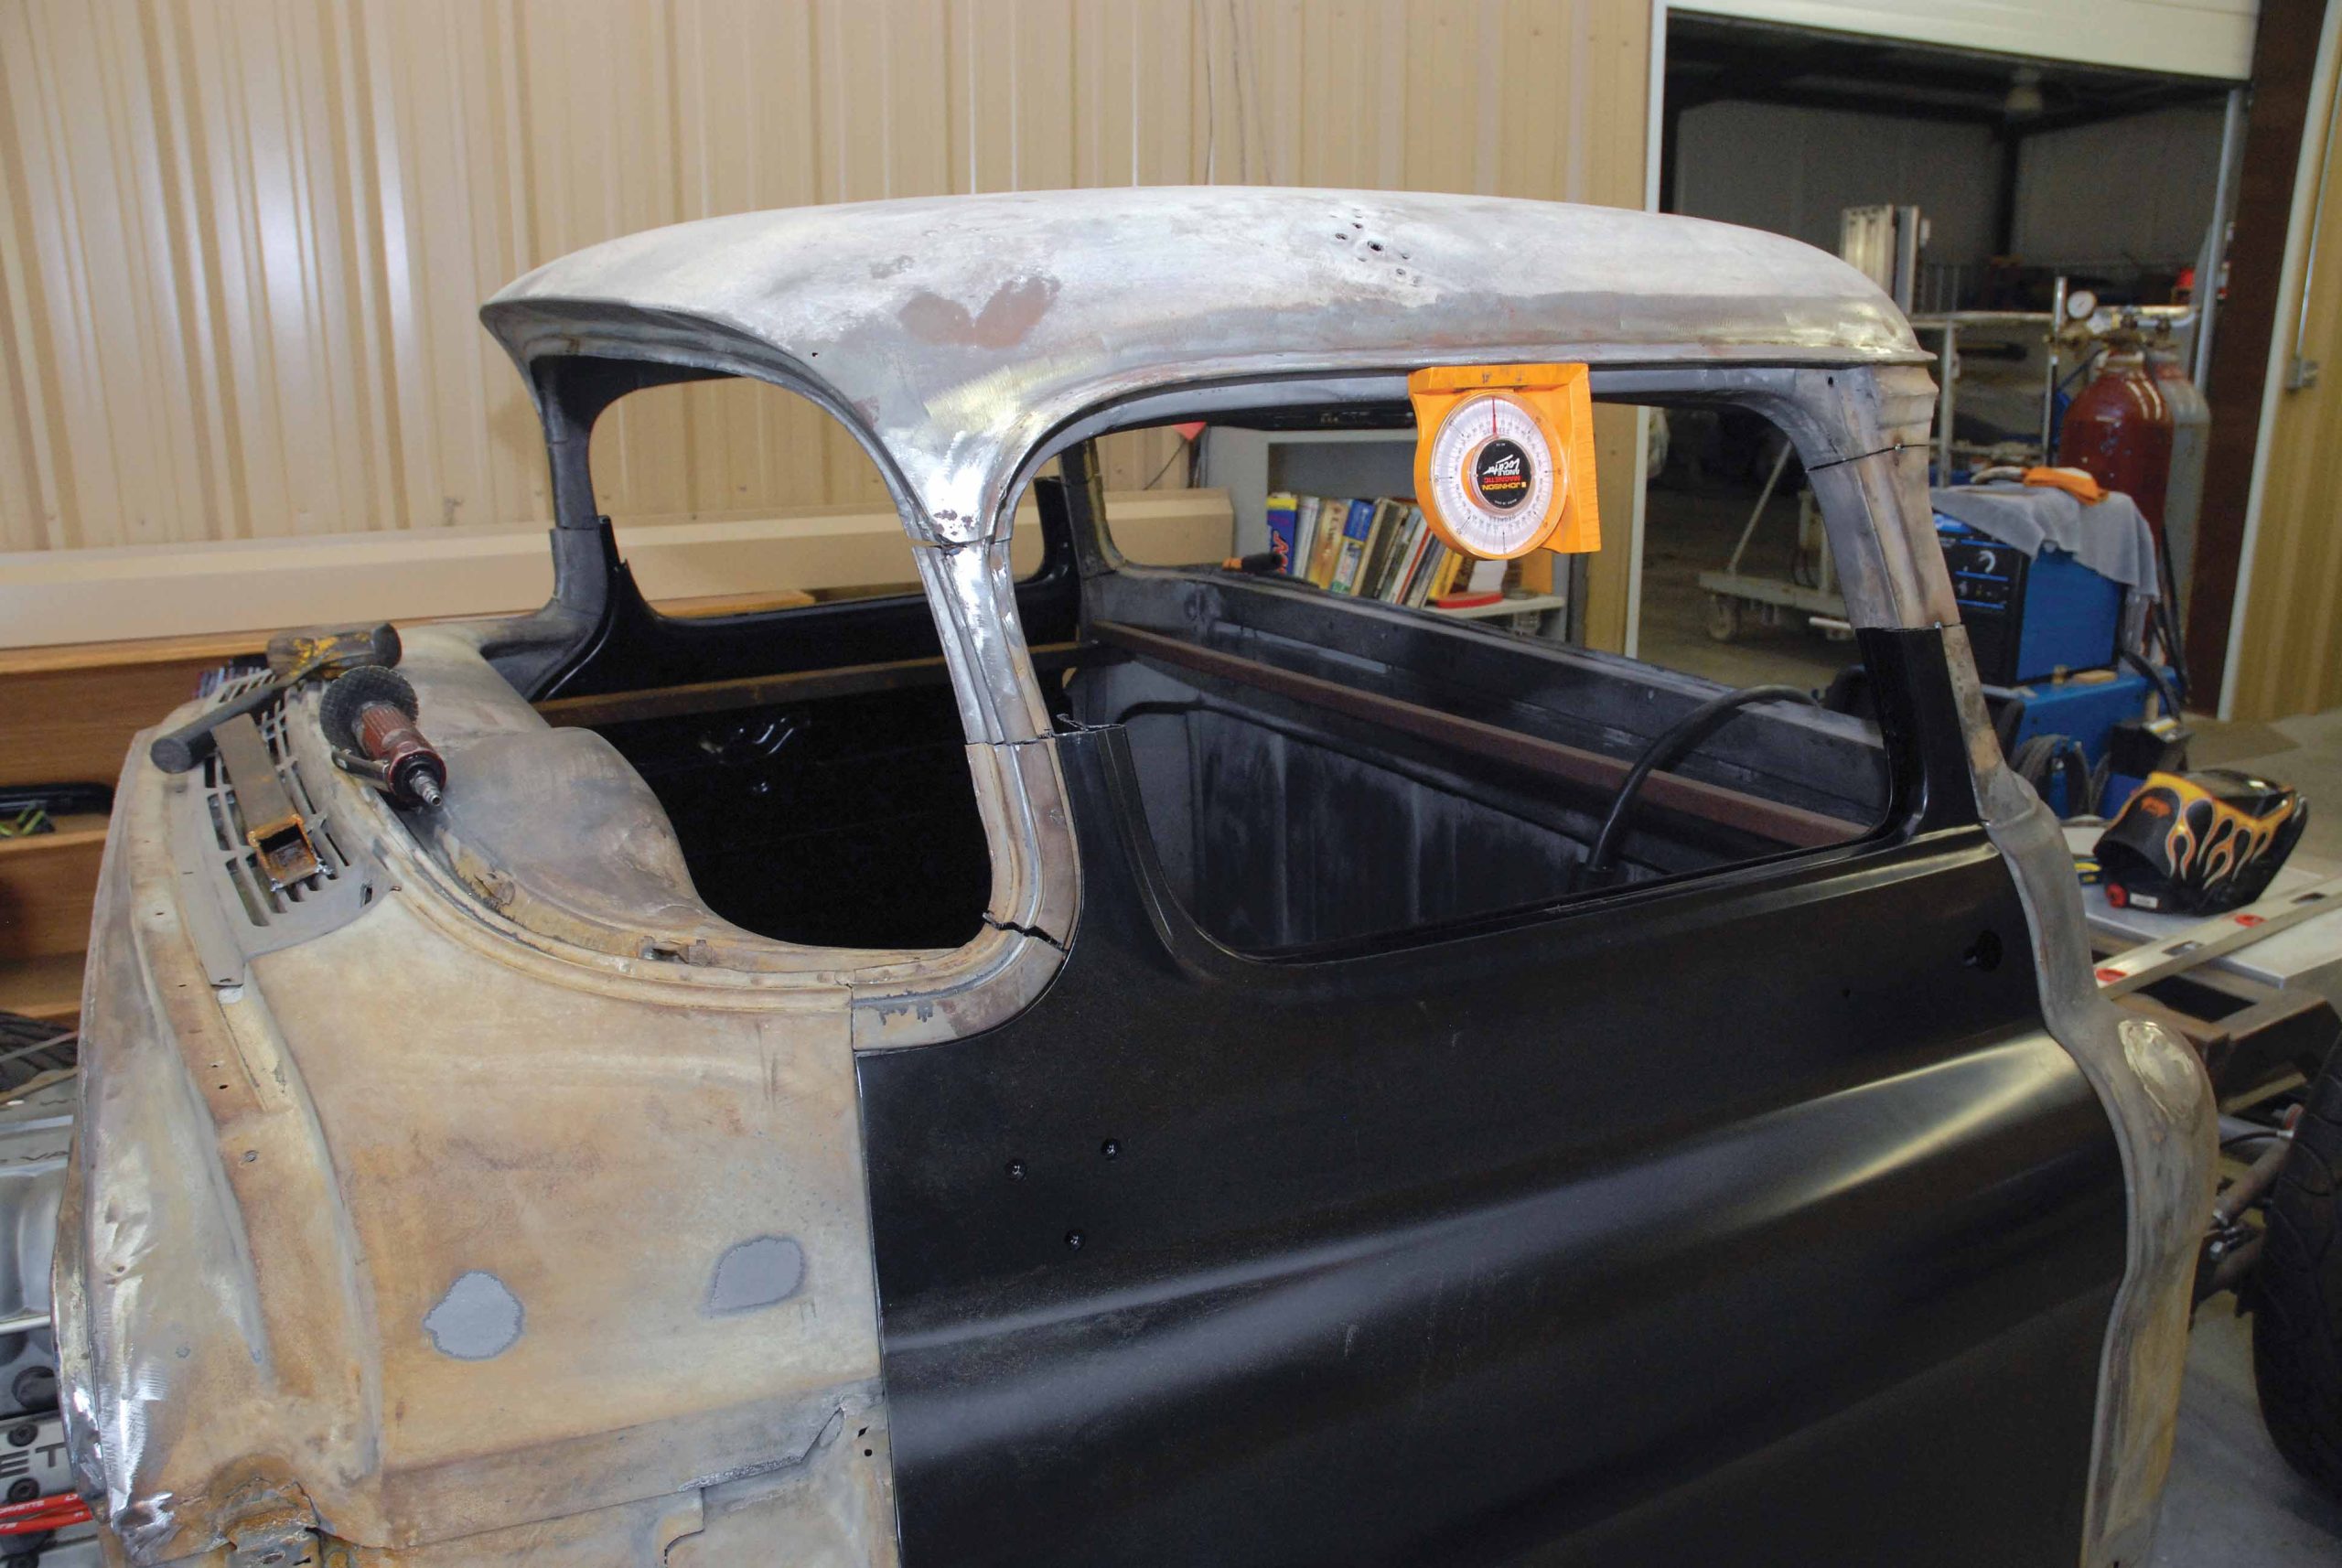
35. Once tack-welded together, Cimbanin uses his trusty angle finder and discovers that the right- and left-side front doorposts are within 3 degrees of each other. A little more tweaking and both measurements should be identical.
36. With the exception of final welding, the chopping of the roofline is almost complete.
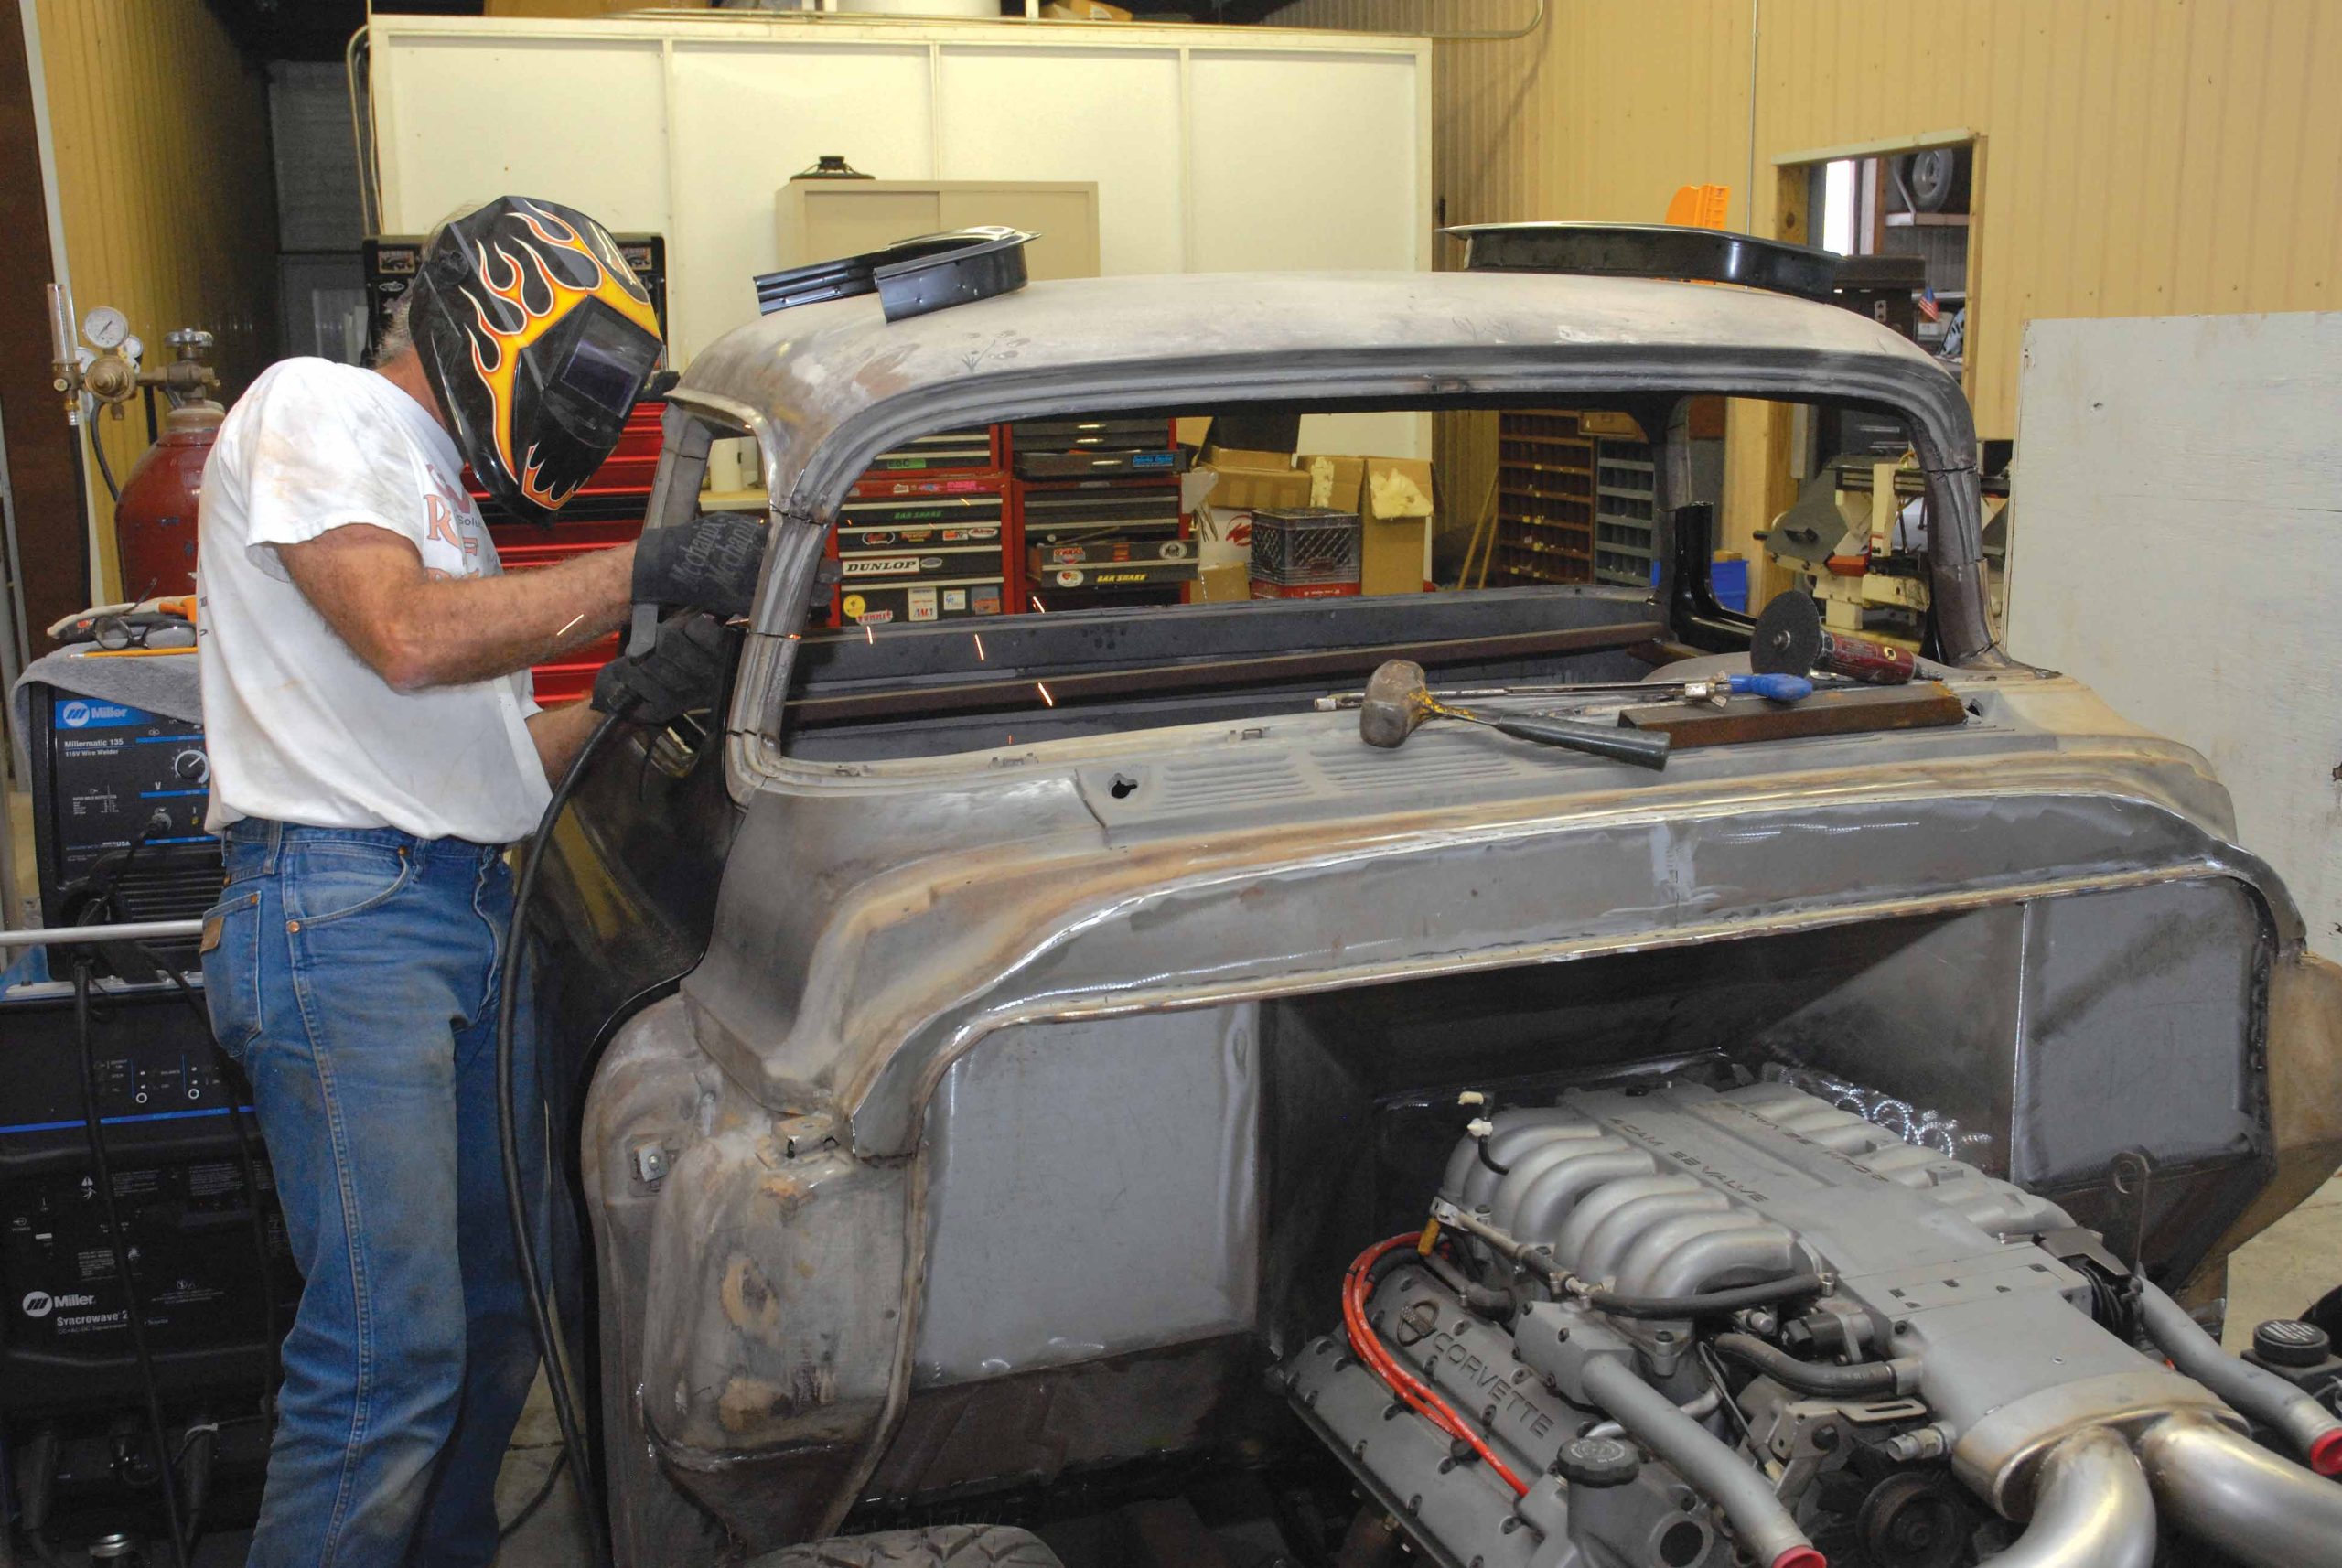
37-38. Prior to final welding, Cimtex Rods craftsman Darren Barker cross tapes, or checks, the cab for square and discovers that it has walked 1/4-inch due to heat warpage. Barker fixes things by locating the centerline of the cab, and uses a come along to bring everything into concentricity before final welding.
37-38. Prior to final welding, Cimtex Rods craftsman Darren Barker cross tapes, or checks, the cab for square and discovers that it has walked 1/4-inch due to heat warpage. Barker fixes things by locating the centerline of the cab, and uses a come along to bring everything into concentricity before final welding.
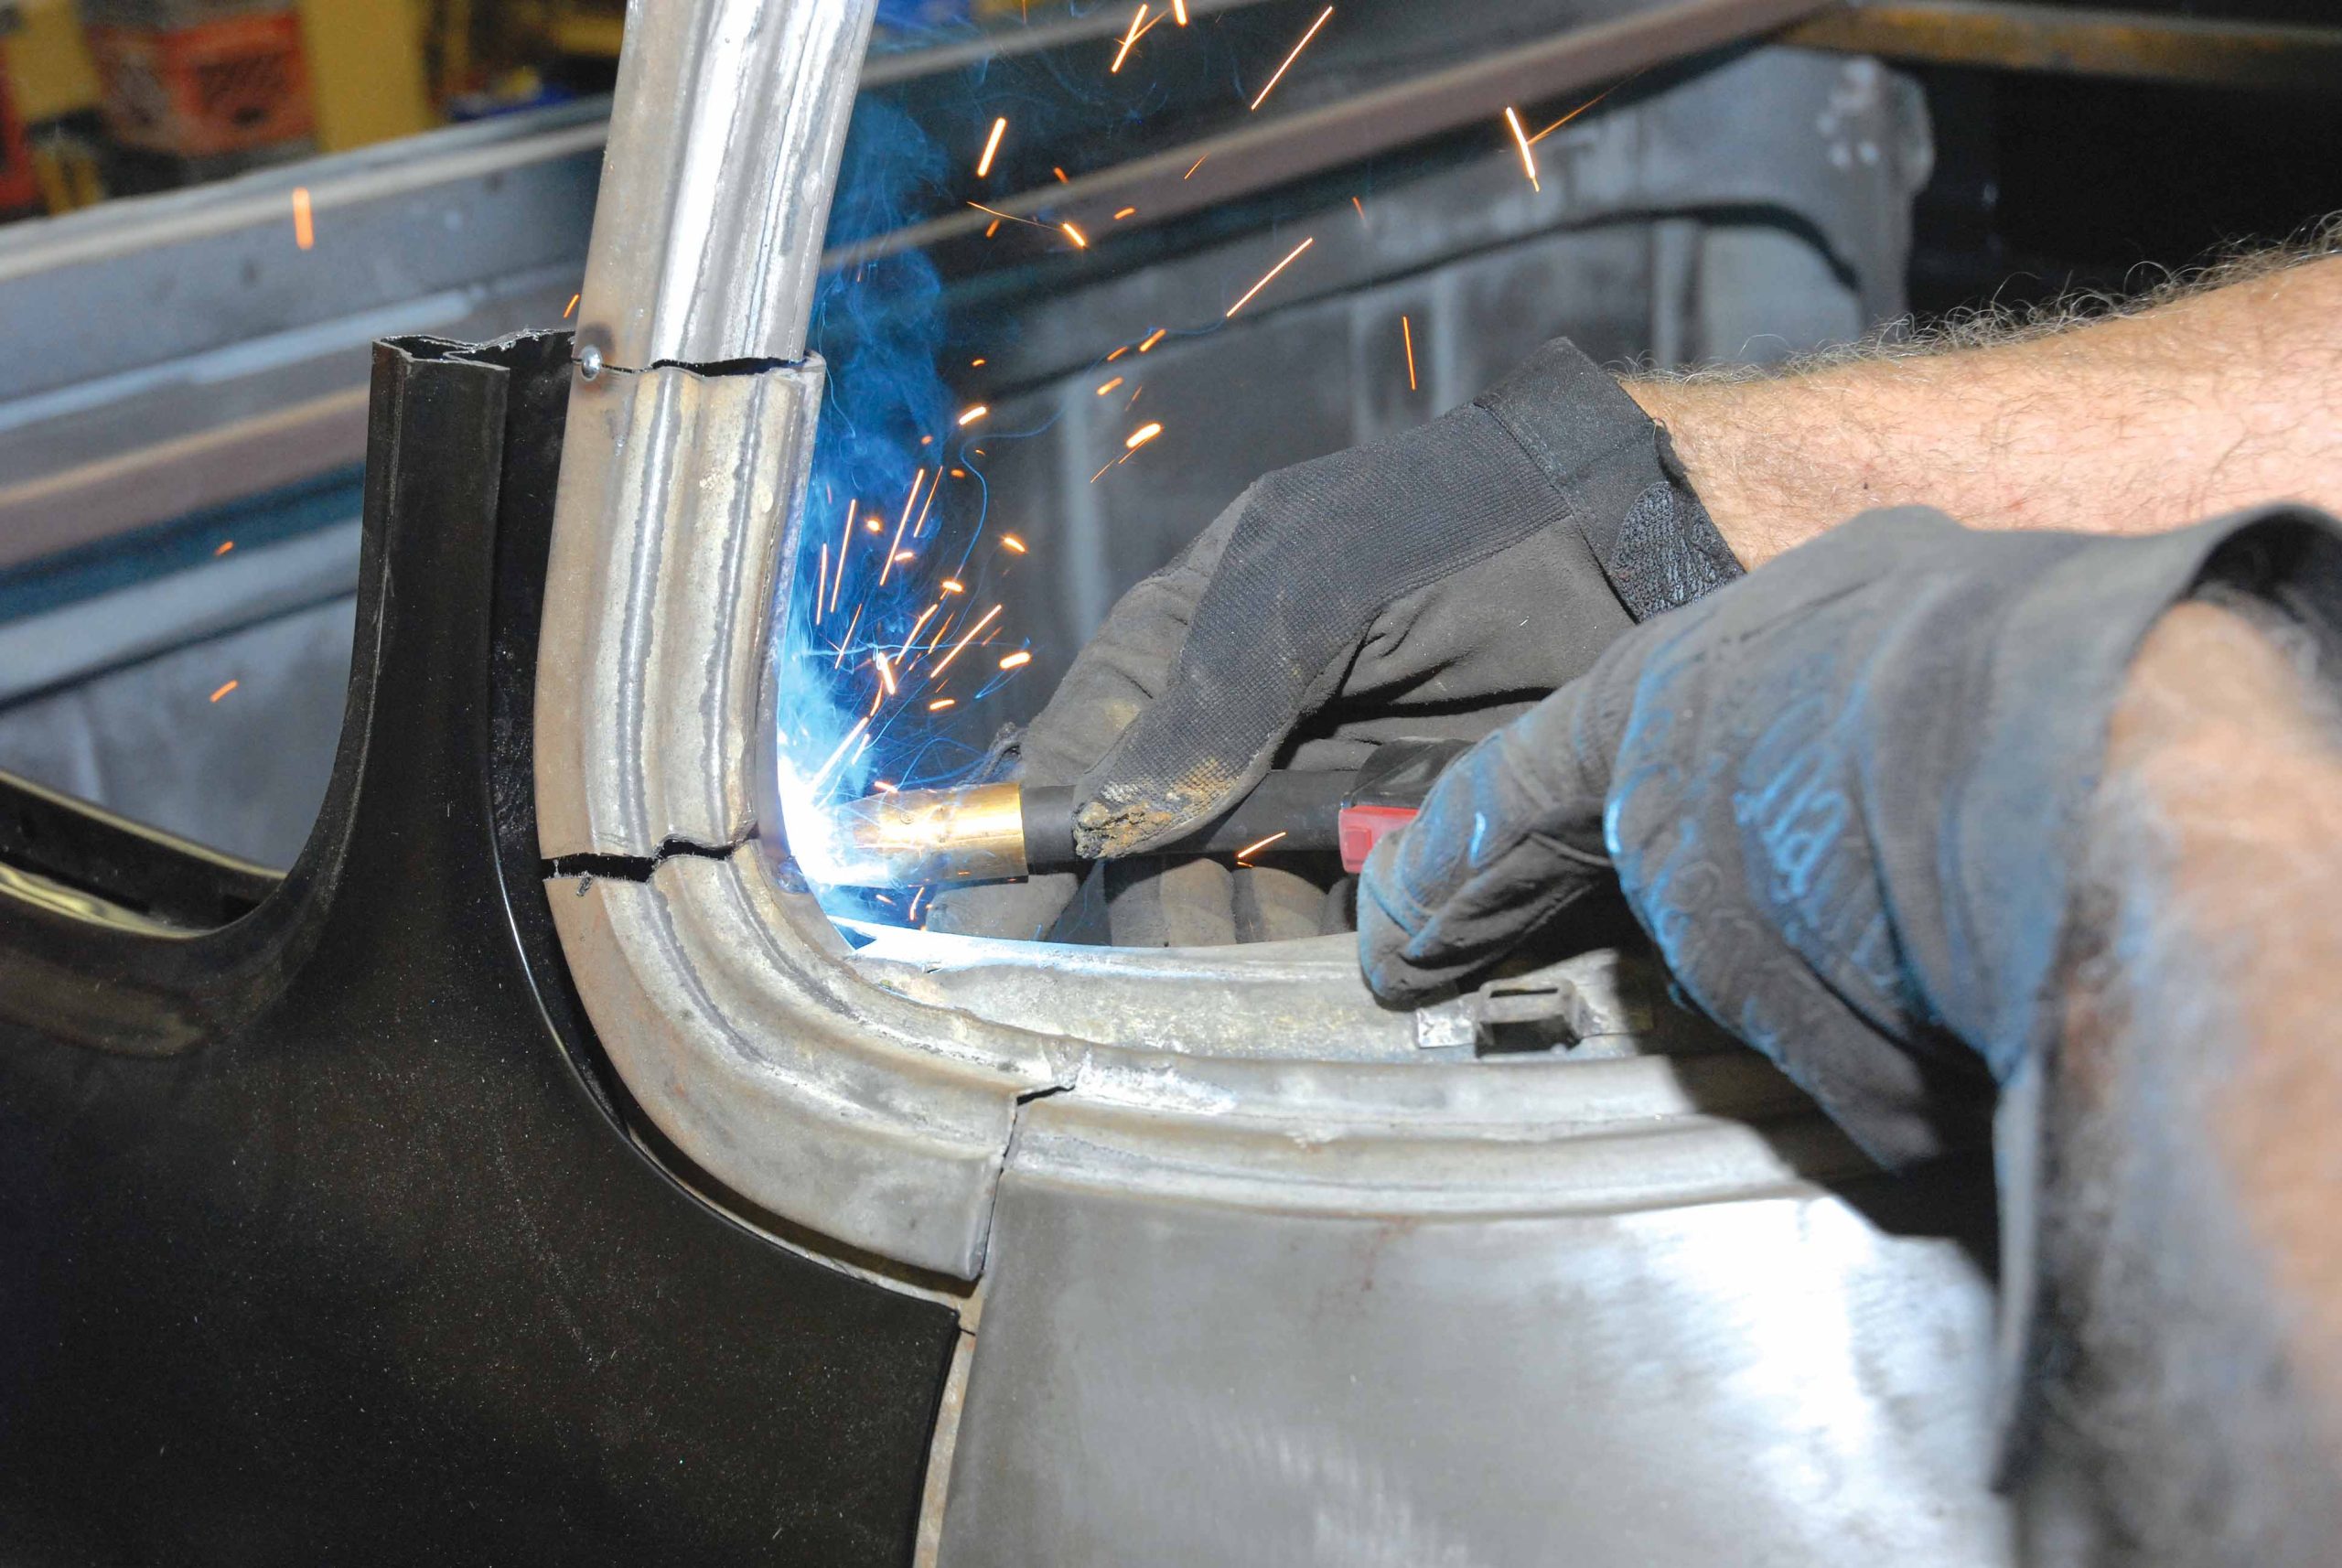
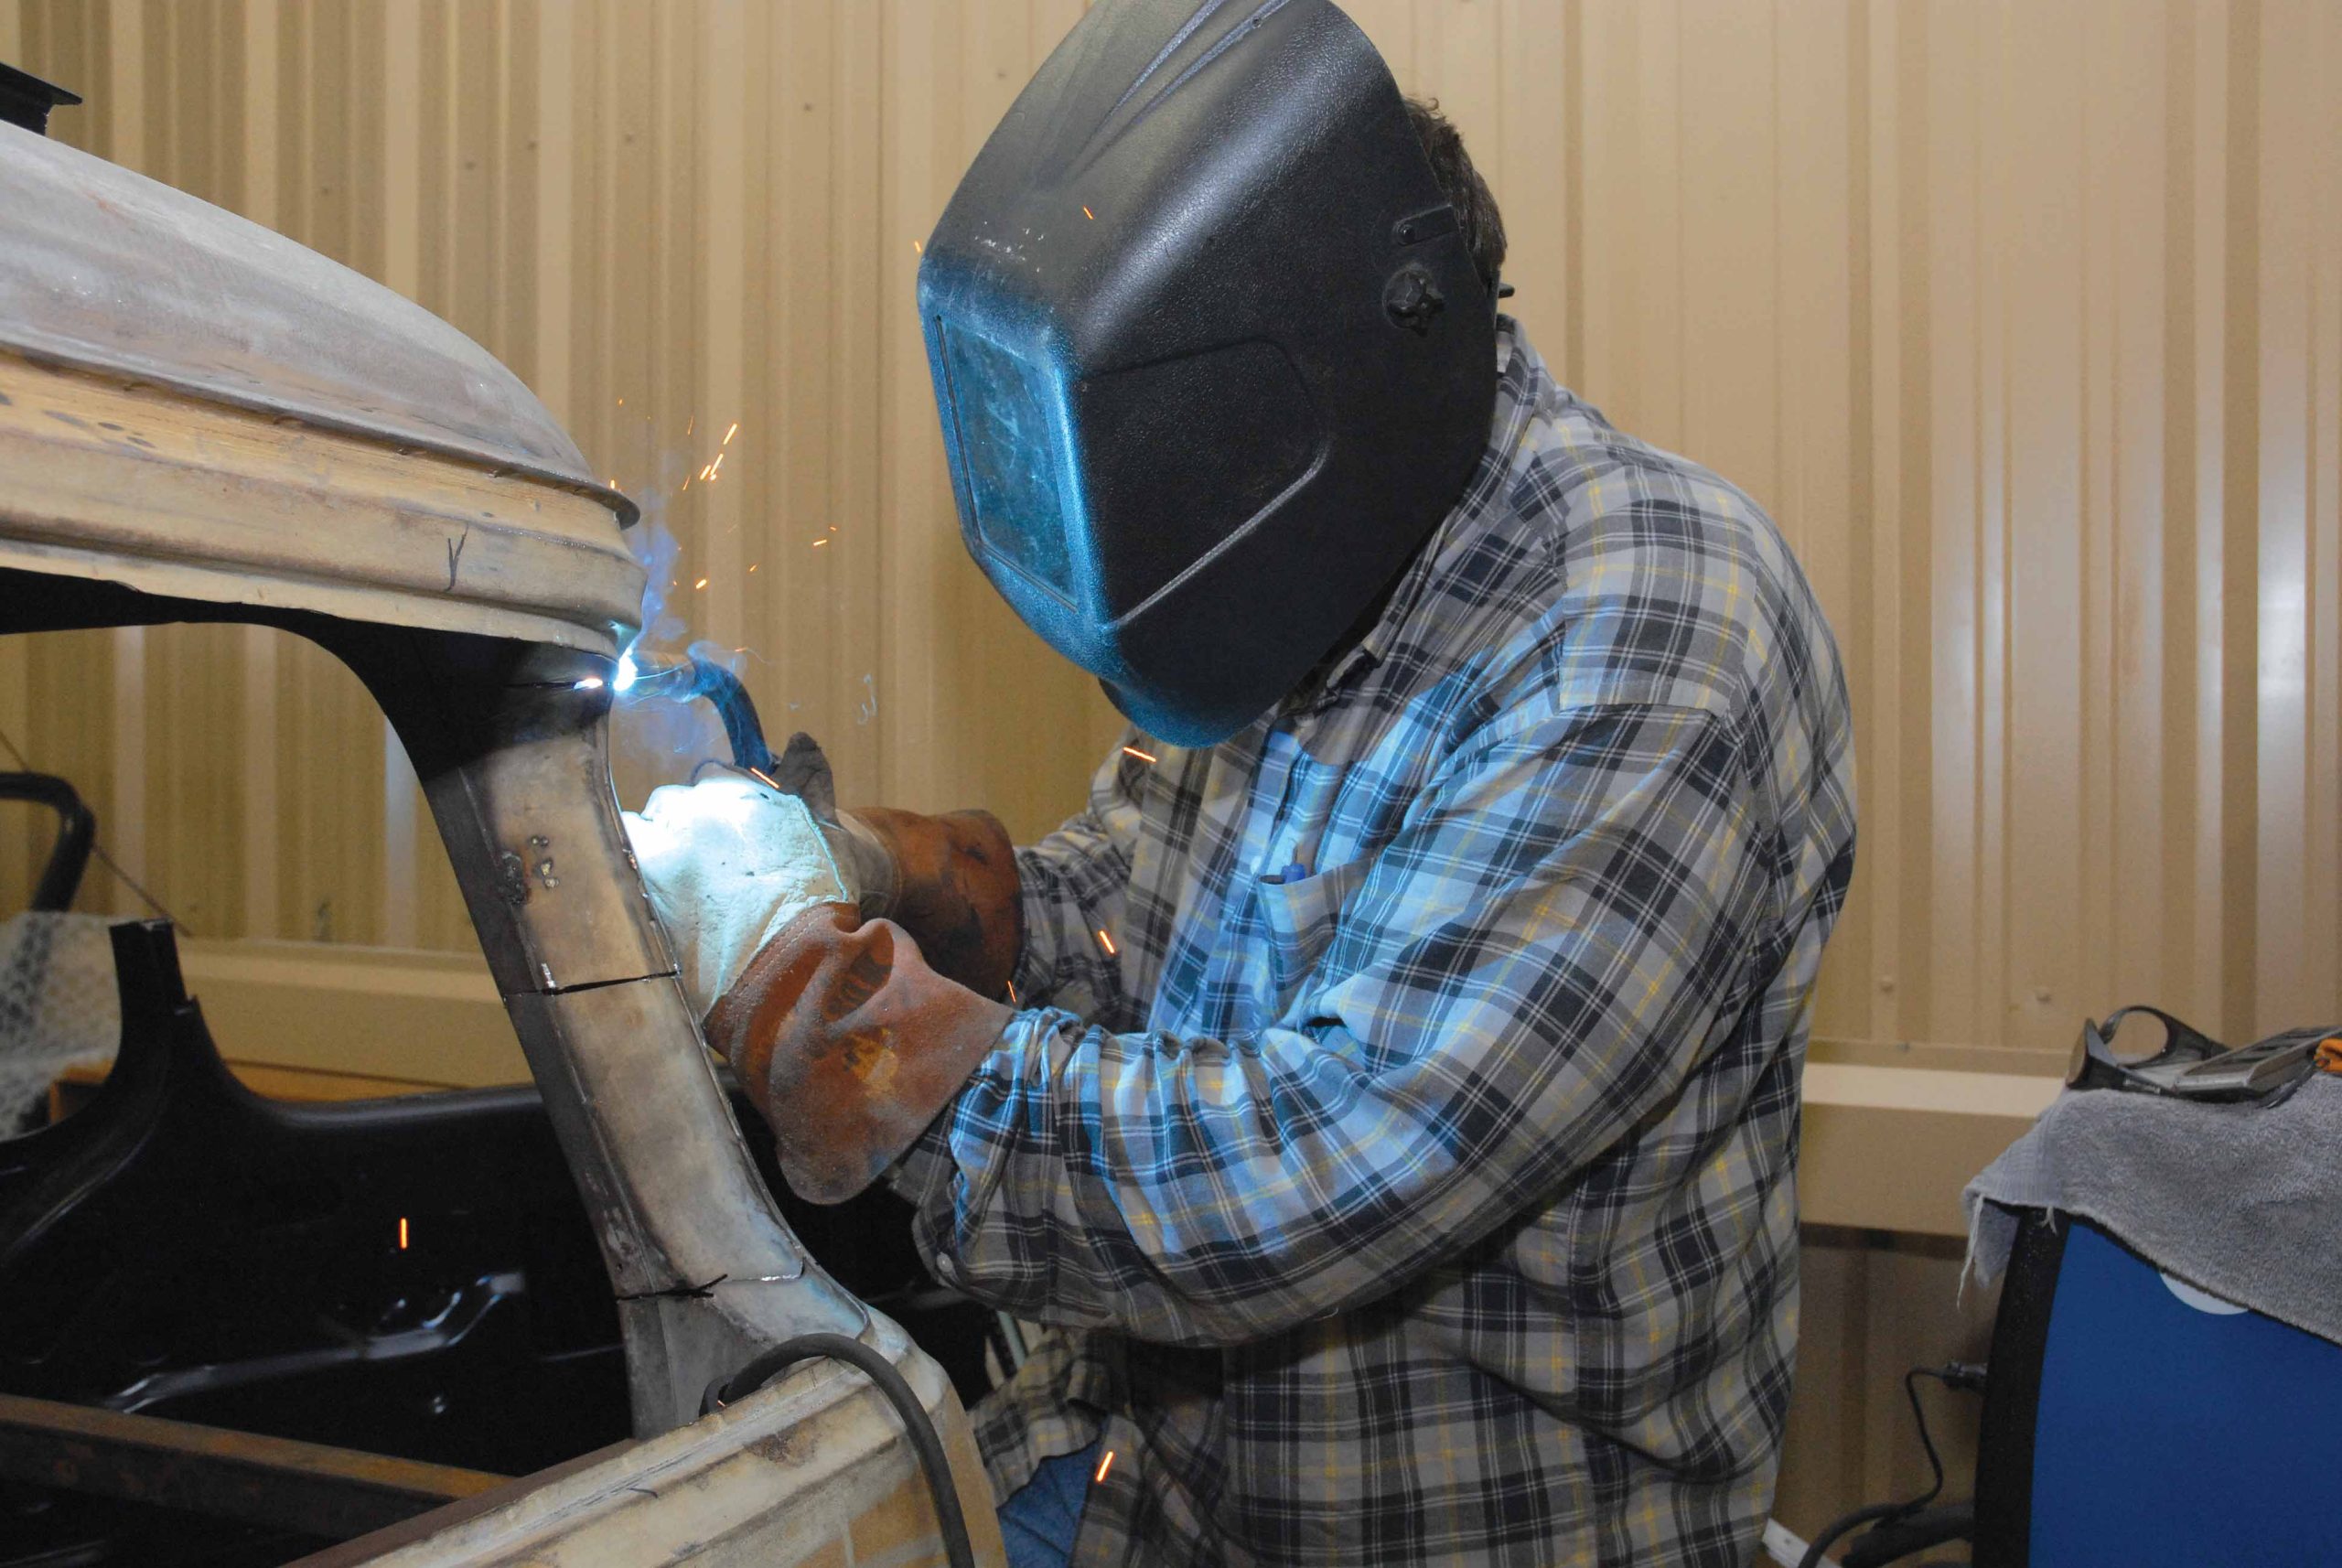
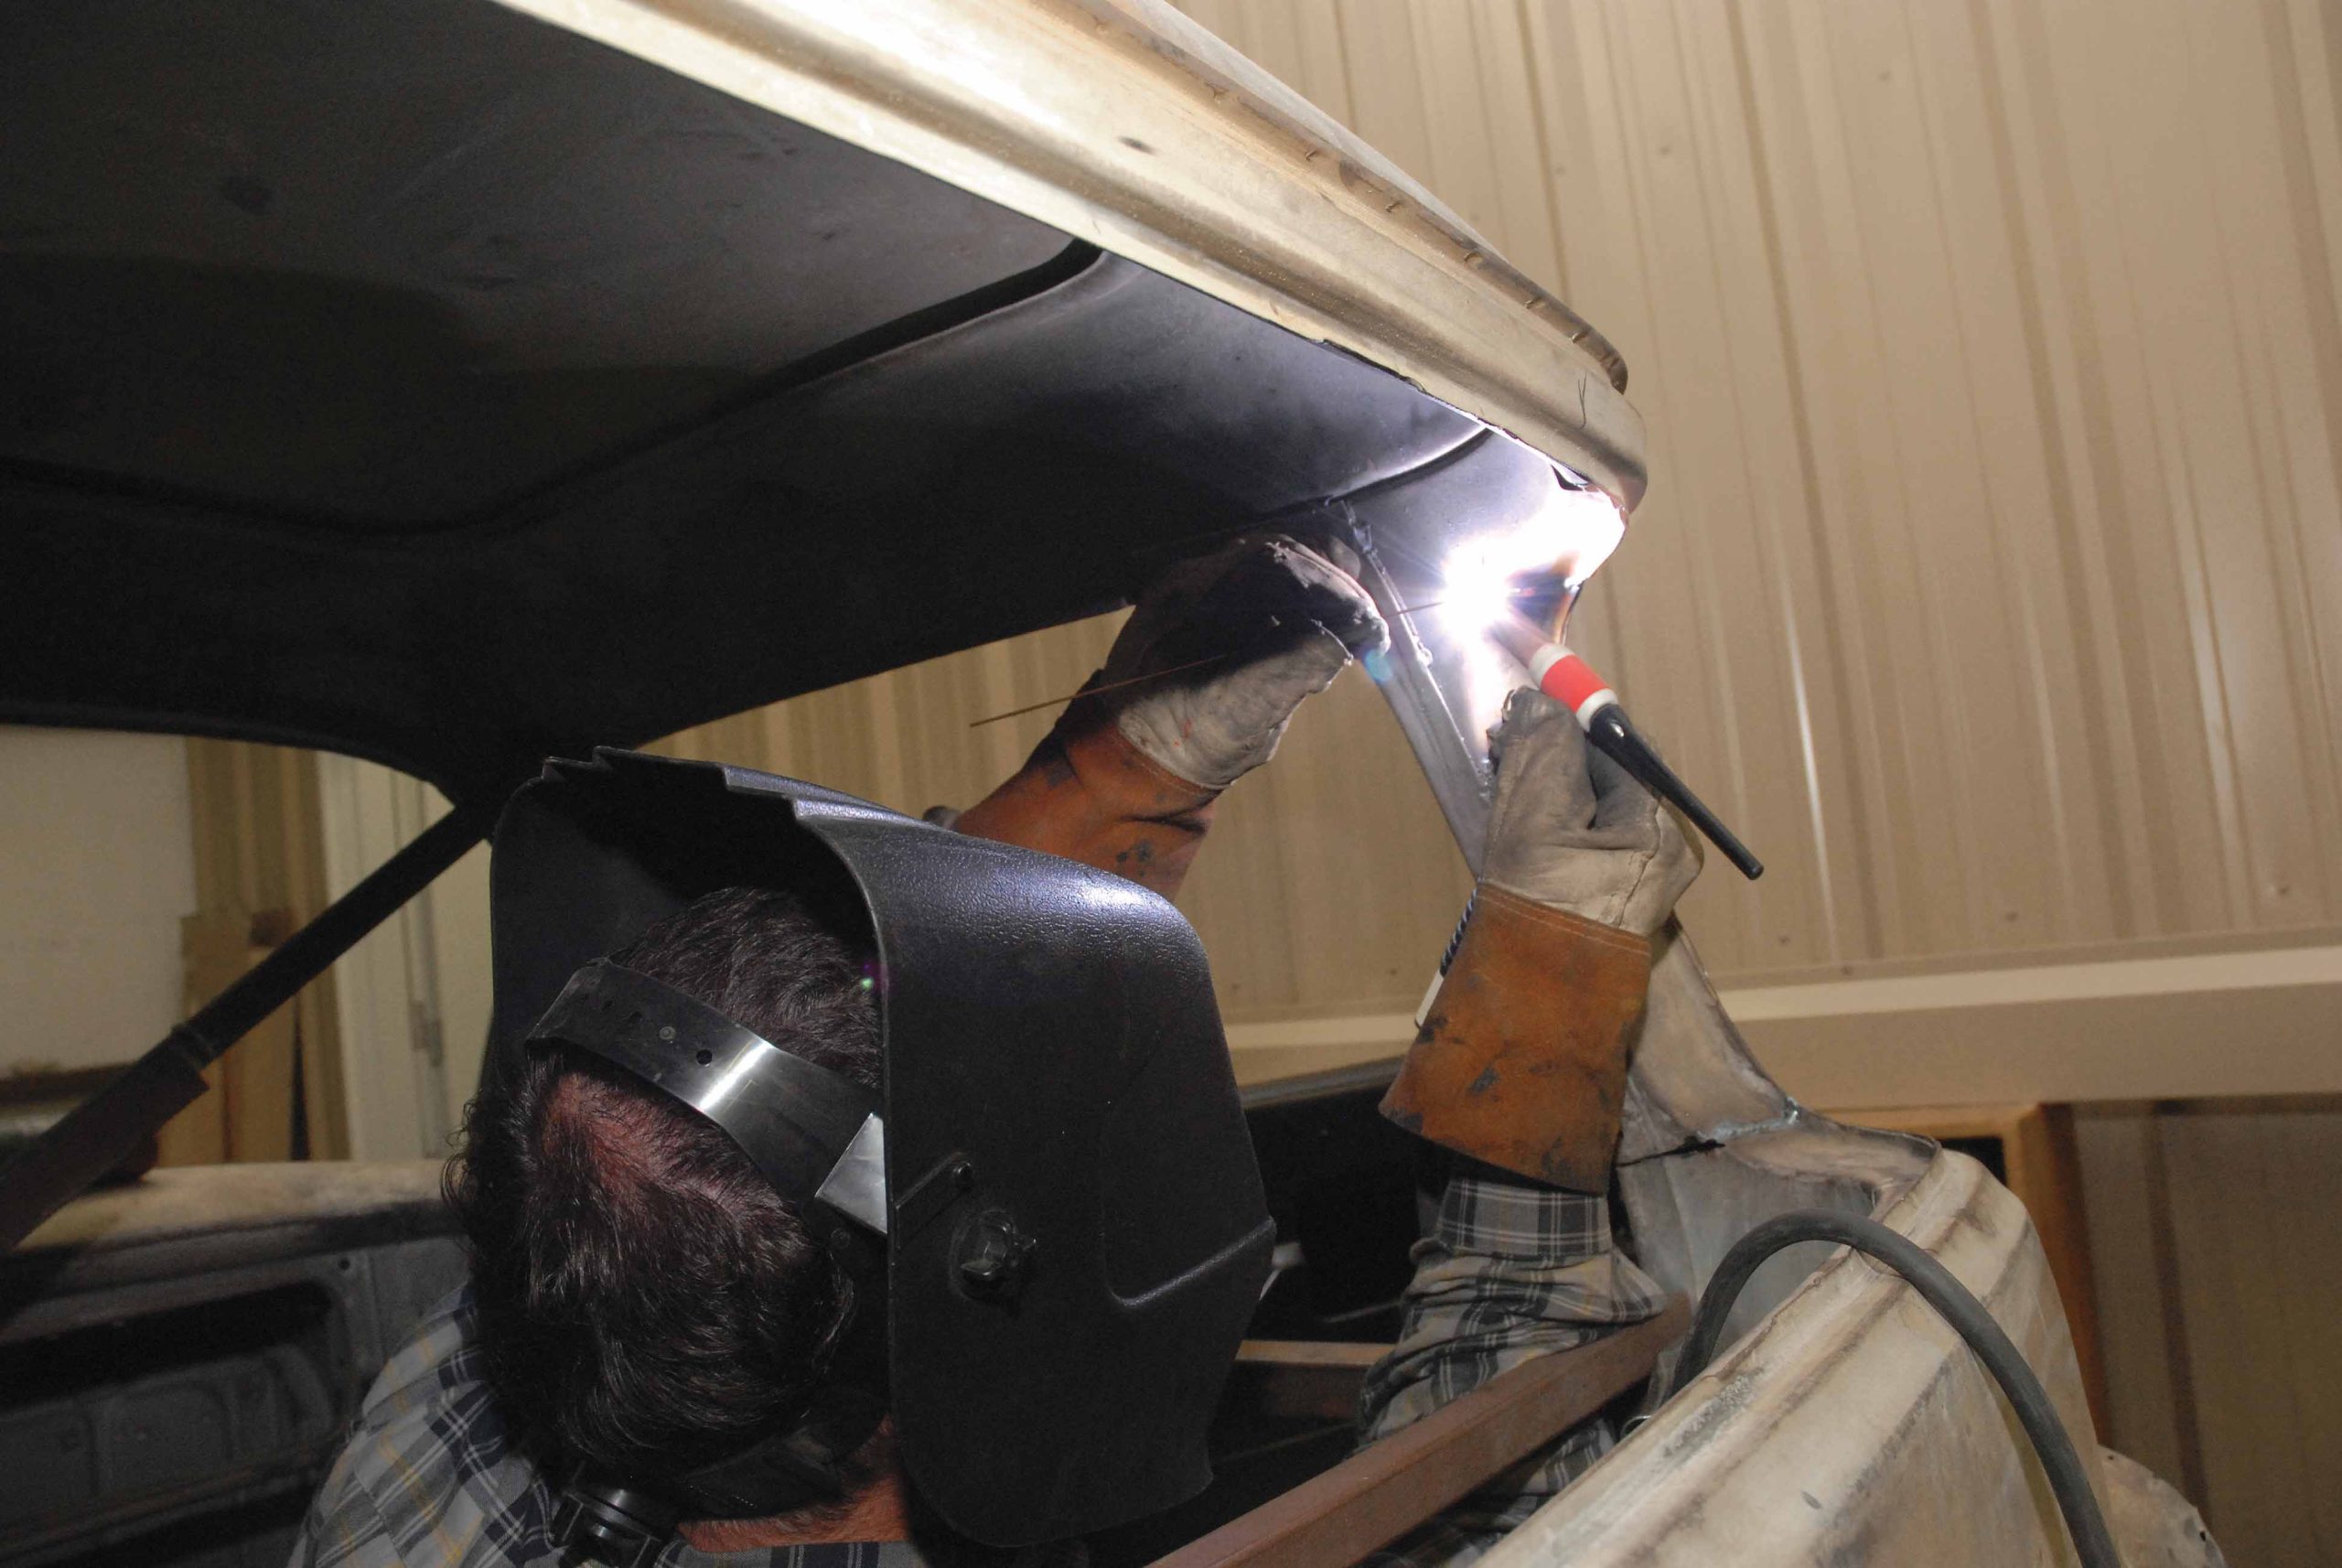
39-41. Satisfied that our Super Cameo truck cab is truly square, Barker finish-welds the entire cab.
39-41. Satisfied that our Super Cameo truck cab is truly square, Barker finish-welds the entire cab.
39-41. Satisfied that our Super Cameo truck cab is truly square, Barker finish-welds the entire cab.
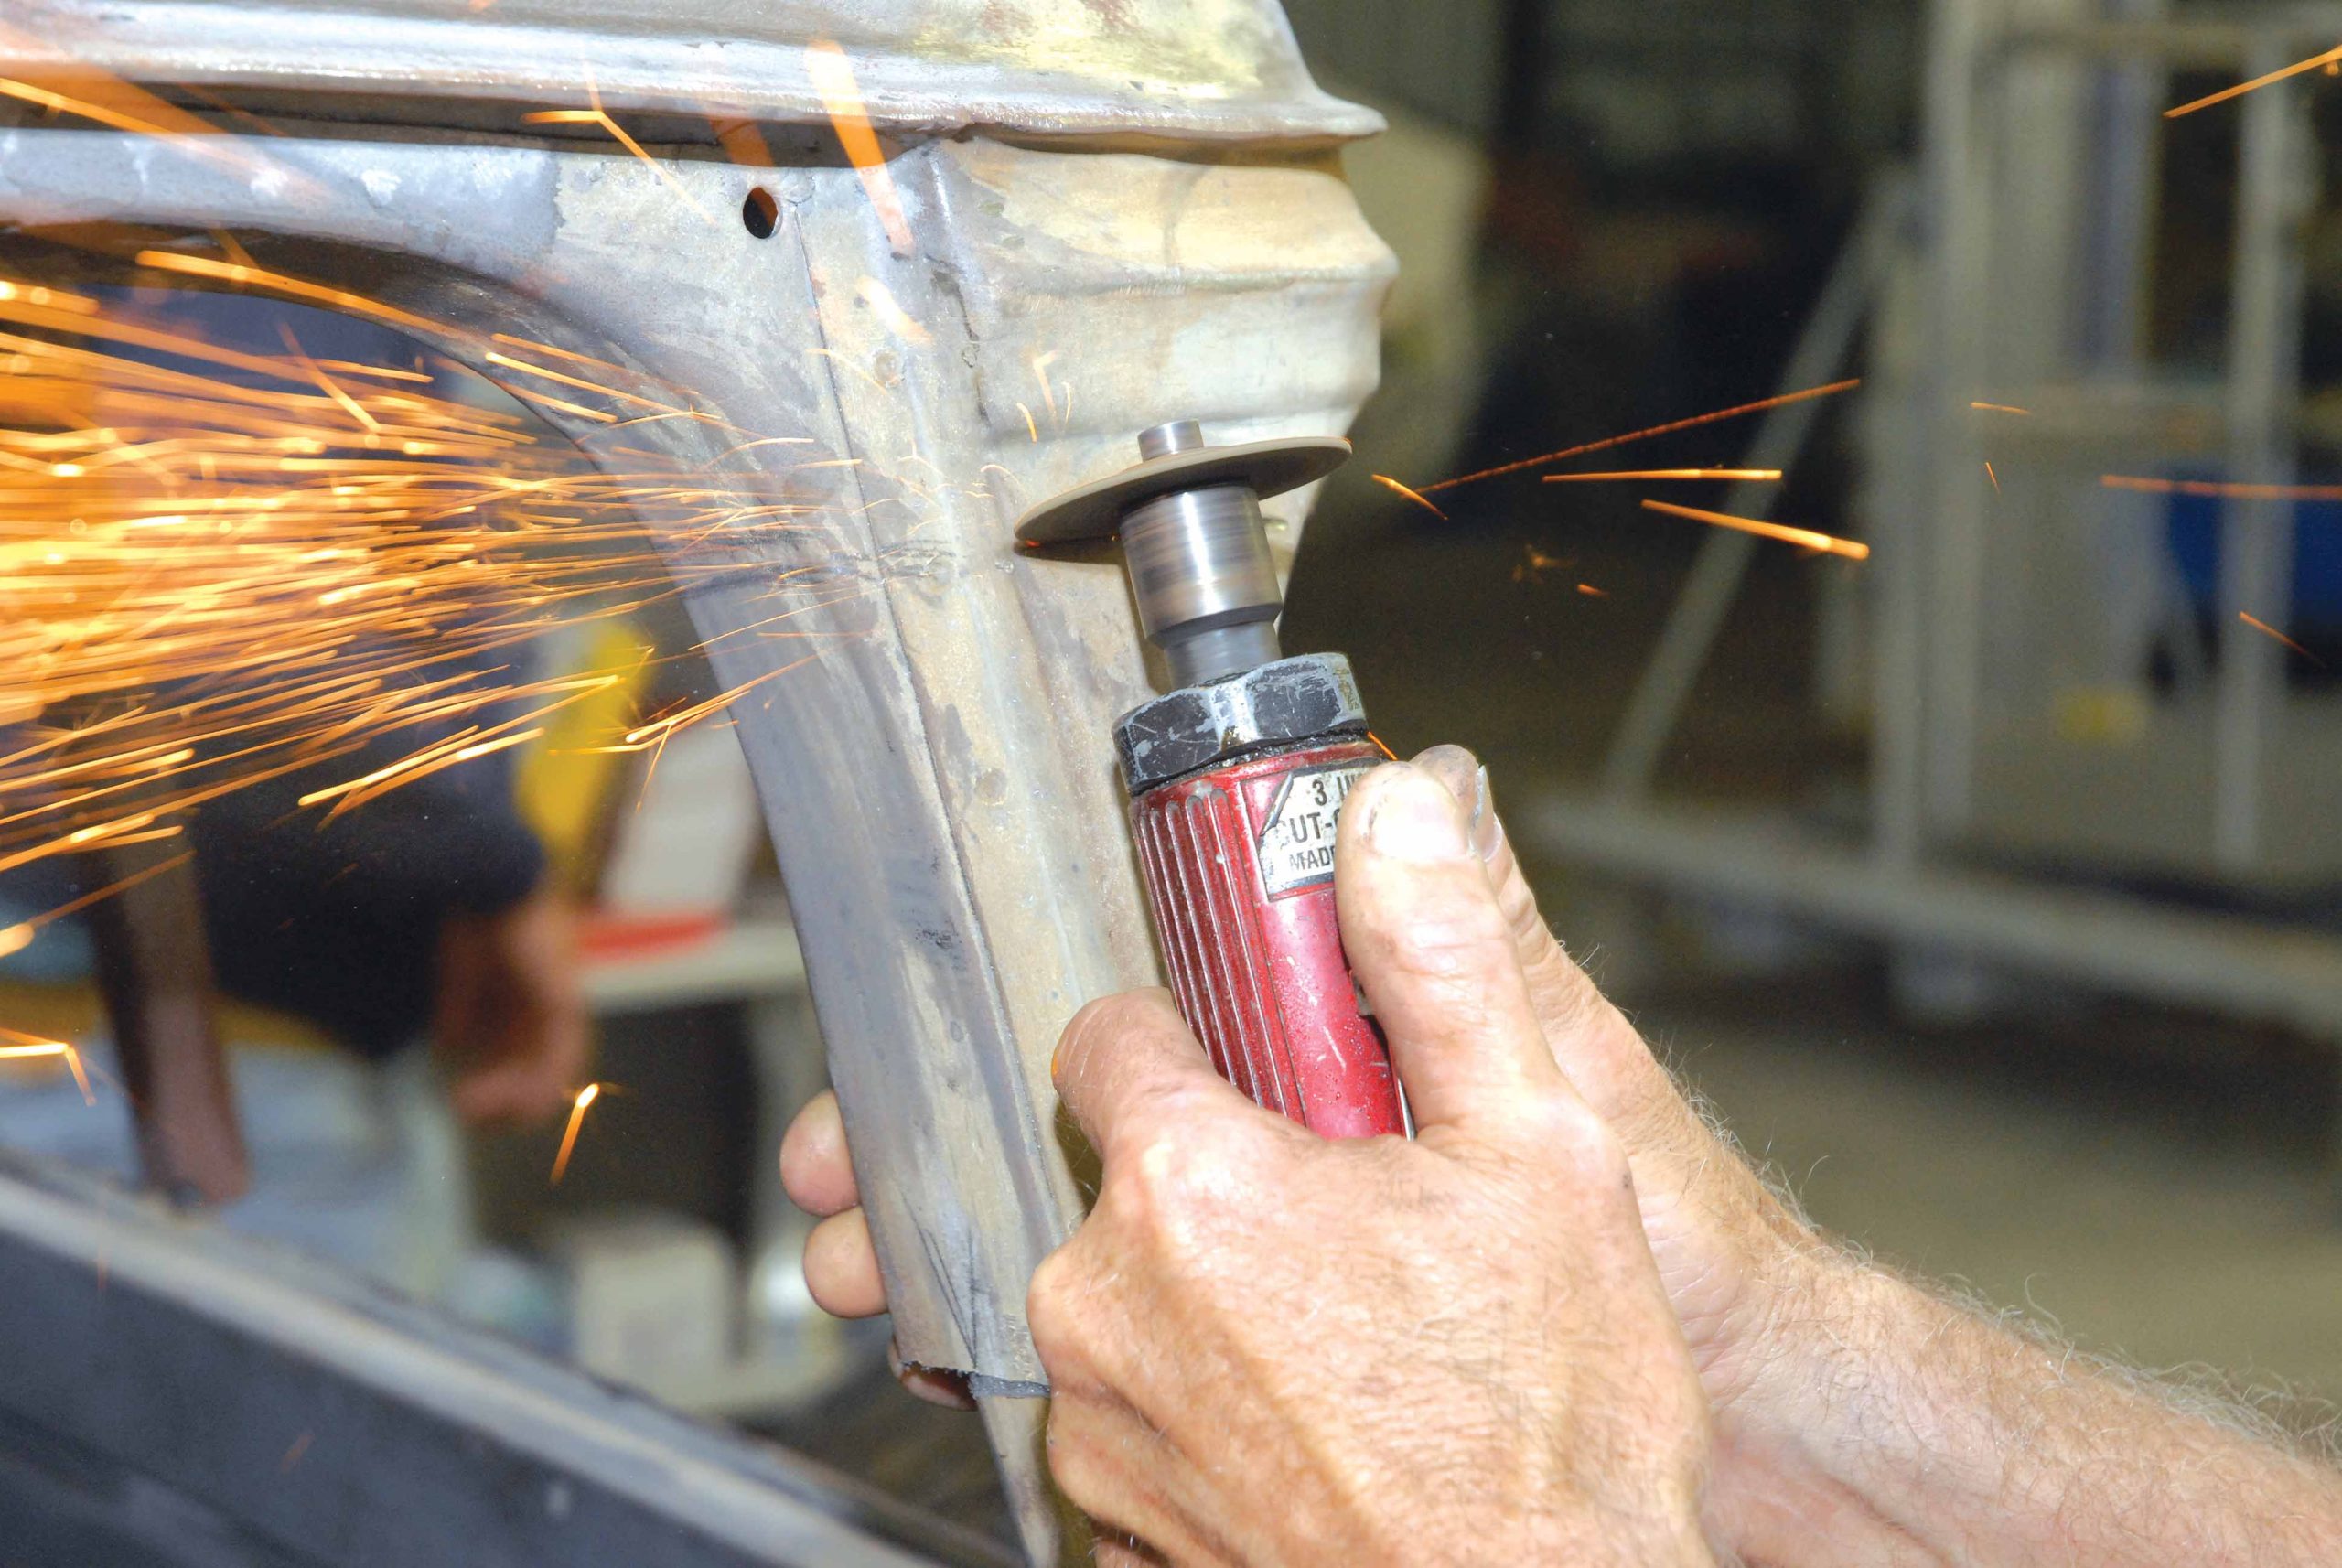
42-43. Cimbanin uses a die grinder to make a series of fine cuts to the bottom sections of both the front and rear of the driver's-side door.
42-43. Cimbanin uses a die grinder to make a series of fine cuts to the bottom sections of both the front and rear of the driver's-side door.
44. After a little body and hammer magic, Cimbanin checks the fit and is satisfied with the placement of the rear post.
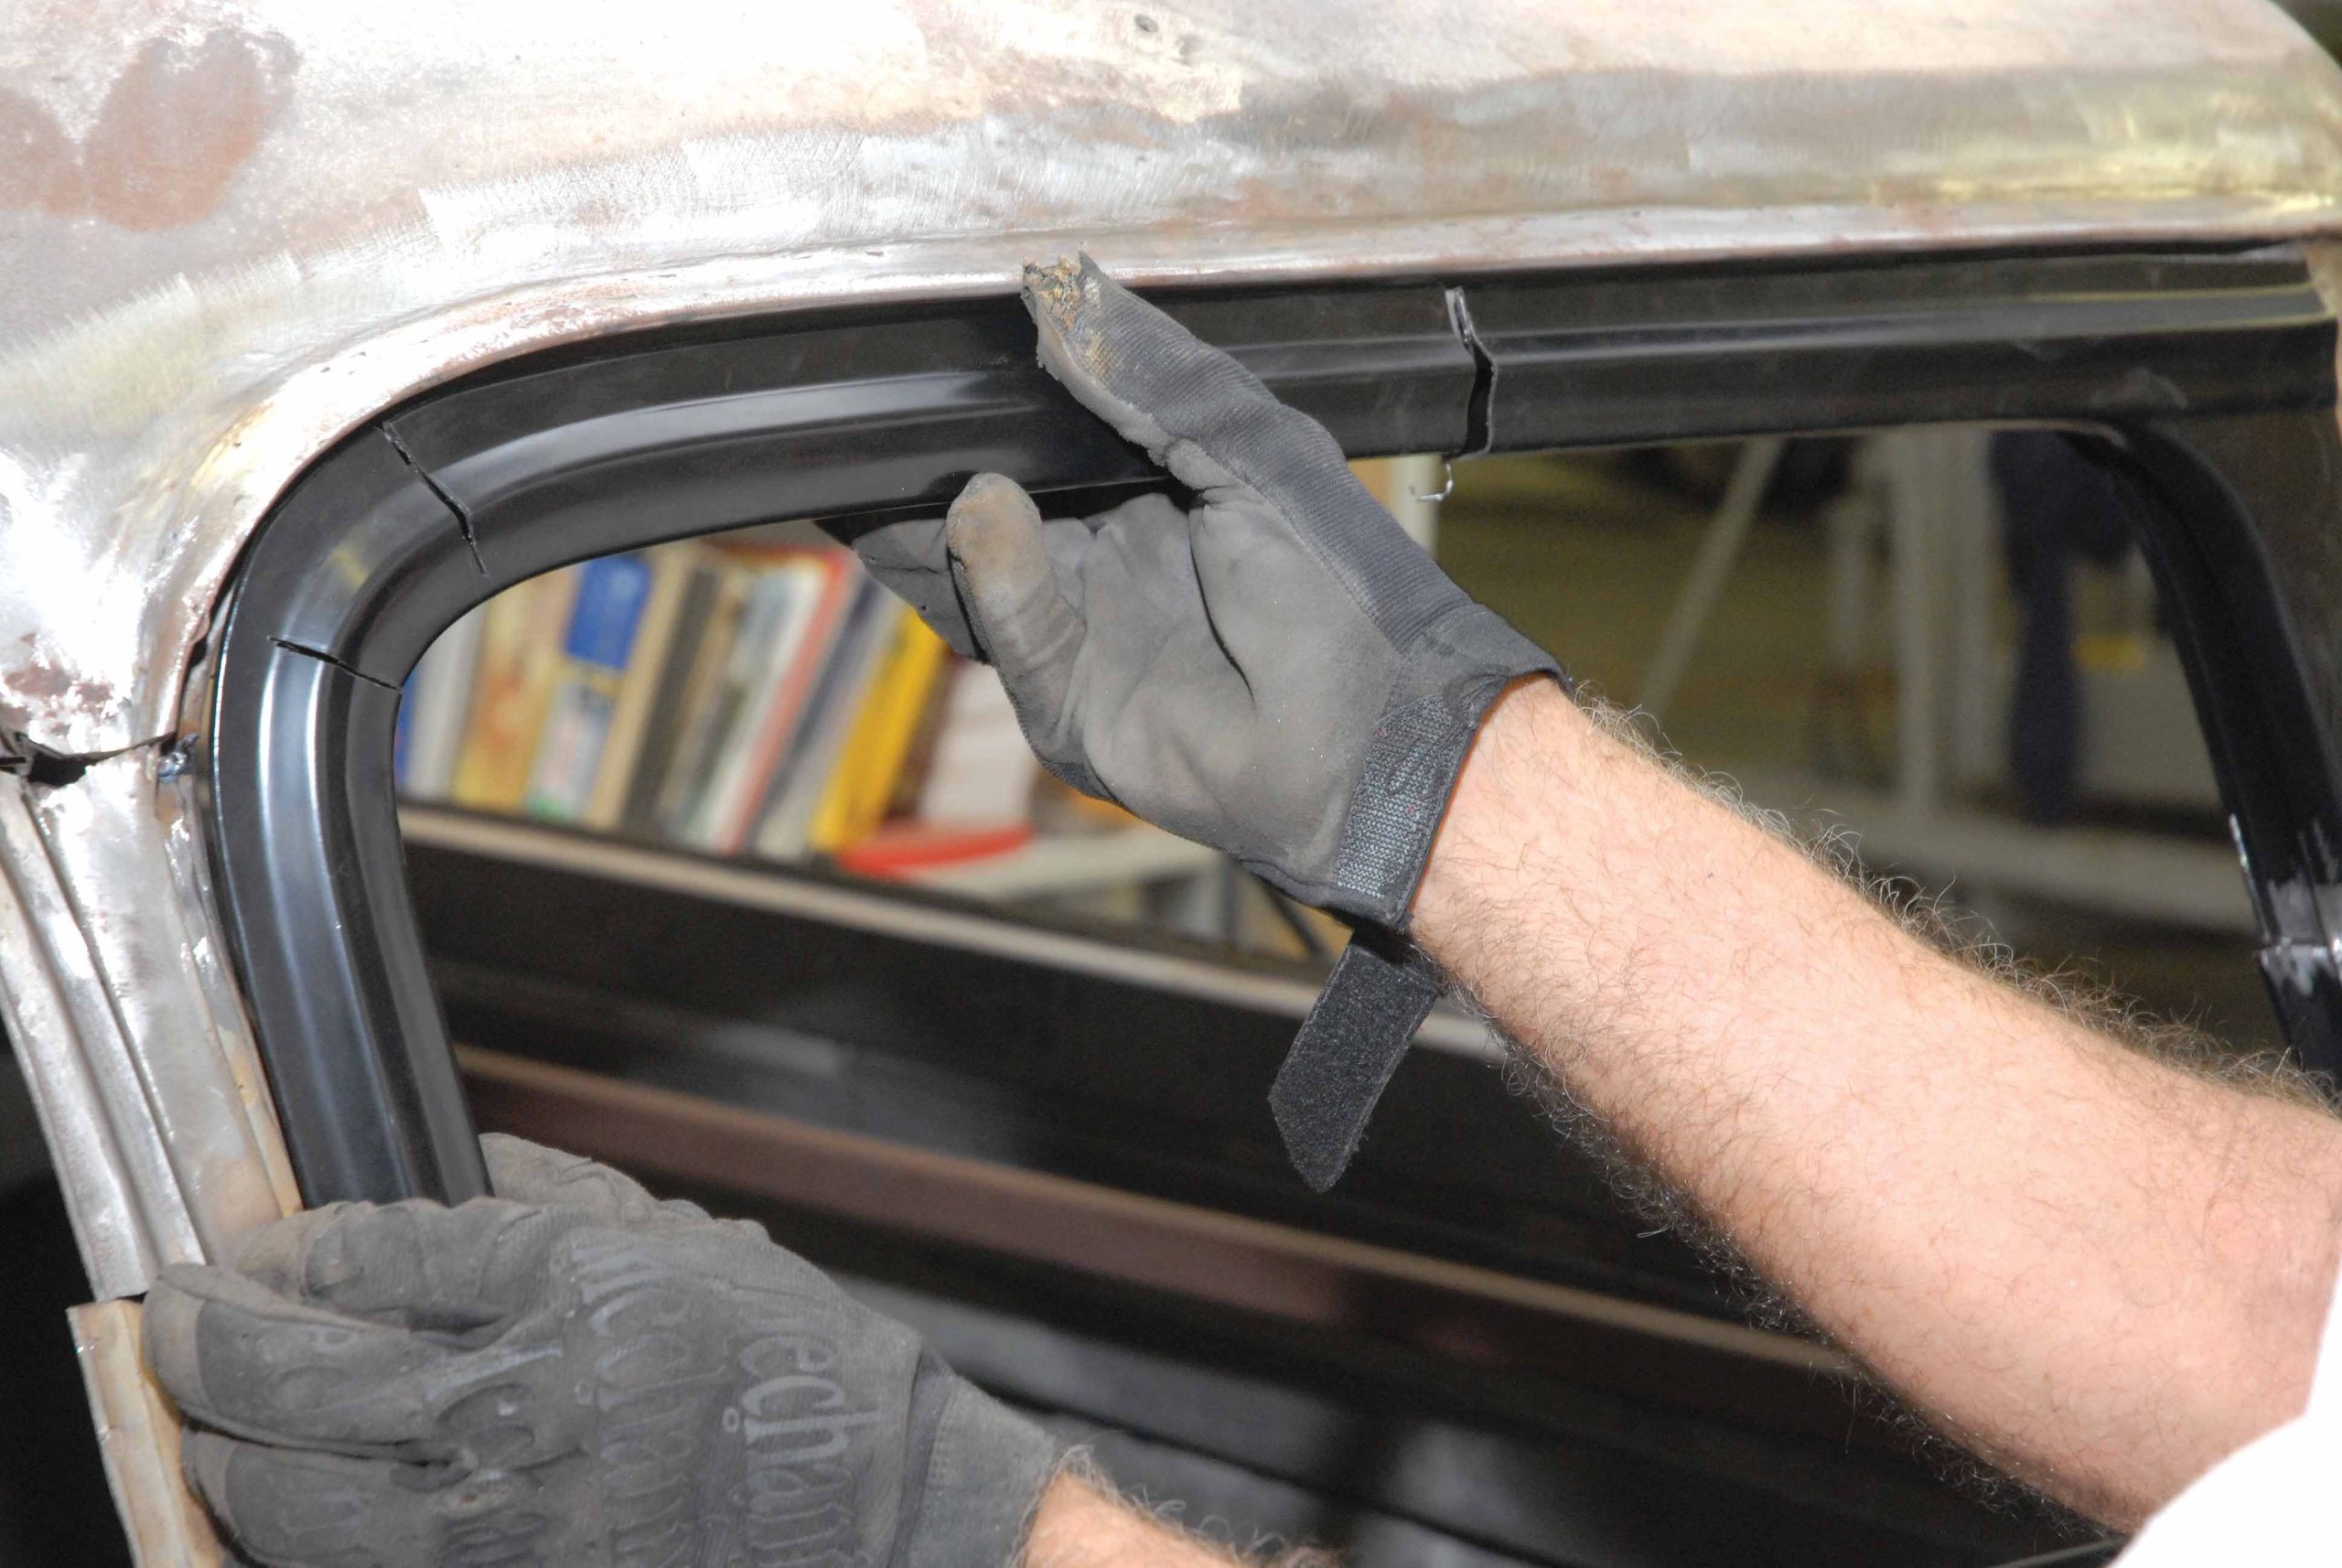
45. However, when he test-fits the new Dynacorn upper door frame, he discovers a bind area at the top of the doorjamb. A little creative grinding takes care of that problem.
46. However, when it comes to the front pillar, things don't go very smoothly.
47. After a quick check with the tape, the top of the Dynacorn door frame pooches out at the top. It's slice-n-dice time!
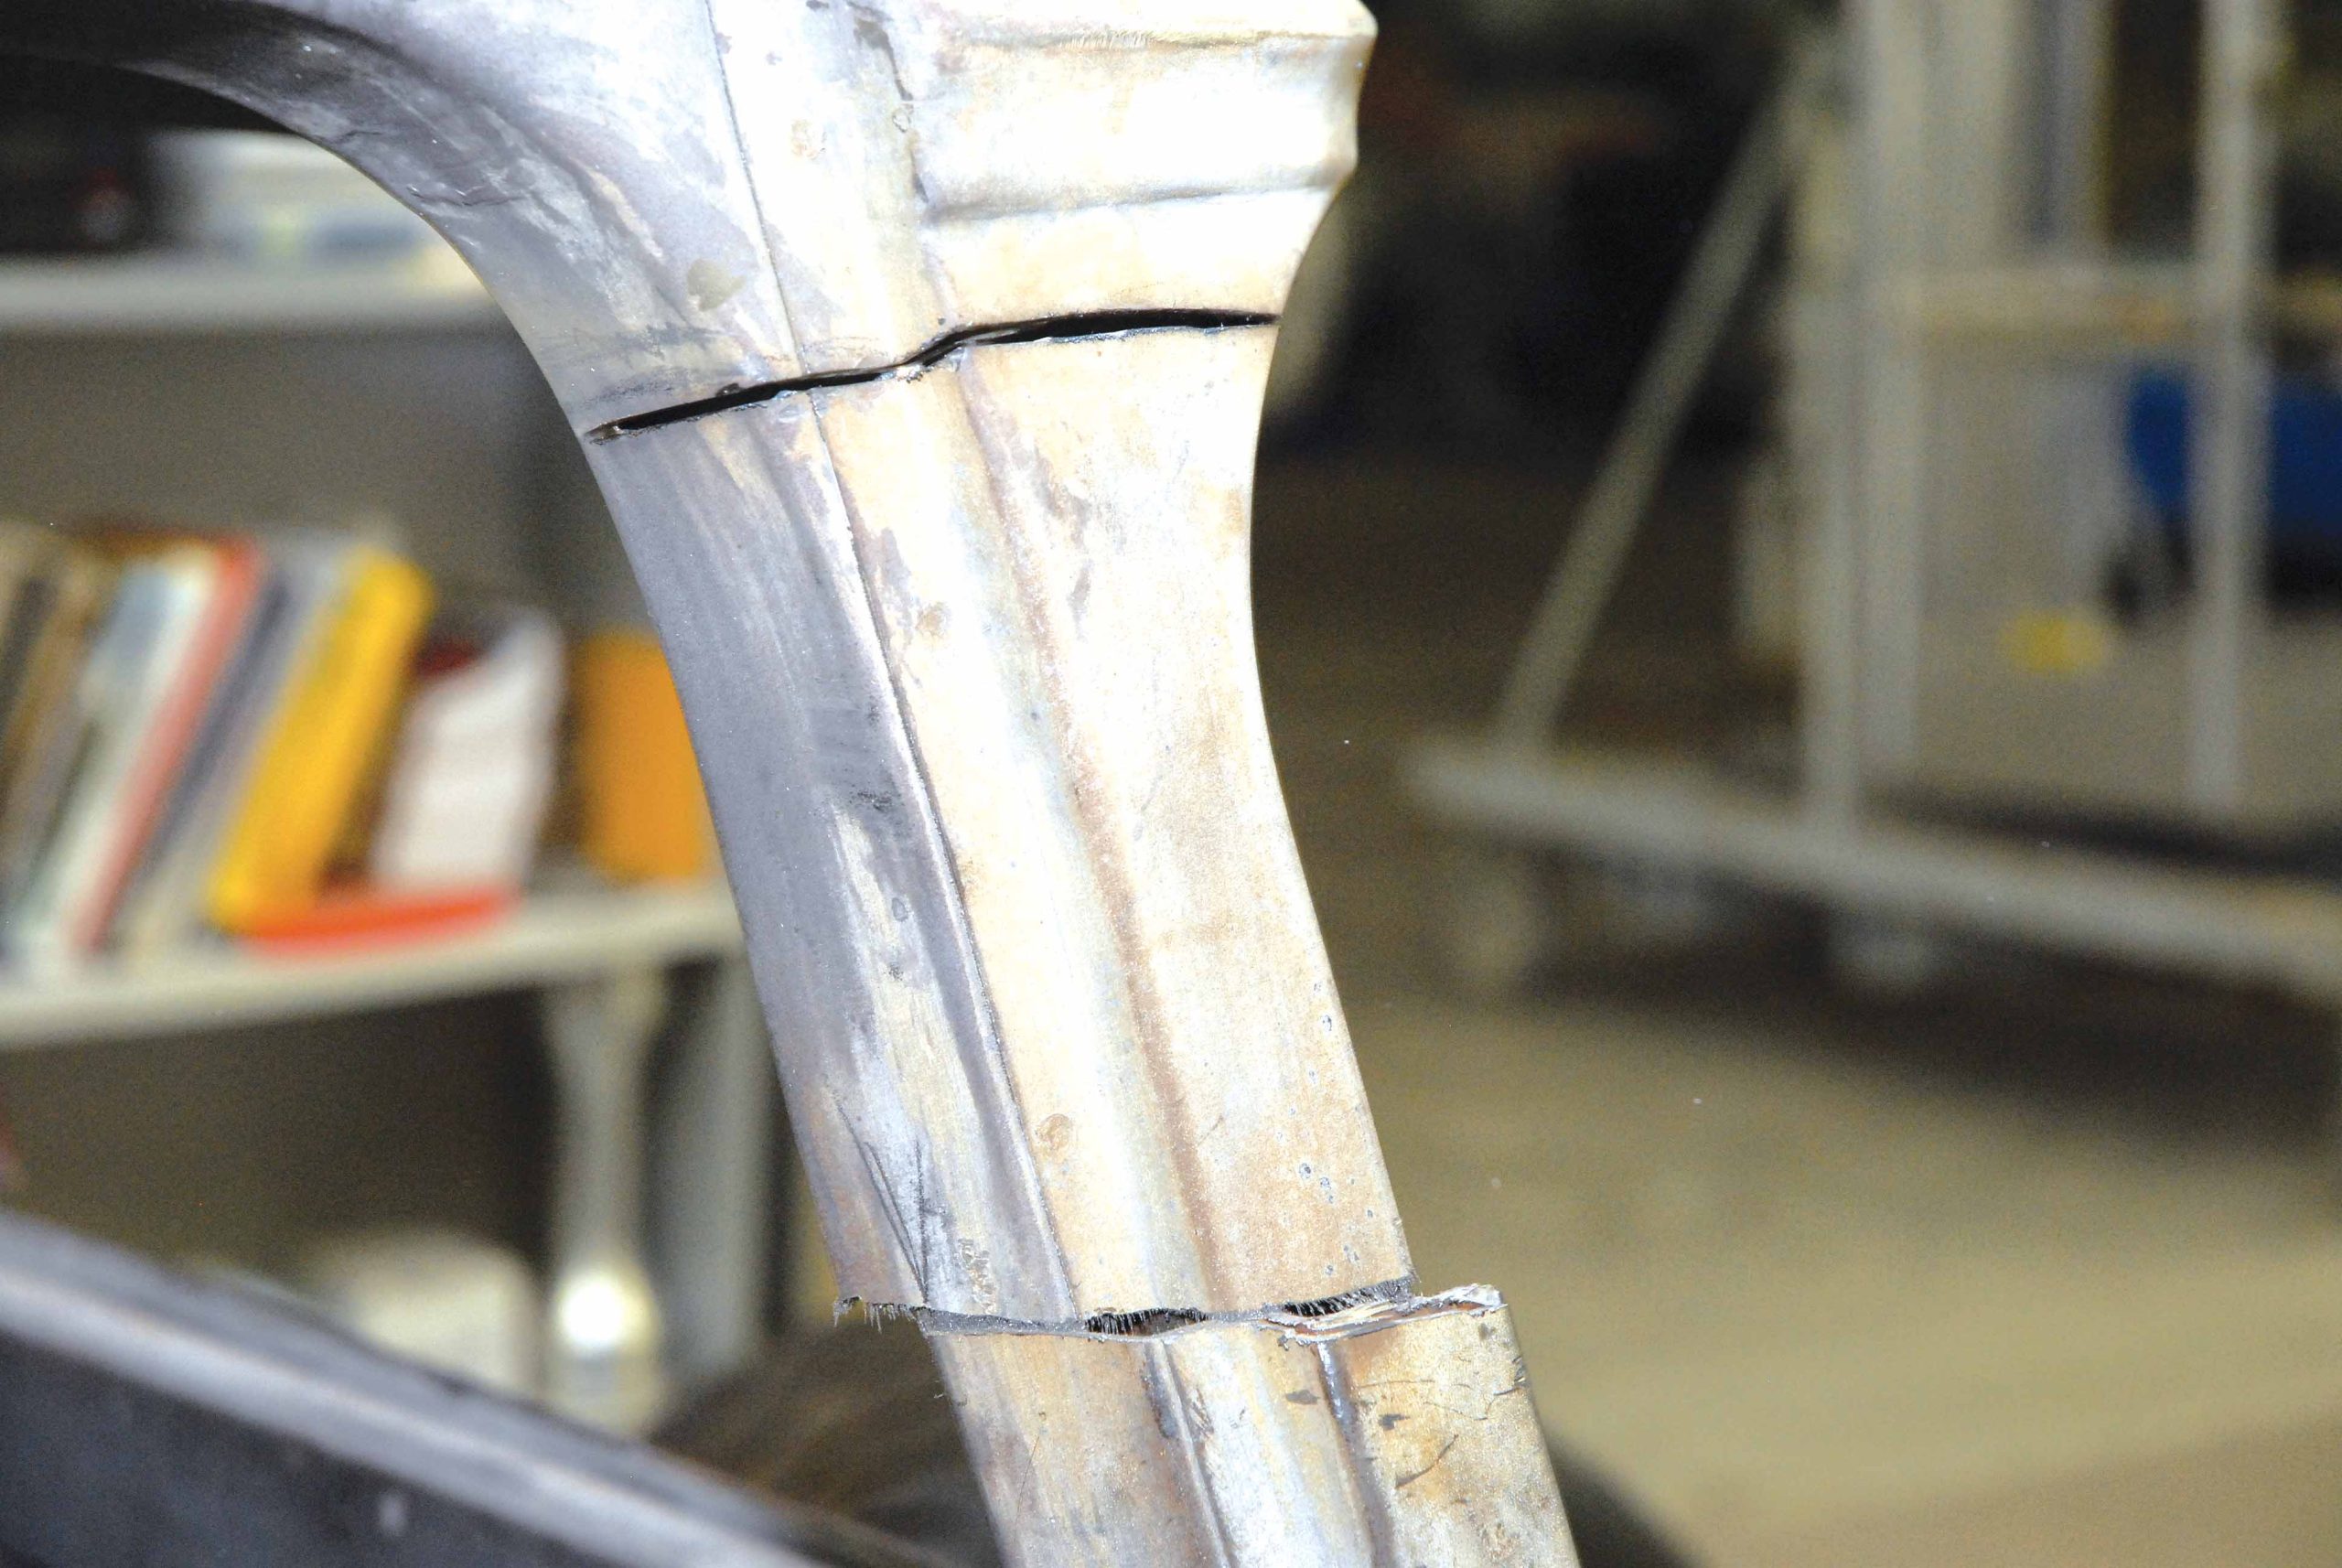
48. The bottom front post on the new Dynacorn reproduction door is sliced across the face of the doorpost and angled in a few more degrees.
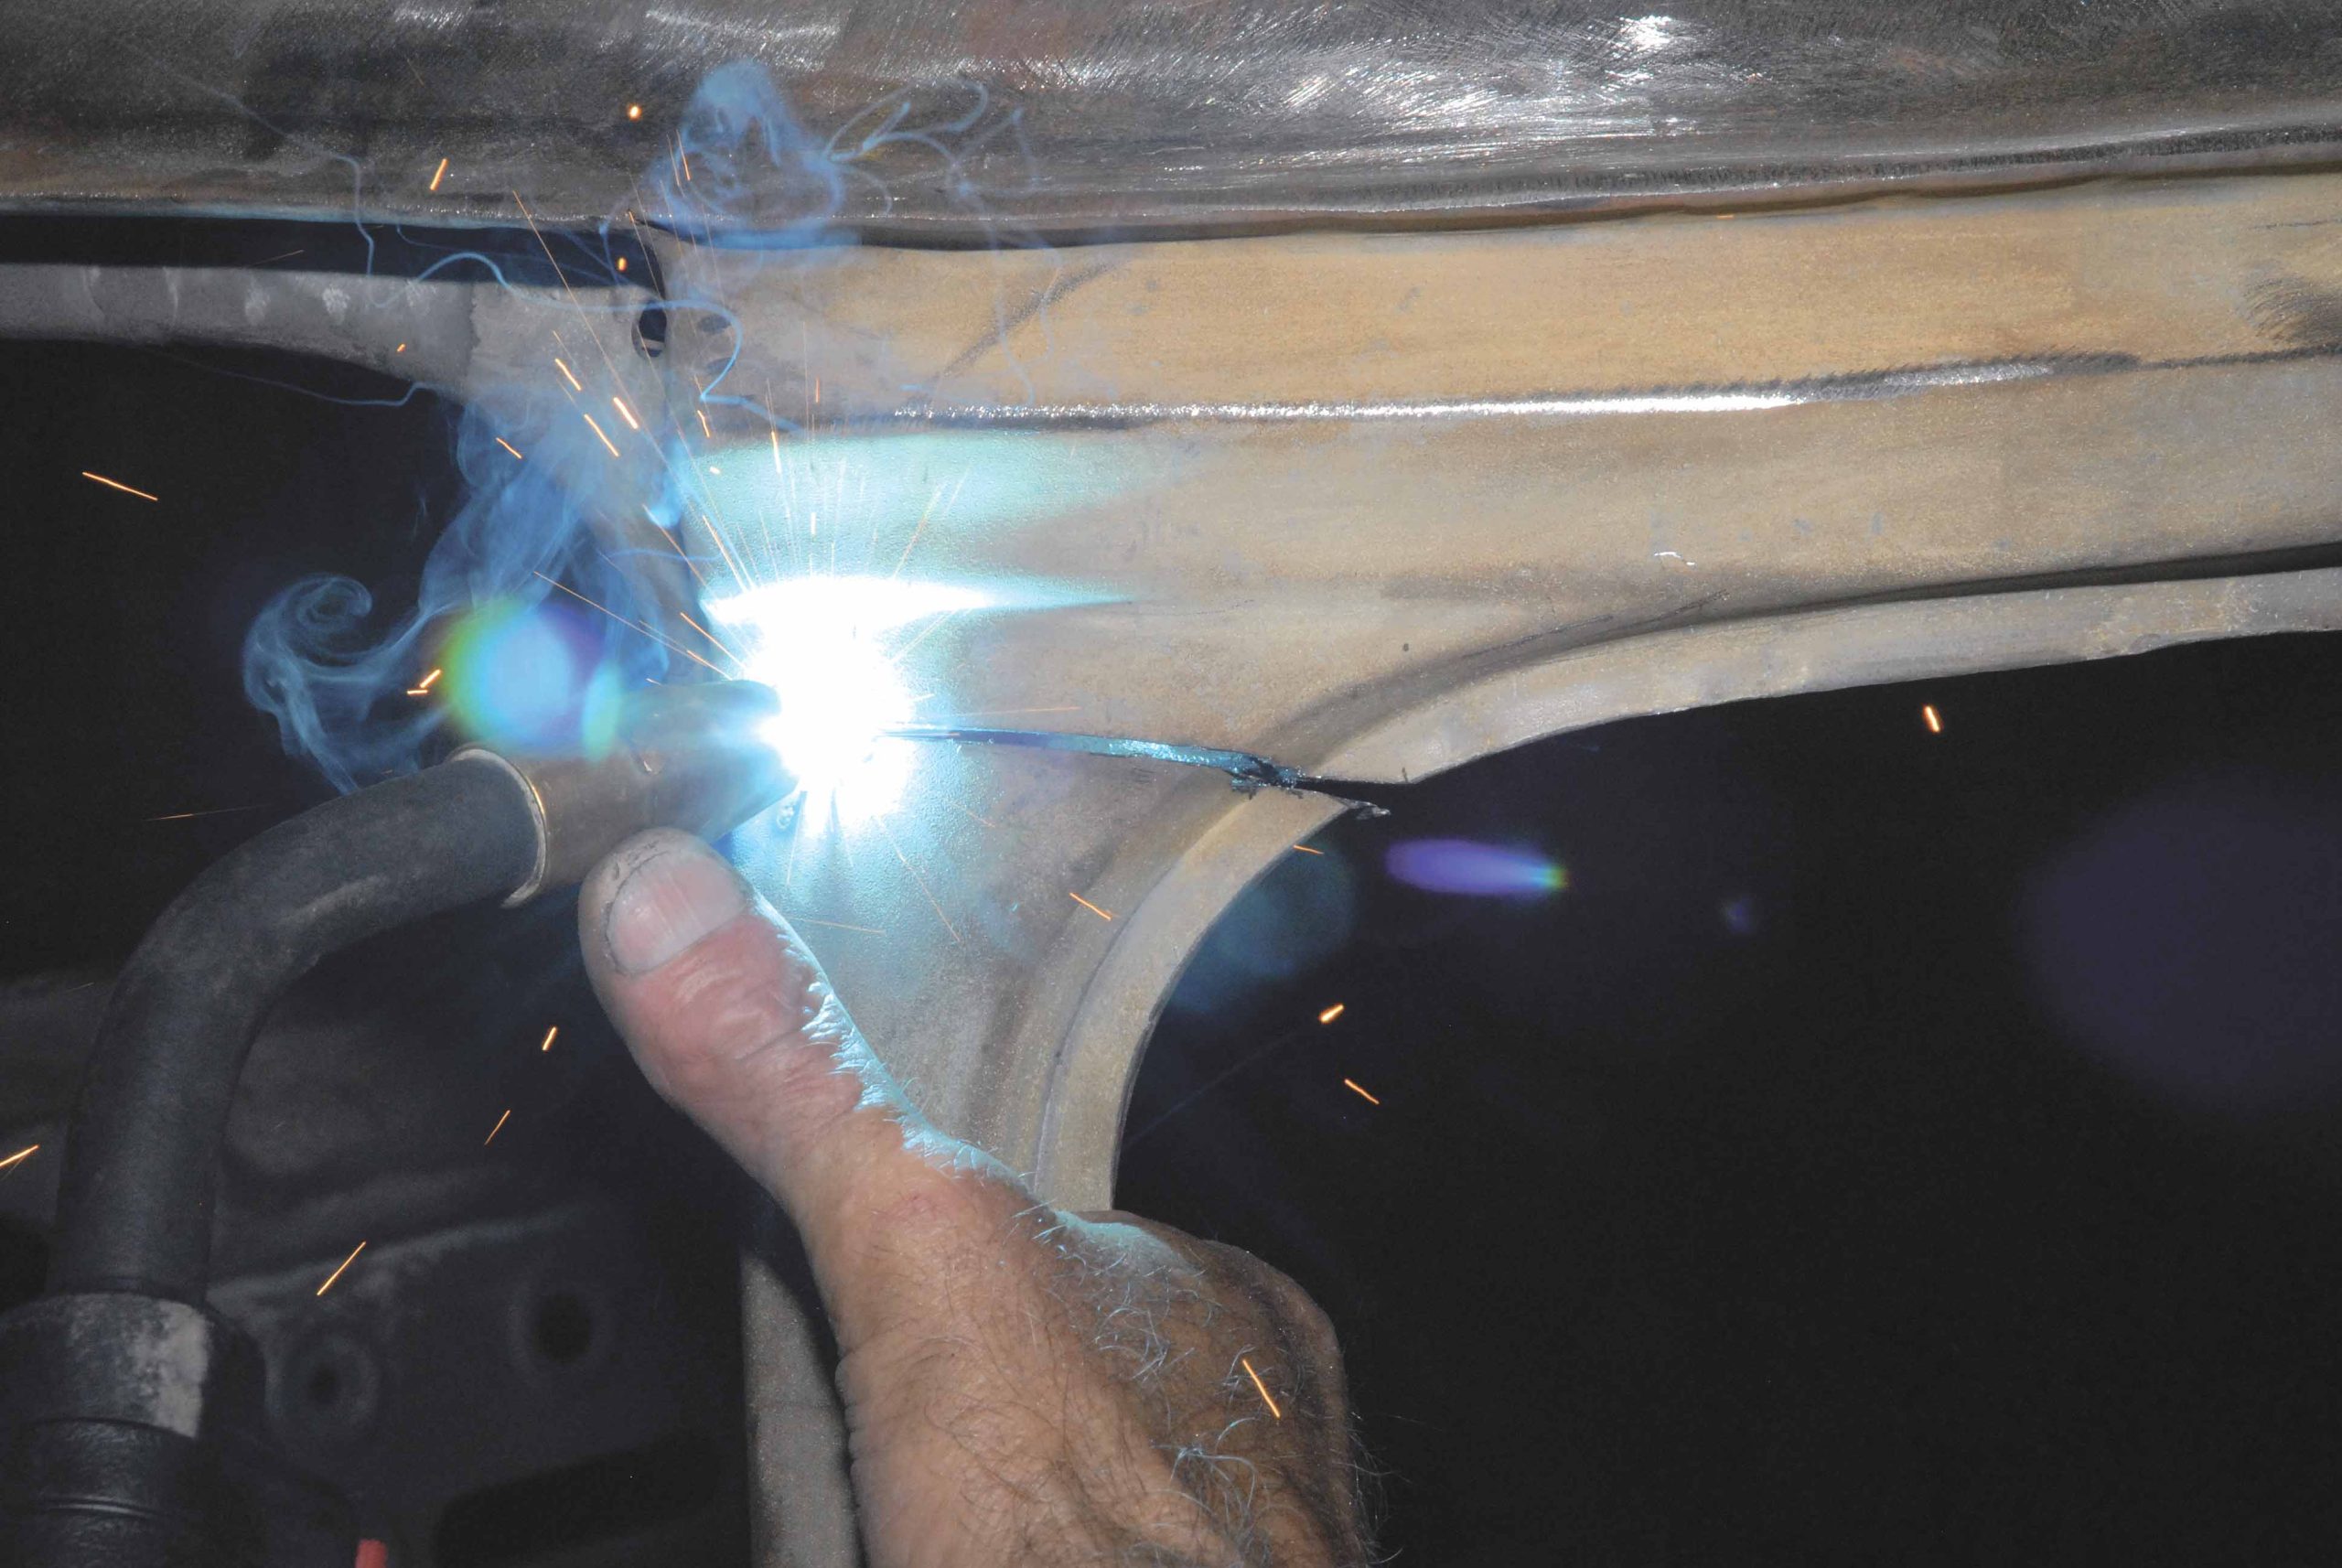
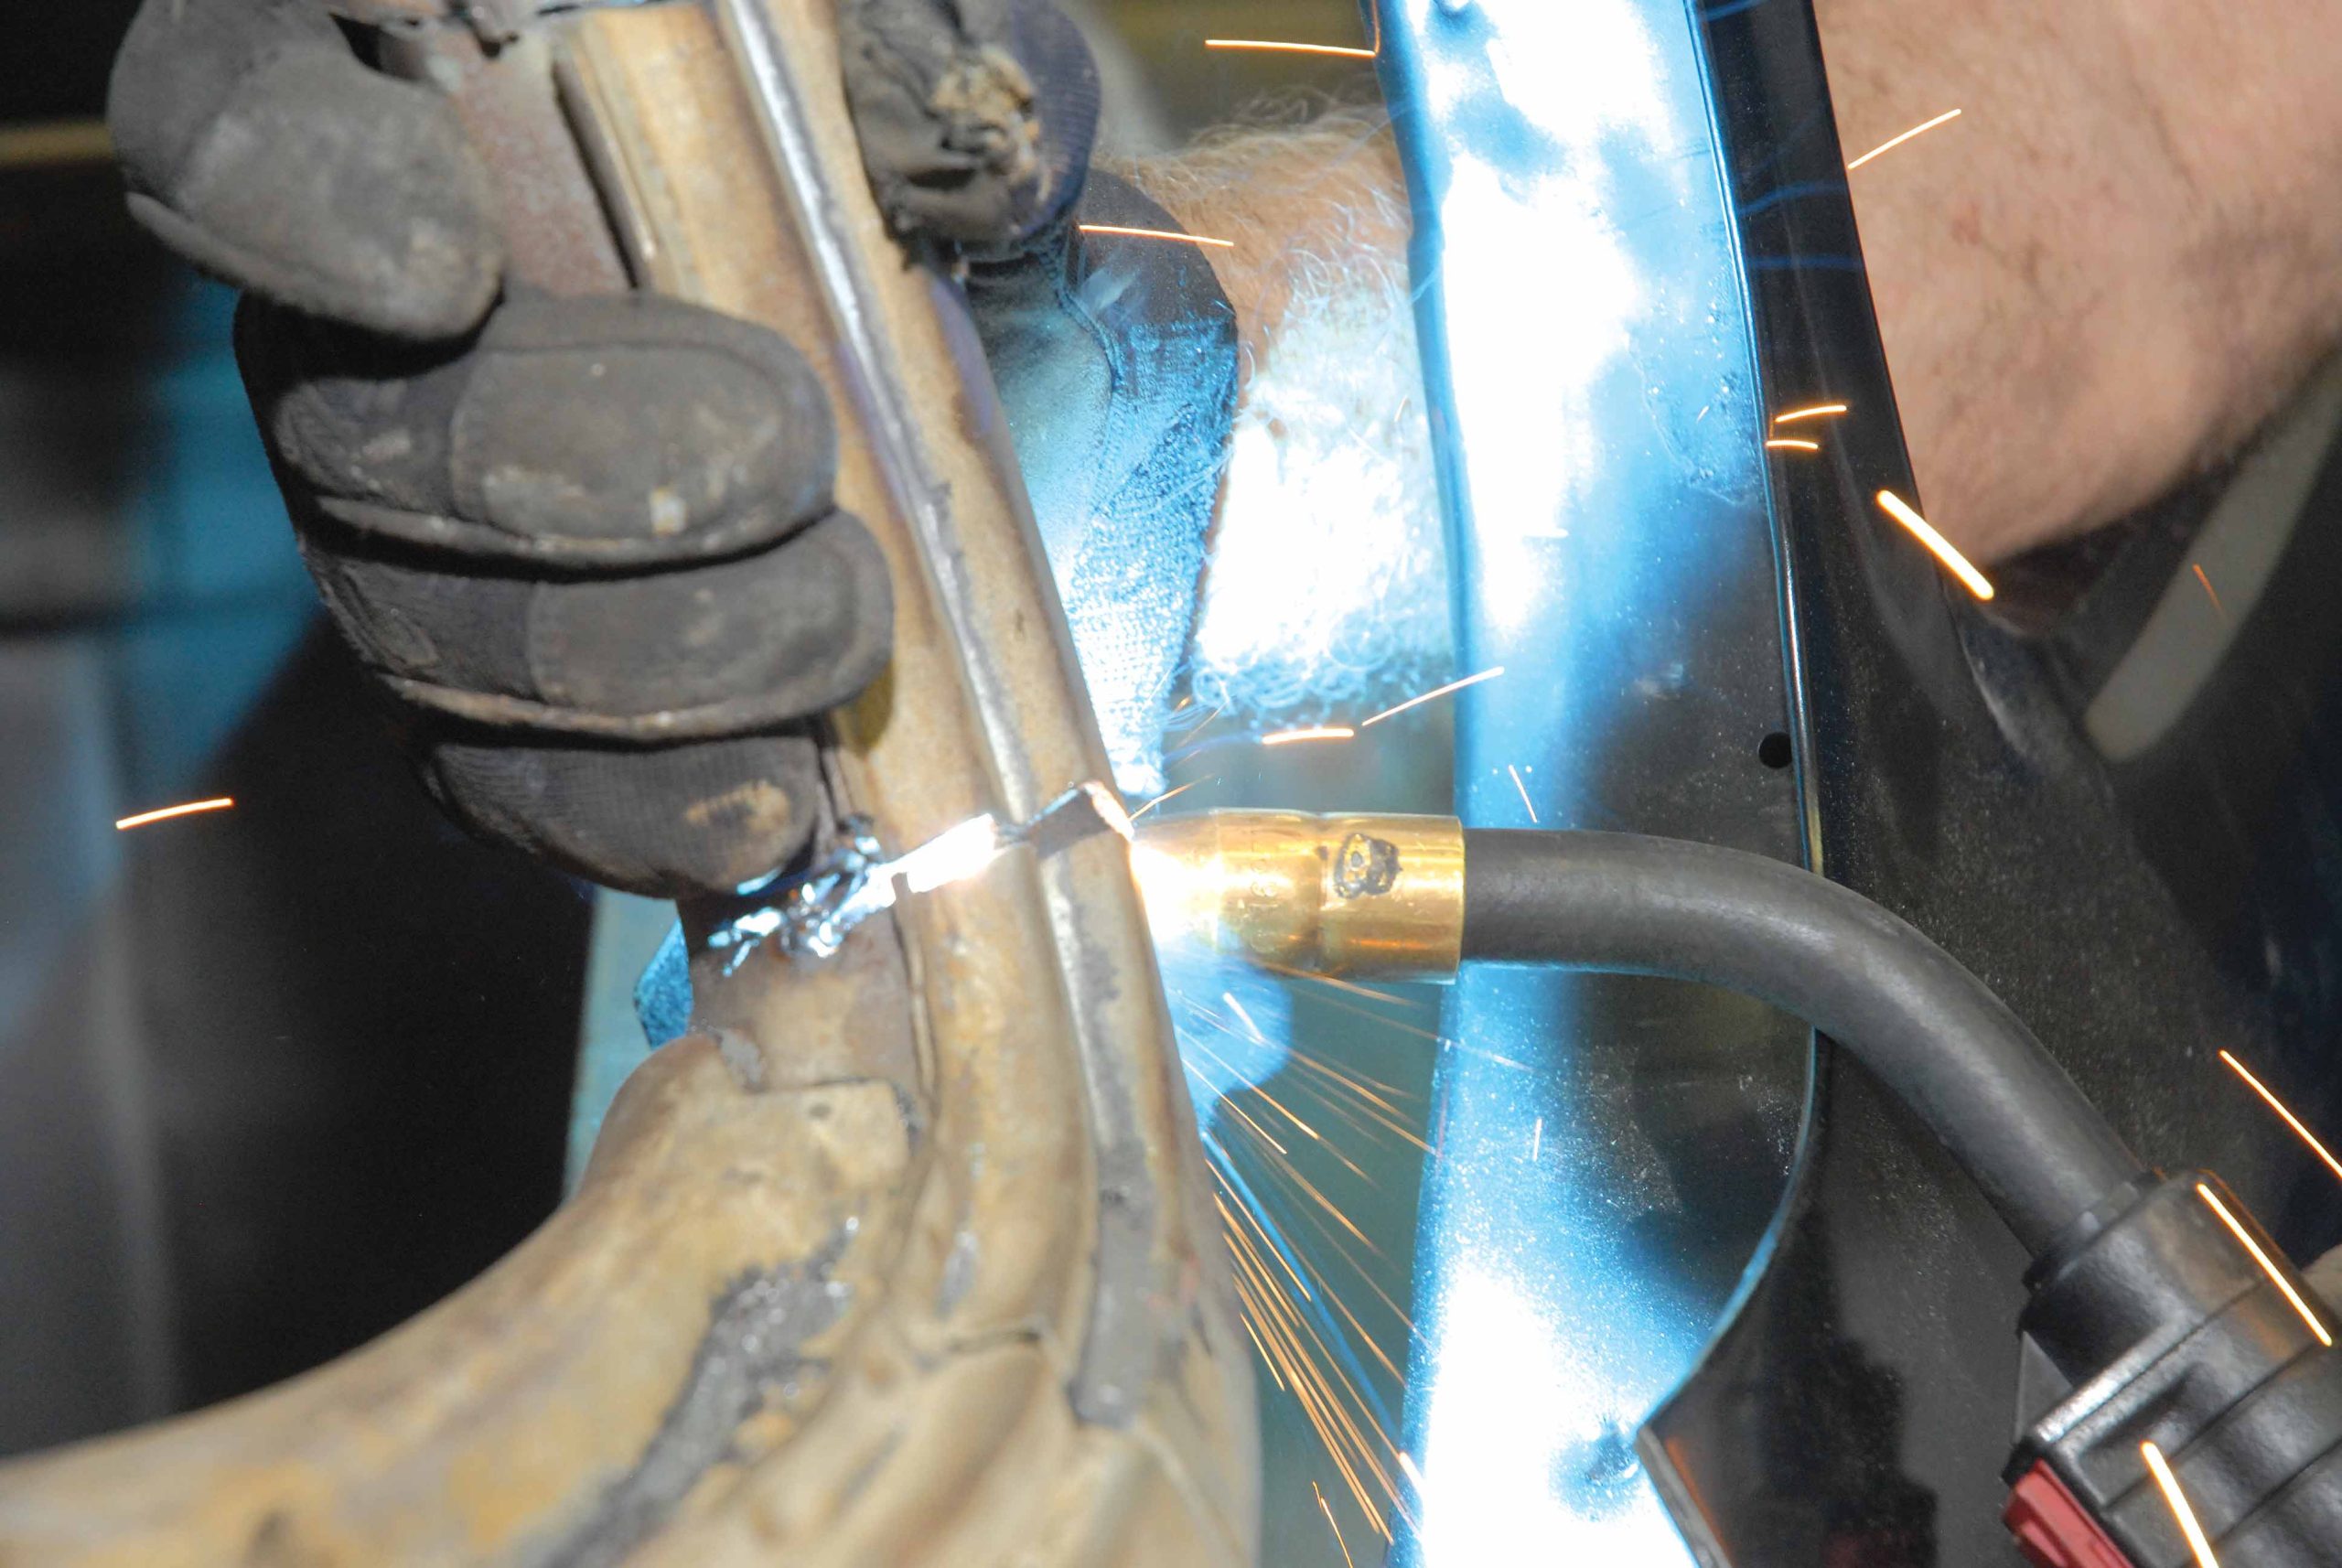
49. This appears to have worked, so Cimbanin MIG-welds it back together.
50. This is followed with the MIG-welding of the lower rear doorpost.
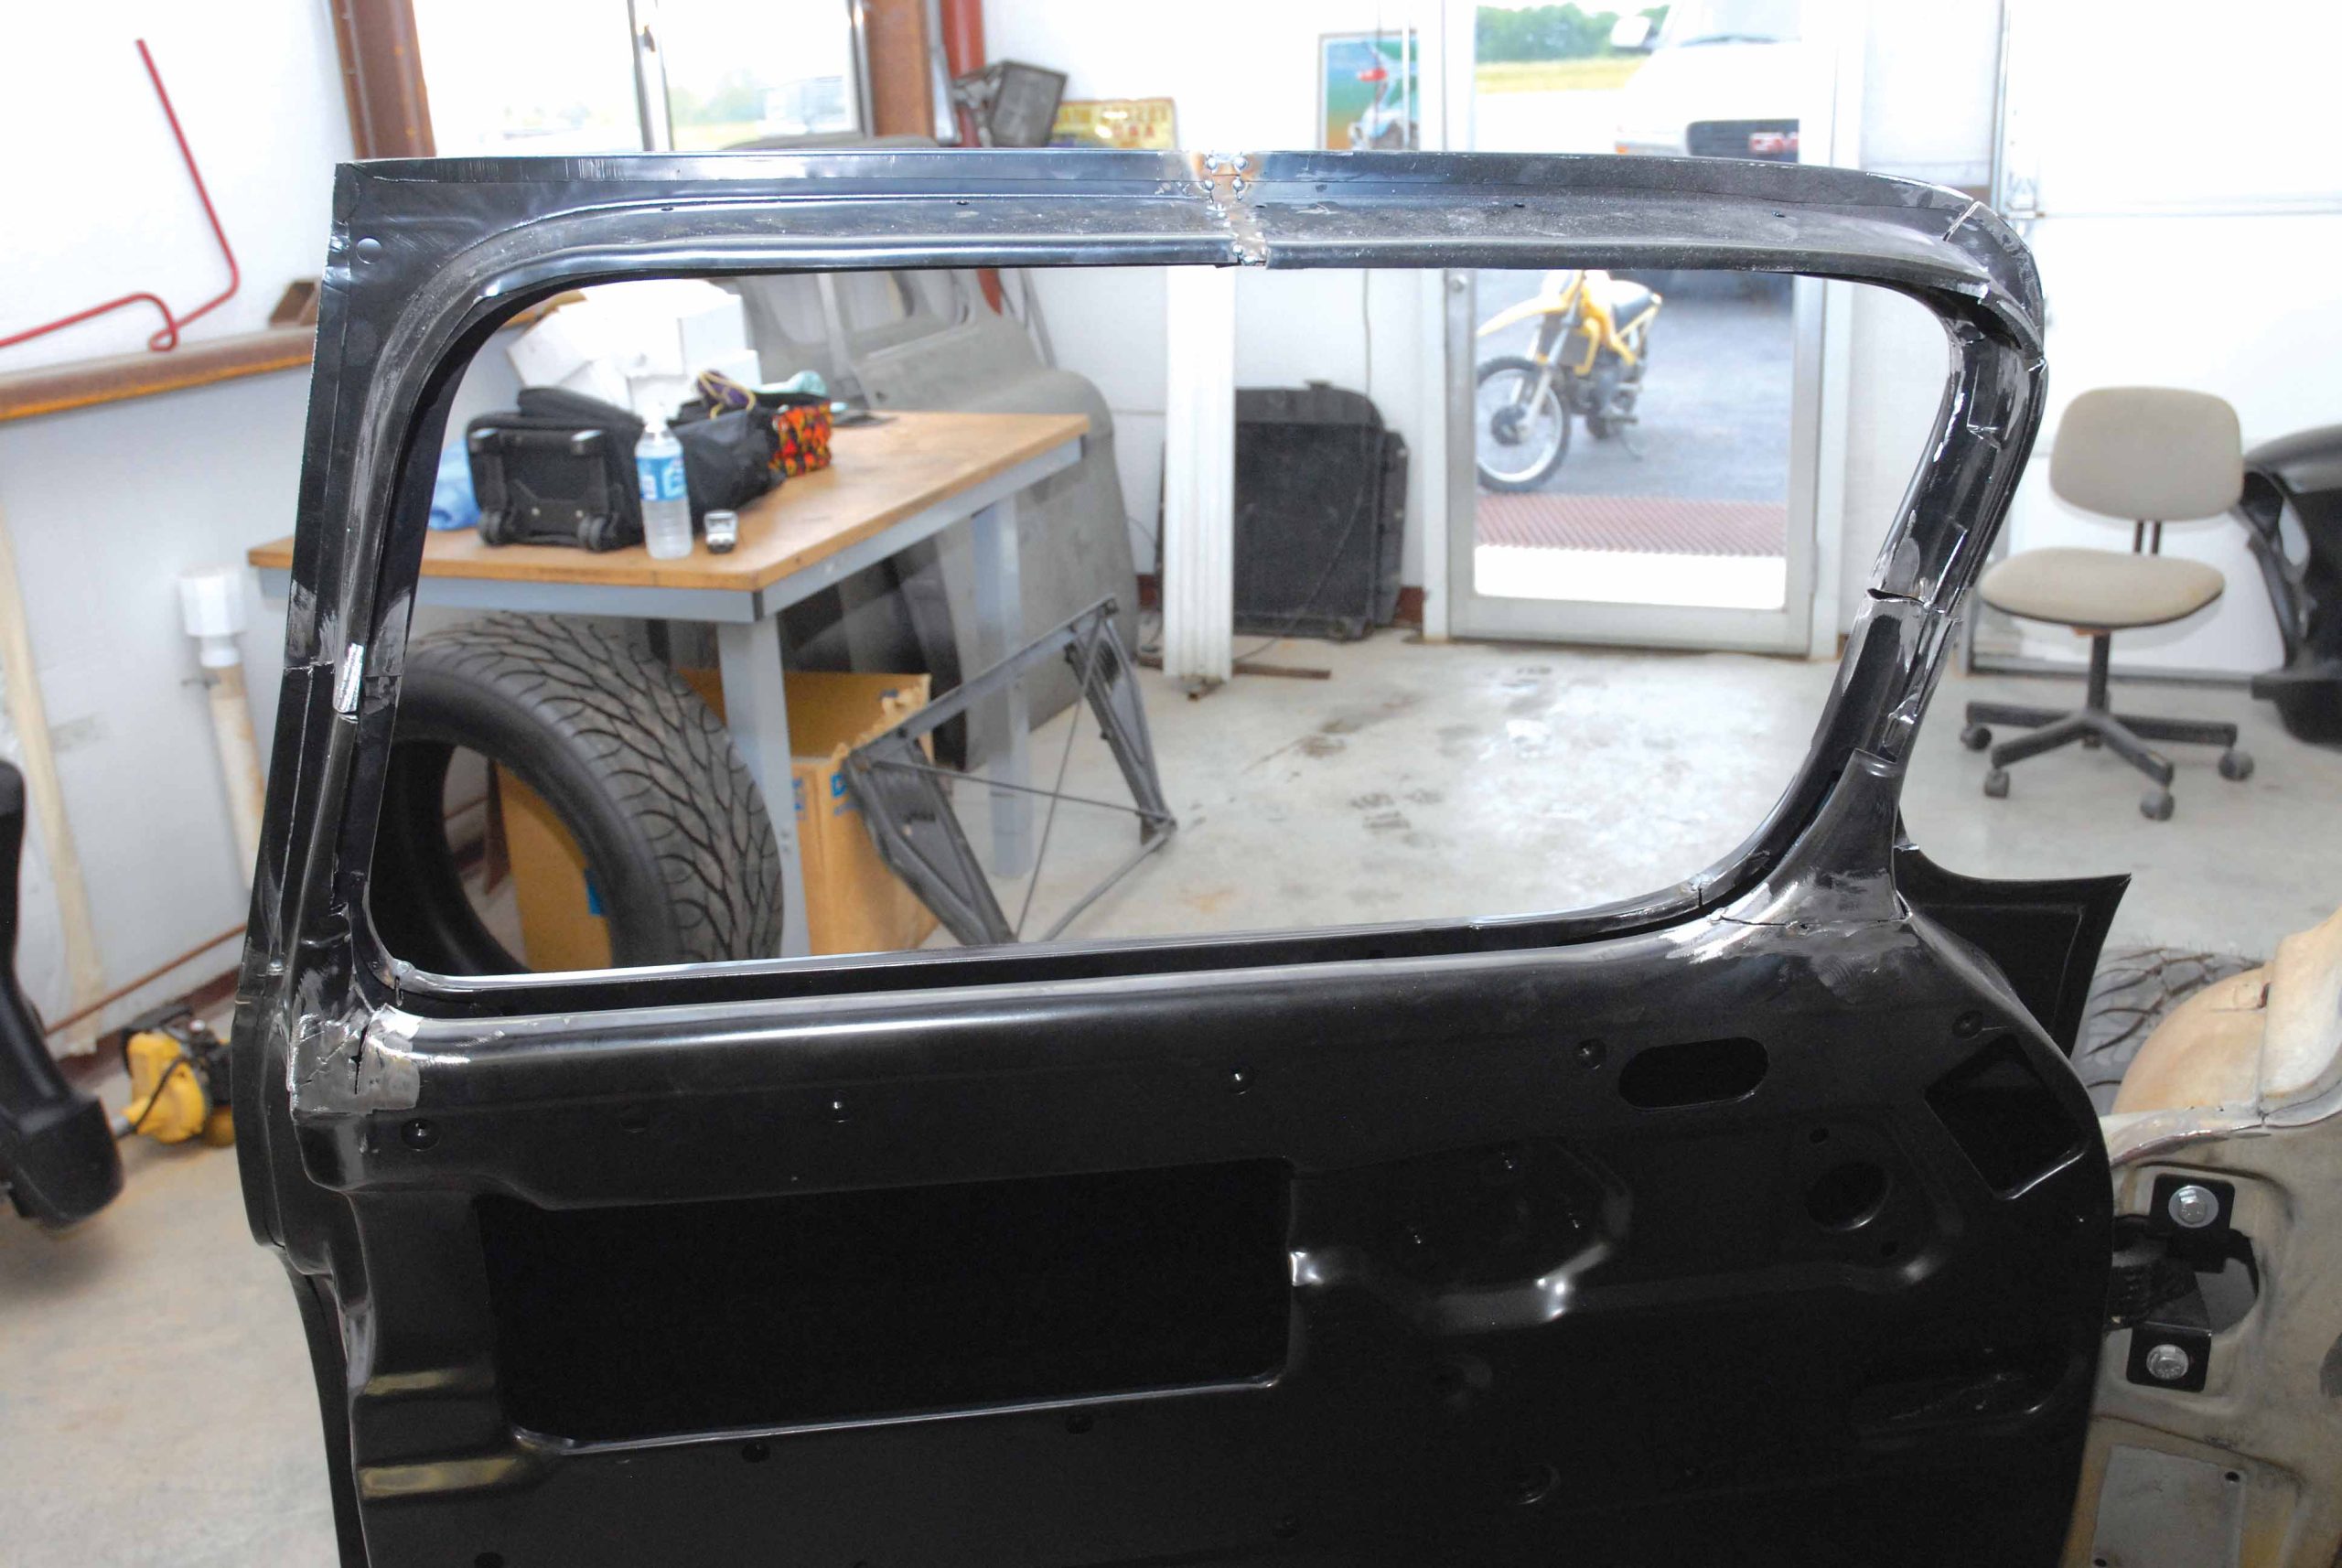
51. However, in order to make the upper door frame fit properly, it had to be cut in half, and recontoured, leaving a gap between the two sections.
52. After fitting the rear section of the door frame in place, Cimbanin gives it a small tack to keeping things in place.
53. Cimbanin also test-fits and tacks the front section of the new Dynacorn door frame in place.
54-55. However, it is discovered that there is a 3/8-inch gap. Cimbanin pirated a 3/8-inch piece out of the old OE '56 Chevrolet door frame and tack-welded this multilayered piece in place. That's why they call it custom!
54-55. However, it is discovered that there is a 3/8-inch gap. Cimbanin pirated a 3/8-inch piece out of the old OE '56 Chevrolet door frame and tack-welded this multilayered piece in place. That's why they call it custom!
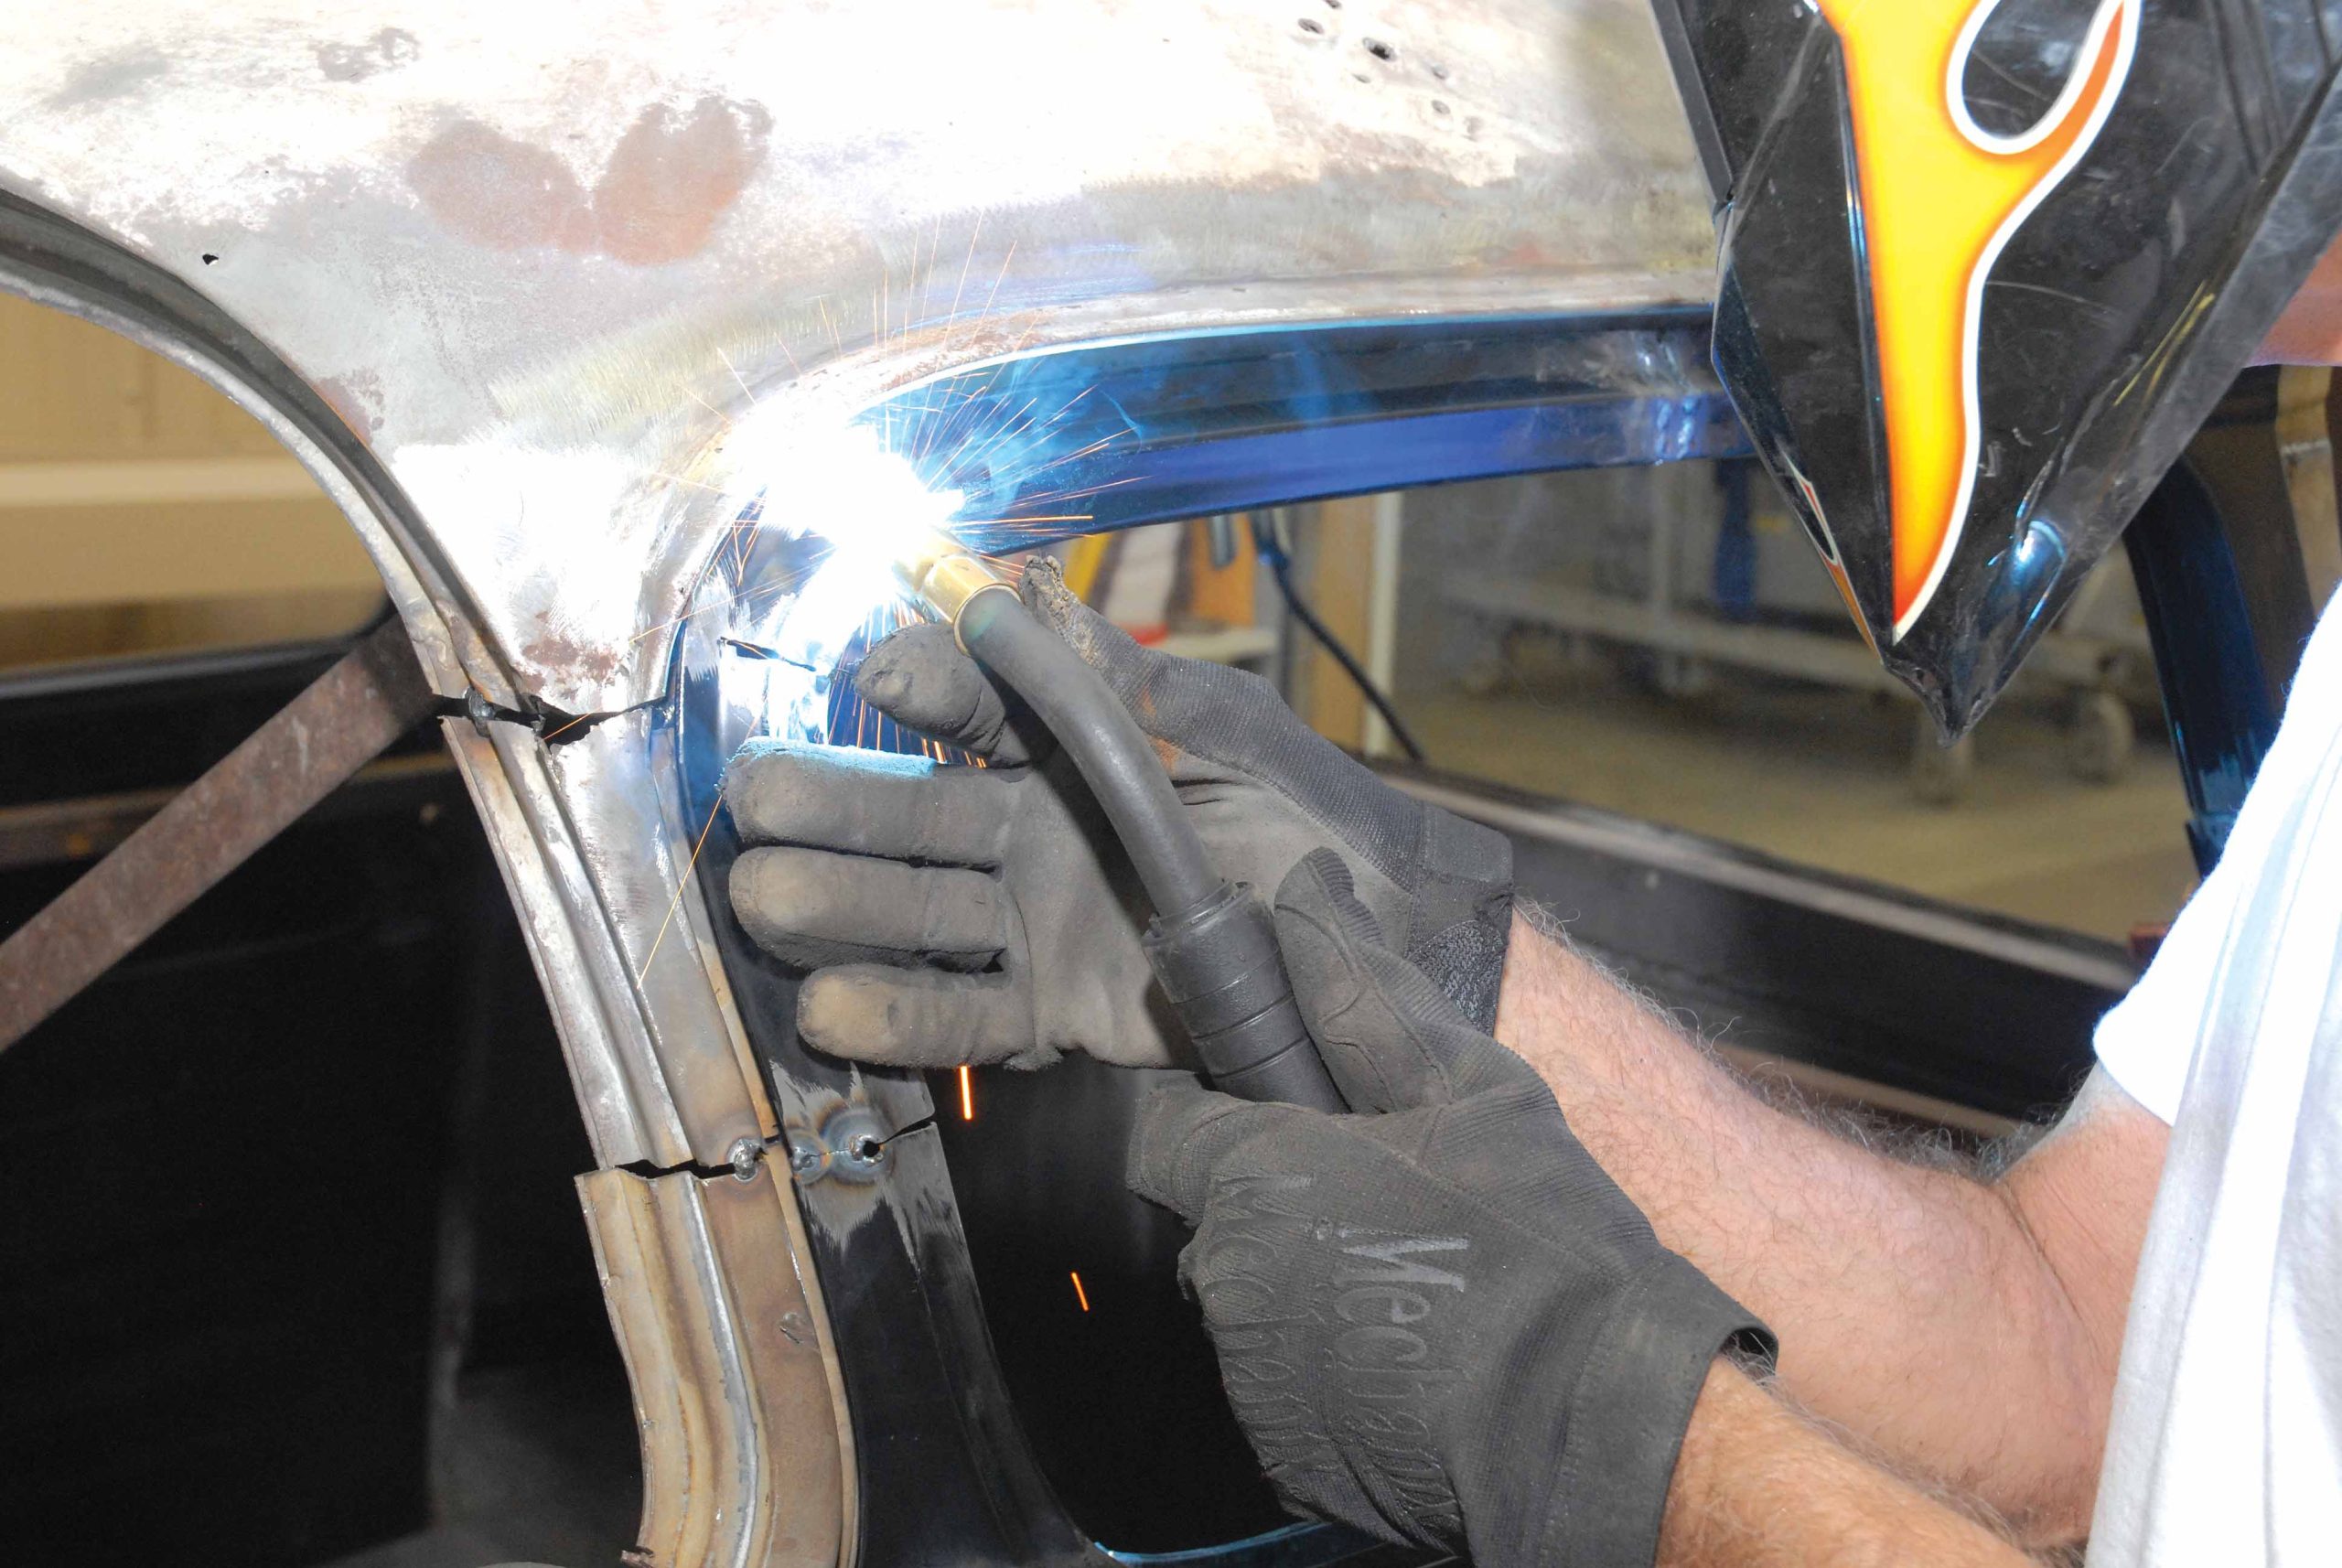
56. Next, Cimbanin uses his trusty MIG welder to patch the driver's-side door frame together.
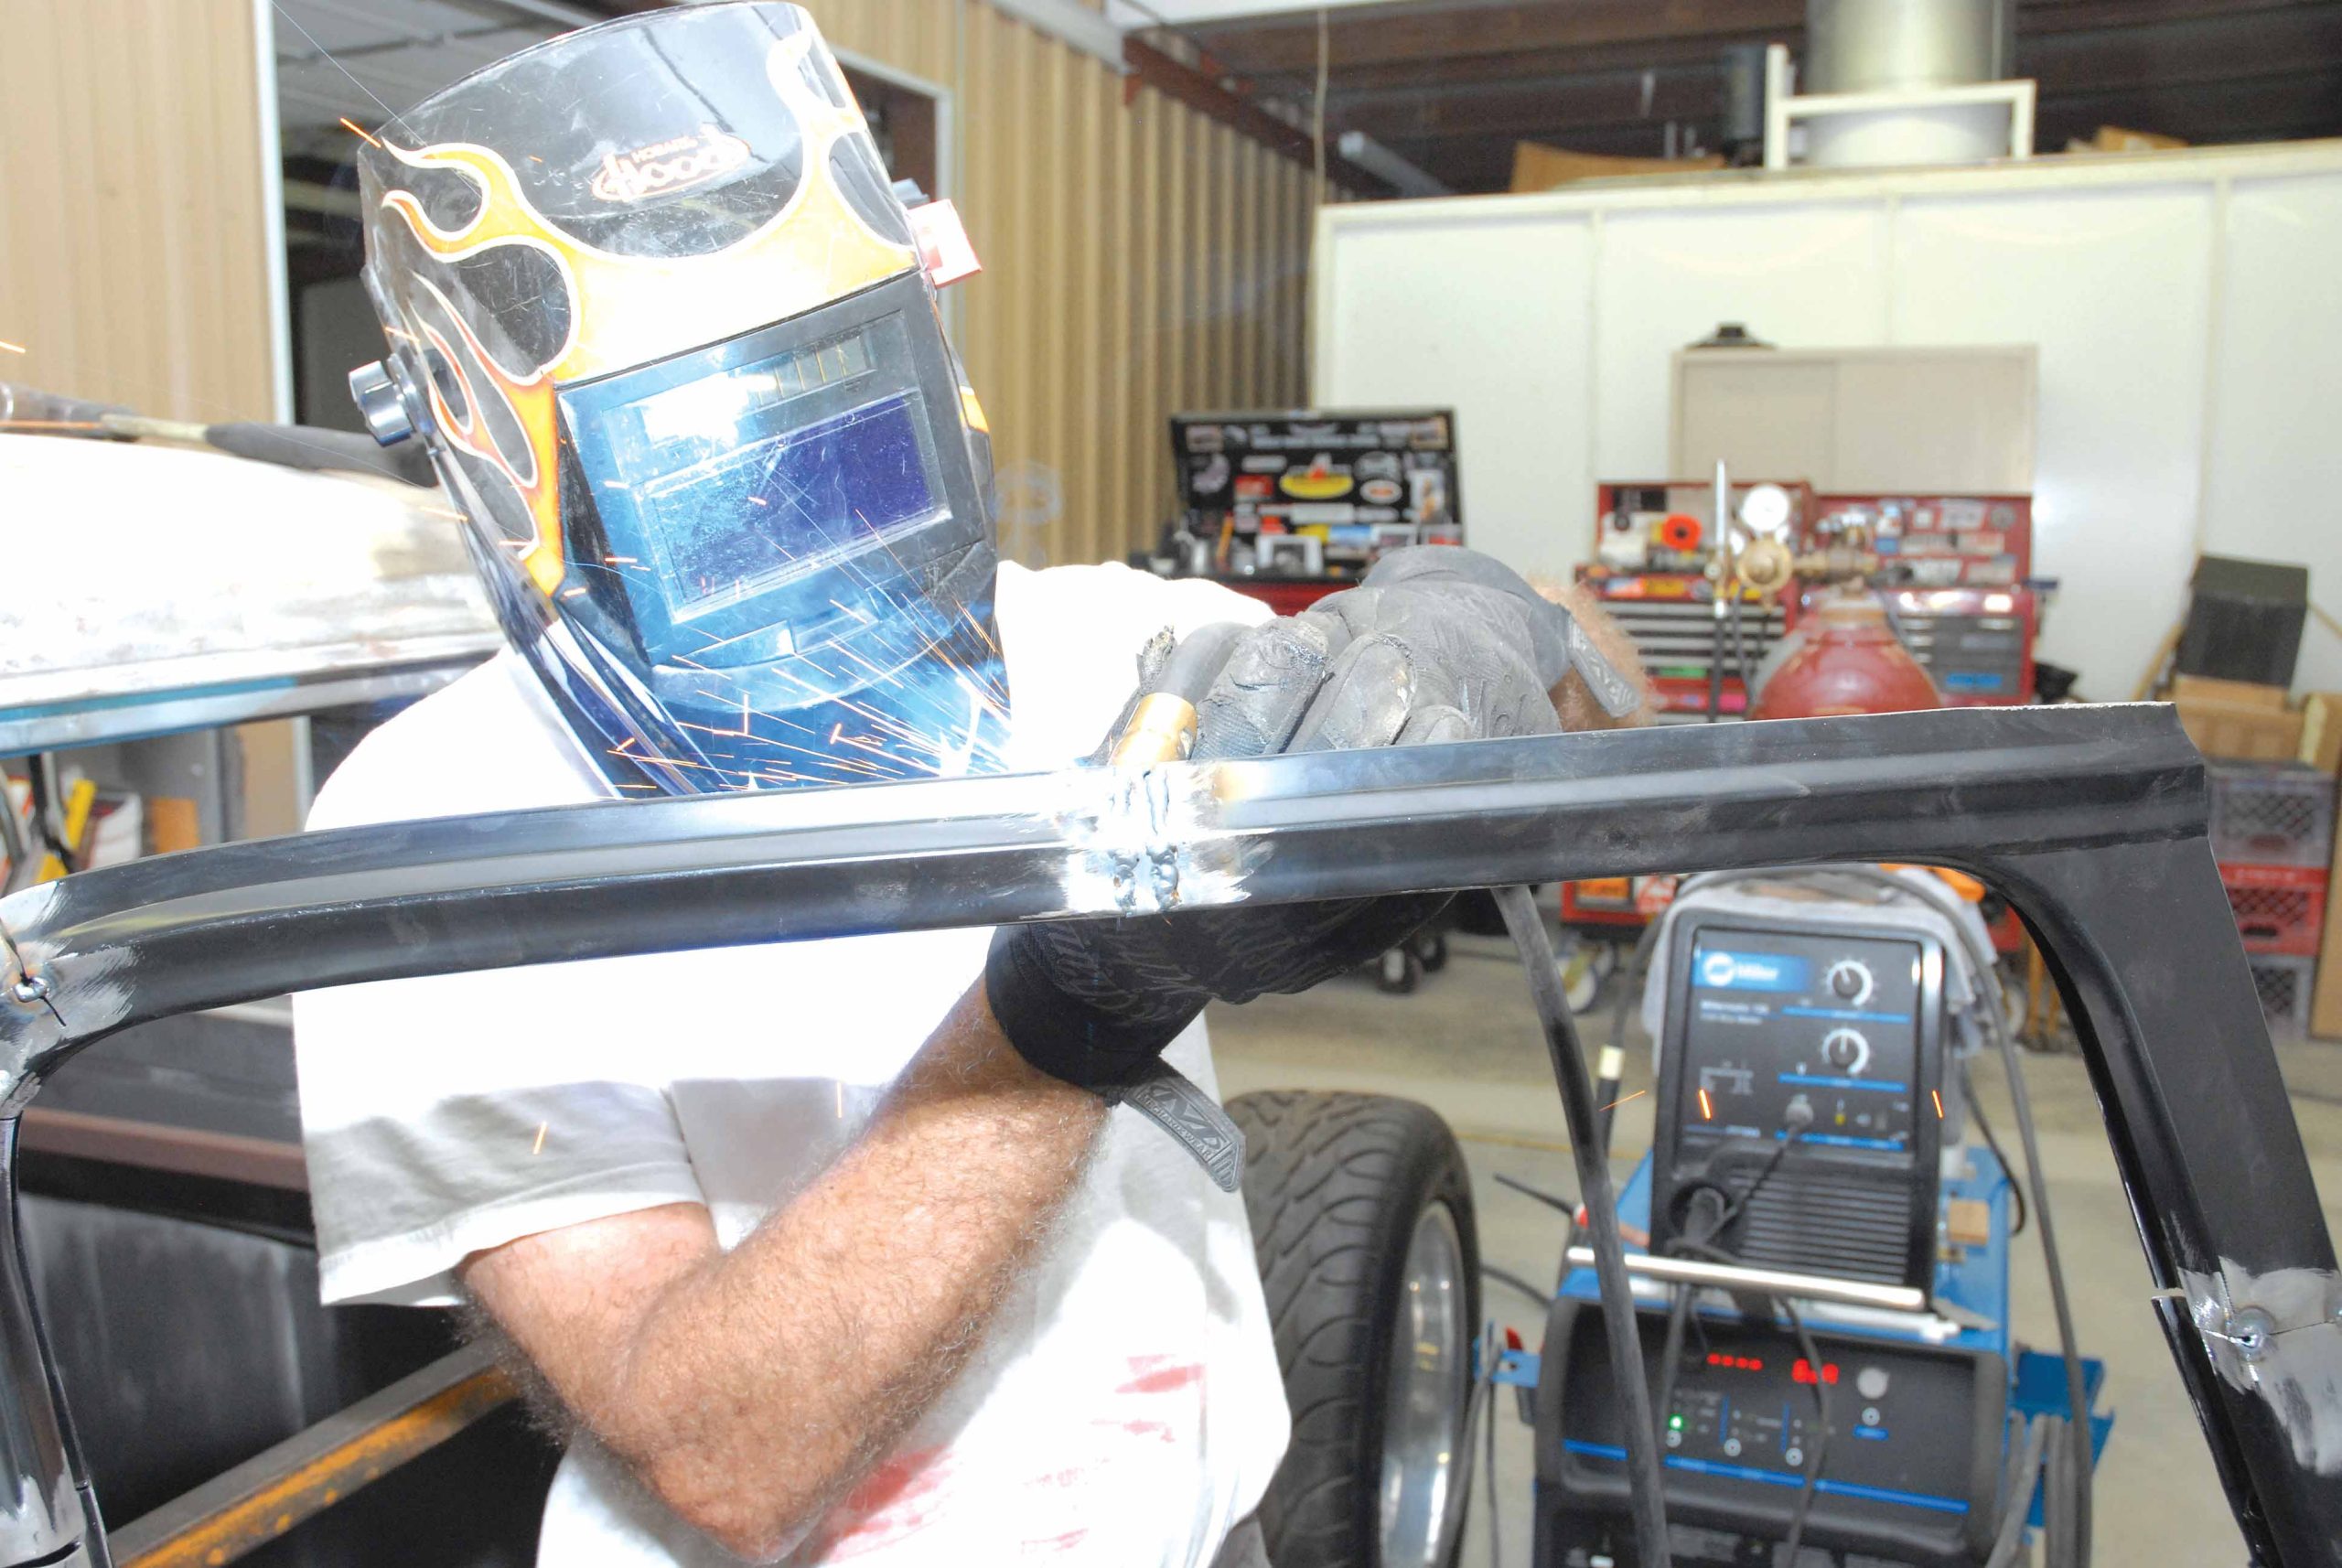
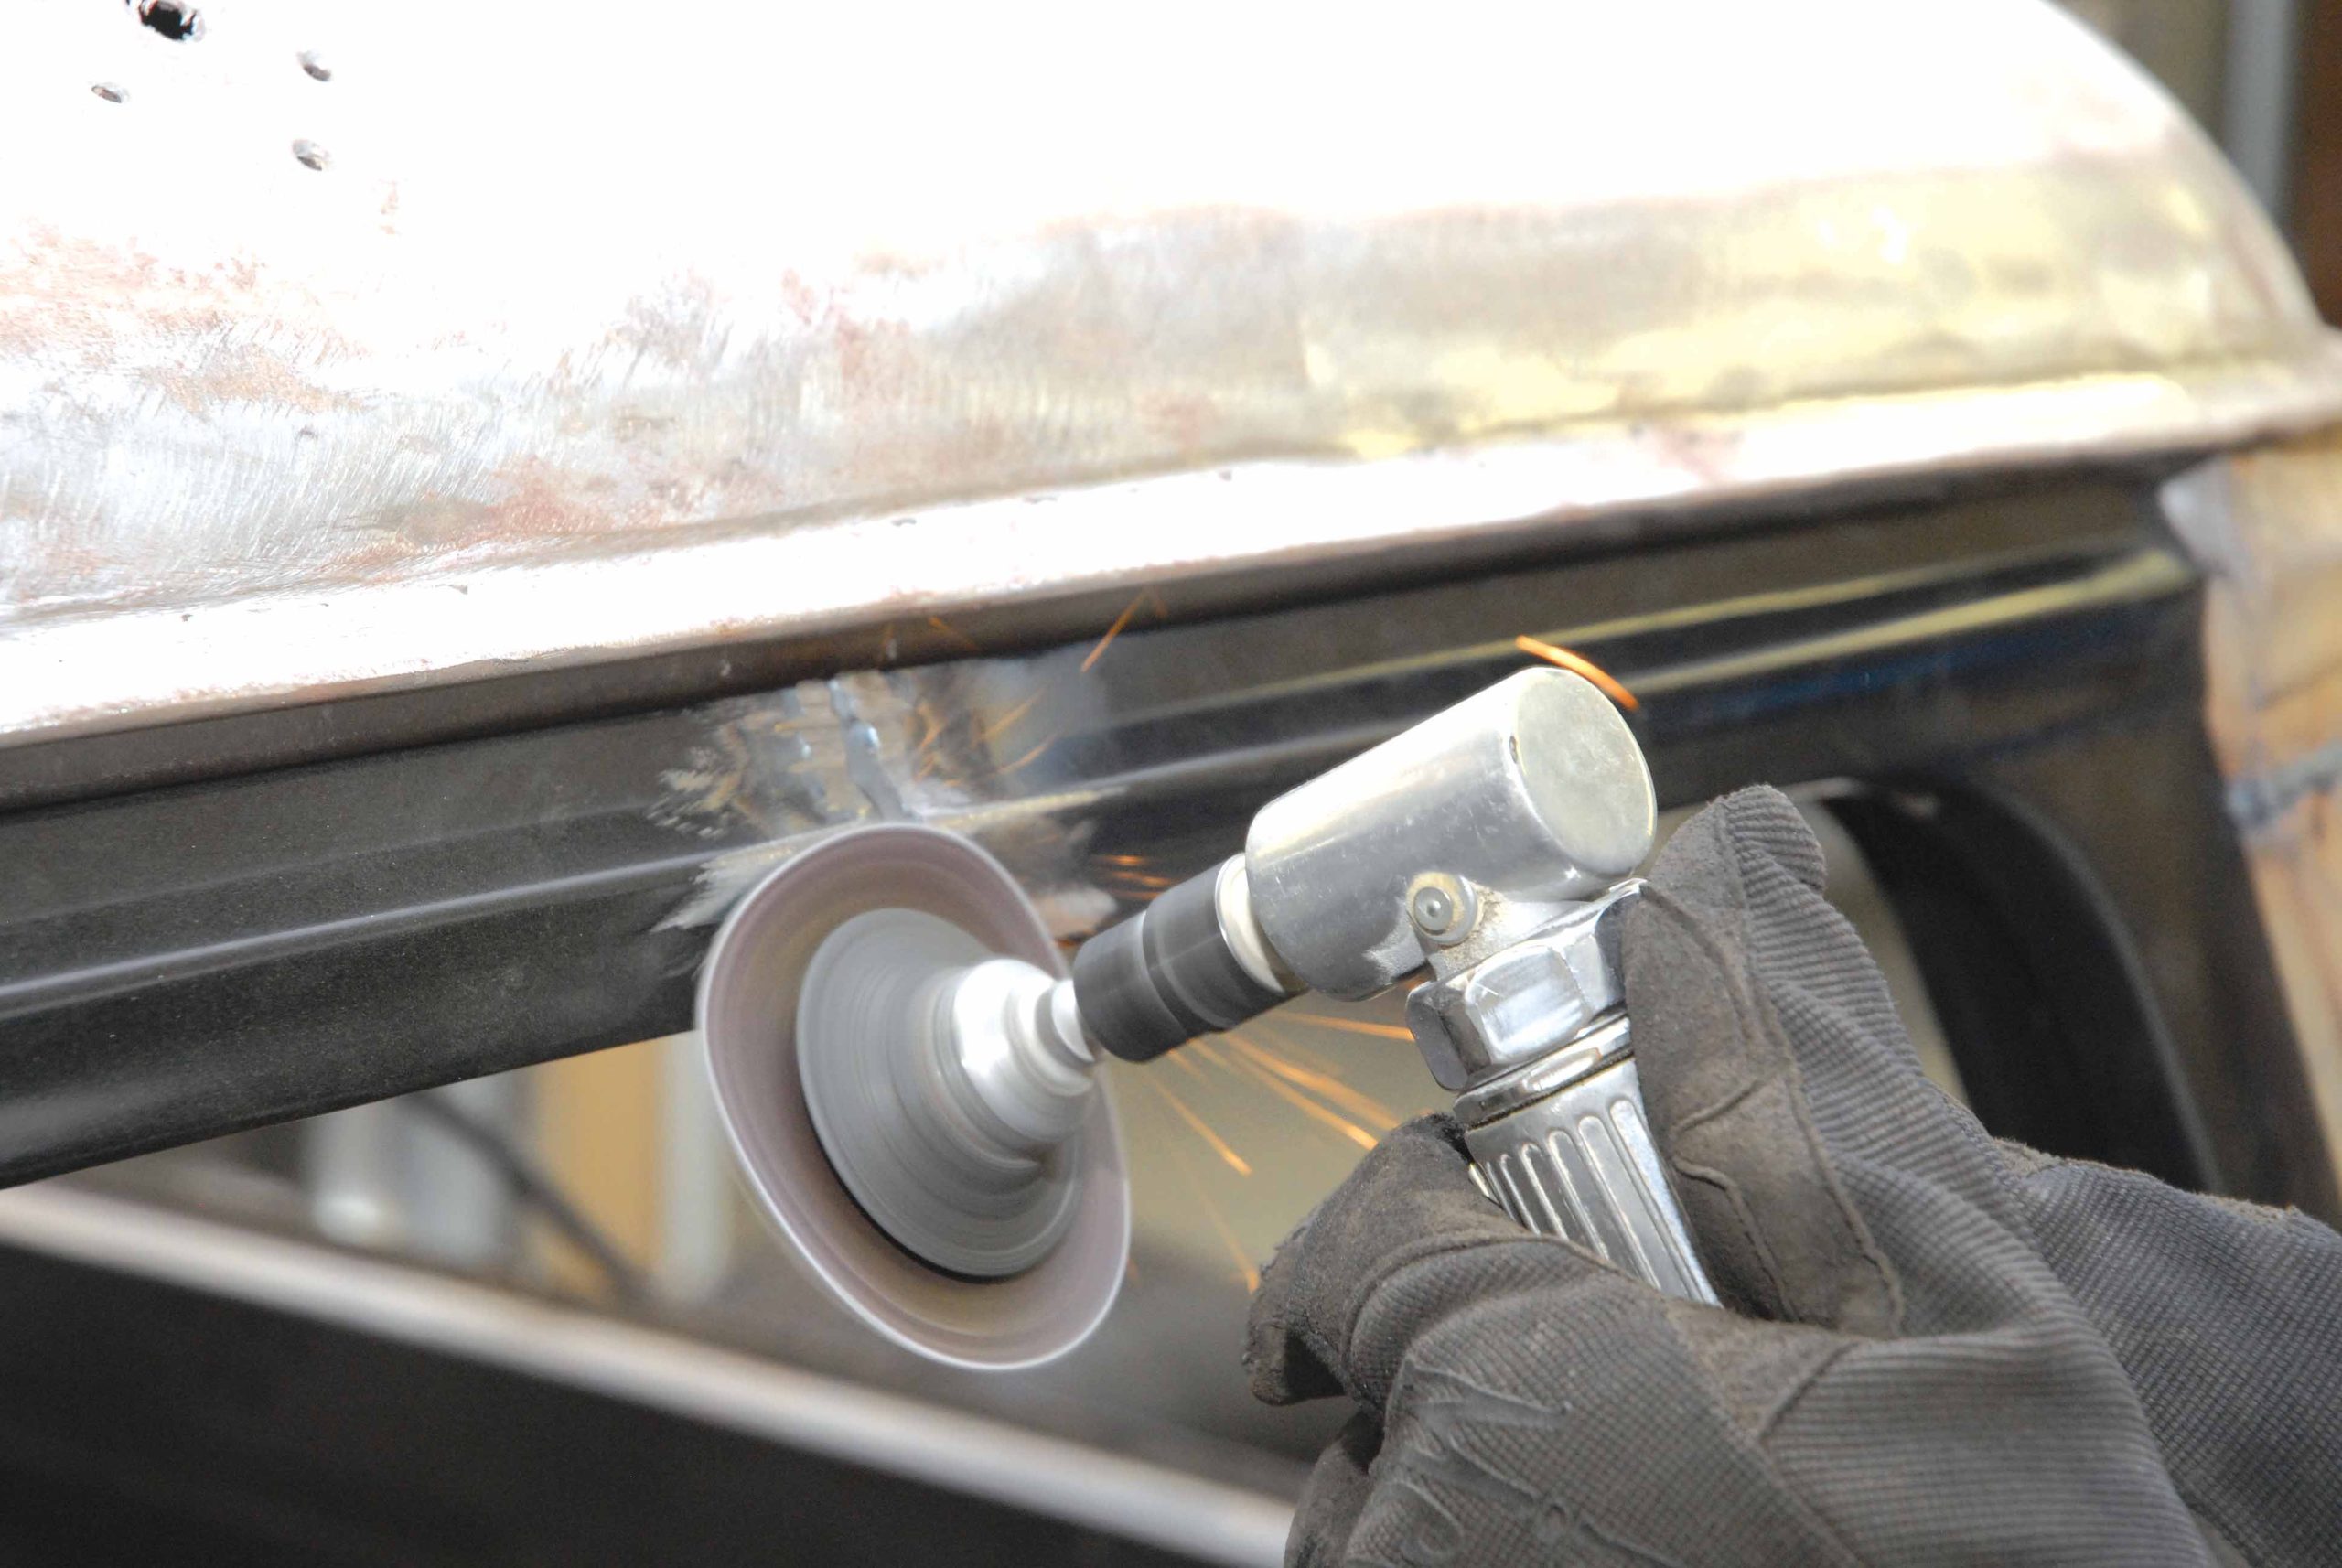
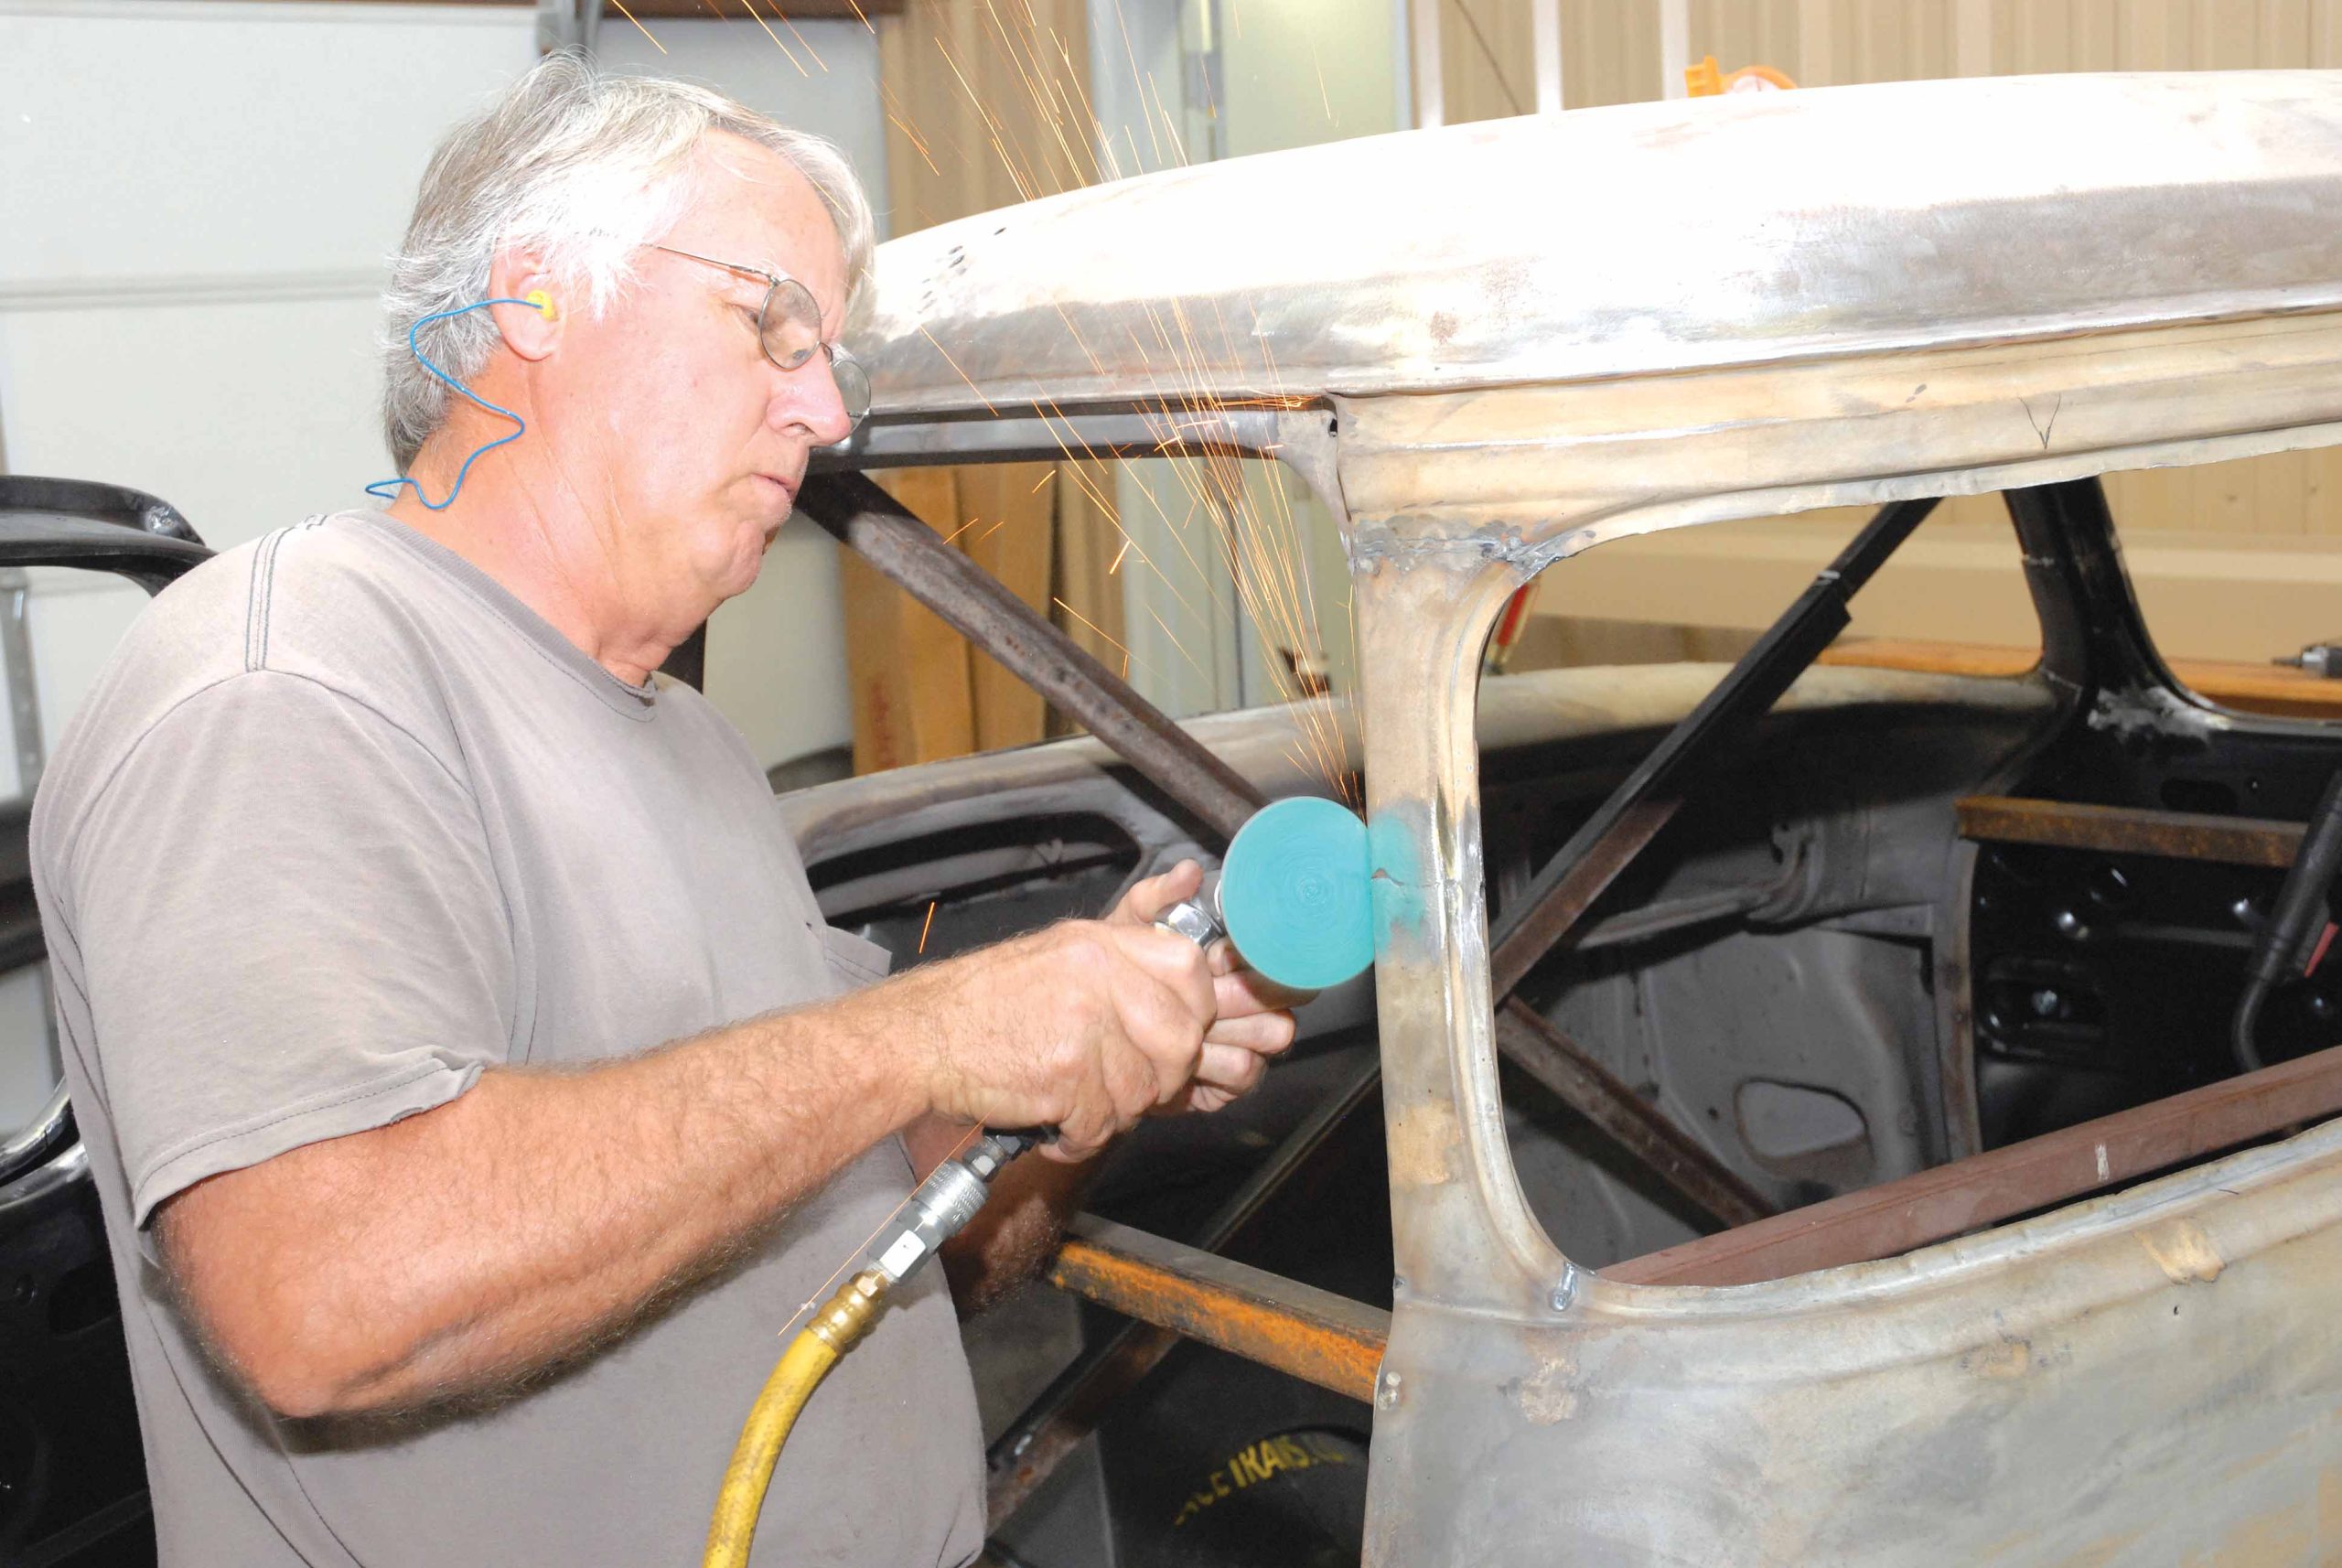
57-58. The final welding and finish-grinding of the reconfigured driver's door inside and out takes a little time.
57-58. The final welding and finish-grinding of the reconfigured driver's door inside and out takes a little time.
59-60. But the results are well worth it!
59-60. But the results are well worth it!
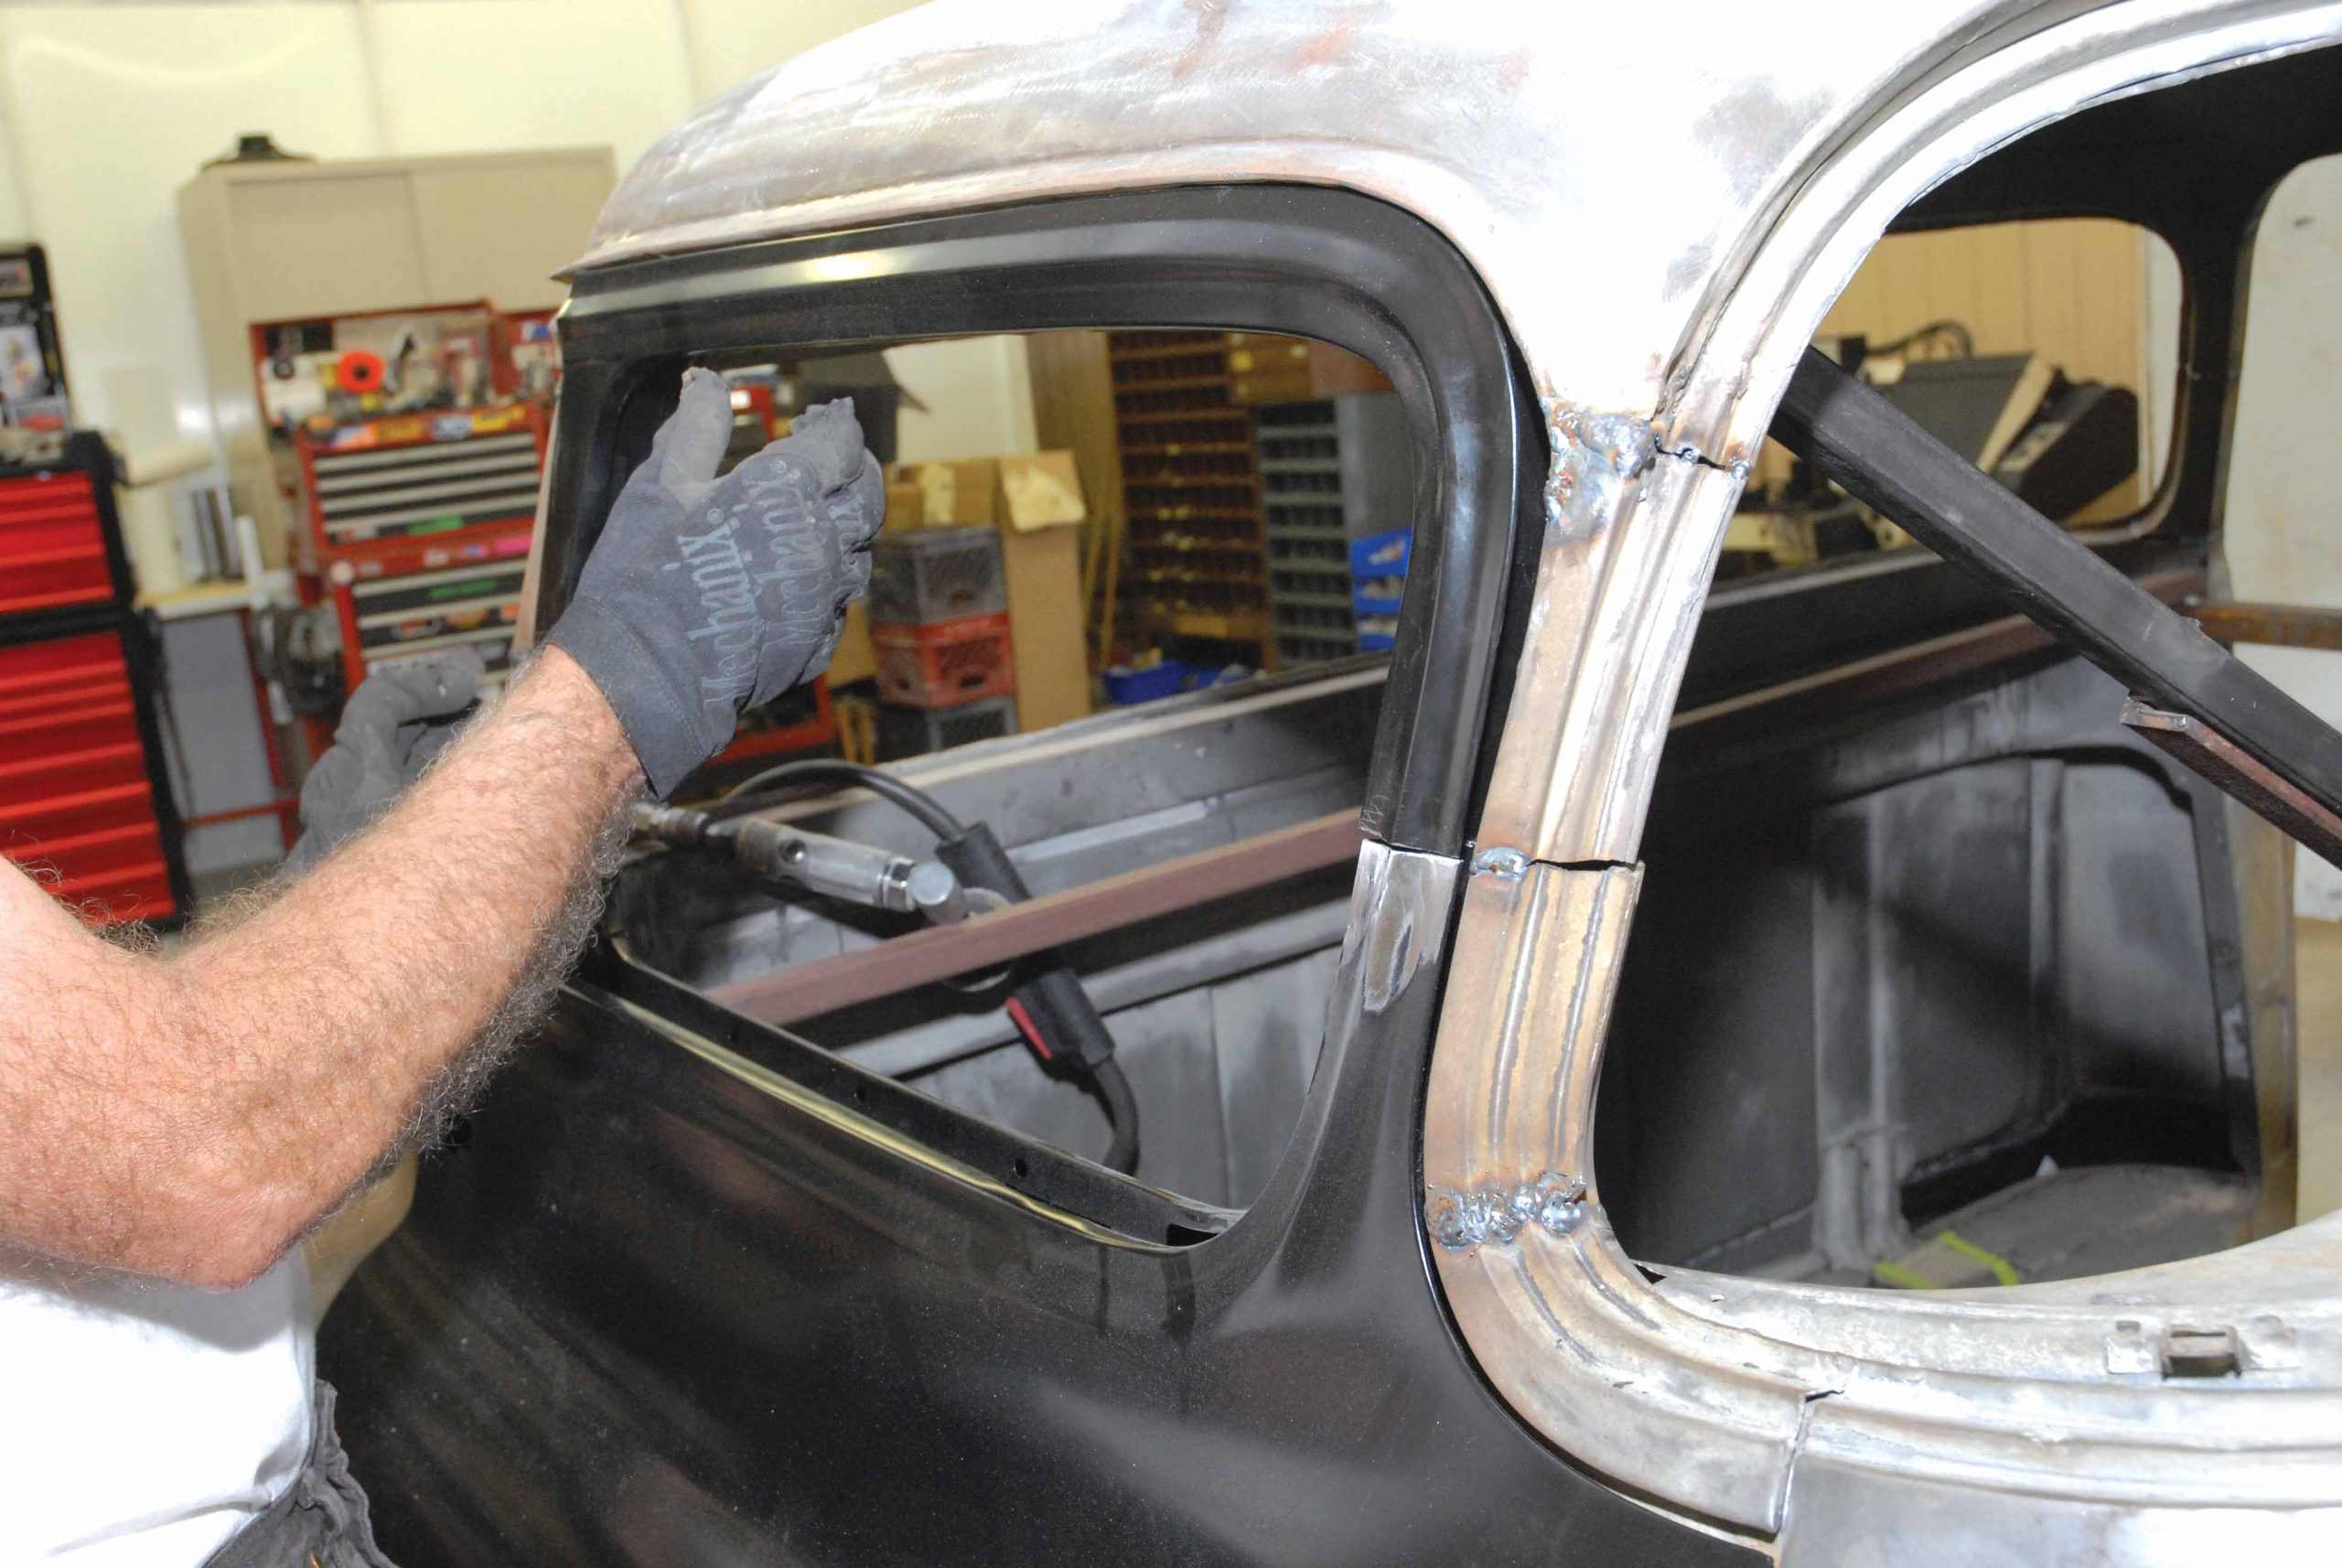
61-62. Here, we see Cimbanin tackling the passenger-side Dynacorn door. It went together without a hitch. There's that lopsided roof shape we mentioned.
61-62. Here, we see Cimbanin tackling the passenger-side Dynacorn door. It went together without a hitch. There's that lopsided roof shape we mentioned.
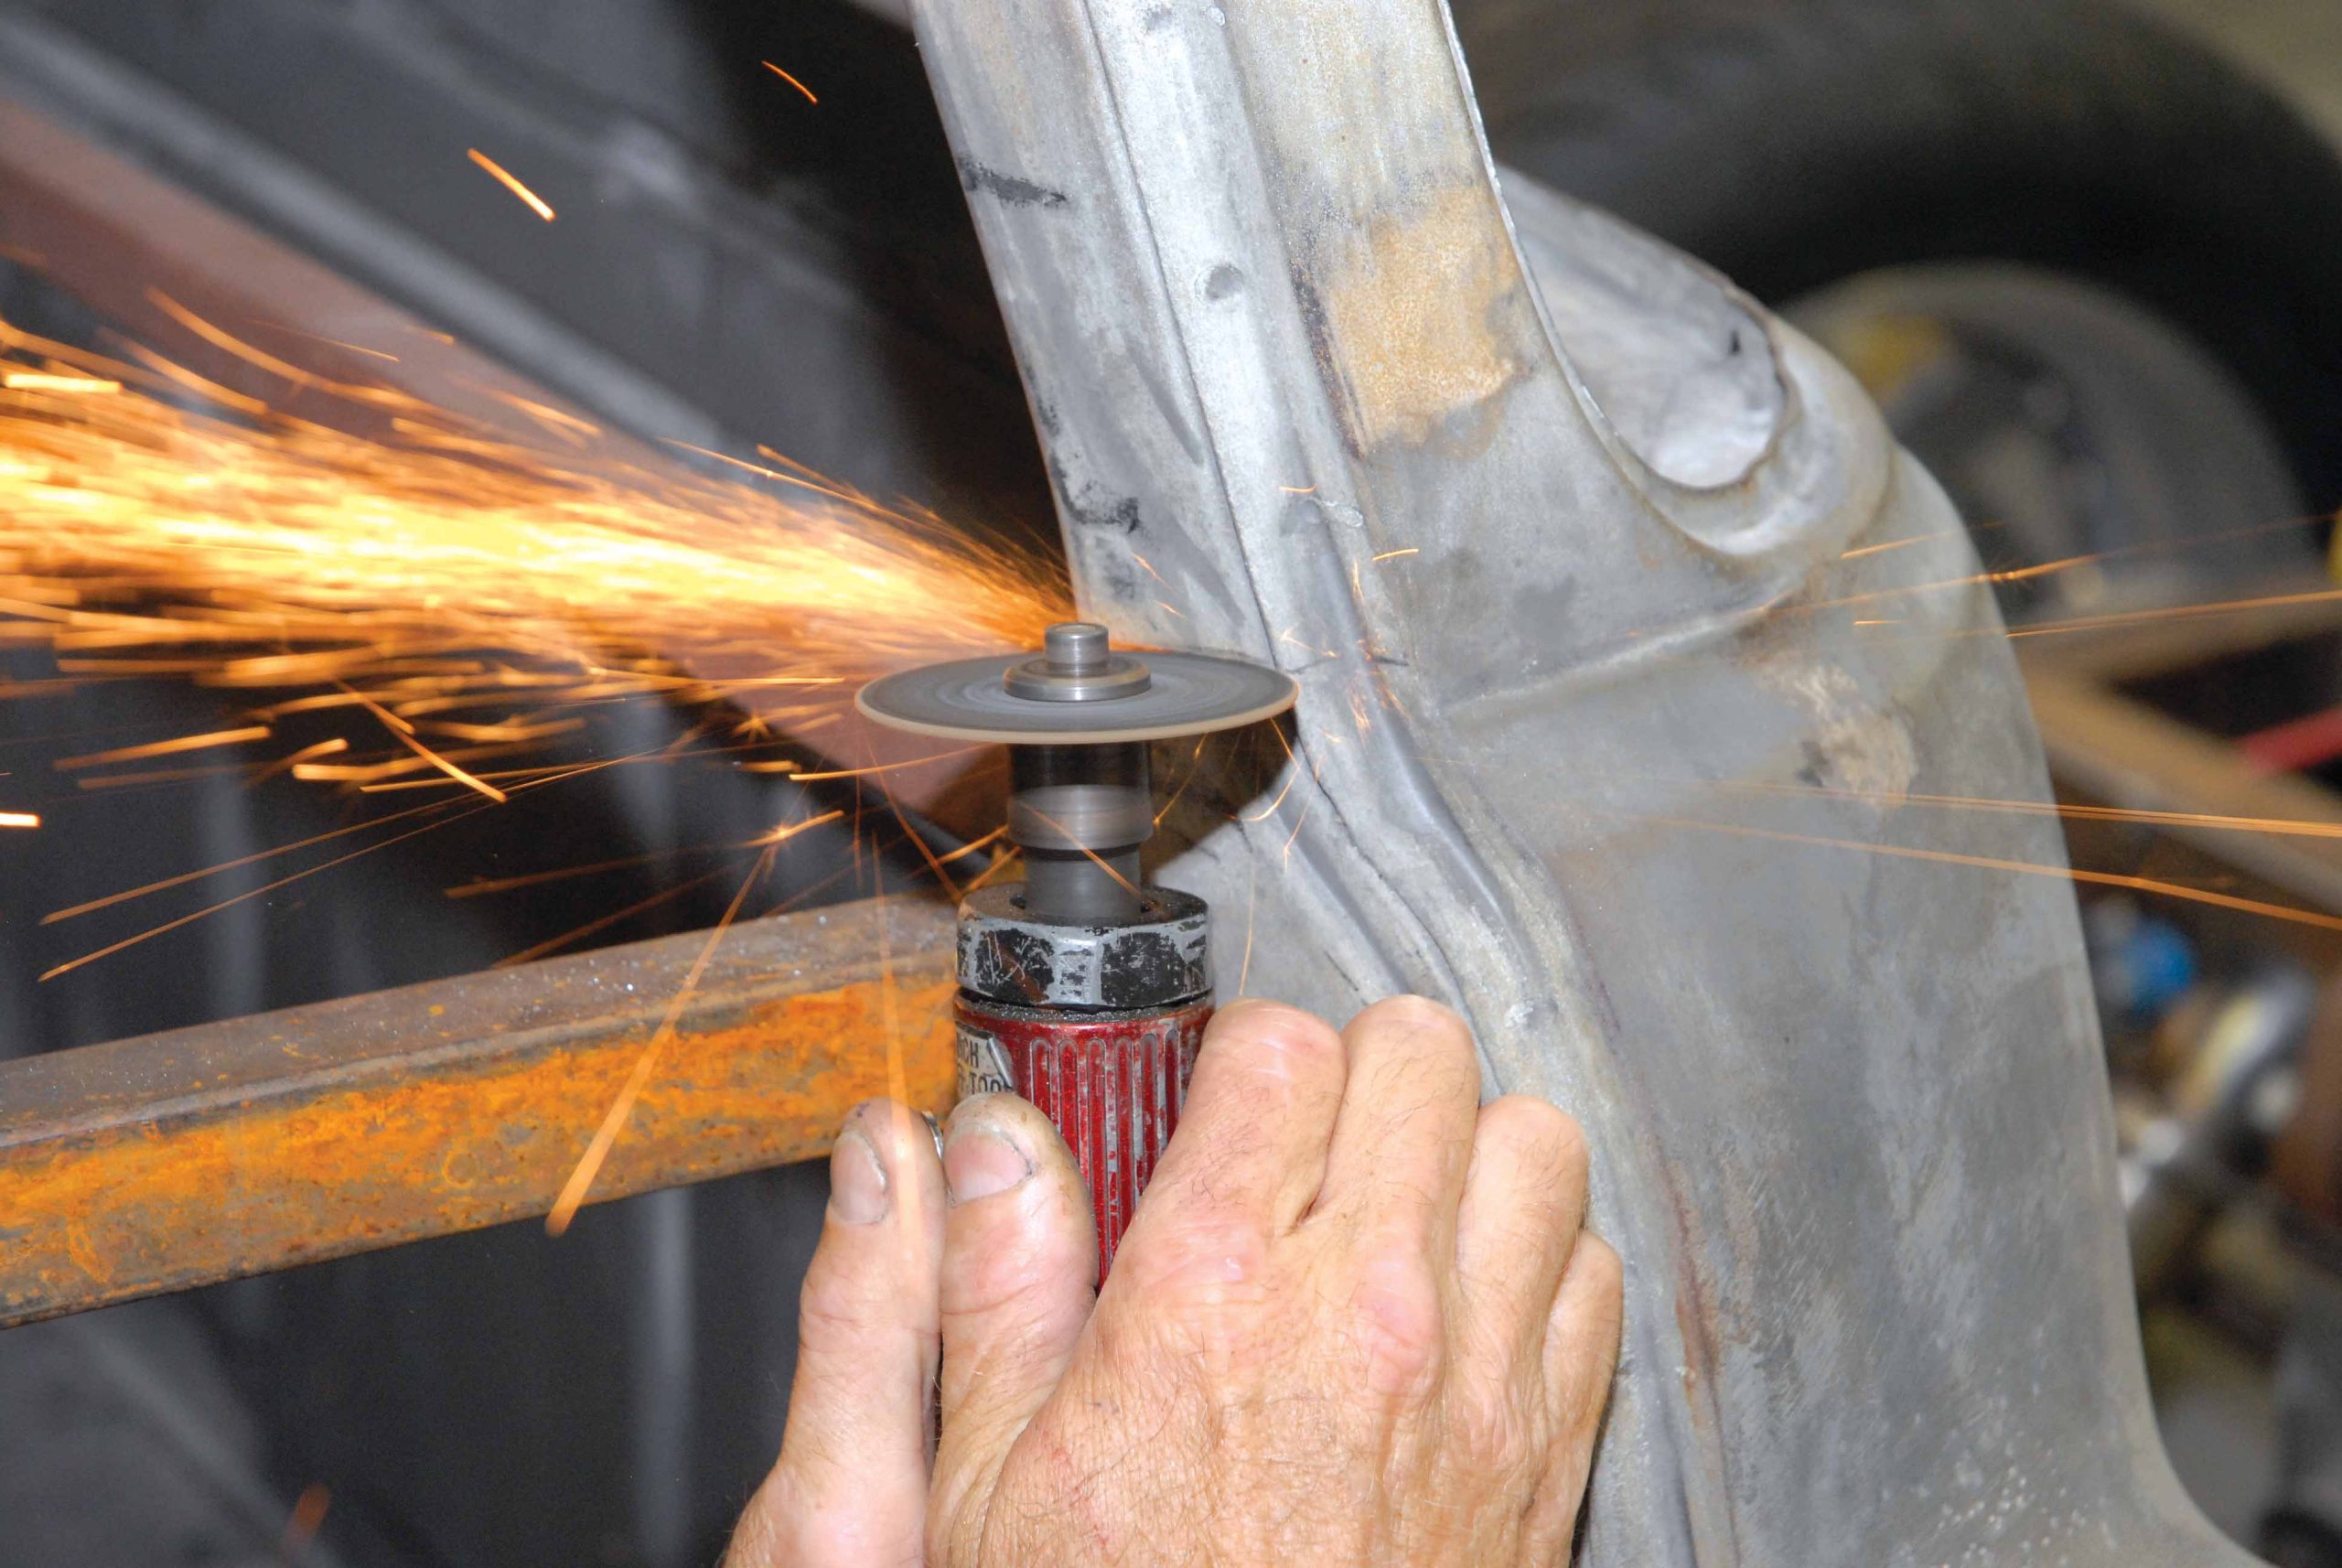
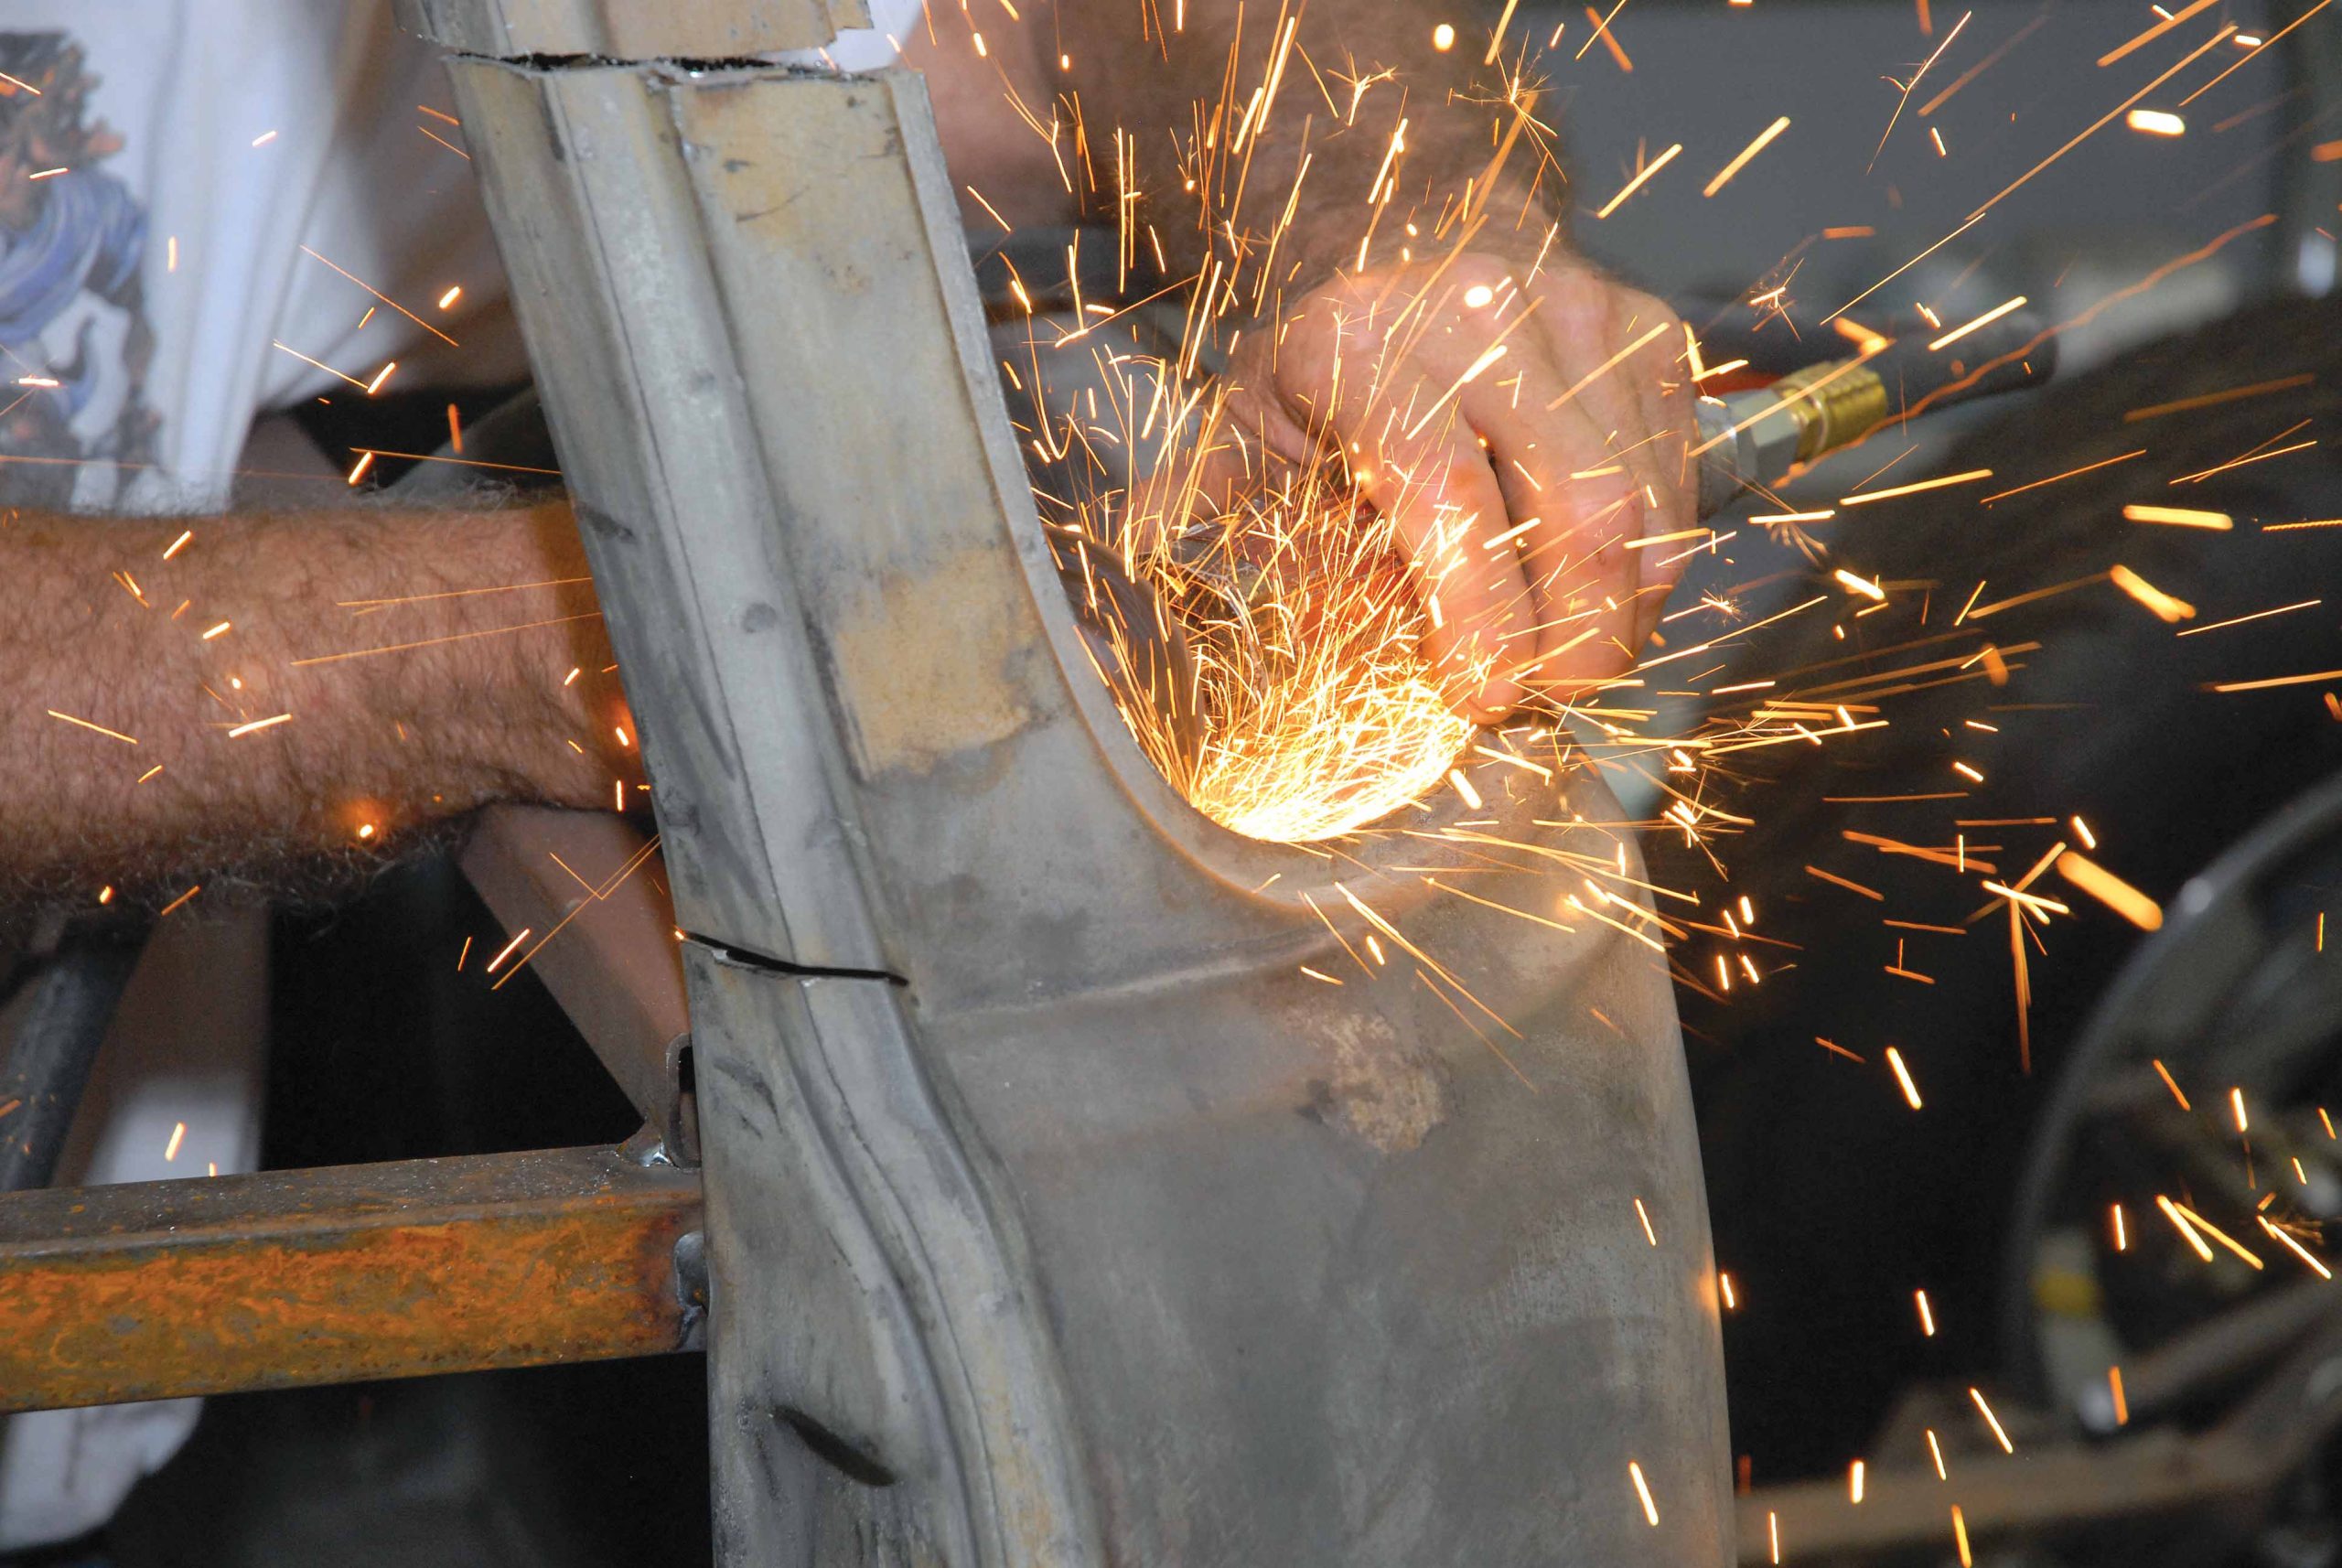
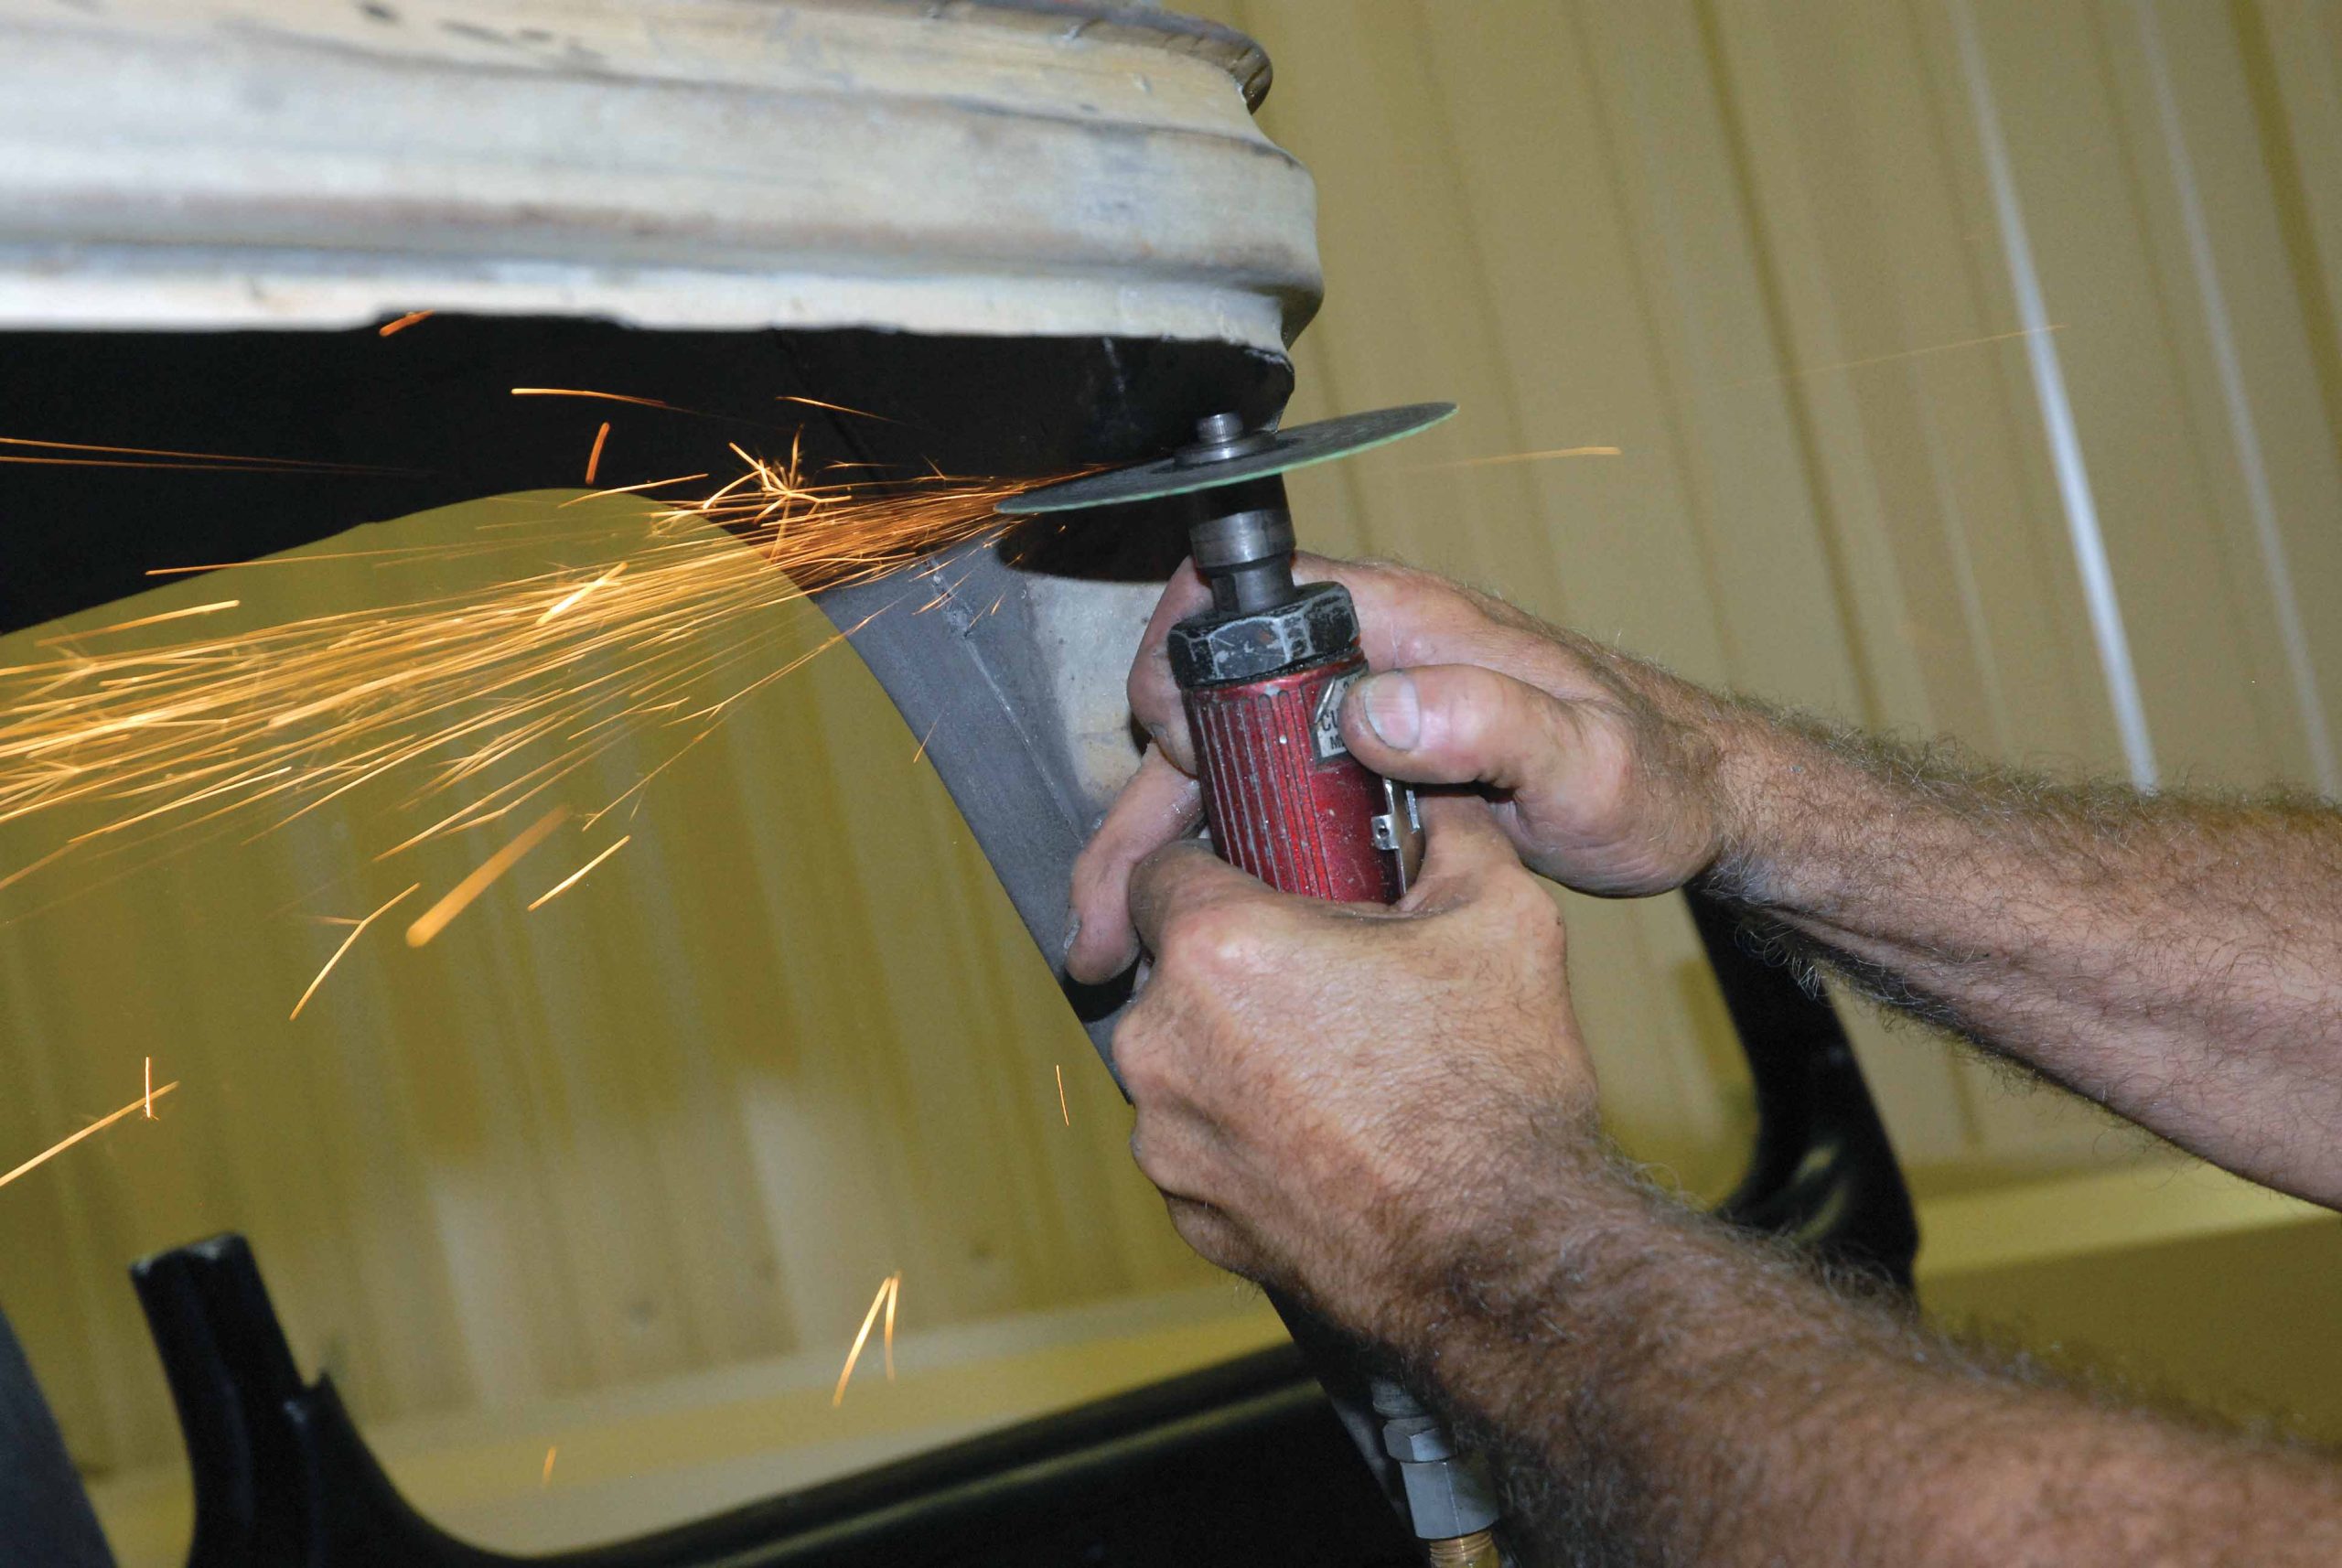
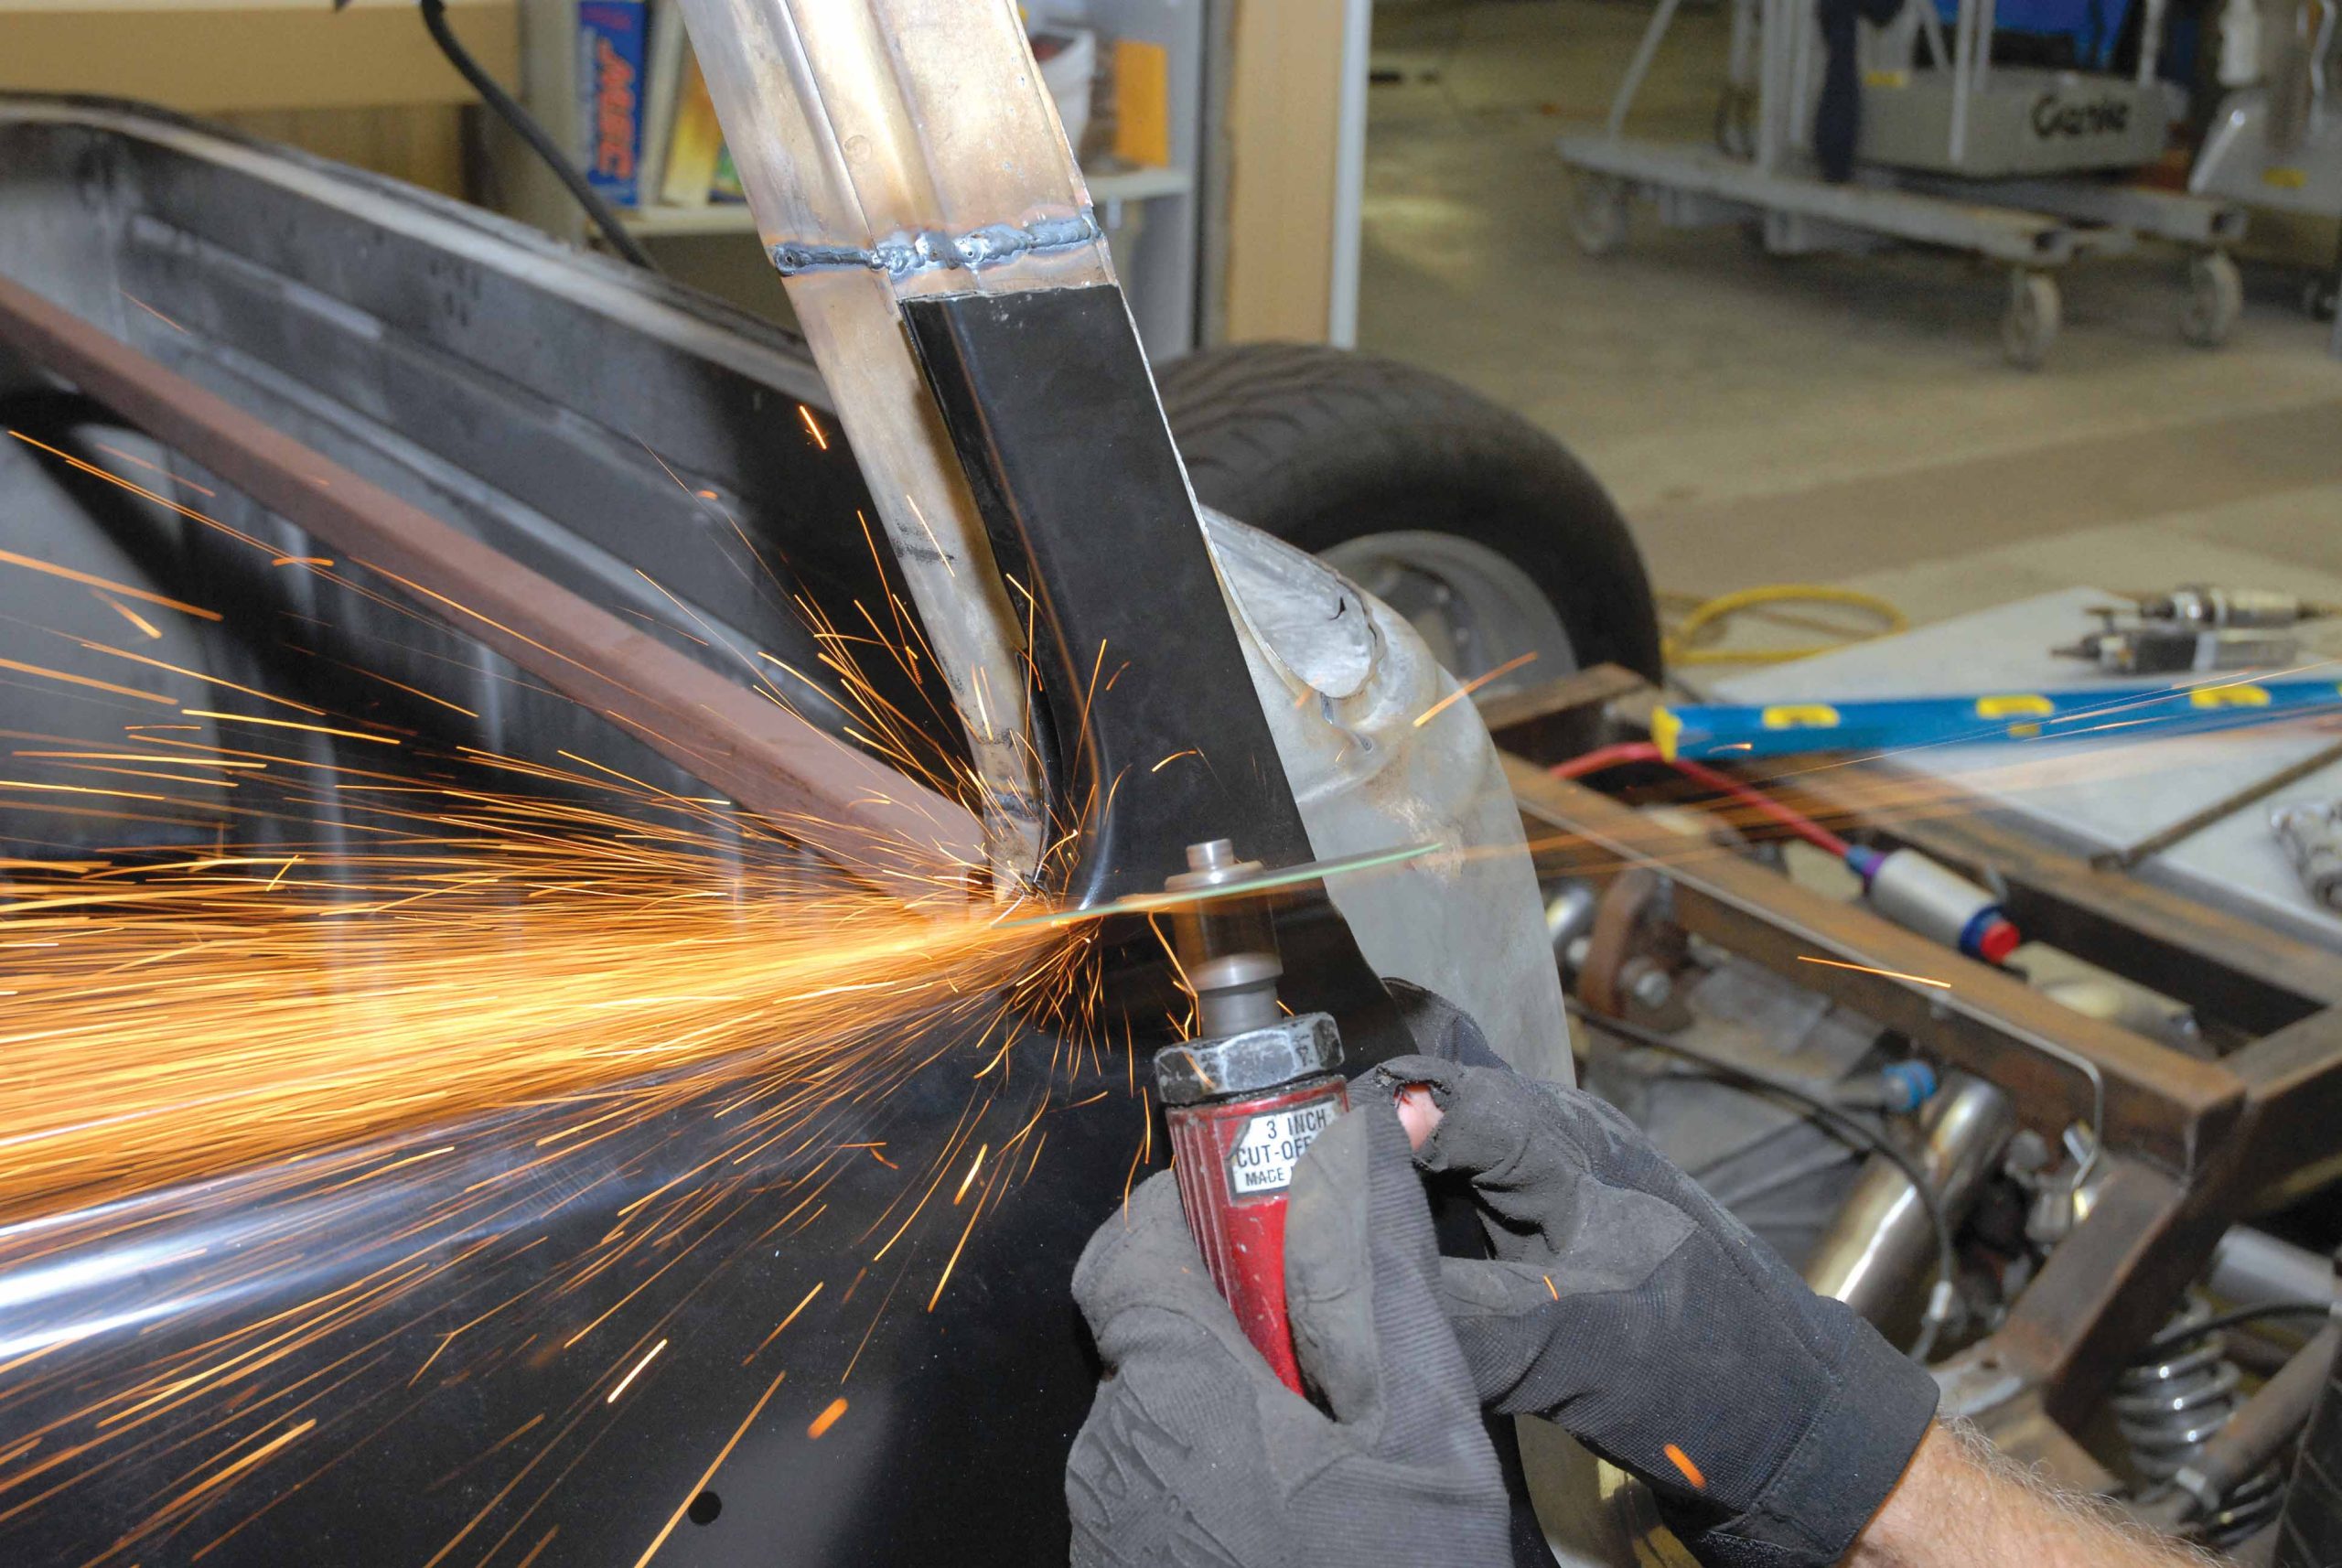
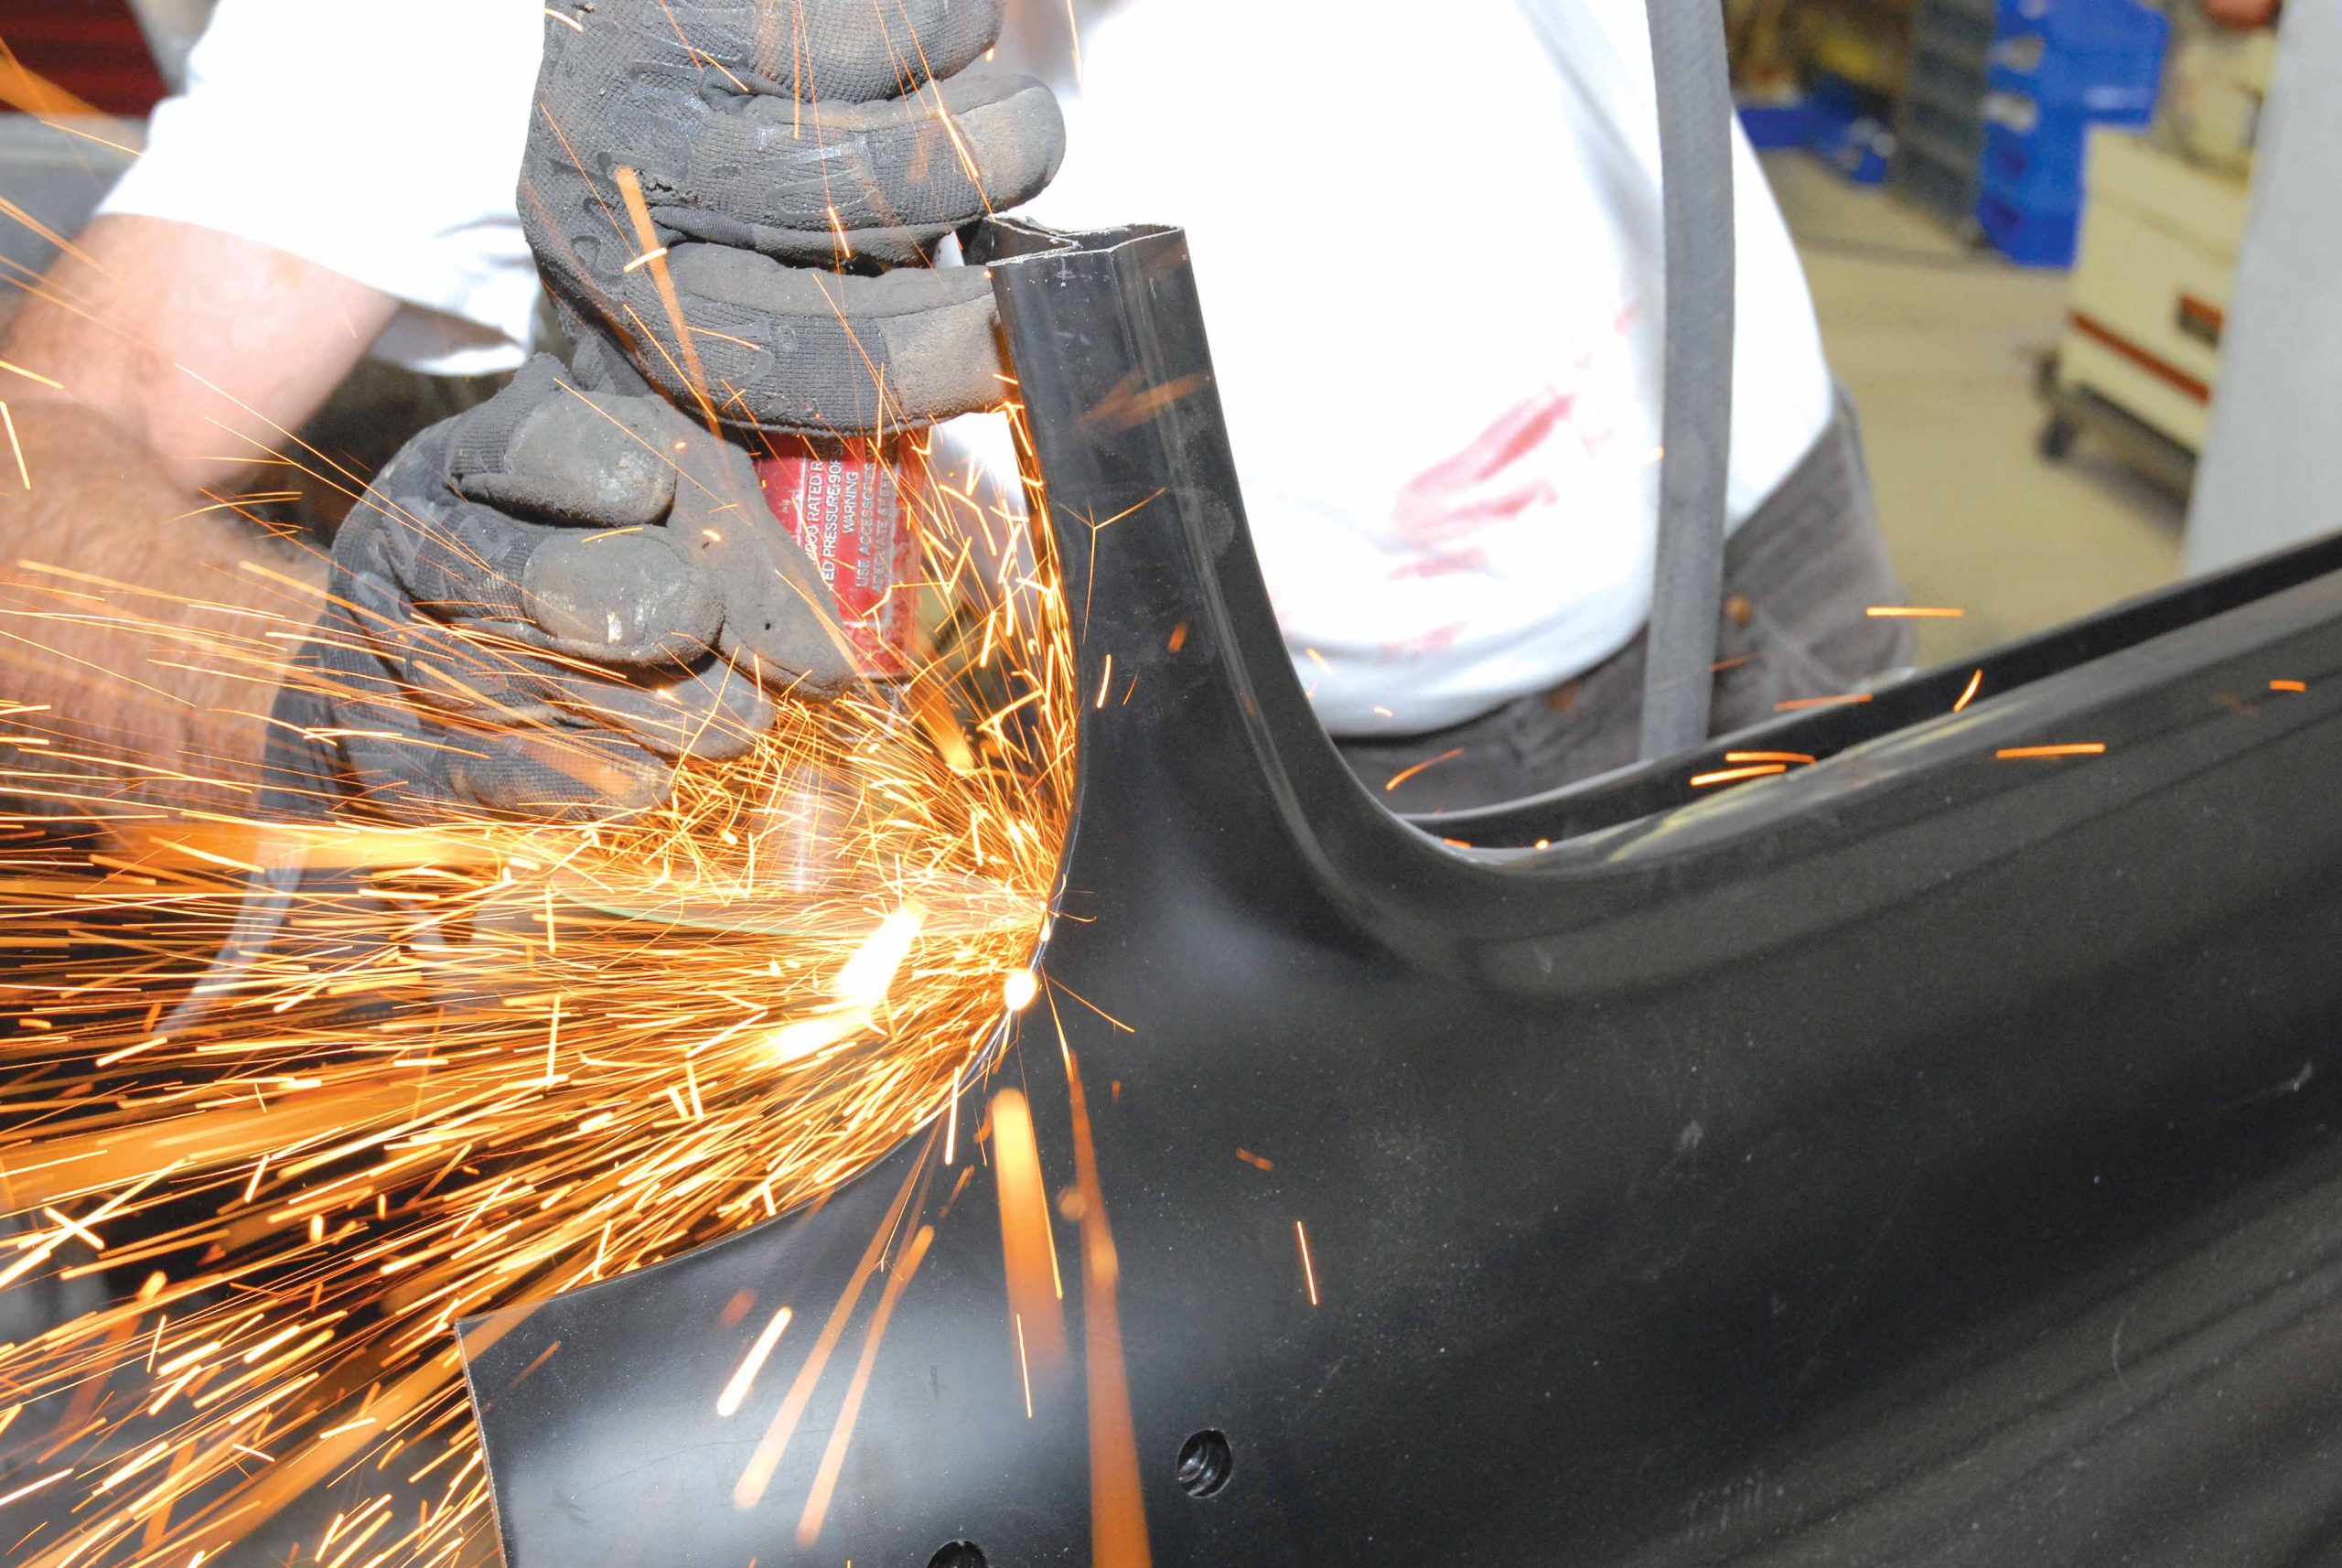
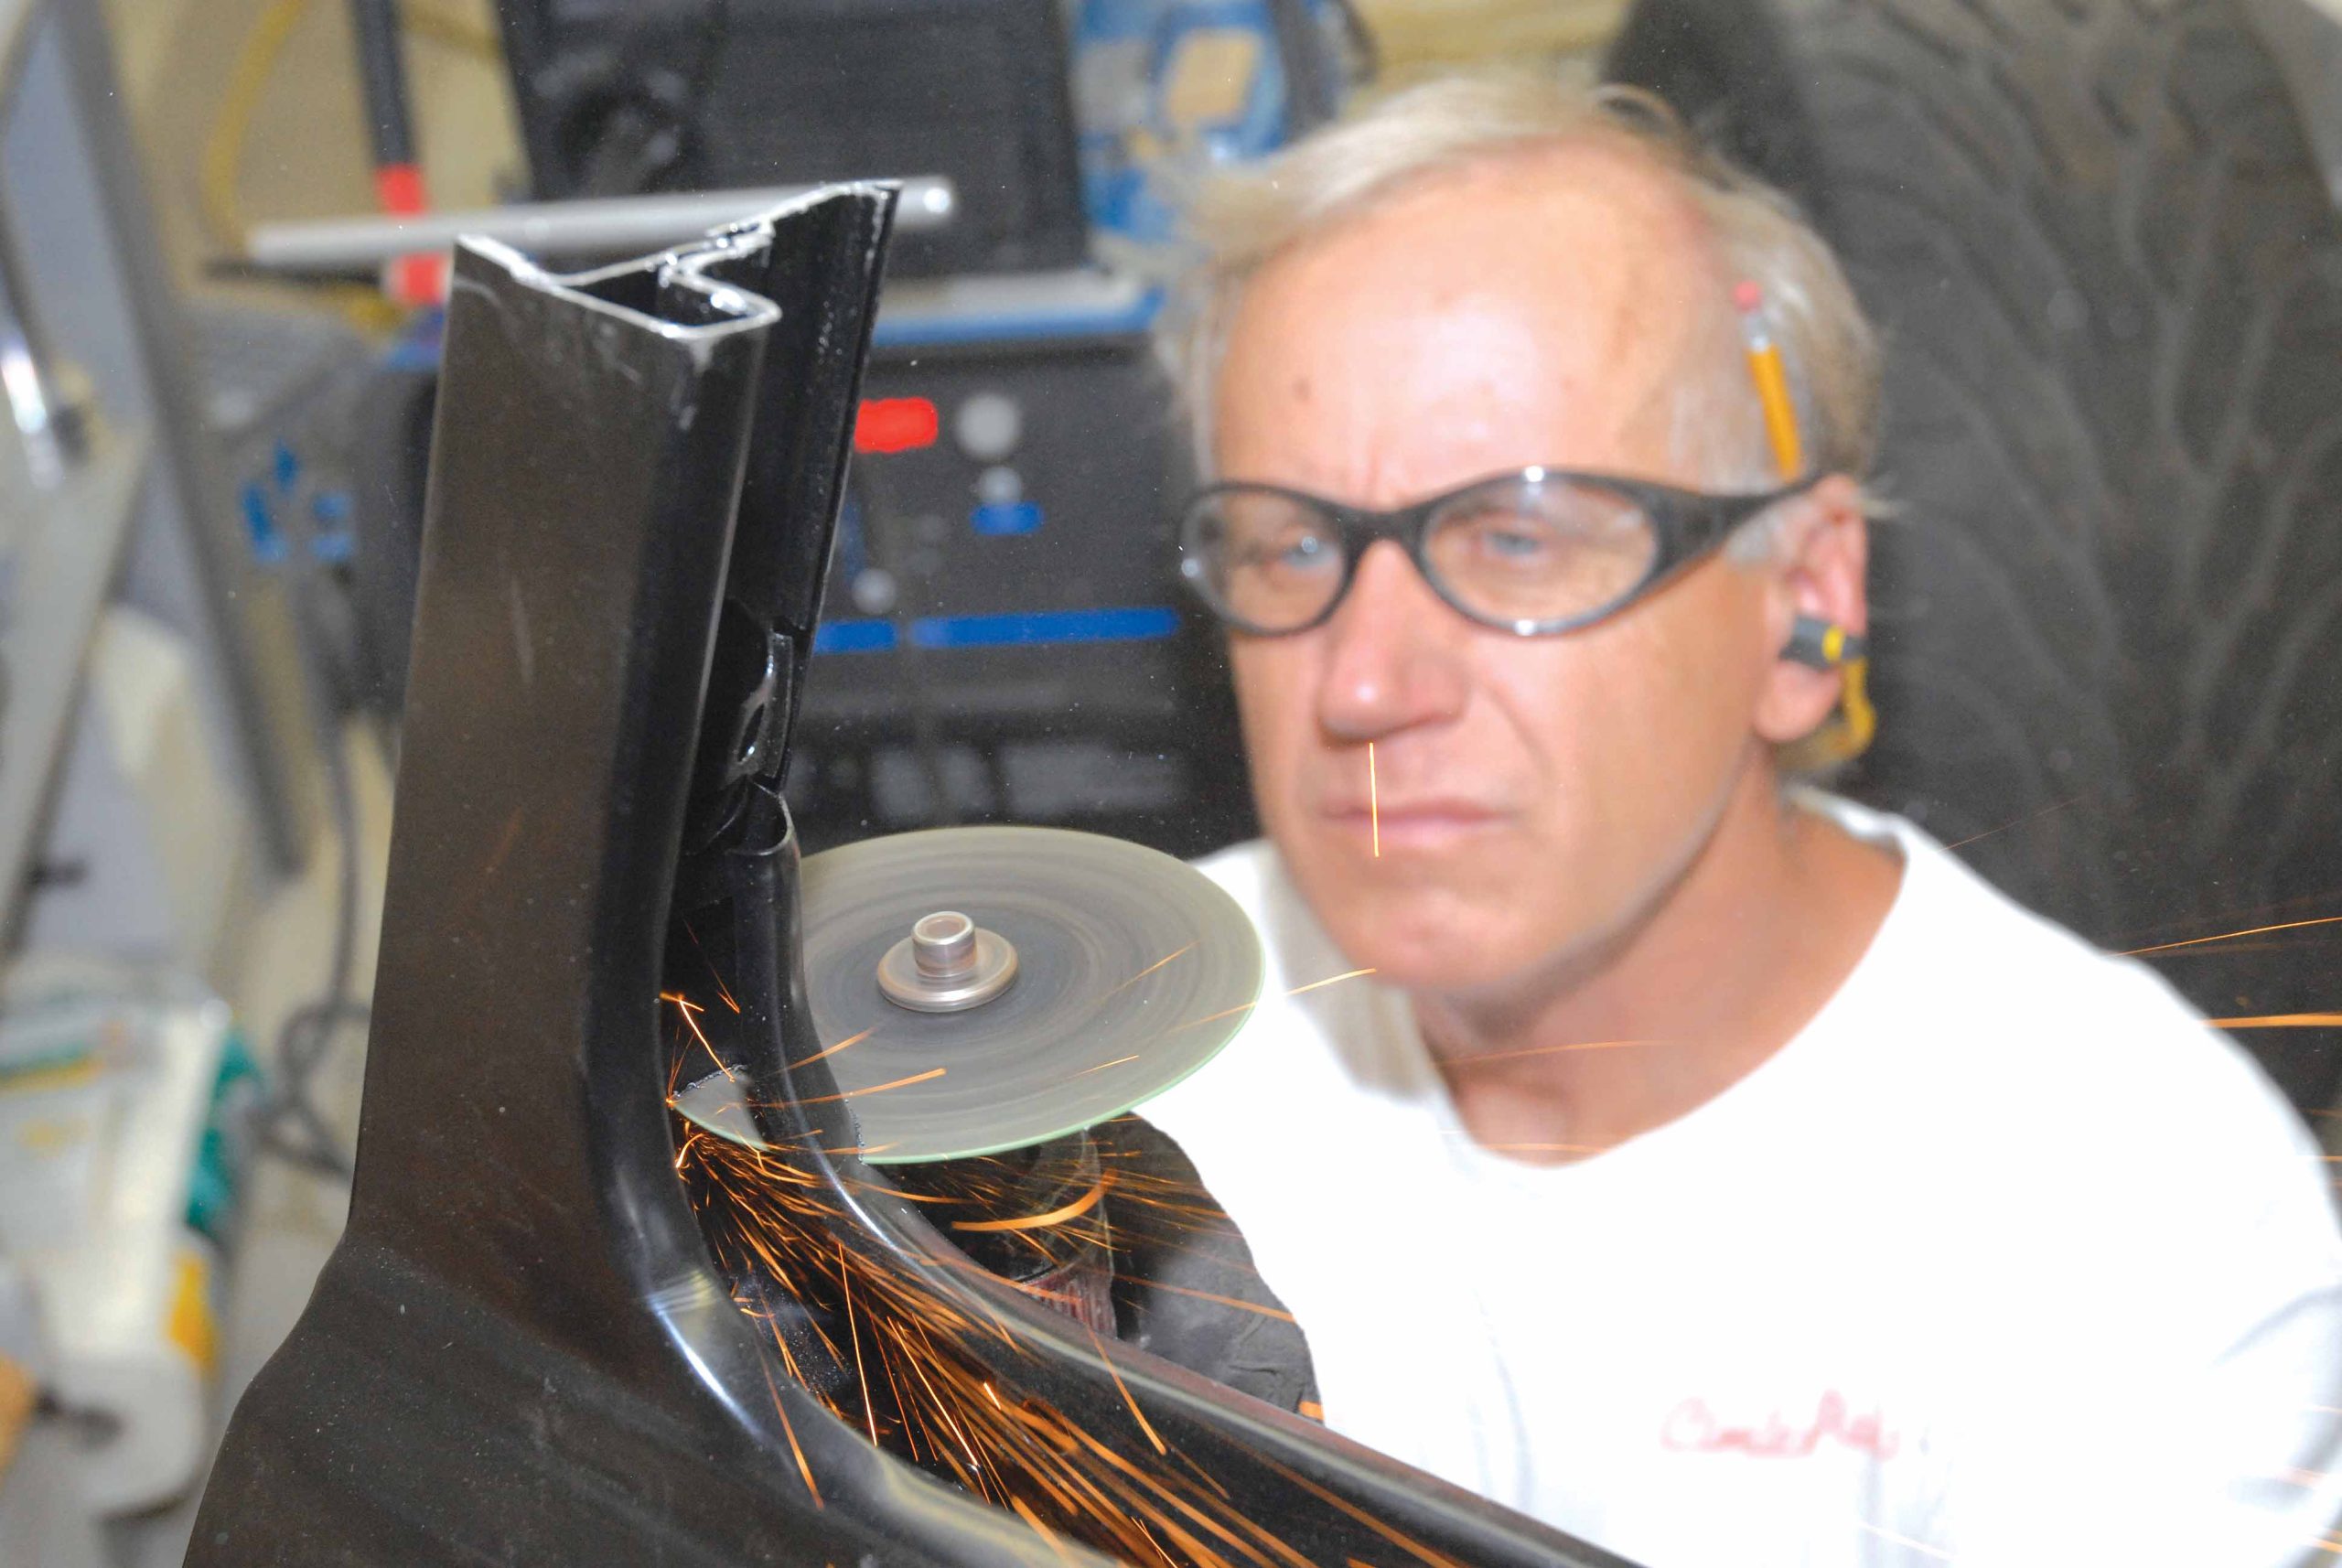
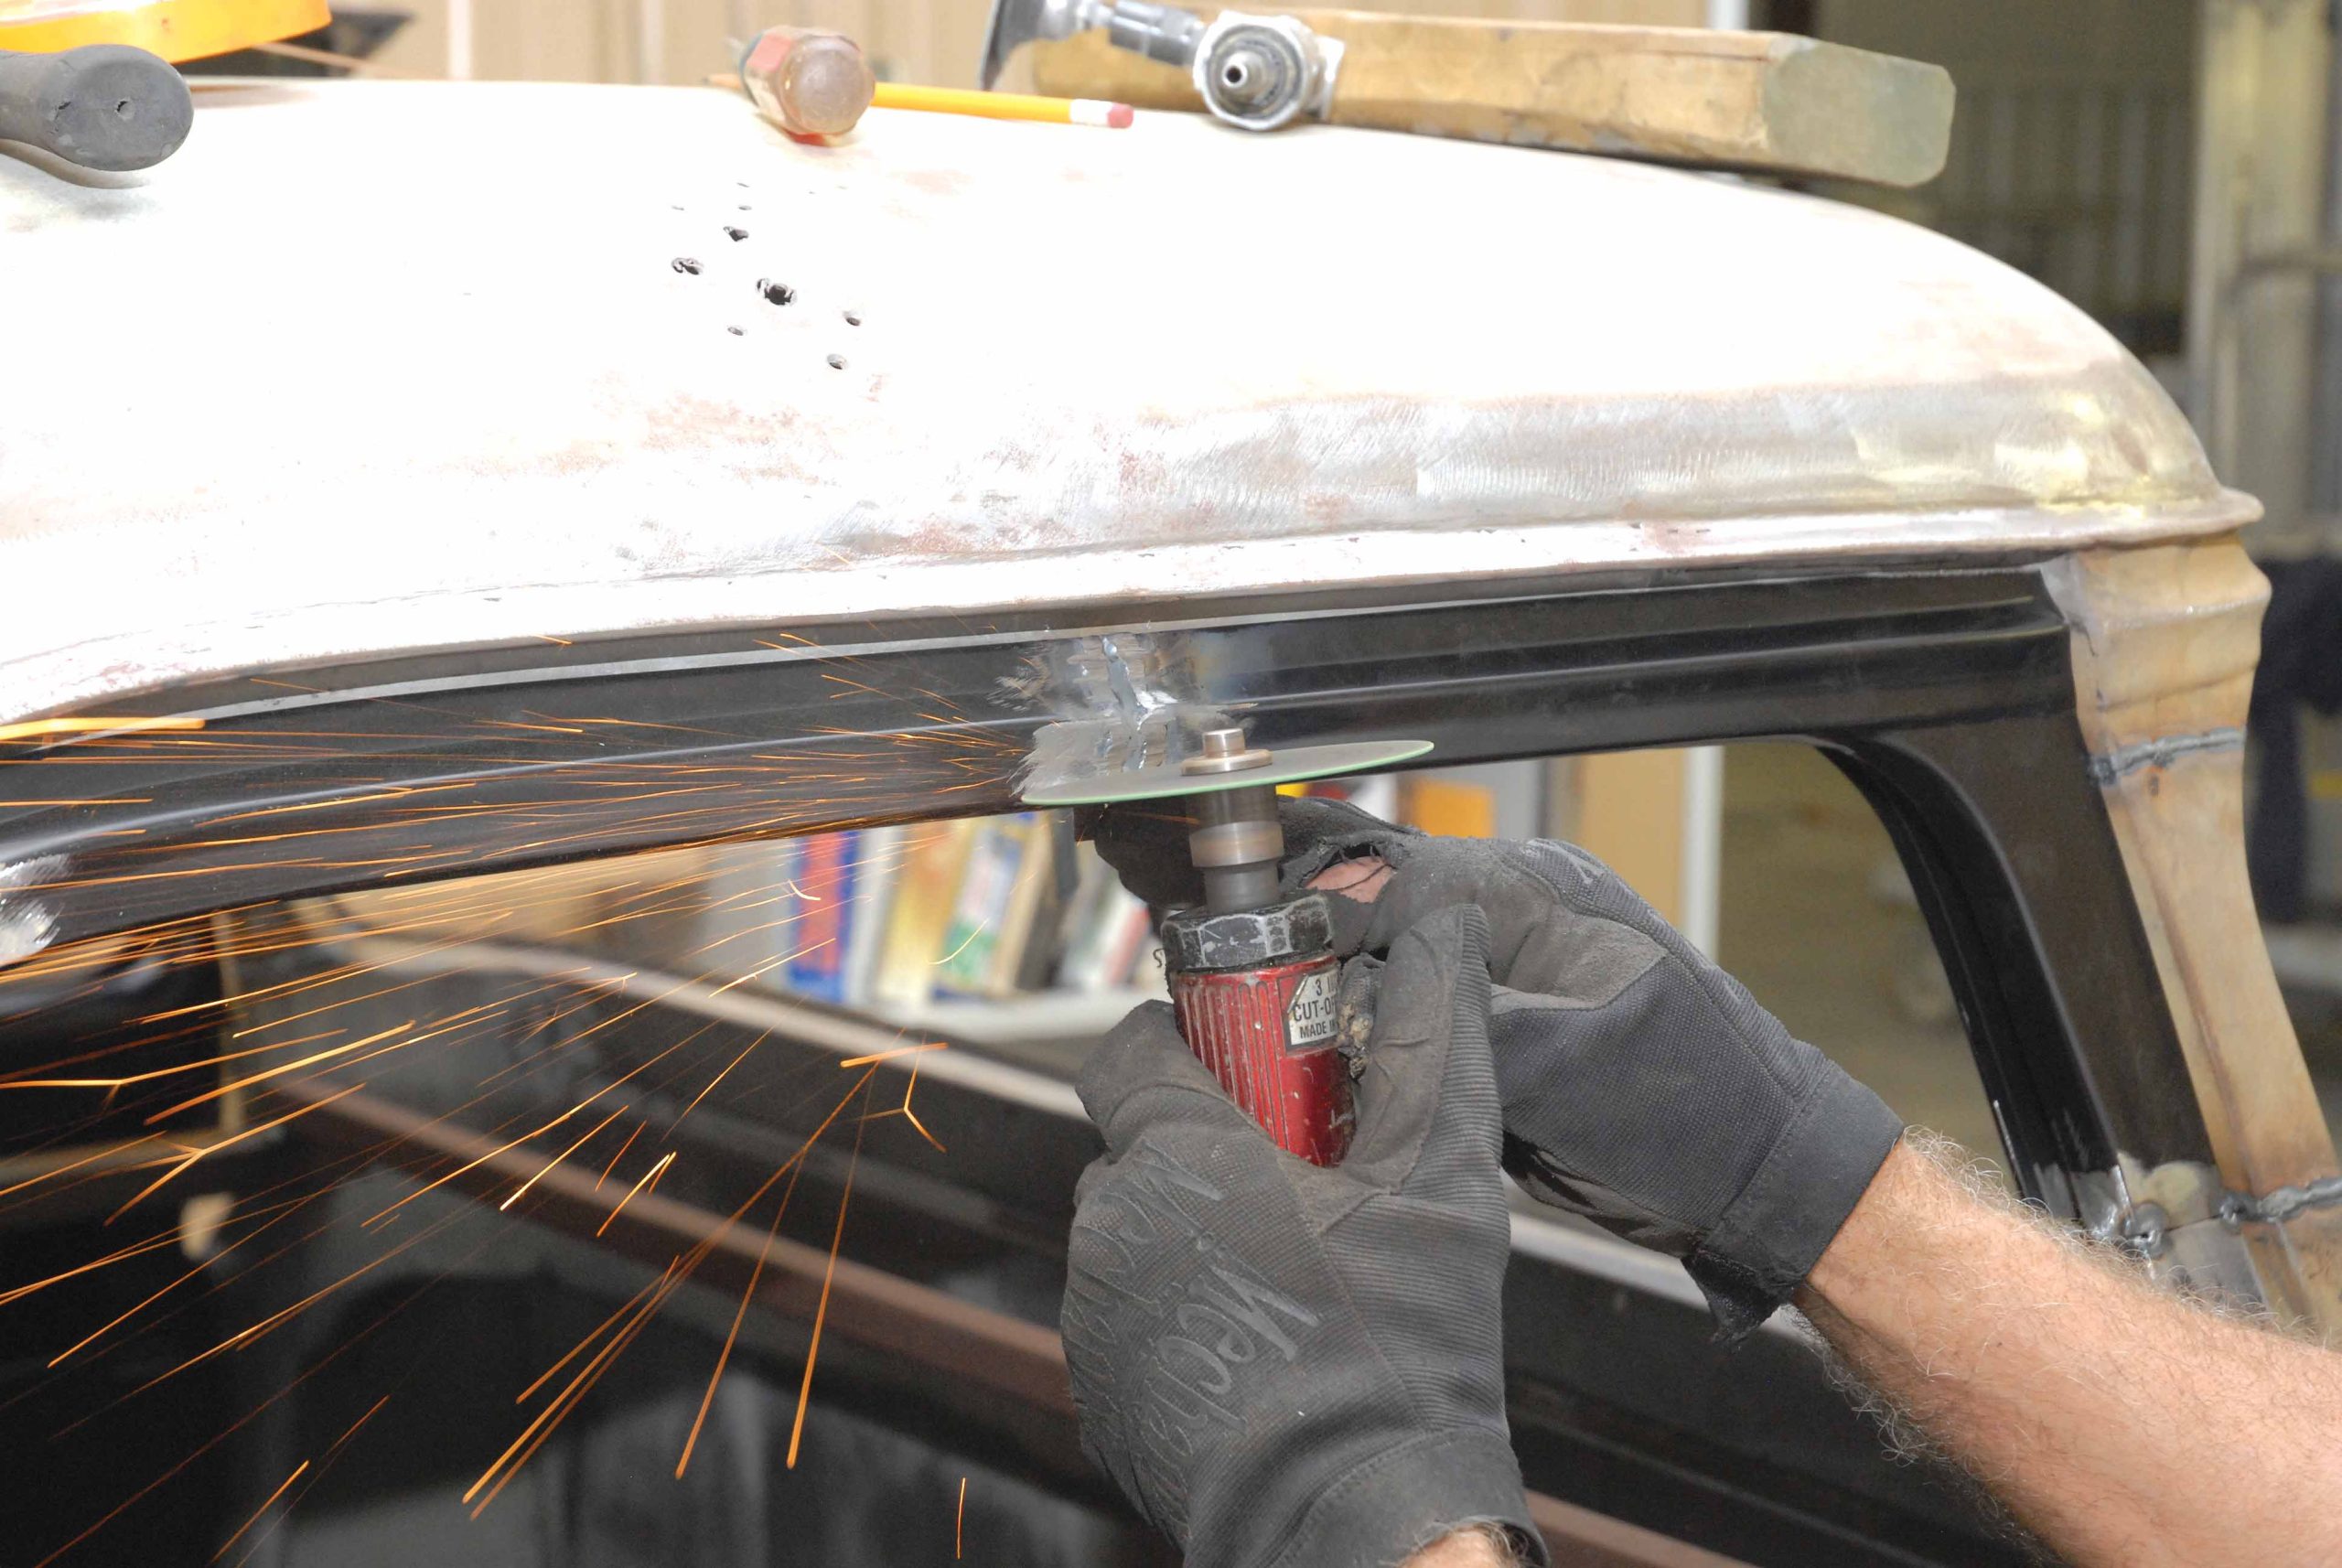
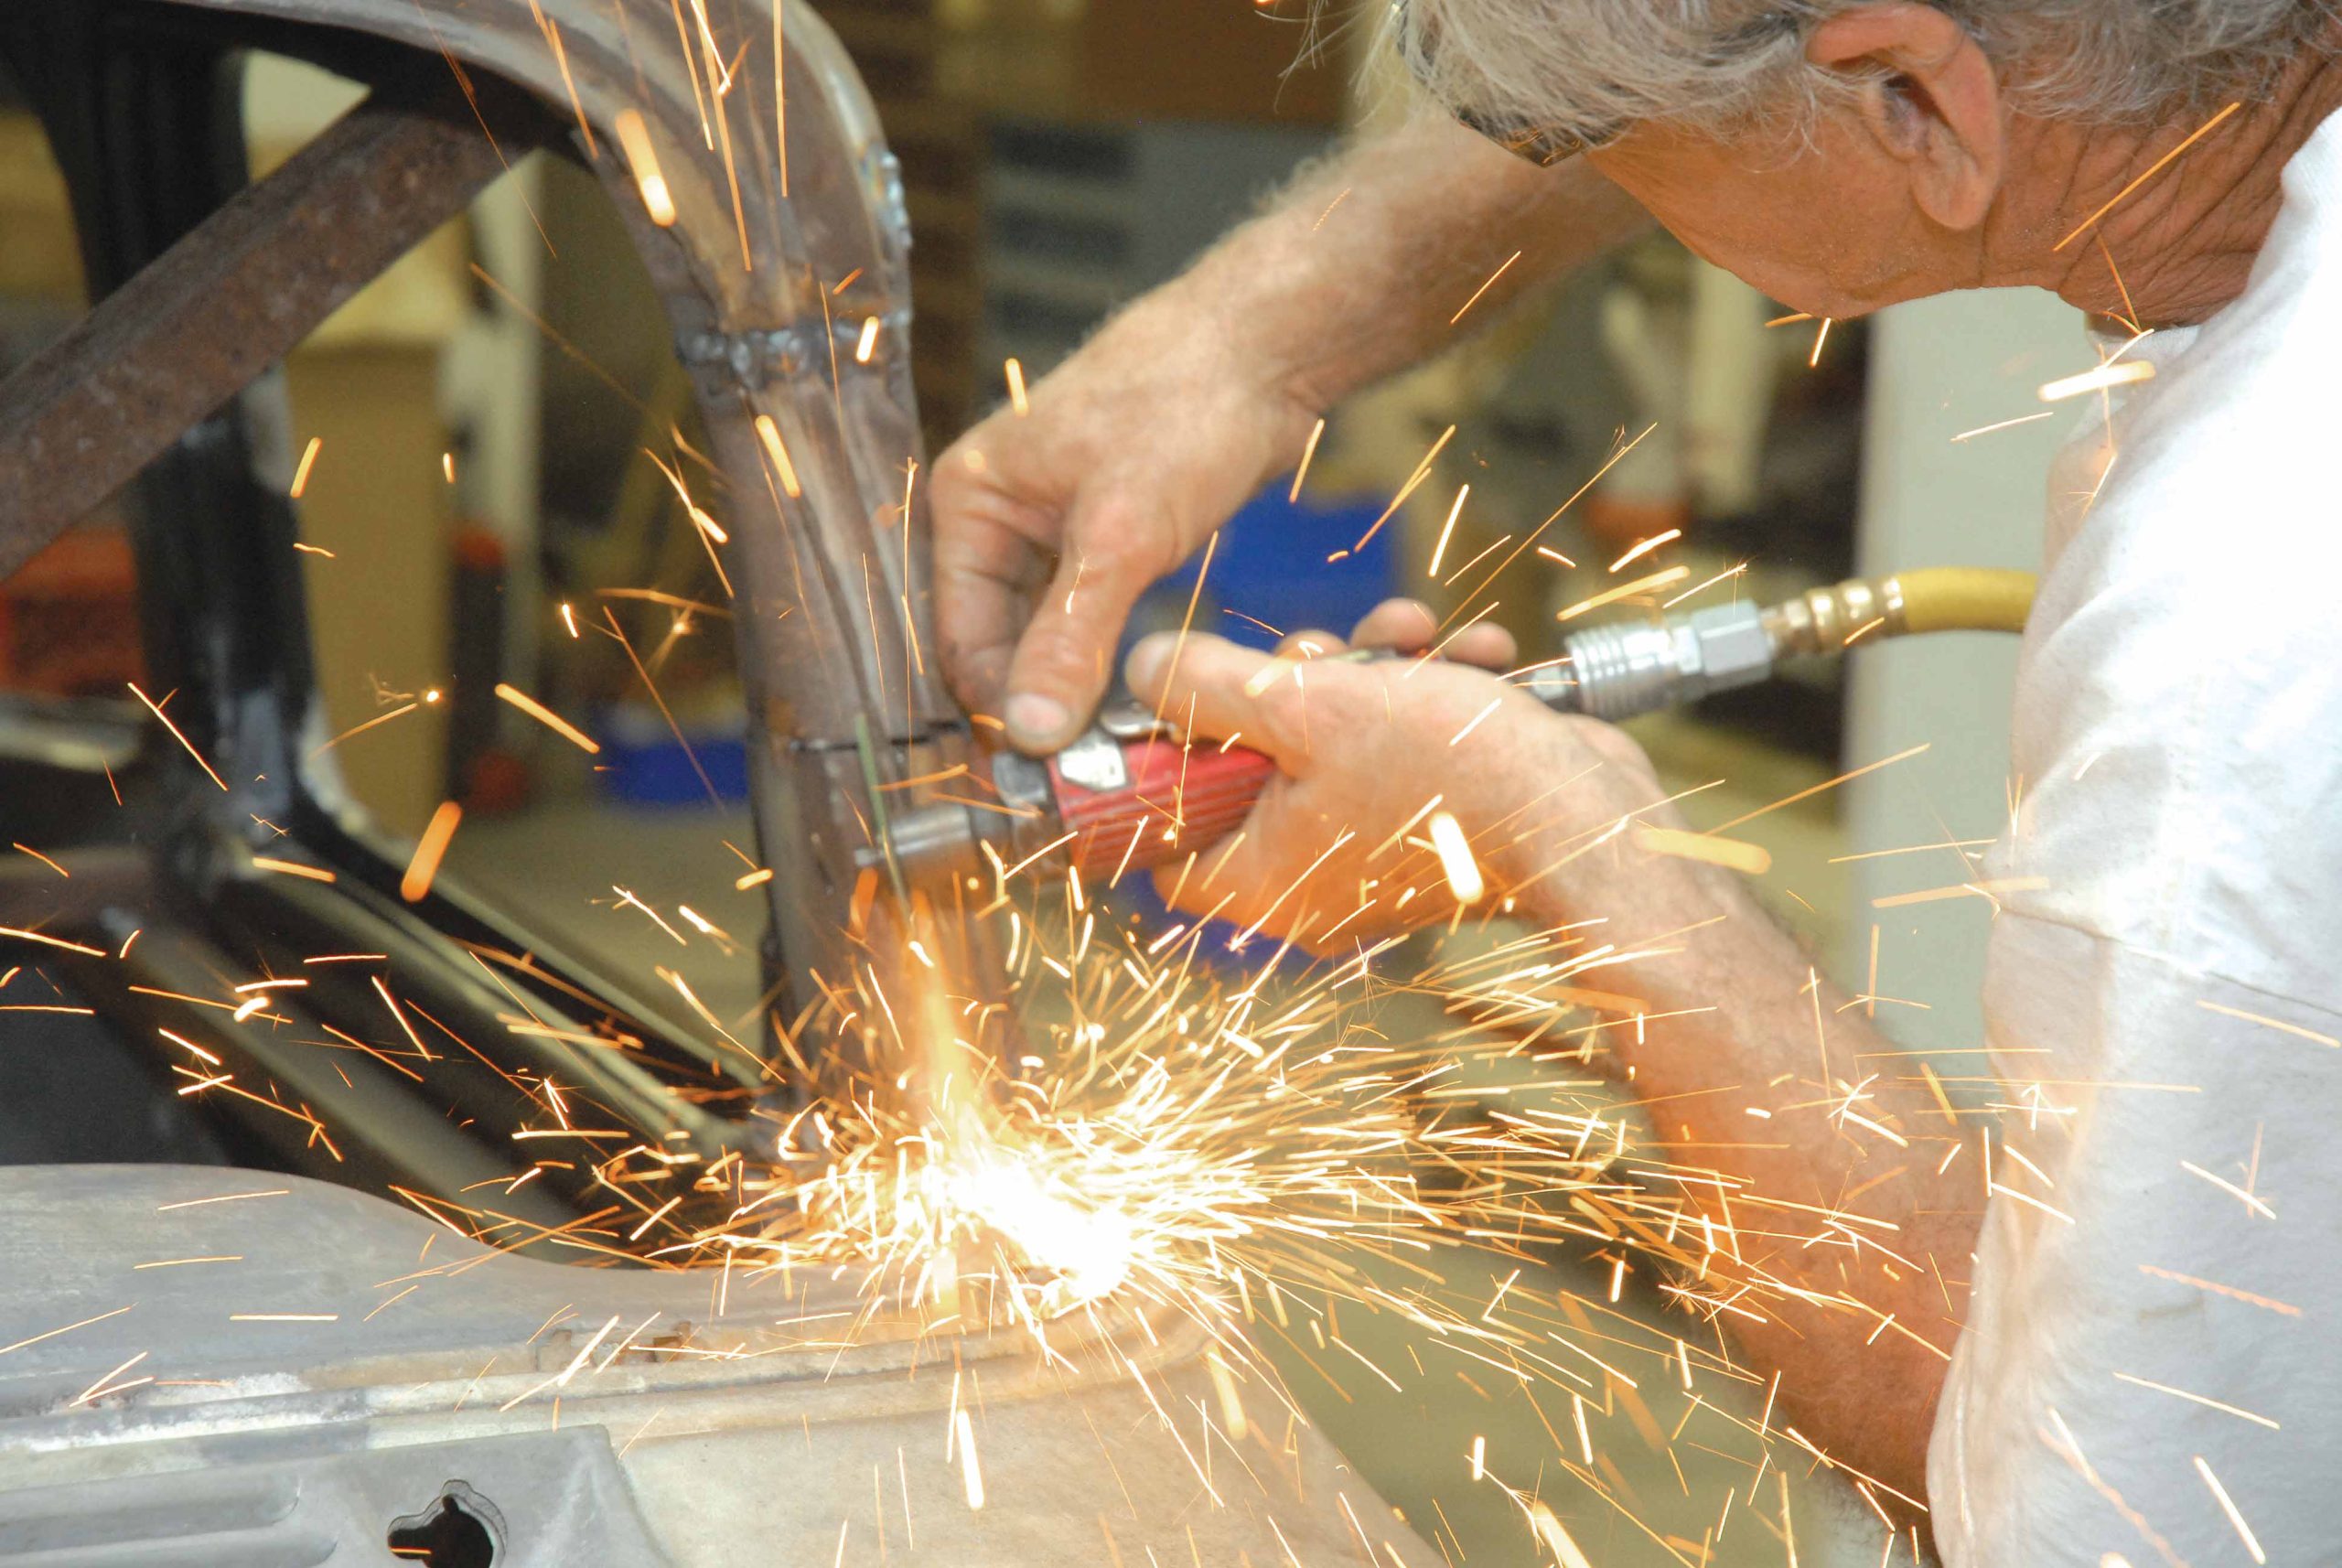
63. Next, small sections of the new doorpost are cut away, using a cut-off tool, and are reangled to match the front pillars of the cab.
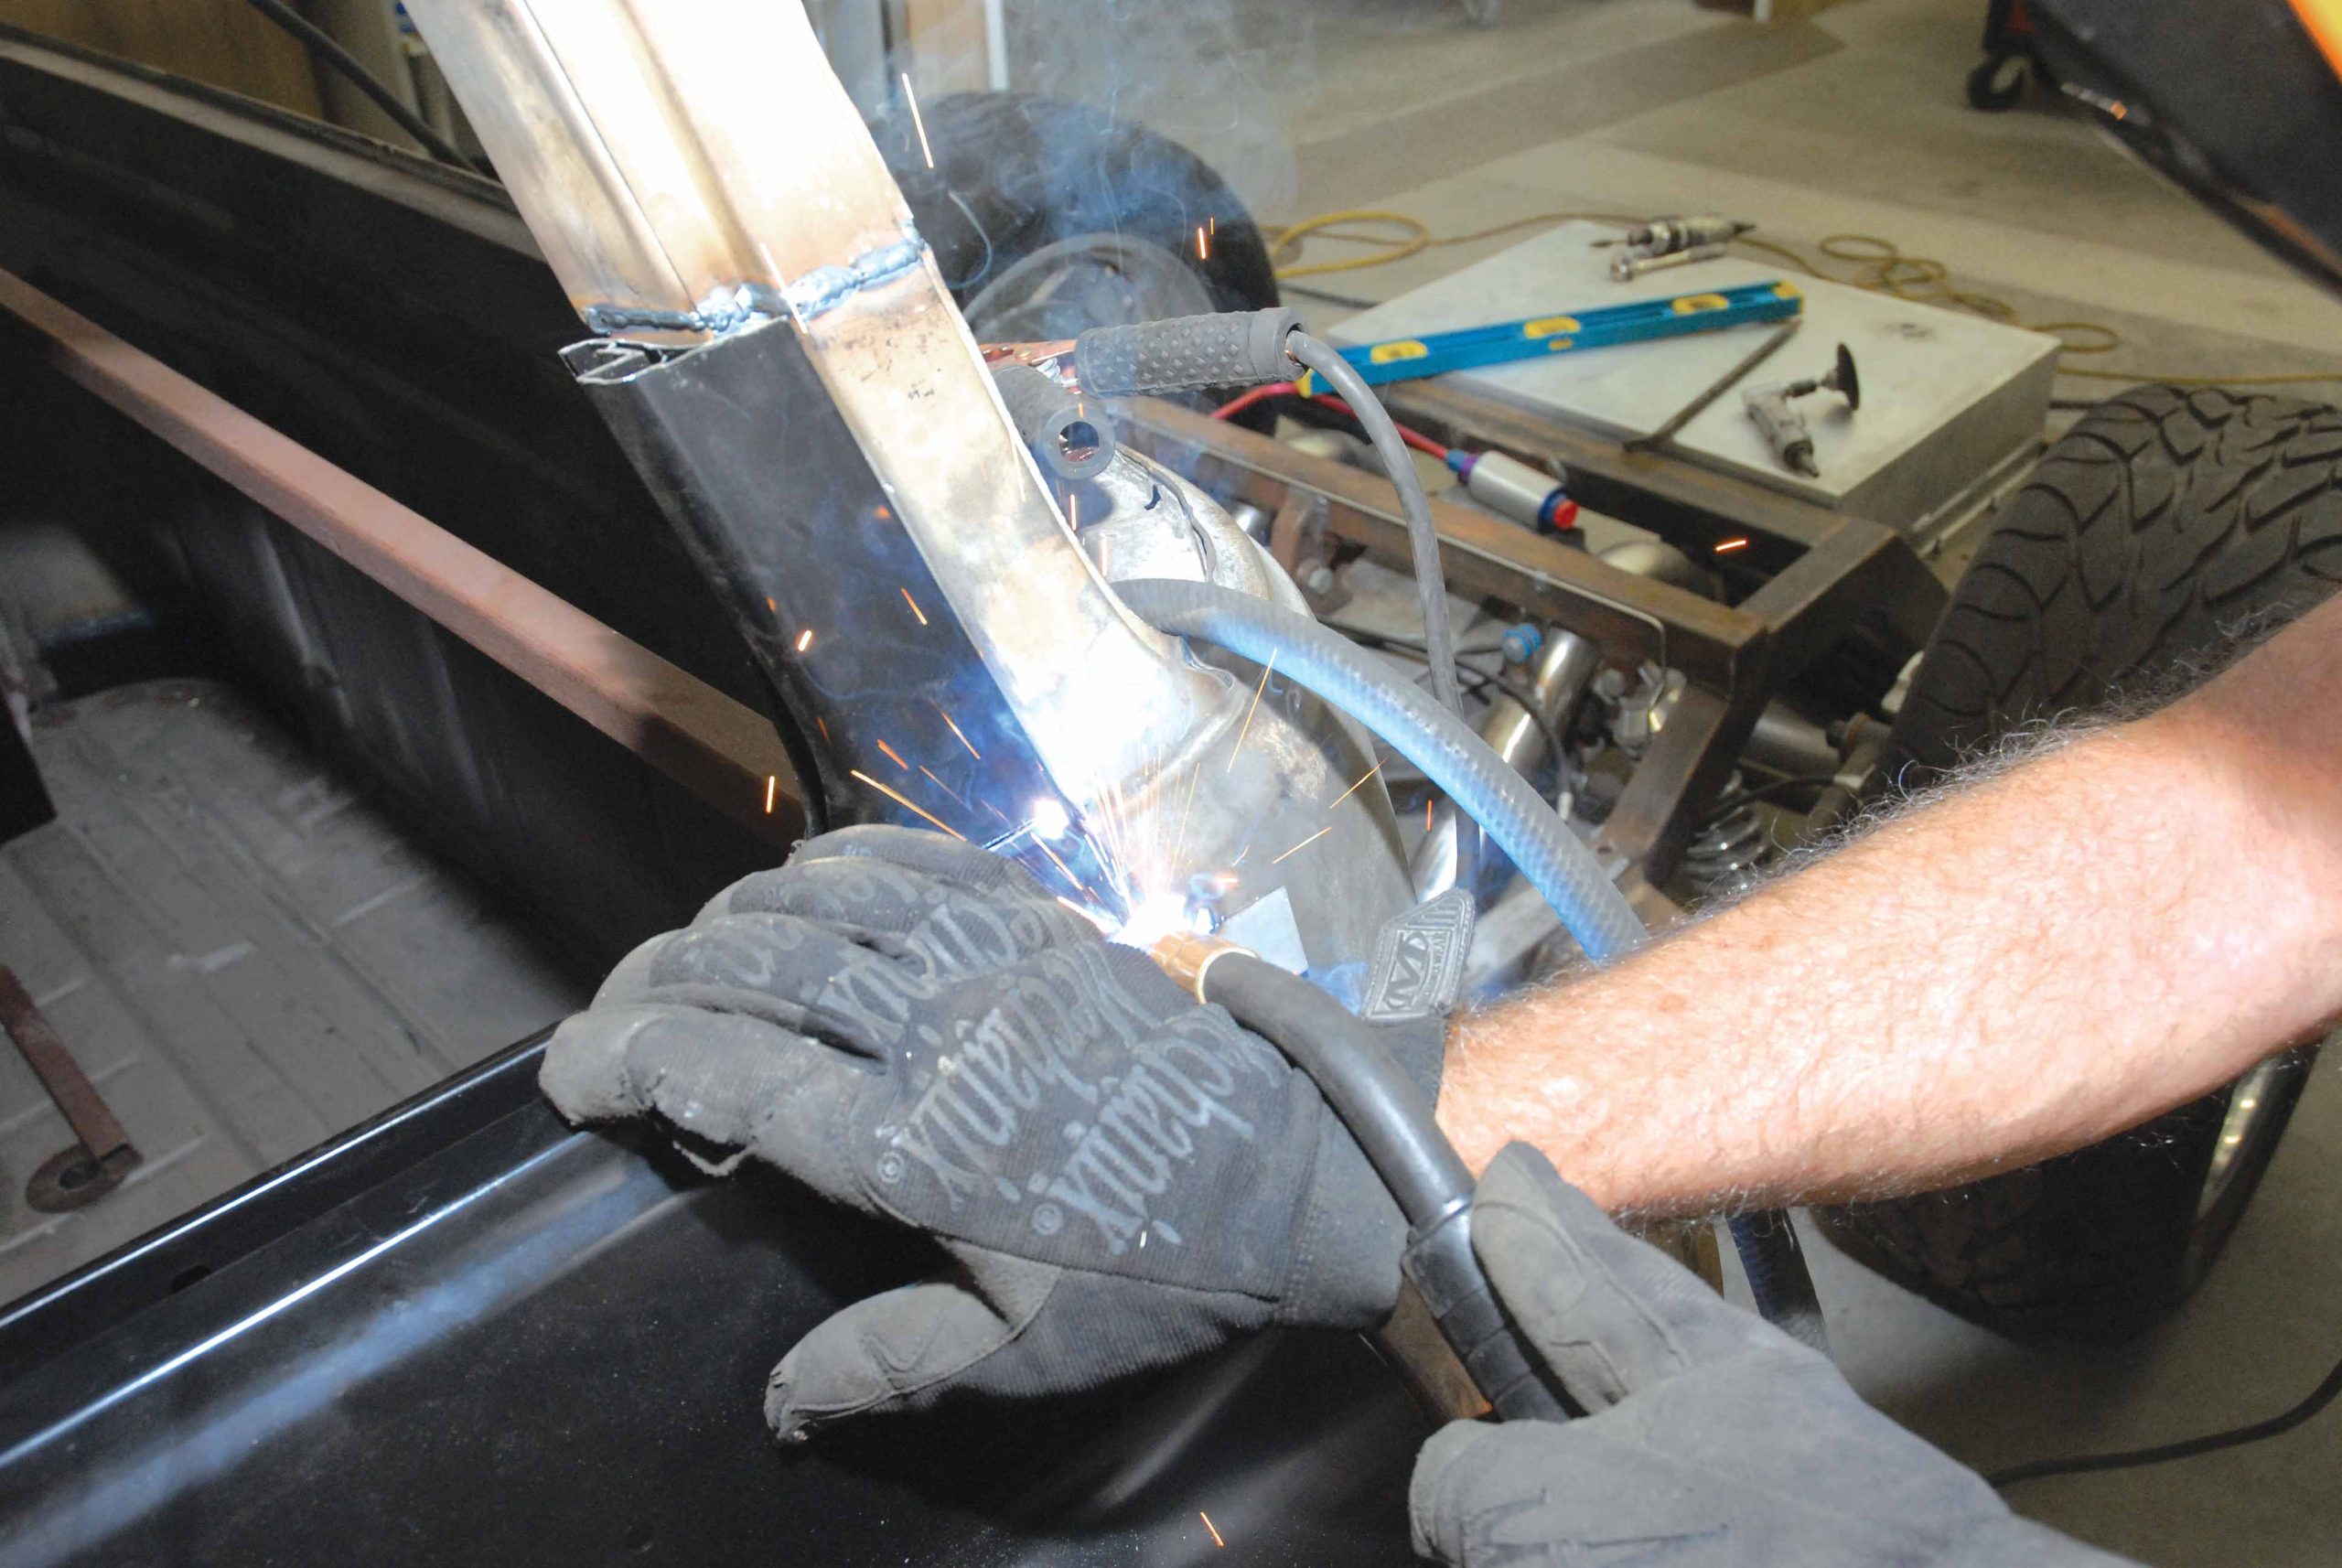
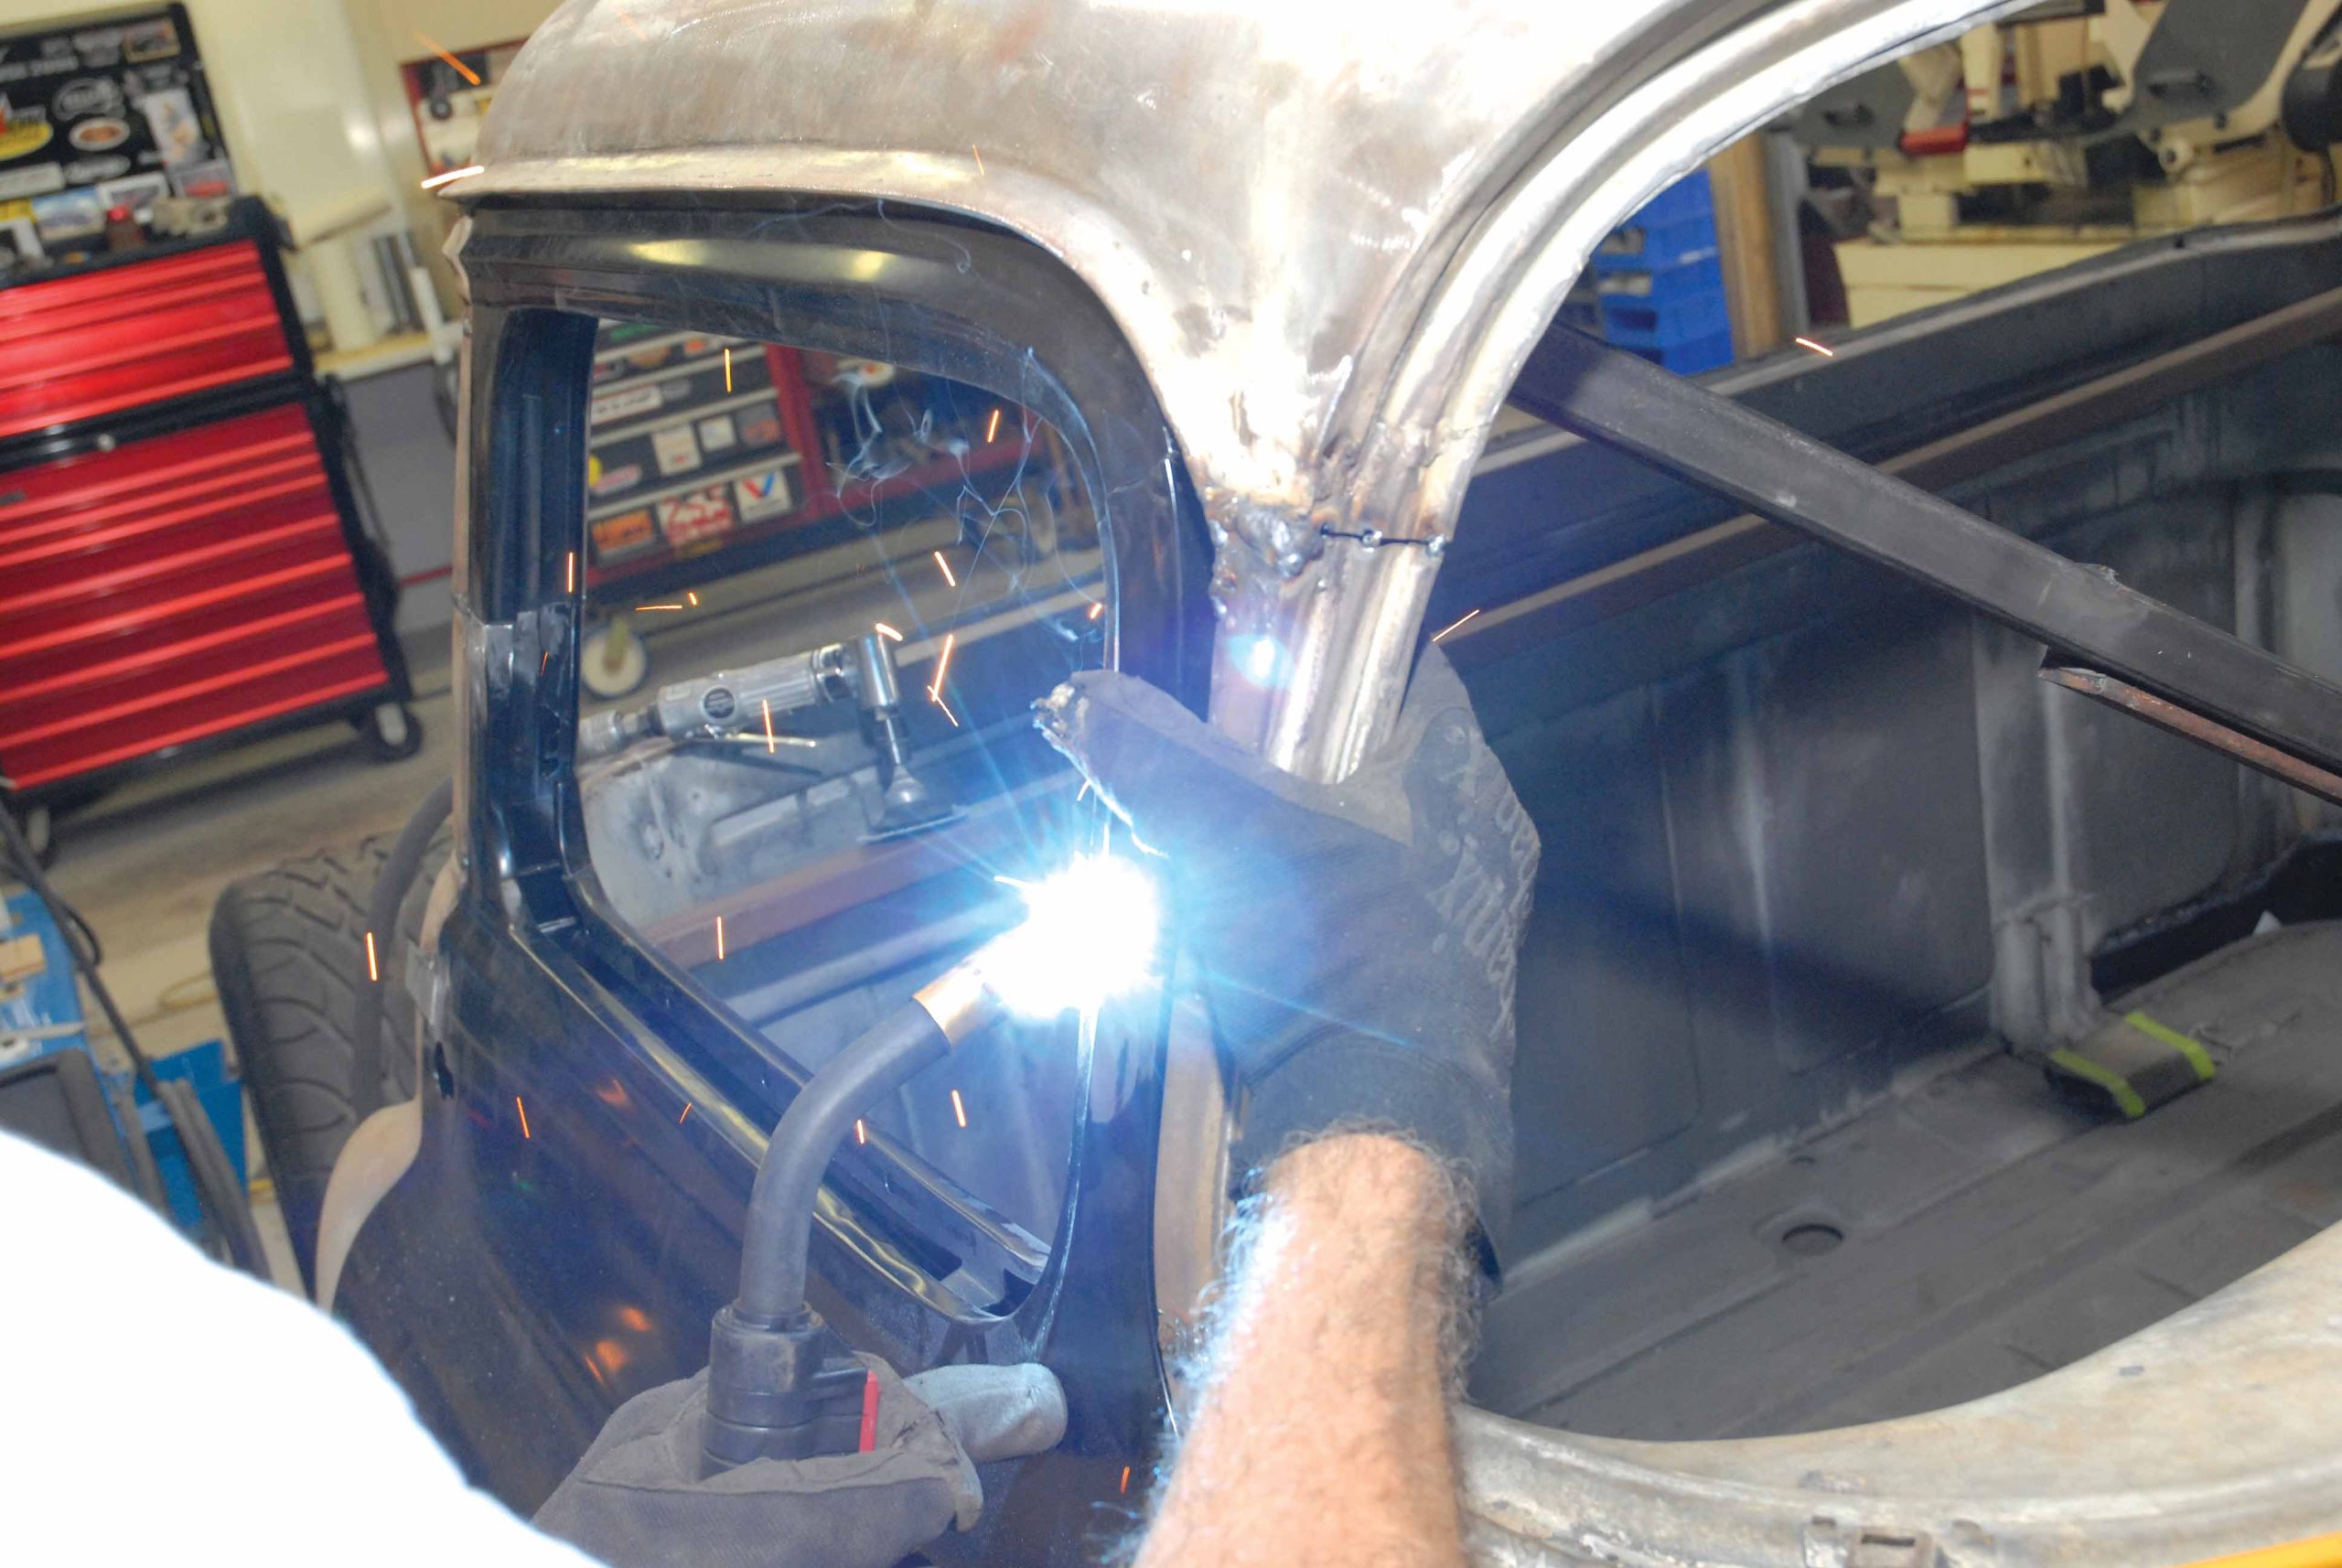
64-65. Everything pretty much fits the way it's suppose to, so it's time to weld it back together!
64-65. Everything pretty much fits the way it's suppose to, so it's time to weld it back together!
66. In the meantime, Tim is over on the driver's side of the '56 grinding welds.
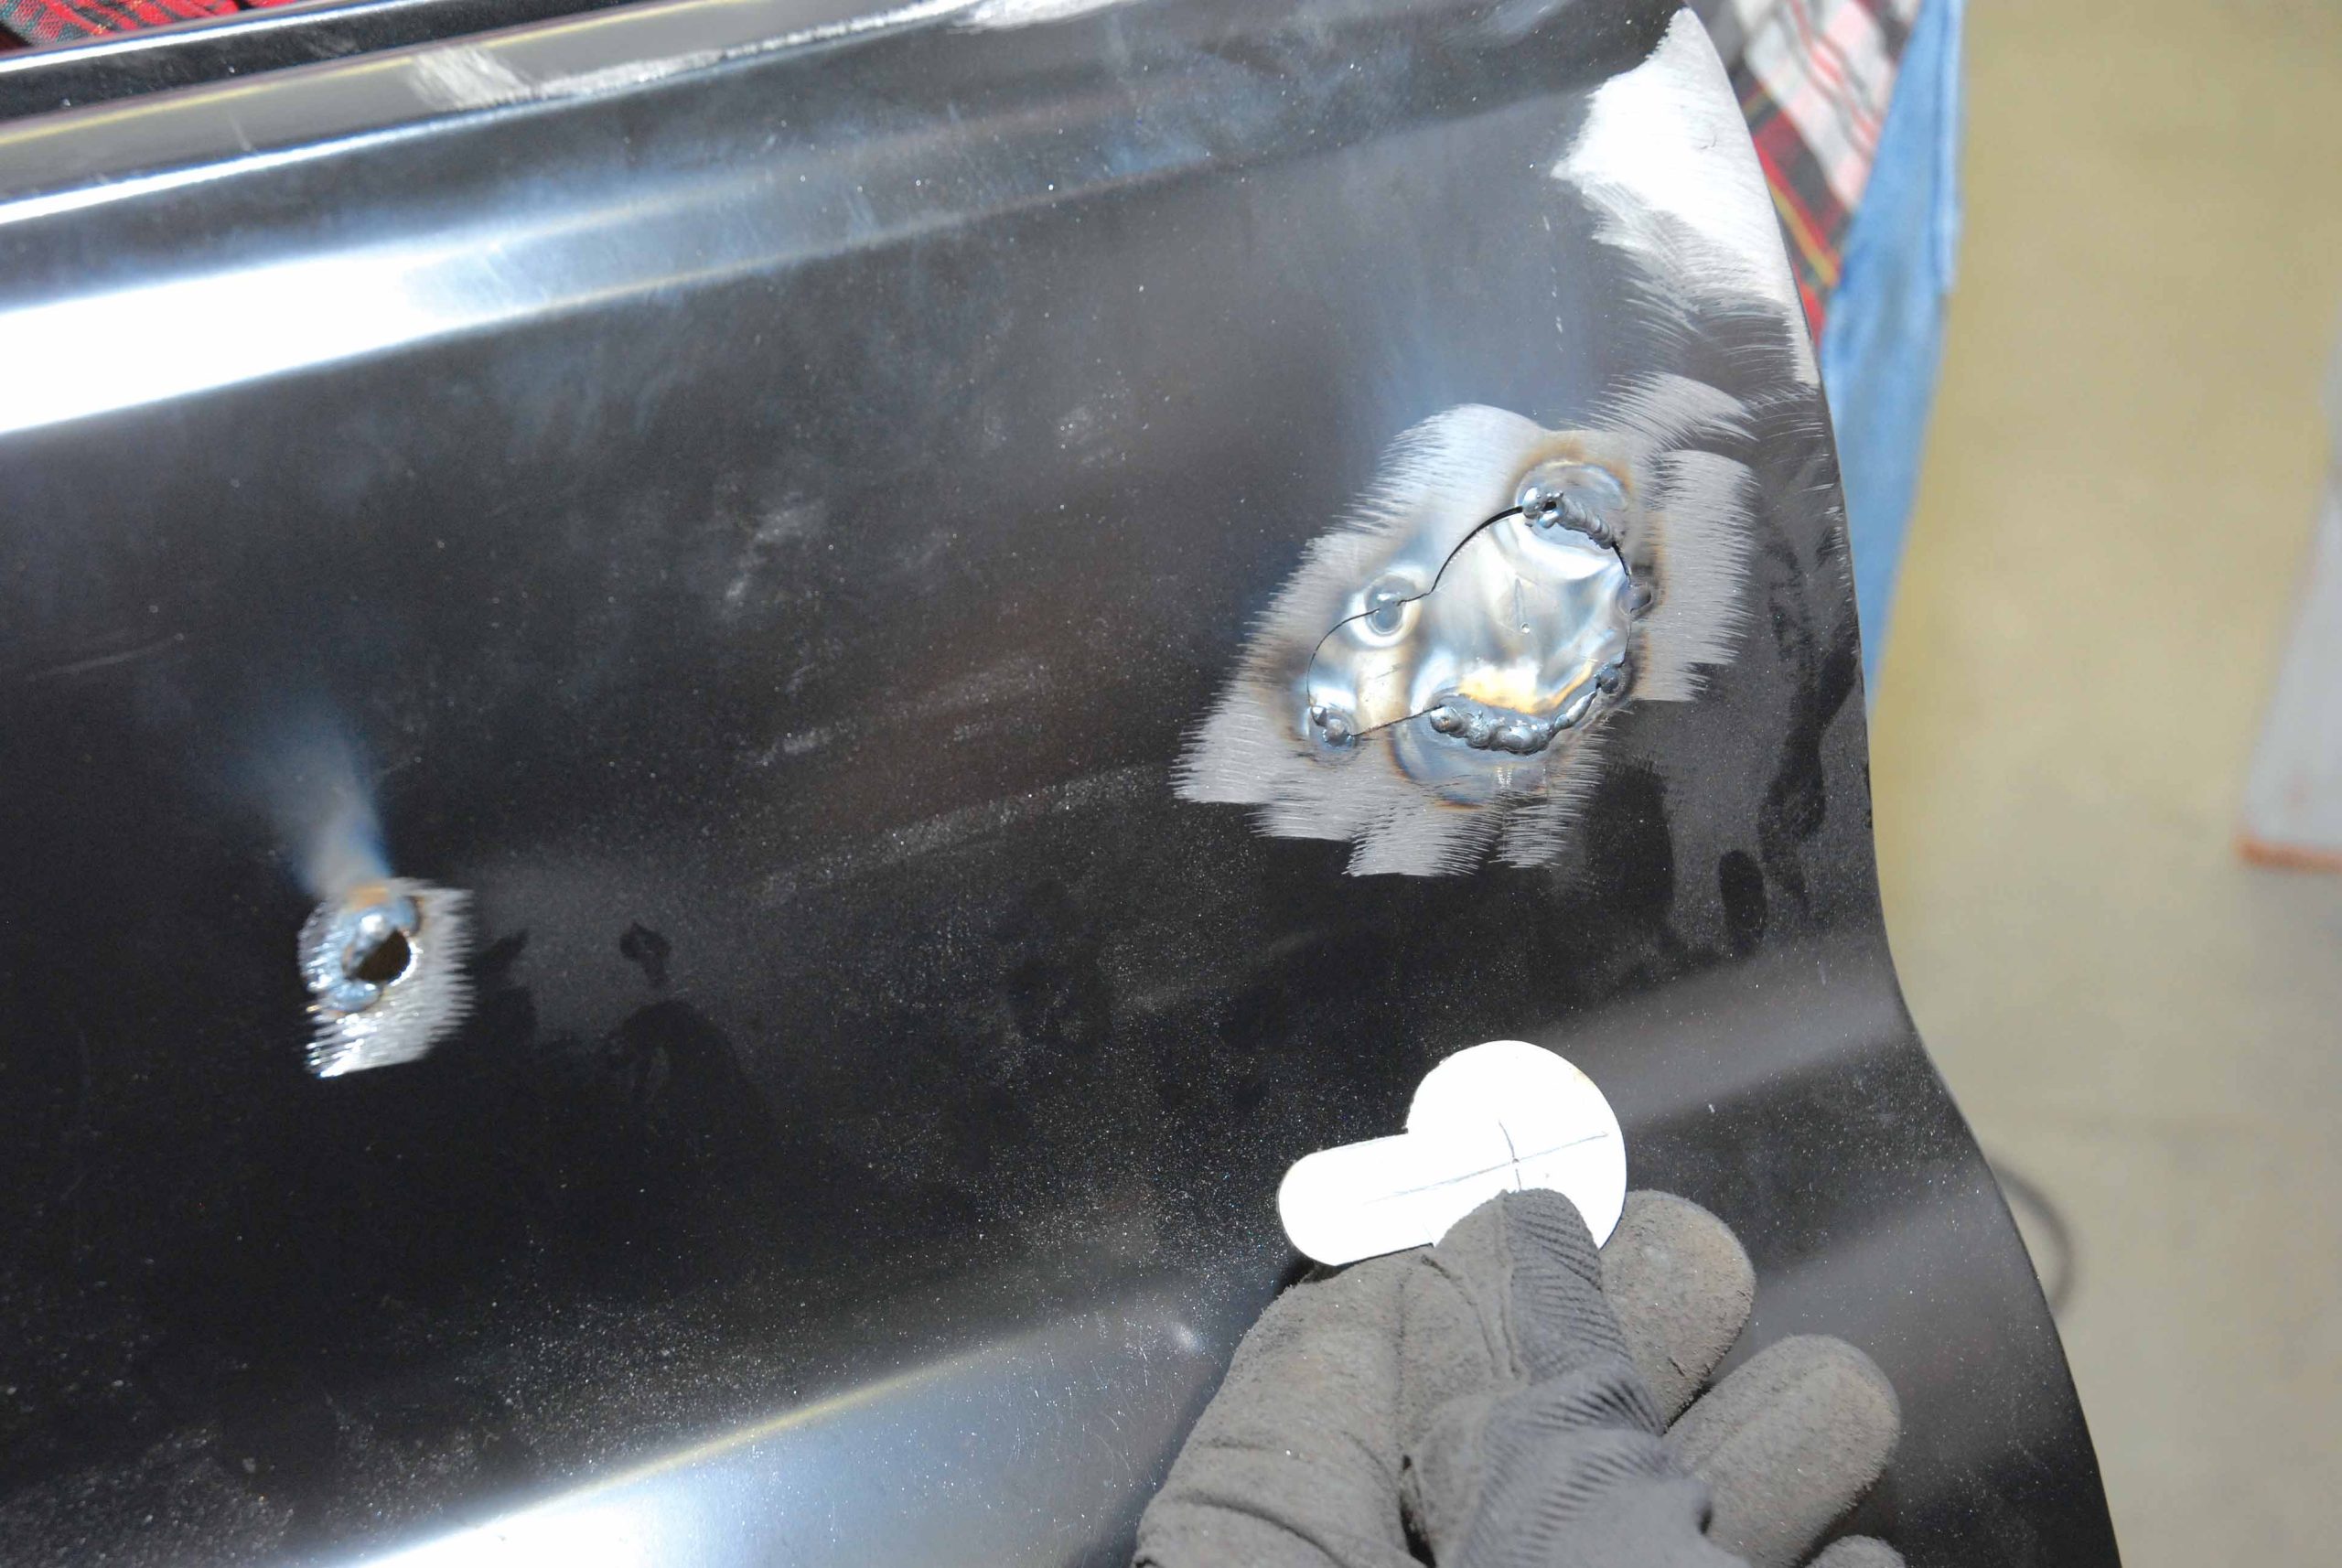
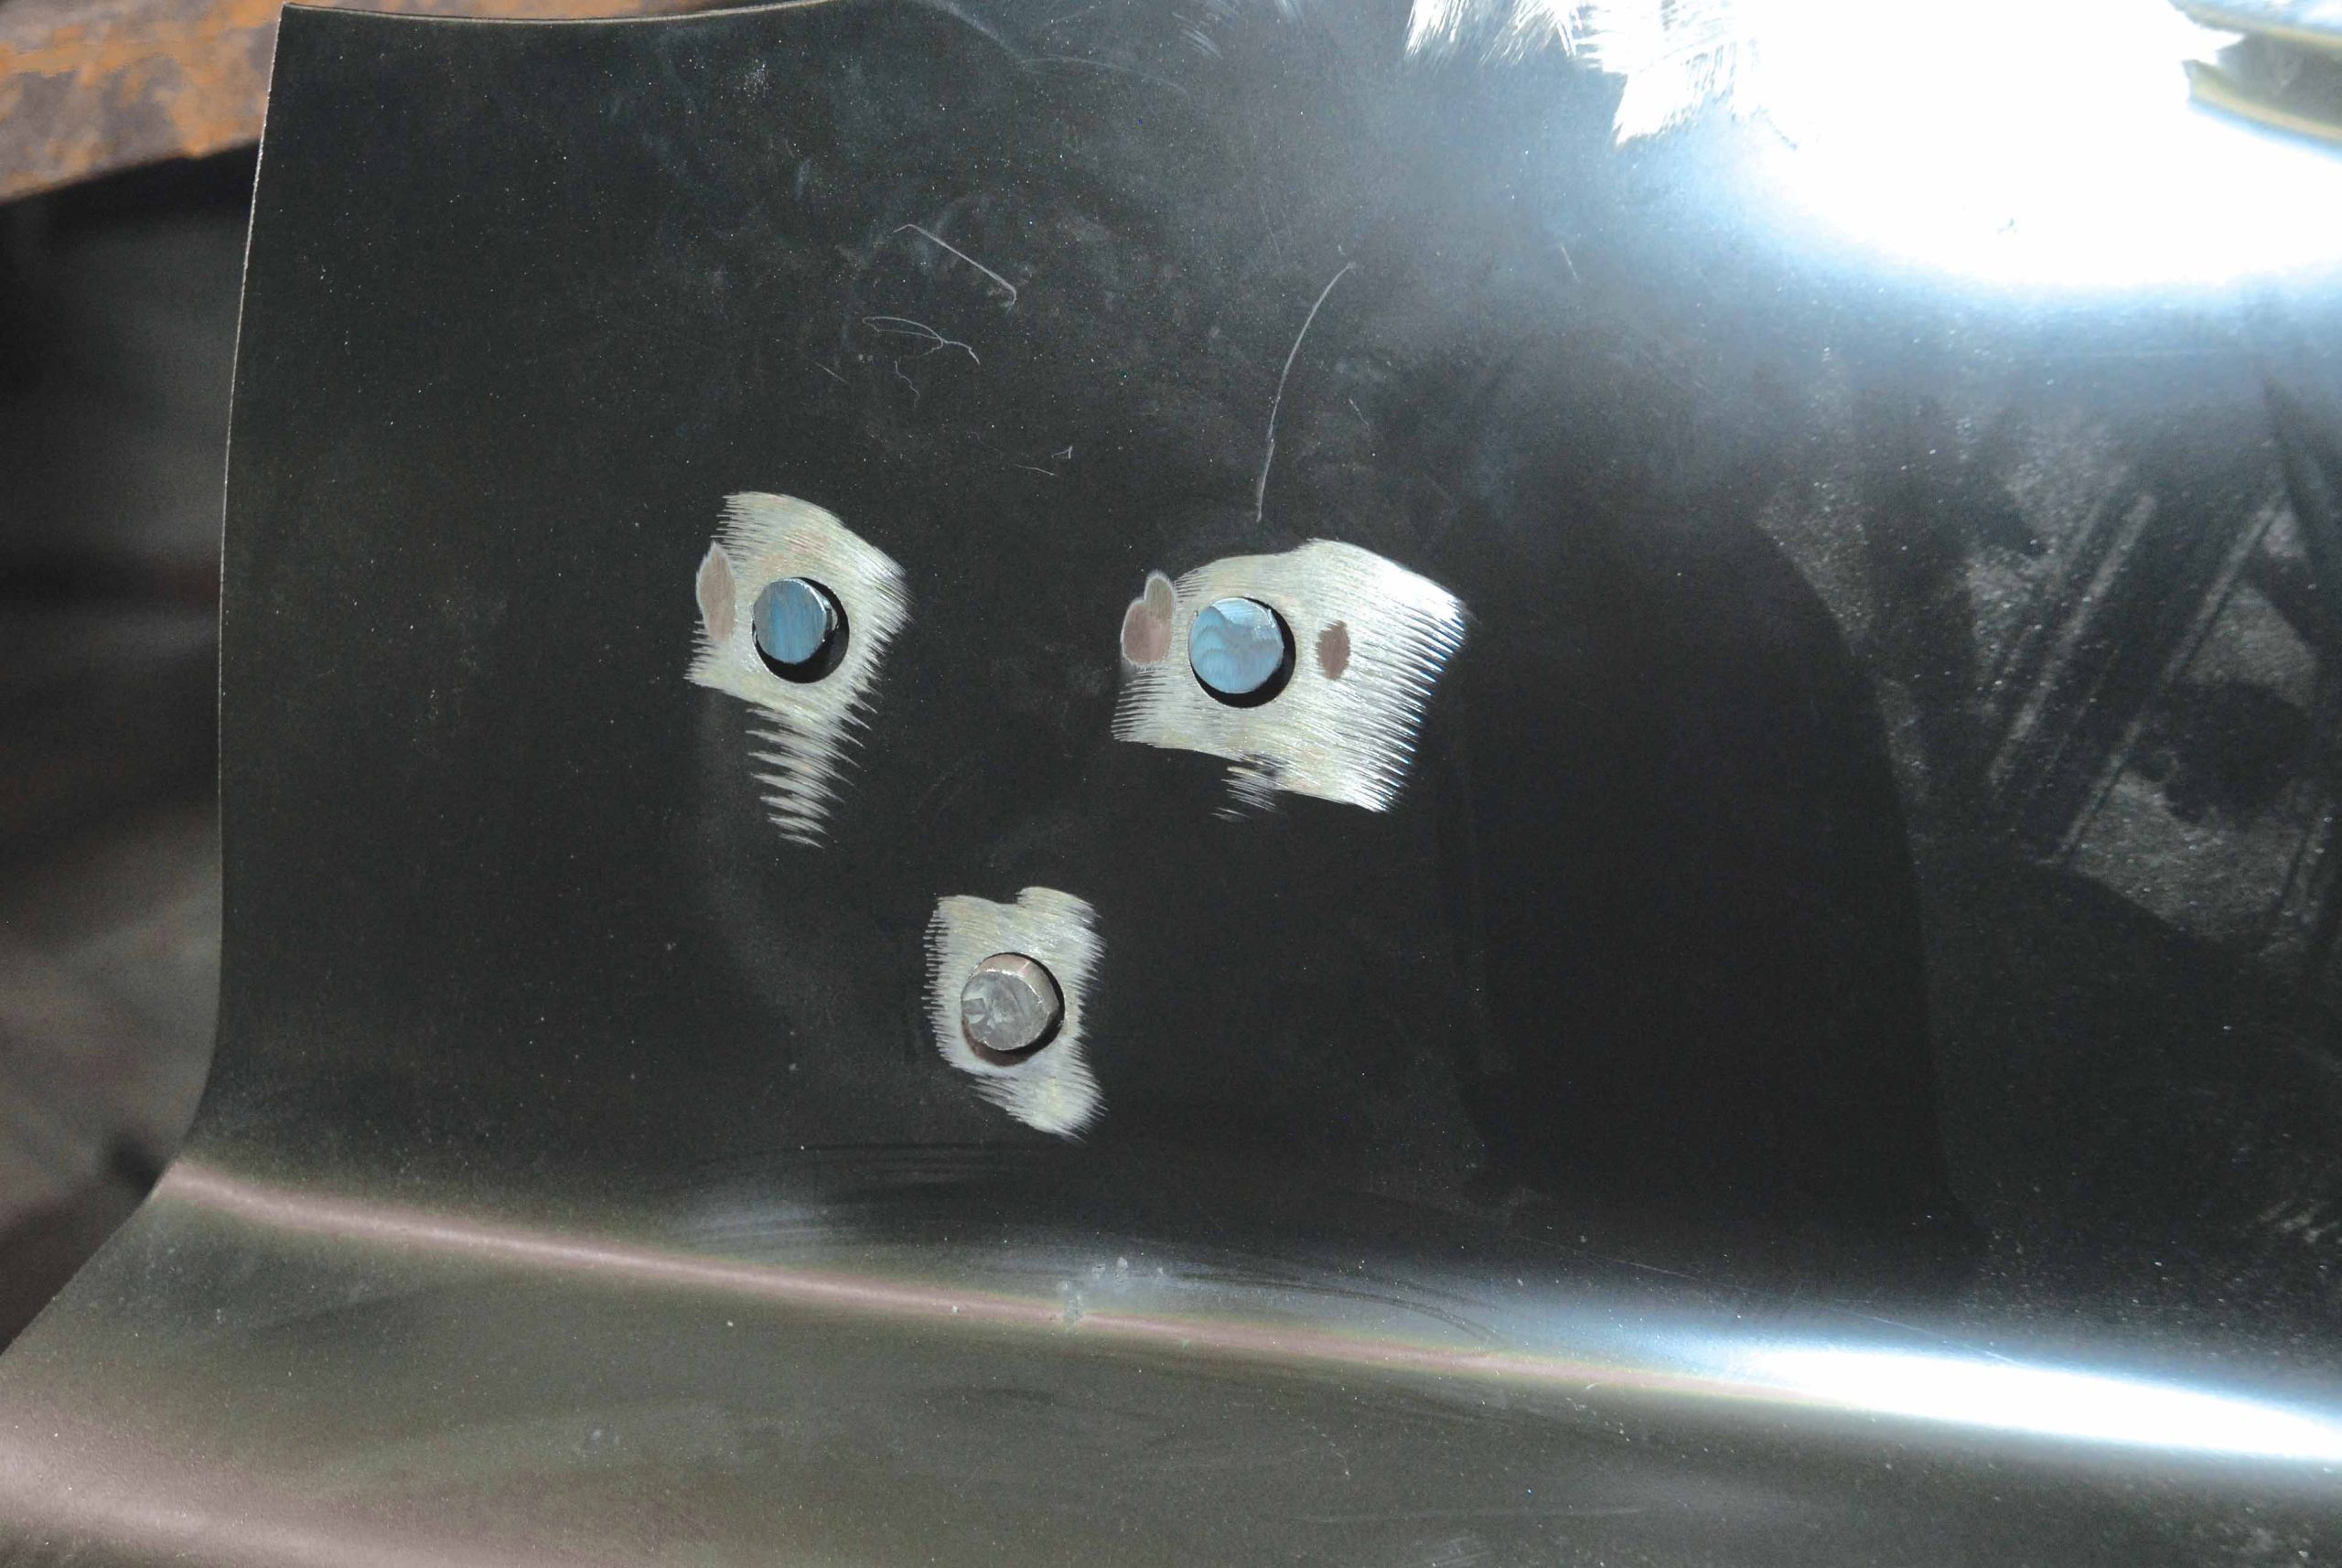
67-68. Since our Cimtex Super Cameo will have electrically operated door solenoids, or pop locks, the guys elected to weld in the door handles and driver's side mirror provision.
67-68. Since our Cimtex Super Cameo will have electrically operated door solenoids, or pop locks, the guys elected to weld in the door handles and driver's side mirror provision.
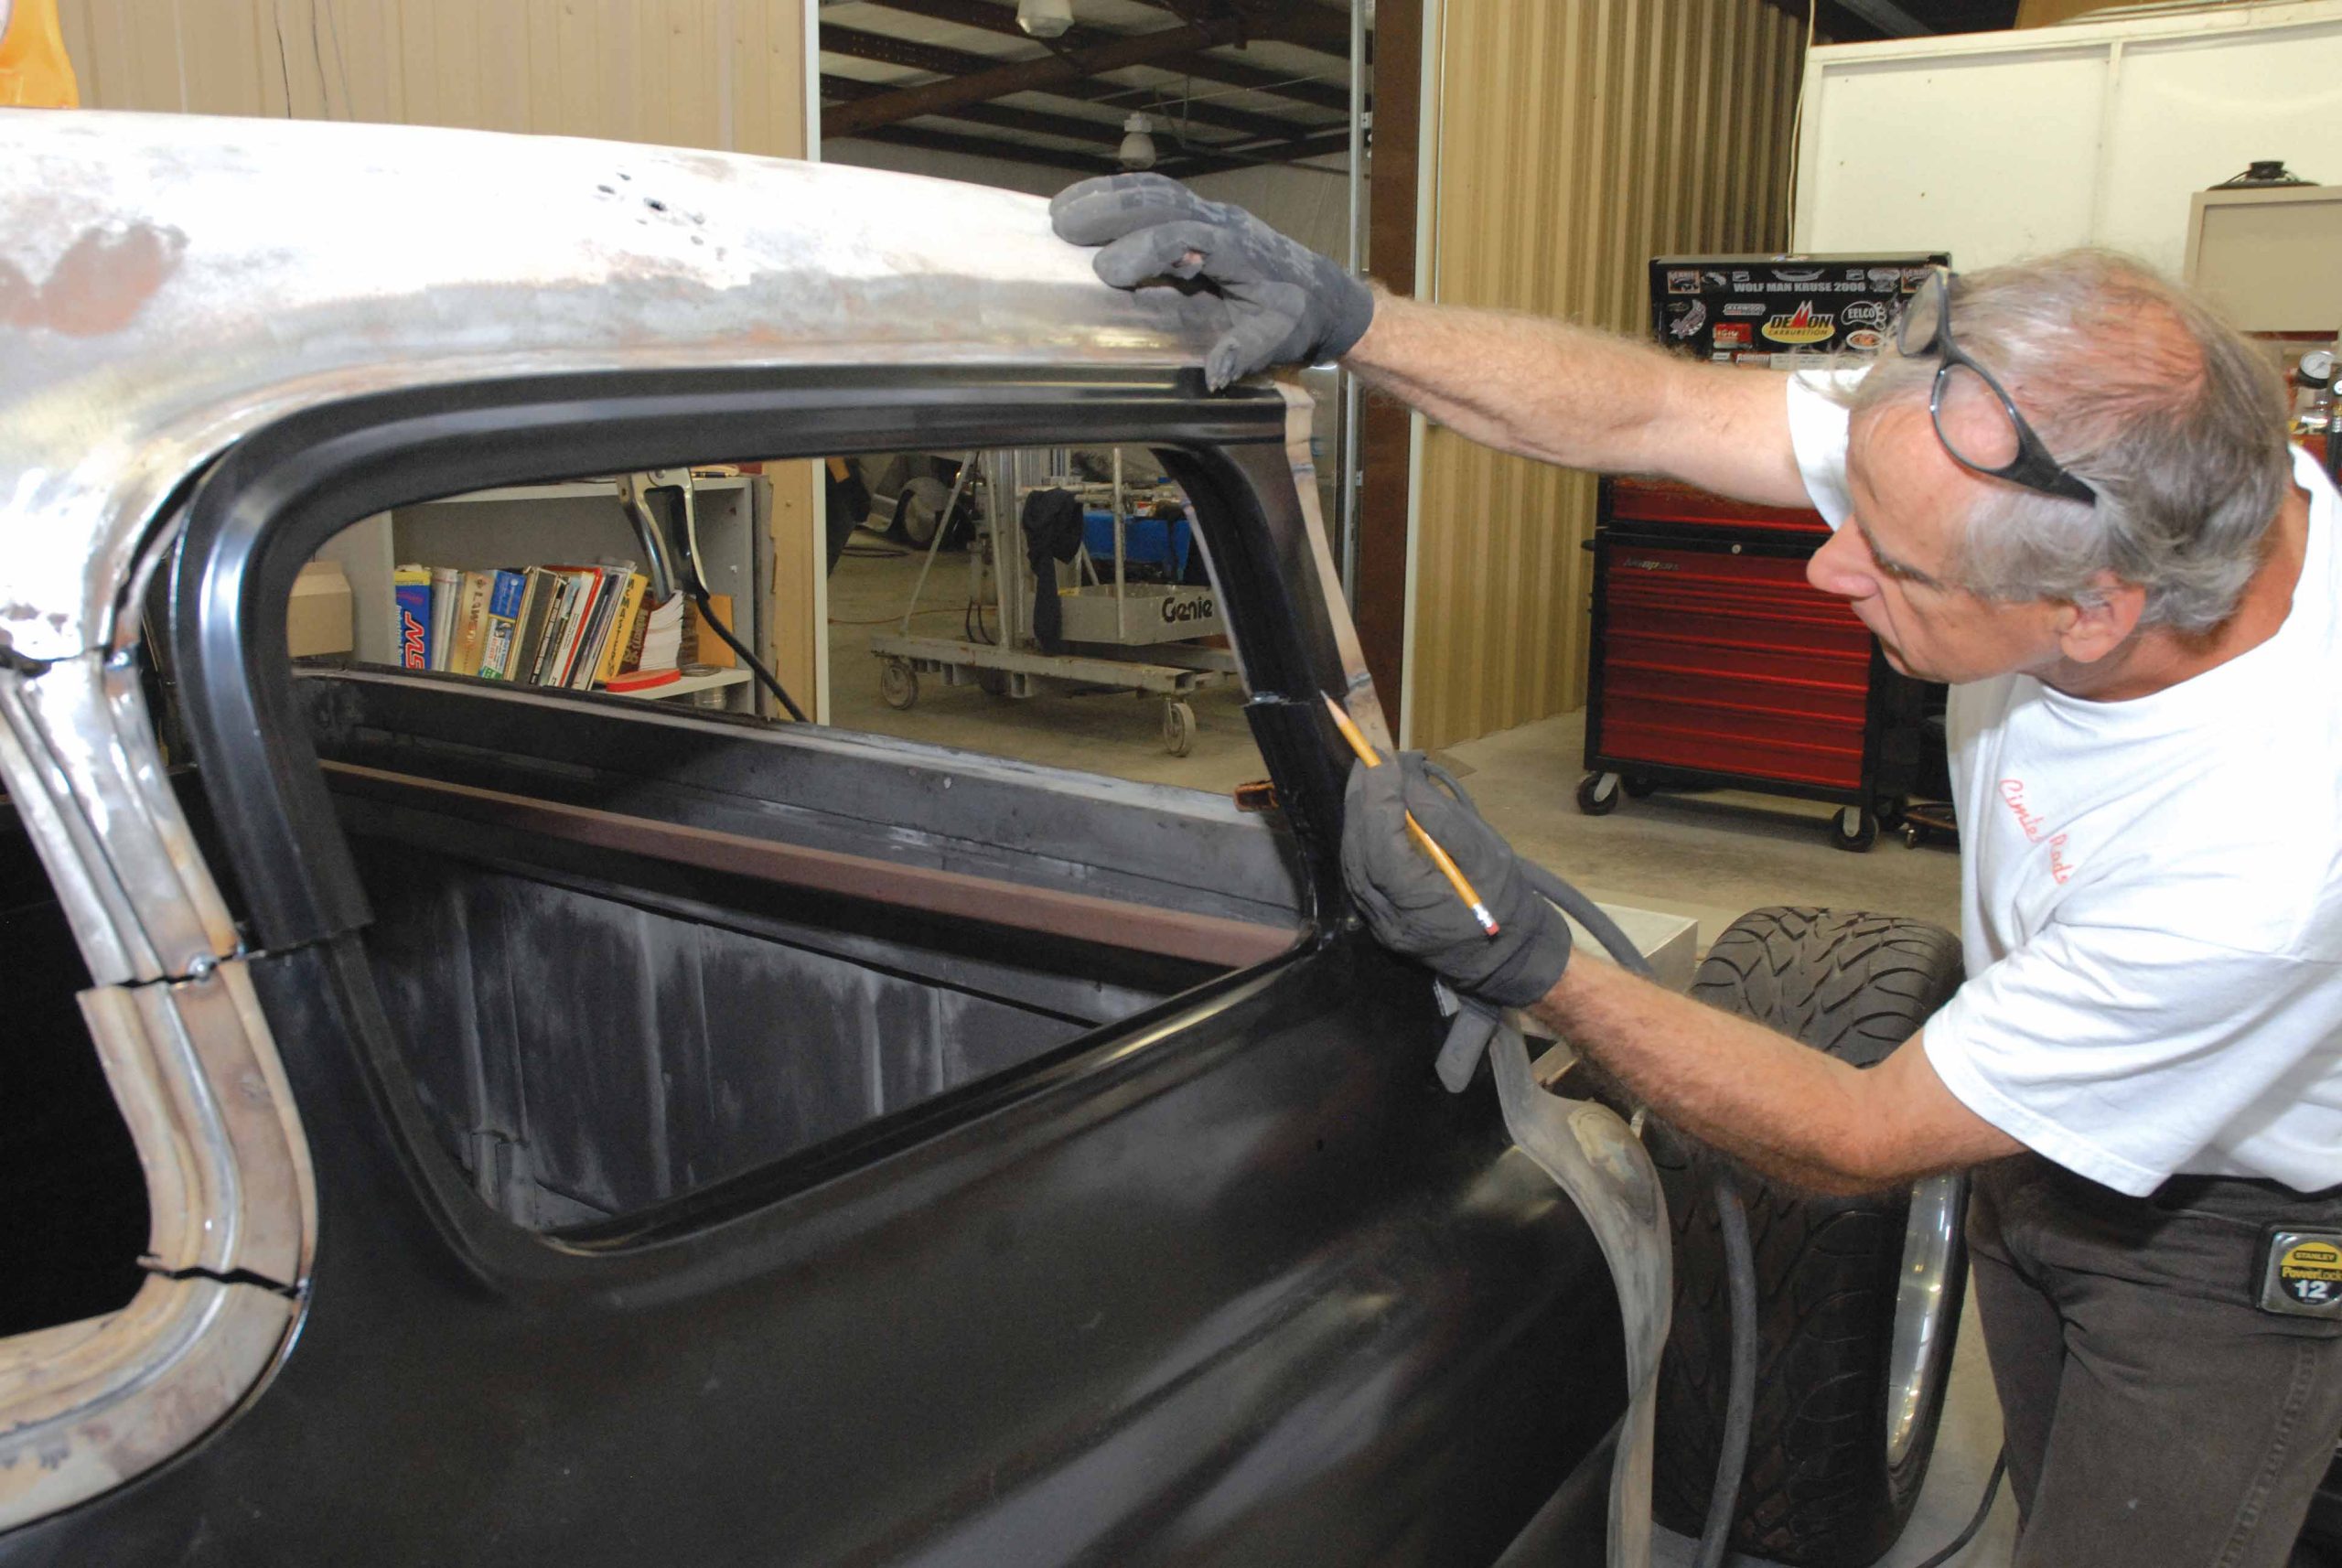
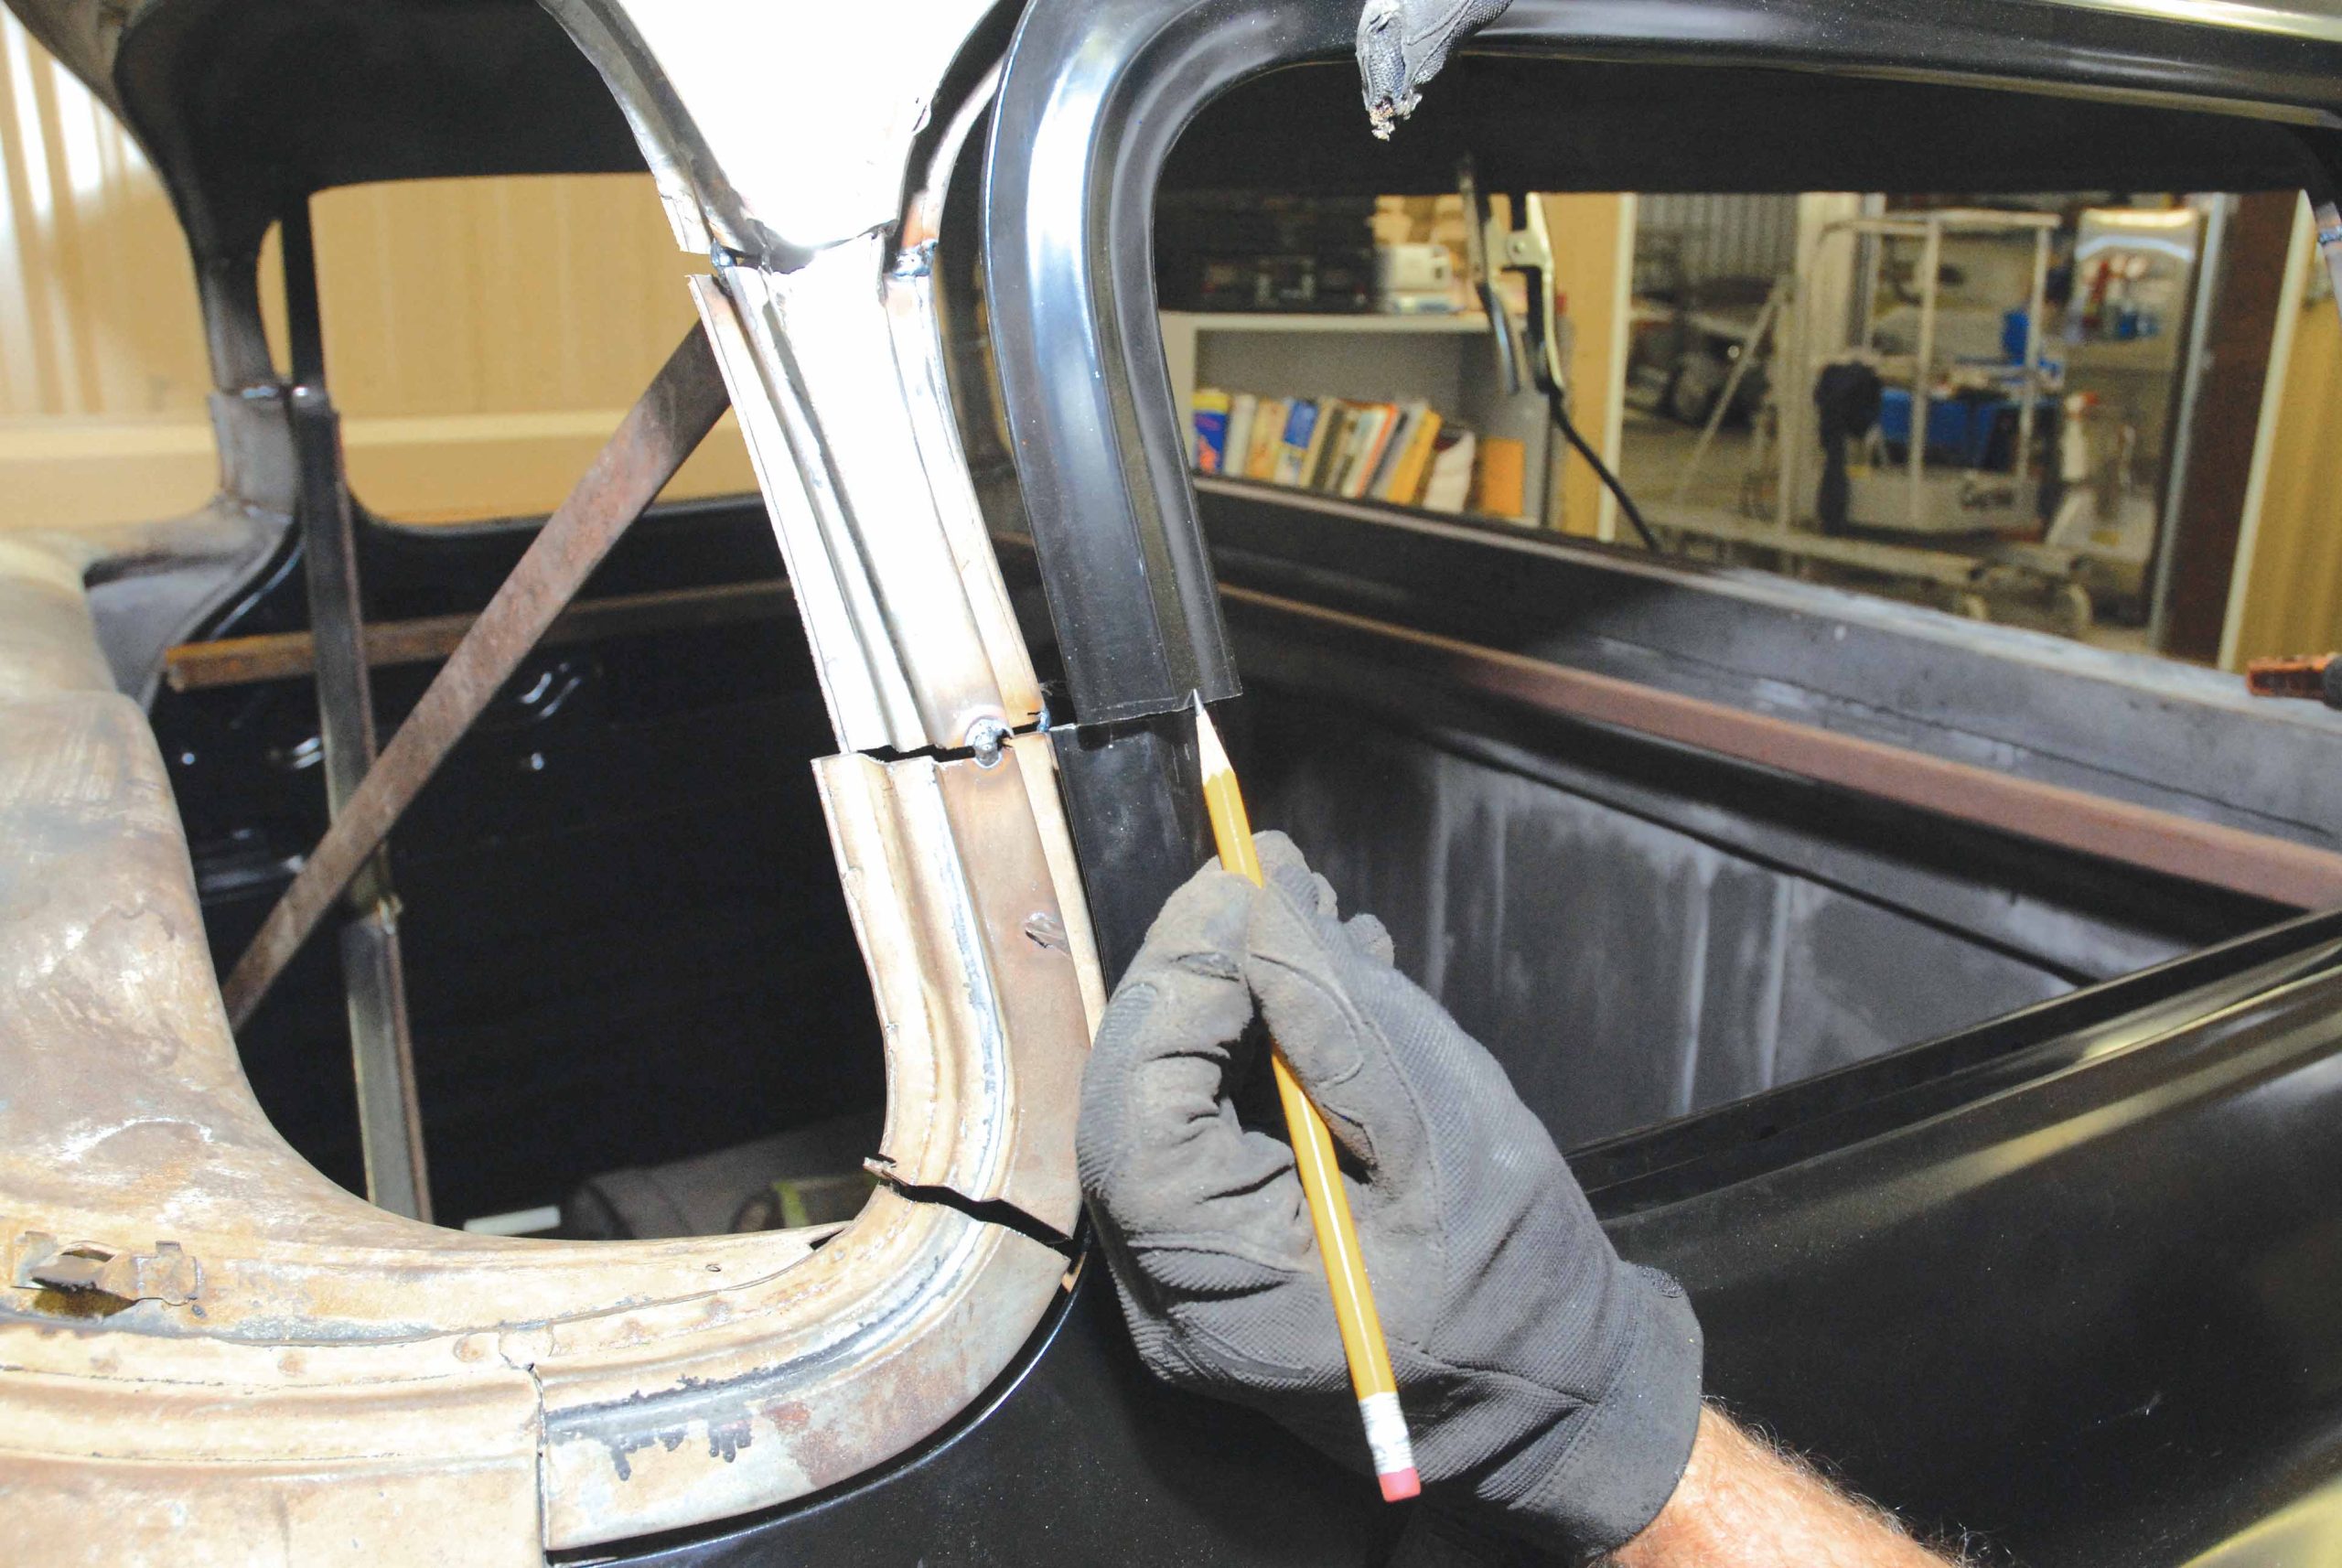
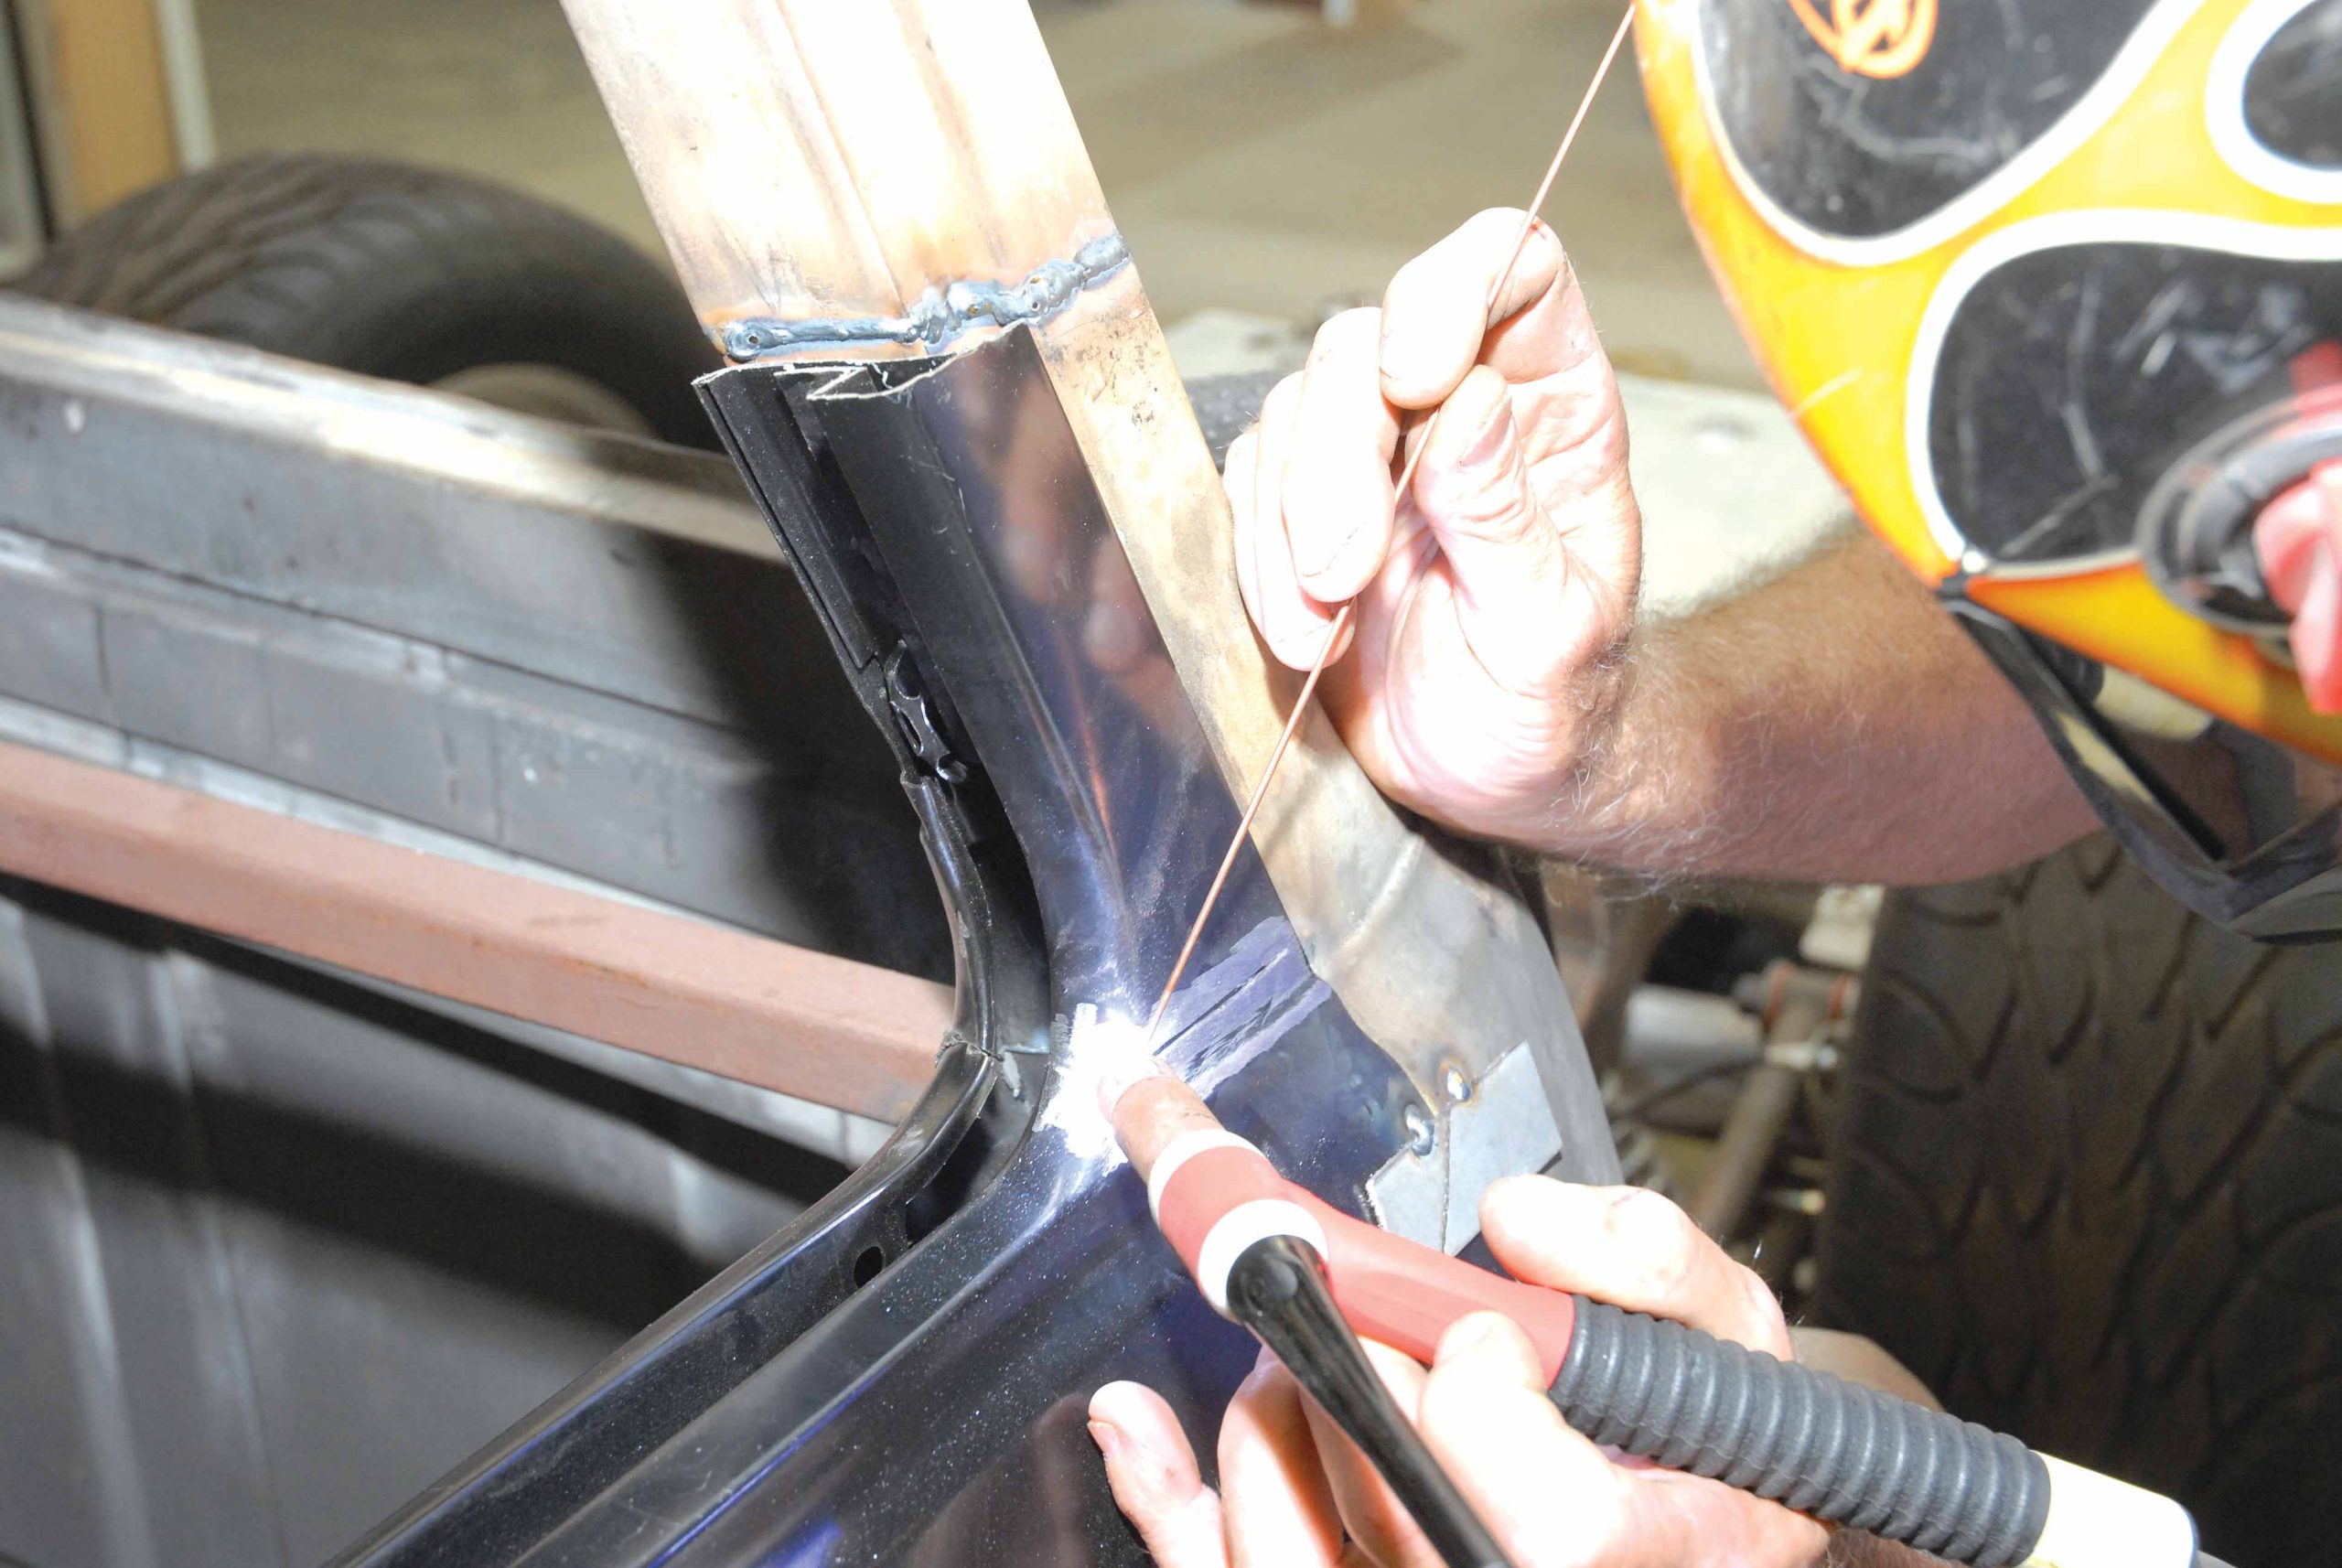
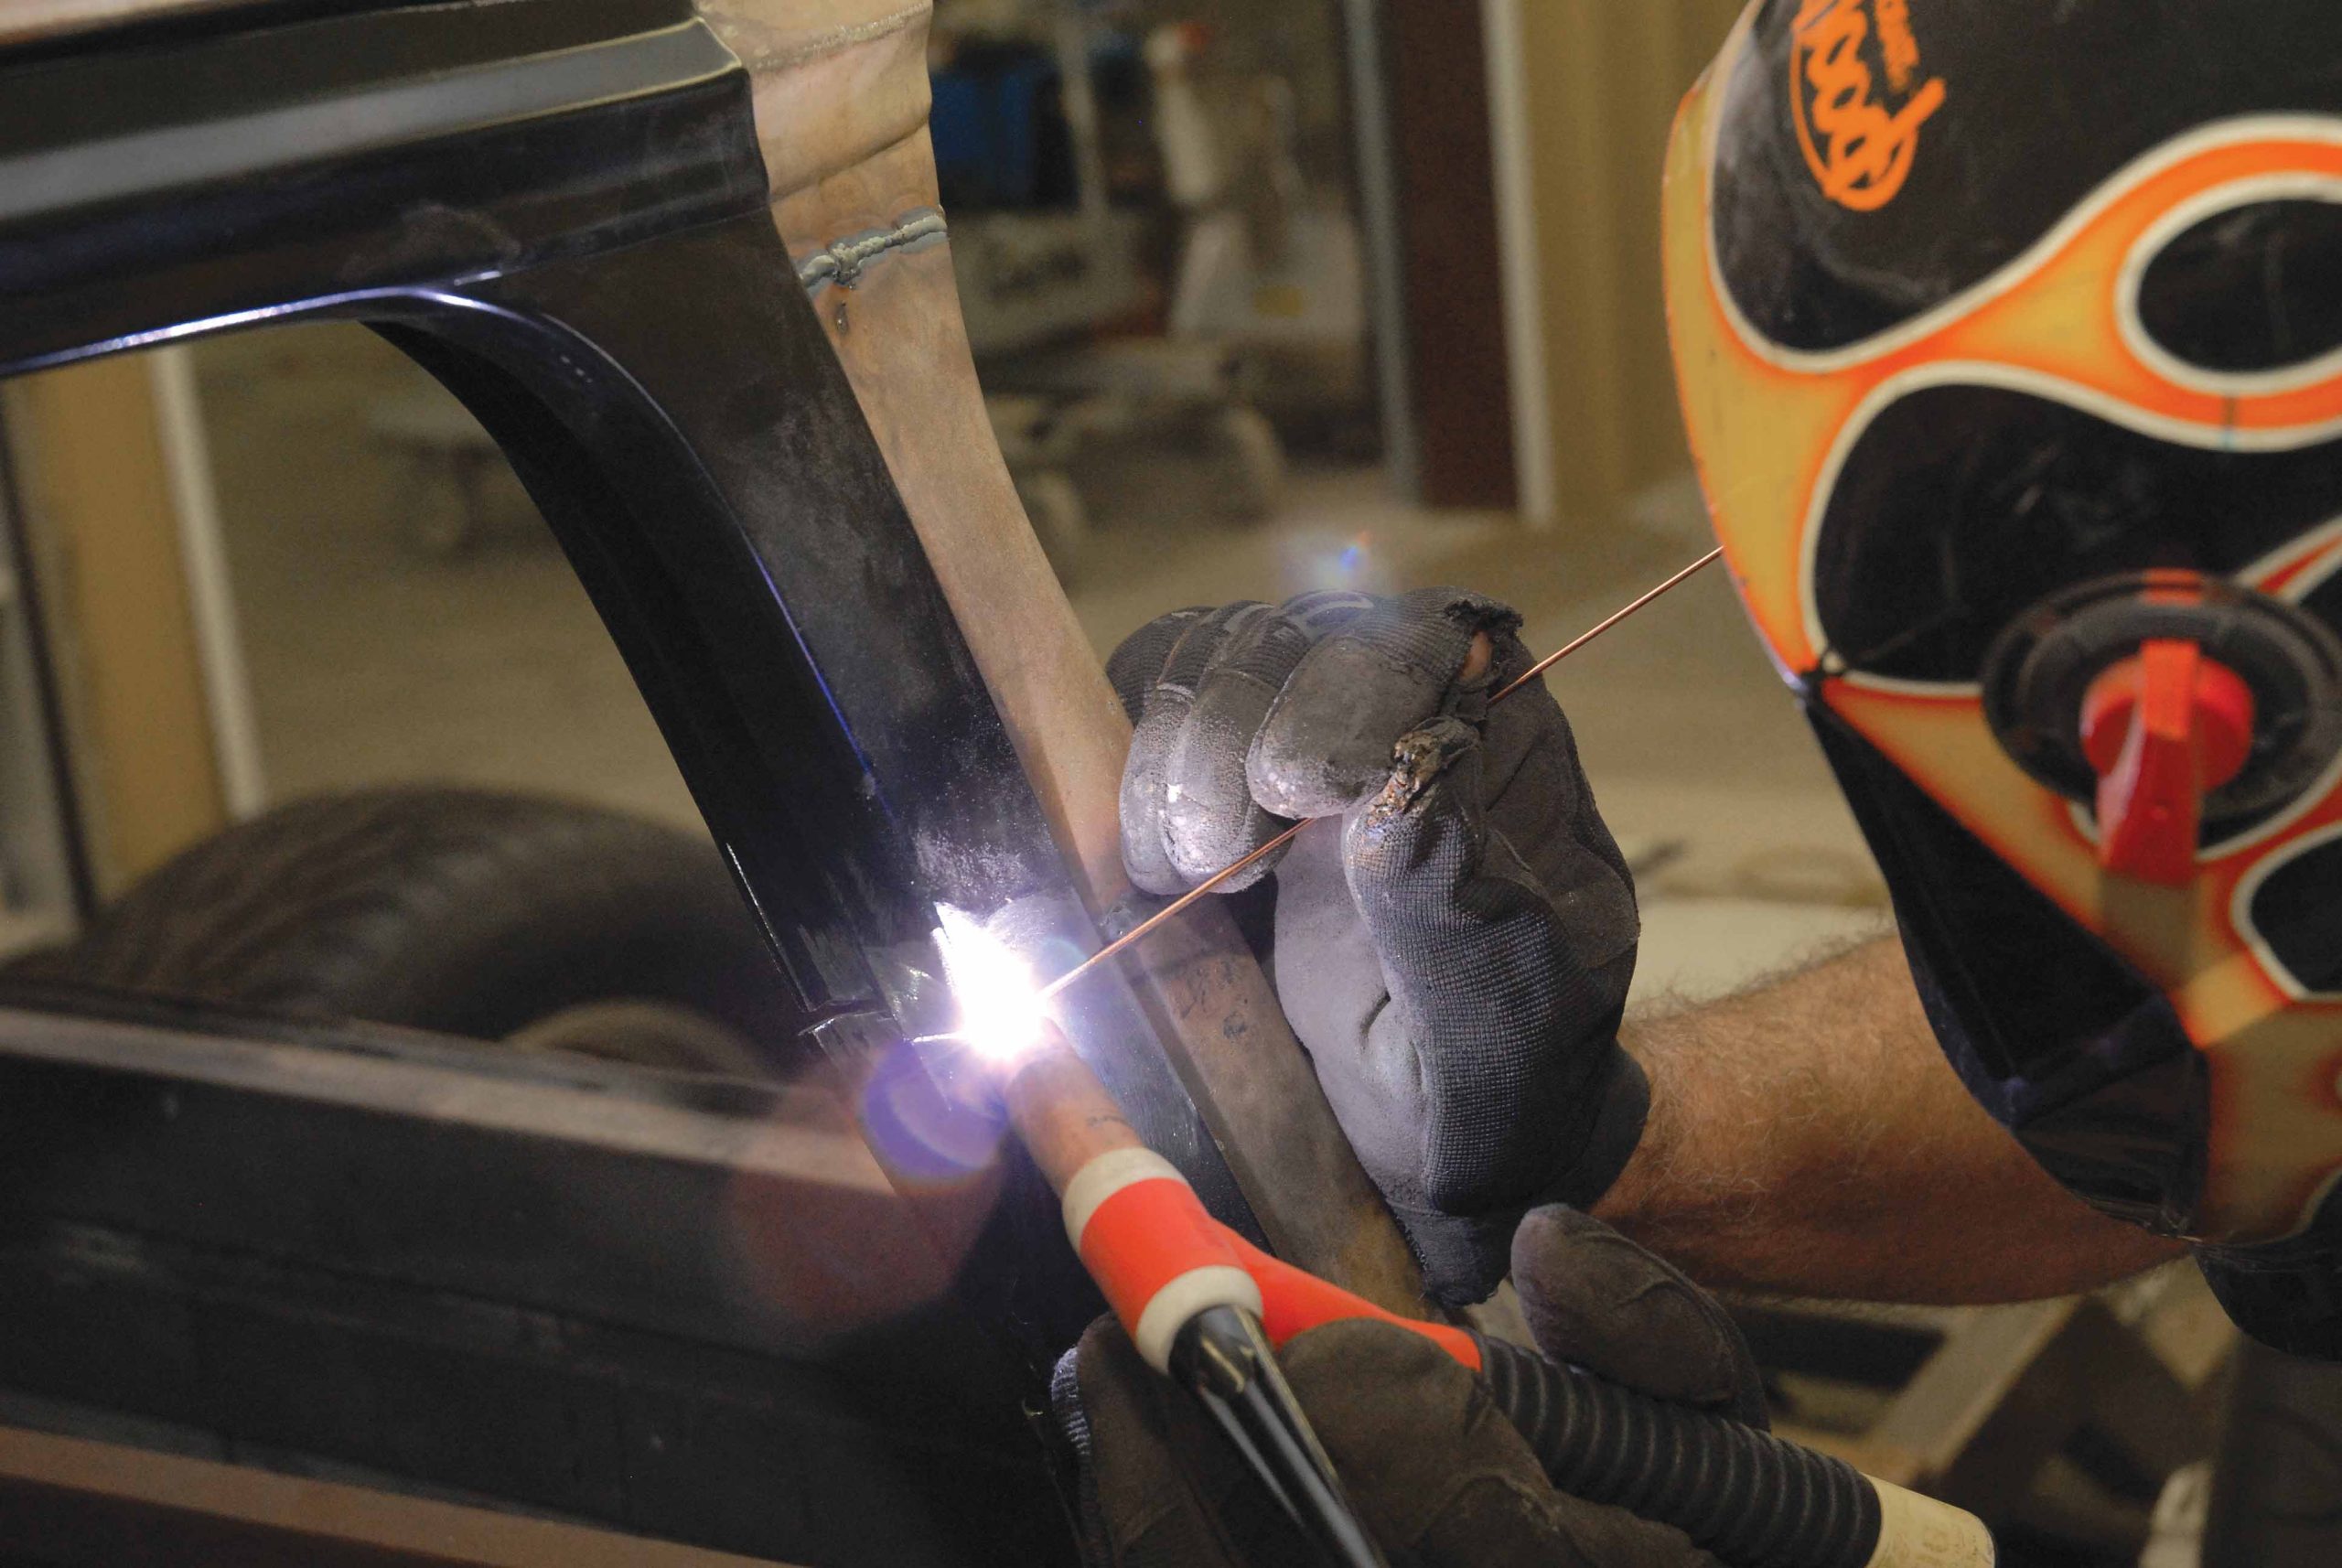
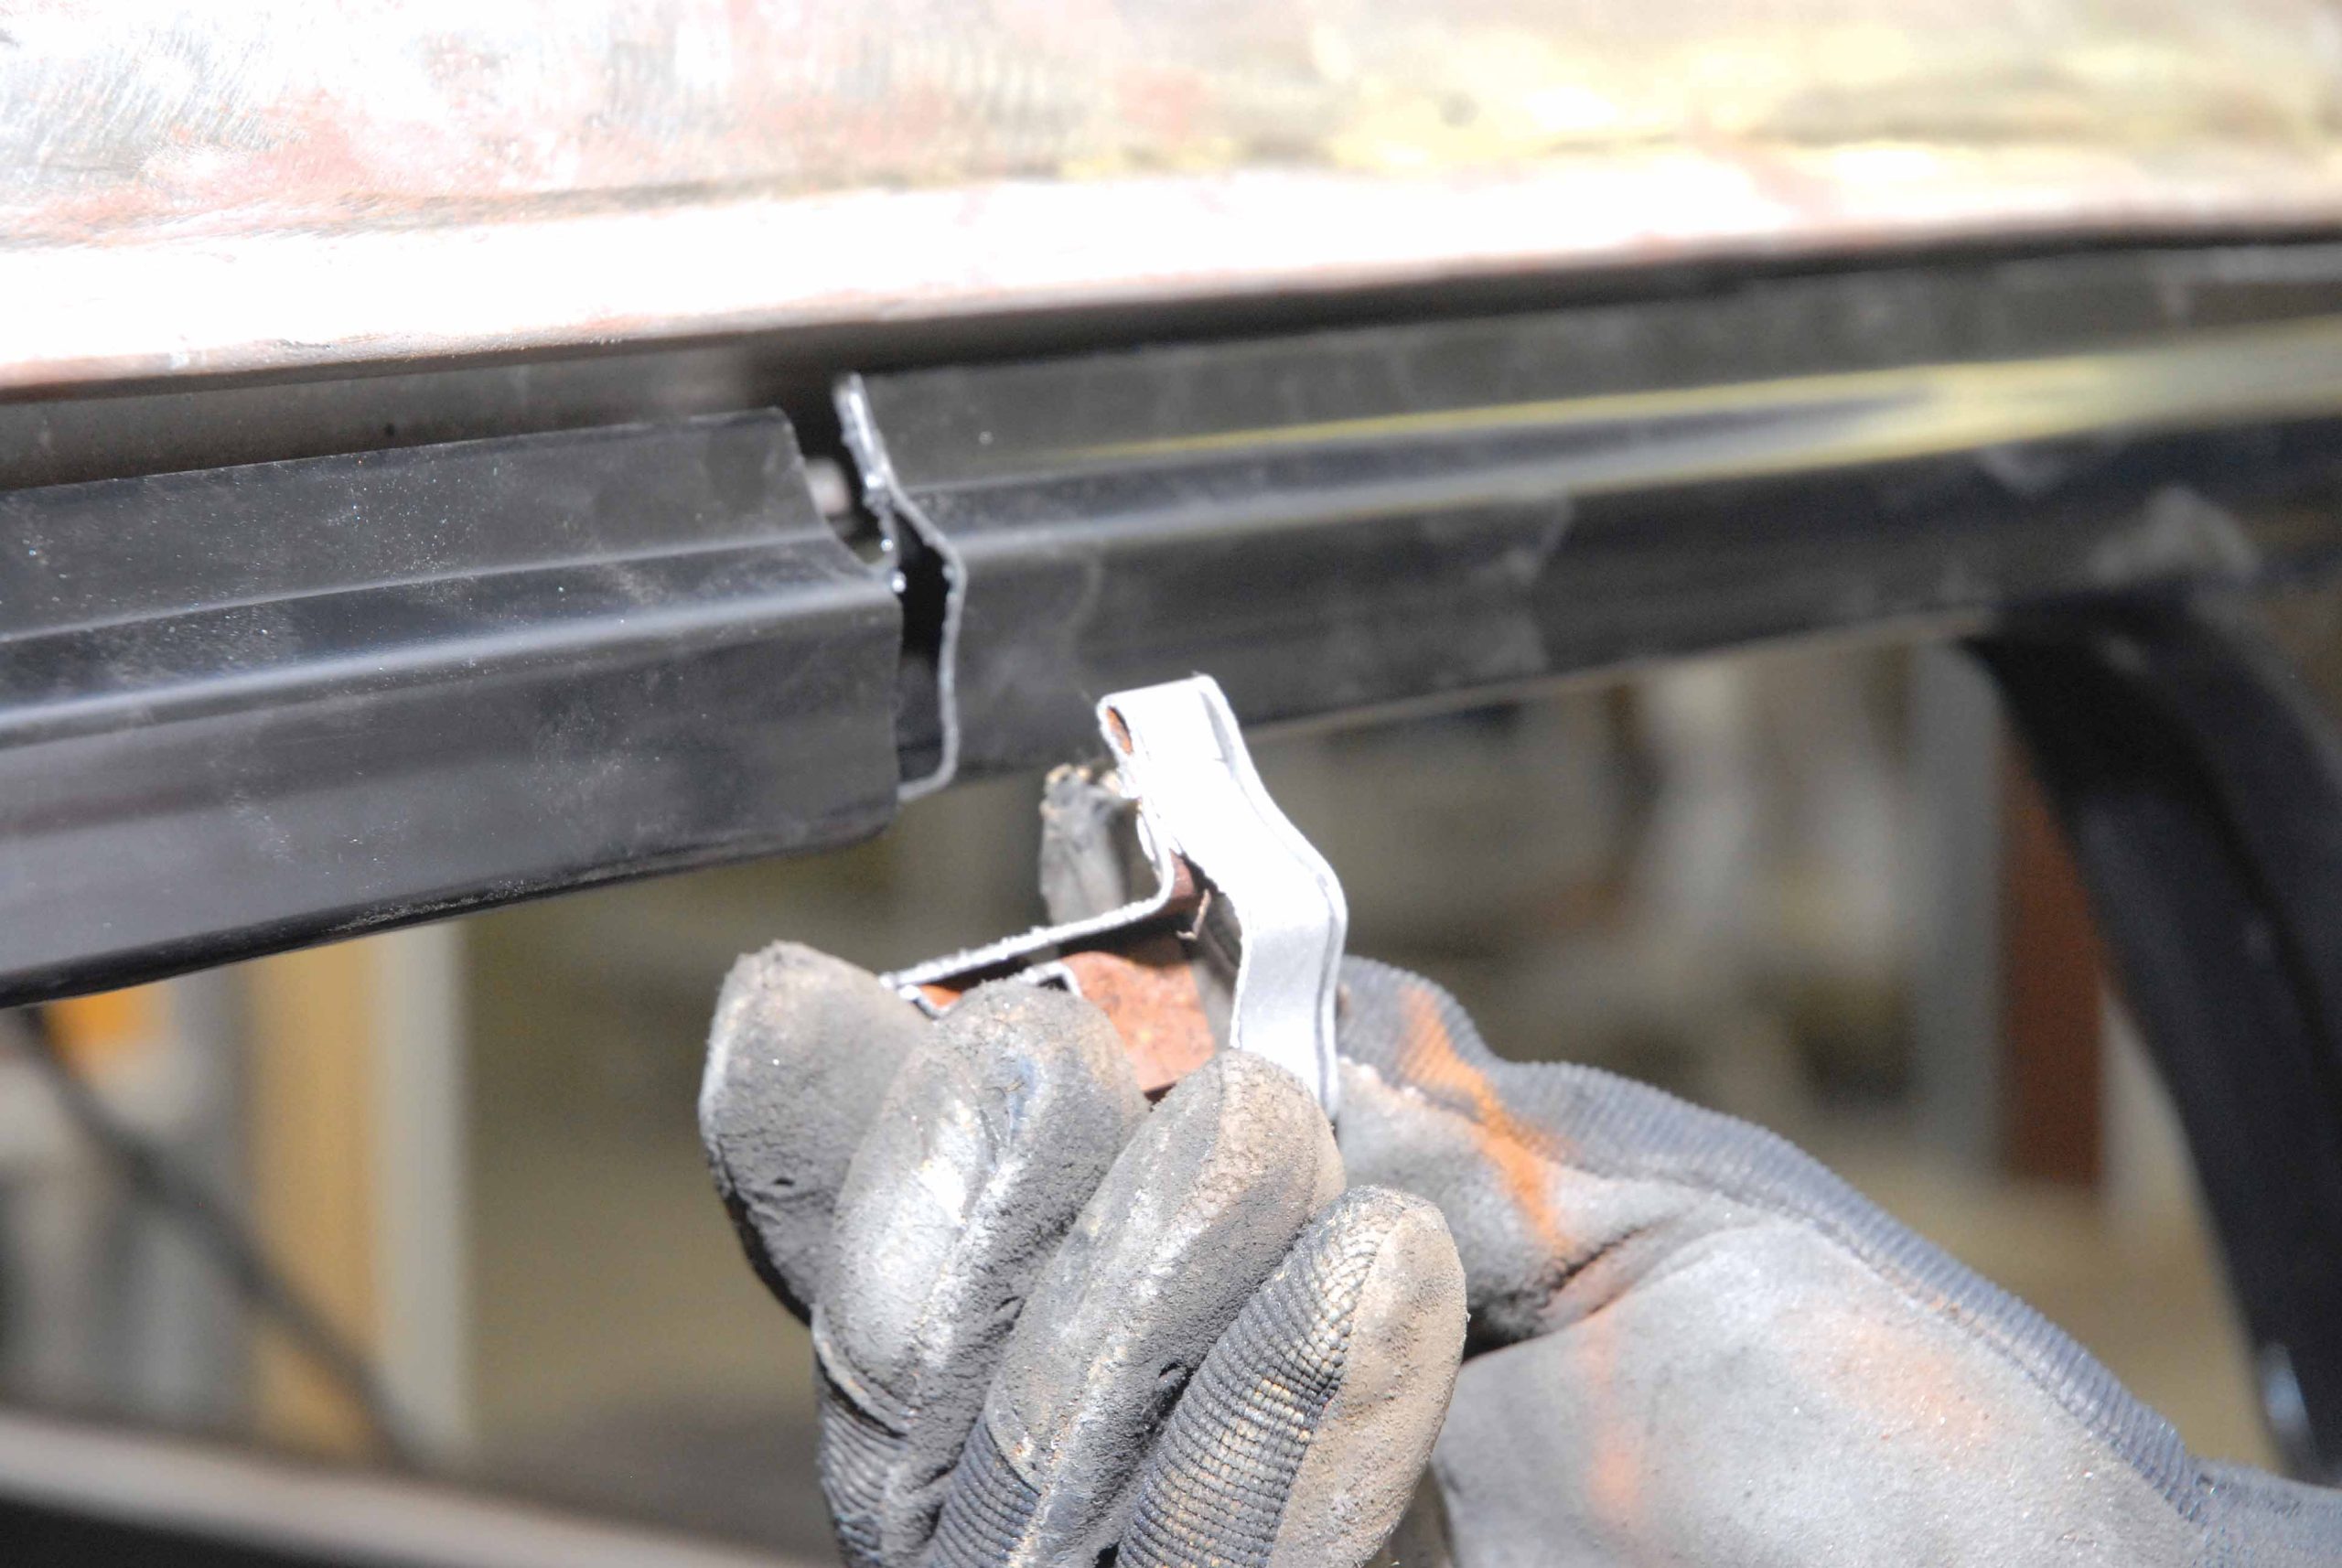
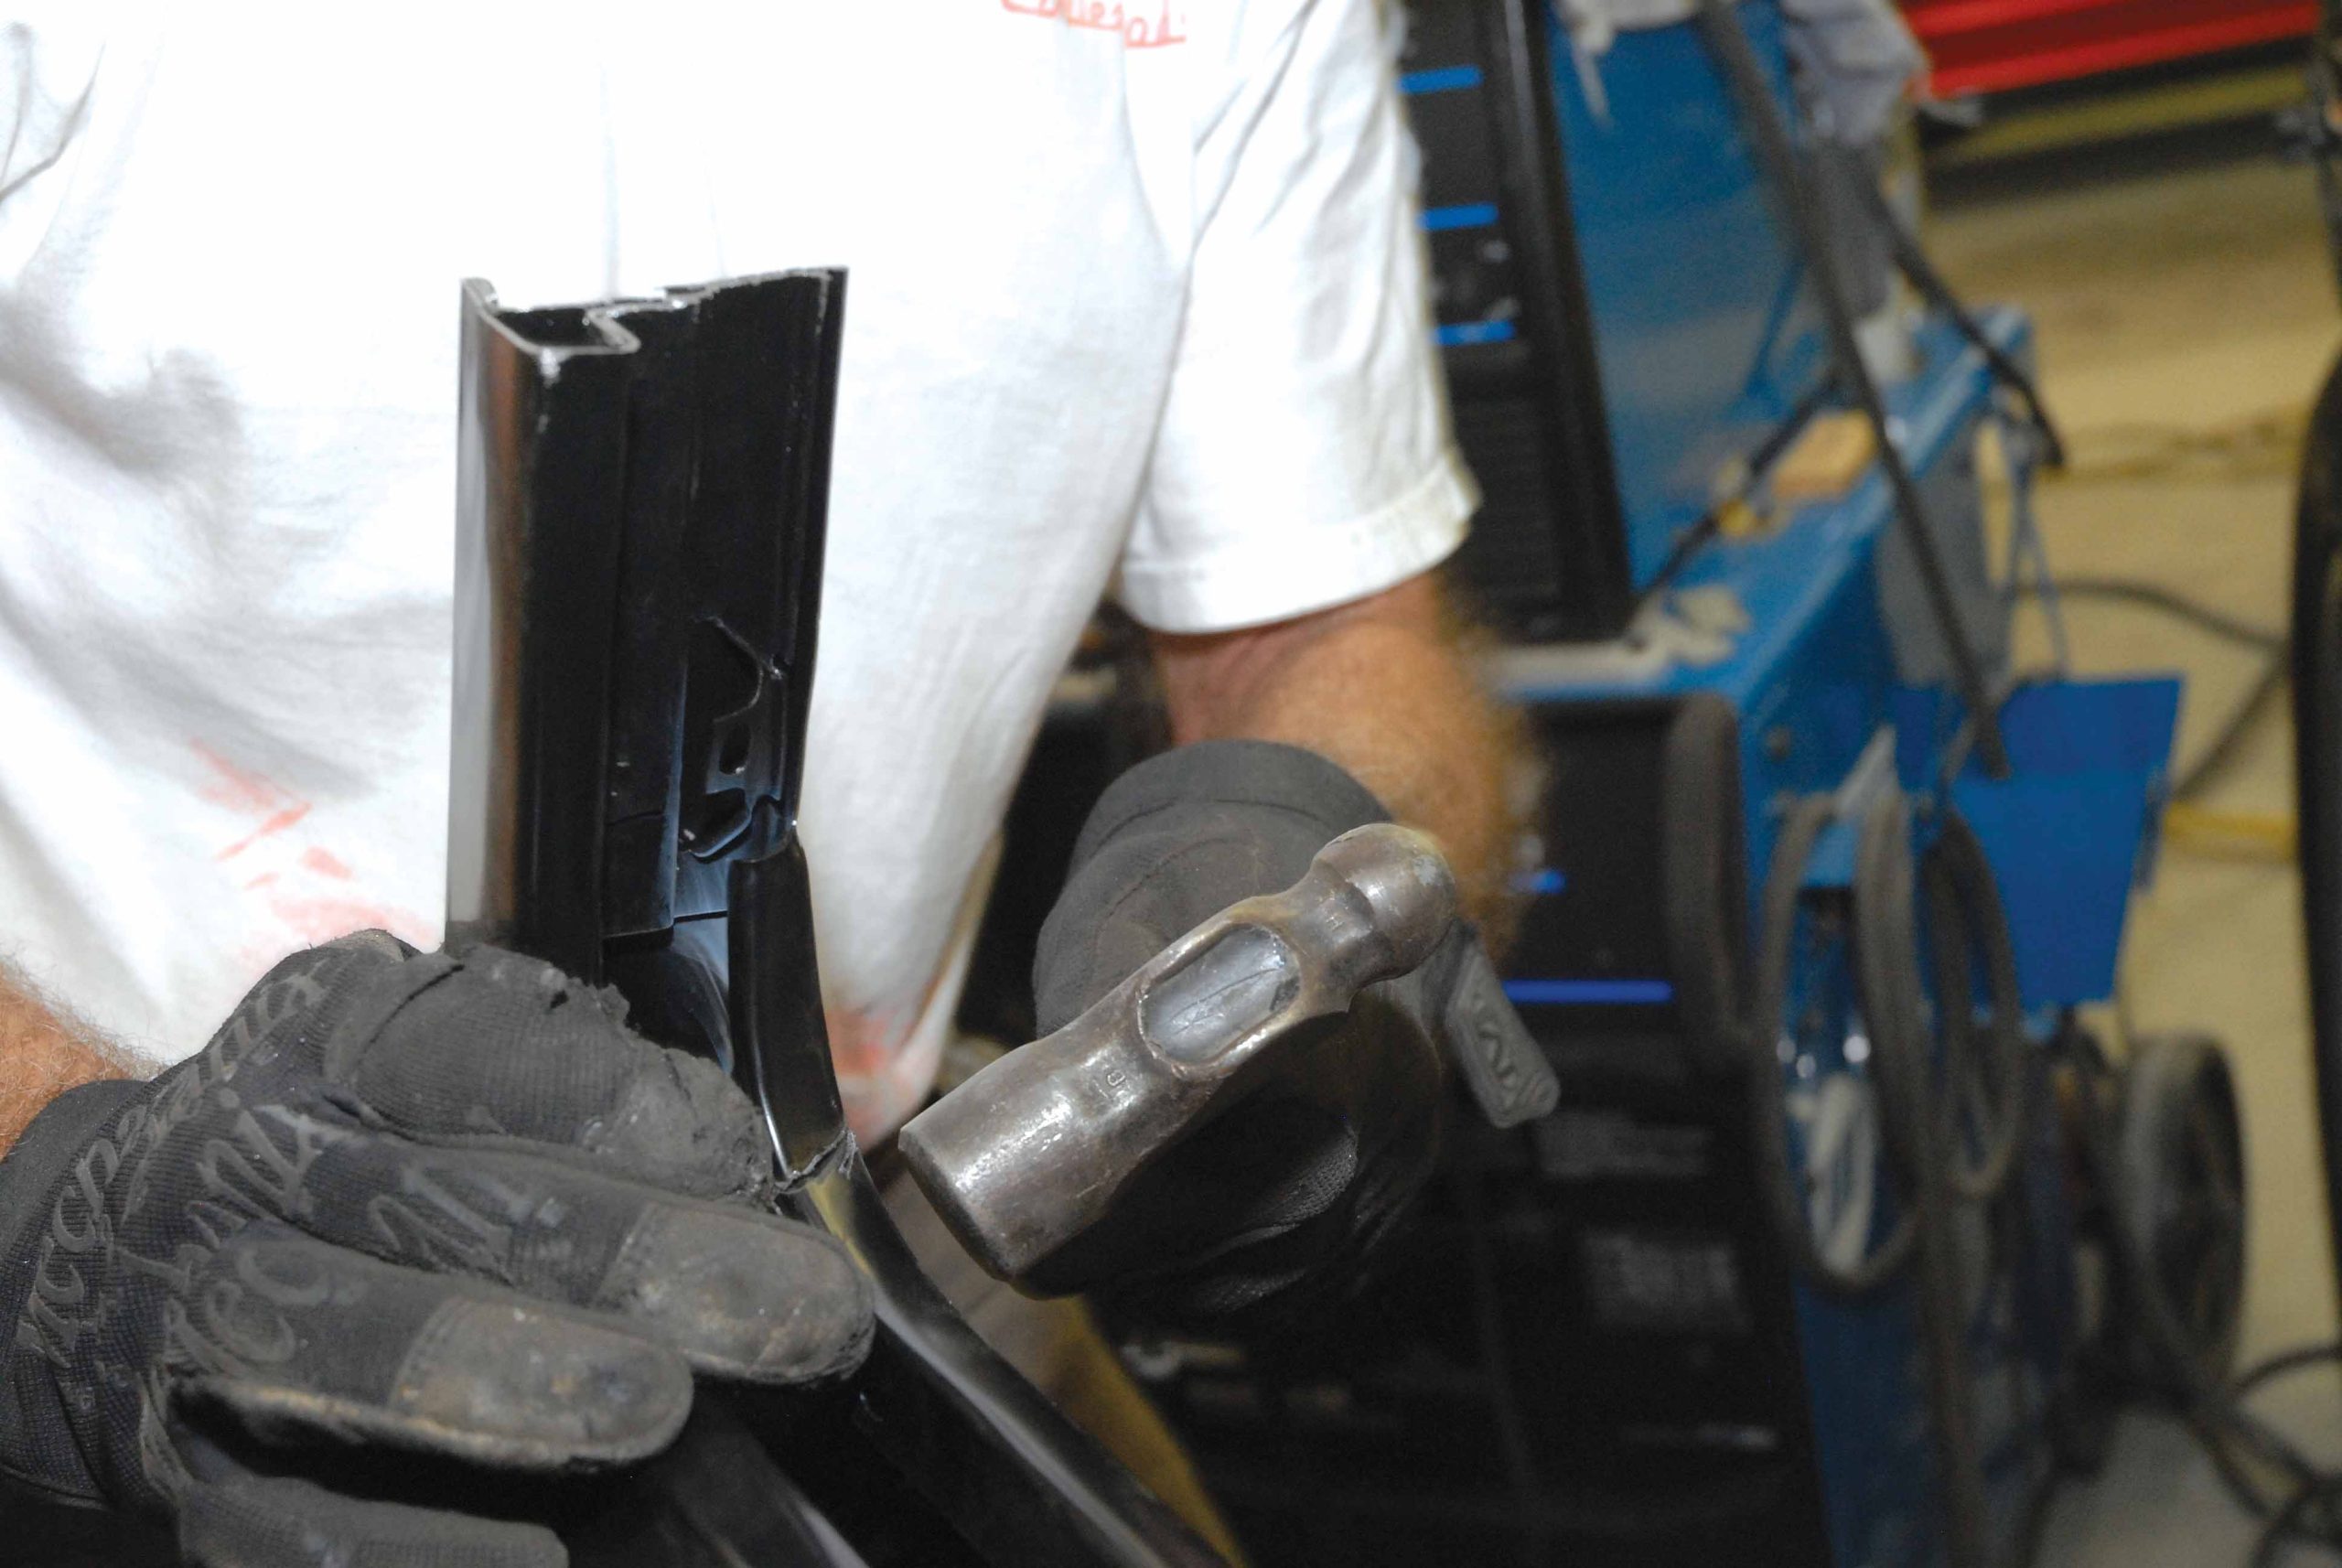
69. One of the things that some truck builders forget when chopping a top is realigning the pinch welts around the door frame. The pinch welt is used to hold in your window rubber, and it allows the windshield to move freely within the gasket. If this isn't done properly, you run the risk of cracking your windshield. Here, we see Darrell making a series of vertical cuts surrounding this often overlooked area.
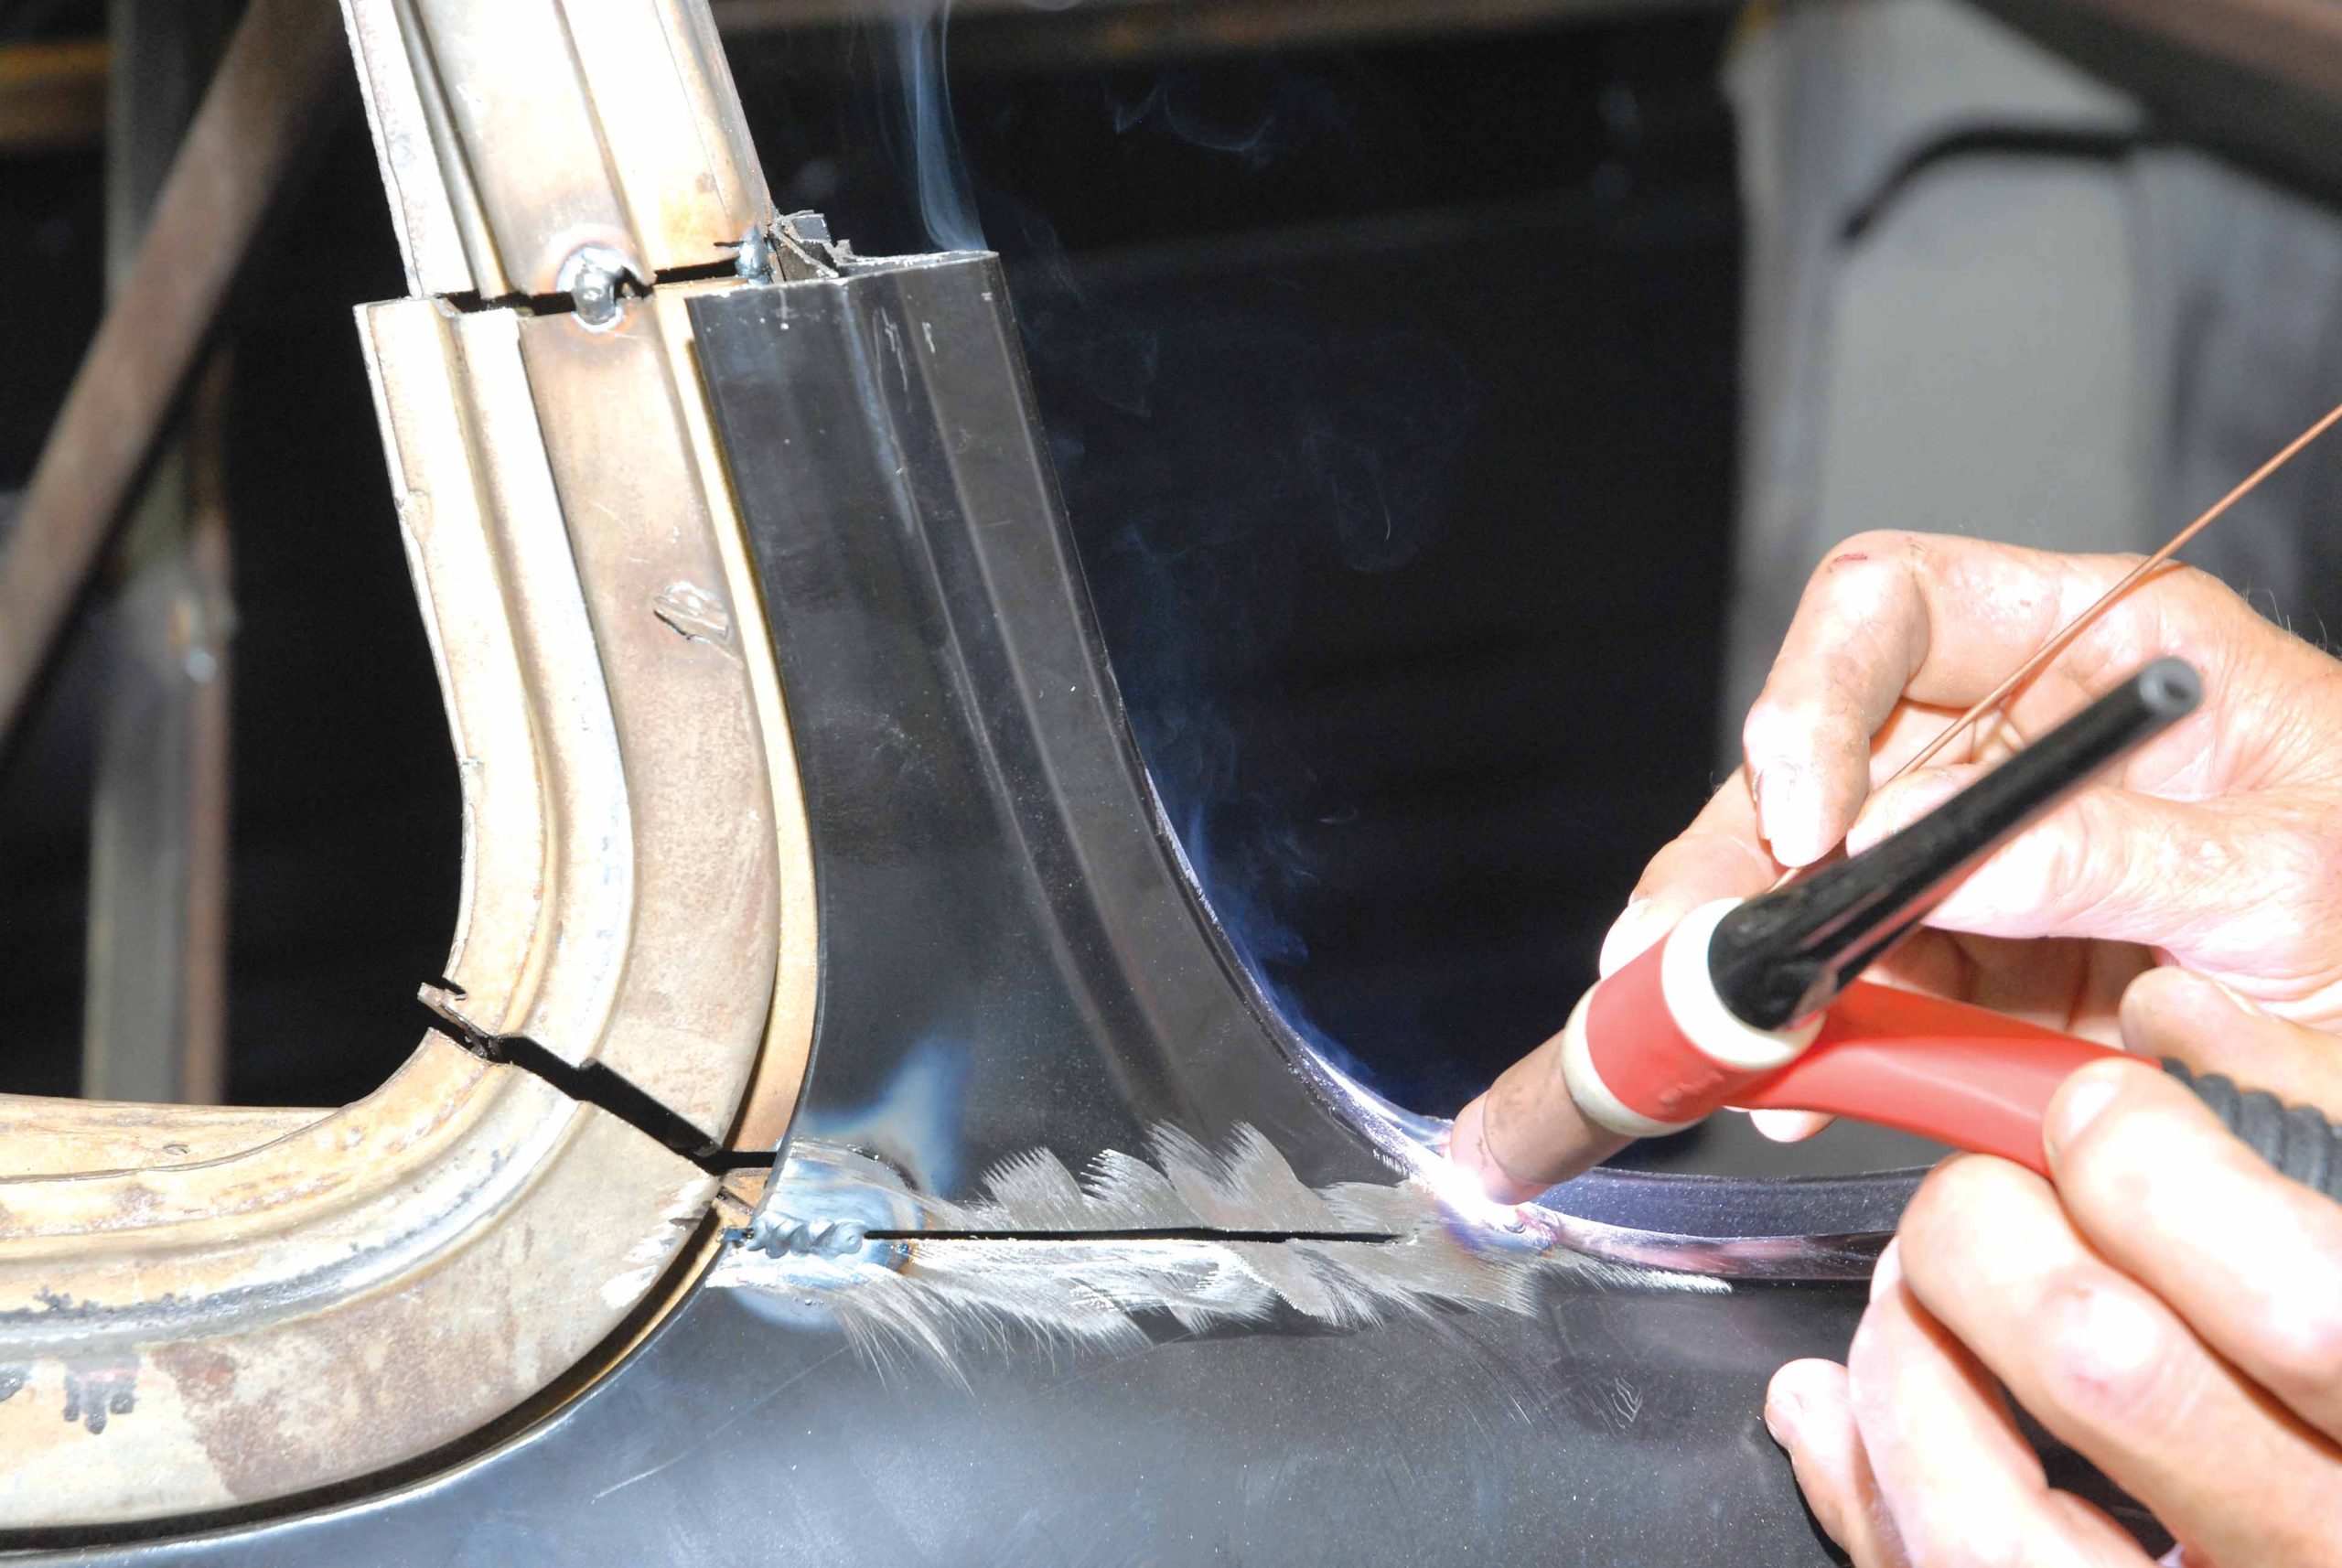
70-71. Here are the alignment slots that Cimbanin made. A ball pean hammer is used to align these pieces.
70-71. Here are the alignment slots that Cimbanin made. A ball pean hammer is used to align these pieces.
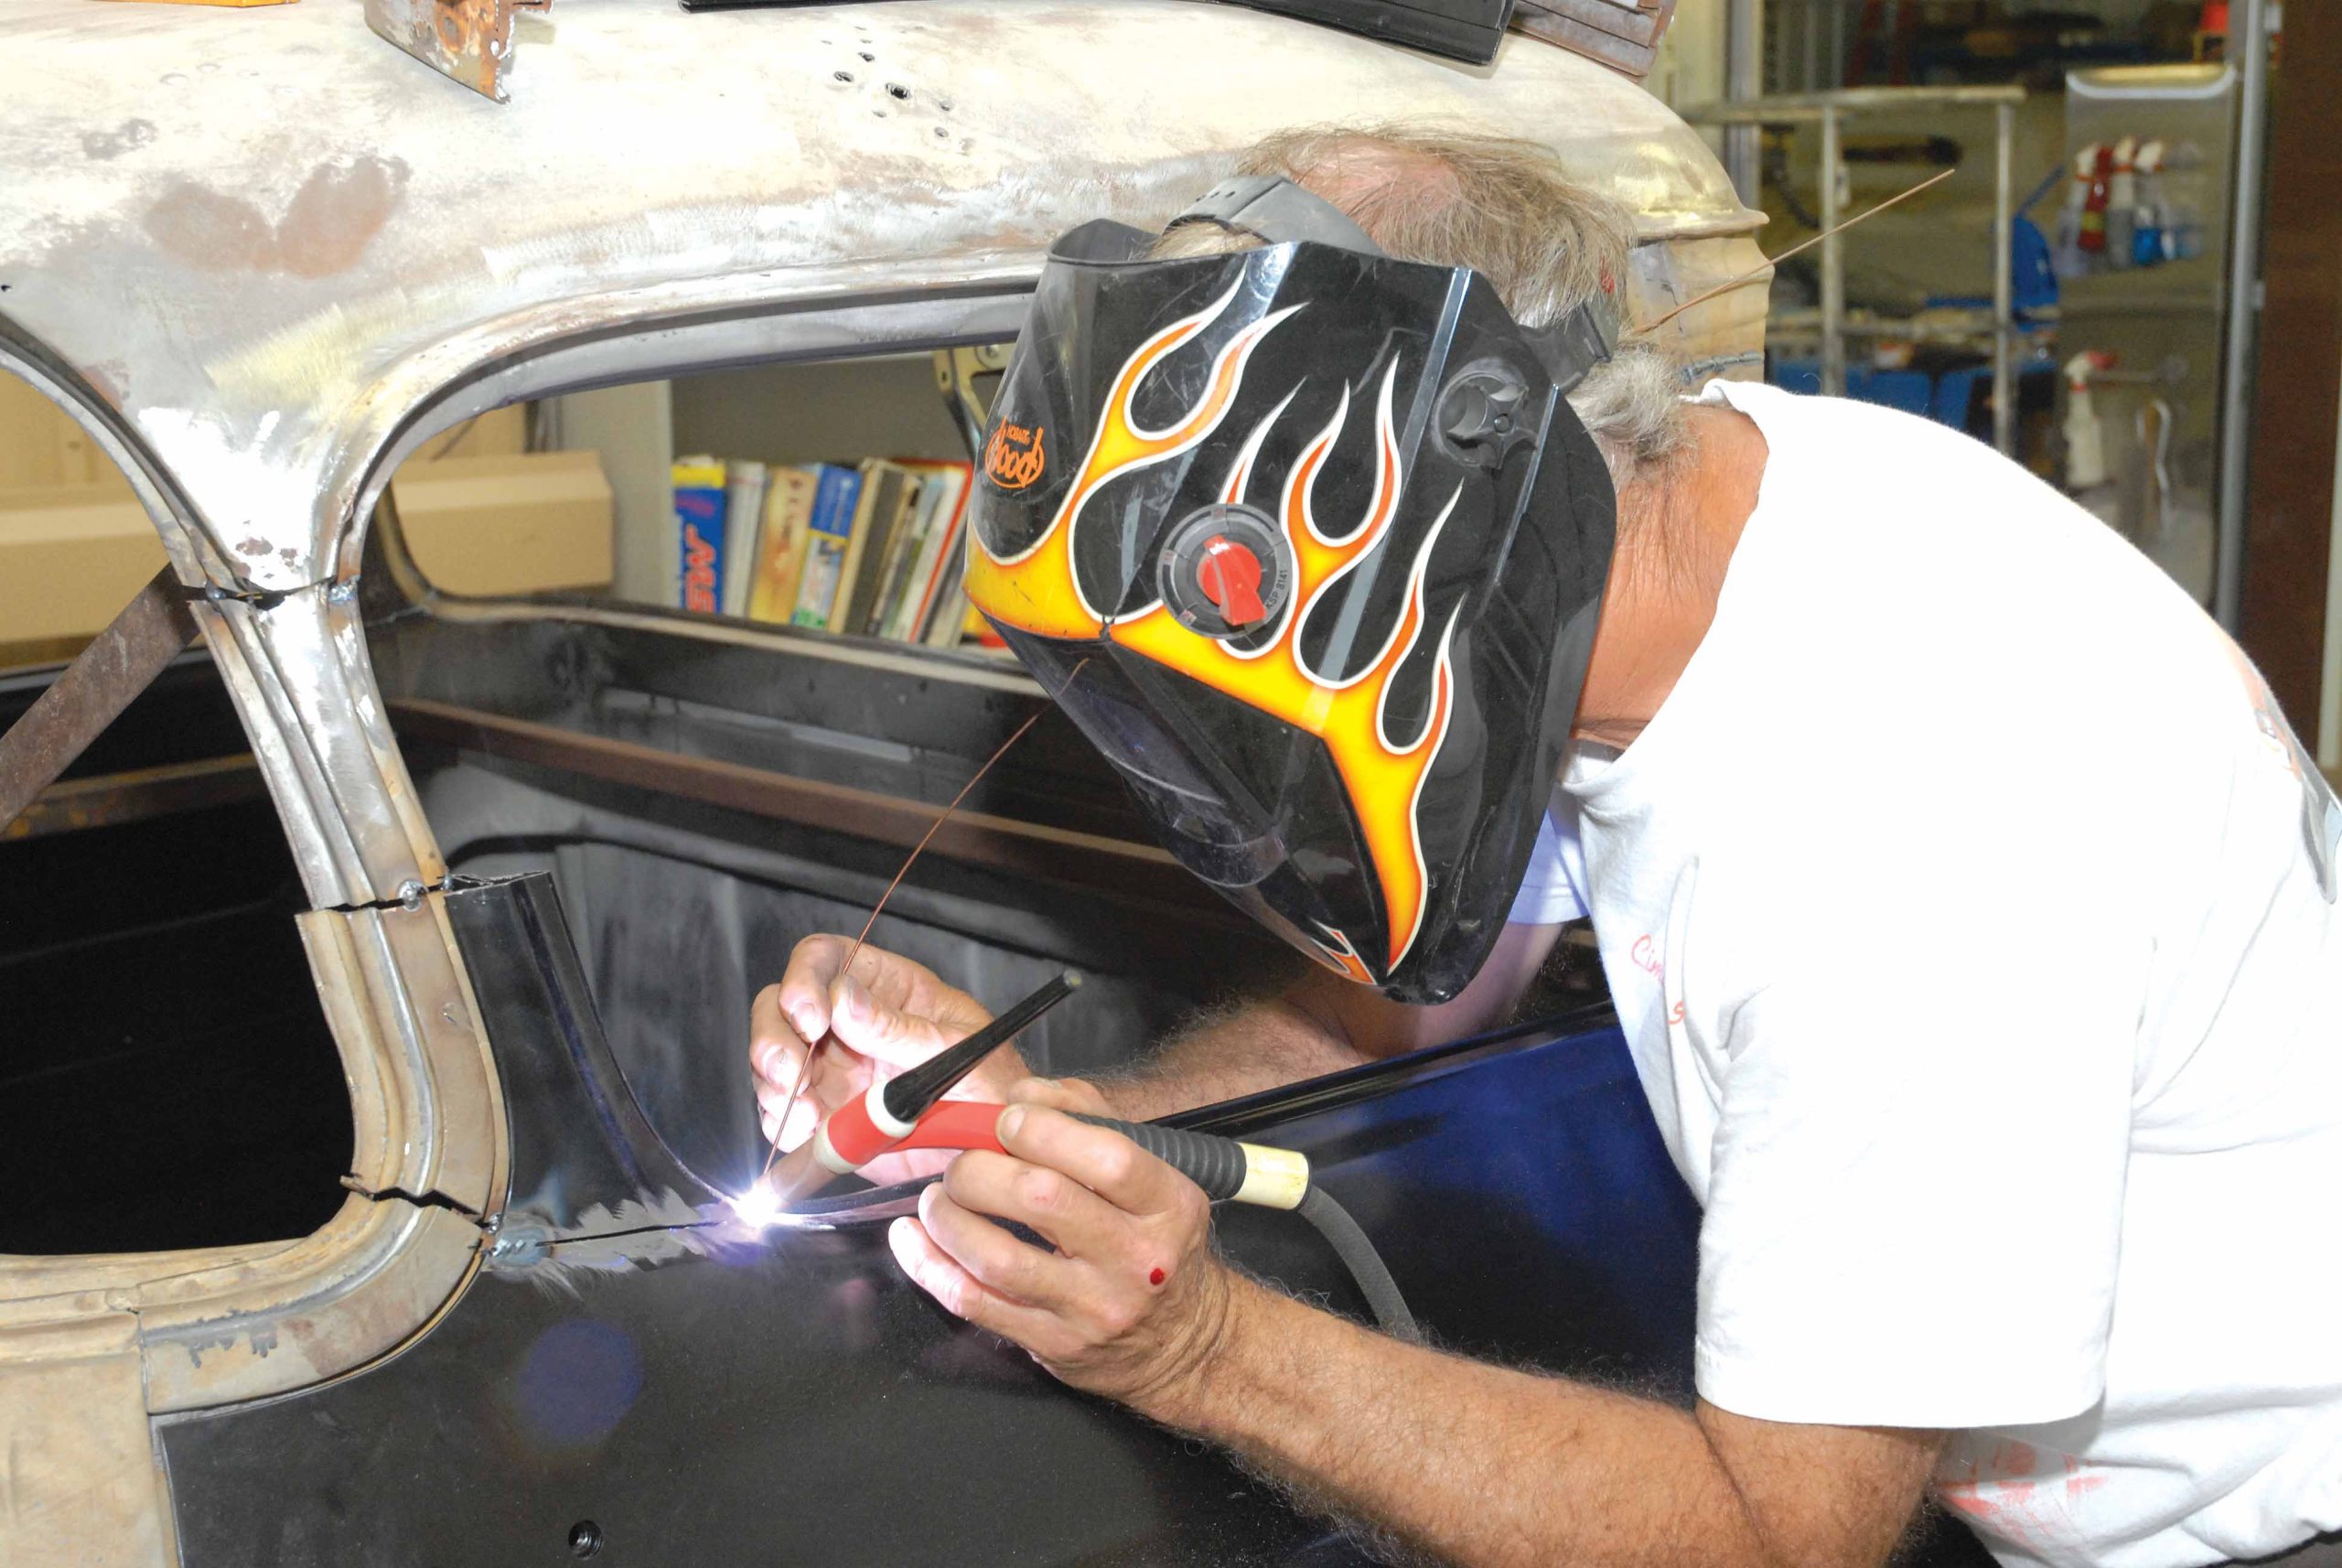
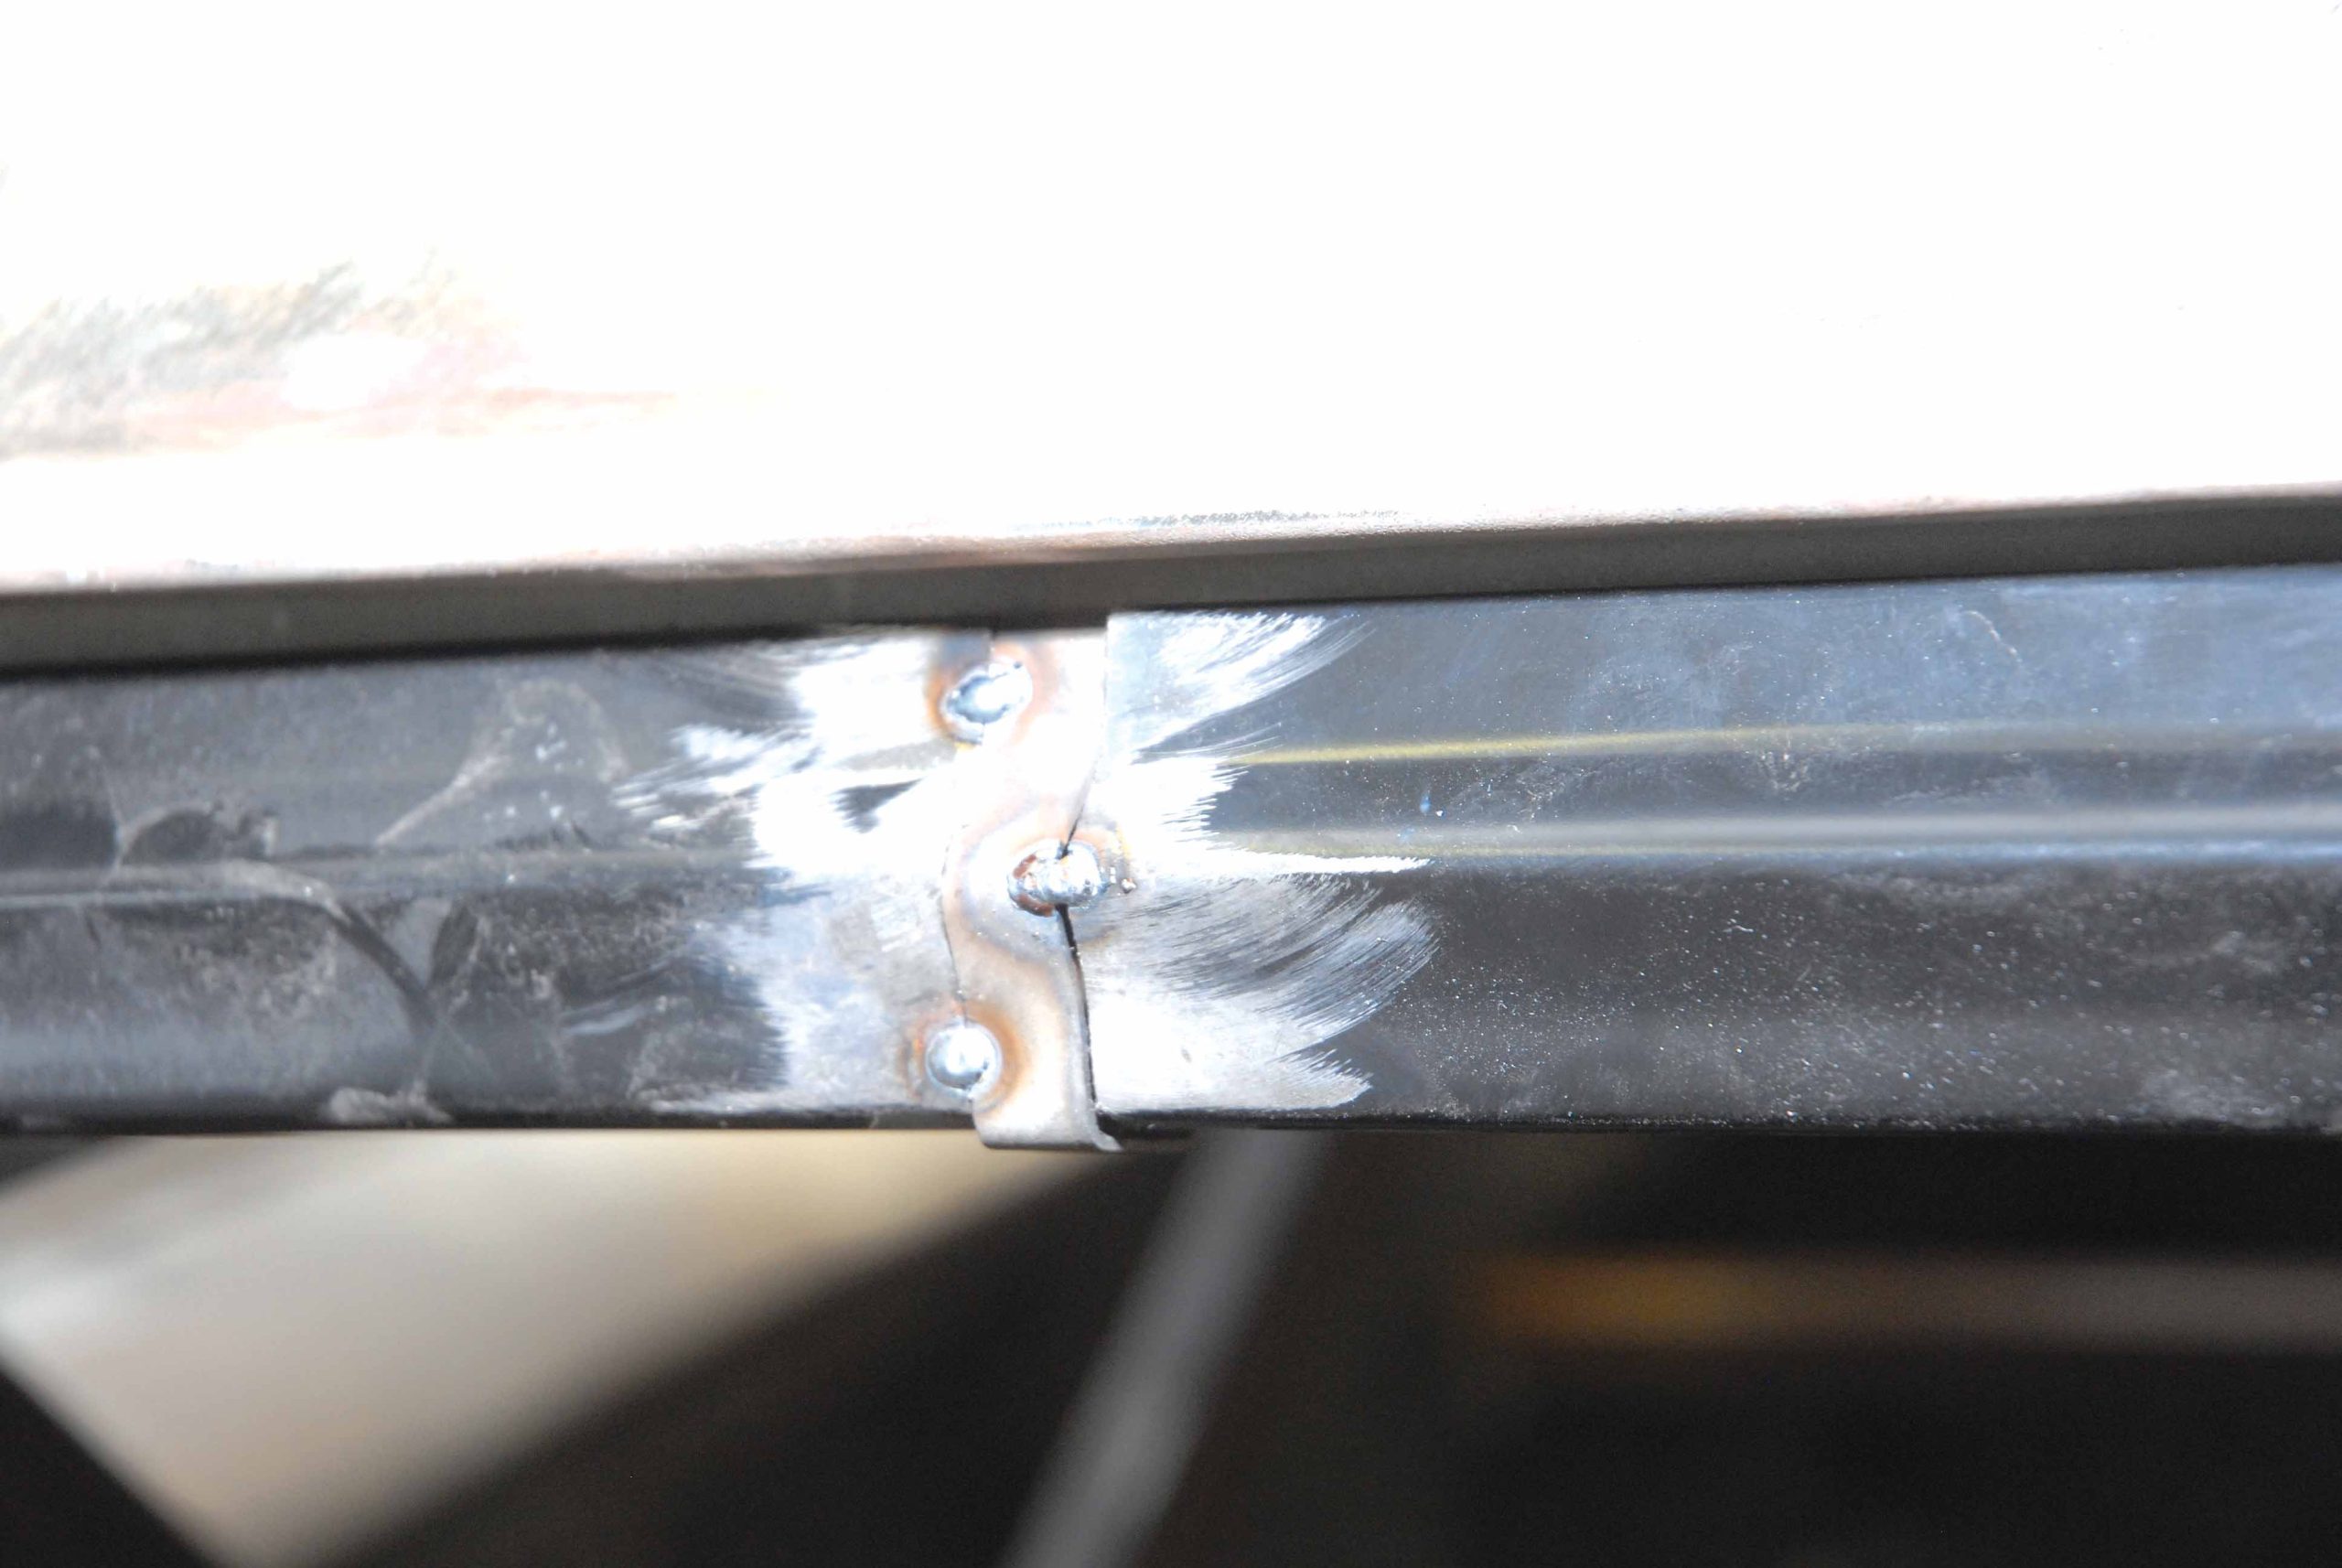
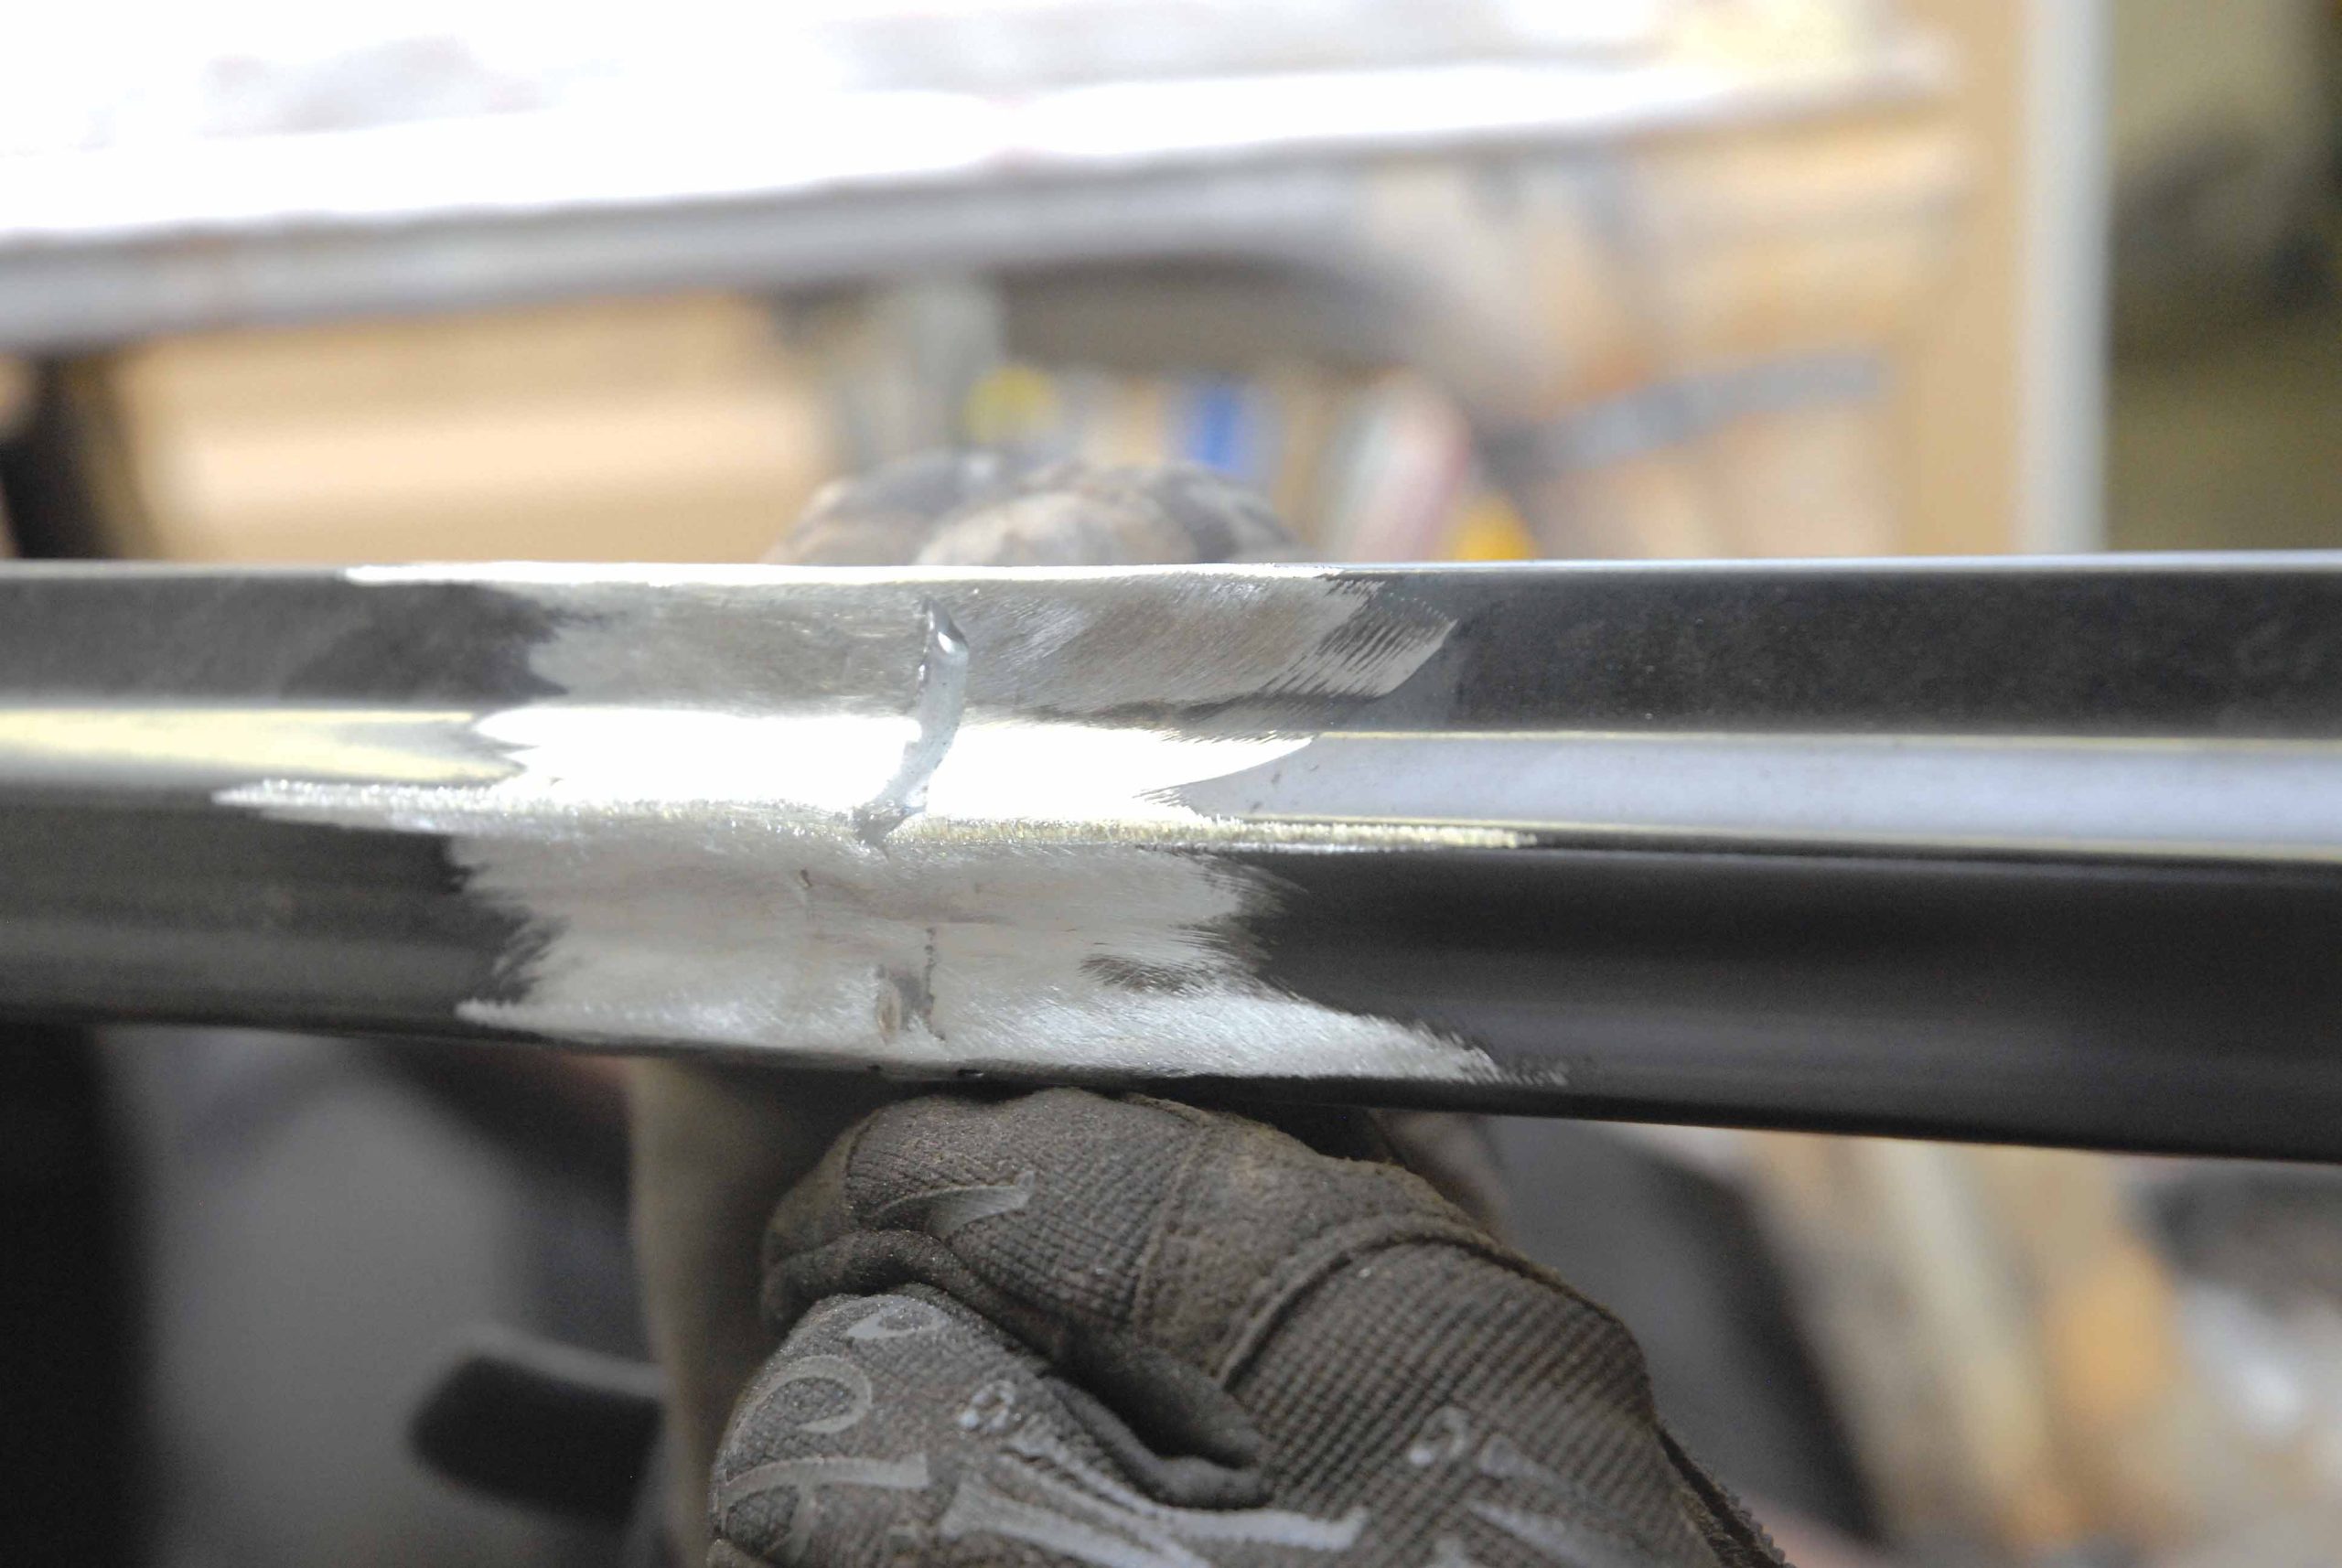
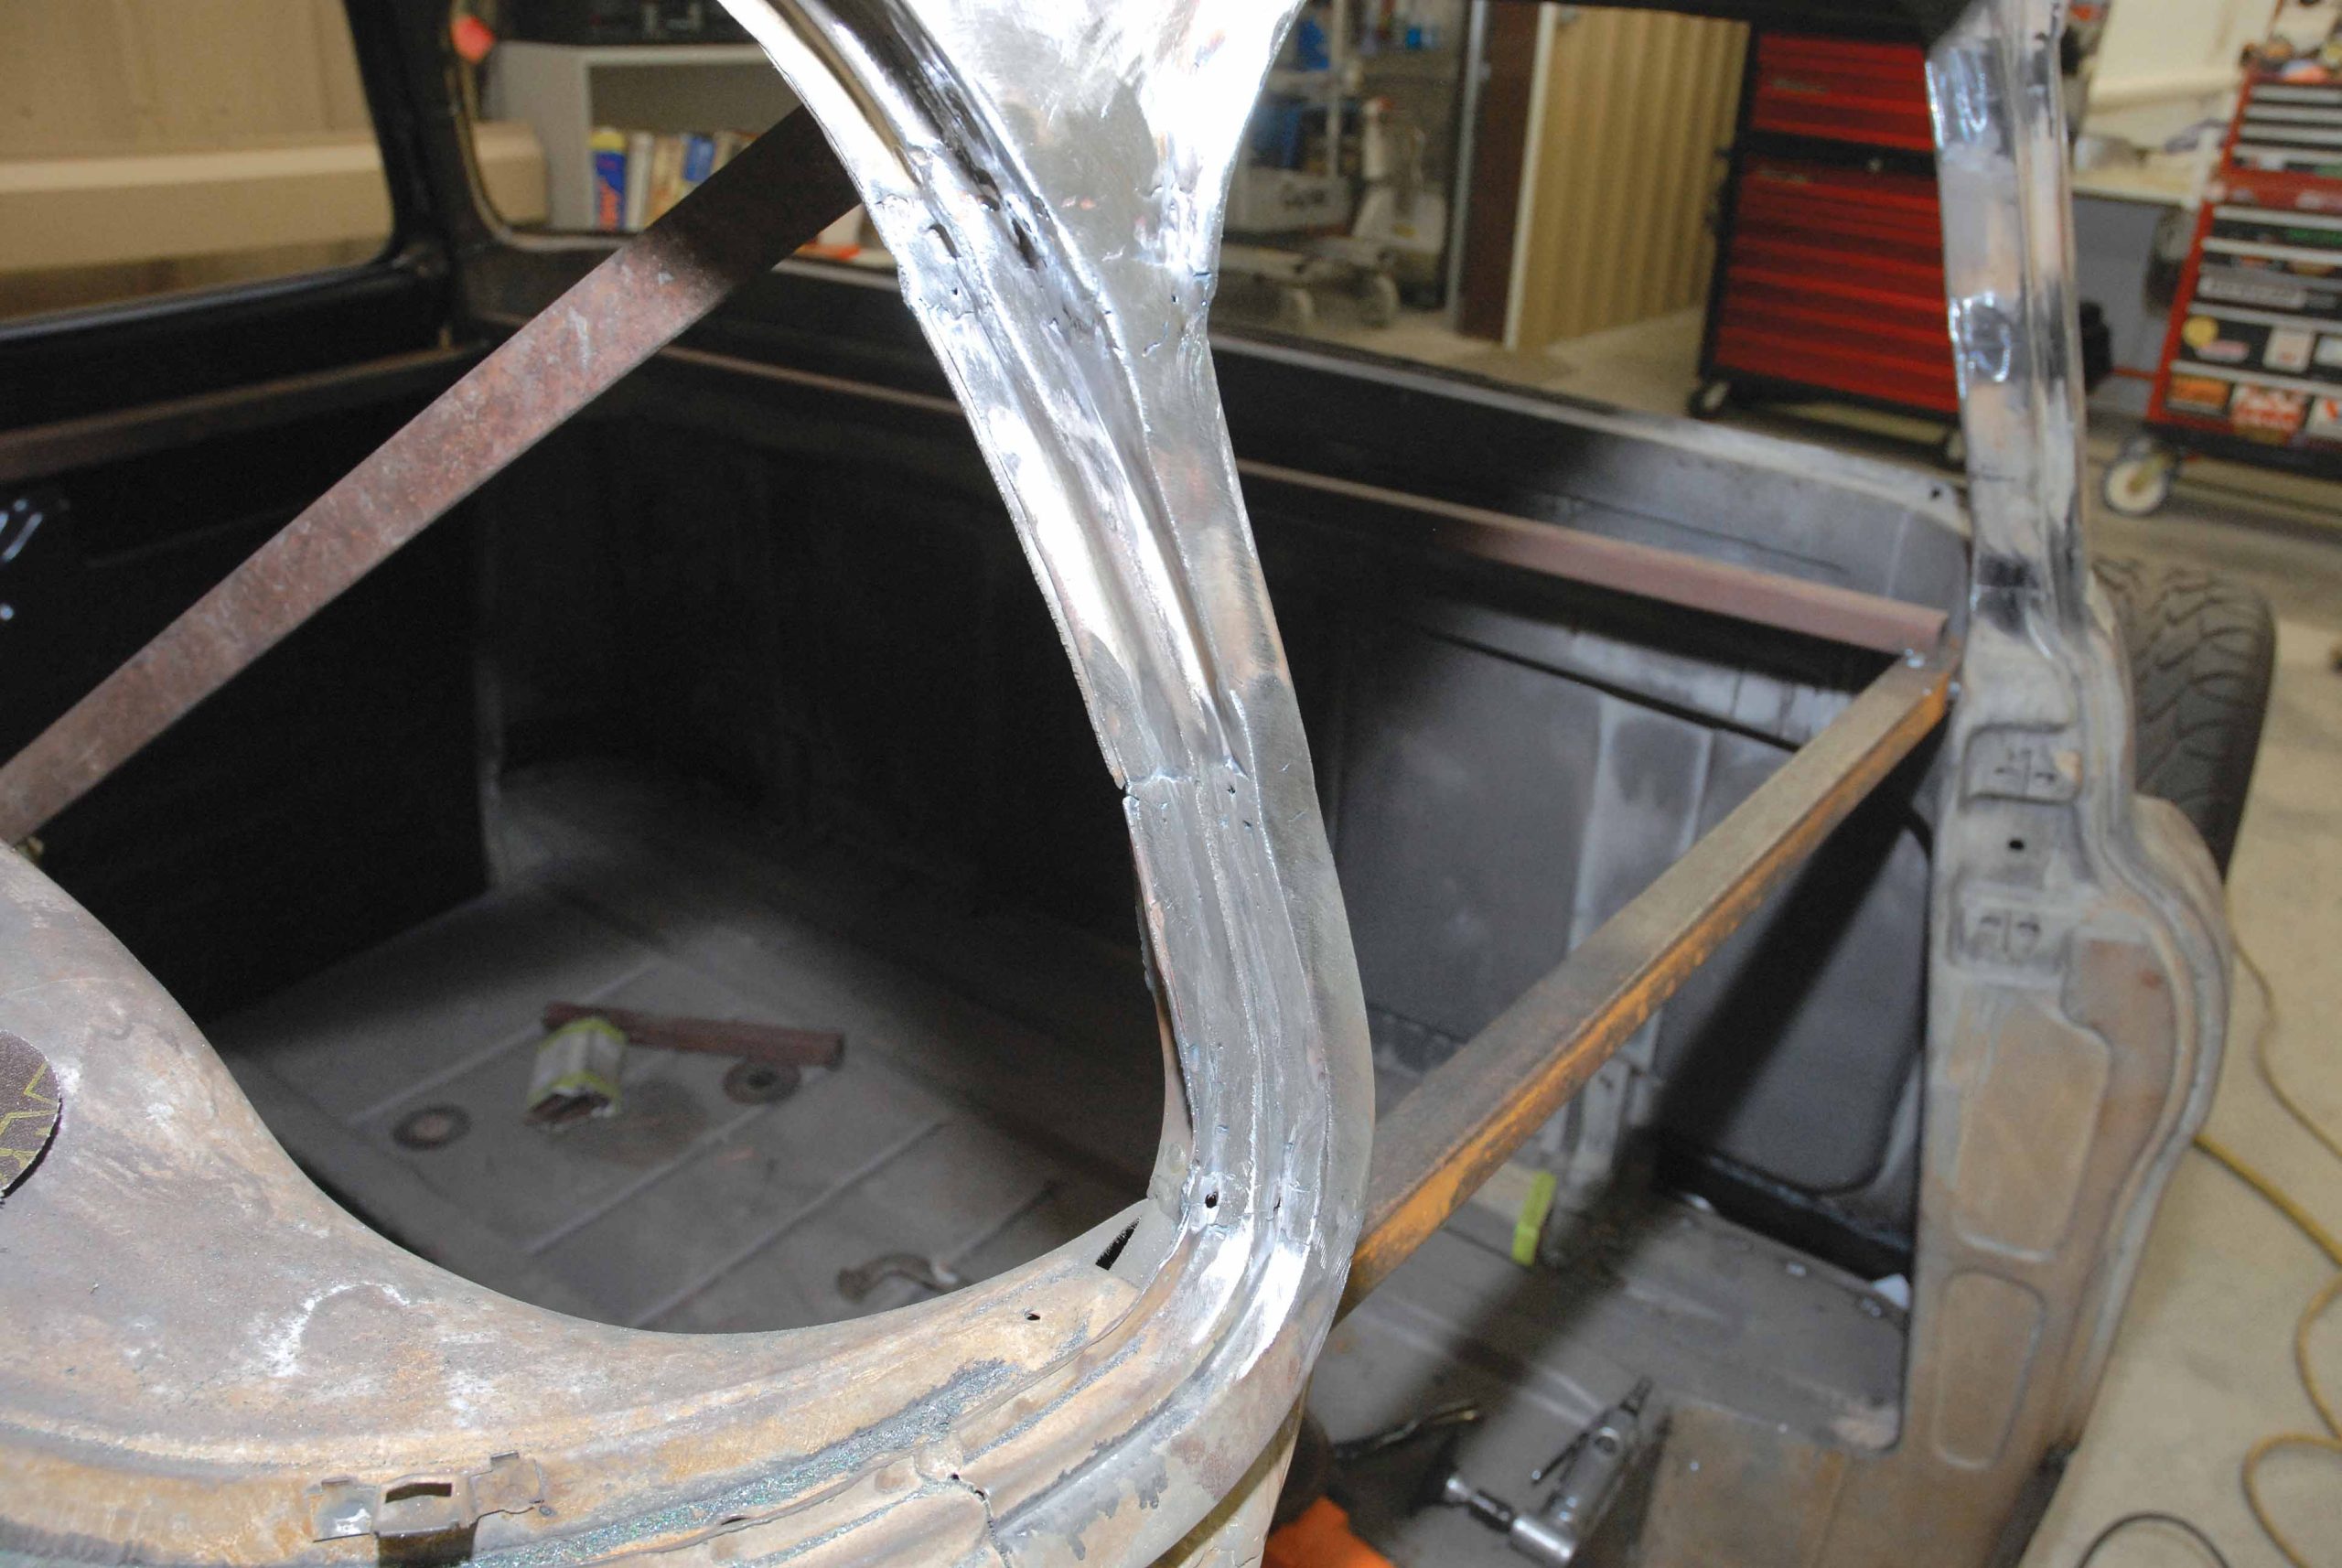
72. And here's what the finished front window post and channel looks like once the pinch welts have been welded together and recontoured.
ARTICLE SOURCES

Cimtex Rods
P.O. Box 205
Jarrell, TX 76537
512/746-2707

Dynacorn International Inc.
1400 Pacific Ave.
Oxnard, CA 93033
805/486-2612