HushMat Makes It Easy to Insulate Your Project Car
When dismantling your project car, you probably ran across the crumbling remnants of the original insulation. Old cars are notoriously “leaky” when it comes to heat and sound barriers, making them louder and hotter than the typical daily driver. Sometimes a loud exhaust system overrides the road noise, but you’ll always notice when your air conditioning system never seems to keep the cabin cool. If you’re in the midst of an interior refresh, or a full restoration, it’s a great time to consider new insulation.
HushMat offers a wide variety of products geared toward classic cars and hot rods and we chose its complete Tri-Five Chevy kit (PN 62555, $1031.80), which offers pre-cut insulation panels designed to fit the floor, doors, trunk, headliner, and firewall. Each of the segments are available separately, but it’s easiest to get the entire kit and install it all at one time. In the case of this project, we already had it stripped down to the bare bones, so it was the perfect time to get this Tri-Five Chevy insulated and ready for the road.
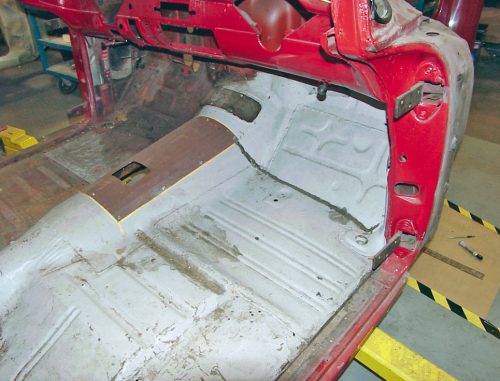
We’re starting with a blank canvas, as our Tri-Five Chevy project is torn down to the bare bones. Before we get started, we simply cleaned the car out so we’d have a clear working space. No other panel preparation is needed.
As you can see, we have removed the doors, and completely gutted the interior, including the quarter window regulators. This gives us easy access to install the HushMat insulation, but you can install it on your project without disassembling it so extensively.
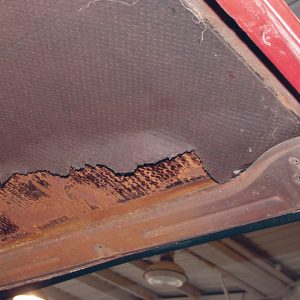
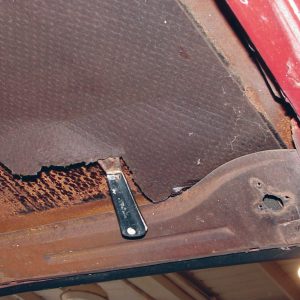
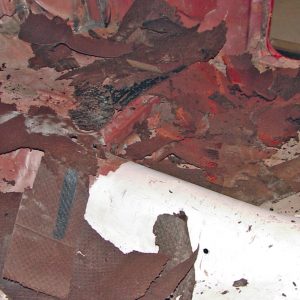
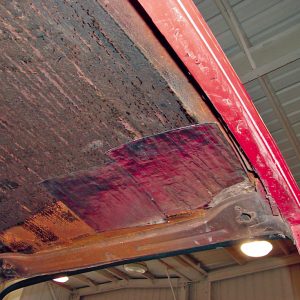
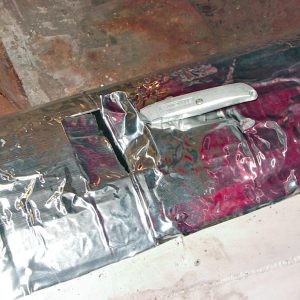
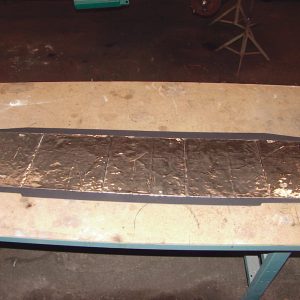
Most cars from the ‘50s and ‘60s will have a thin layer of insulation on the inner portion of the roof. The original insulation did very little to absorb heat or noise, and it quickly deteriorated.
A putty knife is the perfect tool for removing the original insulation. You can usually get it to scrape off in big sheets, but you may have to get more creative in the tight areas.
It’s important to start on the roof section, as removing the original insulation can be quite messy. A trash can and shop vac make for easy clean up when you’re finished scraping.
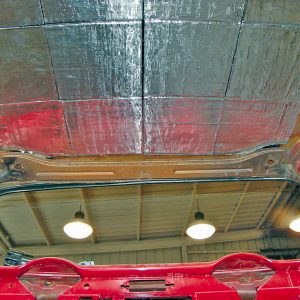
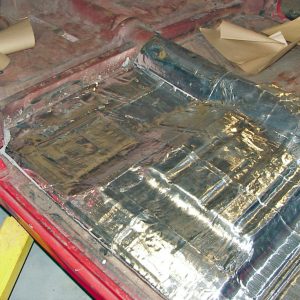
The 100 percent Butyl construction with aluminum shielding is 1/16-inch thick in total, which is thinner than most aftermarket insulation, but it still provides superior R 3.6 insulating power. This is important because some insulation can cause fitment issues with the headliner or other interior panels.
Overall, the installation of the HushMat insulation panels took approximately three hours, but that obviously doesn’t cover the amount of time you’d spend disassembling your interior. The three-hour estimation is based upon starting with a blank canvas, like our Tri-Five. The only tools you’ll need are a pair of scissors and a utility knife, but be prepared for lots of scraping, when it comes to removing the old, crispy insulation from the original panels. There are tricks the help with removing the old stuff like dry ice or torches. While these methods can help get the job done quicker, good old-fashion elbow grease is required.
With the old stuff out of the way, the HushMat panels install simply and easily. Make sure the surface is as clean as possible and there is no debris left from the removal of the original insulation. Once the HushMat insulation is in place, the rest of the interior can be installed, and you can enjoy your air conditioning, stereo or just general conversations with your passenger like never before. It’s an affordable and easy upgrade, and gives your old car that new-car feeling when you slide behind the wheel for a road trip.
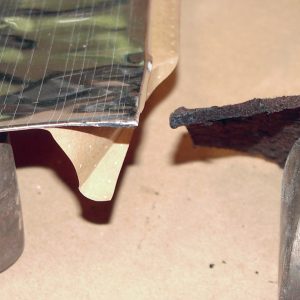
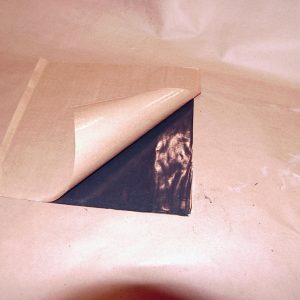
HushMat features aluminum shielding on one side and wax paper on the other. The wax paper easily peels off, revealing the adhesive backing. The adhesive used is extremely strong. It is a good idea to test fit the panels and make any necessary cuts before removing the backing paper.
Aside from scraping the original insulation off, there is no surface preparation needed to install the HushMat material. Simply peel off the paper and stick it to the inner roof surface.
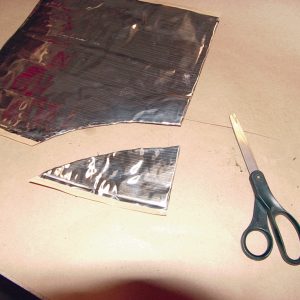
Regular scissors do a great job of cutting the HushMat insulation. You’ll need to mock up the panel to see the best area for trimming.
provides plenty of material to cover the roof. You’ll want to steer clear of the braces and structural areas, primarily focusing on the flat areas. Cover as much of the flat areas as possible, applying the insulation as close to the edges of the bracing as possible.
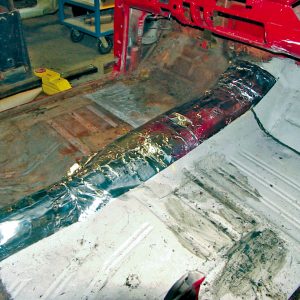
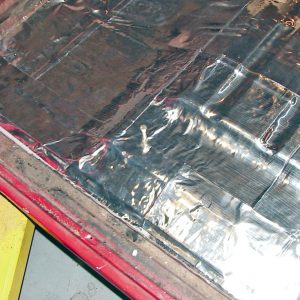
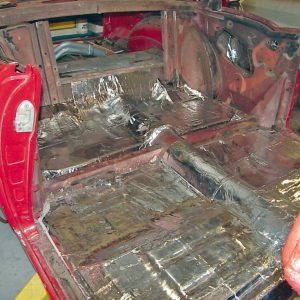
With the headliner complete, we can move to the floor. Everyone has a different opinion on how to tackle this job, but we prefer to start in the middle on the transmission hump and driveshaft tunnel.
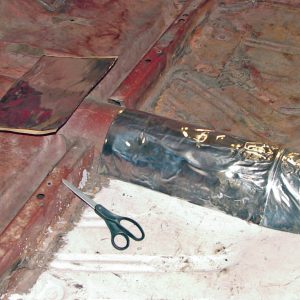
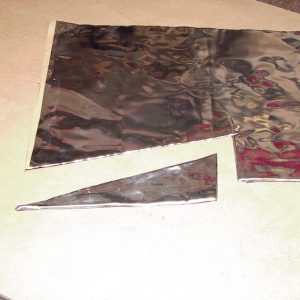
The scissors come in handy for trimming areas like this inner brace that intersects the driveshaft tunnel. Keep the trimmed pieces, as you’ll likely be able to use the smaller pieces to fill in gaps elsewhere.
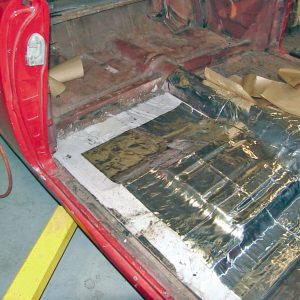
The floor insulation kit (PN 625551, $478.56) includes more than enough material to cover the floor. Scissors are helpful for the basic cuts, but you may also use a utility knife or box cutter to make more precise cuts. The knife works well for trimming around the shifter hole.
Once the tunnel is completely covered, we start working on the toe boards. This is a mostly flat area, but you can see the wedge-shaped gap that is formed between the toe board and tunnel. We’ll use our scraps to fill in the gaps.
The flat areas of the floors are quick and easy. We suggest vacuuming the floors or blowing them with compressed air to make sure the grooves and pockets are free of any debris.
We found it useful to mark the areas that needed trimmed and then cut accordingly. There is no wrong way to trim the panels, so long as you fill in any gaps for a nice, even coverage. Coverage is key. If it doesn’t end up as “pretty” as you’d like, keep in mind the carpet will cover everything.
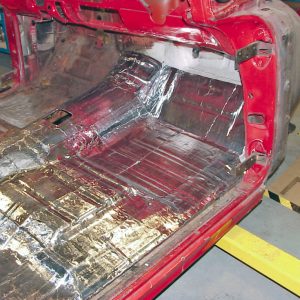
The HushMat floor insulation kit has plenty of material to cover all the way out to the rocker panels. After the panels are trimmed, we simply remove the paper and stick it into place.
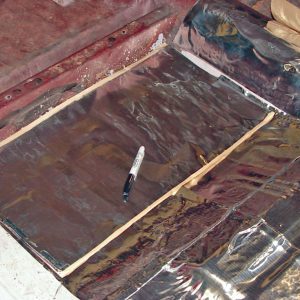
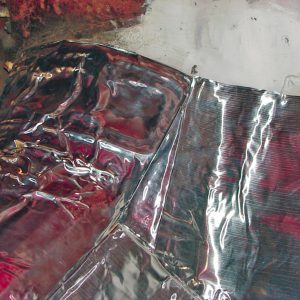
Remember the wedge-shaped area between the transmission hump and toe board? We made a few measurements and cut out a shape that will fill in the gap nicely.
With the wedge pressed into place, we have a nice, smooth coverage that will reduce road noise and keep heat from the drivetrain from passing into the cabin.
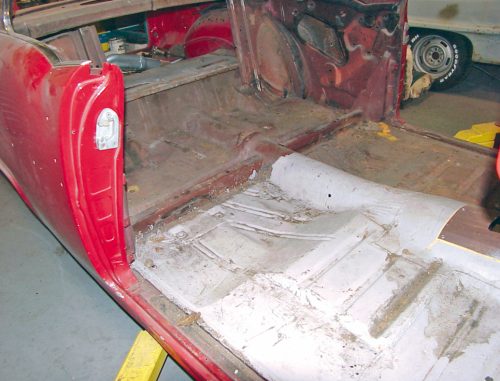
The passenger side of the floor insulation is complete, so we can now focus on replicating our efforts on the driver’s side.
Next, we climb inside to tackle the area beneath the rear seat. This is another crucial area for noise and heat reduction.
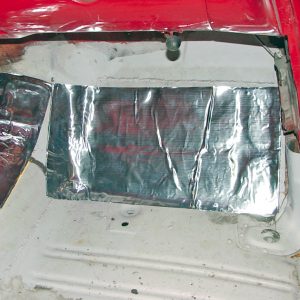
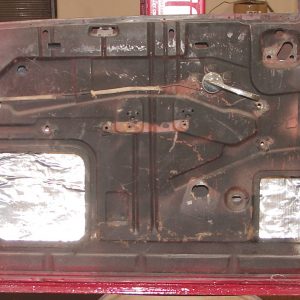
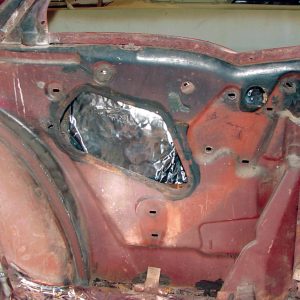
The doors on our Tri-Five Chevy are gutted, giving us plenty of room. We scrape off any original insulation, but no other surface preparation is needed.
Although it is not necessary to completely tear down your car to this extent, it does make easier access for installing the insulation.
The HushMat Door Insulation Kit (PN 625553, $130.02) comes with 10 rectangular tiles, which attach to the inner door skin and quarter panel skins.
Naturally, the quarter panel areas cannot get as much coverage as the doors, because there just isn’t a way to reach every square inch of the inner quarter panel. But we trimmed our pieces and installed them to cover as much area as possible.
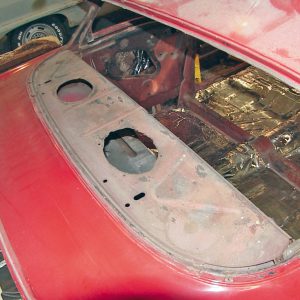
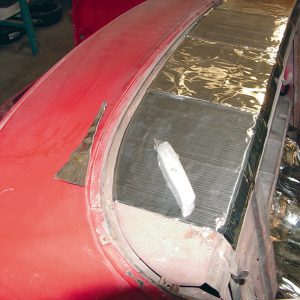
The HushMat package tray insulation kit (Part Number 14-80) includes four 12×12-inch tiles. Once again, no surface preparation is needed aside from a quick vacuum job to remove any loose debris.
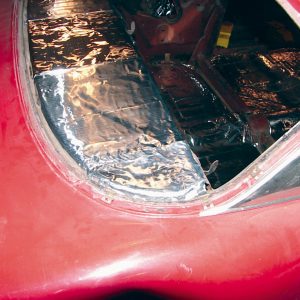
The square tiles are laid down, allowing them to overlap into the rear window area. If your car still has the rear glass in place, you’ll need to cut the pieces before installation.
Since we had easy access with the rear window removed, we used the utility knife to trim the excess material that lapped over into the window channel.
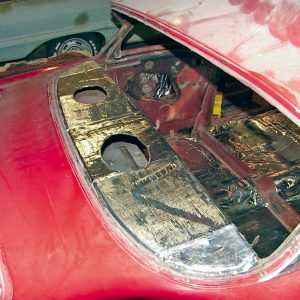
The Package Tray insulation kit had enough material to cover nearly all of the area, but we had some scrap pieces from our previous areas, so we filled in the gaps for complete coverage.
Finally, we used the utility knife to trim out the areas for the speakers. You can use a small screwdriver to poke holes in any of the necessary bolt holes.
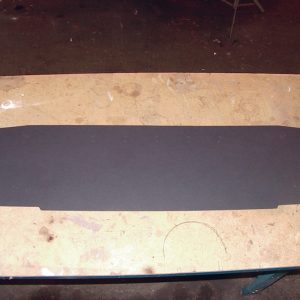
The final piece of the puzzle is the area behind the rear seat. Most cars, including our Tri-Five Chevy have a cardboard panel that fits behind the seat.
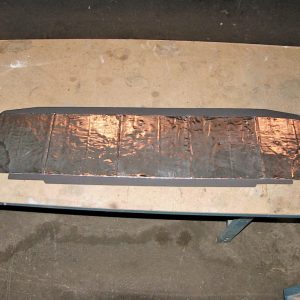
The HushMat behind the seat kit (Part Number 14-81) has enough material to cover most of the cardboard panel. The trunk area is a source for a lot of heat and noise, so this is a crucial part of the installation.
We used the utility knife once again to trim the areas to fit the panel. Once it fit to our liking, we peeled off the wax paper backing and attached the insulation to the panel.
With the rear seat panel trimmed and installed, we’re ready to begin re-assembling our Tri-Five Chevy. We still have a long way to go before we can drive this car, but we’re certain that the climate and sound levels will be under control when it’s time to hit the road.
Are you ready to install HushMat on your vehicle? Check out this video of HushMat founder and CEO Tim McCarthy, as he gives tips that help make the installation process quicker and easier.