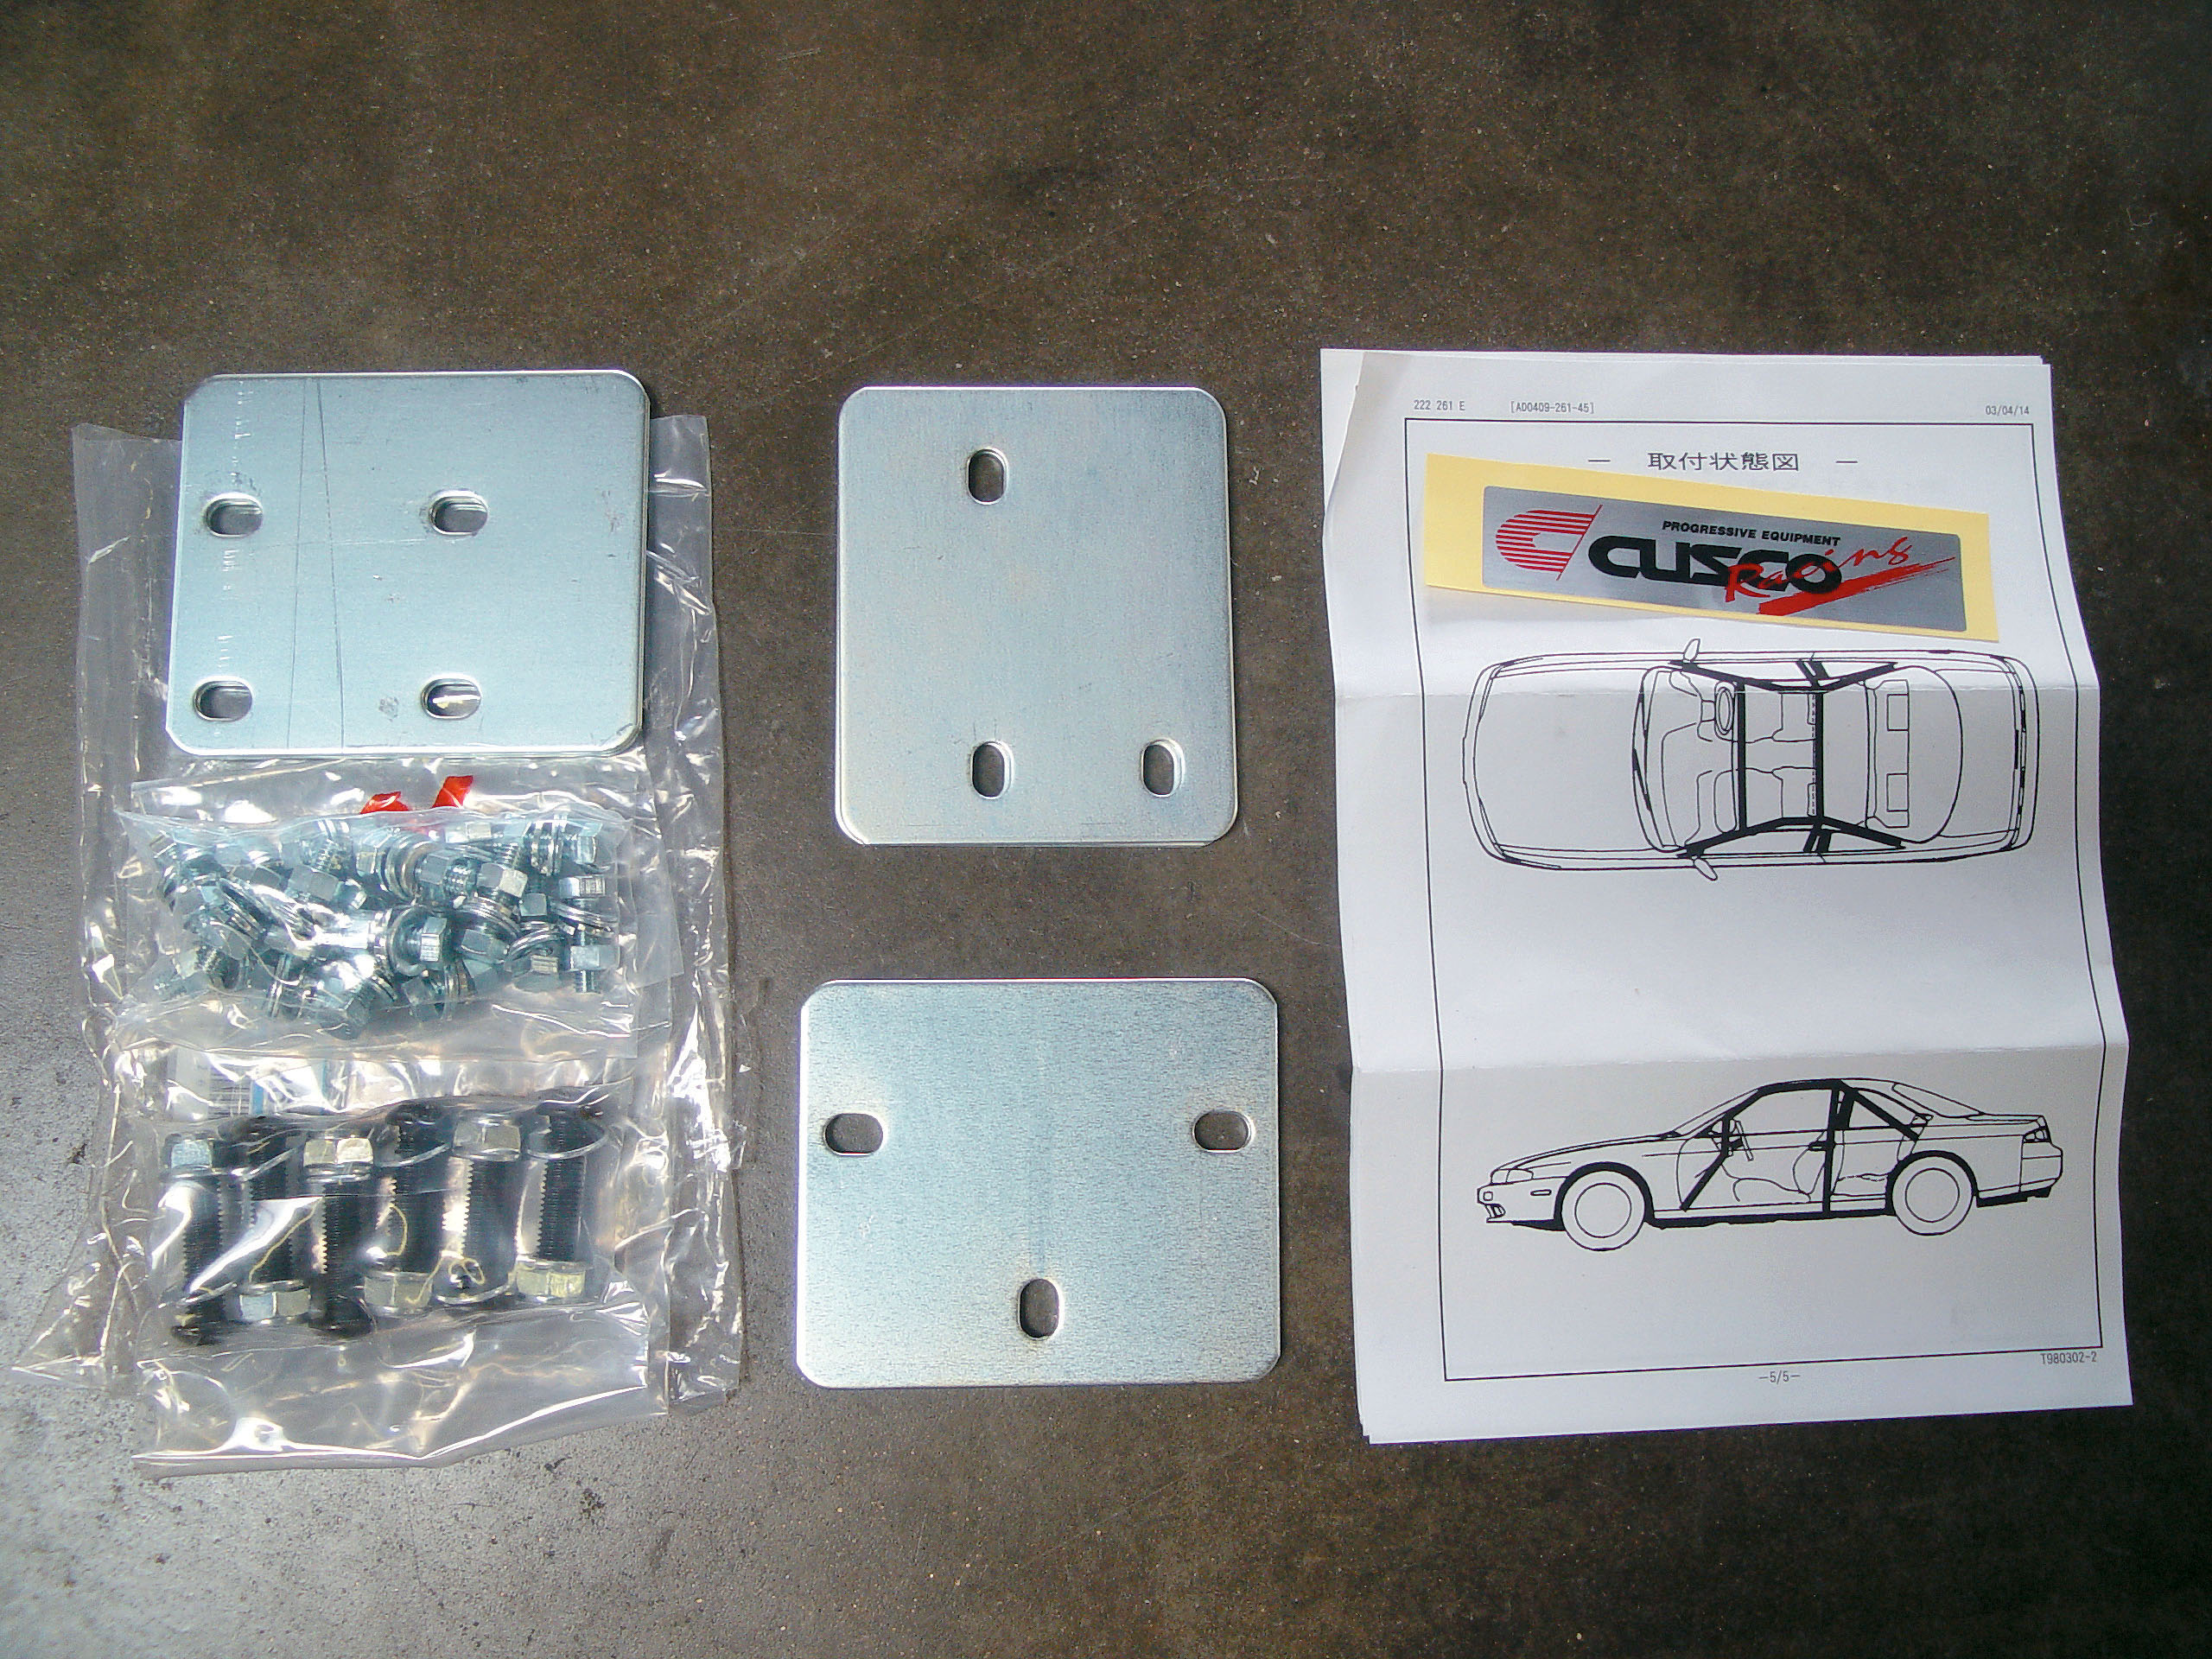
Before we get started, there are a couple of very important things you must know before ordering your Cusco rollcage. First and foremost, you must decide on the rollcage model and how many points you want it to have. Cusco offers five different rollcage styles, ranging from a four-point design up to an eight-point setup. And don’t forget that having a sunroof makes a difference, as Cusco rollcages are not made for cars with sunroofs. However, if you want one bad enough, you can customize the cage to fit your car.
Having said that, you have two different options for the install. One is considered a bit on the risky side and the other we feel to be much more effective. After sitting pretty for a couple of months, our Cusco cage finally arrived from Japan and we had to find a trusted shop to install it. There are not many of these cages around, so you’ll want to make sure that you get a correct install. It’s important to be certain only the best technician installs the rollcage—especially when safety is at risk.
After talking it over with J.C. School from Schoolhouse Kustoms, we decided to have him do it for us. Many enthusiasts think a bolt-in kit is as easy as 1-2-3, but that’s far from the truth. With everything in place and the instructions read very carefully, the install still took a good five hours.
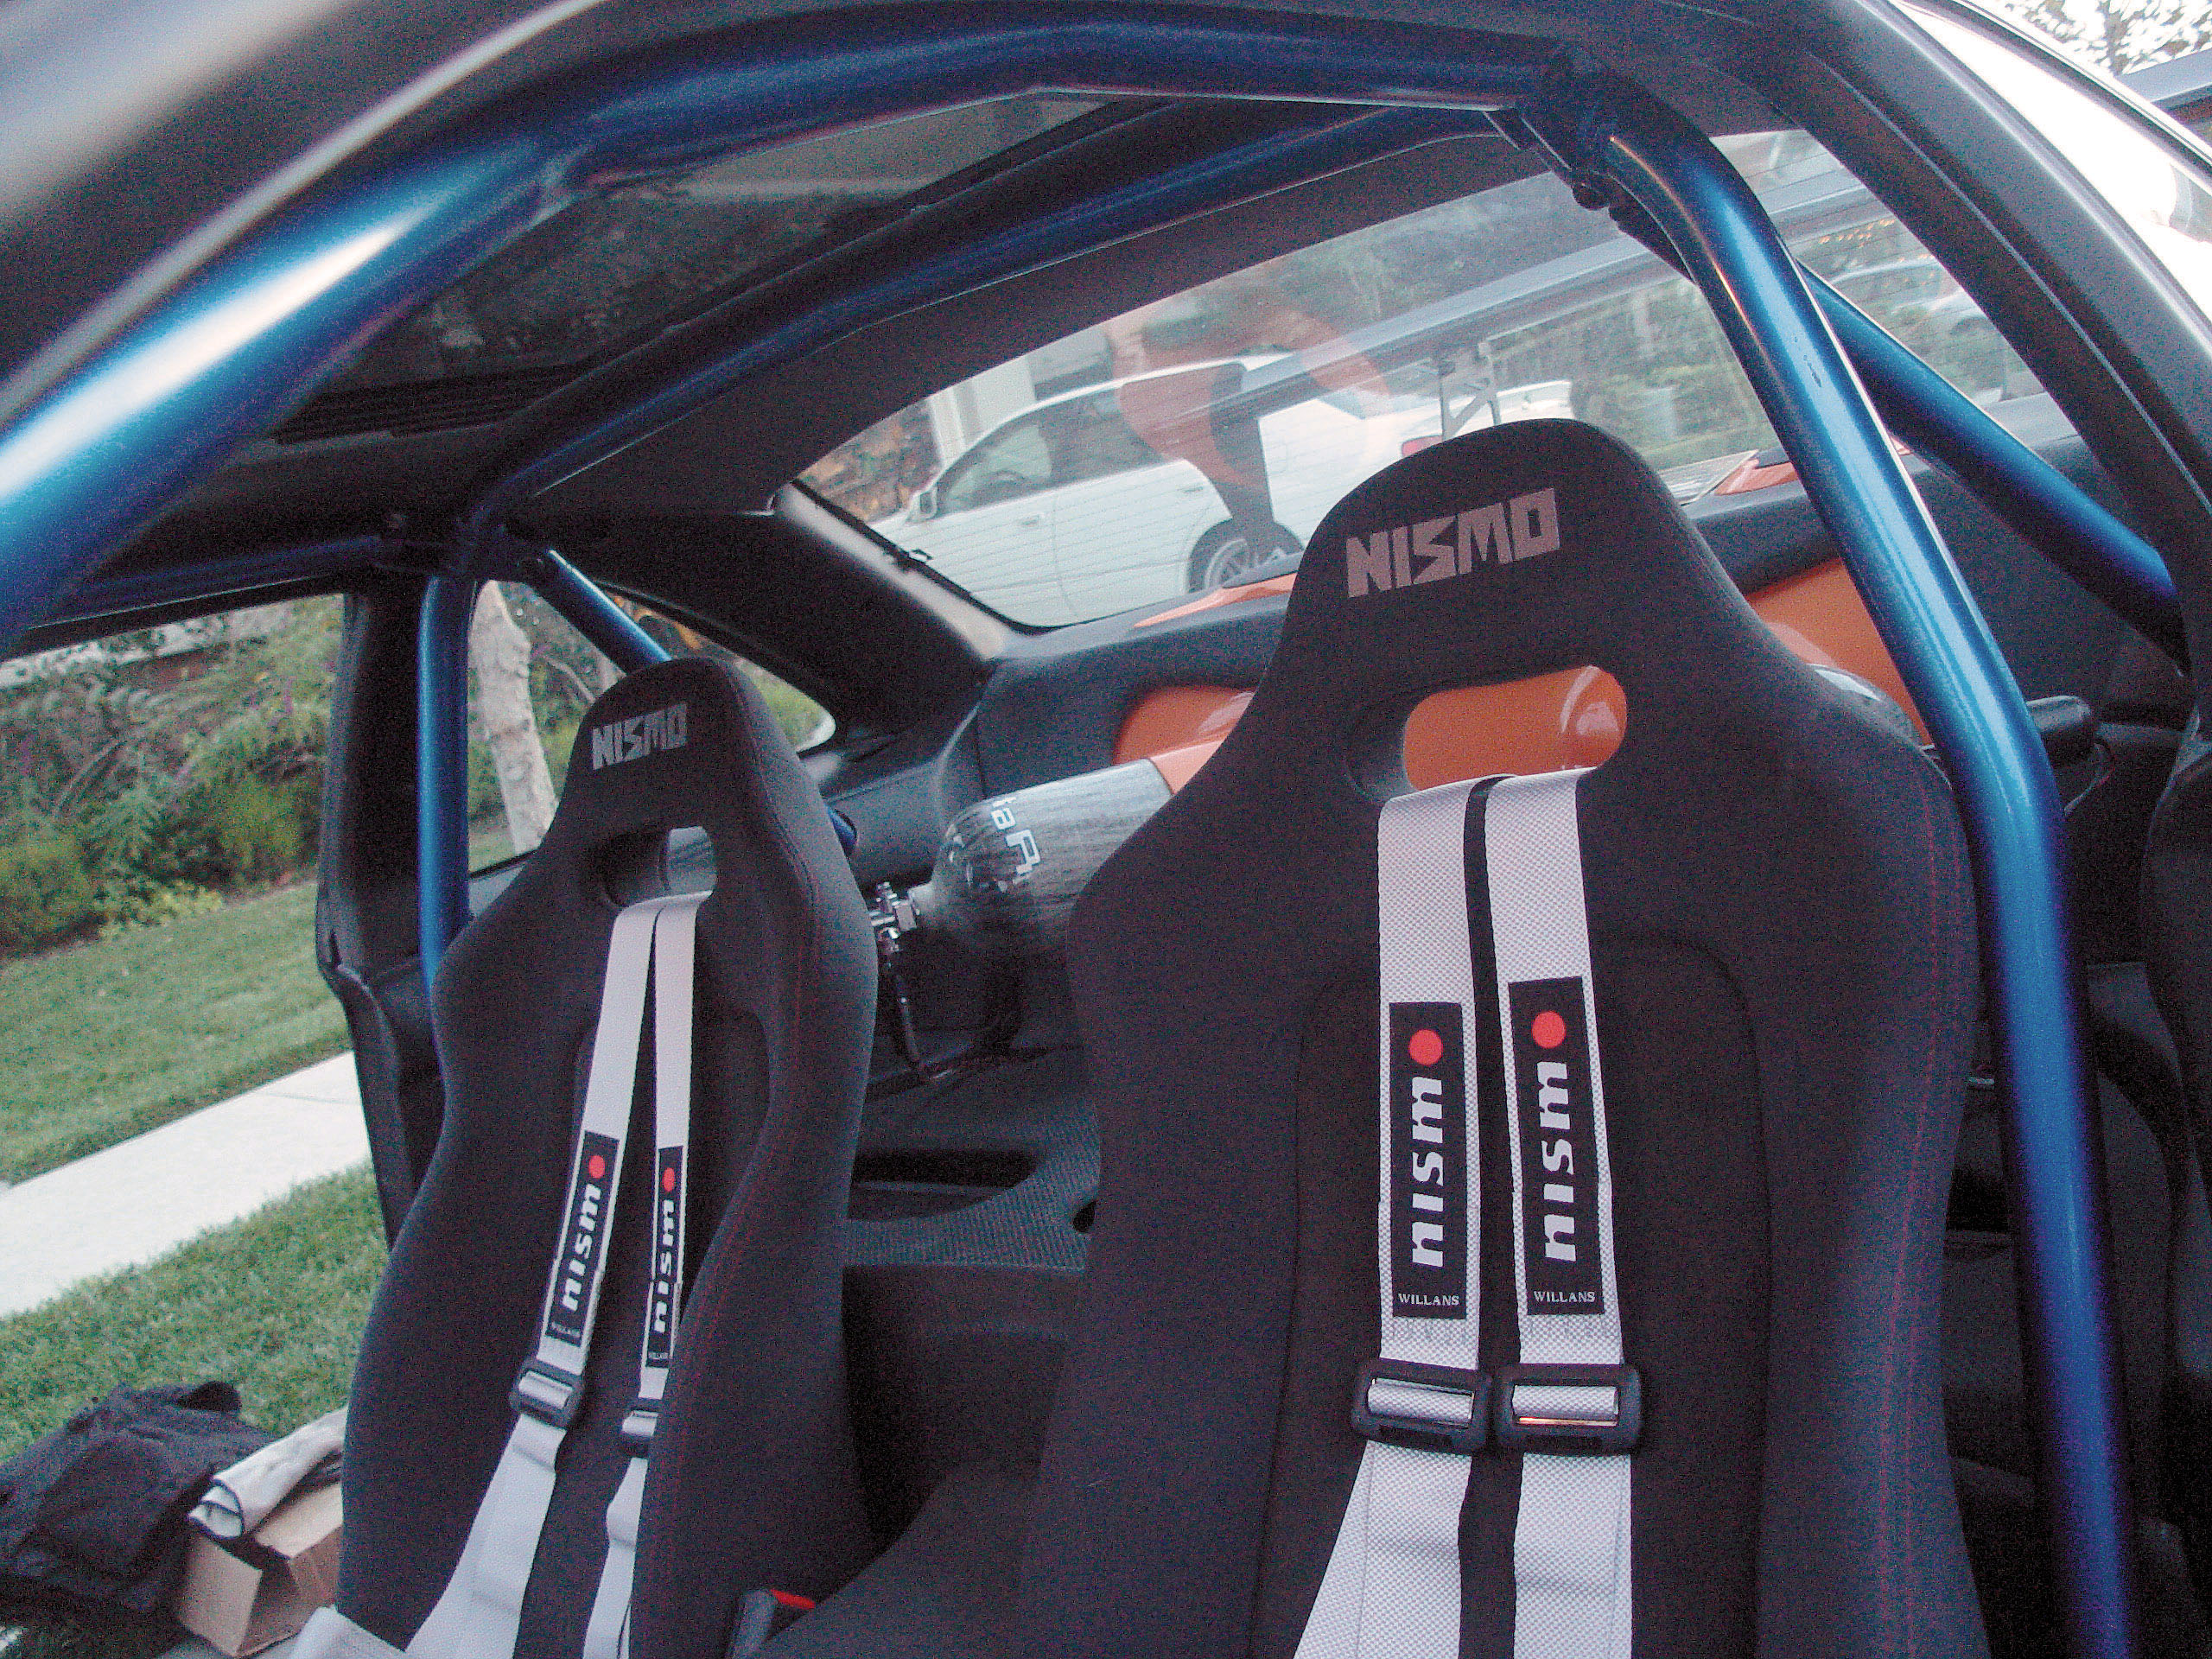
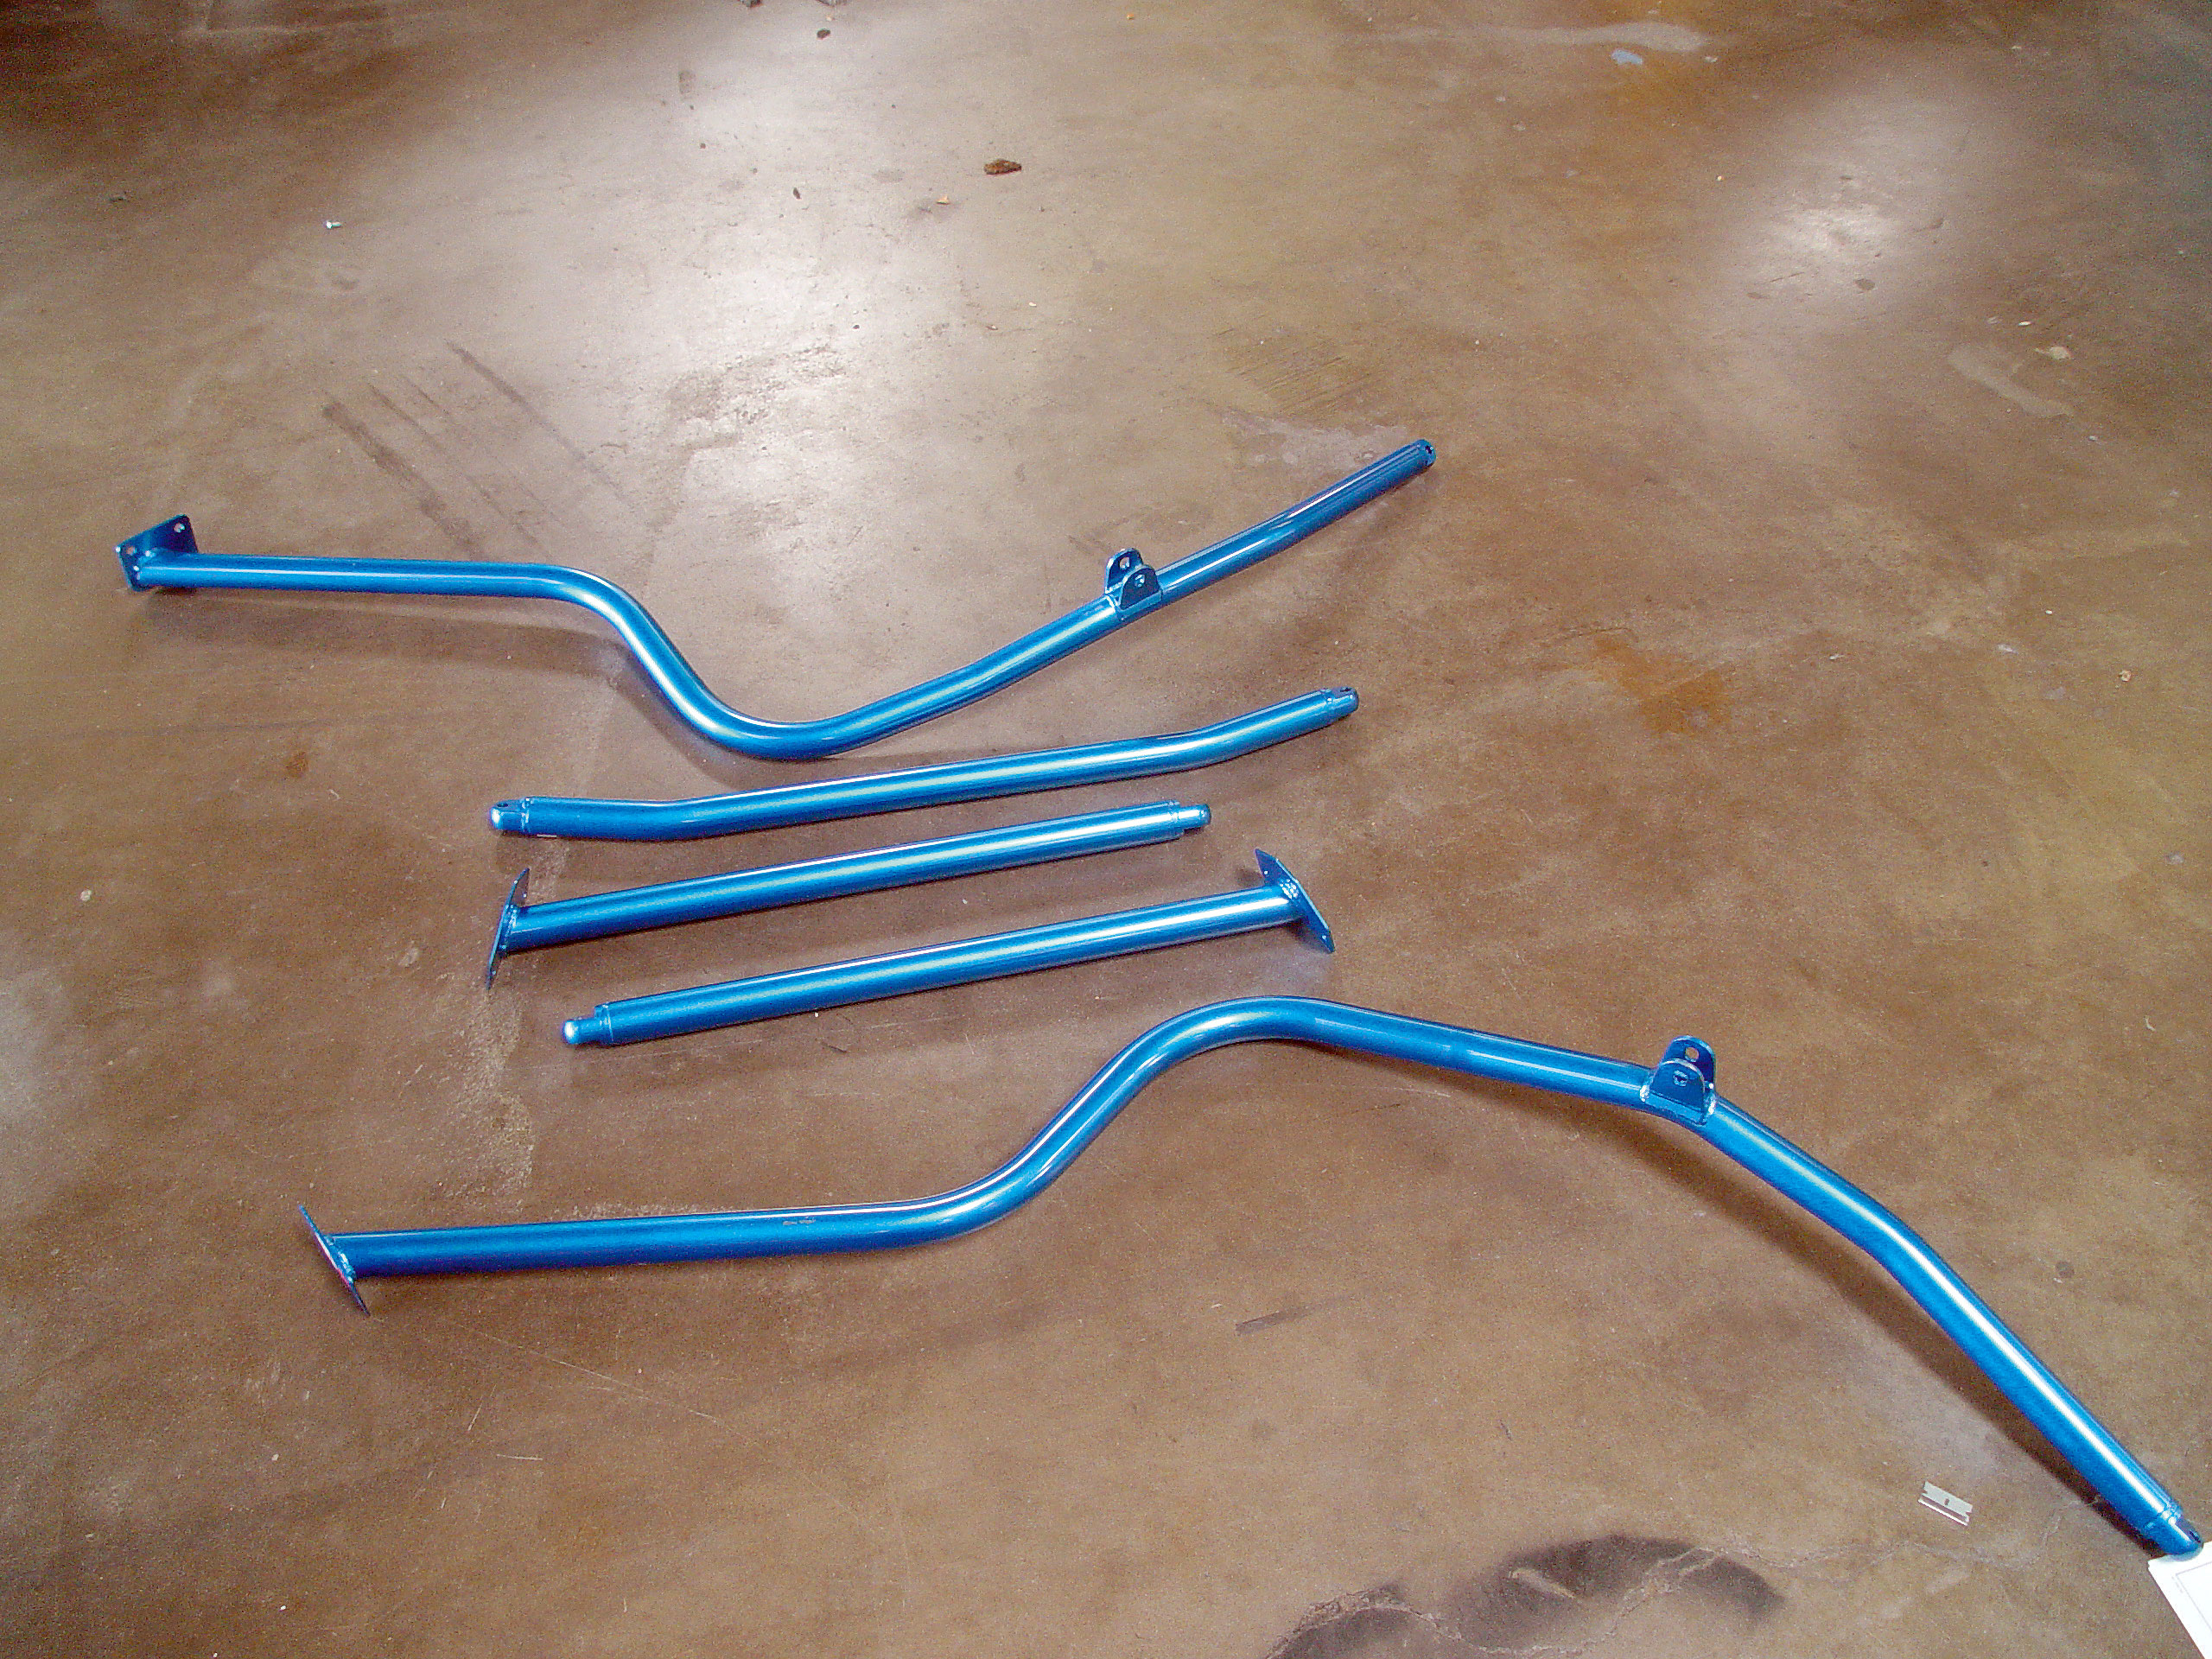
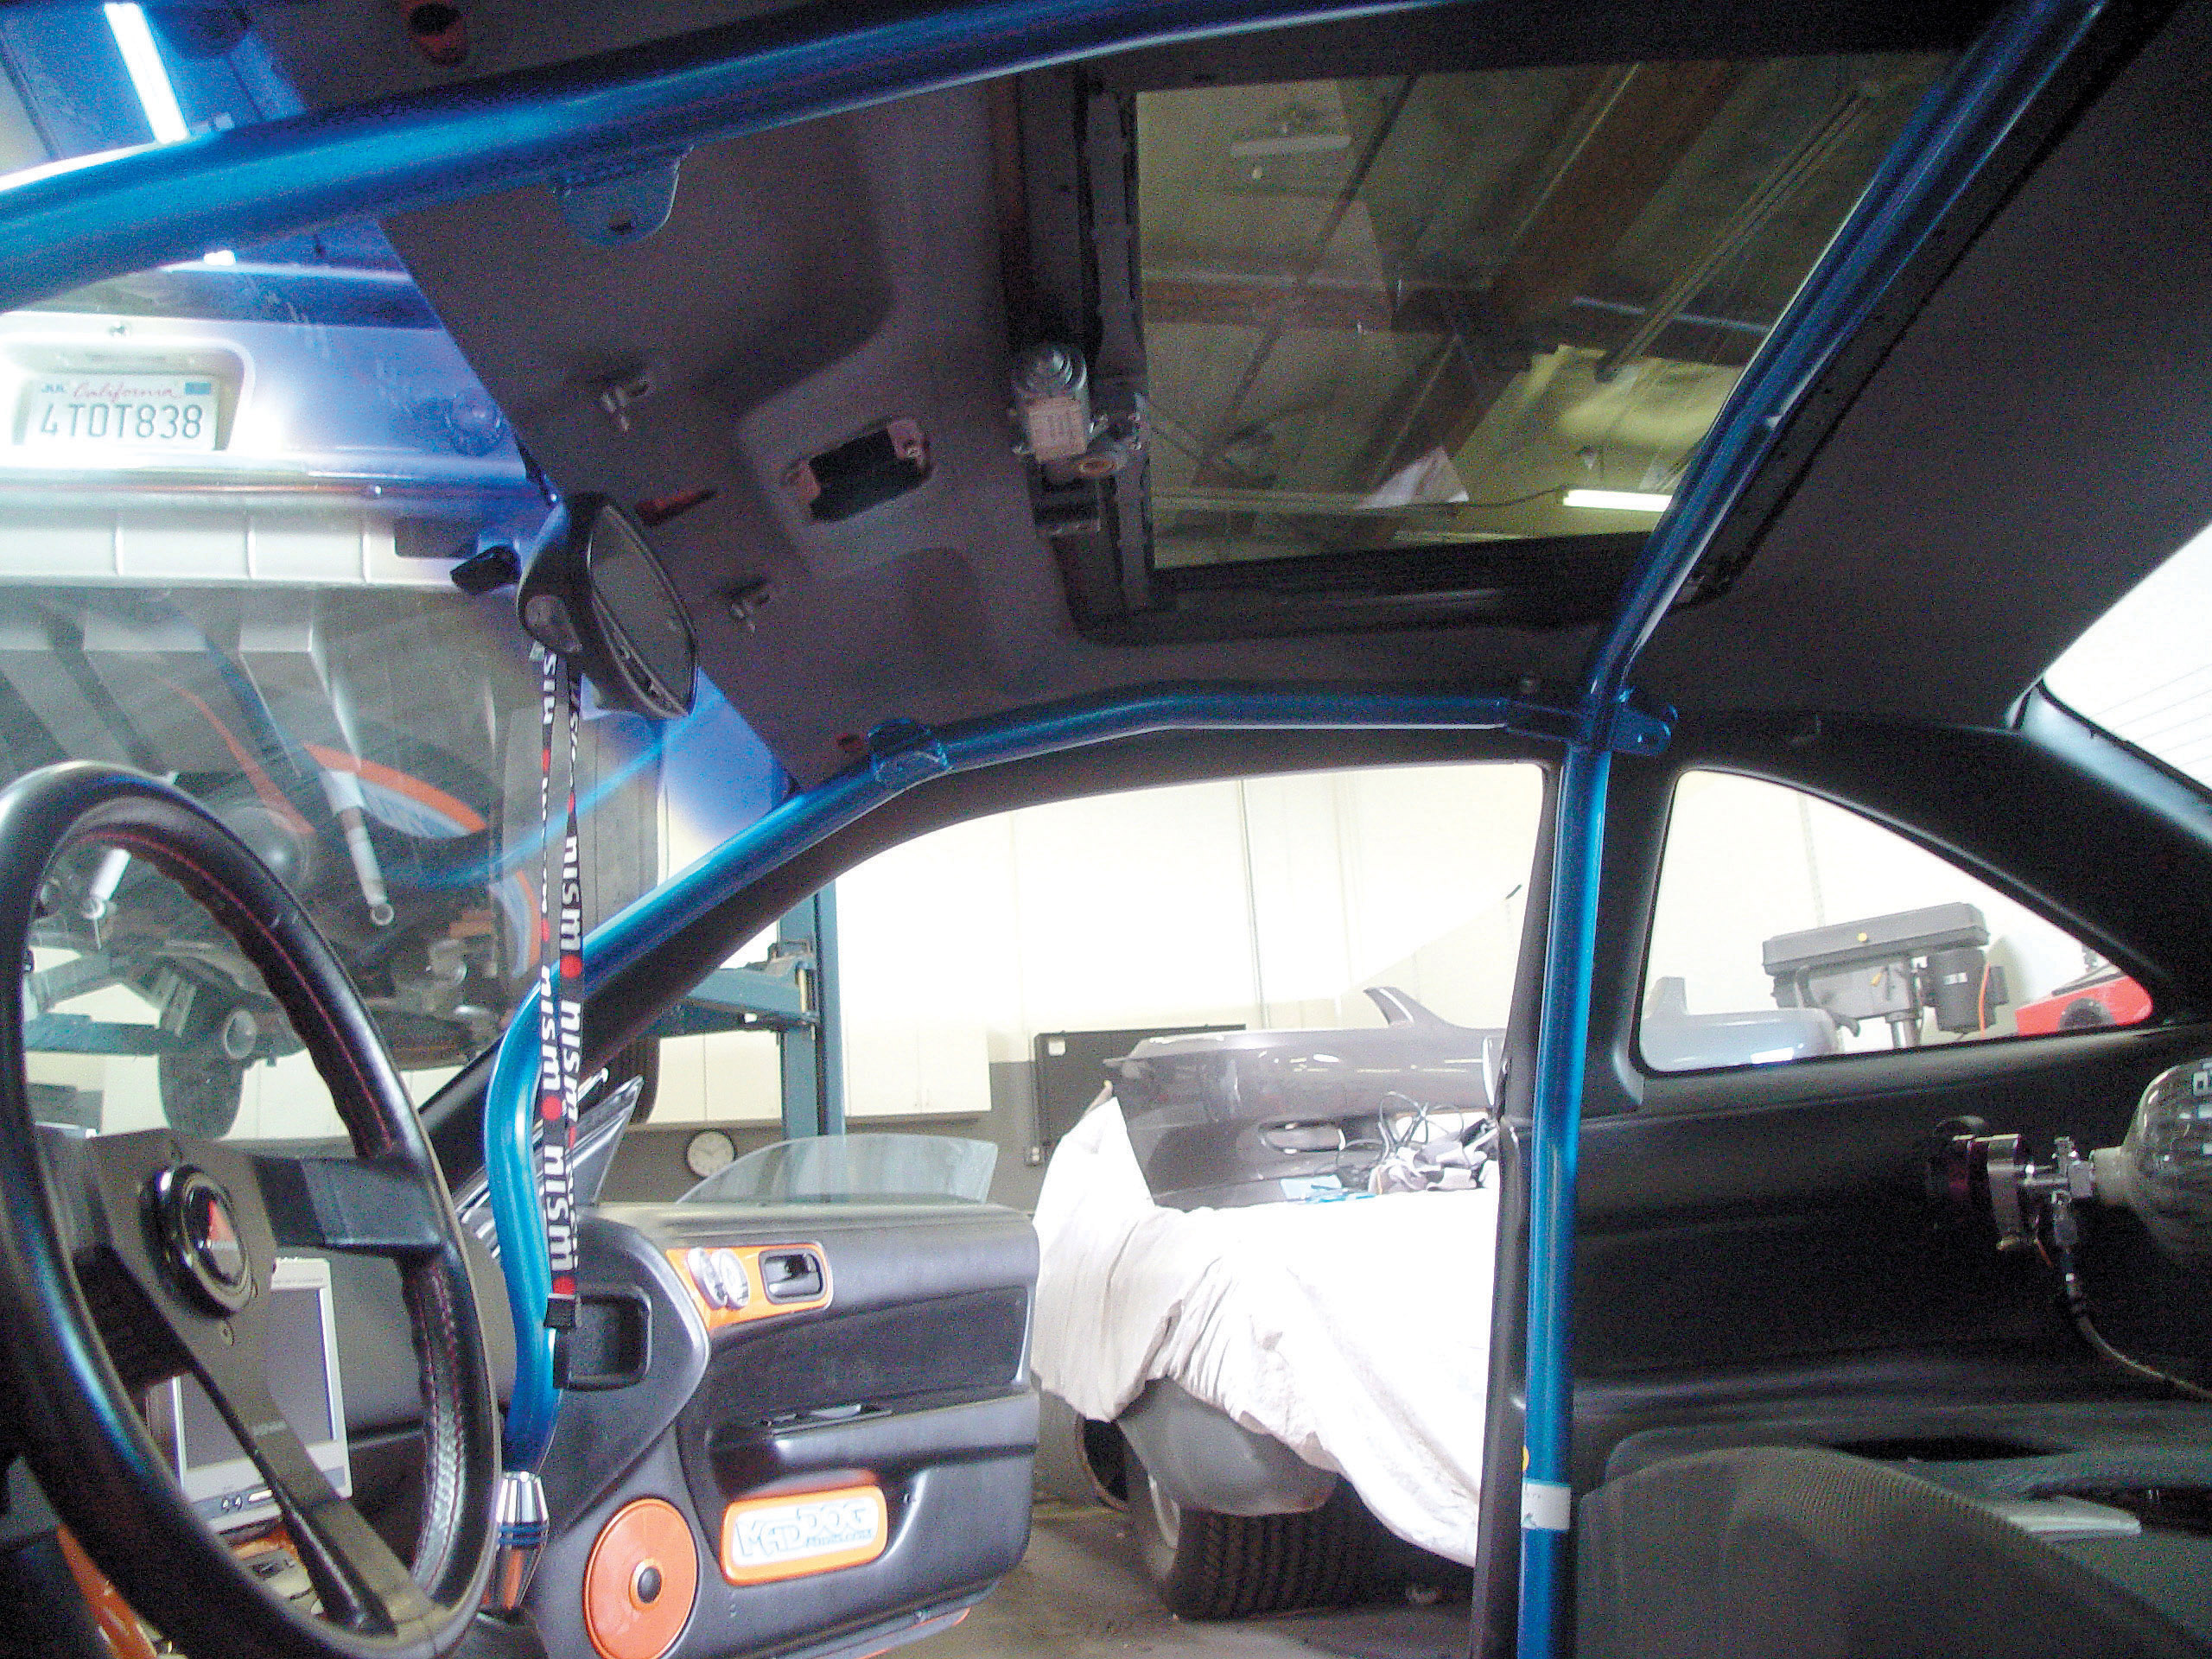
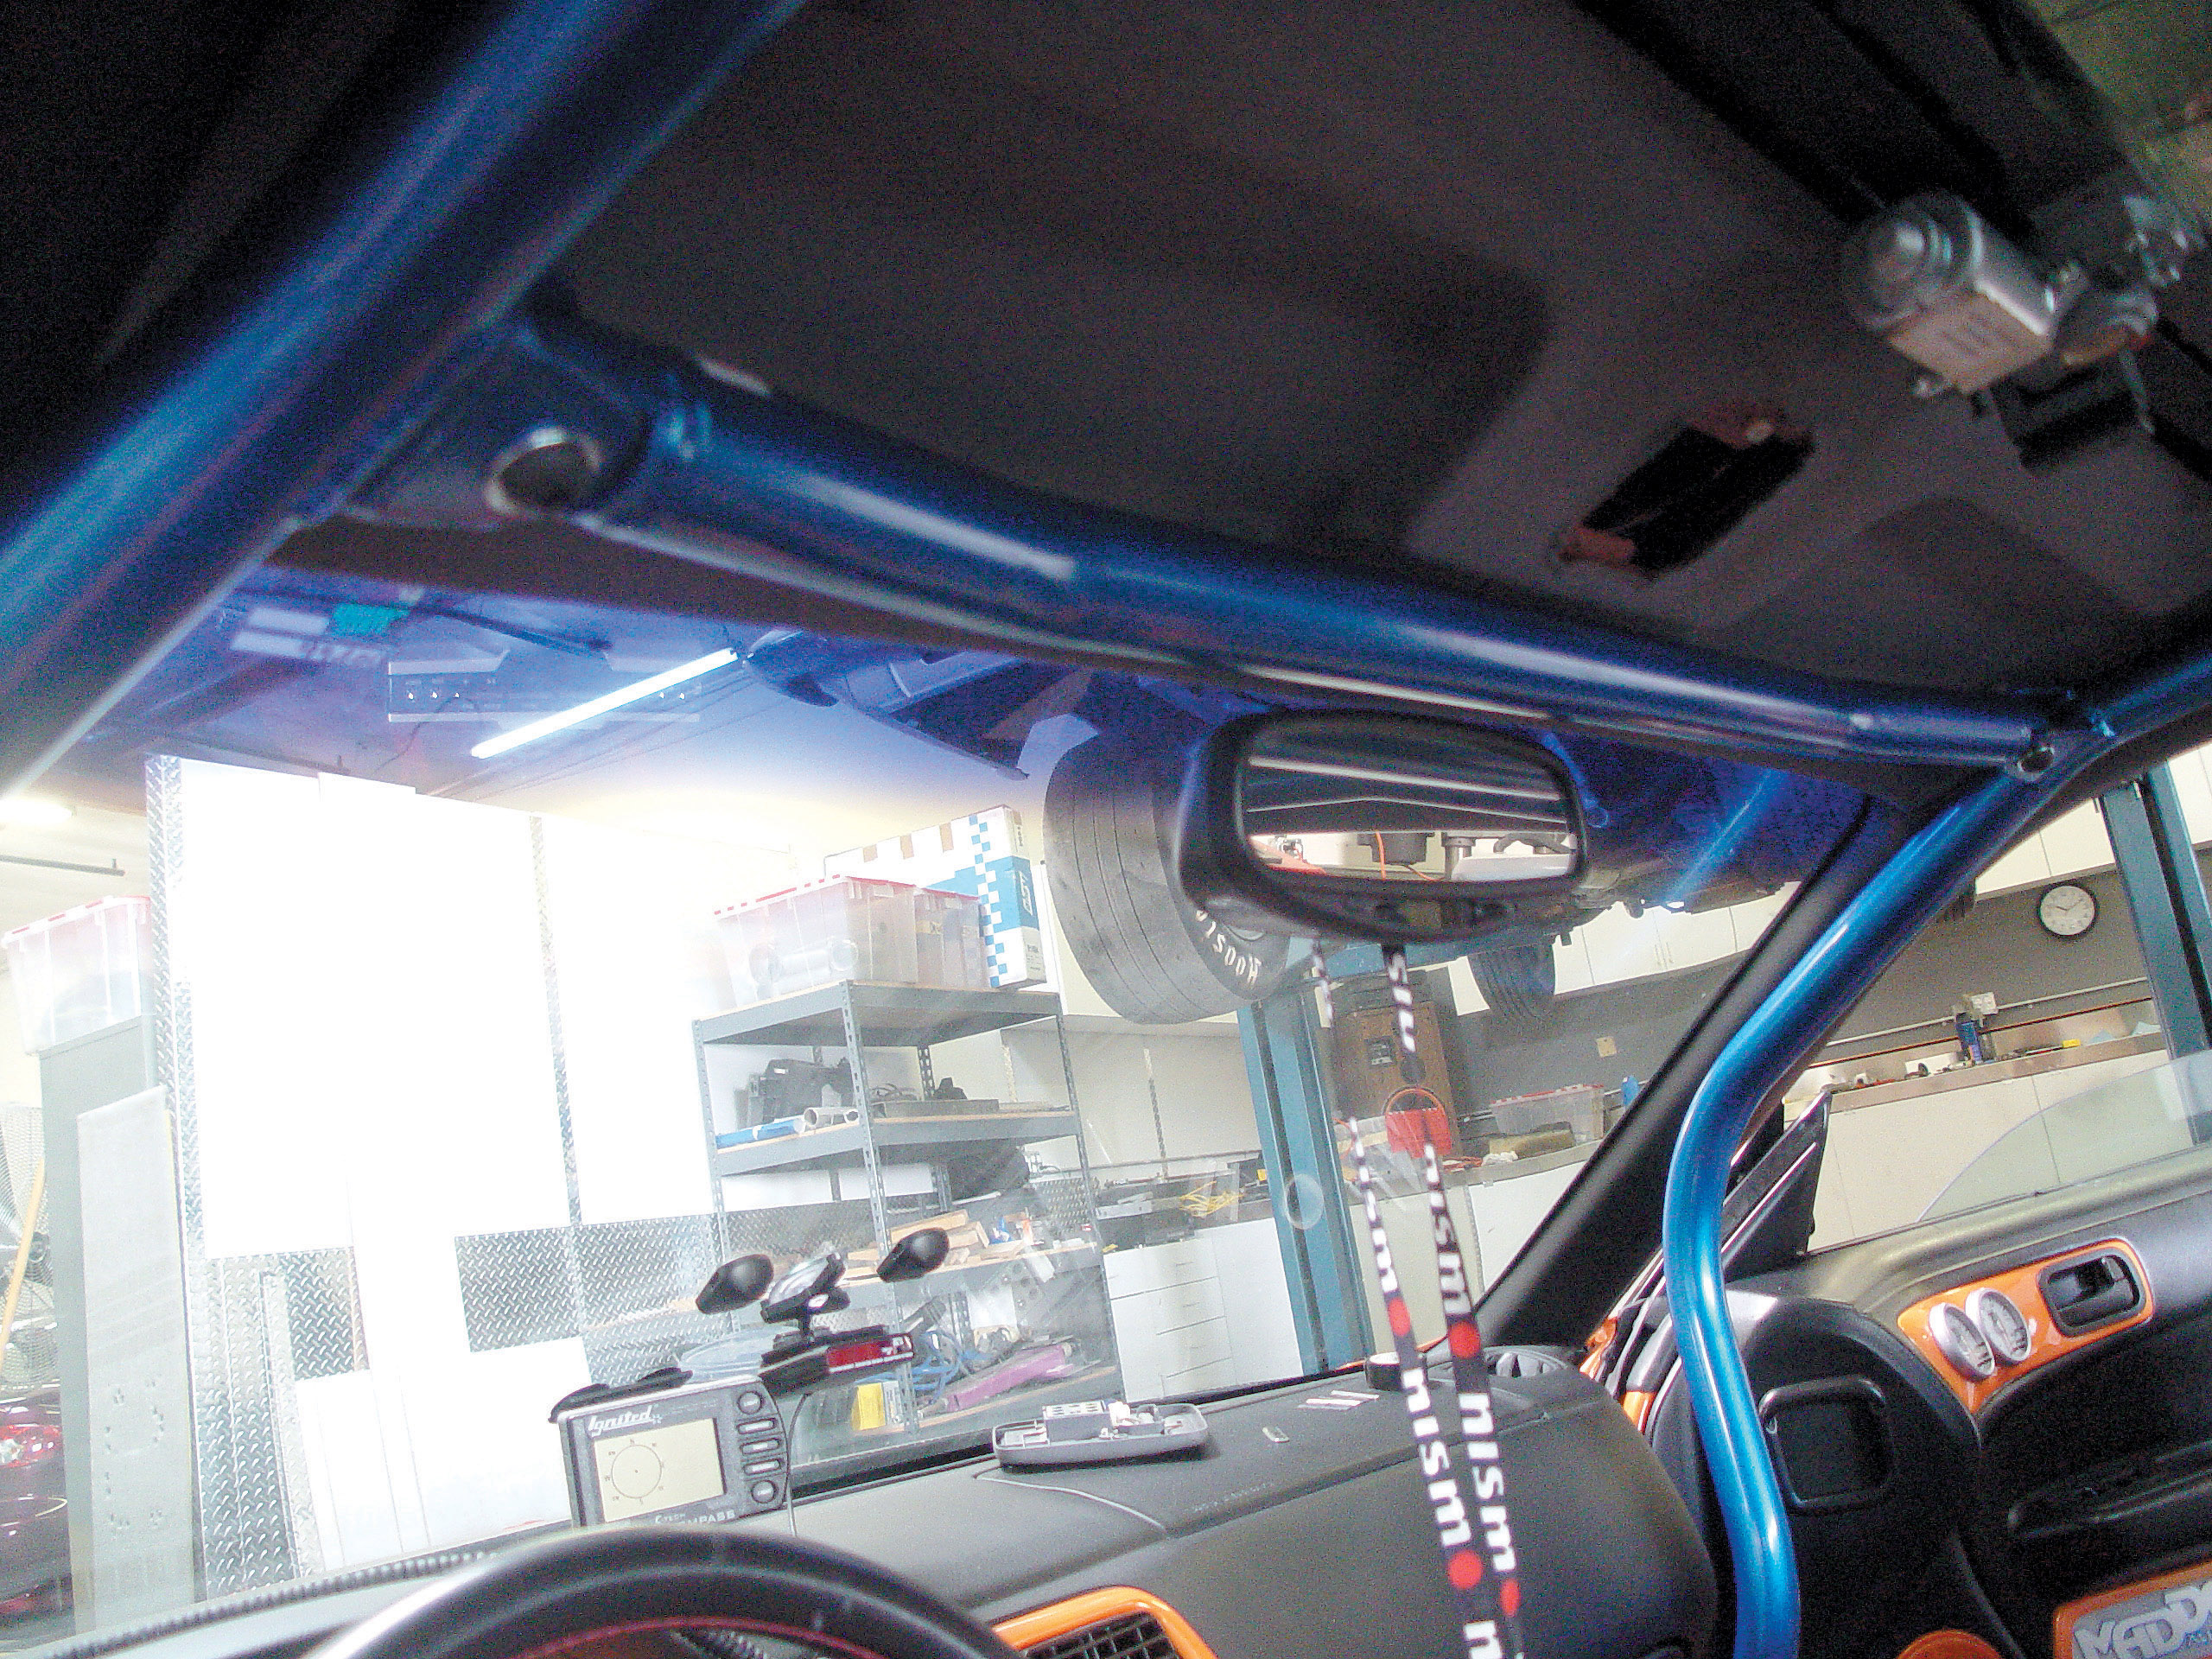
The Cusco cage is made from chrome-moly tubing, a lightweight yet very strong material. These rollcages are excellent for weekend track use and they don’t add as much weight to the car. Not only does the Cusco cage score you major points at a show, it also adds credibility to your project. All Cusco cages come in anodized blue and make a perfect centerpiece for any show or go interior.
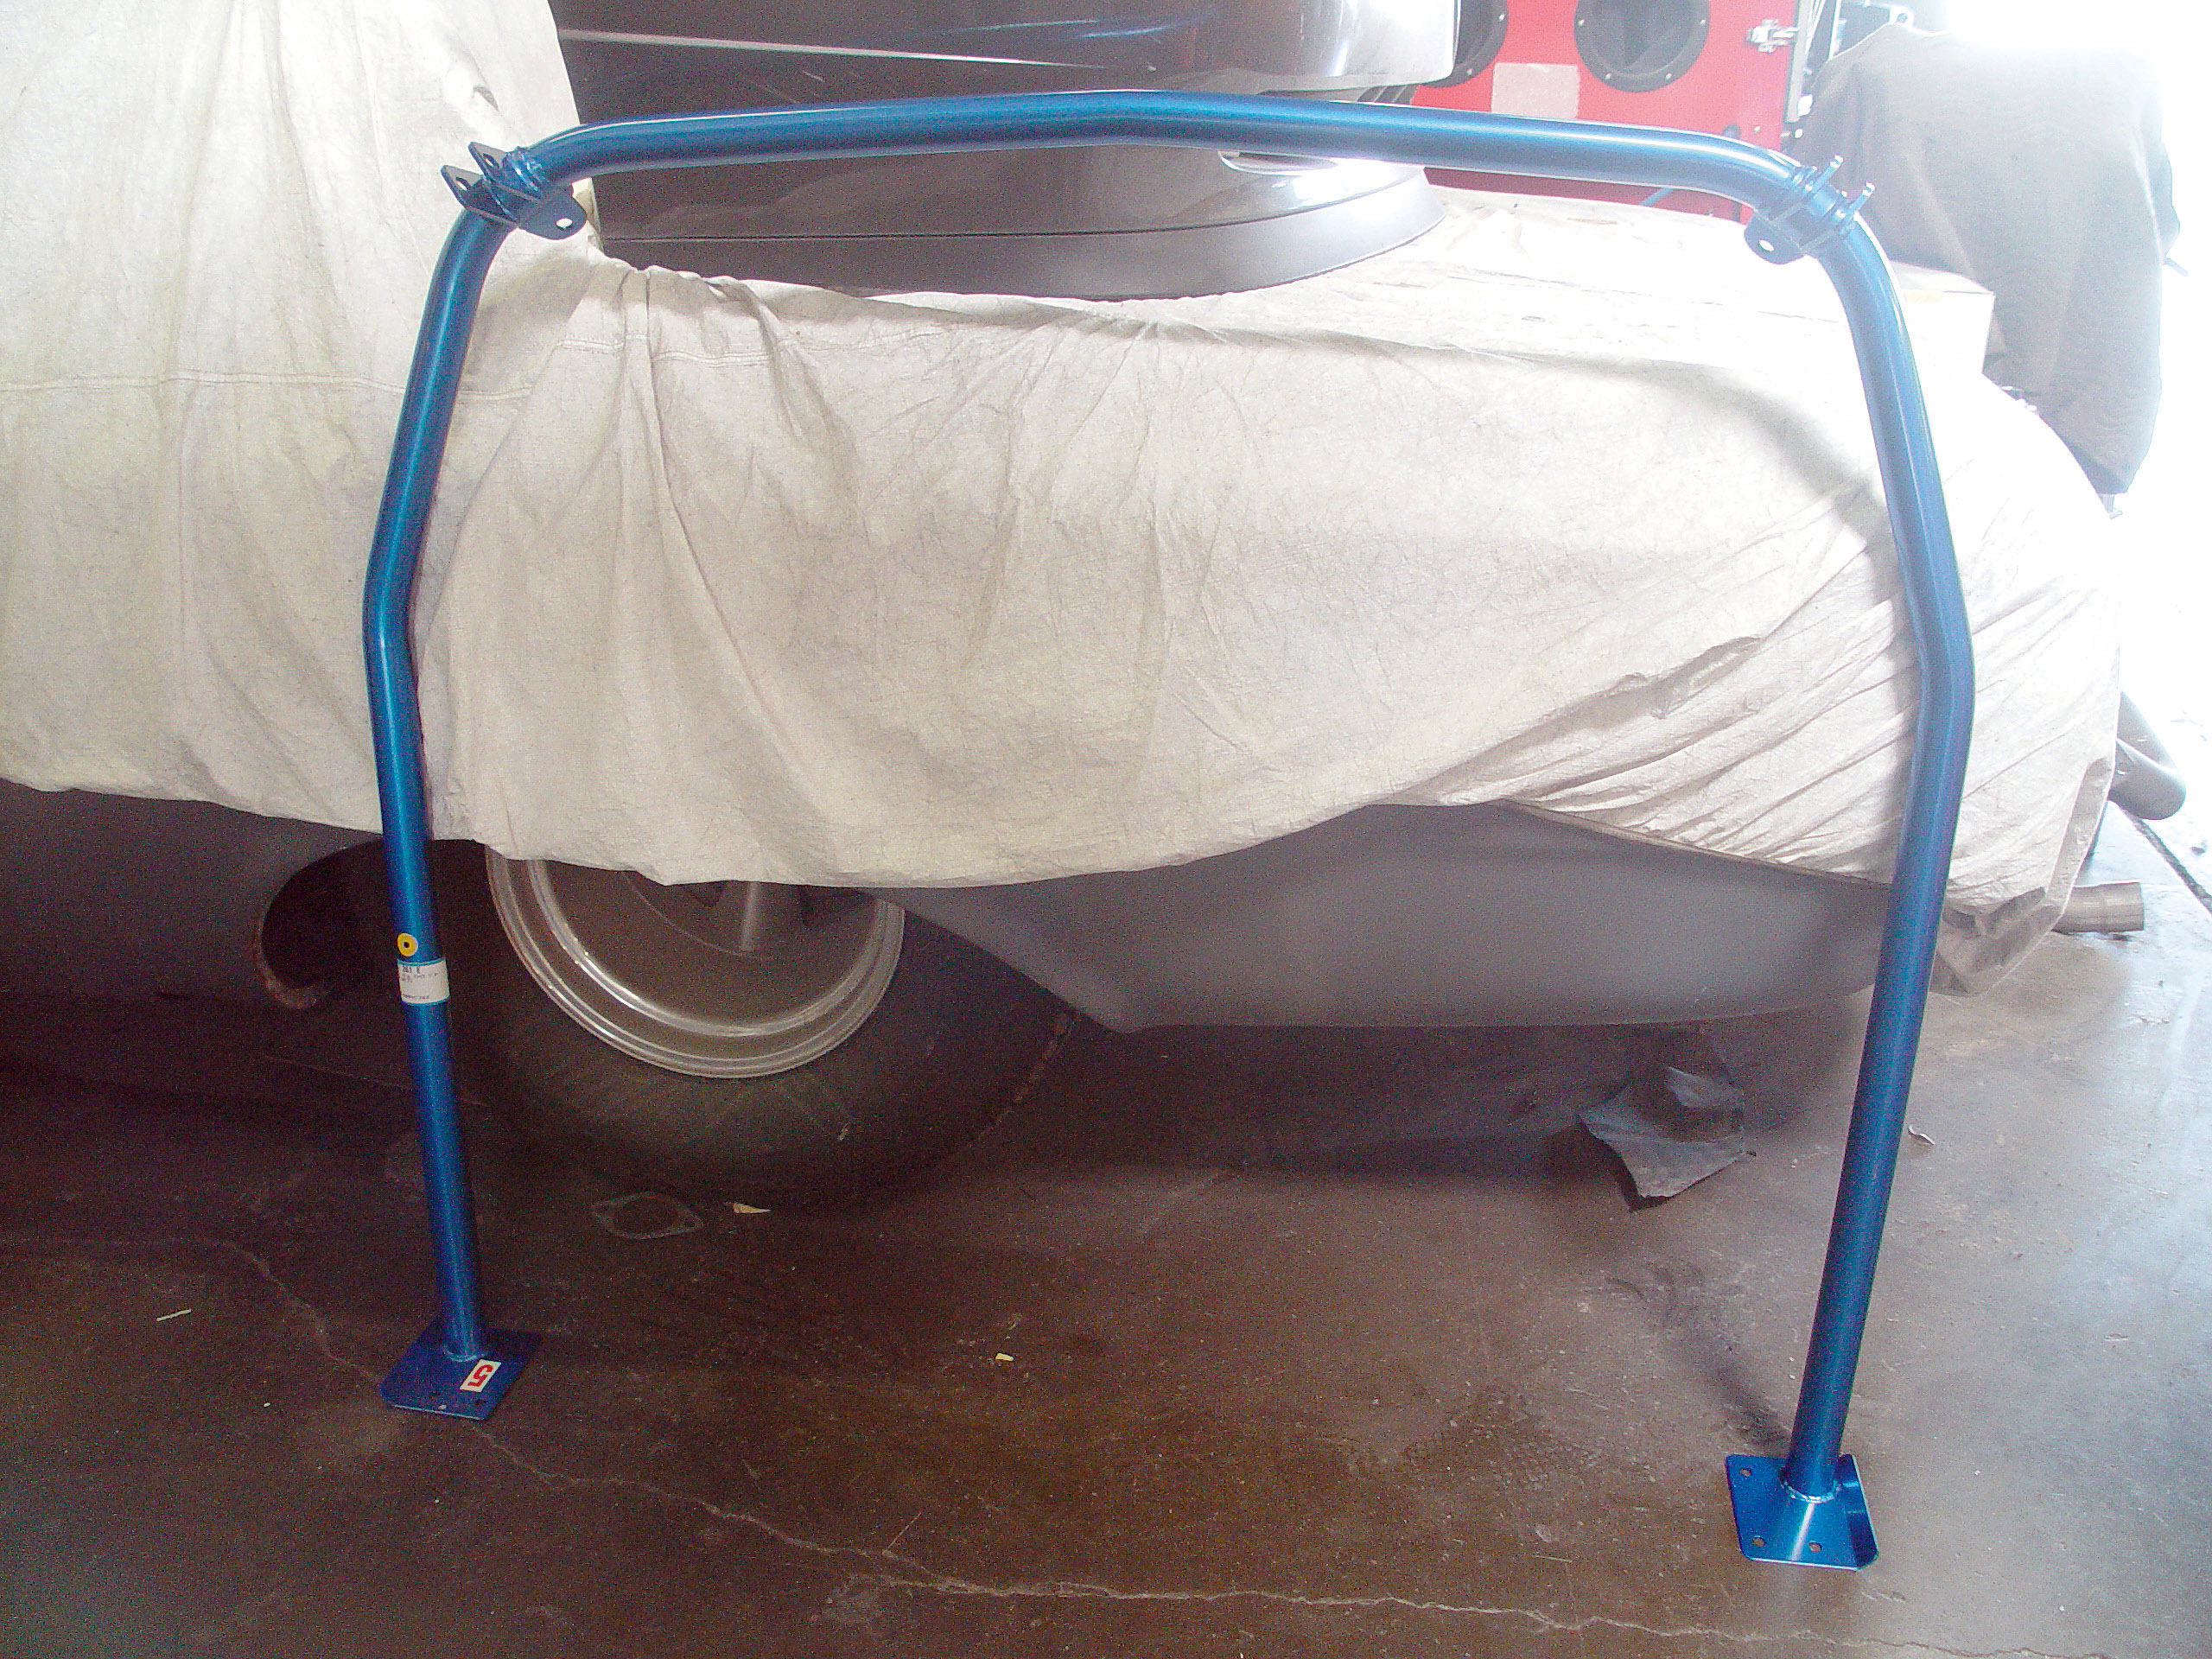
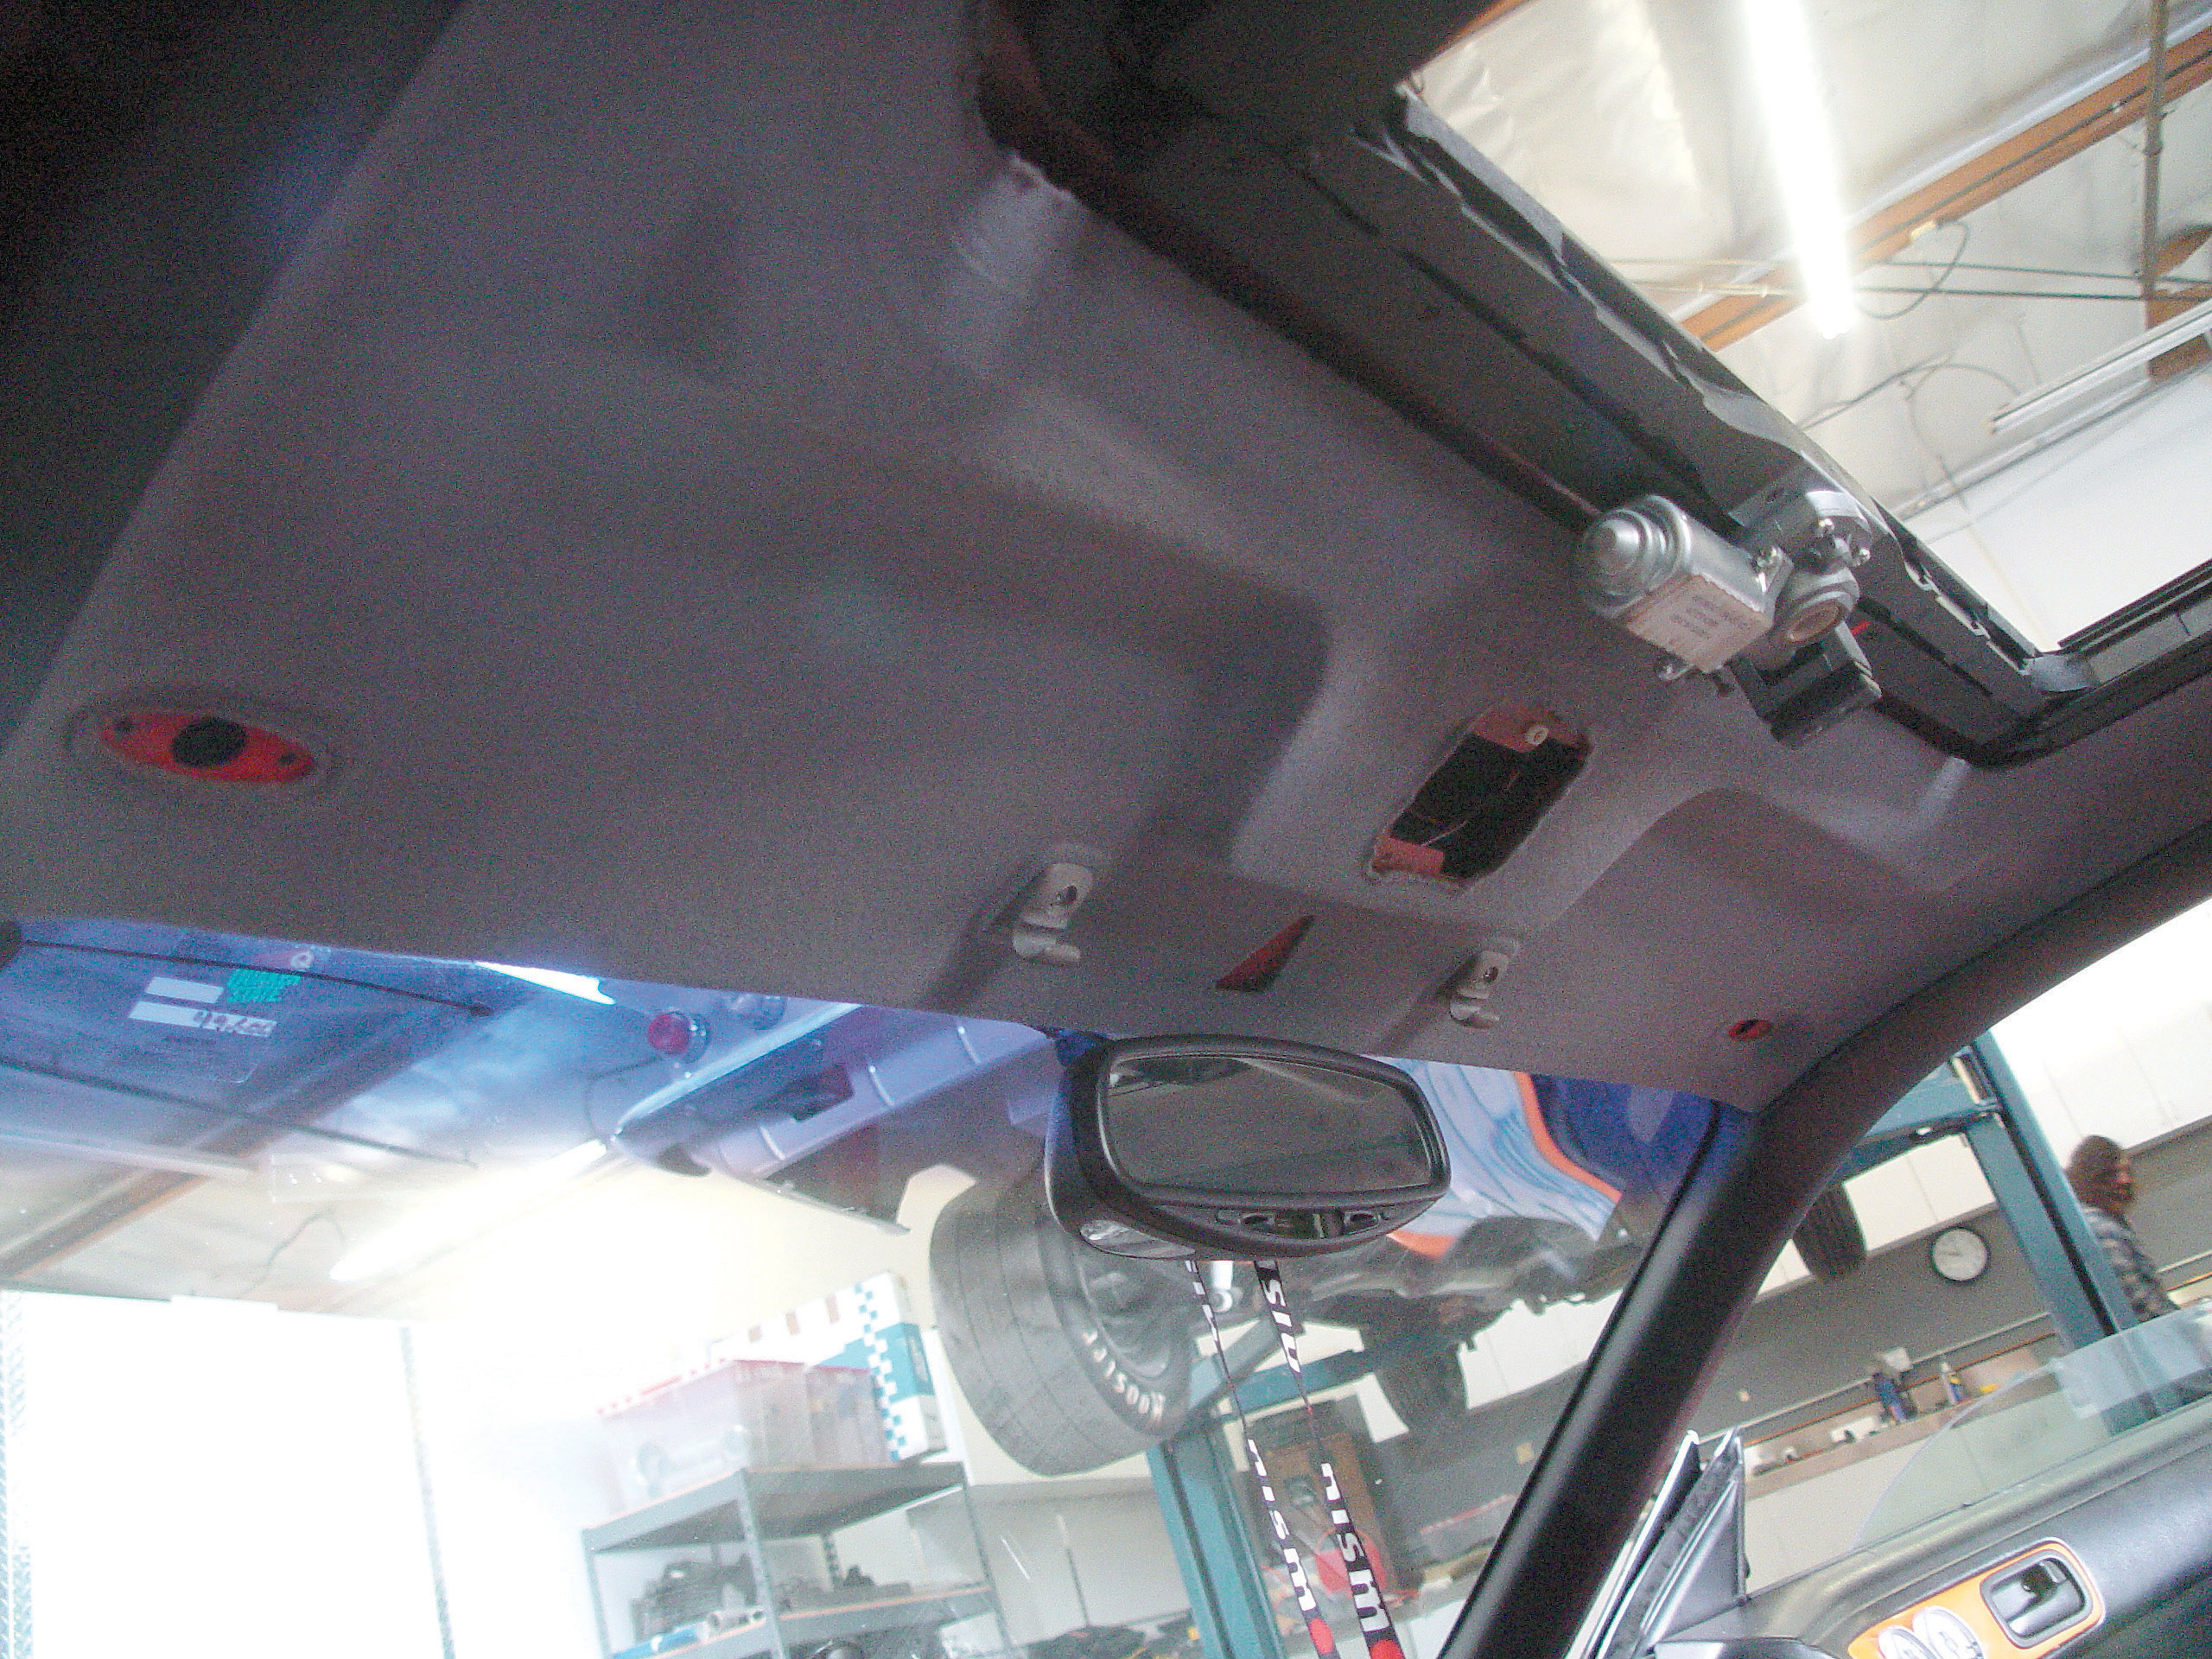
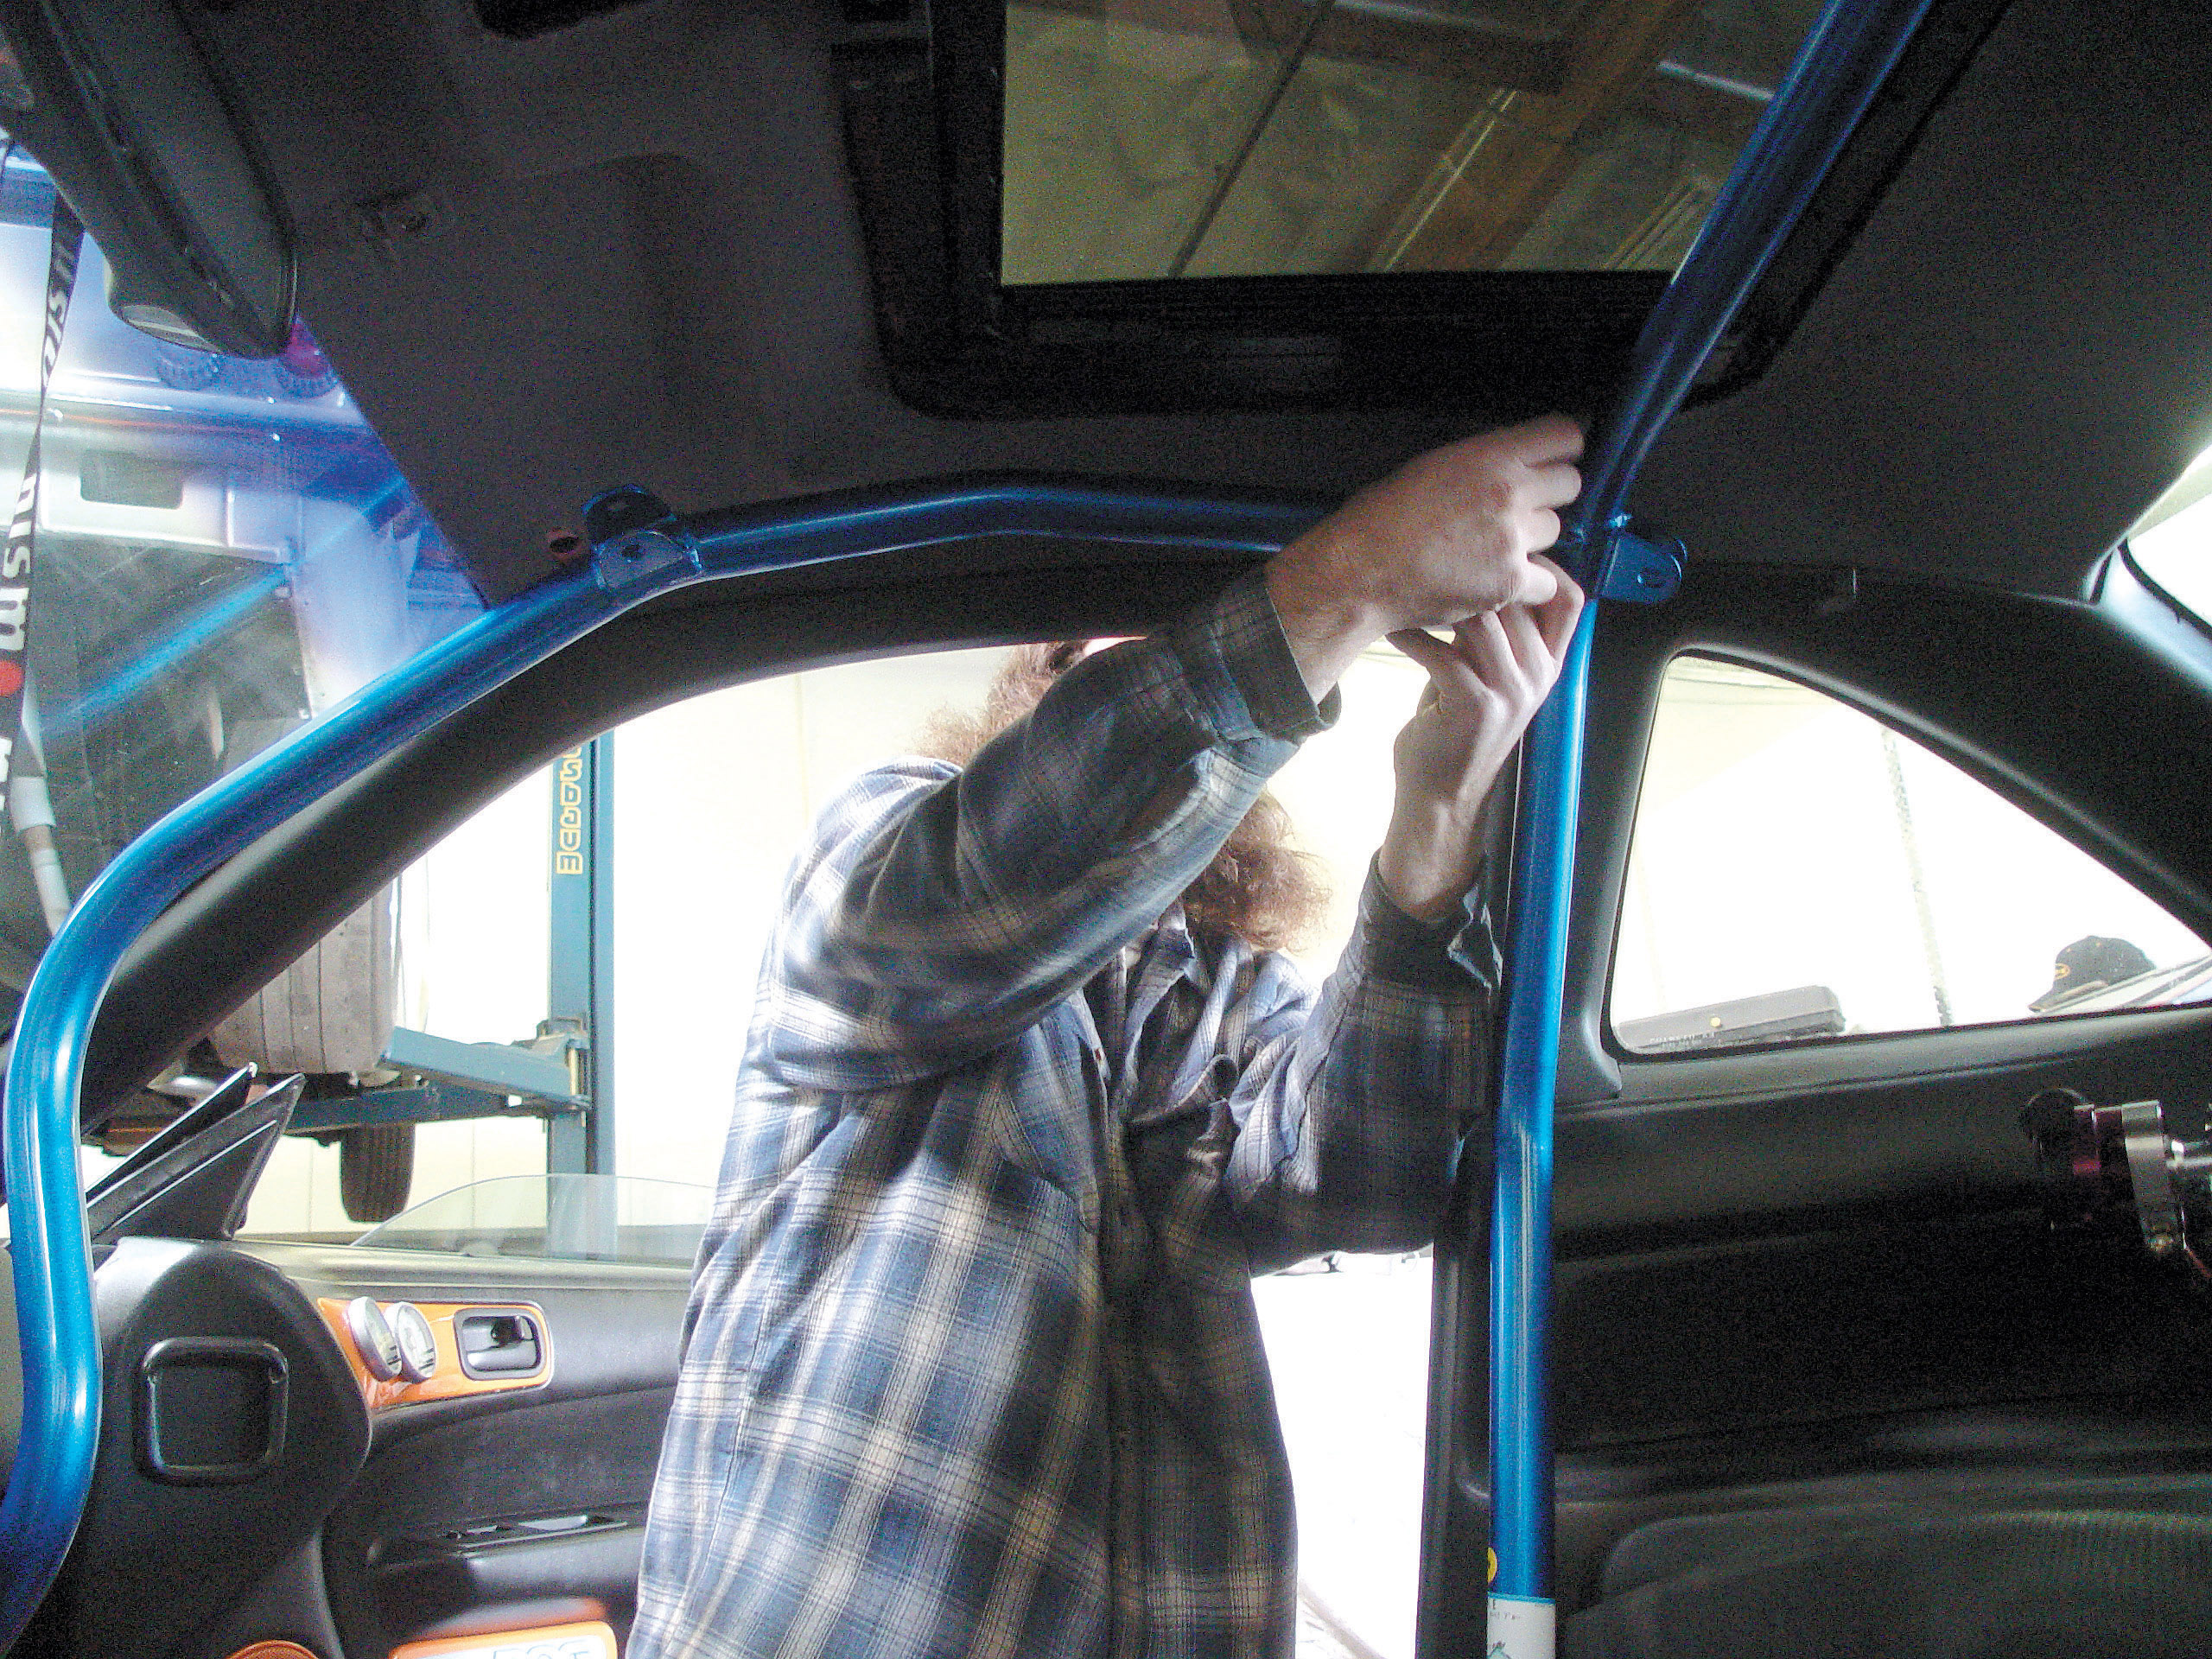
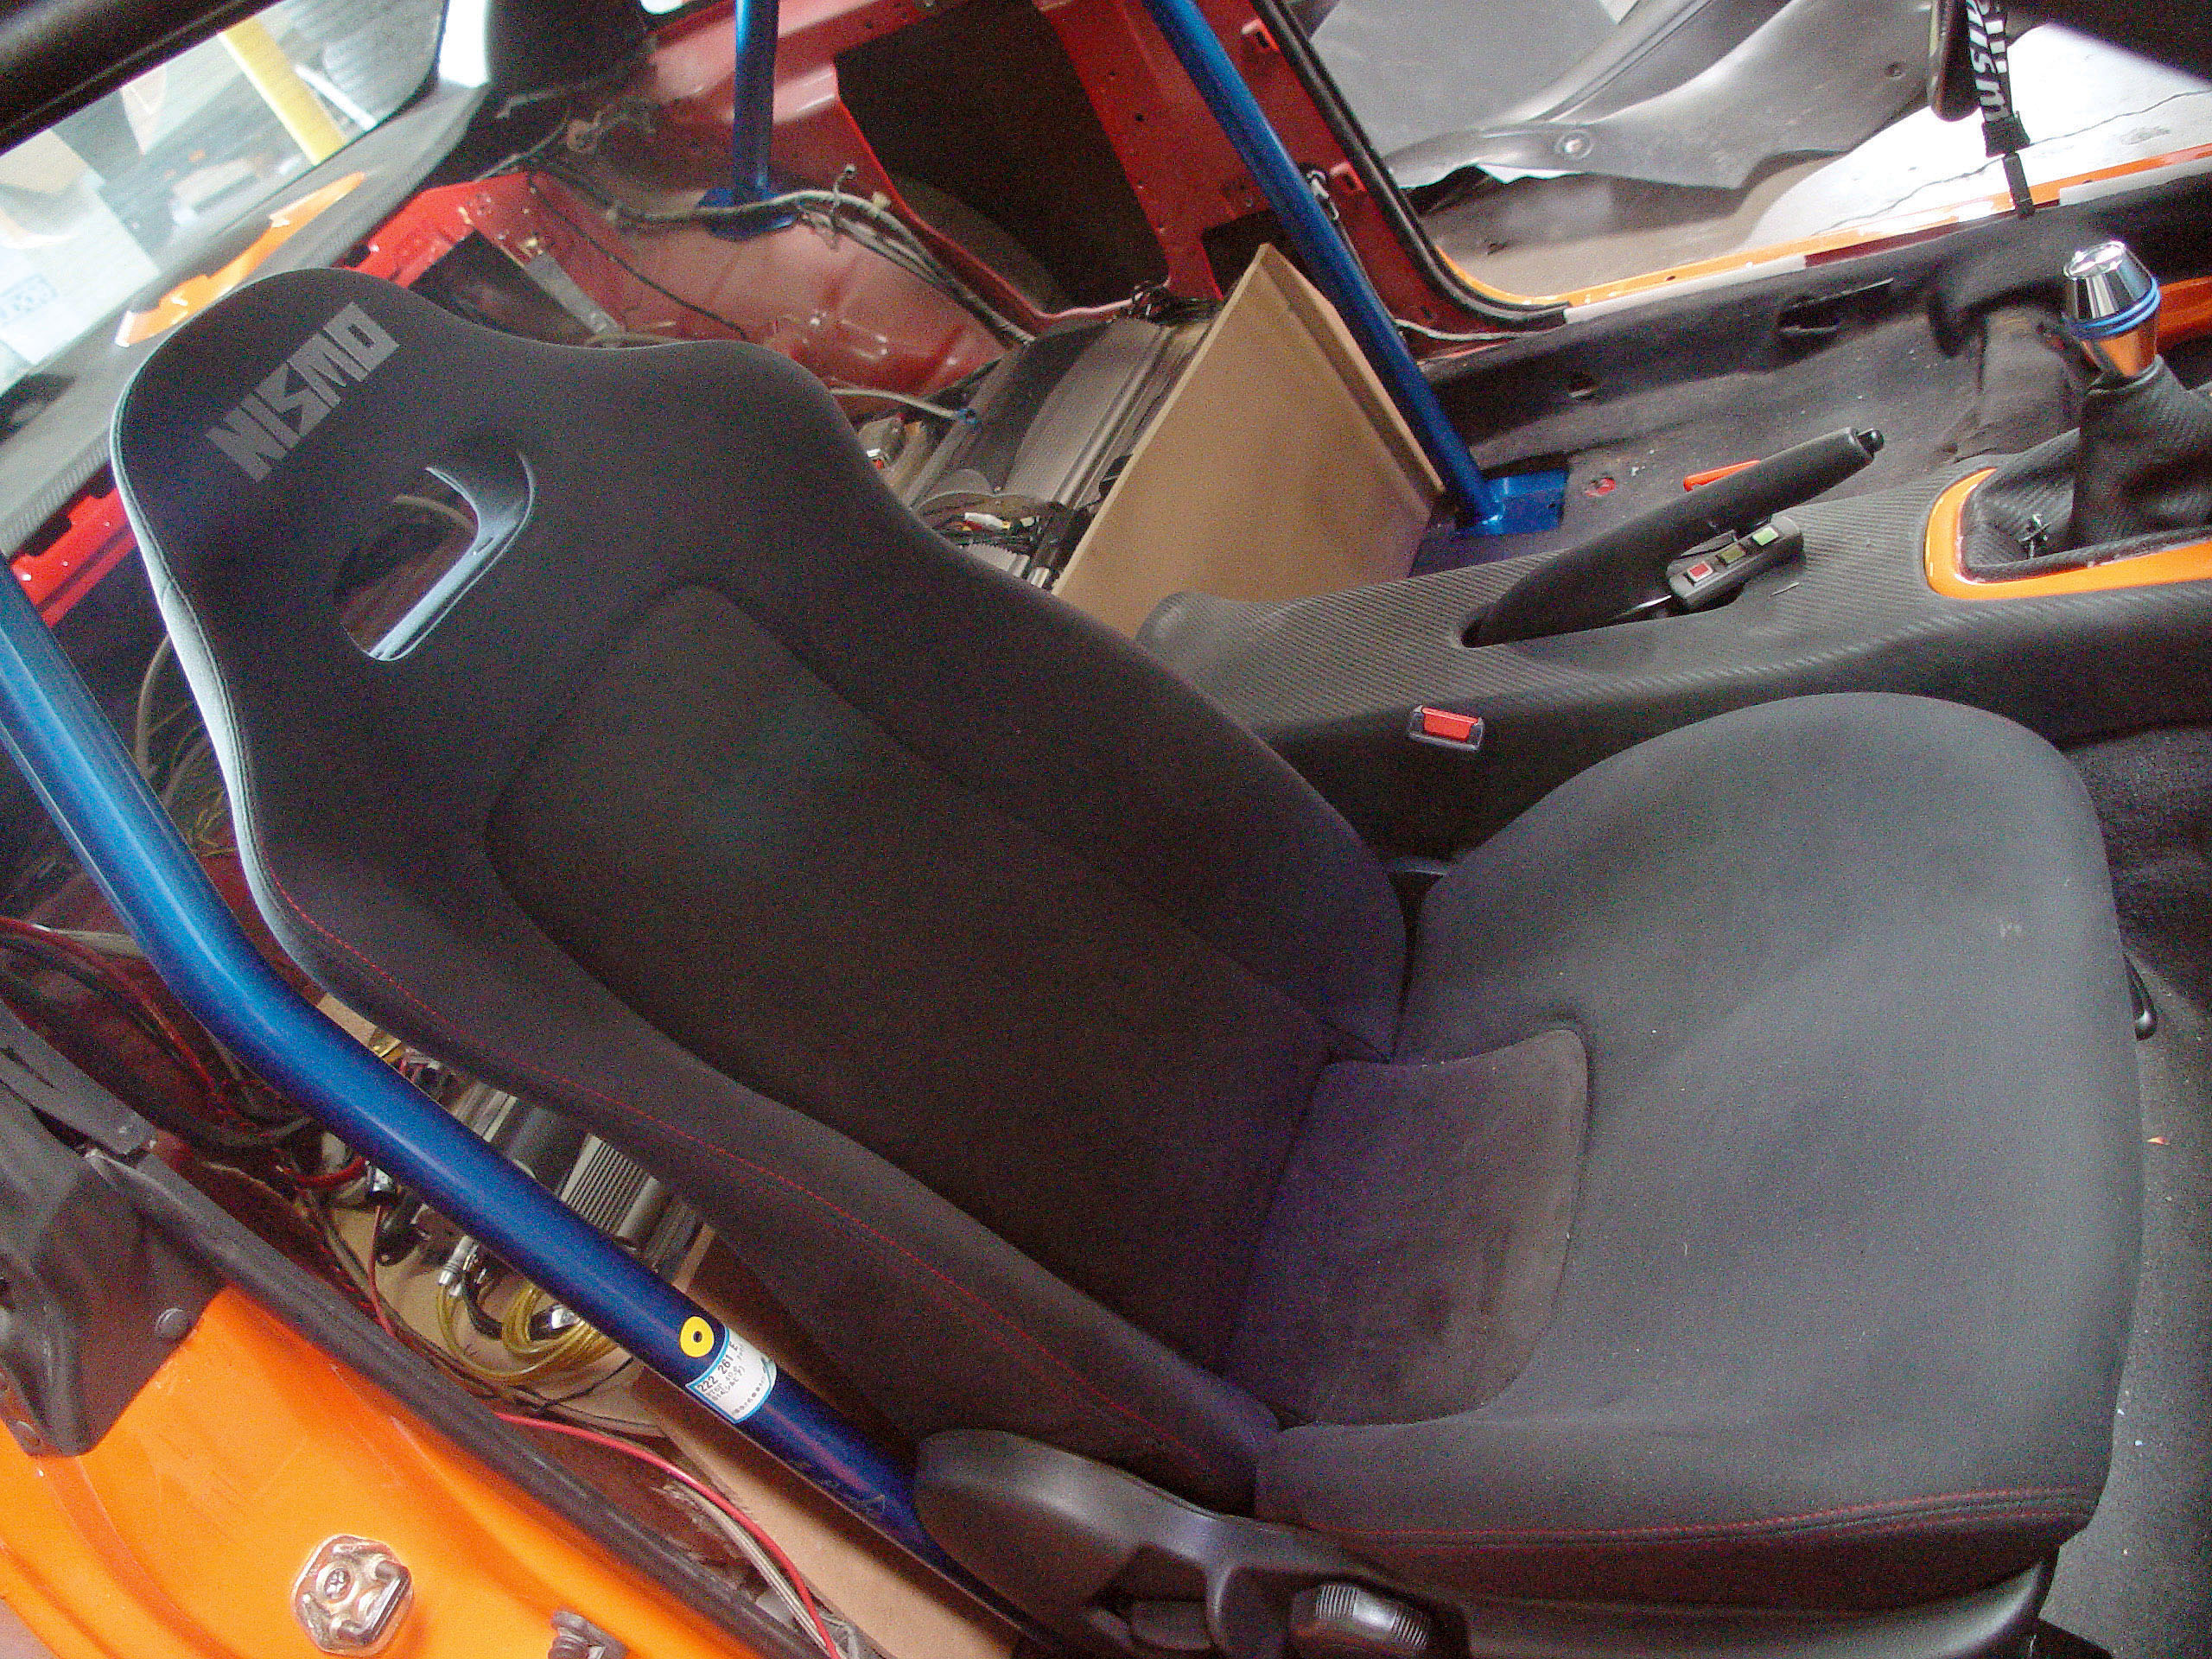
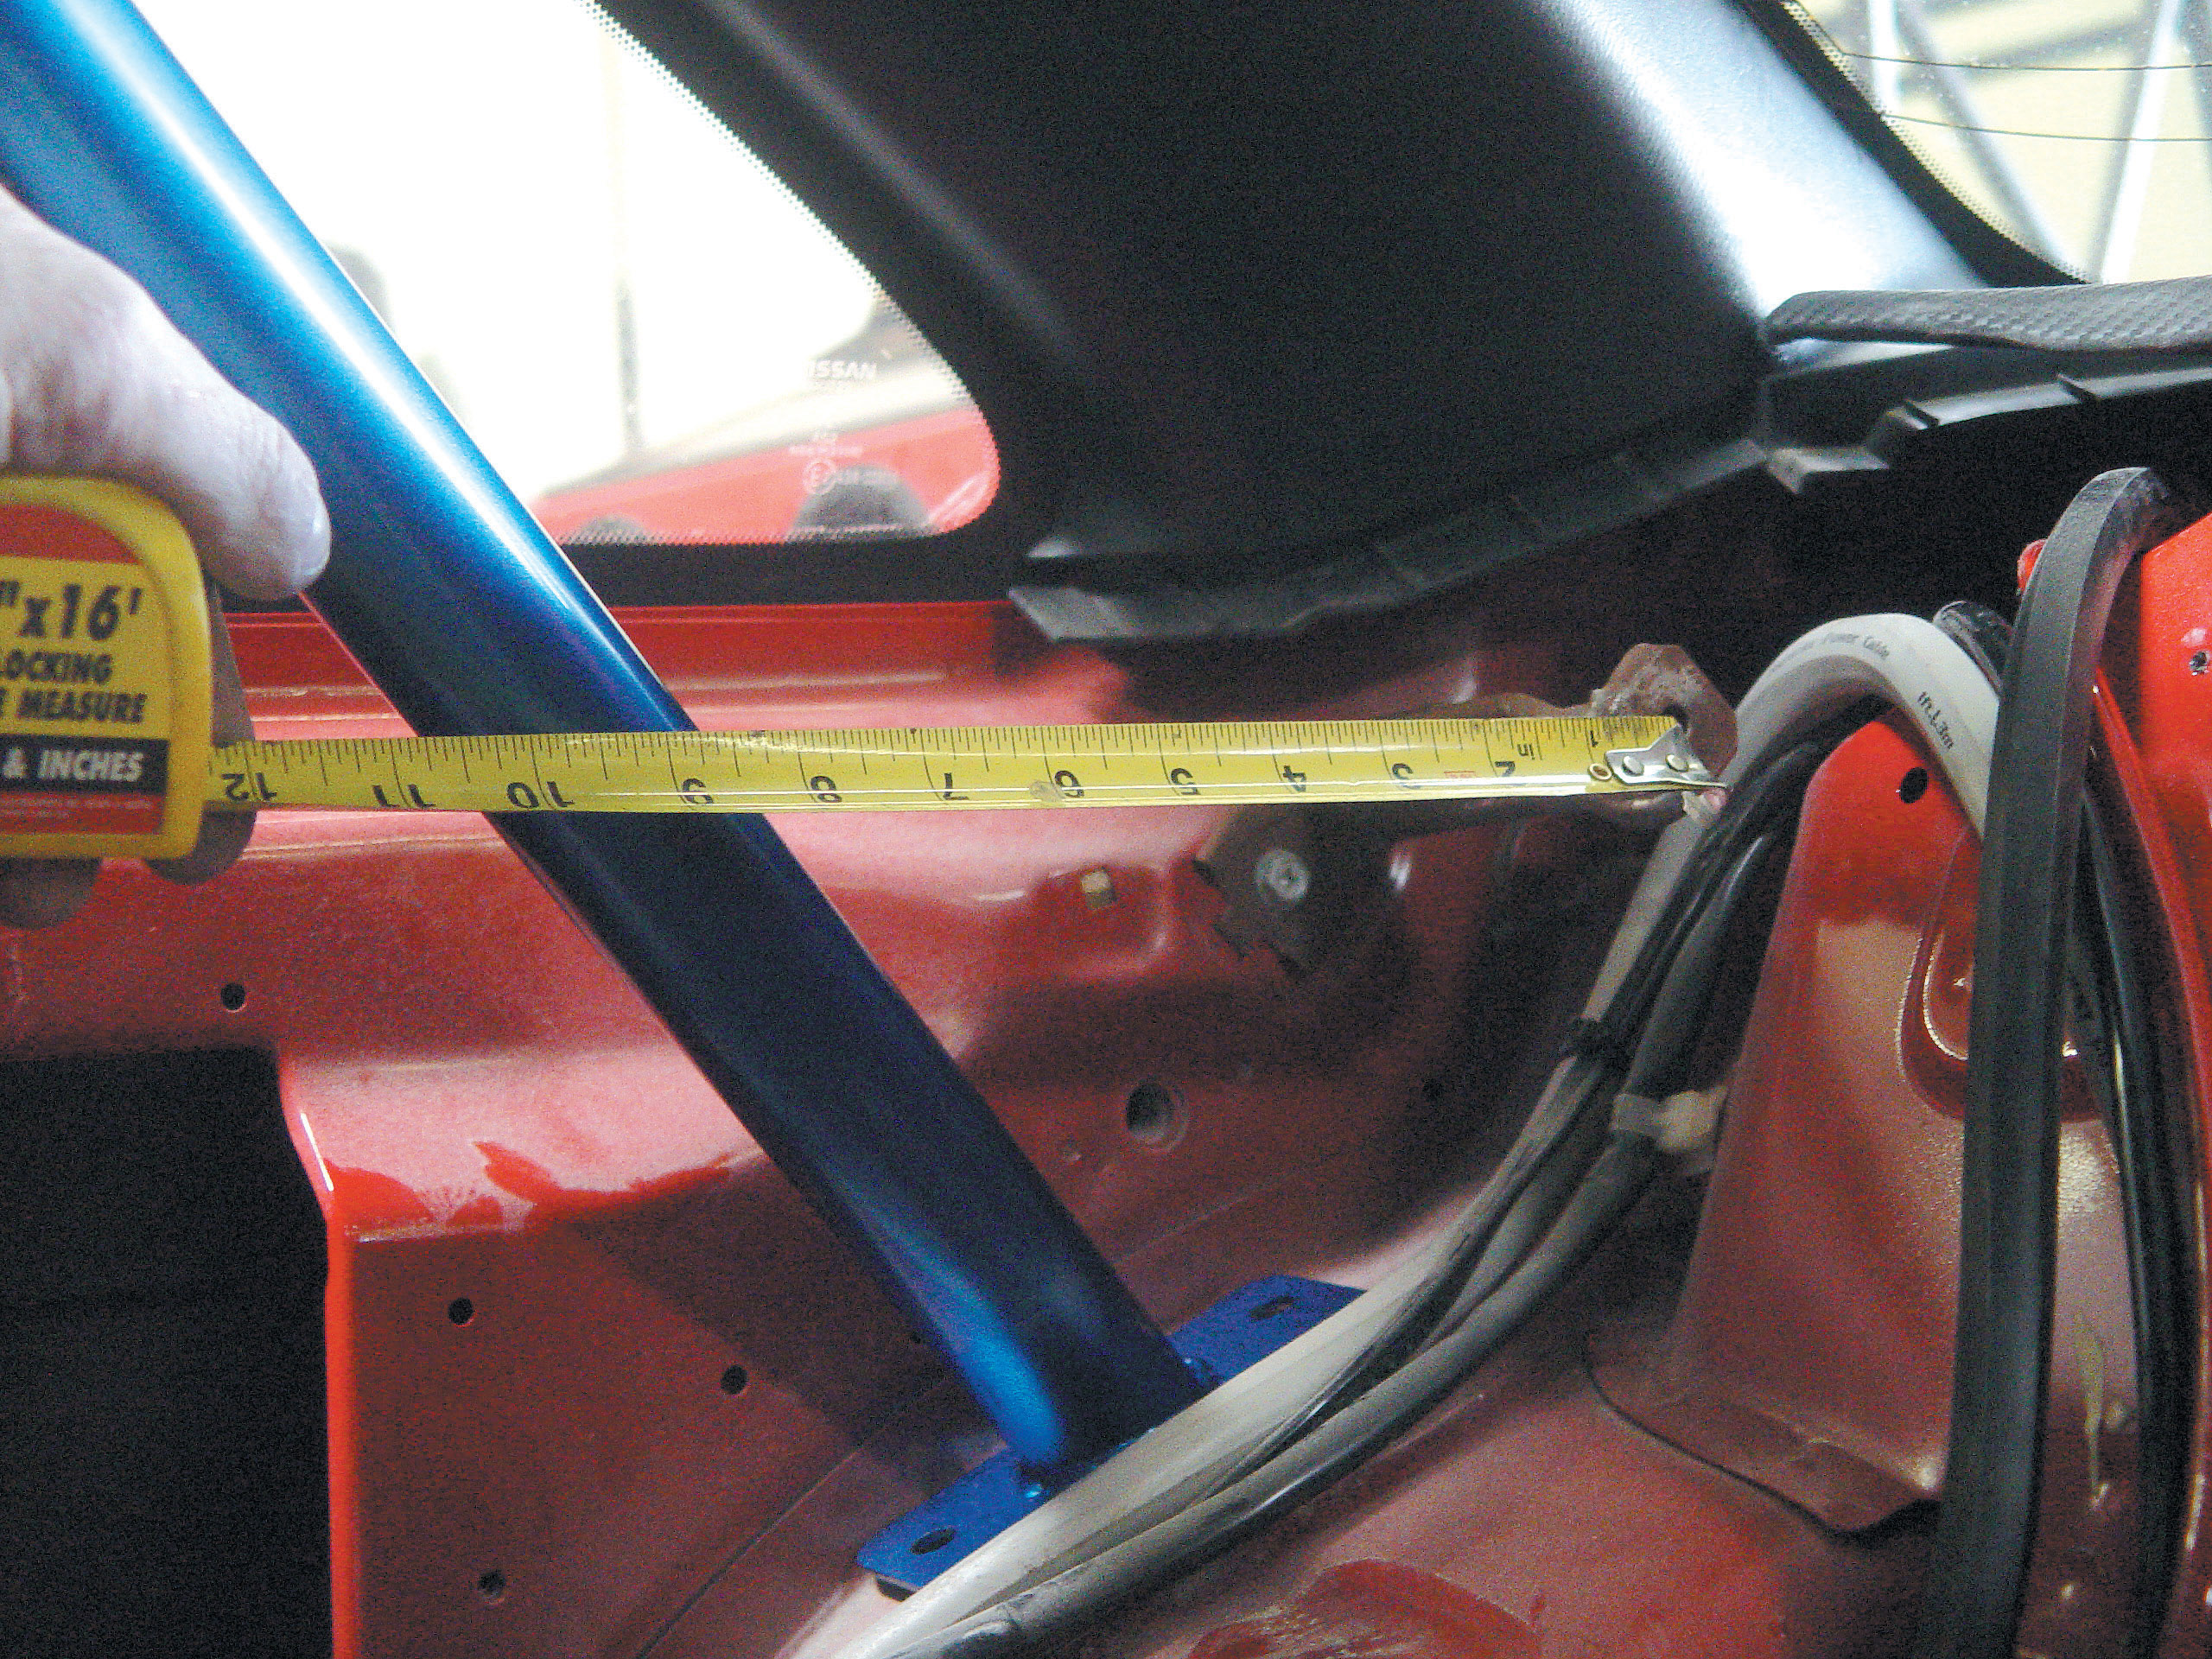
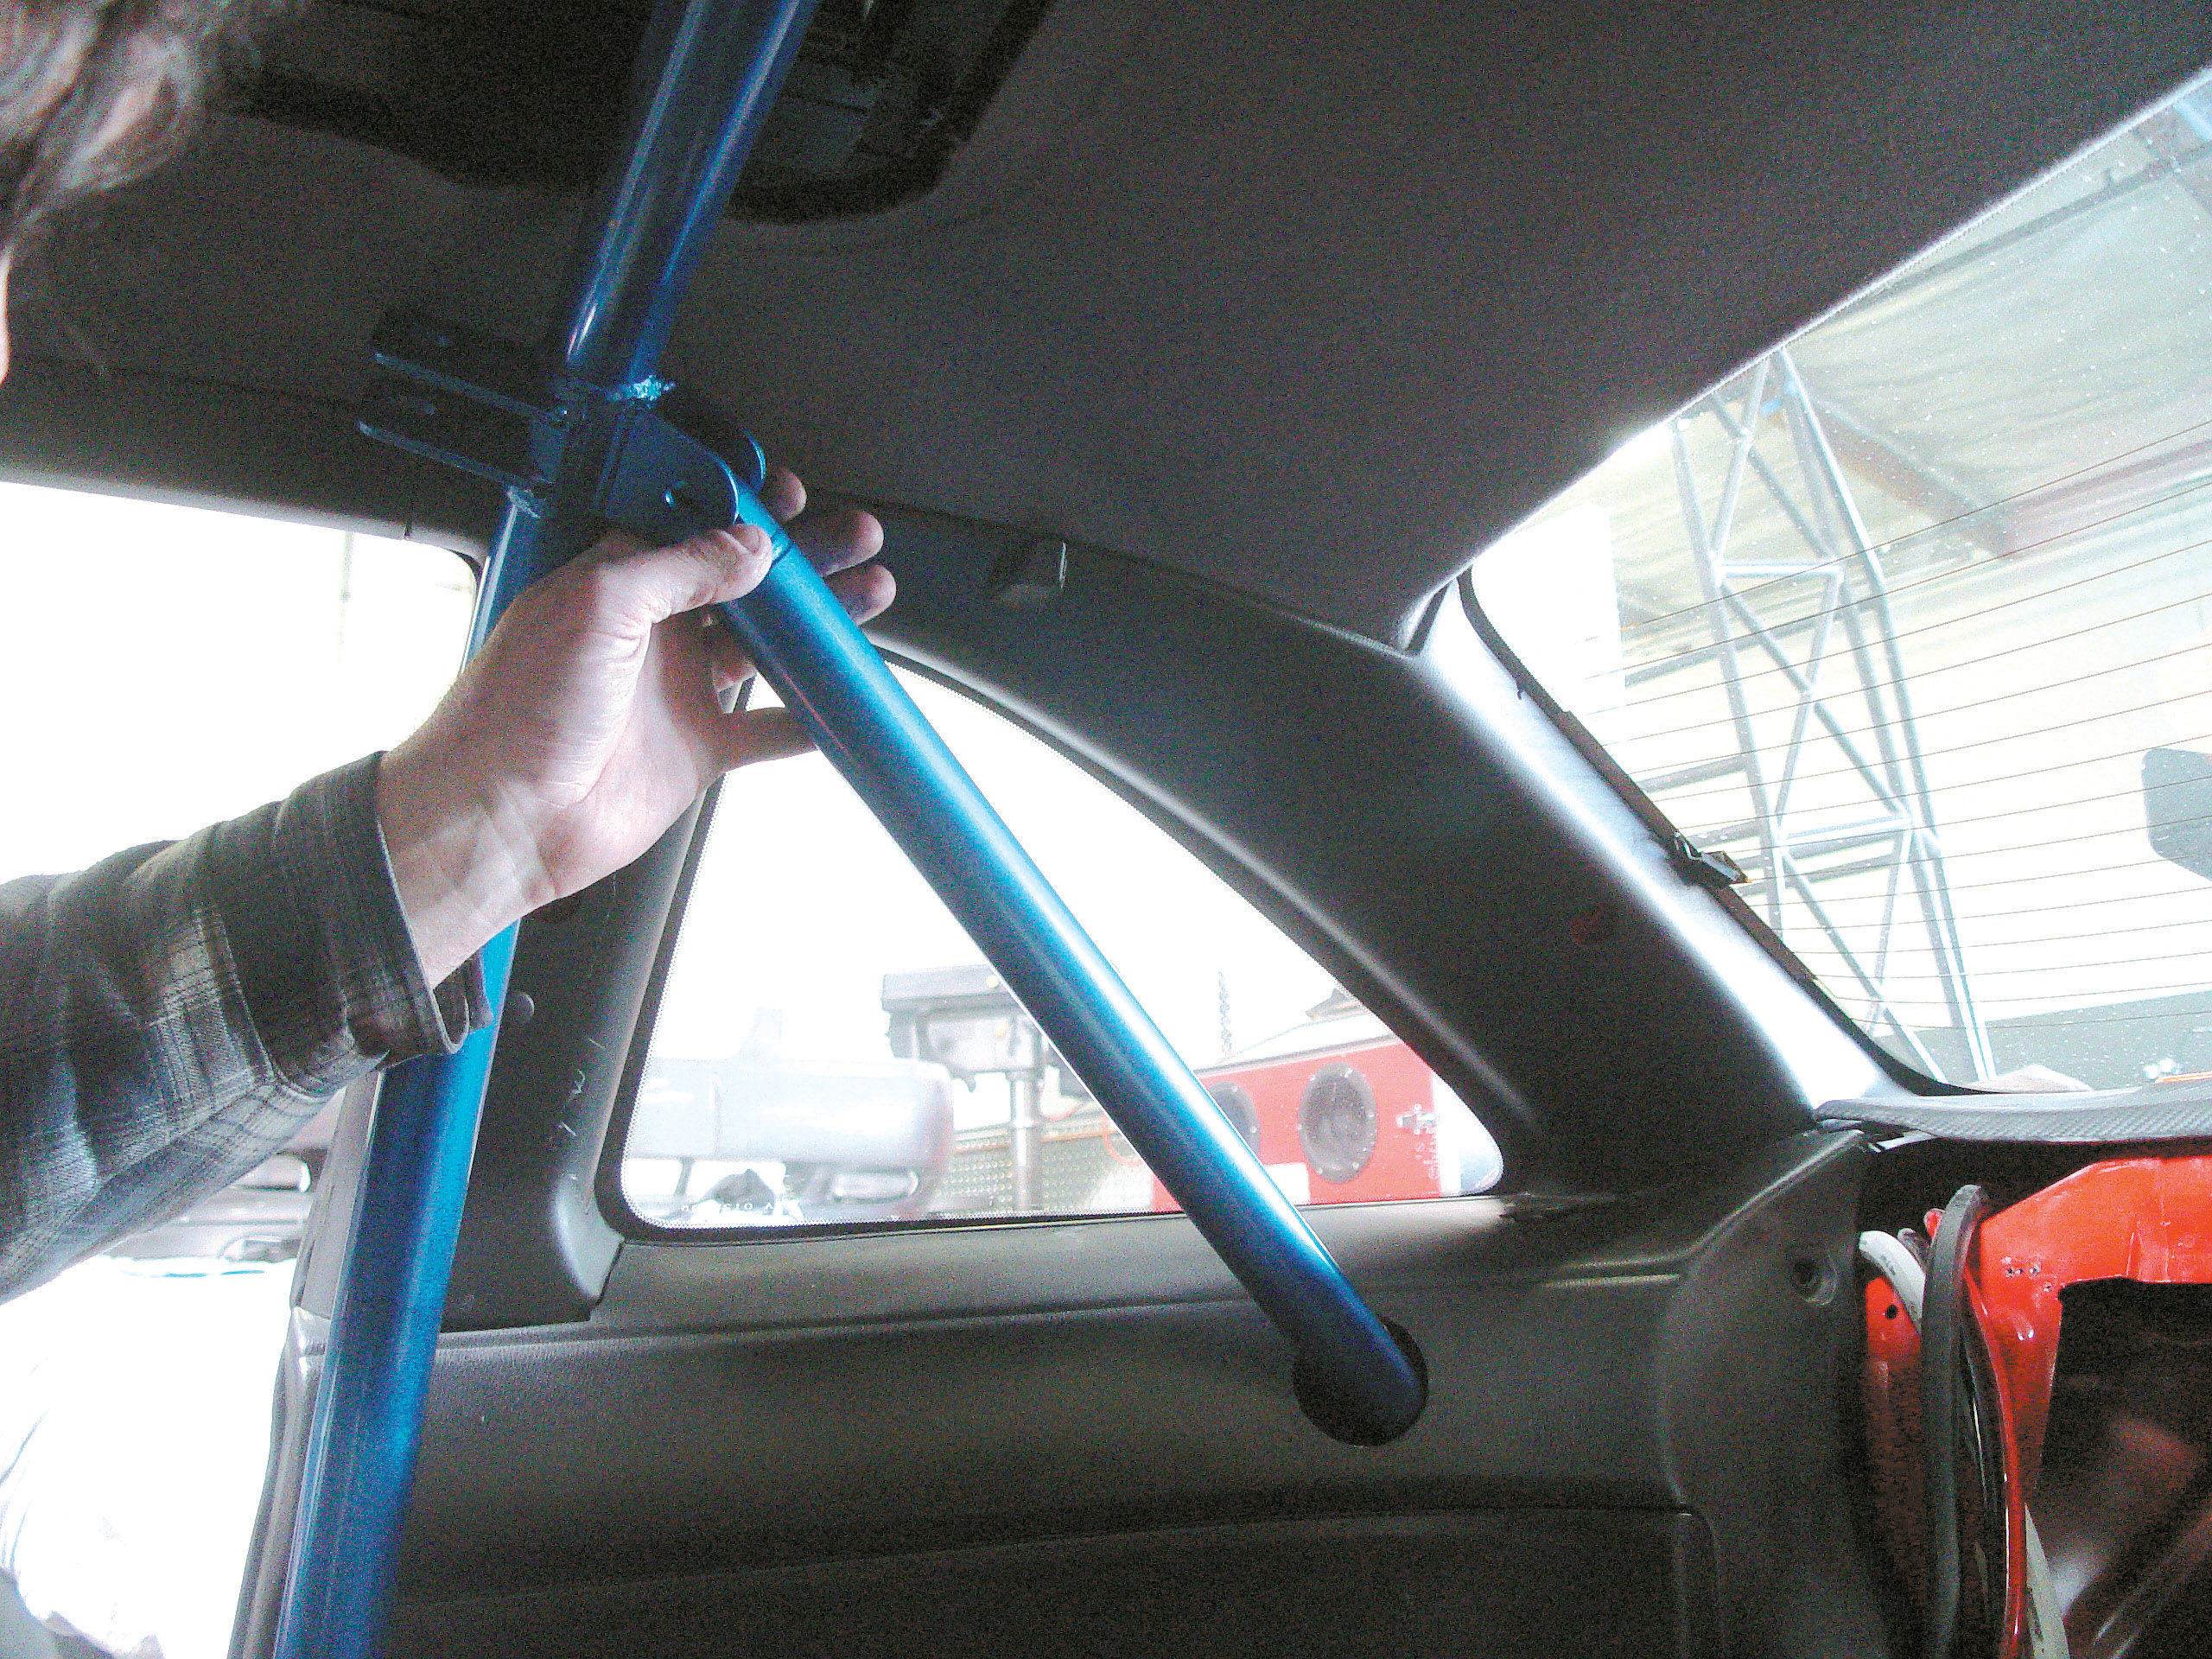
Before the install began, we knew we’d have to modify the cage or the floorboard, since the 240SX had a sunroof. We were told that the cage sat about 0.5-inch too high for a car equipped with a sunroof. We decided to remove the front seats first, which cleared up plenty of room to test fit the center hoop. And the boys from Cusco were right on. The main hoop sat about 0.5-inch too high and was hitting the bottom of the roof. School didn’t panic one bit. Instead, he took a step back and within a couple of minutes came up with plan B.
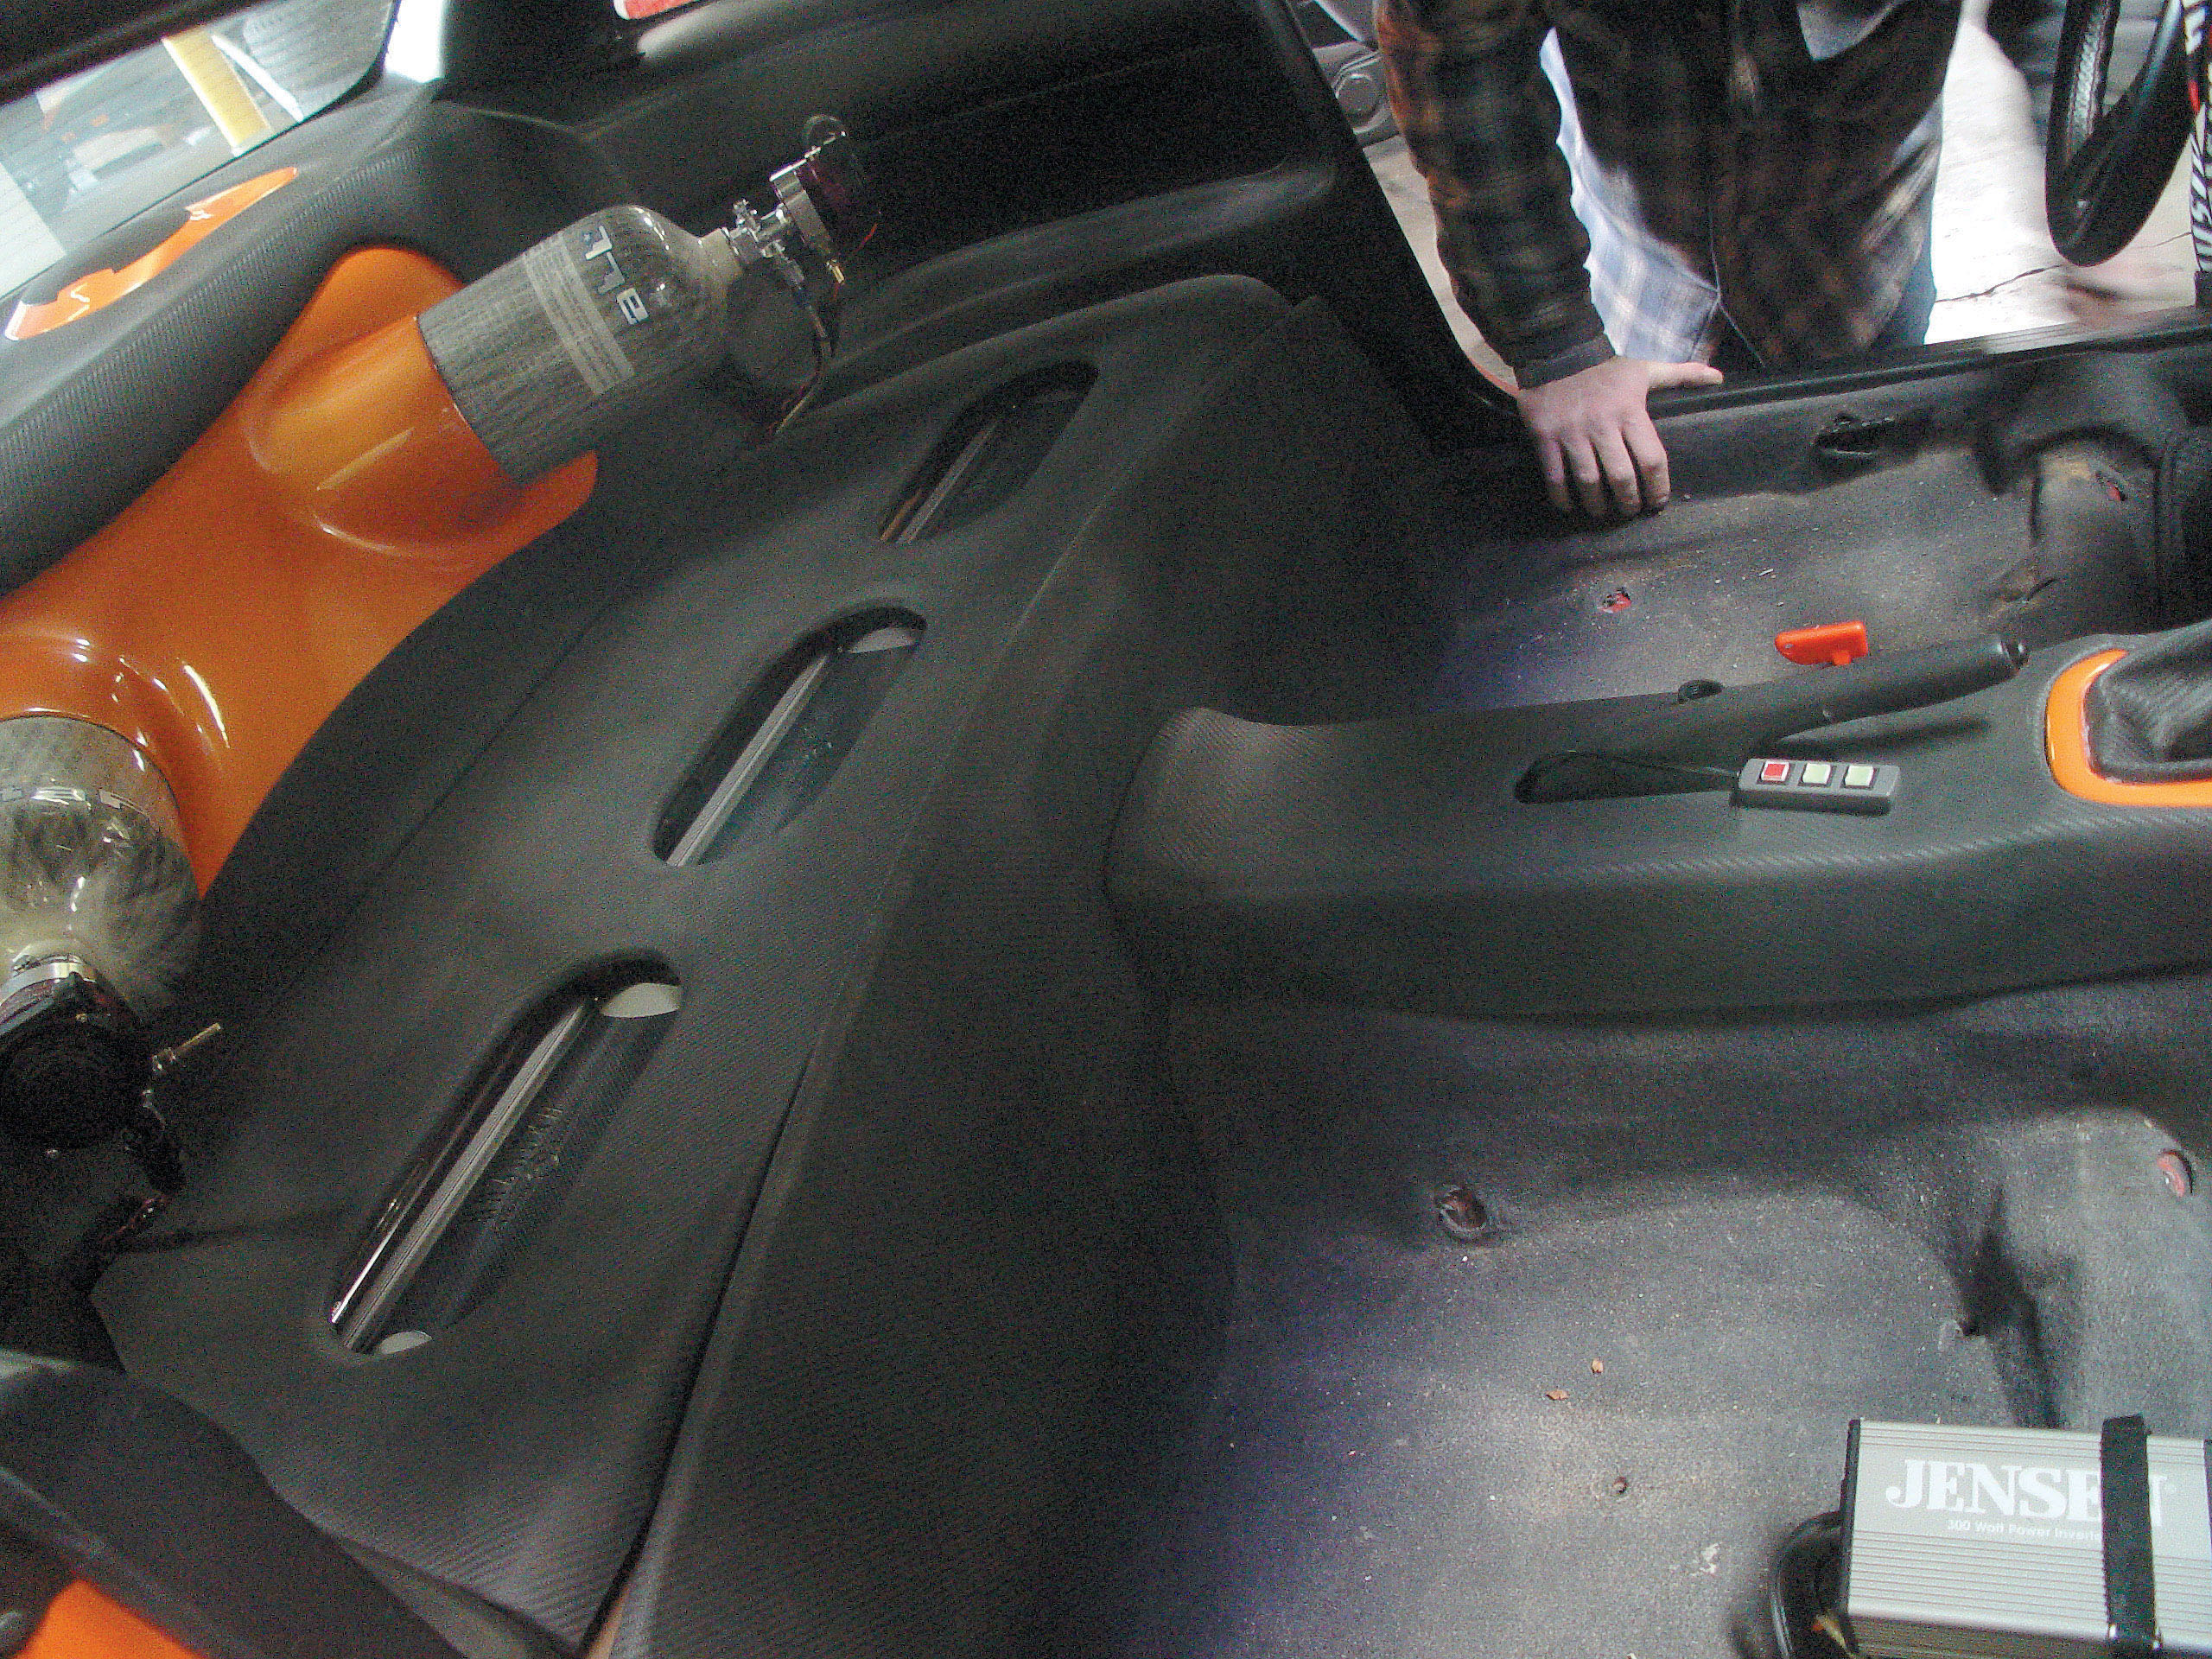
He didn’t want to cut the cage down, so to gain the space we needed, he cut out the carpet and the padding from the floorboard to clear the roof. After tracing and cutting the carpet and padding from the floorboard, it was time to refit the center hoop. With the carpet and padding removed, the center hoop fit perfectly. Next, it was time to test-fit and connect the two front outer bars. Once those were attached, it was time to connect the front crossbar. An important note: empty out your glovebox before bolting down the rollcage. Once the passenger-side bar is bolted down, it’s bye-bye to opening the glovebox.
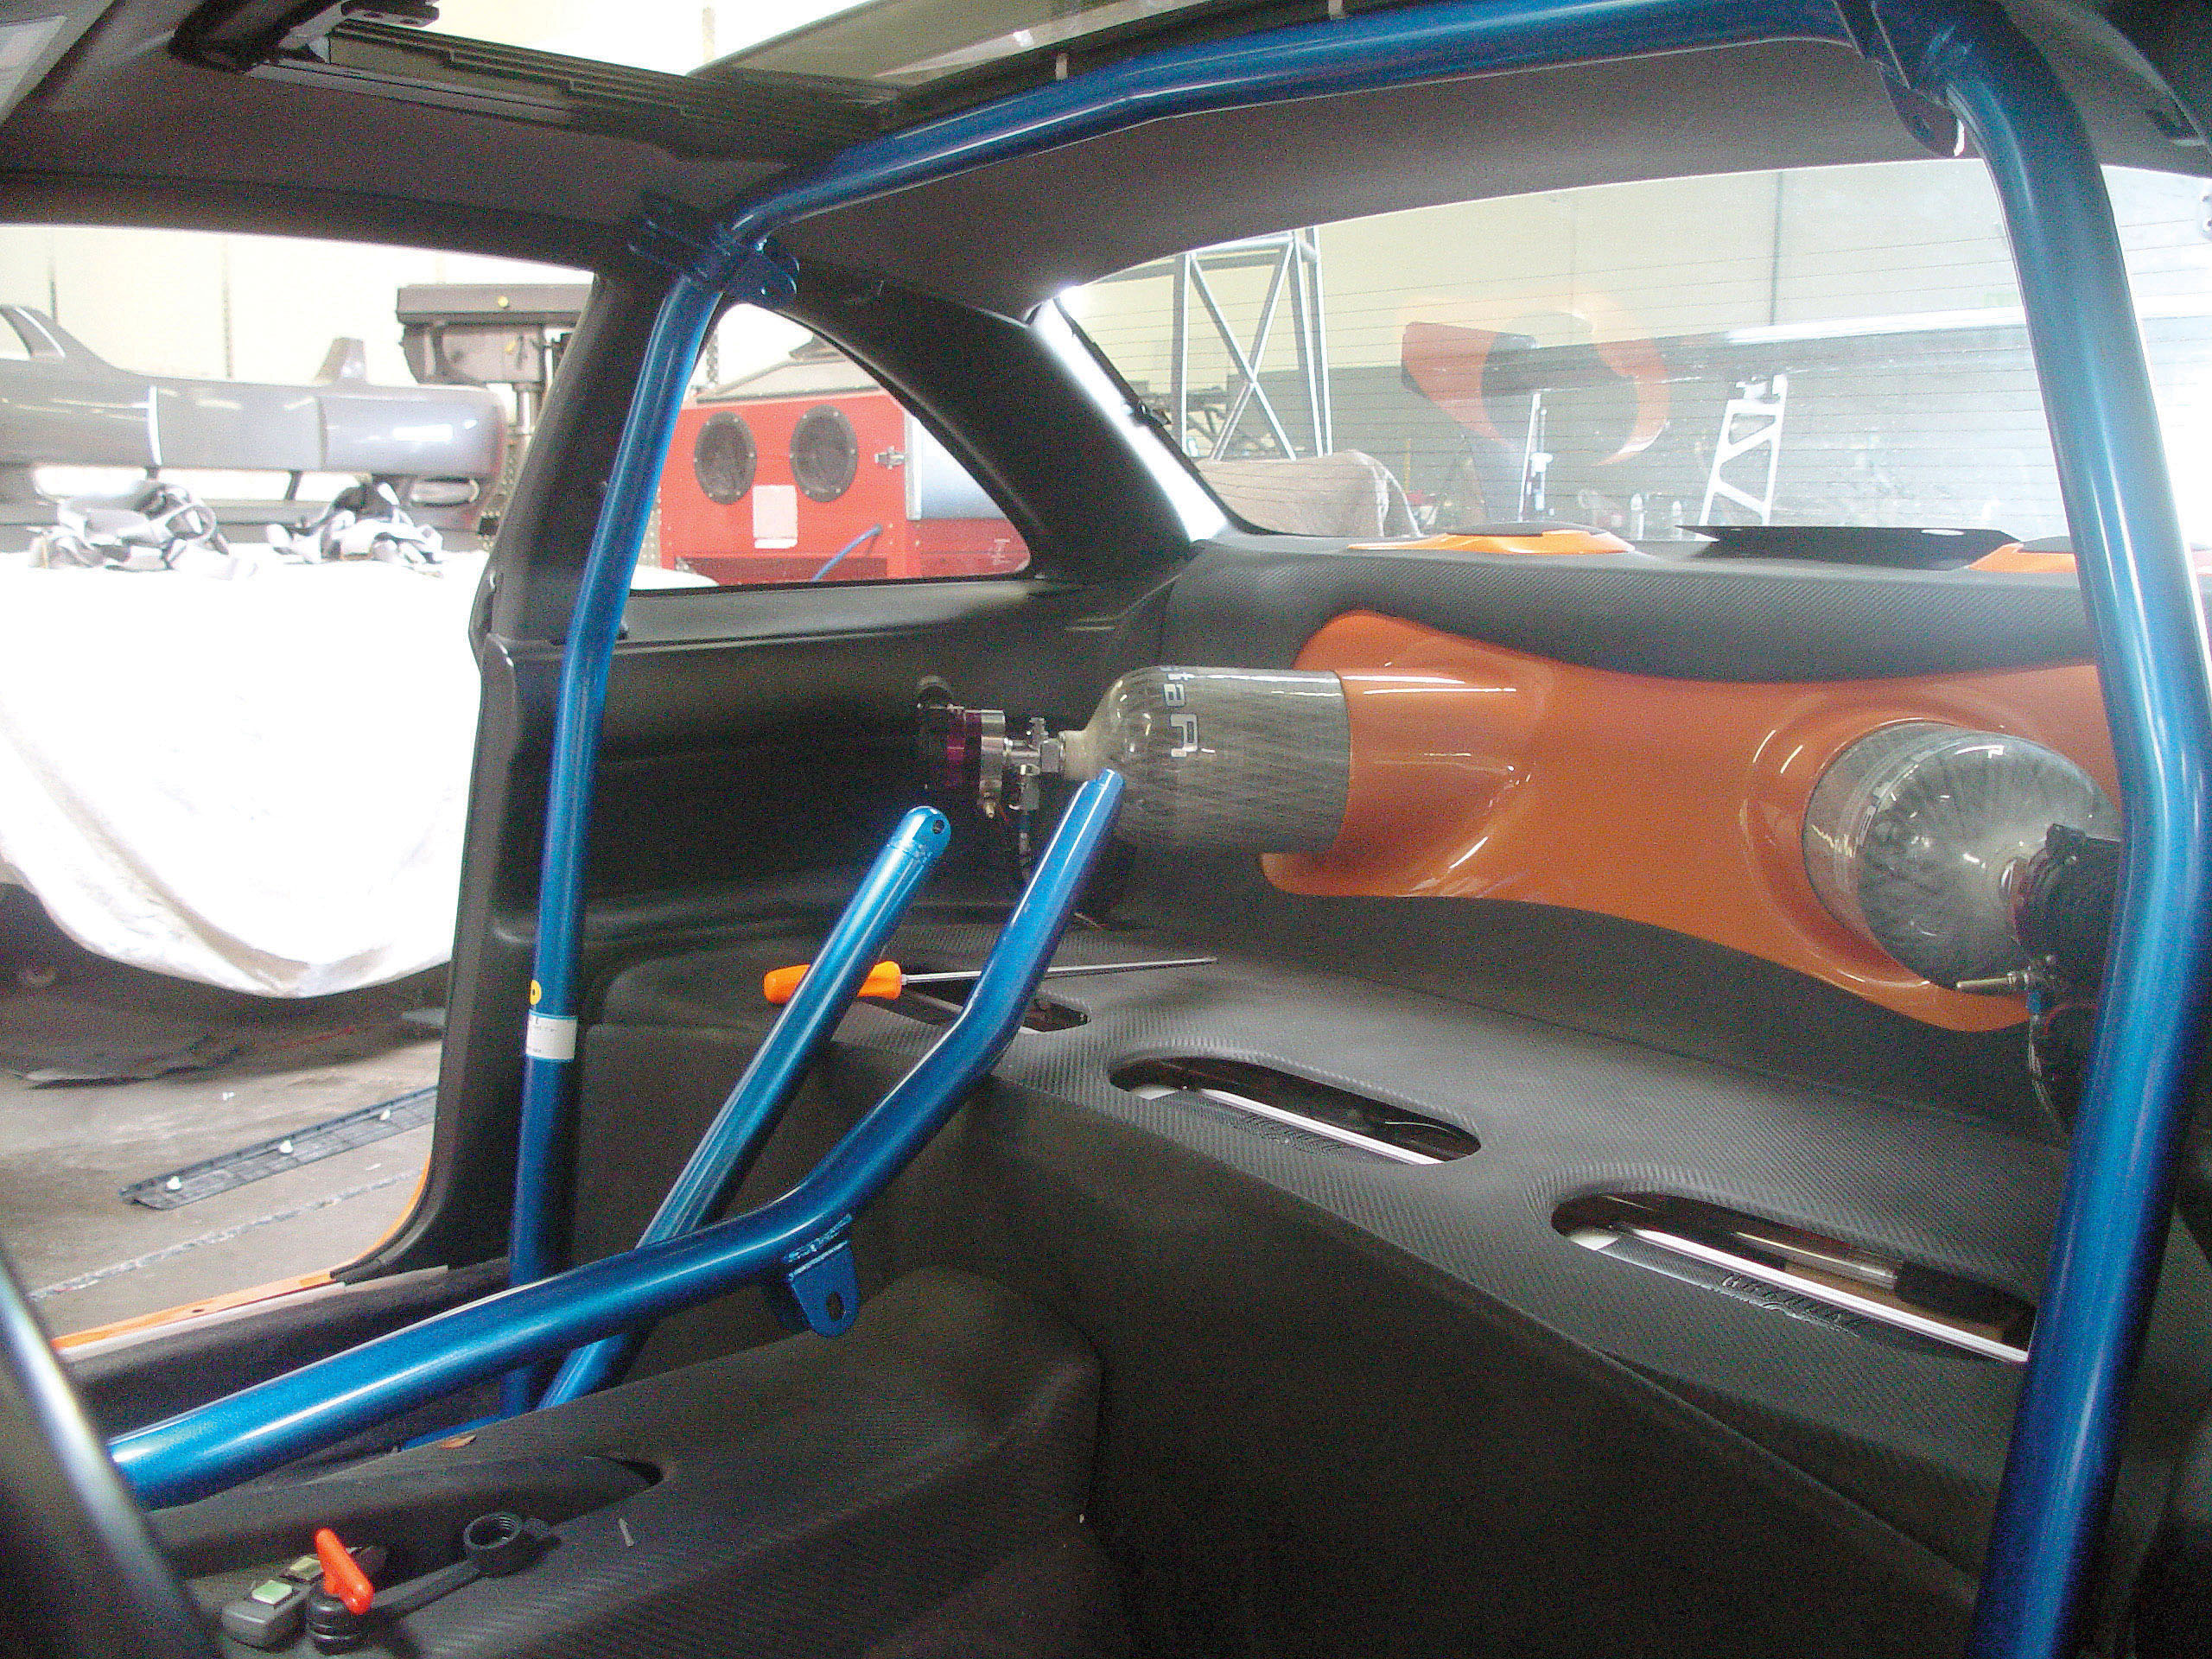
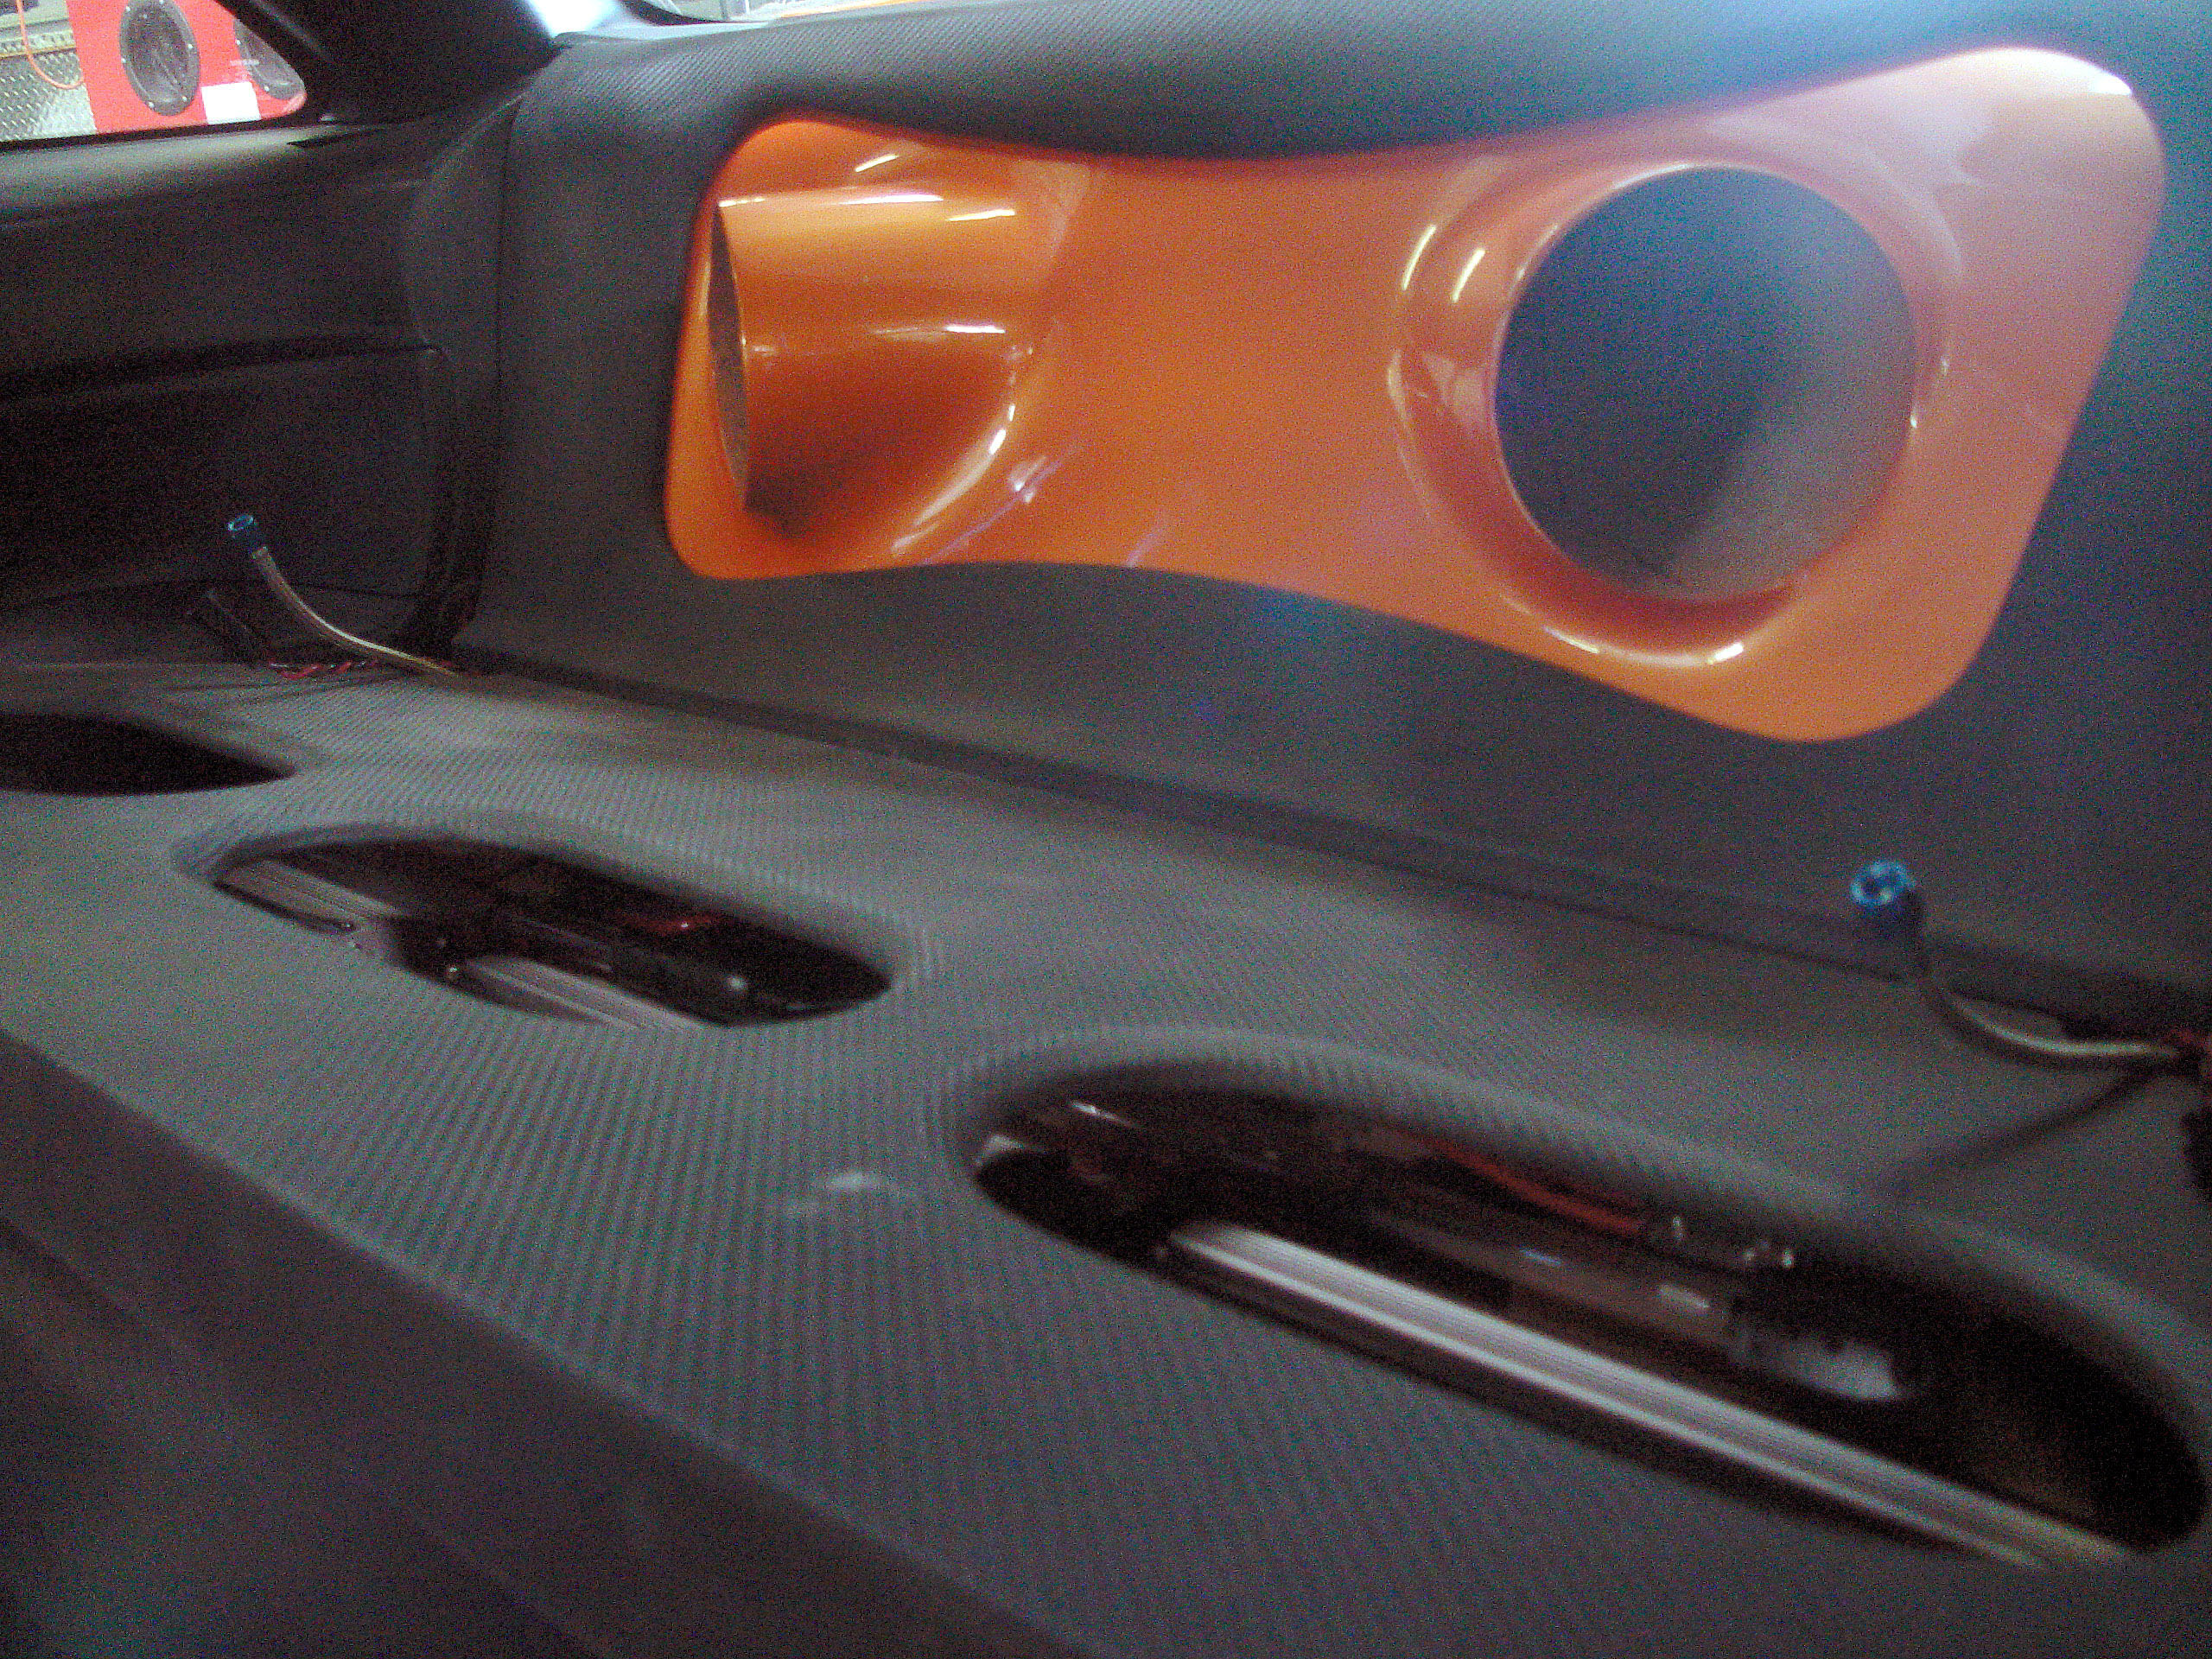
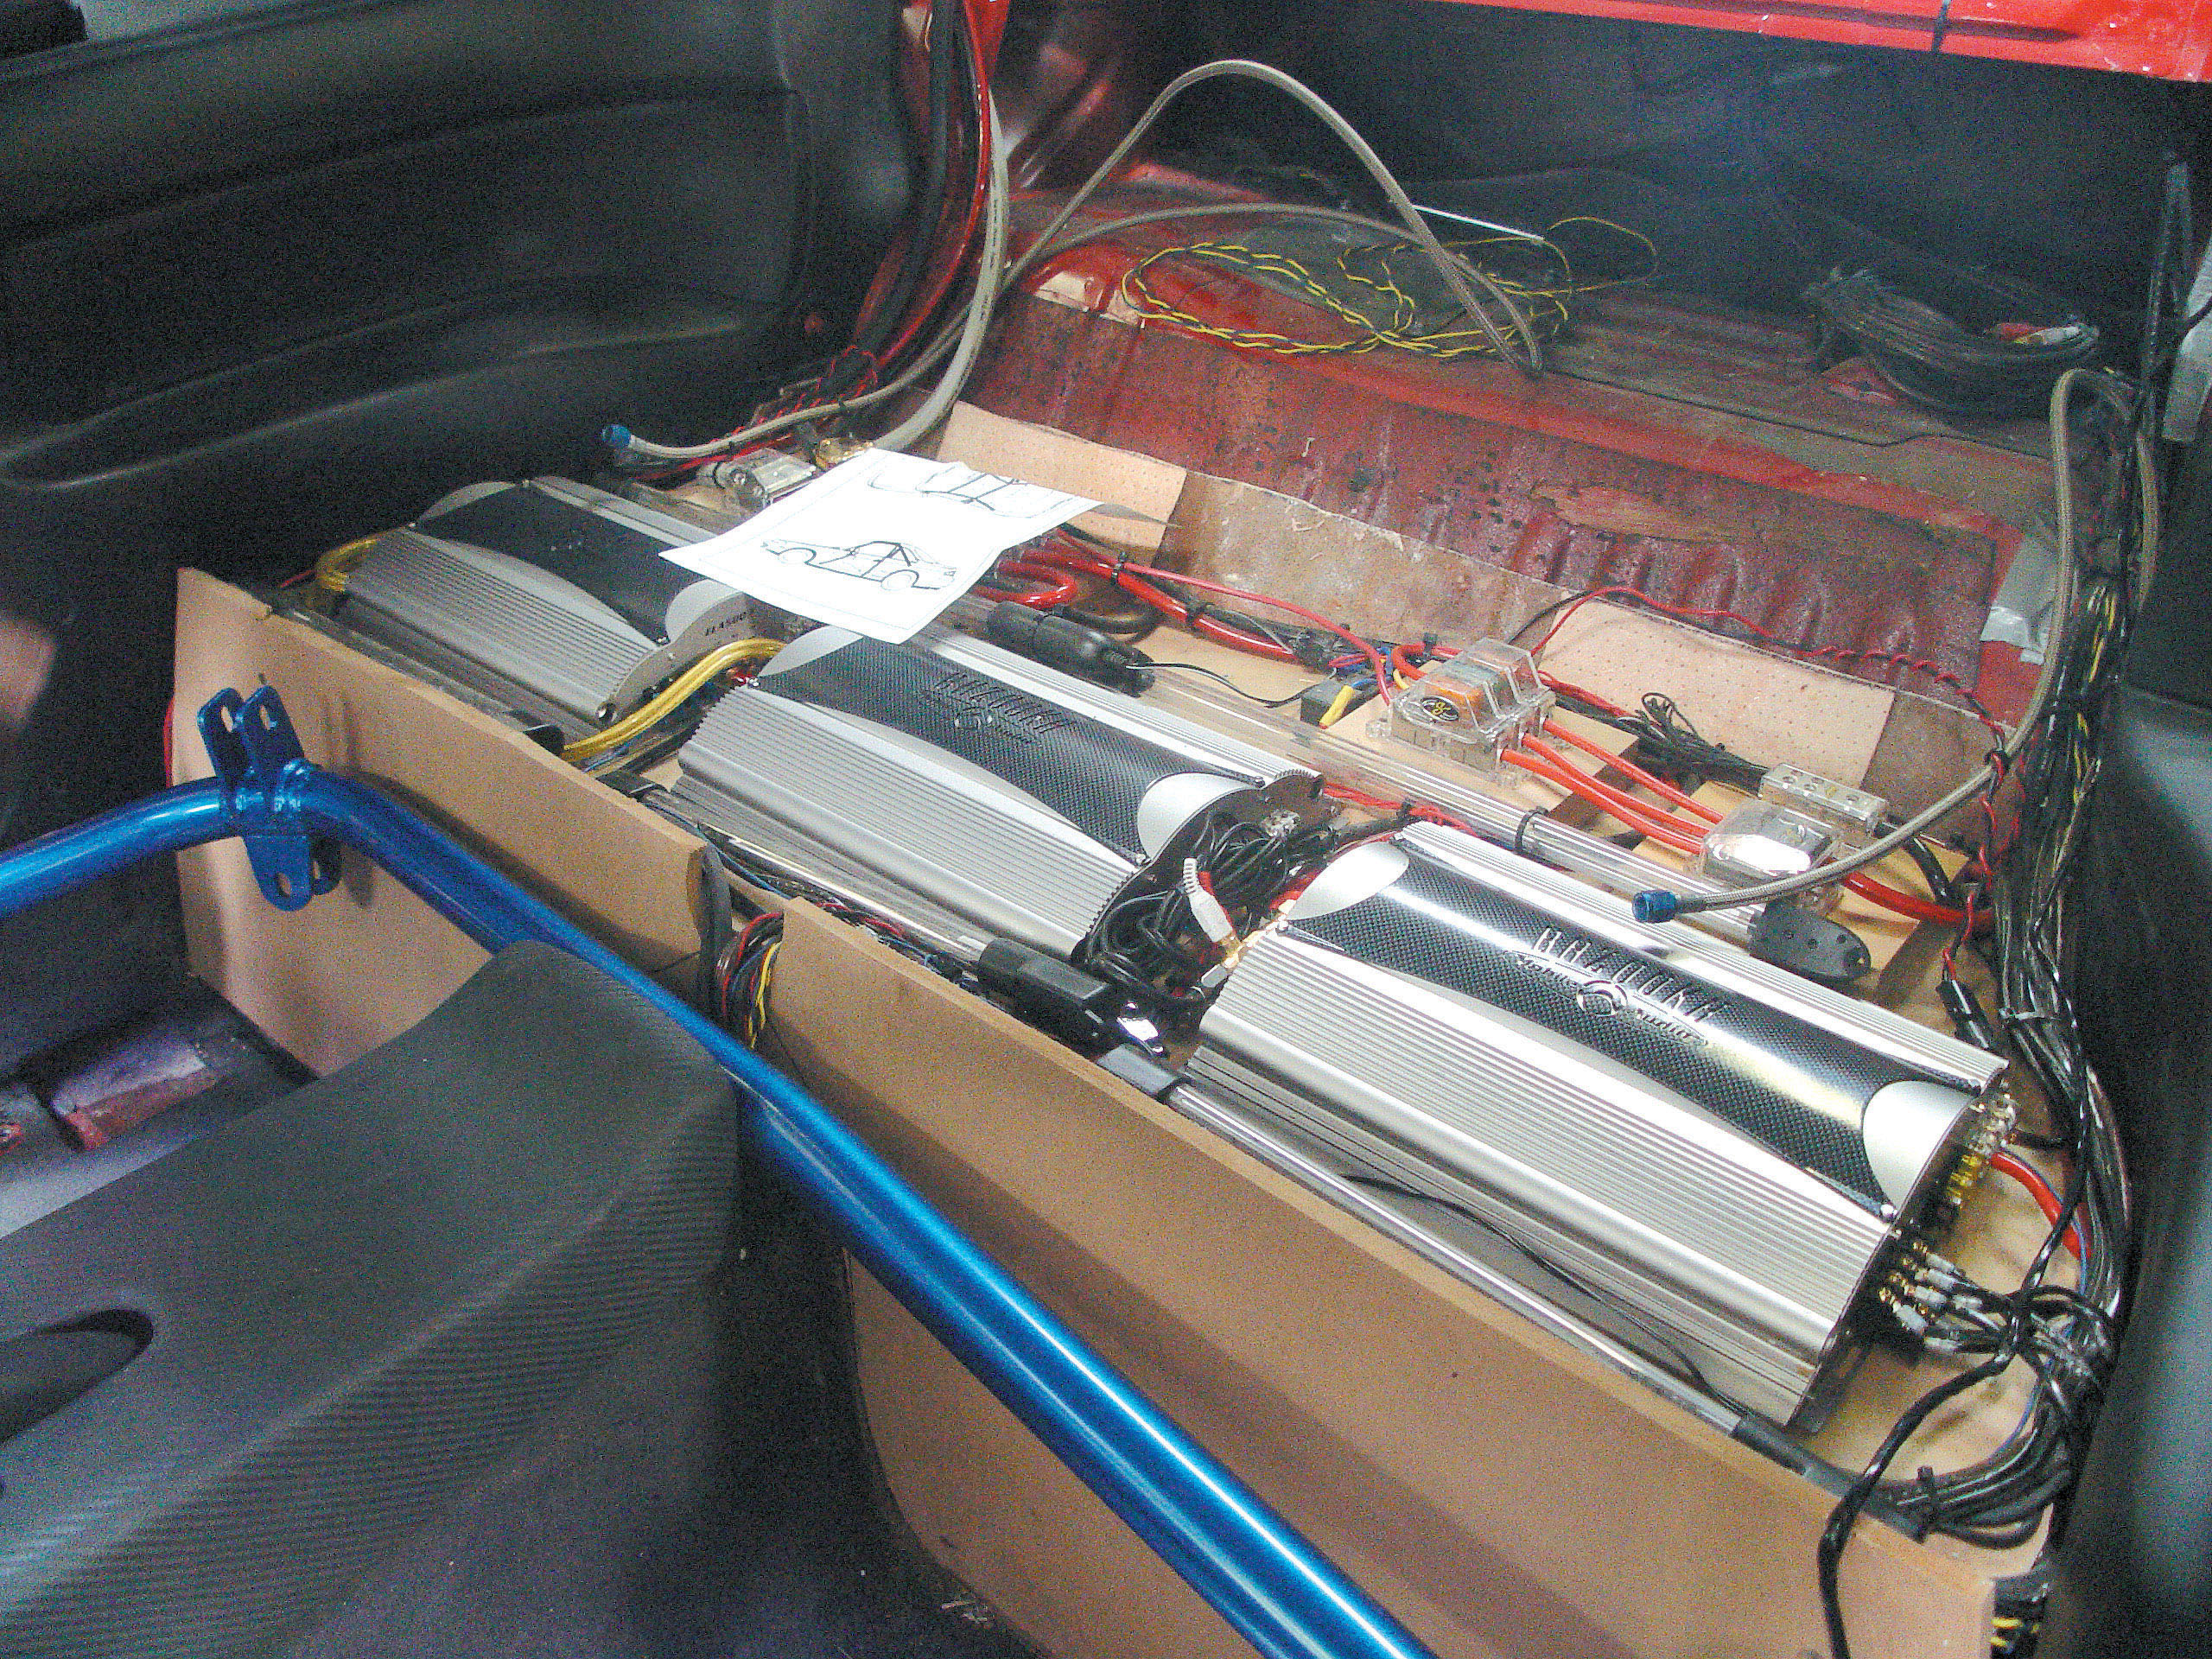
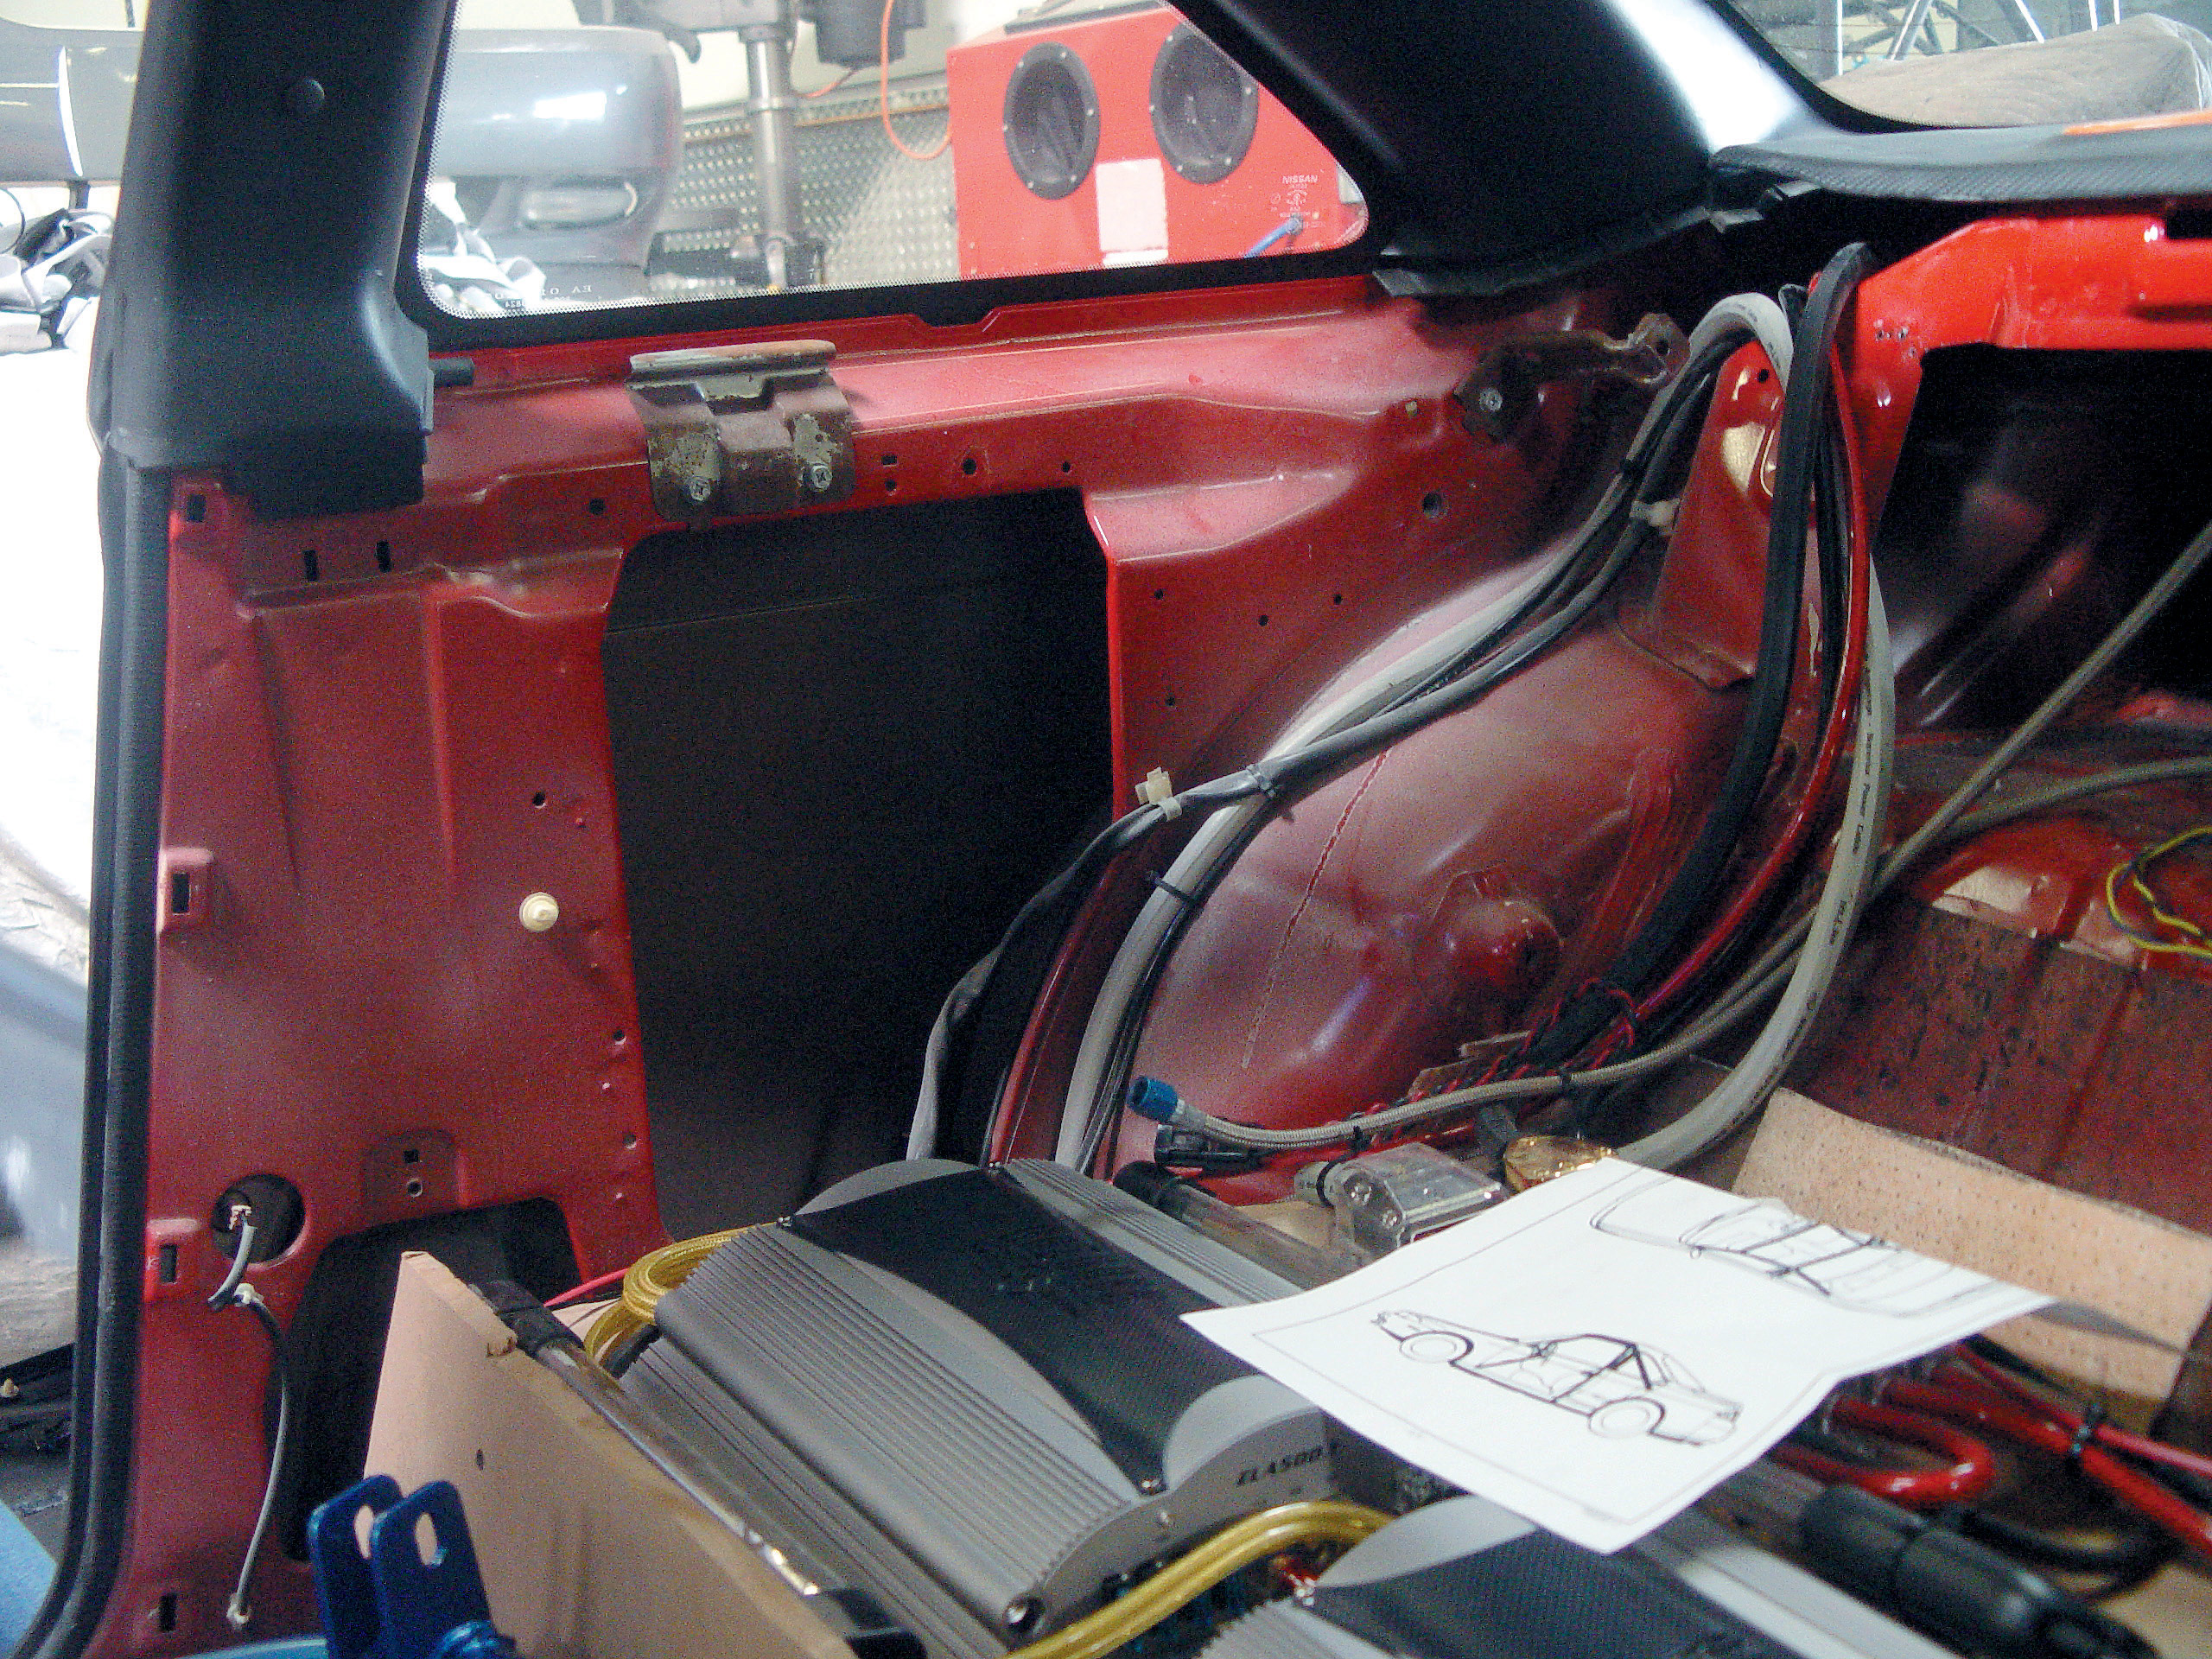
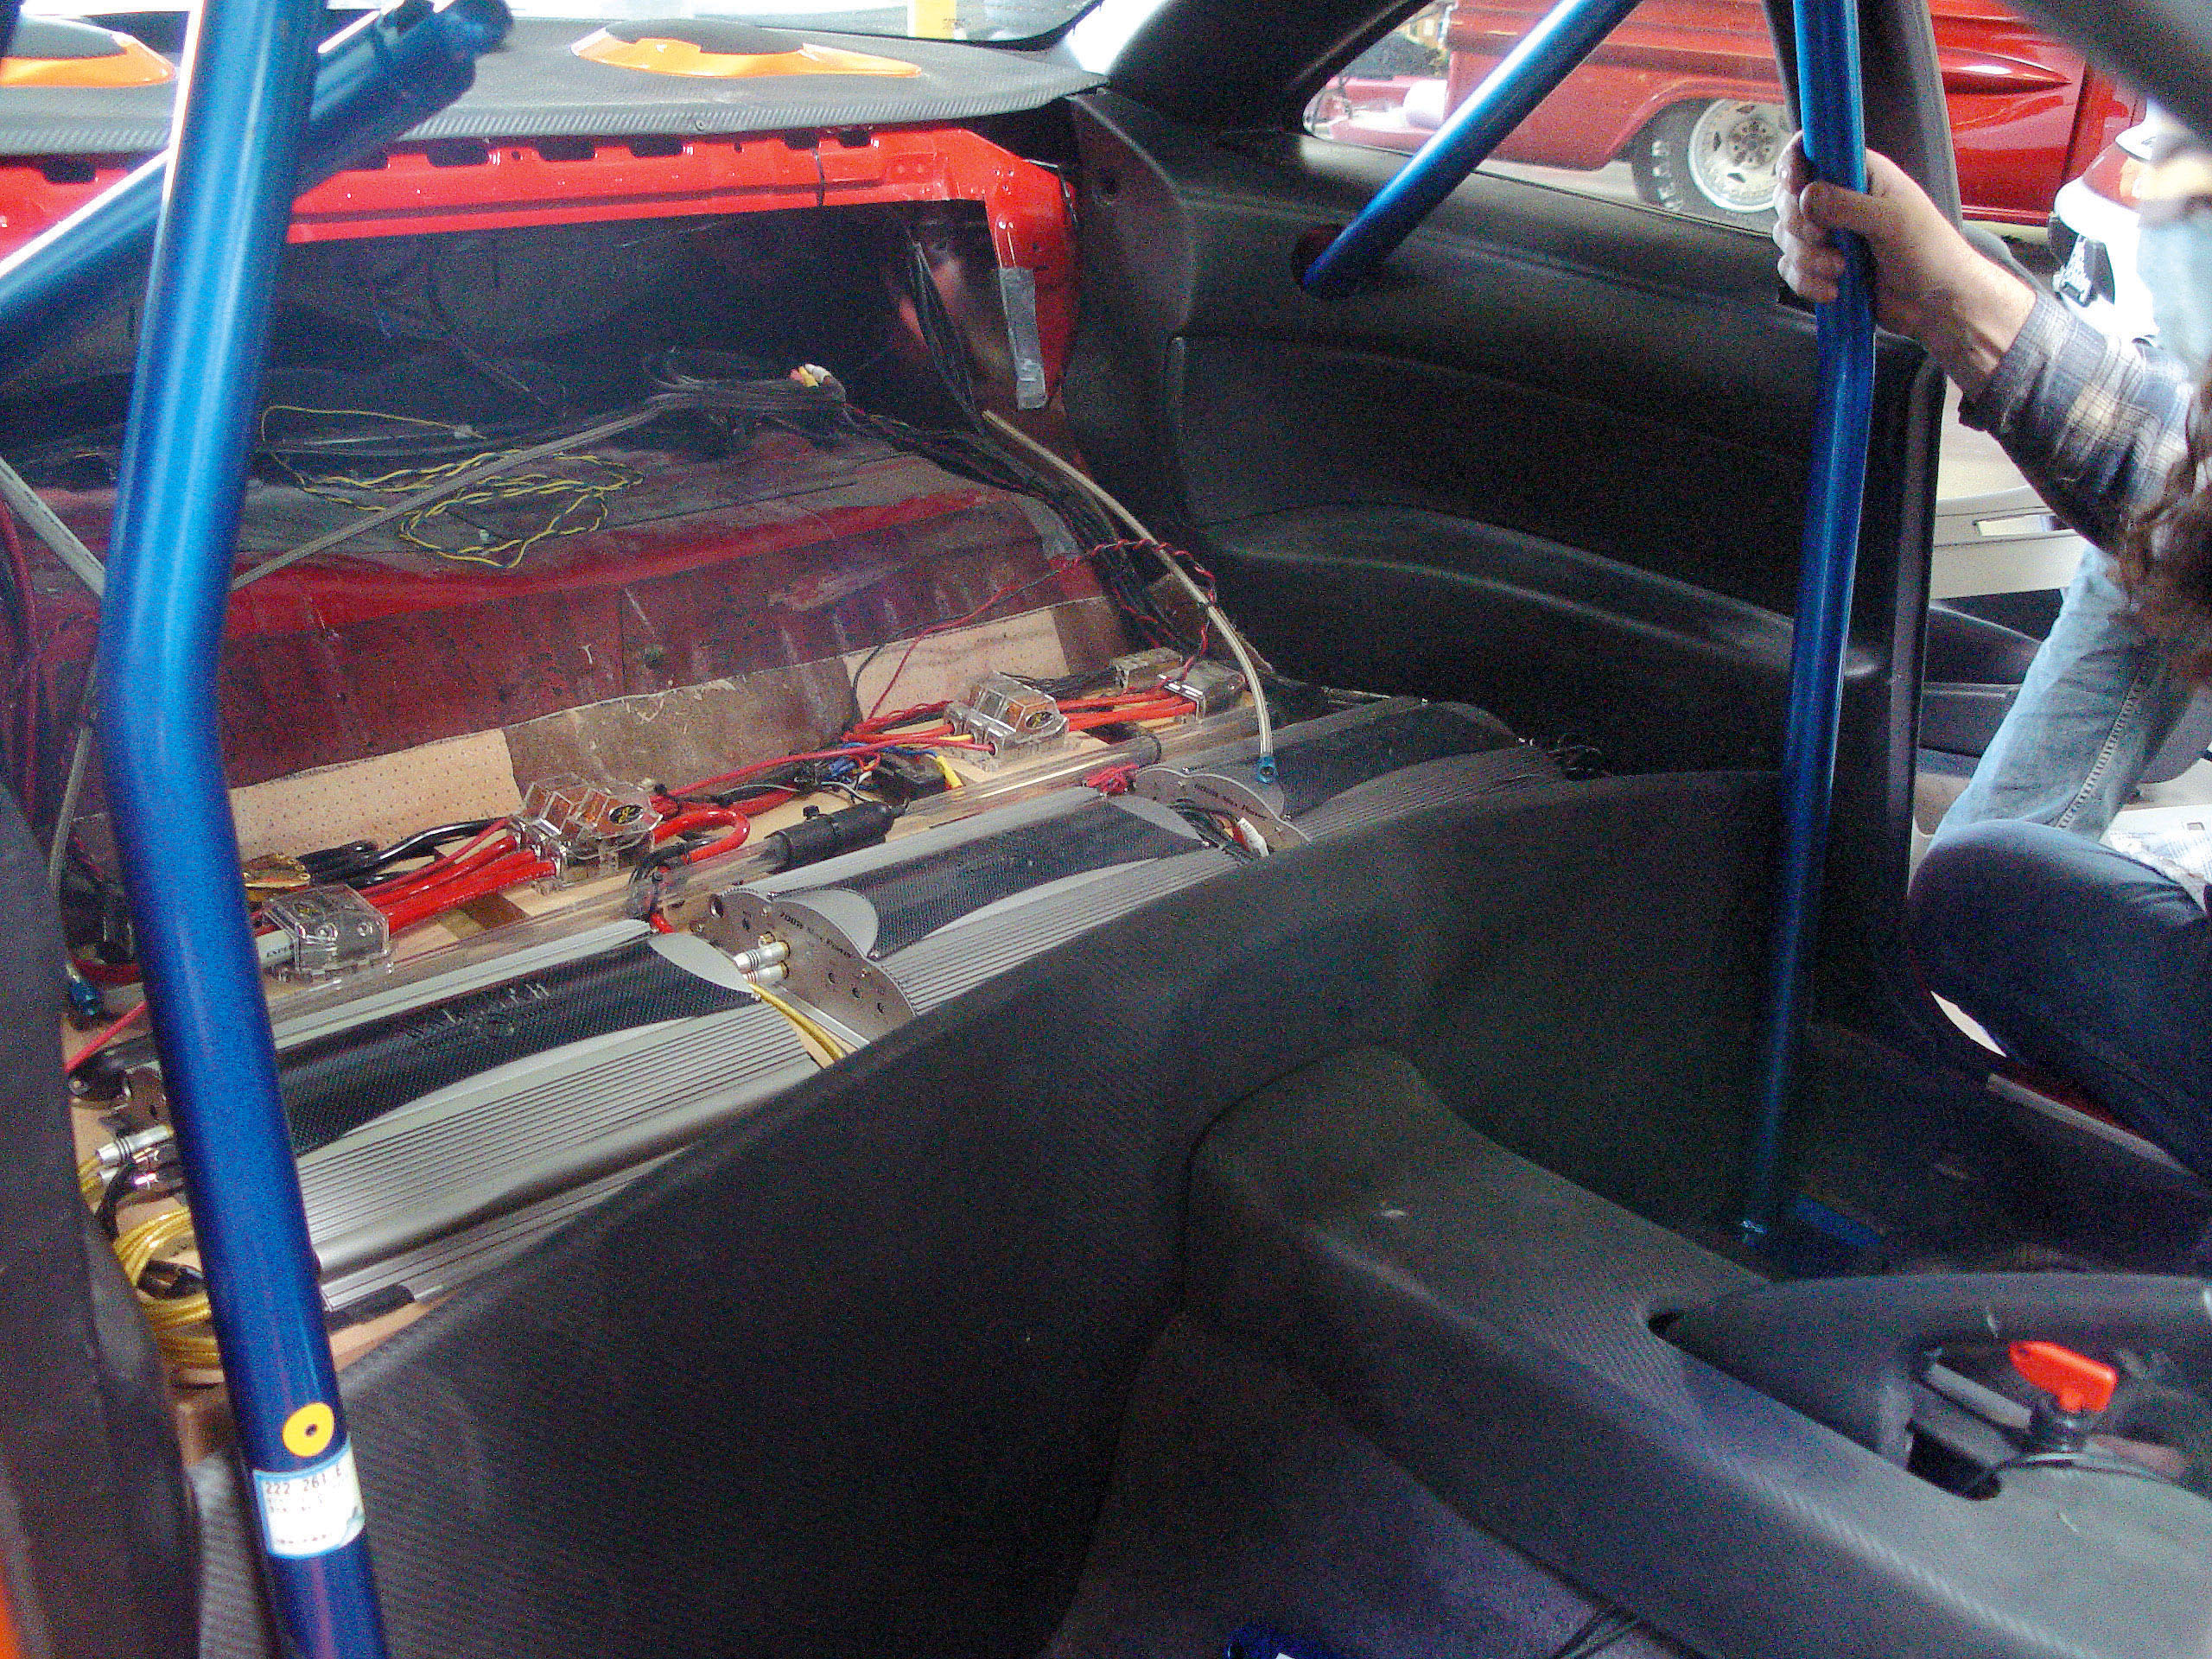
After test-fitting the front section of the rollcage, it was time to move to the rear section of the car. The first step was to completely strip the rear area of the car. Except for the back speaker deck, everything needs to be removed—and we mean everything. Remove the back seats and all side panels. After the rear of the car has been completely cleaned out, you can test-fit both back bars.
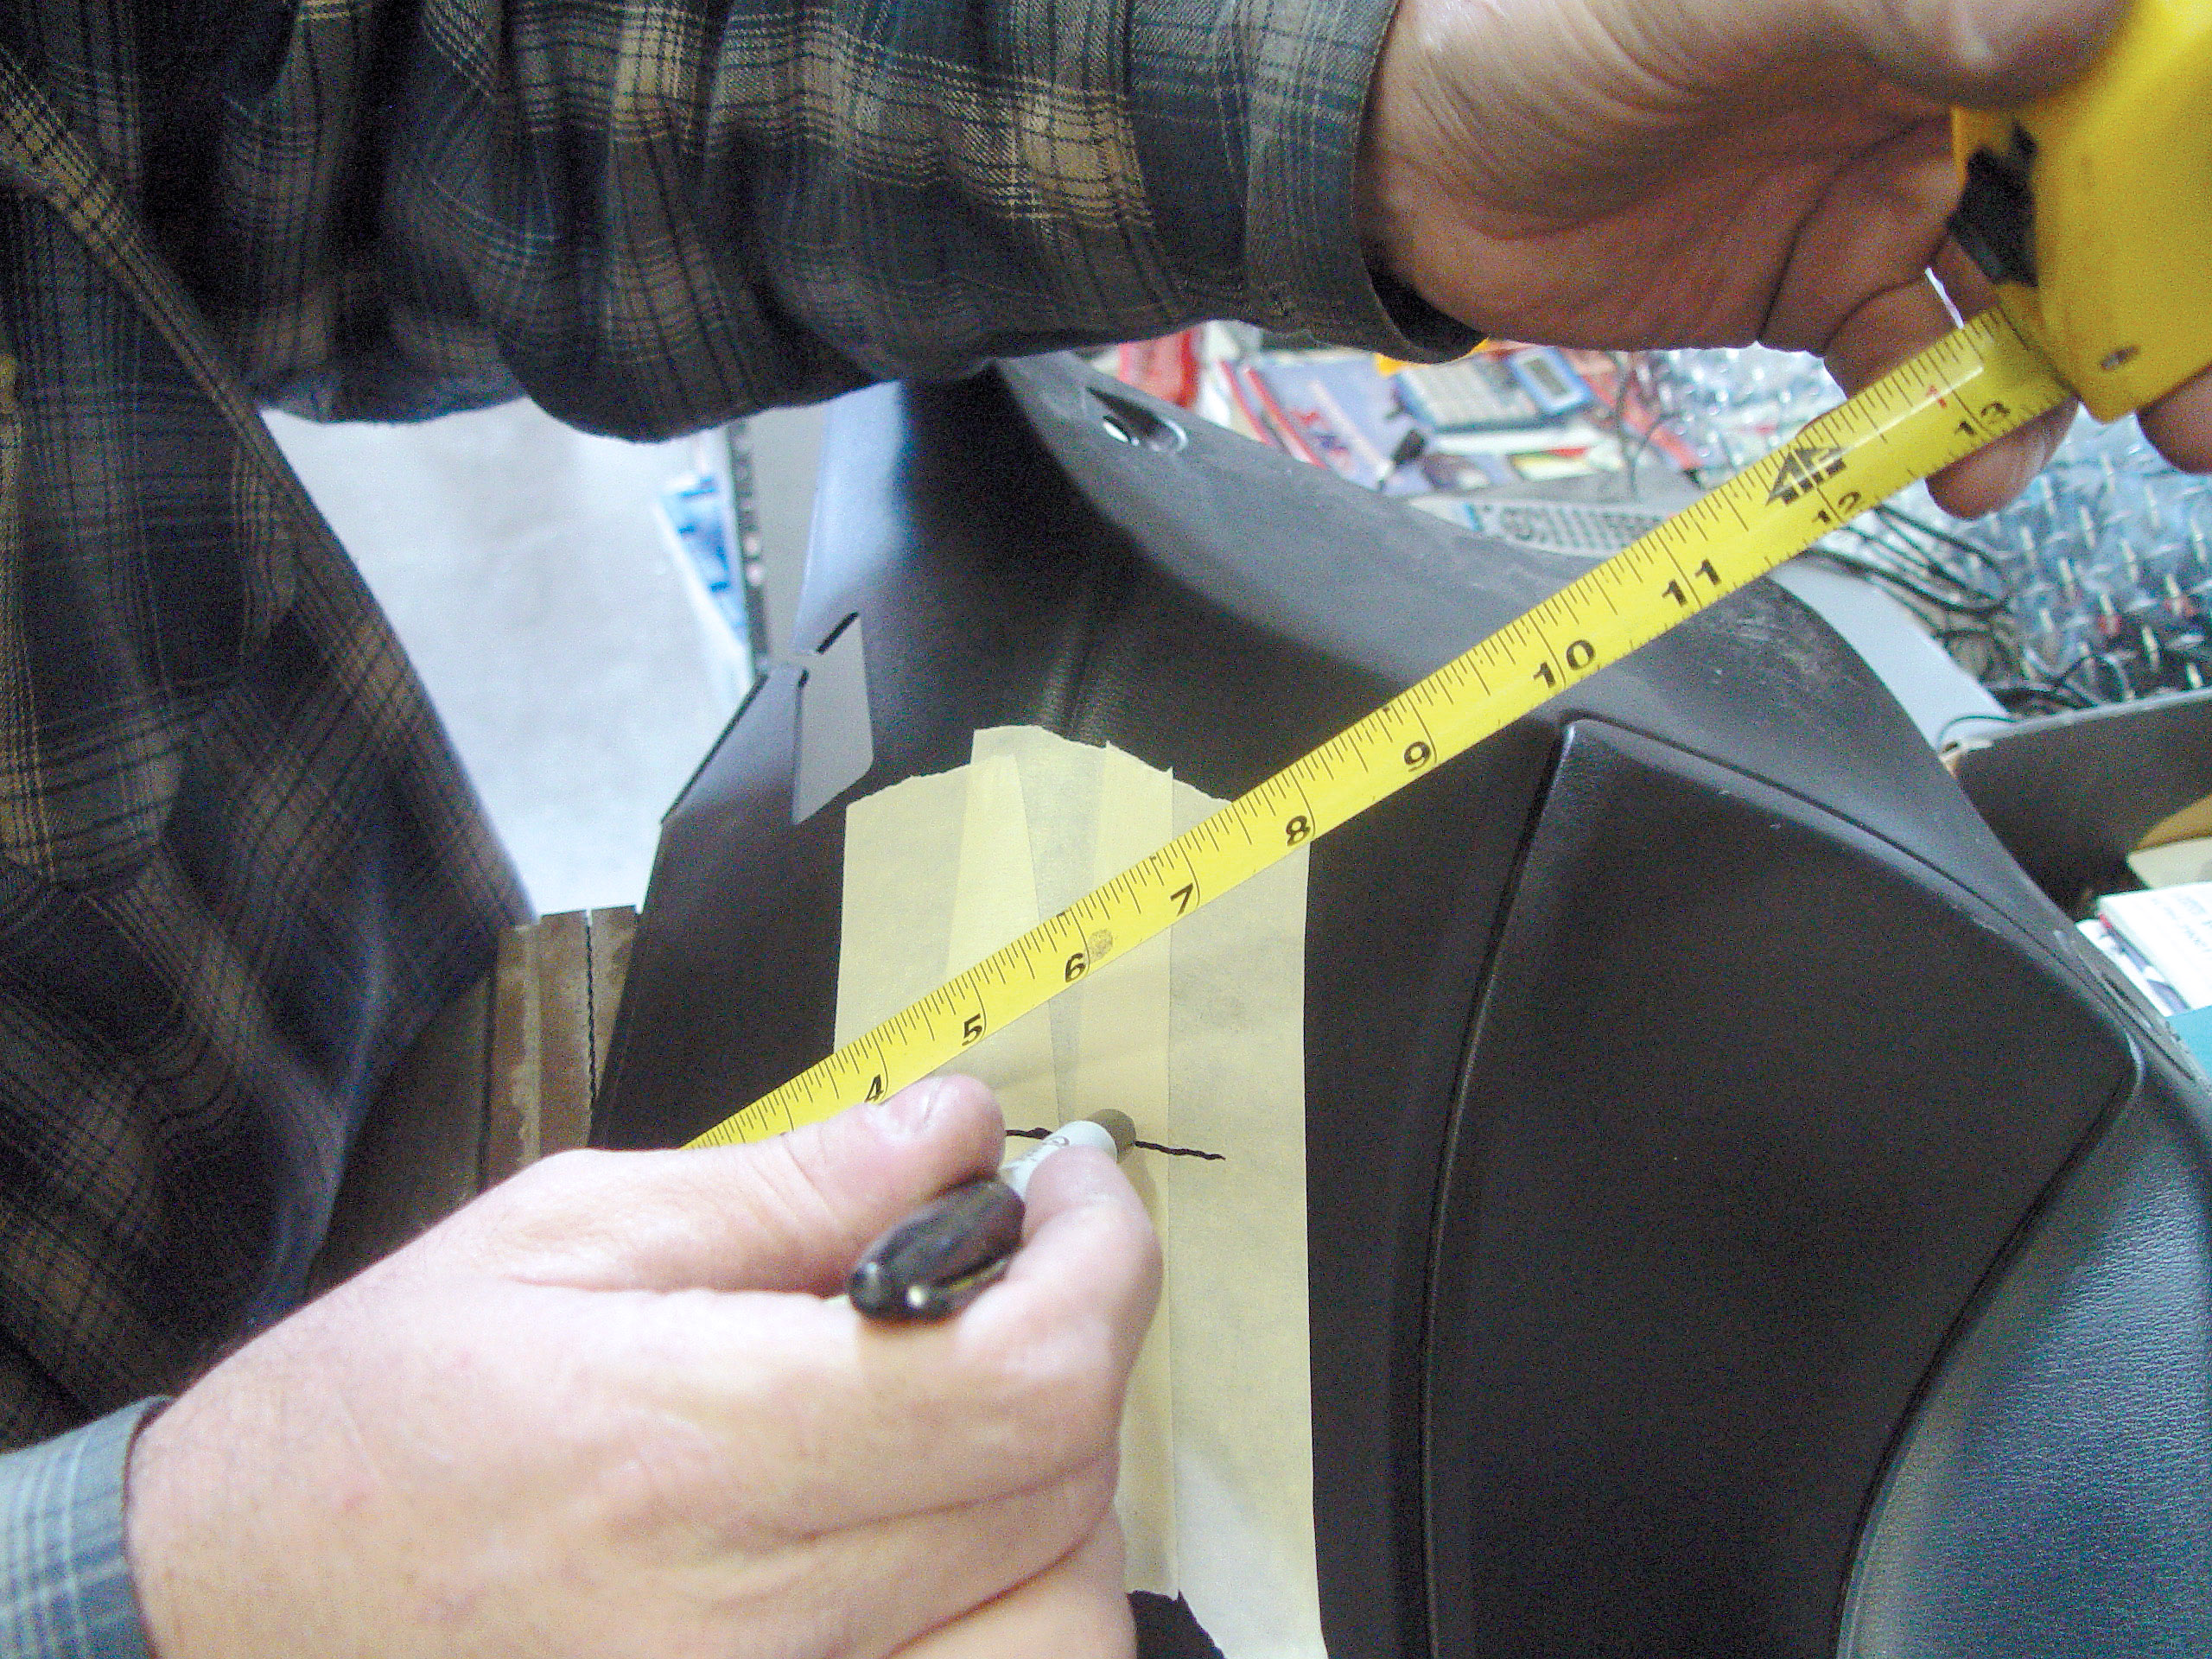
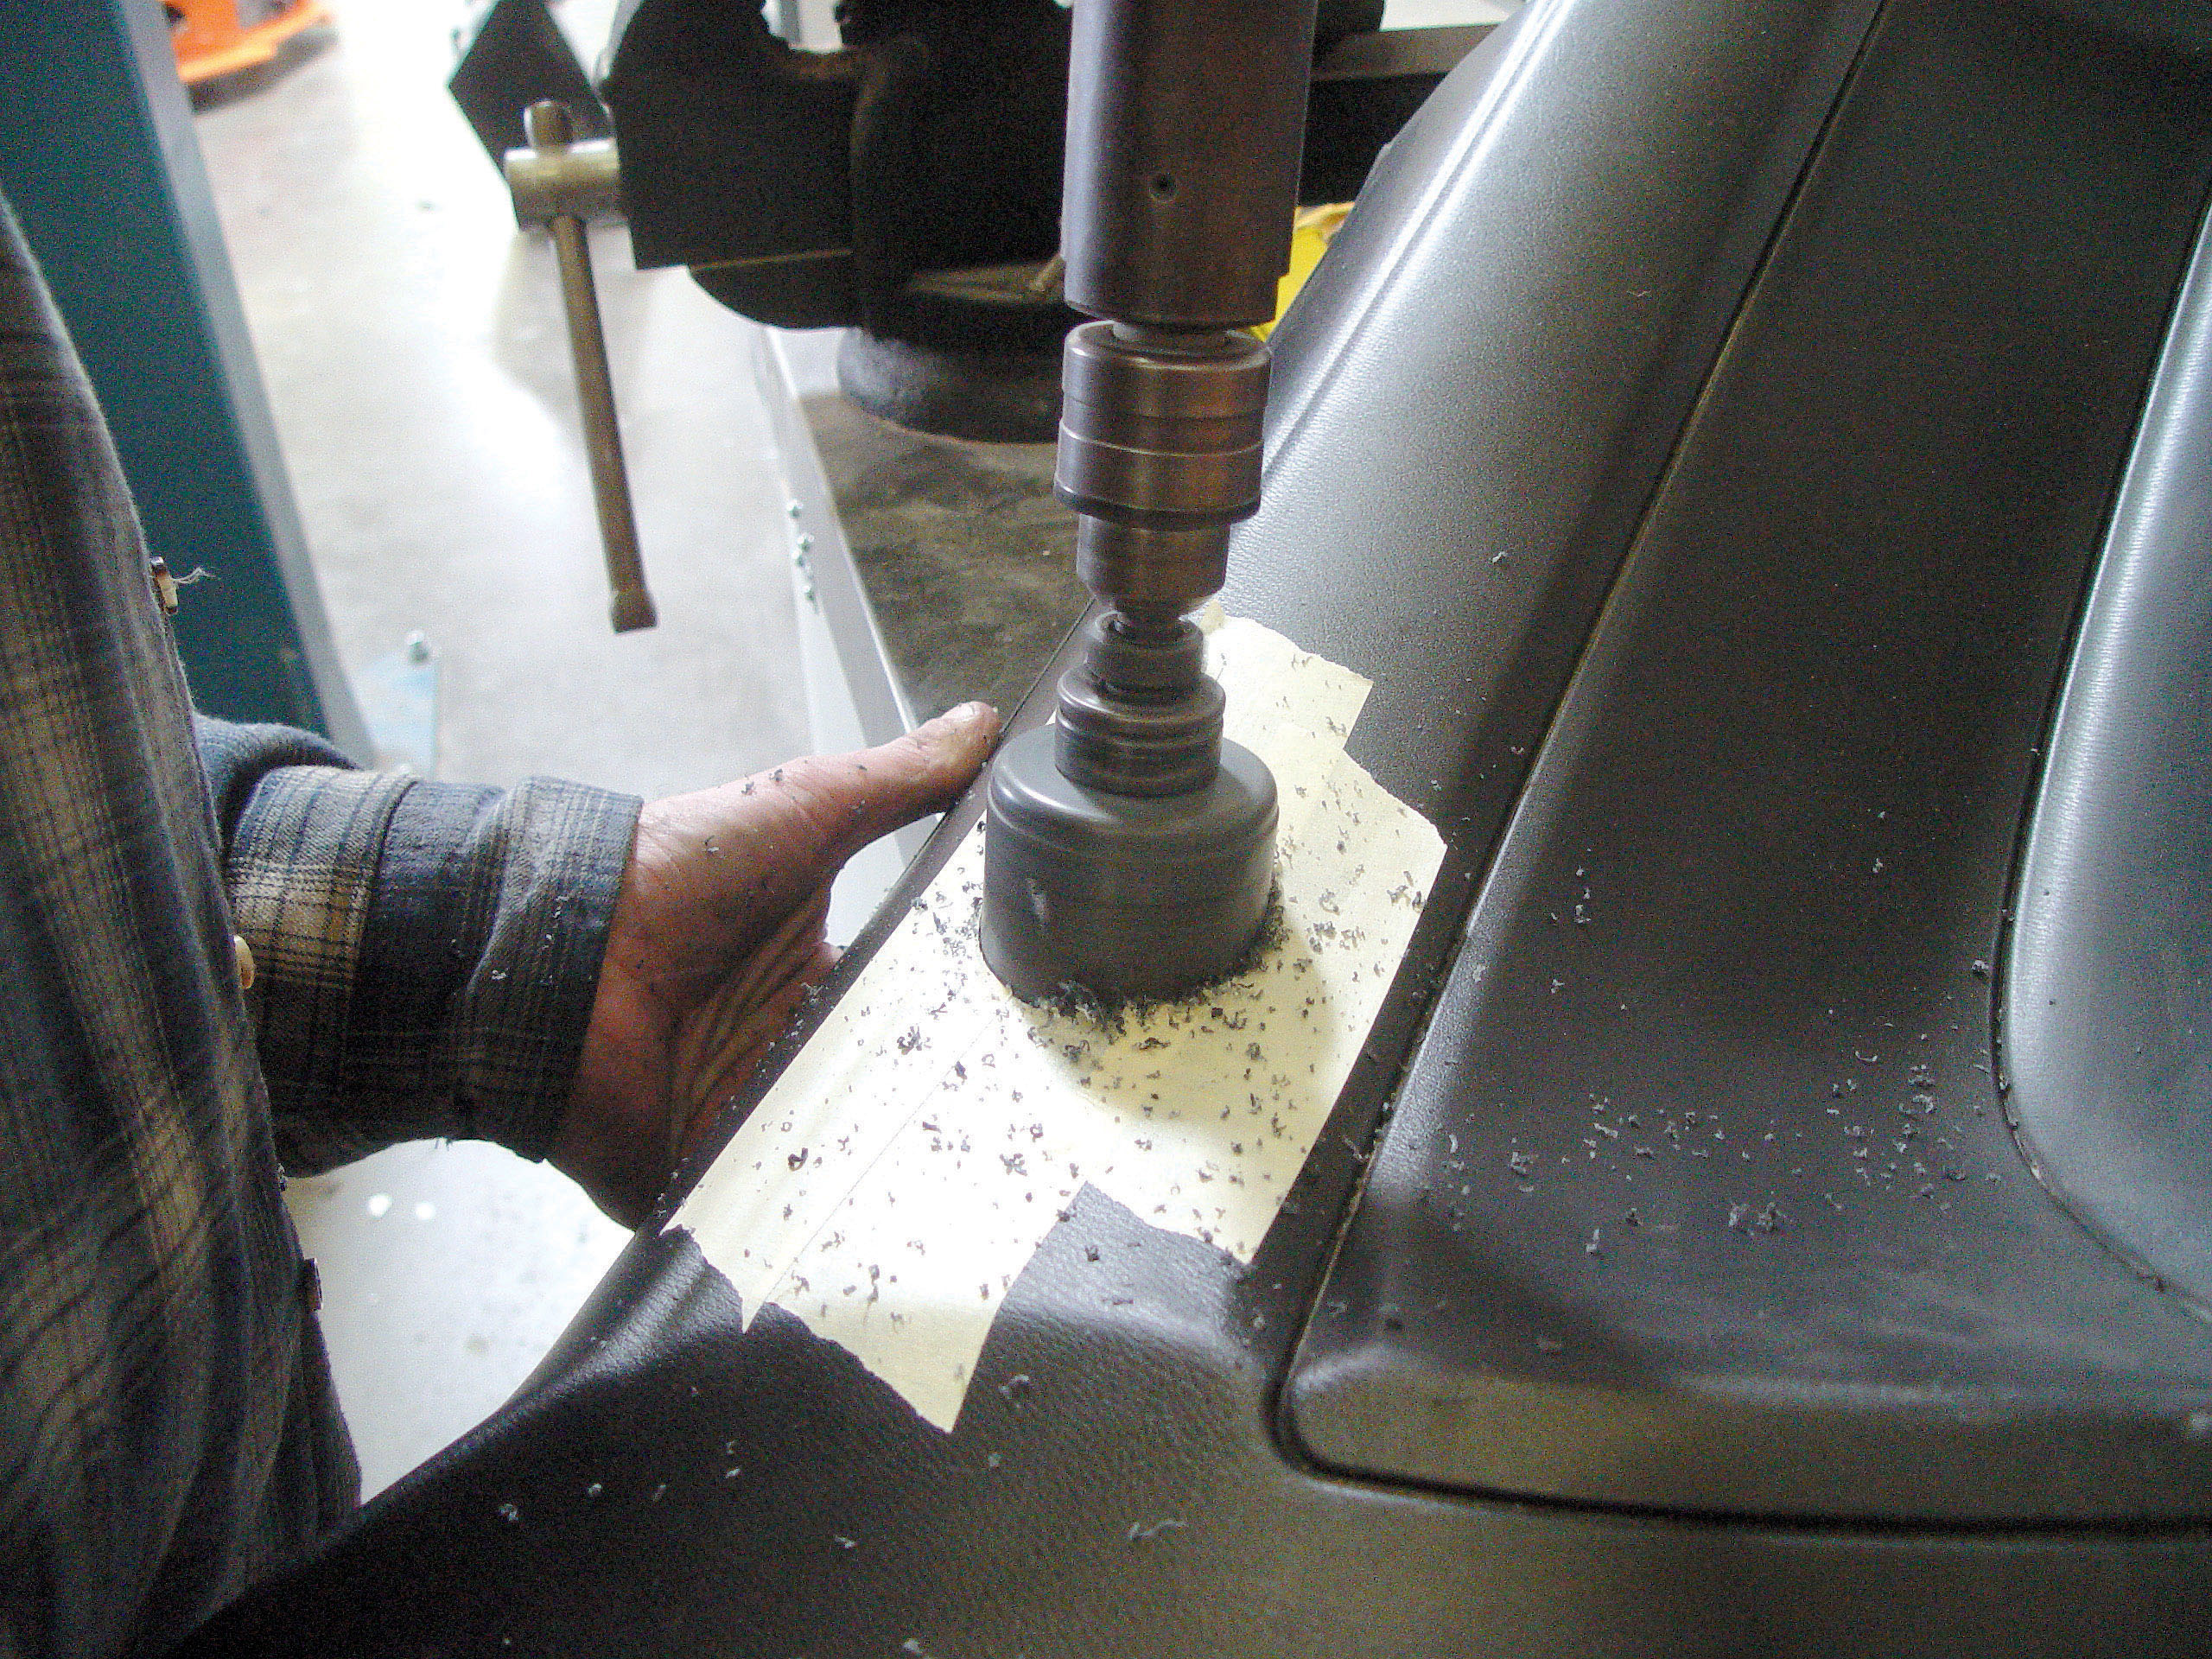
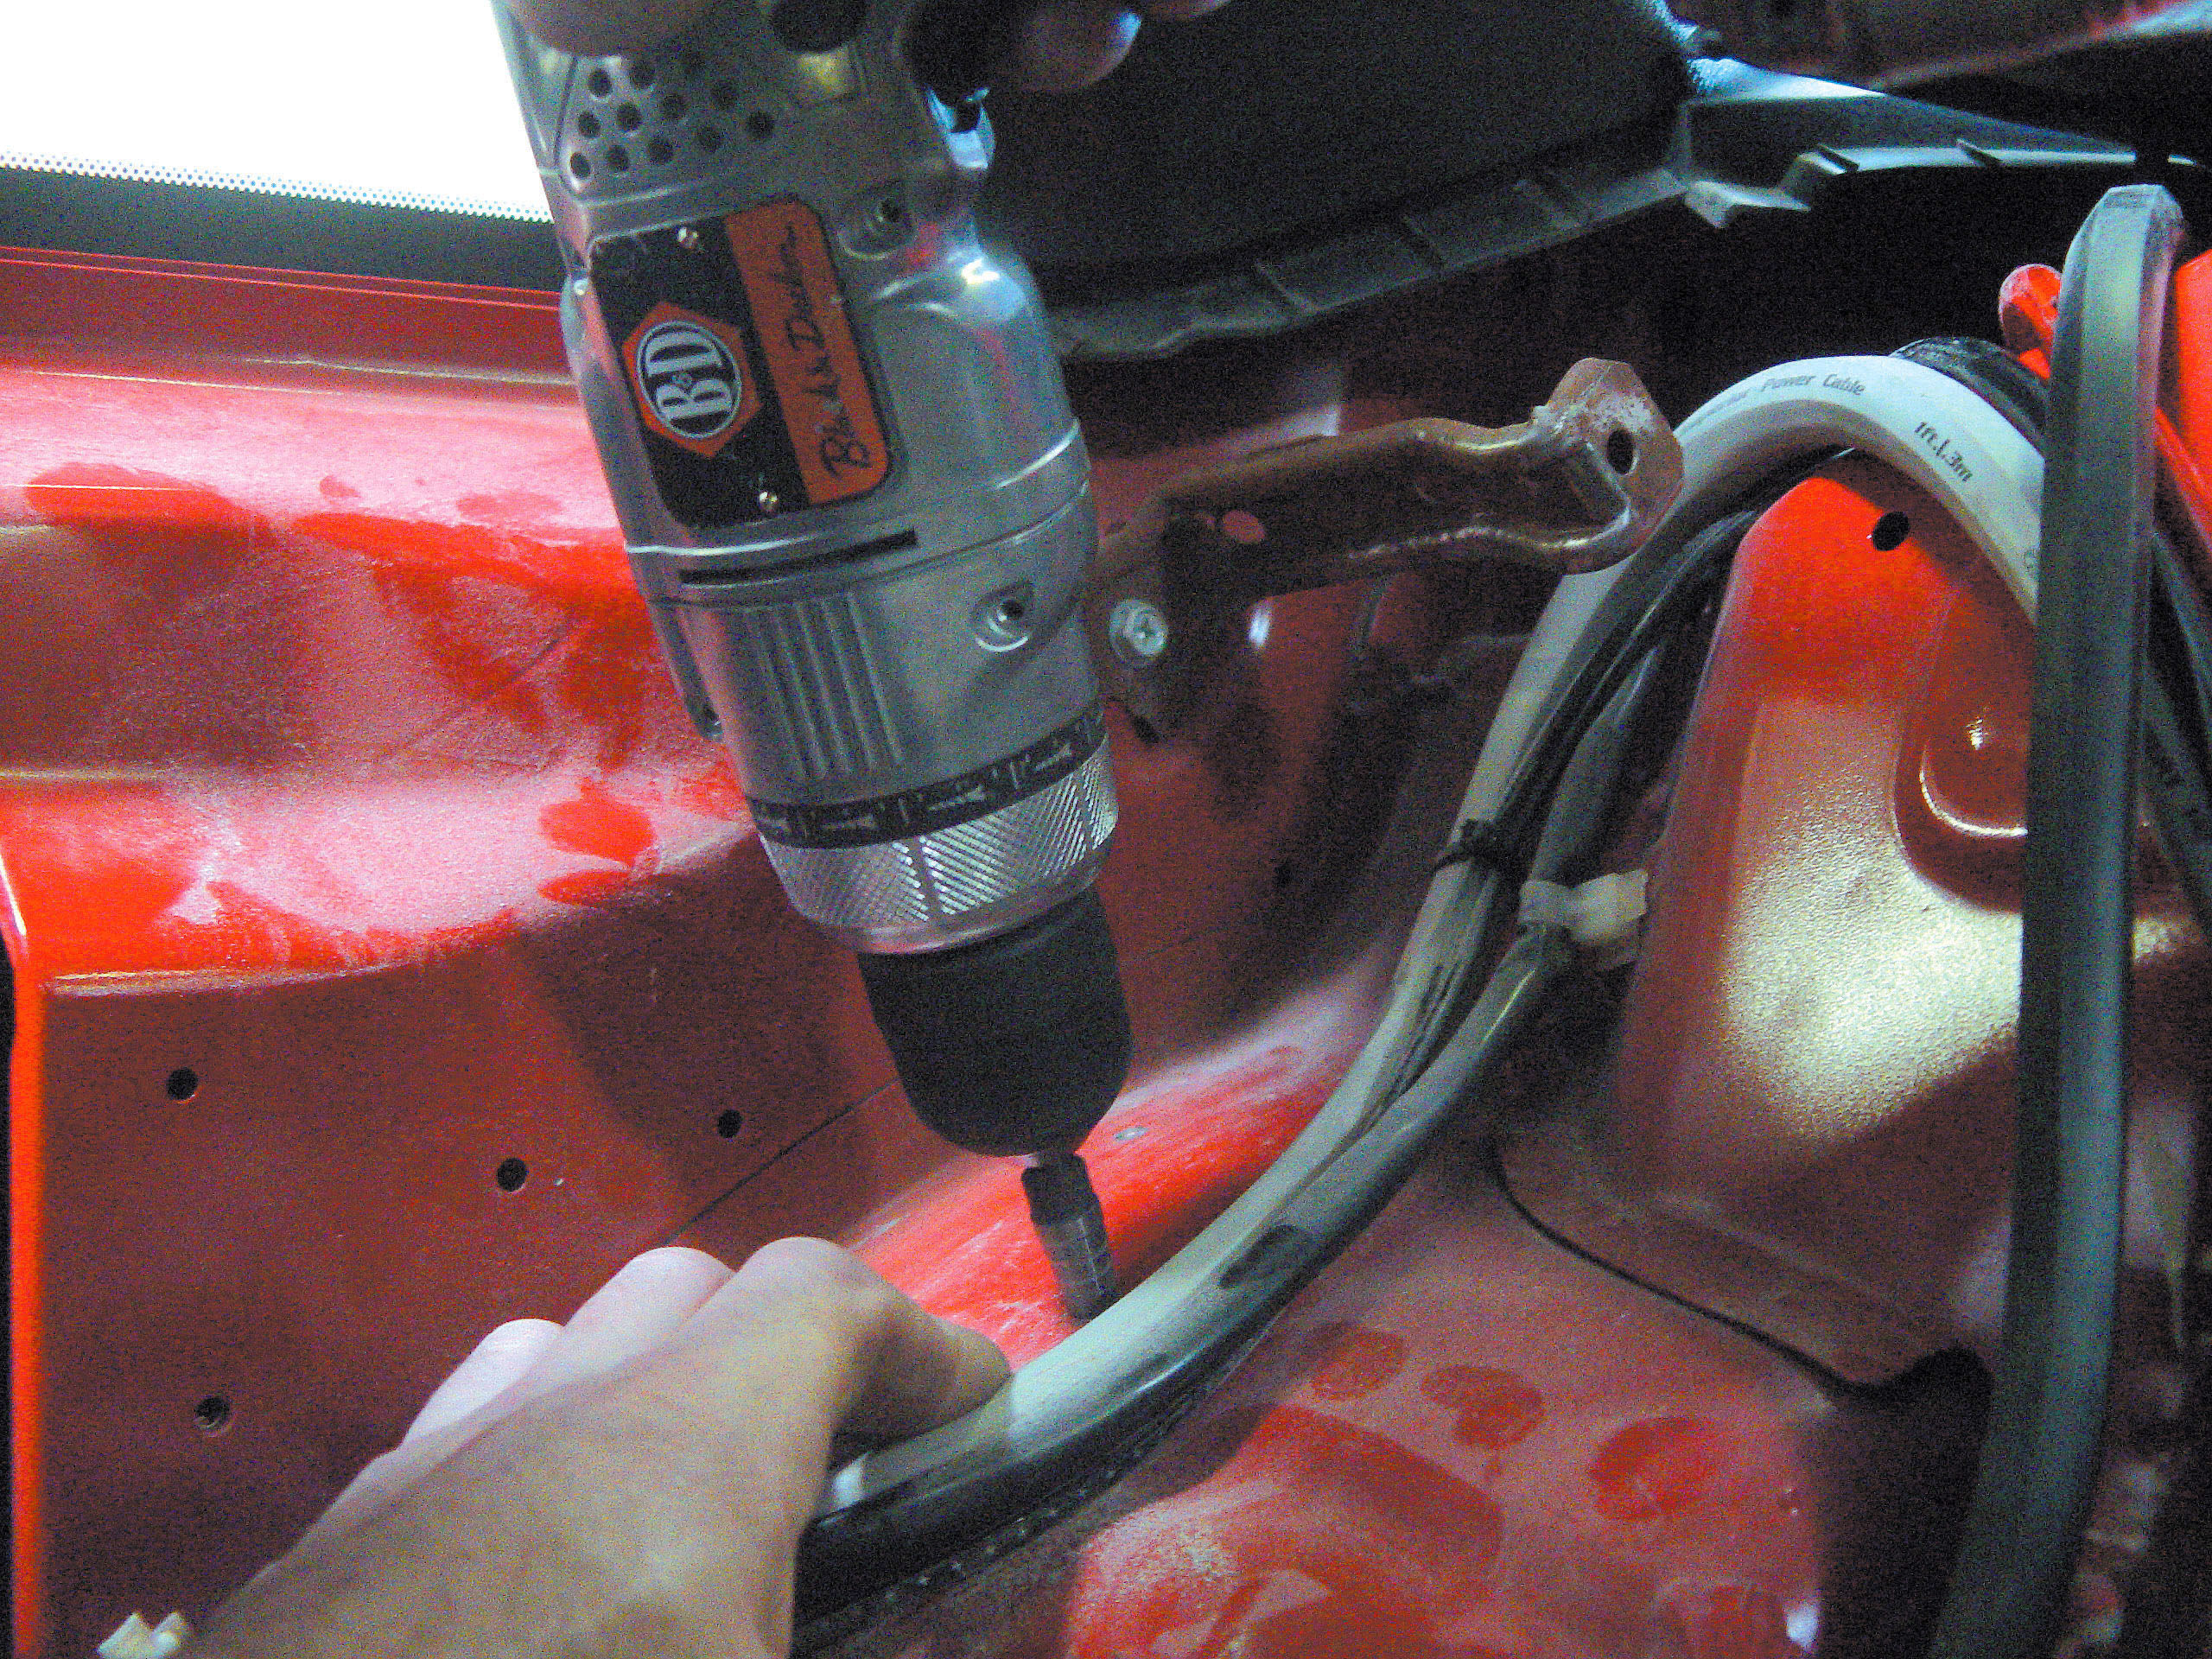
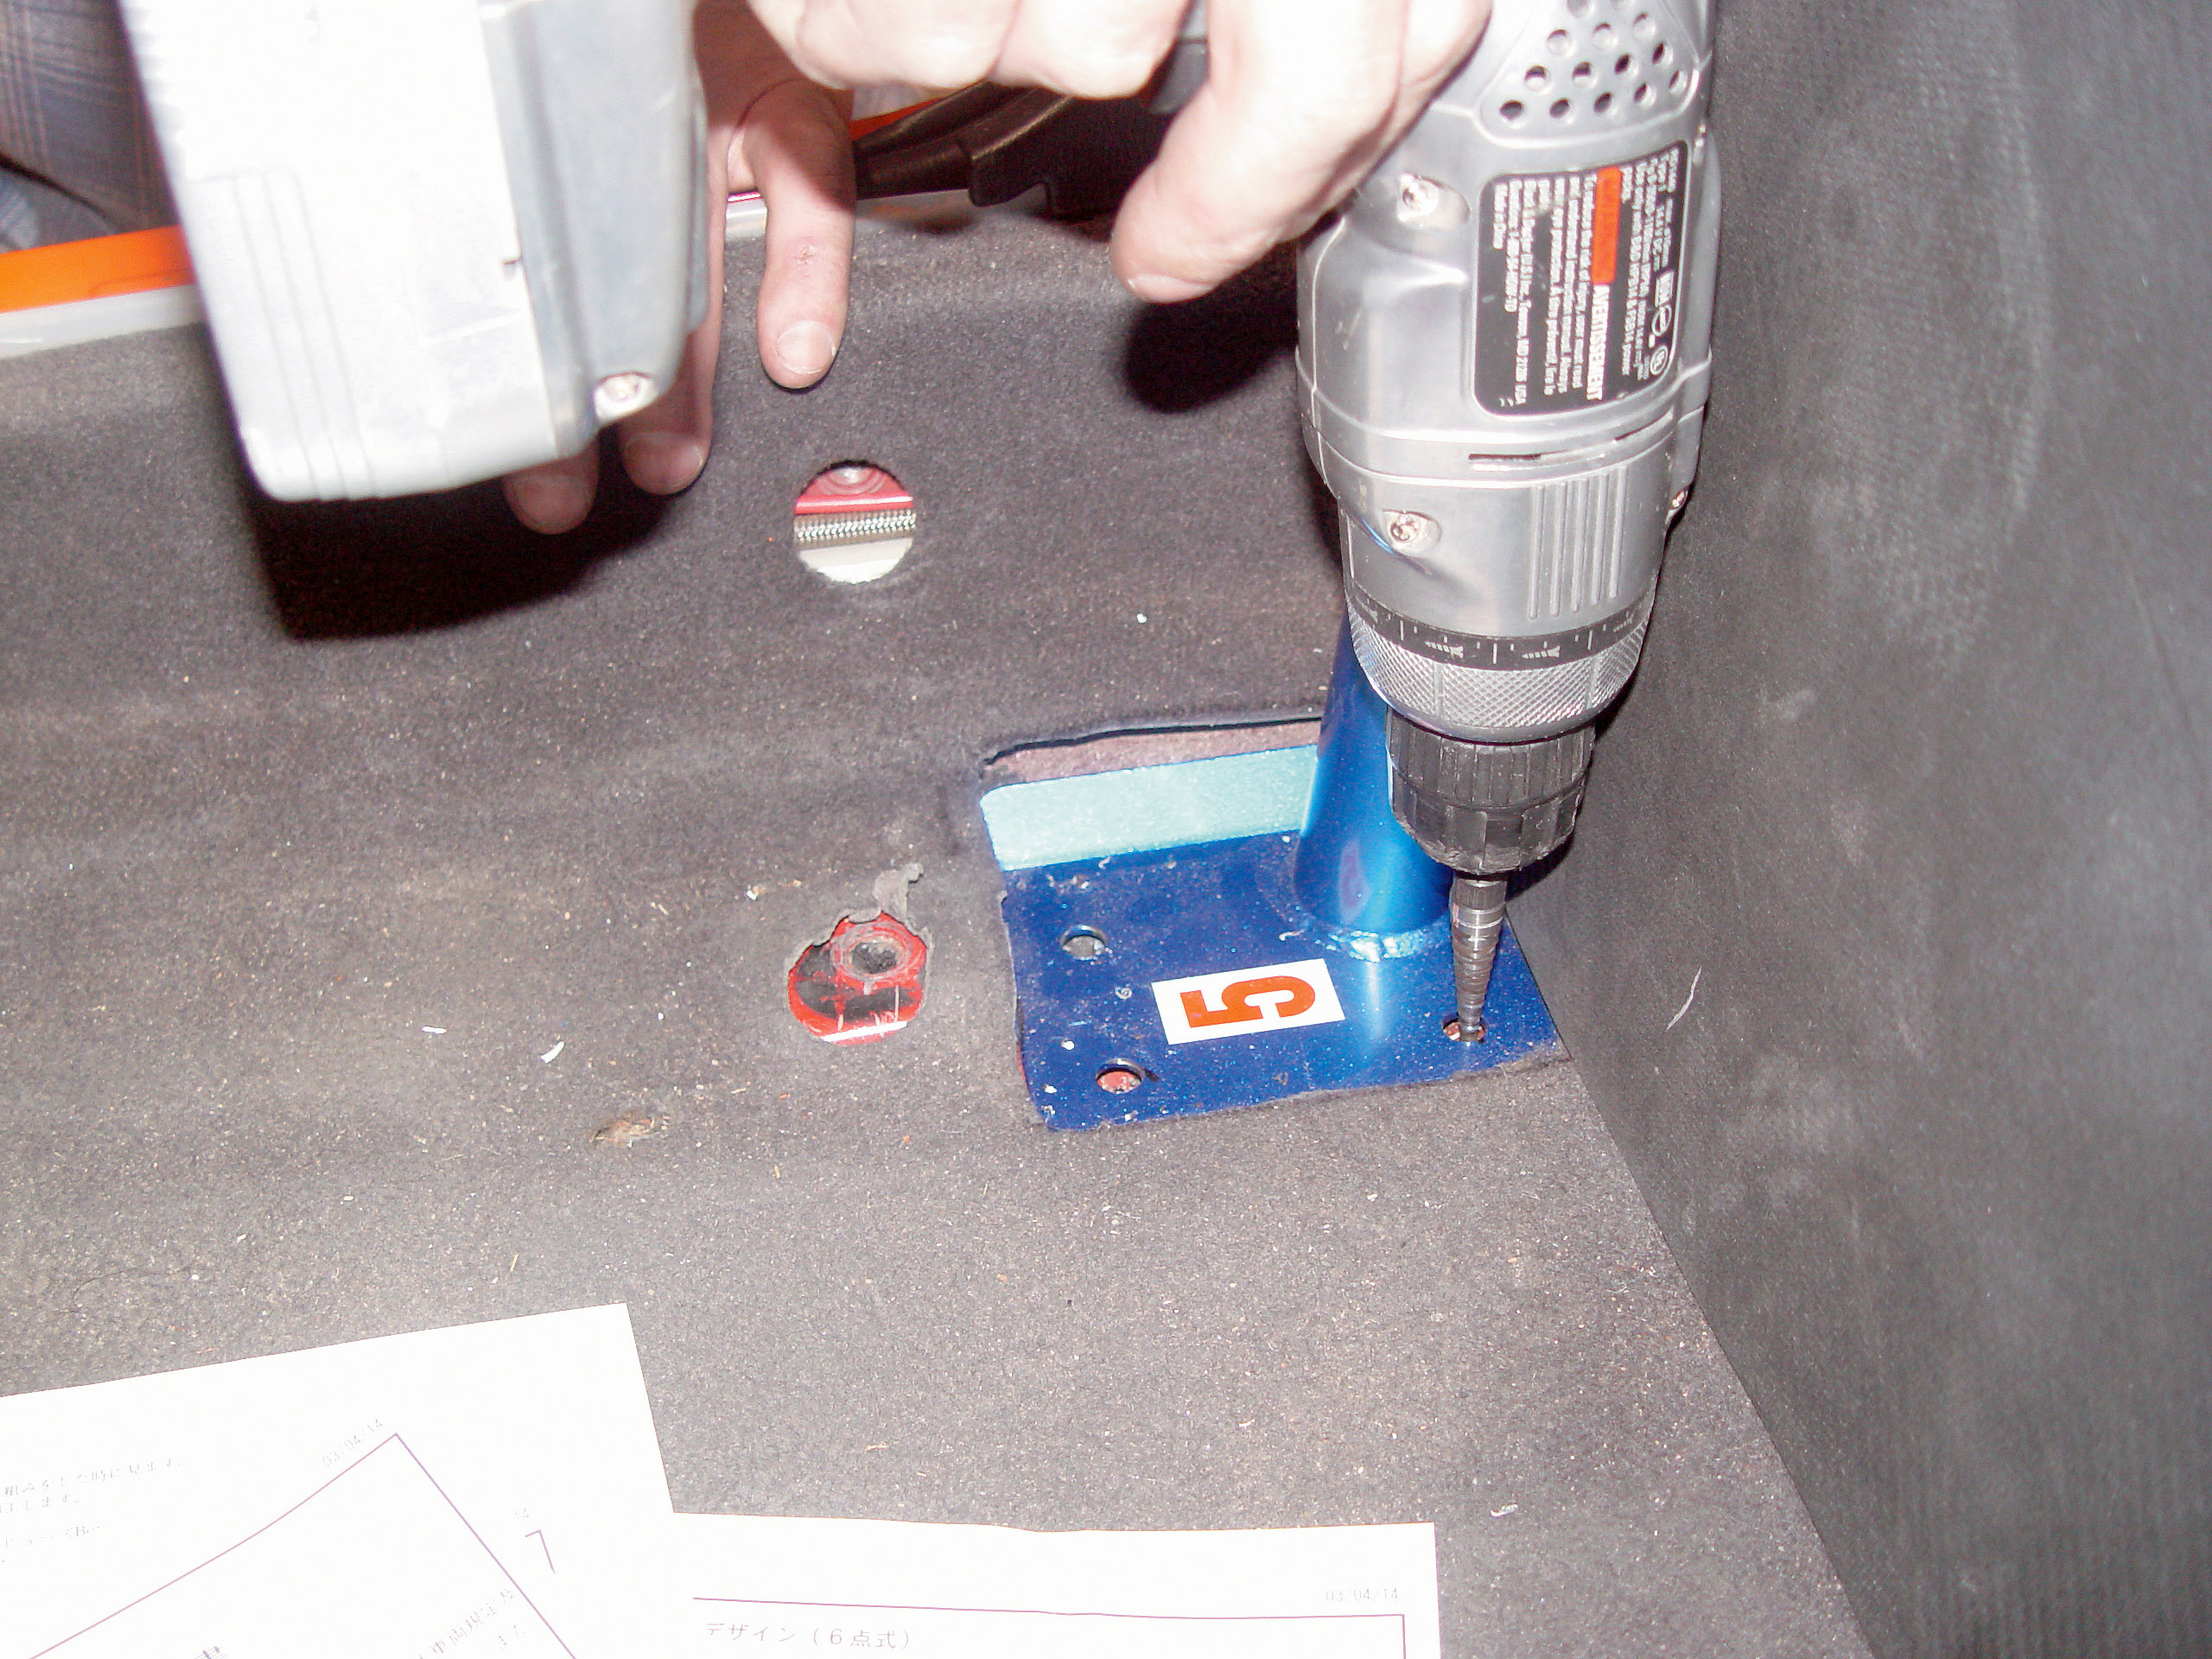
Once the bars are correctly aligned, mark the holes and get out your drill. Drill the holes and secure the back bars, then take measurements for the new holes that have to be cut into the rear quarter panels. Once the new holes are cut, reinstall the quarter panels. Next, bolt down the back bars and reinstall all of the pieces you took out from inside the car.
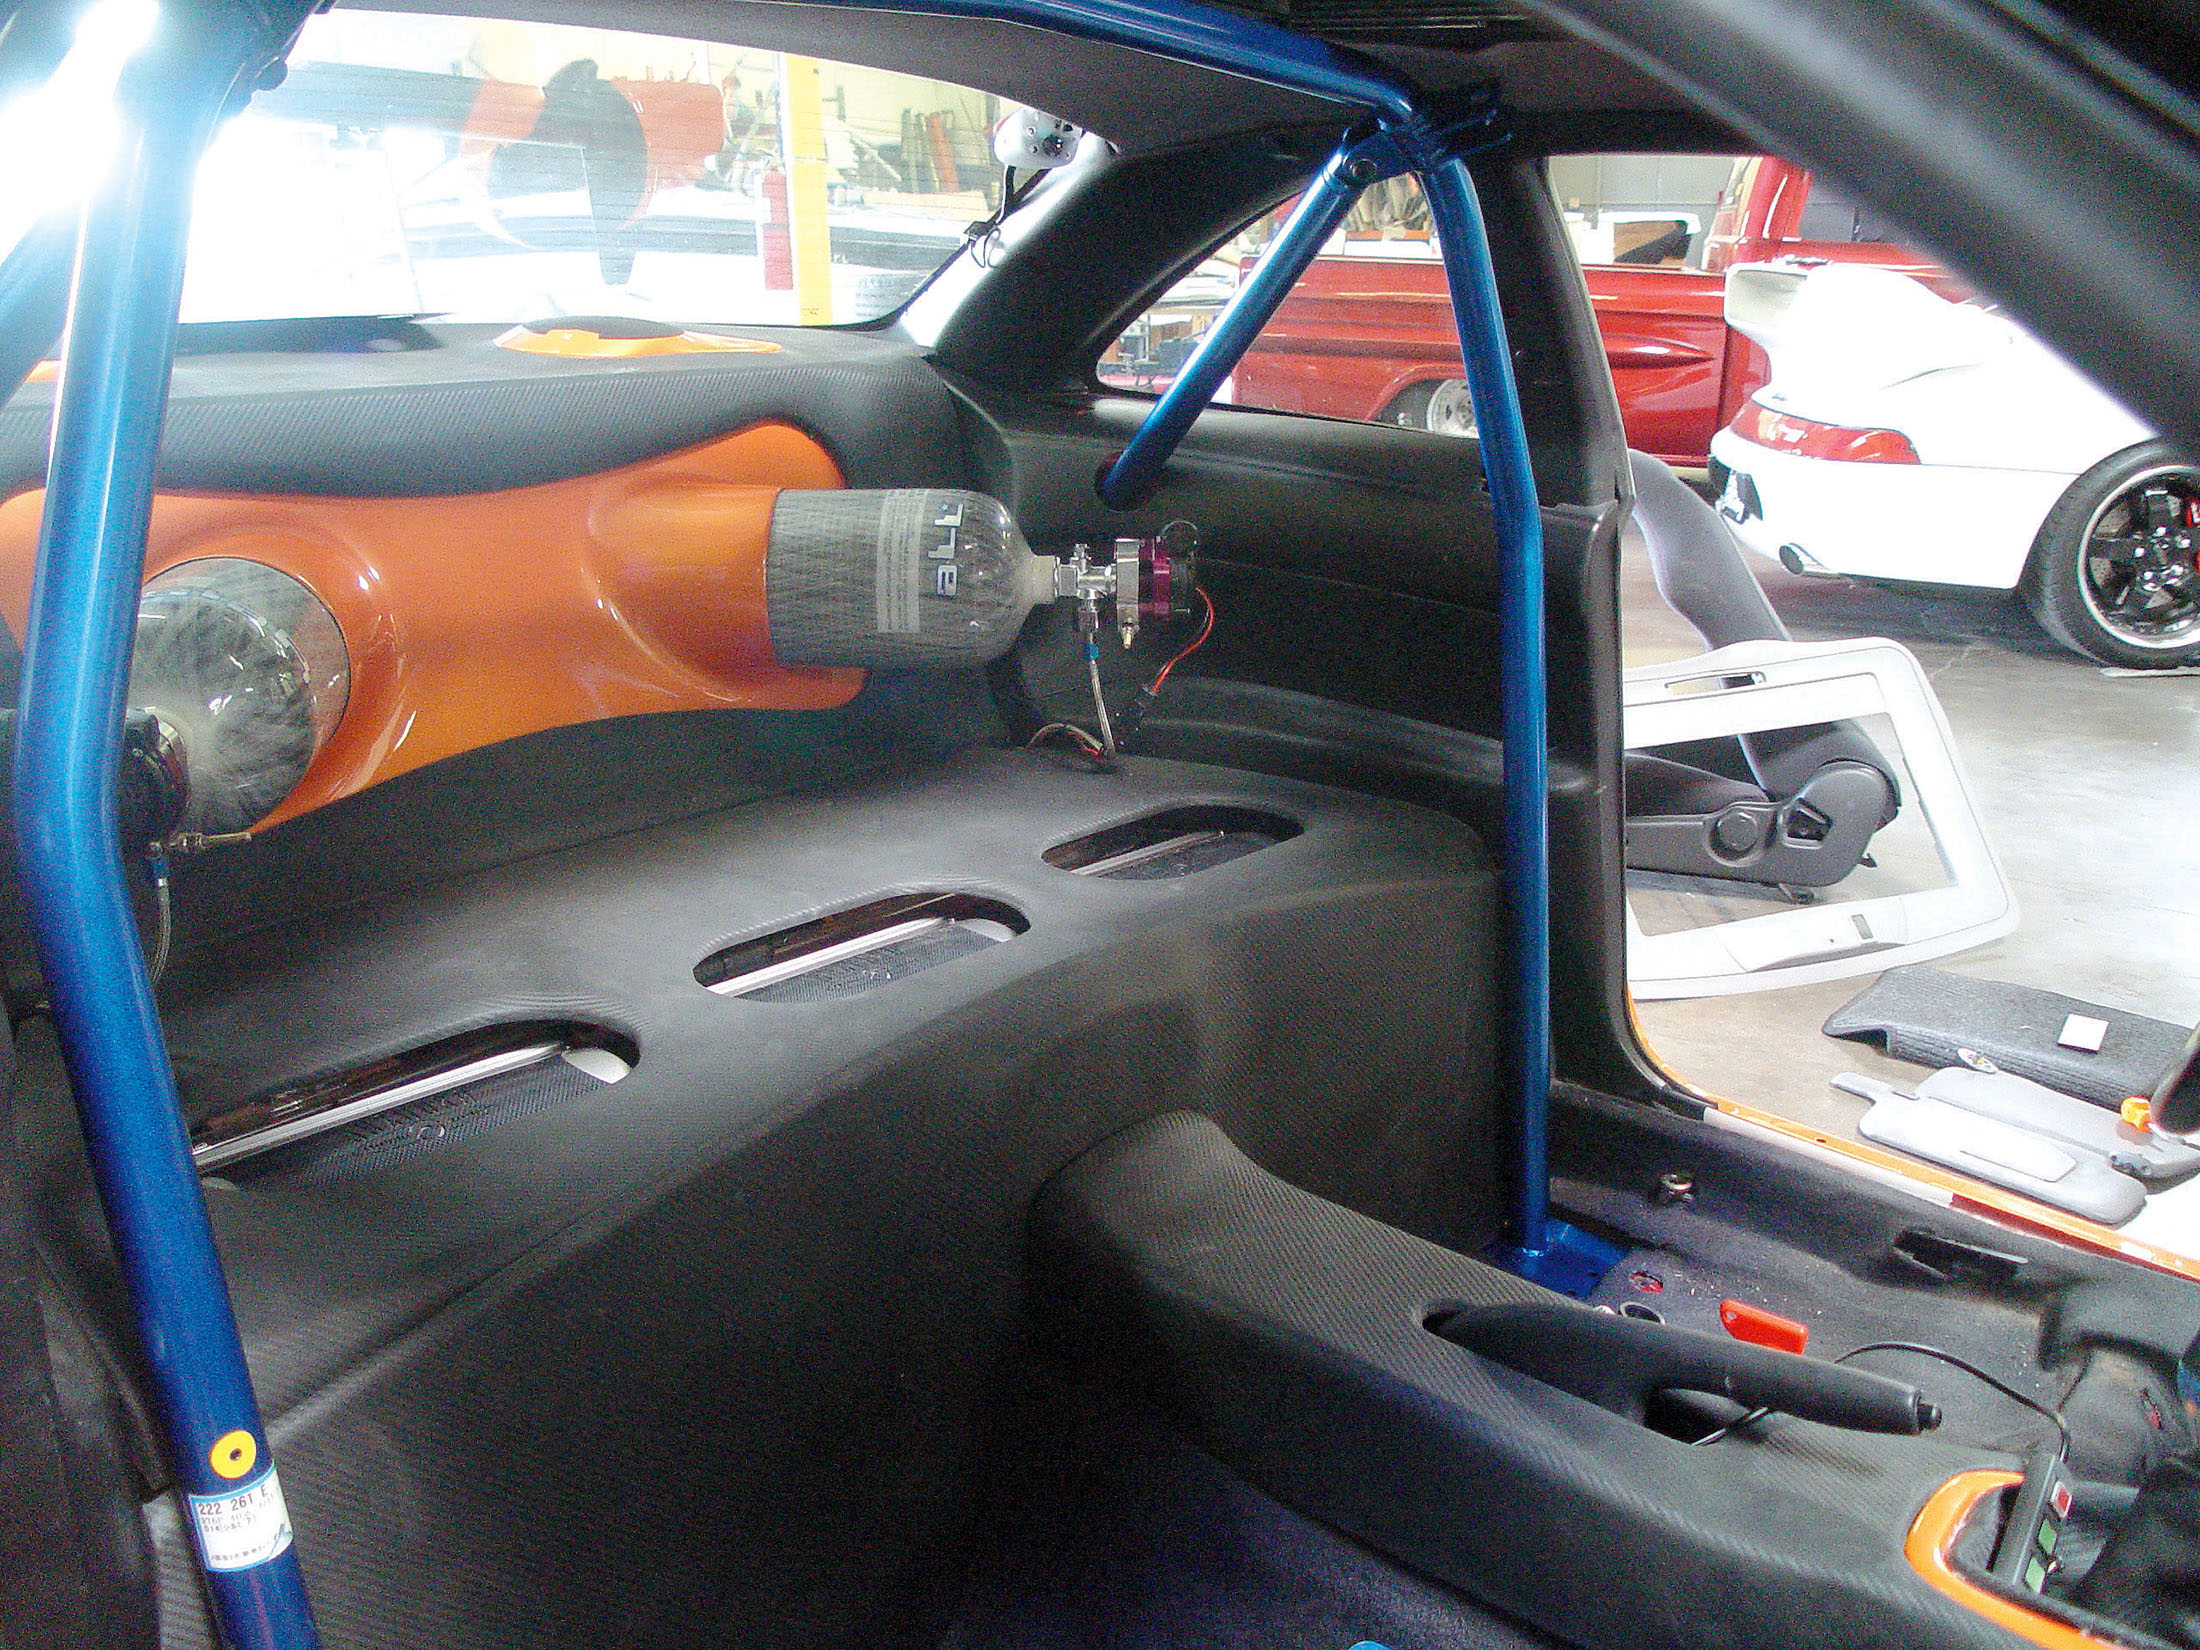
If your measurements were correct, the rear bars of the cage should be perfectly aligned with the holes you cut in your rear panels. After you complete the rear section of the install, it’s time to complete the front portion.
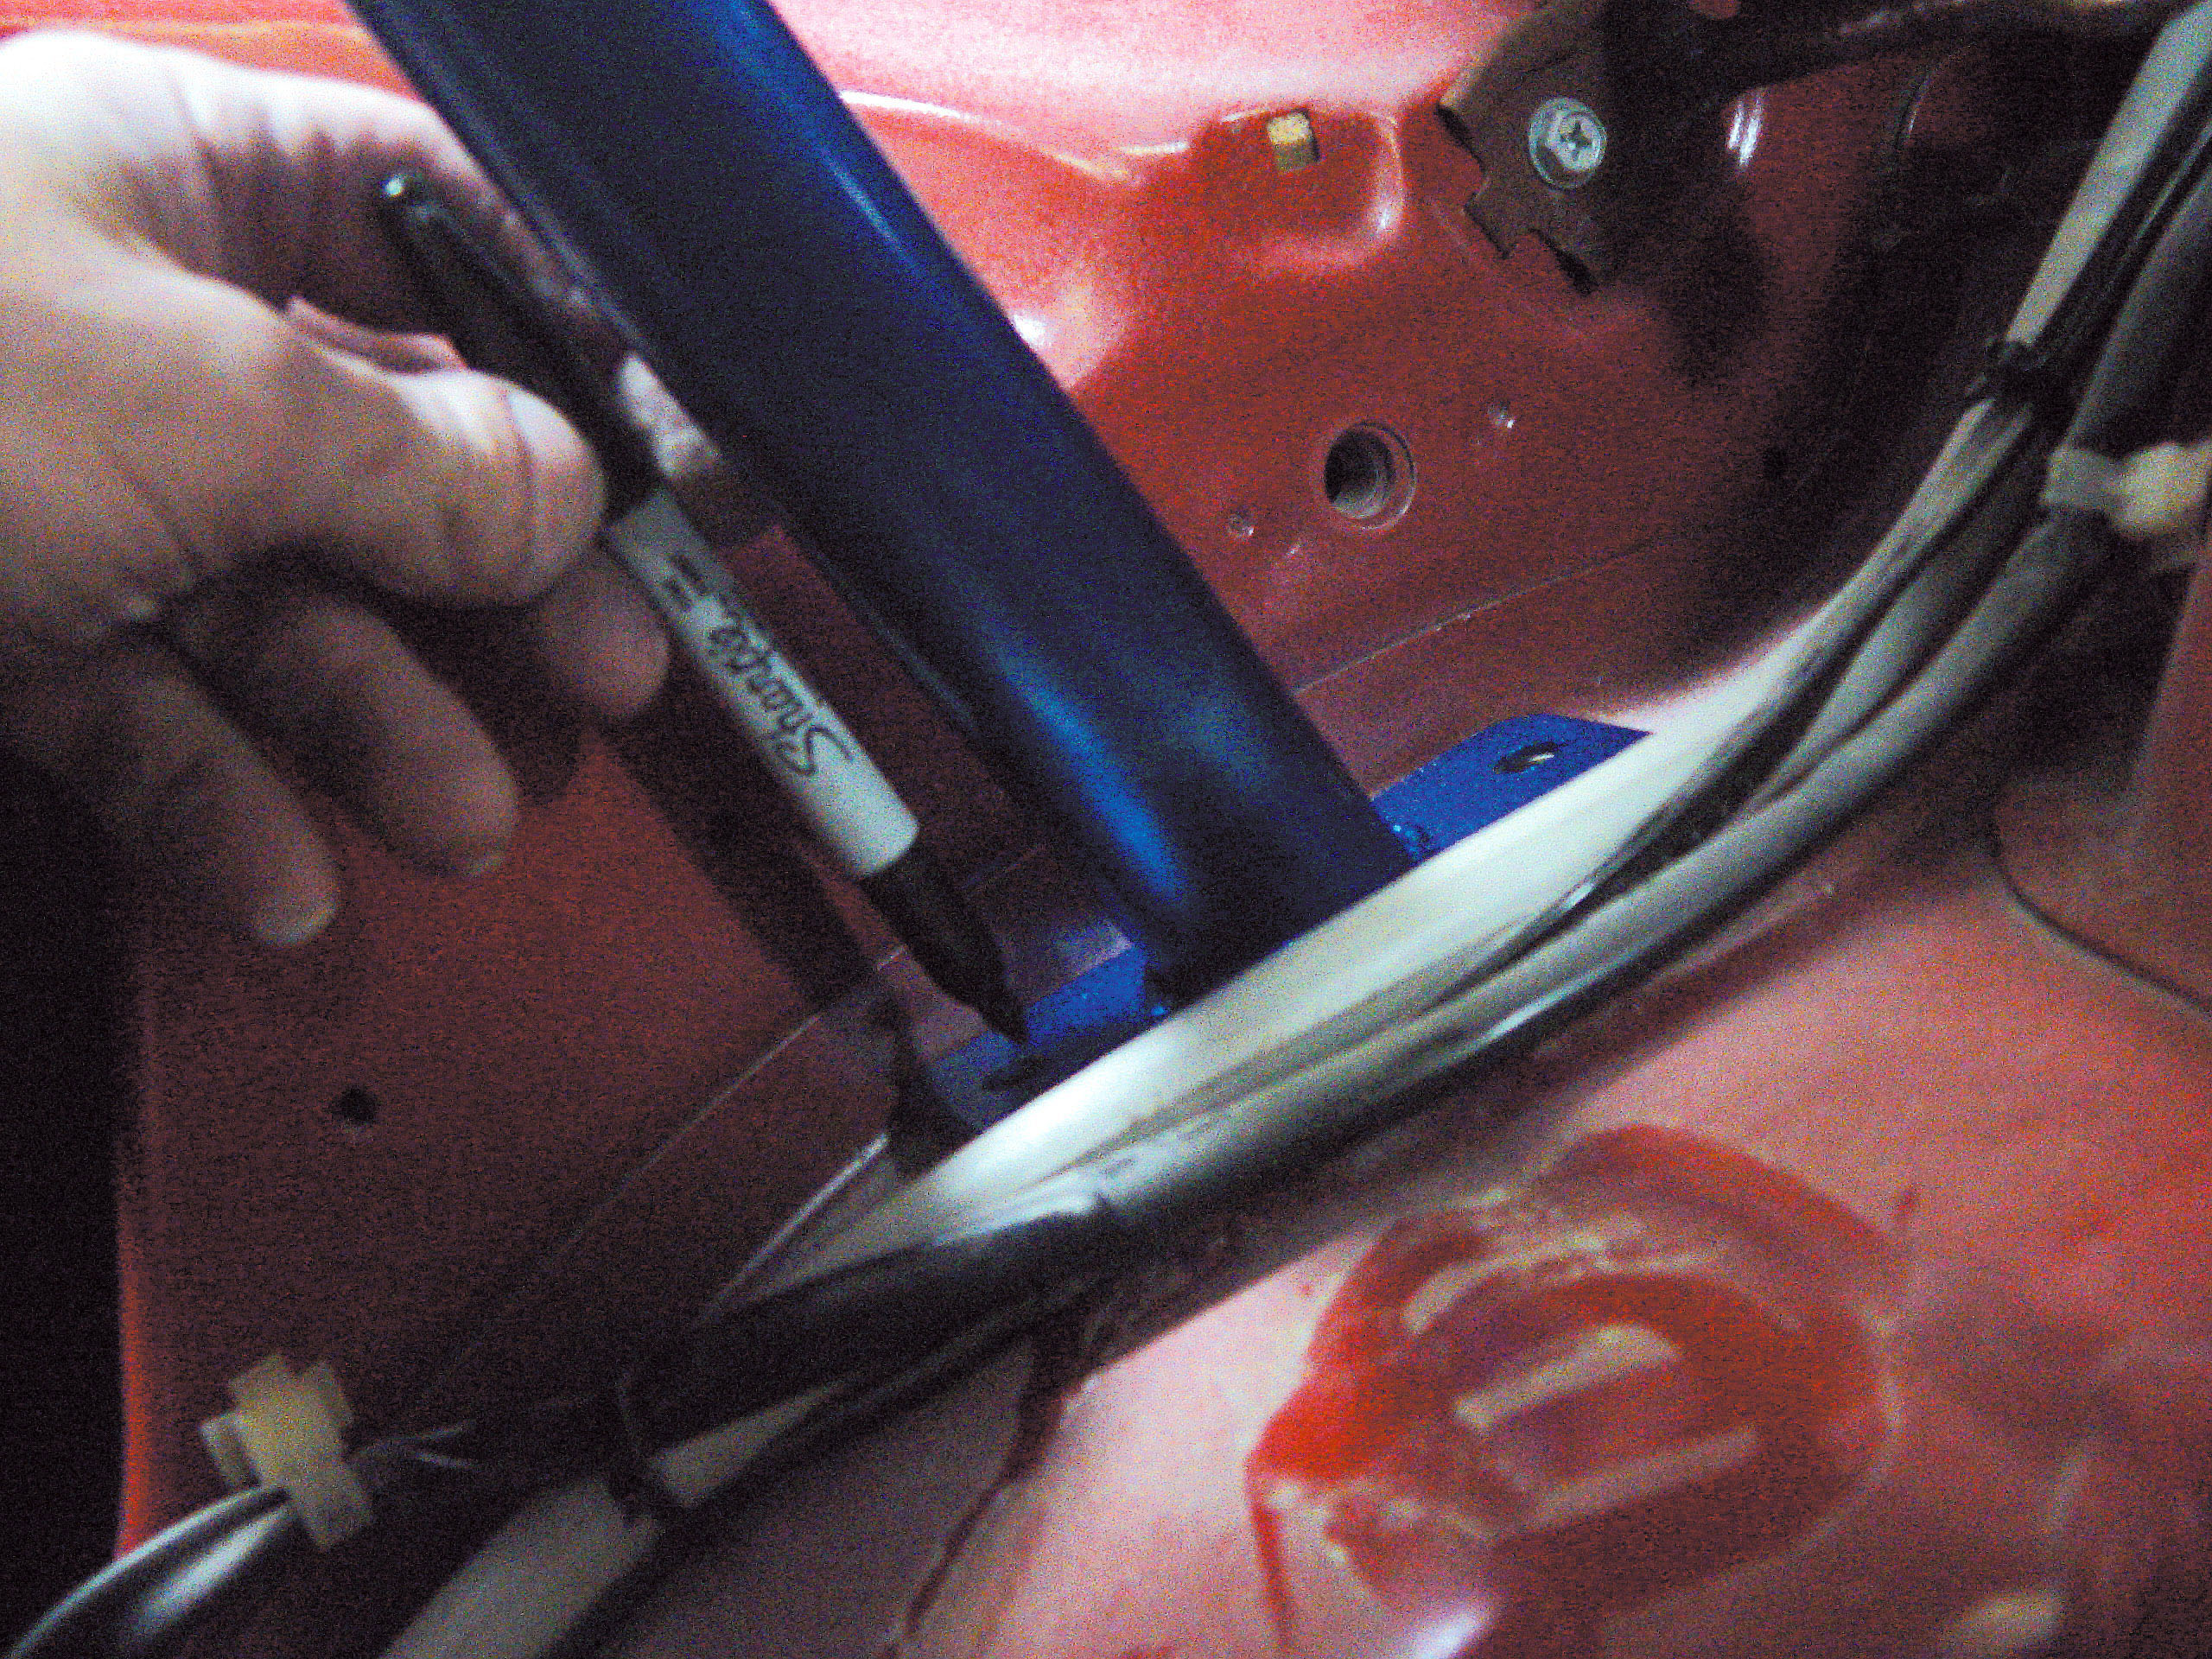
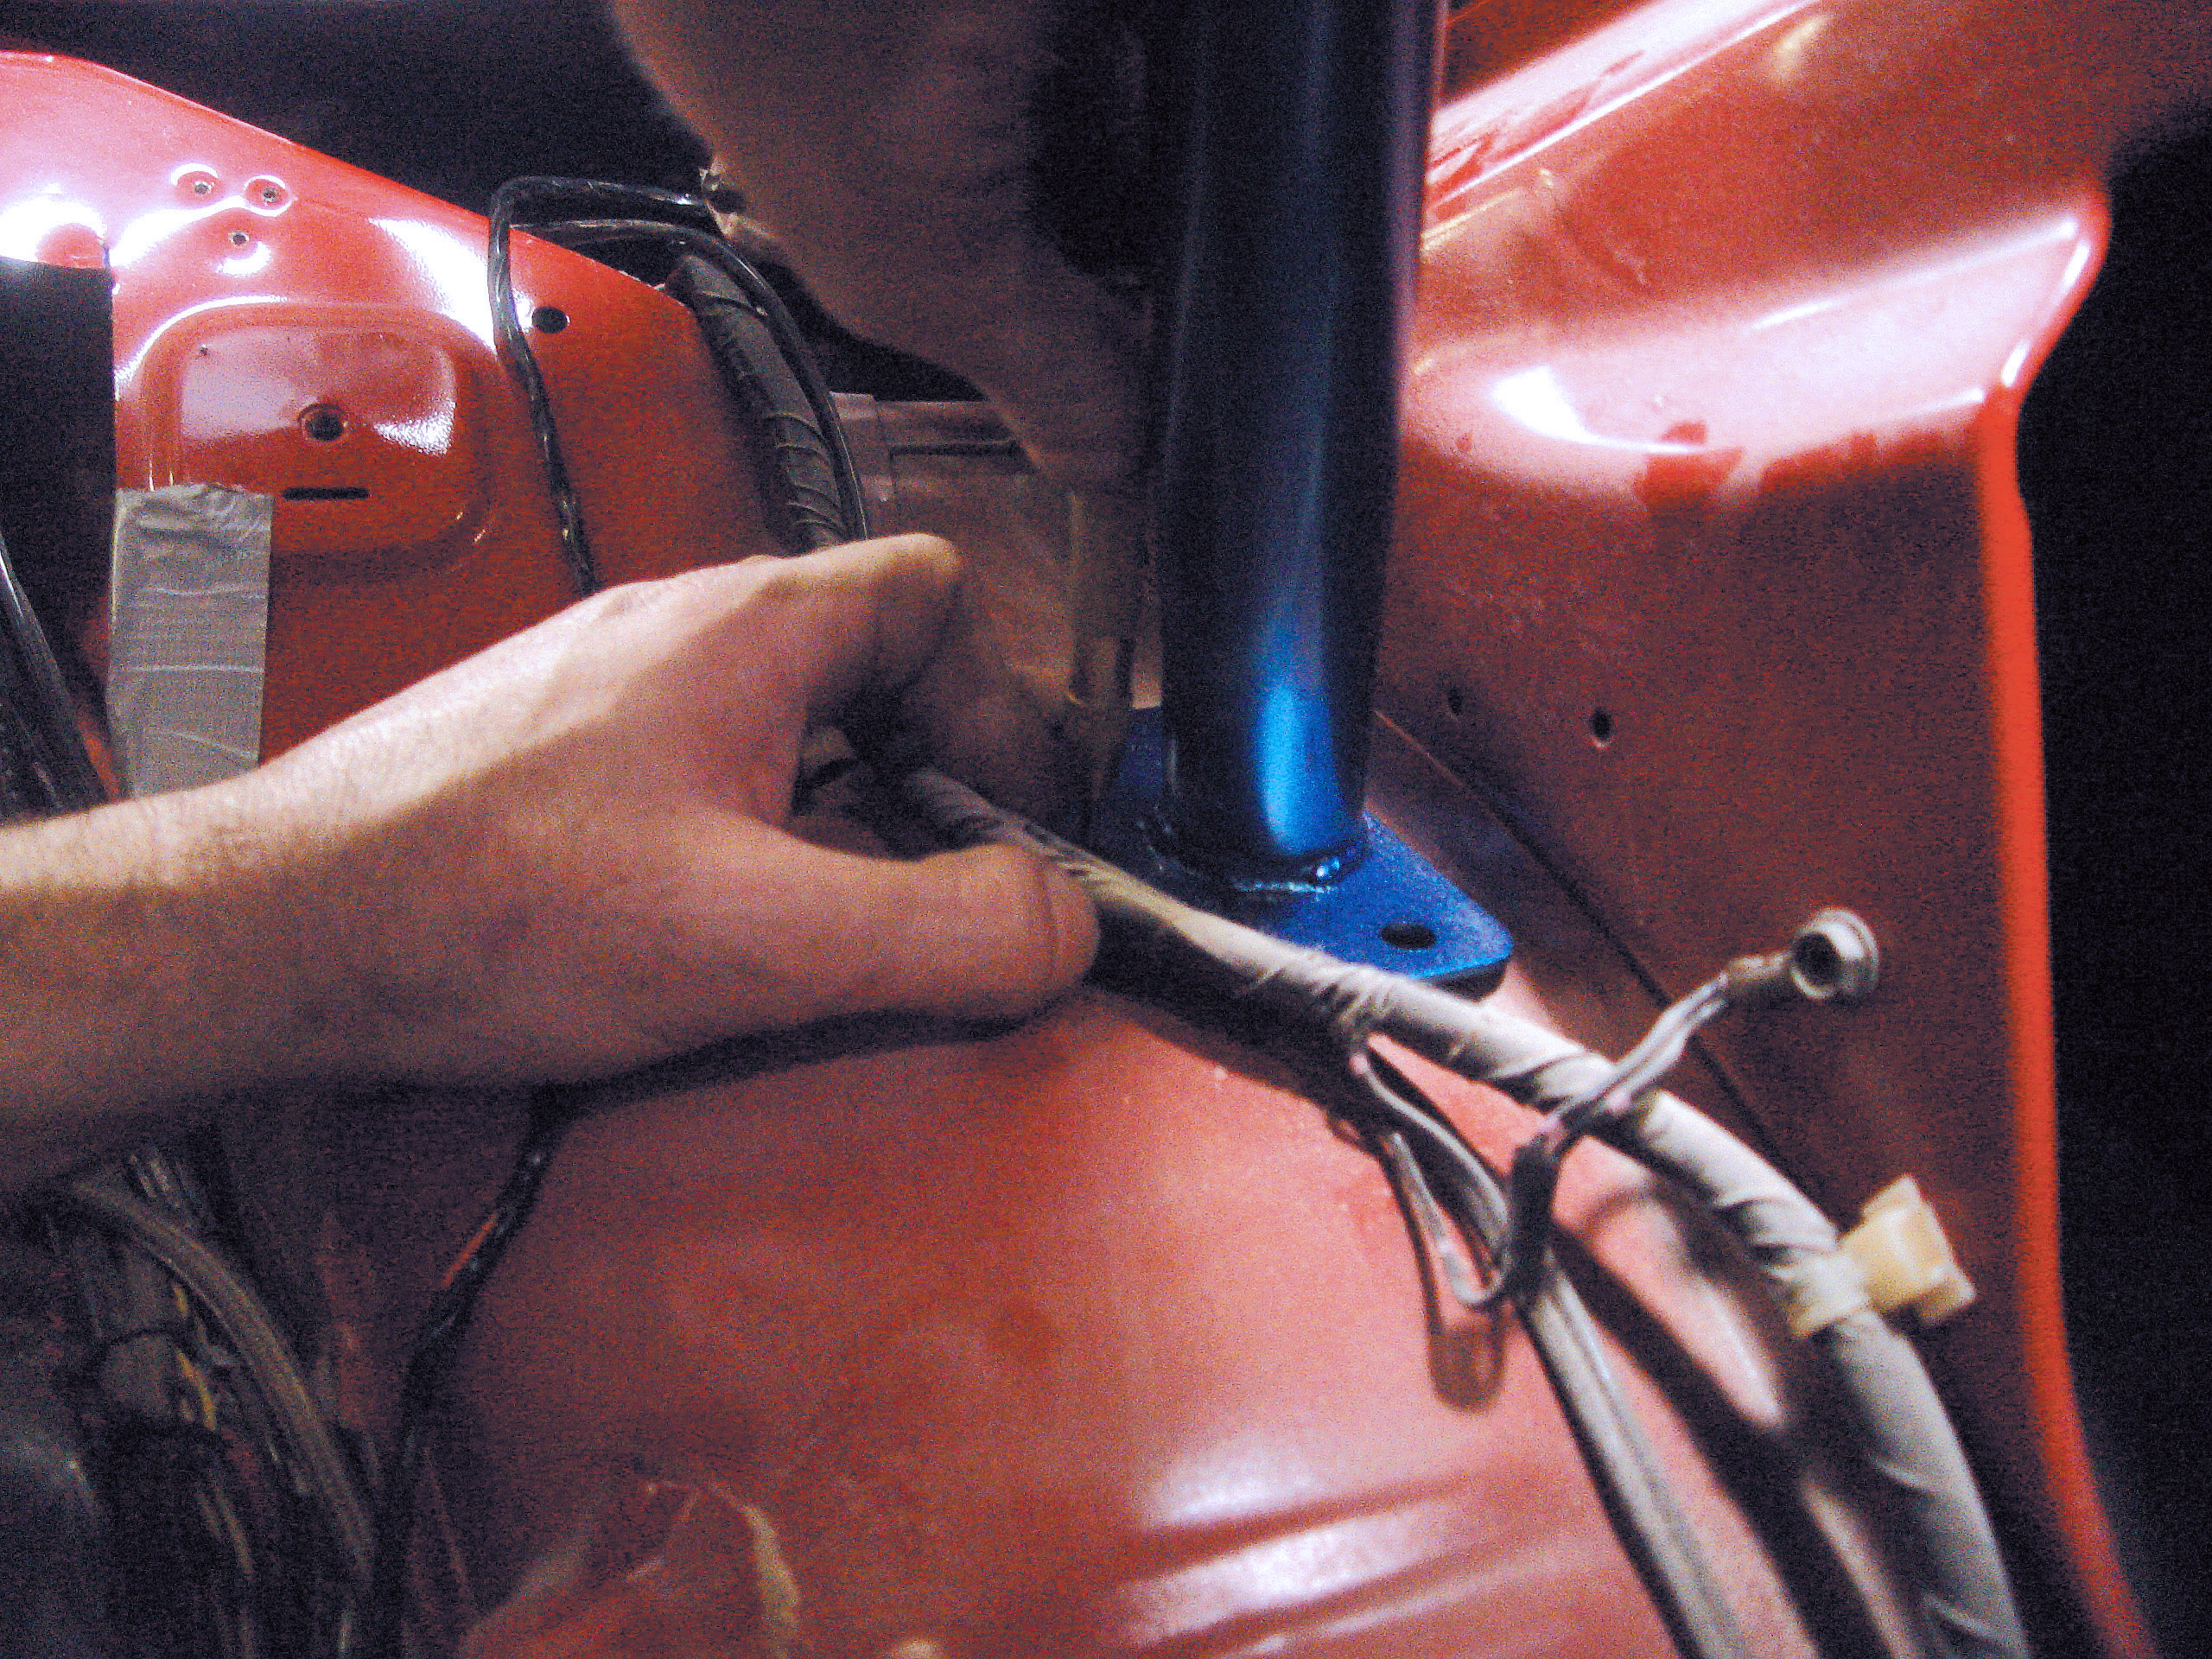
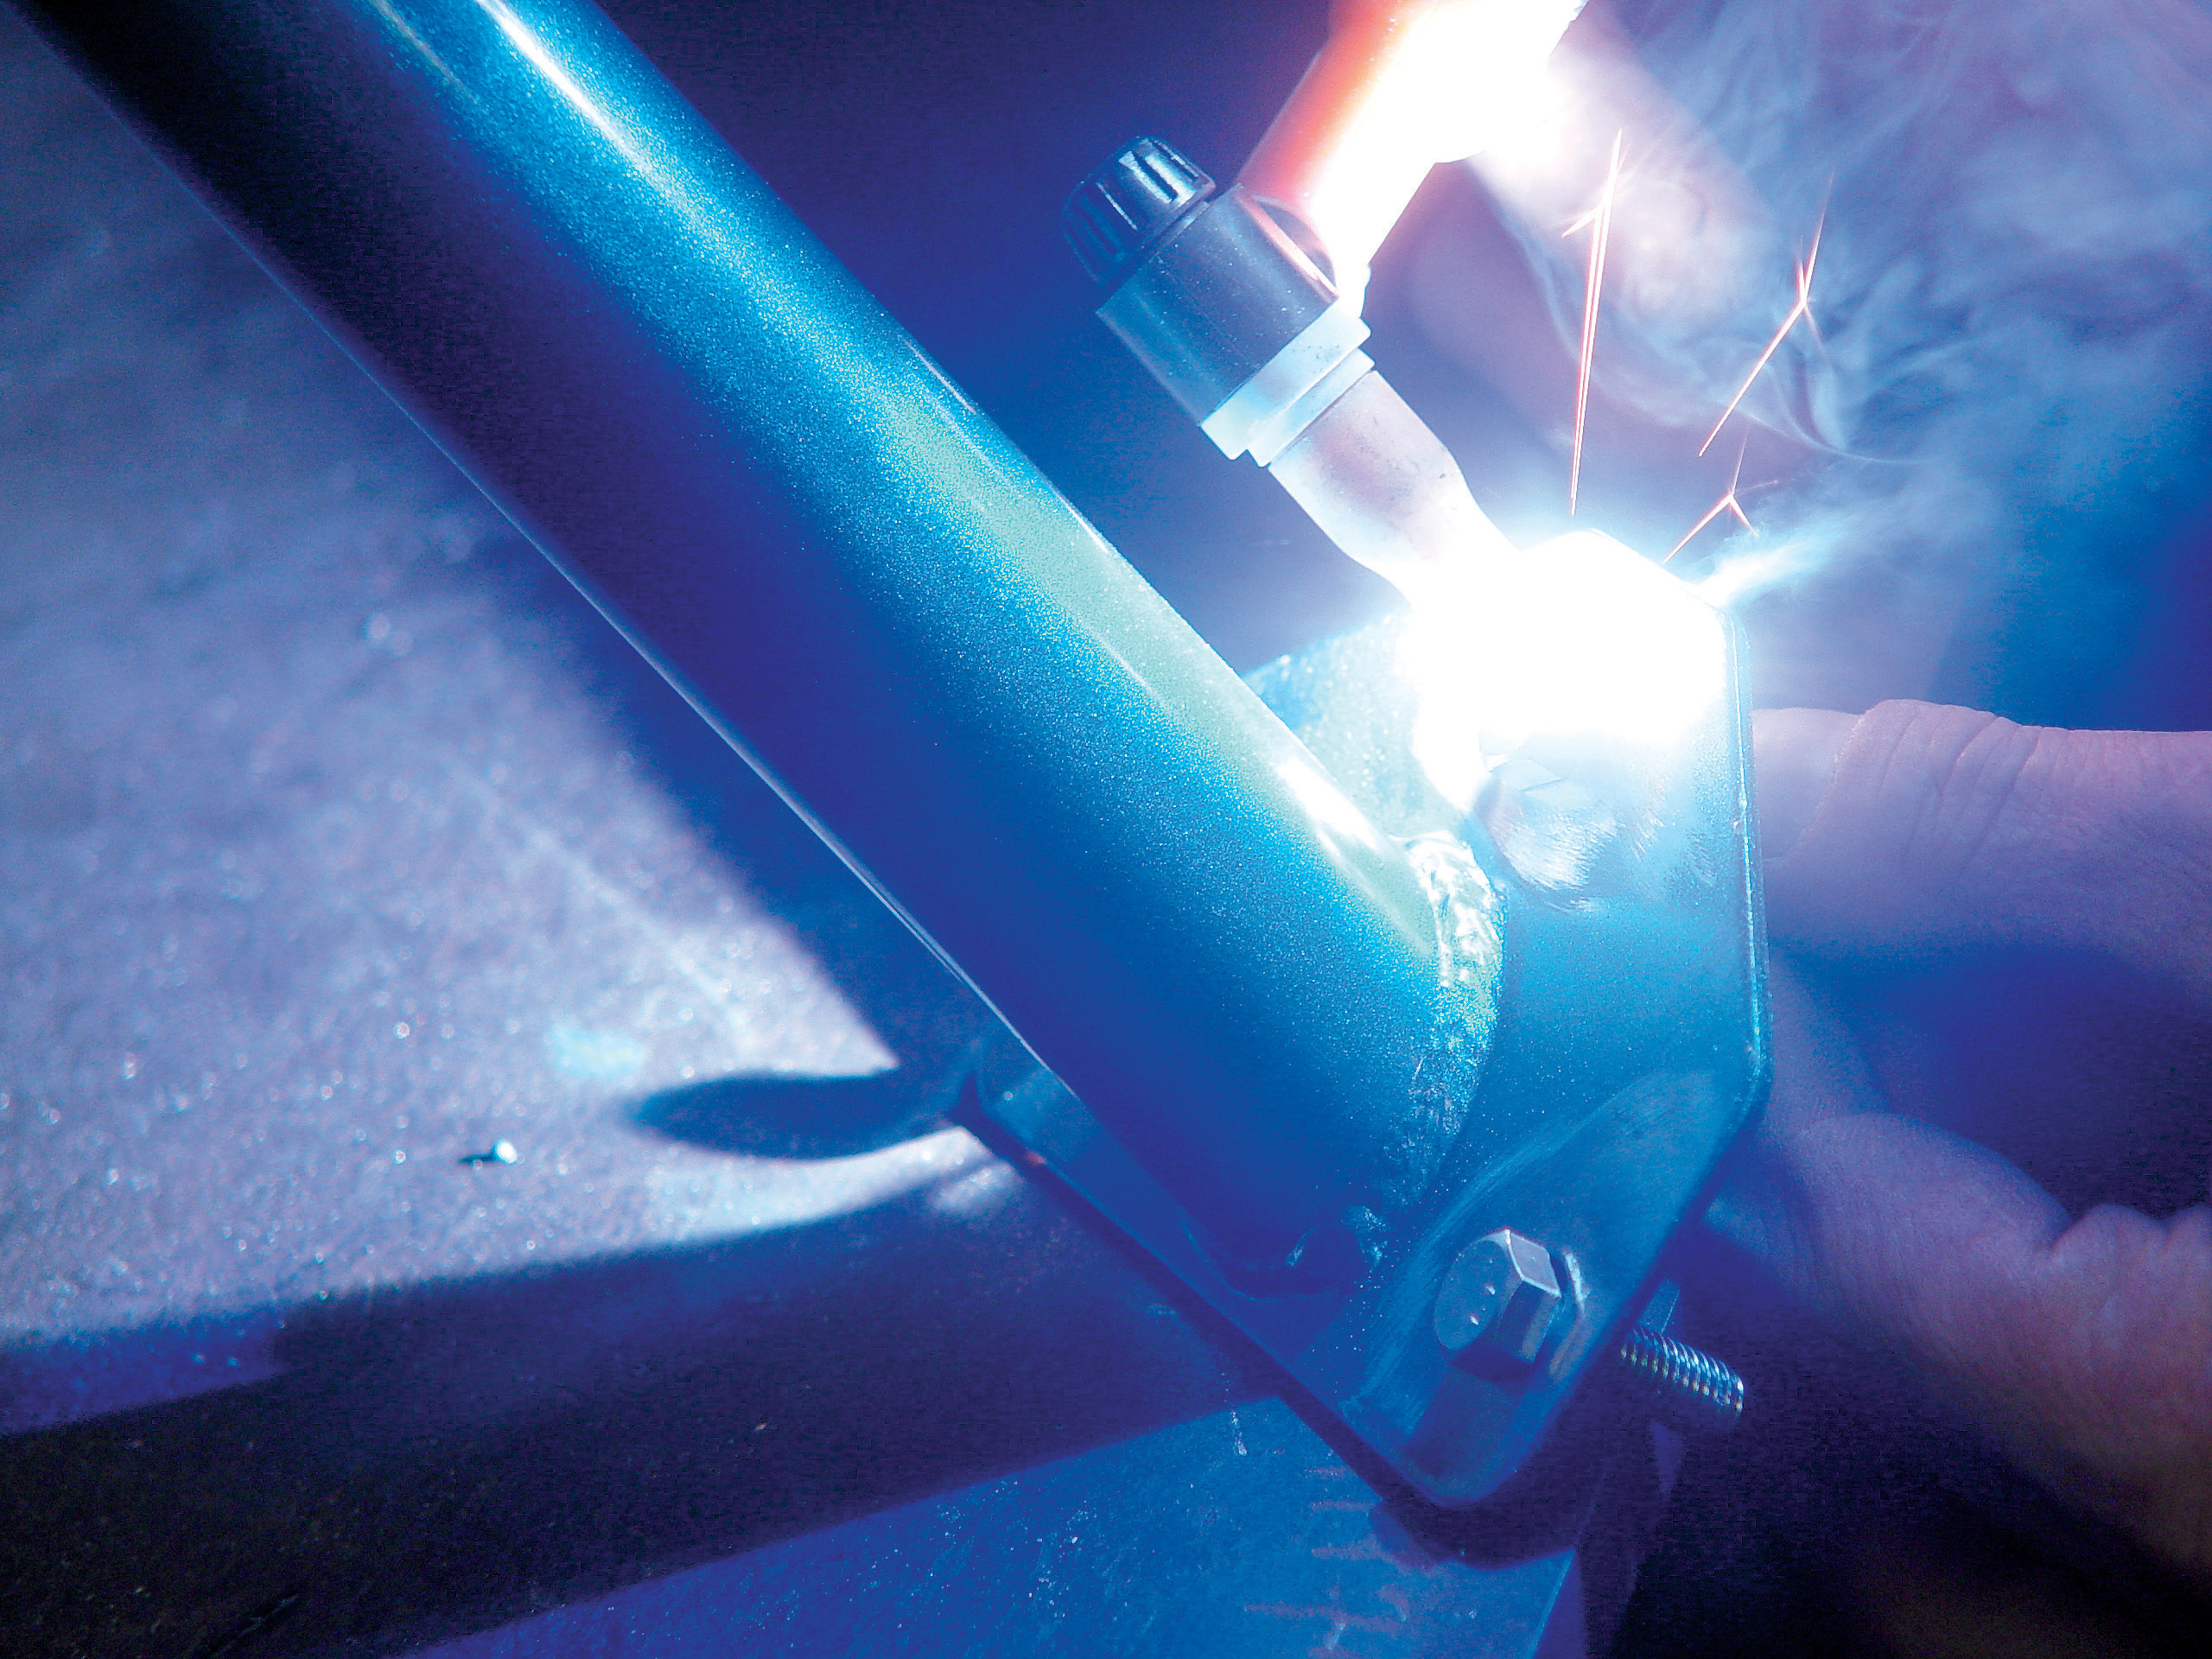
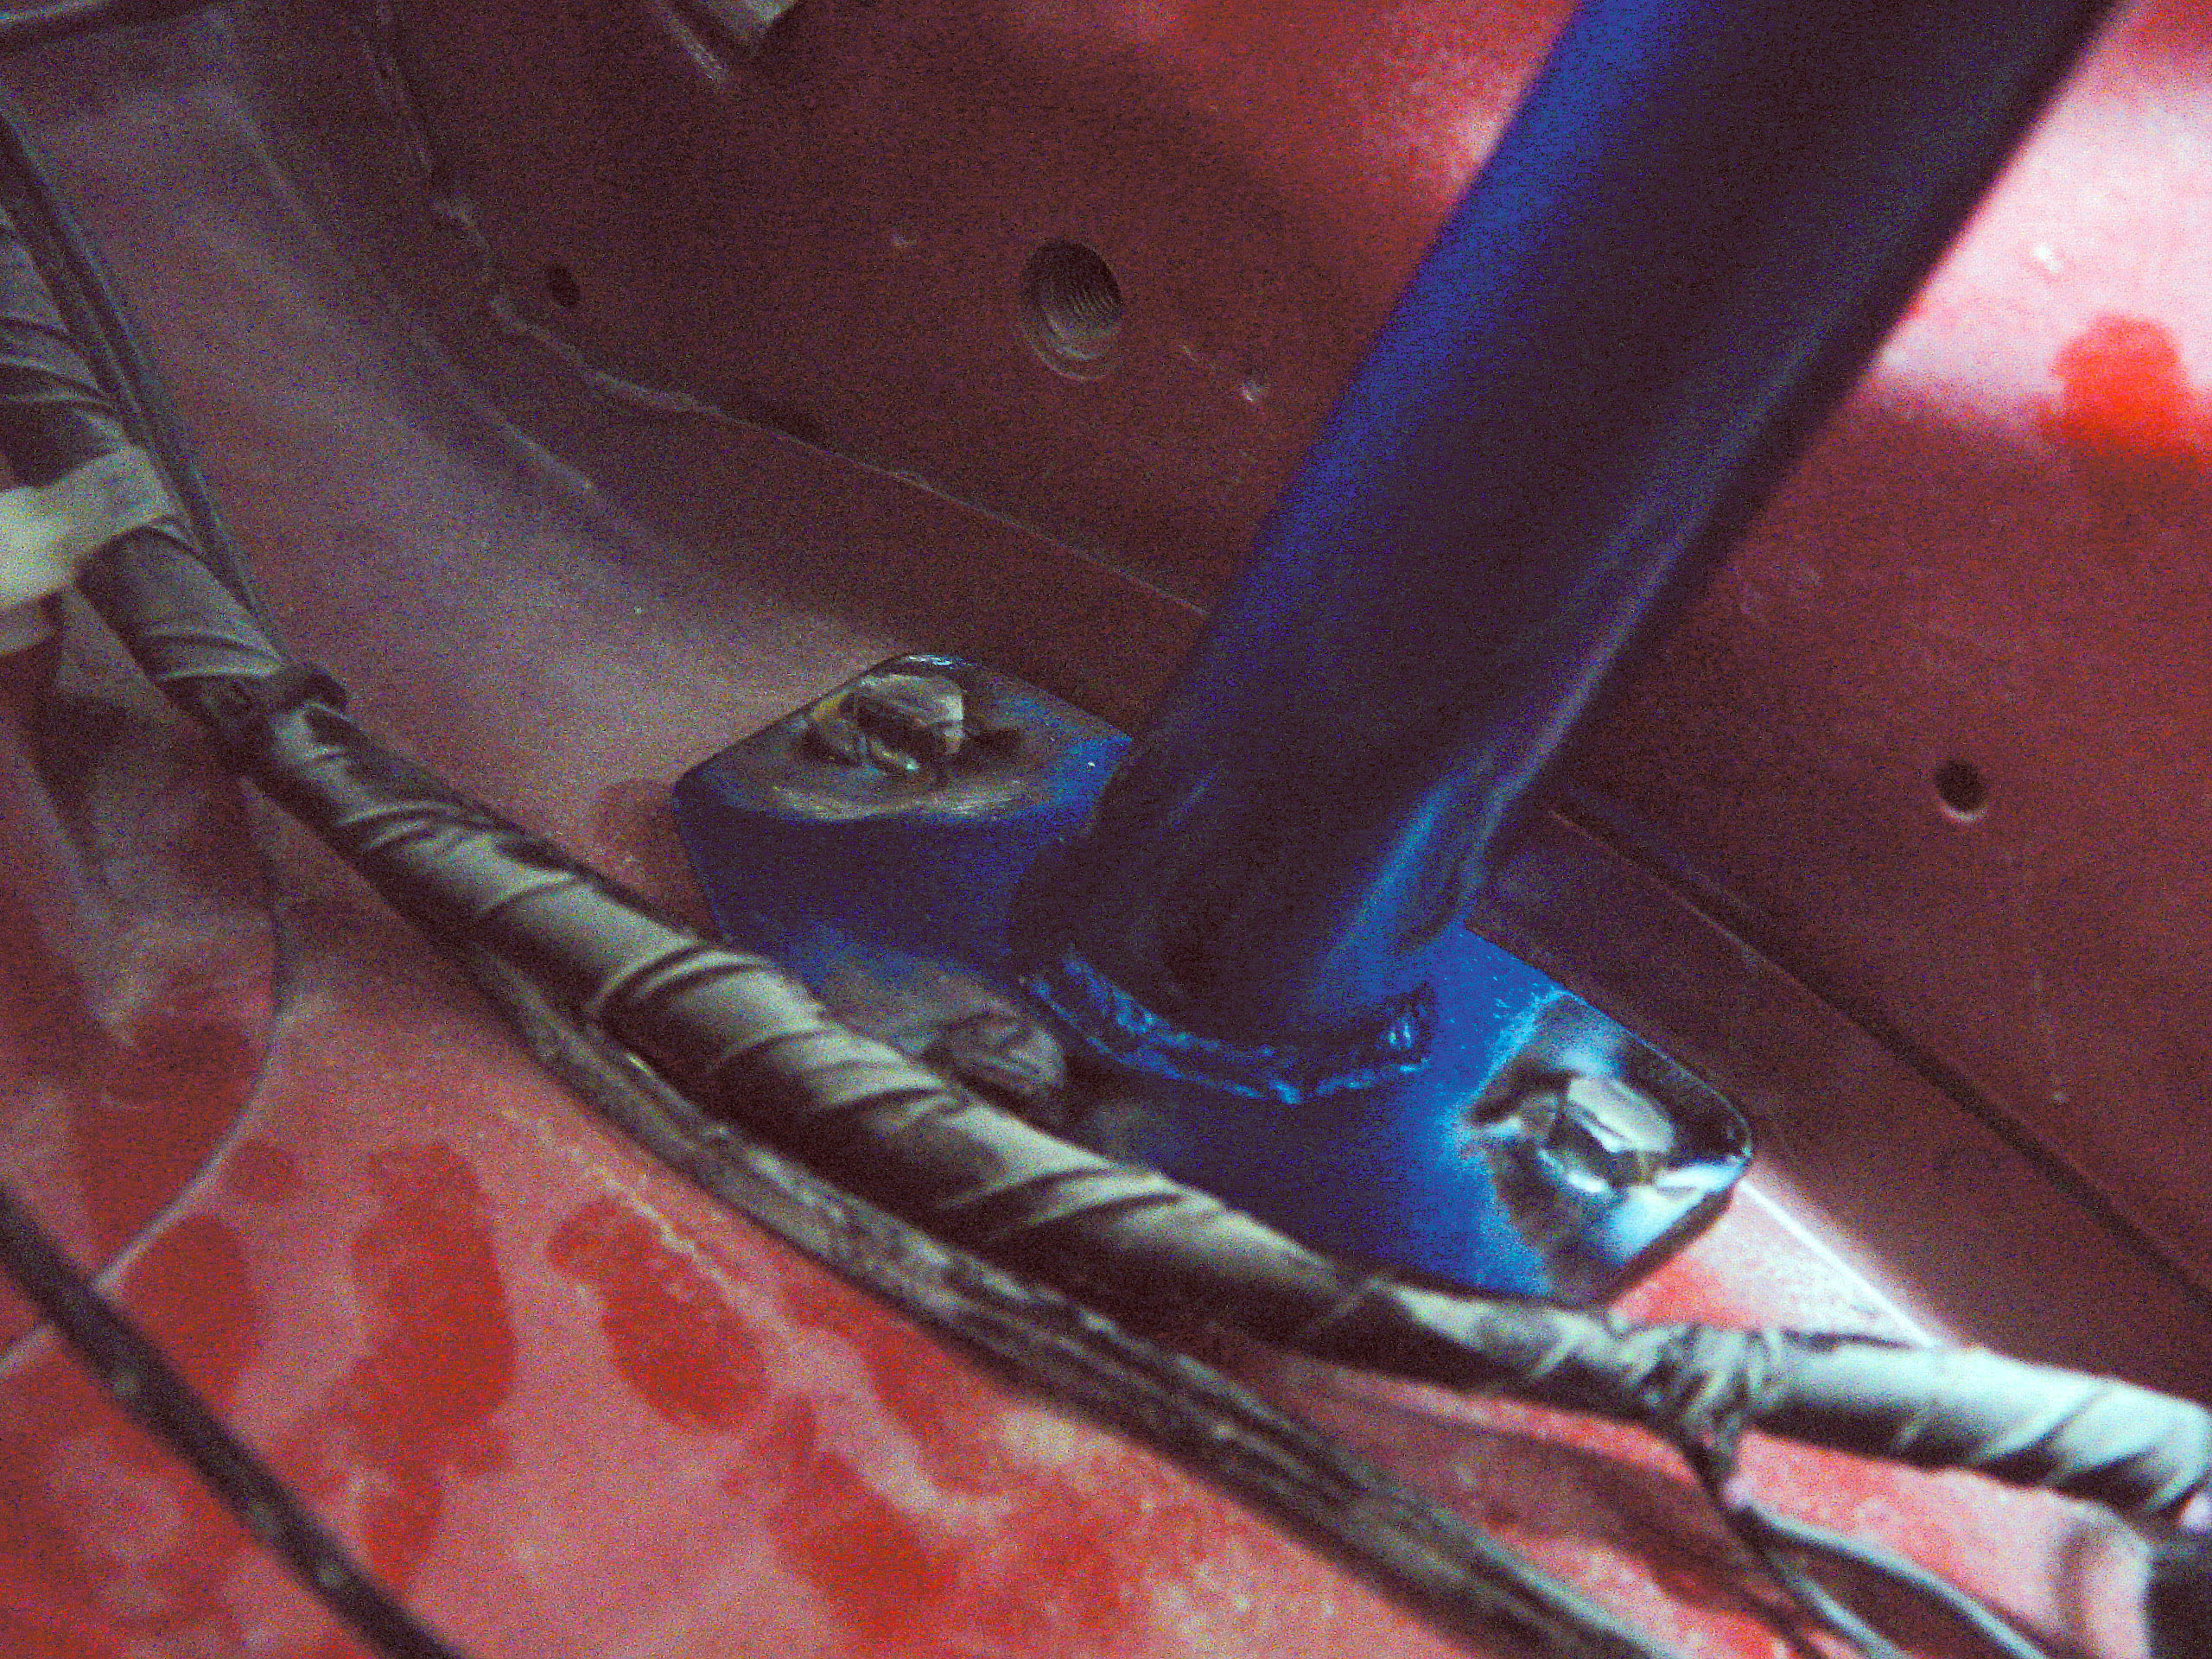
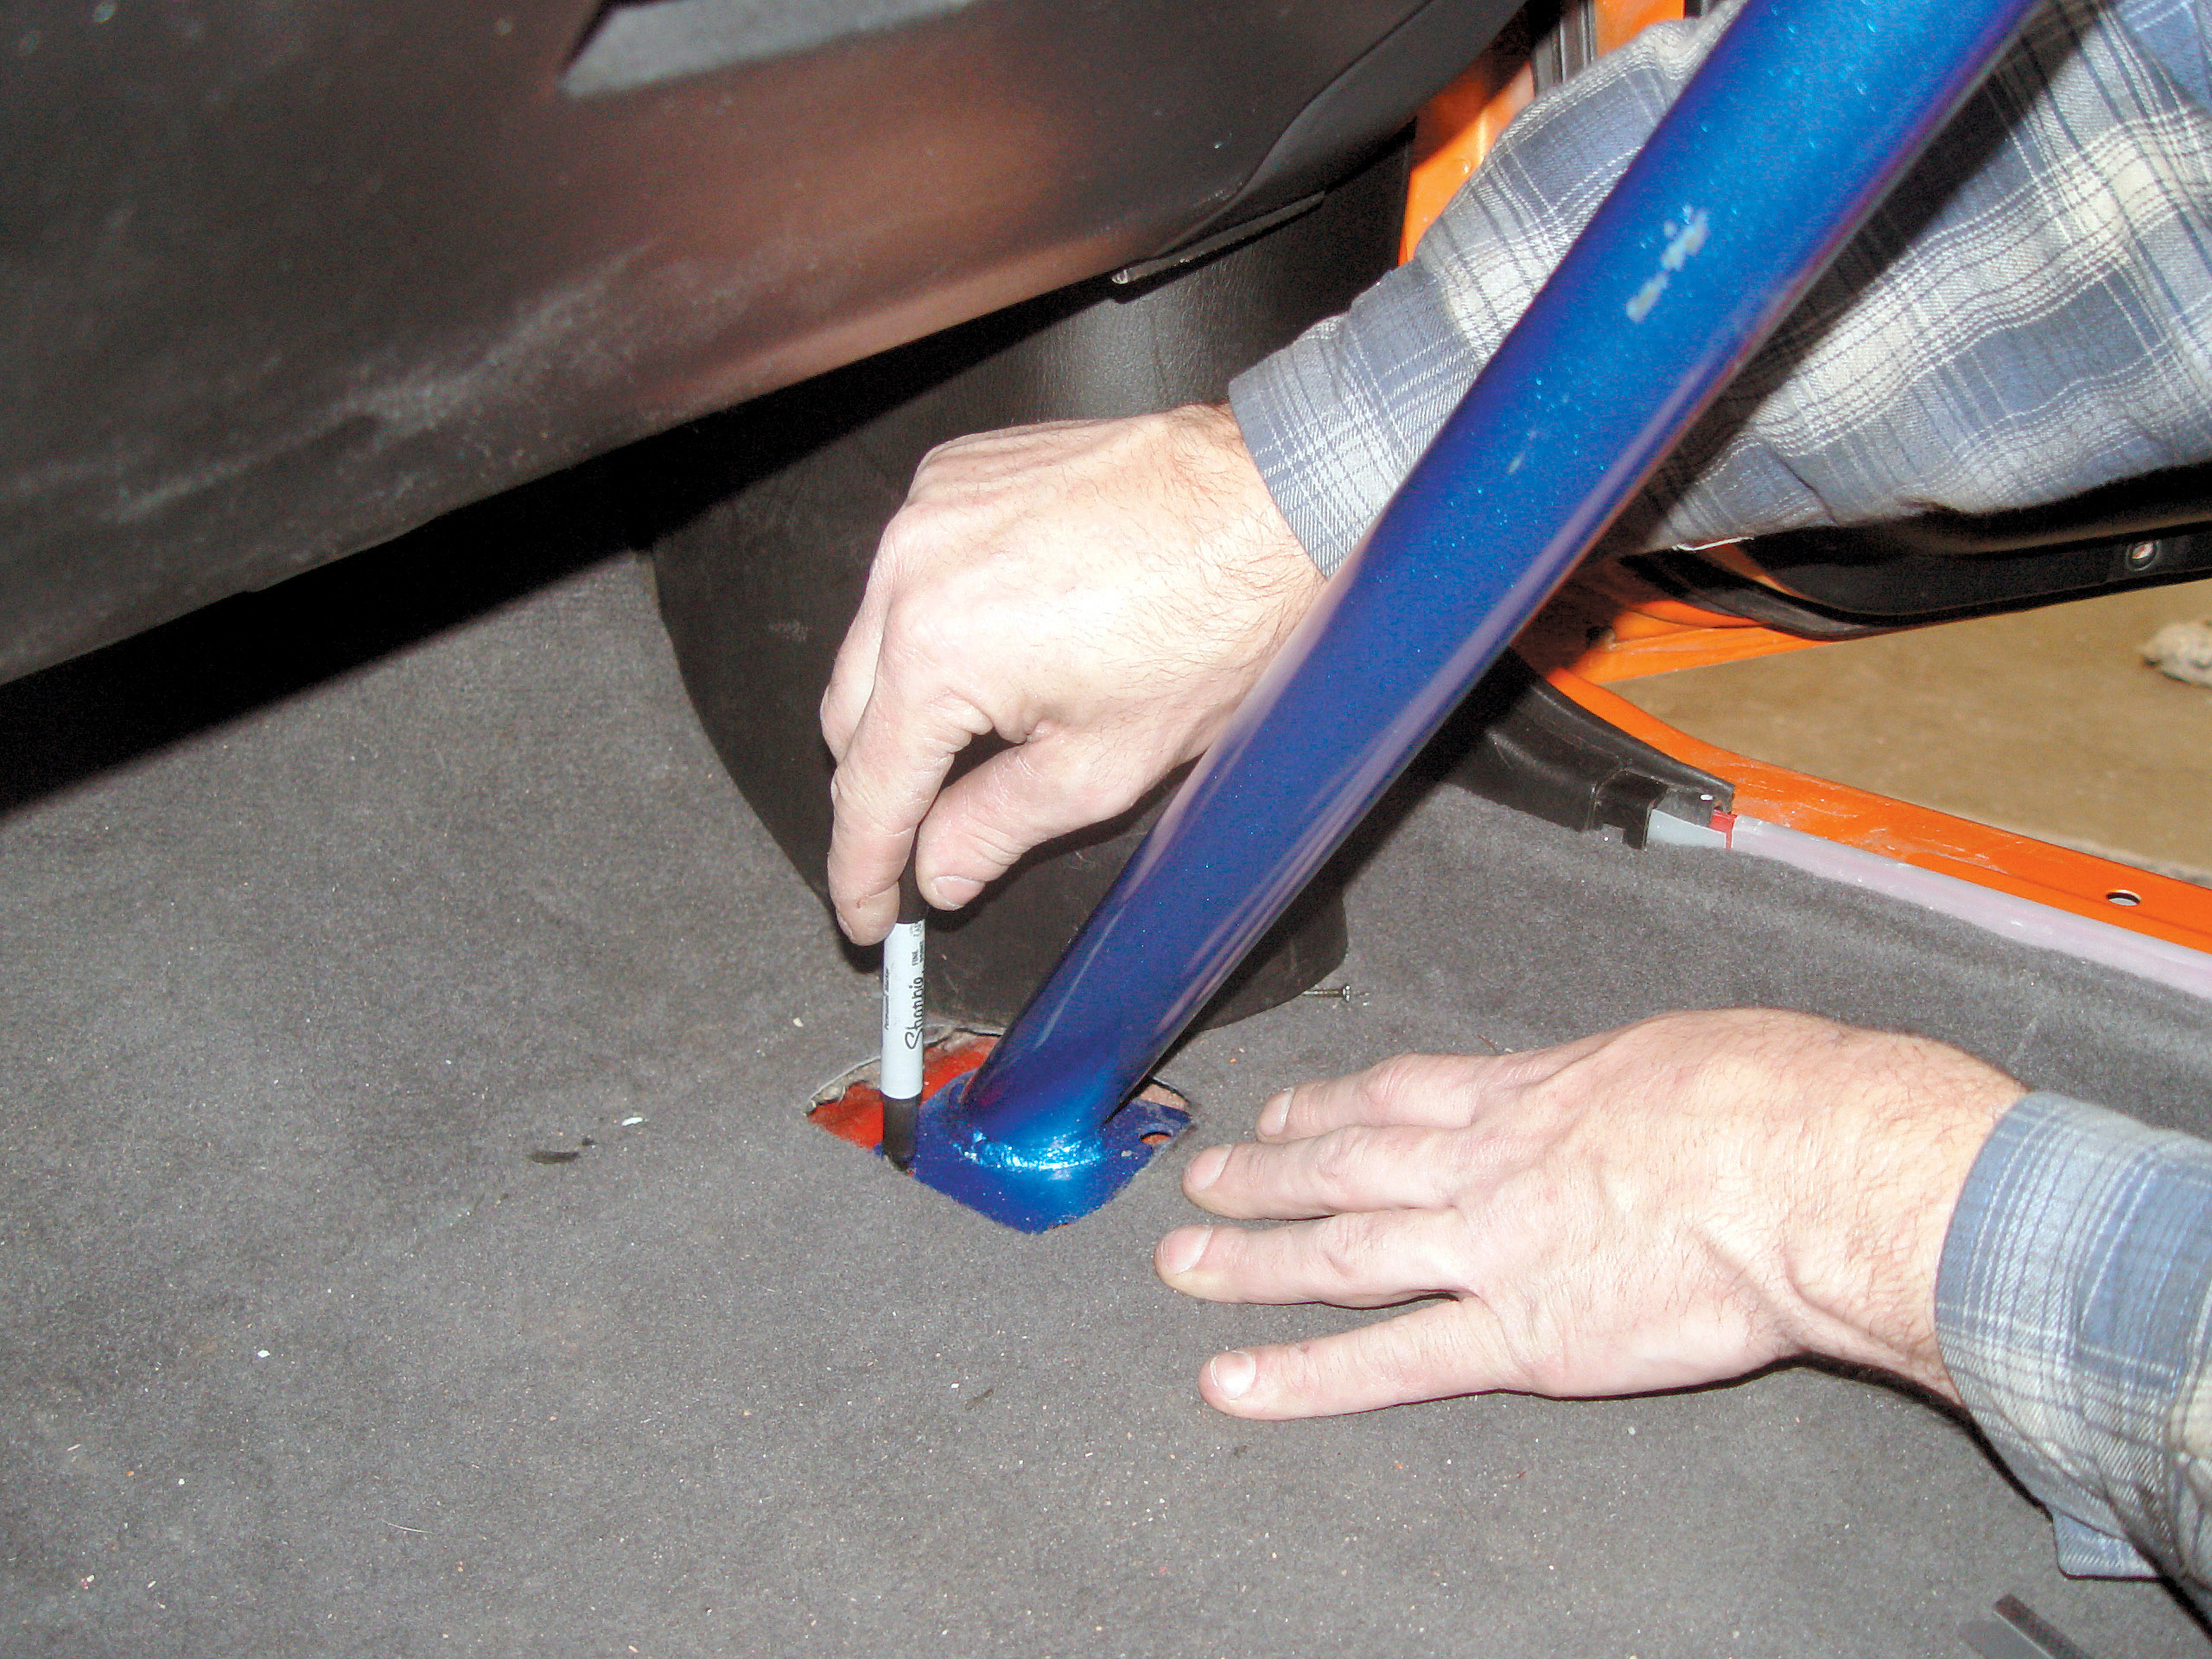
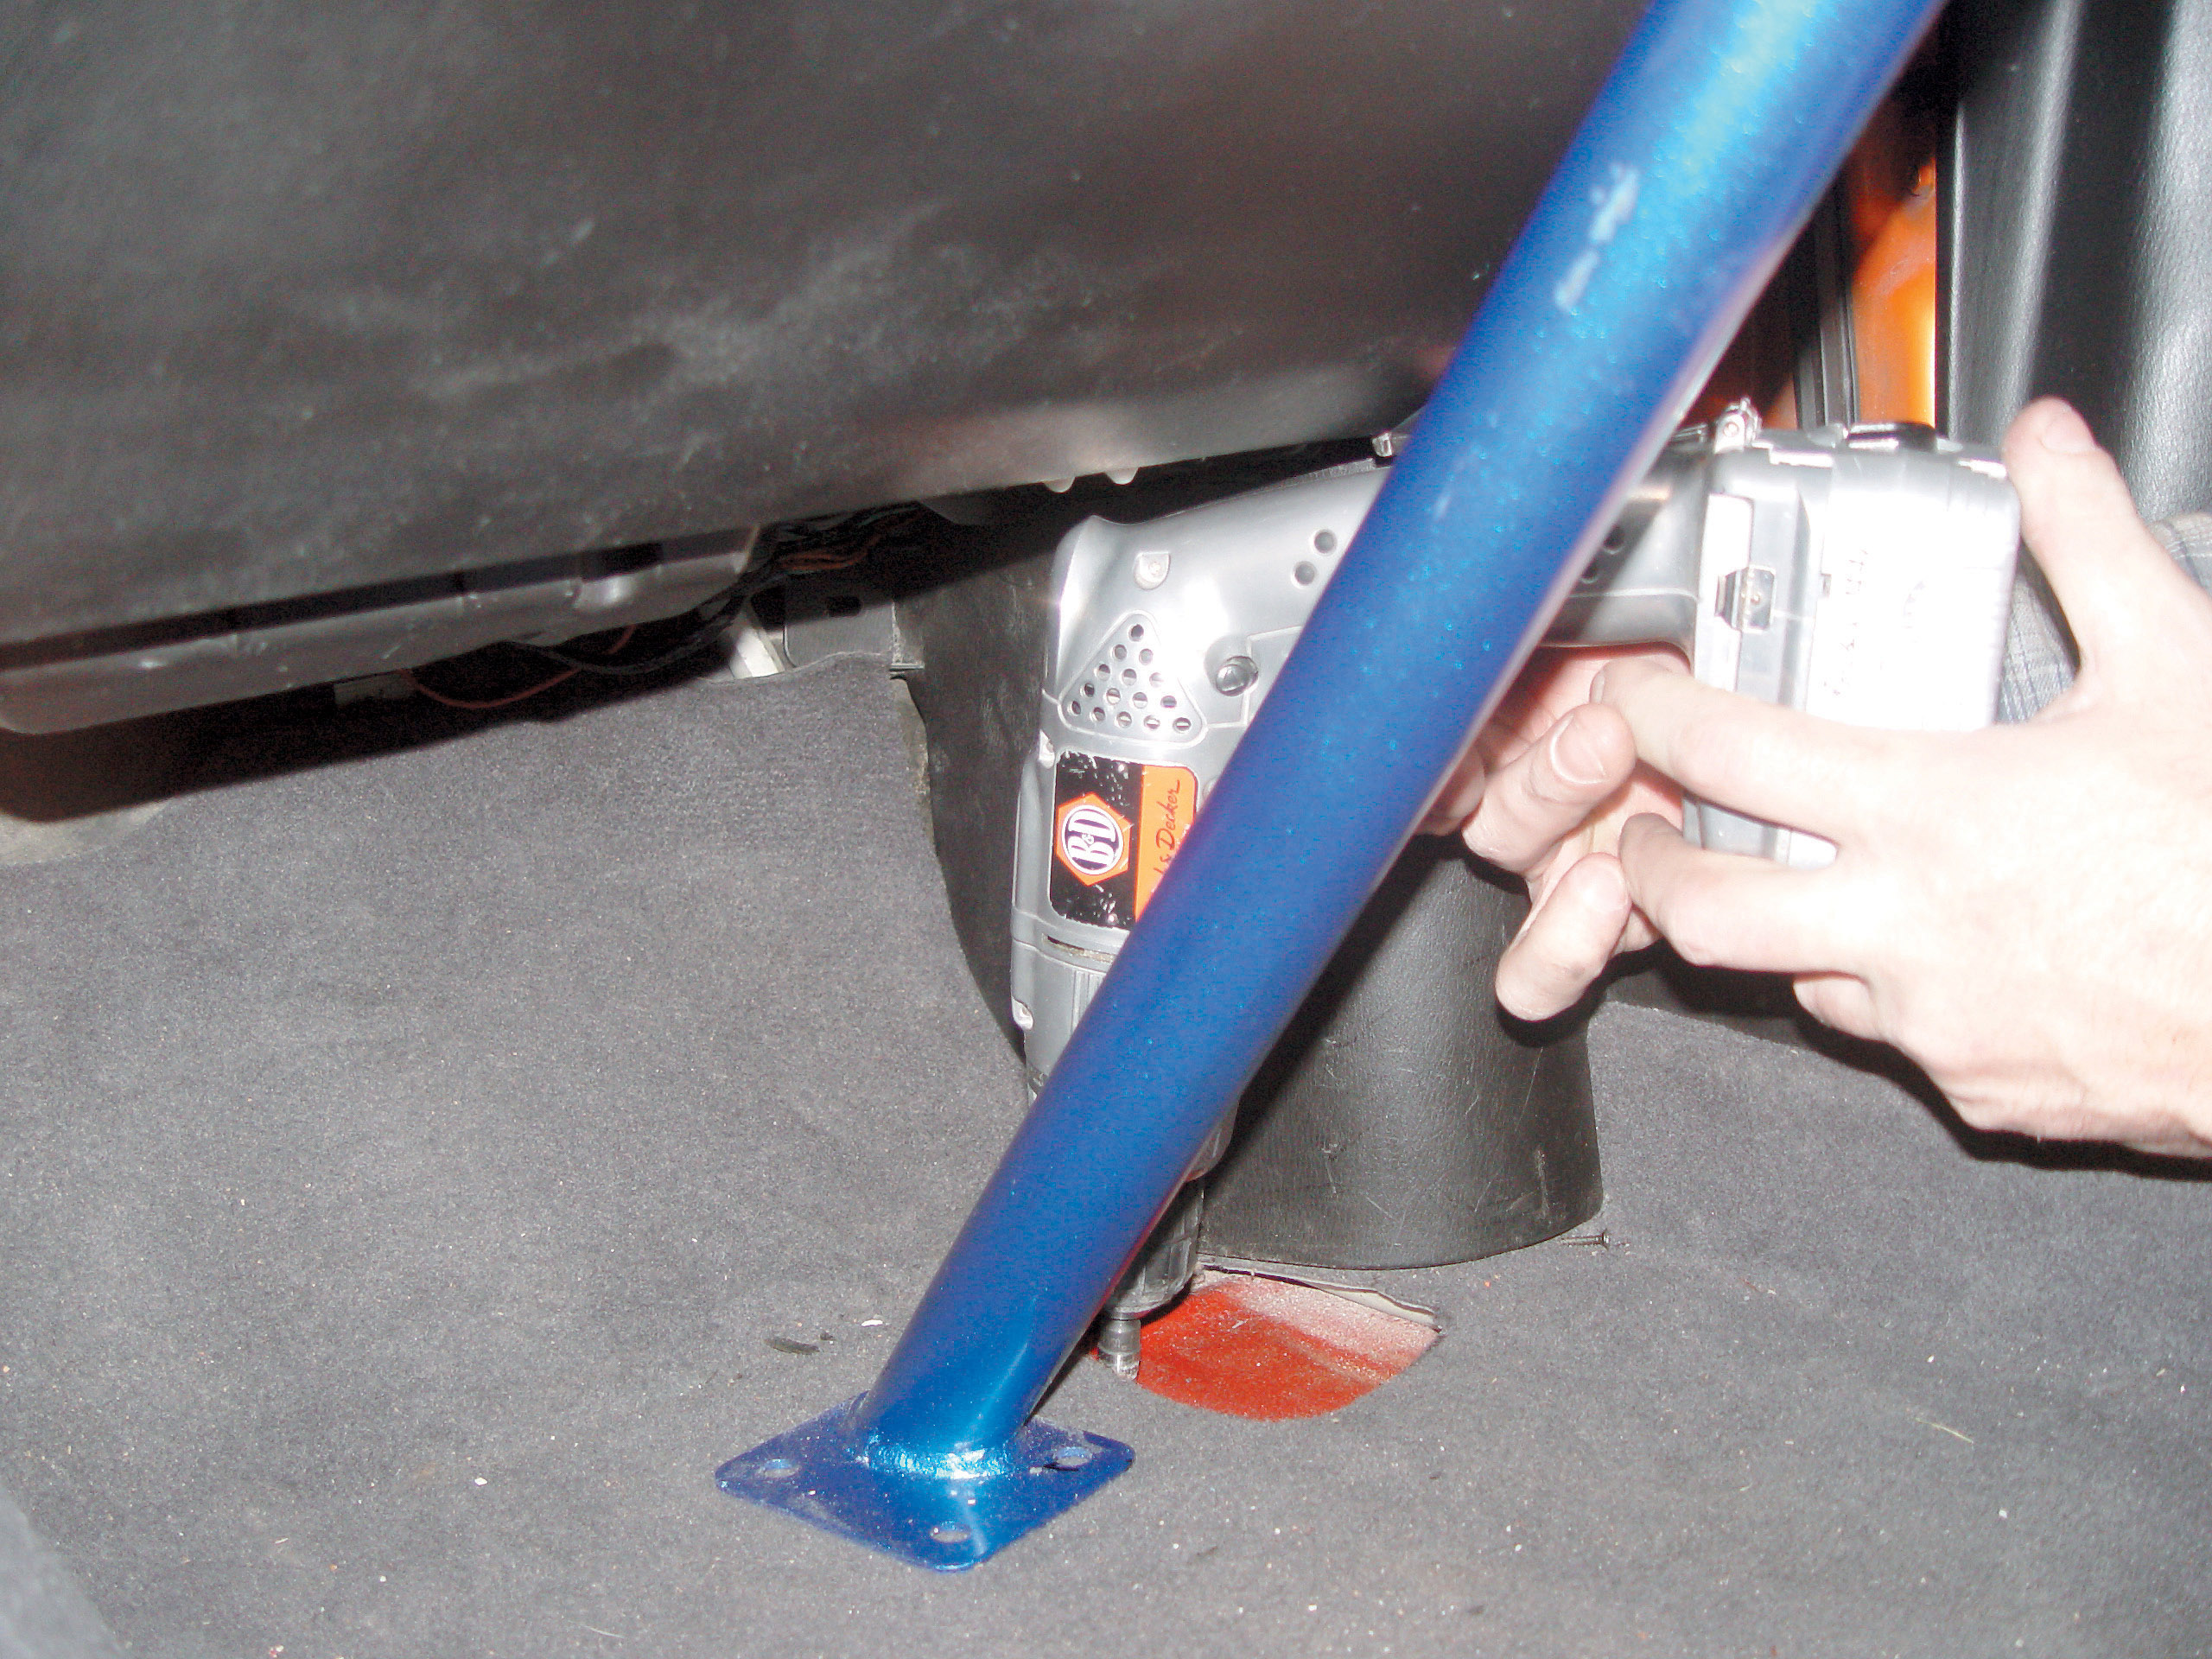
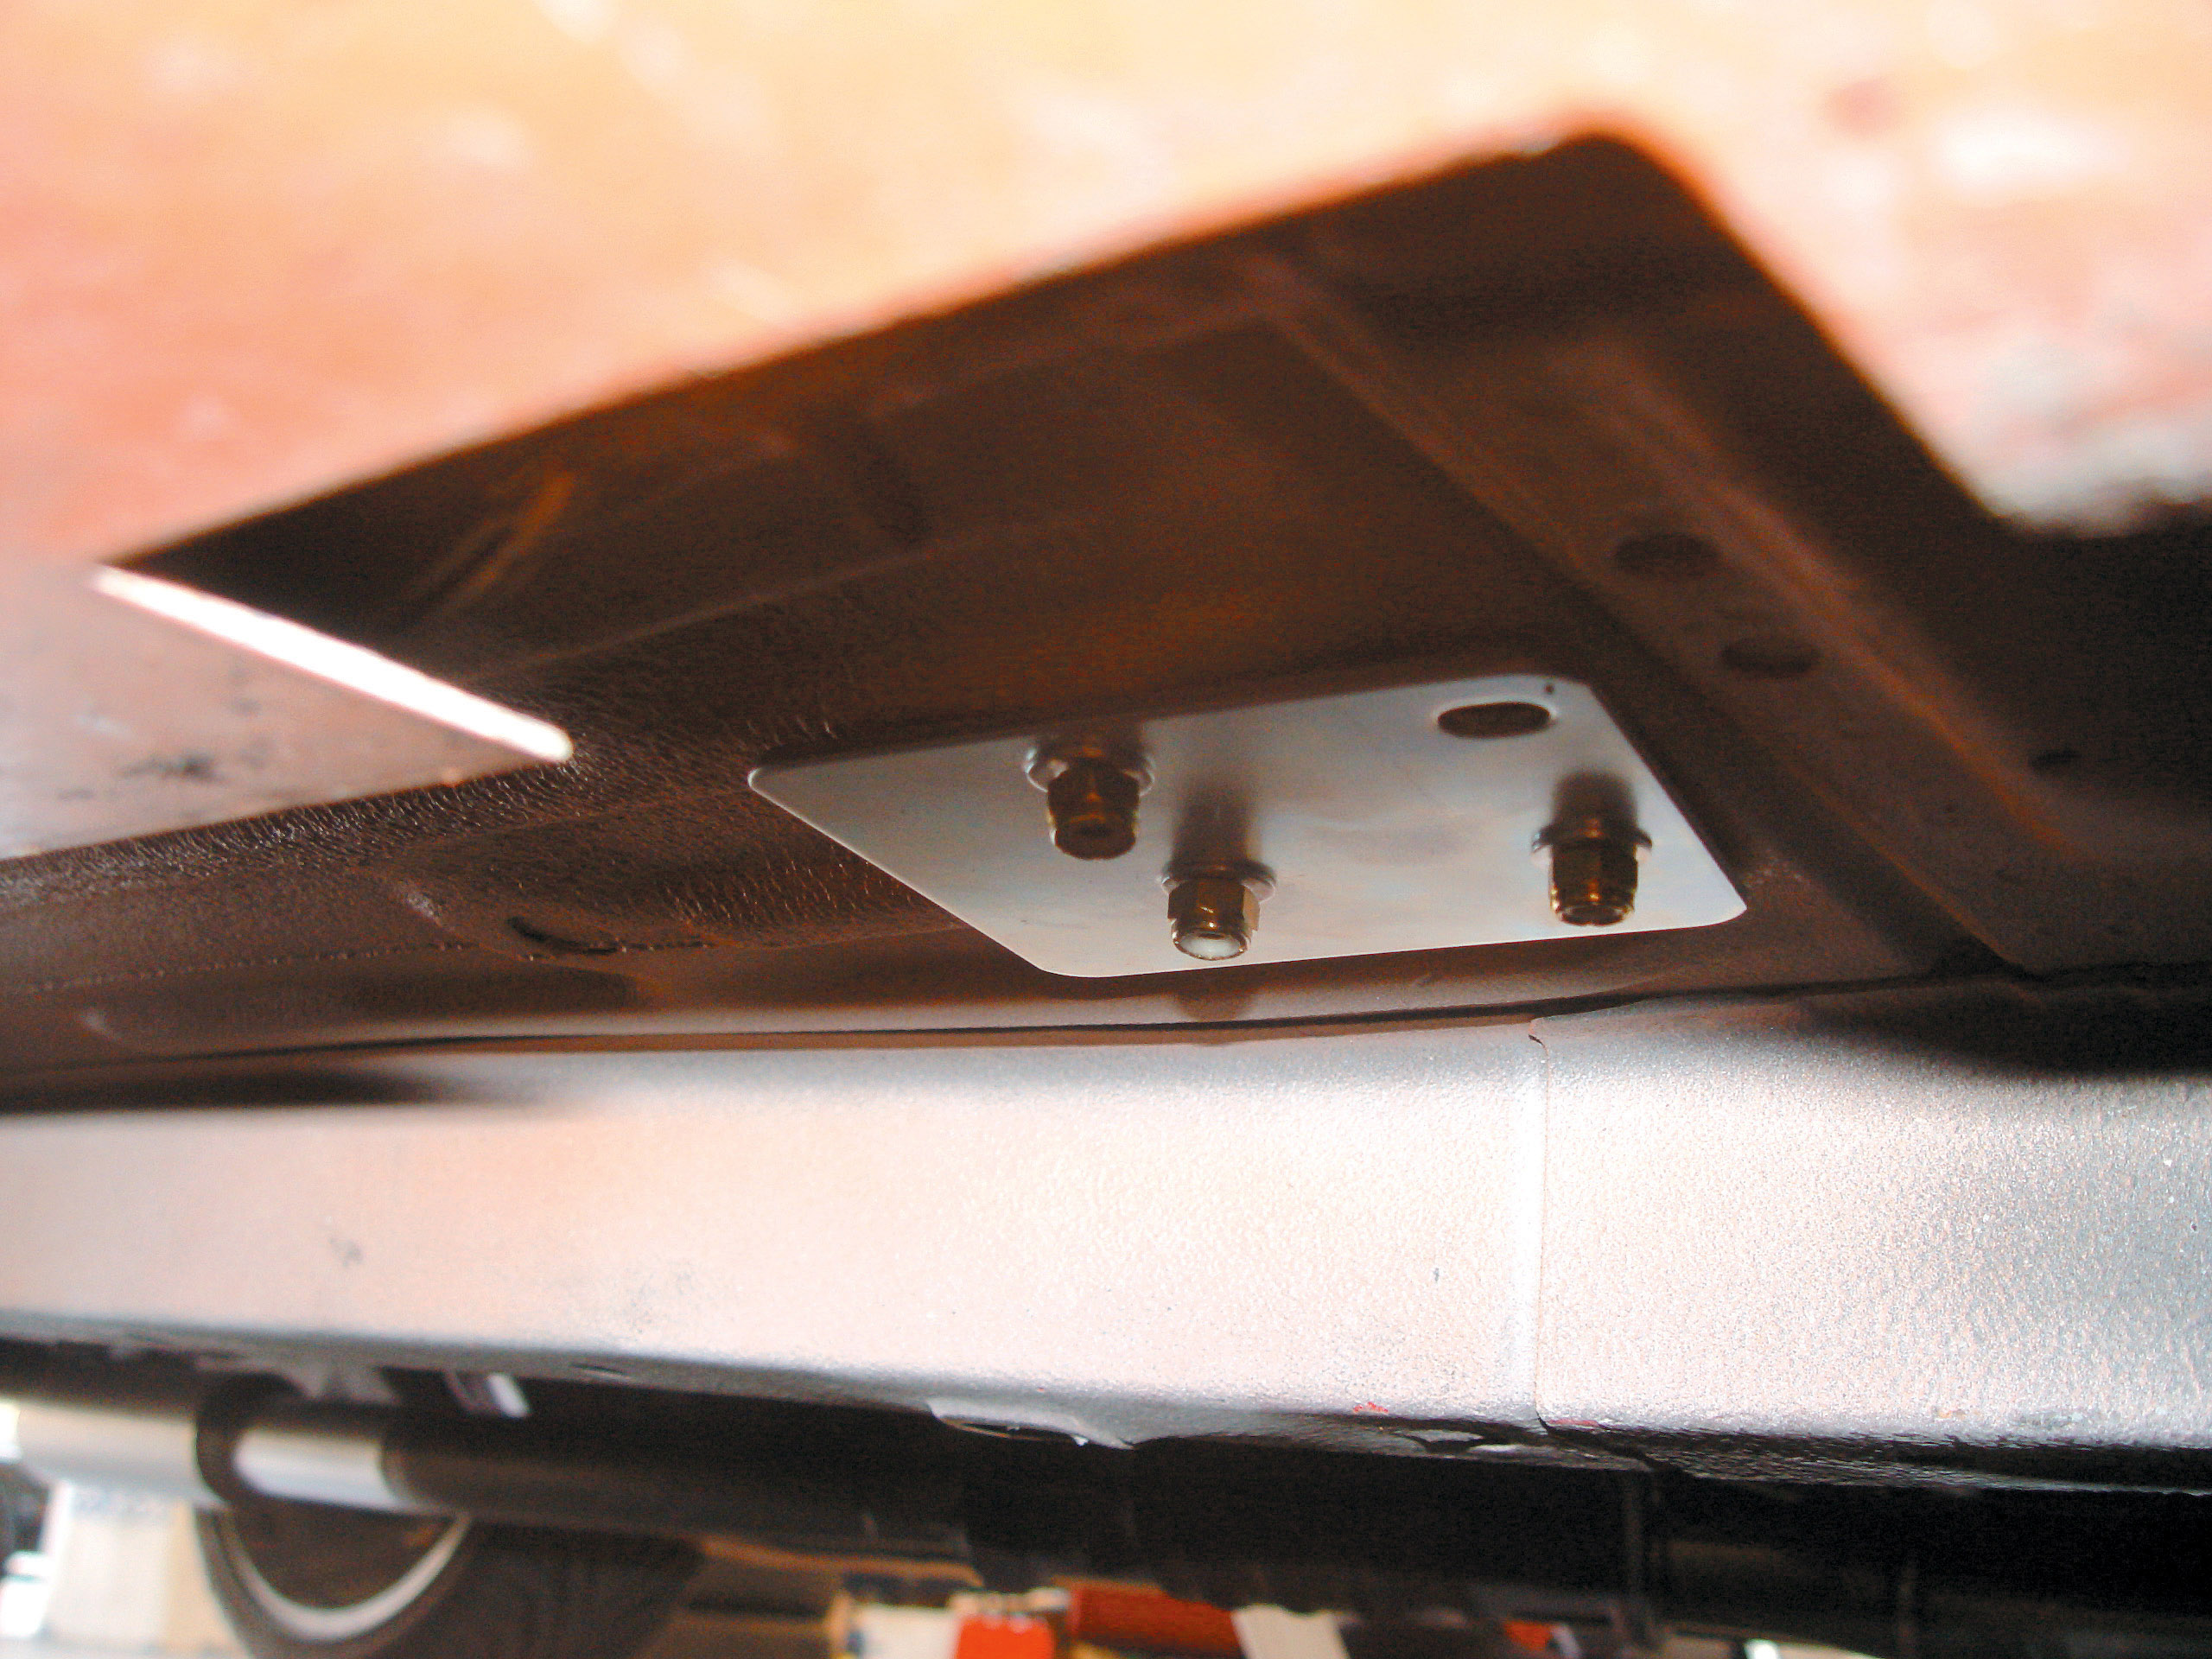
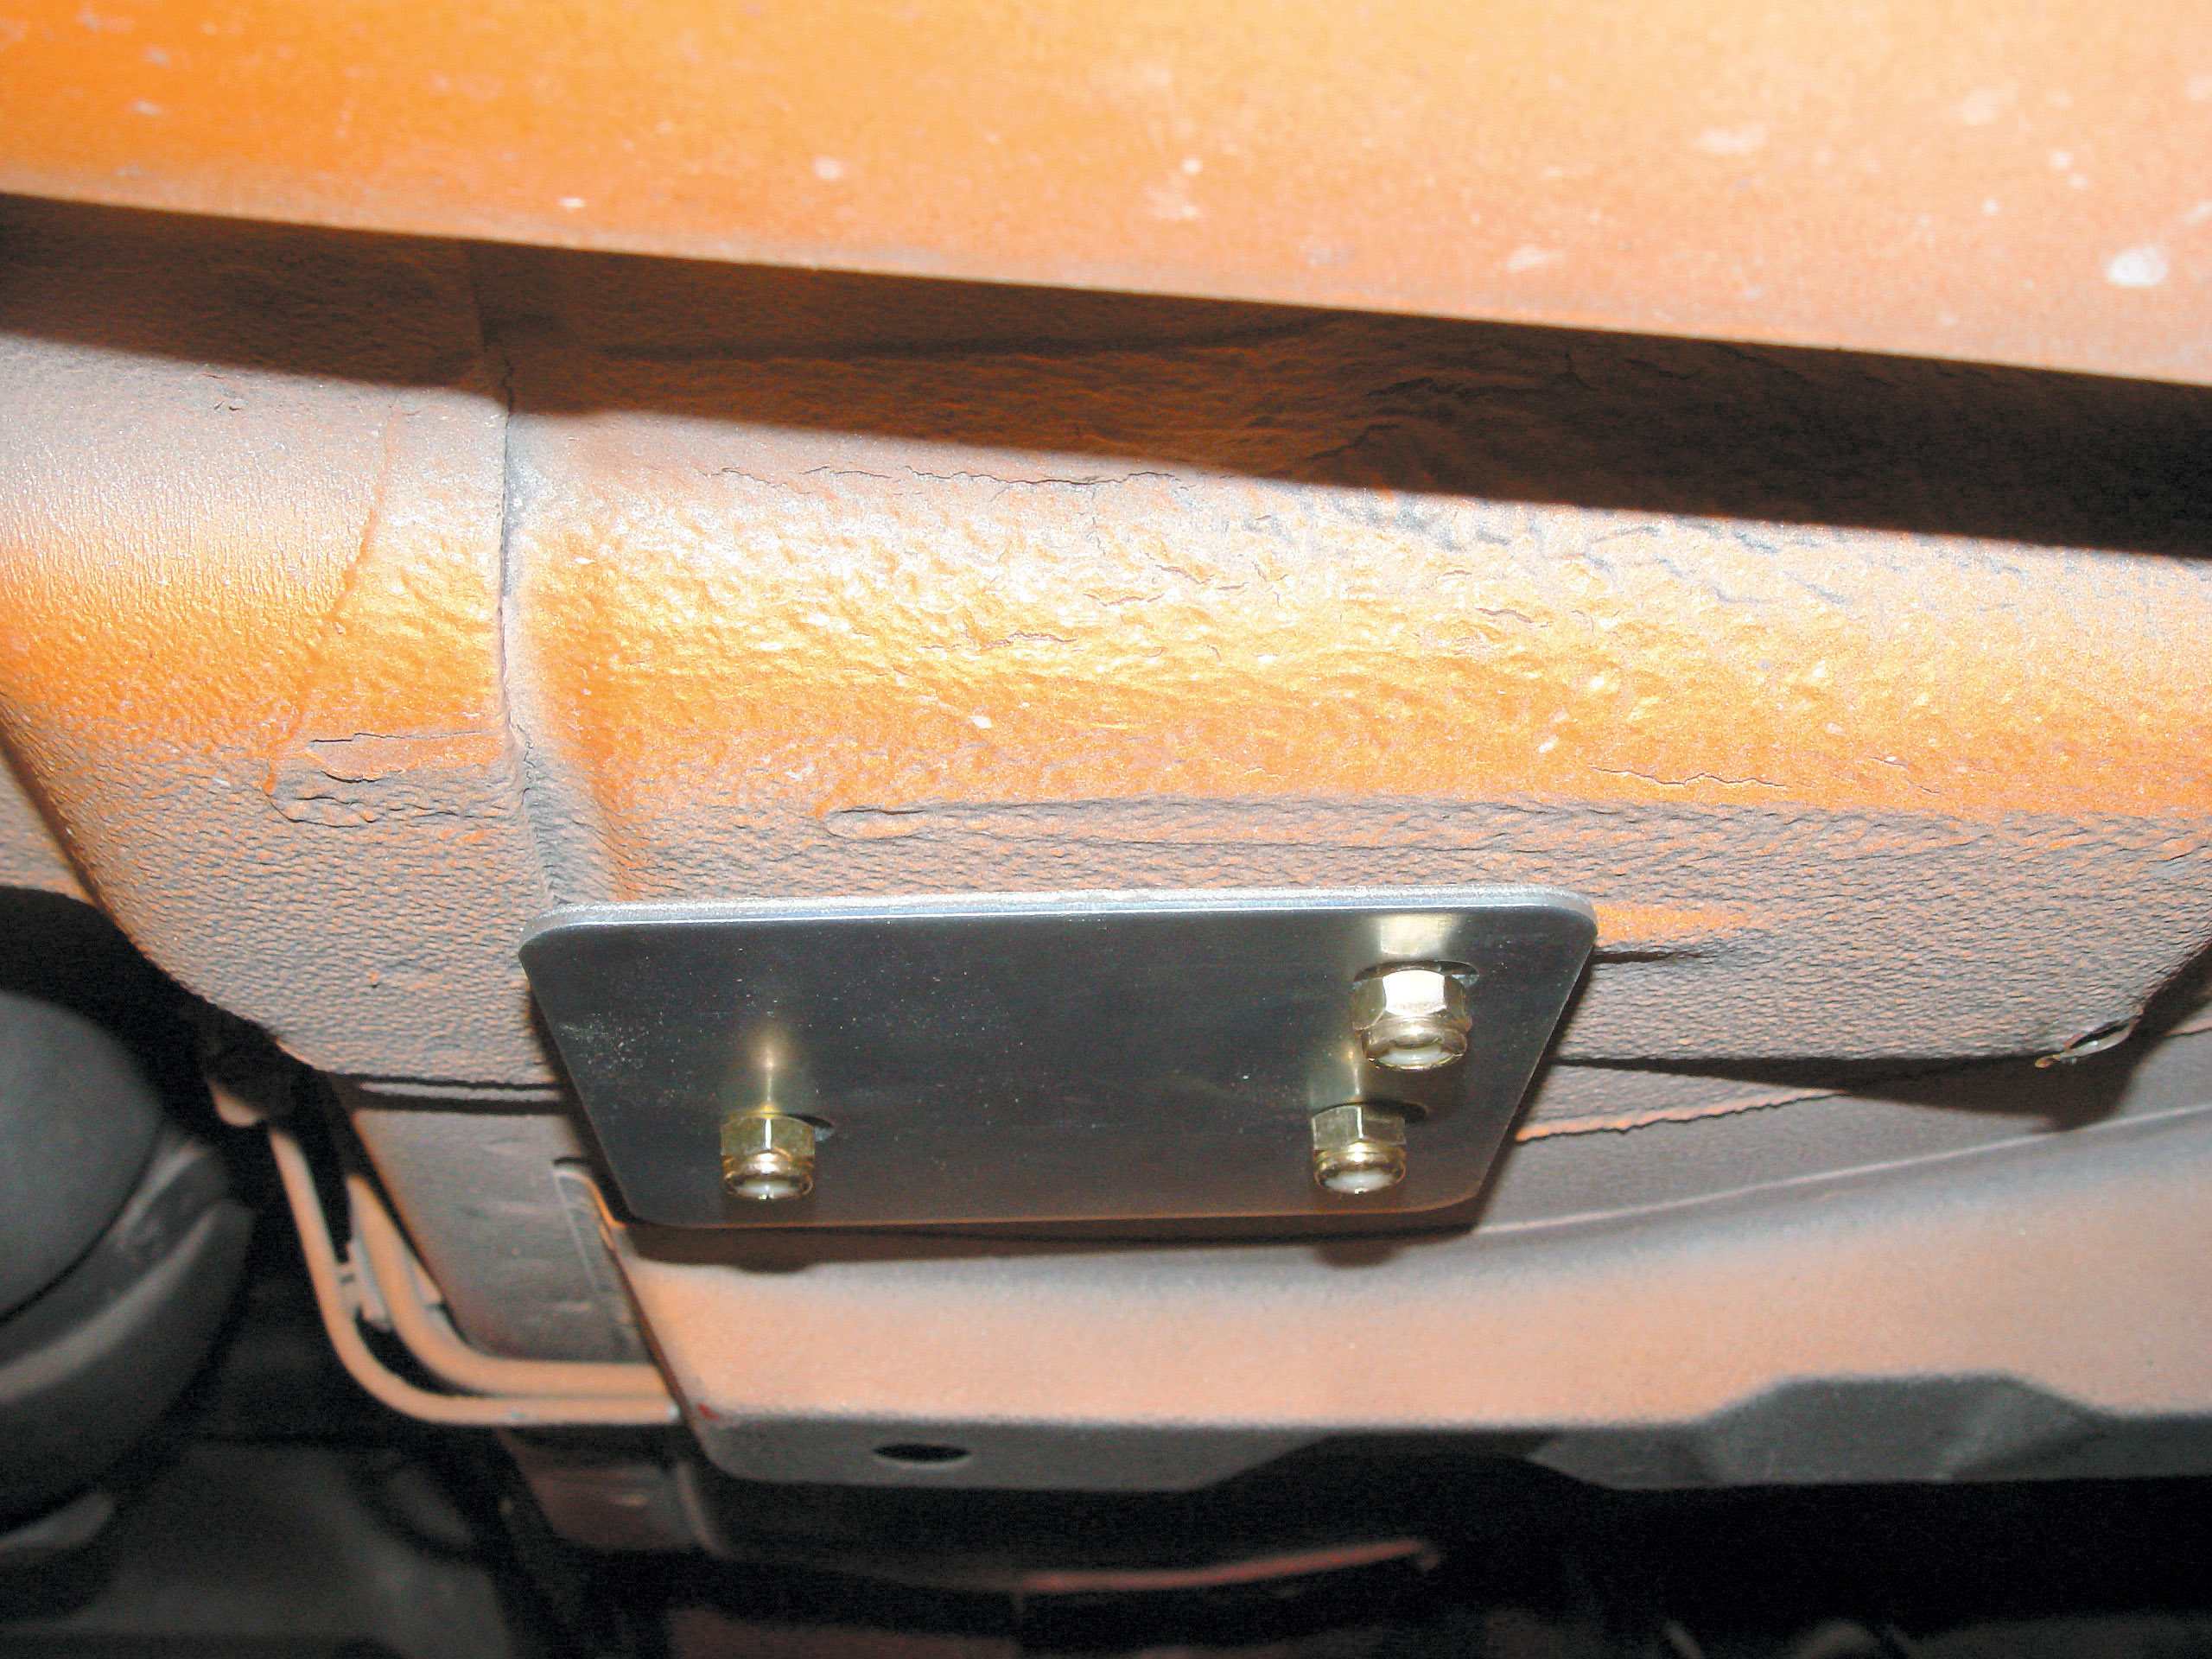
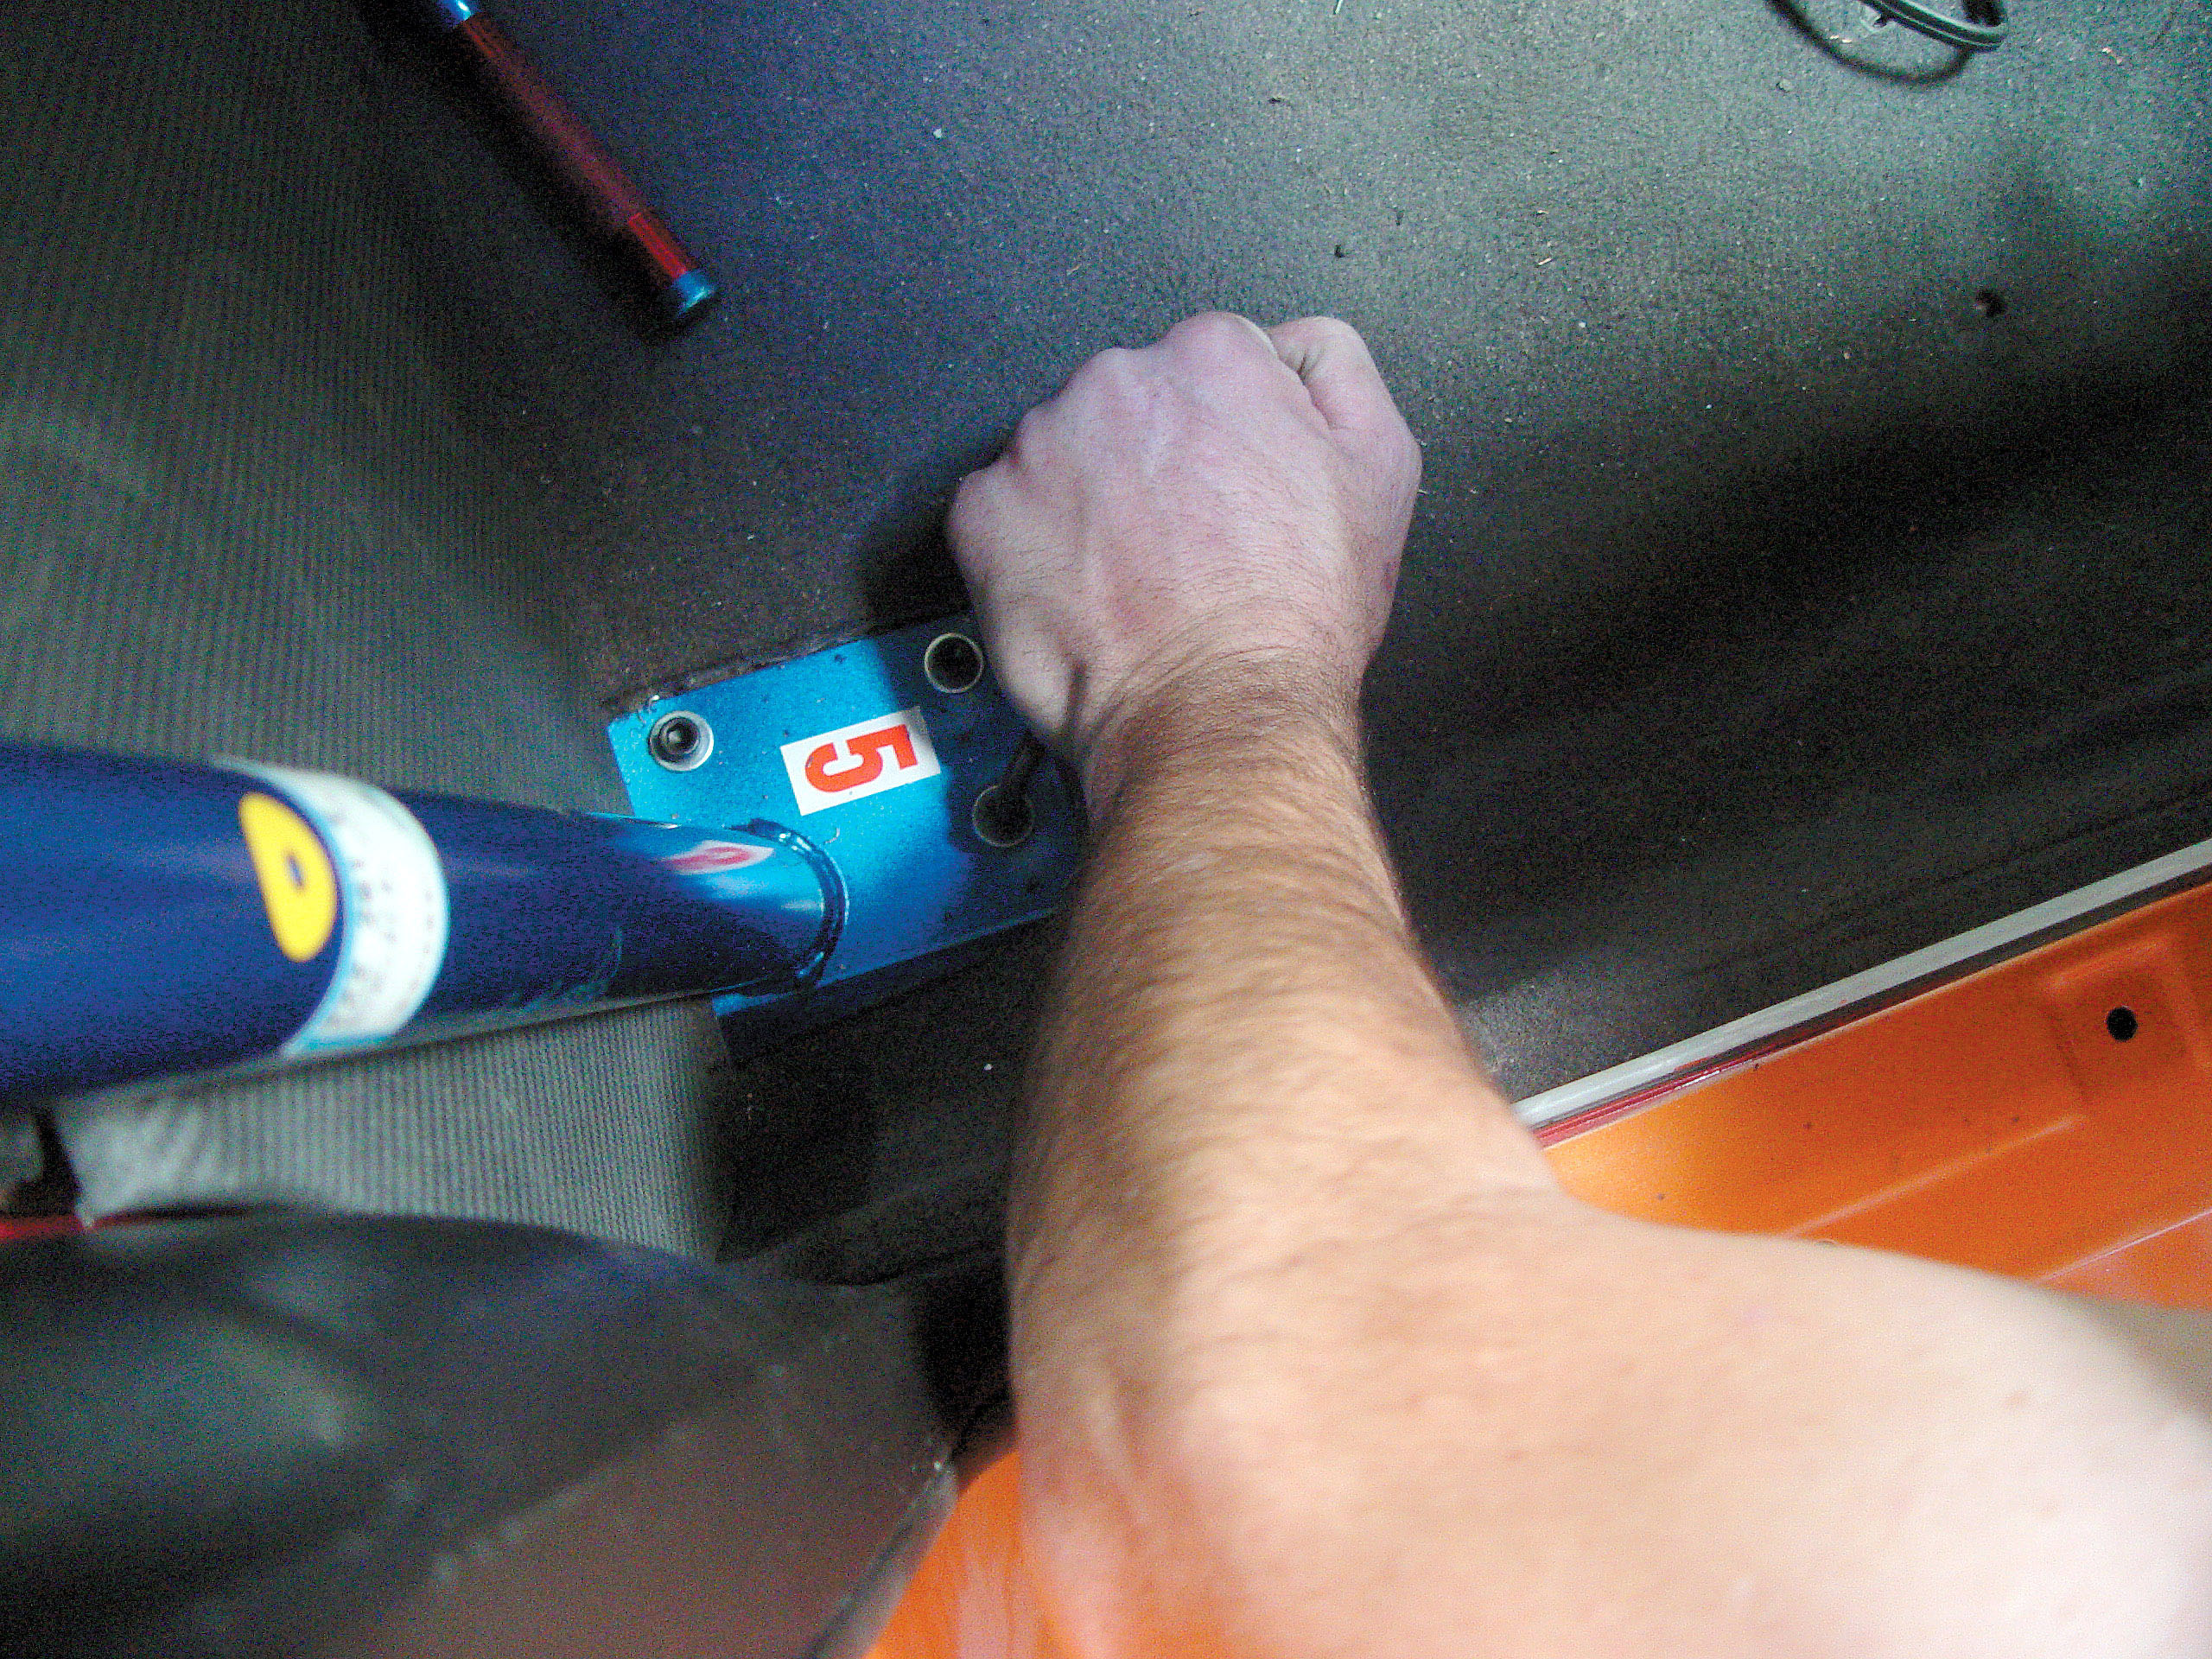
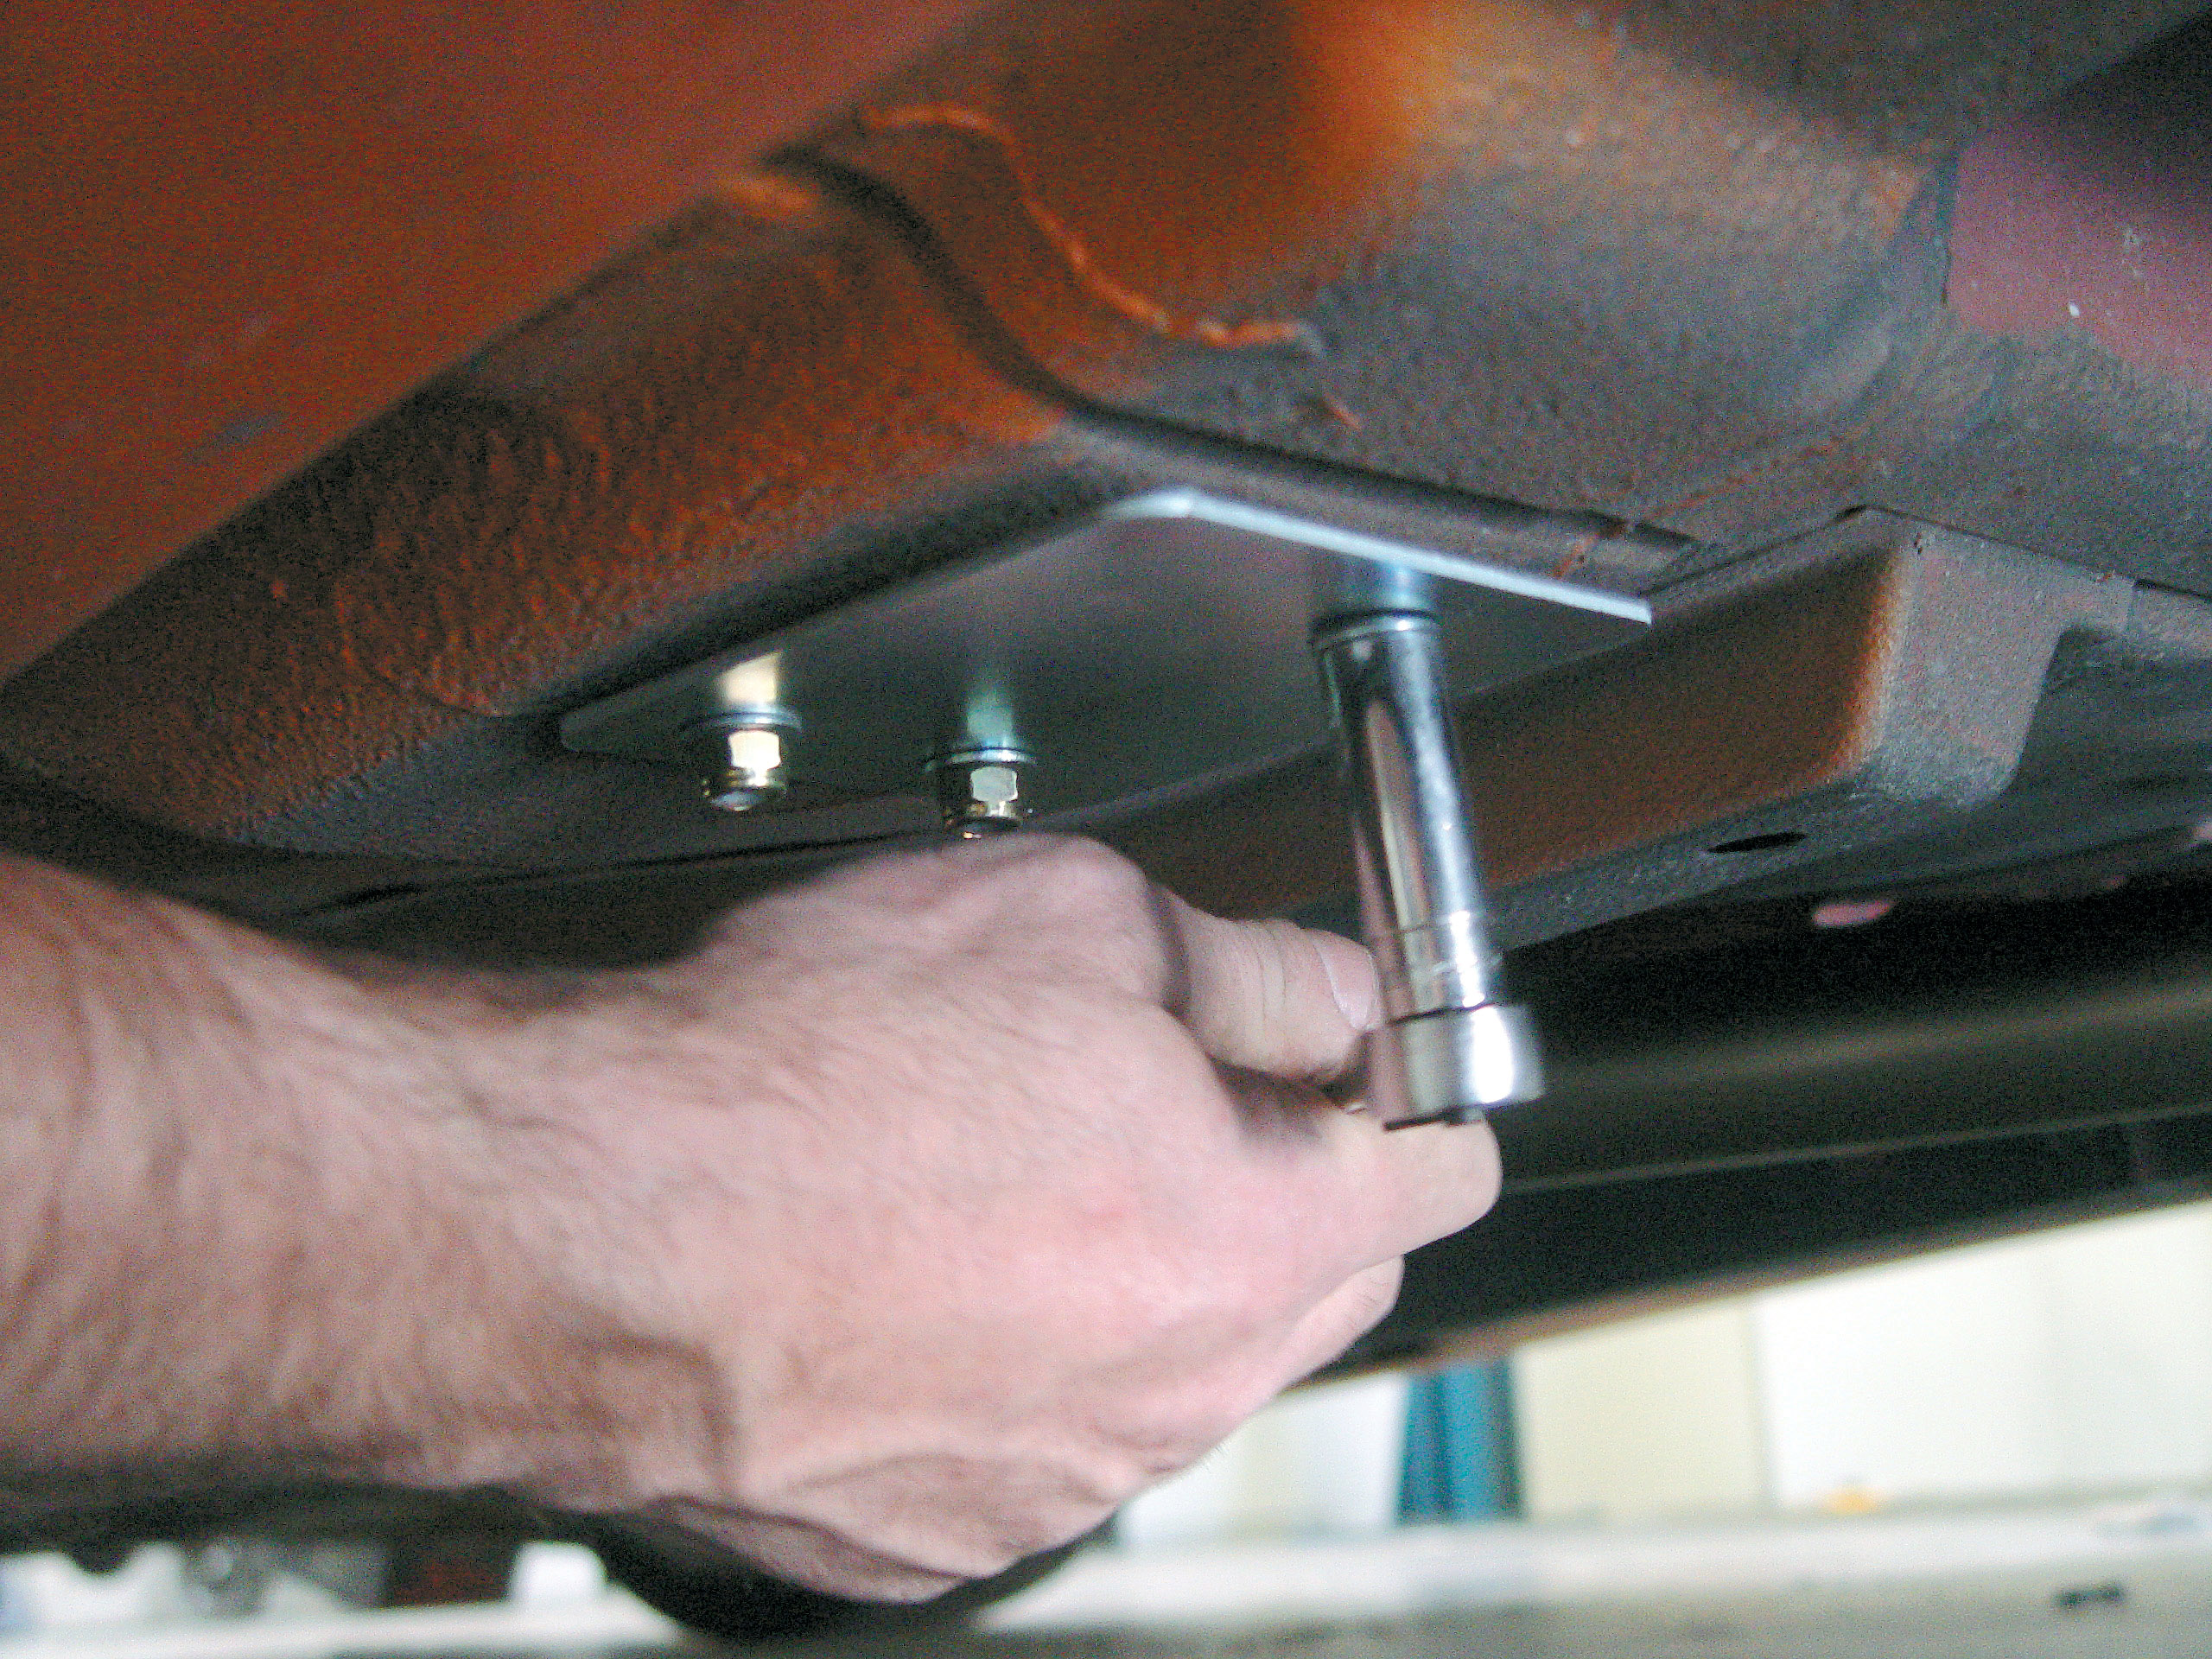
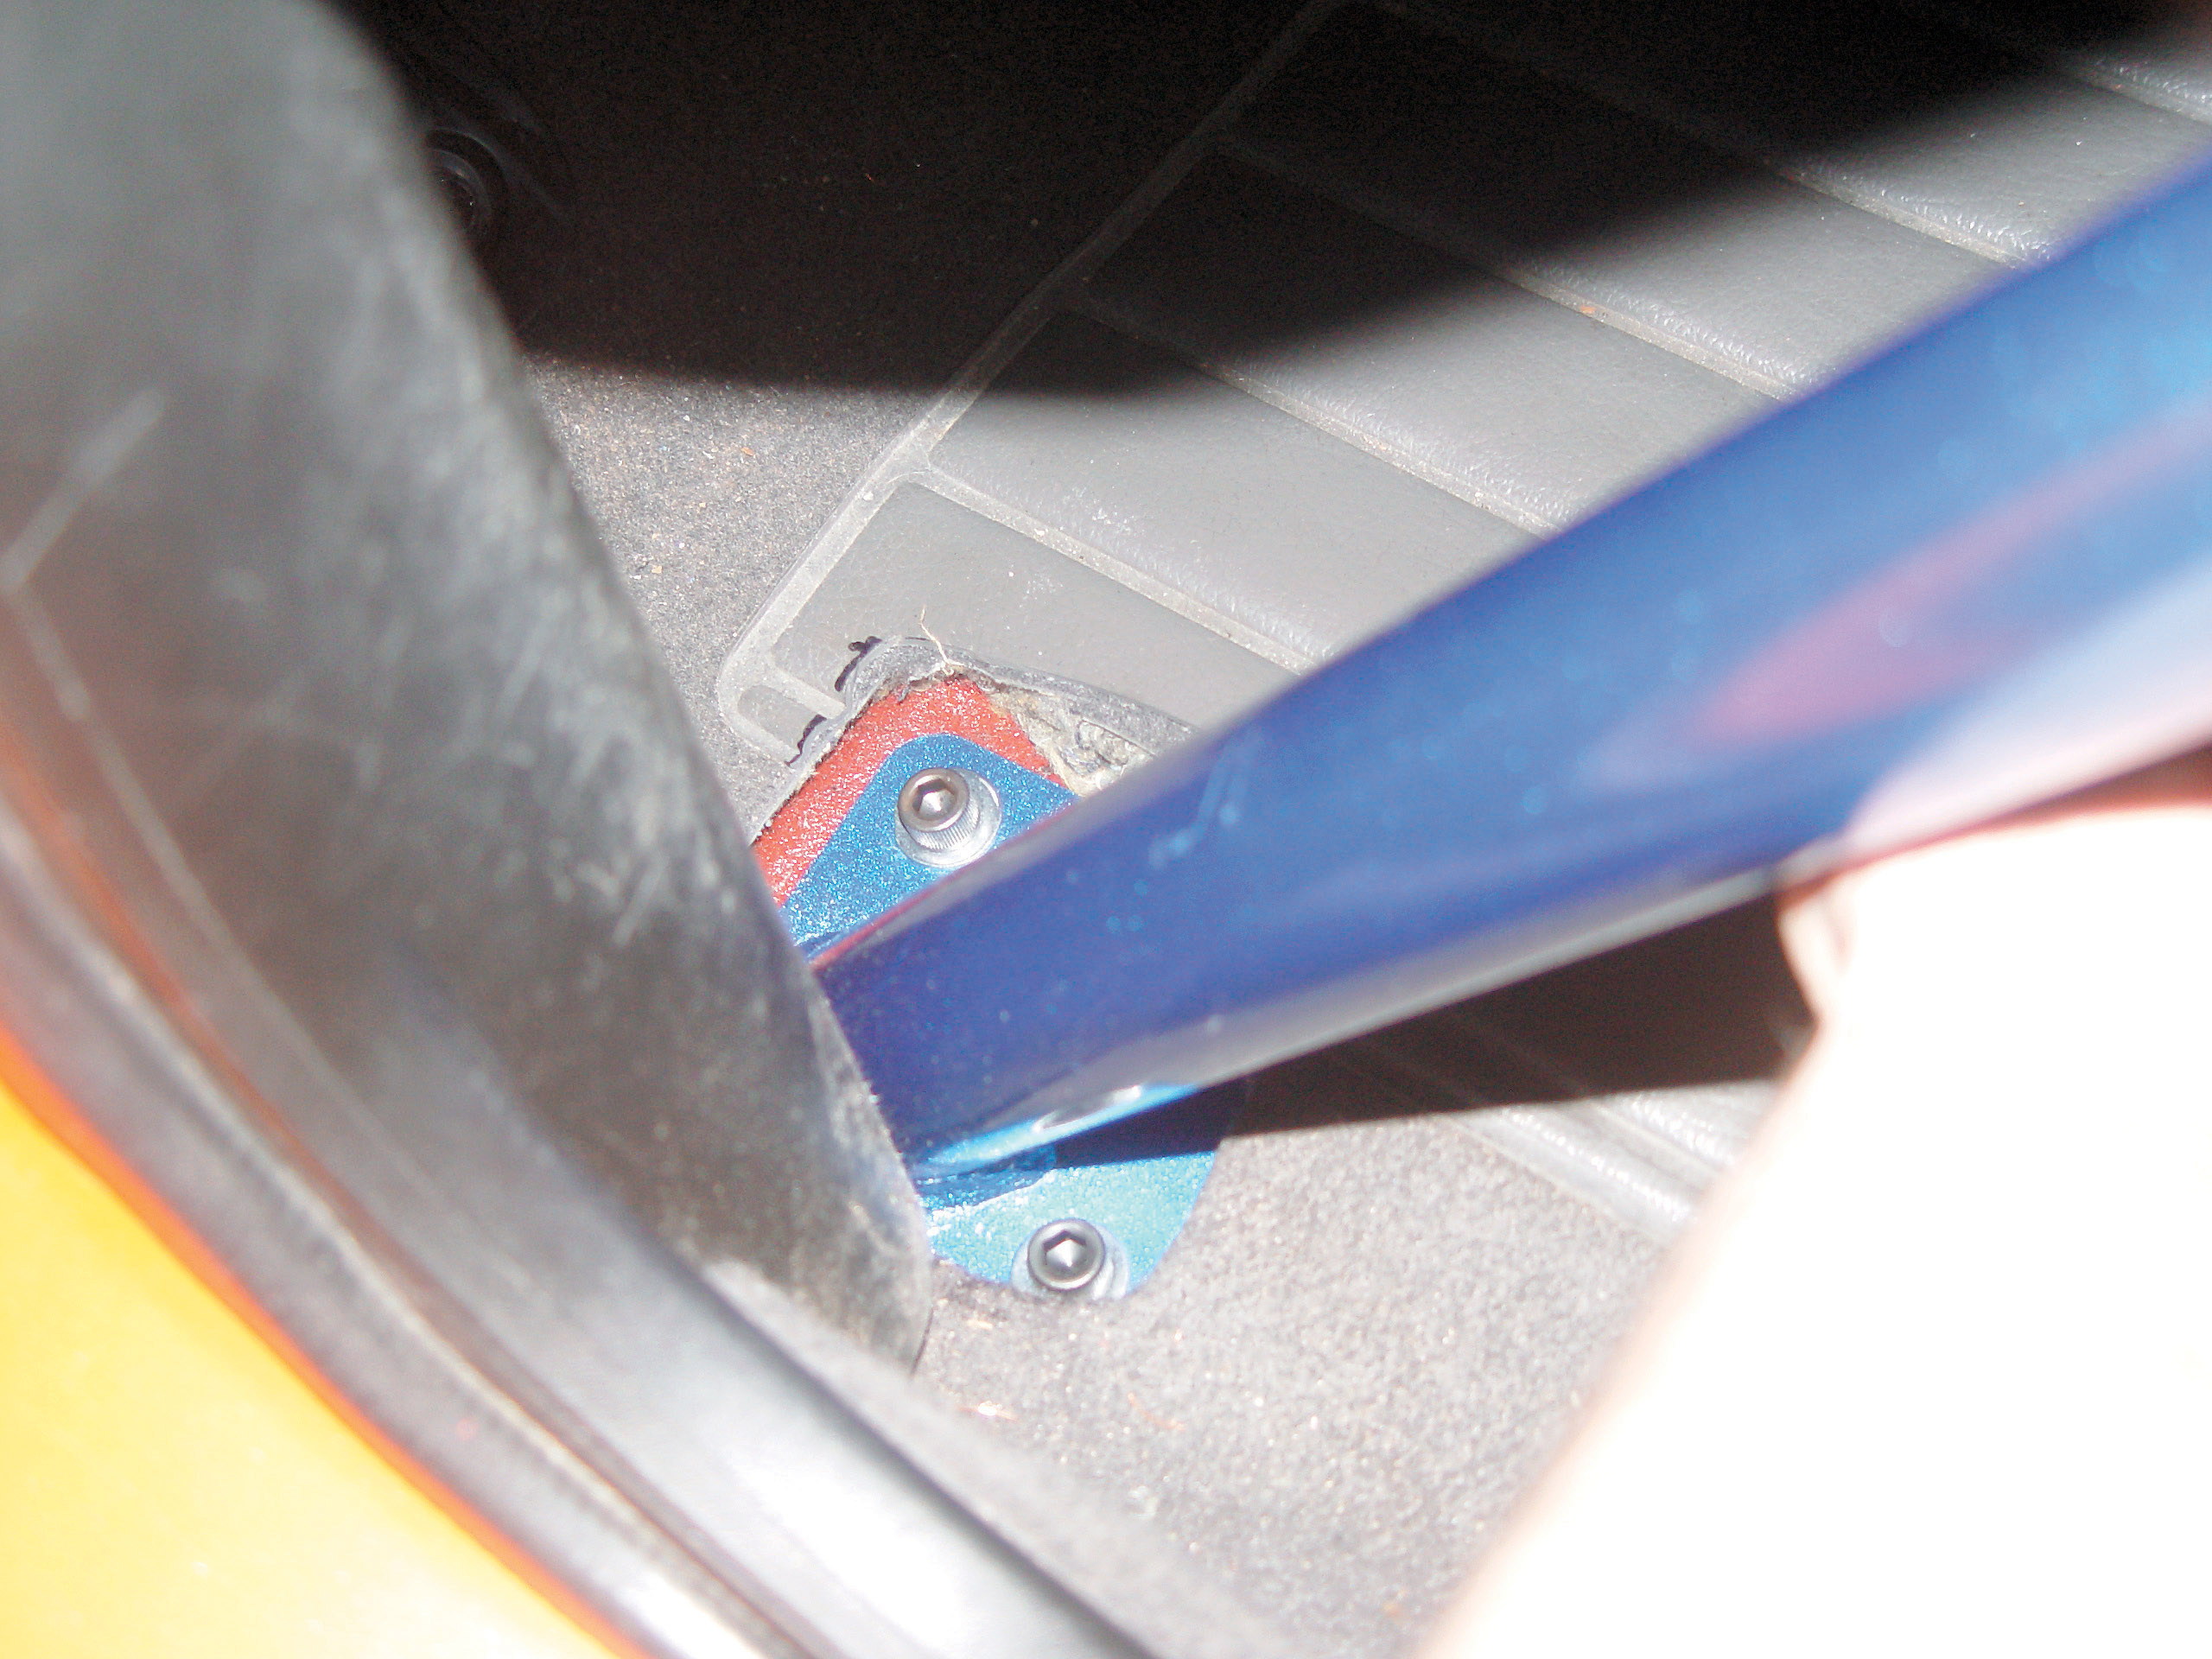
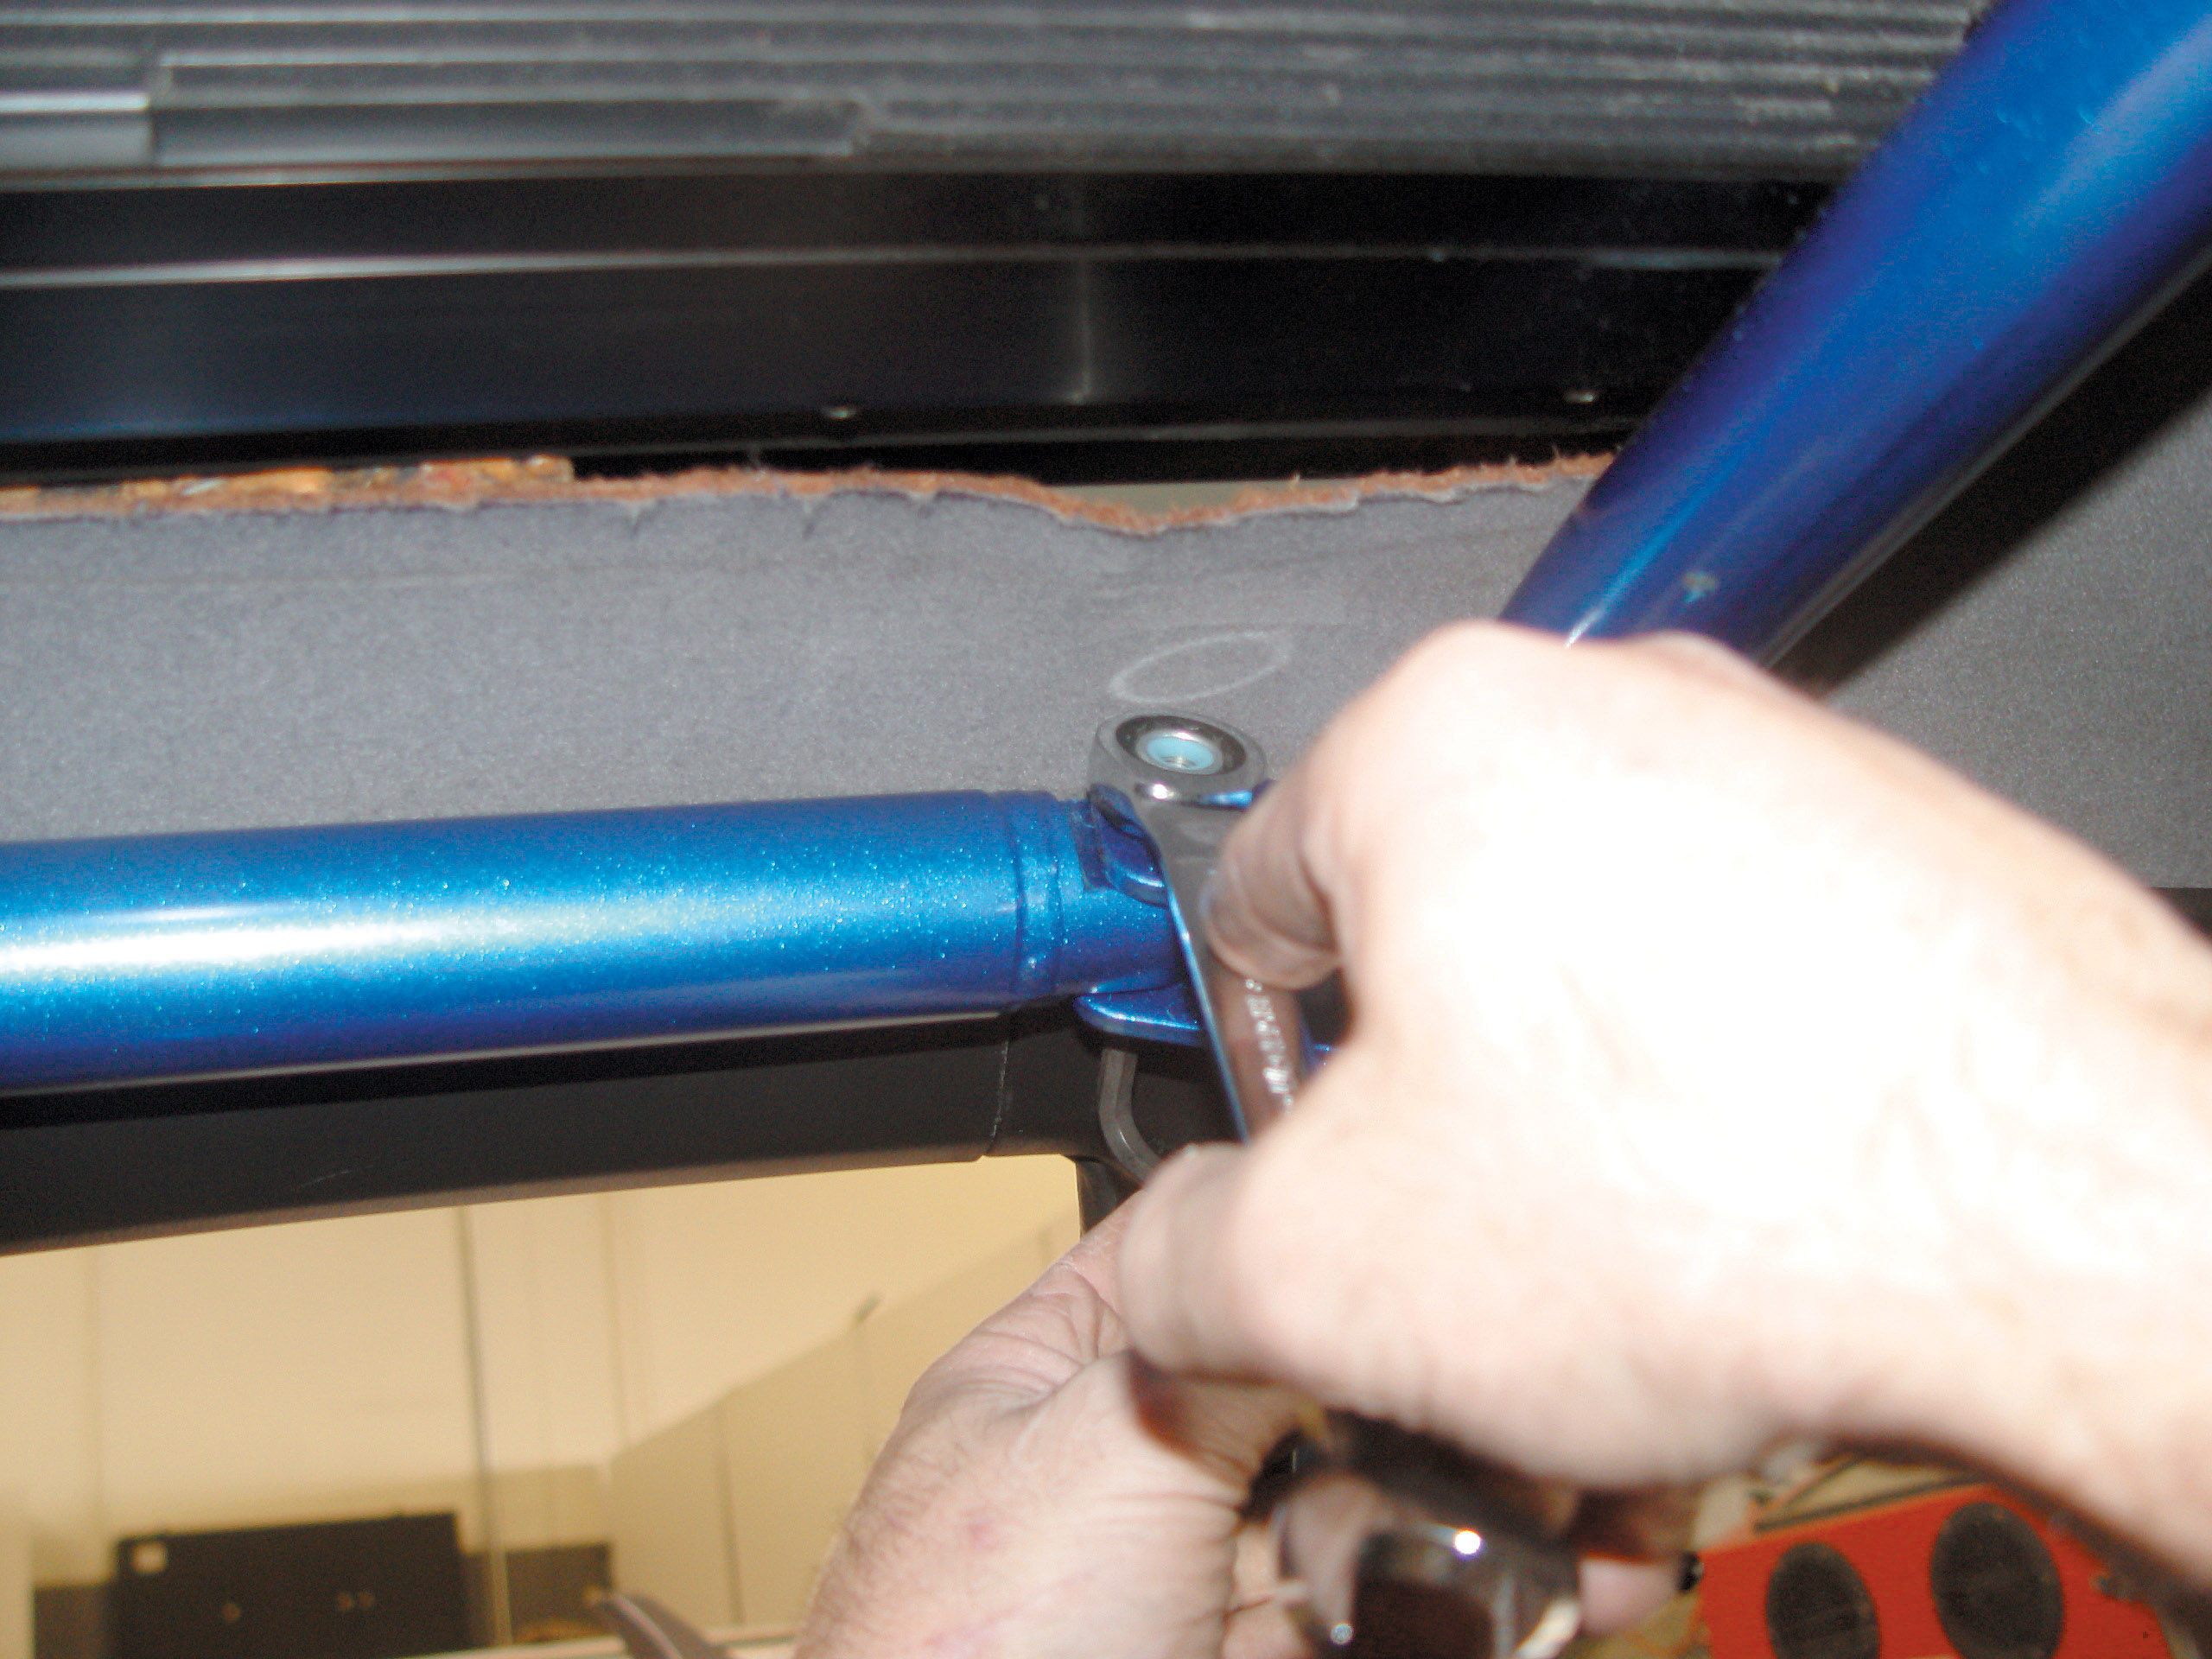
Make sure everything is correctly aligned and then start at the main hoop. The first thing you’ll need to do is drill new holes into the floorboard of the car. Both the main hoop and front bars will need three holes apiece, drilled on each side of the floor. Before you are able to drill the front hole, remember to cut the carpet and padding out from underneath the rollcage plates. Then you can bolt down your cage to the floorboard. Start with the main hoop and work your way forward, but be sure not to tighten all the bolts. Another important reminder: don’t forget to attach the metal plates underneath the car when fitting the final bolts. The metal plates are necessary for strength and although some show builders may not use them, we don’t recommend installing this kit without installing the plates.
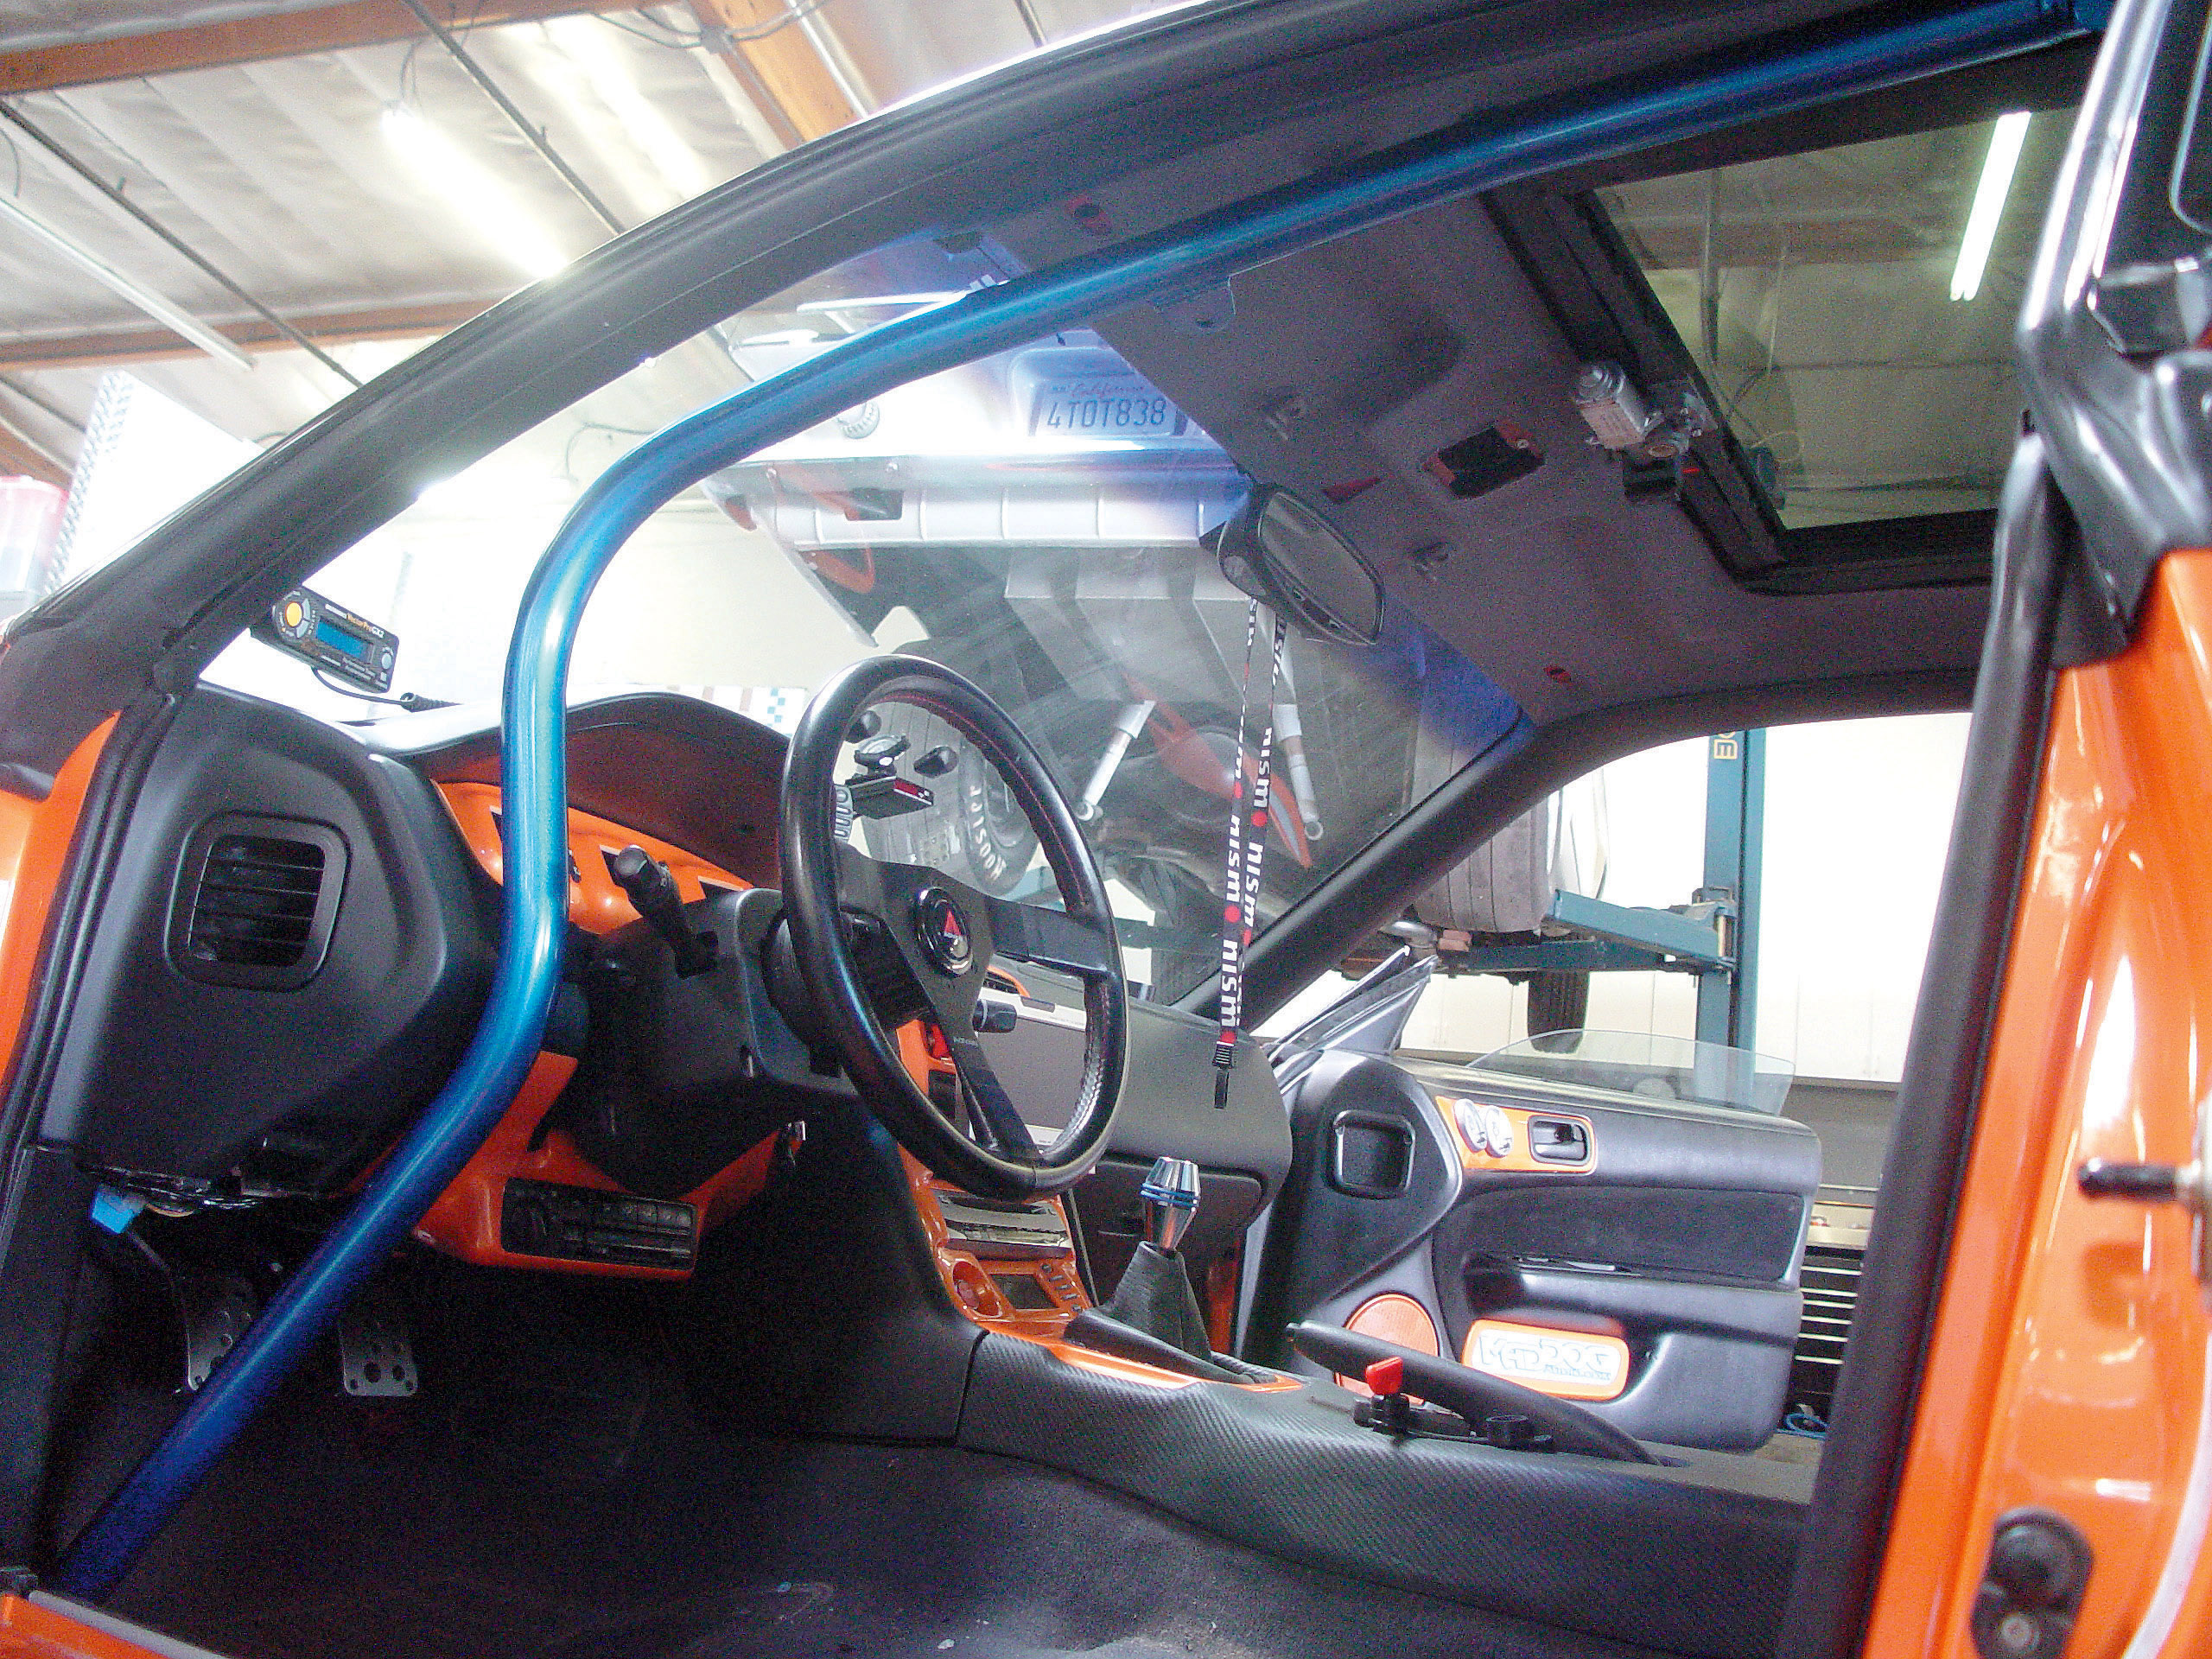
Once you’ve installed all 12 floor bolts, securely tighten the bolts and clevis pieces. The final step to the installation is to bolt your seats back into place and make sure everything is 100-percent secure and tight.
Now take a step back and enjoy the newest edition to your interior, a wickedly fresh anodized-blue Cusco rollcage!


