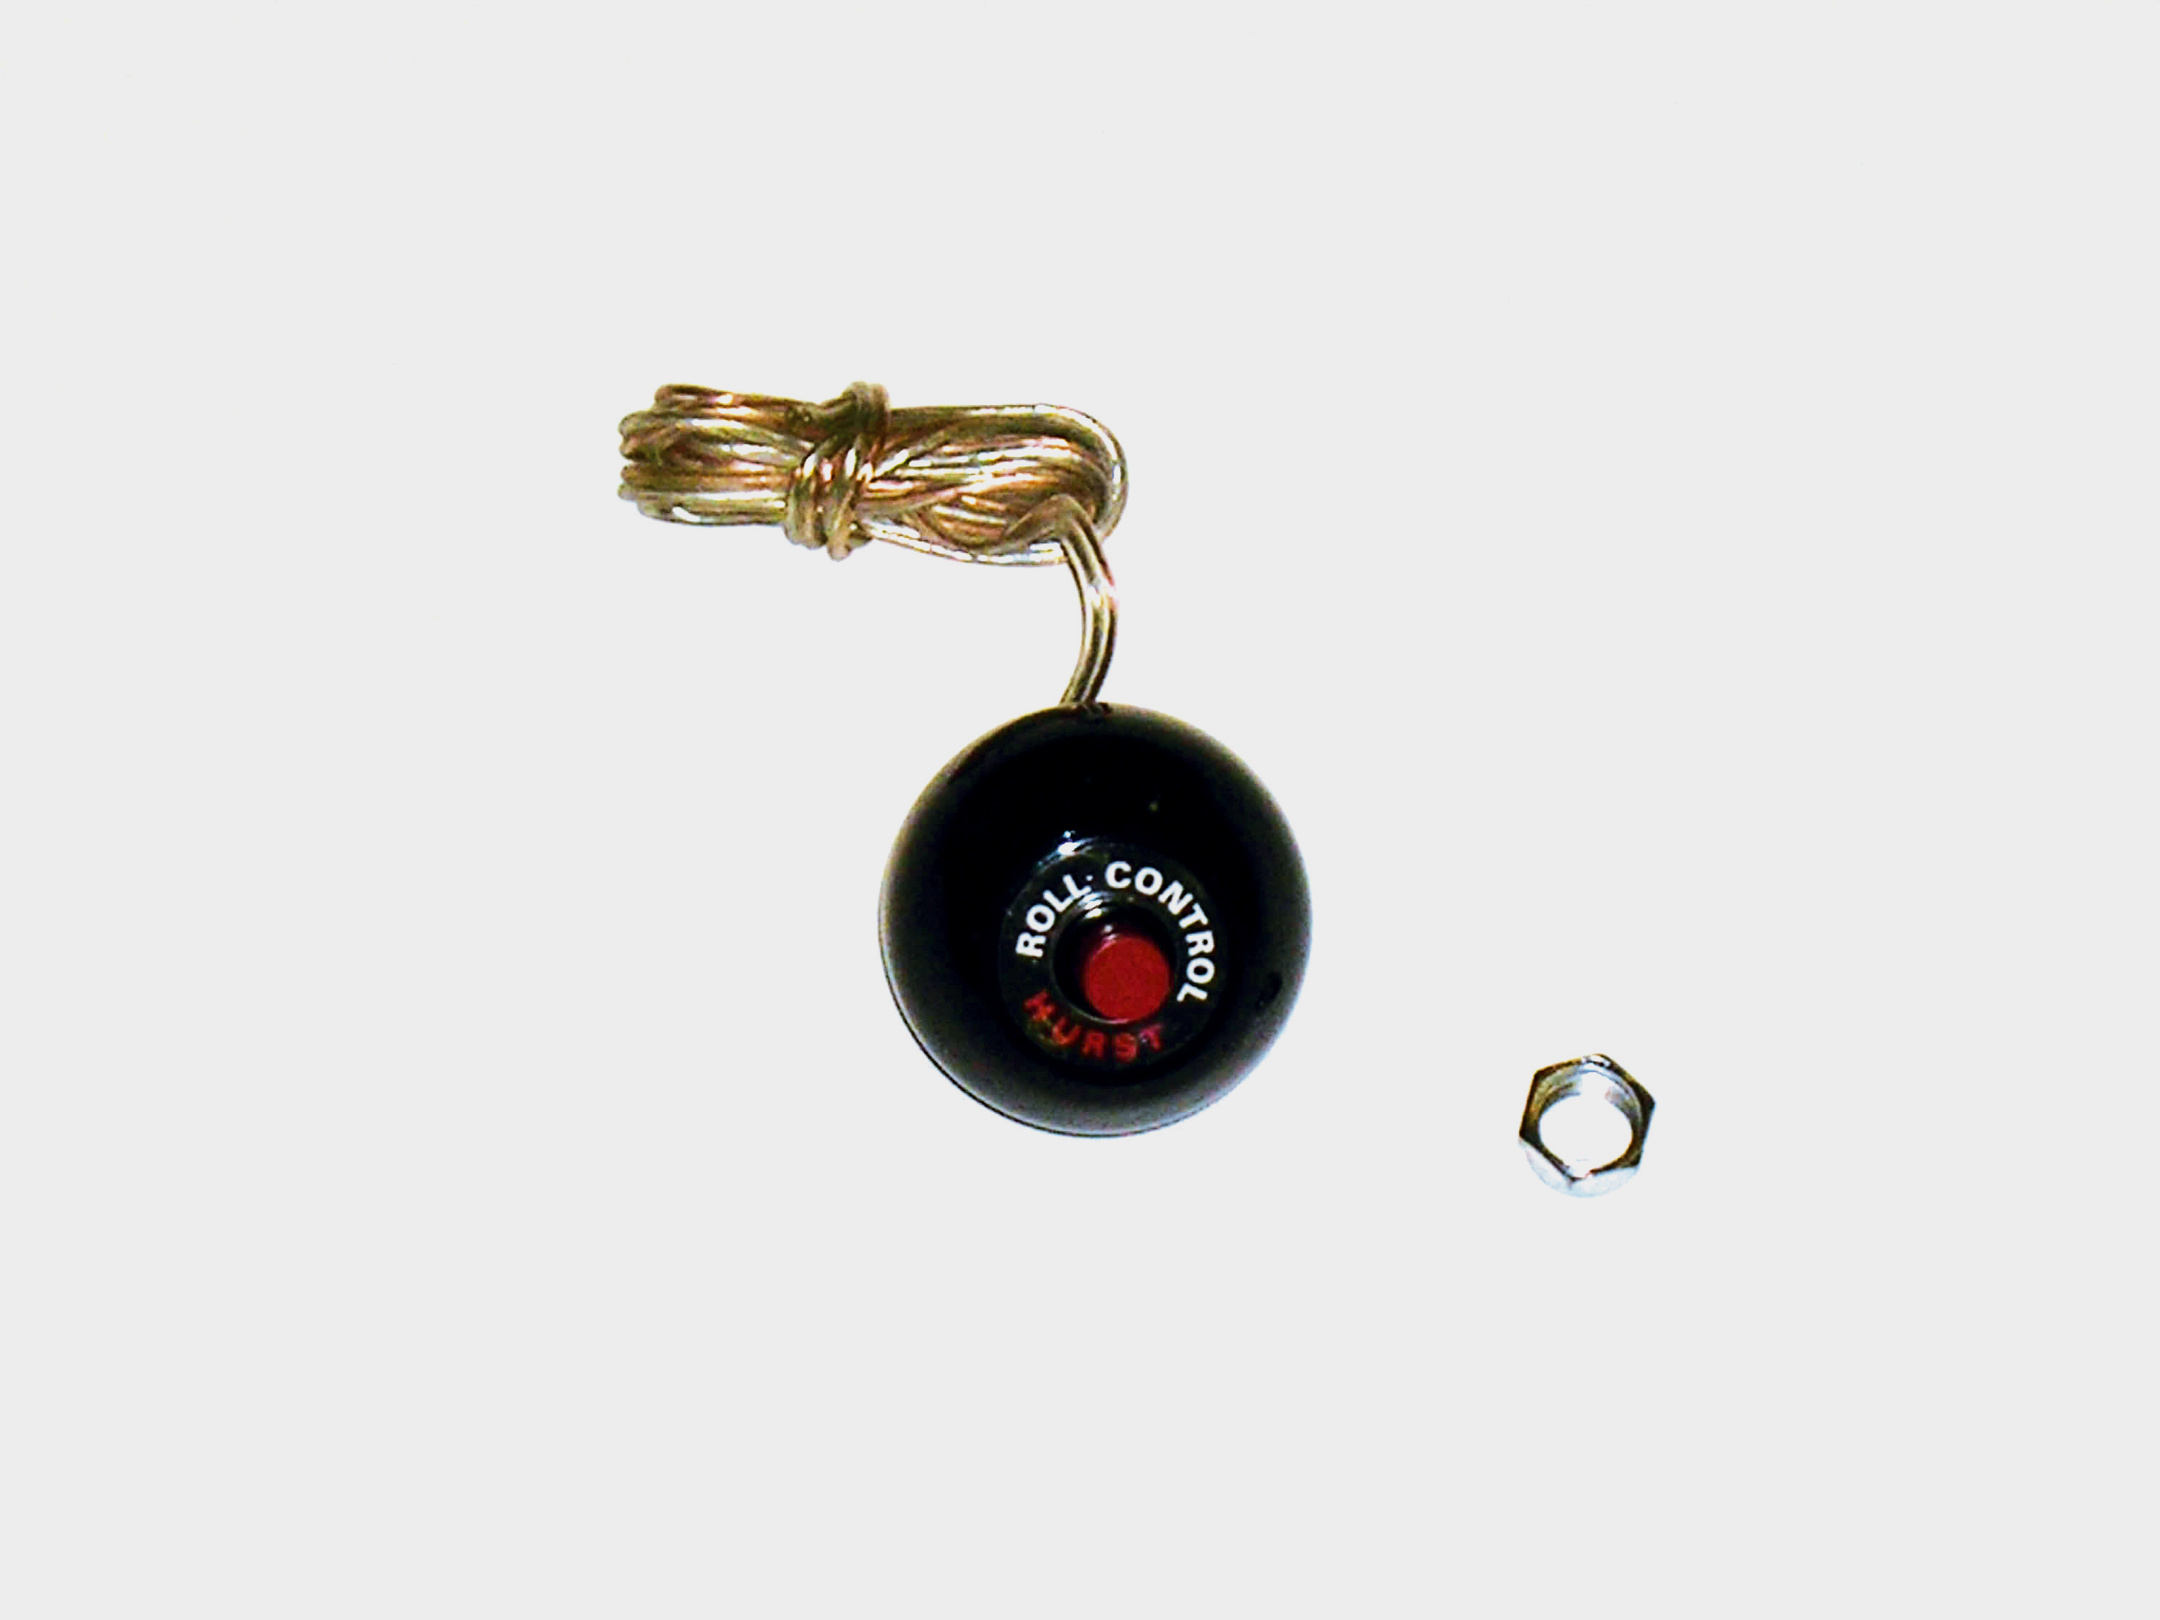
The master of the smooth-tactic approach was late Chevy racer Lee Shepherd. Shepherd was incredibly fluid from the moment the car entered the bleach box to the point where he pulled off the track. What does this have to do with you and your Chevy? Plenty, actually, as a big part of this correlation between driver and car is roll control. For those of you unfamiliar with the term, it is basically what used to be called a “line loc,” and it is a device originated by Hurst. The Hurst Line/Loc was devised to keep the front wheels from rolling without having to apply the full braking system.
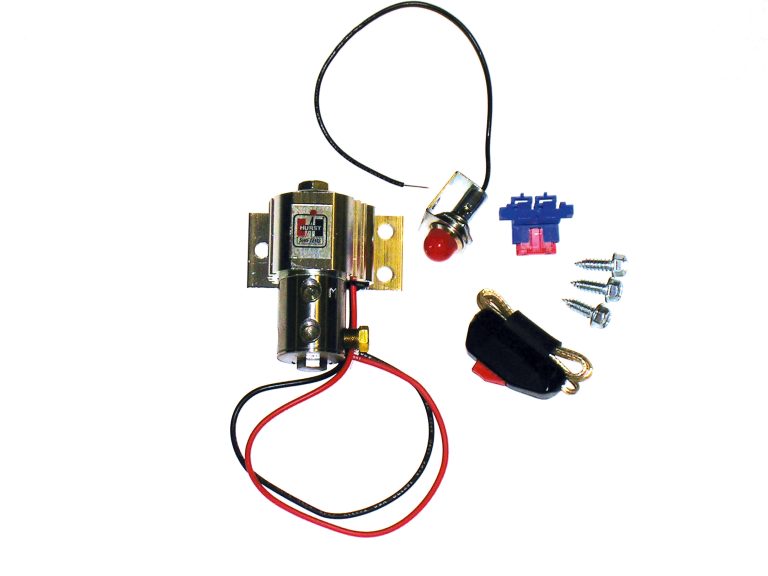
Let’s take a look at how the Line/Loc, roll control, stage lock or similar devices operate. Functionally, a roll control consists of an electric valve that is plumbed into the front feed for the two front brake lines. It is a micro-switch that operates the system and a red “on” warning lamp, and the system is engaged only when the engagement button is depressed (and there is front brake line pressure). The most common application for such a device is, of course, drag racing, where the roll control is used during burnouts and staging. In operation, the brake pedal is pumped several times to provide line pressure and to engage the brakes, and the roll control button is depressed and held. The brake pedal is then released. Pressure is maintained to the front brakes only, and for as long as the button is depressed, even though the brake pedal is released. Rear brake line pressure is released when the brake pedal is released, as the rear brake line system is not plumbed into the roll control line circuit. The result is a pair of locked front wheels, which enables the car either to perform a burnout or to inch ever so slowly (and smoothly) into the dragstrip pre-stage and staging beams. A cockpit-mounted warning lamp glows when the roll control is in operation, and for as long as the button is depressed with your finger. When the burnout is complete, or when the Christmas Tree lights up and the button is released, deactivating the circuit, the front brakes are released.
Although the installation of a Hurst Line/Loc is a relatively simple task, it is something you should look at carefully. A botched installation of something so small, yet so significant, could have a critical effect on your success at the track, and that’s the point of this story. Brakes are critical components, both on and off the street, and so are the electricals. Also important is a proper burnout and a smooth staging approach at the dragstrip. The right method of installing a roll control is the very first step in a smooth staging procedure, and here’s how it’s done.
VALVE INSTALLATION
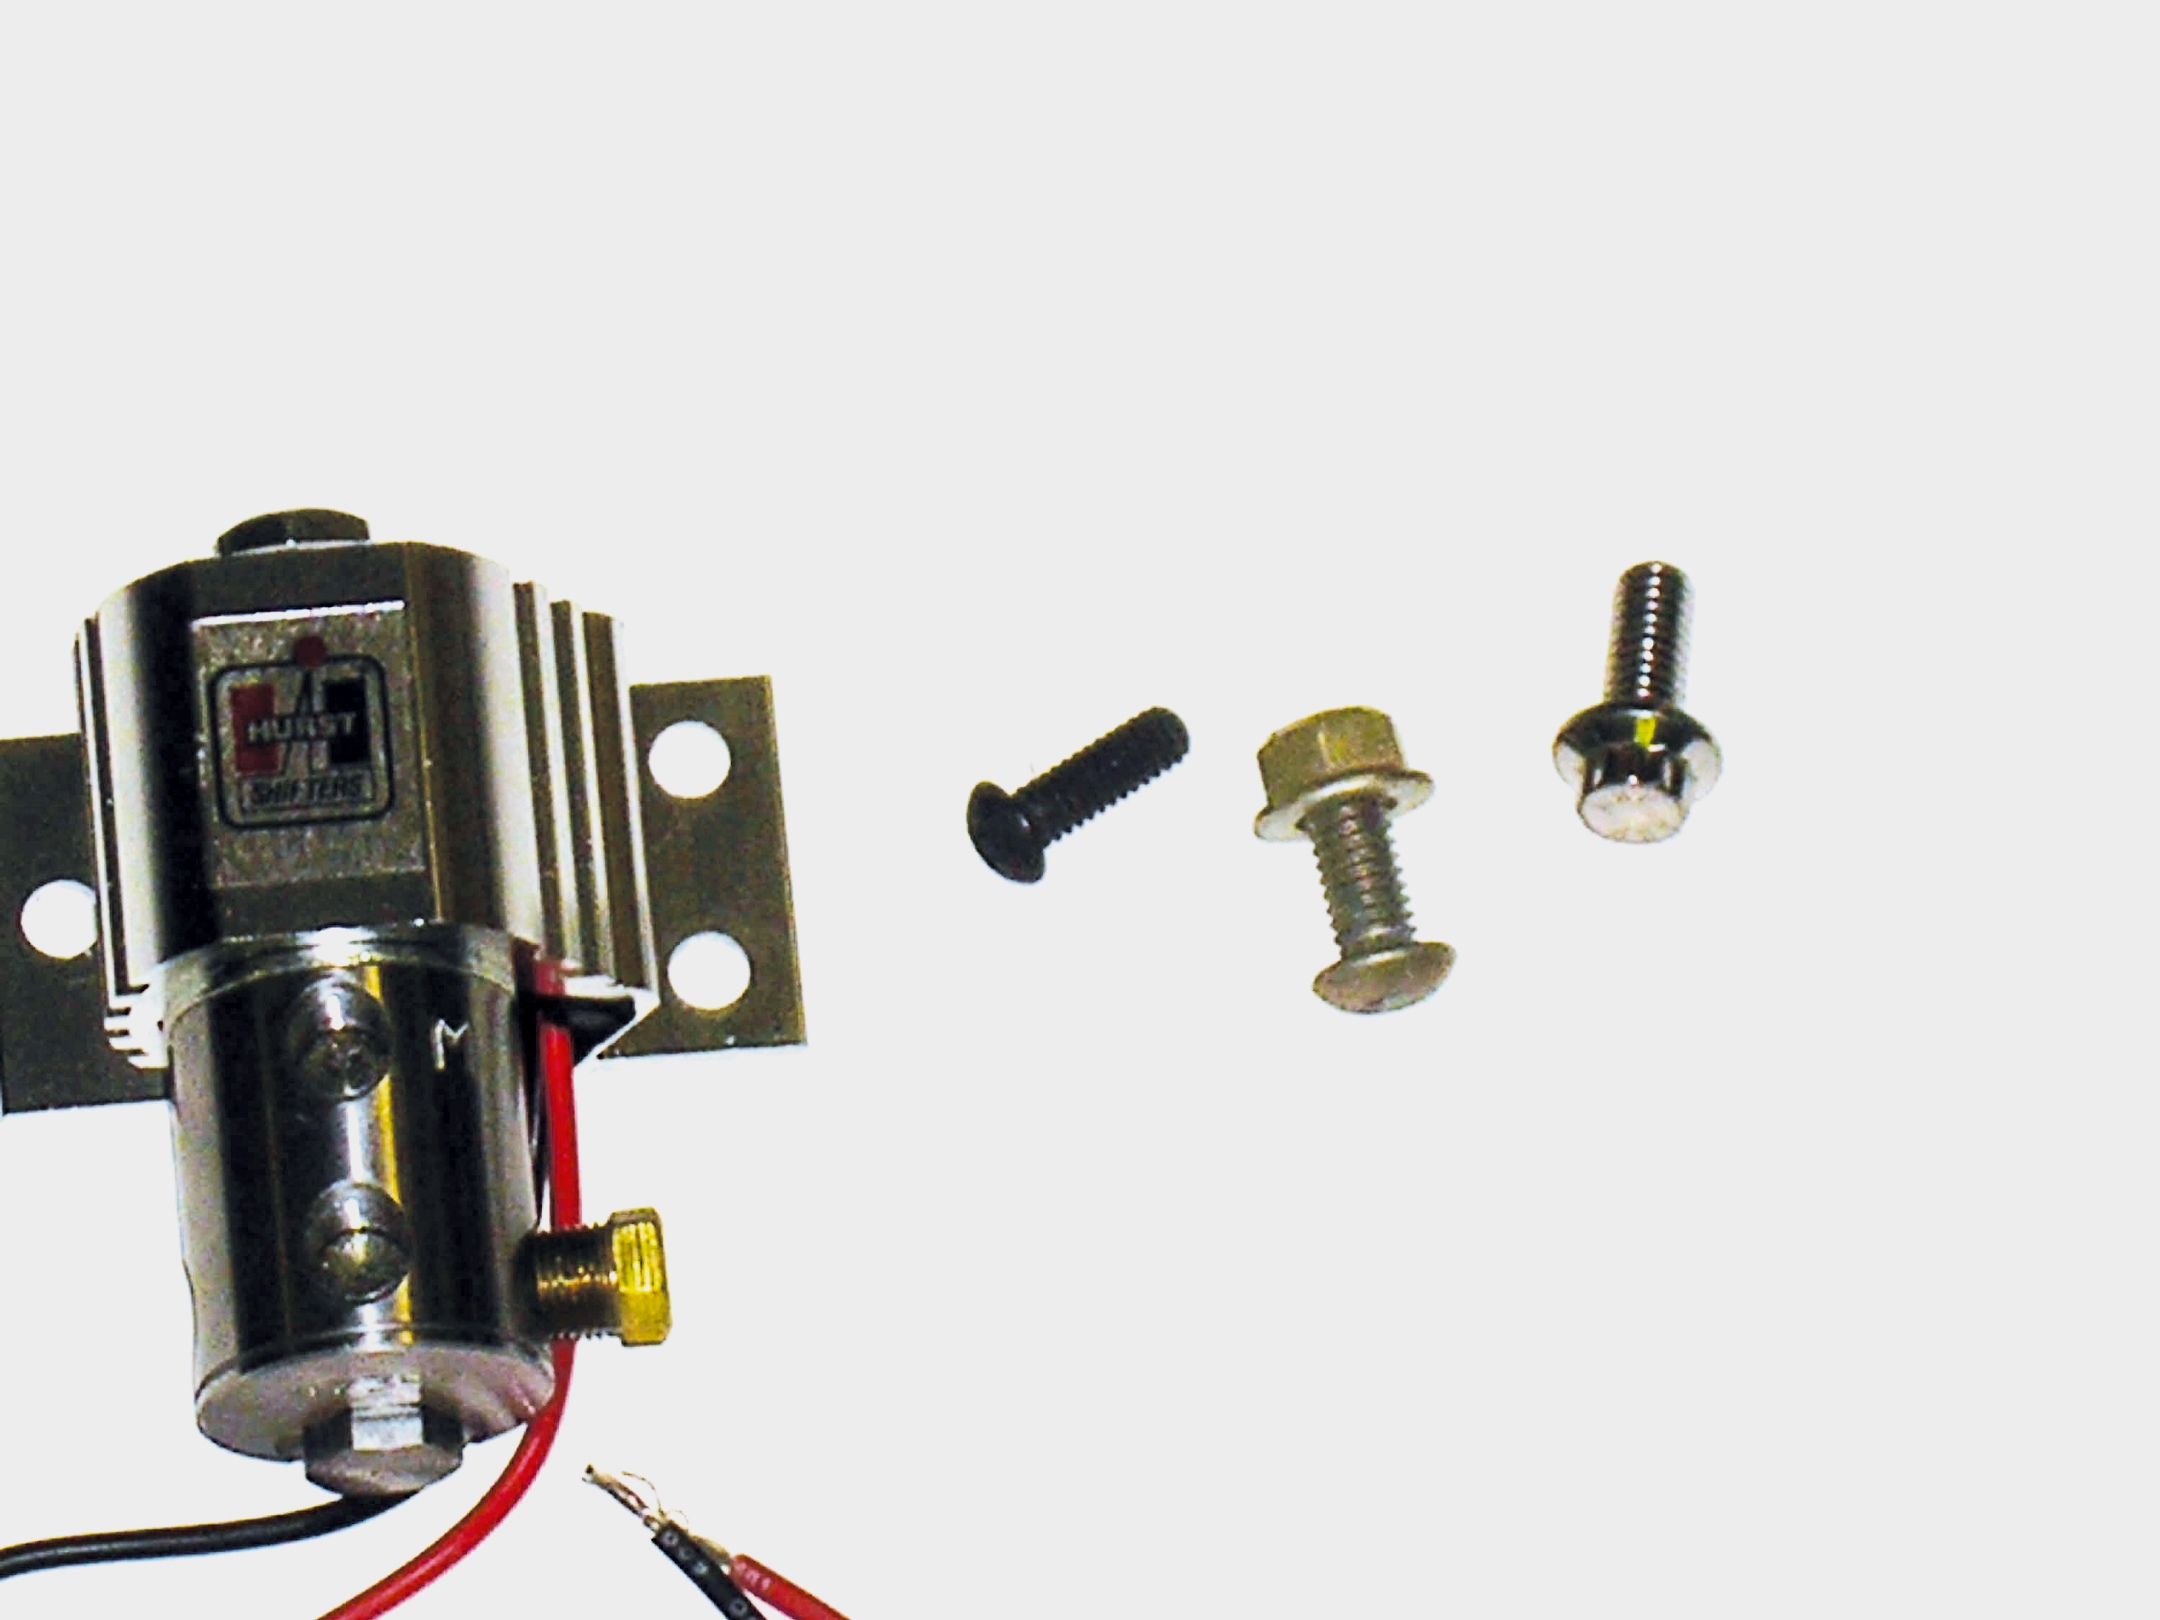
The first task is to mount the valve somewhere in the engine compartment. Virtually all contemporary Chevy passenger cars hang the master cylinder on the firewall–or under the floor in the case of a purpose-built drag car or a street rod. Because of this, you should select a location that is relatively close to the master cylinder. This makes the actual plumbing less complex. A common location is on the driver’s-side inner fenderwell. When mounting the valve, you can use large sheetmetal screws, but an alternative plan is to use small bolts for mounting, with locking nuts on the backside.
When it comes to plumbing, there isn’t one standard method of hooking up the system. Detroit fitted countless variations of brake systems in passenger cars, and because of this, there are numerous ways to plumb the valve. The diagrams included with Hurst’s roll control systems detail the plumbing requirements for most common master cylinder arrangements. Follow them carefully. Because several of the lines will require replacement or rebending, a flaring tool and a quality tubing bender will be required. Of course, there are some alternate options available that can circumvent the cut-and-paste routine. For example, Hurst sells a comprehensive kit engineered just for this task (see the accompanying parts list). Essentially, this kit includes 14 of the most common fittings (brass plugs, flare unions, tees, etc.) that you’ll encounter when splicing a roll control into your Chevy’s front brake system. It also includes a 12-inch section of pre-flared (with male fittings installed) 3/16-inch steel brake line, along with two sections of similar 20-inch-long steel line. Keep in mind that you will still have to bend the line, but it definitely makes the task much easier.
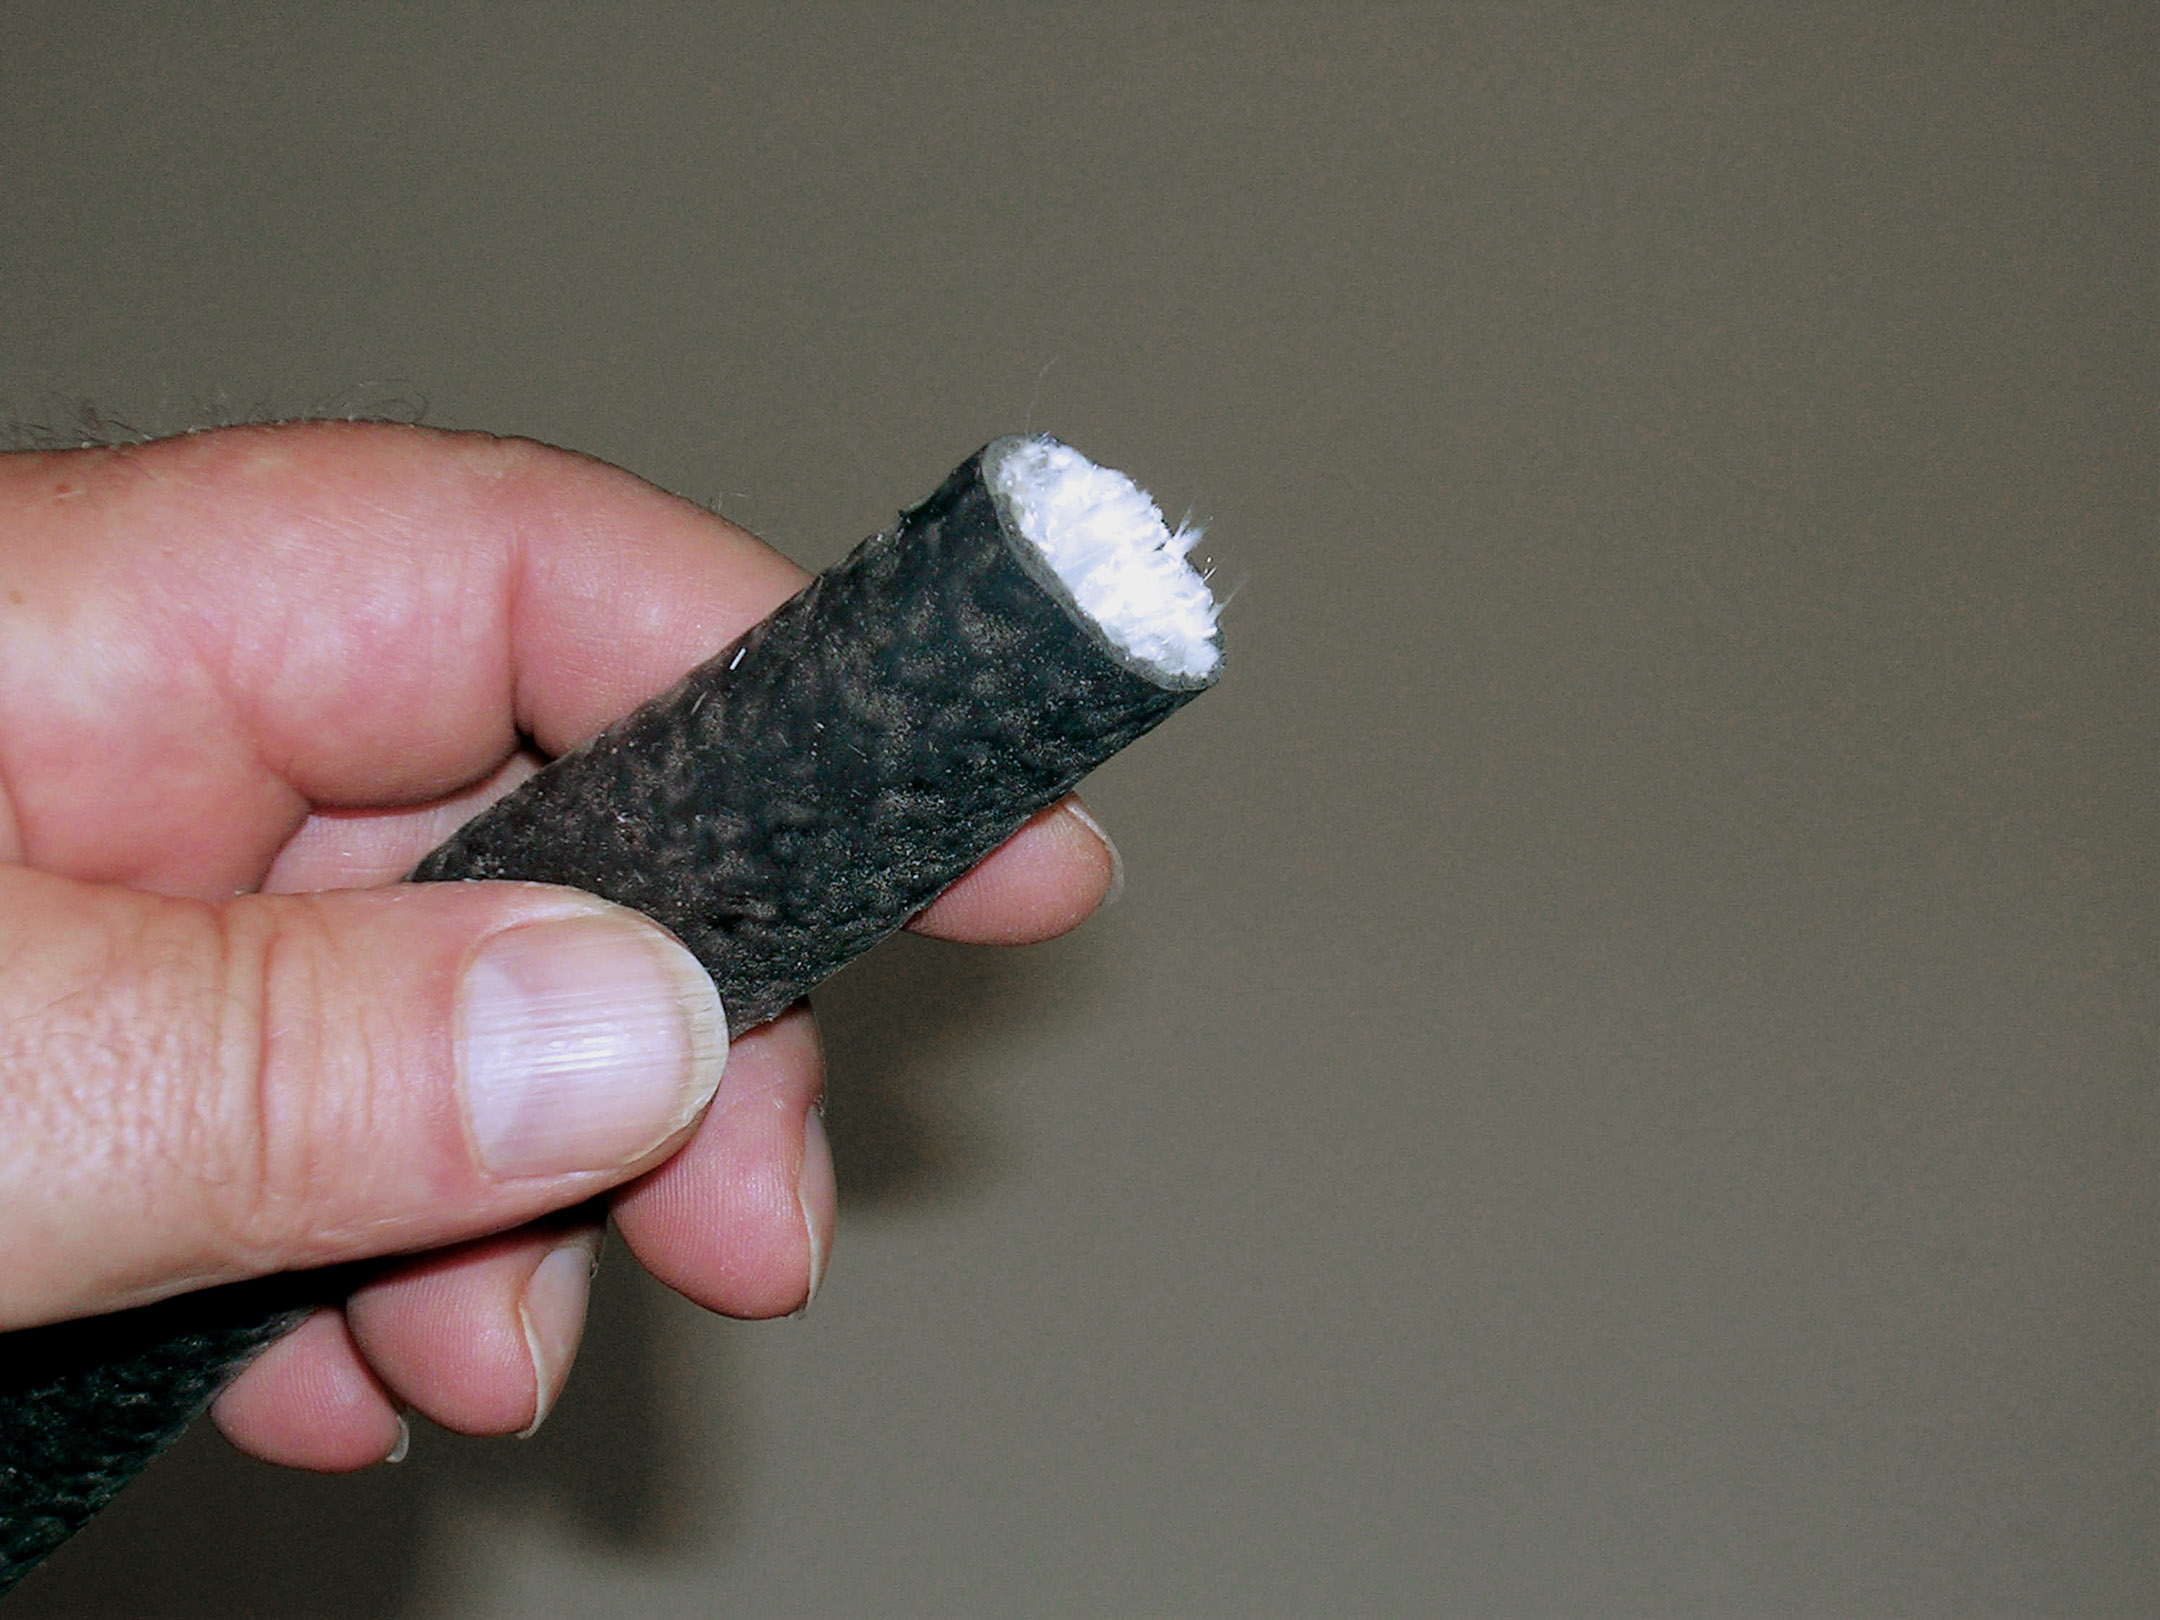
If you are hand building your own line, be sure to use steel or stainless tubing that is designed specifically for brake use. All hard lines must be of the seamless configuration, and if you plan on routing your own line, it should be bent with proper equipment.
One final note with regard to plumbing a roll control: Most units are machined for use with pipe-thread ends. In other words, they are not designed for use with AN fittings. Thread adapters may be required, and when installing the adapters or any fittings, some form of thread sealant must be carefully applied. Just be sure that none of the sealant gets inside and contaminates the lines or the roll control valve.
ELECTRONICS
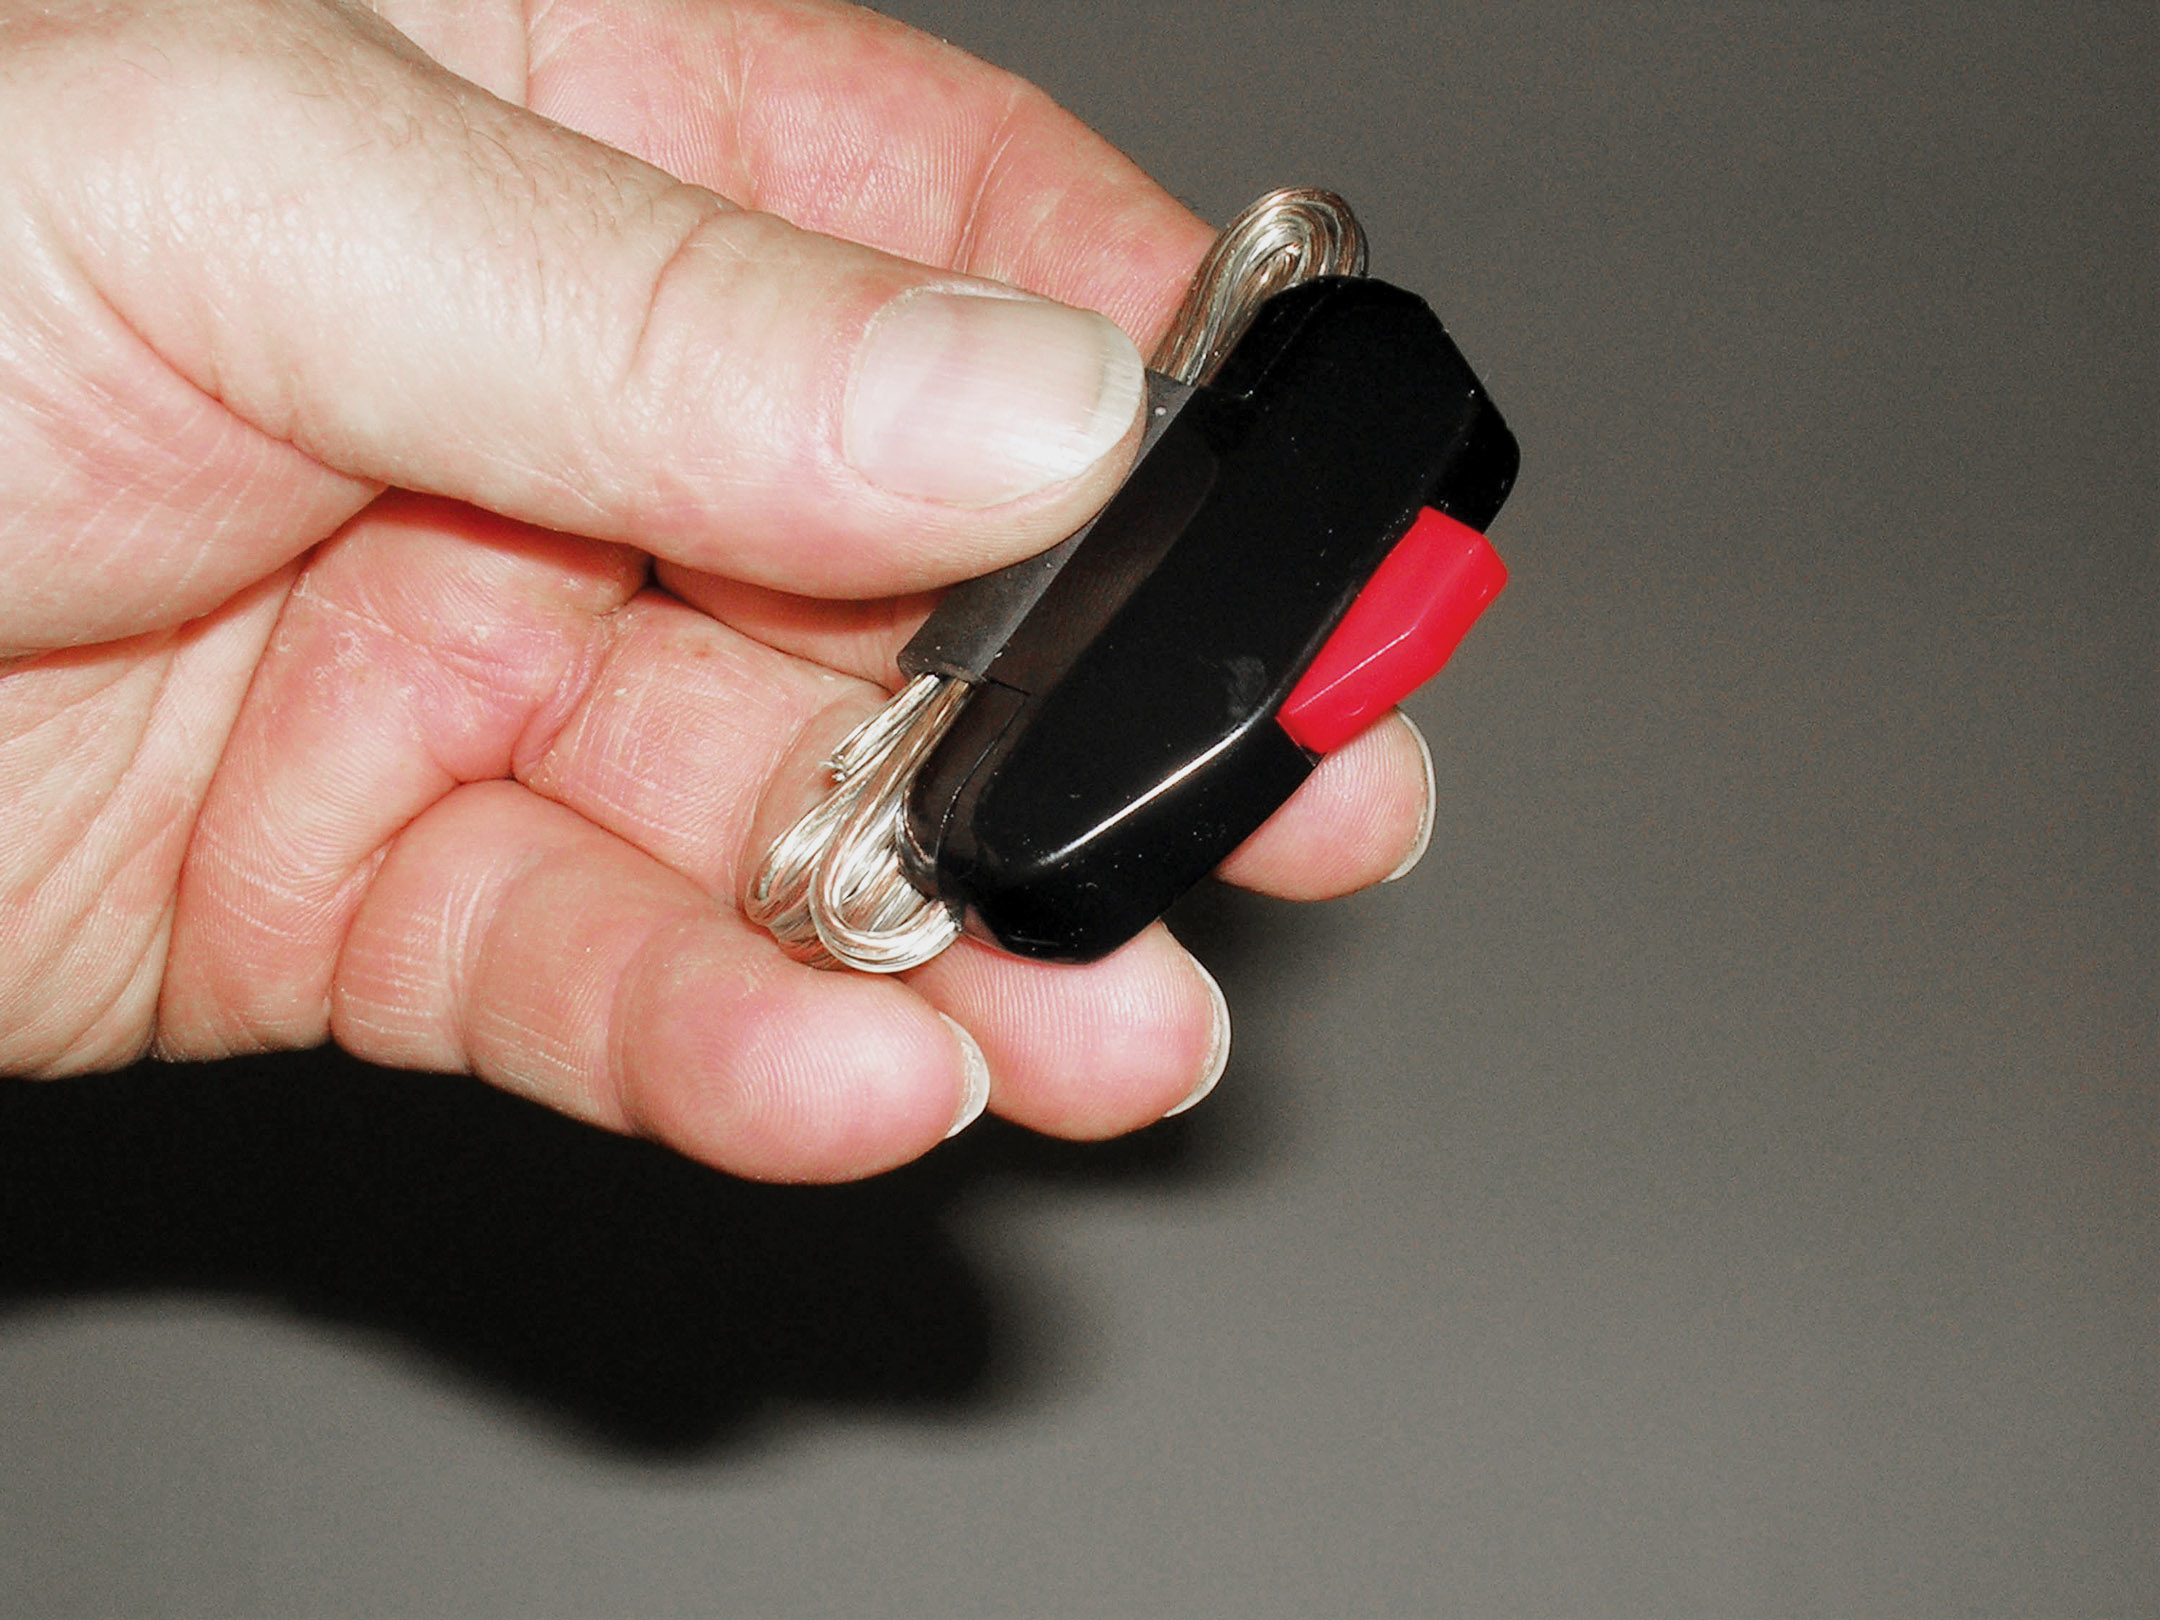
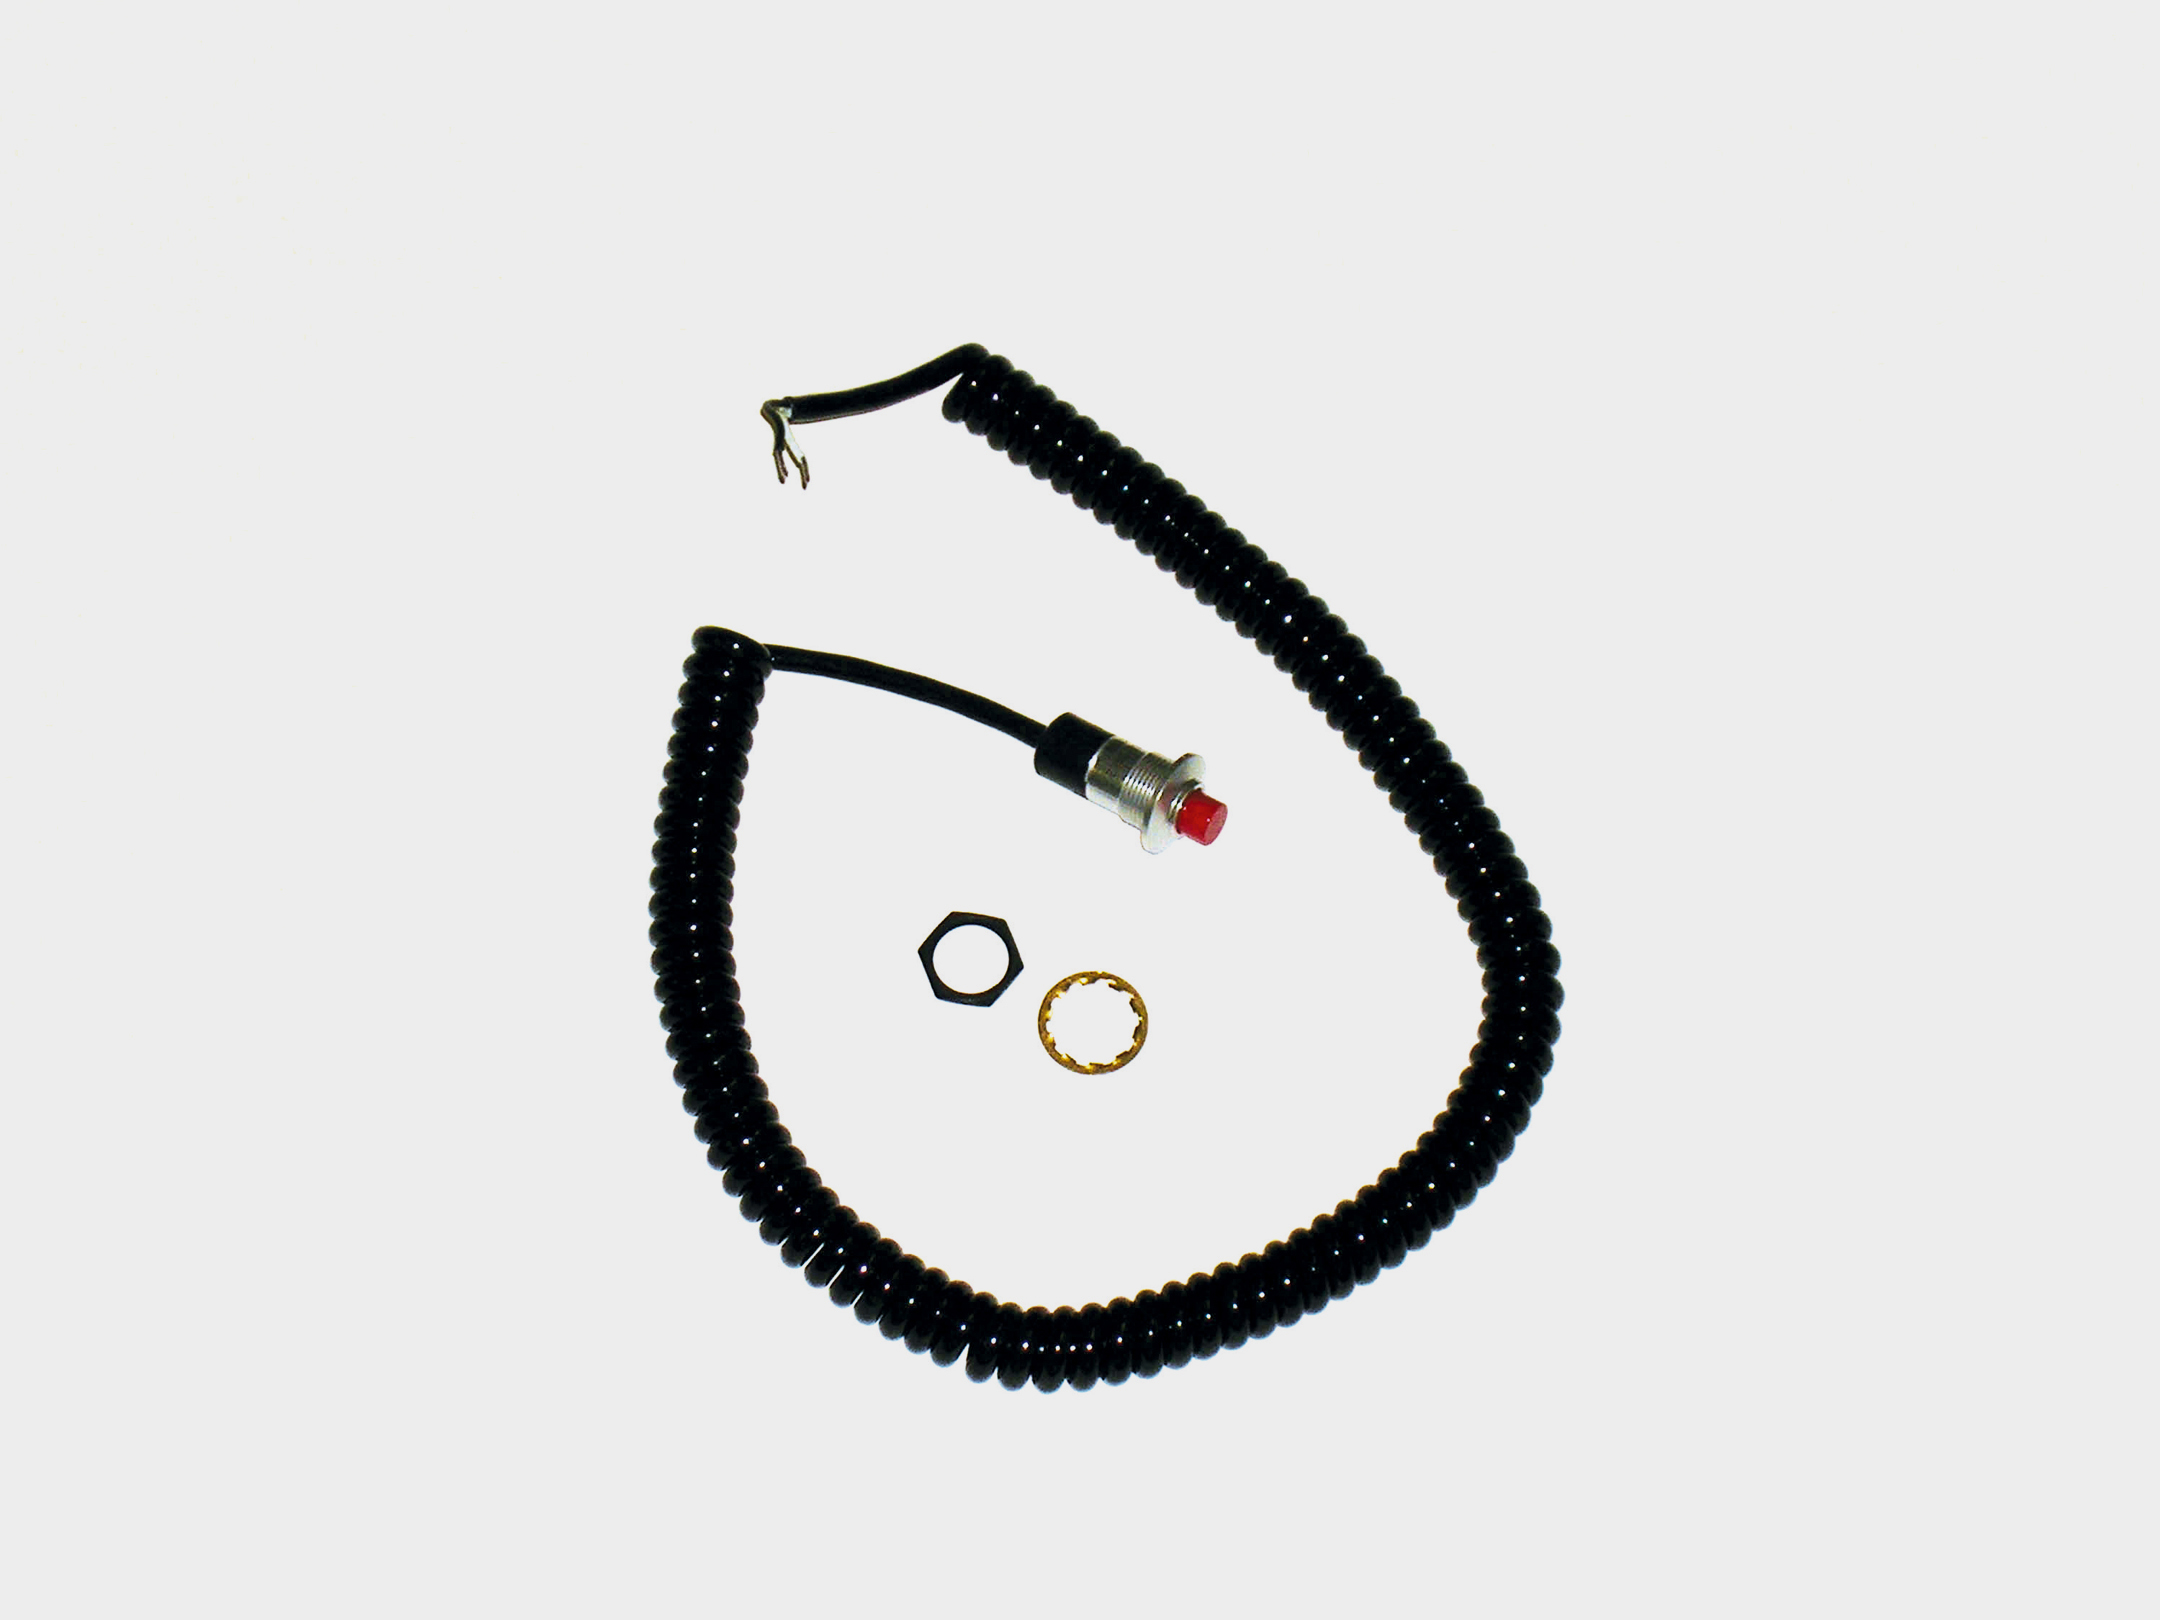
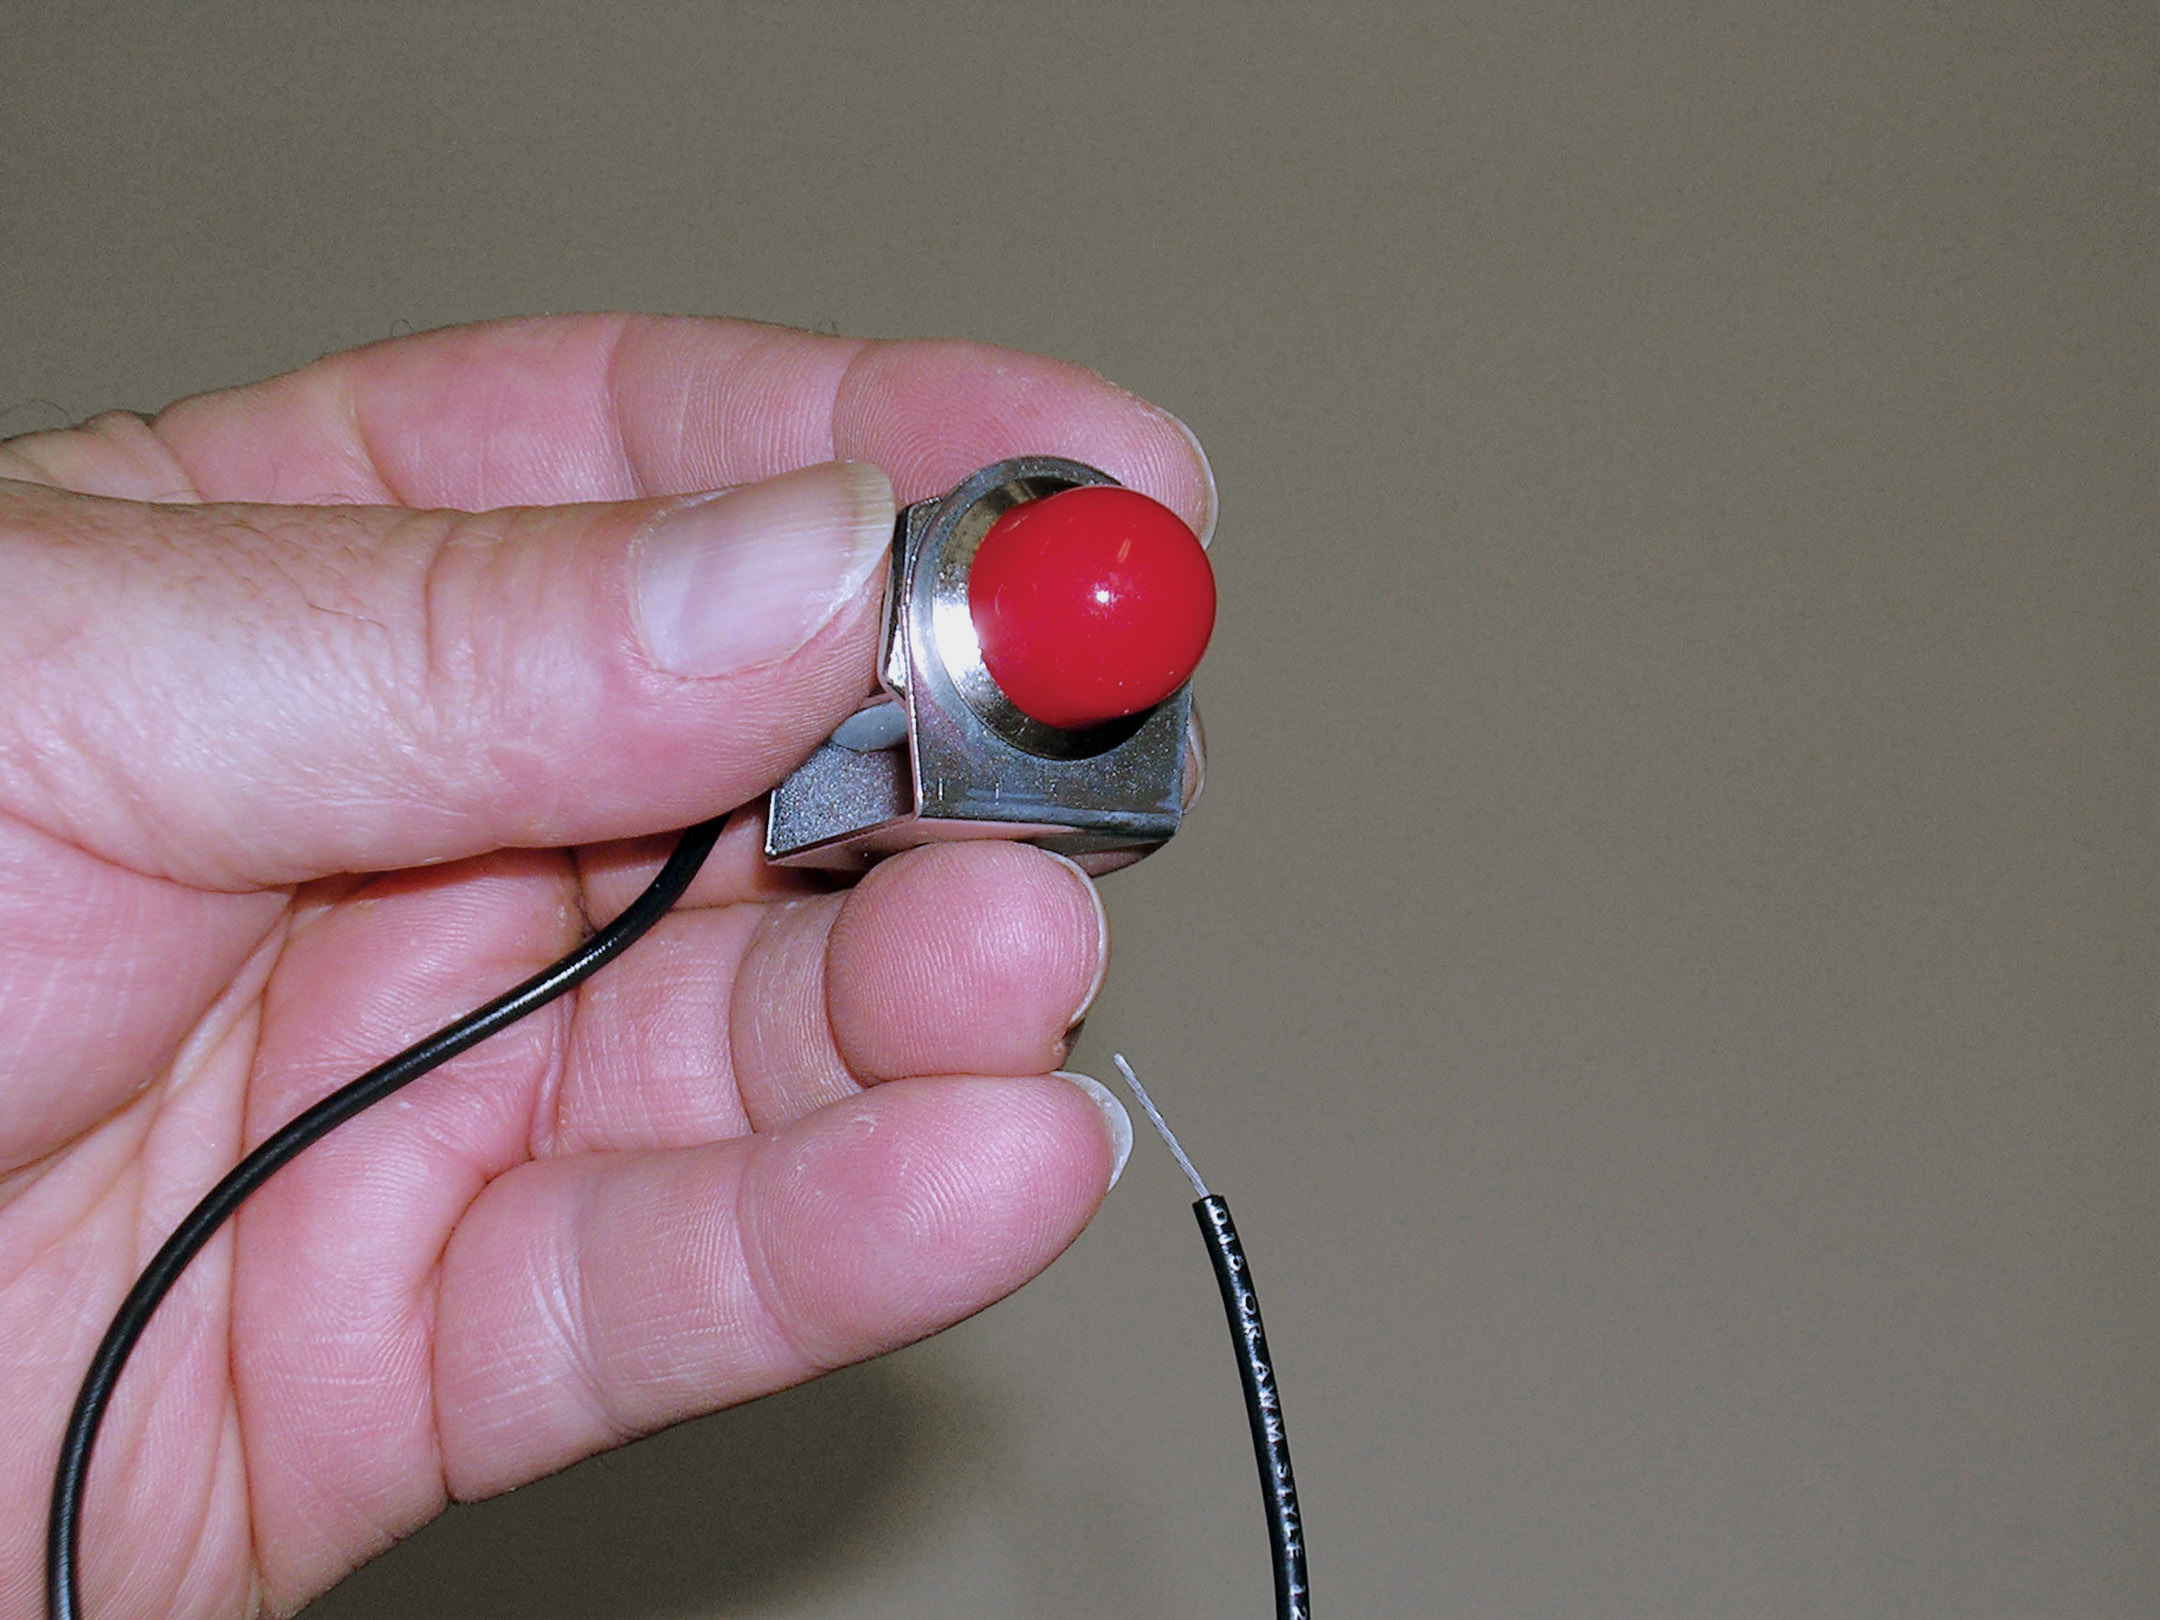
What about the electronics? The electrical hookup is simple enough: Slip the micro-switch over your shifter handle and hook up the pair of wires (one to the control unit and one to a power source). It might appear super simple, but that doesn’t mean you can do a quick and dirty installation. Hurst roll control assemblies have a pair of clearcoated wires that originate in the micro-switch (one of these clear wires has a copper-colored inner wire, while the other is silver). It doesn’t matter which wire is “hot” or which one goes to the roll control assembly. The switch will work in either case; however, you should make a decision as to the orientation of the wires. It’s not a bad idea to use a sleeve to protect the pair of switch wires (ignition wire sleeve such as that offered by Mallory or Accel works great). In most cases, the wires will run down the shifter handle, beside the shift linkage and then under the carpet. Use the sleeve to protect against moving parts, abrasion and the elements. The last thing you need is a hidden short in the system.
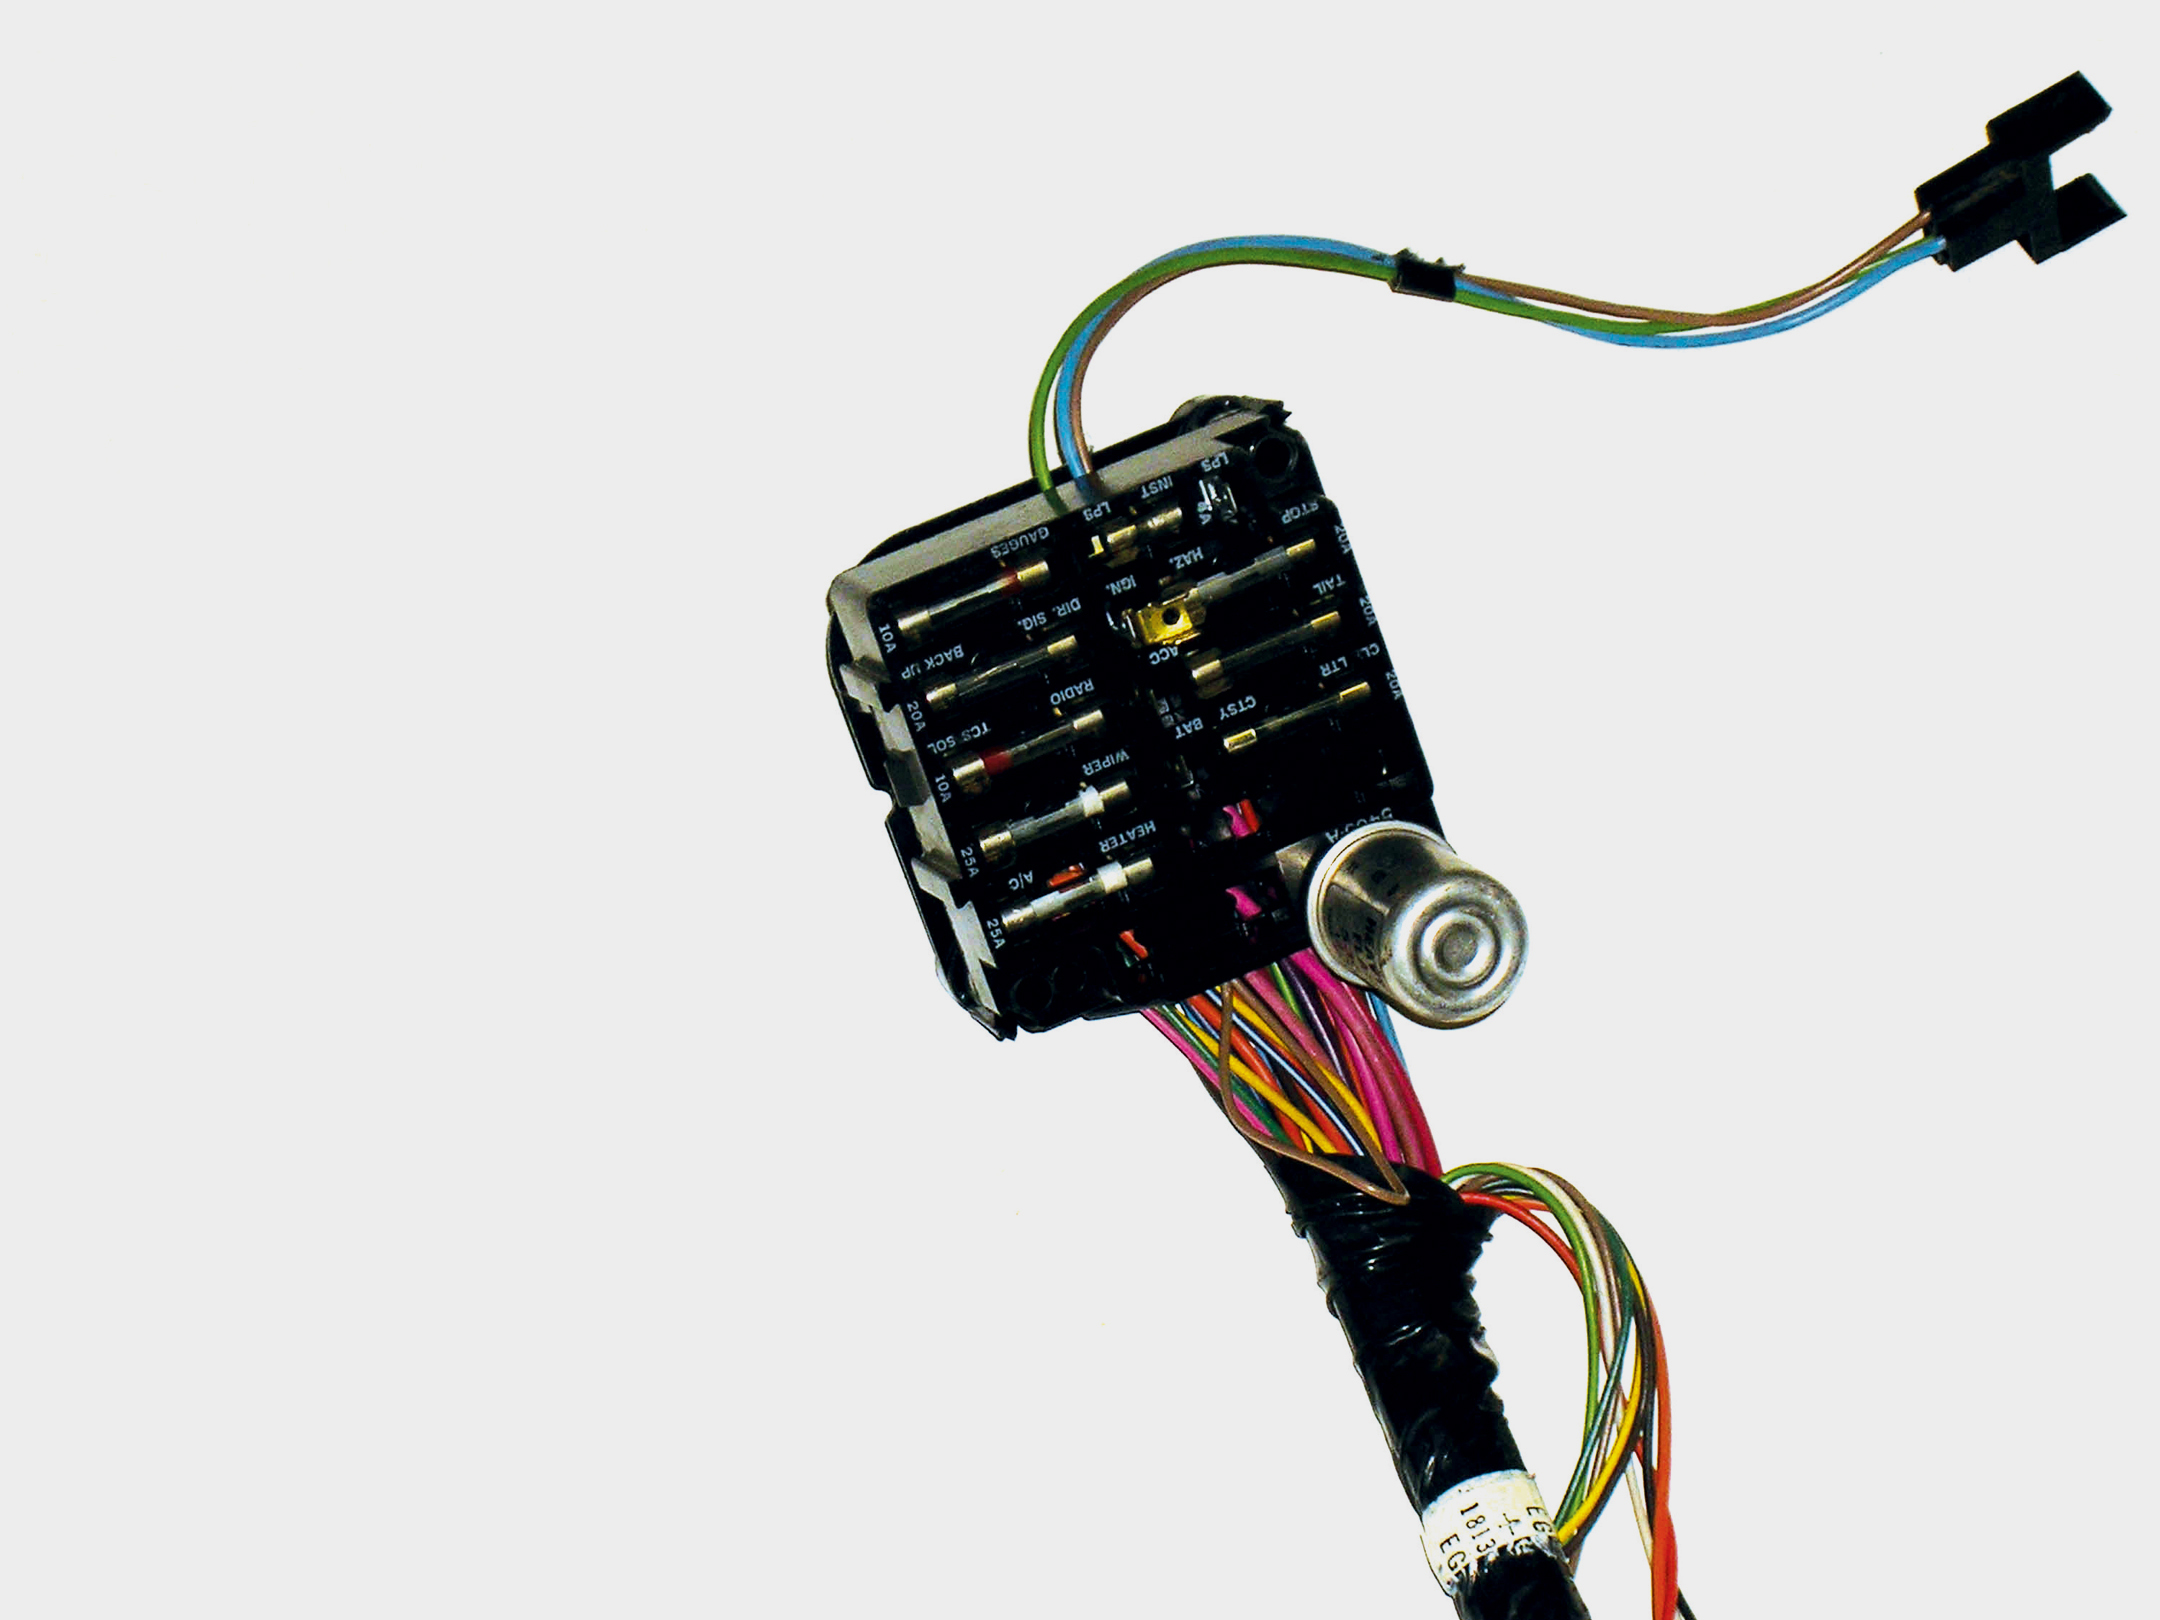
While an inline fuse assembly is included in the kit to get power to the roll control, you might want to consider wiring the assembly directly into the fuse panel. It’s unfortunate, but it’s all too common to find electricals finished with a bare wire jammed behind an already-used fuse in the panel. This isn’t necessary. Many factory Chevrolet fuse panels already have provisions for such accessory installations. Virtually all ’60s, ’70s and later fuse panels will have a readily marked spare “LPS” terminal, a “BATT” terminal and an “ACC” terminal. These locations almost always feature a male spare terminal that will allow you to simply clip on a wire and have immediate power for the component, offering fully fused protection without the need of an inline fuse.
Which terminal do you use for the roll control? In a vintage Chevy, the “LPS” terminal stands for “lamps.” In other words, if something is turned on with the headlamps, it will come on when hooked to the “LPS” terminal. Obviously, this is not appropriate for a roll control. The “BATT” terminal works full time. If a component is switched, and you may require it to work without the engine running (or the ignition key turned to “on”), then hook it to this terminal. A good example is the roll control, as it has a separate “on-off” switch. For some reason, if you wish to apply the front brakes when the car is not running, this terminal location has that capability. The last available terminal is the “ACC” lead. This abbreviation stands for “accessory.” As expected, it functions when the ignition switch is clicked to “ACC” or “on,” or when the vehicle is running. This terminal can also be used for the roll control installation.
LIGHTS, ACTION…
A red “on” indicator lamp is included with the system. Lamp wiring is equally simple–the lamp is spliced between the red wire on the roll control solenoid valve and the activation switch. Typically, the lamp is mounted on the dash or in a gauge panel where it can be spotted easily. Once wired, and whenever the system is engaged, the roll control light comes on. Finally, you should be certain that the ground is adequate. In some applications, the roll control valve is mounted to a metal inner fender. If that’s the case, the system is simply grounded directly to the fender using one of the roll control mounting bolts. If your car has a plastic inner fender, run the ground to the firewall or another grounded section of sheetmetal in the engine compartment. Just be certain that the ground connection is solid and clean.
There you have it: a simple but important piece of equipment that helps link the driver to the car. The roll control will allow for easy burnouts and can help make the staging process much less dramatic.


