


TEST AND TUNE
A stroll through the pits at the local 1/8-mile dragstrip is always fun for us, as you’re likely to see any number of cars that use a full-tube chassis, fiberglass body and monstrous slicks to click off consistent 5-second elapsed 1/8-mile times. However, it’s far more entertaining to see a stock-appearing car hit those same numbers, and that’s exactly what Greg Corbin’s ’98 Trans Am is capable of doing.
WHAT A CONCEPT
After recently purchasing a ’62 Thunderbird, it became obvious very quickly that the car needed a new engine. Our plan was to turn the car into a daily driver, and so, as long as we needed a new engine, we figured we’d add air conditioning to the car while we were at it. And if you really know your Ford history, you also know that the ’62 was the last model T-bird to come with a generator rather than an alternator—one more reason to consider an upgrade.
High Performance Rebuild
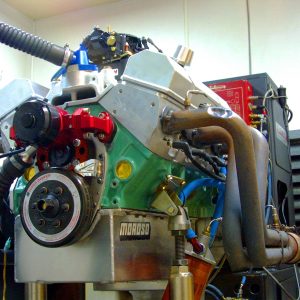
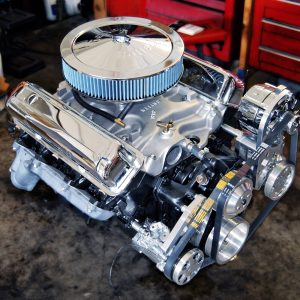
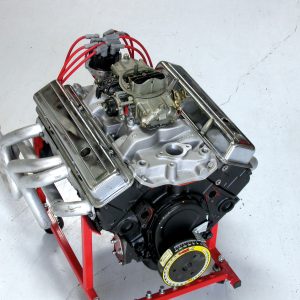
The small-block Chevy has enjoyed a long, happy life. Sure, the current LS1/LS6 version is quite far removed from the original, but thousands upon thousands of little mouse motors continue to provide the sole means of motivation to everything from stationary irrigation pumps to Le Mans-winning C5R Corvettes. Naturally, this list also includes all manner of boulevard bruisers, street stompers and resto rockets. Heck, we’ve even seen little Chevys under the hood of “Brand X” machinery. The continued popularity of the small-block Chevy is not surprising. Take a look at the combination of power potential and parts availability and multiply that by the cost quotient, and you have the makings of a real success story. Add to this equation the millions of project motors just sitting around junkyards throughout the world, and it is easy to see why enthusiasts continue to embrace the mighty mouse motor as the performance powerplant of choice.


