
How to Install Floor Pans the Modern Way
If you live in the Rust Belt, we don’t even have to discuss rust—you already know it well. In fact, rust is so prevalent in some states that repairing and replacing rusted-out sheetmetal has become an art form.
Having grown up in Northeastern Pennsylvania, rust was commonplace and we just dealt with it. Here in Southern California, we are so jaded that we actually pass on cars with anything more than slight surface rust; although occasionally, we have to deal with it, too.

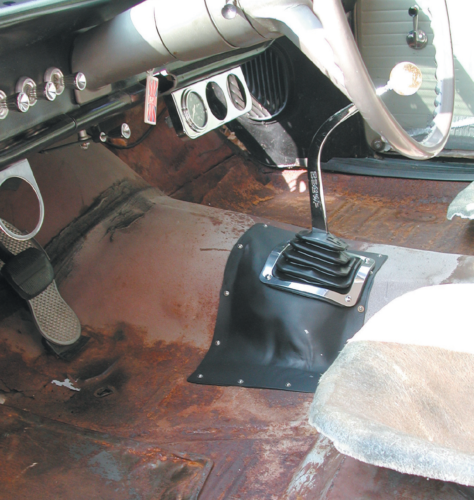
One of the most common places for rust holes to occur is in the floor pan. This is mainly due to poor sealing around windows, but in our case, a vinyl floormat held moisture between it and the floor pans for 40 years. We were horrified when we pulled out the floormat on this car. The entire floor was weakened and needed to be replaced. Even the transmission tunnel had terminal rust—and this was a Southern California car! Makes you wonder what Minnesotans have to deal with.
There are several ways to install floor pans. Some methods are better than others are, especially if the vehicle is considered rare and valuable. Then its repair requires the best possible methods. If the wrong shop installs the floor pan in the wrong manner, it can really hurt the value of your Chevy—particularly if it’s, say, a ZL-1 Camaro. Therefore, if the floor pan has to be redone, do it the right way.

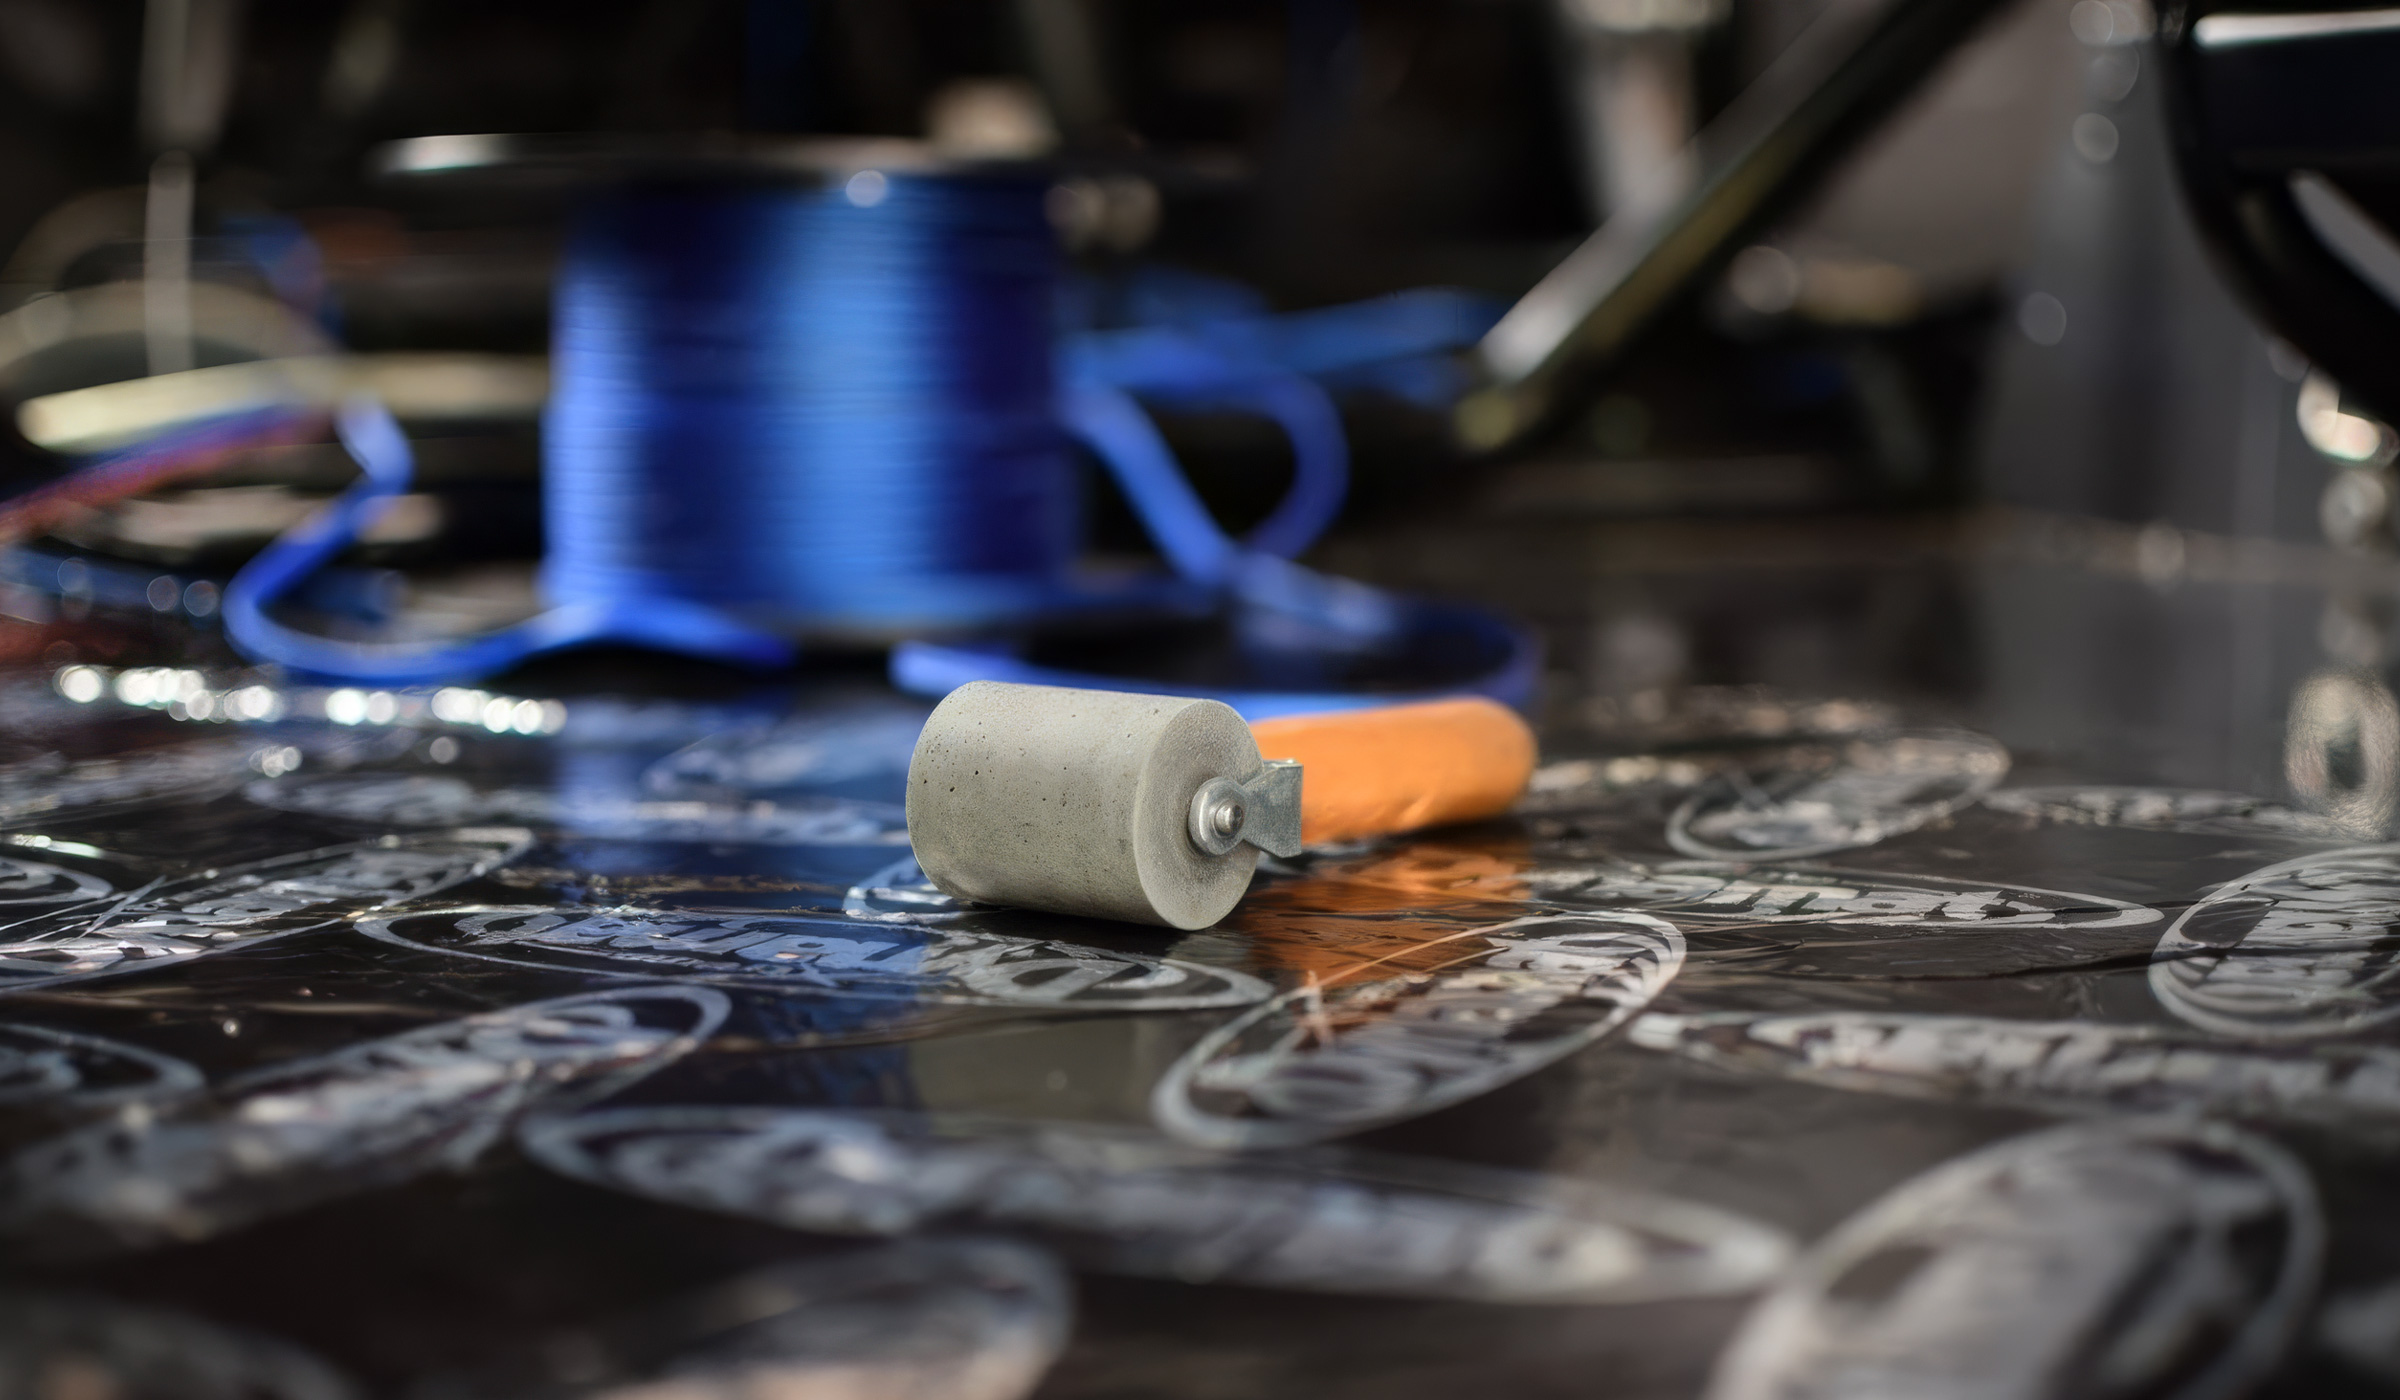
So let’s get into the right way. Some enthusiasts say the best method is to butt-weld the panels their entire length, using a TIG welder; others say that a MIG welder can do a good job, and it’s overkill to weld every inch. They may also claim that 3-inch welds placed every few inches are more than enough. Some builders sandwich the new floor pan over parts of the old, tack them together and cover them with seam sealer. Others guys try to duplicate the factory spot welds. As you can see, “the right way” depends on whom you talk to.
We set out to find a method that we could recommend to readers, one that would work well, be affordable and allow owners to do as much of the work as possible on their own (if t,hy’re so inclined) What we came up with might prove controversial, but we like controversy. We decided that since our ’63 283 V-8, three-speed-on-the-column Biscayne would never be very valuable anyway, it would make the perfect guinea pig to try a more modern method of installing floor pans.

Here’s how it all went down. We delivered our new Classic Industries floor pans to Foreign Motors Body Shop in Temple City, California. Shop owners Dennis Rummens and Ryan Roset have at least 50 years of combined experience doing bodywork. They suggested that the design of the floor pans made them excellent candidates to be bonded into place using 3M’s Automix Panel Bonding Adhesive.
What do we know from adhesives? We were very skeptical, but watched intently as they showed us how to install a quarter panel on a Honda S2000 roadster using the Automix adhesive (PN 08115). There are many benefits. The bond is clean, strong and permanent. It is also waterproof, easy to sand, and fully cures in 24 hours. In fact, the bond is so strong that the surrounding metal will tear away before the adhesive breaks. That’s all well and good, but since we are old-school thinkers, we still questioned whether we wanted to use this method on our ’63 Chevy.

Our new Classic Industries floor pans arrived as two separate pans that extend from the bottom of the toe panel to the front of the rear seat pans. Each has a flanged seam down its center that allows the pans to be locked together. They have a flat flange around their sides, and rear edges that sit on top of the body rails. Along the front edges, they have a flange that mates with the flange on the lower edge of the toe panels. It would take an enormous amount of welding to weld the entire edge of both floor pans, plus the seam down the middle of the two pans.
So we discussed using the Automix Panel Bonding Adhesive around the edges and down the center of the pans, and using a MIG welder to imitate the factory spot welds that connect the structural crossmembers to the floor pans. The edges would be covered with seam sealer after bonding anyway, so who would know our method was a bit unorthodox? Besides, the adhesive would provide a waterproof seam underneath that could be sanded and painted. And finally, the bonded seam down the center would be incredibly strong. It would require only sanding and a quick coat of plastic filler, primer and paint to hide it completely. What sealed the deal was the fact that it would cost $500-$800 less to do it this way, compared to welding the panels completely. That was enough incentive to get to work.
Now, imagine we’re putting these same floor pans in an ultra-rare Z11 Impala. Most of the same steps would still be used. The only changes would be to drill out the spot welds in the original floor pans at the toe panel flanges, and then imitate spot welds along the new flanges. This step would be next to impossible to do with the drivetrain still in the car, so you would need to plan this in advance. (Then again, if you were doing a Z11 the right way, it would be a body-off restoration, so that may be a moot point.)

Next, we would imitate factory spot welds all the way around the edges of both floor pans. Finally, we would either TIG-weld the flanged seam in the center or replace the entire flanged area with a new piece of the same gauge steel. We would TIG-weld it down its entire length, so it could be finished on both sides to look like the floor pans were never replaced. It would be a lot more work, but on a Z11, it’s probably worth it. On a ’63 Biscayne, you be the judge. We’re incredibly happy with the results, and not one person has been able to tell what we’ve done.
No matter what, installing floor pans is a big job, but you can do it in your backyard or home garage. All it takes is a little planning, patience and a willingness to get the job done. This article shows how anyone can do it with simple tools and hard work. Even if you can’t weld, we’re going to show you how to get your floor pans set into place and ready for the welder to finish. By doing these steps yourself, you’ll save a lot of money. You’ll end up with new floor pans and a tremendous sense of accomplishment.
This job took one experienced bodyman three eight-hour days to complete (using air tools). If you don’t have access to a compressor and air tools, it will take longer, but you can do it anyway. If it takes you four or five weekends, that’s fine, since you are on your own time card. Installing floor pans on other model Chevys would be very similar, so if you have been planning this repair for some time, get out the saw and get ready to replace the floor pan on your own Chevy.
Article Sources
Classic Industries
800/854-1280
18460 Gothard St. Huntington Beach, CA 92648-1229