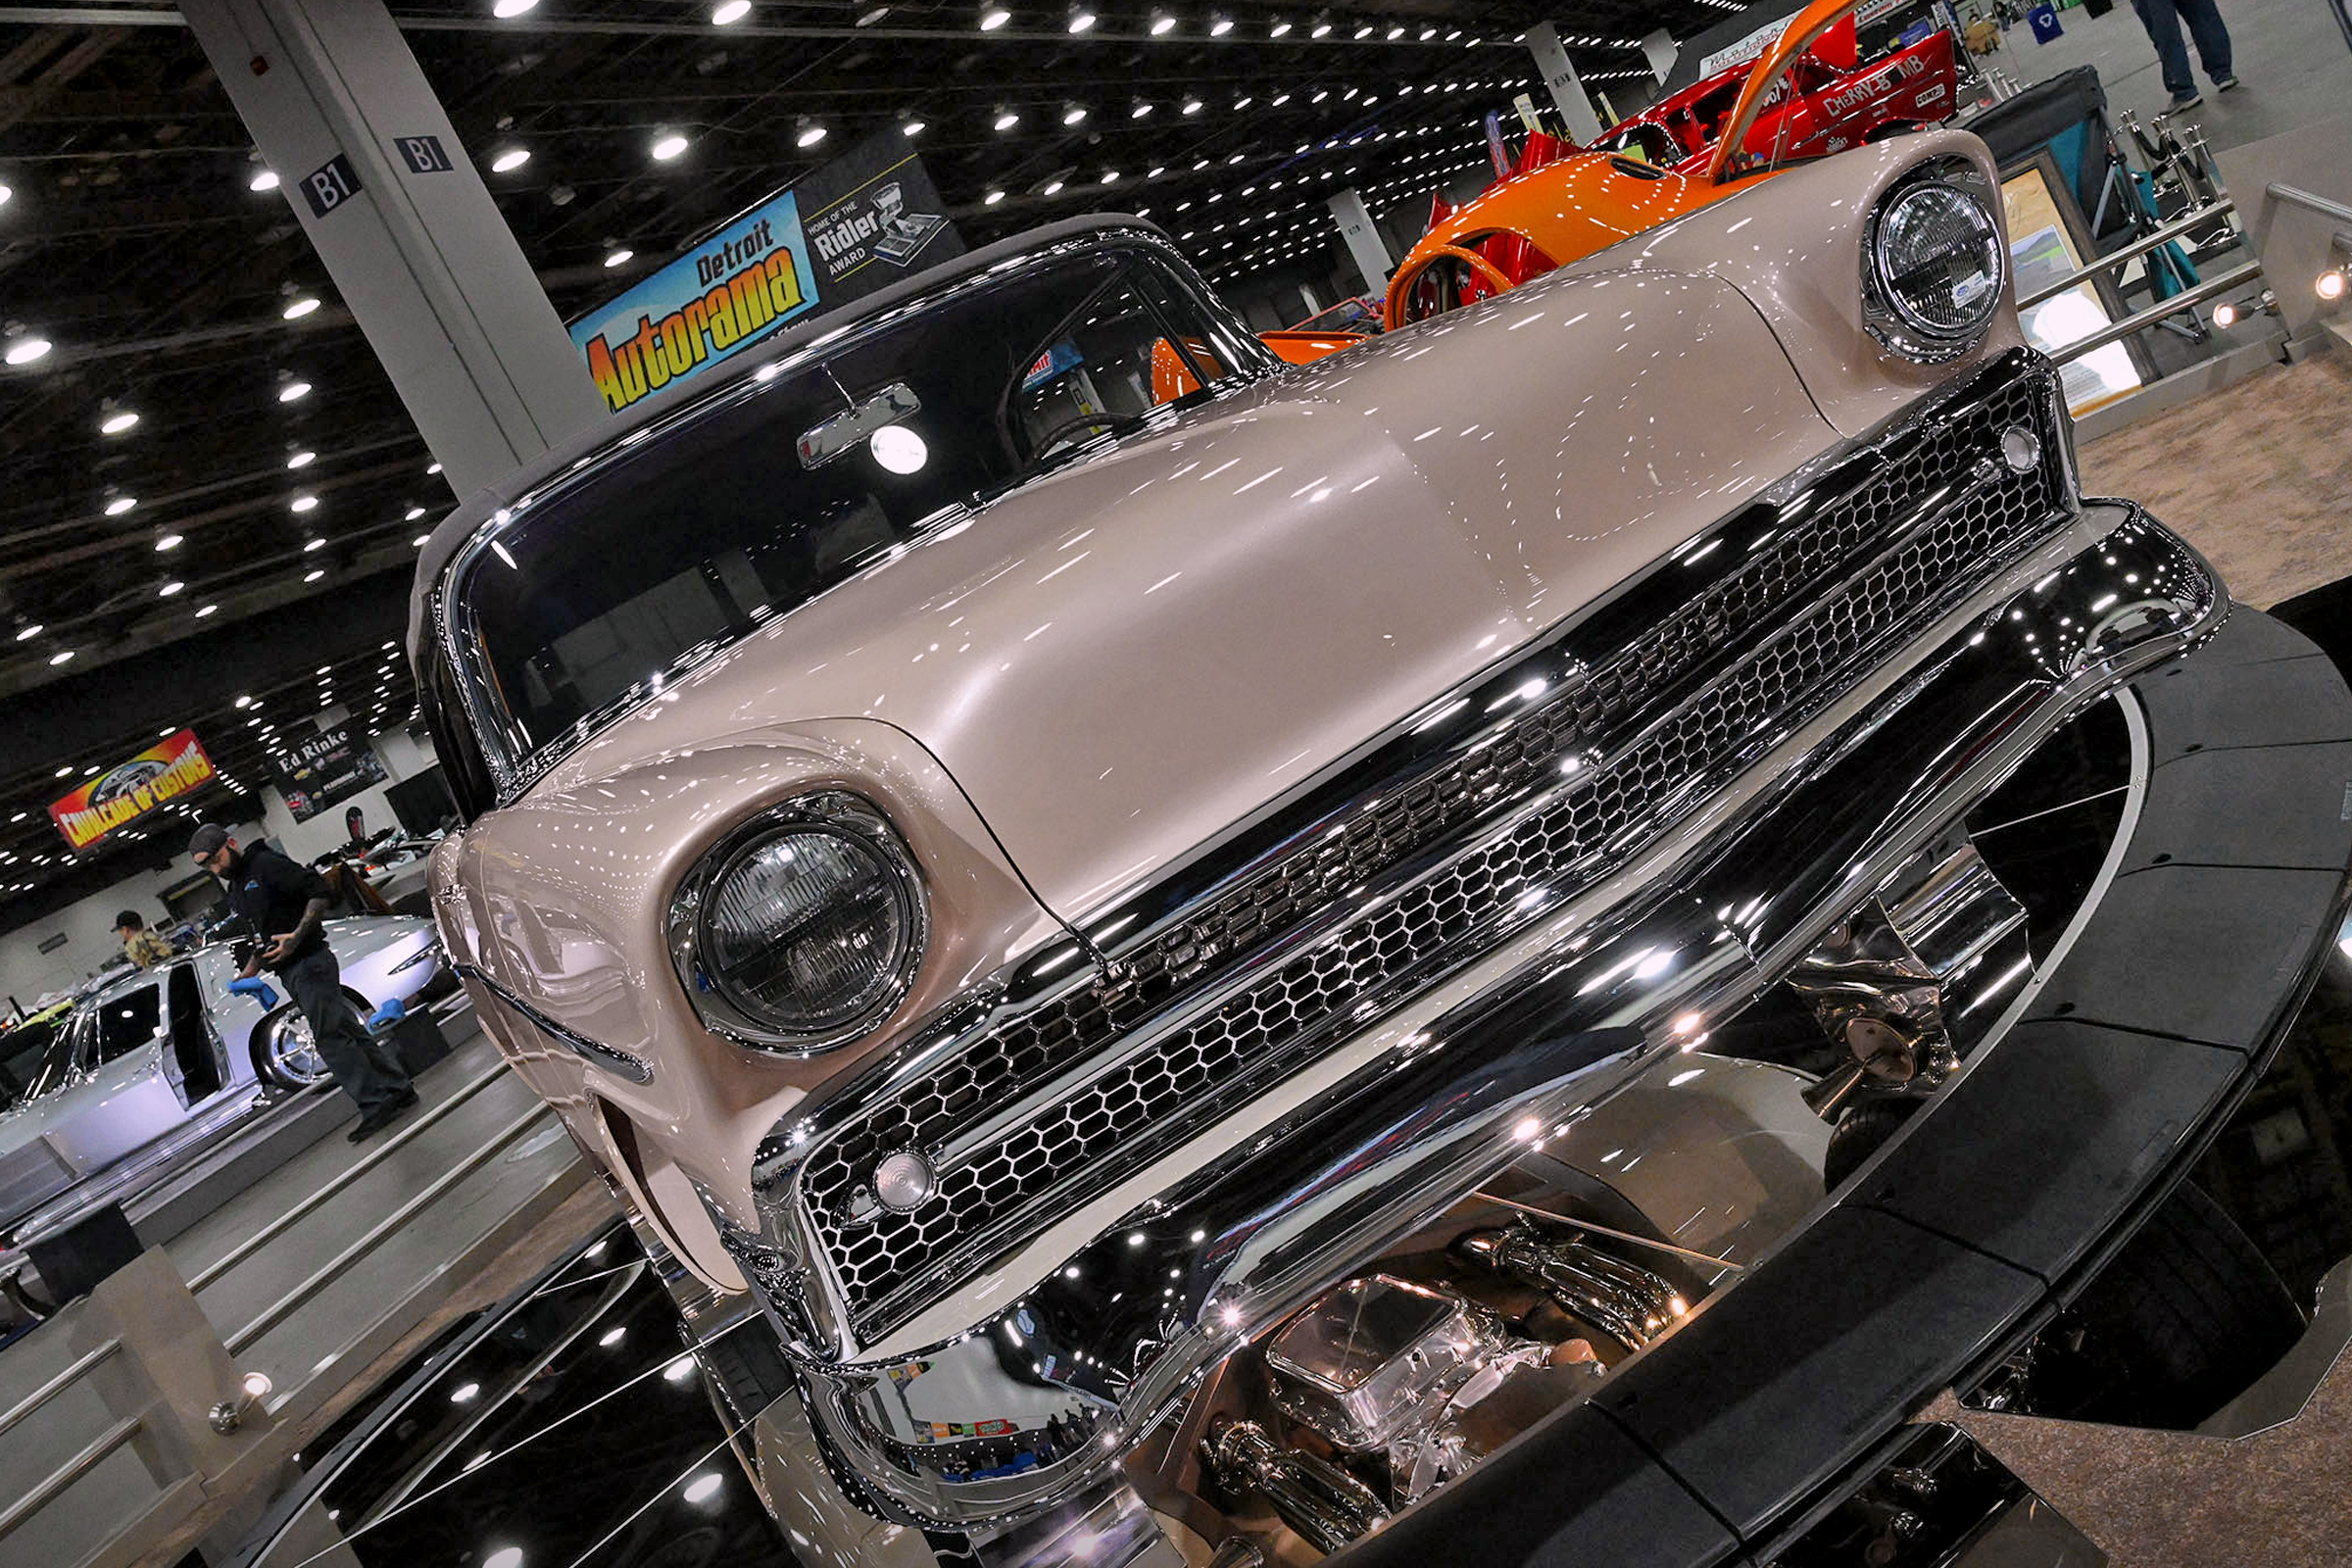
Performance Air Suspension Impacts the ’64-’70 Mustang
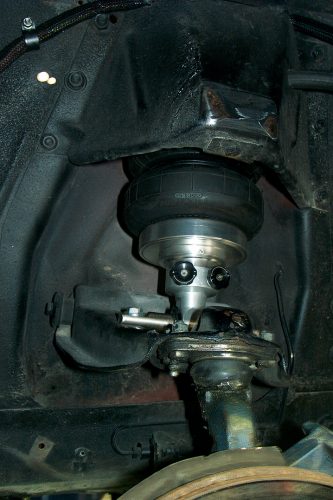
The stock front suspension uses a steel coil spring and shock inside—similar to the ShockWave that will replace it but much more crude.
As much as it rankles Blue Oval fans, the early Mustangs used the same suspension as the Falcon and the Comet. It brings to mind cars powered by little six-bangers, dubbed “economy cars,” and not meant for the performance-minded-like a ’60s version of a Geo Metro or Yugo. Those who drove them loved and abused them, and quickly determined the limits of the factory suspension—especially with any power under the hood.
Over time, talented people bent to the task of developing parts to improve these cars, managed to control most of the questionable handling, unpredictable suspension, wheel hop and lost-traction issues. In the process, these cars—never known for their smooth riding—just got worse. As a rule, you had a choice between performance and your kidneys. When we were young and immune to it all, this choice meant far less.
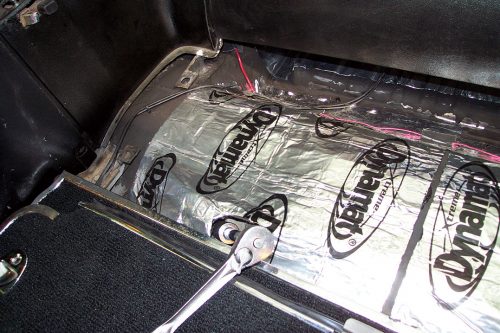
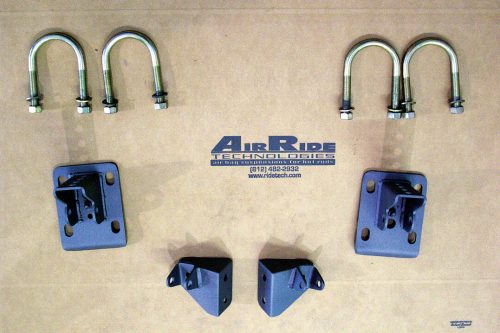
Here is the complete kit for one side. Because space is limited and because the kit is a simple, direct bolt-in replacement for stock parts, we’ll let the ART instructions speak for themselves.
Now that air suspensions have been so readily available and for so many years, many people have learned to accept the idea that an air-spring suspension is the way to go if you want your car to sit low and look cool, yet have the ability to adjust the ride height that would enable the car to become a driver. But there are still many people who just refuse to believe that an air suspension can produce a good ride or handling on par with any coil-spring configuration. This stubborn mindset finally caused Air Ride Technologies (ART)—innovators in air suspensions—to rent an Indiana road-course racetrack and invite leading journalists out to see just how ART’s suspensions perform in the real world and under severe and demanding driving conditions.
An improvement on this car is the use of the newest ShockWaves with dual adjustable shocks. As installed, you can see the two adjustment dials, one for adjusting how the shock behaves on the way up and the other for adjusting how the shock handles on the way down. It makes precise tuning even simpler.
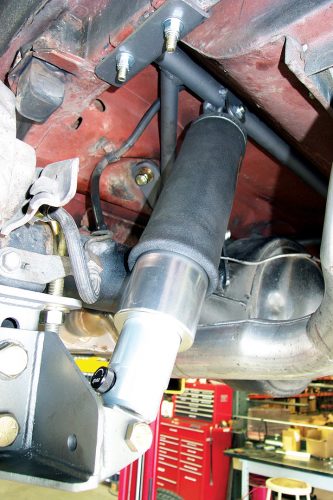
The installation is clean and eats up no additional room, so even the big Cleveland fits around it.
Ford Builder was among the magazines that sent representatives to witness this event. Hey, give us a chance to flog a bunch of hot muscle cars around a road course, and we’re there. In short, we were impressed by what we found. It’s not that we thought the Mustang handled well for a 40-year-old muscle car; we thought it handled well—period. The same was true of many other non-Fords there as well, but, of course, the Mustangs held our interest. Even NASCAR vets Mike McLaughlin and Steve Grissom couldn’t get enough of the action, and we came away from the event with a newfound respect for Air Ride’s capabilities.
The rear suspension came with parallel-leaf springs and tubular shocks. While it was fine for six-banger Falcons, it leaves a lot to be desired in a performance Mustang.
The first to go are the old shocks, but as you can see, they can’t be removed completely from the bottom.
For what it’s worth, the car was far from babied at the track, and nothing broke, either. Well, not actually broke. There had been a small gear whine in the rearend when it arrived at the track that turned into a much louder whine on the way home. And it lost some tread on all four tires. It also needed a new set of brake pads—but then, almost every car there had that same premature wear problem.
The rear deck cover has to be removed to get to the upper shock mounts. A couple of screws and it’s out.
You’ll find a pocket underneath where a socket and short extension will be needed to get to the nut on the shock bayonet.
Although Air Ride has had a front air-suspension kit for ’64-’70 Mustangs for some time, it hadn’t had much for the rear of these cars until recently. Quietly, Air Ride Technologies dedicated enough time and engineering to create a viable and effective means to use its patented ShockWave air spring/shock absorber combination and squeeze a triangulated four-bar into the confined area of the Mustang rear, making handling and traction come together. That silver Mustang had front and rear ShockWaves and the new AirBar triangulated four-bar setup to support the V-8 Cleveland power.
Remove the lower mount and pull the shock out. Leaving it on the bottom will make getting the top out easier.
The U-bolts and the plate come off in order to release the axle from the springs. The axle will remain in place throughout the entire job.
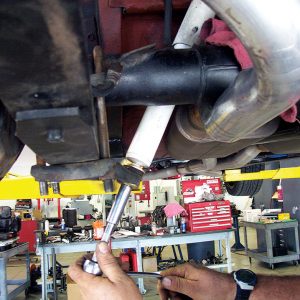
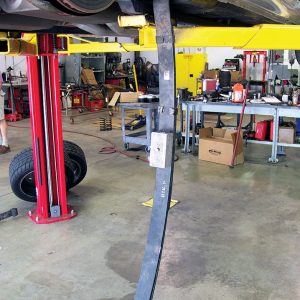
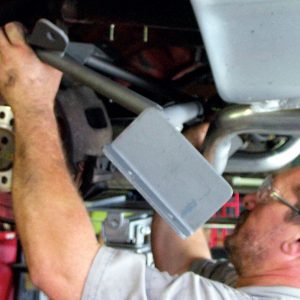
Support the car and use a jack to hold the axle up. You can do this without a lift using a good floor jack and stands. Work safe! Herb Mundy uses a modified trans jack, but that’s because this shop is set up for all ART R&D.
That puts you, the reader, in an interesting position. If you own one of these Mustangs, you probably know about their shortcomings and love them still. But now you know something that can make you look a lot smarter than some of us “pros” did that day. With this new information, perhaps you’ll decide to transform your Mustang into a much more serious performer with better handling and a better ride with the Air Ride Technologies kit.
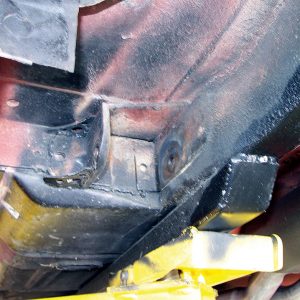
After removing the shackles at the rear, this is what’s left. If you want, you can remove the bushings, since they are no longer needed.
Rotate the spring downward so it is hanging from the front mount. It will be easier to control when you remove the front mount bolt.
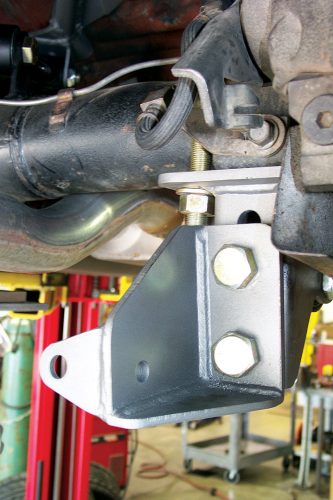
The old spring hanger mount now will be the front lower bar mount. Air Ride Technologies works hard to use as much of the original hardware as possible in order to limit modifications and fabrication.
In terms of installation, there are few tricks up front but several in the rear. The first is that the AirBar cradle is somewhat complex, so it pays to get all the hardware started before you securely tighten it. Second, the rear mount for the upper bar (on the axle housing) is a weld-on set of ears. To get proper alignment, you must center the axle from side to side and set the pinion angle at what you will use for ride height. One good way to get a location for centering the axle is to tape a bob-weight to either side of the car in the same place over the wheel opening and use the string as the outer edge of the measurement. Finally, while it takes a little patience to slide the cradle in over the axle, it can be done without removing the axle or dropping the brake lines.
Another example of reusing original hardware. Each side of the new AirBar upper bar support assembly uses one of these U-bolts. At first it looks as if it won’t go.
But it does! You may have to dimple the edge of the holes lightly to get it all the way through, but don’t go crazy.
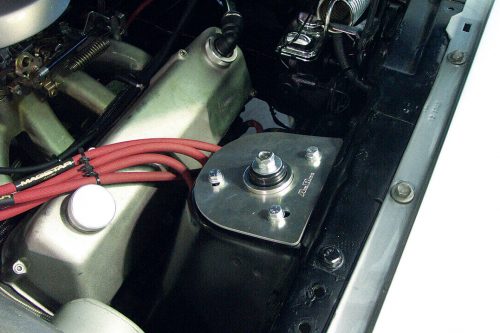
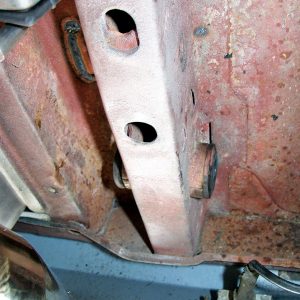
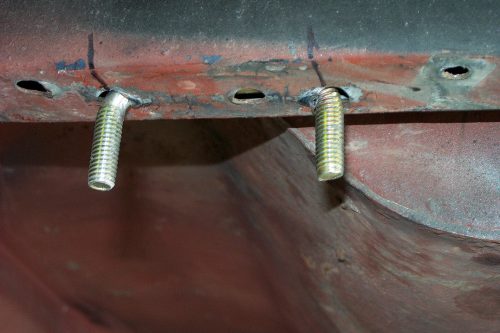
Up front, the original pinion snubber is removed. The bolt holes on either side are another mount point for the upper assembly cradle.
This entire unit is installed above the axle to create a strong and stable support for the upper bars and for the ShockWave mounts. It took Mundy and Rod Mason a lot of hard work to engineer this to fit and work correctly.
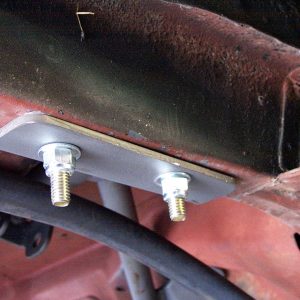
Up front, the two bolts accurately position the cradle. These add strength but are not the only mount points.
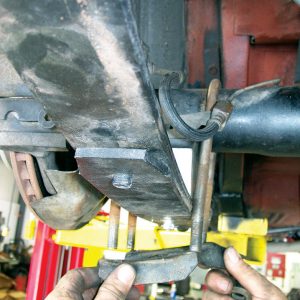
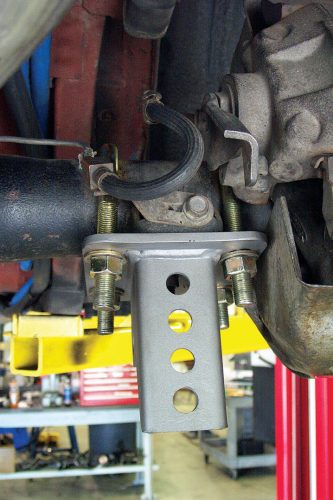
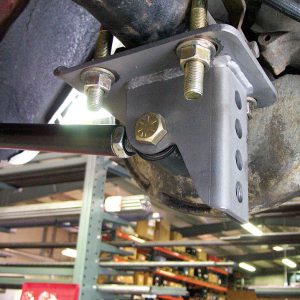
The four-bar setup and lower ShockWave mount on the axle use these brackets. Again, they are vehicle specific, so the conversion will fit any ’64-’70 Mustang.
The four-bar setup and lower ShockWave mount on the axle use these brackets. Again, they are vehicle specific, so the conversion will fit any ’64-’70 Mustang.
The bar bracket is attached to the axle with U-bolts. This too is left loose until the bars are in place.
Although preset at the ART factory, you always want to check to see that the bars are the same length in pairs, using the mount bolts as a GO-NO-GO.
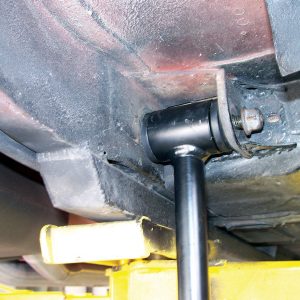
The front of the bar uses the original mount for the leaf spring and the original hardware.
The rear mount uses new hardware. Rotate the bar up into the mount. It may take a little fiddling to get the bolt through on this first setup.
The guys got ahead of the photographer on the upper-bar-to-axle mounts, but you can see how the bar is attached to the front, the ears are attached to the bar, and the bar is dropped down on the axle for welding. At this point the pinion angle had been set and the axle centered from side to side, so when the bars and mount ears dropped on the axle, they were in the correct position for welding.
Setting the pinion angle is critical even though the bars adjust, because the initial setup uses the axle centering and correct pinion angle, along with the lower bars to make sure the ears will be attached to the right place. Check and double-check before final welding.
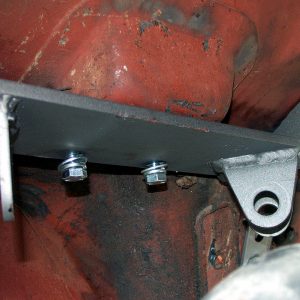
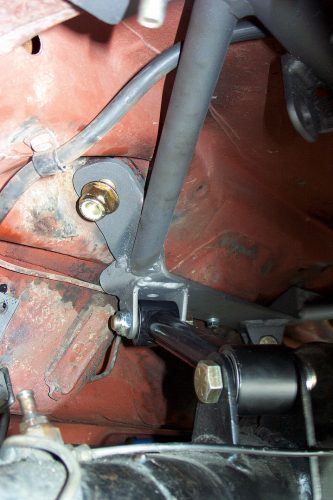
The upper bars are installed, and now you can see the other main mount for the cradle—the large fastener in the original shock mount location. Tighten everything before you set the pinion angle so there is no change afterward.
This special hardware is for use in the original shock mounts on the AirBar bridge. The ear both makes it possible for one person to install them and gives extra support to the body at that area.
The ShockWave lower mount bolts onto the lower bar mount. Use the lower set of holes and tighten completely.
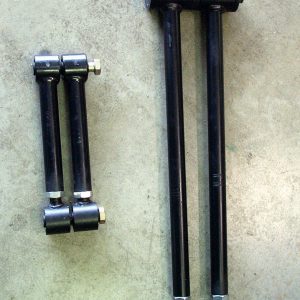
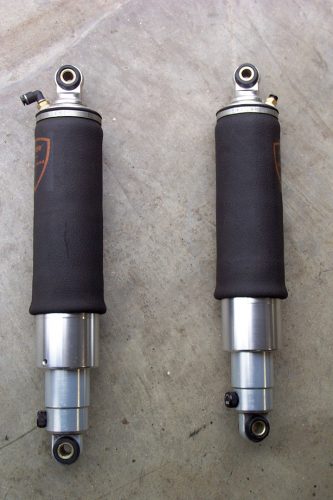
ShockWaves used on the rear are different than the fronts. Each unit is designed or selected to meet the specific needs of a given application. ART doesn’t subscribe to any bogus one-size-fits-all attitude.
Here is the completed installation. Note that the adjuster for the shock absorber faces outward—the best way to have access and protection.