


STEPPIN’ UP TO A LIFTED TUNDRA
To a truck nut, there is no thrill like driving his pickup right after it’s been lifted. No pun intended, but a lifted truck just seems to bring a guy up in the world. Unfortunately, the thrill is gone as soon as his lady gripes about her struggle to get in it.

Bright Idea
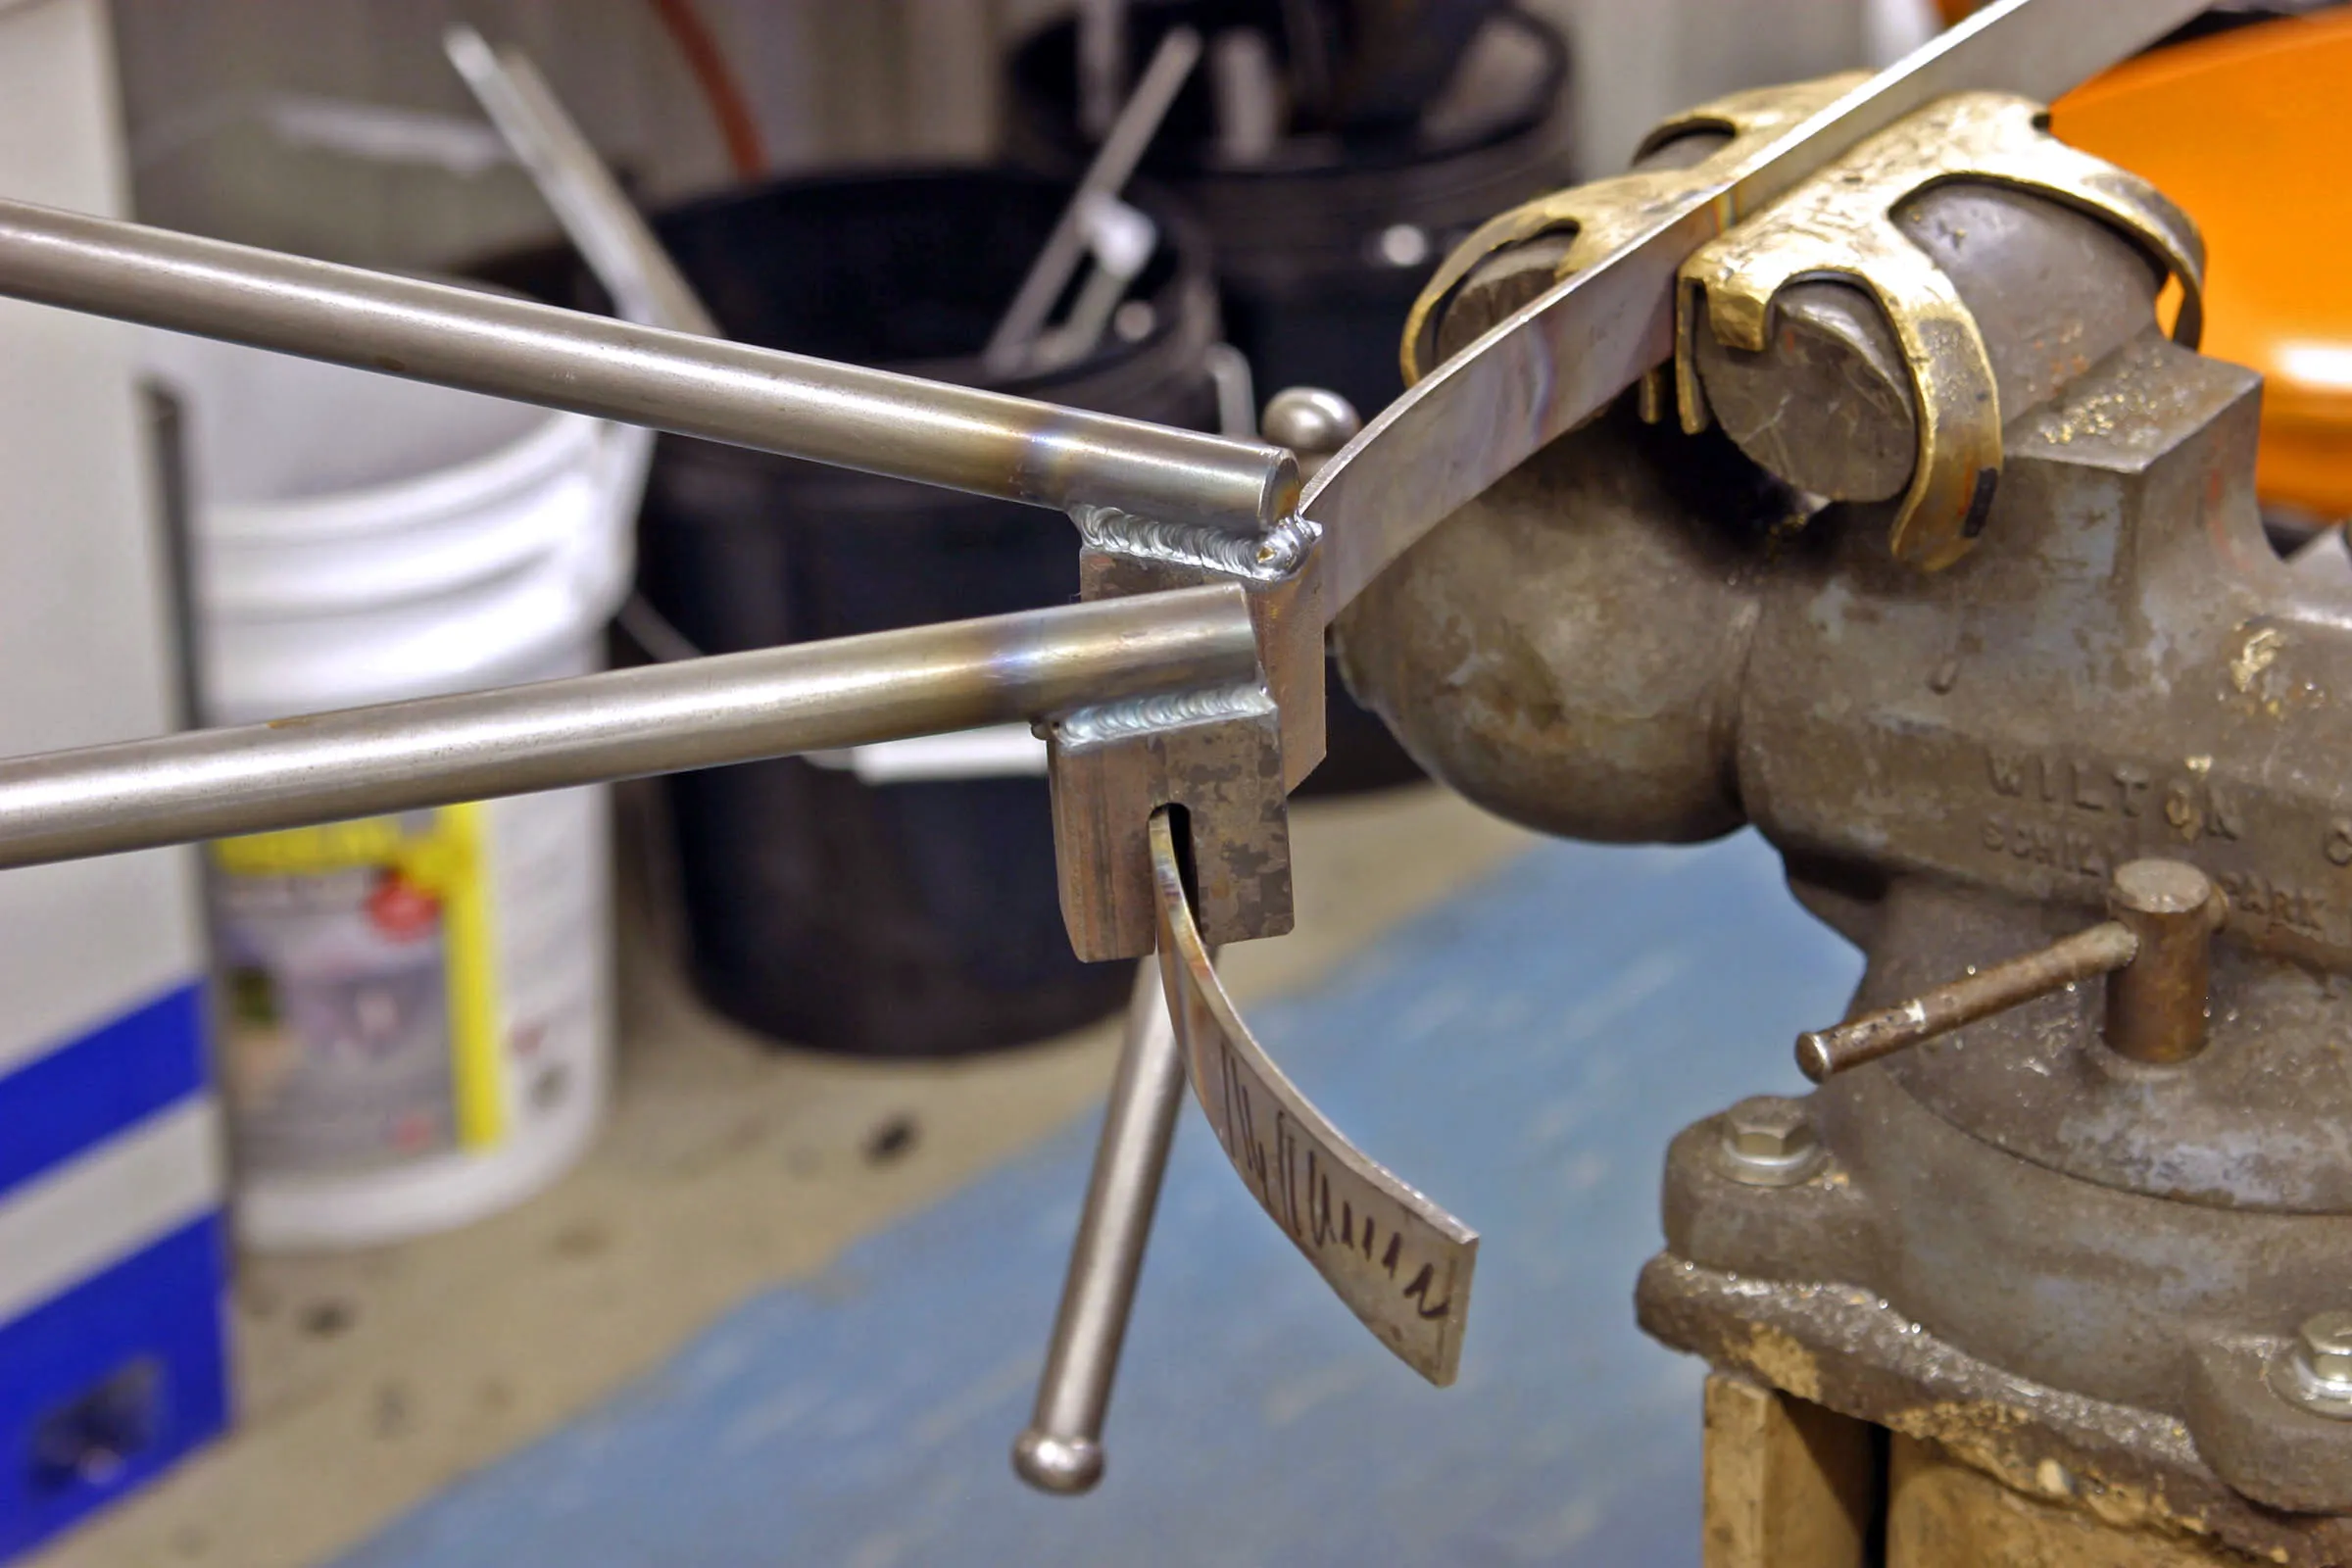
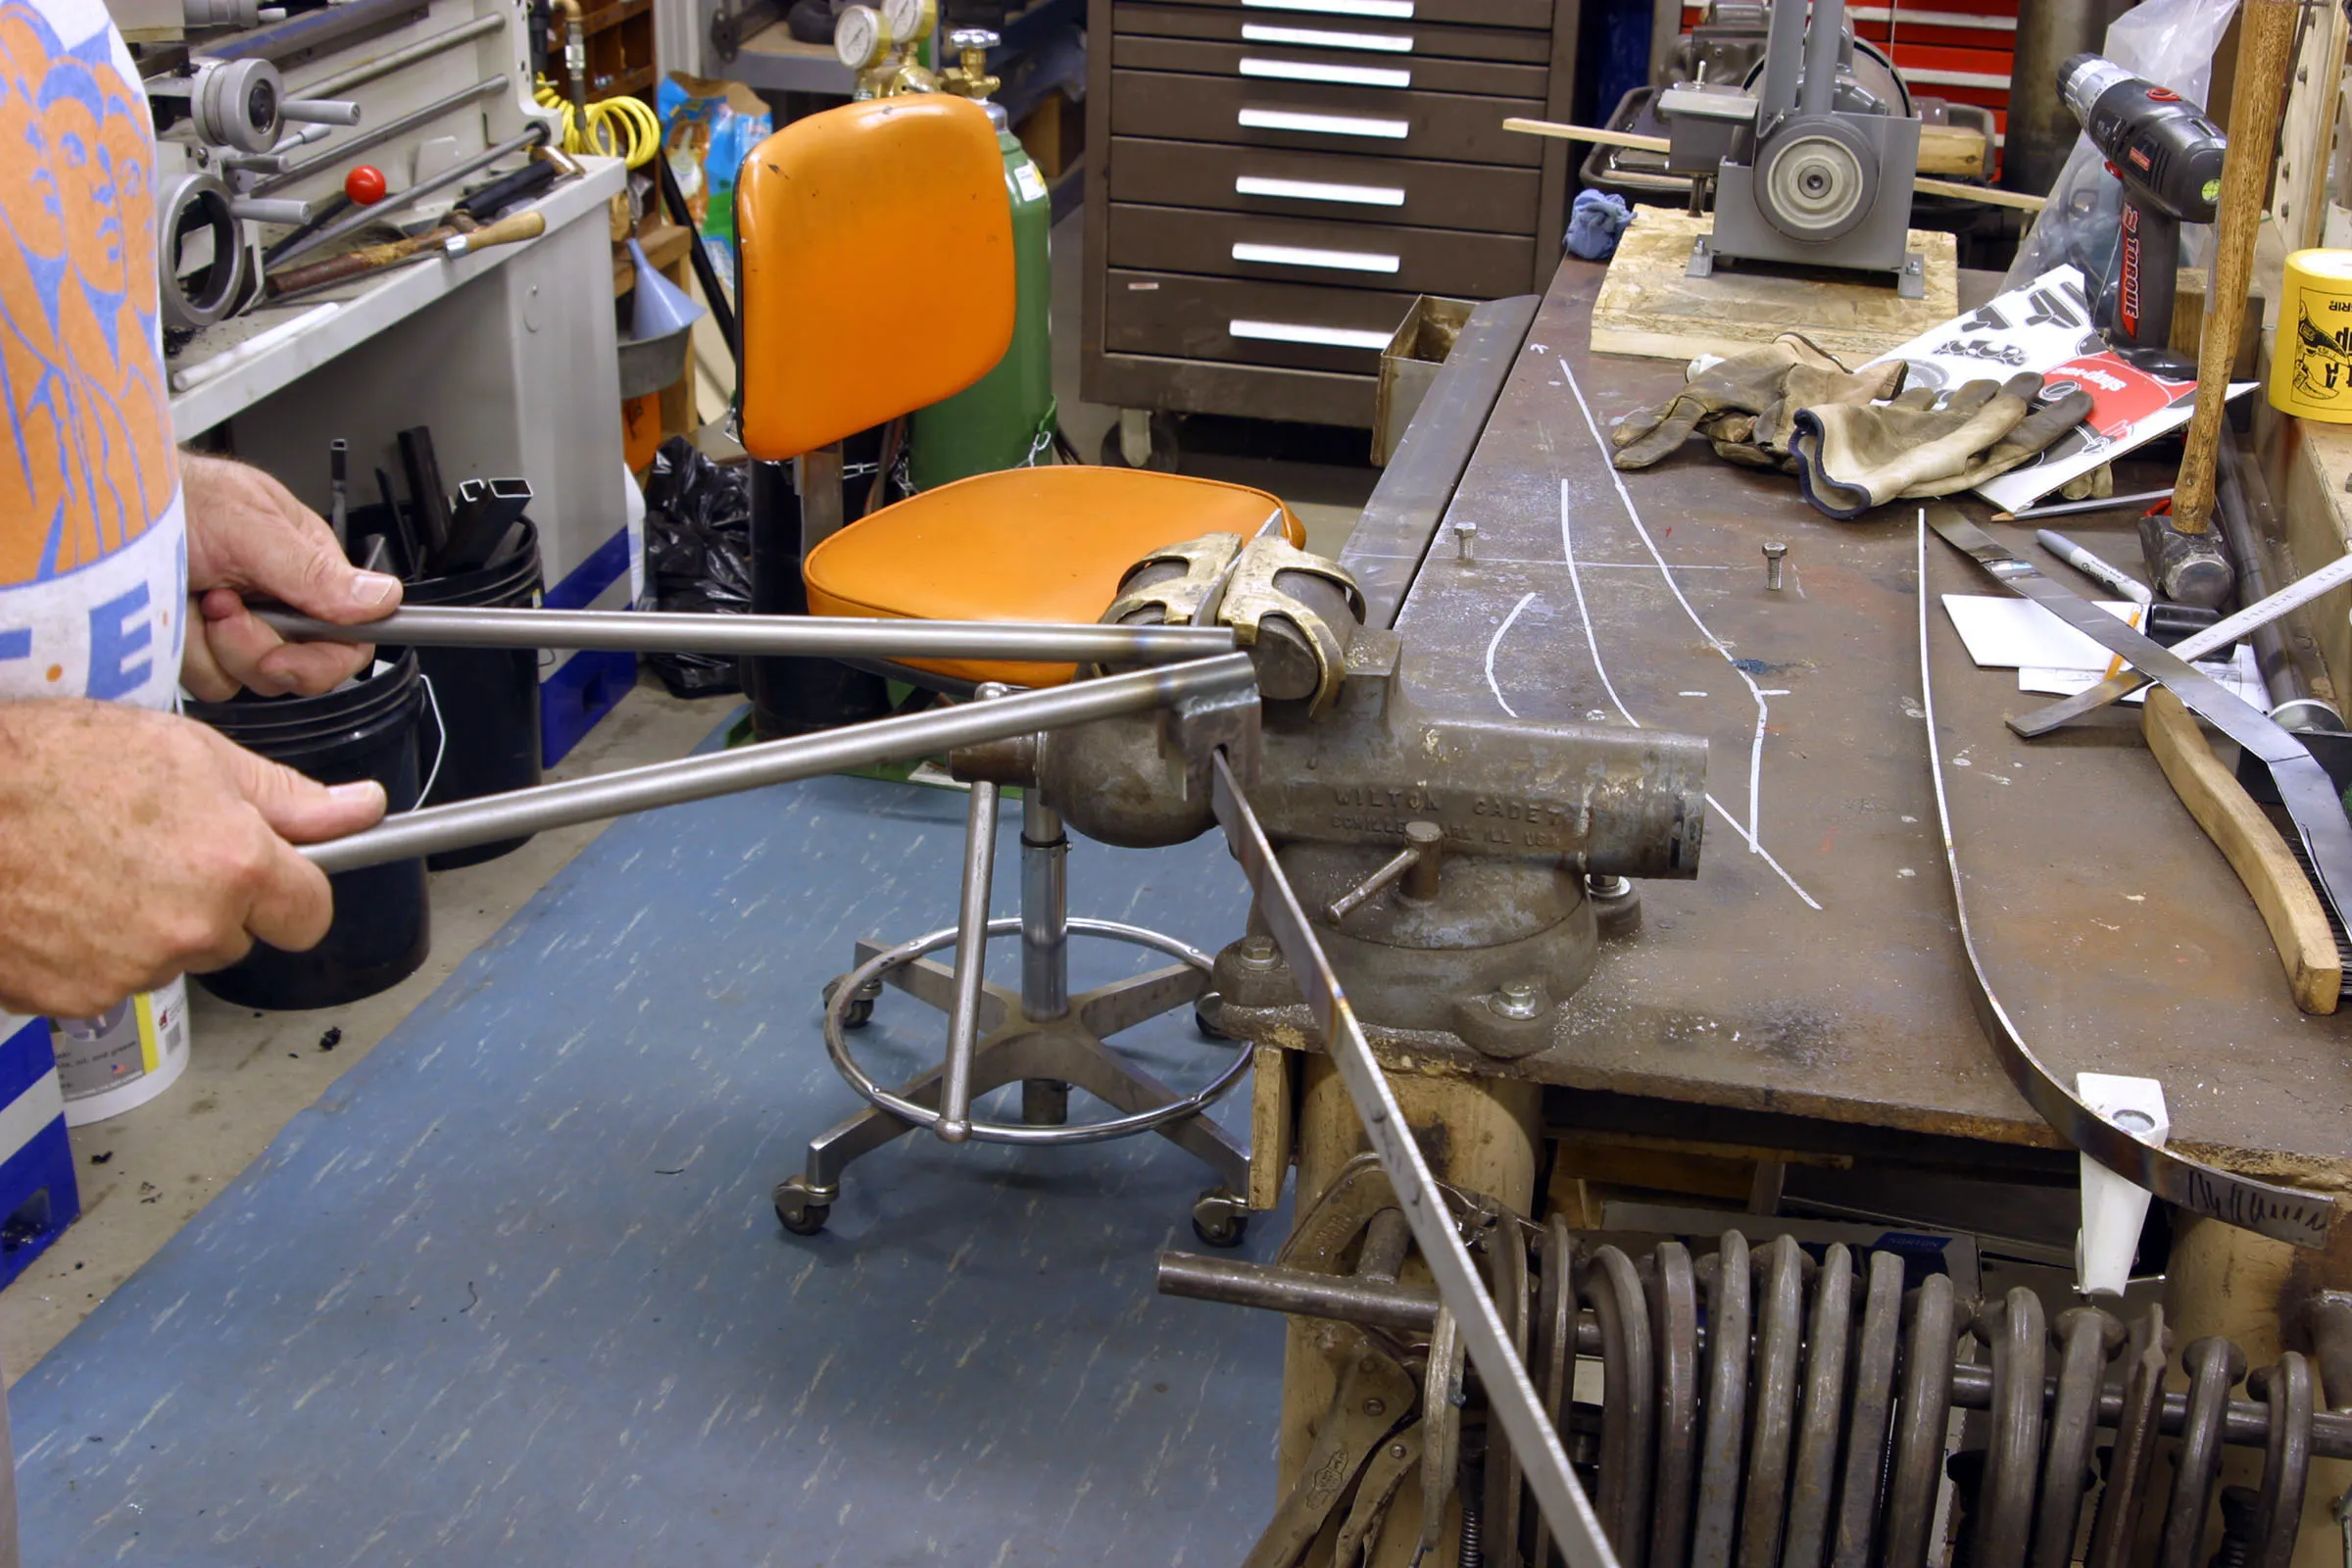
Keith Bright was driving through tiny Basin, Wyoming (population just over 1,000), when he saw a ’58 Buick station wagon drive by in the opposite direction. “That’s strange,” he remembers thinking to himself. He could remember seeing only two other examples in his entire life. He had to have that car, but there was no time to follow the driver or flag him down. Bright returned to his home in Salina, Kansas, where he heads Bright Built Street Rods & Restoration, and occupied his time working on other people’s super rods. But he couldn’t get that ’58 wagon out of his mind.

SWEET SOUNDS
Everyone wants a killer stereo that rocks. You can’t just roll out in your car without something fabulous to listen to. The factory equipment just won’t work for those who demand more, especially if you are trying to show off. You have to be able to turn up the music and be heard—it’s all part of the game. If you’re going to roll, you know the rules: you have to roll hard and that means your entire stereo system has to be up to the task. Nothing is worse than blasting a stereo and hearing everything rattle and shake. That’s a huge no-no. There is a simple solution to this problem, however. To do a proper stereo installation, you must first lay a solid foundation. The first layer of this foundation is called sound damping or sound control.