


PERTRONIX BUILDS A NEW AND BETTER ELECTRONIC IGNITION THAT FITS INSIDE OEM DISTRIBUTORS

system.
The growing popularity of nostalgia and rat rods, along with the aging of street rodders, has meant the rebirth of vintage engines. Rocket Oldsmobiles, Buick nailheads, Y-block Fords and Chrysler Hemis are being chosen over the “bellybutton” Chevrolet small-block. Even some small-block Chevrolet engines are getting old-time flavor by using generators–some of which have been internally modified as alternators–early blocks and heads, three-deuce setups and even adapting Oldsmobile valve covers to look like something they are not.

compact, microcontrolled electronic ignition package that fits within the OEM distributor for a stock distributor look. This is desired in restored automobiles, as well as in nostalgia and rat rods.
With all this “letʼs look at old stuff” going on, a billet distributor or even an HEI unit doesnʼt really fit. However, points-style ignitions are not very efficient and require a good bit of maintenance, especially compared to todayʼs fit ʼem and forget ʼem electronic ignitions. Changing points, setting the points gap and checking the dwell are all tasks that we were accustomed to performing when all we had were points-type ignitions. All that has changed, however, and can be eliminated without giving up the OEM look that many of you are seeking. This simple swap can easily be done with a Pertronix Ignitor II electronic
ignition.
Restorers, street rodders and others who prefer a state-of-the-art electronic ignition–but want the OEM distributor–have been using the Pertronix Ignitor ignition module for more than 25 years. Thatʼs not news. With that success propelling their company, the Pertronix engineers have now further developed their Ignitor system to work even better than their original upgrade.
Unlike the original Ignitor, the Ignitor II contains a microcontroller. The microcontroller controls the dwell period over the entire rpm range for the best possible spark. The Ignitor II shares the same features that have made the original Ignitor so popular–it is entirely contained inside the OEM distributor, it installs quickly and easily and you will never change or adjust points again.
By sensing levels of current within the coil, the Ignitor II adjusts the dwell period to provide peak energy throughout the entire rpm range. This provides more spark at higher rpm, thus improving performance and efficiency. The numbers show that between 3000 and 5000 rpm, the Ignitor II will provide four times as much energy and twice the plug voltage of a points-type ignition.
Compared to the original Ignitor and points-type ignitions that require a set dwell, the Ignitor II increases or decreases the dwell based on engine rpm. This ability to adjust the dwell makes the Ignitor II rather unique, as dwell time is increased at startup, which allows for more energy to the cranking engine. Then the spark timing is controlled over the entire rpm range; the microcontroller also compensates for the inherent electronic delay. The micro technology that makes this all happen is beyond us, but it is accomplished with a module that fits within the OEM distributor.

Understanding the potential benefits, we decided to put an Ignitor II to the test. We recently completed a Buick nailhead-powered street rod, and during the engine buildup, the stock Buick distributor had been rebuilt and set up for the proper curve on a distributor machine. While the engine ran fine, it was sluggish during the initial startup process, so we installed the Pertronix Ignitor II to see for ourselves how well it worked.
While the Ignitor II can be installed with the distributor in the car, we found that with our cramped quarters it was far easier to remove the distributor and do the job on a workbench. Prior to removal, we marked the location of the rotor in order to re-install the distributor in the same place, so as not to affect its timing. Pertronix supplies some thrust washers with the Ignitor II in case the distributor shaft endplay is out of spec (too much play). With the distributor out of the car, this is the time to correct that problem. We did not need to install any washers on our recently rebuilt unit, but you should check this yourself on your unit, block and drive.
We then followed the very simple instructions that required removing the rotor, points and condenser and lead wire. We installed the new grommet that was provided, snaked the wires through it and installed the ignition module in the same holes that held the points. We were reminded to re-attach the ground wire (be sure not to forget this step).

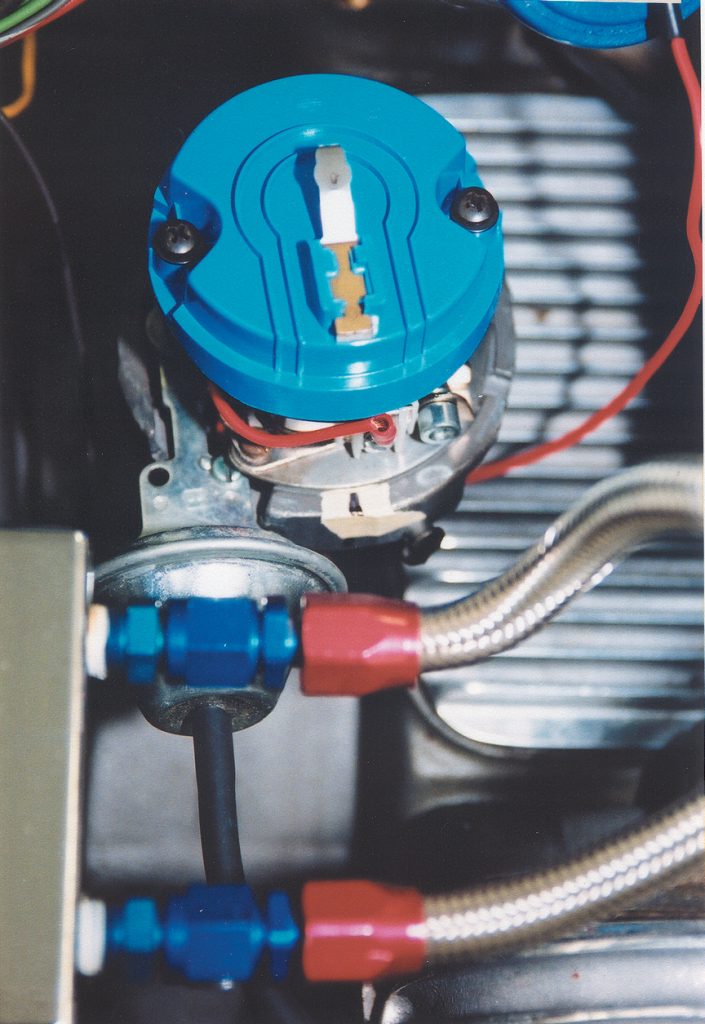
The magnetic pickup ring is attached to the advance weight assembly through the holes that originally held the rotor. After that, the assembly is completed by attaching the rotor, using the nuts and washers provided.
The next and final step was to check the air gap between the module and the pickup ring. Washers under the pickup ring and careful bending of the module-mounting tab are the adjustment methods, and this is all that is needed. The maximum air gap is .060 inch, with a minimum gap of .010 inch. In our application, we did not need to make any adjustments.
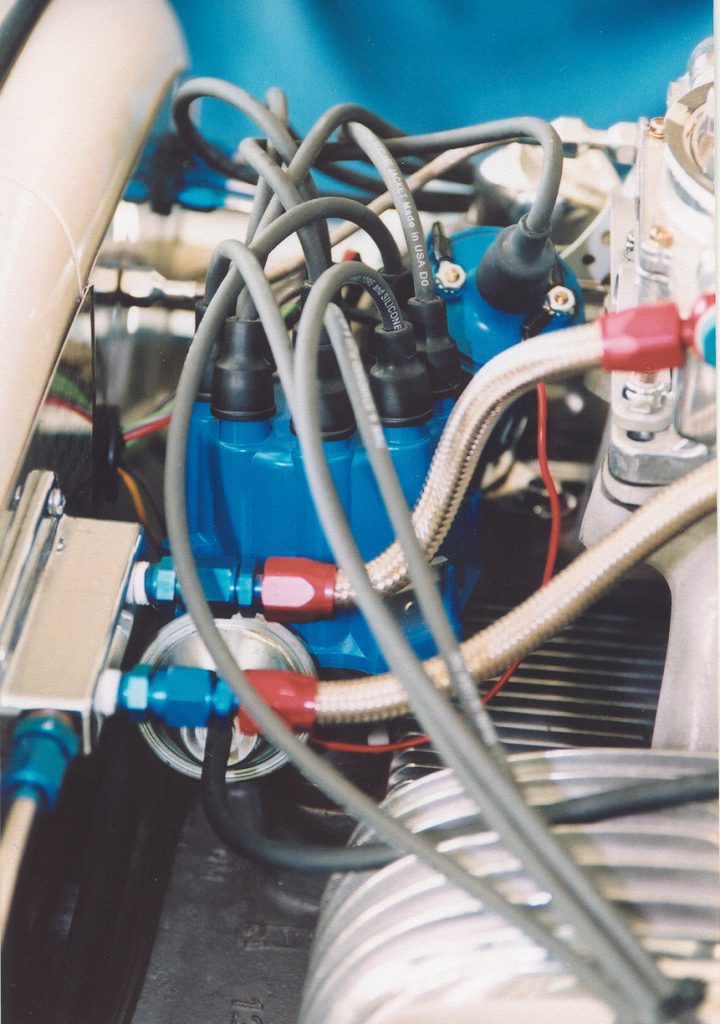
After reinstalling the distributor we were ready to fire up the old nailhead and reset ignition timing. But before we fired it up, we elected to finish out the ignition system with a set of Pertronix 8mm high-performance MAGx2 spark plug wires, which are also a “stock look” item. For those of you who are even more fanatical about the “look,” 7mm wire sets are also available, and thereʼs the new Pertronix Flame-Thrower II coil, which comes in OEM black (or chrome, if you prefer).

By the way, Flame-Thrower II coils should not be used with points-type ignition systems. The Flame-Thrower II coil puts out 45,000 volts and is a low-resistance (0.6 ohm) coil, engineered for use with the Ignitor II ignition systems and most capacitive discharge systems that control the dwell period, or limit the current. However, Flame-Thrower (first-generation) high-performance coils put out 40,000 volts and may be used with any points-style ignition.
The instructions suggest that the ballast resistor be removed, but we decided to bypass it instead. We also decided to carry the points, condenser, condenser-attaching screw, lead wire and some small tools in a plastic bag. With the ballast resistor in place and the bag of parts tucked neatly away in the car, we can always go back to the points should a failure occur with the electronic ignition system while on the road. Those of us who utilize computers know how those electrons can get confused and sometimes create a headache. We must add that we have put thousands of miles on the system since our installation and have had no problems whatsoever. Weʼve also spoken to a number of our peers who have utilized the Pertronix Ignitor system and they, too, have not experienced any problems. So itʼs doubtful that weʼll ever use our bag of parts.

The installation of the Ignitor II module took about an hour. It took another hour-plus to cut and attach the ends to the spark plug wires and to install the coil. The whole deal was one of the more simple tasks we have performed, and since the update we have seen a definite ease in engine starting, plus a smoother-running engine, especially at higher rpm. The spark plugs show a good, even fuel burn, despite the two four-barrels on progressive linkage, and we are happy to report that all is well with our modified Buford.


