Words: Manny Machado & Andy Williamson Photos: Maddog Audio Staff
Everyone wants a killer stereo that rocks. You can’t just roll out in your car without something fabulous to listen to. The factory equipment just won’t work for those who demand more, especially if you are trying to show off. You have to be able to turn up the music and be heard—it’s all part of the game. If you’re going to roll, you know the rules: you have to roll hard and that means your entire stereo system has to be up to the task.
Nothing is worse than blasting a stereo and hearing everything rattle and shake. That’s a huge no-no. There is a simple solution to this problem, how- ever. To do a proper stereo installation, you must first lay a solid foundation. The first layer of this foundation is called sound damping or sound control.
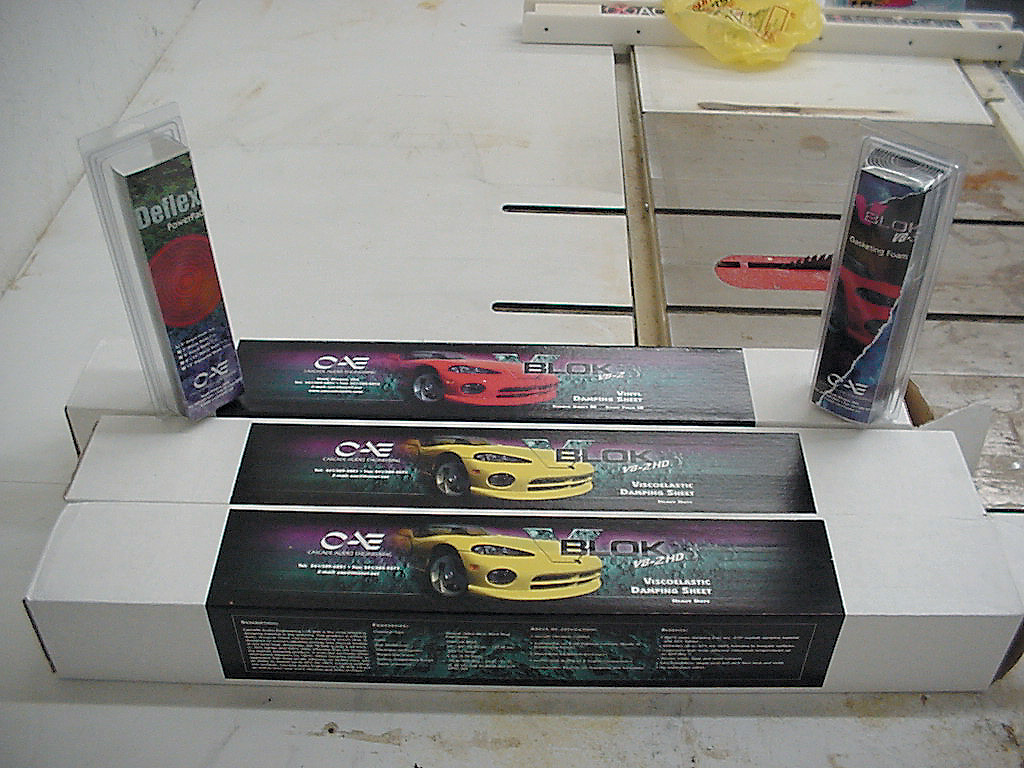
It comes in a variety of material types; some are glued on and come in sheets; others are offered in liquid form and applied in a spraying application (on the interior surfaces of the vehicle). These types of materials are offered by a variety of companies. Cascade Audio Engineering, a growing company within our tuner market, has you covered with its sound damping material. The material is great stuff; it makes everything nice and tight as a foundation to any stereo system.
Many people use it throughout the floorboards of their cars, the firewall, inside door panels, across the rear section separating the trunk compartment, up quarter panels, and even on the inside of the roof. If you want to make sure that nothing will rattle and the tin-can sound is gone, it takes some type of sound deadener.
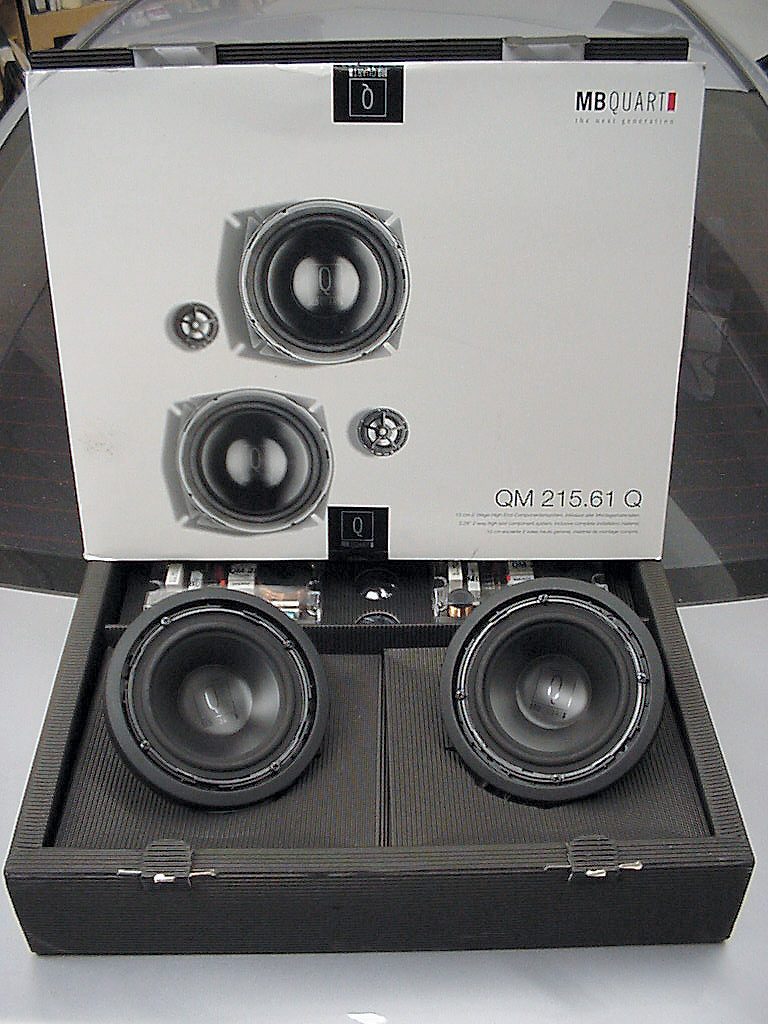
Most of you know that we wouldn’t be tearing the car apart to lay down some sound damping material without installing some speakers at the same time. That would be foolish, so we decided to install a slick pair of MB QUART speakers. This is a basic installation, but one that everyone should be familiar with, especially if you work on your own car.
We teamed up with a 12- volt legend, Manny Machado from MadDog Audio. Machado has built many cars for corporations and private owners. He is definitely one of the big dogs when it comes to stereo setups. If you are interested in any kind of custom work, especially those out-of-this-world show car installs, you have to check out MadDog.
Since Machado is the king, we decided to let him teach the class. He is a great teacher and very informative. We plan to use Machado a lot to help us bring you more cool tech articles such as this one. Follow along as he breaks it down for all of us.
We installed a set of MB QUART 5.25 components in the factory location of a Honda Civic, along with a sound damping system to ensure the quality of the sound and to eliminate rattles. We used Cascade Audio’s sound damping material, which is claimed to last forever. This is a very basic installation, one that does not require tons of tools. There are a few tips you want to be aware of to make the task even simpler. Follow along as we show you how it is done.
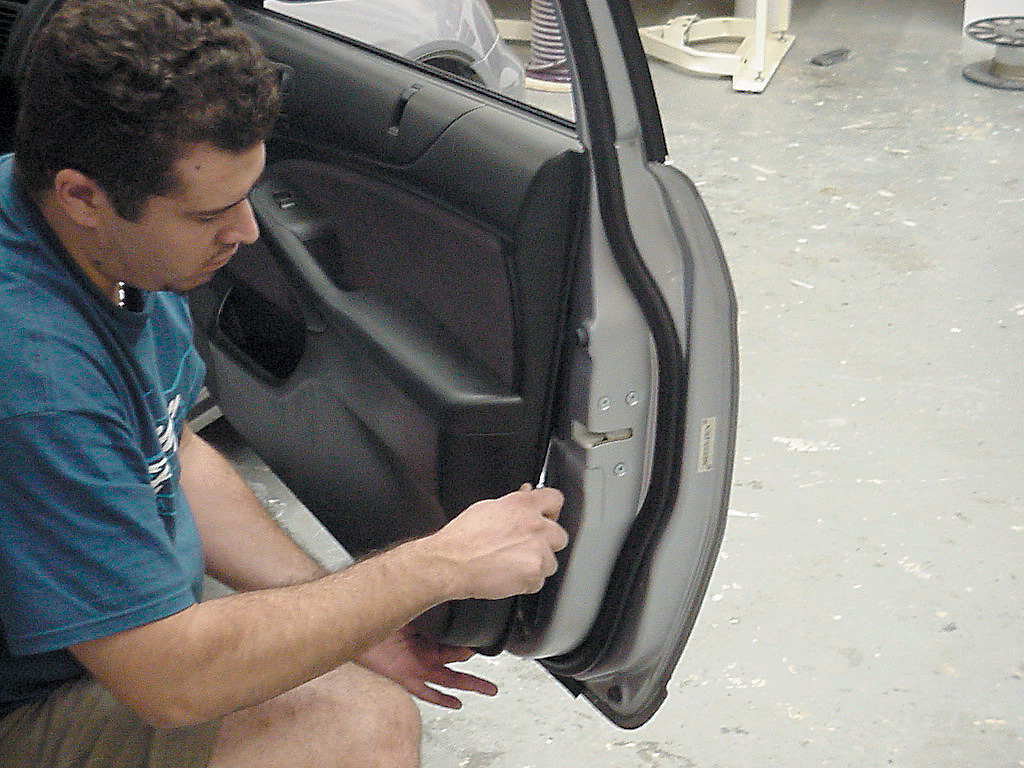
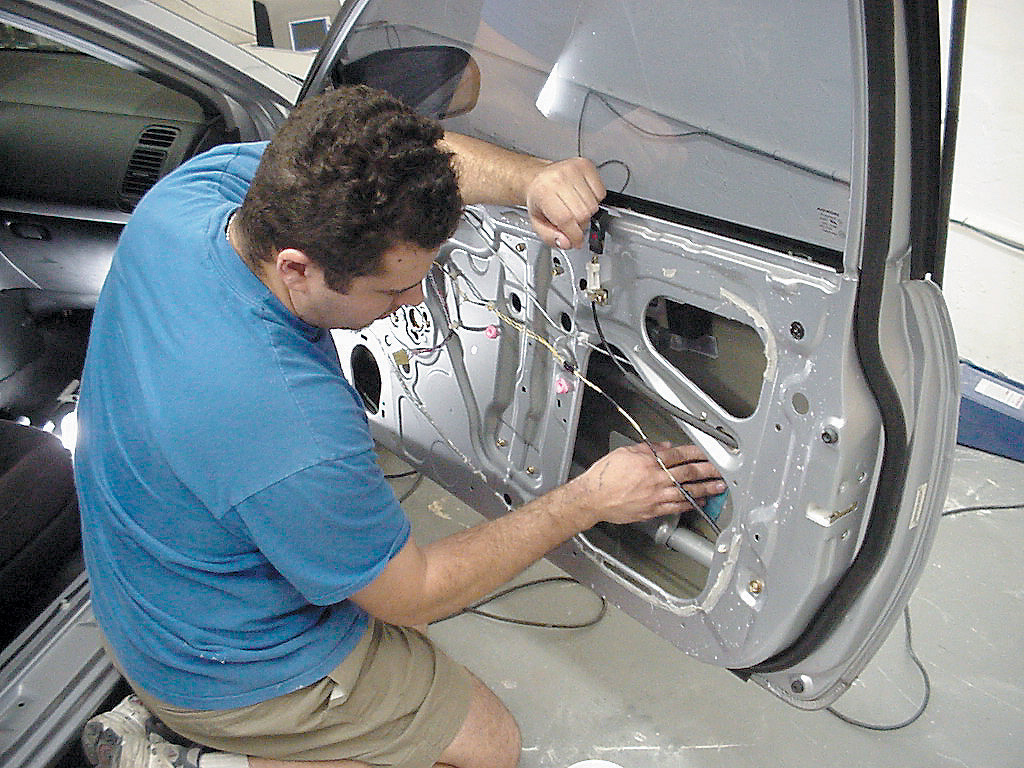
The first step was to remove the door panel. Here it can get tricky for first-timers. In the minor leagues of our installation learning process, we broke more than one door panel by not being careful, so let our experiences be a warning. Study the door panel and check for all attaching screws and hidden fasteners that secure the panel to the door. Also, keep an eye out for plastic inserts that may first need to be removed, because there may be a bolt or a screw hidden behind them as part of the attachment system.
Careful attention to this process will protect those parts you plan to re-install as is. Consider what you will do to finish your project—leave the panel stock or customize it—and save all those components that will need to be included. Save even those that you don’t think you’ll need.
Let’s watch the process of installing some sweet sounds, beginning with the foundation.
After removing a few screws, we began popping off the door panel using a panel popper tool (available at auto stores), sliding around the bot- tom of the door and working up the sides.
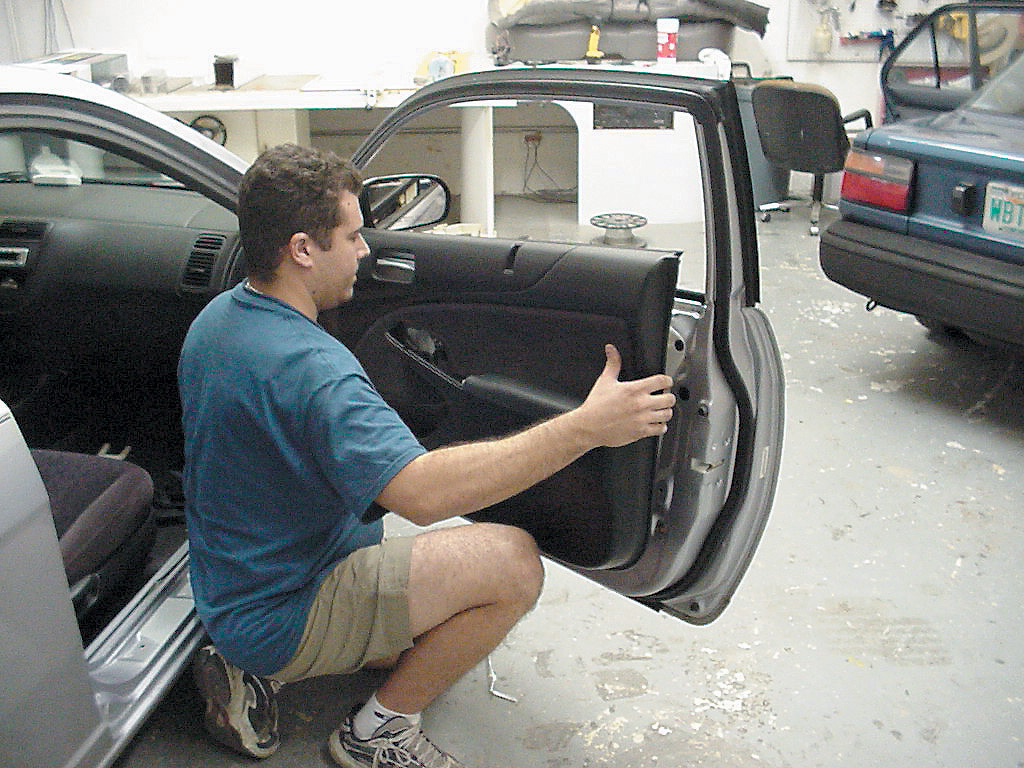
We then lifted the door panel up and out of the way. The sail panel had to be taken out first in order for the door panel to be completely removed (the sail panel is usually the triangular panel up front at the top of the door panel).
Once the door panel was taken off, we removed the vapor barrier, which is usually plastic mate- rial adhered to the door. This allows access to the inside of the door itself.
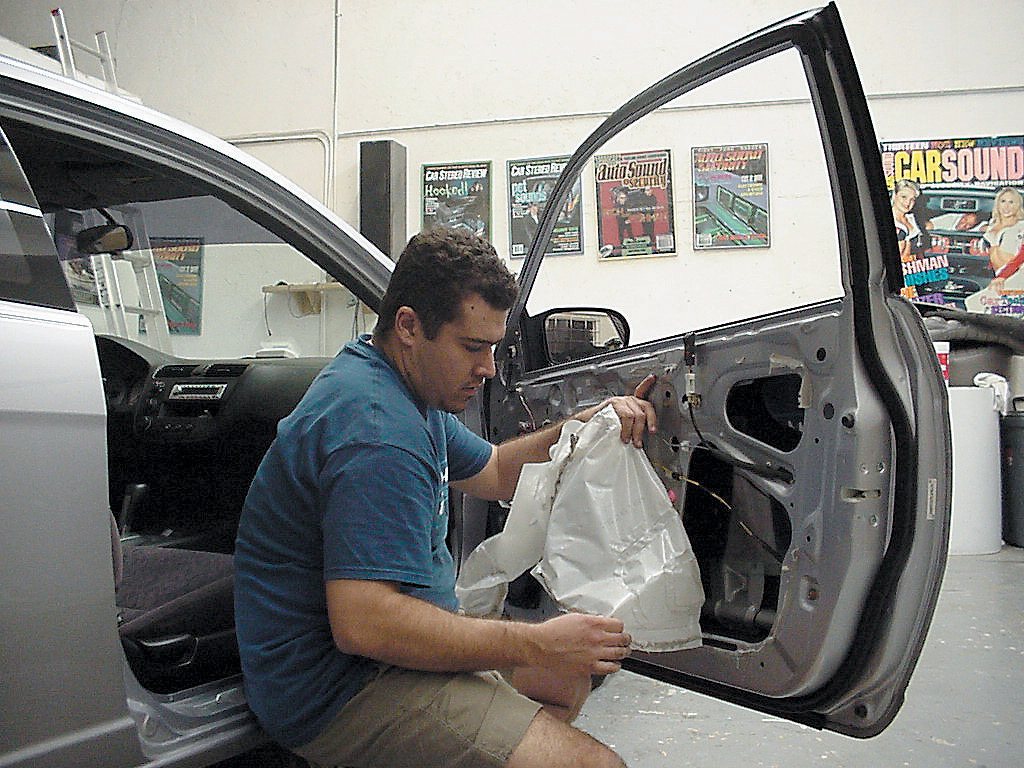
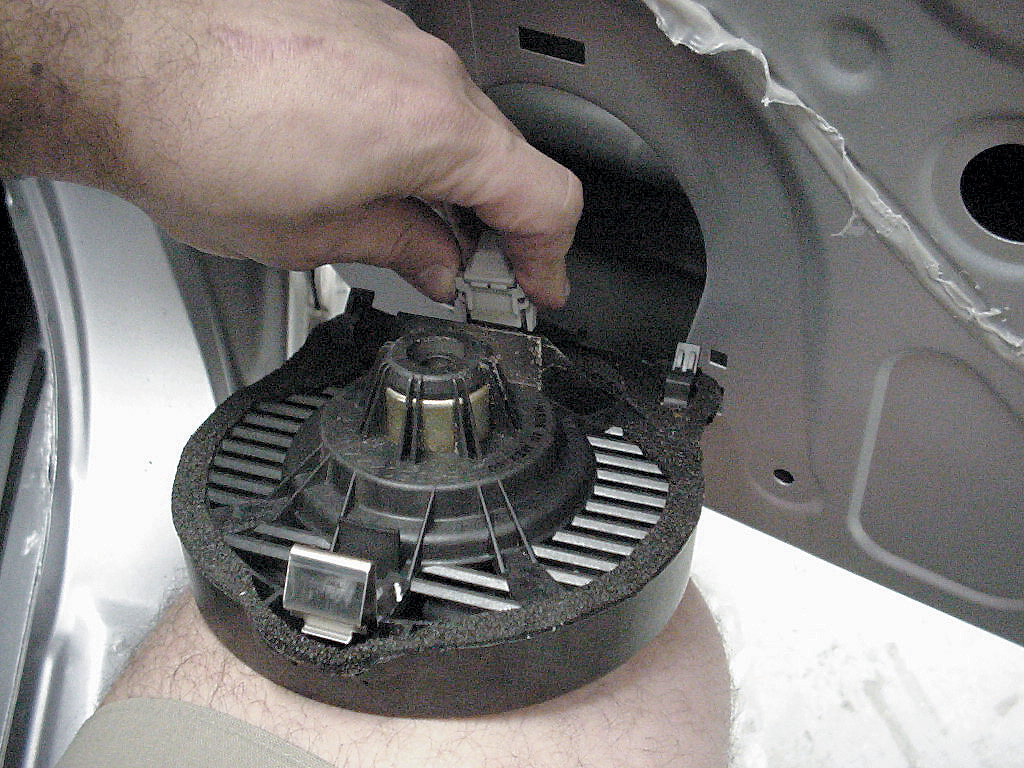
The factory speaker was easily removed by reaching inside the door and popping out the clips that se- cured it. Nowadays car manufacturers are using faster assembly methods to build their cars, so examine the pop-in type of fasteners for easy removal.
Normally, four screws would hold in the speaker, but this is not the case on all cars. The factory plug for the speaker was disconnected and left inside the door, in case the factory speaker ever needed to go back in.
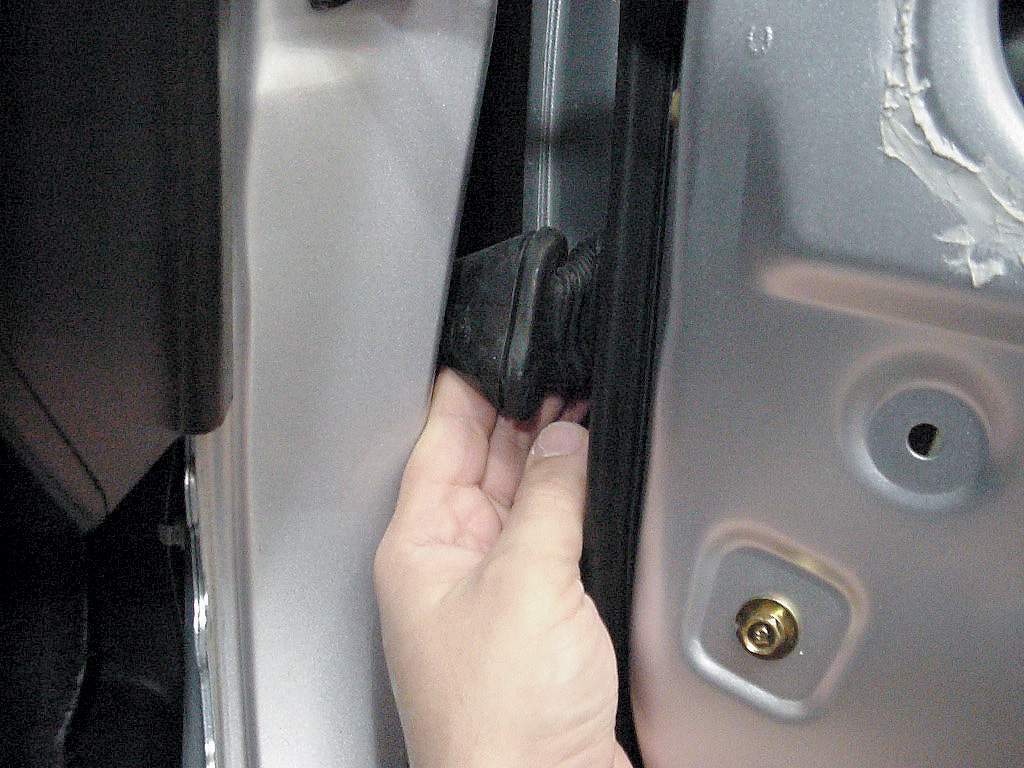
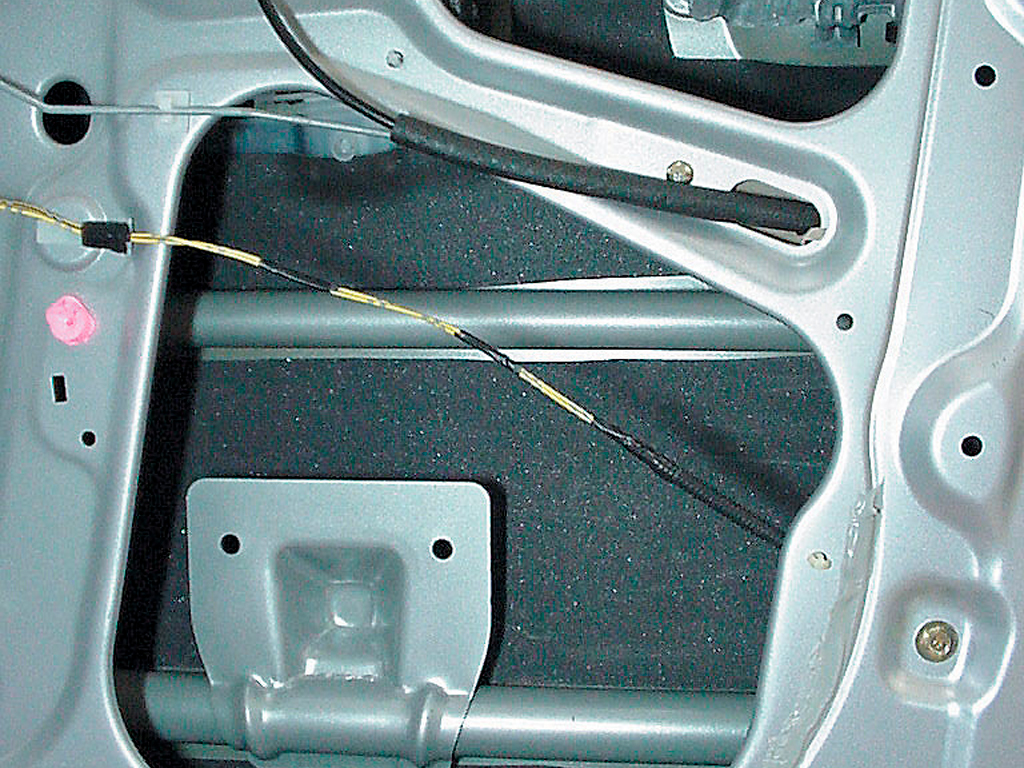
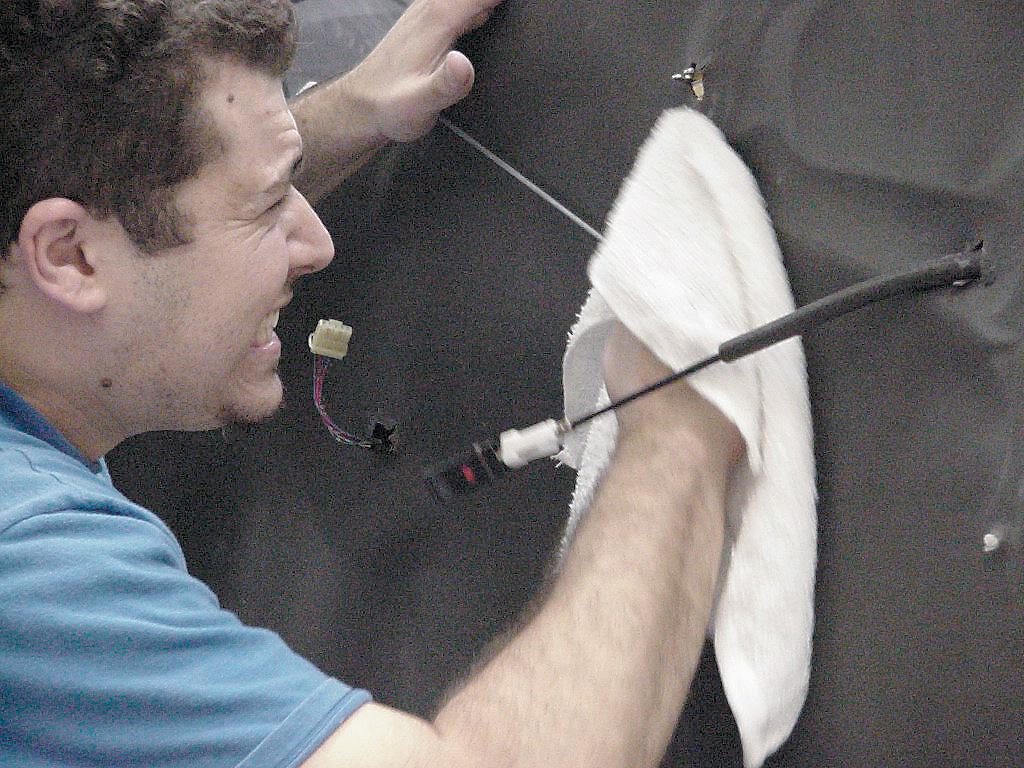
With the speaker removed, we had full access to the rubber grommets that pass the factory wires from inside the car through the door. The first grommet (the one nearest the kick panel) was easily accessible through the doorjamb. We were able to reach in and pop it out. This will provide some slack to pop out the grommet on the door inside.
With a sharp razor blade, we cut a slit on both grommets to run the wire from the kick panel through the rubber grommet and inside the door. If you encounter a doorjamb with a tight opening, lube it up with WD-40and squirt it down inside where the factory wires run. This will make it easier to slide the wire through.
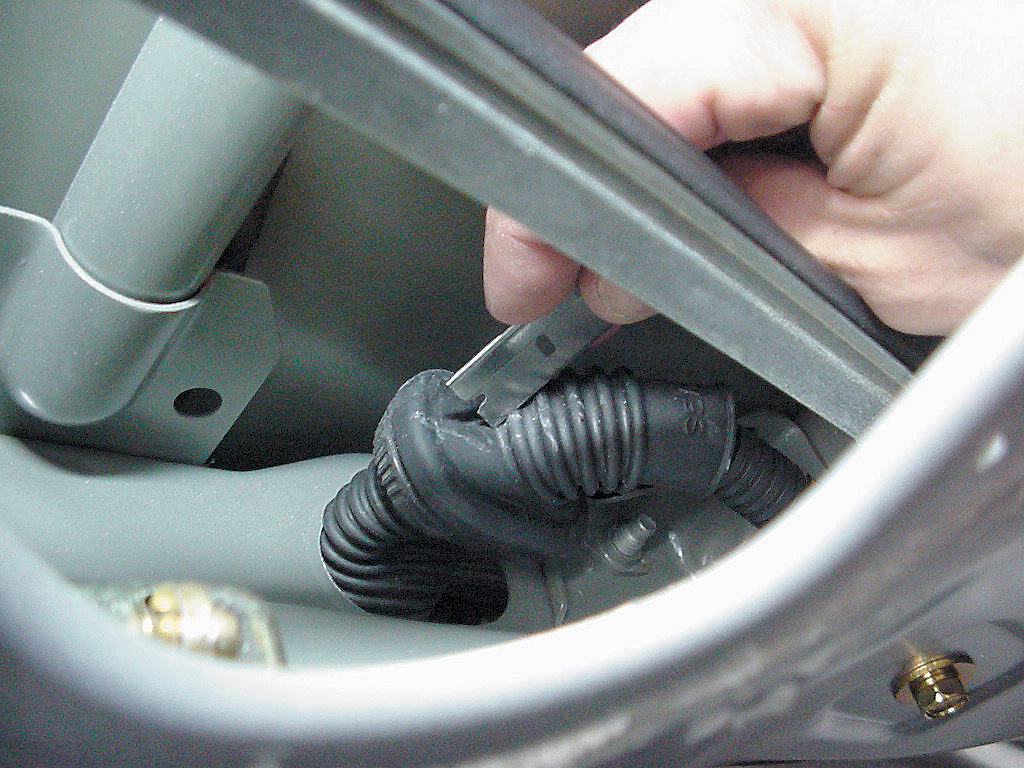
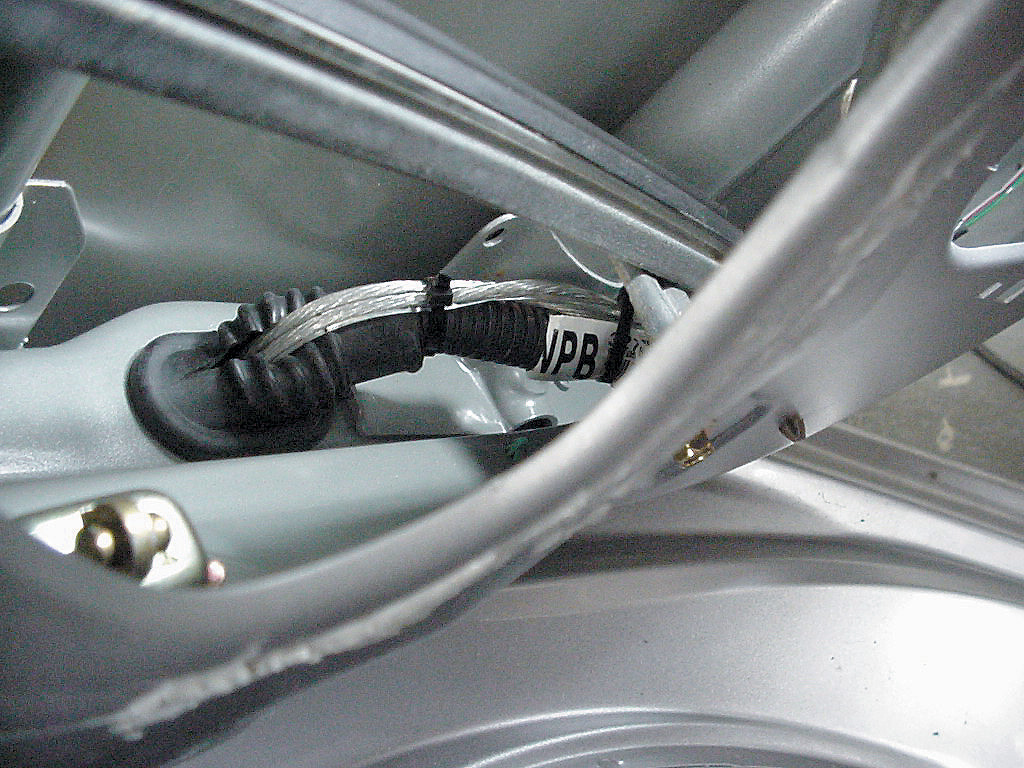
You can also use a long screwdriver, as well as a long tie strap, to run from inside the door to the kick panel, and then tape the speaker wire tempo- rarily and pull it through inside the door. Once the wire is in place, snap both grommets back in place and tie-strap your speaker wire with the factory wires to eliminate the possi- bility of getting them caught within the window track.
Next we prepared the door for sound damping. This is one step that cannot be forgotten; other- wise, your sound damping material won’t last very long on the door. We used Cascade Audio VB-2 and VB- 2HD to sound damp the door. VB-2 is a flexible, lightweight, mineral-filled vinyl material. For heavier-duty damping, the thicker VB-2HD was used. We have used these Cascade materials before and found them to be quite good.
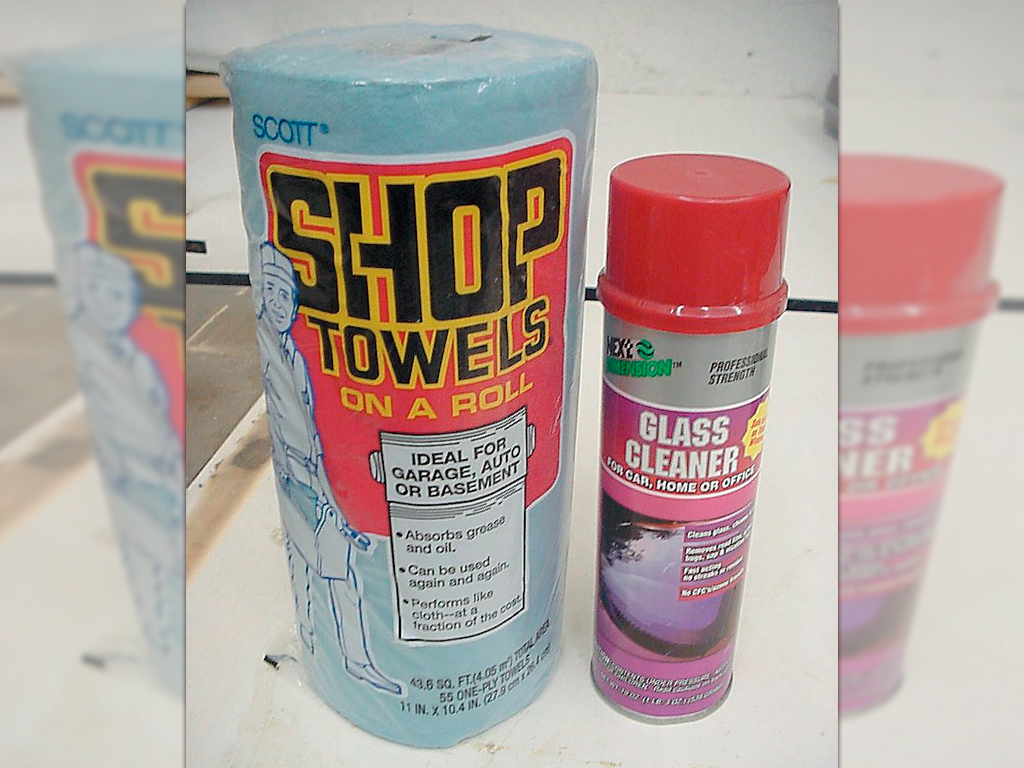
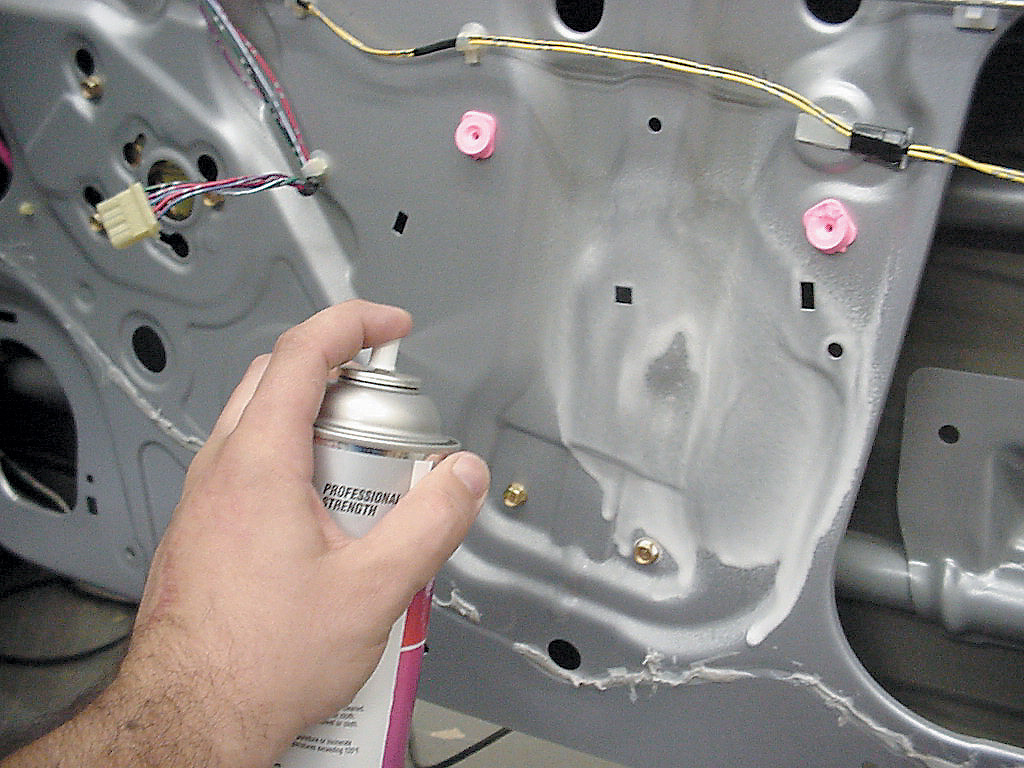
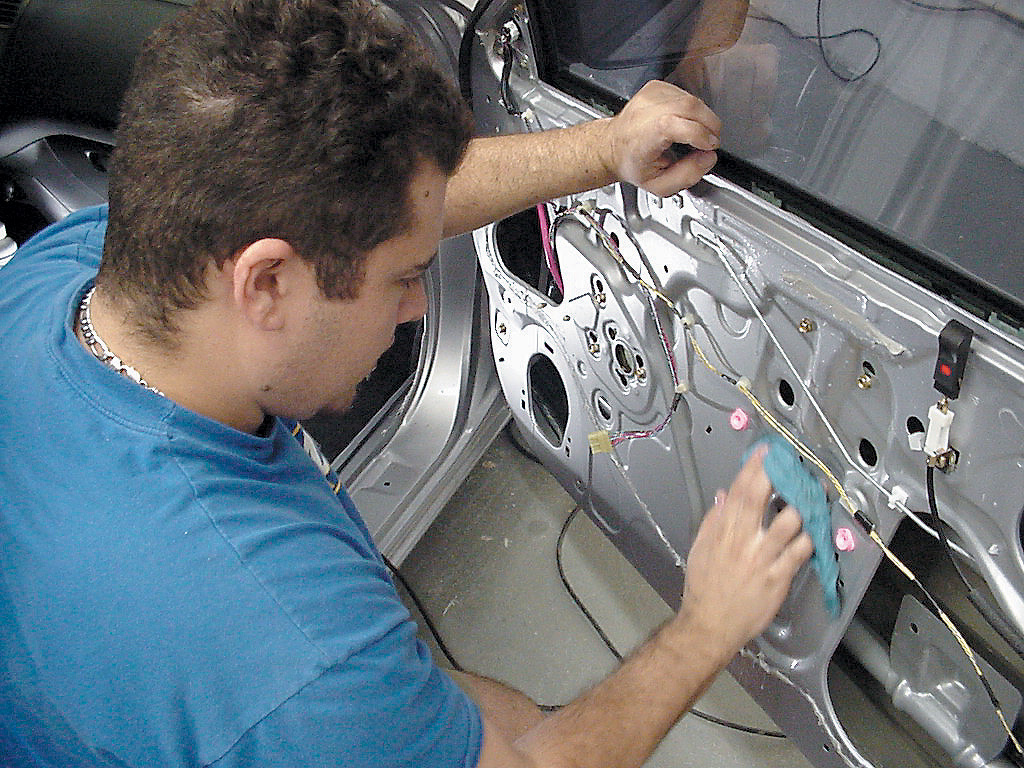
We spoke with Paul Messett, technical services manager at Cascade Audio Engineering, and he recommended cleaning the metal with some warm soap and water, and then cleaning the surface with an aerosol glass cleaner.
We made a trip to an auto parts store, bought some shop towels and glass cleaner, and had both doors soaped down and cleaned within an hour. This clean surface allows the Cascade ma- terial to adhere better.
We cleaned the inside door skin, which will be treated with the VB-2HD.
Around the speaker mounting area and the remainder of the inner door, we will apply the regular VB-2, as it is thinner and lighter.
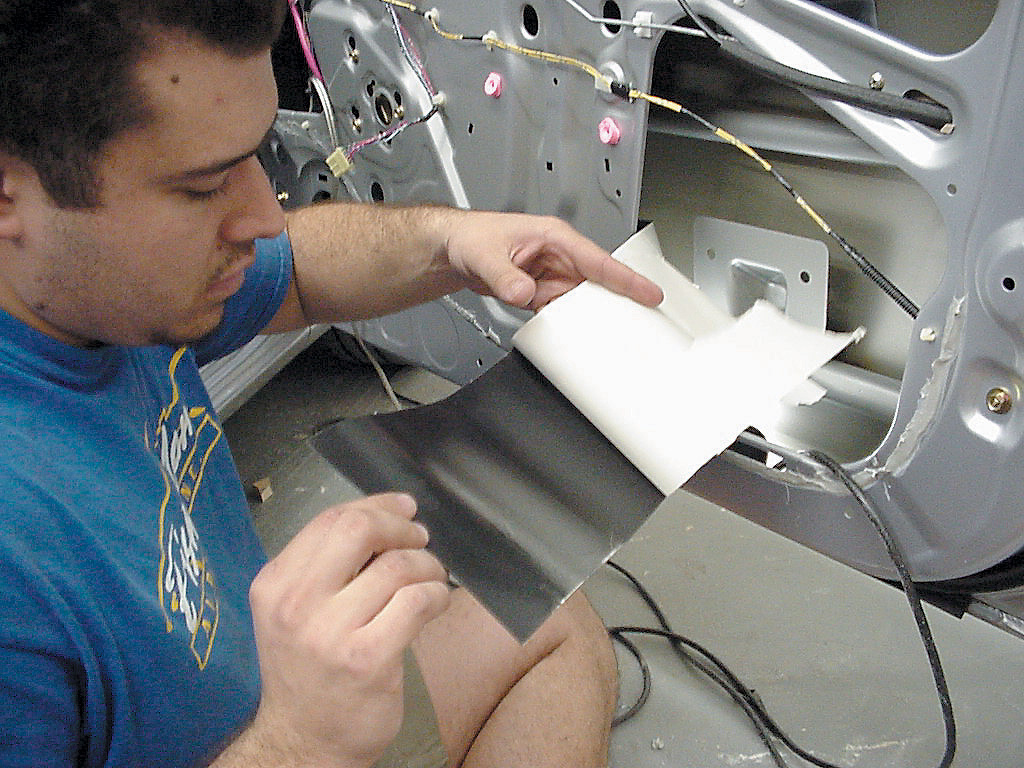
We began treating the inside of the door. After studying it, we decided to go with three horizontal strips. We cut the first one out about 6 inches wide and the whole length of the door. We then peeled back the paper and laid it down.
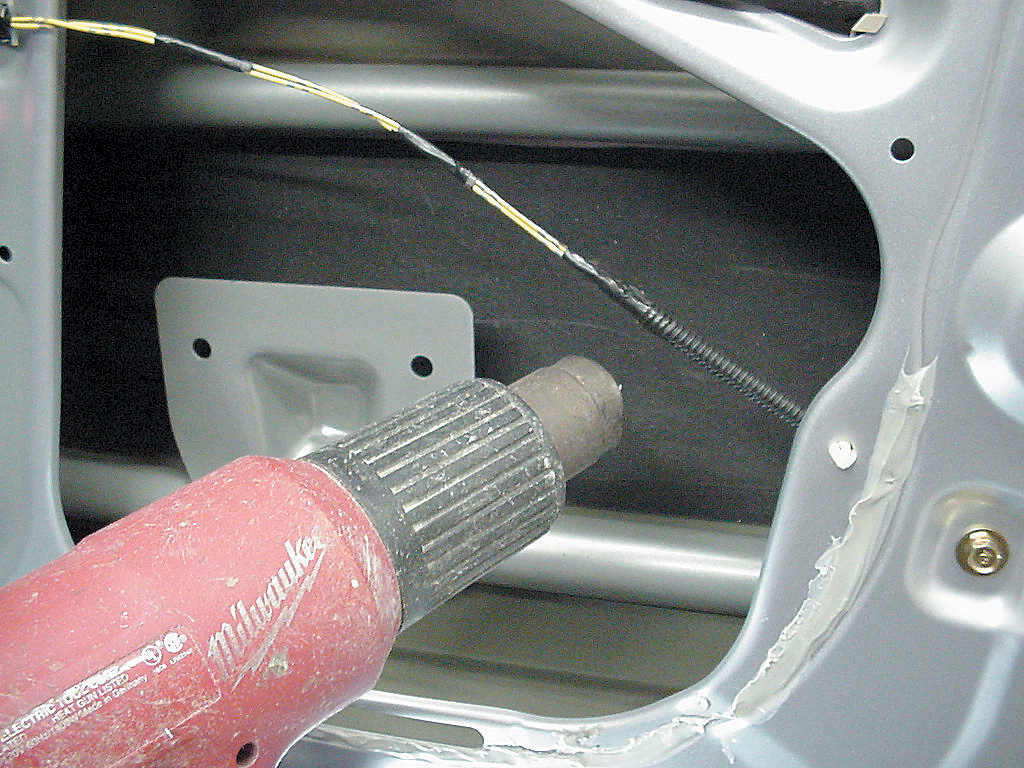
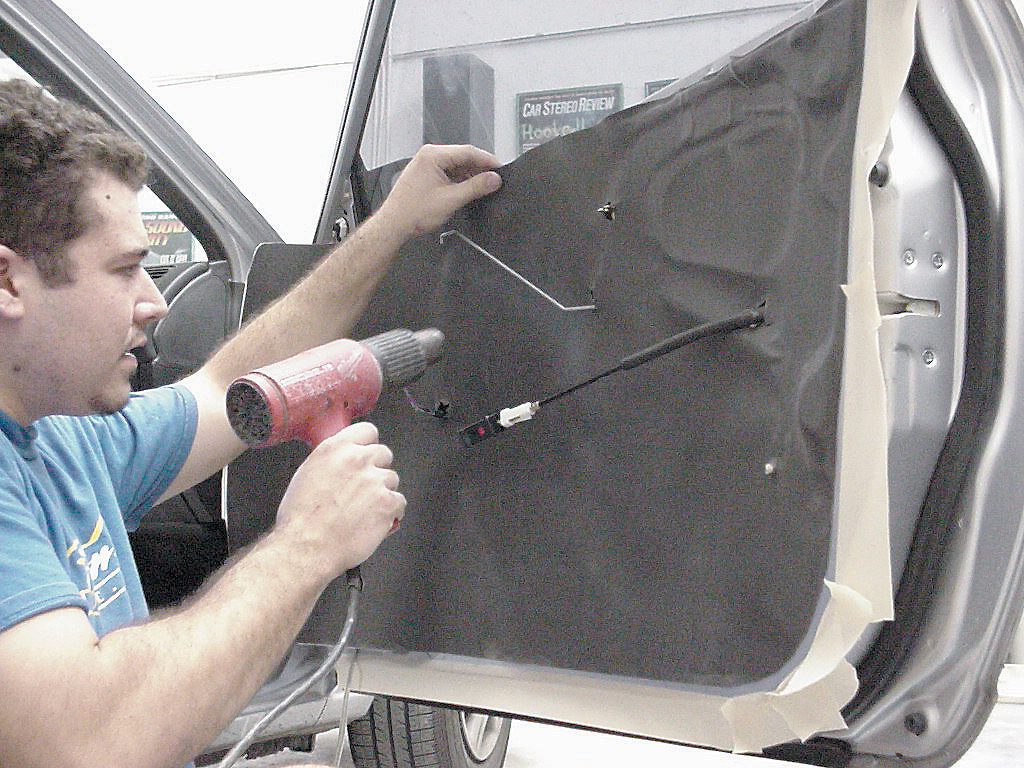
Peel only a little bit at a time as you work your way down the door. After applying the VB-2HD, use a heat gun to heat up the material a little, working it onto the door with a towel in your hand.
On the top strip, we had to cut out some pieces since it was going to wrap around the door handle. We heated this strip outside the car because it had more contours than the others. Heating the strips like this allows you to work with the material better because it’s more pliable.
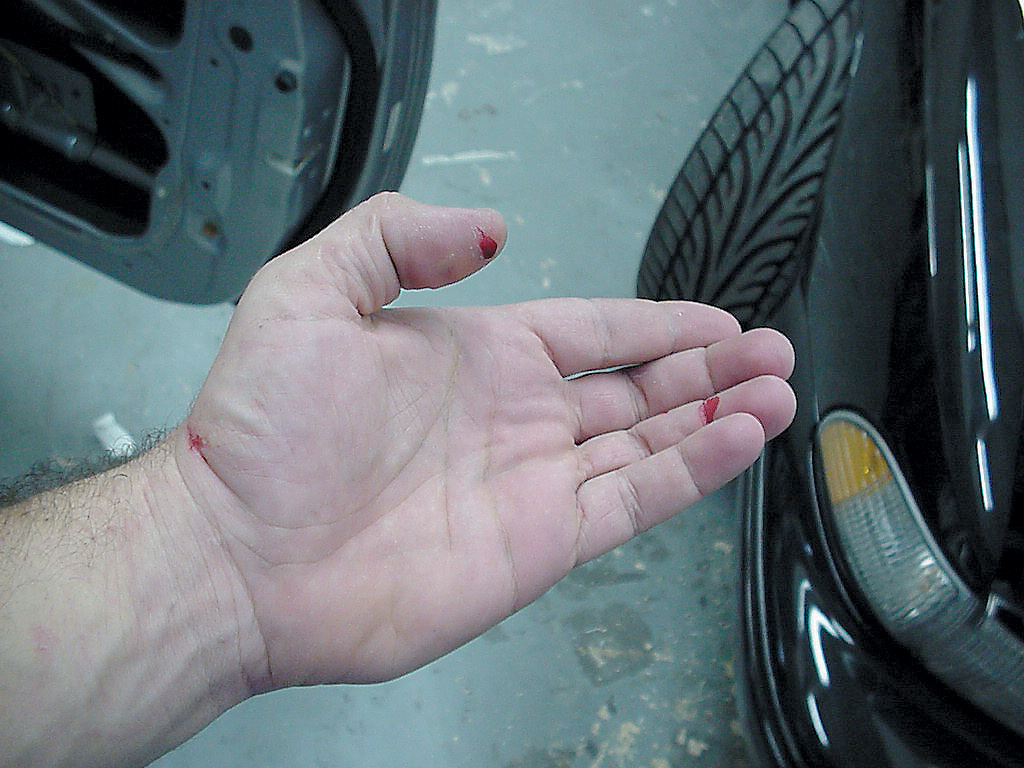
Here you can see all three strips in place. Be careful when working inside the door, because you can easily get cut.
Here is a shop tip: If you don’t have any bandages lying around, most installers will use electrical tape, duct tape or Crazy Glue to hold off the battle wounds and keep plugging away.
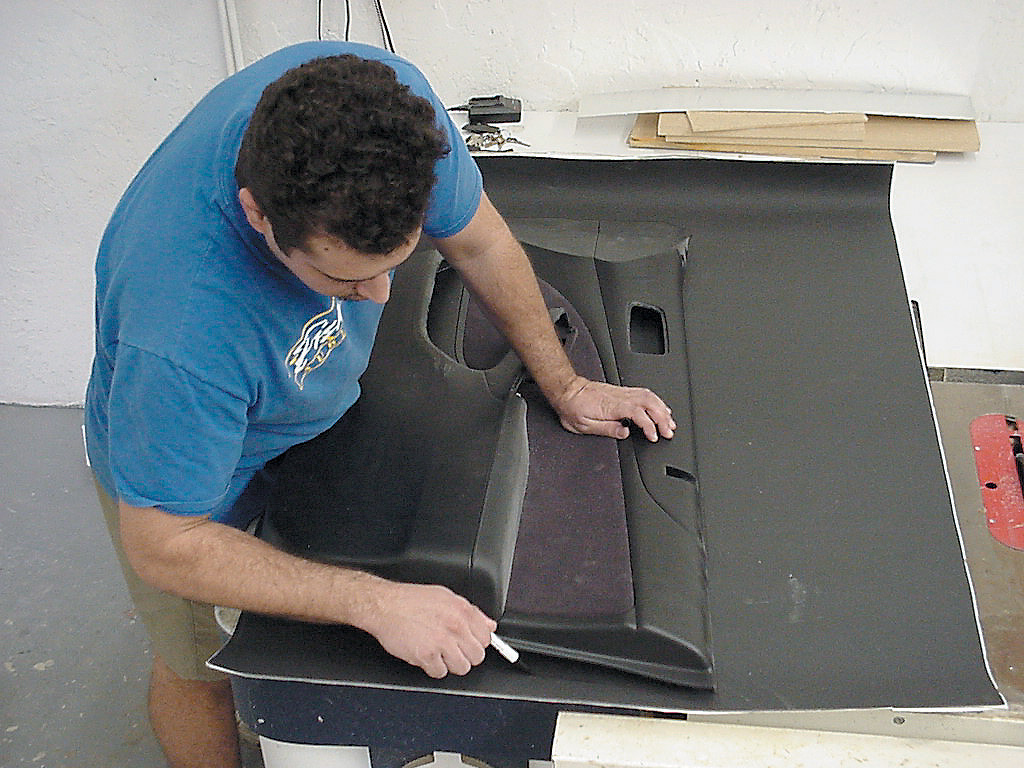
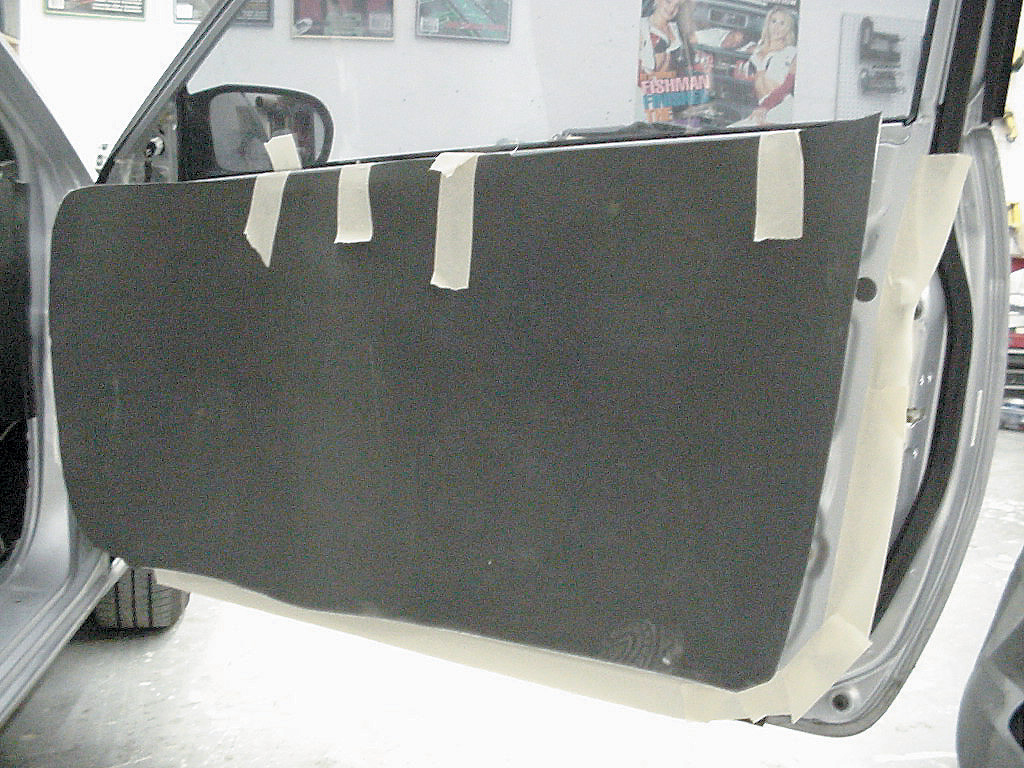
Now it’s time to move on to the outer door skin. Here we put the door panel back on for a few seconds, then laid down some masking tape on the edge so we knew where the door panel’s edge was once we had the door off.
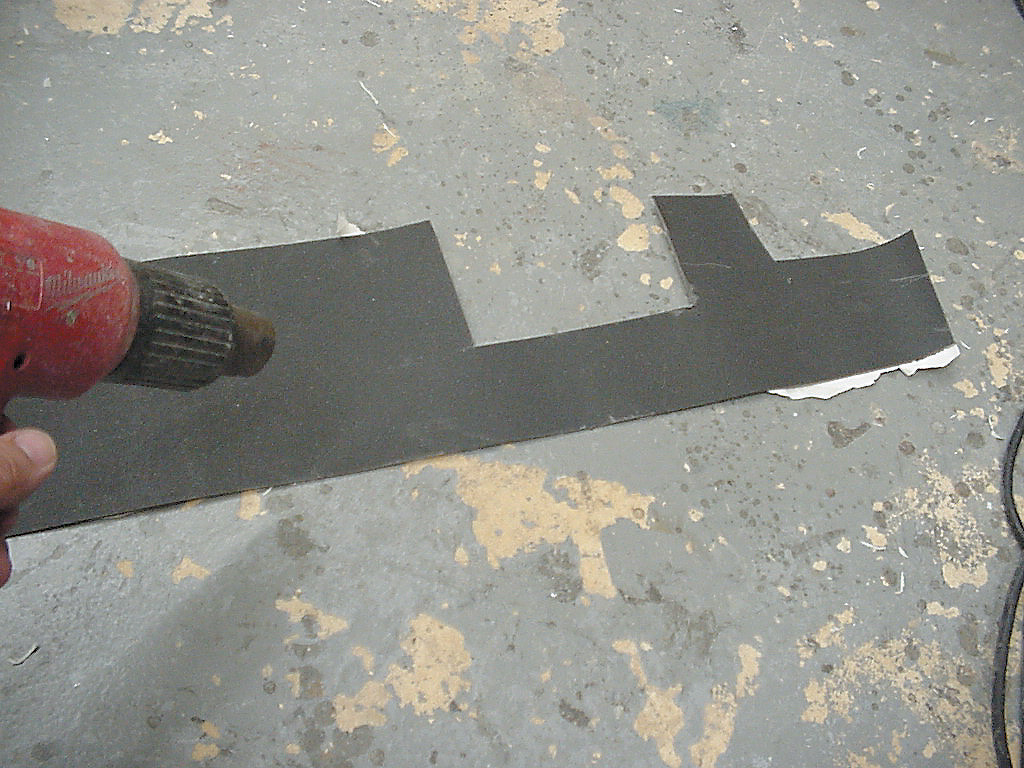
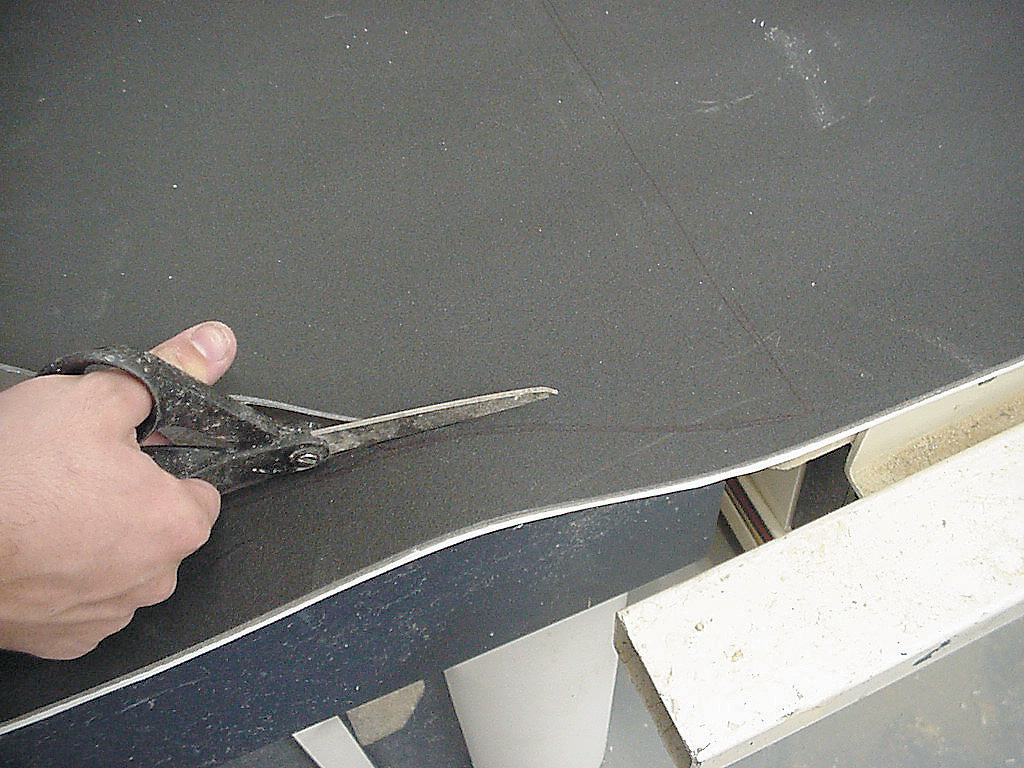
Next we took the door panel to a table and laid it on top of the sheet of VB-2. With a marker, carefully trace the outline of the door.
Use scissors to cut about 1/4 inch on the inside of the line. This ensures that the VB-2 will stay inside the door panel.
With the sheet cut out, we temporarily taped it to the door and checked to make sure it cleared where we had masked off.
Begin to peel back the paper a section at a time. We heated the VB-2 a lot so that we could press the material to every contour on the door. Work your way toward the front of the car. Apply carefully, peeling back the paper, heating the material, and pressing it down in place with a towel.
When doing this job, a good tip is to start working at around 11:00 a.m. Have your sheets cut out and lie them out in the sun for a good half hour. This can eliminate the need for a heat gun and speed up your time considerably.
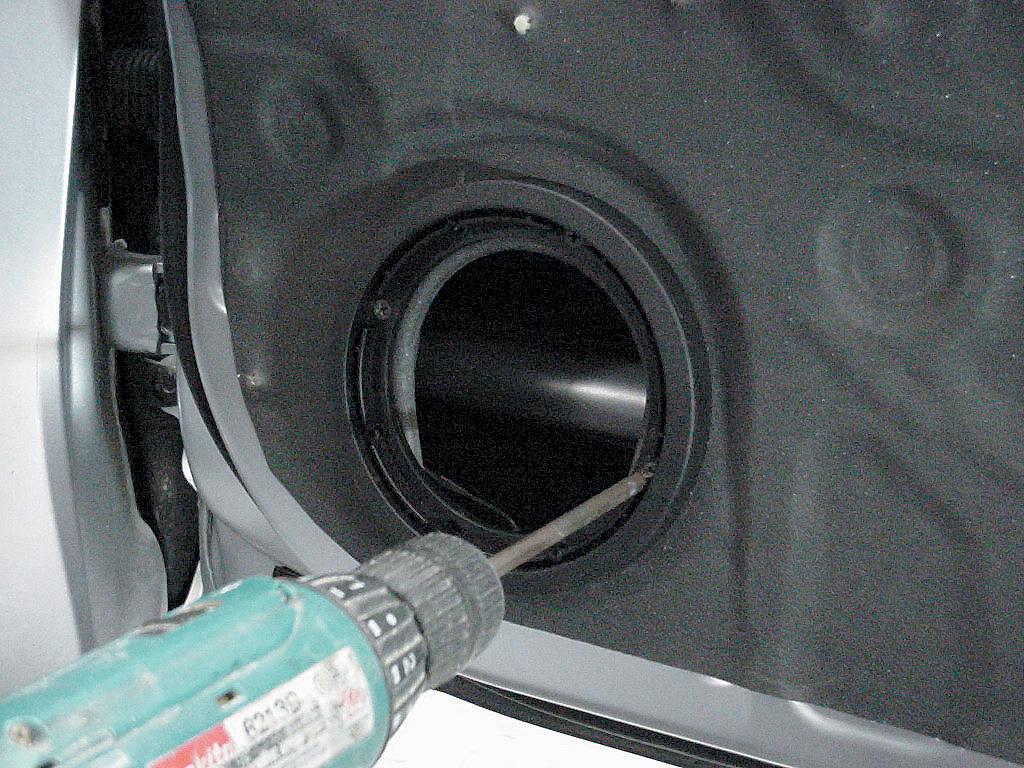
Don’t forget to poke holes for anything that might need to protrude to the outside of the material.
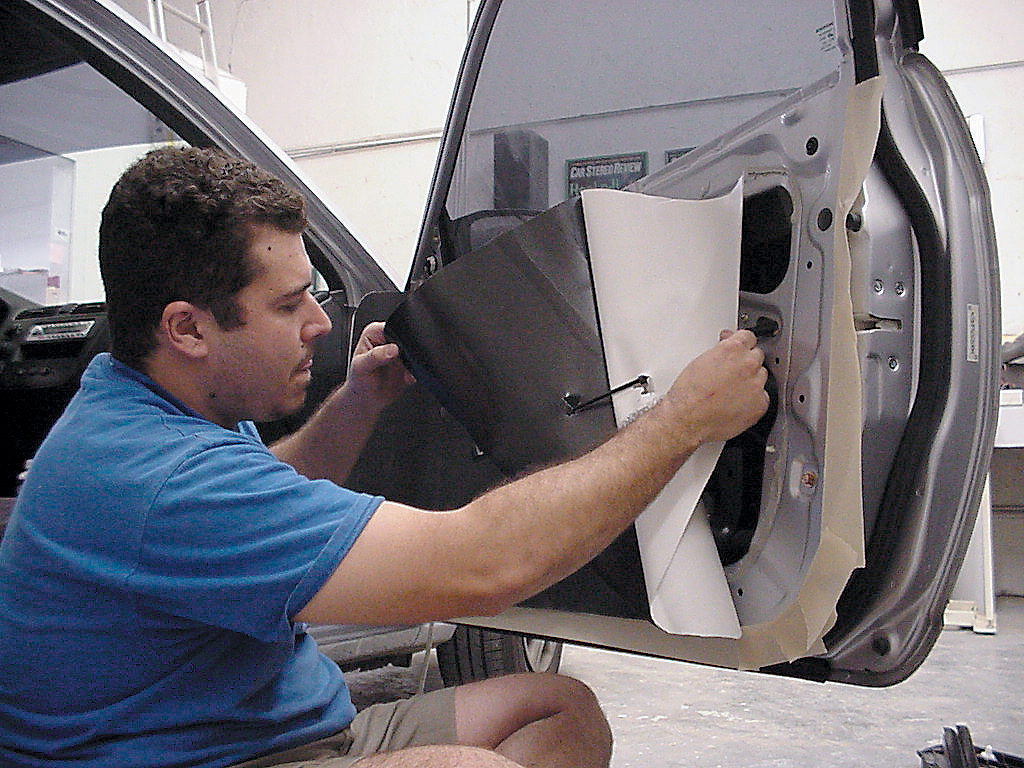
After the door was done, we cut out any areas that we’re going to be mounting tabs for the door panel. We found a spot on the door that would clear the crossover with the door panel back on.
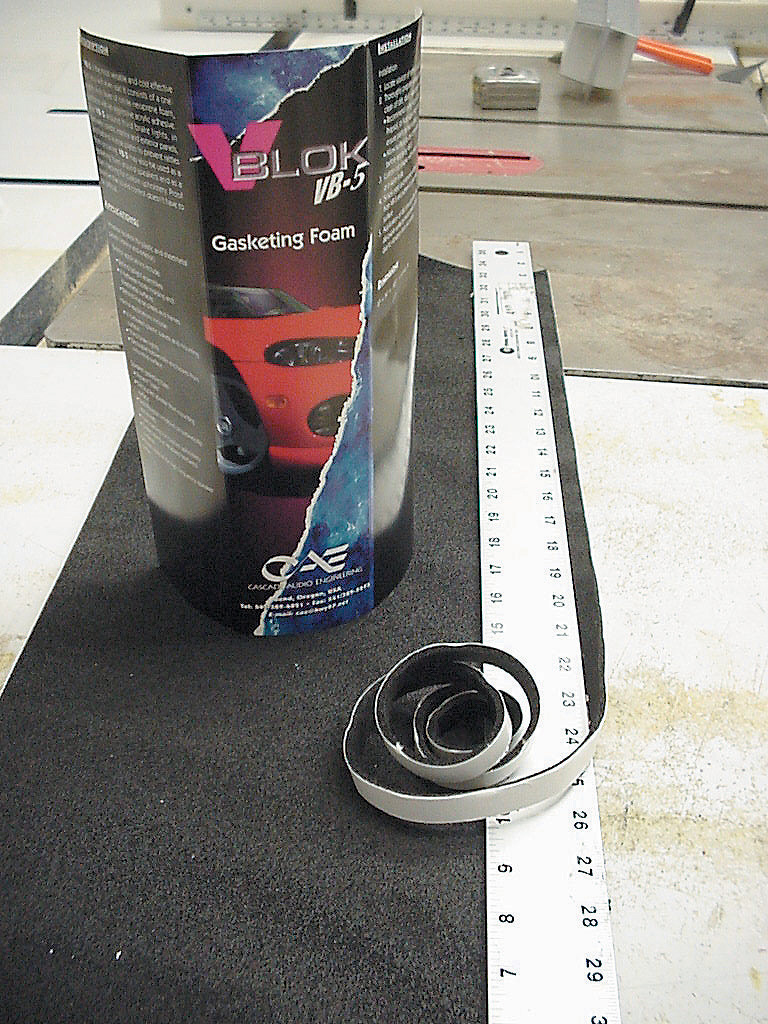
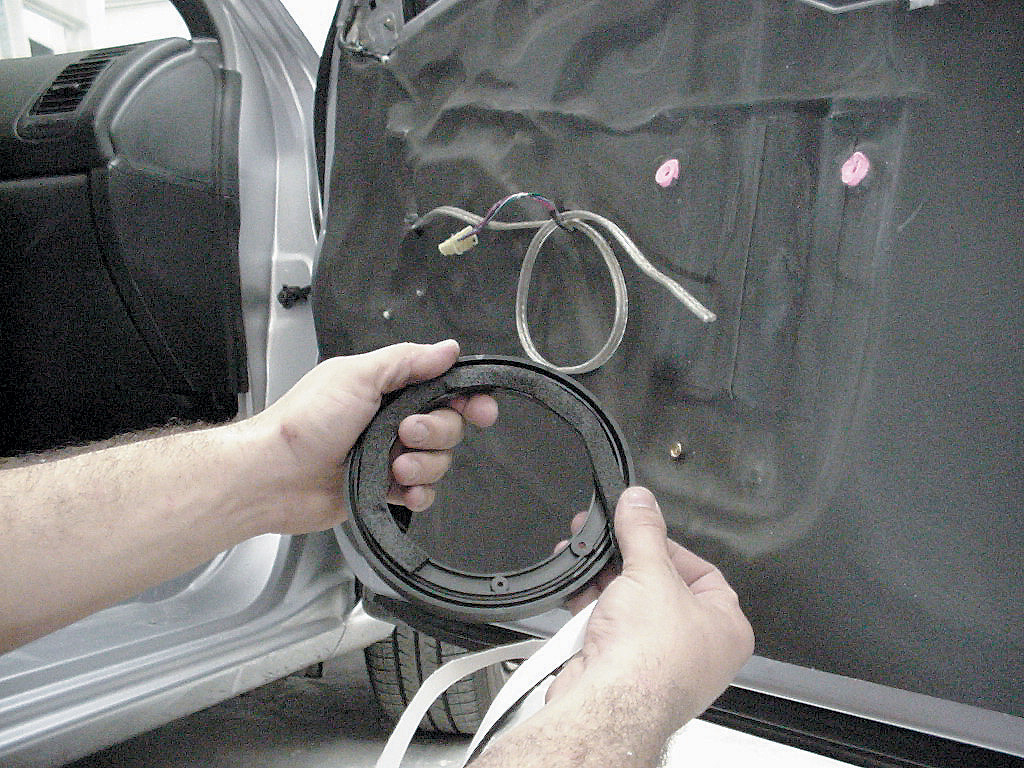
We also used Cascade’s VB-5 gasketing foam. This comes in a roll, so we cut out strips using a straightedge. We put a few strips behind the crossover to eliminate any rattle. The gasketing foam was also used around the back of the speaker and on the inside of the door panel edge to eliminate any rattles.
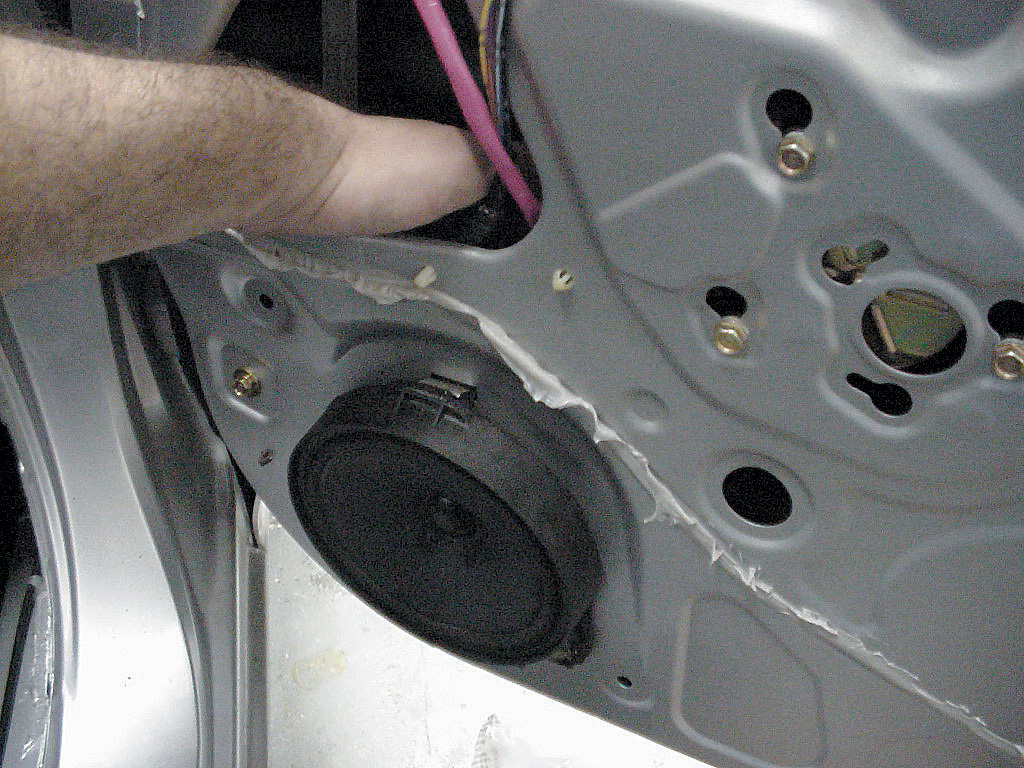
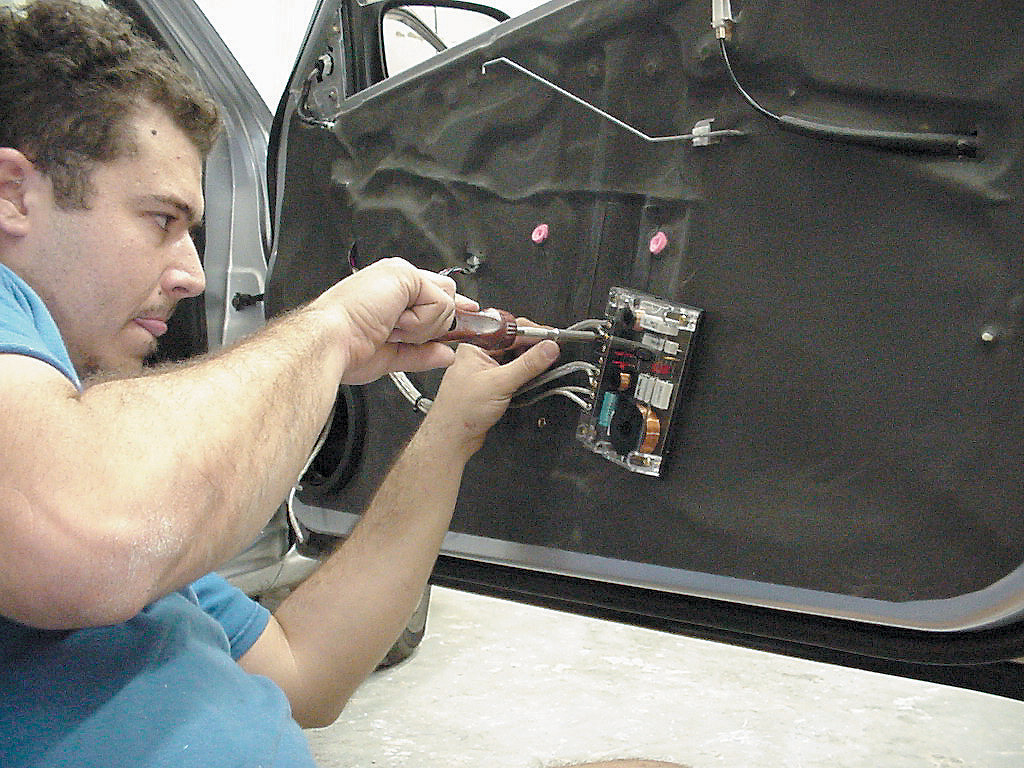
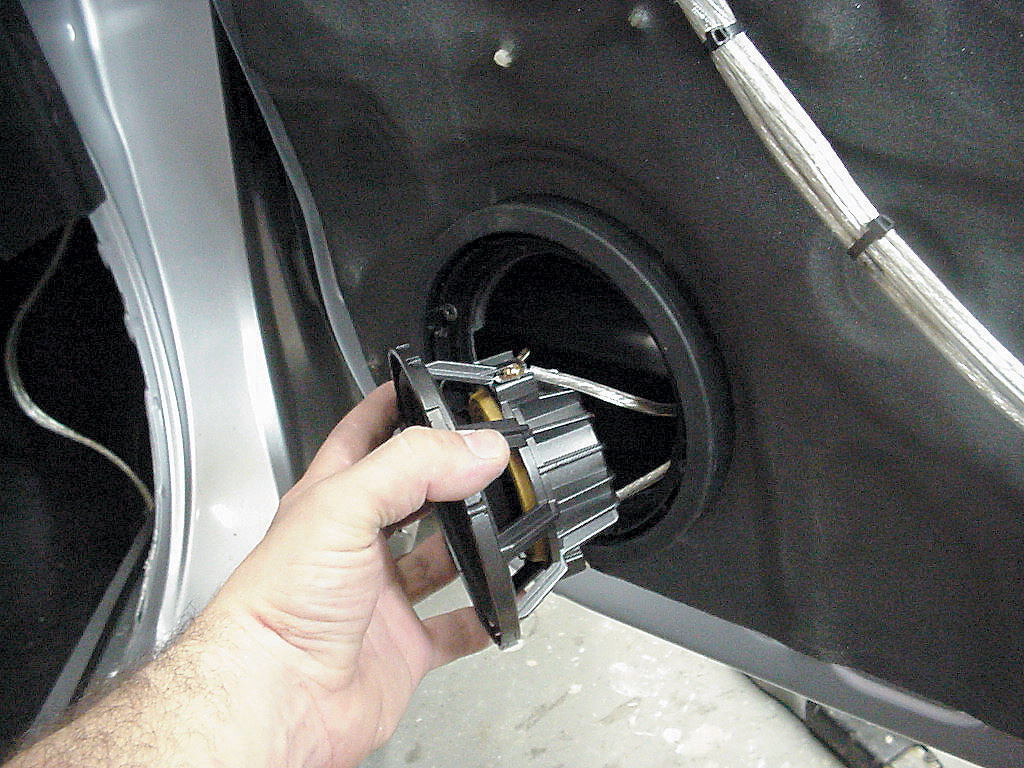
The MB QUART speakers were now ready to be in- stalled. It just so happens that the factory opening was large enough for the 5.25 Q series mounting rings, so no metal cutting was necessary.
Some VB-5 gasketing foam was used behind the mount- ing ring and then the ring was screwed in place. The speaker was wired up to our wire, which was already connected to the passive crossover.
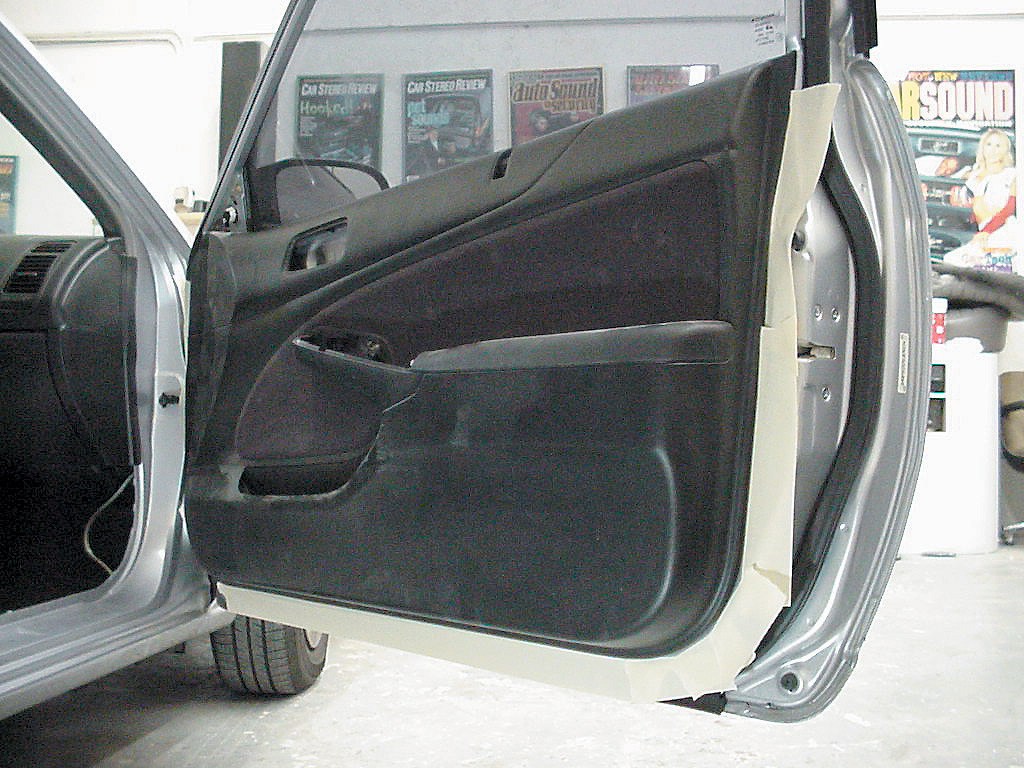
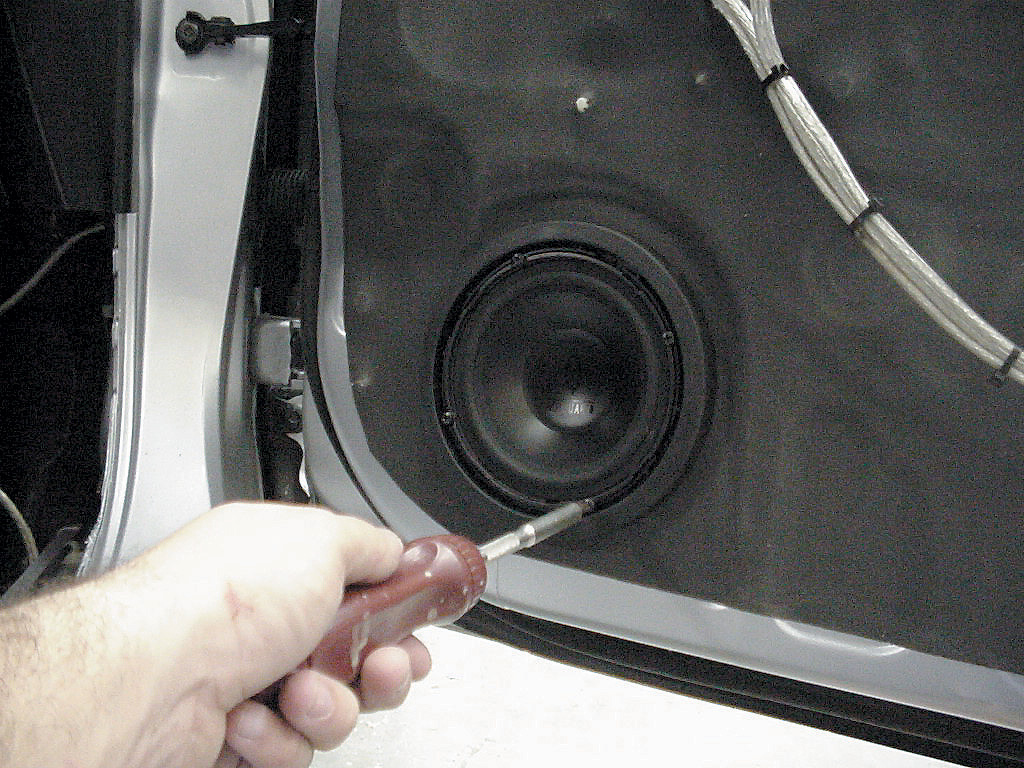
Finally, the speaker was screwed down by hand to eliminate any accidental holes. After this is done, you can then proceed to re-install your door panel.
Now you’re ready to turn up the music and enjoy your new speakers with no rattling noises. Remember, wherever you decide to install speakers, whether it’s in the backseat panels or in the trunk, it’s always smart to use sound damping material. We hope you enjoy the sweet sounds.