


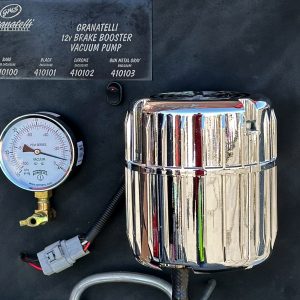
Product Spotlight: Granatelli Motor Sports® 12v Electric Vacuum Pump Kit
Rev up your engines and buckle up, folks, because Granatelli Motorsports is unleashing the ultimate solution to your vacuum woes with their 12V Electric Vacuum Pump Kit! Picture this: you’ve got your hot rod sitting pretty in the garage, but you’re struggling with power brakes, wipers, or engine management issues due to vacuum deficiencies. Well, fear not, because Granatelli has your back with their state-of-the-art kit, designed to tackle these challenges head-on and turbocharge your ride’s performance.
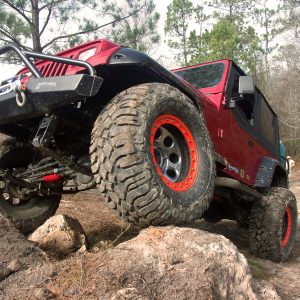
Flare with Style
Arnold Hemedinger, a self-employed European auto mechanic and a die-hard Jeep lover, discovered an 88’ YJ Jeep Wrangler that had been stored in a barn and obviously seen better days. Arnie, being the visionary he is, instantly saw the jeep as a diamond in the rough and with a little tender care would polish out brilliantly. His wife on the other hand saw the jeep only as another mid-life crisis project that would sit among two and half acres of other would-be diamonds.

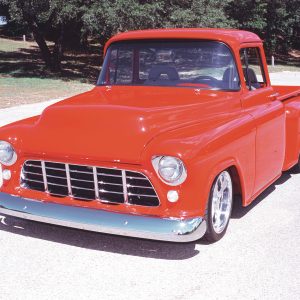
SOMETHING OLD WITH SOMETHING NEW
Here’s a question that ought to neatly divide our reading audience in two: Which Camaro is better, the ’68 or the ’98?


