Why the Neutral Safety Switch Matters
One of the most important safety features of your vehicle is the neutral safety switch, which is the mechanism that keeps your car from cranking in any gear other than park or neutral.
I will admit that this was not one of my better moments, but it did teach me a valuable lesson. While innocently sitting around one afternoon in my ’60 wagon, I accidentally hit the starter while the car was in gear. To my surprise, the engine fired, and the wagon lunged forward. Luckily, I was able to hit the brake prior to doing any damage. When I was able to breath again, I tried starting the engine again, only to find that the car would start in not only park or neutral, but in drive as well. This was an obvious surprise because when the shifter was installed, it worked properly by starting in only the park or neutral position.
Diagnosing the Problem
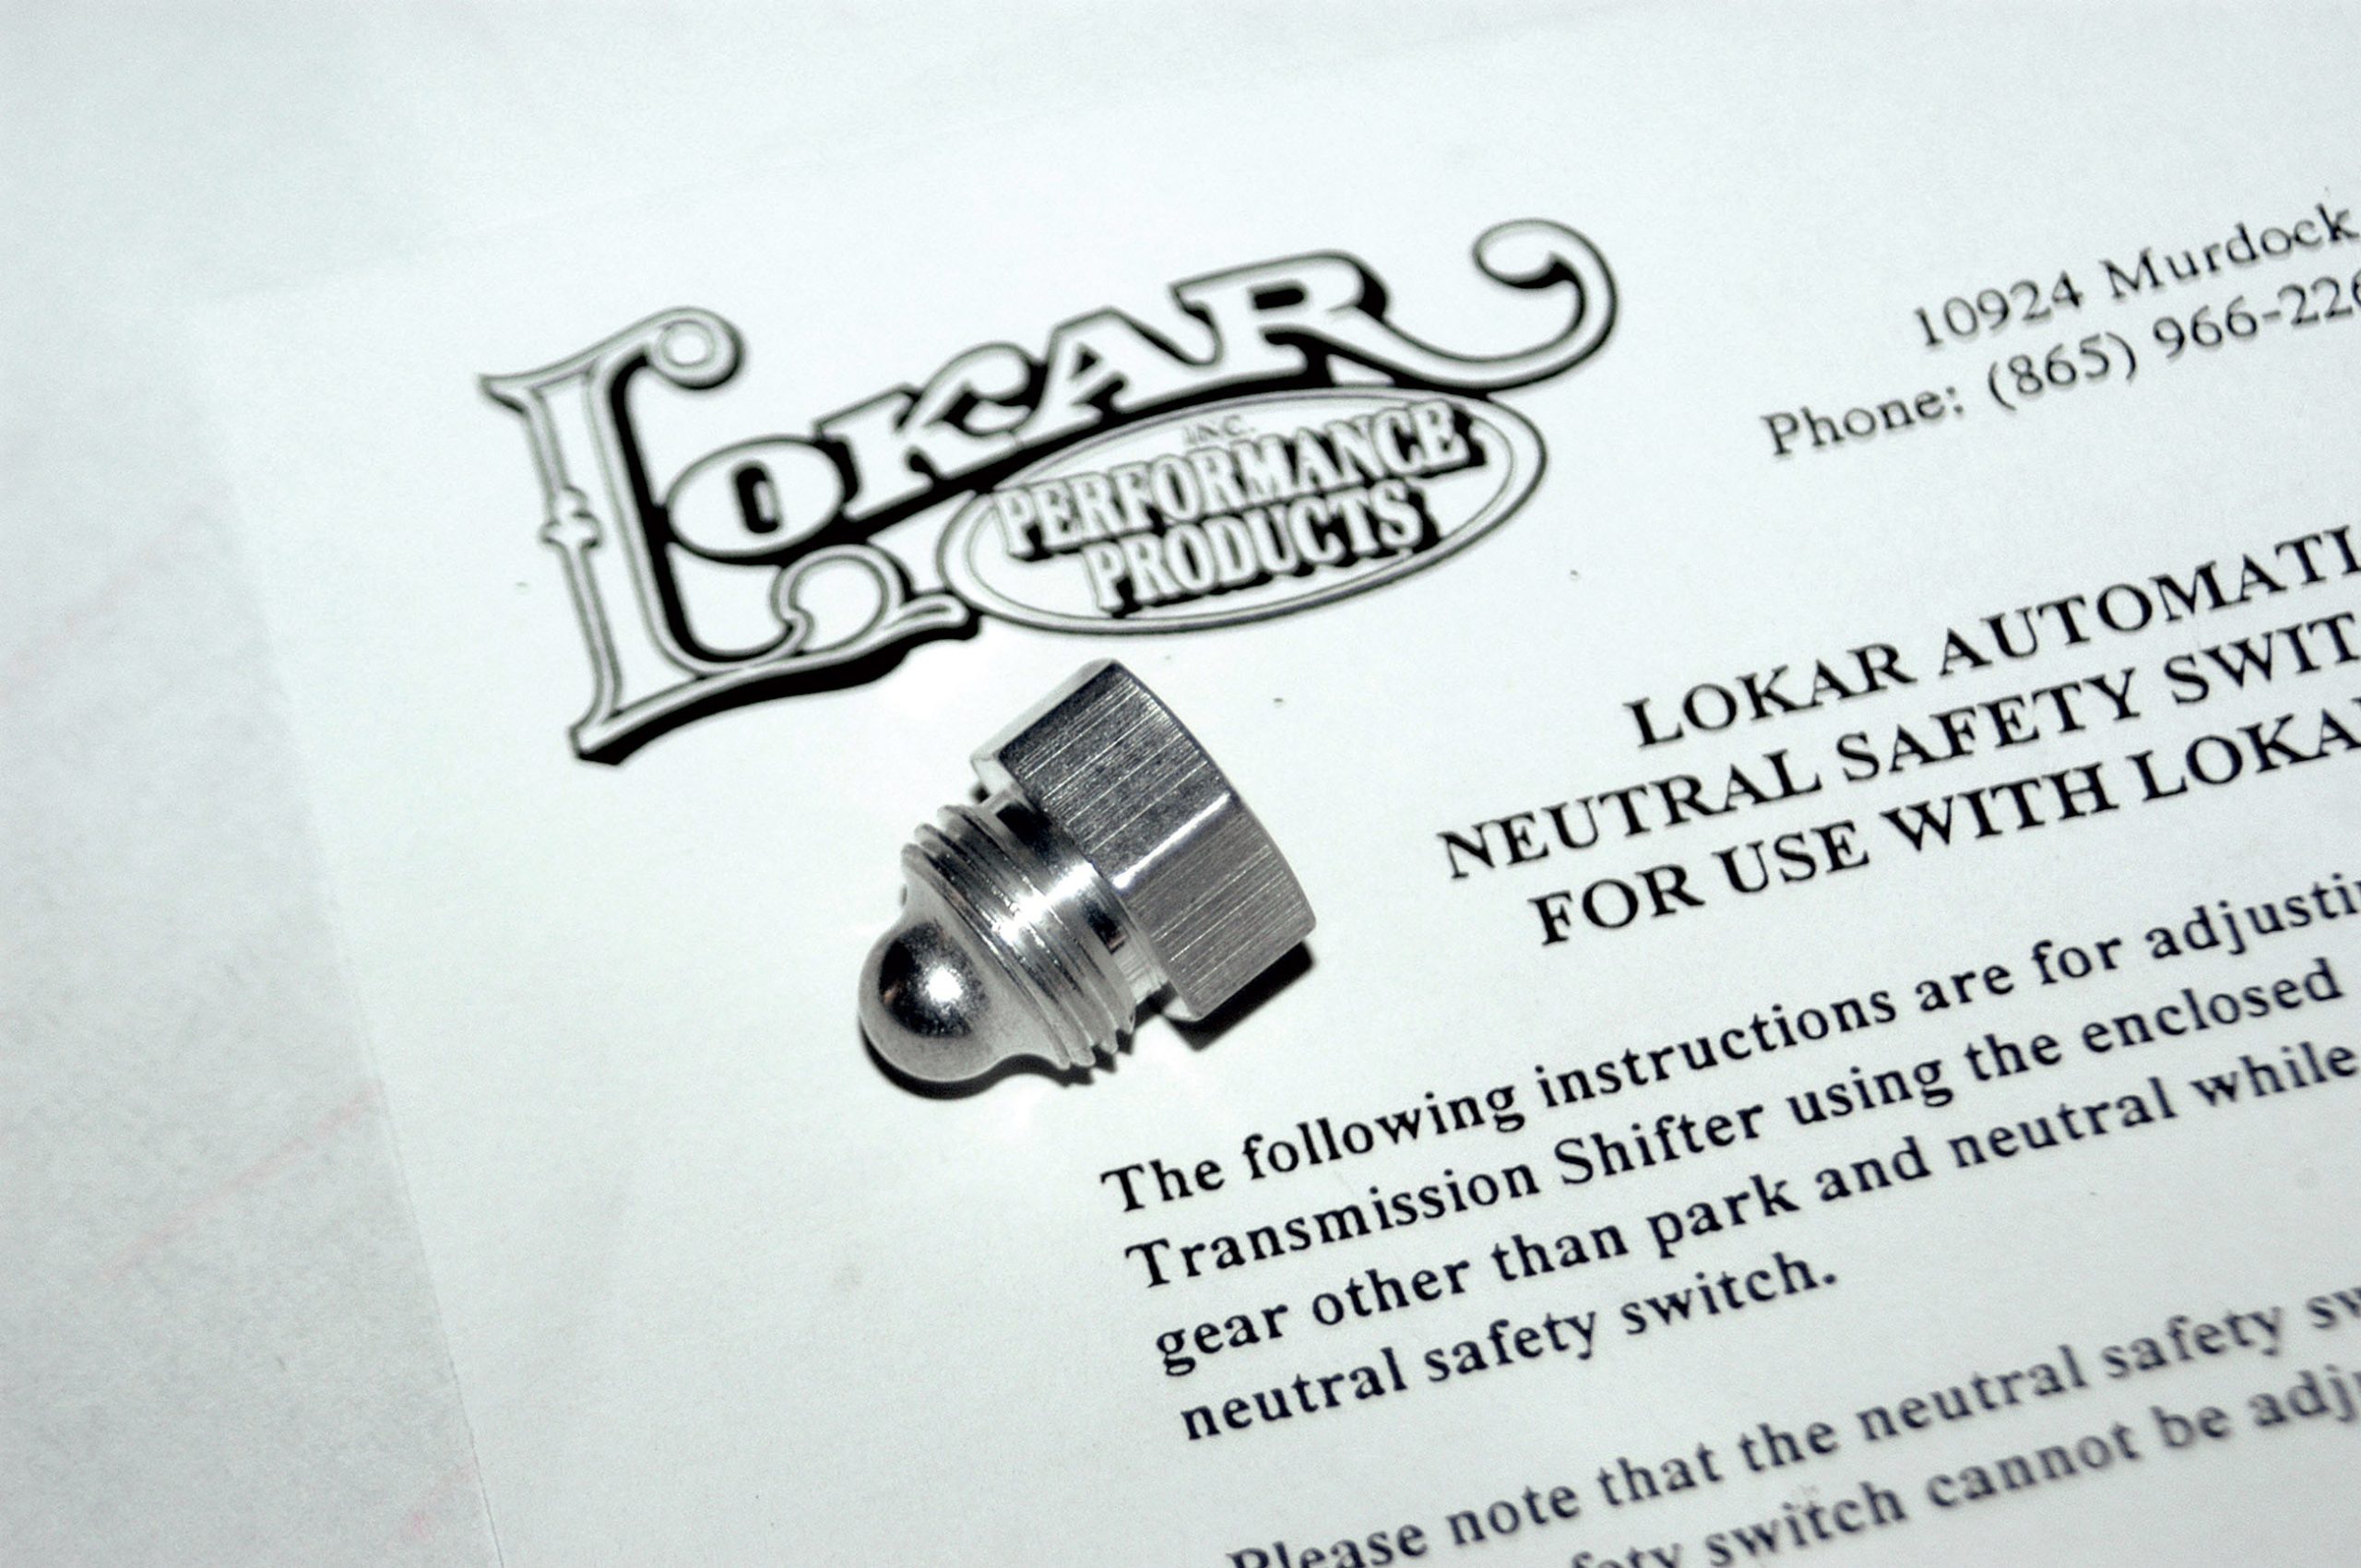
At first, I thought the neutral safety switch had gone bad. Since I was using a Lokar shifter, I called the good folks at Lokar, only to be asked, “Are you sure it is the switch?” Of course, I was sure (refer to aforementioned properly working). Lokar then asked if I had checked to make sure that the switch was still properly adjusted. I had not even considered that the switch could have become improperly adjusted. Lokar offered to send me a new switch but suggested that I check the adjustment, to which I replied, “Fine, how do I do that?” “It’s pretty simple; just find your instructions.” I found that not only had I discarded the instructions, but also the aluminum adjustment plug supplied with the shifter. Lokar sent me the instruction sheet as well as the adjustment plug. I used those to readjust my switch and found that they were right after all. My shifter had only worked out of adjustment. Once adjusted, everything worked and cranked properly. Cranking my wagon was once again safe and free from problems.
Insights from Lokar
I called back to thank them for their assistance and discussed the situation with Lokar President Rick Craze. I found out that I was not the only guy who had called them with the misunderstanding that the switch had gone bad. Rick informed me that they had experiences with some who never properly adjusted the switch at installation. We decided that since there were so many rods, customs and trucks using the Lokar automatic shifter, we should do a great service for its readers to provide the information that could either solve or even prevent this problem from happening to their cars. We set up a transmission and shifter and went step by step to properly adjust the Lokar shifter.
Step 1: Check Your Shifter Linkage
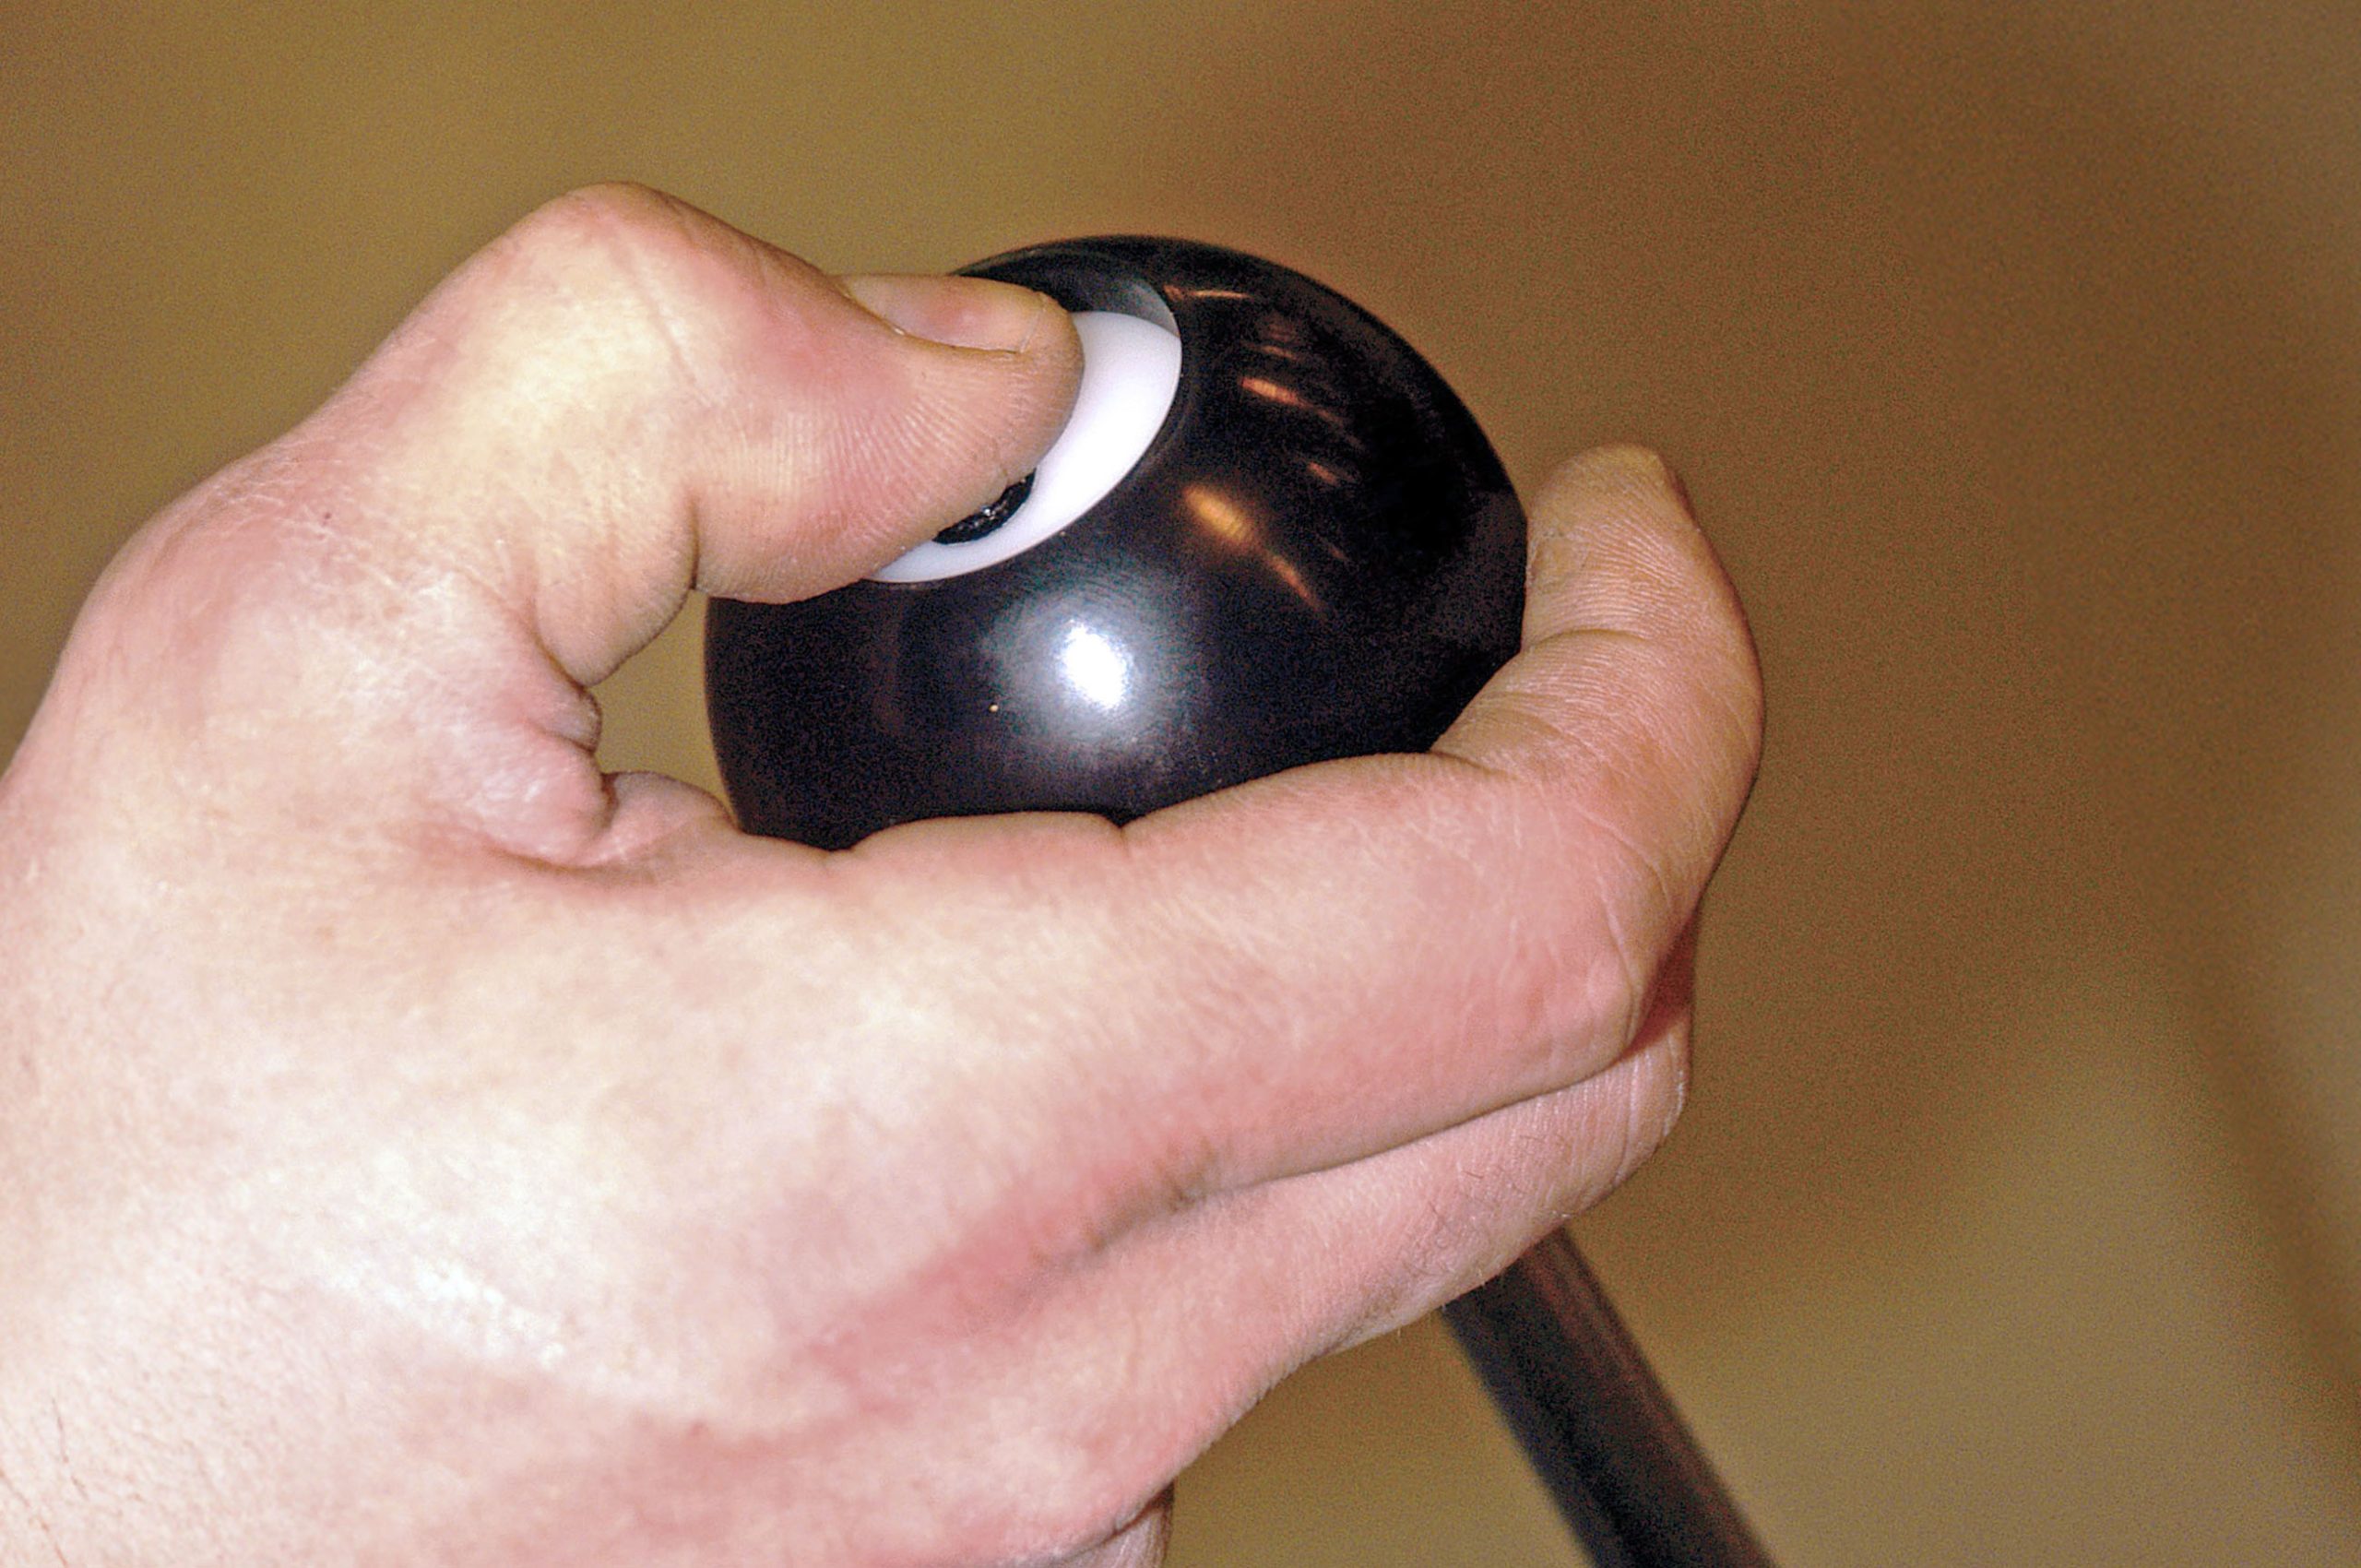
The first step in the procedure is to make sure that the shifter linkage is adjusted properly. The shifter should stop in all proper gear positions, from park, reverse, neutral and all forward gears. The lockout button on top of the shifter handle should be flush with the knob in the park and neutral positions. To begin the adjustment process, make sure that all brackets and bolts are tight. Next, put the shifter in the reverse position. You should not be able to move the shifter into neutral without depressing the lockout button. Place the shifter back into the park position.
Step 2: Remove the Neutral Safety Switch
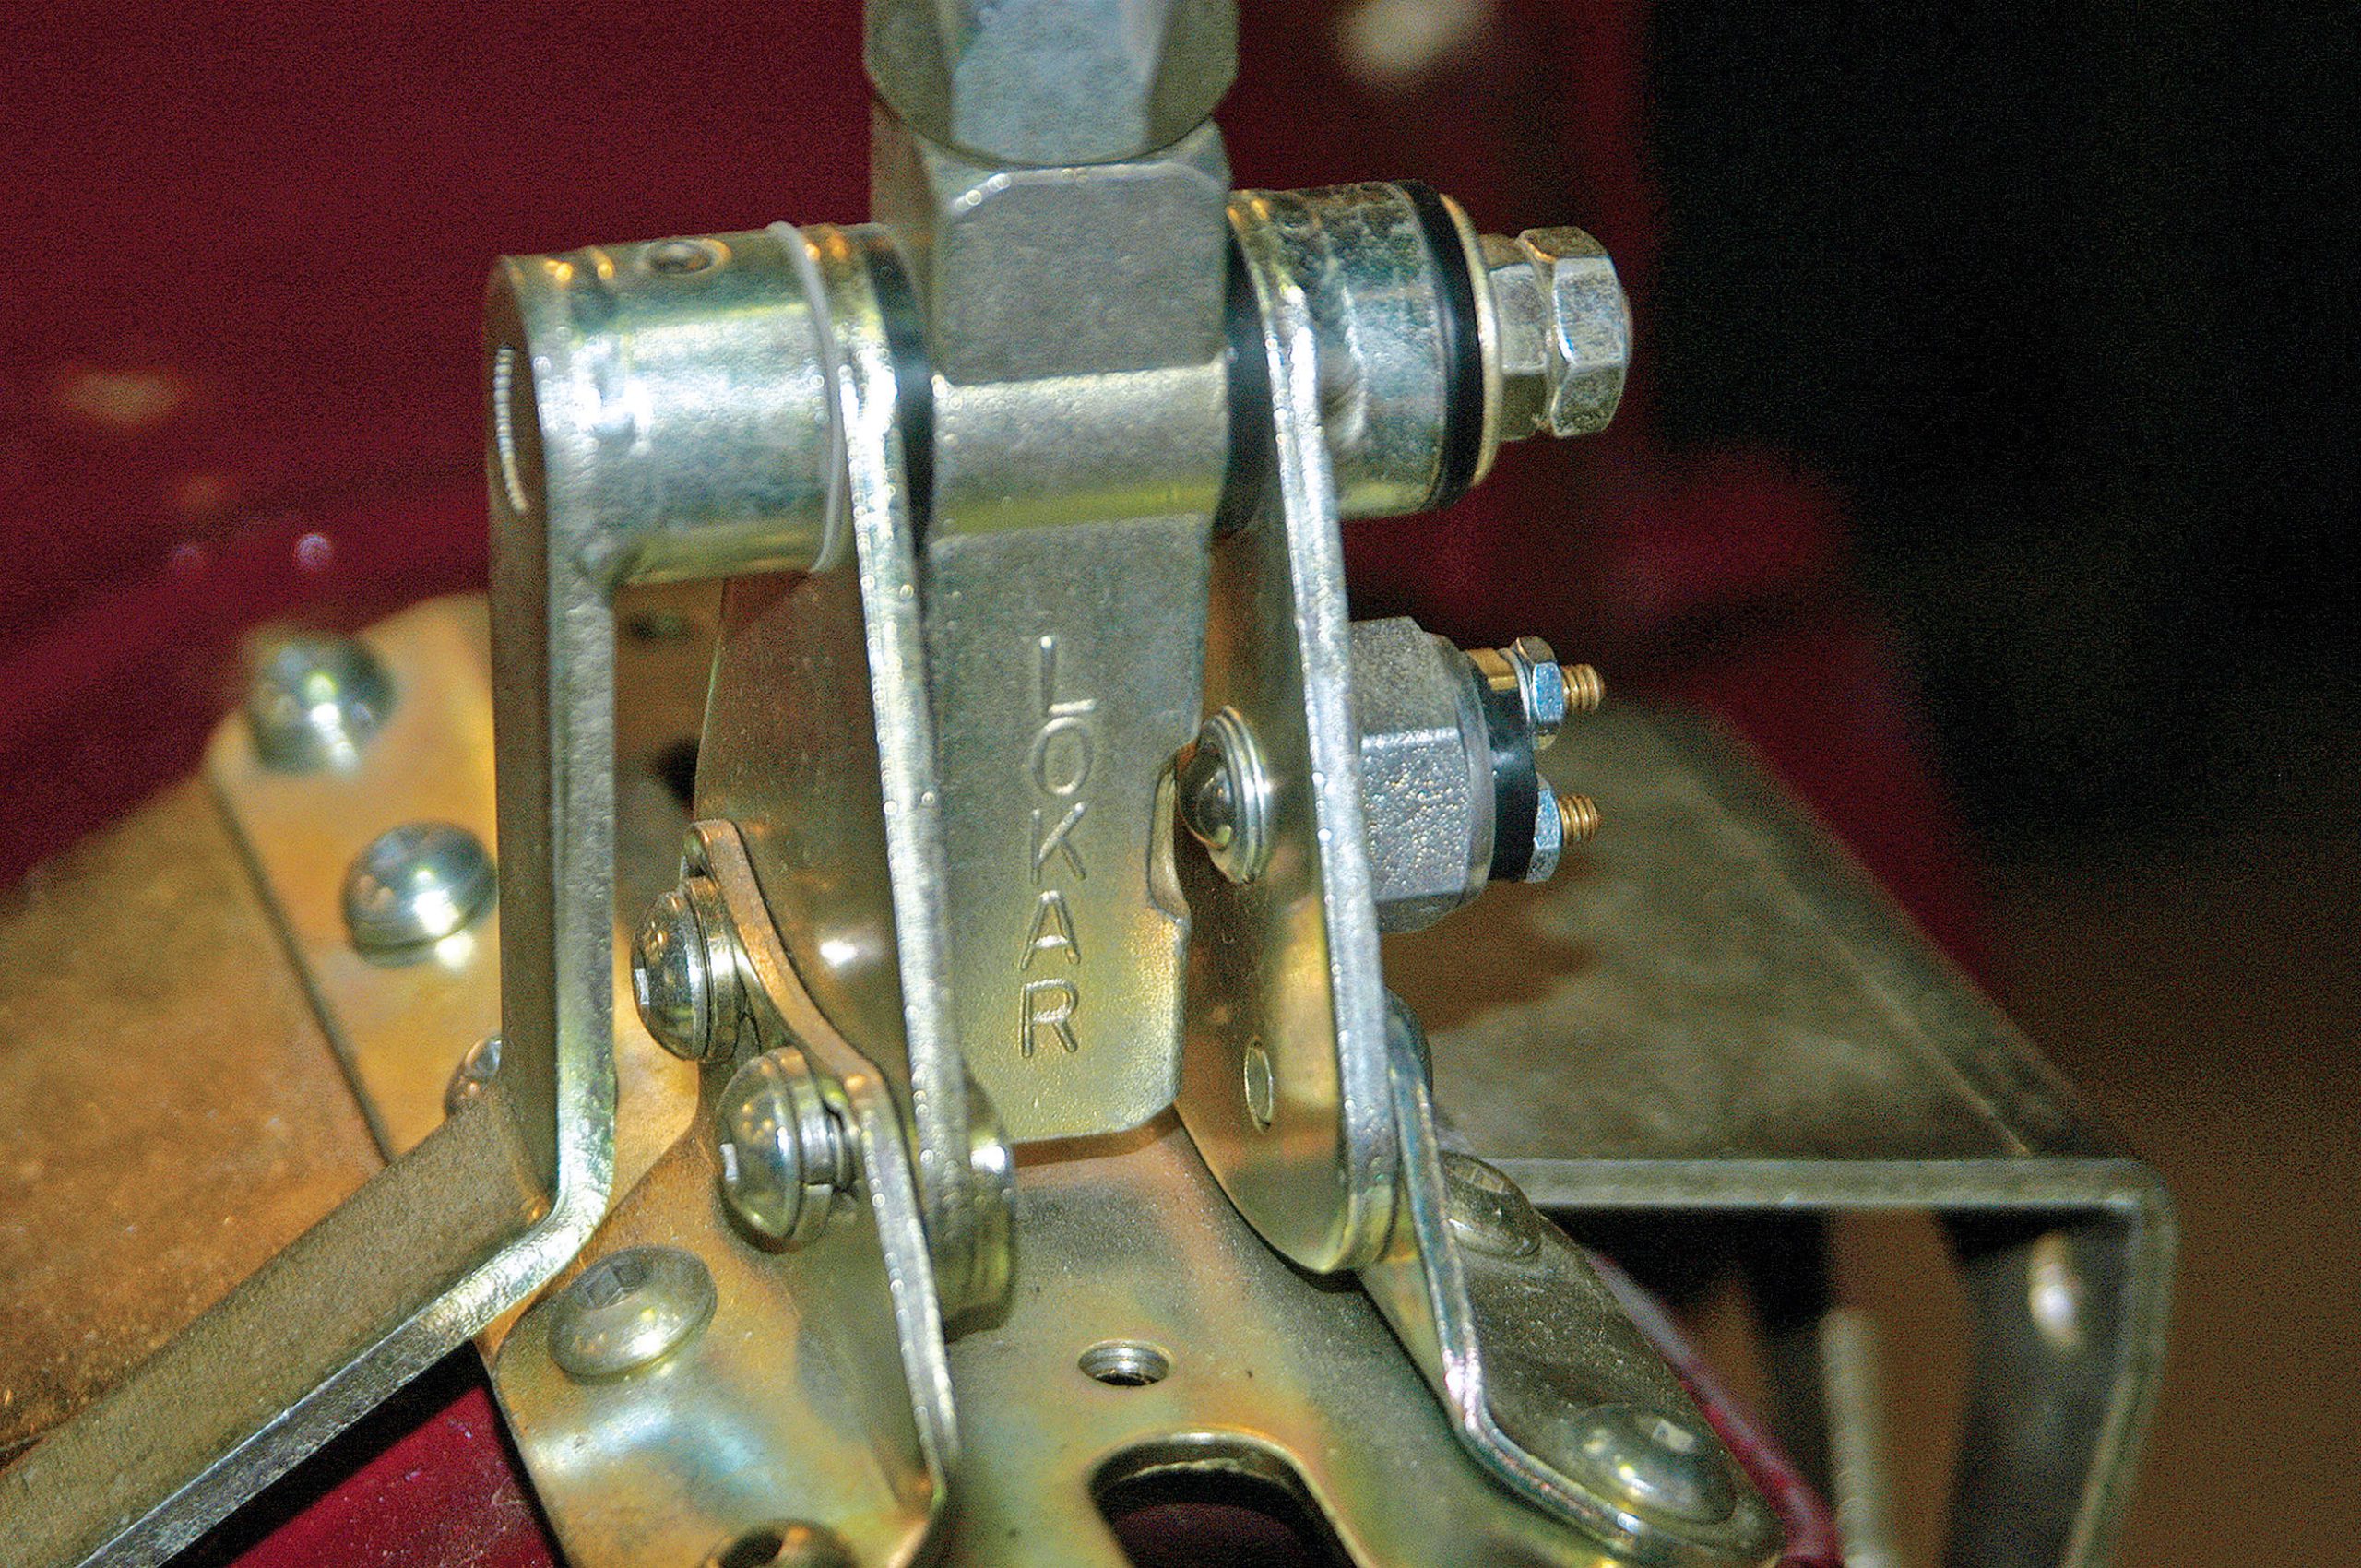
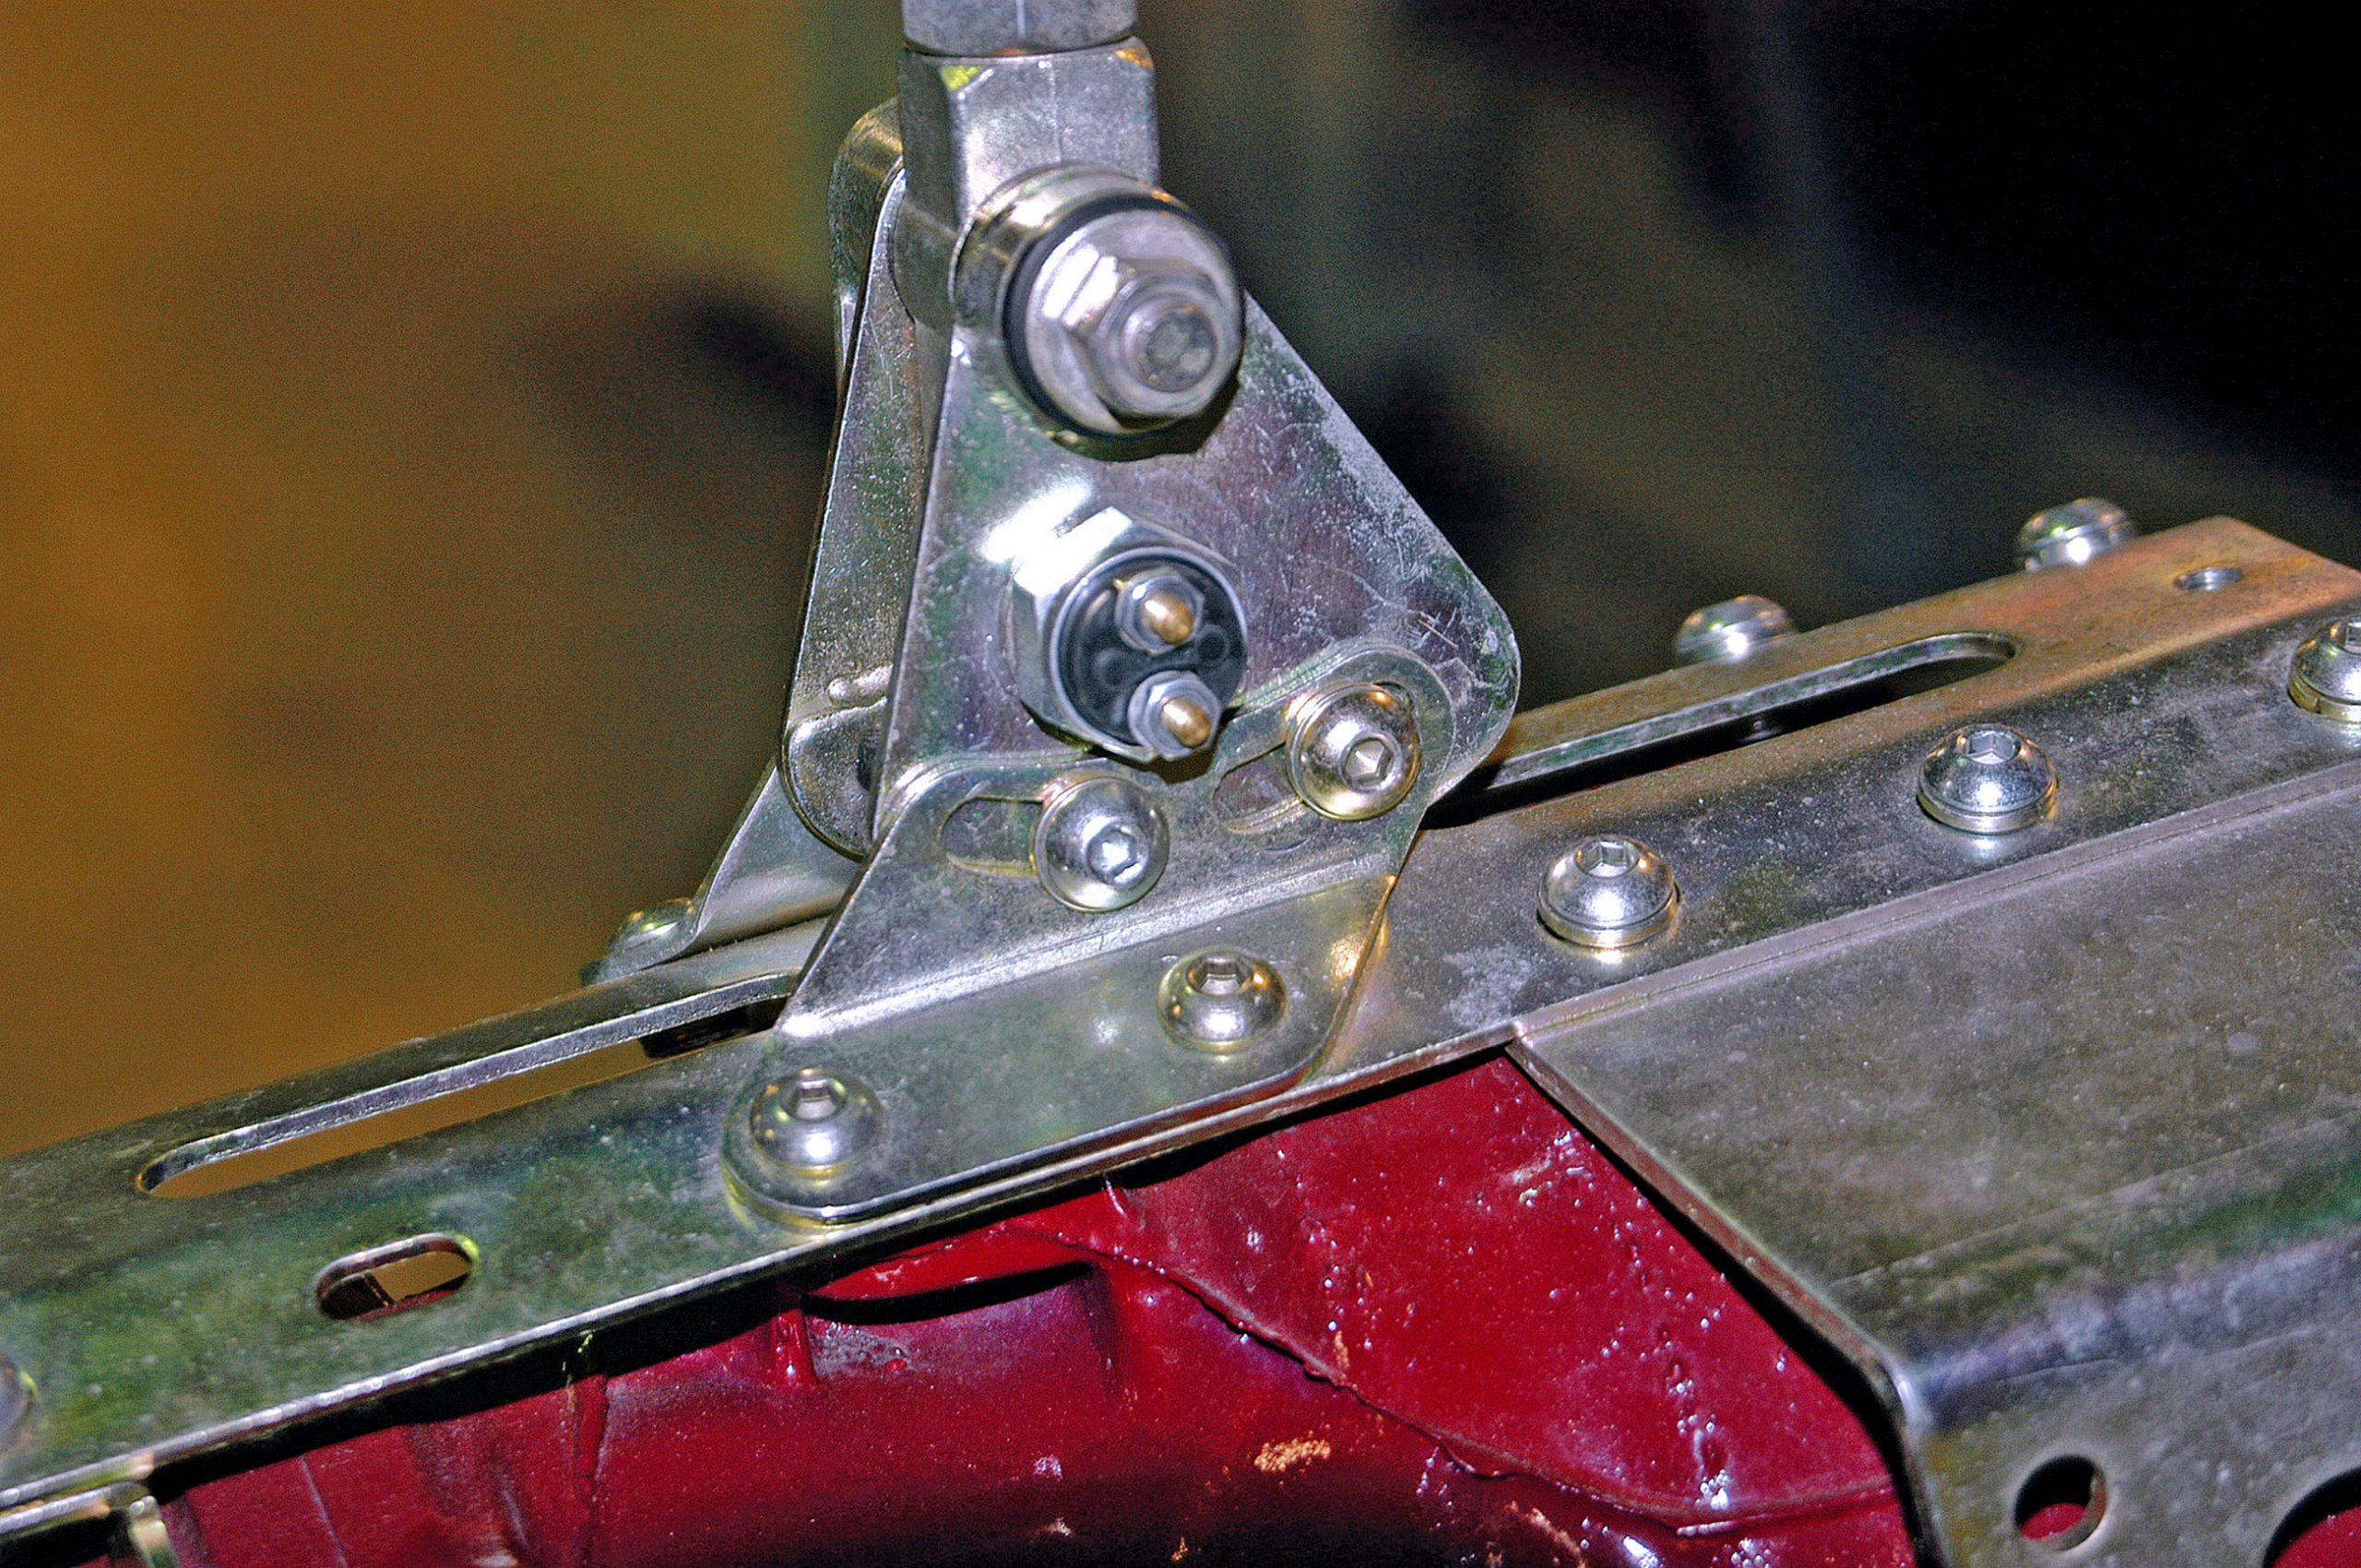
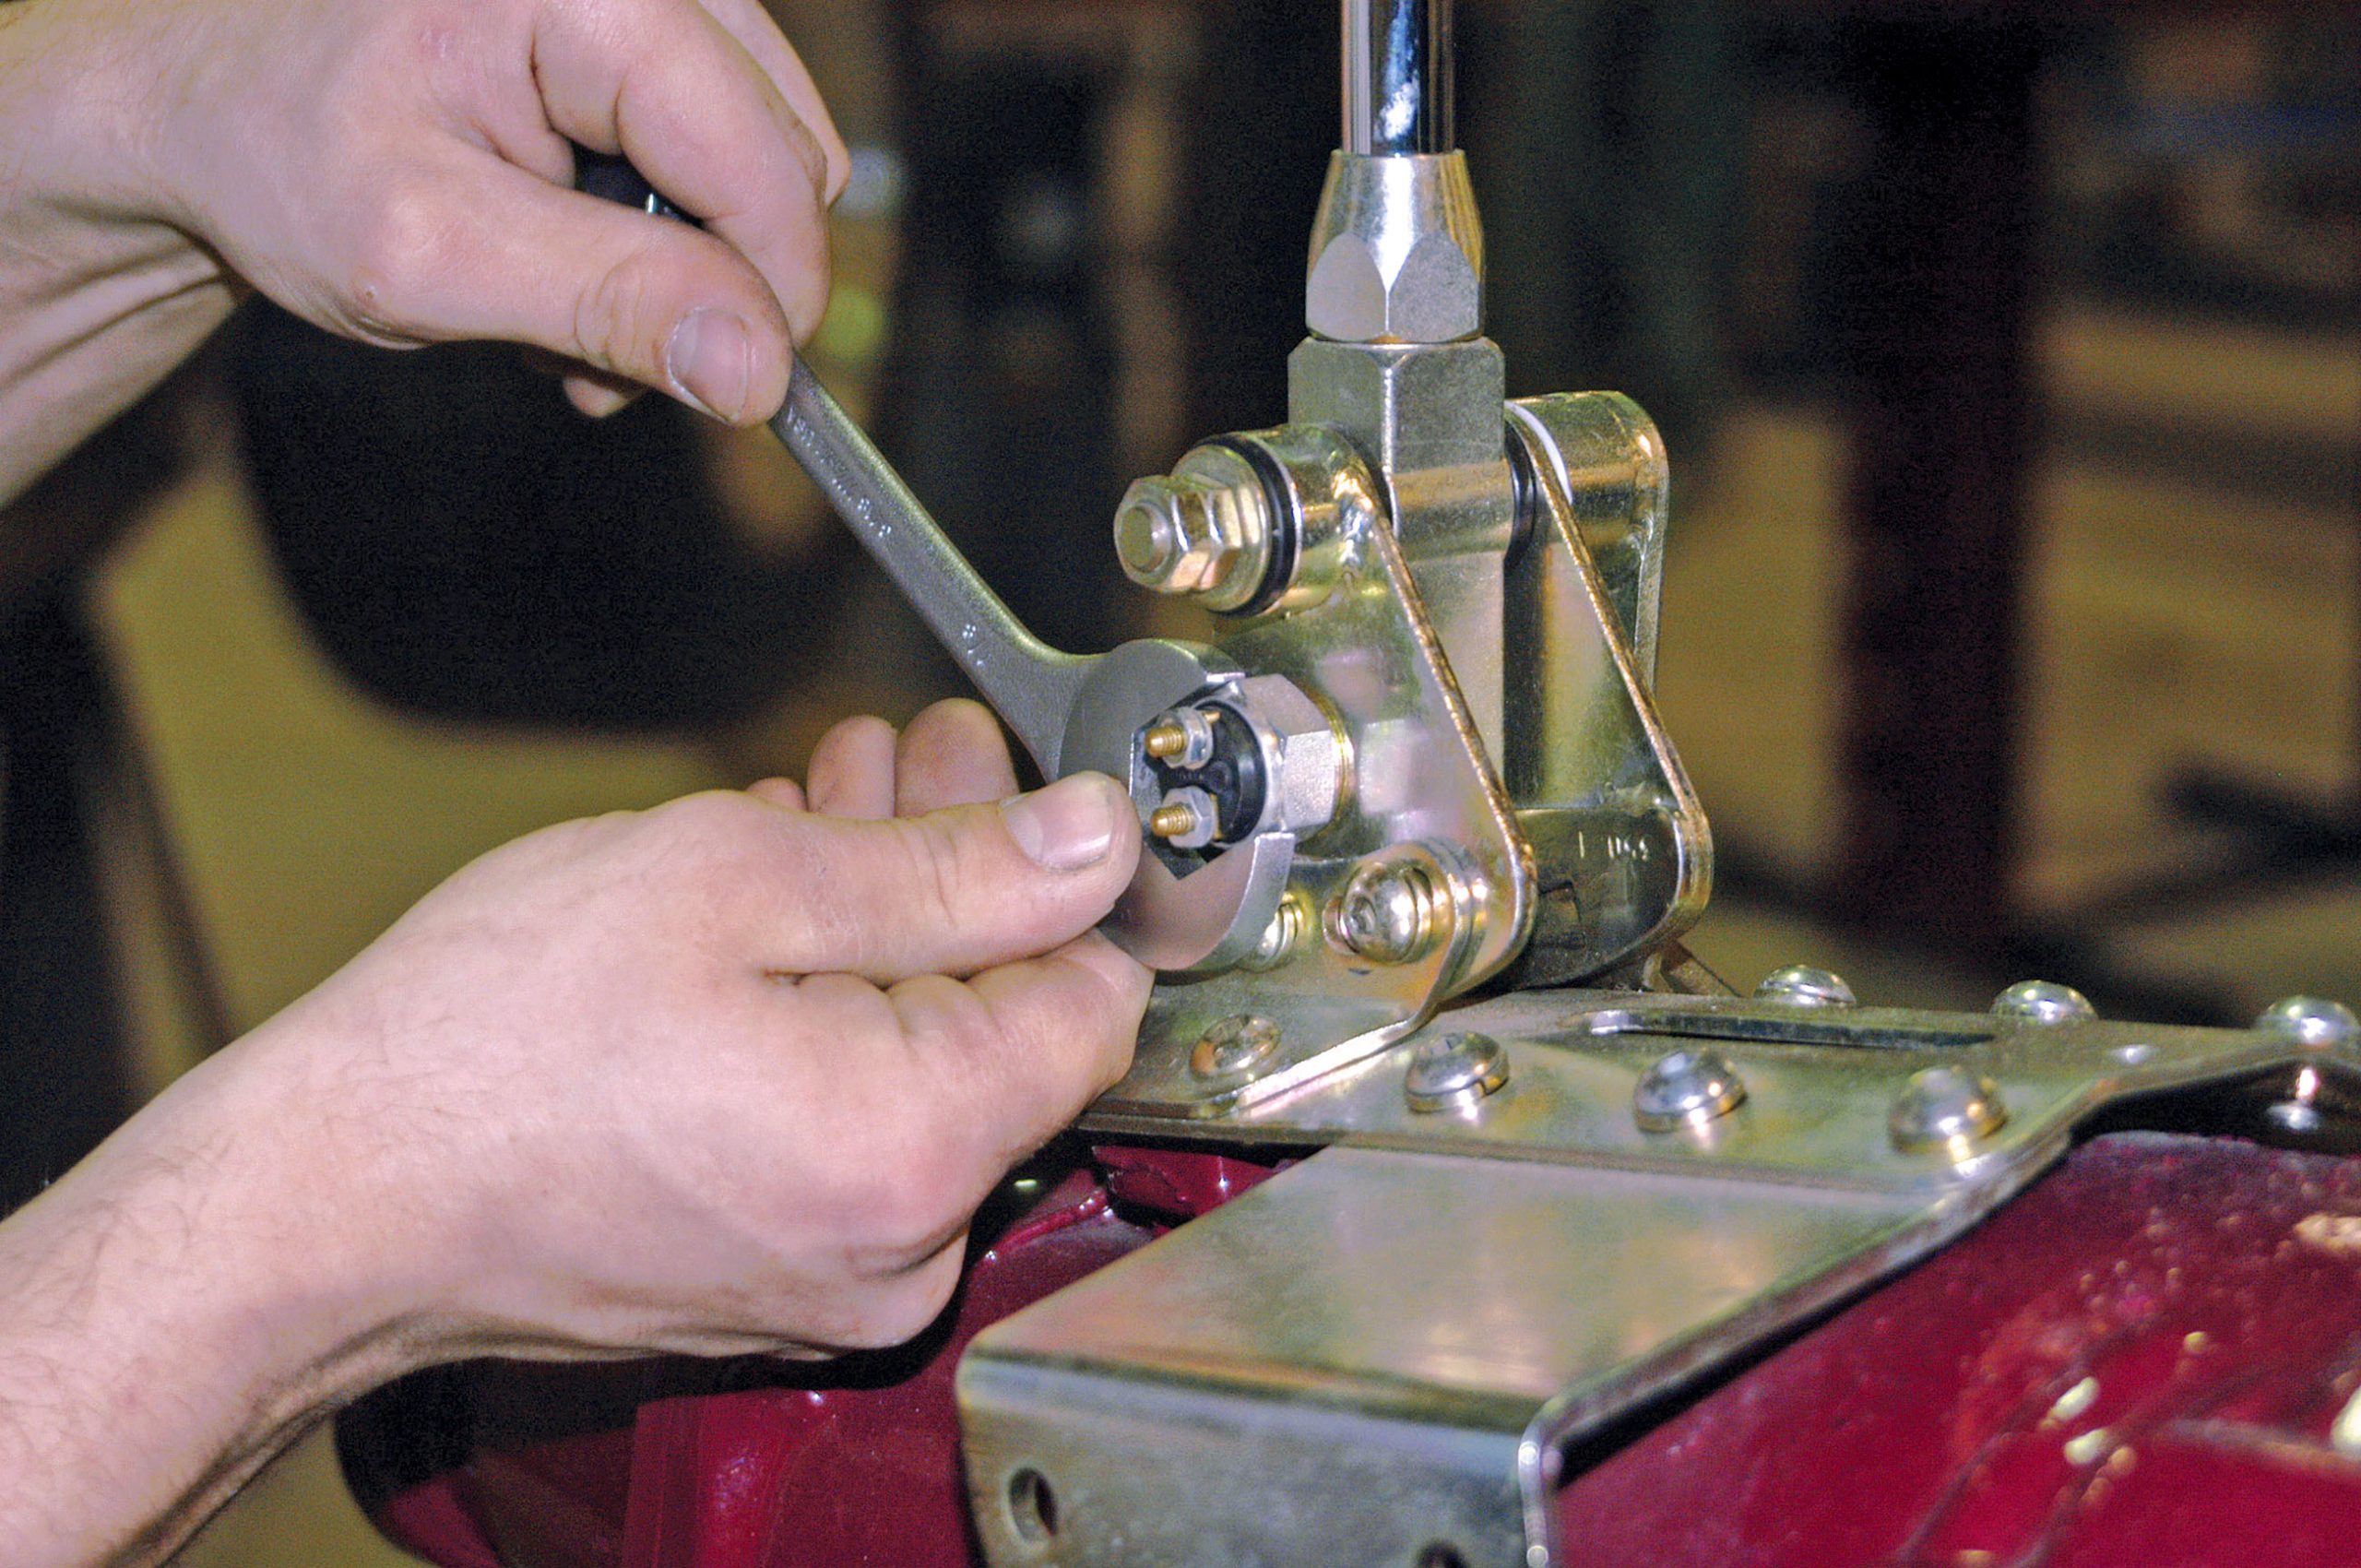
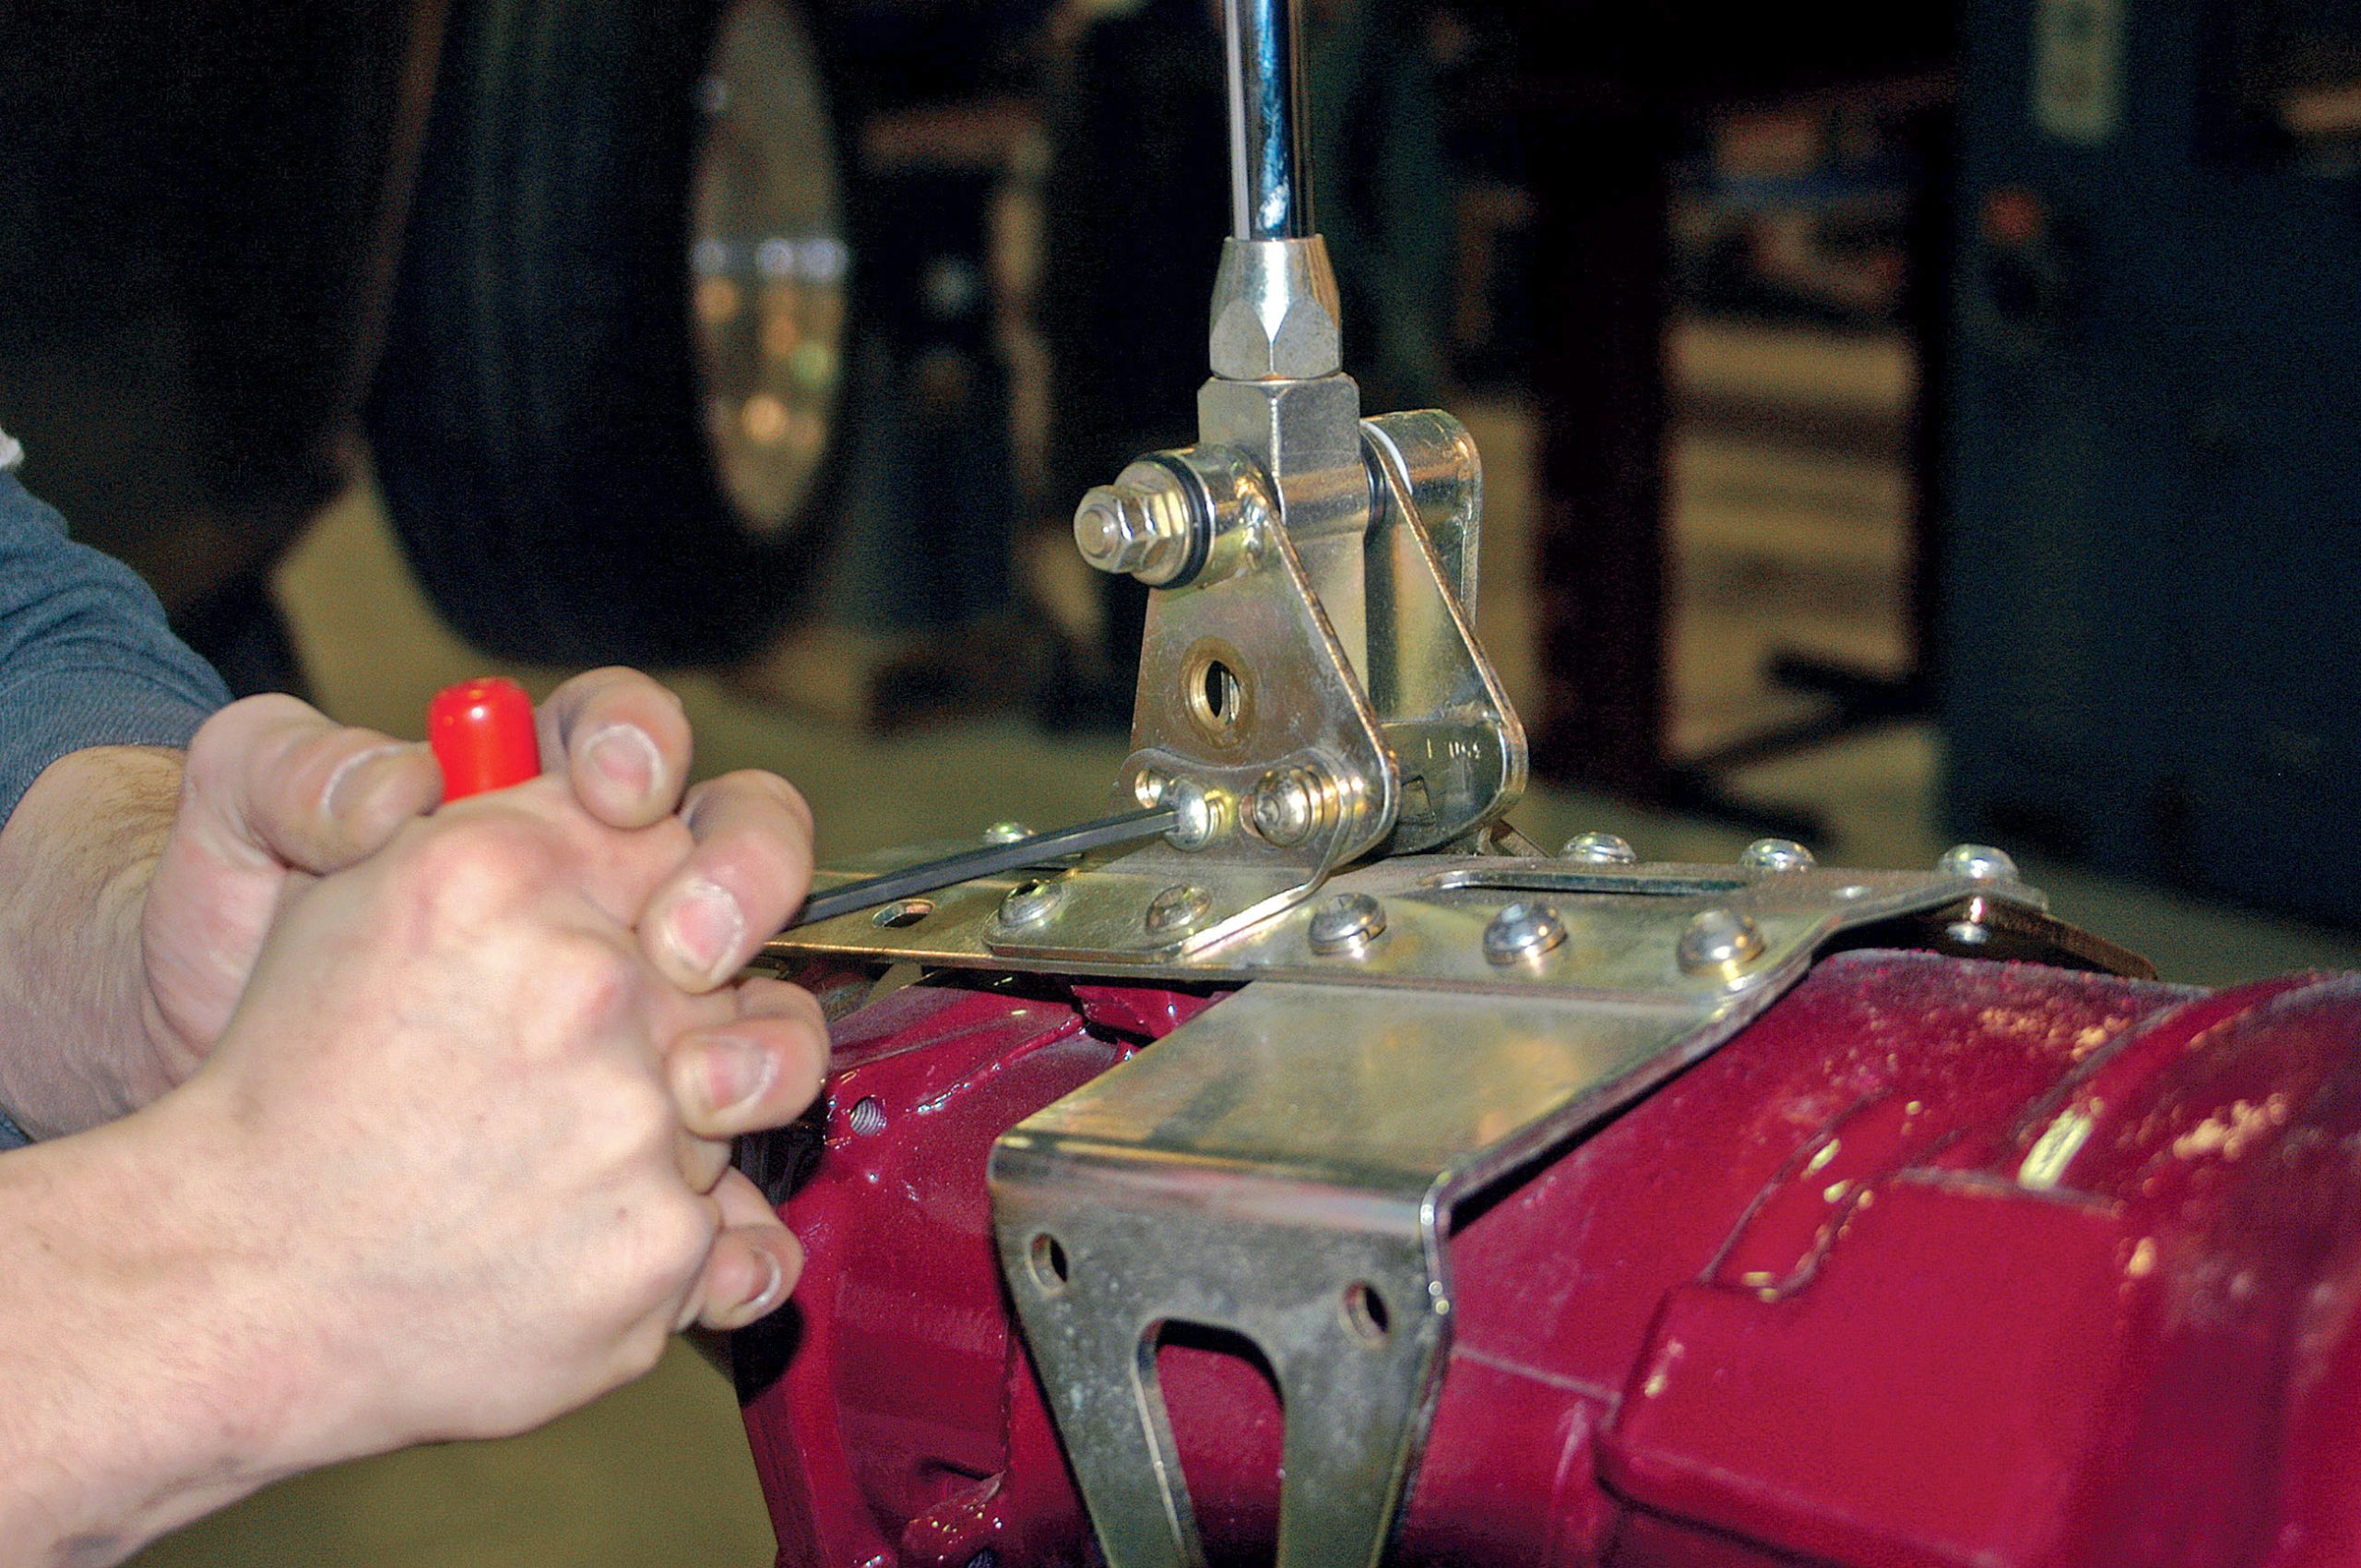
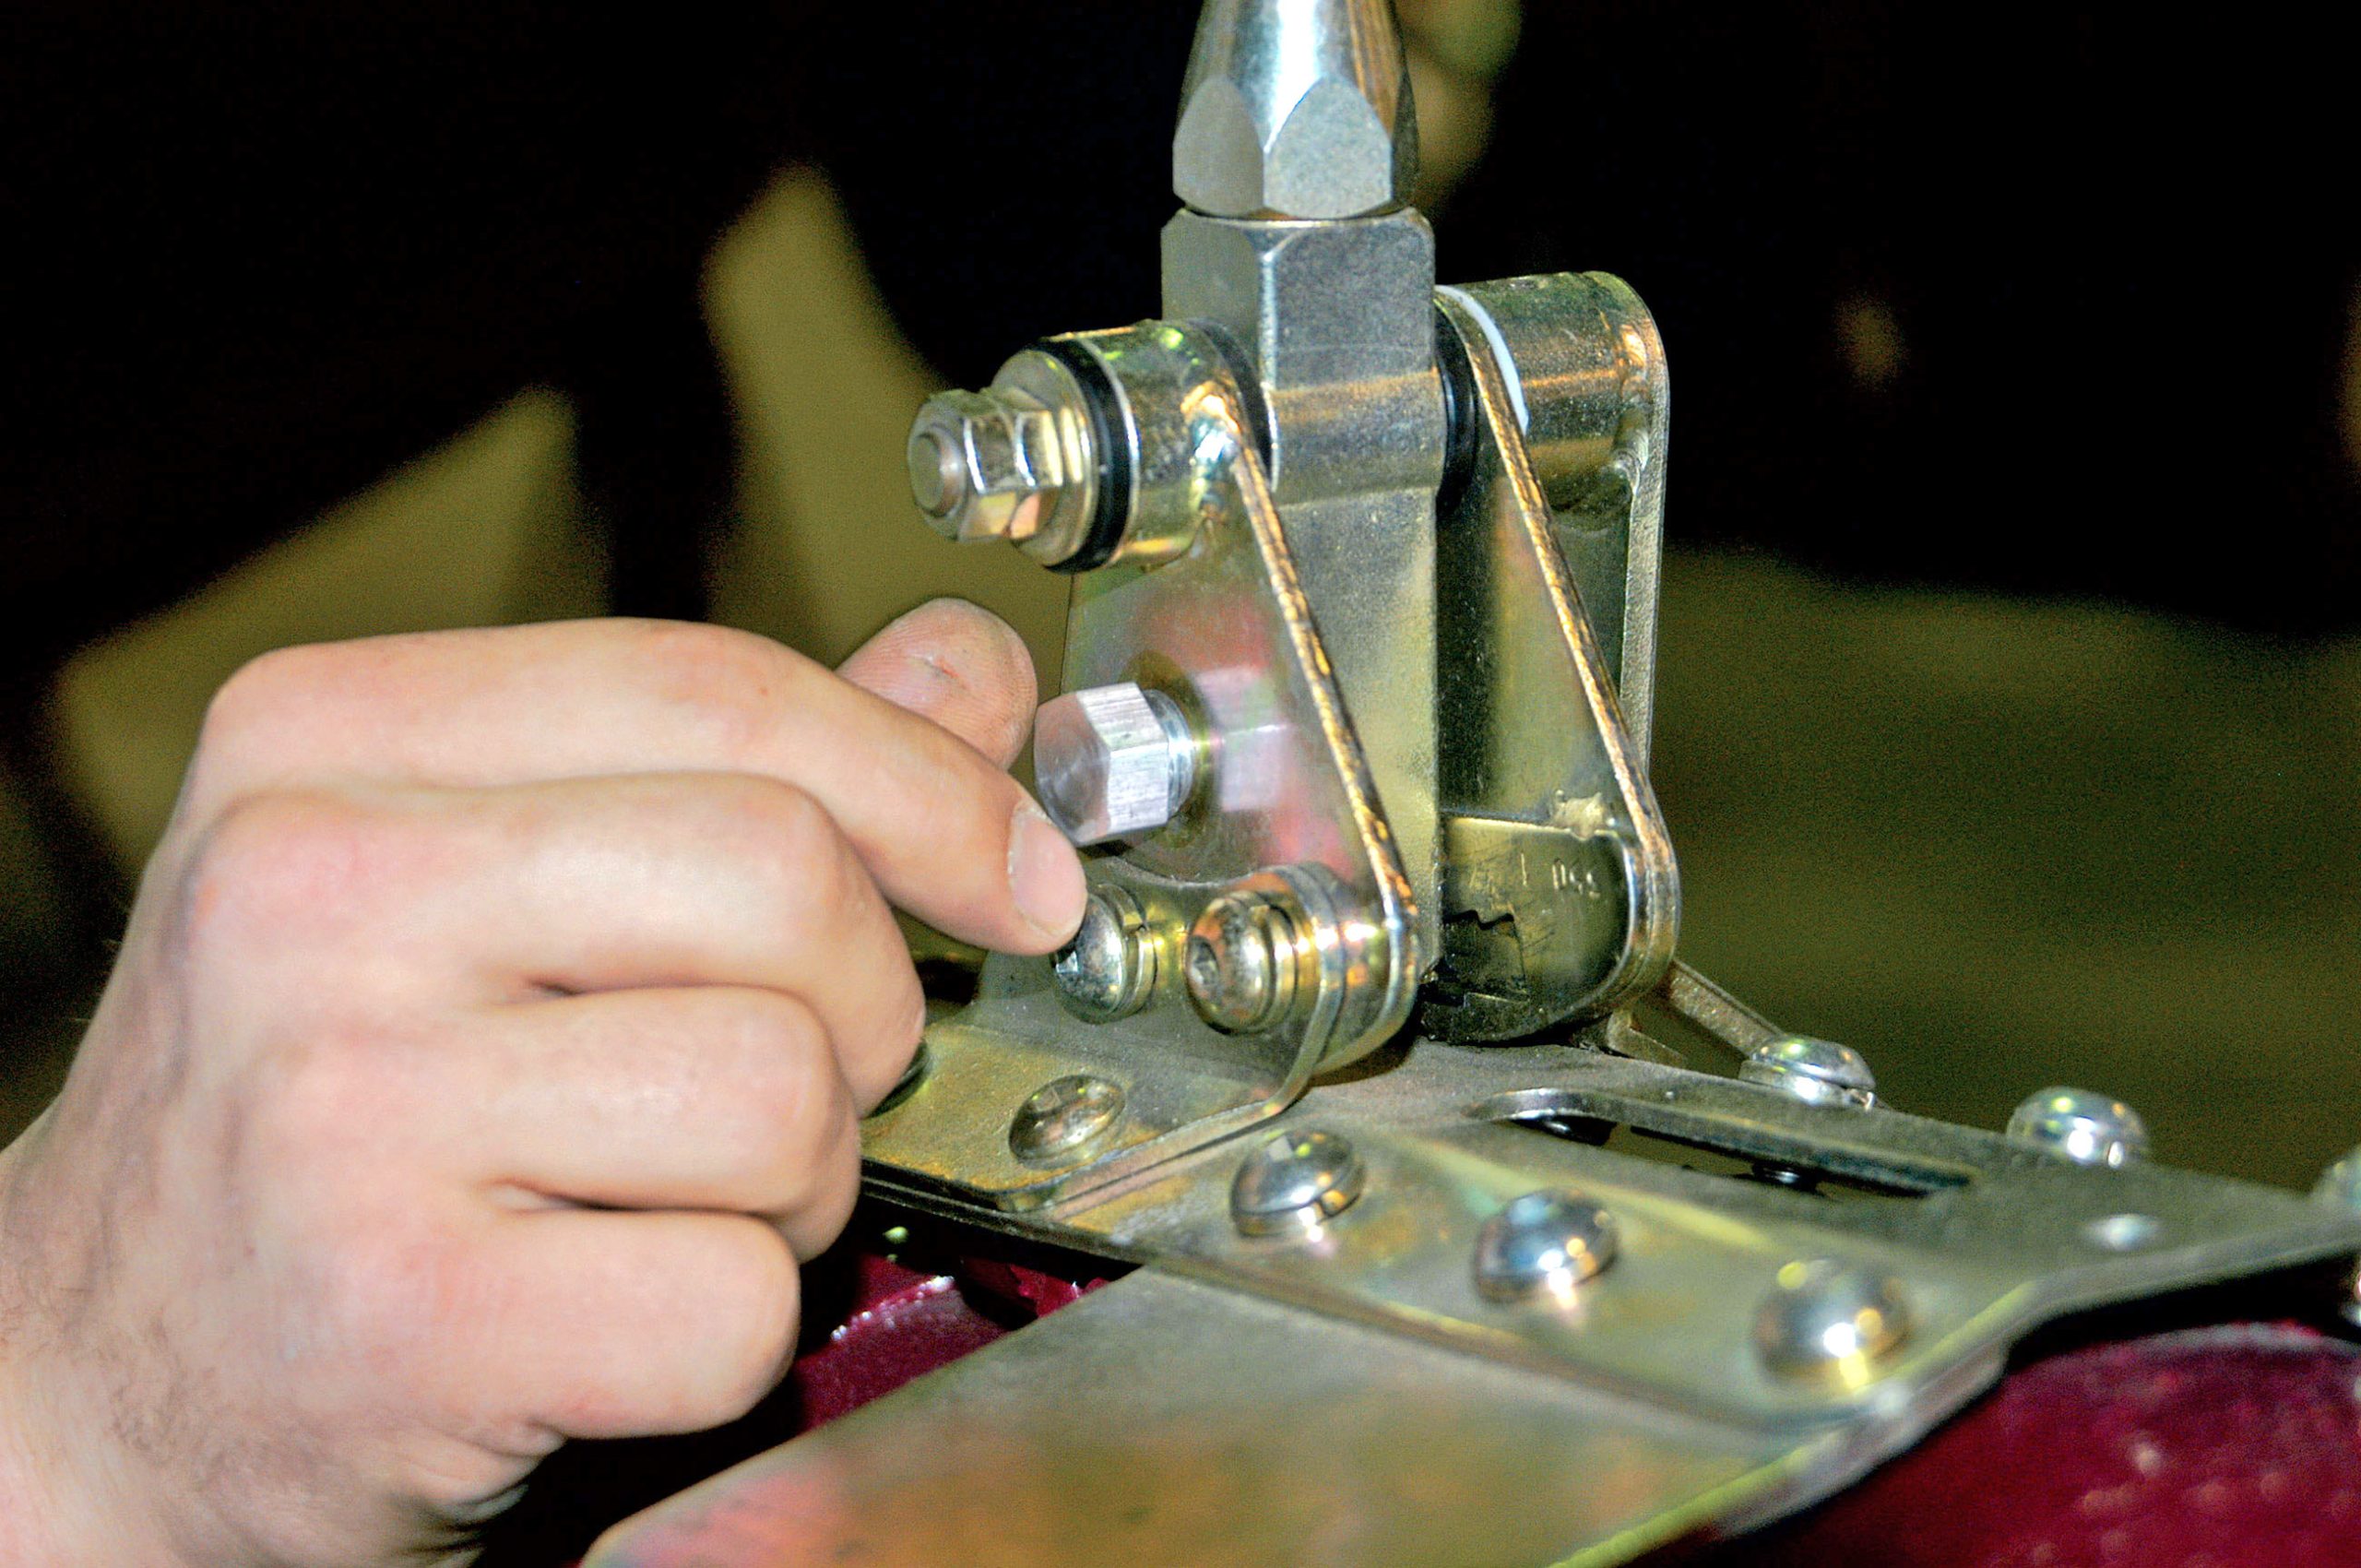
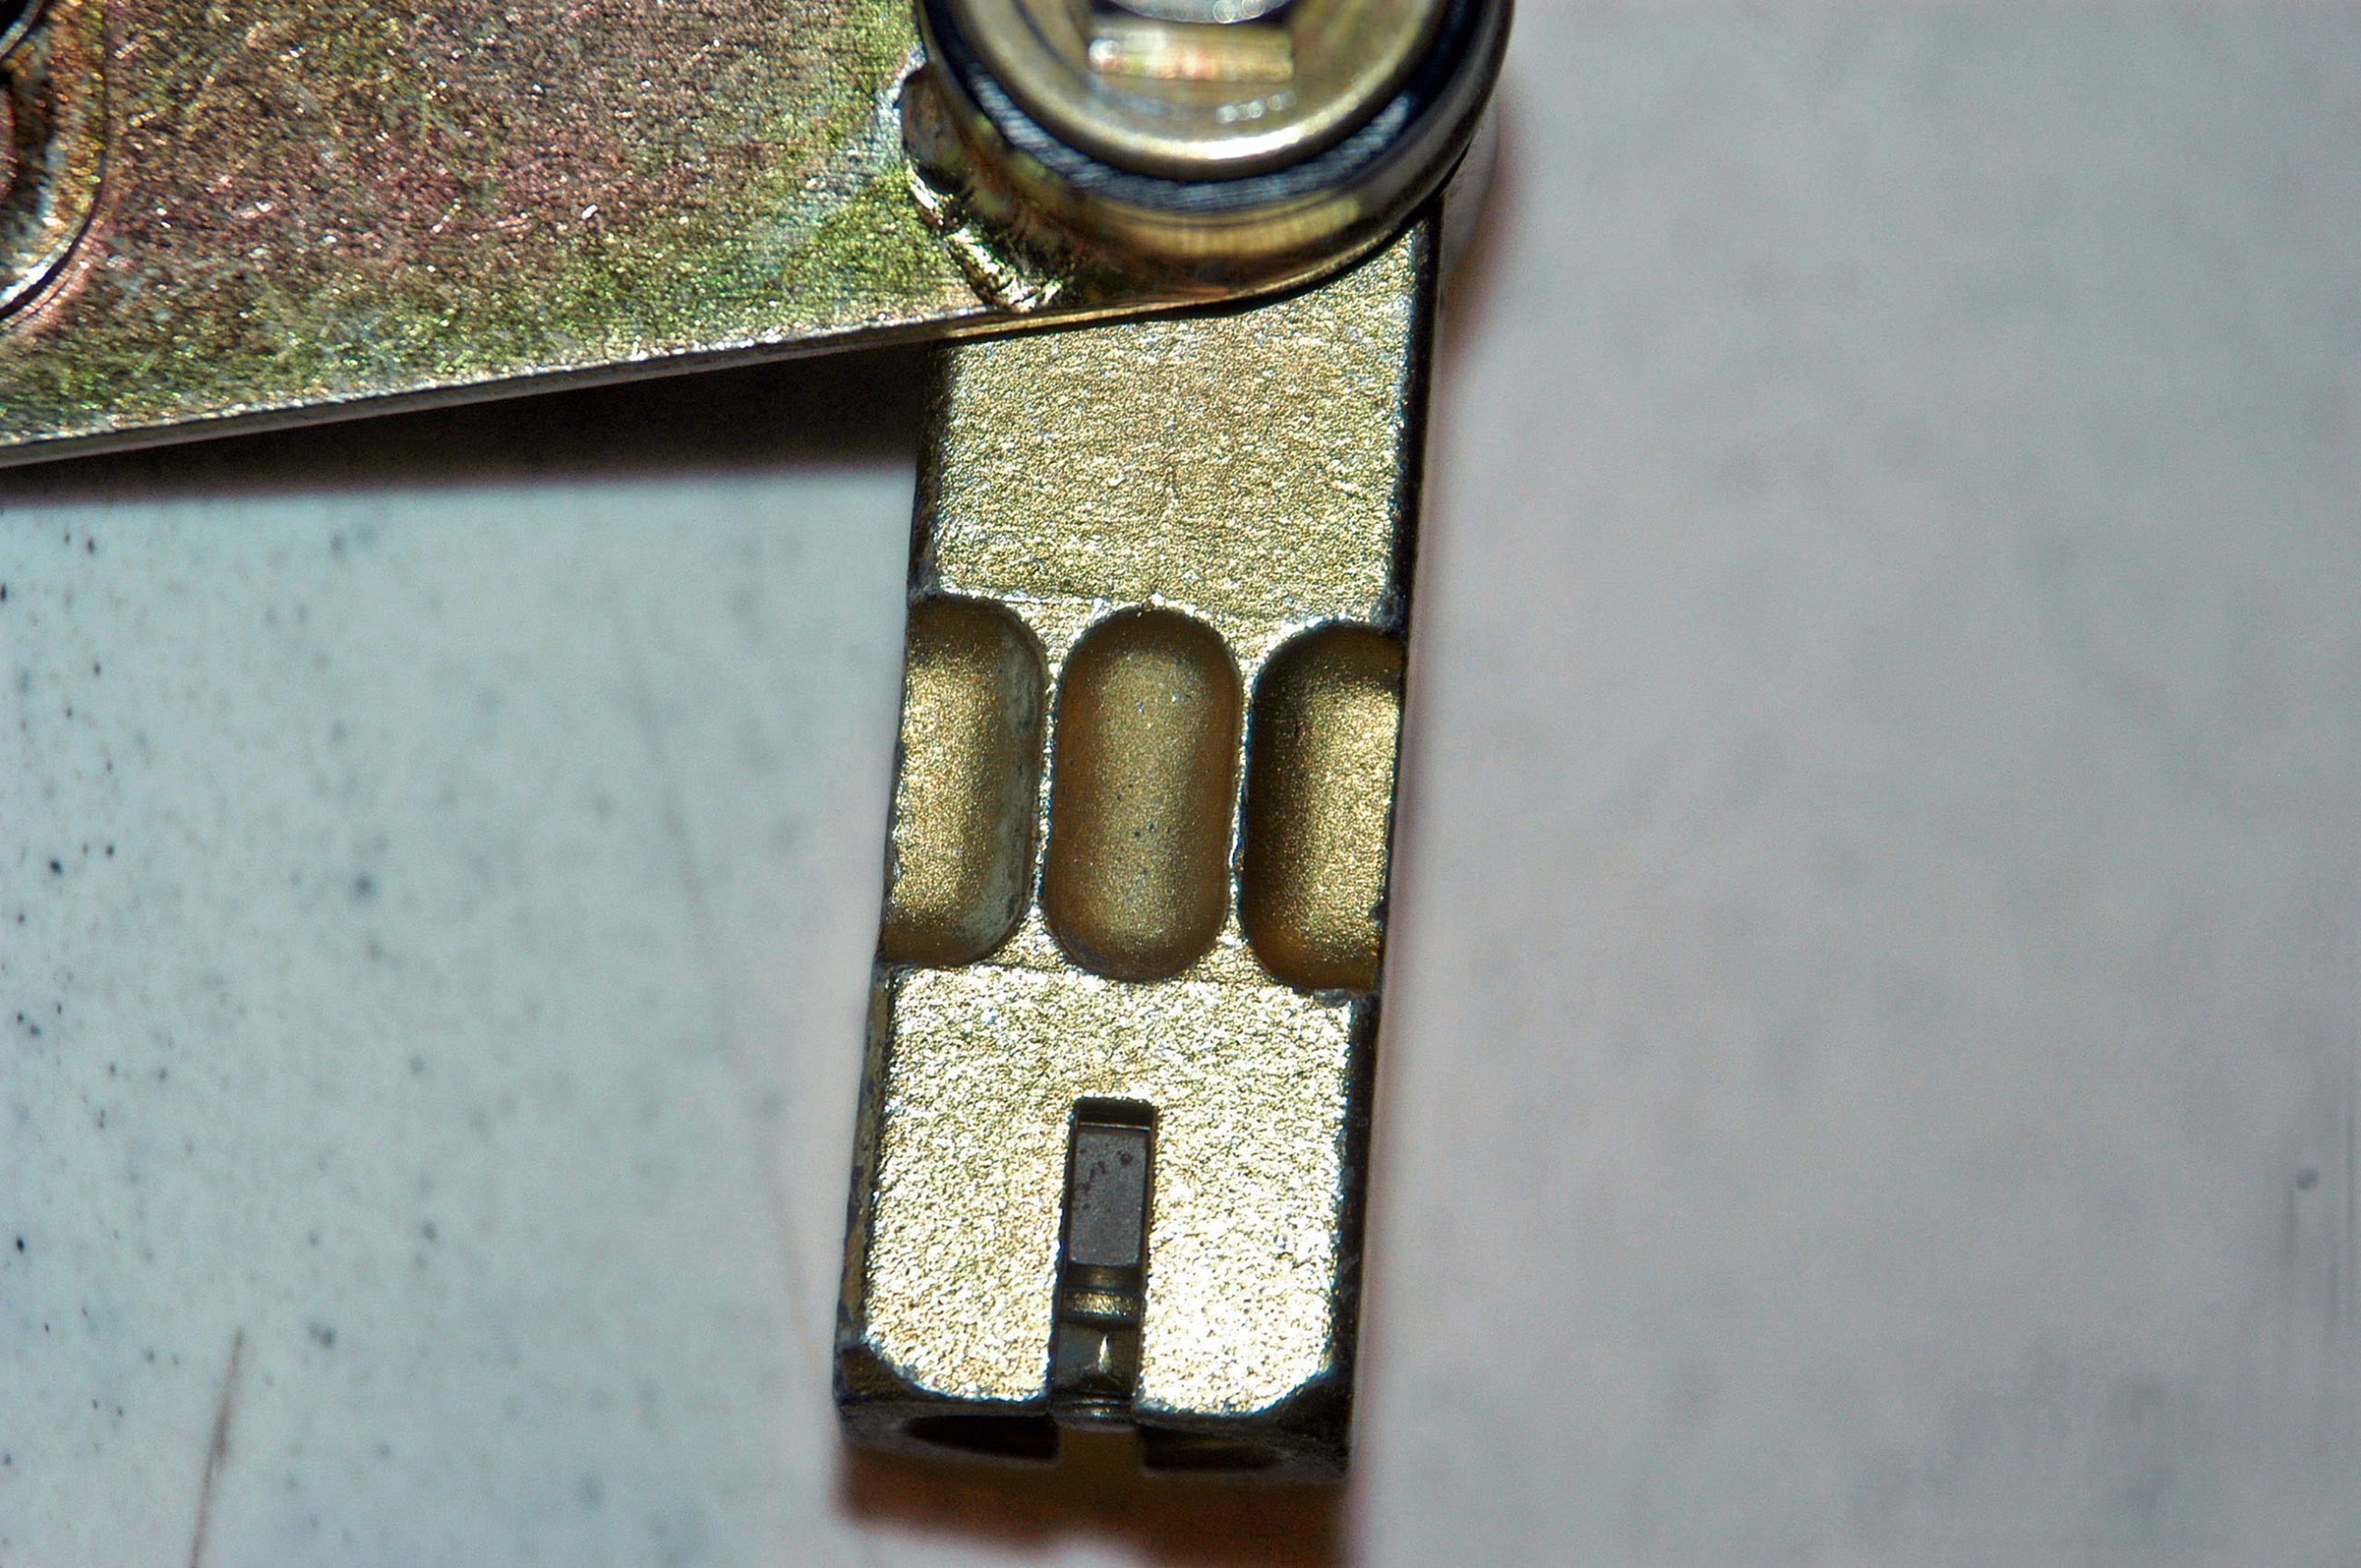
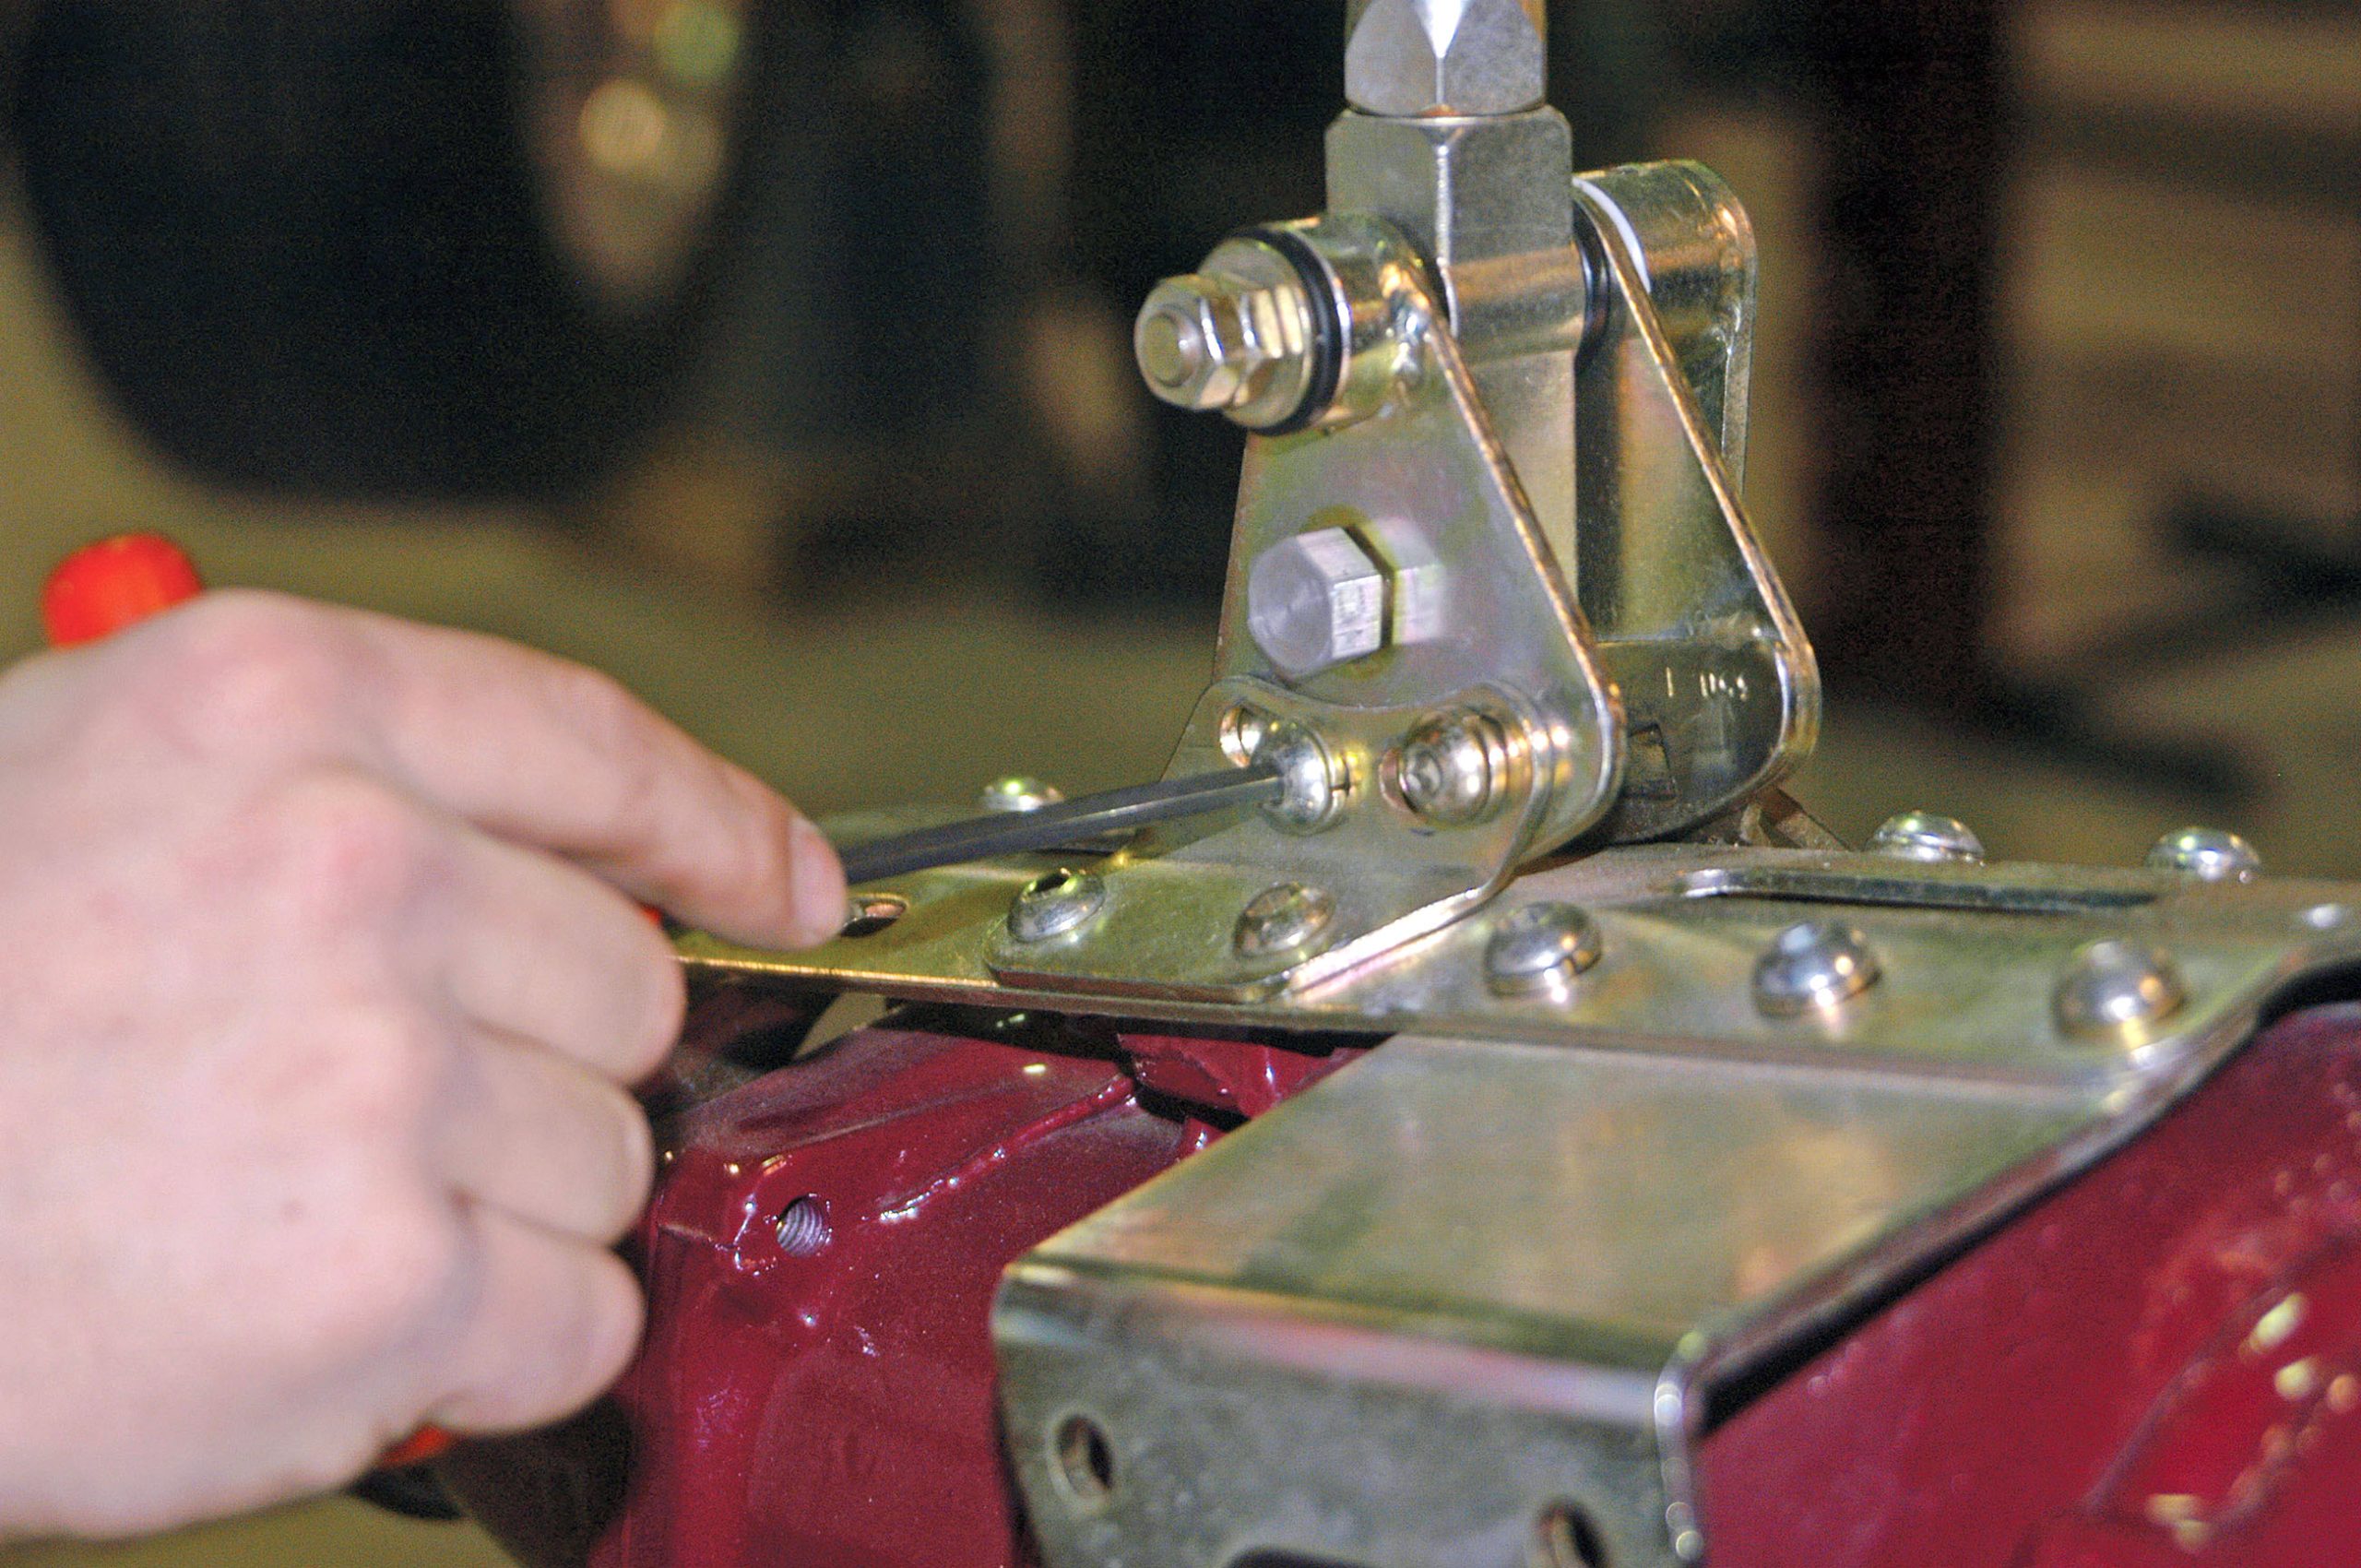
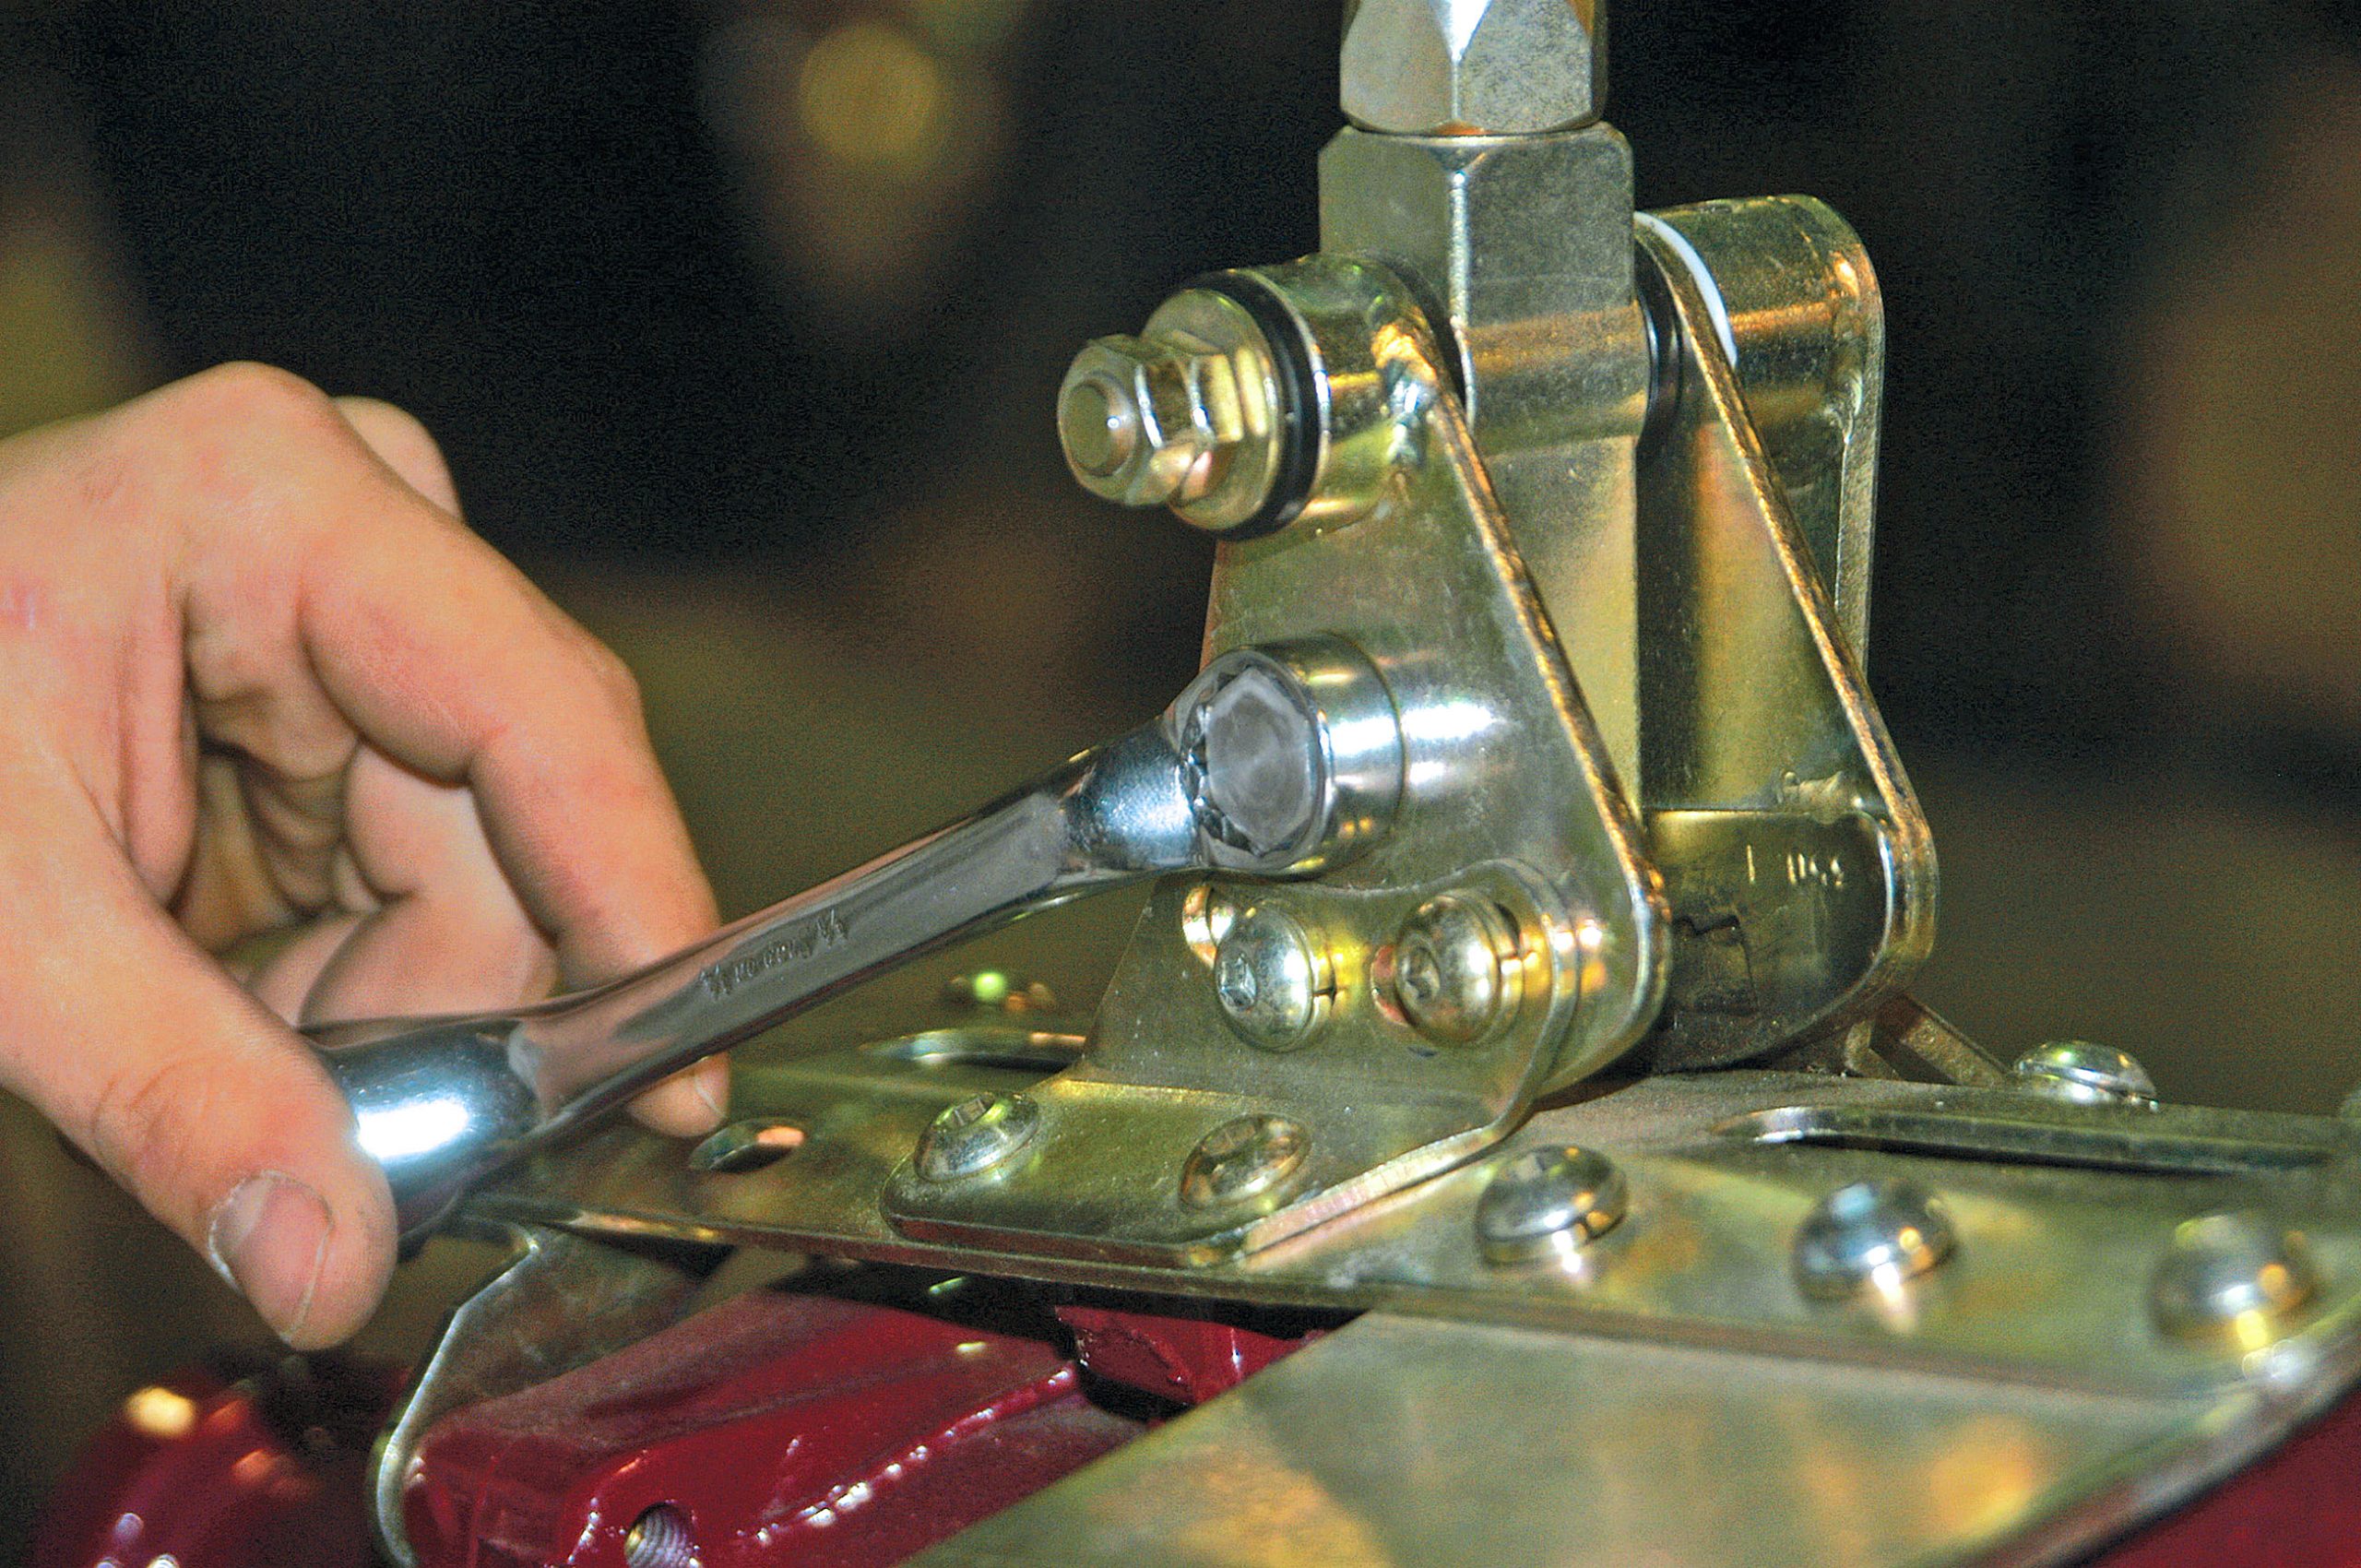
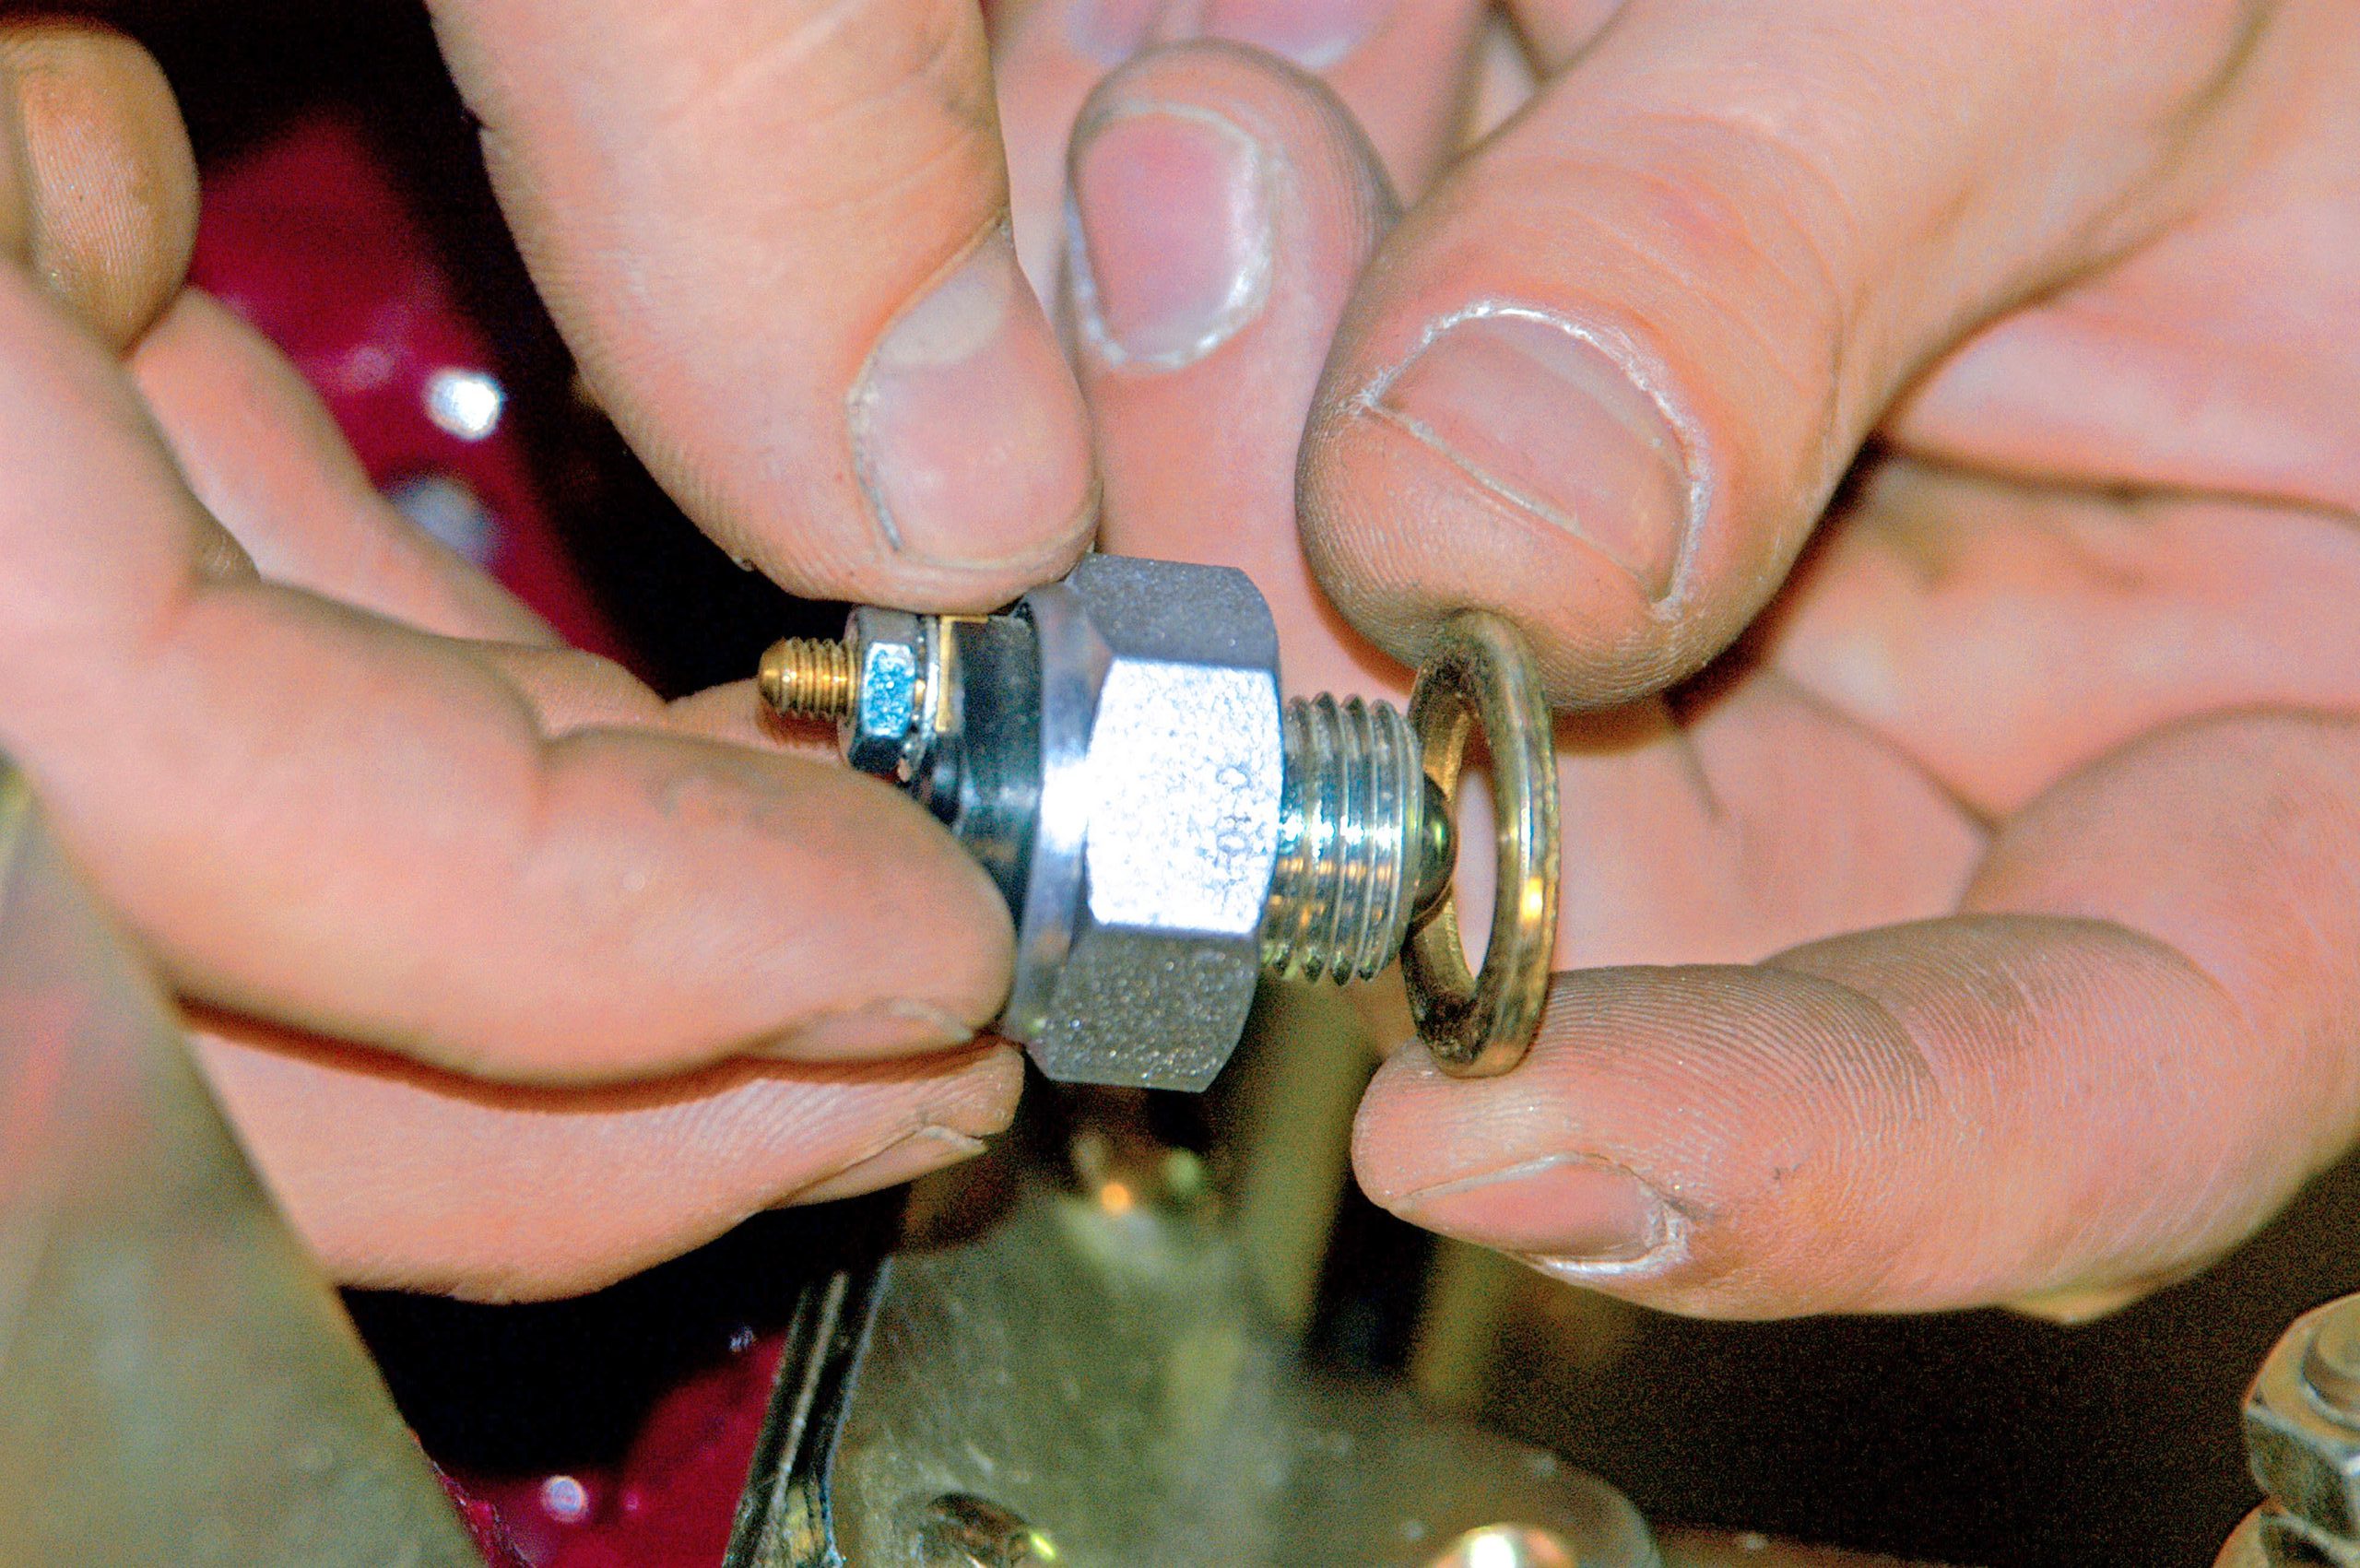
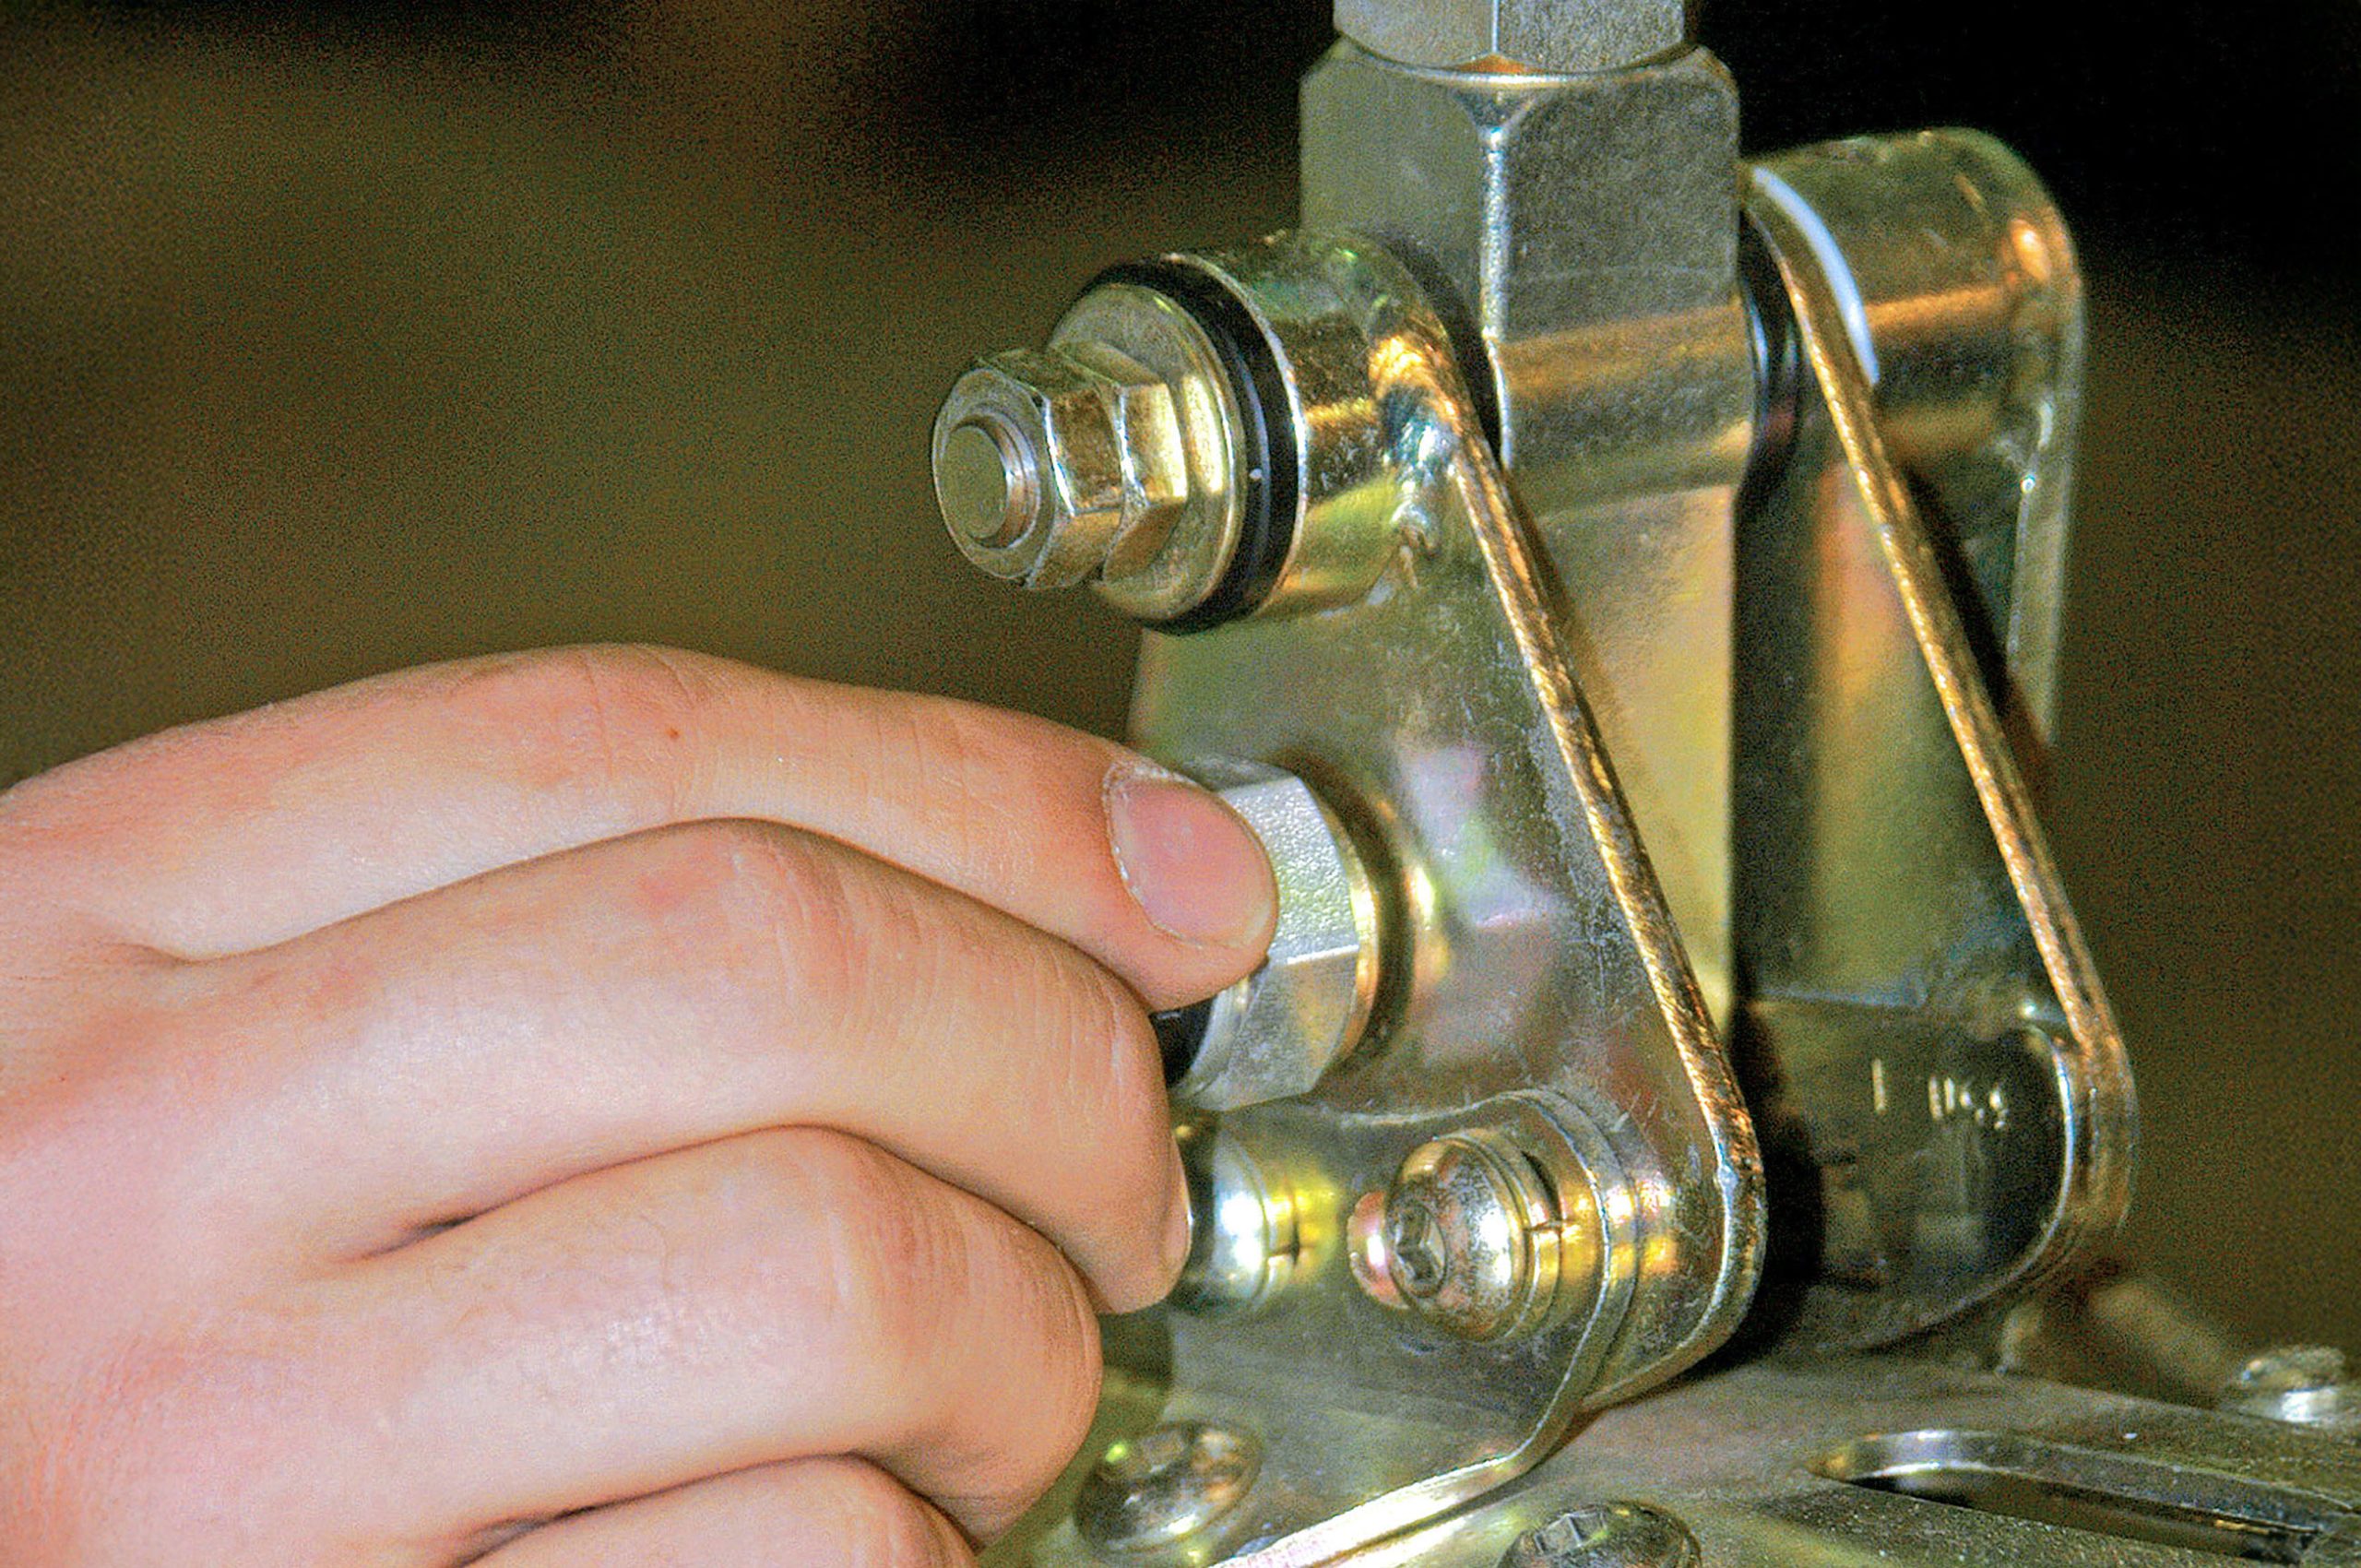
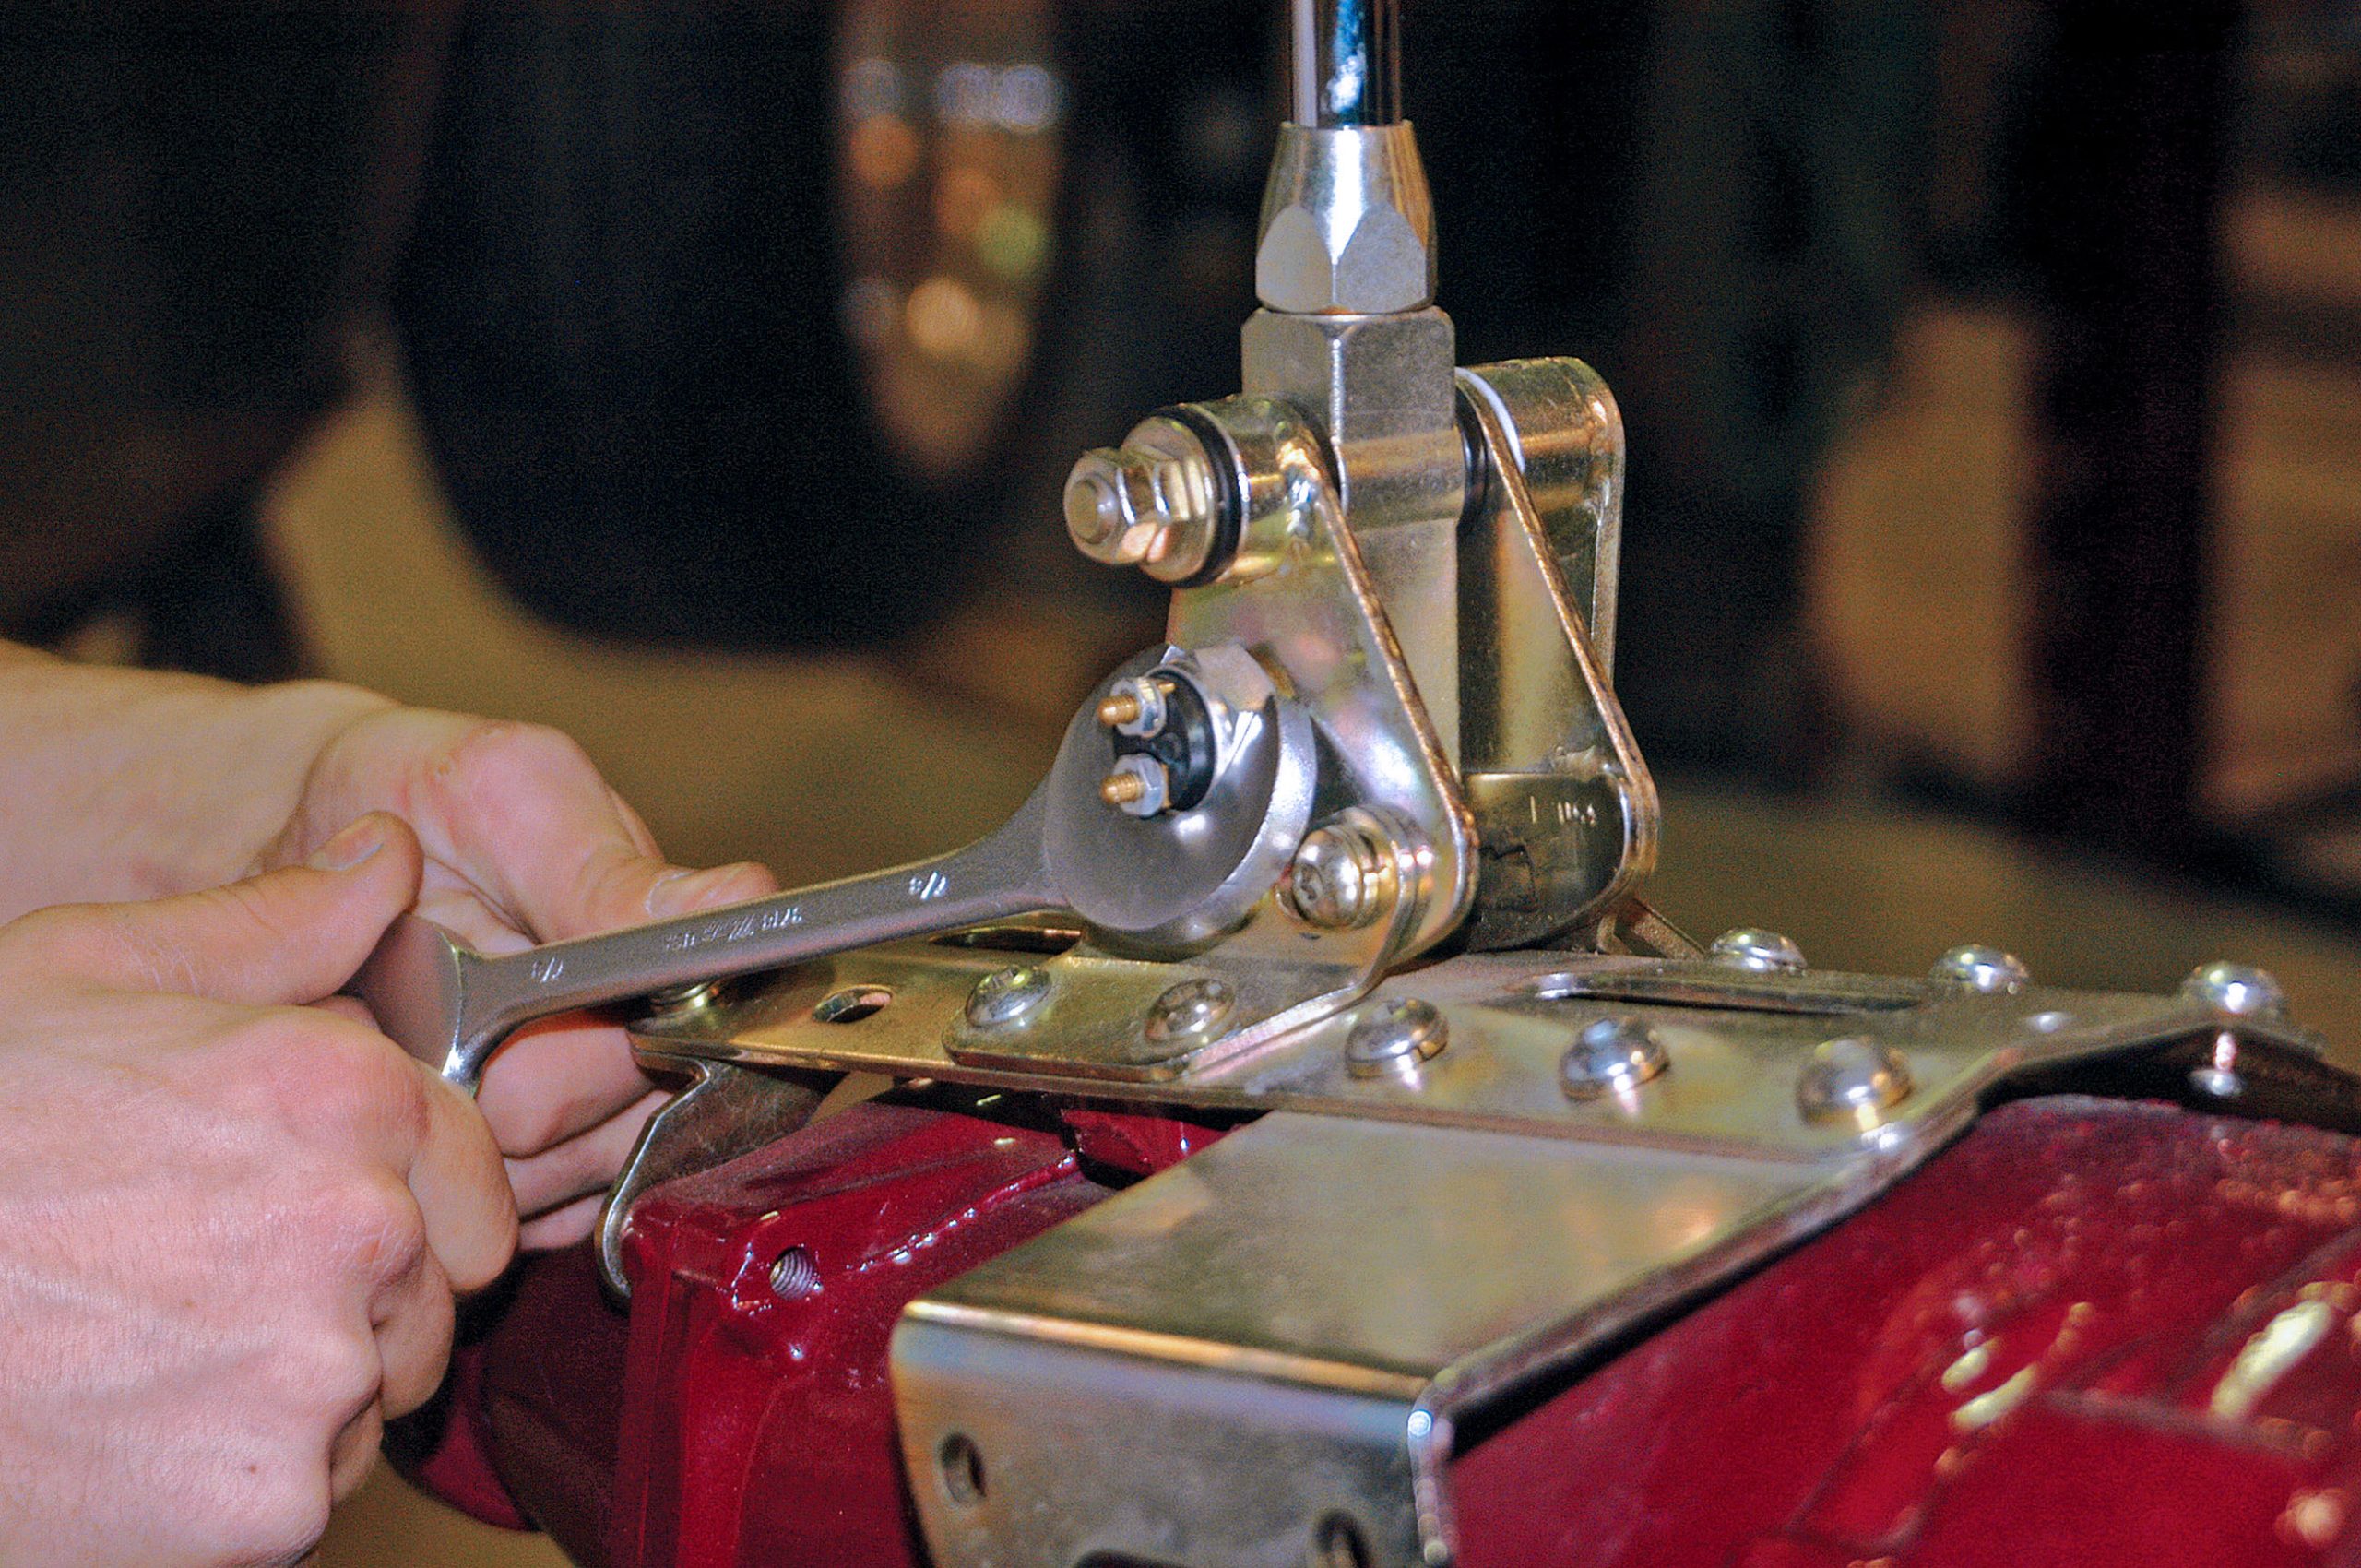
Remove the neutral safety switch and washer, located on the passenger-side banana bracket. With the switch removed, loosen the banana bracket bolts. The shifter should then be placed into the reverse position. Lokar supplies an aluminum plug to place in the neutral safety switch opening for adjusting the position. Move the banana bracket until the aluminum plug is in the center slot of the shifter body.
Step 3: Tighten and Reinstall
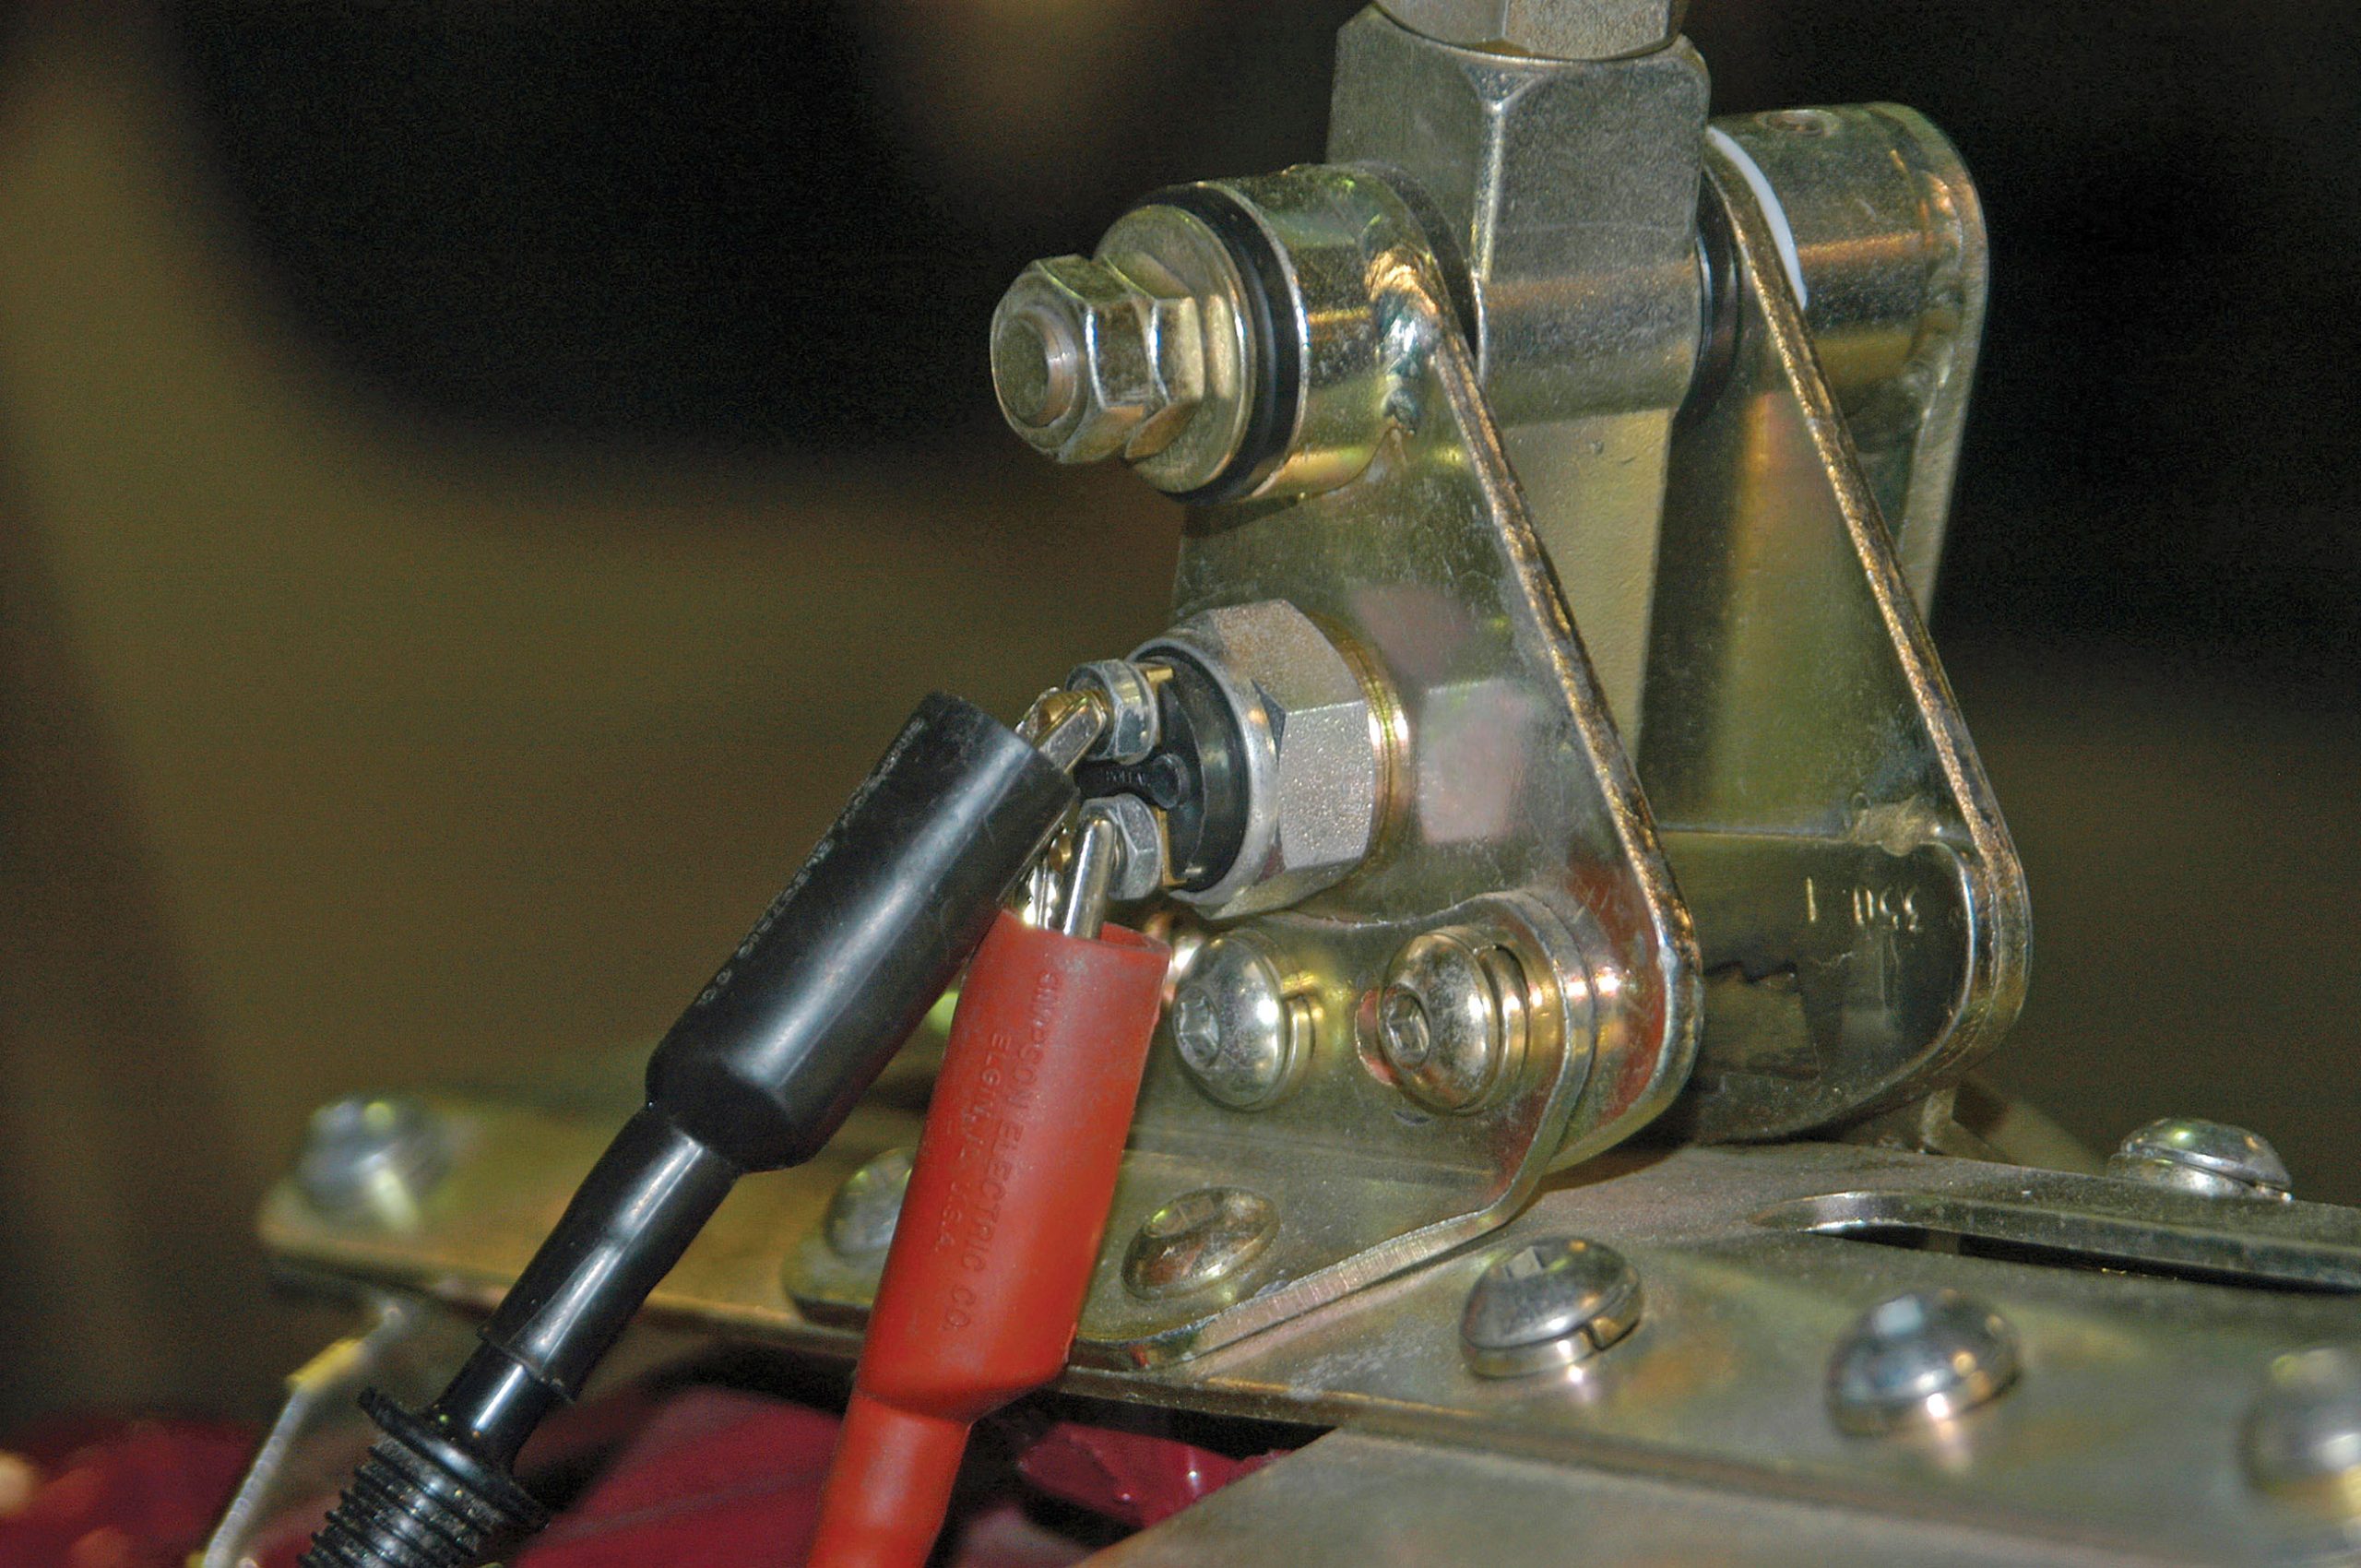
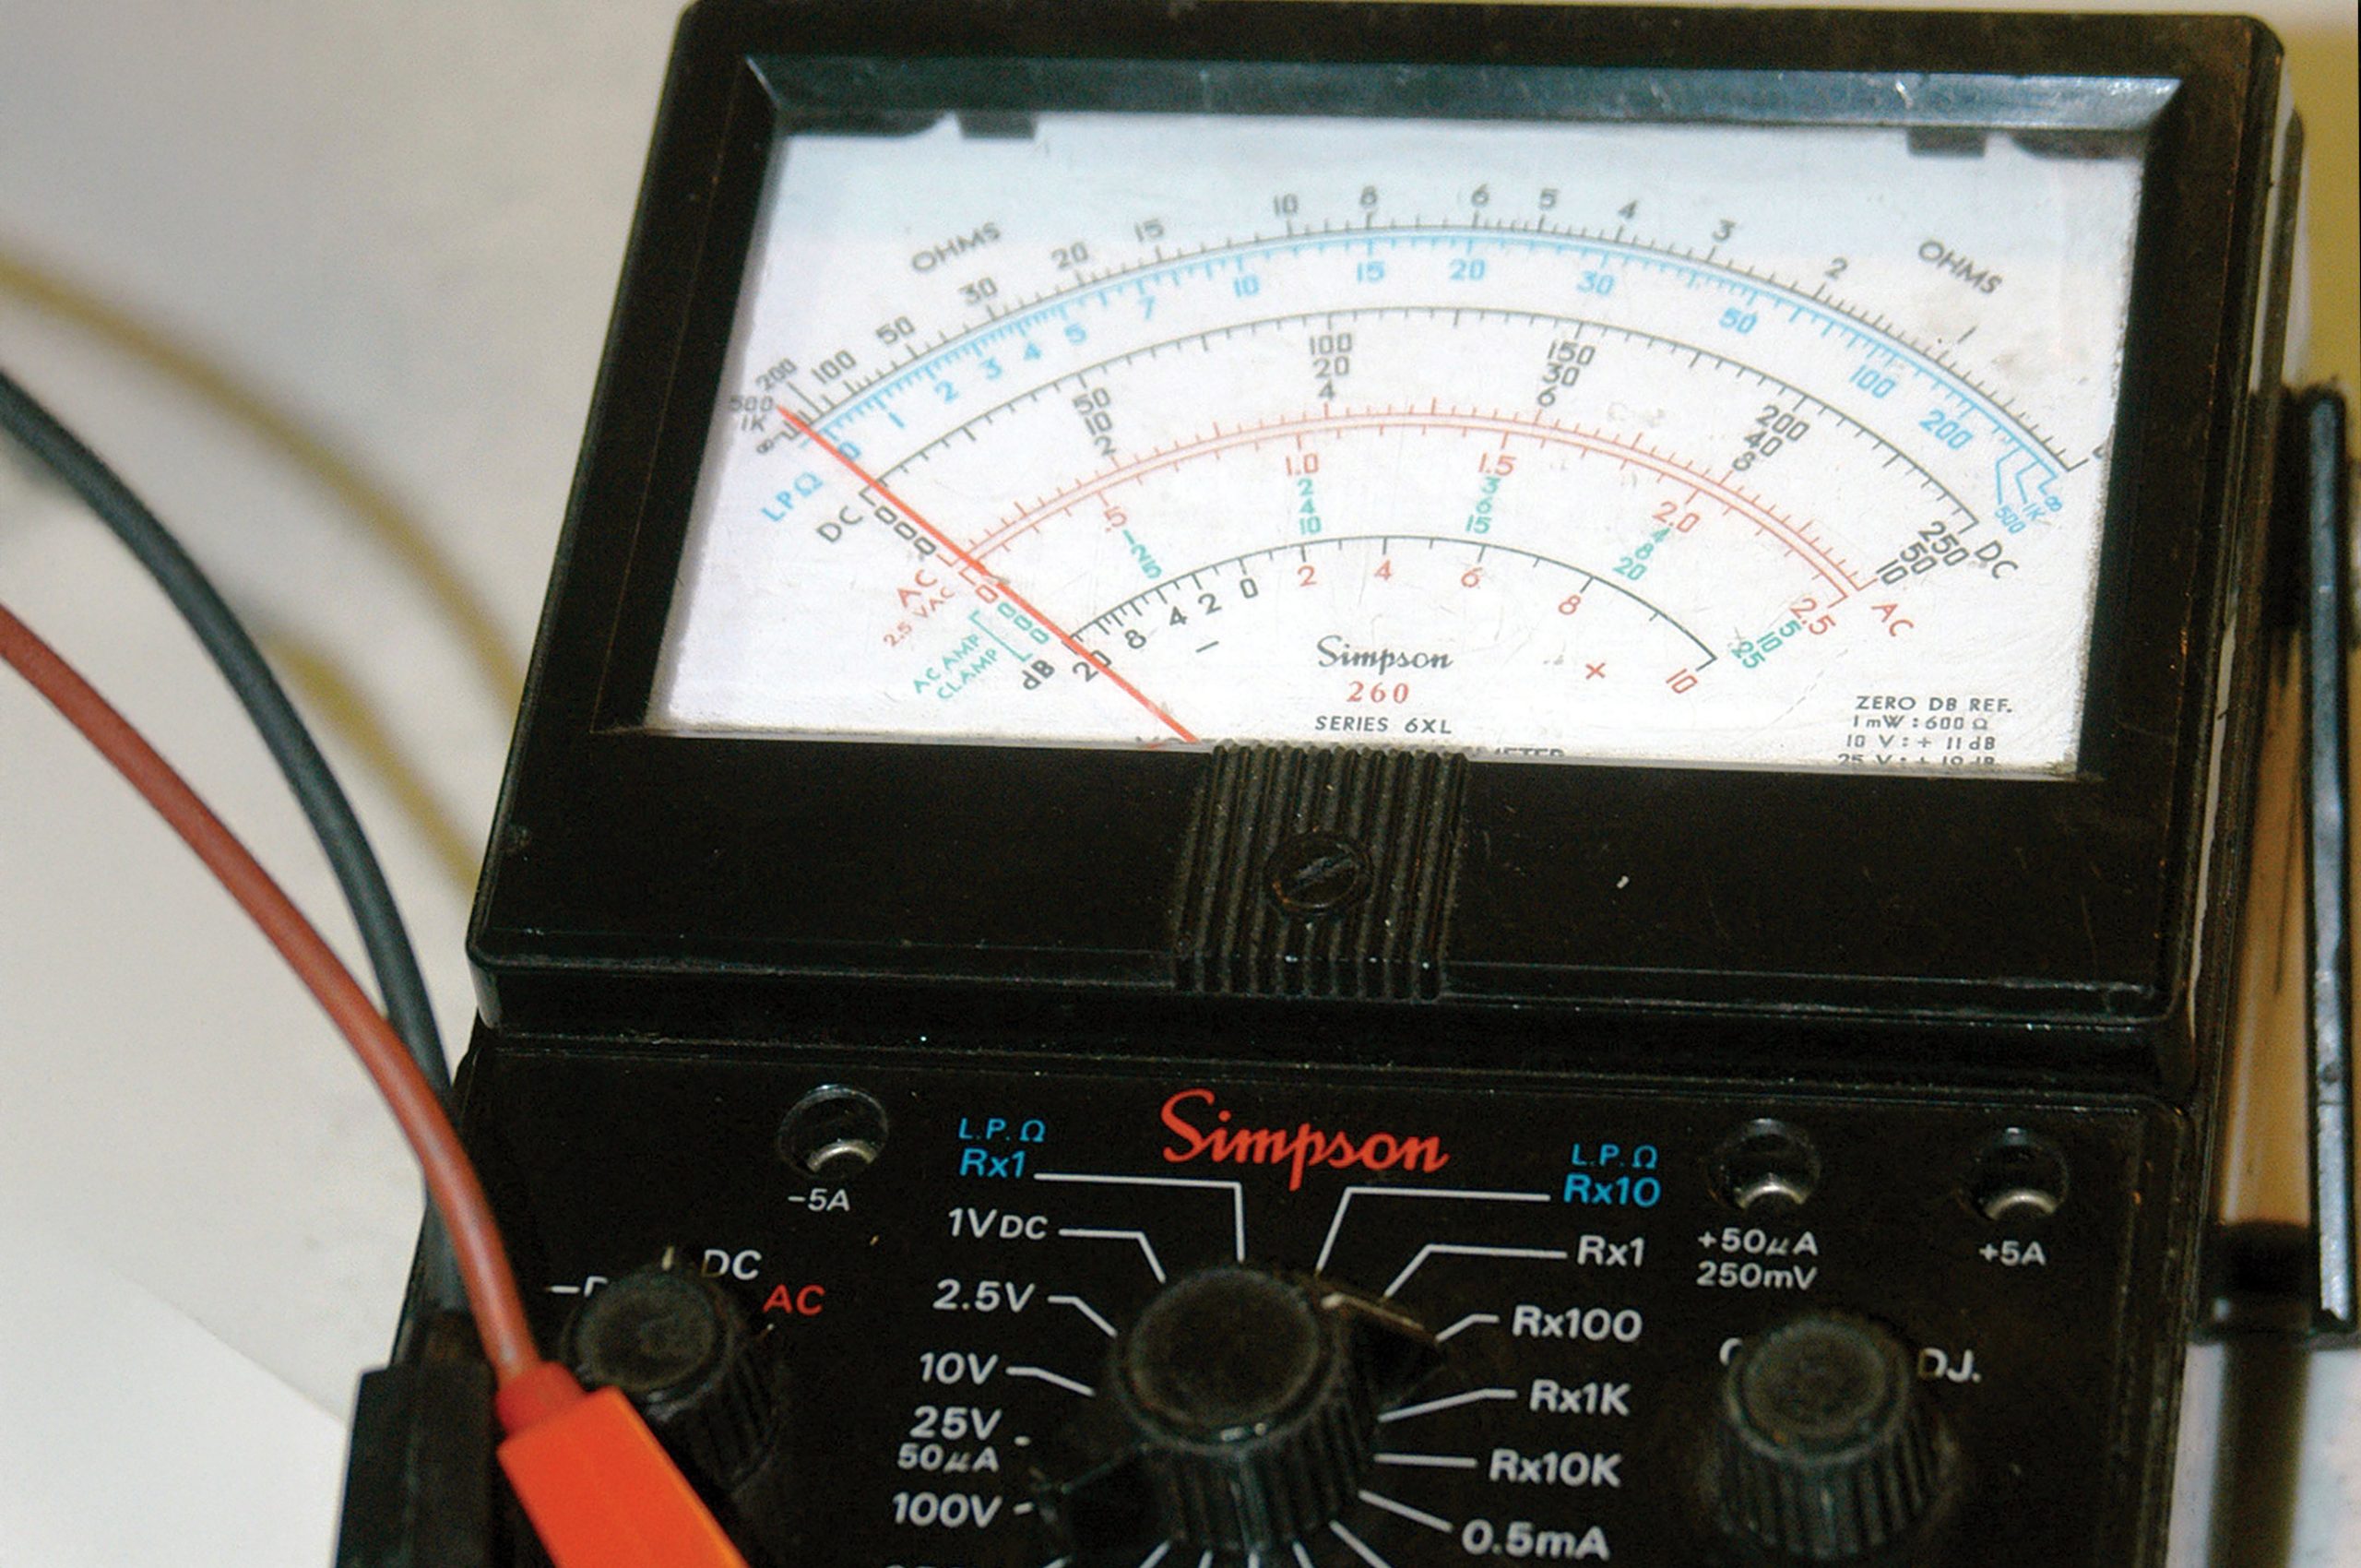
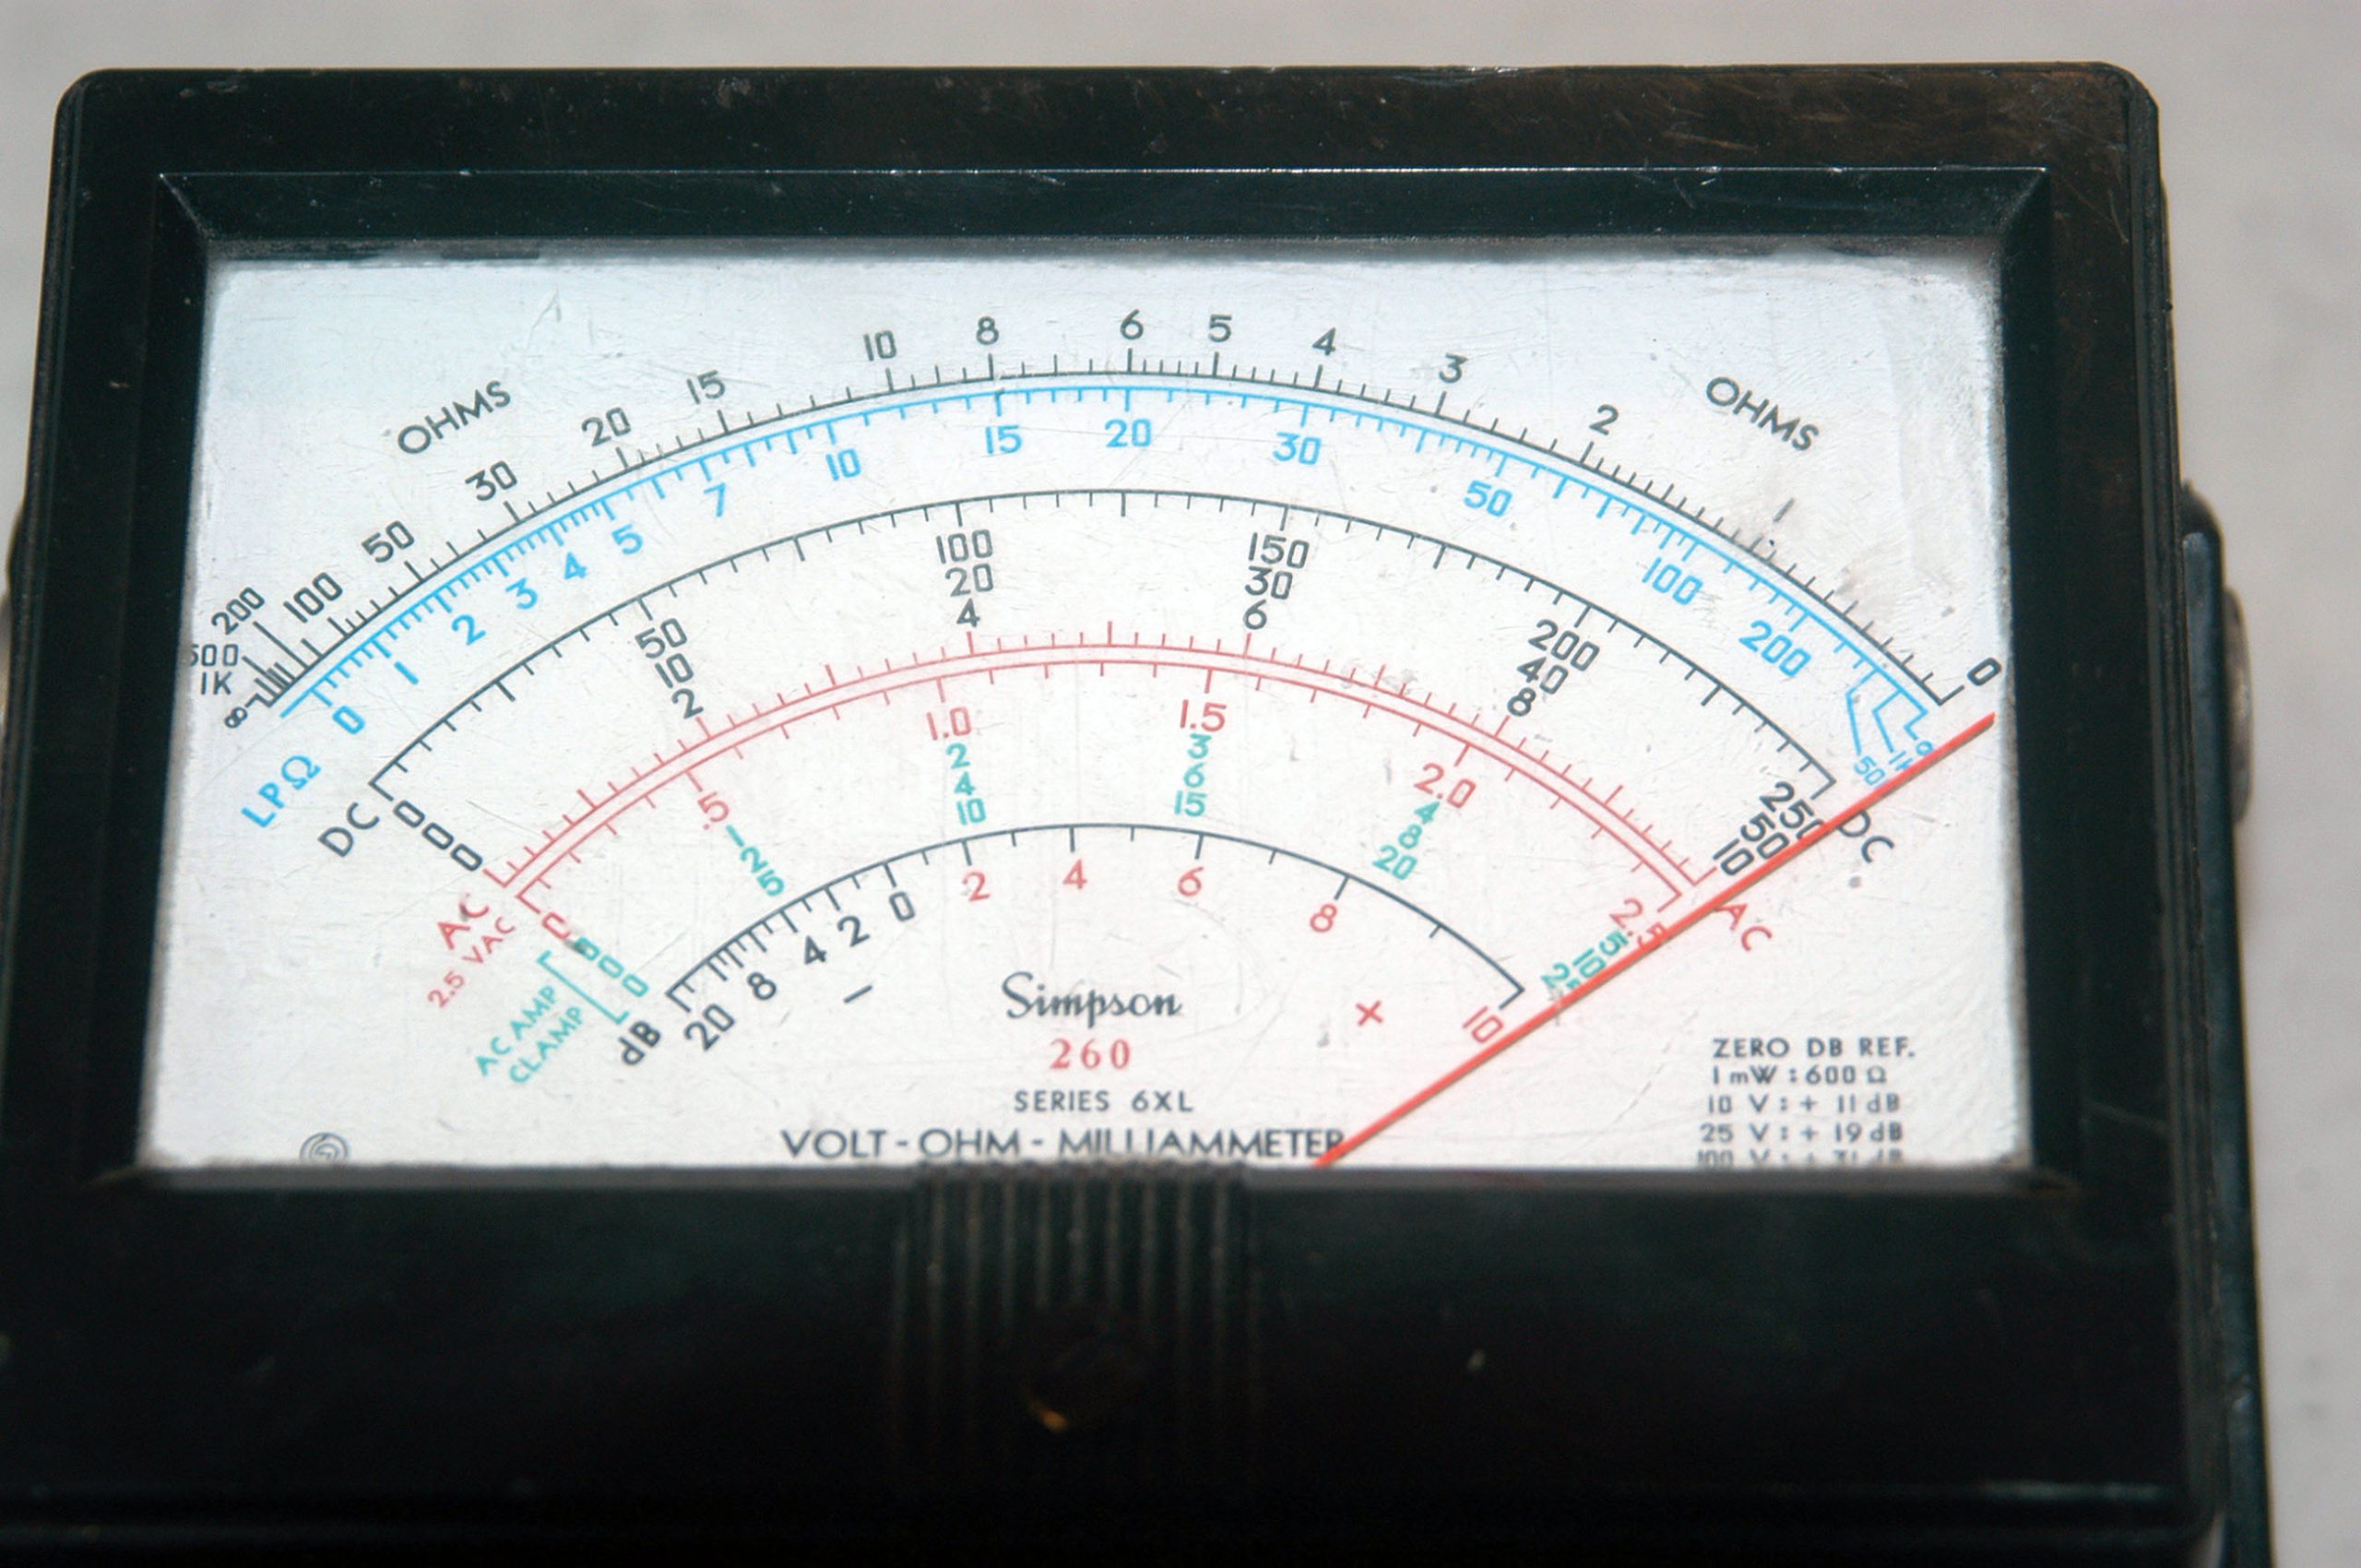
You should now tighten all bolts on the passenger-side banana bracket, keeping the aluminum plug in the center position. Now remove the aluminum plug. Reinstall the neutral safety switch with the washer. To test for continuity, it is best to use an ohm meter. The ohm meter will register ohms with the shifter in the park or neutral position. With the shifter in either reverse or any forward gear, the ohm meter will register at zero. The neutral safety switch is now in perfect adjustment.
Keep Your Adjustment Plug
Please note that you should not discard the aluminum plug. Should your shifter ever get out of adjustment, the aluminum plug should be used for any subsequent adjustments. Lokar will send you another one, but it is a lot quicker if you hold onto yours. You can now connect the wiring from the starter and ignition switch, and you will have the peace of mind that your prized ride will not be able to start in gear and will be safe to operate.